HOLIDAY DONATION DRIVE - SUPPORT MSW - DO YOUR PART TO KEEP THIS GREAT FORUM GOING! (Only 27 donations so far out of 49,000 members - C'mon guys!)
×


Jeff59
-
Posts
593 -
Joined
-
Last visited
Content Type
Profiles
Forums
Gallery
Events
Everything posted by Jeff59
-
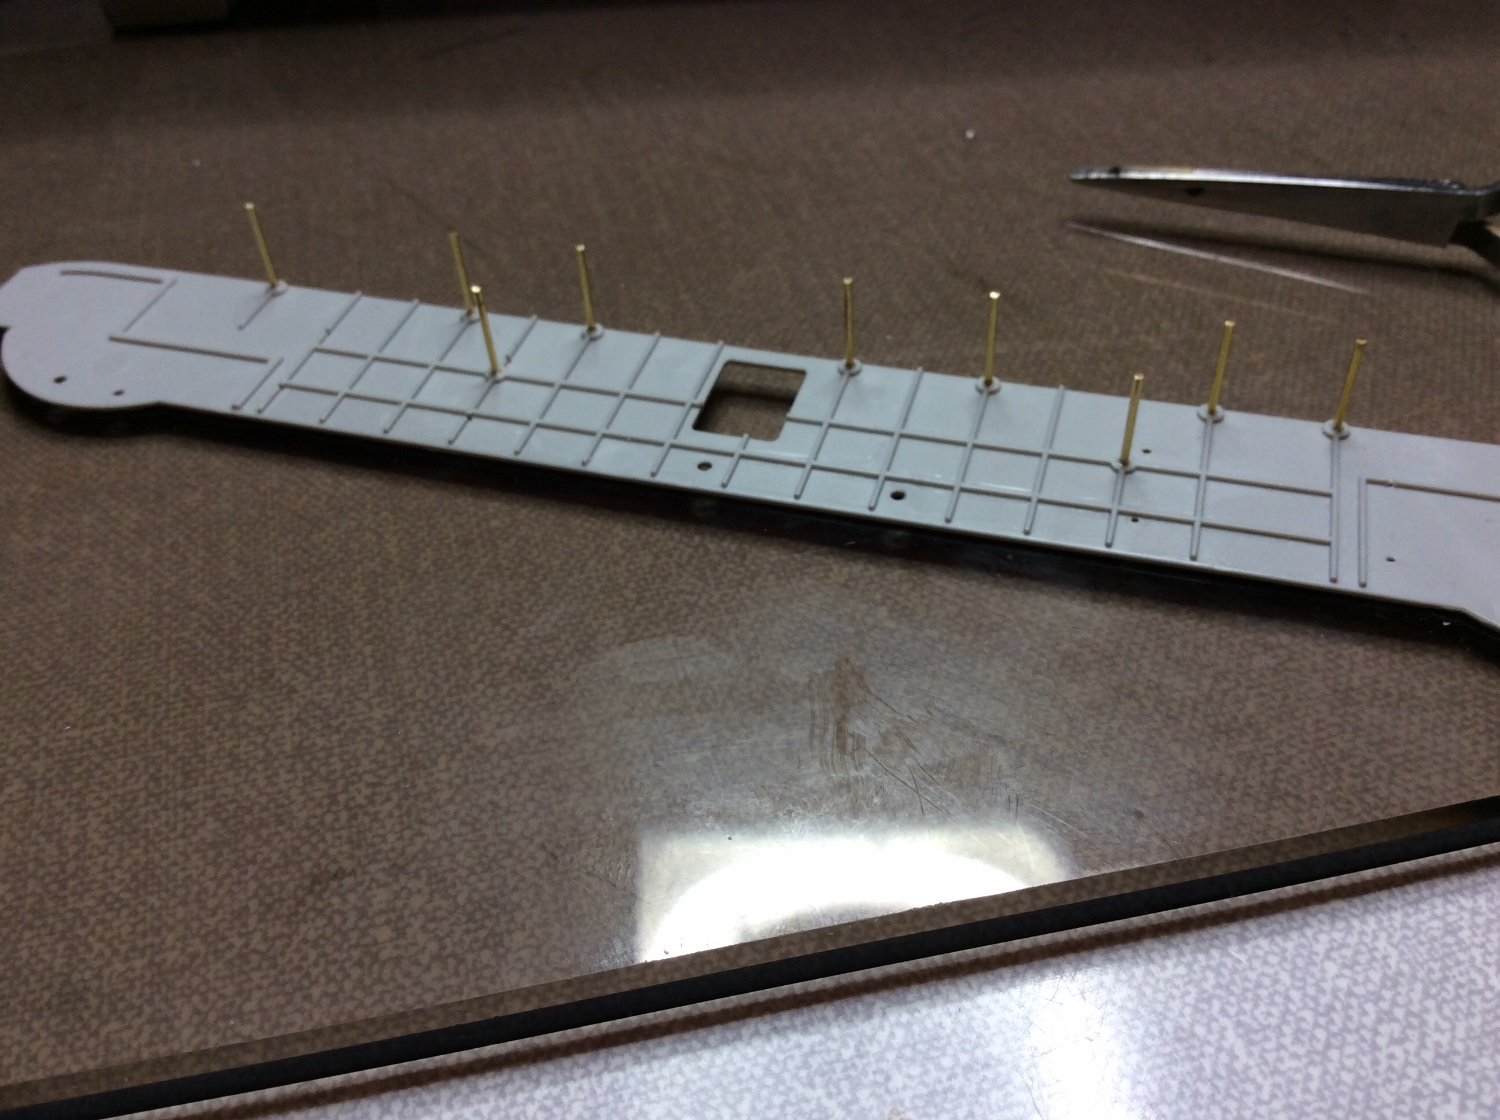
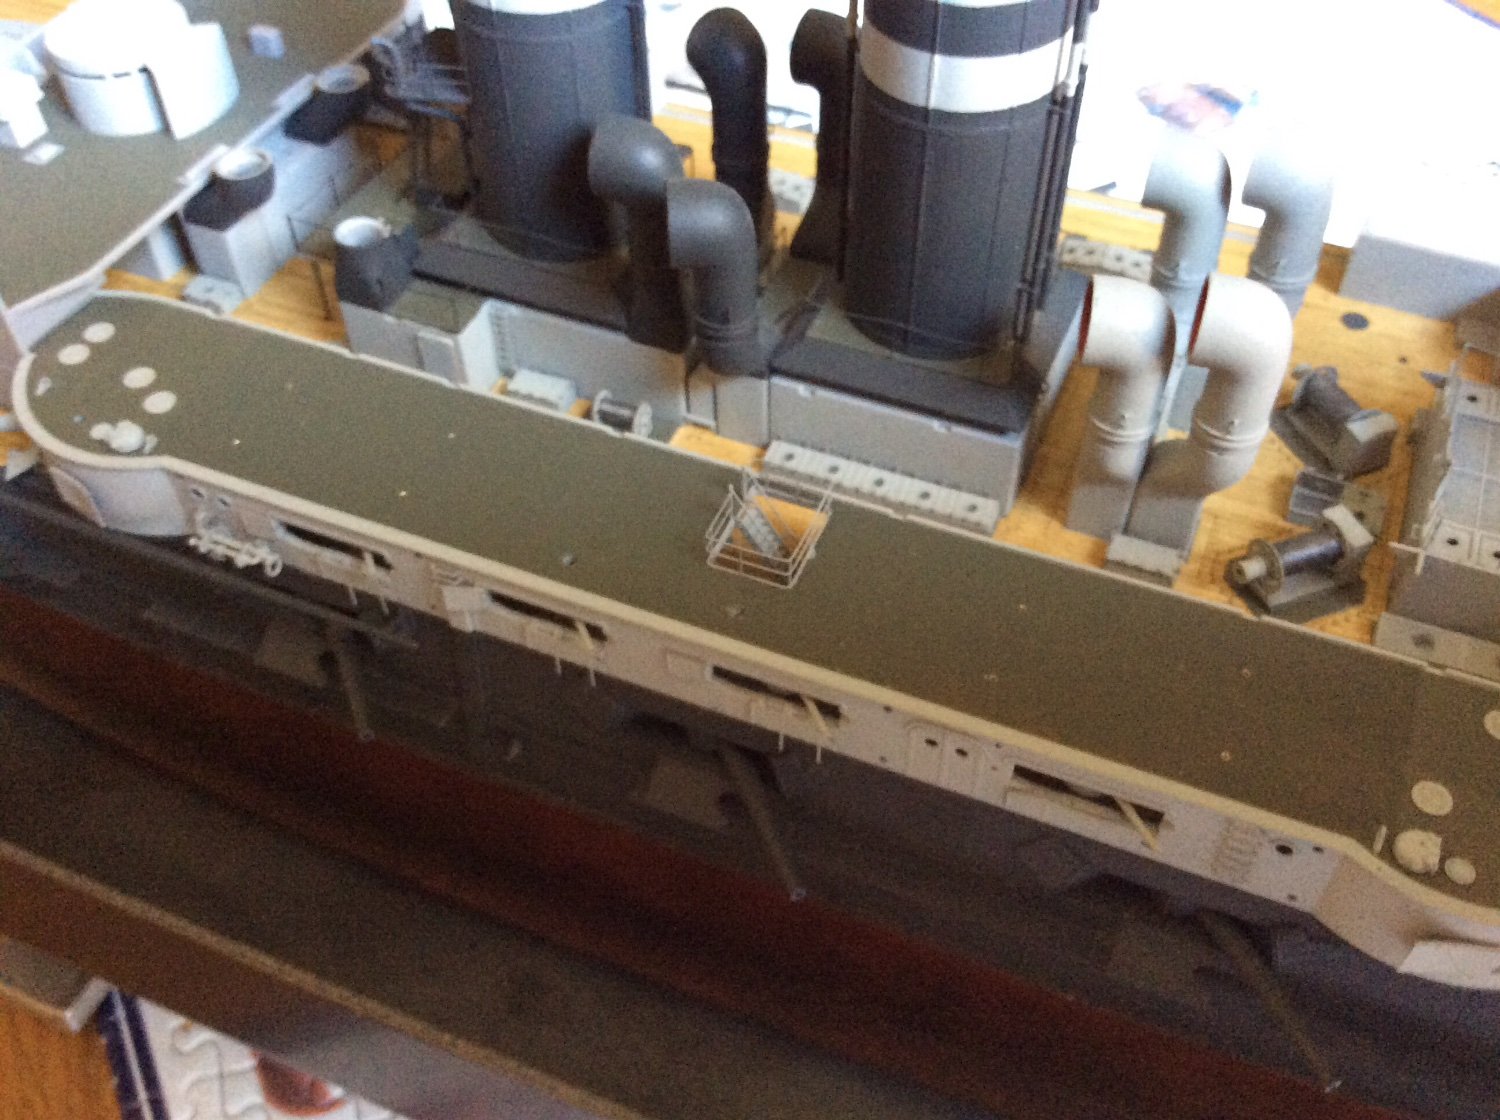
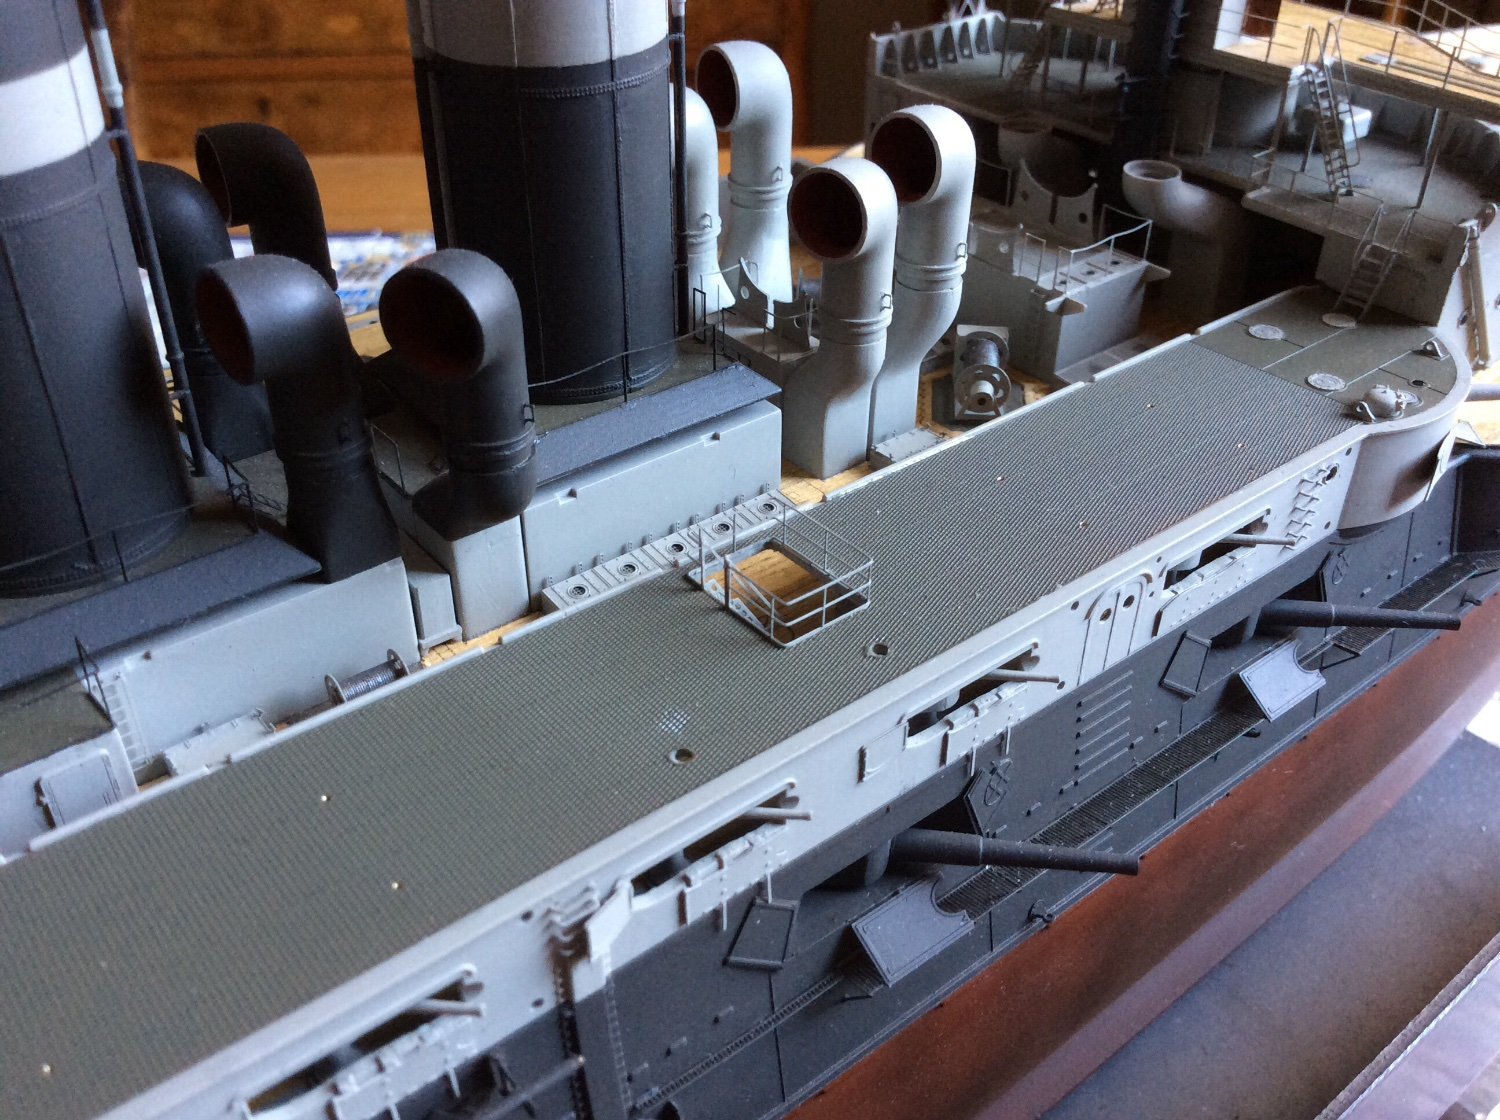
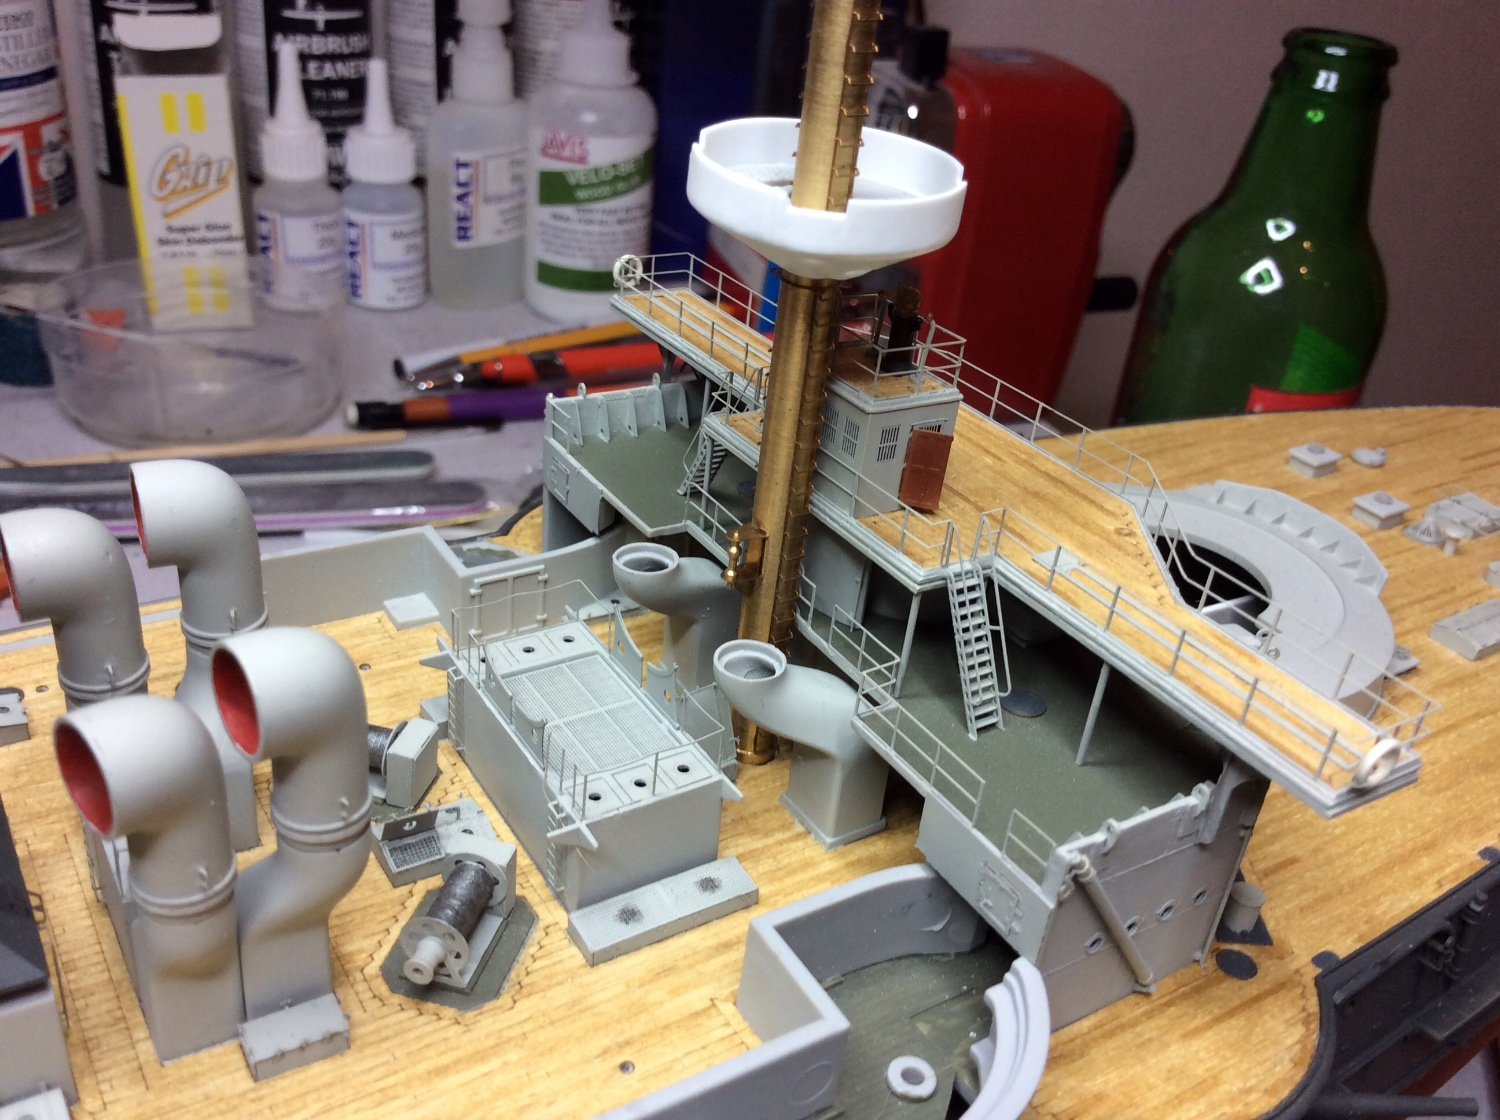
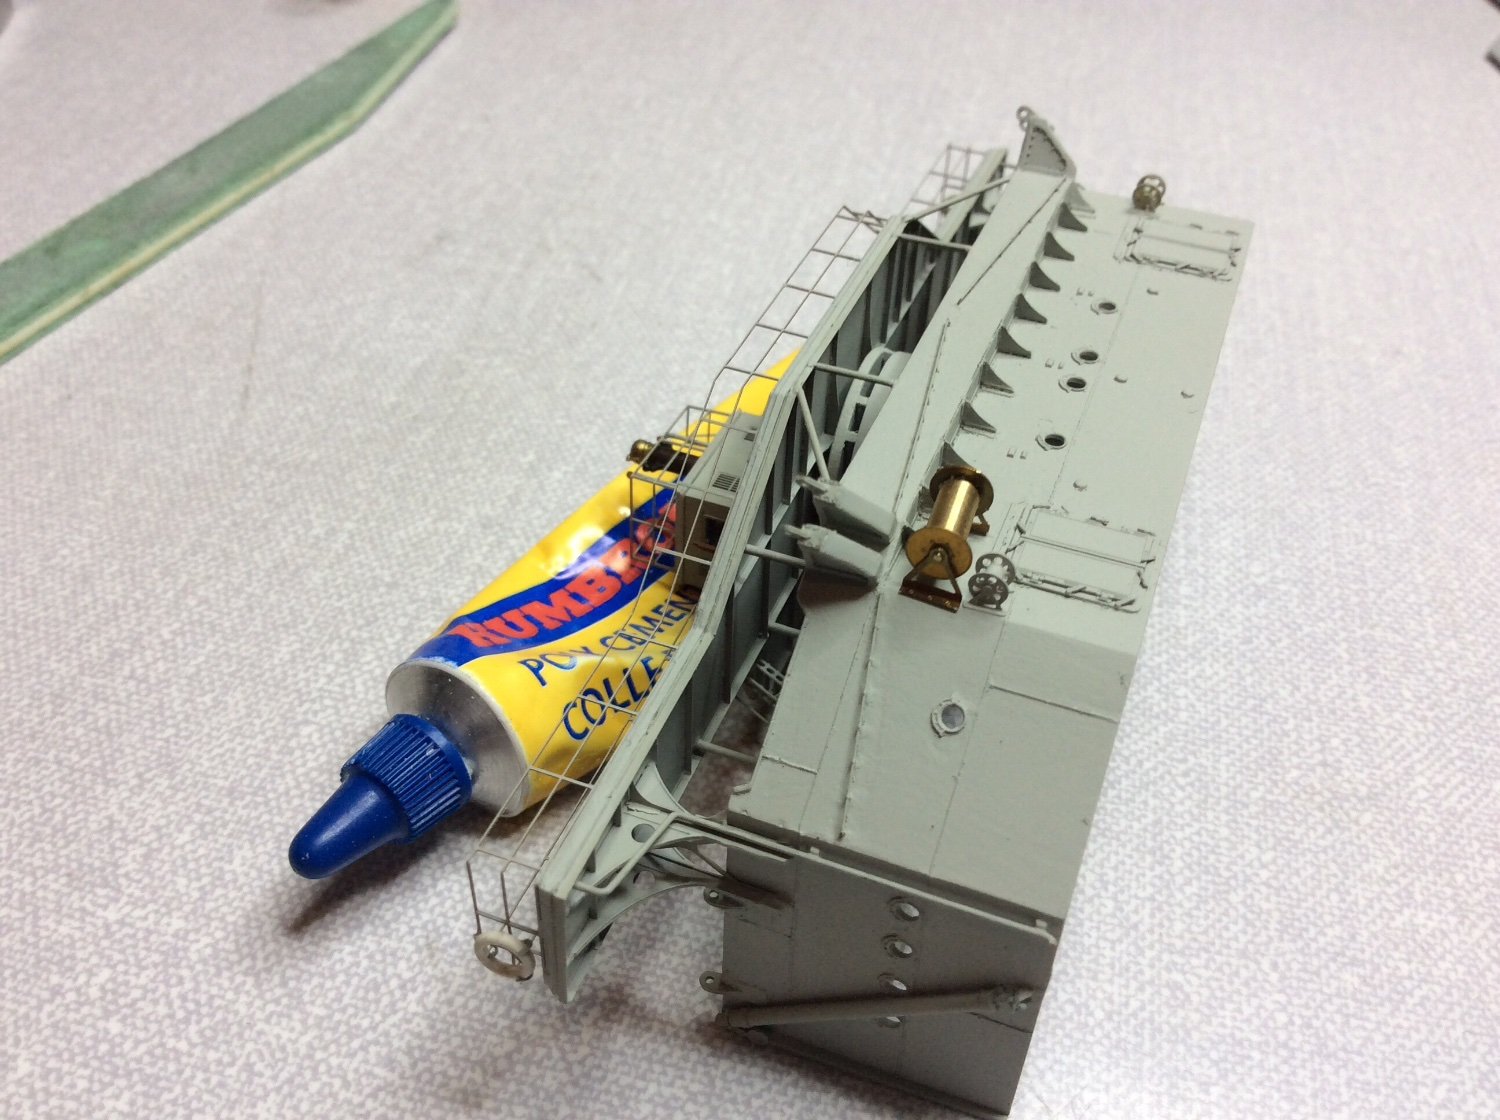
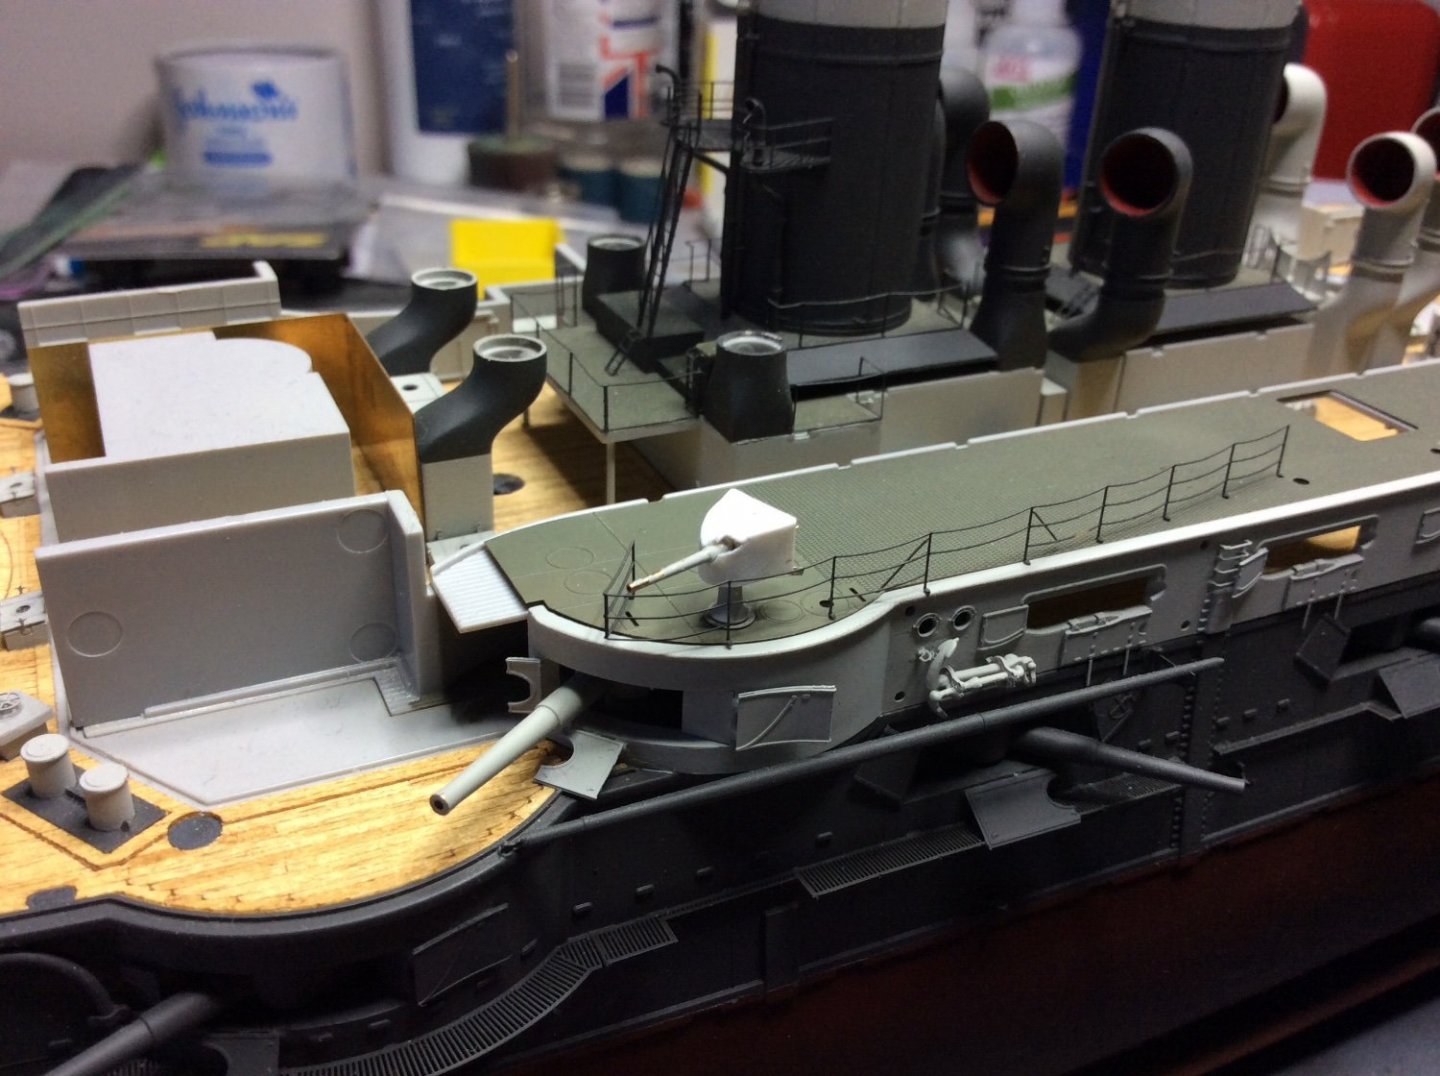
Proceeded with boat deck, I used 0.8 brass wire for support posts and glued them in place making sure they lined up after fitting each one, after complete painted this section and the metal etch deck. Once paint had time to cure, glued the etch deck to plastic part using white glue. Next I had a look at small handrail around deck opening here, be careful when bending this, it’s not straight forward as regarding fold points, care needed. Also the steps here may need some doctoring to get the stanchions tying in. Sprayed these separately then glued in place.


-
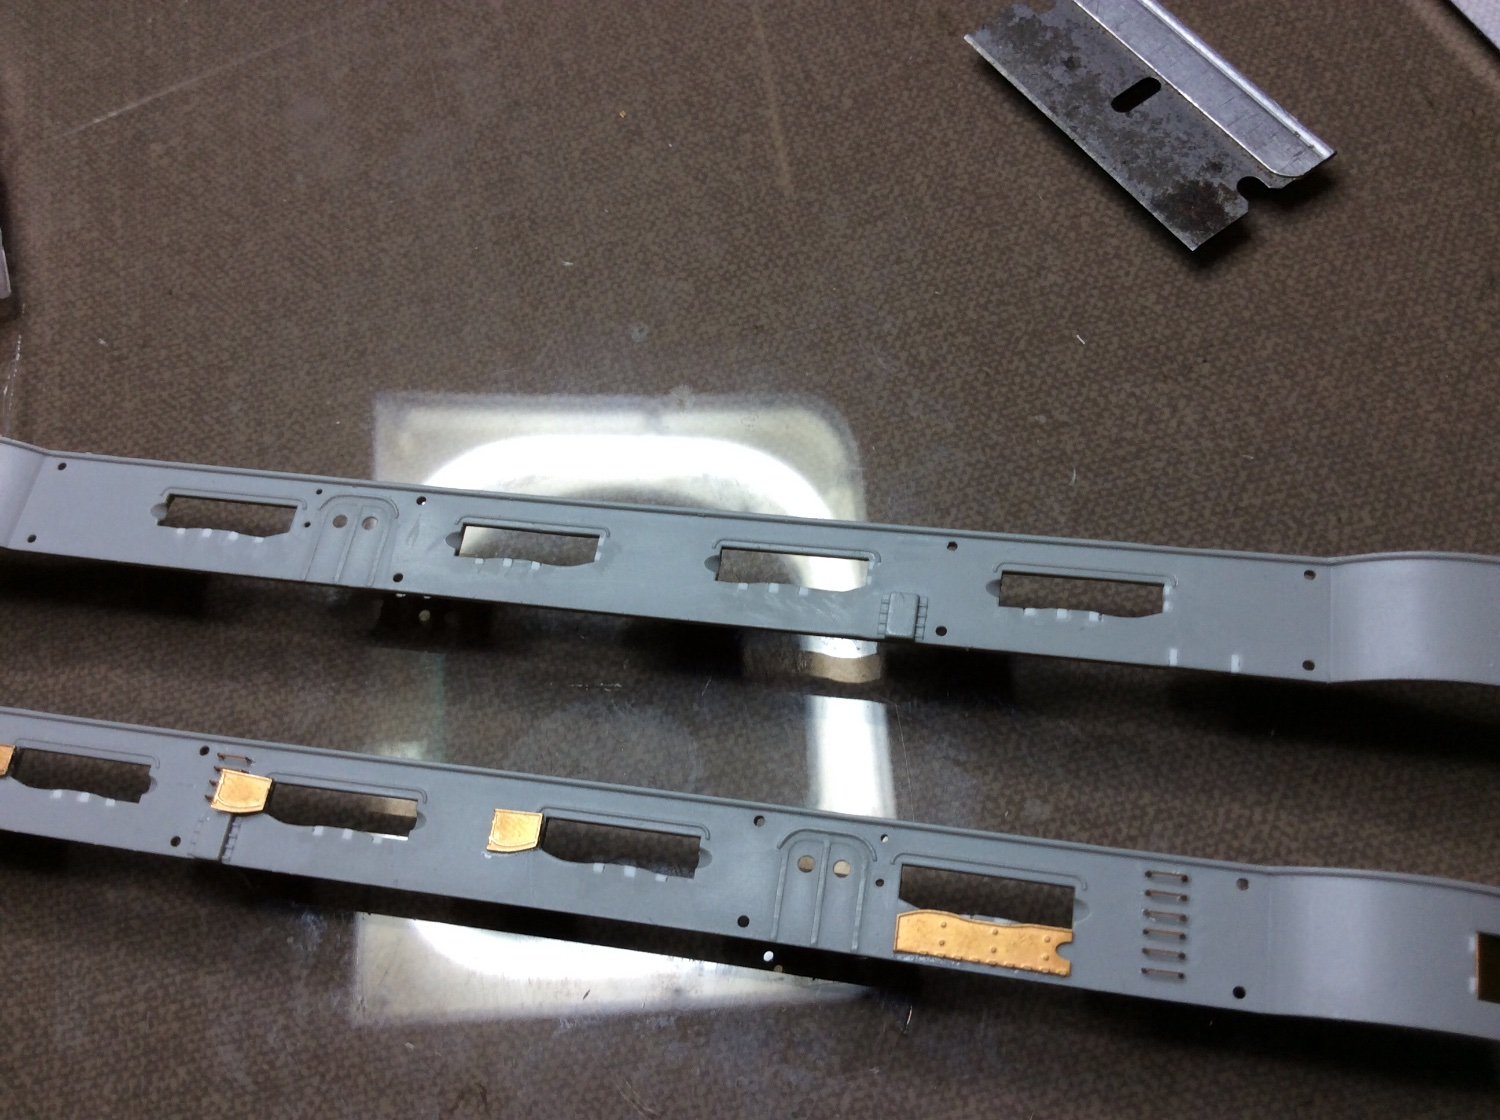
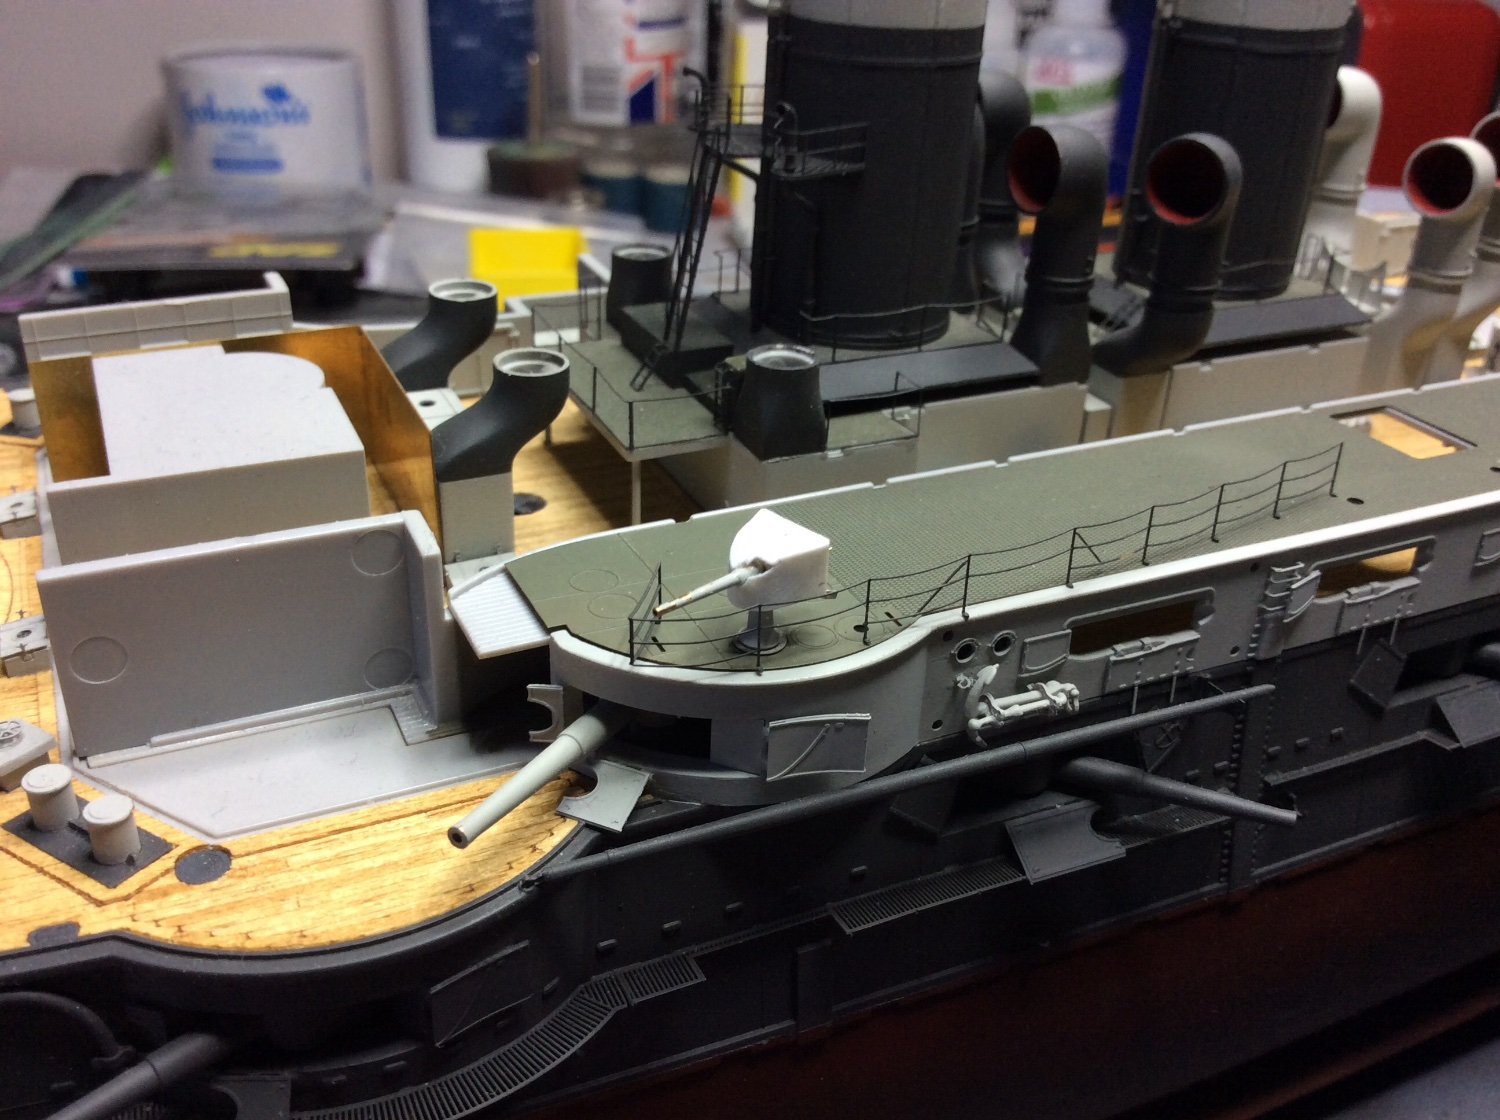
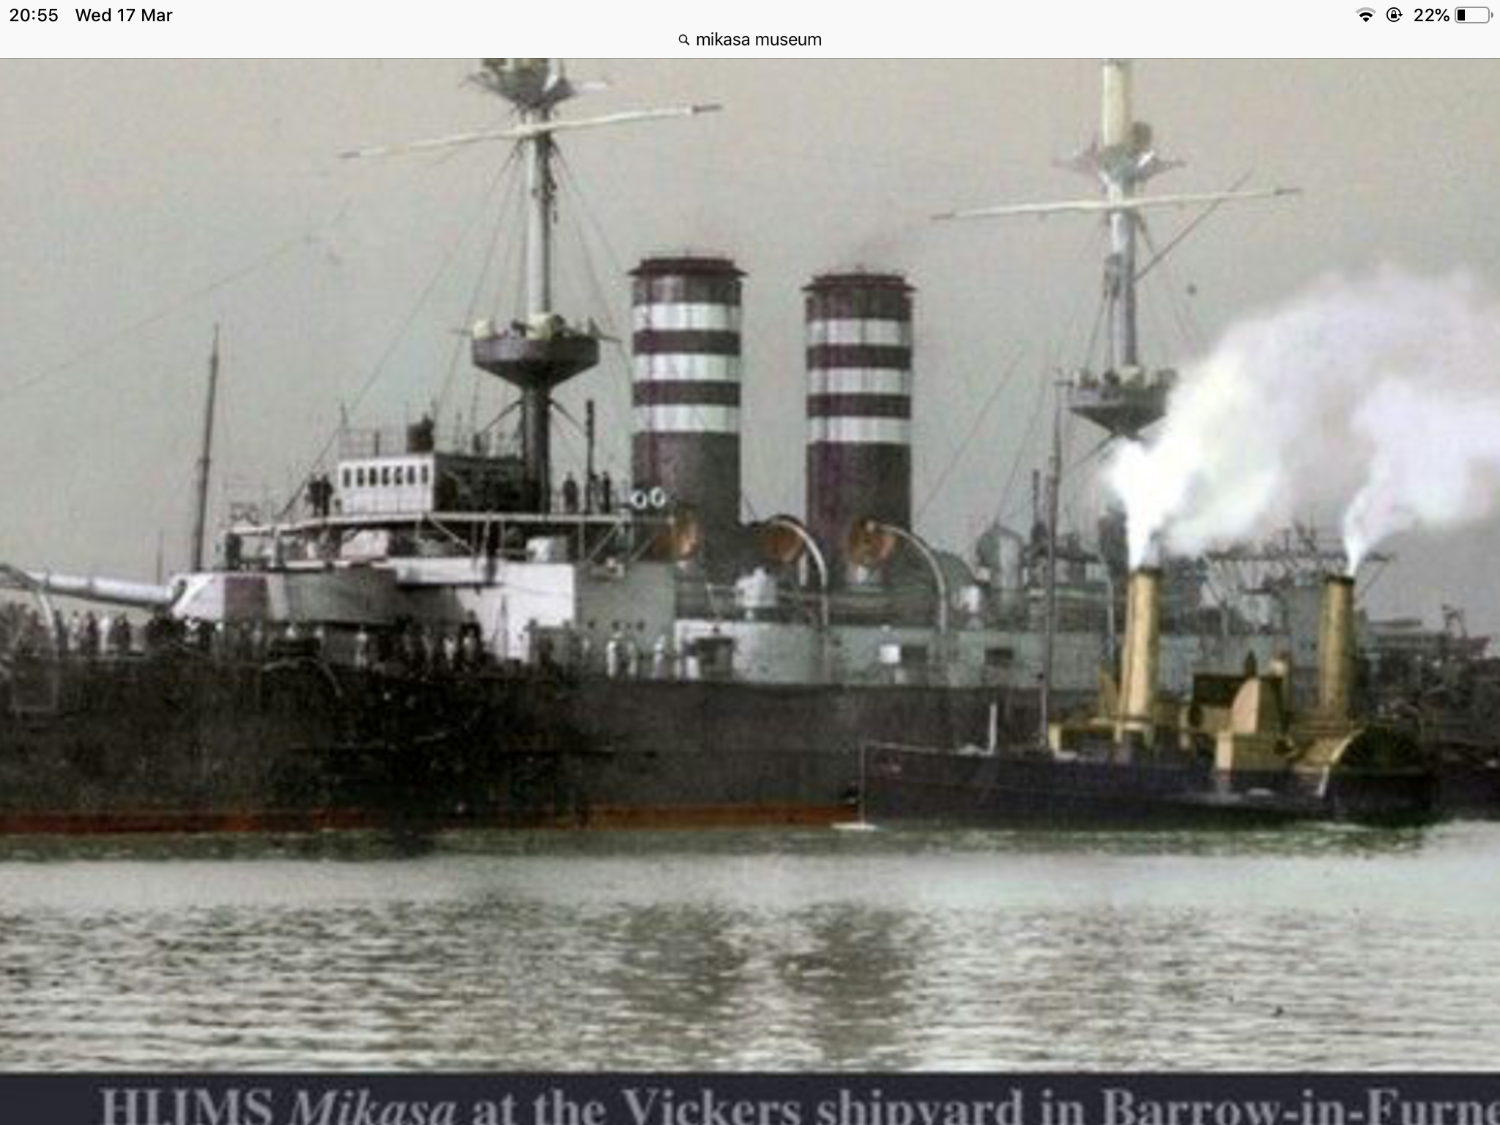
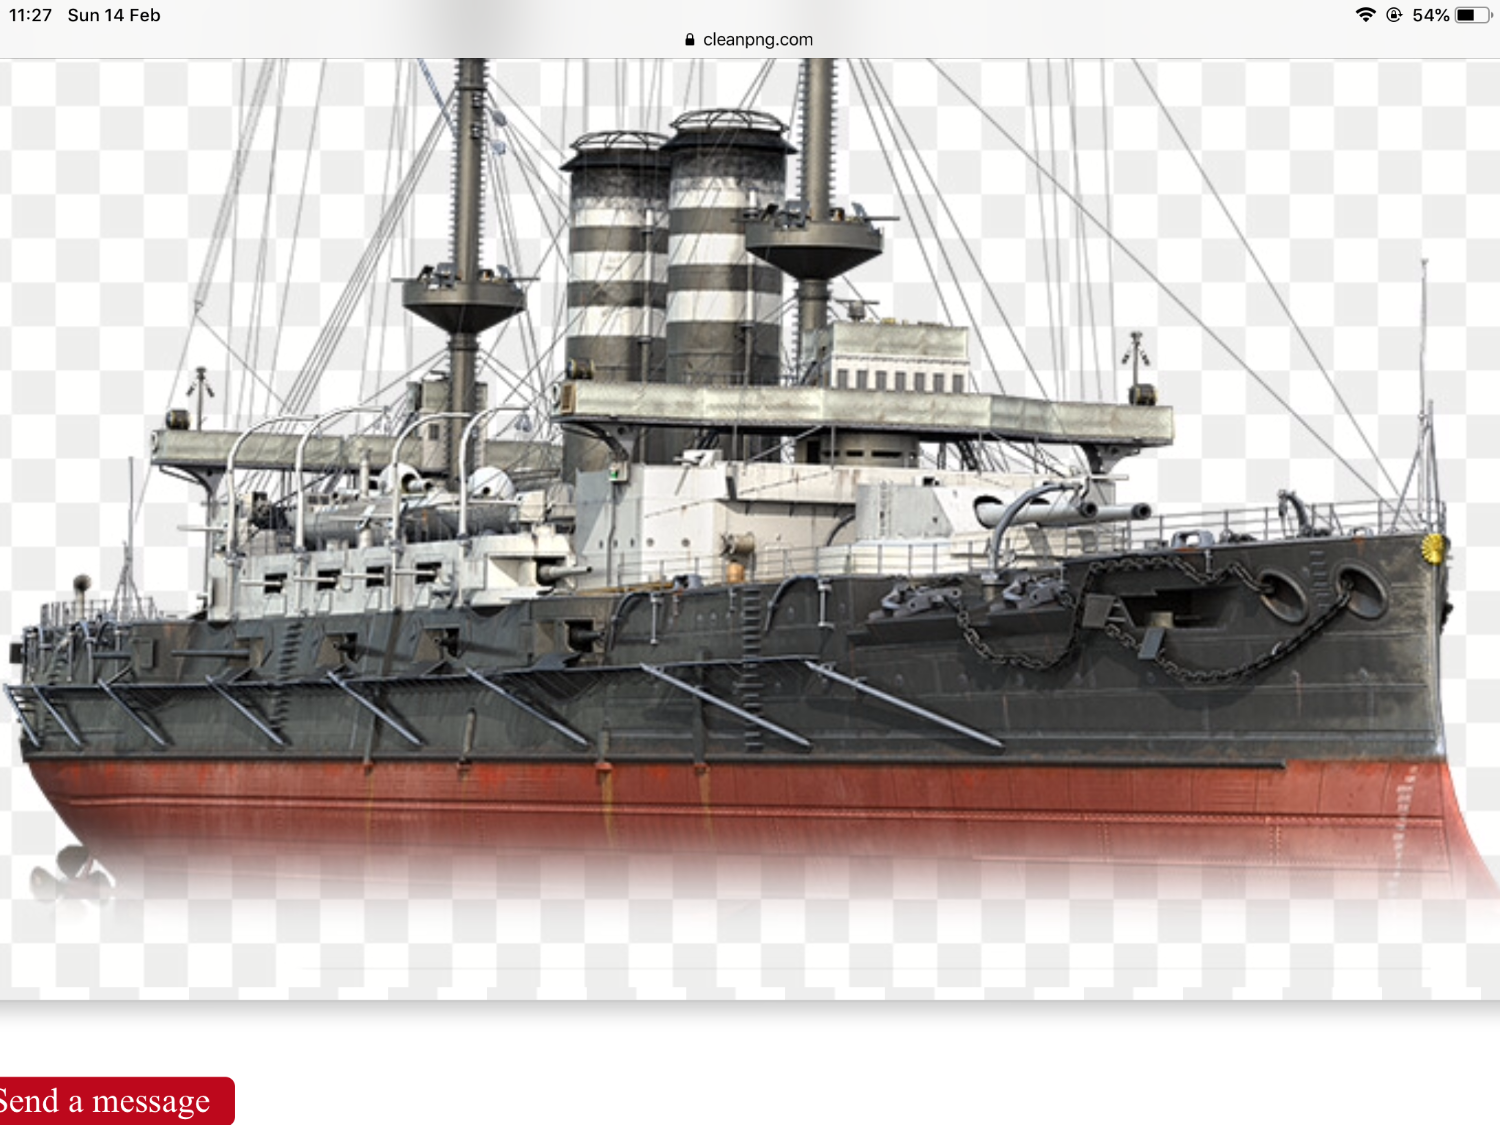
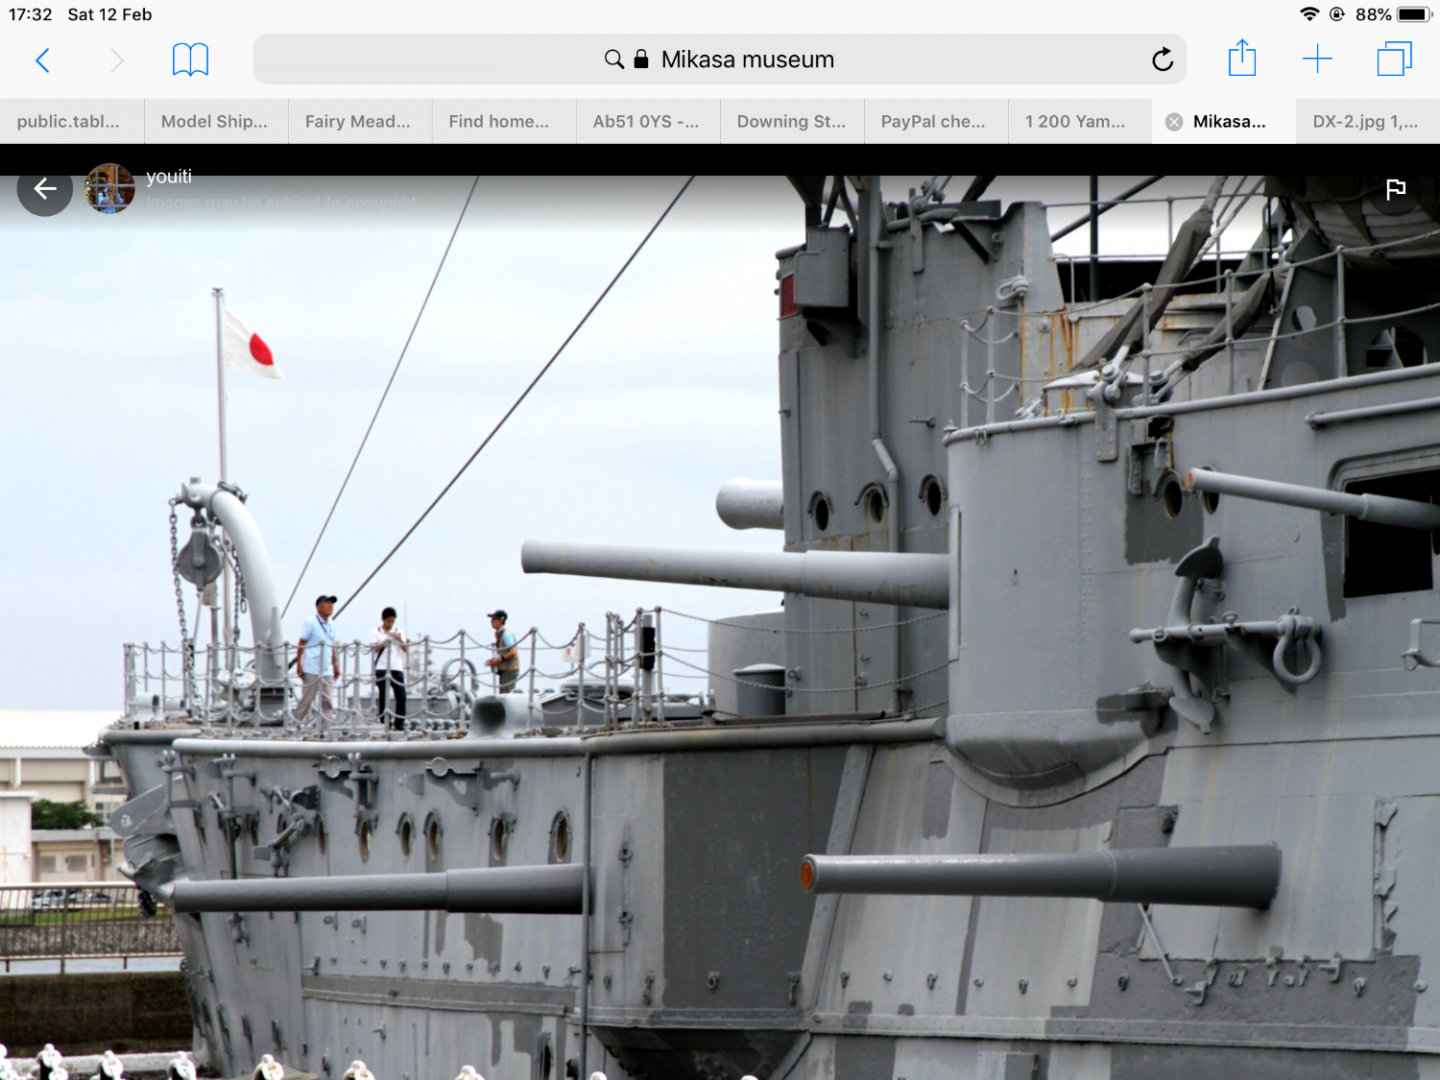
Well it’s that time of life again, an update from Jeff ? that’s the bloke trying to build the Mikasa 😂 had to laugh the Ukrainians have sunk the missile cruiser Moskva before I finished my model of her, how many years ago did I start that ? 🤔 🙄 Any way I hope everyone is well and happy and building models quicker than Jeff, really thought I’d be further on than I am. Yeh I was building the port side boat deck and 12 pounder guns. On the side structure that glues onto the main deck and upper hull, I finished fitting hull shielding for the 12pdrs, also built and fitted small anchor. Whilst looking at Mikasa museum page to get position off the anchor I noticed three port holes that are missing from the kit part, so added these into build. Shall put some photos on to show this.

-
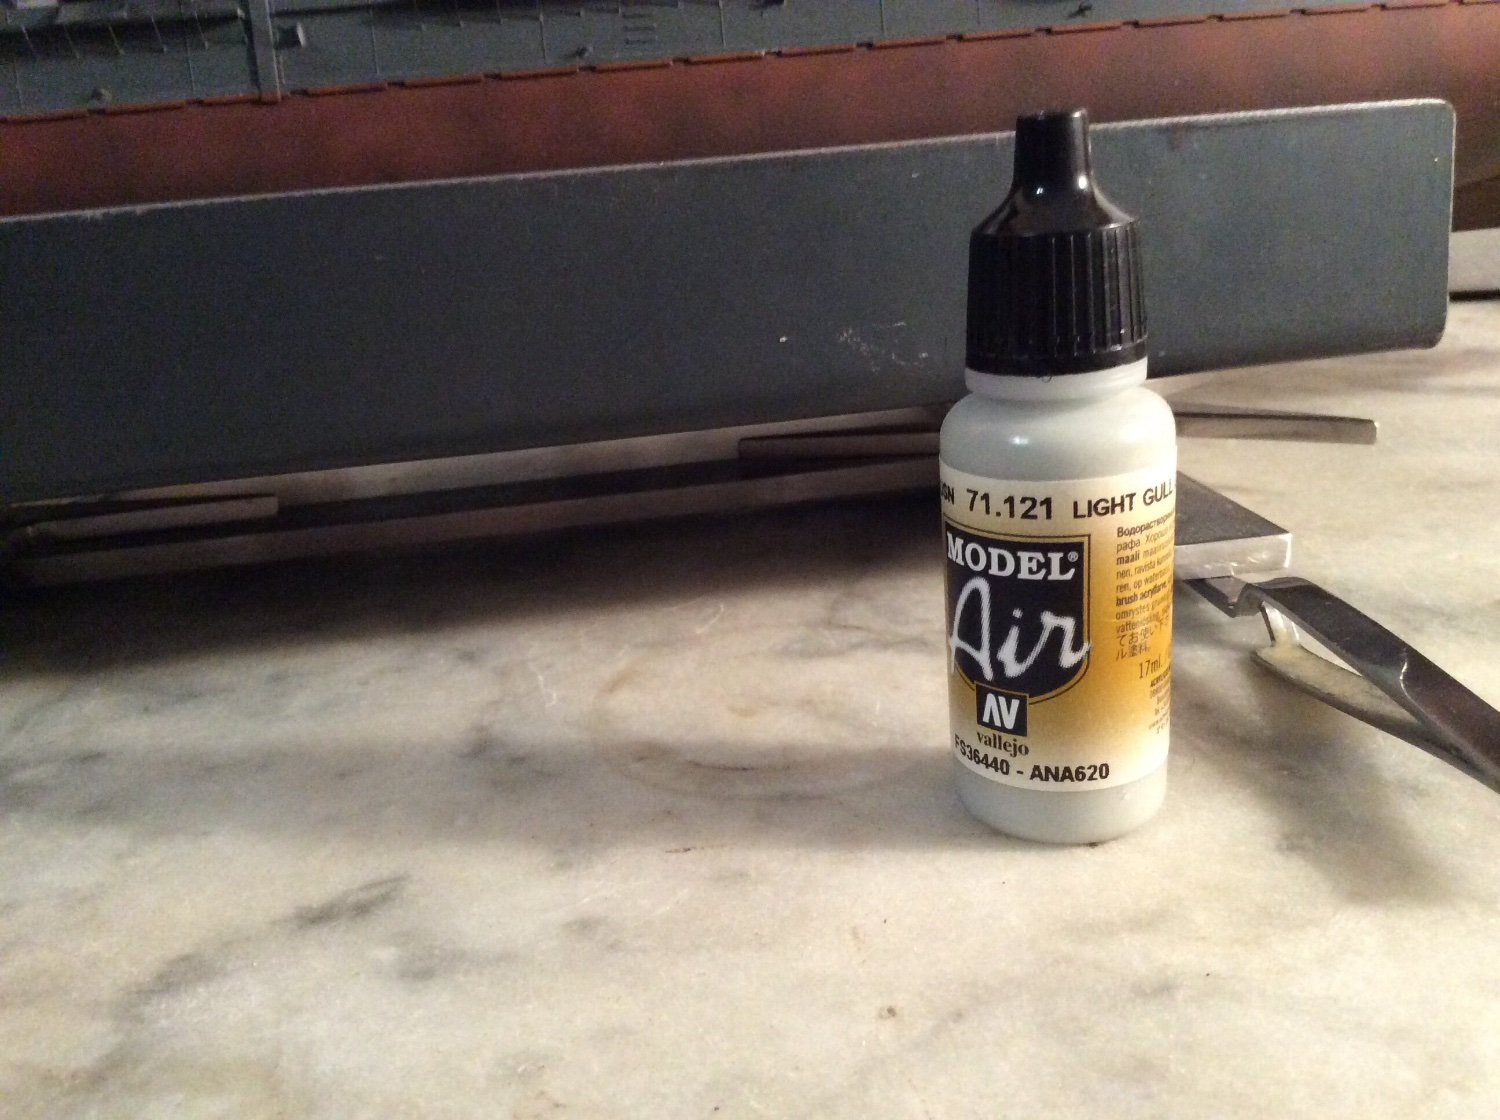
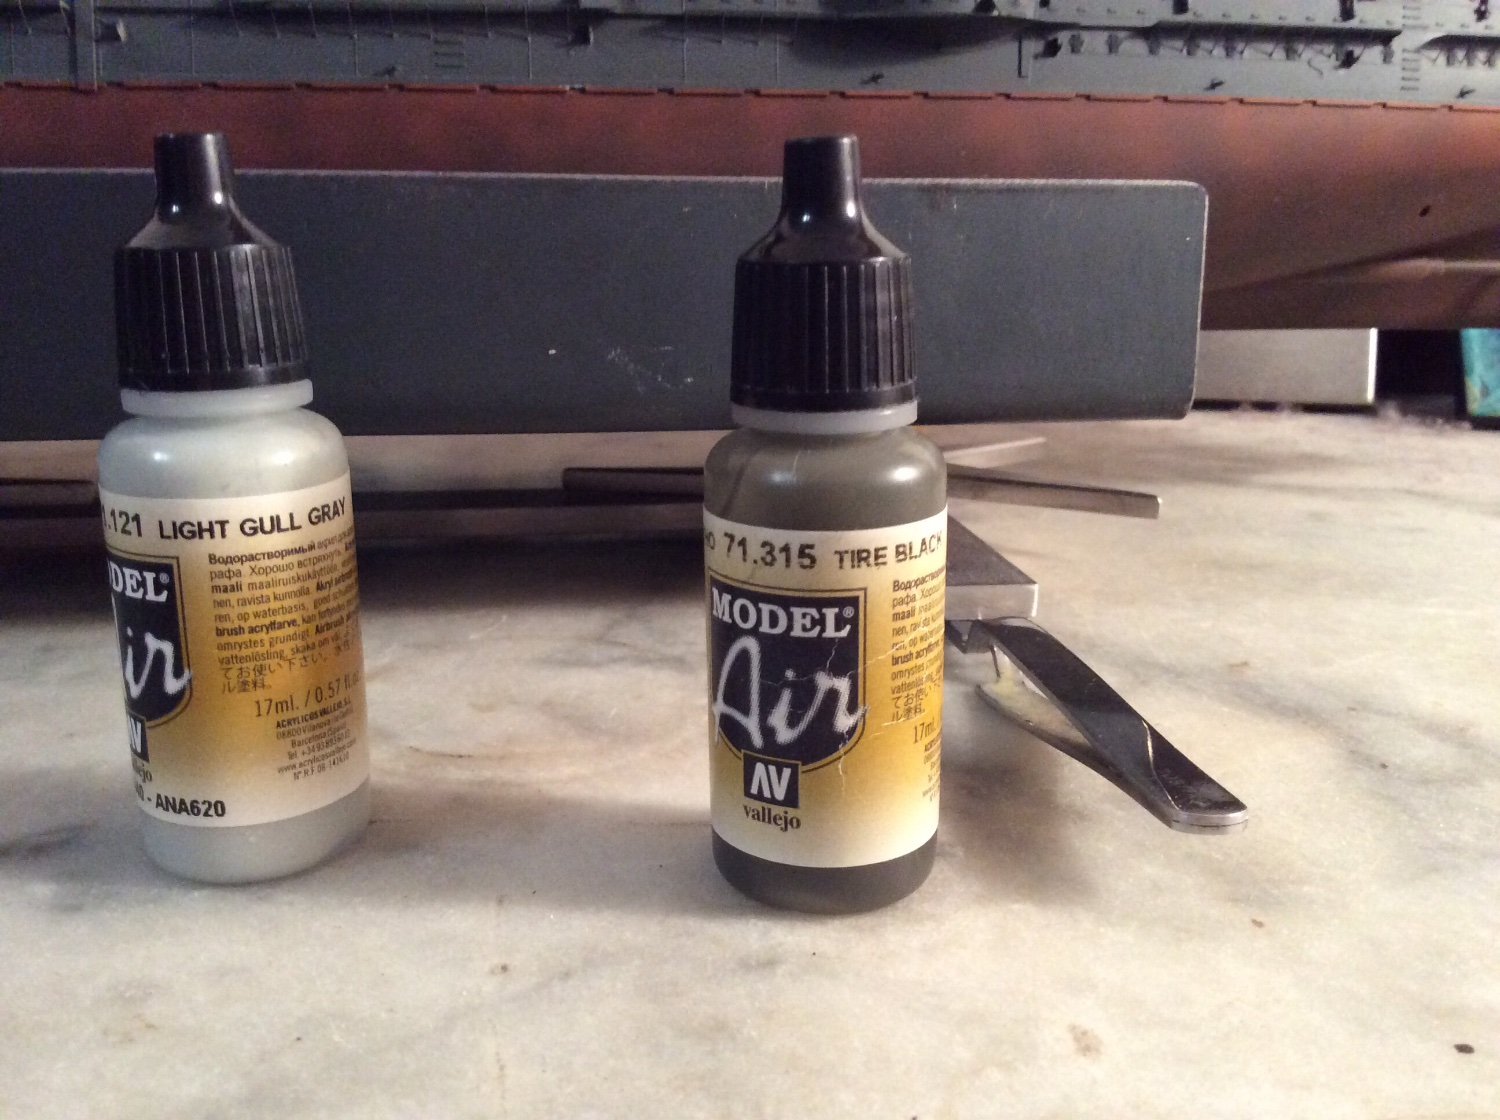
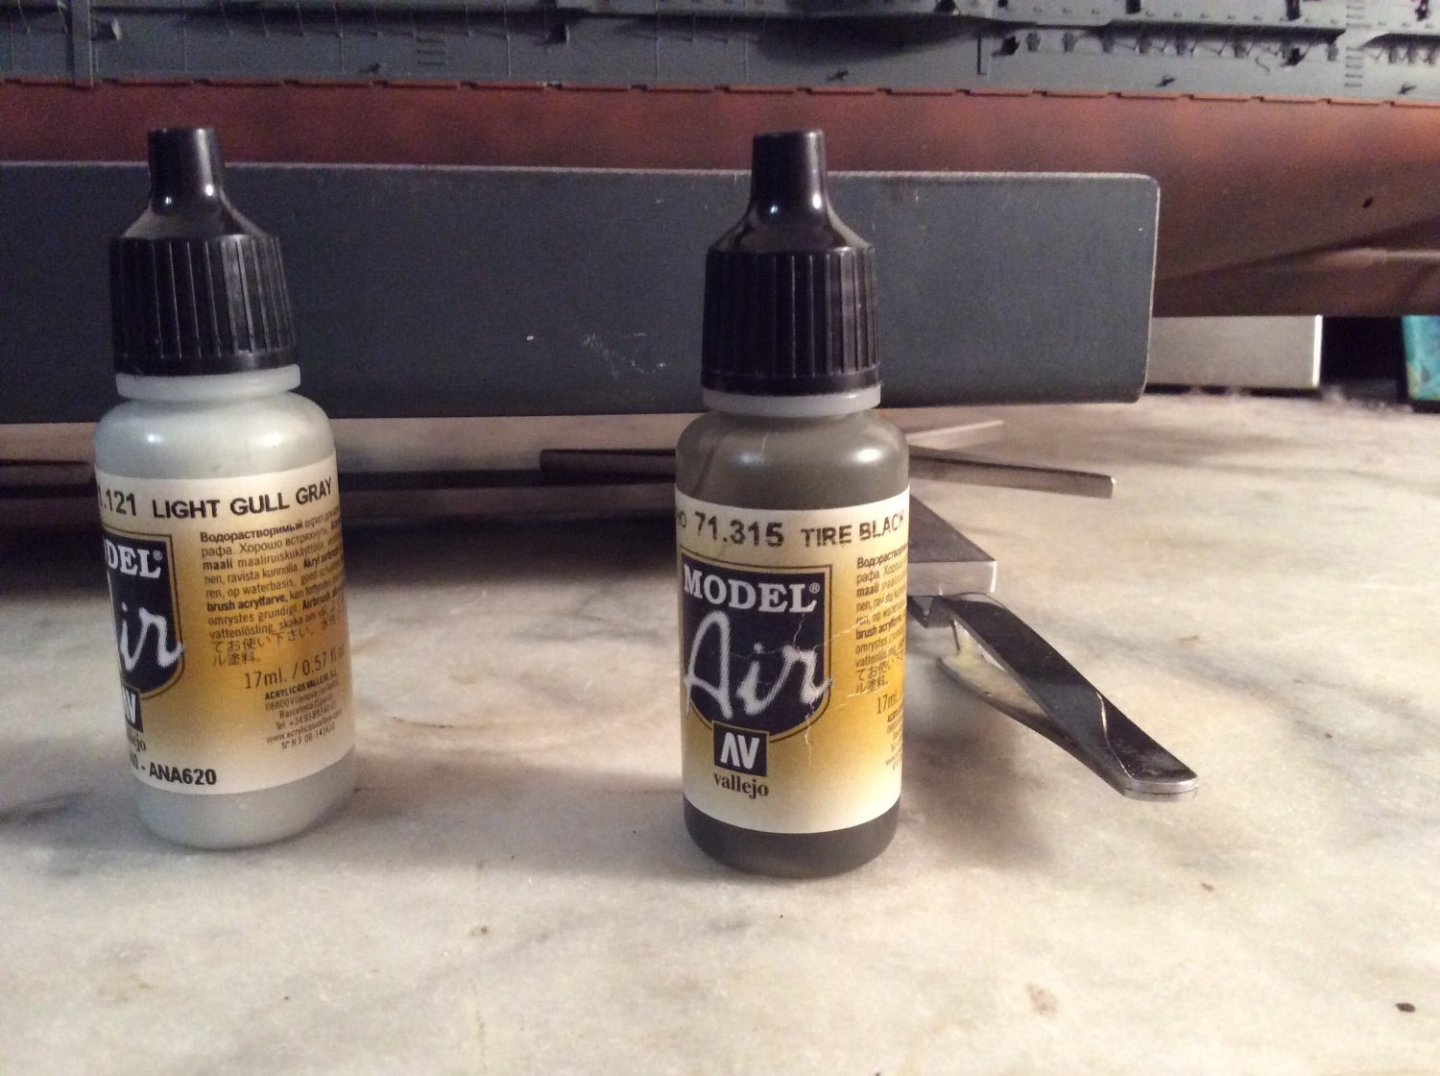
The gull gray against the tire black worked out well for me Tim, but it’s always up to the individual 👍 hope this helps. 🤛
-
Hi Tim, just seen your post just now. Some pictures, somebody said a picture paints a thousand ships 🤔 or was it words😄

-
Just had a daft thought, how nice would it be to try and make a copy of the paddle ship tender? and display it in case along side the Mikasa with crew and civilian workforce onboard depicting this scene, with an accompanying photo of this and her history? Would probably add another six months to the build. 🤔
-
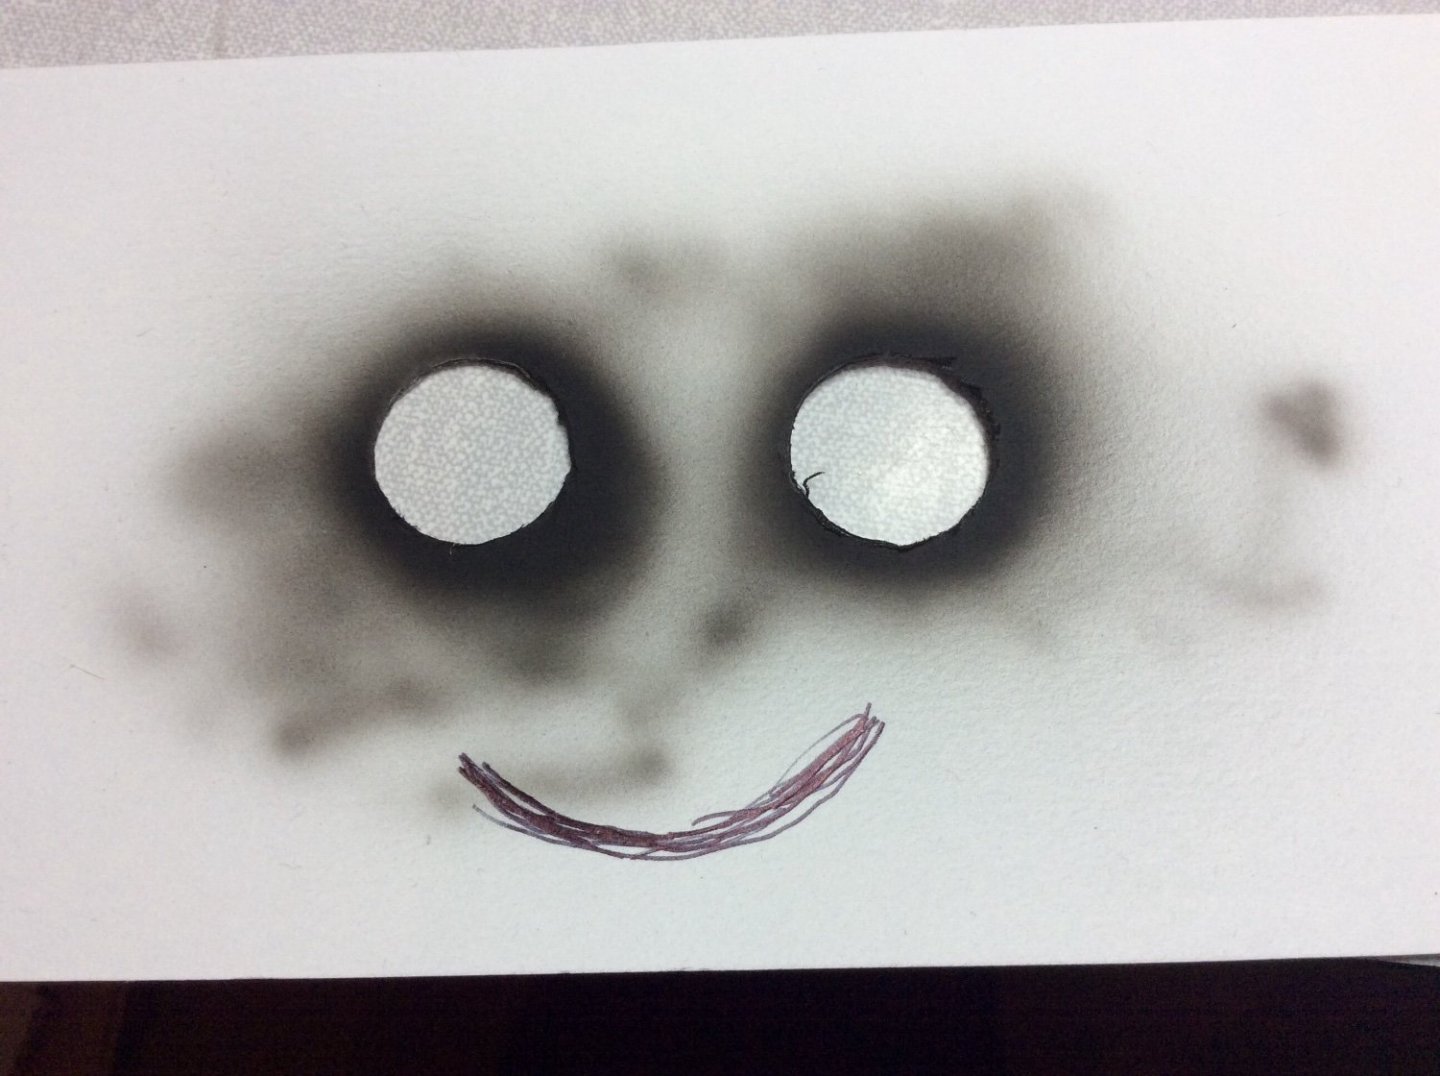
Hi Tim, glad you are just about on board🤛 It’s a bit of an etch monster isn’t it? Think you shall enjoy it I suspect. Going by some of the builds under your belt time is not an issue when doing a model. Looking forward to helping you in any way I can. In fact you might be able to help me when it comes to me doing the rigging, suspect you’ll have plenty experience there, me none. 😂 Same as my air brushing, point and fire, big learning curve there, as you see with my earlier attempts. One point on my build she is not strictly correct on decking, the boat decks and bridge superstructure decks should be wood I think, didn’t do this because I wanted to use the etch set available to me, the Pontos set you have. Don’t know if Artworks or Ka models can sell this decking separately? Think from the side she looks quite close though. Anyway as long as the individual enjoys and is happy with what he is doing that’s what matters. Sorry for the short post shall do a longer one next time. 😂
-
S-Boat 55 Thanks for the compliment it always lifts one’s spirits when someone likes what you are doing 🤛 it’s one of those models that has so much details to fit that you get a lot of satisfaction when you see it coming together, I’d say a nice model for anyone to have in their collection. Pontos have done a fine job with this detail set. 👏 But the set is for Mikasa as she was in 1905. Indeed the Hobby Boss version depicting her in her delivery colours from 1902-04? does not have a dedicated set for her yet, hope this version proves popular and Pontos see it financially viable to do a set. Some times the detail set makes you want to buy the model to go with it. 😂 Think there is an element of truth in that. Anyway thanks again, still a lot to do, really starting to enjoy it now that it’s starting to look more like a ship. Always like ship models. 👍
-
Well that’s me for a wee while, hope this helps someone, and thanks again for kind and encouraging remarks past. Happy modelling guys and take care. Regards Jeff. 🤛
-
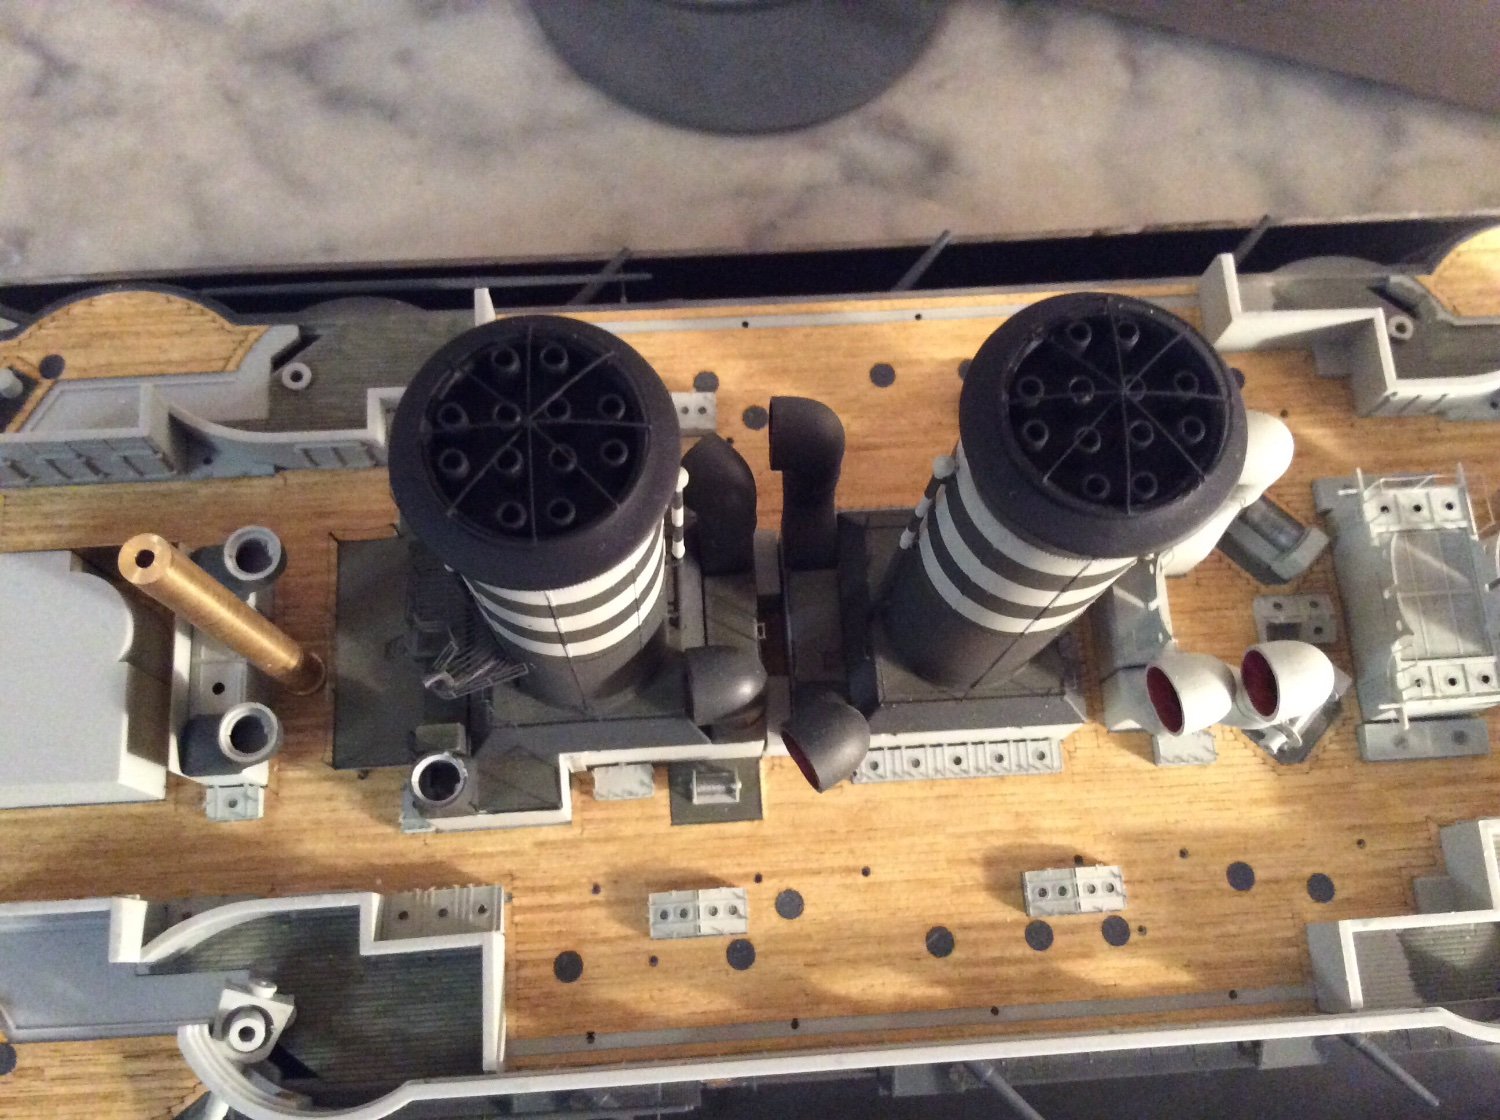
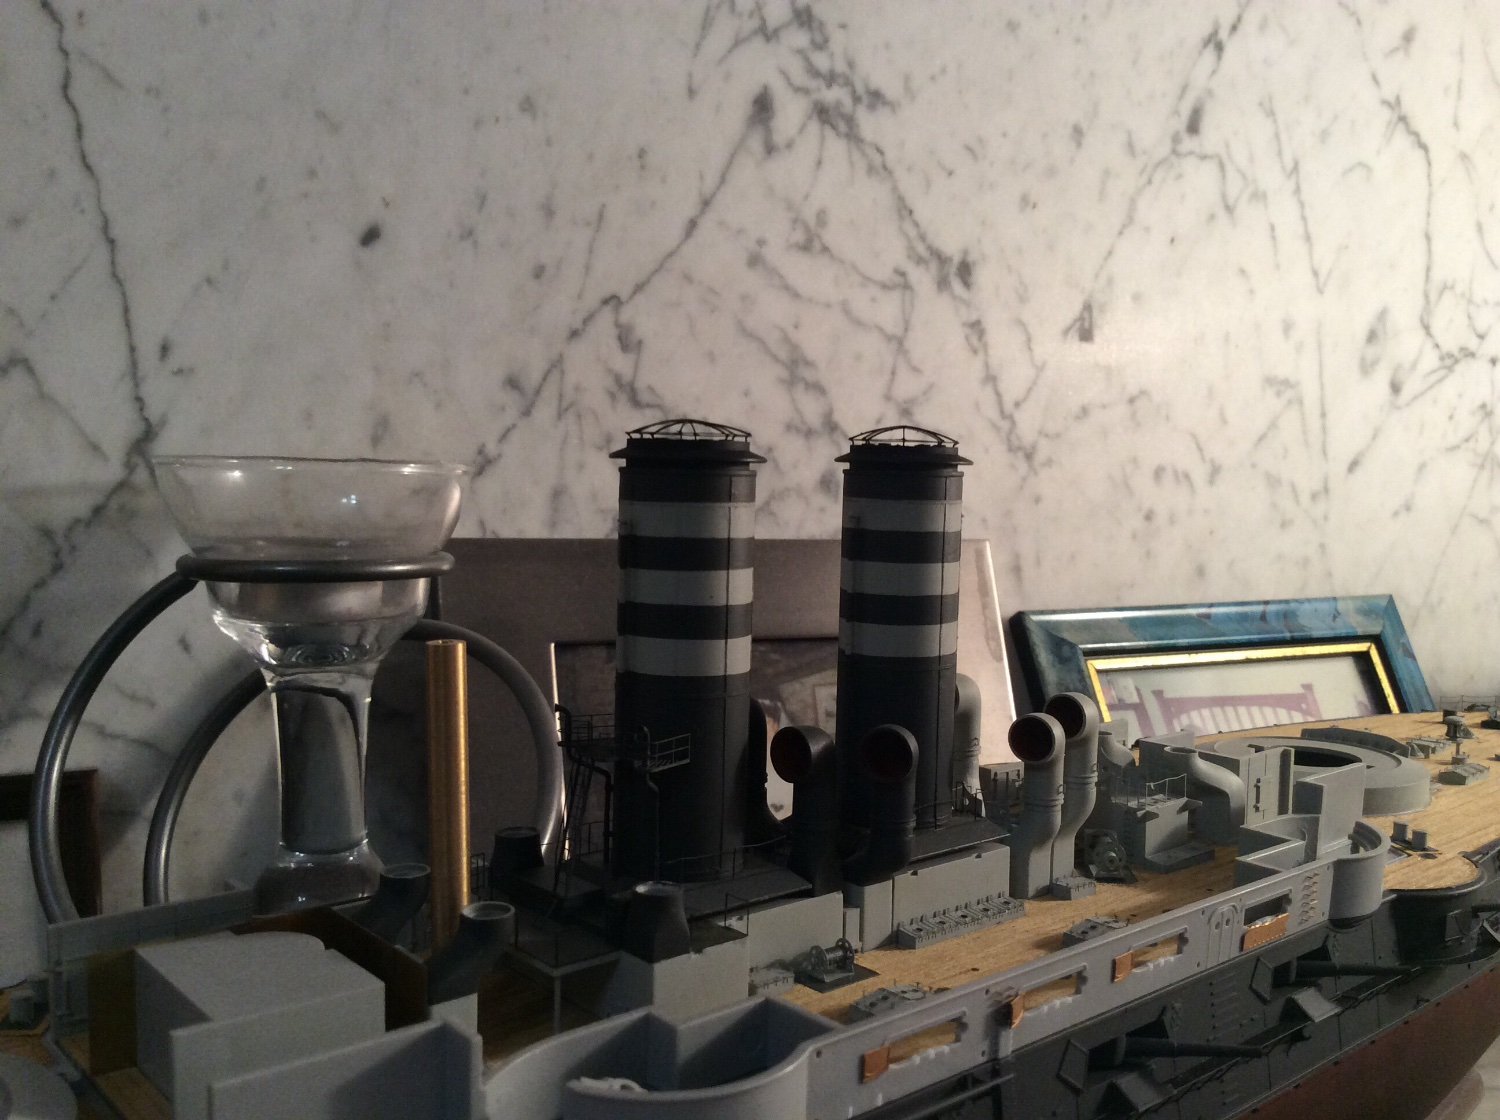
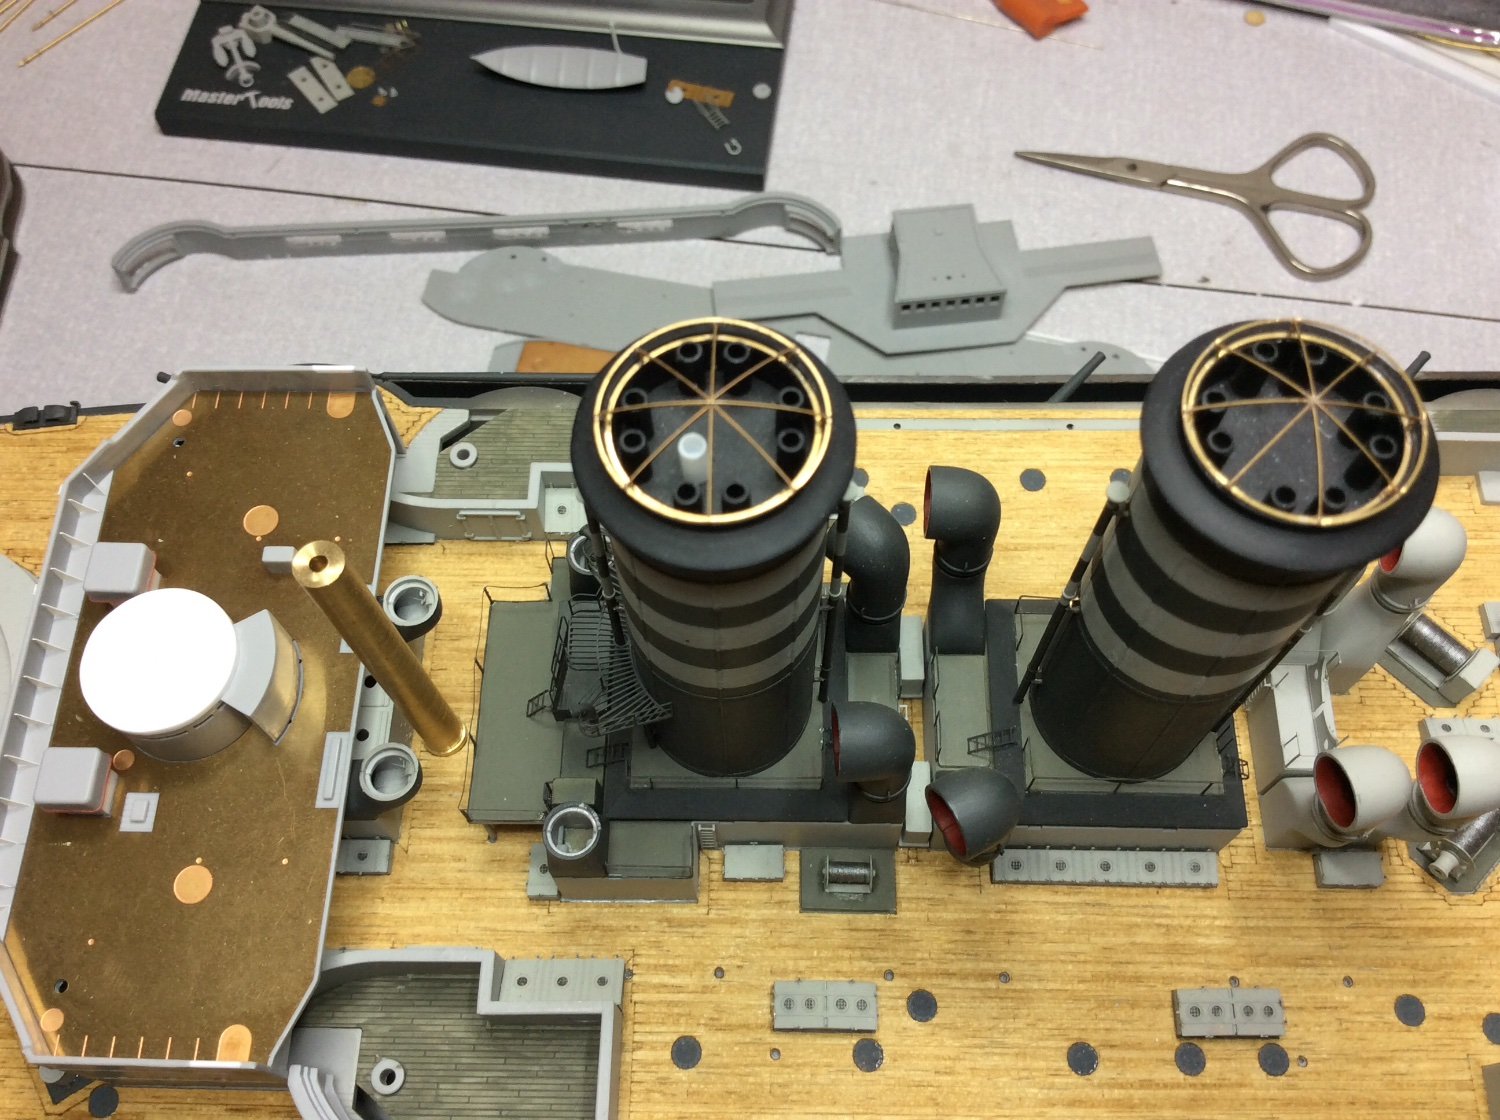
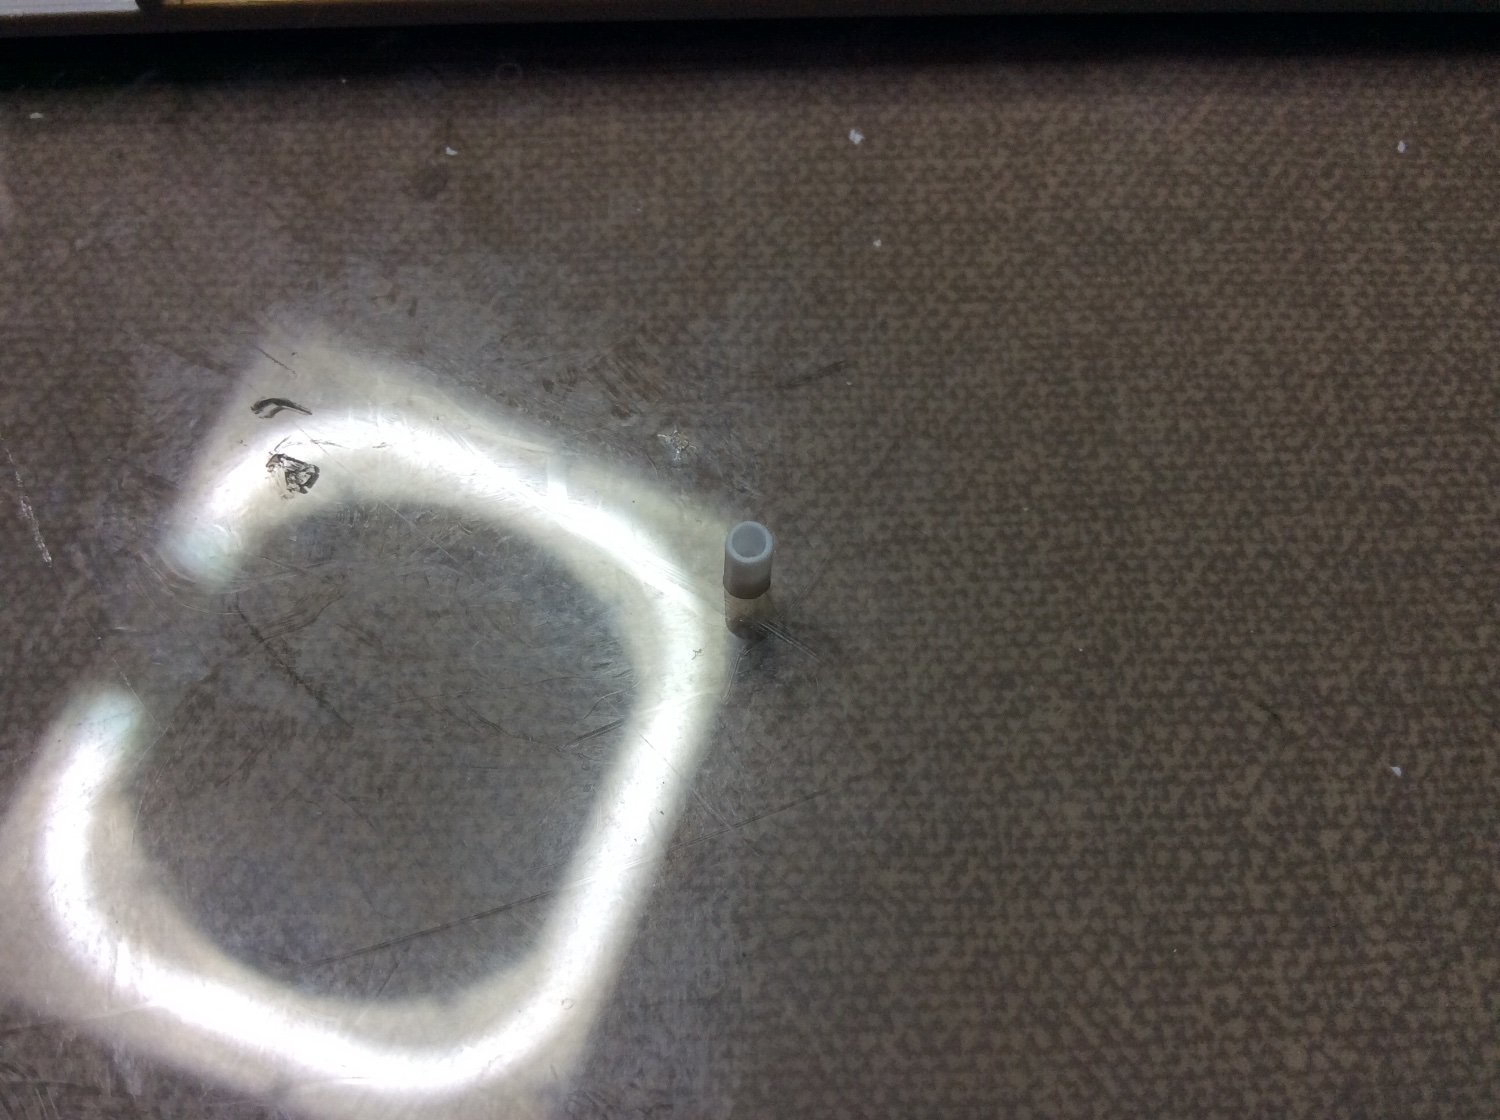
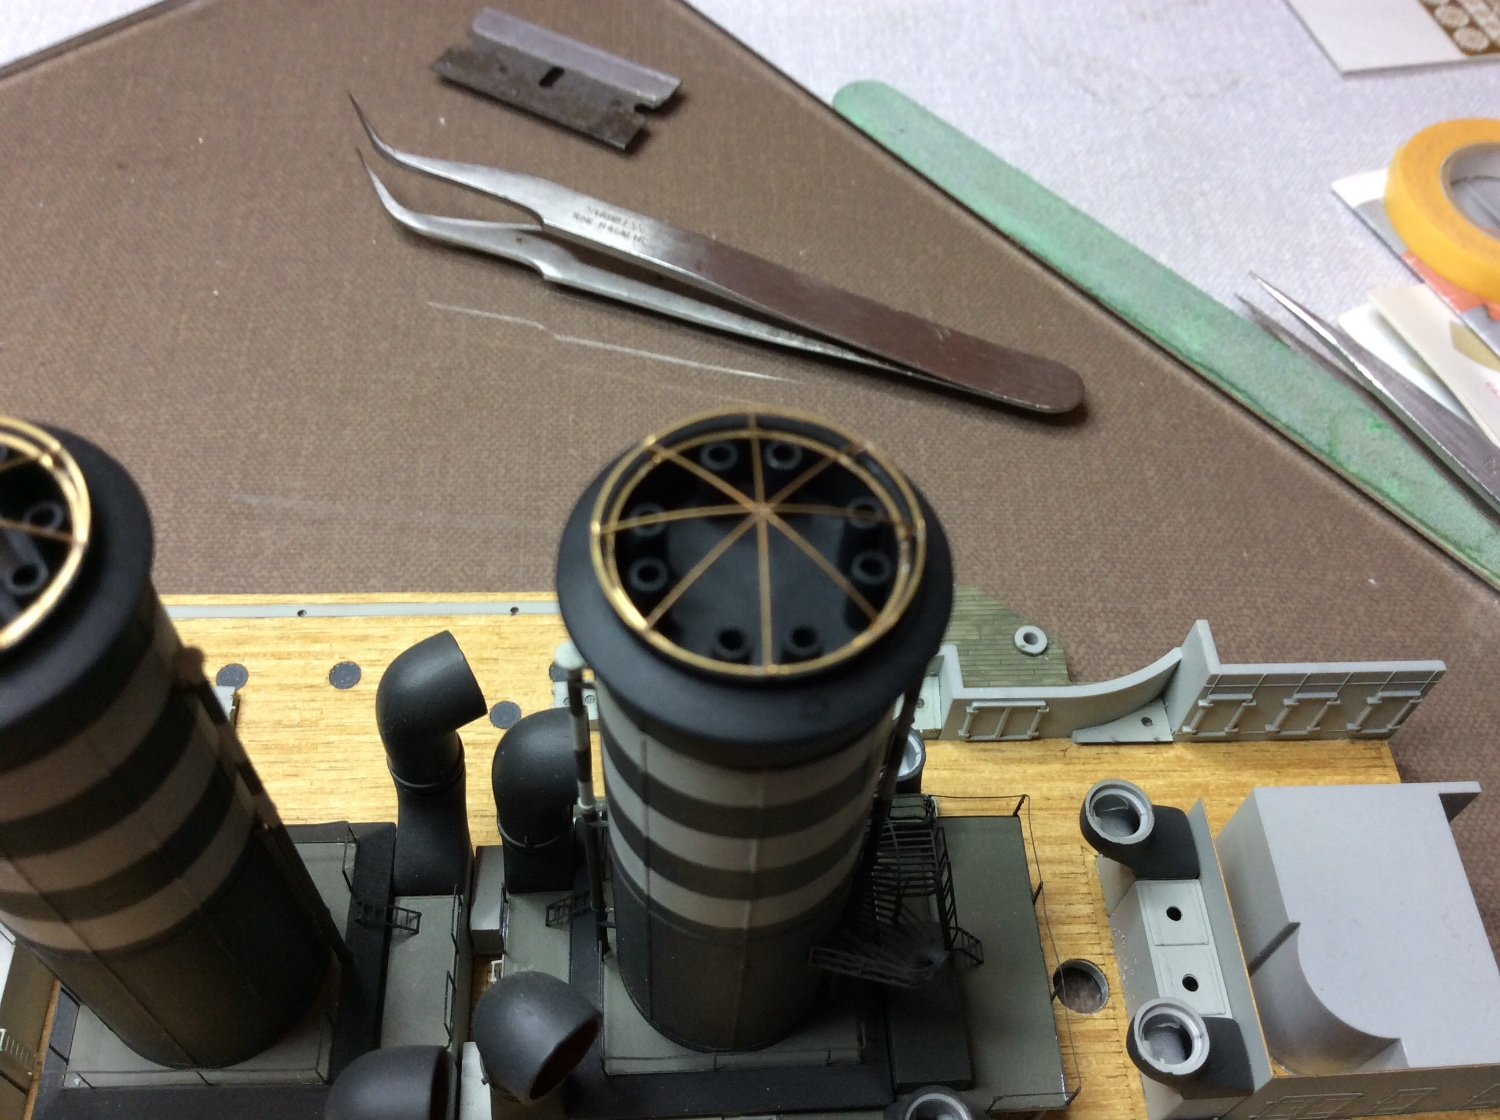
Finally, done a little bit on funnel tops, noticed the Ka detail set had had an etching for producing twelve pipes on top plate, betting this is correct, so have copied this, just used styrene stock again and drill the tube out to size. Carefully positioned into place using white glue, give’s you a chance to move them into position, painted the inside of these before fitting, never have got it with air brush. Obviously this is better done before fitting those difficult funnel etchings. Then mask and paint. Well I have to say seem to have done a lot with nothing to show for it. I can see this is still going to take a while. 😕
-
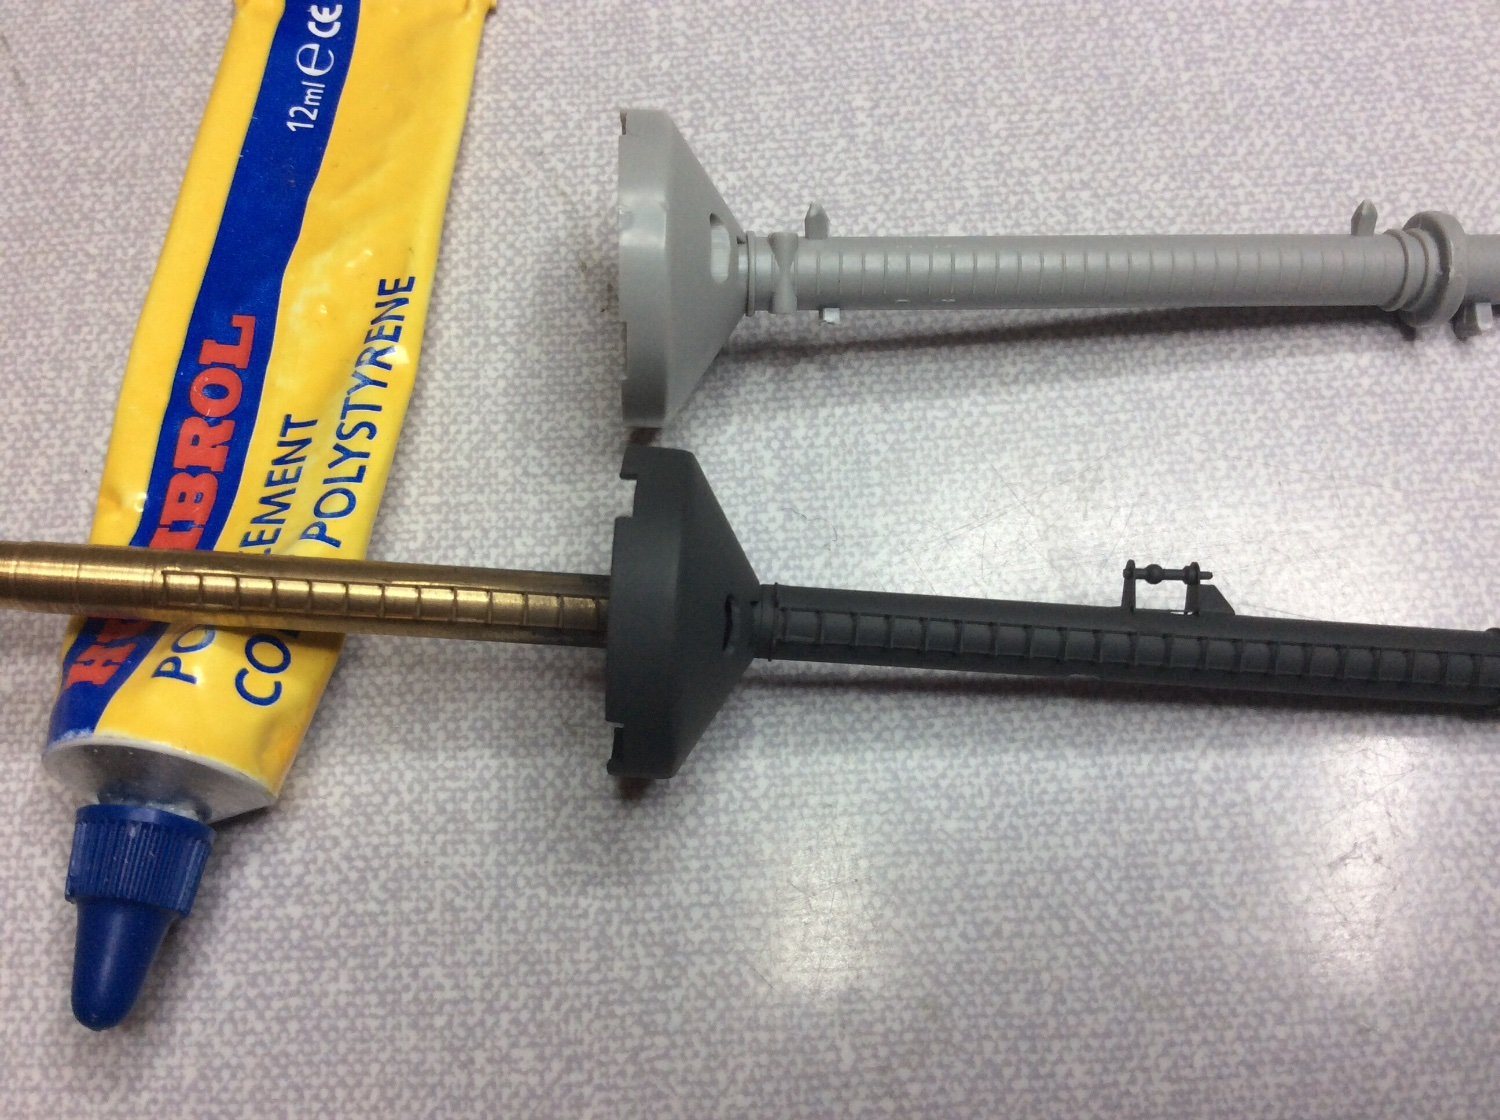
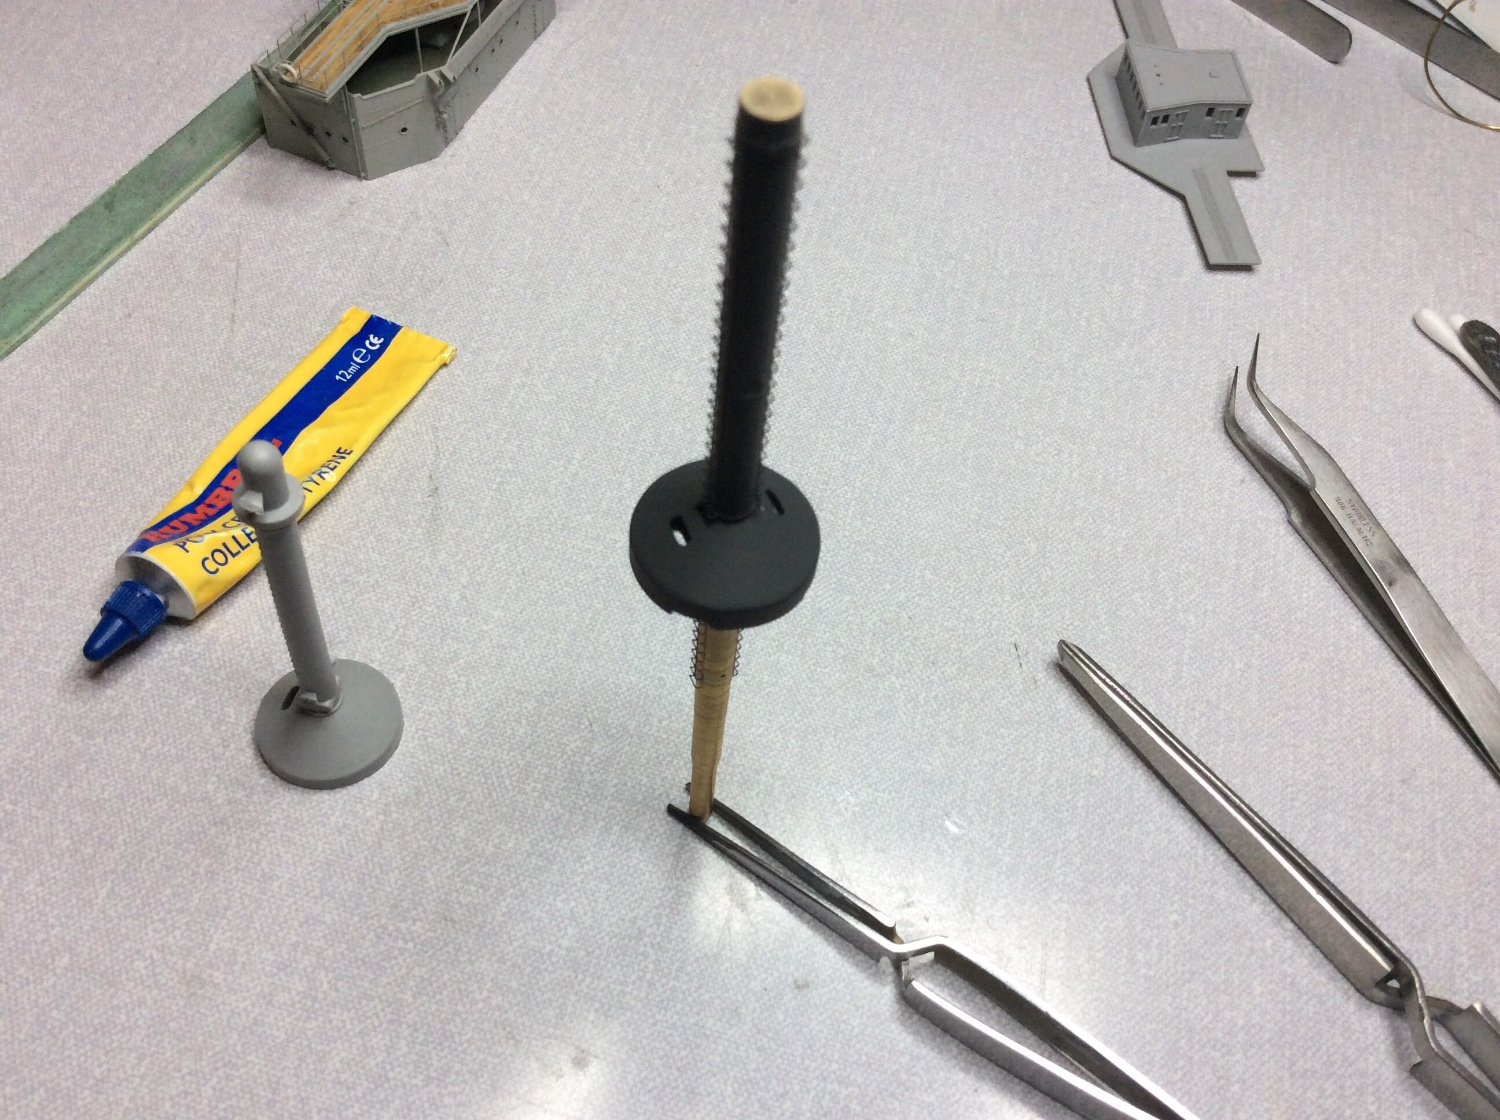
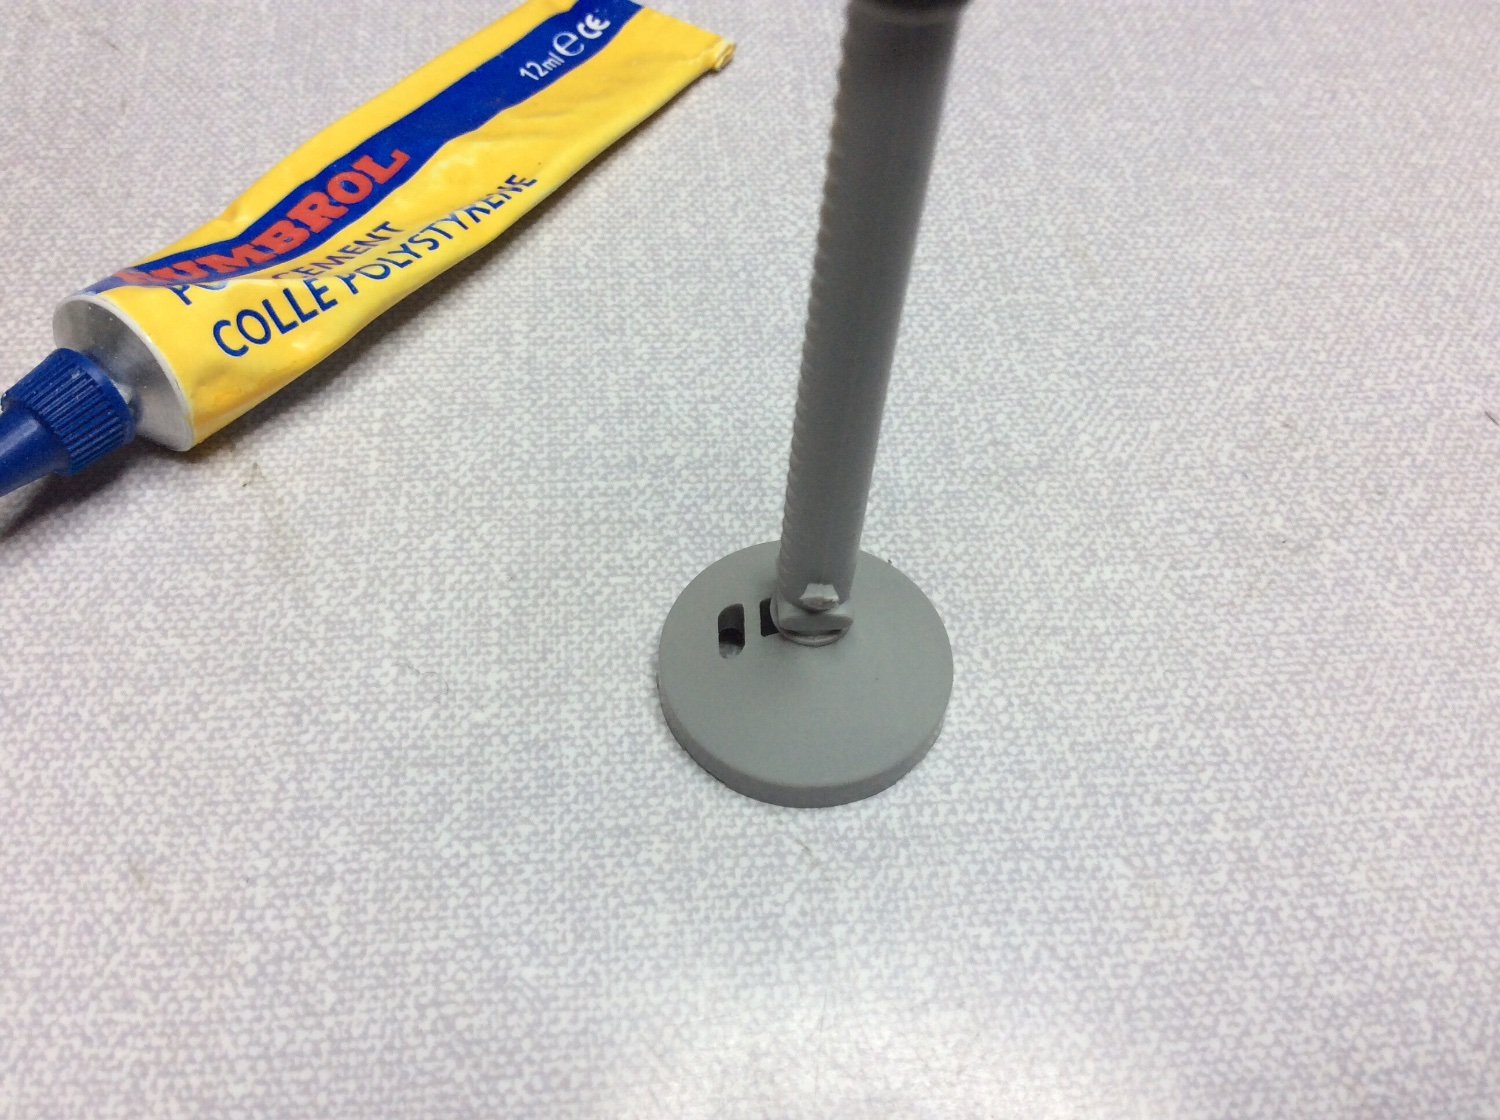
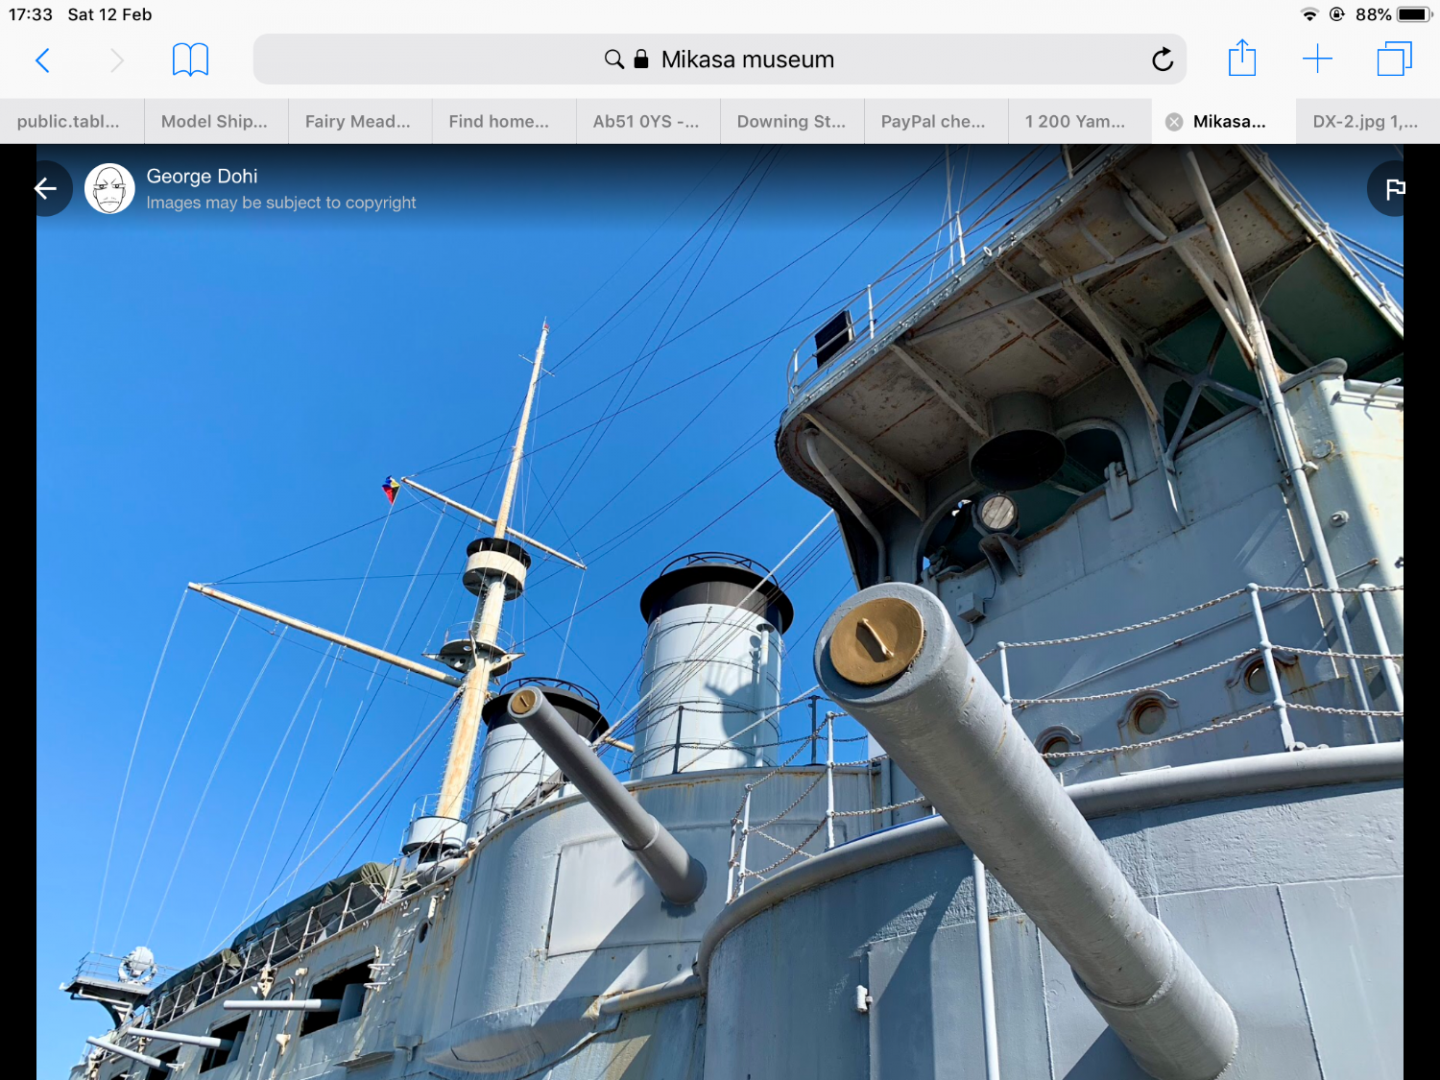
I won’t go into the details of this, a pain in the tonsils, and have to make two. If you are daft enough to try this then watch, you have to slide the gun tub down the mast into position before fitting the next ring on mast, which is for the rigging on lifting boom. This is were it gets daft now need a second Pontos set to get the boom and rigging for forward mast which is not available on 1905 version, theirs a lot more than just this needed, come on Mr Pontos save us.🤪
-
Here’s another problem found whilst avoiding the 12 pounders, 😄 the masts that come with the Hobby Boss kit only have a ladder up one side of masts

-
Not mocking Pontos, no etch set no Mikasa build. Glad I’m not the only one that makes mistakes 😂I do them at work as well👍 If PONTOS see this, can we please have an etch set for Hobby Boss Mikasa1/200 1902, let some folk keep what’s left of their hair.😊
-
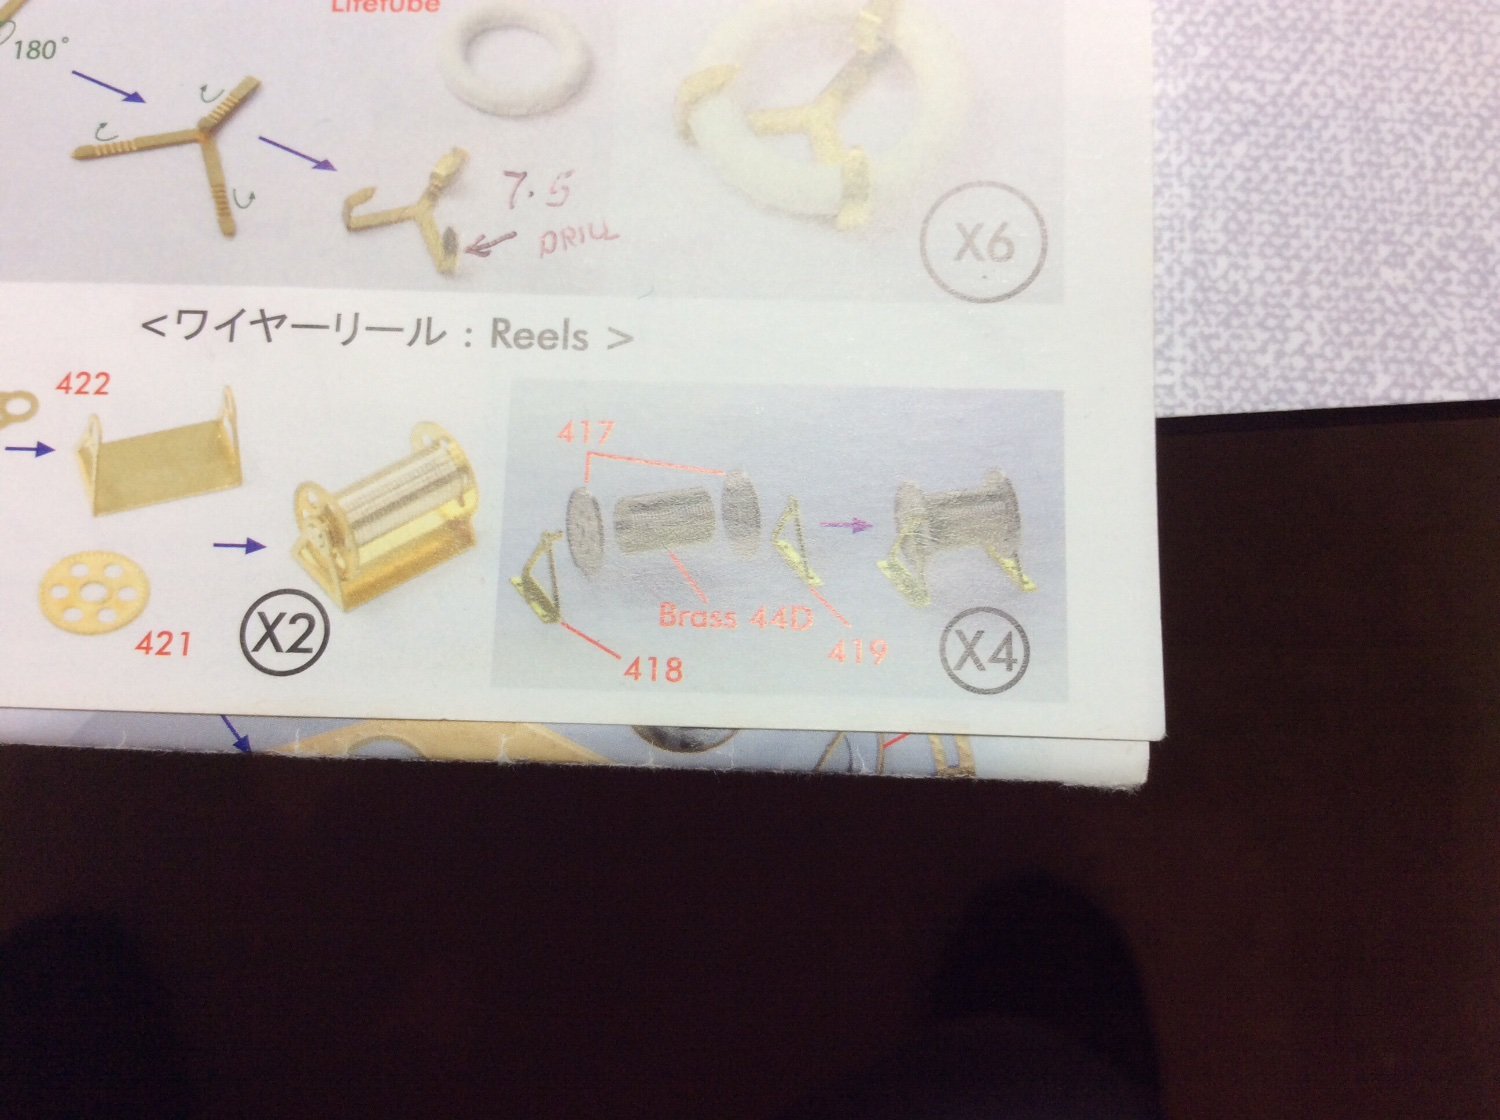
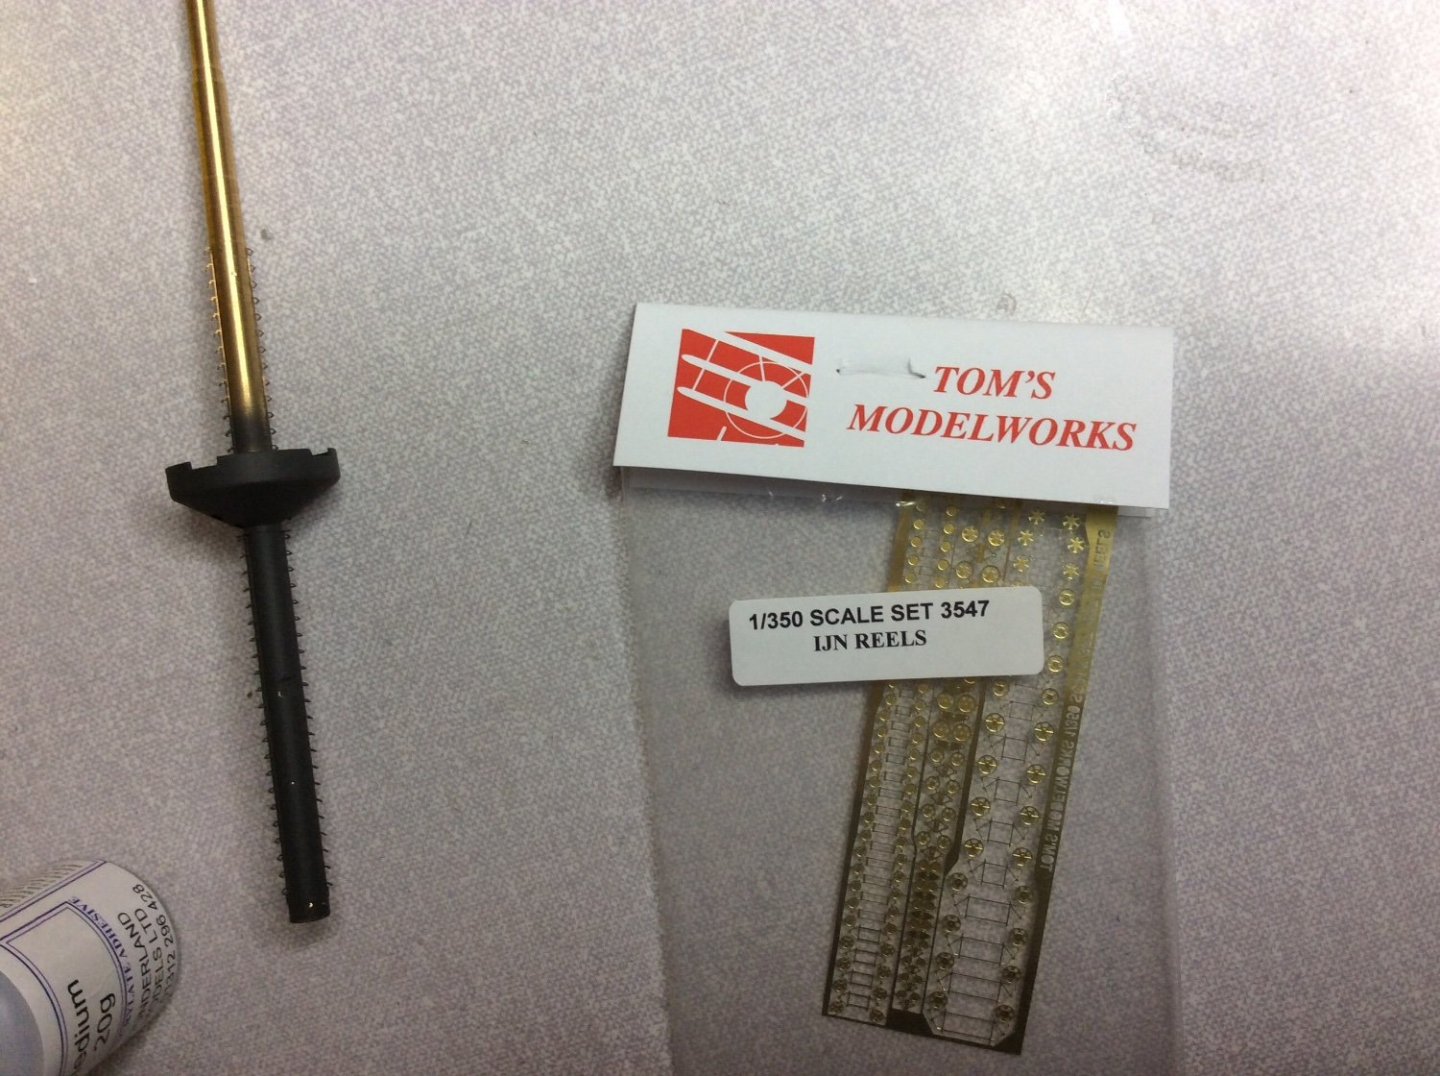
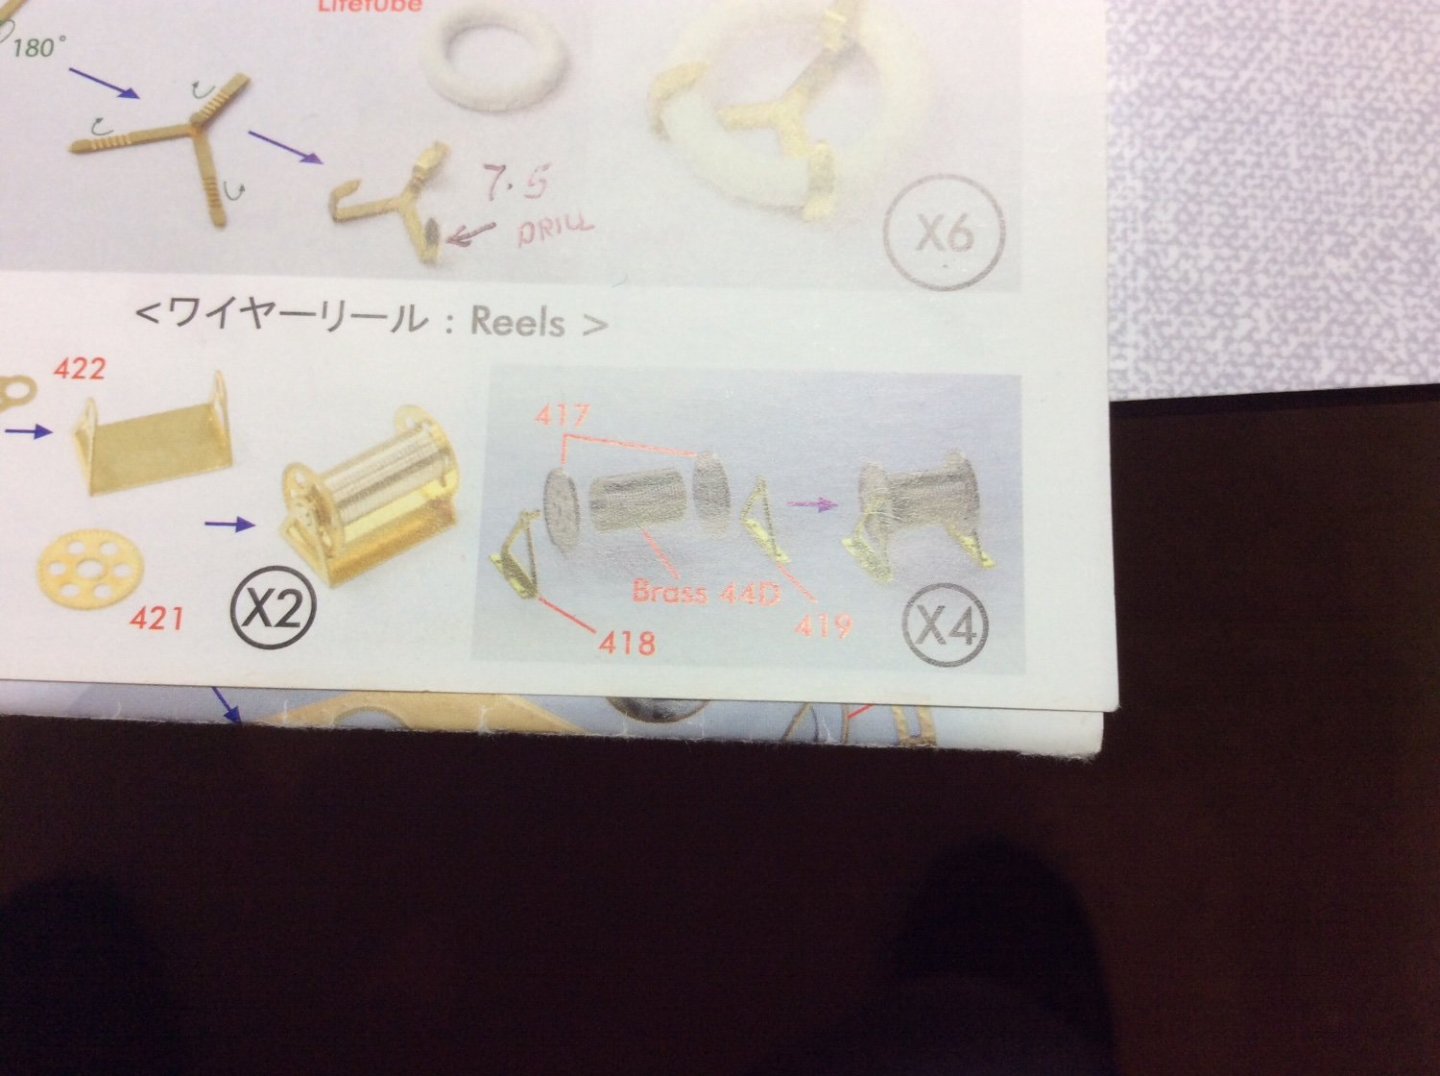
Also purchased some cable reel from TOMS MODELWORKS for my superstructure sat each corner, the ones in PONTOS set I think are too large, can’t think were else they are for. ?


-
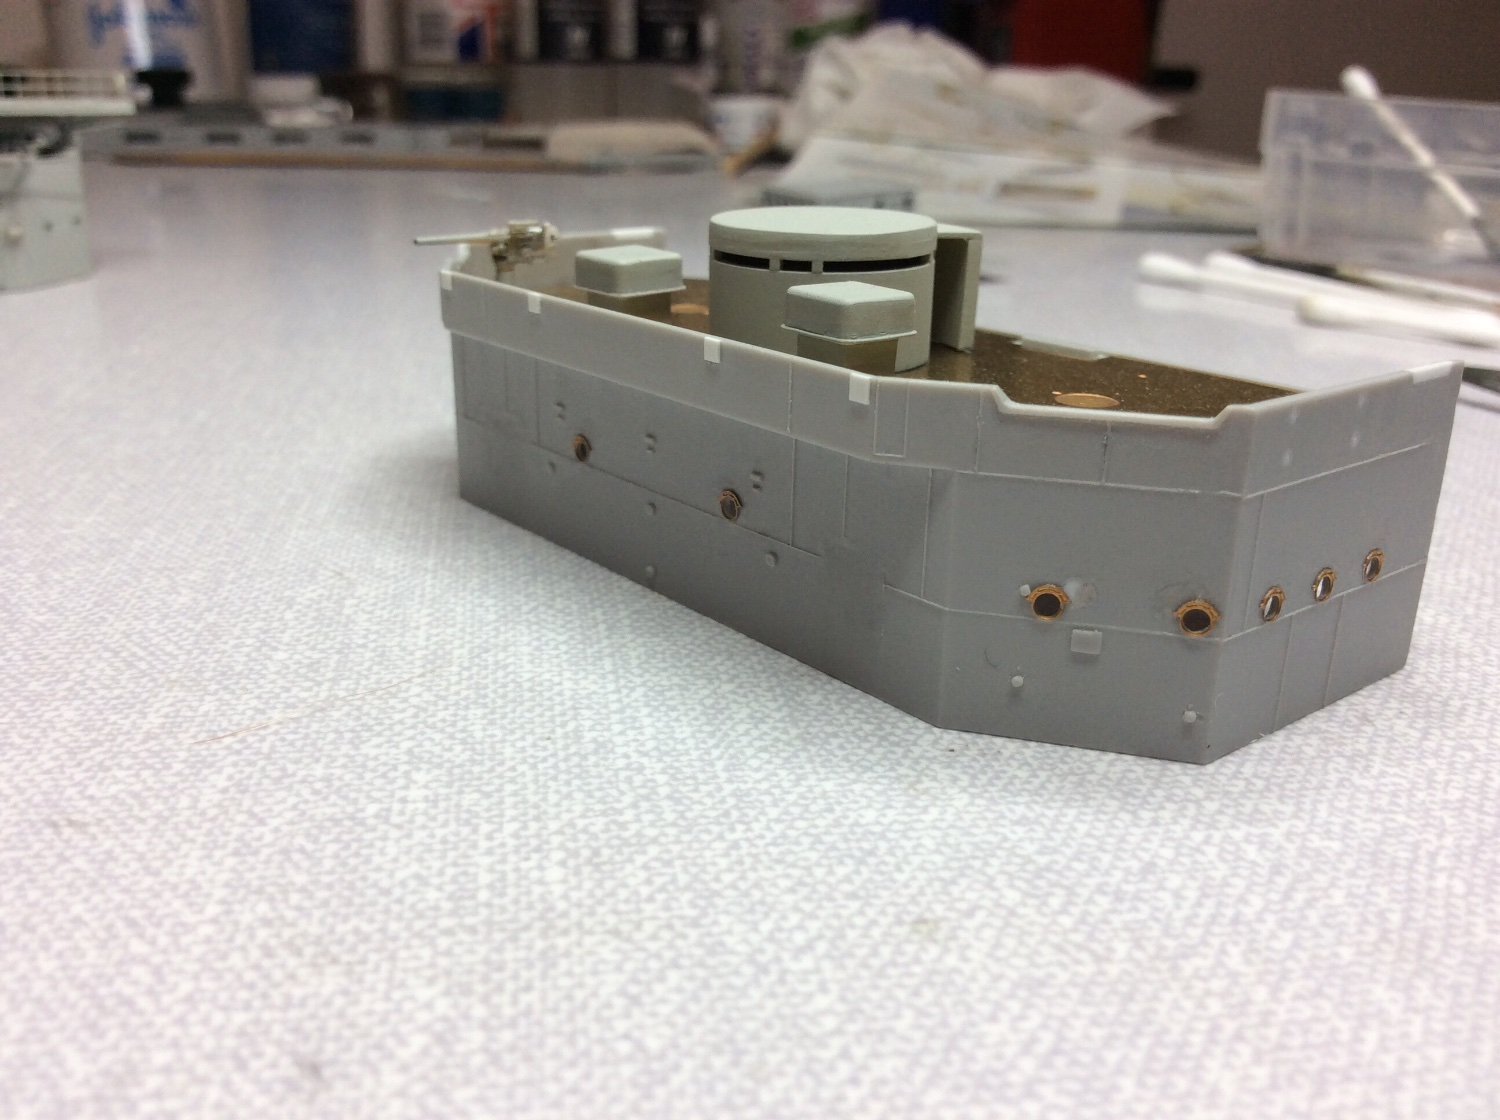
The alteration to wheelhouse was simply enough to achieve, just cut desired thickness of plastic, glue to roof of original part and trim same amount of bottom. 👍 Removed the last Of surface details on bridge structure for adding etch details, what you do to get away from those 12 pounder guns. 🤪
-
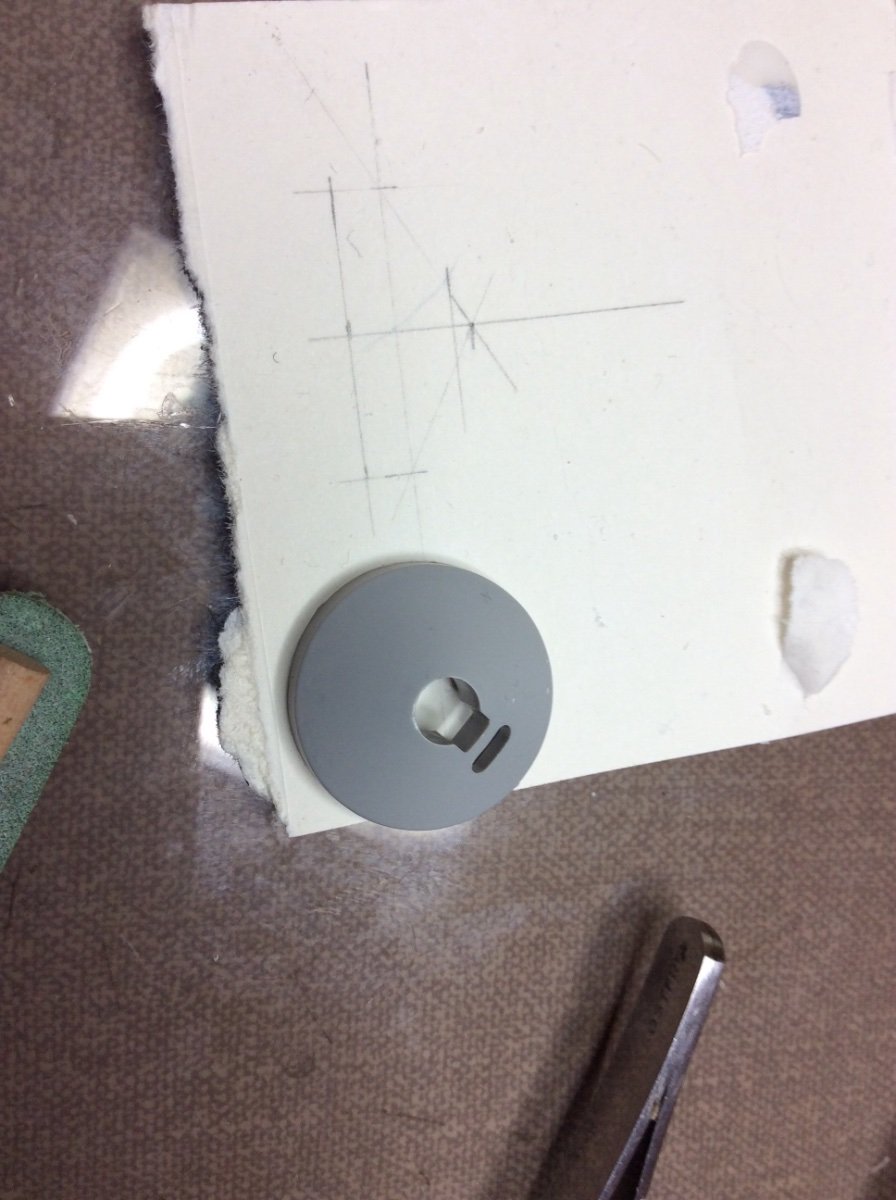
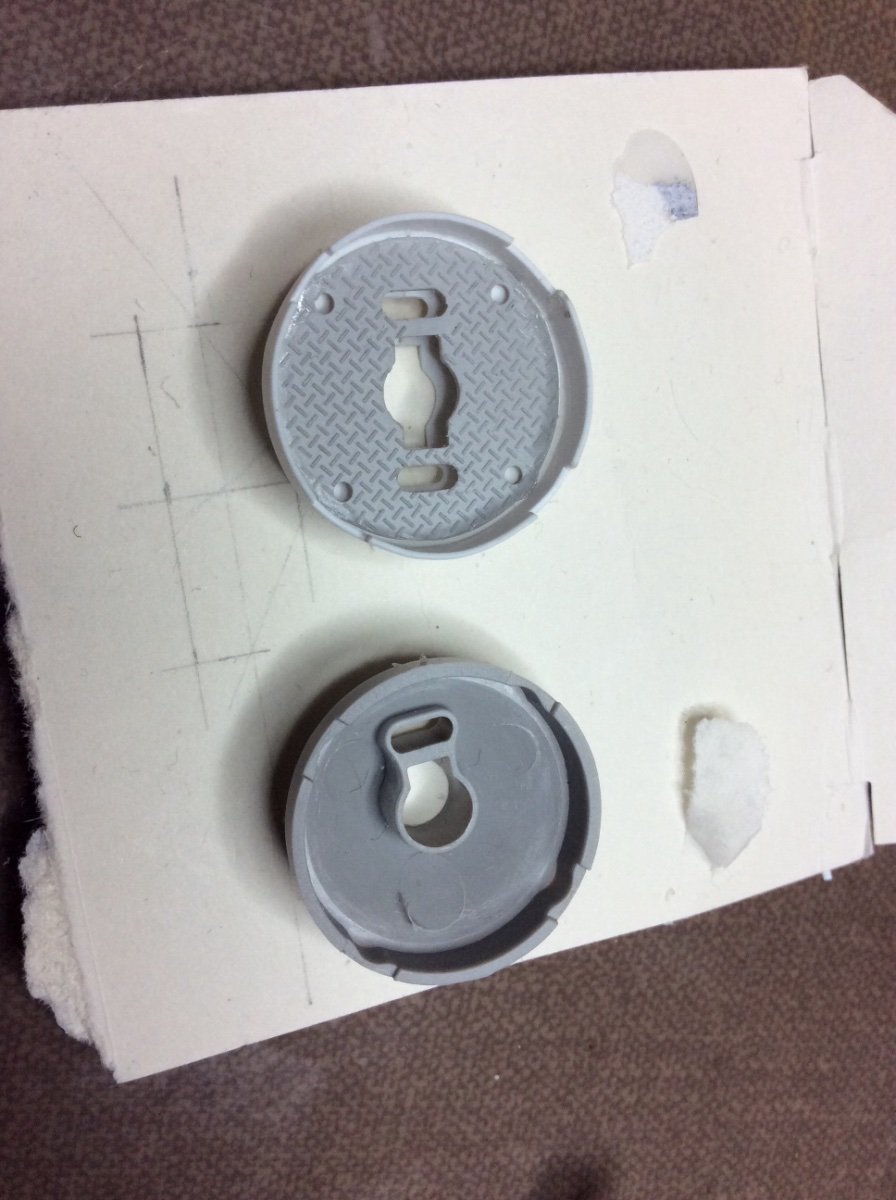
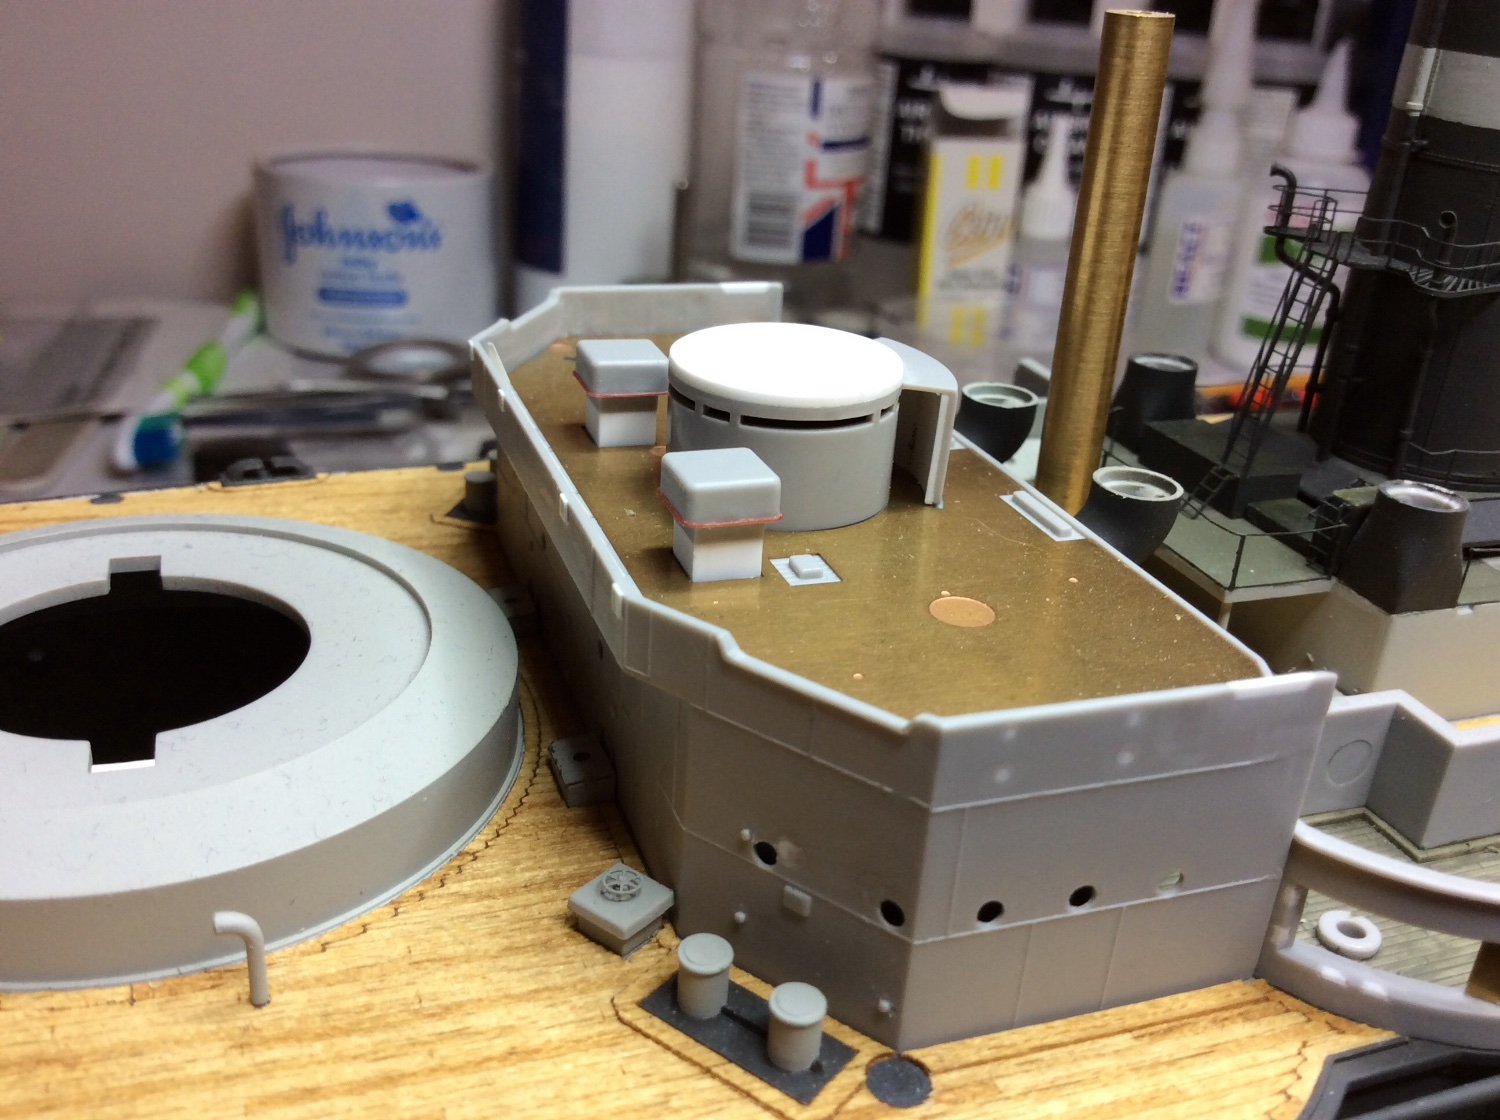
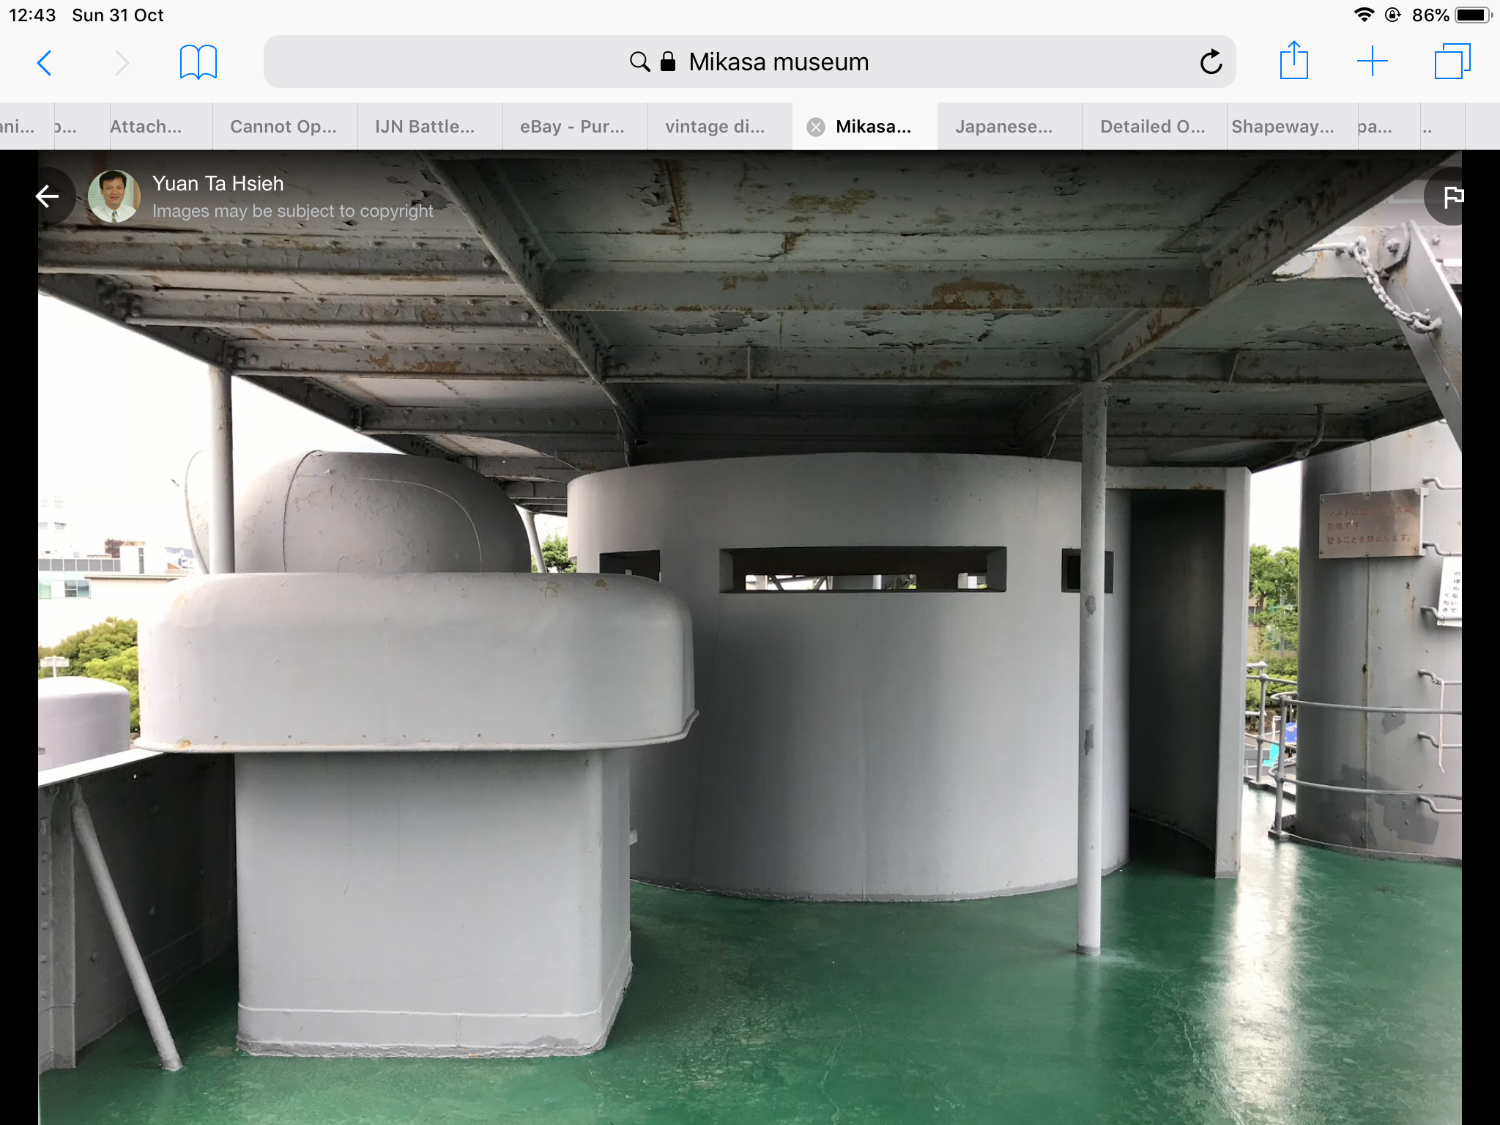
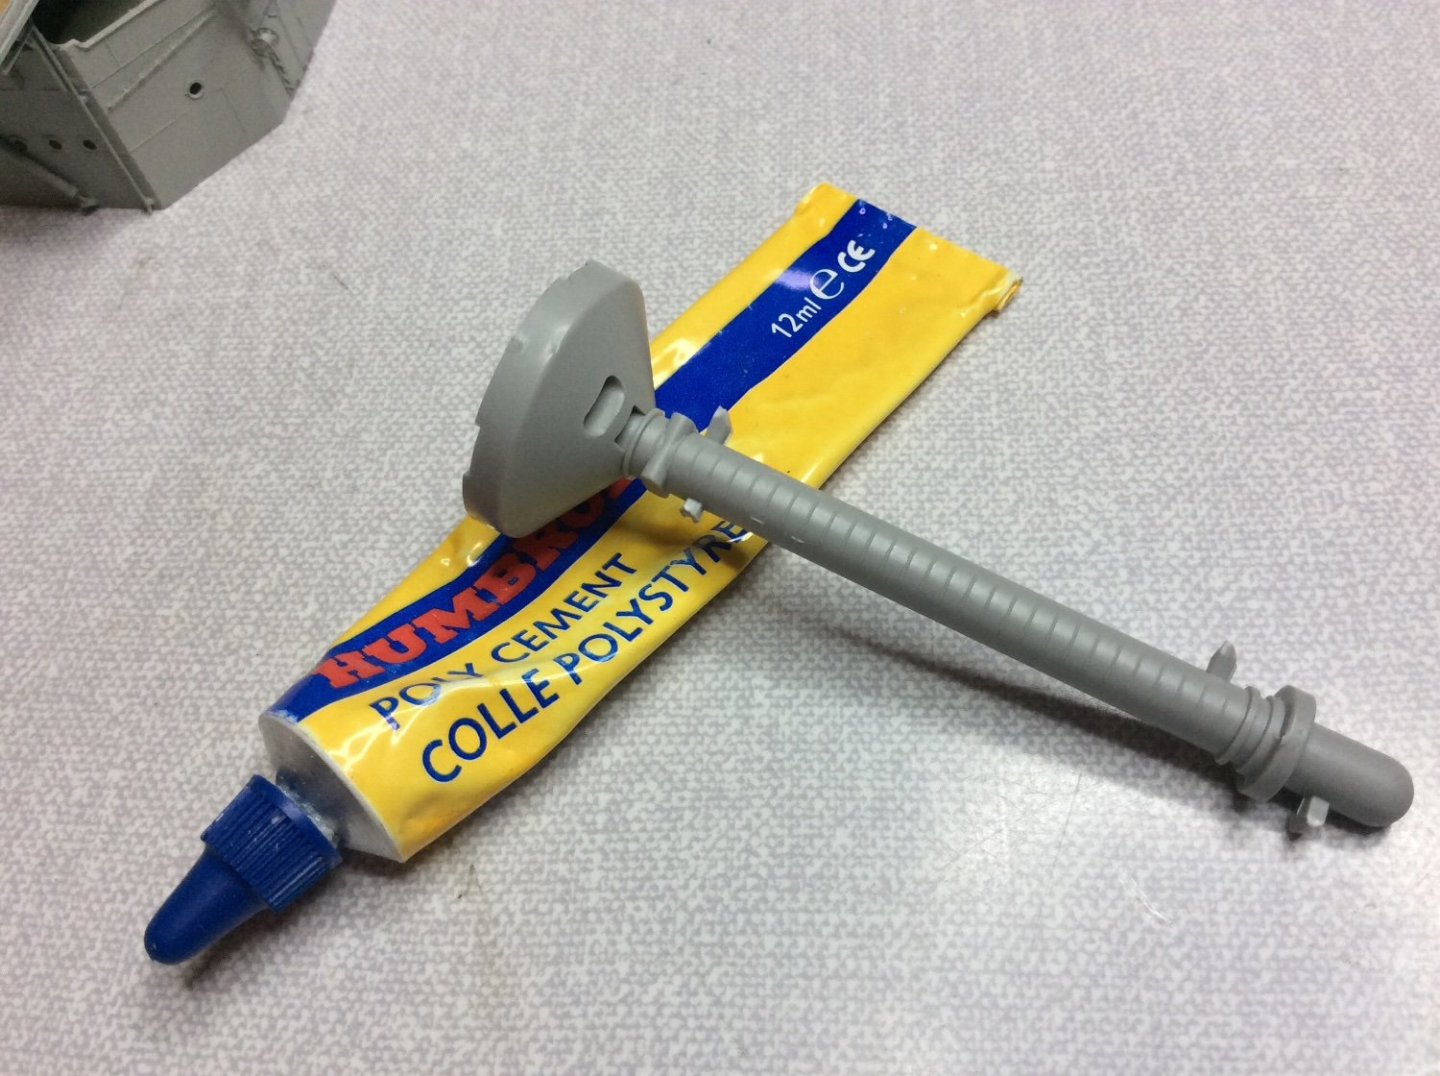
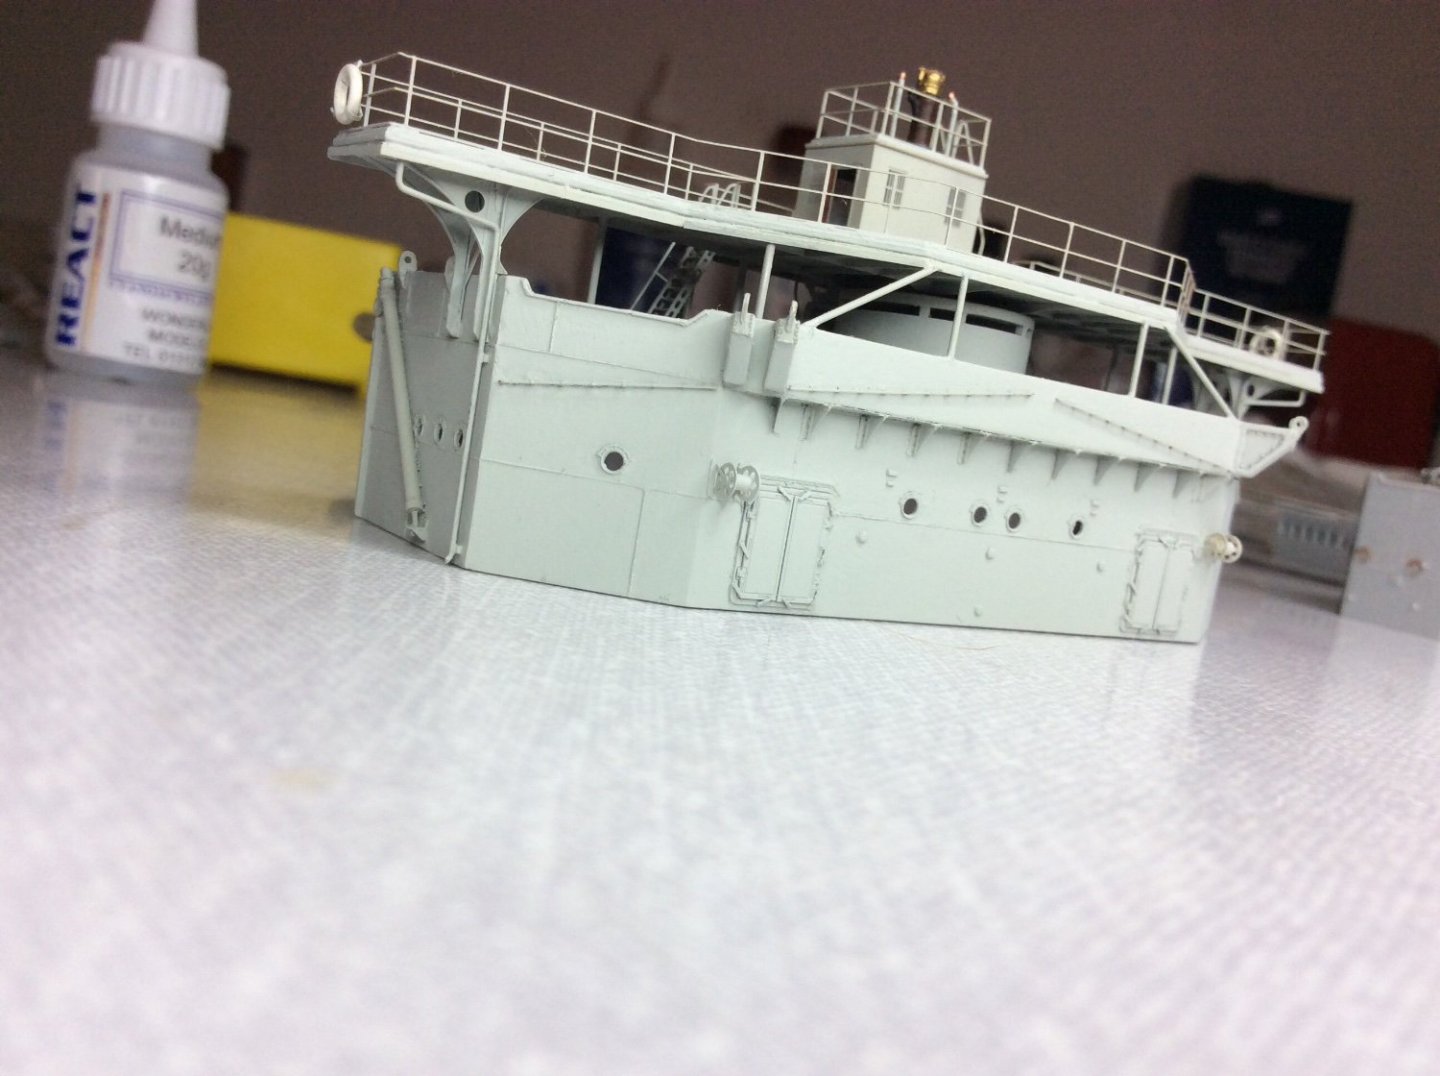
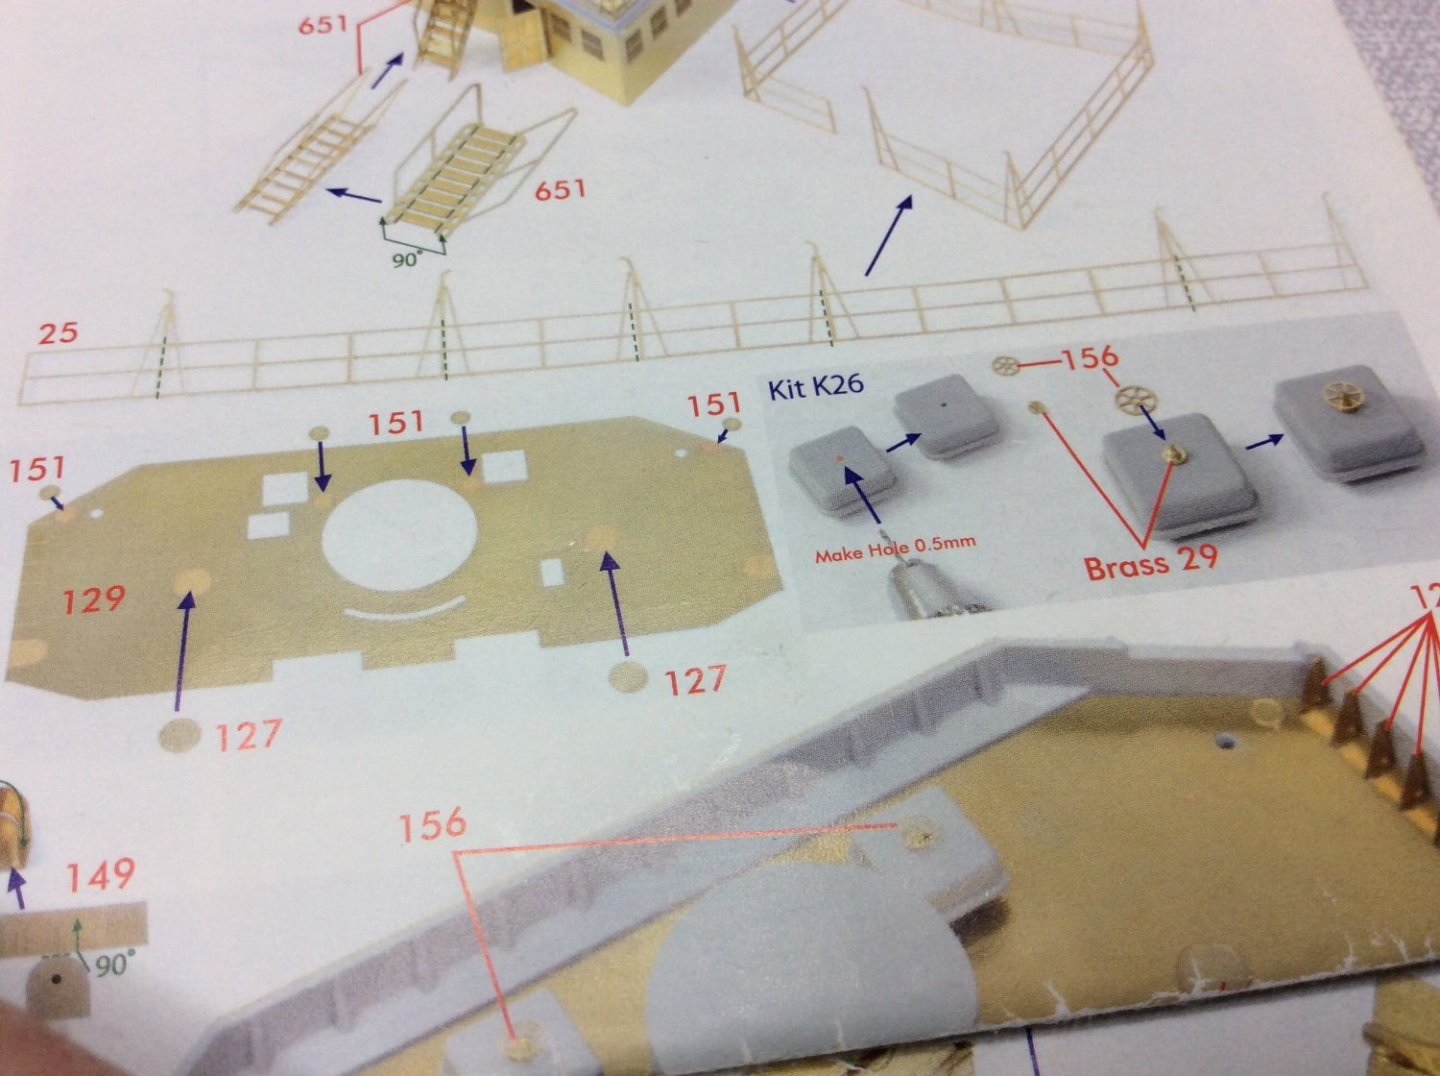
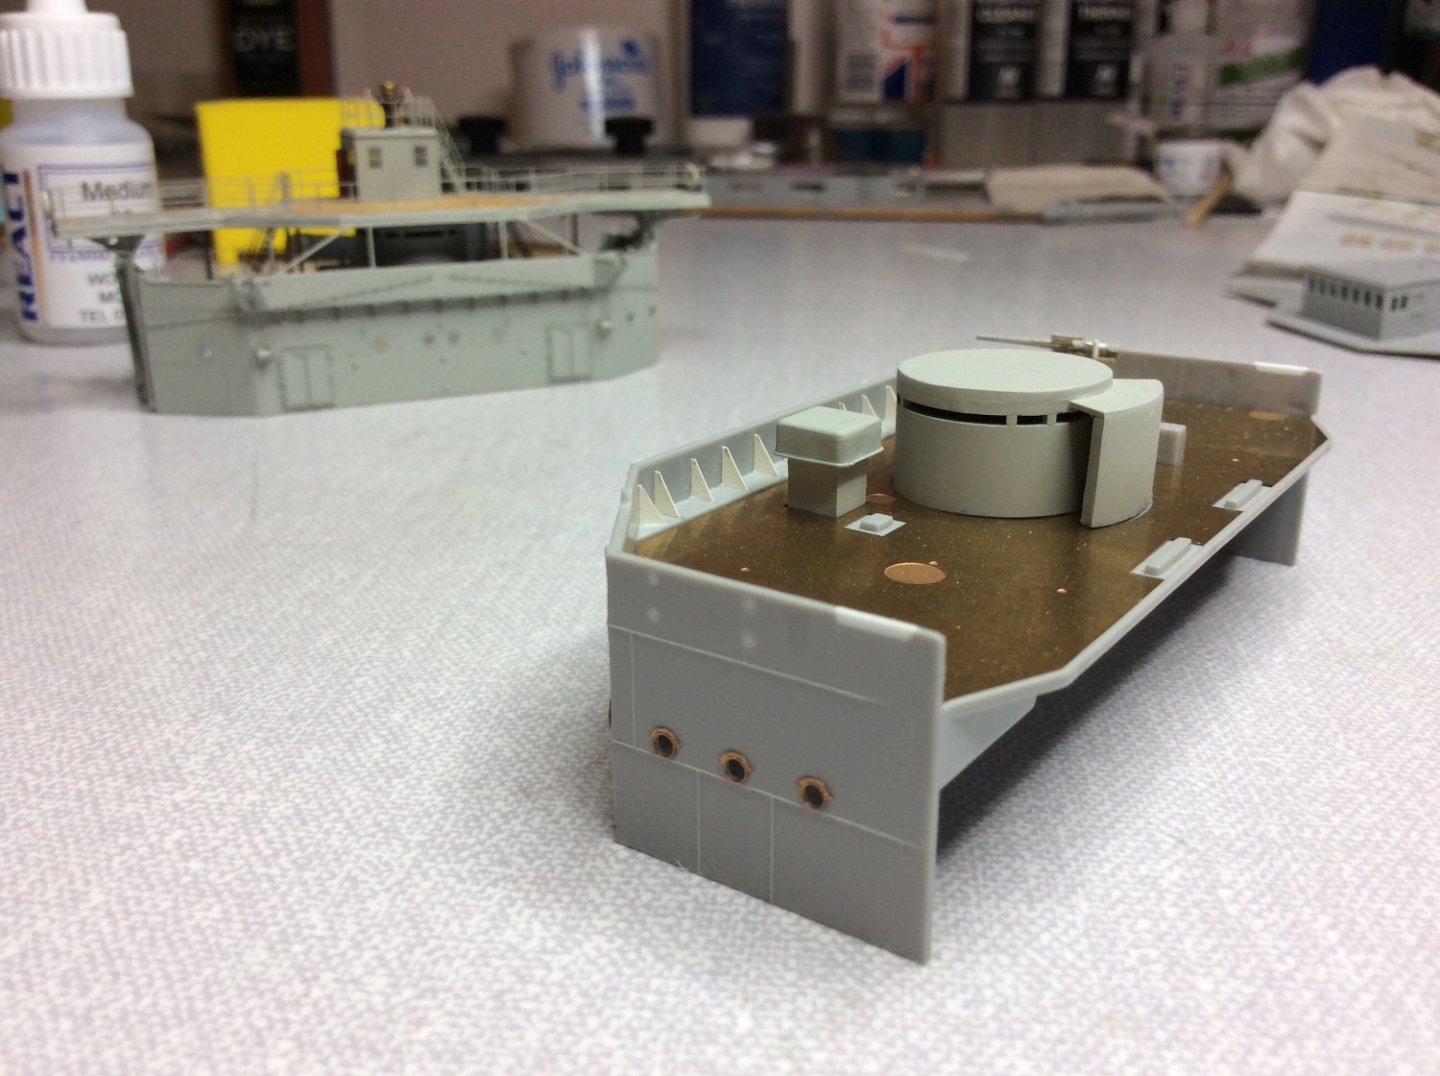
With hindsight I would have did the after bridge wheelhouse the same way, but that part of the model has sailed. 😂 Also the small parts next to aft wheelhouse, Pontos give instructions to fit small hand wheel, Brass 29 and etch part 156. Think they must have thought this was same as the deck hatches on forward and aft decks, looks similar. But I think these structures are part of ventilation trunking, the top of the trunking seems to stop just short of the viewing slits in wheelhouse. I extended the kit parts using styrene stock and used a fine piece of plastic wire to form the edge at side of this, quite easy , just used liquid cement and formed it around the edge of trunking, also would have done this on after bridge. Definitely looks like ventilation duct, guessing it goes down into ship below deck, anyway who would want to work a handle at that height. I can only be wrong, not the first time in this build. 🙄


-
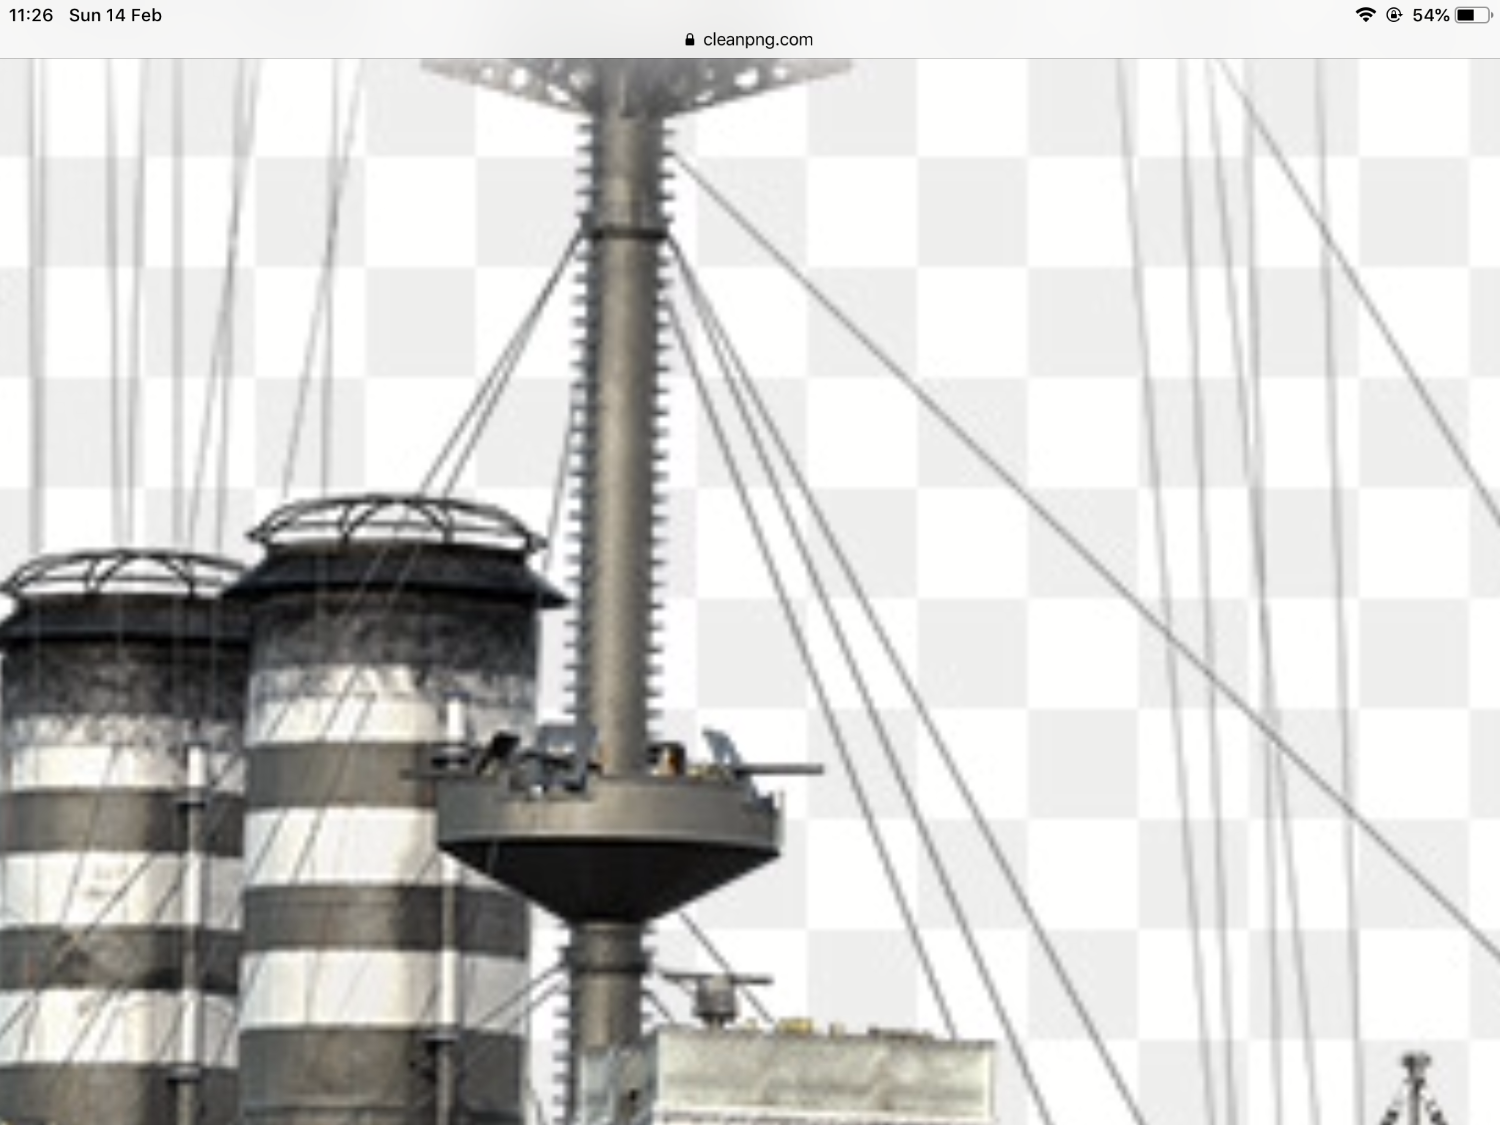
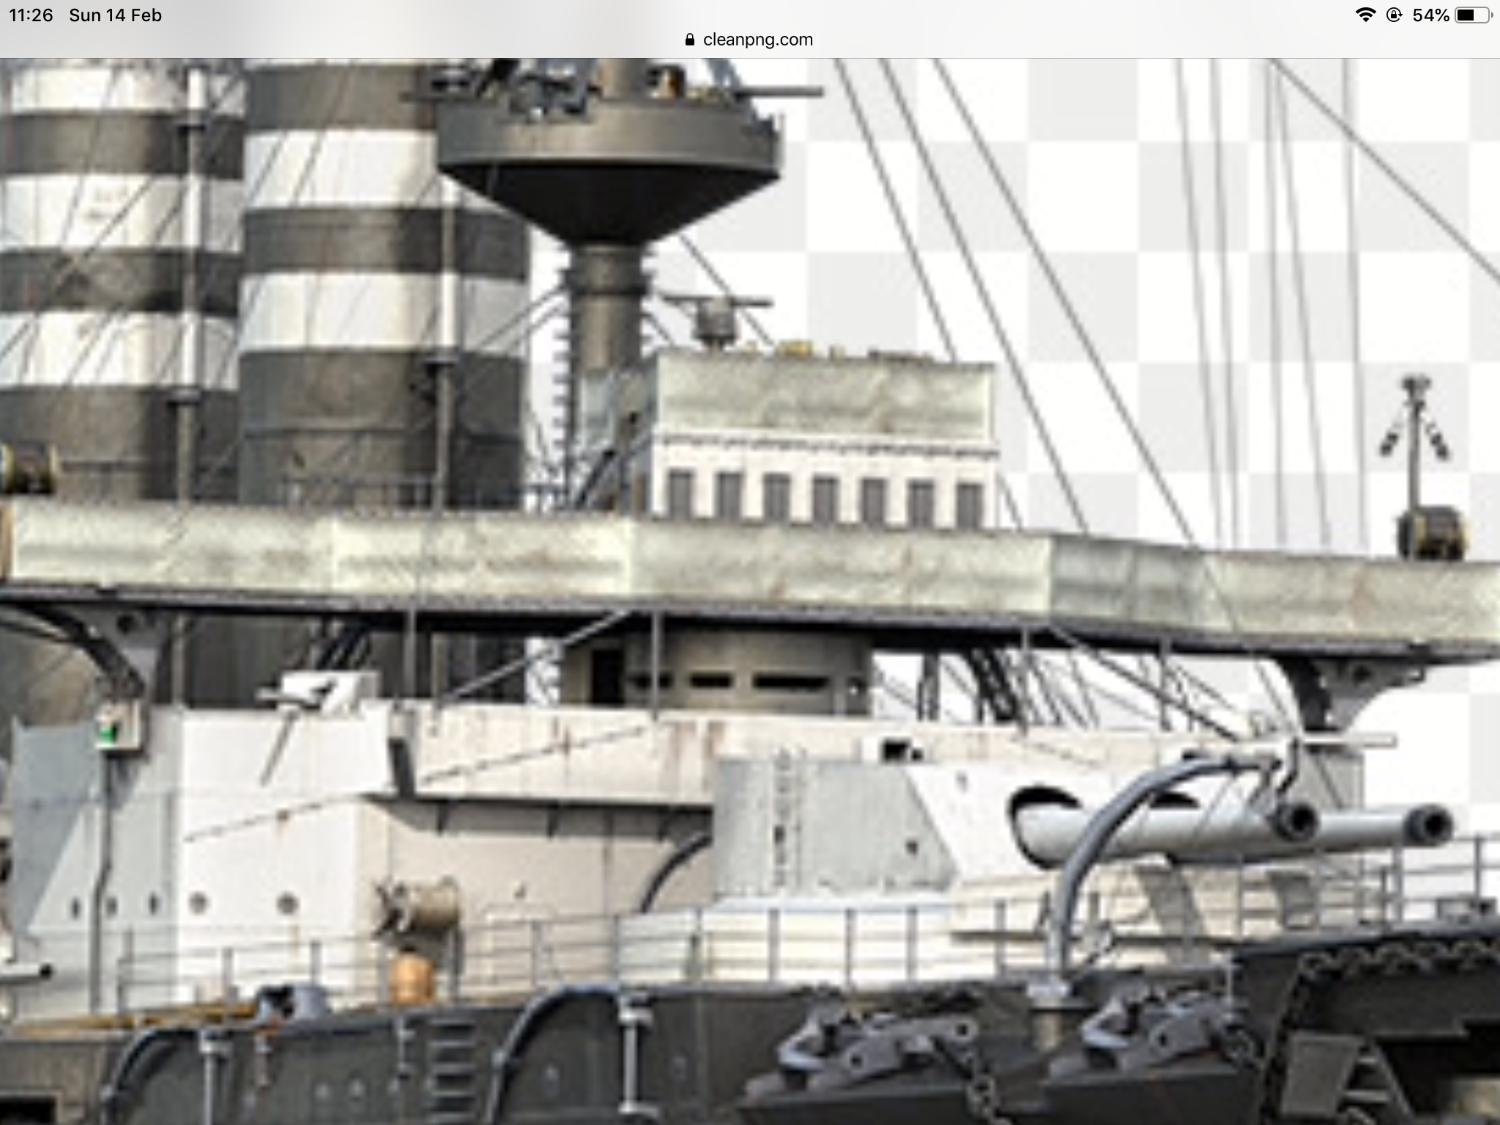
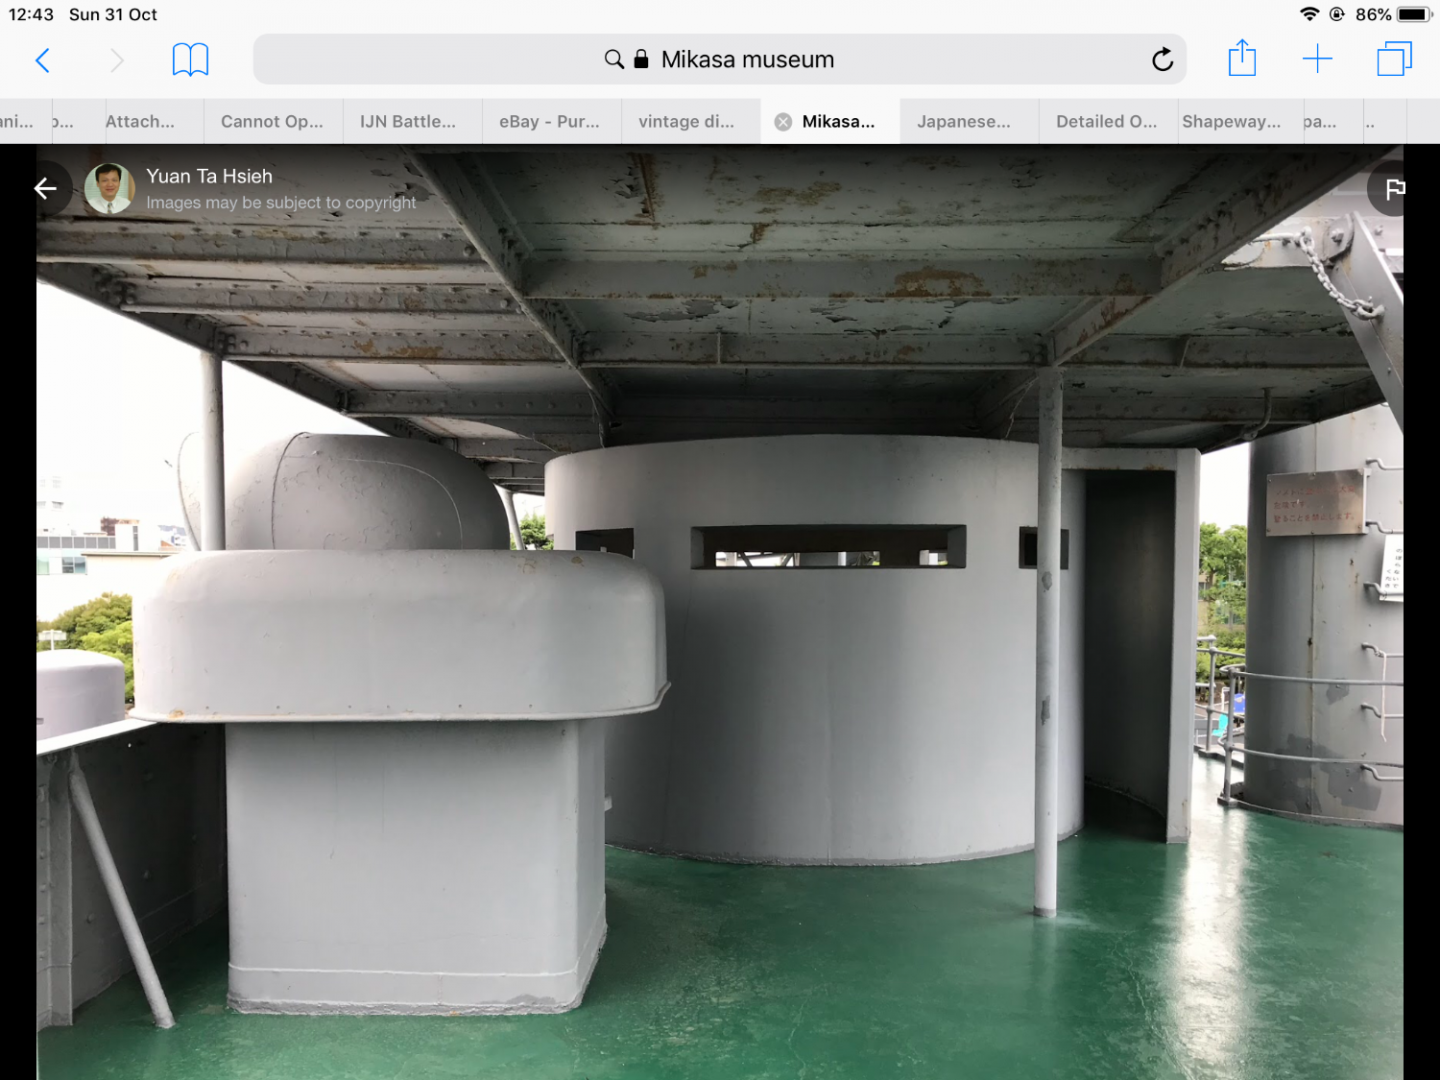
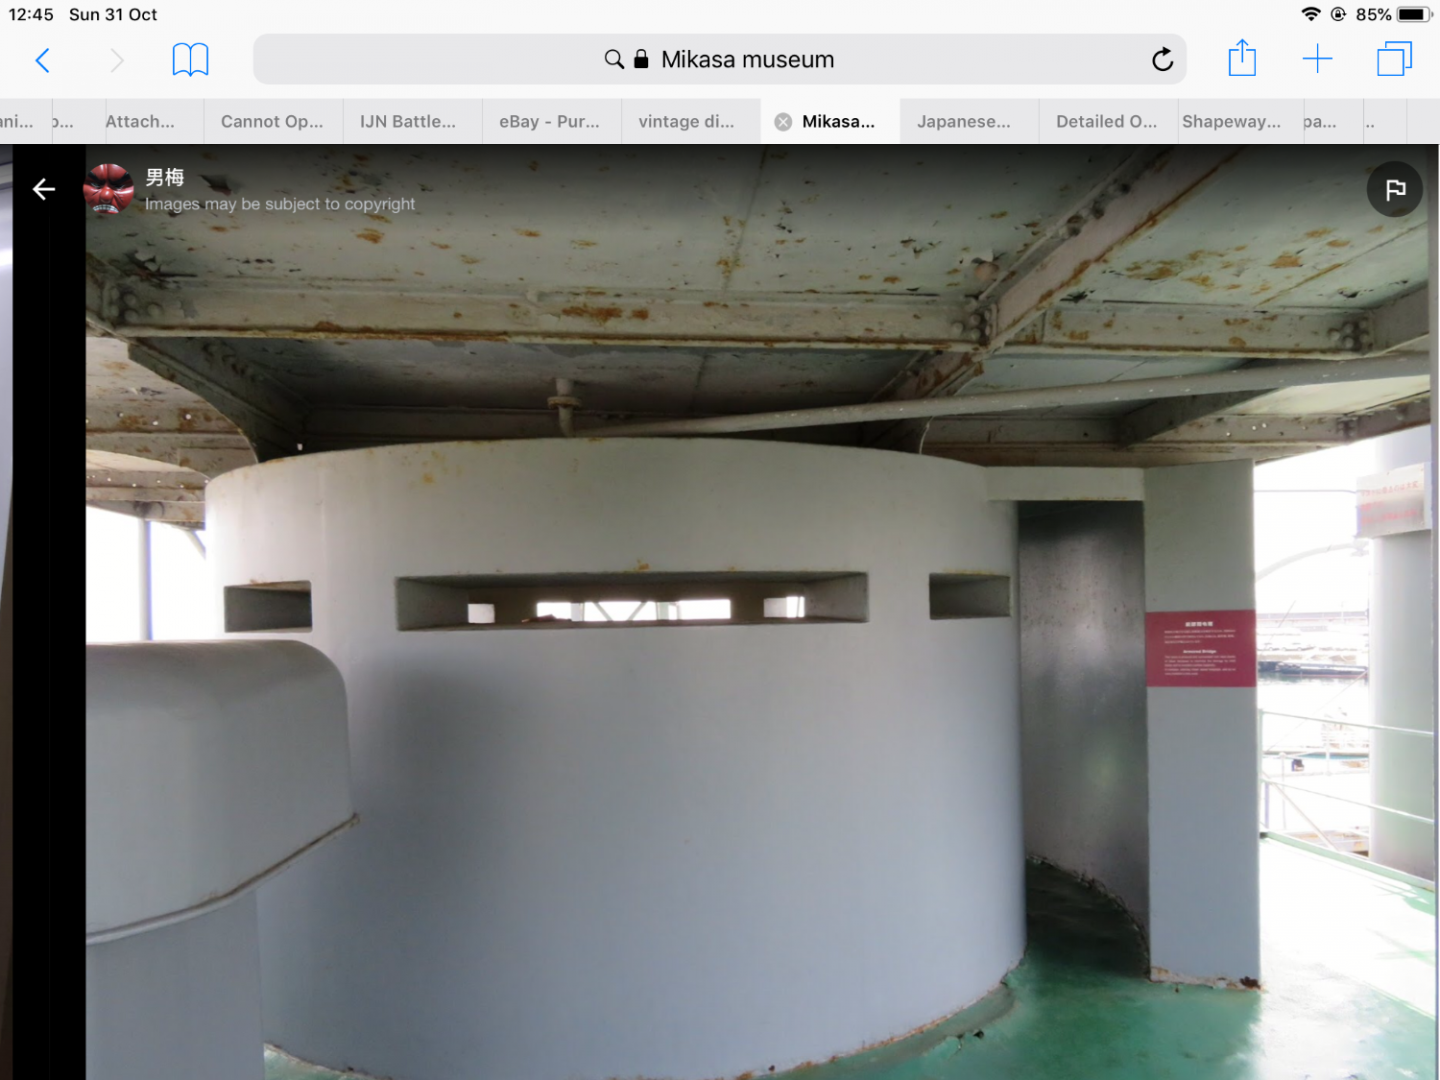
Another part trying to move forward, the front bridge structure, remodelled the front armoured wheelhouse after clocking the viewing slits are lower down and more armour on roof, photo.
-
This is the first gun, still have to make a gun shield and mount in position, bet this is going to be frustrating. Just going to have to take my time, imagine me, being able to go slower. 🙄