HOLIDAY DONATION DRIVE - SUPPORT MSW - DO YOUR PART TO KEEP THIS GREAT FORUM GOING! (Only 13 donations so far - C'mon guys!)
×


Jeff59
-
Posts
593 -
Joined
-
Last visited
Content Type
Profiles
Forums
Gallery
Events
Everything posted by Jeff59
-
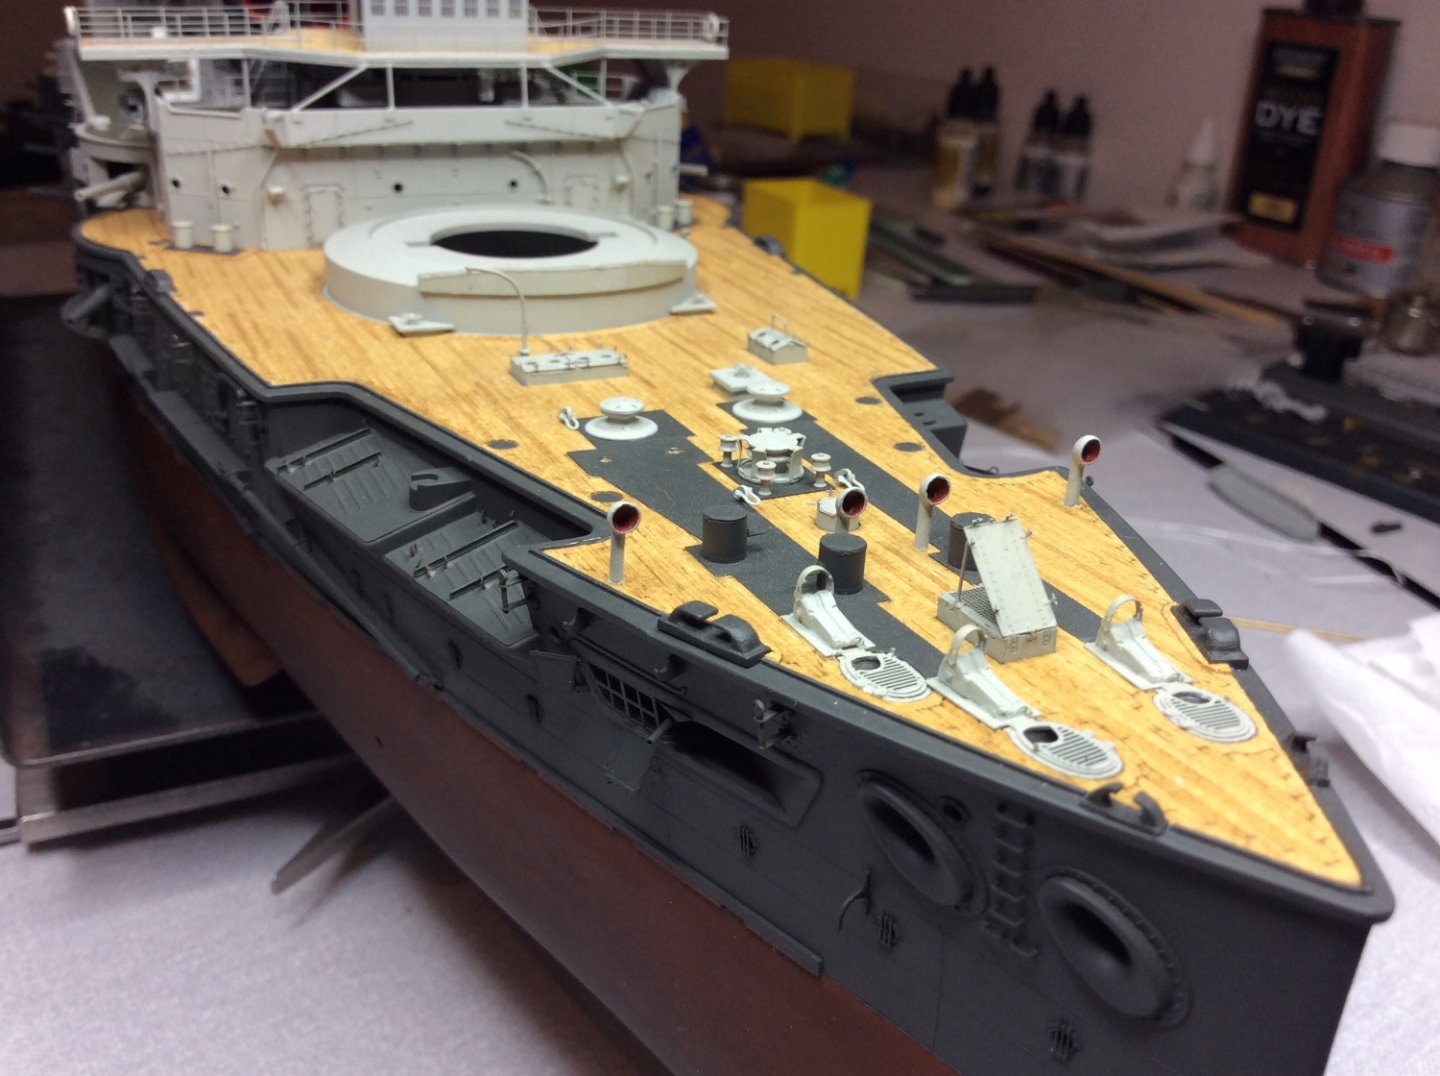
Well as usual, I discovered another issue with my build, I made a wrong decision to fit handrails along inner boat deck edge thinking this makes sense.
-
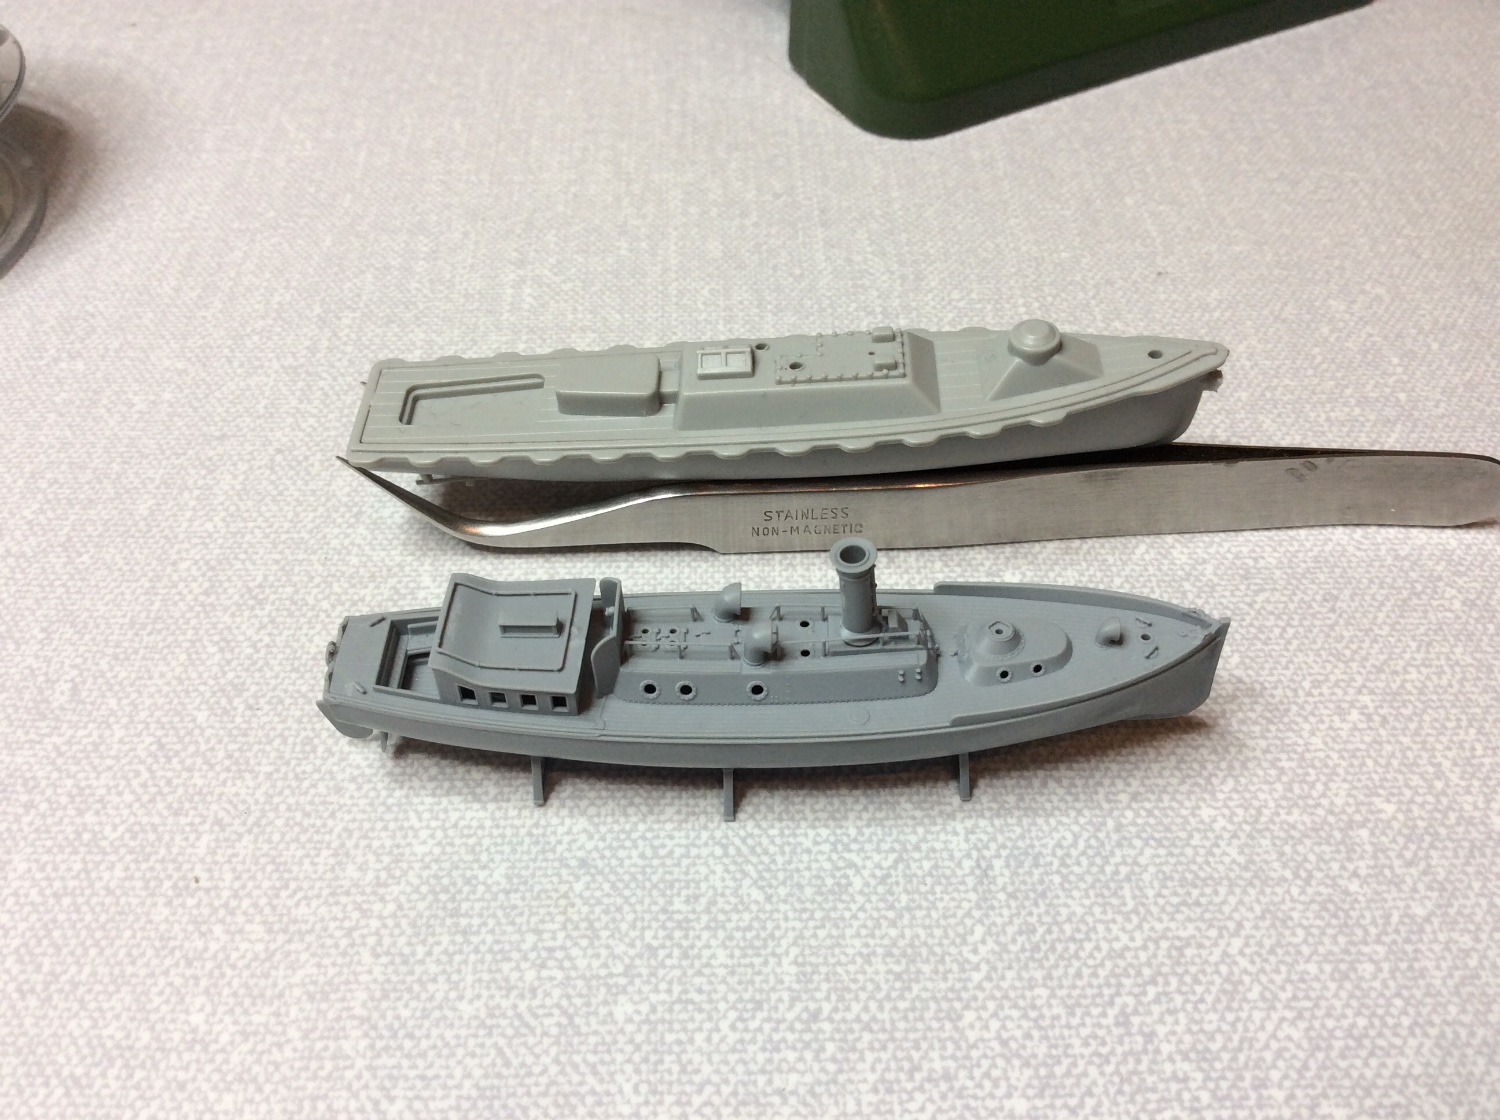
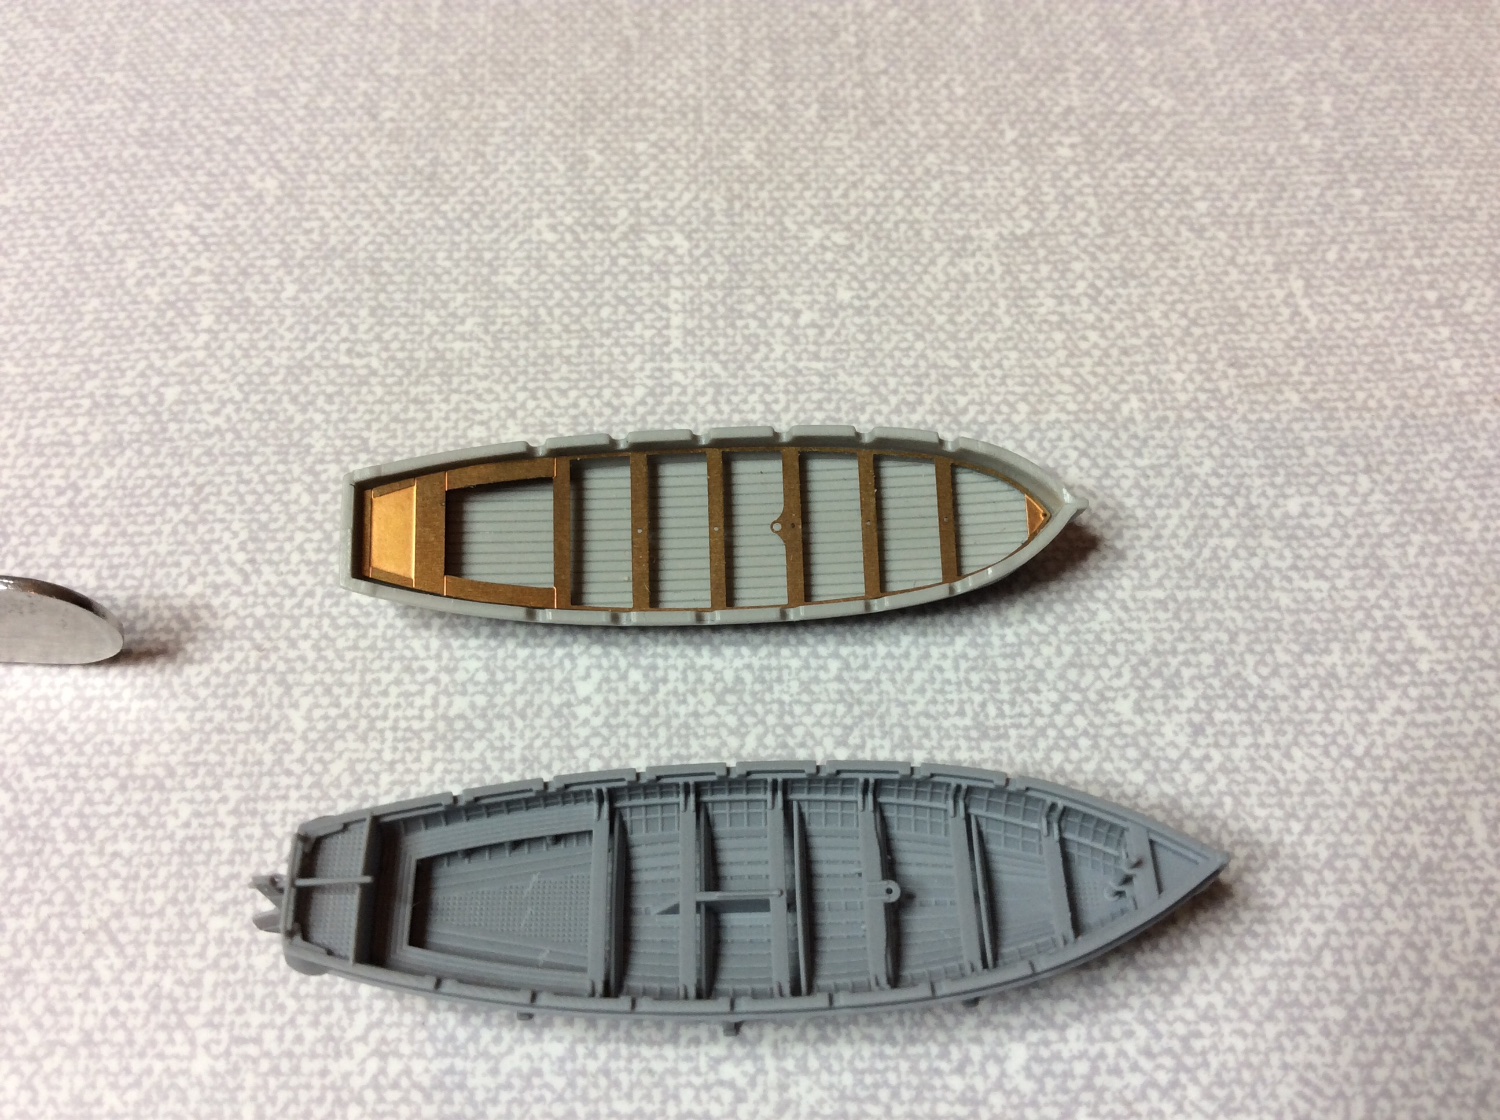
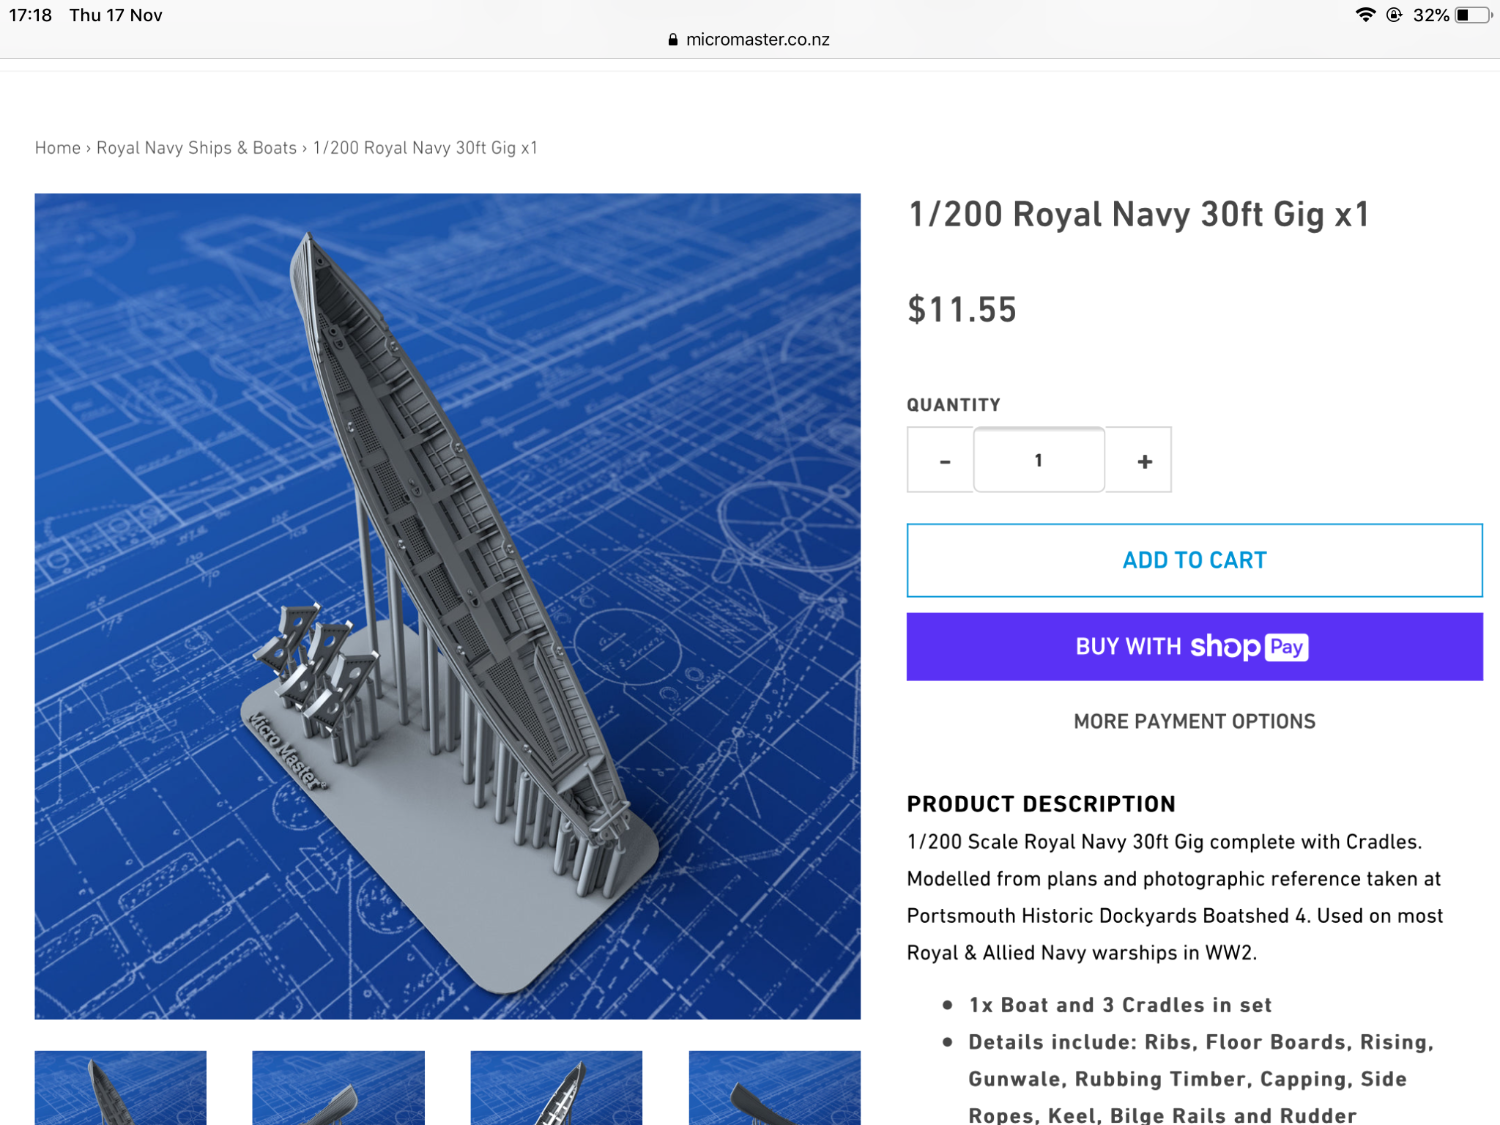
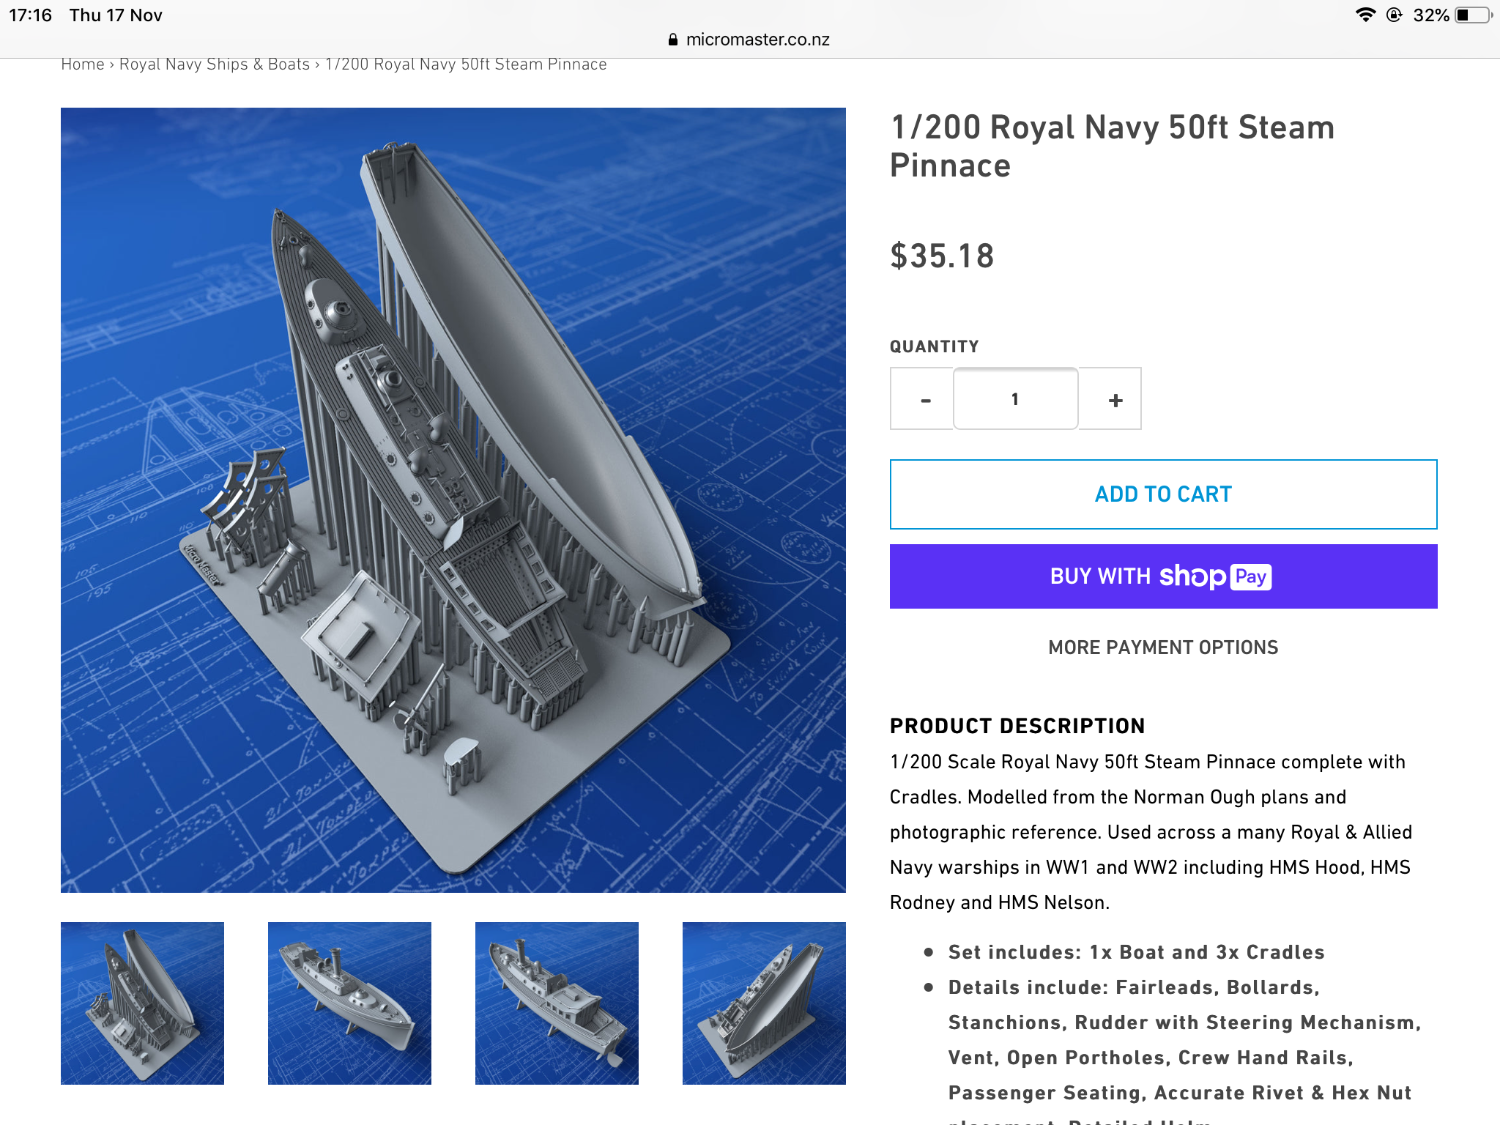
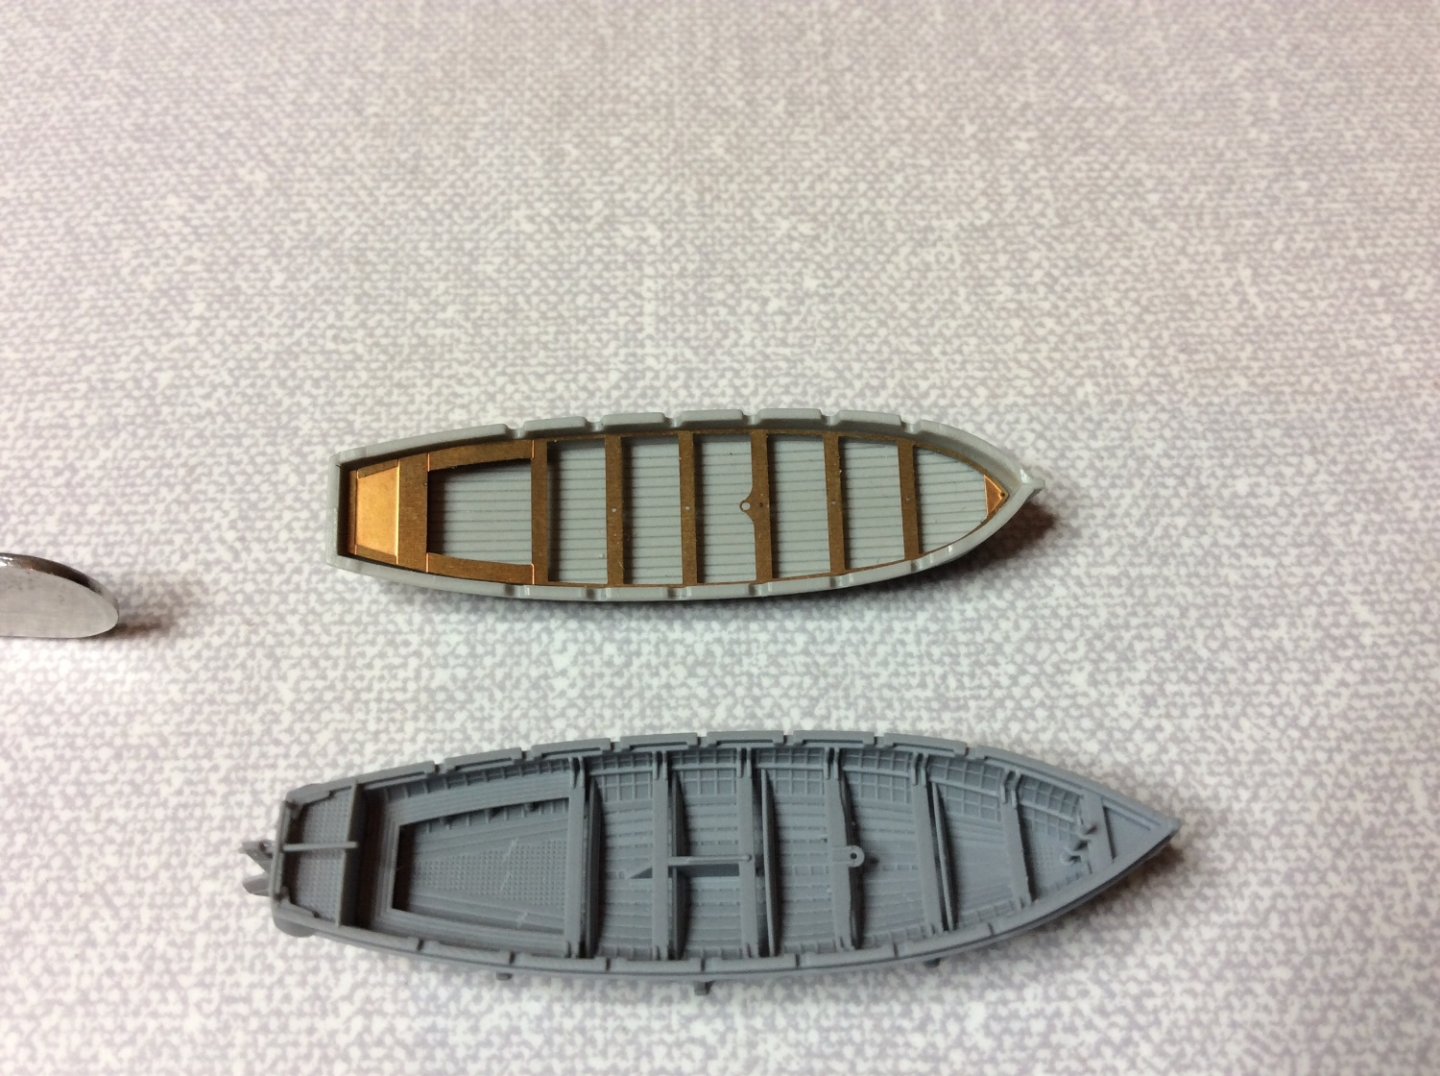
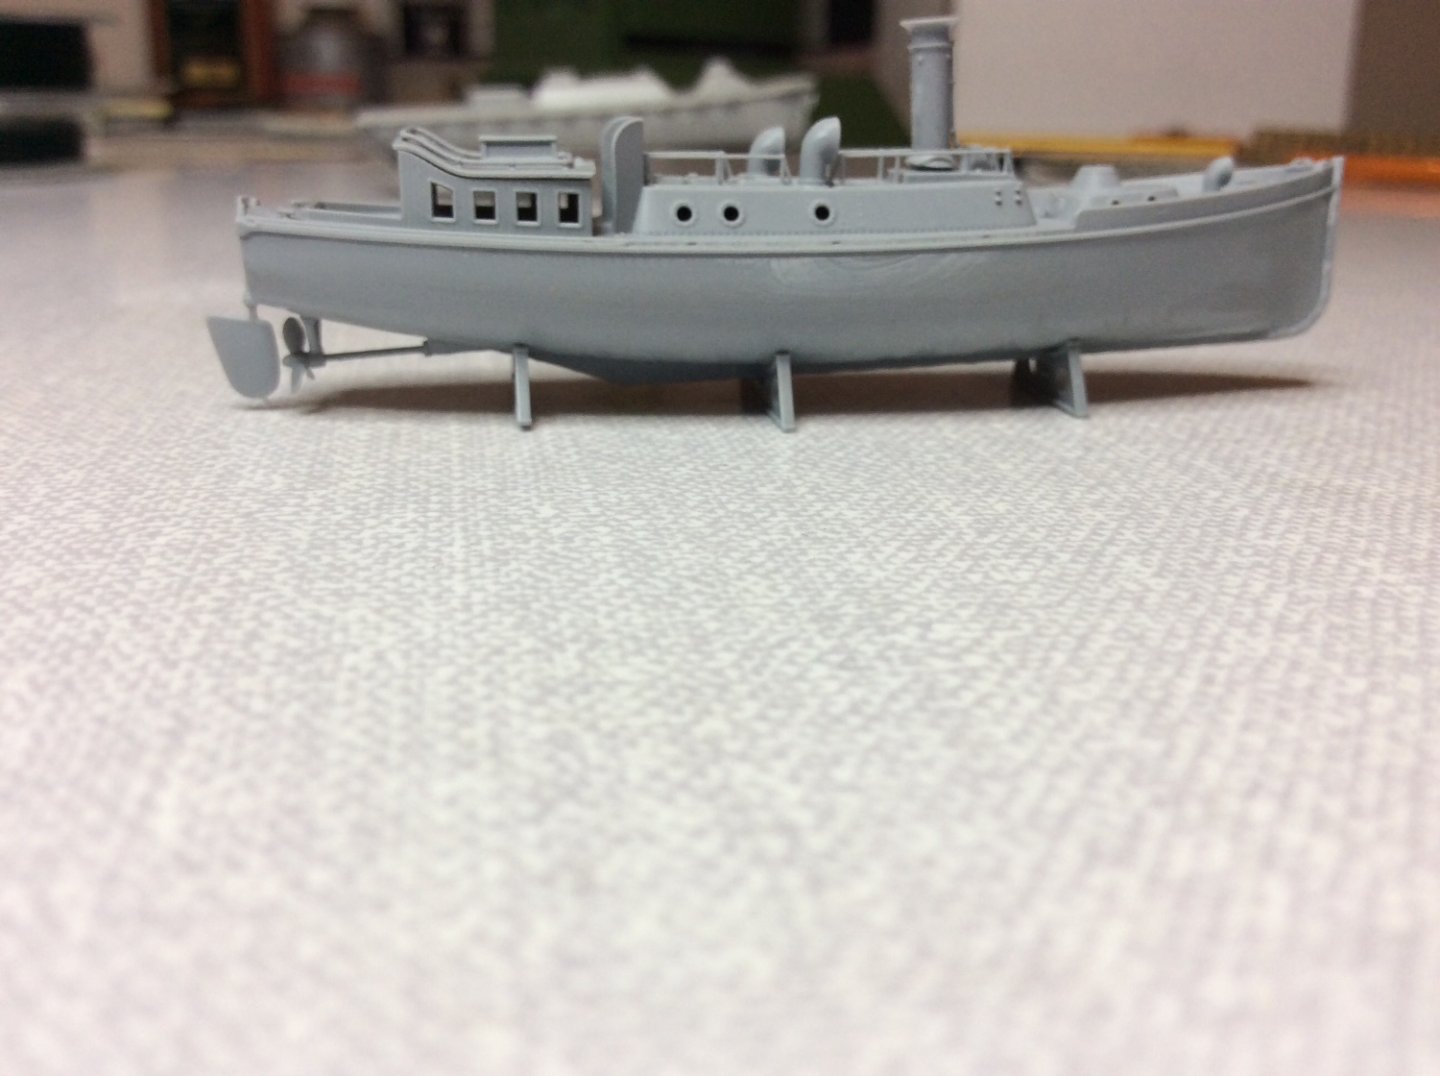
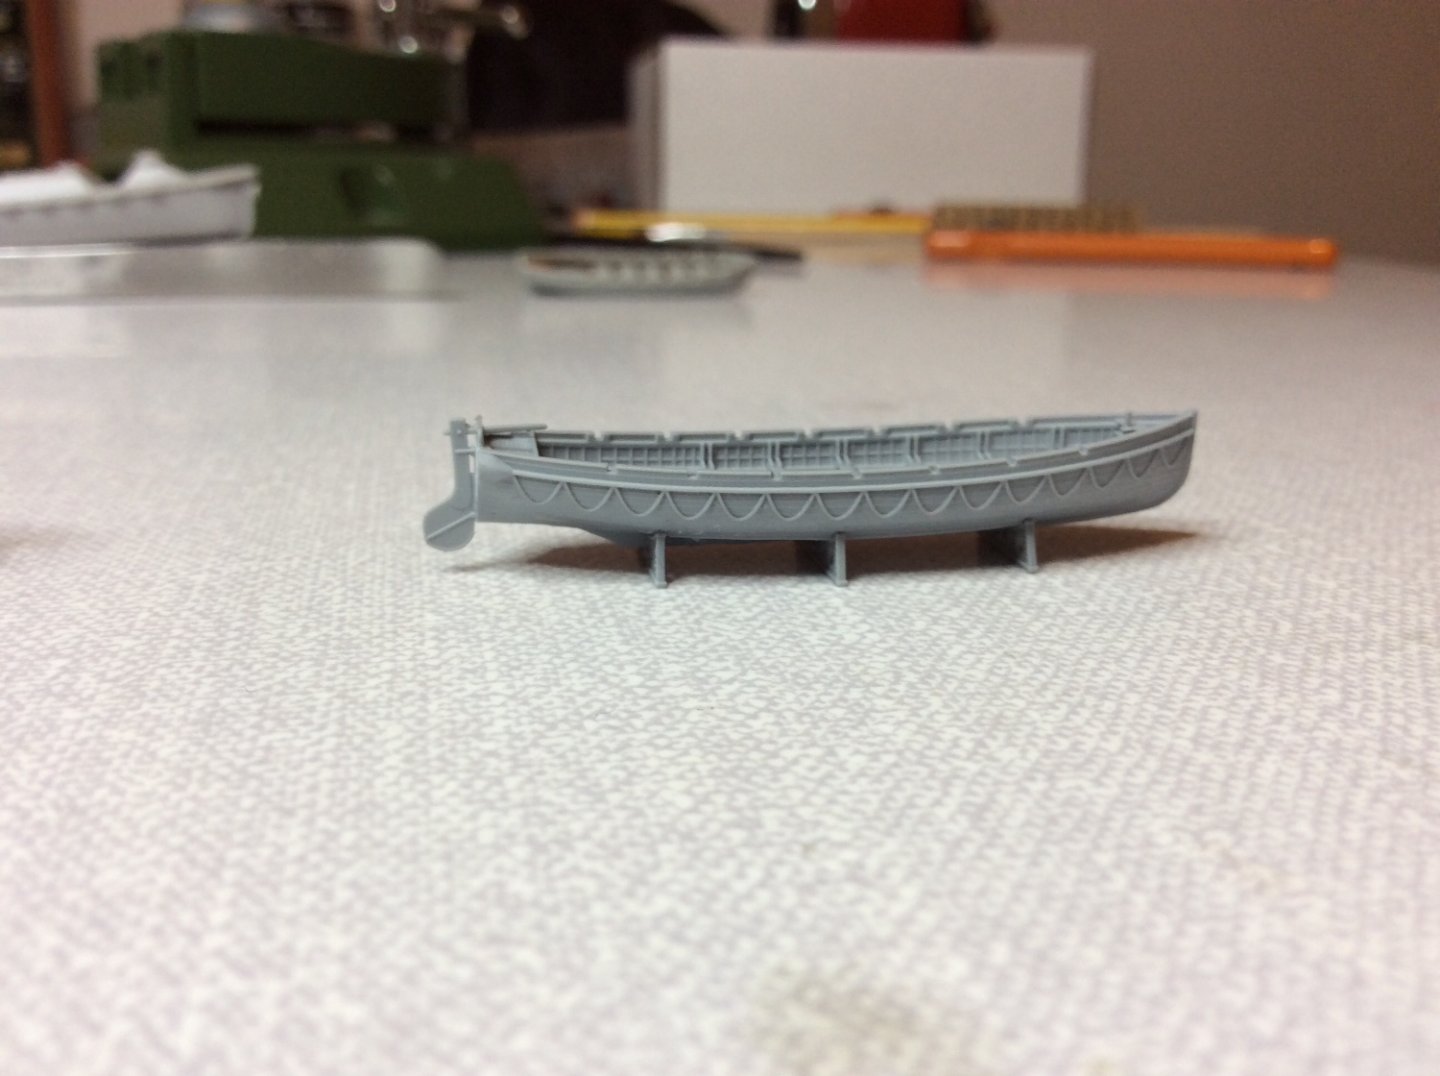
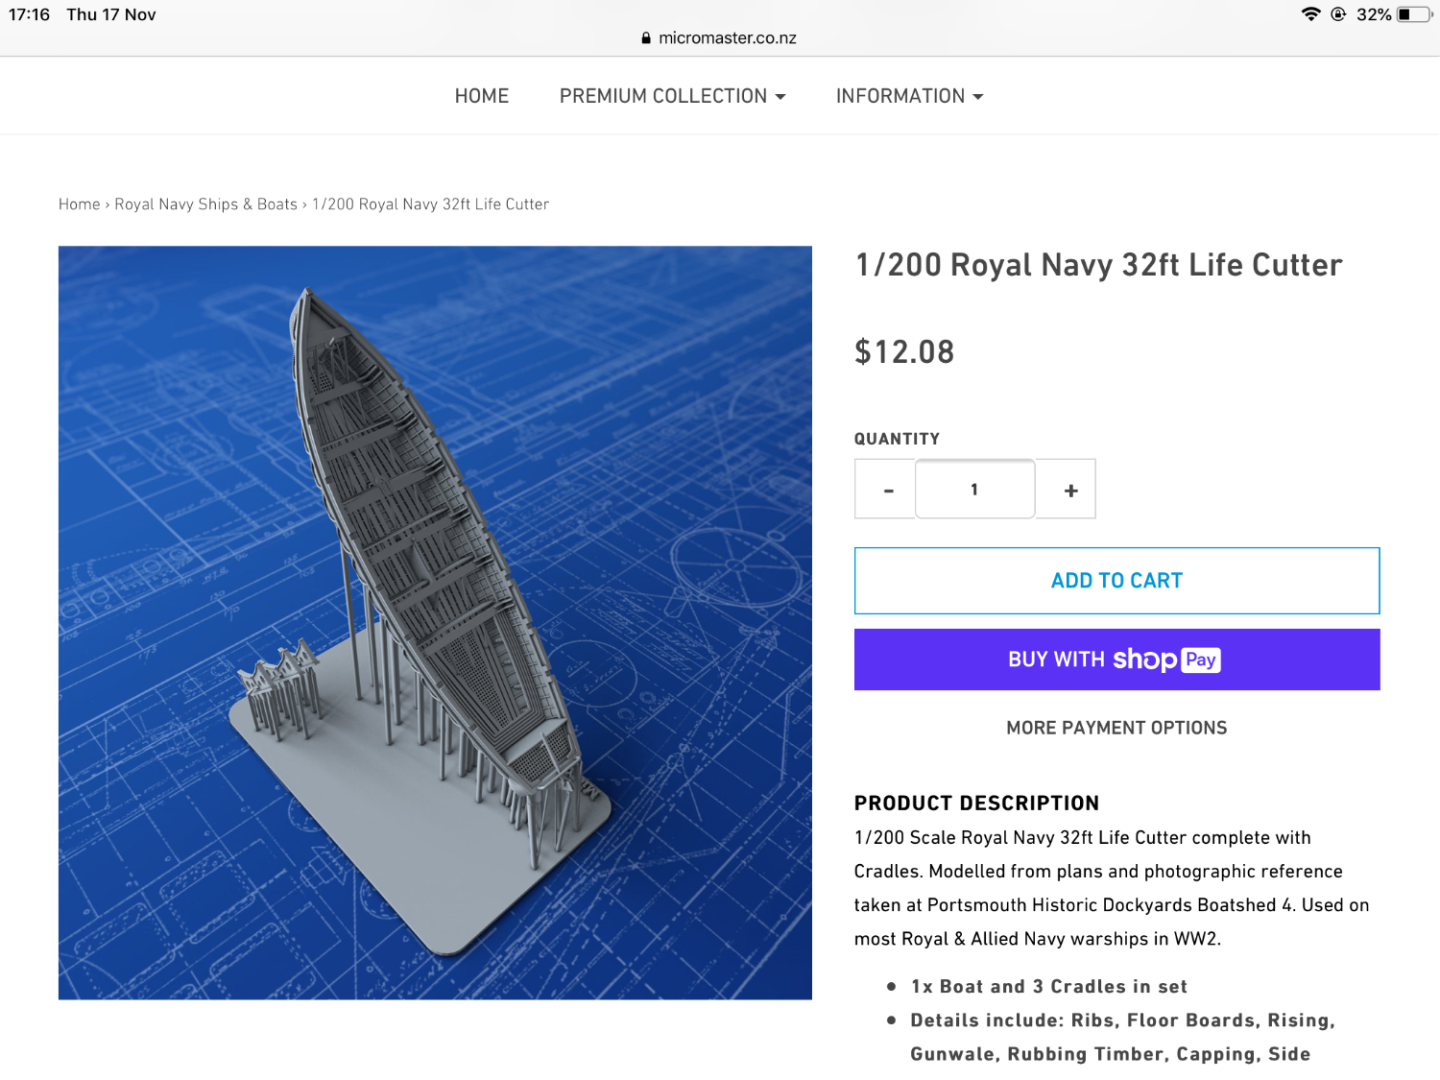
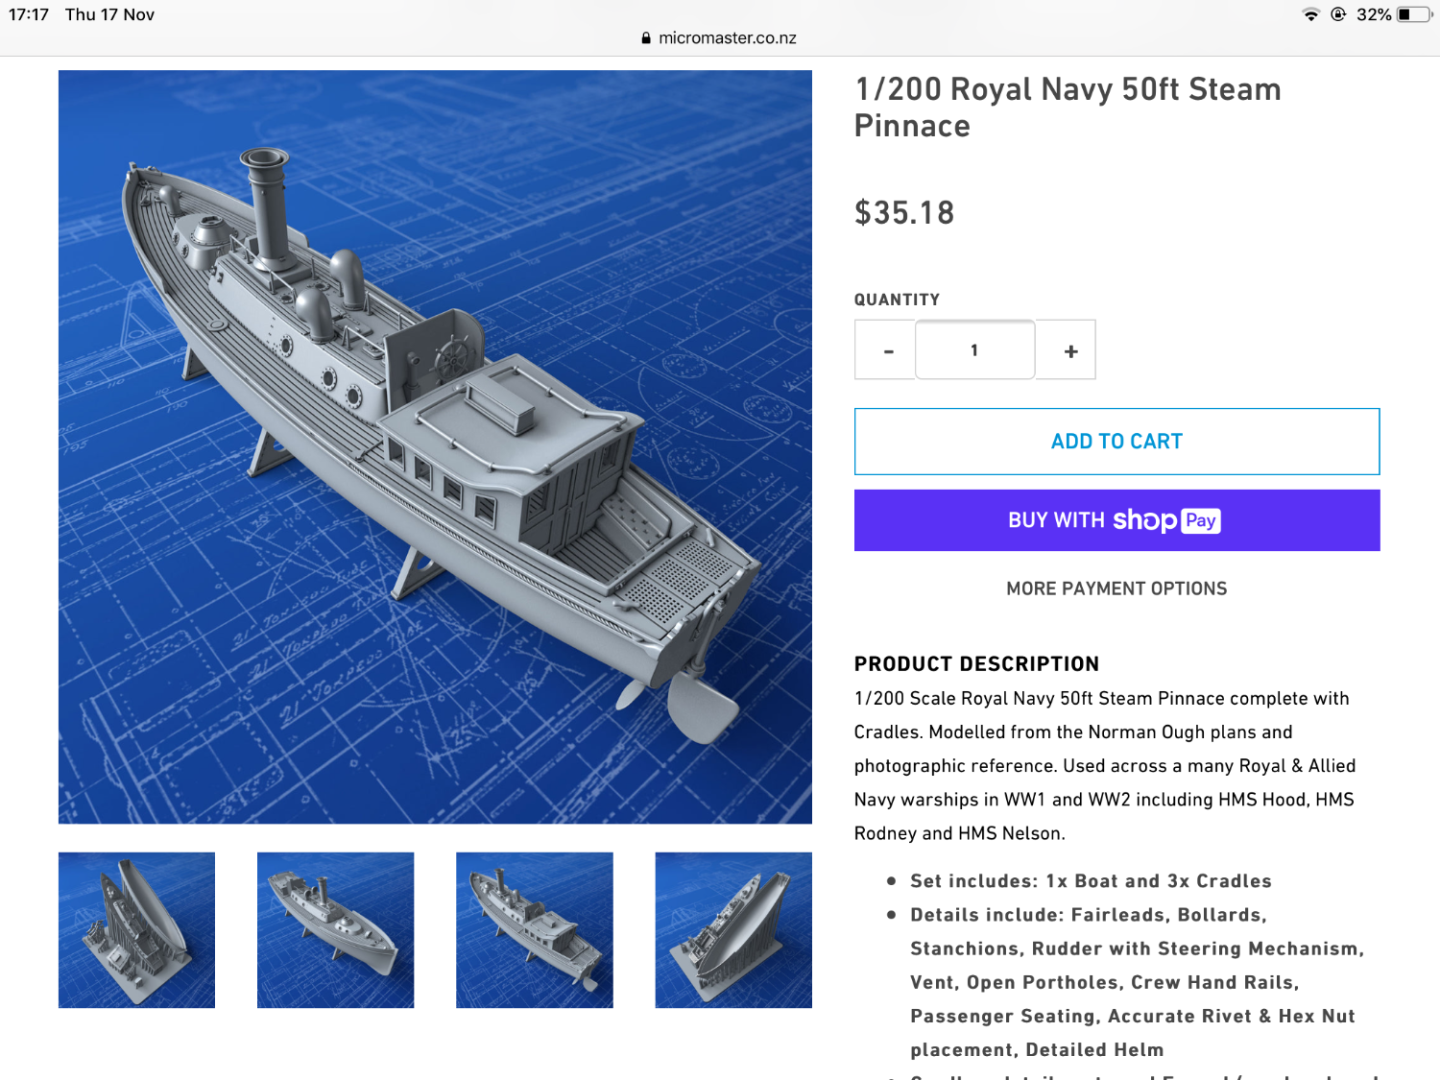
Hi guys, exciting times for me this week, received MicroMaster ships boats and can uncross my fingers, Ray in my modelling club says they are slightly better than Shapeways ? I was absolutely delighted with the products, these are seemingly made from the actual drawings and plans of said boats. Absolutely brilliant. I did say at the start of my build log that a nice resin boat set would change this models appearance and really enhance the final result, I rest my case, wait till you see these photos 👍 was sure the kit 50ft Pinnace was to large in scale, and never liked the shape, and the 32ft open boat on boat deck that I purchased looks like it is the one I need, very similar to the etch detail that Pontos did for kit part, which was a definite improvement, but nothing like this.

-
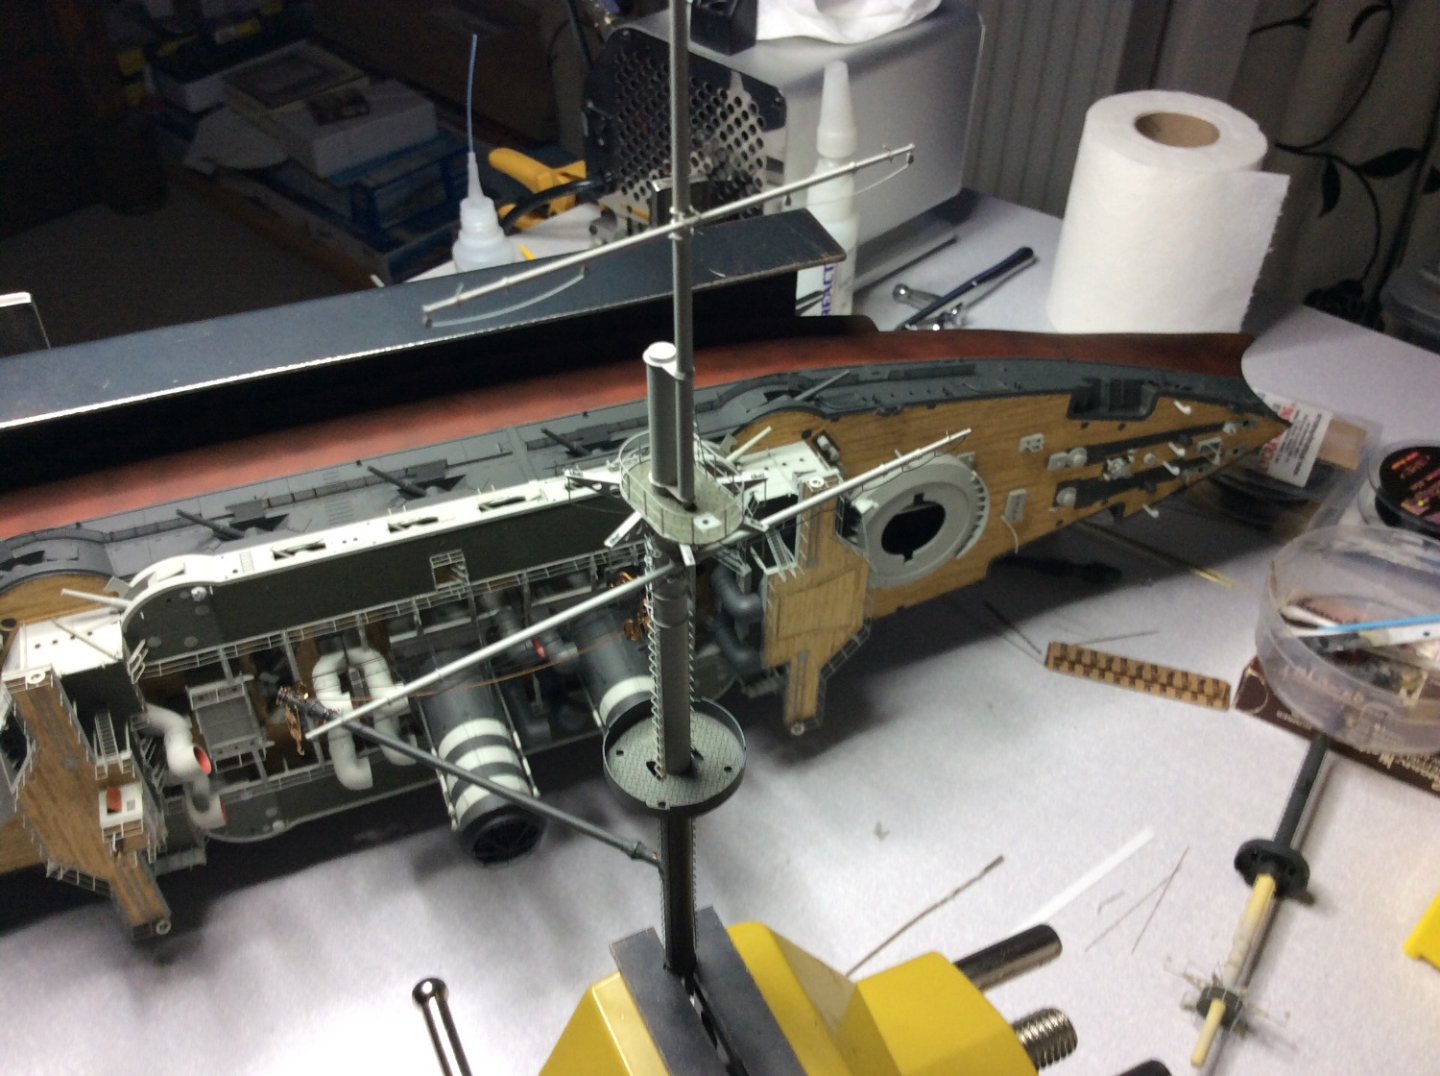
Think my next batch of plastic is by MicroMaster, so waiting to see what like their parts are like, member in modelling club says their quality is slightly better 🤞 Also fitted last parts of etch to hull, was waiting on small ladder rungs to complete this part. Last time of using the model on her side, since it doesn’t hold up so well with the masts like this, think they are a bit heavy, being all brass so the glue struggles to hold it on it’s side and that was just the lower part of mast. Decided to build these of the ship as much as poss before installing, doing foremast first.

-
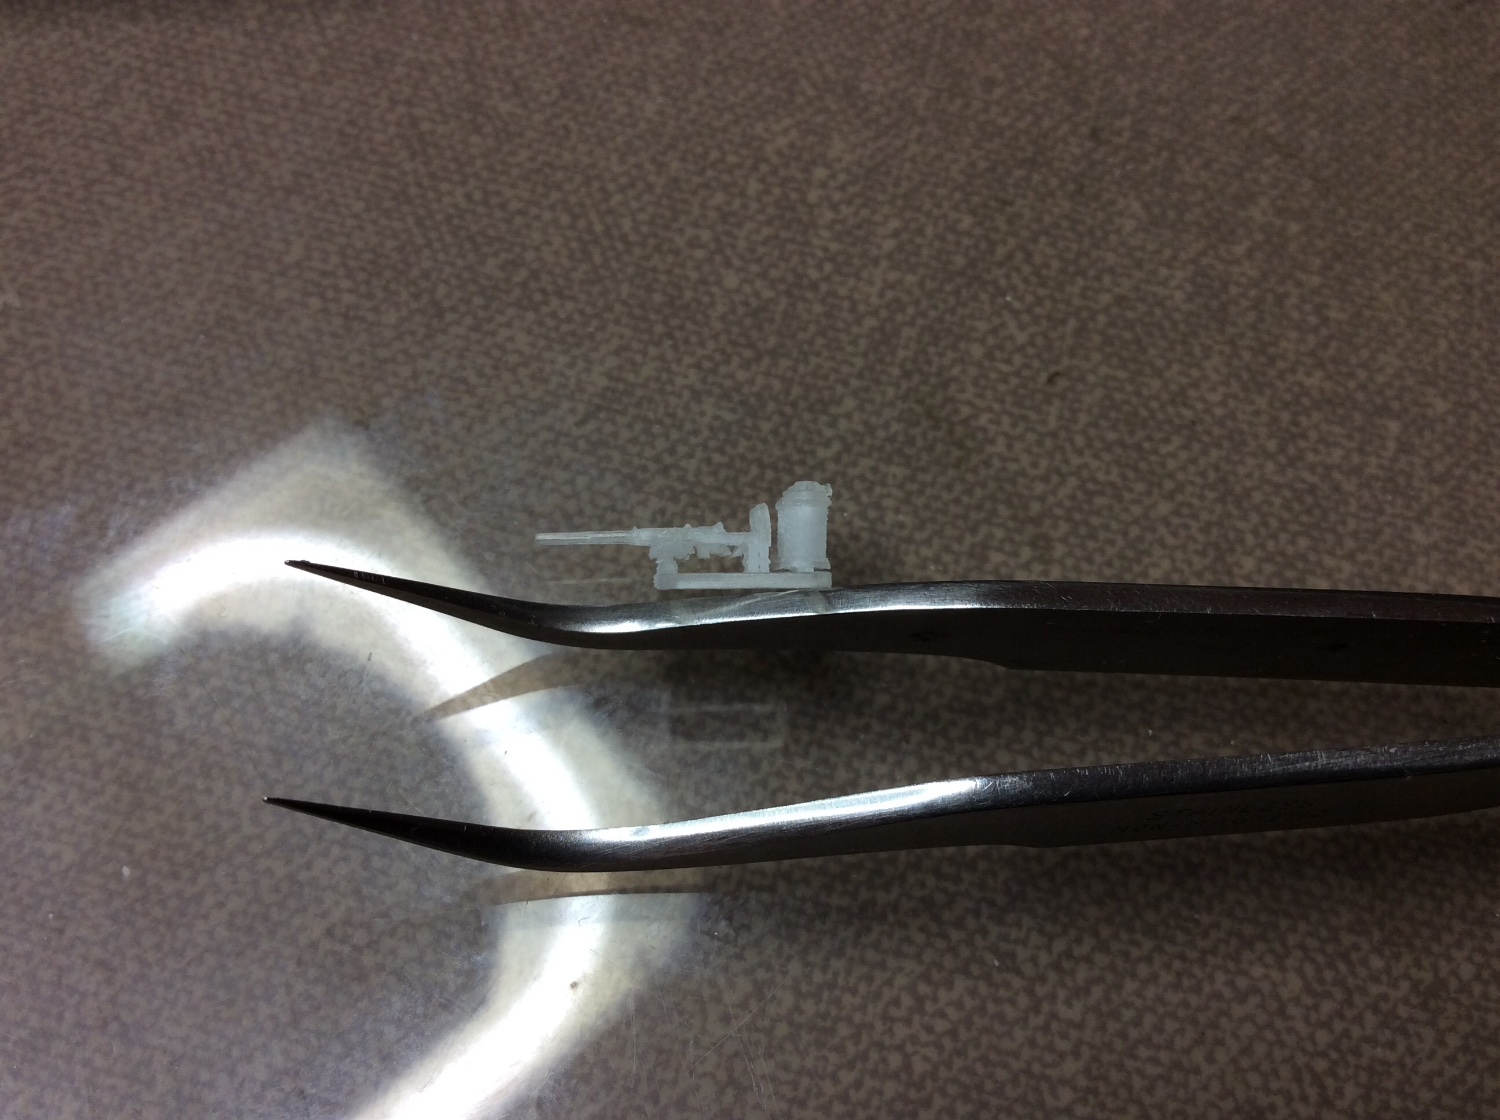
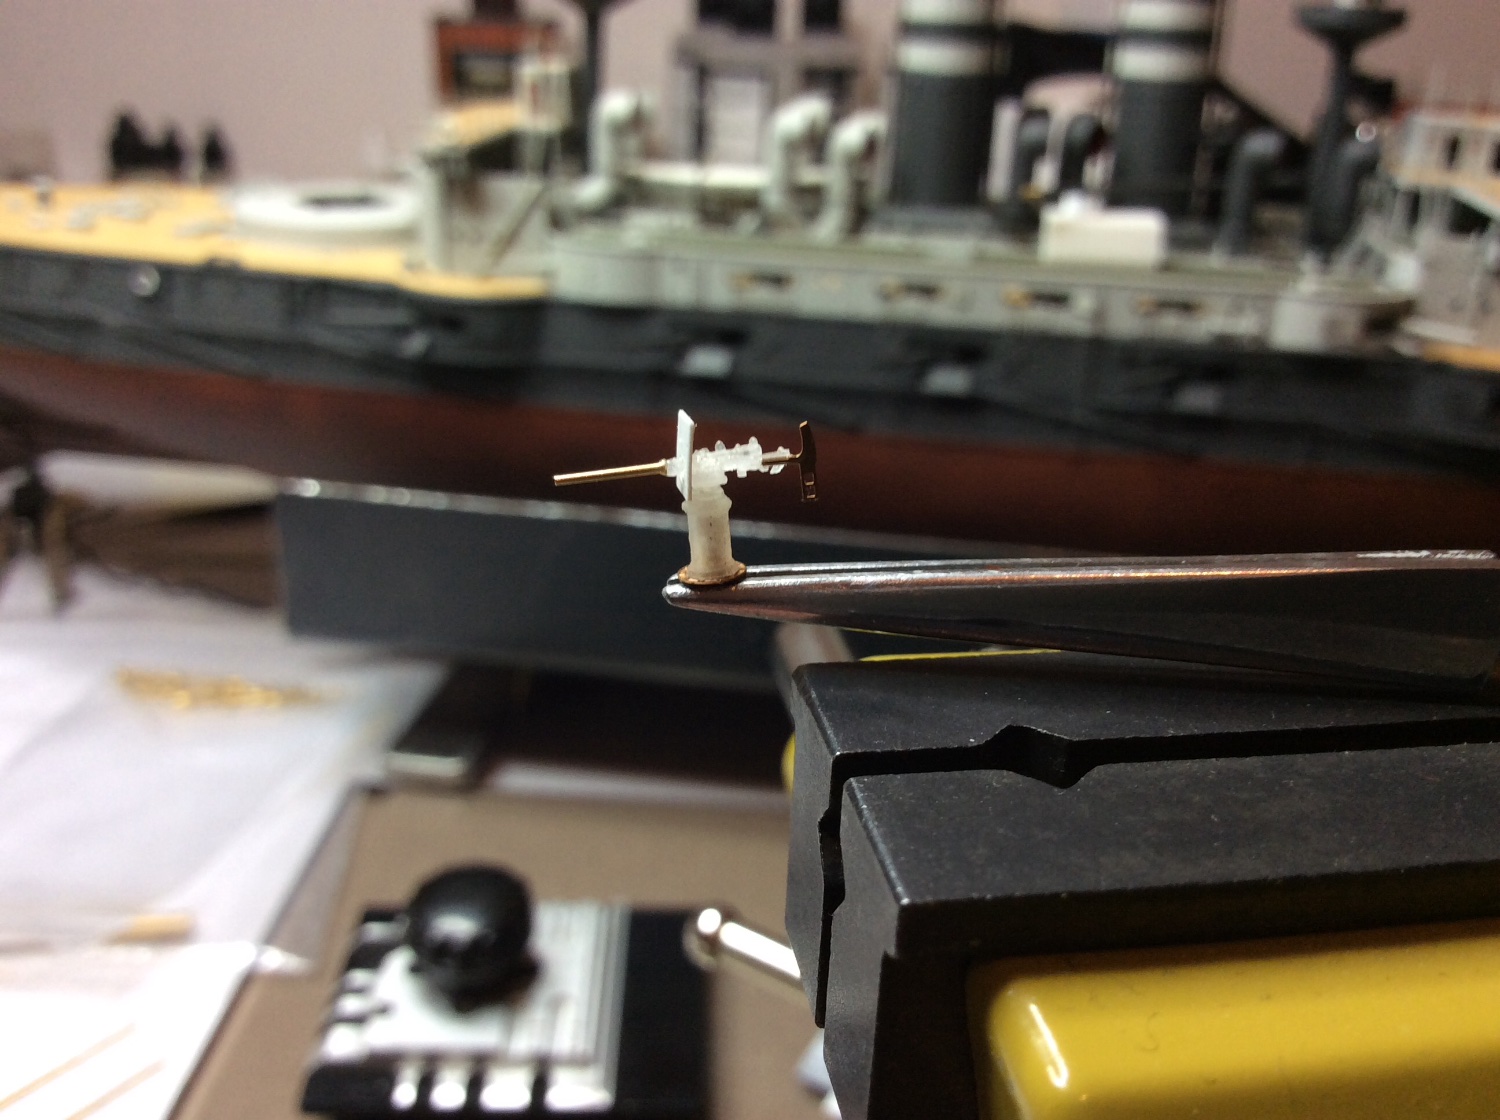
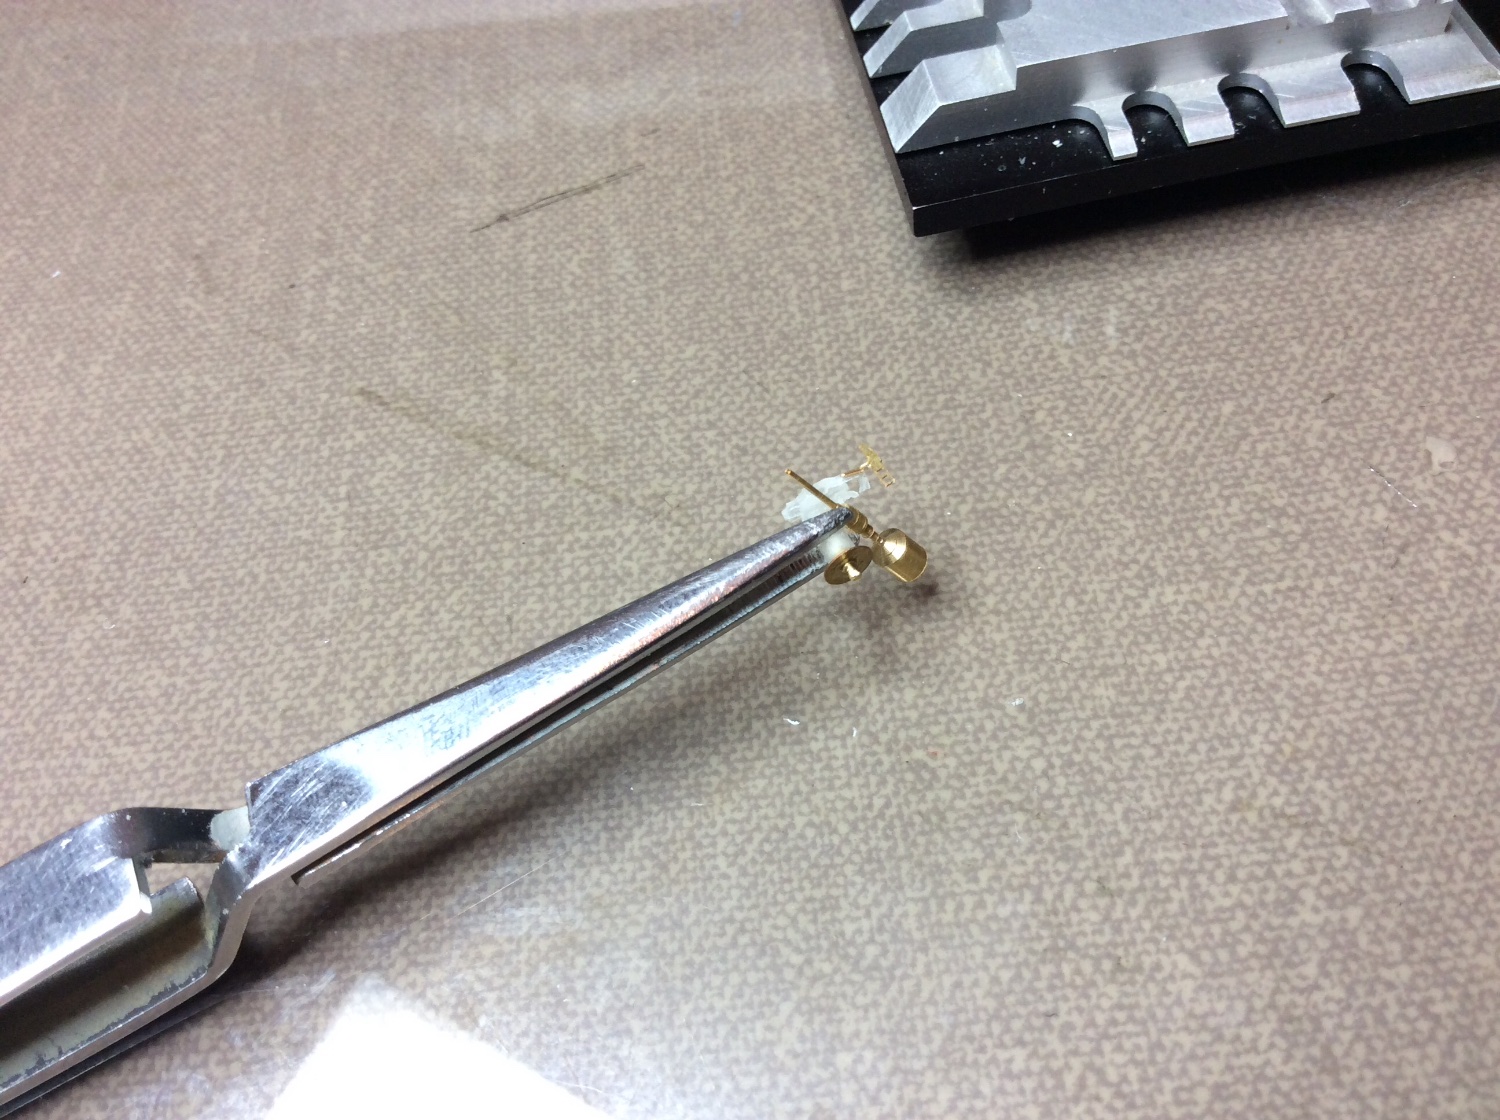
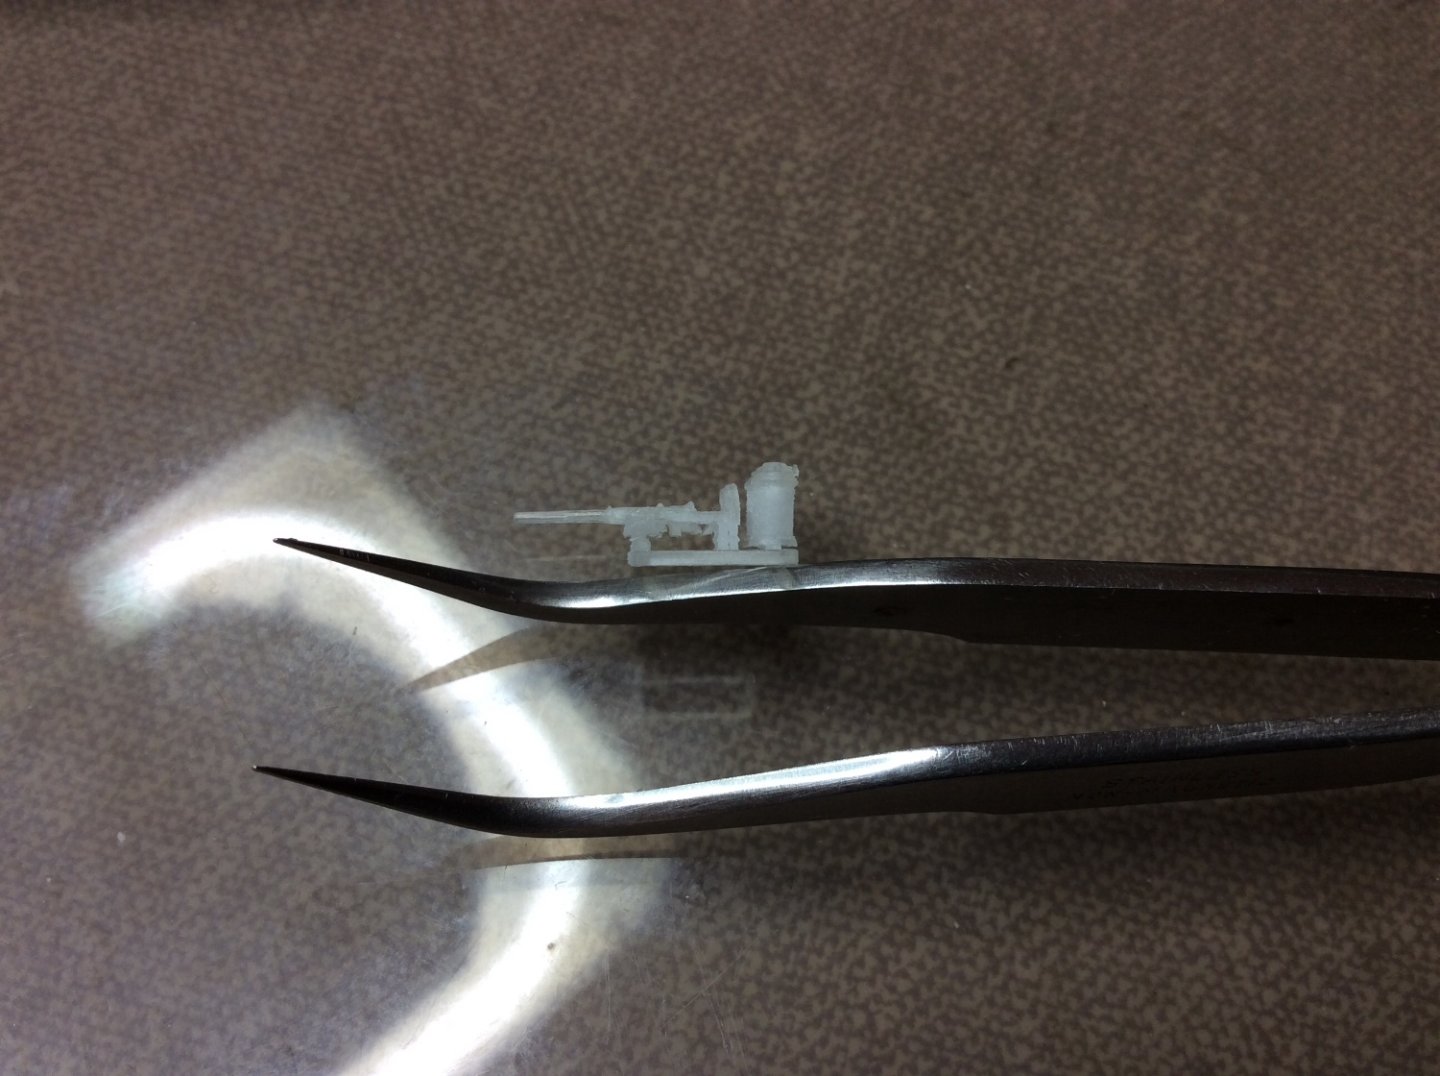
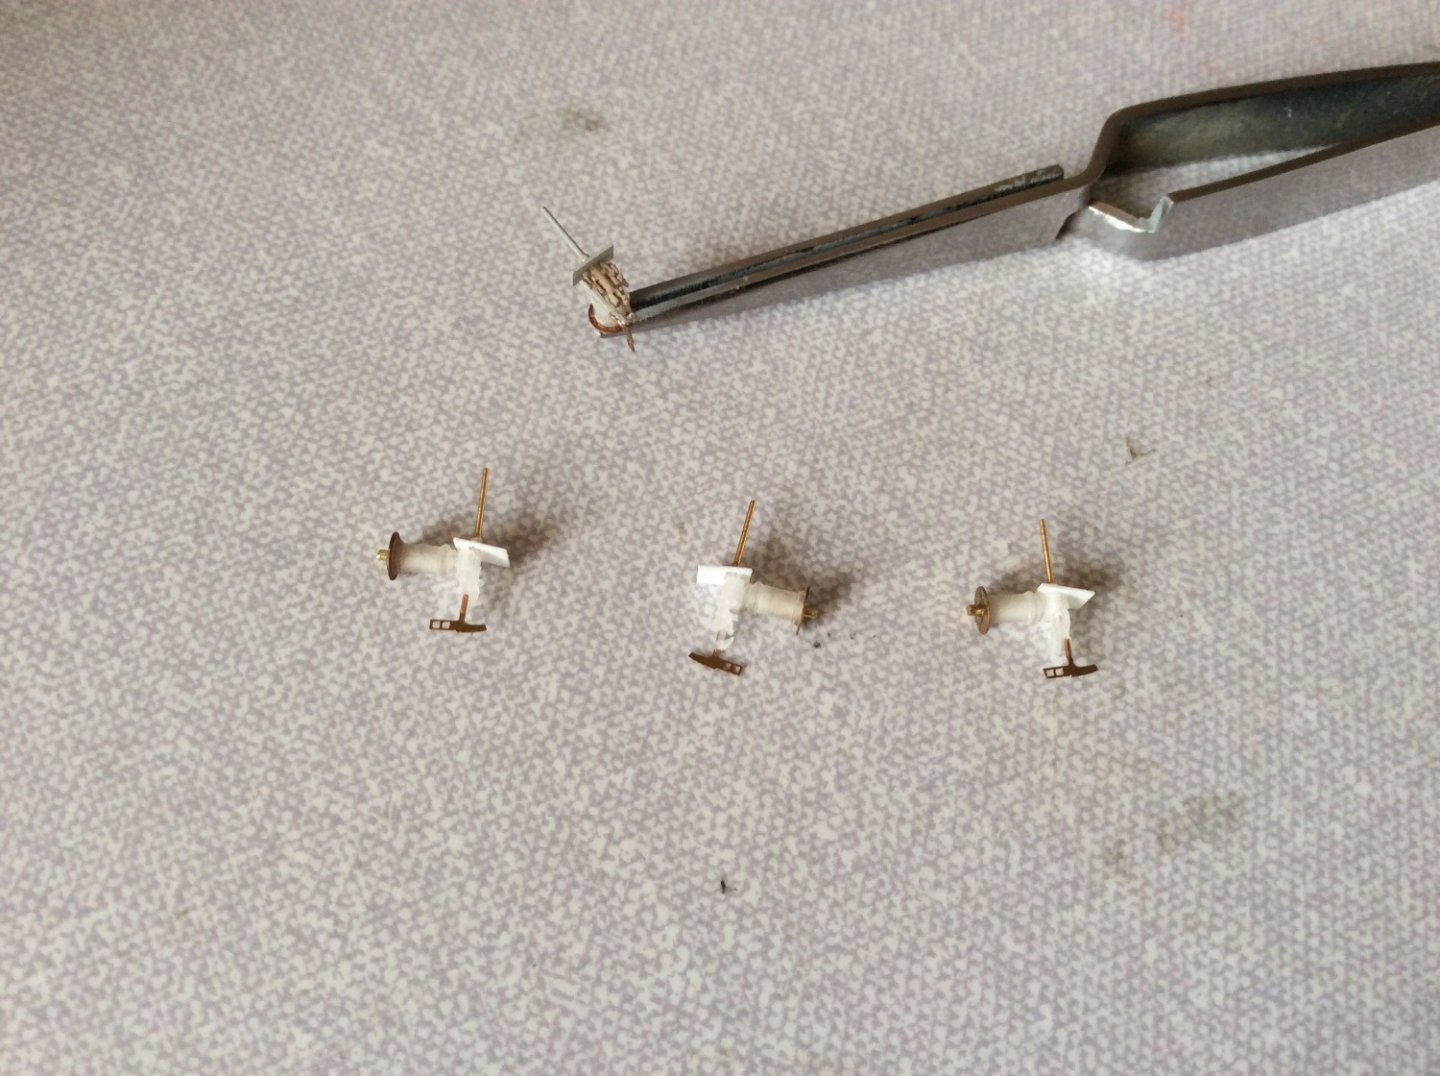
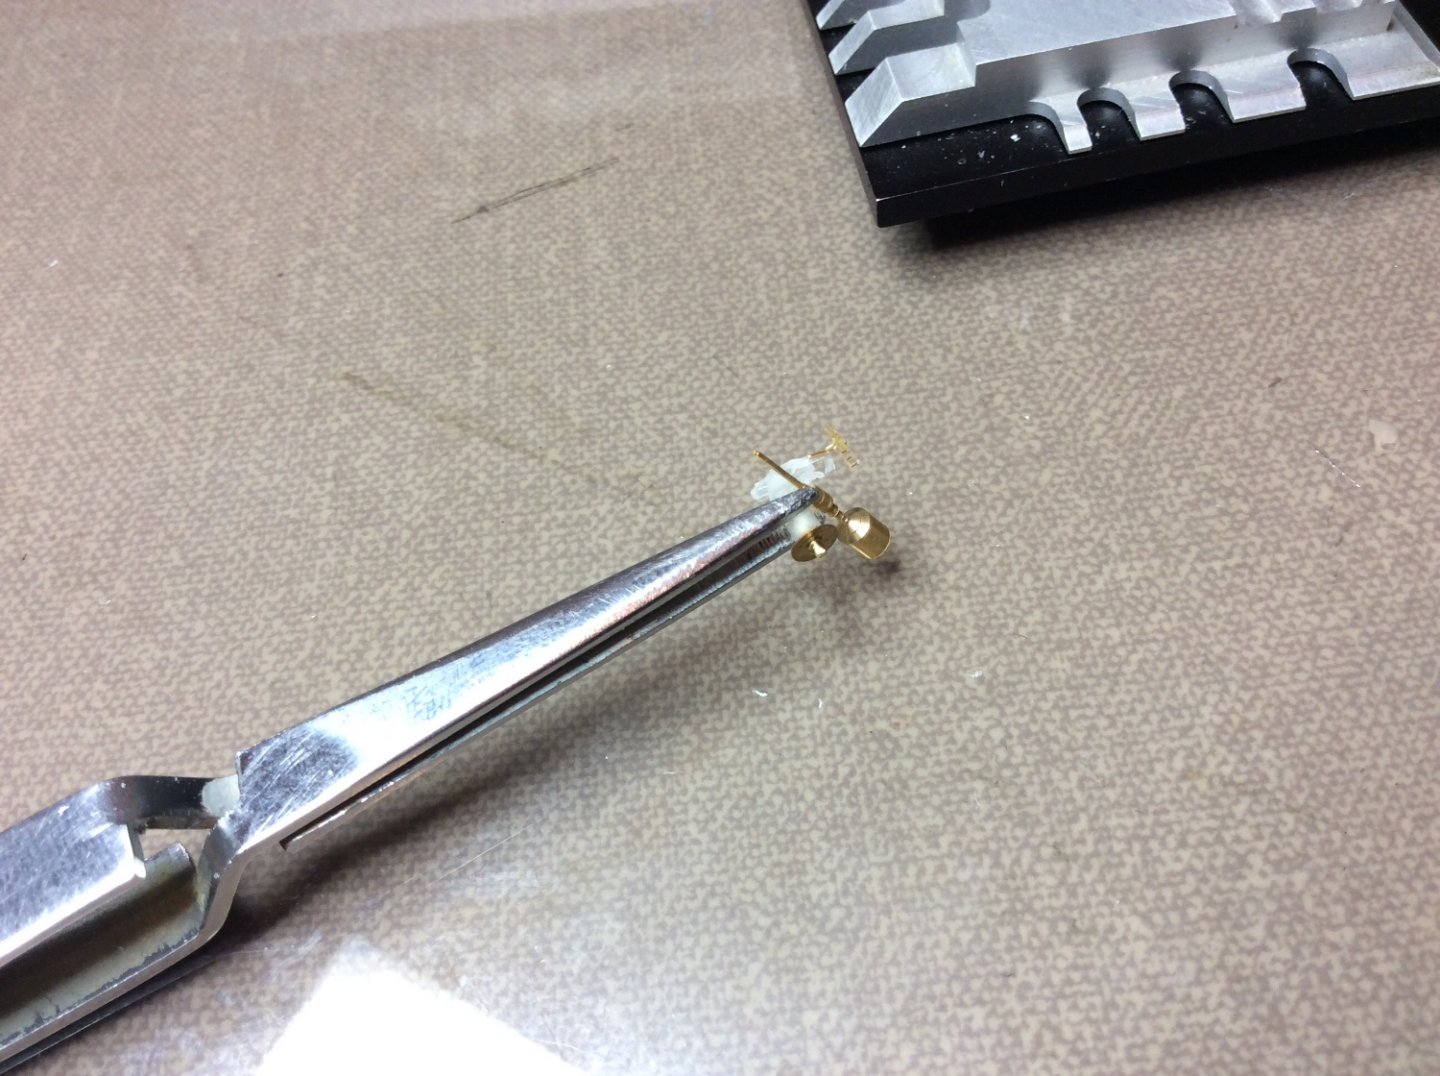
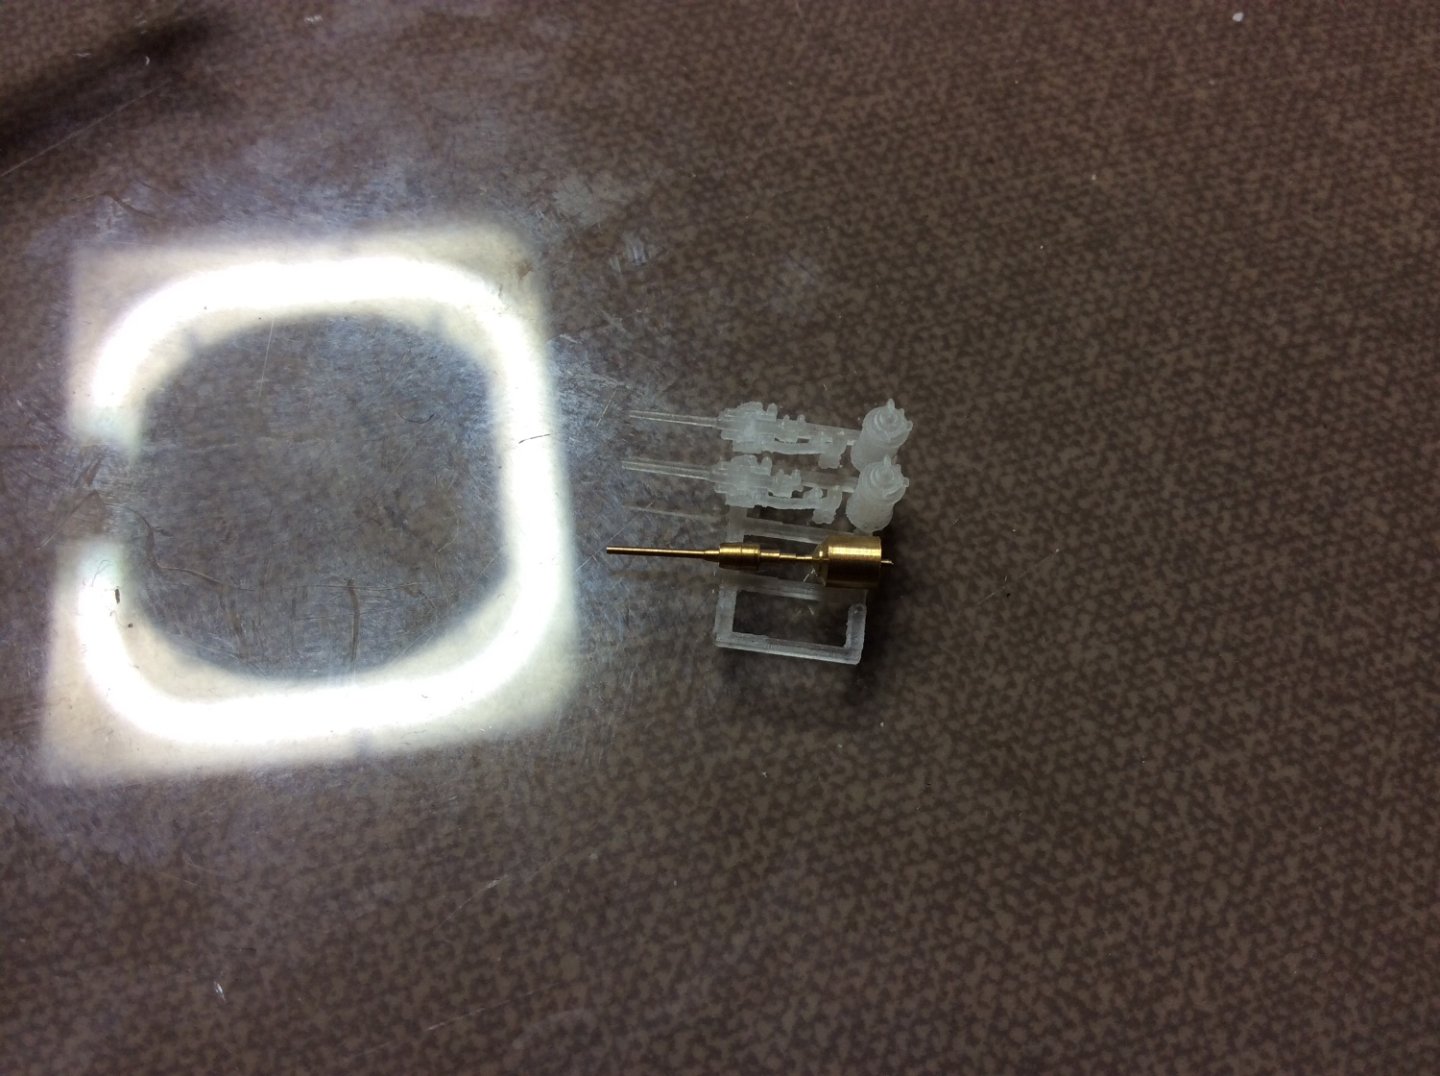
This is the Pontos barrel and pedestal beside them. After cleaning I built and painted one Shapeways gun and decided to try get the best of both companies into one gun, so I have ended up with a Pon Shape gun. 😂 actually works quite well, just had to ad scratch shield and paint.

-
Hi guys, just a little up date, Yip I’m still trying to progress, be it slowly. Bought some fine plastic 3 pounder guns from Shapeways, is in two parts, pedestal and gun body.
-
Spot on, serious mood swings shall we say, so glad it’s not just me that runs out of patience. 🤛
-
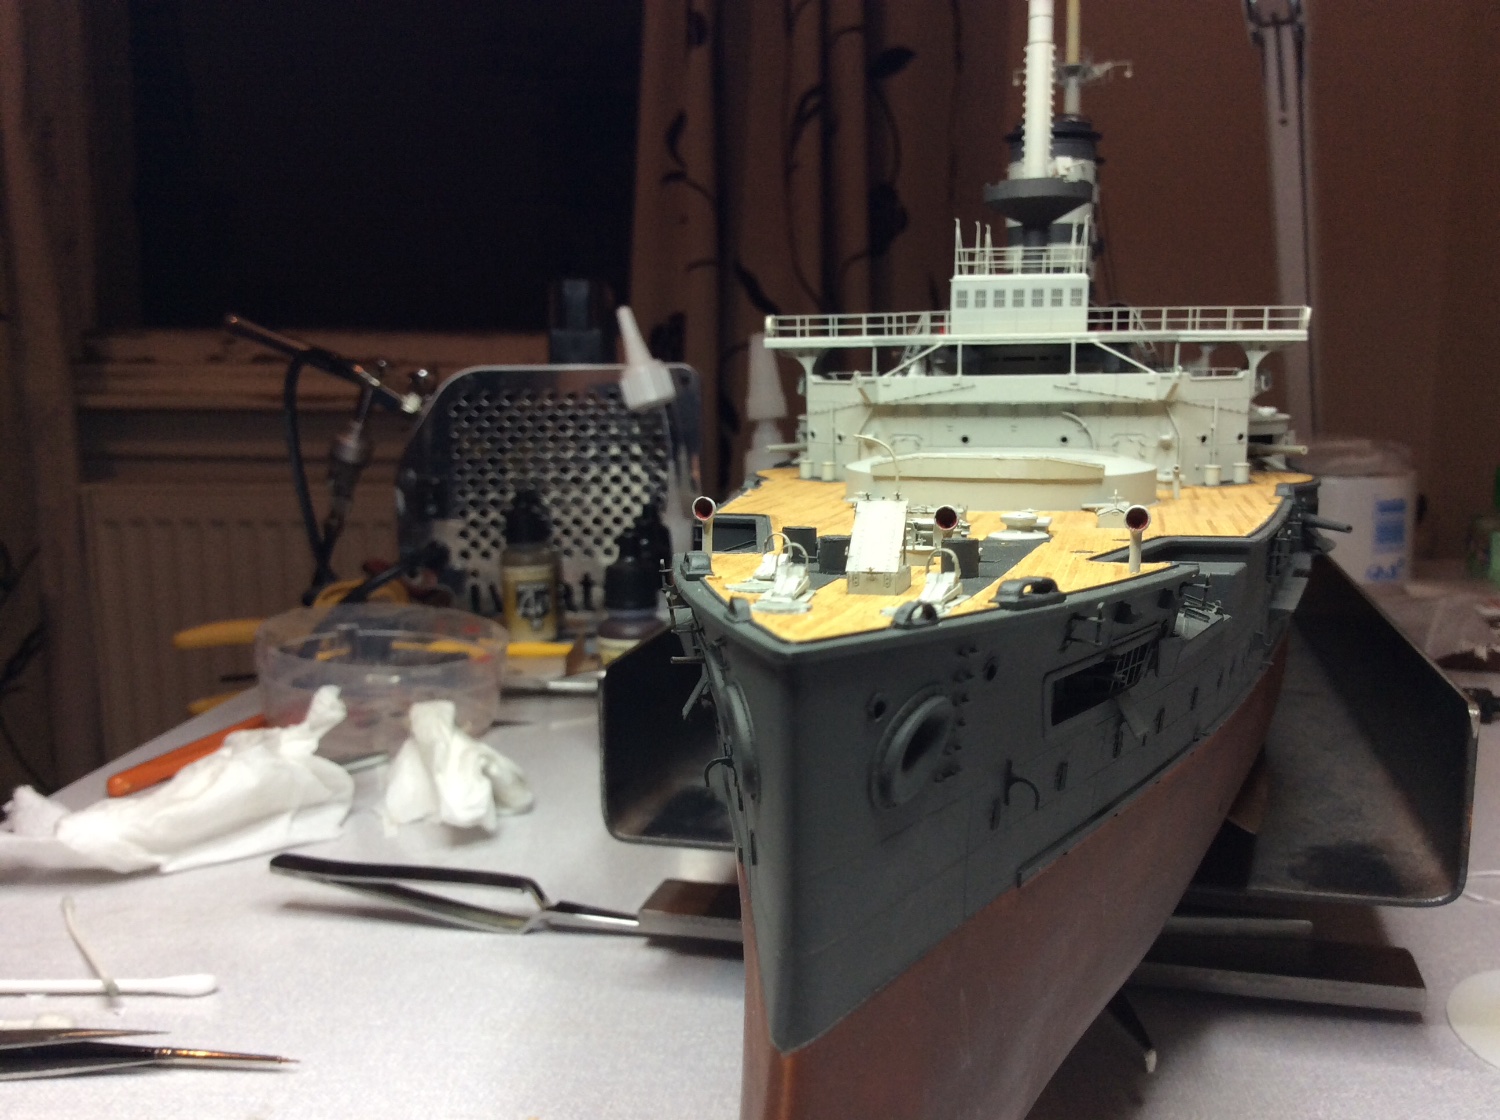
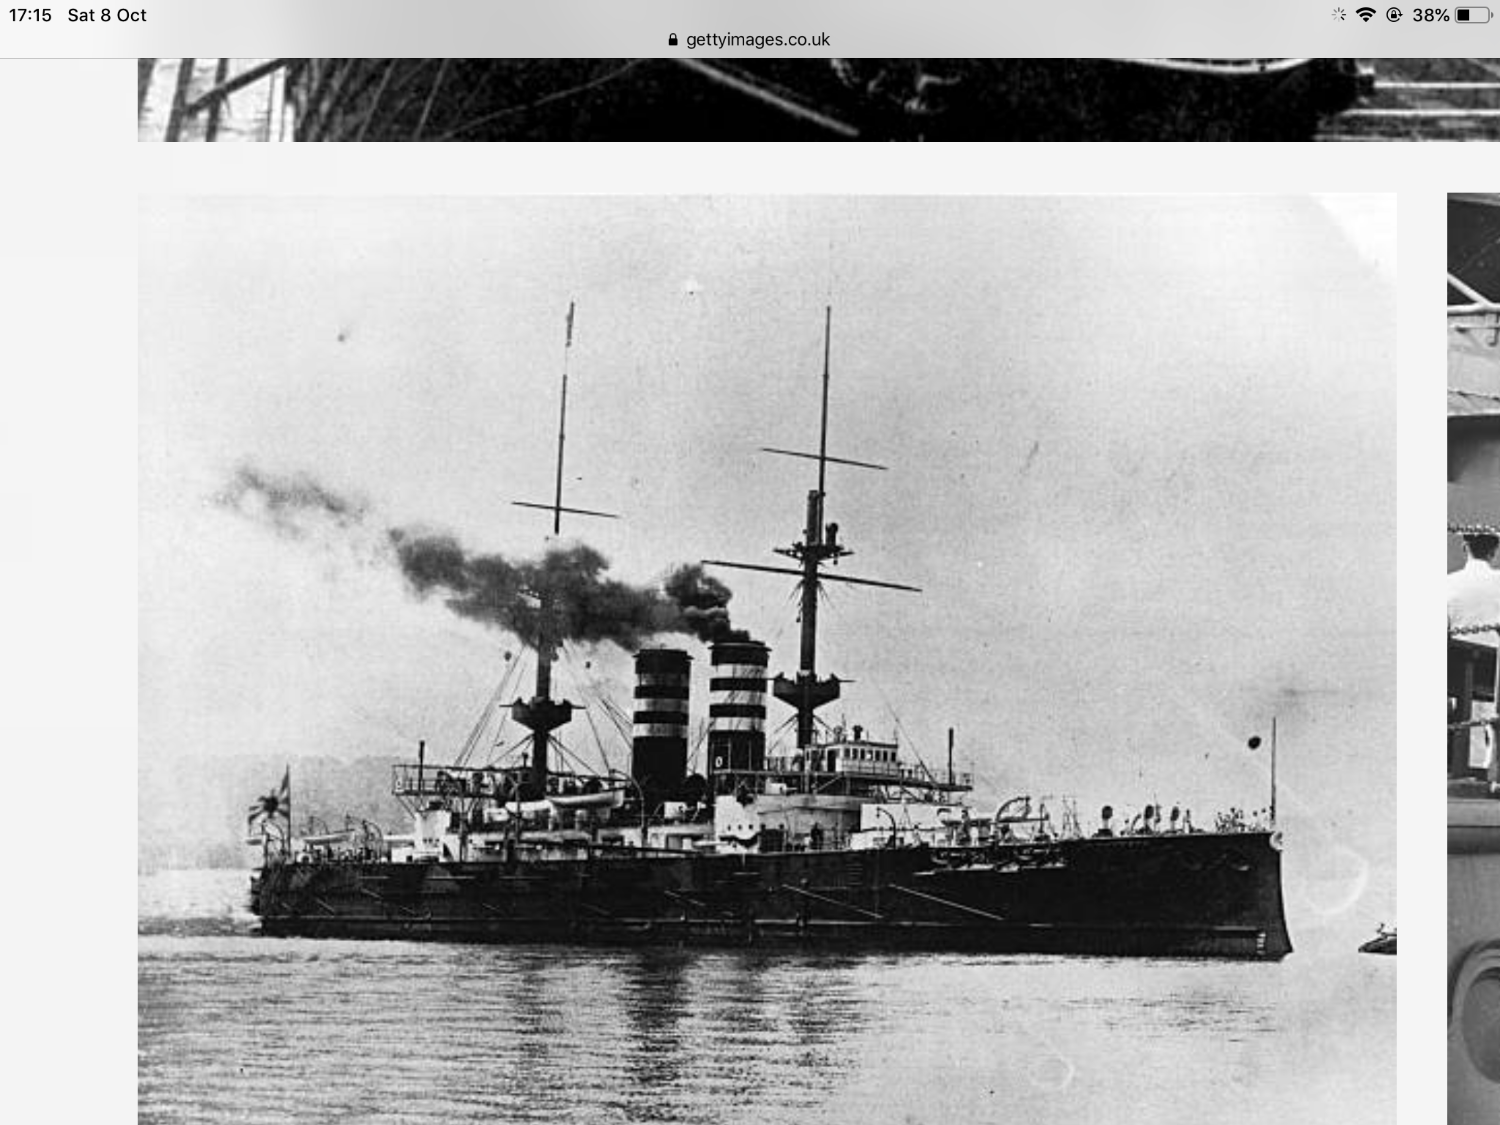
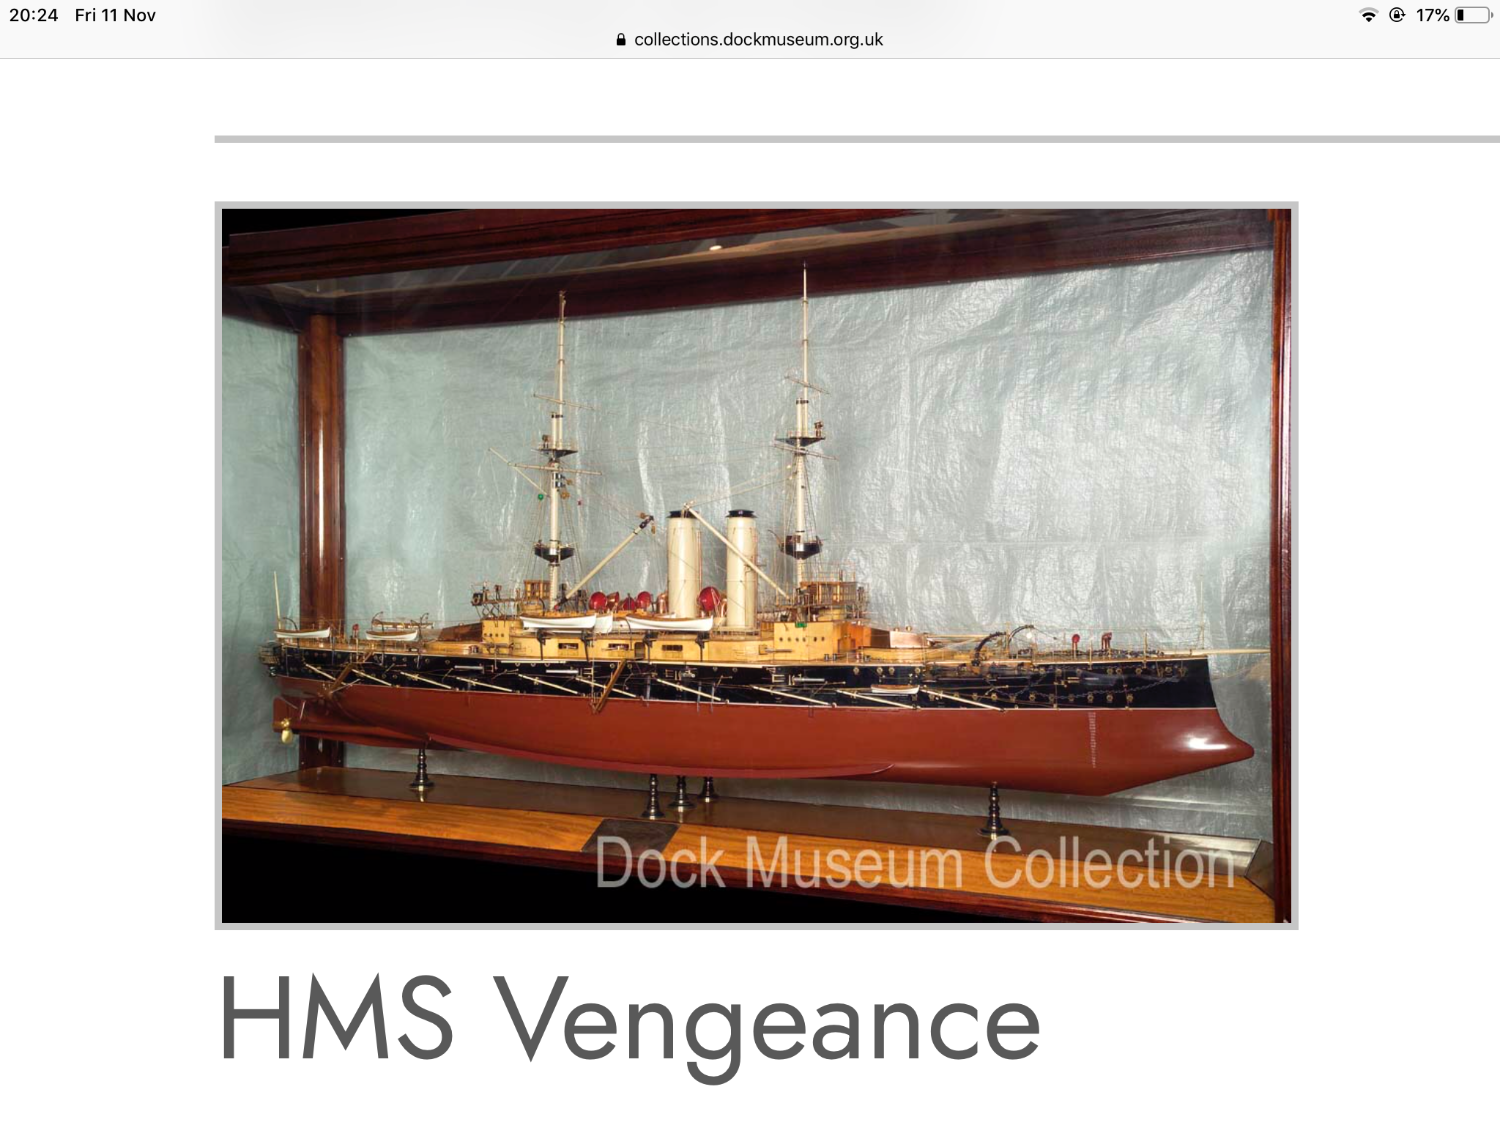
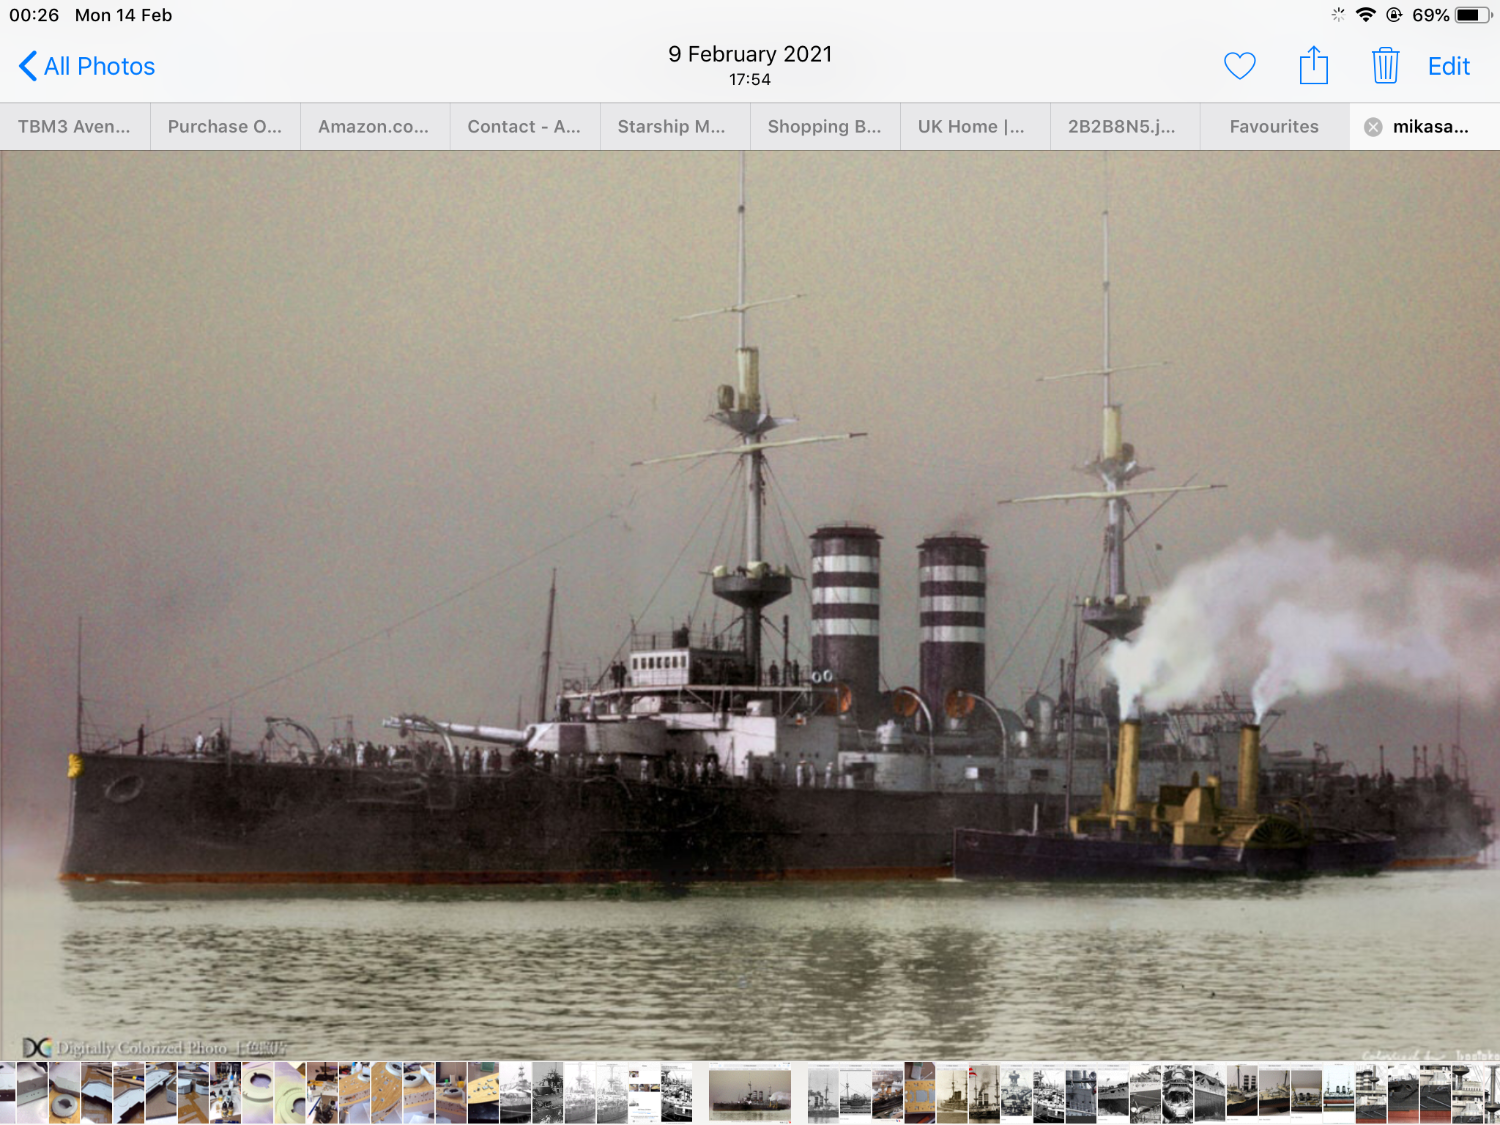
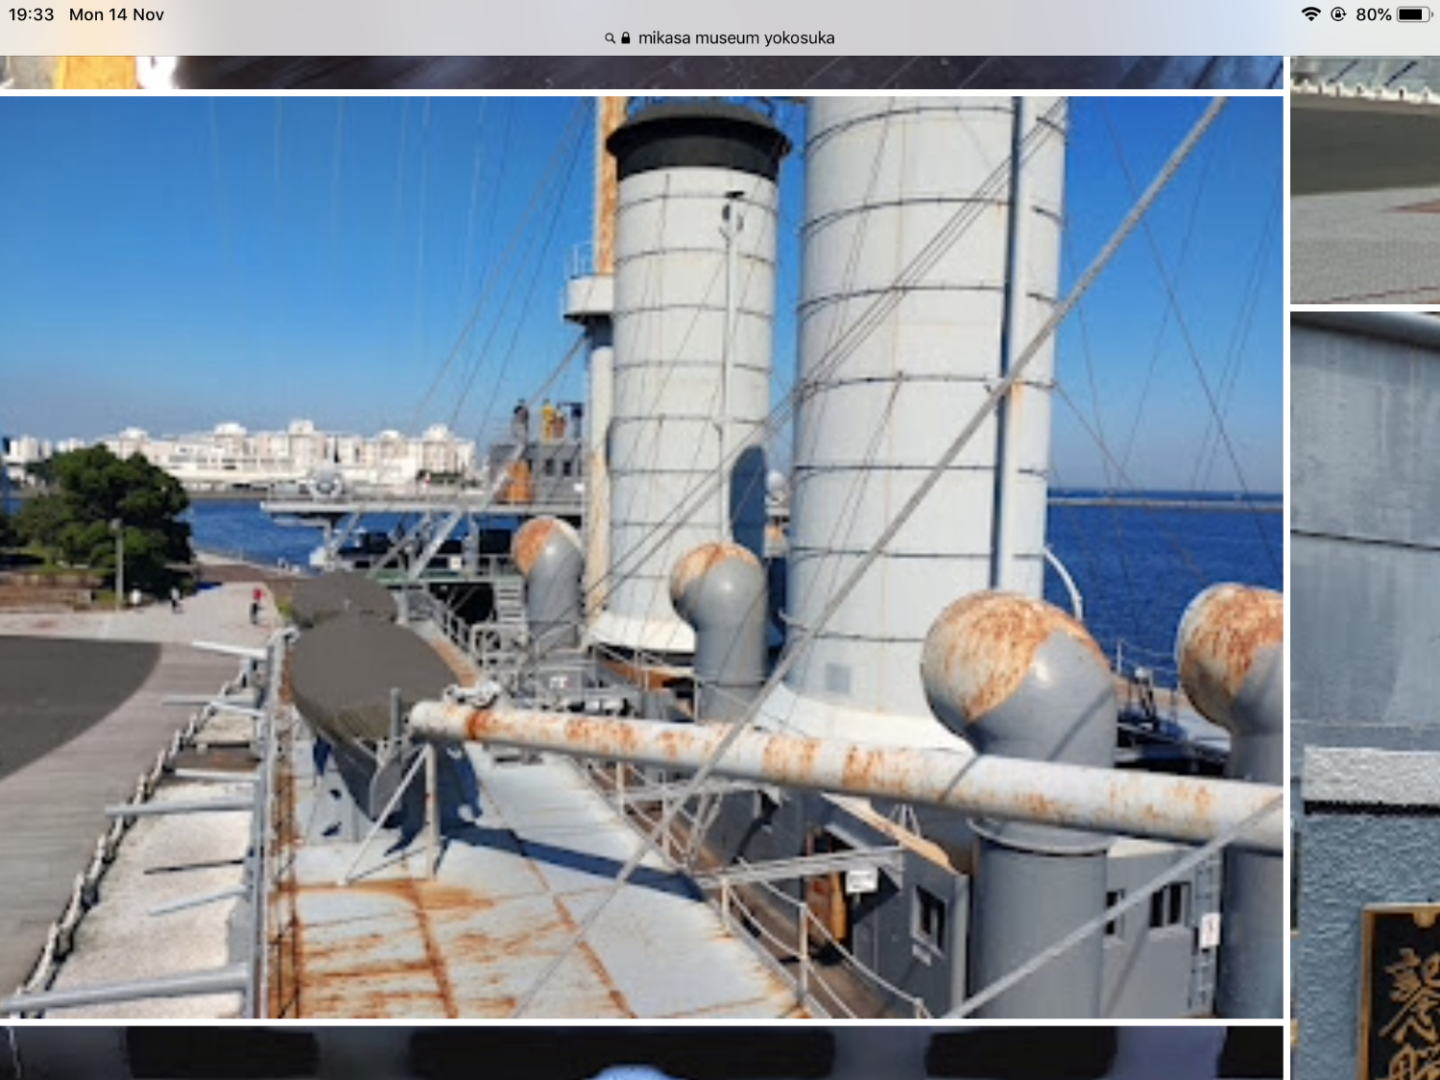
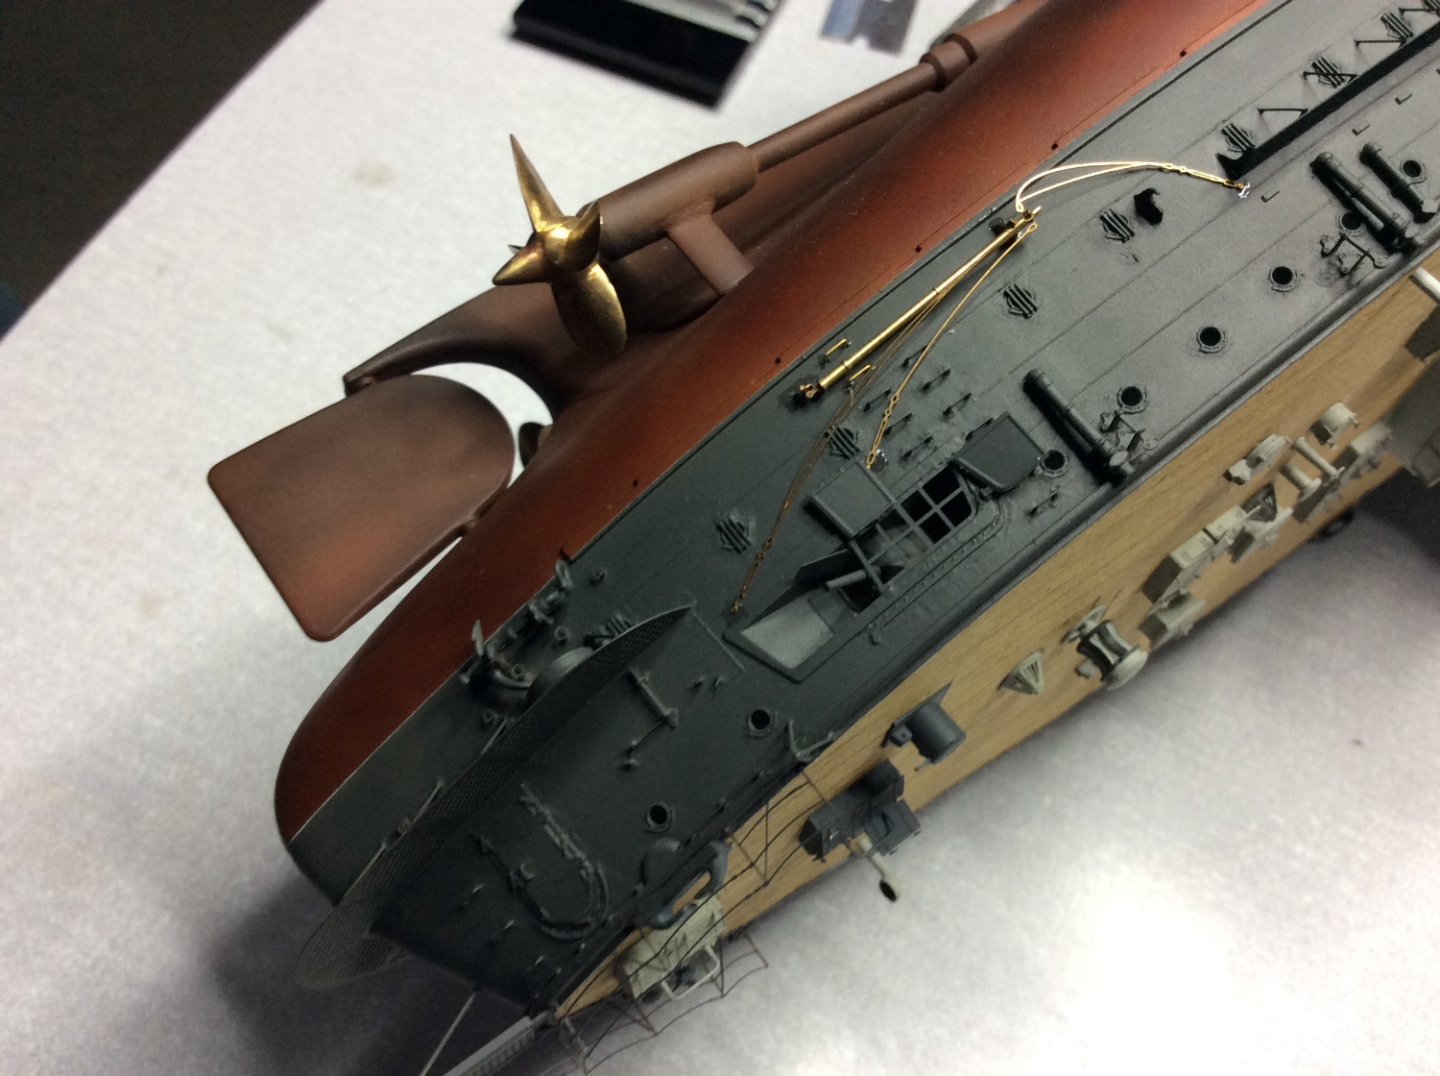
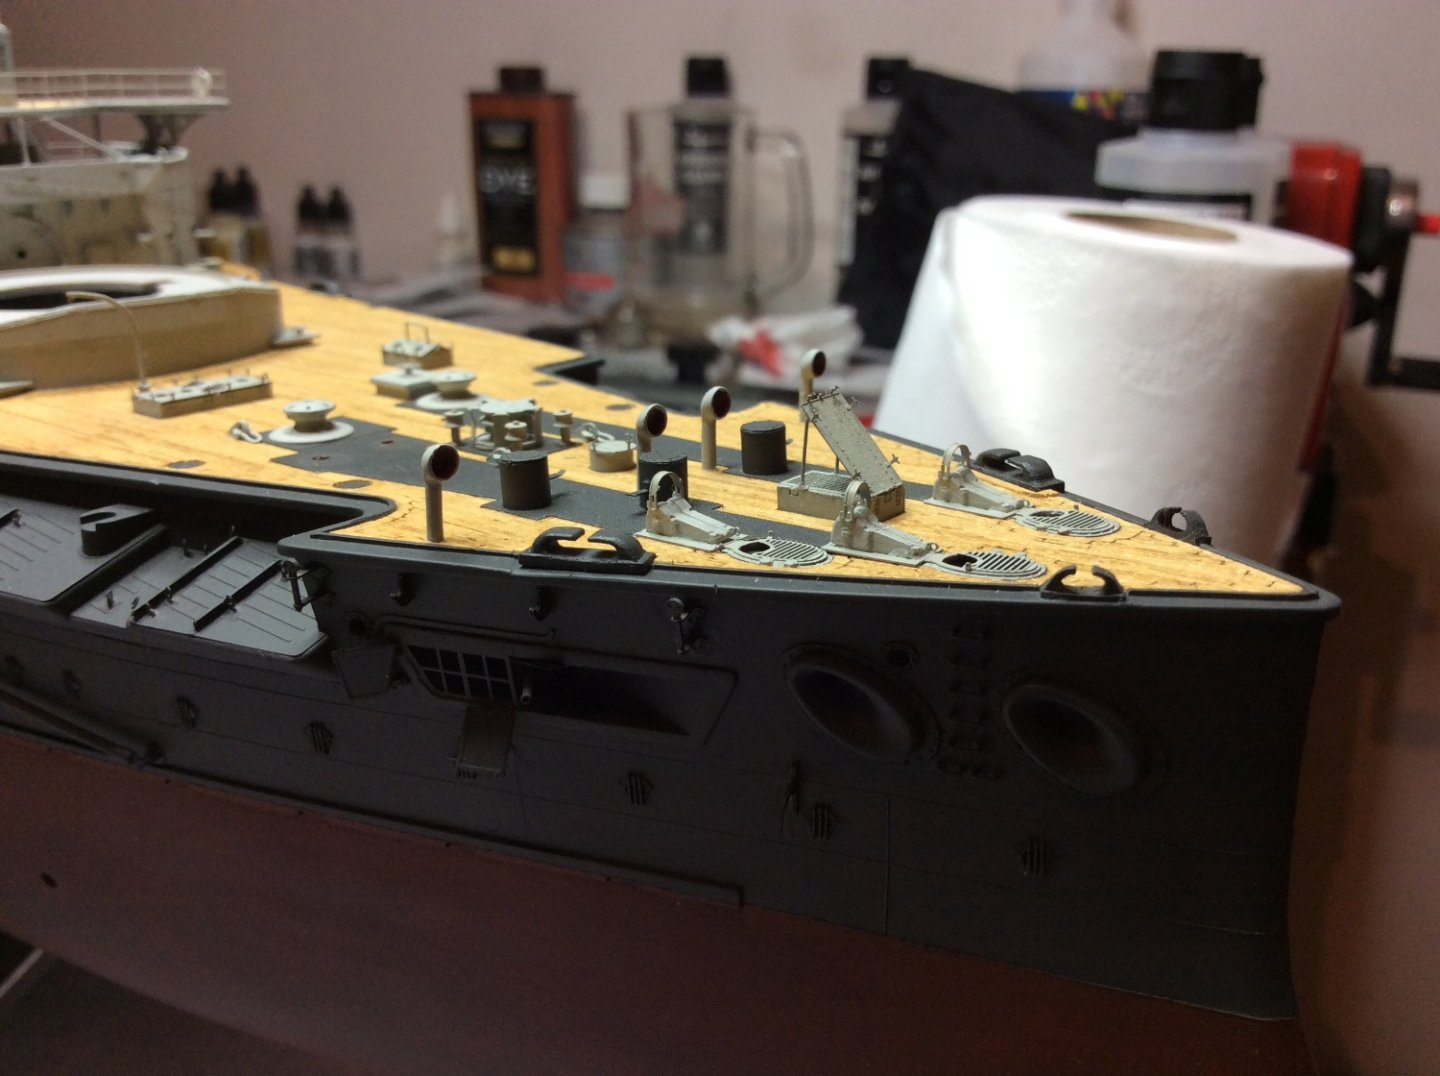
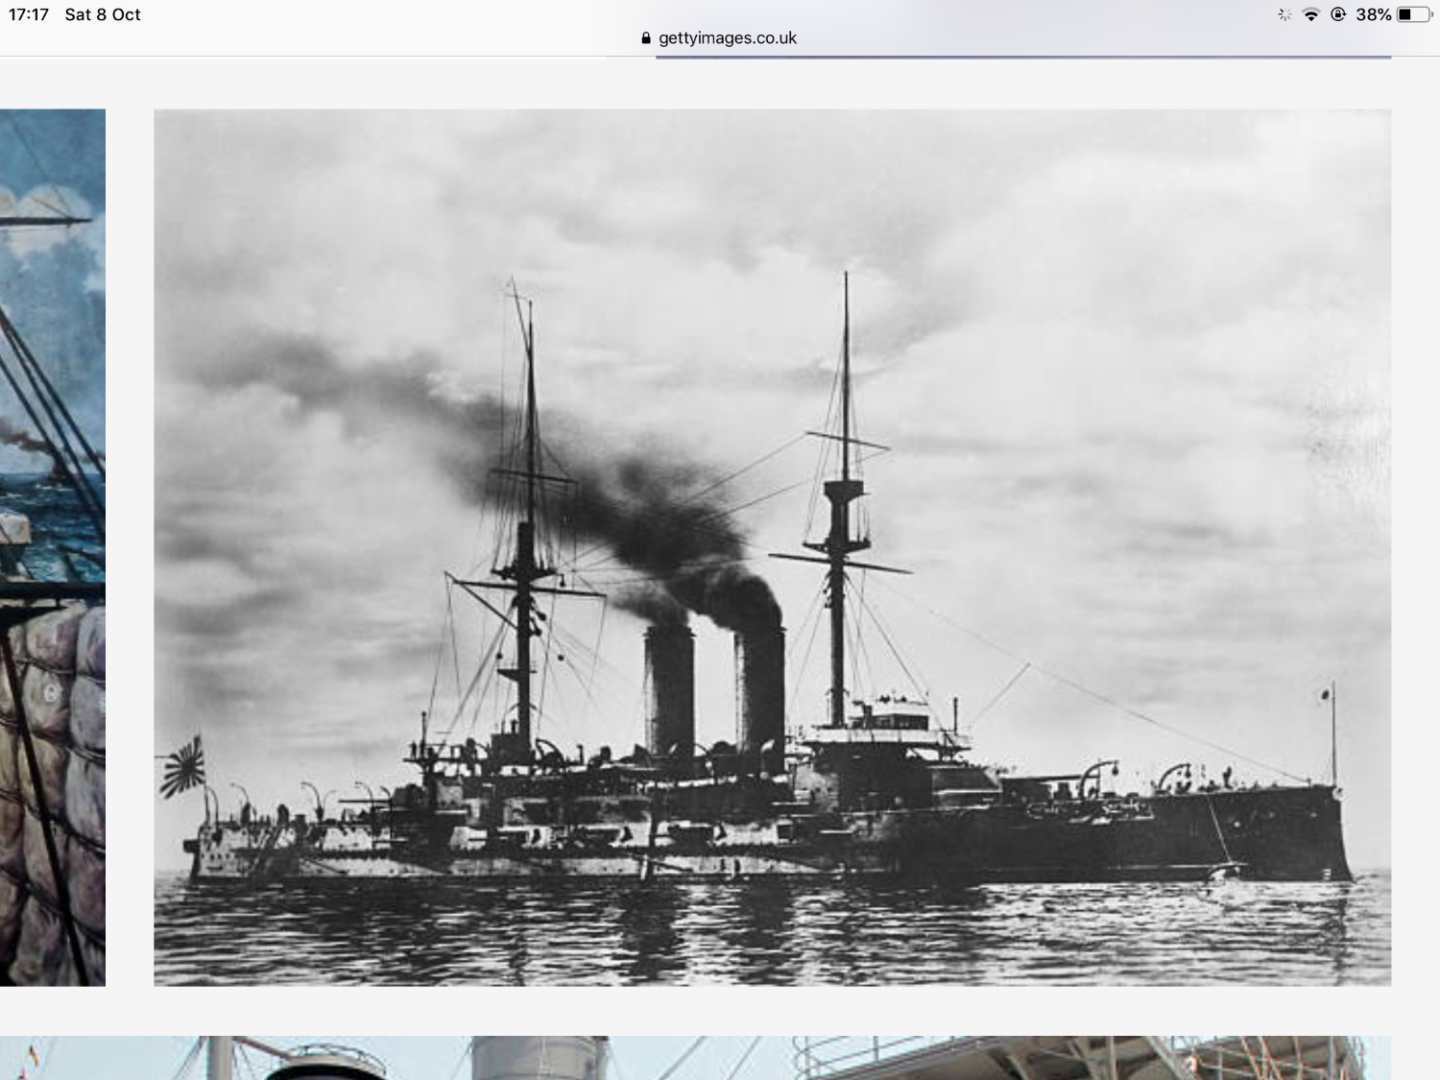
Also a photo of HMS Vengence from 1899 also built by same yard, shows how all the ships were similar at this period. I did guess the area for these based on three cowels drilling deck for one in middle, only to realise that there are four cowels so refigured the position. So I now have a small hole to fix. 🙄 Since I am not using the kit 50ft pinnace I have the six cowels to play with from these, so hollowed out a little of the plastic then painted the inside the hull colour, only to change my mind and paint them same colour as the big ones along boat deck, this works better for me. You get an idea when you look at Vengeance, similar effect. 👍

-
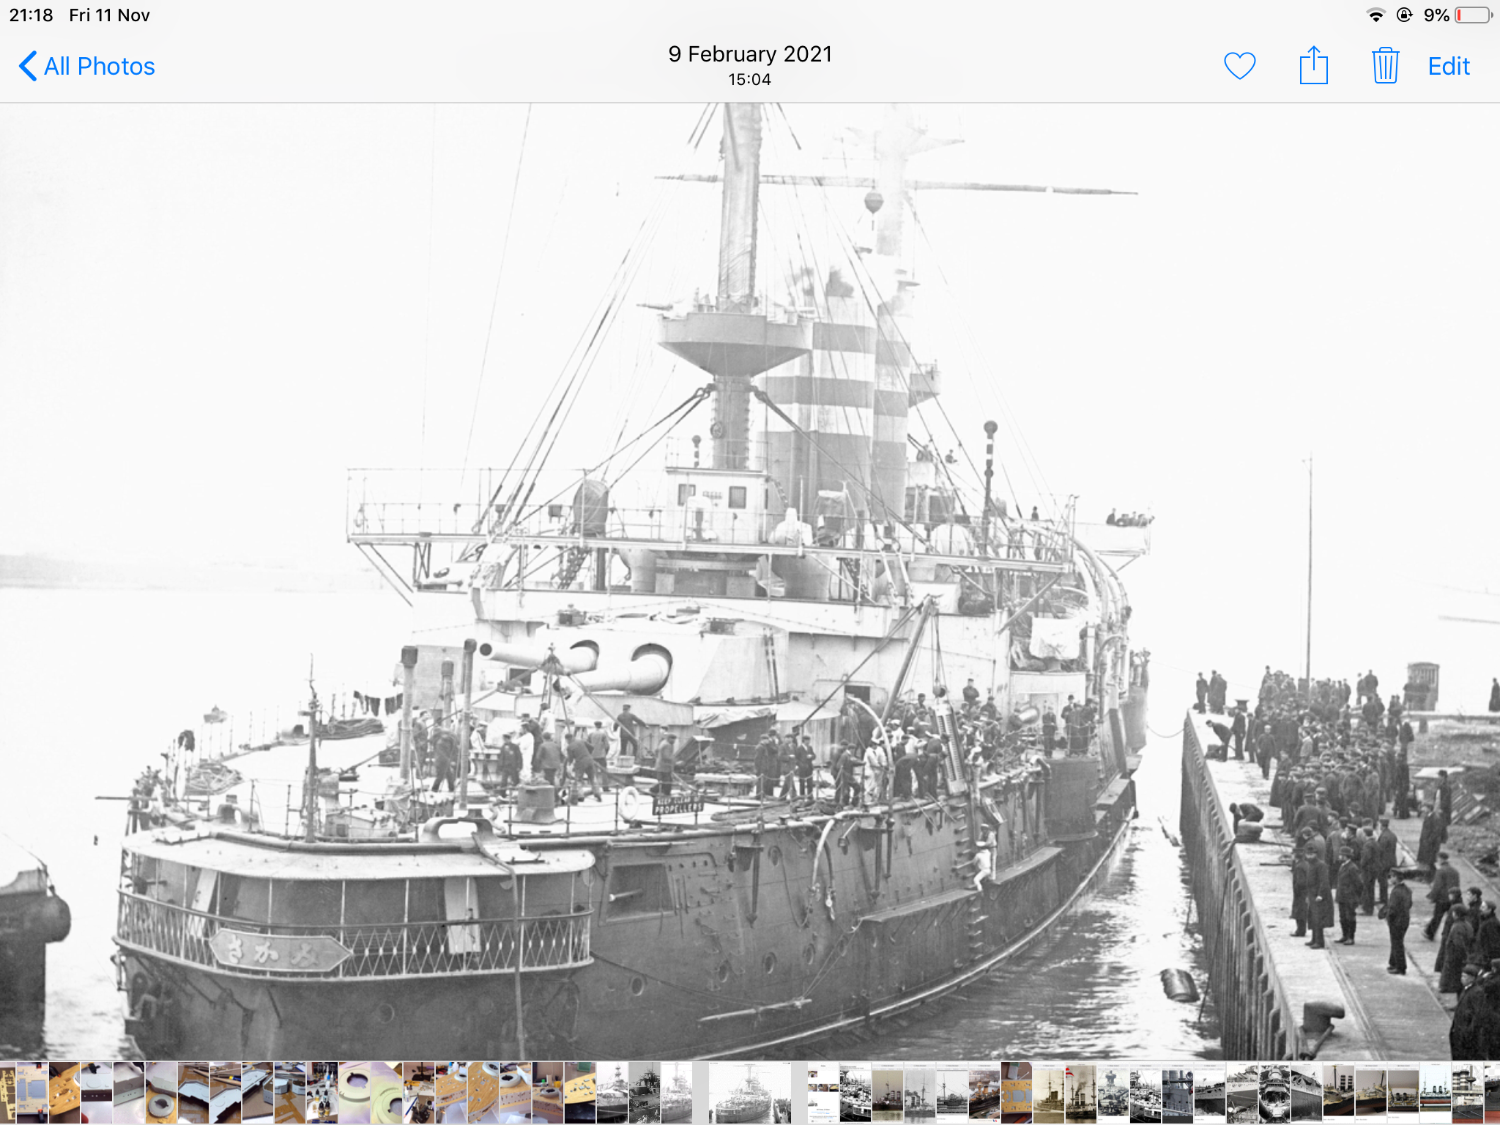
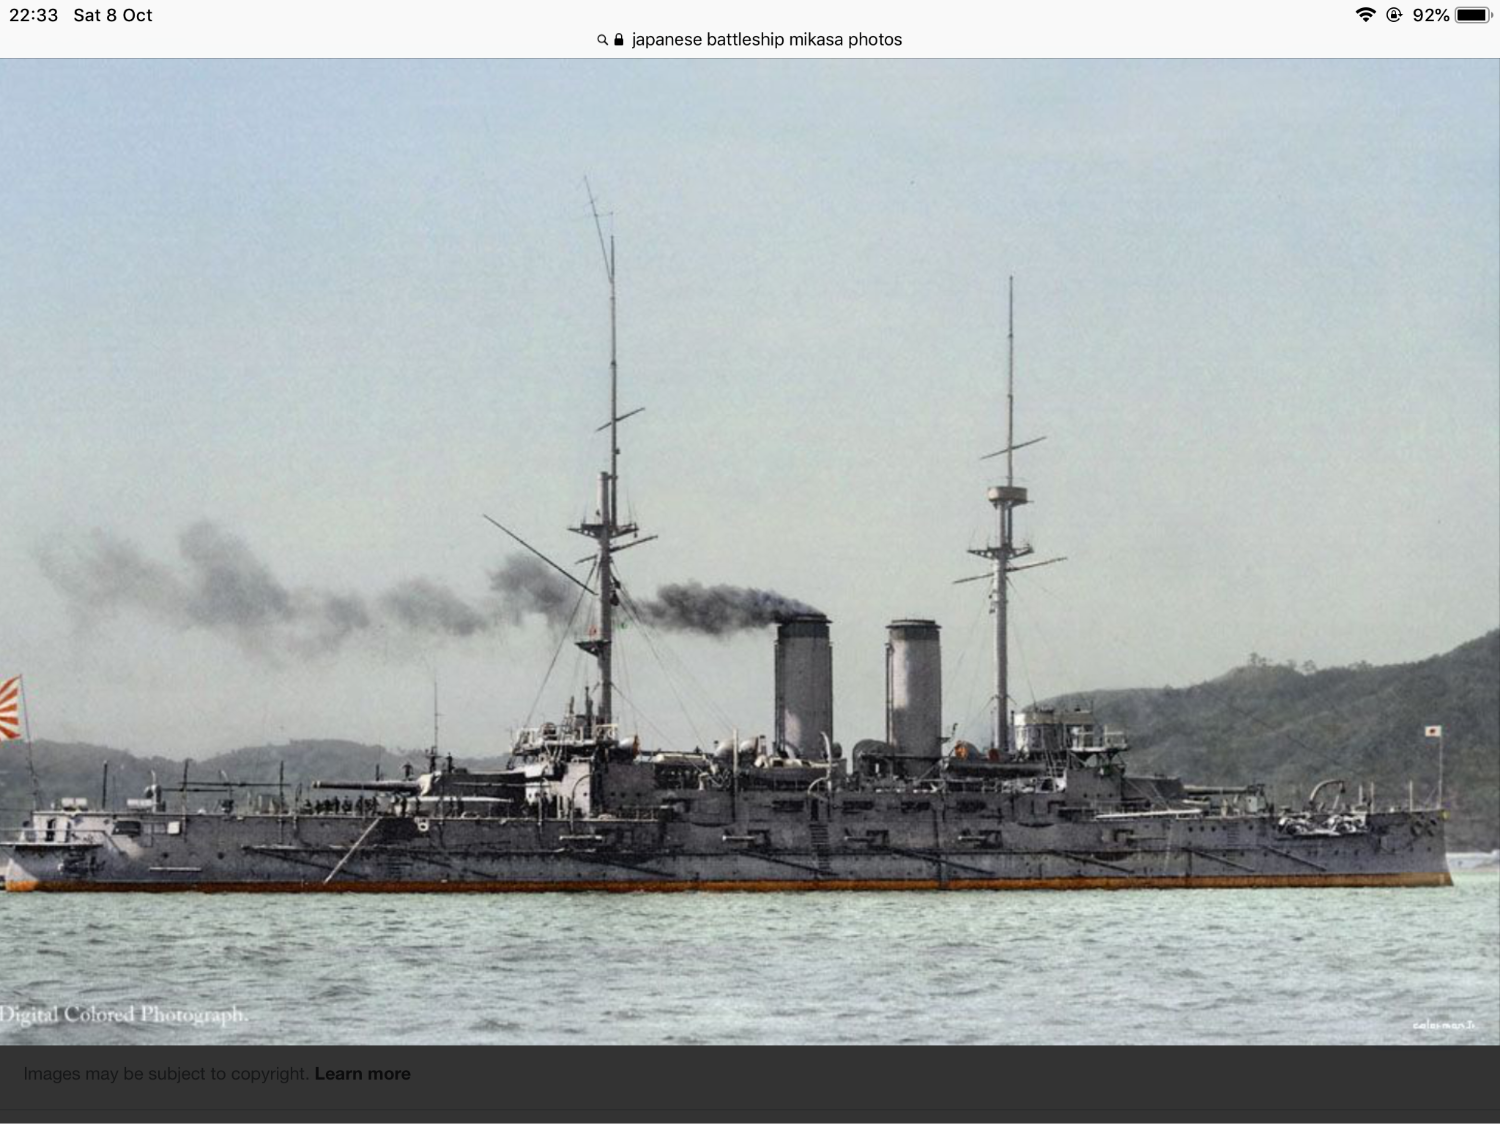
Did a little bit more on extra details, working on old photos of Mikasa as reference, I did notice the three ships cowels on fore deck in anchor area just towards bow. Shall show photo.


-
Thanks Rodger, appreciate your comments, the truth is I thought I was getting away from the madness in 1/350 and 1/700 scale, it’s not working out that way, they just shrink the madness into 1/200 scale lol. 🤪 On a positive note she is a lovely model to have in ones collection and am learning a lot, some through mistakes. But I’m sure my son will love it when it’s finished. Then I can move on to the Bismarck which I’m guessing will be a lot more straightforward. 🤞
-
Thanks for that, I have to say I’m not being modest when I say this is pushing me to my limits, don’t find this easy at all in fact my better half has shouted upstairs that I’m supposed to be enjoying this, it’s your hobby, more than a few times 😂 Please tell me I’m not the only one who has these problems. 😂 And yes it is the Arizona in background, my first build in this scale, and really enjoyed it, was a lot easier than the Mikasa 👀 there are some photos of her further back in my build log for Mikasa, did the same with Arizona as Saltydog did with his Mikasa in as much as didn’t paint the etch so as to highlight the work that goes into building a ship model, still to do a bit on her painting wise when I get the time. Thanks for your comment, always encouraging when someone likes what you are doing. 🤛
-
Think you are going to enjoy building this Tim, clad I stumbled across your build whilst looking on Mikasa Meuseum page, not going to rush to get up to date, just going to take it all in, like it though, I’m presently working on fore mast, making corrections when you see the difference you wonder how Pontos never spotted the errors, not that I don’t make them. It’s a slogging match for sure but it gets better closer to the end. 👍
-
Glad to have found your build Tim, what you did to simulate the hull plating after painting was really effective wish I had done this. 👍🤛
-
On Mikasa’s ships boats I said at start of build a really nice set of resin boats would really enhance this model, no takers yet. Person in model club said try MicroMaster Shapeways, did and came up with some success, ongoing, found the 50 ft Pinnace, the kit one is two large in this scale, still waiting on it and some other boats to arrive, fingers x on this.


-
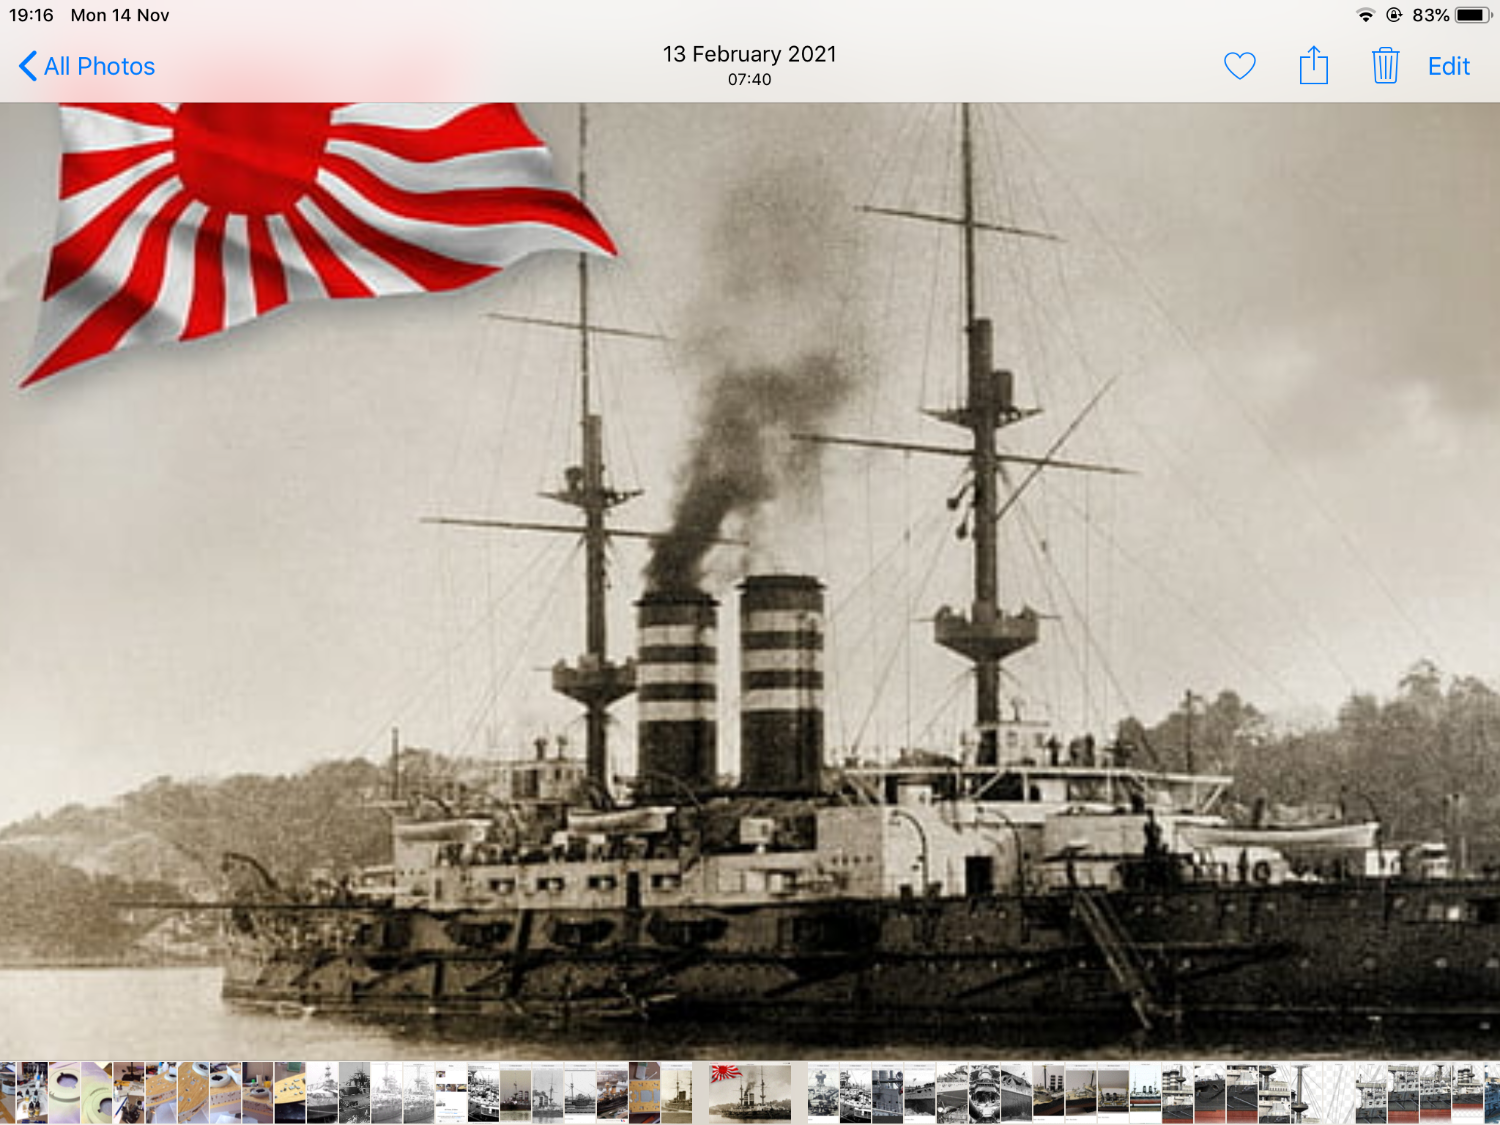
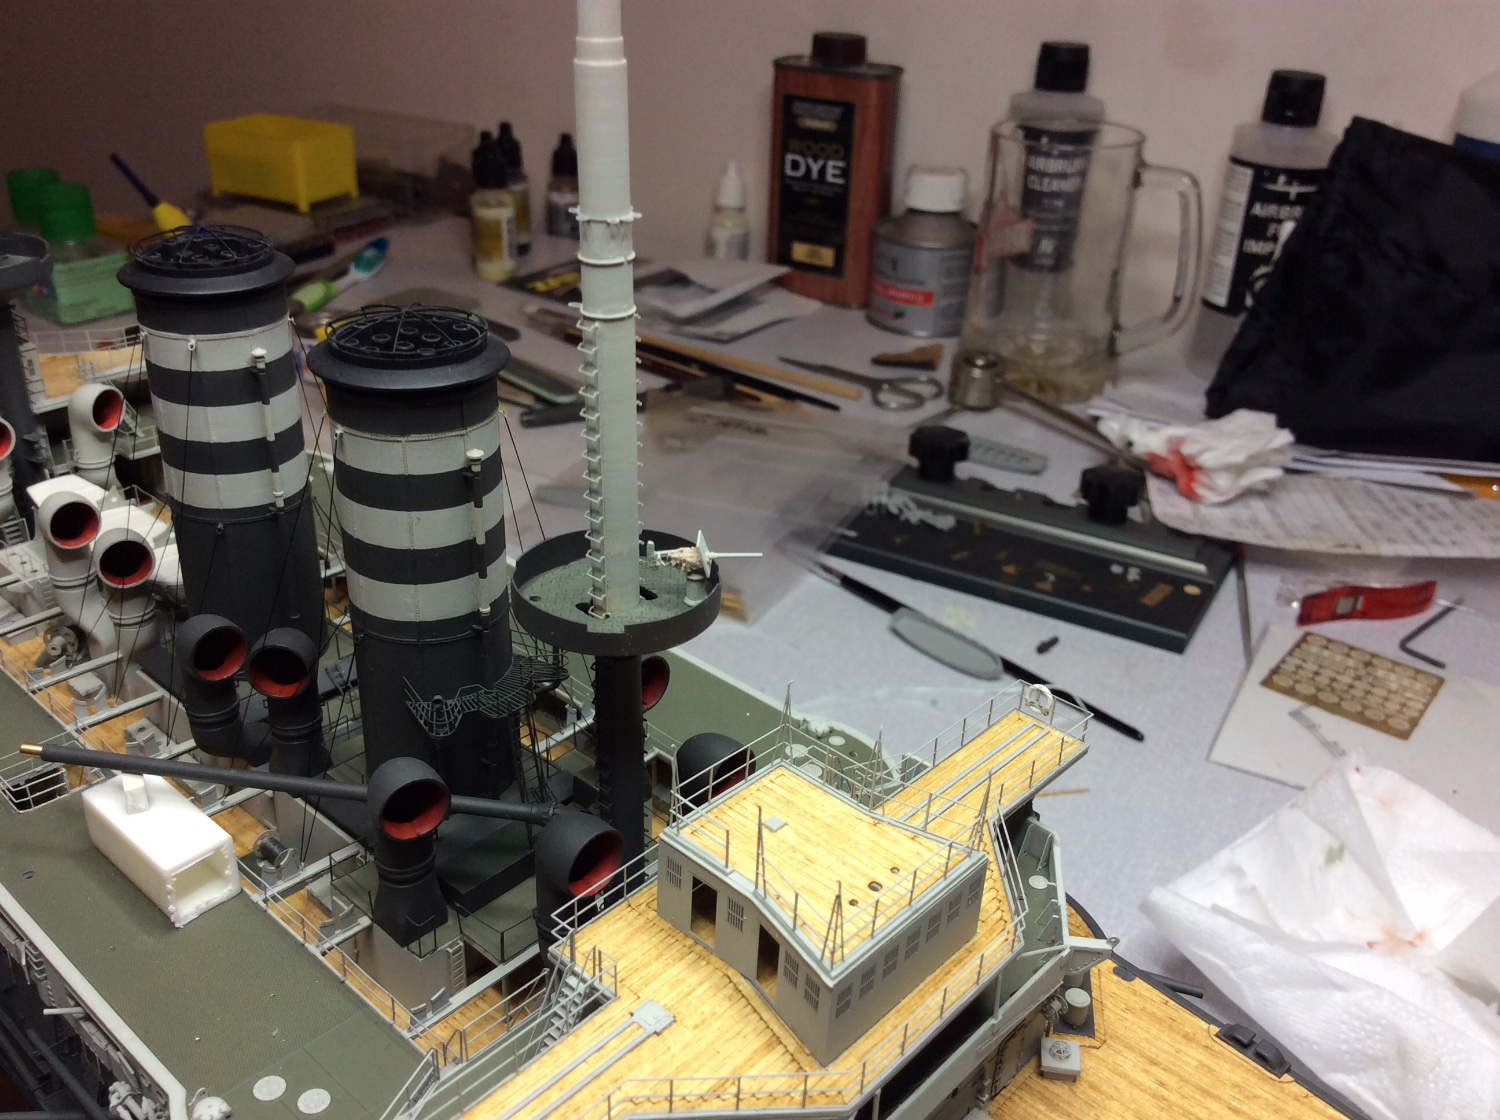
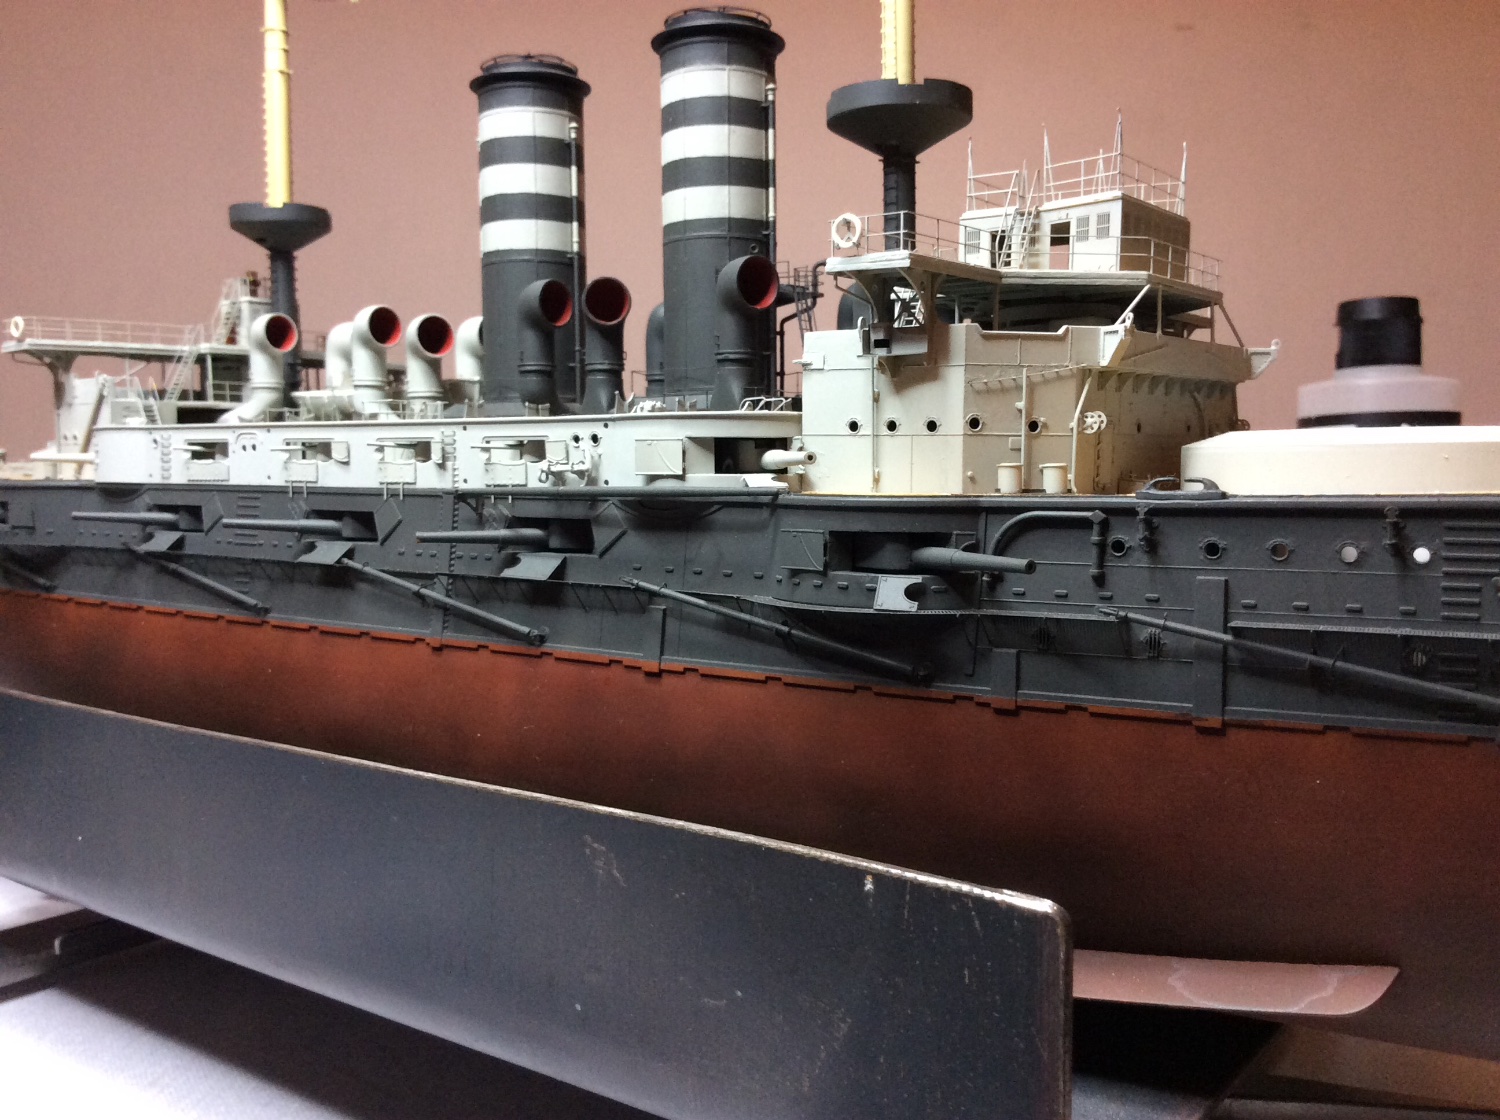
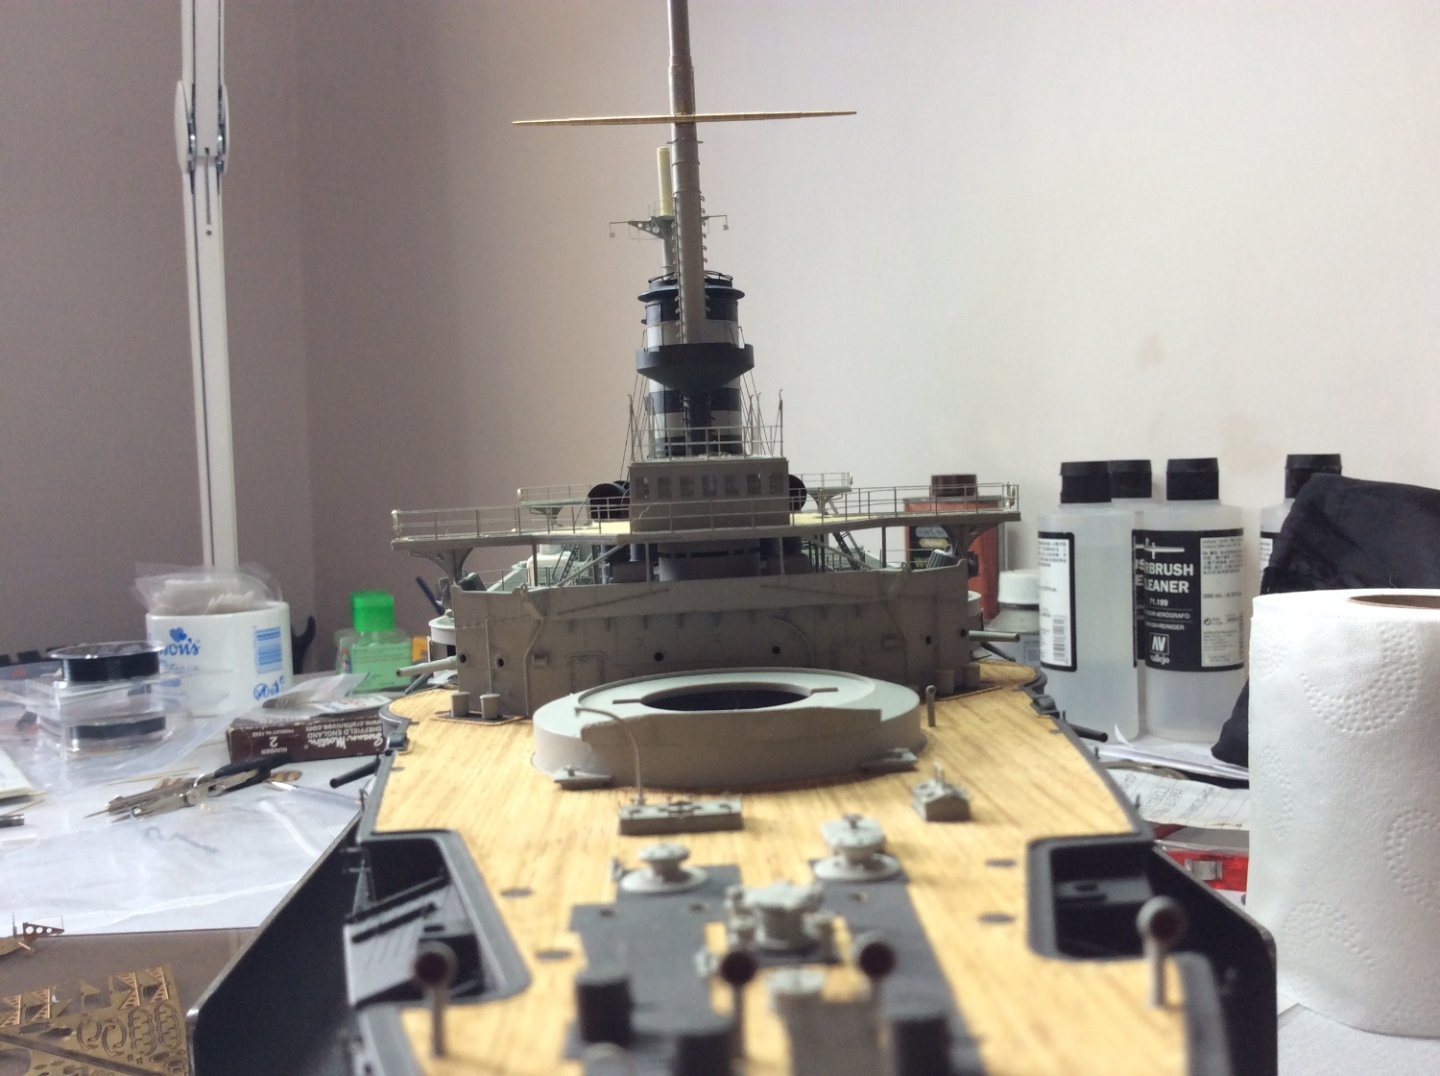
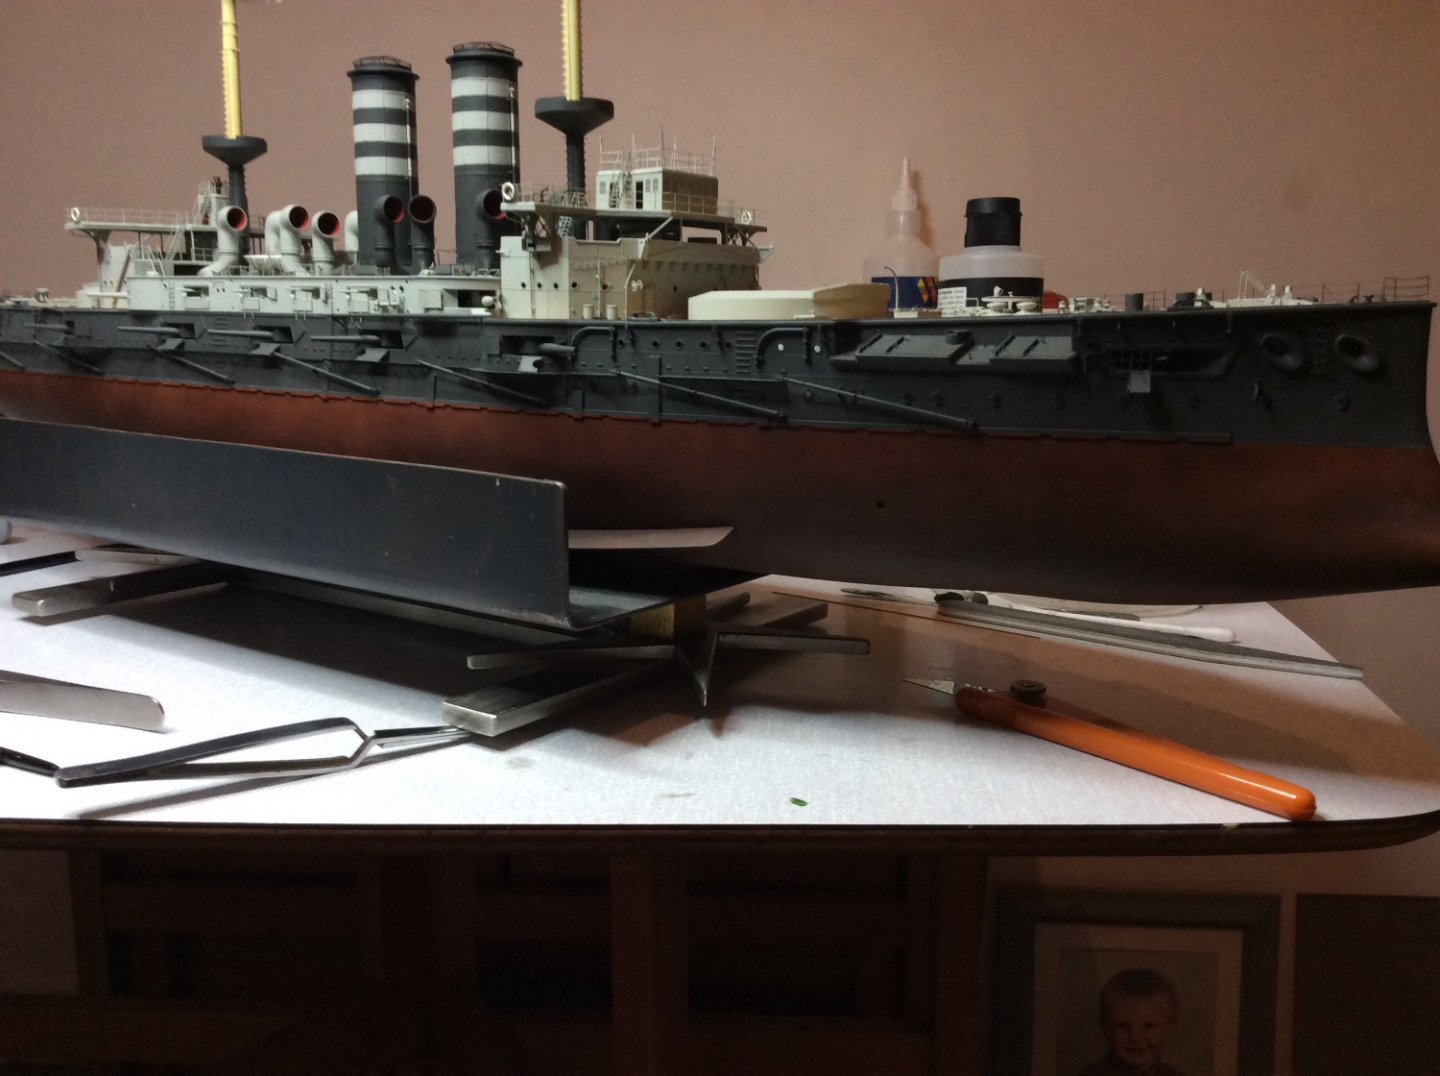
As I mentioned earlier, I have decided to change the colours on my masts, again a case of using the Force, deciding on the light grey and tyre wall black, also on the masts, the spars are two high and not long enough, this means quite a lot of modifications, so going to stick with it and try to change this area slightly, is it worth the bother ? won’t know till I’ve tried it. 🤞Some early photos show the bottom spars about the same width as bridge wing. put some photos up to show my point.


-
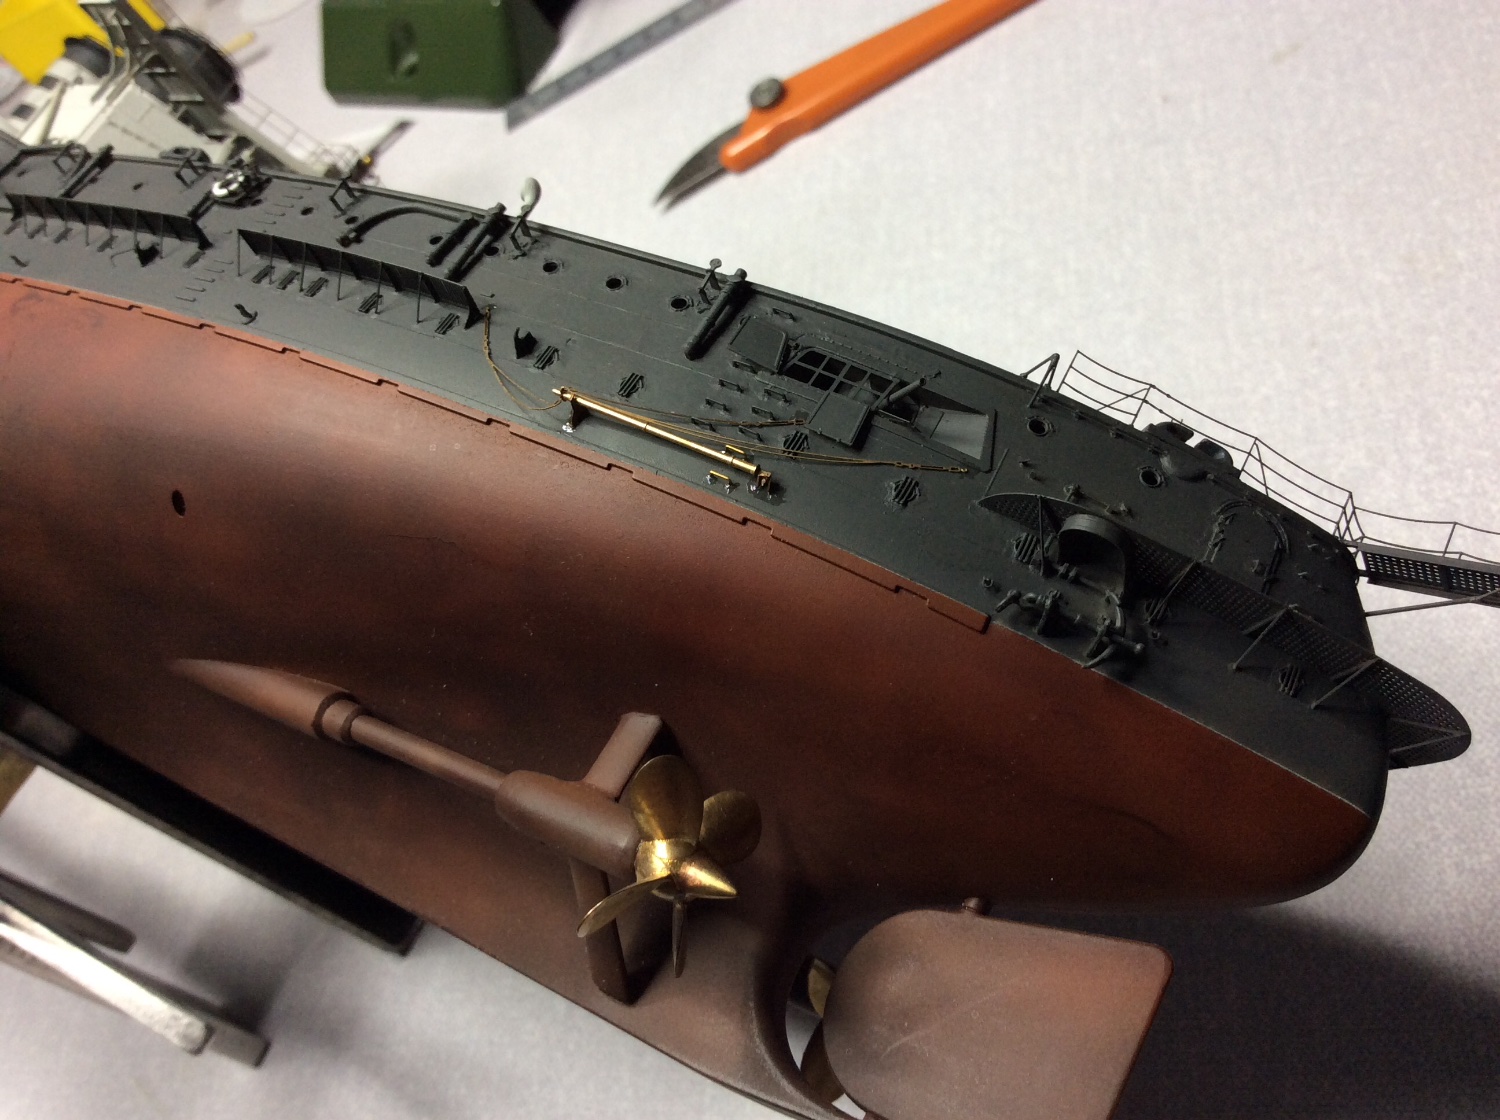
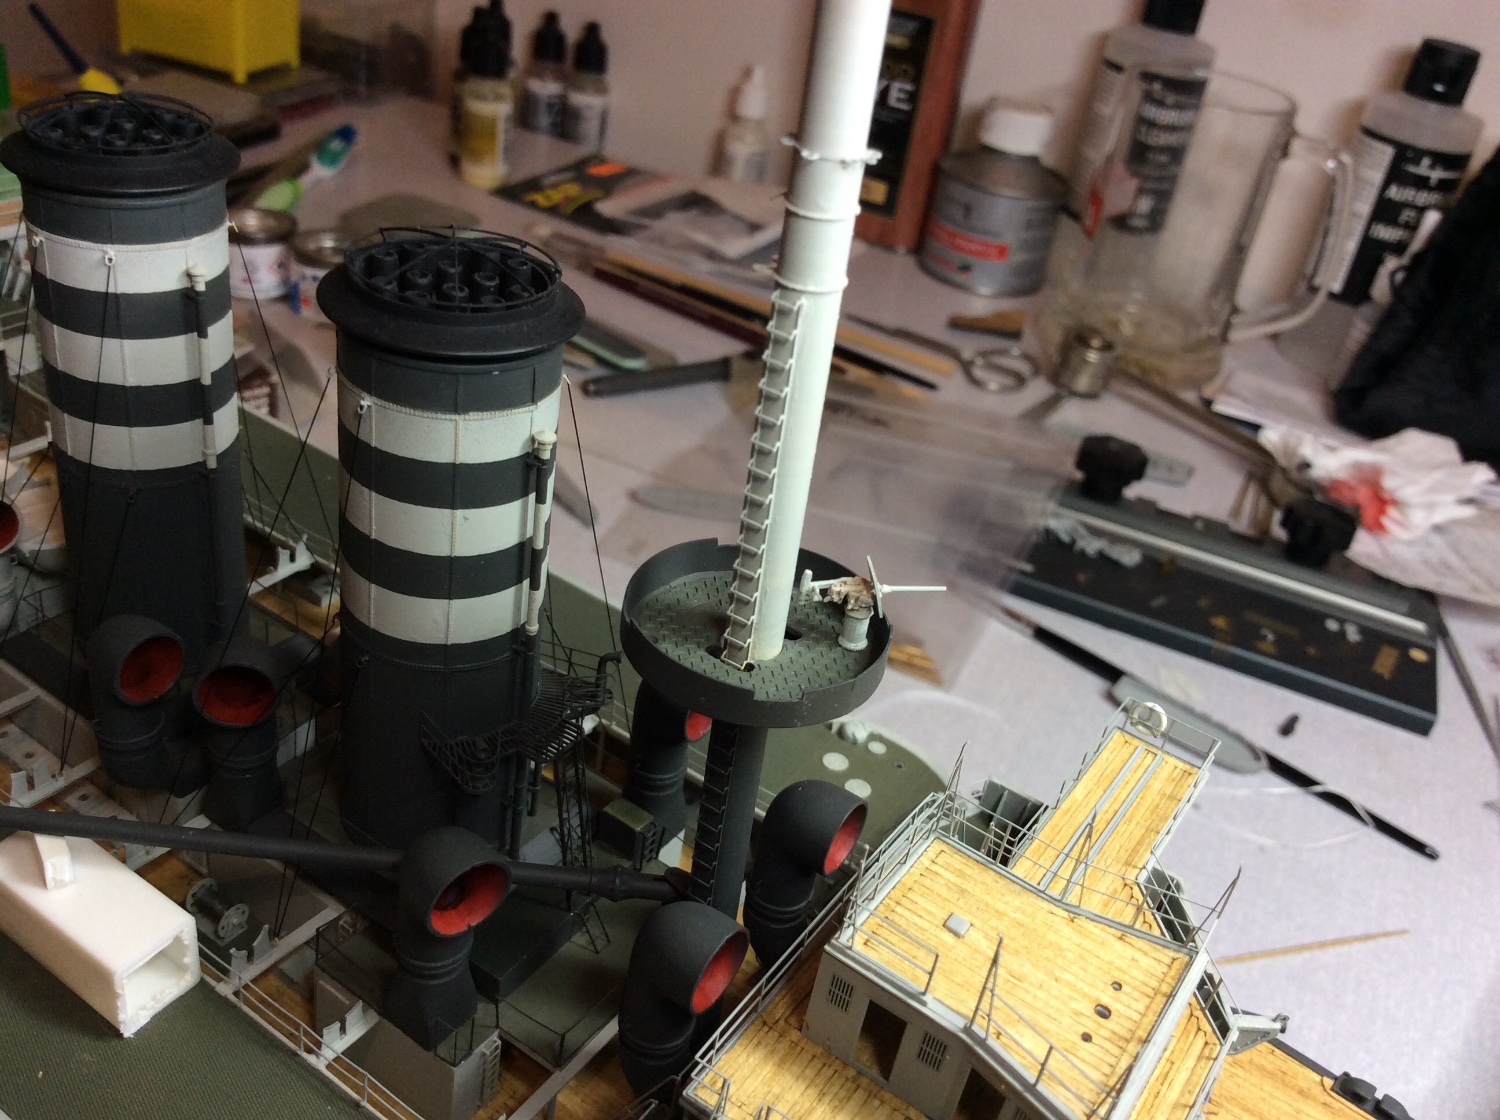
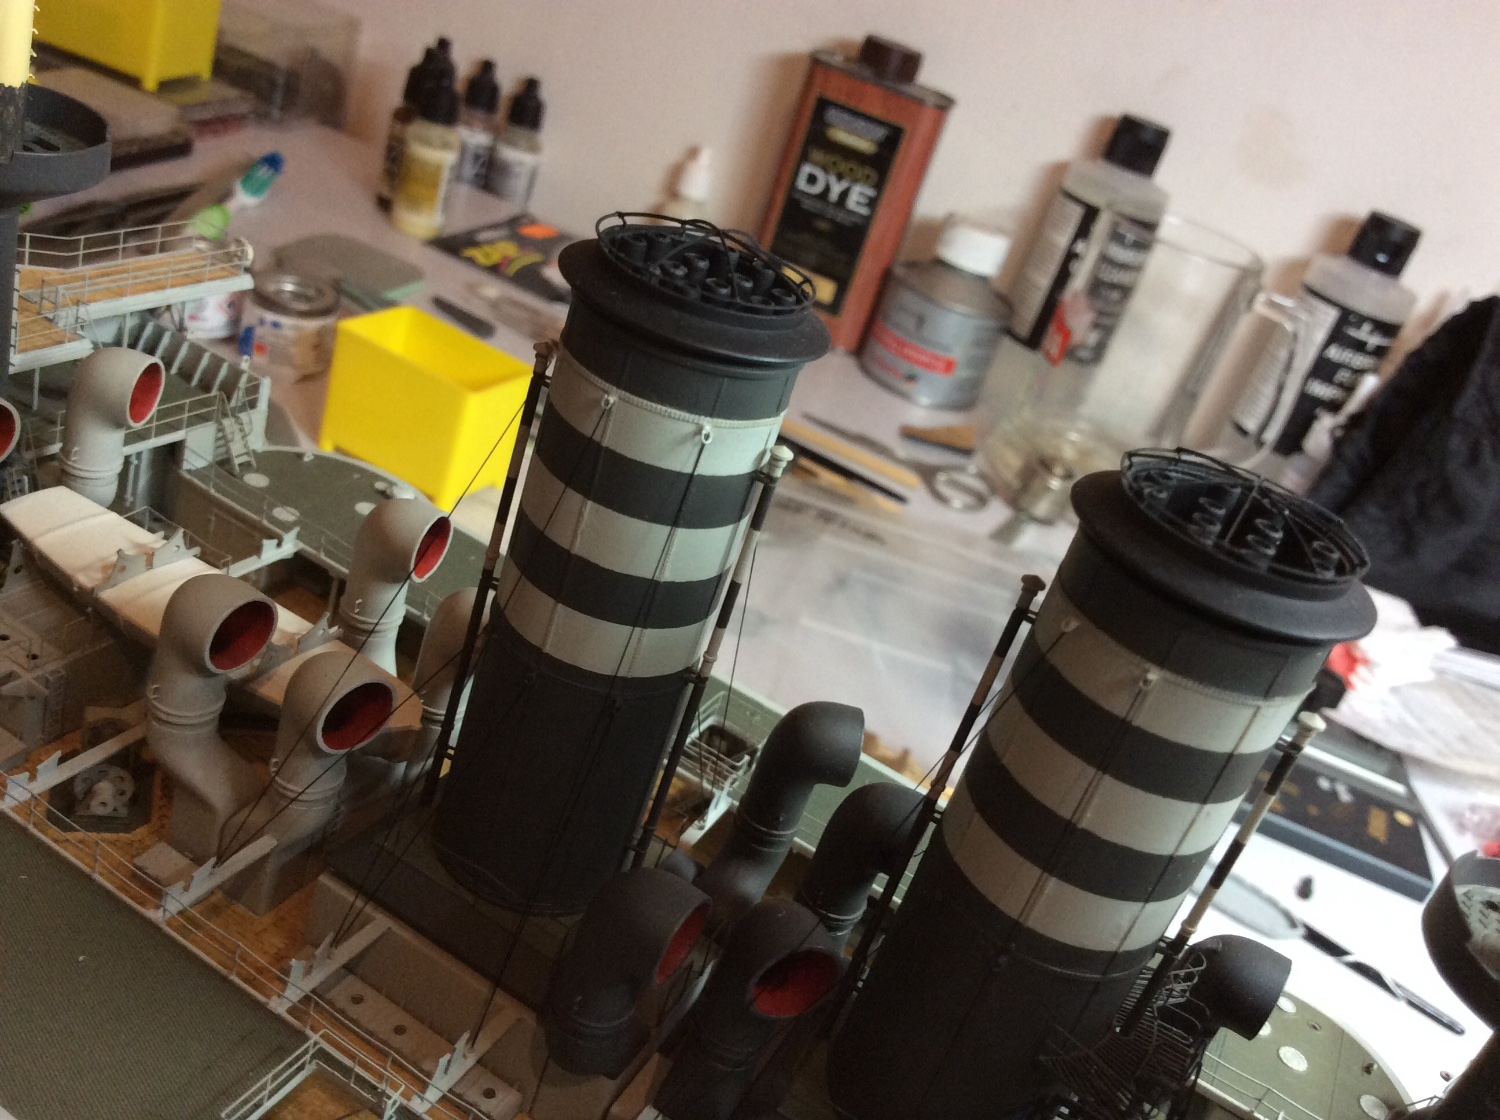
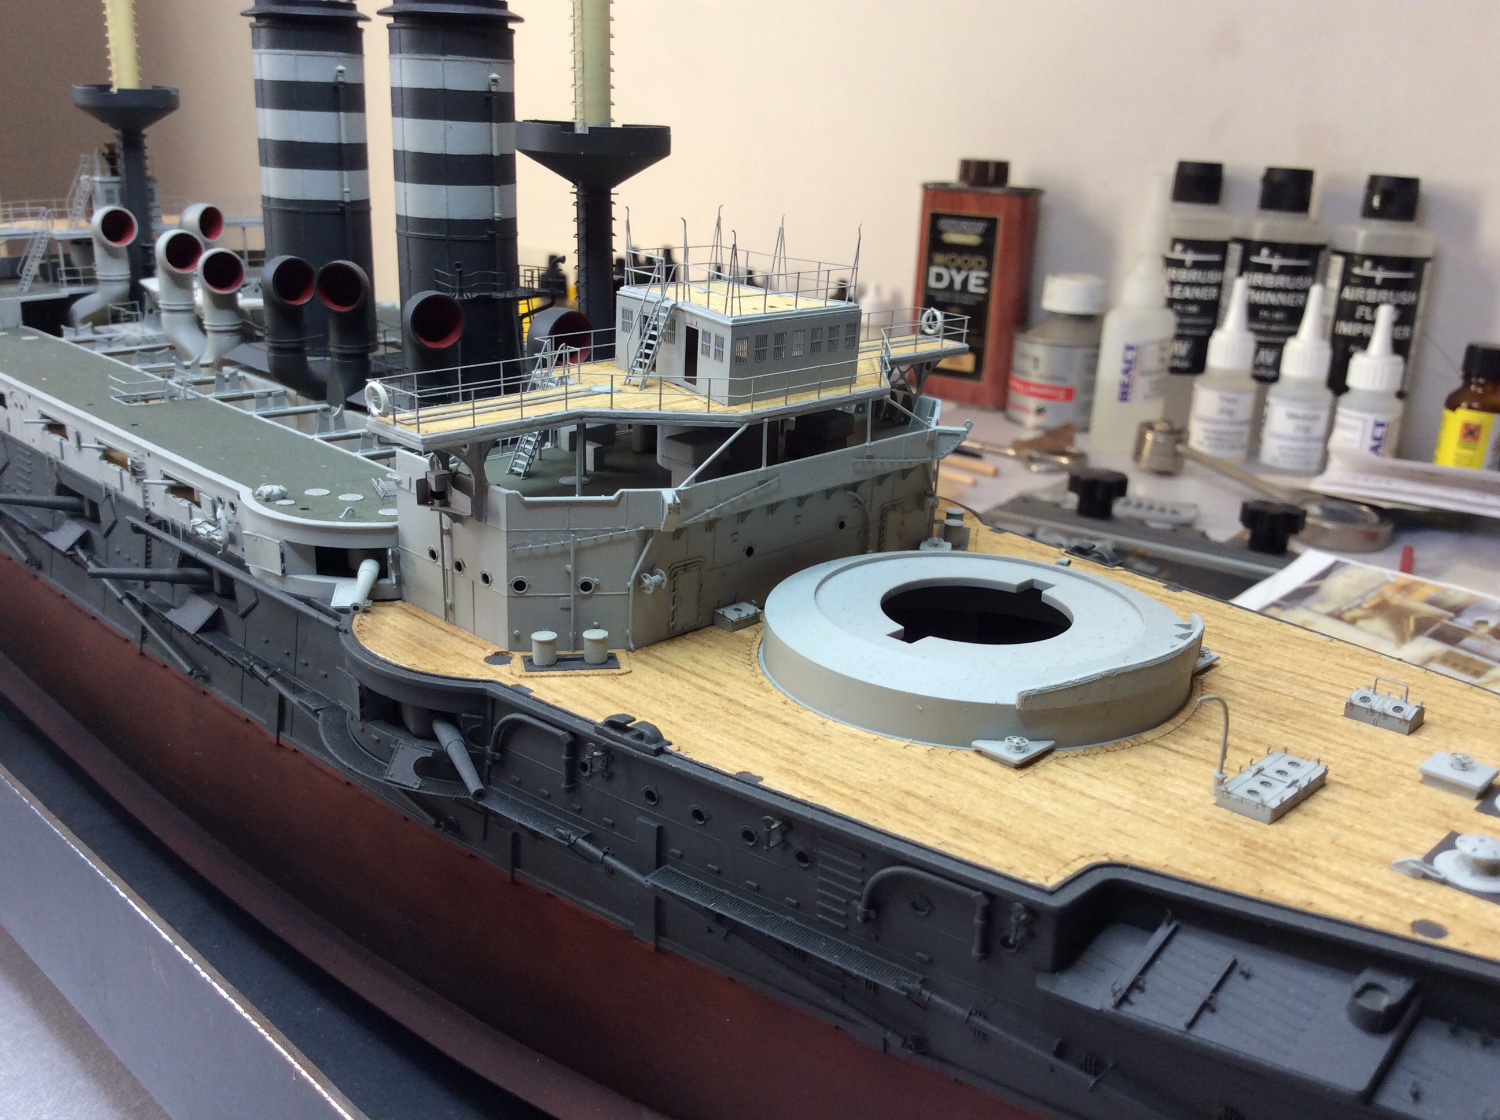
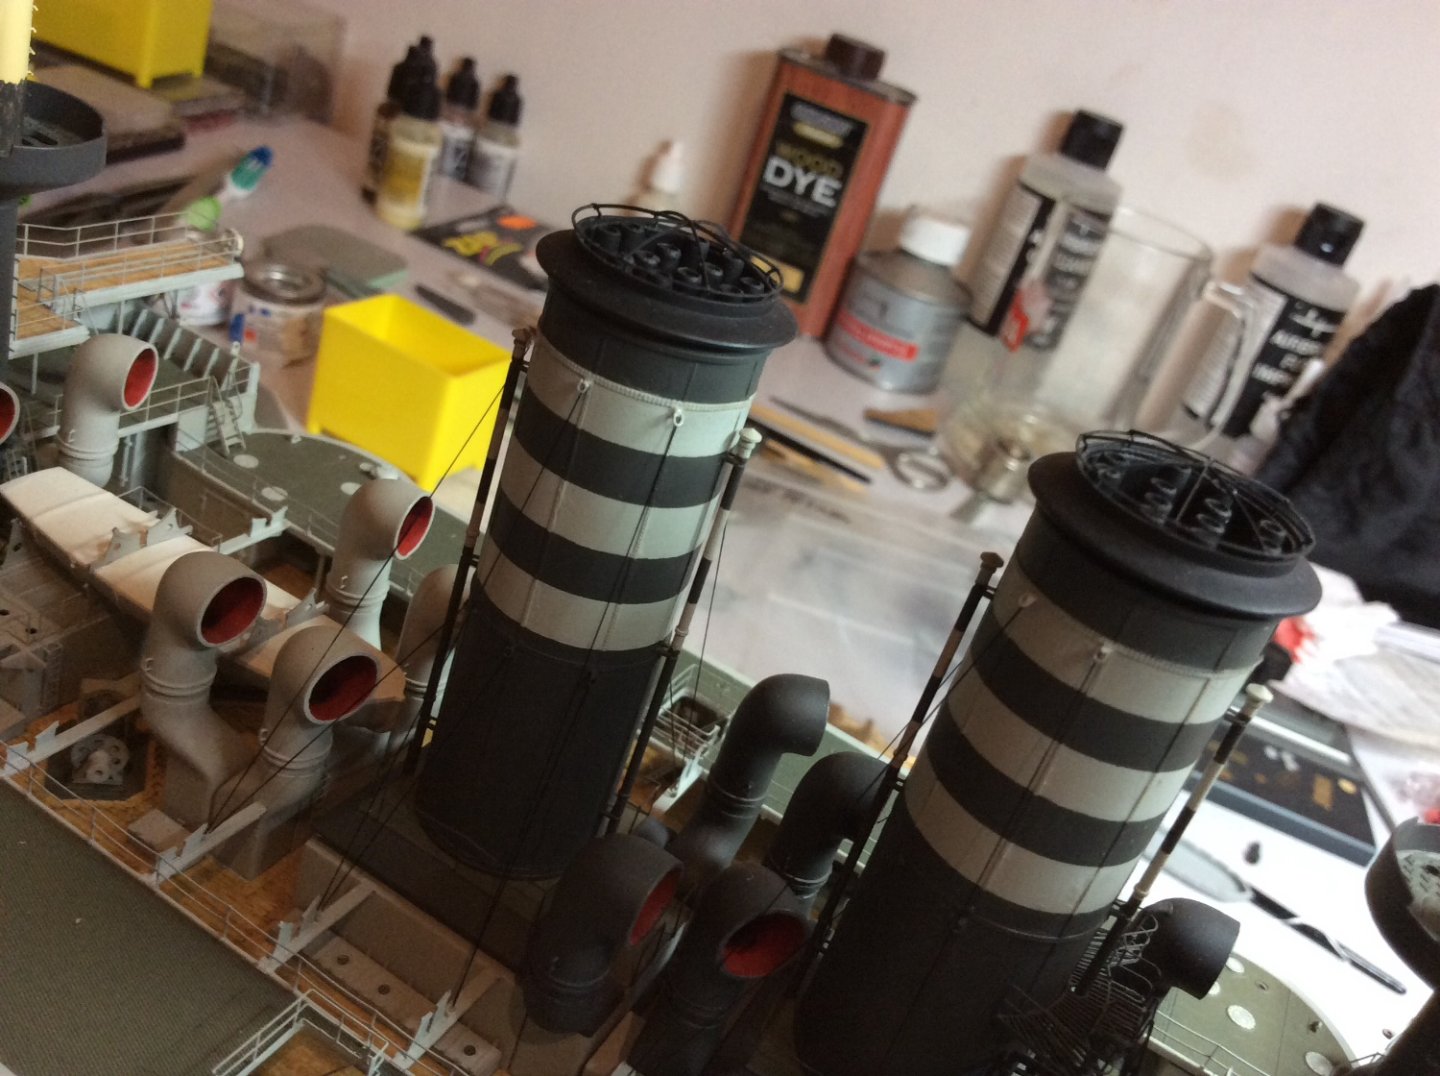
Hello again, hope everyone is well and have their Xmas wish list made out 😄 were was i with this build ? I’ll start with rigging on the chimneys,just kidding 😂since I was daft enough to buy another detail set I better use as much as I can. Used all the small shackle points for the funnel attachments for stays. Because she is quite hard to get cut and dry facts and photos on her, you just have to be like Luke Skywalker, use the Force 🤪. Got some advice from guys in model club on doing this👍 Turns out not to difficult, but you do have to be careful when working around the model at this stage, so easy to damage, when trying to glue some of rigging, steadying my hand I felt something give a little, god it was one of the twelve pounder guns underneath the boat deck, so that one isn’t as secure as I would want, then I thought imagine if I totally dislodged it, you’d never be able to reset it, you’d have to reset the gun hatches in the shut position. Took this as a warning shot across the bows, if you take this model on I’m sure you’ll feel the same way. Put some photos up to show progress, be easy on me I’ve never done this before.


-
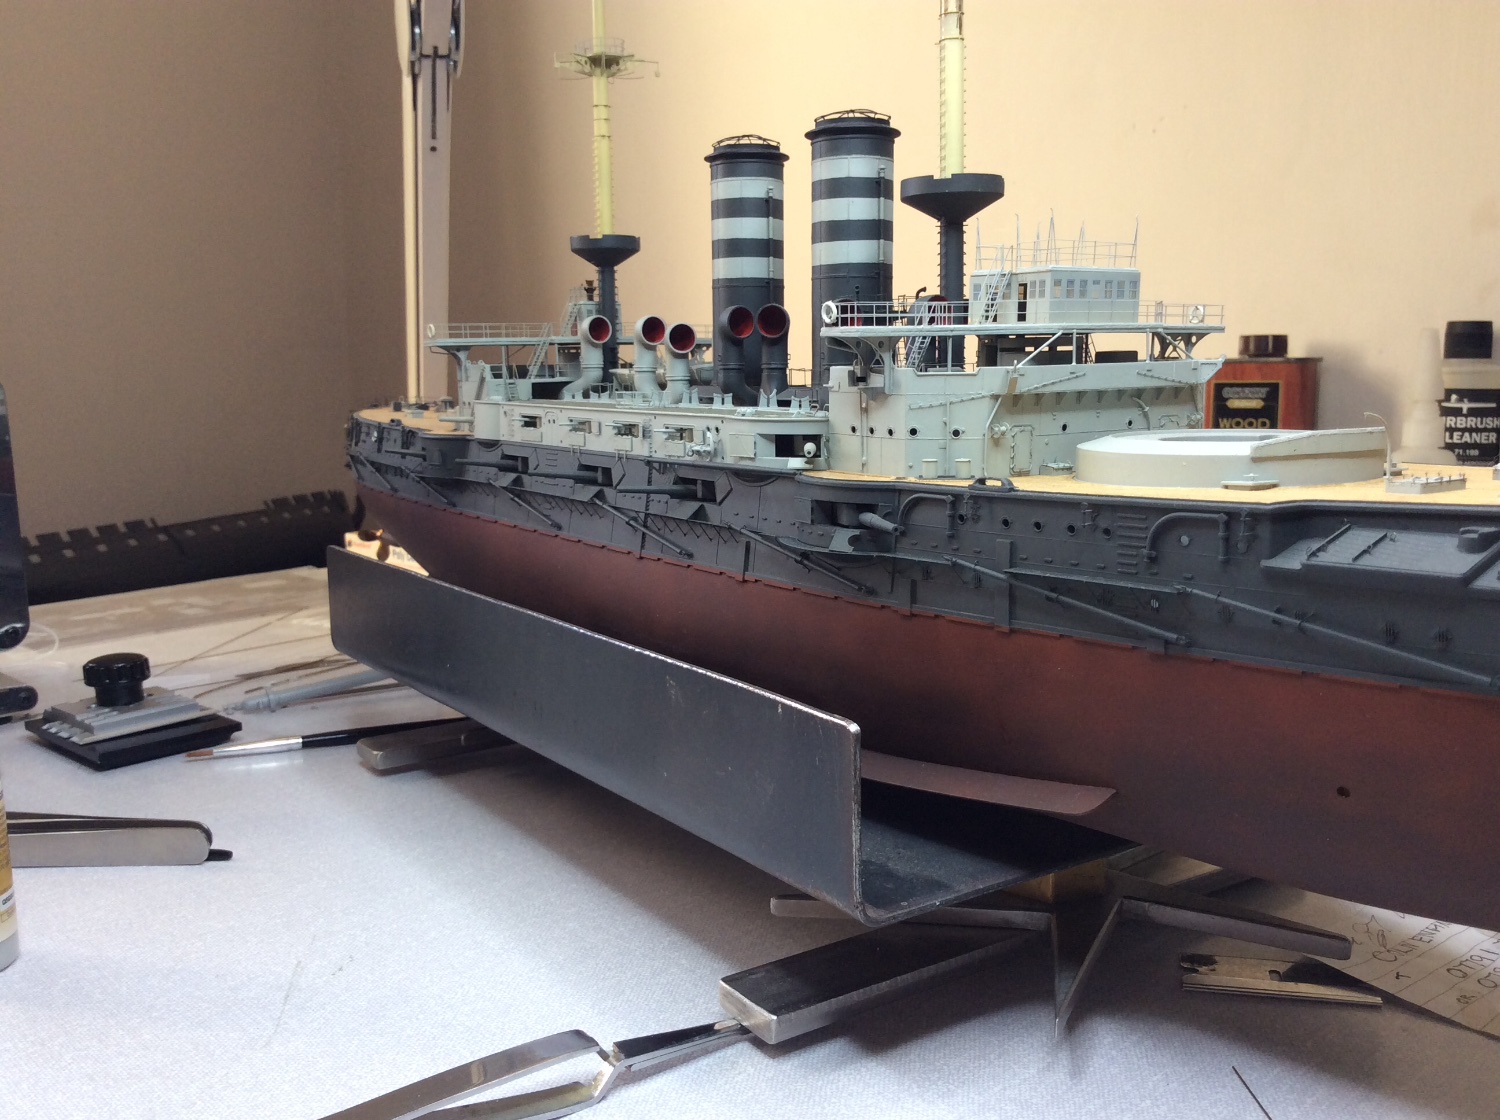
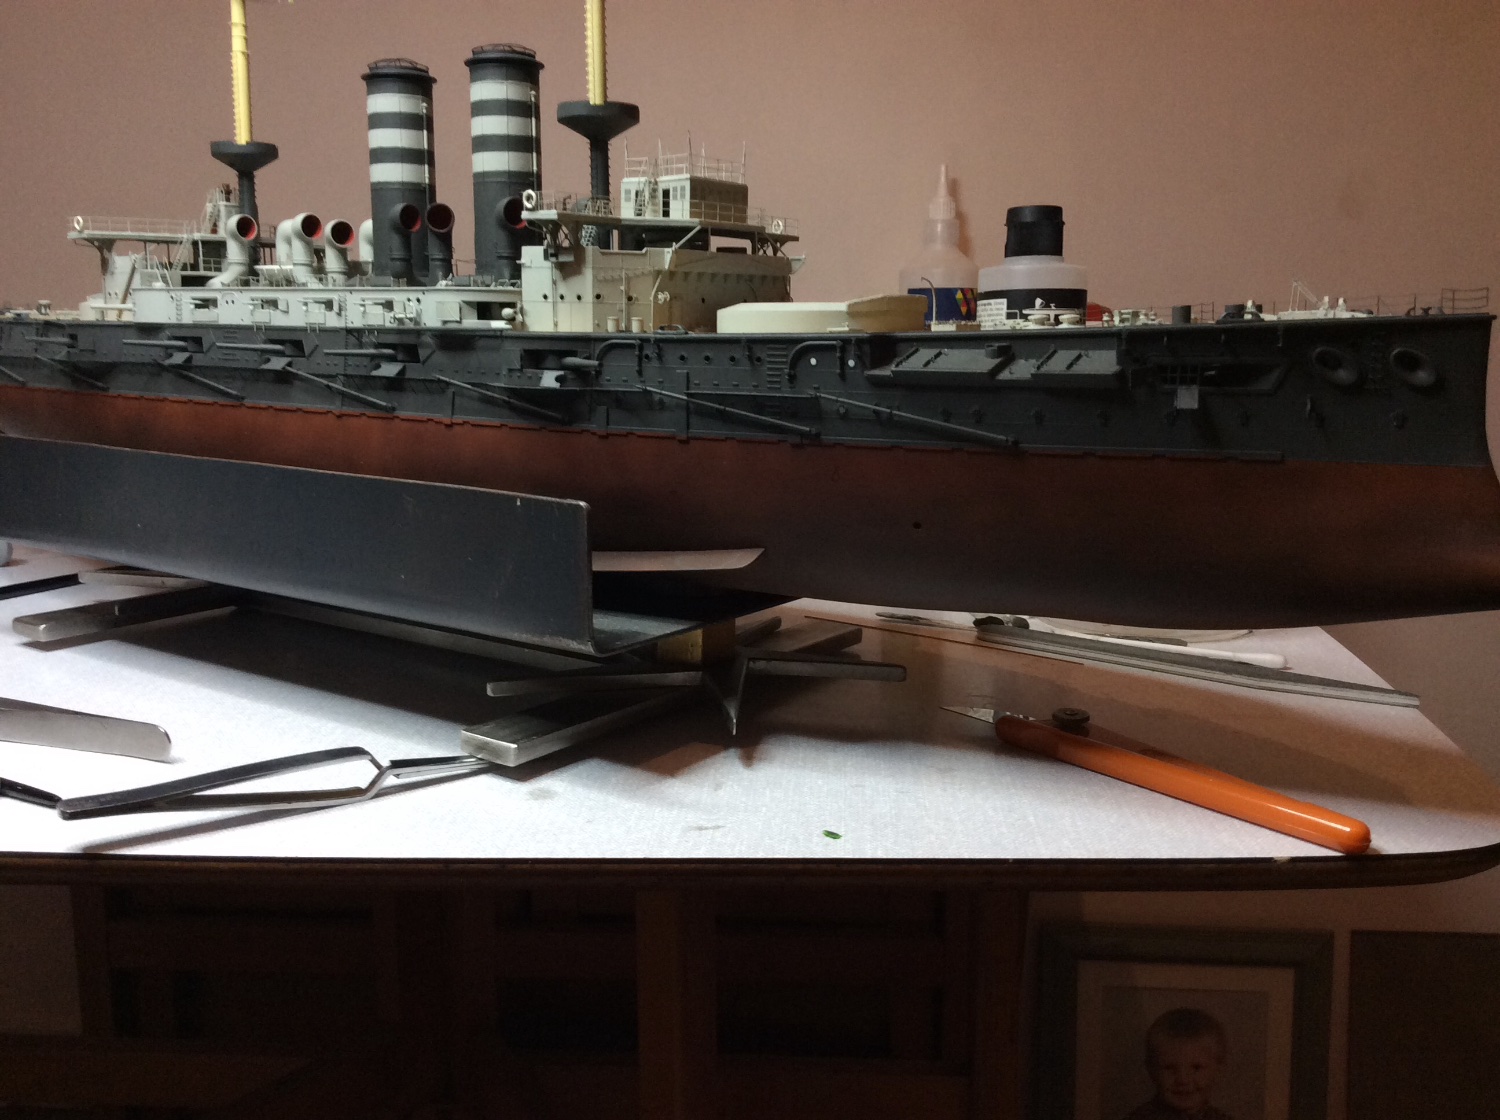
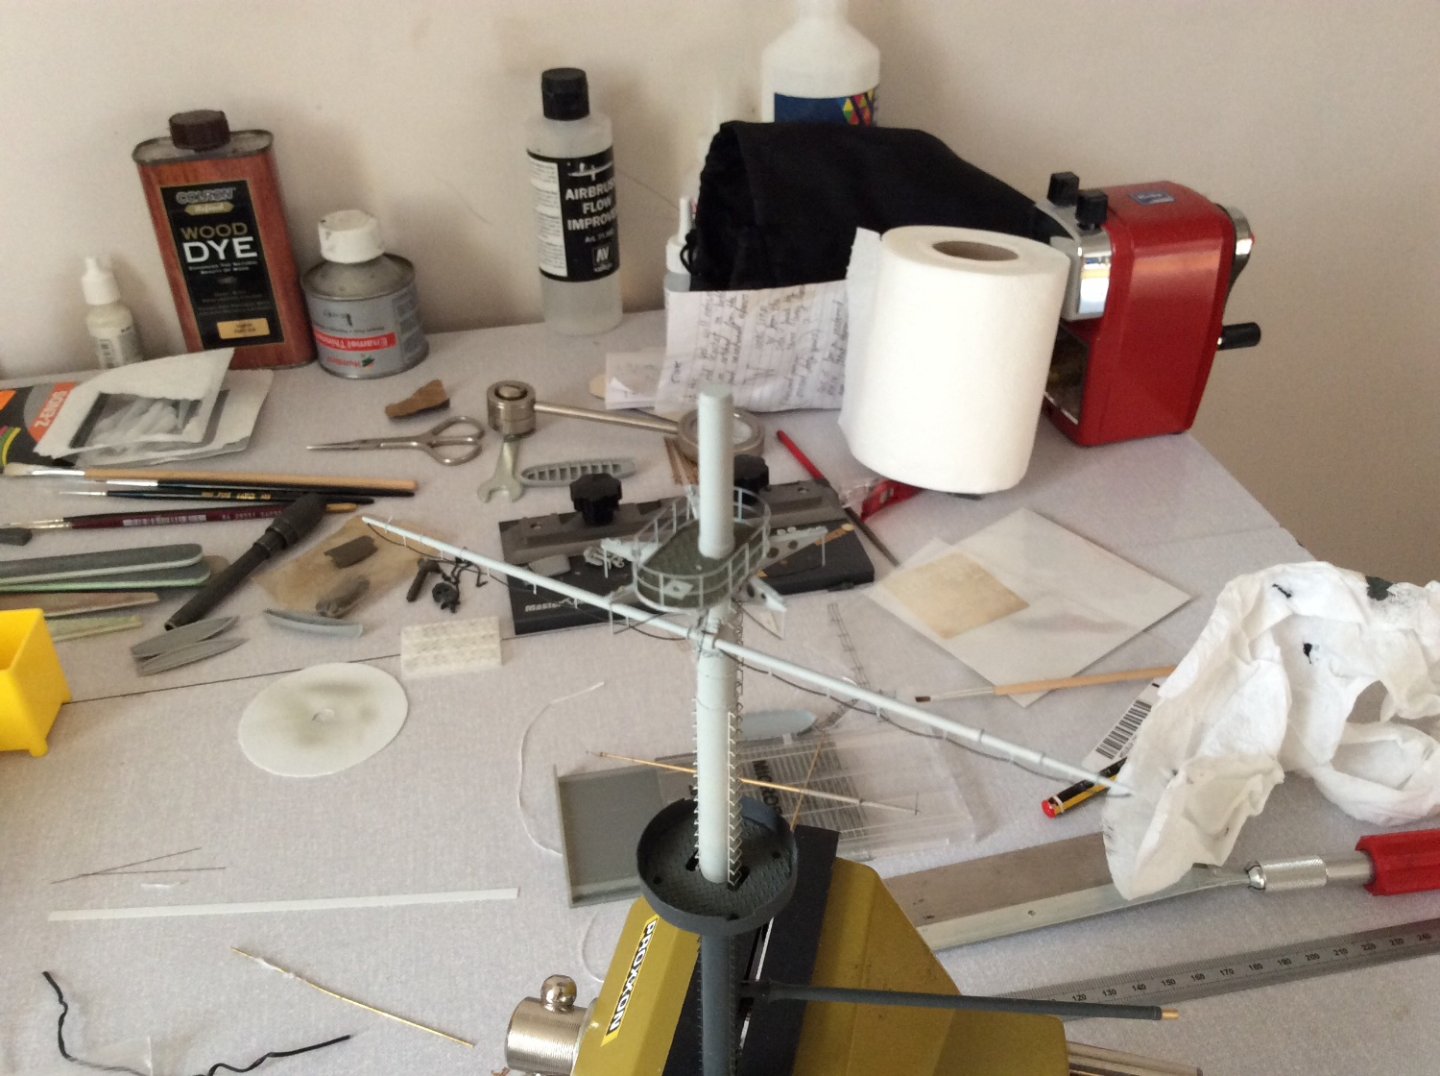
Actually this works really well on a lot of counts, designed it to support the ship on its side giving enough distance for clearance on the six inch guns pointing outwards, also there is so much photo etch on the side of the hull that fitting this is a lot easier whilst the model is on its side, the small flat bar frame I added later helped balance it better, I can still balance the model on it’s side now. Another plus’s is its excellent for handling the model, doesn’t have to be made out of metal, it’s the design that works well, I am definitely going to do similar with my Bismarck and Titanic builds. Can recommend this, sometimes something’s just work well. 👍
-
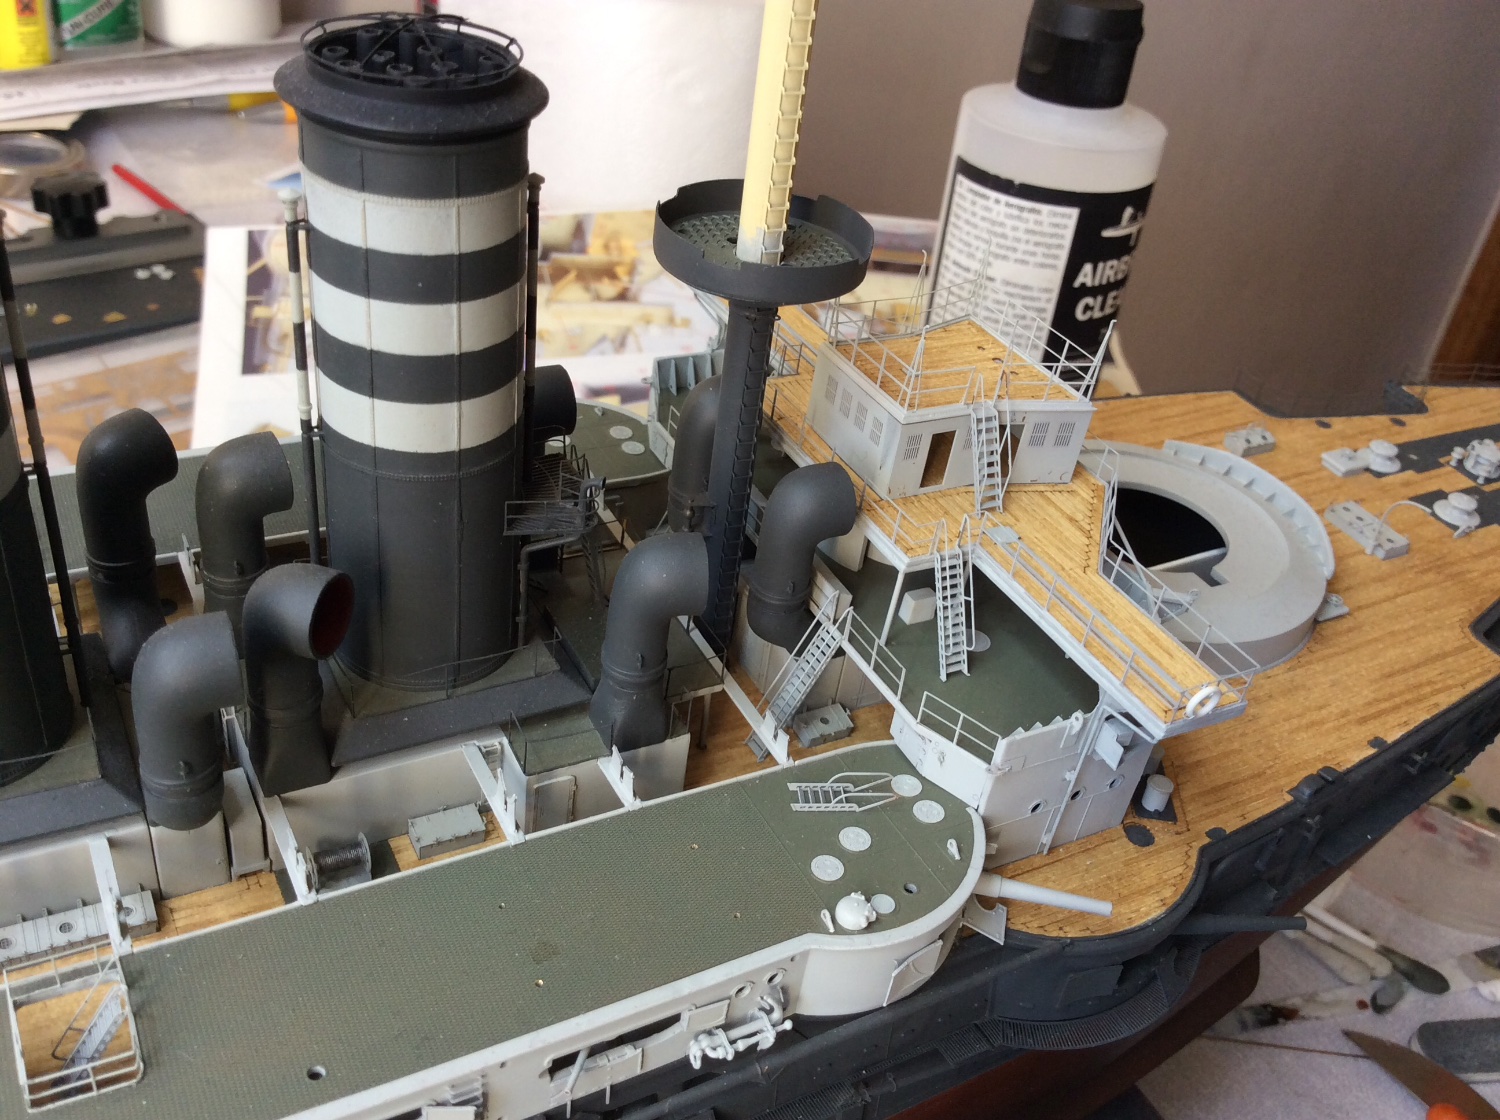
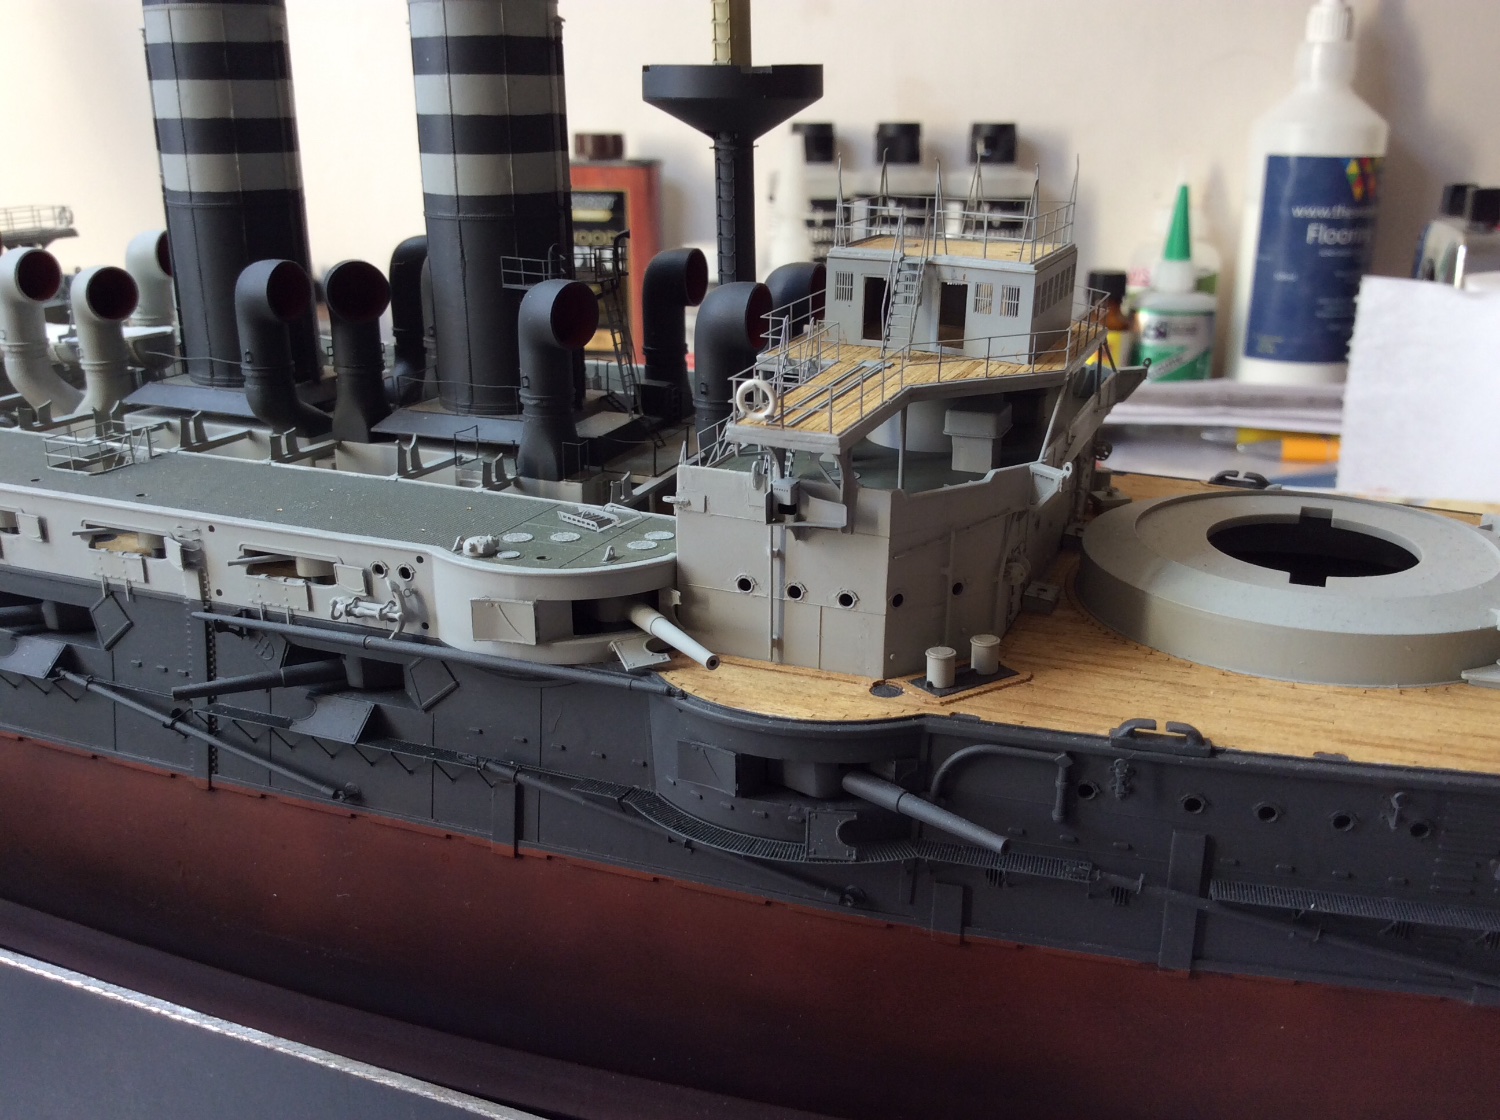
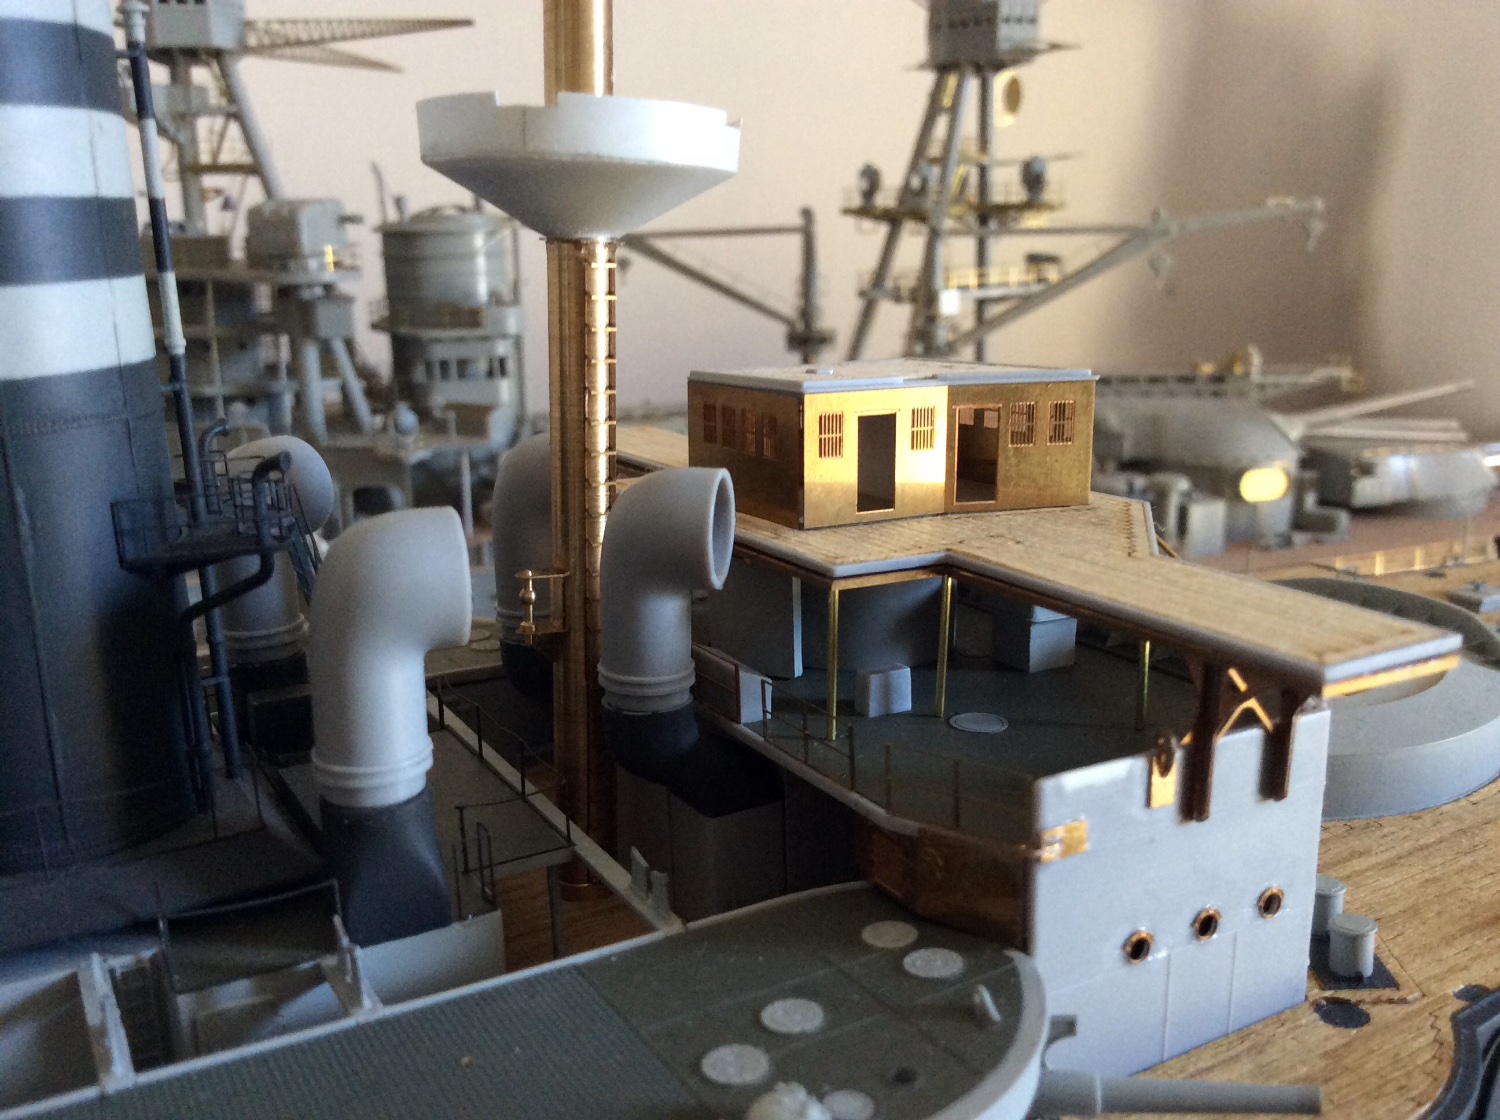
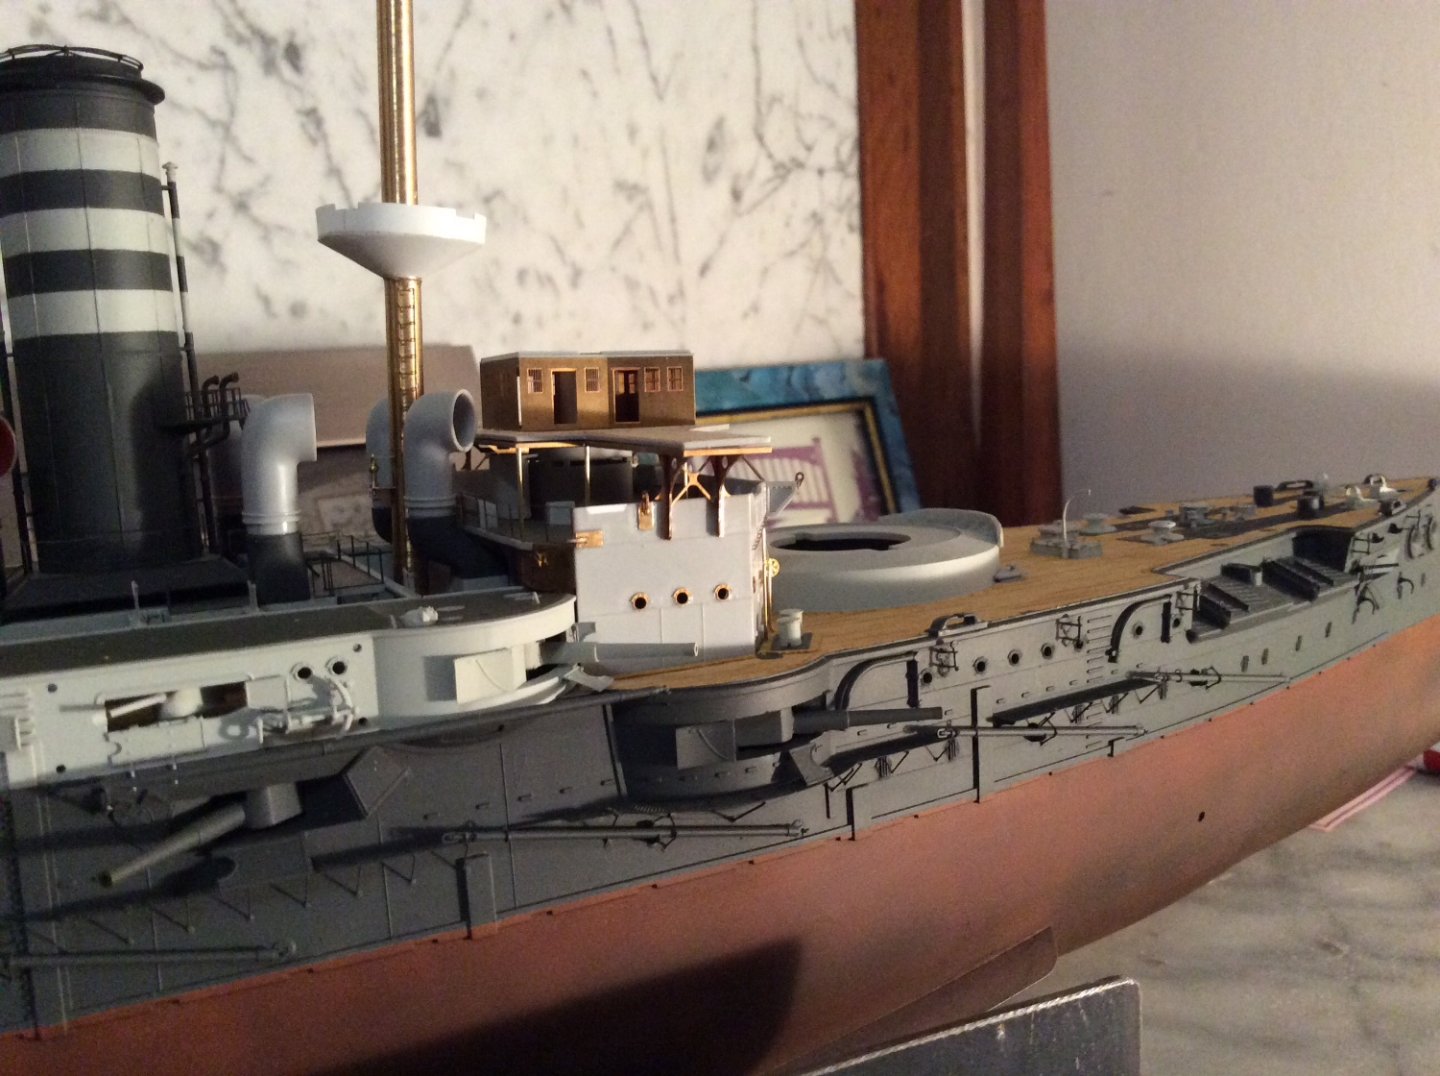
Finally fitted on some more details to bridge super structure painted and fitted bridge structure to deck to see if that stops me breaking things, 🙄 watch when making the small navigation lights from etch all the parts are handed including part 124. Also my drainpipe from my bridge wing should have had a small offset, can’t achieve this so had to run it up vert same as after bridge, a Well can’t get everything. 🤪 put some more photos up. Does anyone know of after market parts in this scale that might help me with details for inside the bridge, like telegraphs ships wheel and binnacle?

-
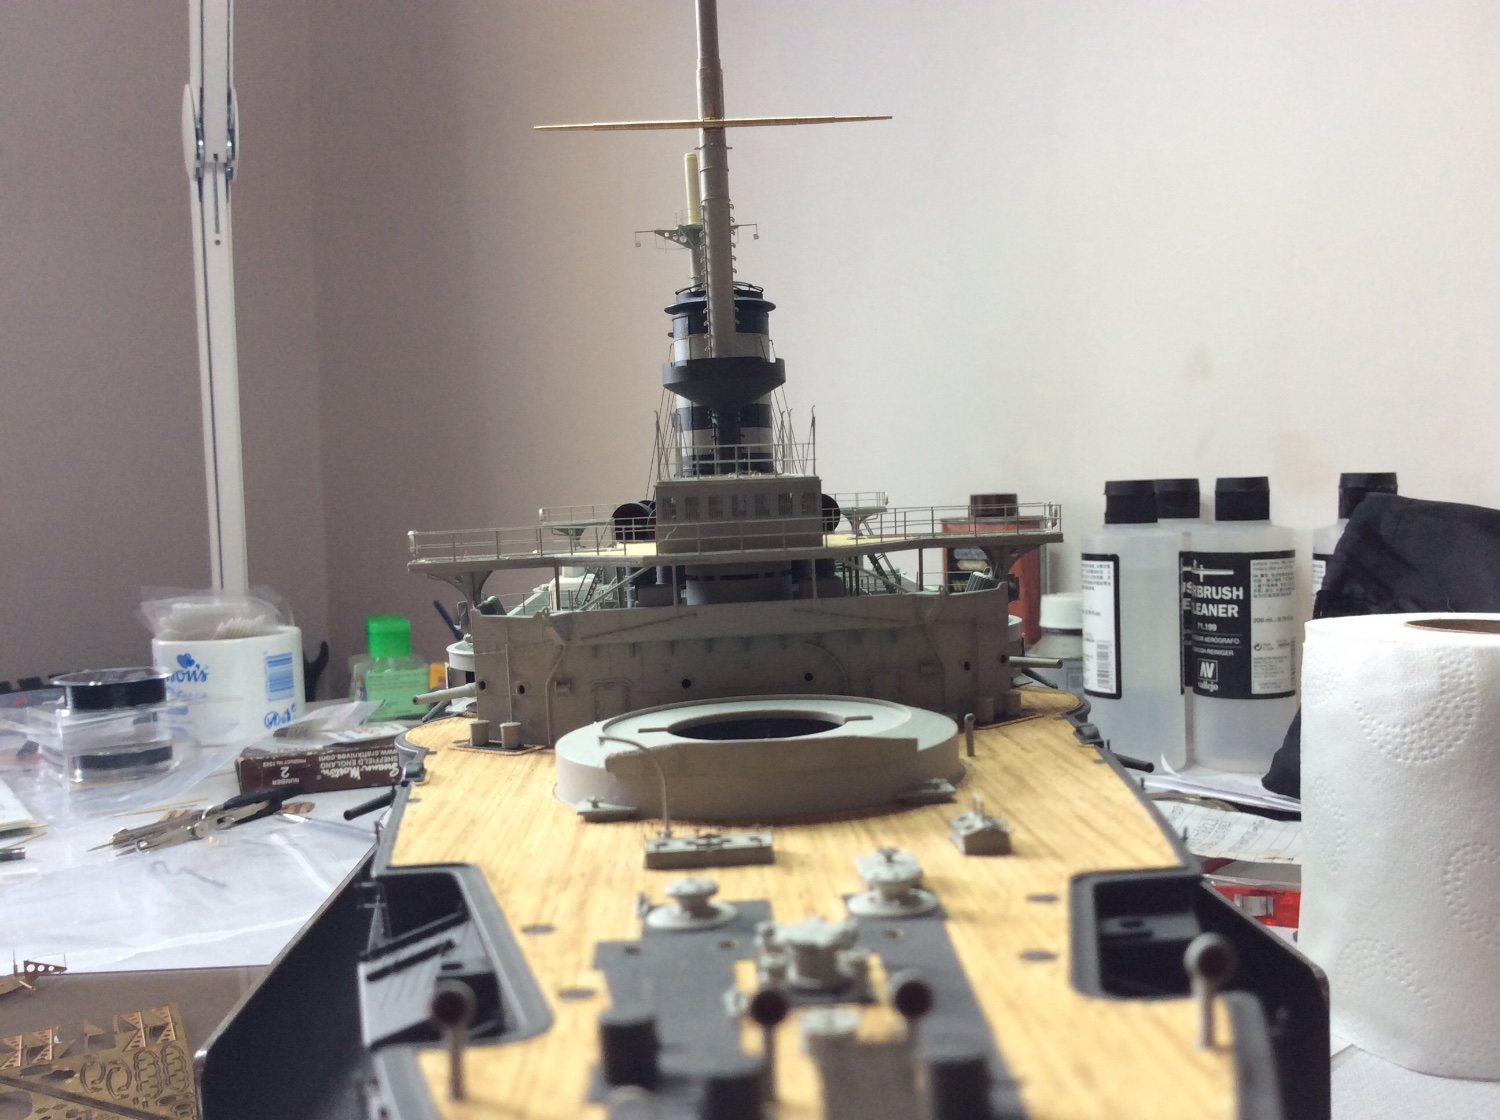
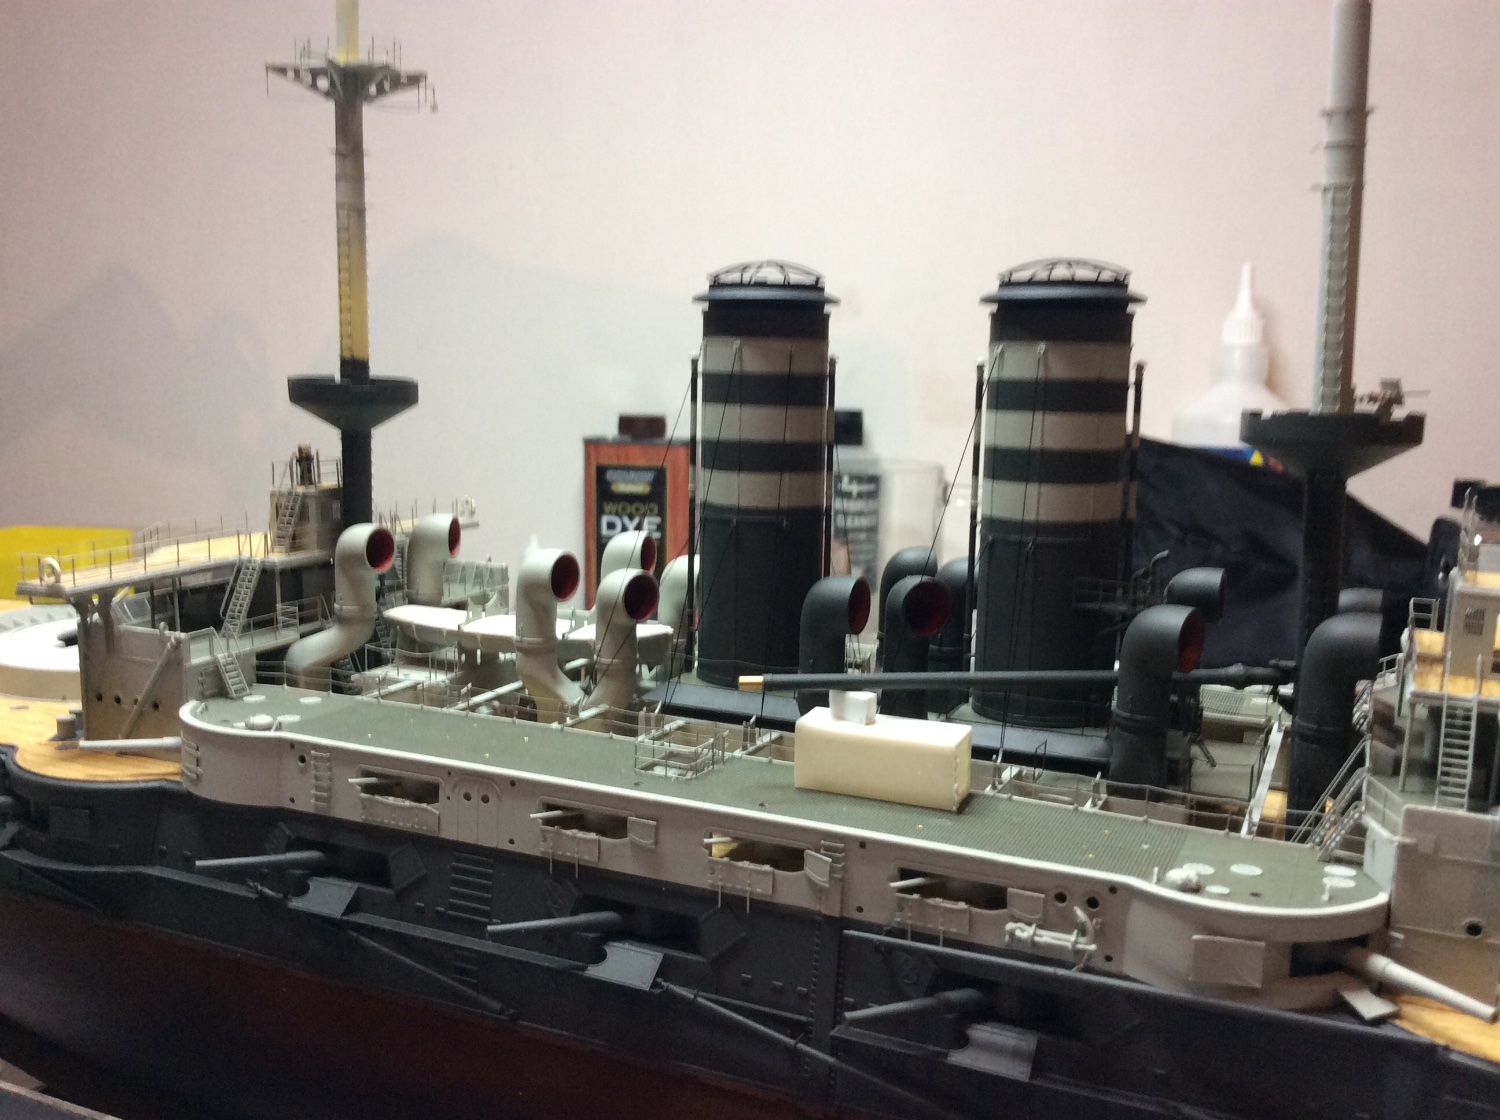
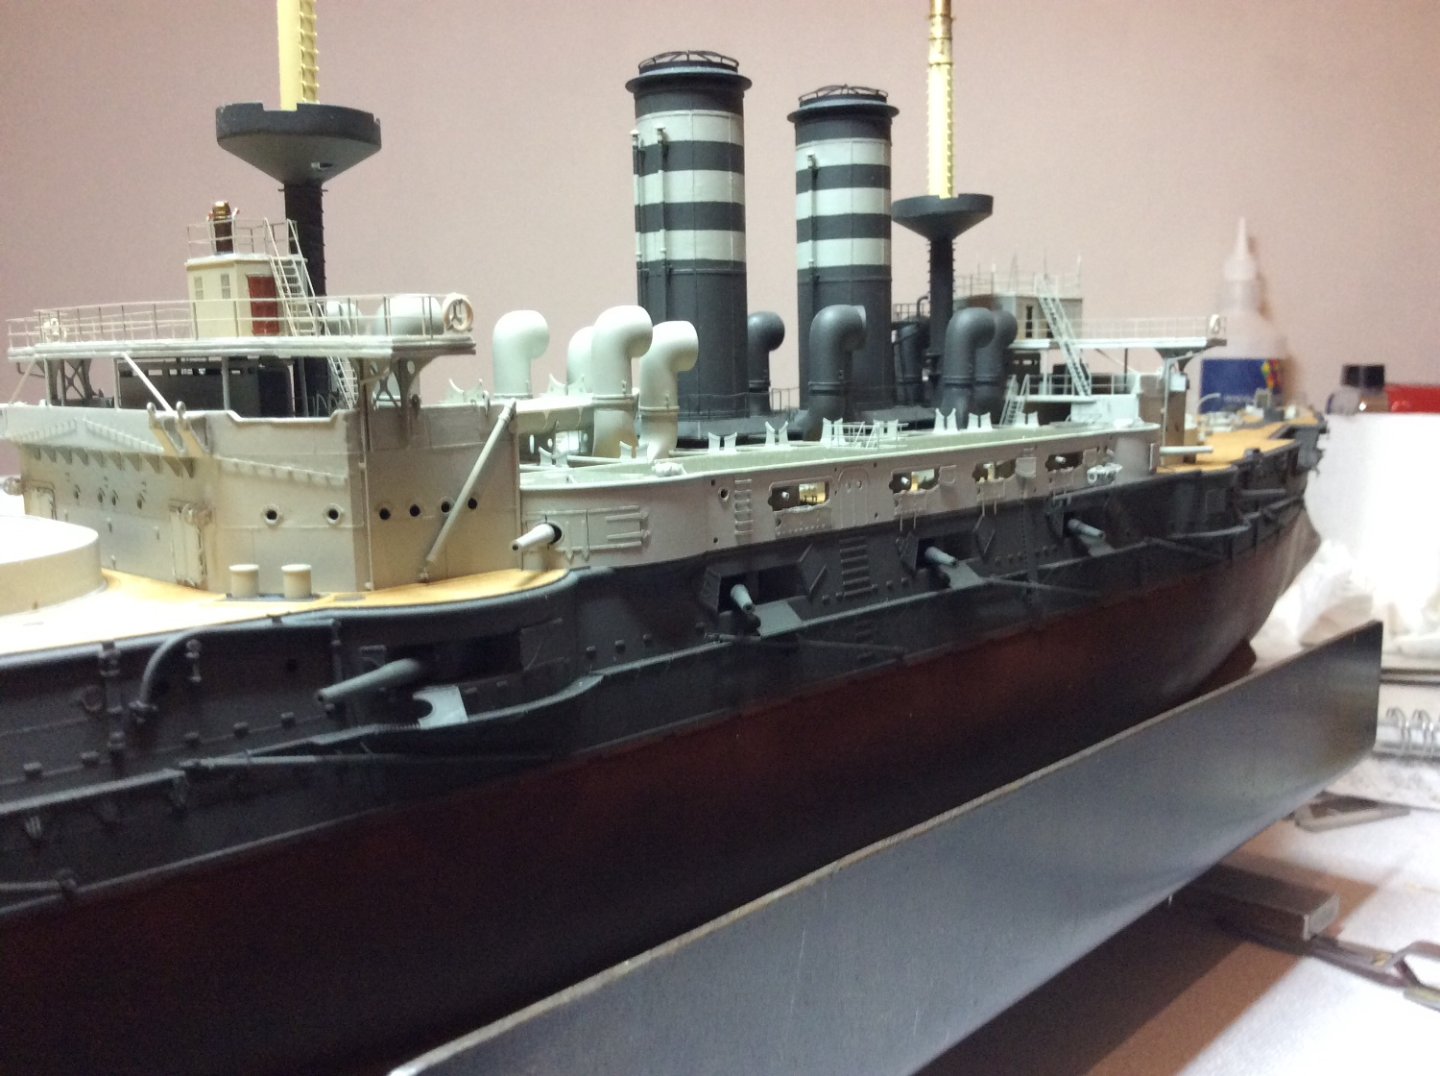
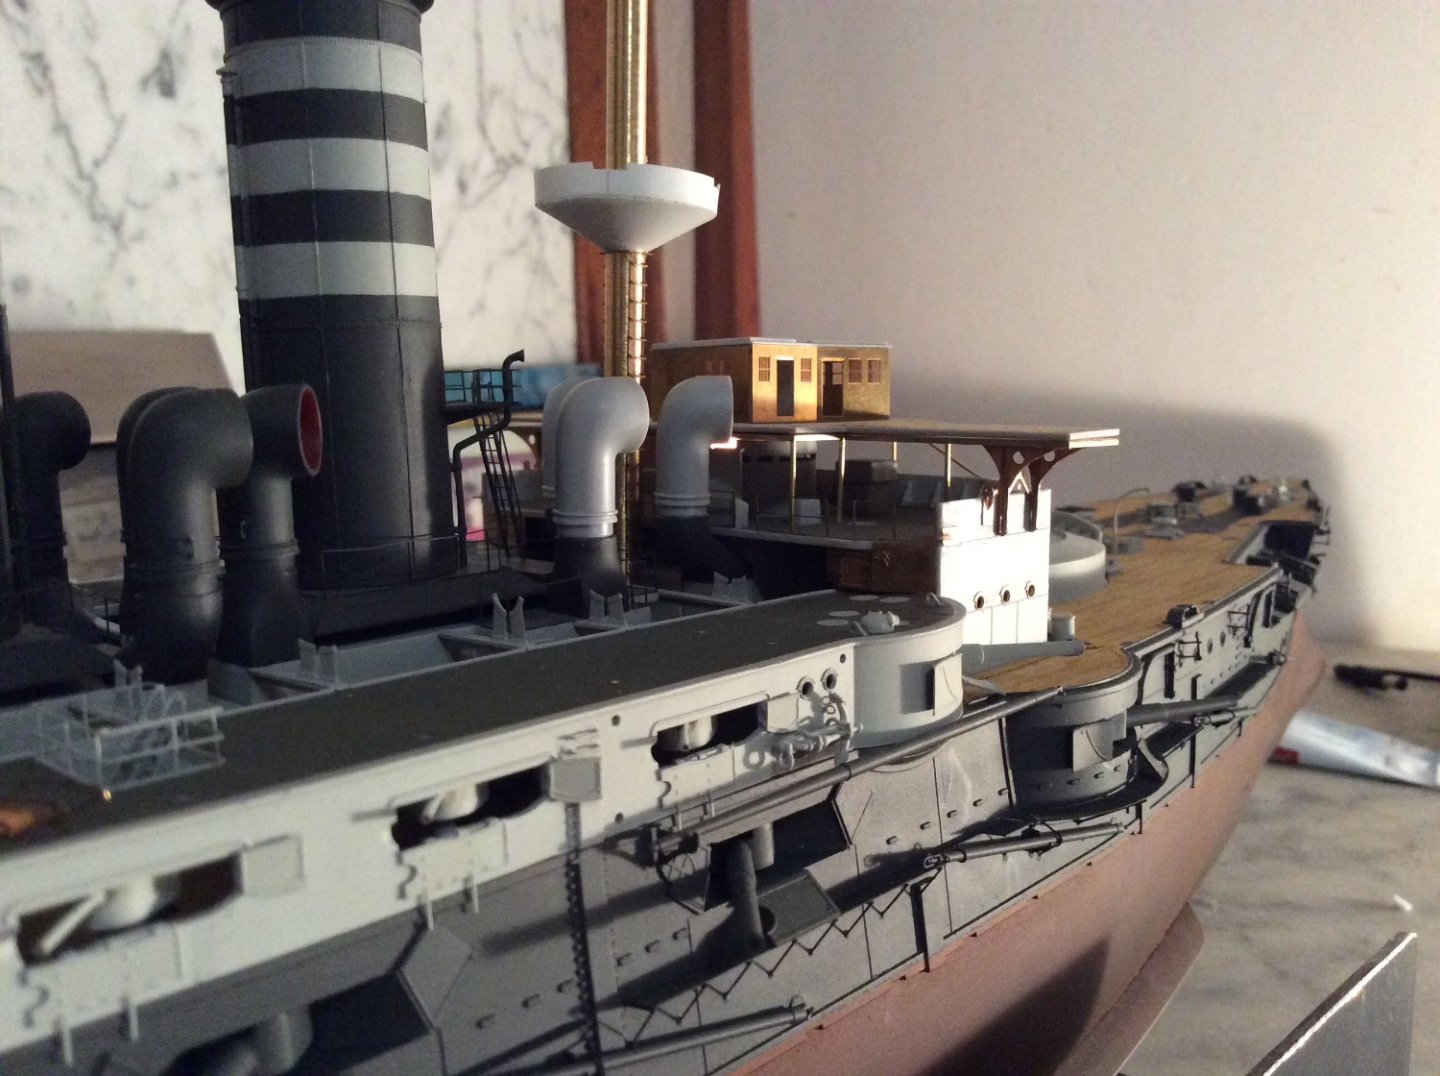
Also see another alteration that I shall need to try, the mast spars are to high up on the detail set for either version of Mikasa so shall attempt to correct this, they should be approximately 25 30 feet further down the masts, clearly below the searchlight platform. The main mast seems to show the darker grey above the gun tub for a distance, possibly to hide smoke discolouration from funnels 🤔 and in other period photo in black and white she looks like all the upper works are in dark grey, certainly not the light beige colour asked for in kit. Also notice three vents on forward deck next to anchors. ?
-
Also changed my mind on colour scheme on masts, can’t see any evidence that the light beige colour is genuine, I am going to go with a mixture of dark grey and light grey, it’s not the easiest ship to sort out. Even the period photos for 1902 period seem to contradict.


-
Hello again, ain’t it just typical, like buses, don’t come for ages then three come at same time 😂 this one showed take me up to speed. 👍 finished the last four ships vents then painted dark grey, changes the model and ships appearance. At long last i here you saying, also the forward mast, progress was made, that entailed making another gun tub as before, one difference I did make was in the oval sections on either side of mast, was as I suspected, this should be around the ladders and was you’re access to gun tub platform, I did discover a photo showing this, so tried to replicate this. Post some photos to show this👍


-
Thanks Yves, it is a slow process for me but think I am picking up momentum, feels like I am trying to build her quicker than I can break her. 😂