HOLIDAY DONATION DRIVE - SUPPORT MSW - DO YOUR PART TO KEEP THIS GREAT FORUM GOING! (Only 24 donations so far out of 49,000 members - C'mon guys!)
×


Jeff59
-
Posts
593 -
Joined
-
Last visited
Content Type
Profiles
Forums
Gallery
Events
Everything posted by Jeff59
-
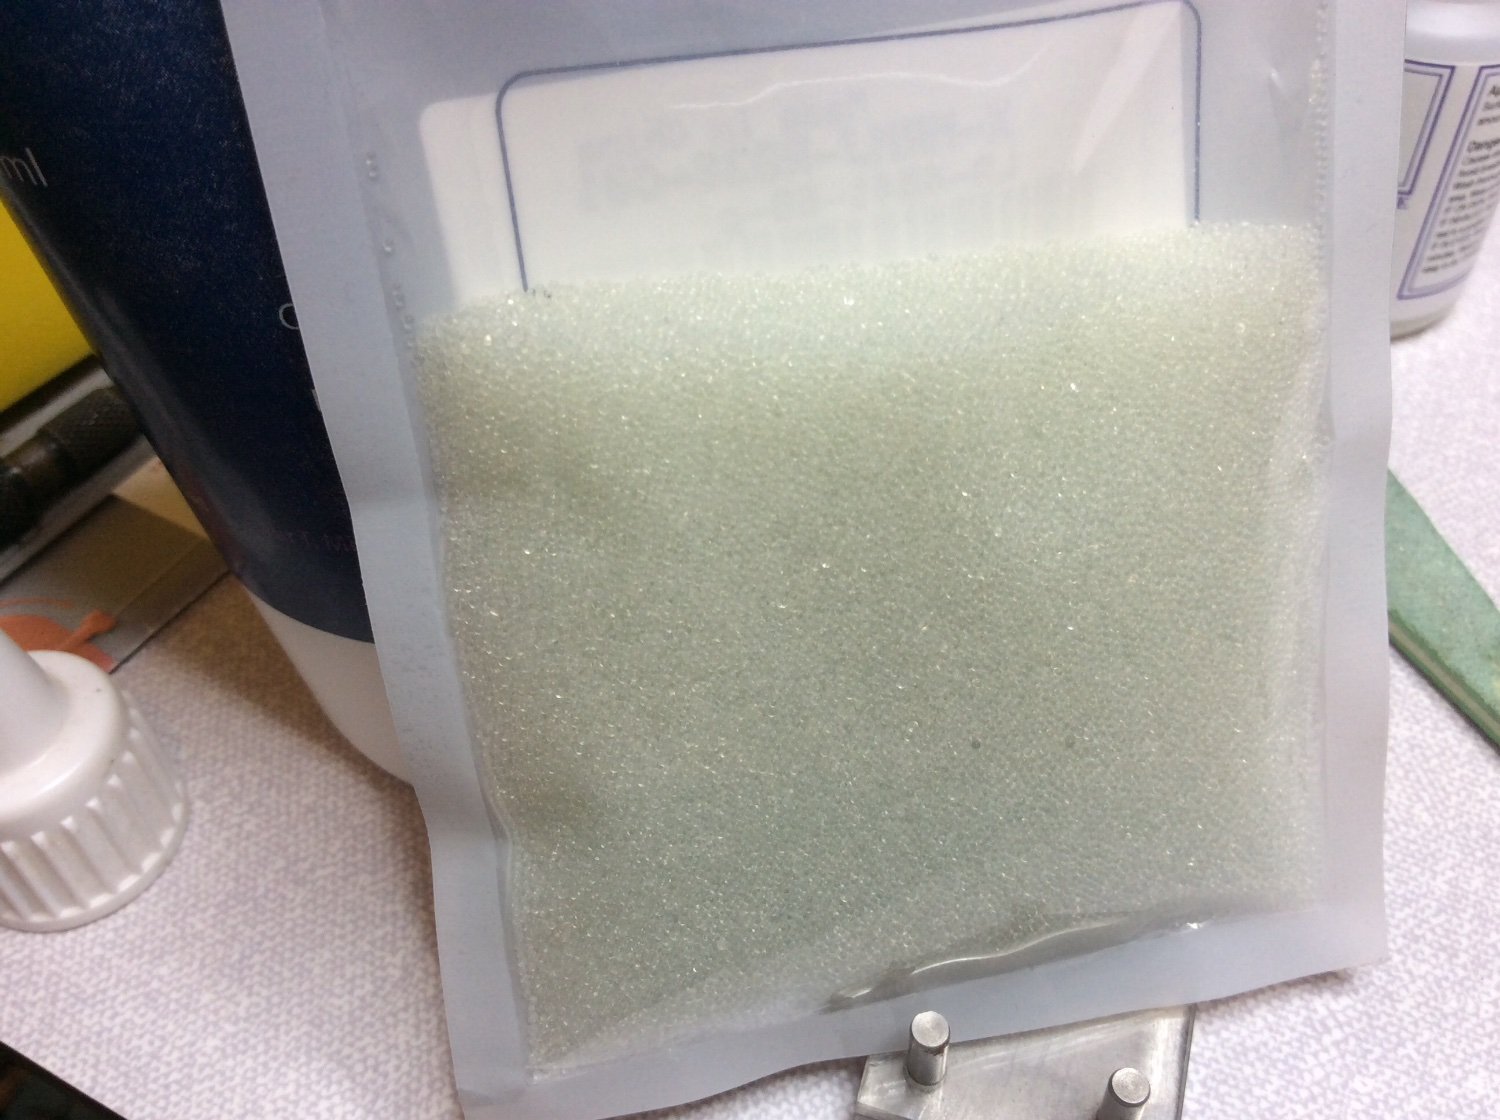
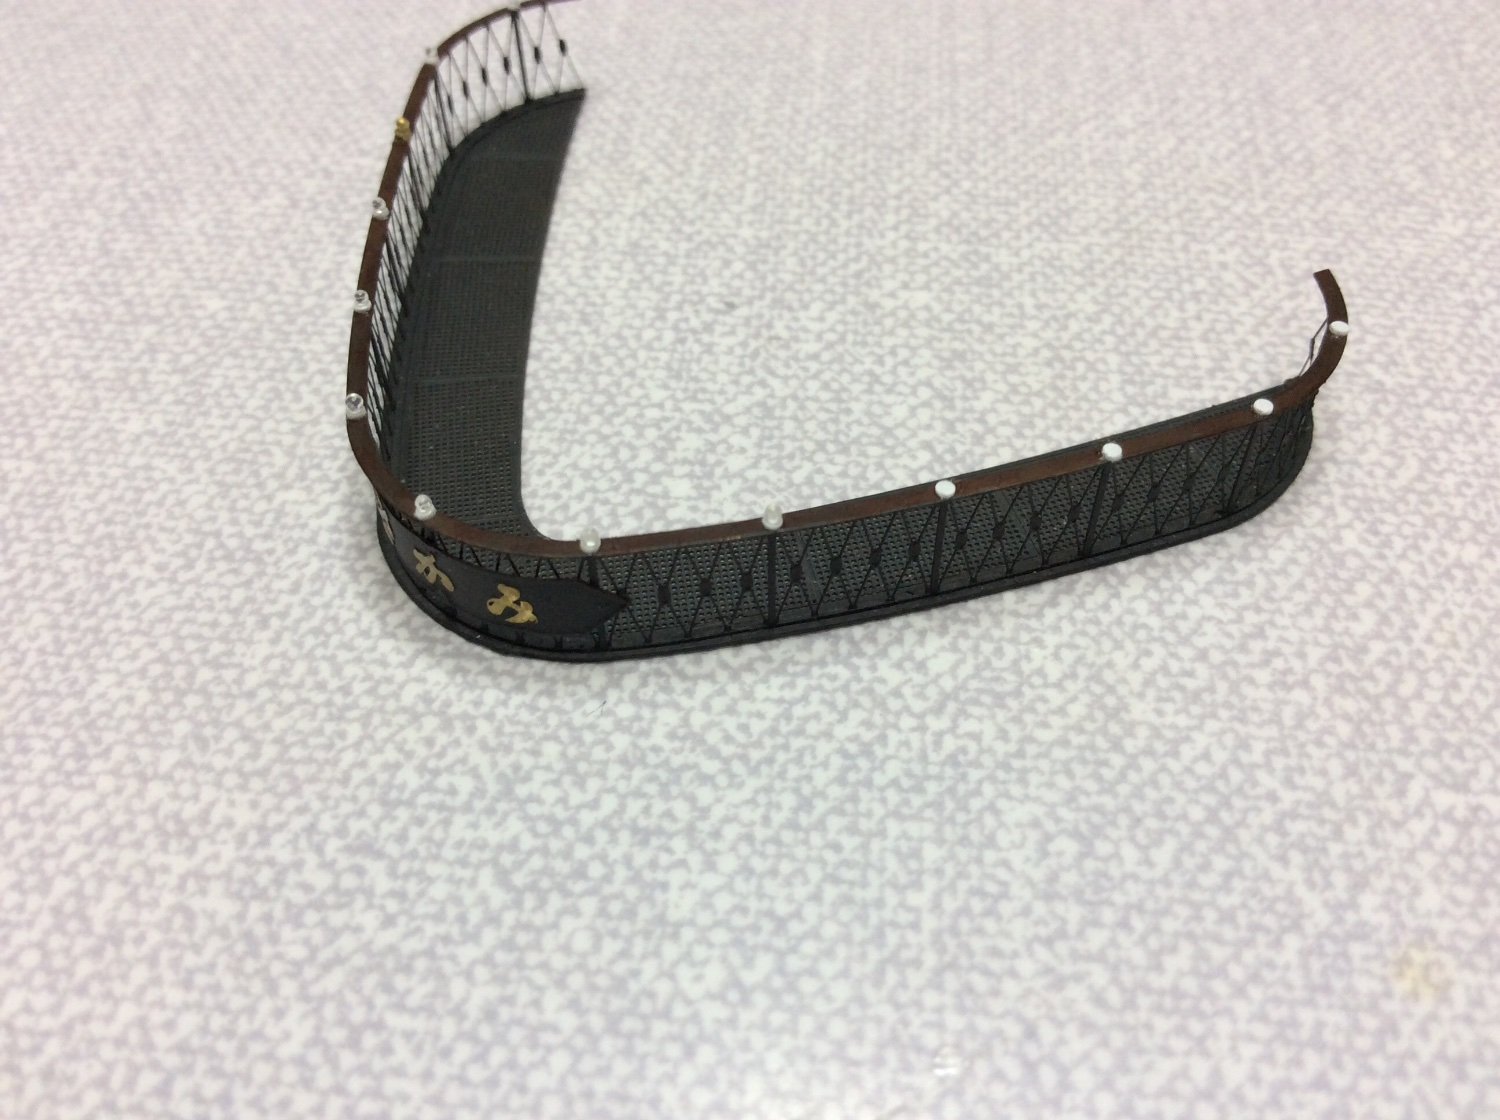
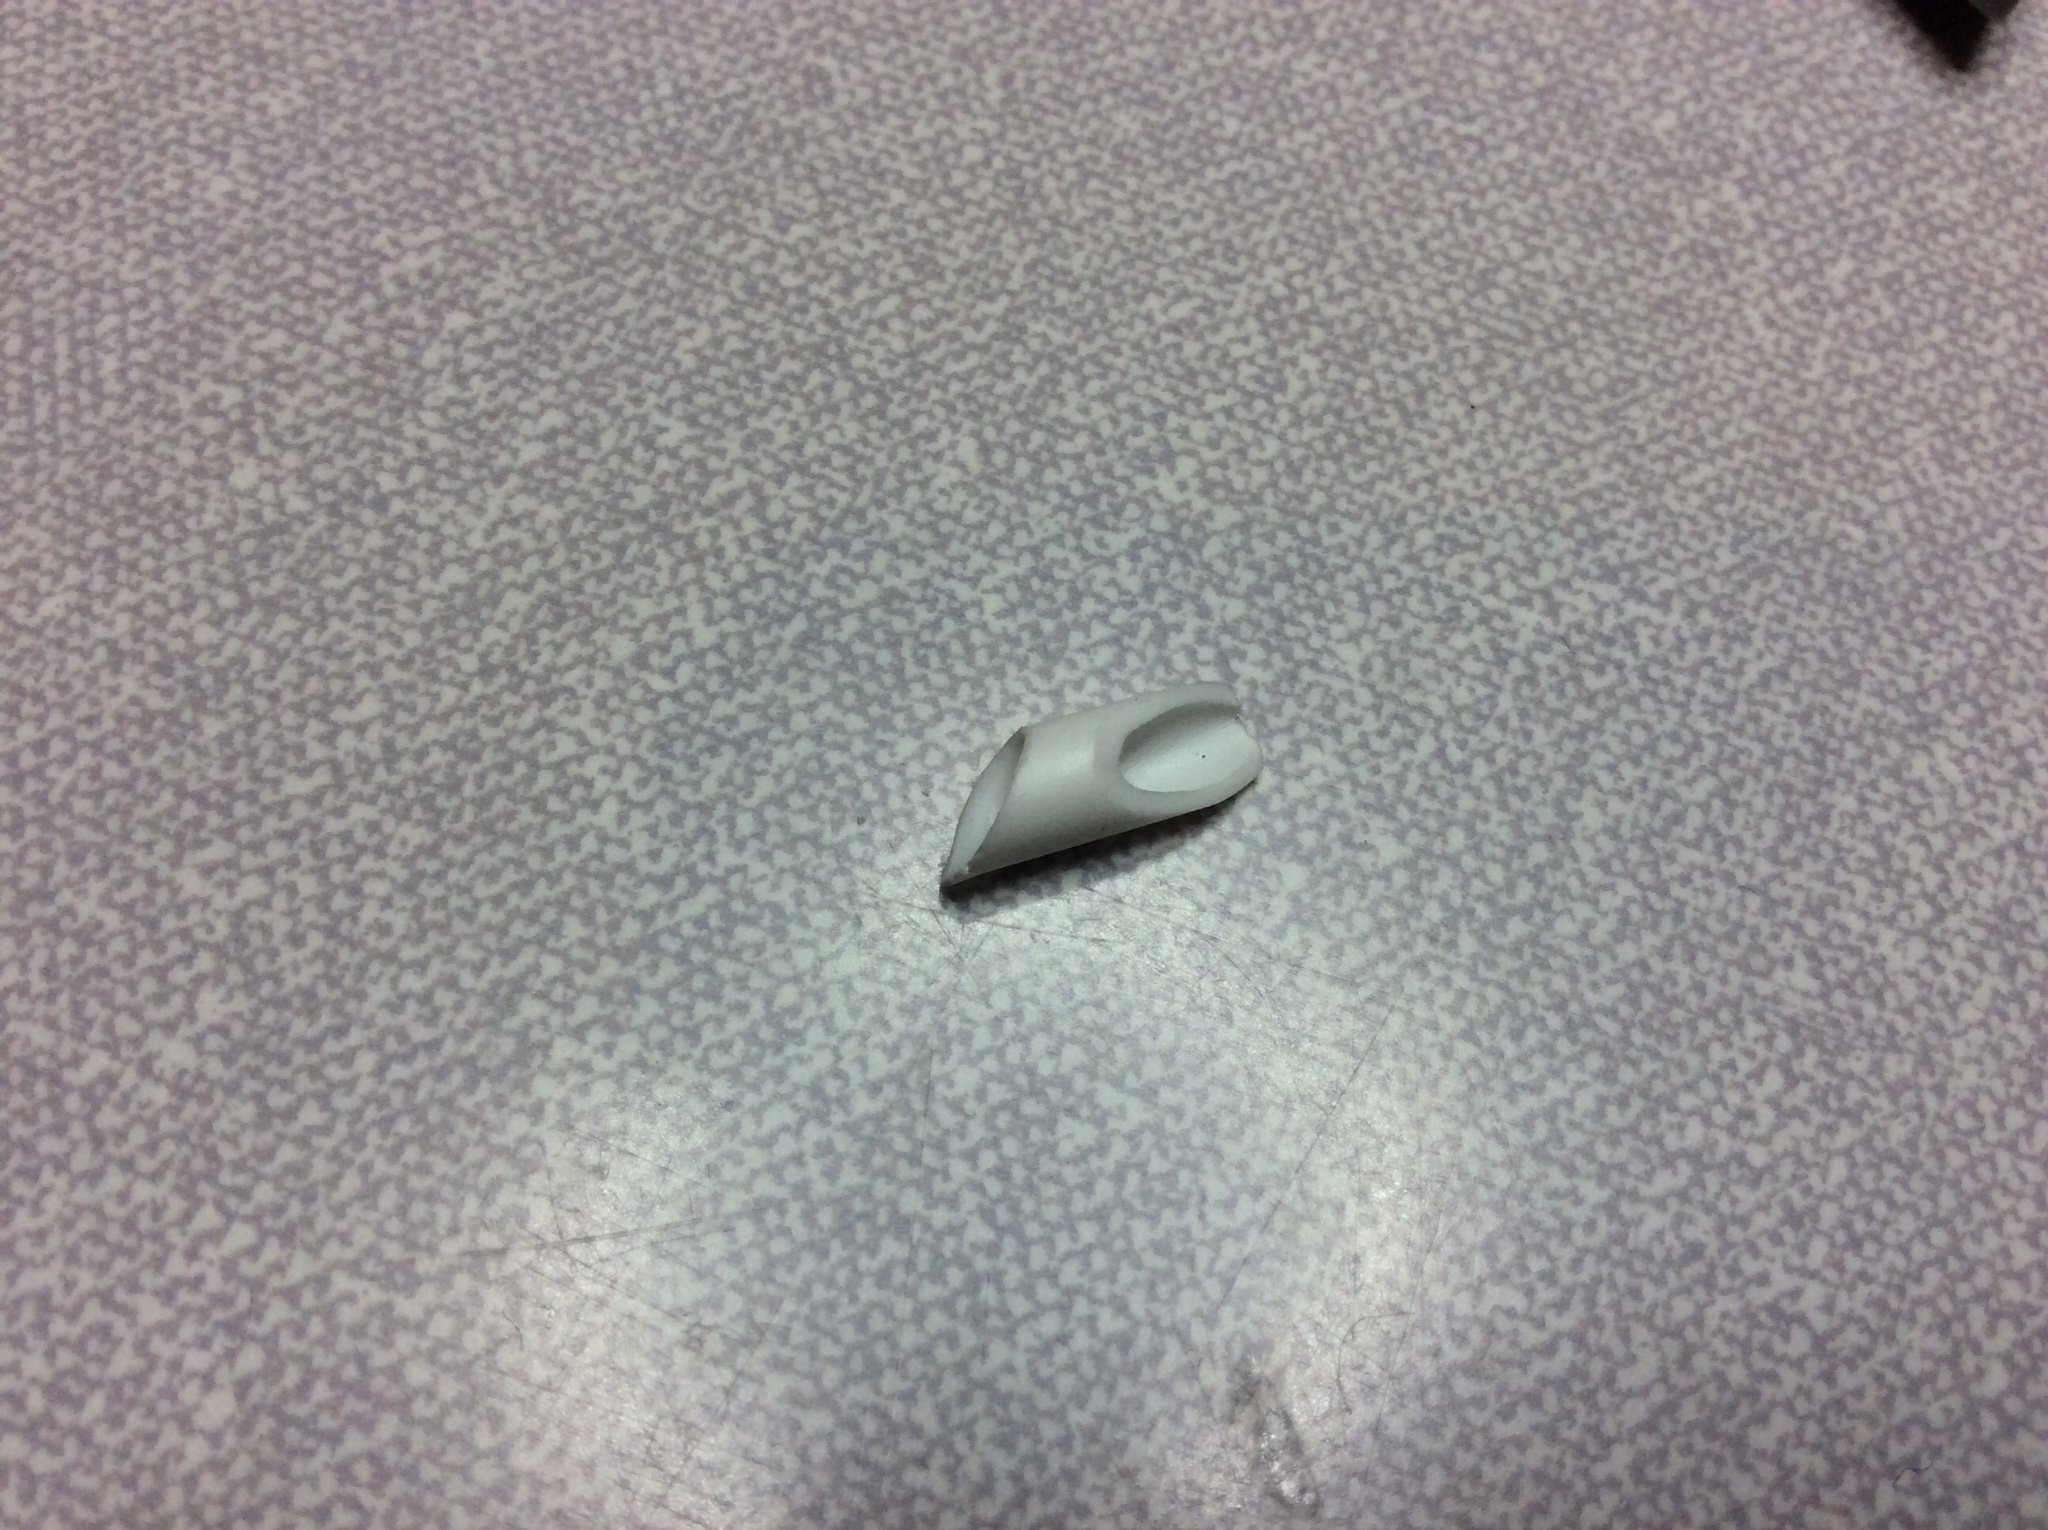
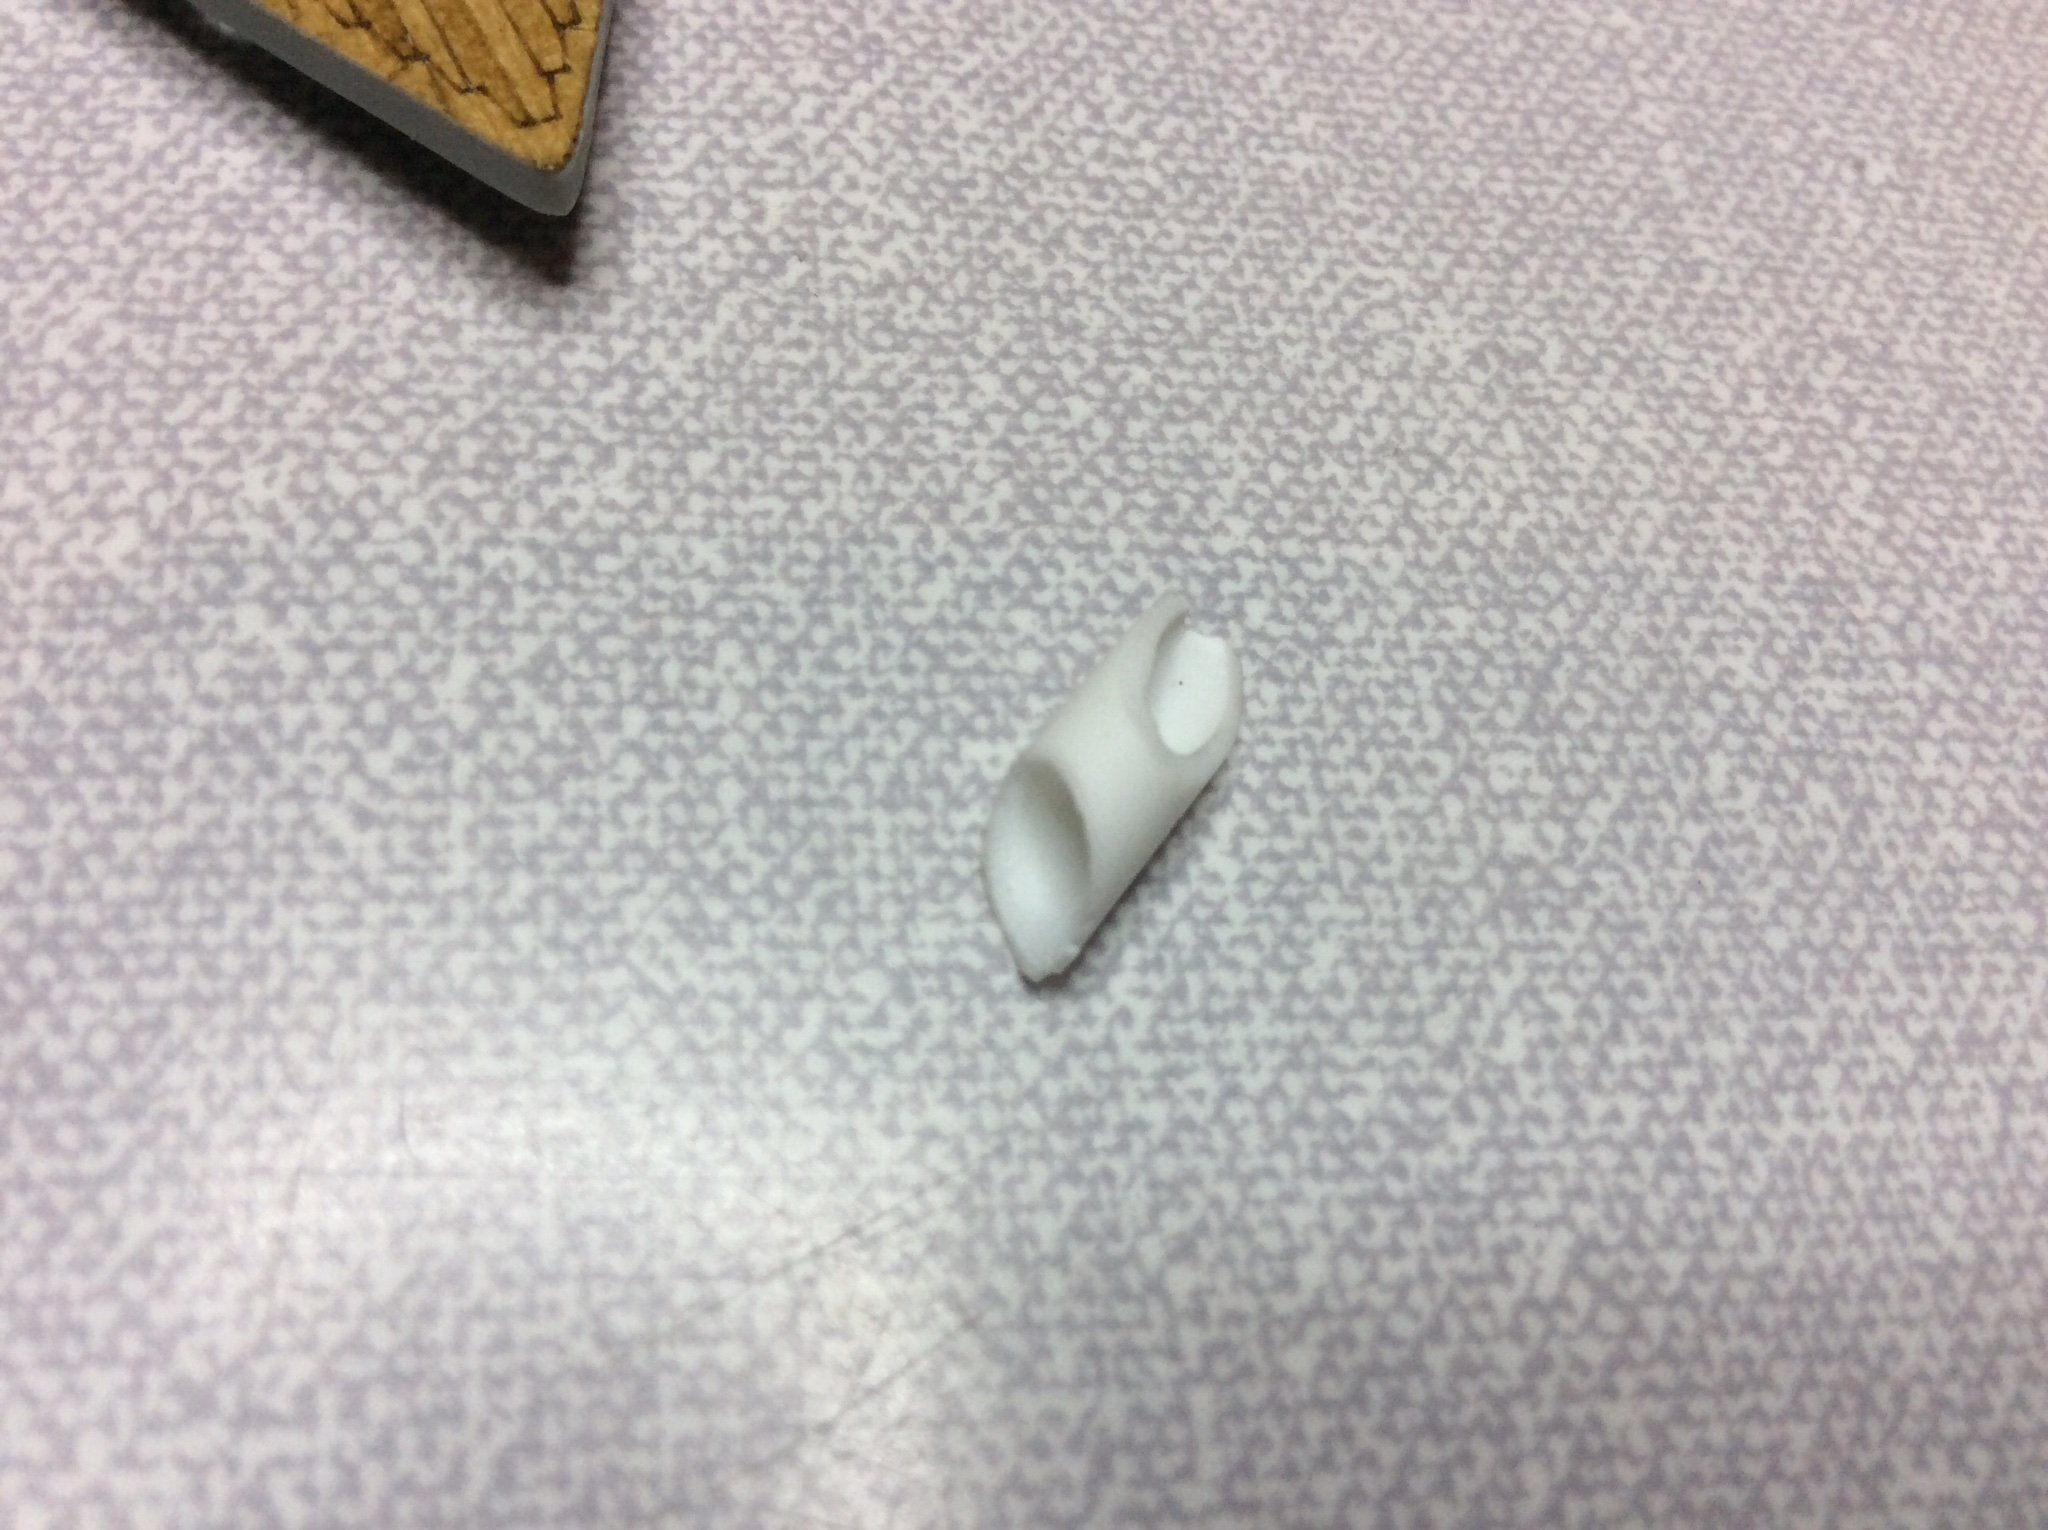
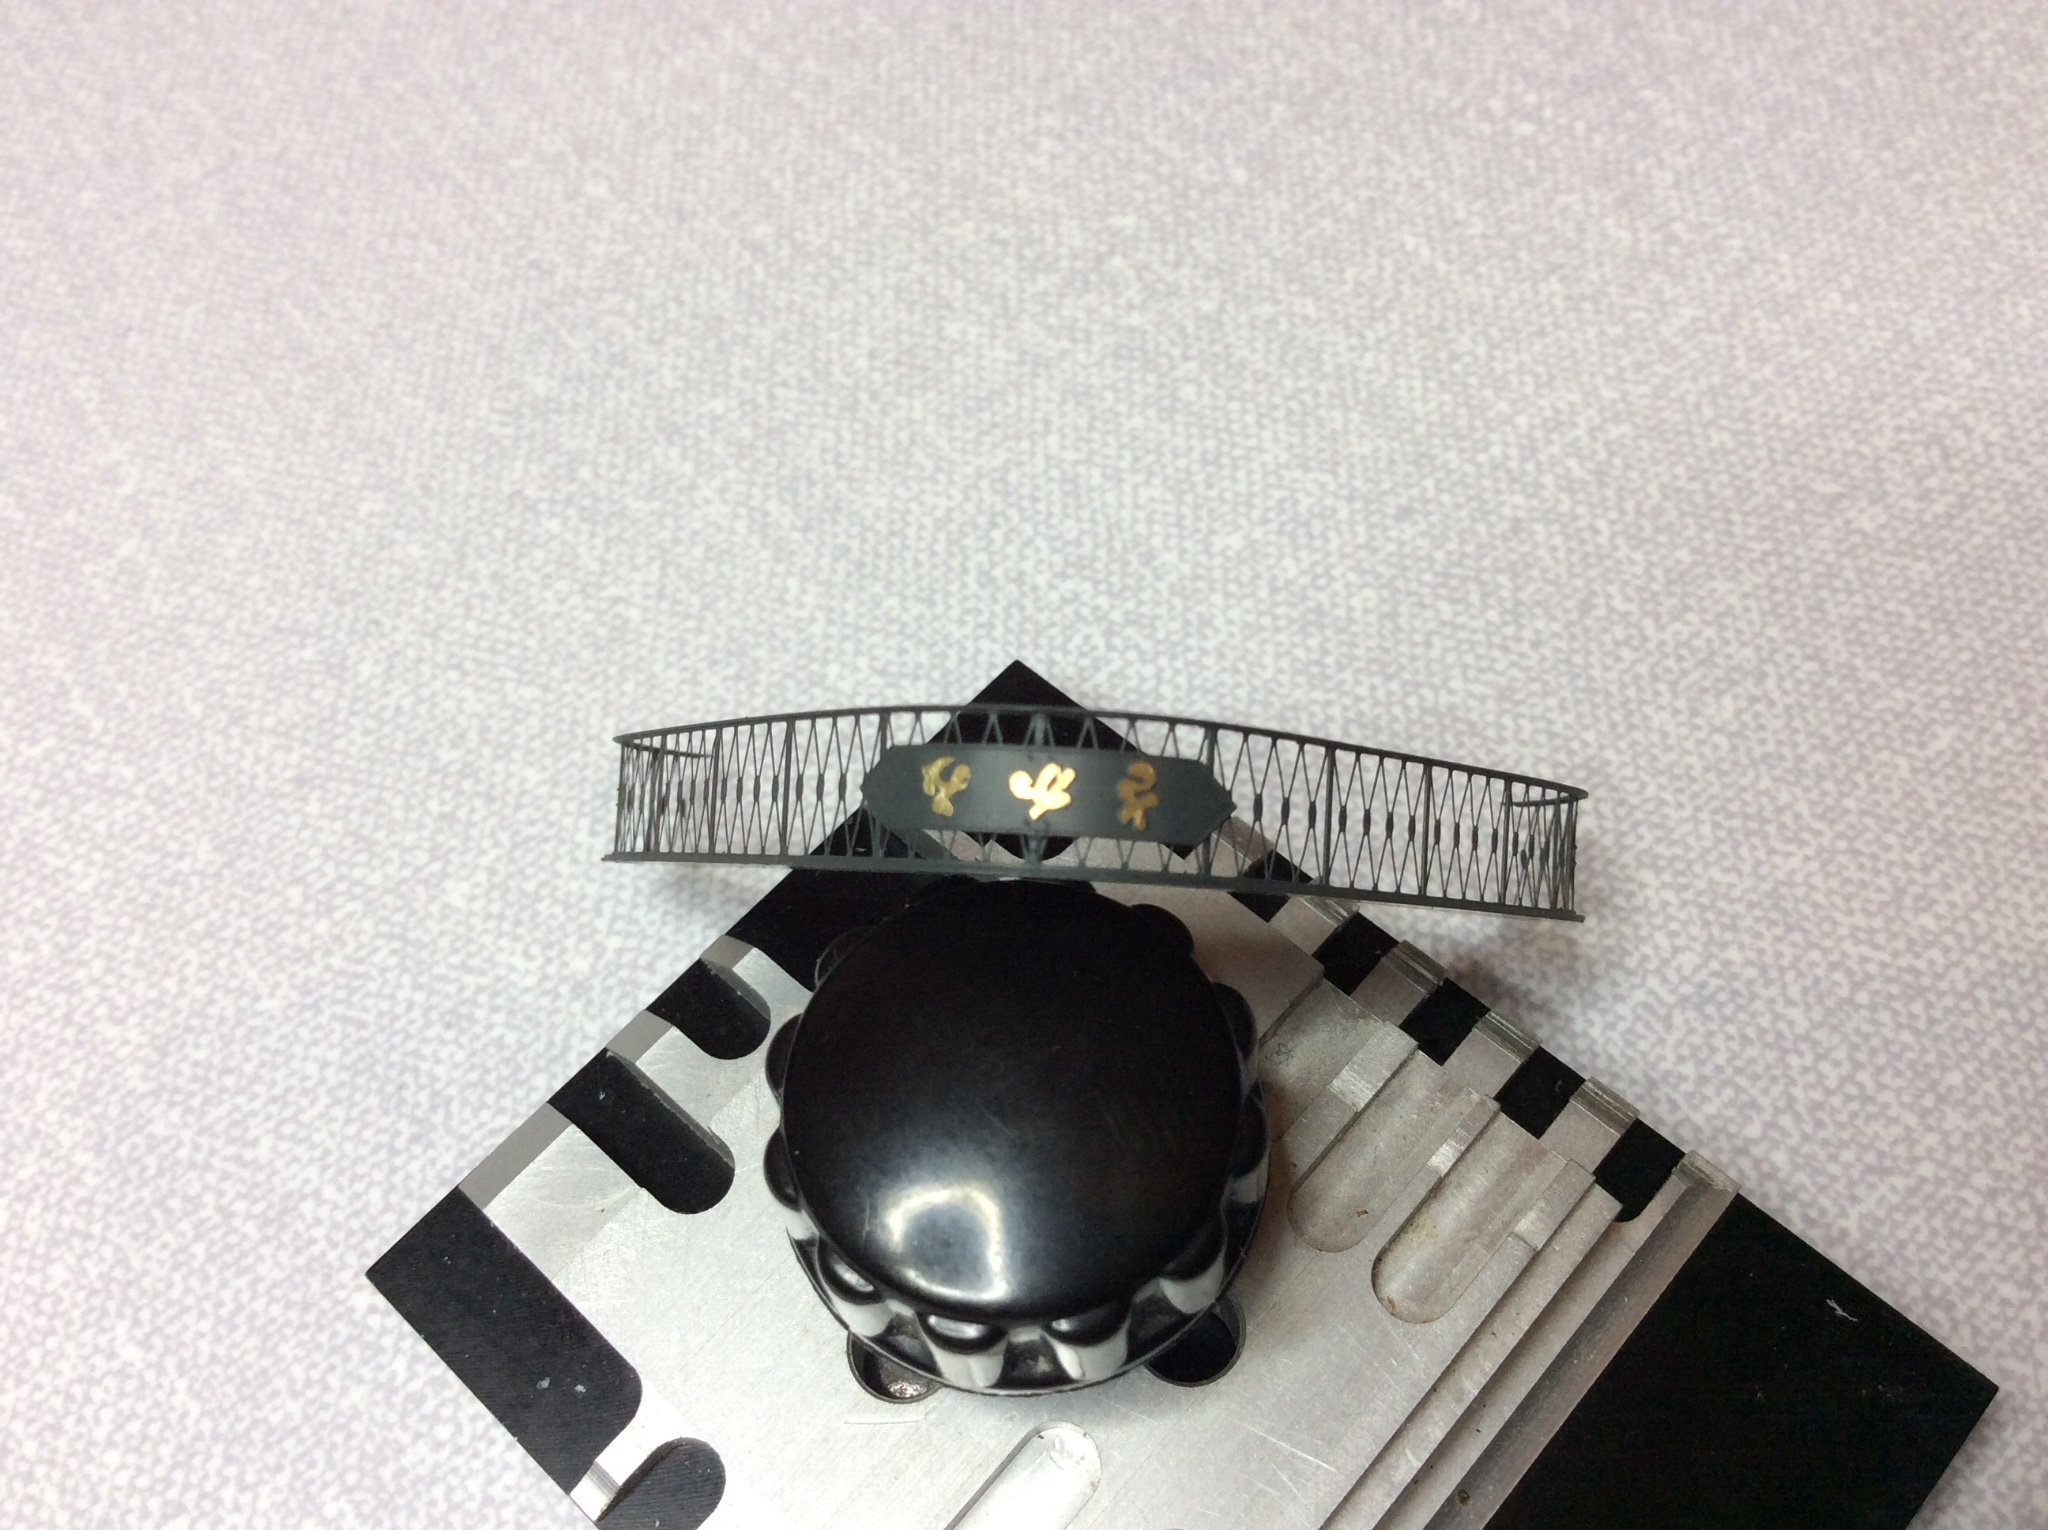
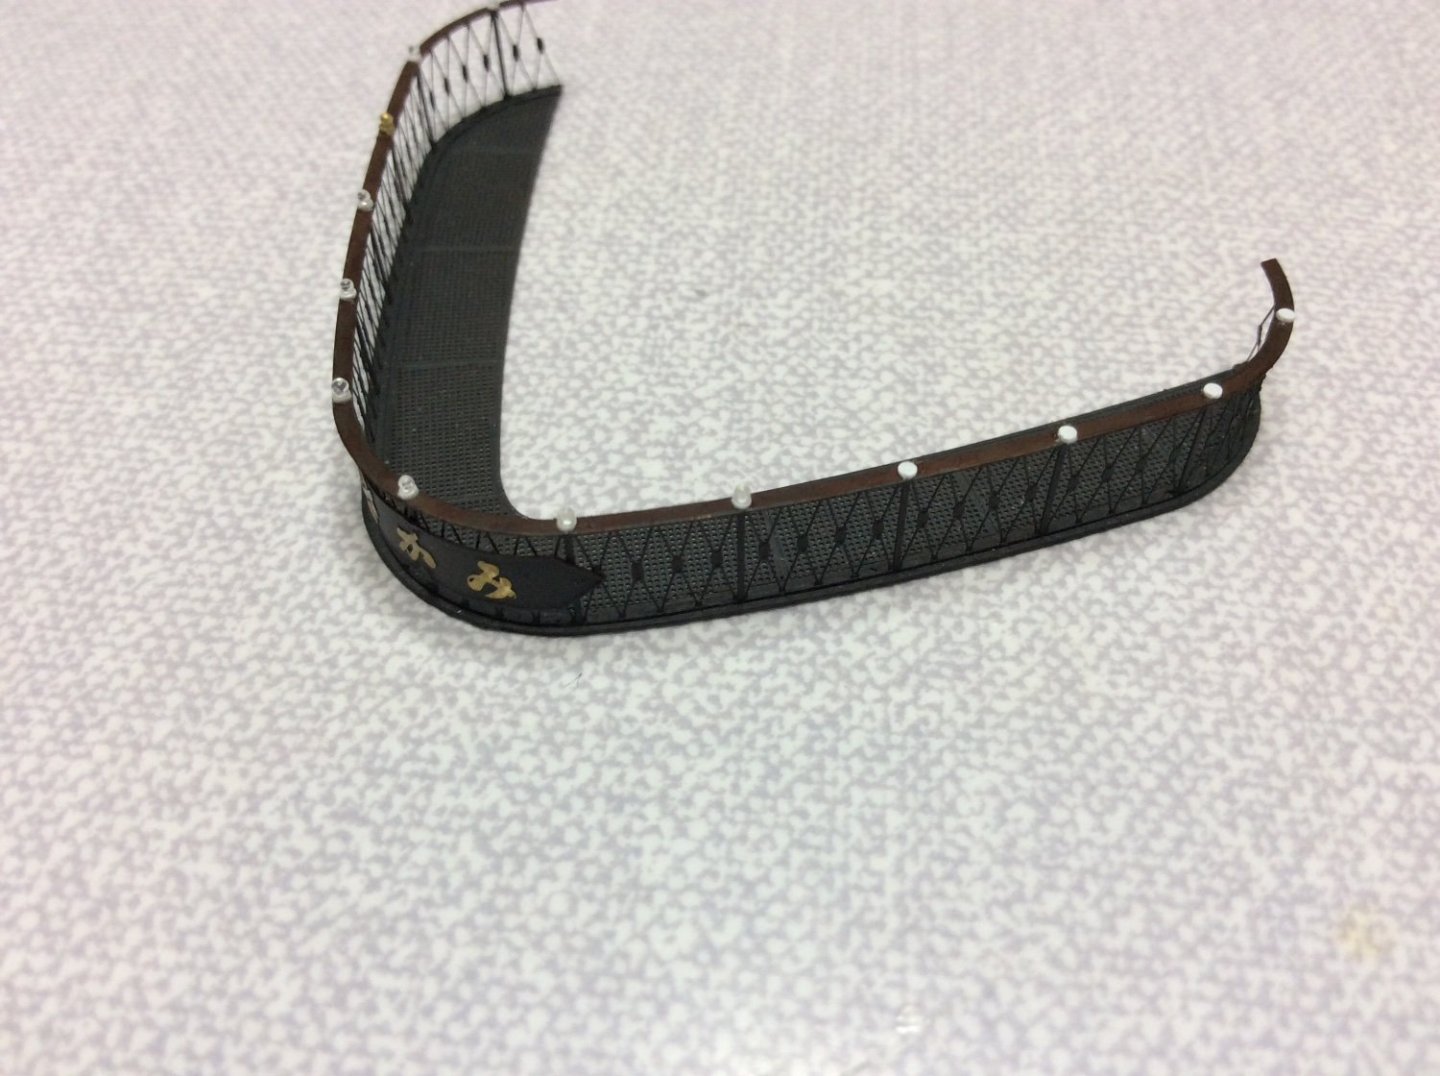
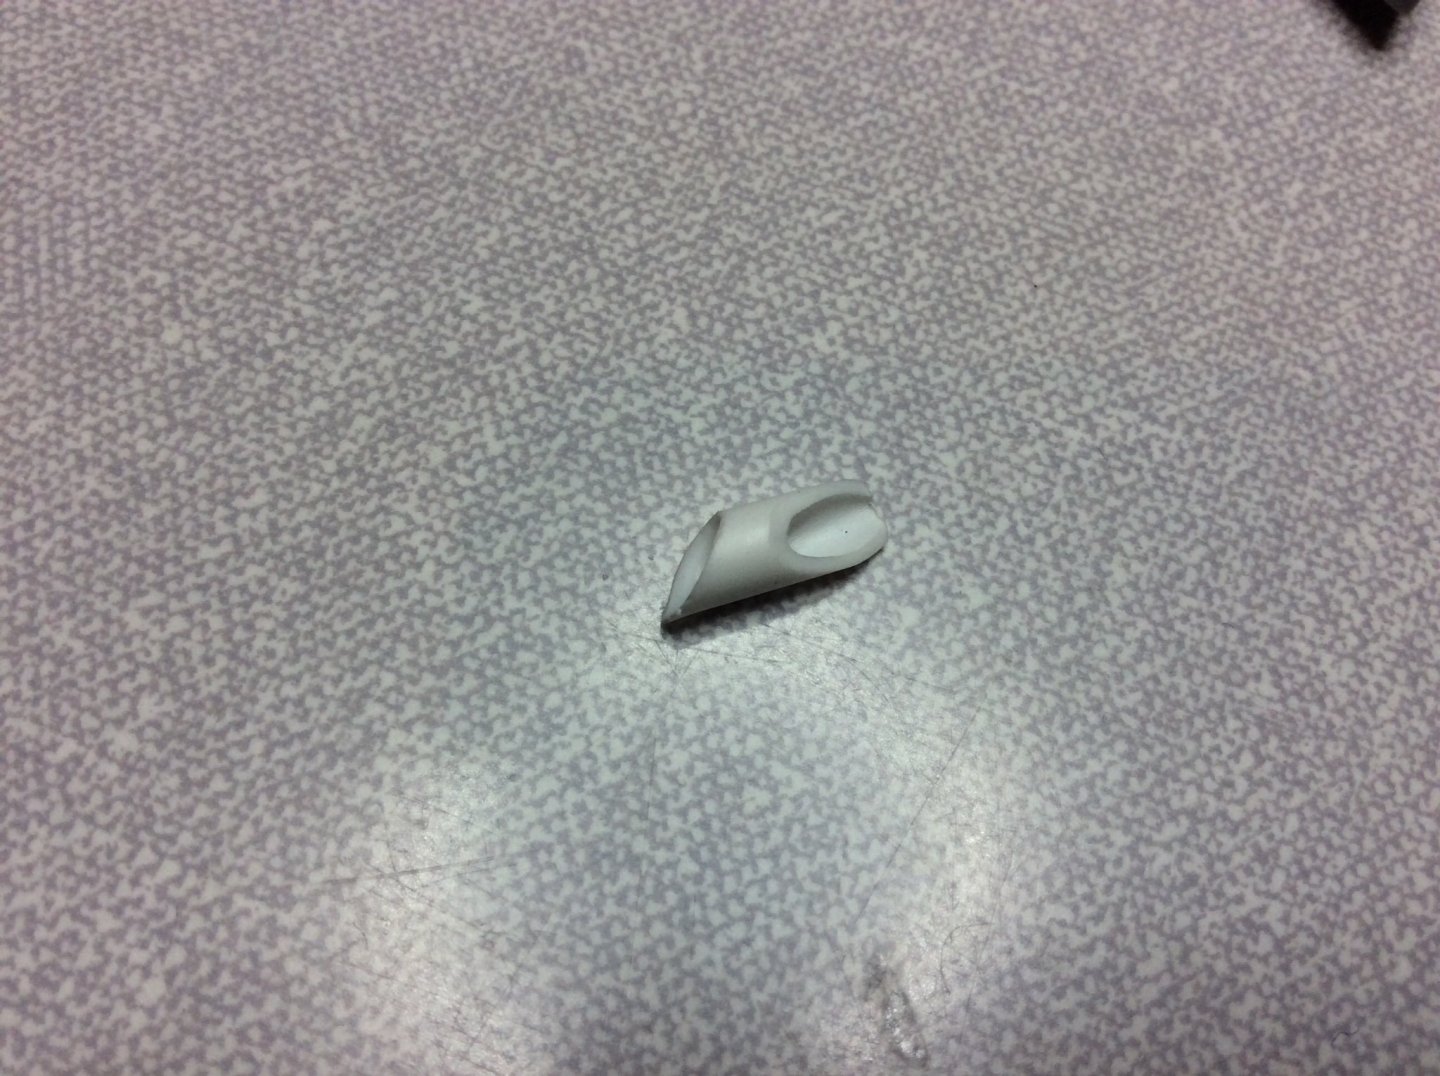
The small beads are the discovery of Jaqueline, my lovely wife who help me find this for the top rail on stern walk, Don’t know if this is right for period but hope it looks okay, easy to remove if not liked. Believe it or not for decoration of female finger nails. 😂 the bag has thousands in it, so get plenty shots. 🤪.


-
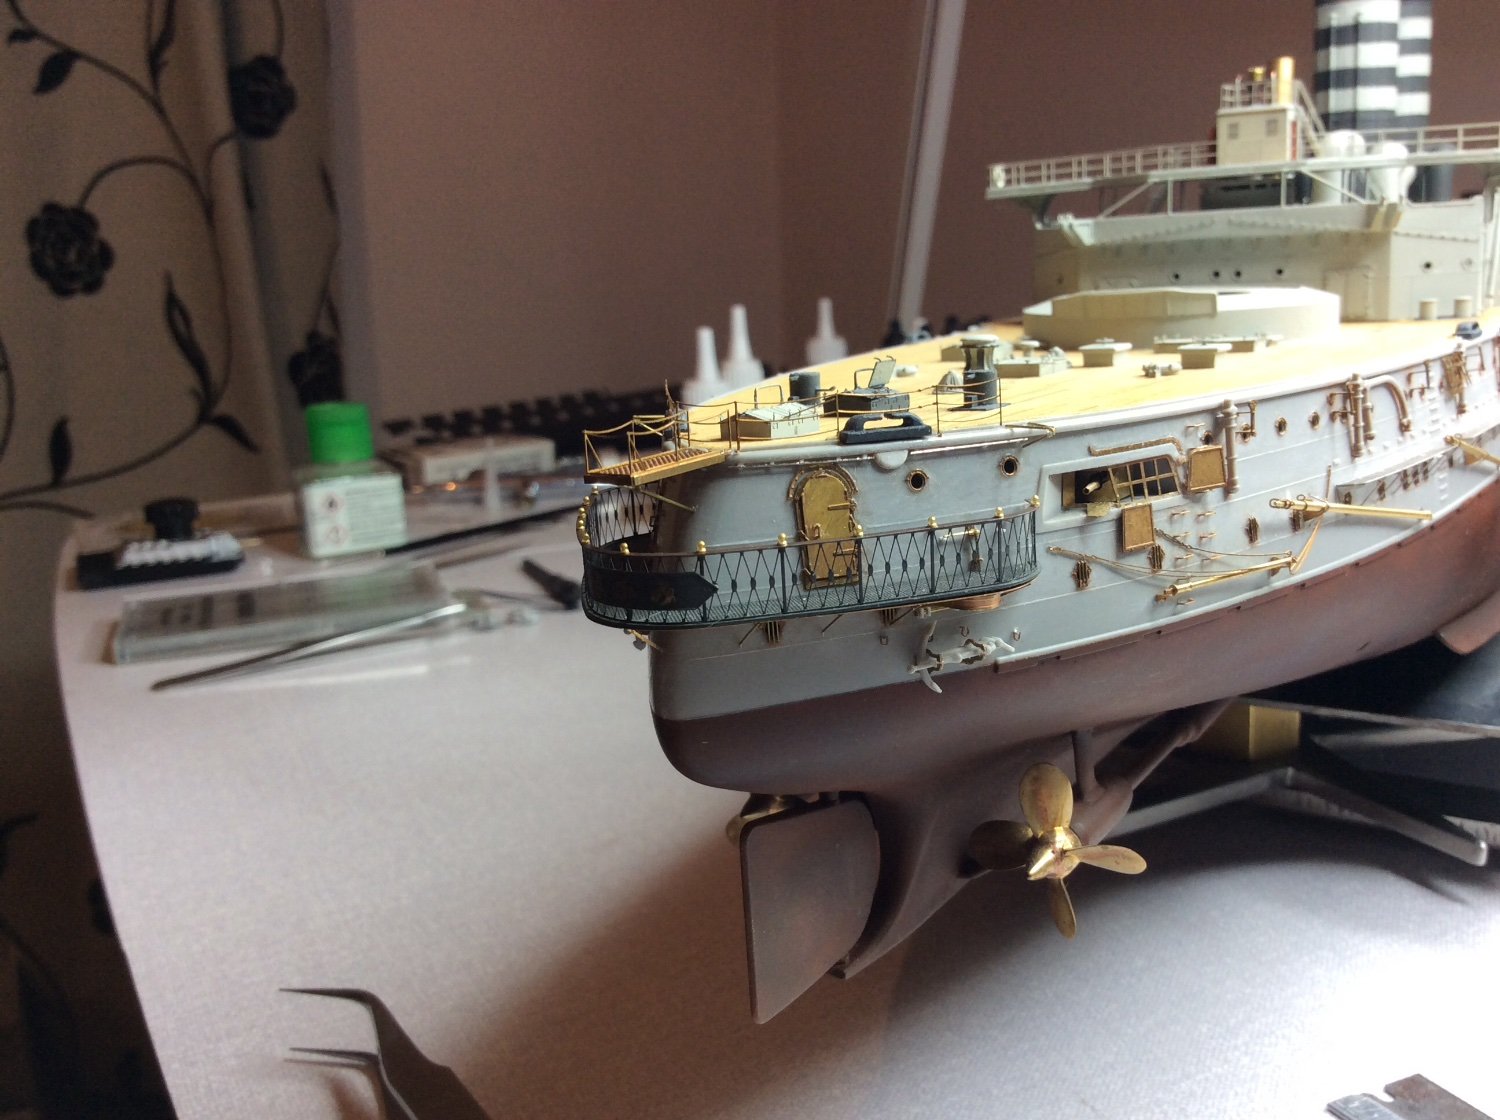
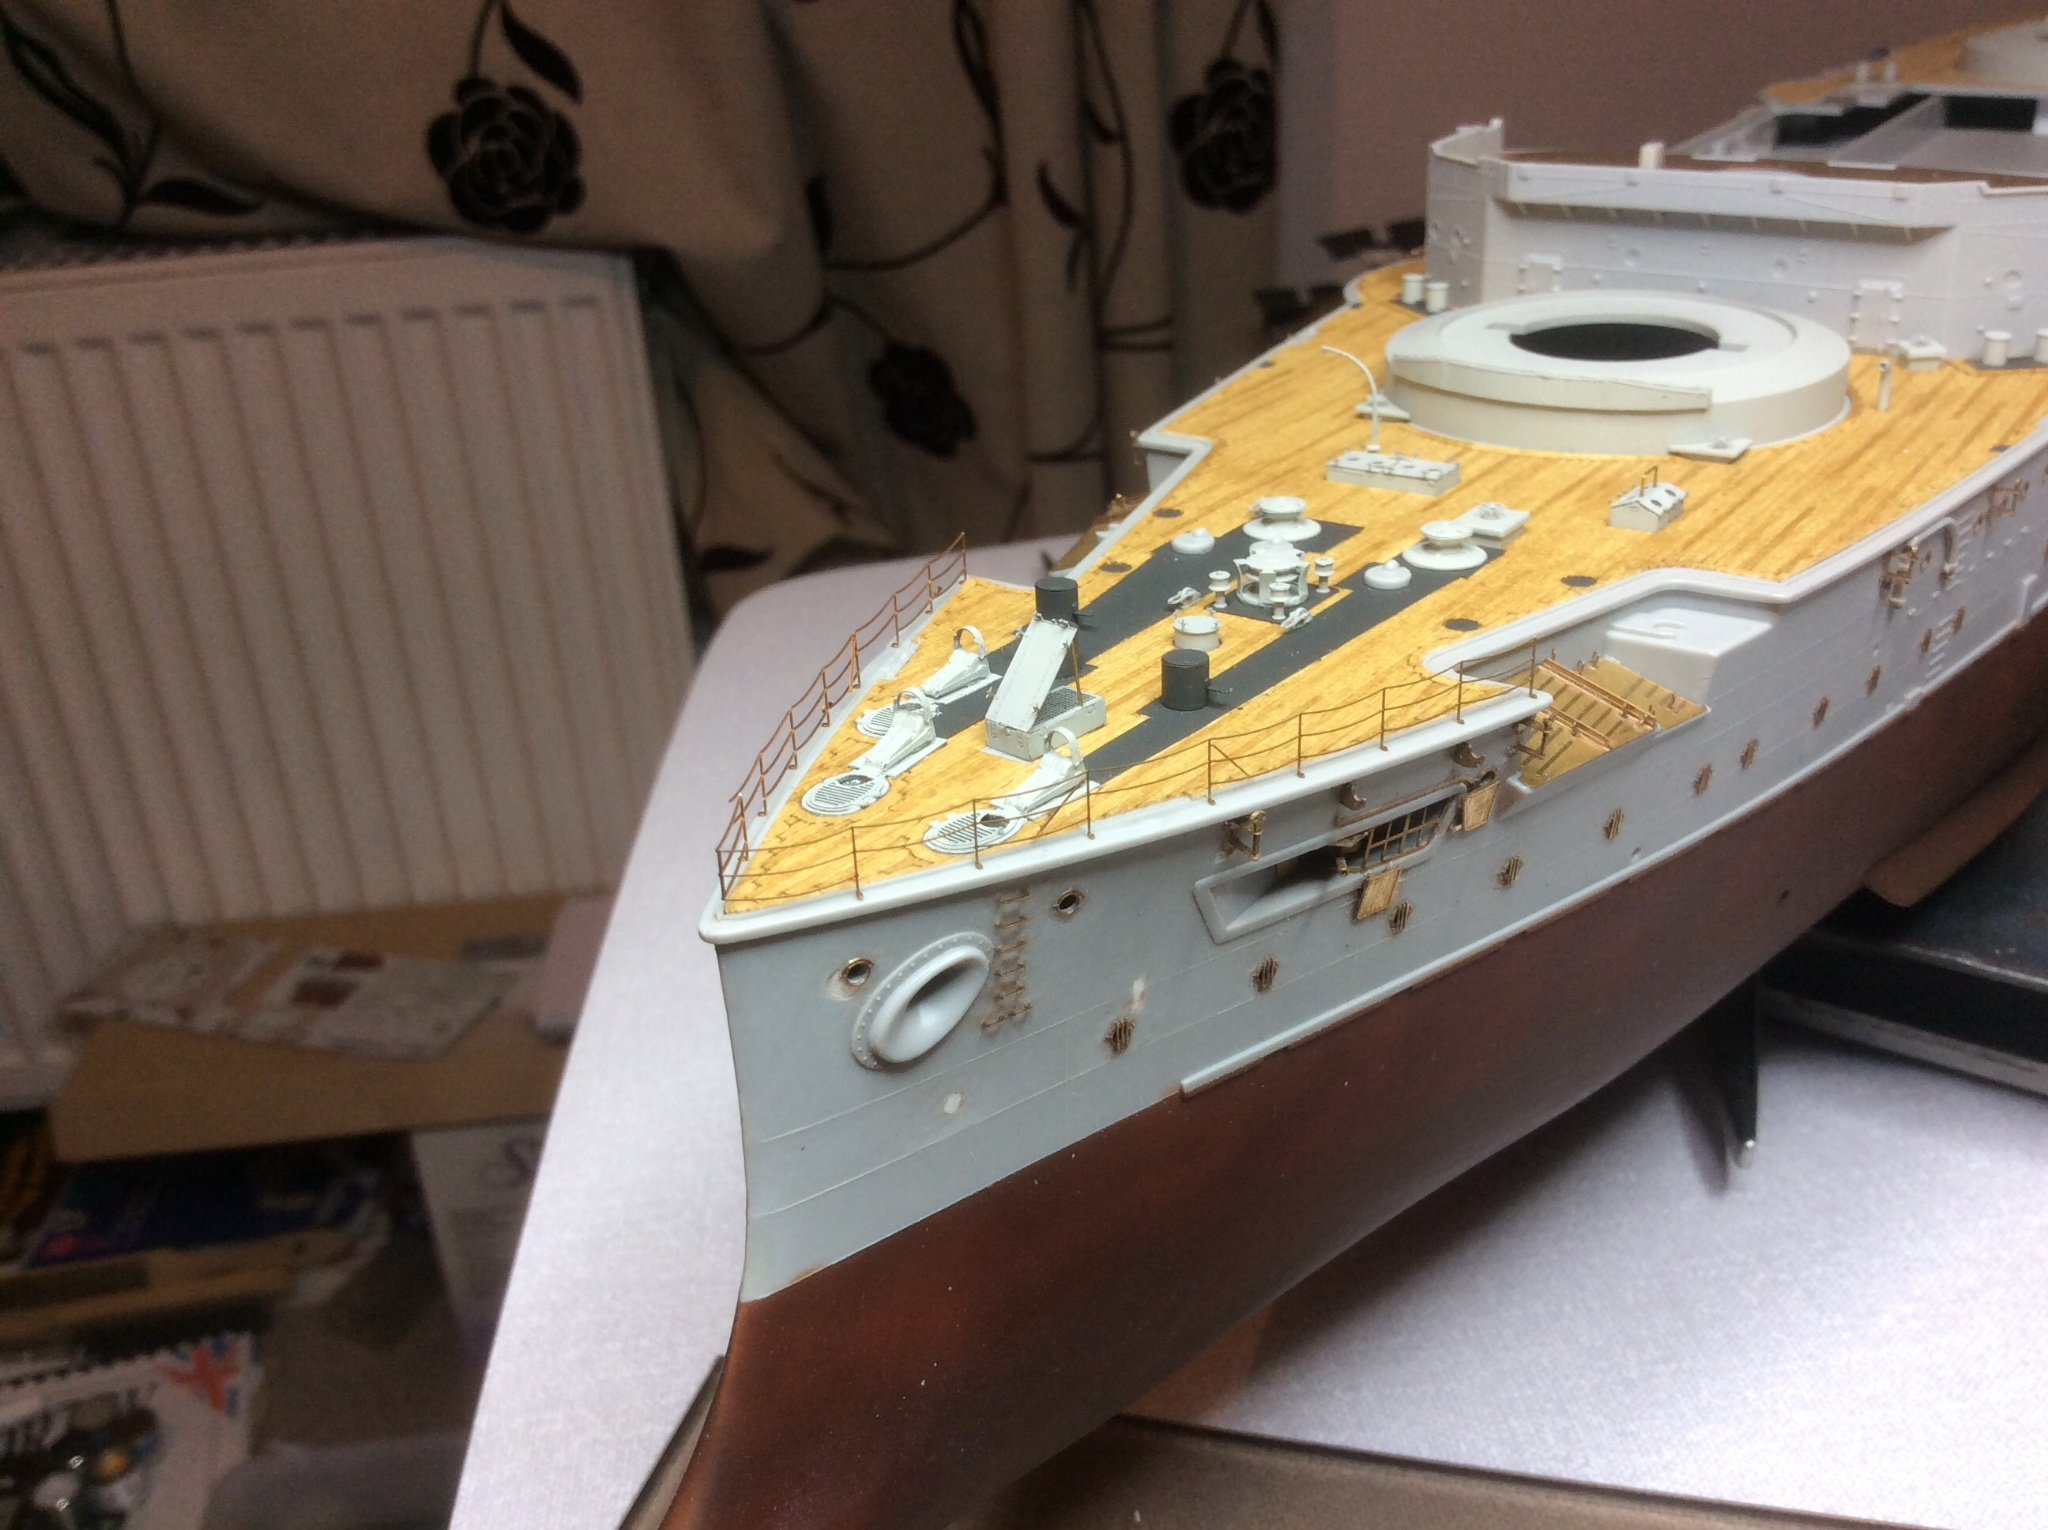
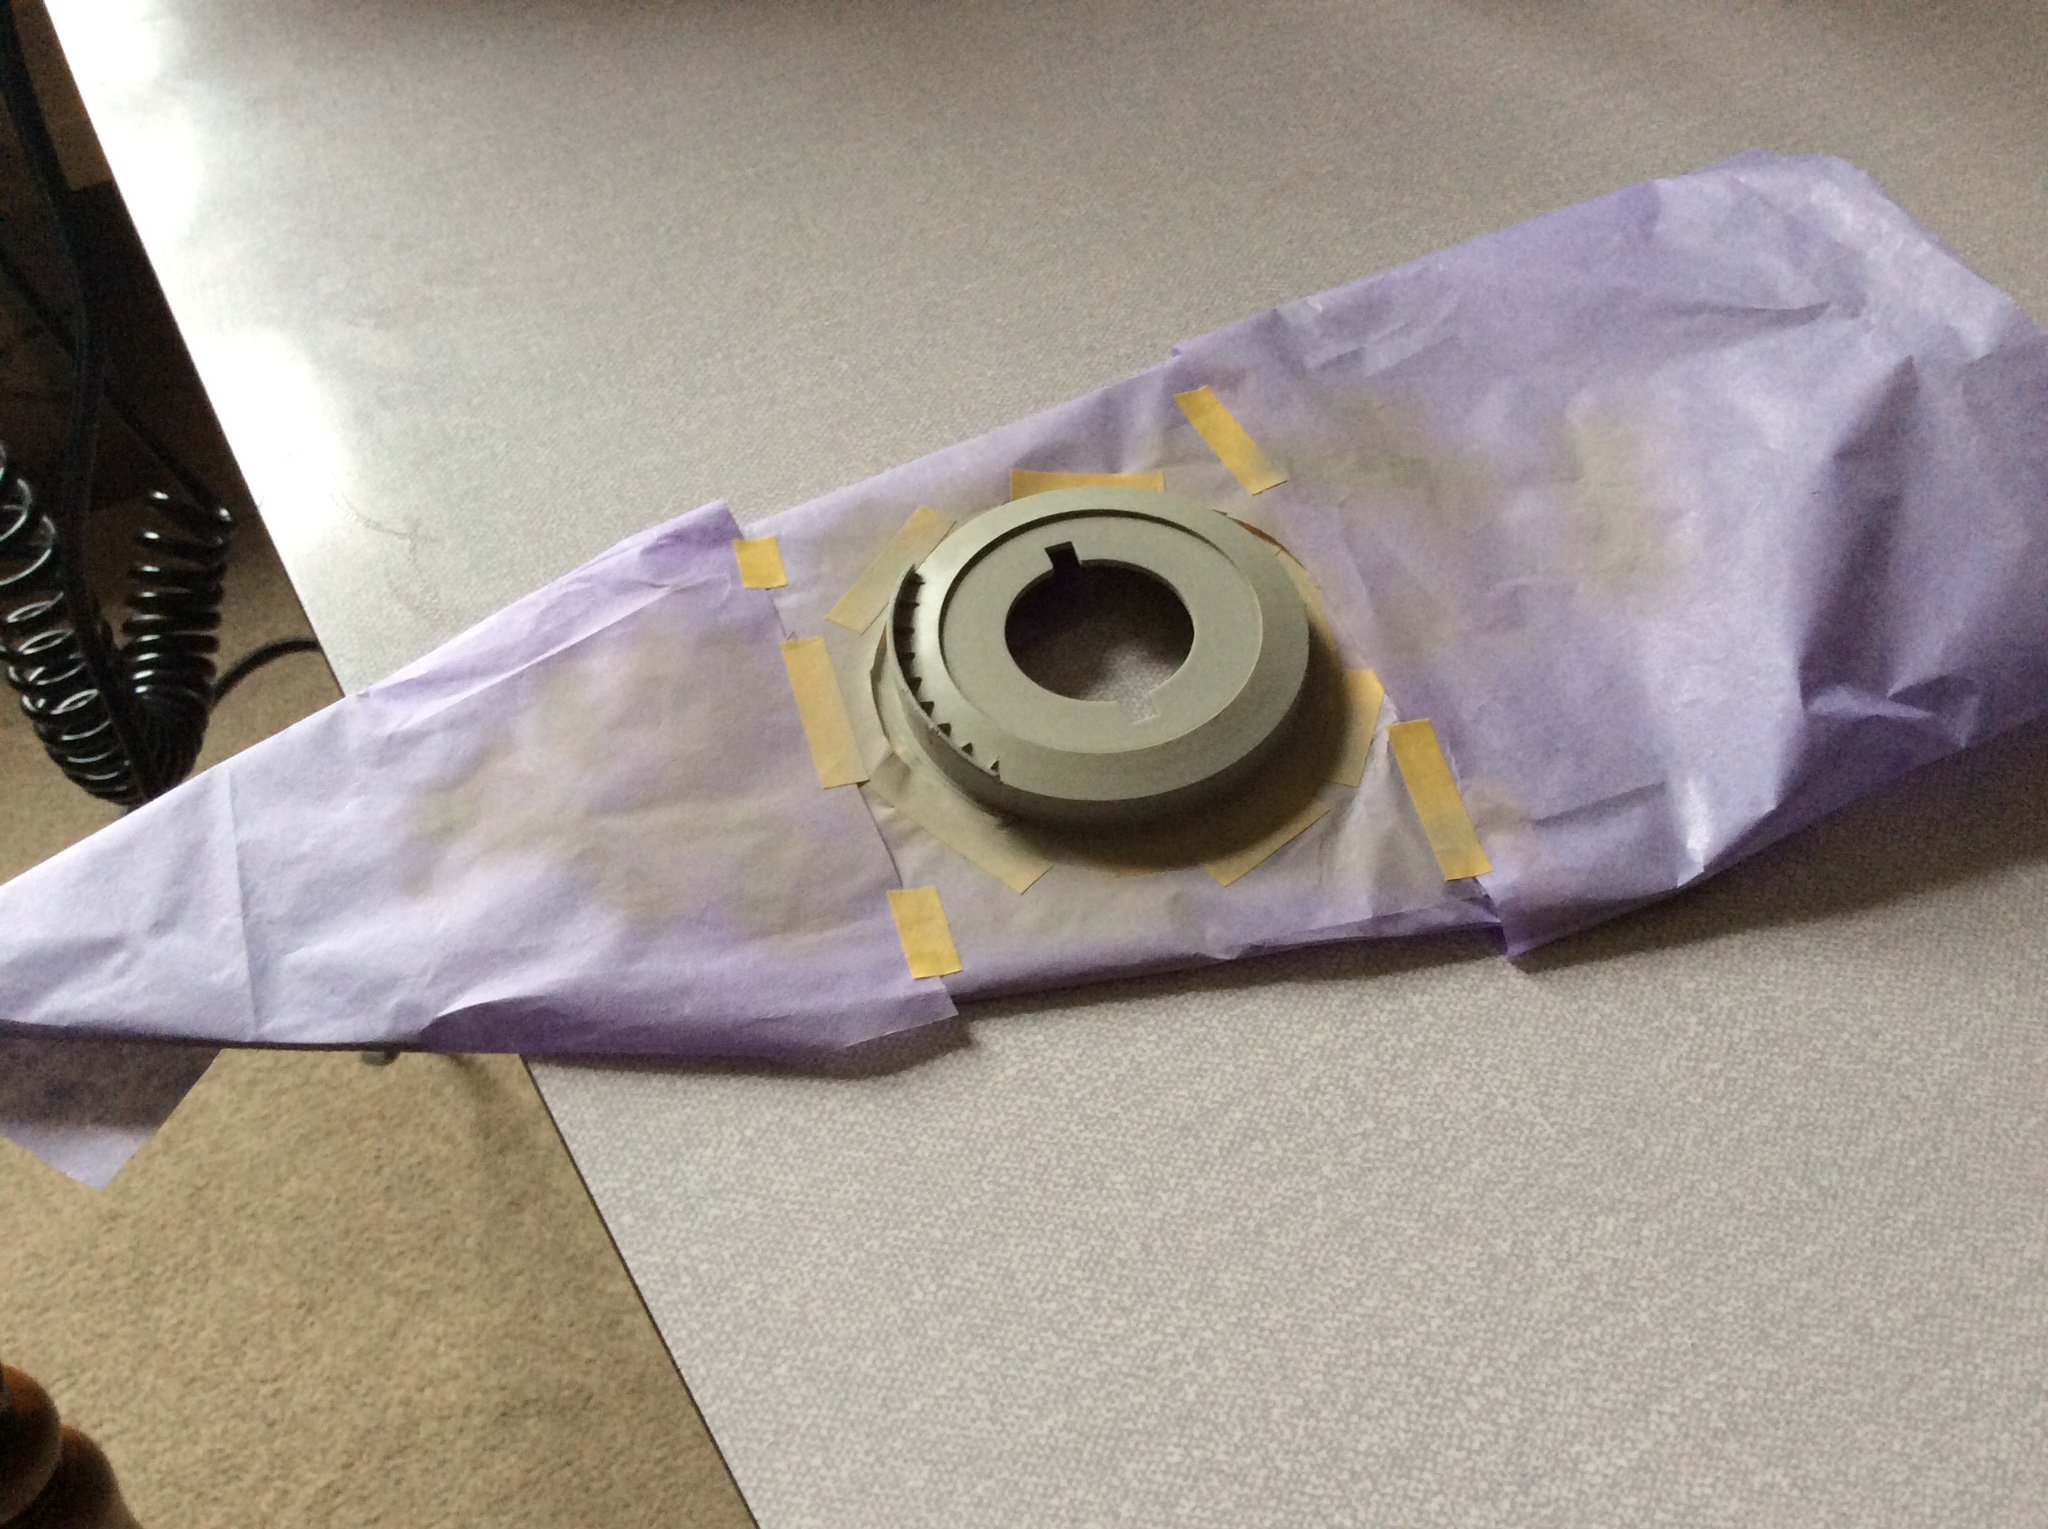
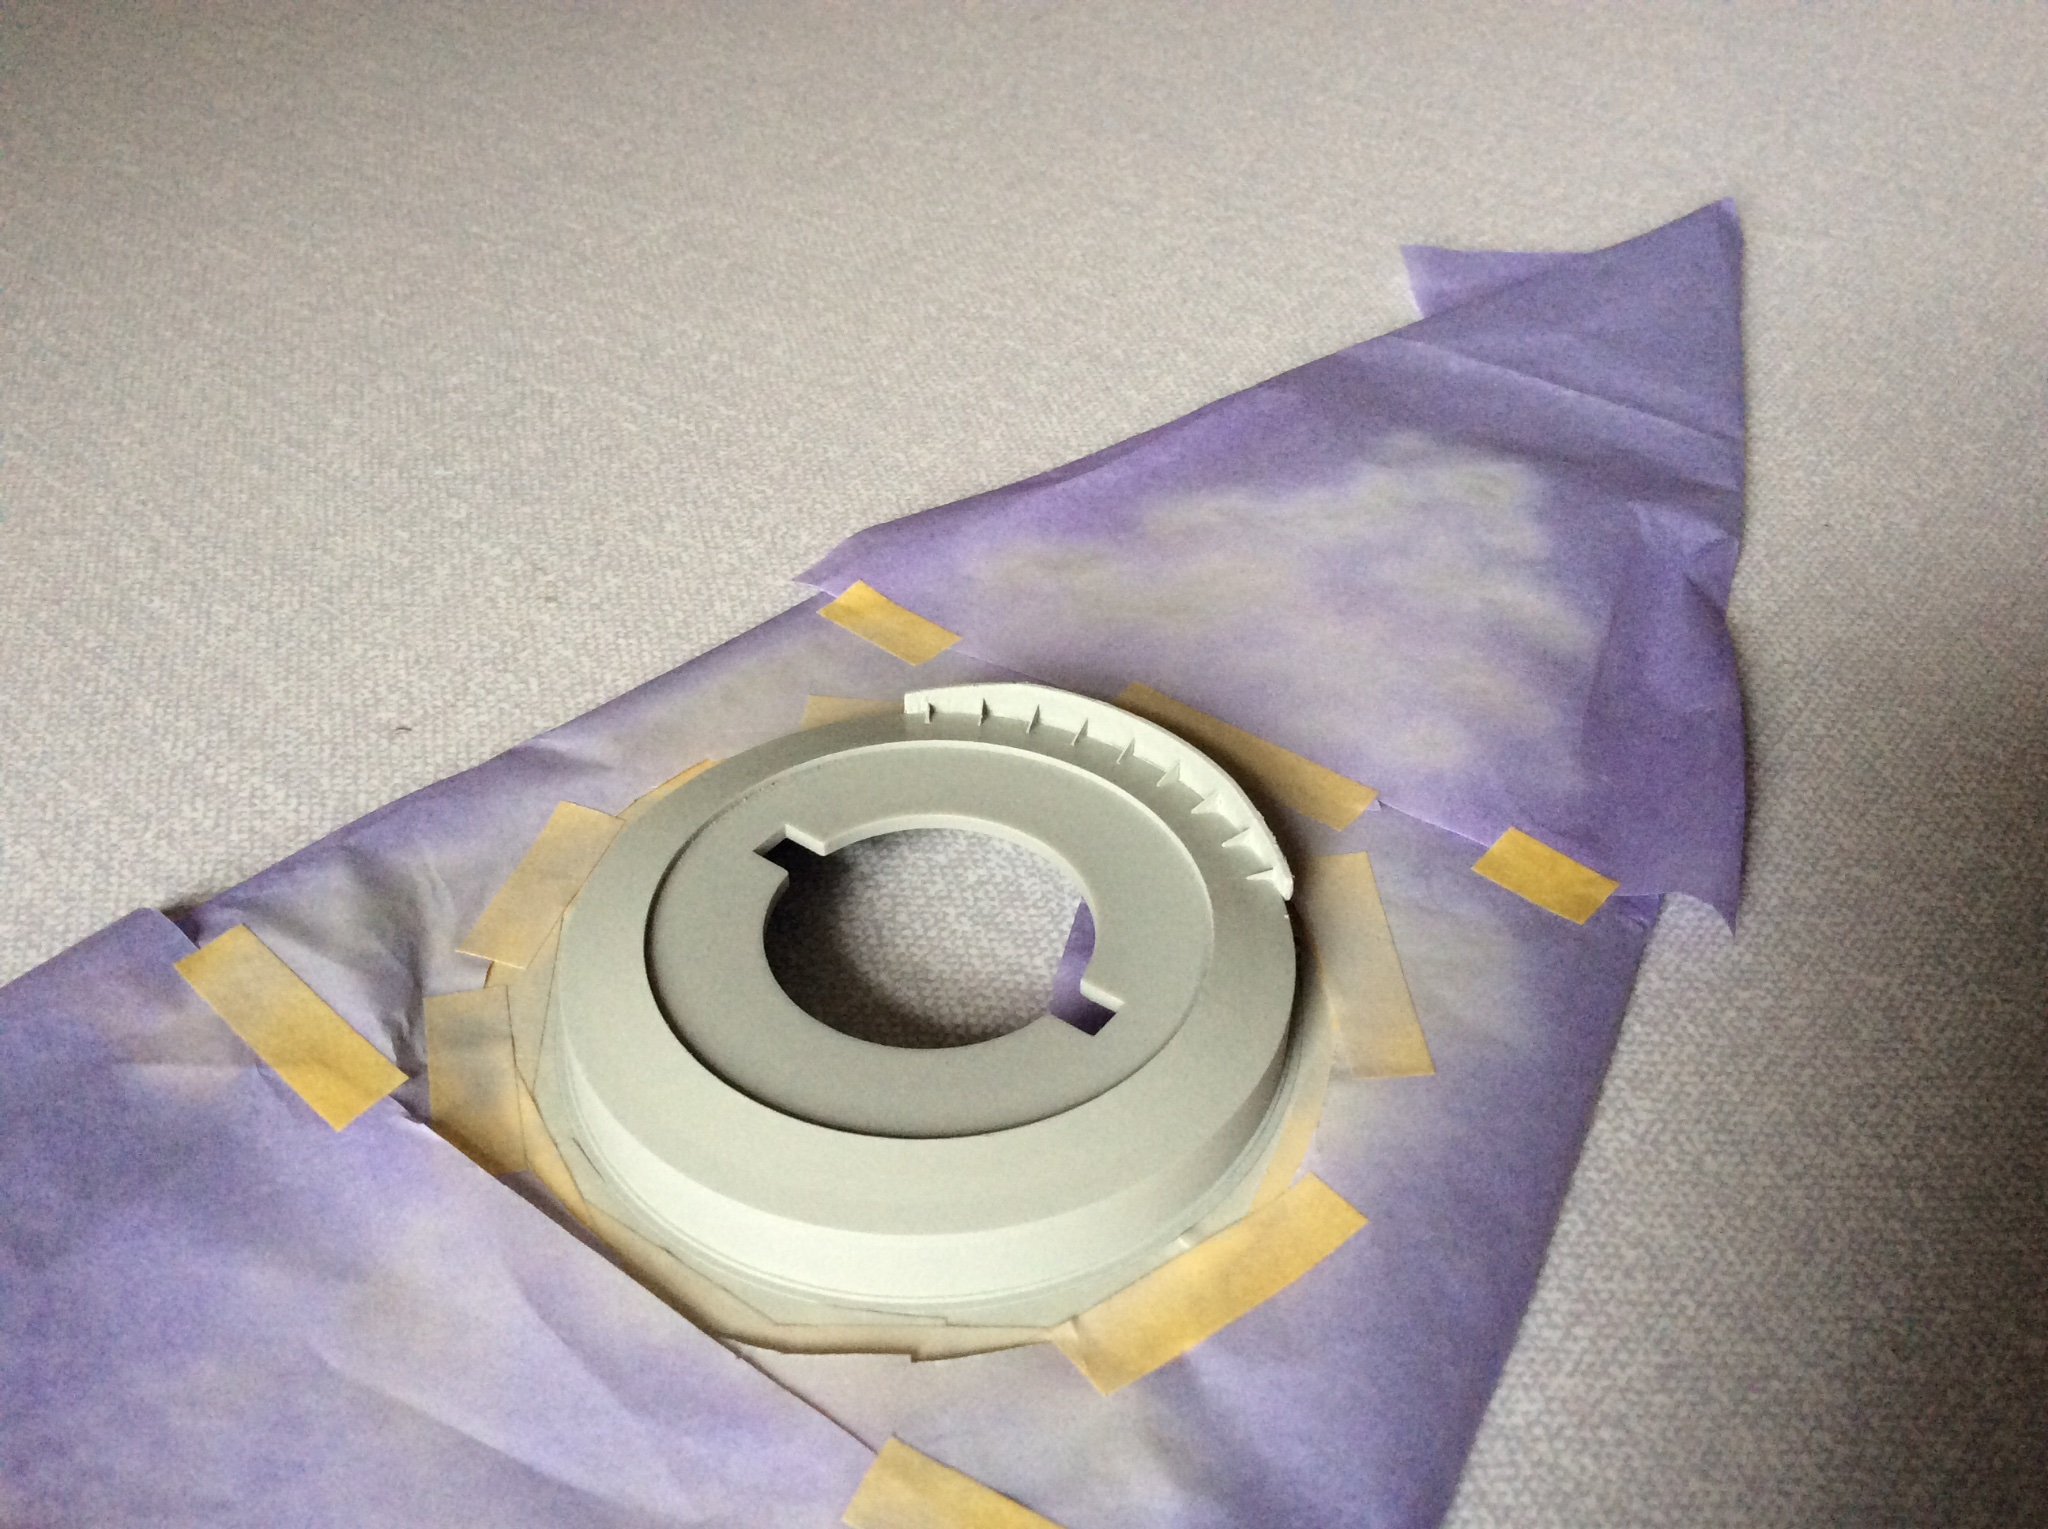
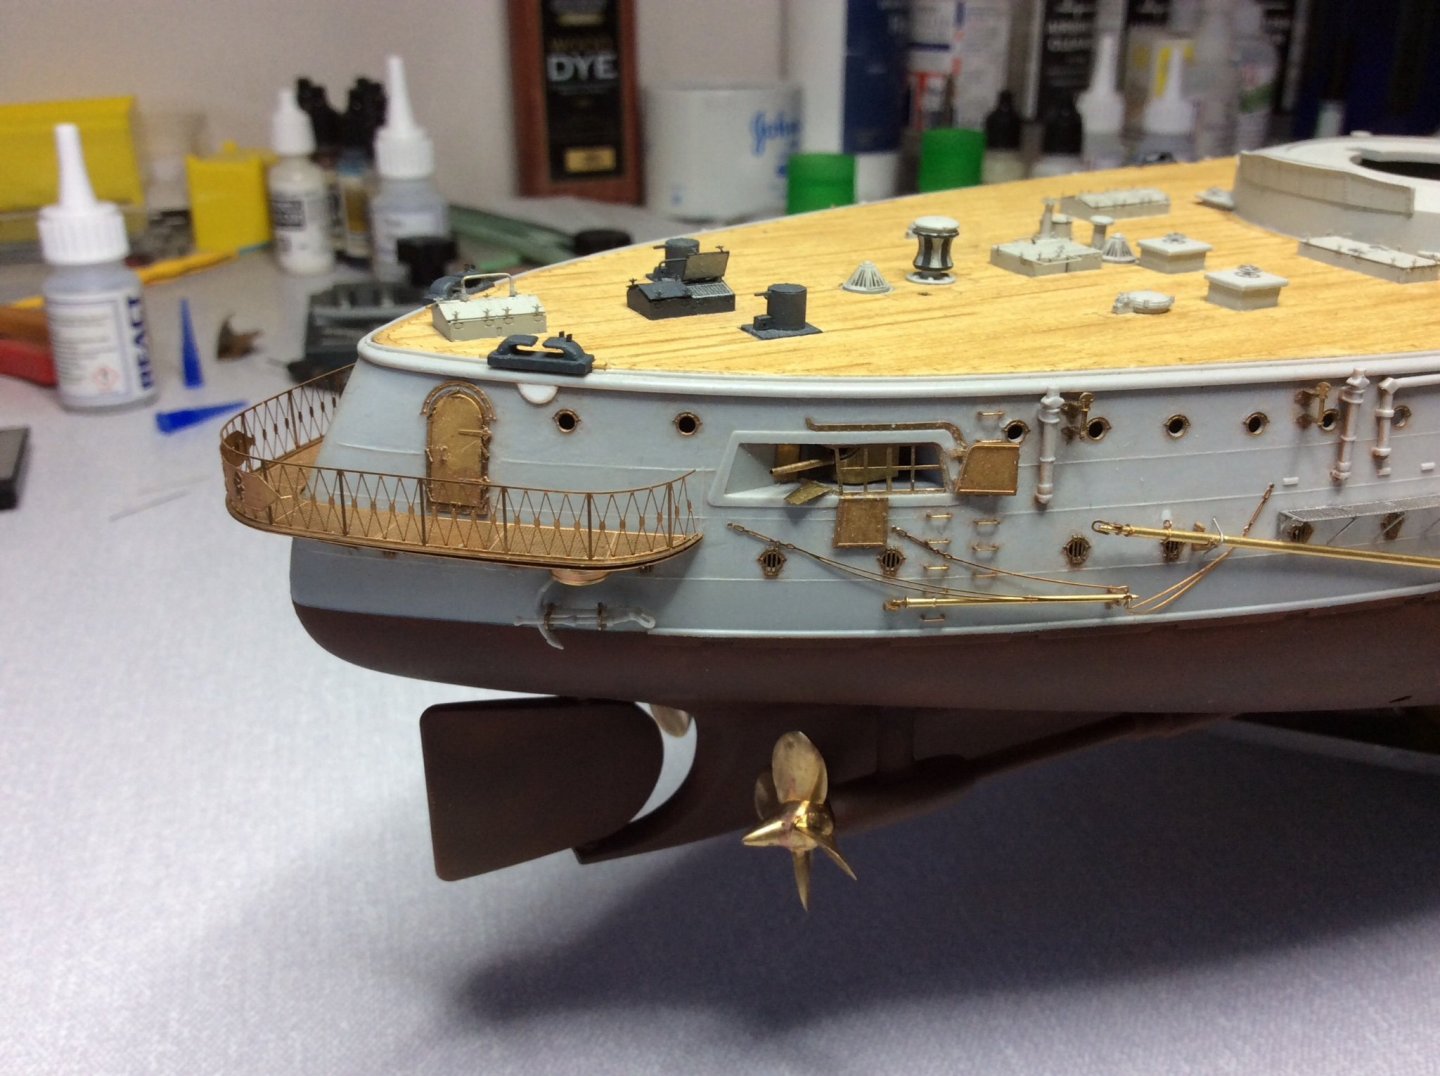
Hello to all modelling fans, hope you had a You had a nice Xmas and all the best for 2022. I think I got locked in the modelling room and told to stay out of the way 😂, result I actually progressed with the Mikasa. Finned adding almost all the etch down the port side, then came up with some daft ideas on detailing the stern walkway. Once finished it was then going to masking of the lower hull, done it right this time, fed up with scraping overspray off 😂 Shall put some photos up to show this stage of build.


- 543 replies
-
- 10
-

-
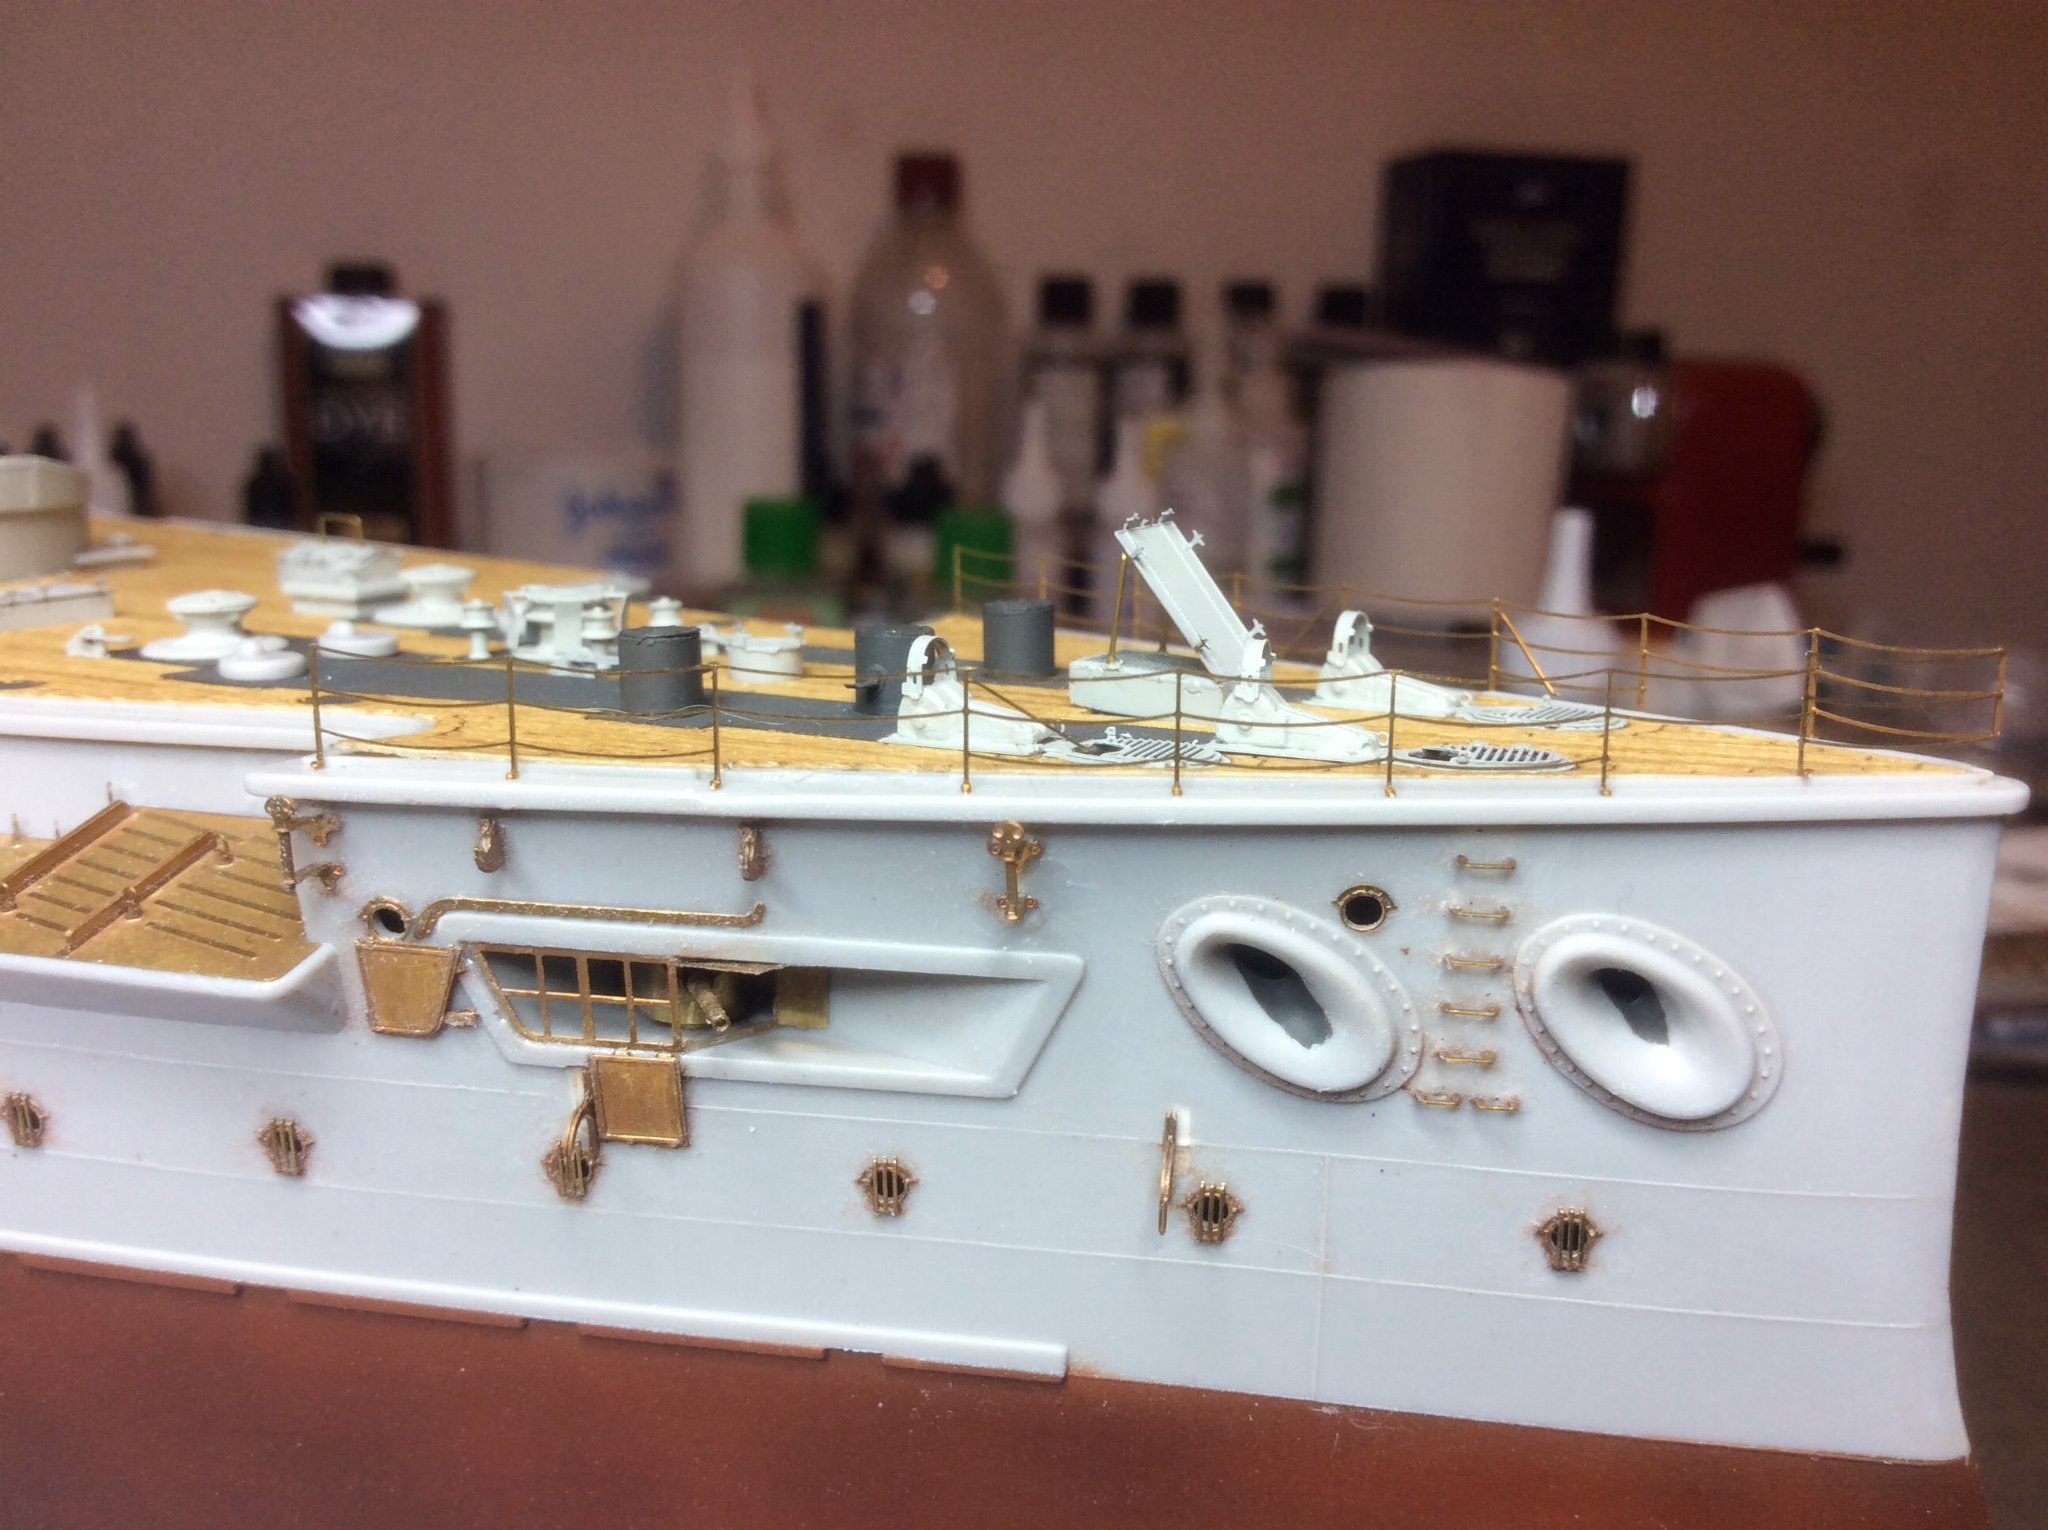
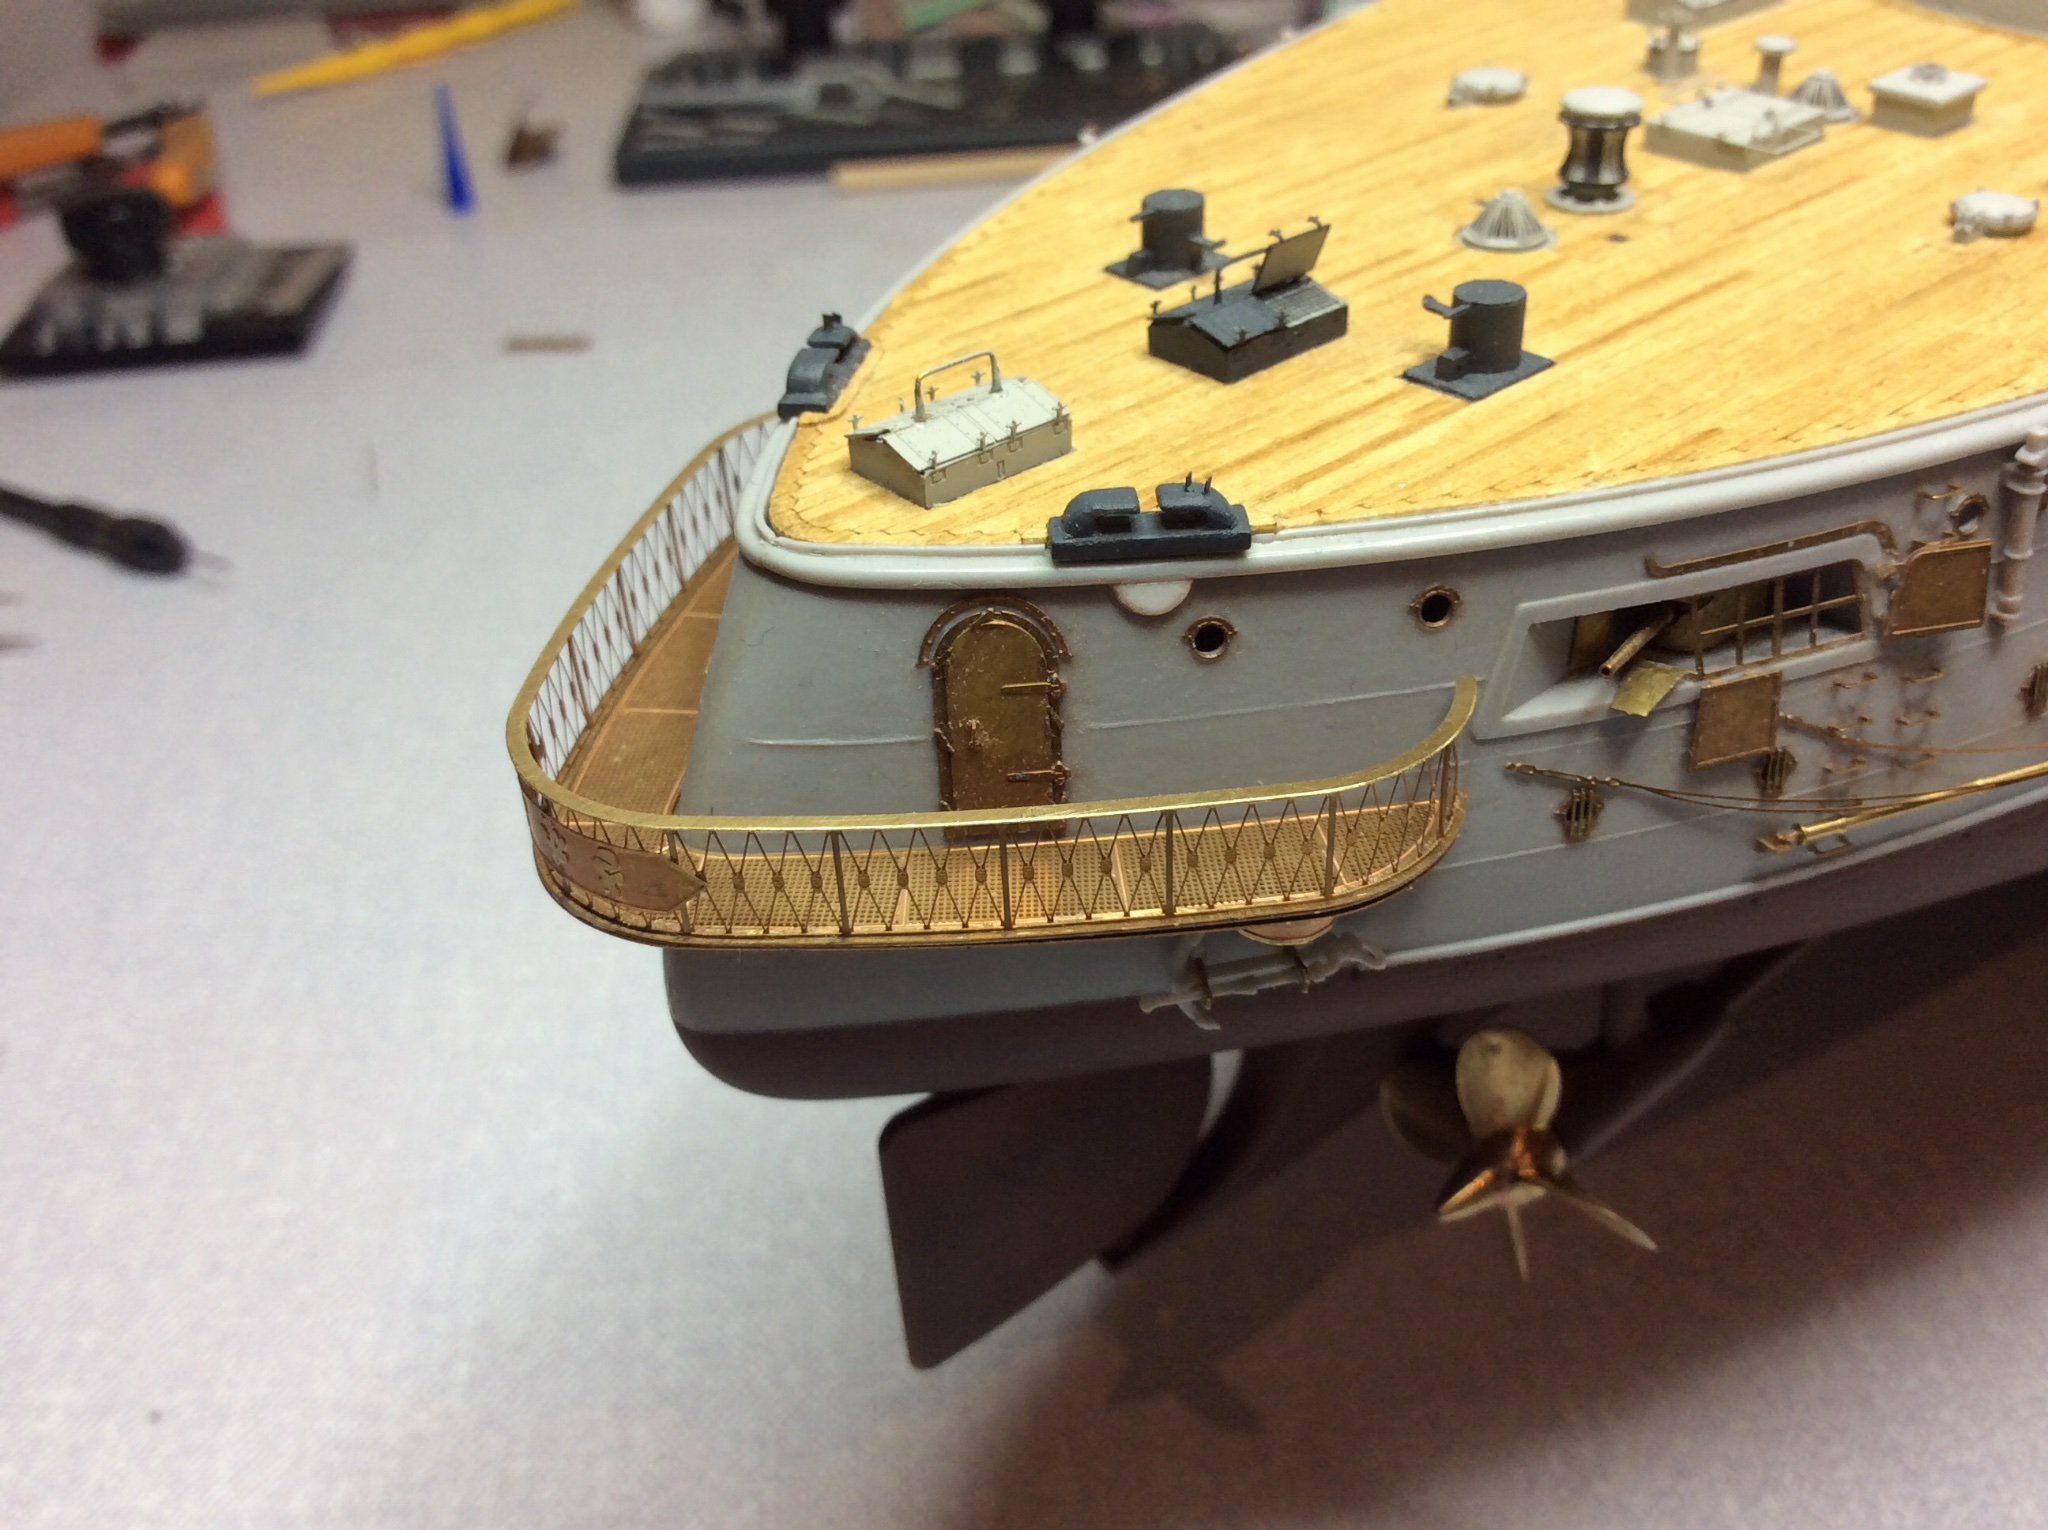
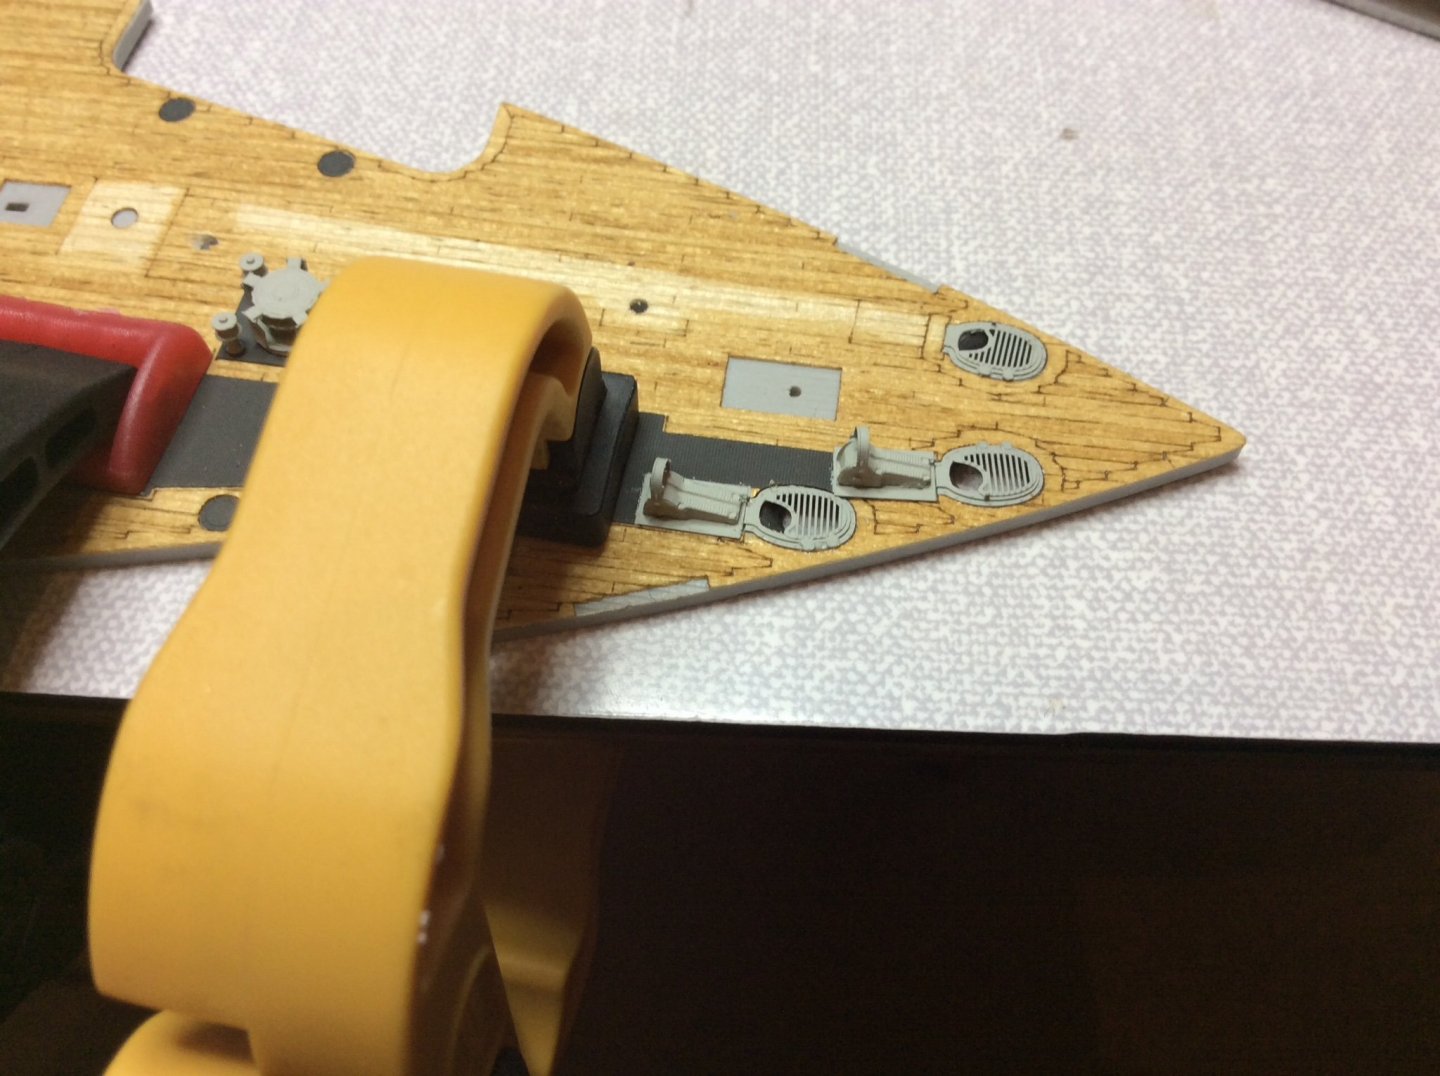
Also had to break of the gun hatches at bow and re-set them to accommodate the anchor chains, found a fine piece of wire helps here, must have worked like this anyway. Finally the small davit arm on forward deck next to locker was made from brass wire styrene tube and parts of etch cut from the flat etch davit arms for boats which I didn’t fancy using. Also cut the first deck handrail to try as template for positioning forward resin cleats, this was an eye opener as to how delicate these actually are, broke it during the folding process, just as well I need another set. Don’t have the necessary jib and hooks for forward mast, don’t see PONTOS doing an additional set for this, that’s a shame, there are so many additional parts required, ha ho. At least I can paint the handrail dark grey to see if that works for me. 👍 Shall put some final photos up. So if I don’t advance enough for another post before Xmas and New Year you all have the best time possibly. Again thanks for the experience of doing this, have really enjoyed it so far. All the best Jeff. 🤛


-
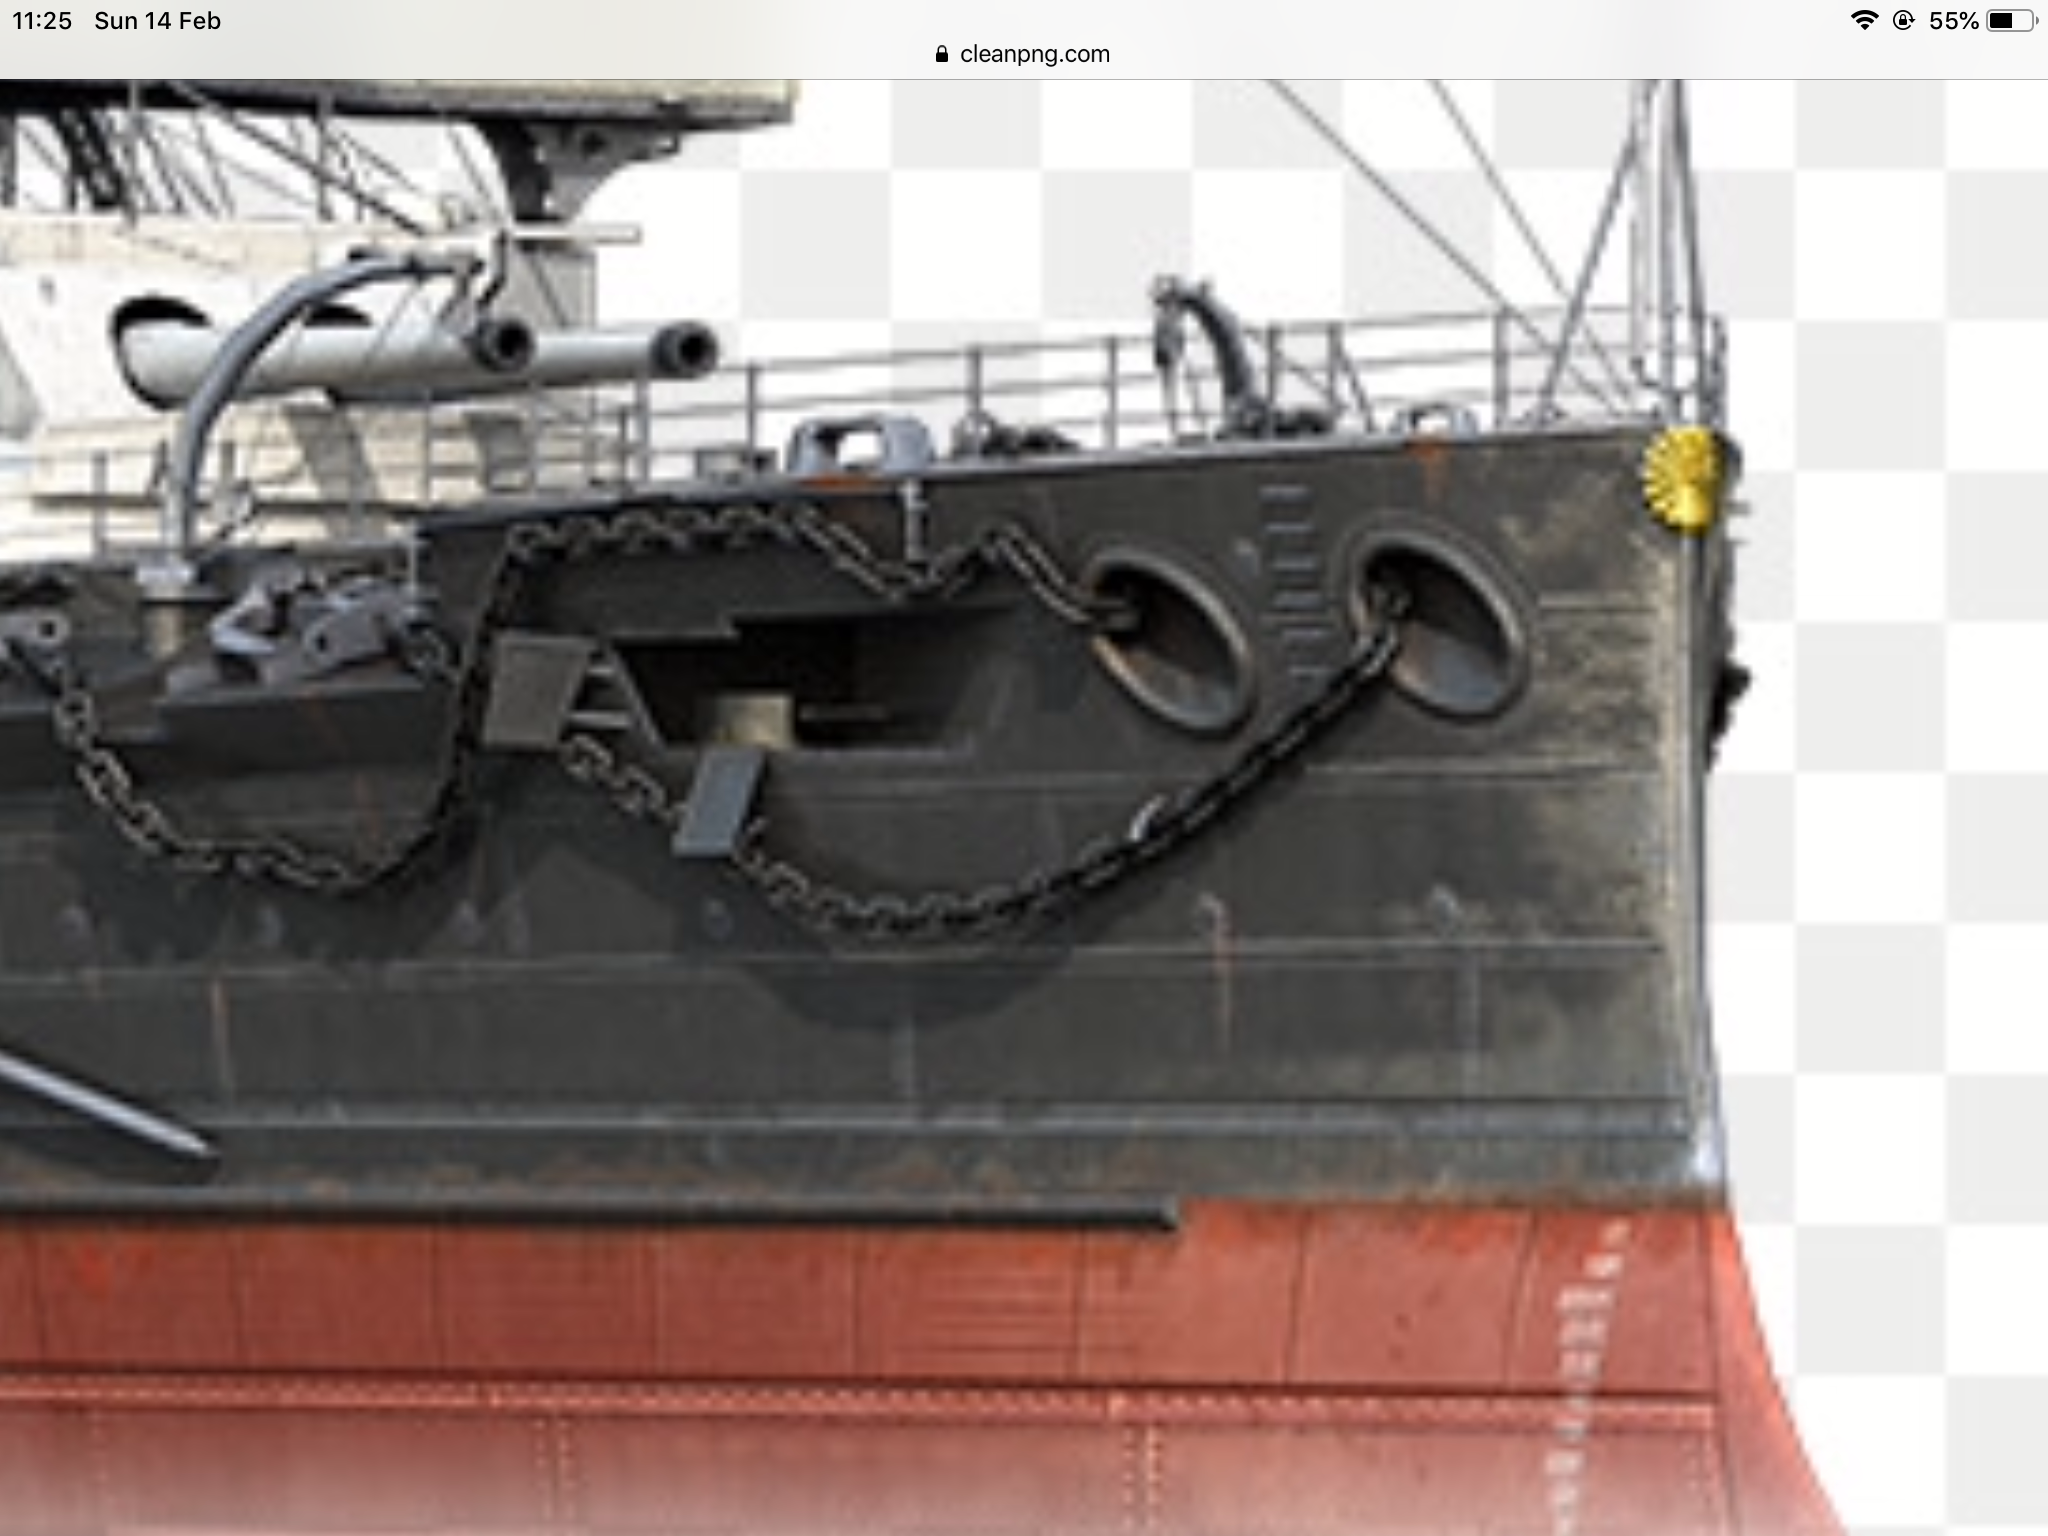
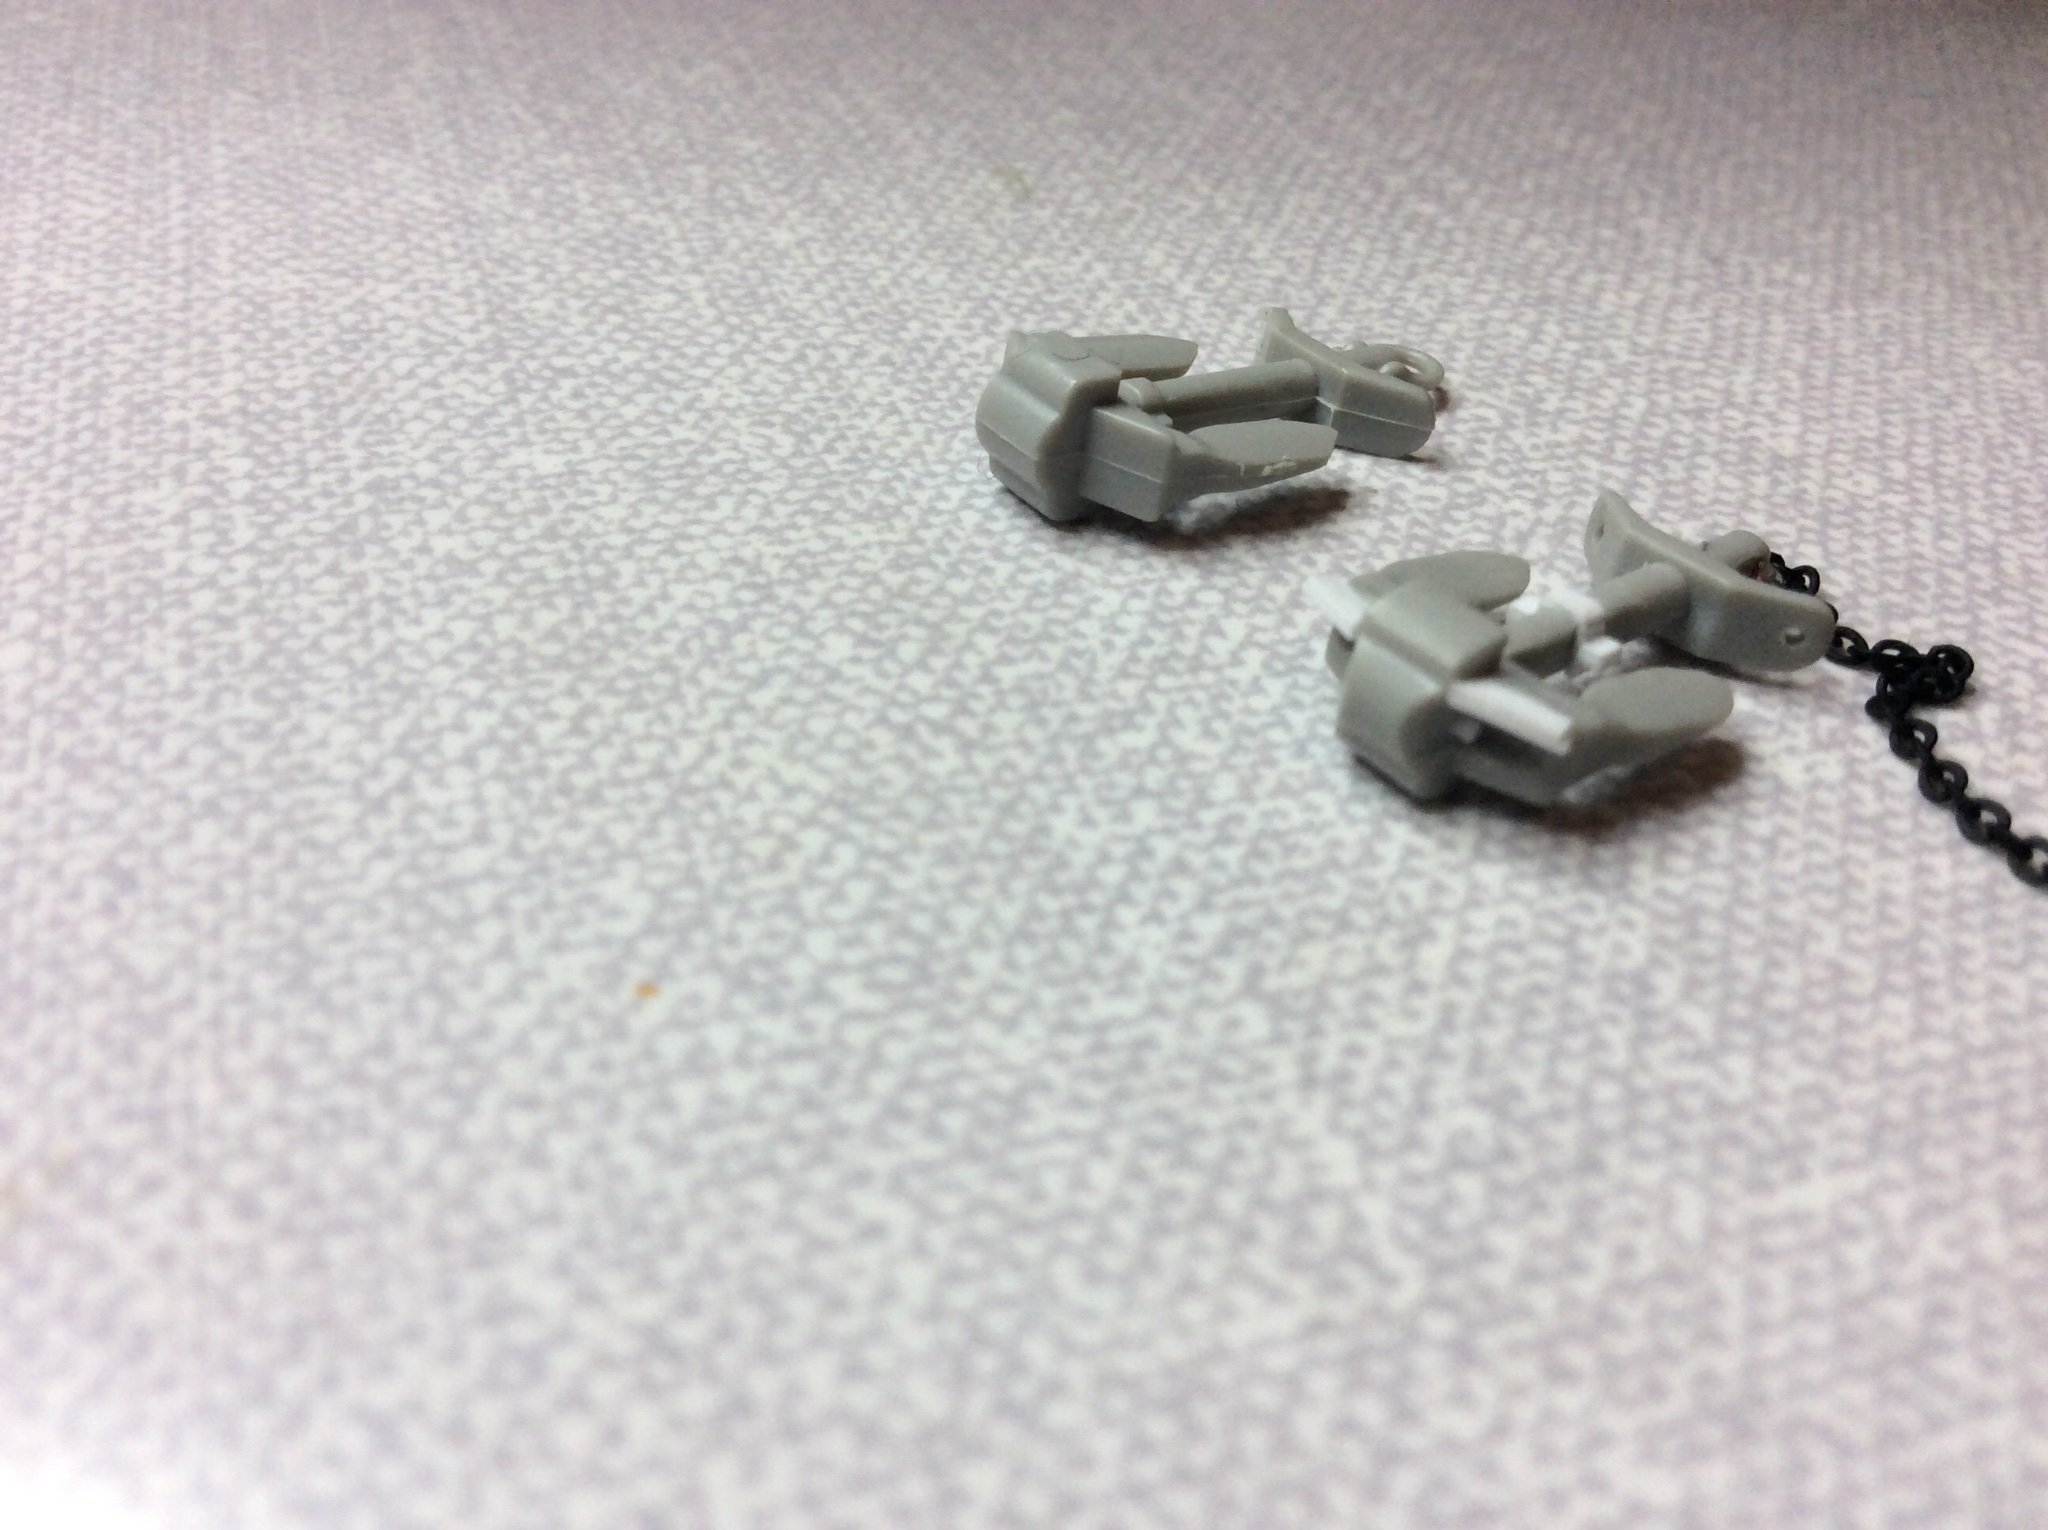
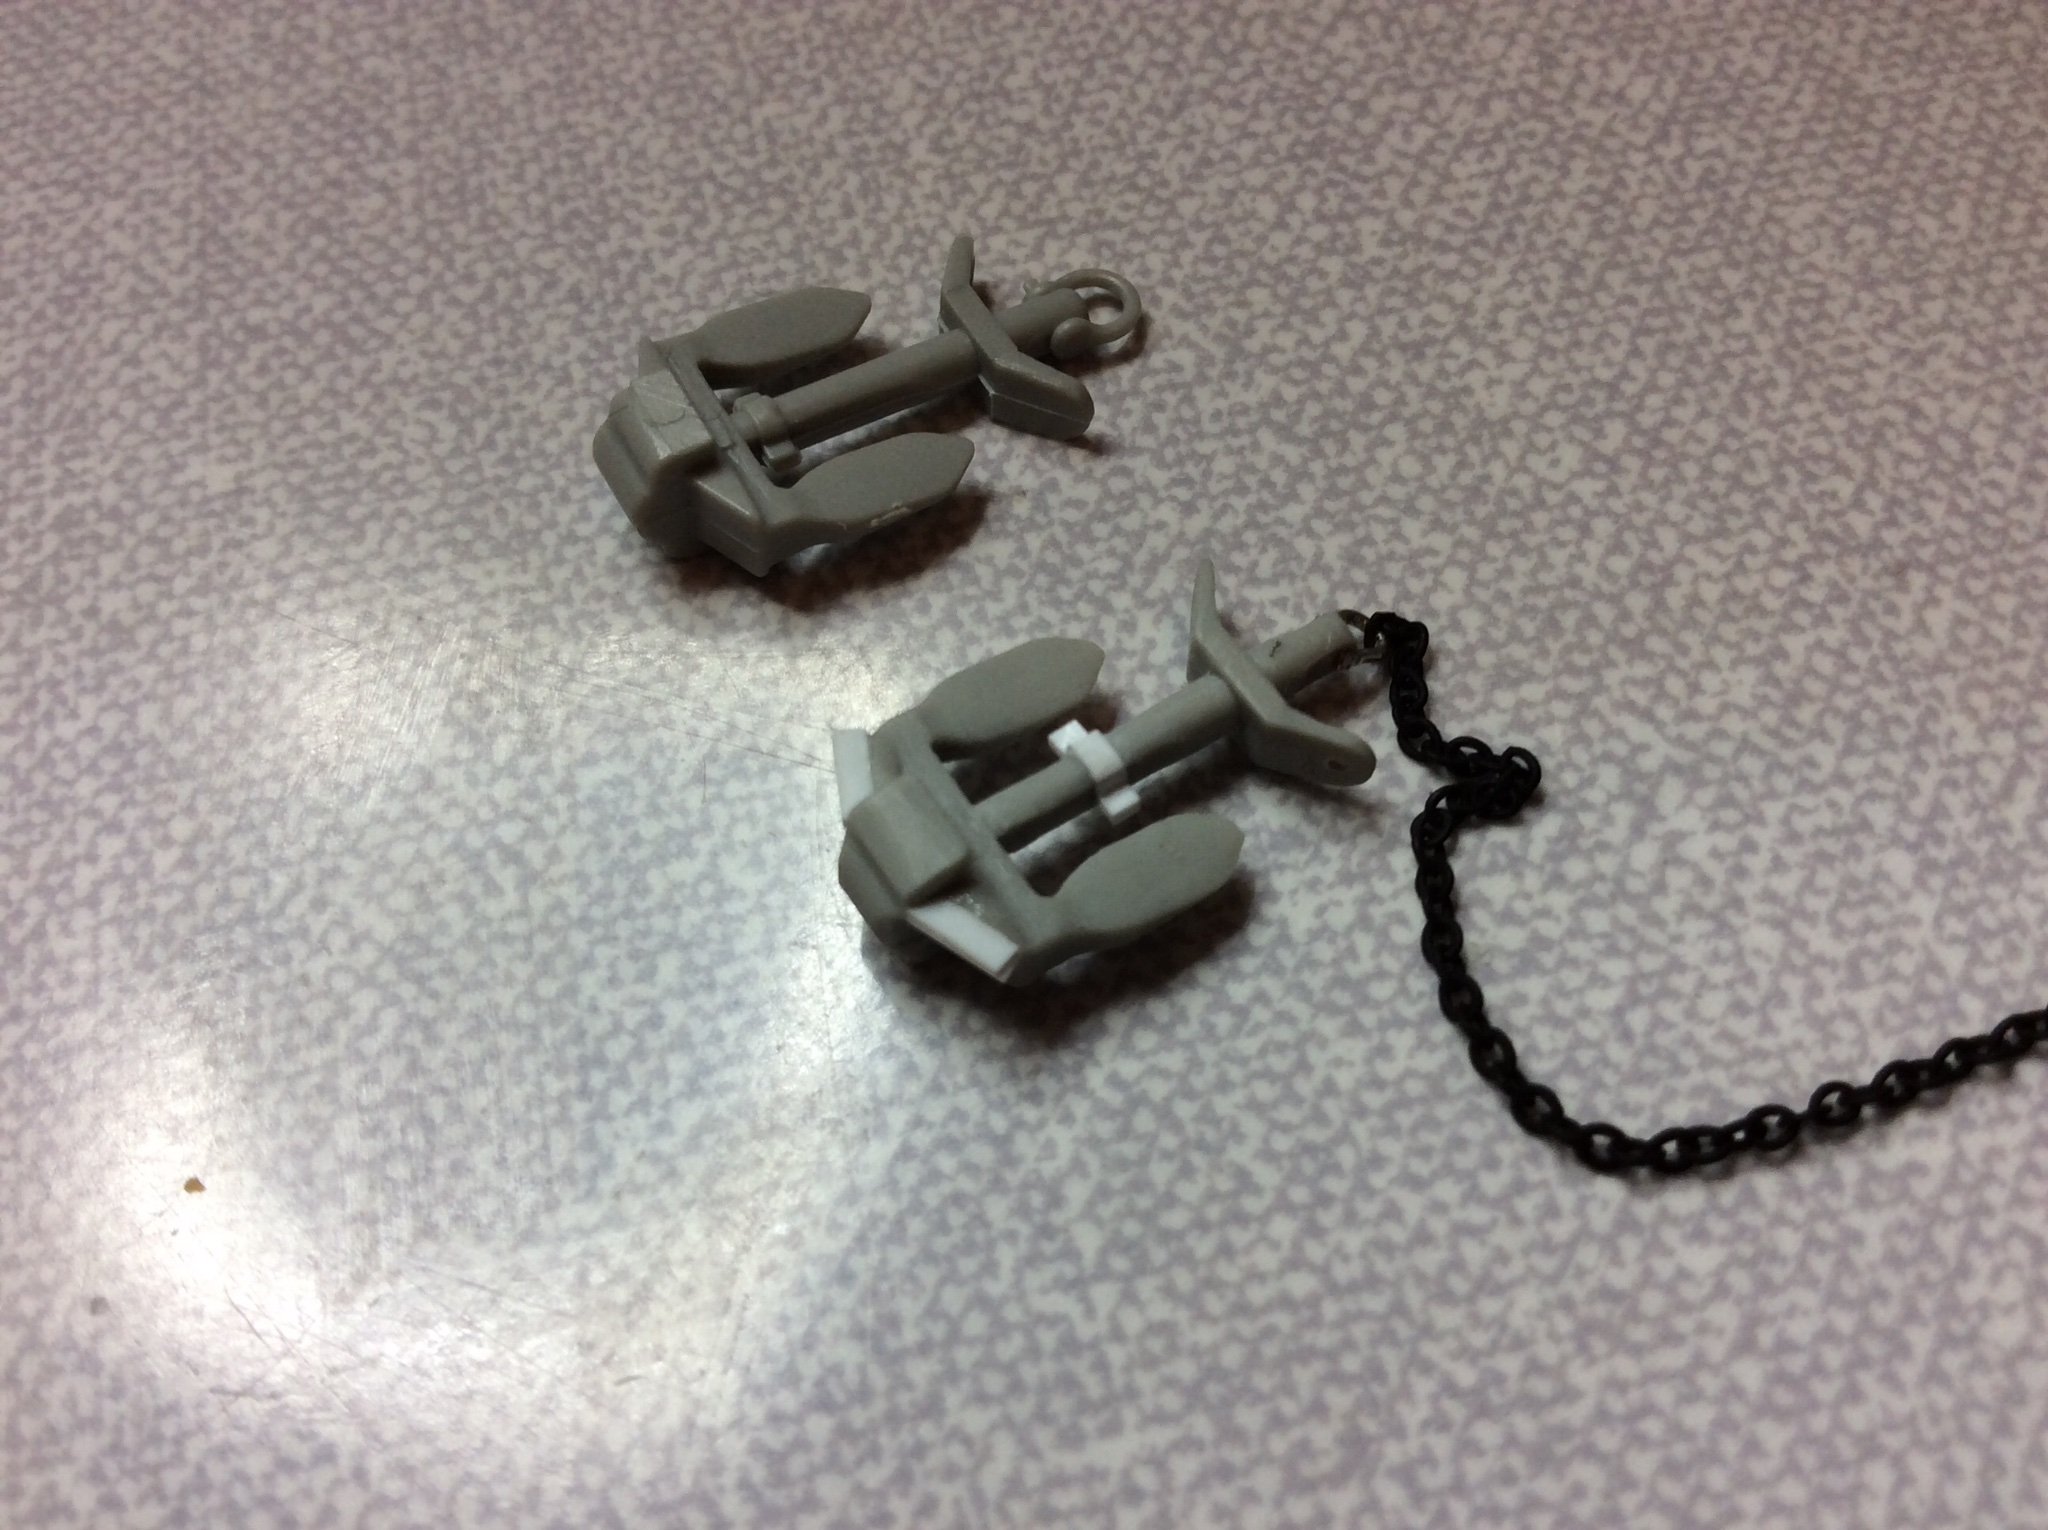
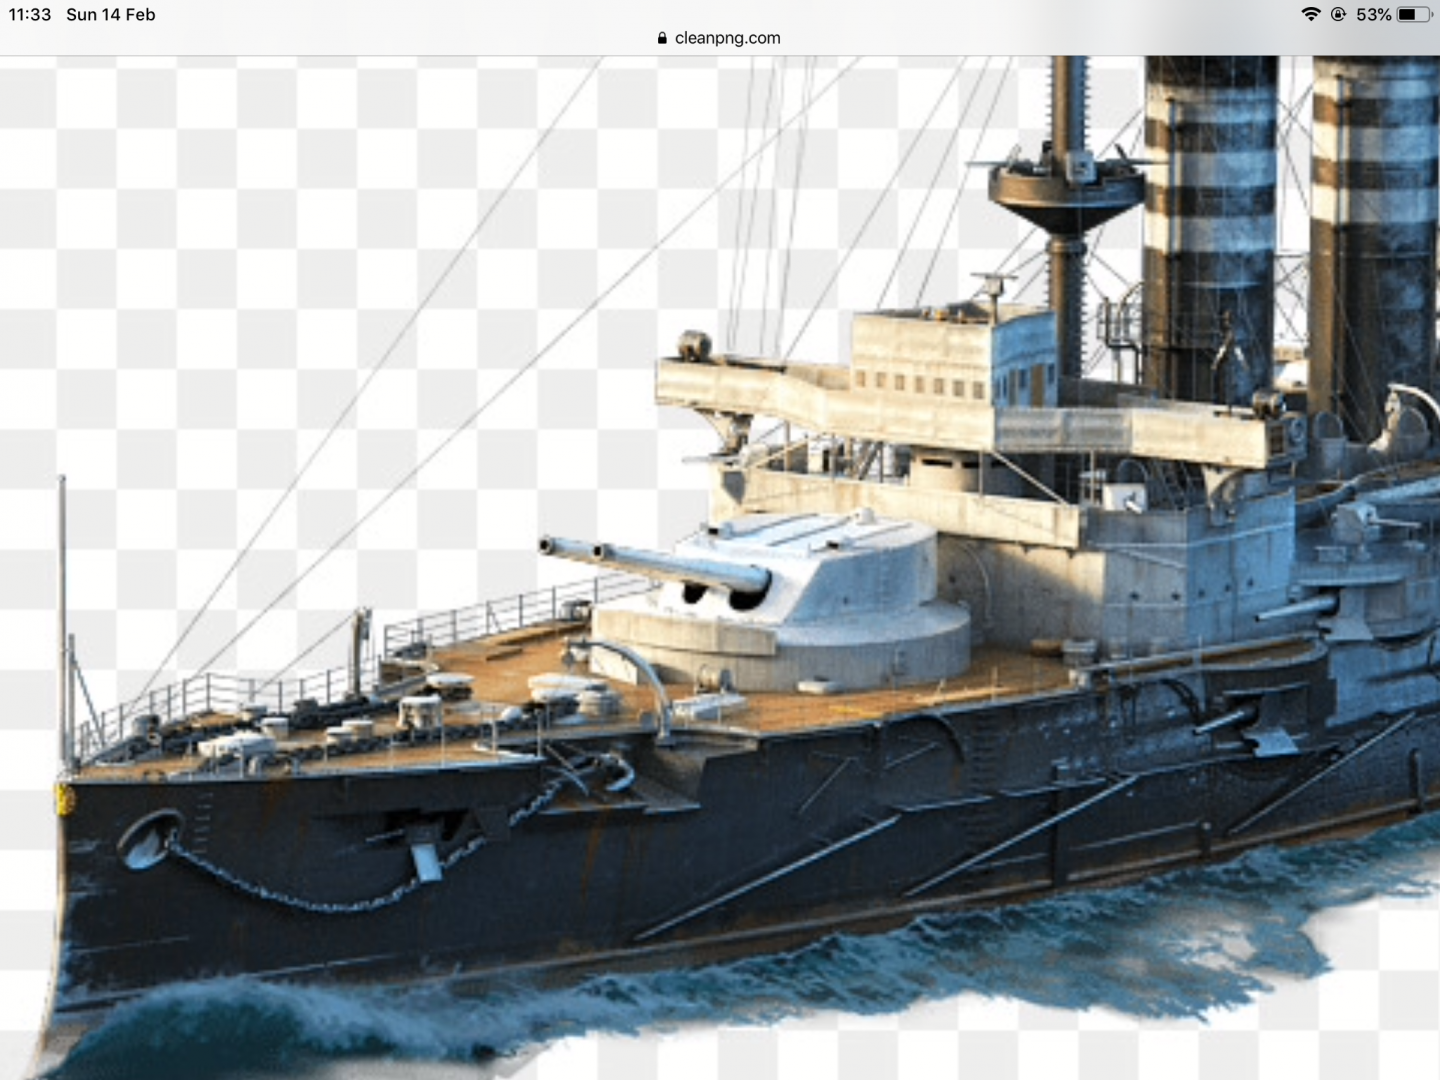
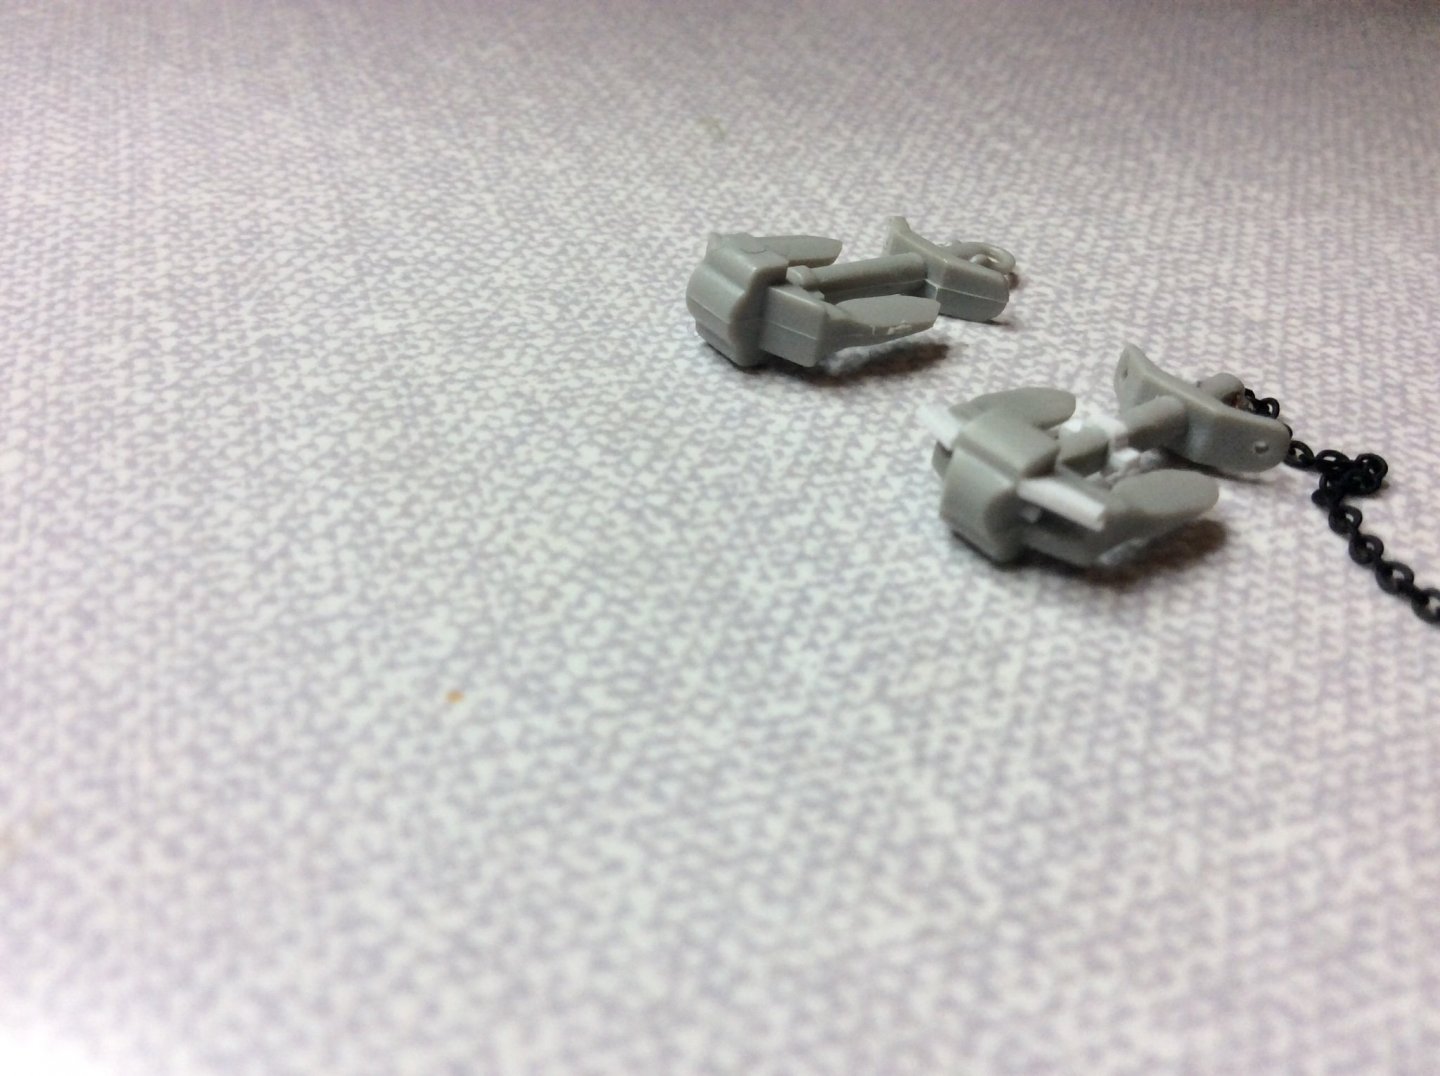
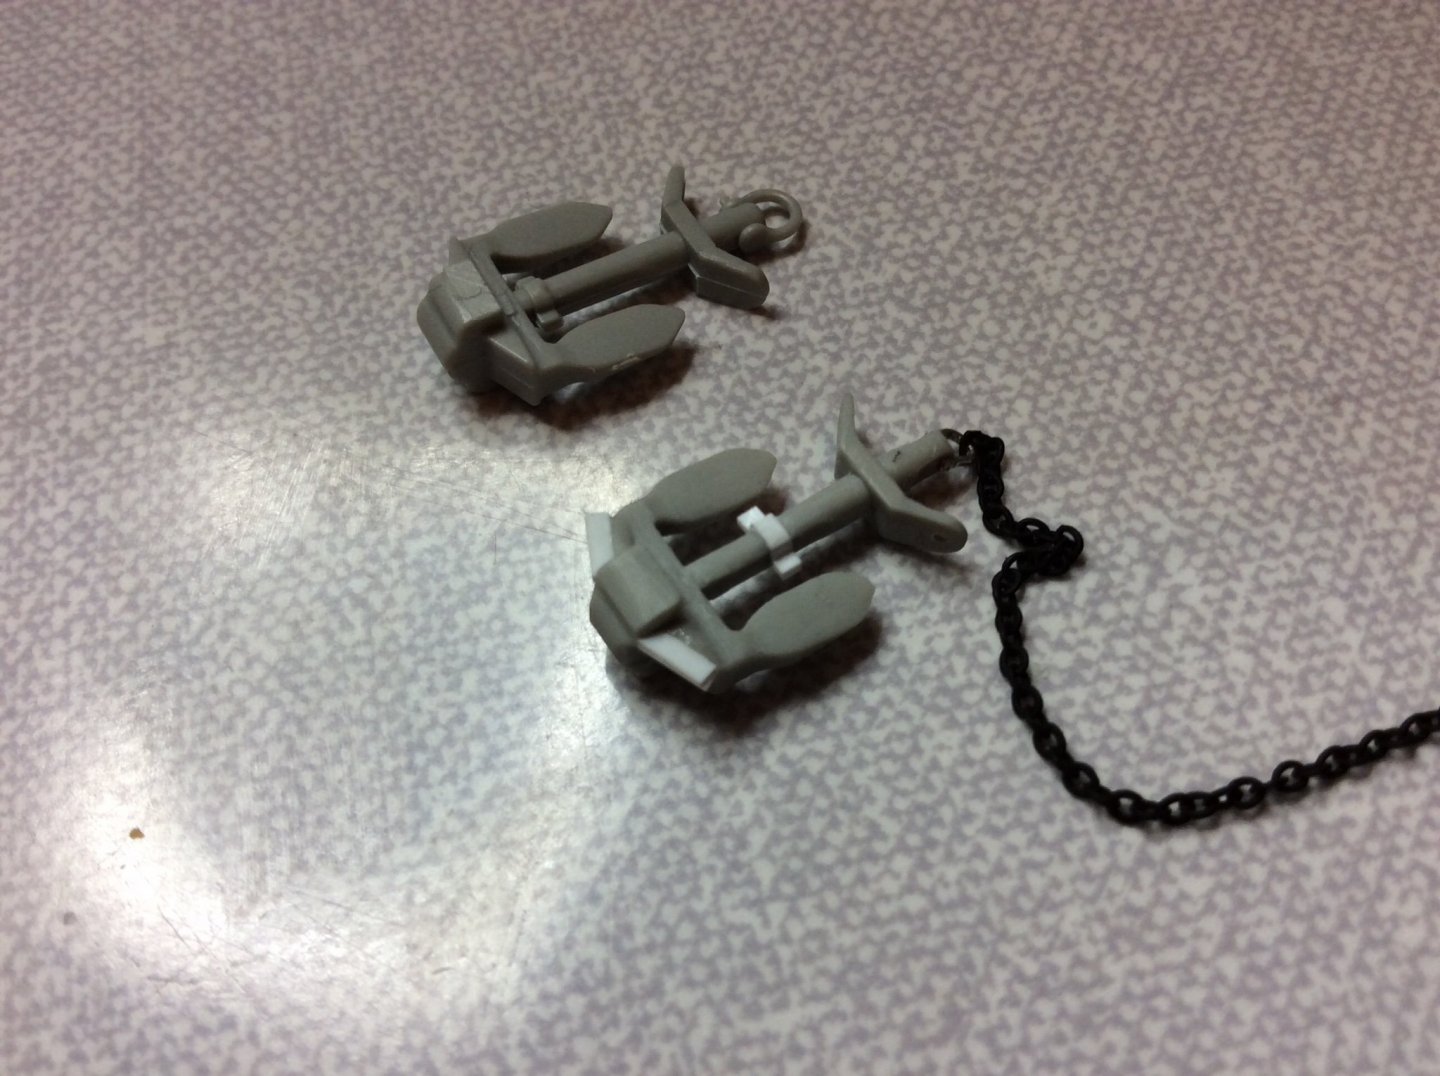
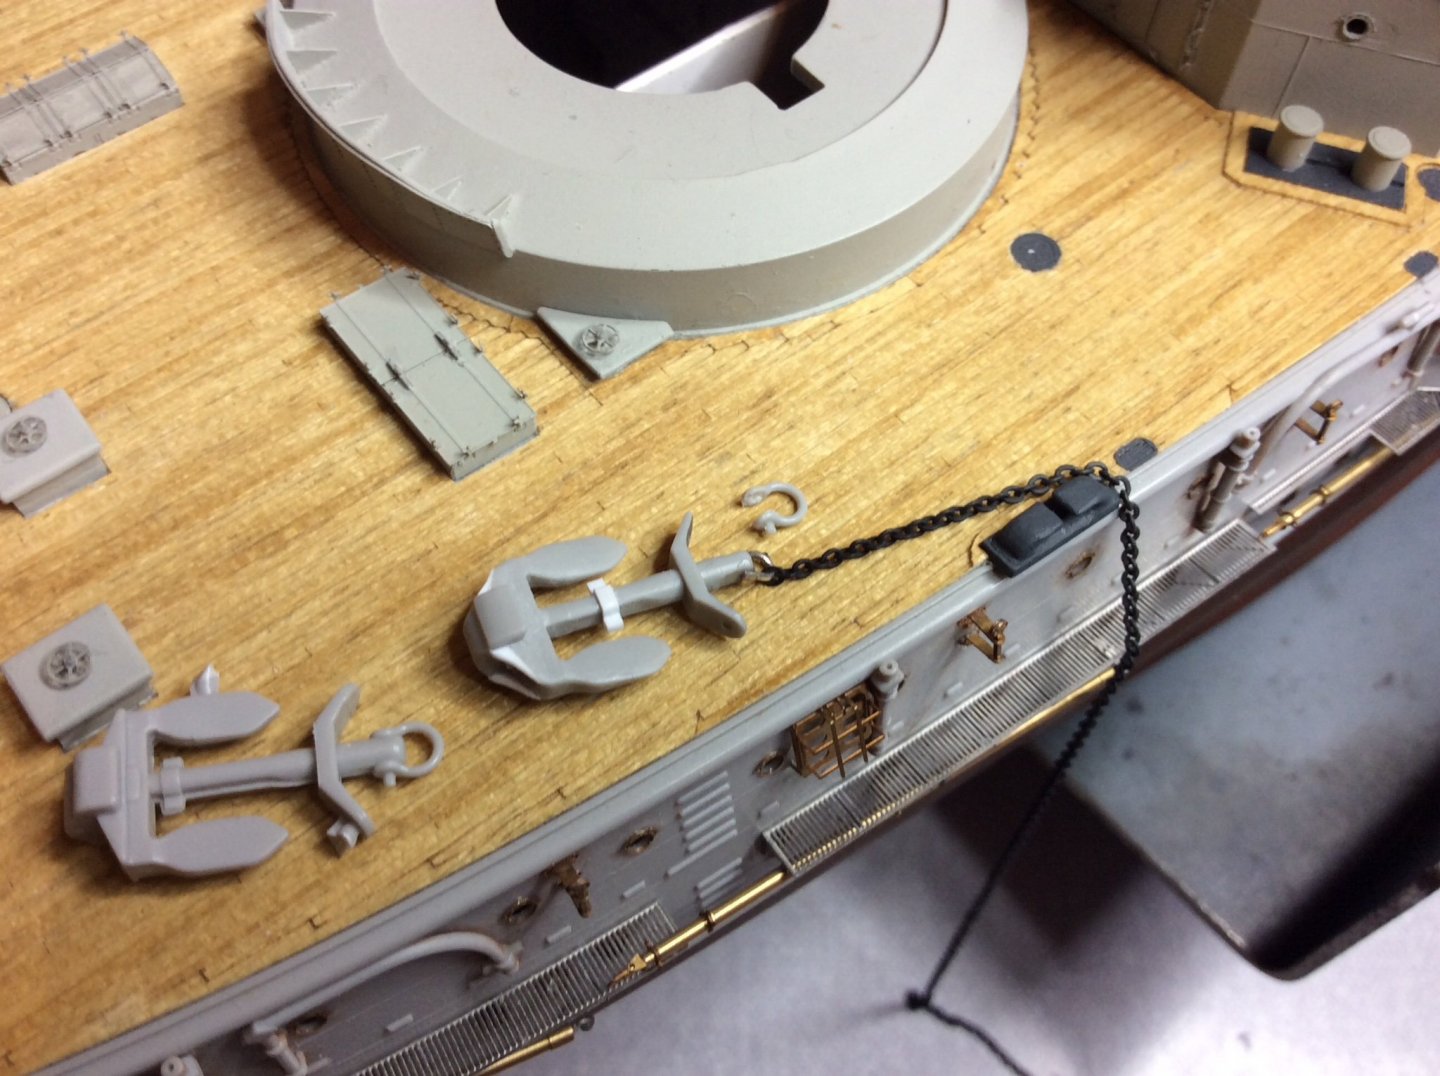
Did start by carefully cutting of plastic shackle that looked way oversized, thought I could alter this, but then came up with a better solution, used a bit fuse wire to form up new shackle, and managed to flatten end with pressure using flat pliers for working with etch, and luck has it passes through the anchor chain 🤪 A lot of scraping away at plastic and continually looking at the shape of real anchor payed off , also drilled through the head and inserted a piece of styrene rod, but didn’t go as far as putting a nut on it, got to draw the line somewhere. 😂 also noticed how the anchor seems to be lifted into heavy bracket and bolted in, then secured by chains up to the deck using some sort of mechanism using levers, incidentally on looking at aft anchors, seems they used similar mechanics, so had my best guess at this as well.
-
Looking at the actual anchor it took a while to pick away at it to get to were I was happy, hope you think it was worth it because I still have two to do.

-
Can kind of work out how they lift and secure the anchors from this photo, does look like a lot of work for quite a few sailors to drop and way anchor, no wonder they changed to just pulling them up into the hawse-ways when you see all the space and manpower needed to store them on sides of ship.
-
Back again for final post, thanks for the kind remarks, always good for The spirits, here’s a photo of ships anchor to show the details that I have tried to copy, well as good as I can with a knife and some styrene.

-
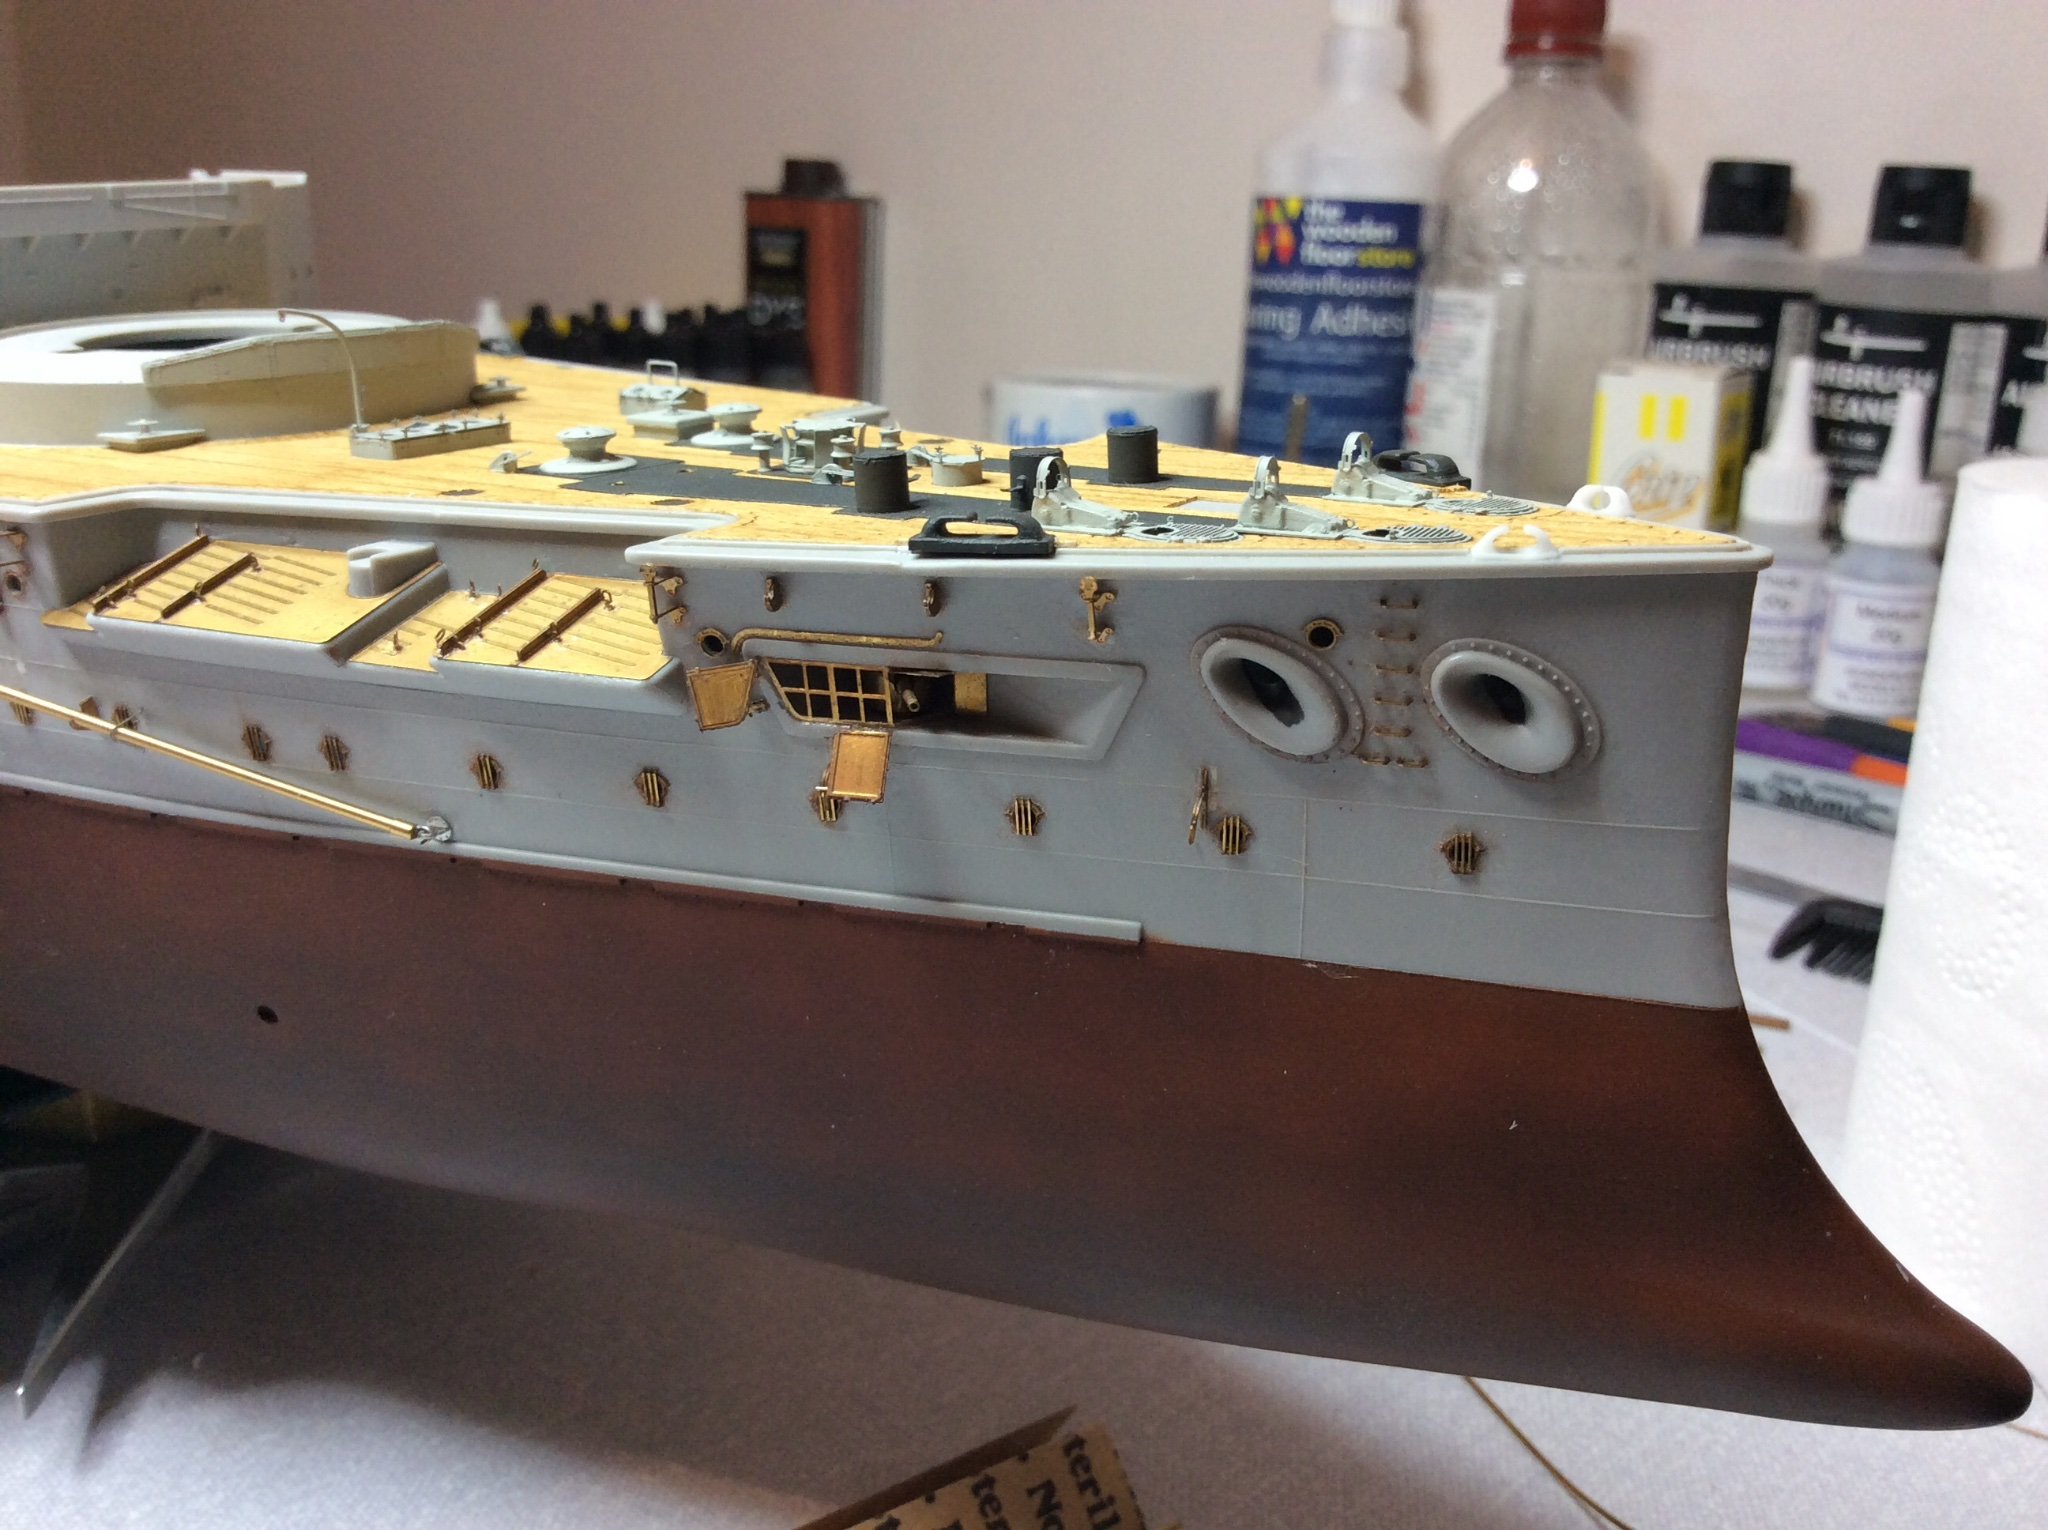
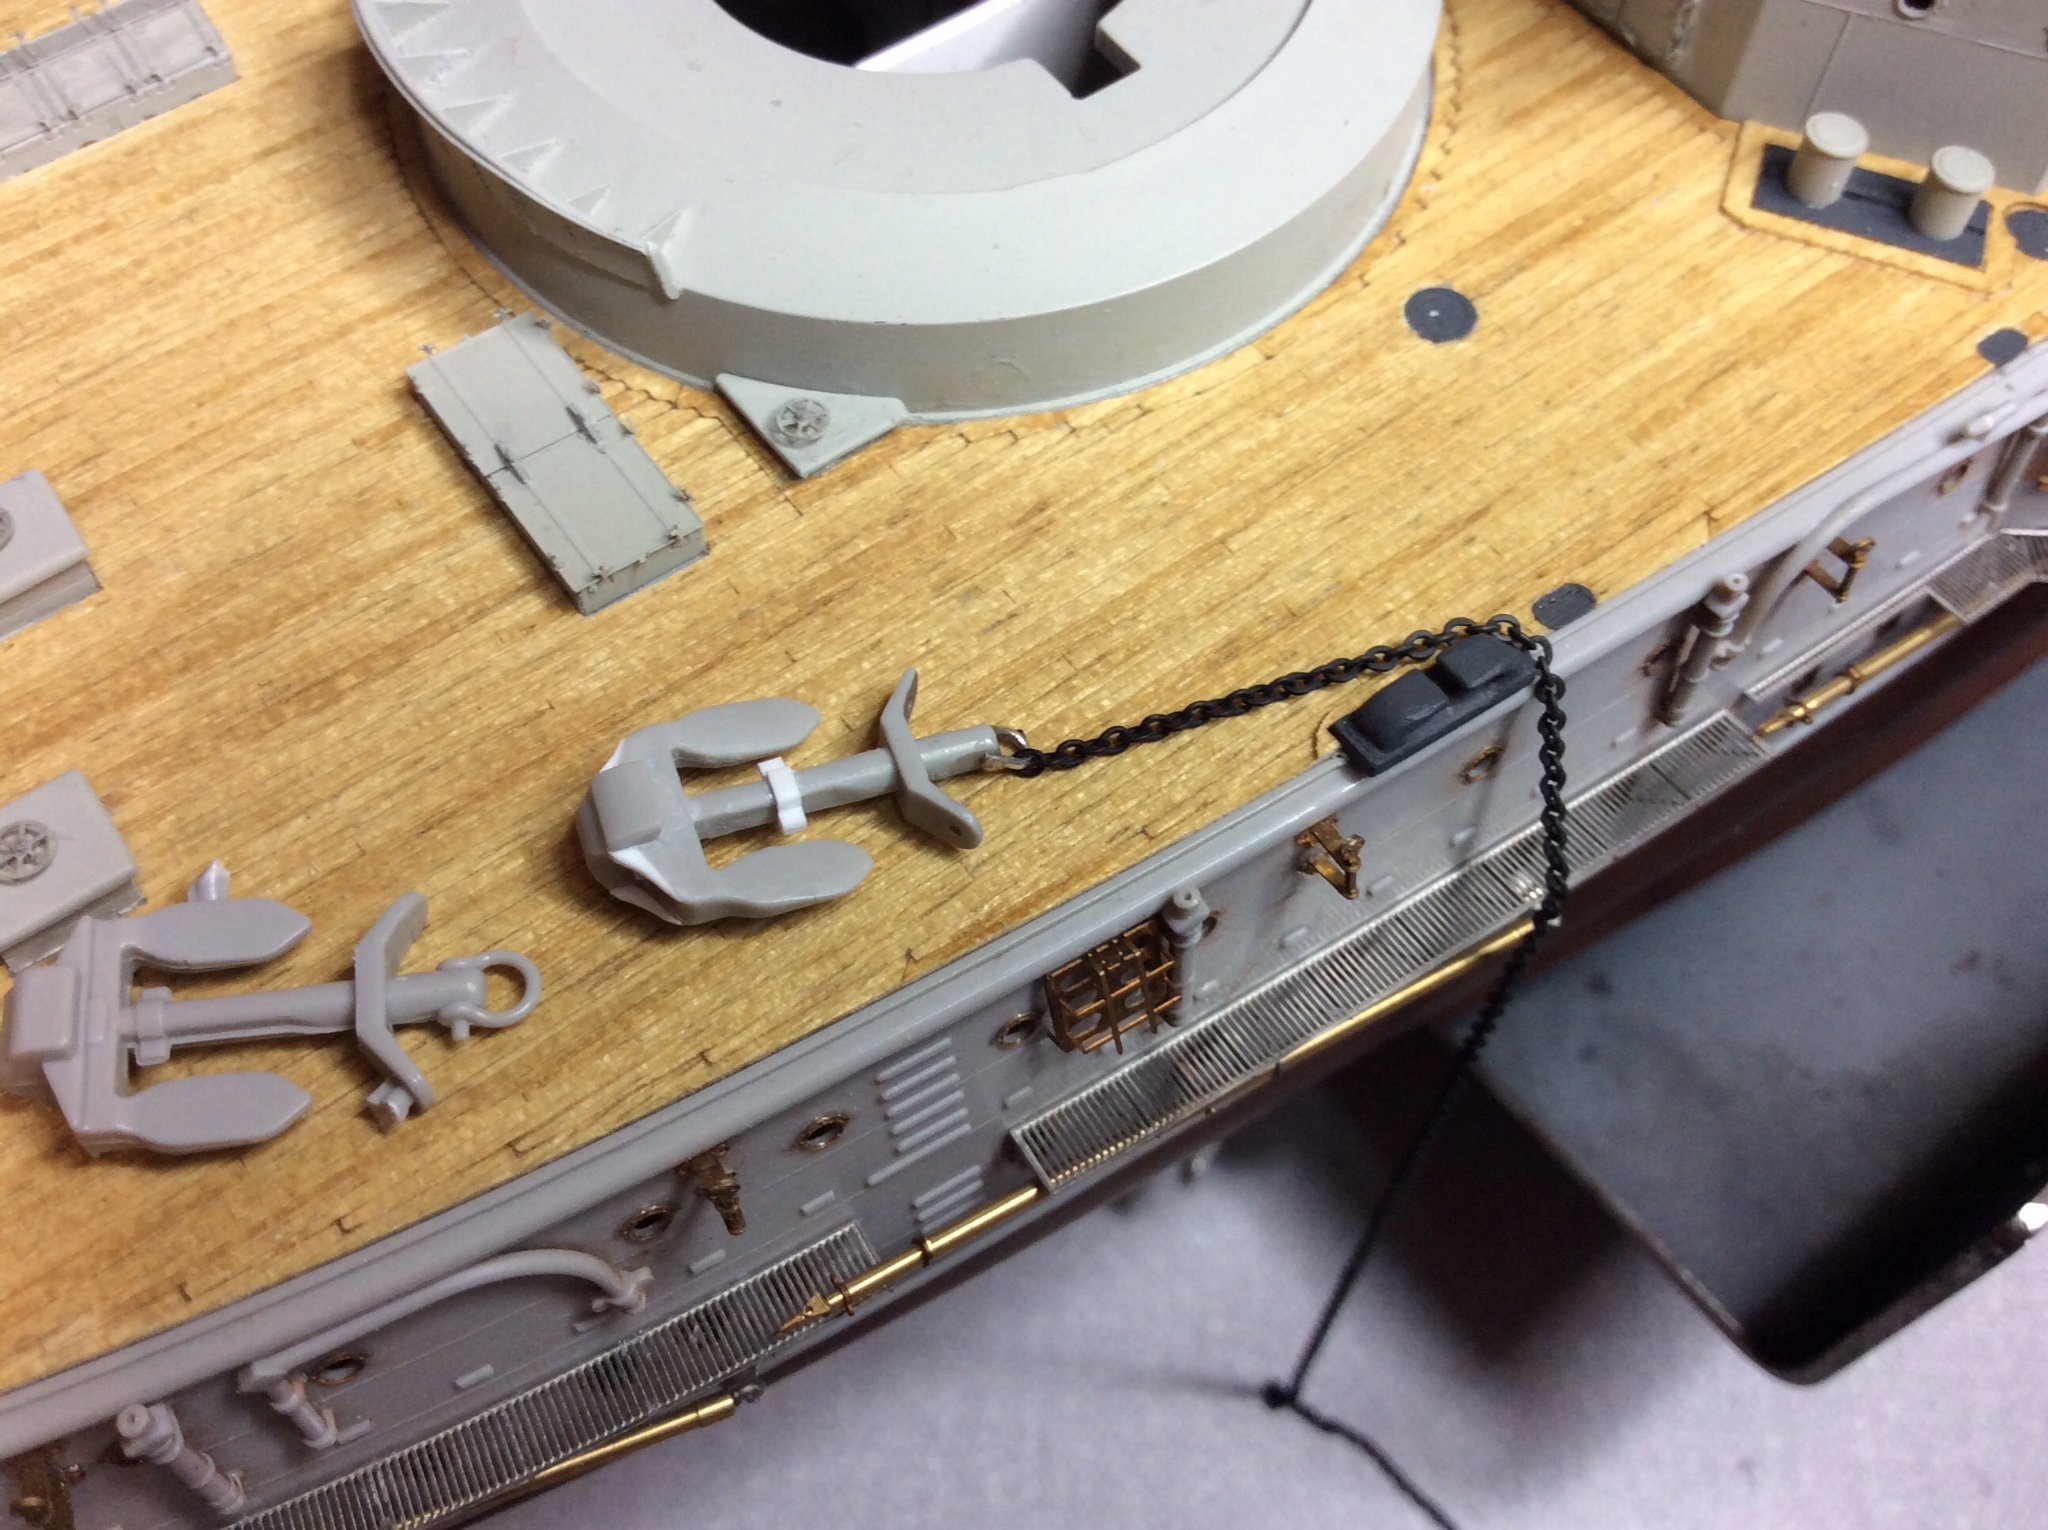
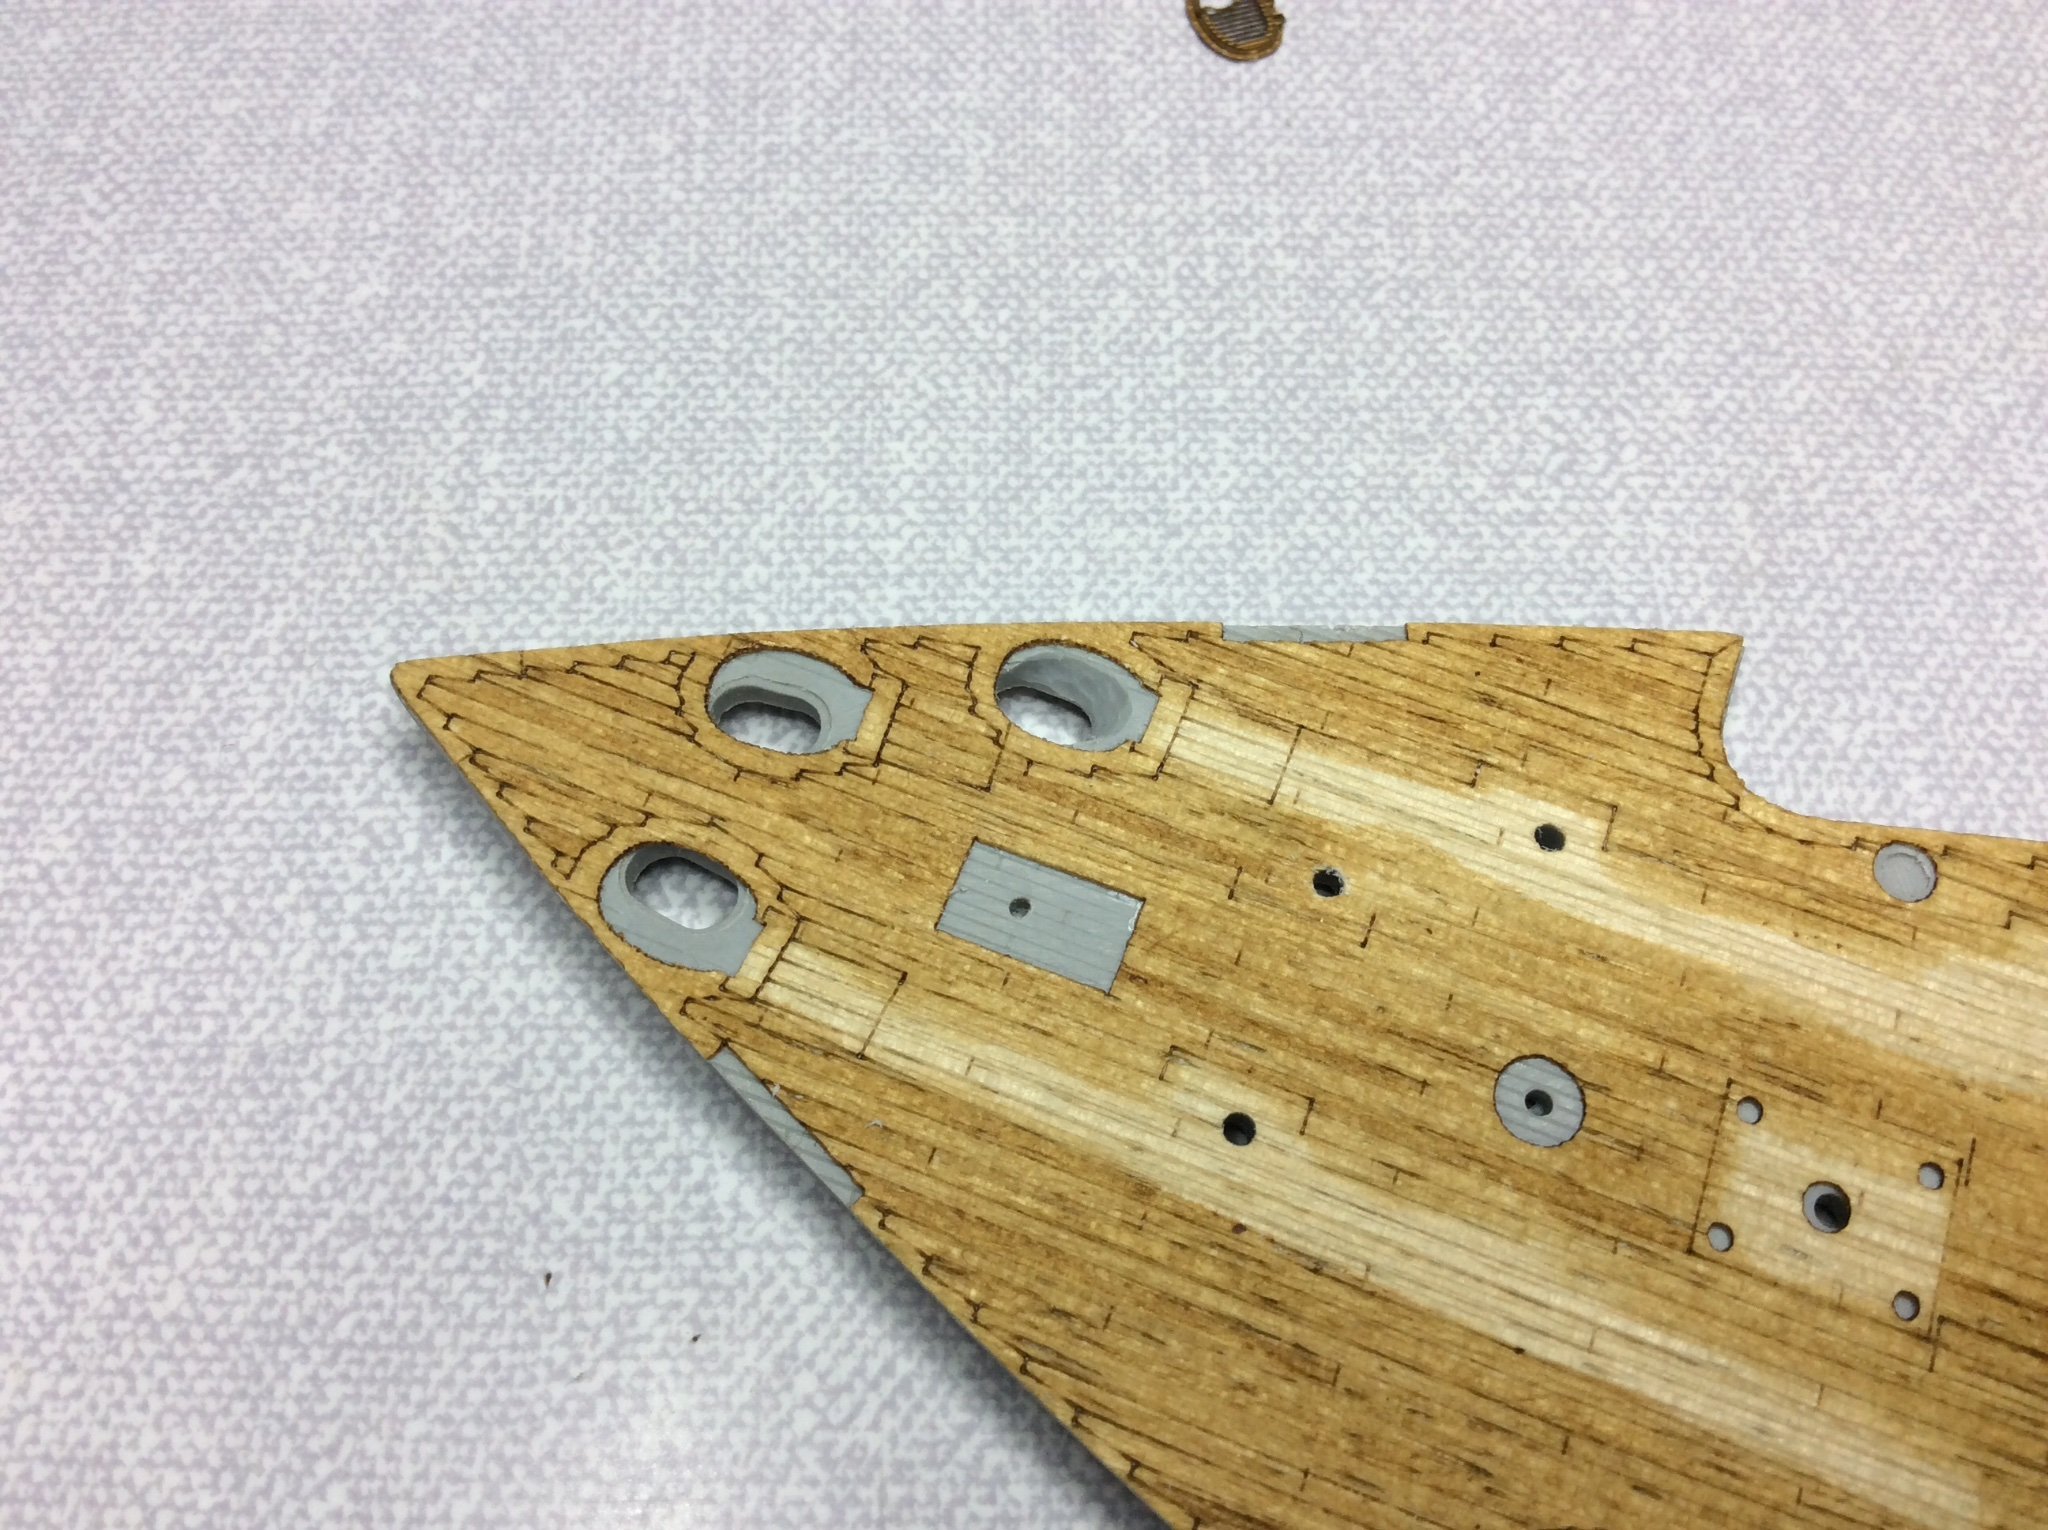
Drilled these hole out, gradually increasing the size till the anchor chains would pass through comfortably, angled forward at about thirty degrees, also making sure the plastic parts are also going to accept the chains.
- 543 replies
-
- 12
-
-
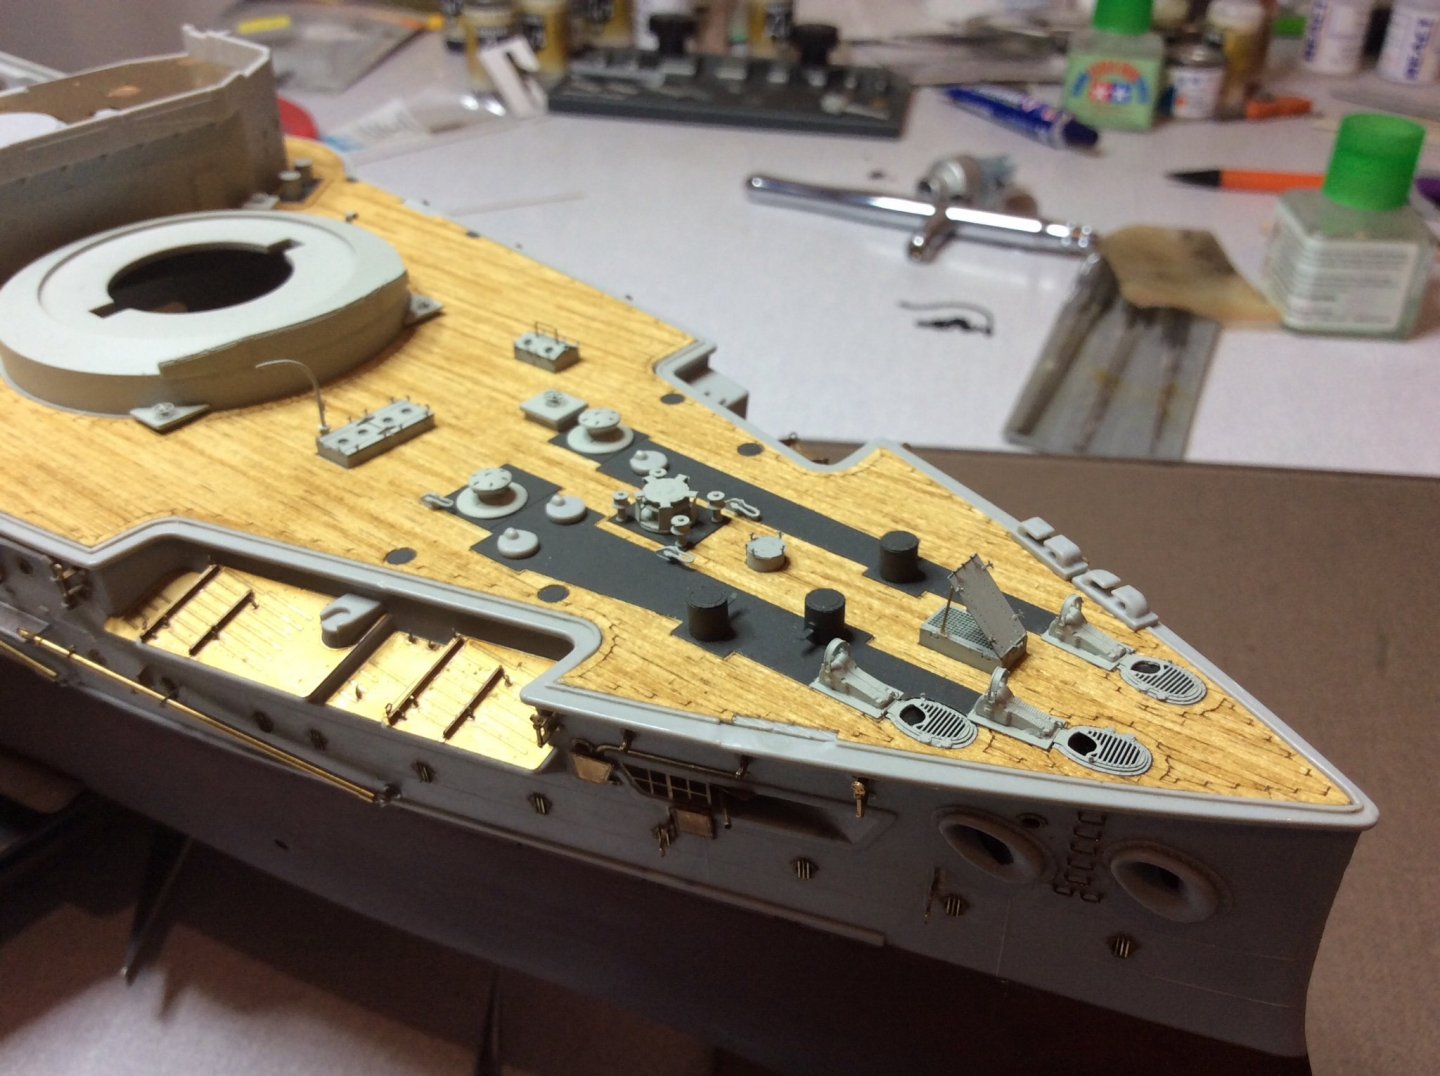
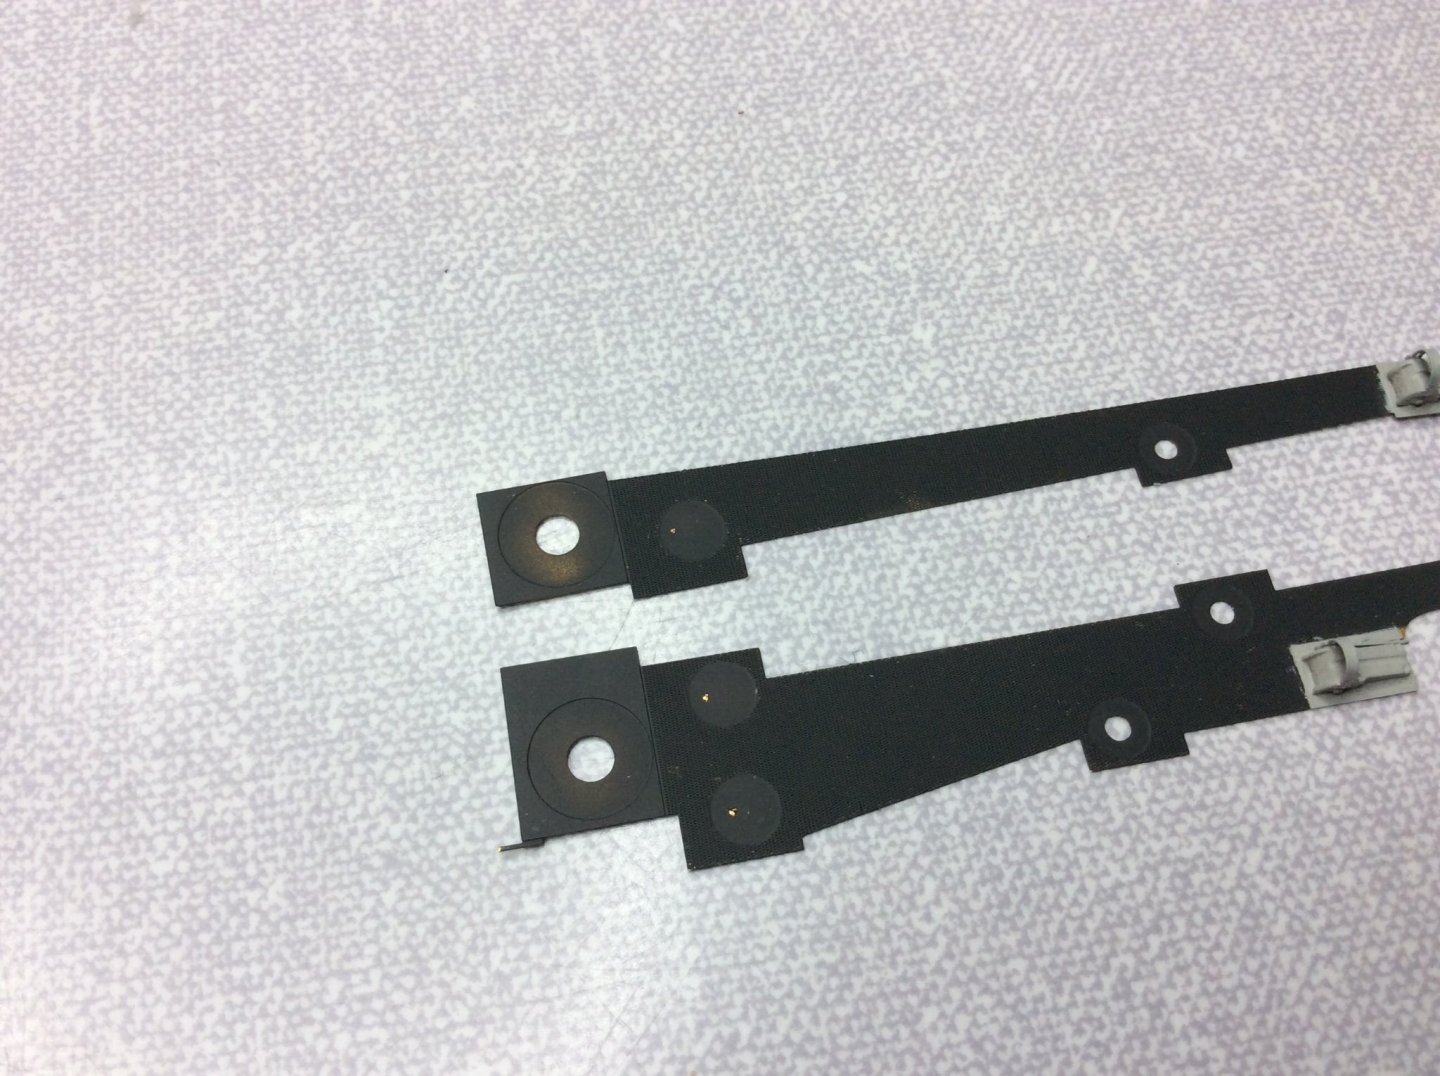
One downside is there are no holes in this etch that lets you feed the anchor chains down into the chain locker rooms so had to make my own, again best guess, oh for a decent detail book on the Mikasa, how much easier would this build be.


-
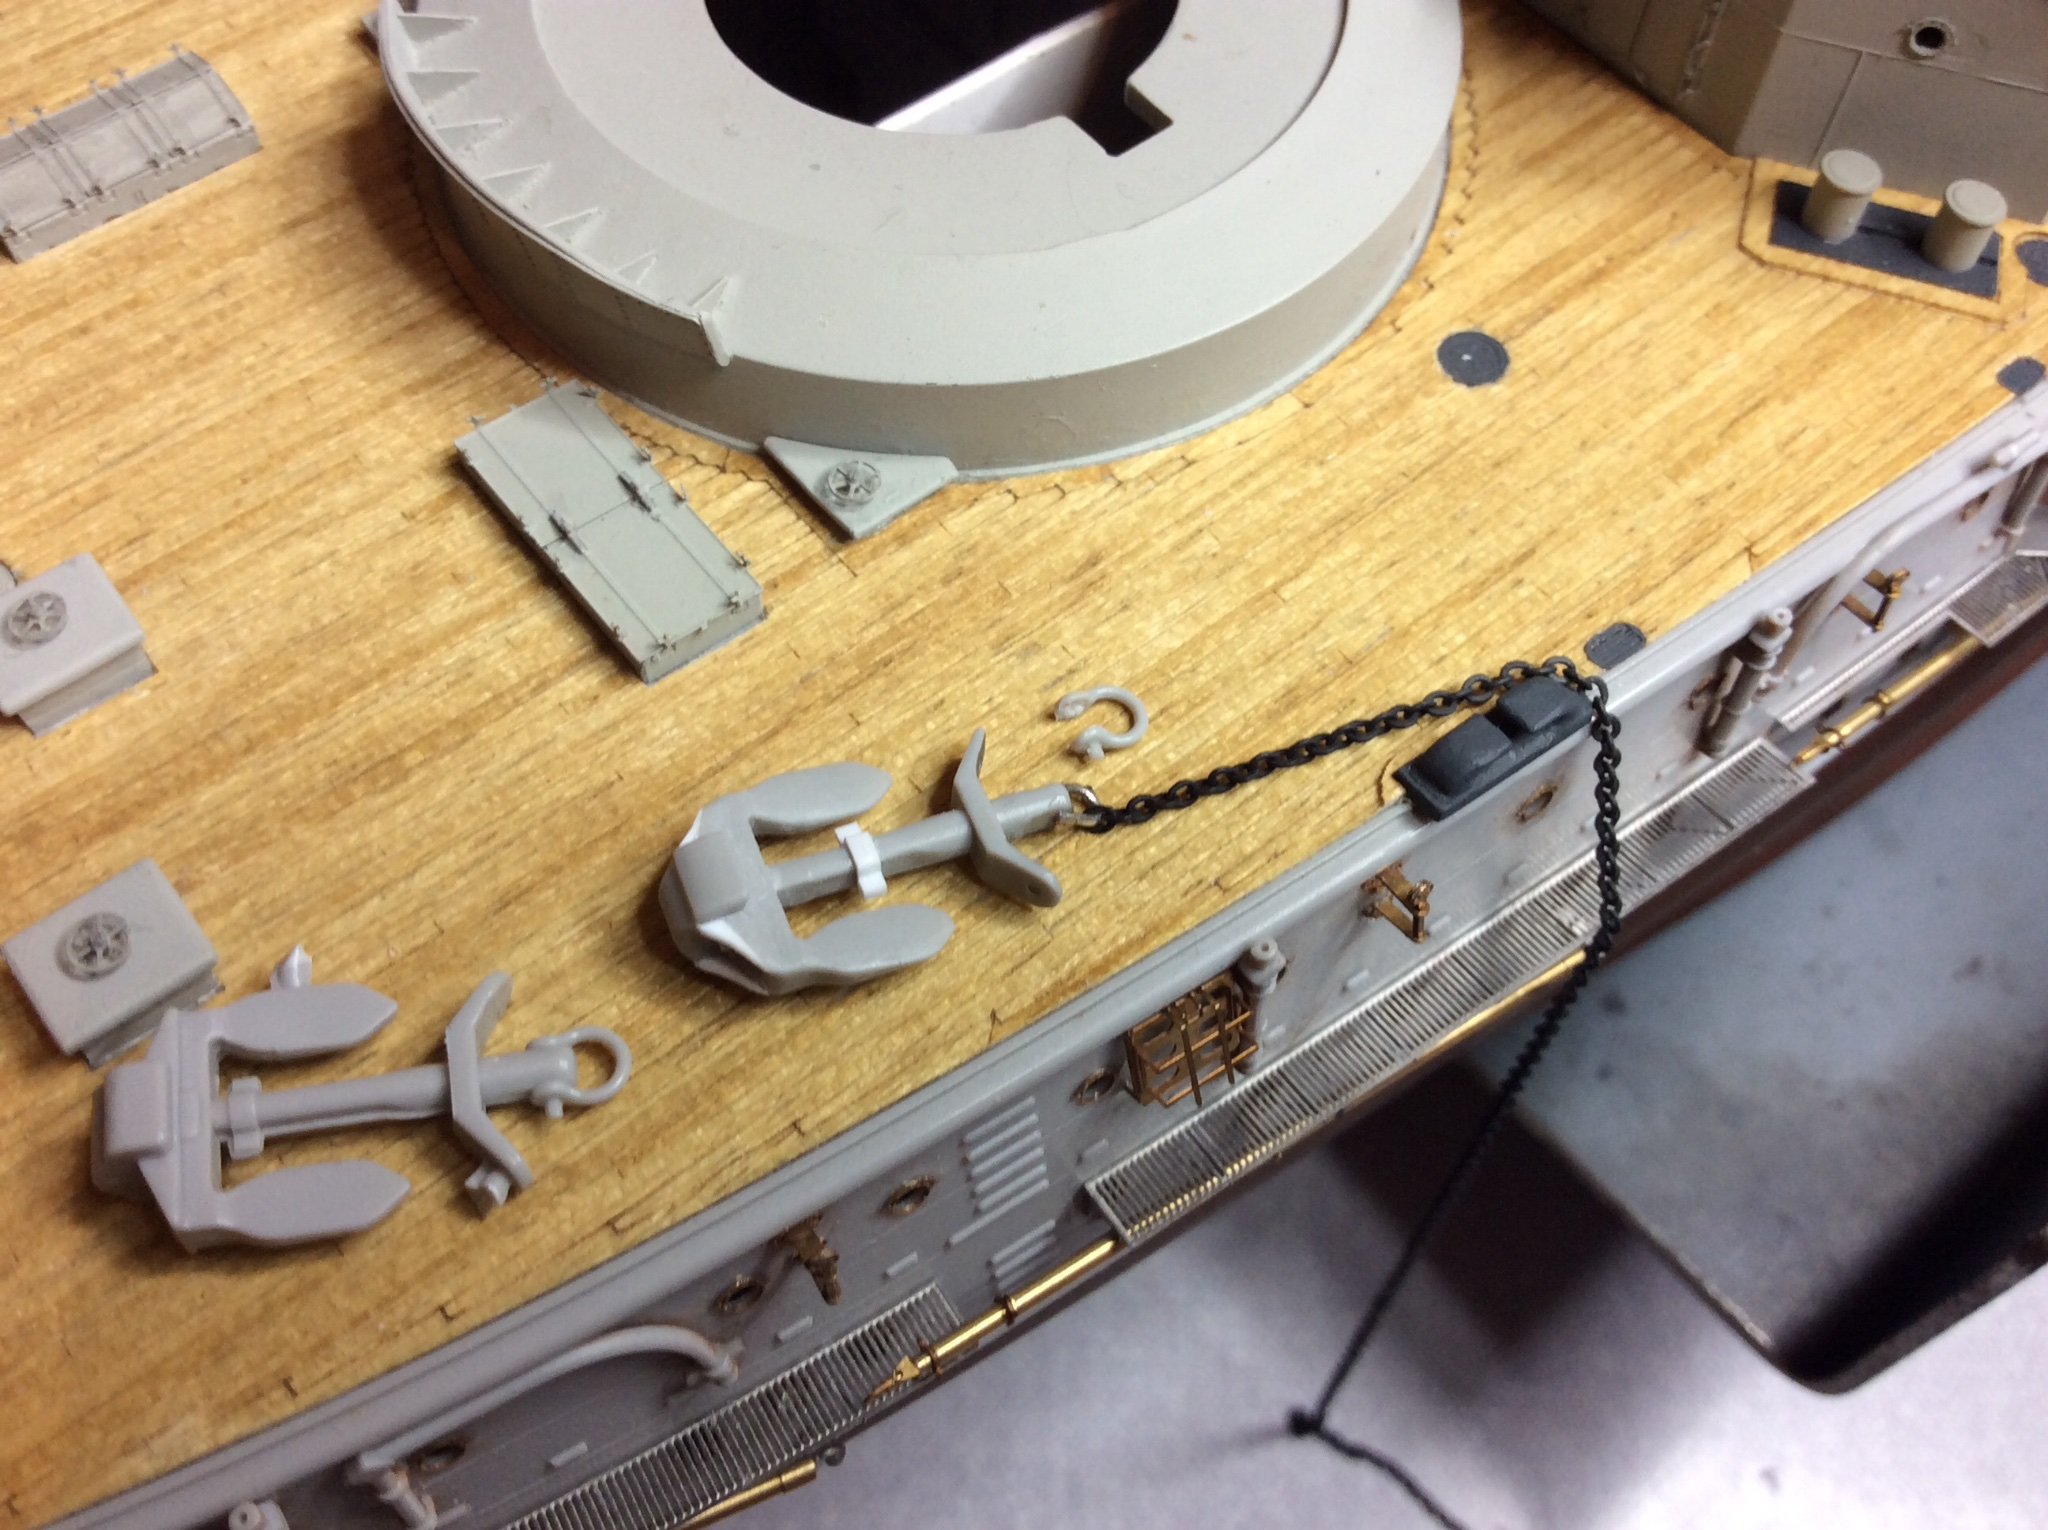
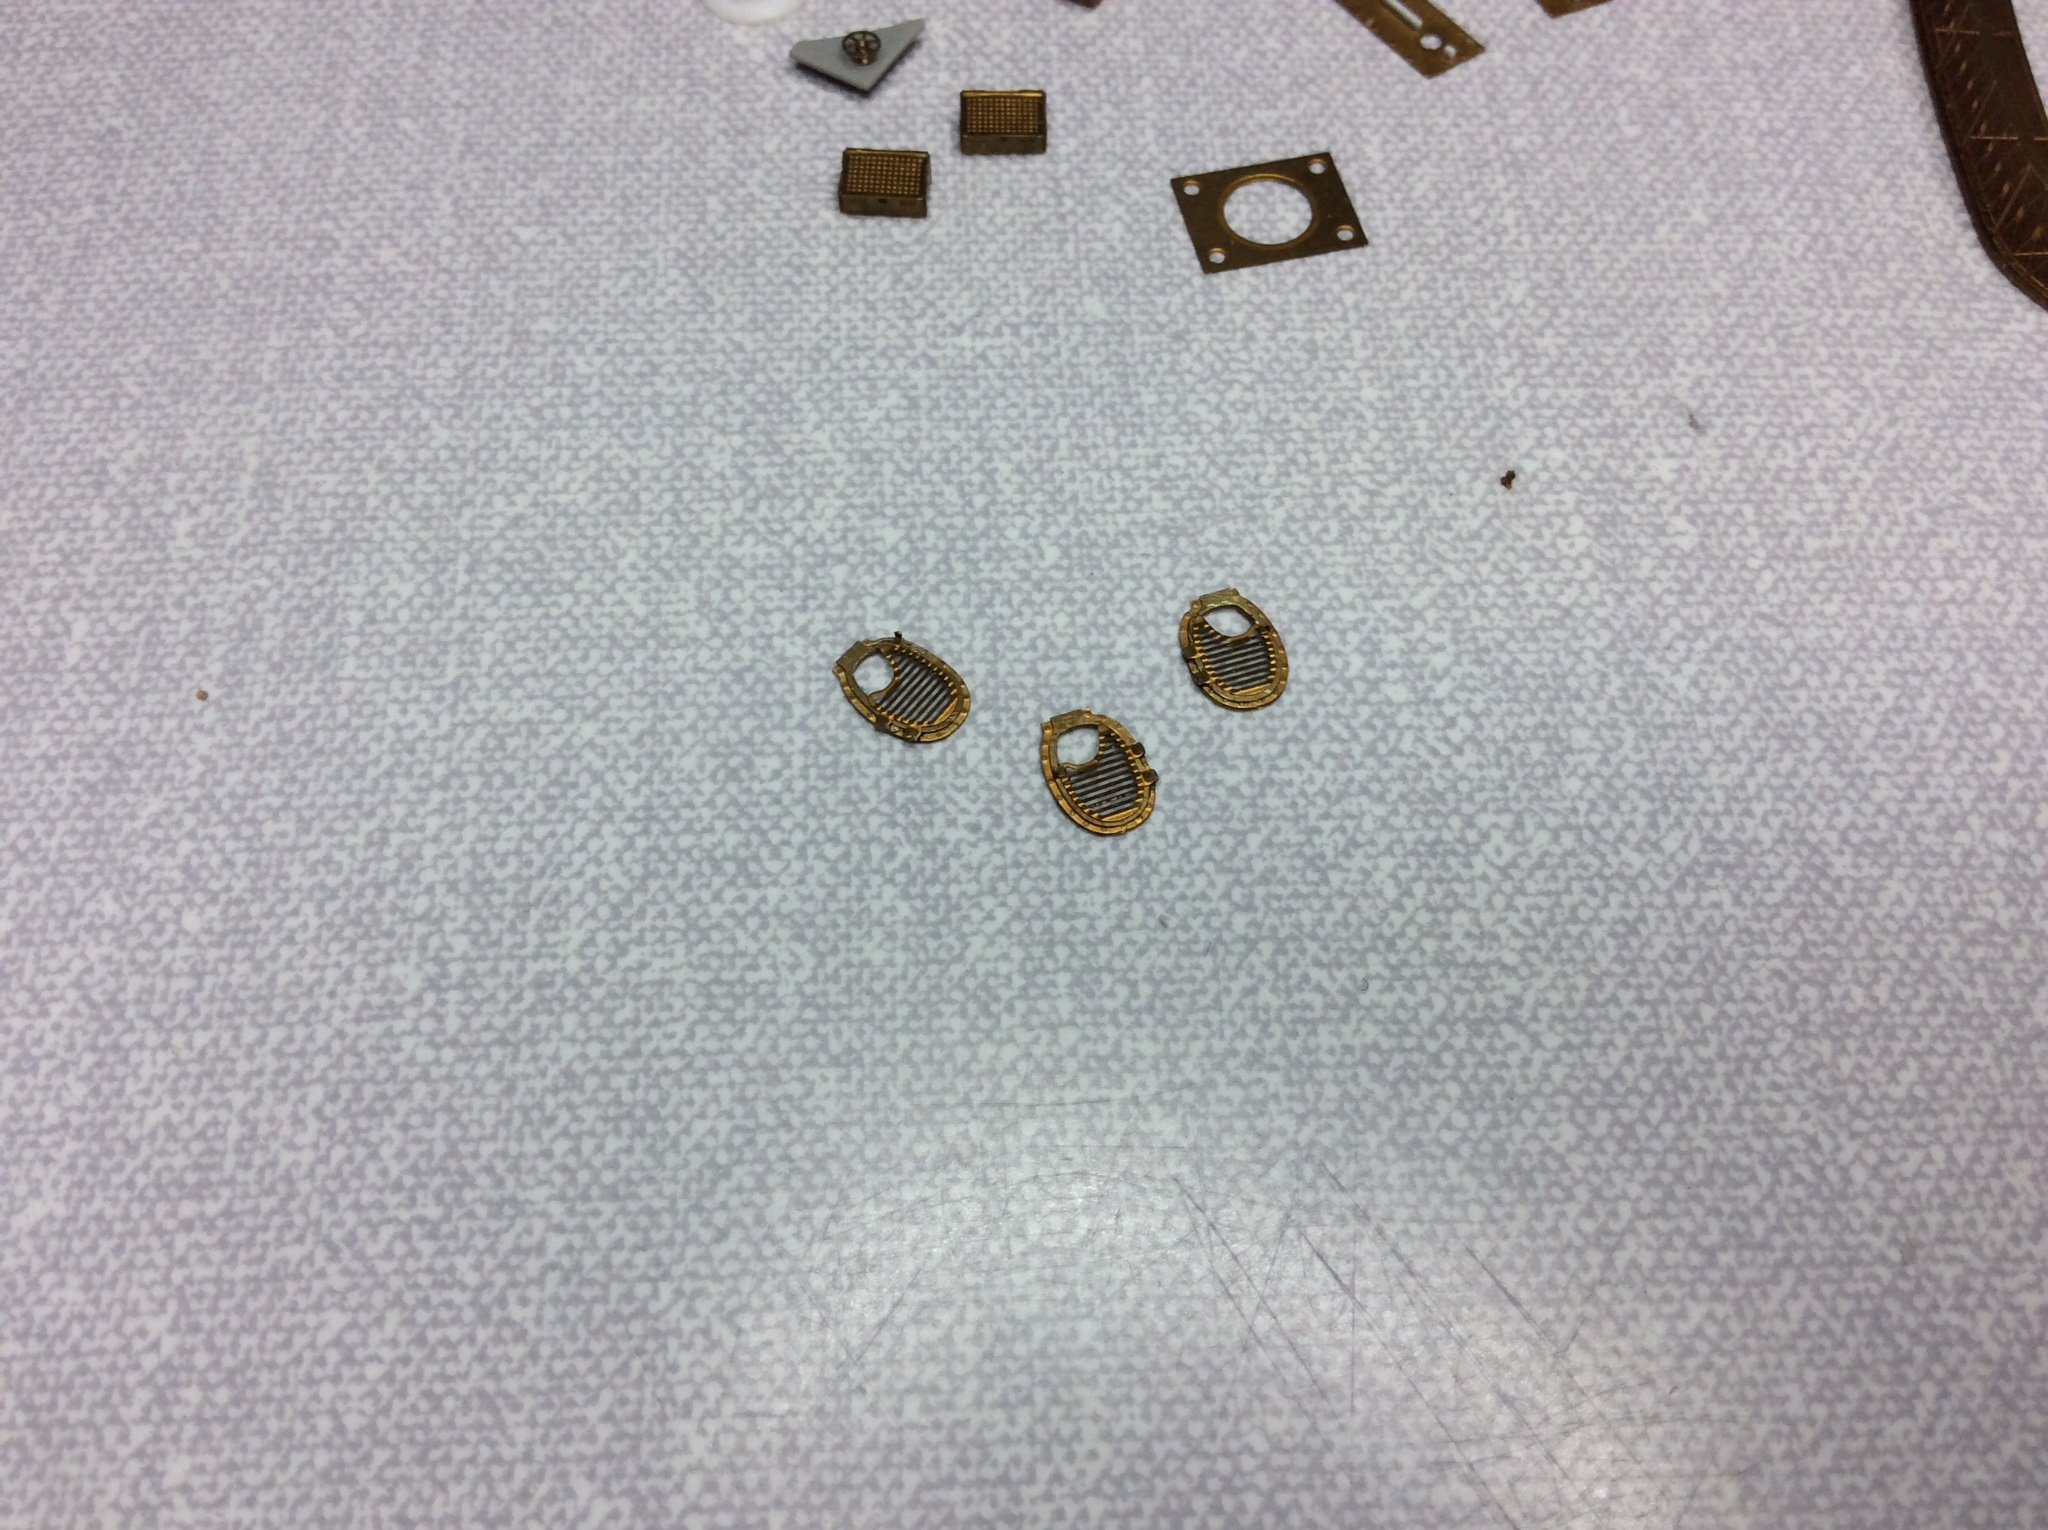
On the etch anchor plate that has both chains on it you will see a tiny piece of small etch at bottom left hand side, it dawned on me that this is the same size as the cleat and shackle point for securing the anchor chain further forward, so I think Pontos might have looked at this but didn’t want to commit ? They did supply four of these cleats, think I shall fit the fourth one at the top left of this plate. I see this working as both chain could be man handled over the capstone, it also means the chains all pass into chain lockers from the rear, stops them taking green water. That was a bit long winded but hopefully you can see we’re lm coming from. 👍


-
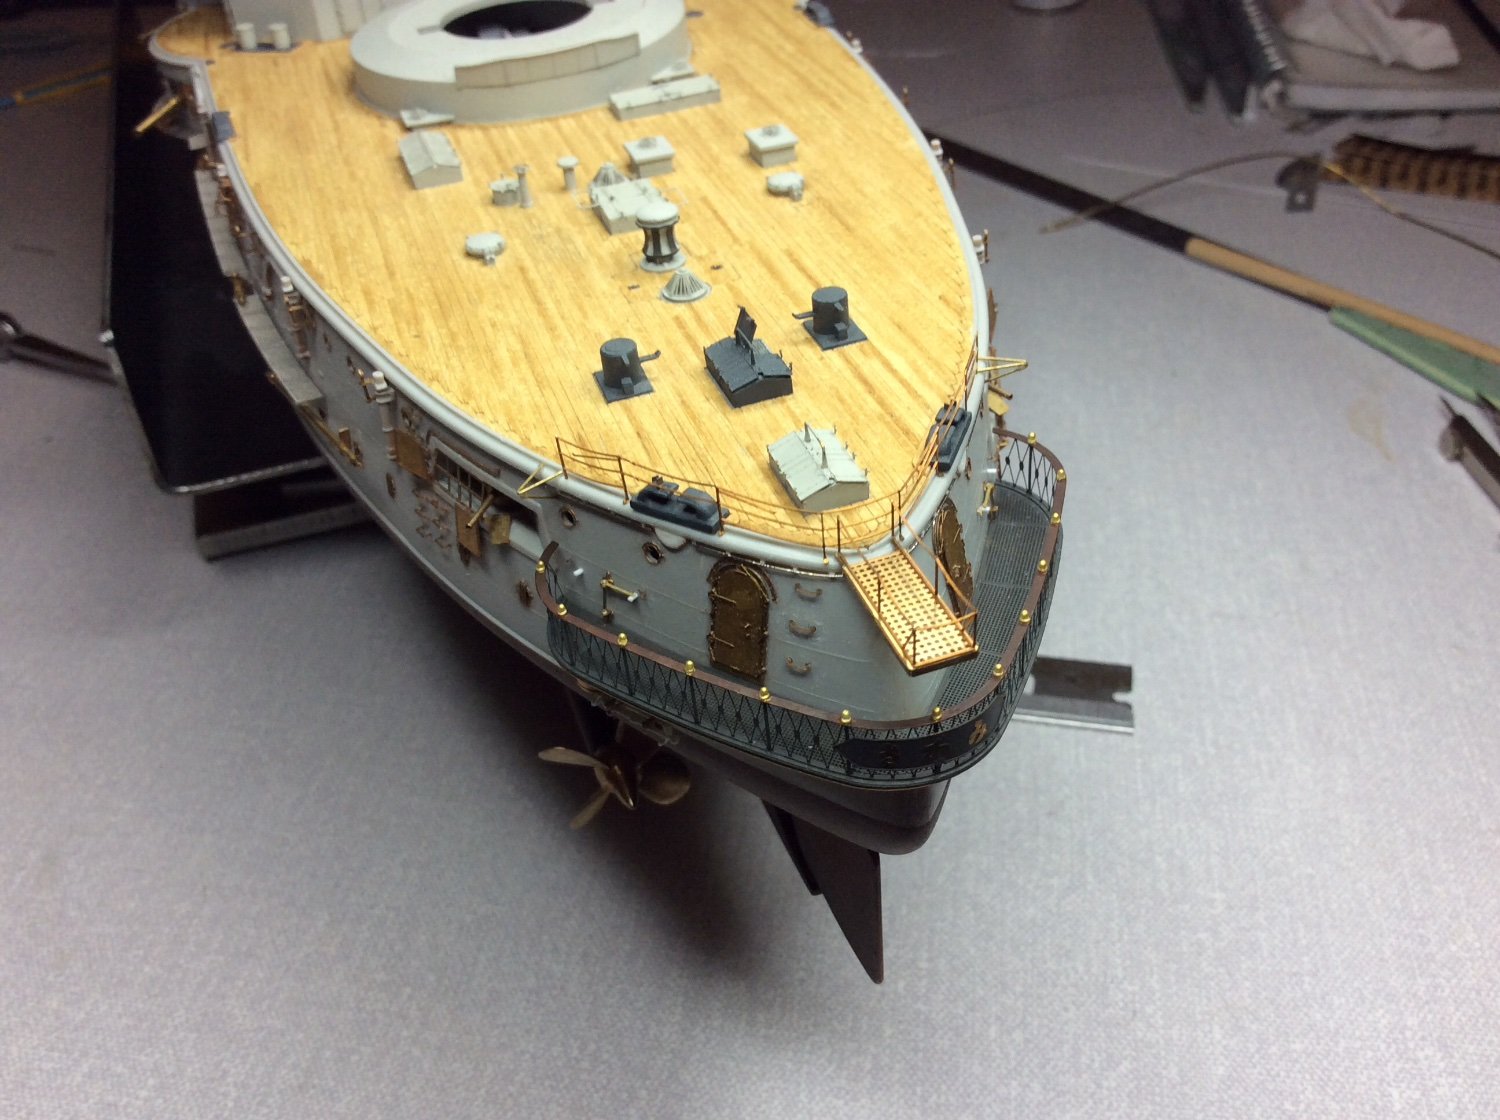
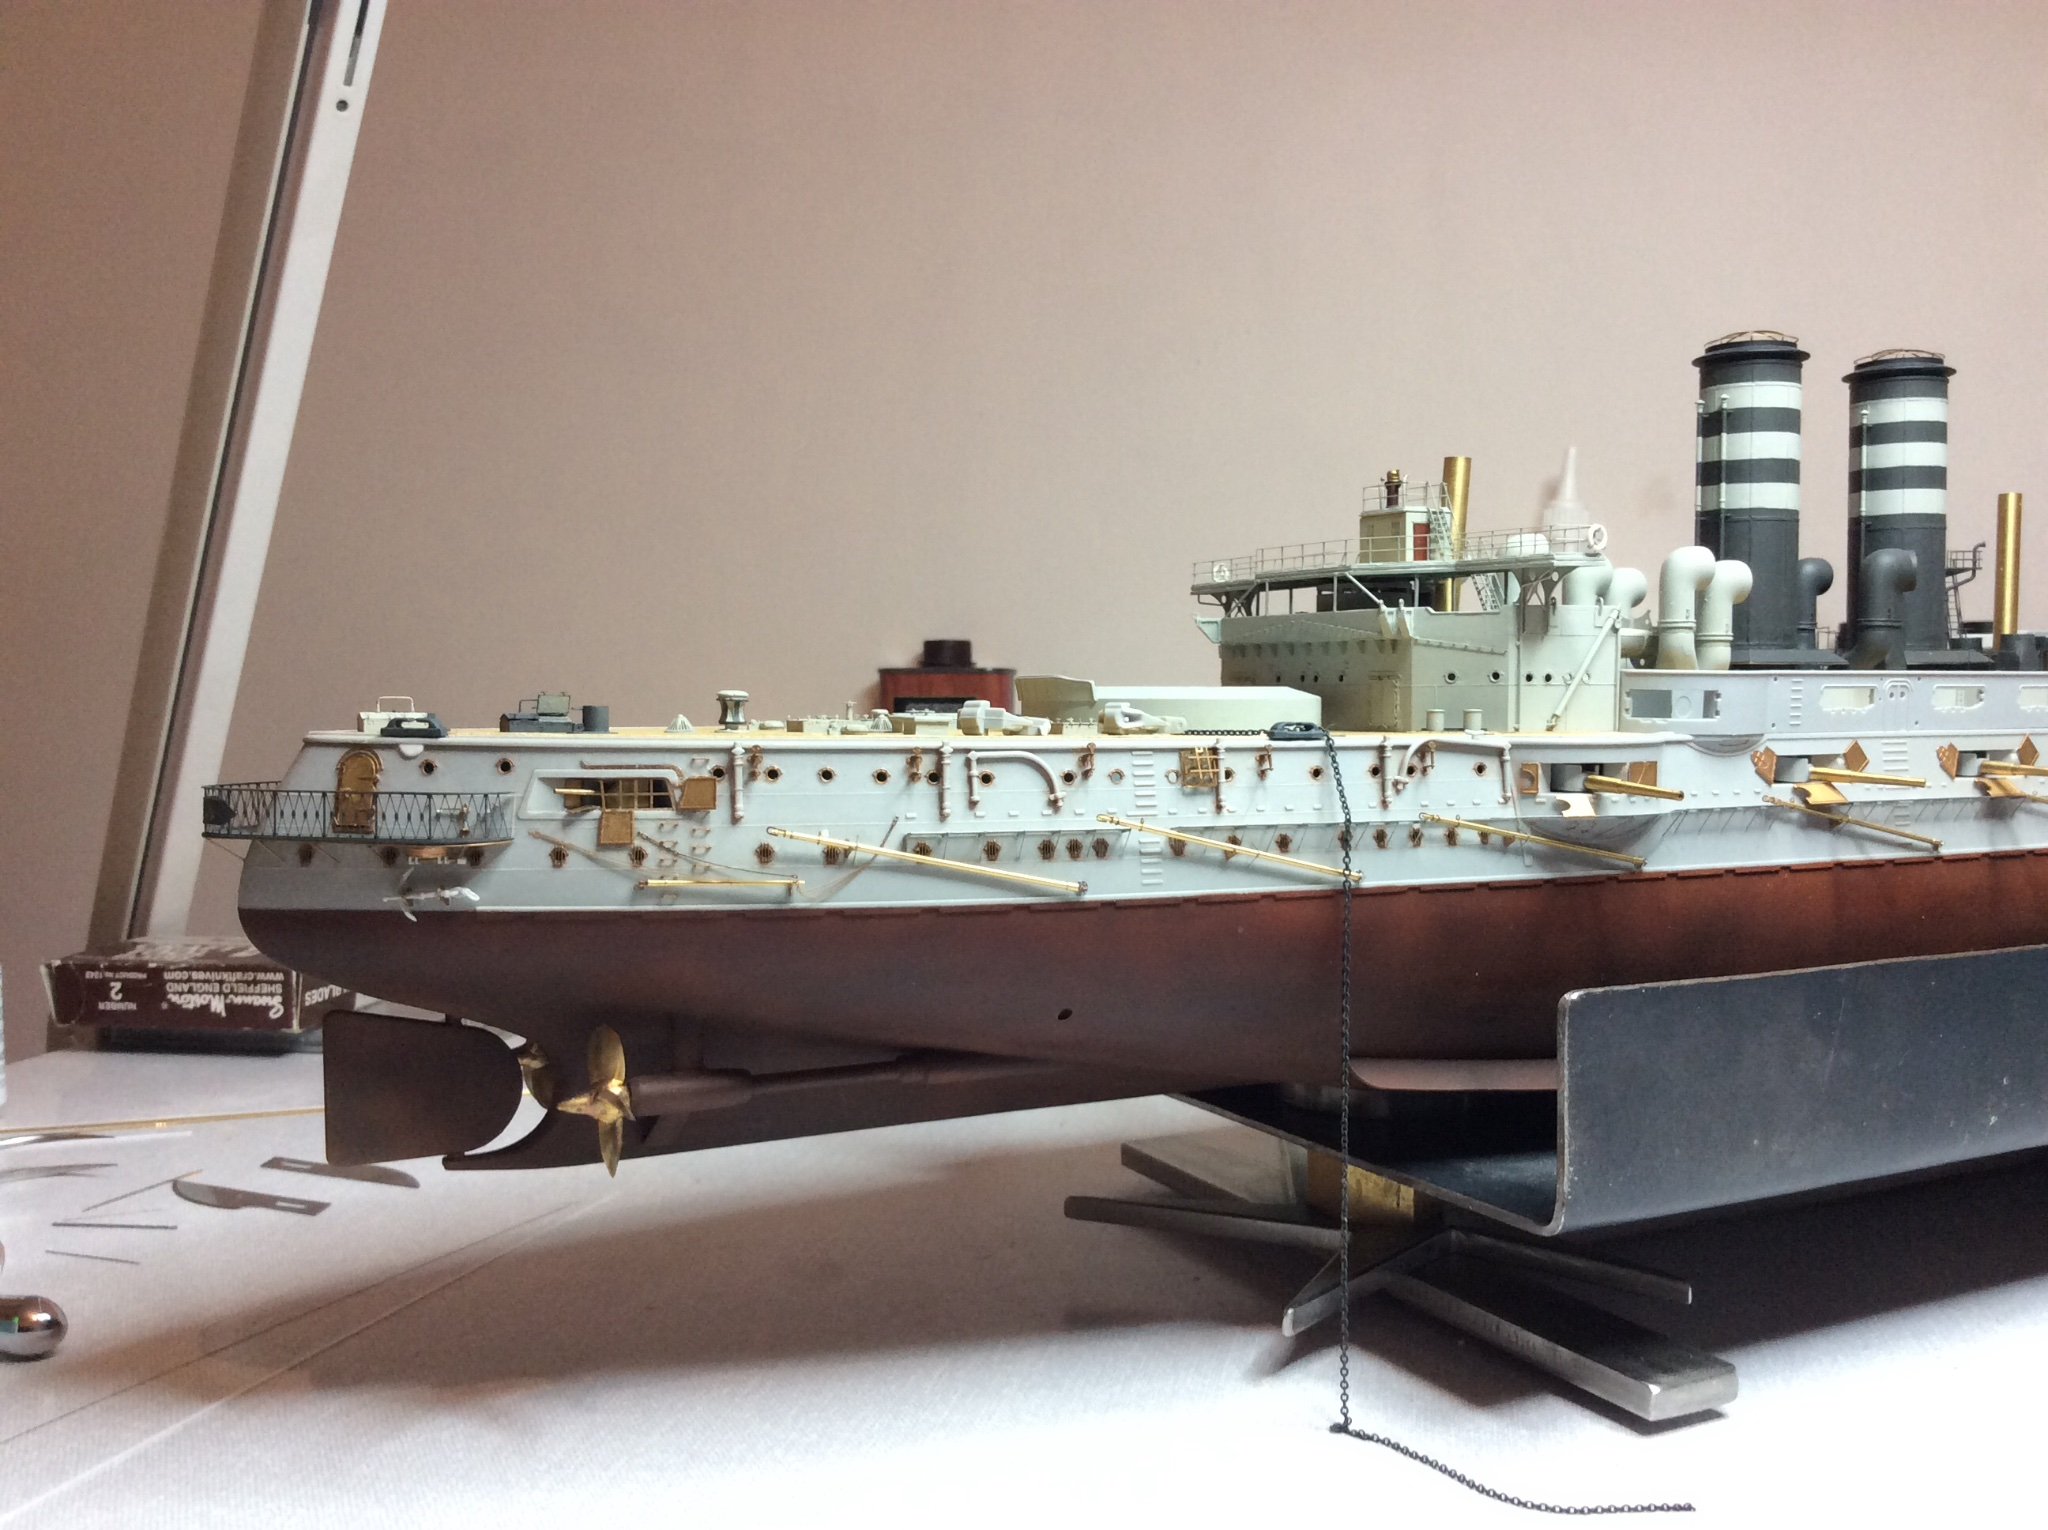
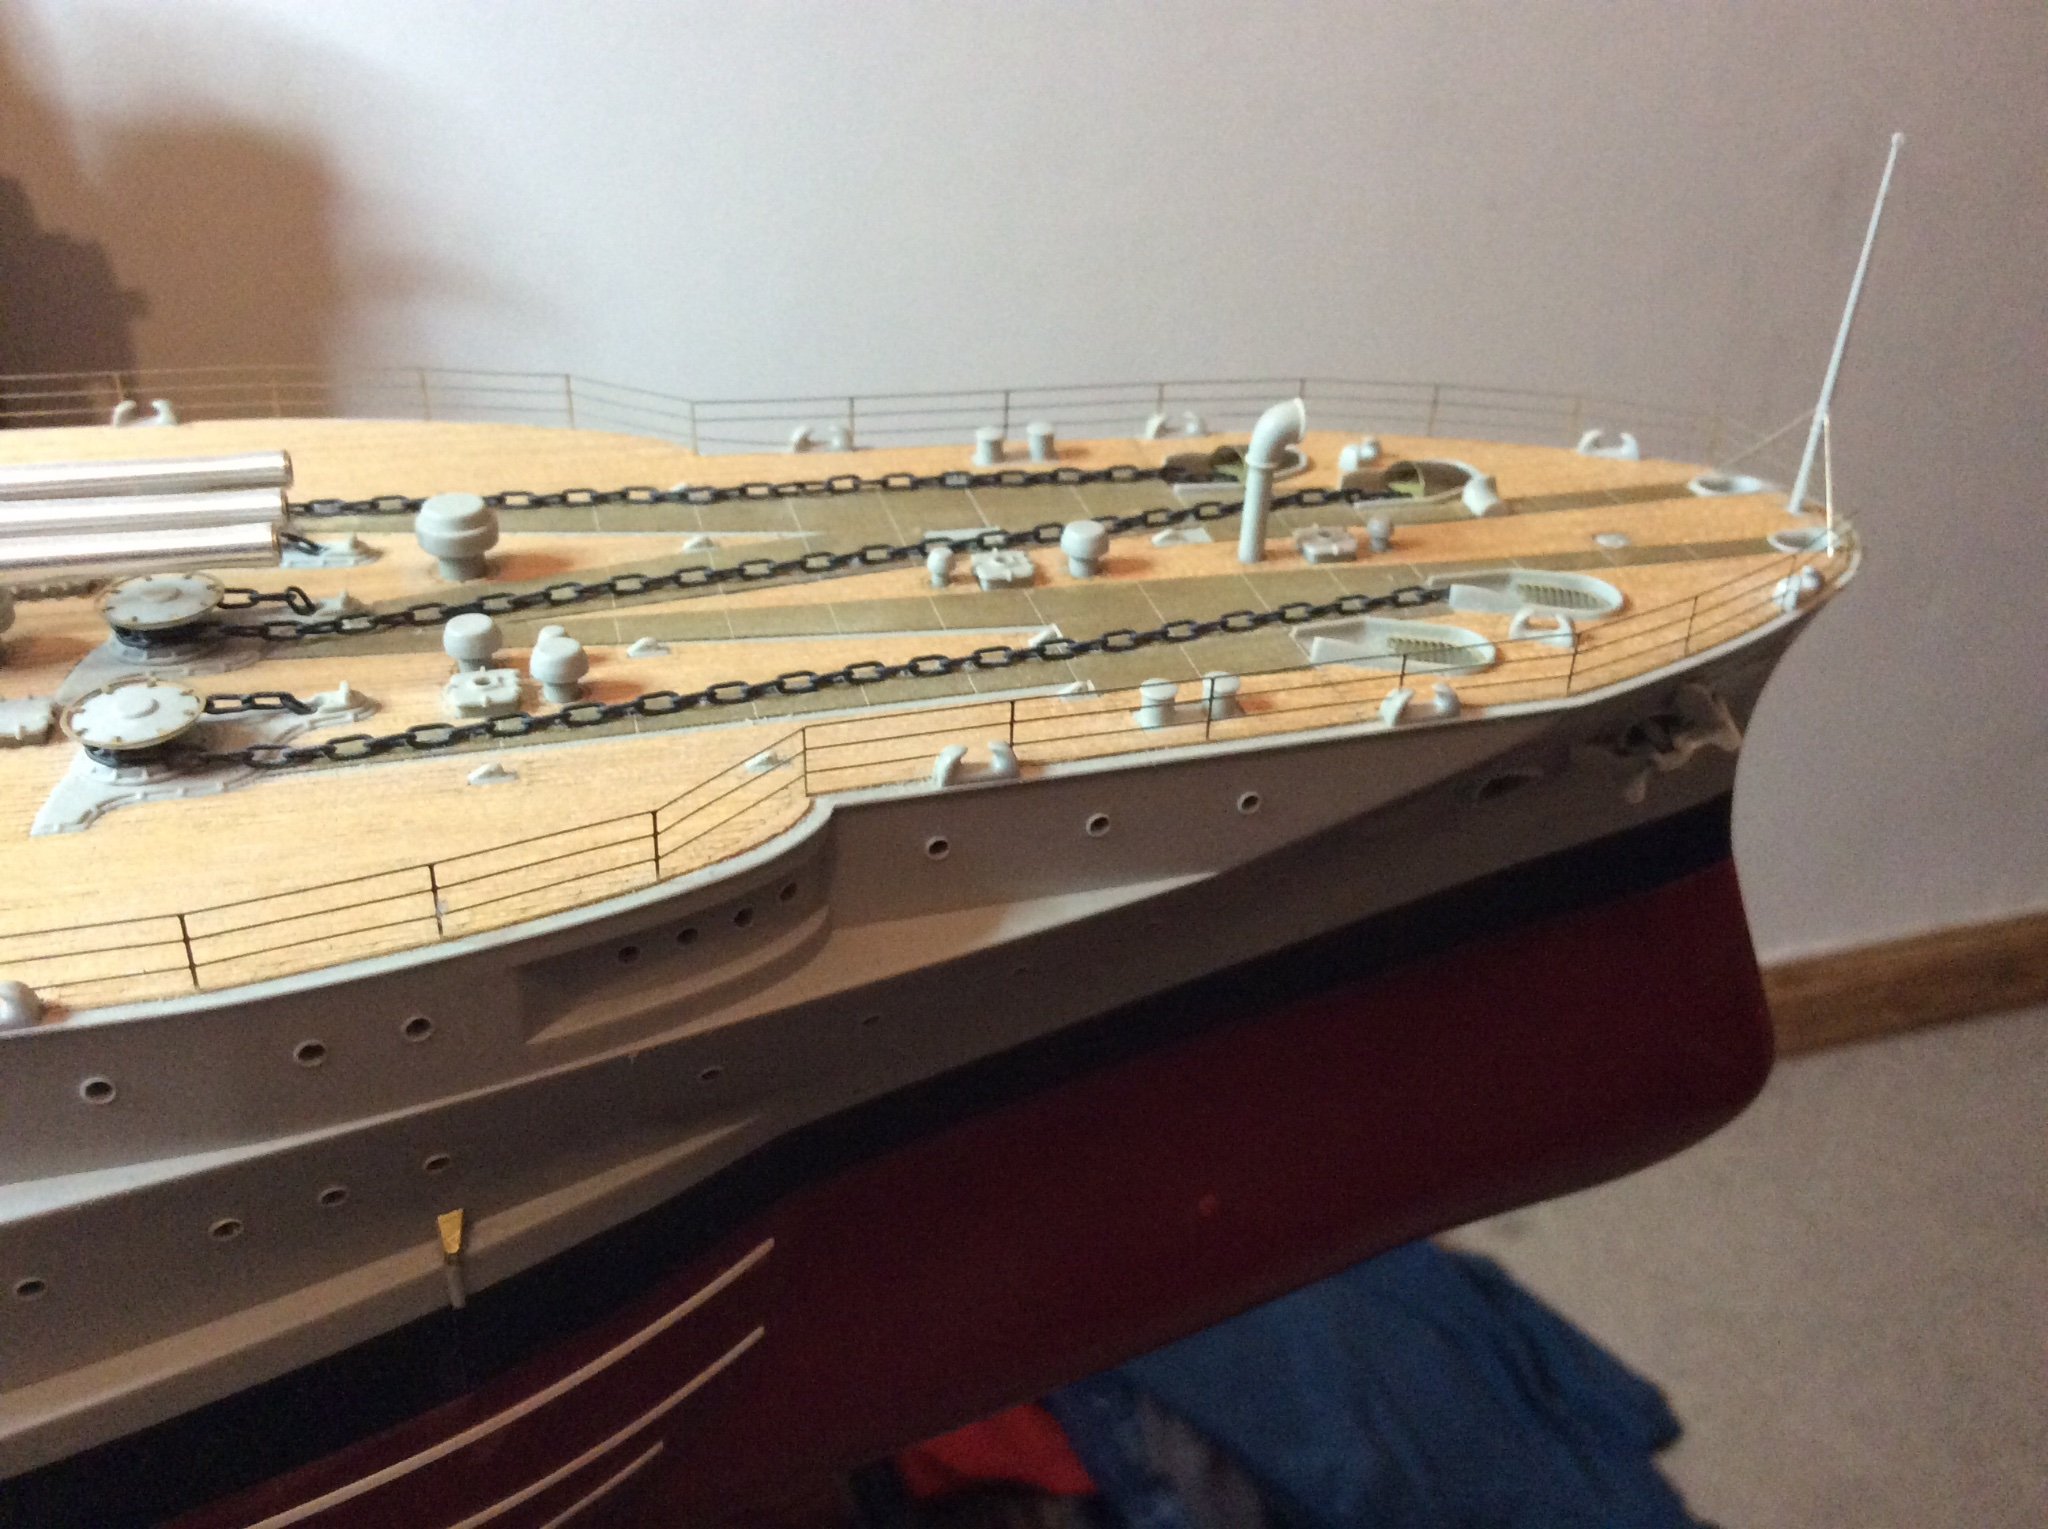
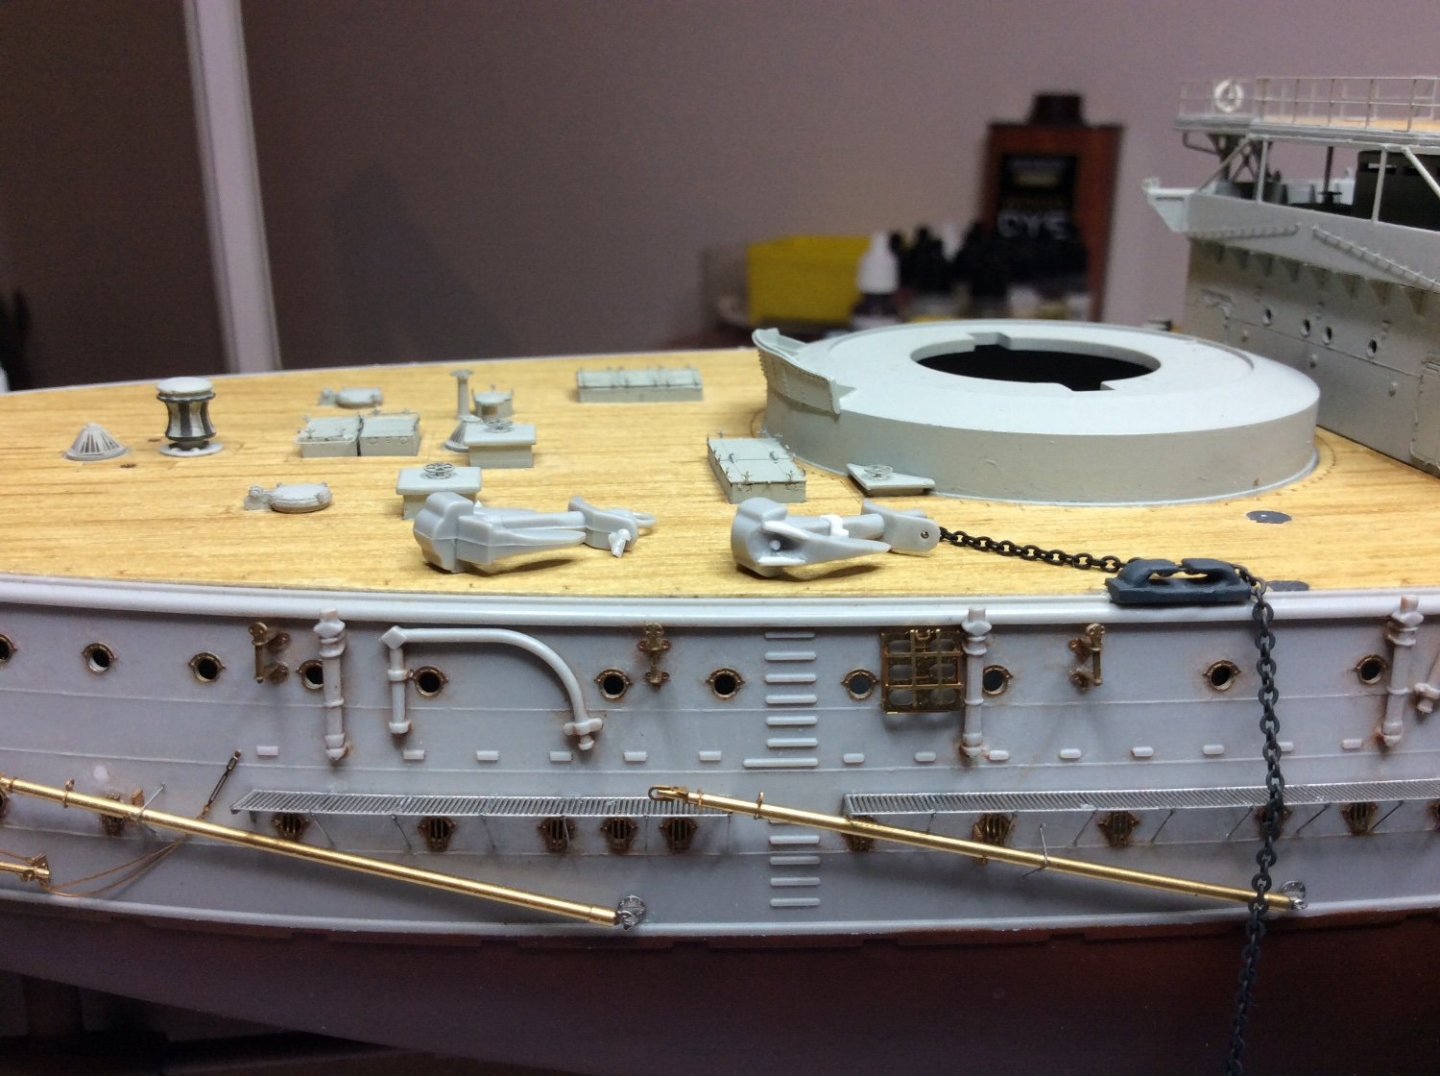
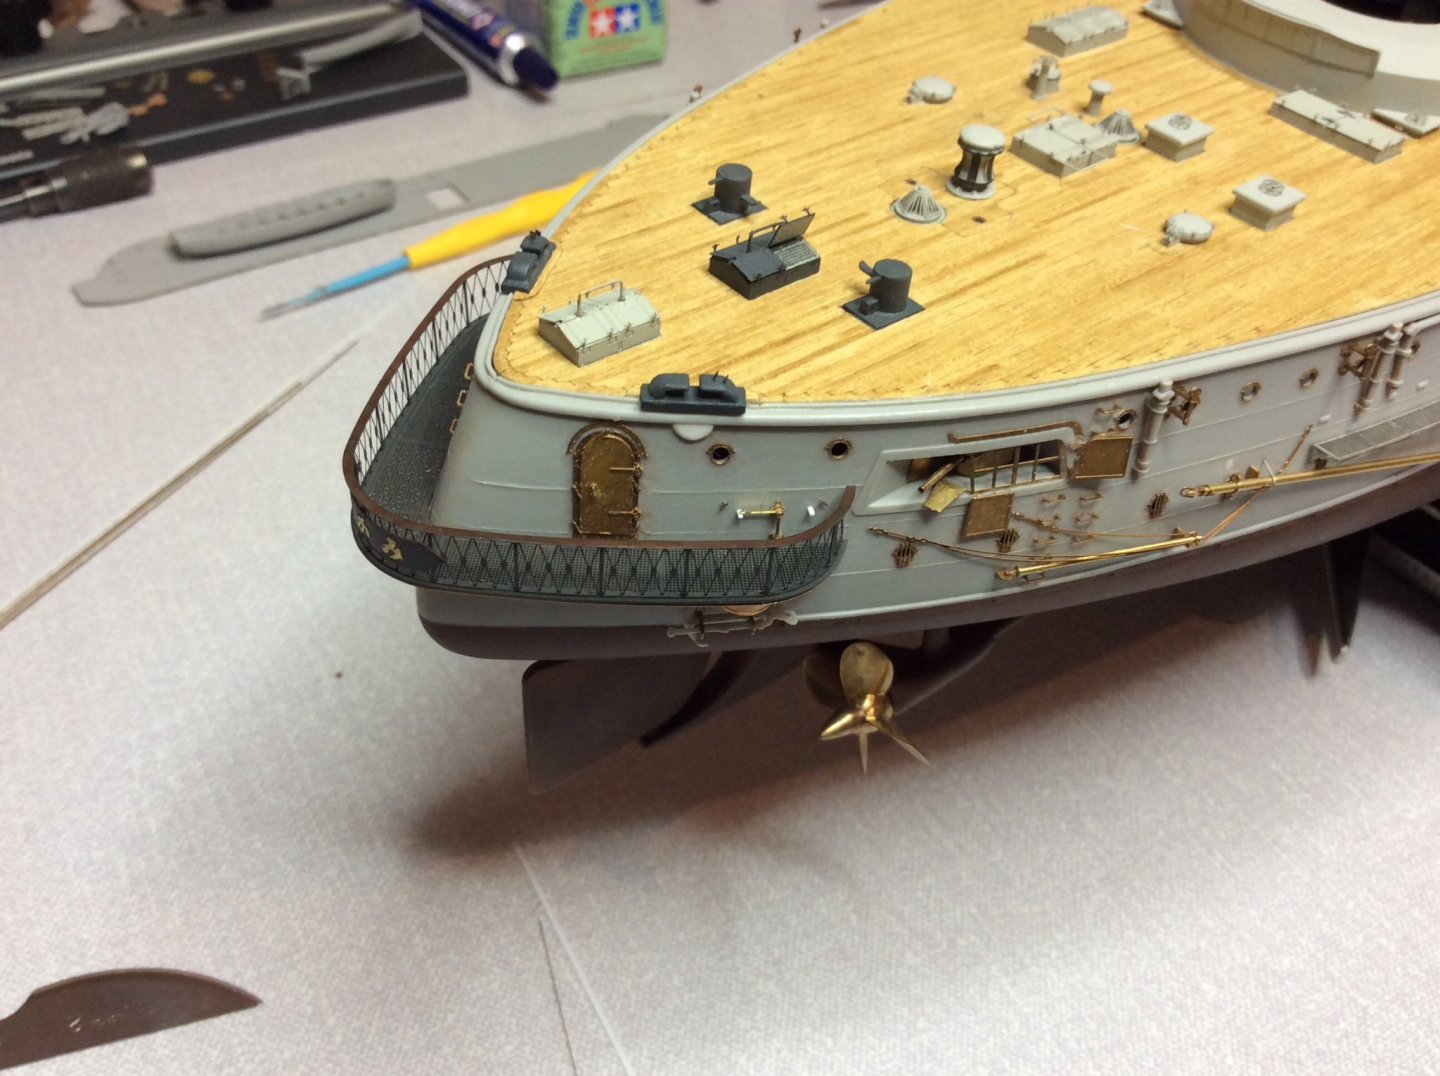
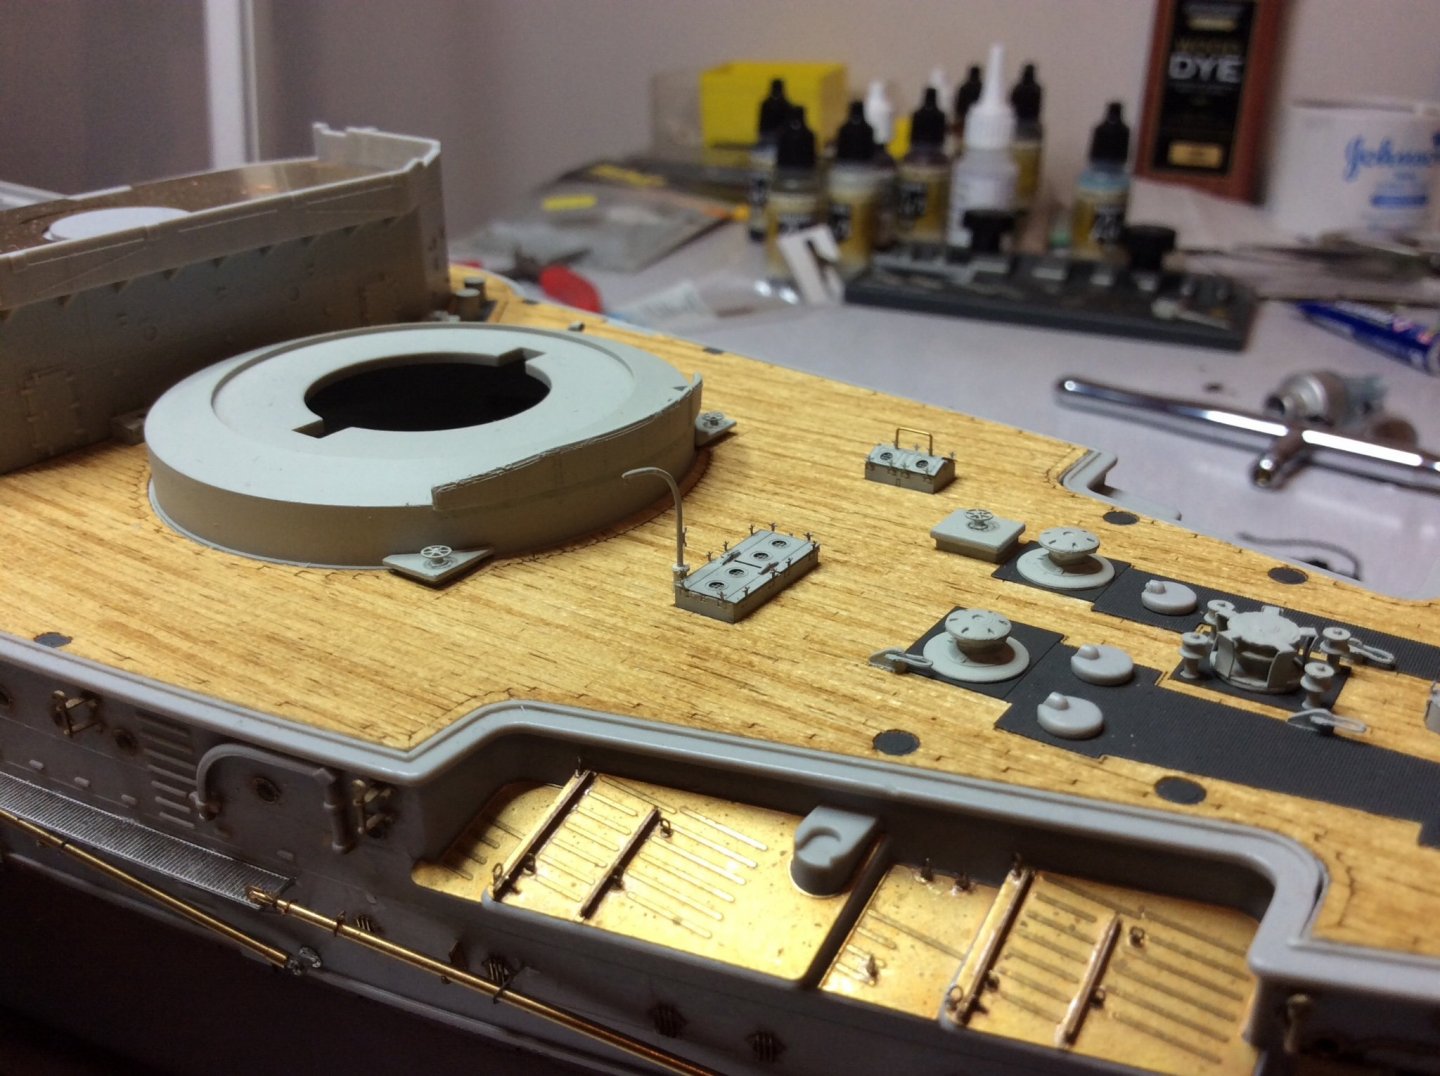
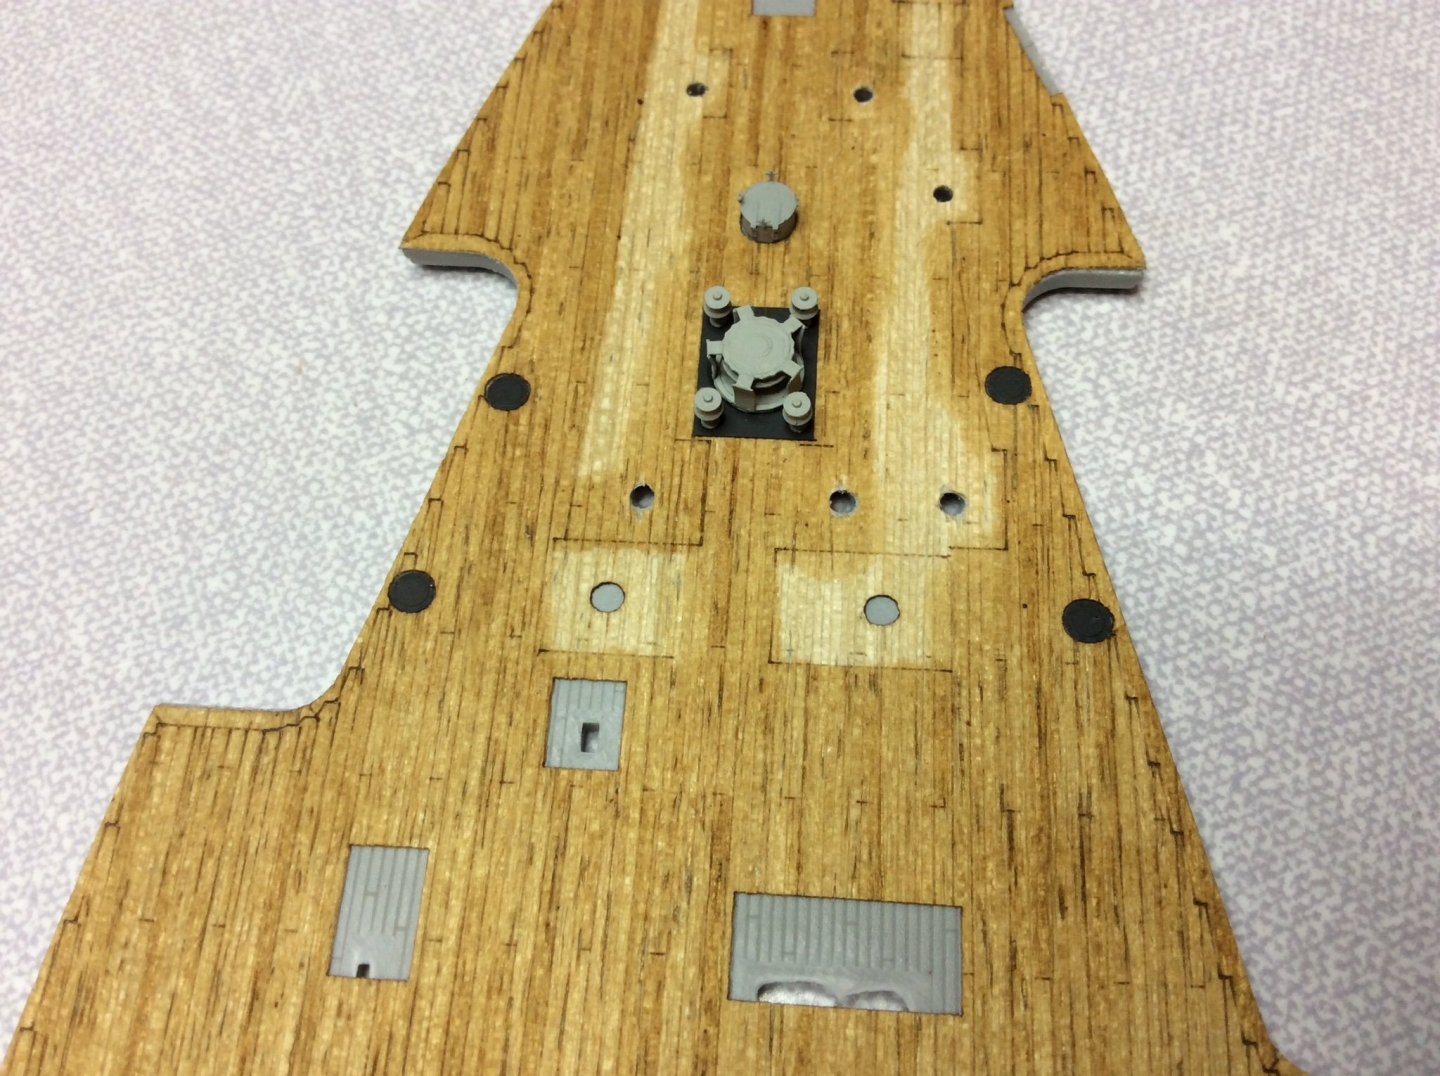
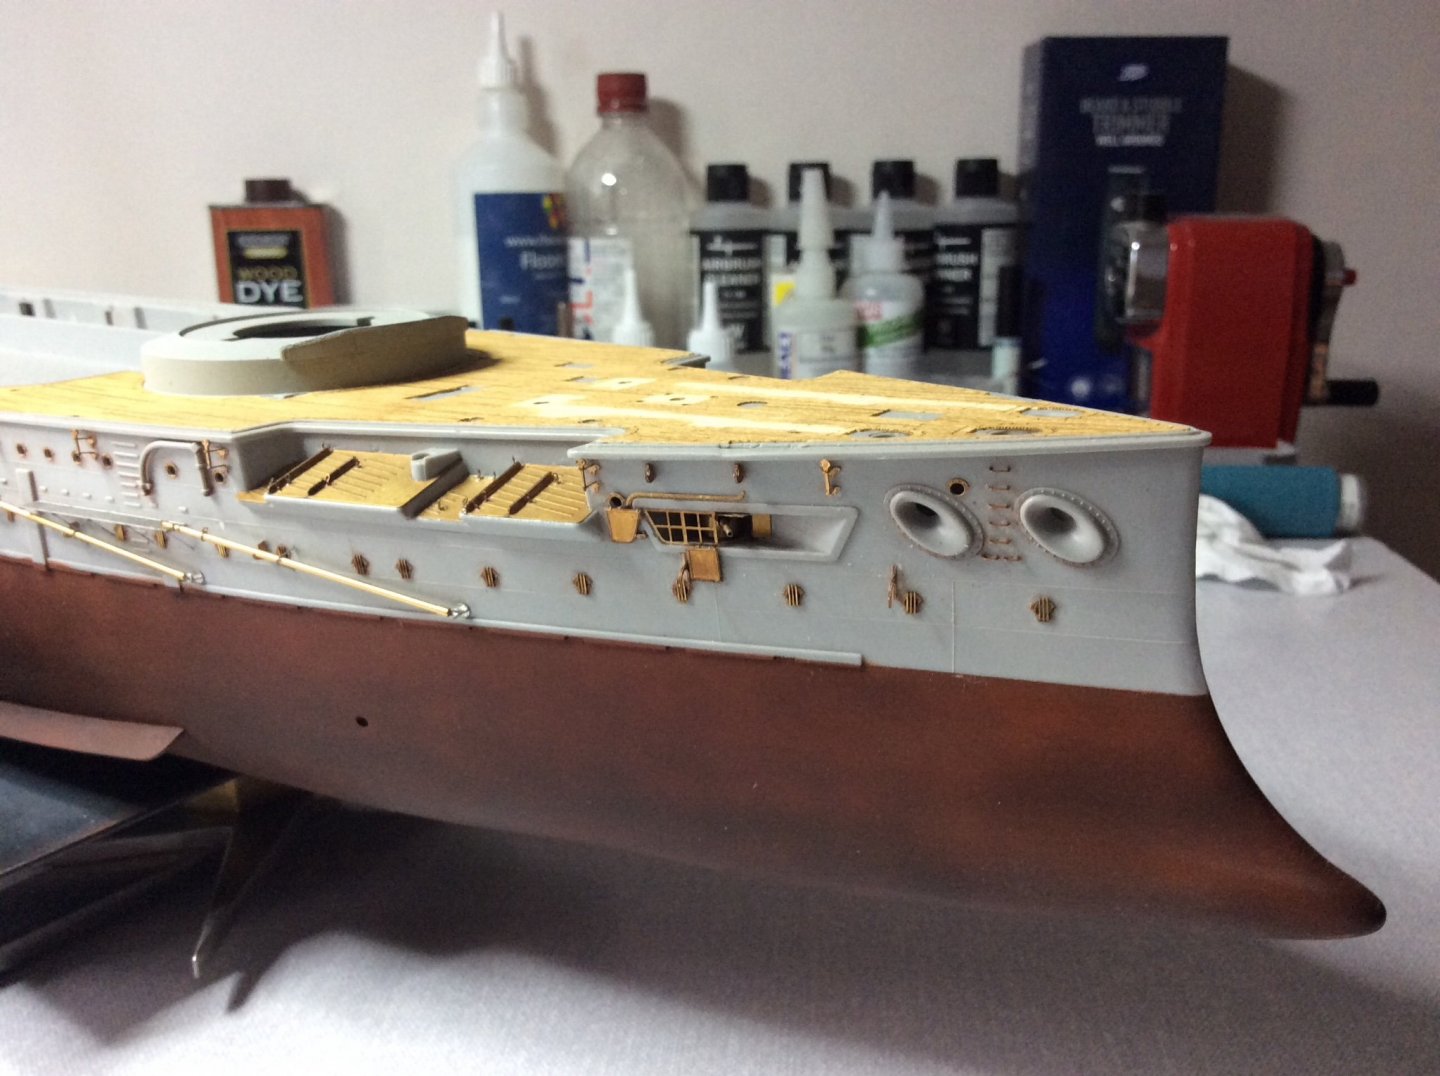
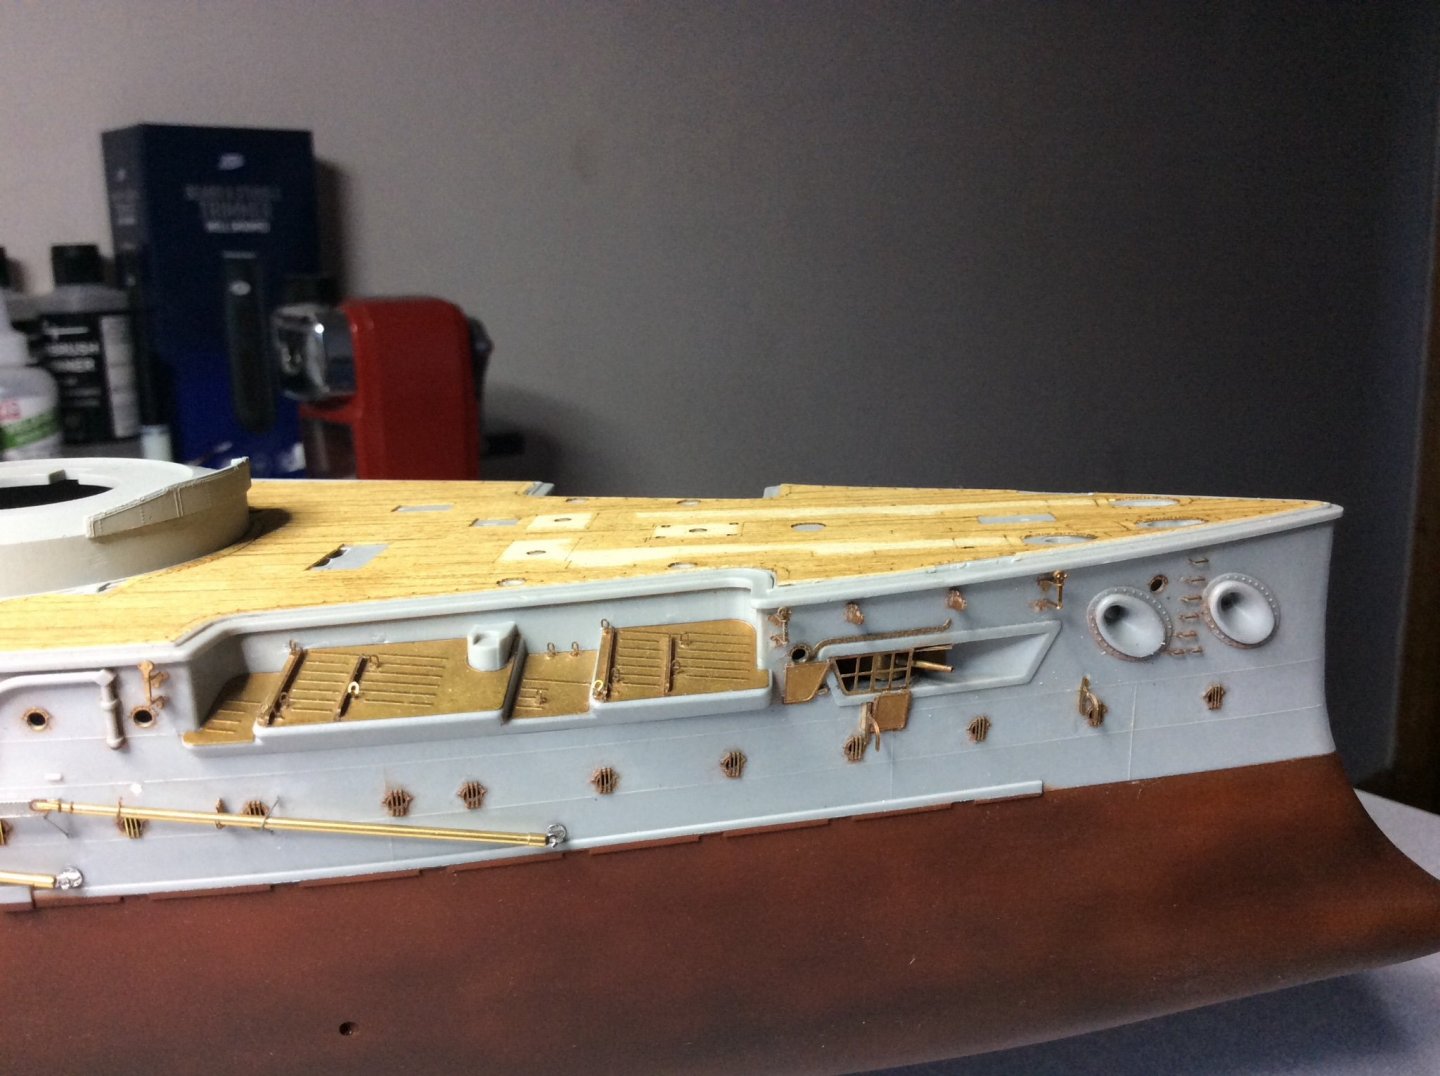
Well there are quite a few deck details to wade through on the forward deck, always more than you think. Have noticed for a while that there’s a lack of guidance as how to run the anchor chains, either with kit Pontos set or even at the ship museum, so have came up with my own solution, doesn’t mean it’s right, but my best guess. Mainly the spare ? anchor if that’s what it is, not sure , but there are only two capstans.

-
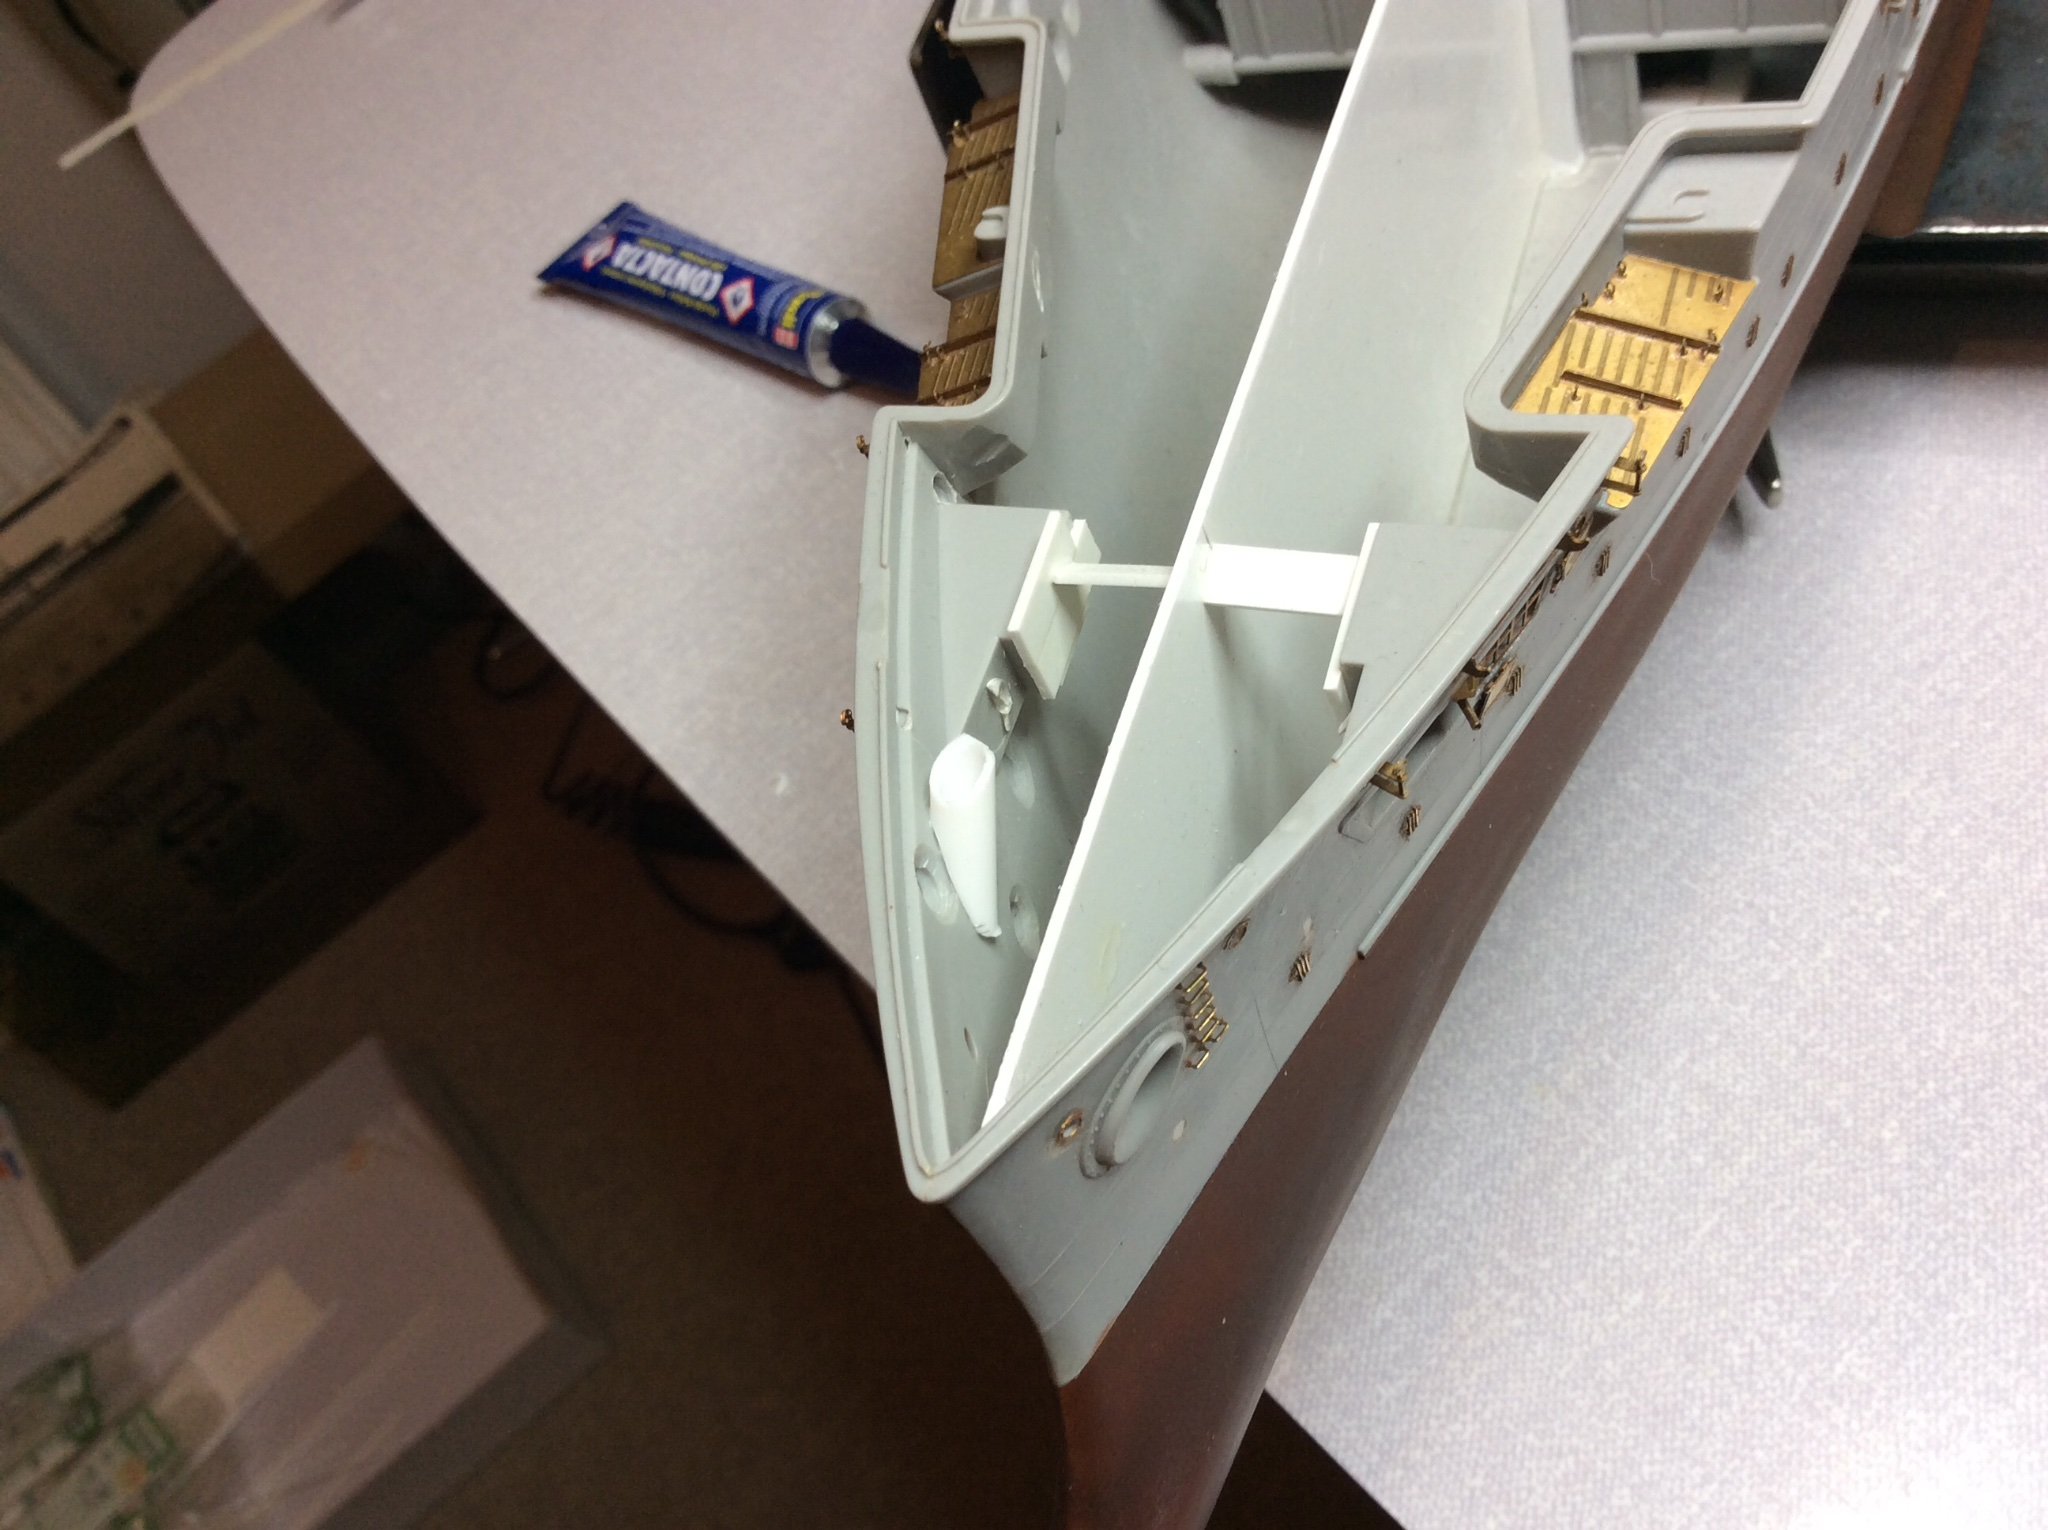
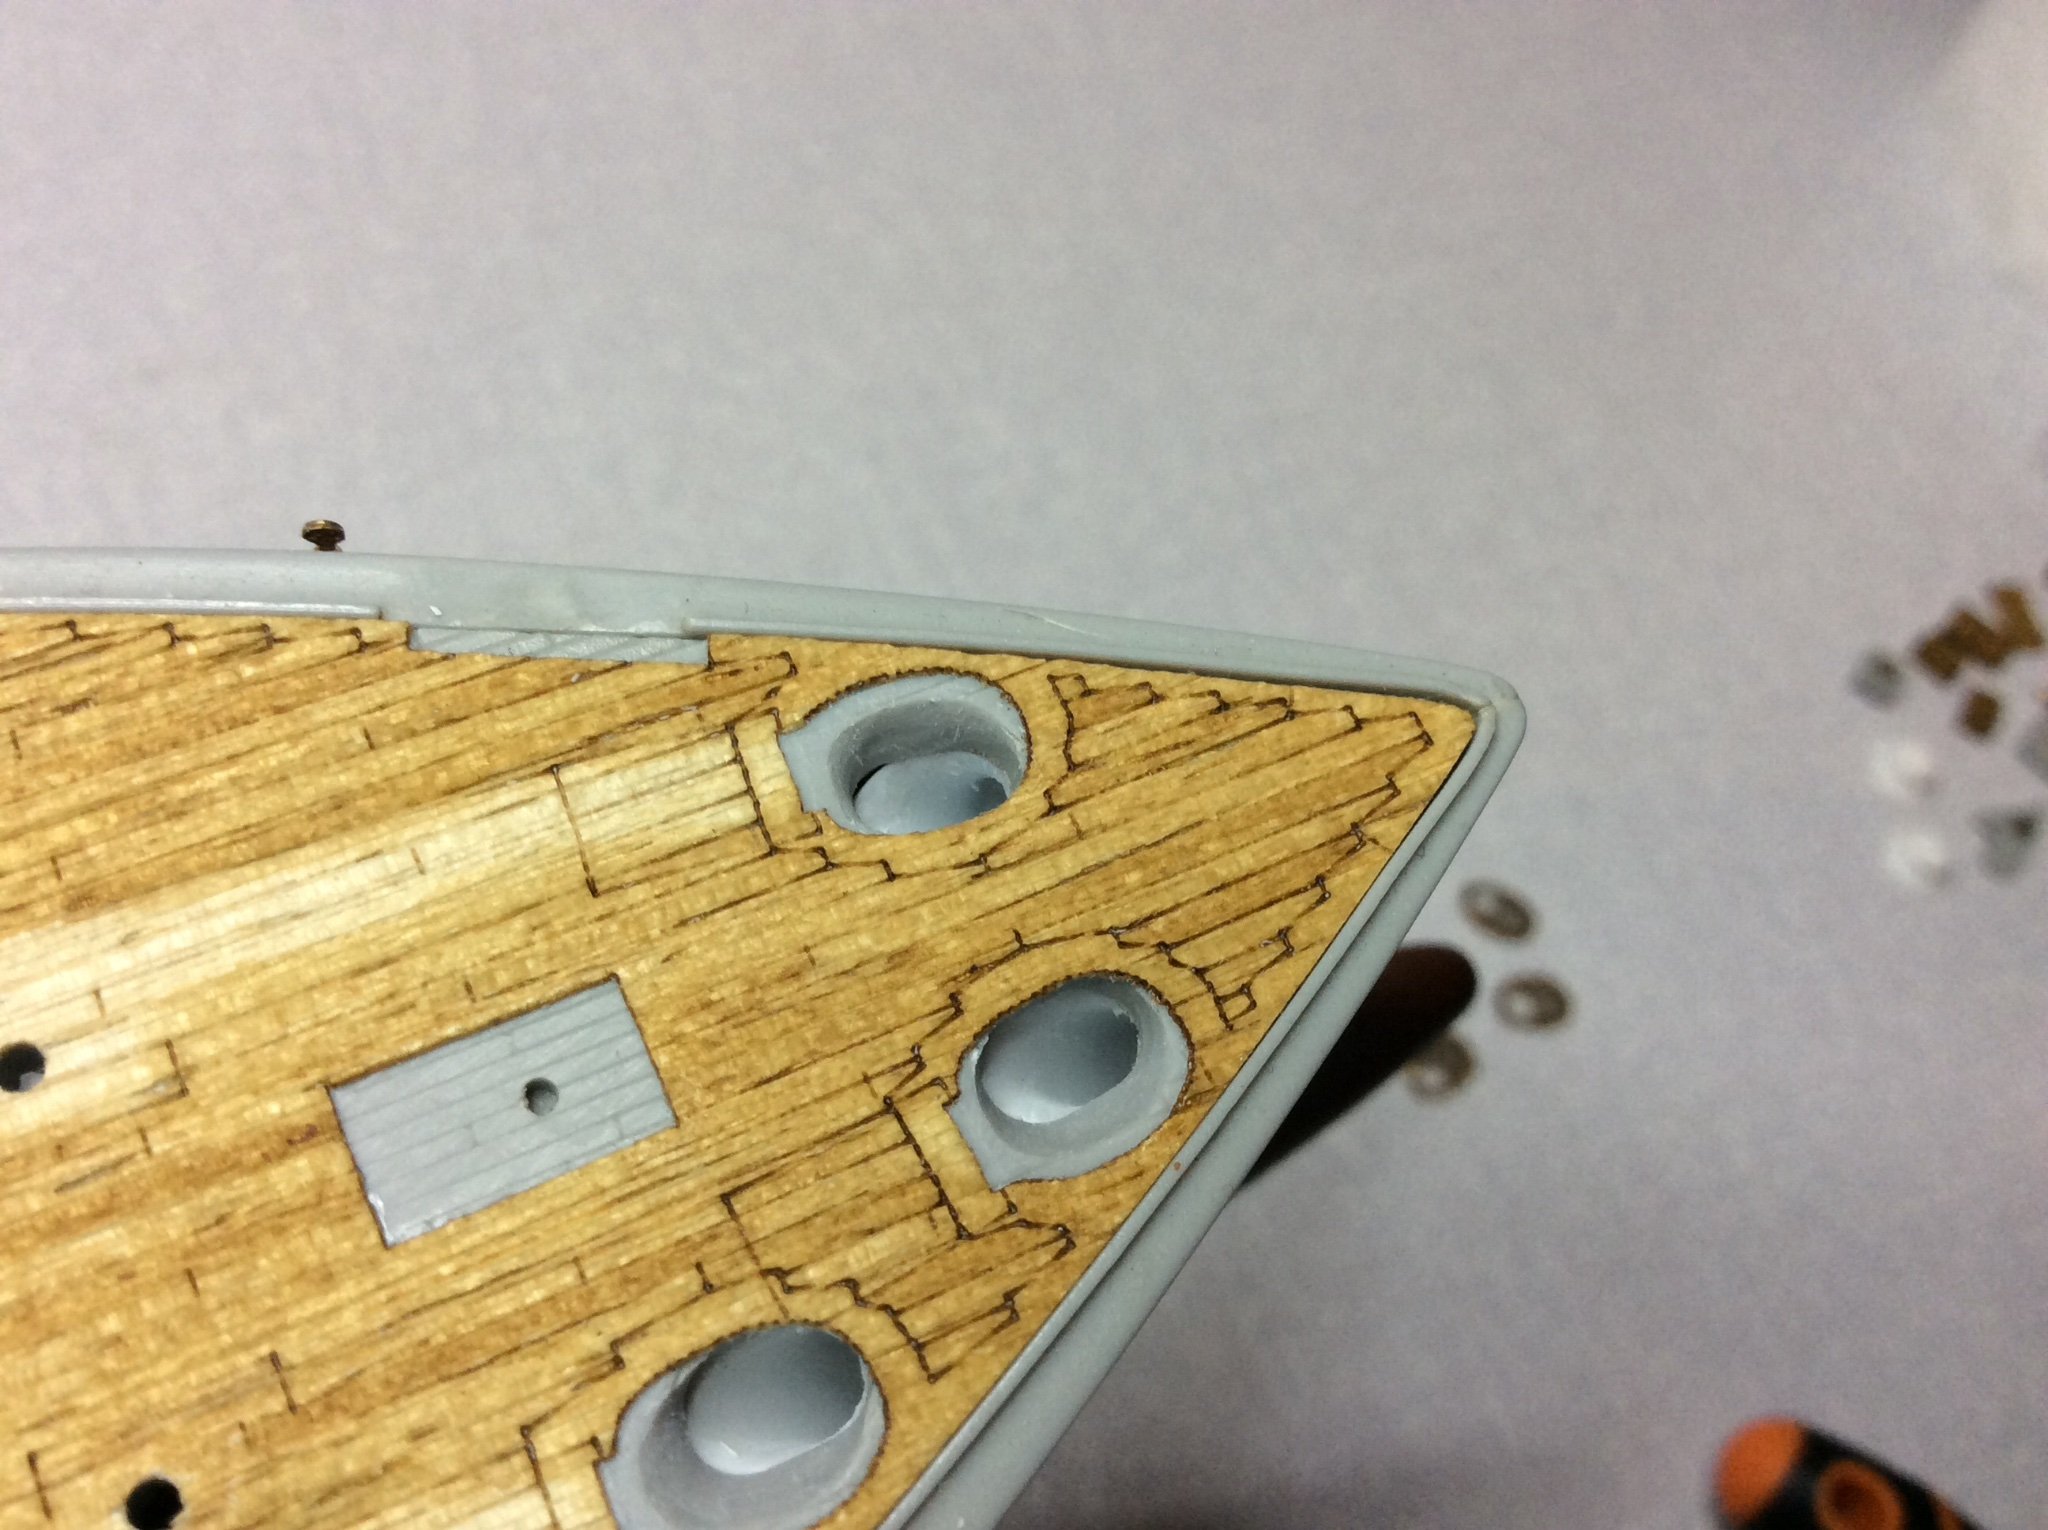
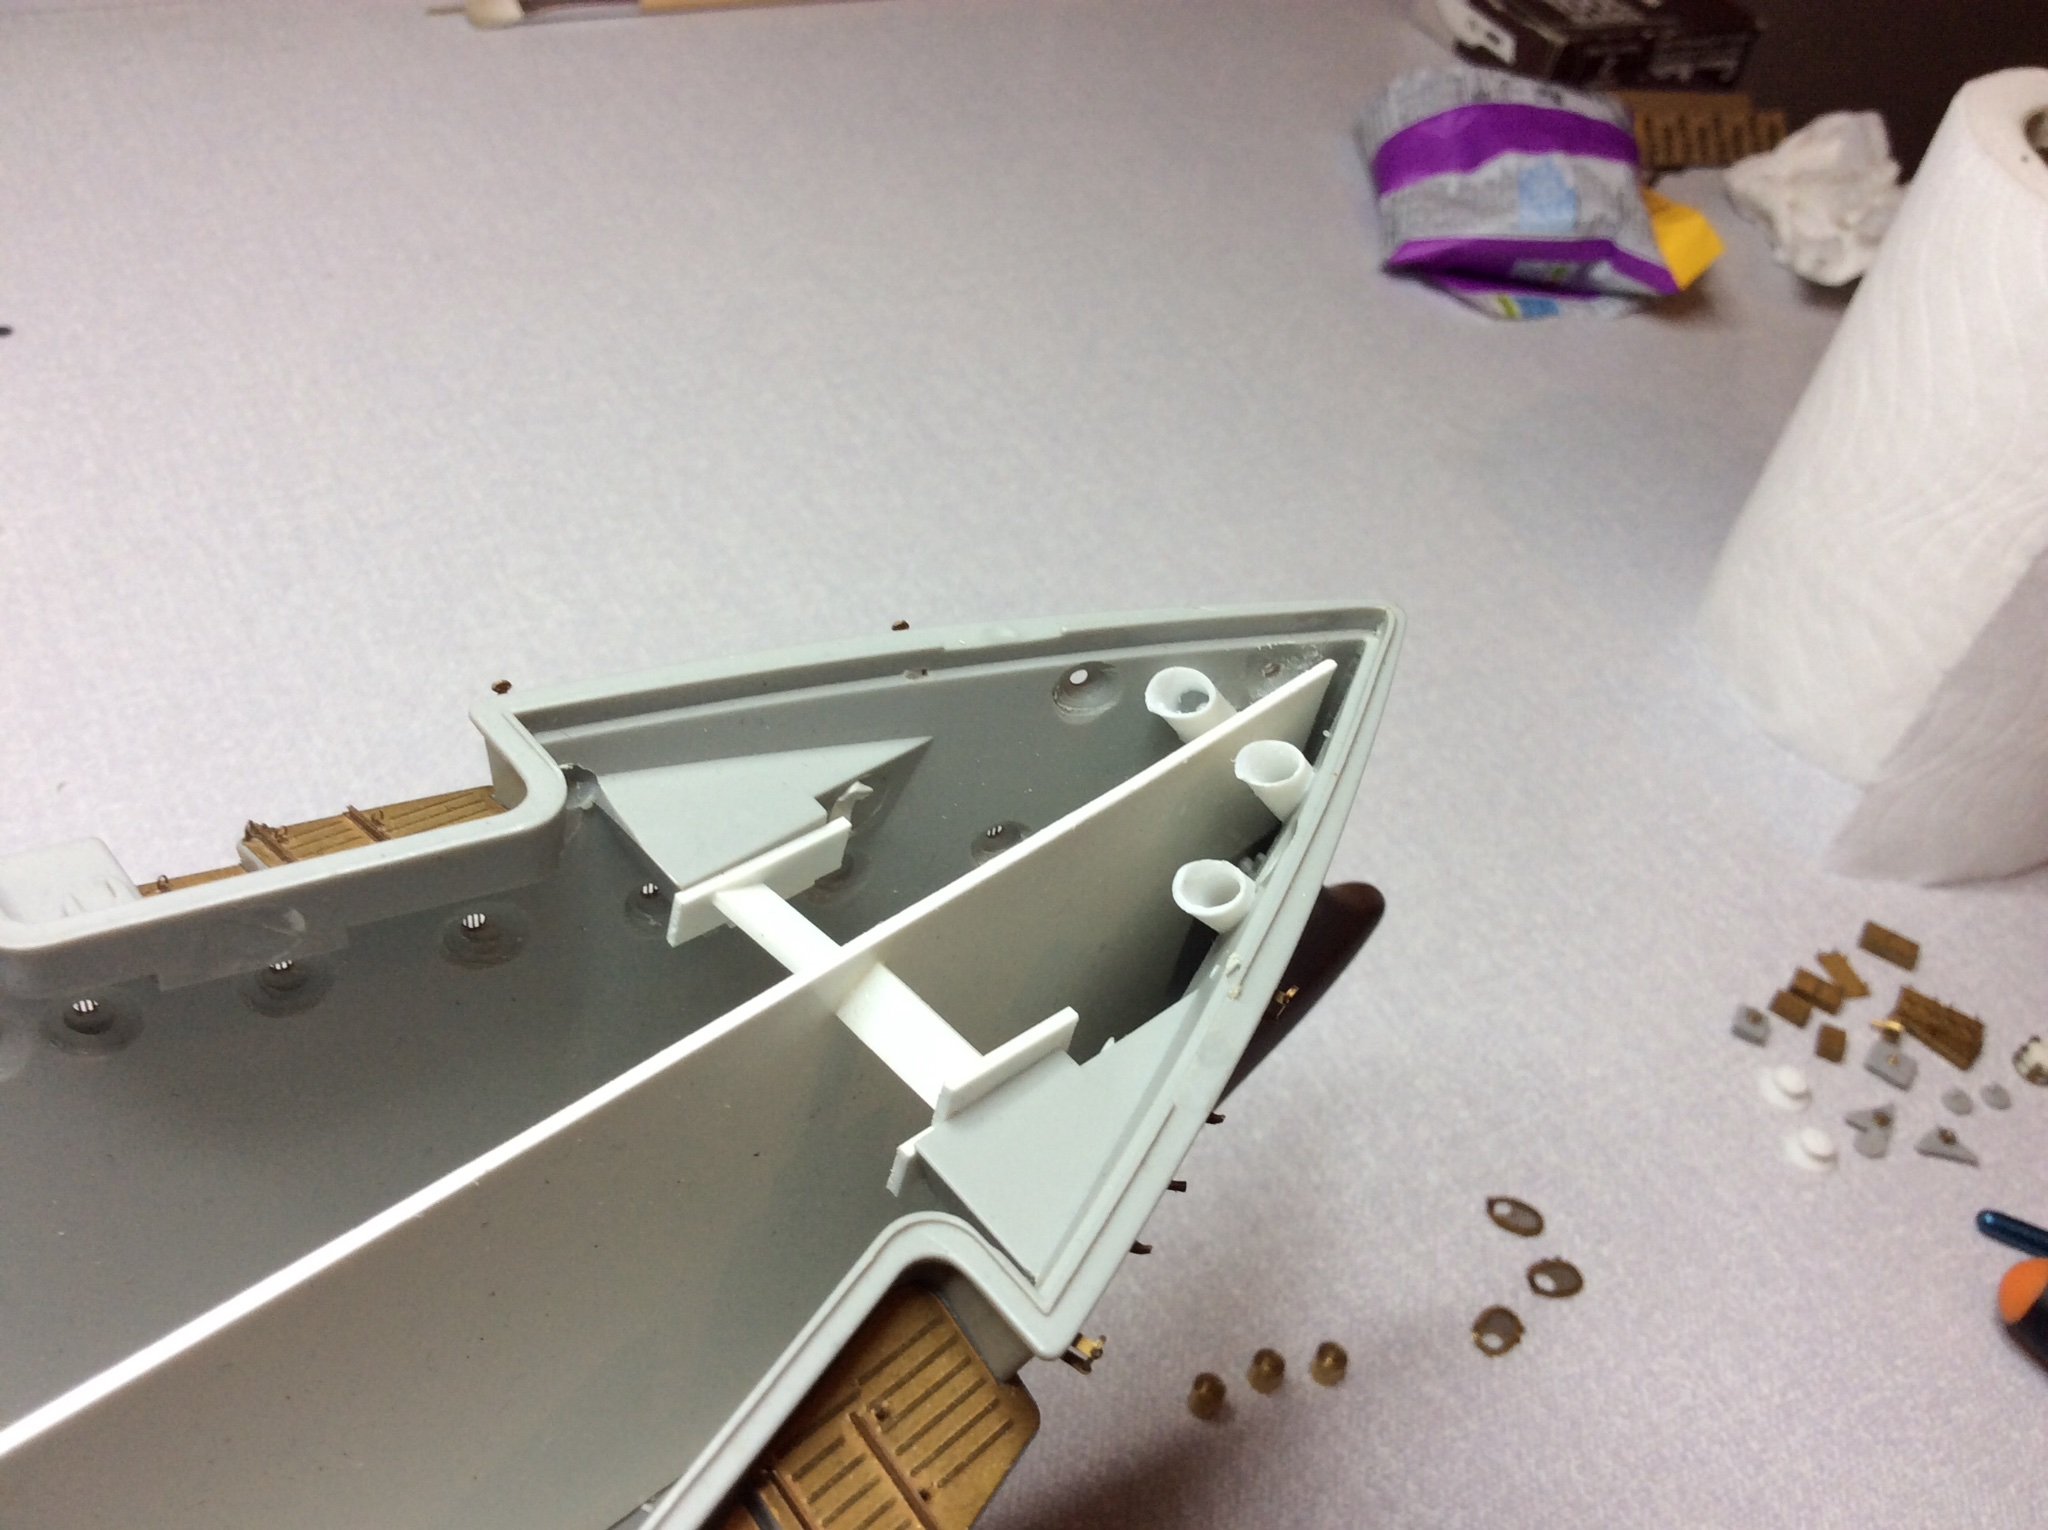
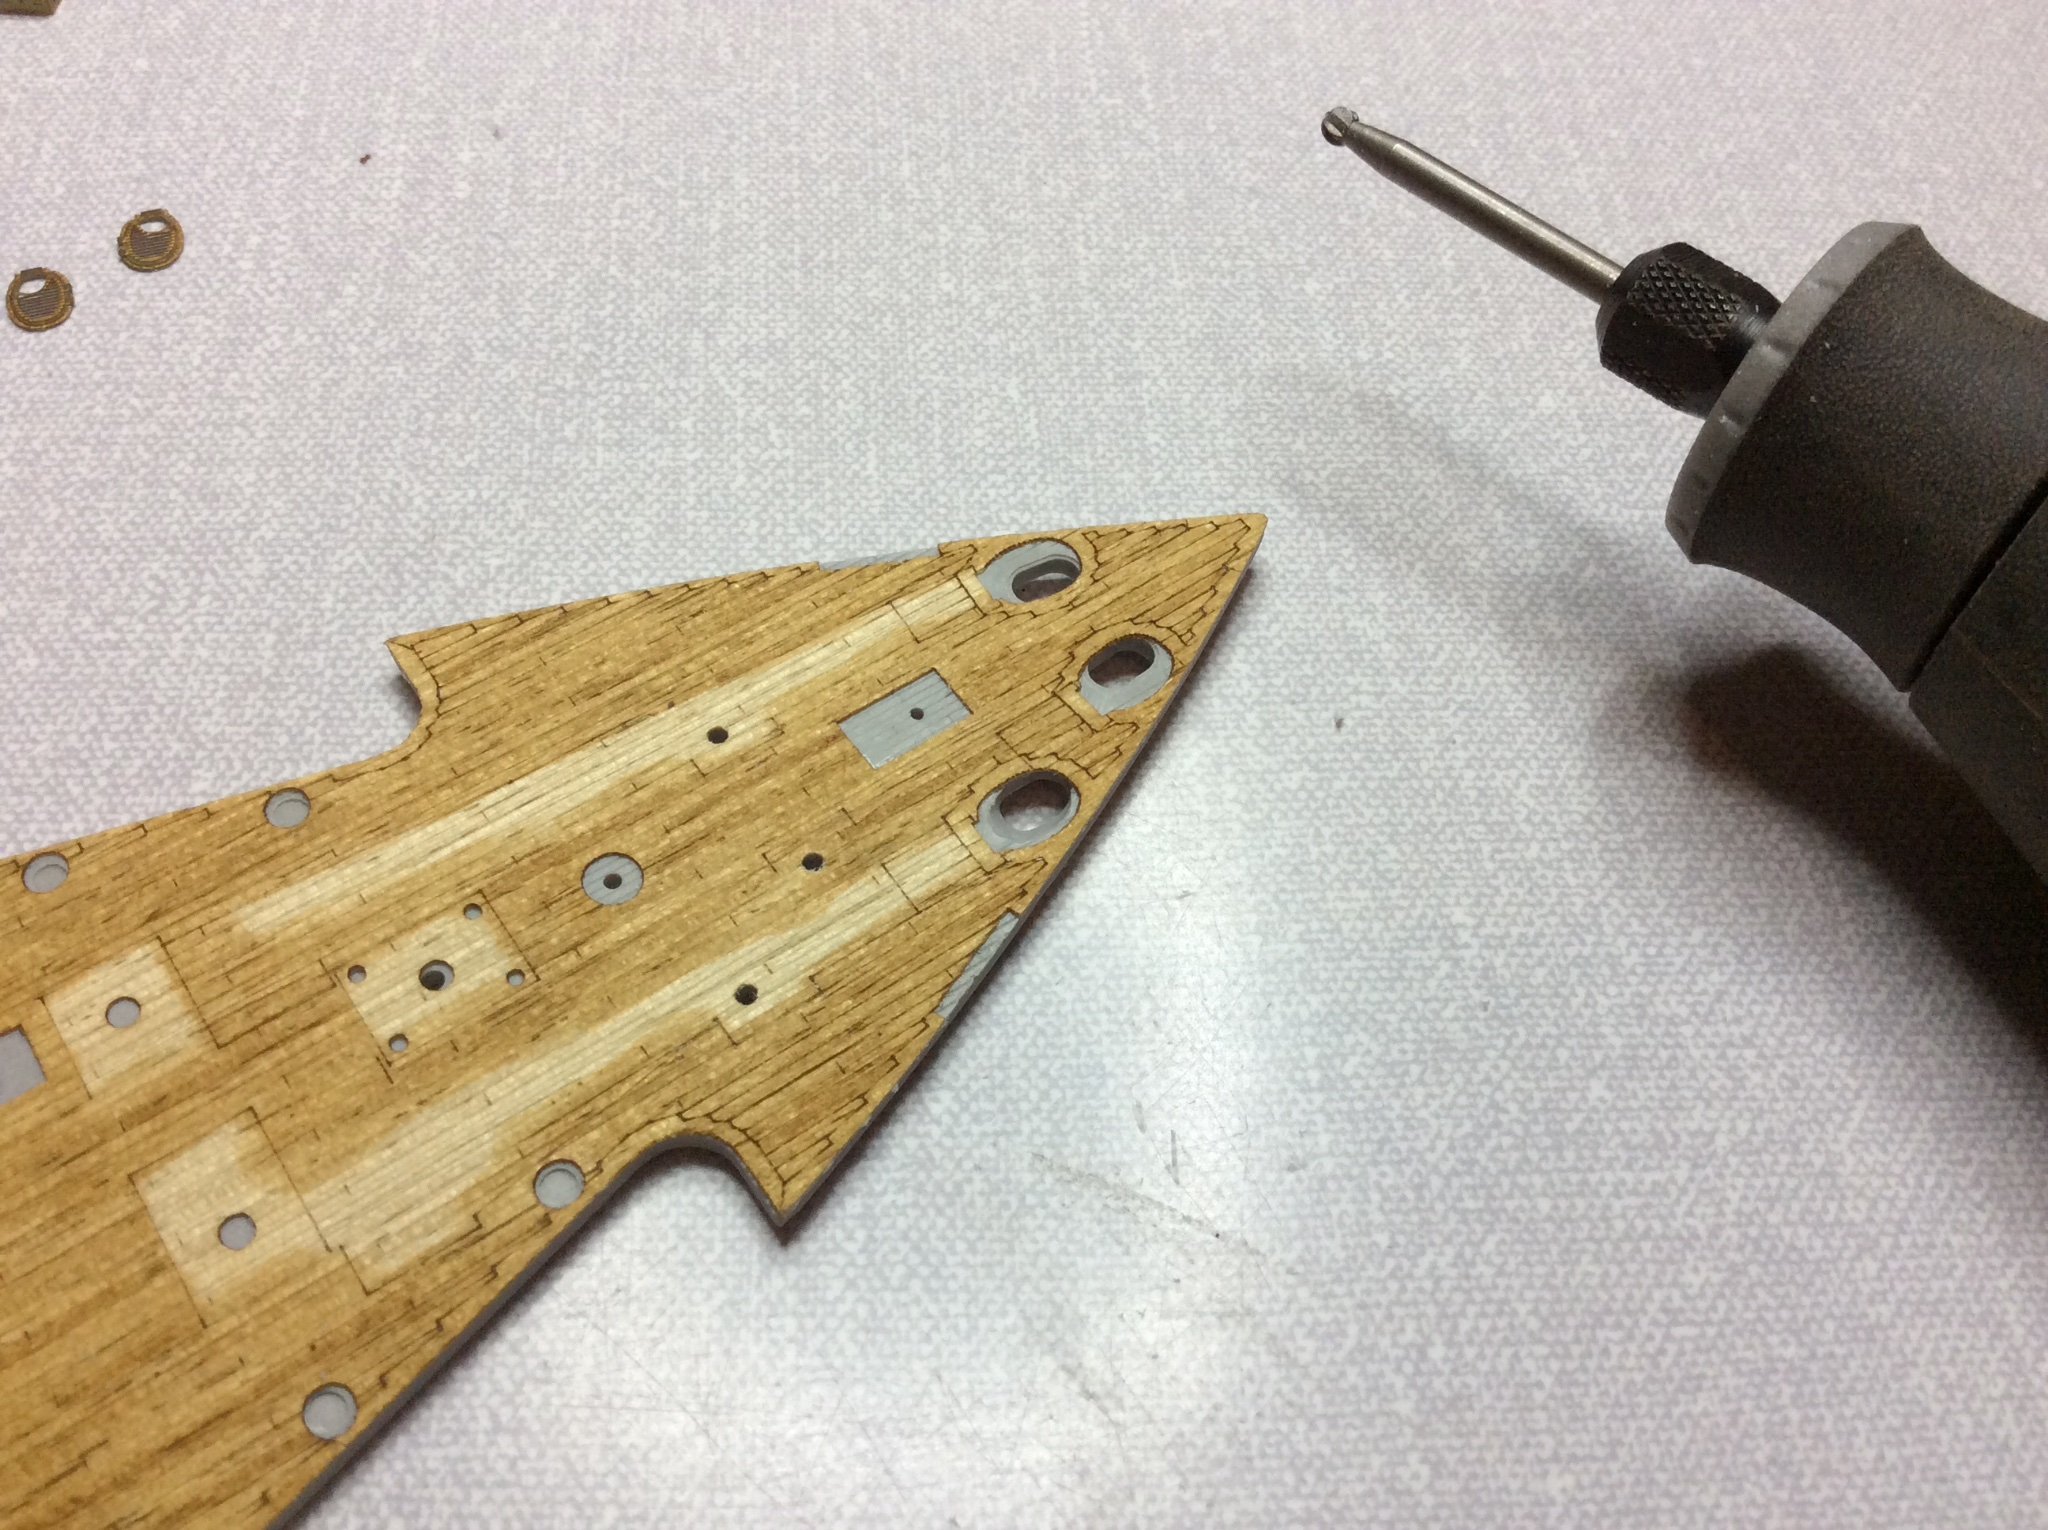
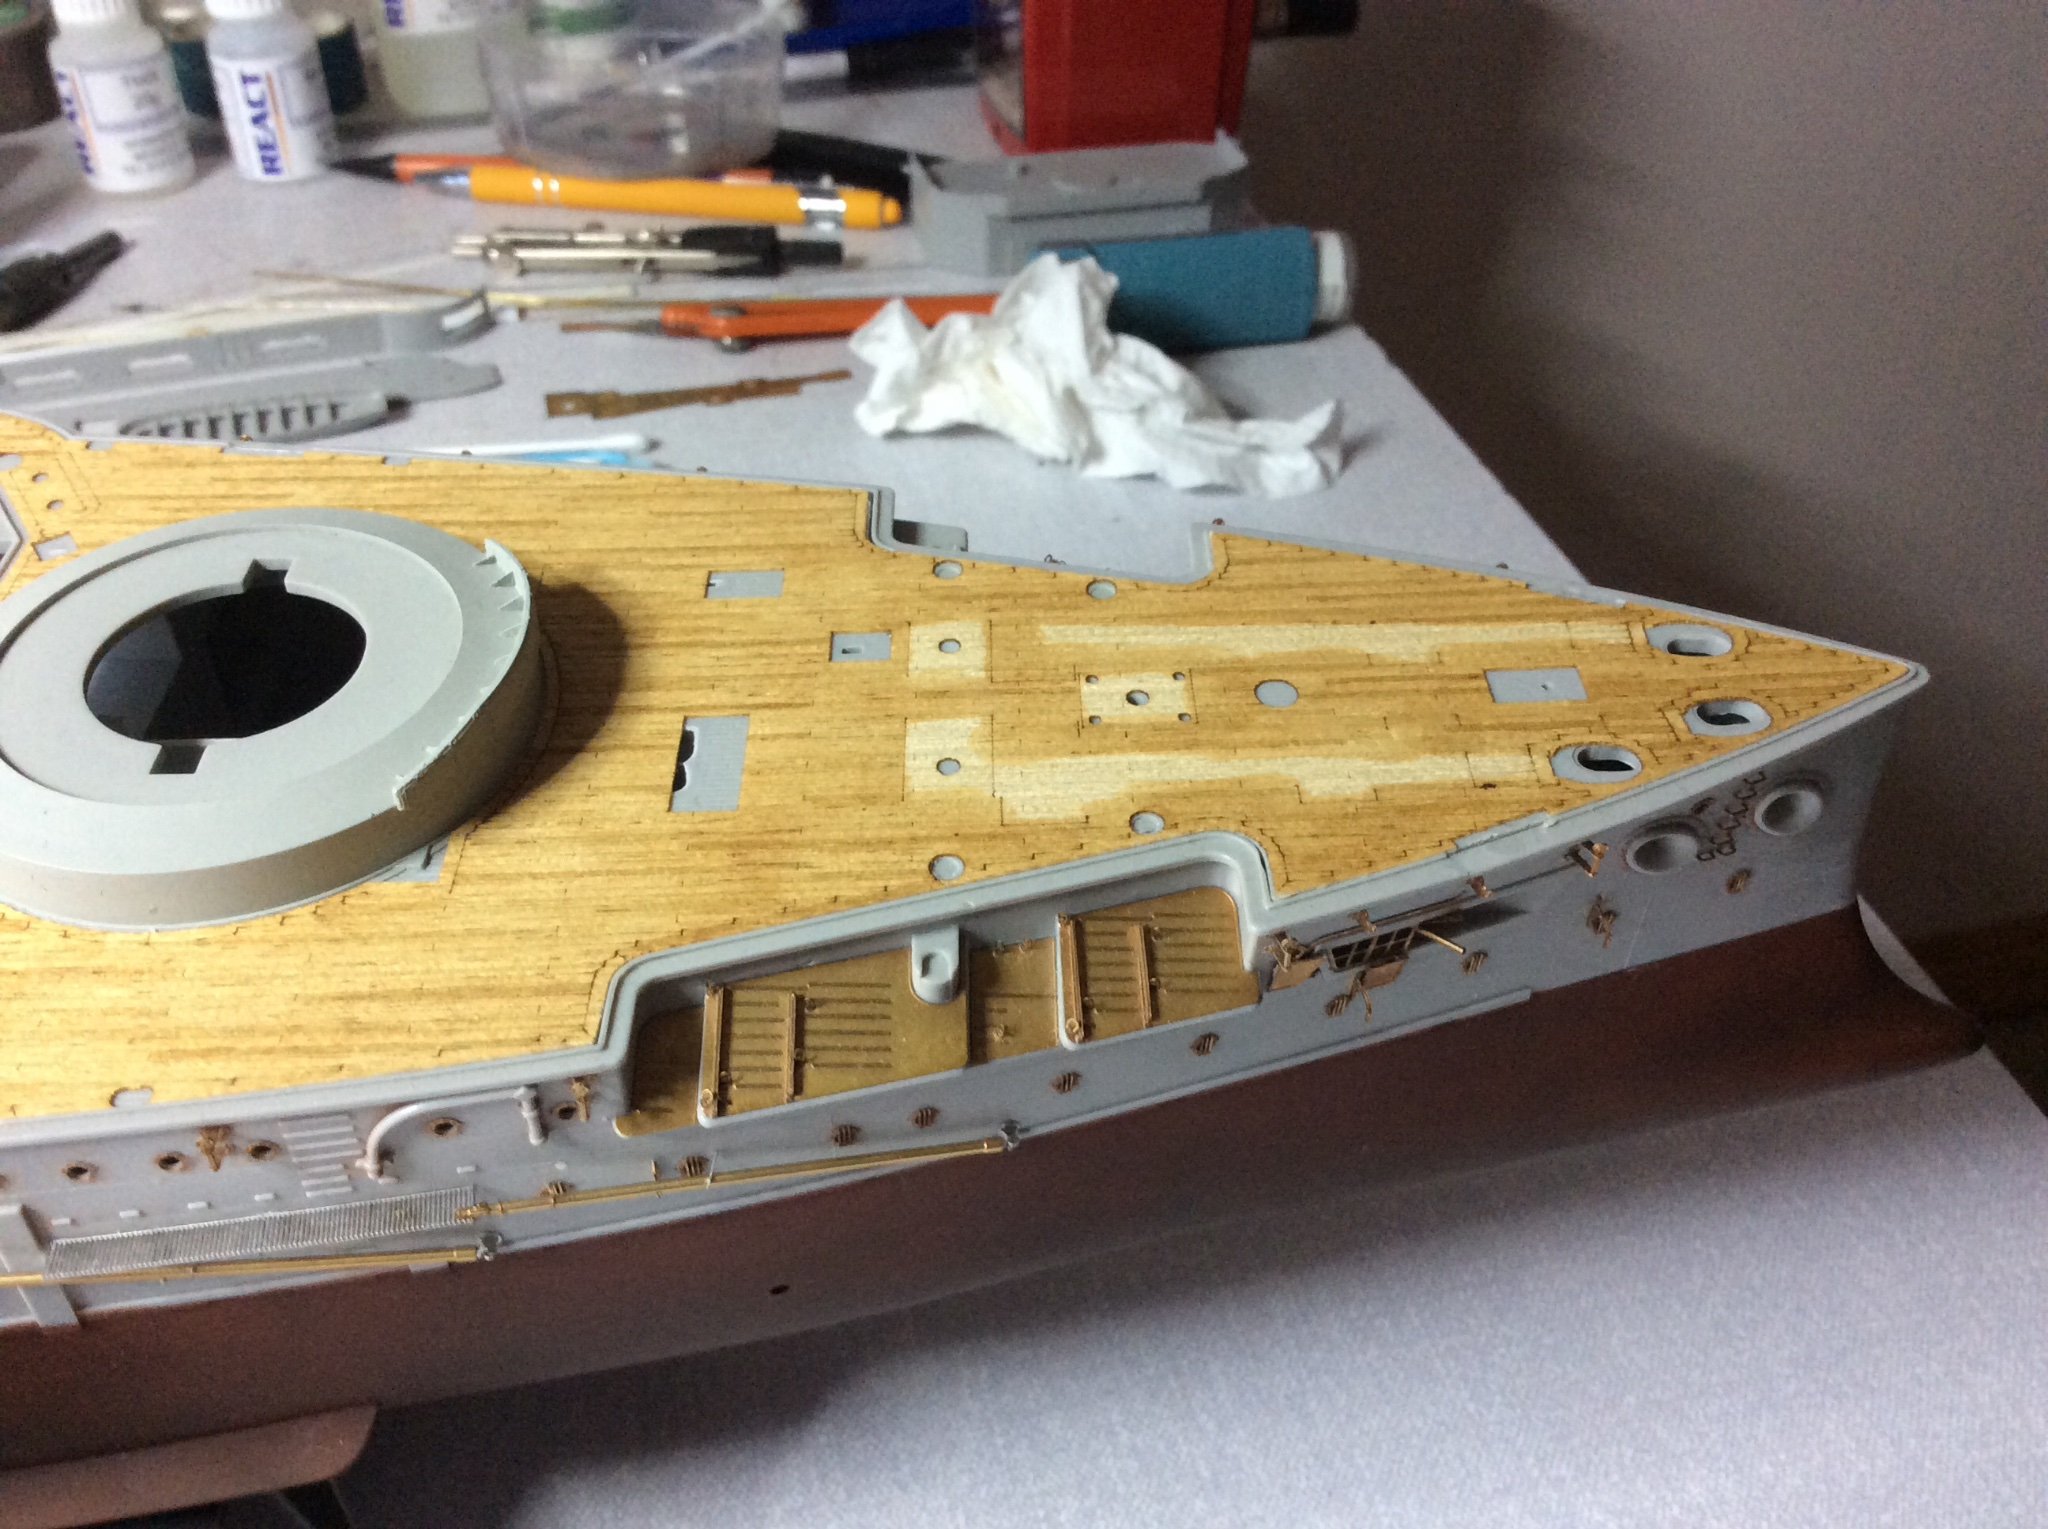
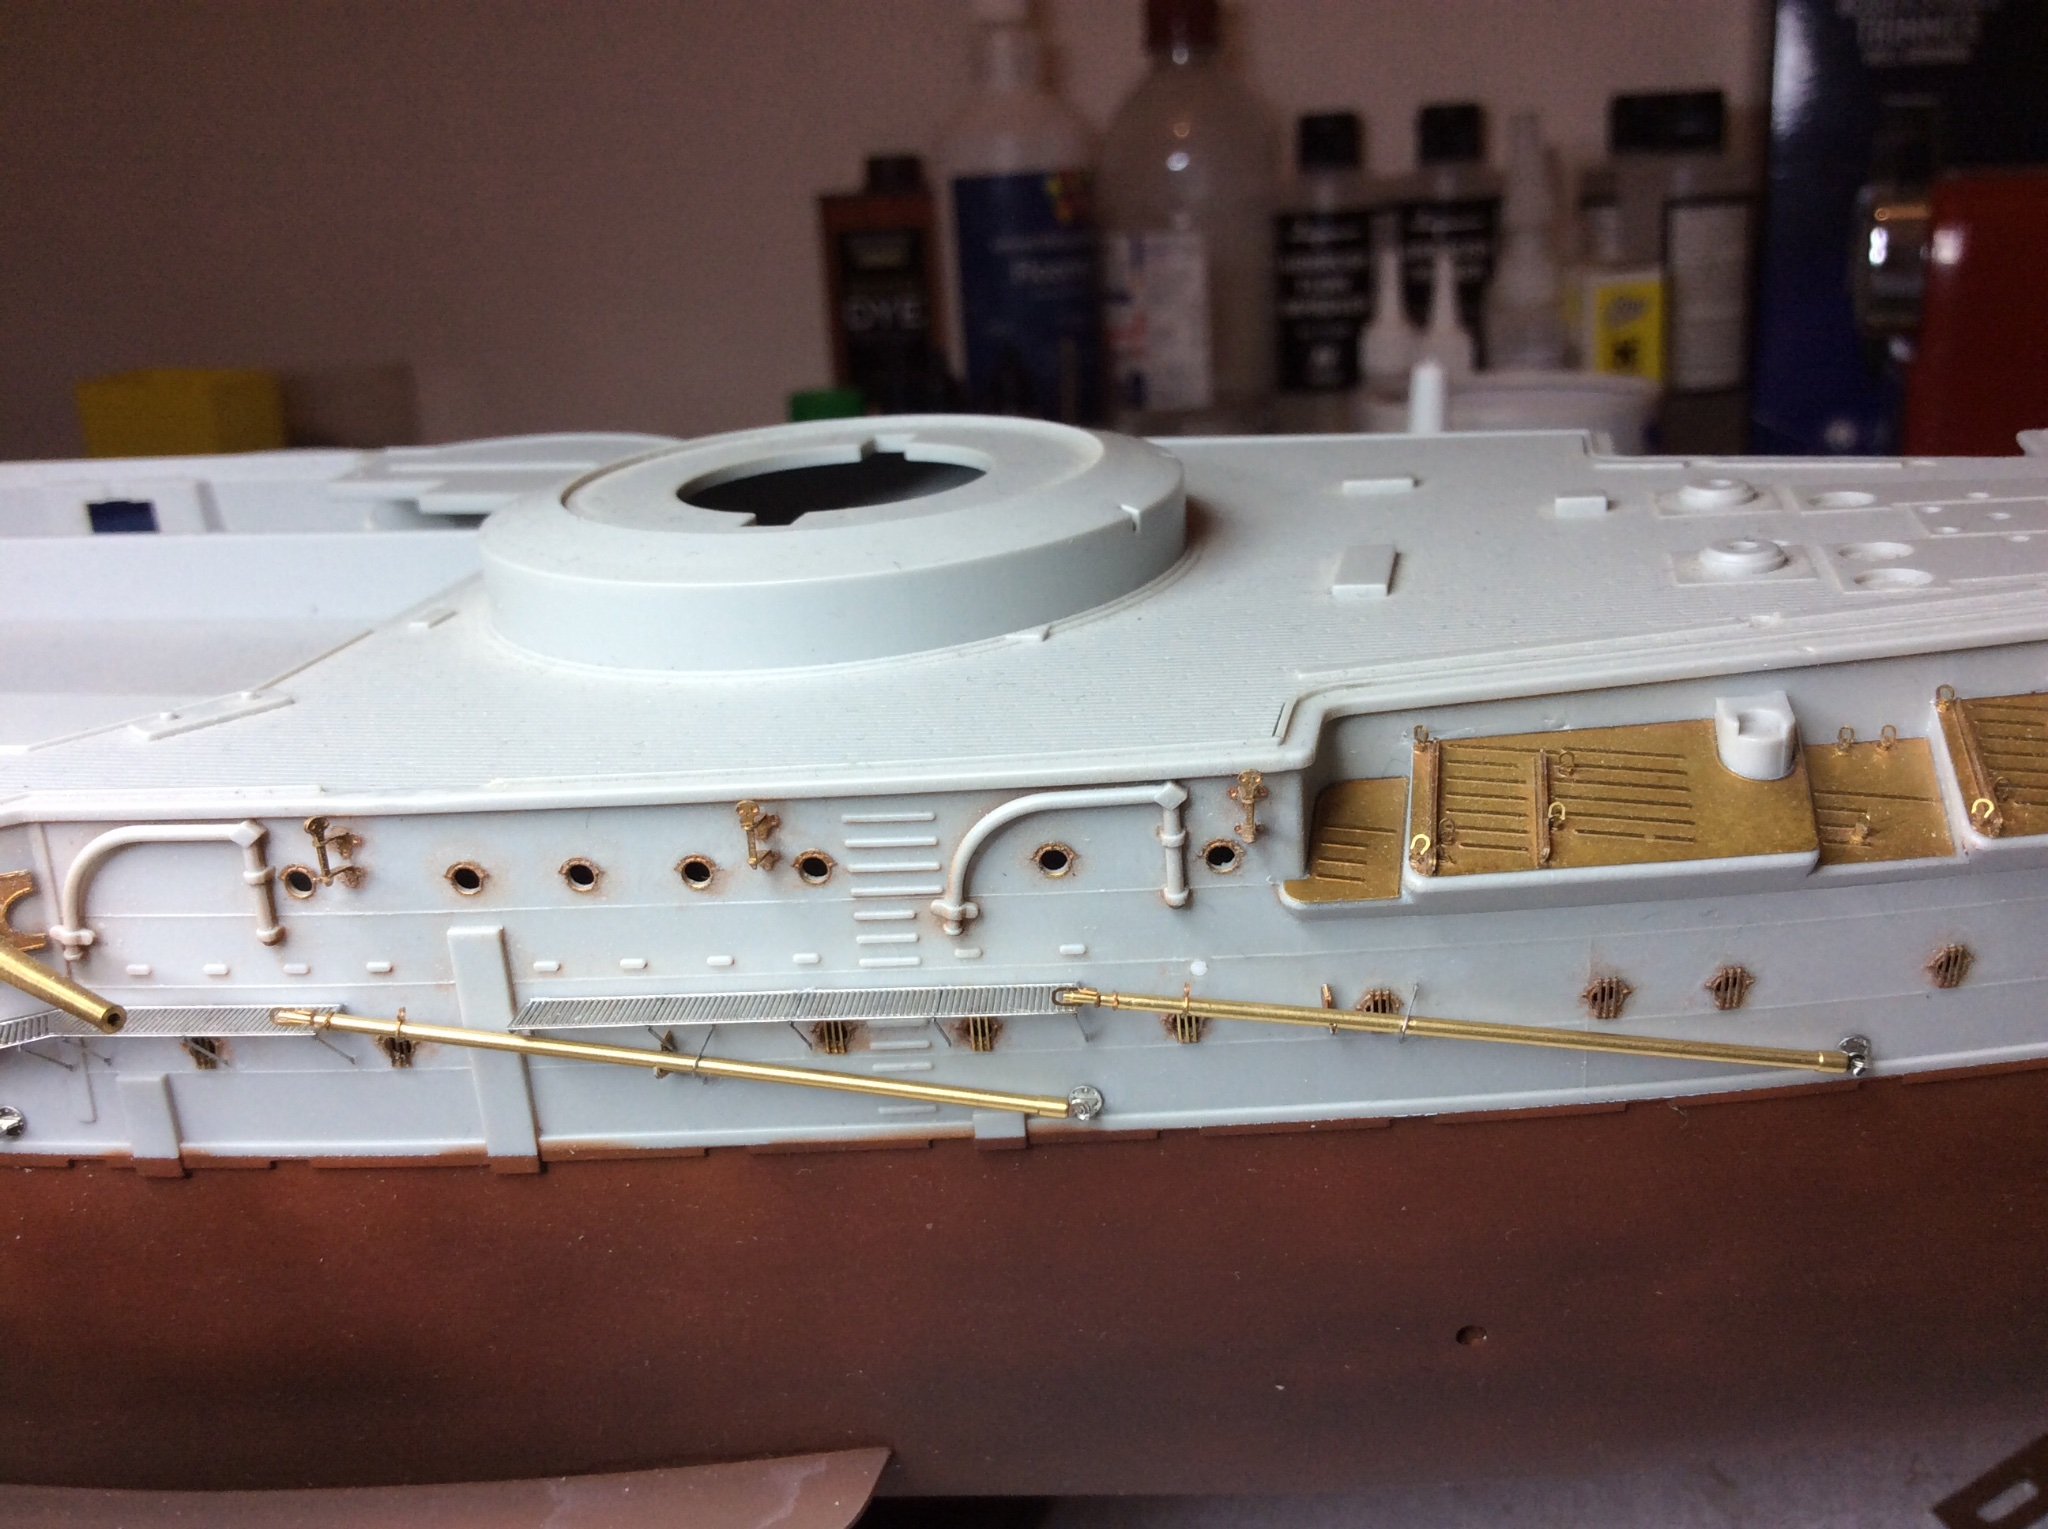
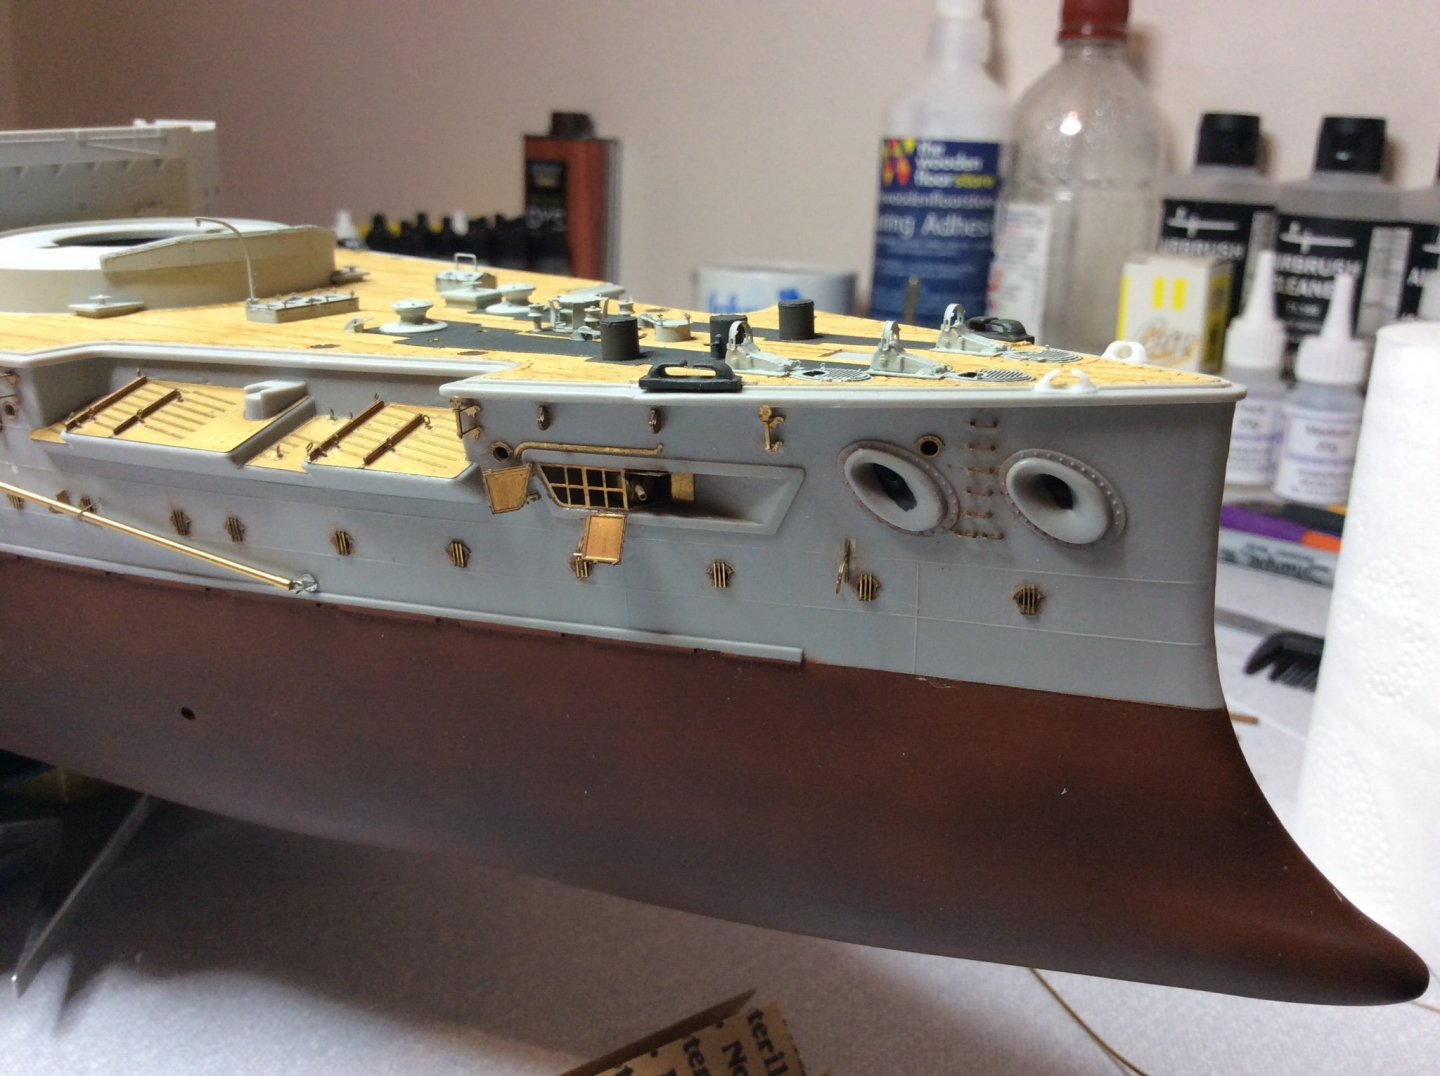
Hello again, thanks for the nice comments, very encouraging 👍 This is the forward deck we’re I left the last post I think. Decided to try fitting pipes for anchor hawse pipes, don’t know if that’s how you spell it, but you know what I mean, this means lifting the gratings and reaming out the plastic to suitable contour using dremel with a small bit, have to be gentle as this chews the plastic out very easily, so slow and sure. 👍 then cut some suitable plastic styrene pipe at required angles and lengths, this might take a few shots to get right, or at least good enough. This stops you seeing right through the hull at these points and helps when it comes, to introducing the anchor chains. Is it worth the bother? well that’s up to the individual. Glued these pipes into position using styrene tube glue. Remember building all my Airfix models this way from a very early age. 😂 Just make sure everything is lining up to your satisfaction. 🤛


-
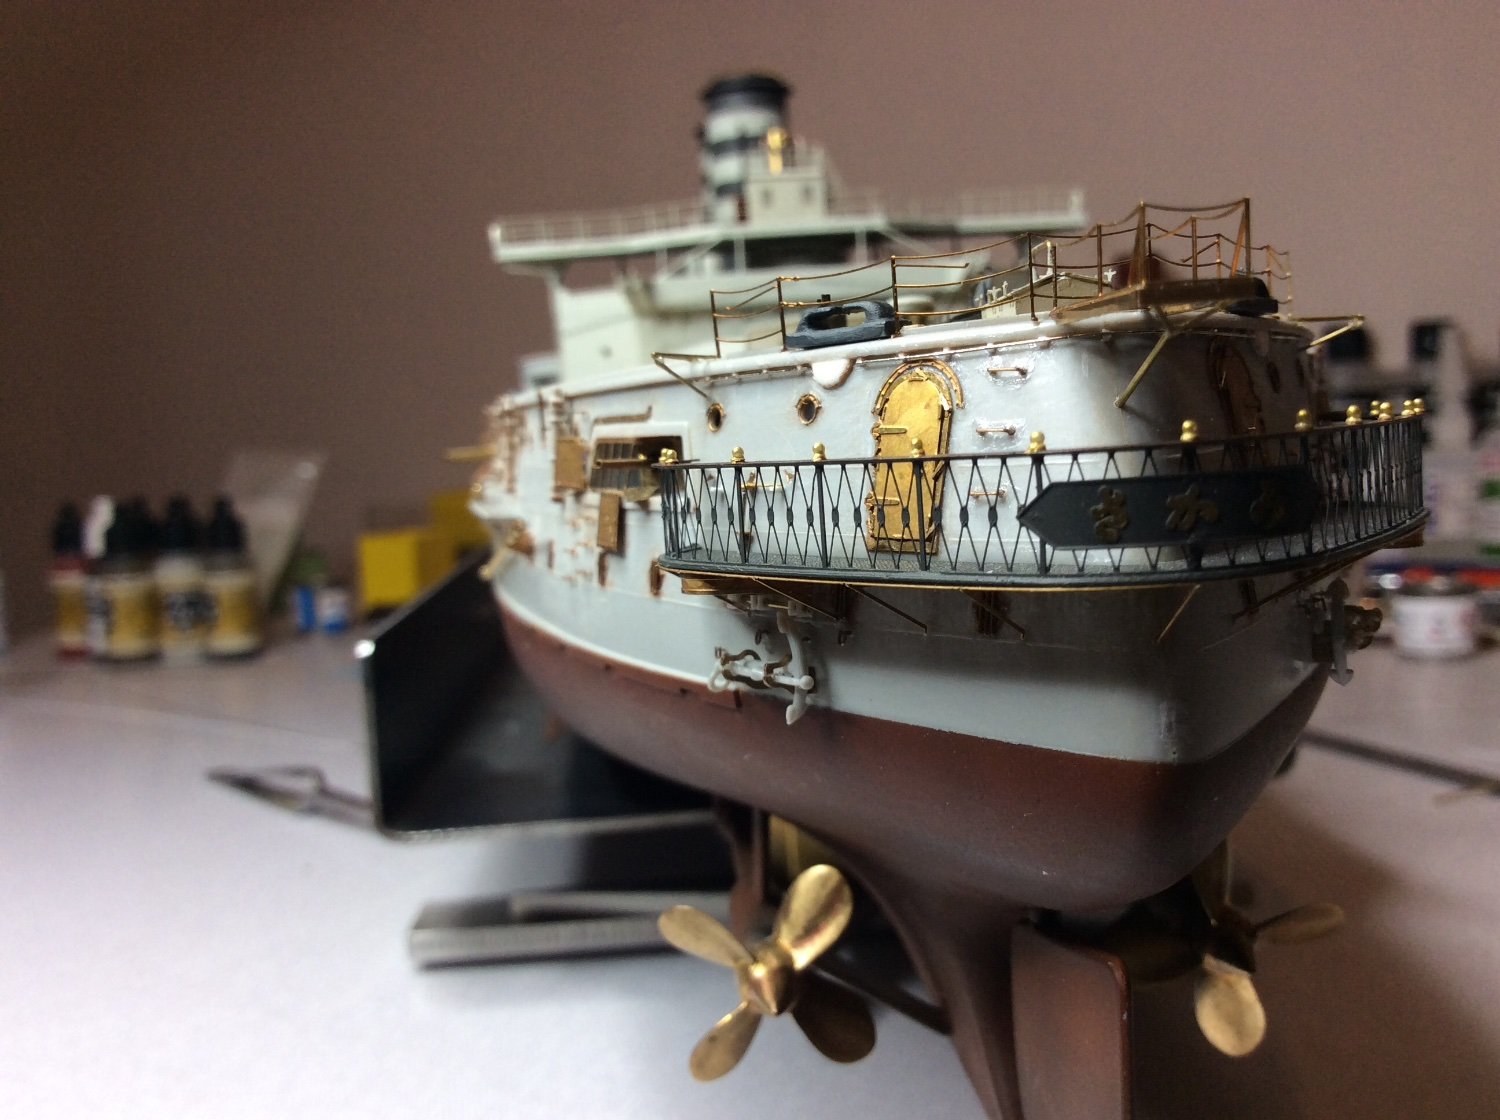
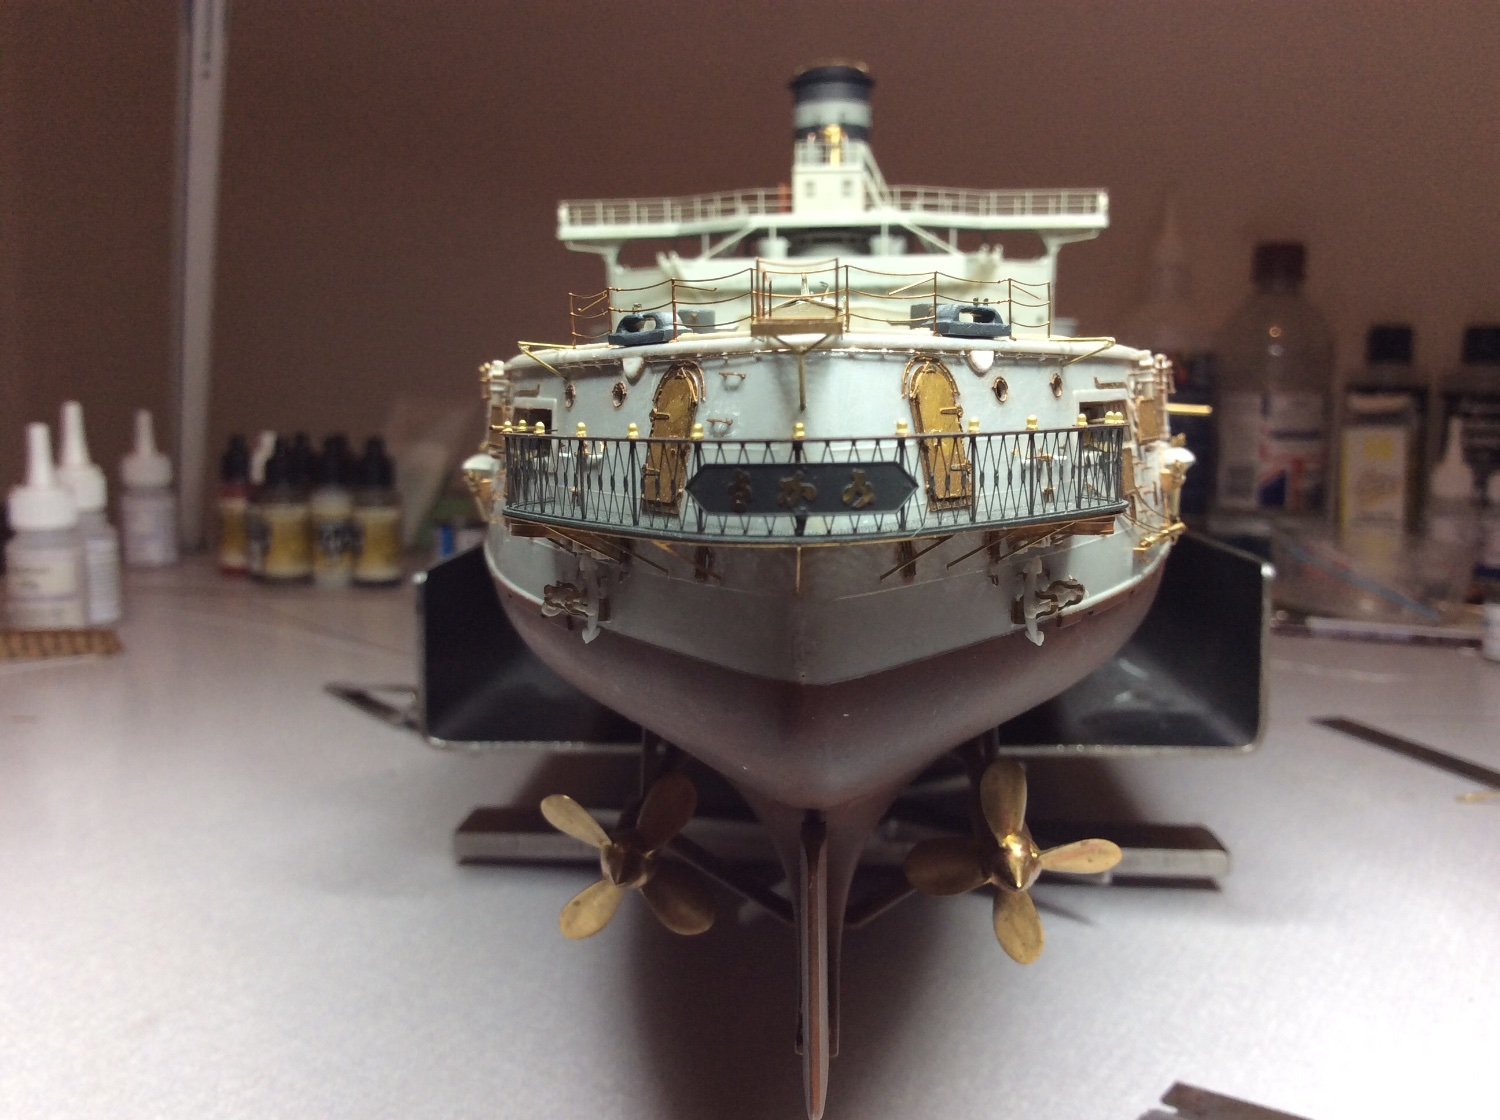
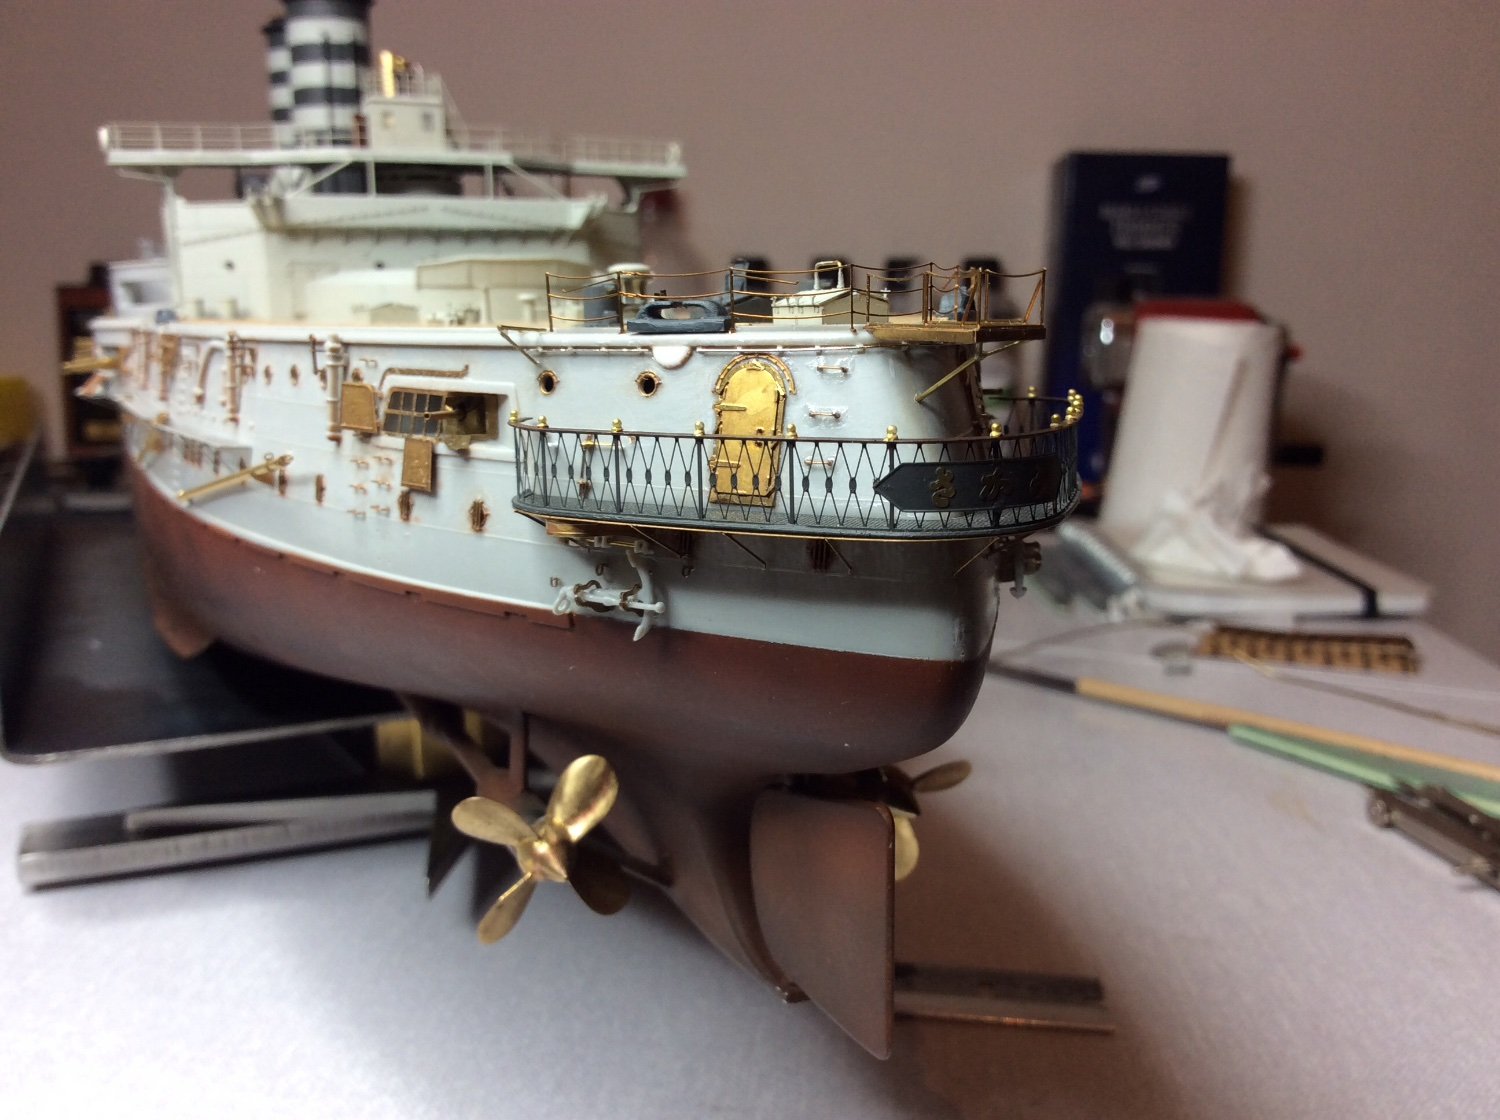
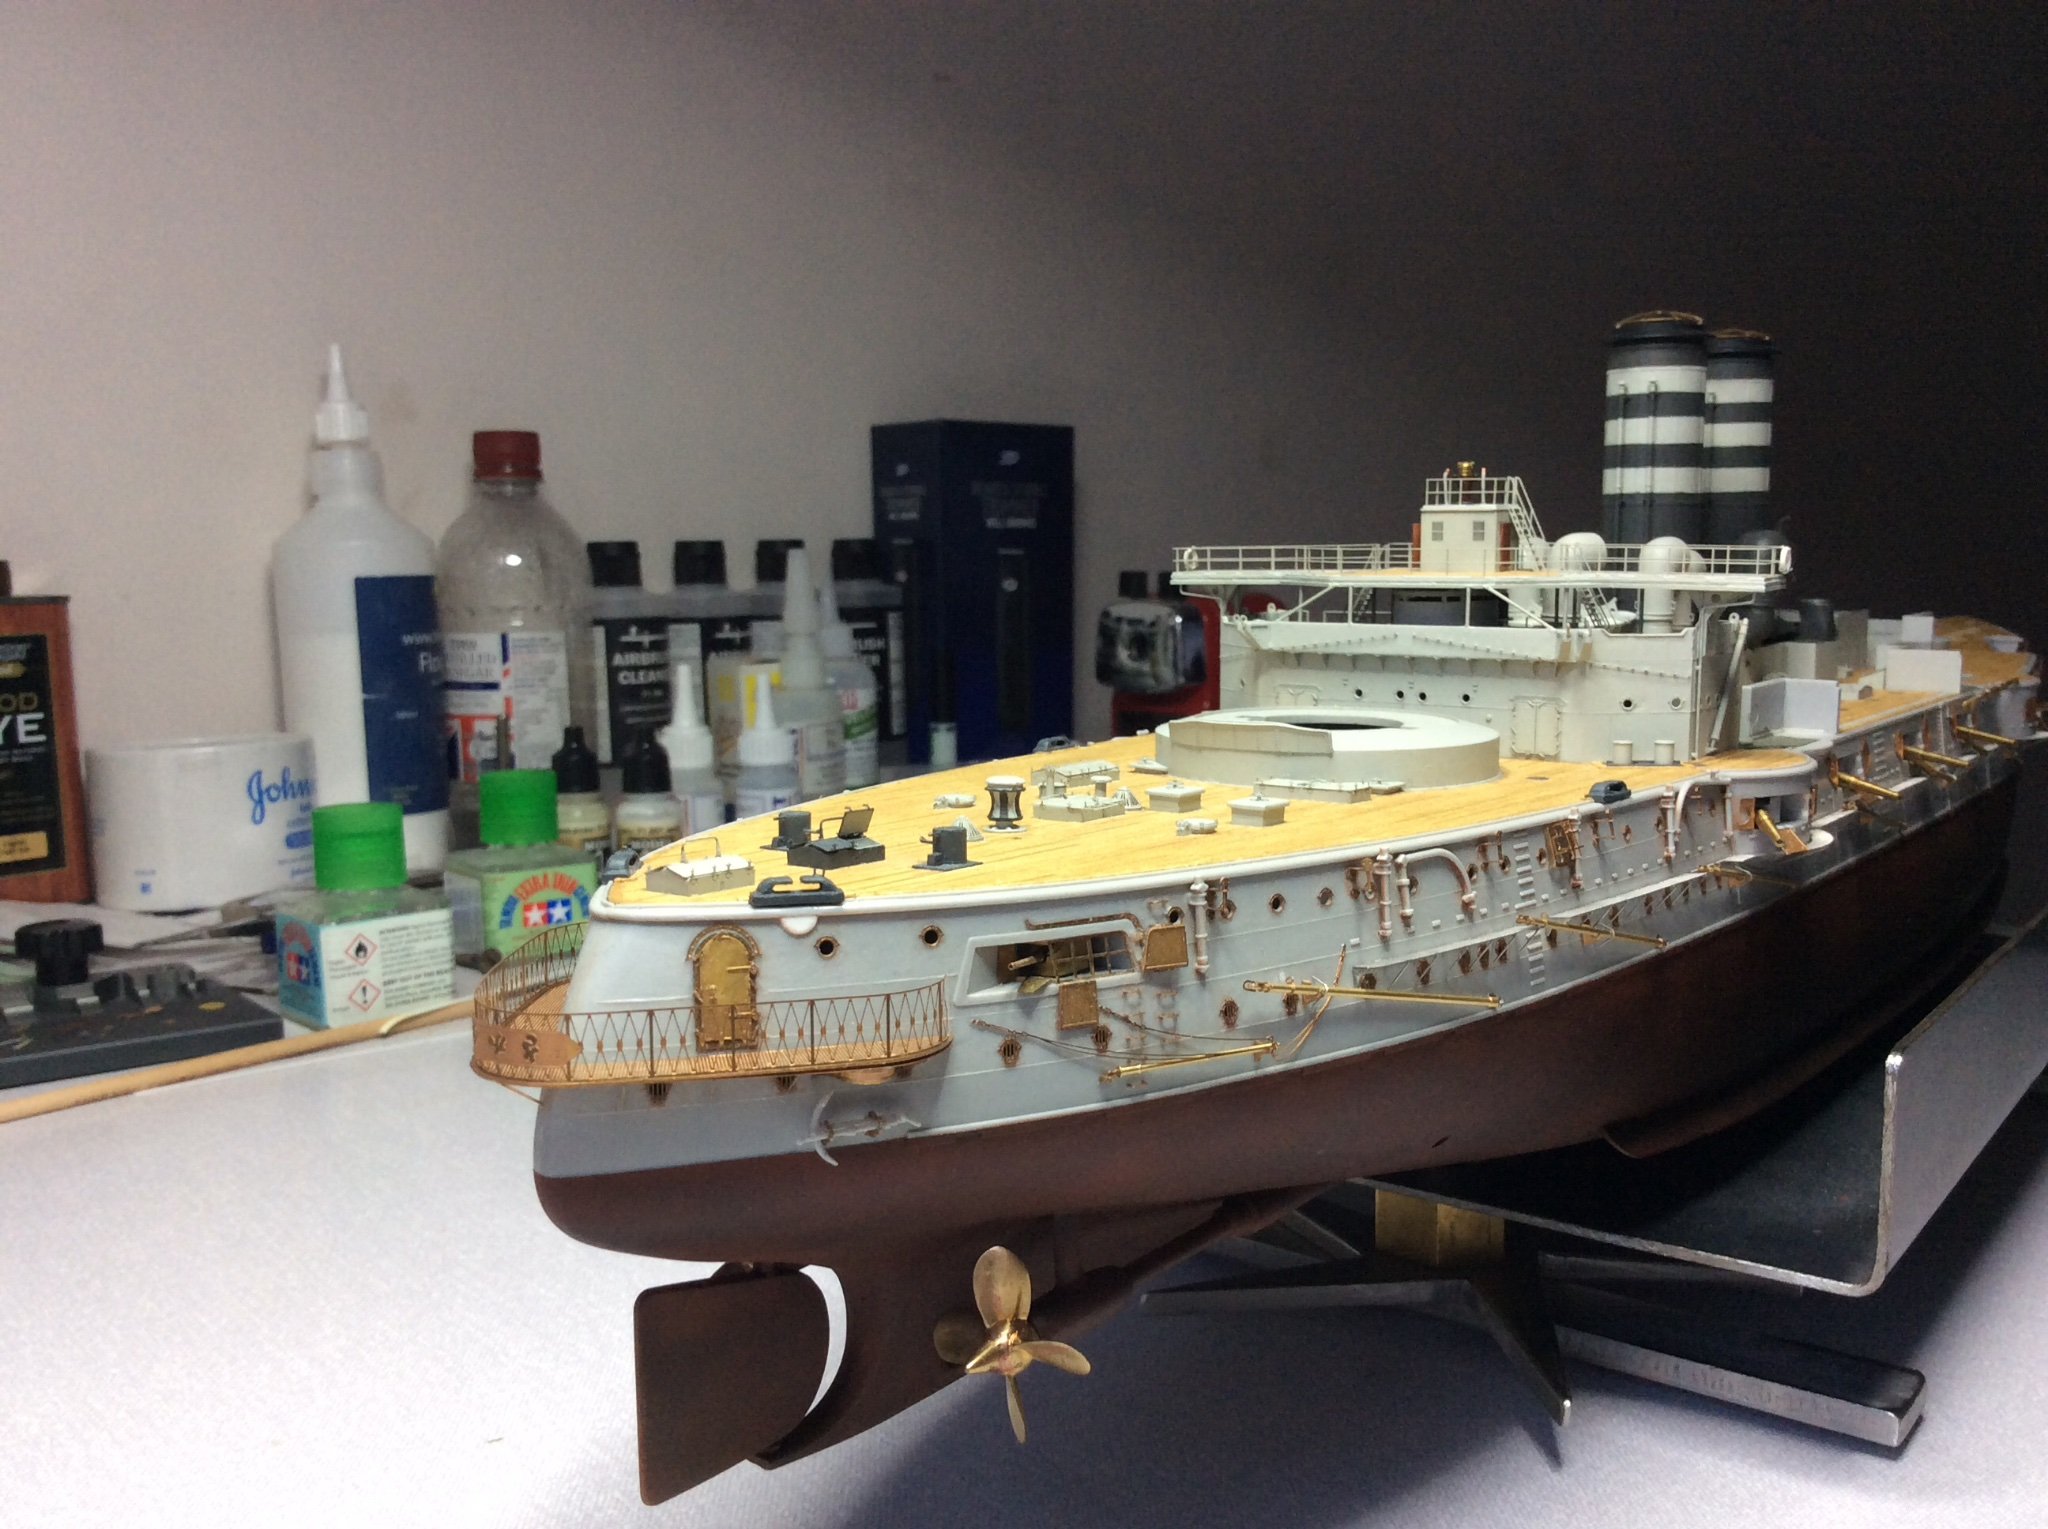
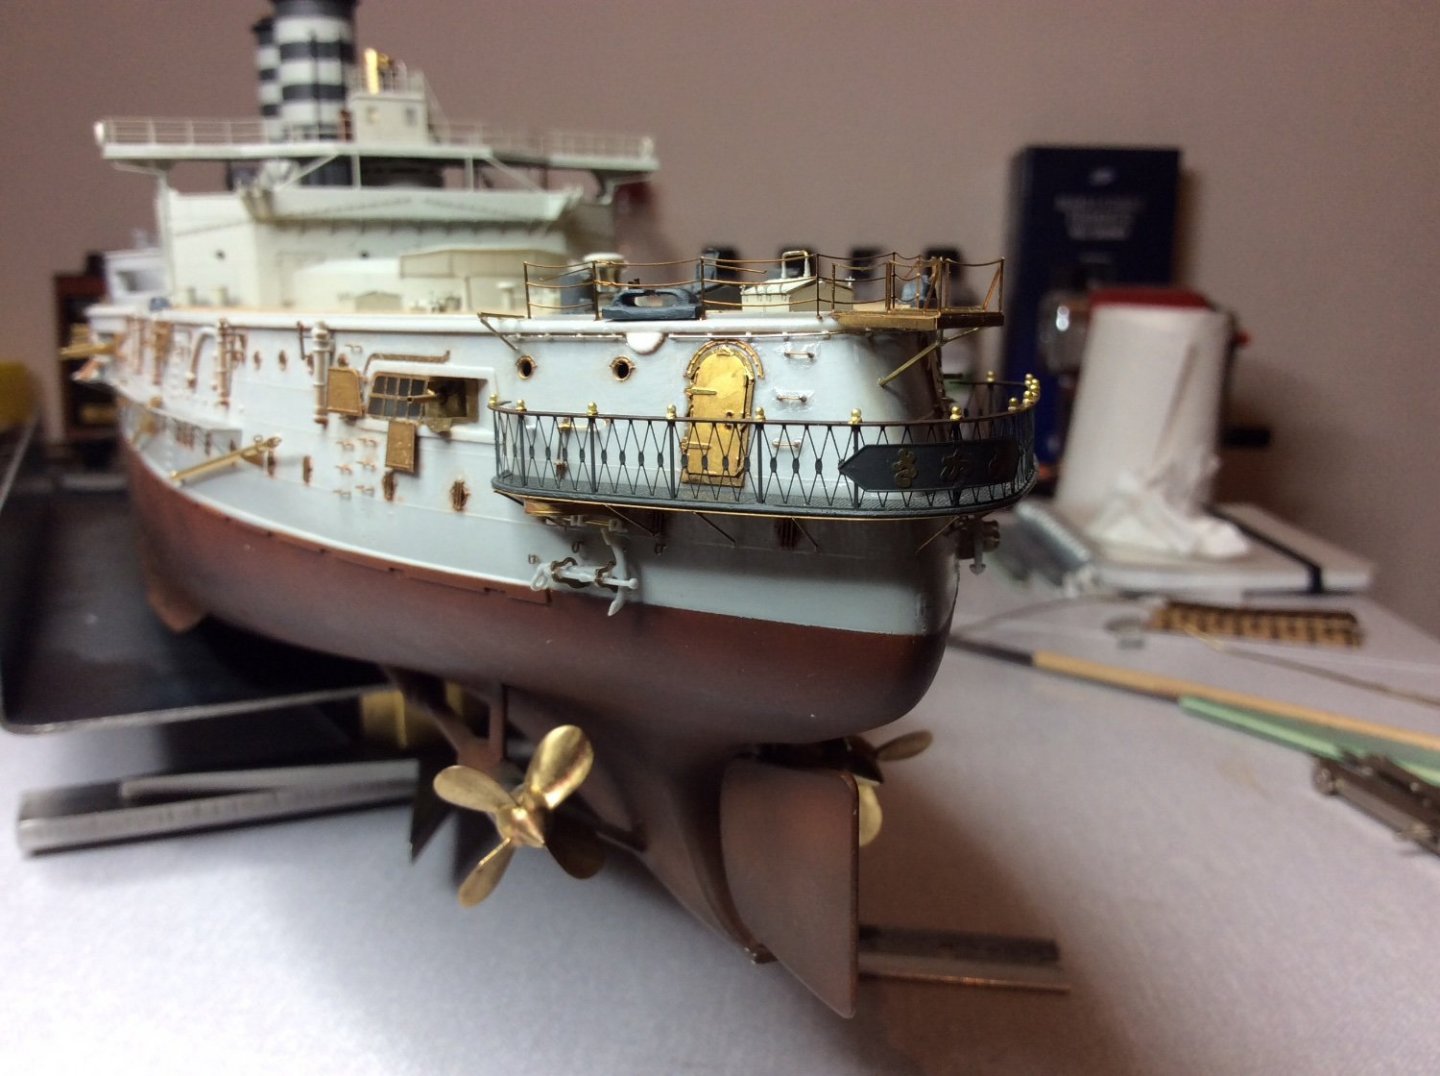
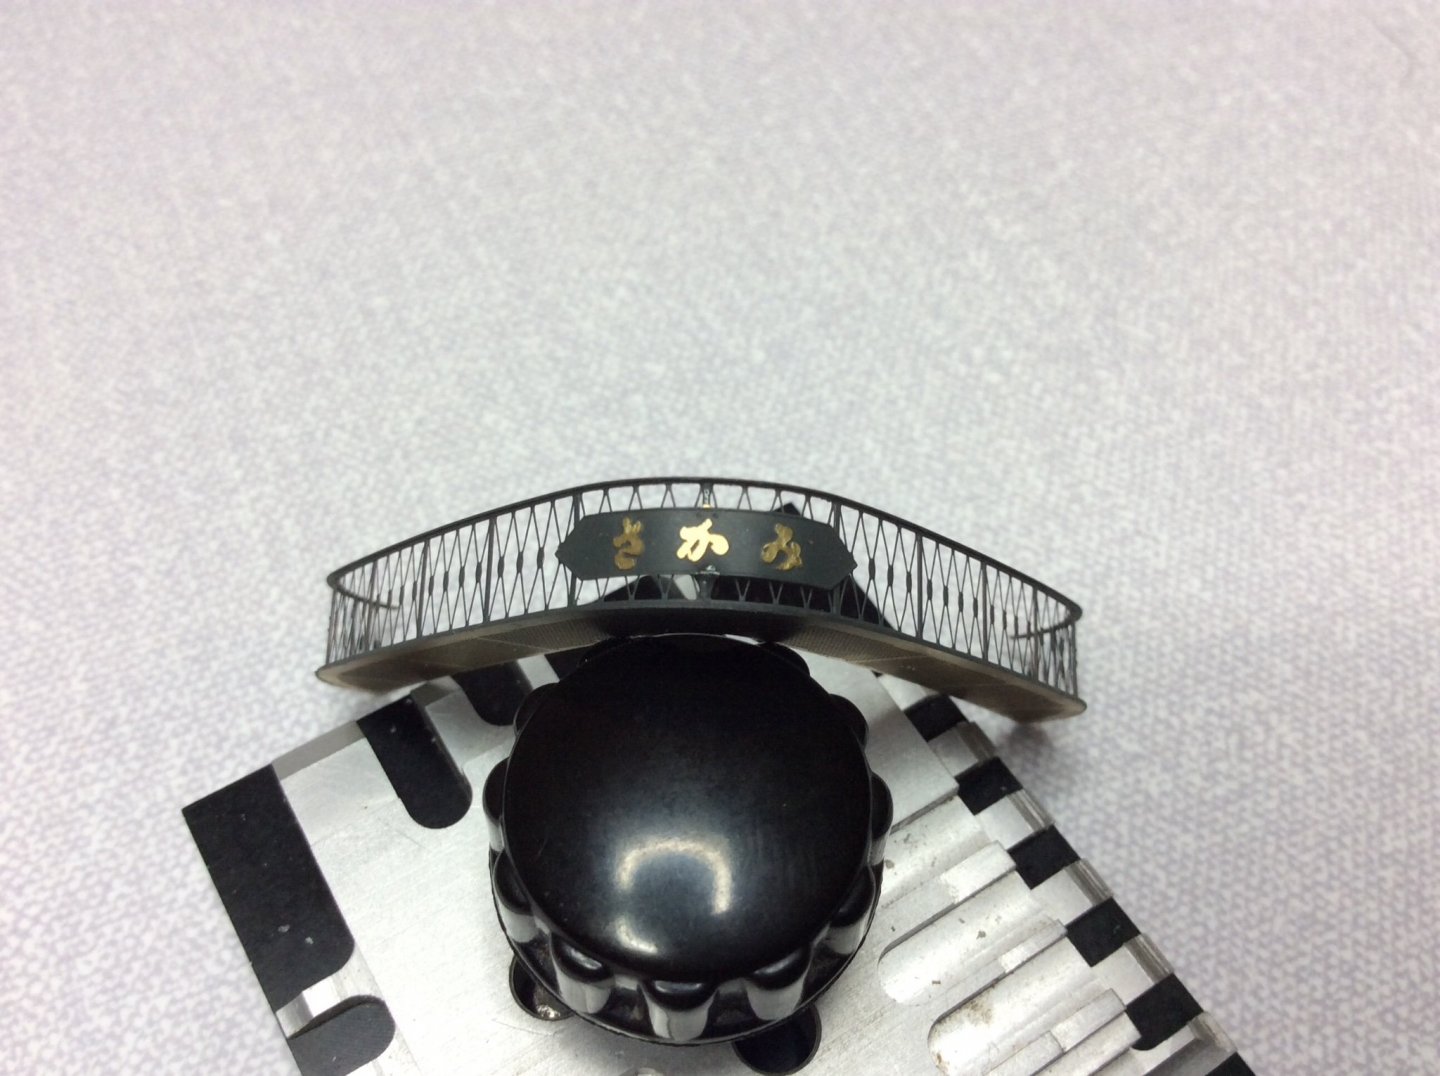
I decided to fit the ships nameplate at this stage and paint this assembly separately, so far so good, then decided to scrape the paint from the Japanese lettering with my new found skill of scraping paint off 😂 worked a treat 👍 lol, the nameplate was upside down 🙄 must have been the amount of times it fell off when I was trying to position it on the rail to glue it never noticed , too excited at getting it in position, the wee man that looks like he’s skiing should be on the left. Deary me said Jeff, that’s a lie by the way😂. Have found a great talent at fixing things these days, managed to ease the nameplate off with blade and re-glue. Lucky white heather.

- 543 replies
-
- 13
-
-

-
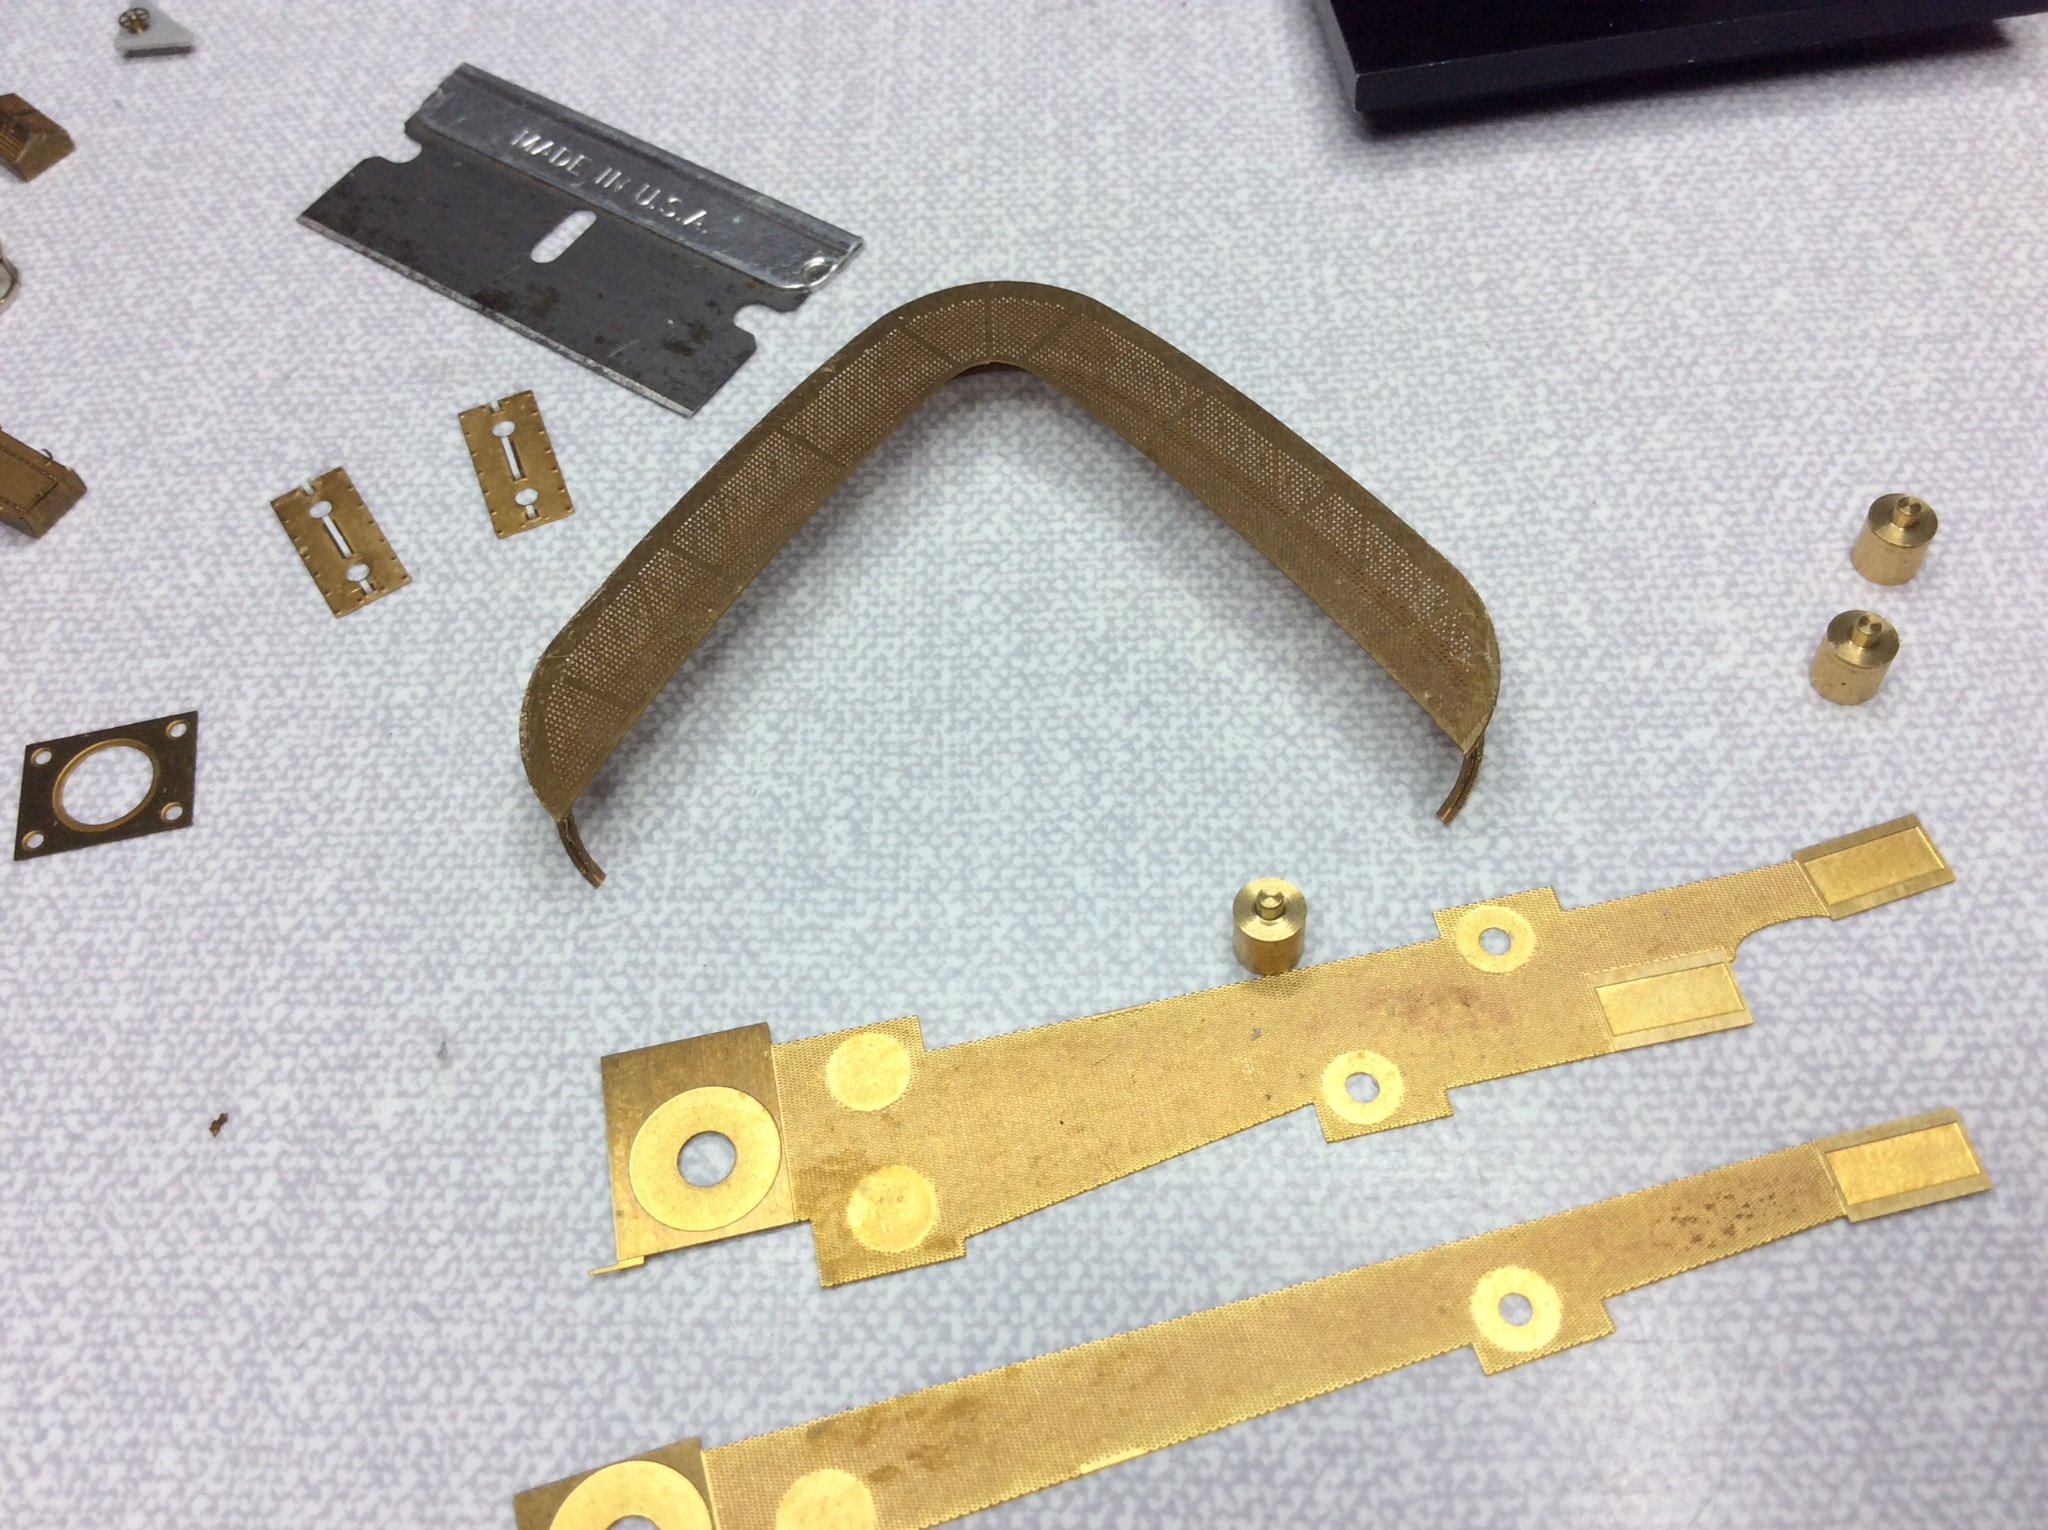
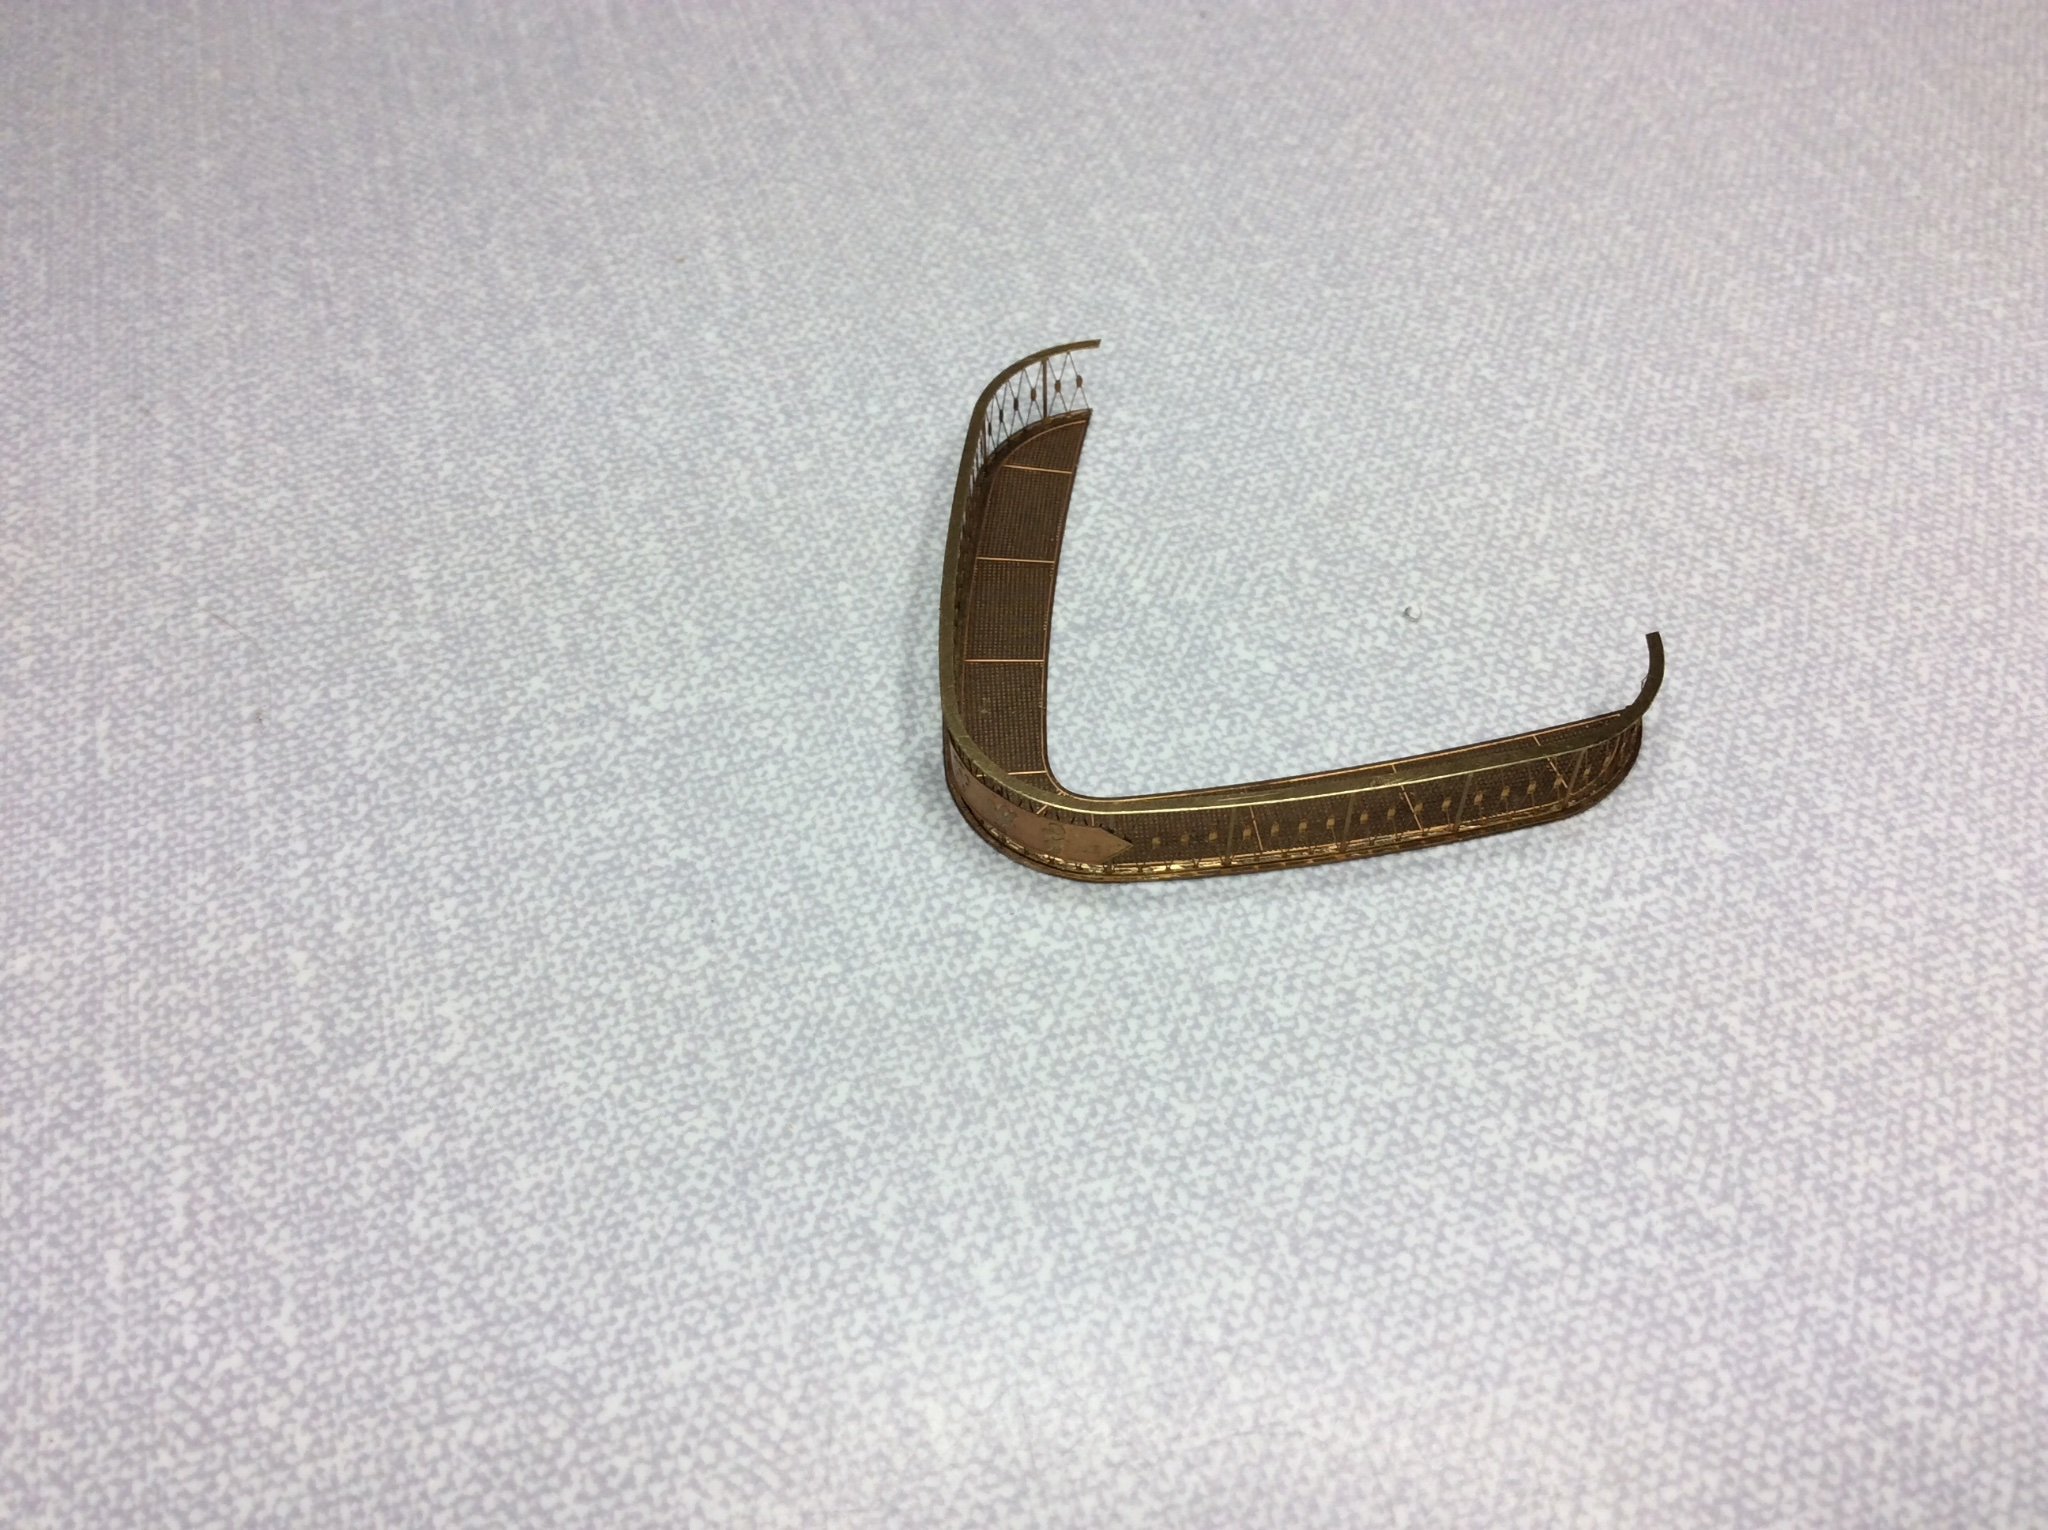
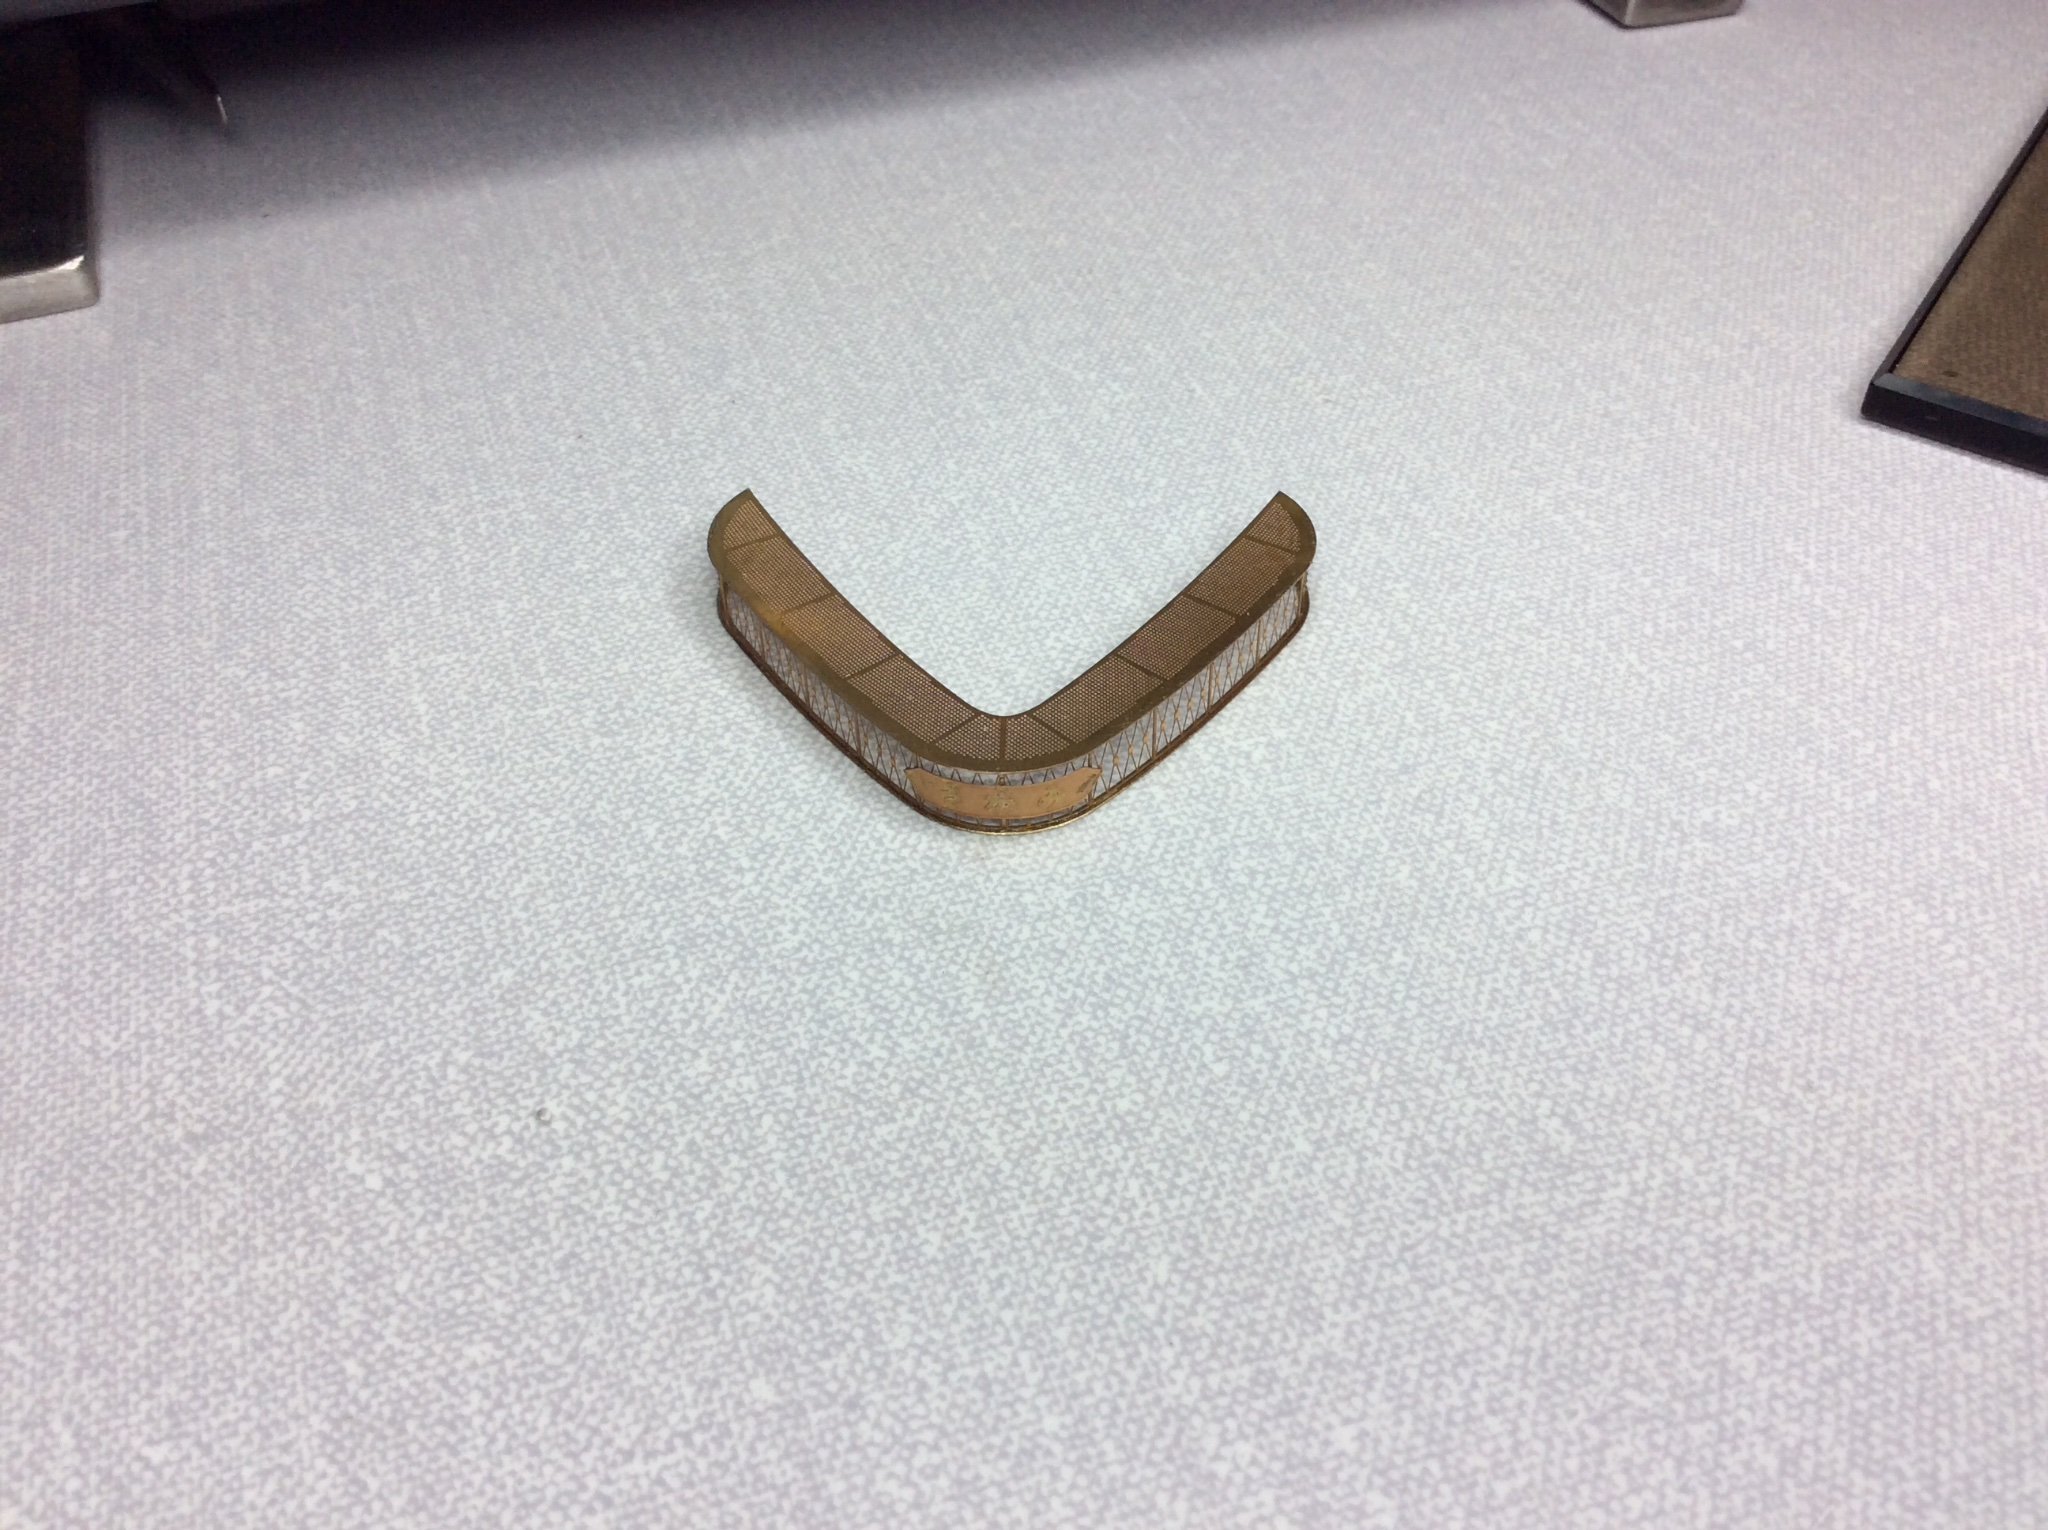
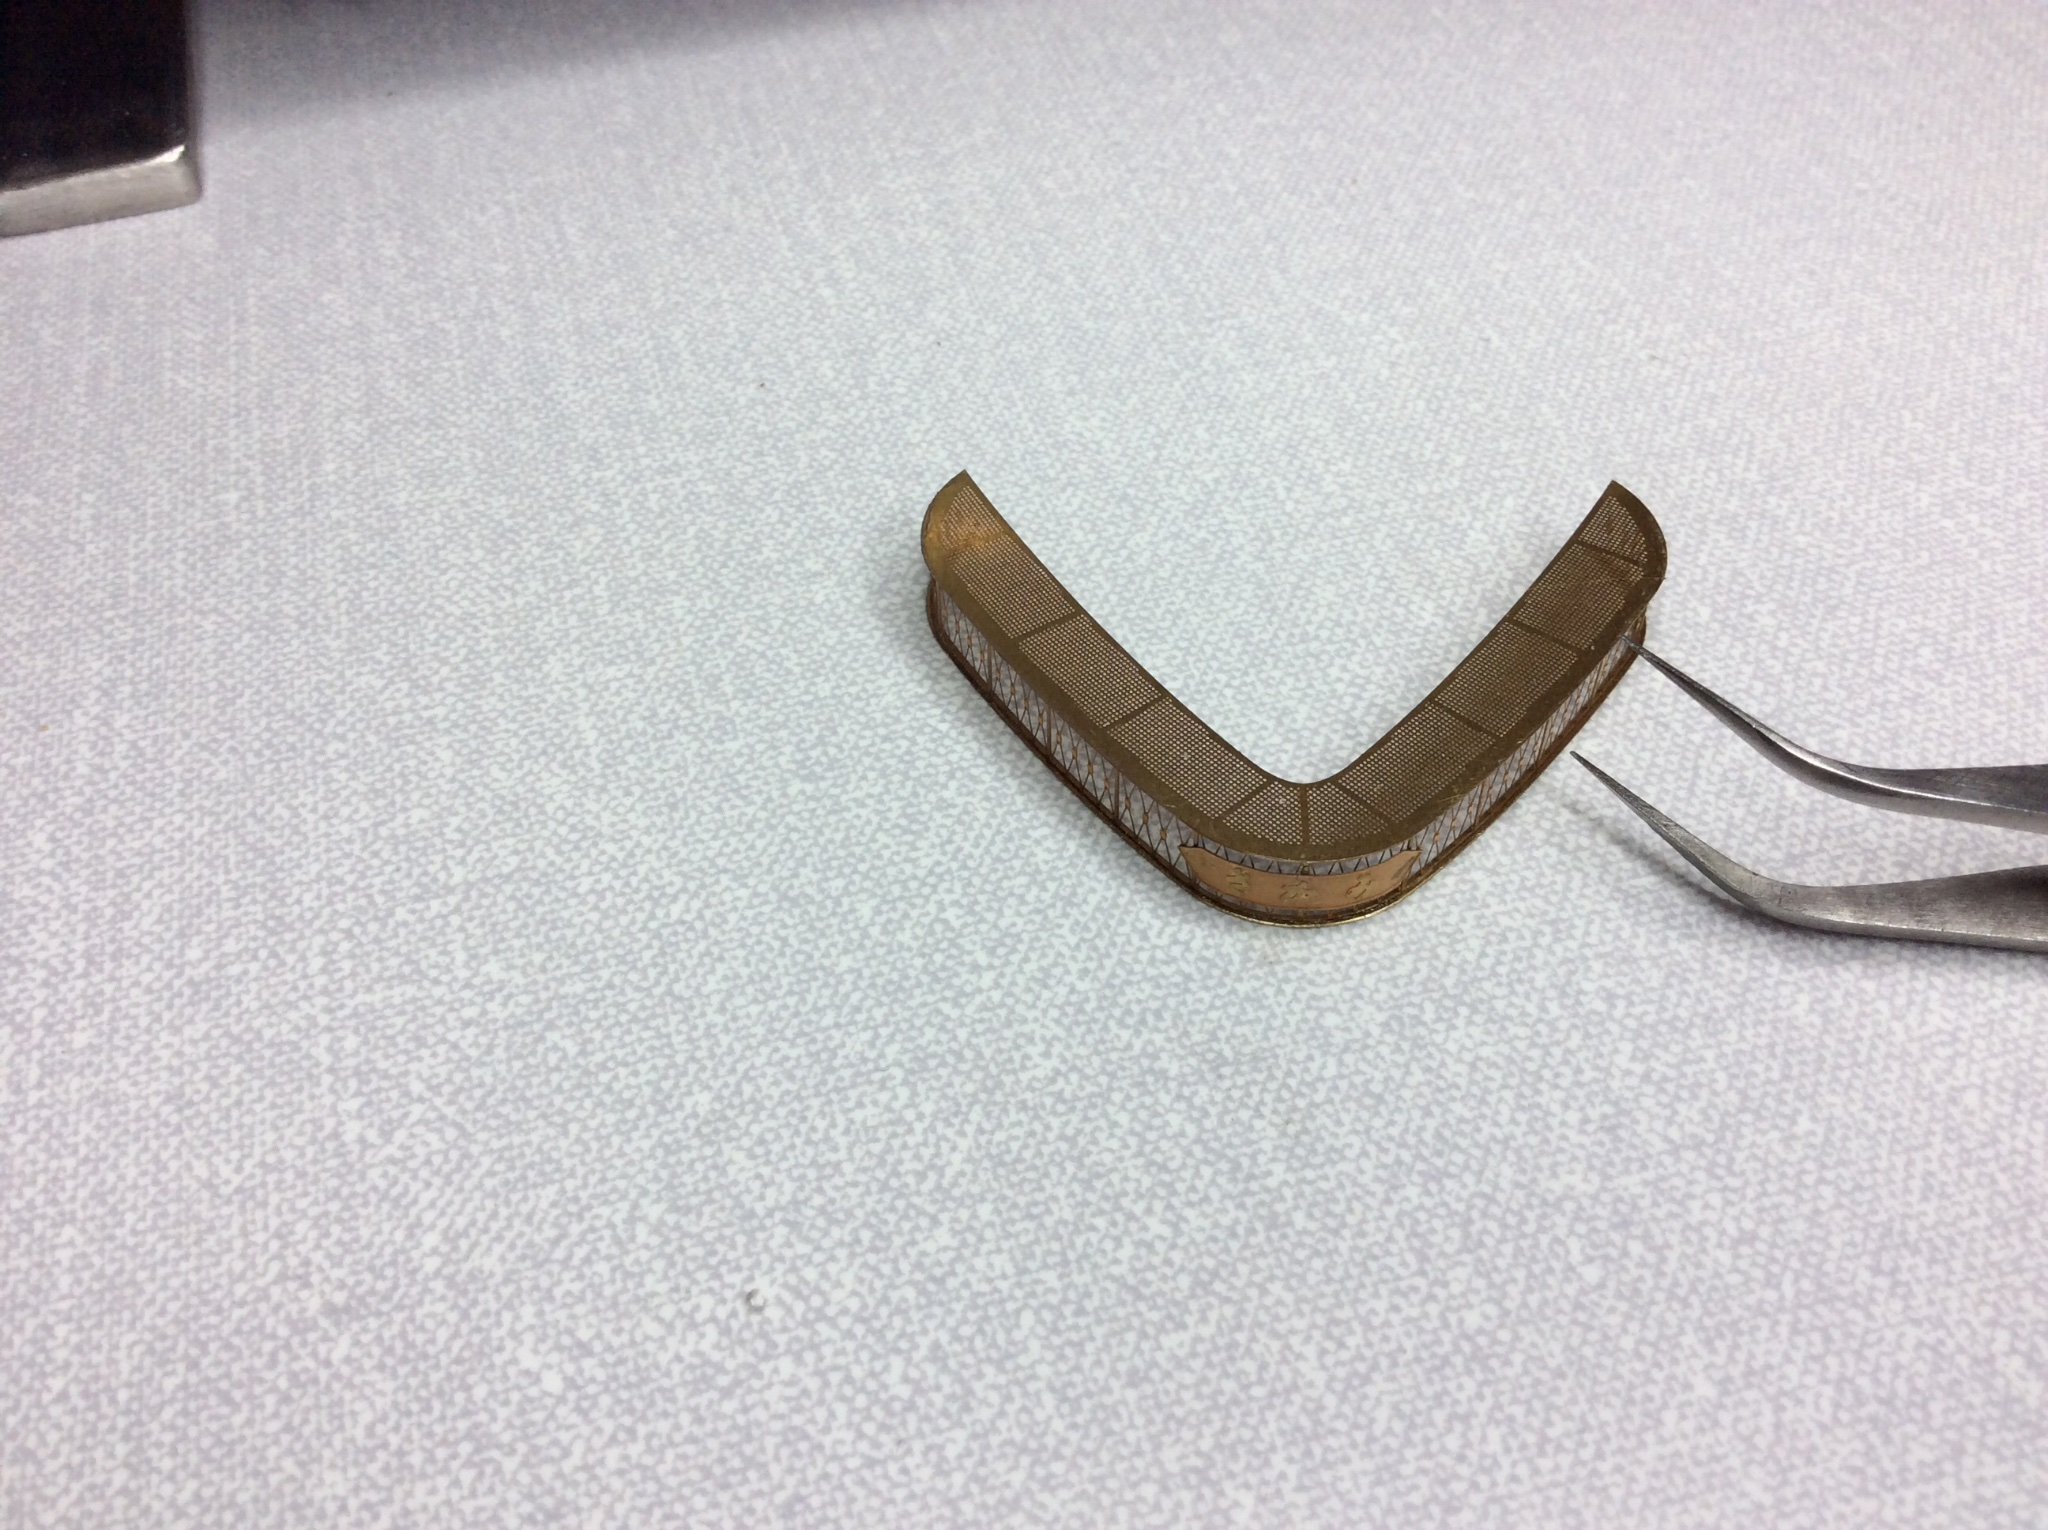
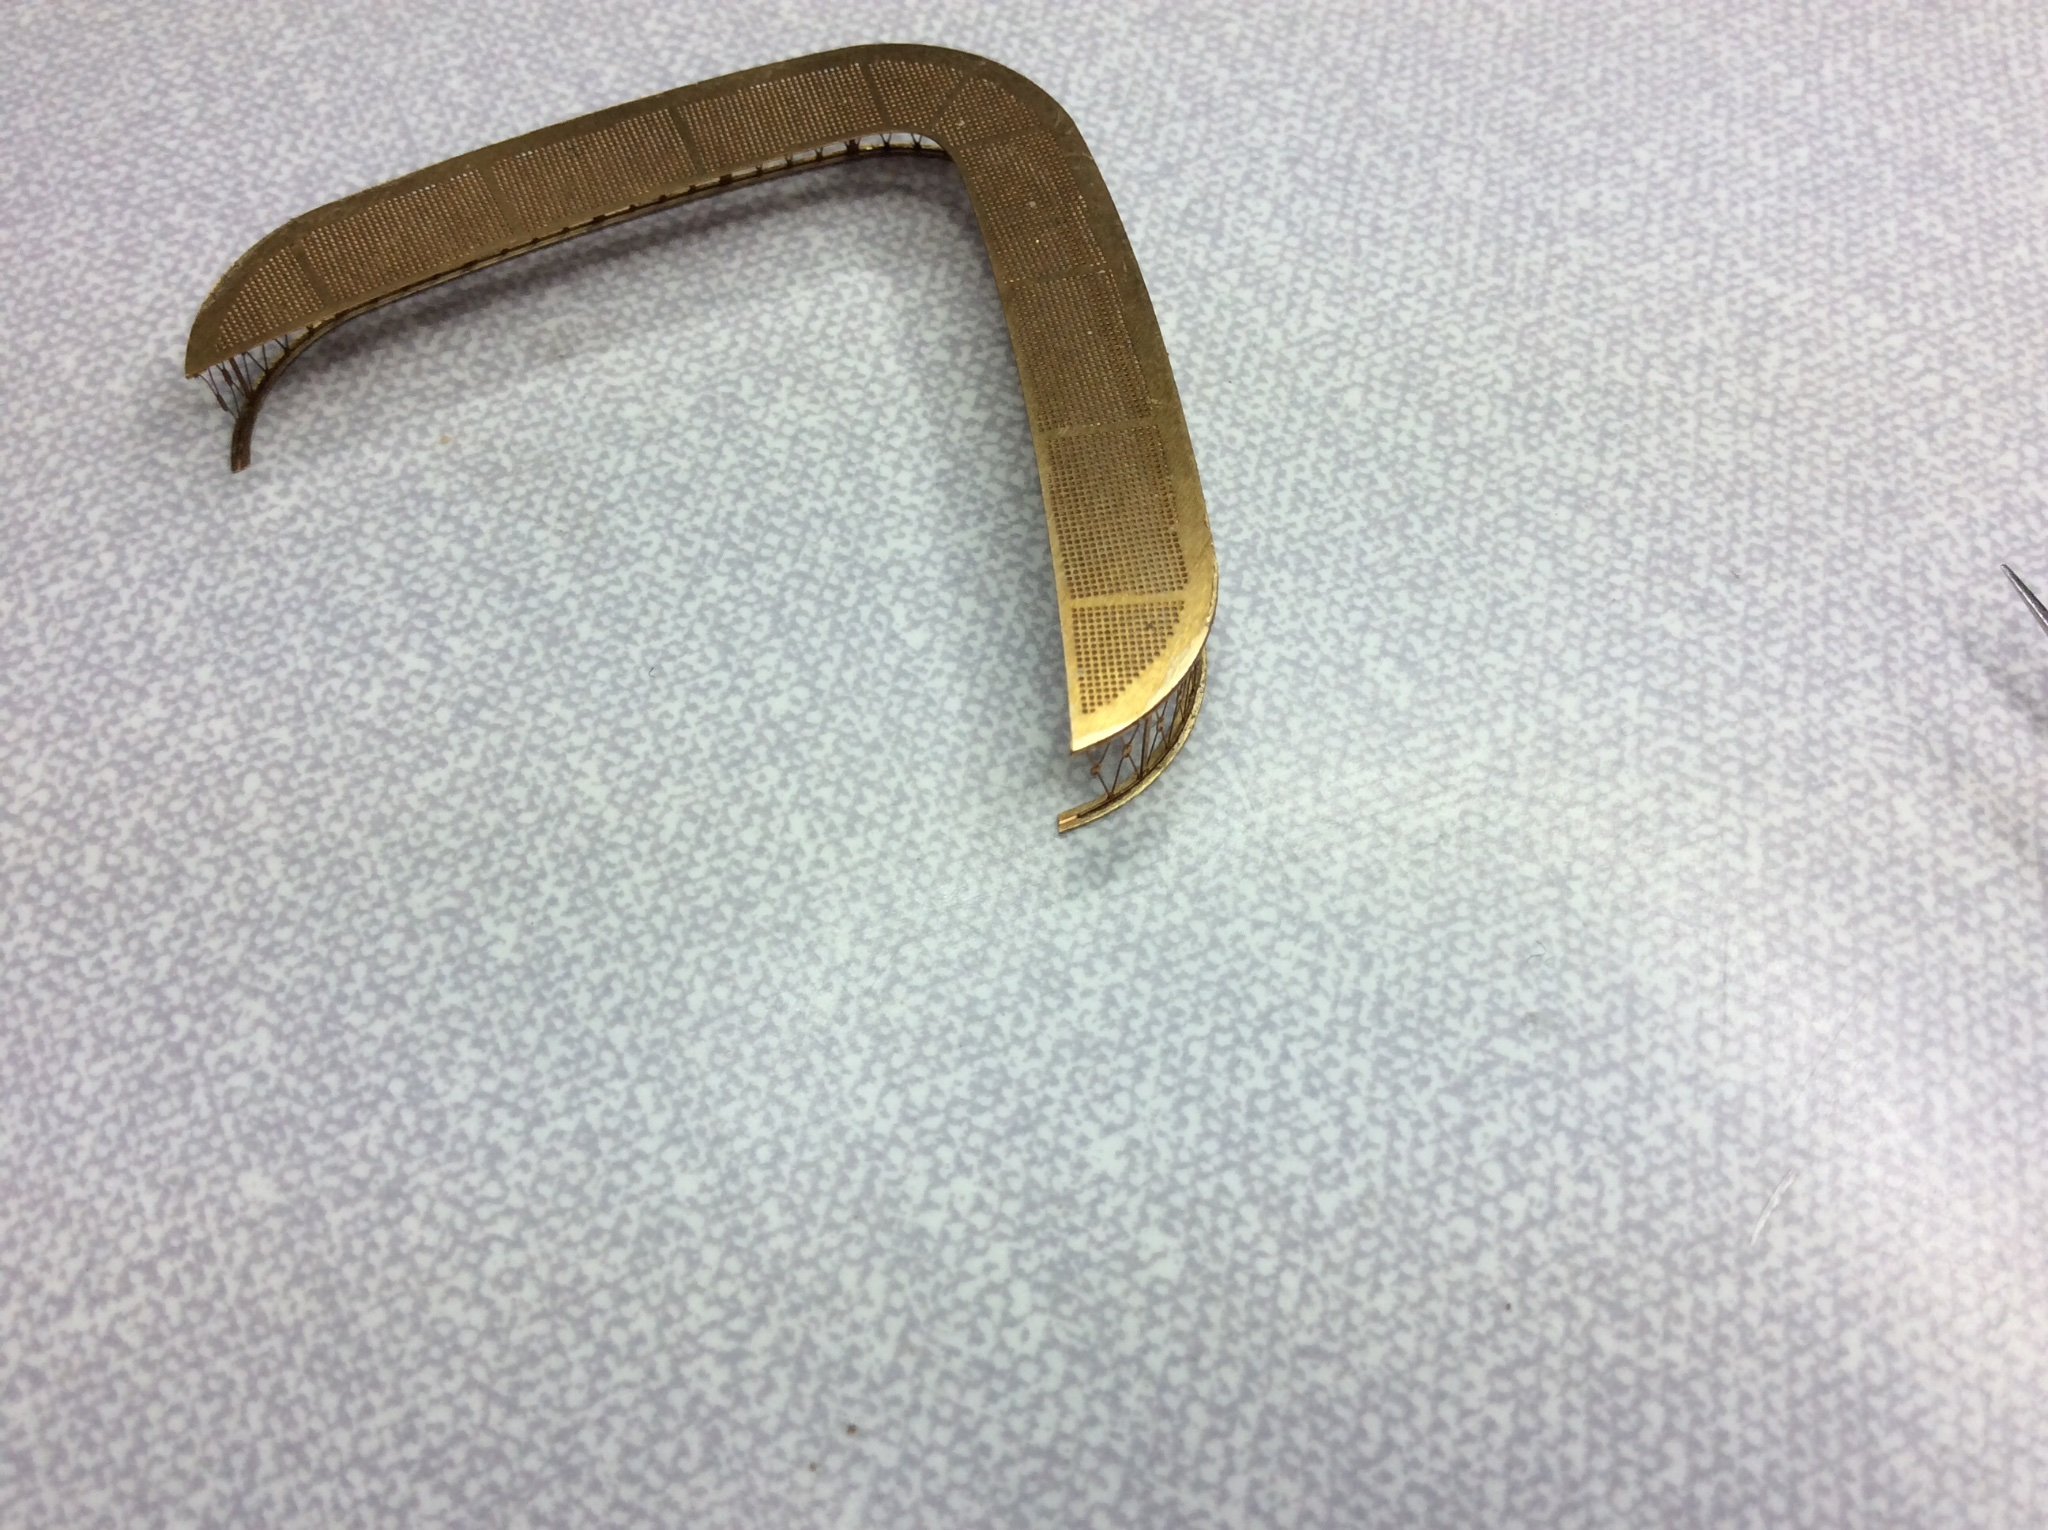
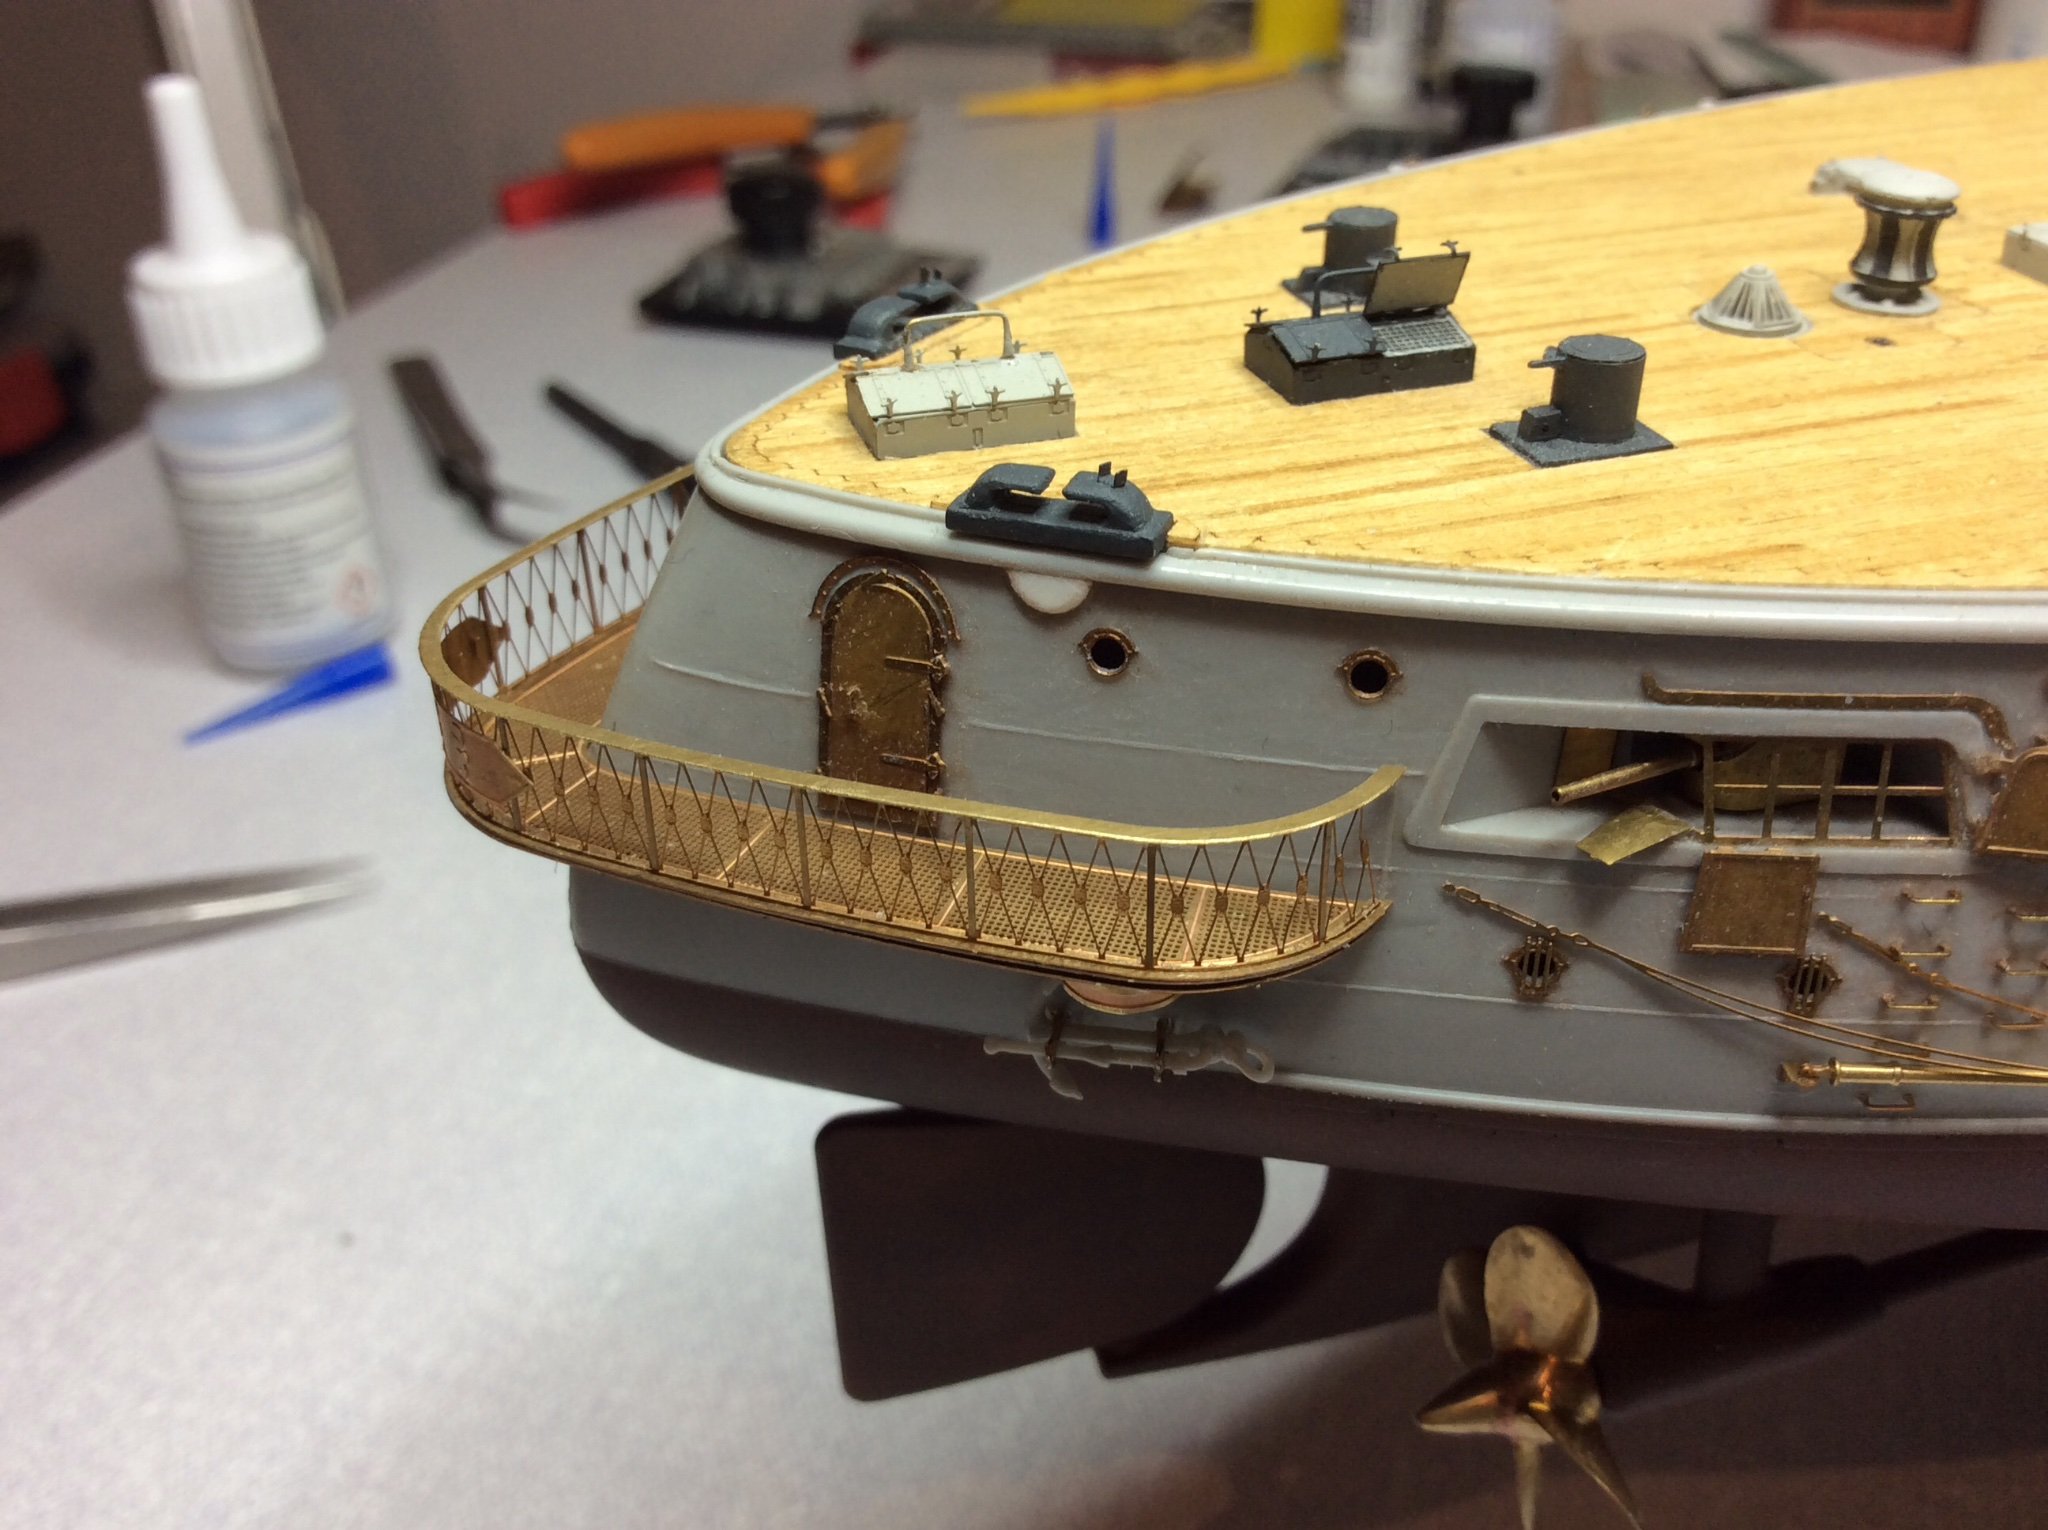
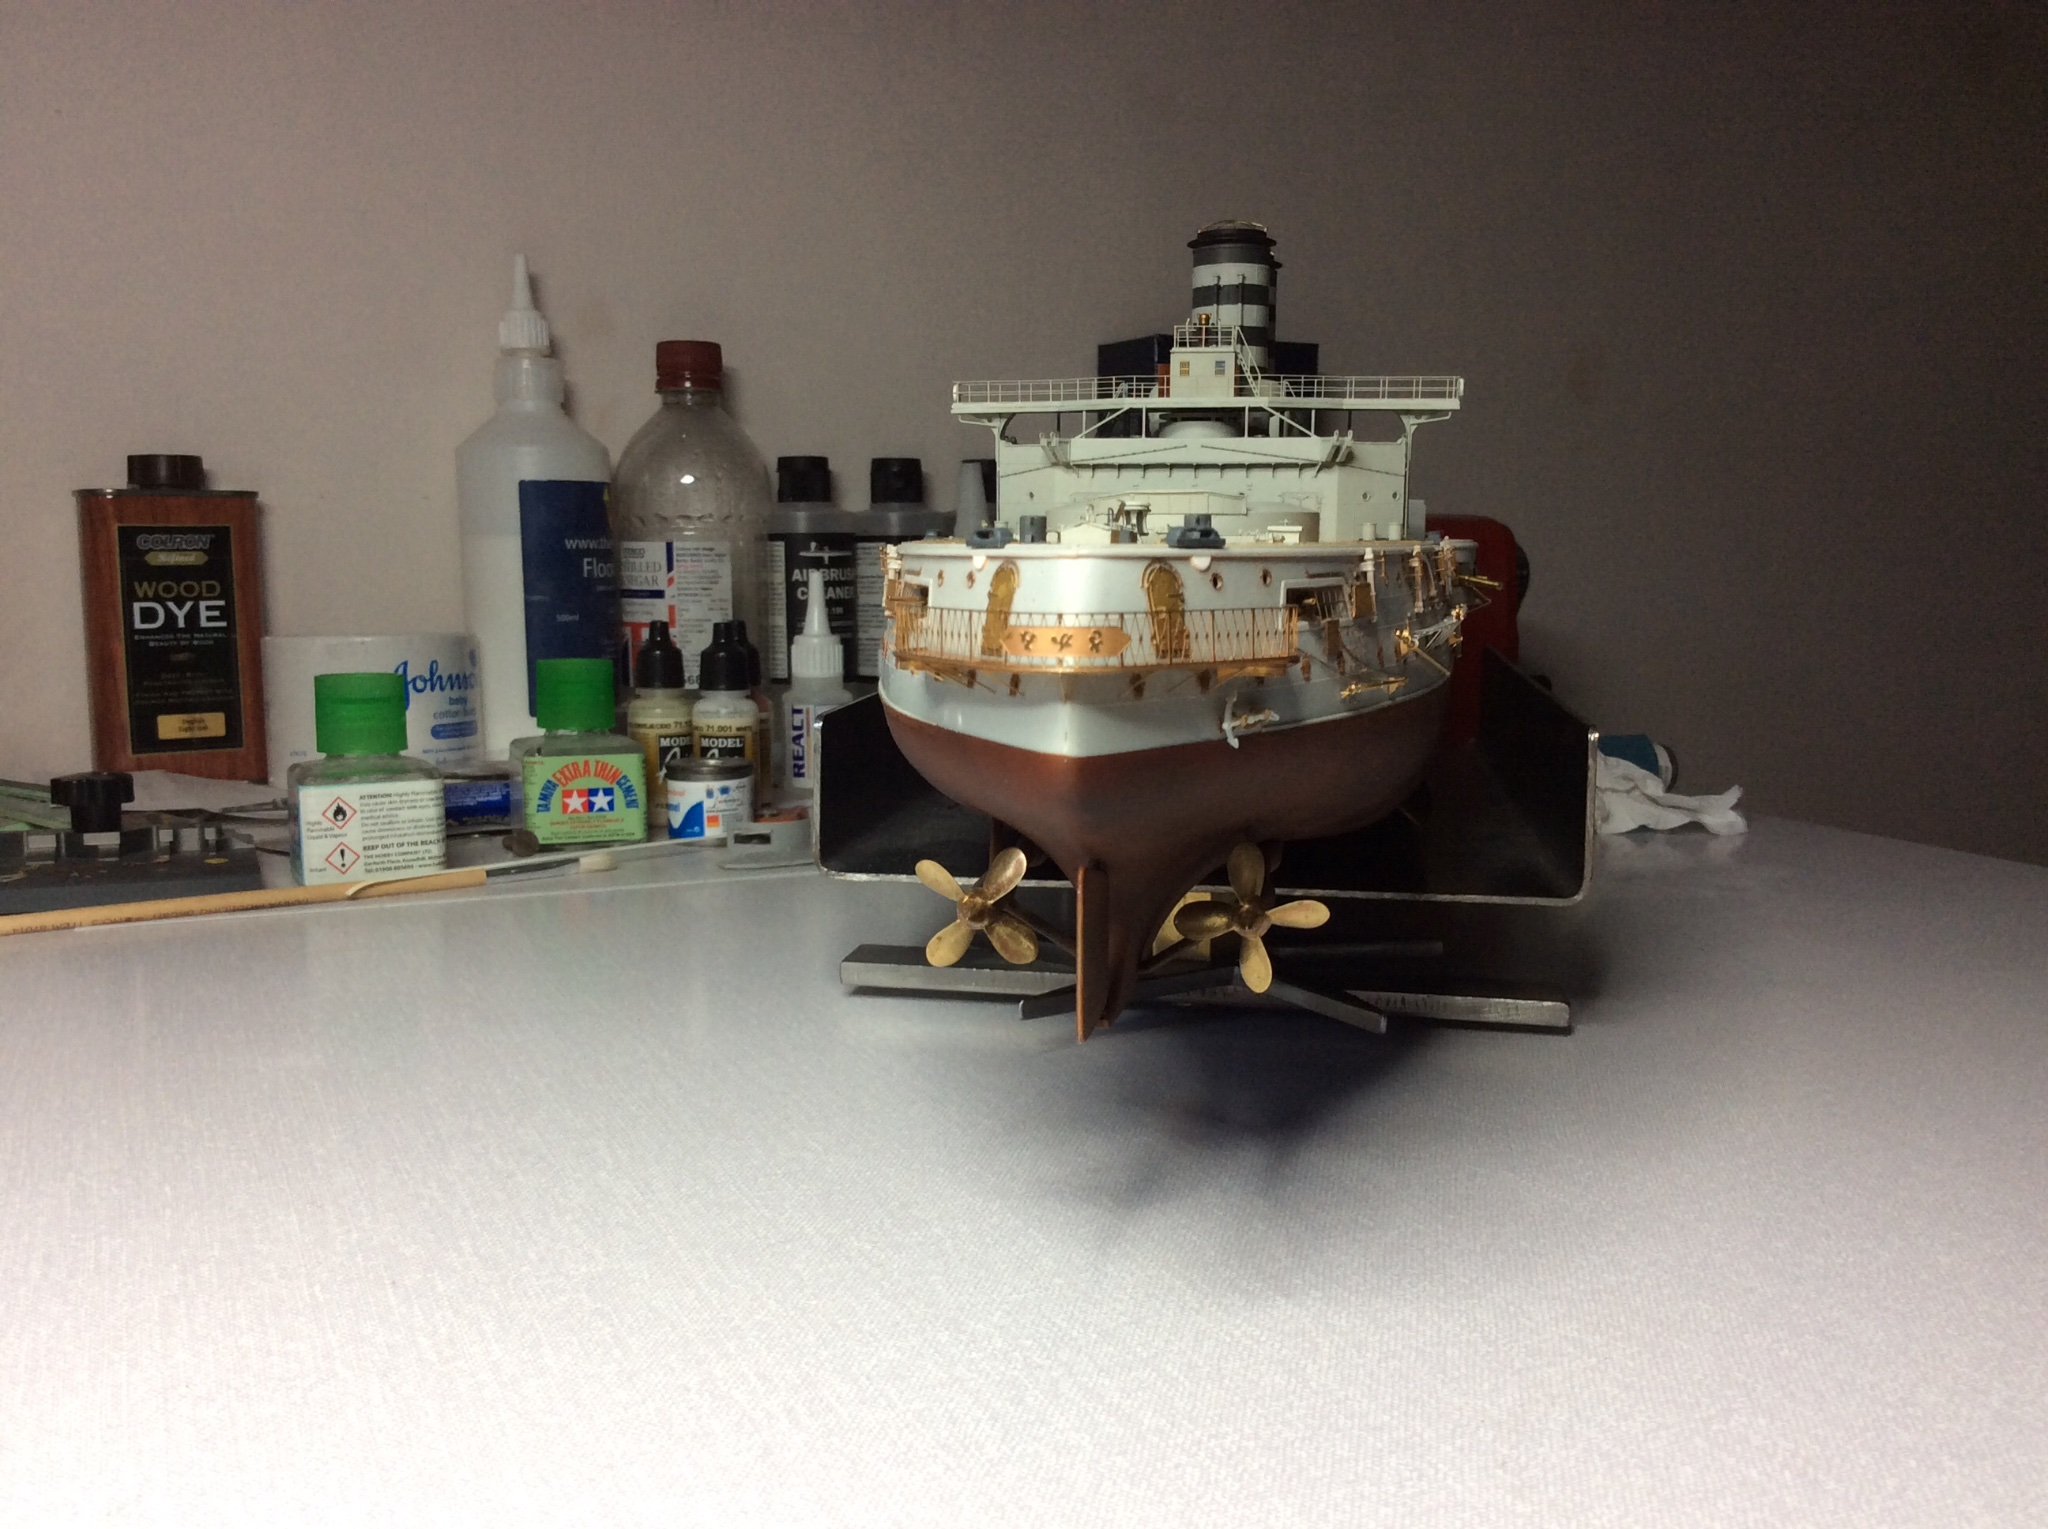
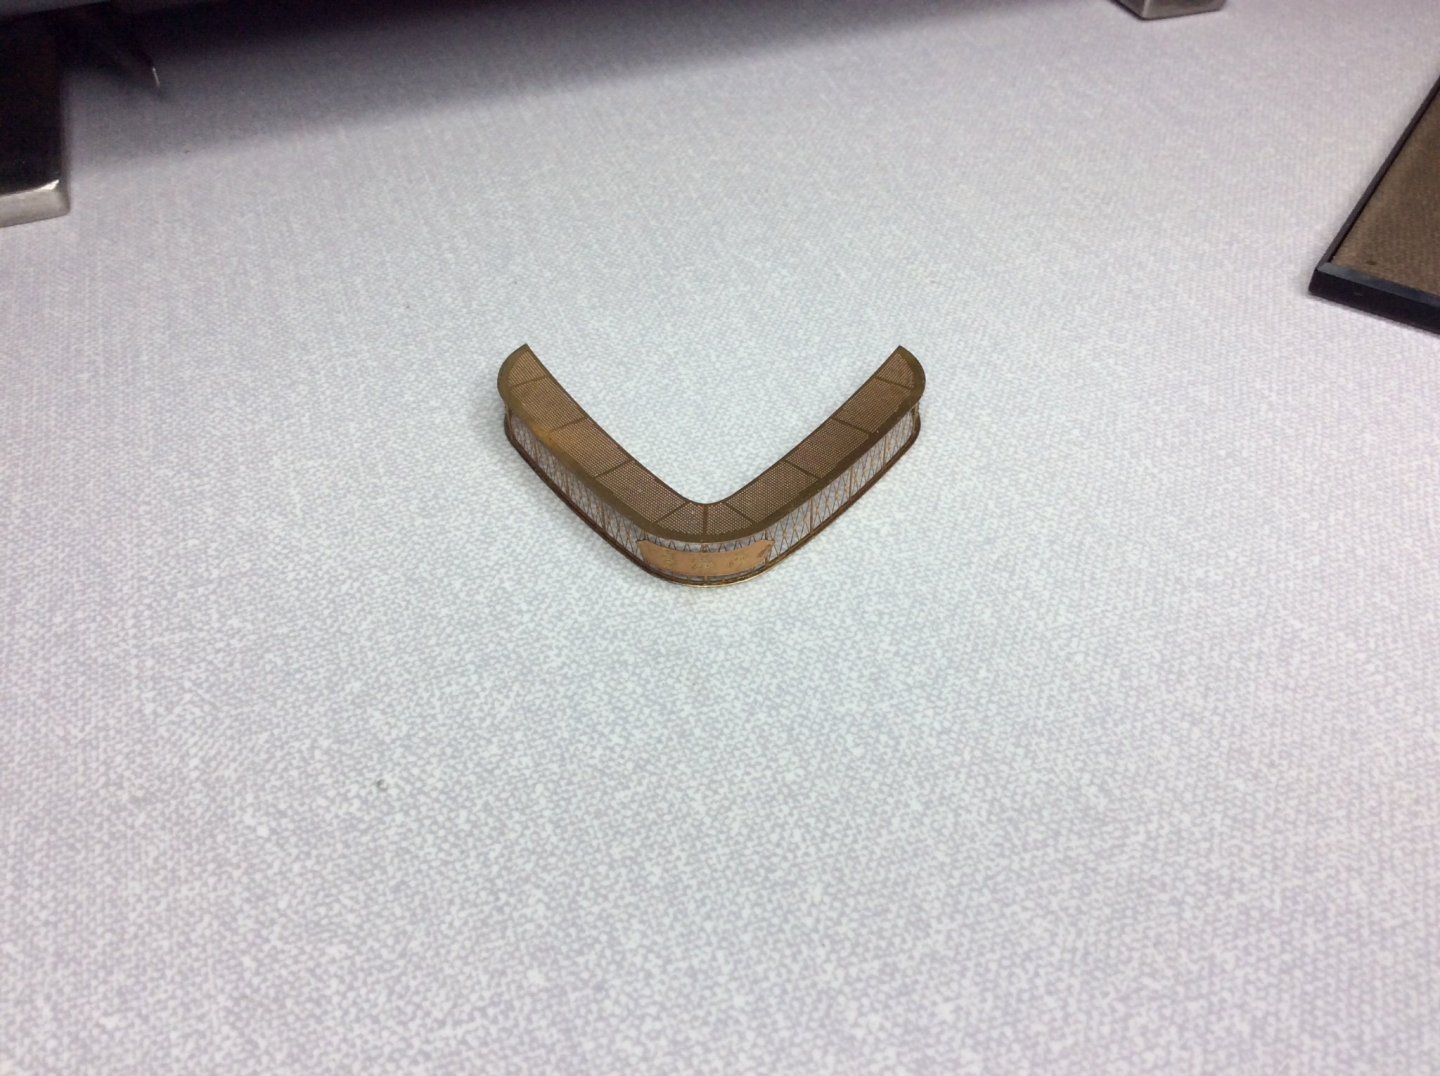
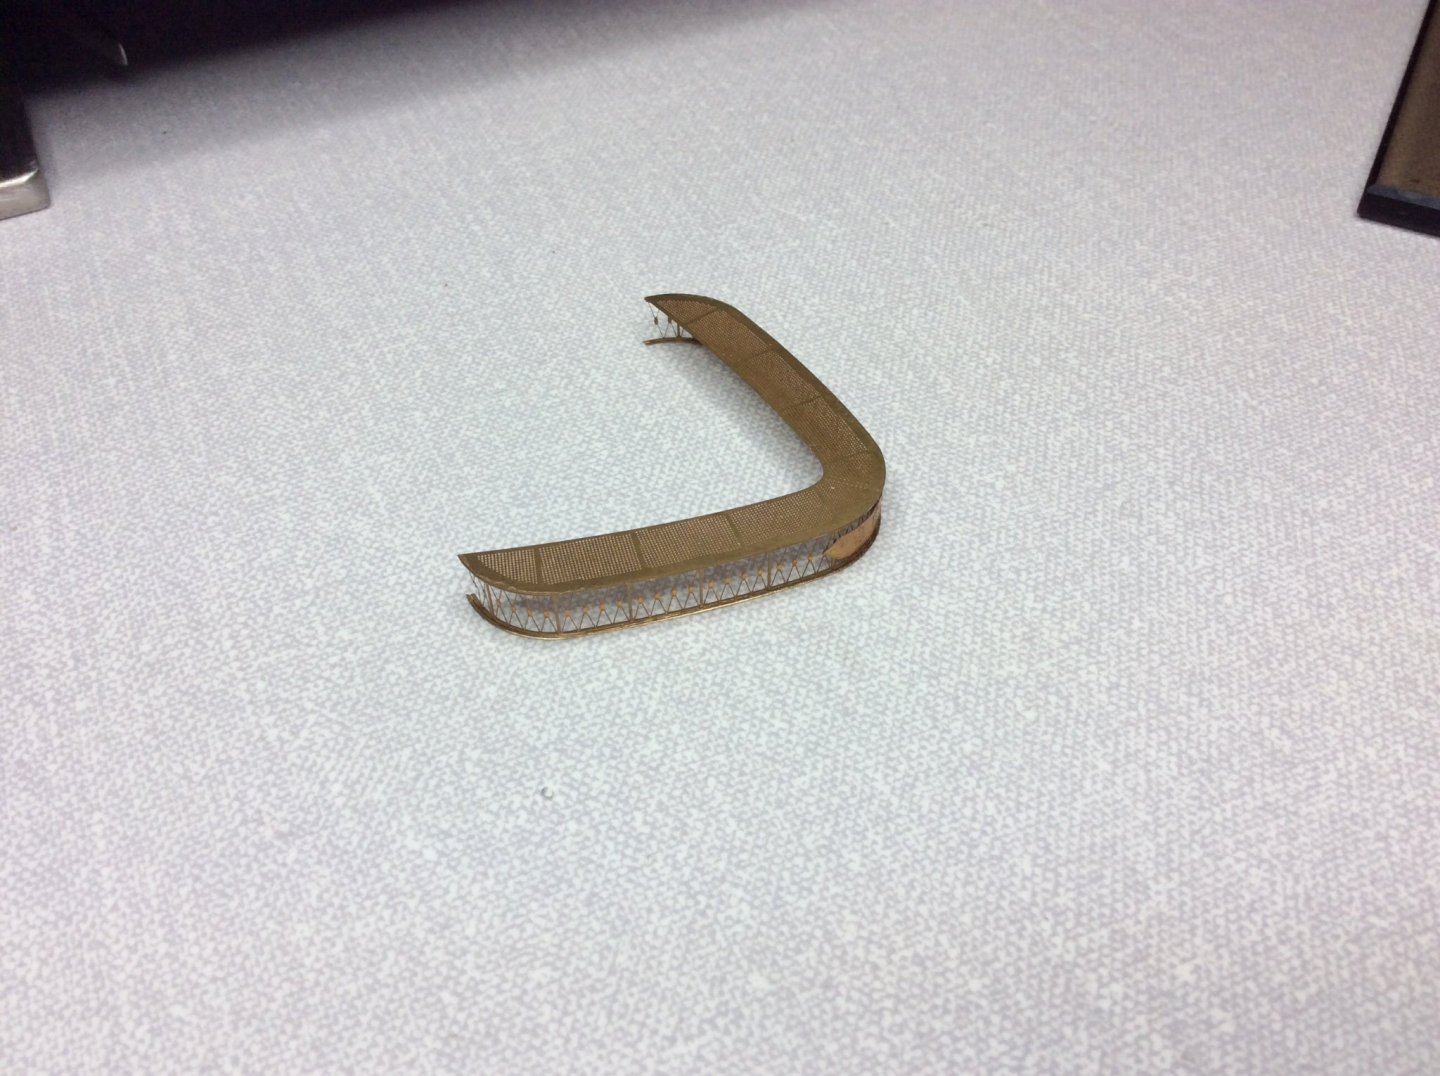
Hello again, it’s that time of life again to show some progress with Mikasa, but as usual it’s not a lot. Starting with fitting the handrail to the stern-walk, this is a very delicate piece of etch so you need to be careful when handling it, requires you to shape the rail to match the joining grove in perforated plate as close as you can, the better you get this before gluing the less stressful it’s going to be fitting it. I started with the stanchion in middle at the stern, applying a very small amount of glue by using my fine tweezers then using a second set without glue on them to pressure the rail into the joining groove, care and patience should see you through safely, repeat this process with the top rail. 👍 won’t actually glue this part to model at this point, have some small details to add first.


- 543 replies
-
- 14
-
-

-
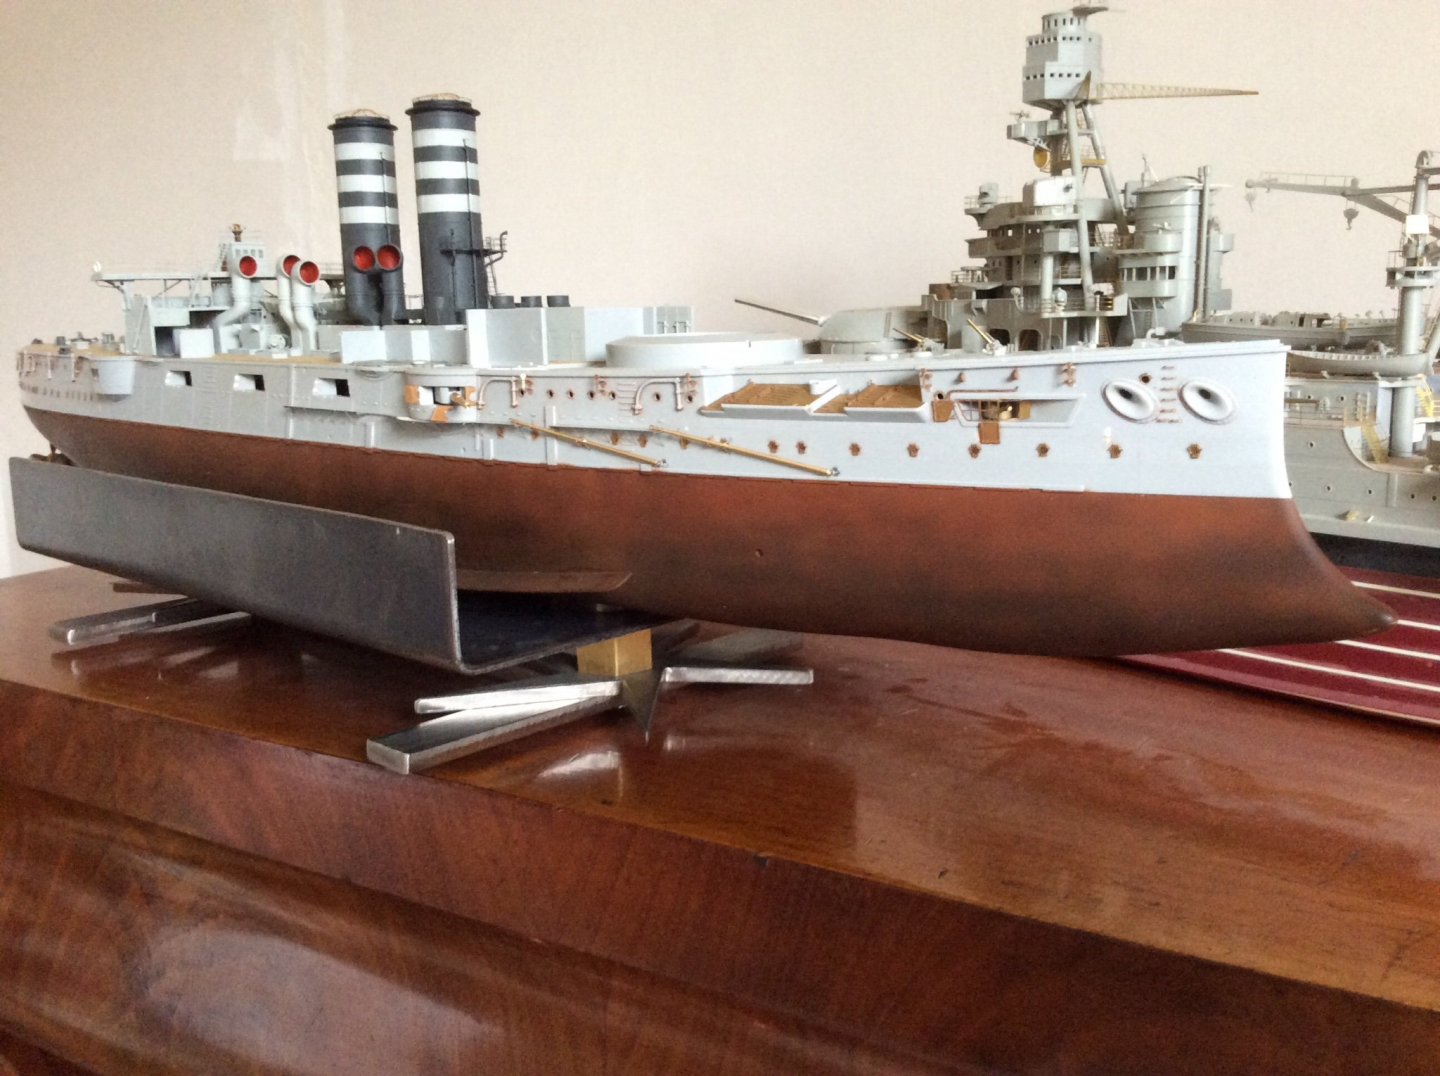
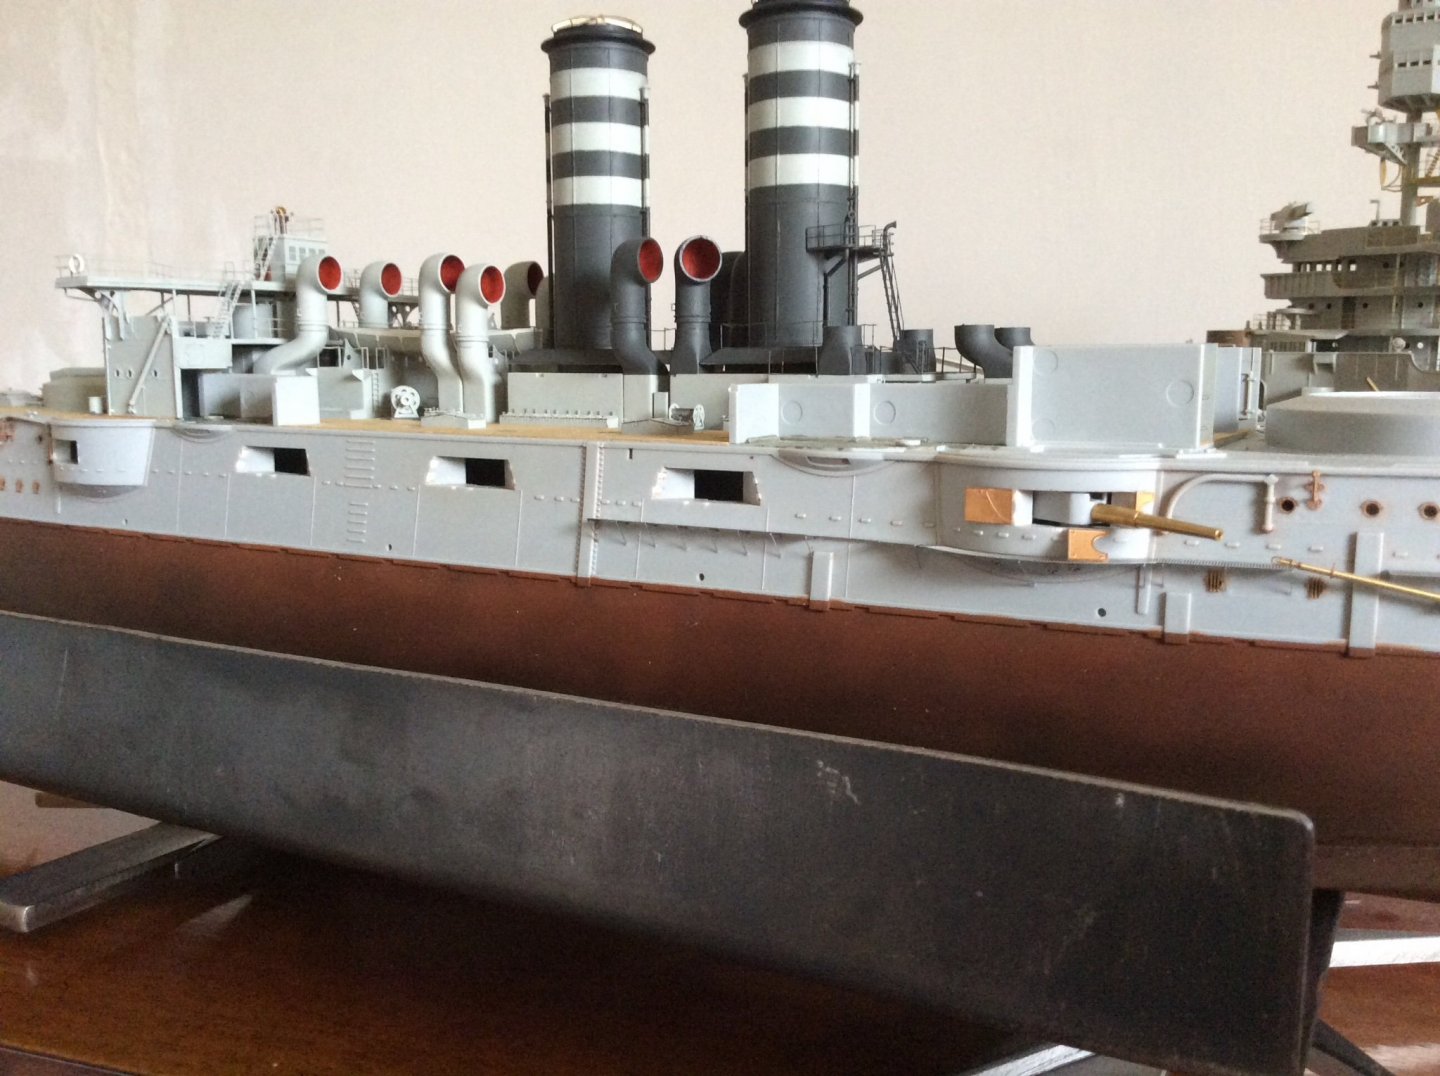
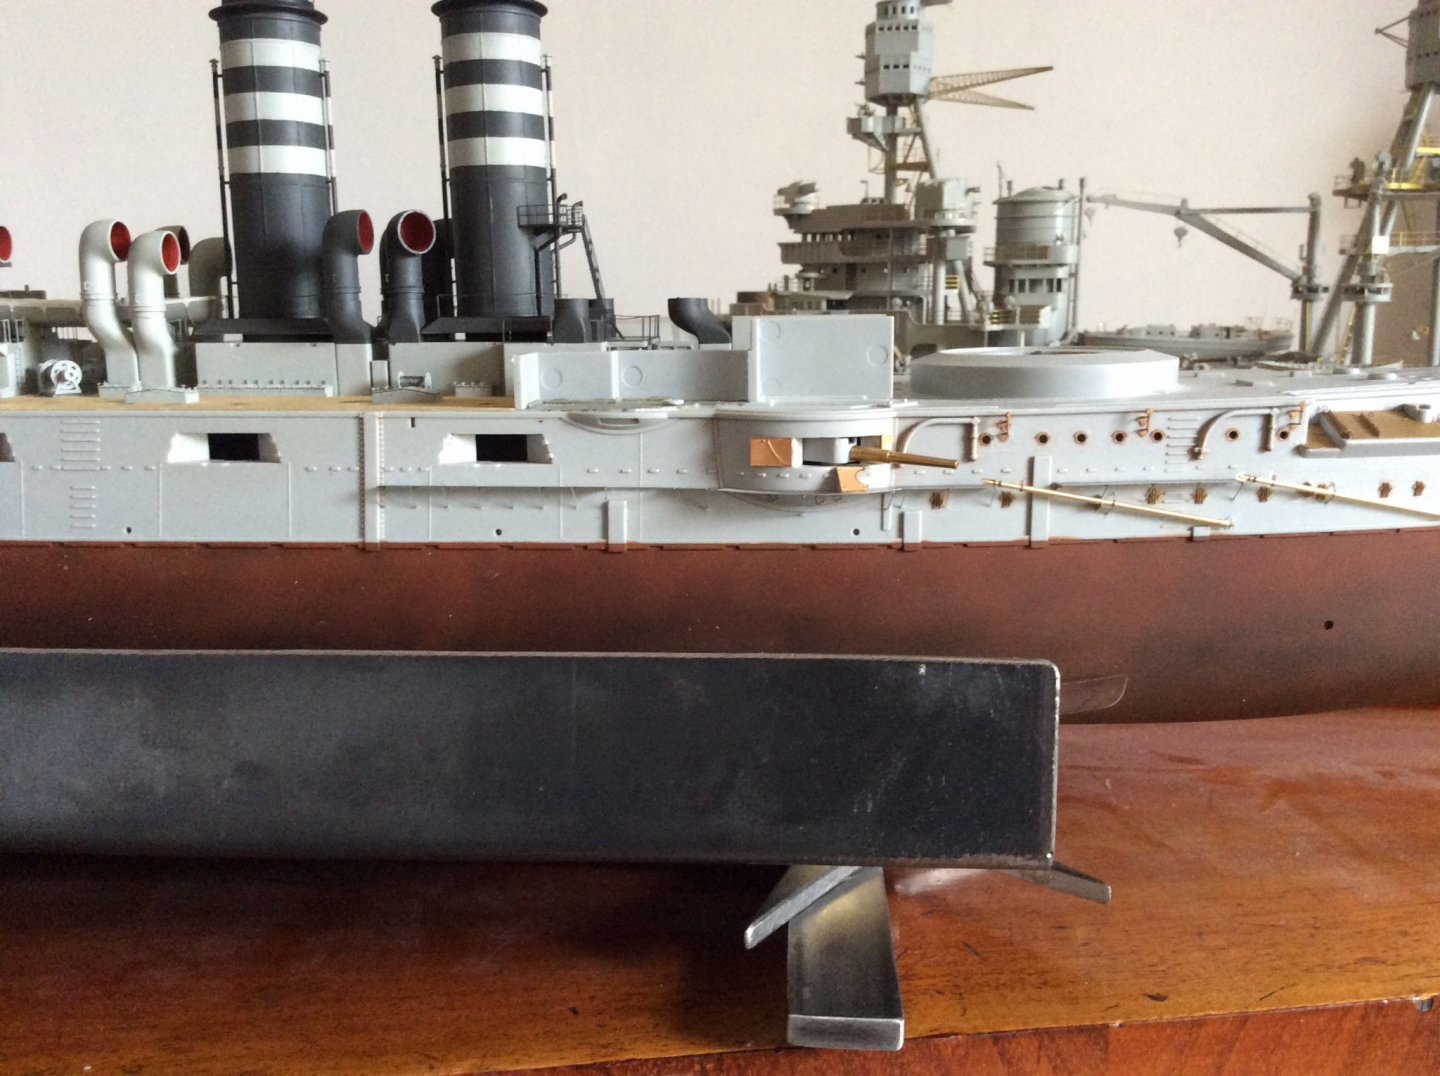
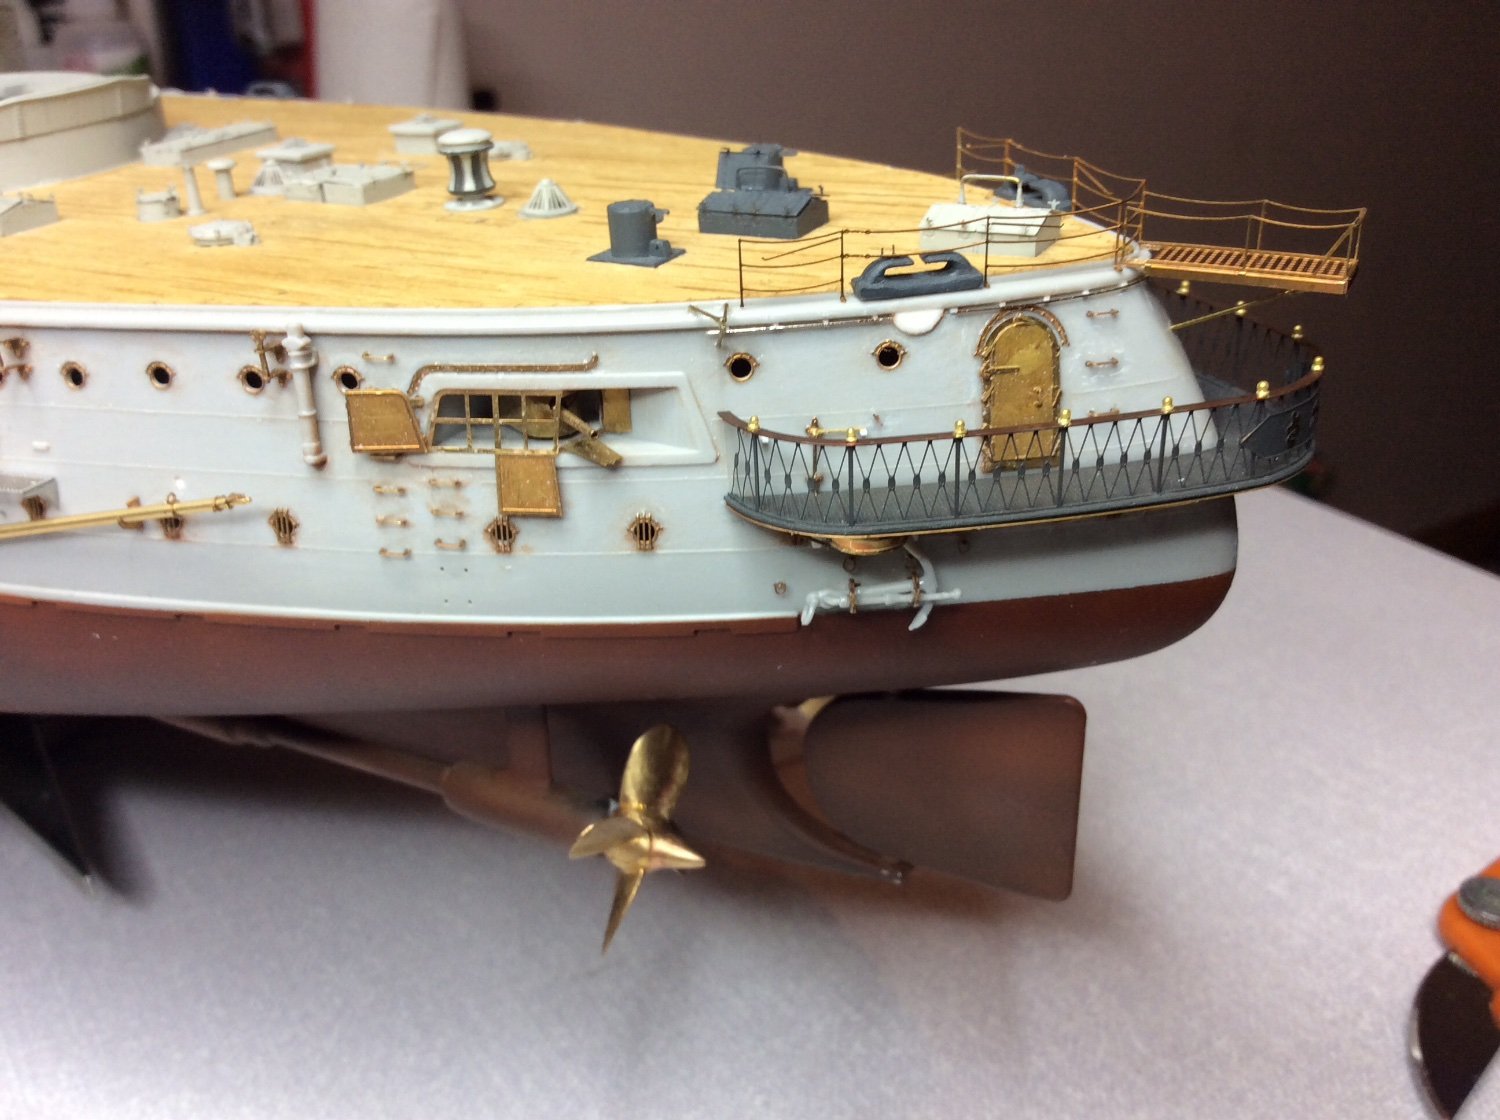
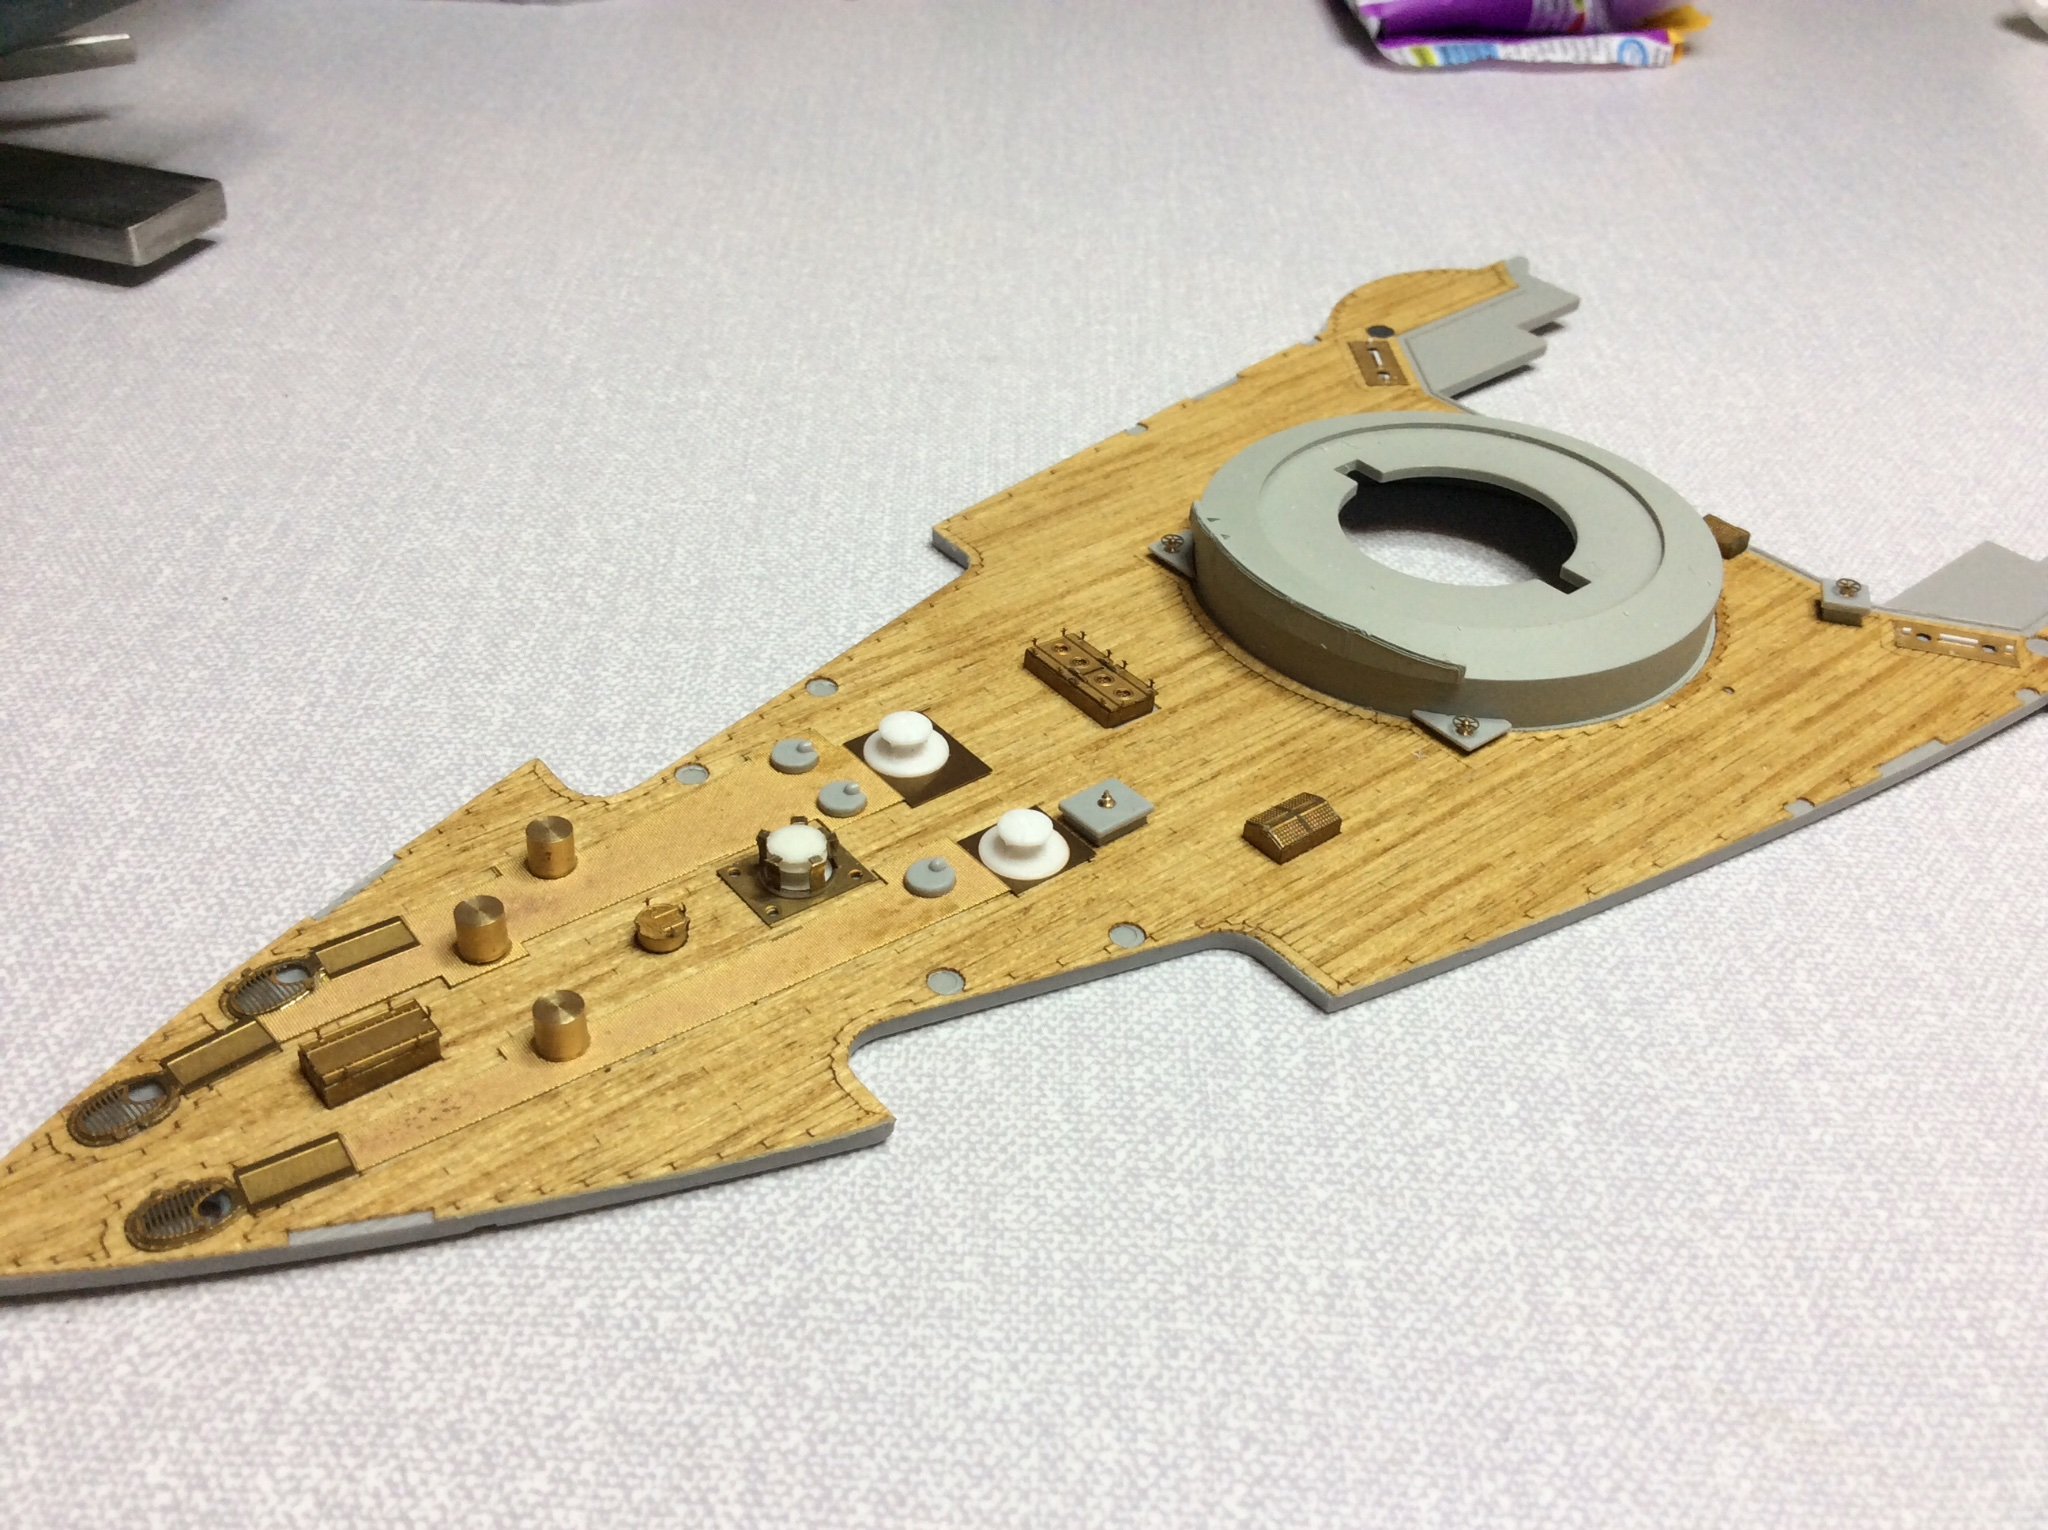
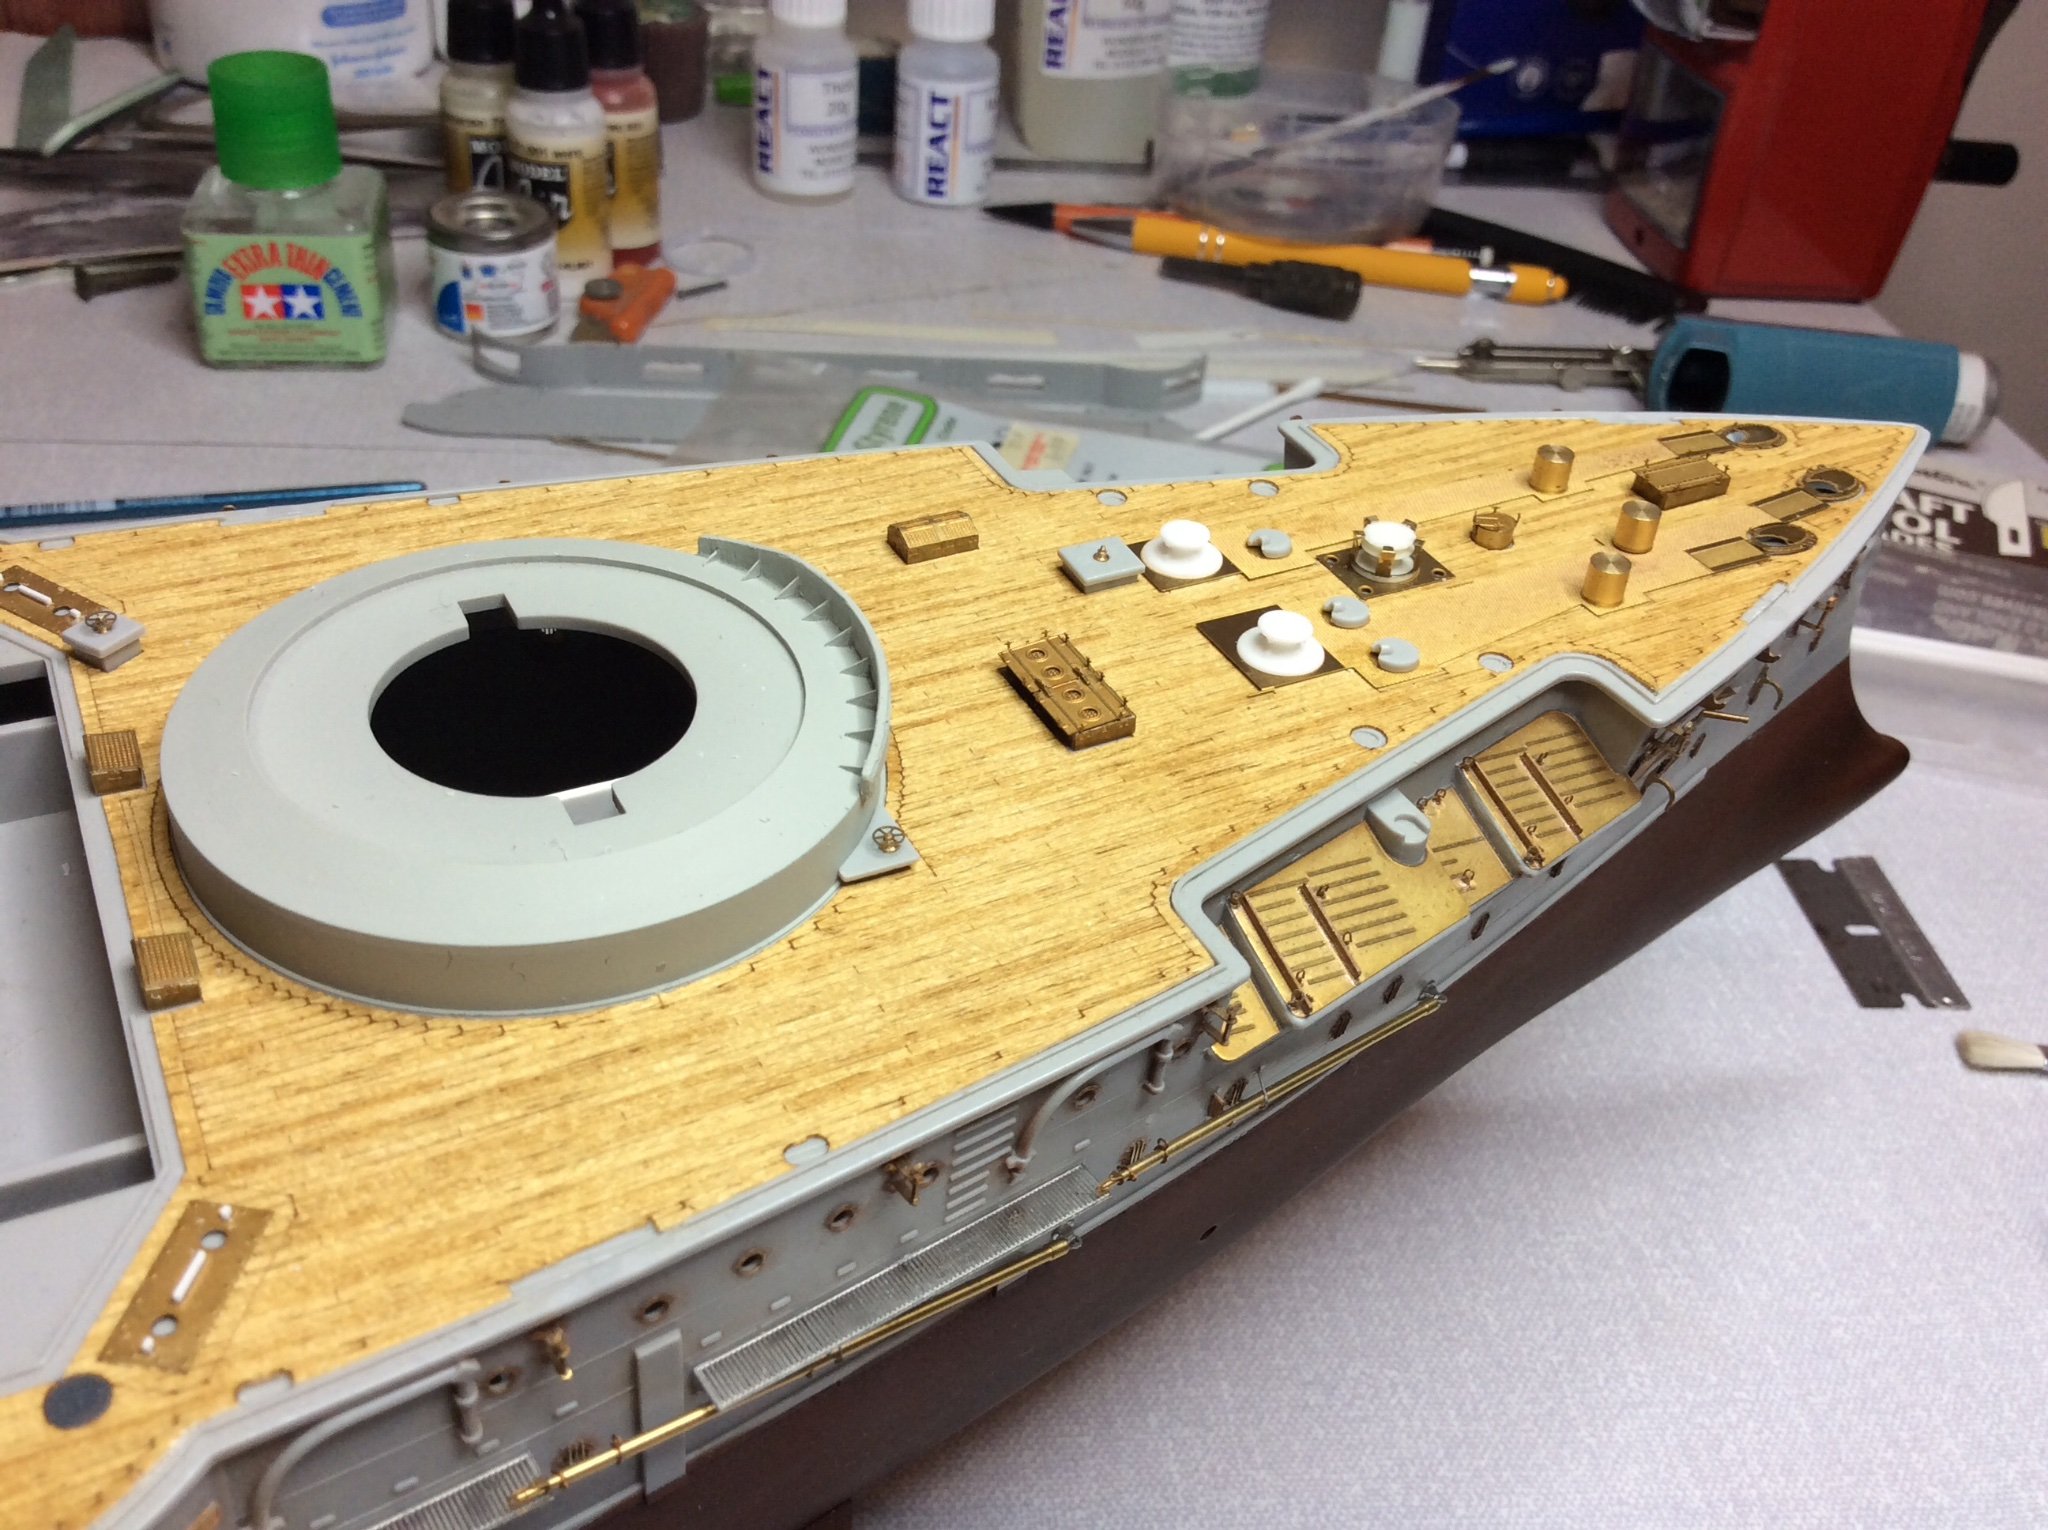
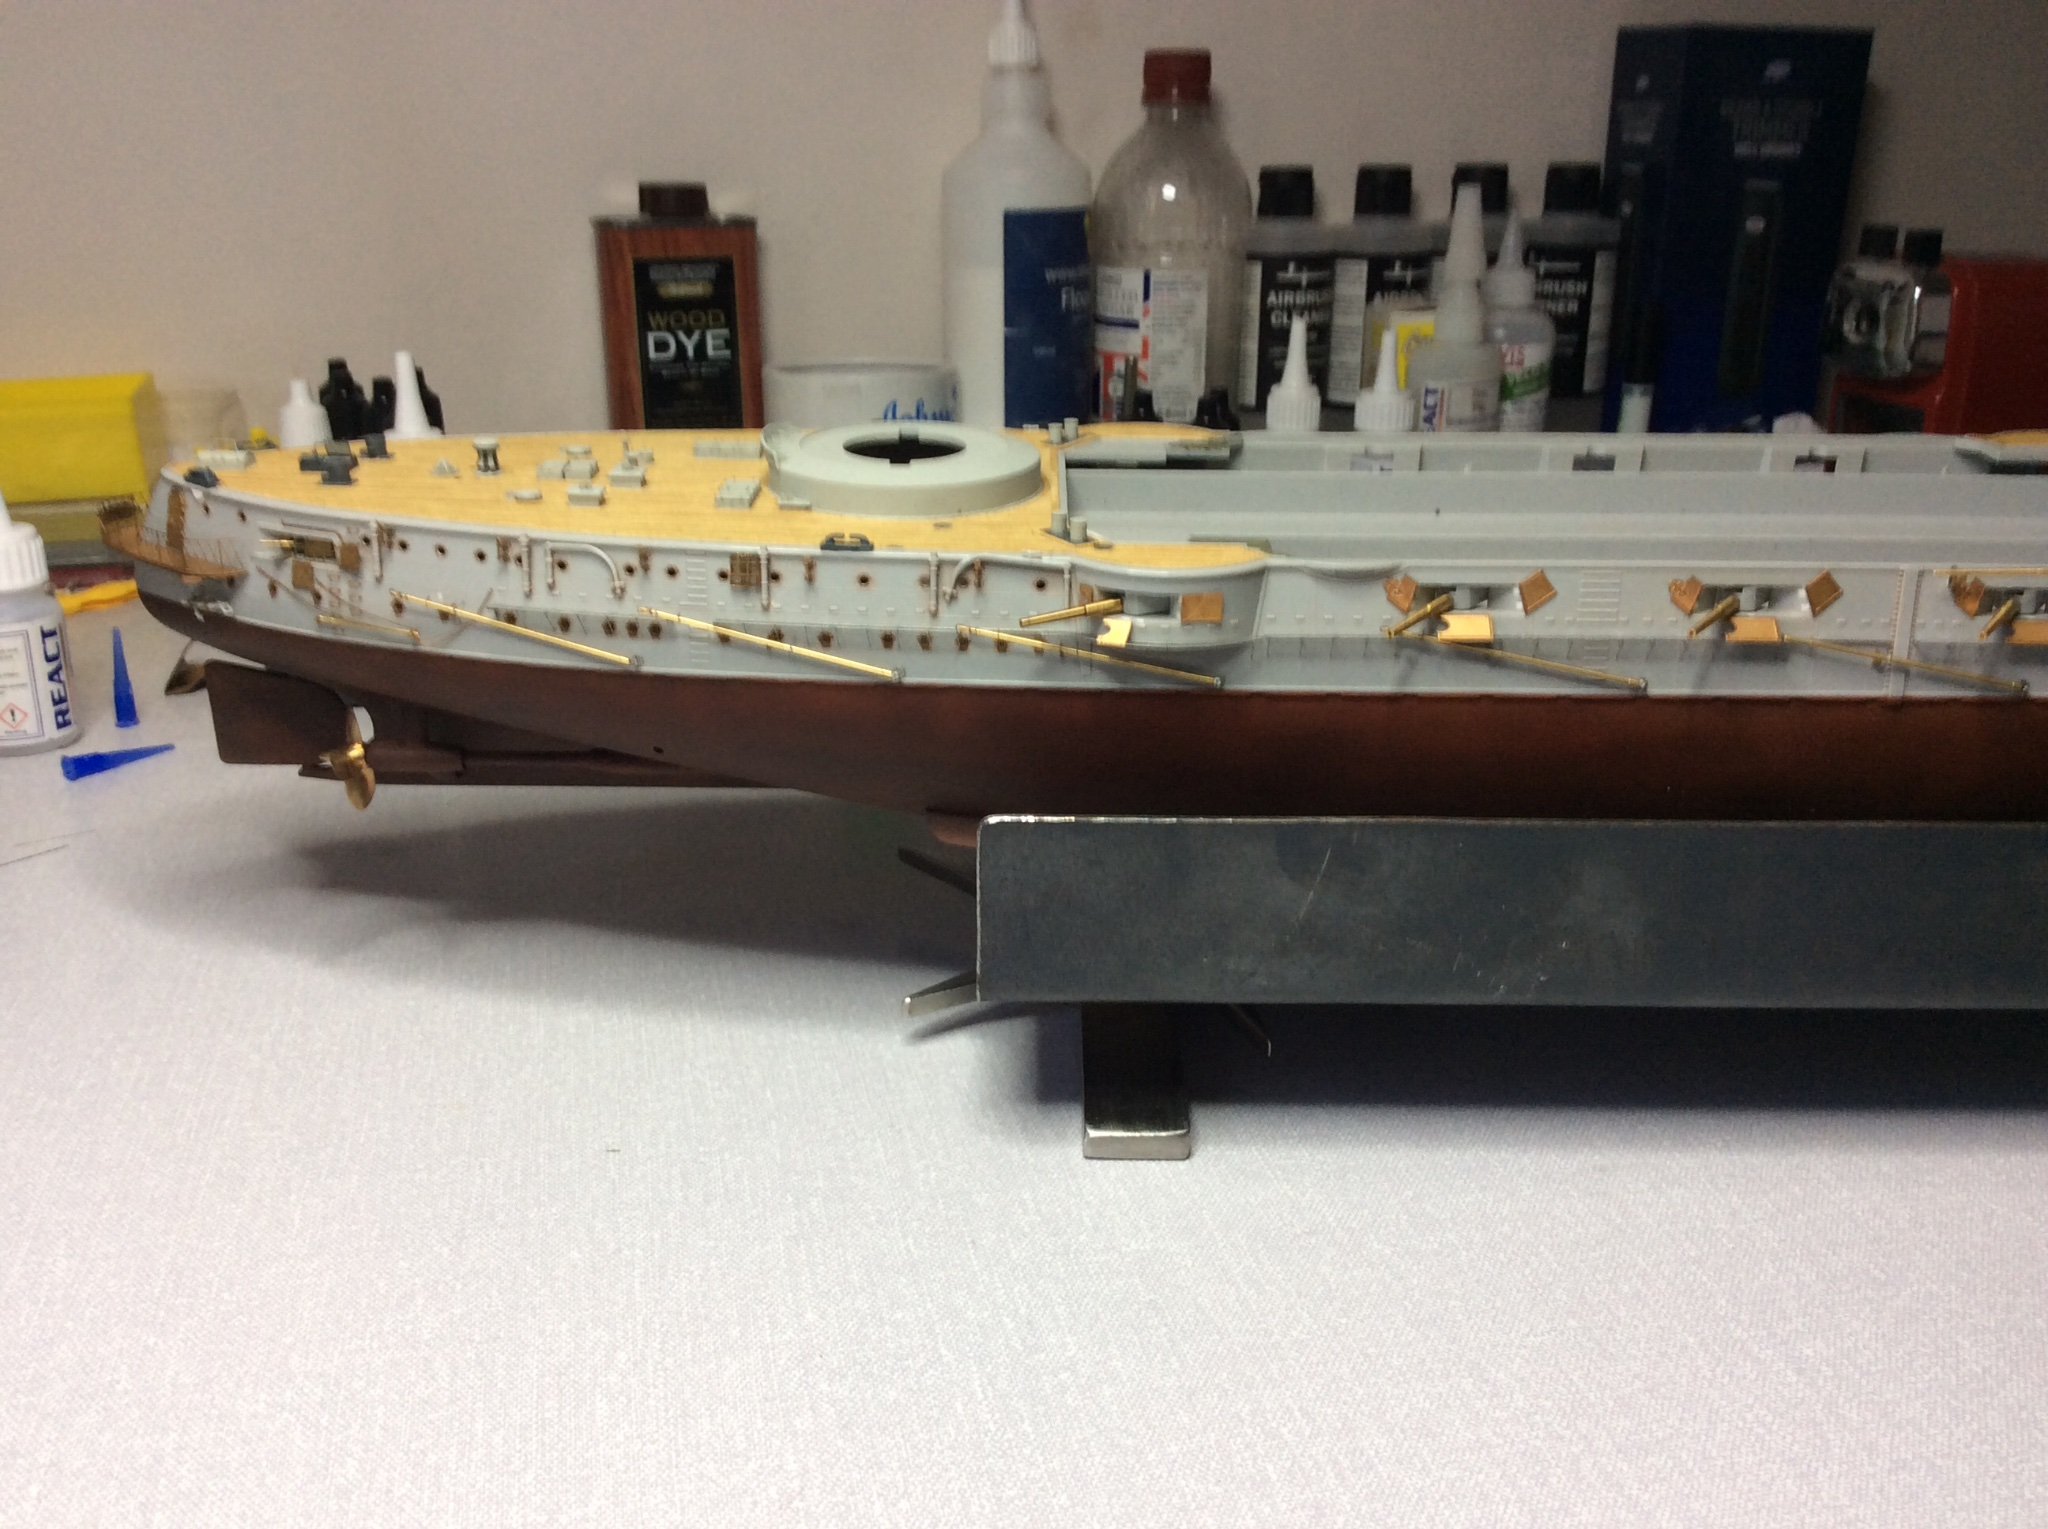
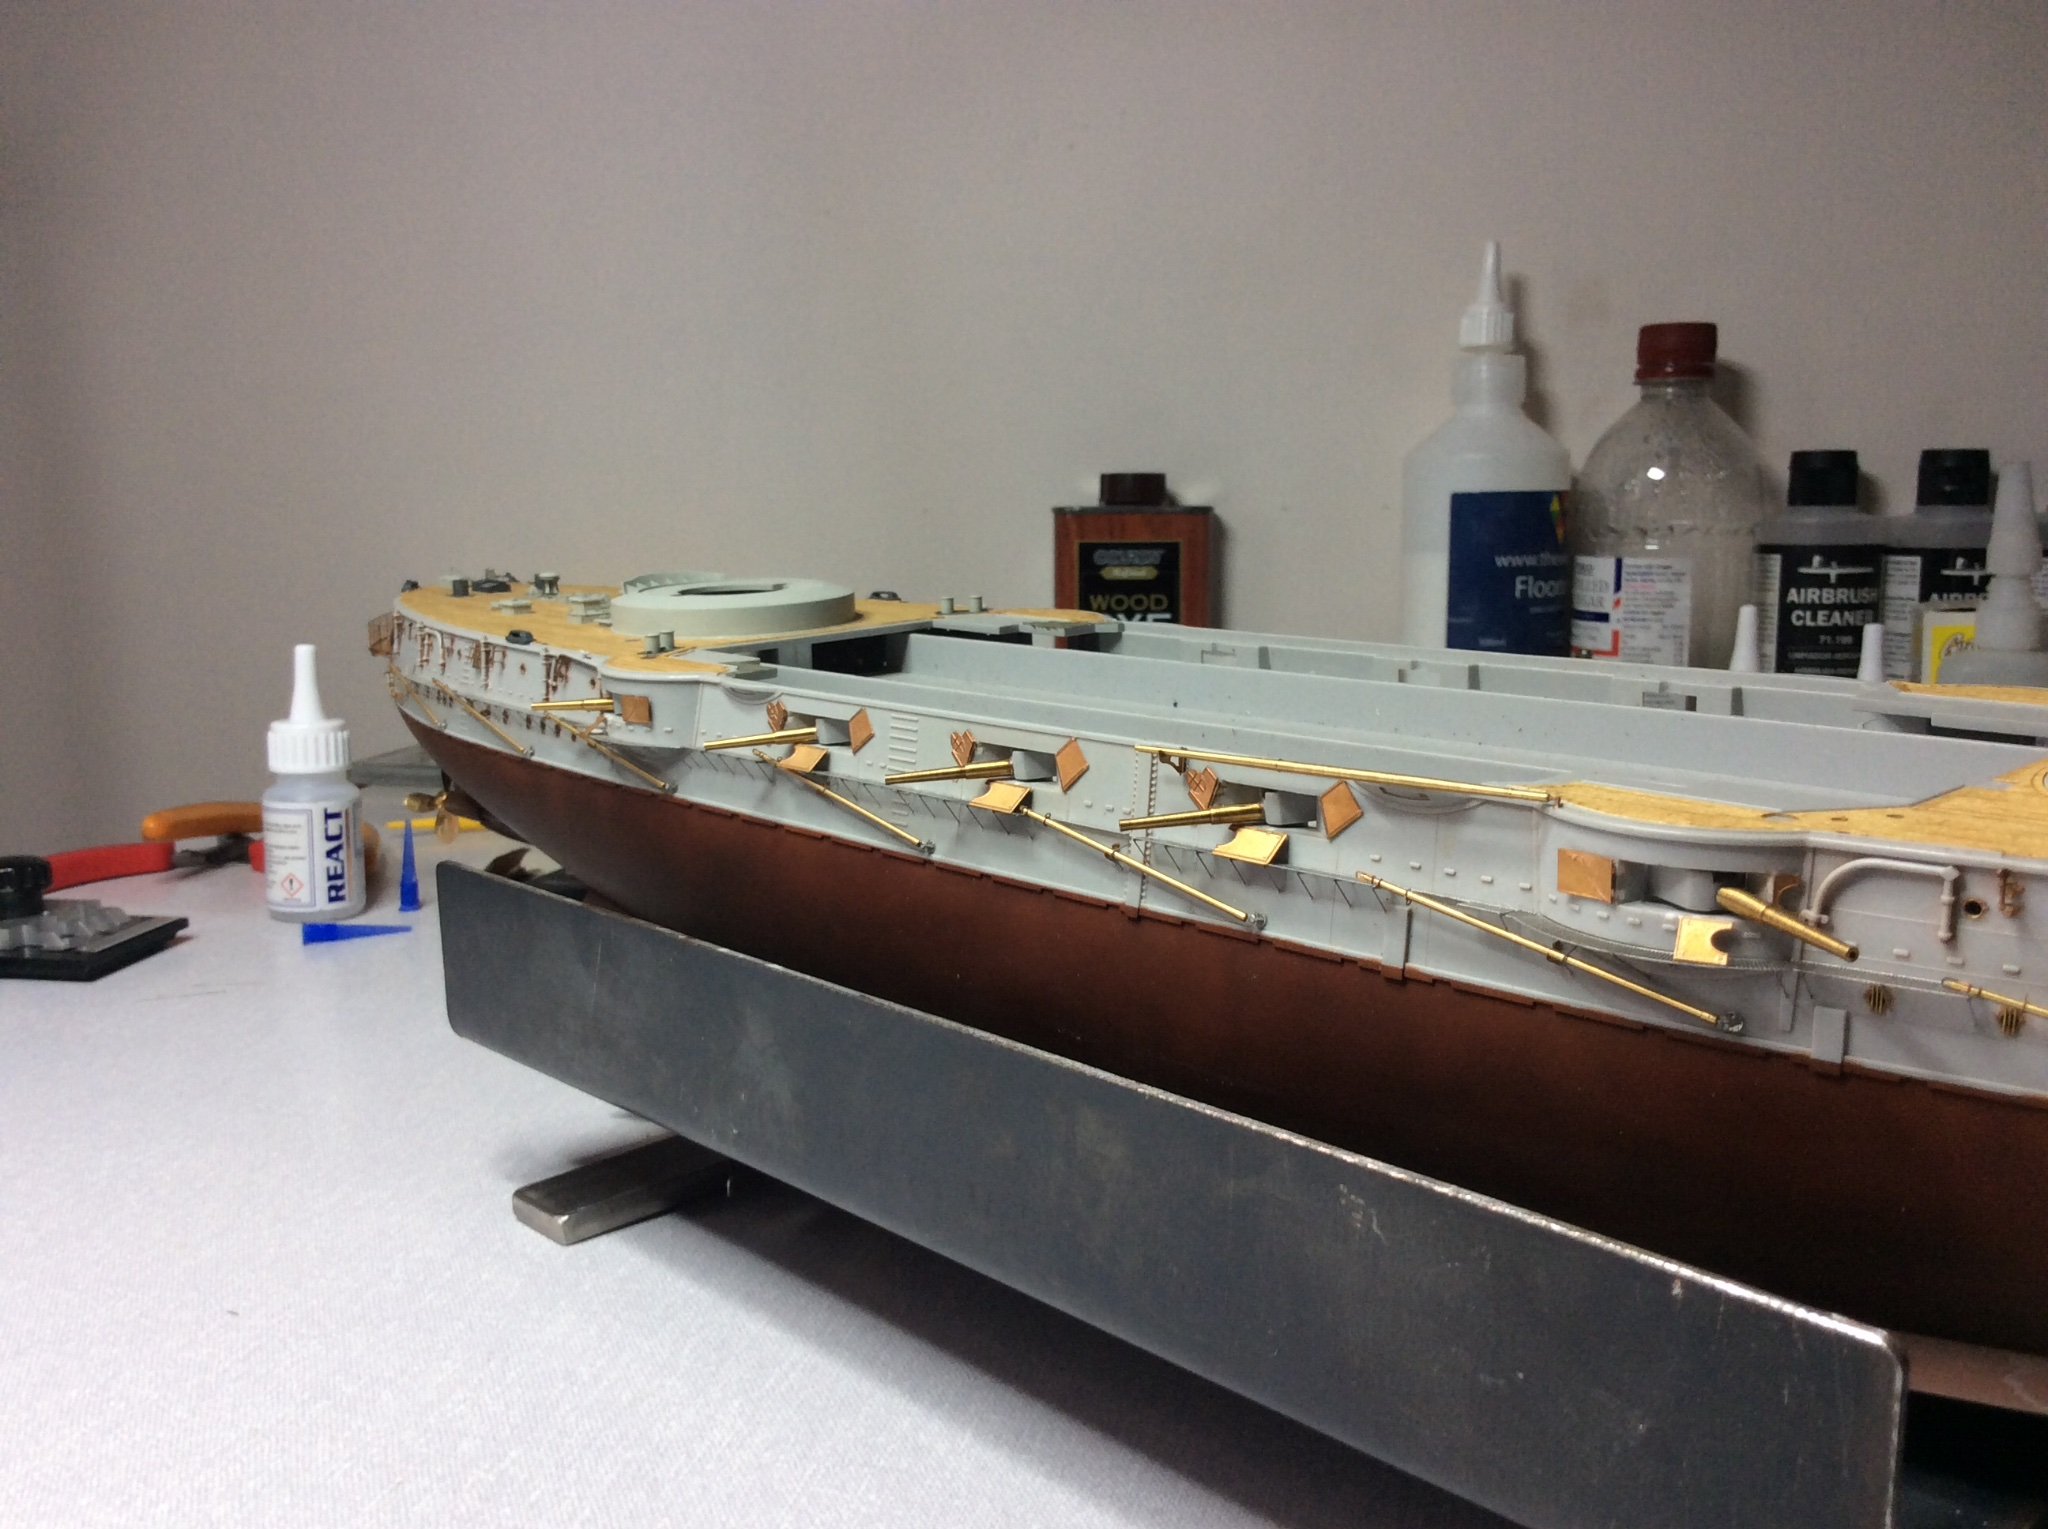
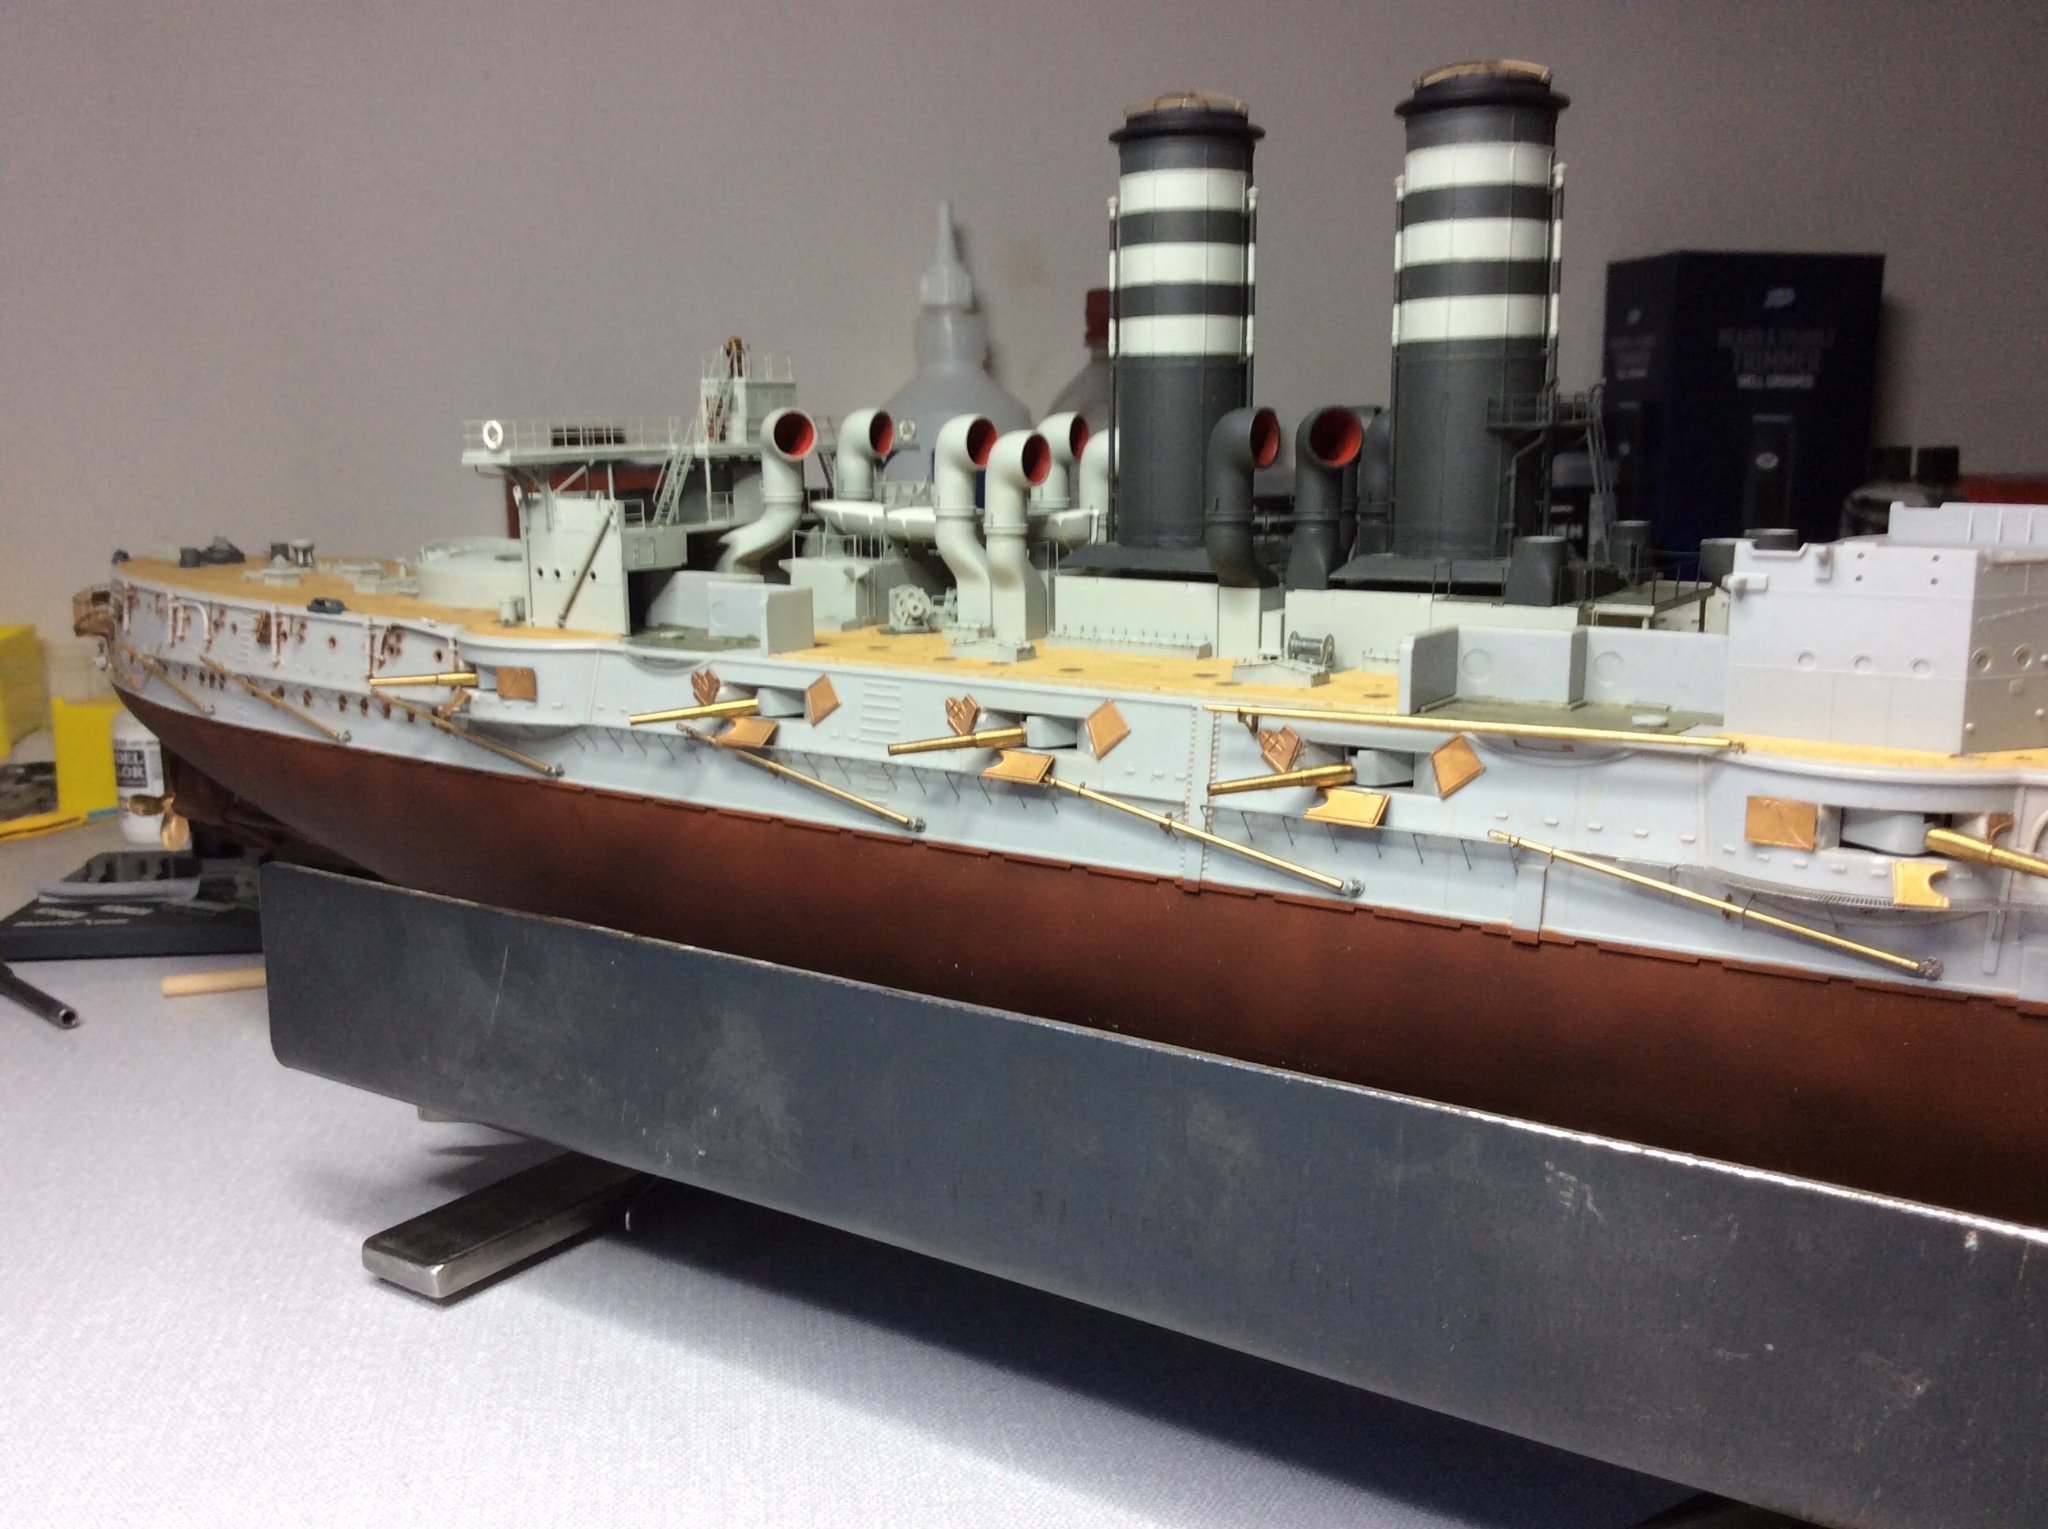
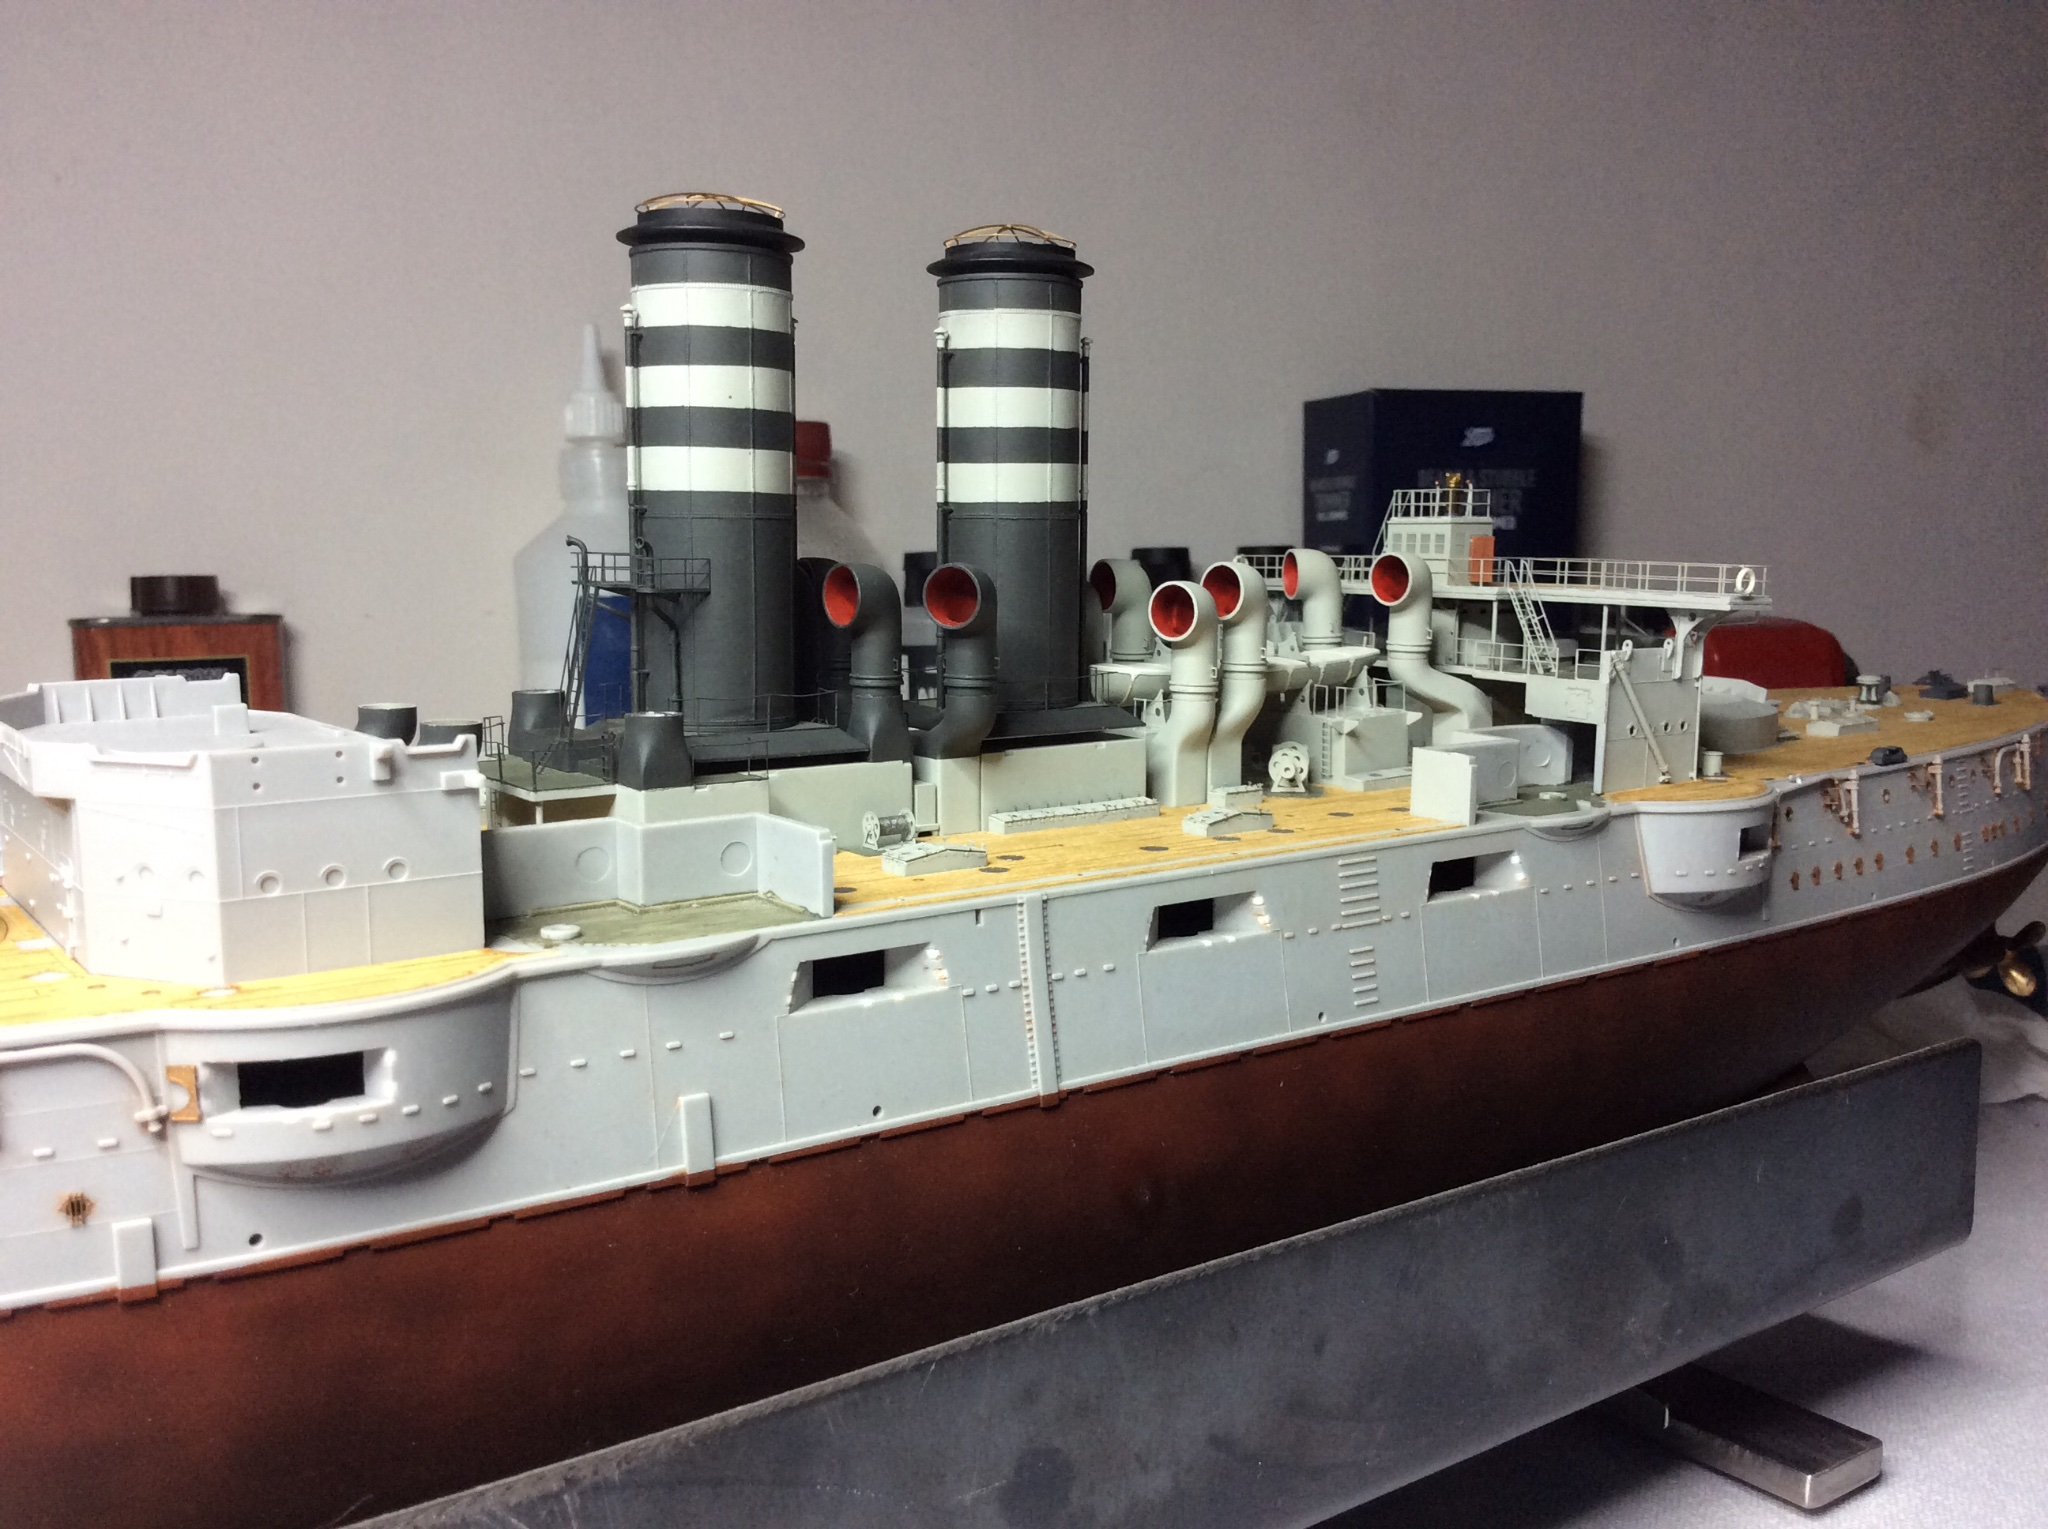
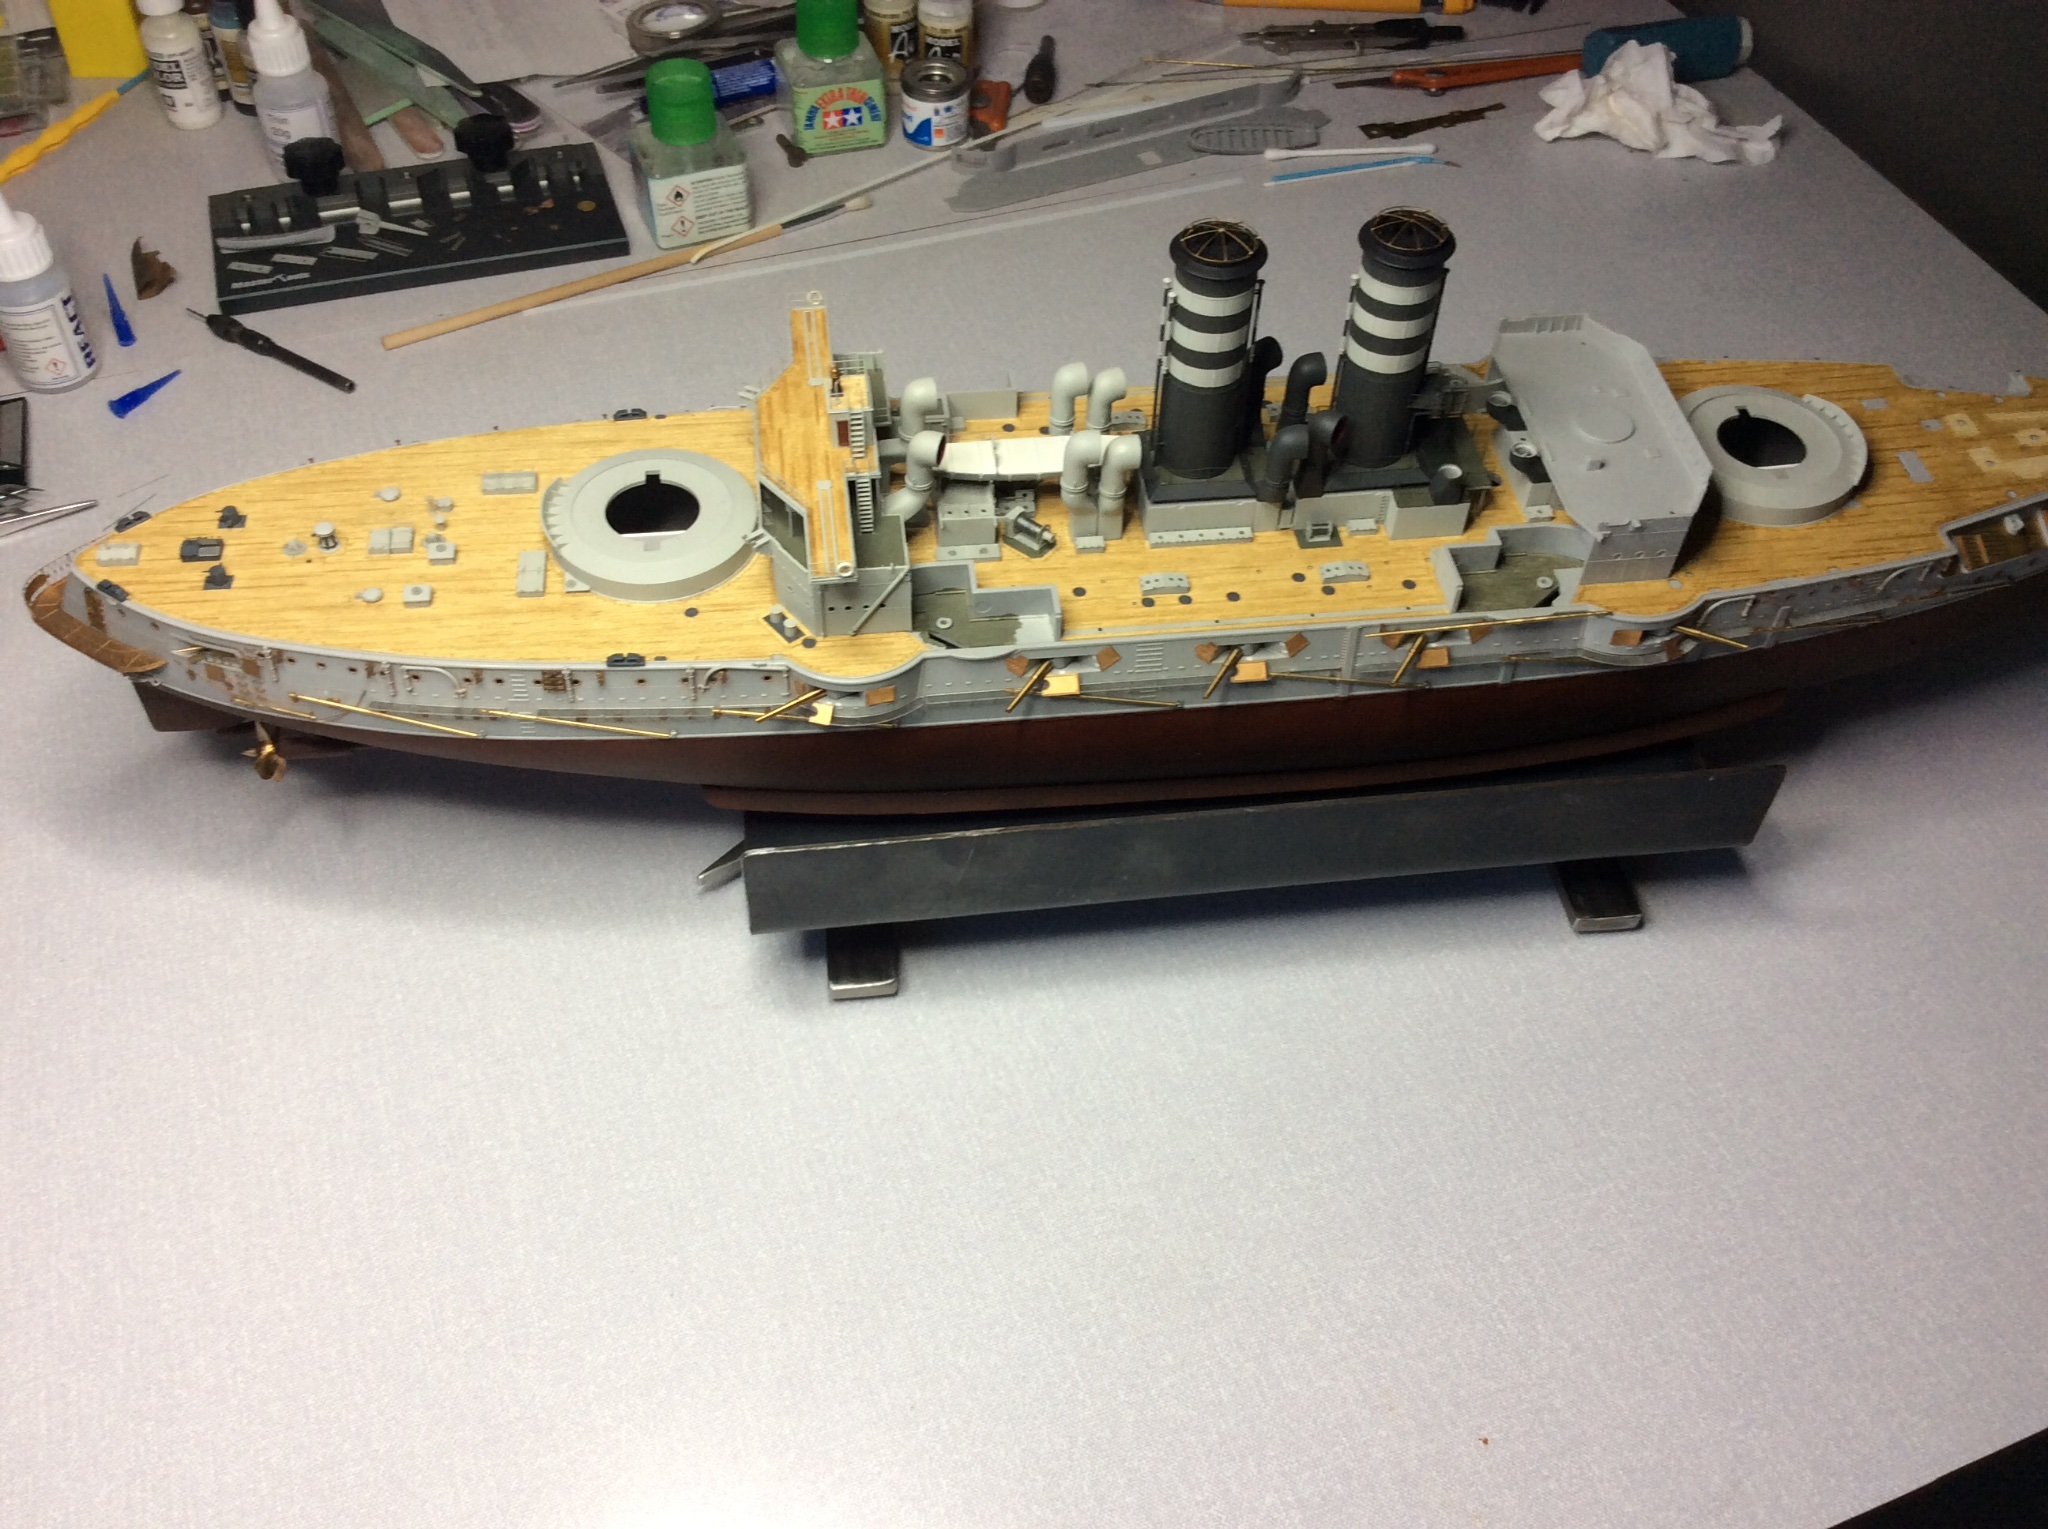
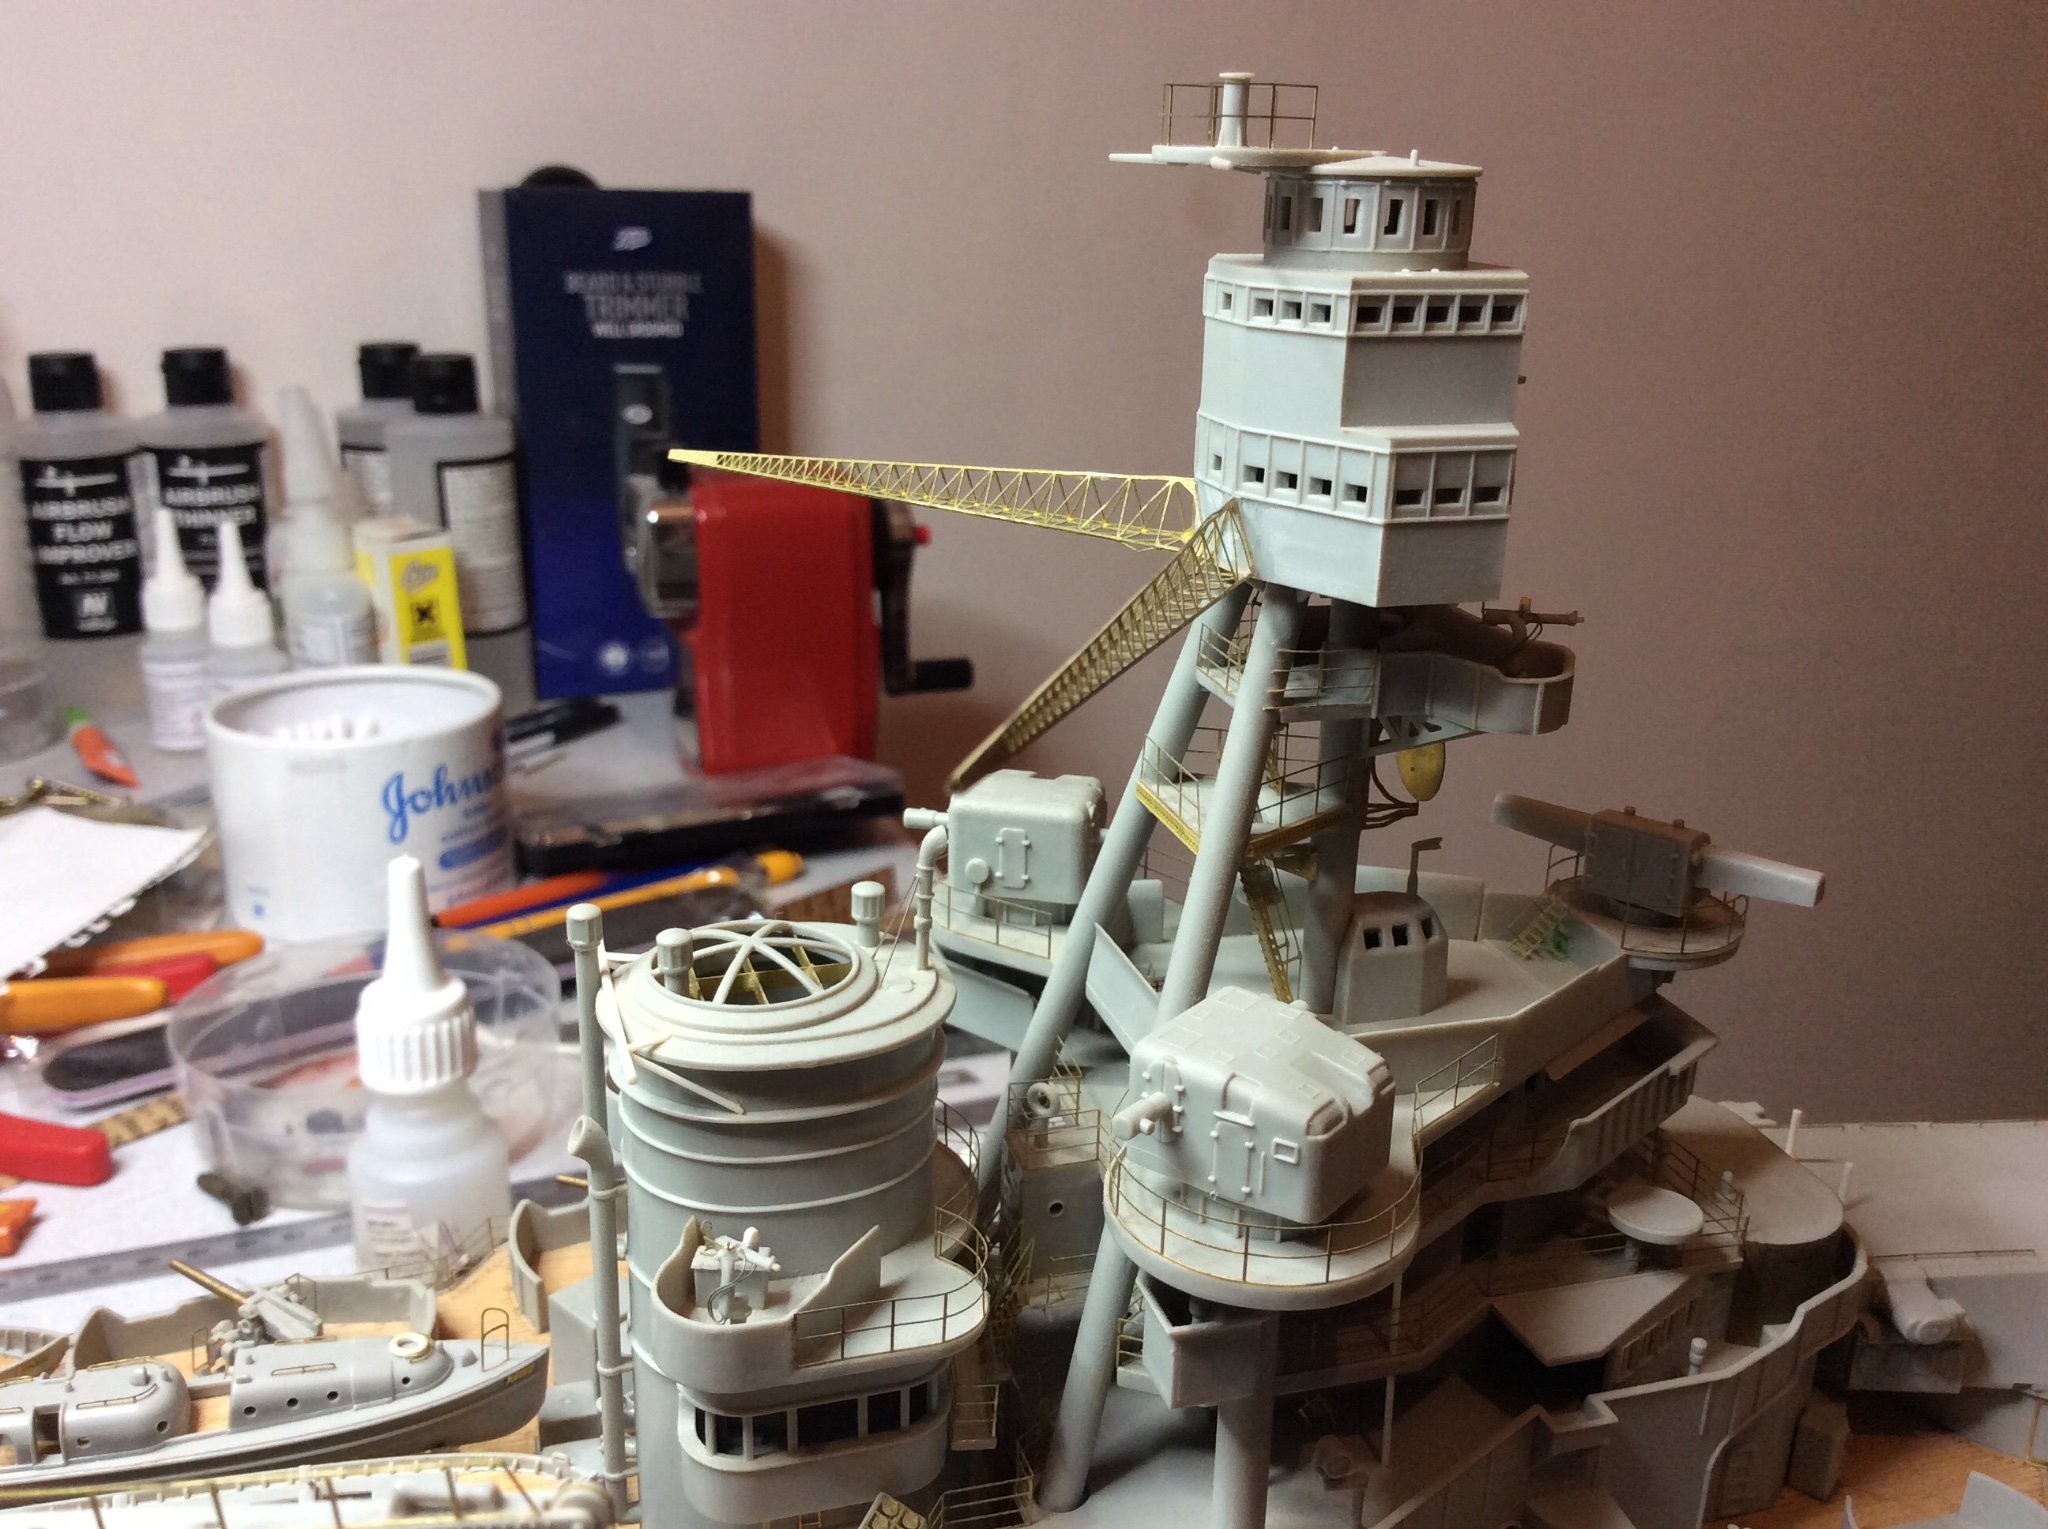
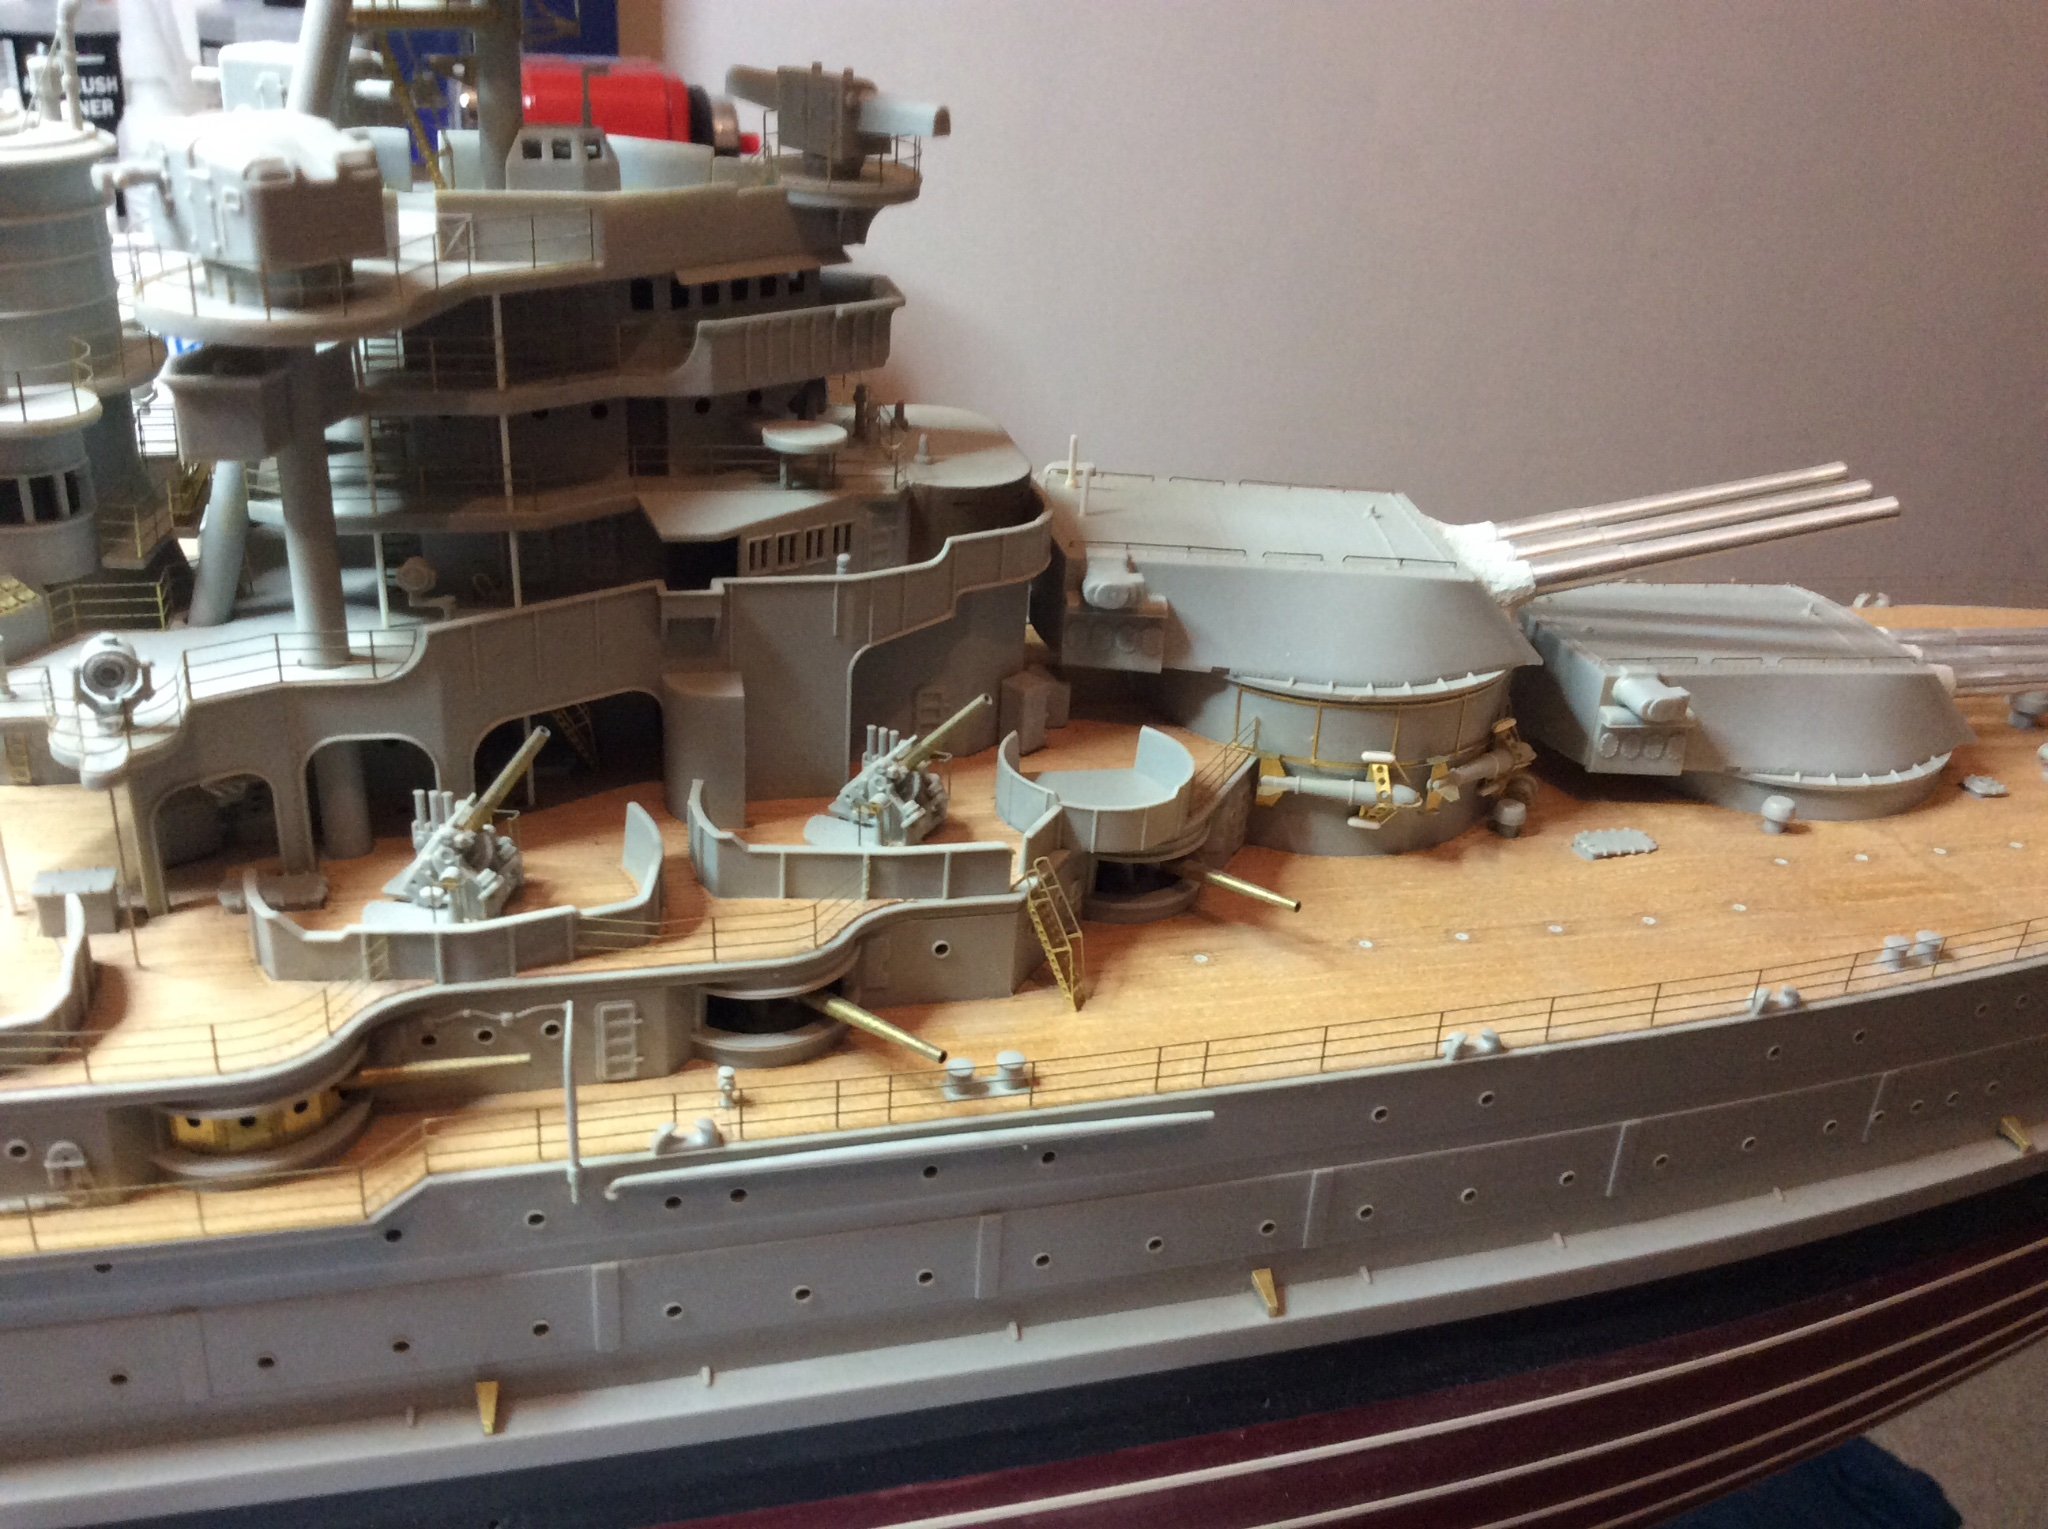
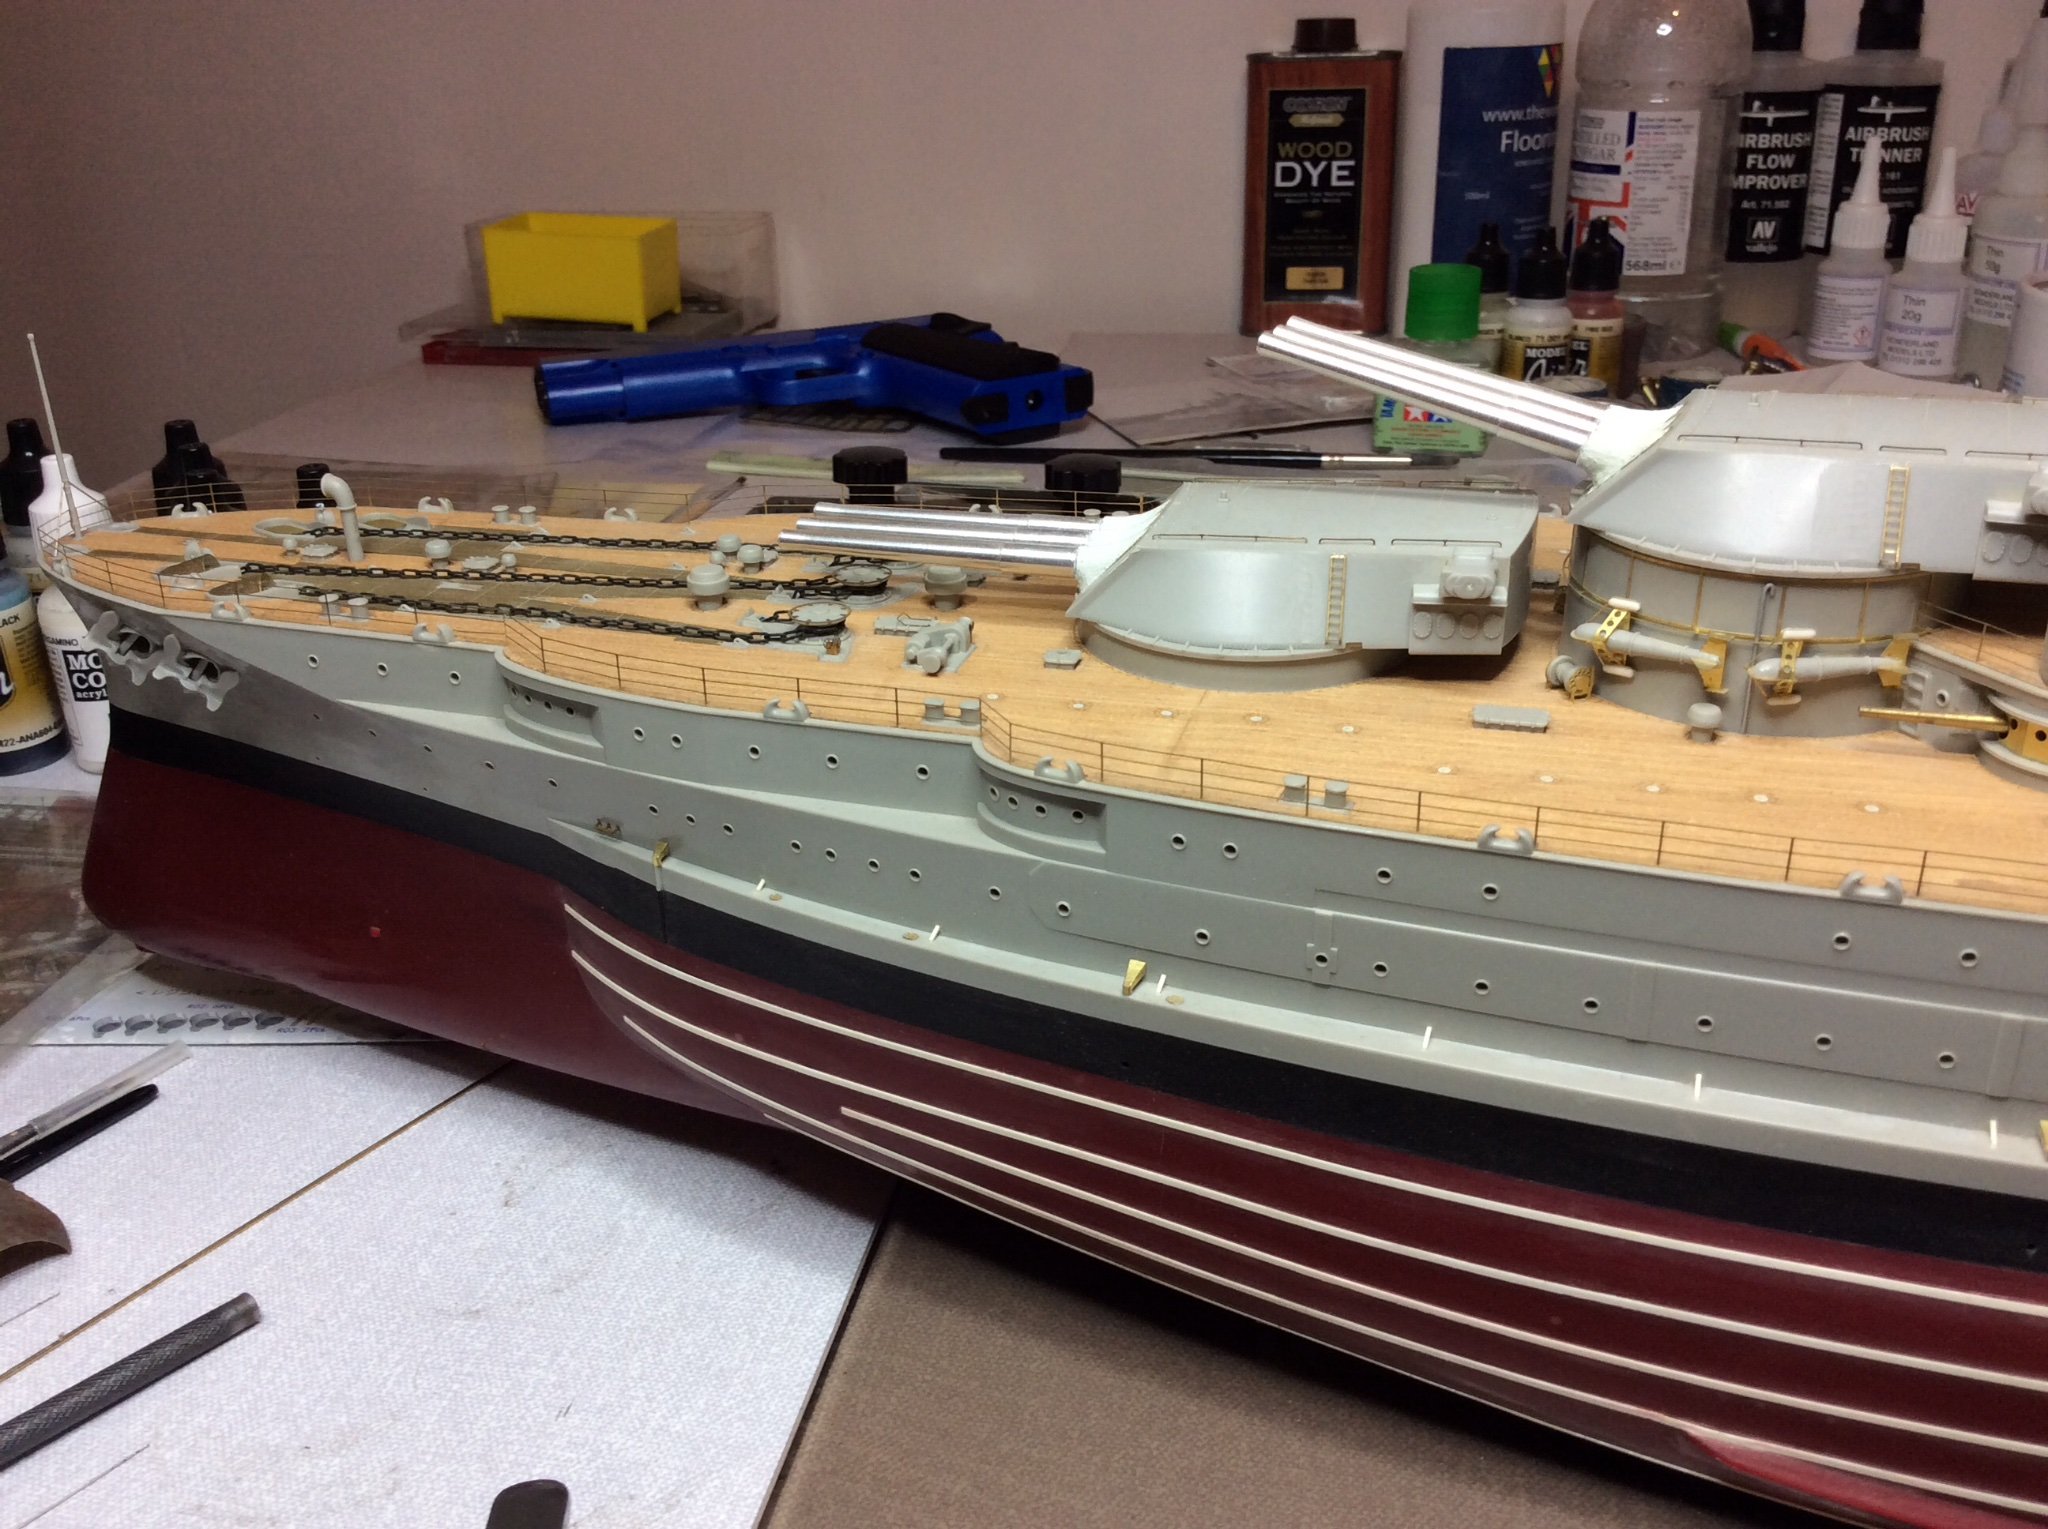
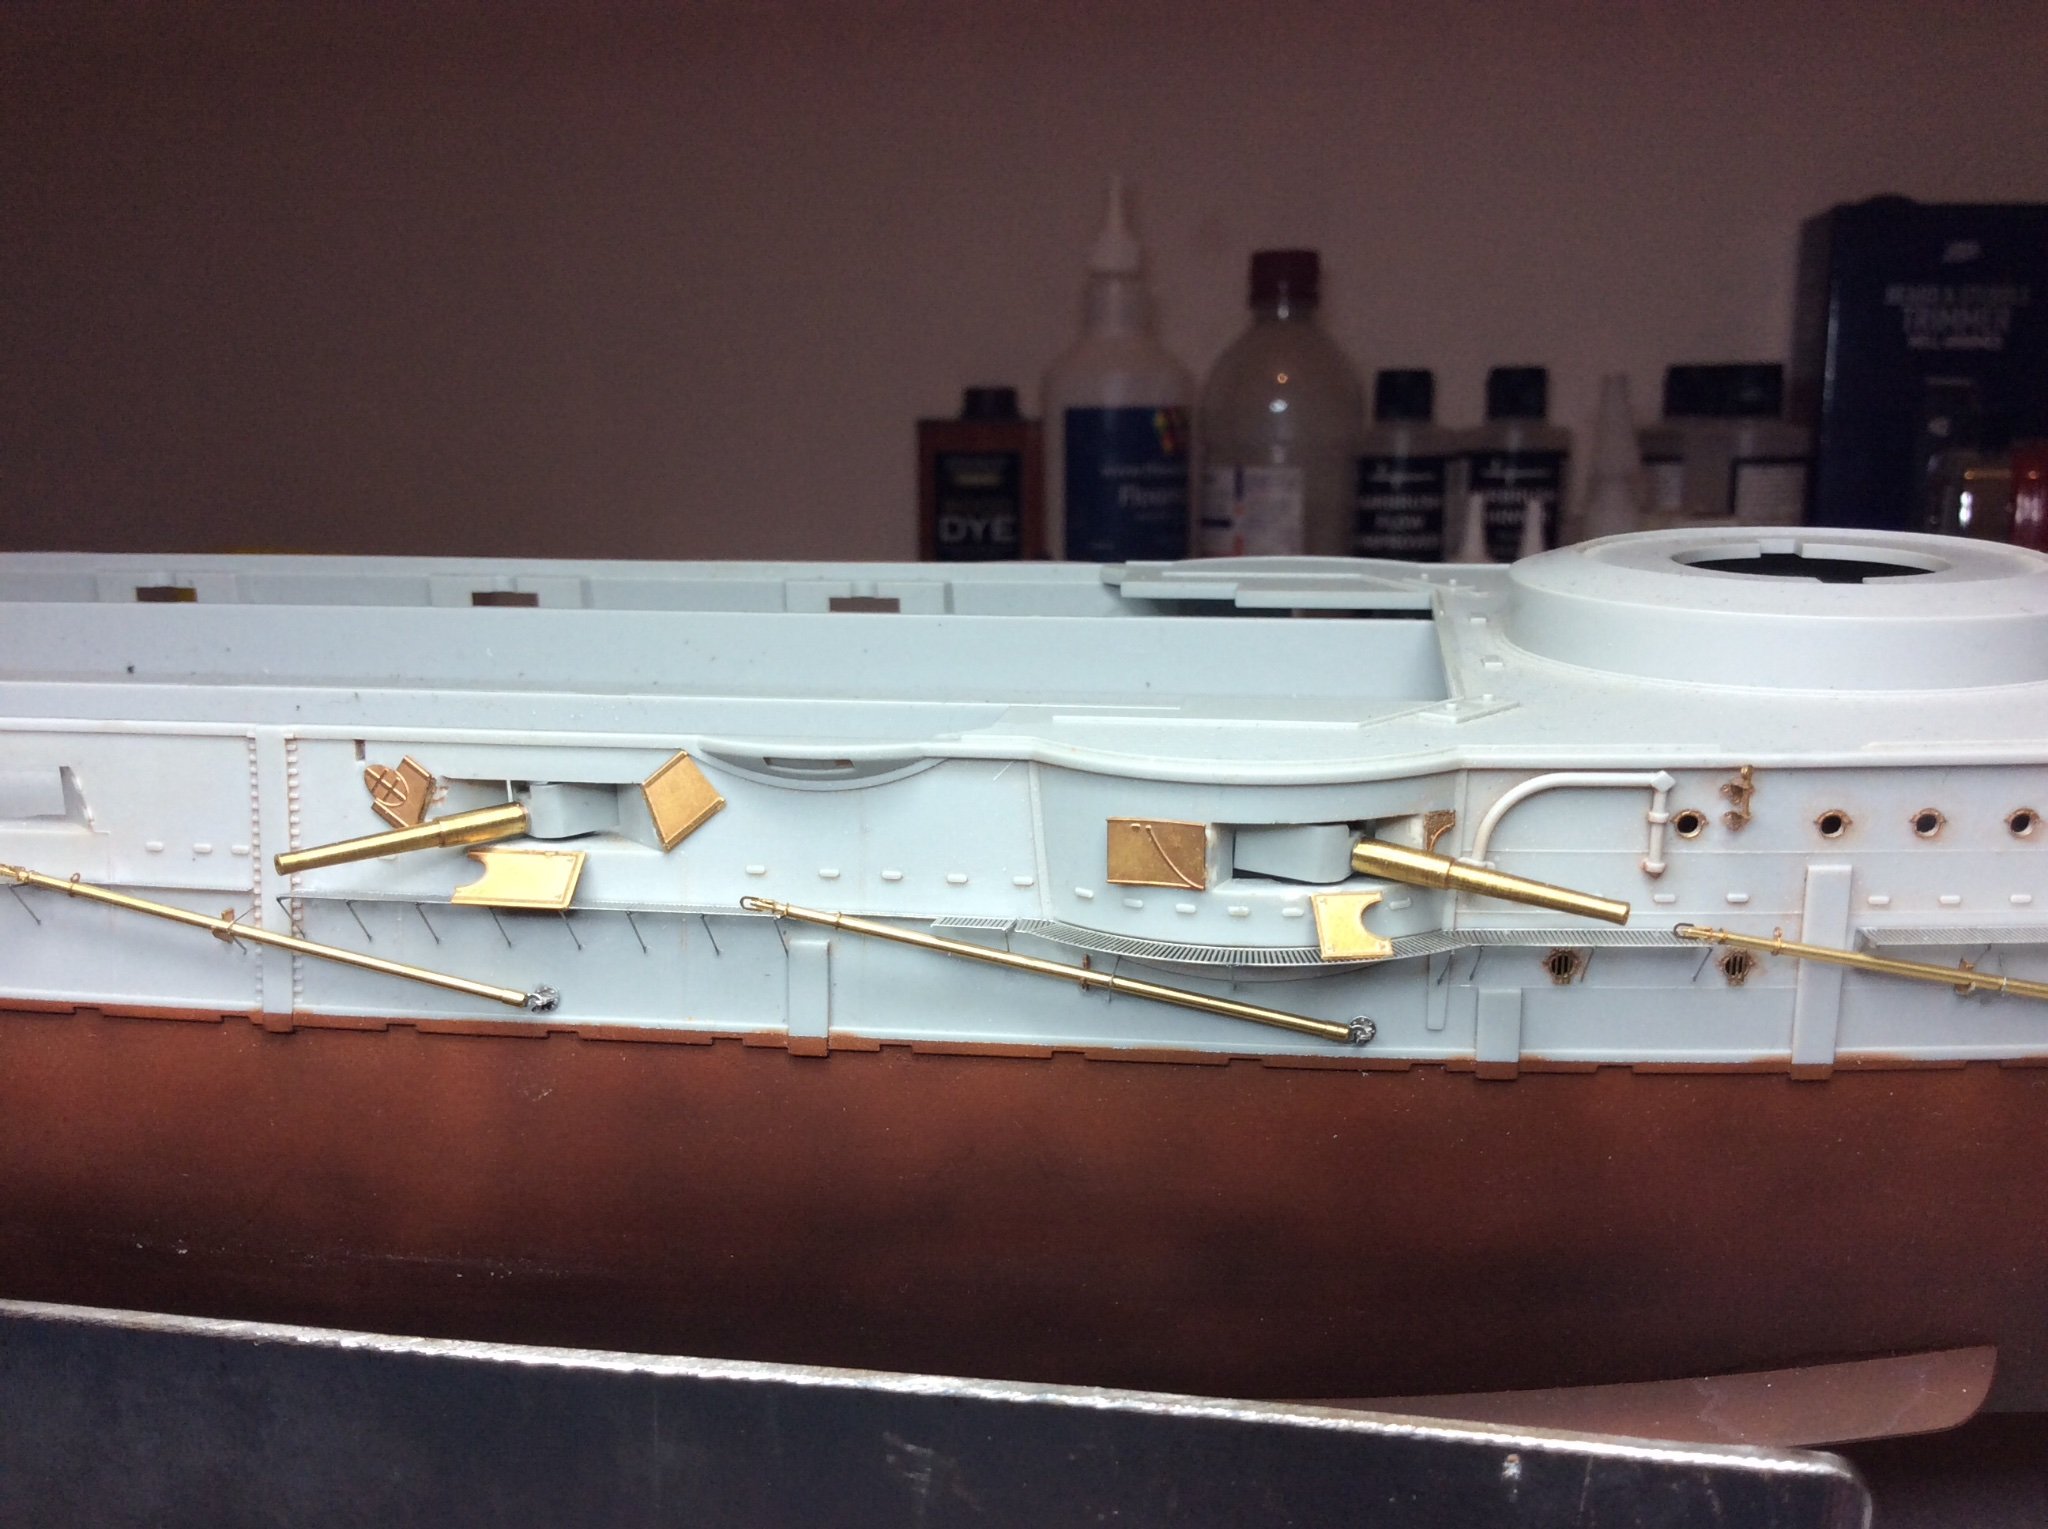
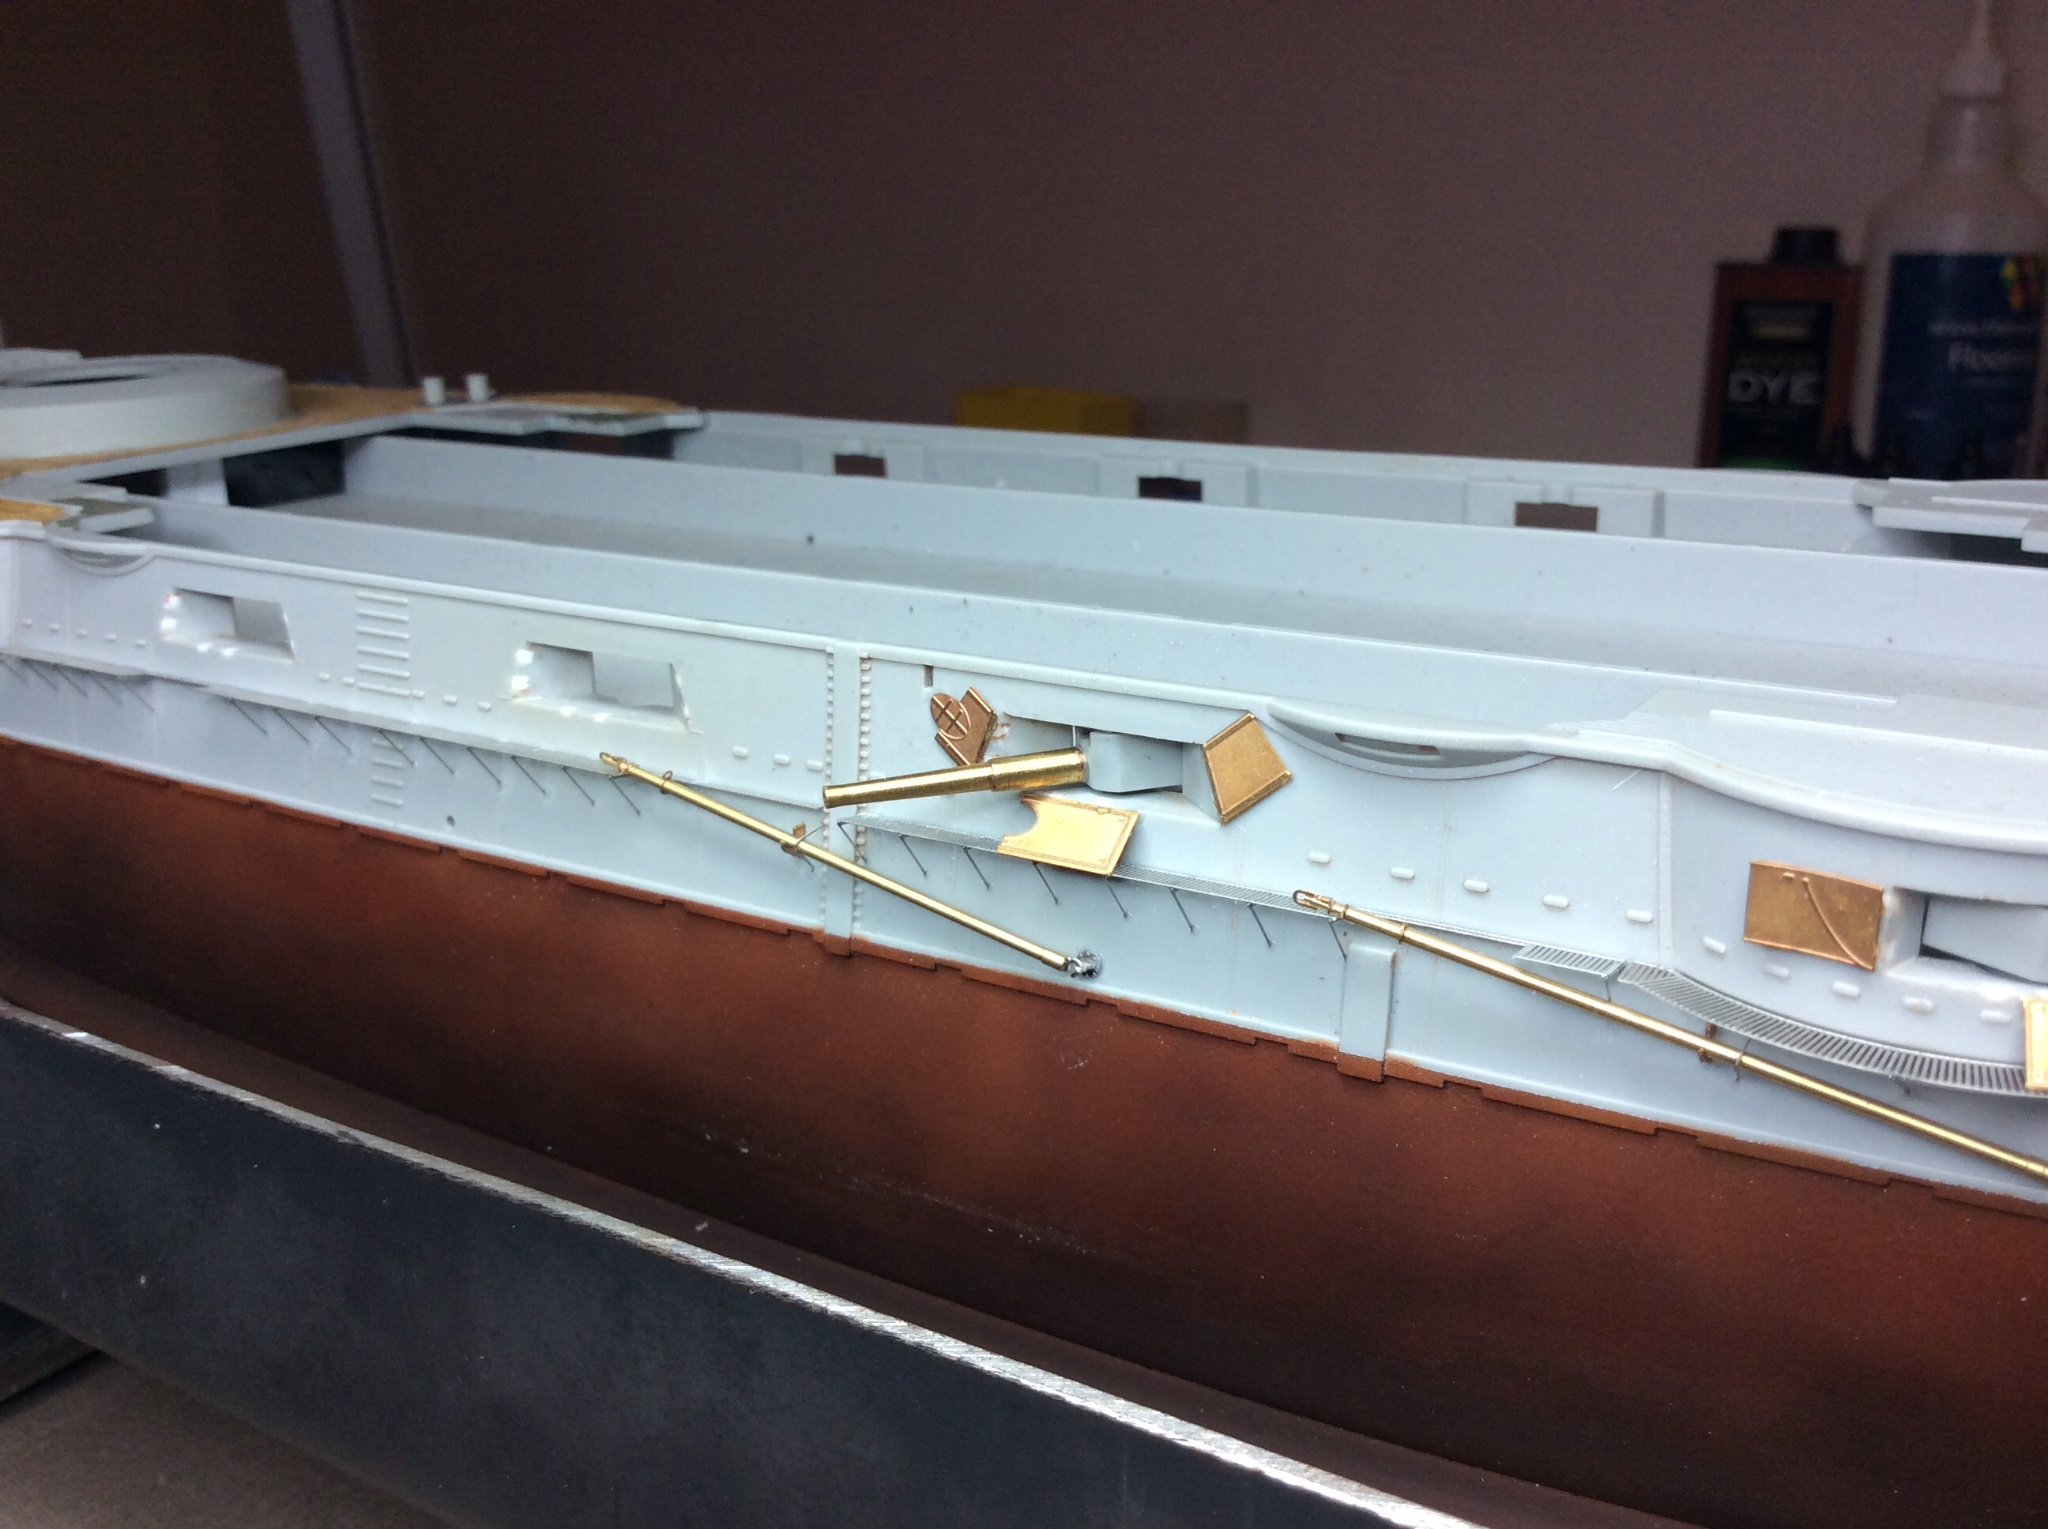
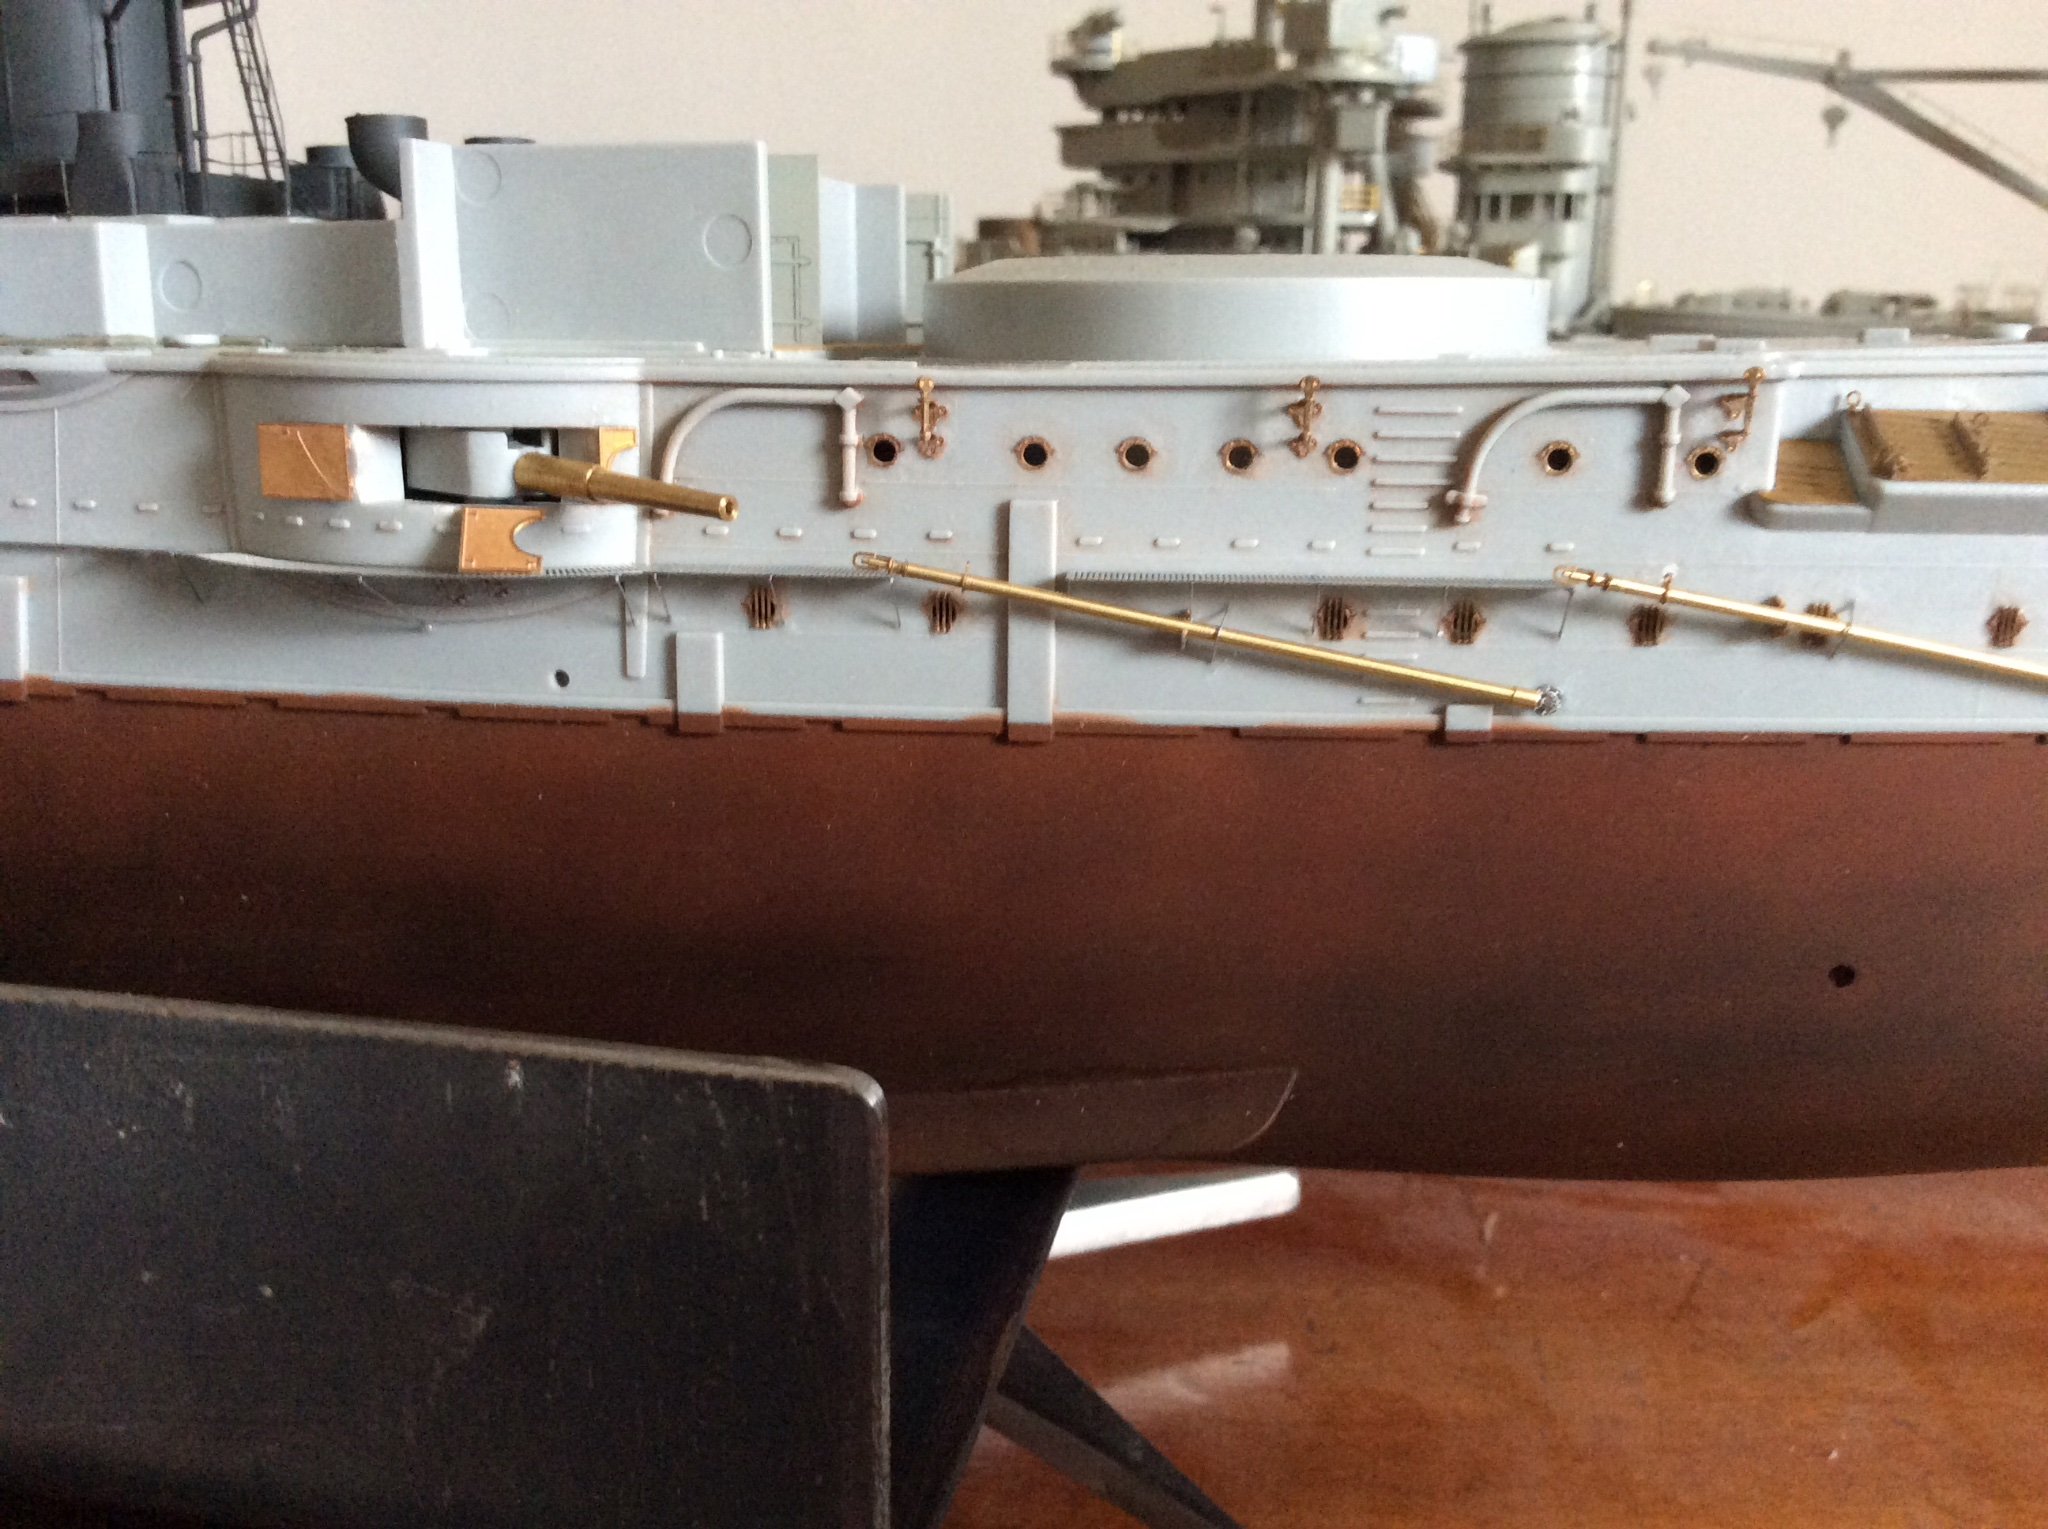
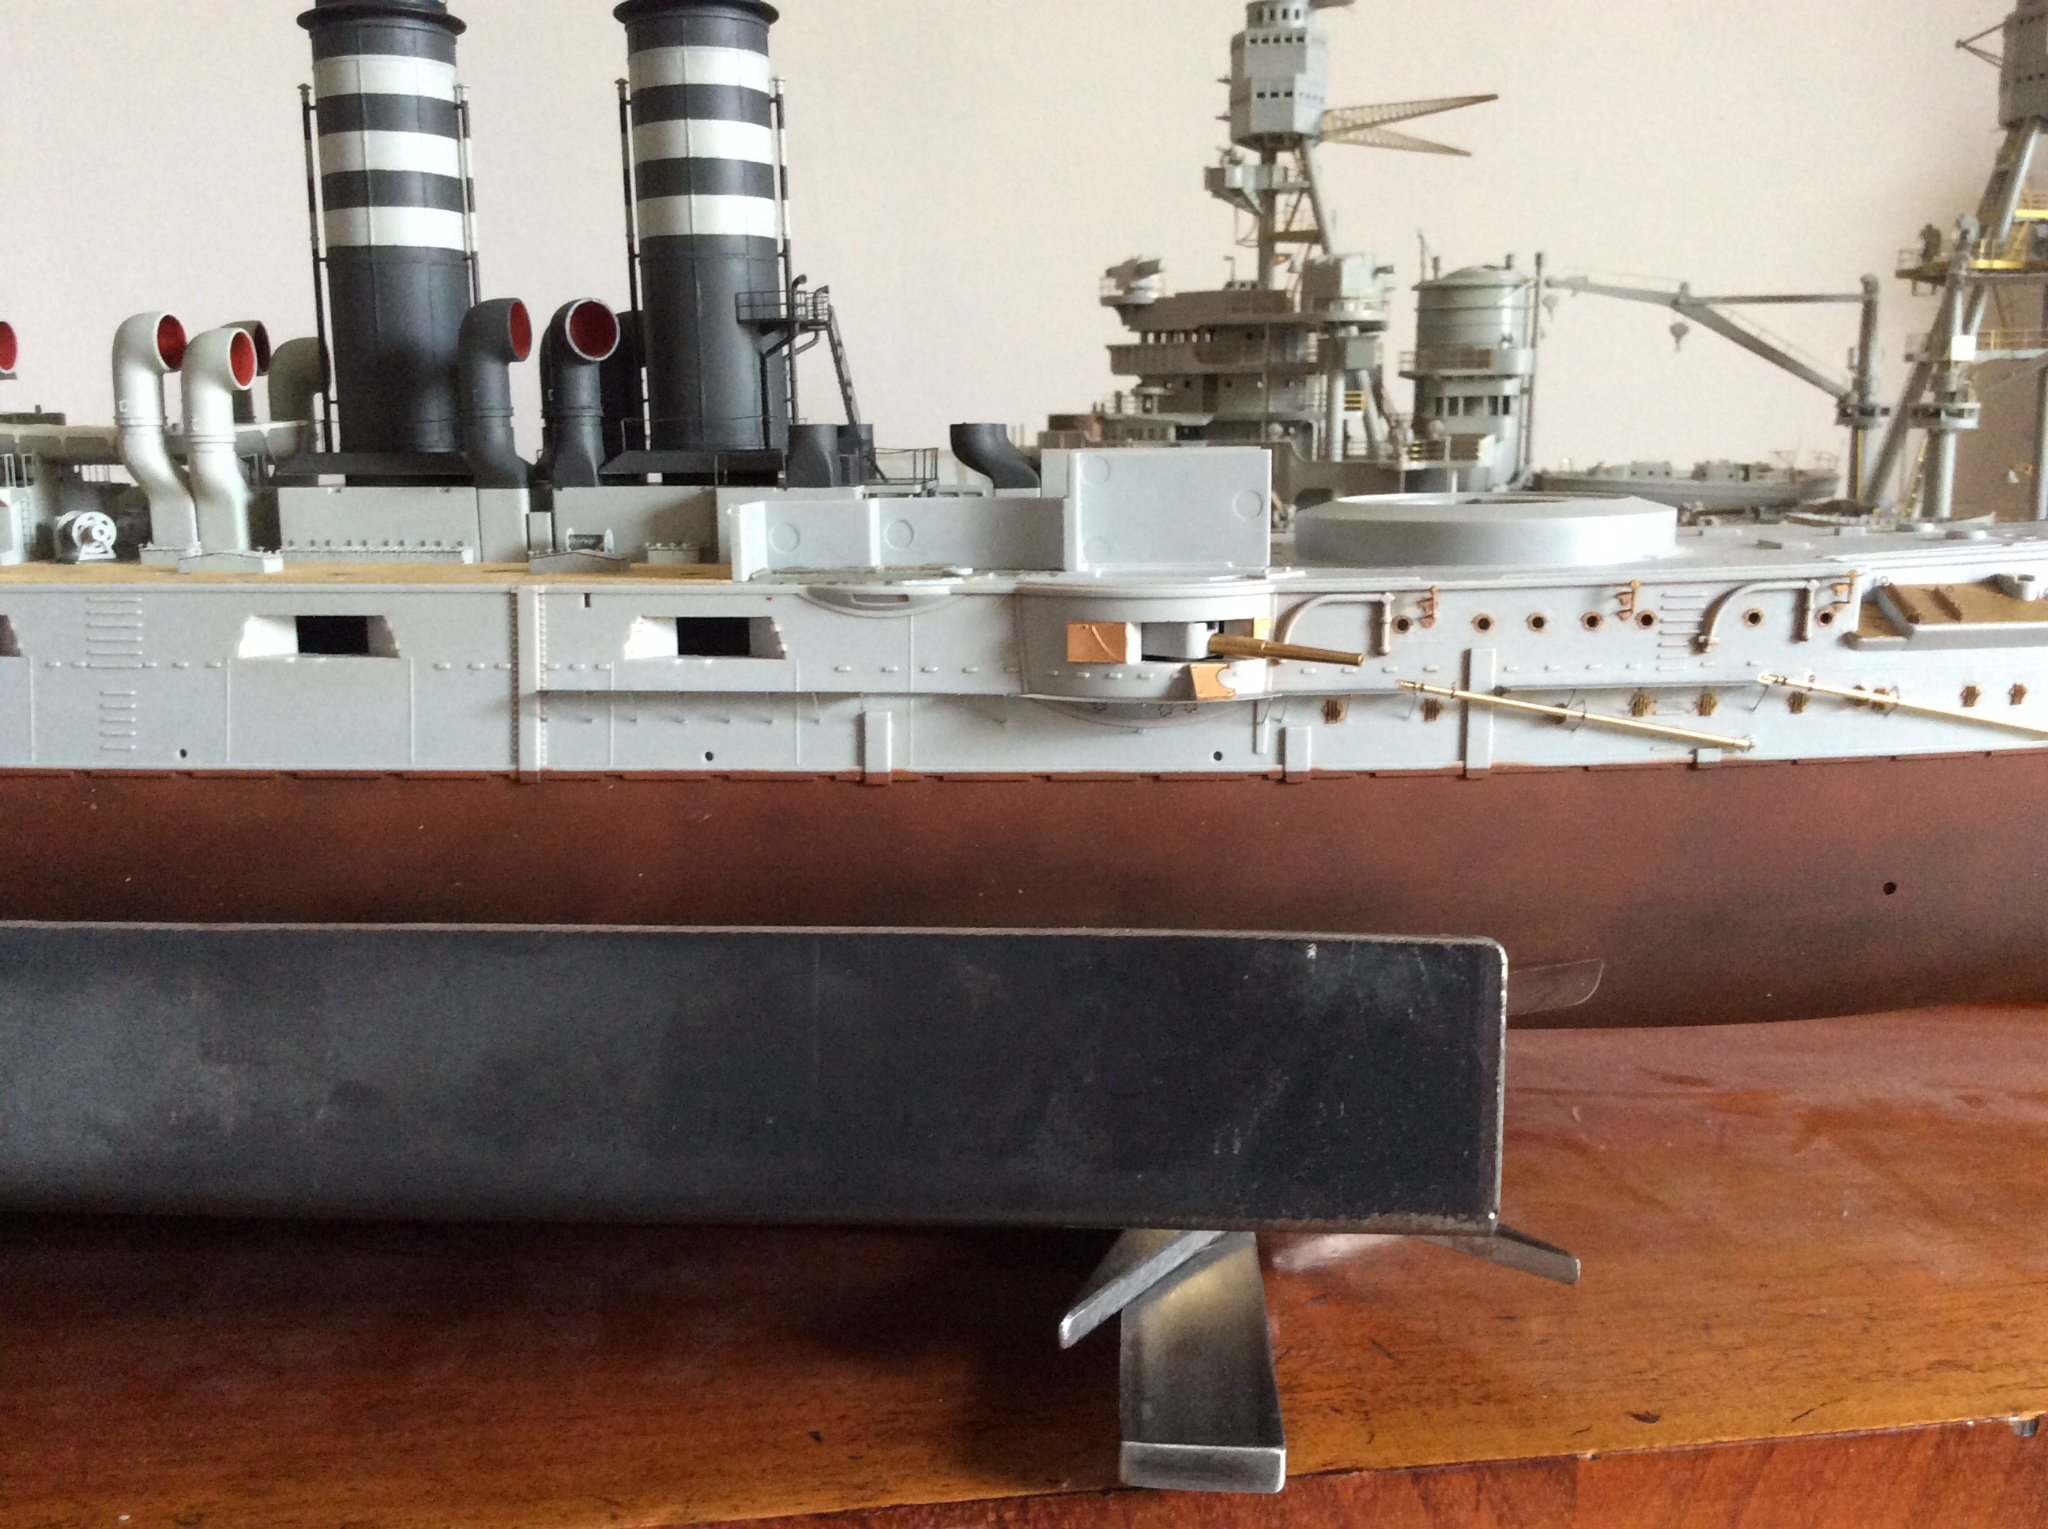
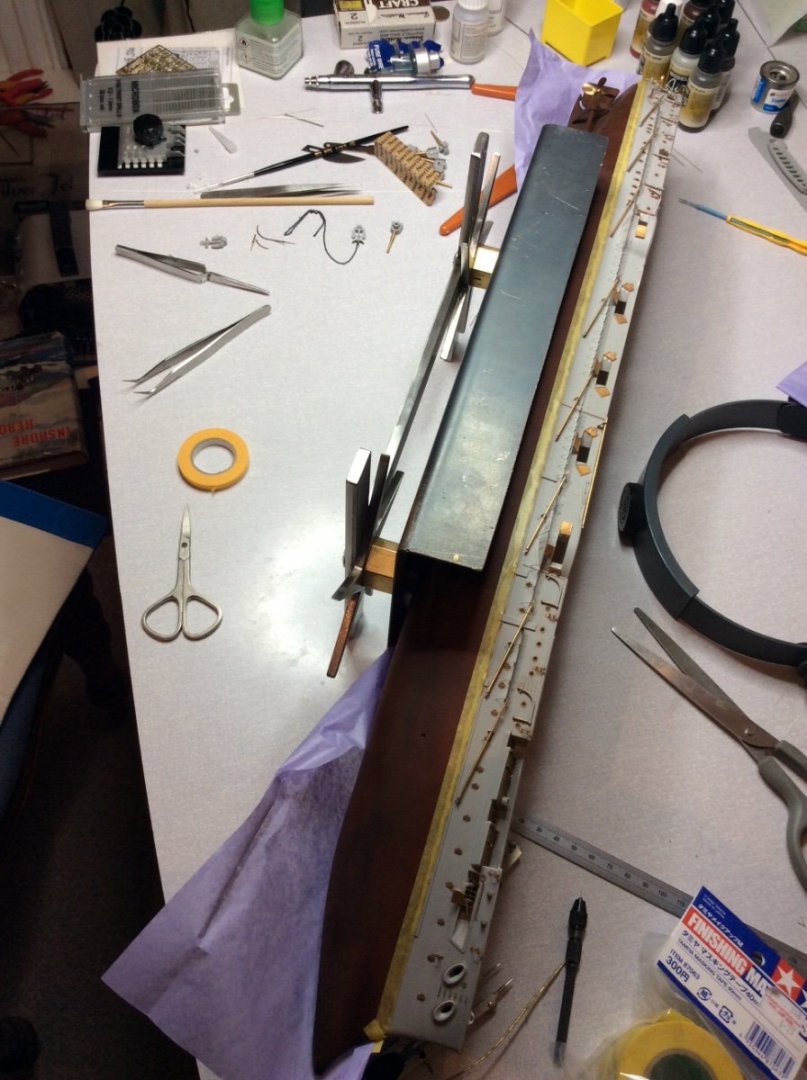
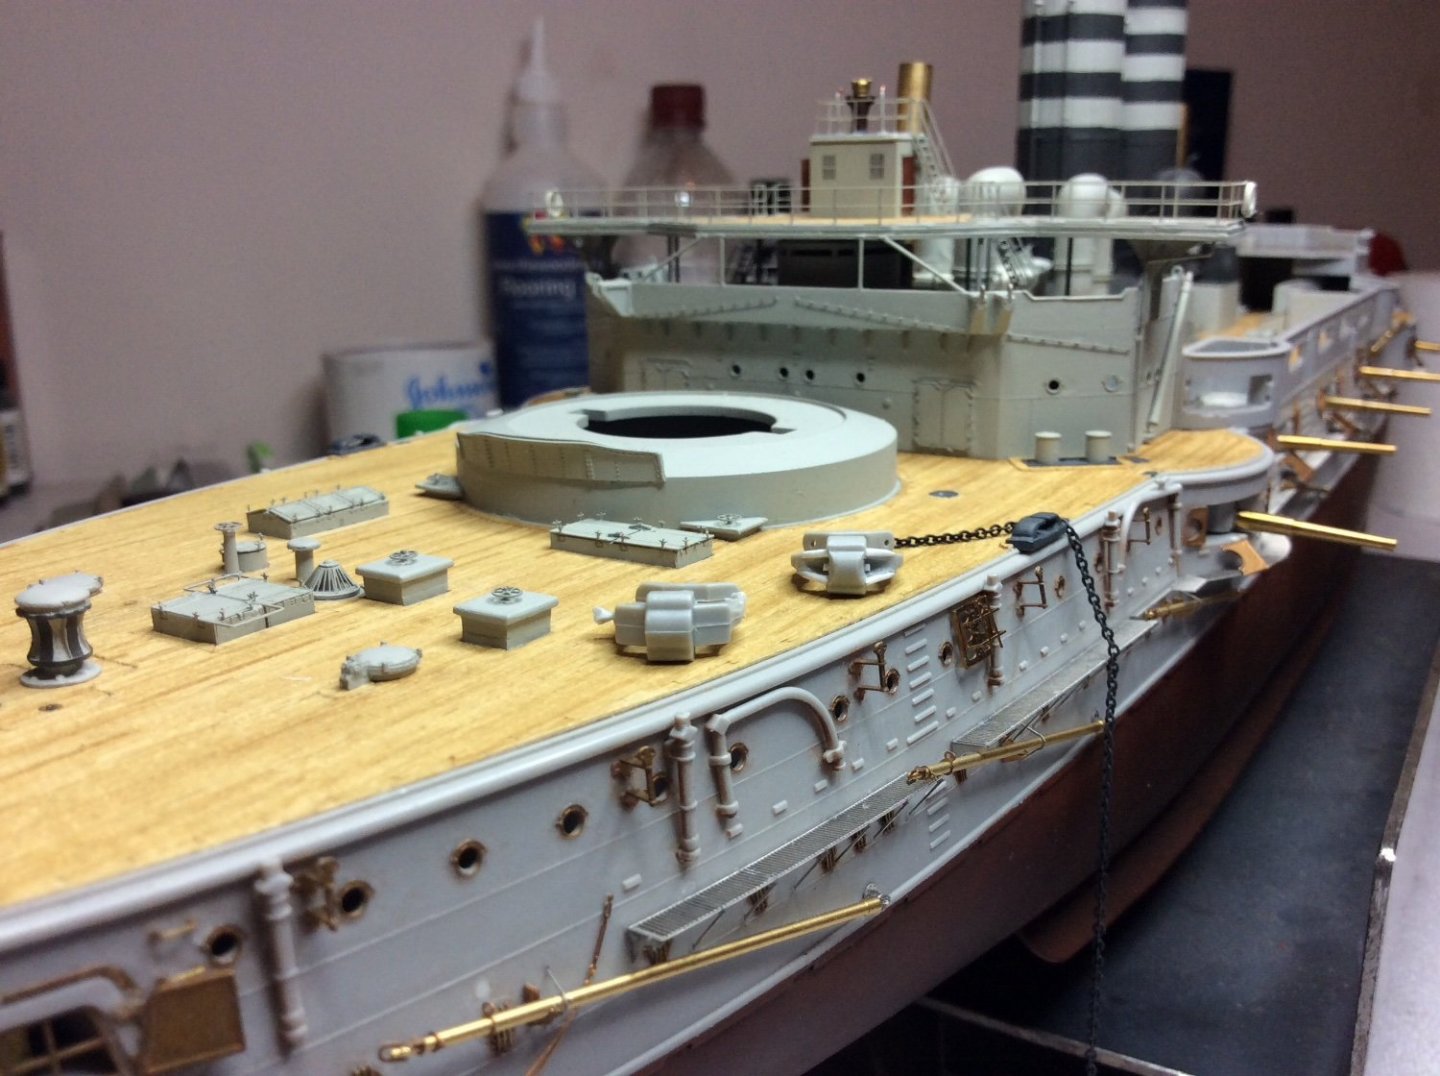
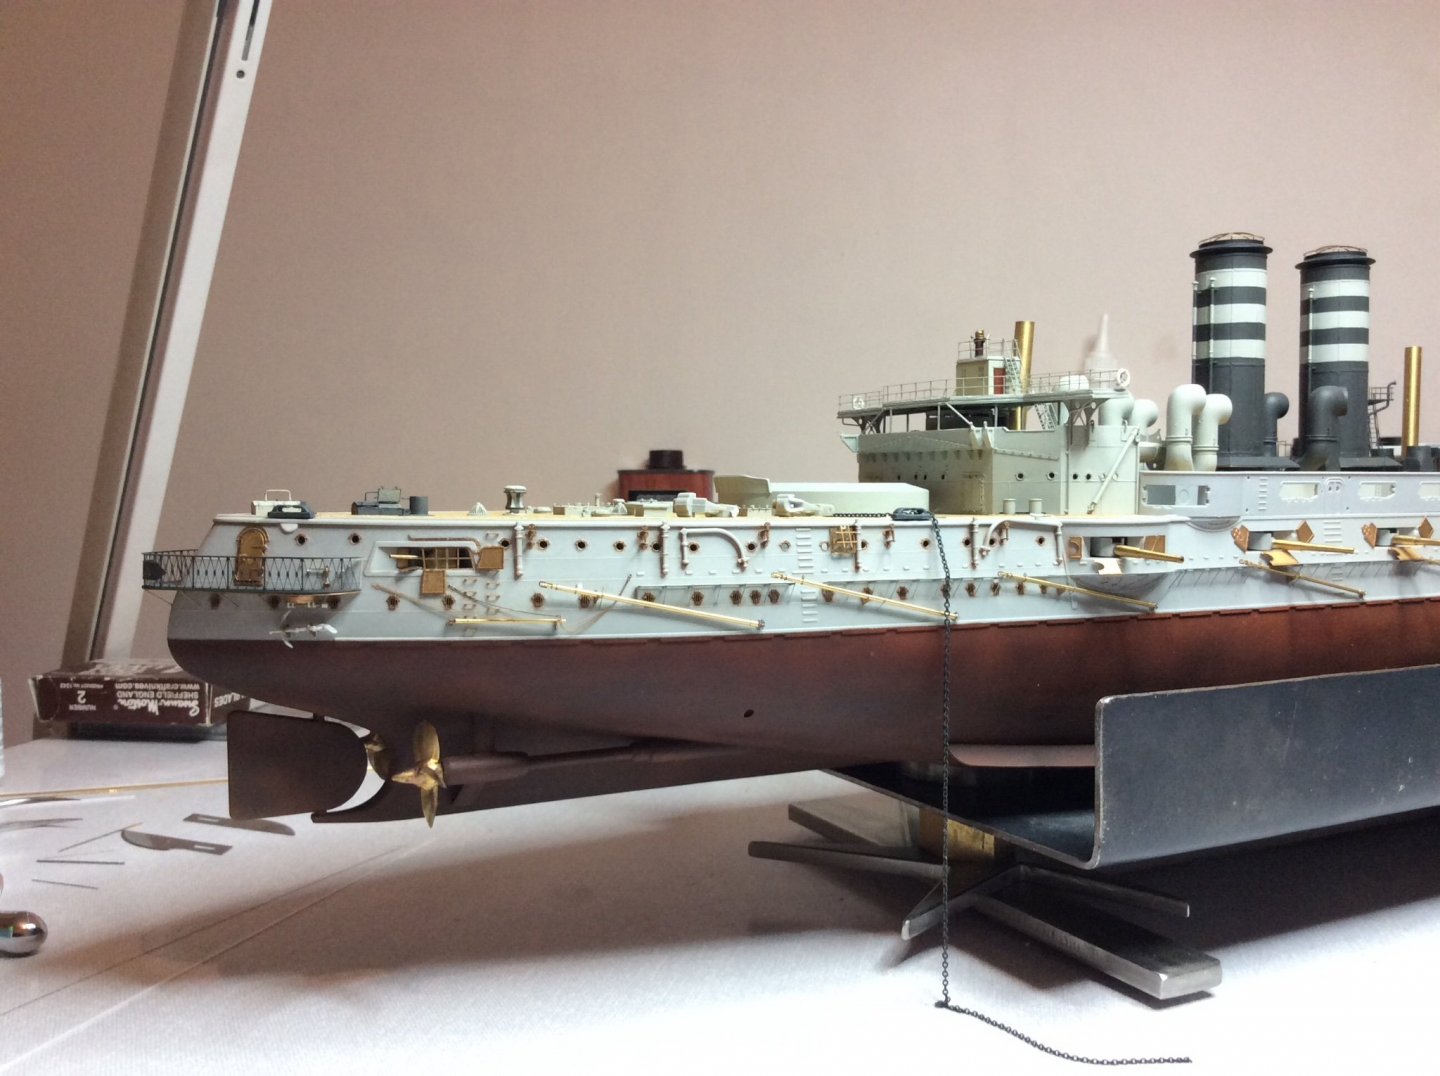
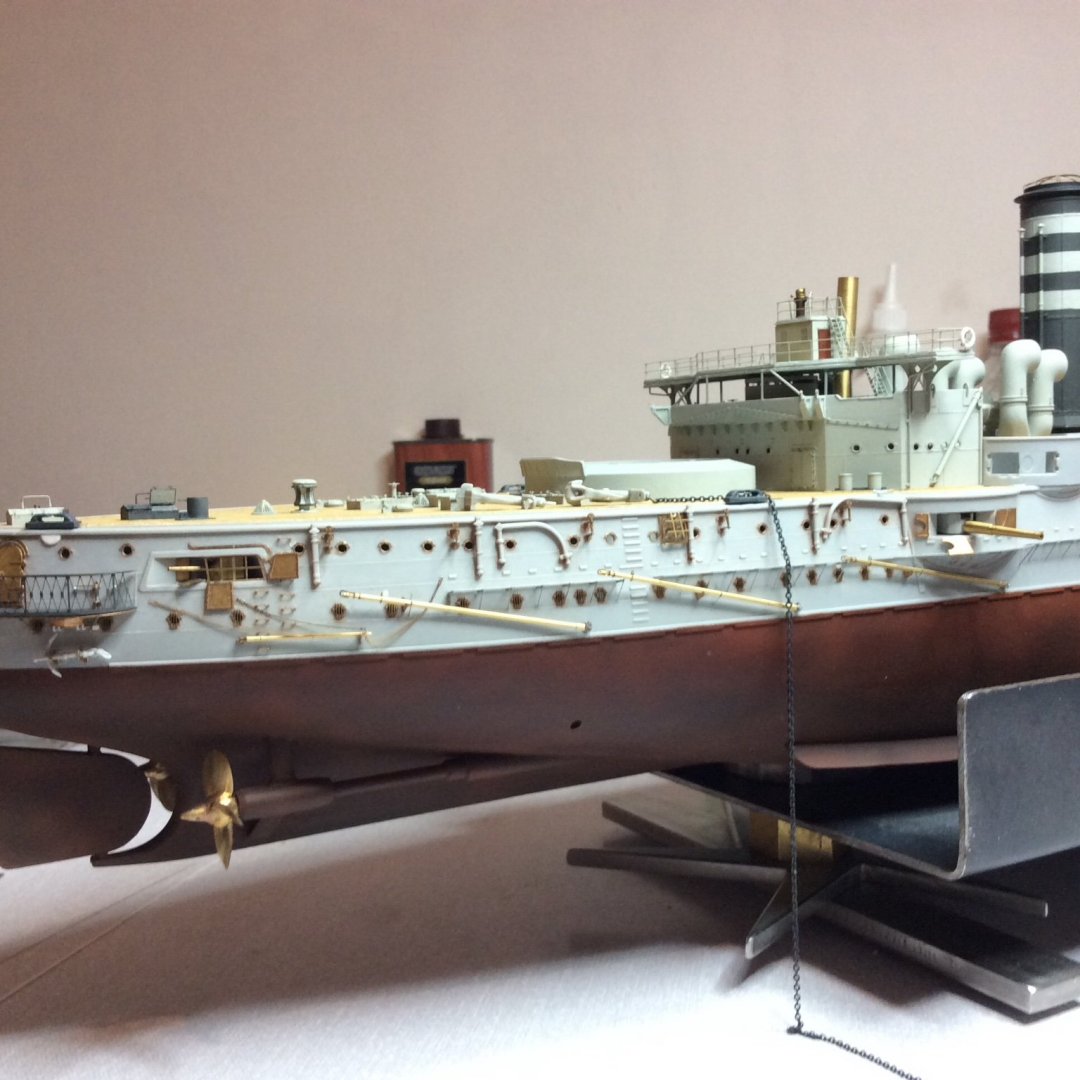
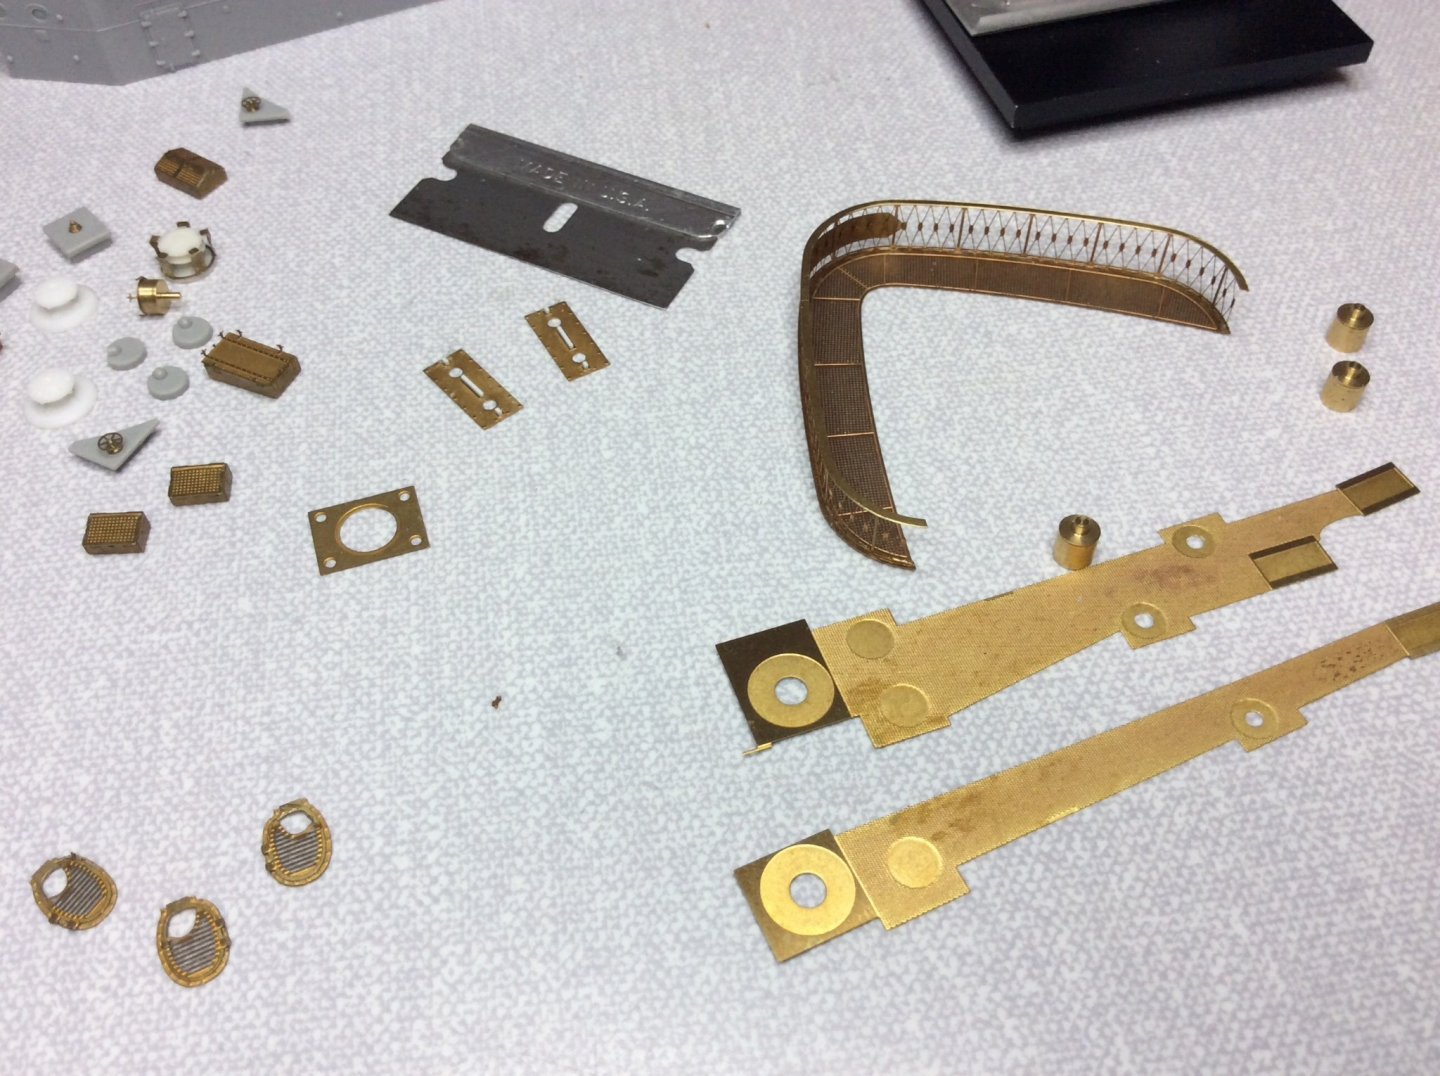
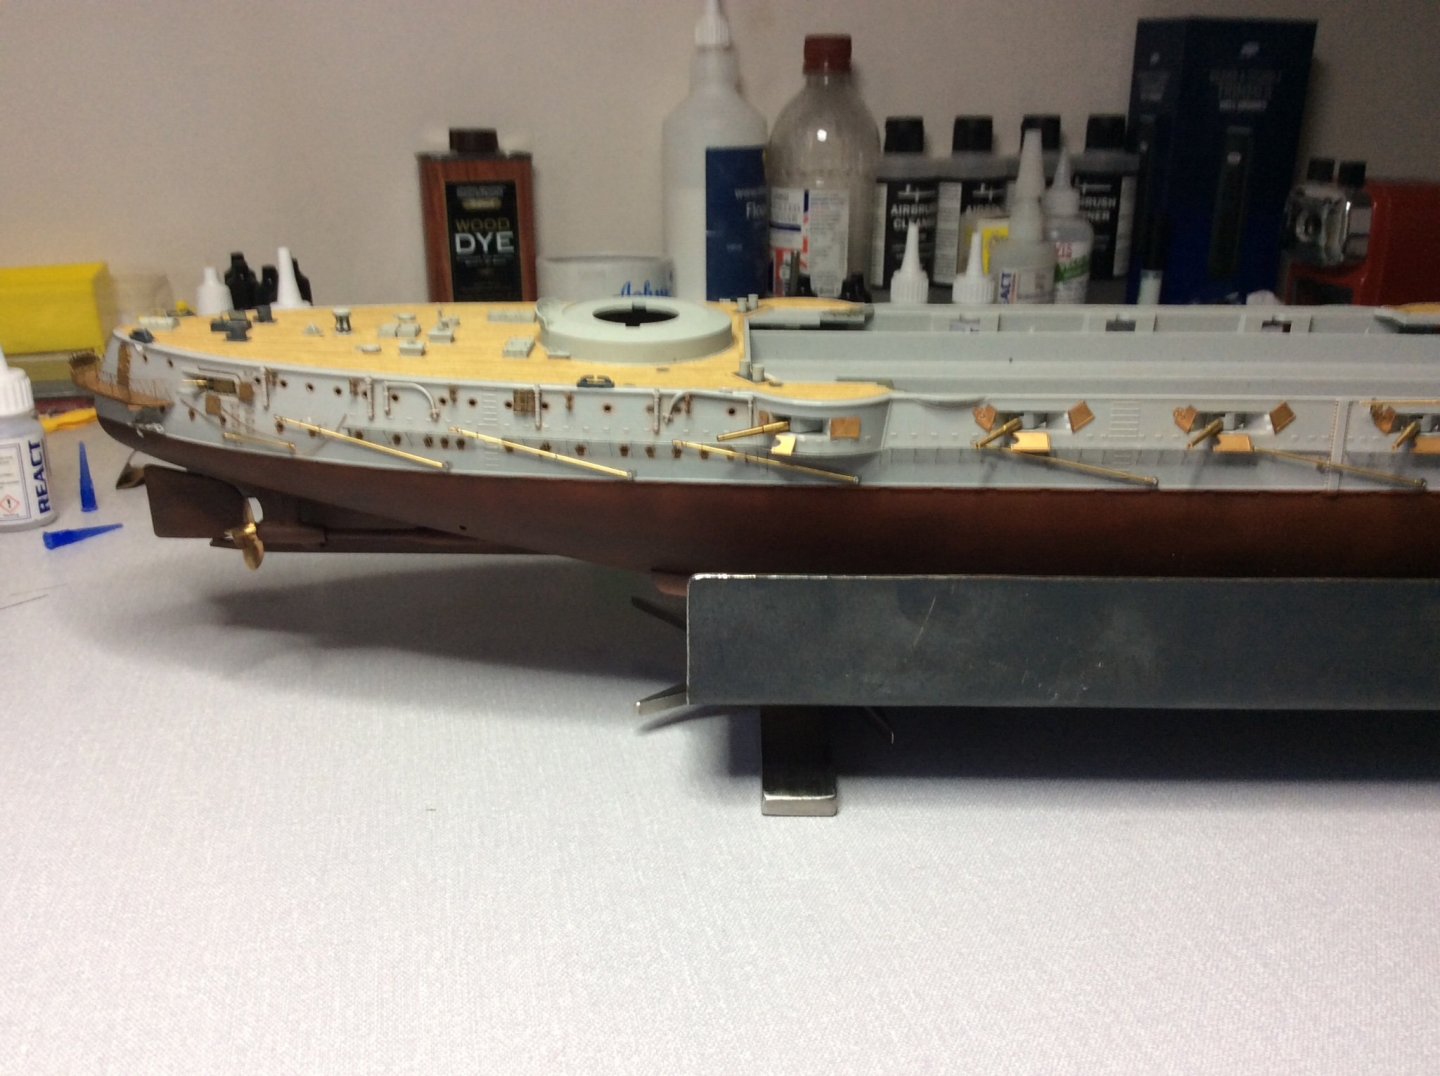
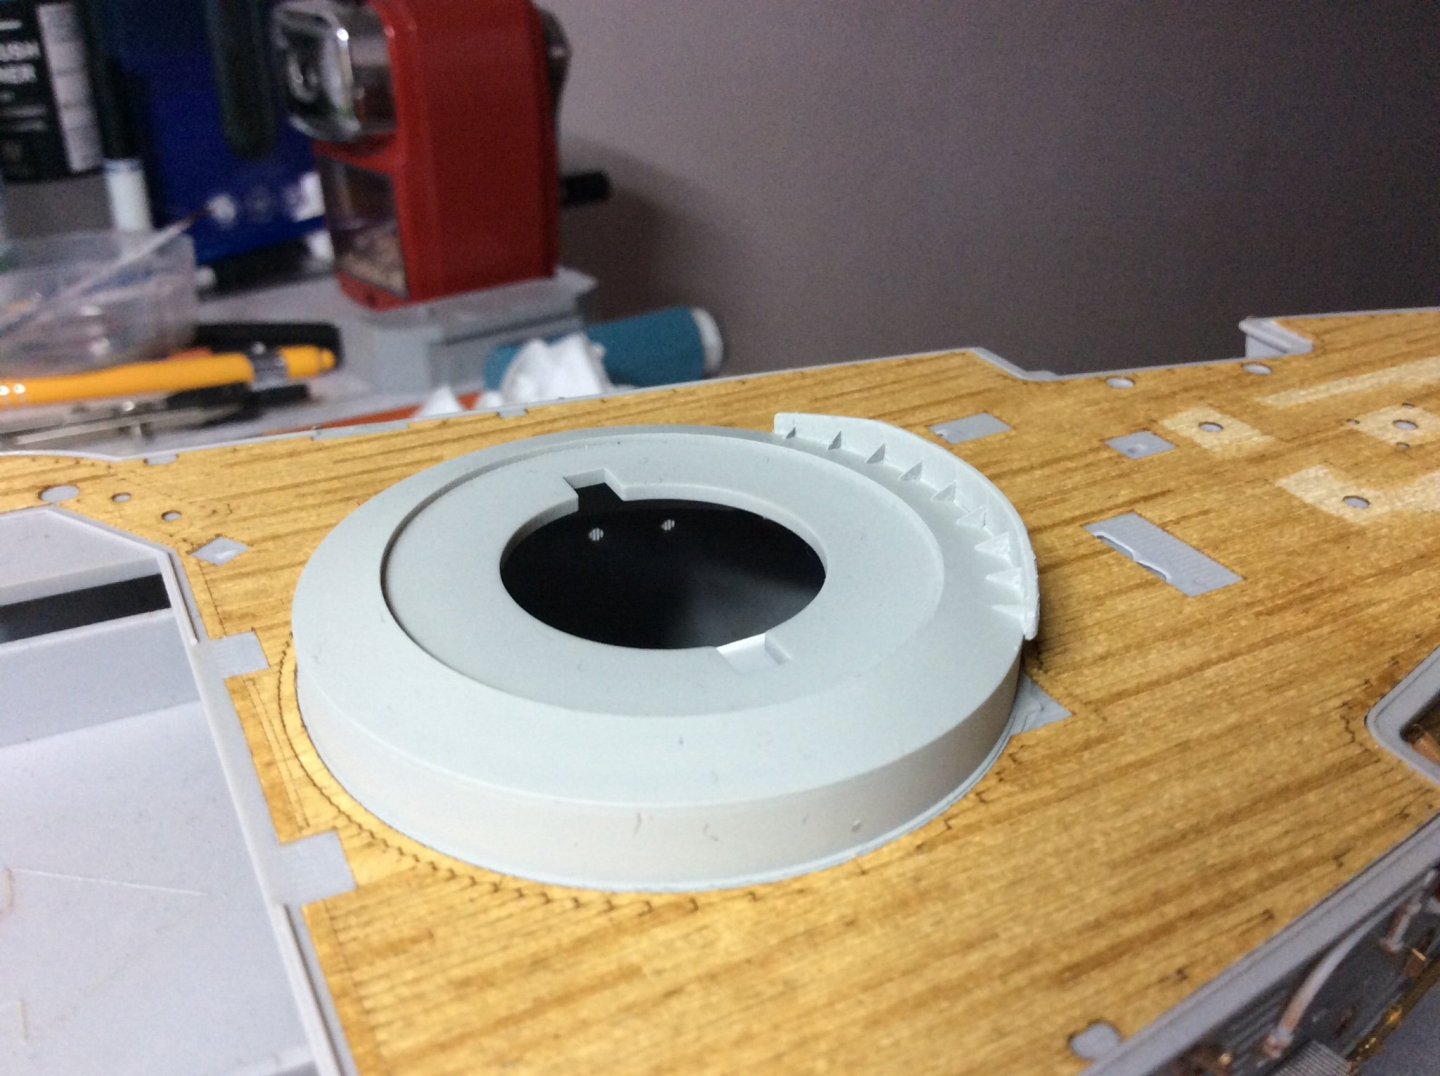
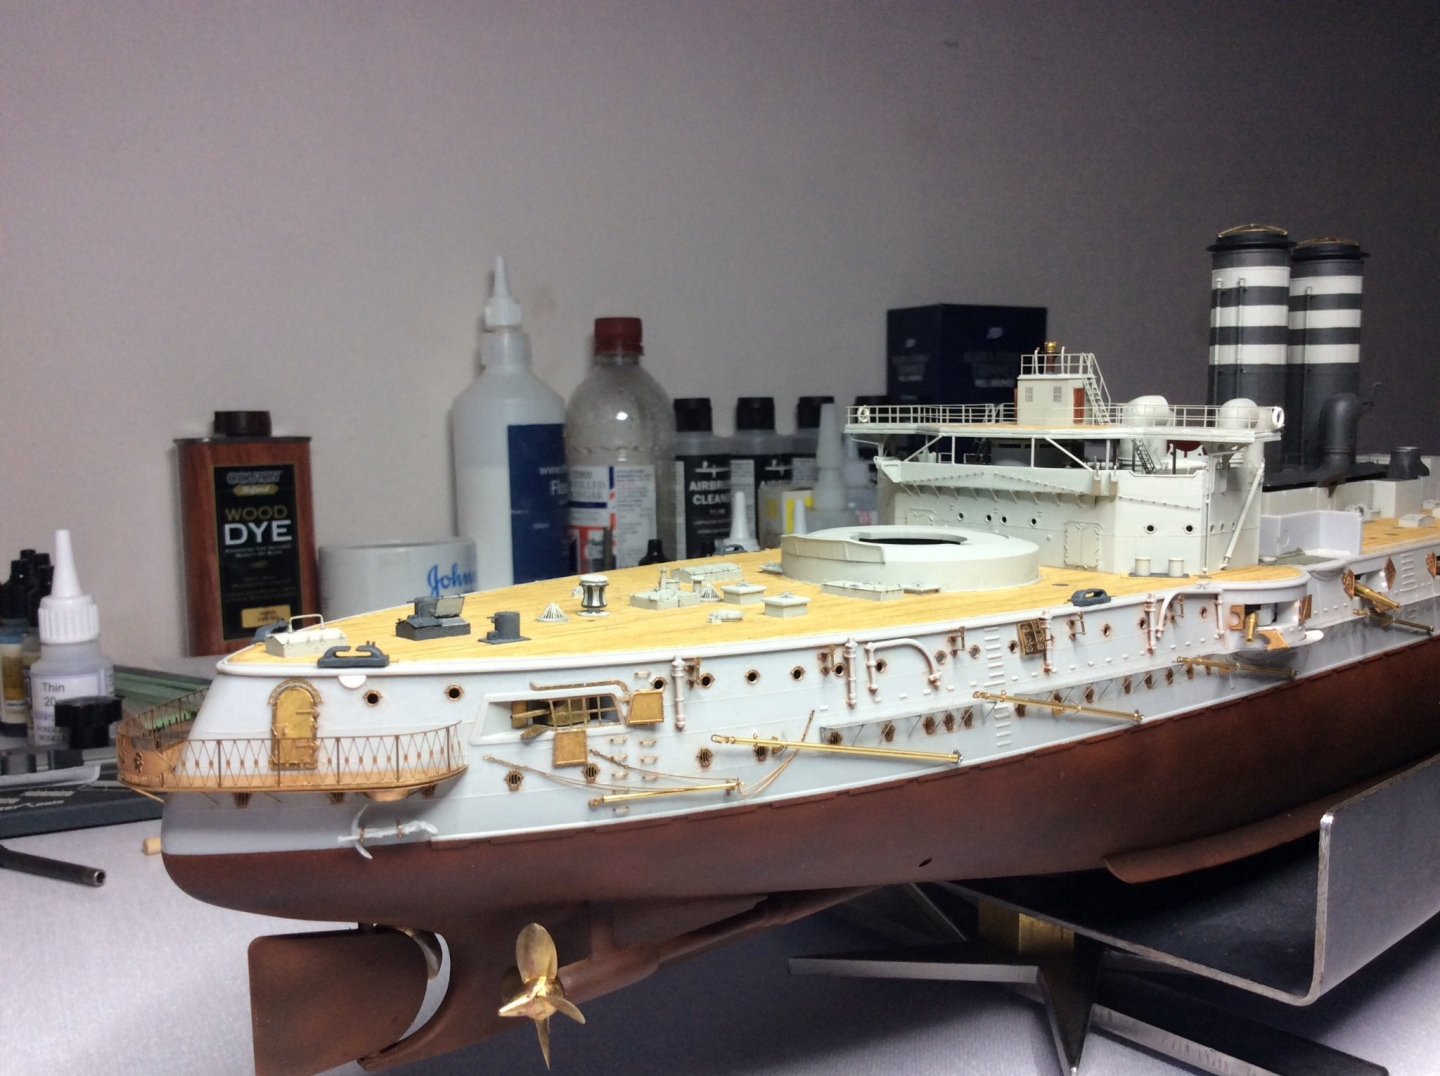
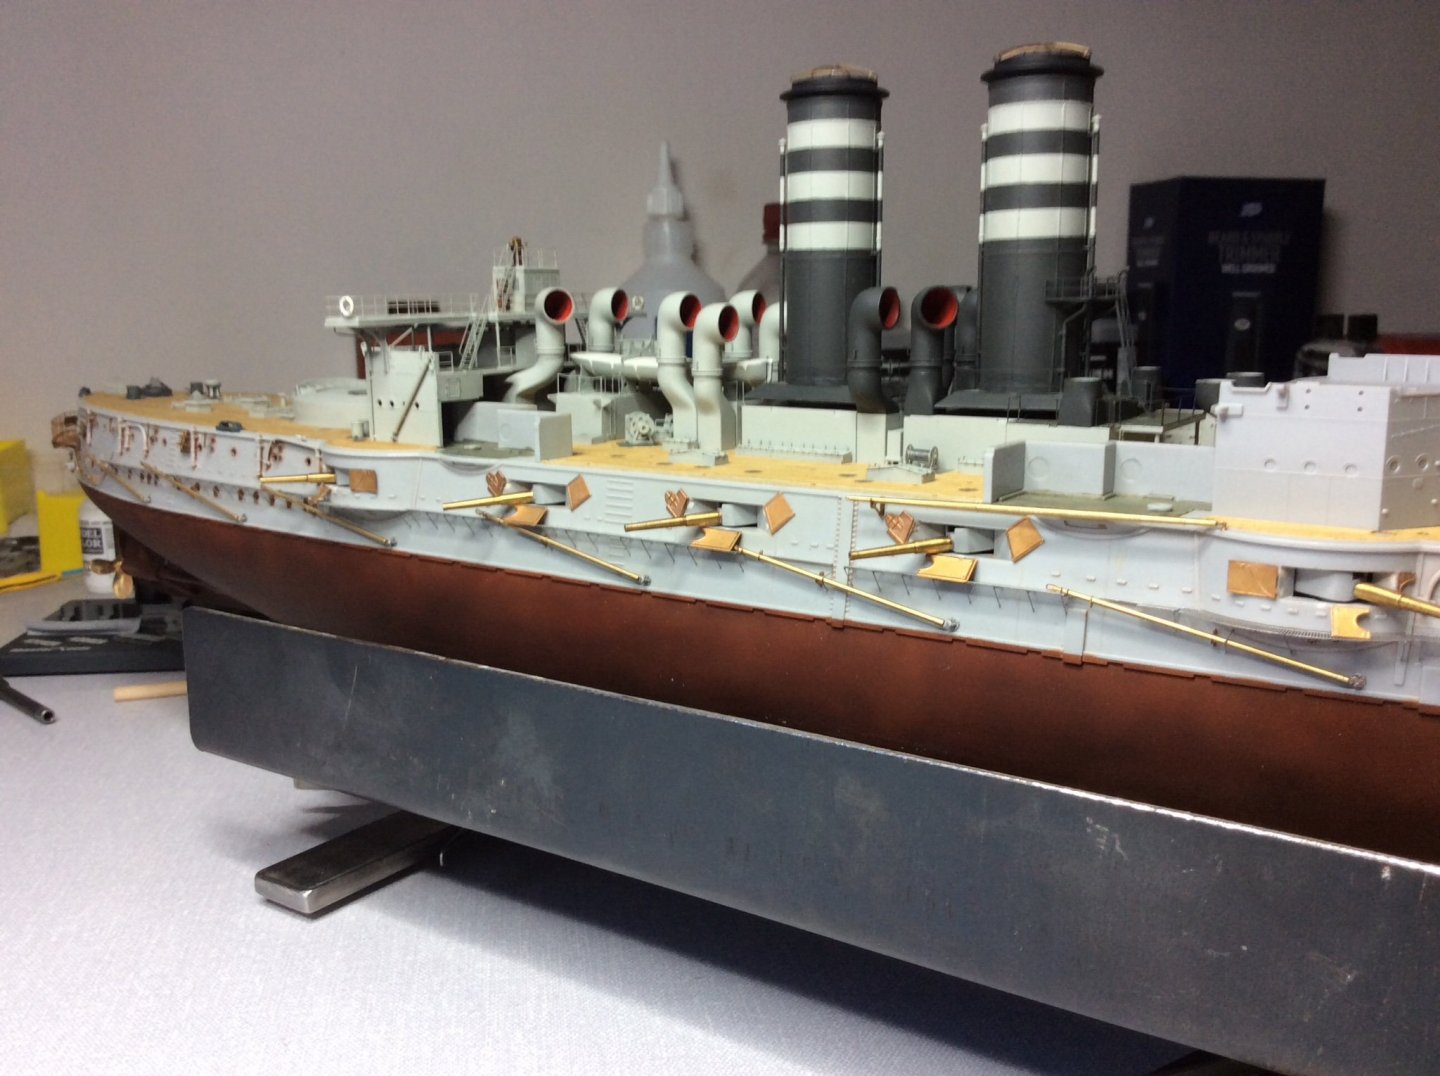
Hello again guys, hope everyone is well and happy, it’s time for an update on progression of Mikasa. I have been adding photo etch and brass fittings to starboard side hull and have now more or less completed this side, have to say this is quite a busy hull. Only when you compare it with the port side do you realise just how much detail you are adding. It’s pretty much the same procedure all the way along the hull. Glad l made the frame for supporting the hull on its side, works well, although I did knock a small piece of through my own fault due to not having a tidy workstation, and immediately said this is rubbish I need lots of room to manoeuvre this to give me a chance , so hit table with a tidy bomb. 😂 what a difference that made. 👍 Only when I got towards the stern had a few changes to break up the monotony, small boom at waterline and stern walk, stern walk was quite hairy when it came to installing, only fitting the lower half, mental fitting this, not easy. Well all I can say is better lucky as gid. 😂 somehow managed to get it to come in tight to the hull and at the right height. 🤪 The handrail part of stern walk is just sitting in position just now, I want to paint this separately having an mahogany painted top rail. Also progressed with the forward deck, Fitted the breakwater to barbet, Note this is possibly not correct in the kit itself, to low down compared to the same part on stern, so decided to cut it of, moved it up about 2mm. Think this is better now, so watch for that one if you’re following in my footsteps. Masked up and painted, first time used air brush since painting funnels. No mishaps. 👍 Also stained wooden deck and glued in position, like the wet method, using white glue. Only grumble I forgot to scrape small part of plastic at bottom of barbet that allows the deck to sit tight down, forgot I did this with the after deck, a well such is life. Shall put some photos on now . Take care everyone, shall continue with port side and forward deck details.


- 543 replies
-
- 13
-
-
This is one busy model. And delicate, it’s not till you start to build one that you realise just how much time is involved. 👍
- 467 replies
-
- 4
-
-
- mikasa
- wave models
- (and 1 more)
-
Thanks Yves, think they’ll look at them when I’m gone and think of me, as I do with my mums paintings. Not a bad thing. The Titanic build will have to come after the Bismarck build unfortunately, but I will enjoy both, so there is an incentive to get on with the Mikasa. Wish they would expand on PONTOS set to upgrade some details for the 1902 version. Otherwise going to buy more of 1905 set to complete mine, dam expensive, wonder how I’ll run this past the wife. 😂
-
Thanks Yves, I’ll stick with Mikasa, that’s the goal, to finish a model, this goes to my eldest son Gordon, the next one goes to youngest son Rory, his is 1/200 Bismarck, last but not least Titanic 1/200 for eldest, my lovely daughter Charlotte. So my slipways are fully booked for the next few weeks. 😂 there’s about another 800 up the attic so I quest I’m not going to manage them all. 👀 not unless it goes like the film cacoon.
-
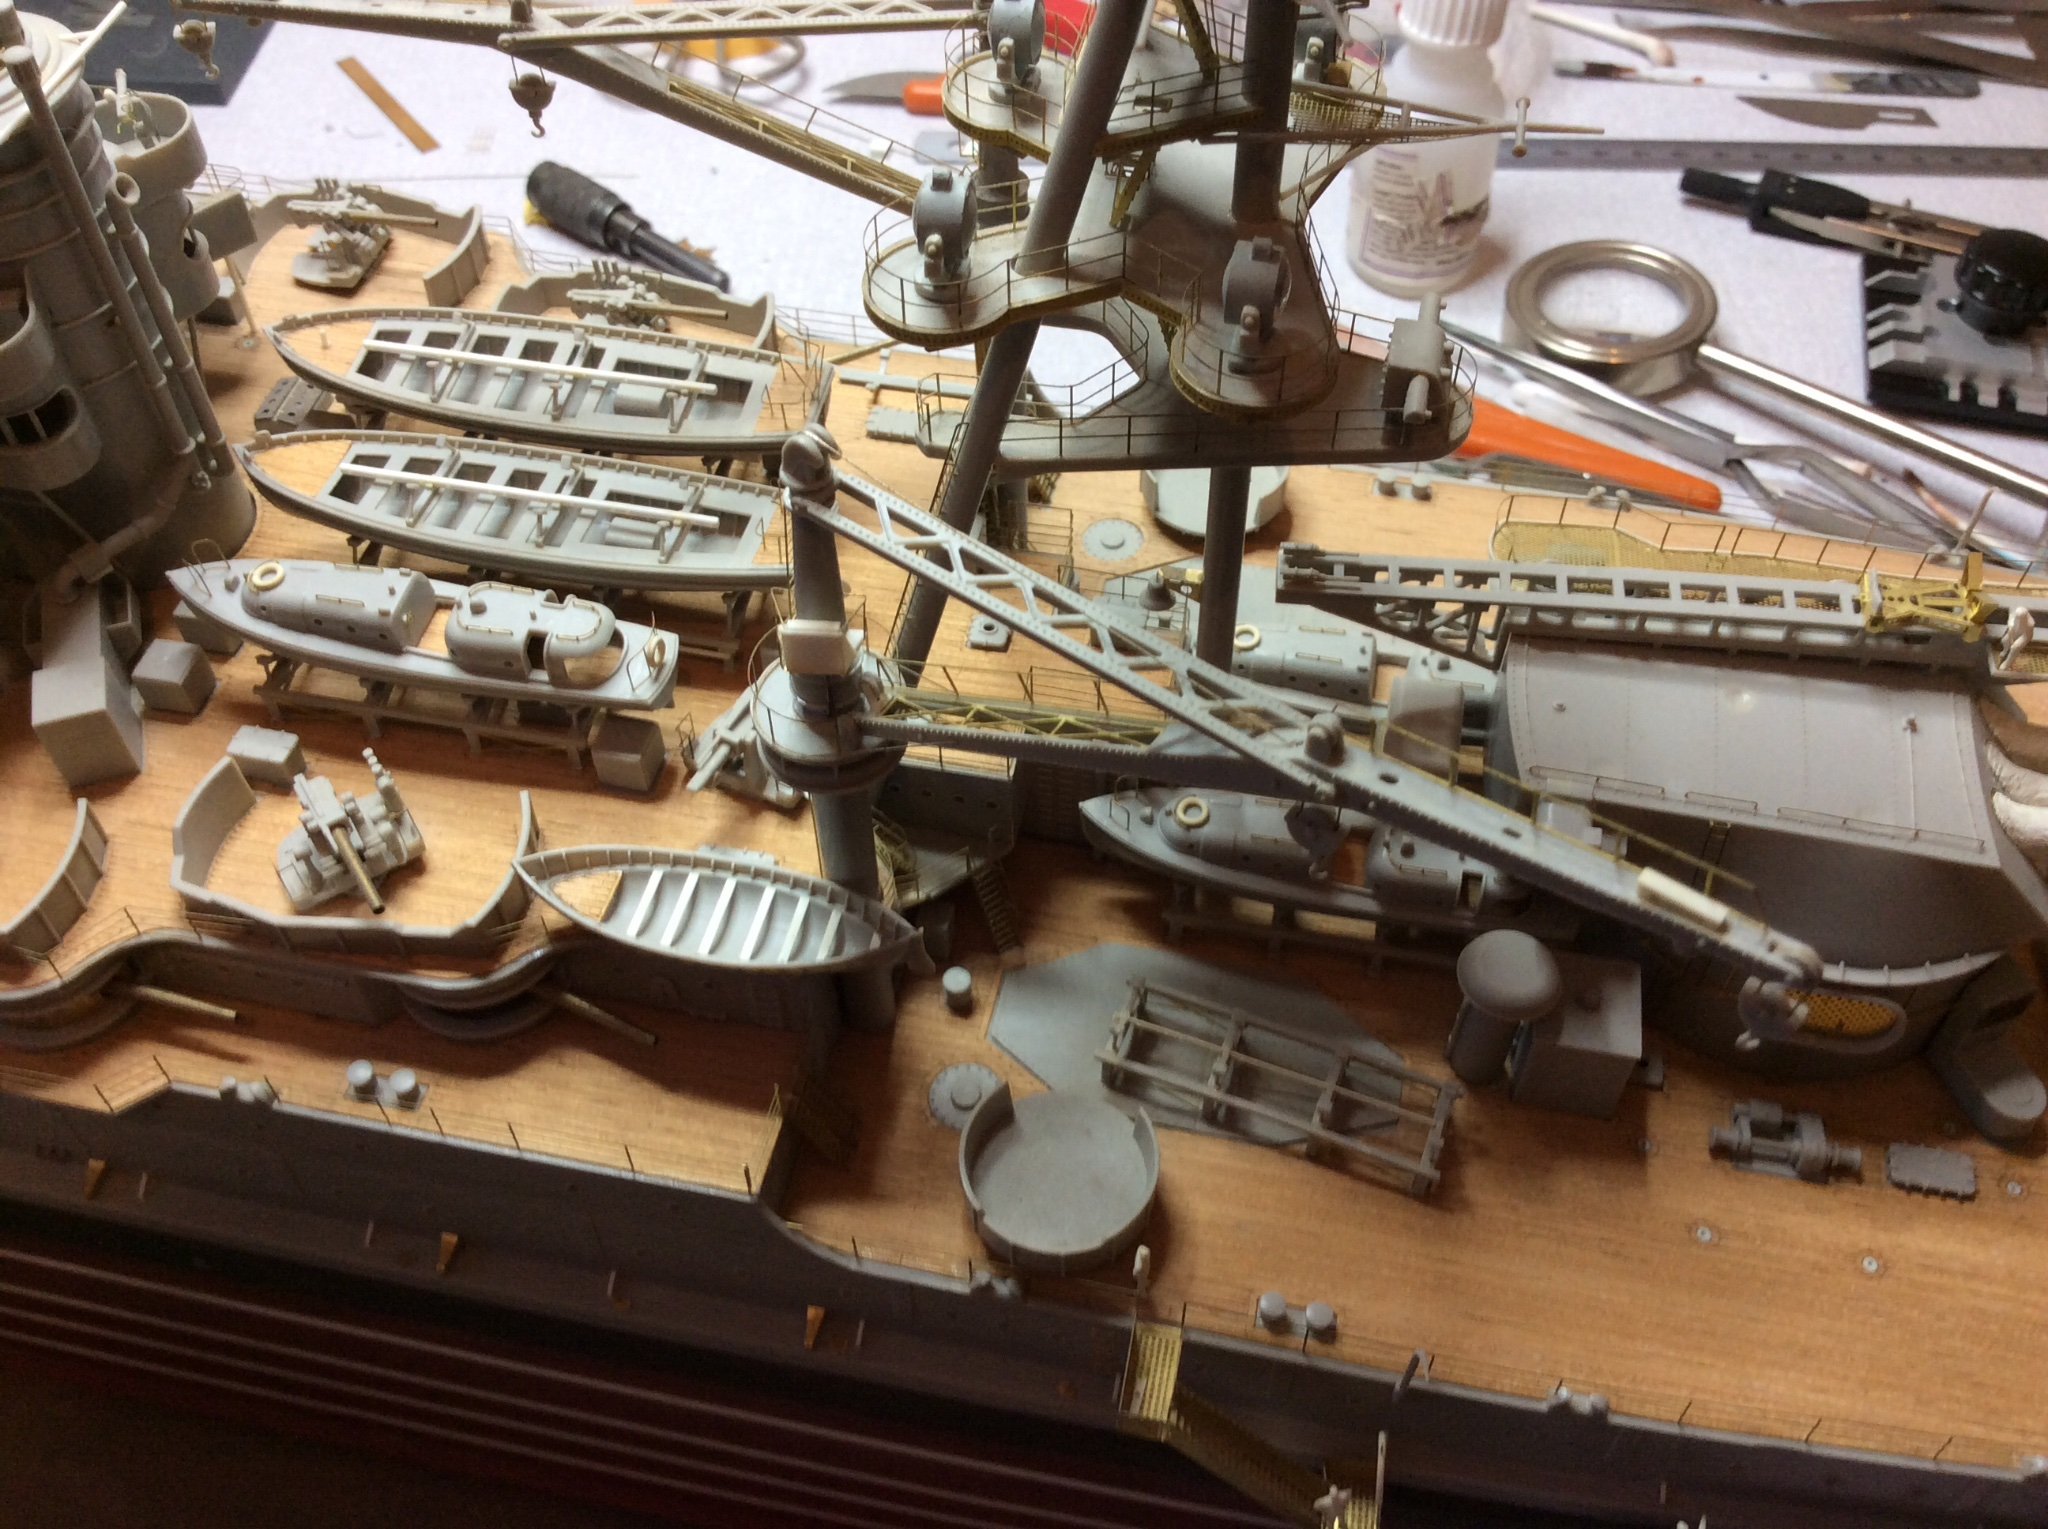
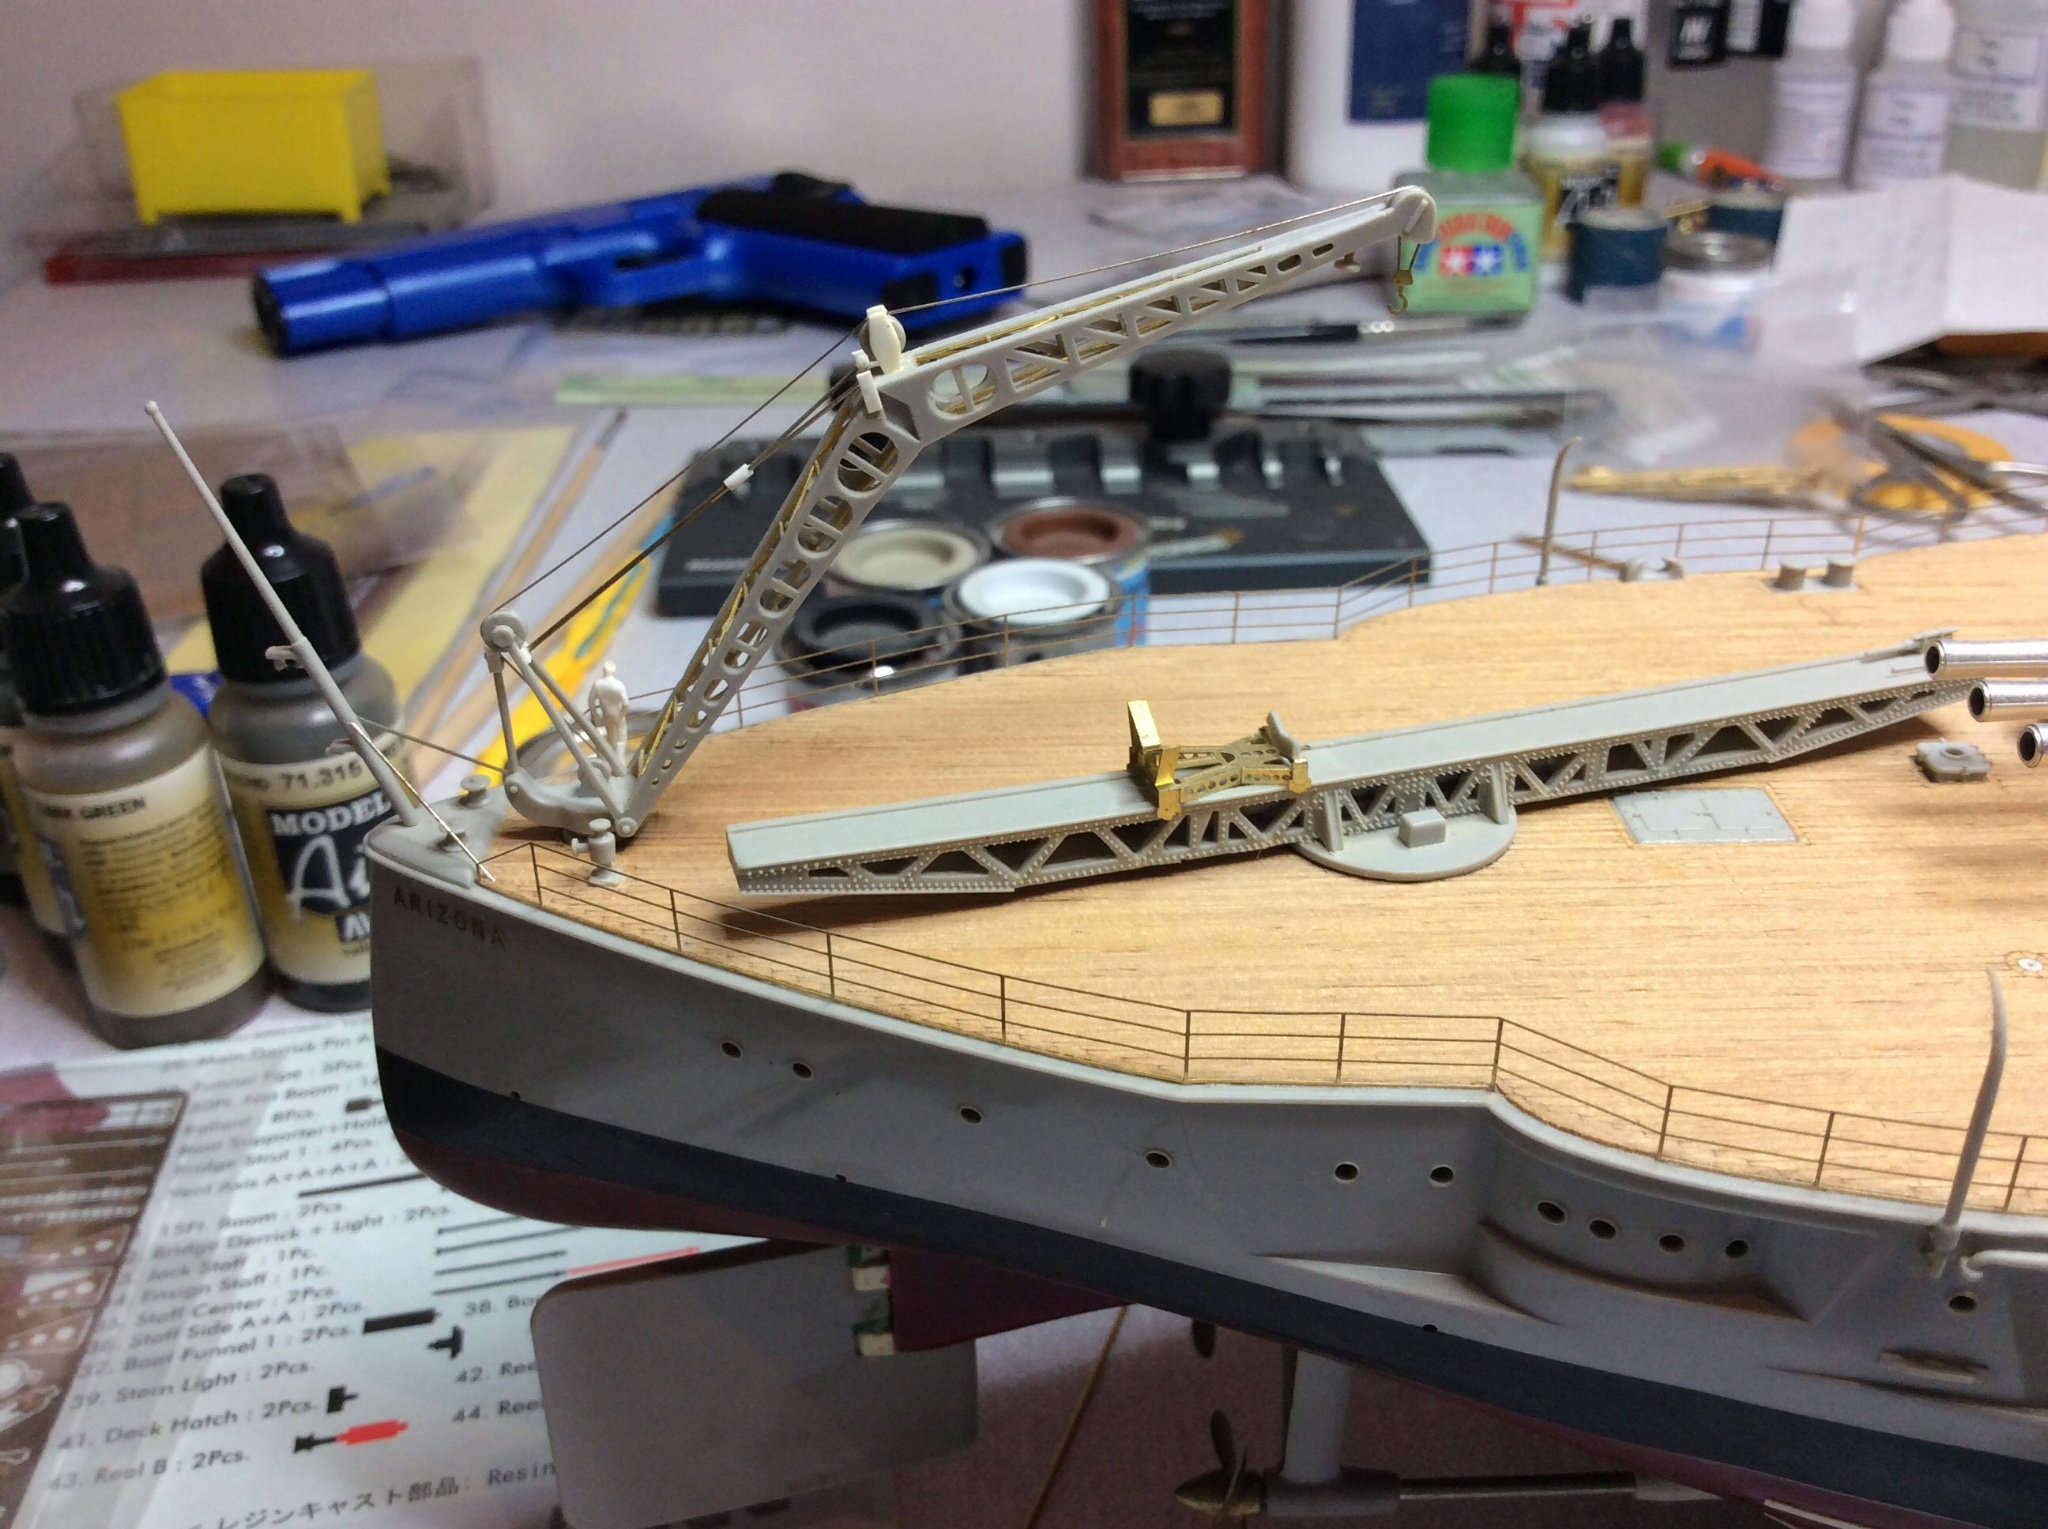
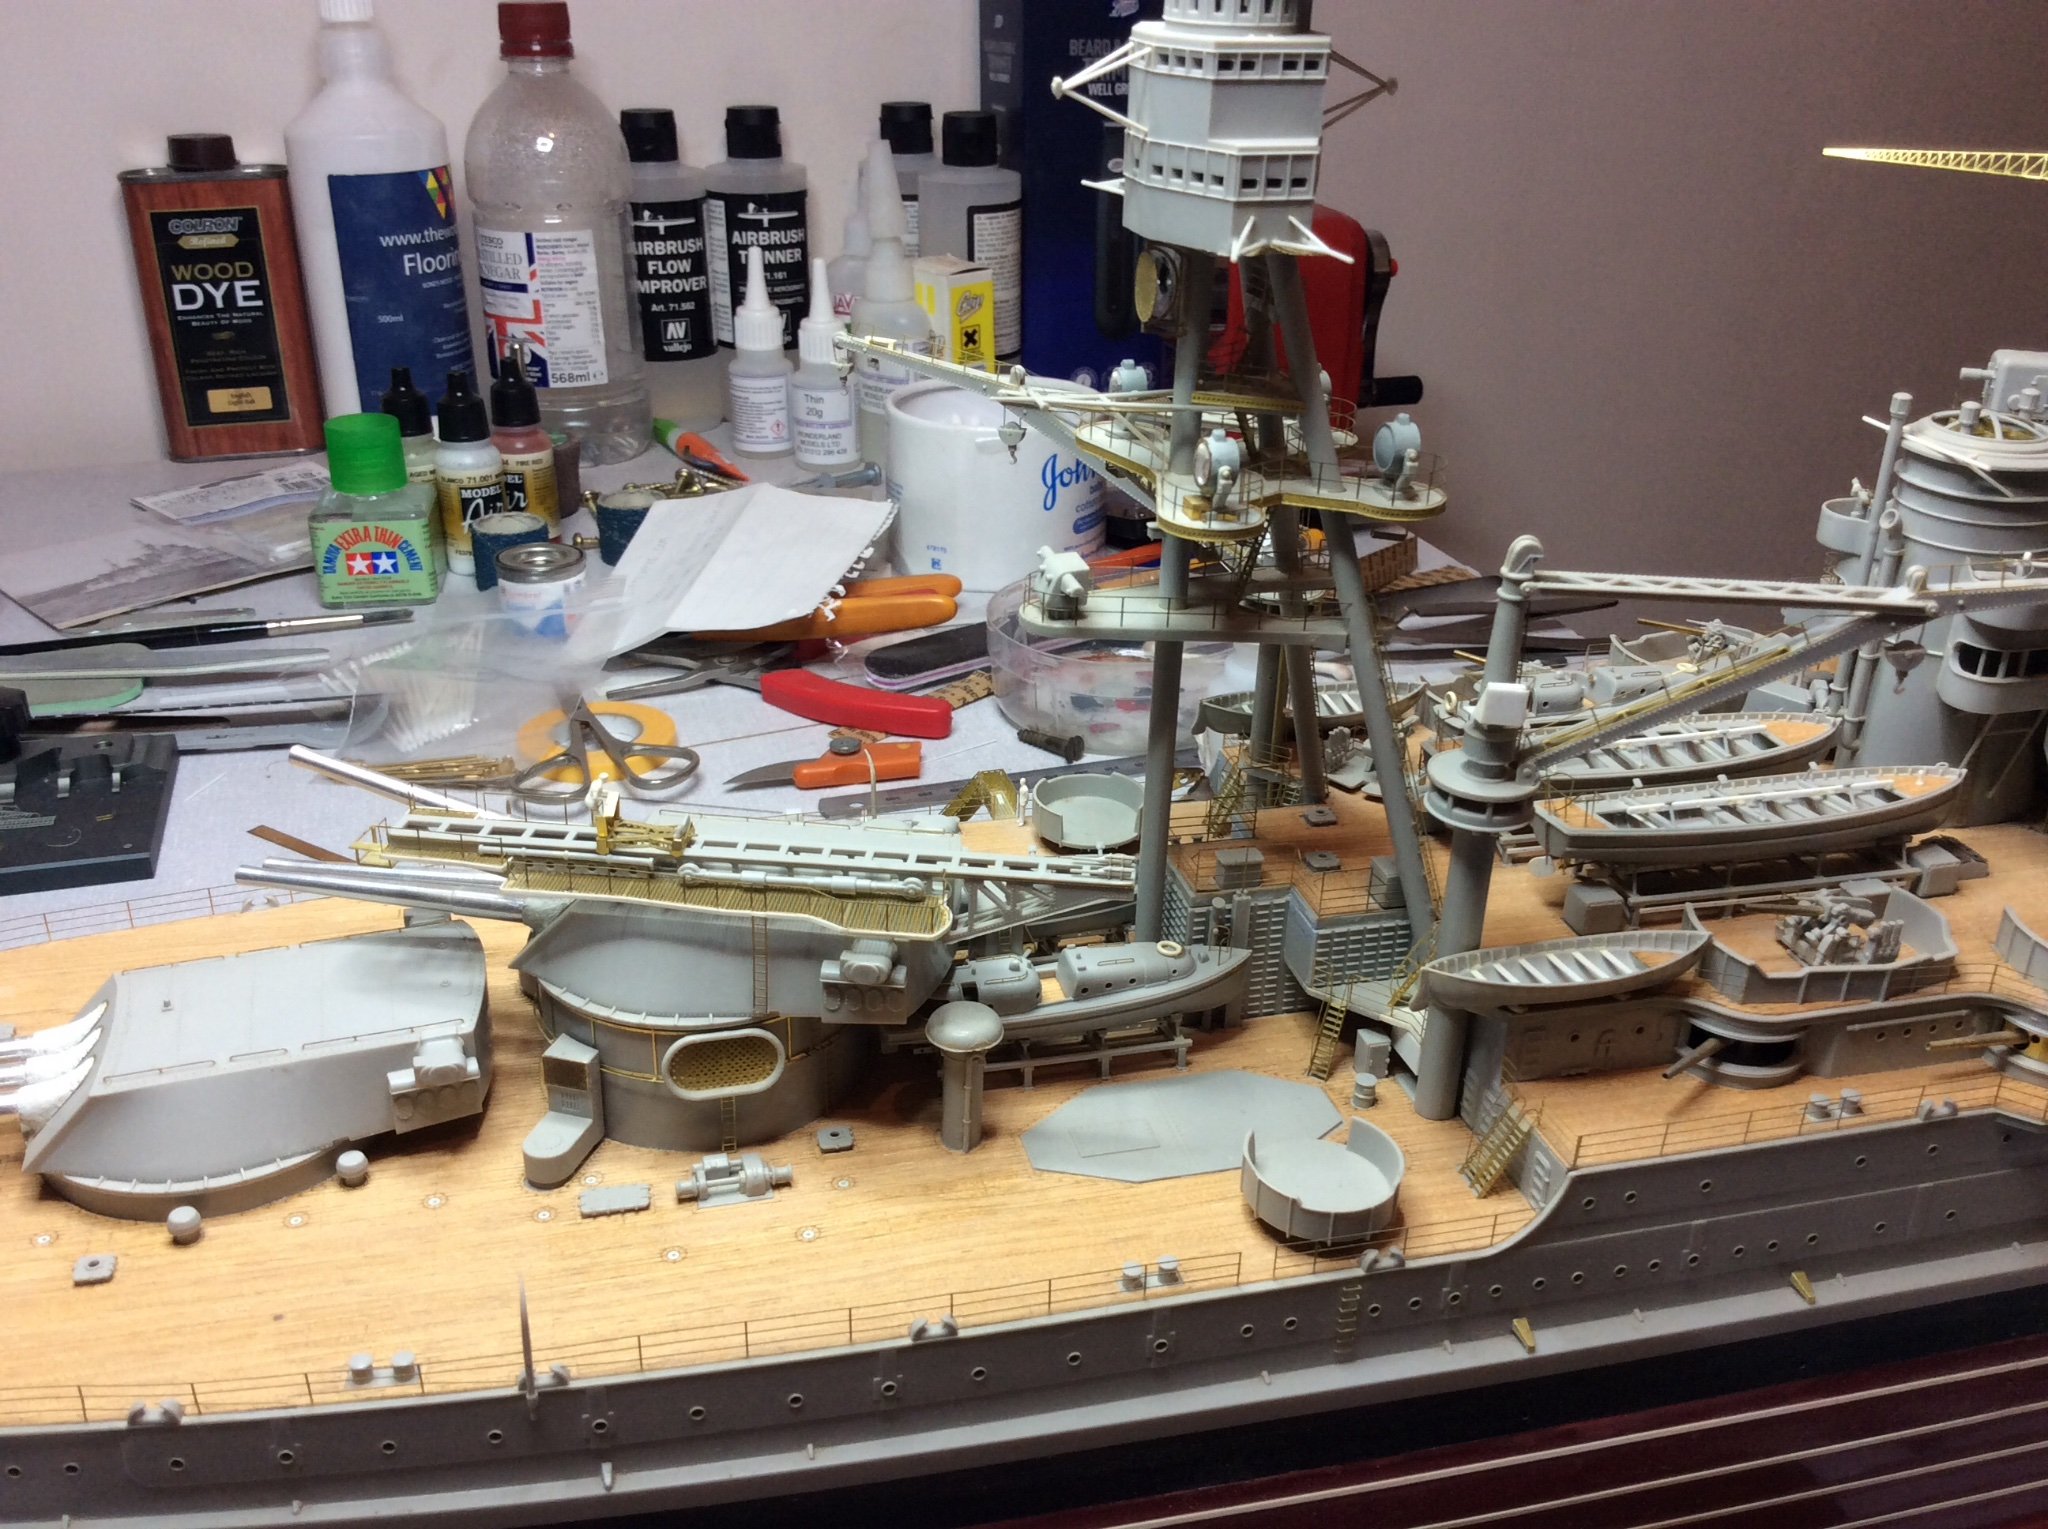
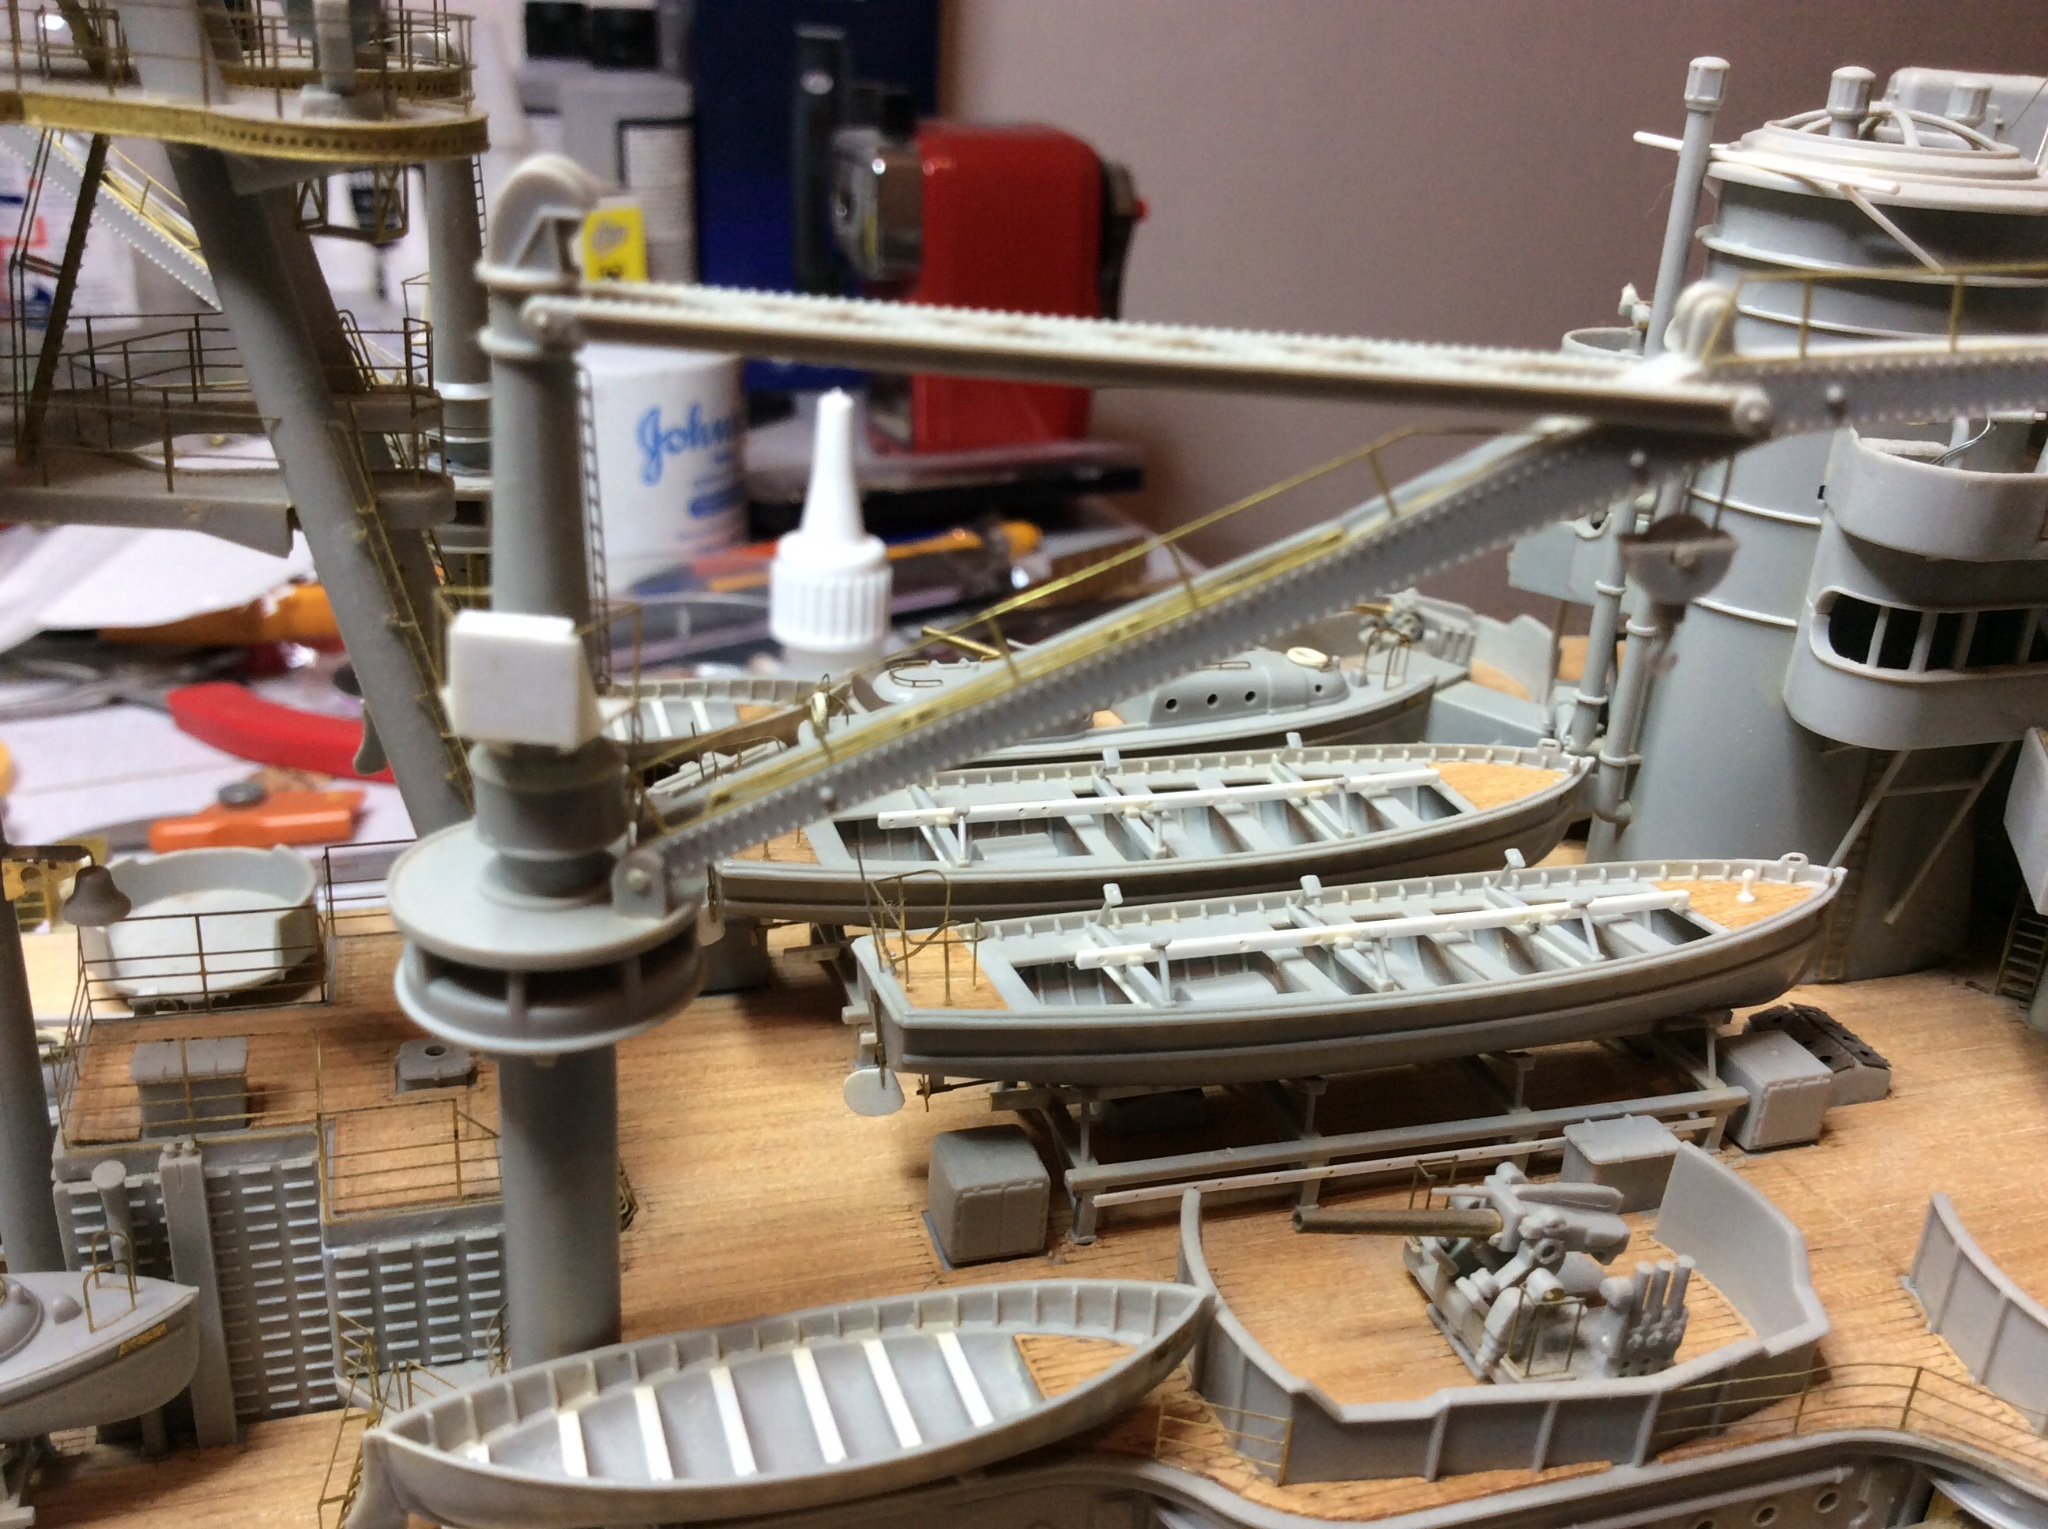
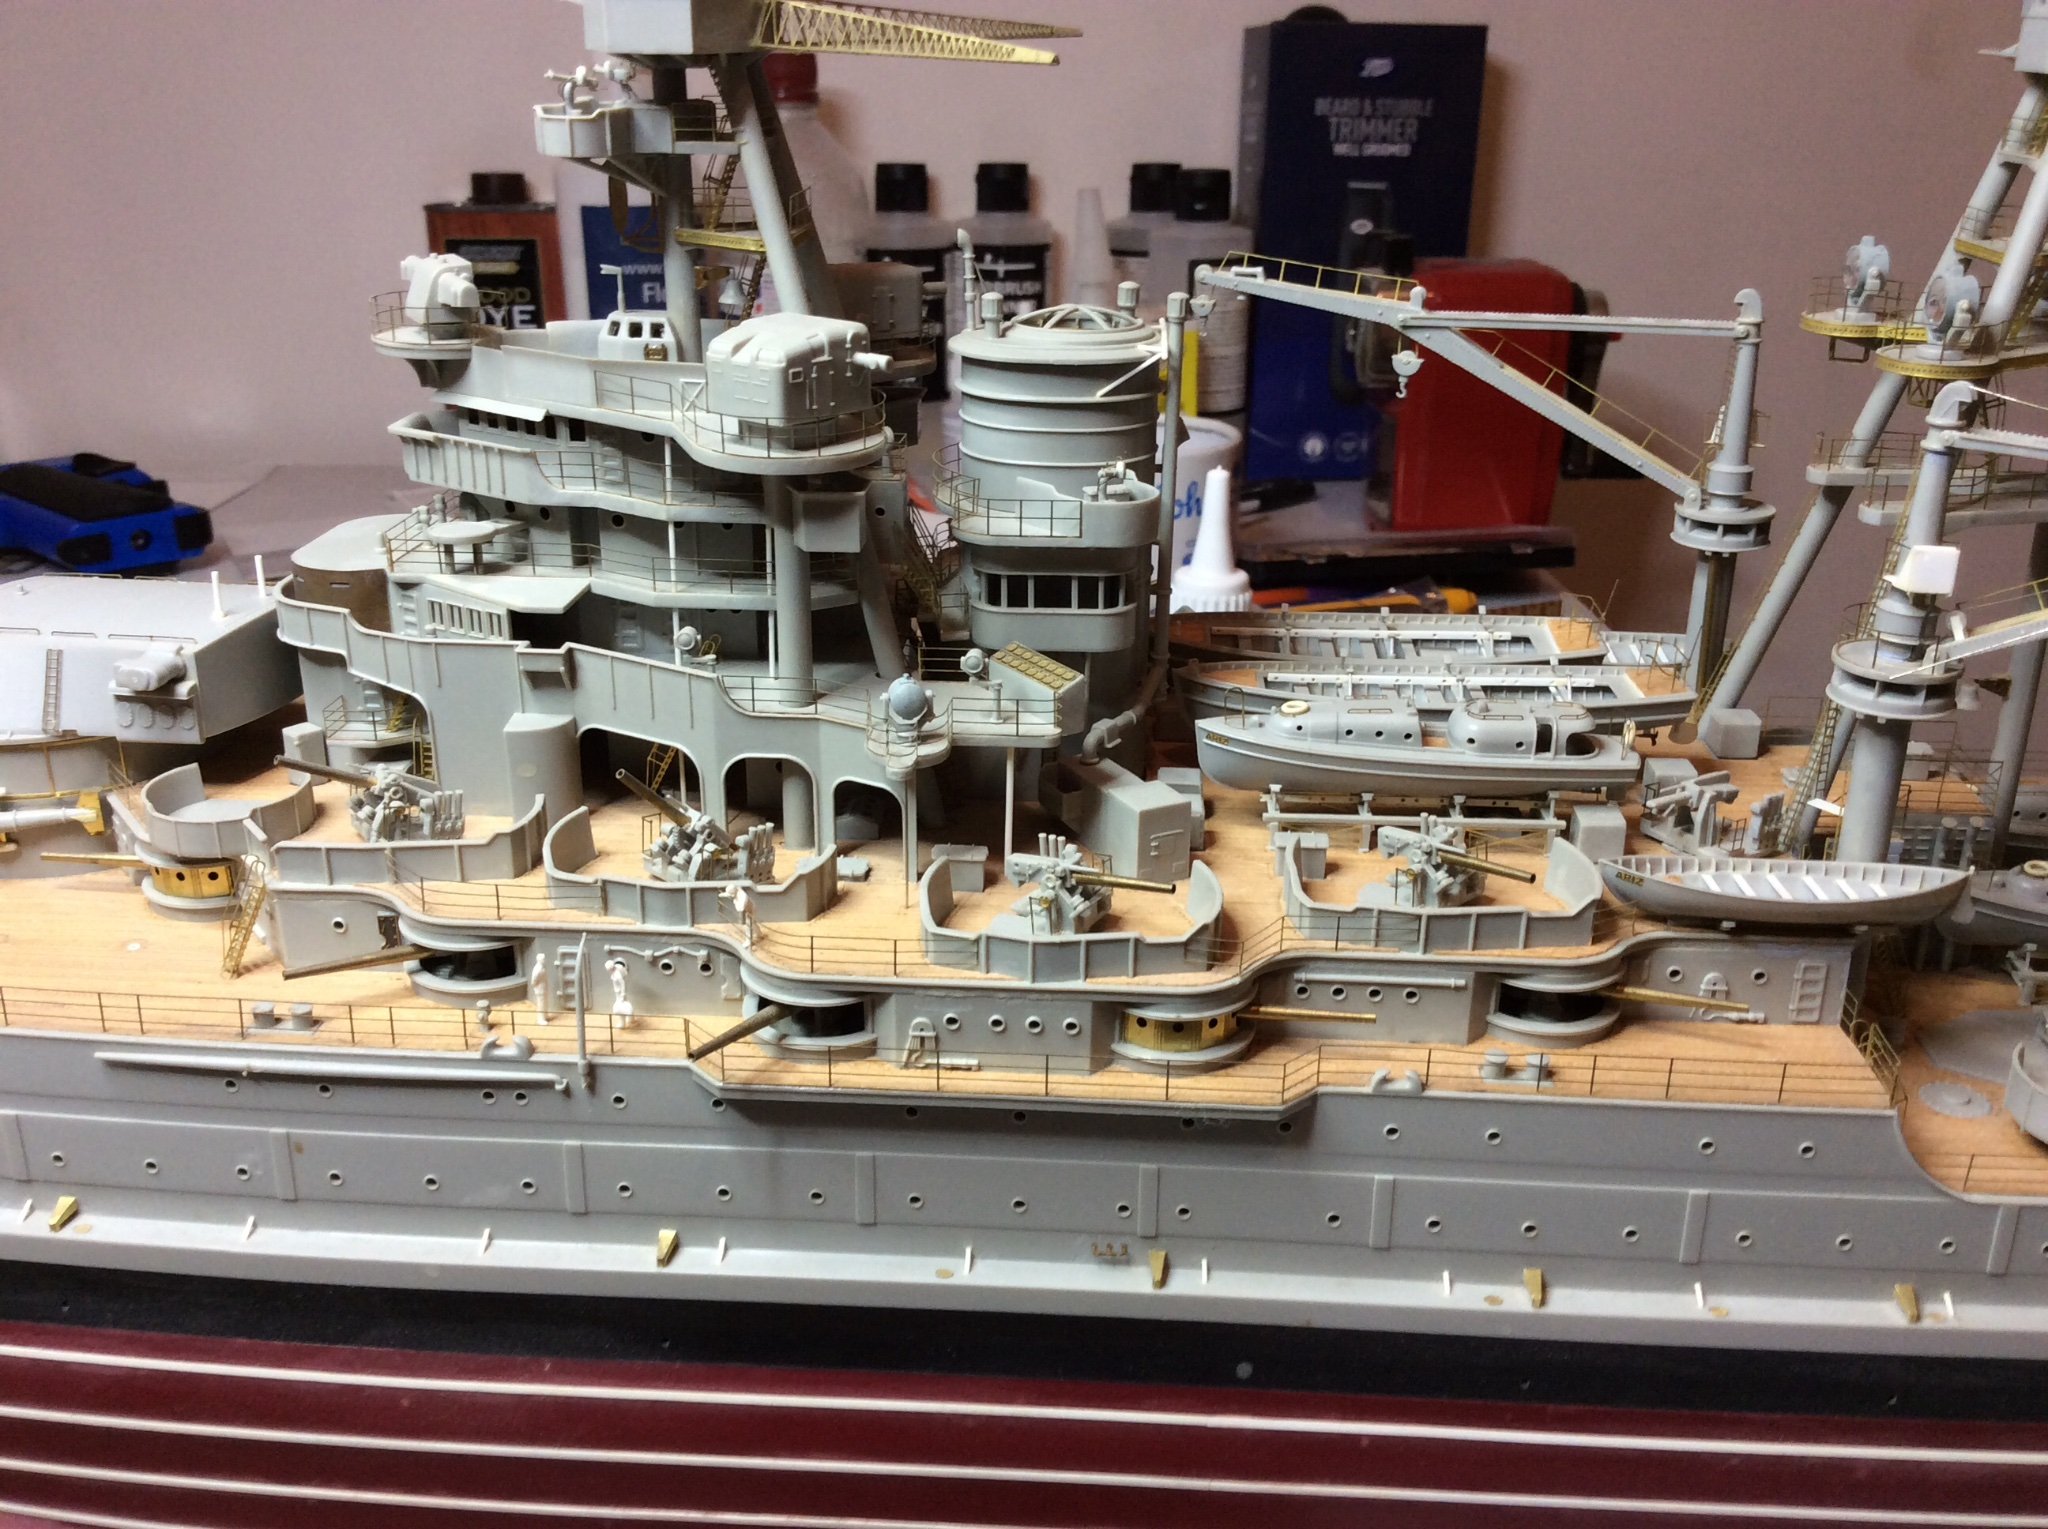
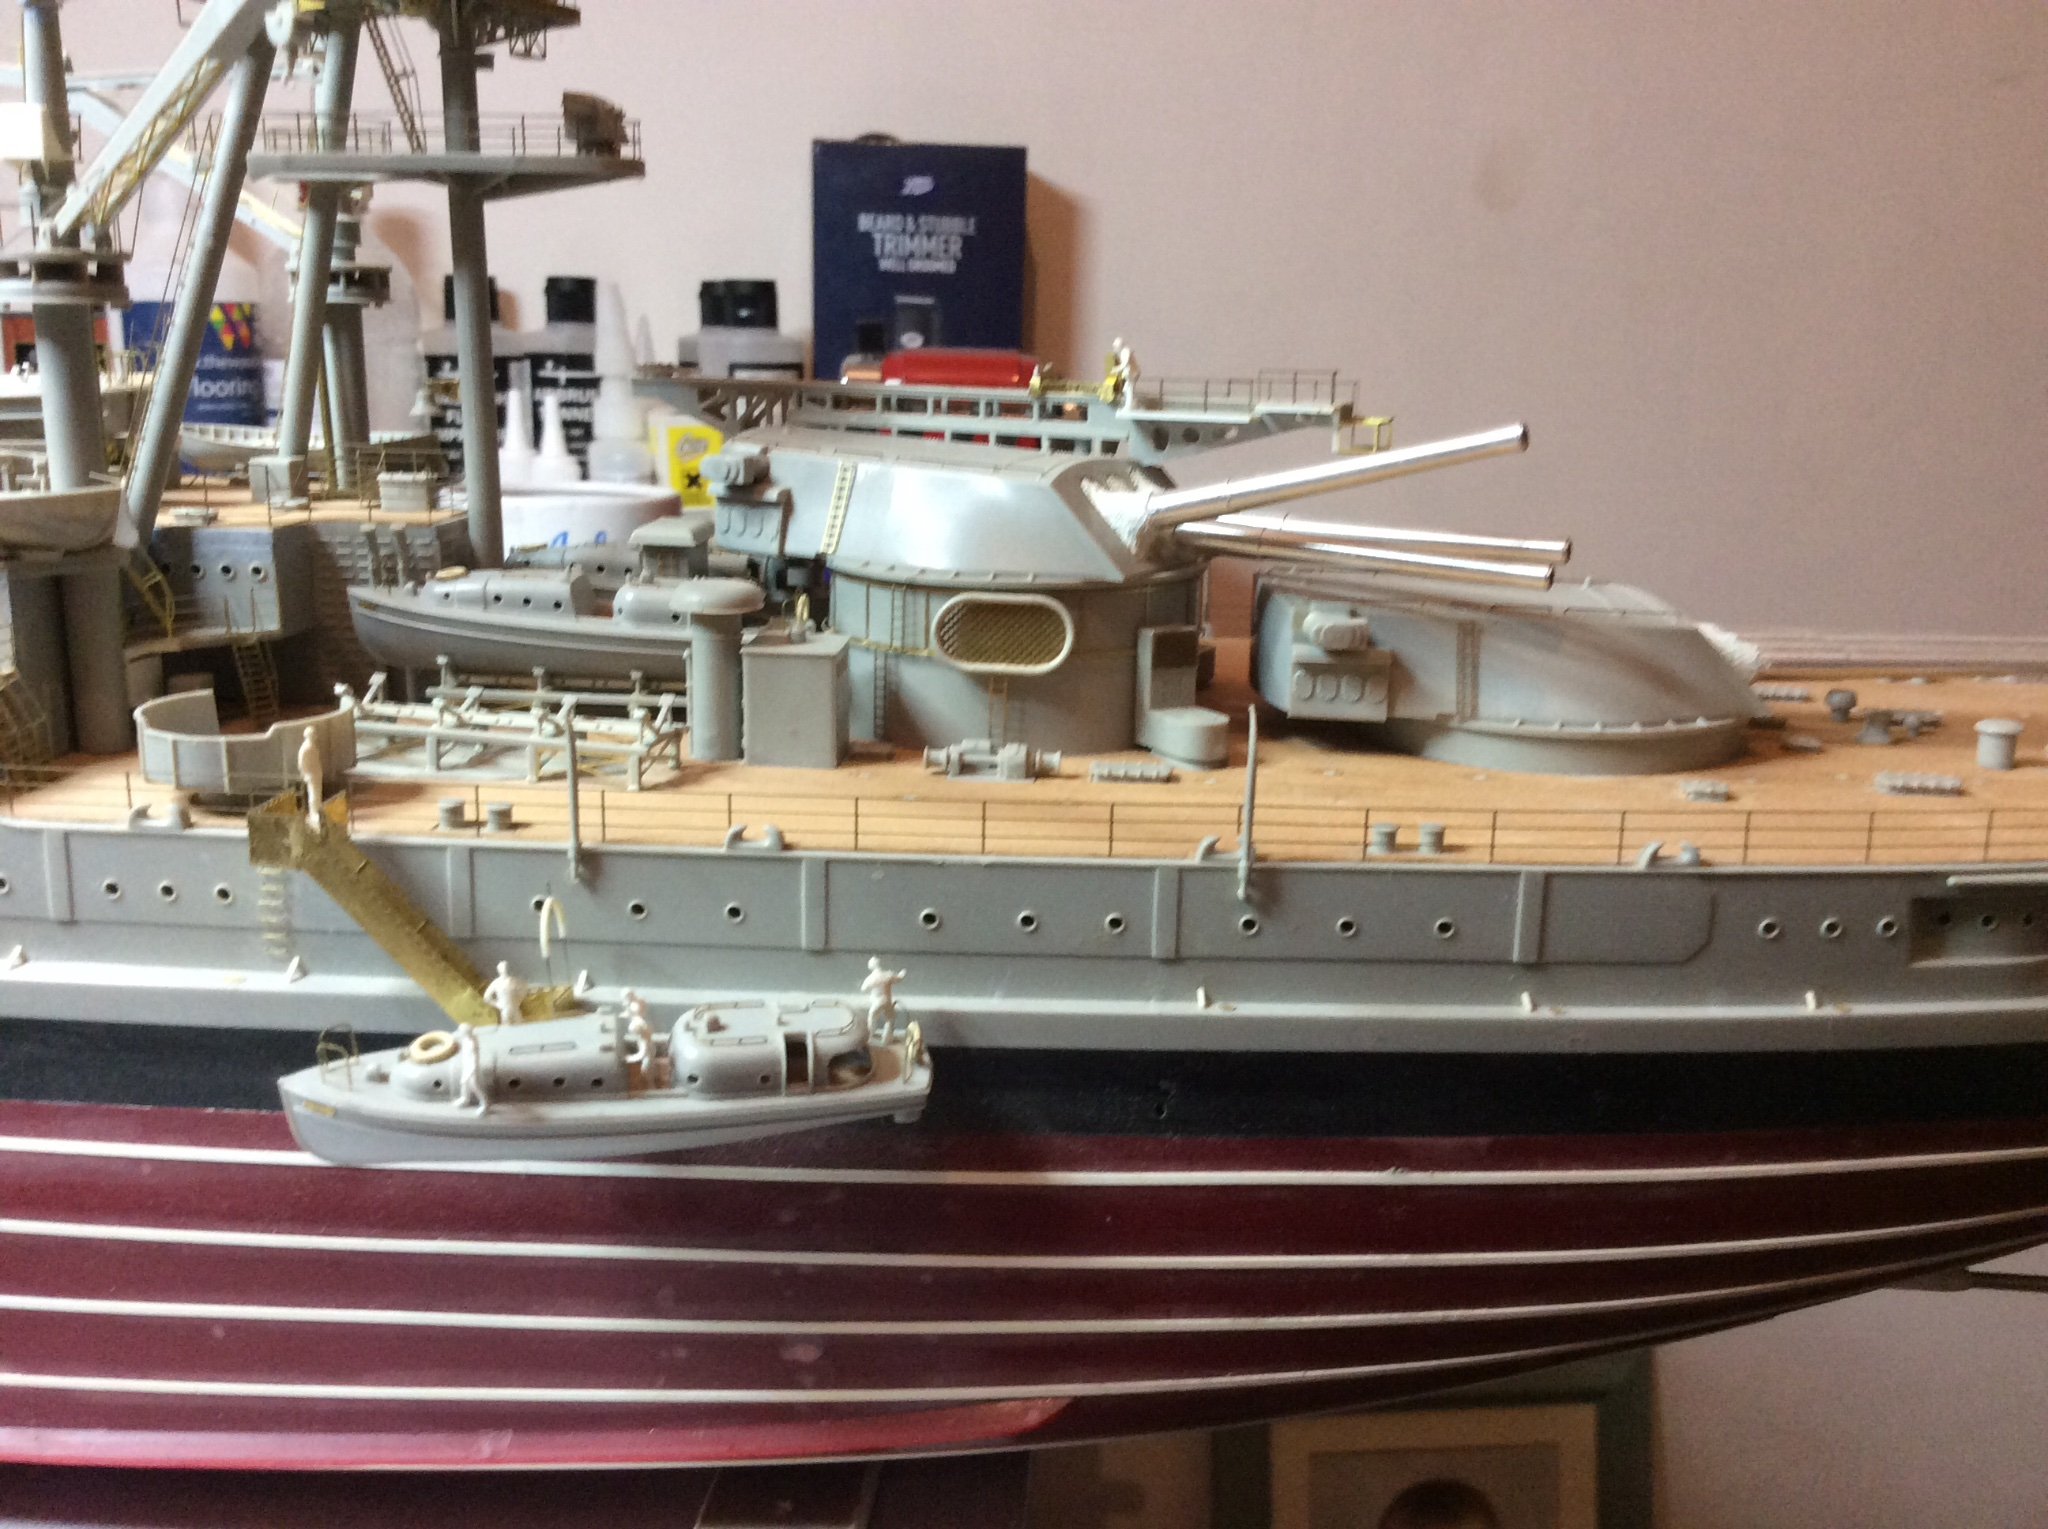
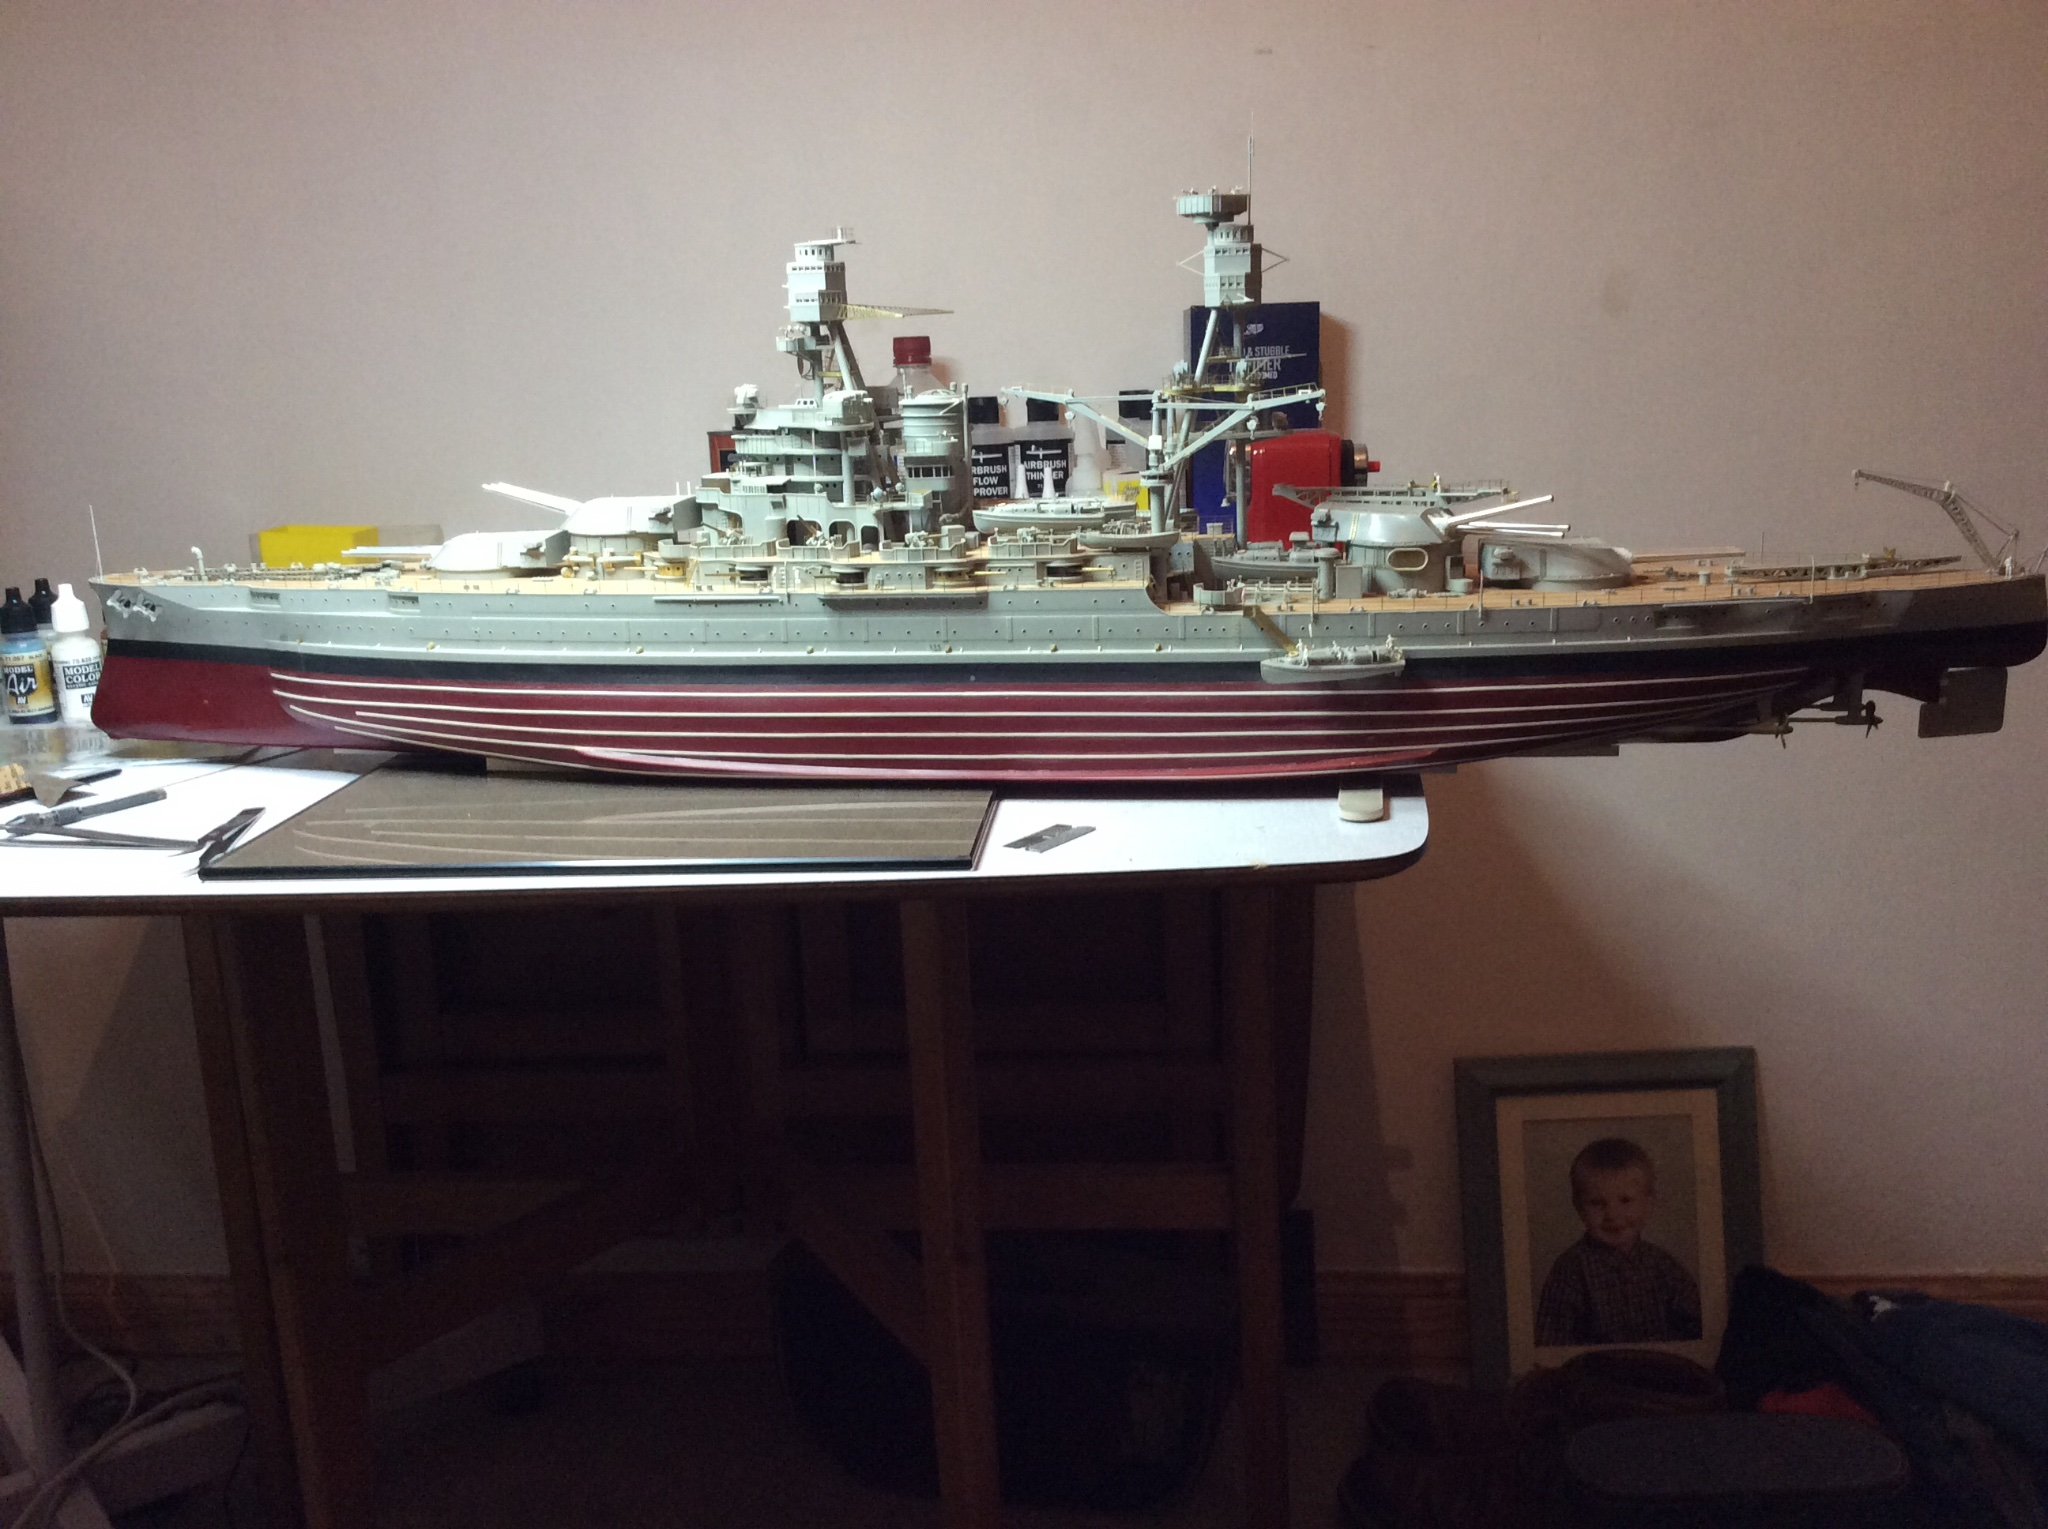
Decided a while back to build it this way, going to fit all the hull etch now then paint, then the decks can be fitted when ready, it is easier to work on the decks whilst not glued to hull, just have to decide when that time is right. Started on forward starboard side from bow towards the stern, done about quarter of hull so far. Starting with platforms for torpedo netting, this seems to be made from stainless steel etch? Does knock lumps out of blades, just as well I have a few boxes, the photos kind of show how I’m working it, platform, boom then gun shielding , trying to keep the glue to a minimum. One point to note for anyone trying this build , the connection points boom to hull at waterline, I found difficult, when you double the eye part of bracket over it’s a pig to fit through the circular disc. Had to grip the eye part in folding jig and lightly file both sides, then try to pressure the disc on to this, not an easy task. Or just use half the etch and don’t fold it back on itself, ie cut away half of the folded part, wonder how the other chaps building this ship faired with this, driving me nuts trying not to ping the parts. Any way I’ll put some more photos up. Yves you done me a favour asking about Arizona model, I dusted it down for some photos, I forgot how much time I must have spent on this kit, might want to progress with it later. Bought this kit when it was released, so quite a while back, my first experience of 1/200 scale I liked it so bought two, told Jaqueline the second one was a waterline version. 😂 Couldn’t tell her it was the same kit 👀 Always hoping PONTOS will do a set for it, maybe if Trumpeter releases it again, can only hope. My one ended up with unpainted etch to show the details, think it was White Ensign and Eduard etch I used. Not finished, no surprises there.