Jeff59
NRG Member-
Posts
560 -
Joined
-
Last visited
Content Type
Profiles
Forums
Gallery
Events
Everything posted by Jeff59
-
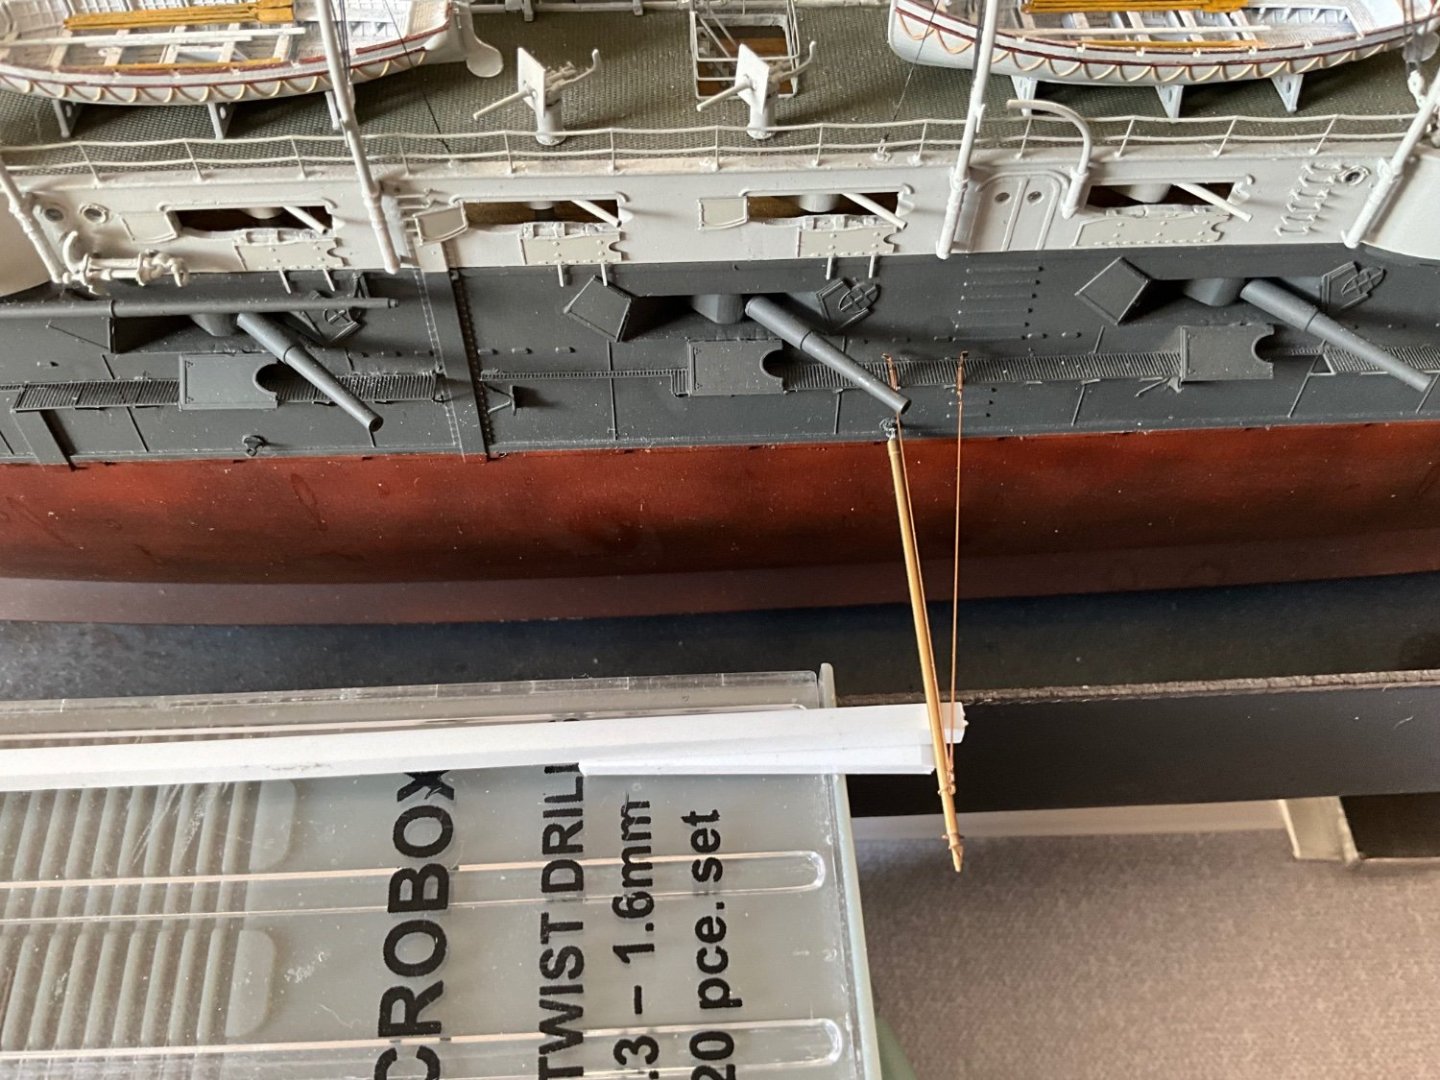
Next boom ready to cut same way, with gun shutter removed. Also started cleaning plastic parts for 12 Inch guns.
-
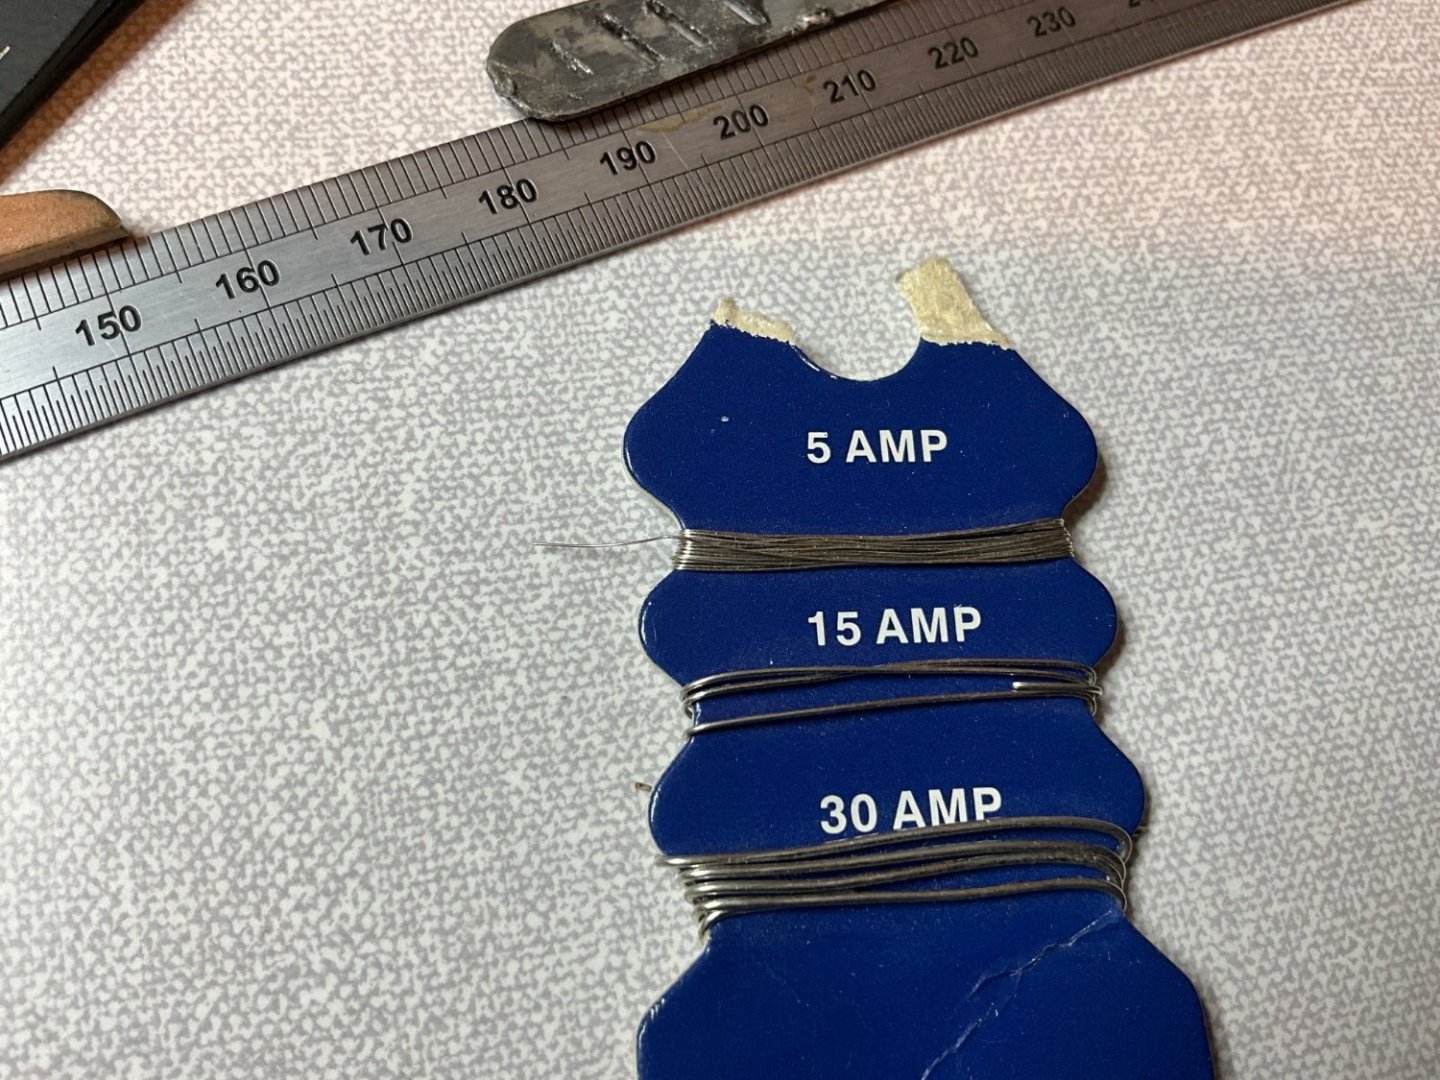
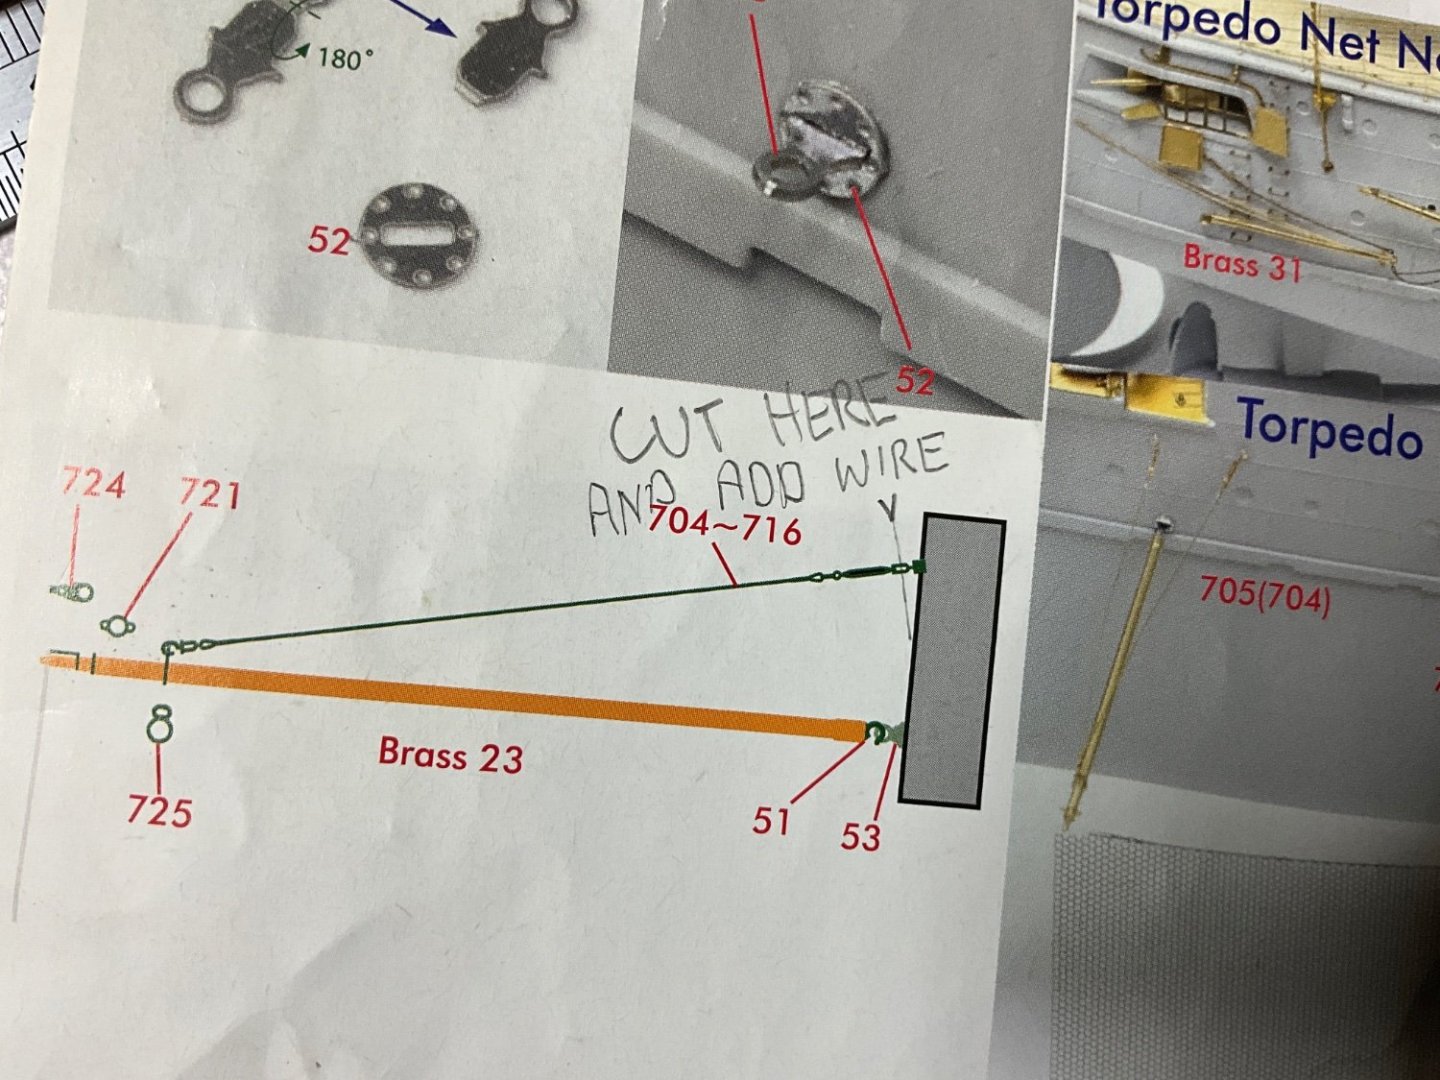
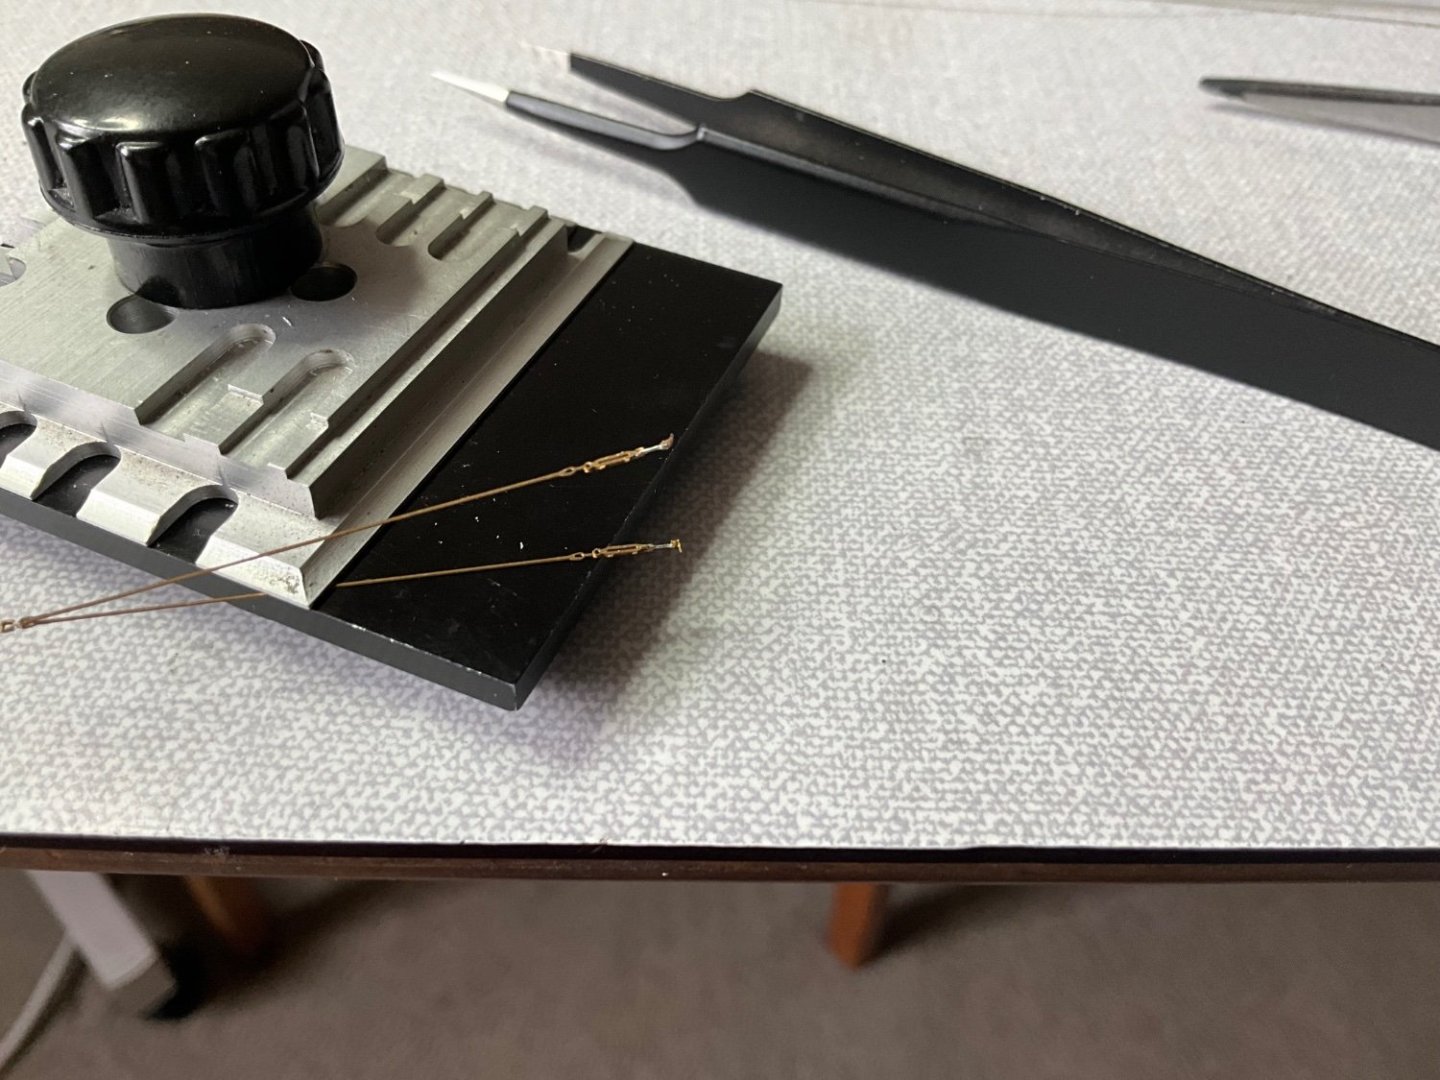
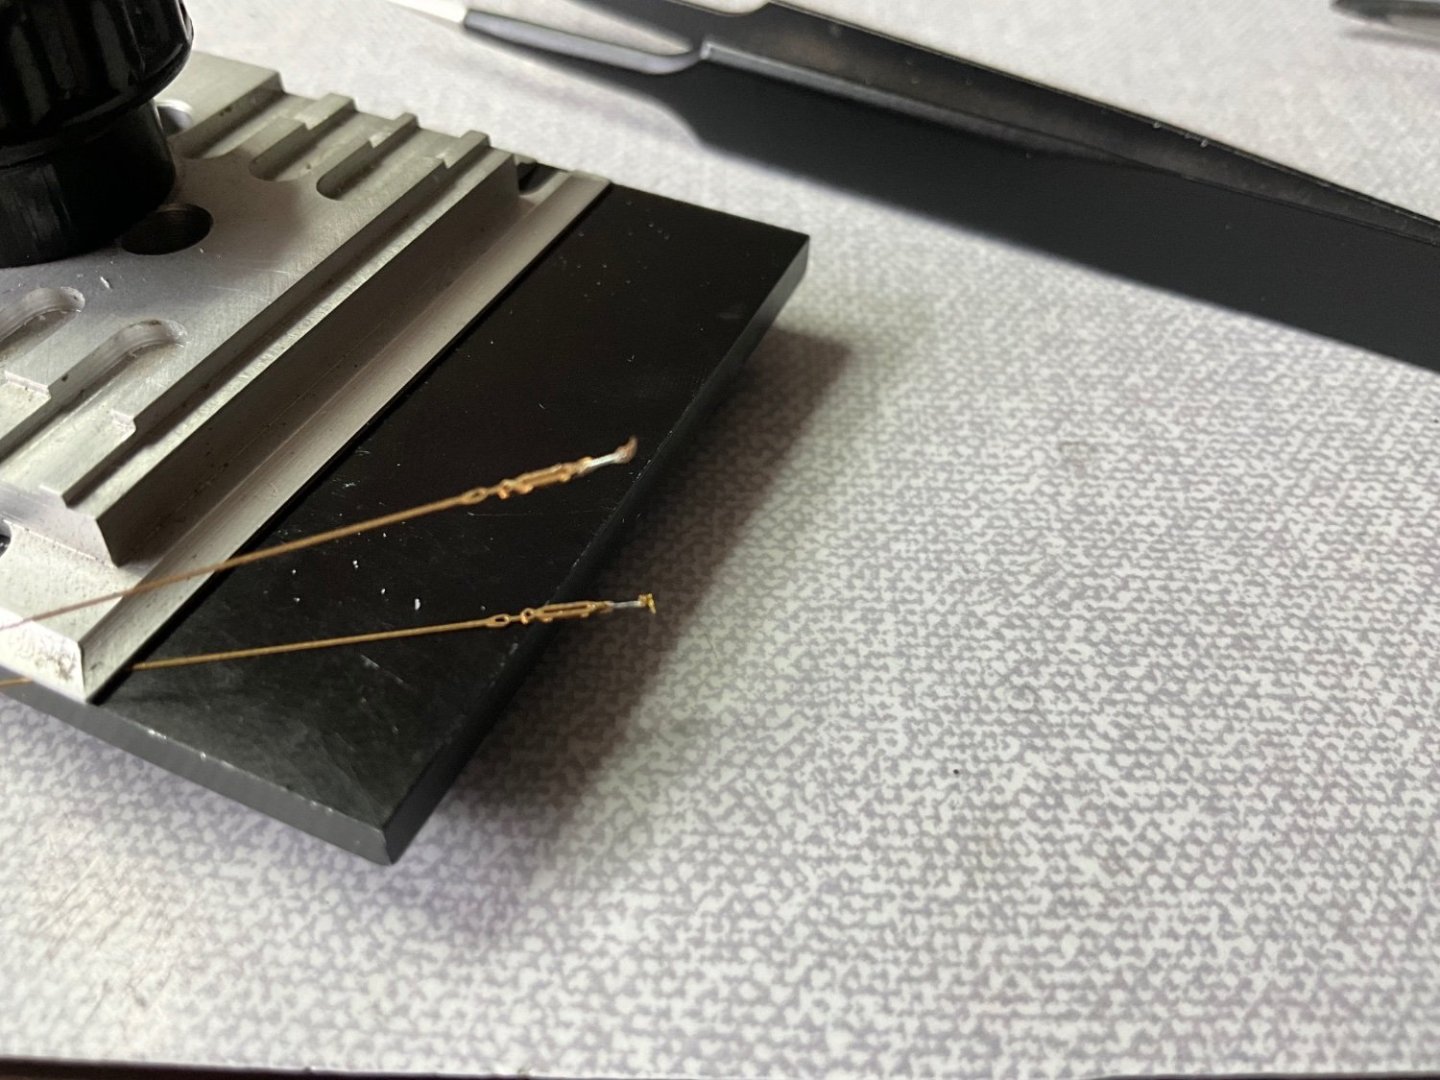
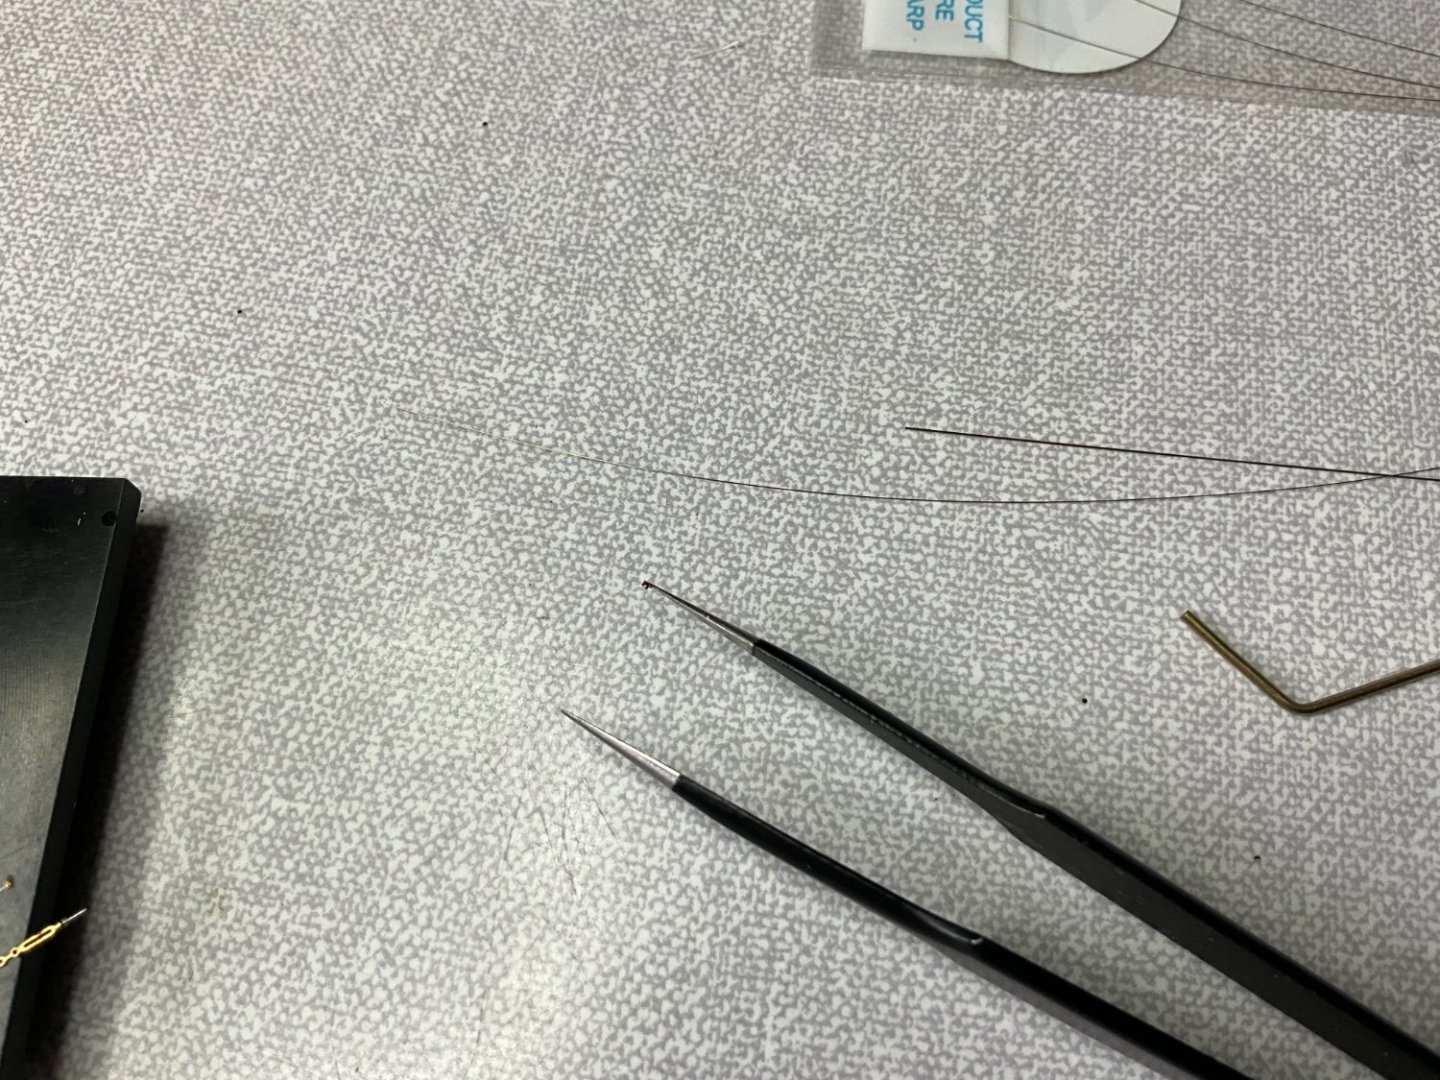
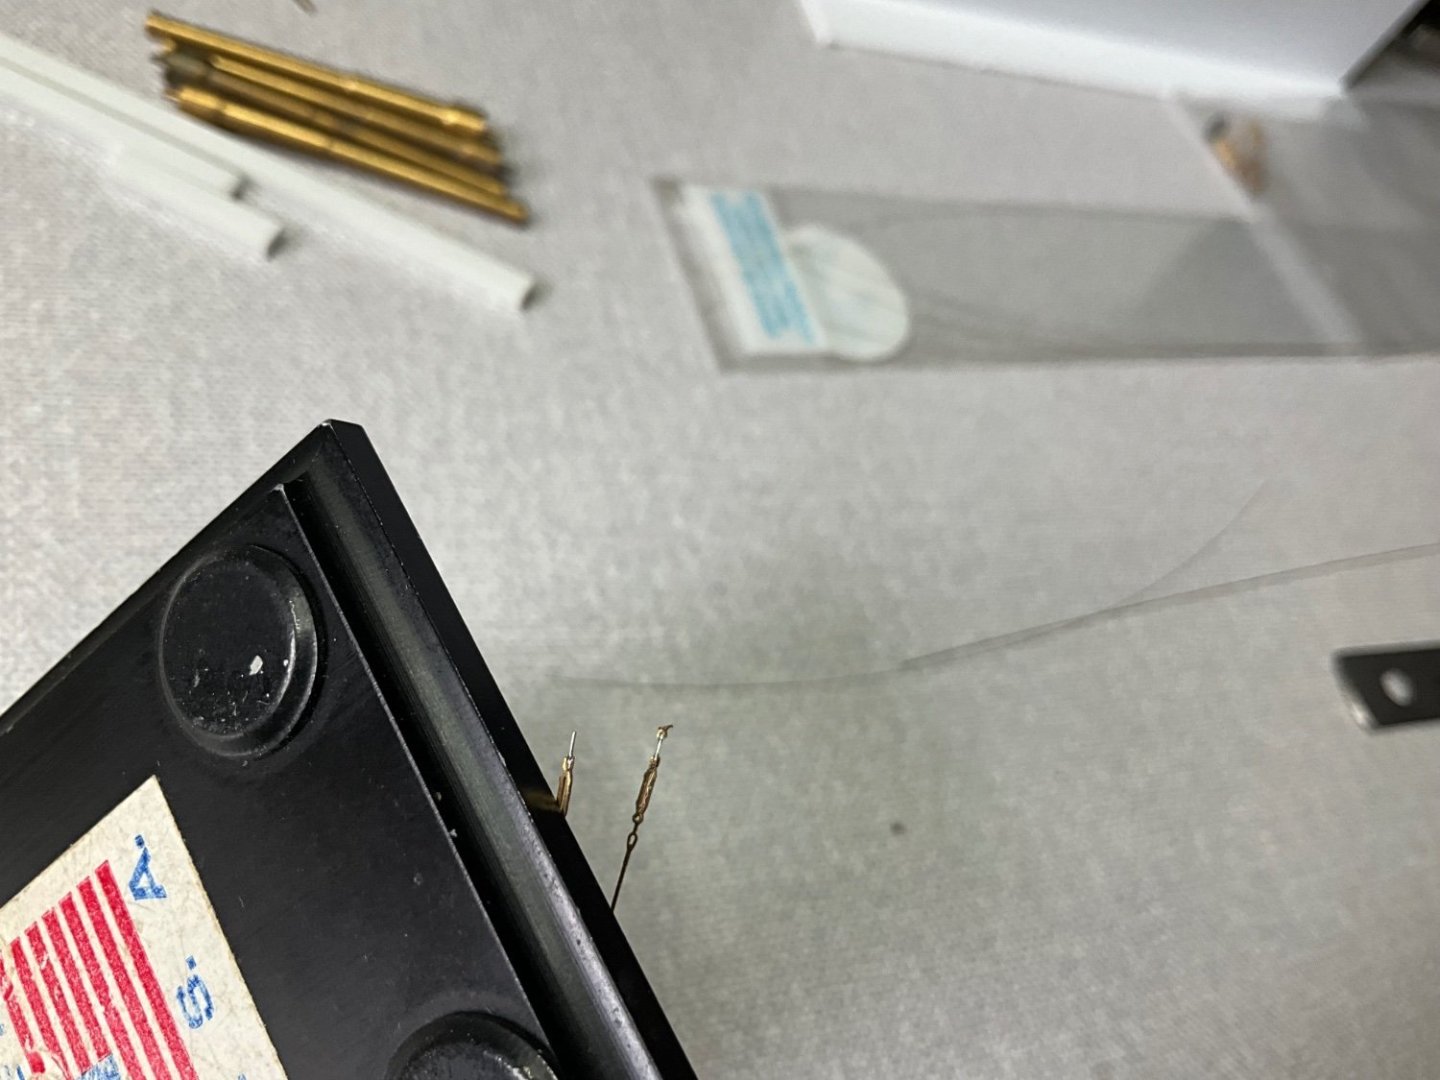
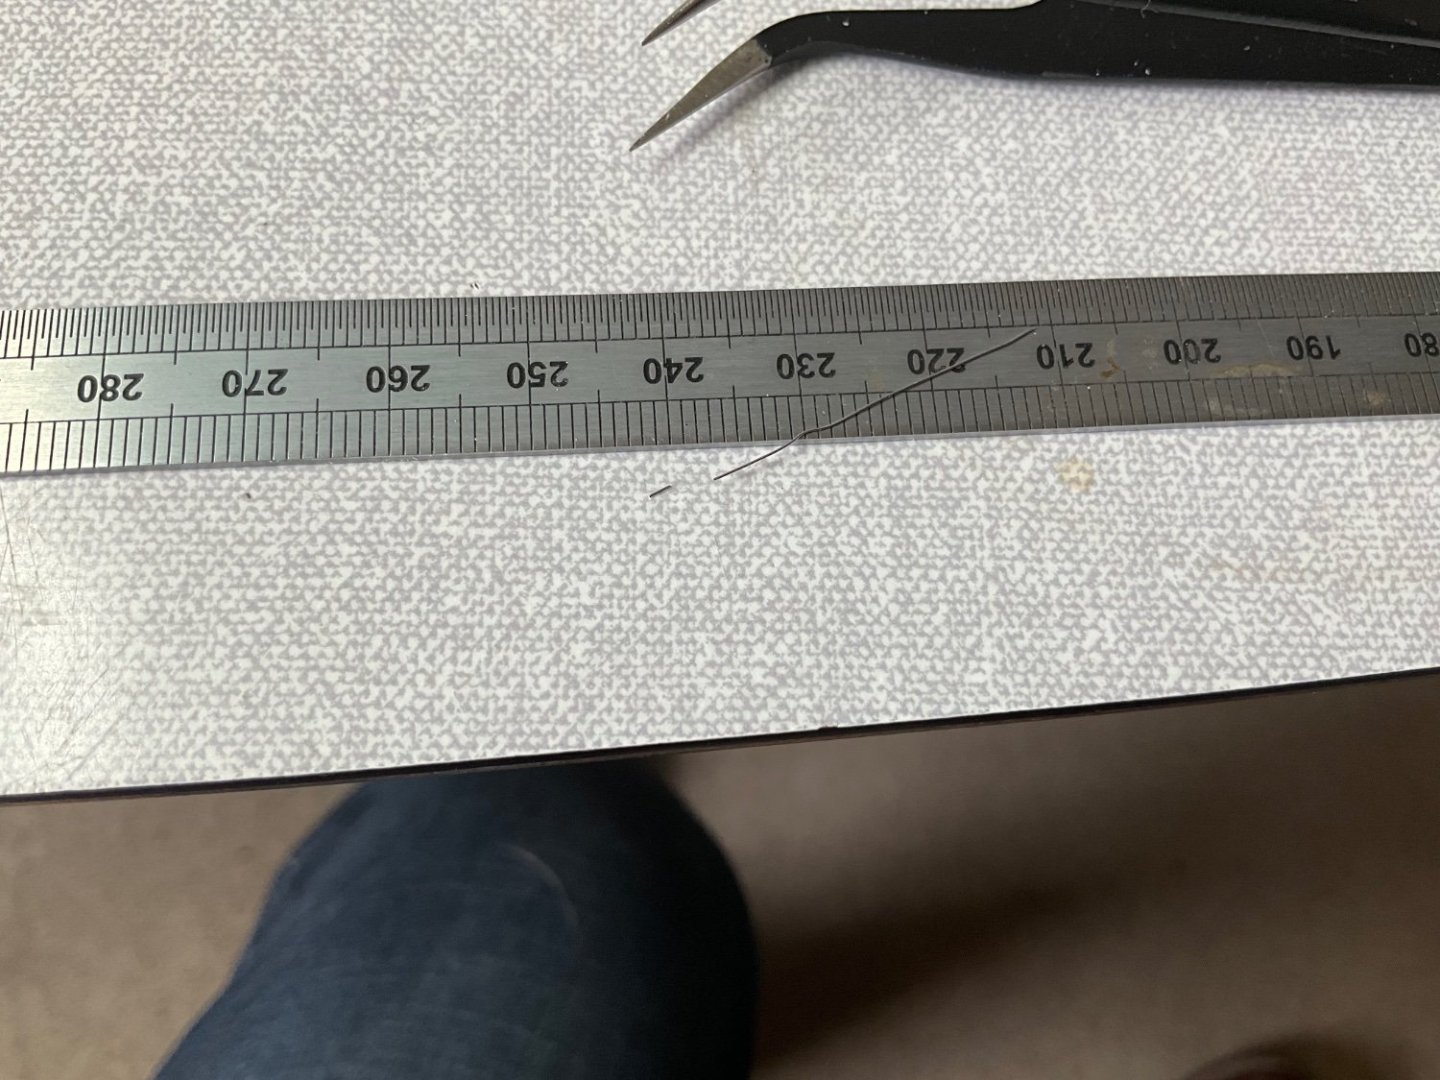
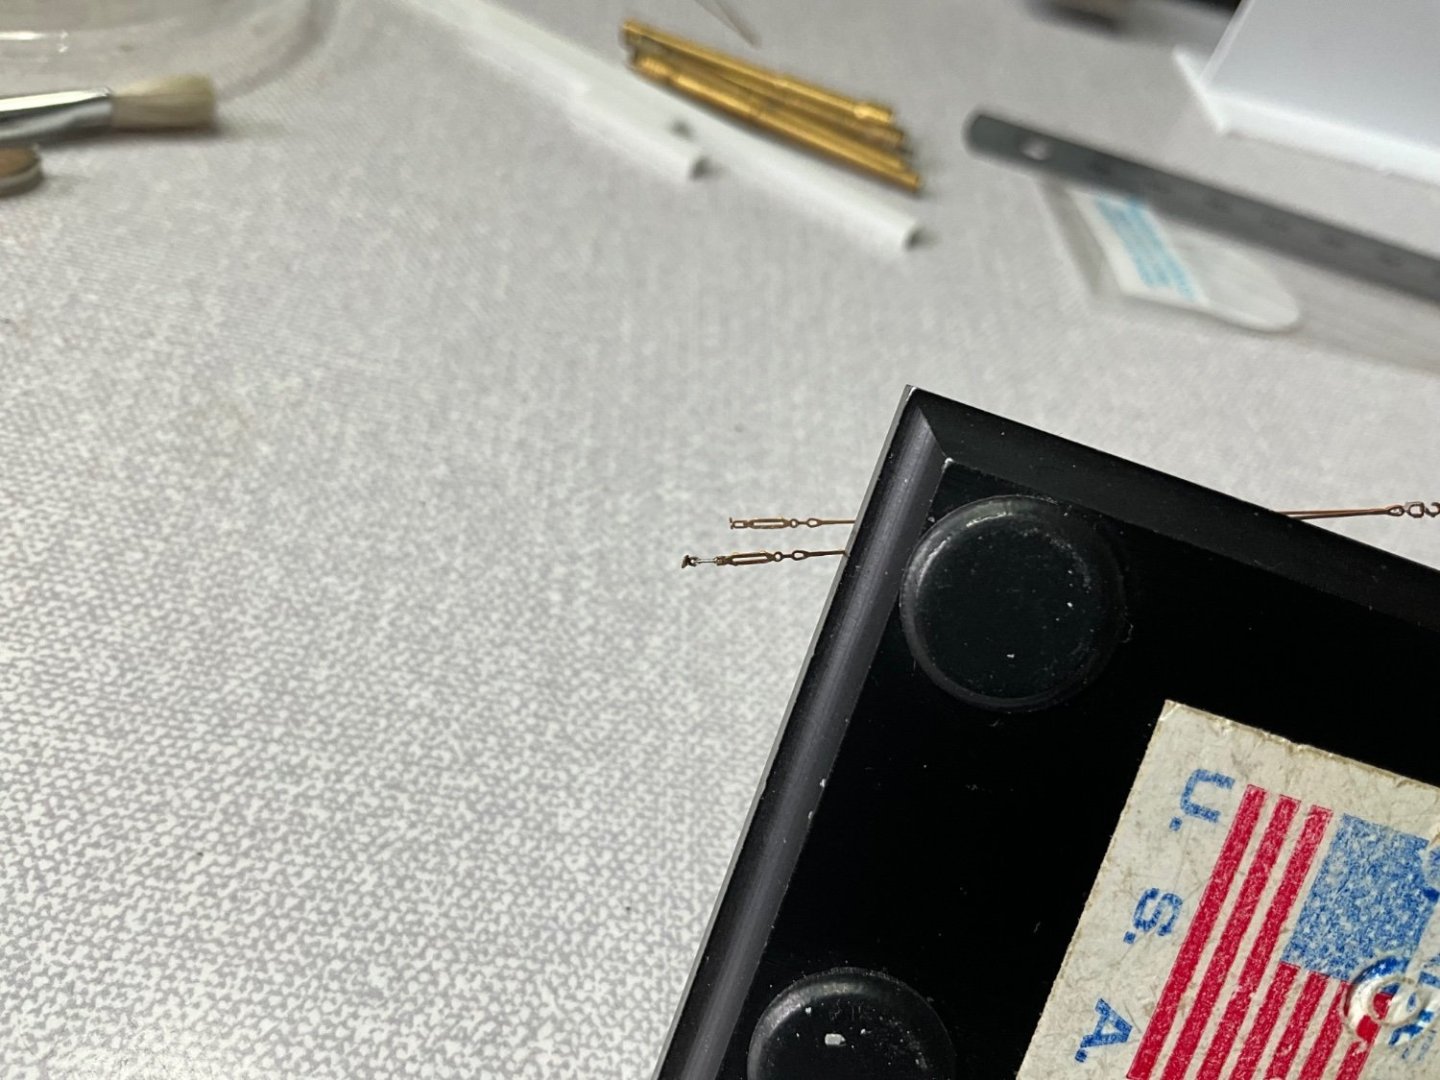
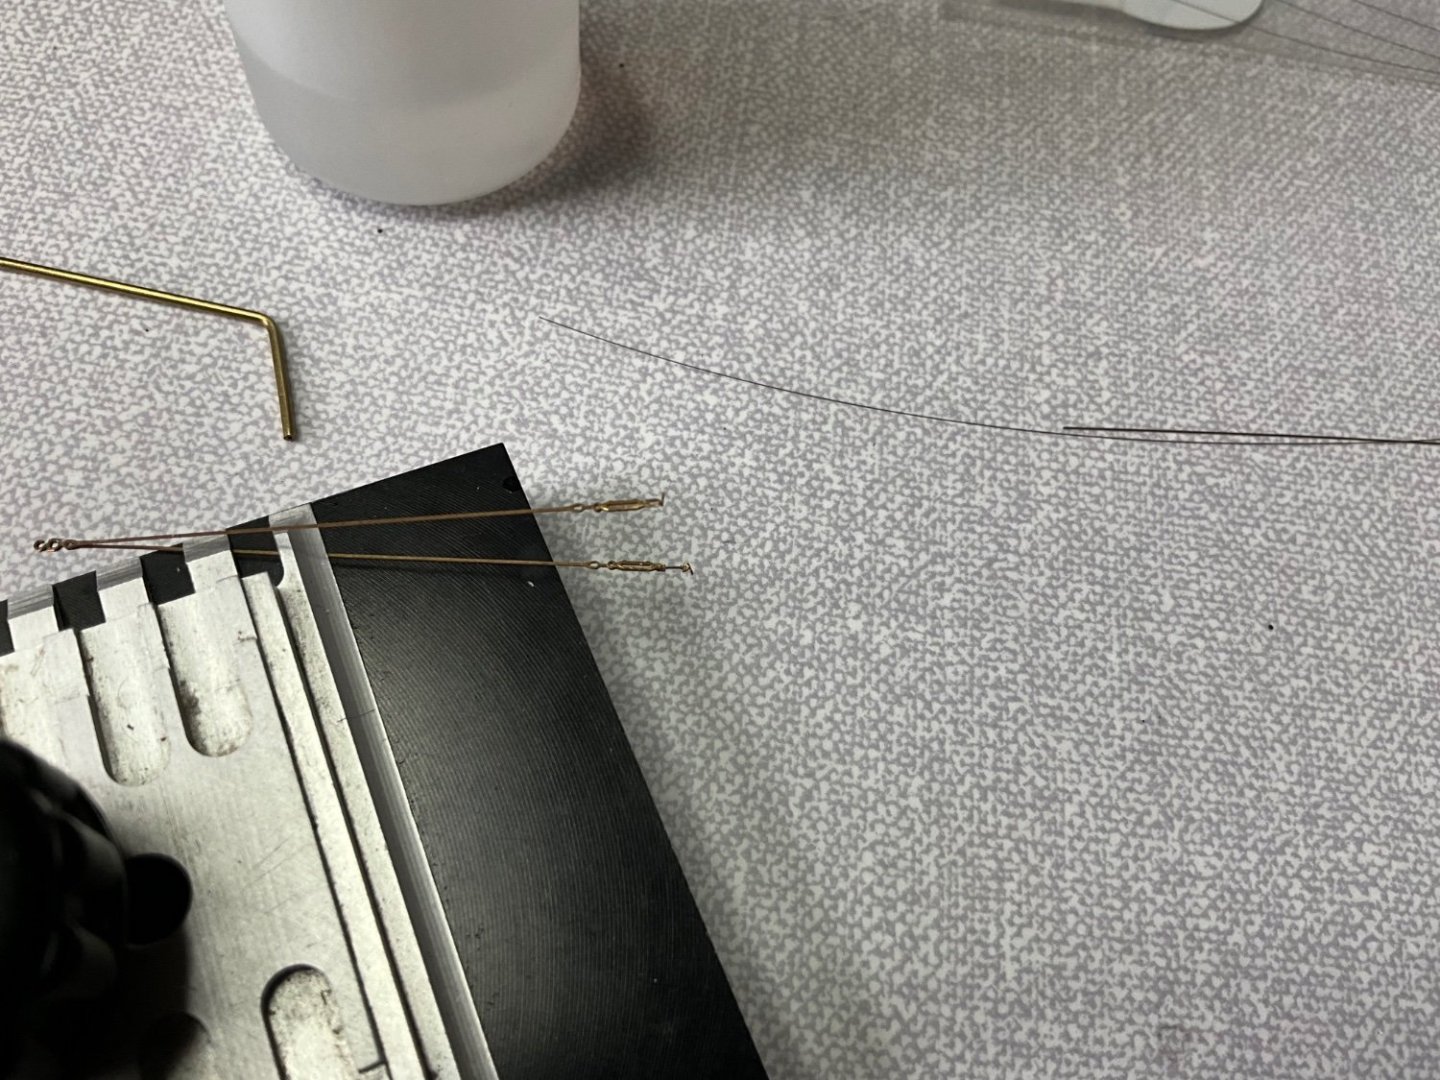
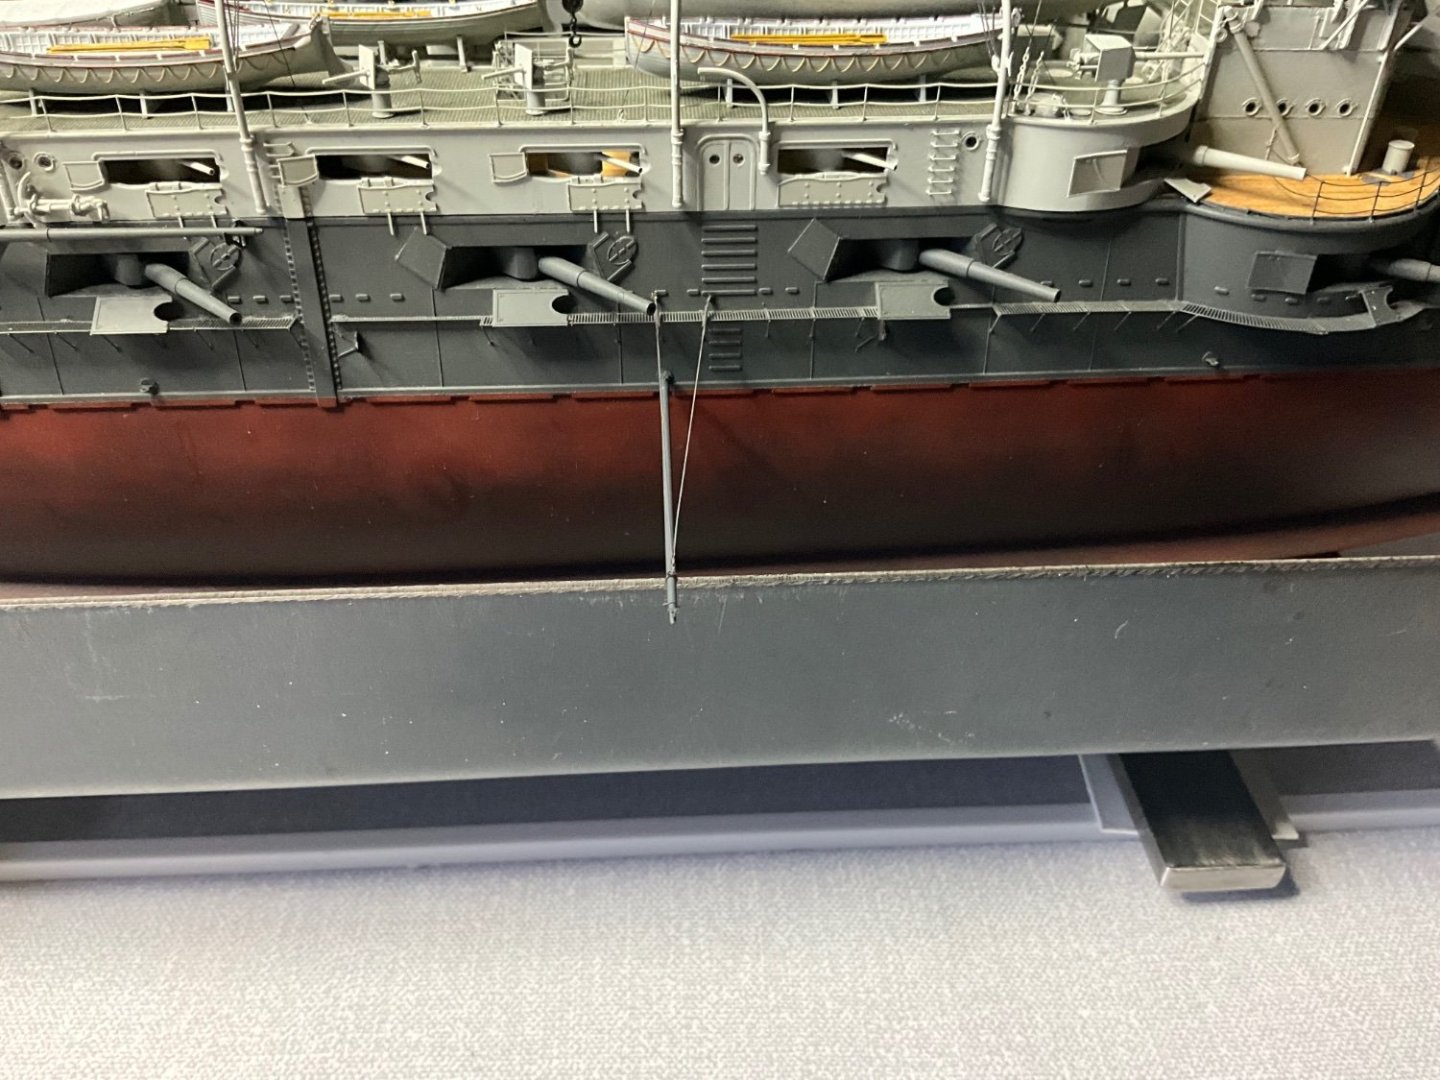
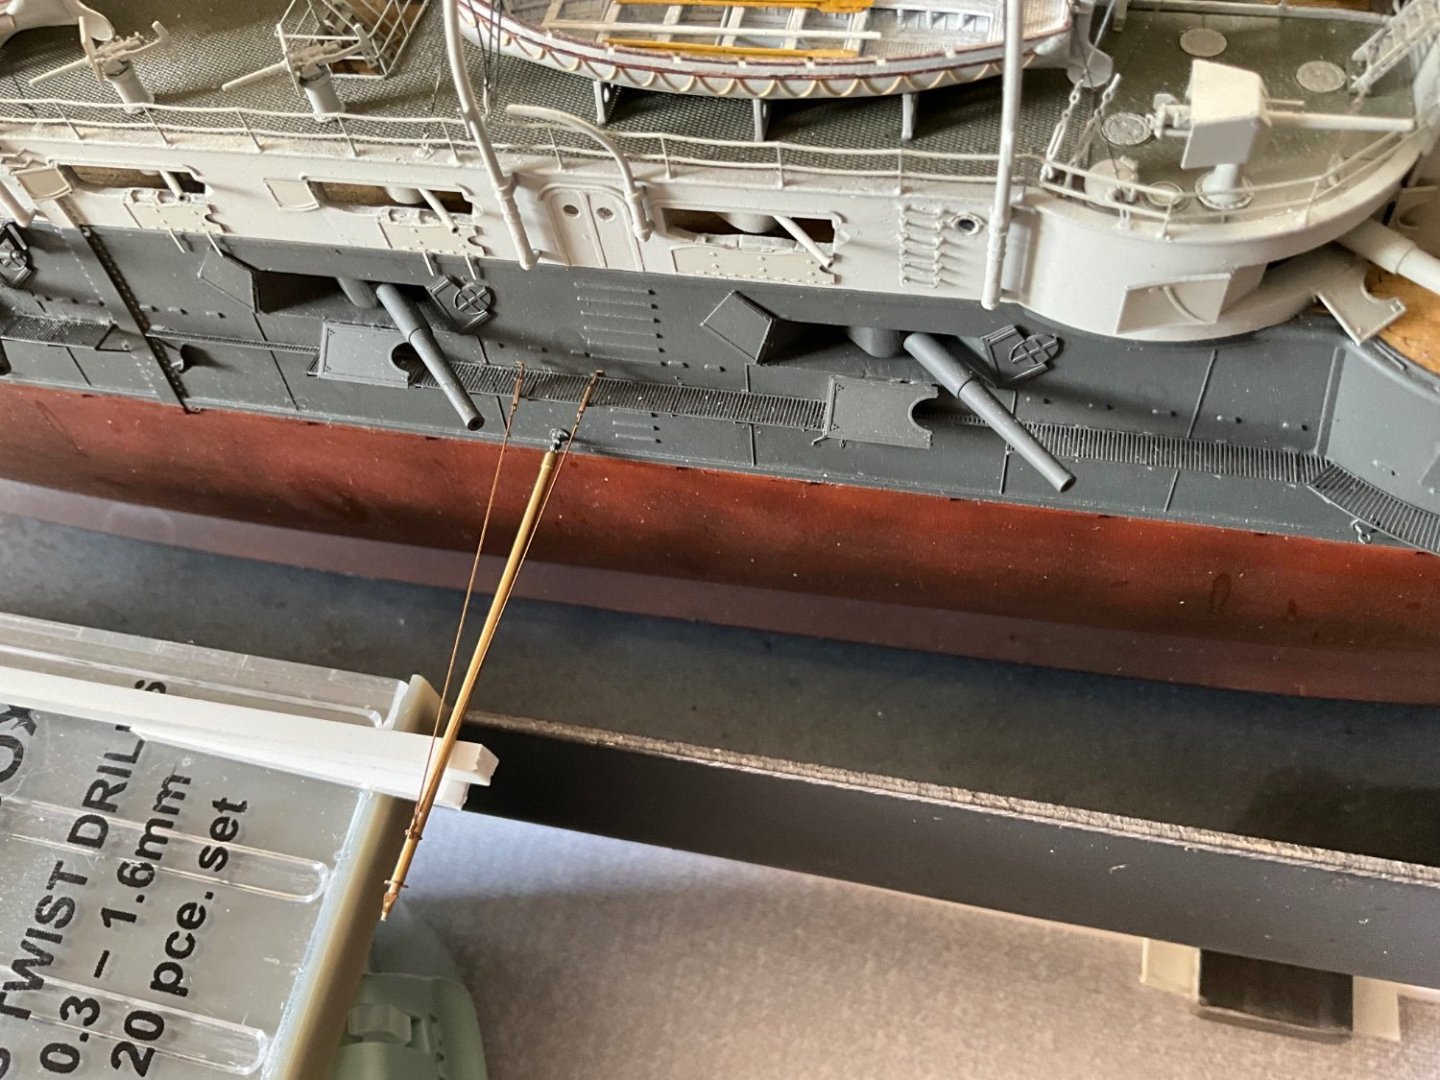
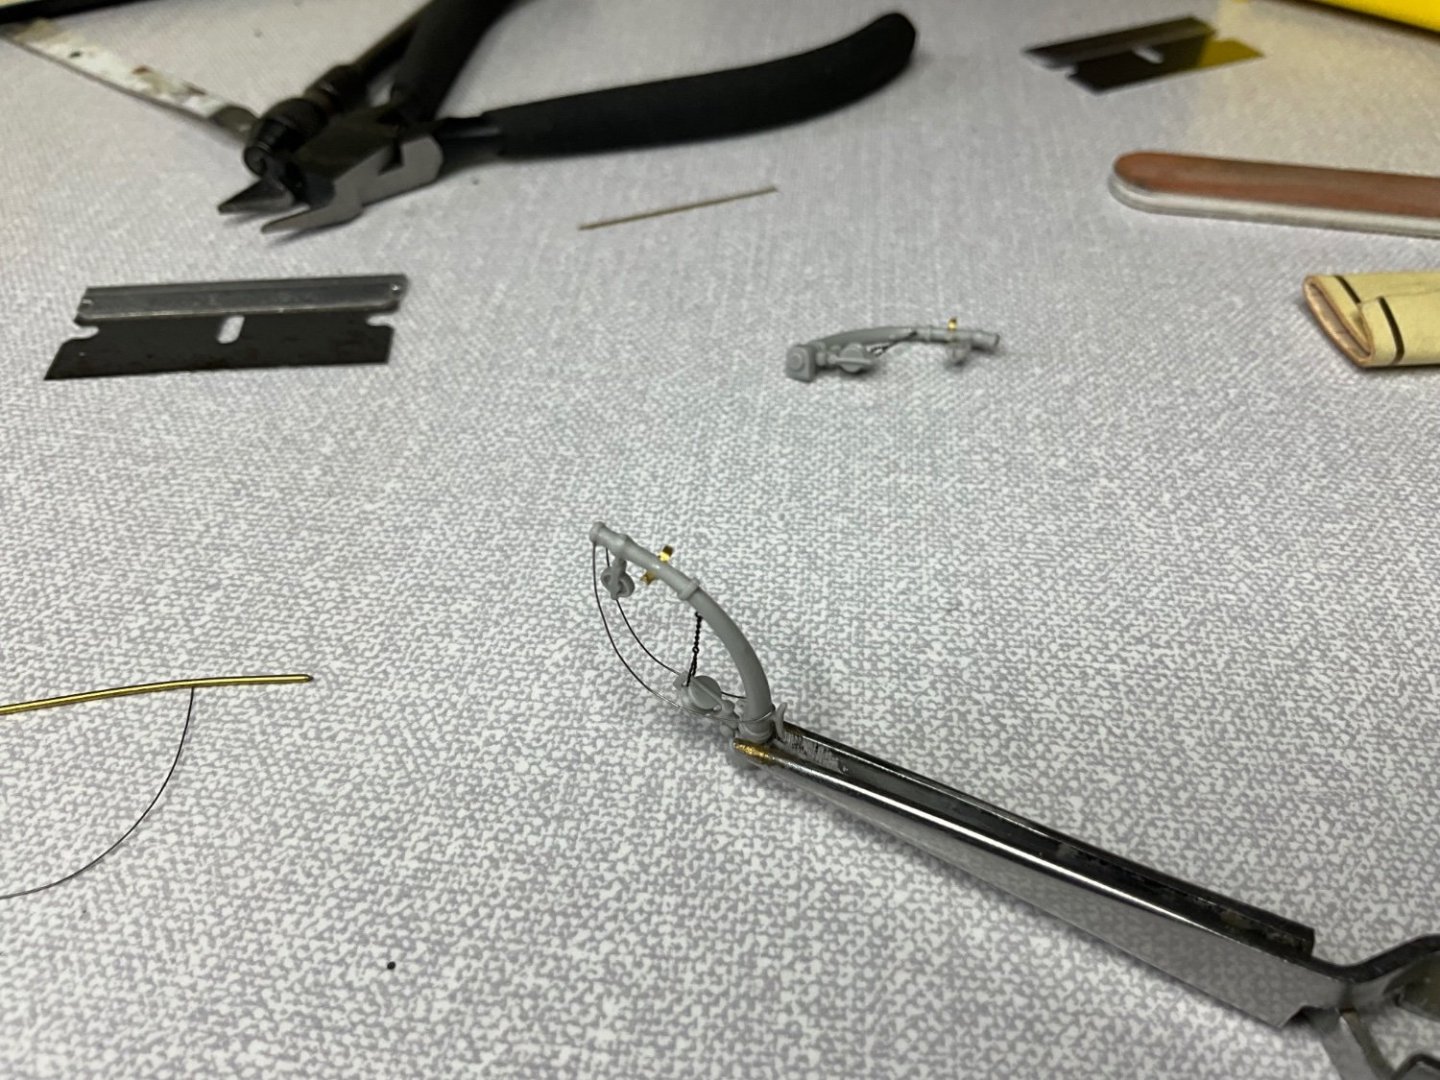
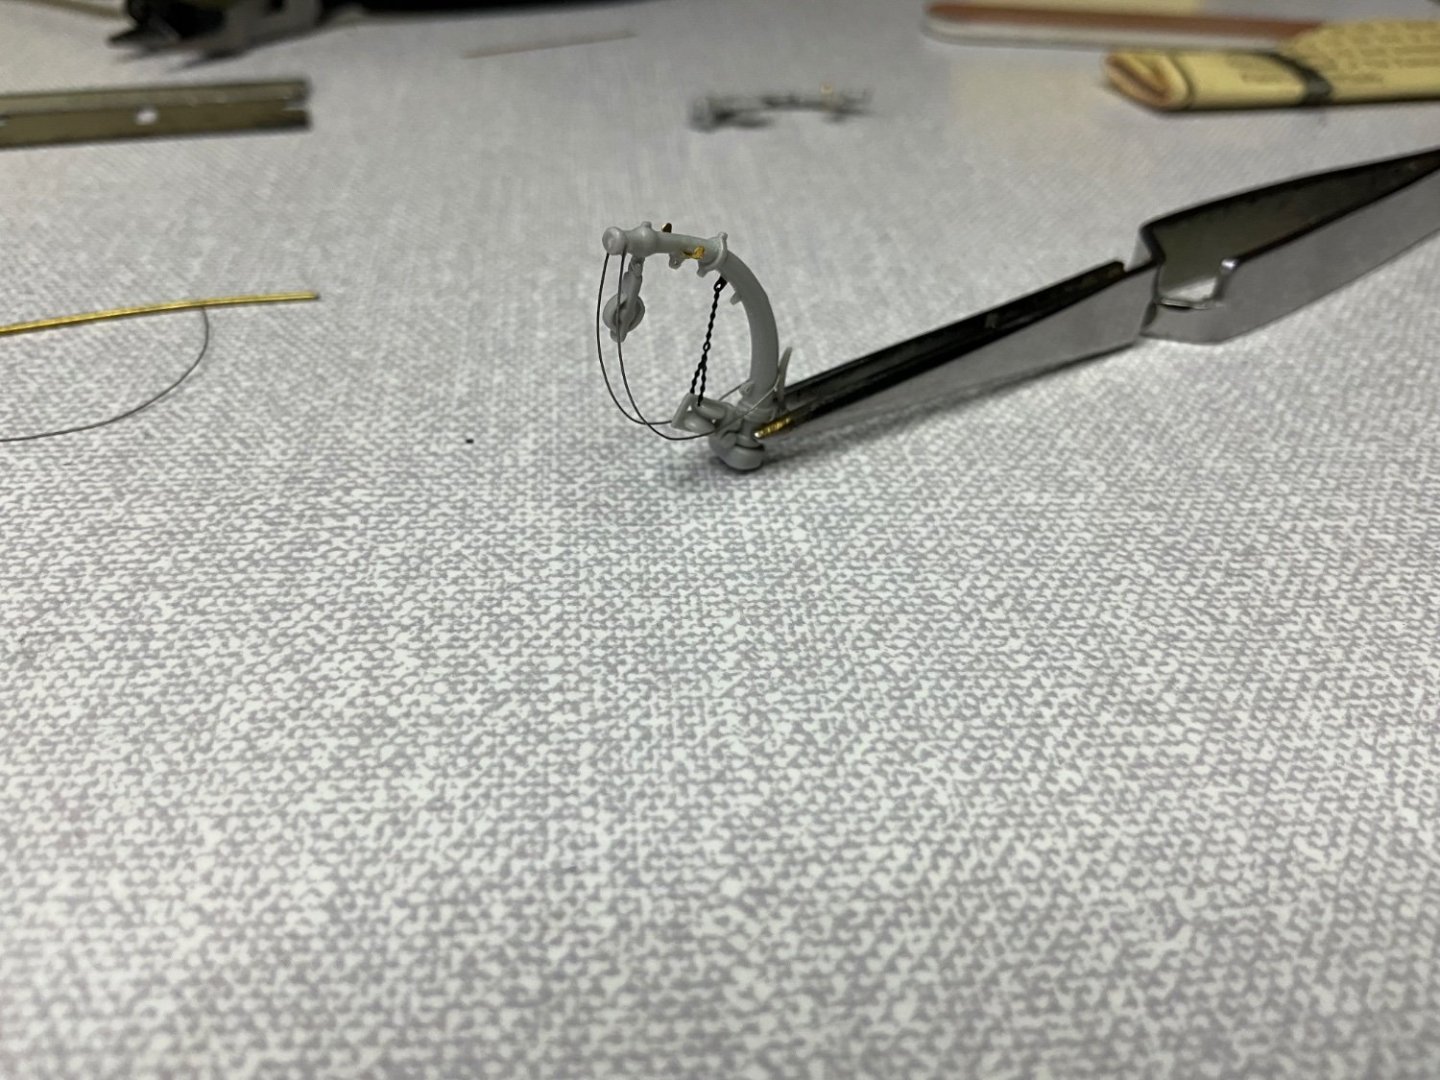
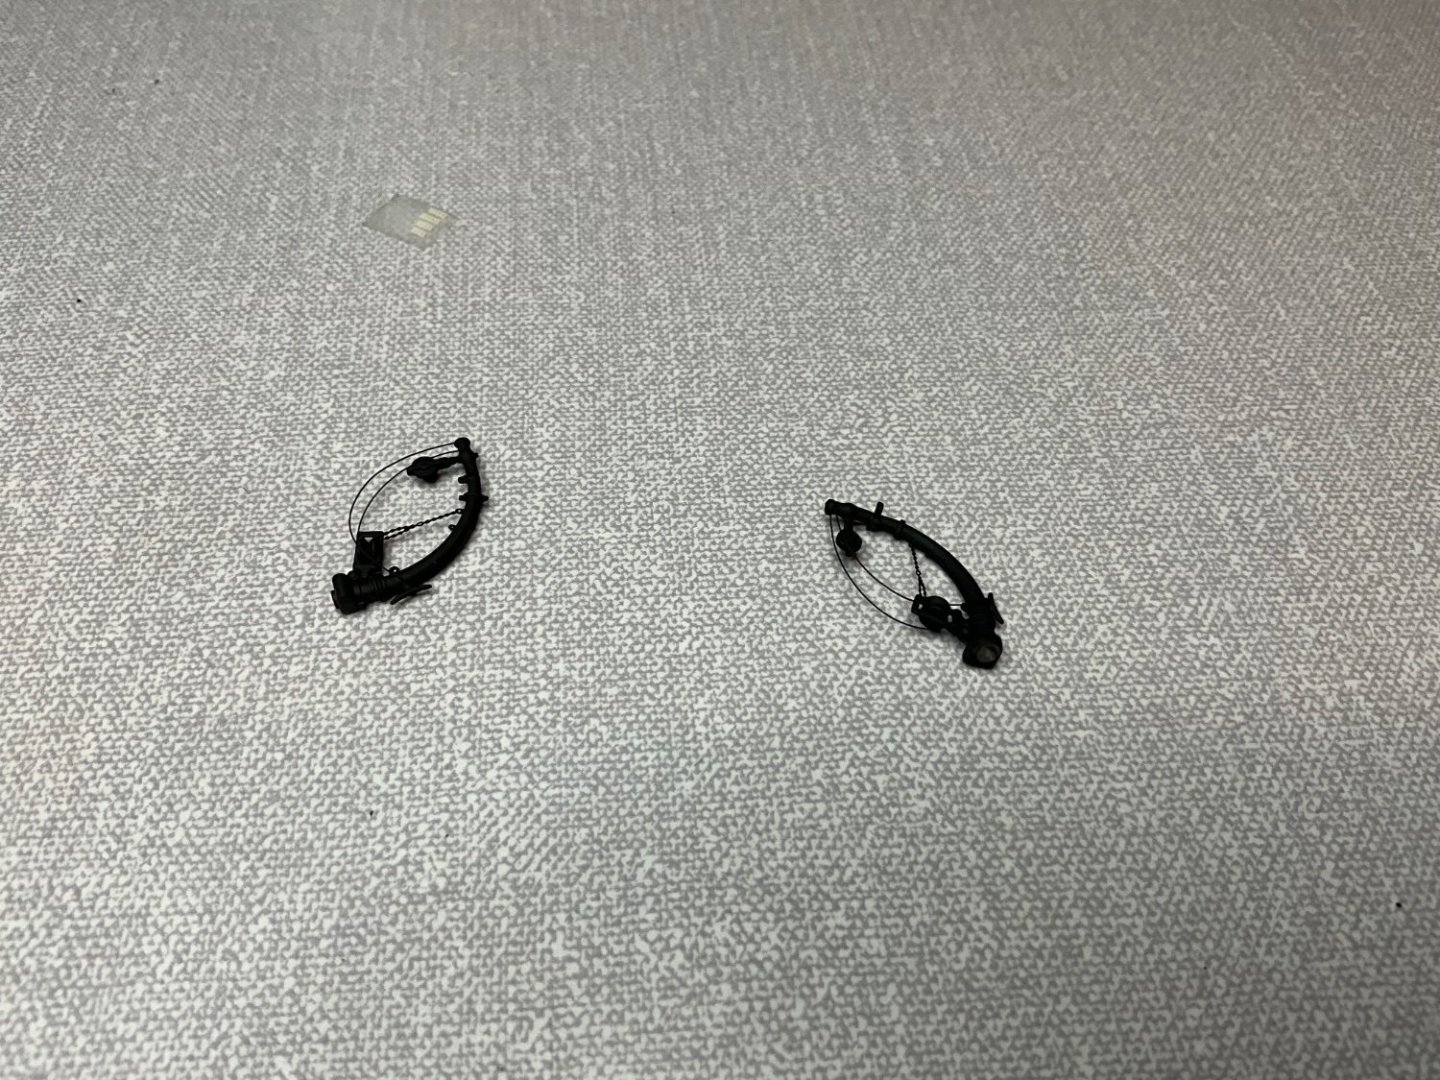
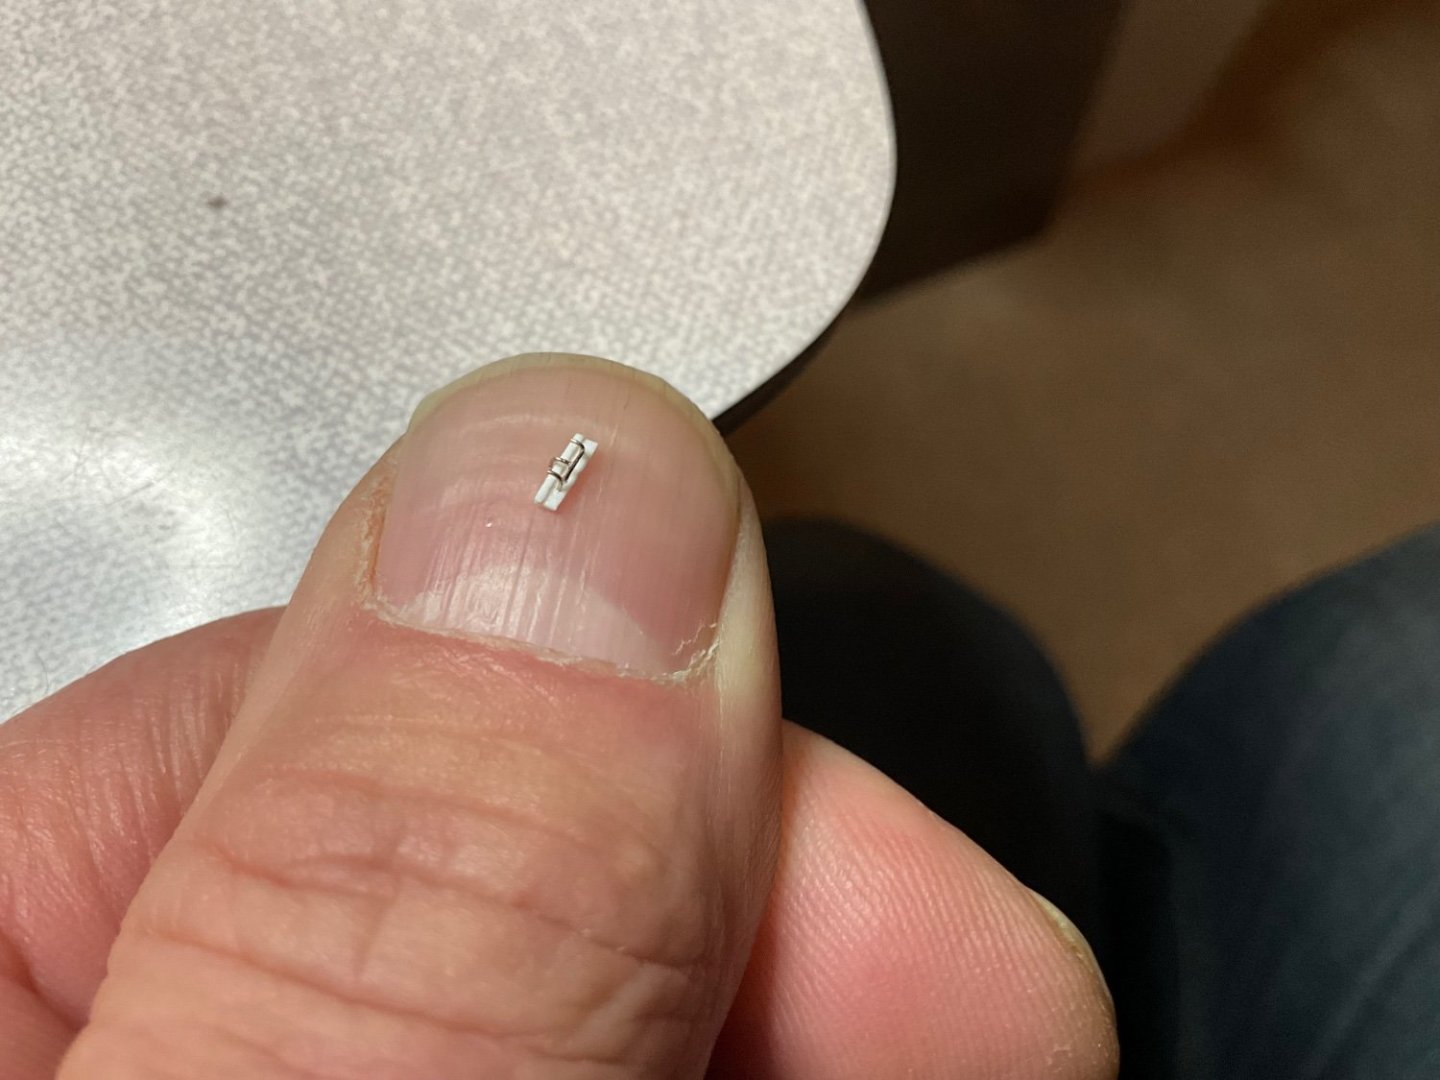
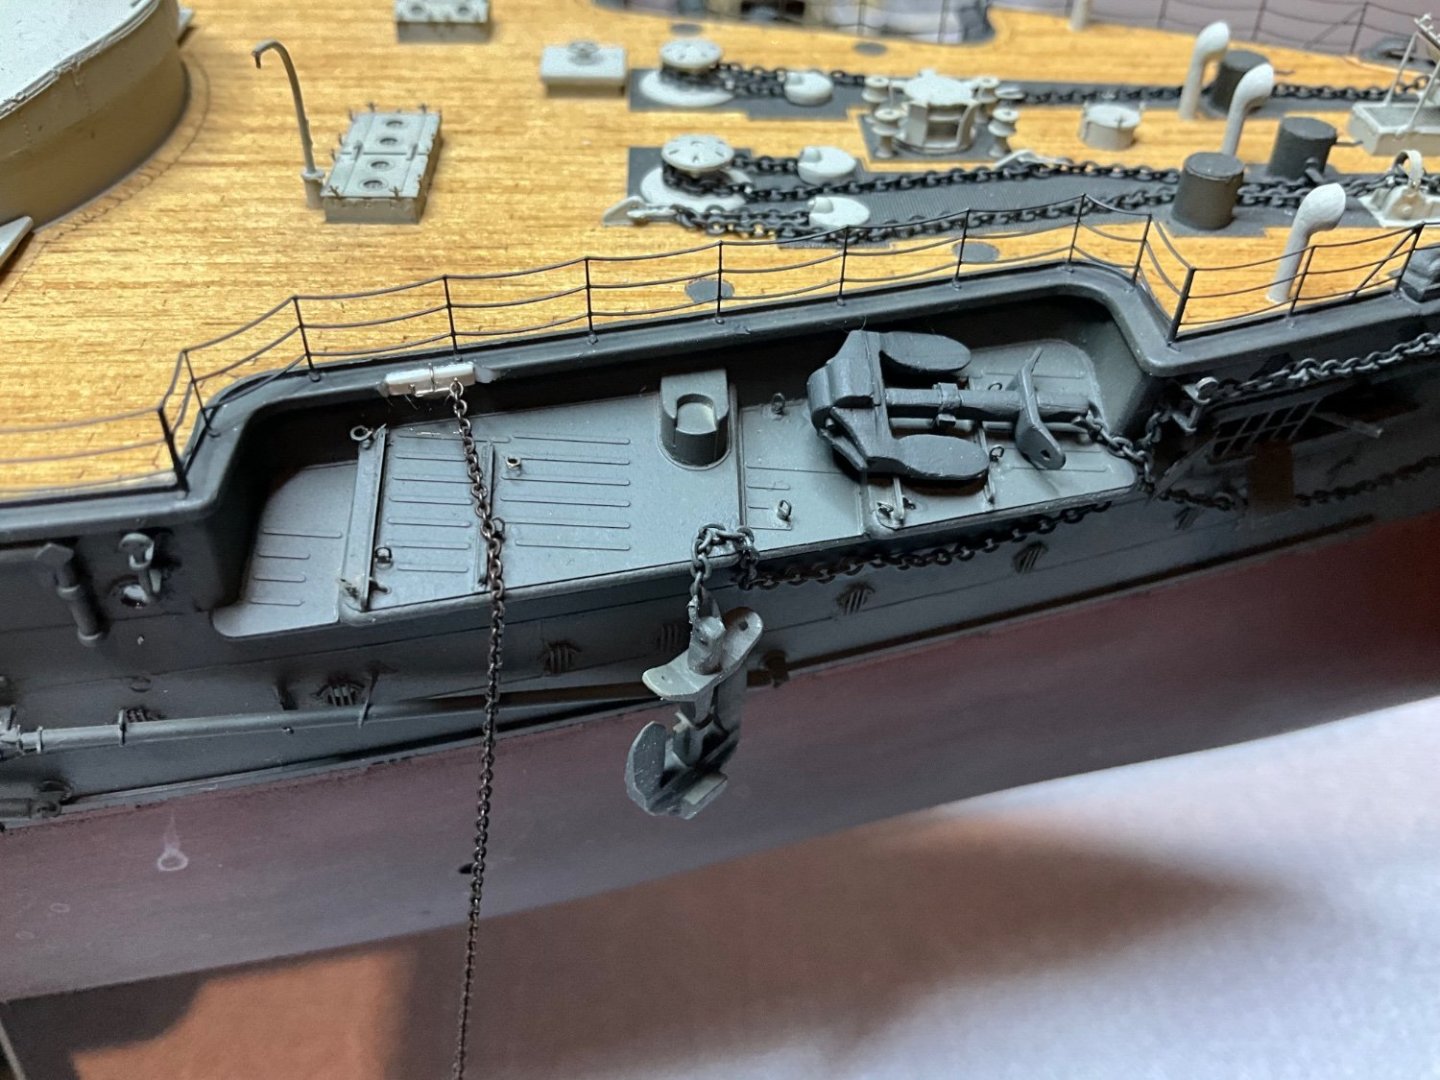
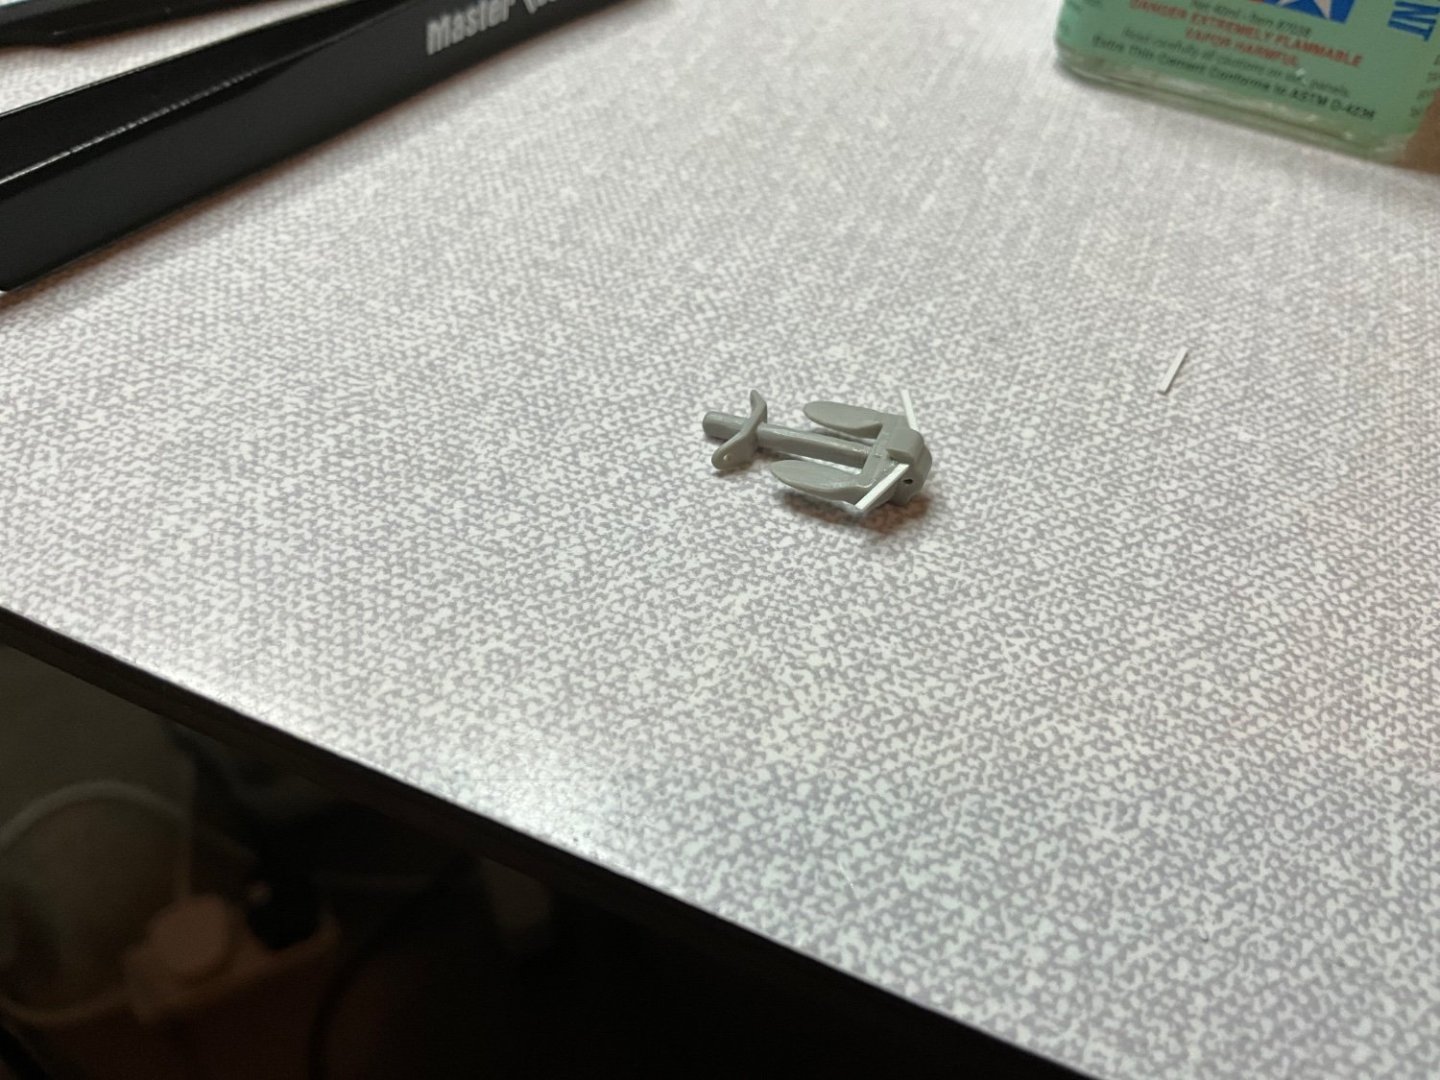
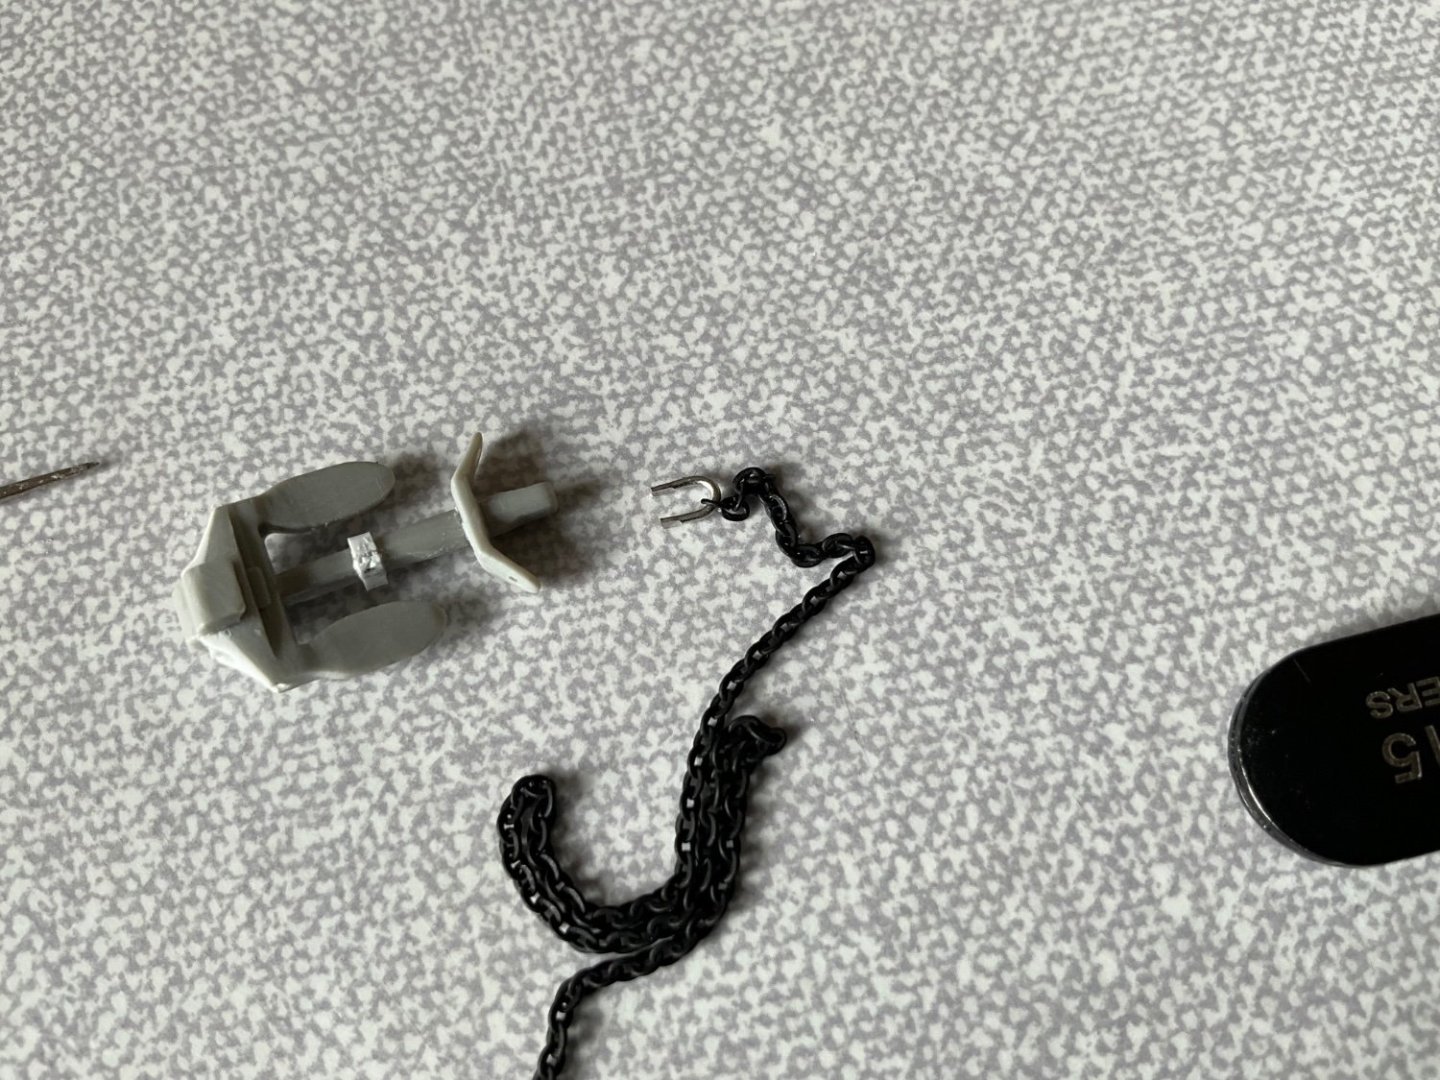
Here’s my method for trying to solve the problem with rigging wire, fiddle but the least destructive to part in long run. Cut the etch shackle through middle, then added 1.5mm of 5 amp fuse wire, nice and easy to cut, fiddle part is gluing it together, the small part is that light it sticks to open tweezers 😂 just don’t do a pinger or drop it like l did, carpet monster lives up to its name yet again 🤪 had to cut another bit. 🙄 put some images up to highlight 🤛
-
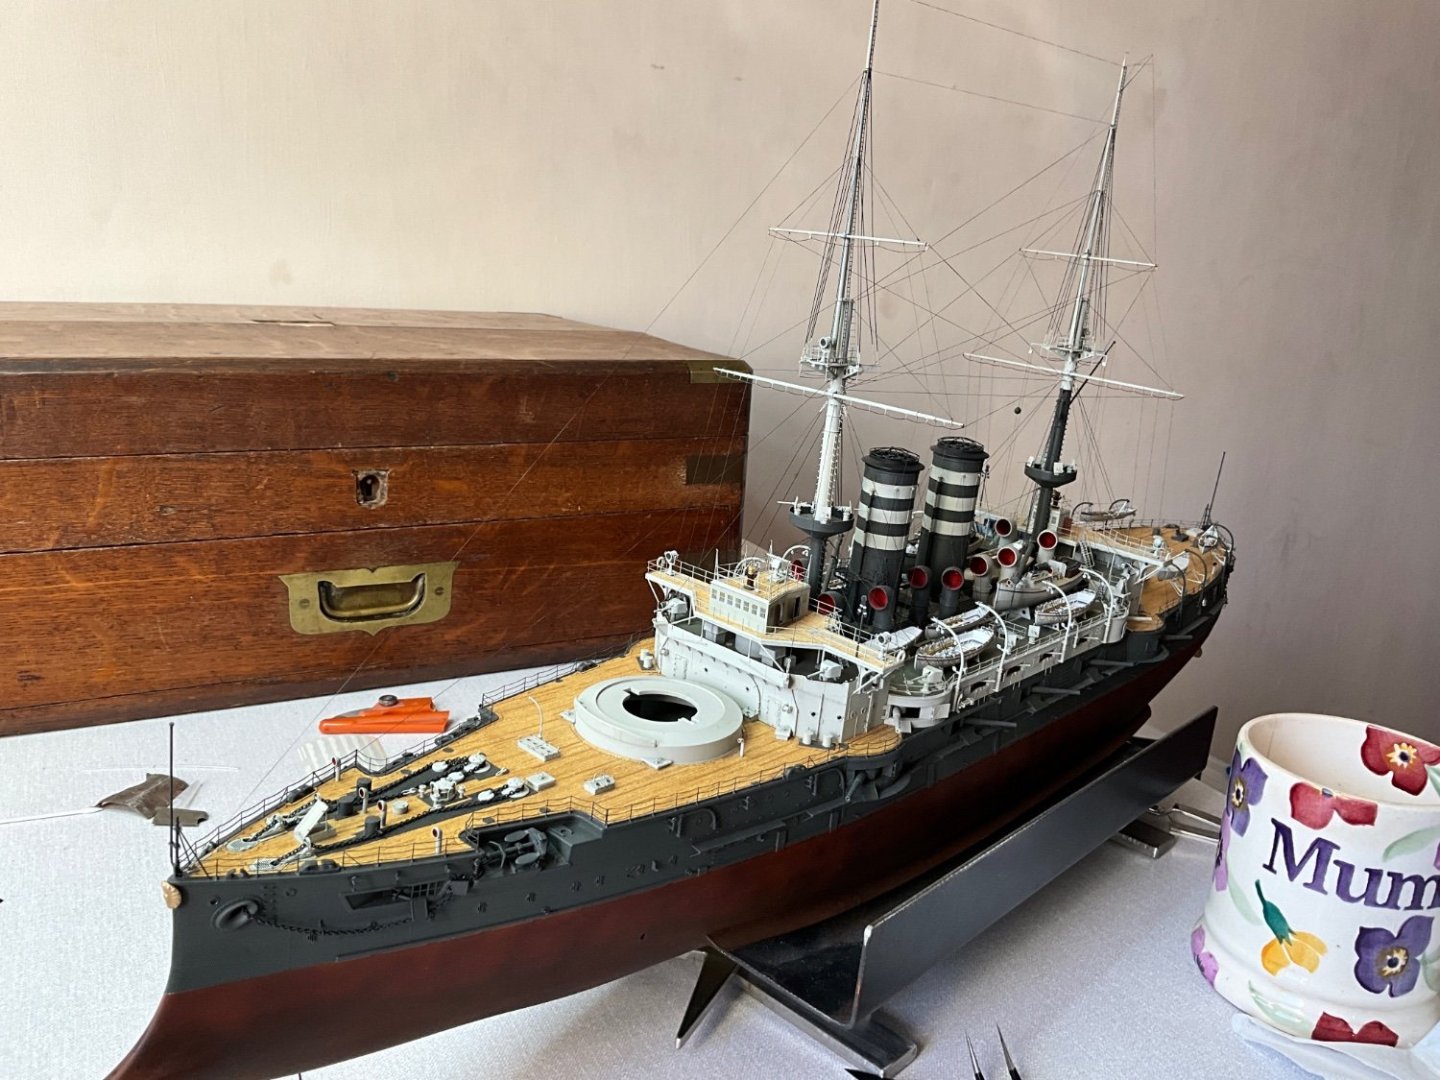
Thanks Yves, thinking no one seems to pick this option because it’s not quite right, so see if this might work and change some people’s opinion in tackling this. Down side is the model becomes even more susceptible to damage, will definitely need a display case for sure, that shall be my first task when completed, now there’s a word l never thought l would utter 😂
-
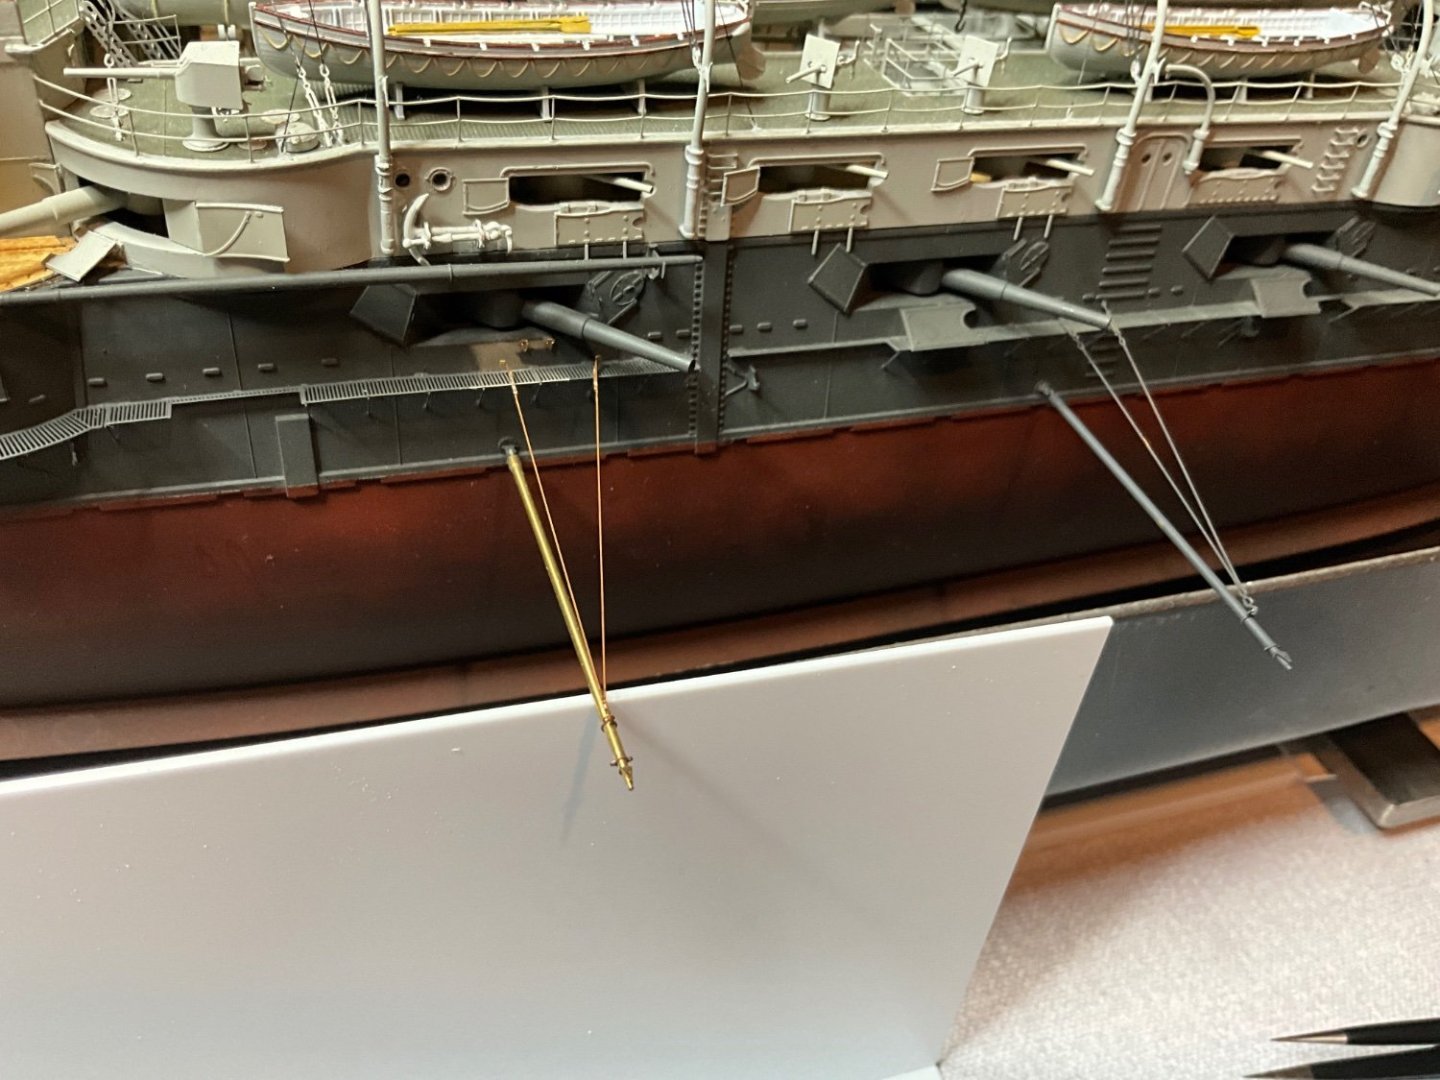
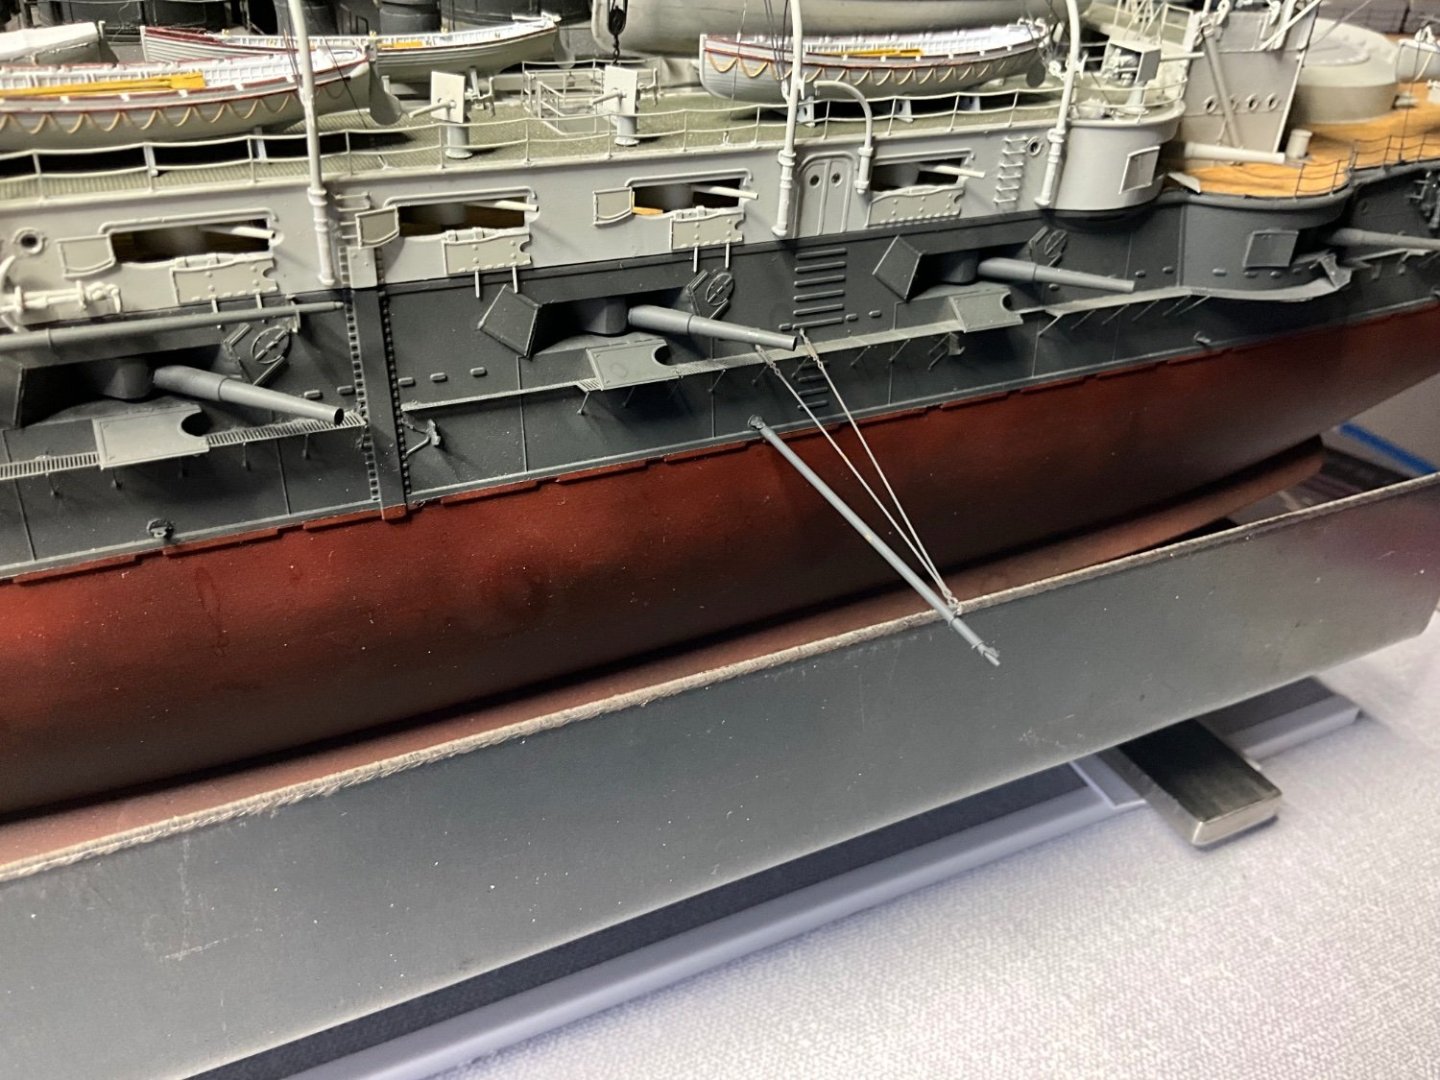
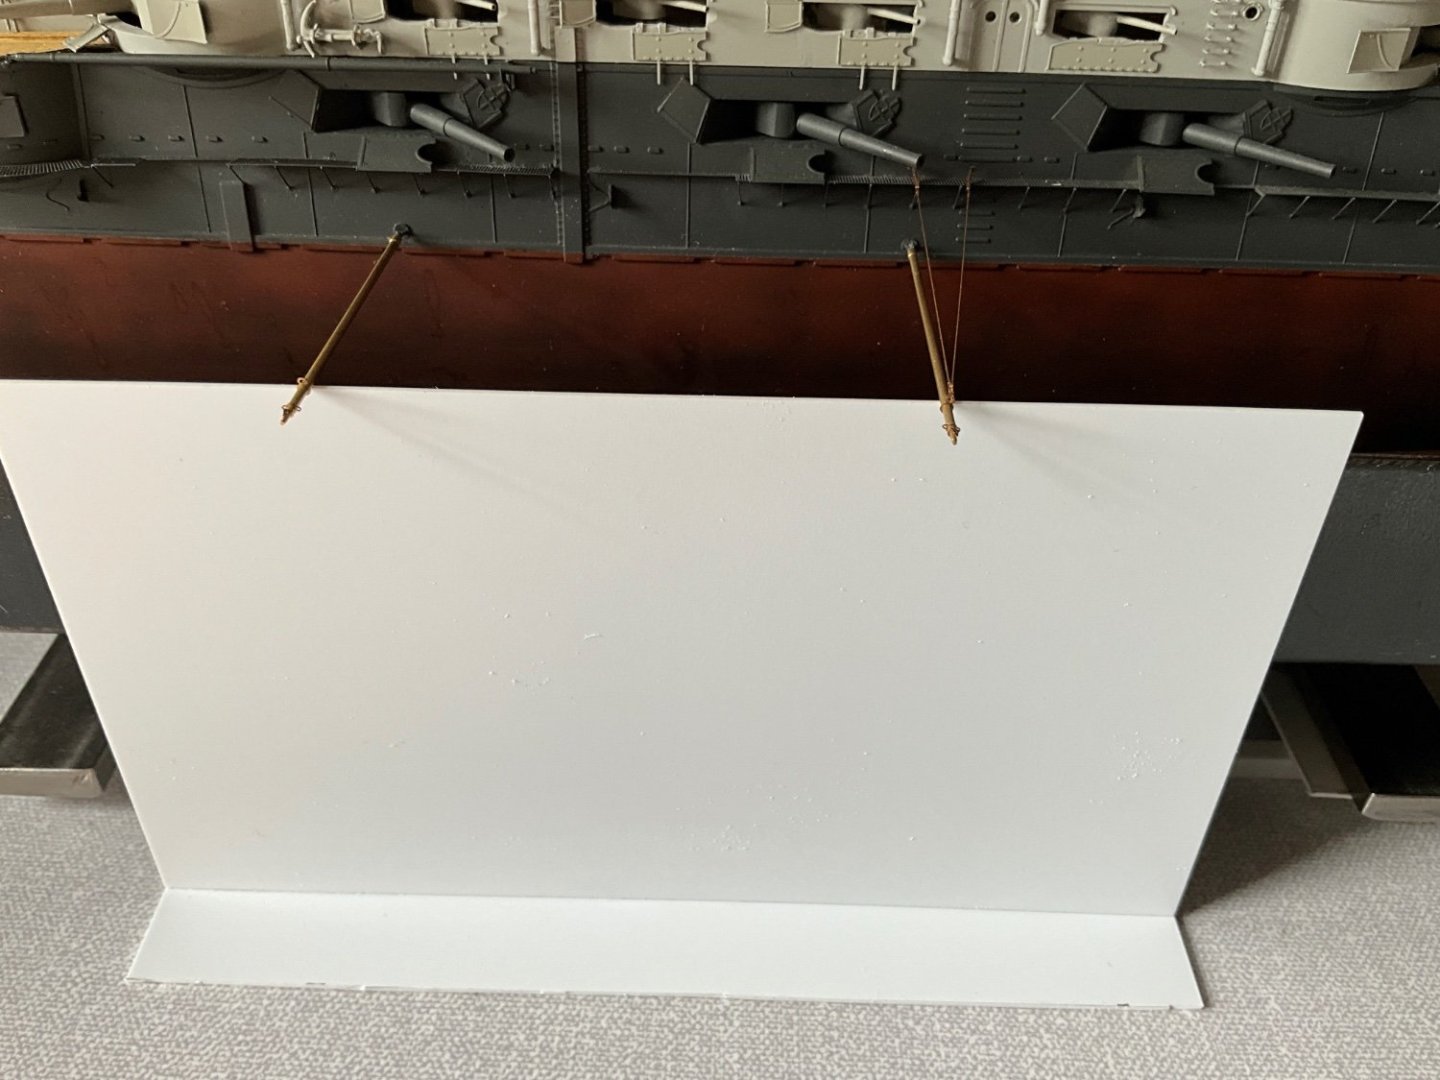
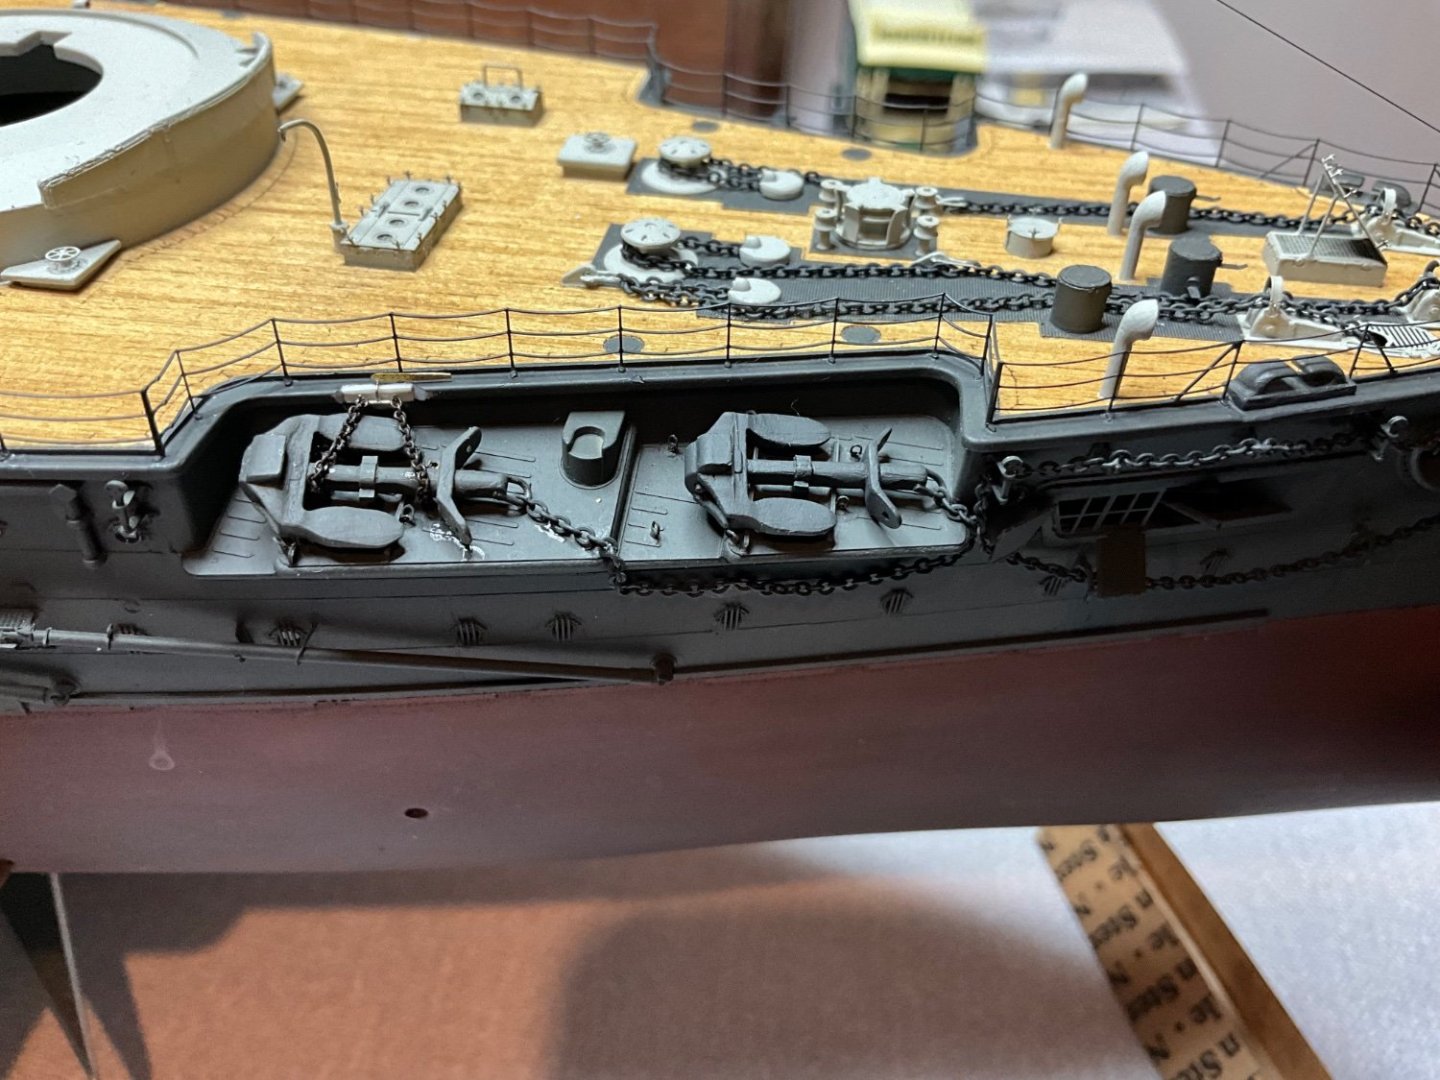
Well got one made fitted and painted, lying down slightly but l can live with that. That was the least destructive way l could alter this, now just have to do another seven, think will remove the gun shutter next for boom number 712, also start on the 12 inch turrets to stop me going around the twist with booms.
-
Thanks very much 🤛 only displaying it on port-side starboard side they are already fixed in to hull side, be interested to see how you do rolled up net as might want to do this on starboard side. 👍 starboard side l still have a notion to do a little sea at waterline from bow back to just before boarding steps.
-
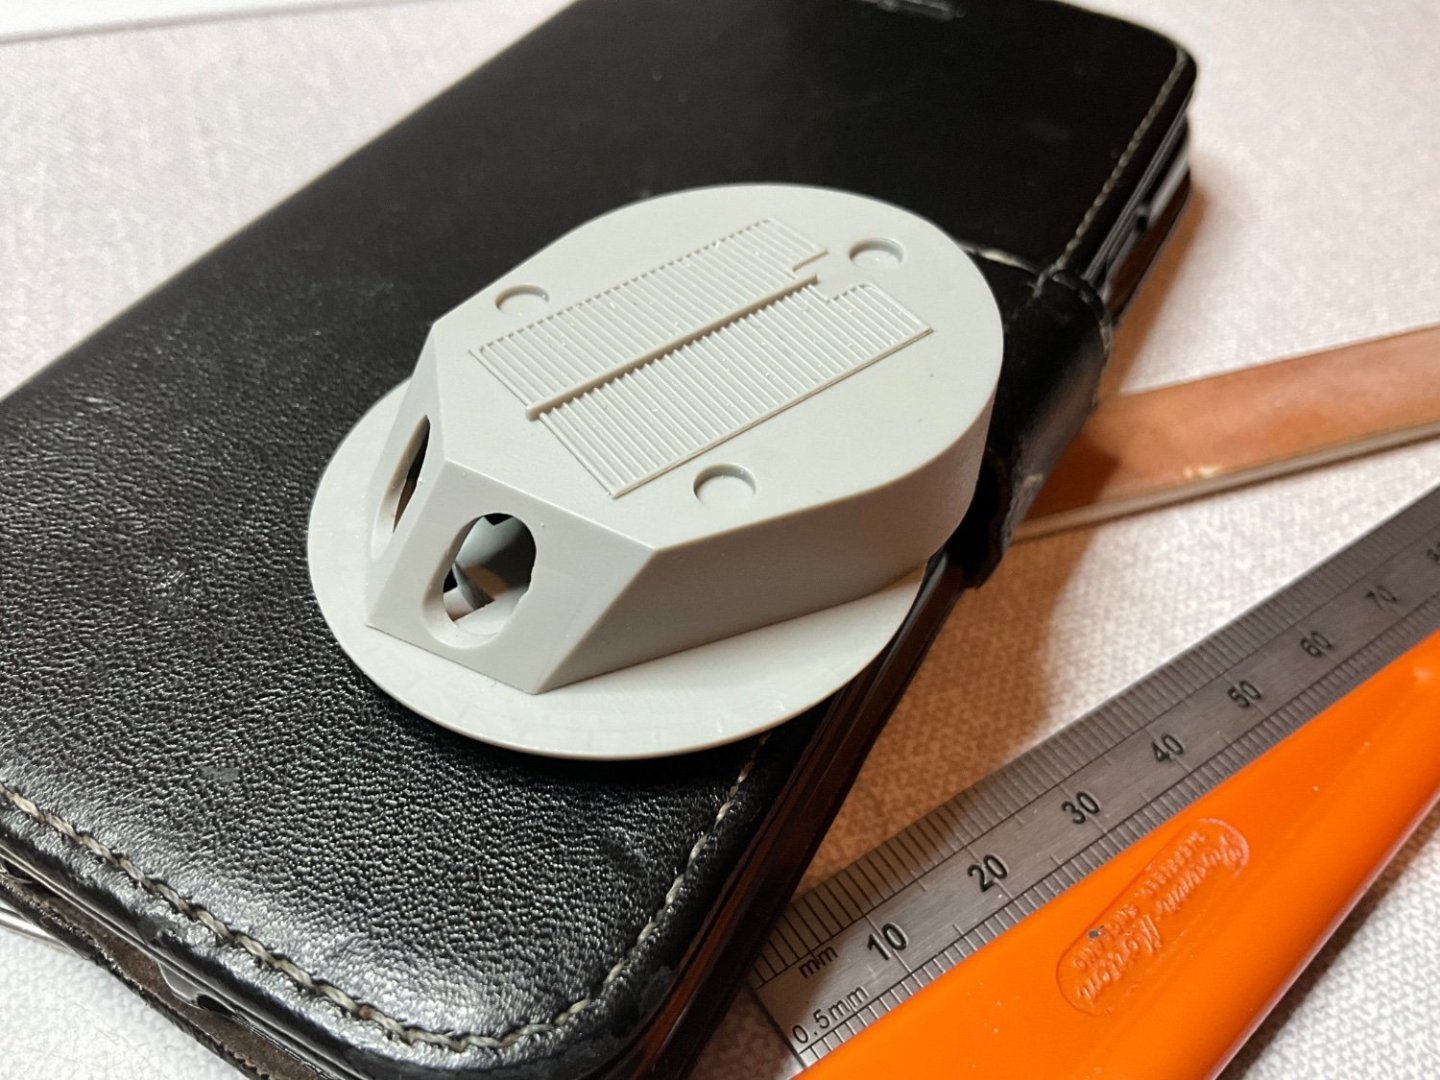
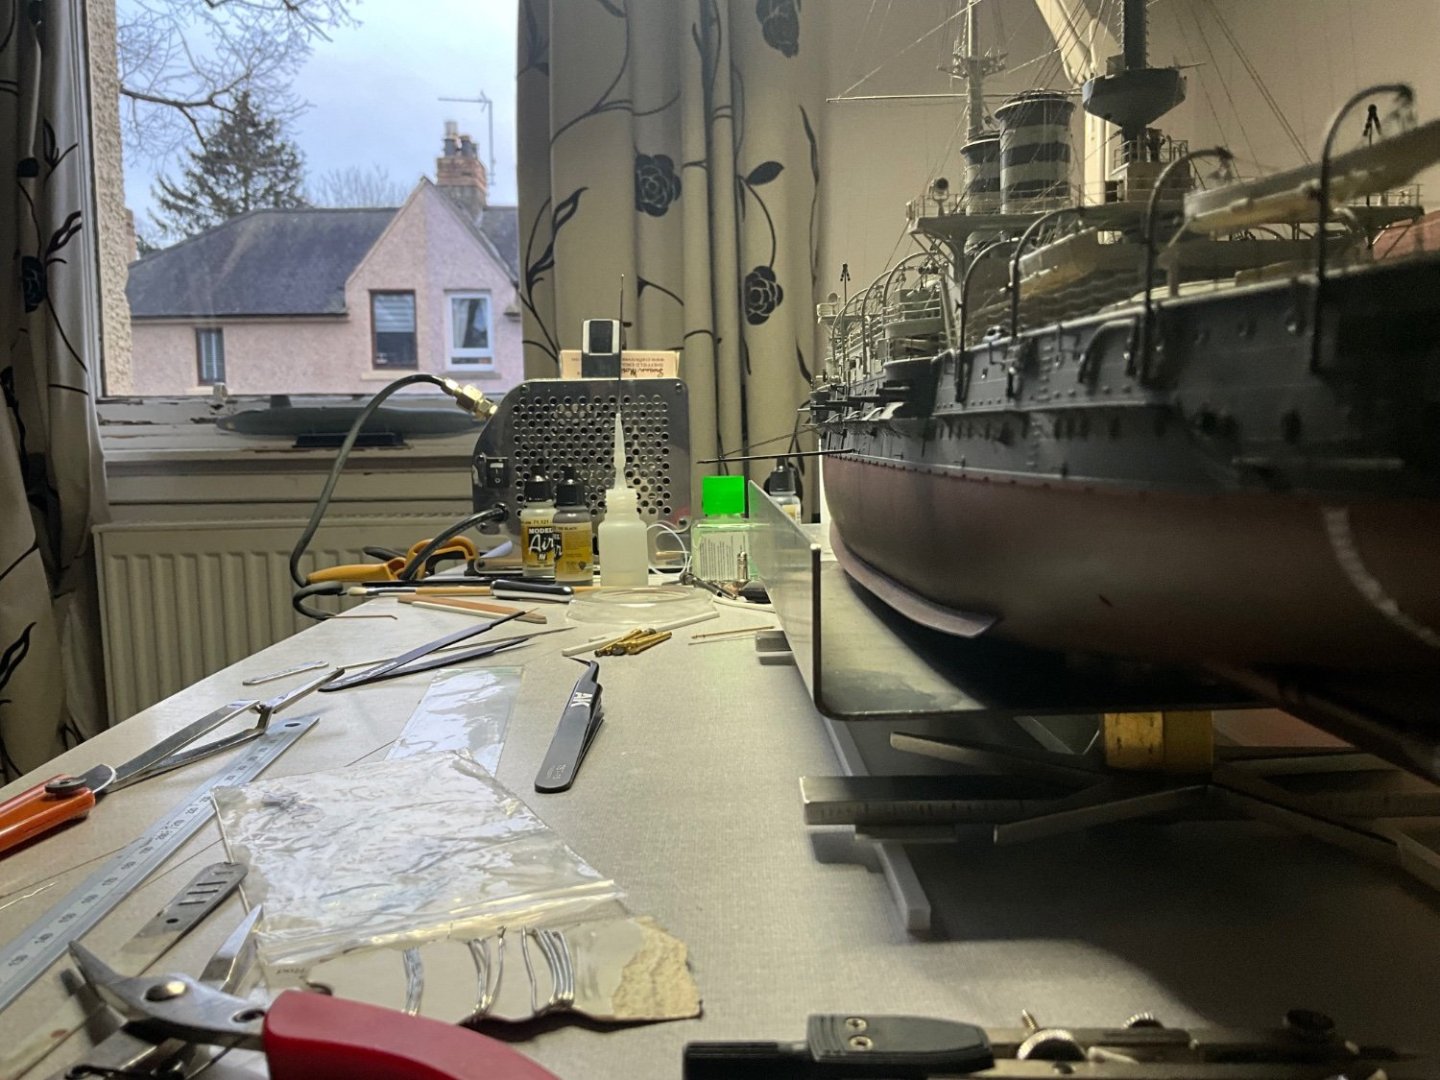
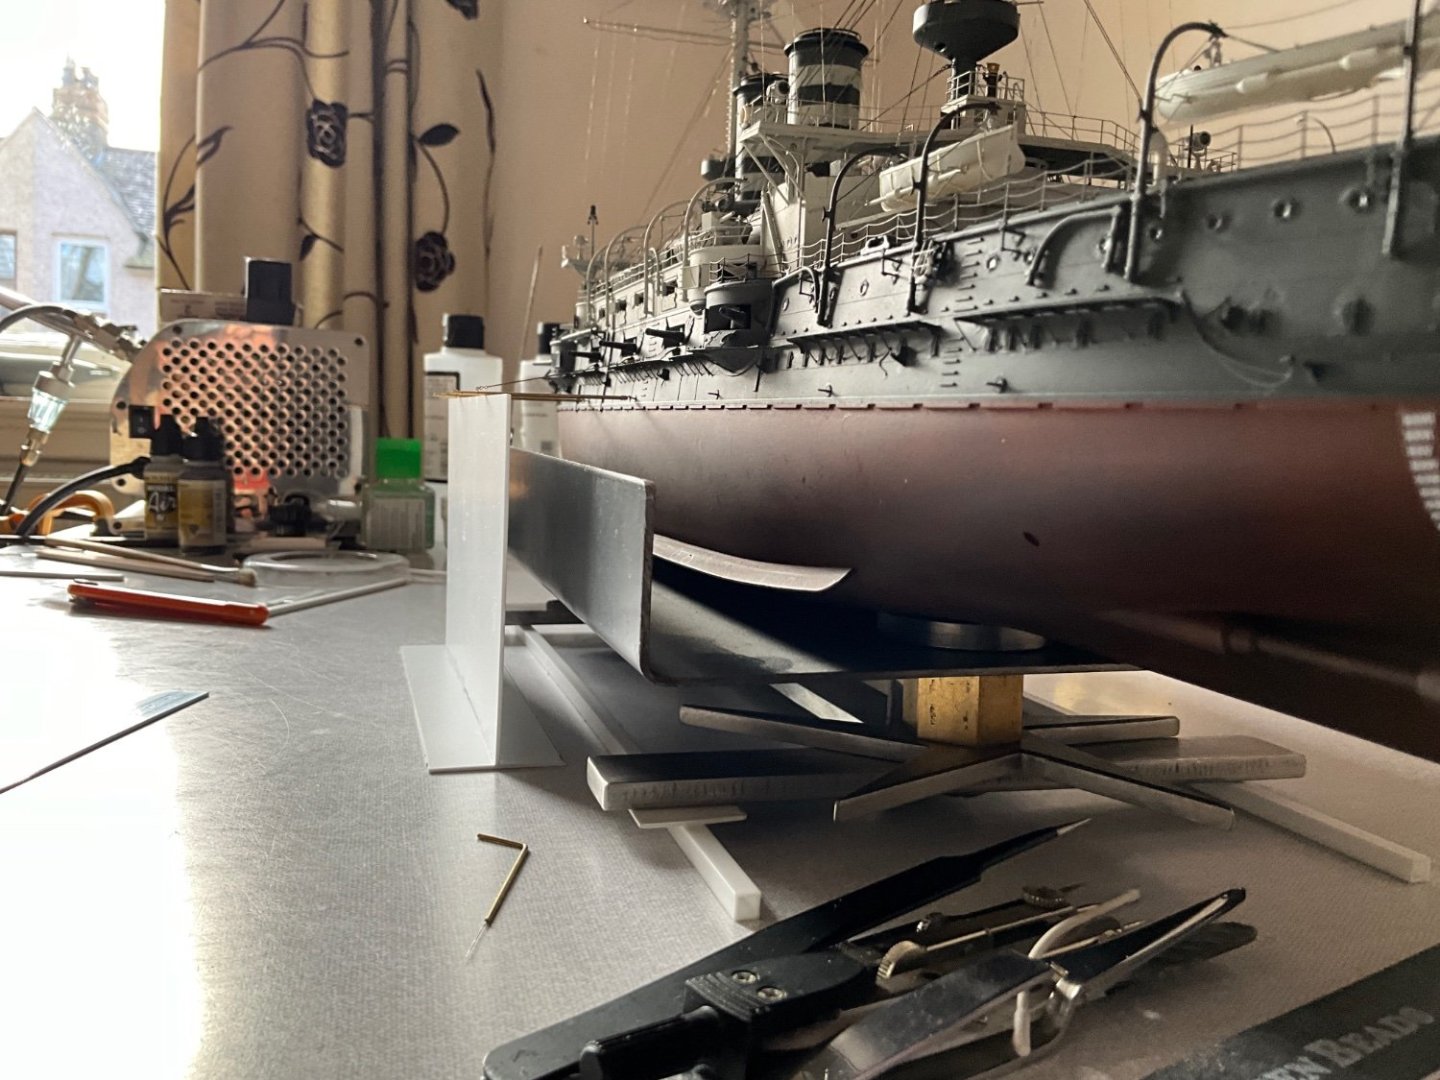
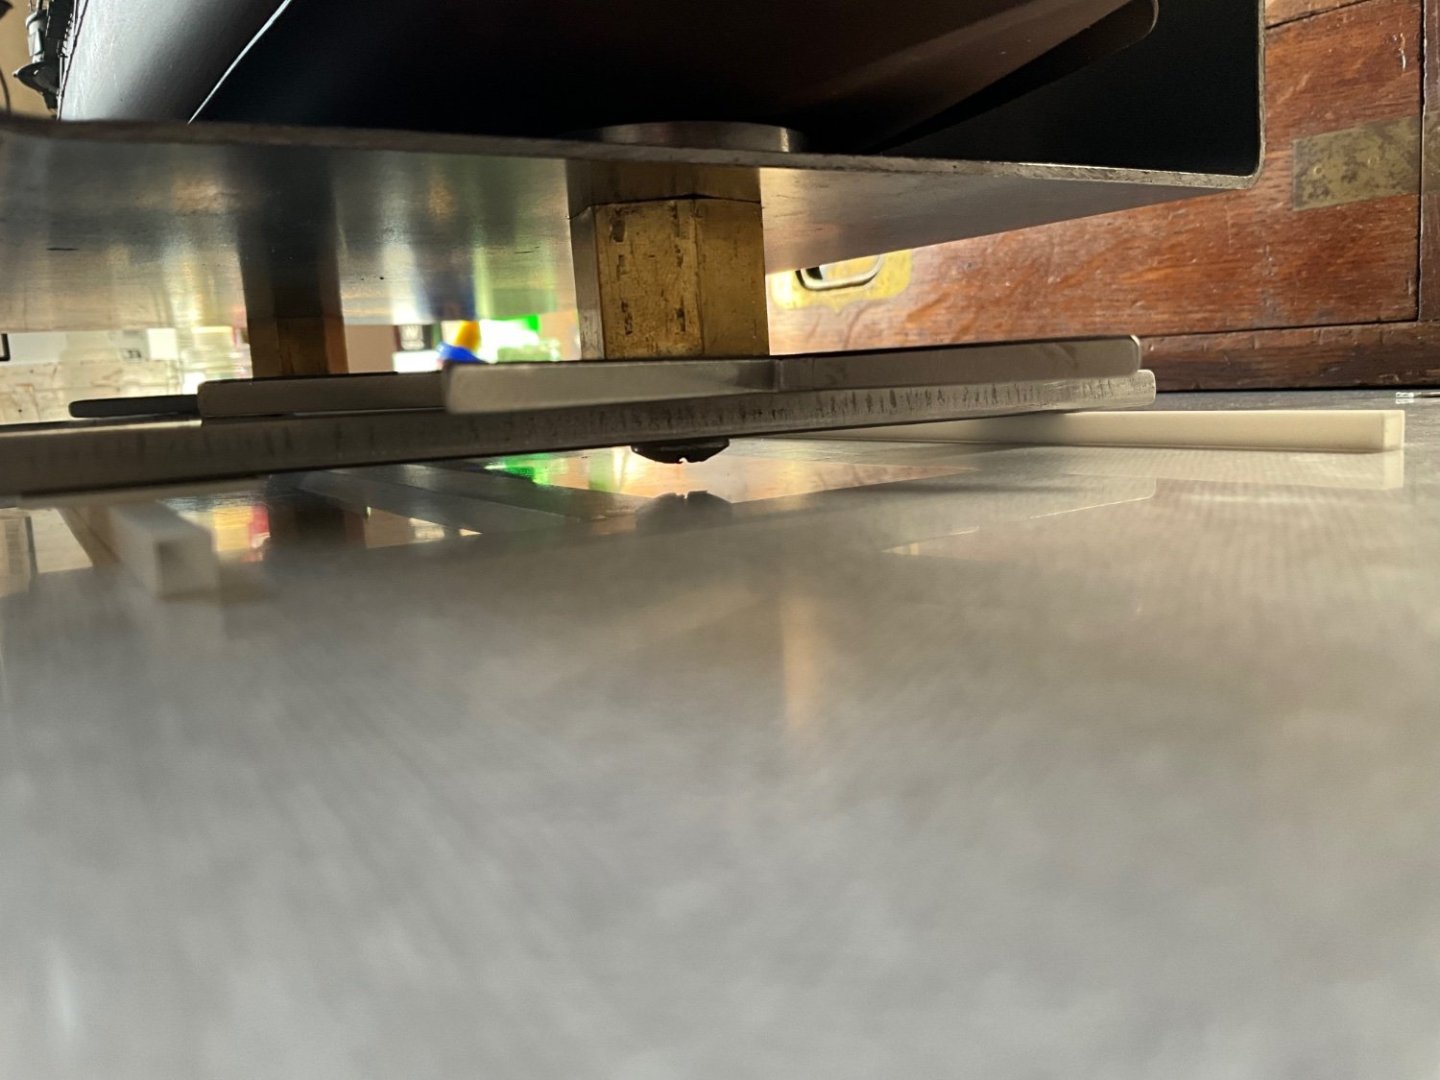
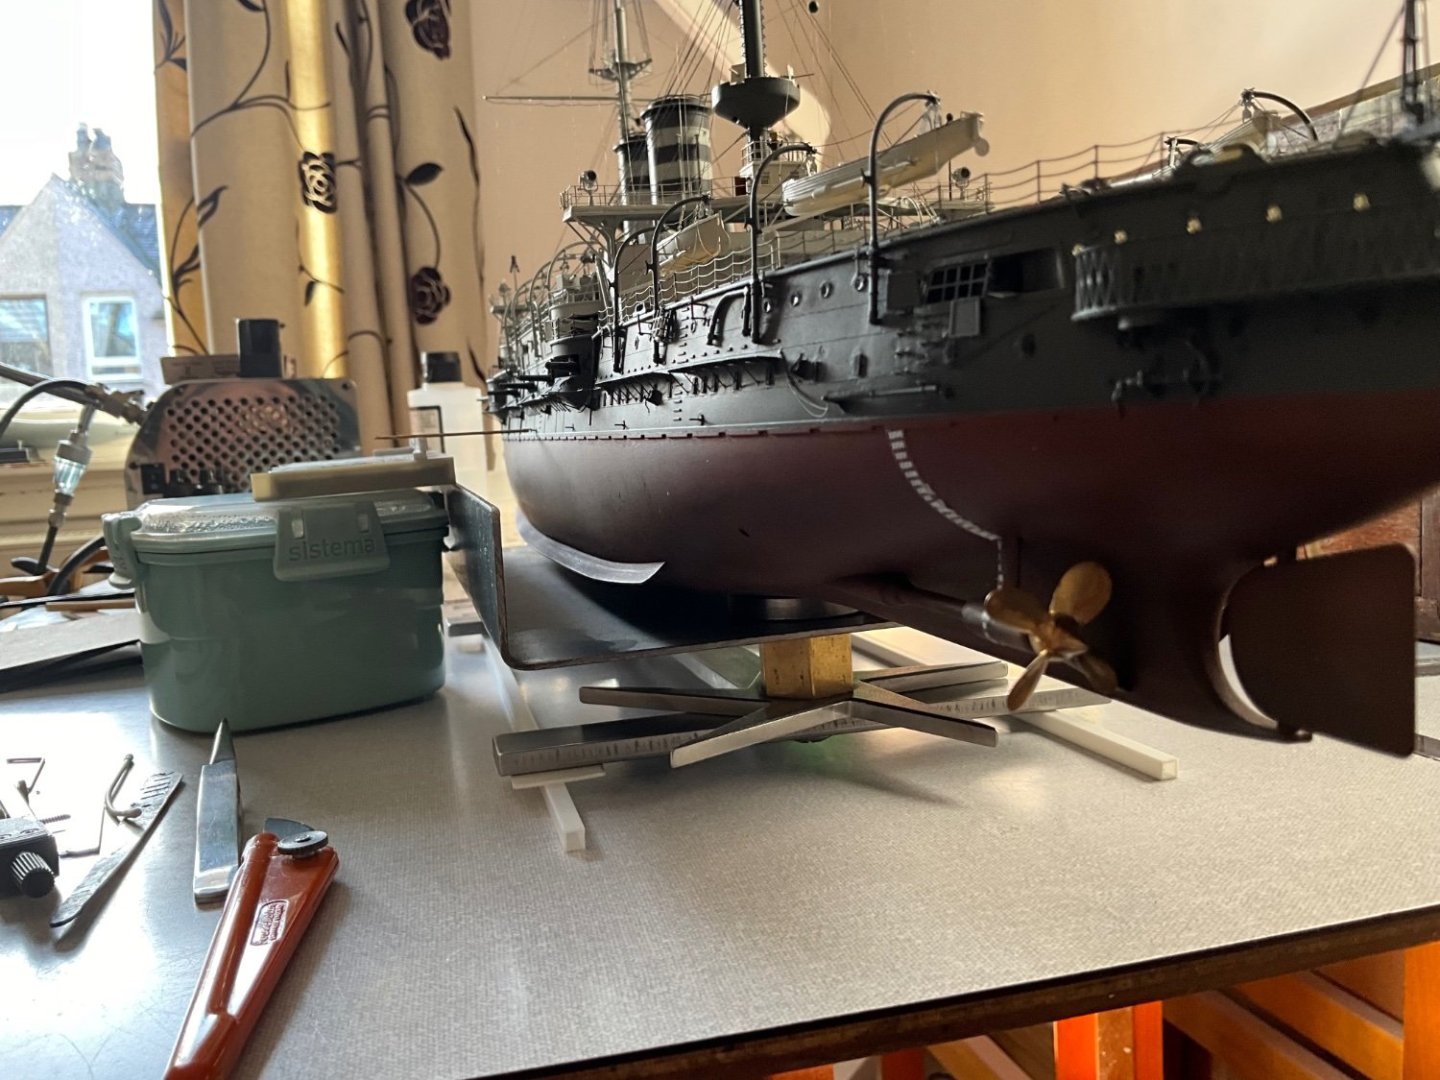
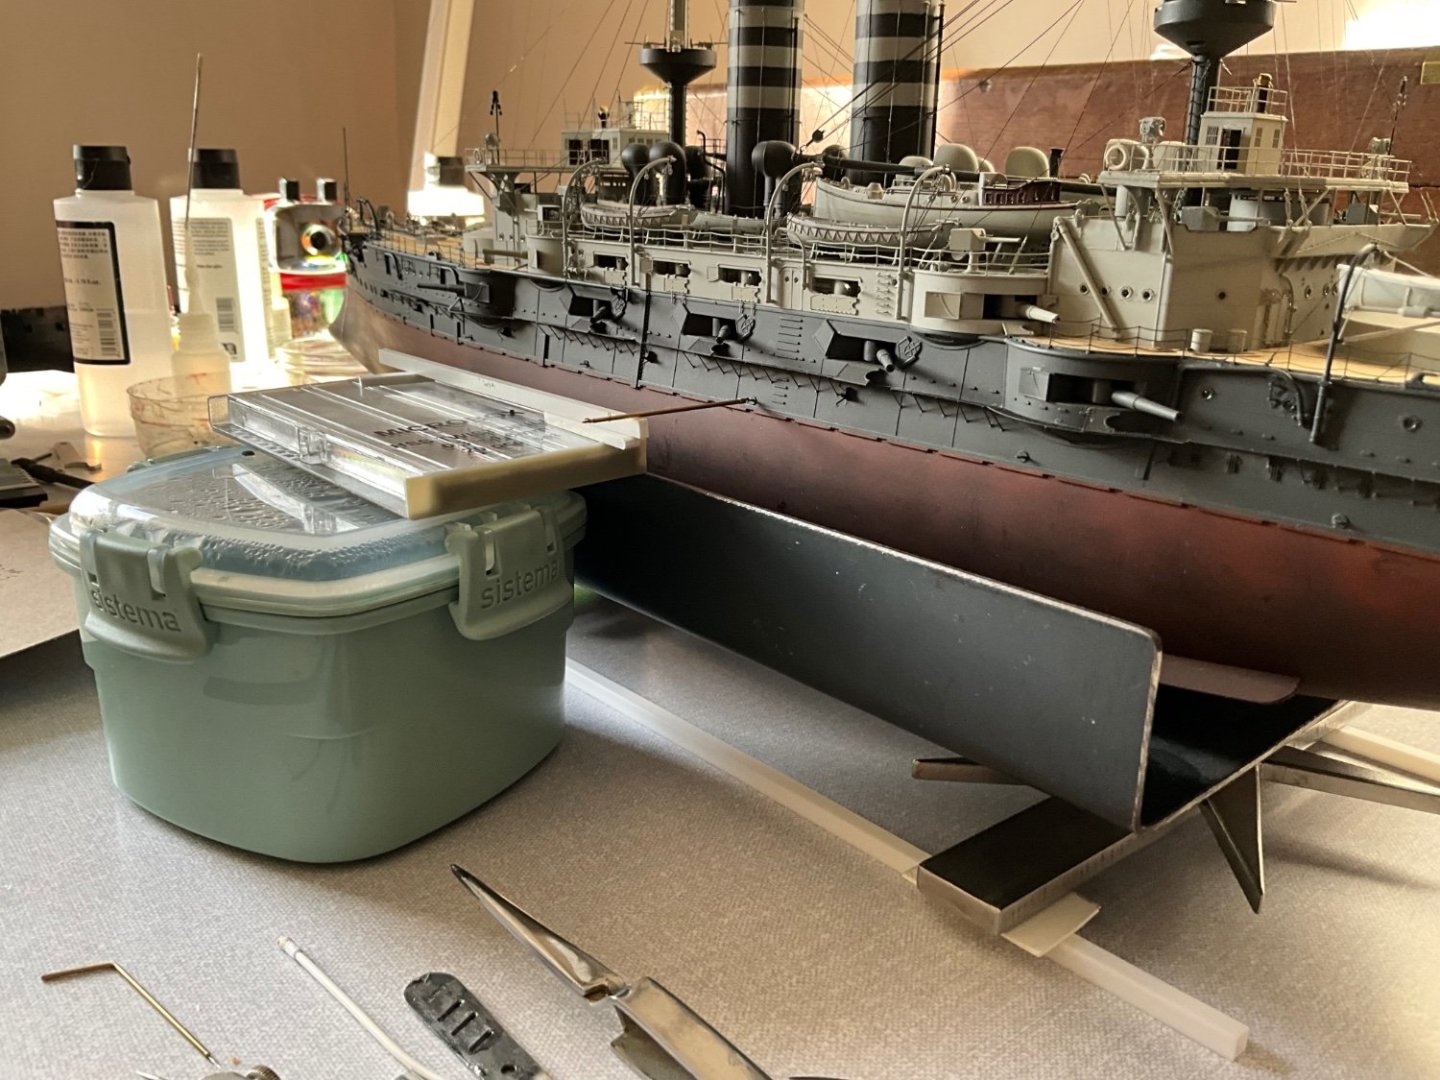
As good a jig as does job, at least everything is steady now, if l can get this to work will be a bonus, here’s hoping.
-
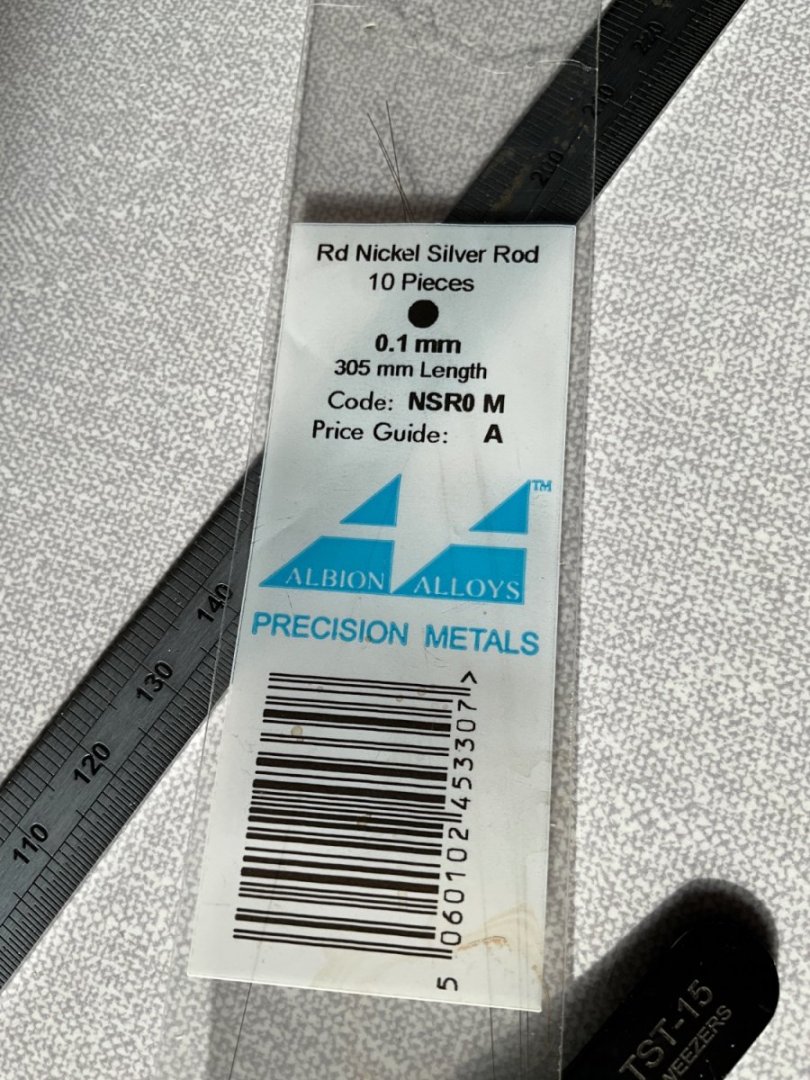
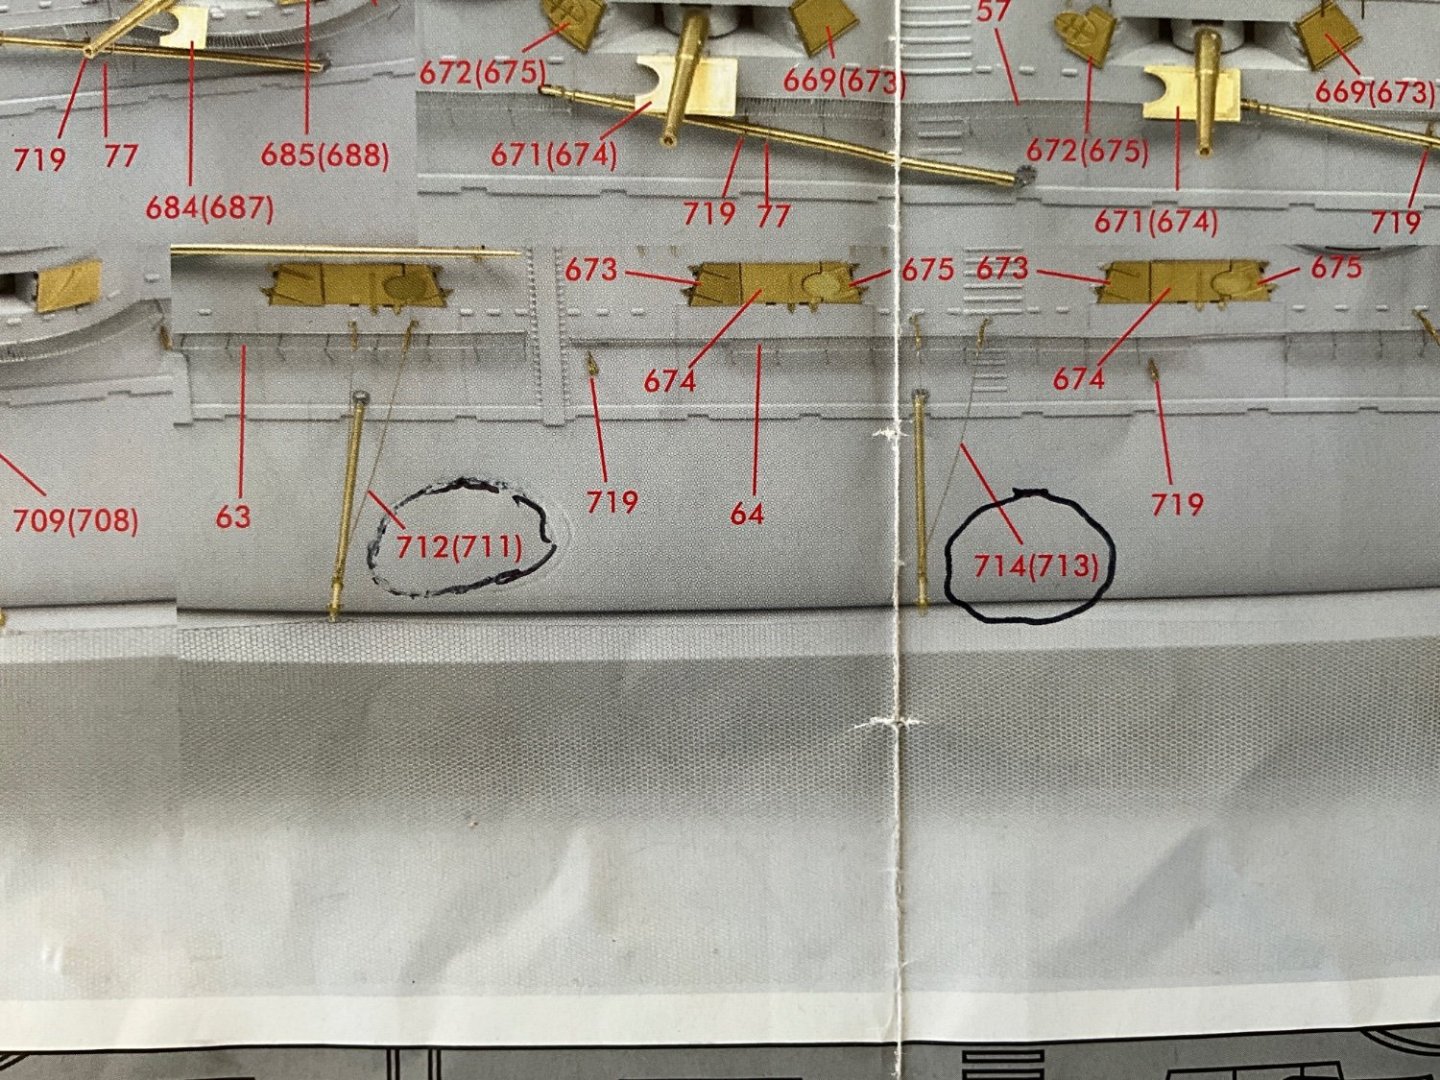
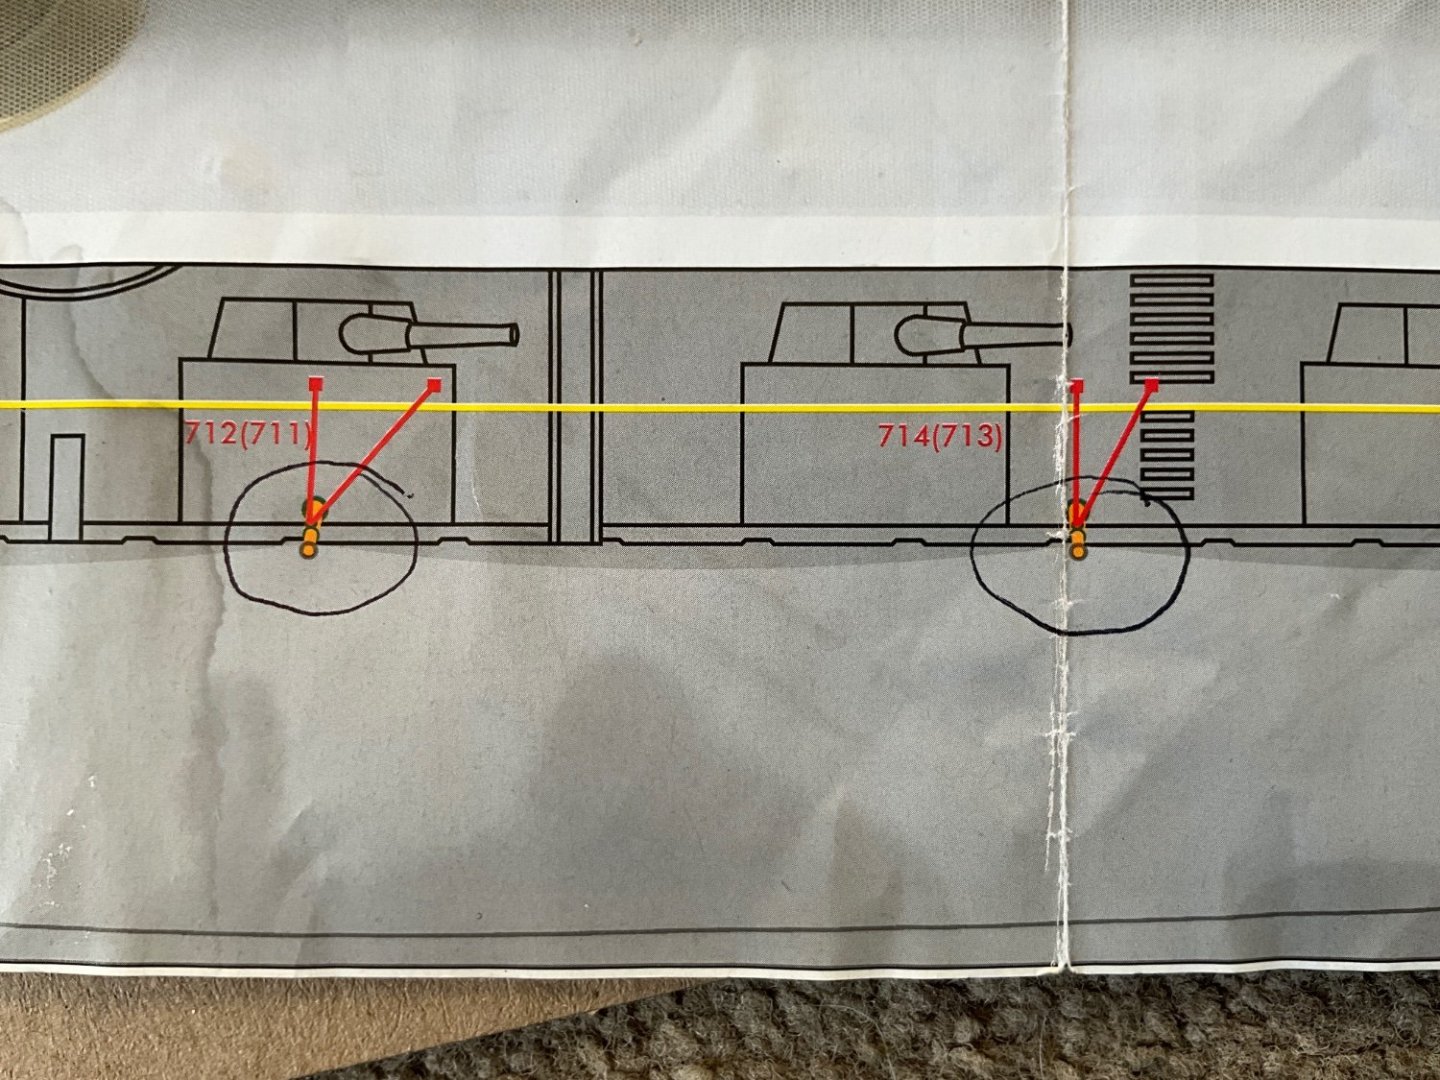
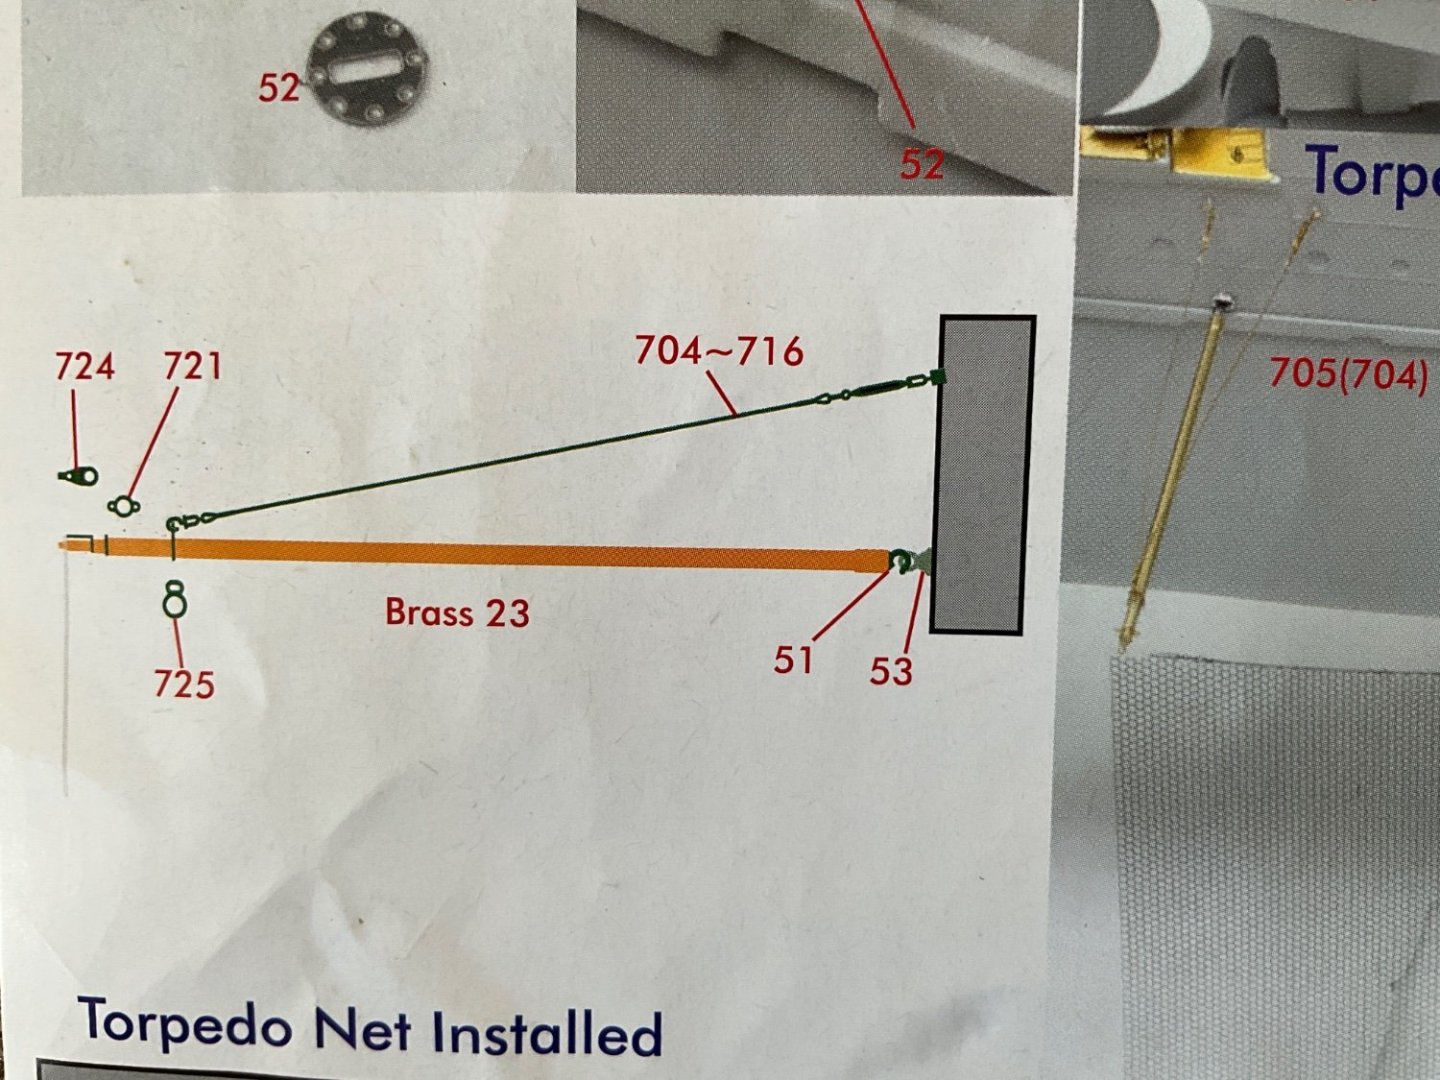
Back again, note point 714 is my datum and starting point, at this point the boom is 90 degrees from hull in both planes and the guy wire on left is vertical above boom so as good a place to start as any, well with this set up as is, it’s 1.5 mm short of hull, think my only option is to cut the etched wire and replace with 0.1 Nickel Silver Rod, not going to be easy, fingers crossed 🤞
-
Just point out that nobody mentions that the shielding at point number 712 has to be in closed position to get the fixing points on hull, think l will have to ease this part of to fit guy ropes then reinstall it resting on the wires, still working this out, trying to set up a sort of jig so I can work on this, ongoing 👍
-
Working on solutions to get the booms to sit right for torpedo nets, drawings show booms hanging down from hull on elevation drawing and level on end elevation drawing, think level would be the one l would opt for, the etching wires as they are end up pulling booms skyward. Think l need to lengthen these for it to work, so working this out just now. 🤛
-
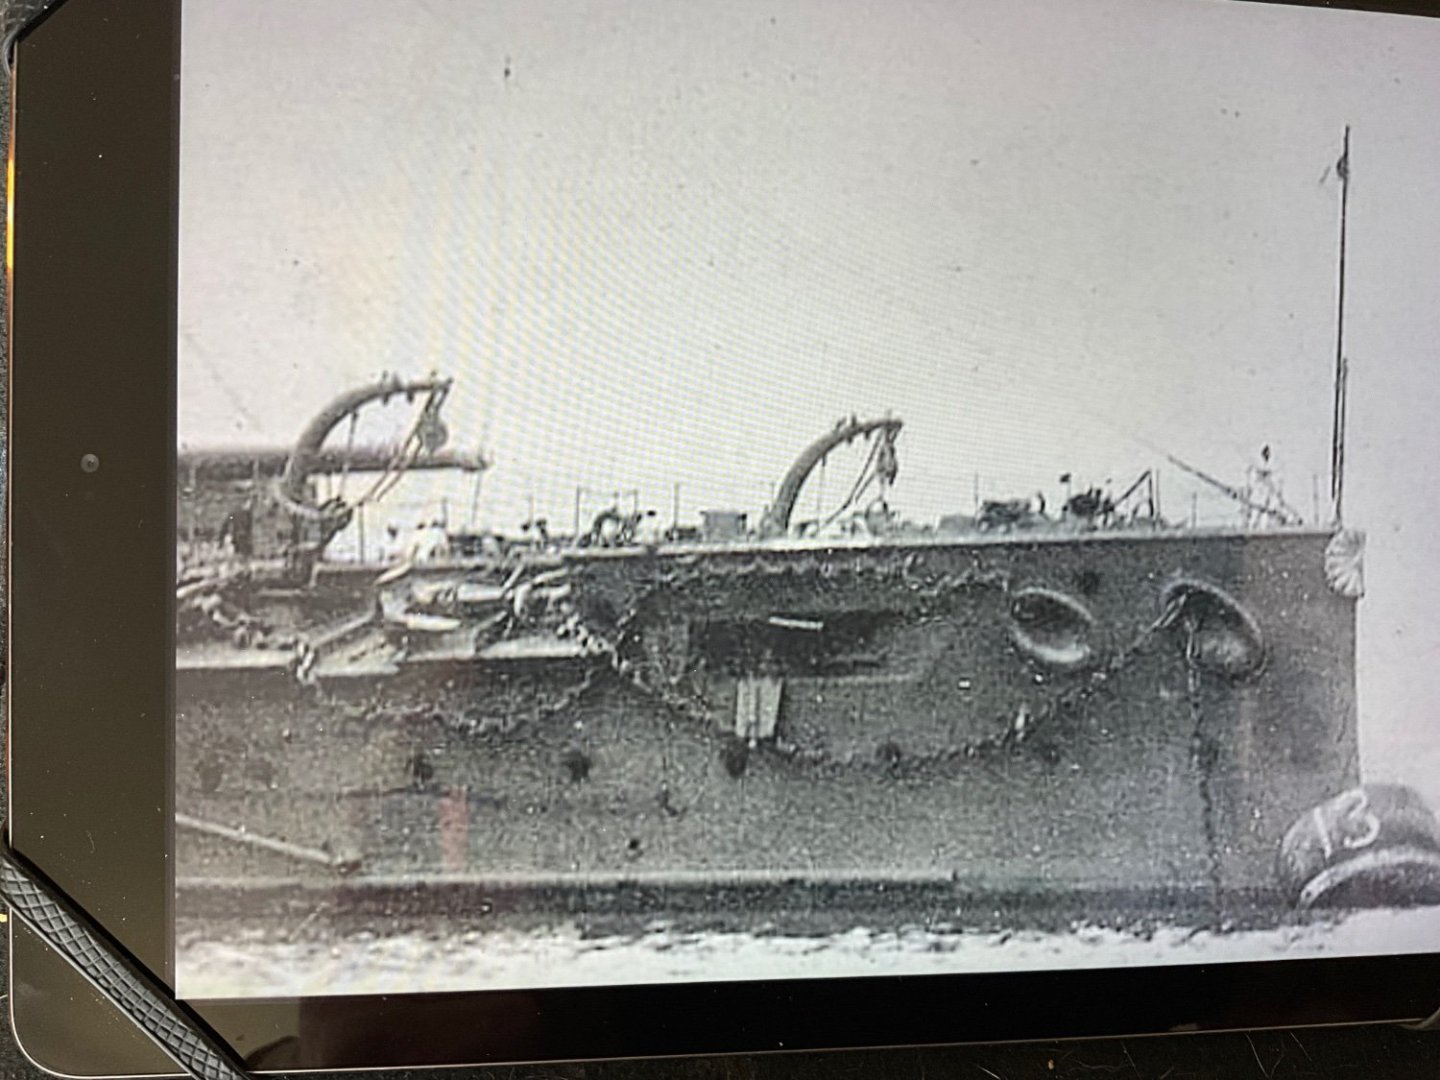
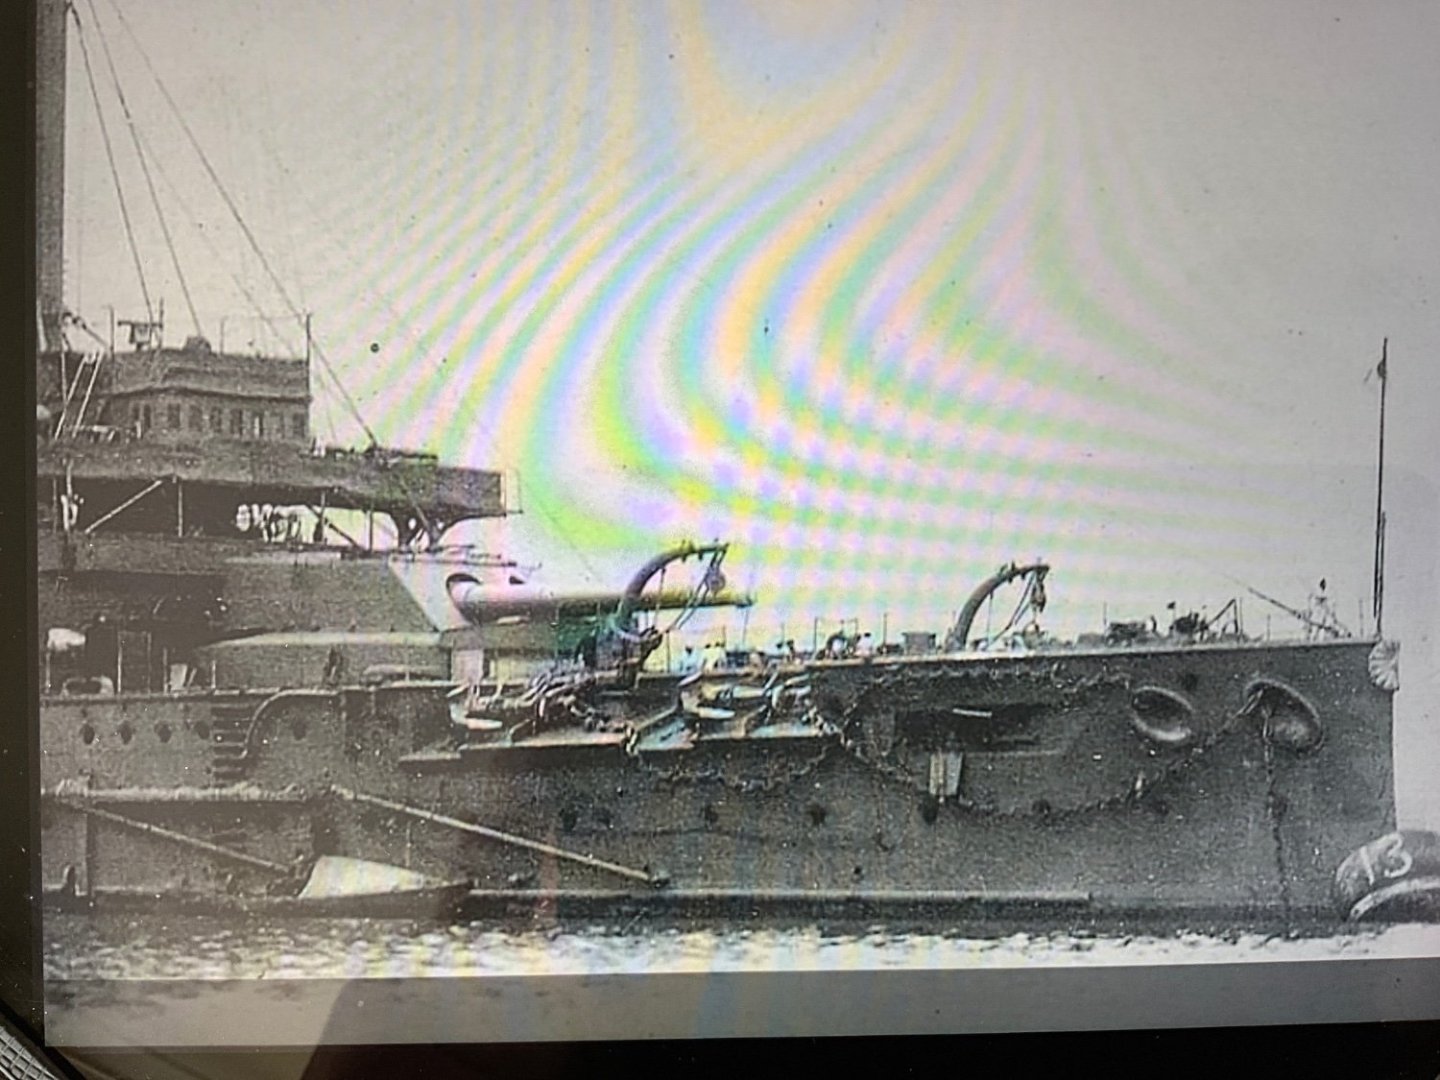
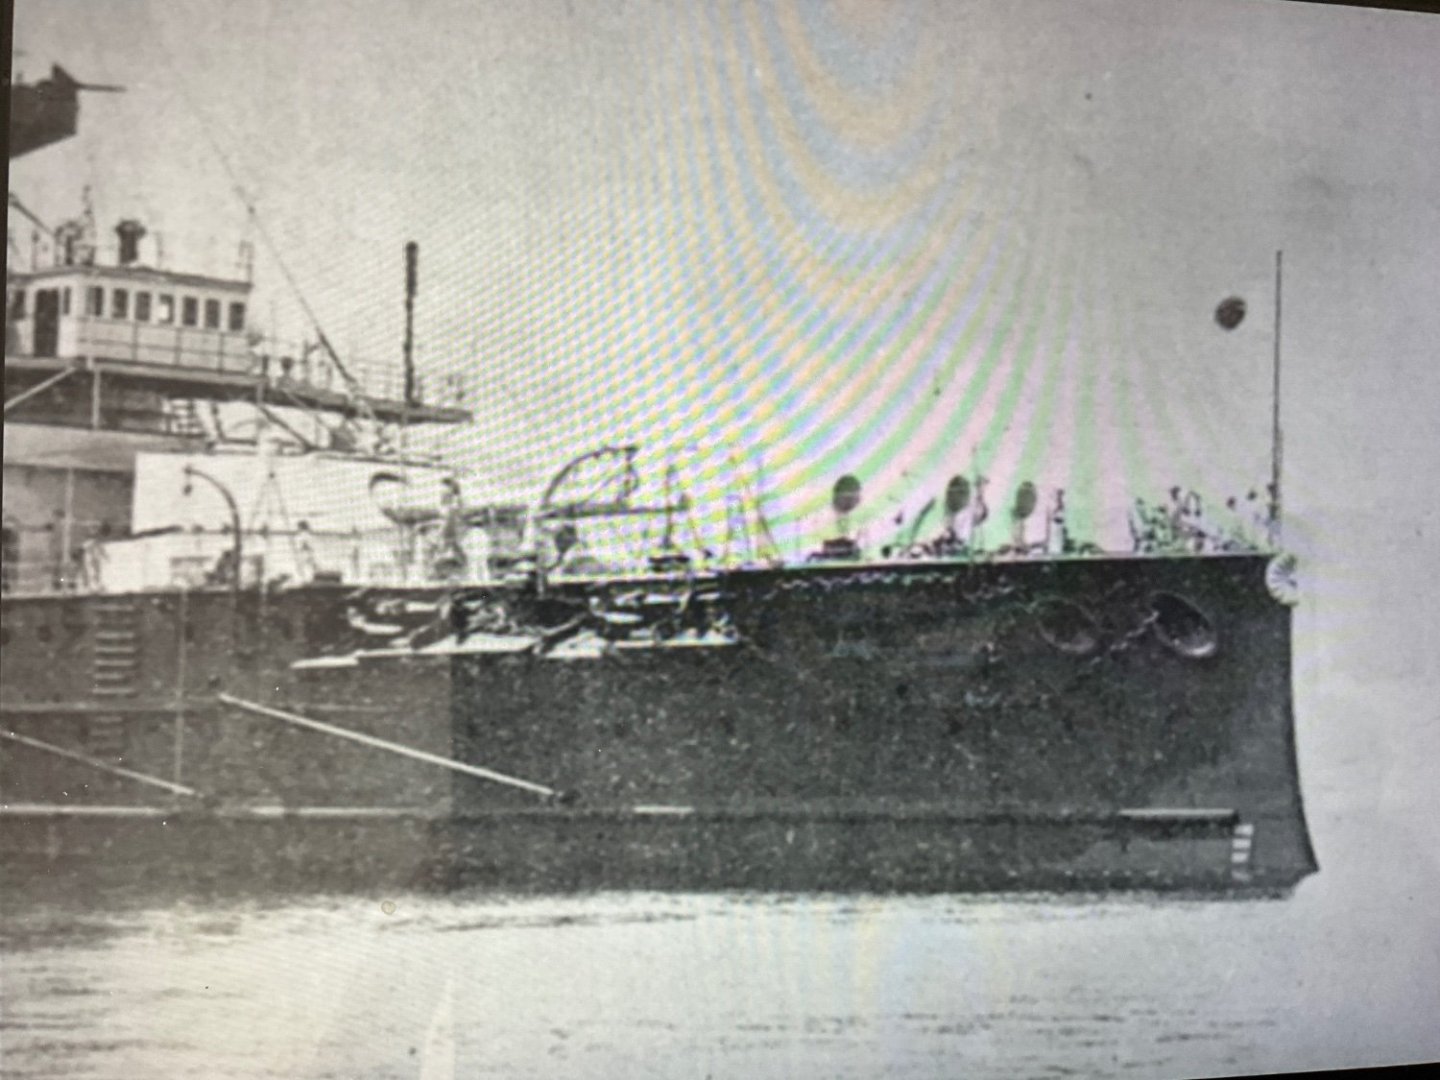
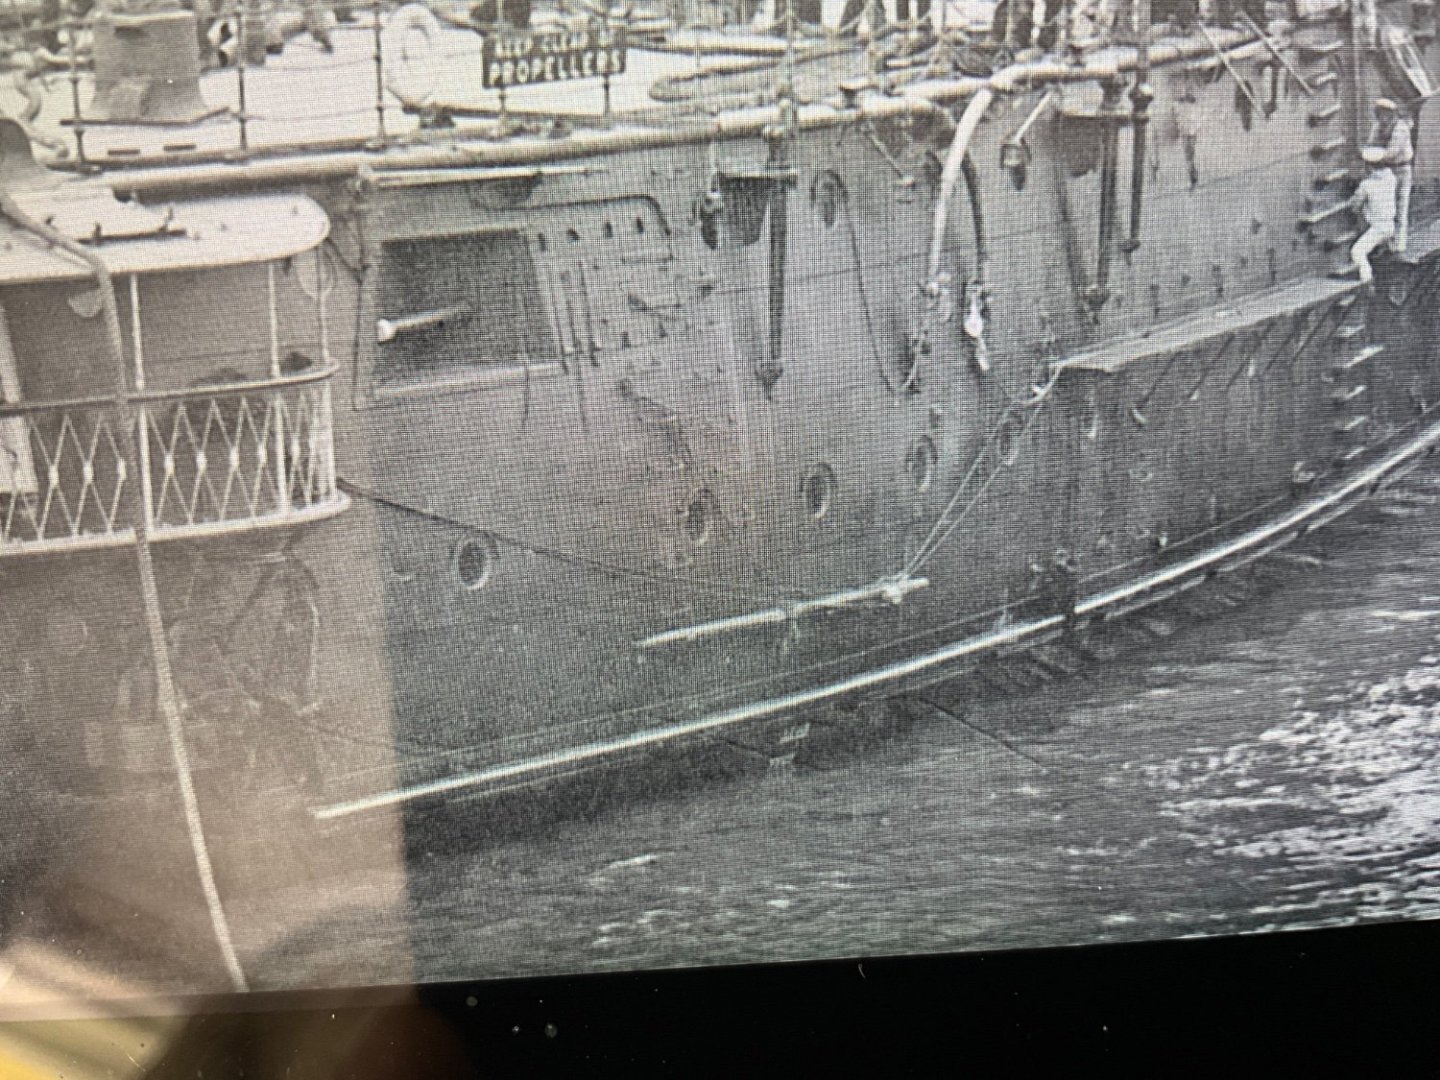
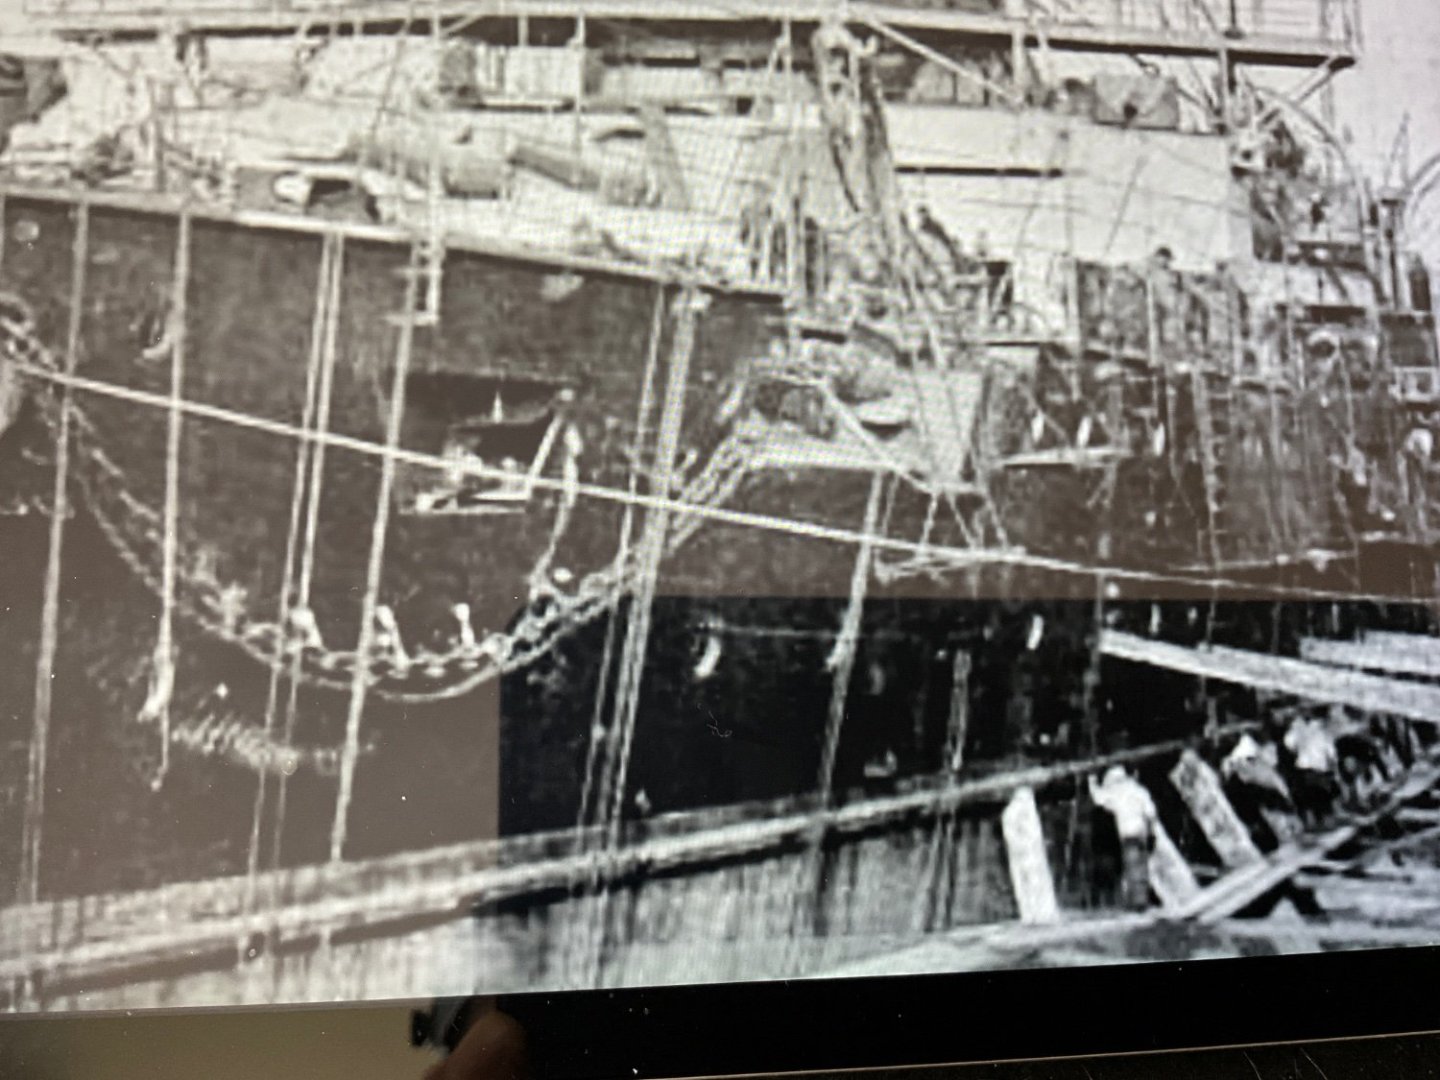
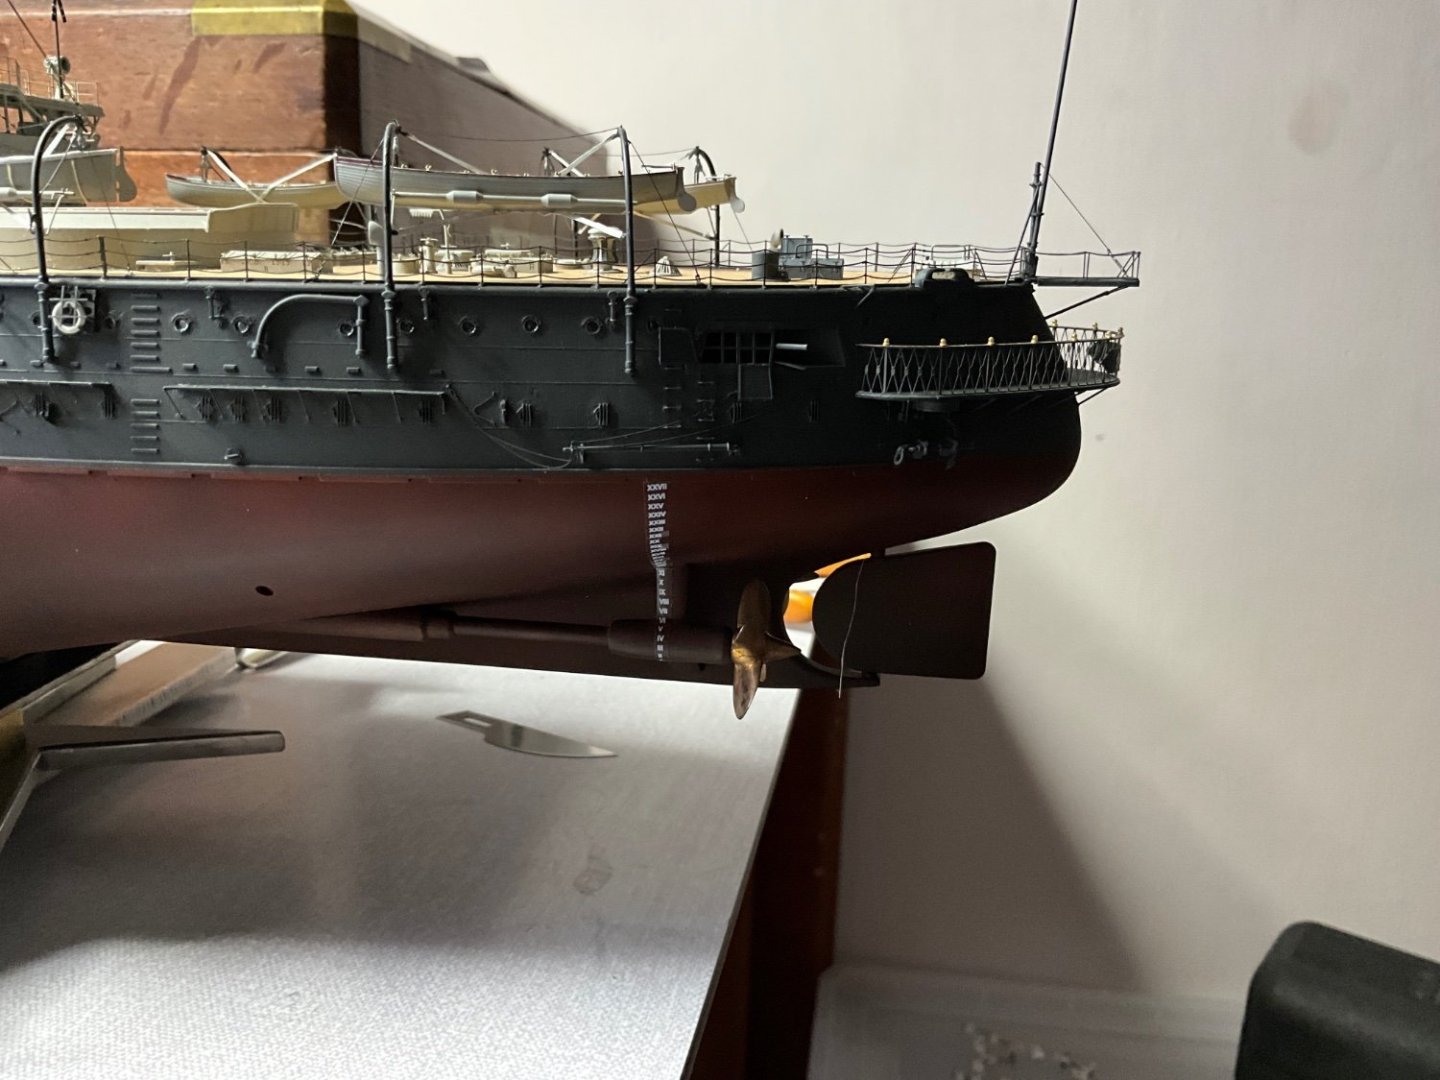
Morning guys, putting four photos up of Mikasa to show my reference points for draught markings and anchor davits, also noticed two other minor points, my chrysanthemum is lying about 5 degrees out at top , should be sitting vertical, think shall have to ease it of and trim this part to correct it , also noticed another small difference at waterline were the draught mark is at bow, rib running along hull is closer to bow at this time as a-posed to later photos, you can see this in the four photos just putting up, also all those notches to the underside of this rib are for shoring whilst in dry dock. 👍
-
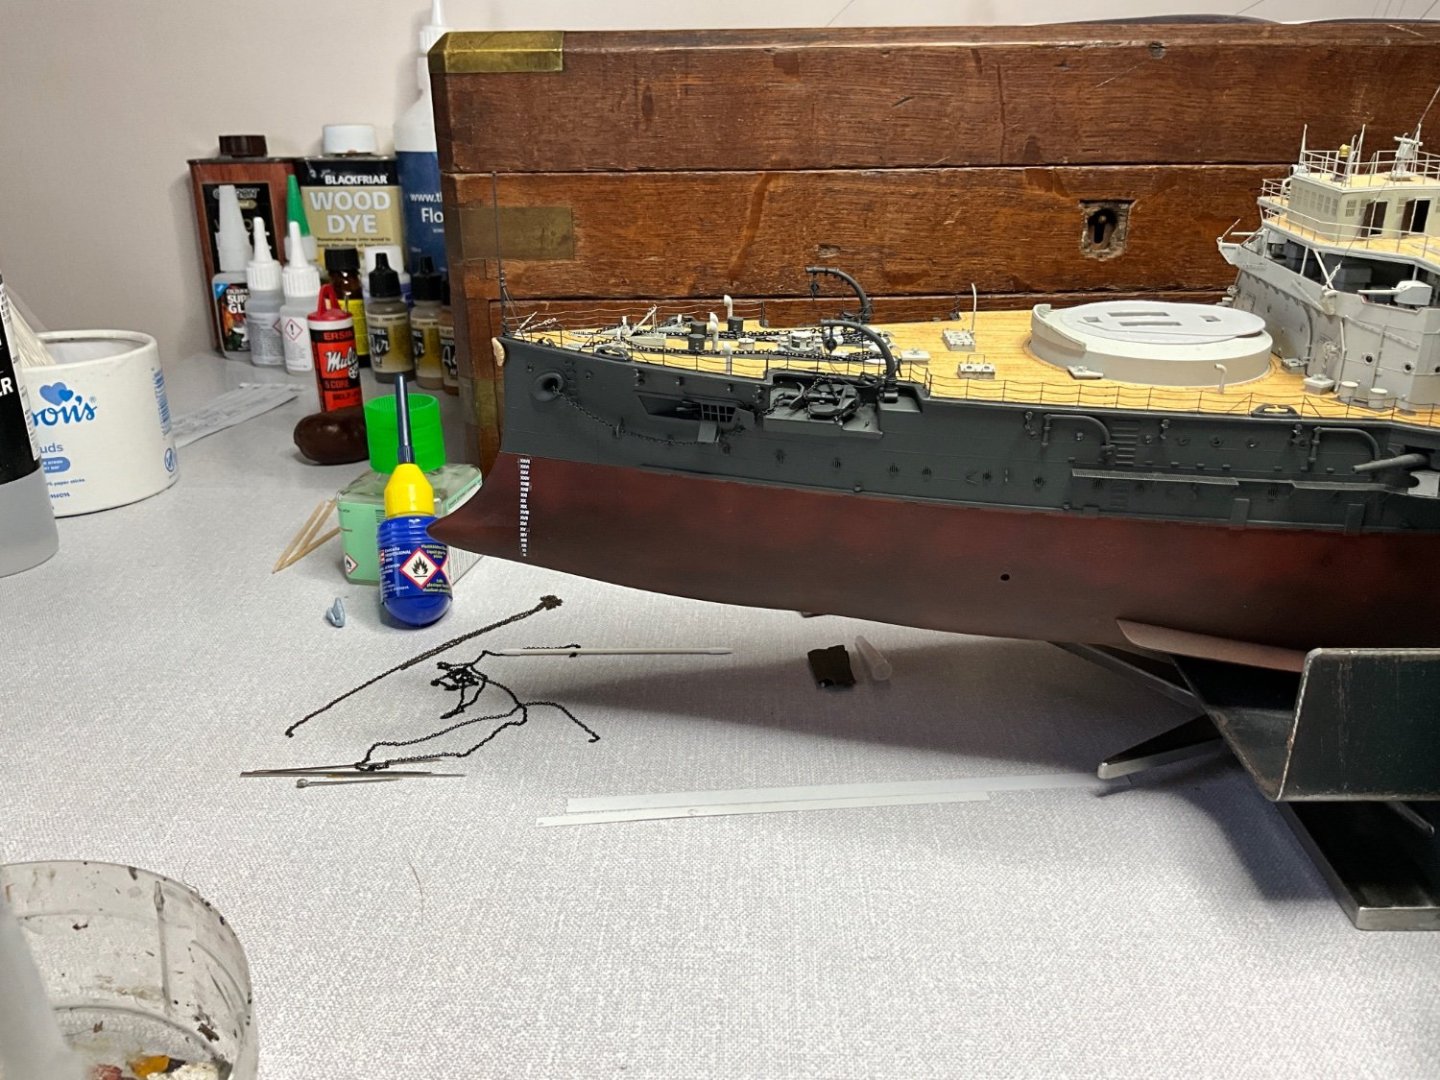
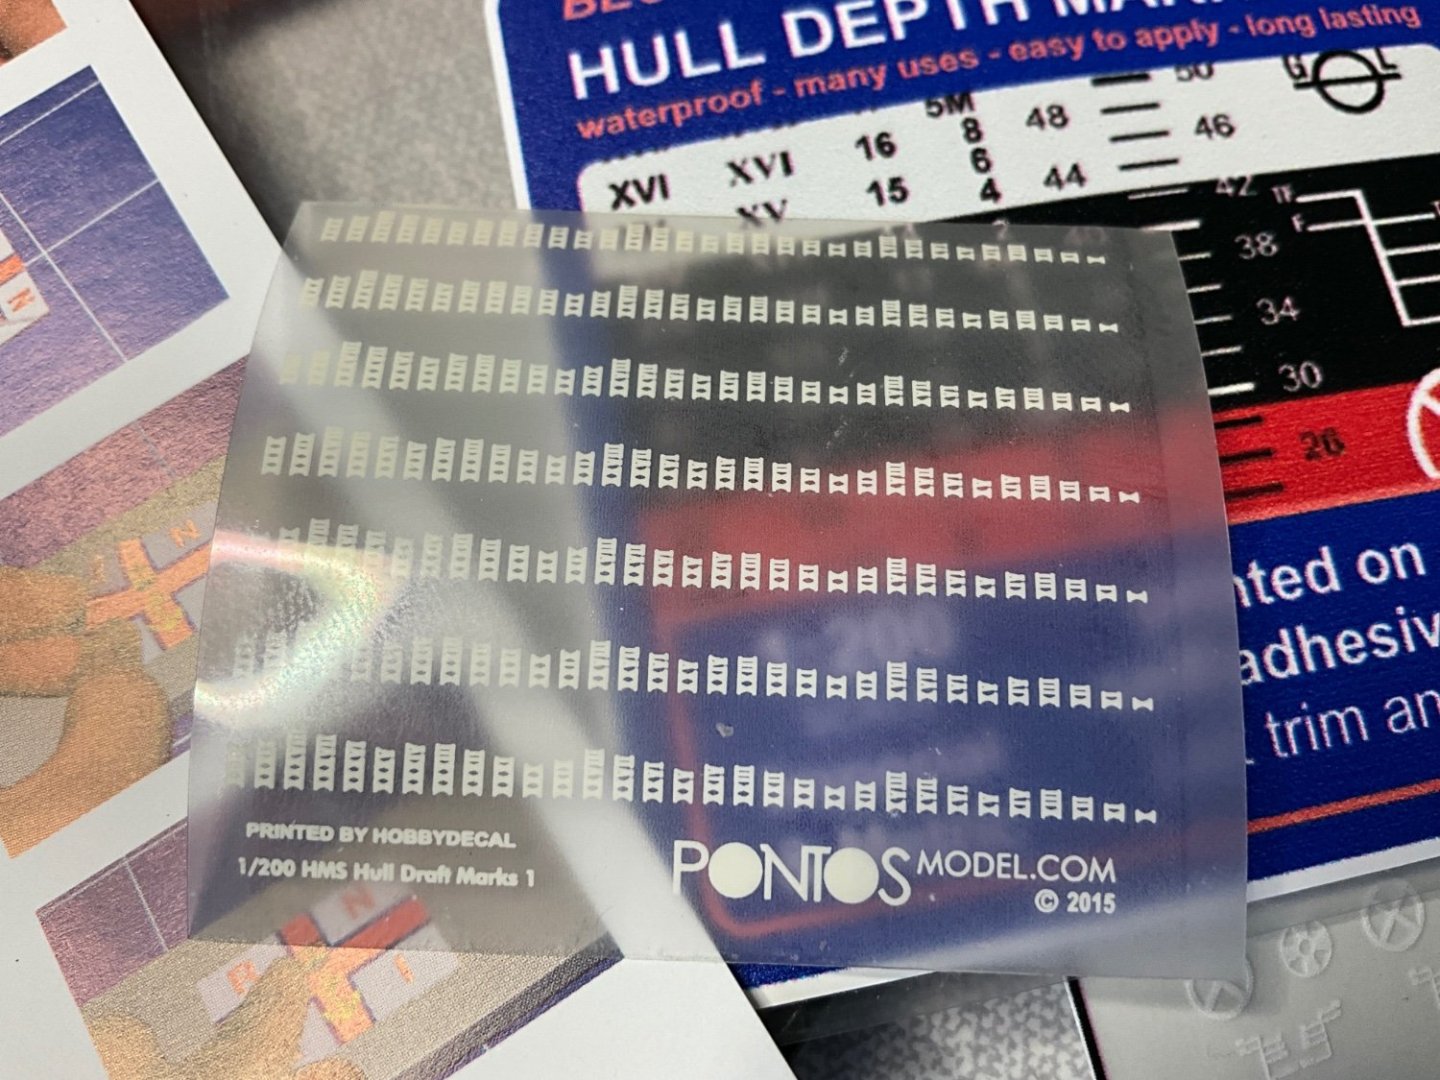
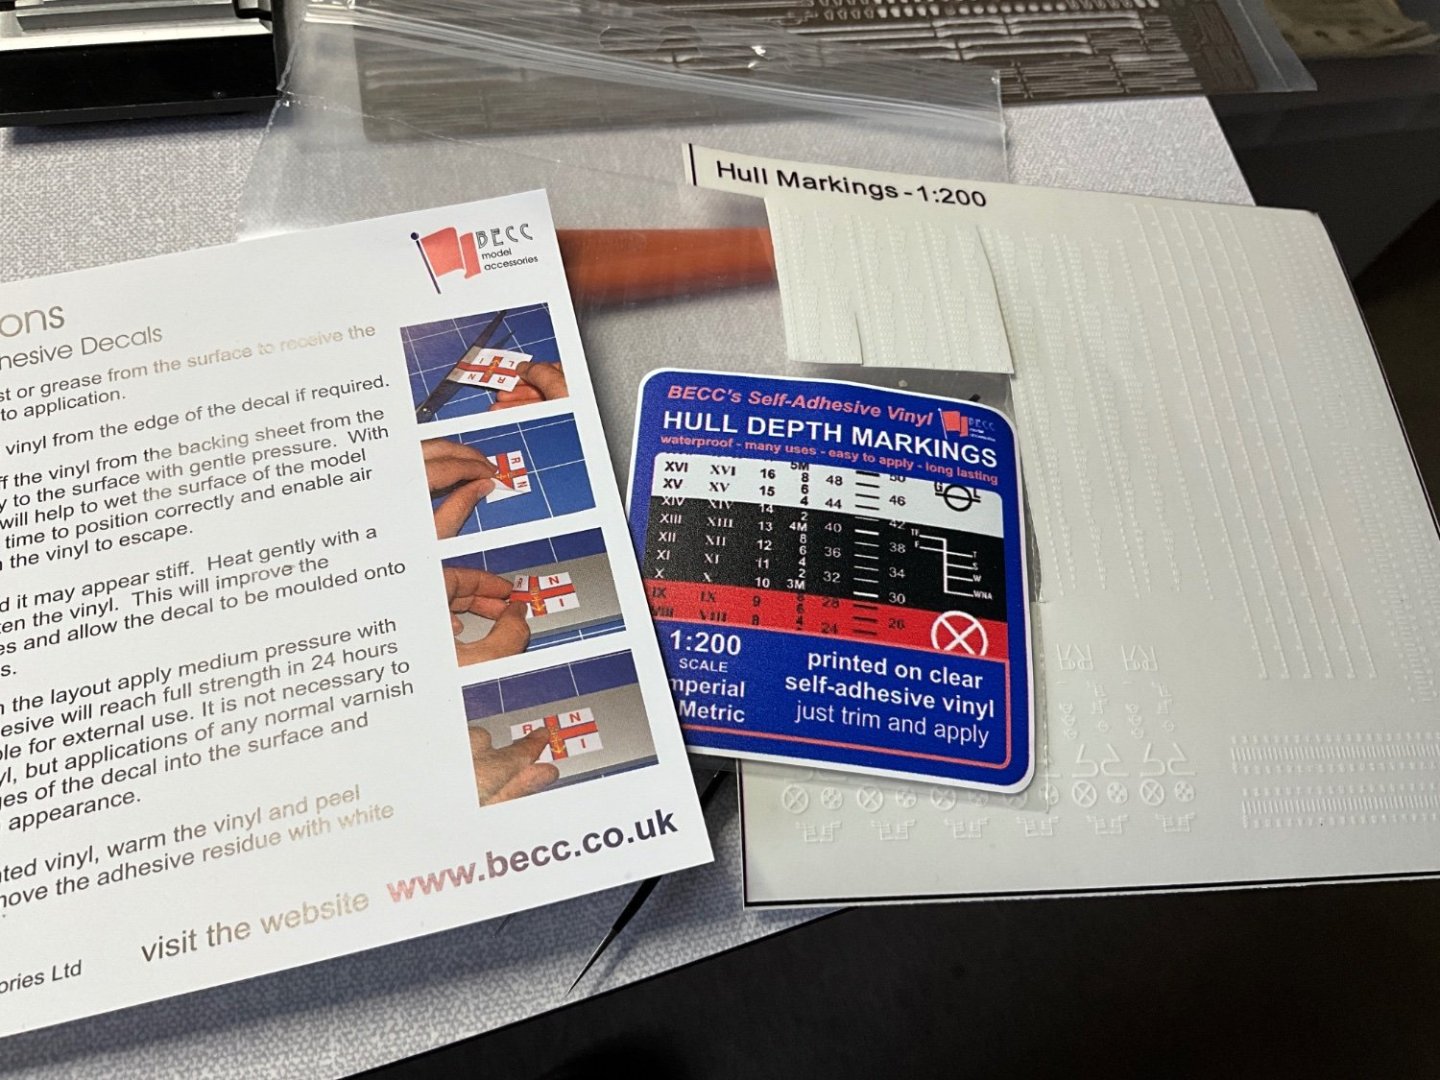
Also stuck on the draught line marks, she has a draught of 27ft waterline to keel, this is vertical , if you’re following the curved surface at stern this becomes more than this because sloping size. Put them at proper positions according to photos of ship. Pontos instructions as to position bit vague, plus you’re not 27ft at this point at bow, at stern it lines up with A Frame on propeller shaft, so have done my best here, don’t know if this looks ok or not, opinions welcome? Pontos draught decals no instructions as to what to do, l thought they were water slide decals till l put them in water and they just looked at me as if l was daft 😂 said sod this and bought some from this company
-
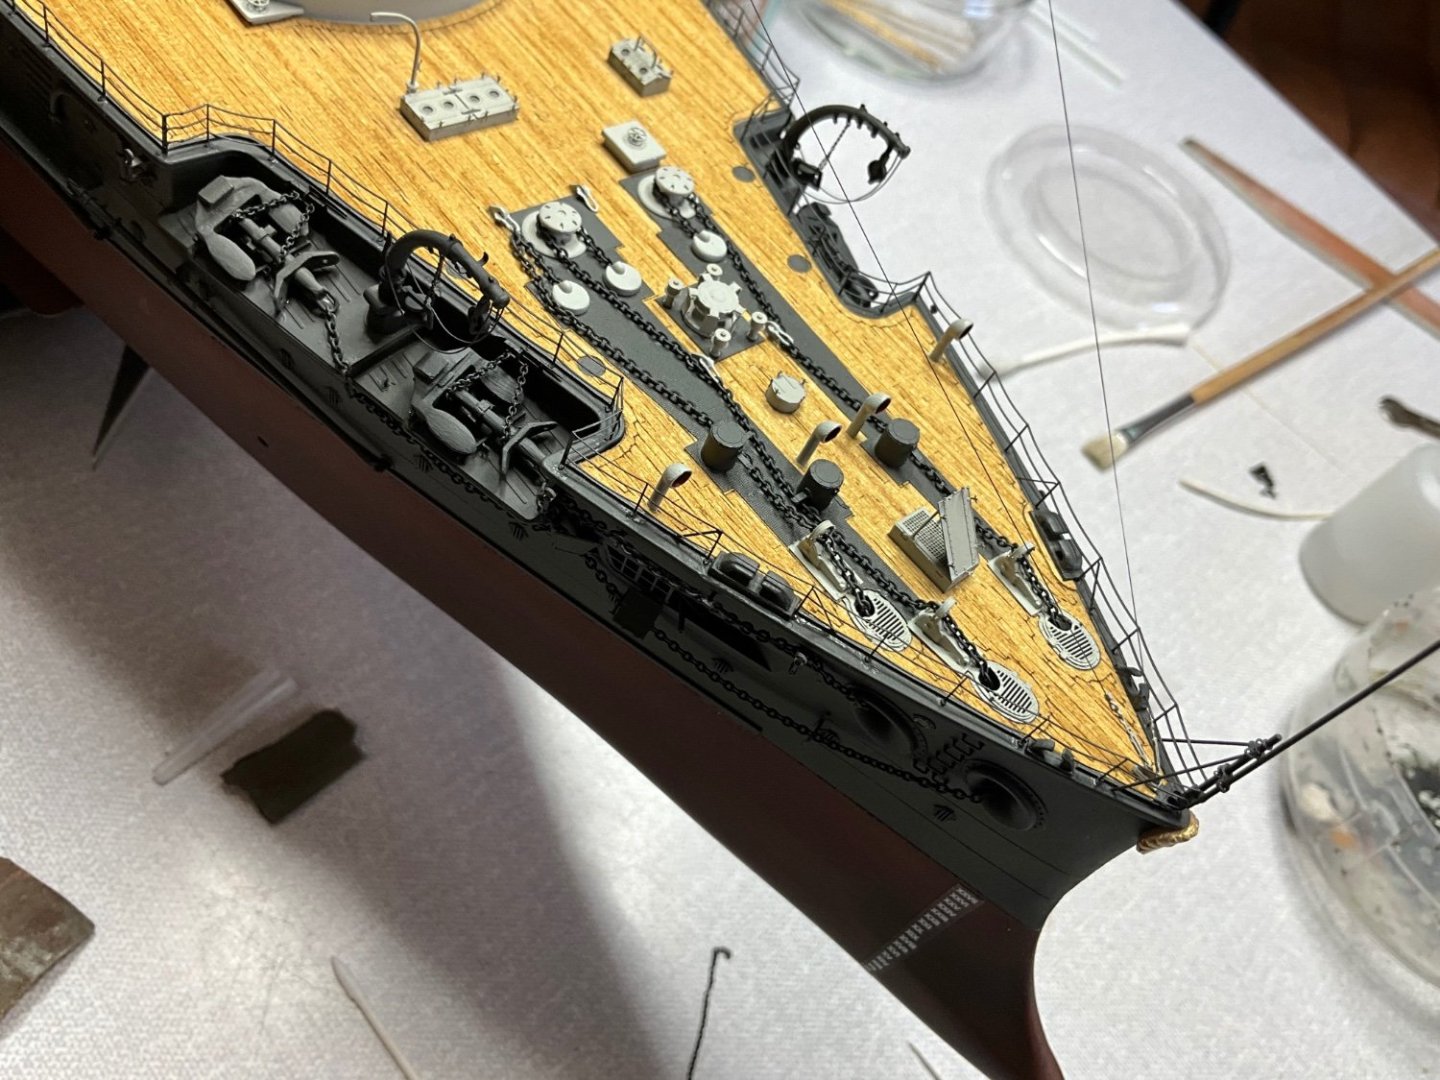
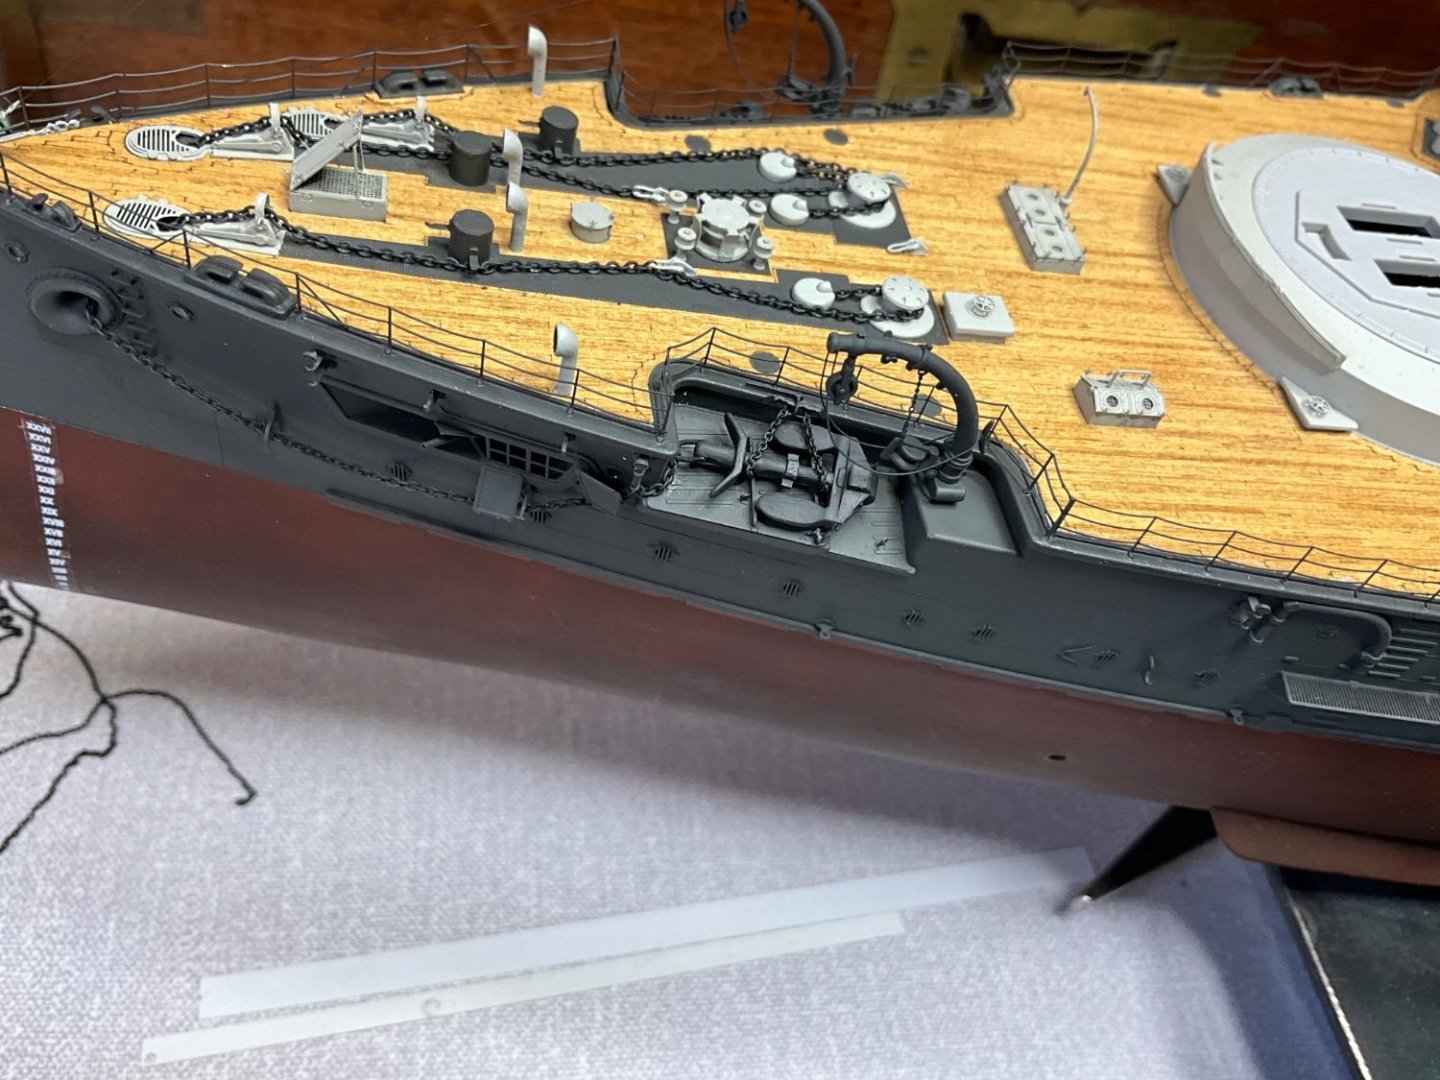
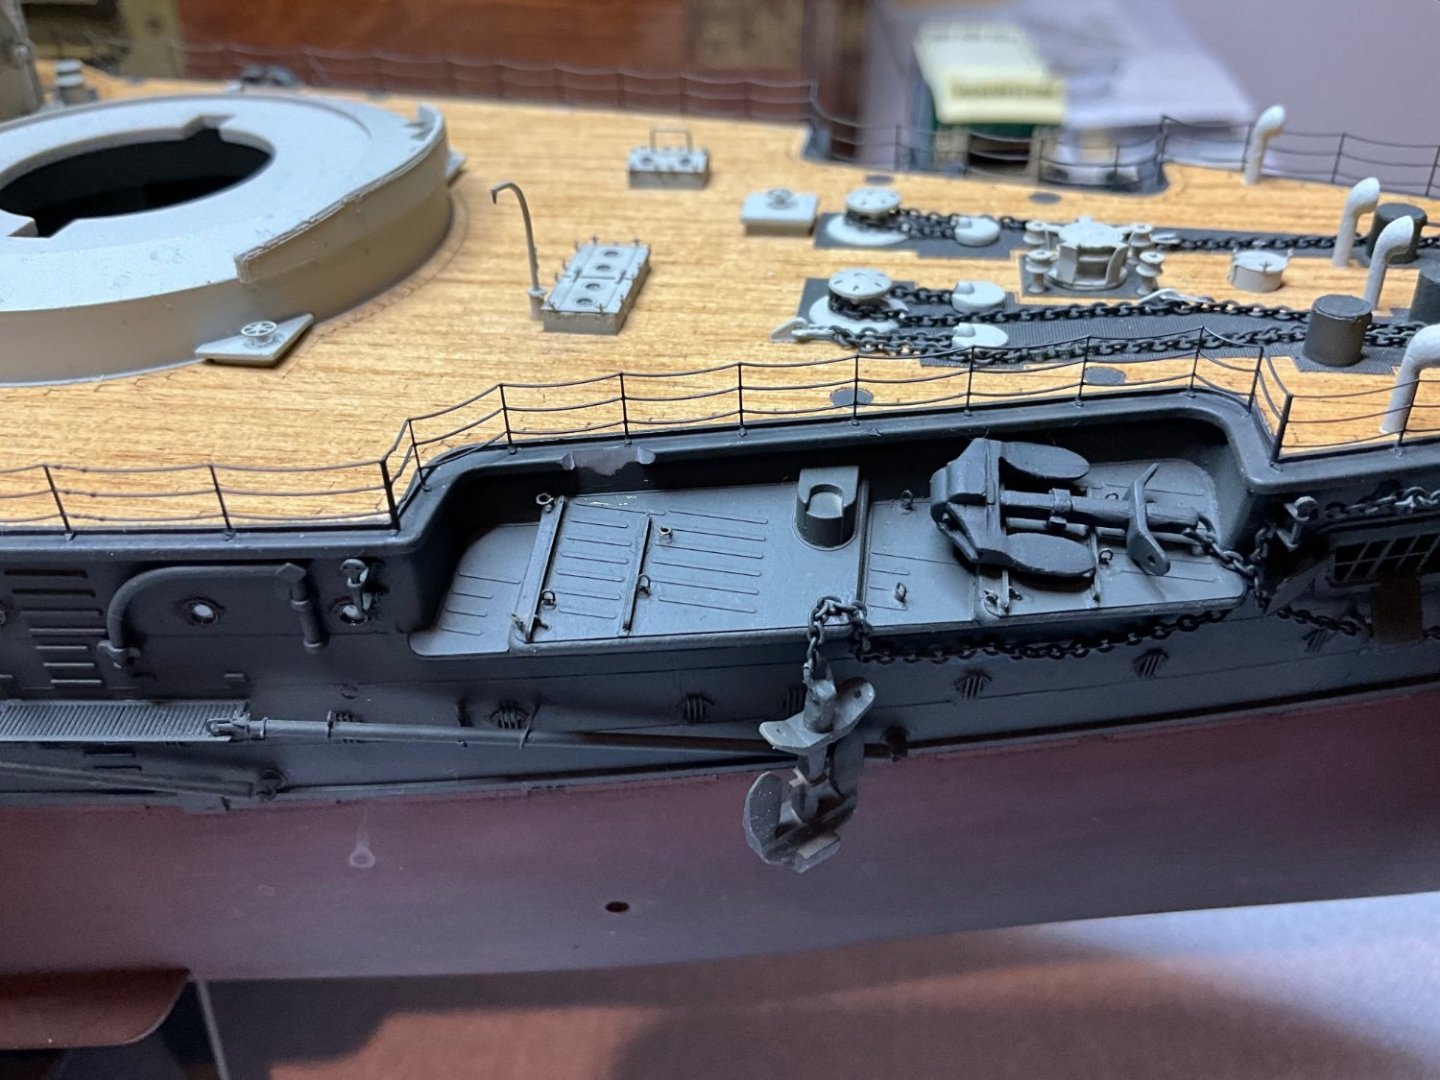
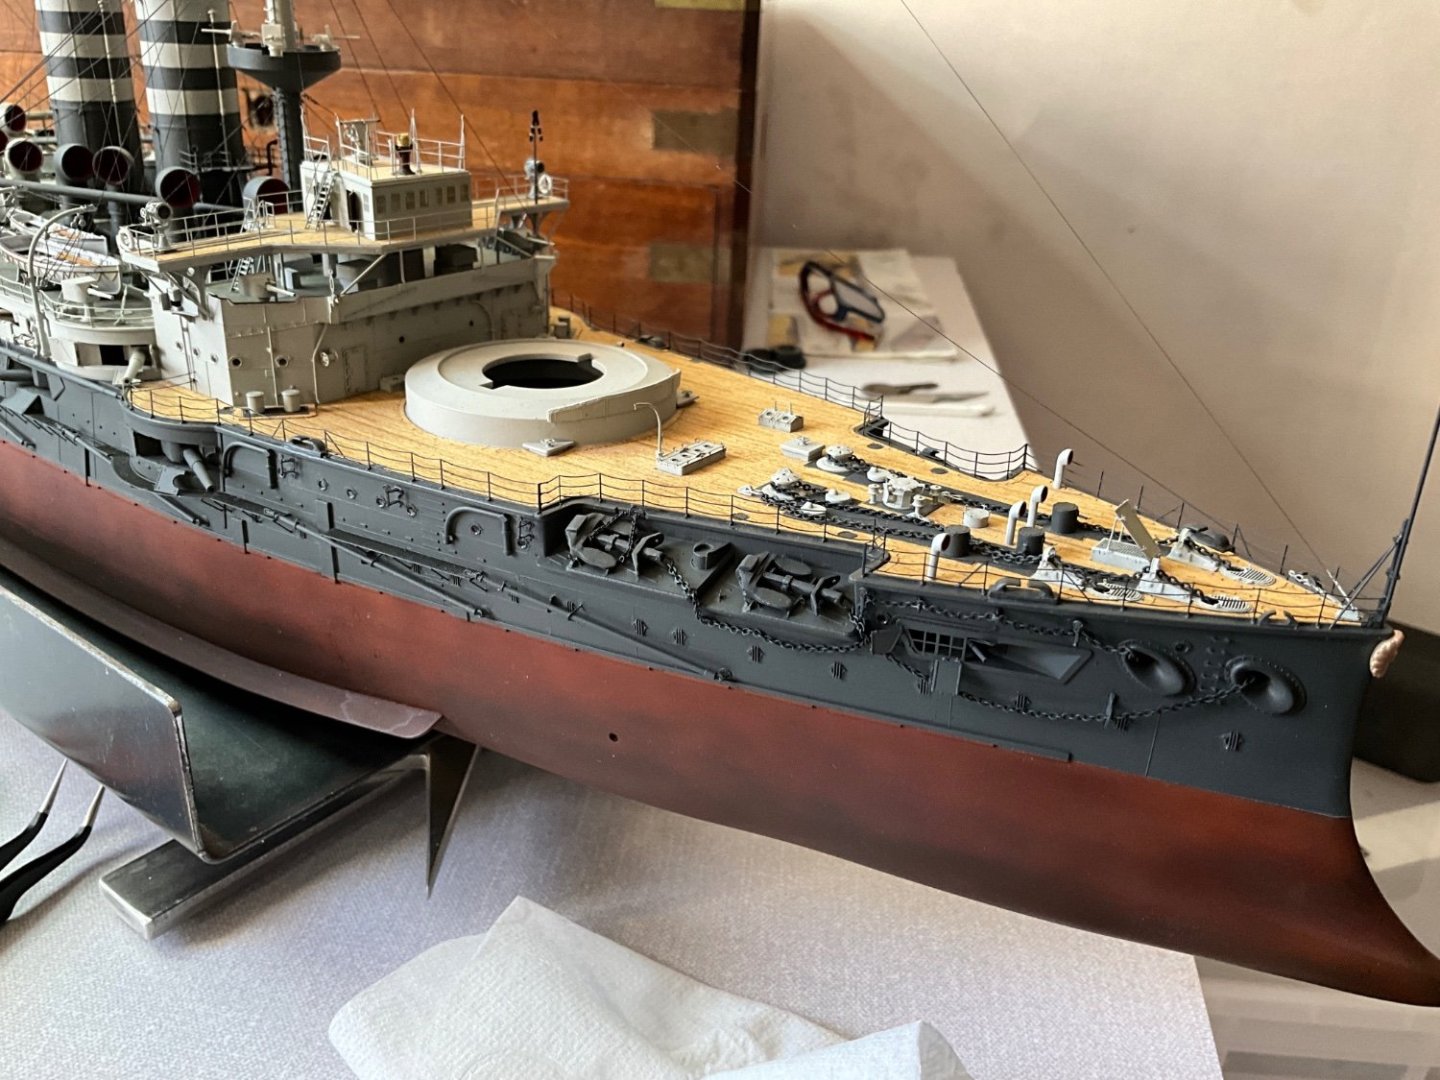
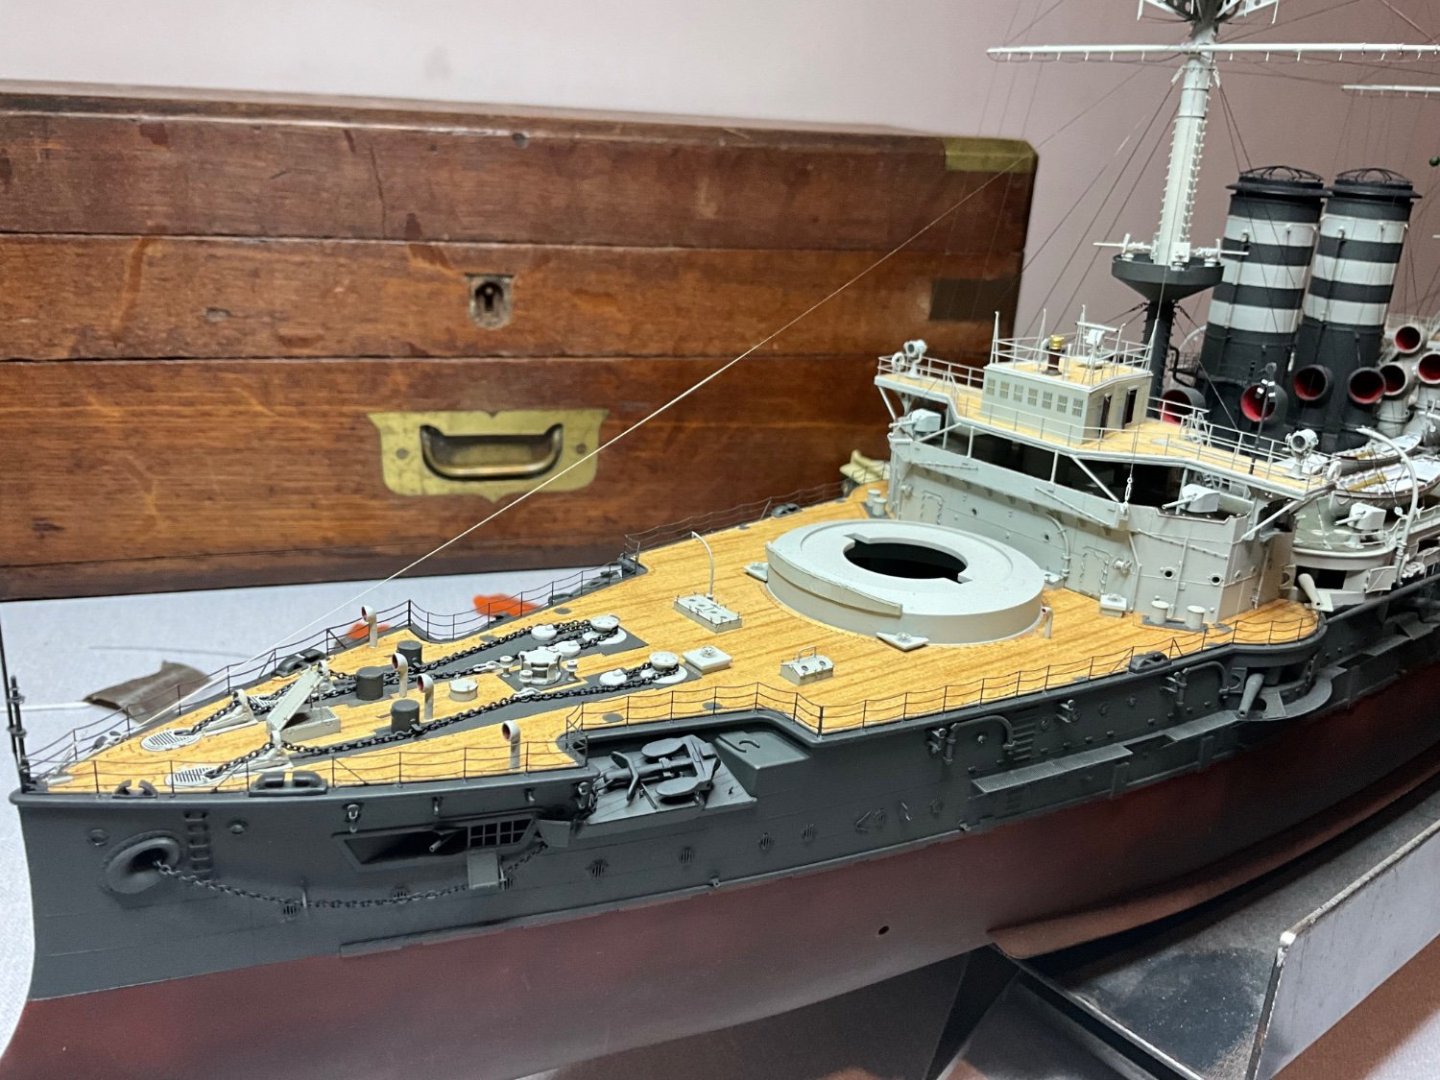
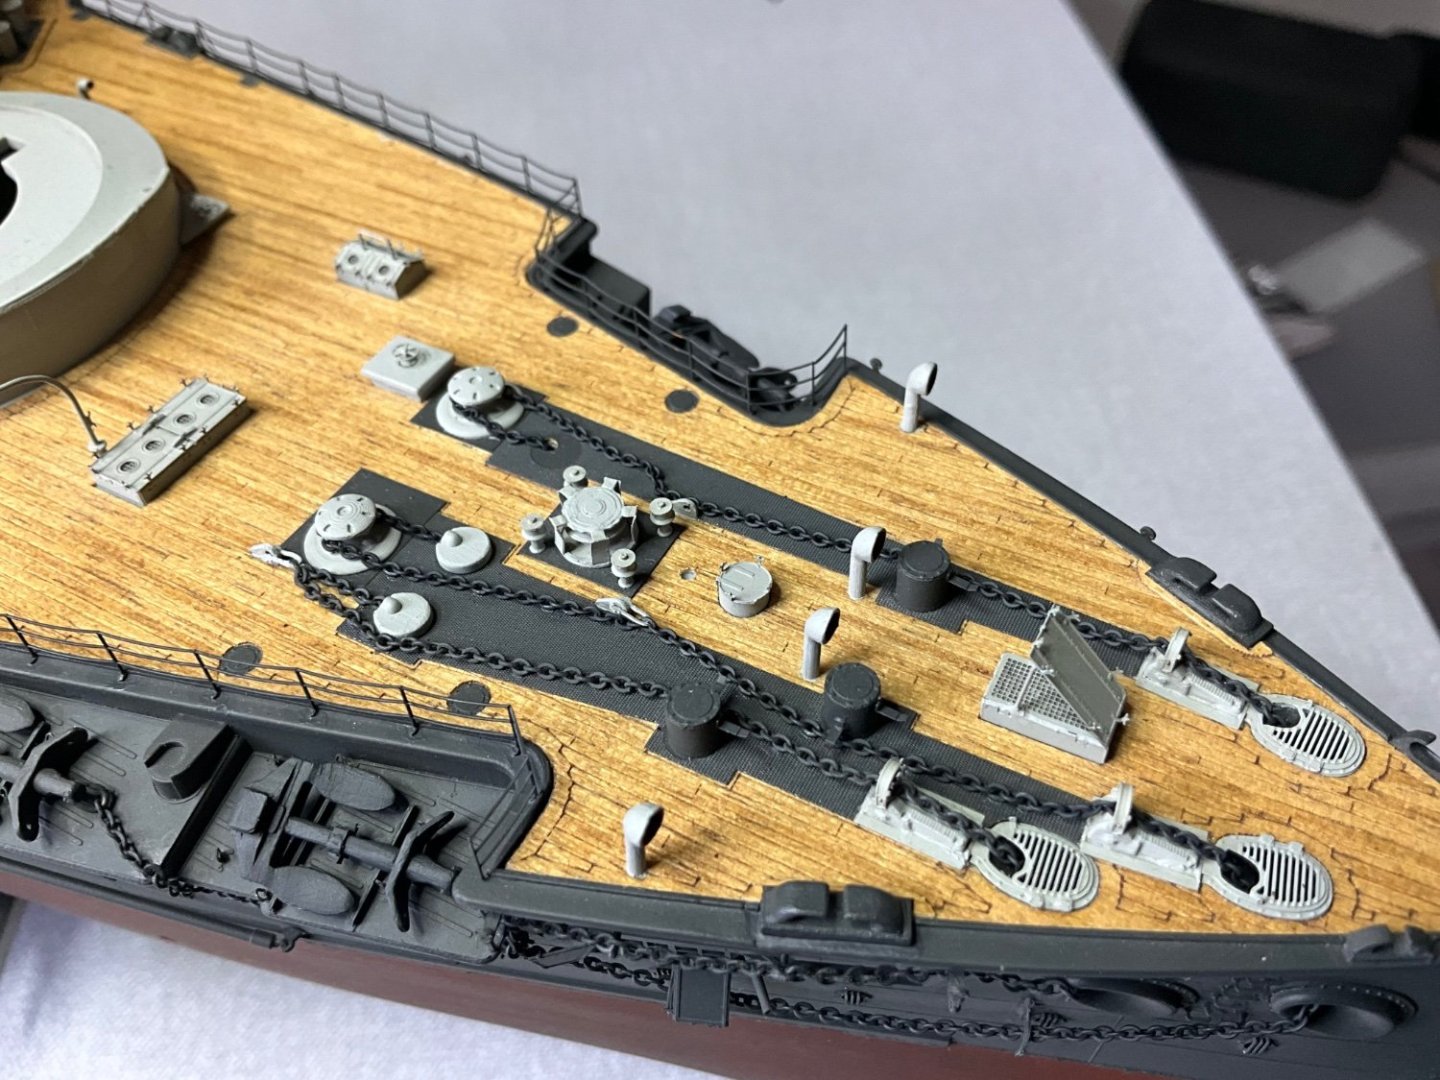
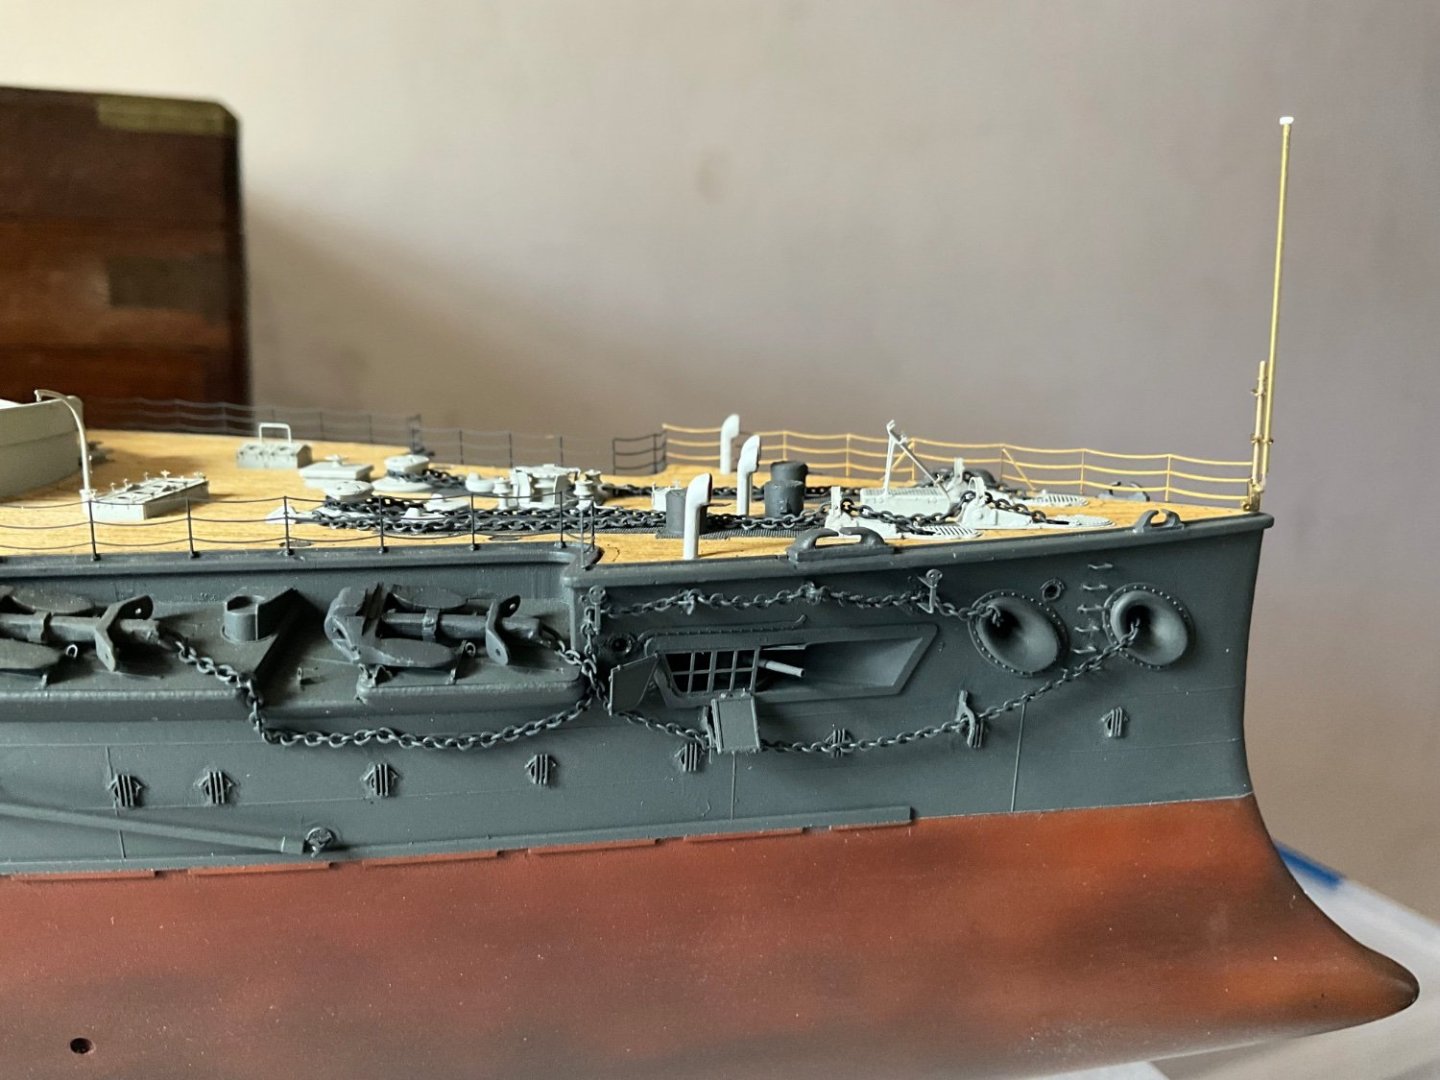
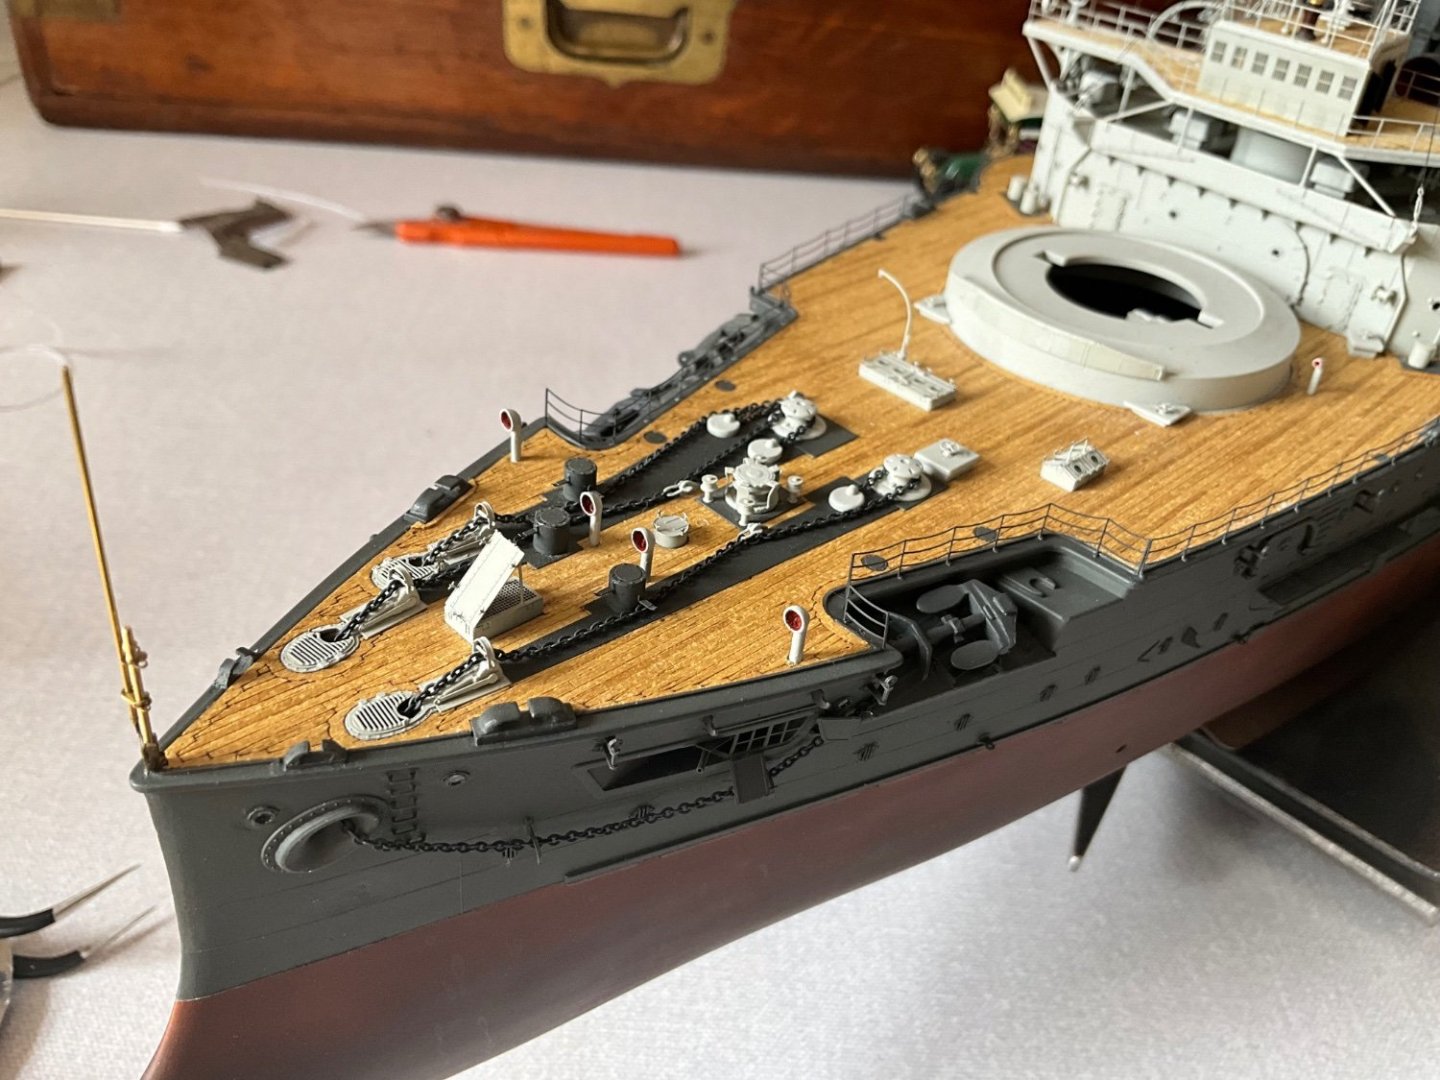
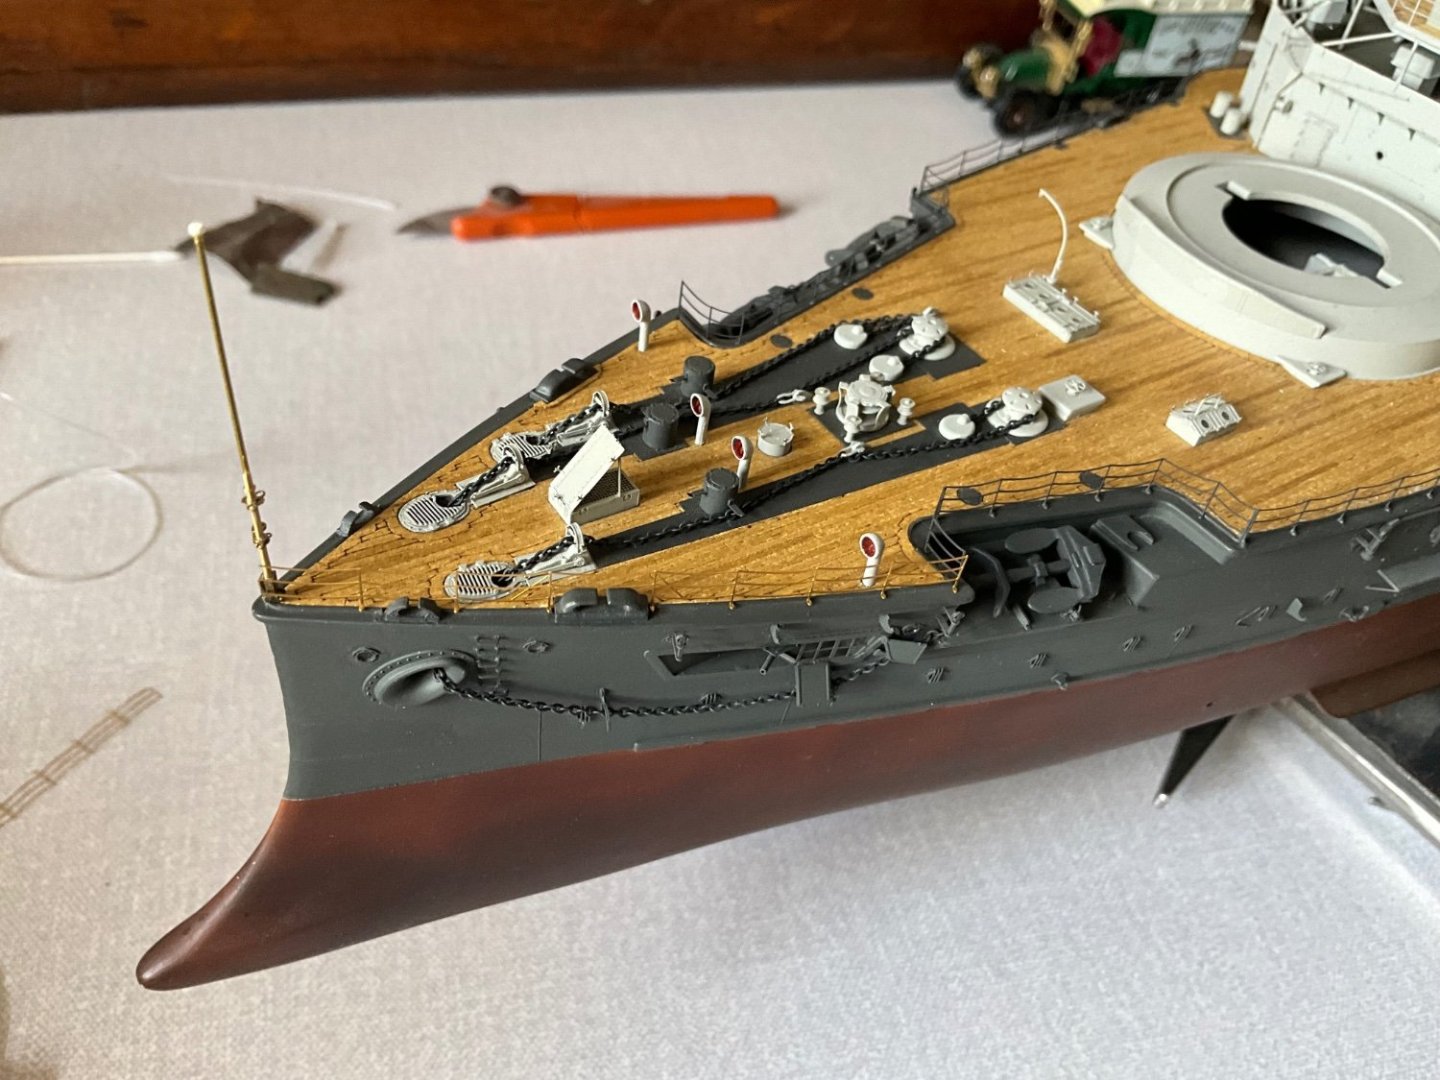
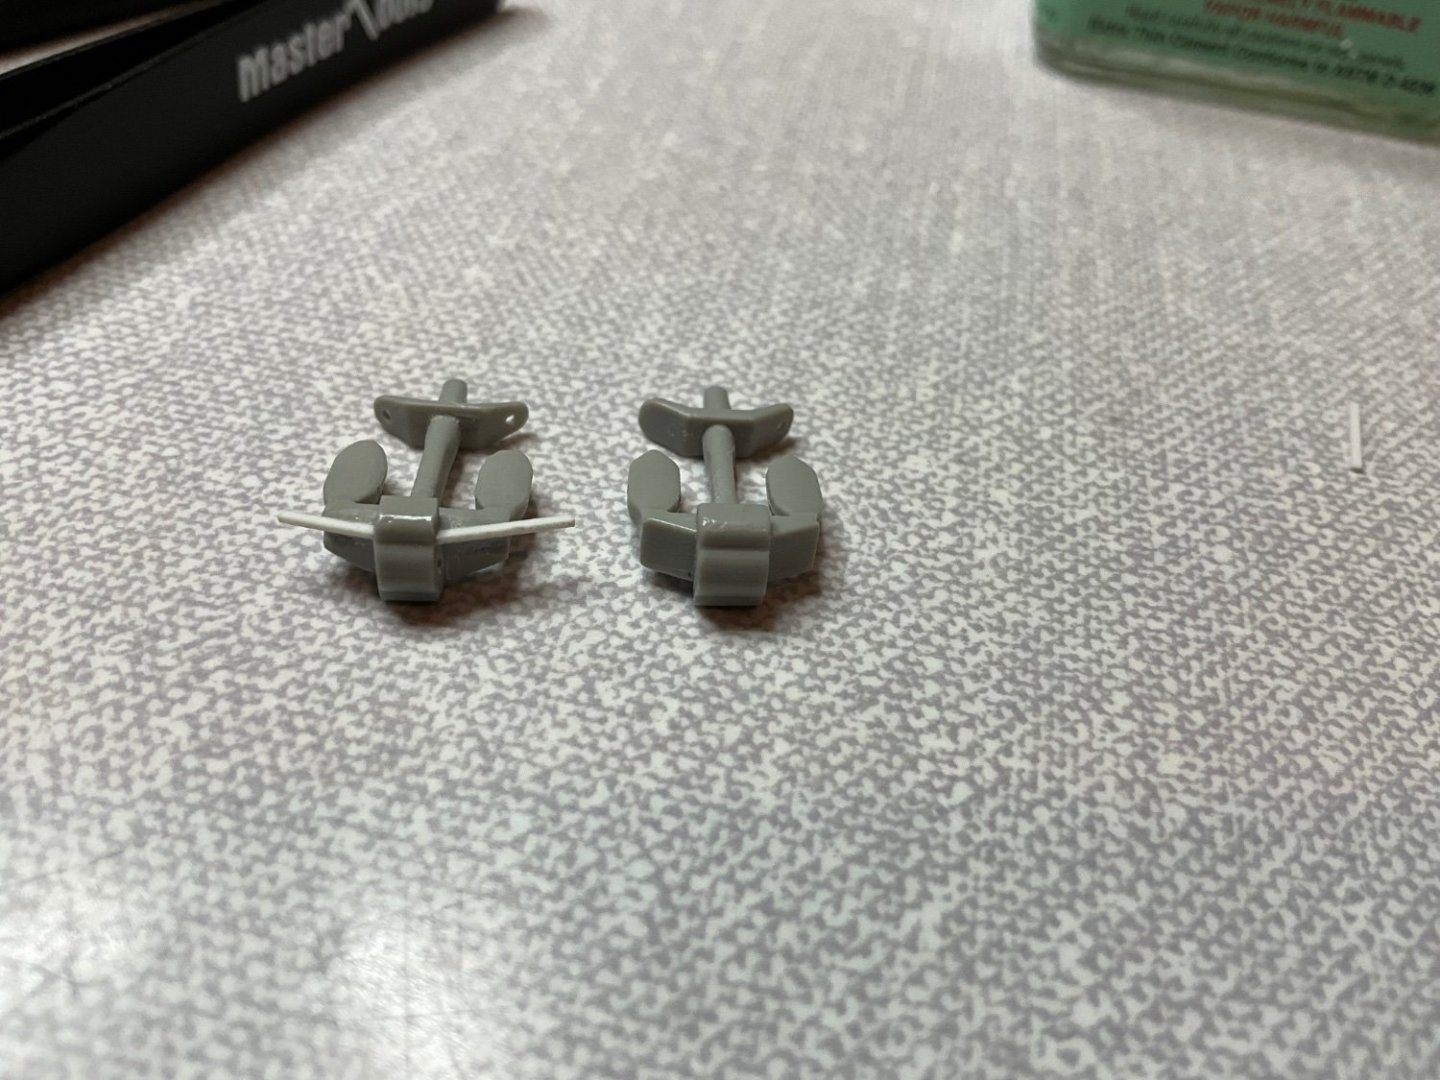
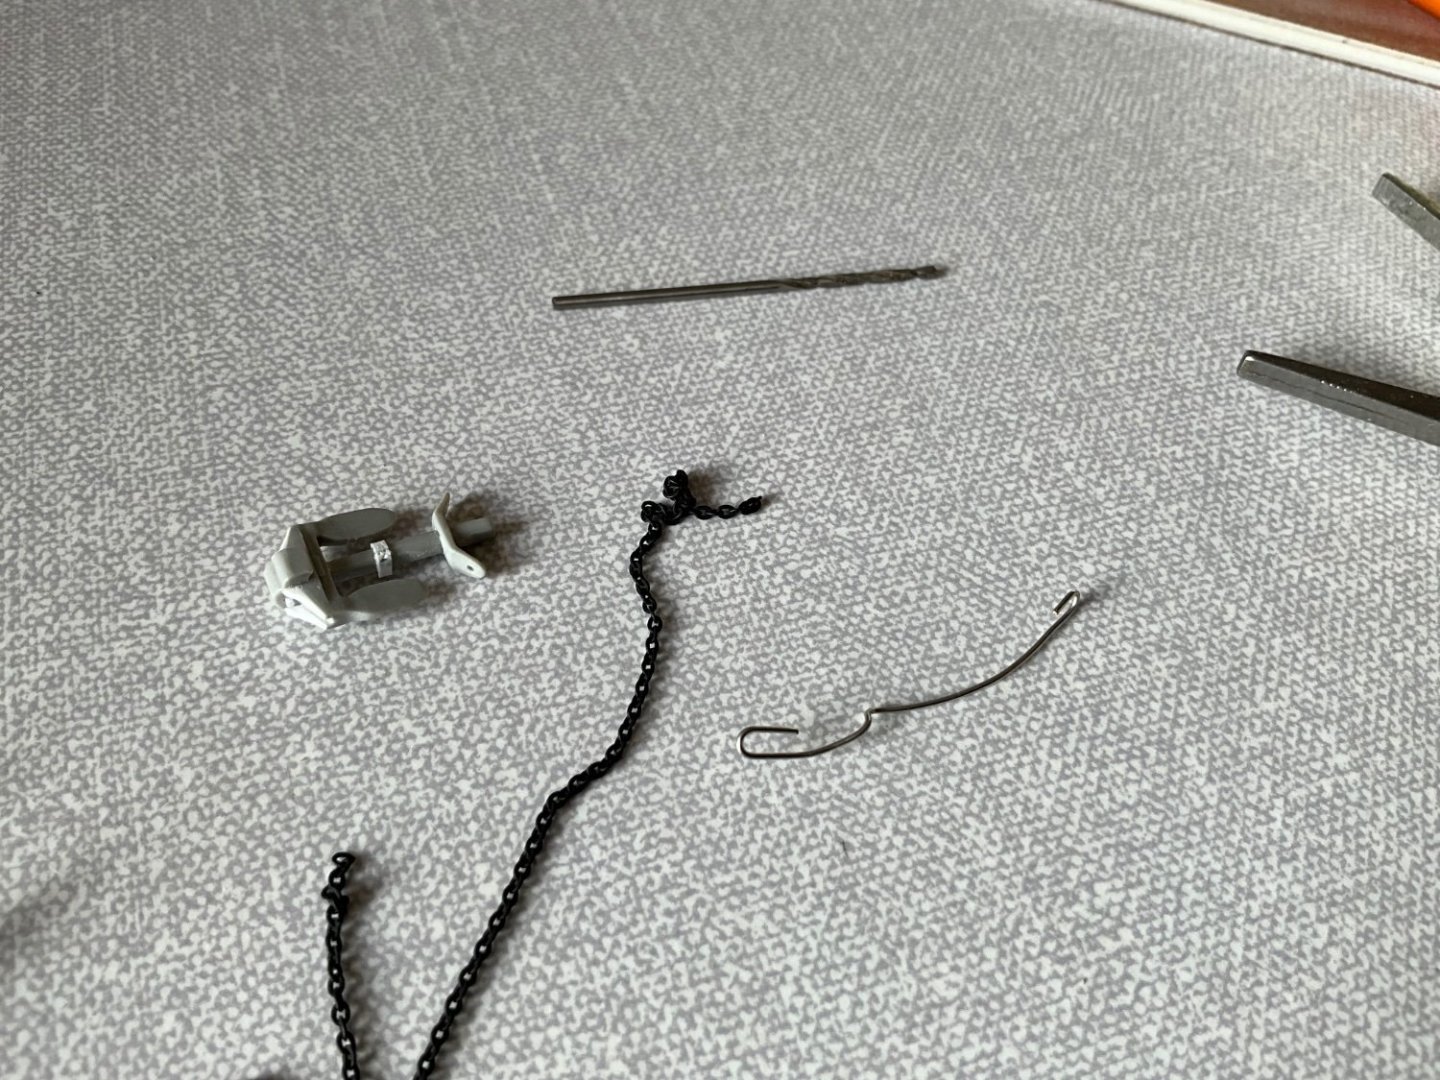
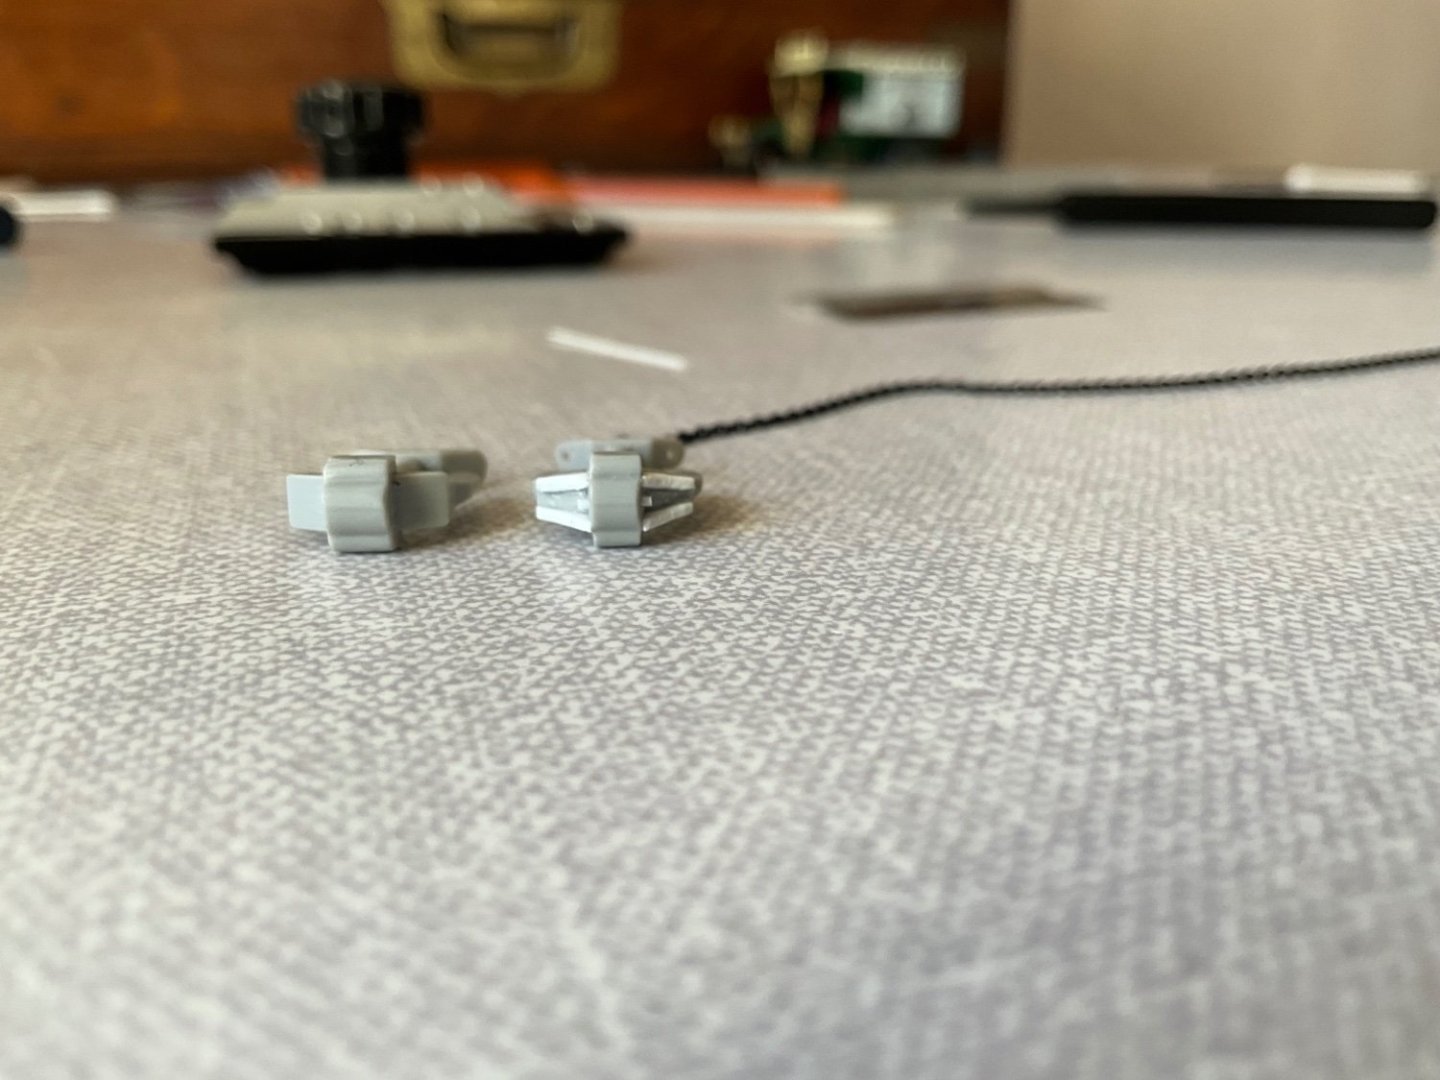
Hi guys, short up date on progress, got the anchor securing chains finished, then started the anchor davits, these parts from the kit weren’t to bad, just needing cleaning up, did manage to add a bit of fuse wire to make it more interesting, looks convincing , best l can do for something quarter mile away.
-
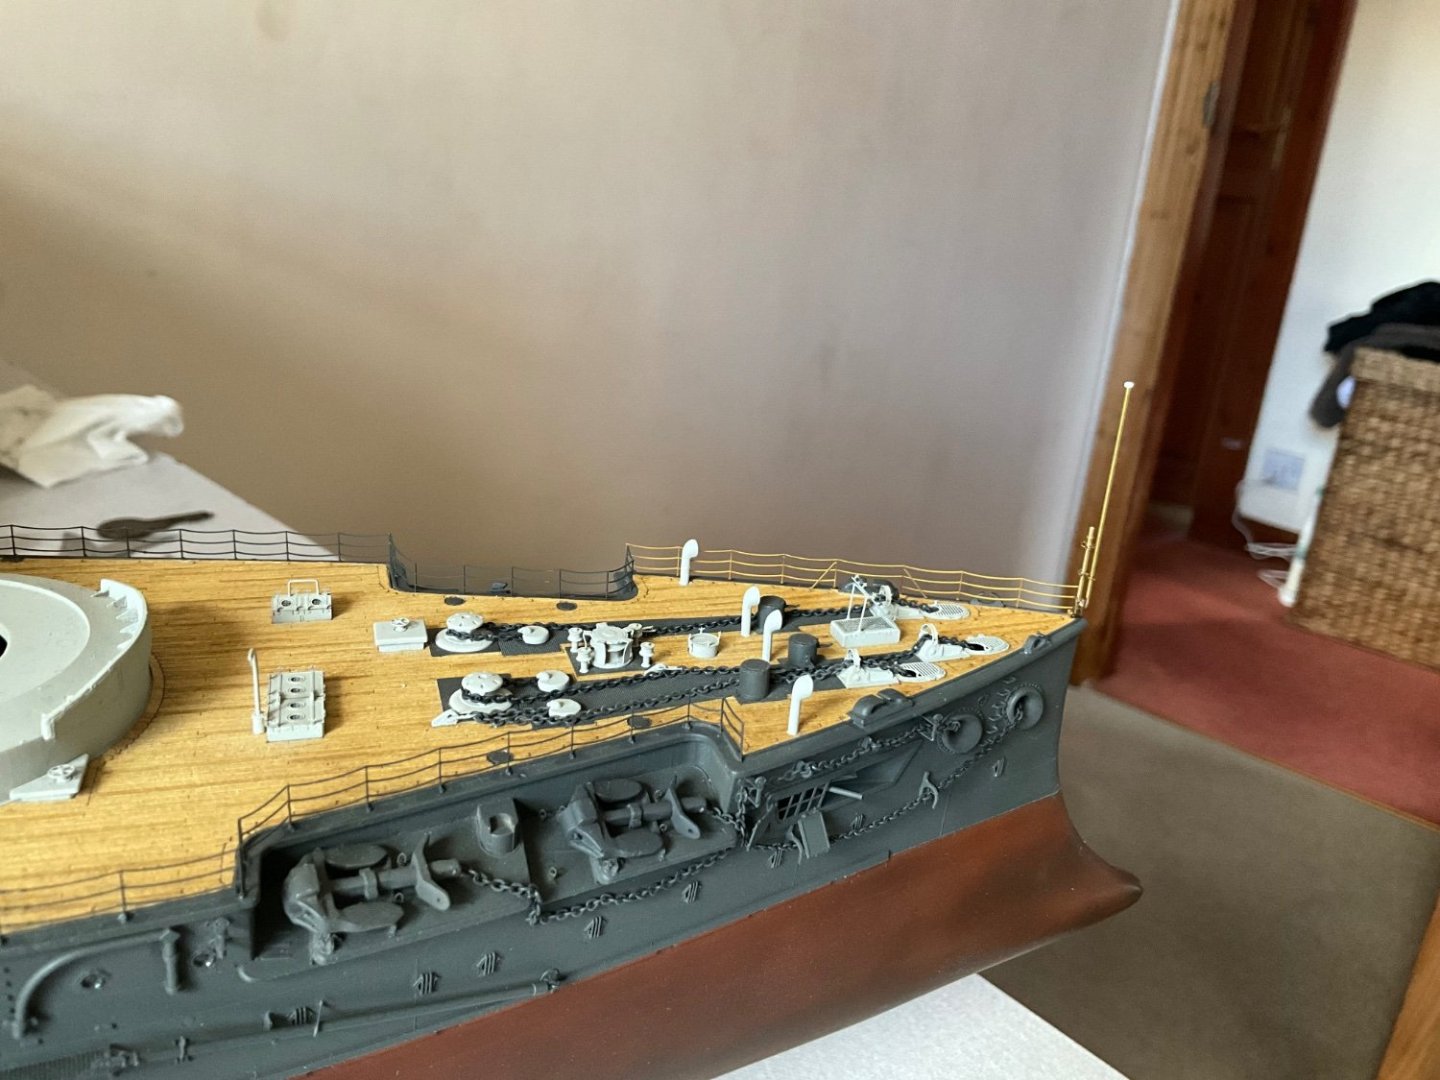
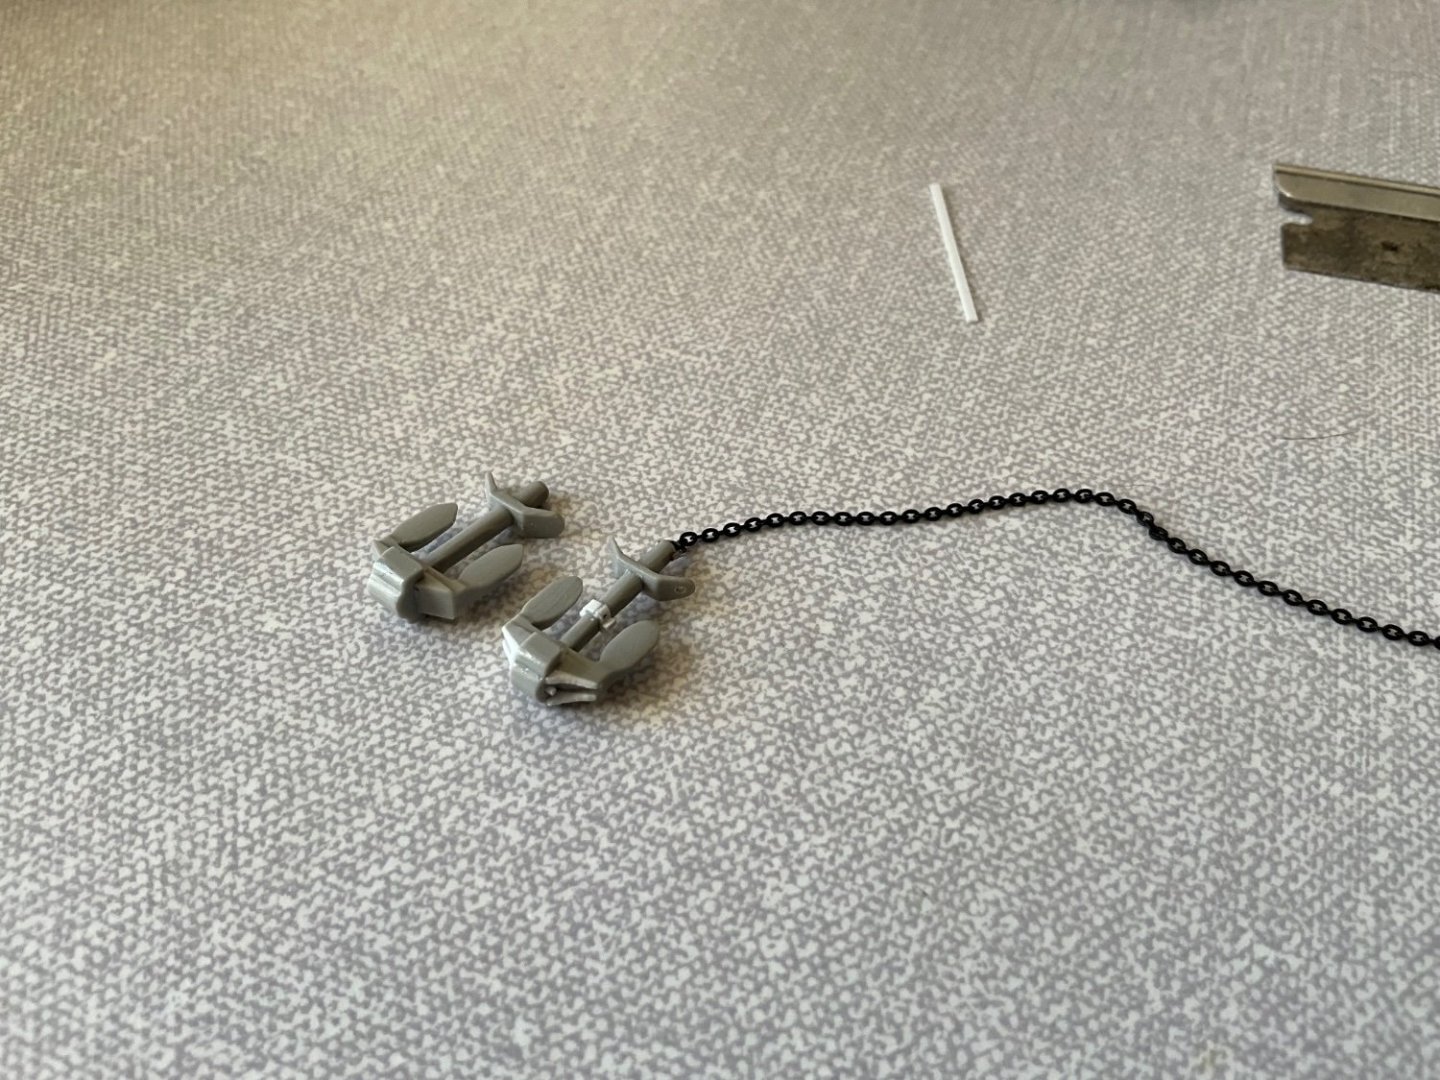
Finished the jackstaff using finer tube and bracing wire, bit more to scale when you compare to photos of ship. 👍 even got the chrysanthemum painted and fitted, it’s now a Japanese warship 😂 finally l am trying to add small chain for securing the anchors, 42 links to the inch smallest l could find so kind of works 50 links to inch would be better if you can find it ? This is a lot more fiddly than l was expecting, worth it ? Done one and dragging my feet to do the other two. That’s me for the moment, shall push myself forward 🤛
-
Also tied in the rigging from here up to mast, used 0.2 wire on the heavier cable at lower point but after painting wasn’t happy, looked too heavy so removed it and used 0.1 wire instead, this worked for me, reason for wire rather than lycra was the wire gives a slight sag when you get it the right length, again a lot of care needed as it’s easy to knock and damage things at this stage, which is what l did 😡 more of that French language, once calmness resumed fixed everything and happy again. 😂 used my trick with using photo etch on ends of wire and Lycra again, ok.
-
Could see from previous builds that the bow rail number 1 was an issue with the jackstaff same as stern so opted to this before handrail, worked out well 👍 also noticed how it’s strange when the brass etch is on the model it looks larger before painted, seems to look more delicate after paint applied.
-
Fitted these to model before doing the railings around the anchor mounting points, these railings aren’t as straightforward as you would think so take care here, keep checking when you’re bending them , they do fit spot on eventually.
-
Short update on progress guys, seems a lot of work with not much difference, just about there with forward deck area details. Finished reworking the anchors, good to get that out of way, that let me paint and fit to model with chains.
-
I am so impressed with your Portland project, could l offer to put my name down for first one of you produce 👍 Do have a model of knorsk Love to build in my collection, a rather nice two decker and also like Joe Tika’s model of HMS Victory, so not adverse to biting of more than I can chew. That does look awesome though. Well done, like that enough to take it on. 🤛
-
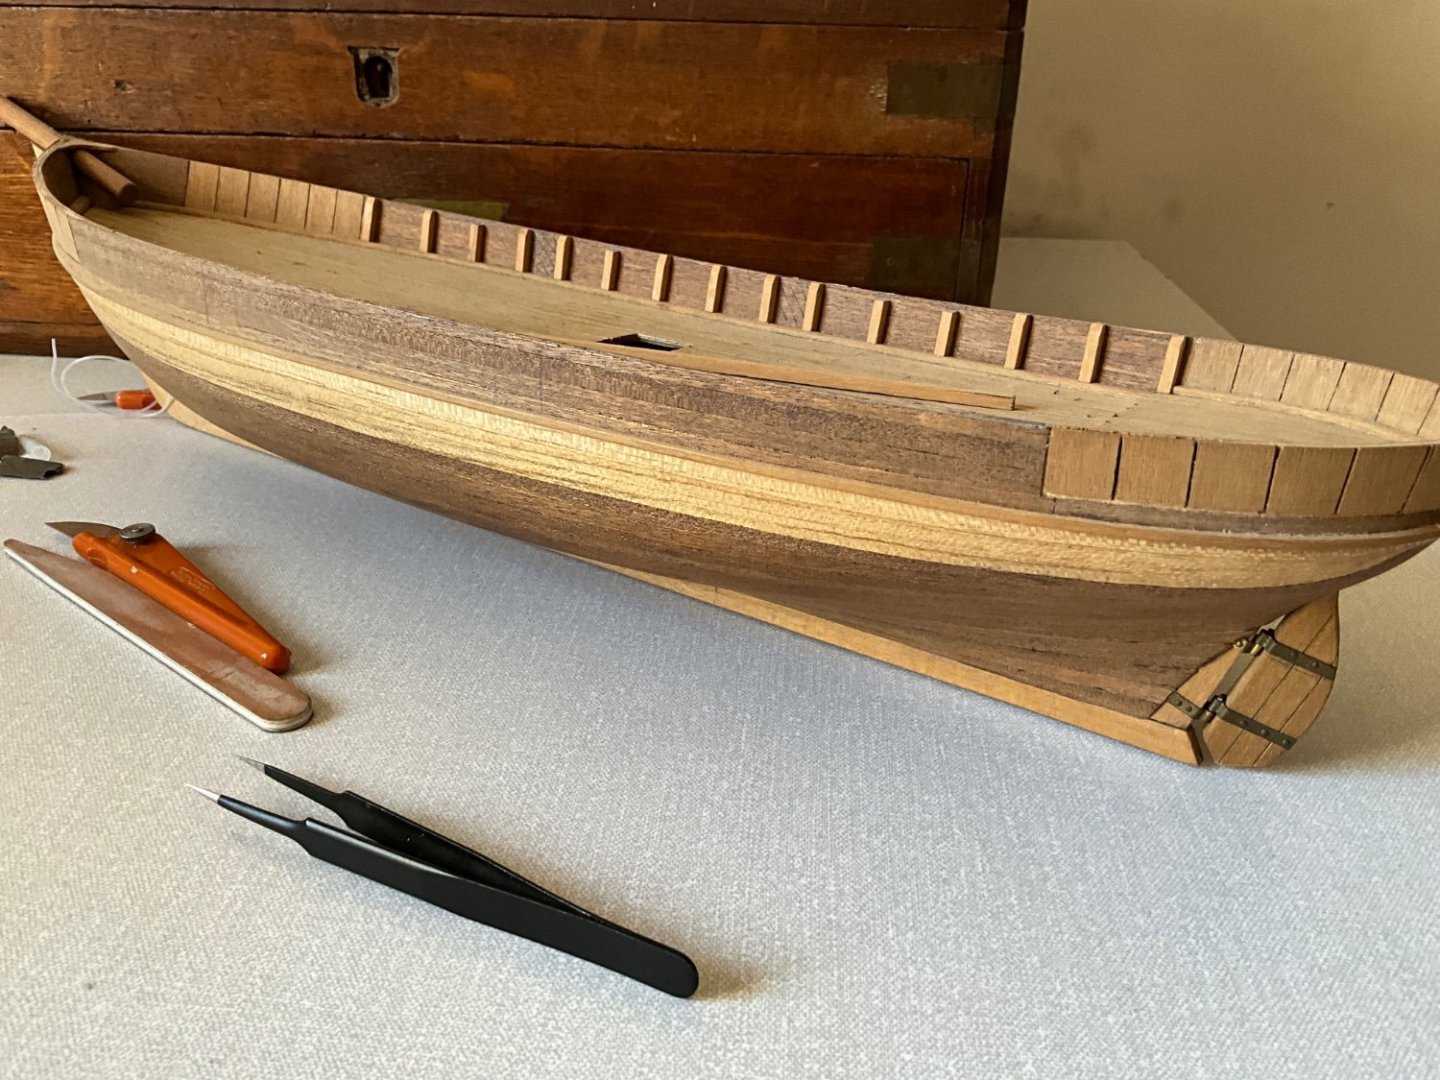
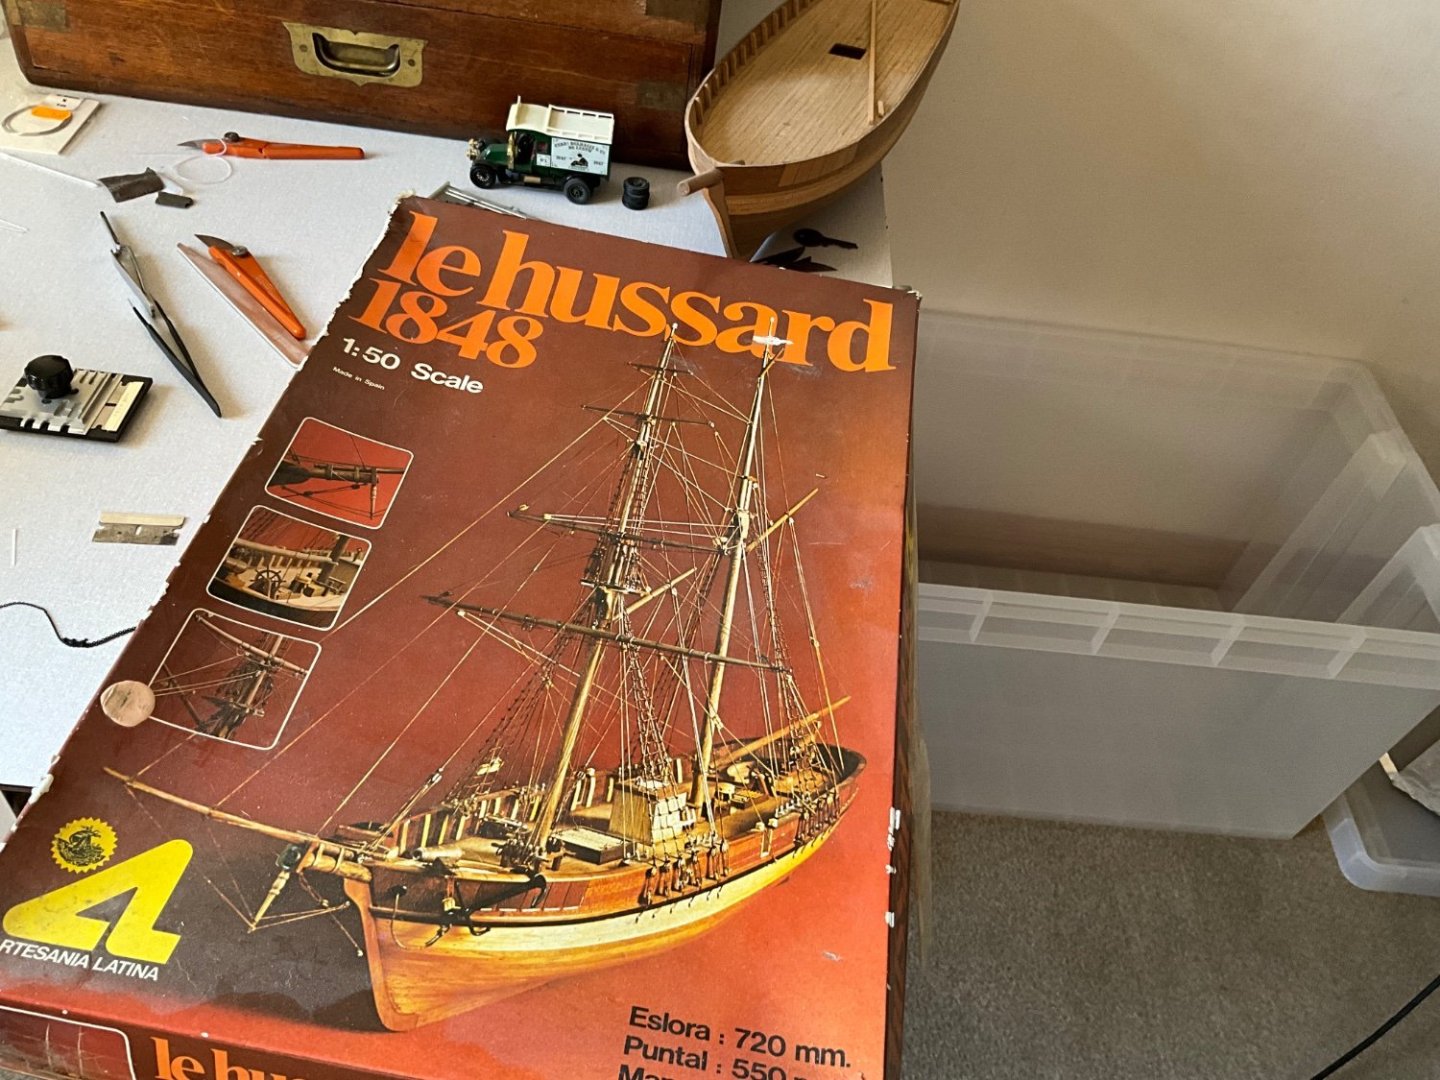
Thanks, had a look at your project, awesome, know how much work goes into works like that 🤛 have a laugh, here’s one I started in 1982, Le hussard, promise to finish it some day 😂
About us
Modelshipworld - Advancing Ship Modeling through Research
SSL Secured
Your security is important for us so this Website is SSL-Secured
NRG Mailing Address
Nautical Research Guild
237 South Lincoln Street
Westmont IL, 60559-1917
Model Ship World ® and the MSW logo are Registered Trademarks, and belong to the Nautical Research Guild (United States Patent and Trademark Office: No. 6,929,264 & No. 6,929,274, registered Dec. 20, 2022)
Helpful Links
About the NRG
If you enjoy building ship models that are historically accurate as well as beautiful, then The Nautical Research Guild (NRG) is just right for you.
The Guild is a non-profit educational organization whose mission is to “Advance Ship Modeling Through Research”. We provide support to our members in their efforts to raise the quality of their model ships.
The Nautical Research Guild has published our world-renowned quarterly magazine, The Nautical Research Journal, since 1955. The pages of the Journal are full of articles by accomplished ship modelers who show you how they create those exquisite details on their models, and by maritime historians who show you the correct details to build. The Journal is available in both print and digital editions. Go to the NRG web site (www.thenrg.org) to download a complimentary digital copy of the Journal. The NRG also publishes plan sets, books and compilations of back issues of the Journal and the former Ships in Scale and Model Ship Builder magazines.

