HOLIDAY DONATION DRIVE - SUPPORT MSW - DO YOUR PART TO KEEP THIS GREAT FORUM GOING! (Only 24 donations so far out of 49,000 members - C'mon guys!)
×


Jeff59
-
Posts
593 -
Joined
-
Last visited
Content Type
Profiles
Forums
Gallery
Events
Everything posted by Jeff59
-
Think l will look at investing in this in the near future, could have done with this for some of the work on the masts for sure. Your build looks like it’s going to be impressive 🤛 Are you building 1902 or 1905 version?
-
Just had another look at your build log 👍 impressive soldering, never new it was possible to do such fine soldering especially on those torpedo net booms, hat’s of to you that’s brilliant 🤛 something else l will have to learn how to do. 🙄 don’t think you can solder the walkways for torpedo nets cause they are stainless steel. Your soldering is definitely a great talent to have in your armoury.👍
-
Thanks very much Nils, been a long slow journey for me but light at the end of tunnel now, looking forward to completing it soon 🤞🤛
-
Thanks Yves, museum piece, think if l take much longer l’ll be joining it in the museum 😂 your right though , been dragged in deeper and deeper , first model completed in over forty years so l never new that l could go this far, think the Son likes it. 🤞
-
Appreciated 🤛 Just measured her just now. 315mm from keel to highest point on main mast, hope you can squeeze this into display case 👍 Shall take a look at your build log, always good to see other modellers efforts, especially on something that is as challenging as Mikasa, Not much in the way of help or information on this ship, which is a shame considering her status. I started my build knowing absolutely nothing about her , even that she was built in England or indeed still existed, so it was one big learning curve. Hope you’re enjoying your own experience with her🤛 Thanks, Jeff.
-
That’s me for now, continue with last boat and davit assembly, leaving just rigging from mast to deck and flag staff to finish the aft deck area. 👍
-
Next part was doing the final fit up to try and make it work, seem to be like a cat, land on my feet most of the time 😂 be it a grumpy puss, Jaqueline shouts up stairs, your supposed to be enjoying that, it’s your hobby 🙄 anyway, got it together ok, just leaving the horrible boat strapping to do, have decided this is murder to do, the result works, but no fun.😂 Also finished the bridge wing bracing and rigging to the davits on boat deck.

-
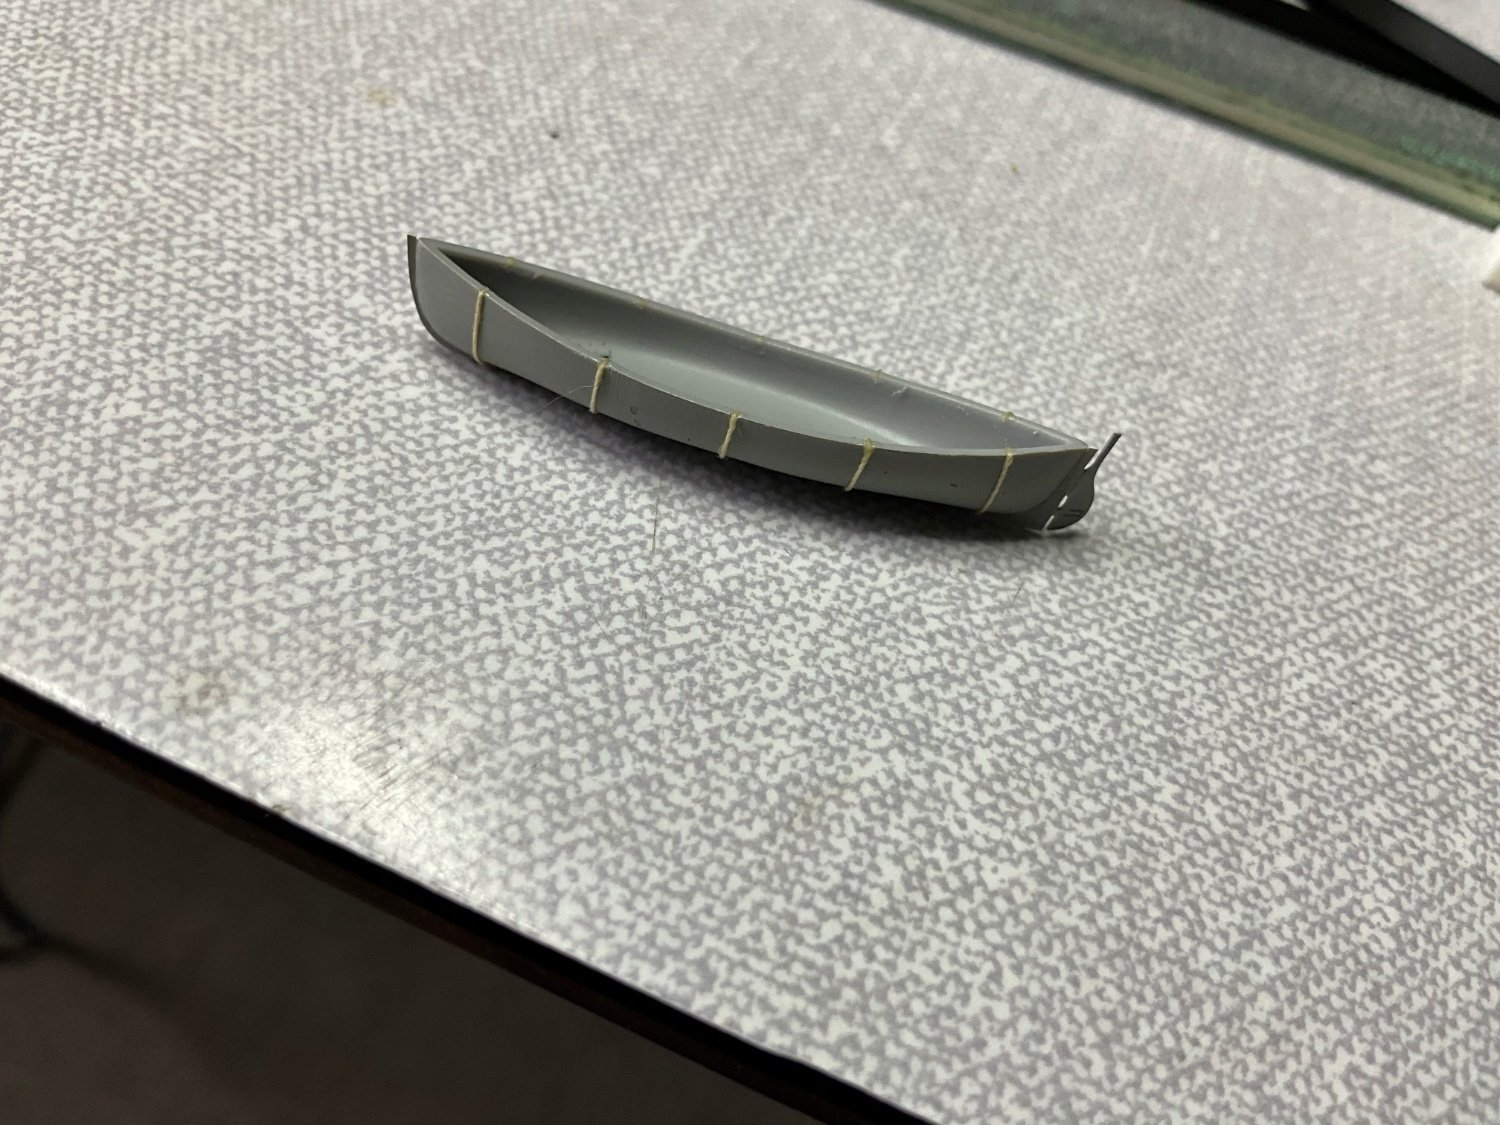
Another short post guys, showing how I fitted the tie ropes for the canvas in place before fitting the parts together, obviously you have to paint the two parts before starting the rigging 👍 left them couple of days for paint to cure, Vallejo paint does take quite a while to fully cure, despite being dry to the touch in minutes.

-
Thanks Scott, have plans to have her with water along Starboard side along to boarding steps and full hull on Portside with torpedo net extended. So shall be tackling a wooden display case, with a bit help and advice from friends 👍 Sooner it’s in a case the better, far to fragile, plus keeping dust of it at the same time, it’s a bugger to dust 👀 cheers.
-
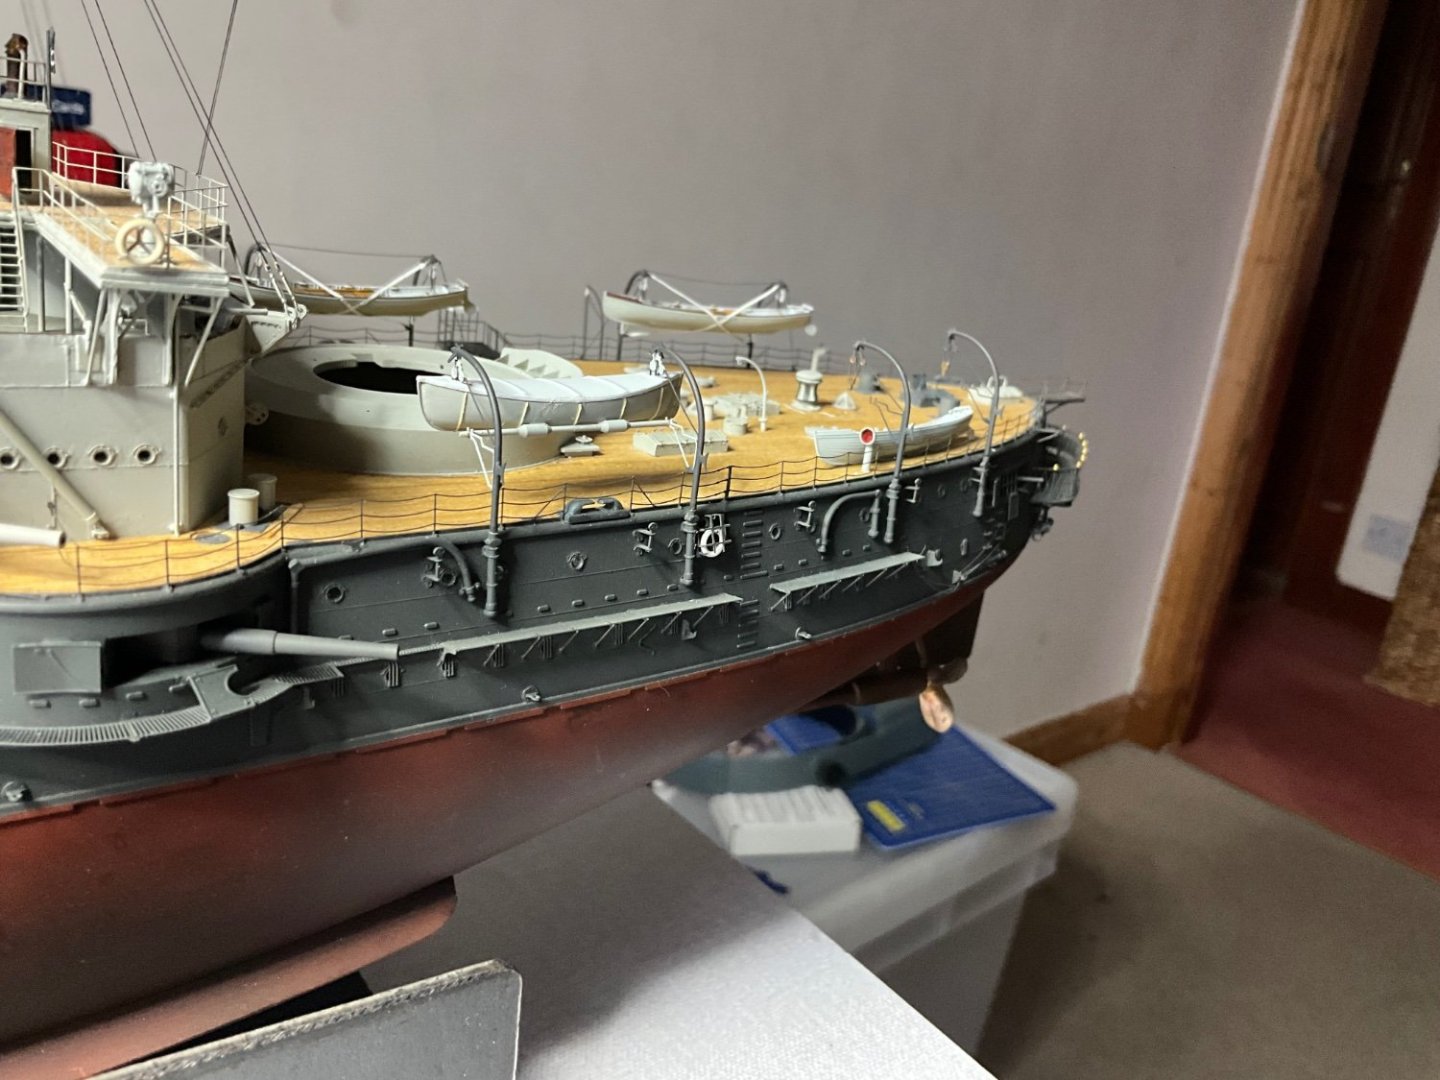
This photo of ship shows the deck davit, see its pointing forward so the only thing in that area is a deck hatch, so positioned it accordingly, again can’t say it’s right but it’s in this photo 🤞 That’s me for now, see if I can finish this same as starboard side for next post 🤛 bye just now.
-
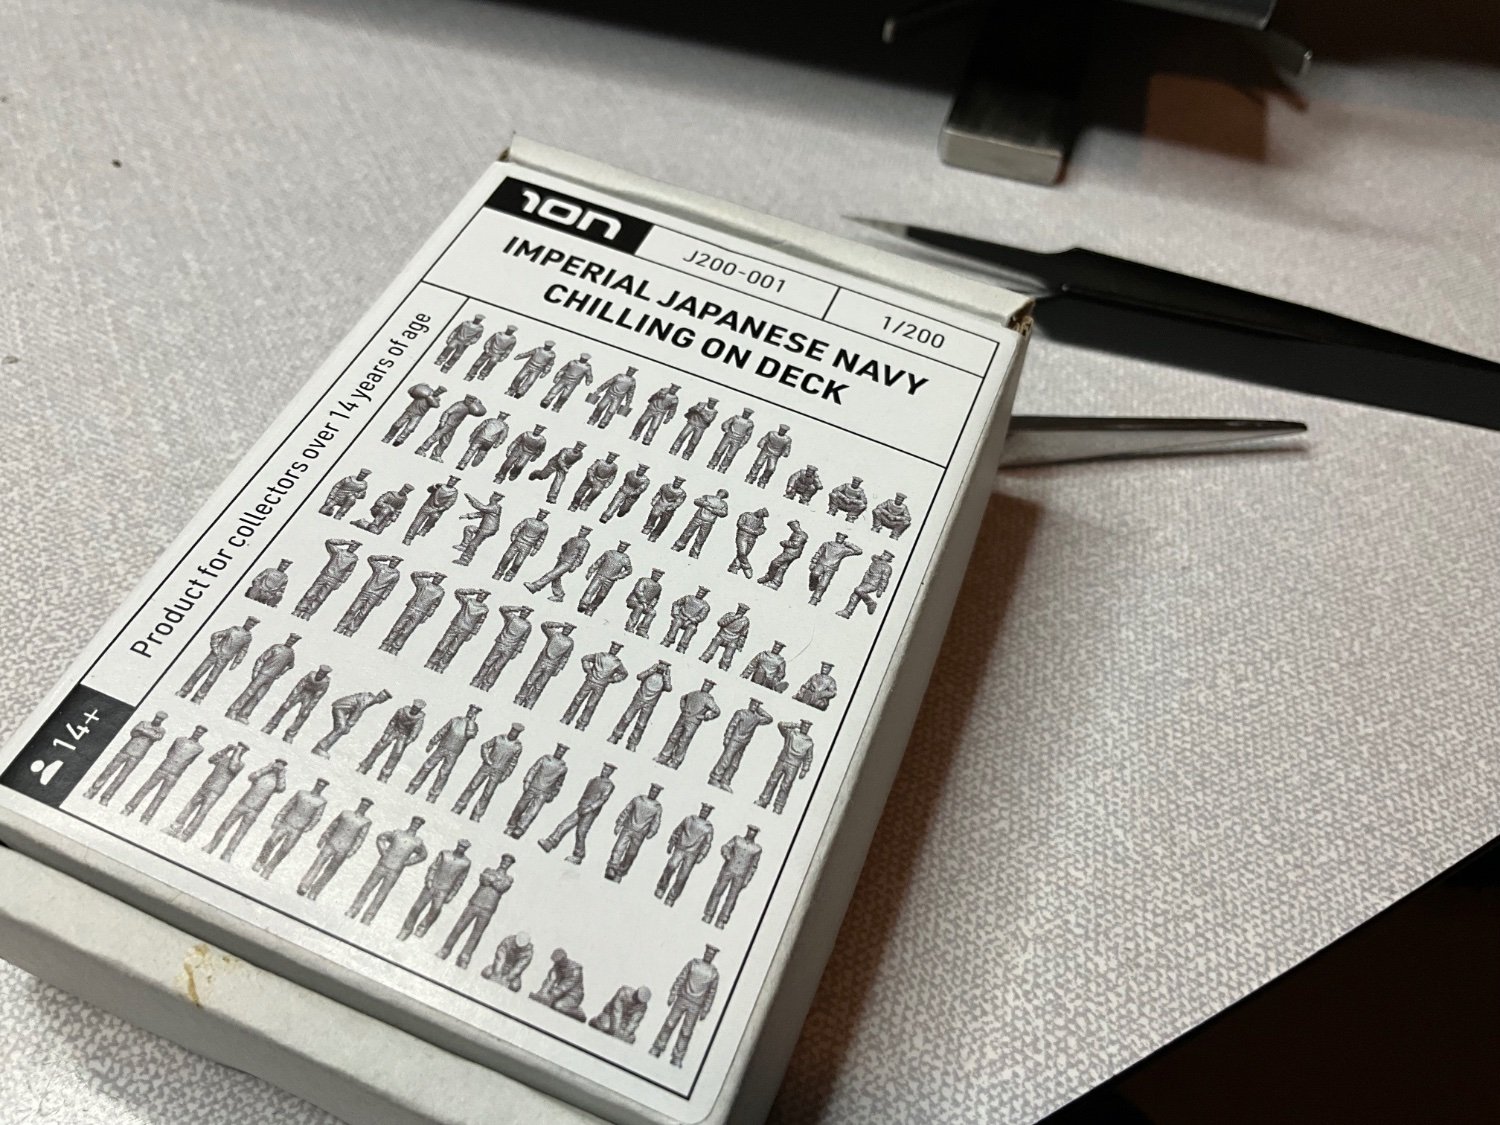
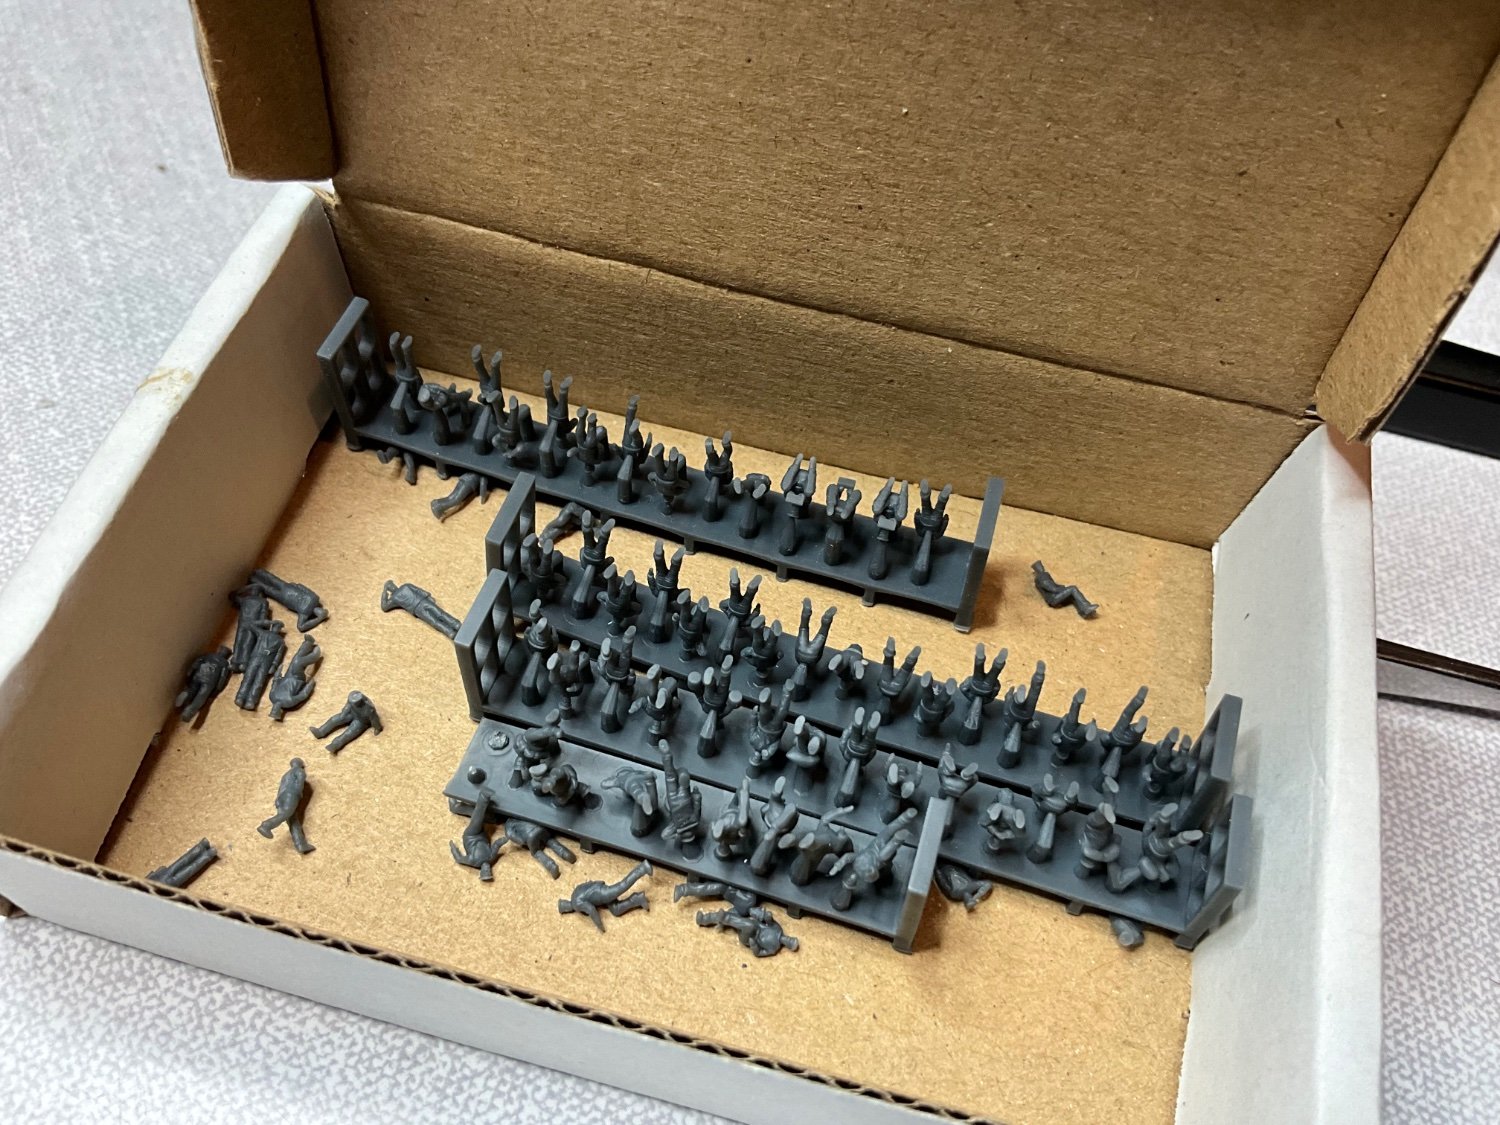
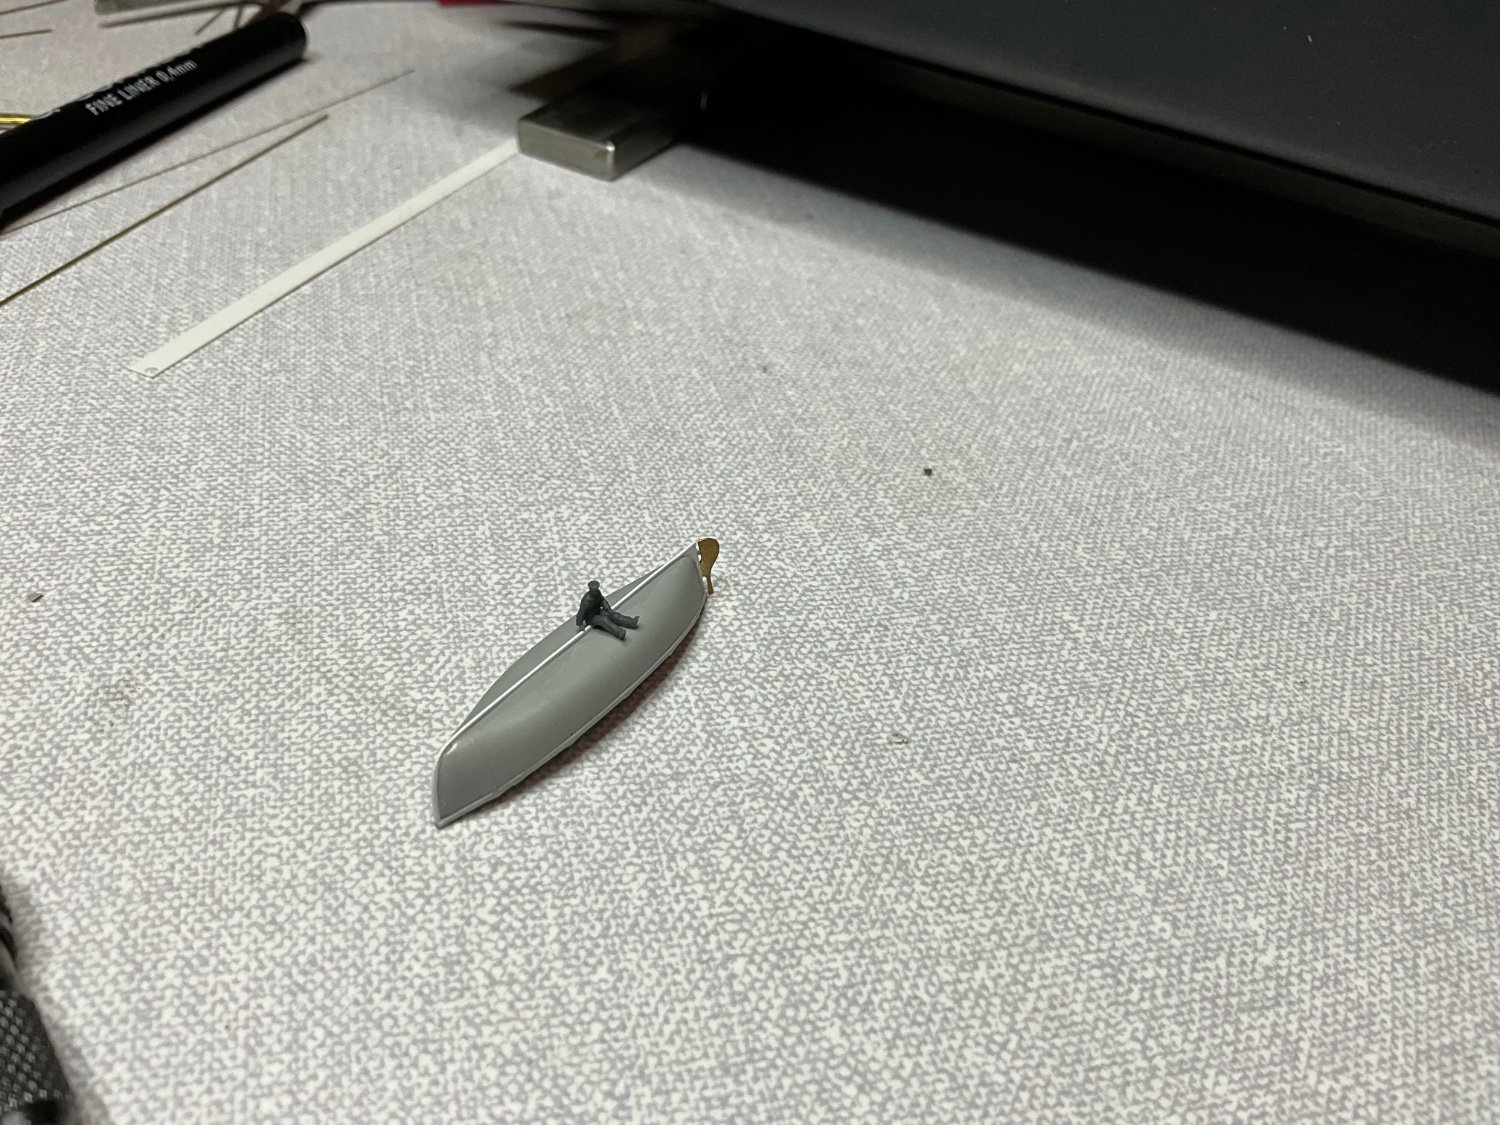
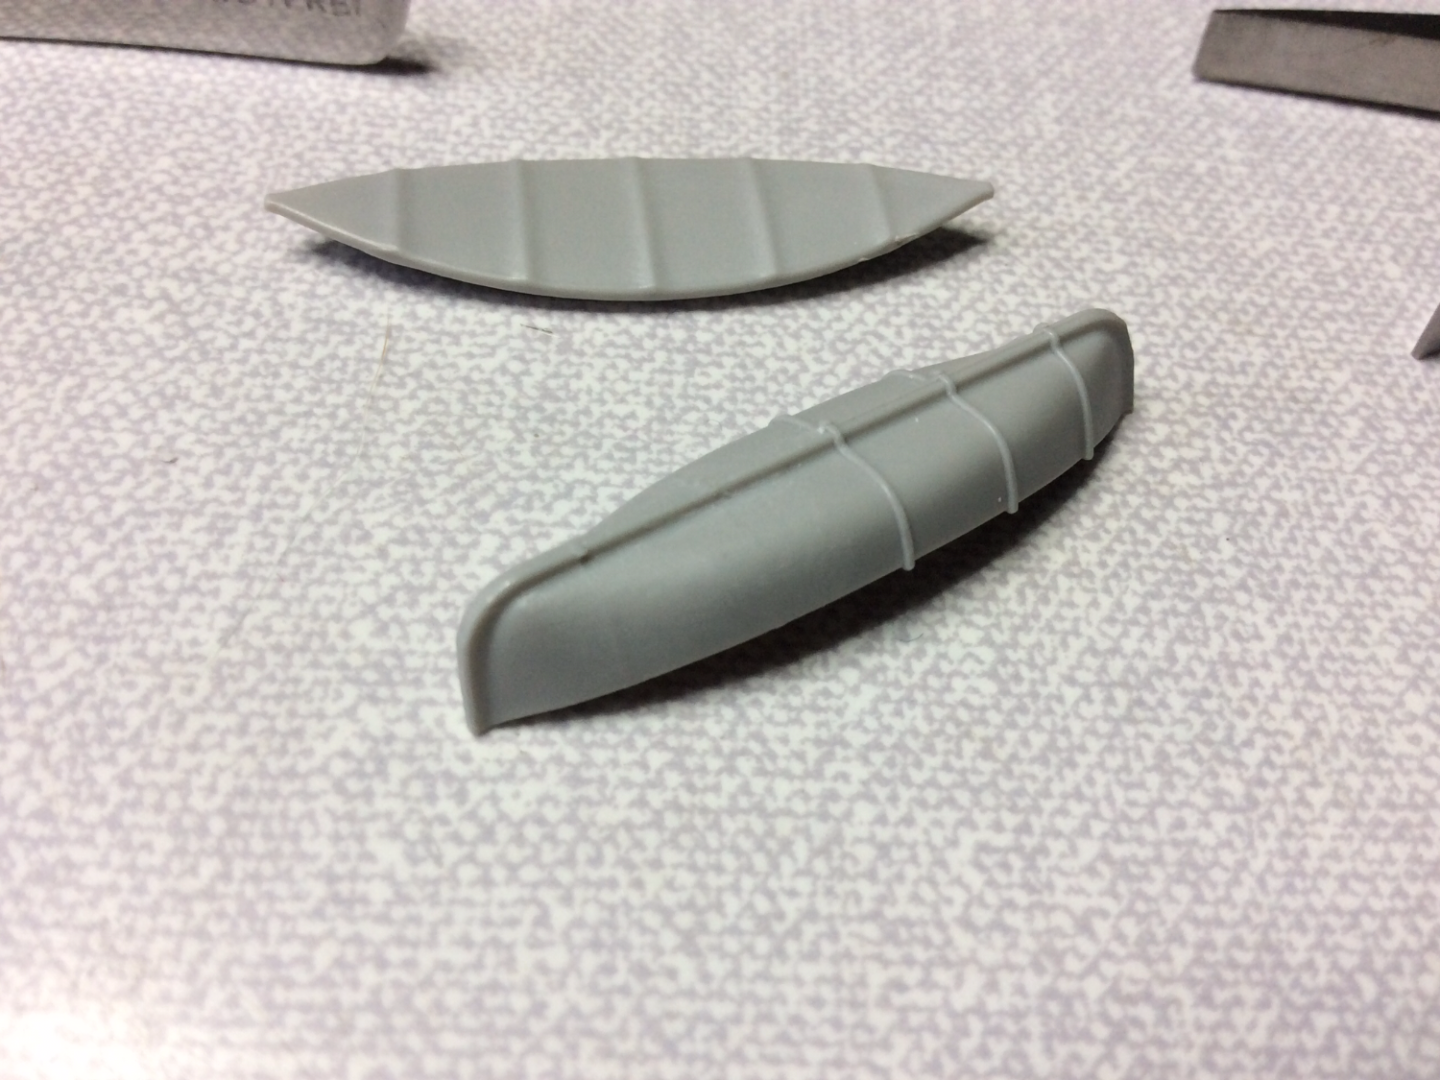
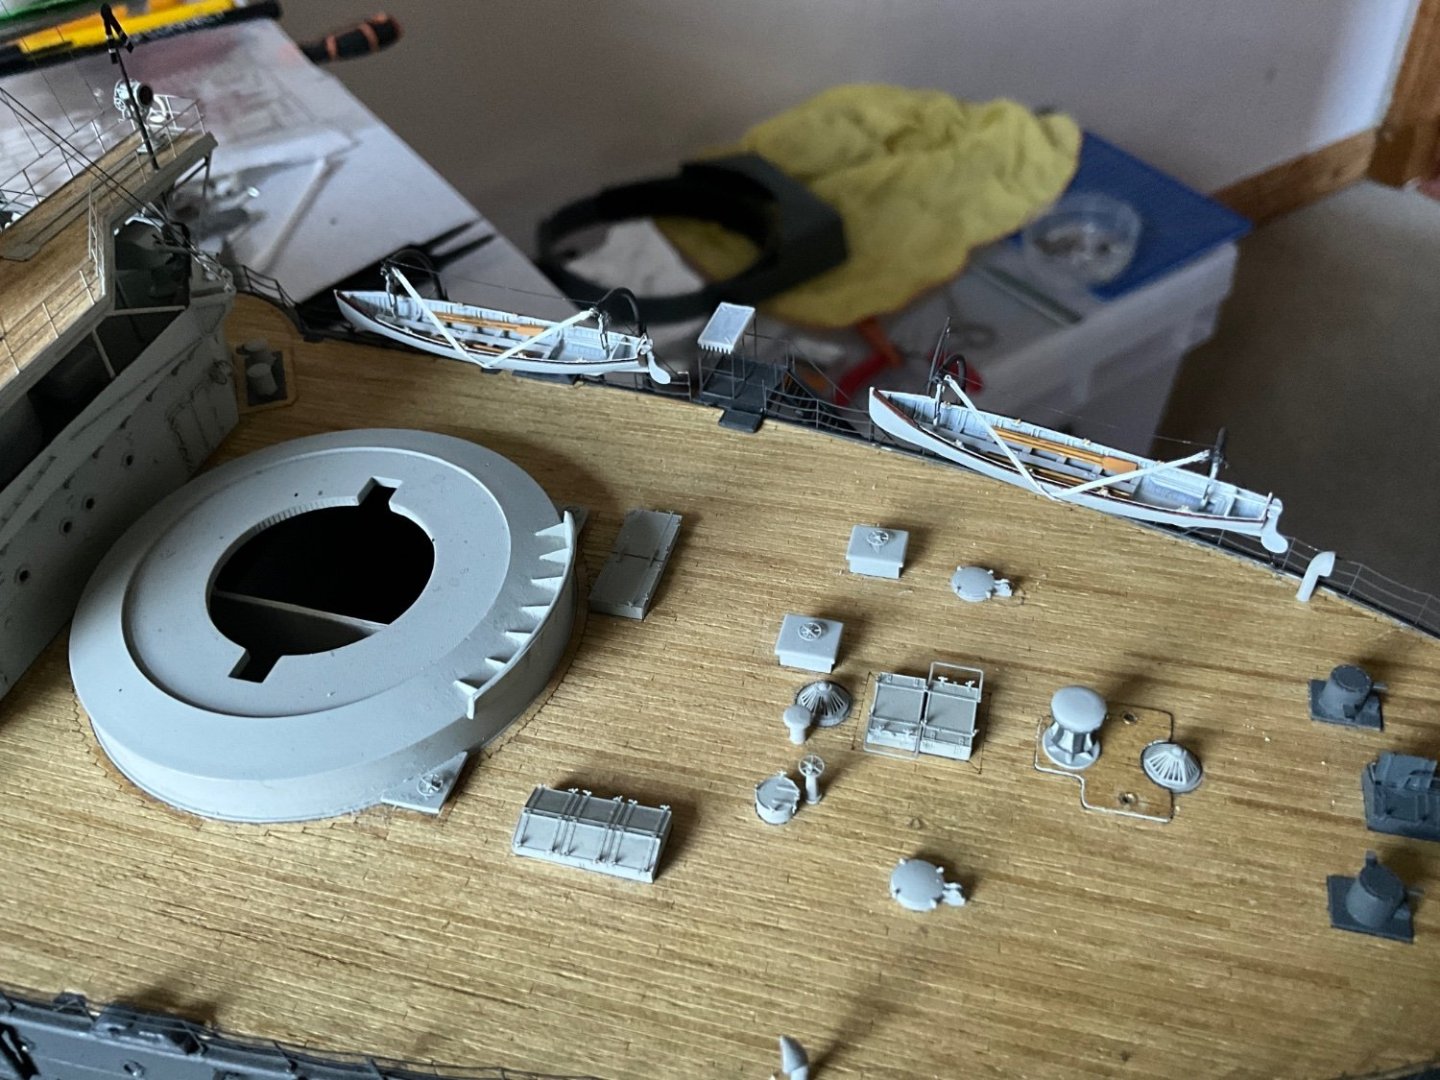
Also bought these little fellow’s, think they’ll help add a bit of scale and interest to the model when finished 👍 they are quite detailed, best l have seen so far, that’ll be interesting trying to paint them for sure.


-
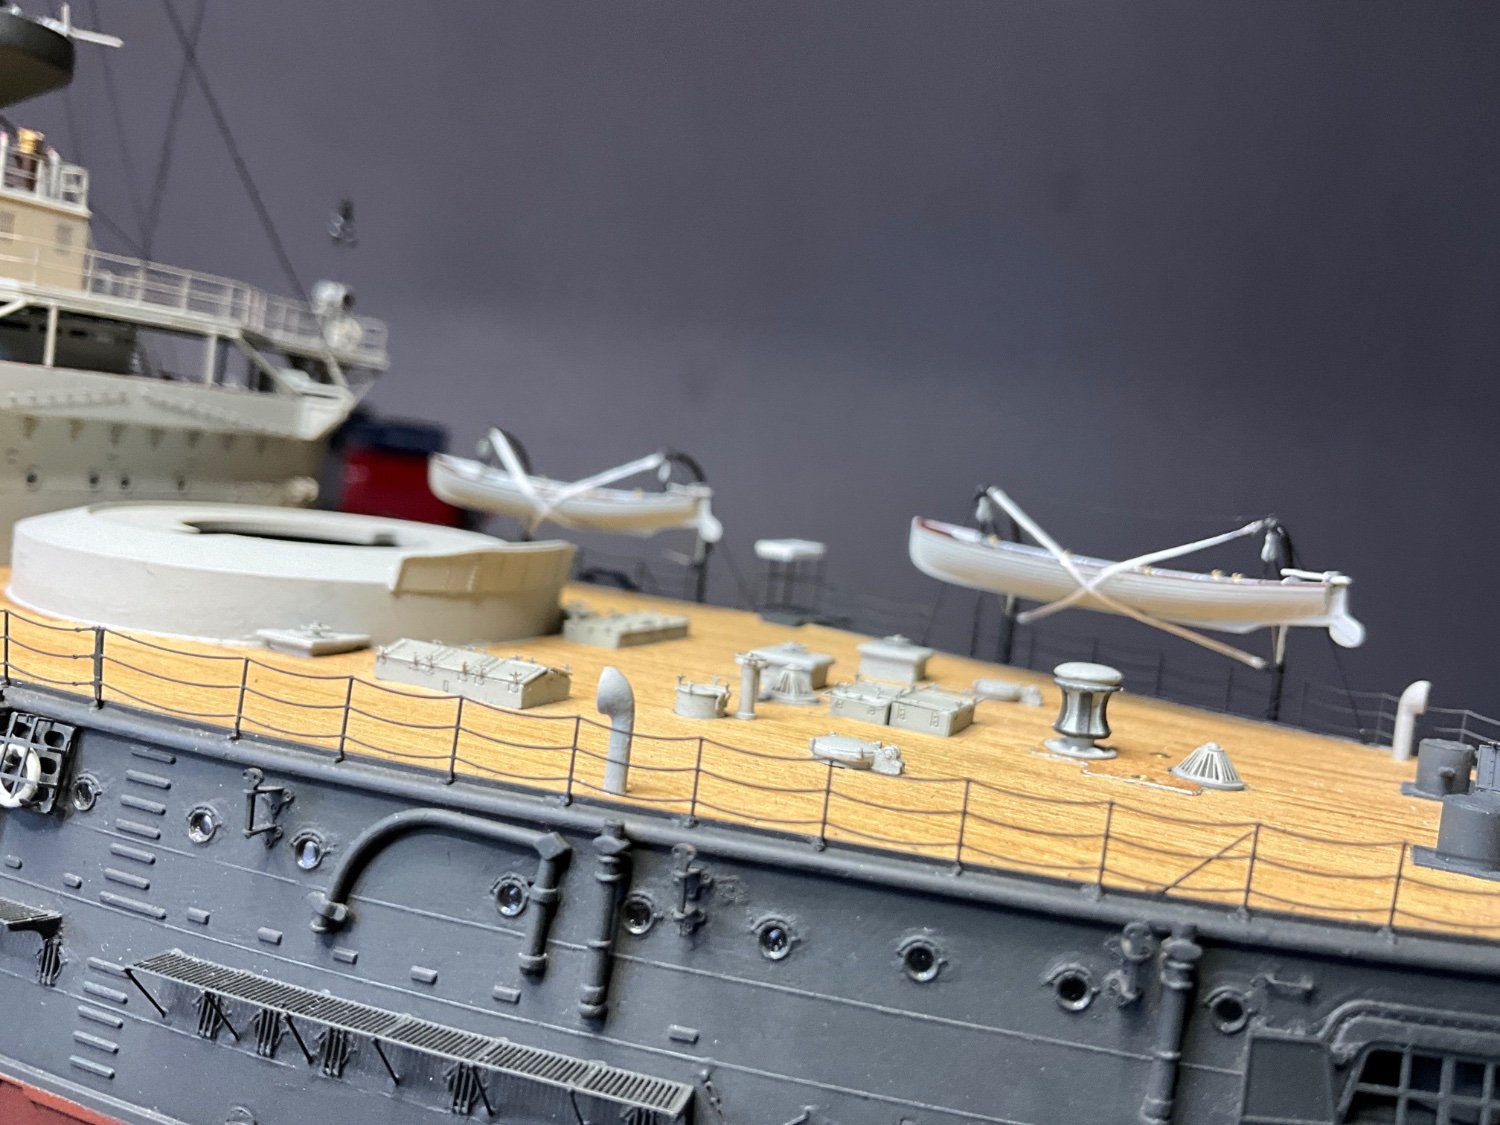
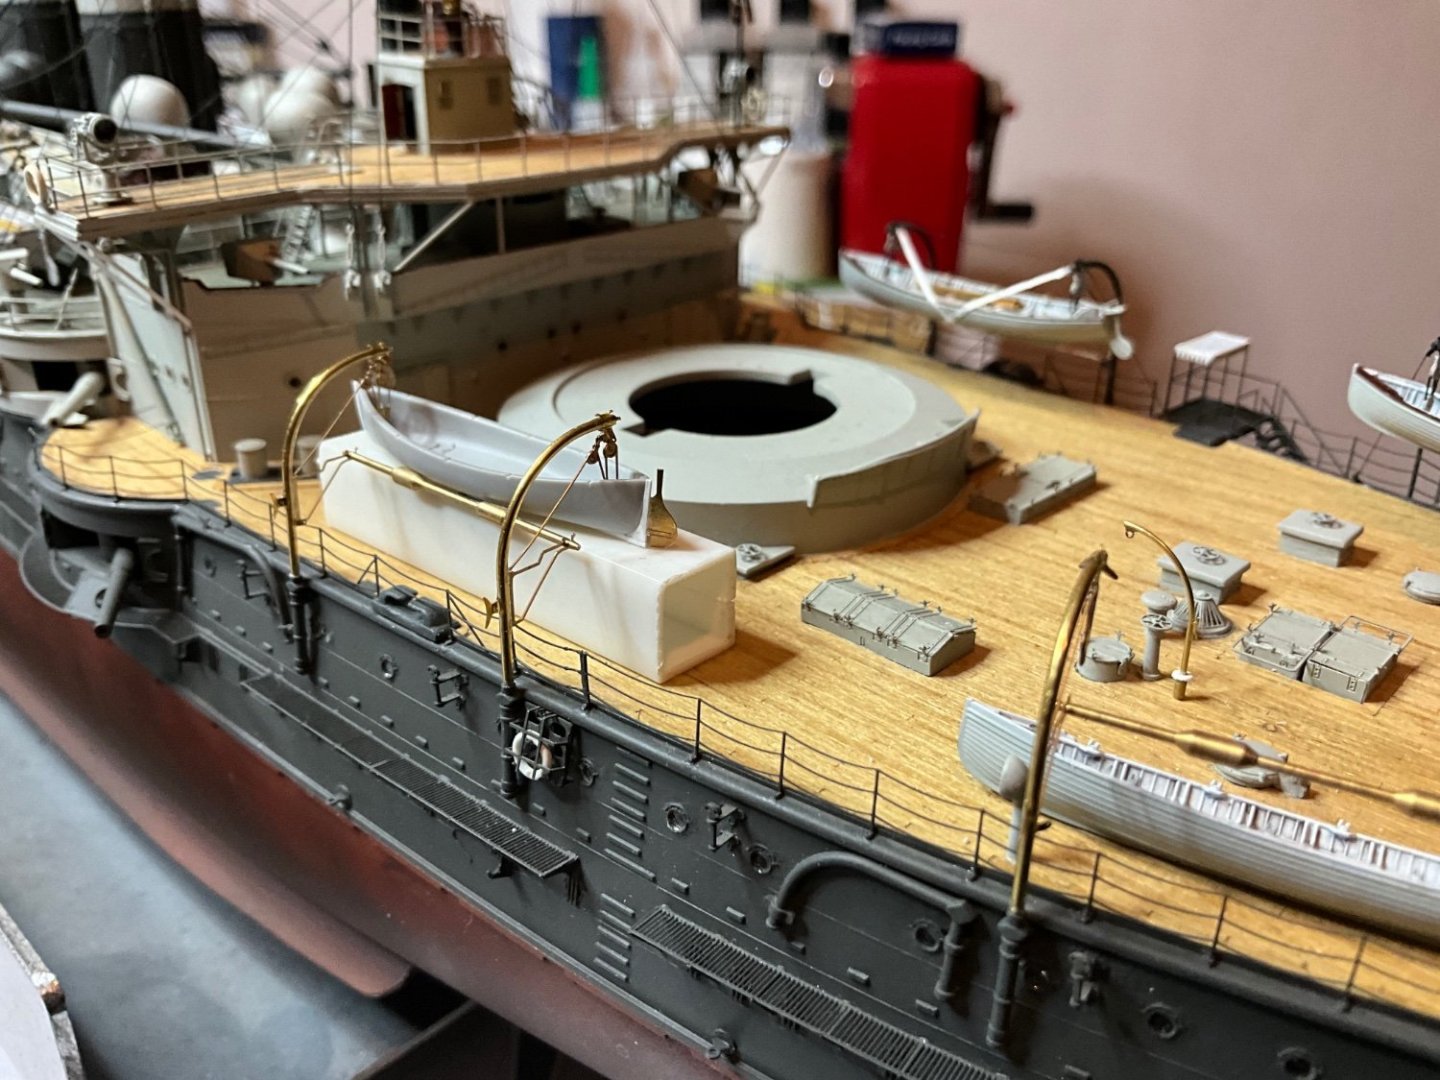
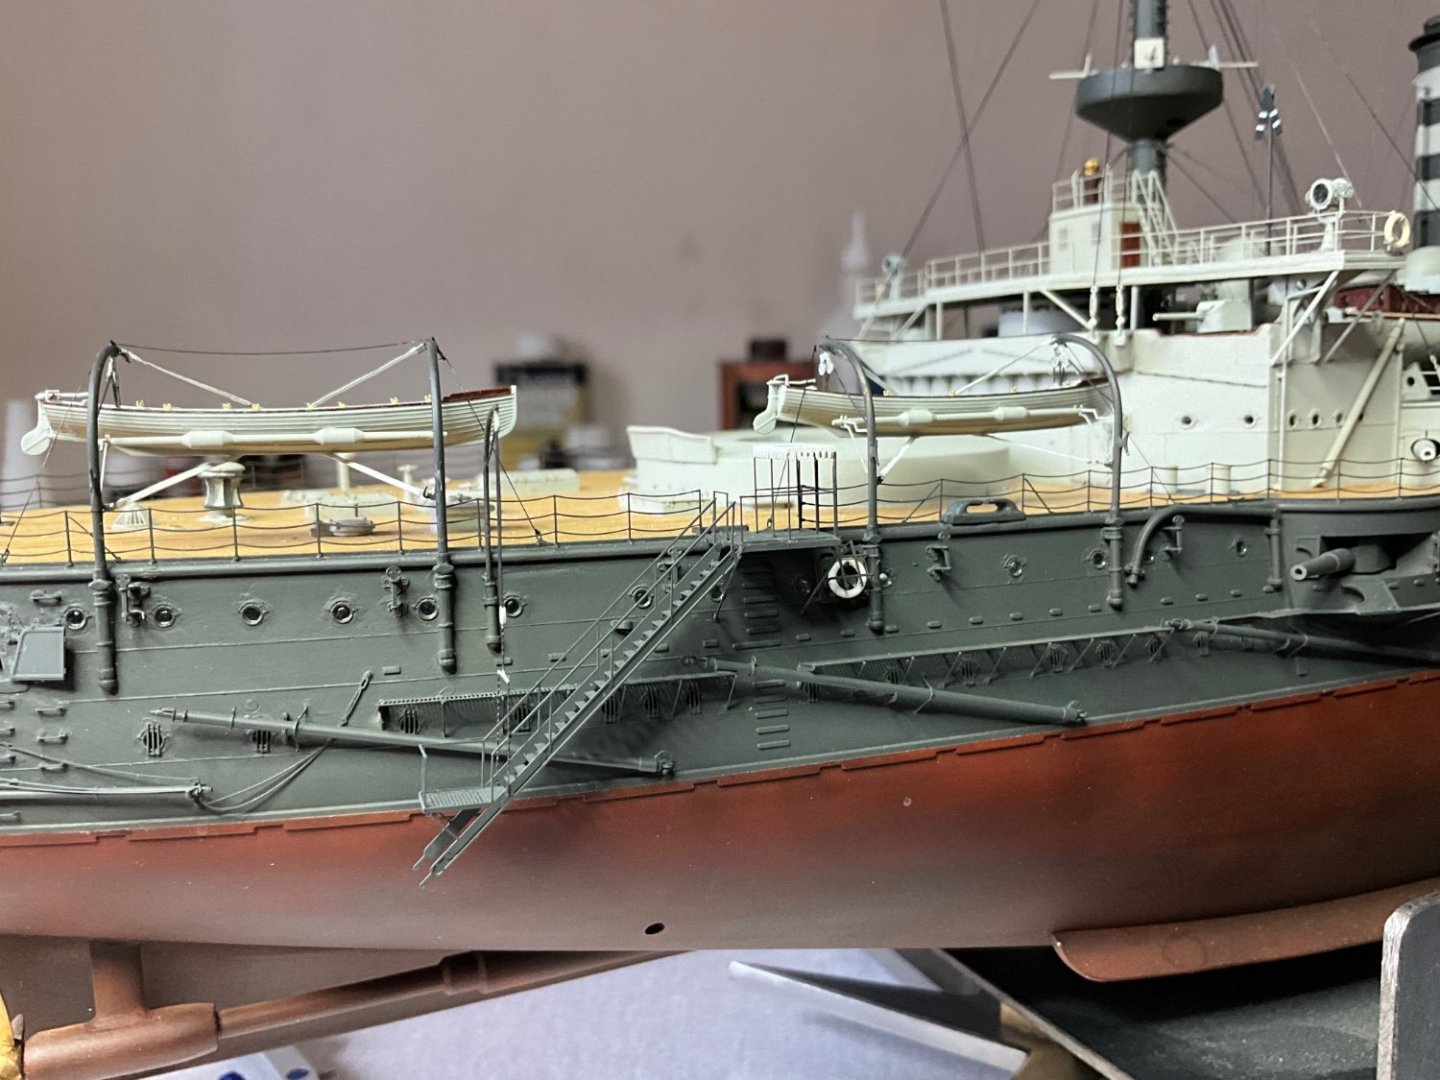
Also finished making the last of the davits, glad to get them done. Next stage is to paint them all. As you can see l am starting to fit up the boat into position, lot of fiddling about at this stage, only two to go though, be glad when the boats are finished as well, been a bit of a slogging match.


- 543 replies
-
- 11
-

-

-
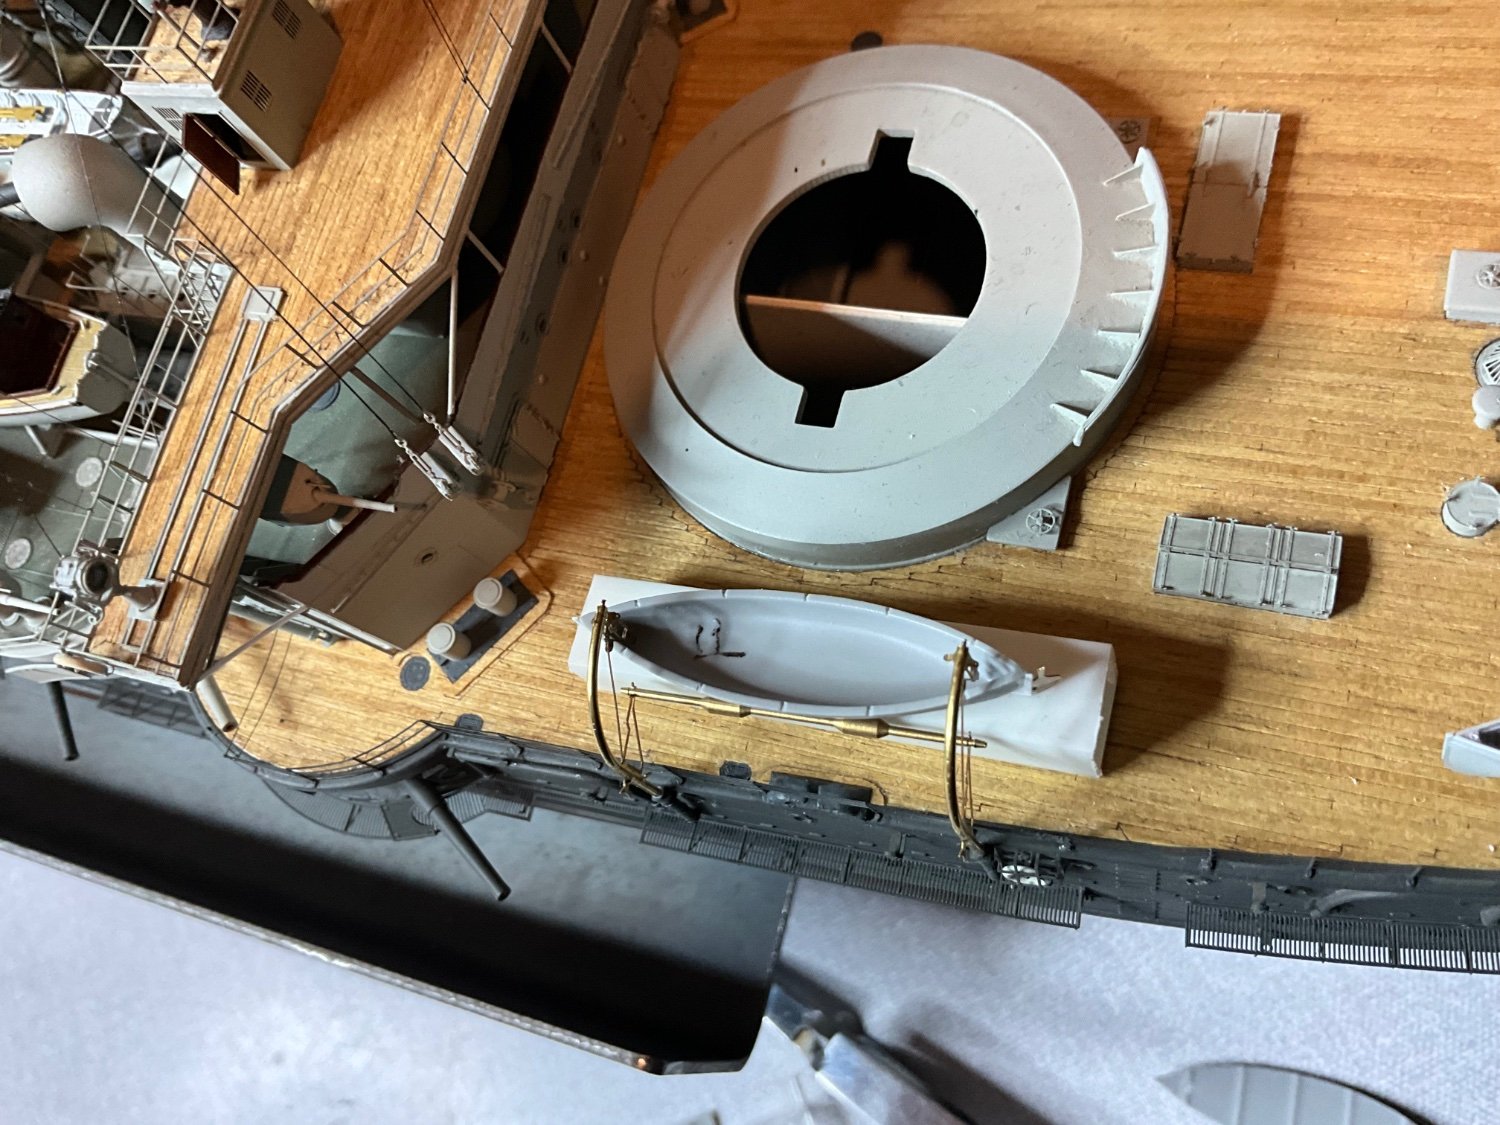
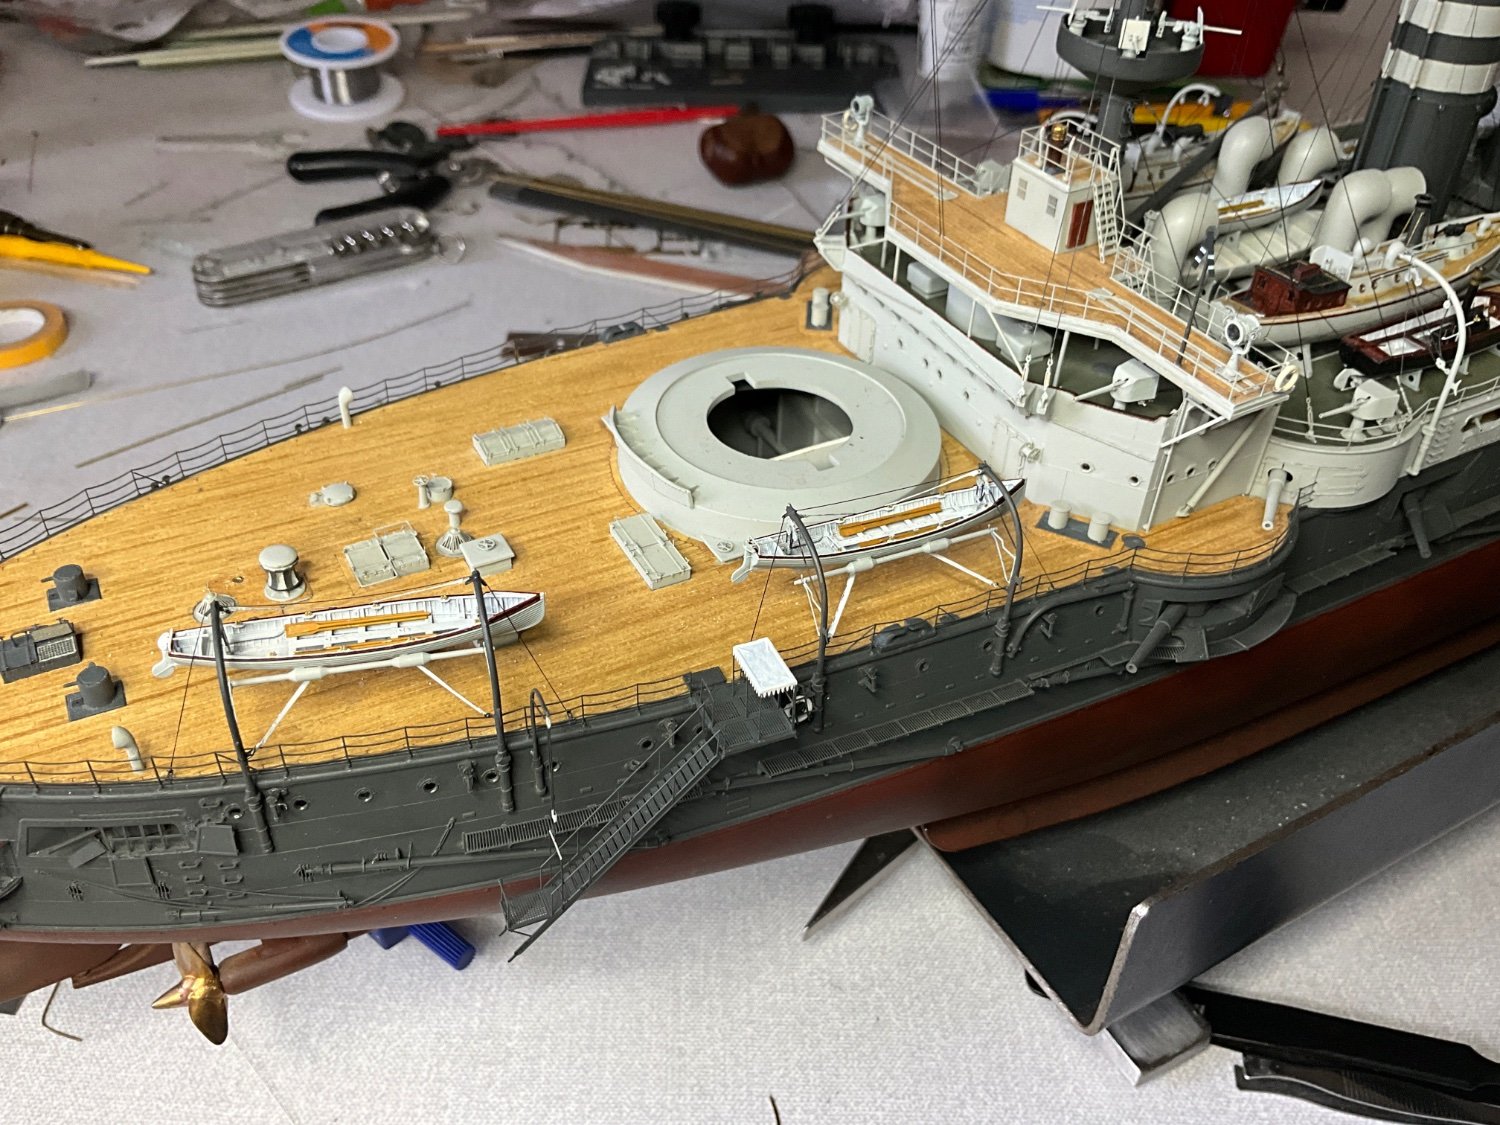
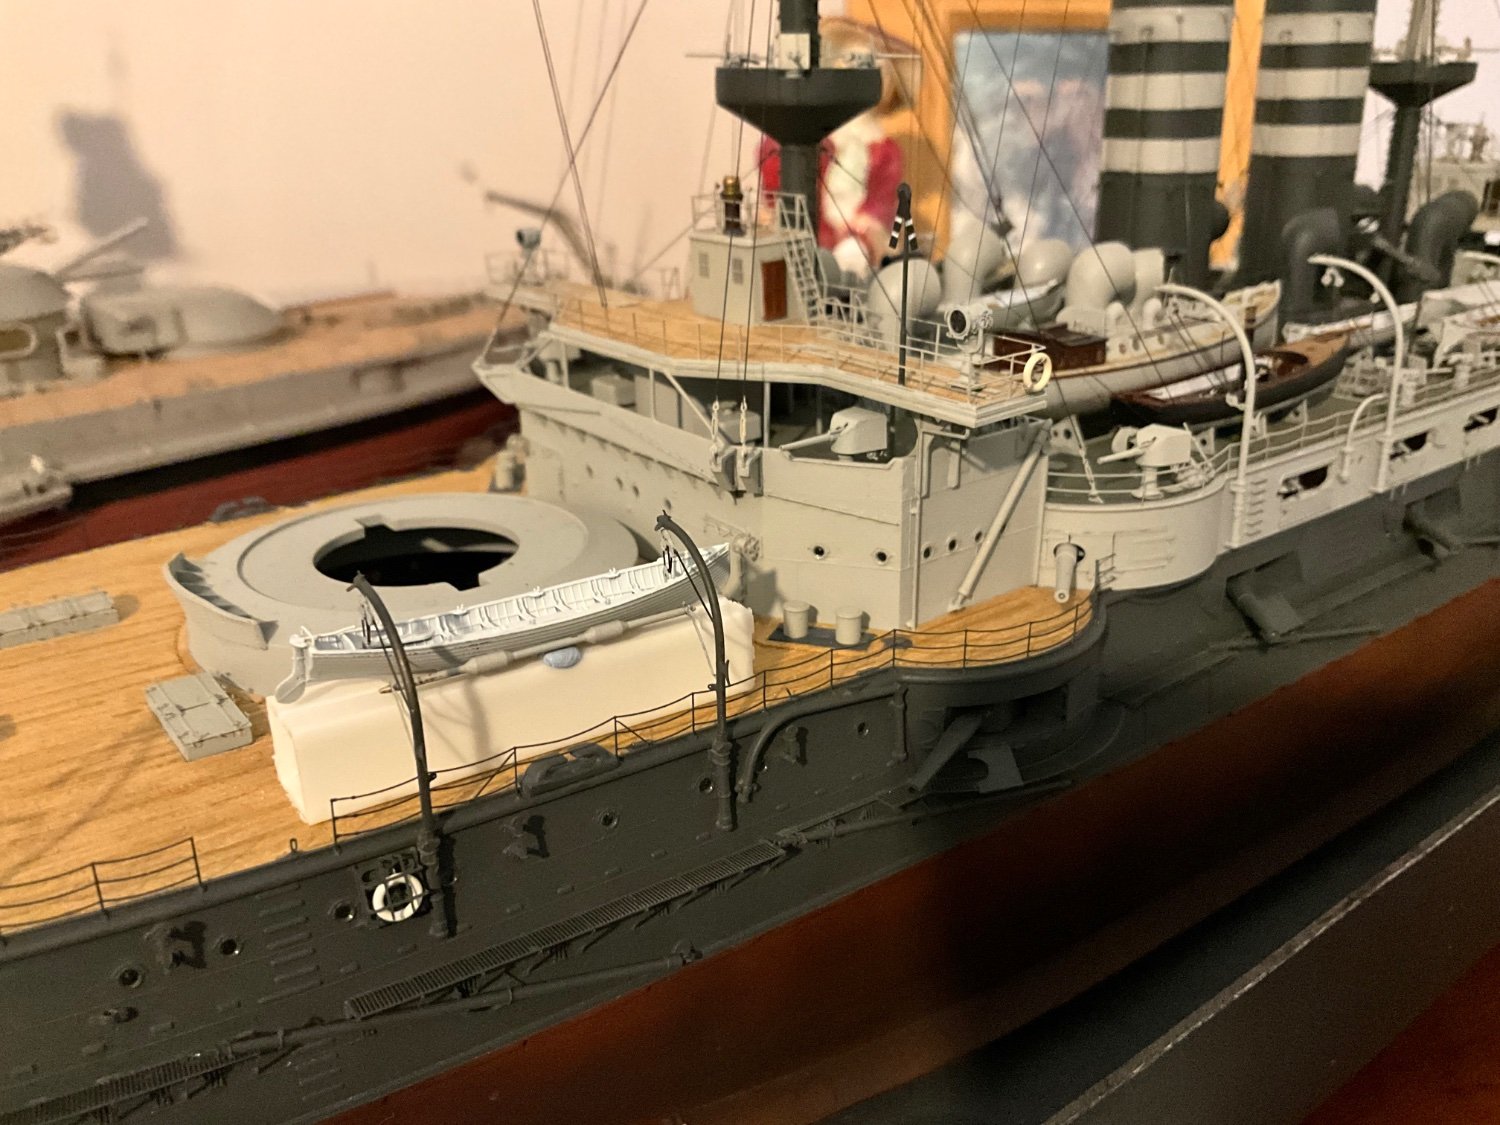
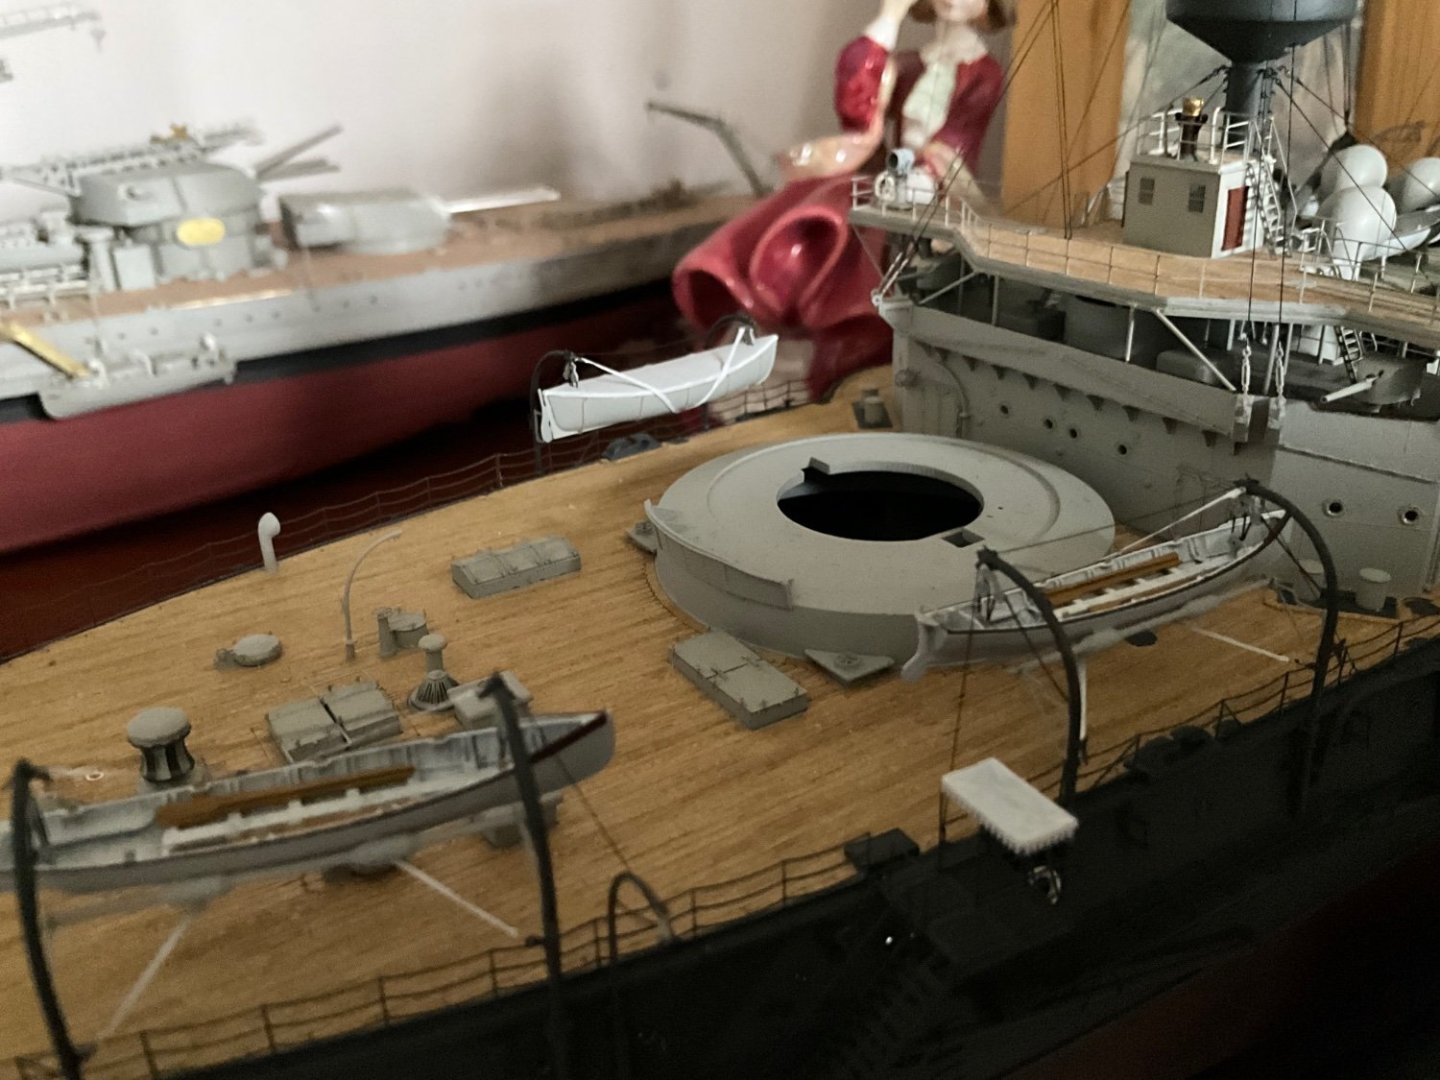
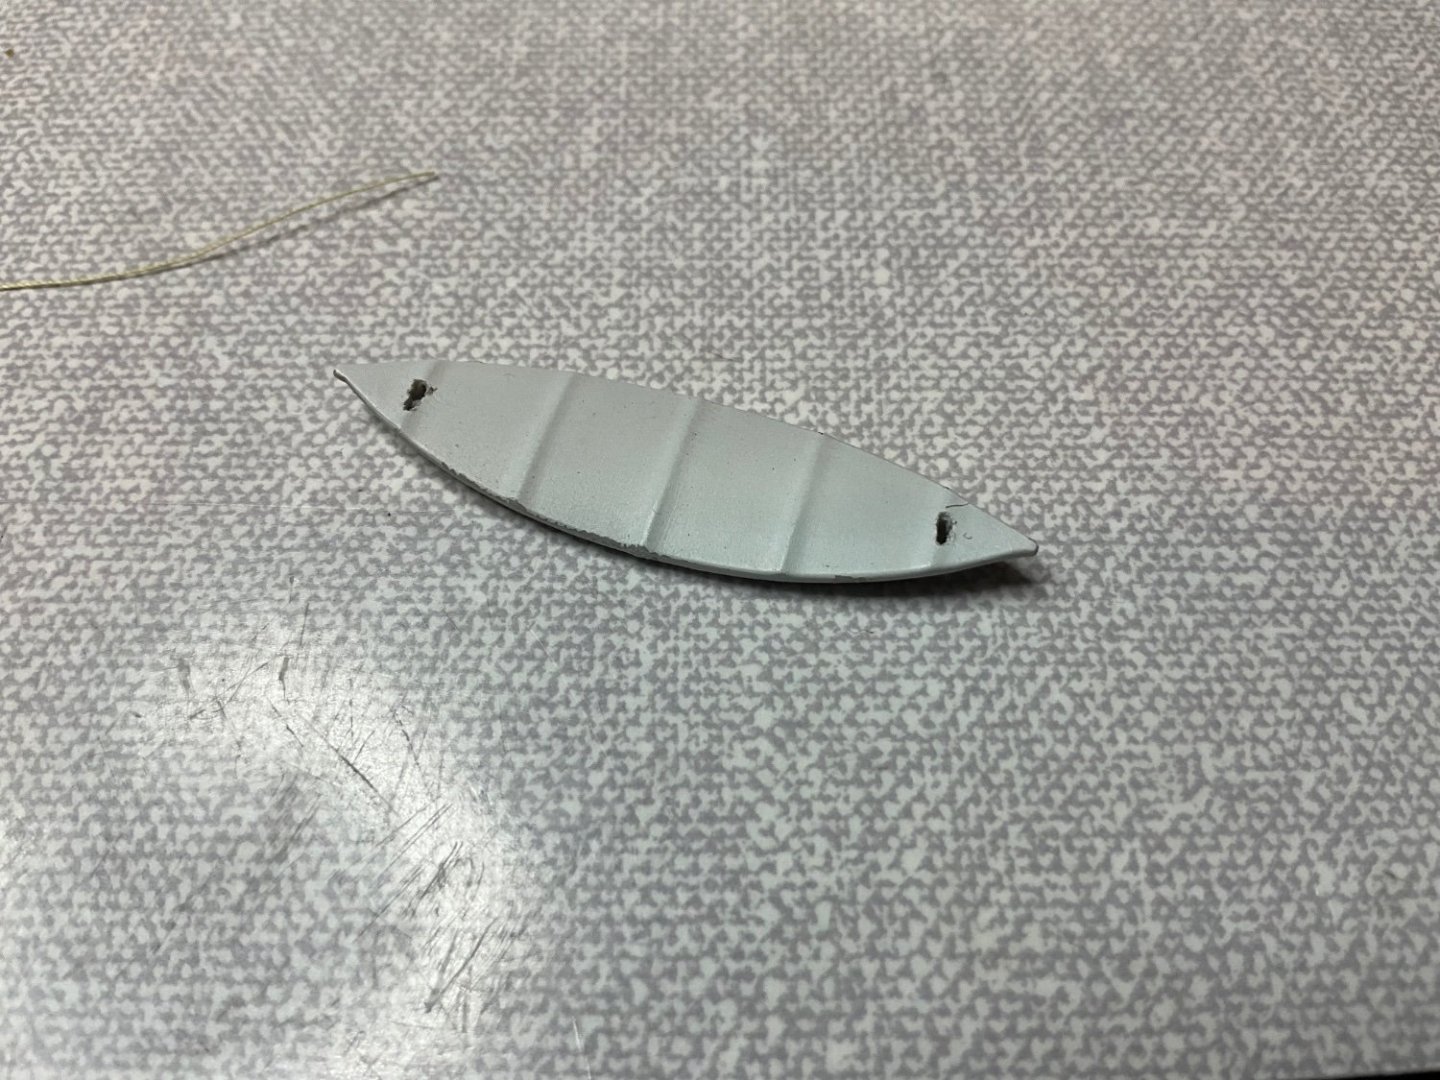
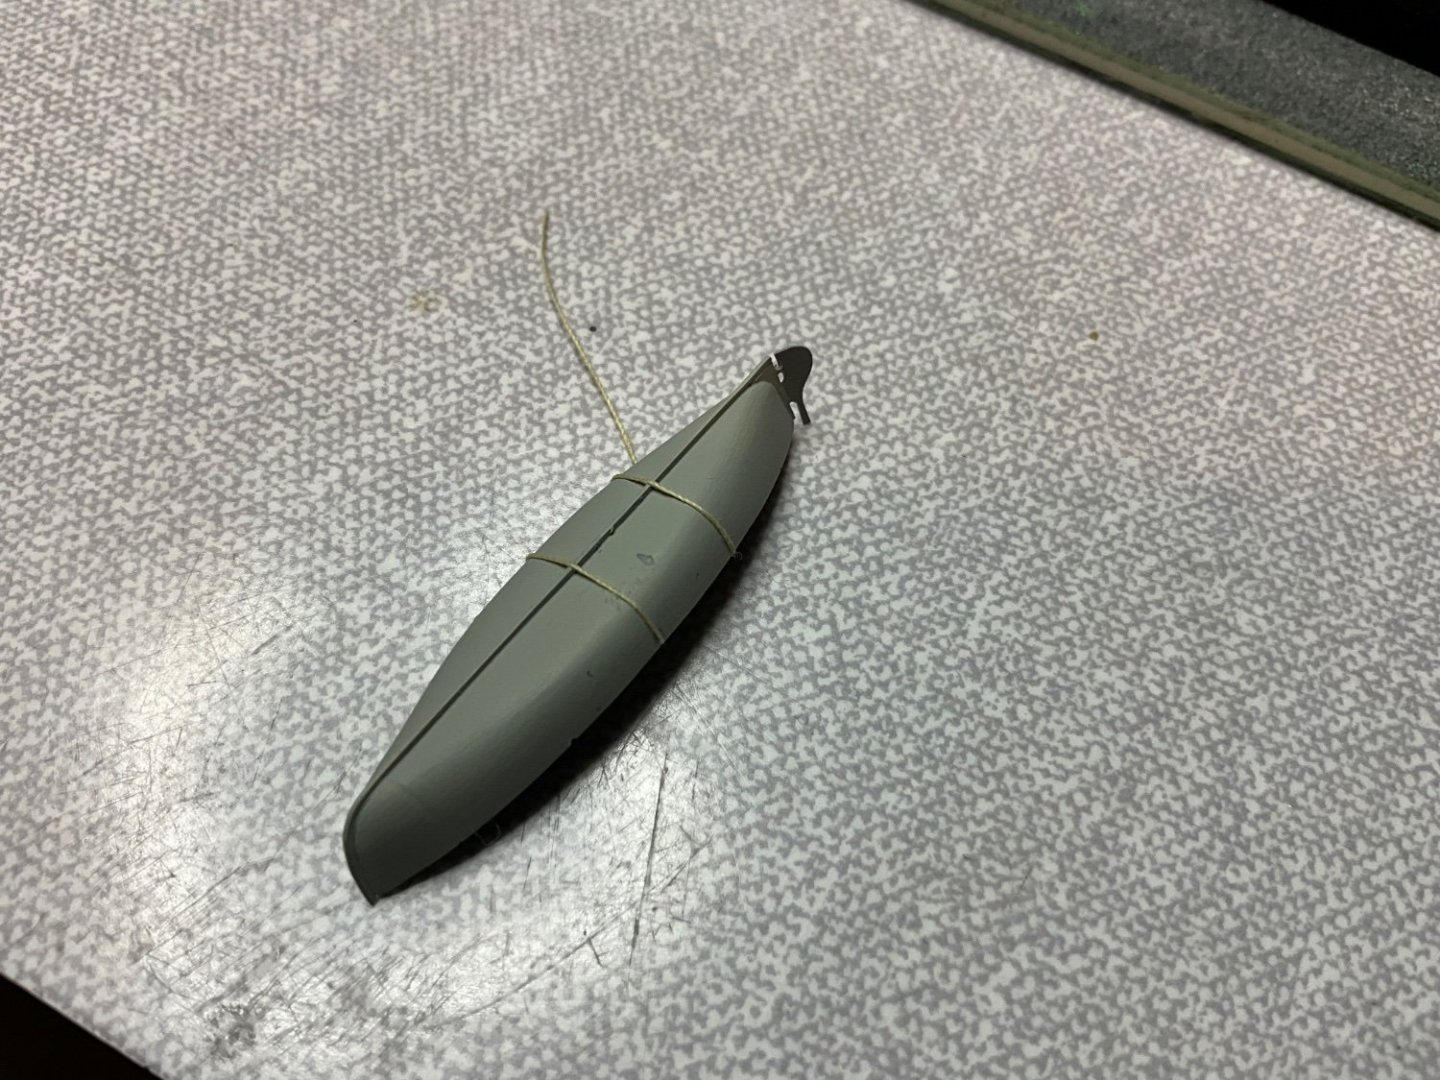
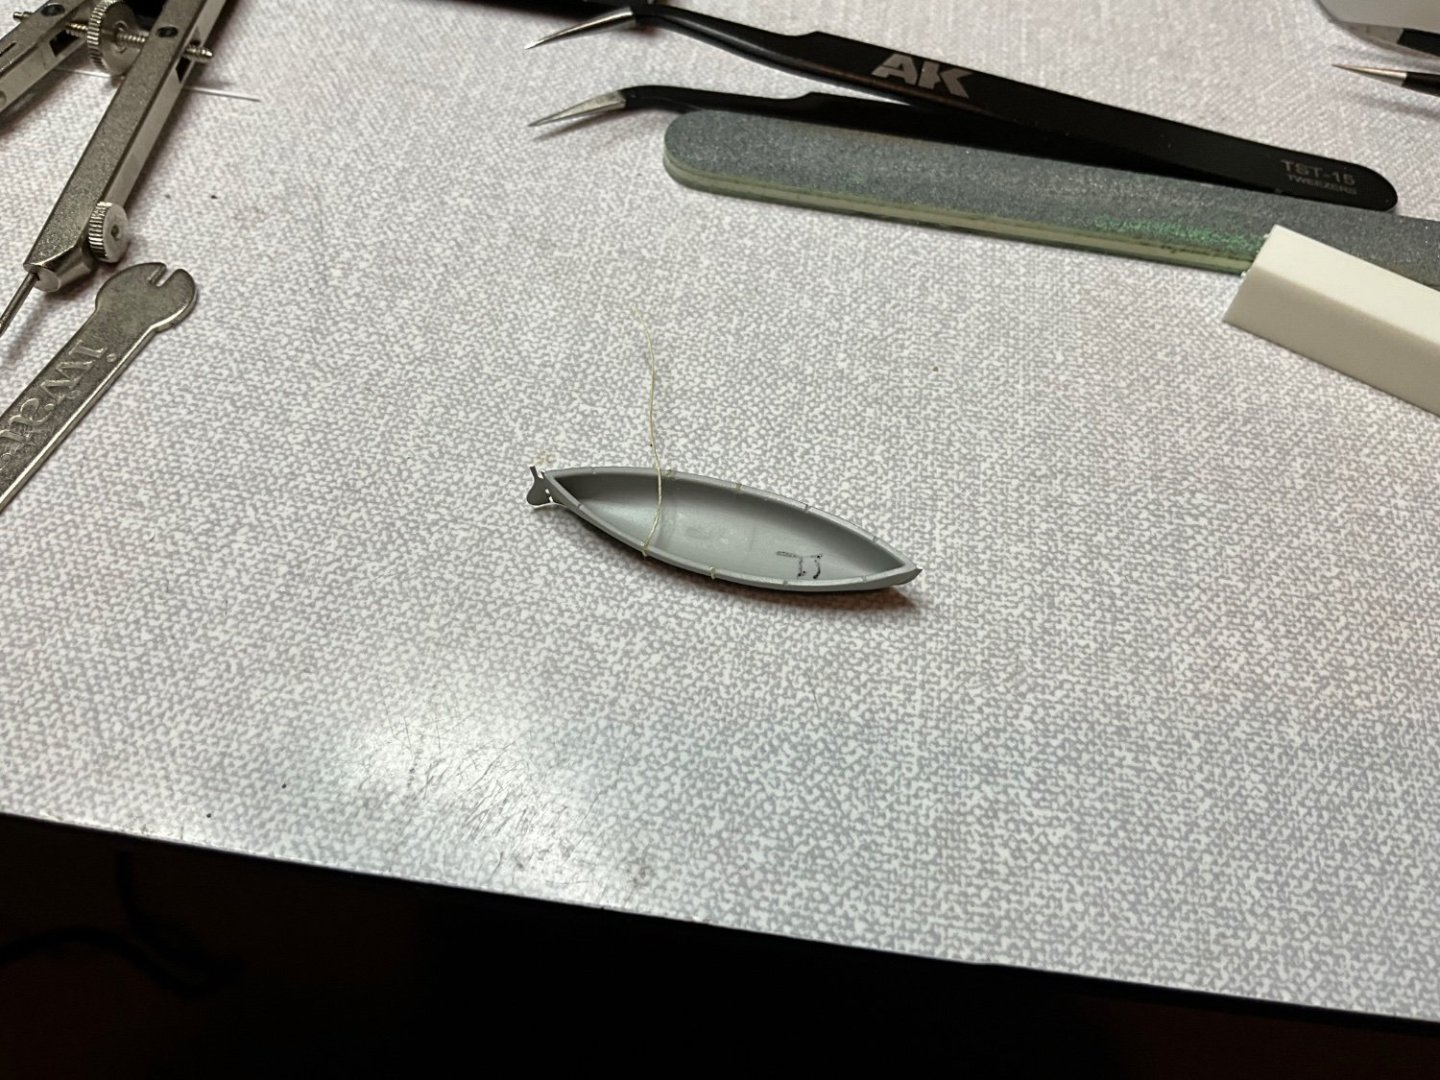
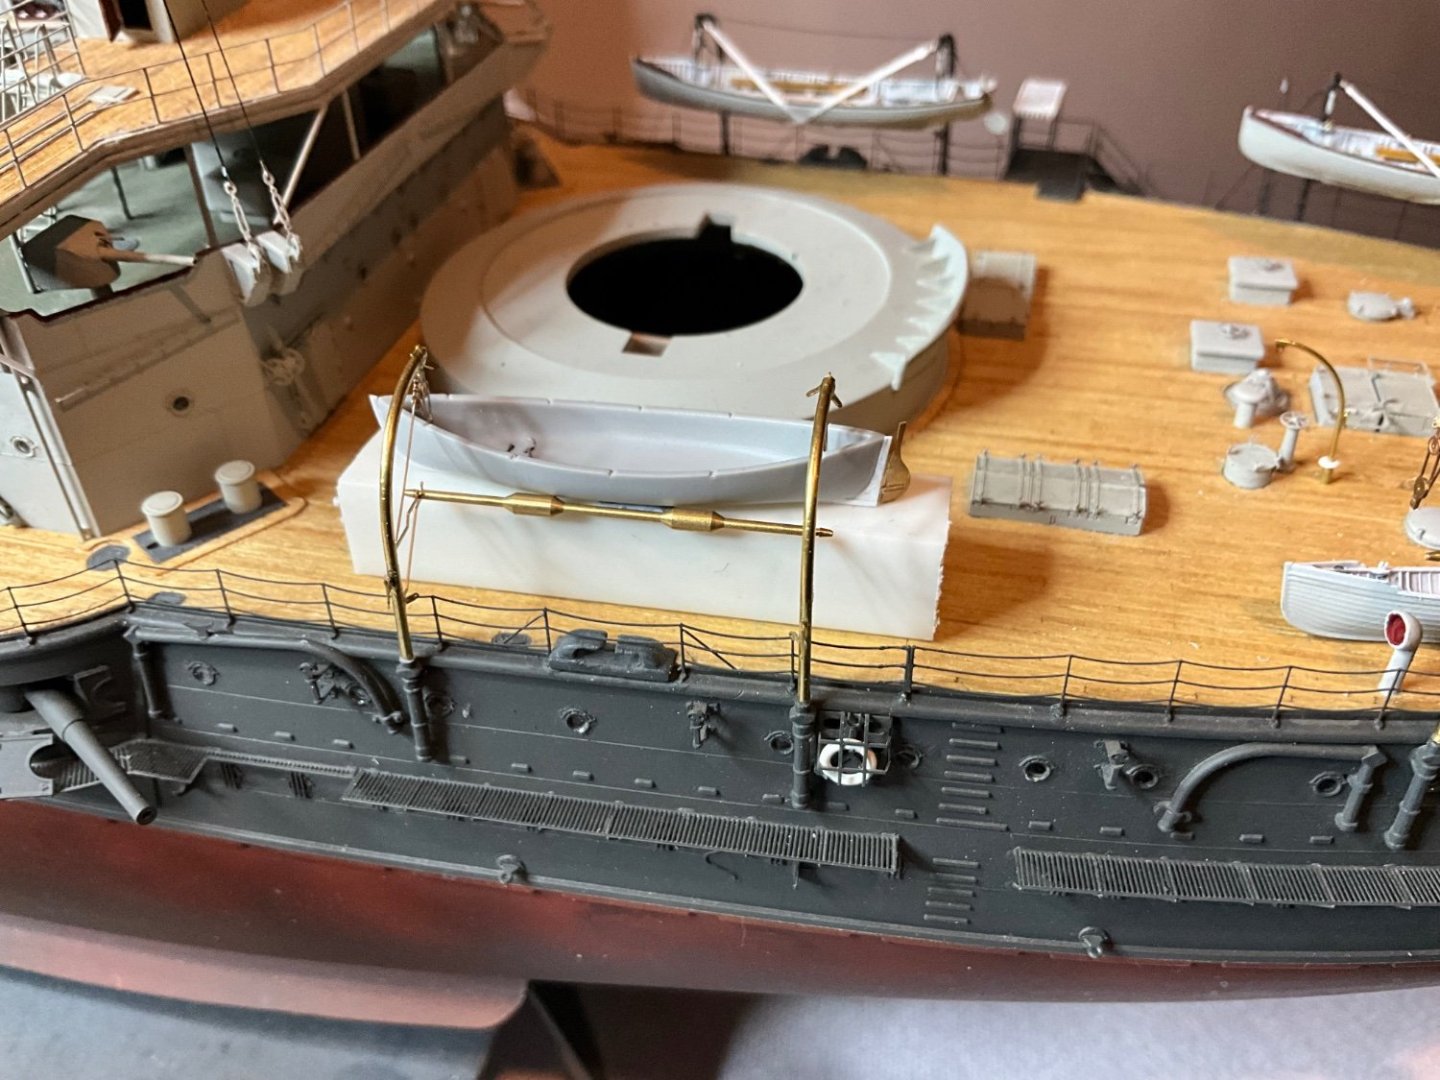
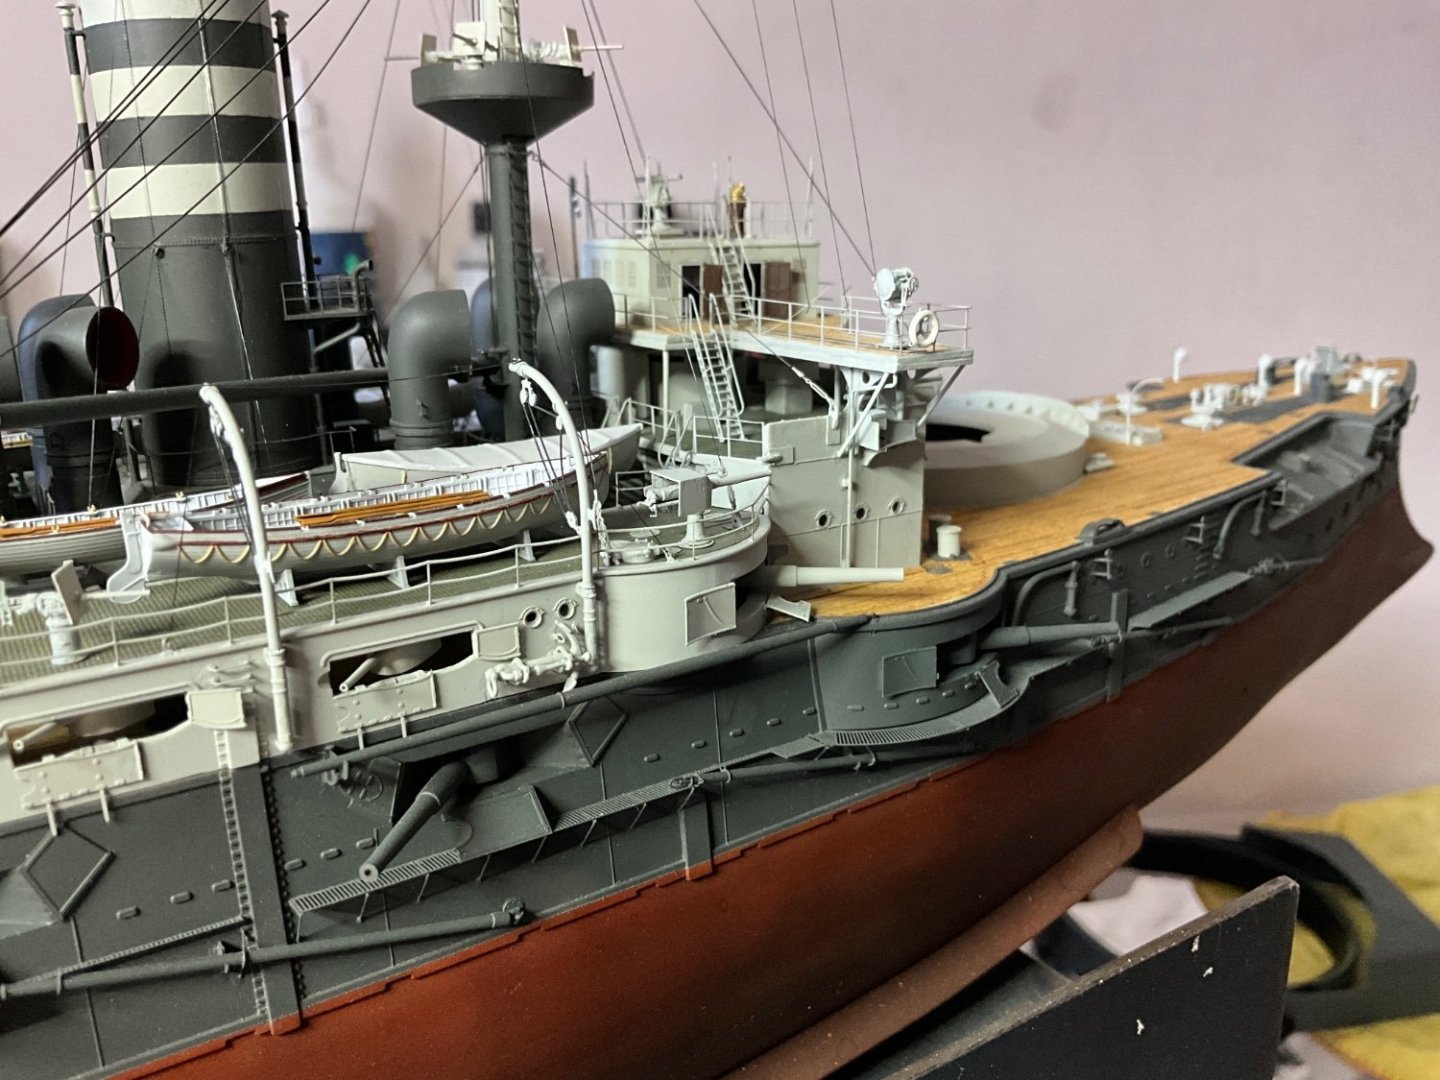
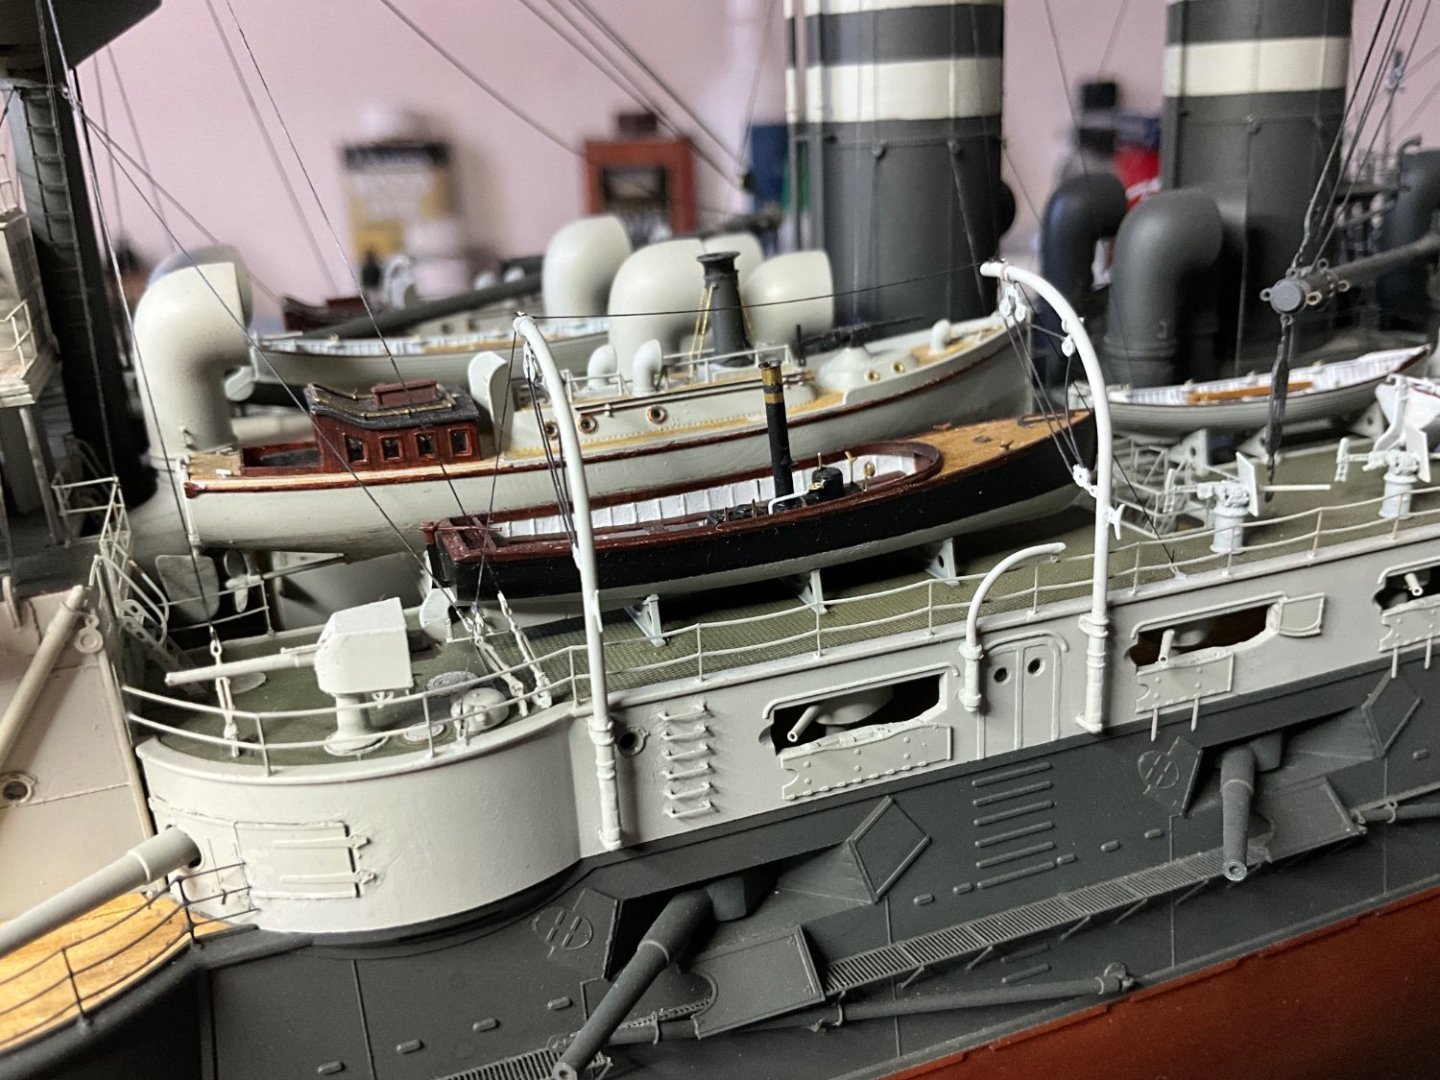
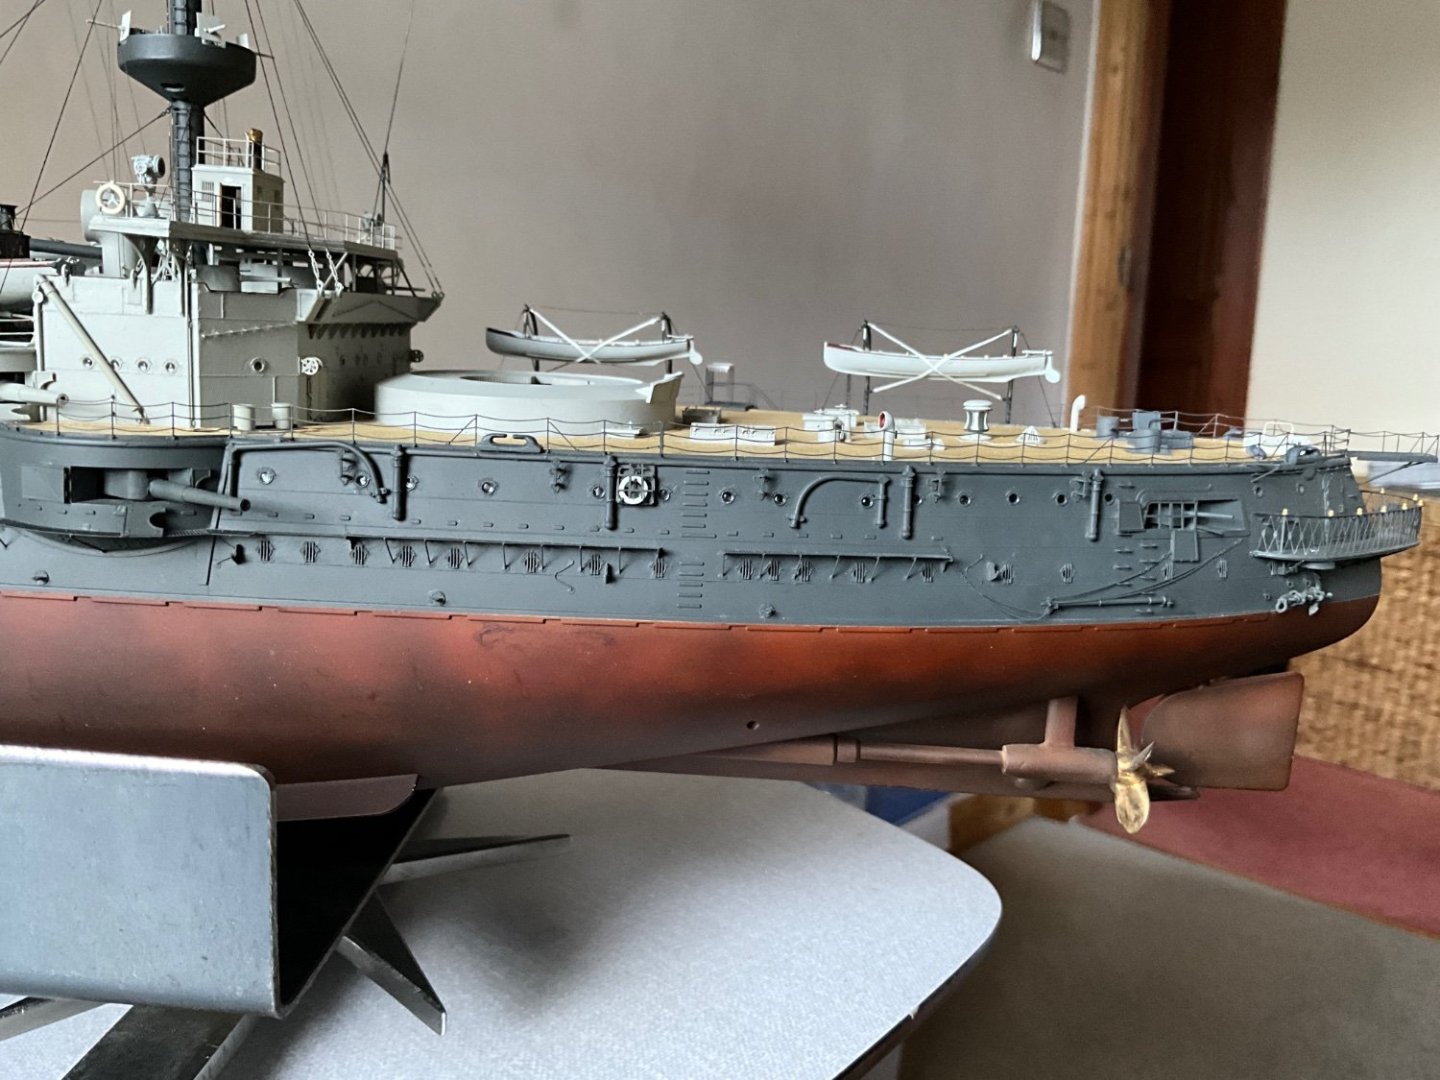
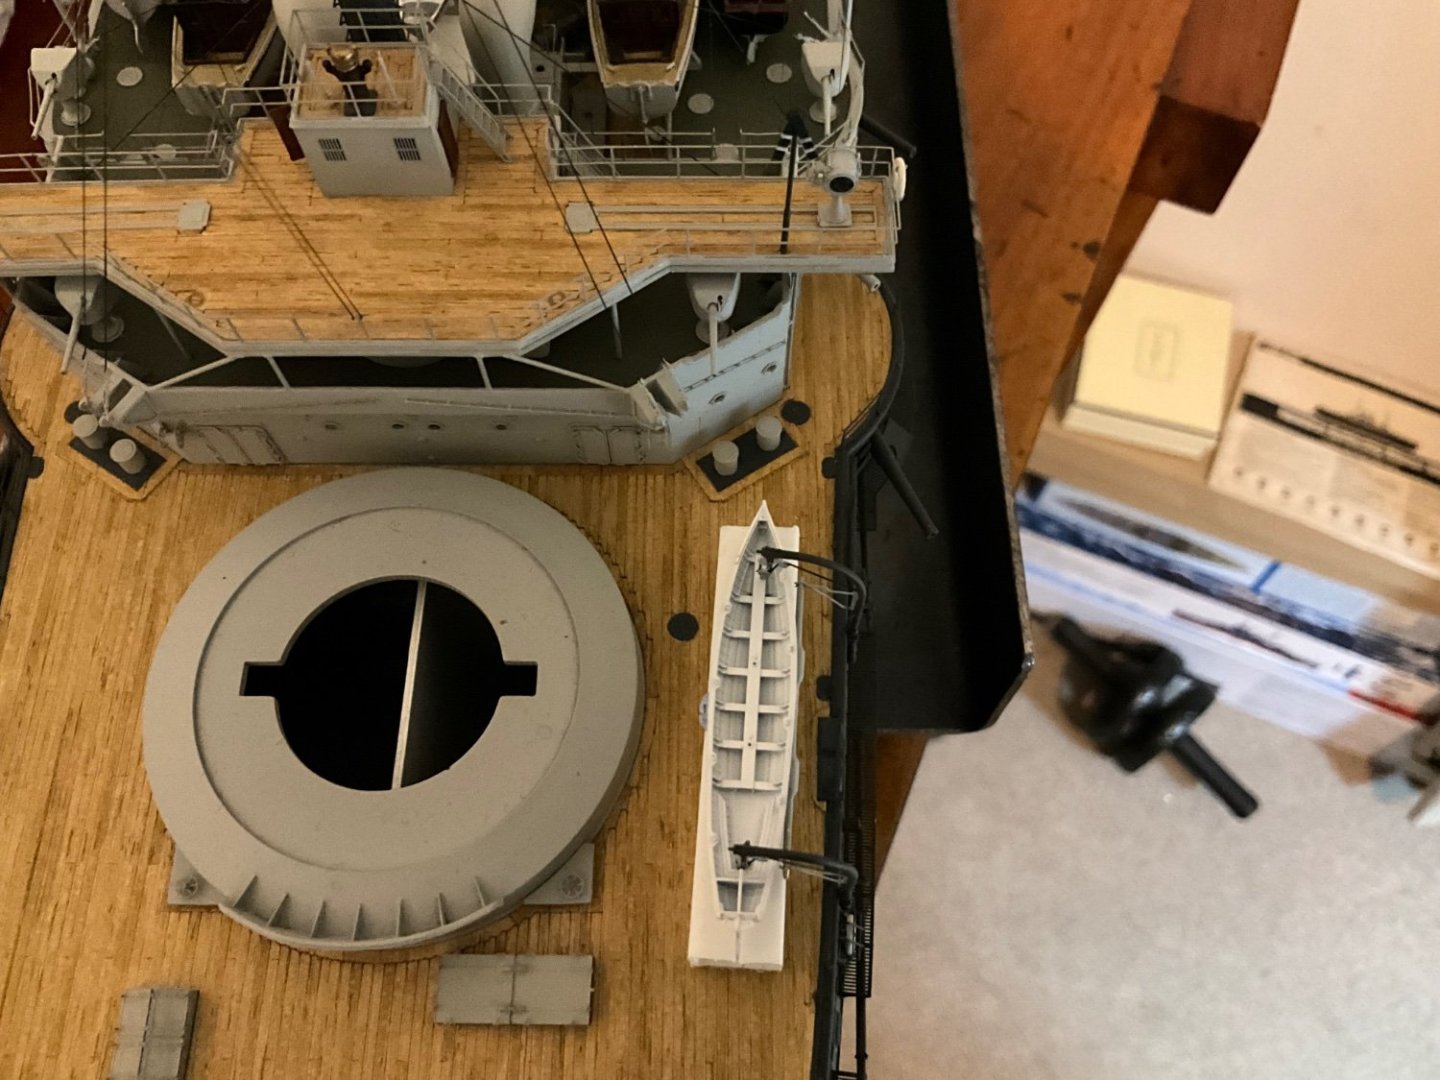
Hi guys, just a short up date on how models progressing. Working on 25ft kit boat for aft deck, as you’ll see in photo the keel is far to heavy so removed it and replaced with a suitable piece of styrene stock, looks more realistic now, rudder from Pontos etch set.
-
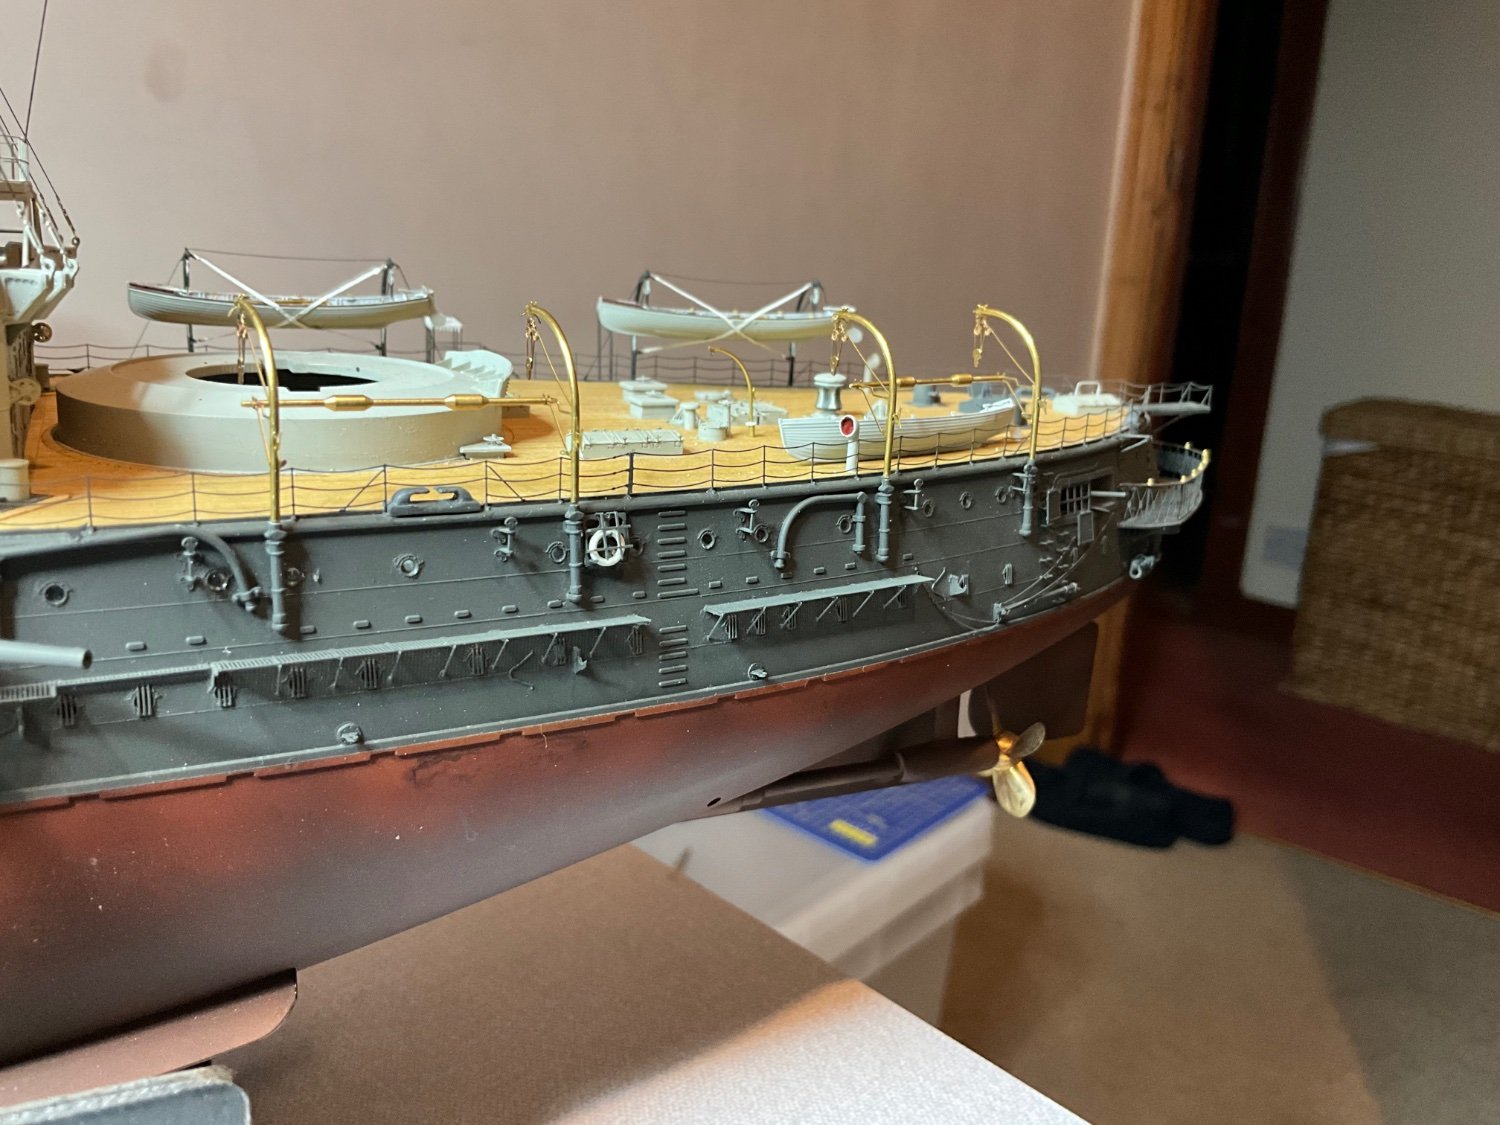
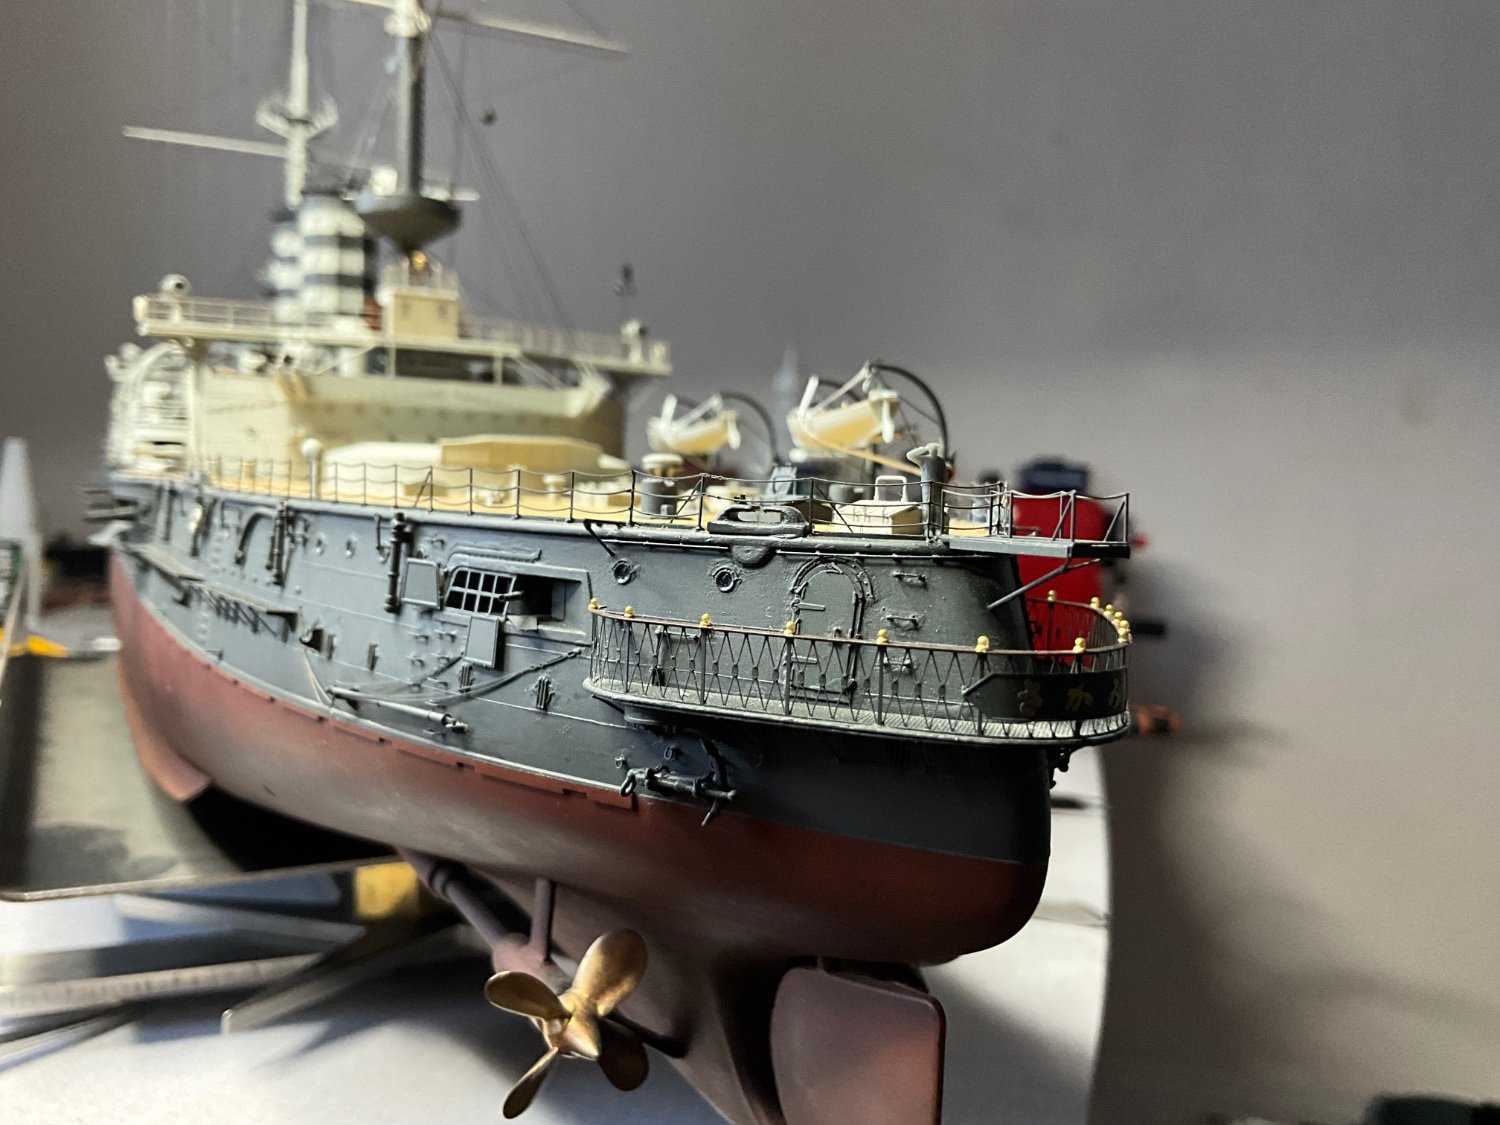
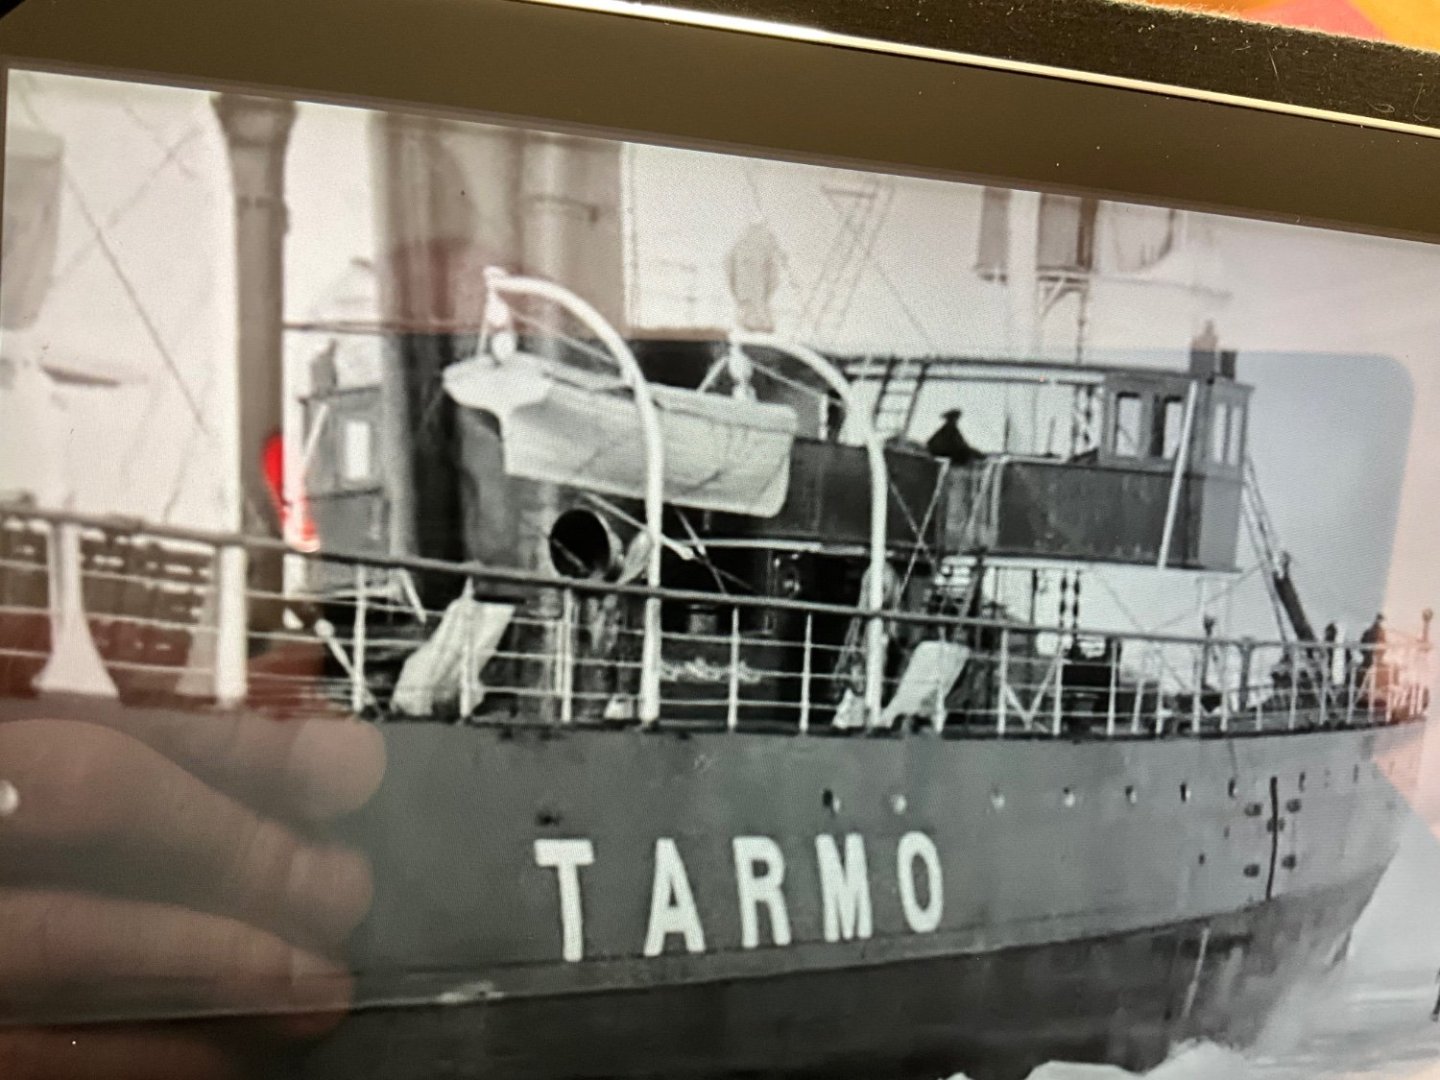
Also managed to fit the boarding steps, just this side, other side shall have torpedo nets in place, did the same with this davit, replaced with brass tube, also added some rigging around boats, try some more photos. Final photo not related but very impressive, it’s kind of a ship.
-
Also managed to fit the boarding steps, just this side, other side shall have torpedo nets in place, did the same with this davit, replaced with brass tube, also added some rigging around boats, try some more photos.

-
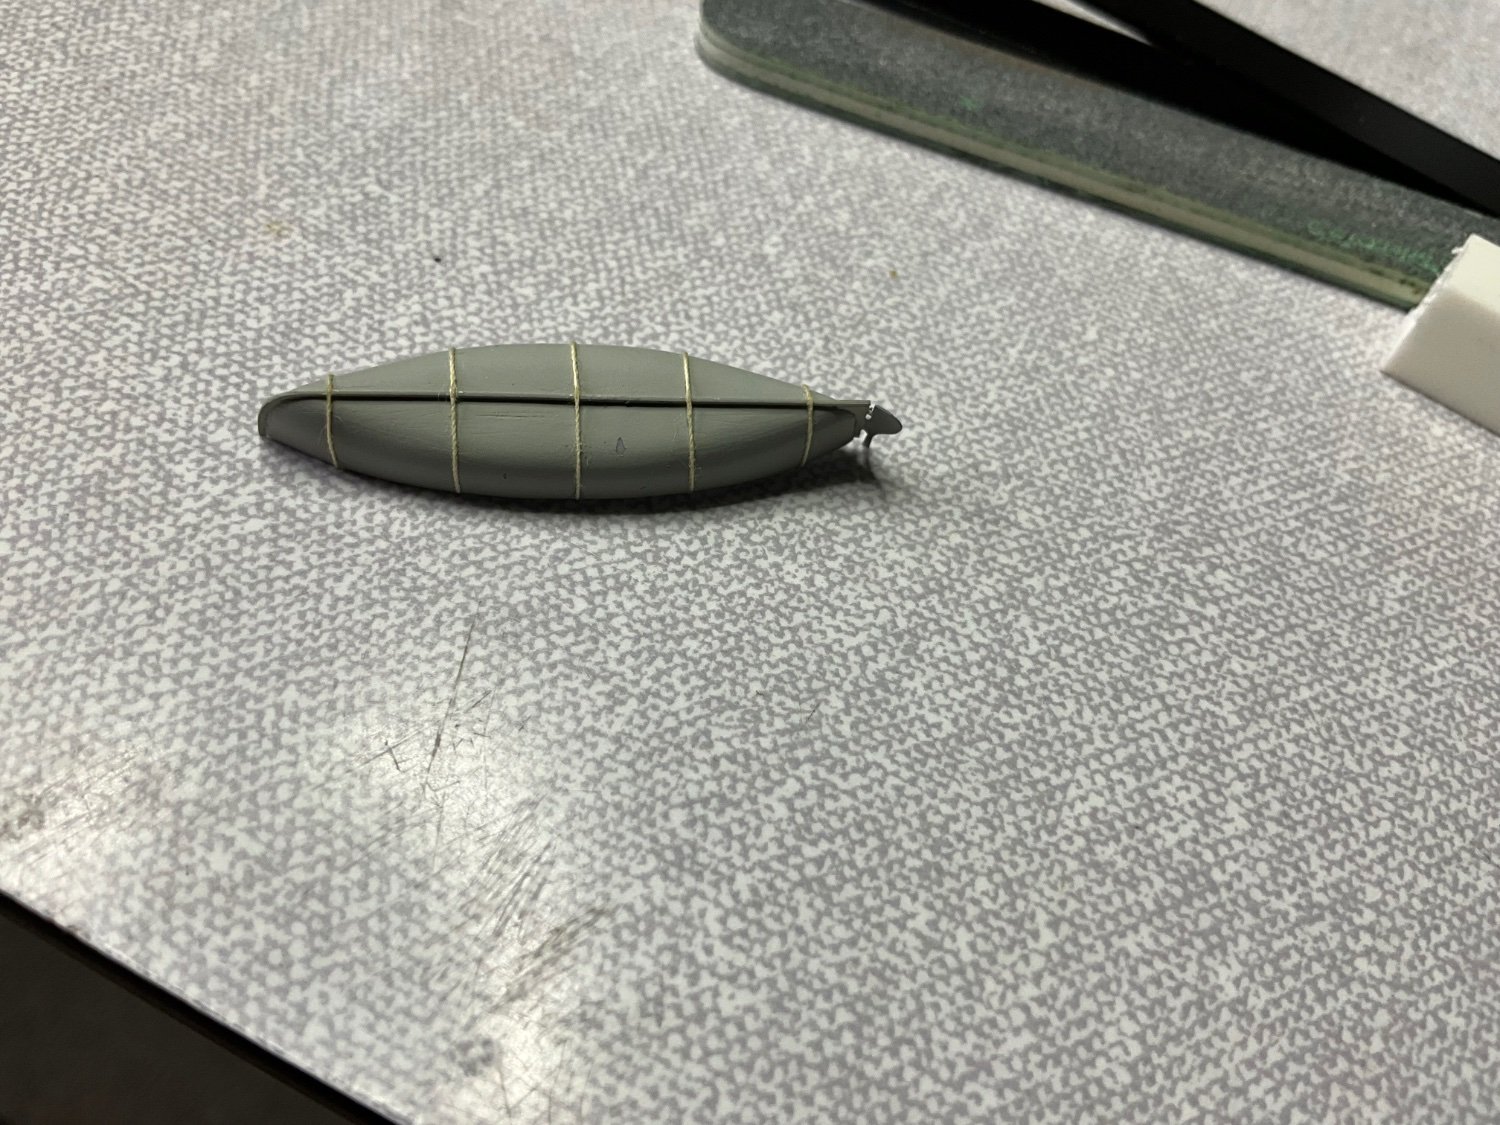
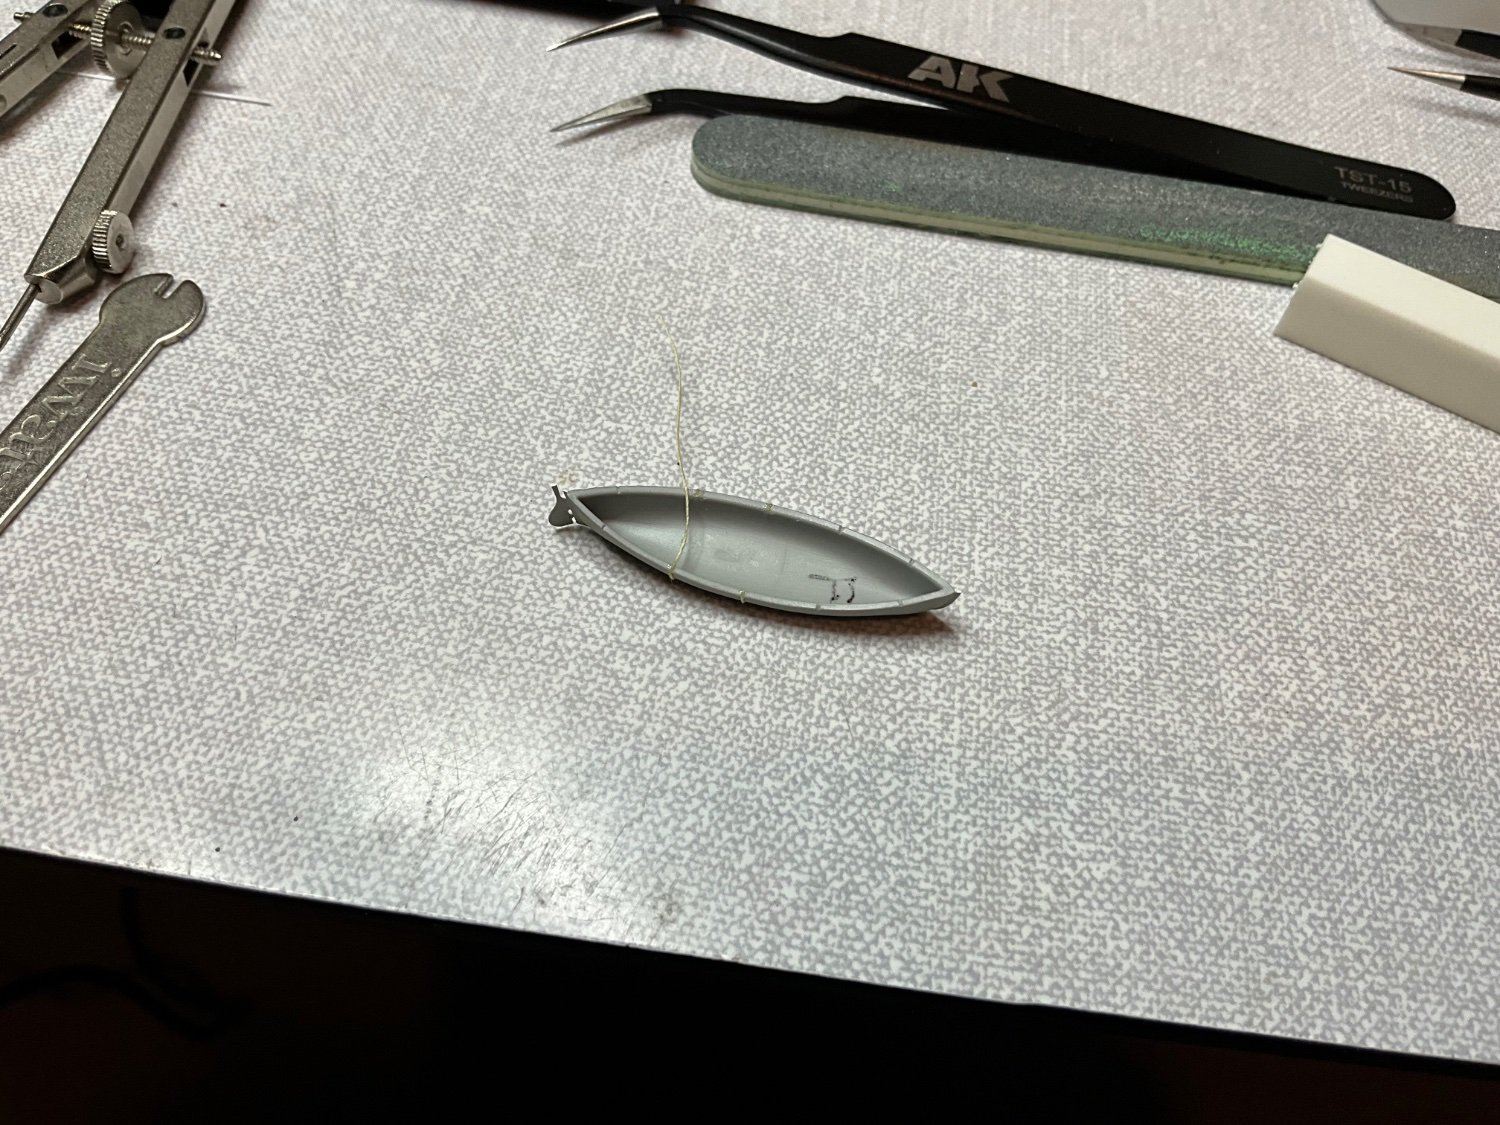
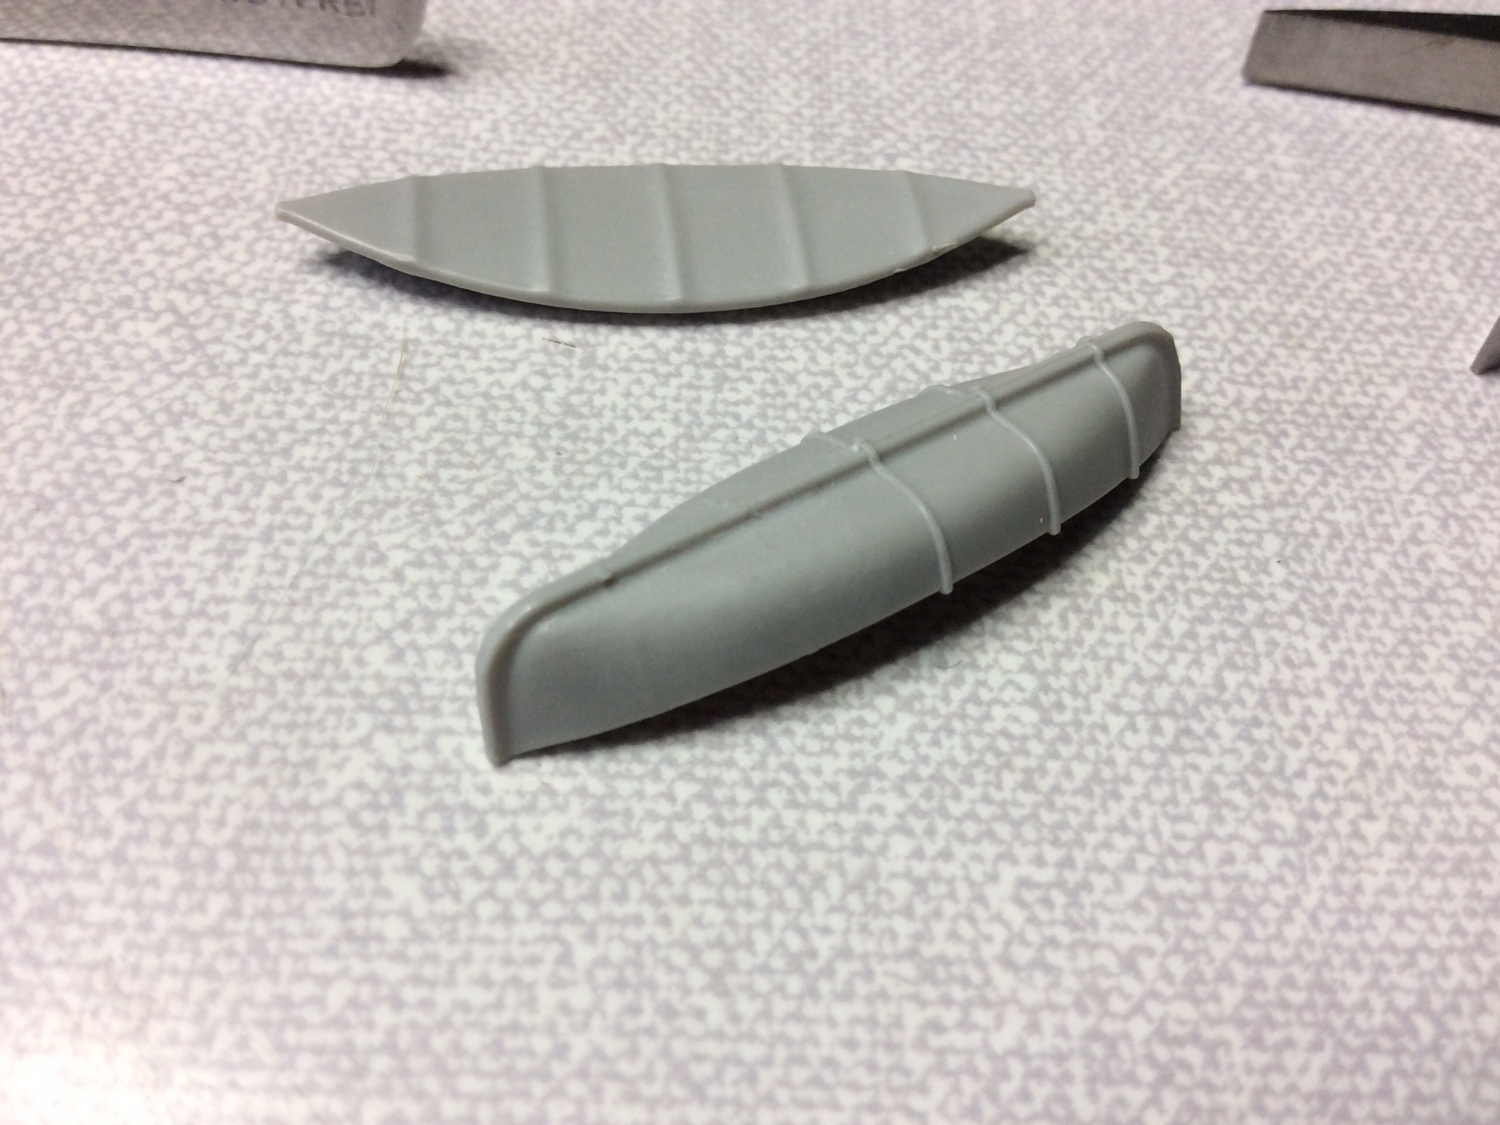
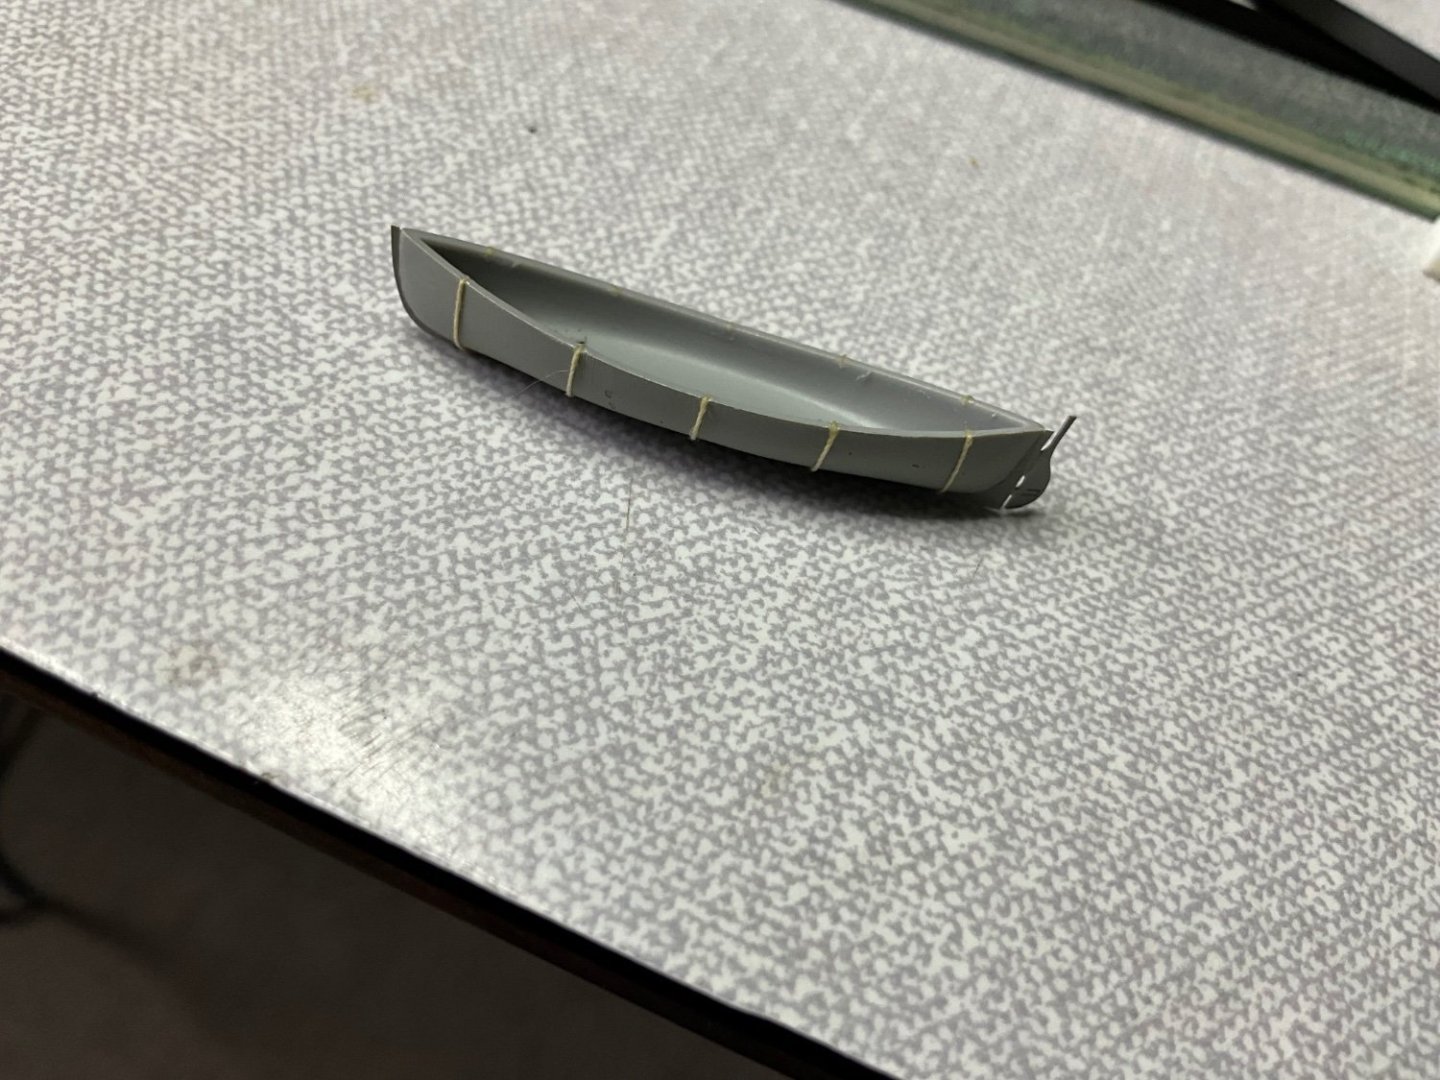
You can make out the strapping tying back the boats in some of these pictures. I asked a member in the model club what l could use for making the straps, l thought some very fine lead foil might work, he said try tin foil and fold it over then cut a strip. Well raided Jacqueline’s kitchen and tried this, the bugger didn’t tell me this was some sort of modelling torture 😡 Can recommend this to anyone, think I’m now a masse-kissed 😂 Don’t know if this is quite correct, not enough info, so l did it in the Frank Sinatra style, l did it my way, so l hope you’ll not make a song and dance about it. I know, my humour is getting worse 😔


-
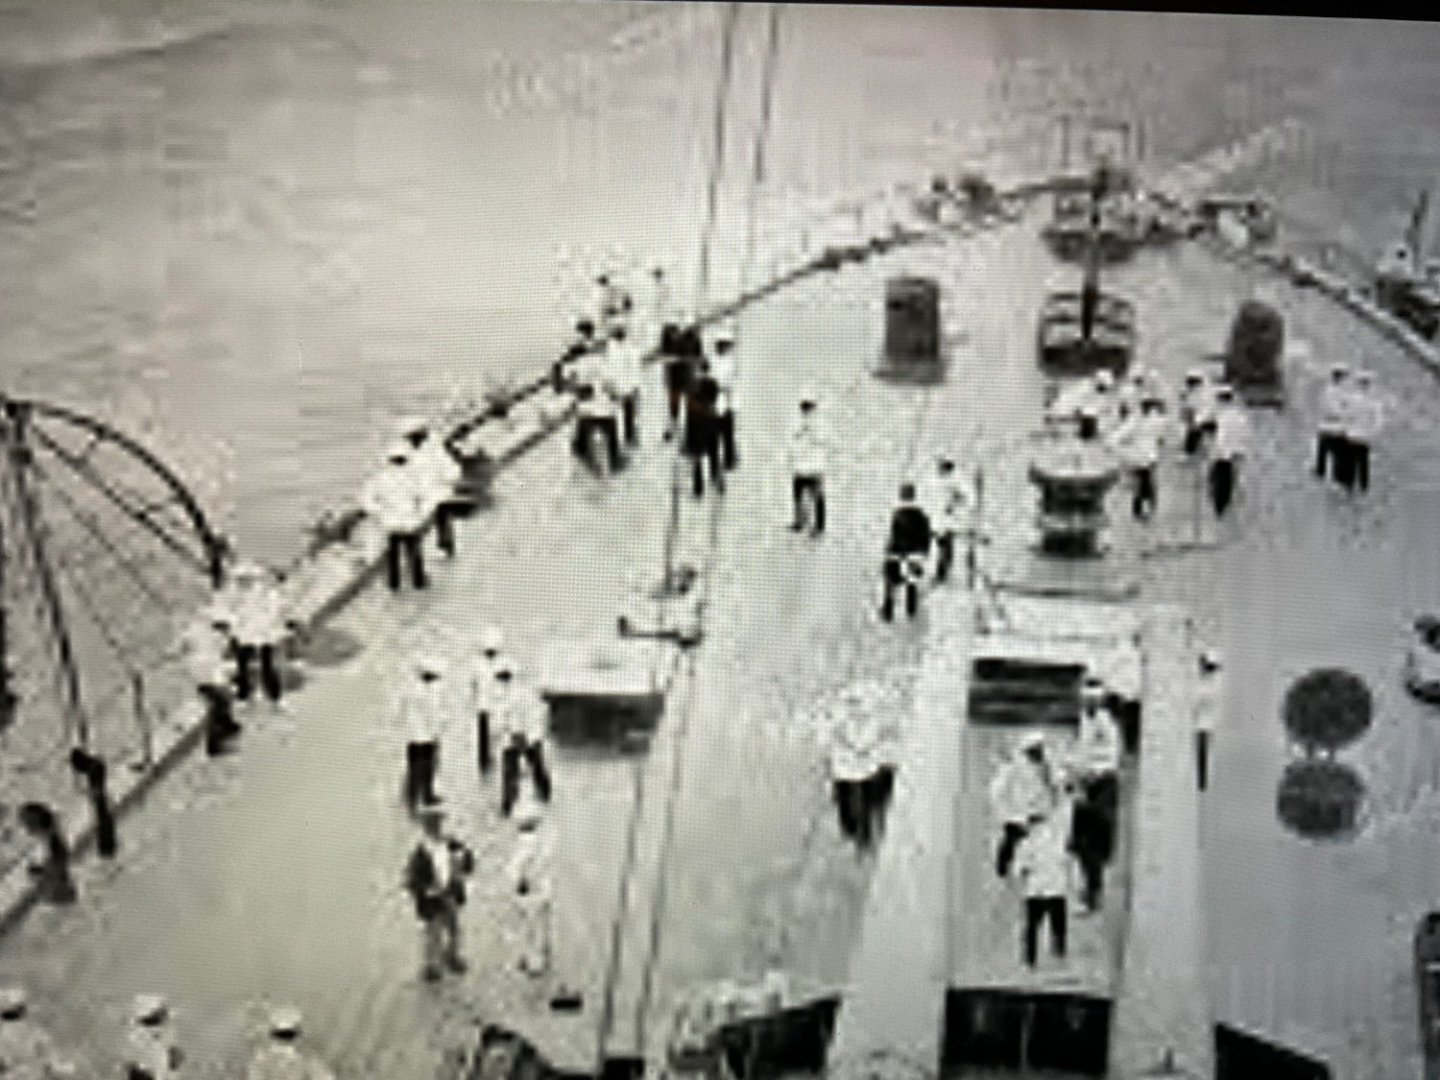
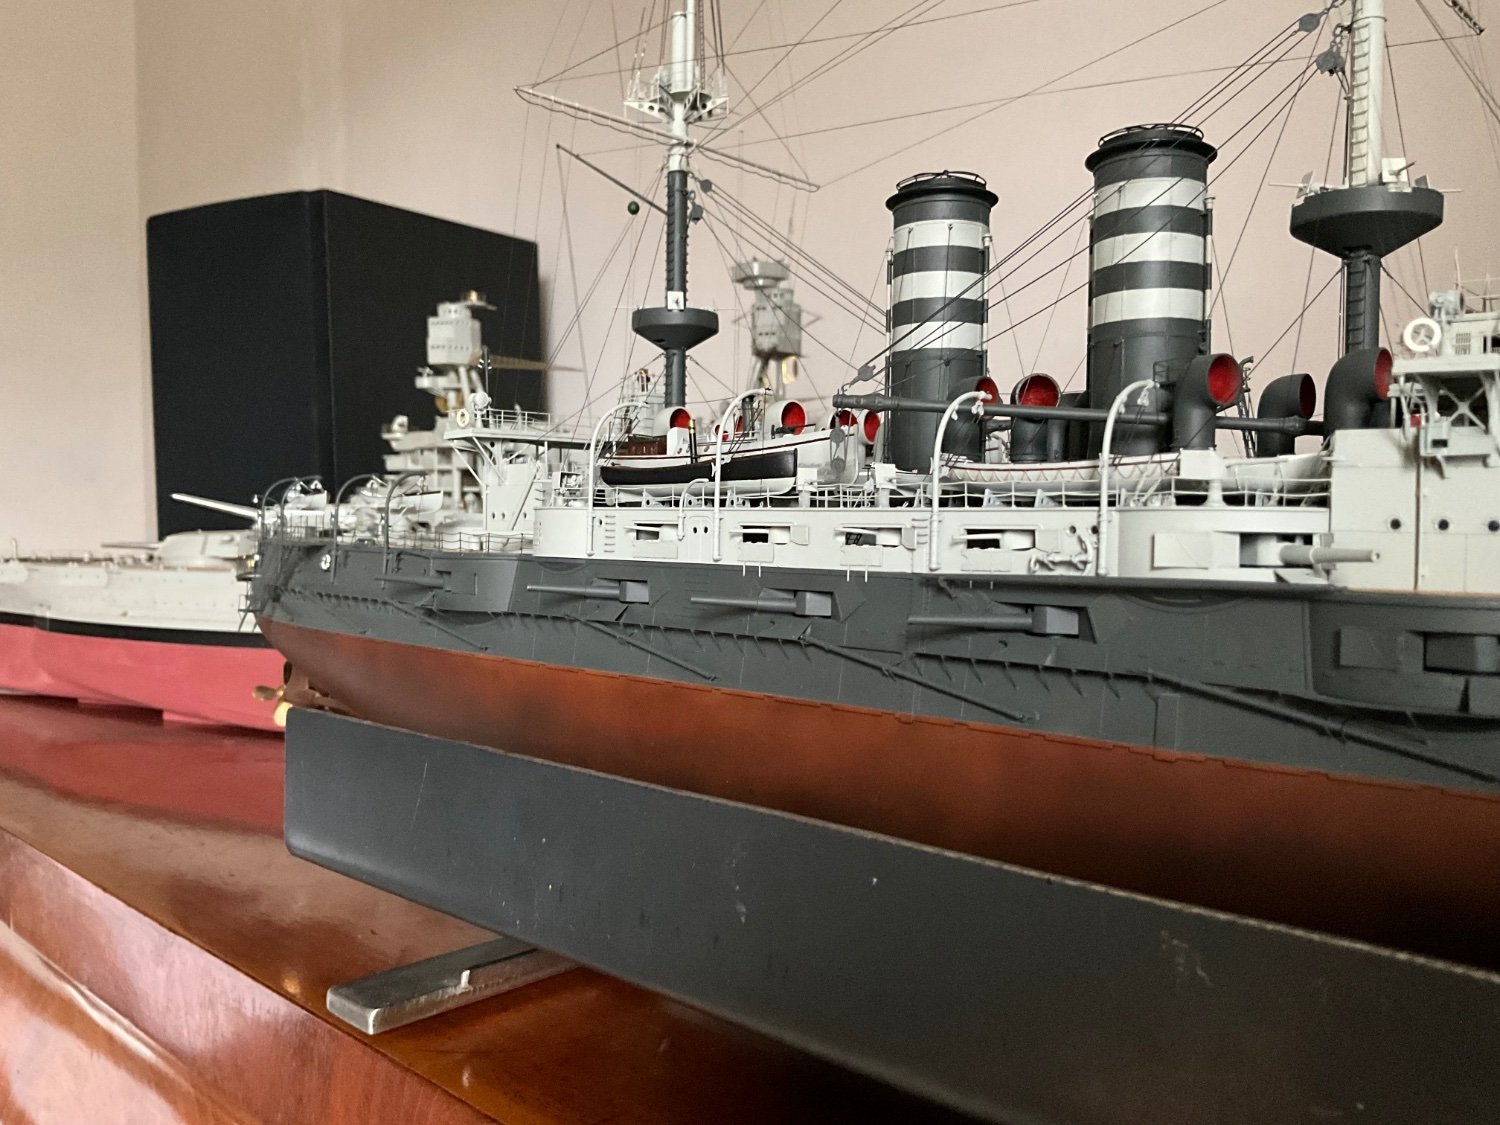
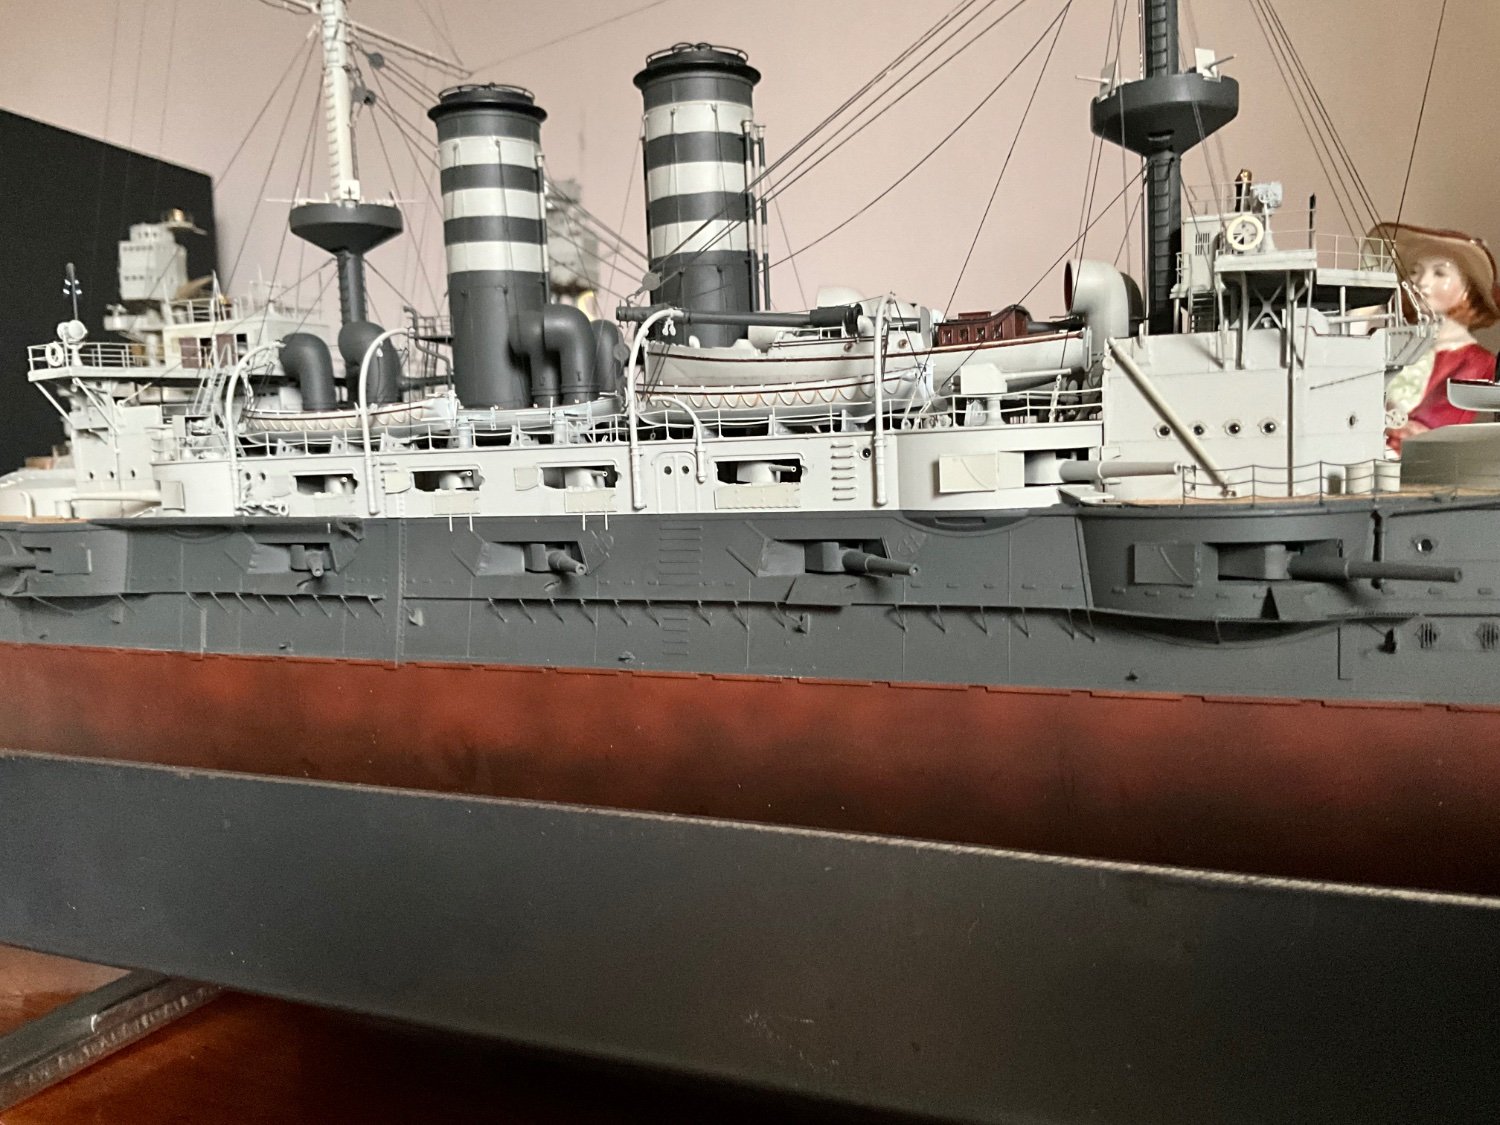
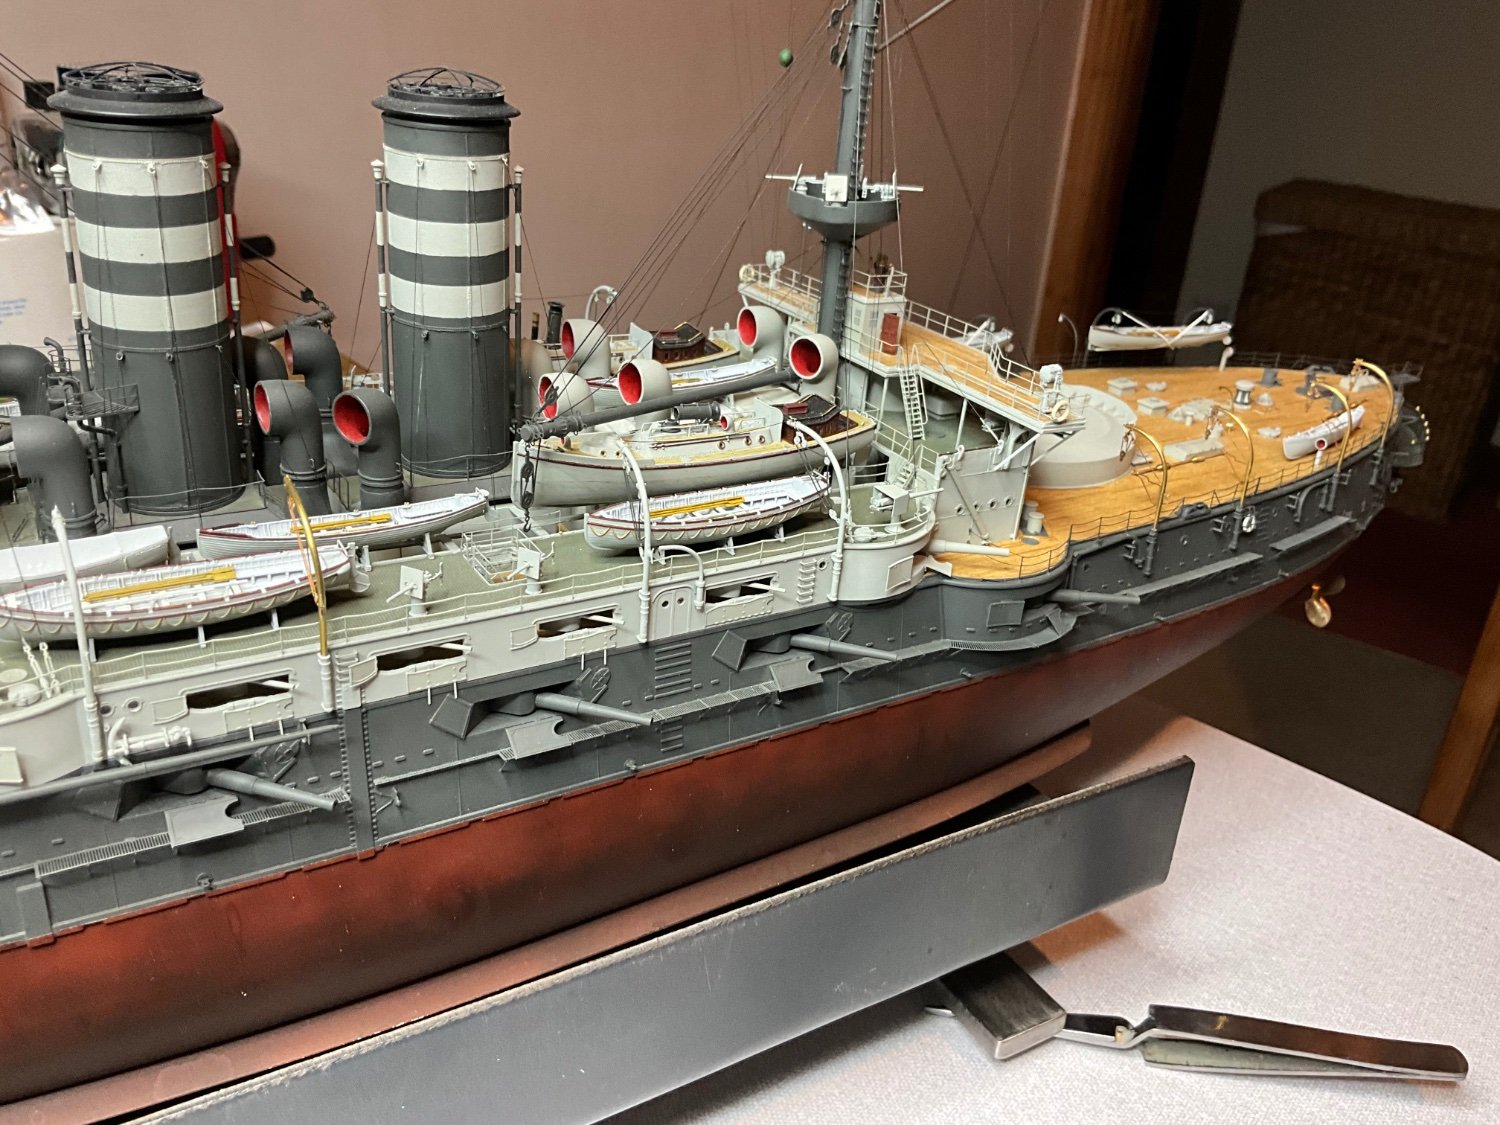
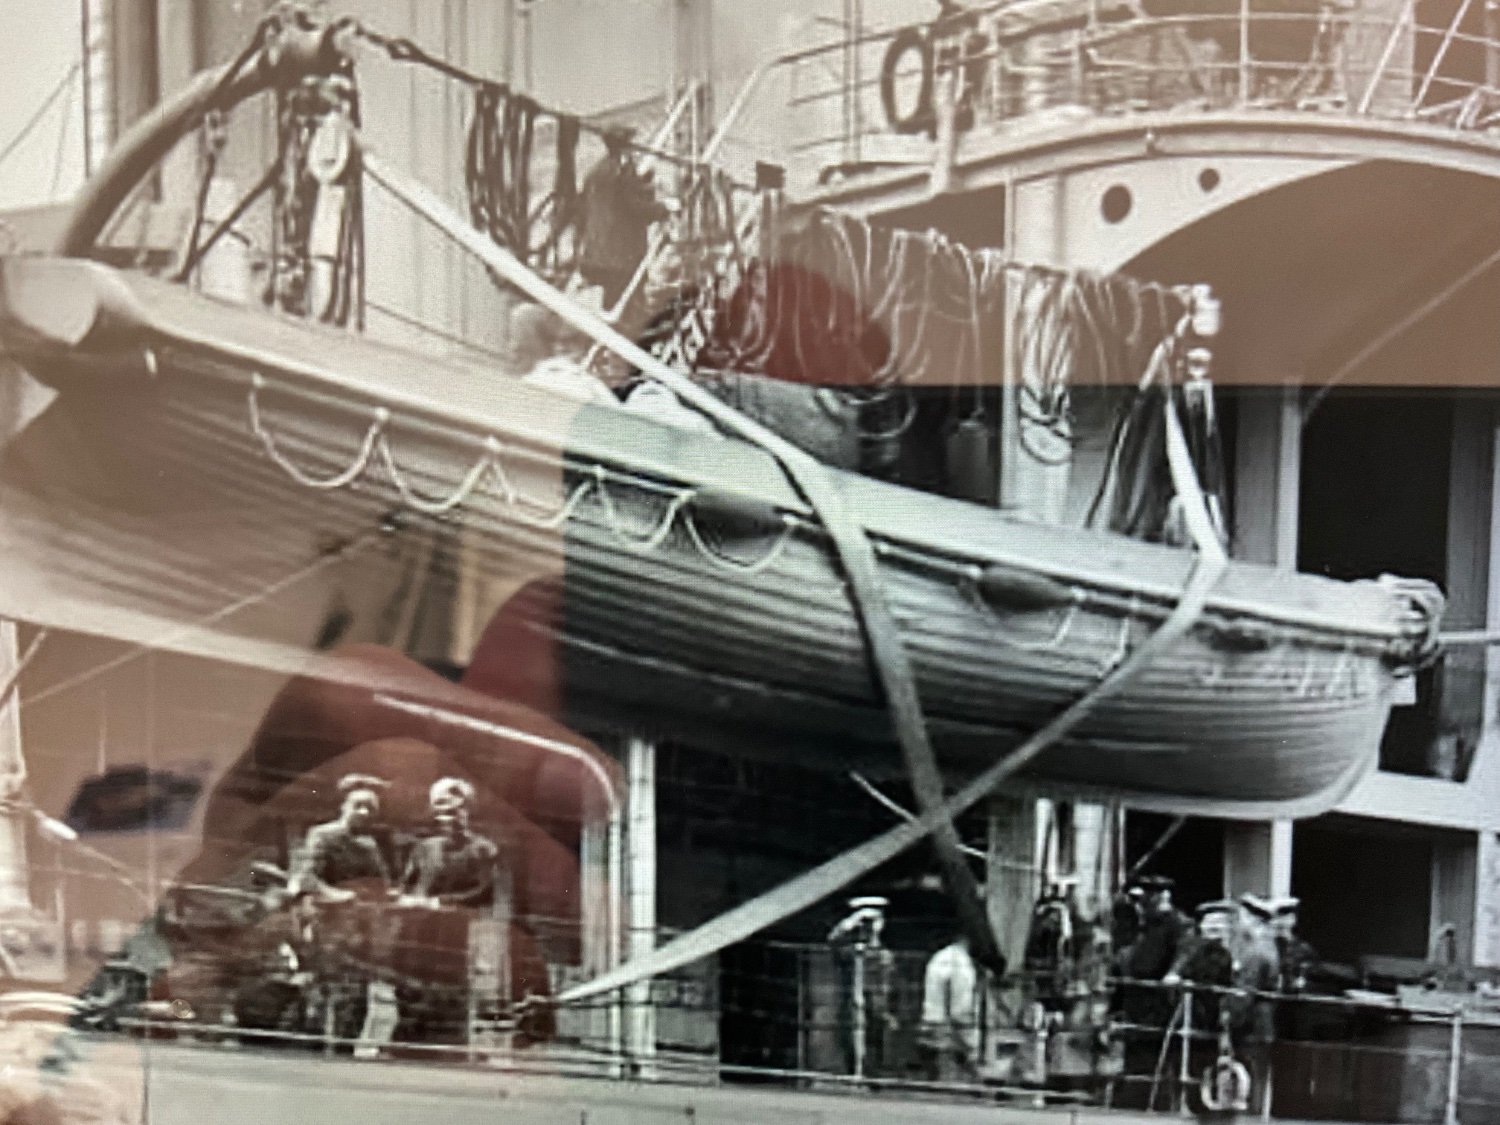
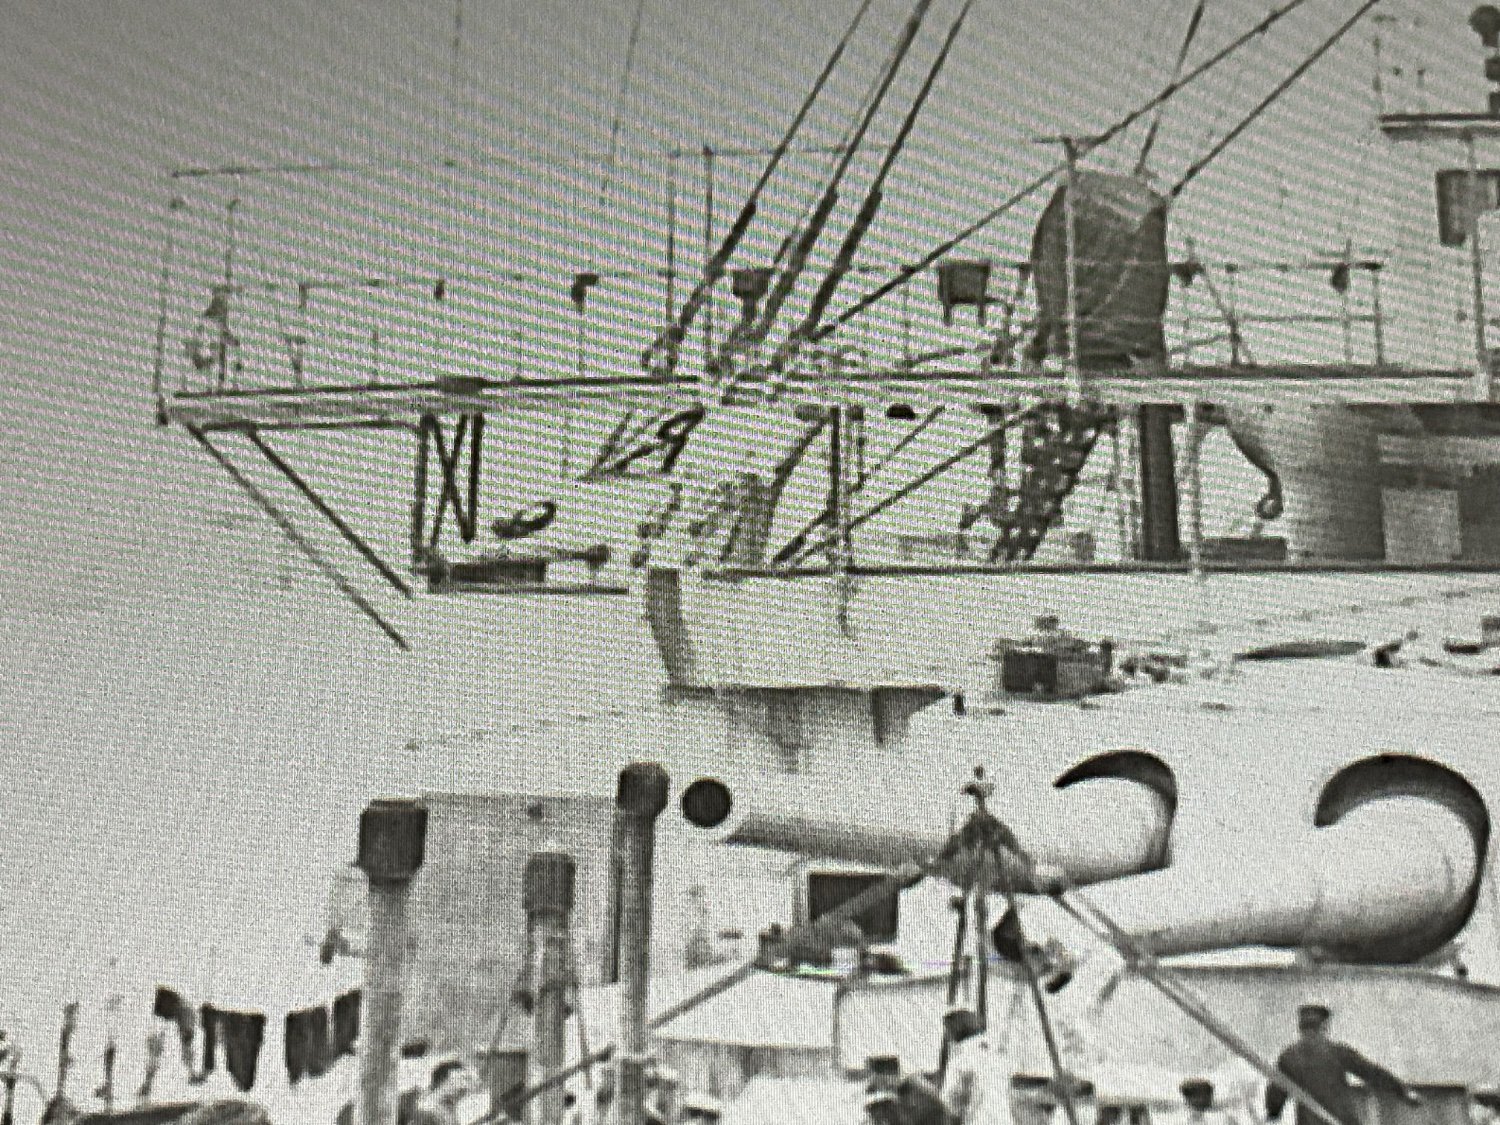
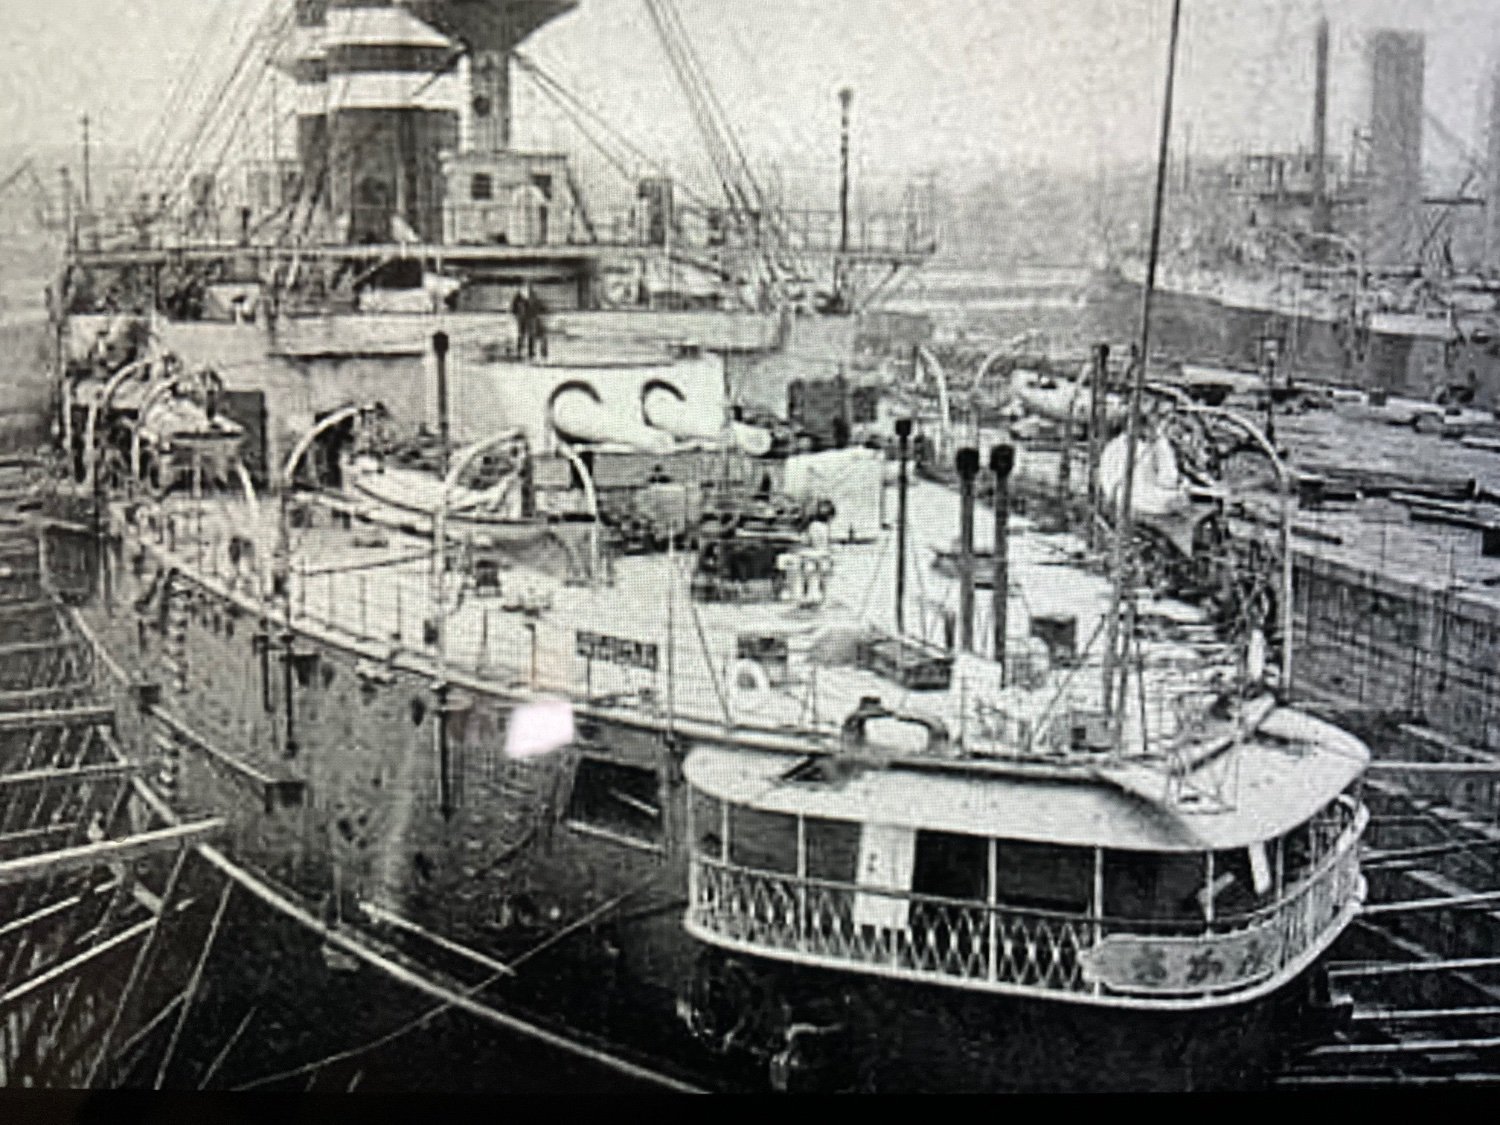
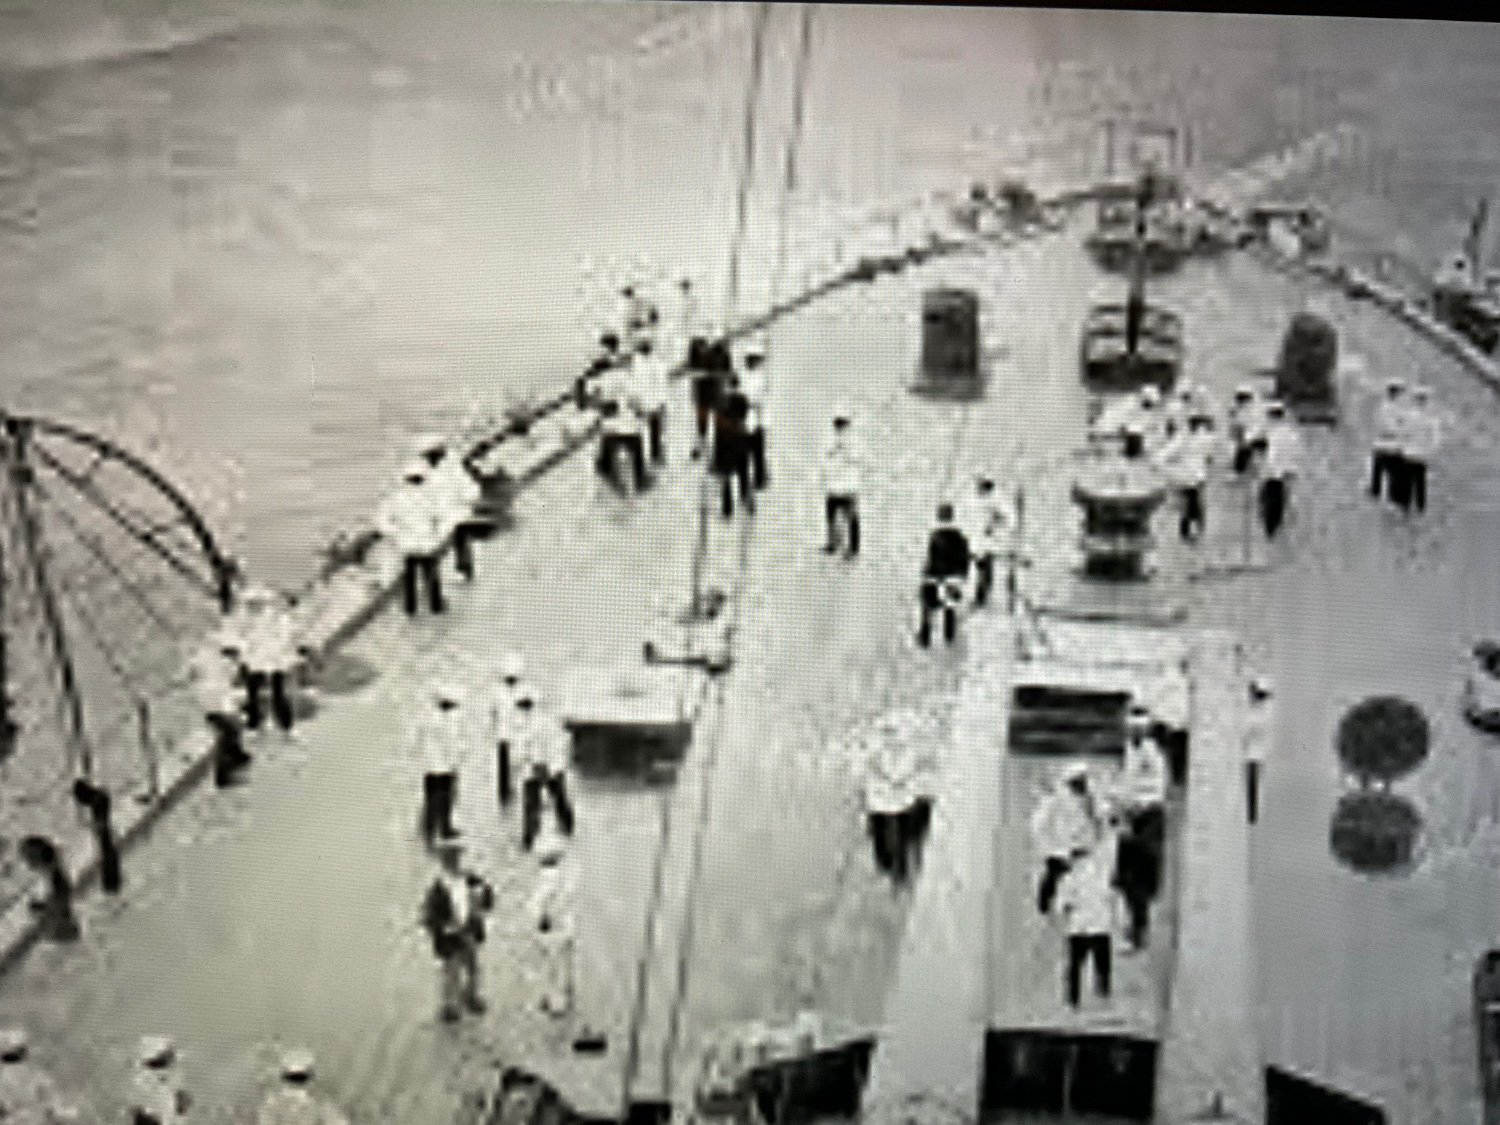
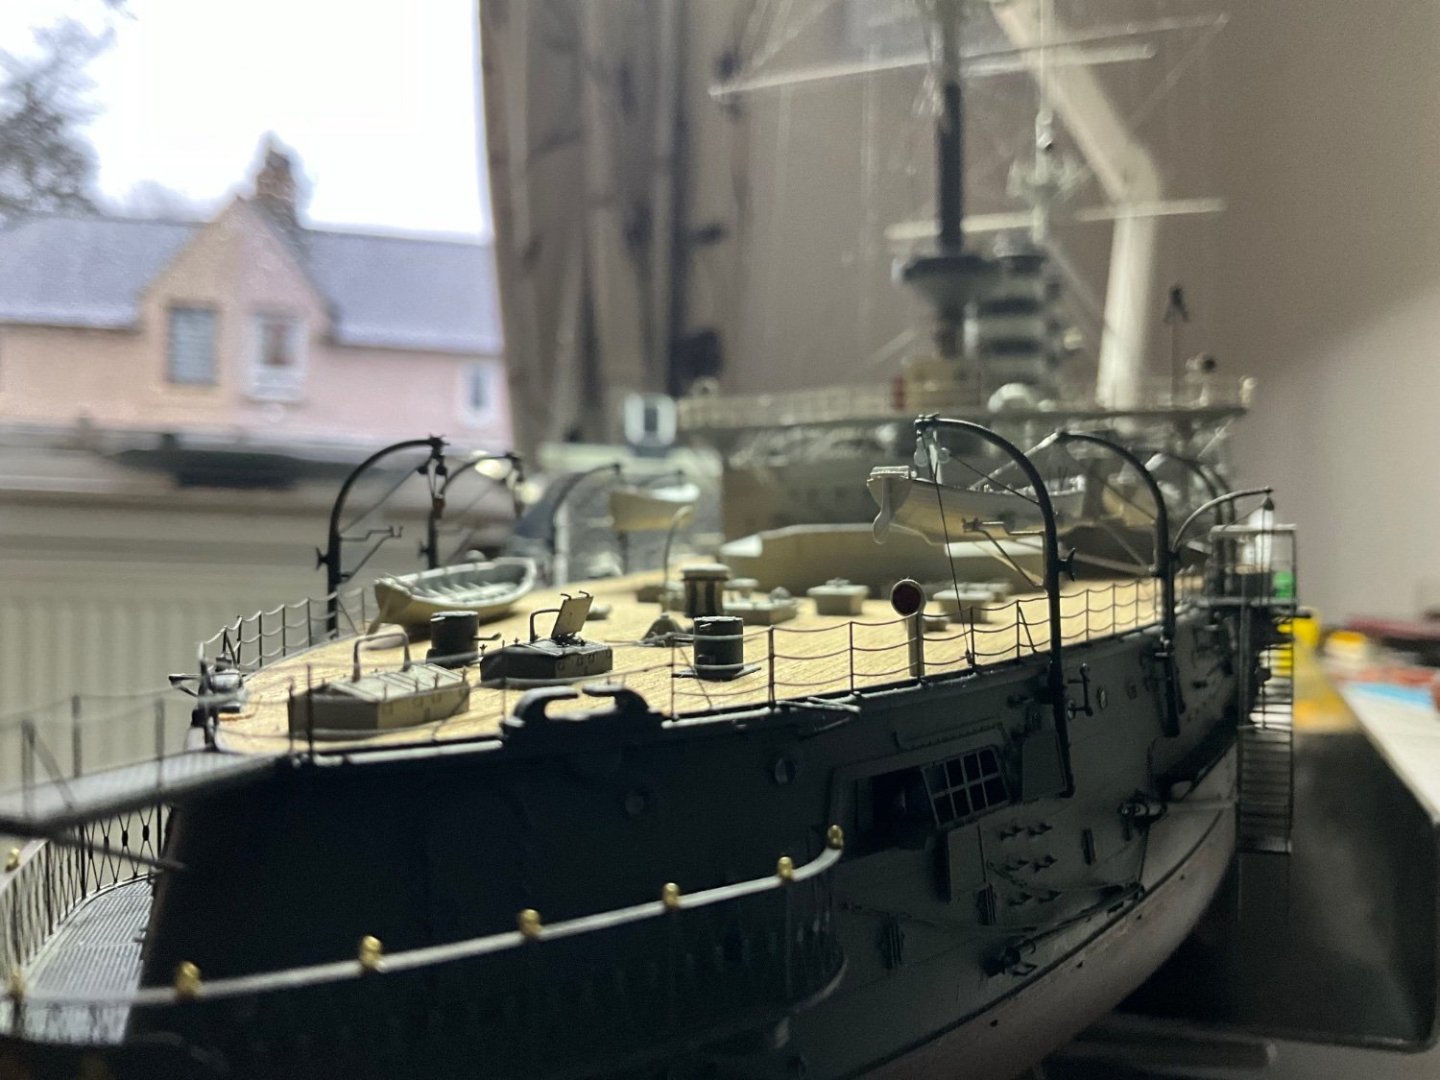
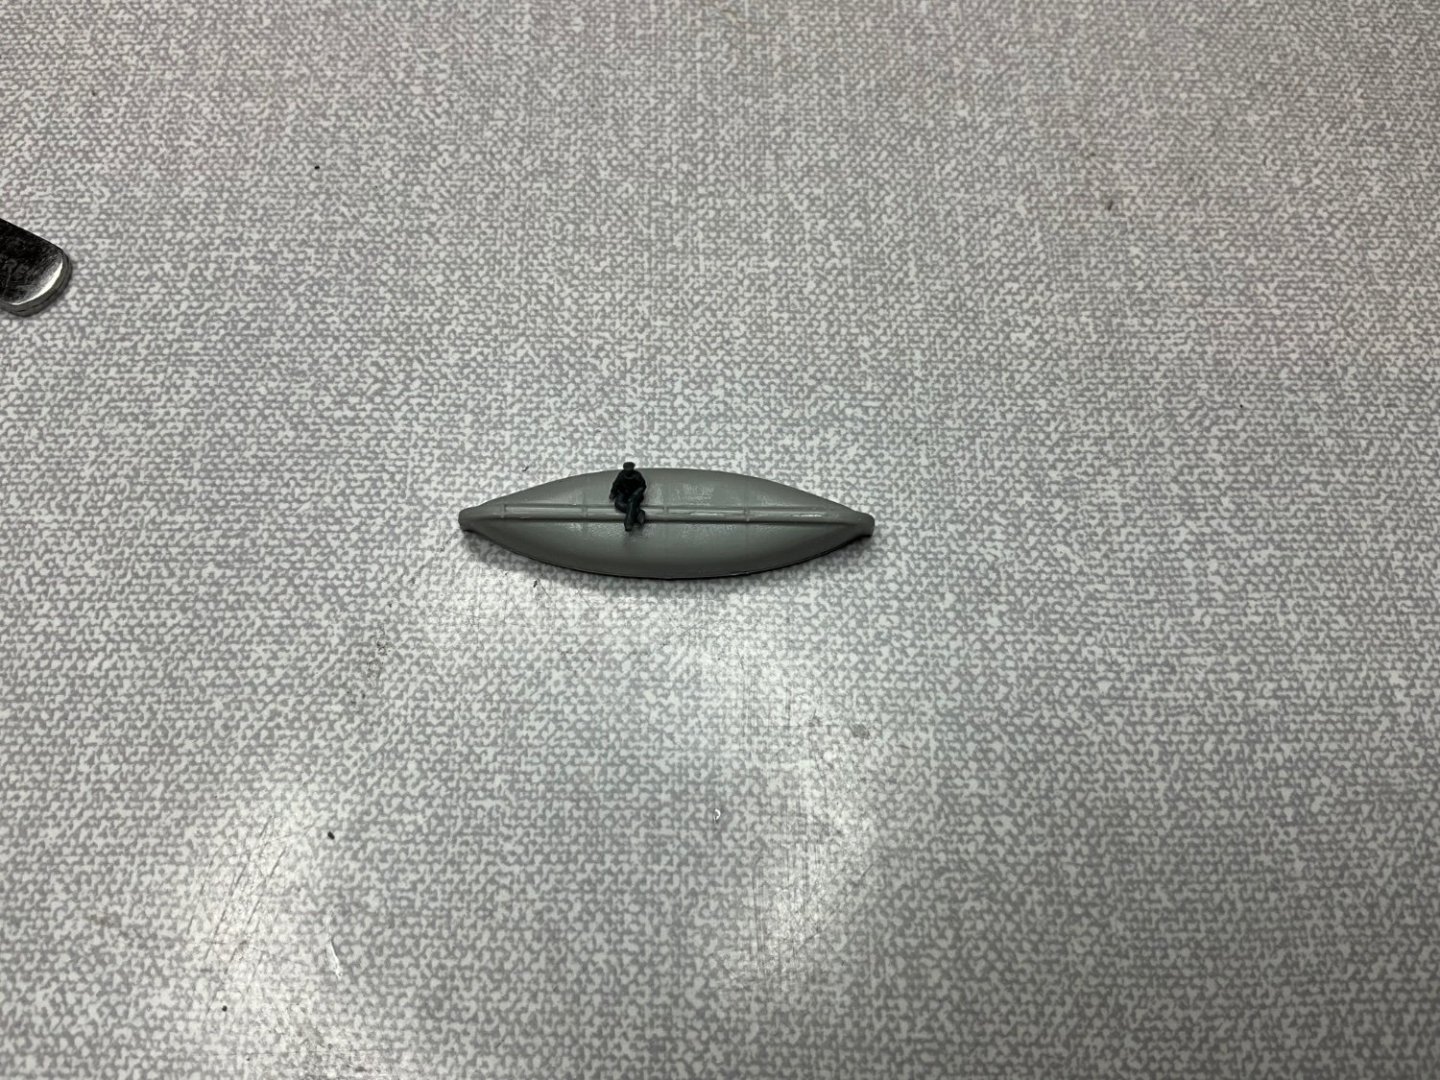
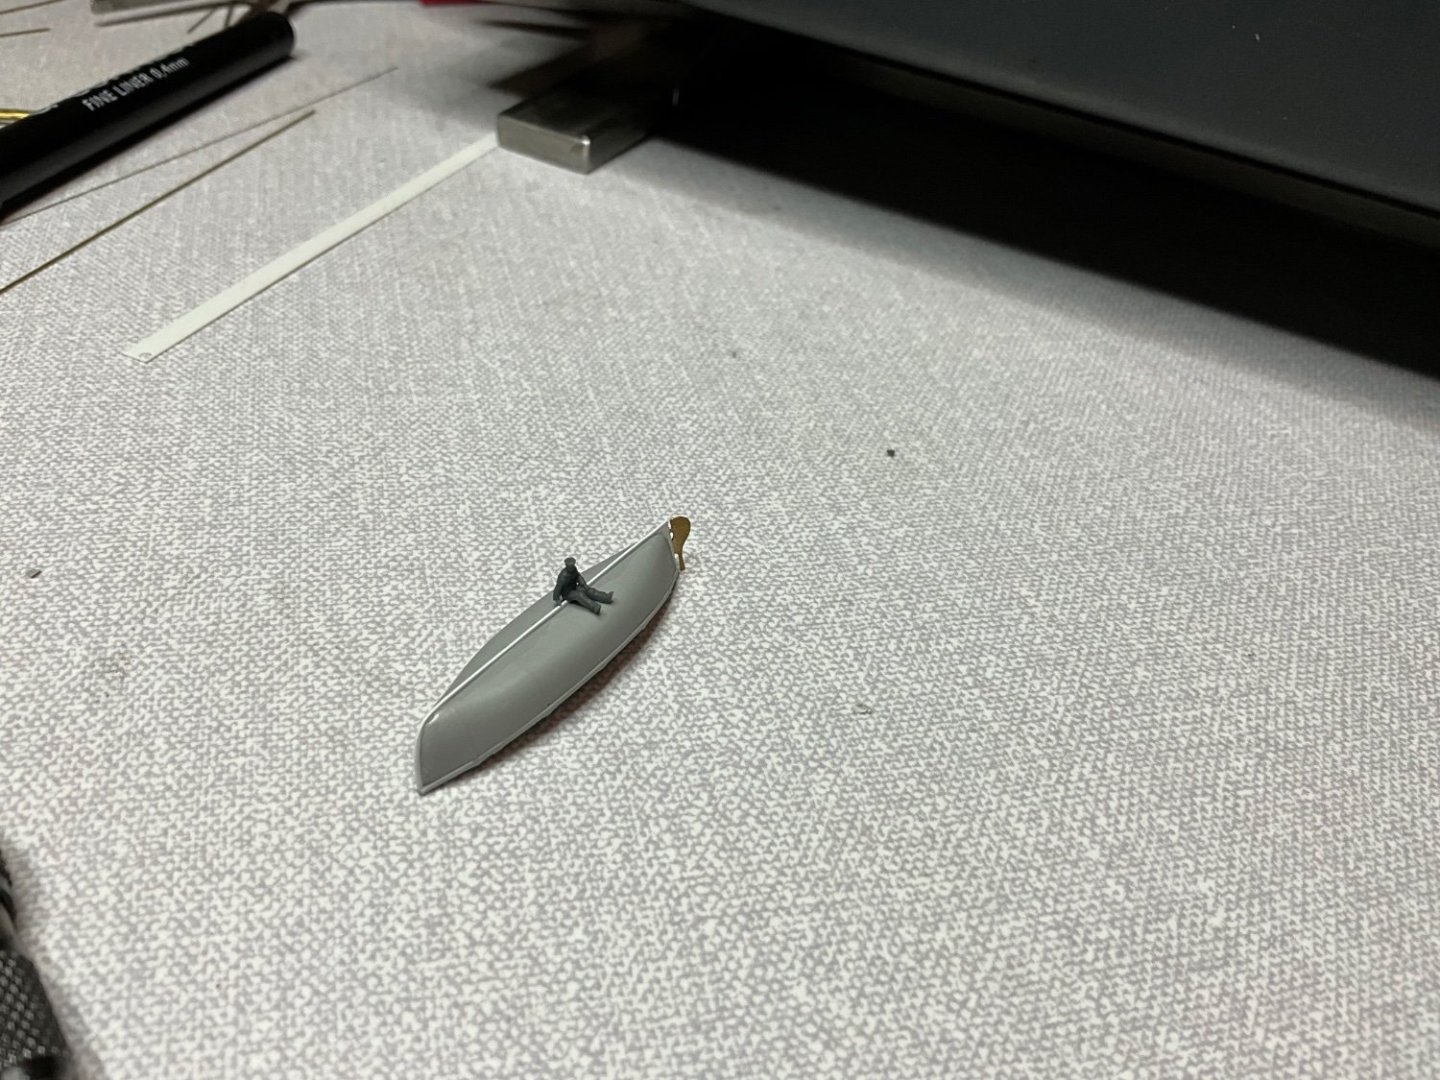
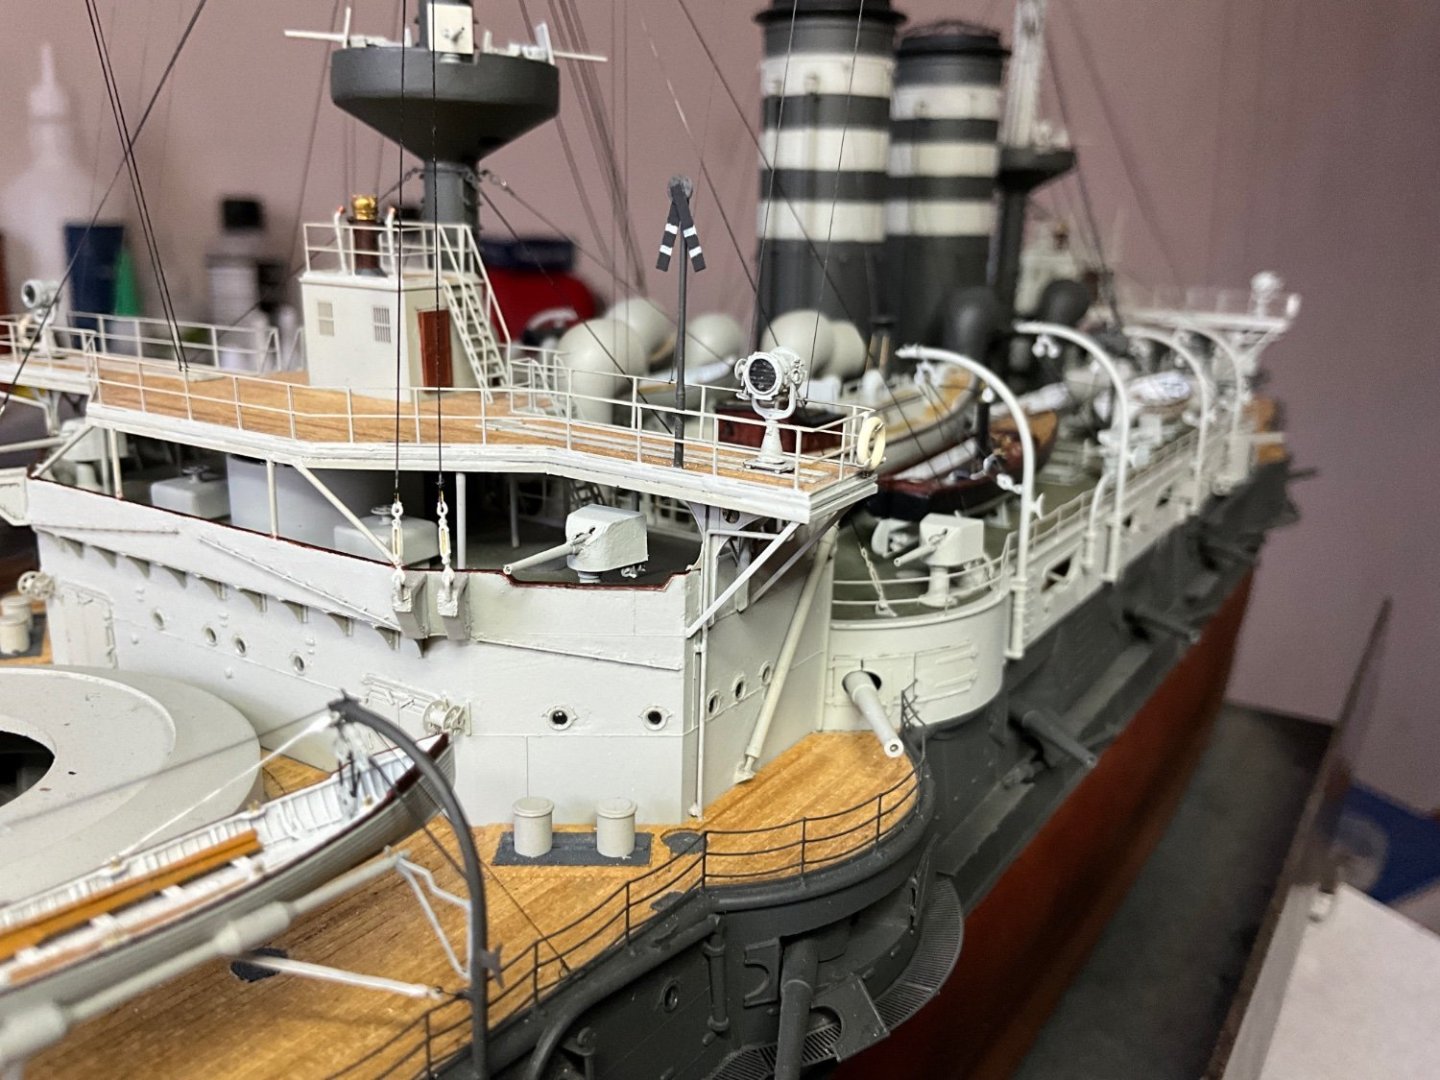
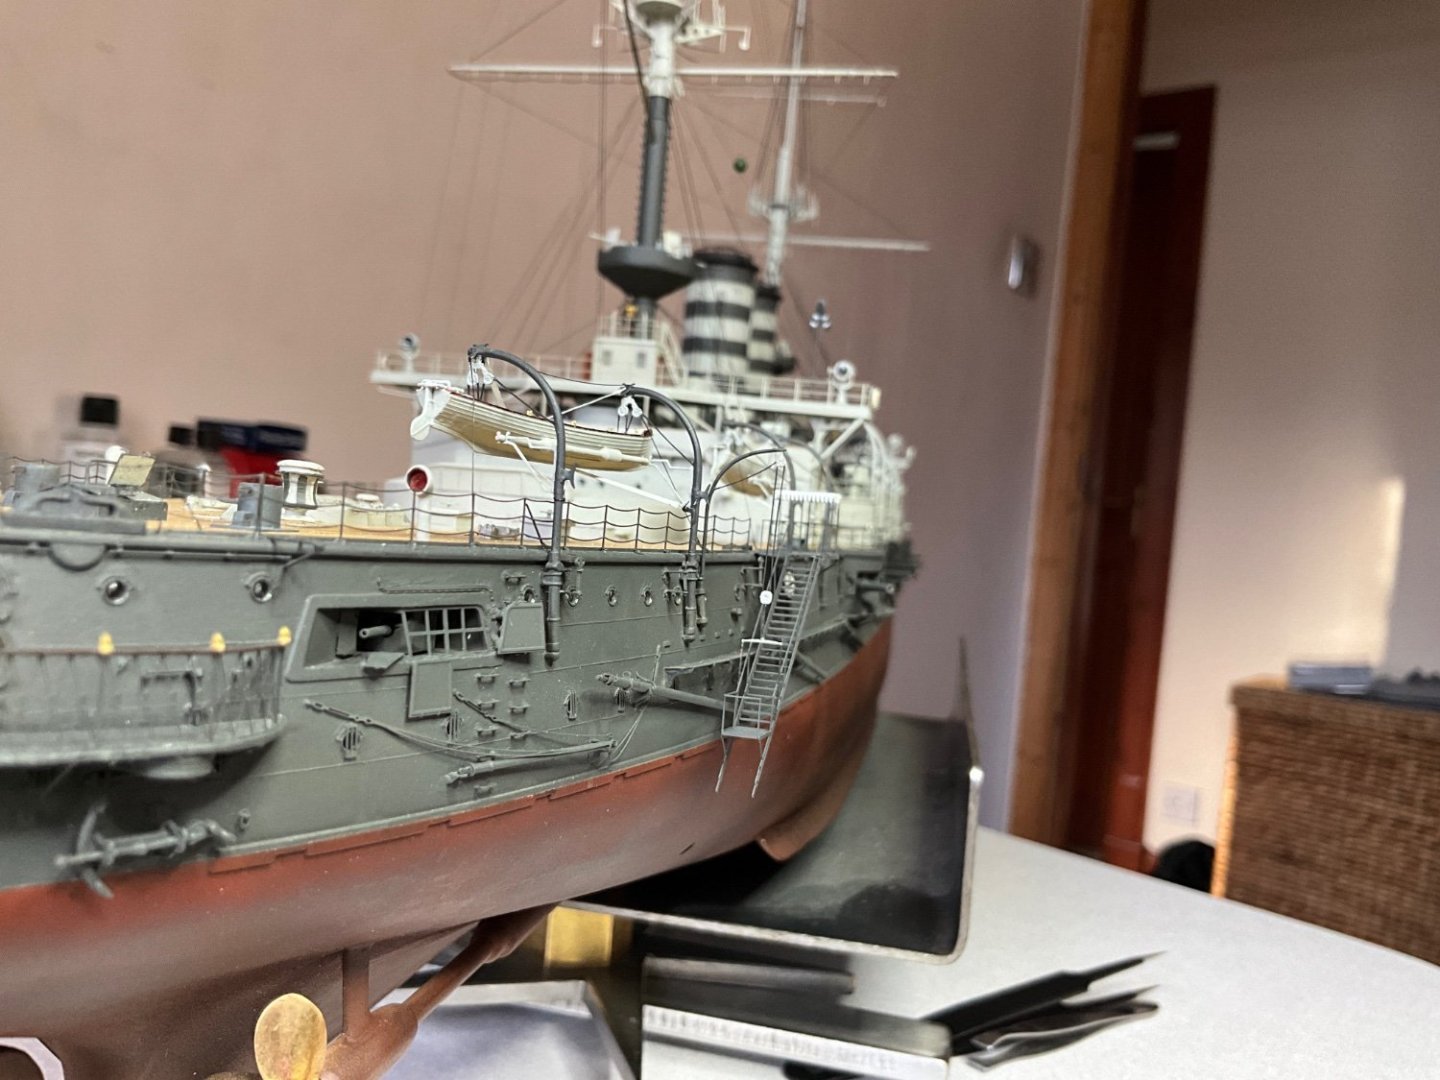
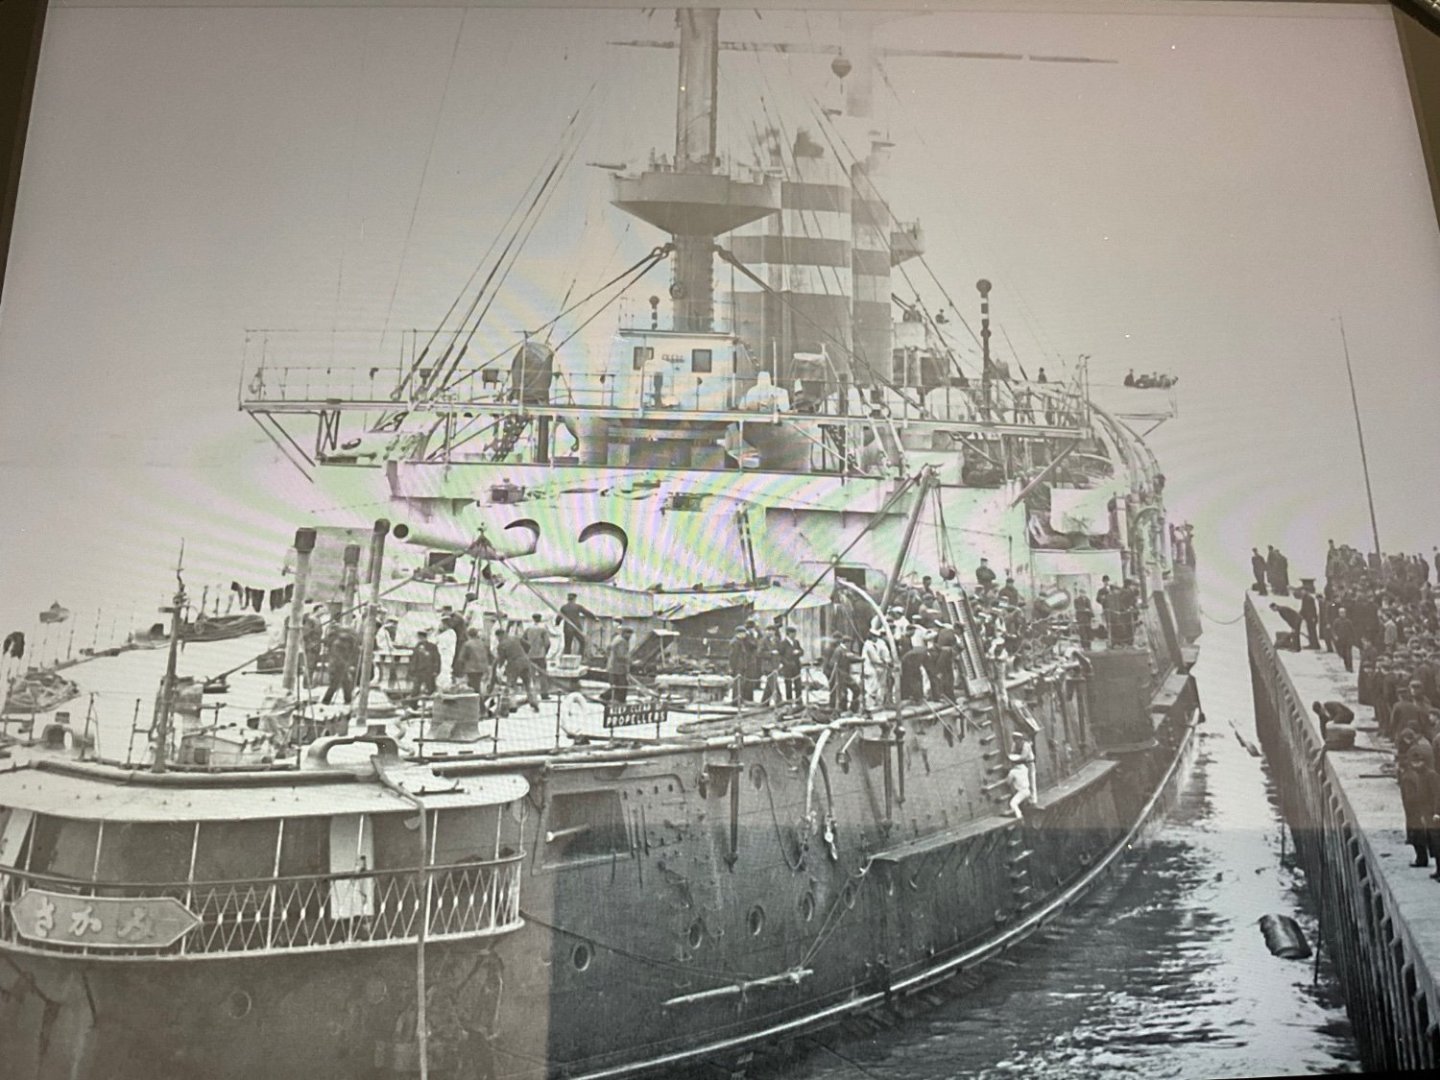
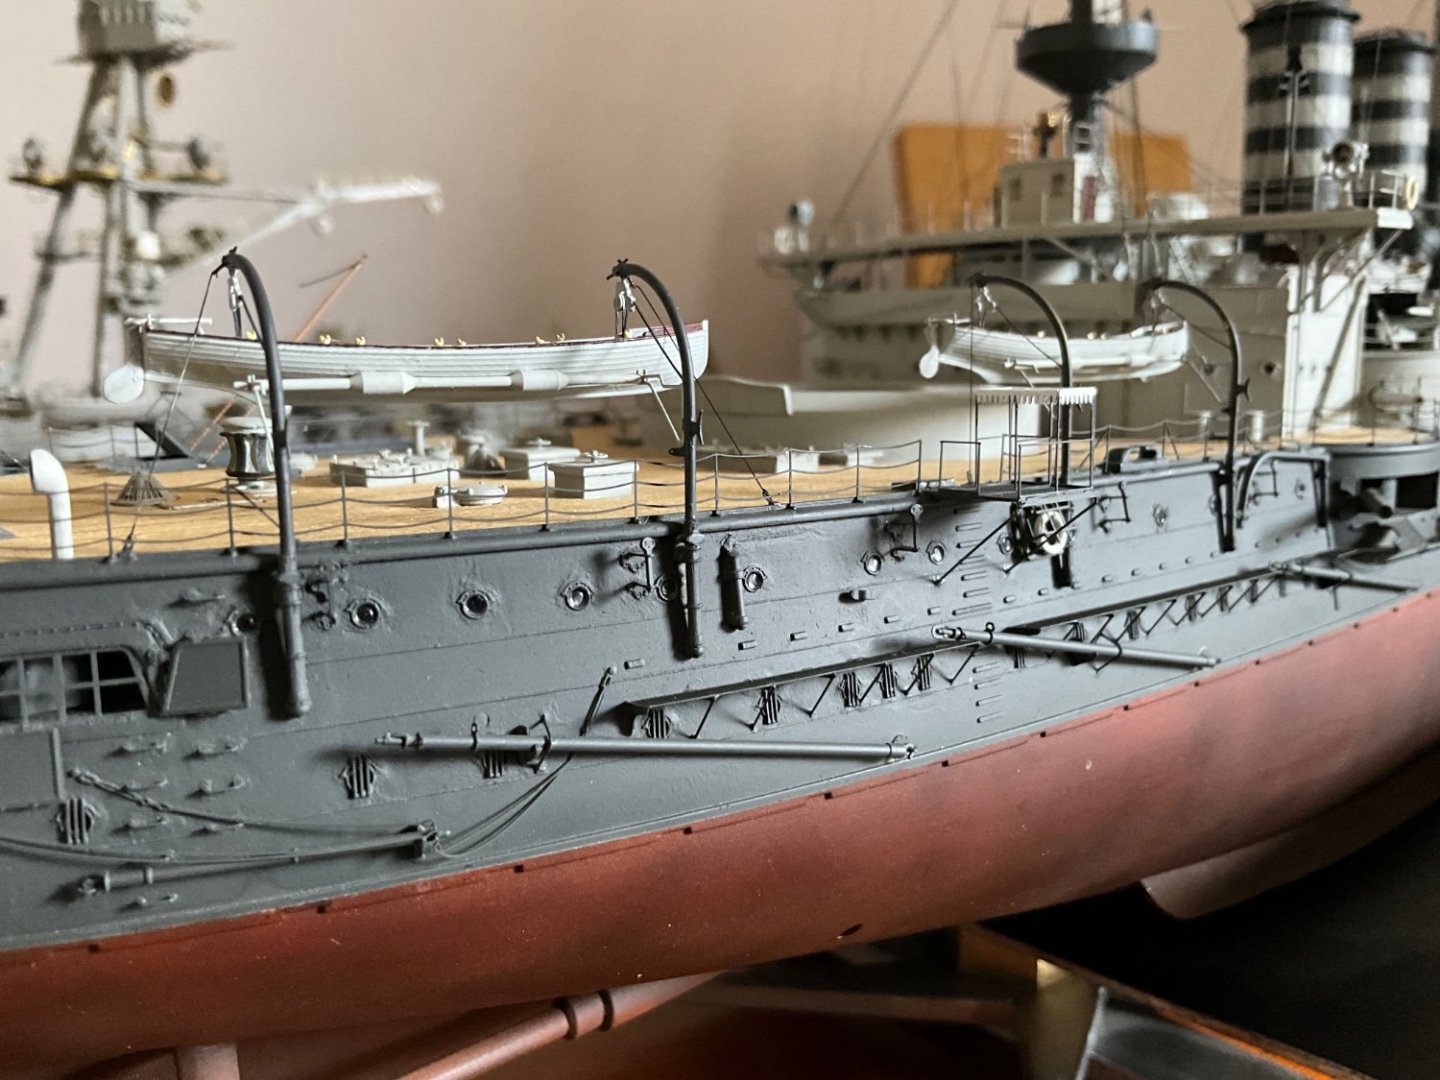
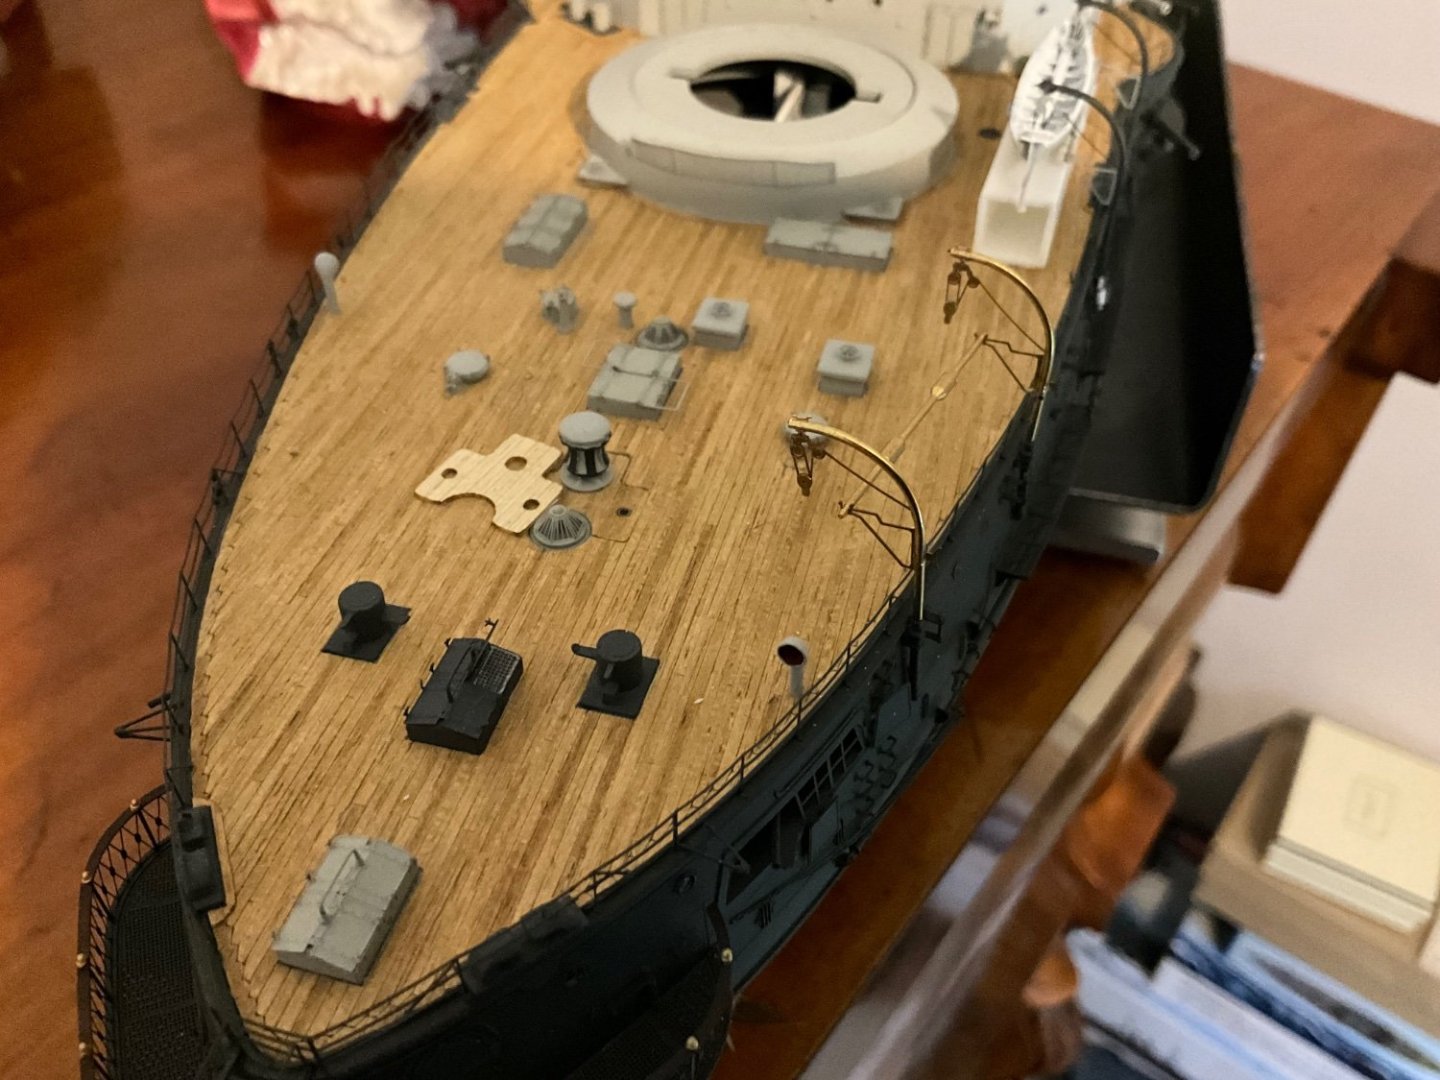
Back again, found some early photos of Mikasa being built, so have tried to capture some details from these photos, note the bracing on bridge wings underneath at each side, copied this, maybe my styrene is a shade to heavy but still gives the effect, also the rail around the bridge superstructure looks like mahogany, so l did my best to paint this, easier done before waiting to this stage, that’s my faults, used to be indecisive now l just don’t know 😂 Also spotted a workman relaxing watching everything going on around him, think I’ll open the turret hatch for this and immortalise this guy forever 👍 some photos for you to ponder over.


-
Shall try another update tomorrow guys, my eyes are starting to come together 😵💫 hope everyone is well 🤛
-
When l did eventually get what l thought was ok l glued the boat to the boat pulley blocks and then to the supporting frame at side with a small touch of glue, next thing was to lift the whole assembly slightly on the 0.3 pins not yet glued, this let me ease out my plastic packing that was supporting the boat, once this was removed checked how it was looking then glued the davits in place. Easy 😂
-
This all had to be set up by trial and error to get it all working, as you can see necessity is the mother of invention 🤞

-
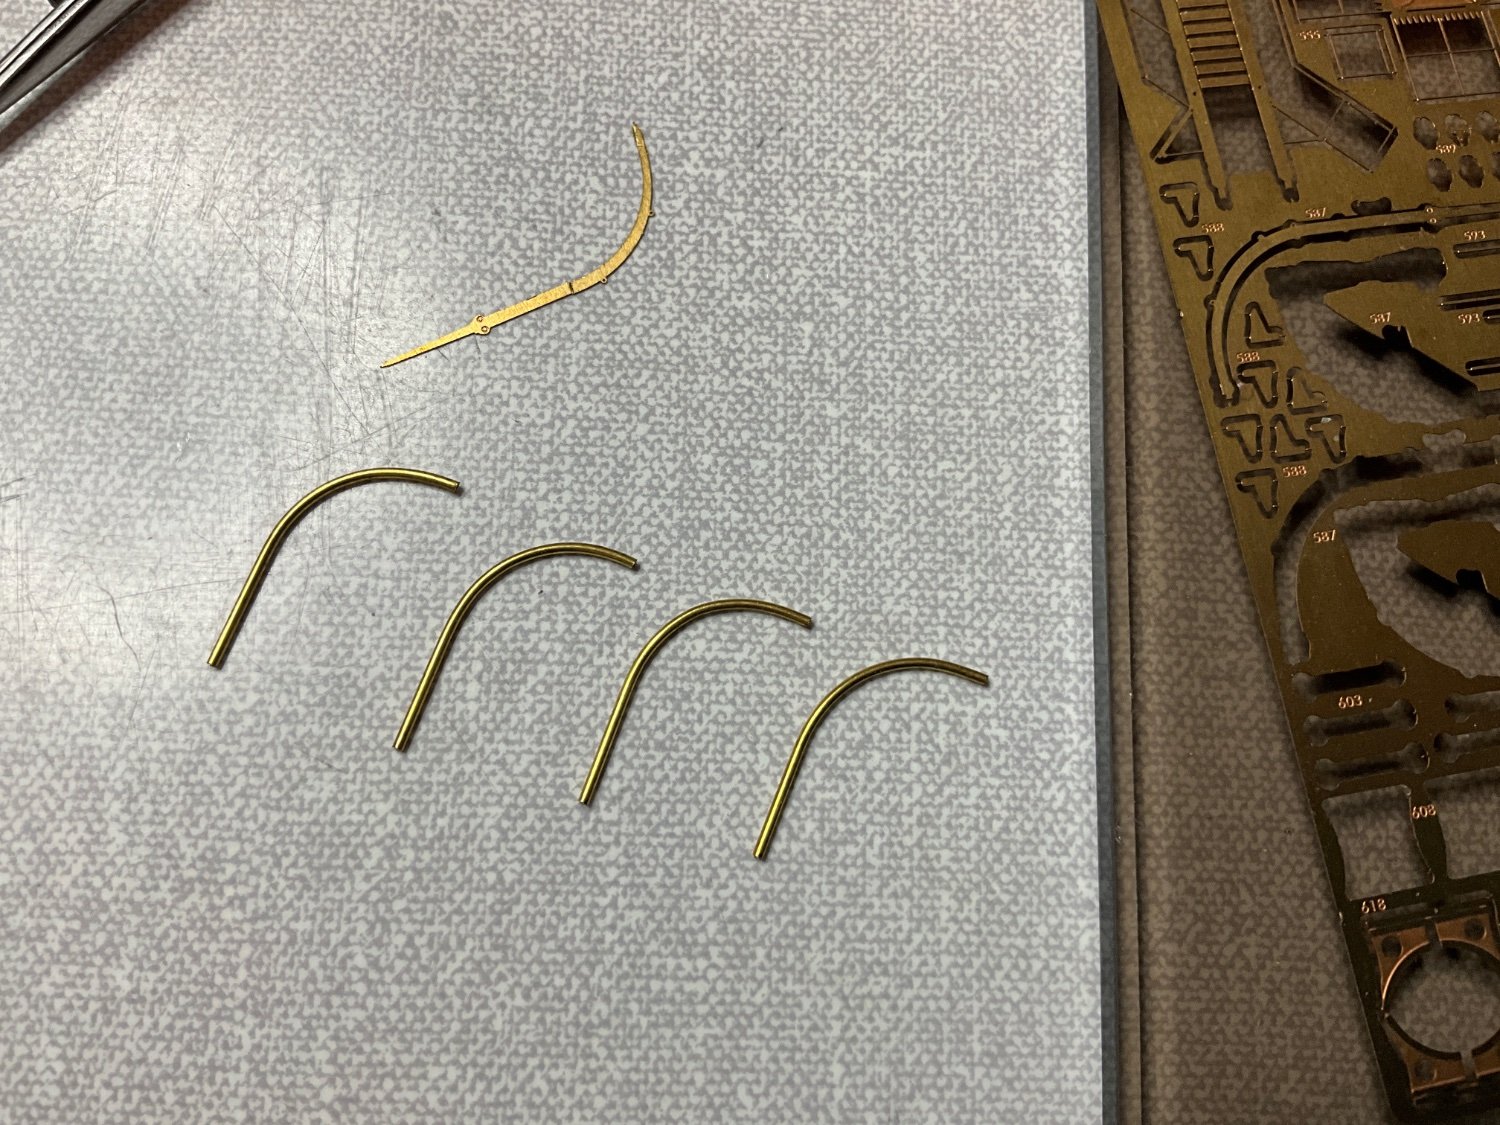
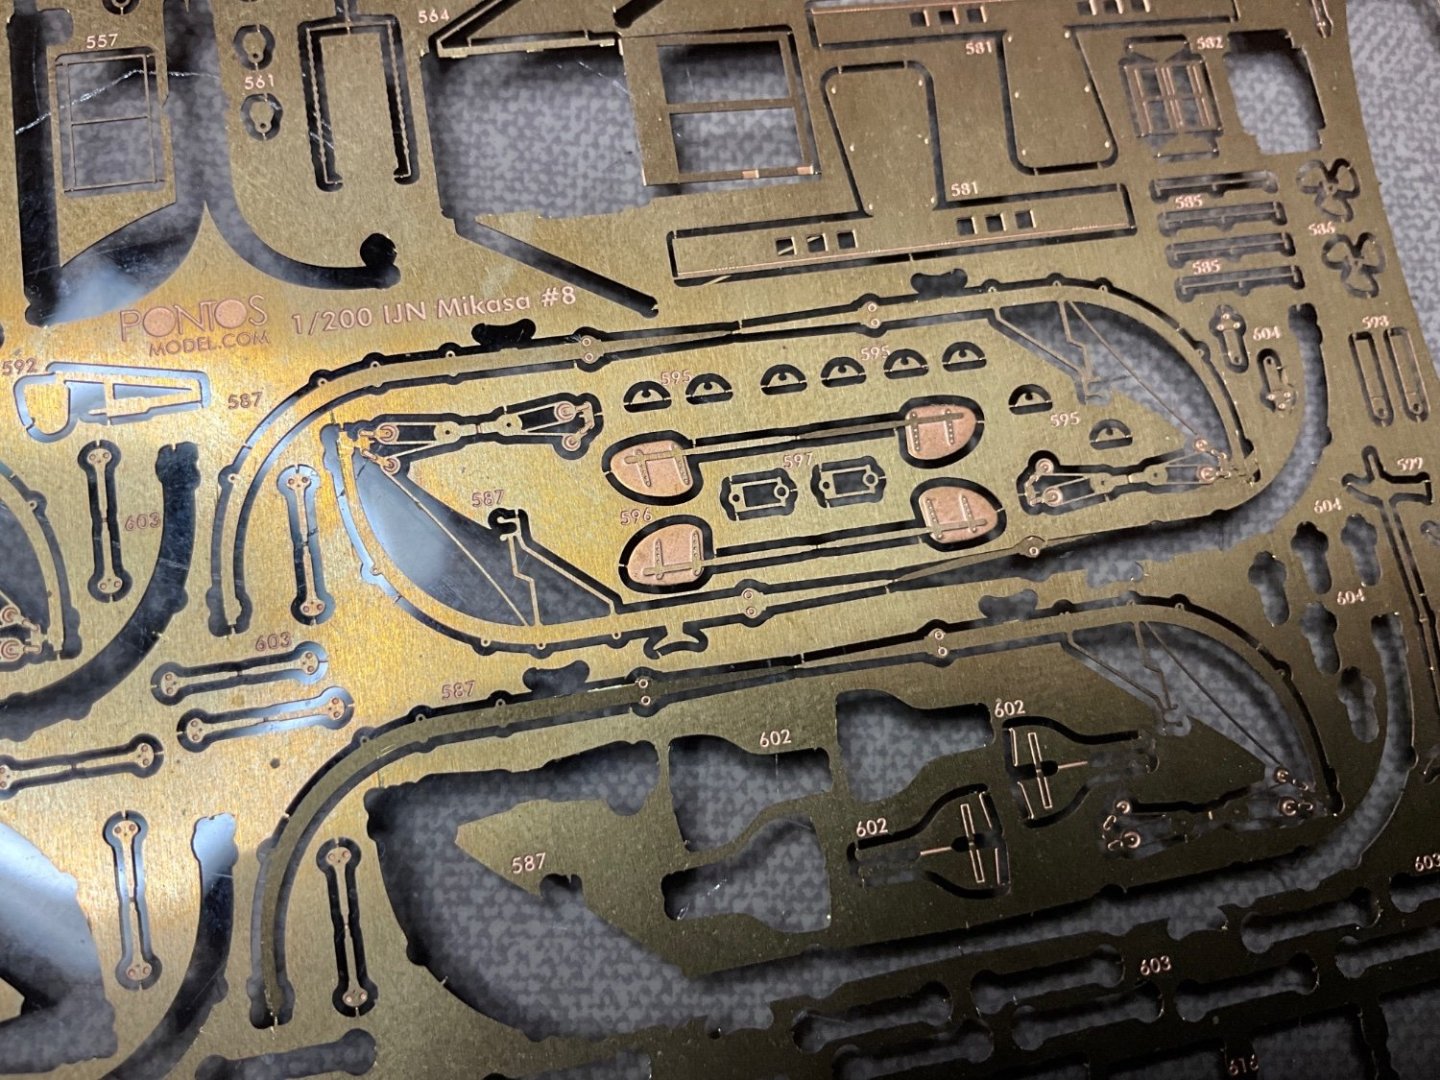
Was easier to do this before fitting the davits and boats 👍 Have only finished the Starboard side of ship so far, it’s a bit fiddly doing this, made more davits from 0.5od 0.3 I’d cut all the other details from the existing etch to switch it over. Used 0.3 brass wire slid inside davit at the bottom, about 4mm sticking out. Then carefully drilled the existing original plastic lower part of davit that was fitted to hull years ago 0.35 The reason l cut the plastic davit was thought it would just get broken during handling and l wanted to paint all the hull detail in one go. Worked in my favour though, it let me reduce the diameters of all the davits to make them less heavy looking. 👍

-
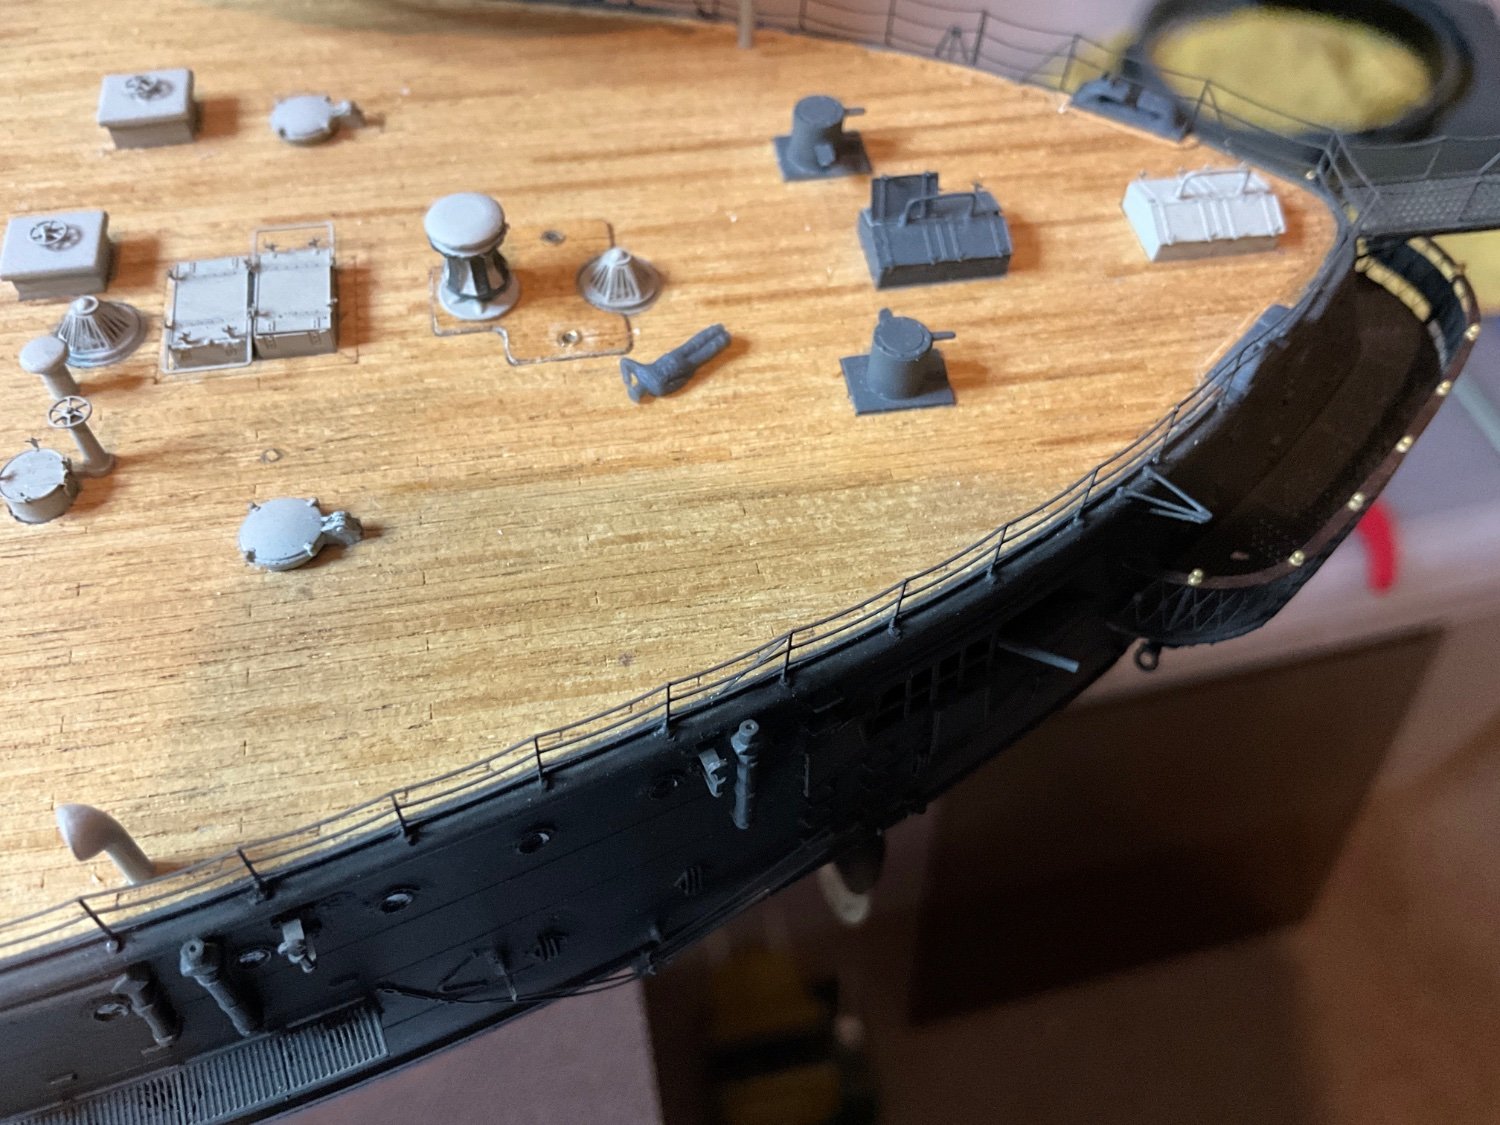
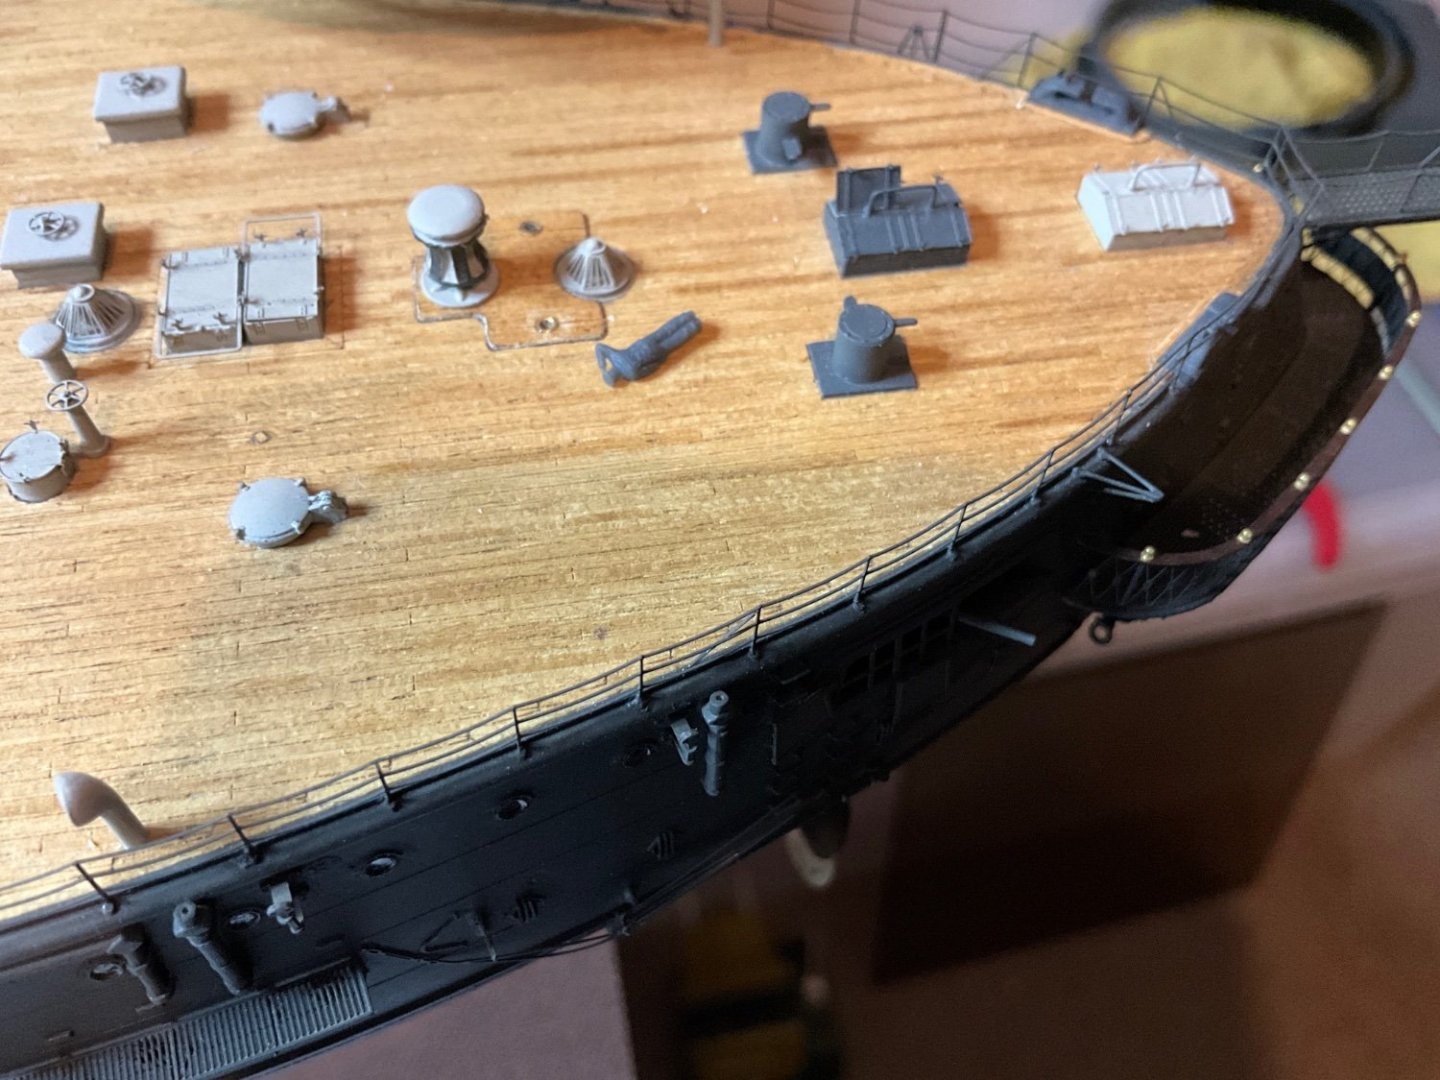
So I decided to cut this deck again from the second set and fix this small detail. Had to break of the capstan, stain and paint the edge of the wood light grey then set into position with a little bit white glue, then reset the capstan. Cut a couple of small port holes from etch sheet that were for the fifty ft boats, seems ok to me.
-
Hello guys, hope you’re New Year was gid and the rest of the year gidder. 🤛 I have been working at a steady snail’s pace and have progressed incredibly slowly 😂 been progressing with the ship's boats remaining on stern deck, Jacqueline said did it really have all those boats? Yip, sixteen, almost as many as the Titanic. 👀 Did decide to add a small part of deck that I did wrong at the start of build, misunderstanding the instructions and not knowing anything about Mikasa. I removed the main deck here to fit this part, ending up with a flush deck, common sense nobody will trip on this 🙄 photo I found ages later solved it.