Bill97
-
Posts
2,731 -
Joined
-
Last visited
Content Type
Profiles
Forums
Gallery
Events
Everything posted by Bill97
-
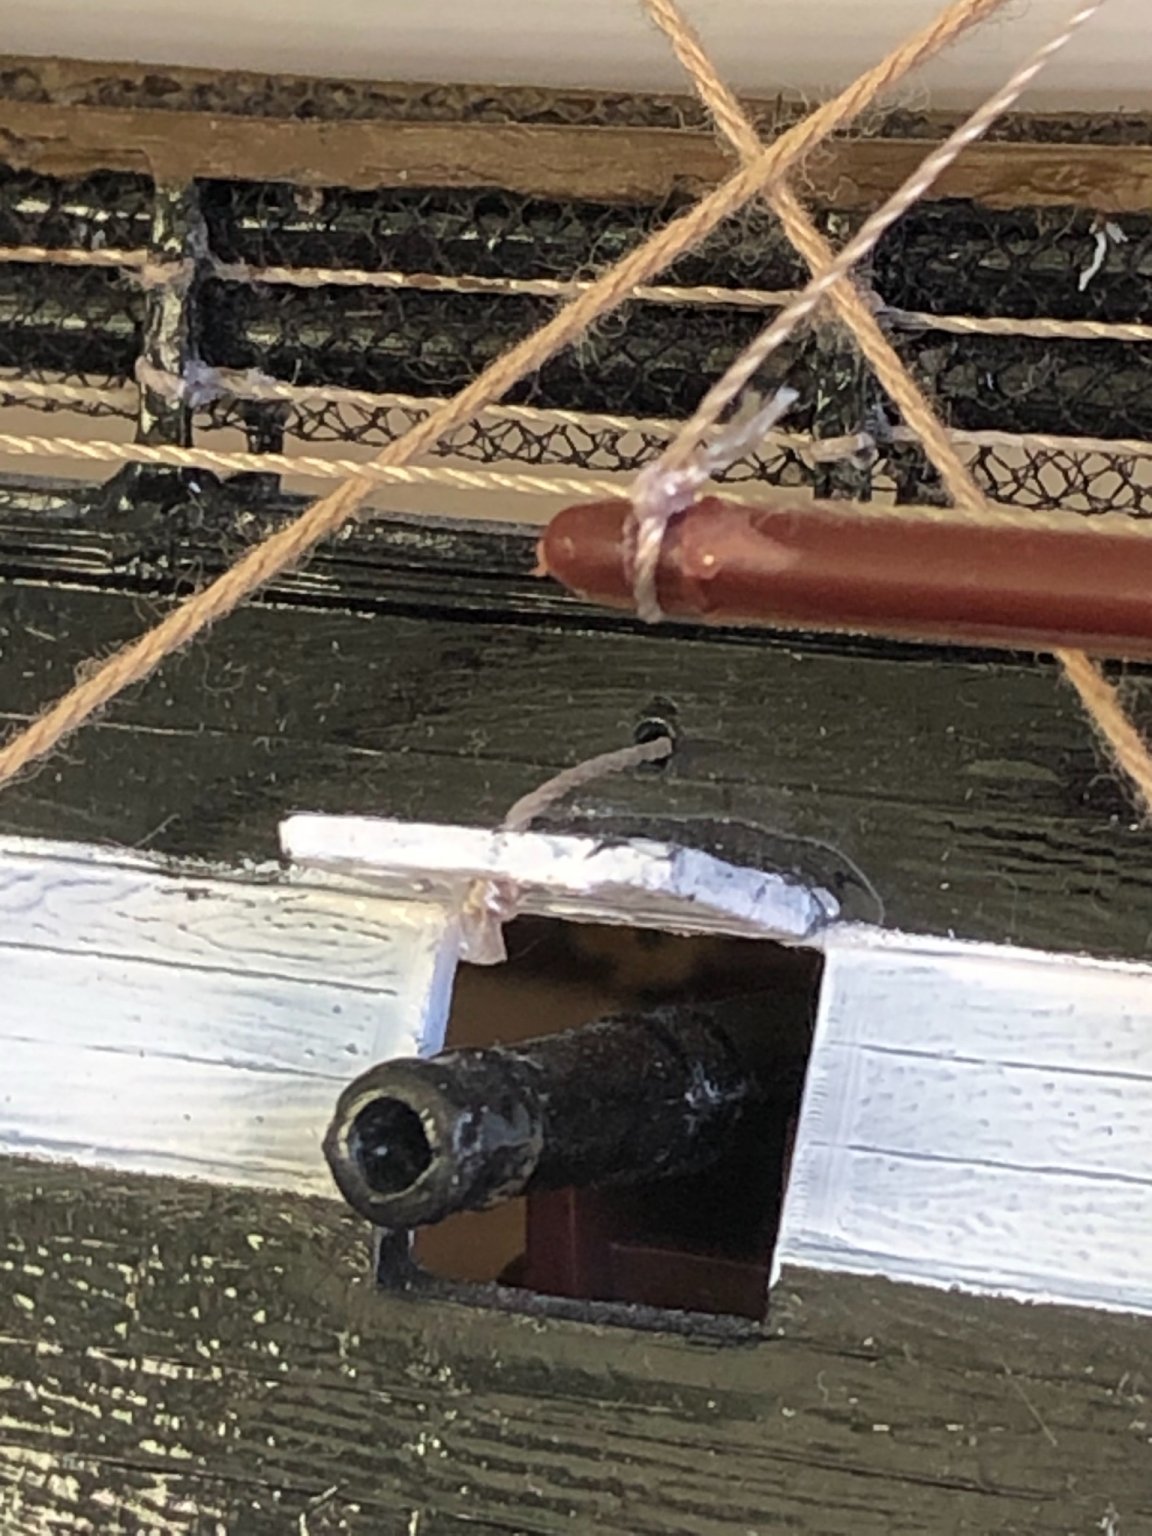
Michael you were absolutely correct. I did have them reversed. I was able to gently pry them off using an exacto knife to cut the “chains” under the channel from the hull side. Then with a little pressure up an down they came lose. I even saved the little assembly pins on the back of the pieces that go into the holes on the hull. Definitely more in line now. Thanks. Sometime it just takes a second set of eyes. I also ultimately decided to go with drilling a small hole in the cannon port covers, running a line through the hole, and tied a knot on the inside (lion head side). I also drilled corresponding holes above each hatch that I will insert the other end a touch with a bit of glue once I position the doors how I want them. This was the process on my USS Constitution and I think I looks OK. Thanks again for the sharp eye and using your model to experiment.


-
Michael I am starting to think you are right. Your last picture and my last picture look the same as far as the position. Need to decide if I want to risk damage trying to remove the two pieces or maybe heating the deadeyes and repositioning.
-
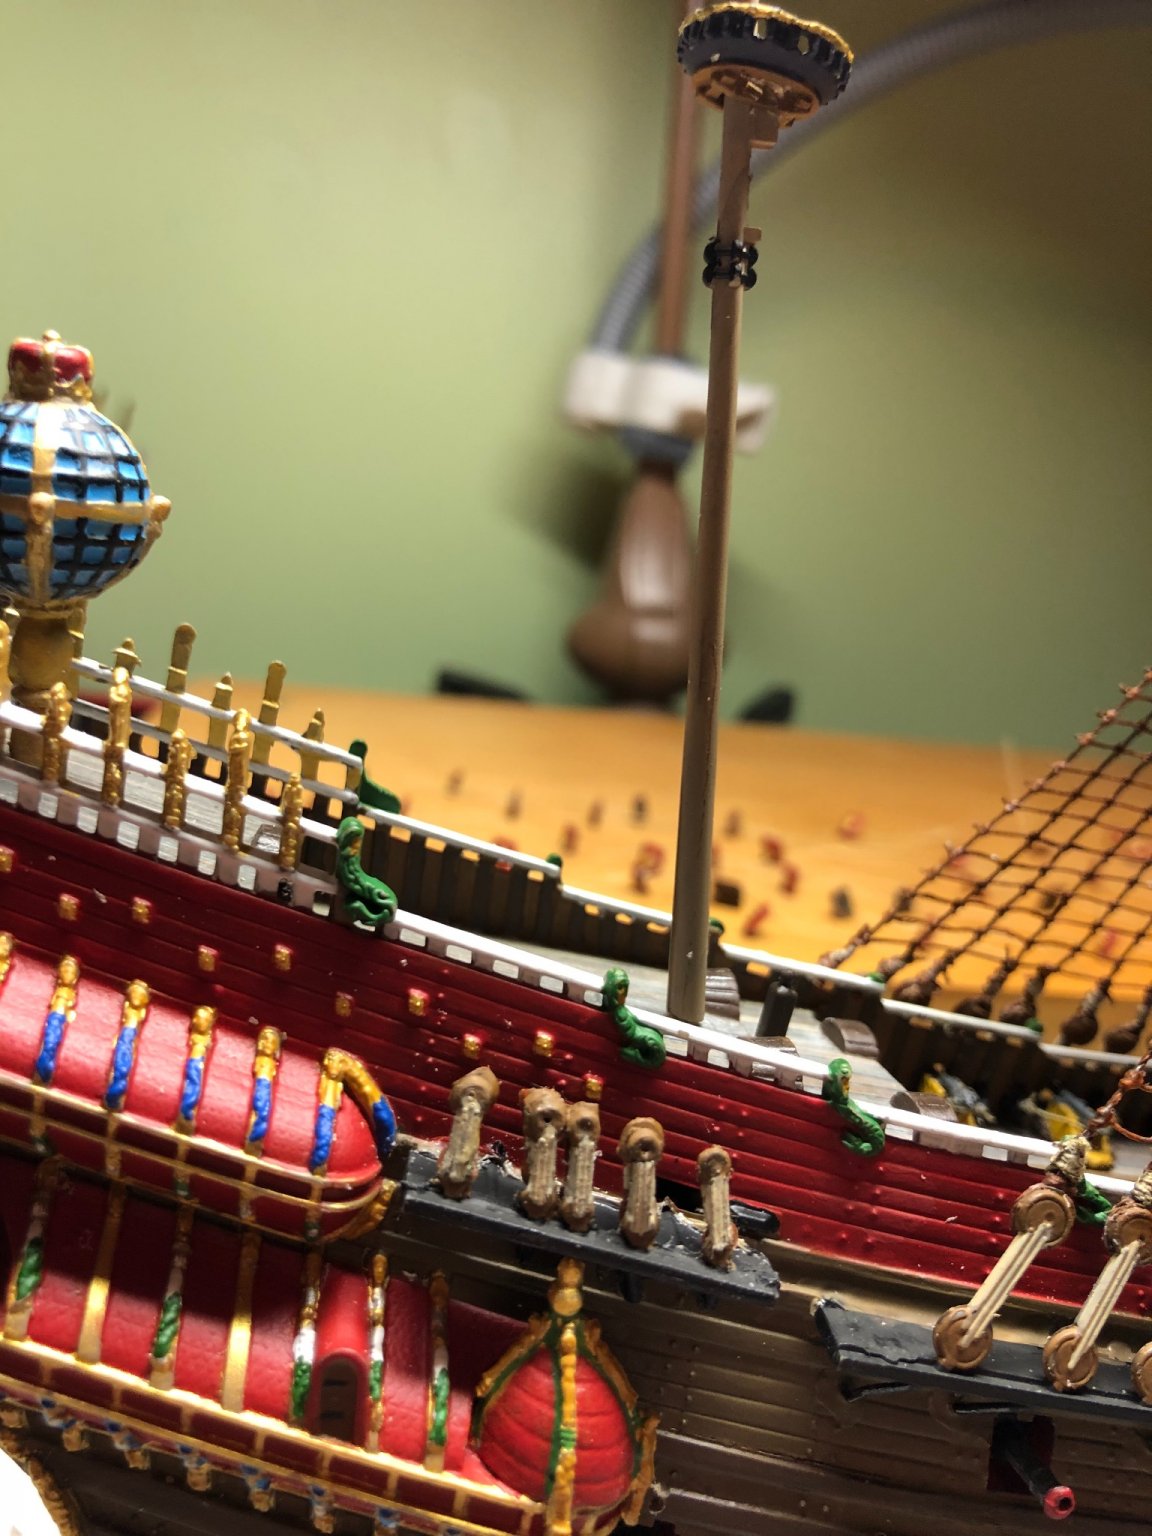
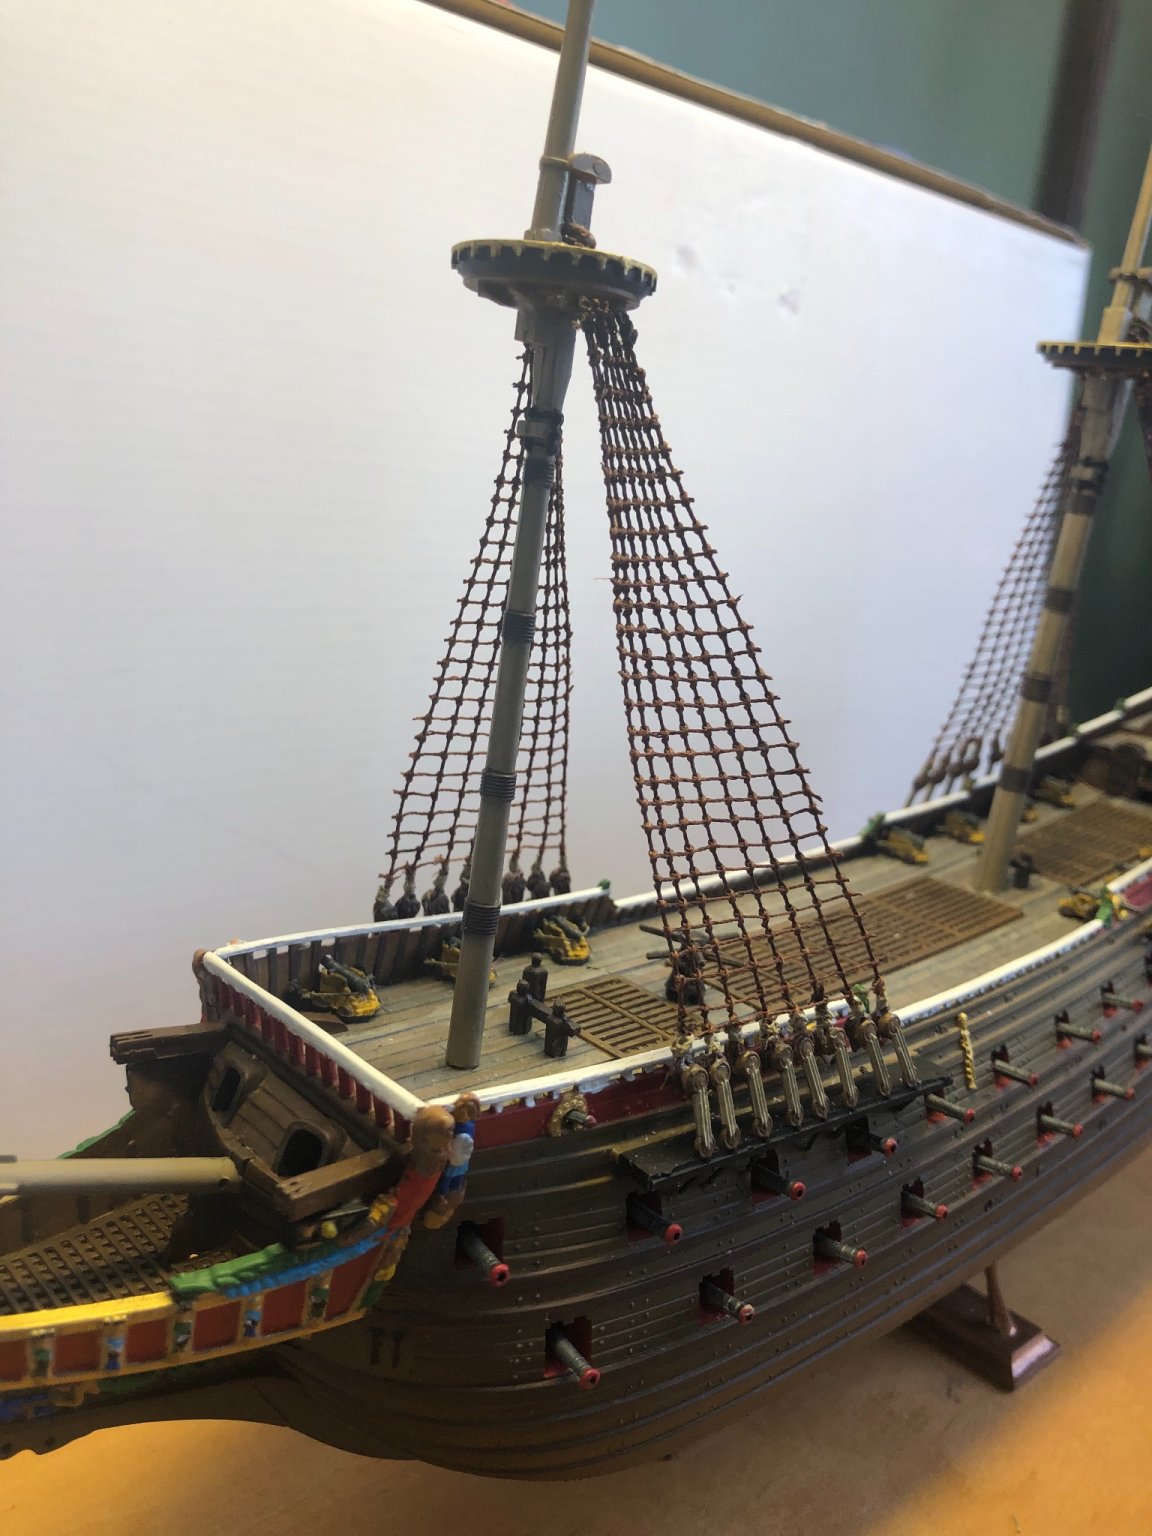
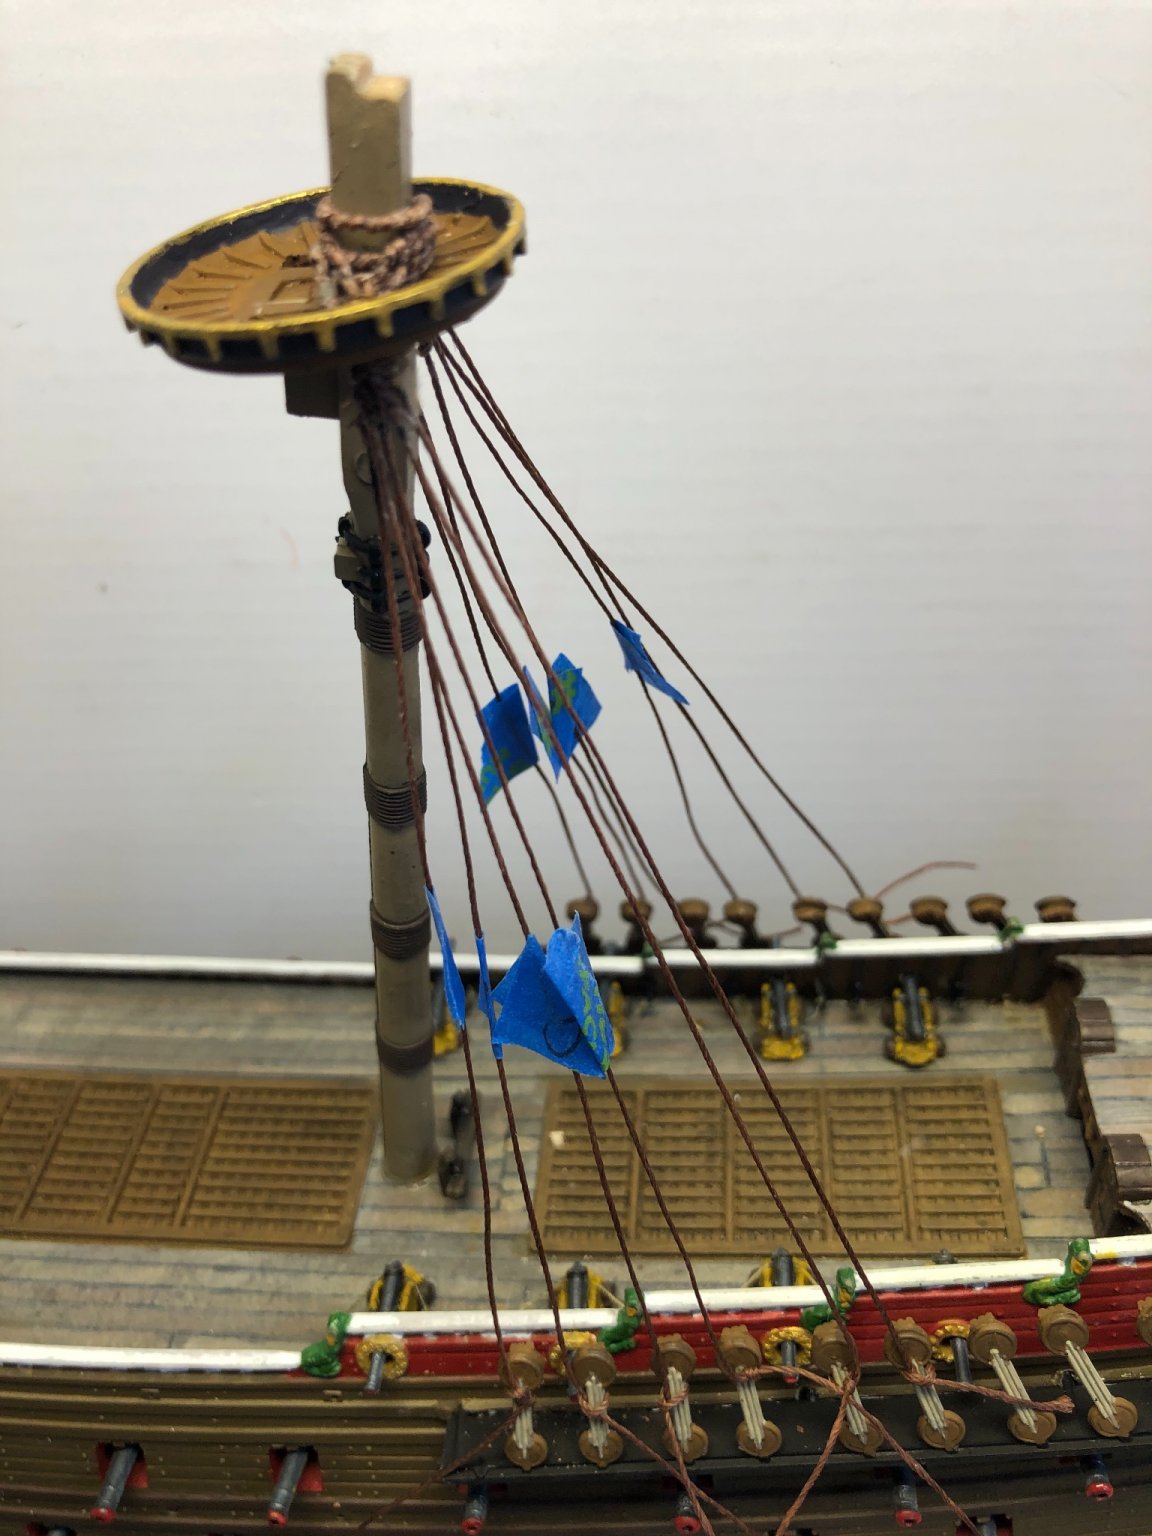
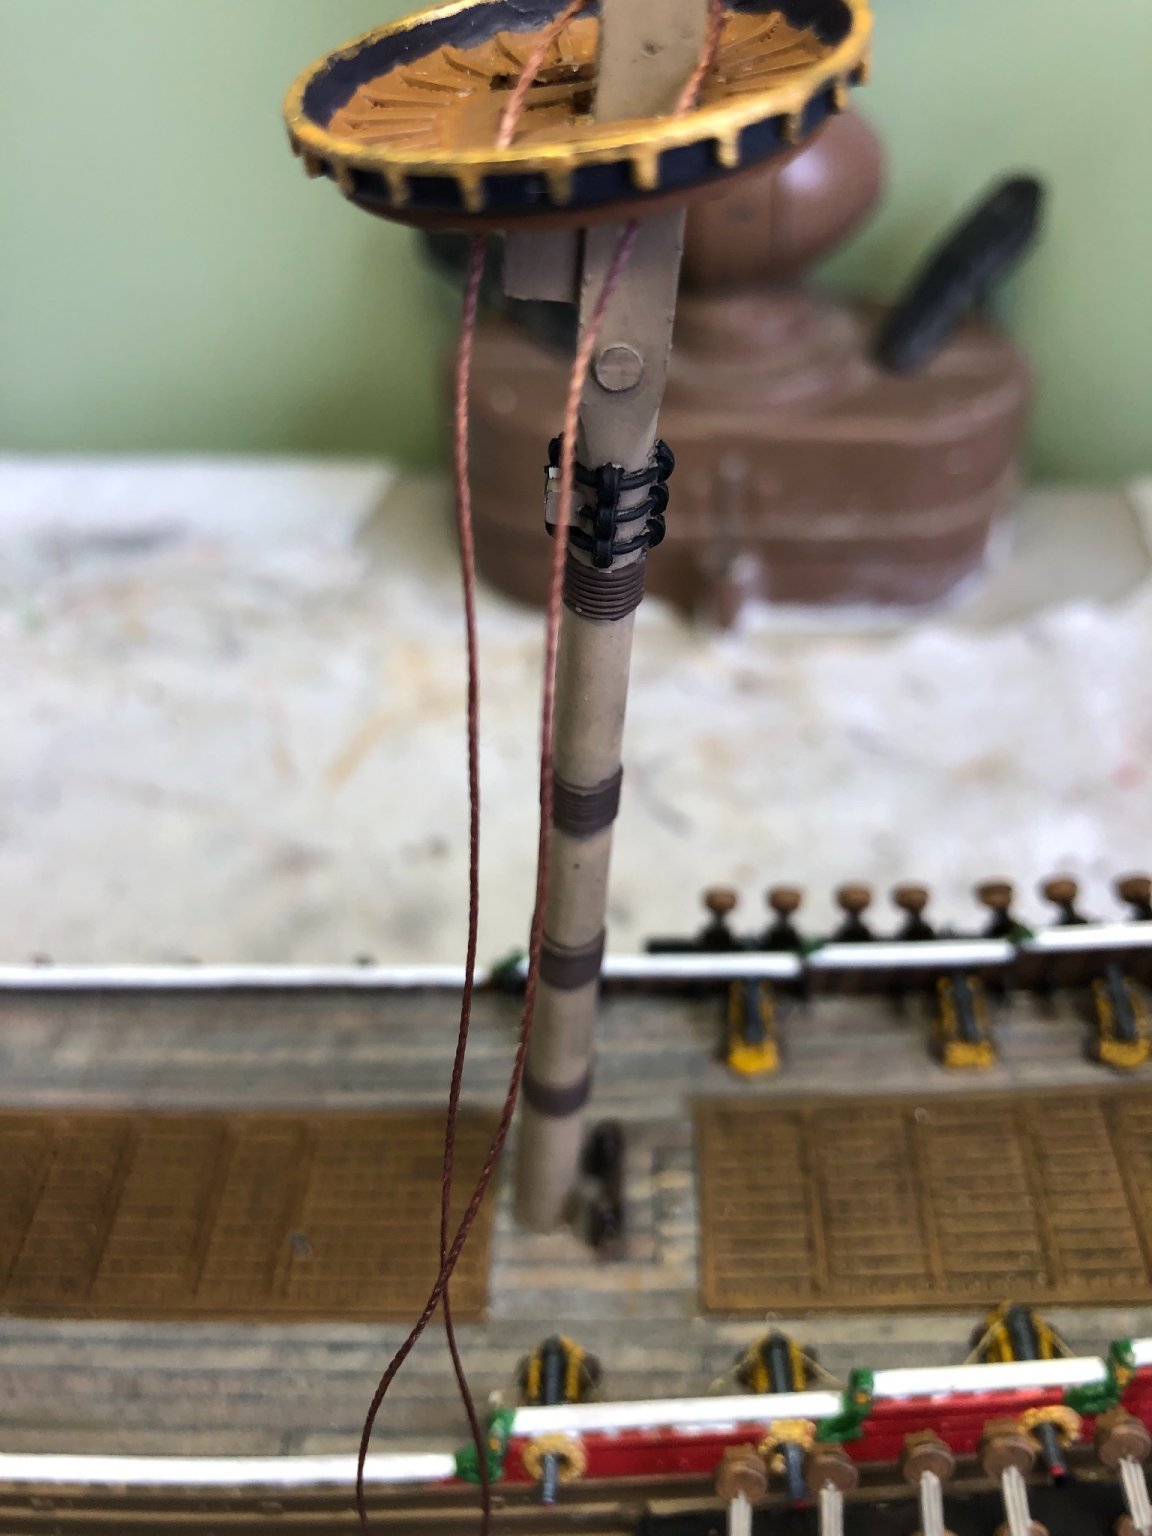
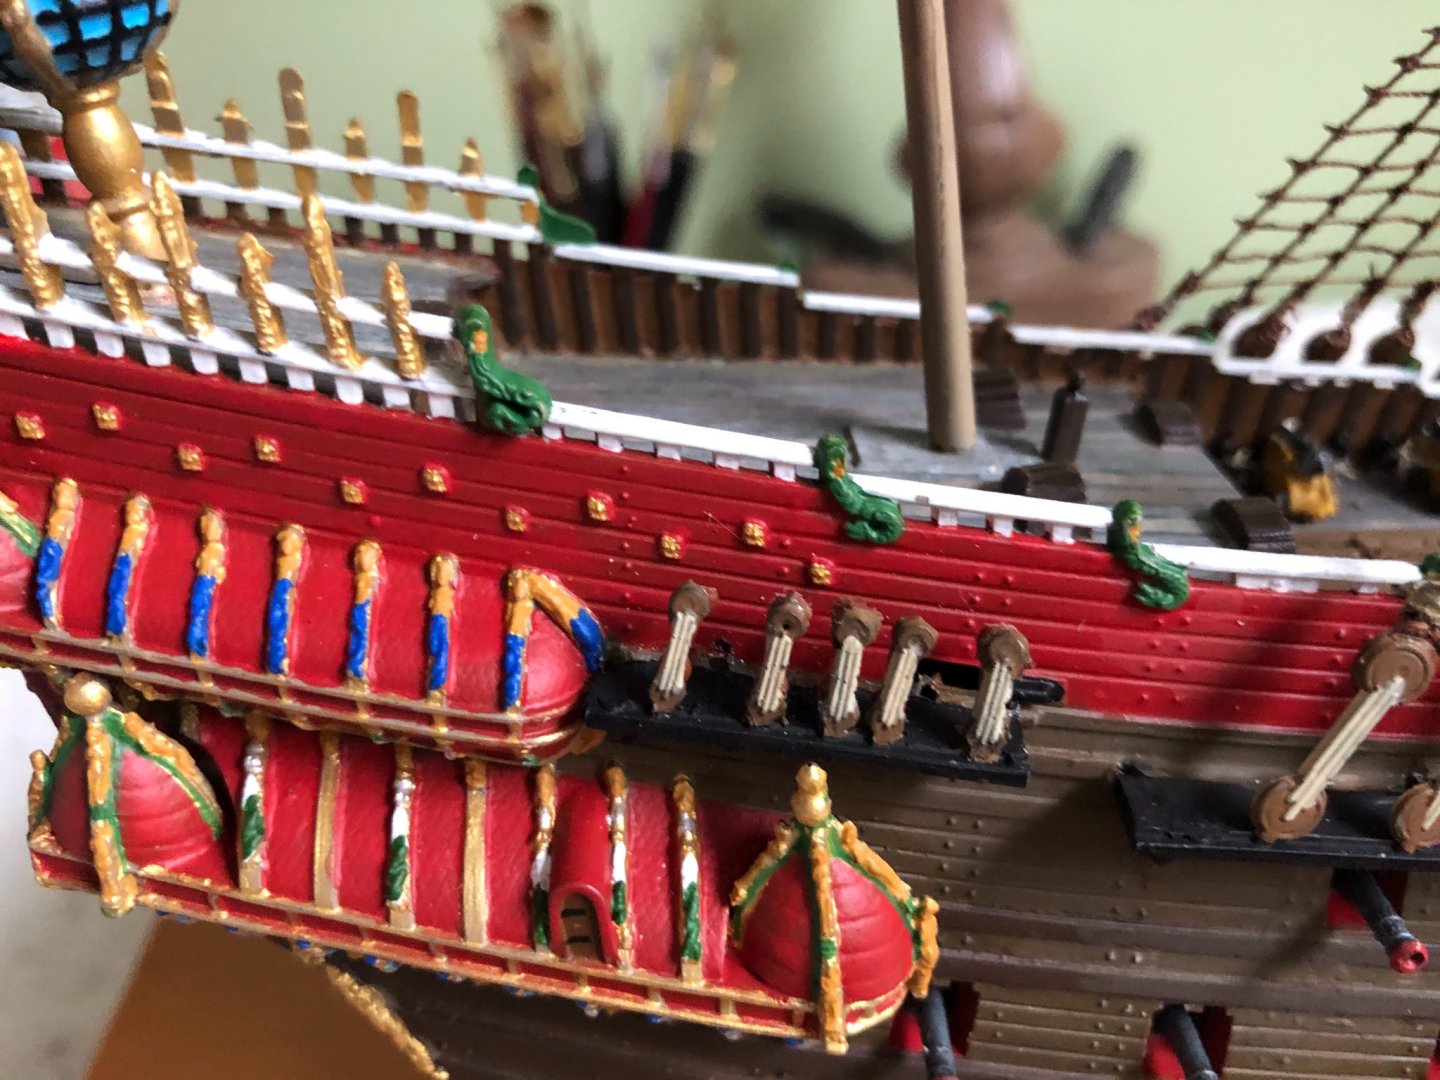
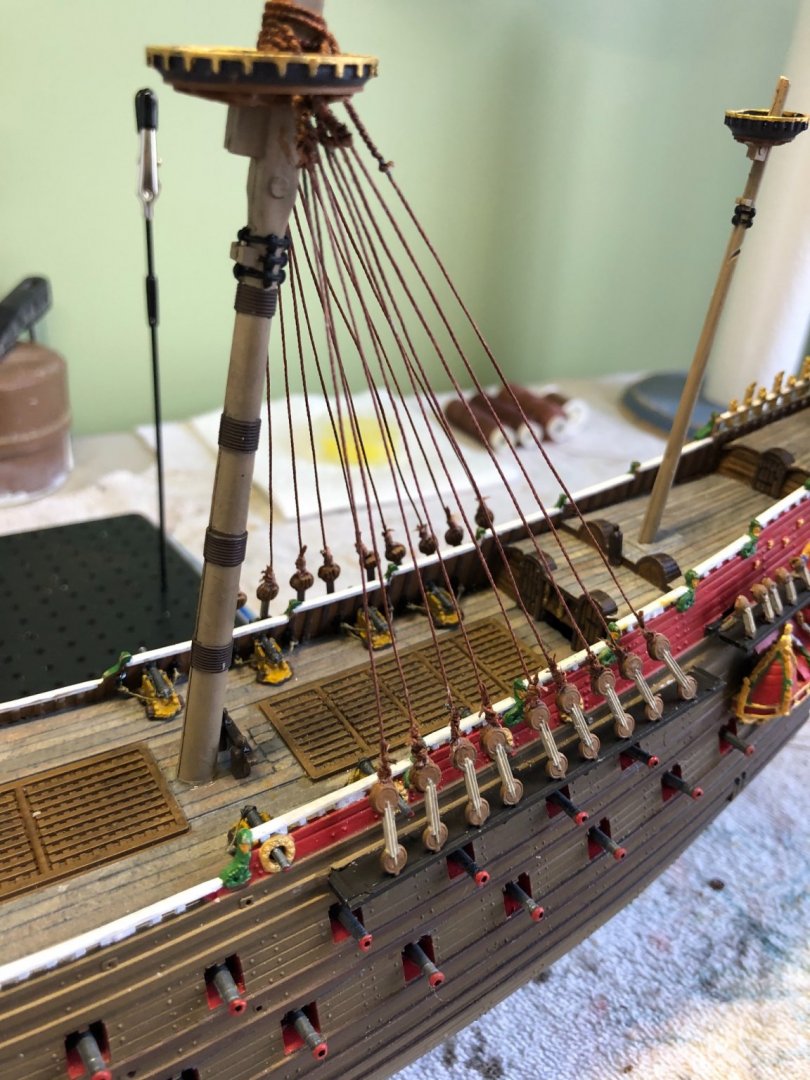
Hummm Michael? I am not sure now. You got me wondering. Here are a couple more pics. The mast is for sure where it goes. Do your’s seem to have this same angle? Definitely want to get this right before I start all the shrouds and ratlines!

-
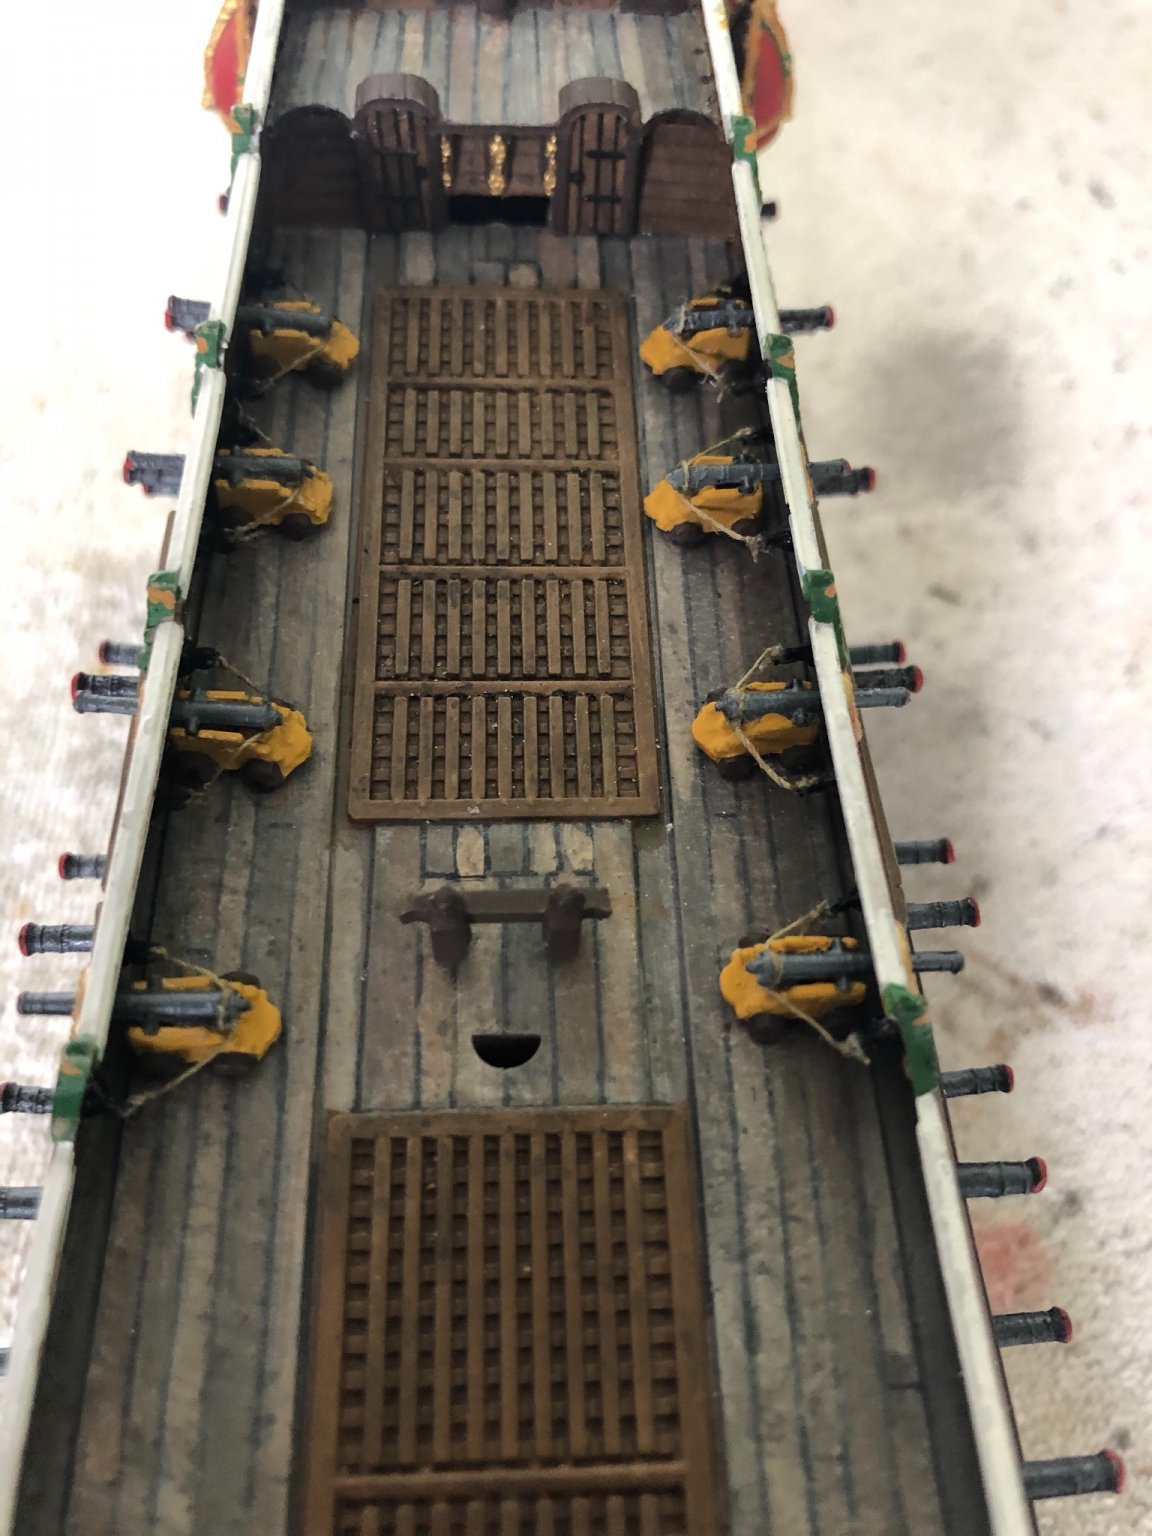
Another thing you will need to fabricate Michael is a cradle of sorts for the one lifeboat. The instructions show it positioned on top the main hatch but it there is no included part to set it in.
-
I originally thought that Michael but then it was worse because they pointed toward the lantern. The way they line up with the mast, the deadeyes should be pointed from about 11:30 to about 10:00 o’clock. If that makes since.
-
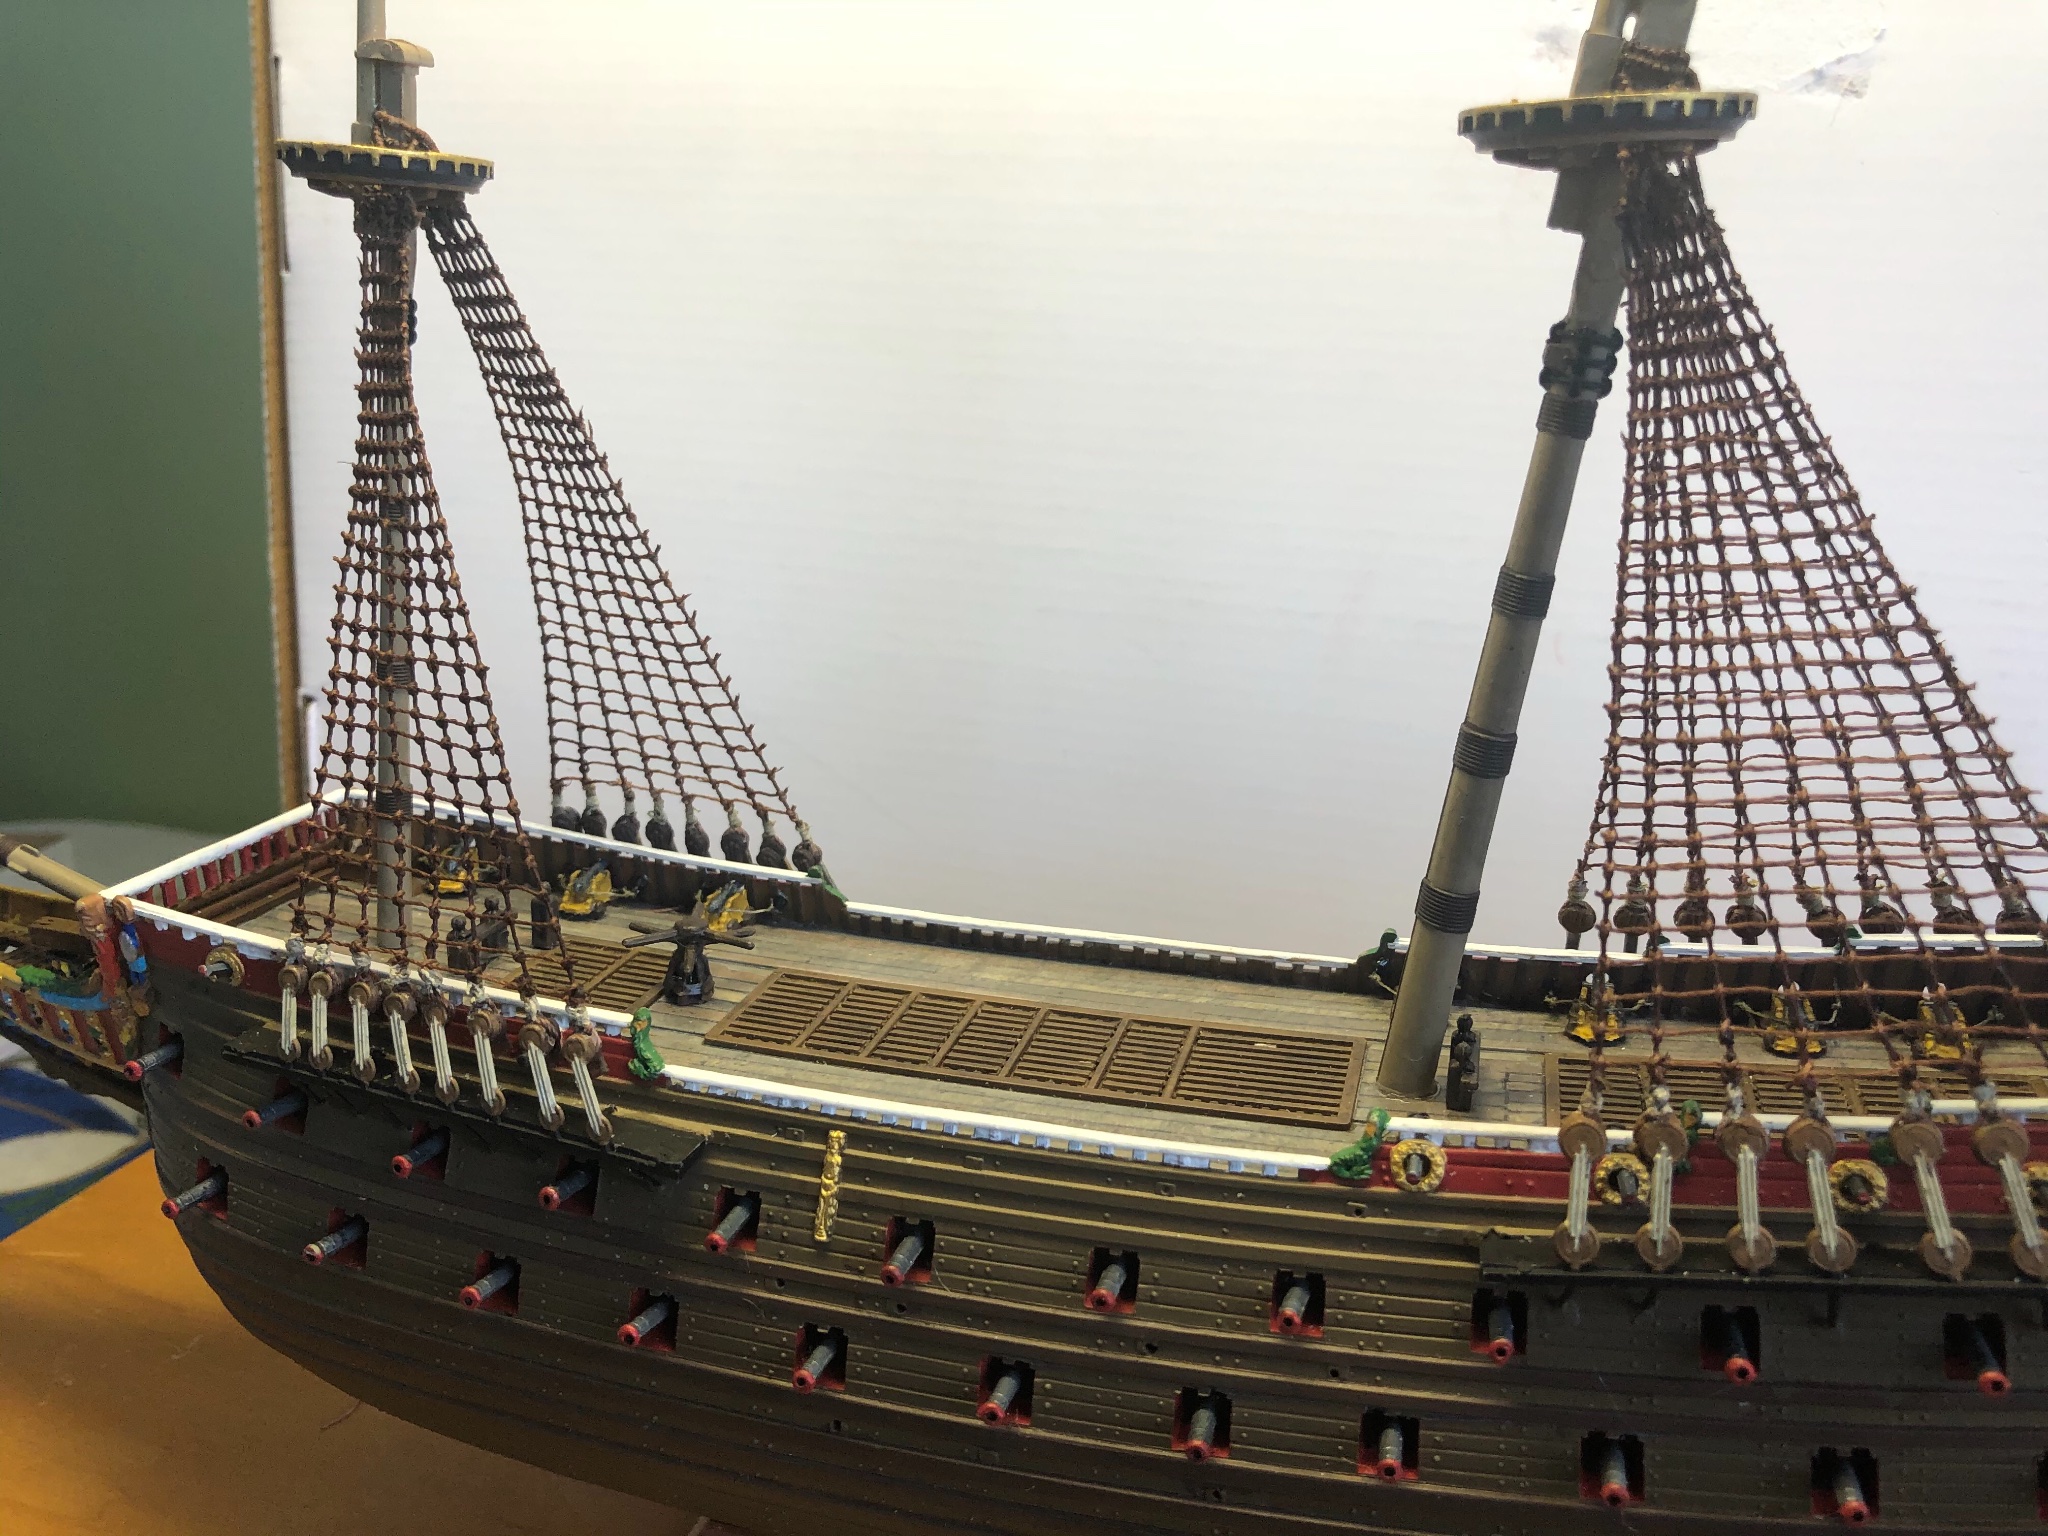
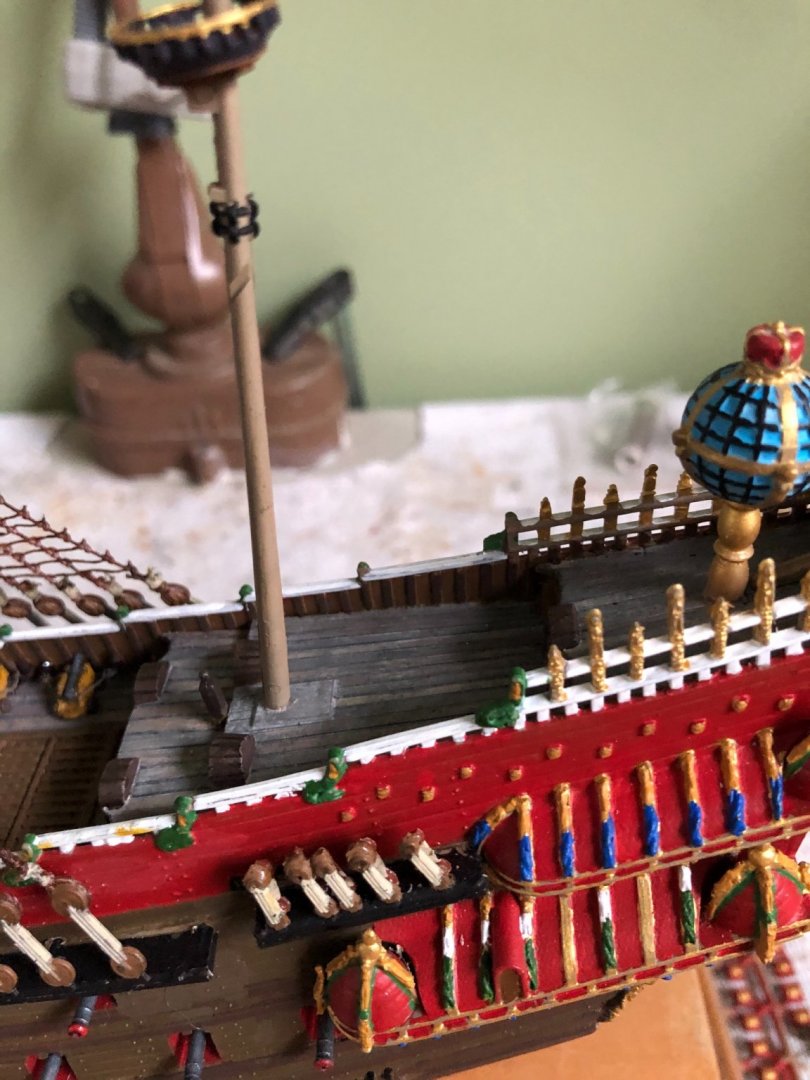
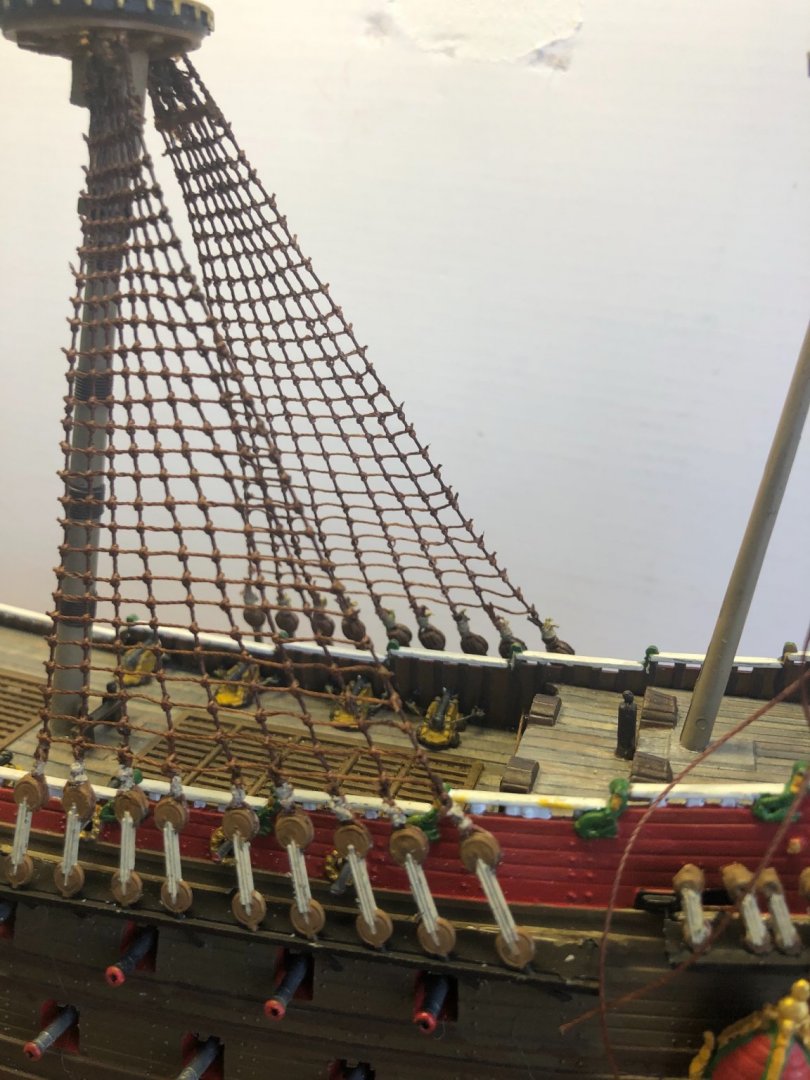
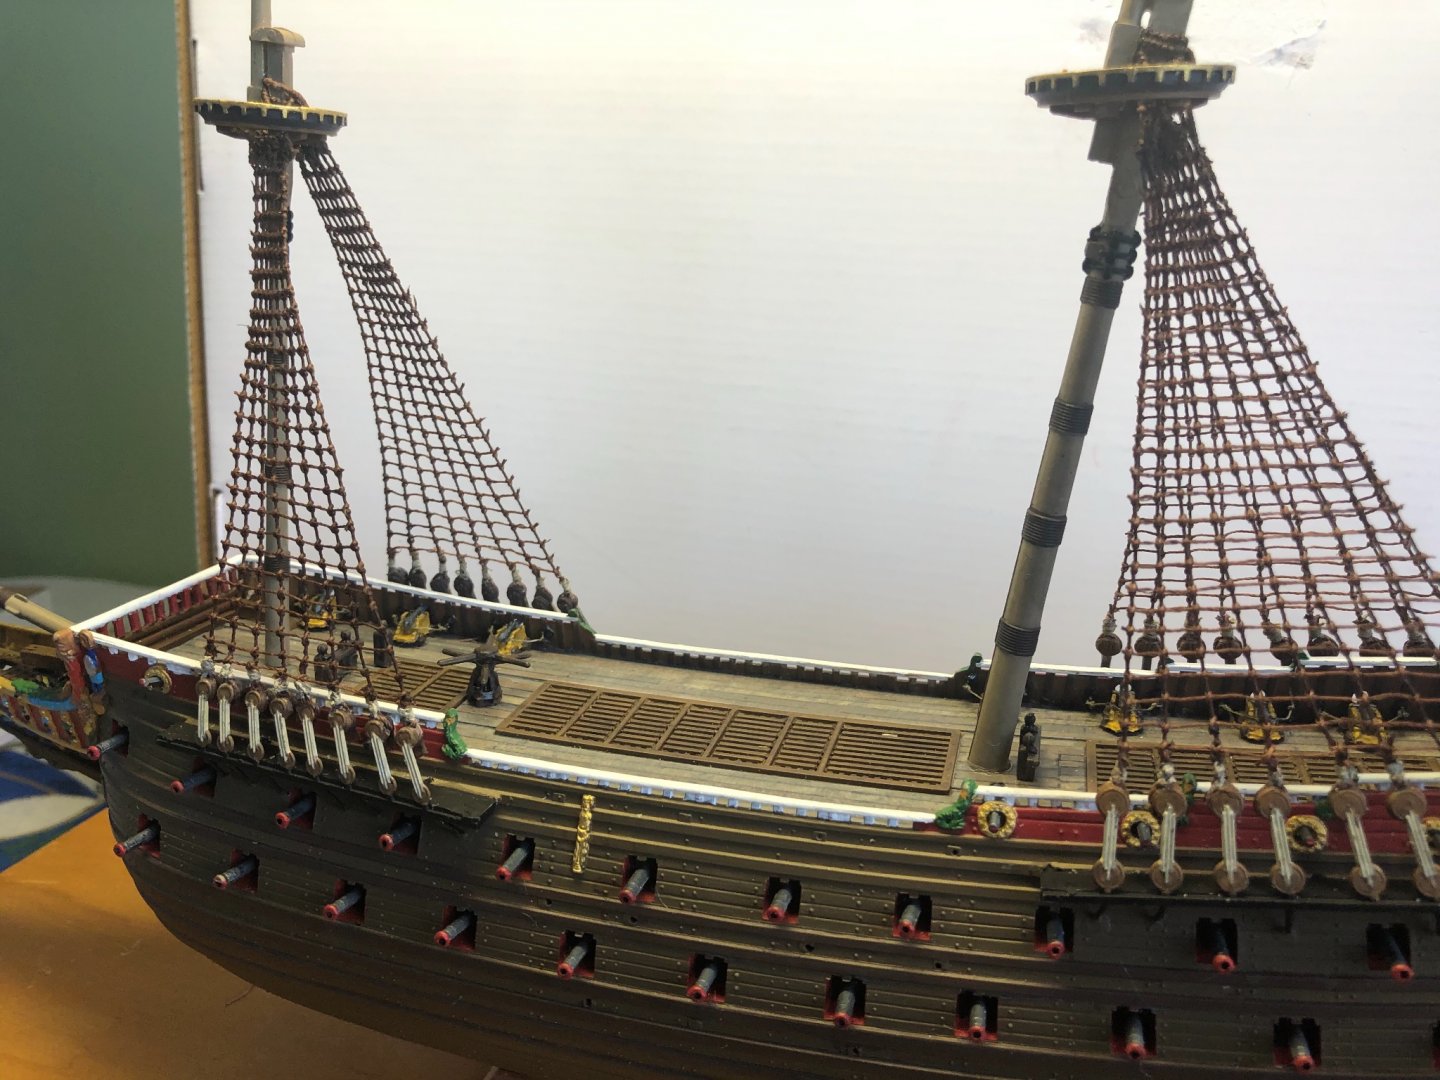
So 866 (but really who is counting🤪) clove hitch knots later I have the lower shrouds and ratlines on the foremast and mainmast! Now to the last mast. On other builds this was called the mizzenmast, not sure about the Wasa. I am using the molded deadeye pieces that came with the kit since the scale is to small to purchase deadeyes for all the upper mast sections and I want it all to be uniform. I have noticed that the deadeyes do not appear to be at the correct angle to line up with masthead so I will need to gently bend them with out breaking to get in more of a natural angle with the shrouds.


-
Finished the lower shrouds on the foremast and starting the ratlines on the mainmast lower shrouds. Using my handy scale calculator I decided to go with my ratlines spaced 1/8” apart for a 1/144 scale ship. Looks pretty close to accurate. I am satisfied.

-
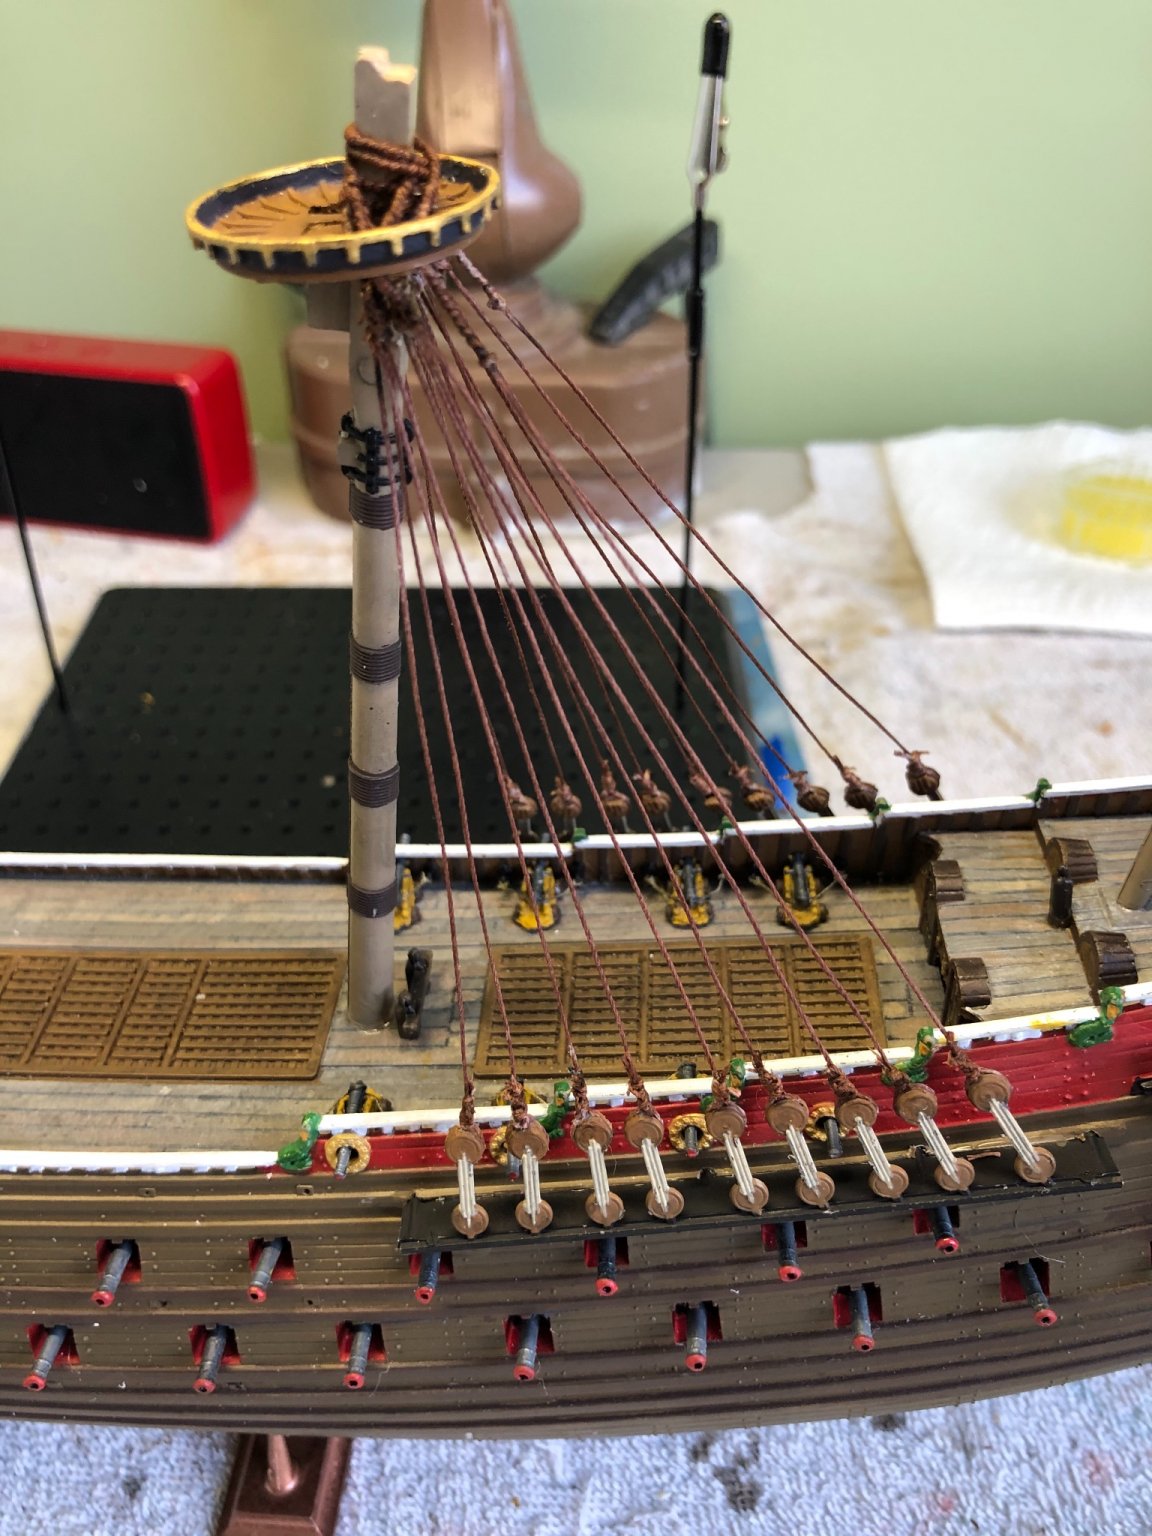
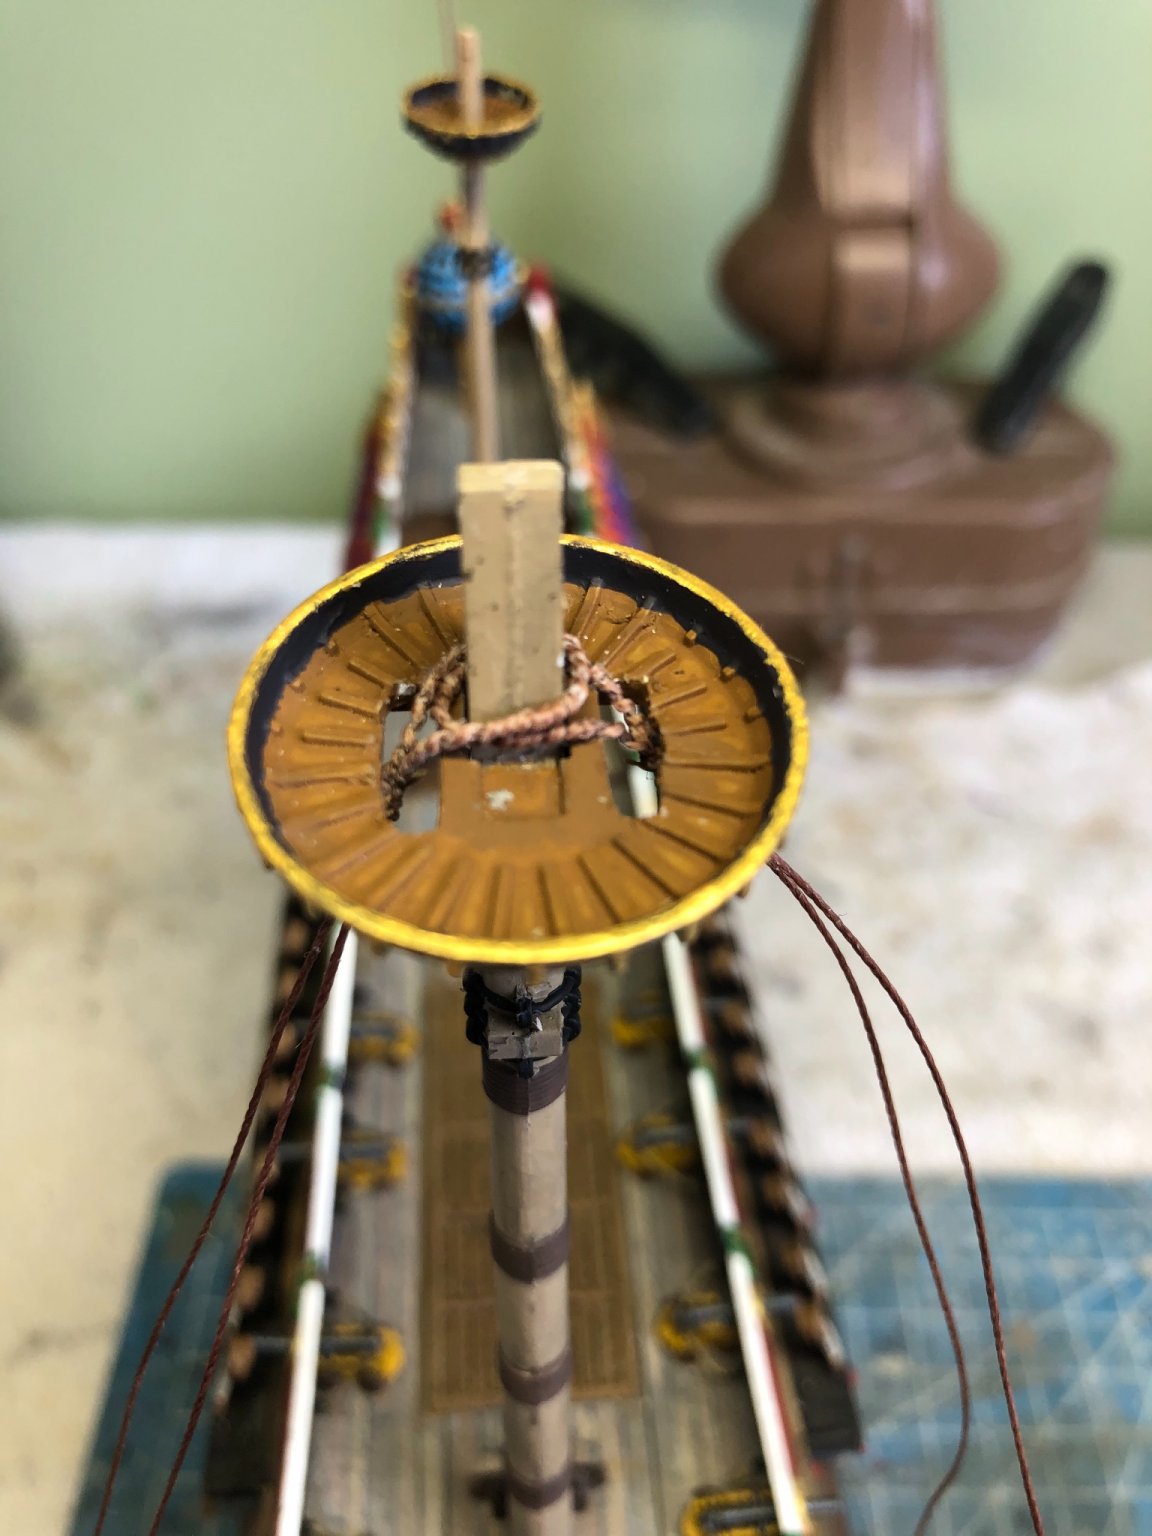
Completed the lower shrouds for the main mast. This was my first attempt at seizing the shrouds where they wrap around the mast head. Started out kind of so so but getting a little better with each one I do. Starting to getting the hang of it. I am using .45 mm line for the shroud and seizing it with .35 mm. Had to modify the “crows nest” so I could wrap the shroud pairs around the mast head. The kit was not designed for this so there were not the needed openings in the bottom. I need to get better at having the seized section of the shrouds end at a uniform point crows nest. The ones I have done so far for the foremast (not shown) are much more uniform.


-
BenD, no worries about hijacking. I am very much enjoying the discussion. You guys are so advanced of me and my hobby skills. Making my own rope is something I never considered when I began my love of building the classic tall ships. My love of the hobby was reborn a few years ago after I retired and had time to devote to it. And of course it has been a life saver during this Covid shut in. I built a couple as a teenager many years ago and then quit with life and family time and finance requirements. A few years ago after I retired I picked up the Revell 1/96 USS Constitution and decided I wanted to enjoy building it again. At the time I had no idea there was such a thing as MSW or any of the other build log sites. I wish I knew then what I know now. I just followed the kit instructions step by step and whenever I was confused just winged it. I think it was on my second build when I stumbled on this site. I use it extensively now and have learned so much. On a couple recent builds, including my current Wasa, there are steps and features completely eliminated or skipped over. Based on my new experience from MSW I know something should have been done here or there, especially in rigging. I no longer have to wing it. I can look here for my answers and opinions. So again, no worries about hijacking. I very much enjoy these discussion and passions about the craft.
-
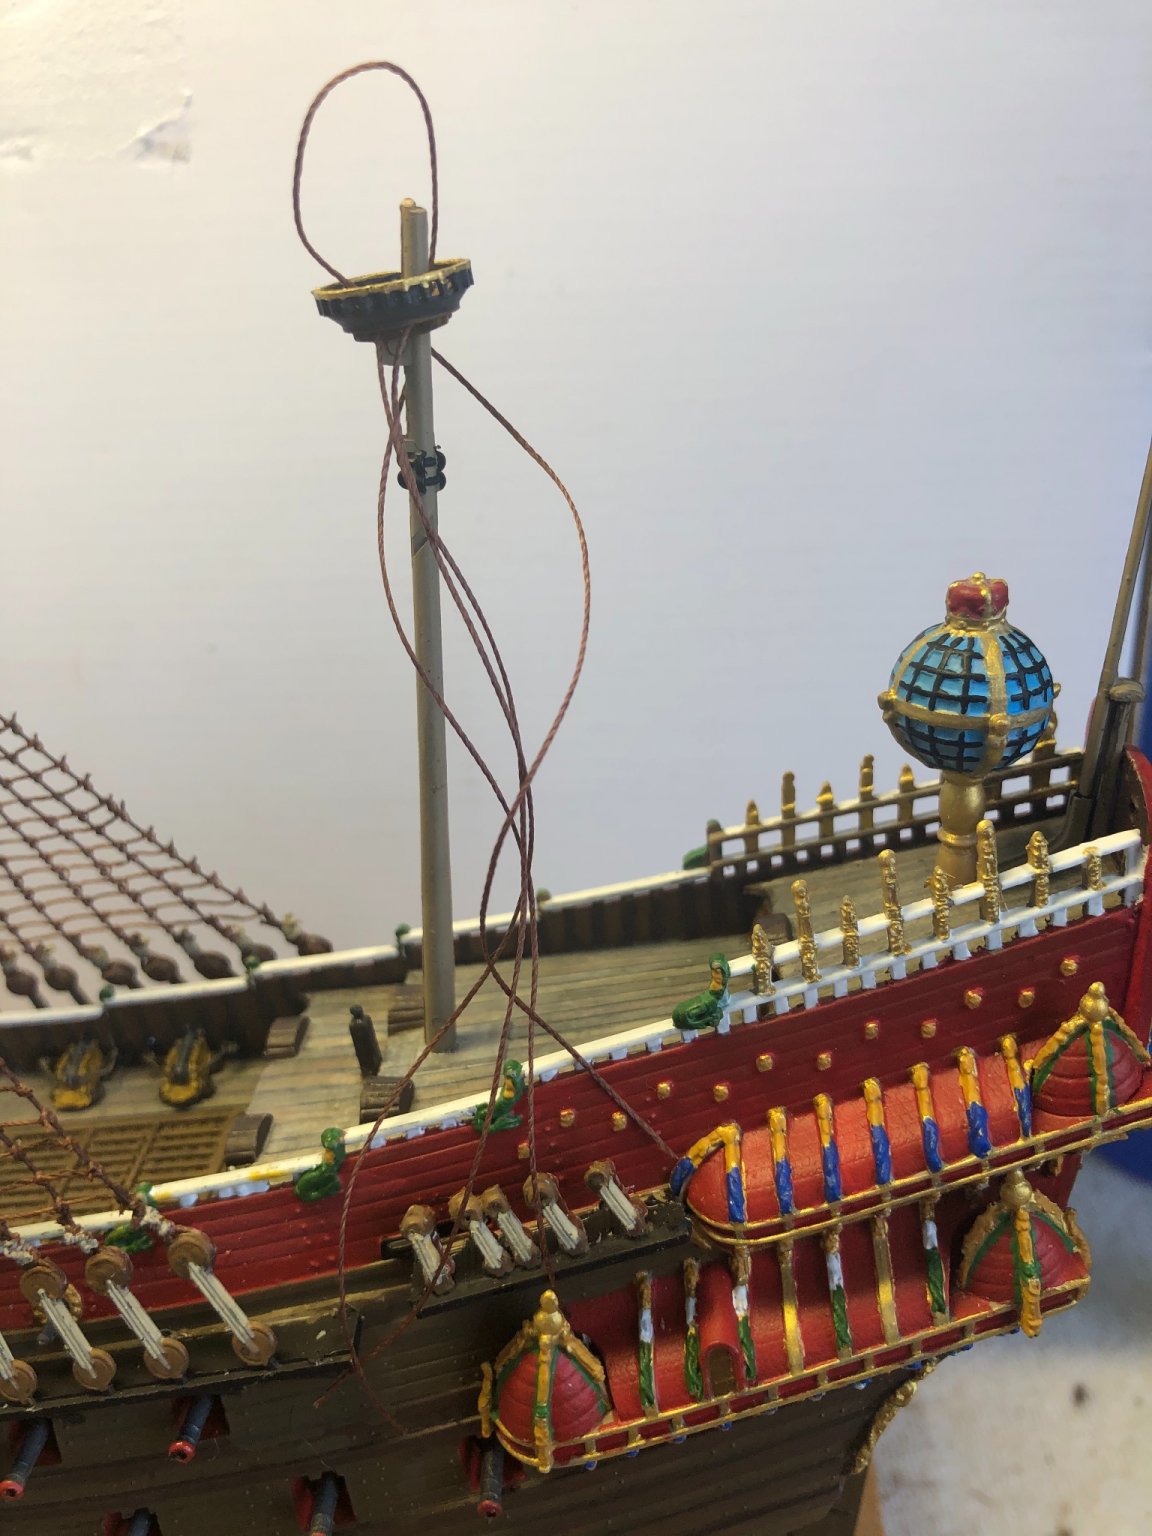
Allanyed at the 1/144 scale I am working at on my Airfix Wasa and after putting it in the case I will make for it, hopefully viewing eyes will not be able to pick up the difference between this thread and model rope. Thankfully it is not “fuzzy”. My main curiosity is the brown color. That is the visual risk I am taking.
-
Great idea Hubac. So you will then put the other end of the rope in the hatch? Will you need to mount it to the side of the inside hatch so as to not hang in front of cannon barrel?
-
Thanks again Michael. This smaller scale does present it’s challenges but I think that increases the rewards of accomplishment. I really enjoy the community of builders MSW offers. Being able to discuss modeling ideas is very helpful especially when working on the same model! Going to look through my supply of blocks to see if I have what I need. Kind of wish you were ahead of me on the Wasa instead of the other way around. Hope I am not pulling you away from the ship you are working on to evaluate the issues I discover on the Wasa. Will definitely study the rigging plan Kirill4 recommended. Now this is going to freak all you guys! As I mentioned a few posts back I have been debating rope color for the standing rigging. Even though it may not be completely authentic, and maybe even a little visually risky, I decided to rig my Wasa with coke brown rope!! I had what I needed in the sizes necessary.


-
Looks good Hubac. Are you going to run a rope through the hole you drilled and tie a knot on the outside of the door to secure the rope?
-
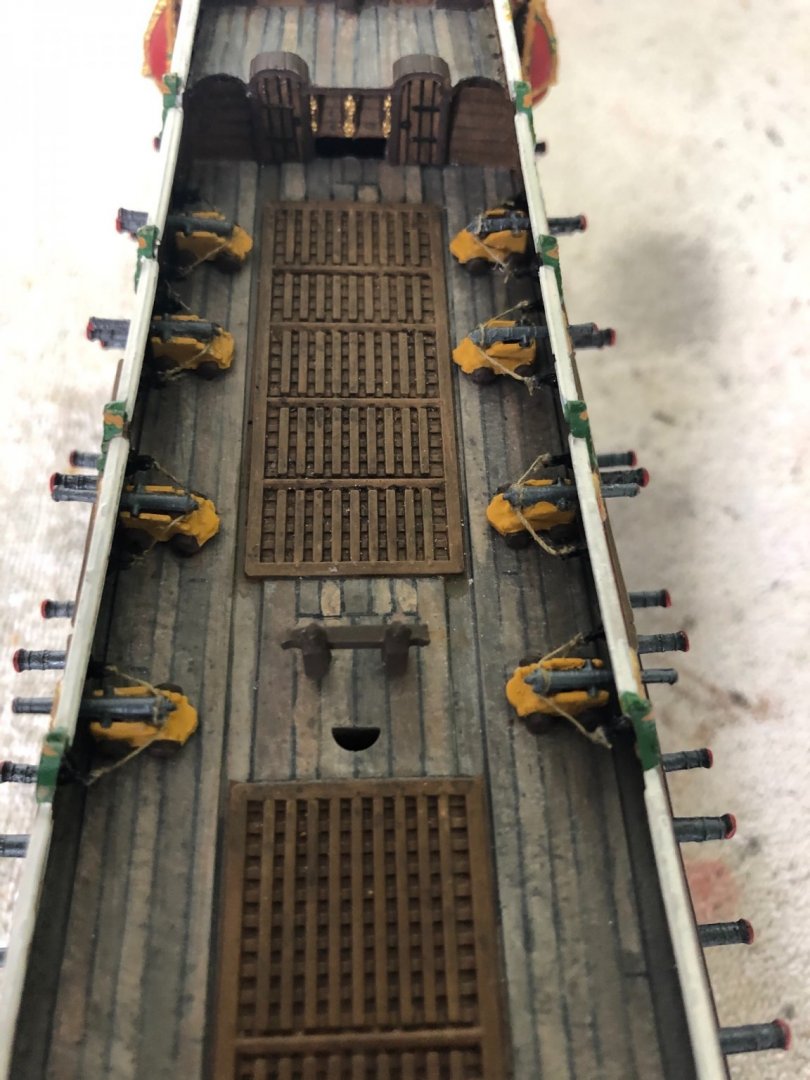
That looks really good Michael. Looks like you drilled a small hole above the lid to insert the rope and you will need to do that for all 50 hatches. Hubac if you display your doors fully open up against the wales you will not need the holes correct? Interestingly I looked back at my Revell 1/96 USS Constitution, I built a while back. For it’s cannon hatches it has a hole drilled in the bottom of the door. A rope is inserted in the hole and a knot tied on the inside. Then the other end is run through a hole in the hull. Giving the appearance that the rope was pulled to open the hatch and then gravity was simply used to close the hatch. This was my original thought as to how I would do the hatches. But I must admit the eye bolts look good. Michael I had not paid attention to this before today but I noticed there are absolutely no blocks included with the kit for rigging. The very limited rigging instructions that came with the kit don’t reference blocks or show them in the diagrams, but surly they used them in that era, didn’t they?

-
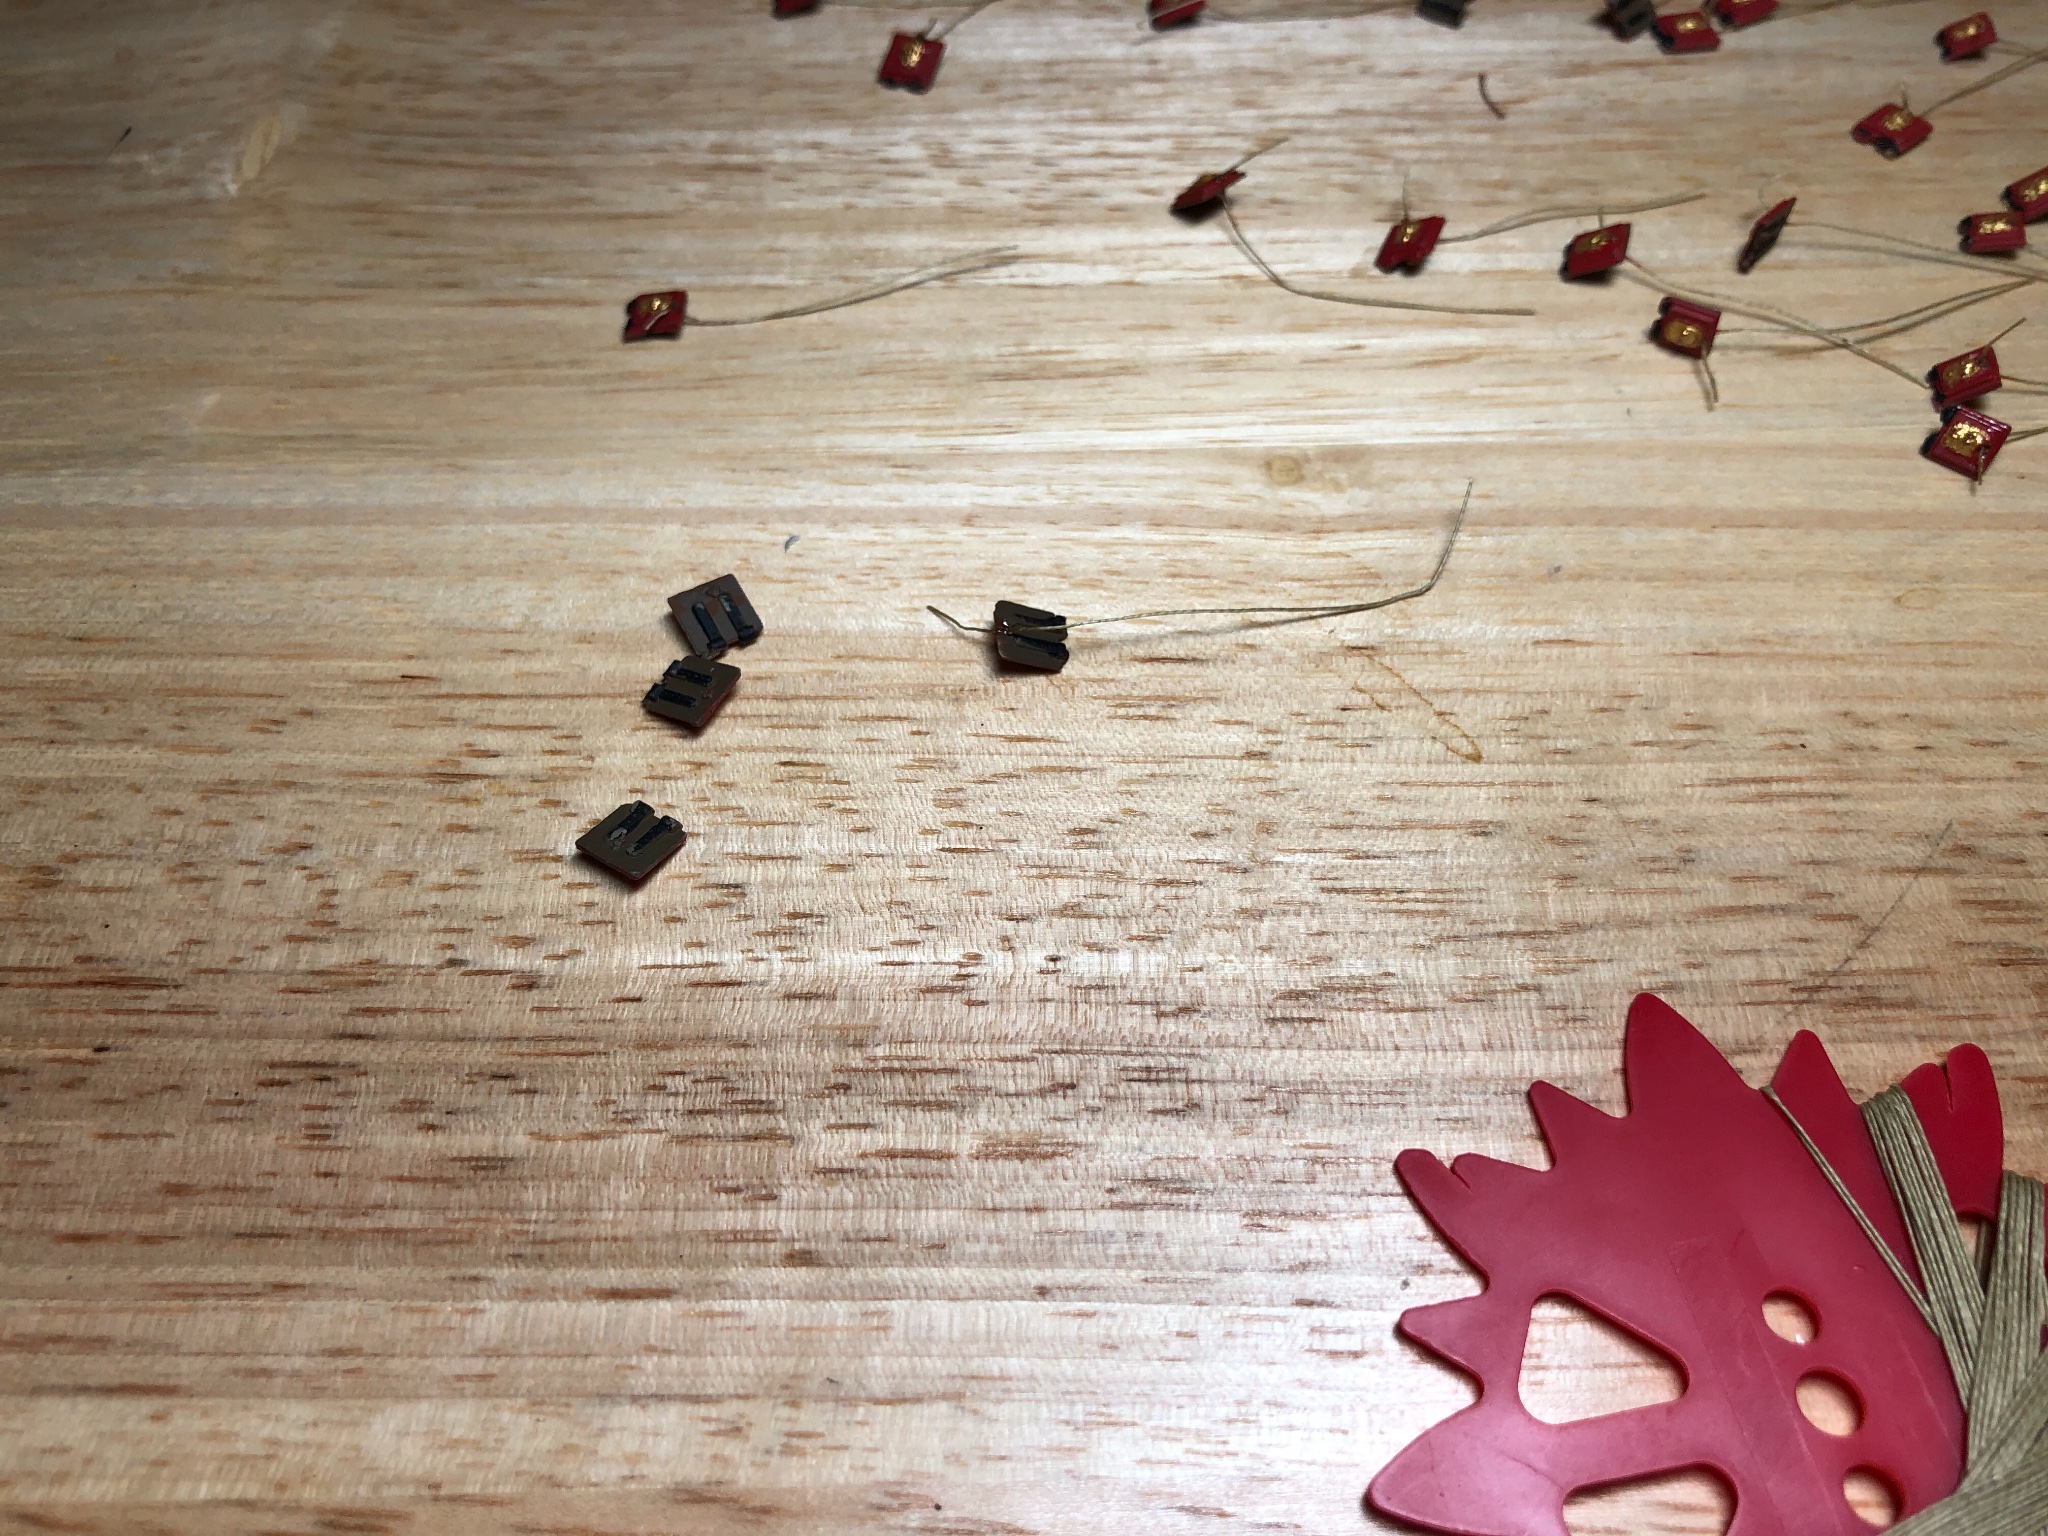
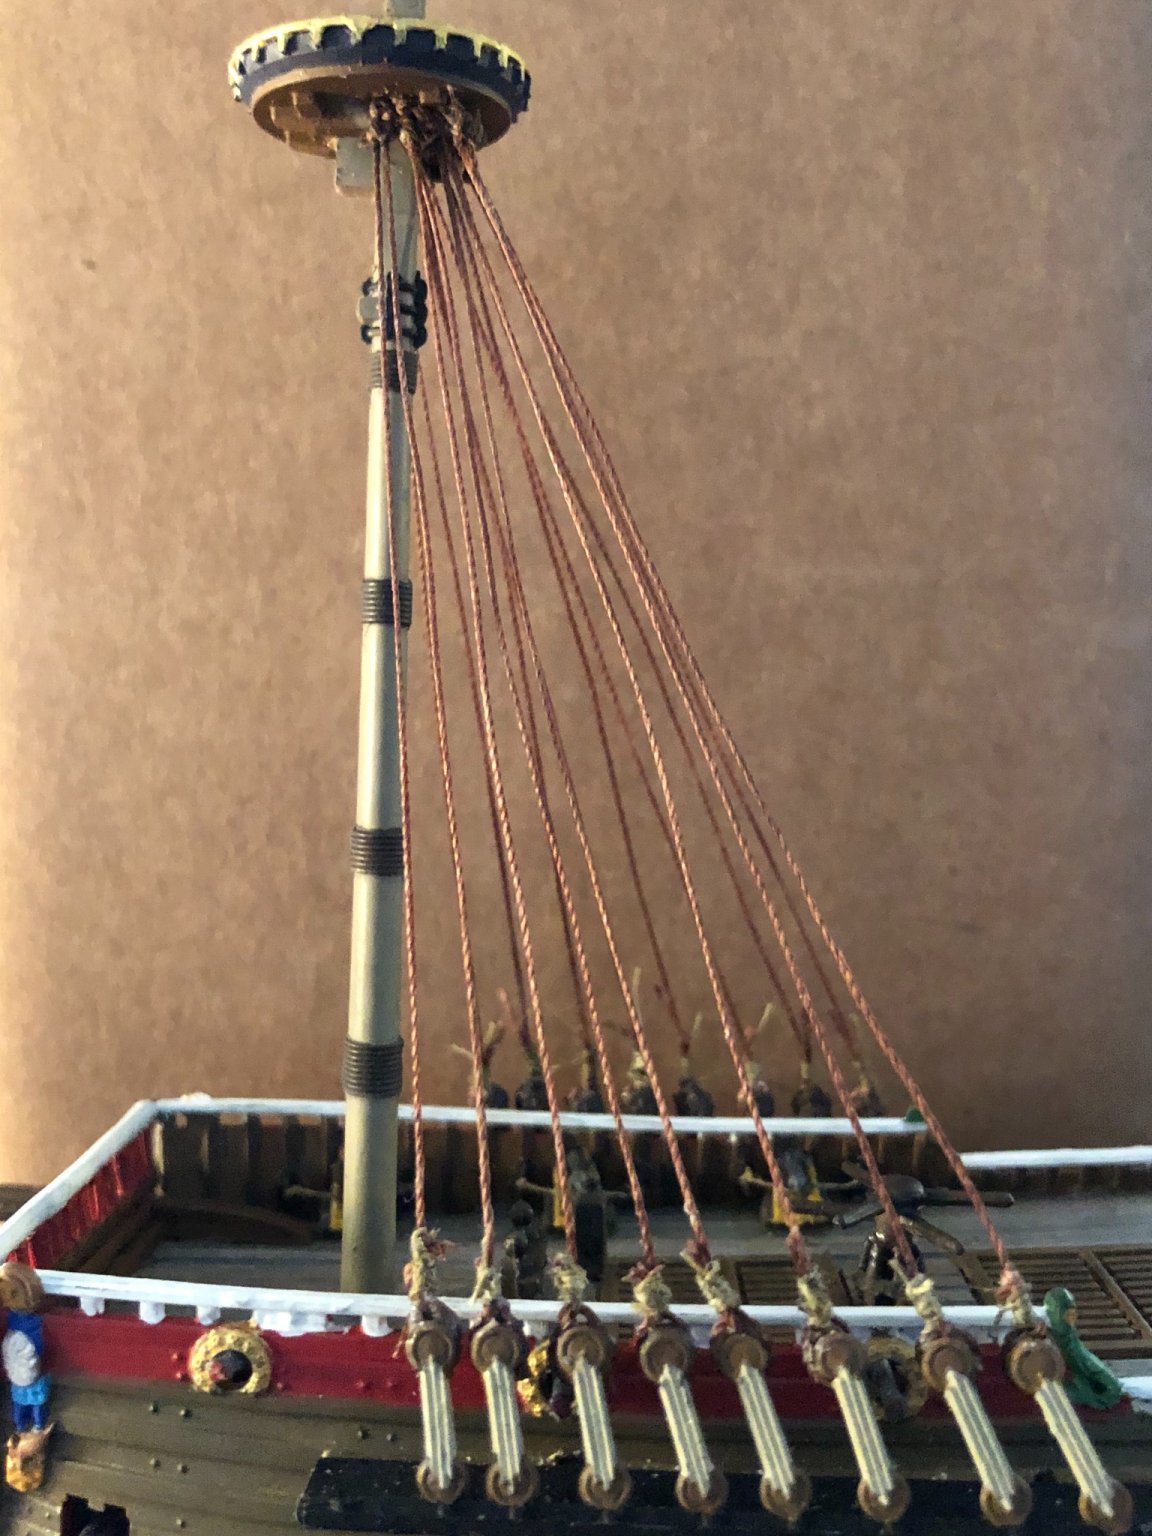
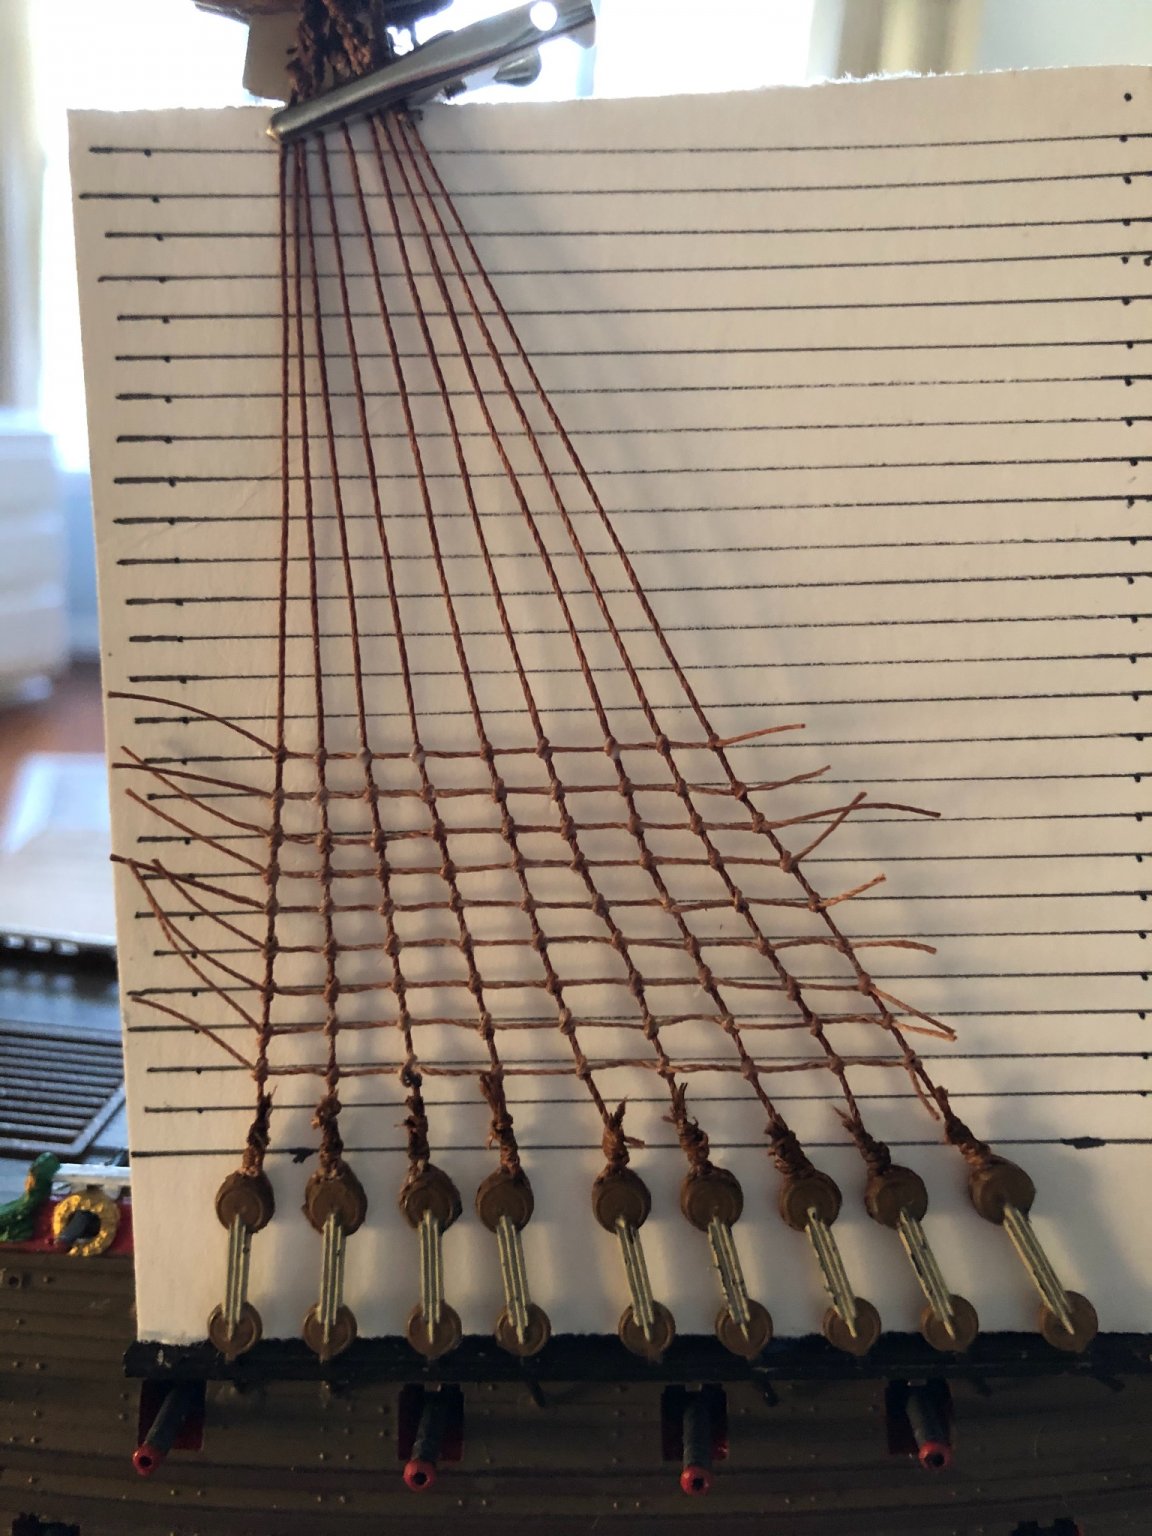
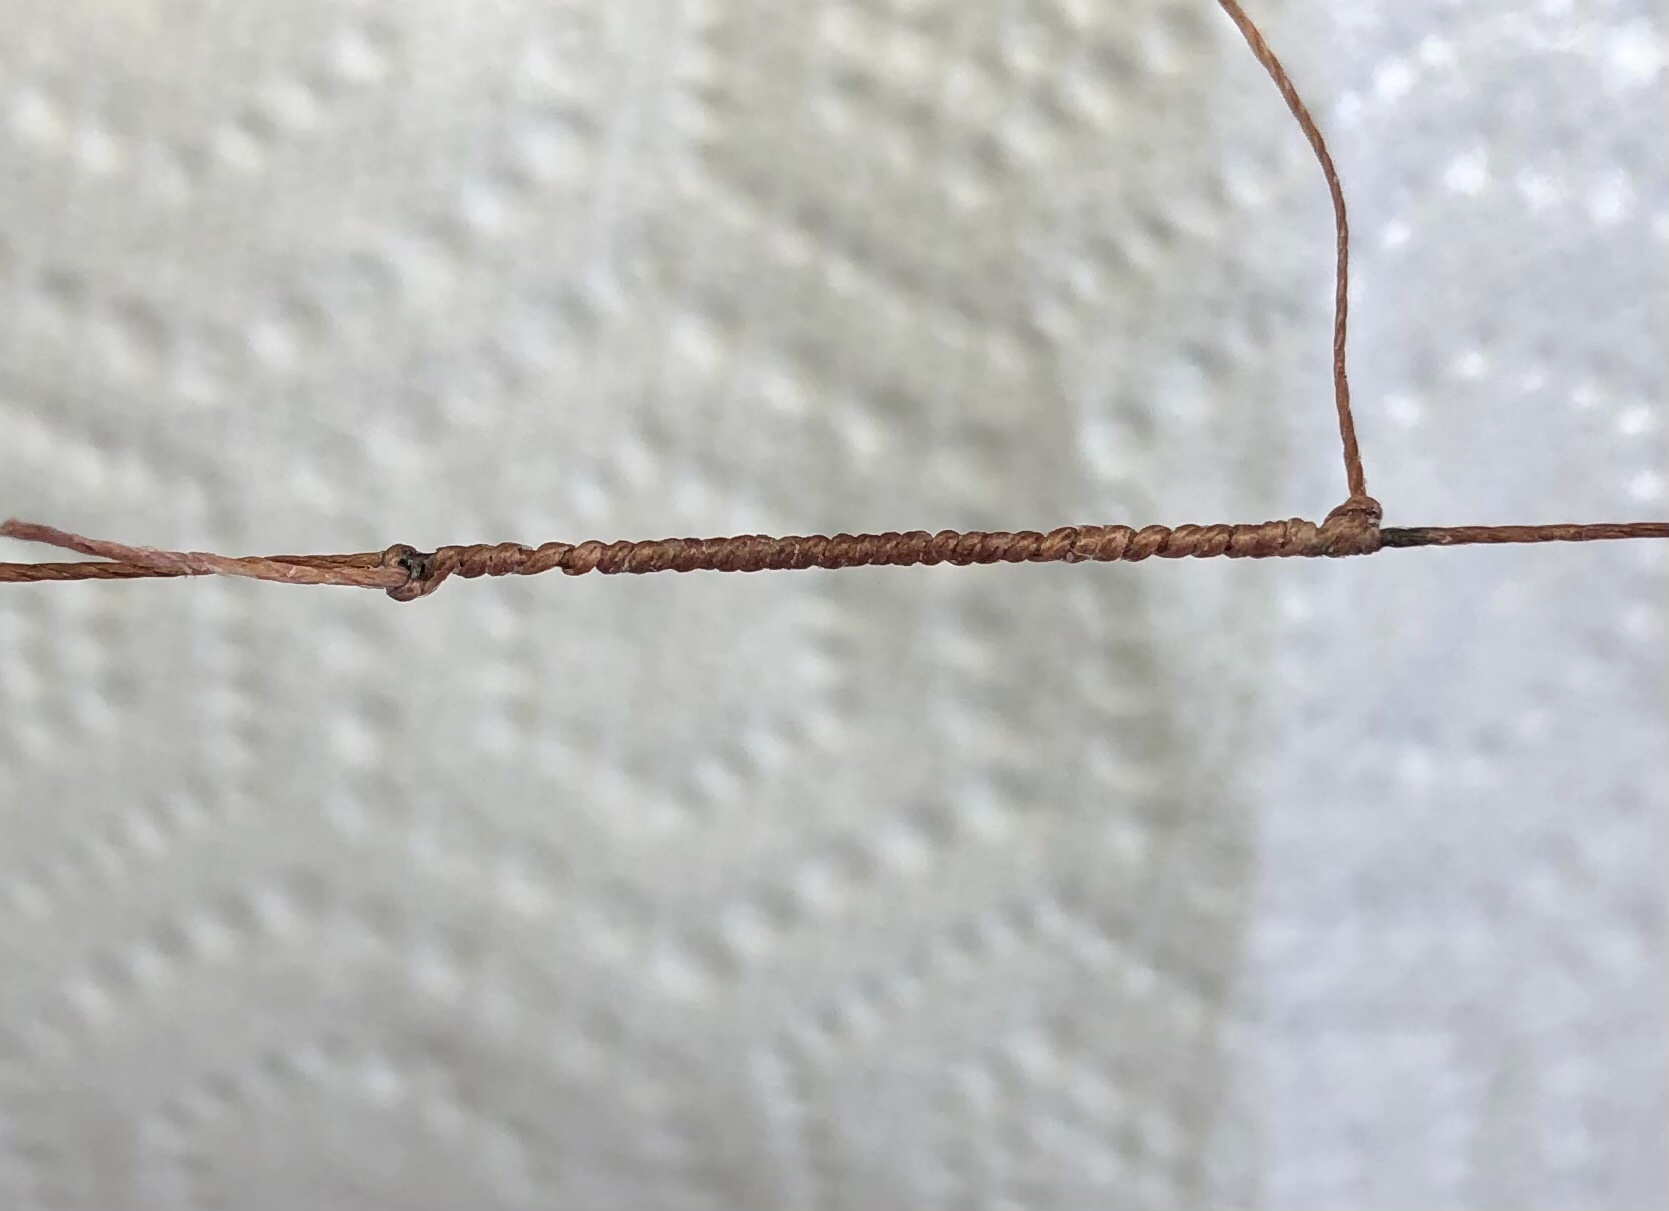
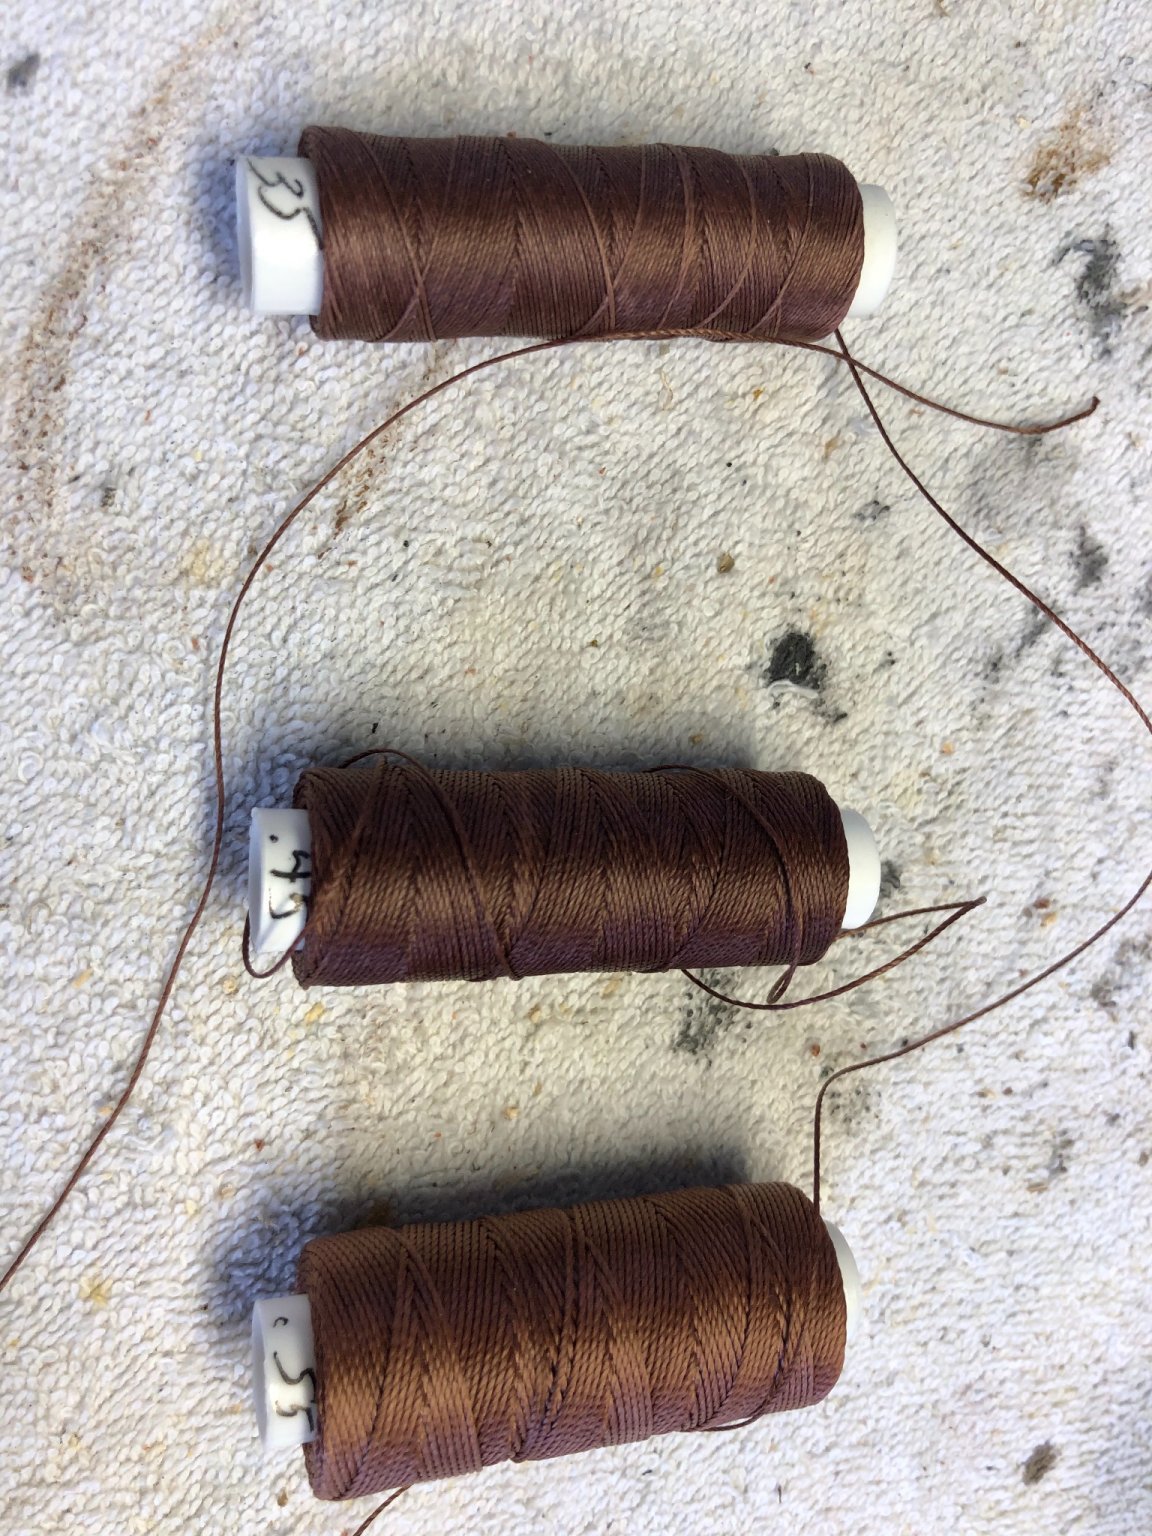
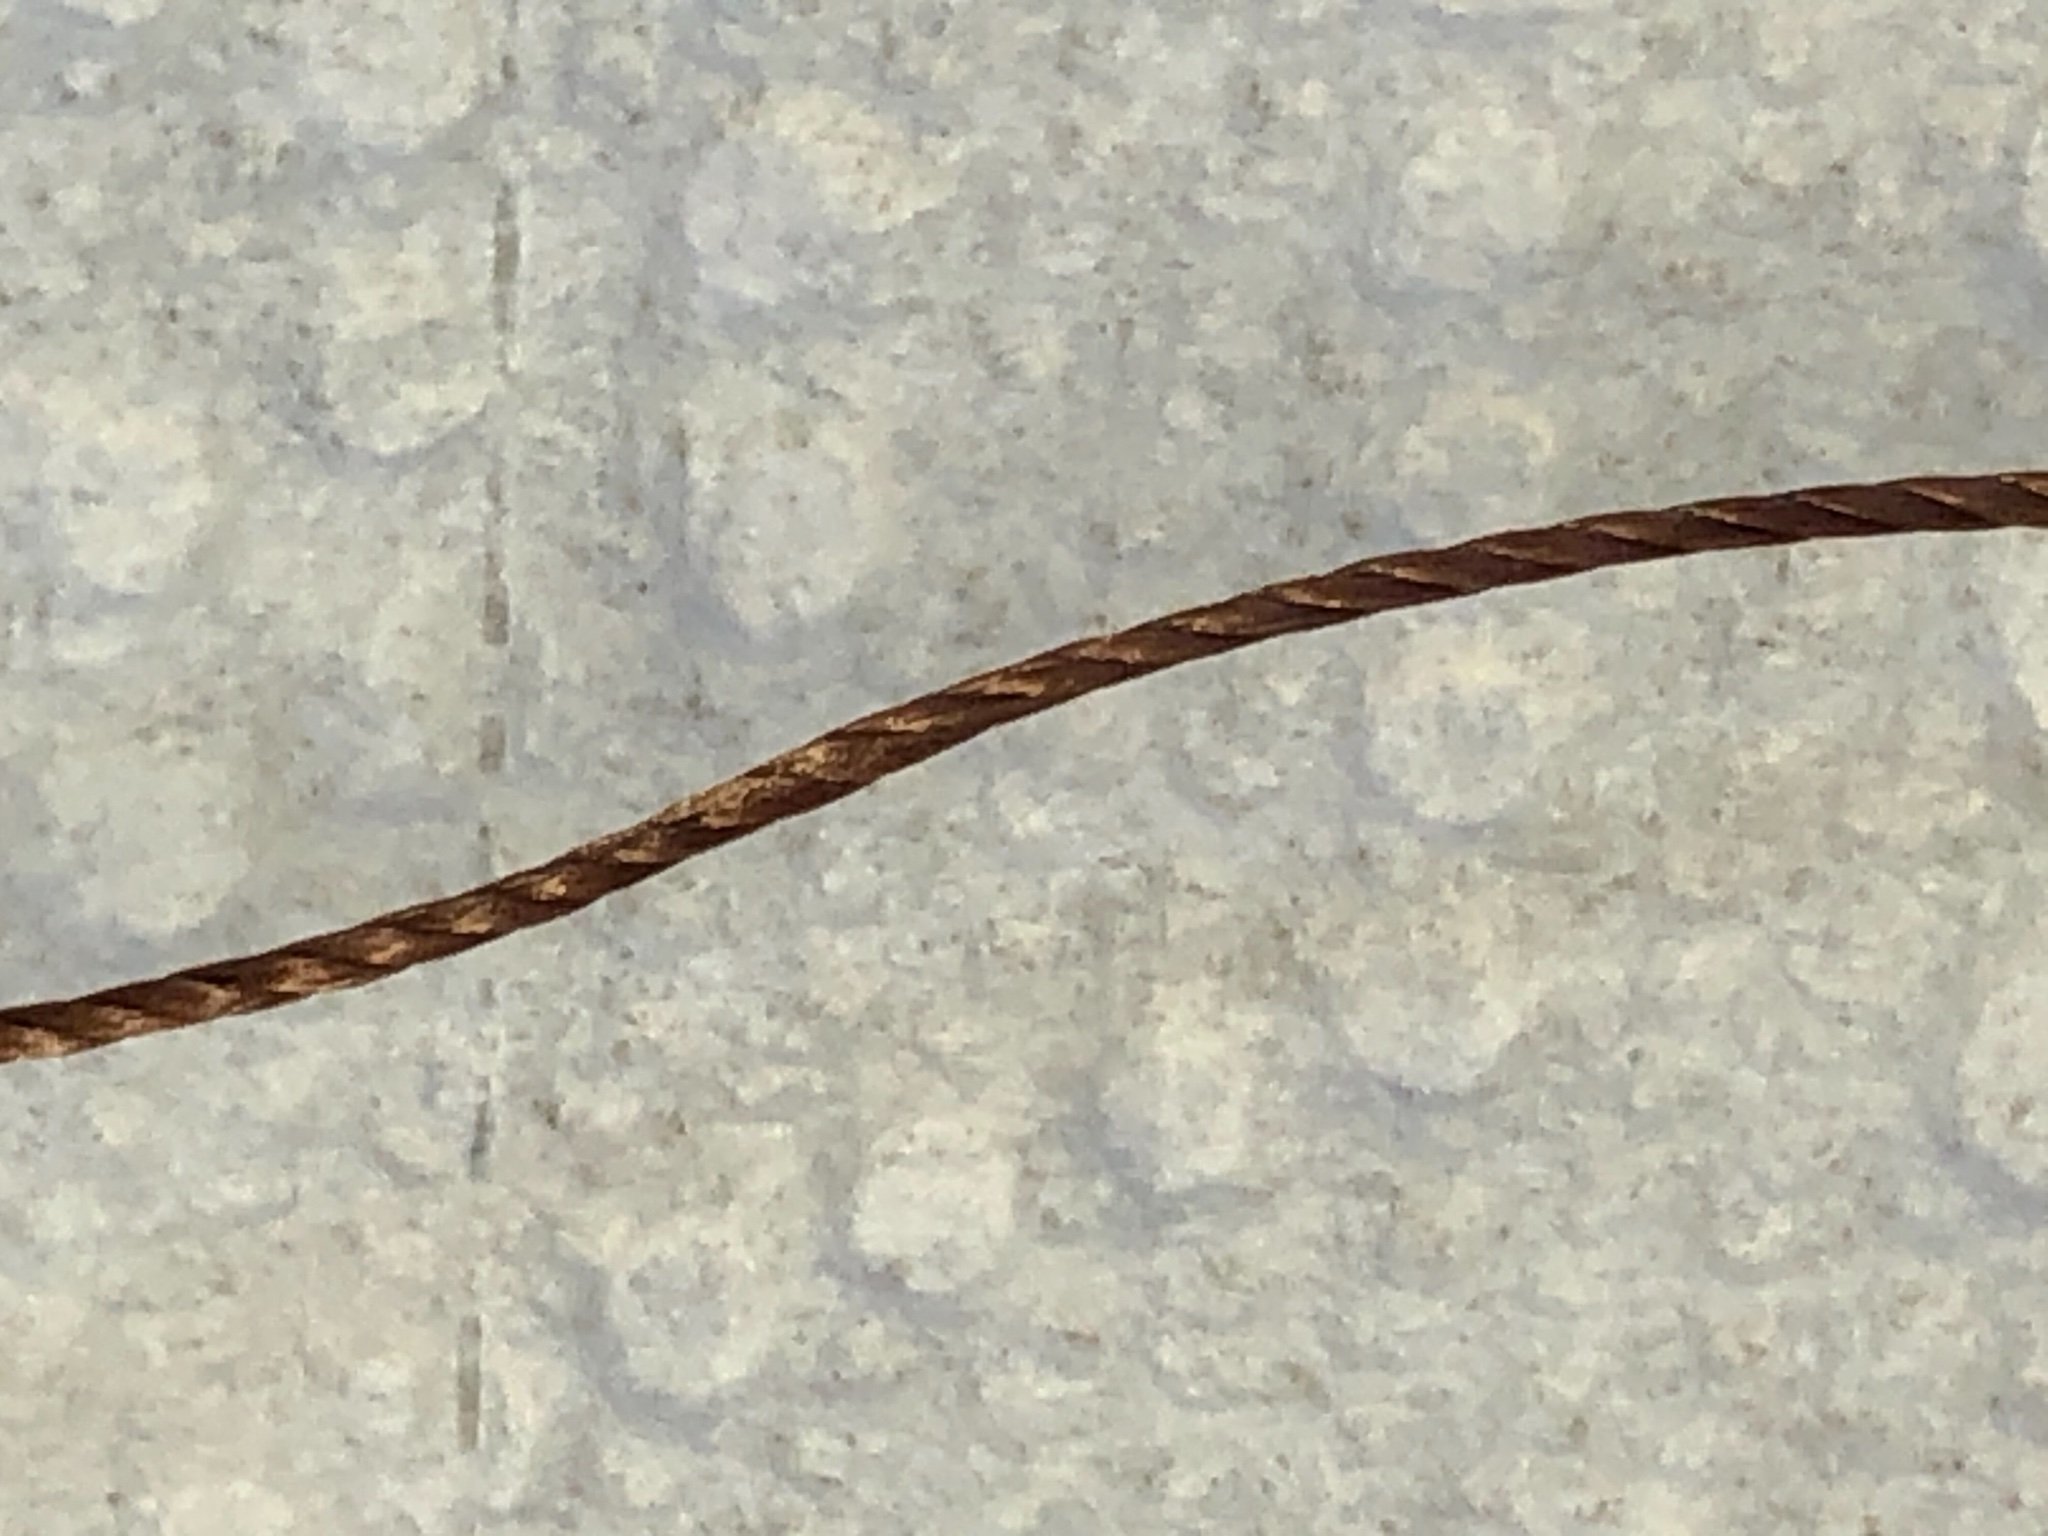
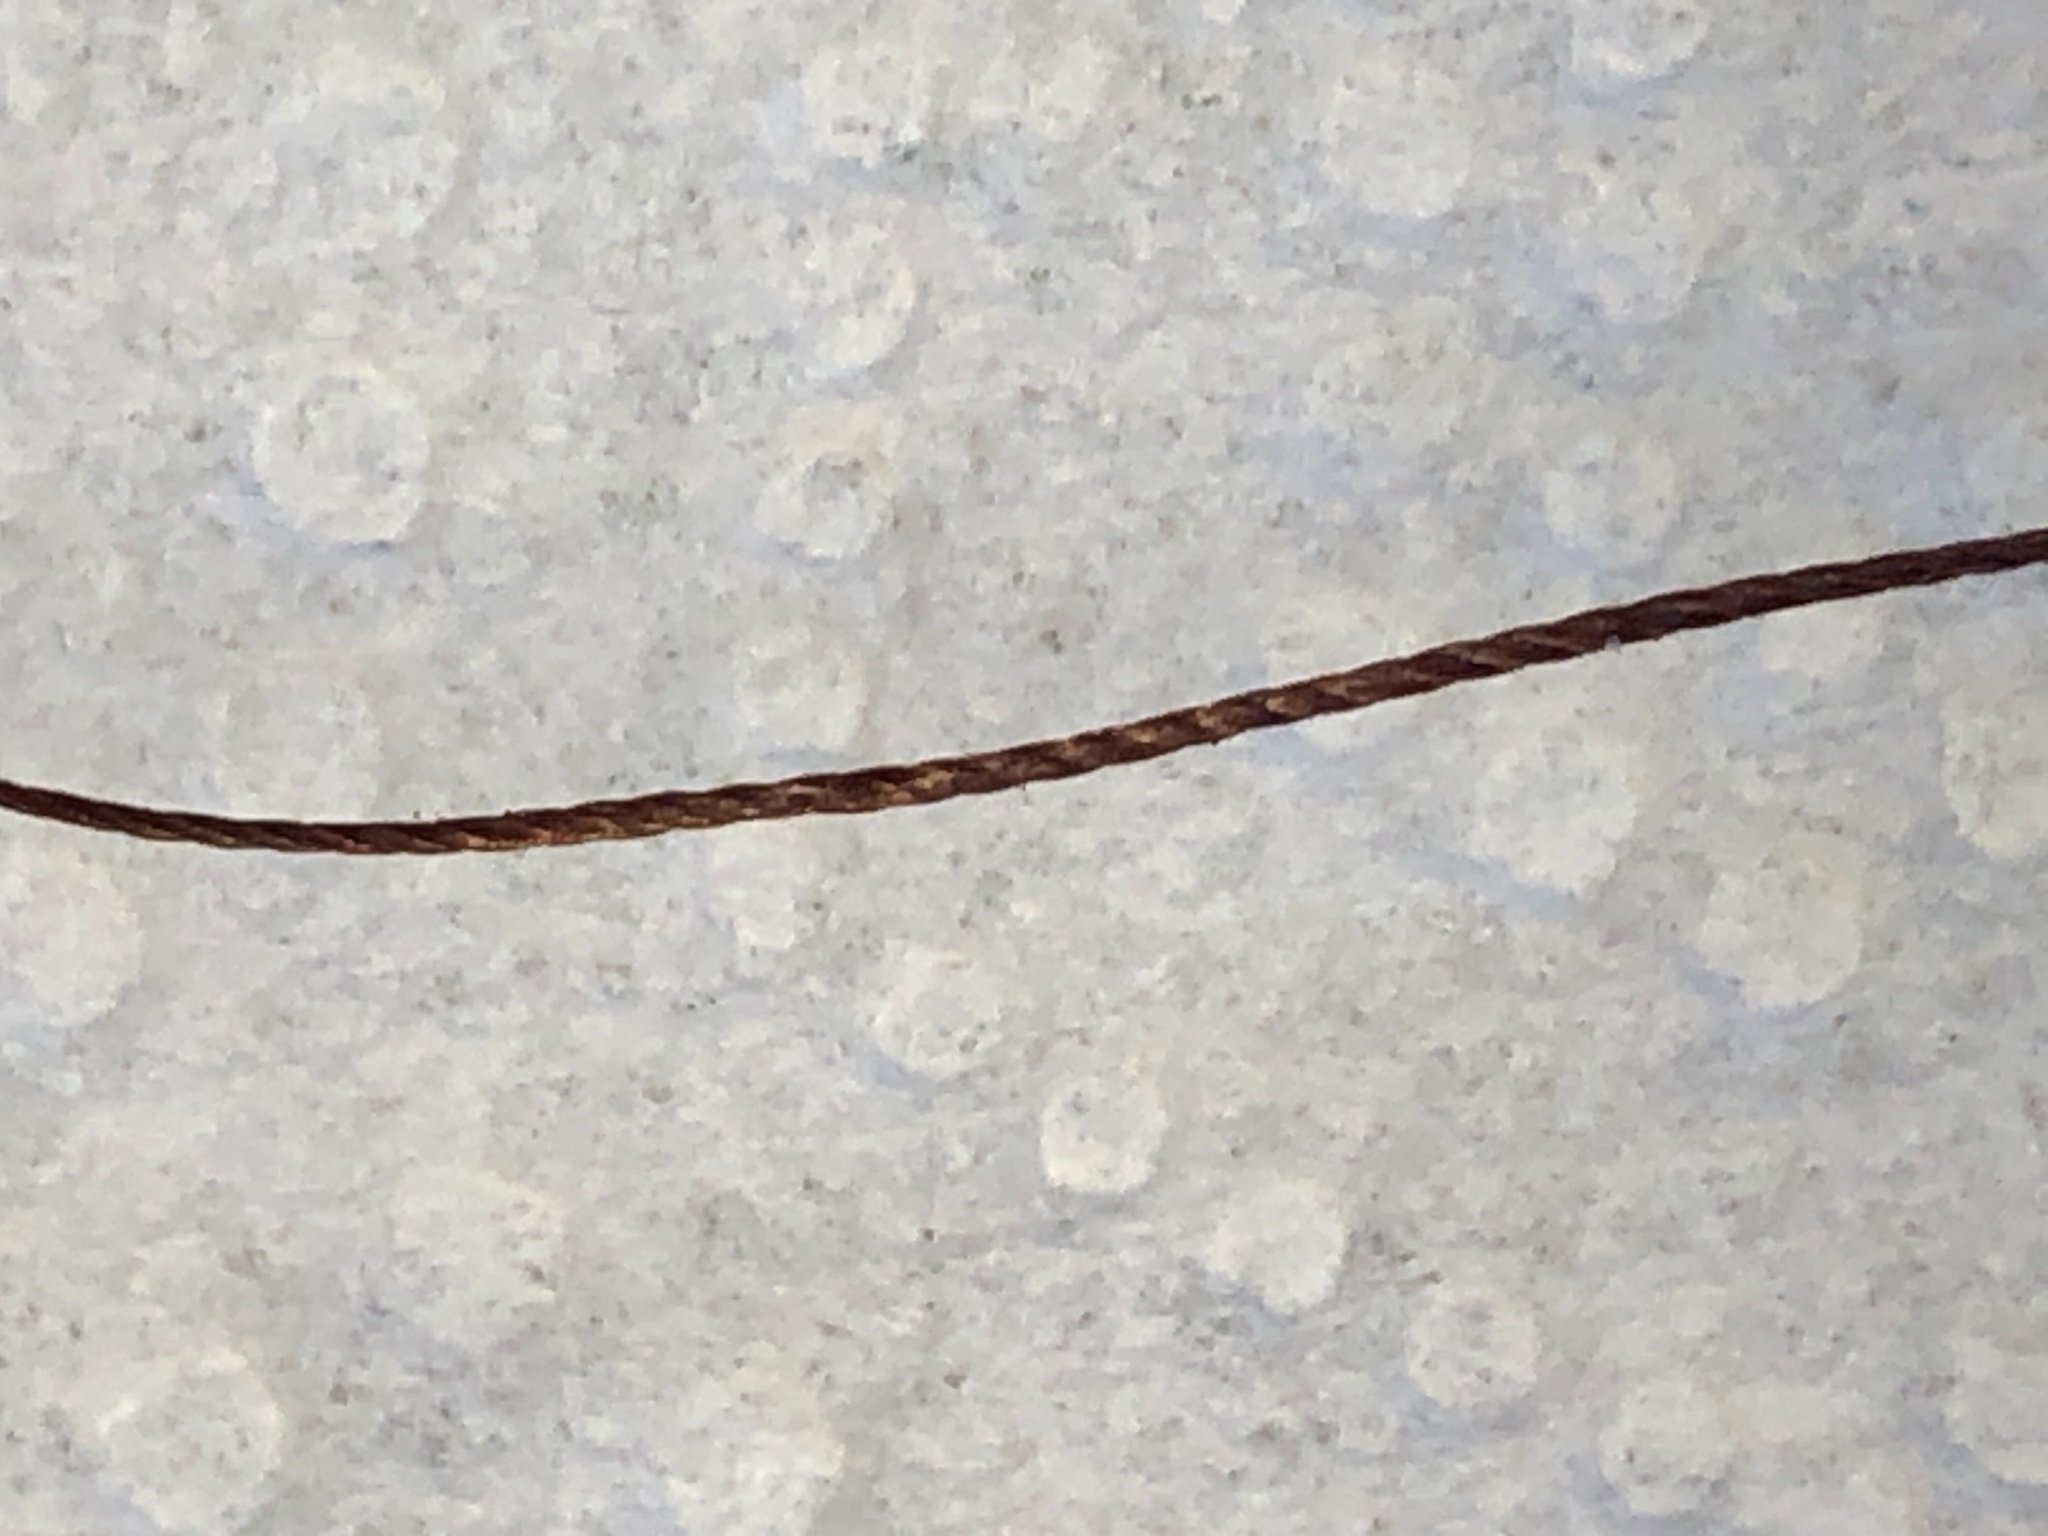
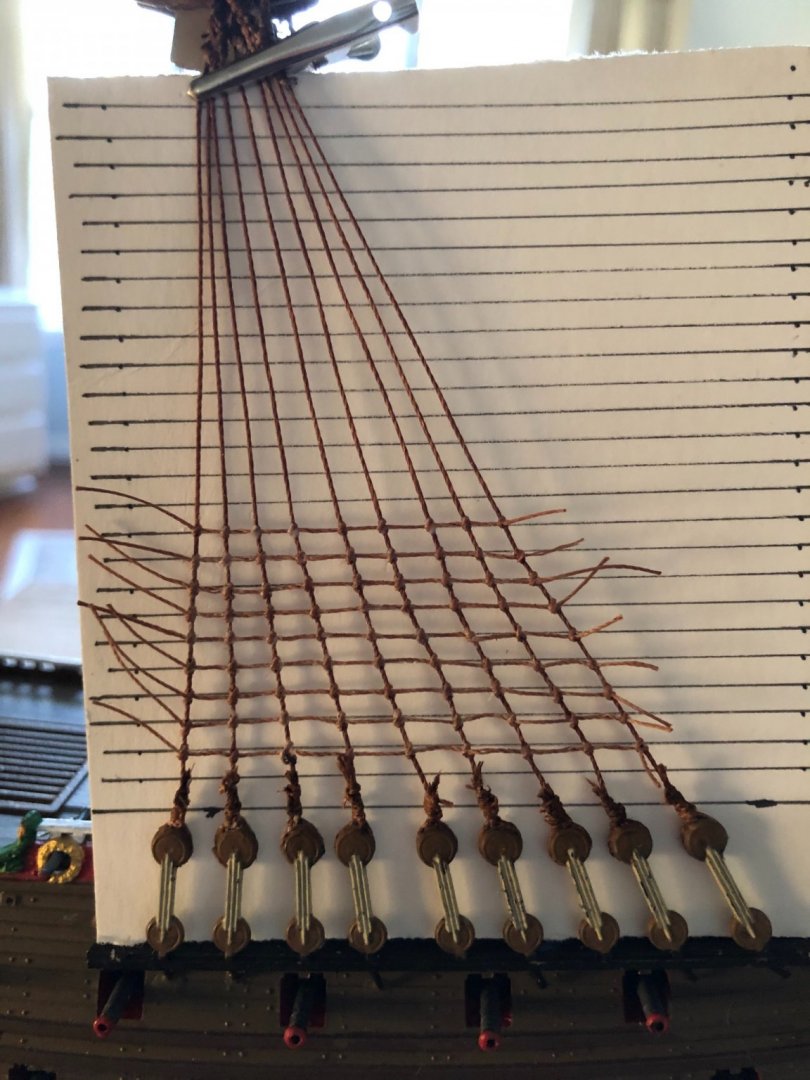
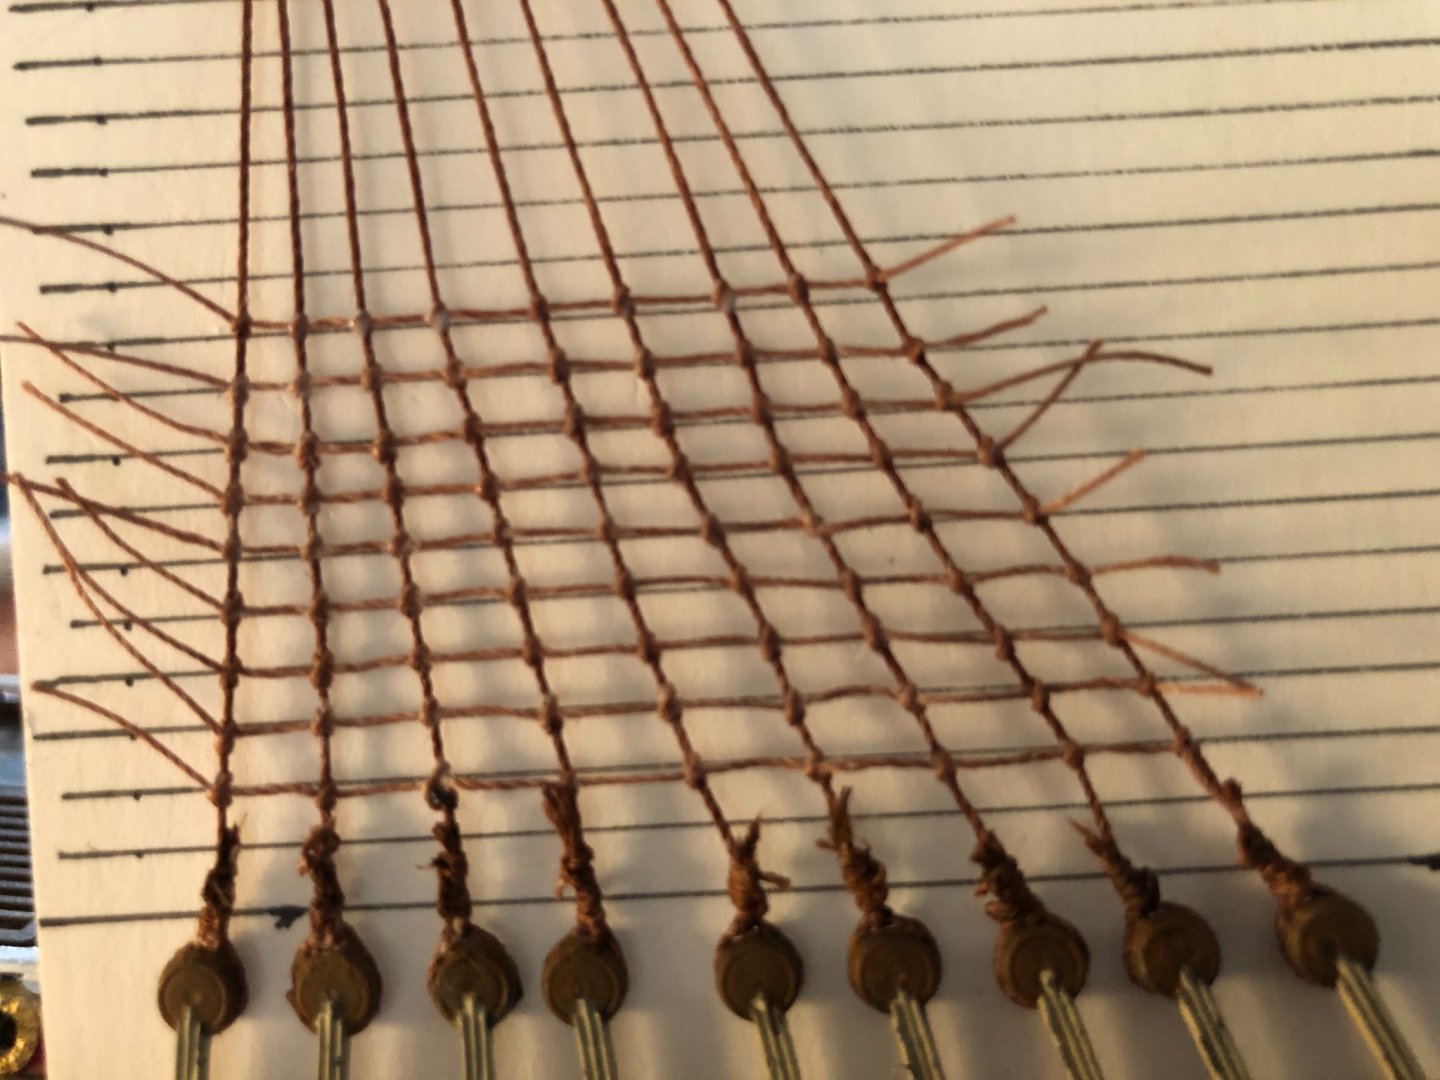
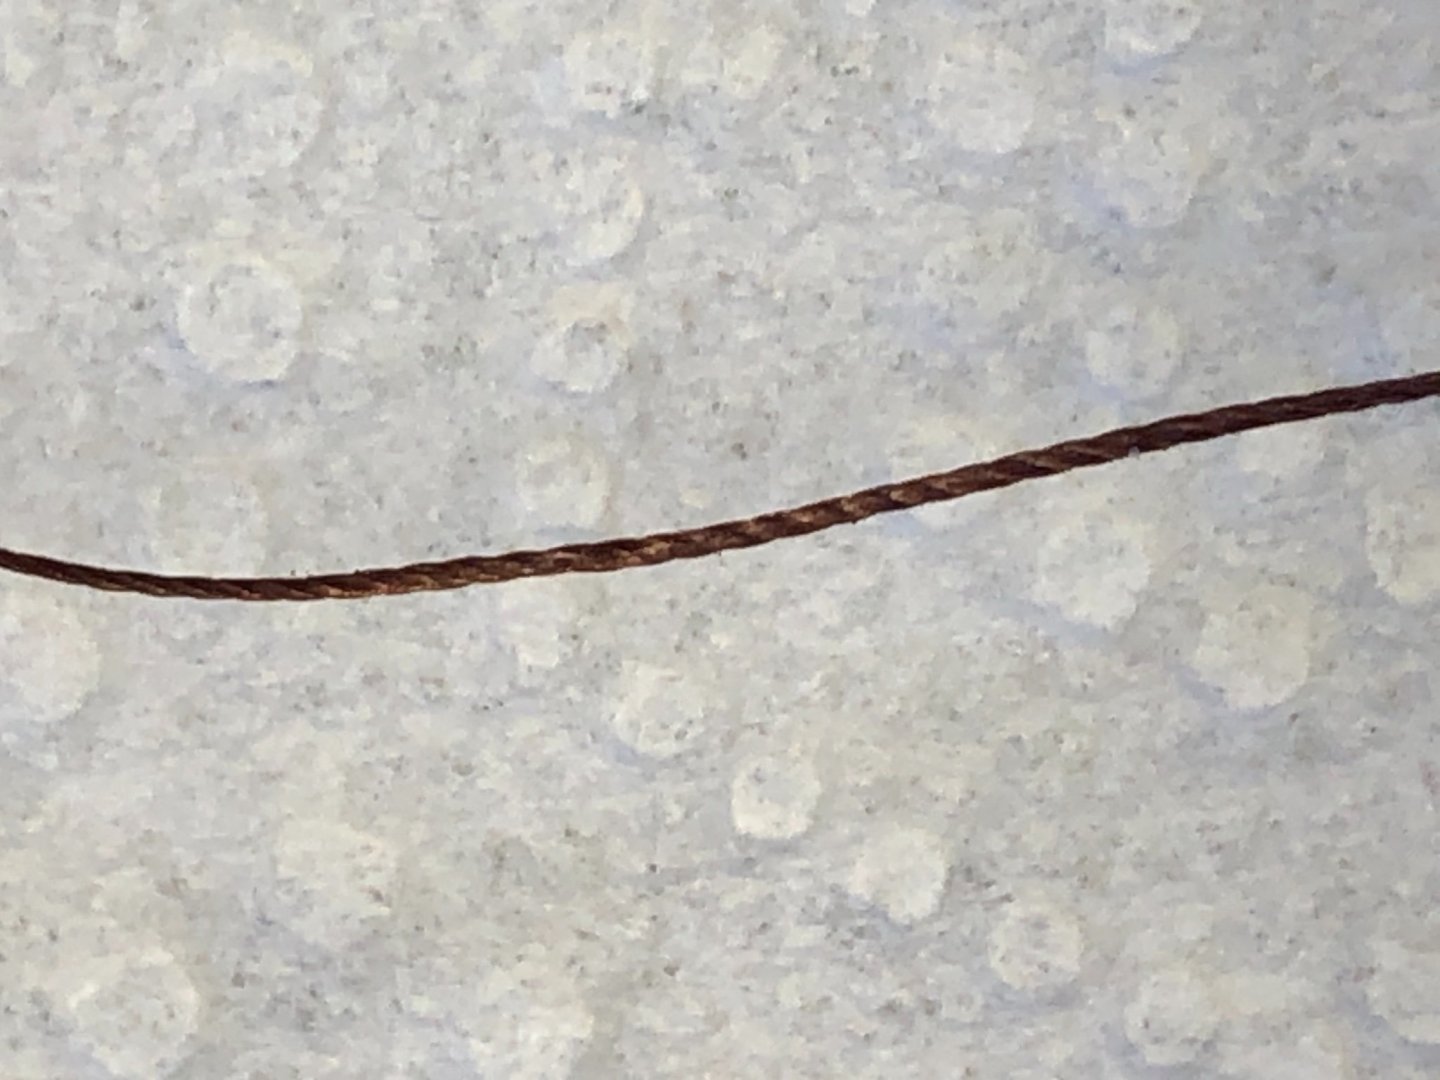
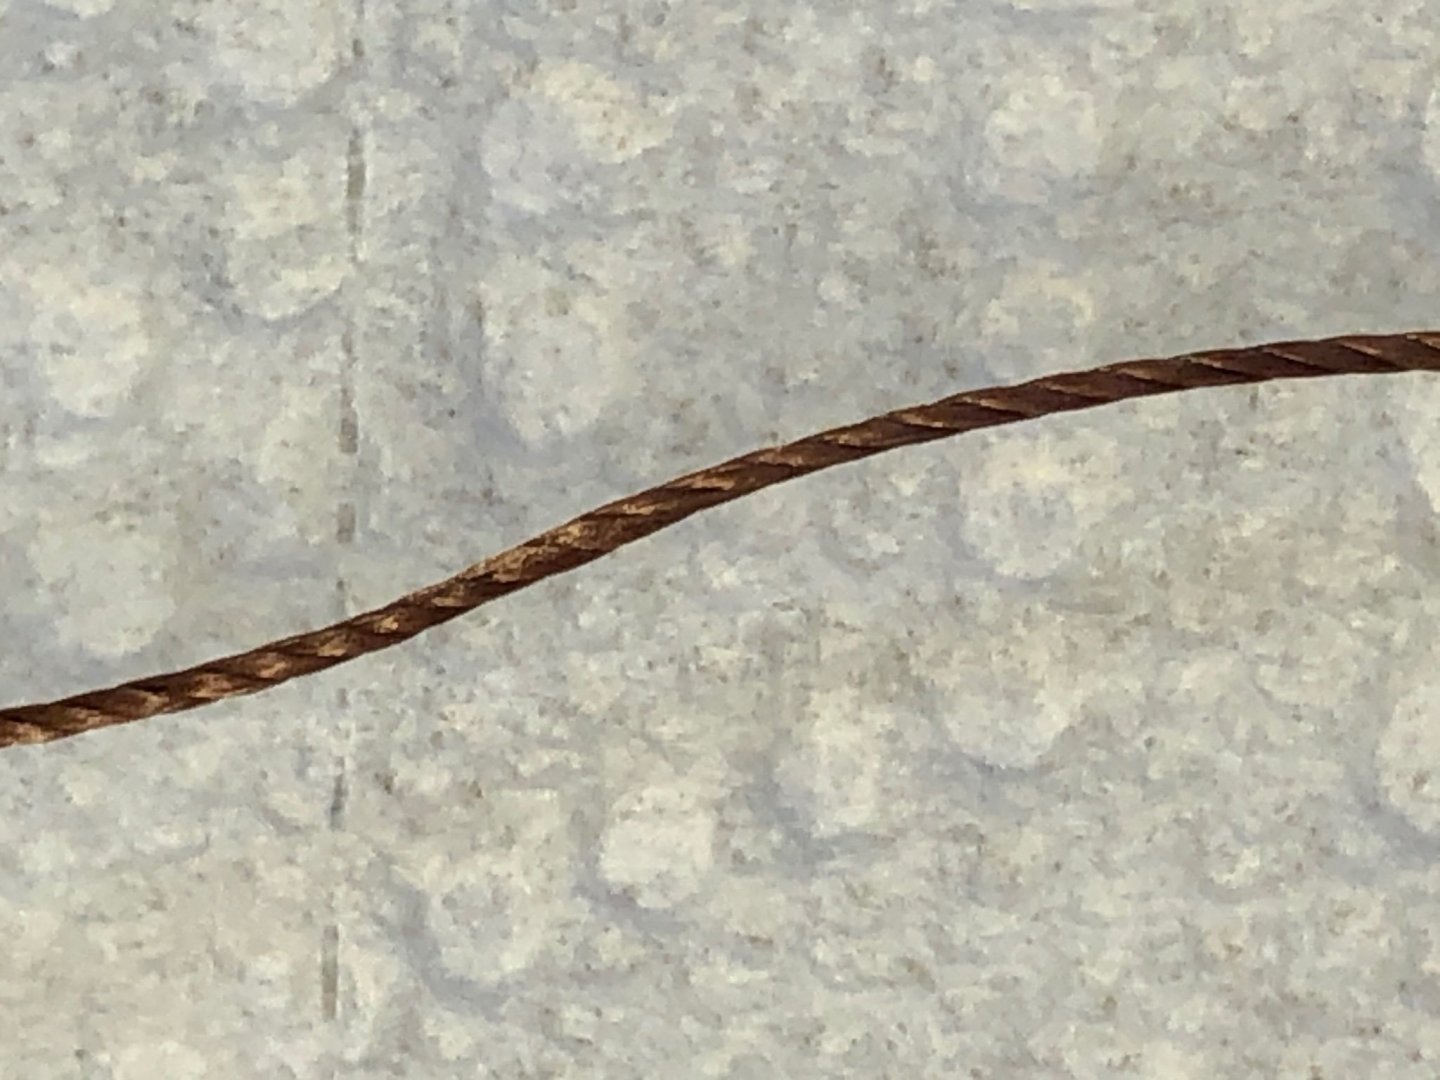
Guys here are a couple close up pictures of my .45 and .55 mm rope. The close up to show the appearance of twisted rope. I think the .45 is a slight bit darker than the .55. I have a few spools of this color and sizes including a .35 mm and a matching sewing thread. I completed the lower shrouds for the main mast including seizing the shroud pairs. Not yet attached to deadeyes. Since I already have the rope and completed the lower mainmast shrouds I am thinking I will just go with it. Hopefully I will not be expelled from the model ship building community 😊. In case you are wondering, the setup with the alligator clips on sticks in front of my Wasa is how I do my rope seizing. Have not yet sprung for a rope seizing machine! Put the ends of the rope in the clips and manually wrap the seizing rope around and around between the previously marked points.


-
Beautiful job archnav! Measuring my first brown shroud before seizing. Brown is definitely different from what I am used to.

-
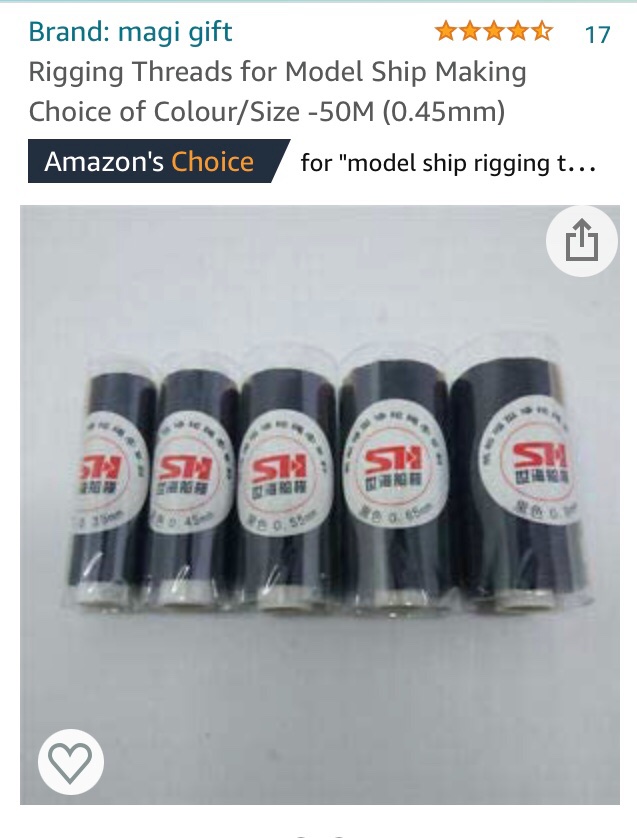
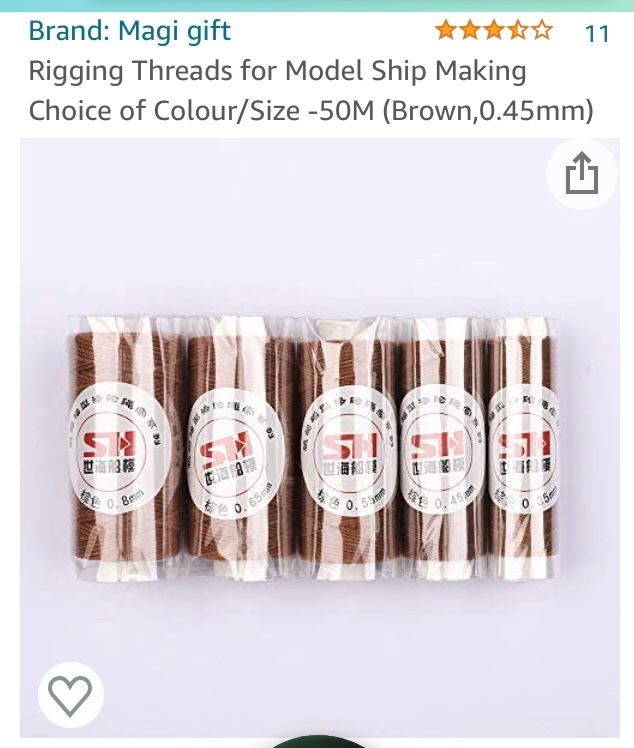
Thanks allanyed. These are the rigging threads I have decided to go with. Coke brown and in 3 sizes, .3, .4, and .5 mm for my 1/144 scale Wasa. First build not using black for standing rigging. Anxious to see how it turns out. Sure it will raise questions from people who view my model ship room as to why is the Wasa brown. Will need to be ready with great answer 😊
-
Looking ahead to shrouds, standing and running rigging I am aware that this kit came with only white thread. There is a suggestion to soak the white thread in tea to obtain desired color. I am going to purchase thread on line in various sizes instead. I have a light tan color thread for the running rigging but need thread for the standing rigging. I automatically looked for black like I have used on all my other builds. I found black but also found one called coke brown. That got me wondering if Airfix suggested soaking in tea is a coke brown more accurate than black for standing rigging? I ordered various sizes of the black and will get it soon but now wonder if I should have gone with the brown?
-
Ok guys after I started the post I decided to just buy model ship rigging thread. I initially was only able to find a color called Coke Brown. So I ordered several sizes of that color. After the order I continued to search because I was not sure about using that color for standing rigging. I was eventually able to find black so I ordered several sizes and canceled the order for the coke brown. I am currently working on the Wasa and after I complete it will begin my long awaited tackle of the Heller HMS Victory. These are the two builds I have ordered the thread for. Now after reading several of your replies I am wondering if I should have stuck with the coke brown instead of switching my order to black.
-
The most recent kits I have purchased come with only white line for rigging. The instructions say to soak the line in tea to achieve the desired color. Instead of doing this I plan to just purchase different sizes of rigging thread from hobby supply shop. However the tea recommendation made me wonder if the dark brown color (almost Coke like) is actually more accurate than the black I have used on previous builds for standing rigging? I can purchase either dark brown or black. I am thinking the dark brown standing rigging could be visually interesting.
-
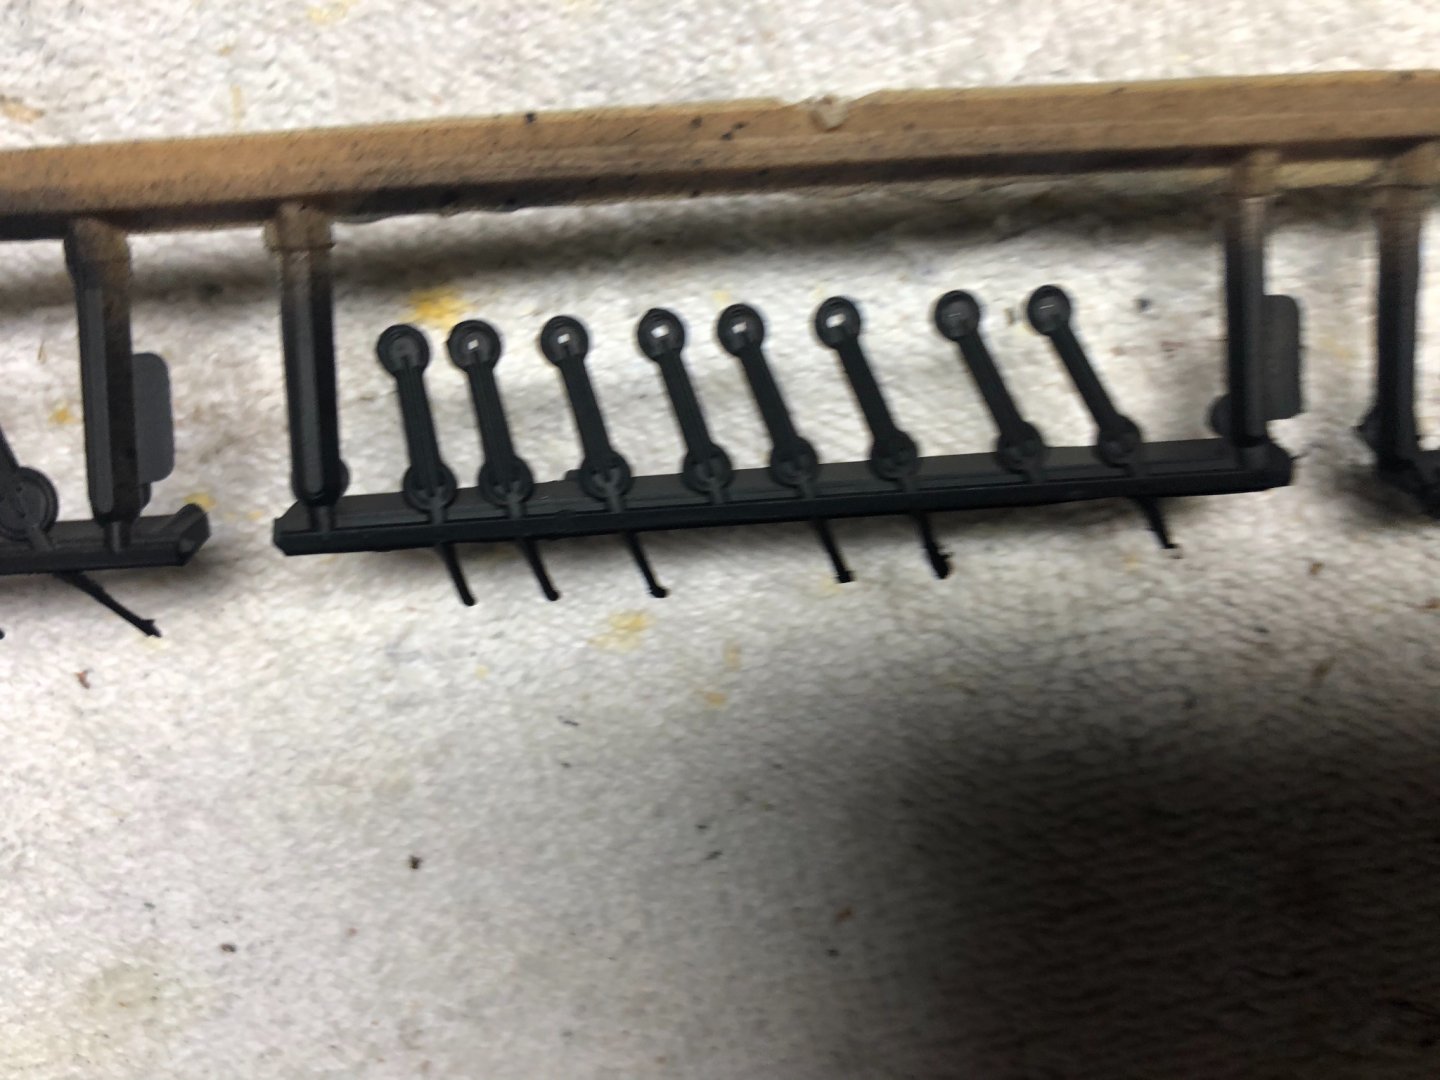
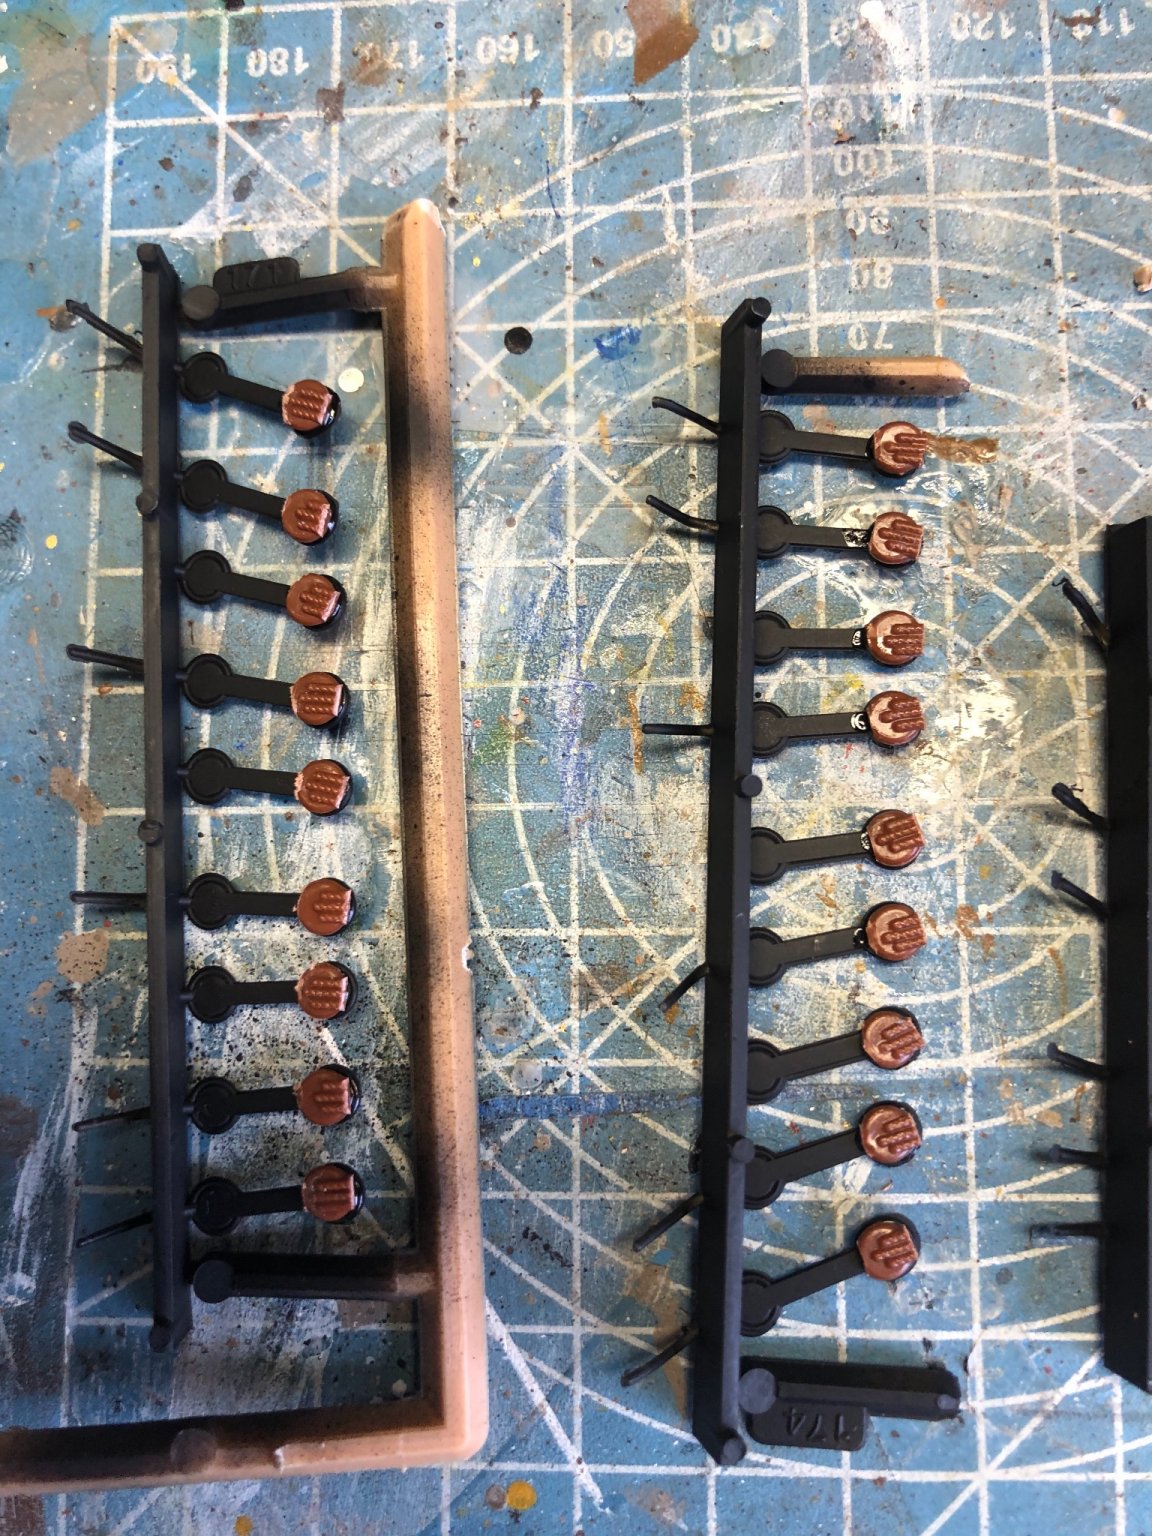
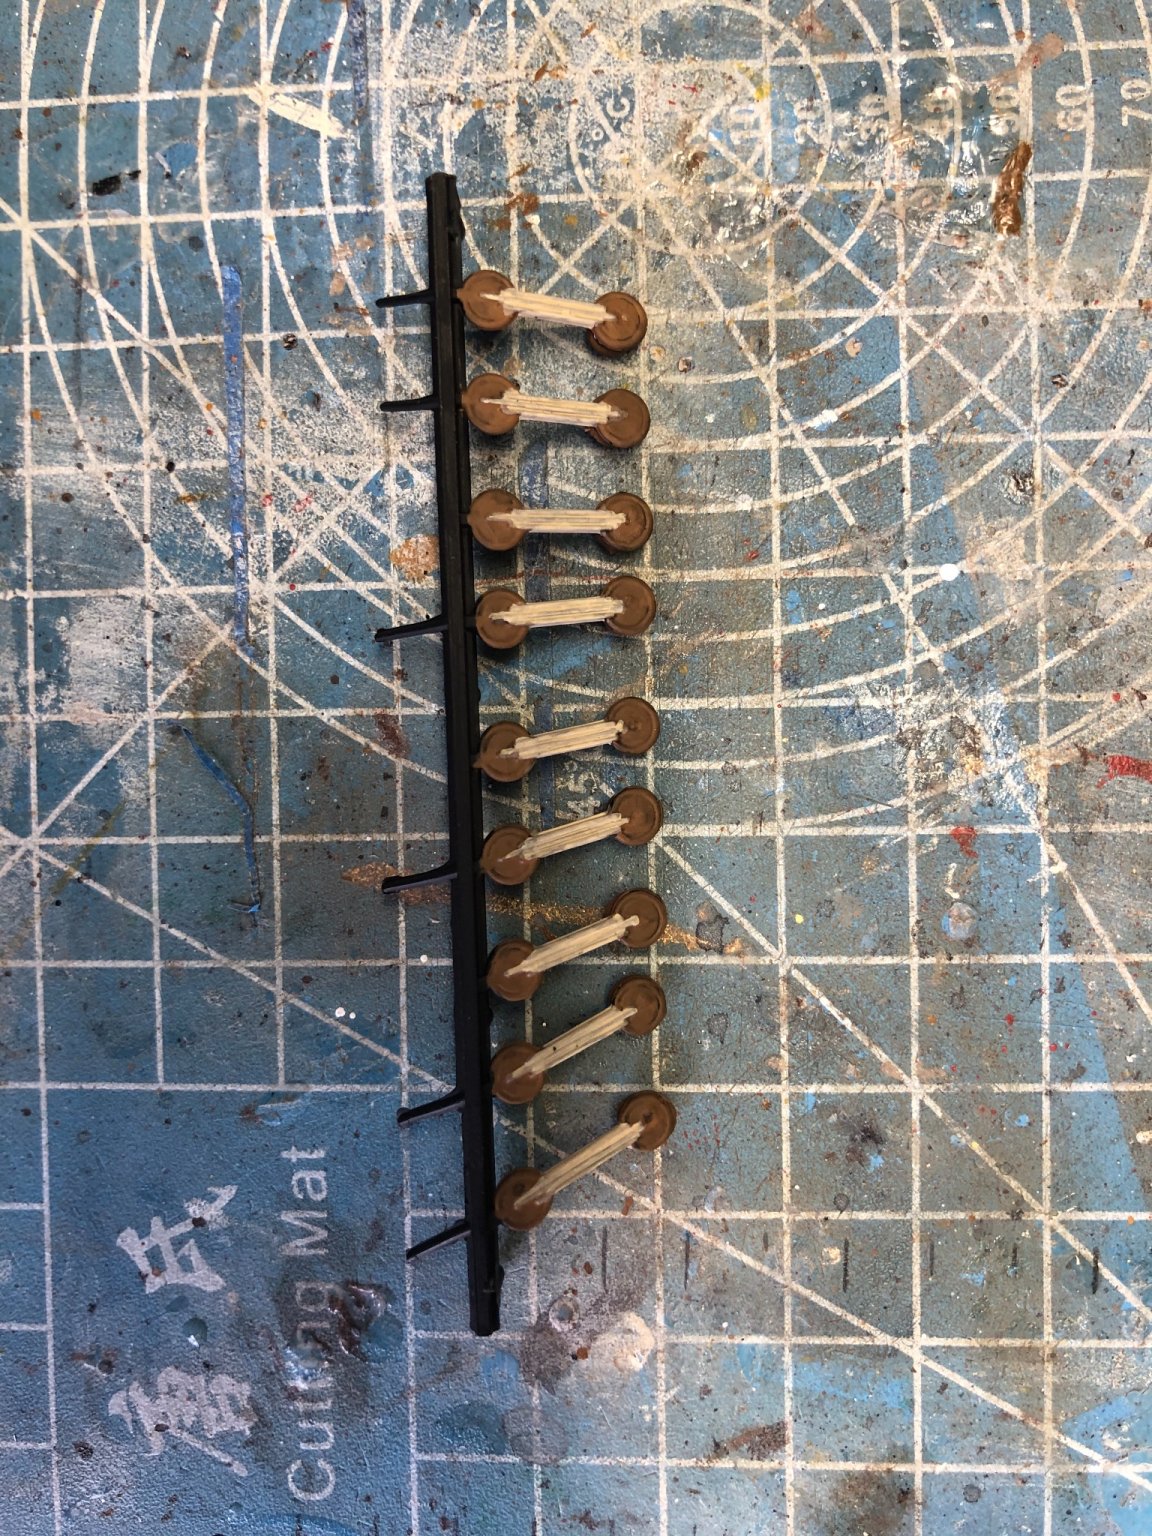
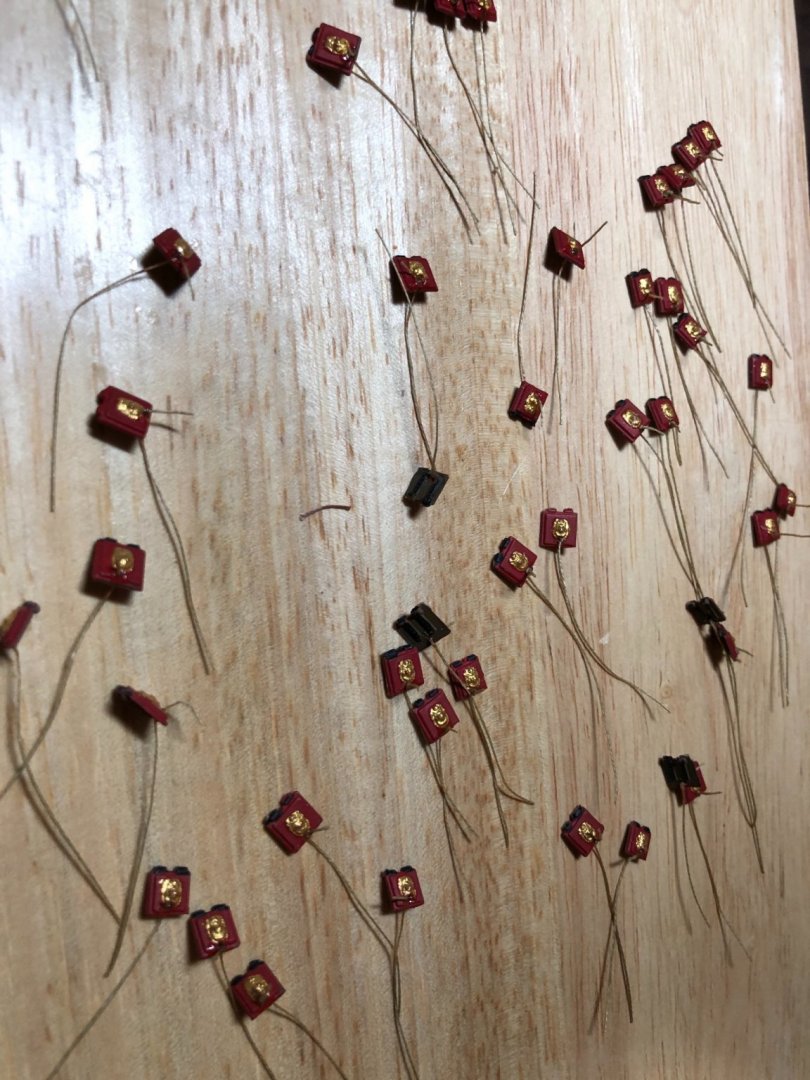
In the category “Don’t throw away left over parts” I was able to come up with a solution for my shroud deadeyes. I had some leftover deadeye molded pieces from a similar scale ship I previously built. I simply cut off the top deadeyes, sanded them a little, and then glued them to the back of the top deadeyes that are part of the Wasa kit. This then provides the needed little grove to wrap the shroud around and then do the seizing.


-
Thanks Kirill4 for idea. Let me say again how incredible your models look. Beautiful job.
-
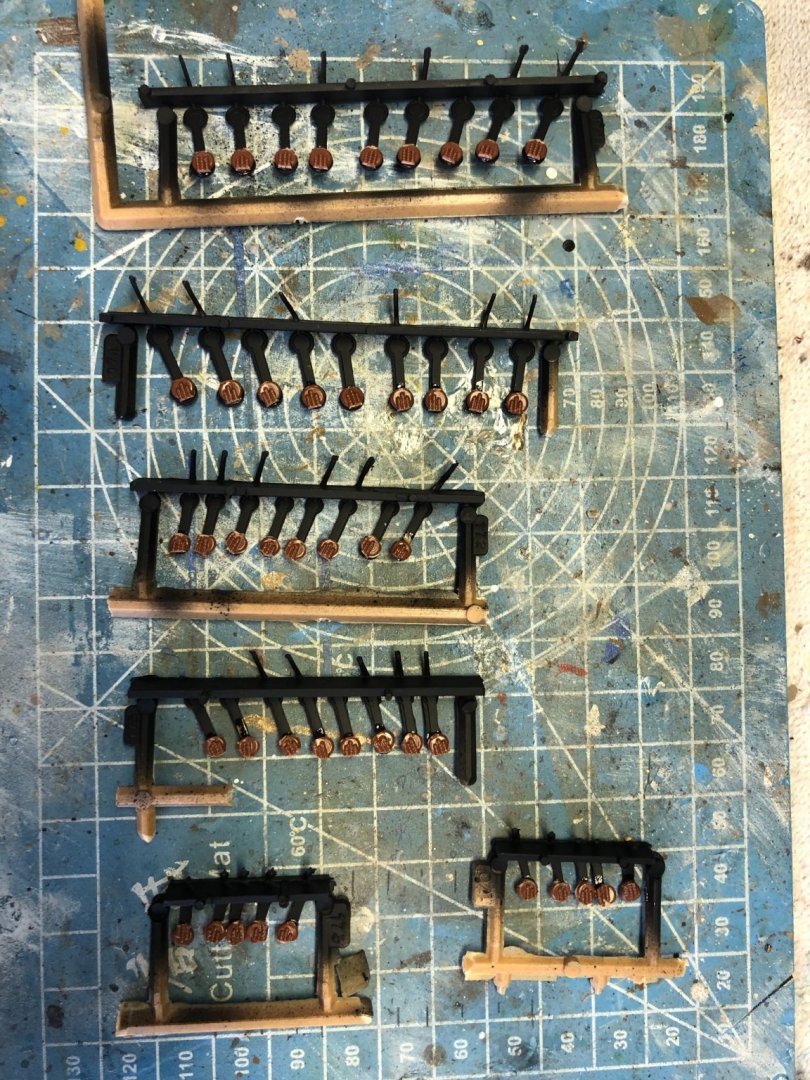
Thanks Michael and Kirill4. I will just fabricate a small piece to add to the top deadeye to make it look like the old YoYo toy, patch the little center hole that is already there, and paint them a little more realistic. They are somewhat fragile and a few of the little straight pieces that represent the chains are missing or were blended into the flack and lost during trimming. Will need to add those as well. May cut them all off and just add actual very small chain. Michael I am still fascinated by your cannon hatch door ropes. So what do you think you will do on the outside? Will it be similar with a second eye bolt on the other side?
-
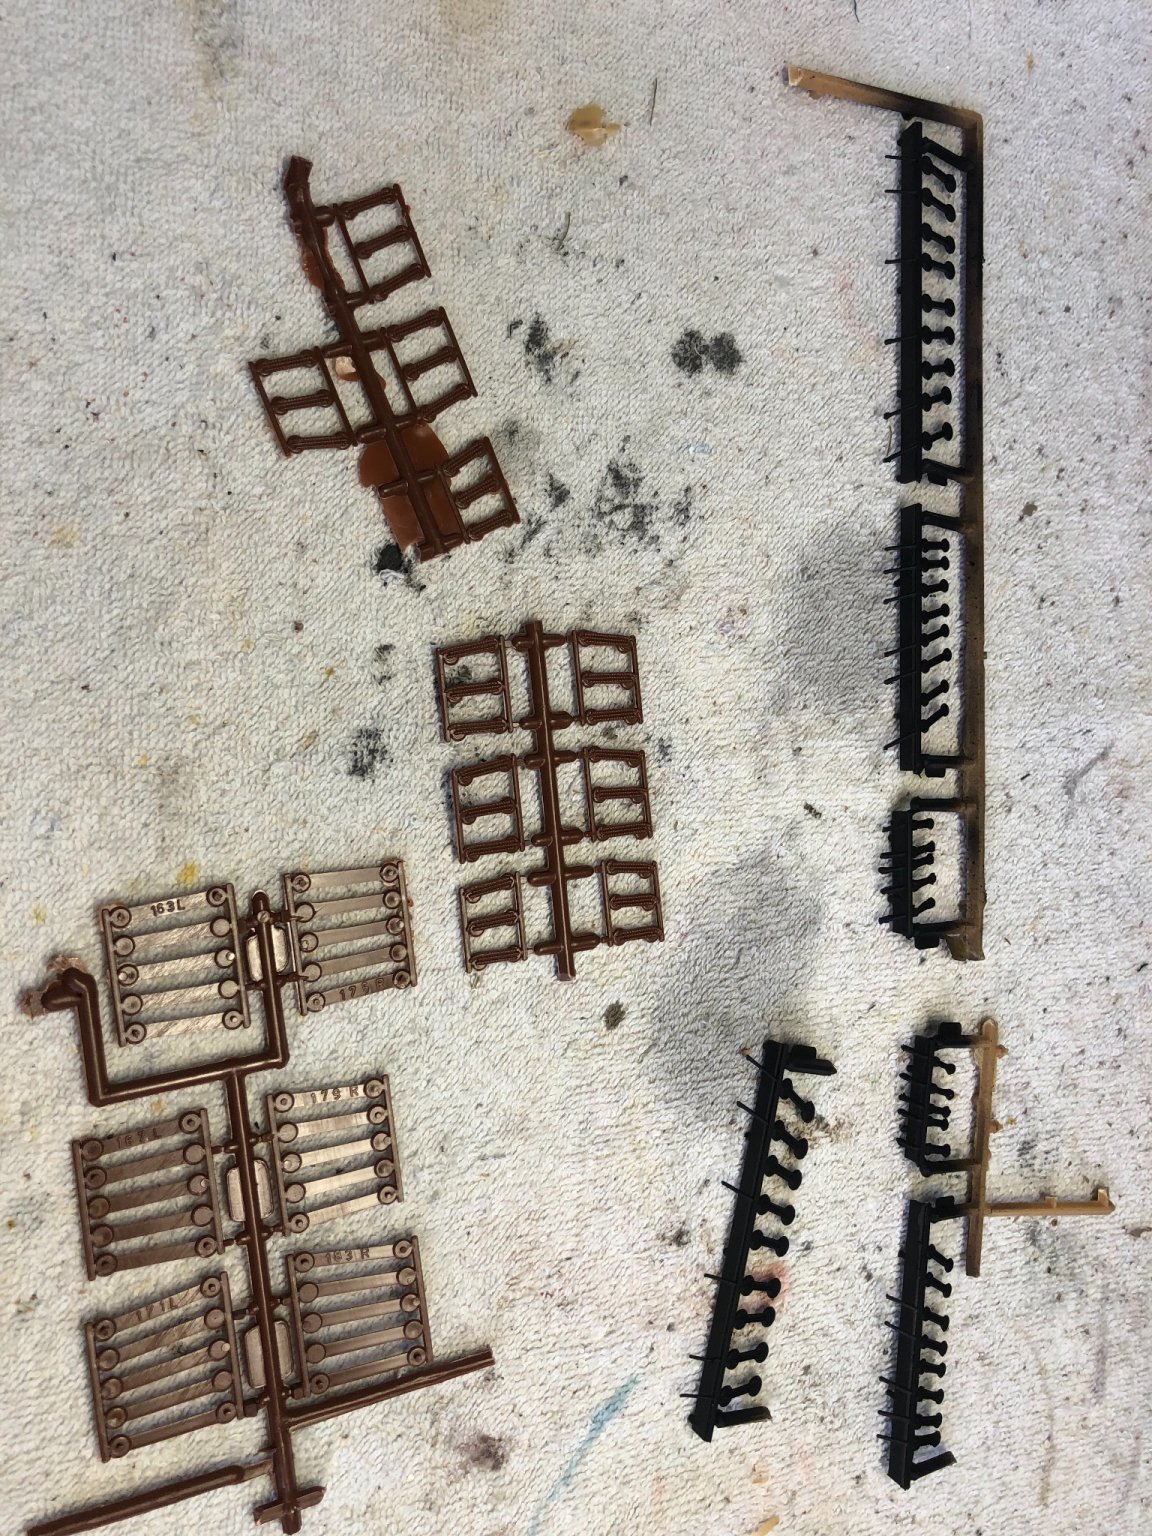
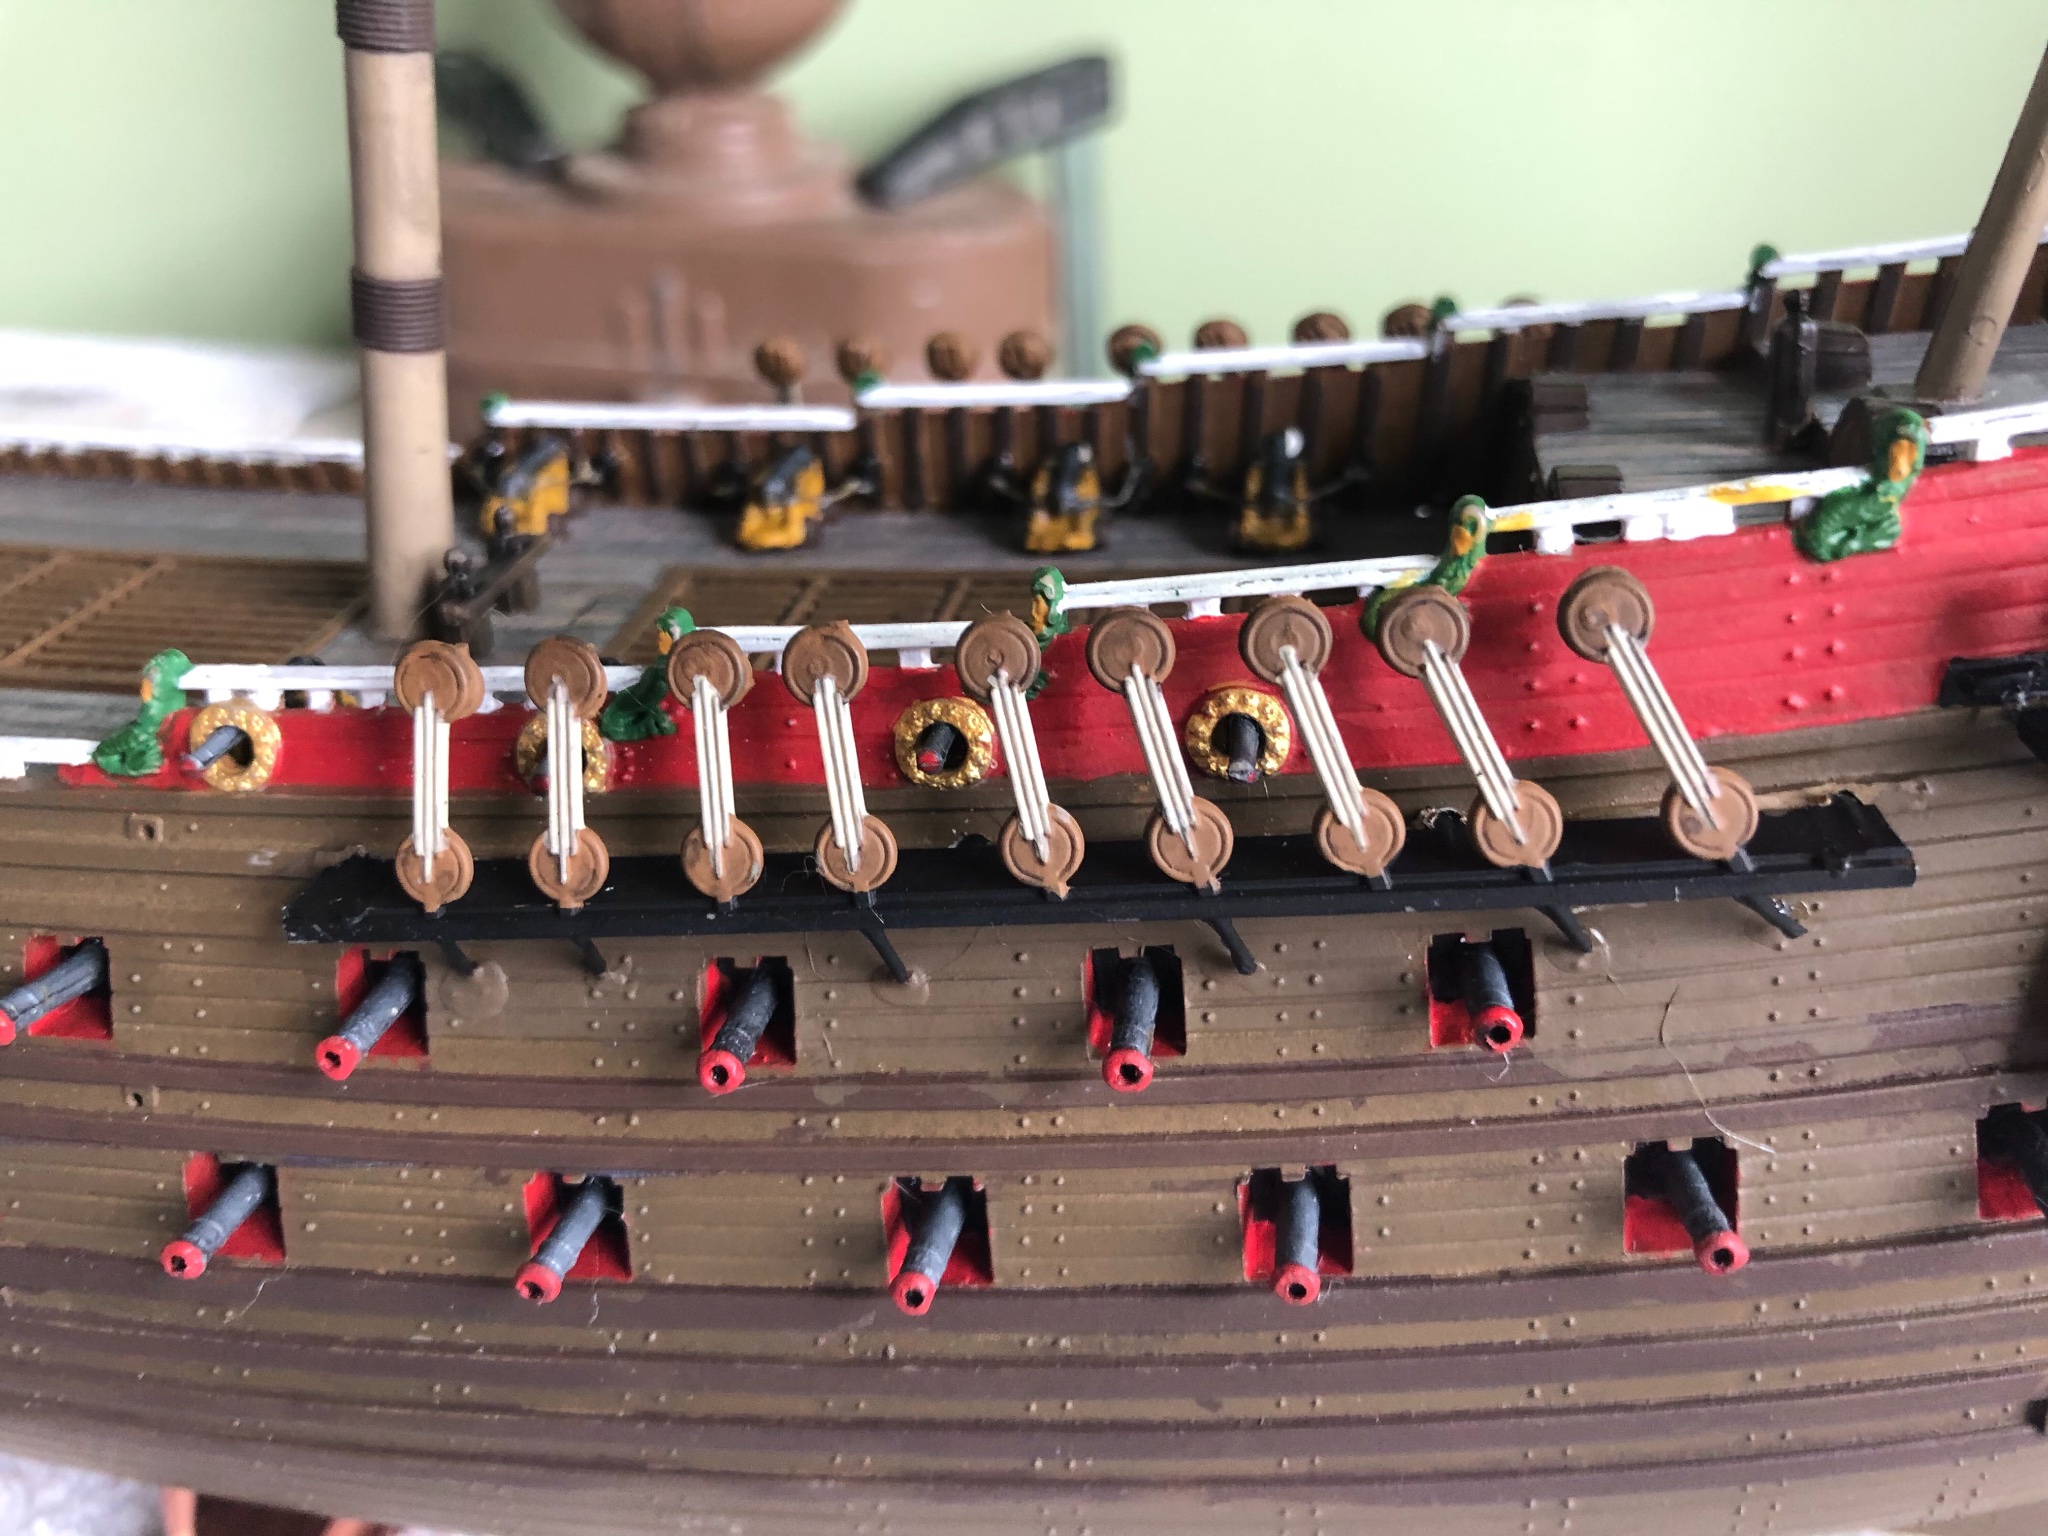
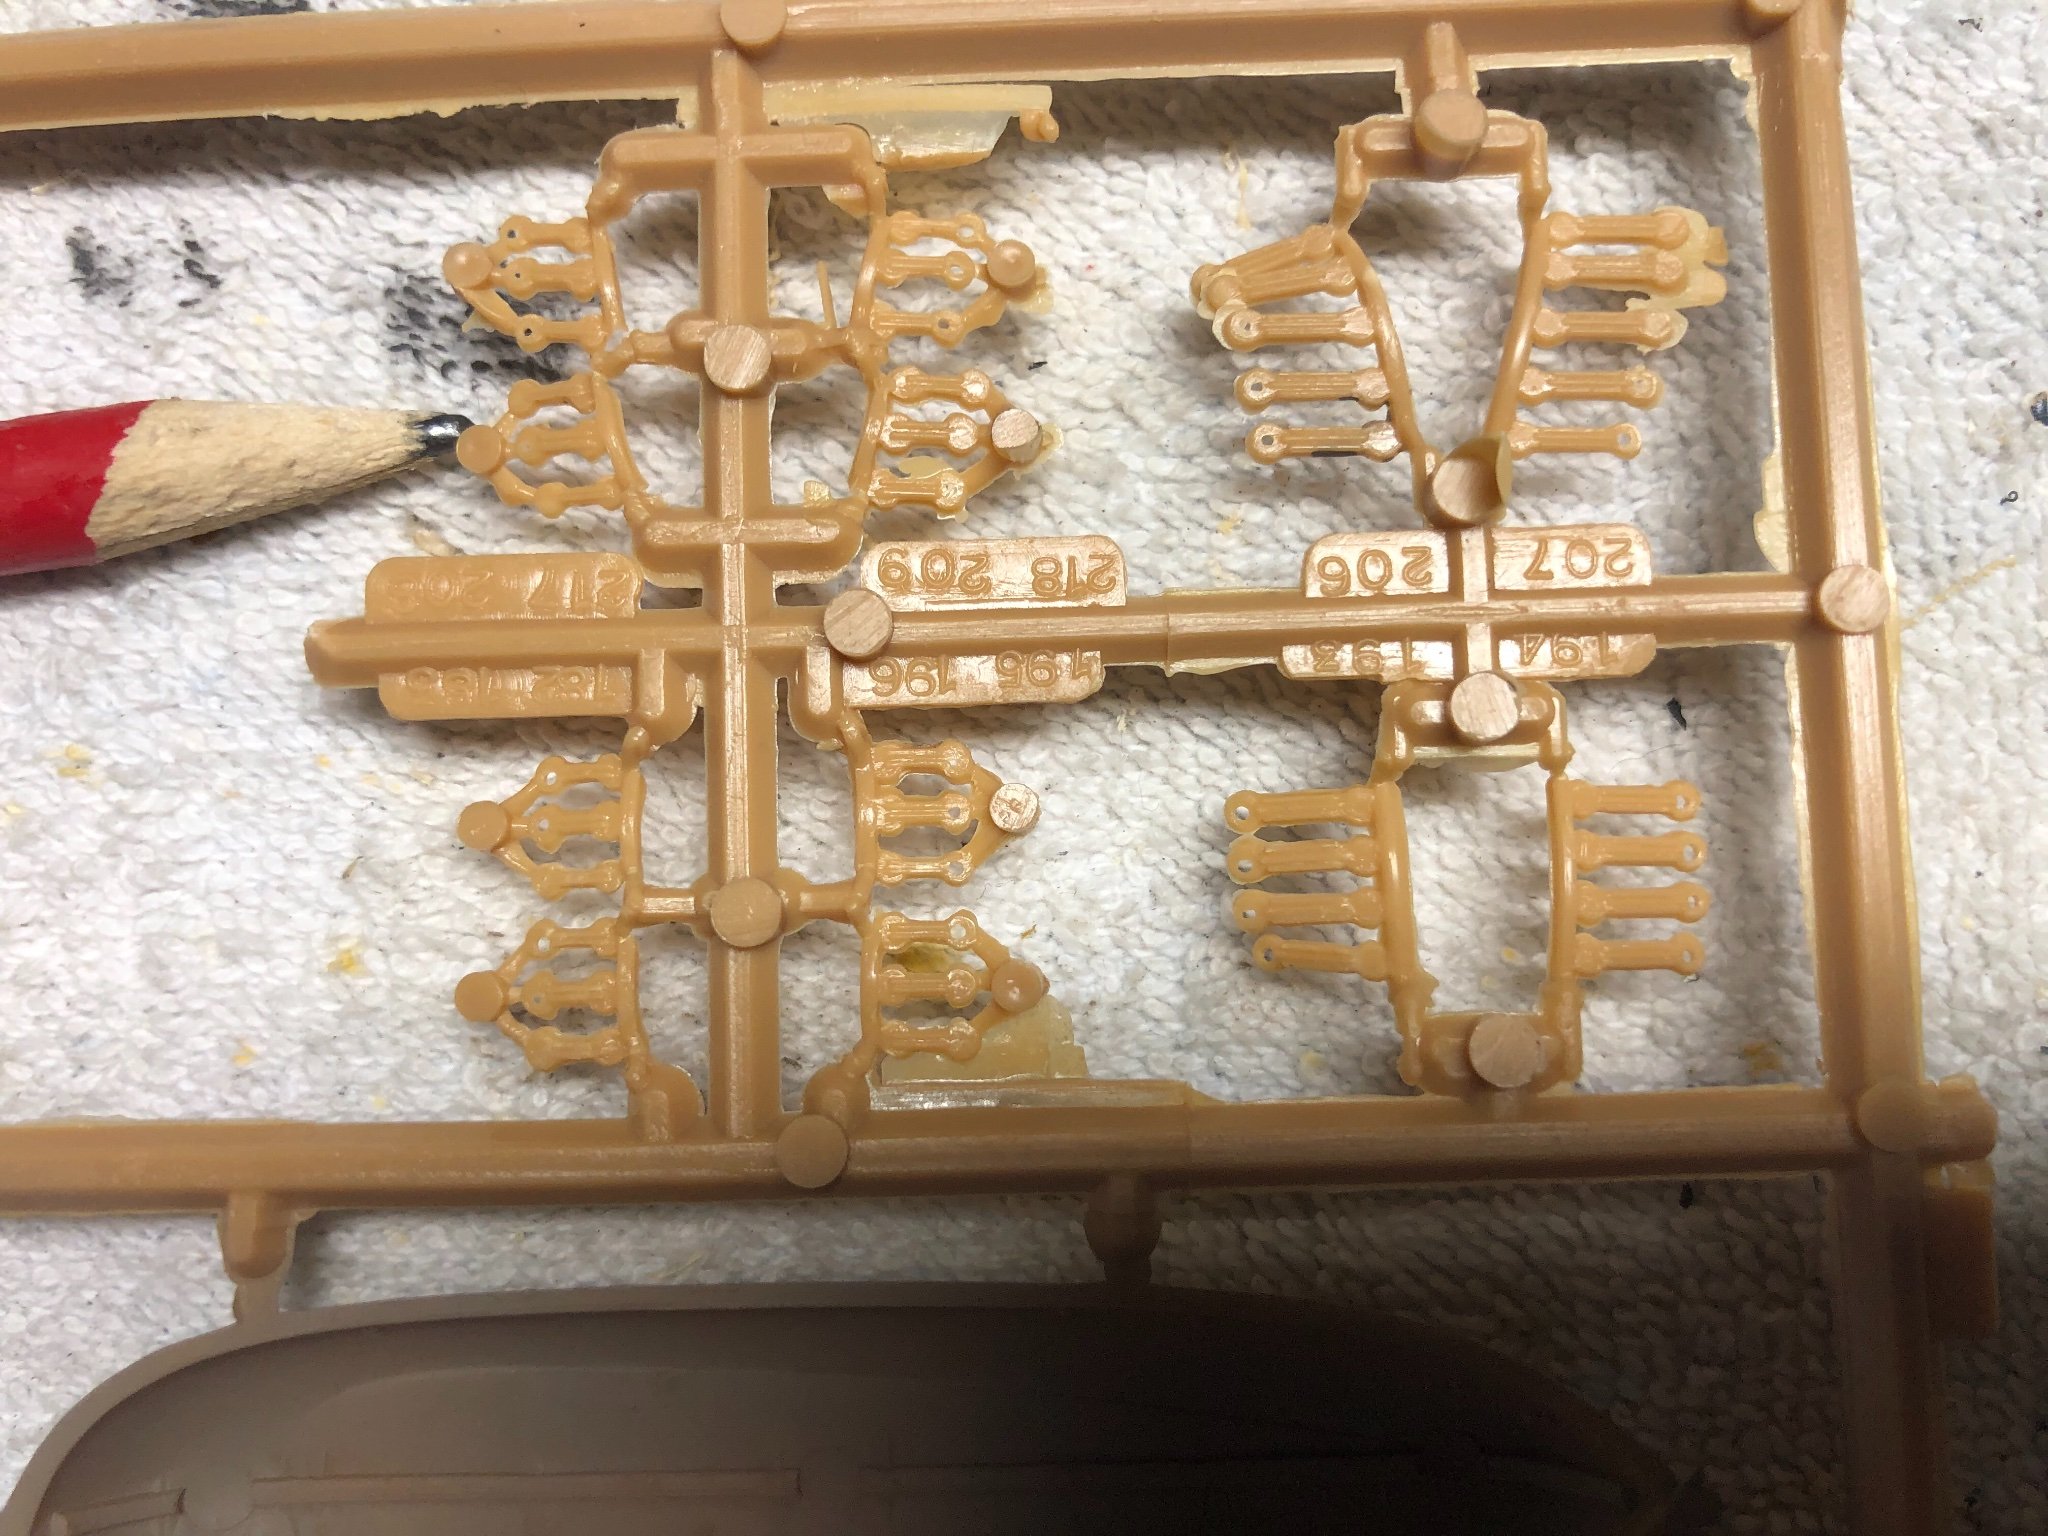
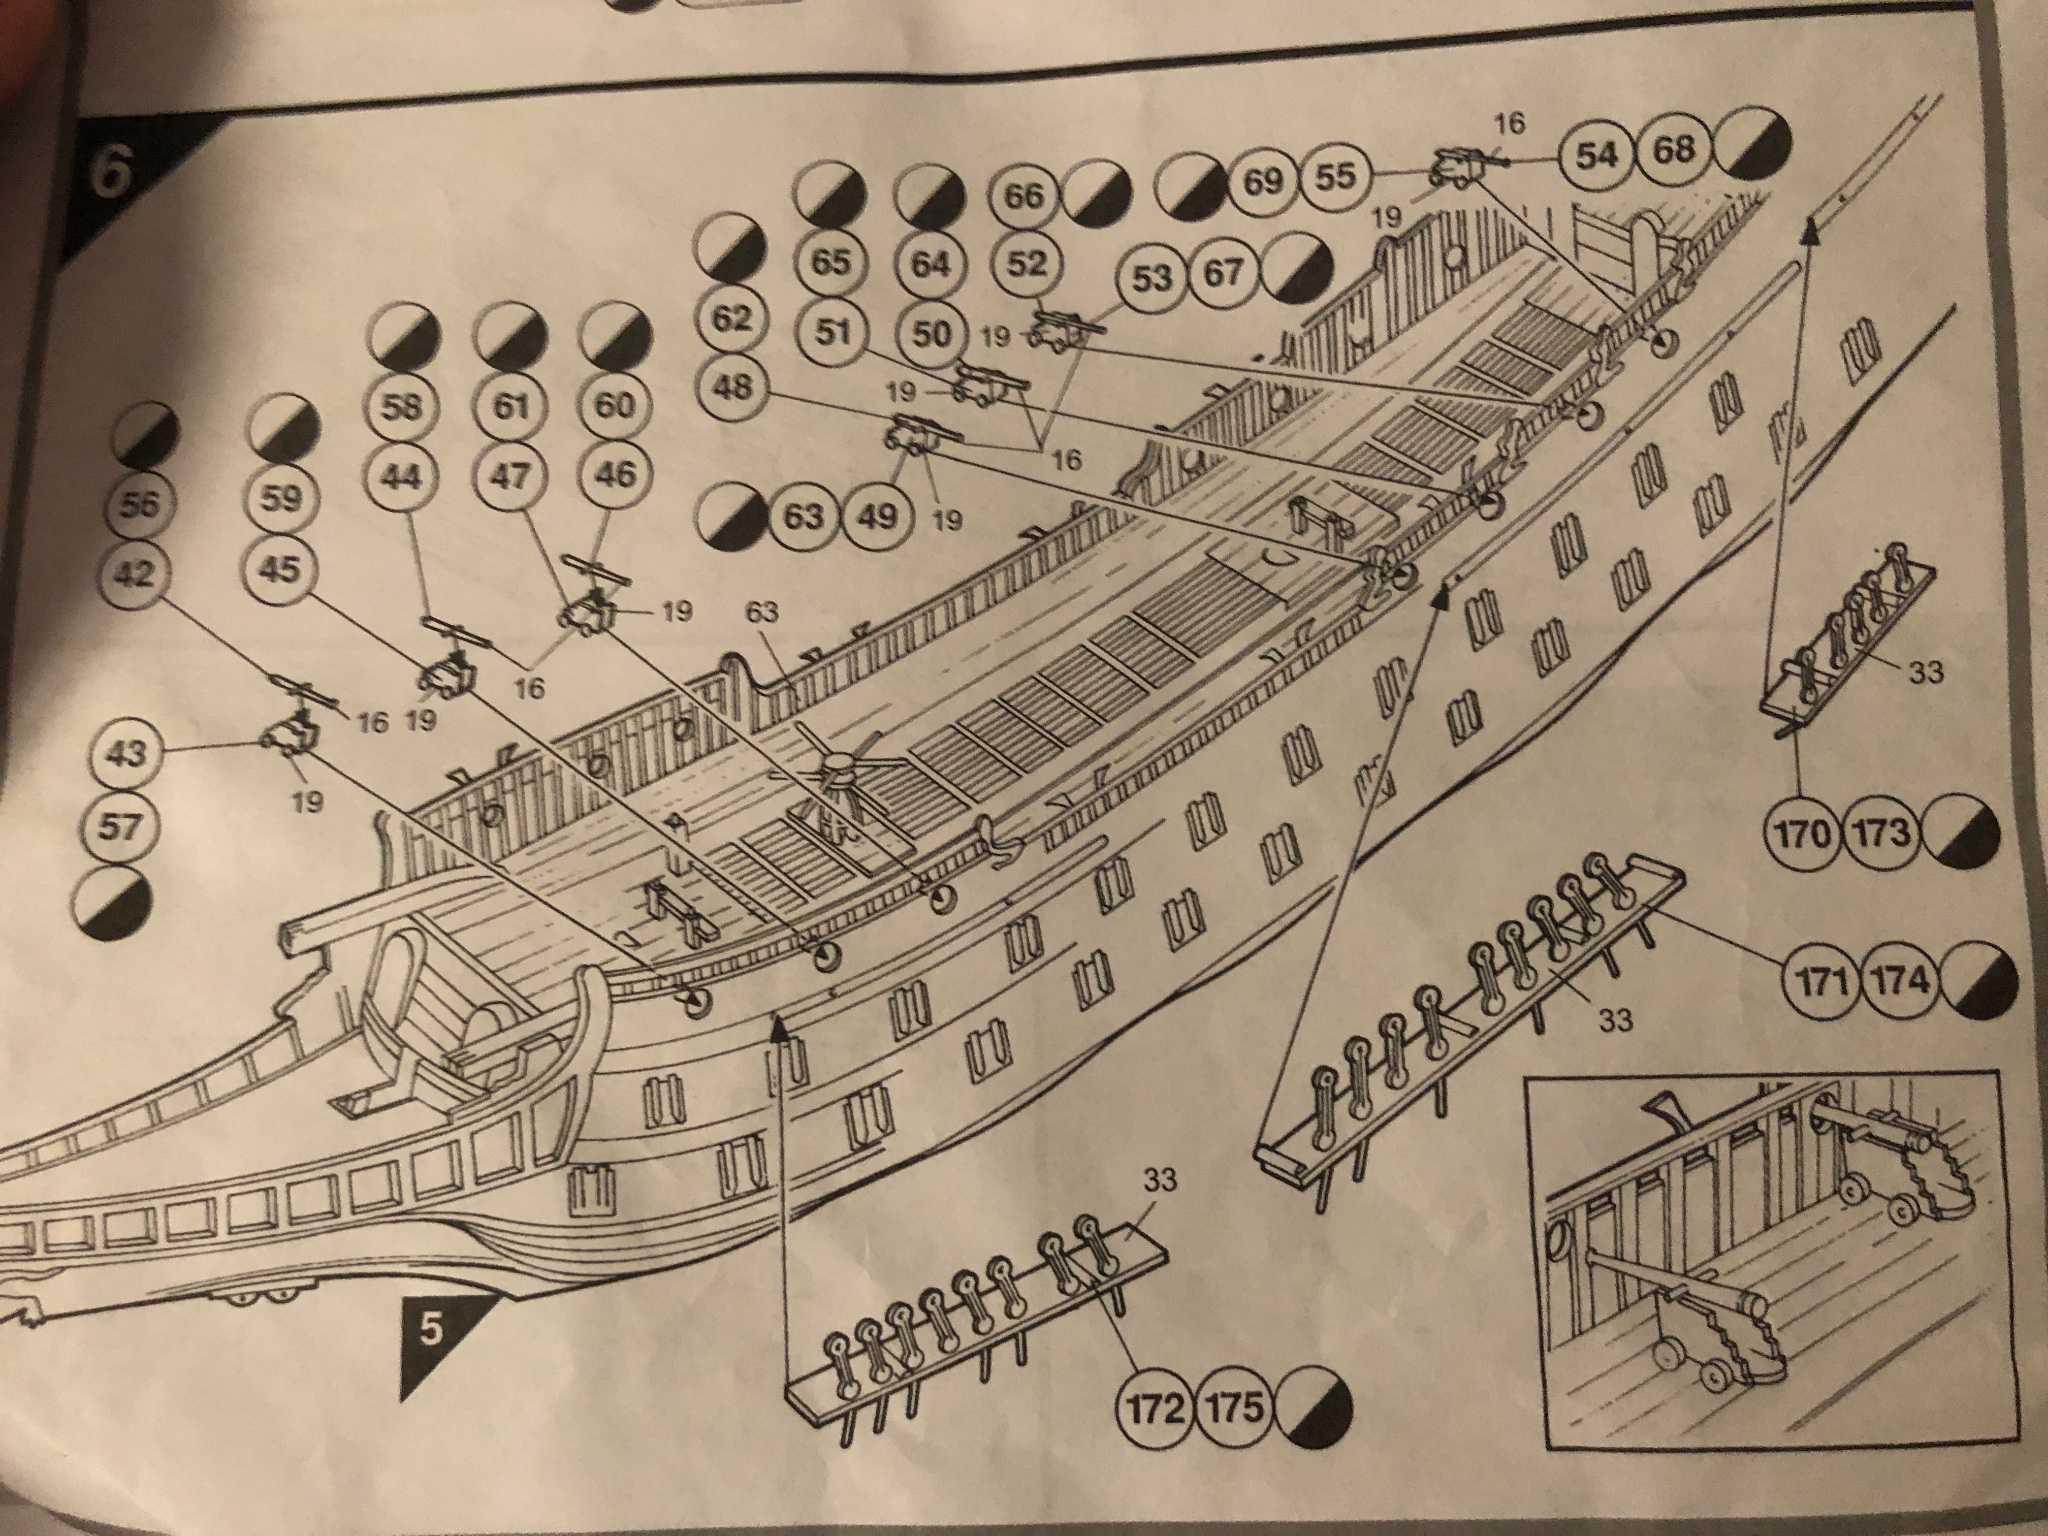
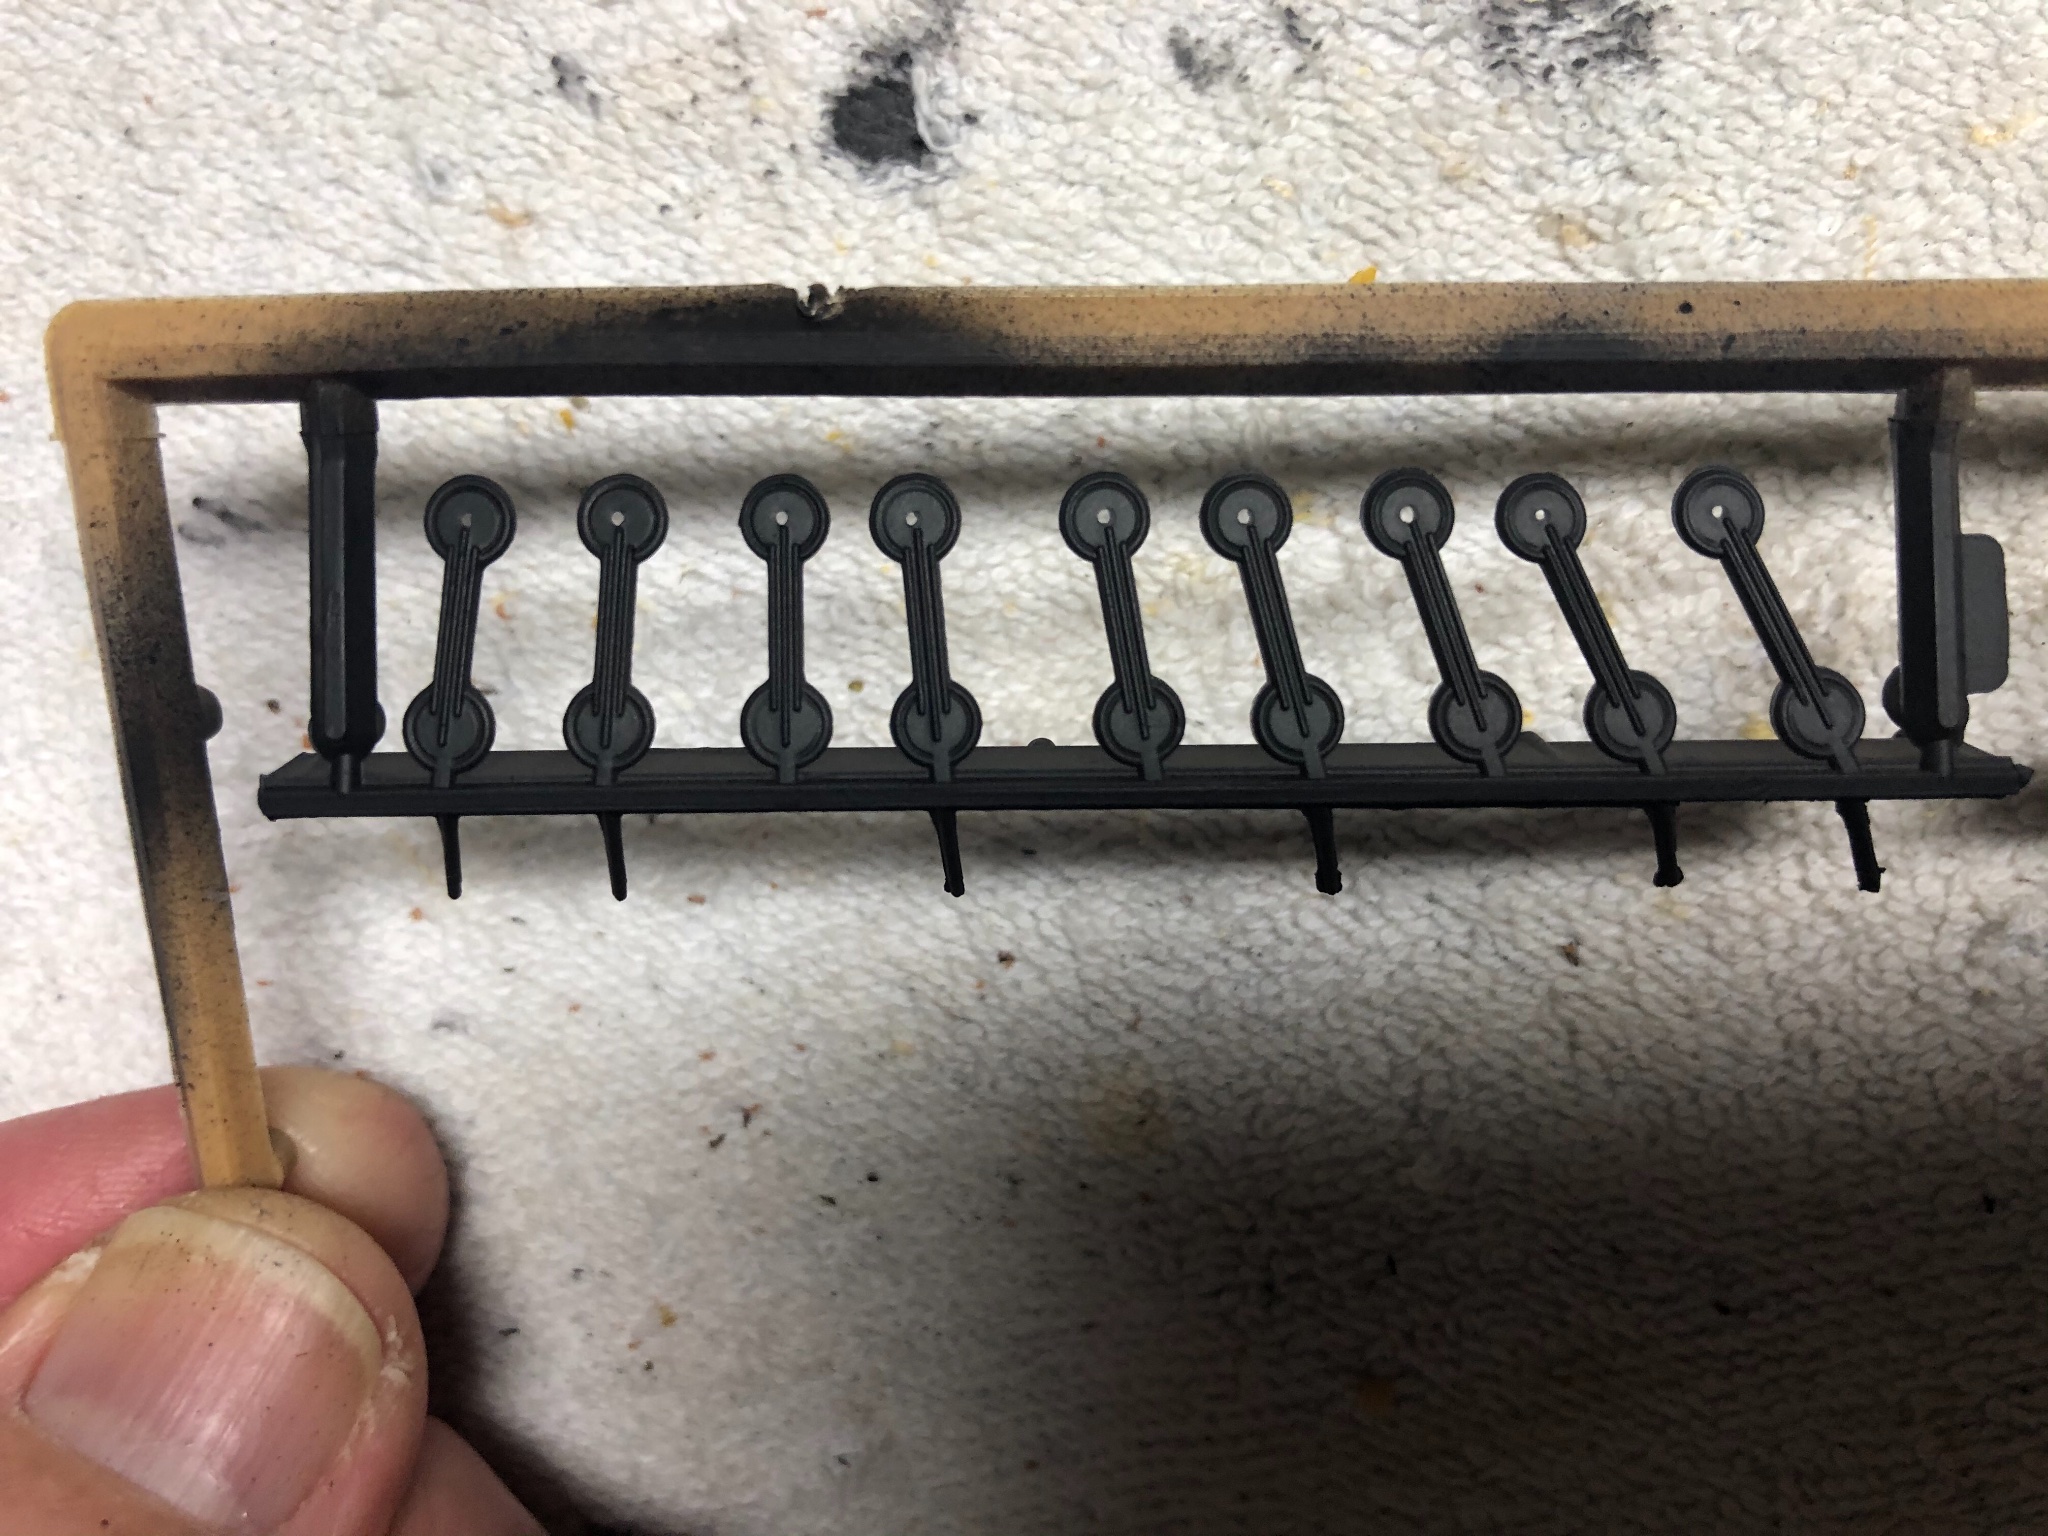
Thanks Michael. That looks pretty good. How did it work out on the hinge side? Does the wire go all the way through? I guess you will drill holes in the hull above the hatches for the other end of the thread? I am really glad you have this kit at the same time. Enjoy discussing aspects of it with you. Very few Airfix Wasa builds on MSW. Hope I am not drawing you away from your other build to much. I got all the upper deck cannons rigged with the repurposed blocks. They look OK. Looking ahead to the next step in the instructions I came across my next head scratcher. Step 6 shows attaching the deadeye chain plate pieces #171-175. I had not yet decided if I was going to use the included molded deadeye chain plate pieces for attaching the shrouds or cut them off and use wooden deadeyes. This kit does require making your own shrouds and ratlines but includes the premolded deadeye configurations. I thought about just painting these pieces to look more realistic but it appears as if the idea is to run the end of a shroud through a small hole in the center of the top fake deadeye. I originally thought there would be a piece that would glue to the back of the top fake deadeye creating a grove that the shroud would wrap around and be seized, but there is not. So if we use these the shroud line will pass through the front or back and out the other side and then be seized. Not sure if this will be obvious once finished. If I decide to discard the fake deadeyes and use wooden ones there is a problem with the units for the upper mast shrouds. The plastic fake ones are so extremely small (parts #194-196, 206-209, and 217-218). Not sure deadeyes this small can be found.