Bill97
-
Posts
2,731 -
Joined
-
Last visited
Content Type
Profiles
Forums
Gallery
Events
Everything posted by Bill97
-
Thanks Tedrobinson. That is what was causing all my confusion. In Daniel’s photo it looked like just a long narrow strip of Evergreen mounted on top of the hull and running that distance. That is what I thought Daniel was recommending I make, not the two white stripes. I could not see the hammock carriers in the photo and thought it was just raising the height of the hull. All is good. Thanks to MSW!
-
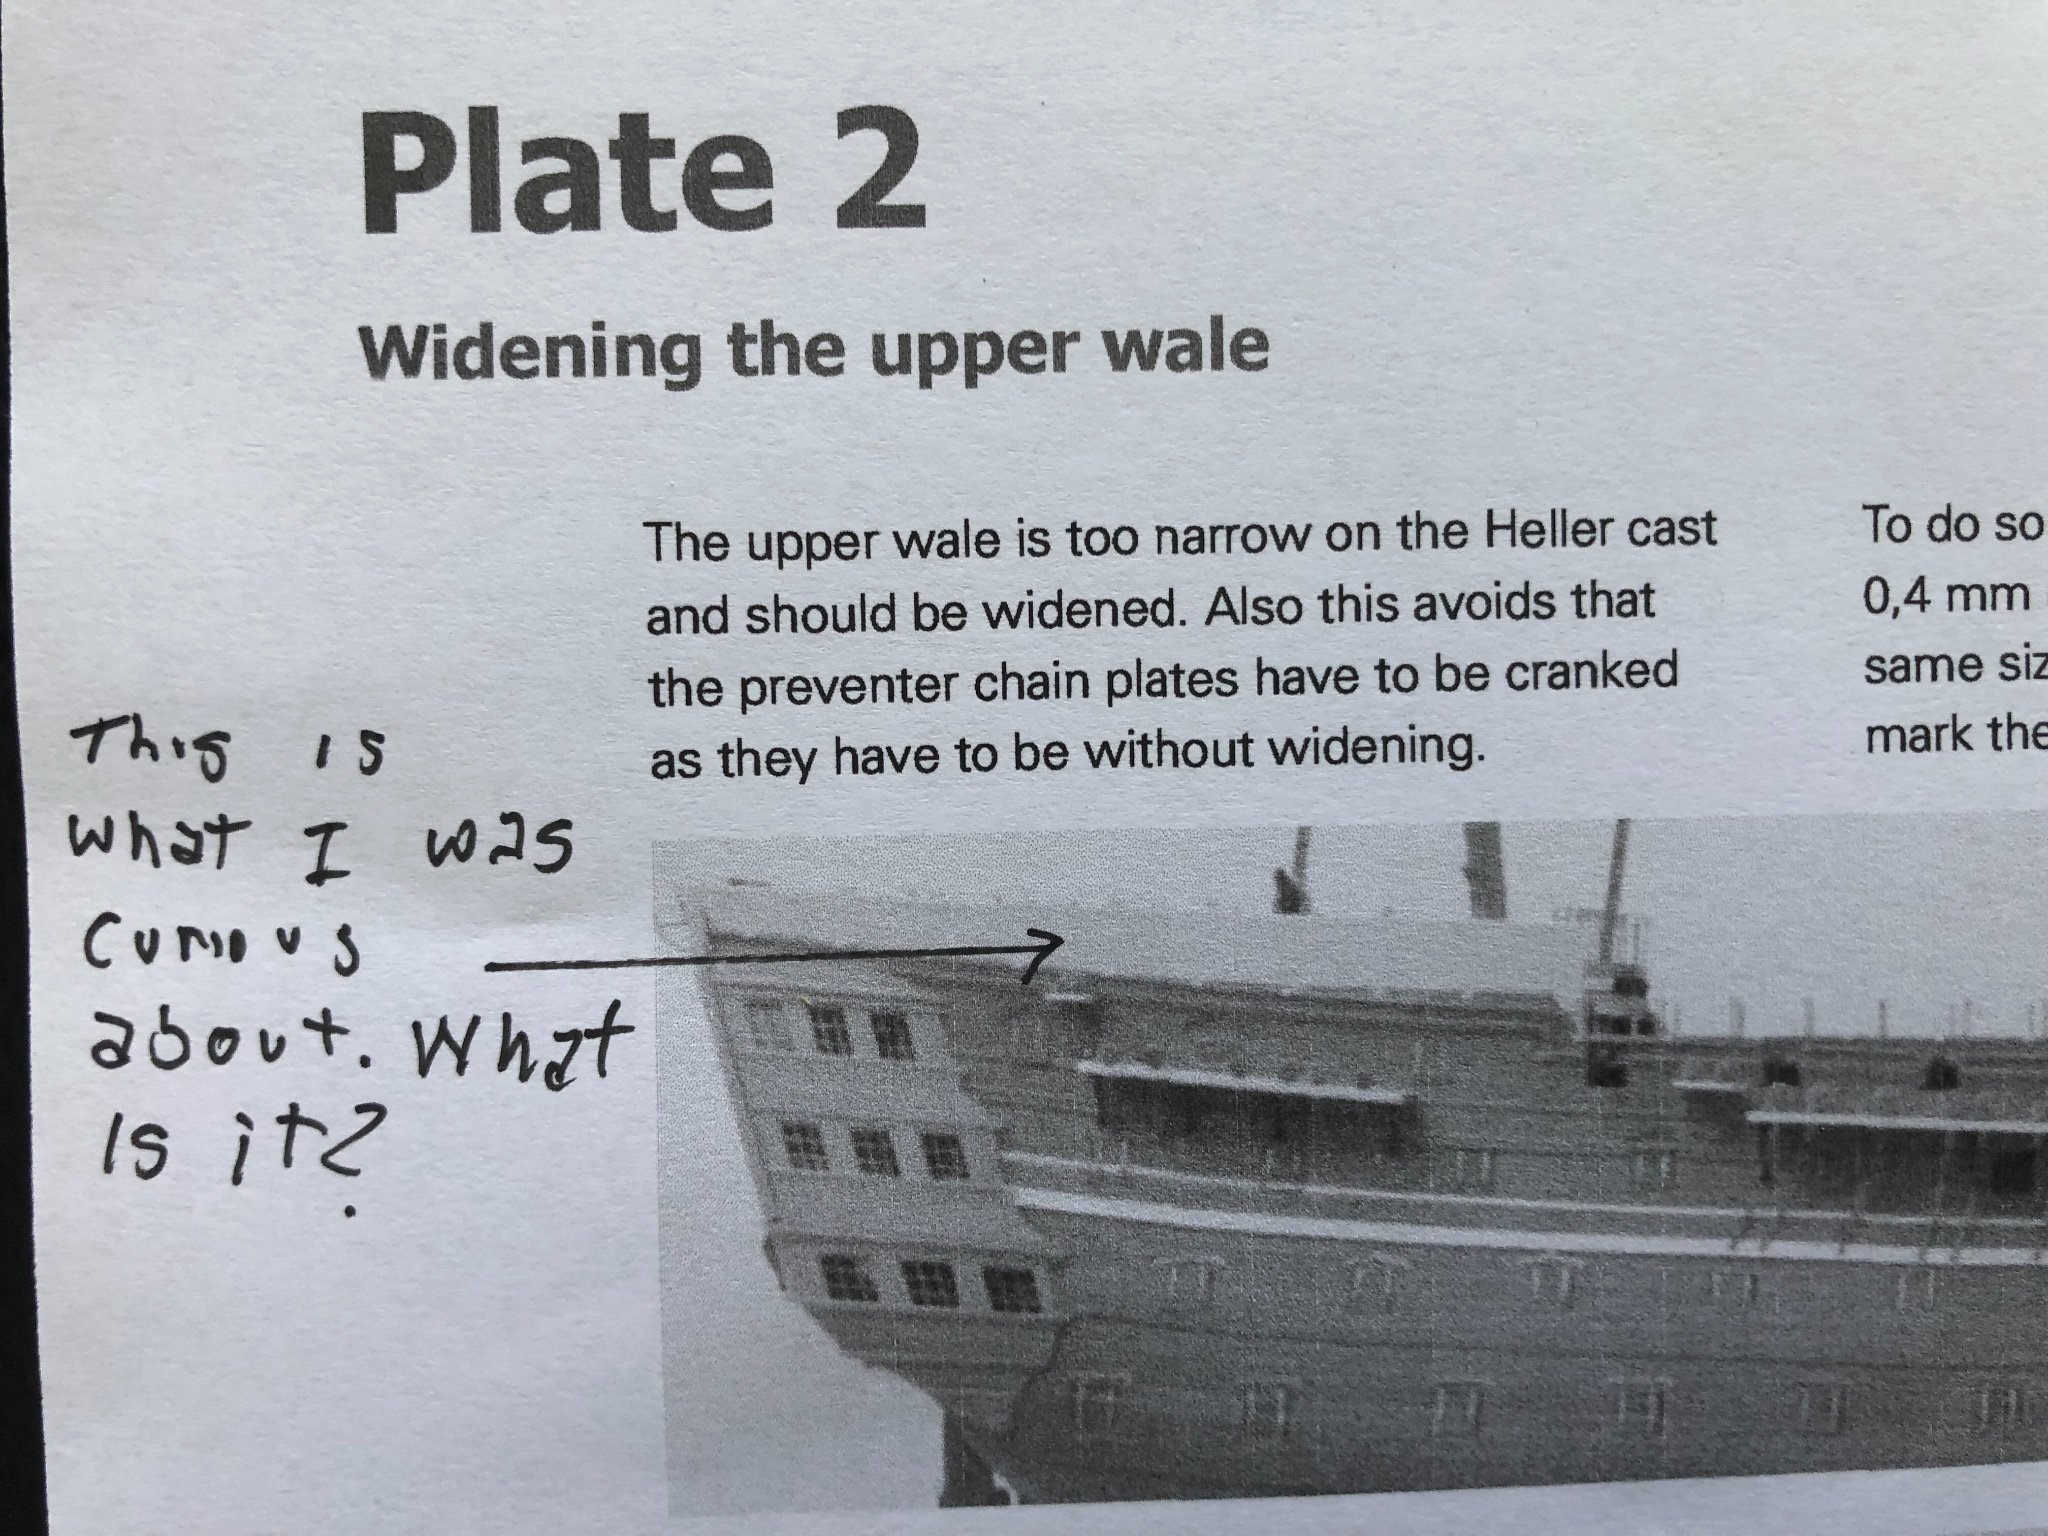
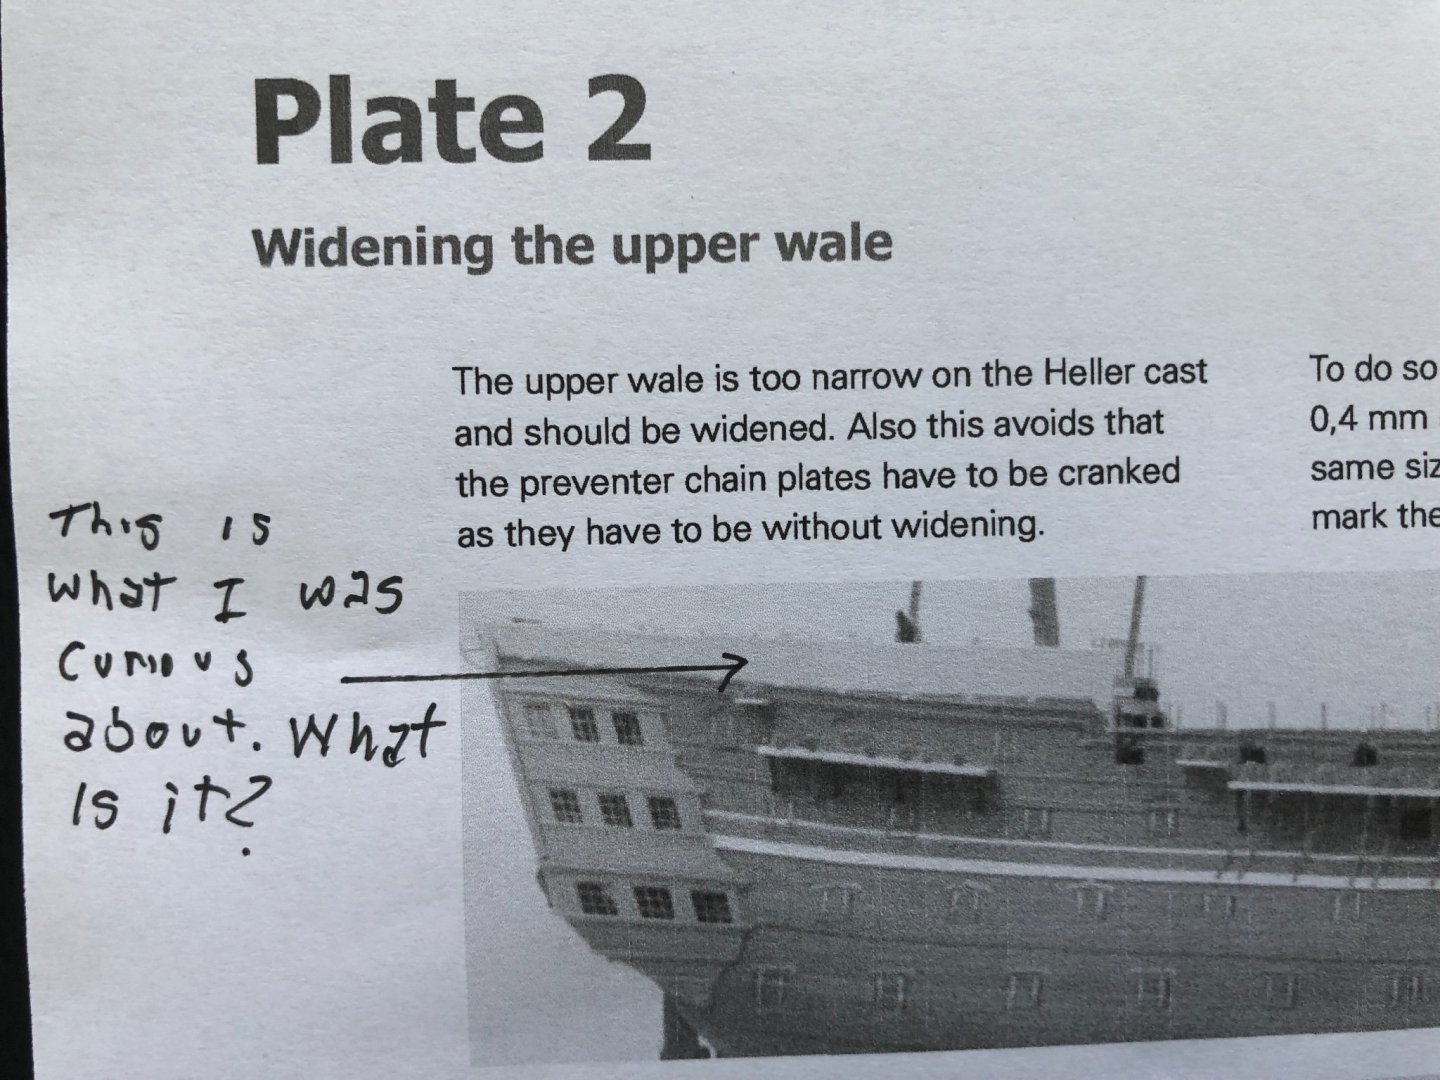
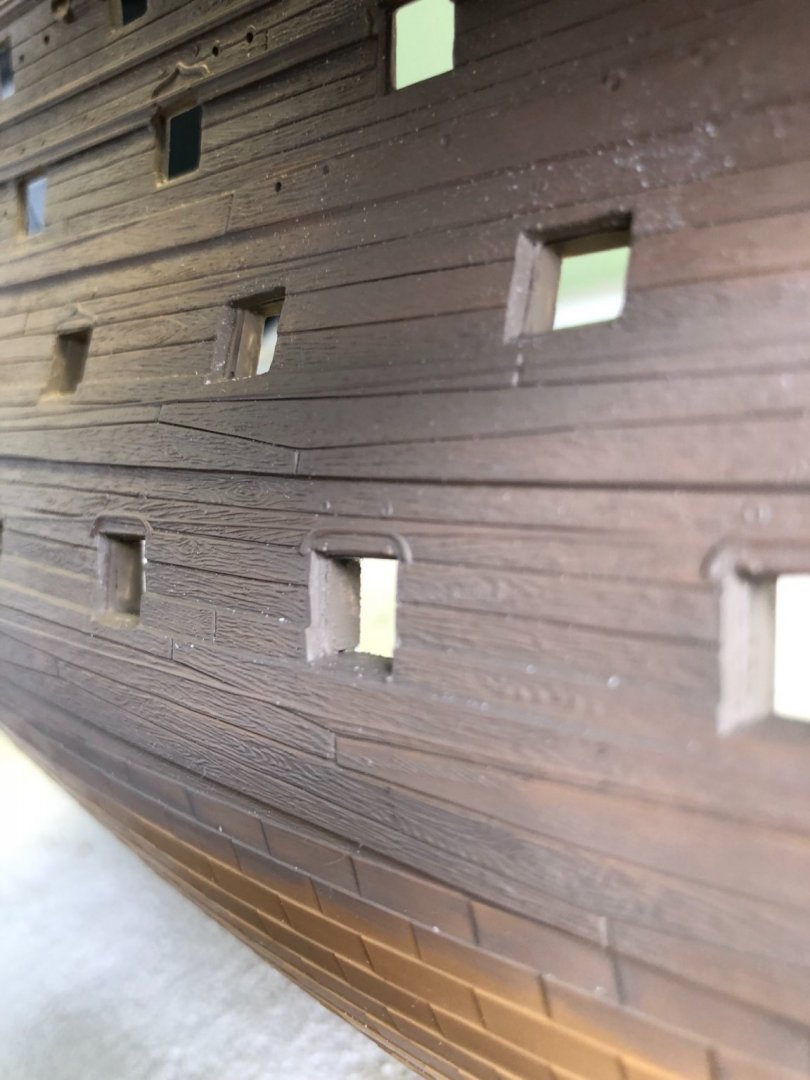
Daniel in your photo what is the thing my arrow is pointing to? That is what I originally thought you were recommending i fabricate? Cold not figure it out. As far as painting the black and ochre, the molded line on the hull was the line separating the colors. I will still use that point as the paint division line not widen to the edge of the Evergreen.
-
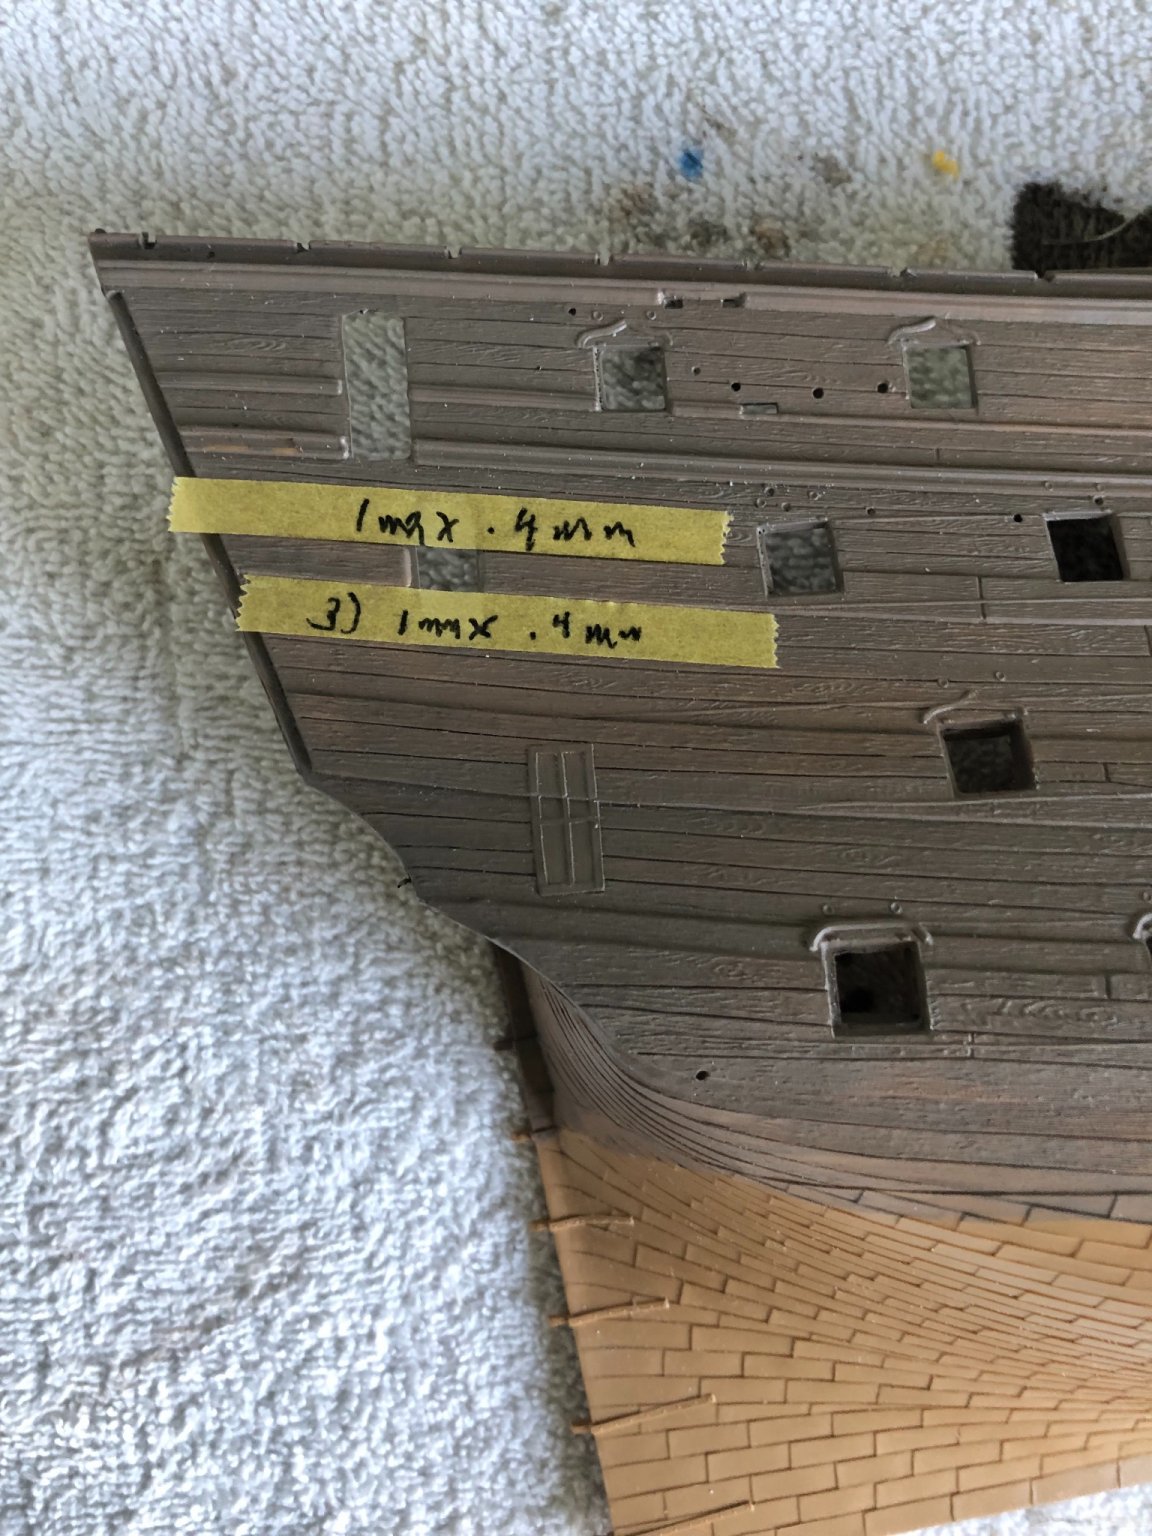
Ok so tell me if I got this right. In the photo I put a couple pierce of masking tape above and below the molded line. The top 1mm x .4 mm and the bottom 1mm x .4 three times. Is this what I need to do with Evergreen?

-
Ok thanks gentlemen, especially you Daniel. I did not email you with the question because I thought I bugged you enough with my order! 😊 So the work I need to do is represented by the white lines in the photo? I was so confused. I was thinking I needed to build up the height of the bow. In the picture there appears to be a light cream color stripe on top the hull at the stern end and maybe even at the front. This cream color stripe is what I was thinking I needed to fabricate and attach to the top edge of the hull. I am guessing now that the cream color object is just something in the photo? It even blocks the view of the bottom of the mizzenmast. What is that?

-
Marc and Old Collingwood it is from his instructions for plate 2. See if you can enlarge it enough to read.

-
HELP! This is a request for help from any one that has widened the wales as Daniel recommends. I am reading and looking over the photos in the PDF for etched plate 2. Not sure I fully understand what I am to do. Looks like it is on the front of the ship as well as the back. Does it extend higher than the top of the stern? If so does that look weird. Need some elementary level instructions here! Or if you did not do it, did it cause a problem?
-
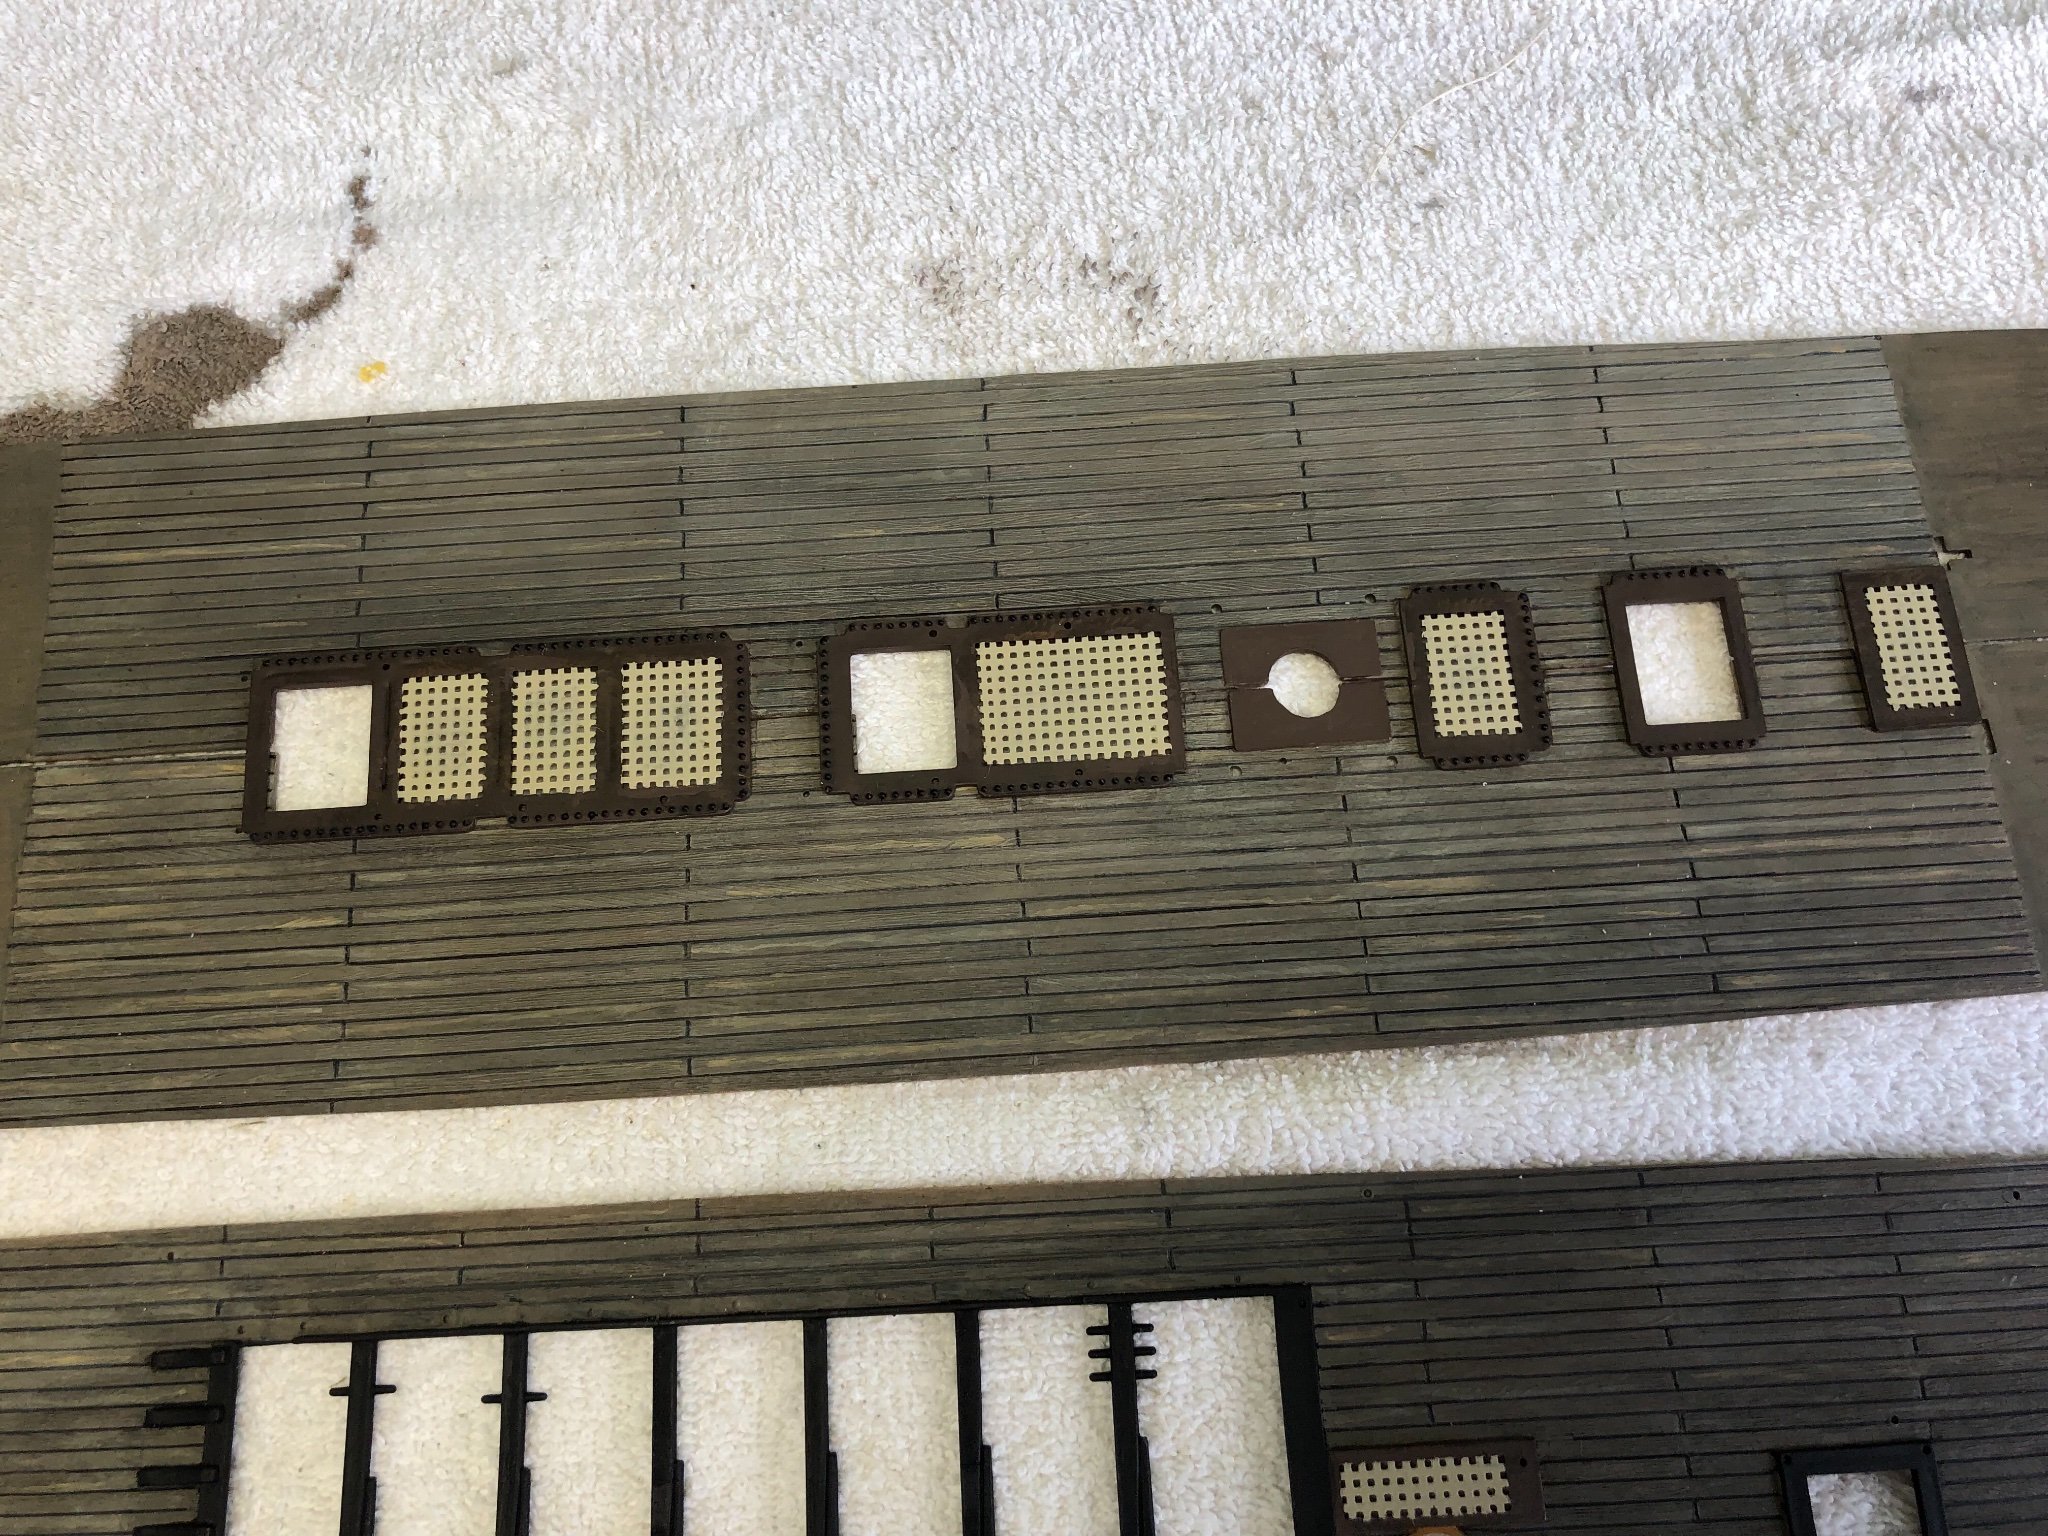
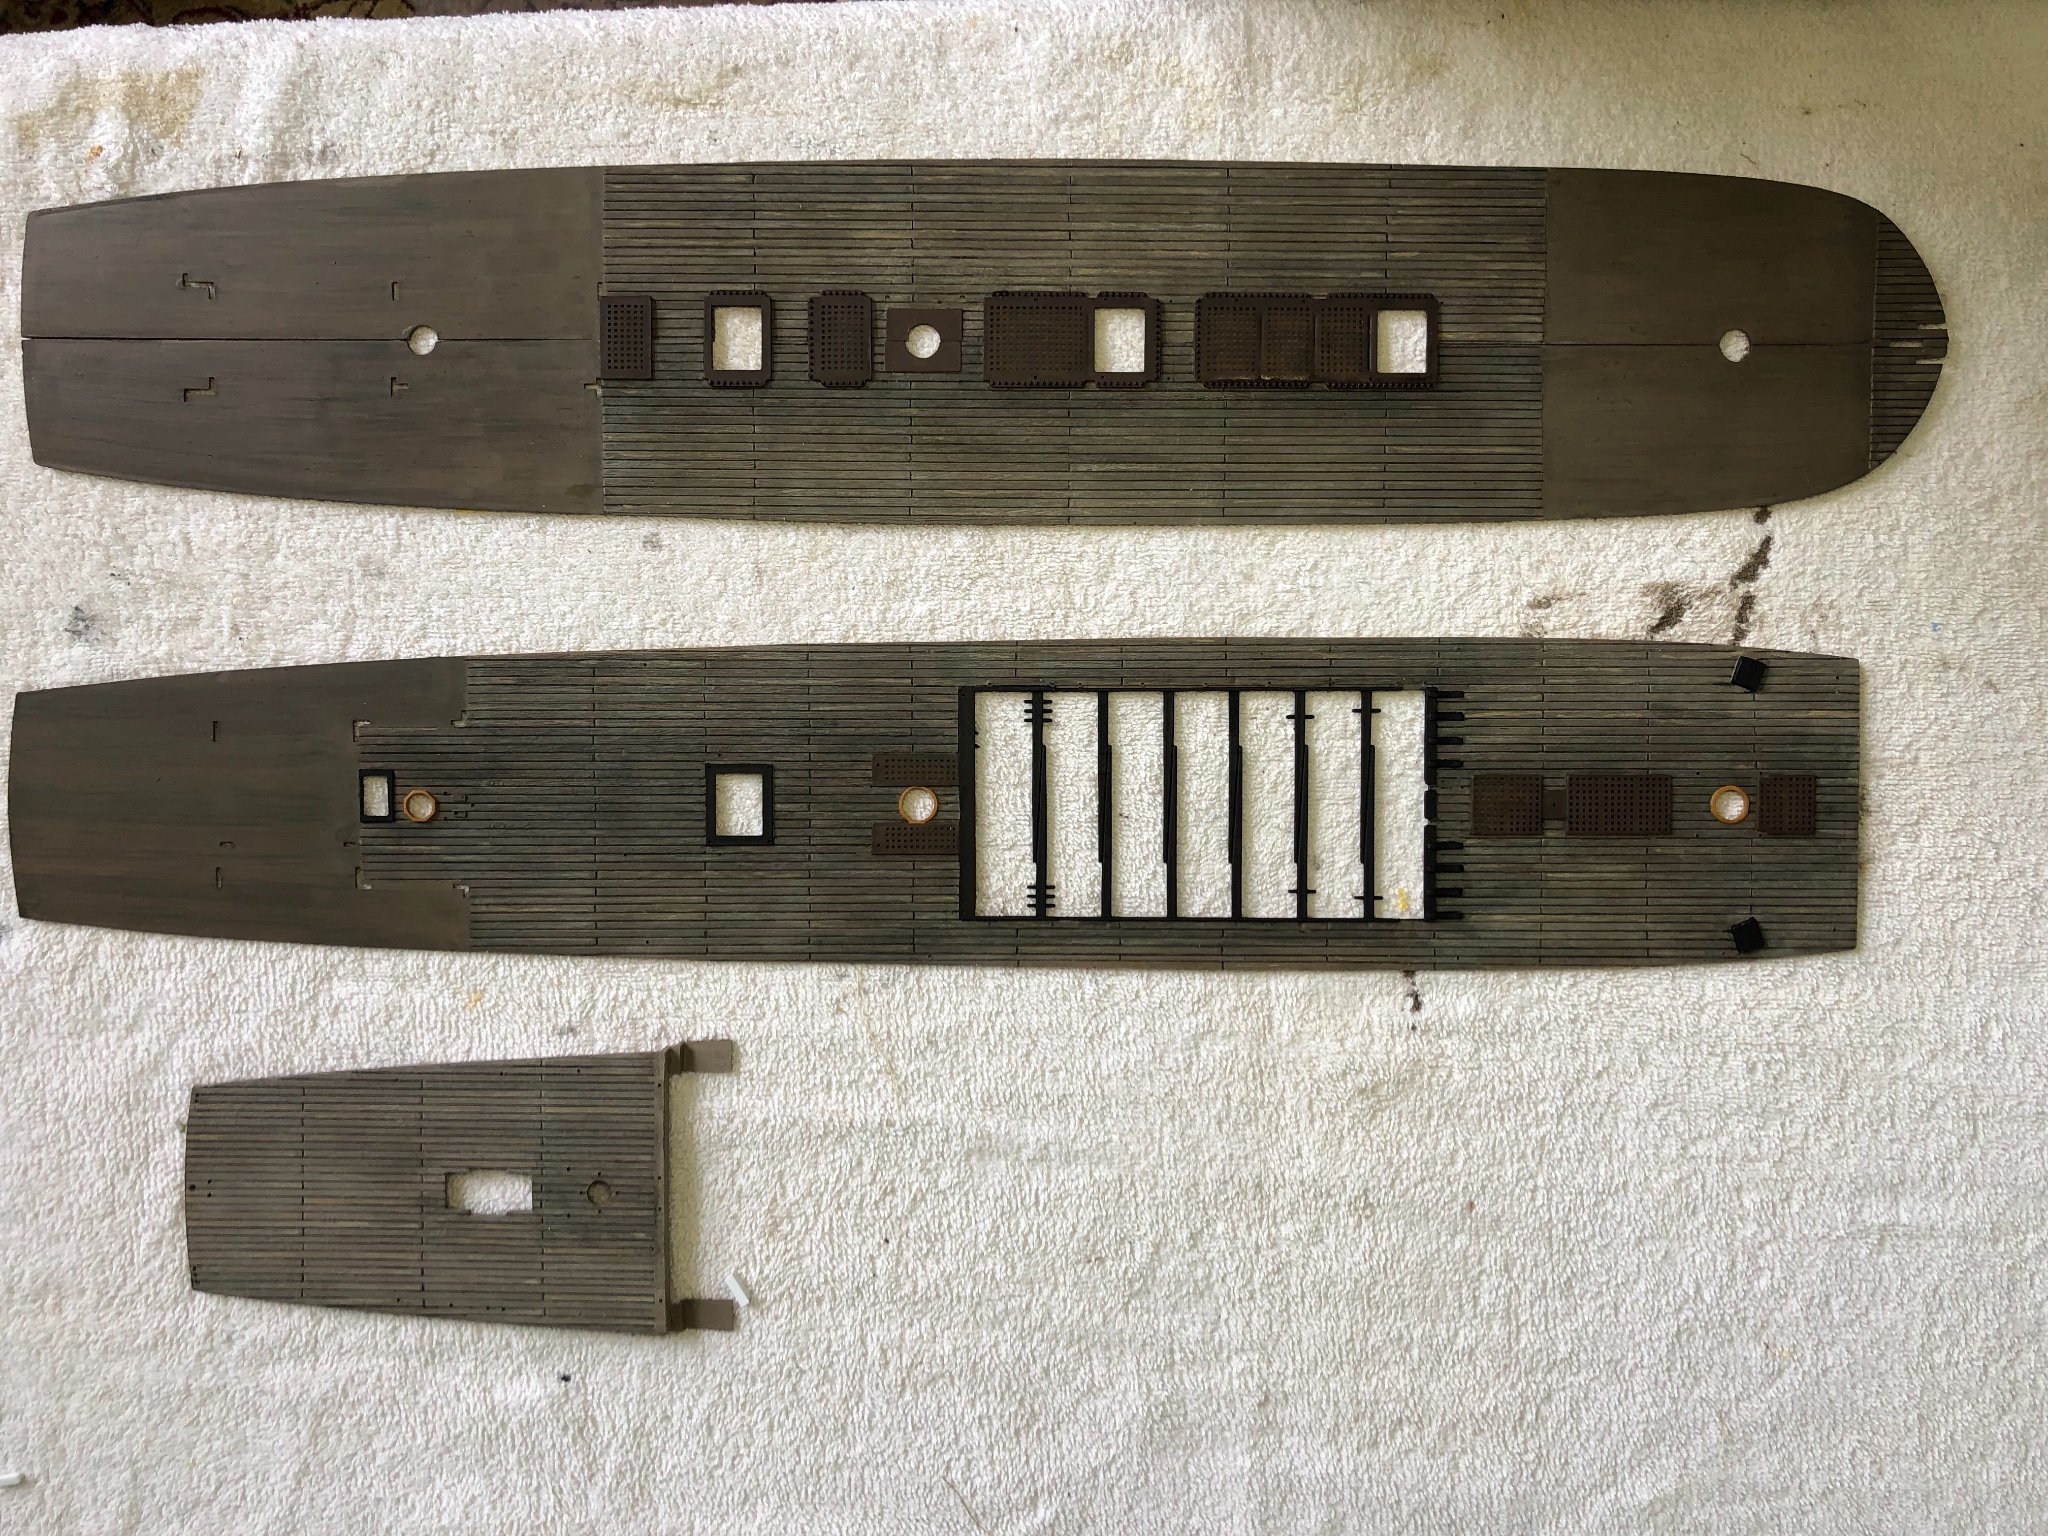
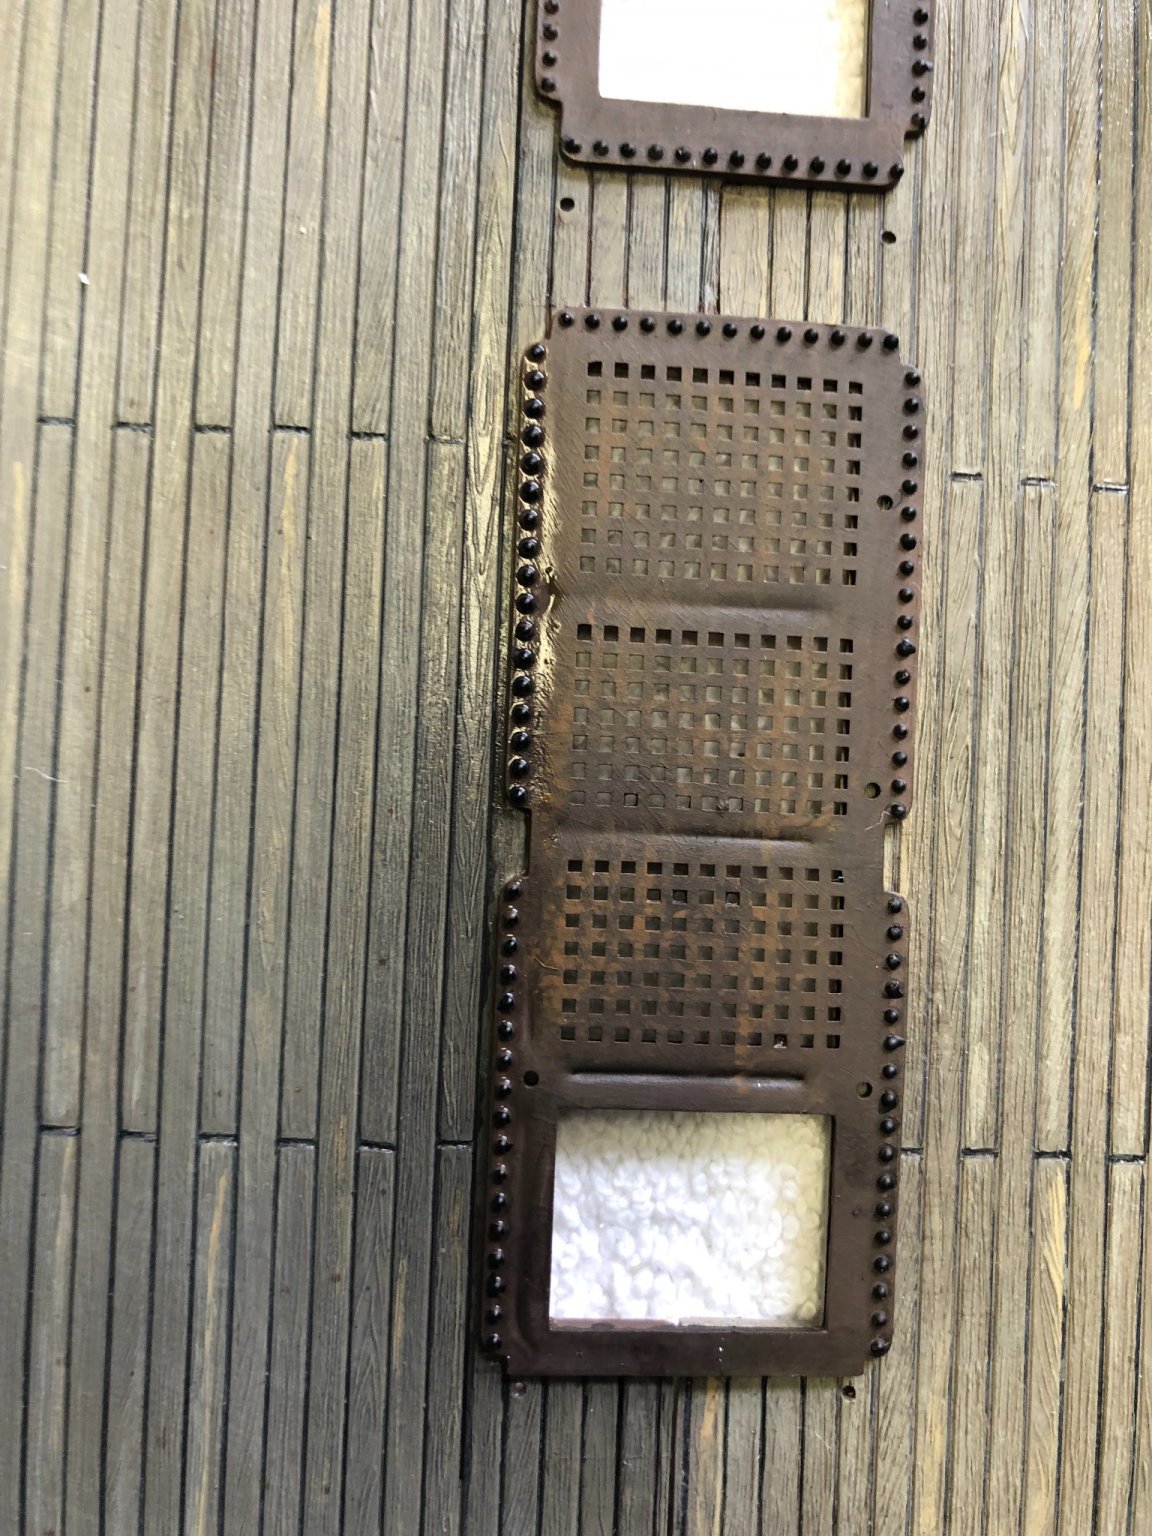
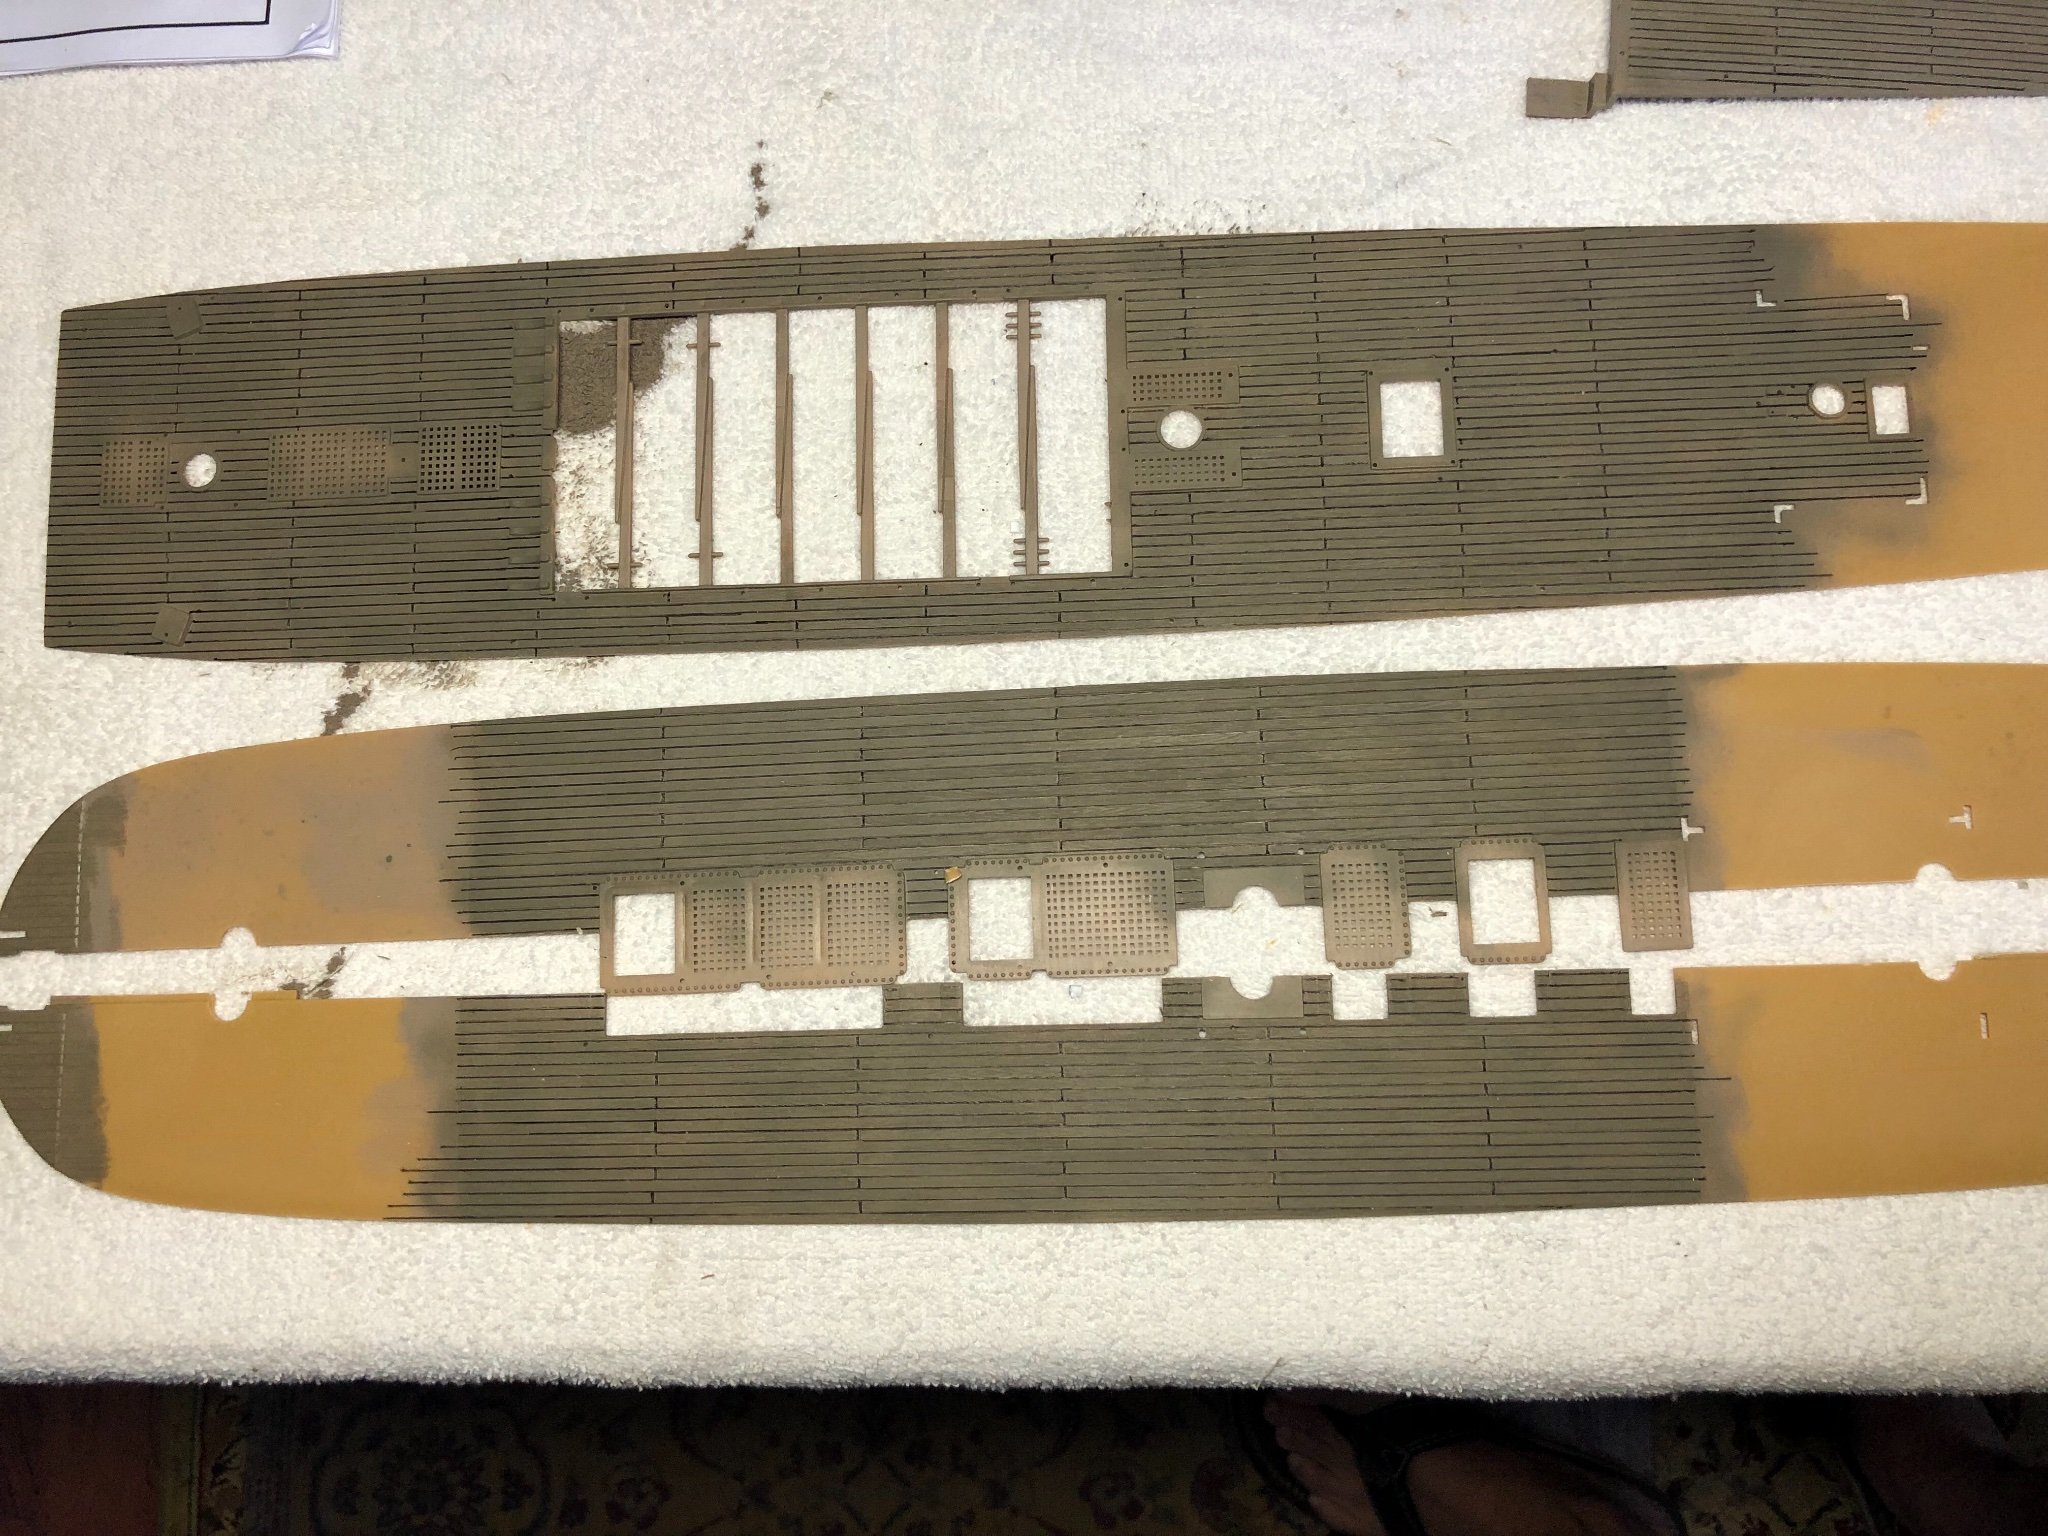
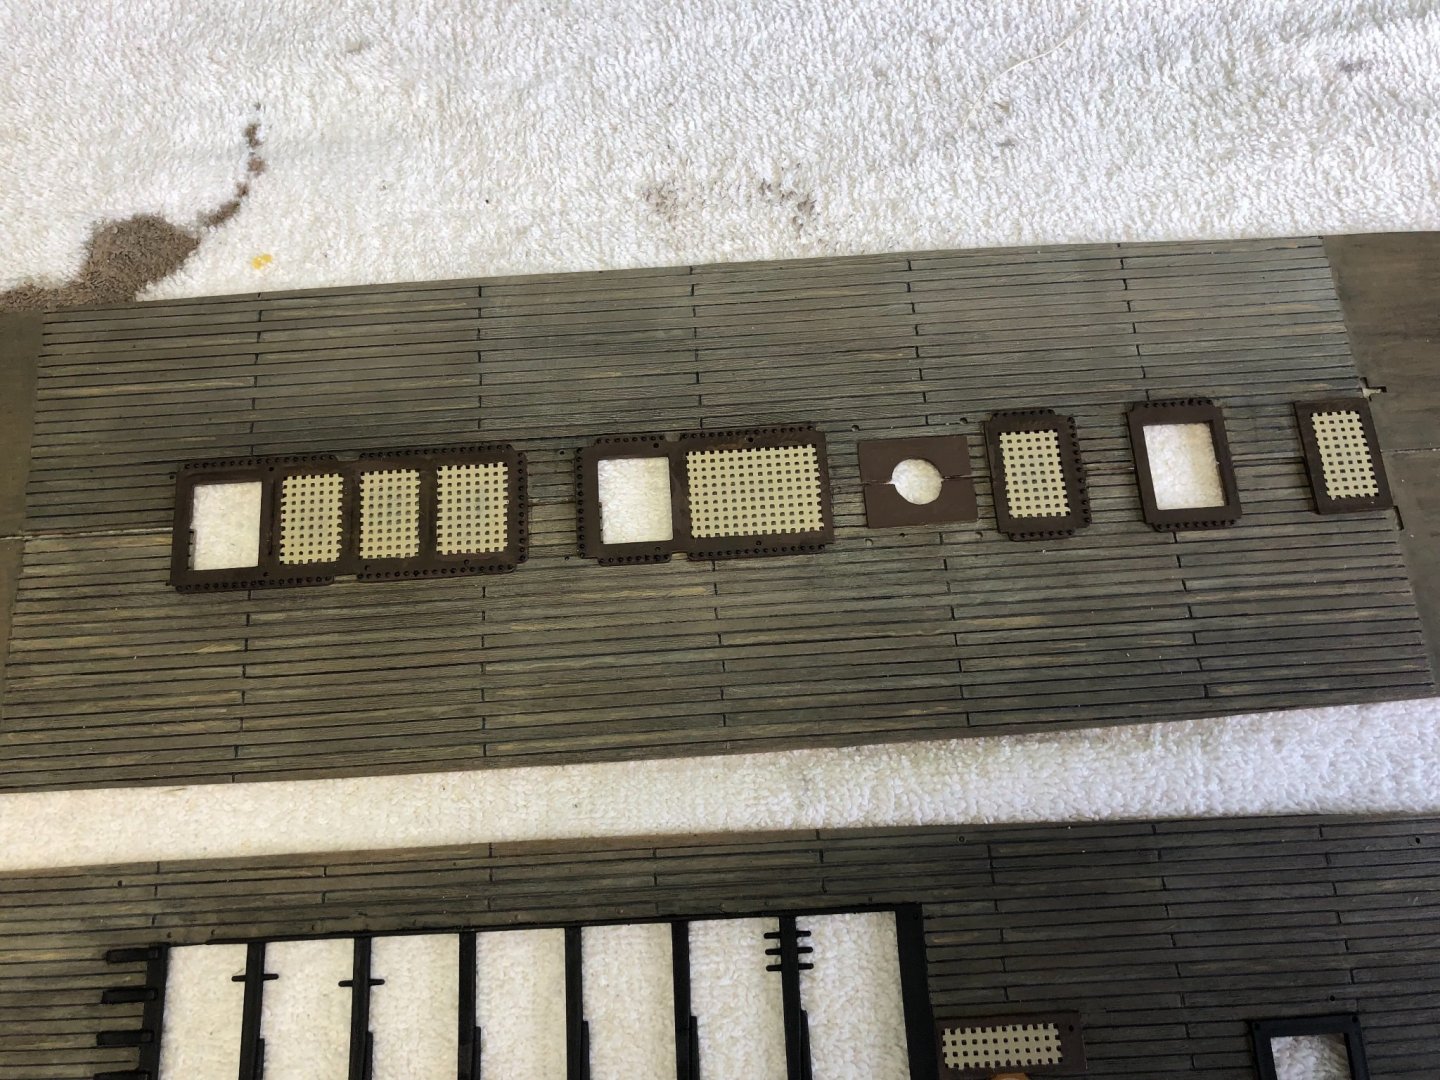
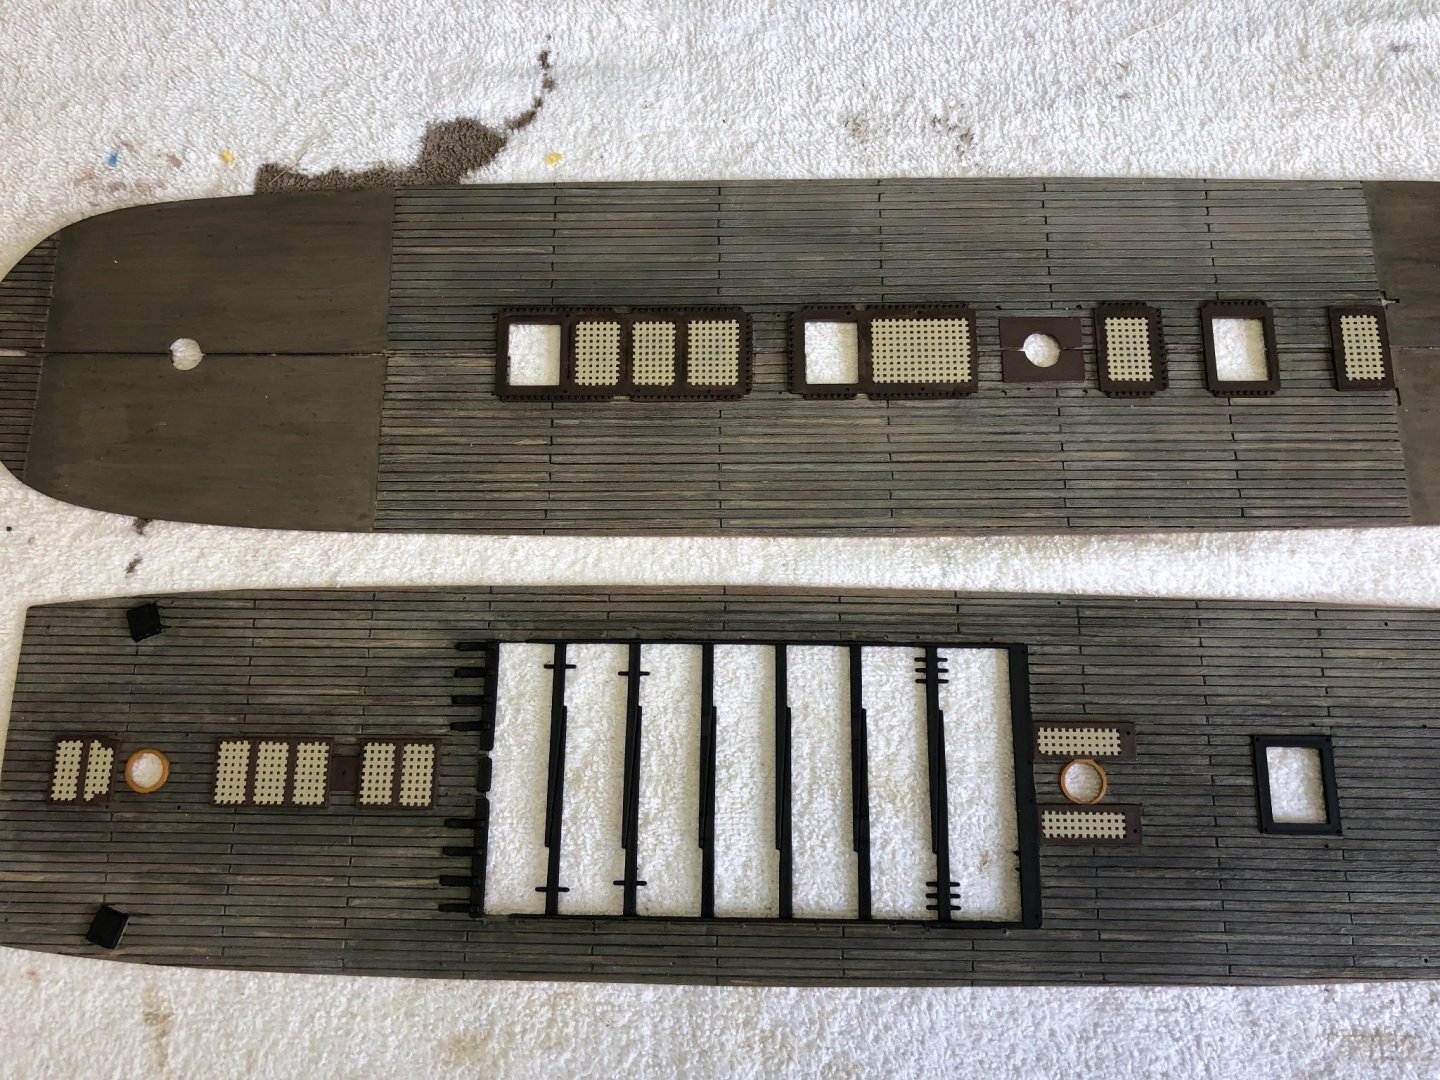
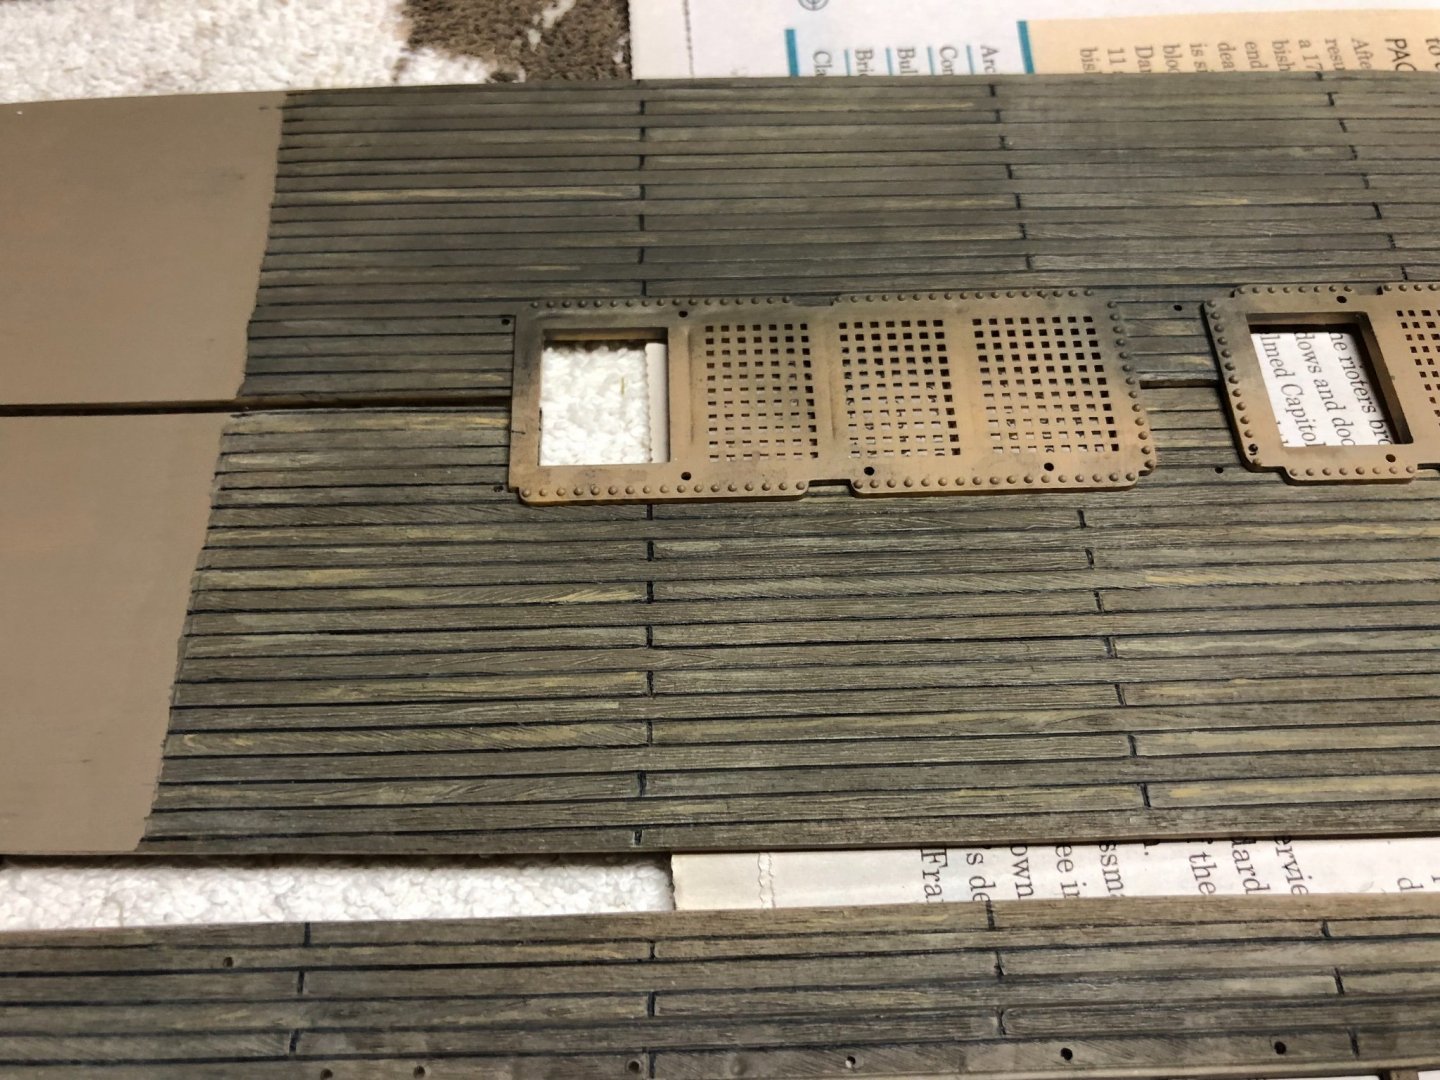
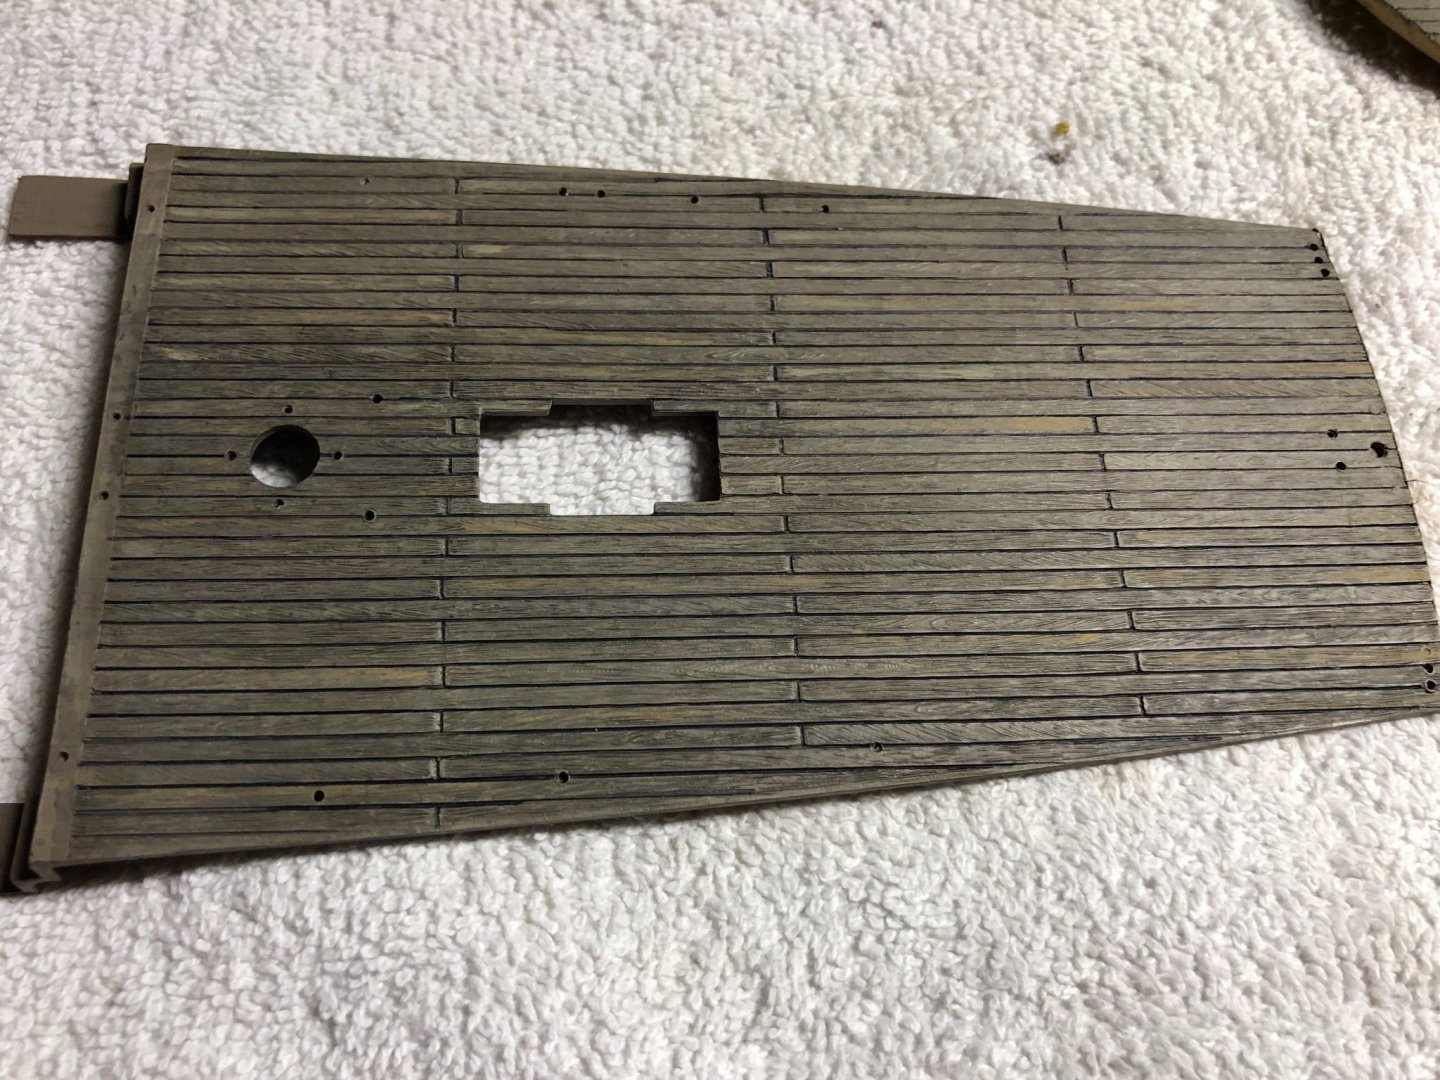
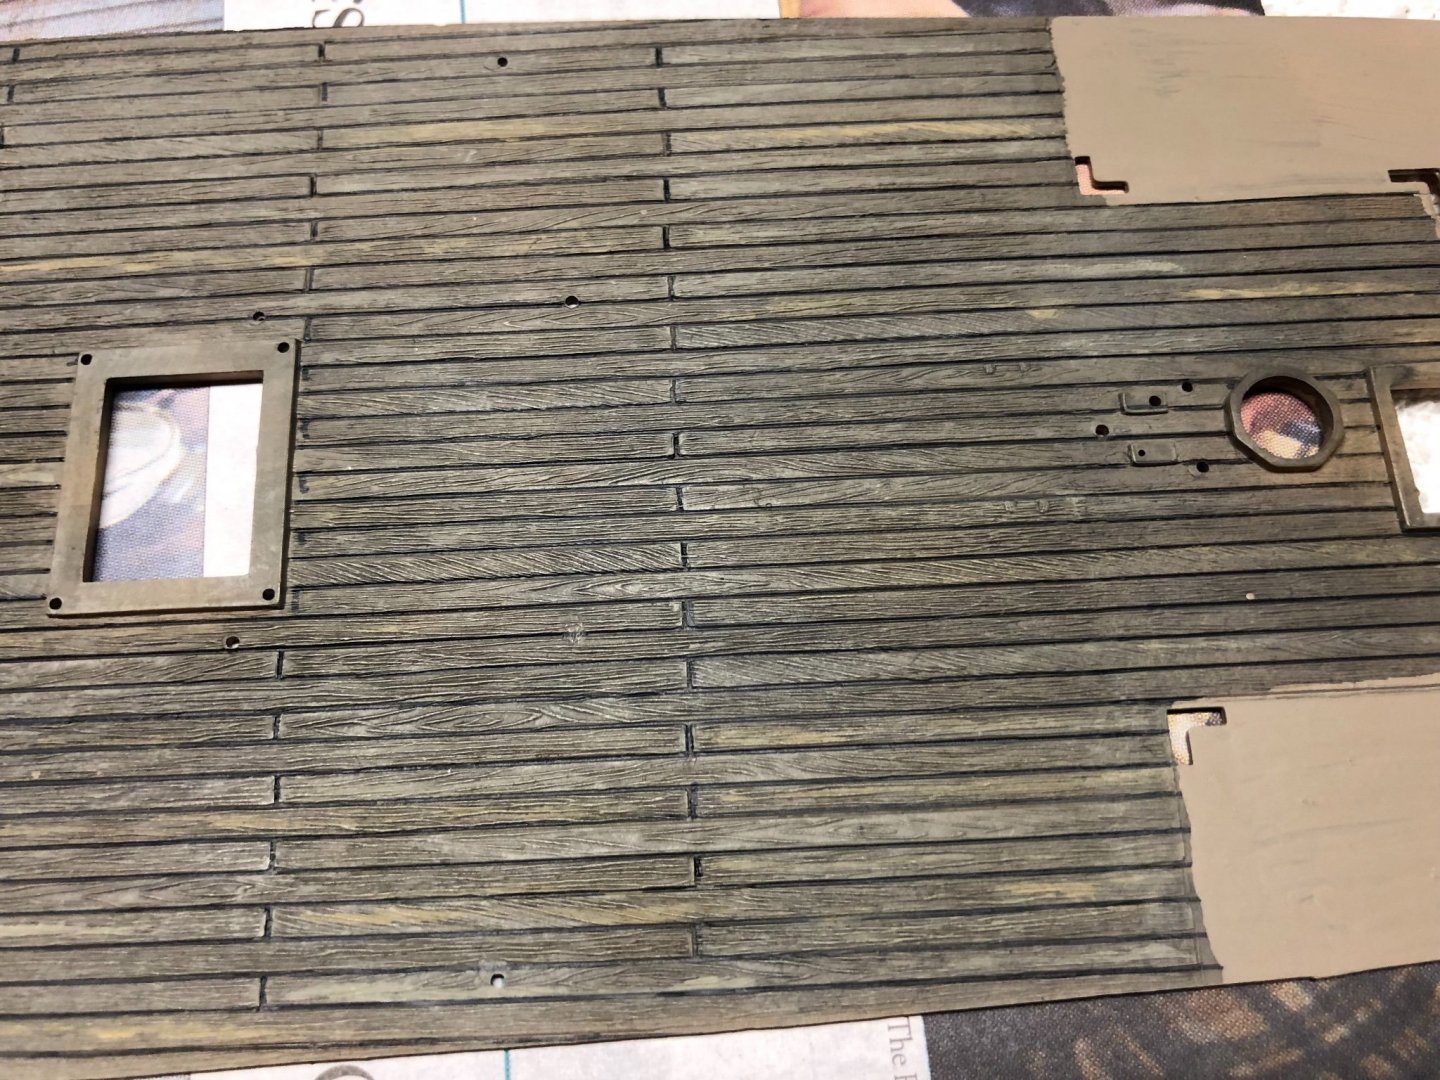
Small deck painting modification. After my last post I continued to look at my paint job and decided I wanted to highlight the hatches with a little lighter color. Not sure if it is authentic but I like it better.

-
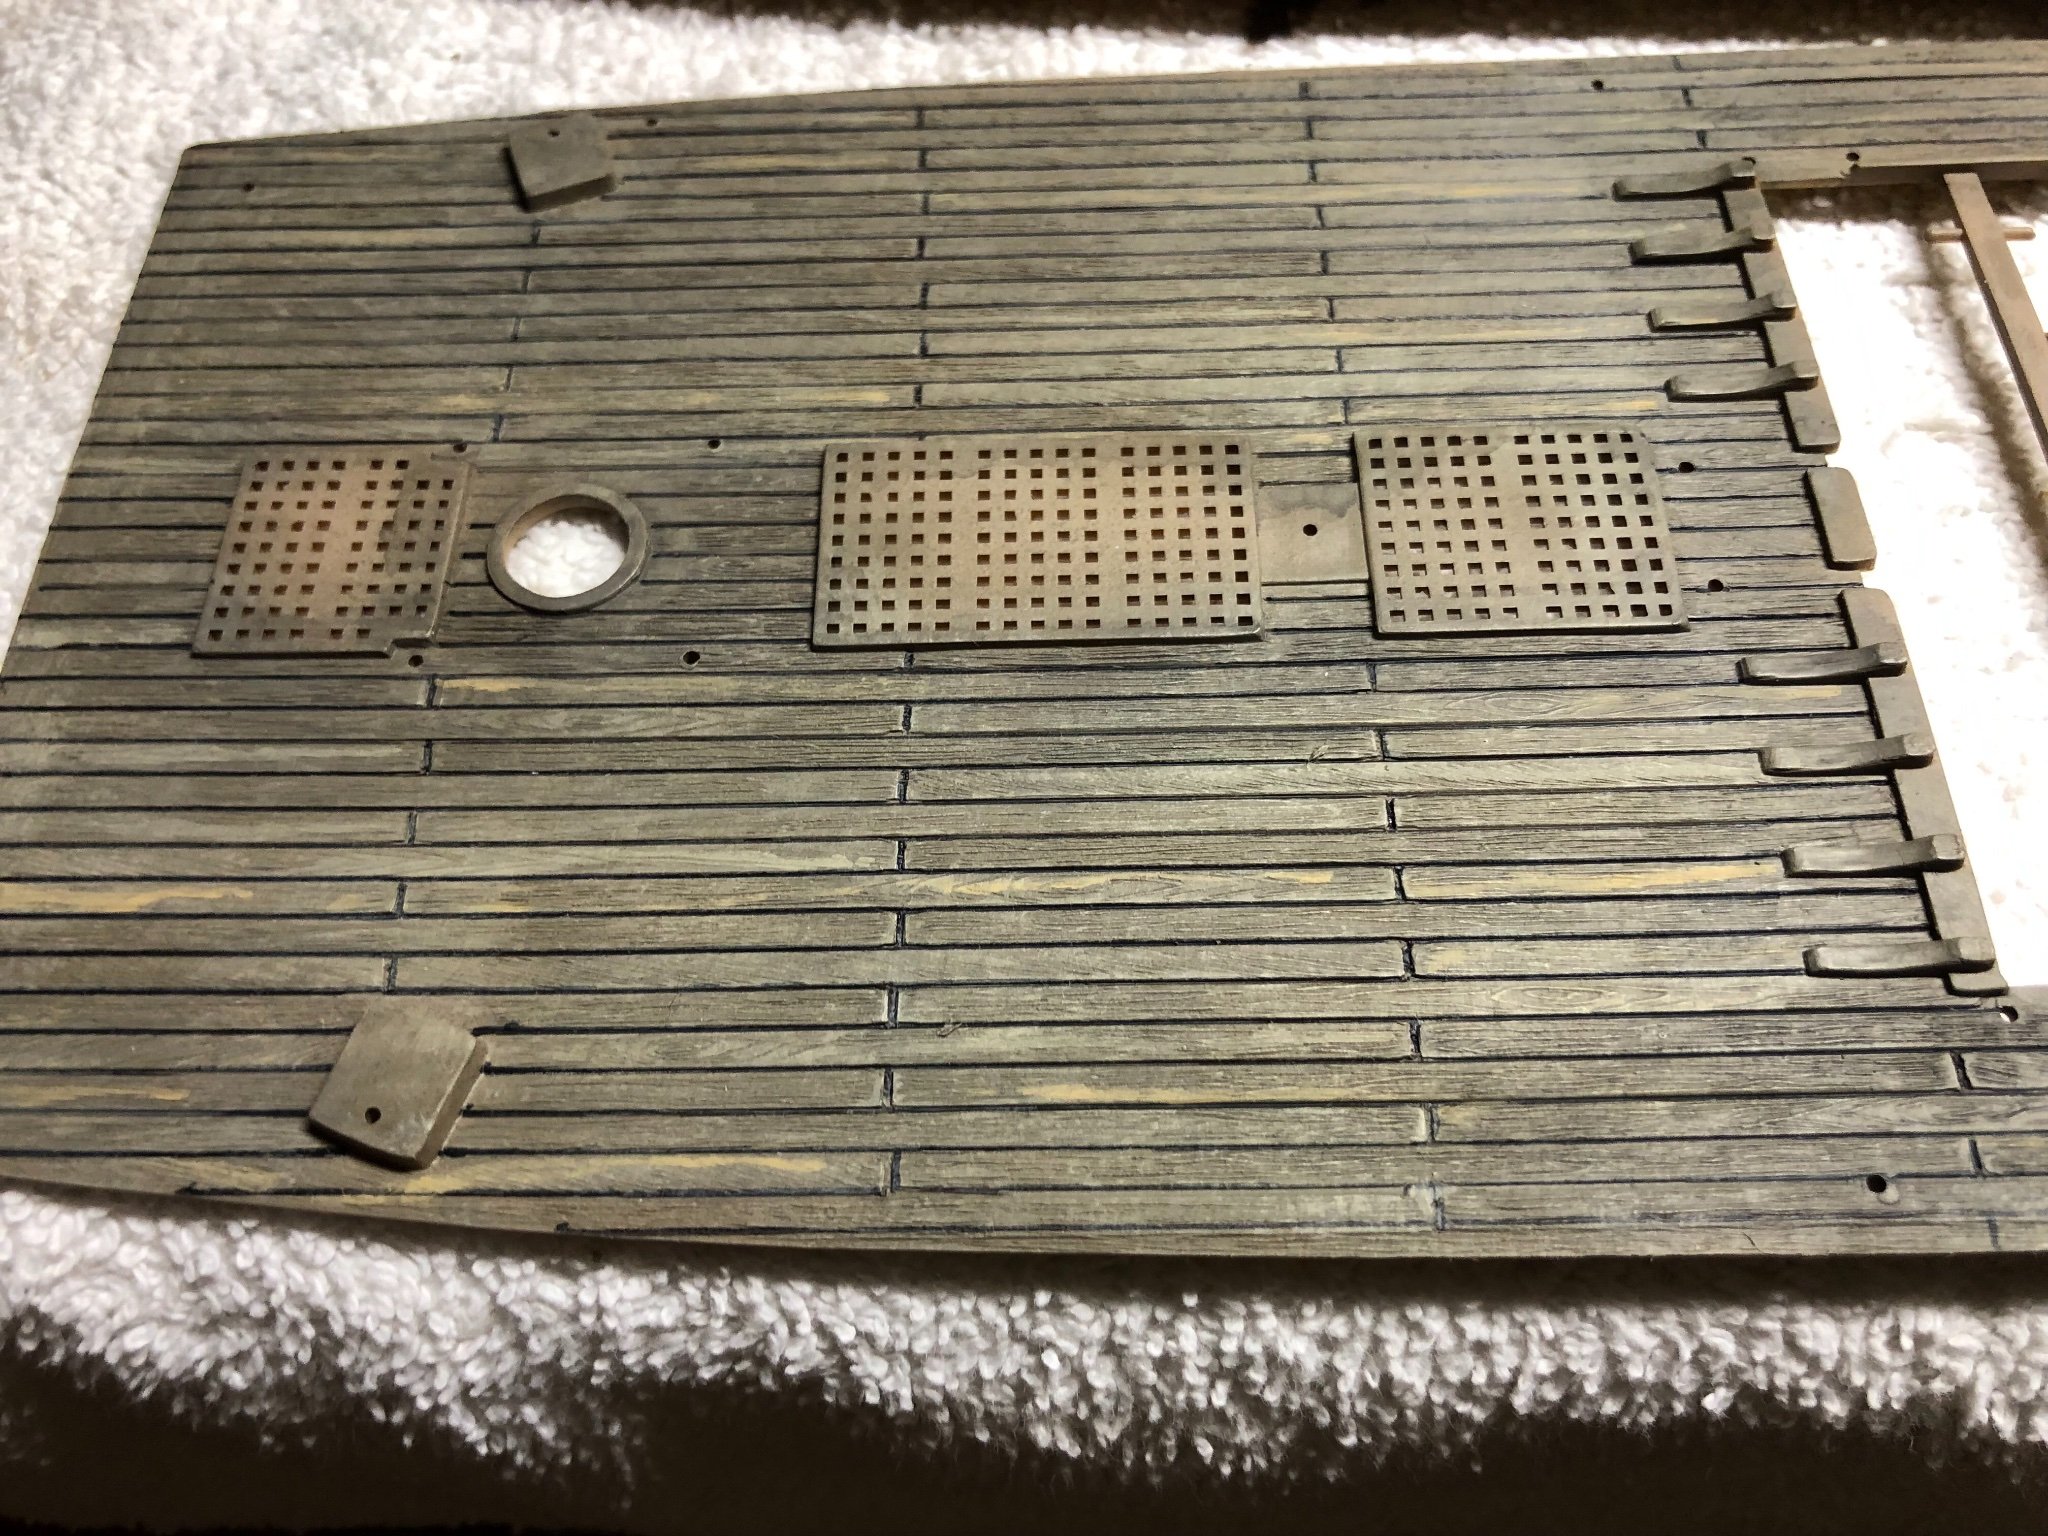
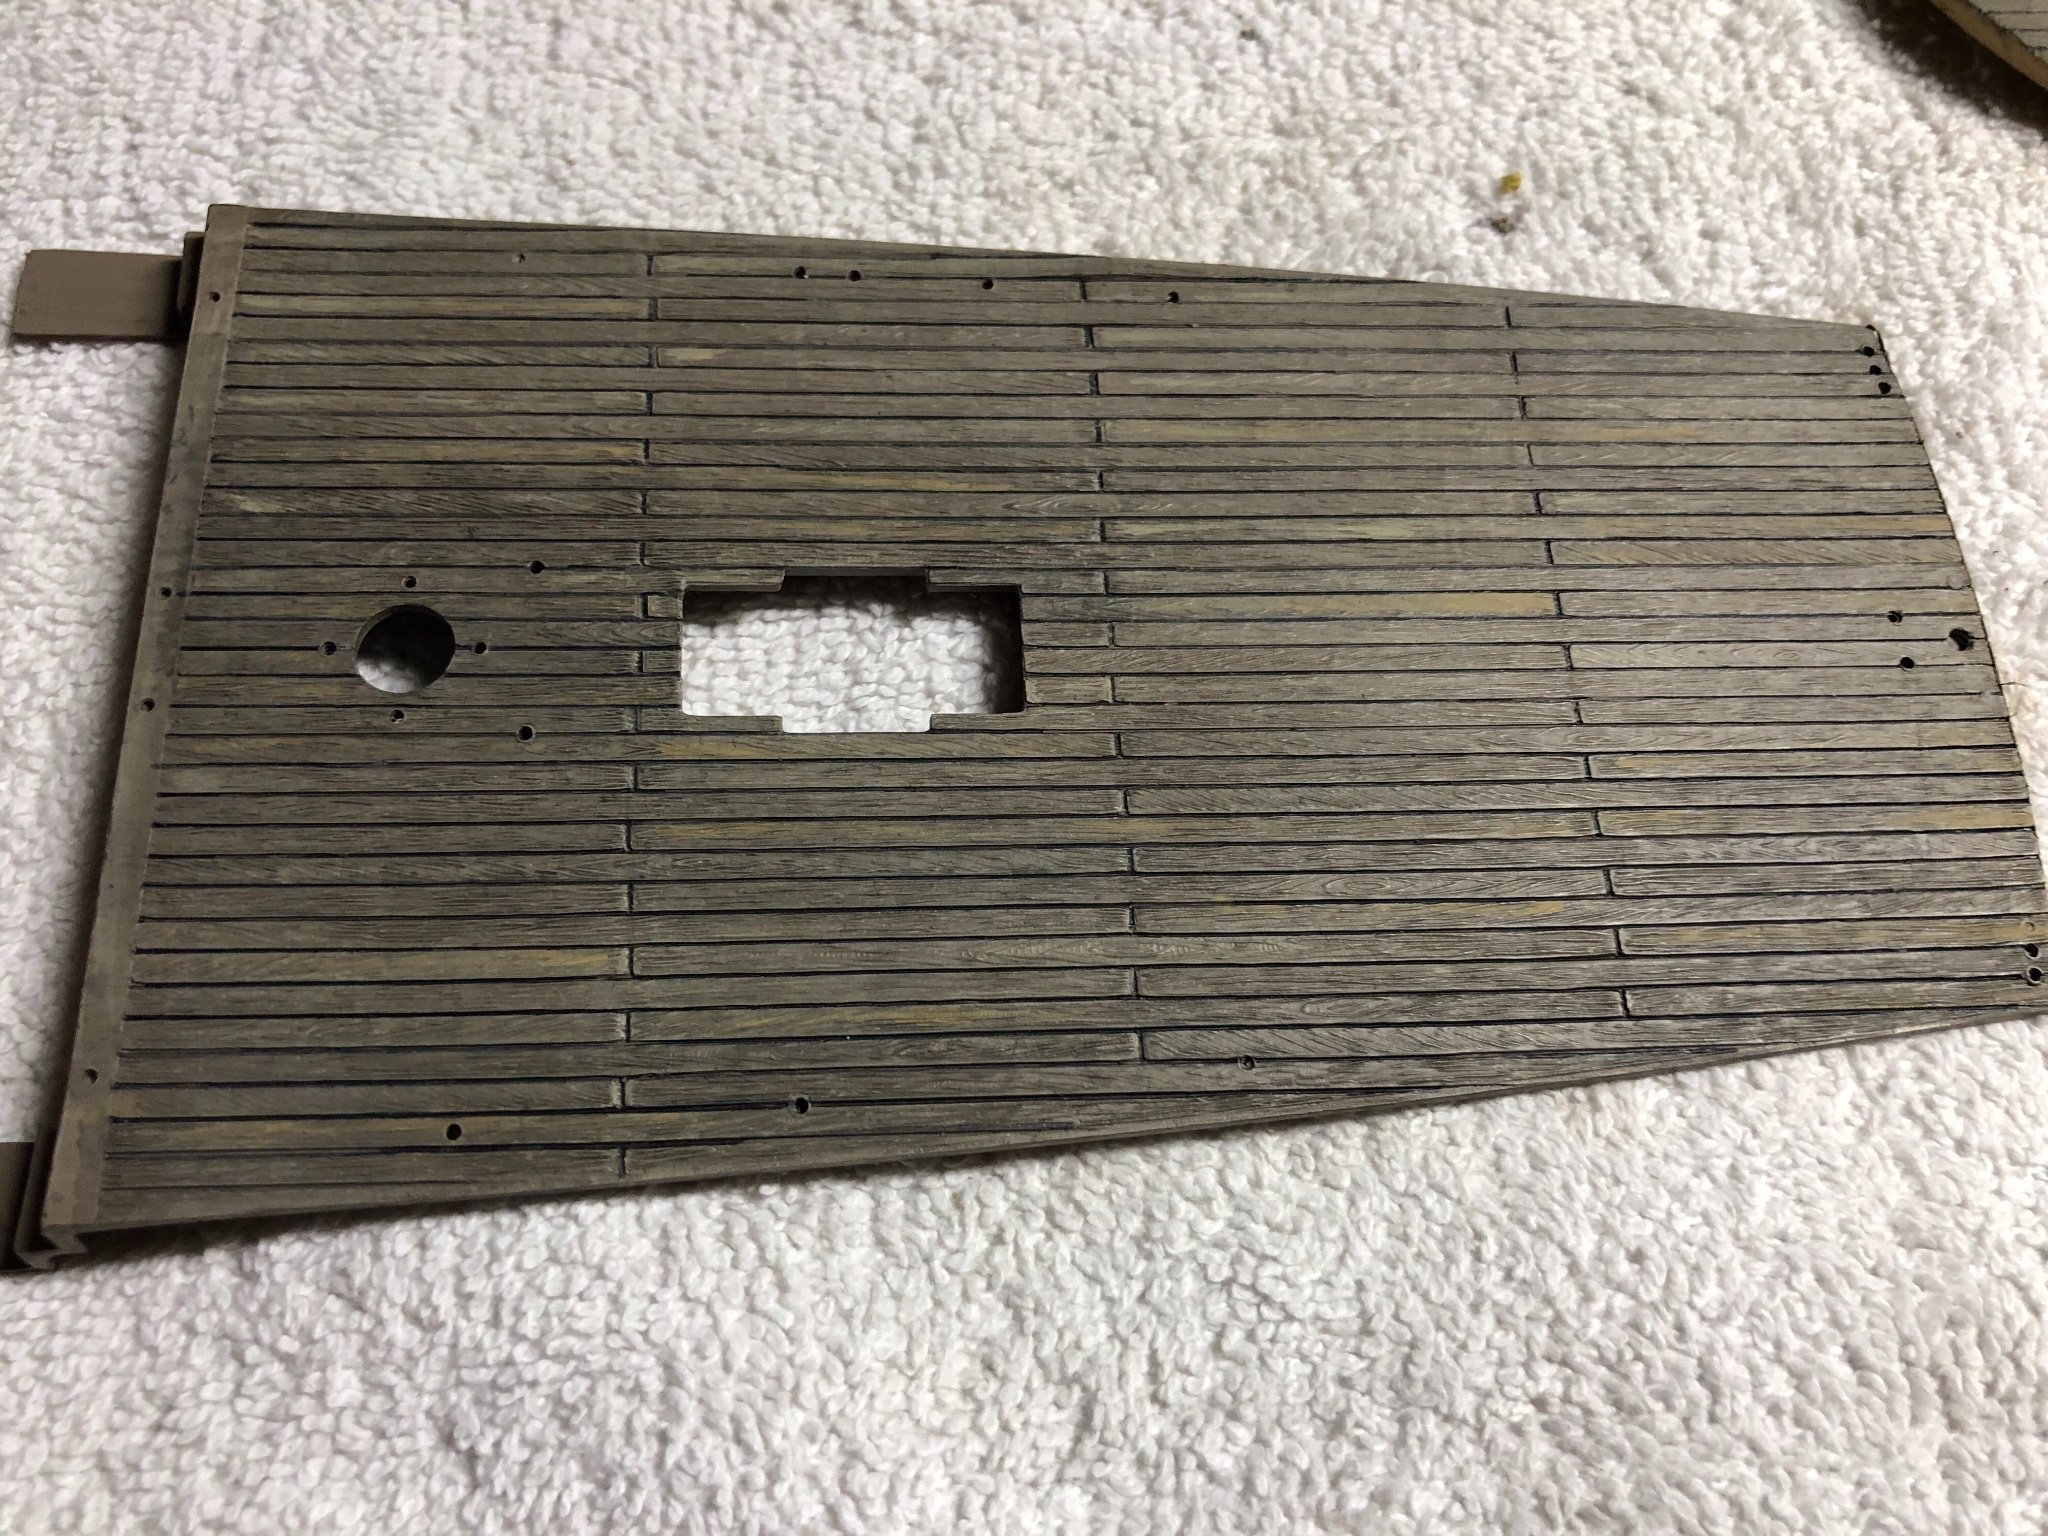
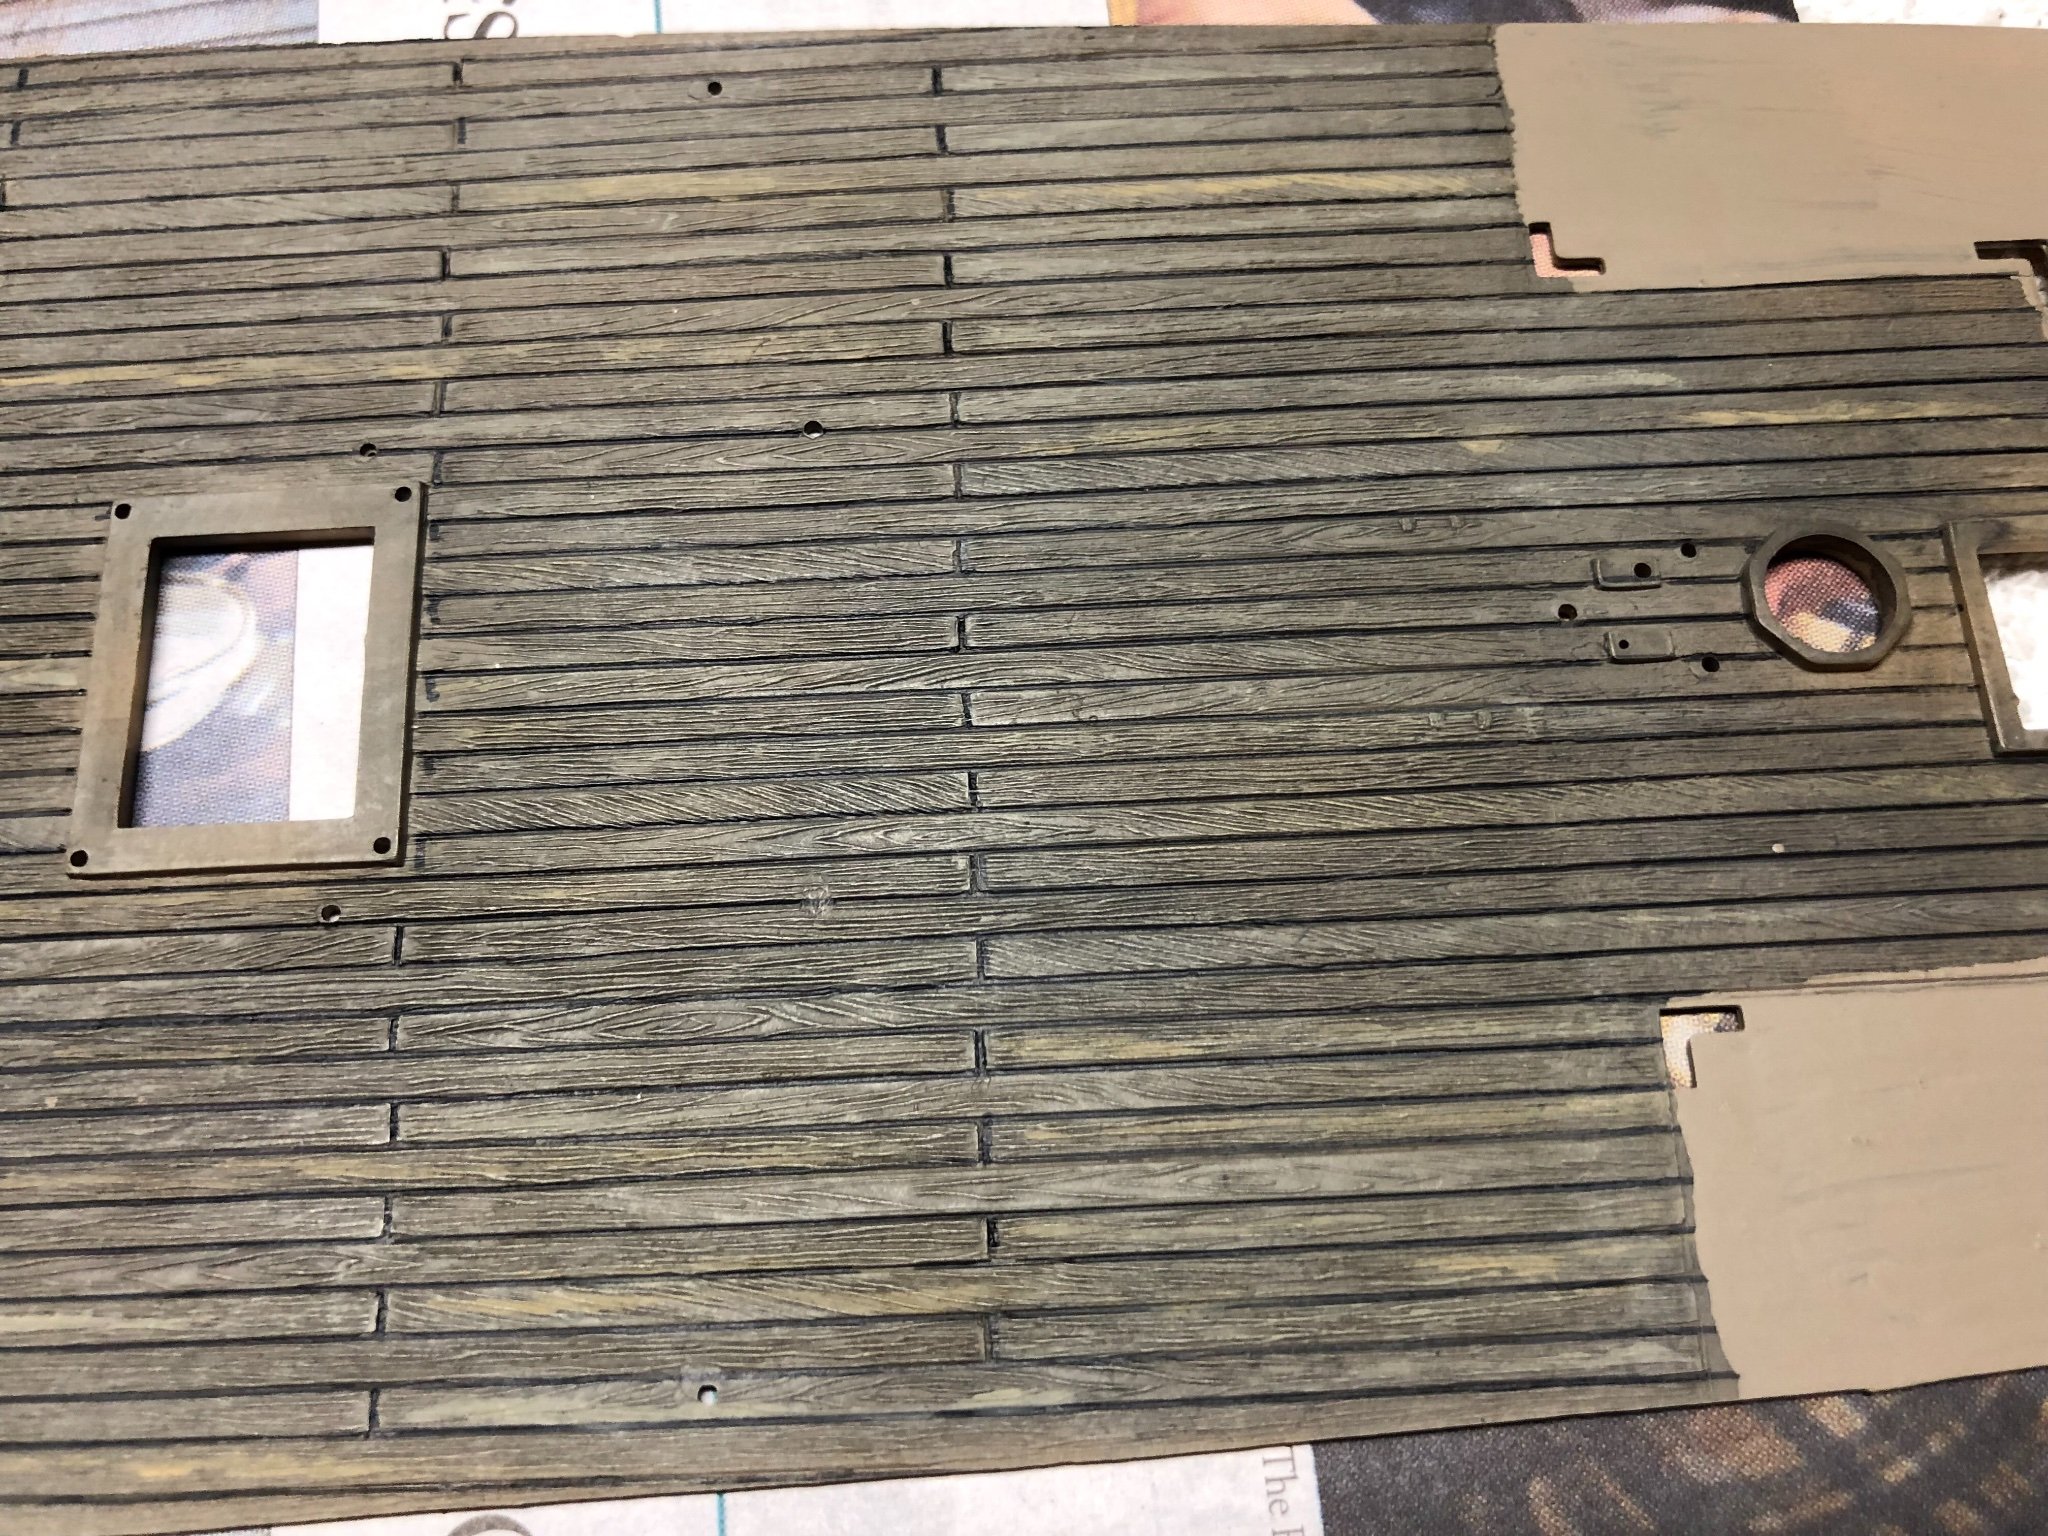
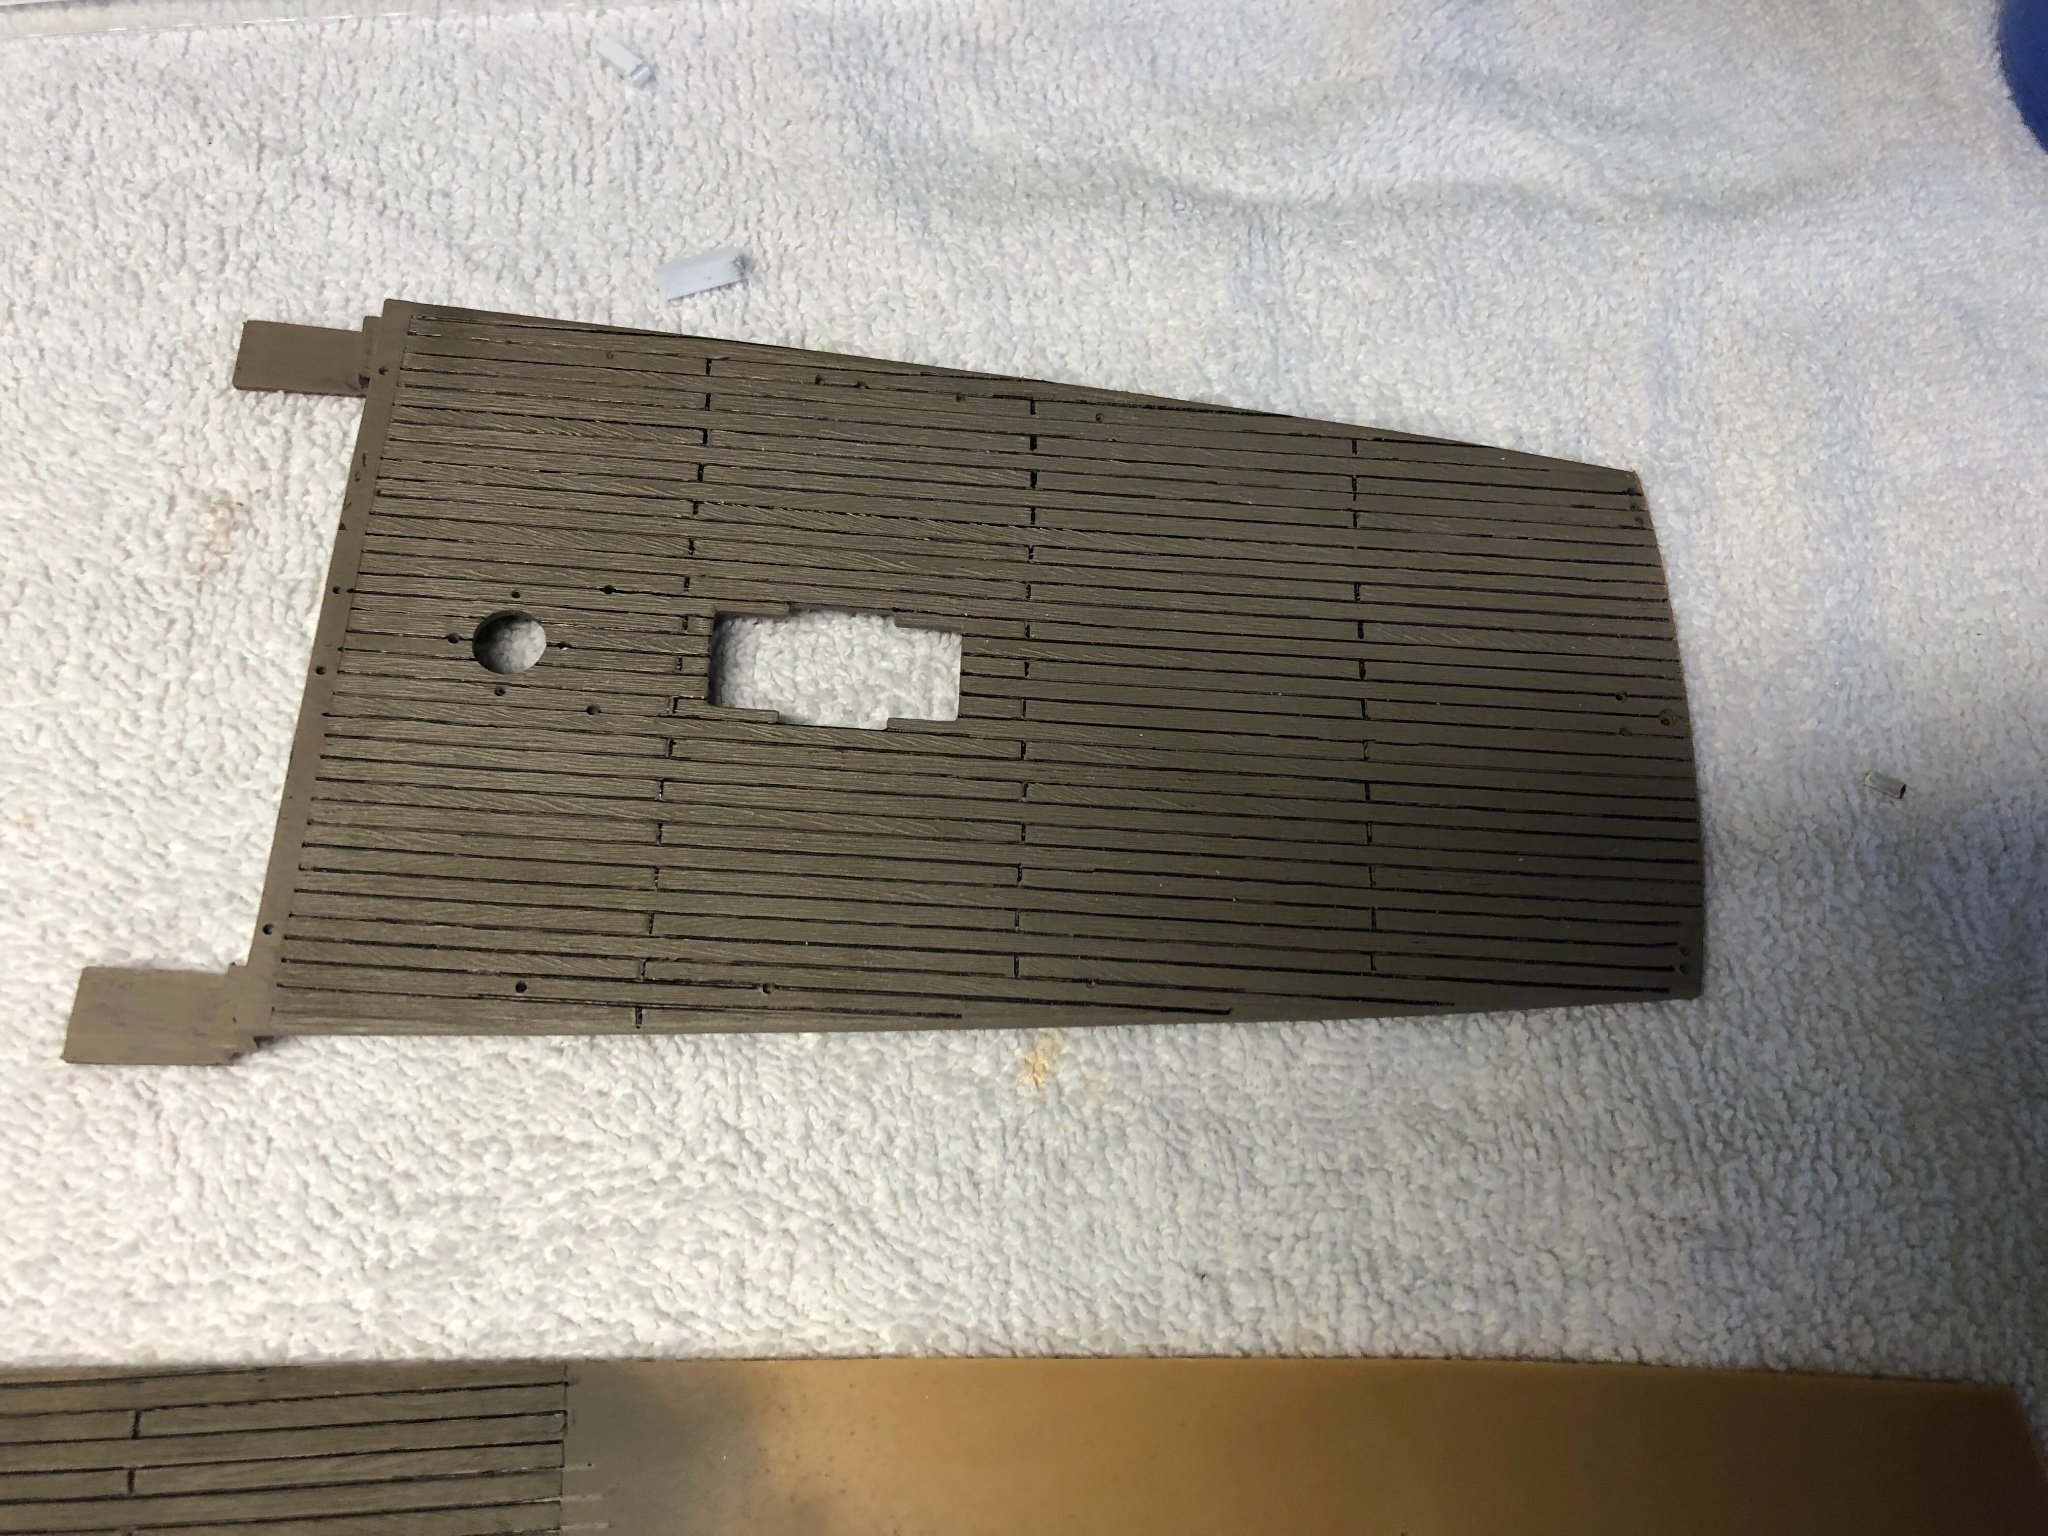
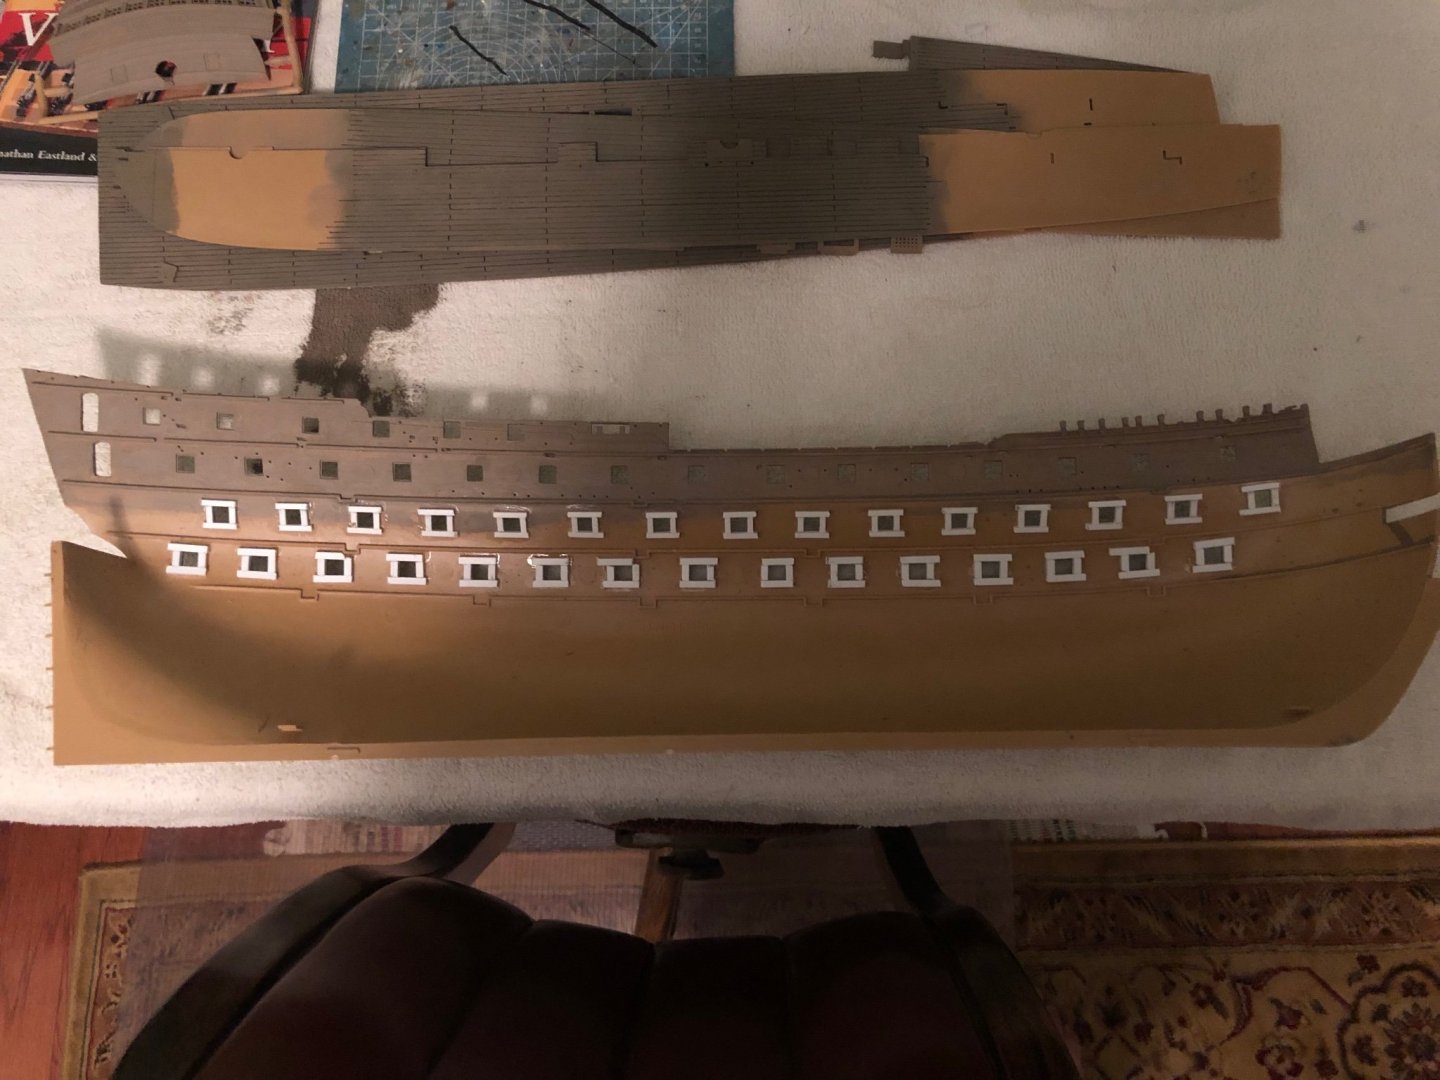
Ok a little progress today. Finished applying the .100 and .125 Evergreen to frame all the gunports and primed them for future painting. Really like the effect of goby the illusion of the bow being thicker. As I mentioned above, I look at my previous builds with open gunports and wish I could go back in time to redo them. I guess this will show the progress of my building skills. Also finished painting my deck sections. I weathered the deck in darker old aged wood colors. I attempted to add a little extract dark wash in areas that would have had heavier foot traffic.


-
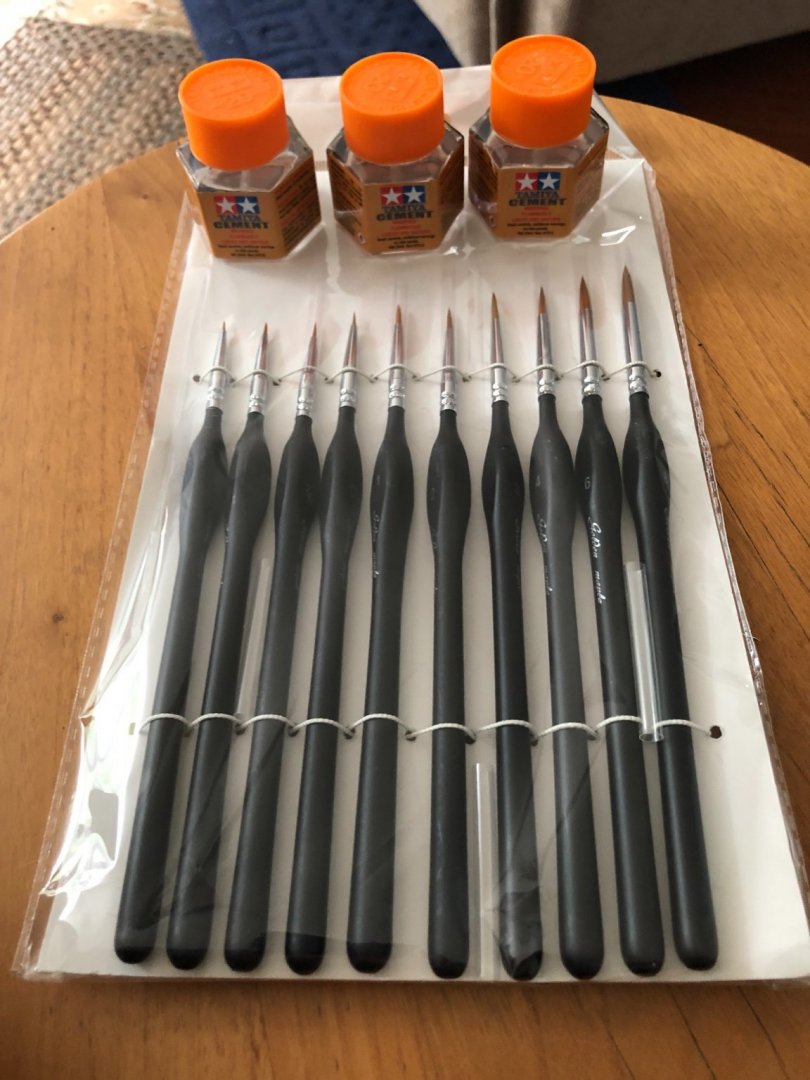
Woo Hoo! Looked what the friendly delivery truck just dropped at my door. It is like Christmas around here! 😀
-
Thanks Marc. We are the same on the plastic to plastic with Testors. Since the use of Daniel’s etched parts will be my first attempt at bonding dissimilar materials the CA glues will be a nice addition. Again thanks to you and Ian for your sharing your wealth of knowledge.
-
Interesting. See all this new stuff I am learning. Is the CA what you use for your plastic parts as well? I have always used regular Testor plastic model cement in a tube or Tamiya plastic cement in a bottle with a brush. For my rigging knots I use regular school white glue diluted with water. I like it because if I need to loosen a knot after the fact I can put some water on it with a paint brush and the glue will dissolve. It does darken the lighter threads a bit at the knot. Of course that does not matter with dark brown or black thread. Congratulations on them Canadiens! Great job! Are your arenas back to full capacity yet? Here in Louisville we have finally gotten back to full capacity.
-
Ian I meant to ask you if that Krazy Glue is slow or quick drying. I would think I would want a glue that gives me a few seconds to make sure the part is positioned correctly. Right?
-
Thanks Ian. I was thinking of a crazy glue type product. I see a number of people refer to an adhesive they use as CA. Curious what does that mean? Thanks for the nice words Old Collingwood.
-
Woo Hoo! Desired plates and new resin pieces ordered from Daniel. He tells me 2-3 weeks possibly. Thanks Daniel. In the meantime guys so I can get in extra supplies what adhesive do I need to attach Daniel’s brass etched pieces to the plastic. I am thinking maybe a slow set superglue?
-
Great conversation on the merits of my new phrase “kit bashing”. Now that I have learned and understand it is OK to operate outside the box, literally, it gives a since of freedom to experiment as long as I maintain a measure of authenticity. Sometimes I wish I could go back and rebuild my Revell 1/96 USS Constitution. I built it strictly to the letter of the instructions. It is a beautiful model but I wonder how much better it could have been. I don’t dare go into the MSW vault to read build logs for it. I am sure I will see so many things I will be disappointed I did not do. As far as my Victory goes I am now in a bit of a hold pattern on painting the hull and stern. I have communicated with Daniel to purchase several of his etched plates and a couple resin parts. Two of which are the one plate, I think it is #2, that has the little decorative pieces that go above the cannon ports and the new resin balusters for the stern. Will need to get them before I can proceed much with painting. Since that is the case I believe I am going to set the hull aside and dig into the million parts that make up the cannons! Maybe work on the life board as well.
-
Ian is the term “kit bashing” a negative thing like complaining about or bashing a model or a positive meaning one feels the confidence to modify the model and make perceived improvements? I am definitely not bashing the Victory model in a negative way, but I sure am enjoying learning ways to use my own artistic expression which has been greatly enhanced by you guys encouragement and recommendations. I used to be an avid fiction reader finishing a new book every two to three weeks. Since I started model ship building and finding this incredible MSW site I am consumed with the enjoyment of both. Have probably only read 3 books this year so far. I often wonder if I am alone in my level of this new passion? You guys are incredible. And I am so grateful! As far as my model is going , I have finished hand the planks in my deck sections and almost all the cannon ports.

-
You are so right Marc!
-
Page #13 of Foxy’s build log is where they use Evergreen for some deck additions.
-
An excellent example of what I am talking about is Evergreen. Until last week, I think it was Ian’s post, I had never heard of or seen Evergreen. Was not sure I could come up with a workable way to thicken the appearance of a the hull at the gunports. Had I given up on the idea and assembled my hull and lower decks without being able to thicken the hull, I would really have been disappointed when I learned of Evergreen. My hobby store has various sizes of the stick version like I am using on the gunports and various sizes in sheet form. This product opens up unlimited possibilities of things a modeler can do! Soon after I learned of Evergreen I was reading through Foxy’s build log of the Heller Victory here in MSW and see all sorts of items they created for their decks with Evergreen. Most of which I have no idea what they are but am intrigued.
-
Thanks Daniel. Look forward to getting your email. I am really enjoying the discussion here. So much to learn. That is the crazy thing about this build. You really don’t know what you don’t know until you know. I learn more with each post here and on other build logs I read. As with my hesitation getting started because I did not know my exact plan, now I am hesitant to proceed on a major process for concern I will later see something I wish I had done instead. 😀 You guys may think I am nuts but I love this indecision. I am in no hurry to get the Victory done. As with all my builds I enjoy the trip just as much, or more, as the finished piece of art. Seeing and learning about the different ideas and ways you guys do things is great!
-
Daniel I sent you a couple emails about ordering some etched sheets. Then I got crazy and sent a second one adding a couple other sheets and a couple resin items. One I am curious about and all you guys thoughts are welcome, is sheet 6 with the gunport hinges. For my other builds I have all the ports open with cannon barrels out. If I do the Victory the same way you really don’t see the hinges are the ropes that open the hatches. If I were to buy plate 6 would you advise having some hatches closed to highlight the new hinges and rigging?
-
Marc I have 3 after college age kids but all have left the nest. Maybe I can start charging for when they drop by for dinner with the grandkids. Get me a “Dafi Contribution” jar! 😊
-
You guys are trying to get me killed! 😀 How do I convince the comptroller of the family budget (wife) that I ultimately need to spend as much for after market improvements to the ship as I did the actual model. Of course I do have a birthday coming up in August! Hummm!
-
Finished framing the gunports on the Port side. Marc based in your recommendation I used .125” mm square strip stock to frame the lower ports, and .100”mm stock for the middle deck. I really like the looks of it and now to do the gunports on the starboard side. I also finished drawing in all the lines between the deck boards. Will start painting the individual planks now. I emailed Daniel about the plates. Hope to hear back from him soon.