Bill97
-
Posts
2,731 -
Joined
-
Last visited
Content Type
Profiles
Forums
Gallery
Events
Everything posted by Bill97
-
Michael I plan to wait until near the end of my build to put the hatch doors on. I know my luck and sometimes clumsy hand movements I would probably knock 10-15 of those little guys off during rigging. So I am going to wait till rigging is done to put in the hatch doors. So maybe by then you may show me your idea
-
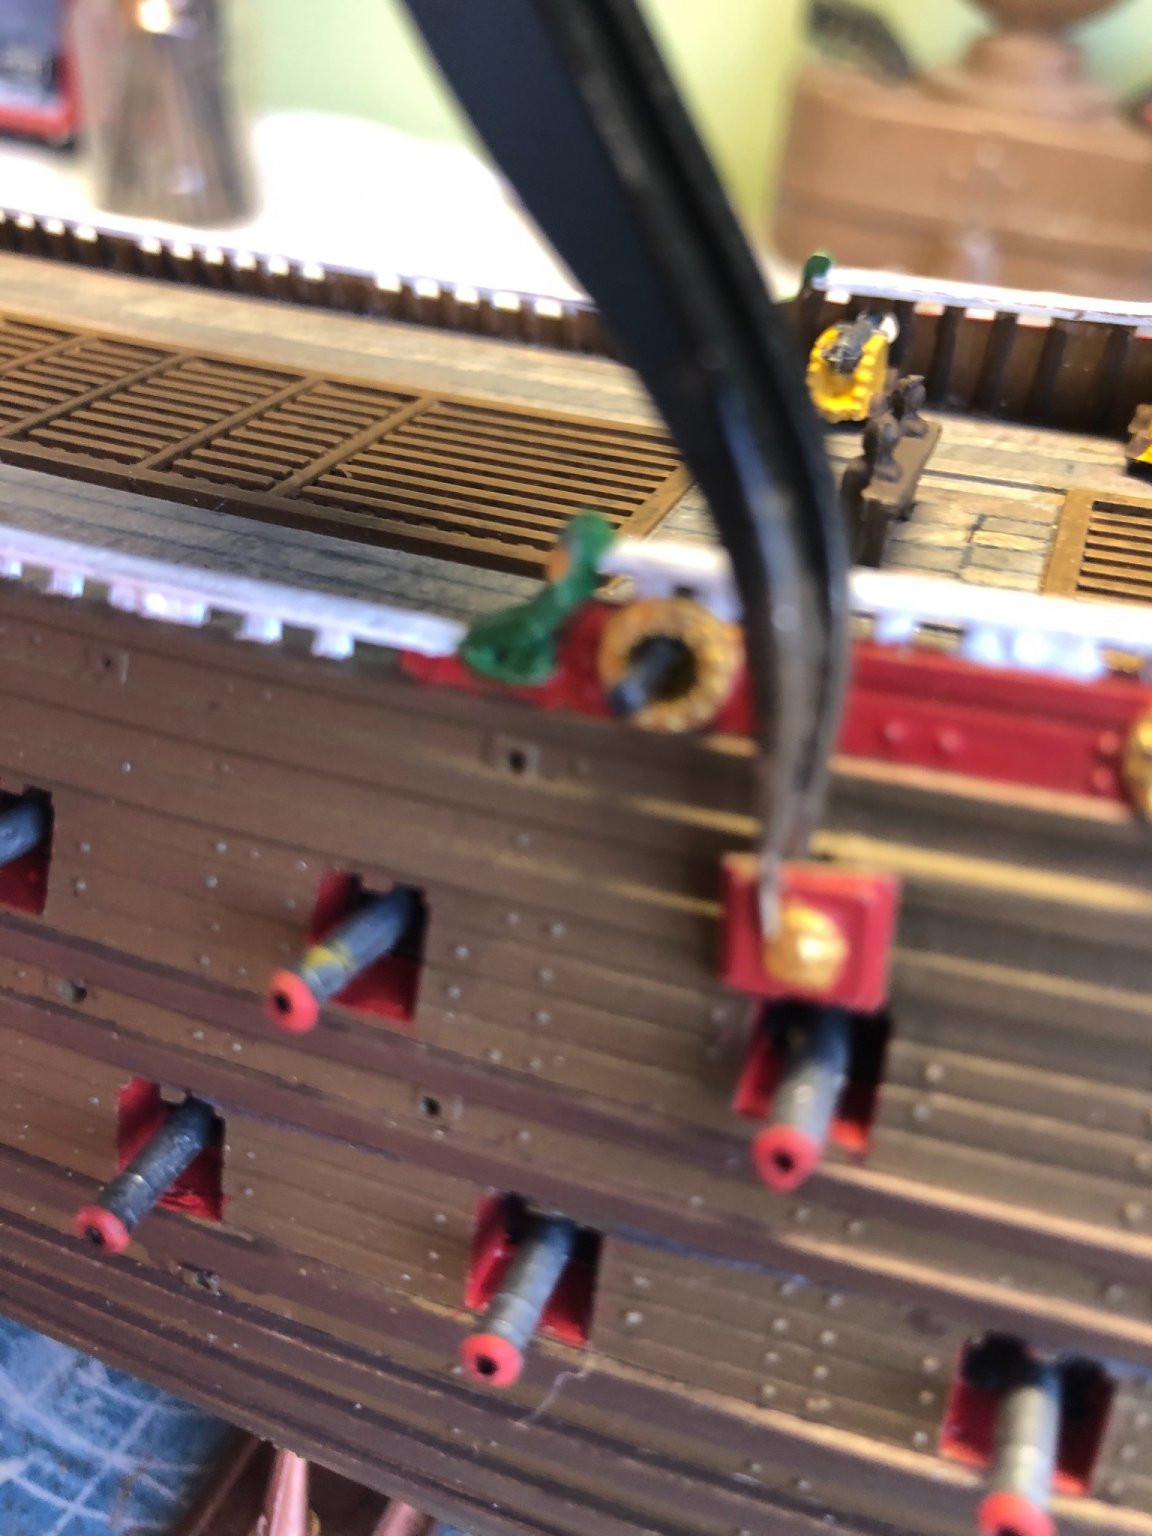
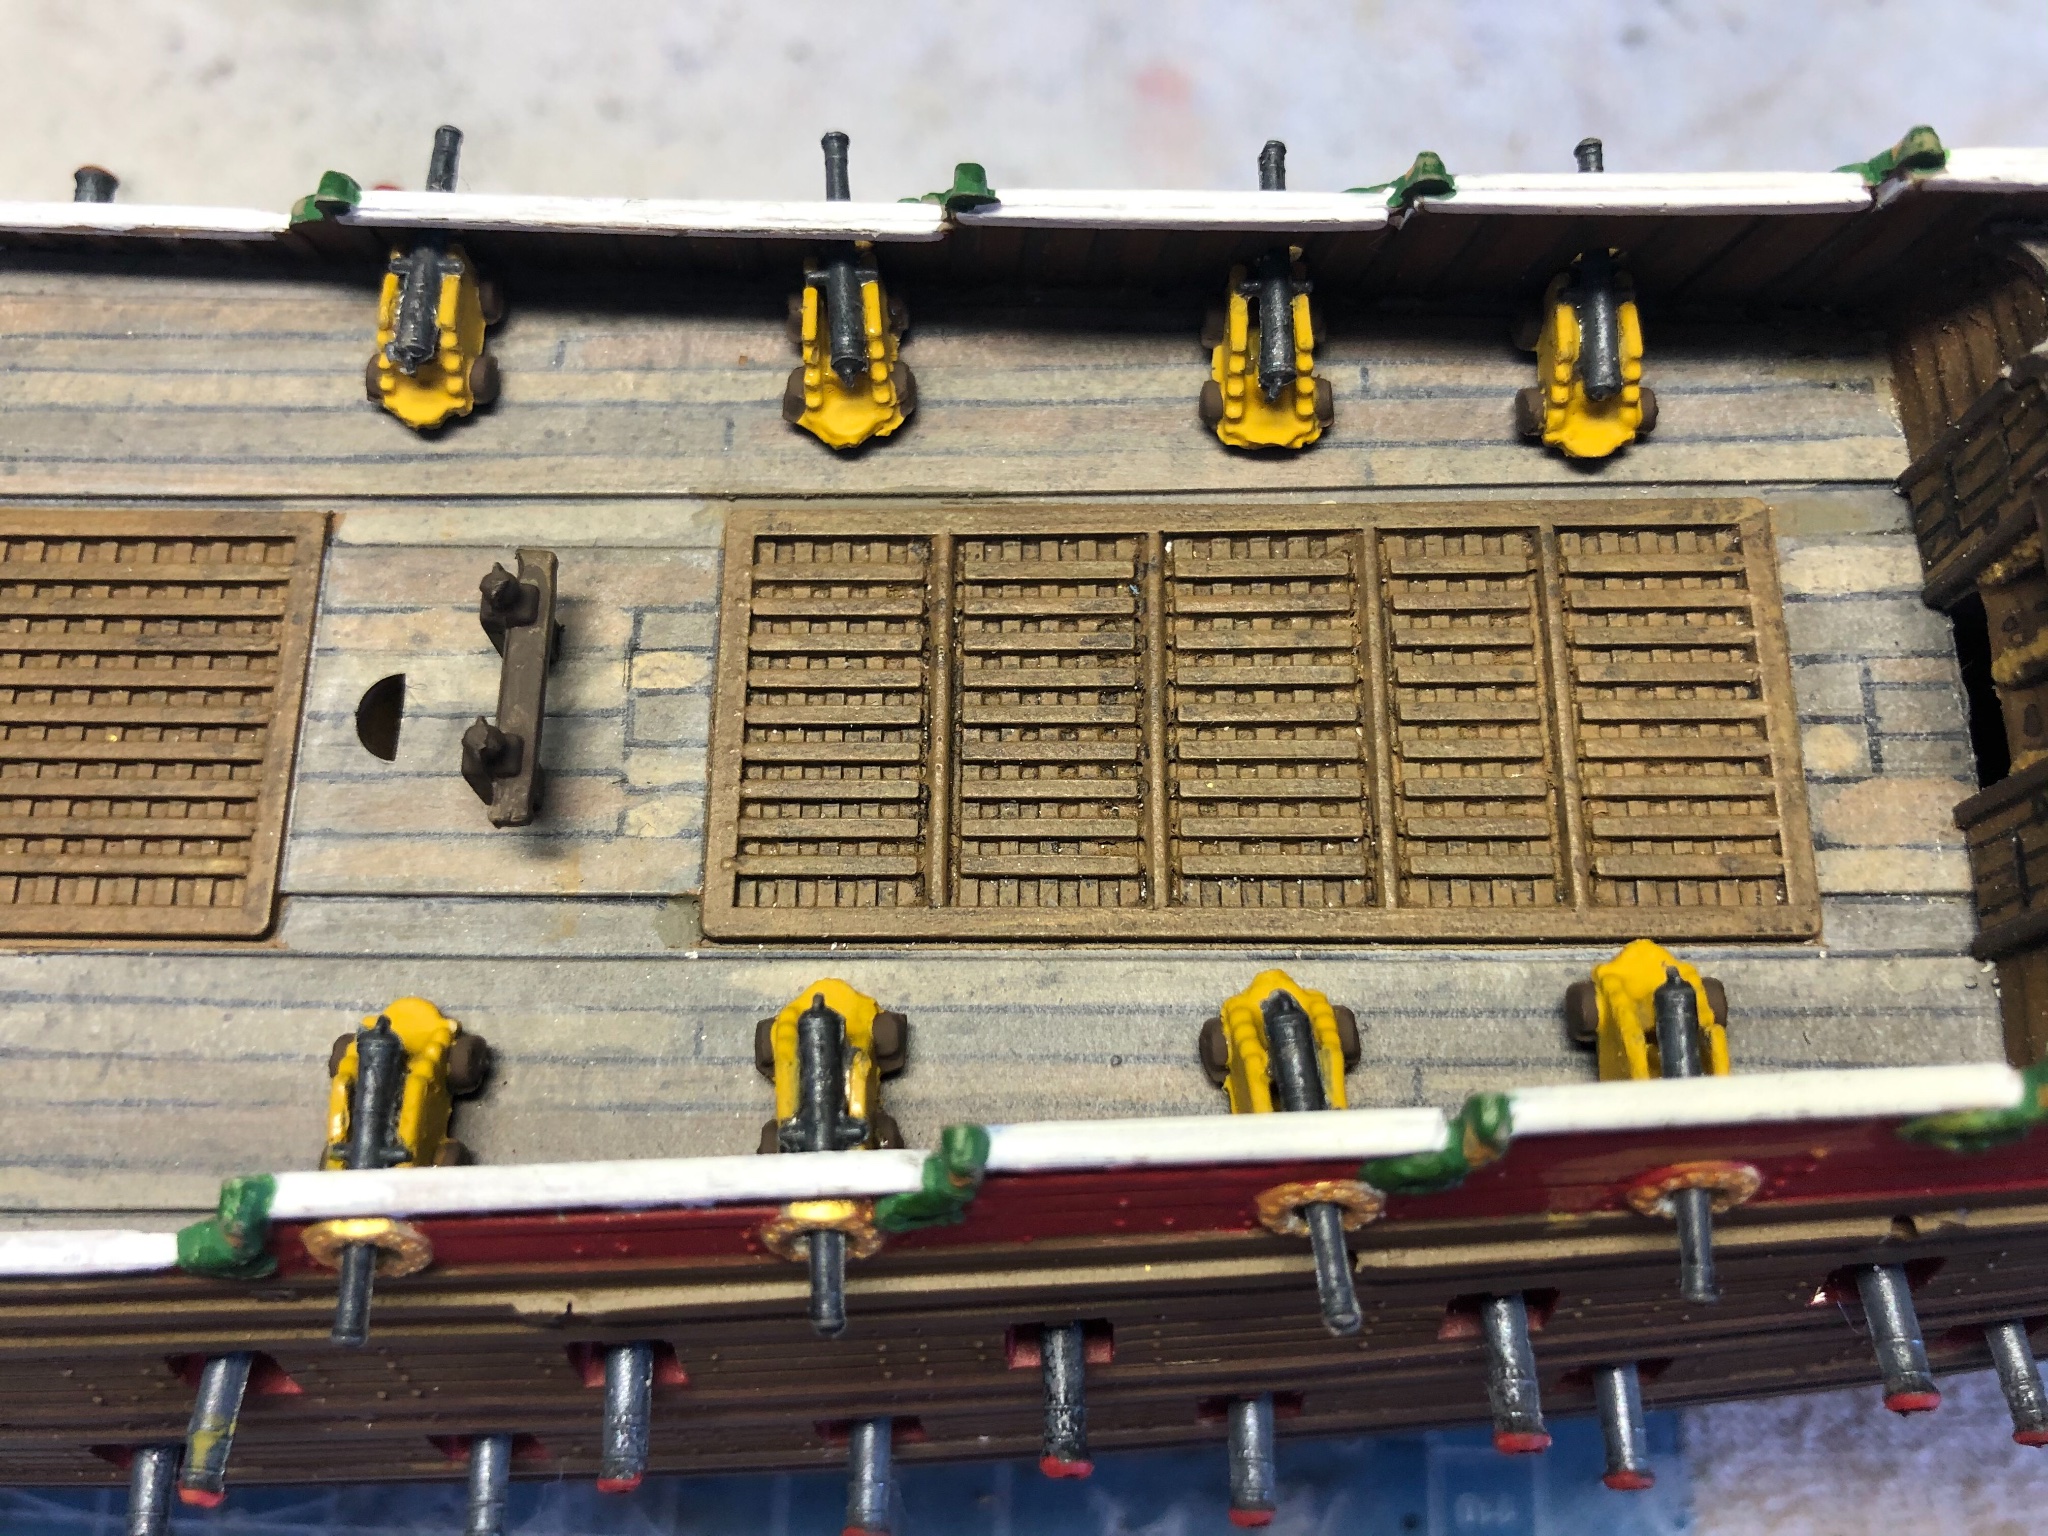
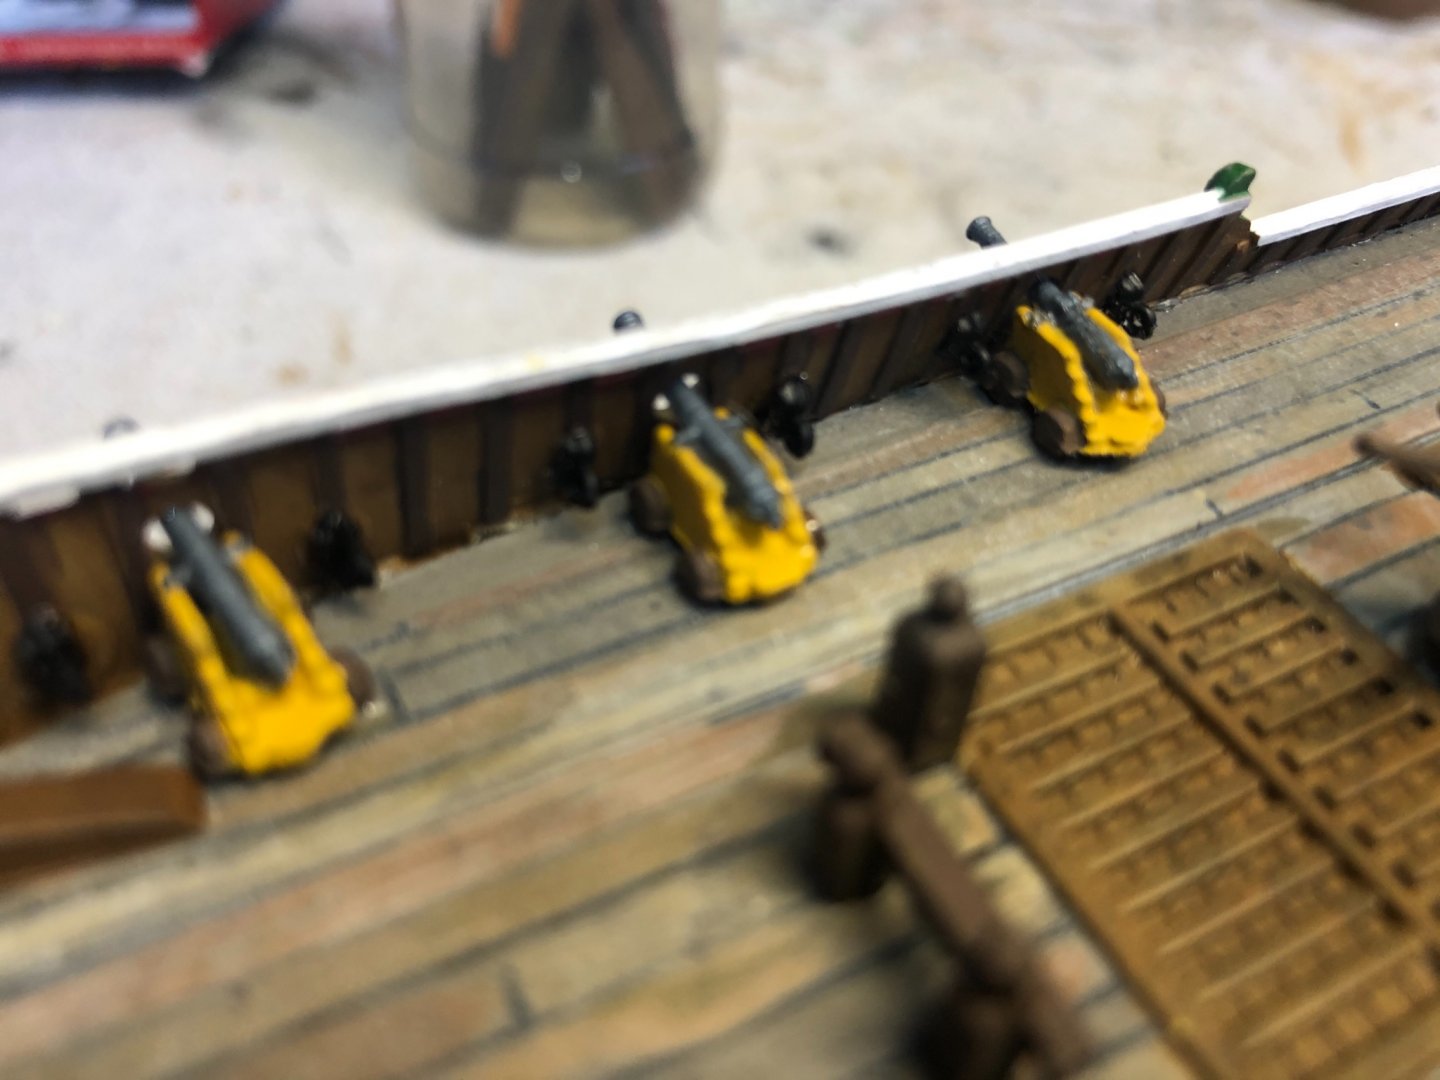
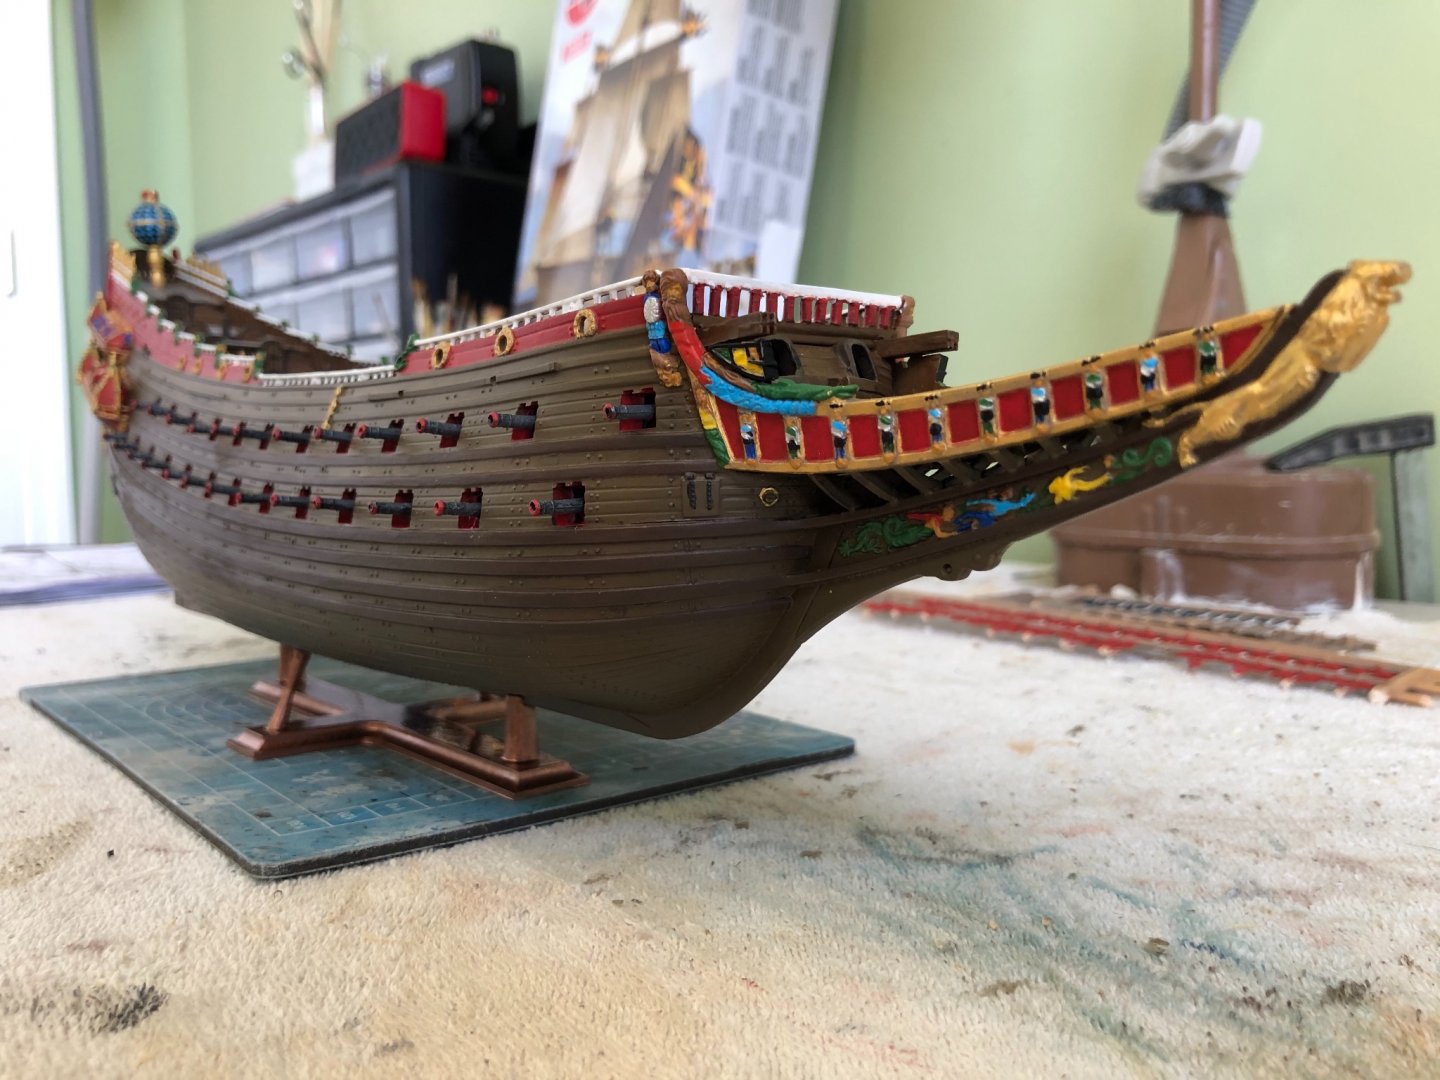
Thanks Michael. I am going to be anxious to follow your build once you start to see how you venture through. I am still trying to decide if I should attempt putting ropes on the cannon hatch doors. Would need to drill a small hole for thread to go through. Very little room at this scale without hitting the gilded lion head. Could try to put a tiny eyebolt on outside (side with painted hinges) to tie thread too. Look at them and tell me what you think. Baskerbosse I looked at several other builds on MSW to see what color other builders went with for cannon carriages. The instructions suggested the same red as other parts. Some used red, others a weathered wood color, and others a couple other colors. Not necessarily after complete authenticity I decided to go with yellow ochre to add a little visual interest.
-
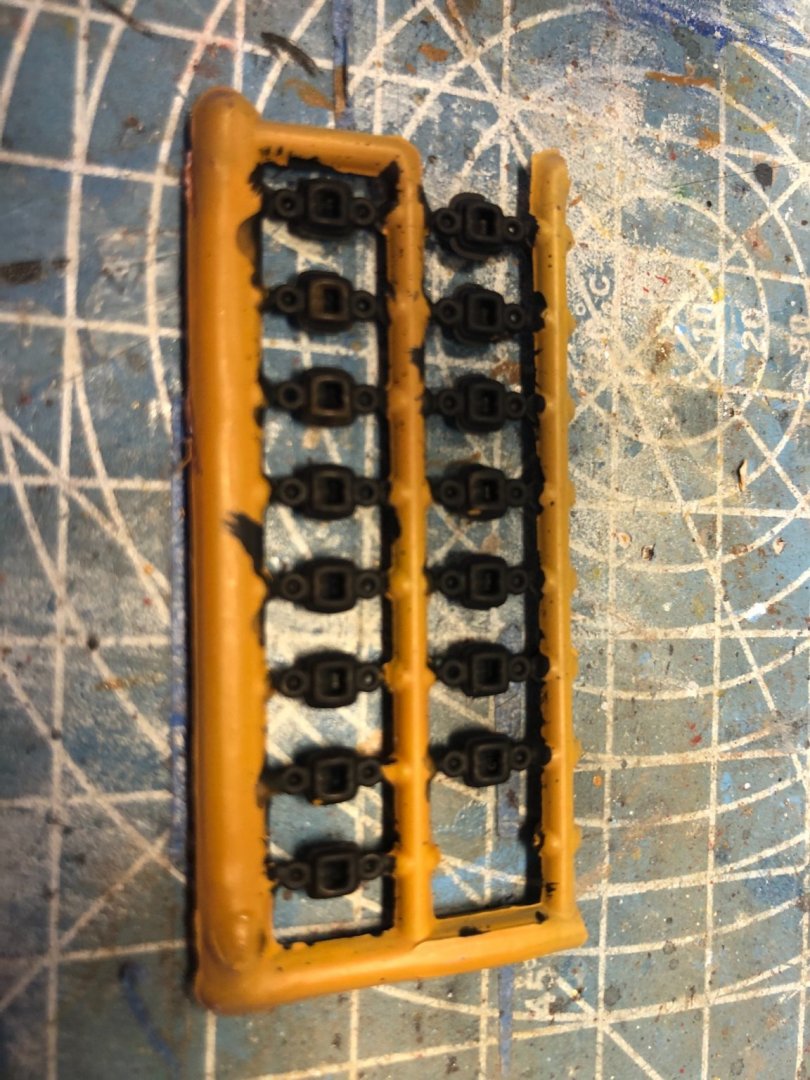
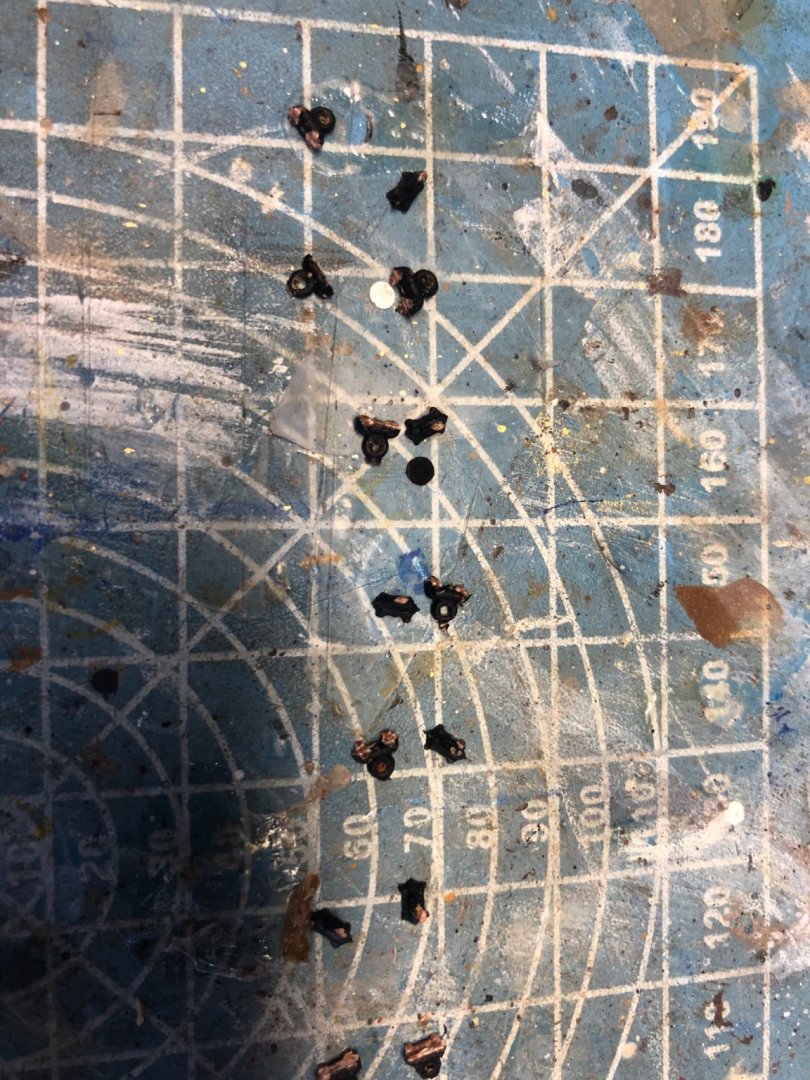
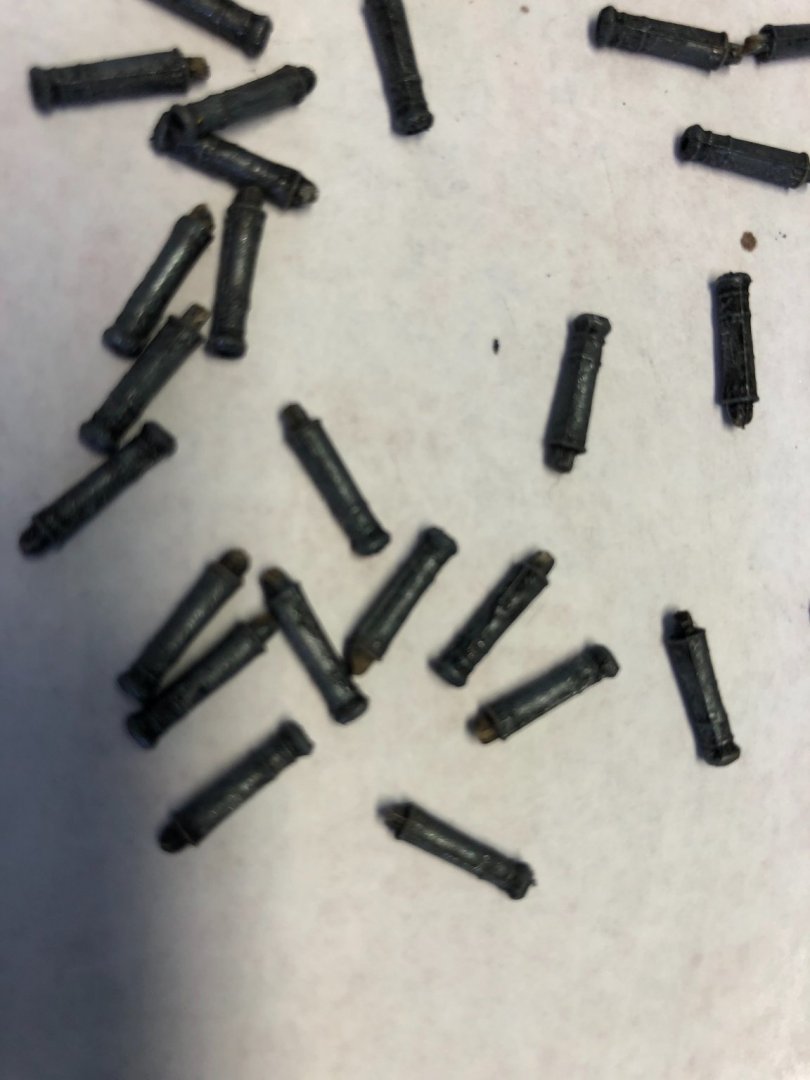
Ok I improvised a little. I like to use left over parts from previous builds of similar scale. I found some blocks of a similar scale I had in left over parts. I clipped the ends off each end to end up with eye bolts with a small bit of plastic on the back for a glue surface. I made these and glued them to the inside of the hull wall on each side of each cannon. Once the glue drys and can rig the cannons. Probably not a perfect replication of how it was but close enough for me.
-
Ok now I have a decision to make. This will be a modification to the model instructions if I try to carry it out. There are 14 cannons on the upper deck. The model did not include eyes on either the the cannon bases or the inside side of the ship to lash the cannons. The instructions just have me glue them in place with no rigging. Also there are 50 cannon port doors on the lower decks. The instructions also do not have them rigged with ropes to open and close. Just glued in some position of open or closed. If I decide to add his rigging I will need to add my own rings and eyes and drill the necessary holes. Again the model is 1/144 scale. What to do?
-
Thanks Hubac. Appreciate the compliment.
-
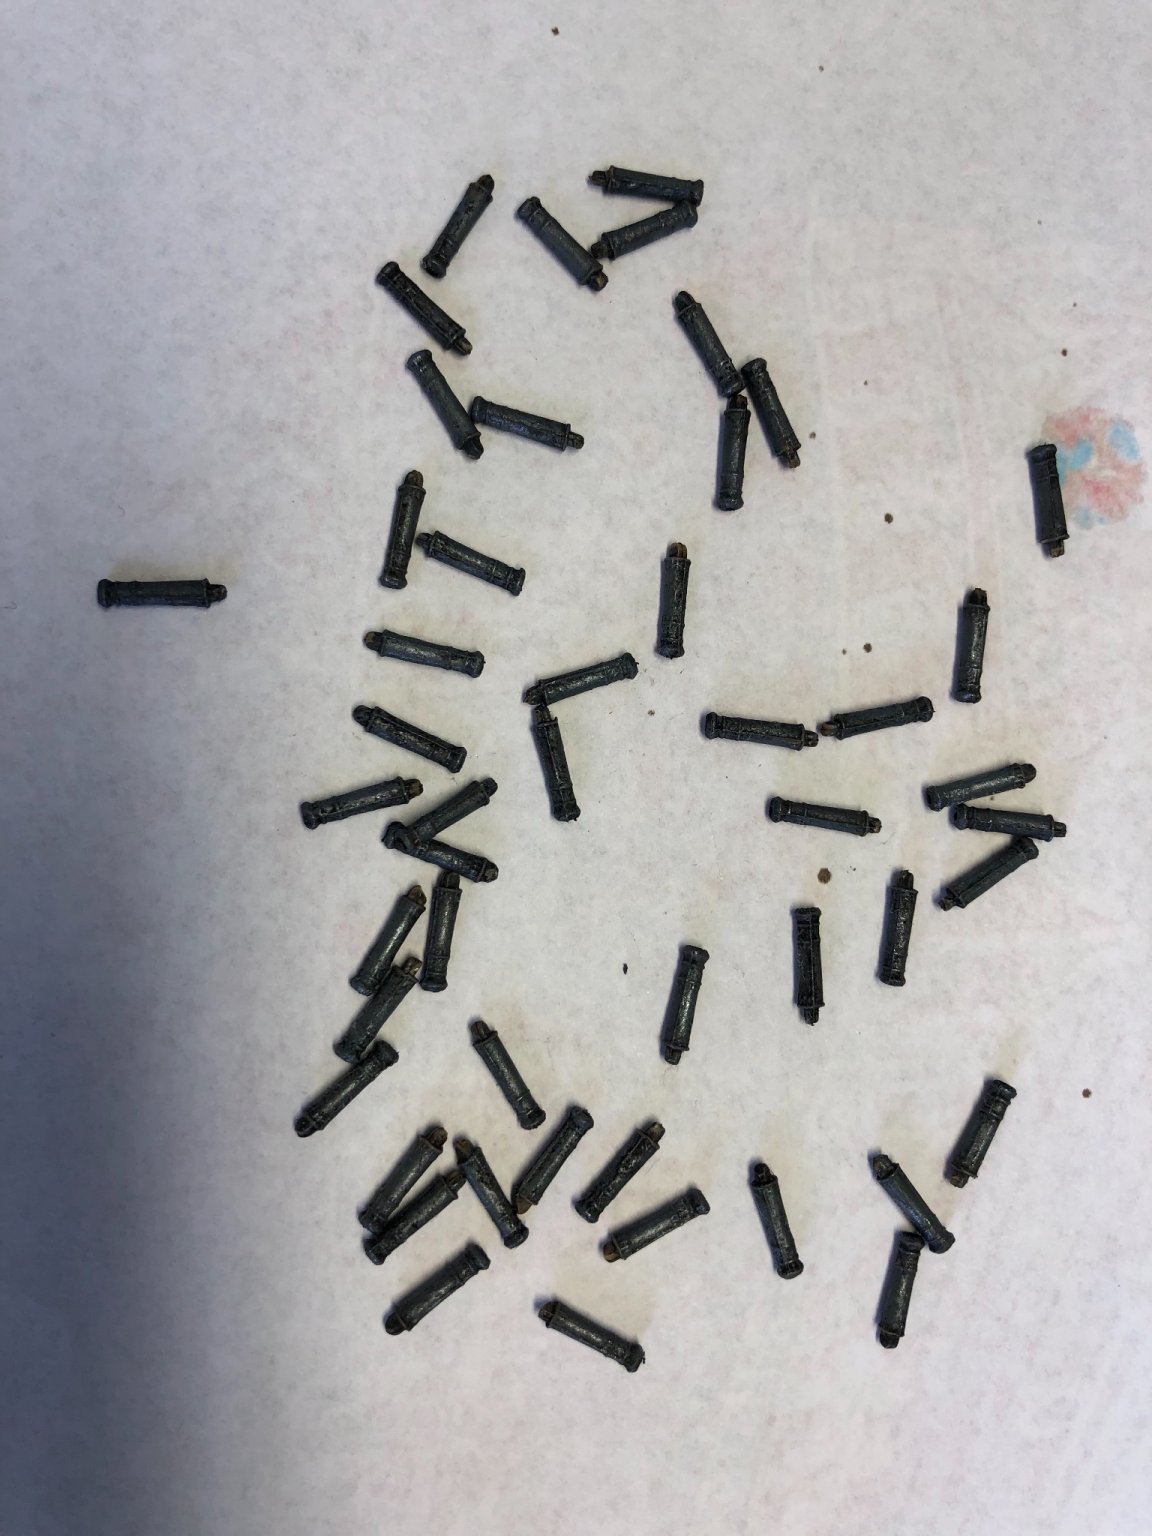
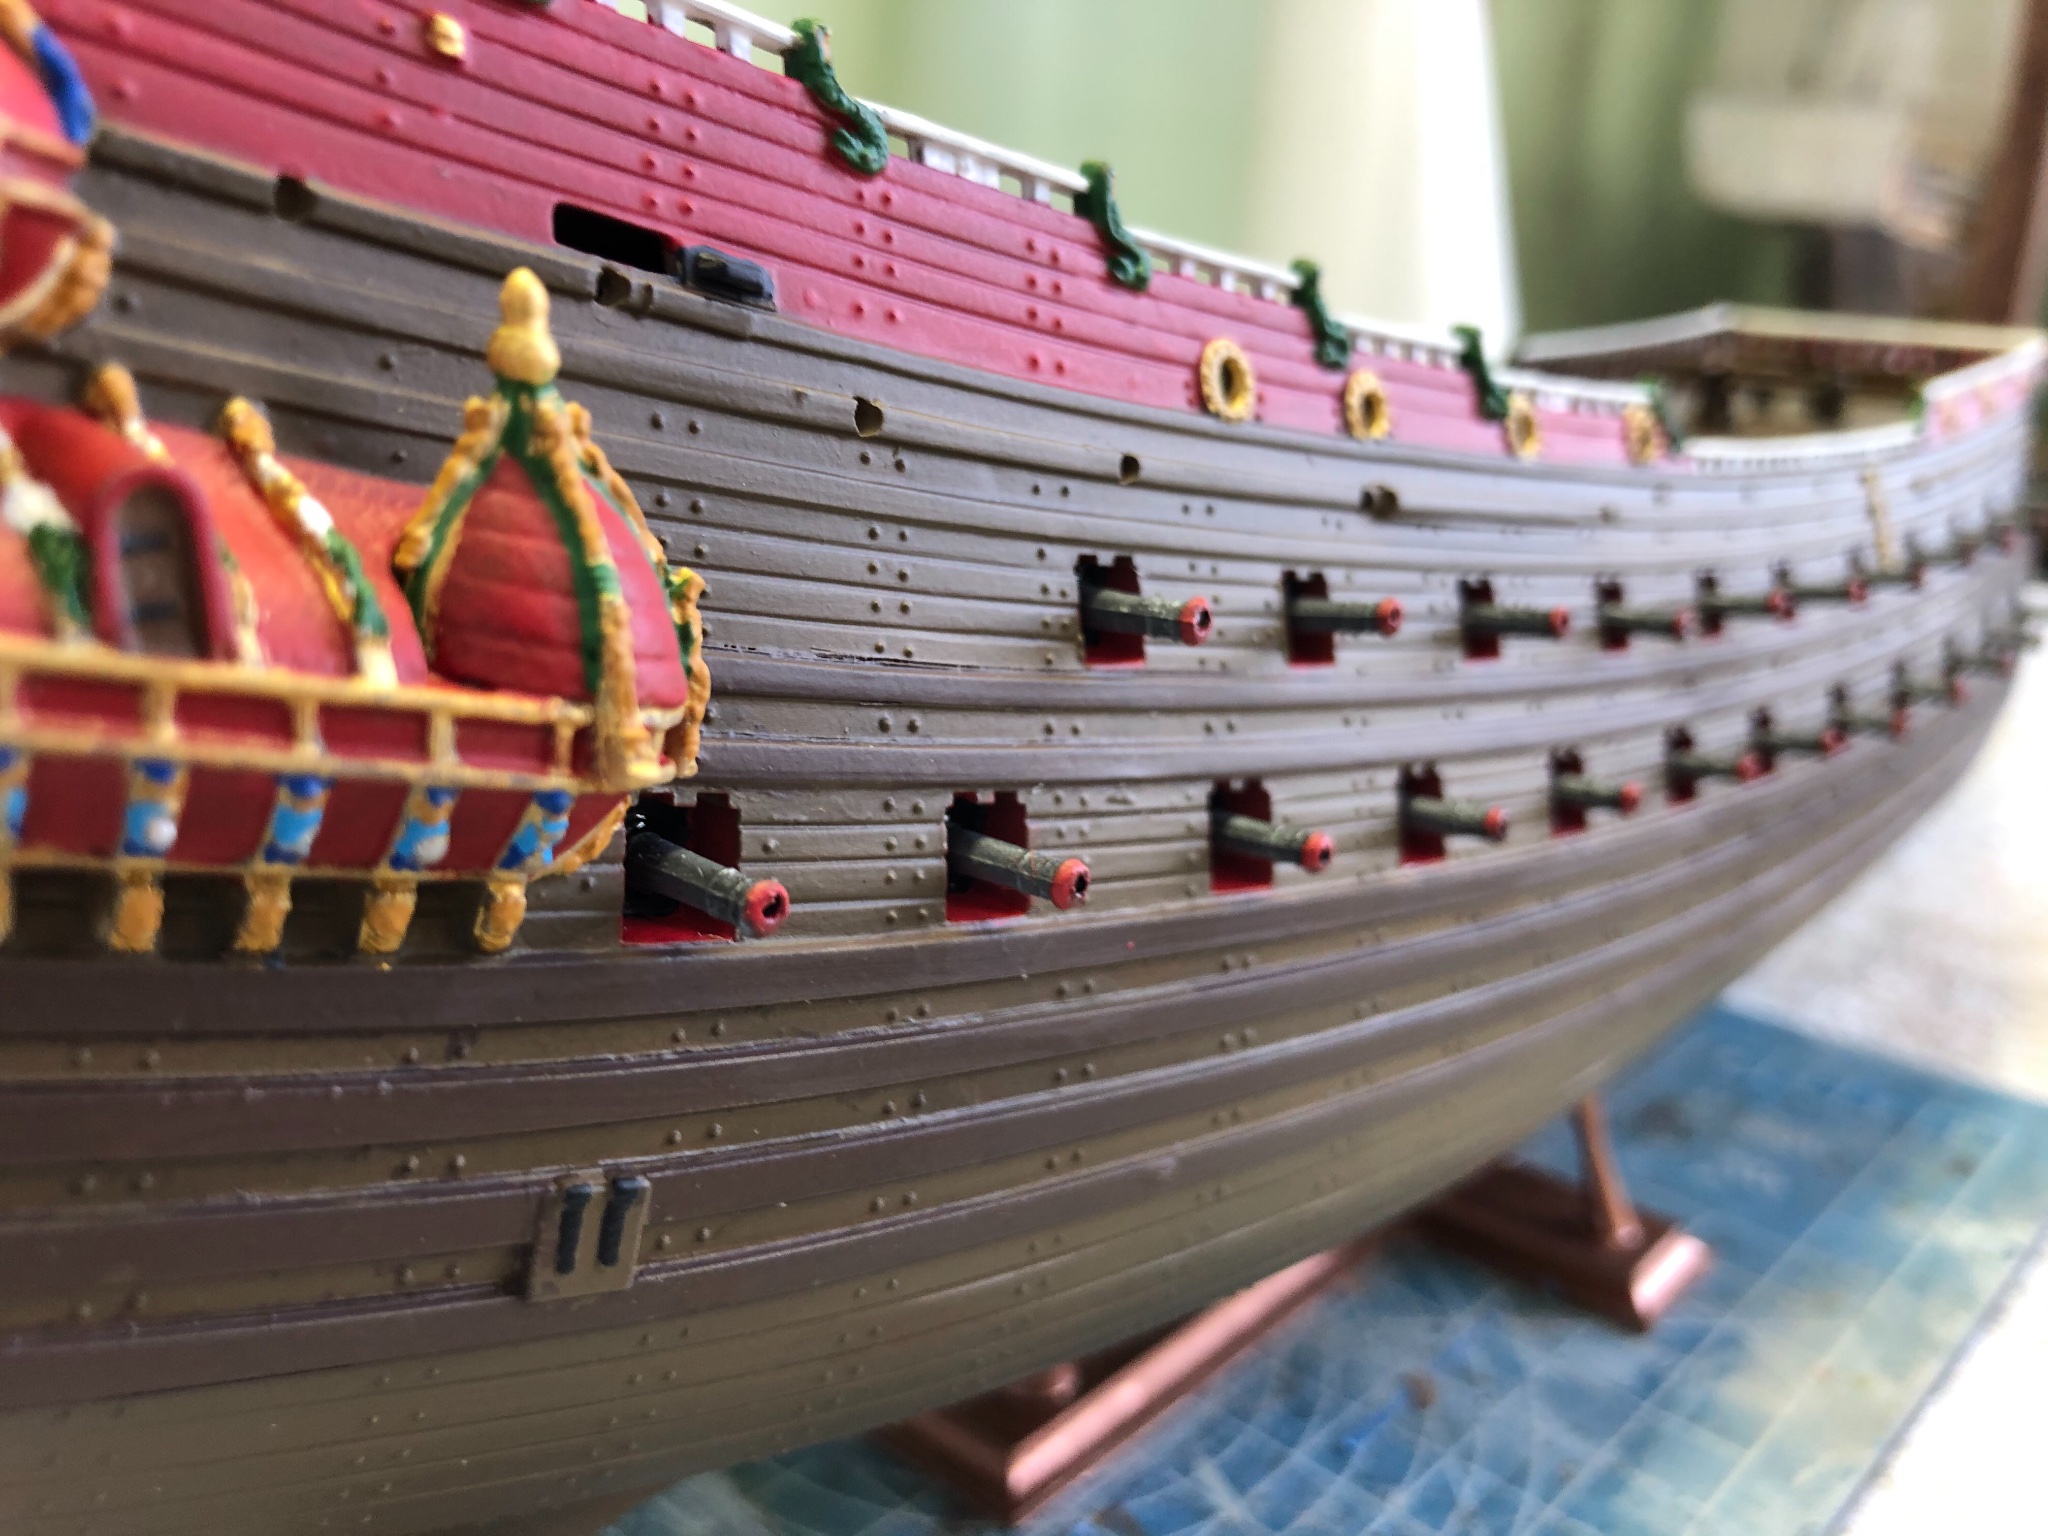
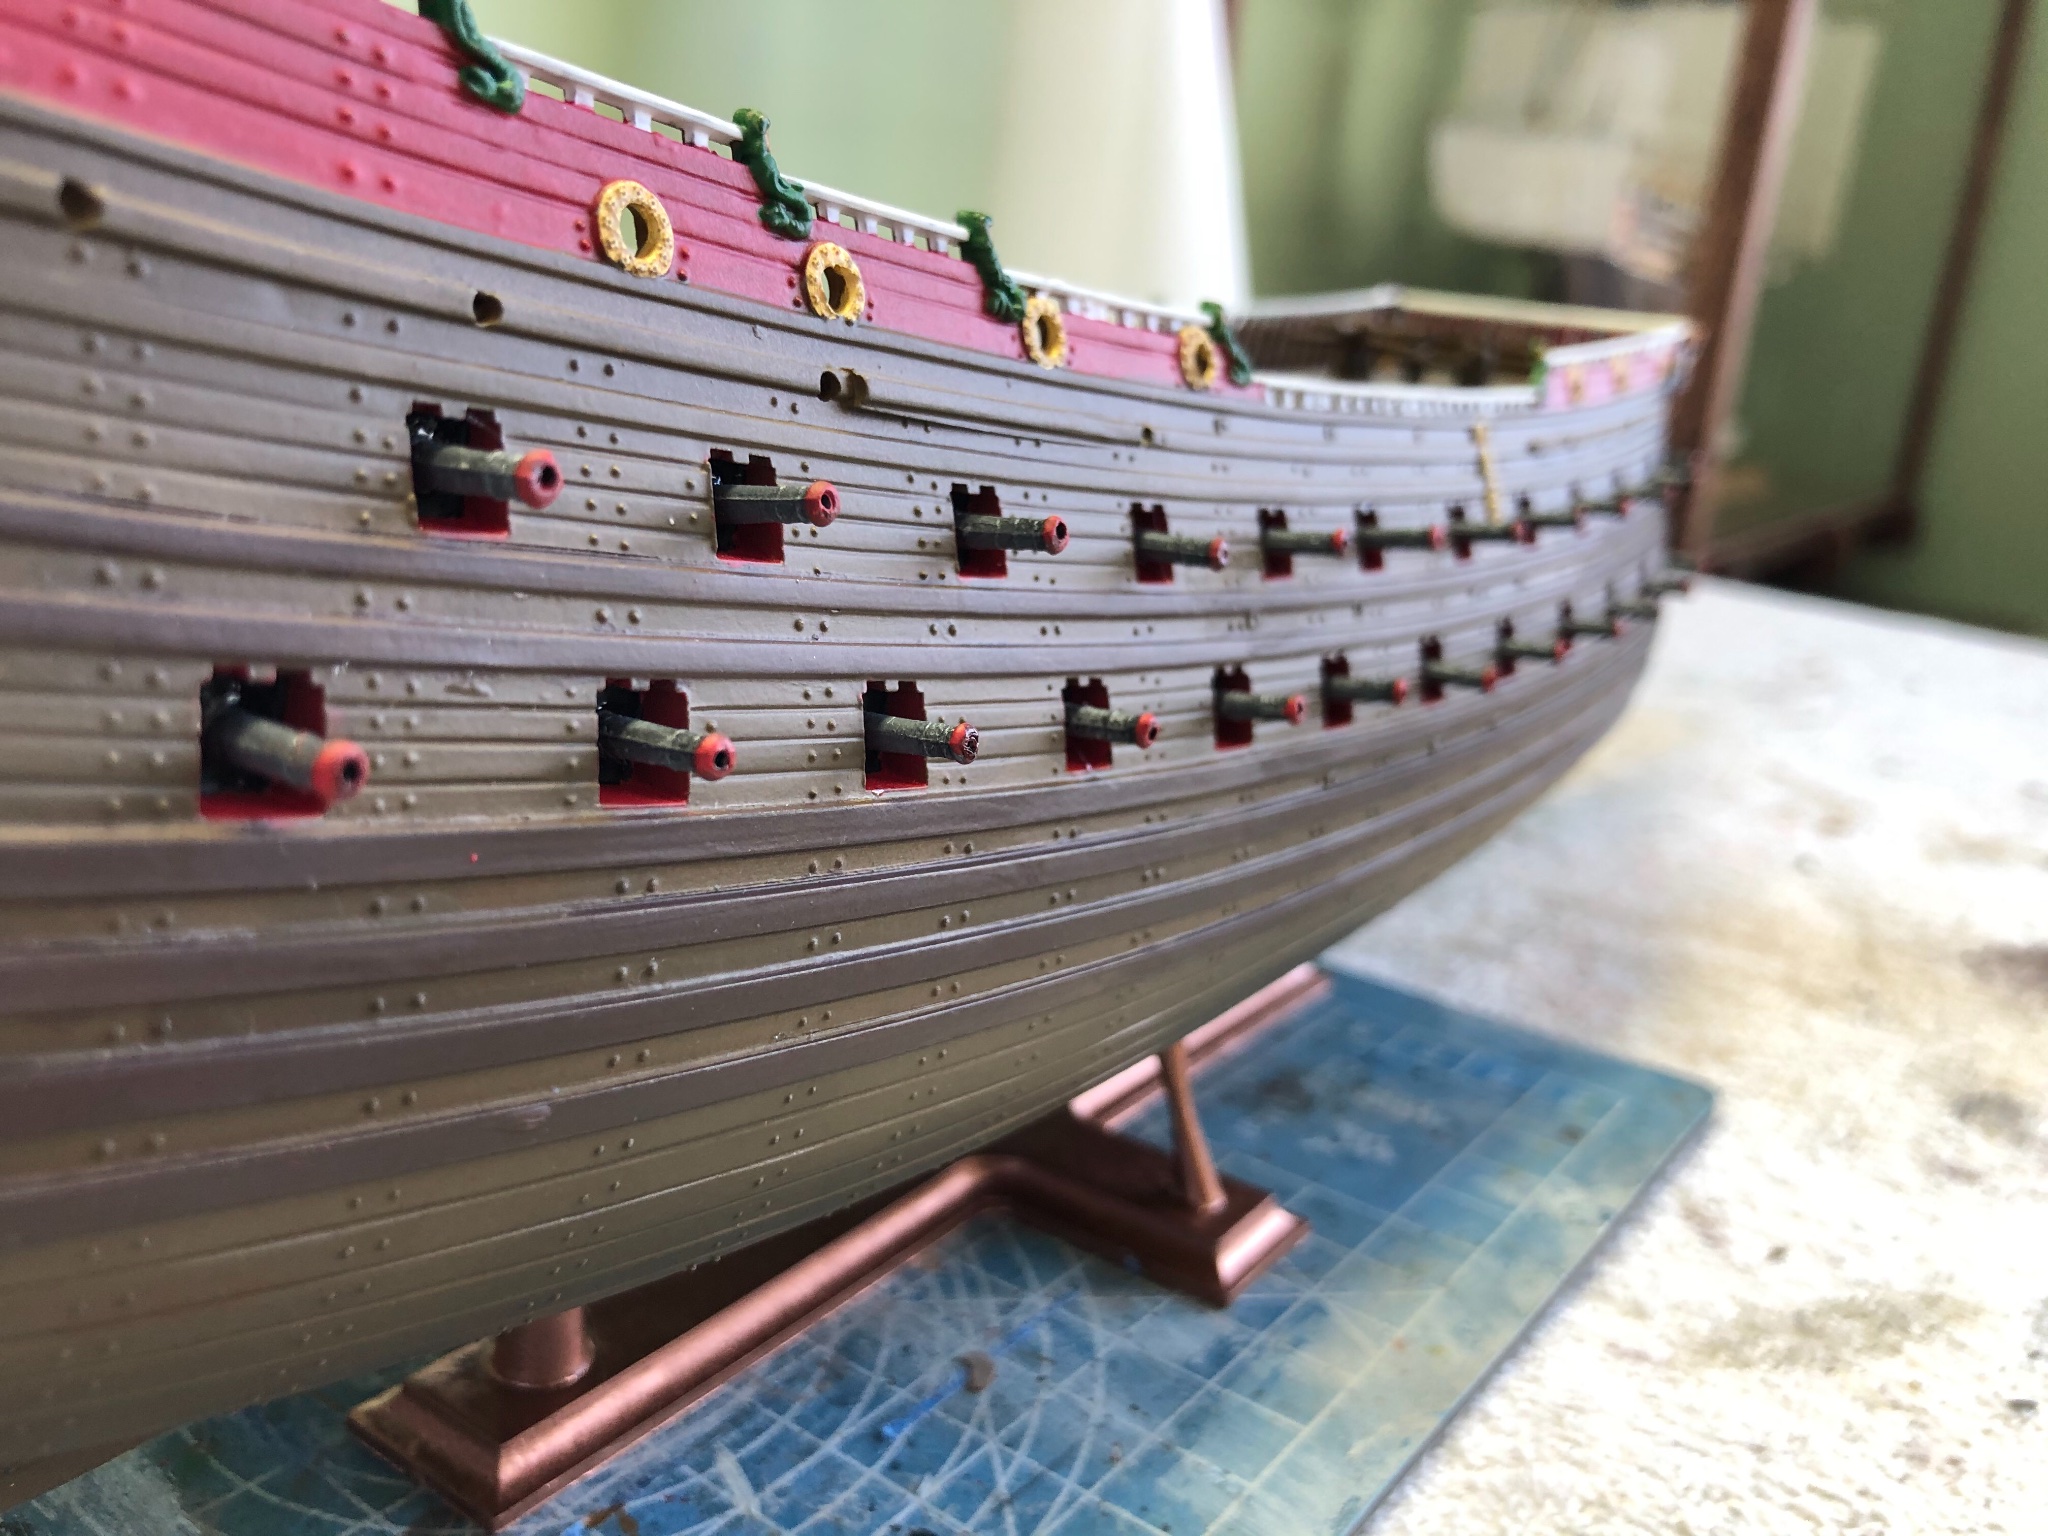
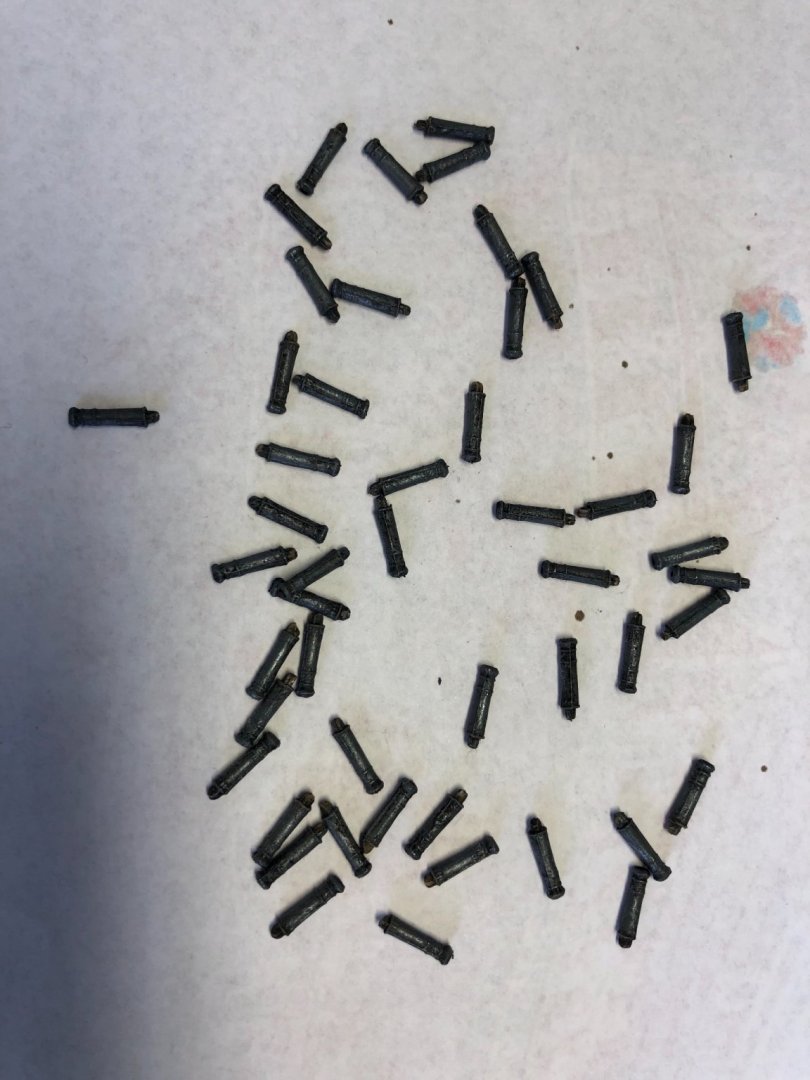
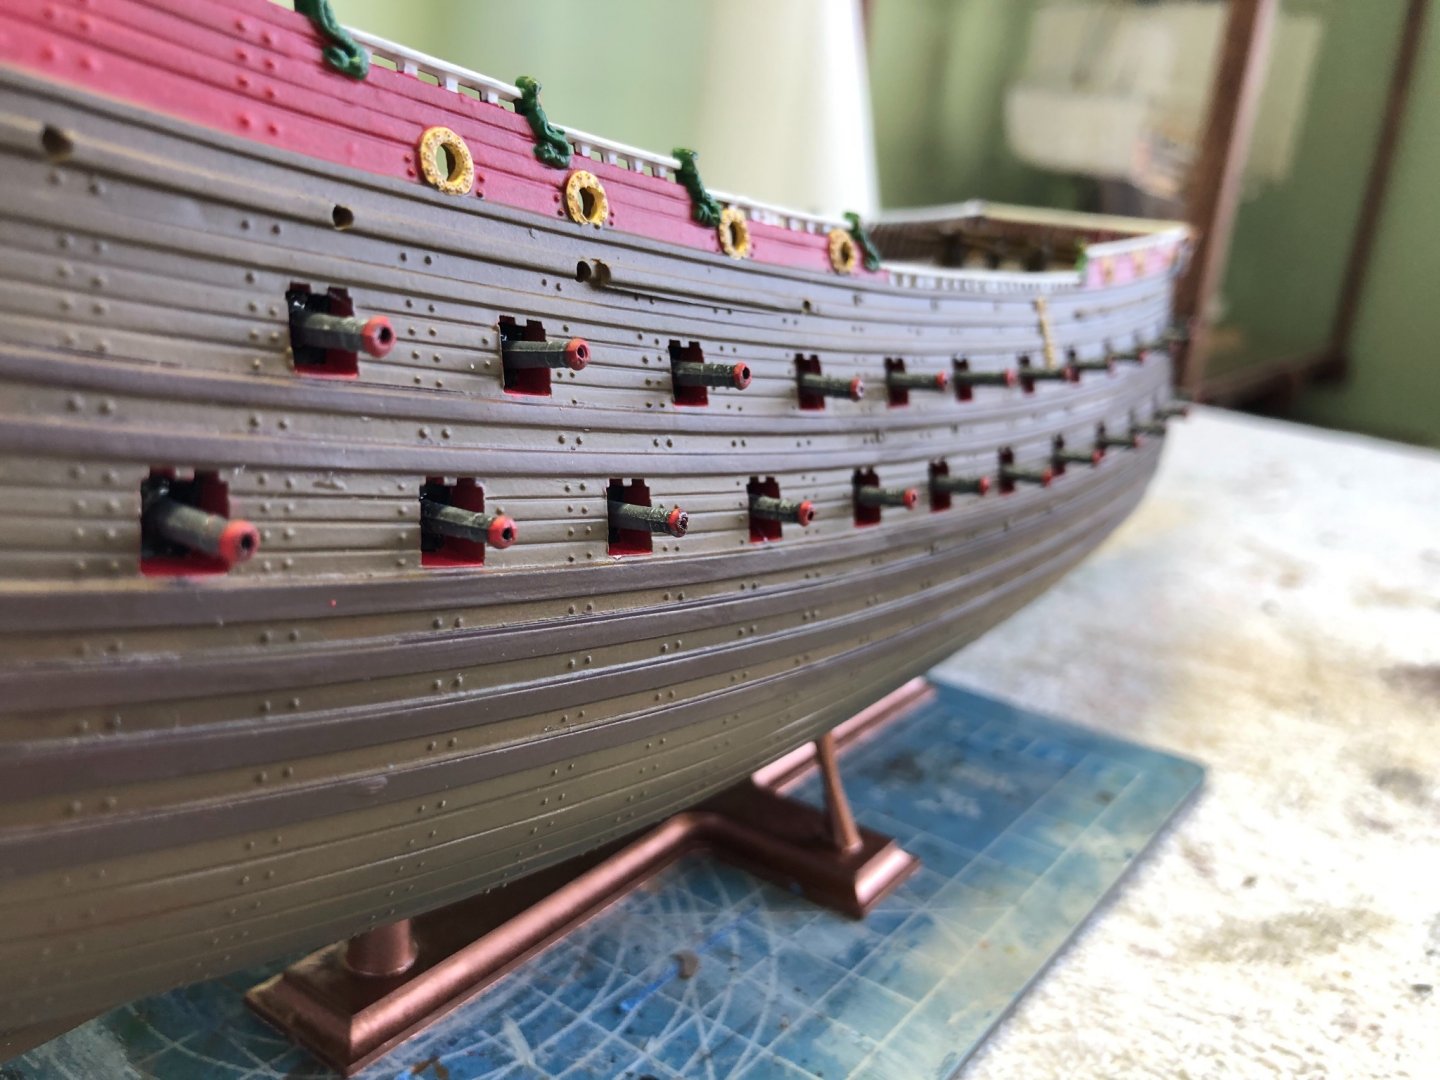
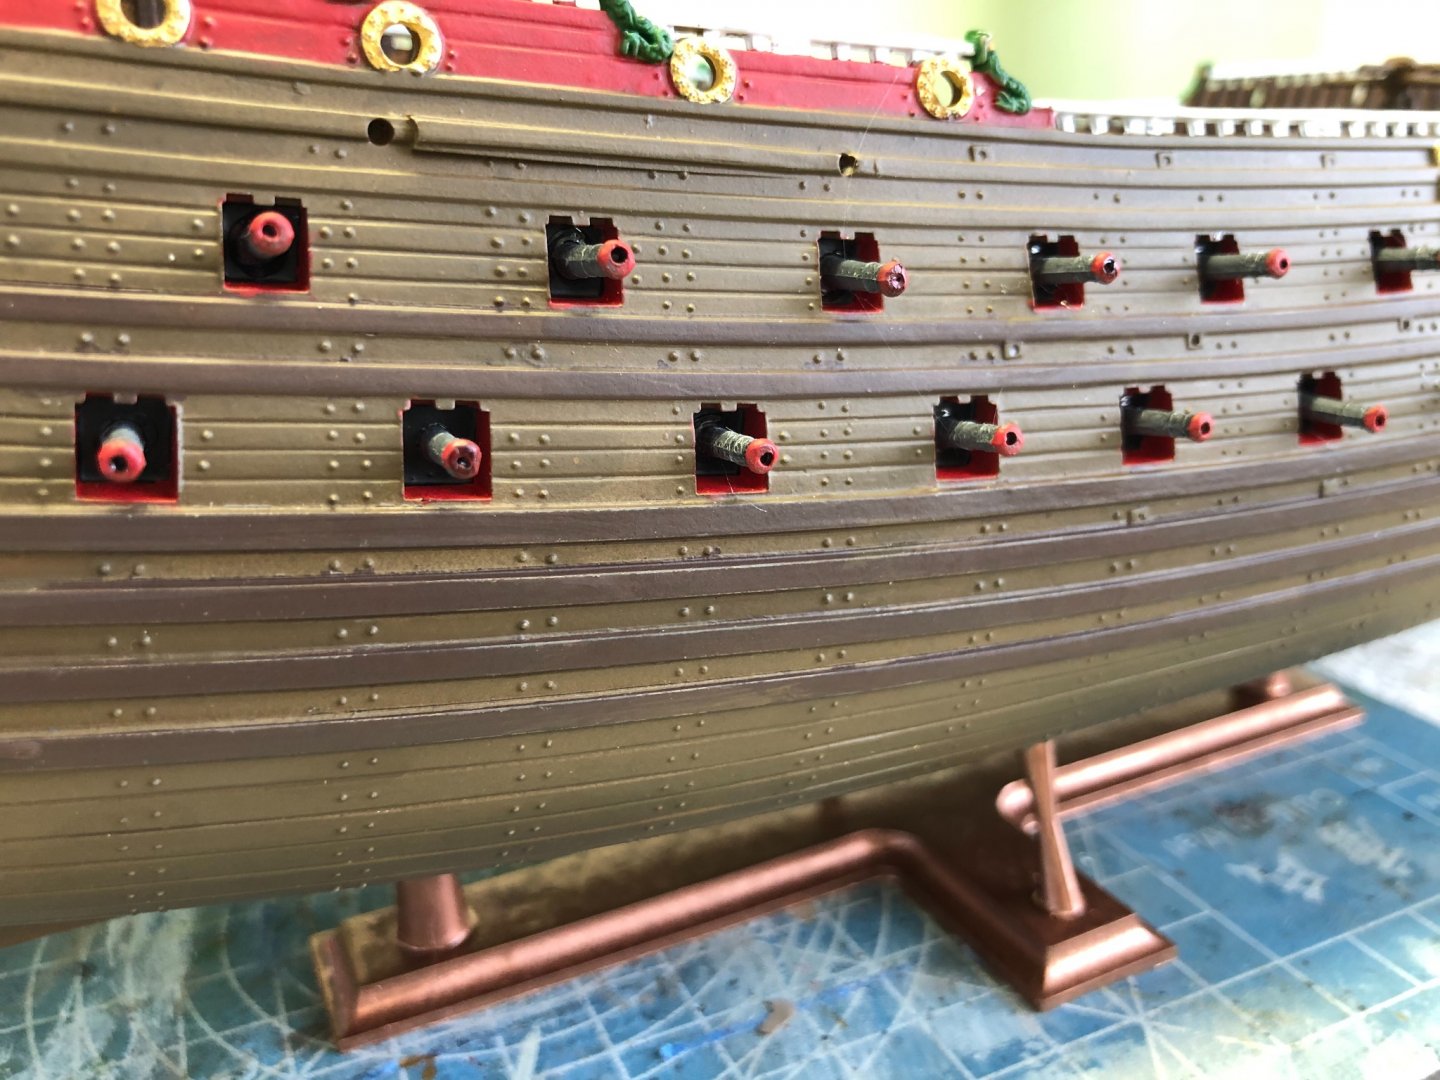
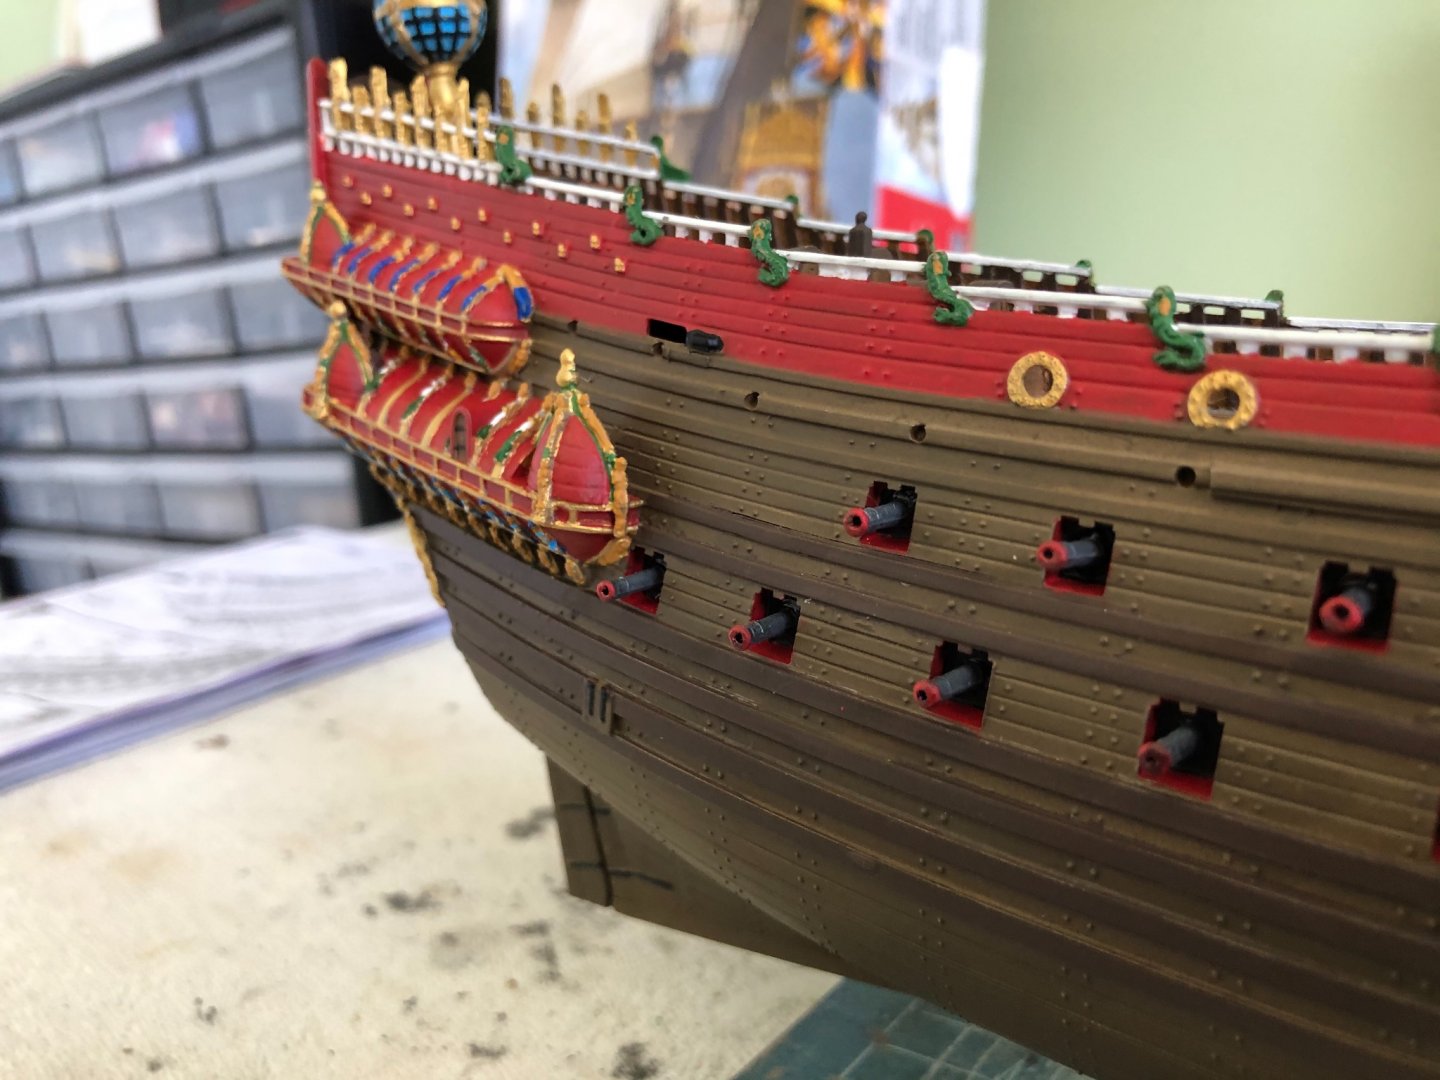
Cannon barrels today. Fifty of them little guys about 3/8” long. Painted with a 50/50 mixture of silver and sea gray. Then rubbed with a black wash. Drilled a tiny hole in the front end of each to add a sense of depth. Painted the ends red a put a tiny touch of black in the previously drilled hole. Then mounted them in the two lower decks. Still need to paint the hatch covers which have lion heads on the inside and mount them. My understanding is that the lion heads were intended to frighten the enemy when all cannon ports were open.

-
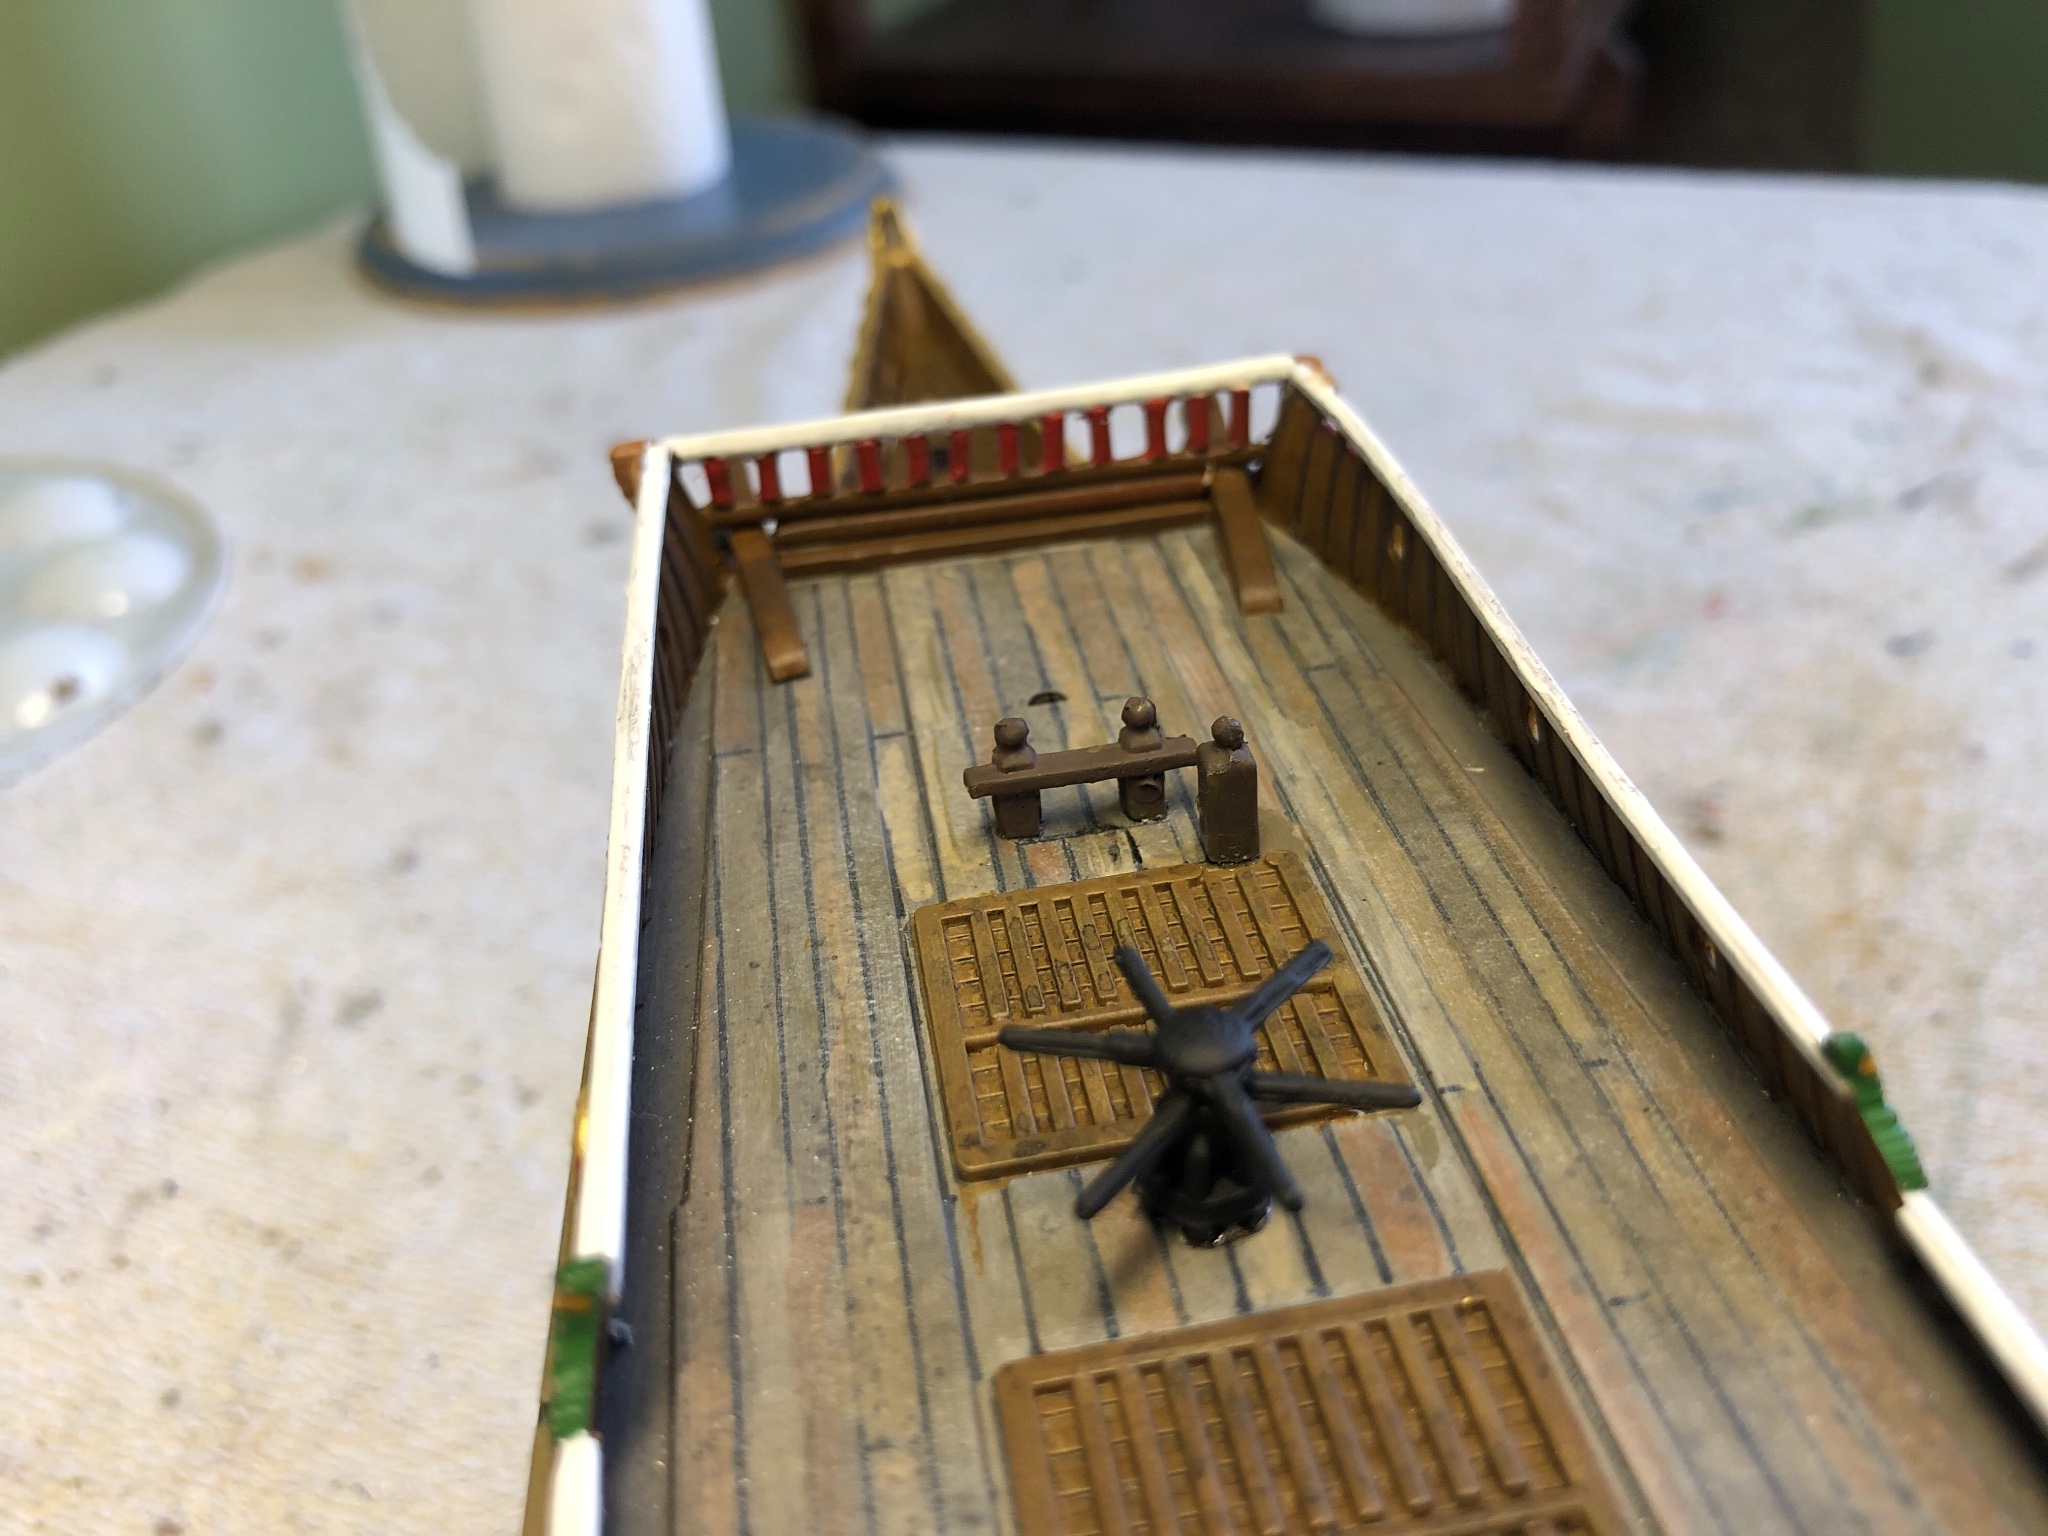
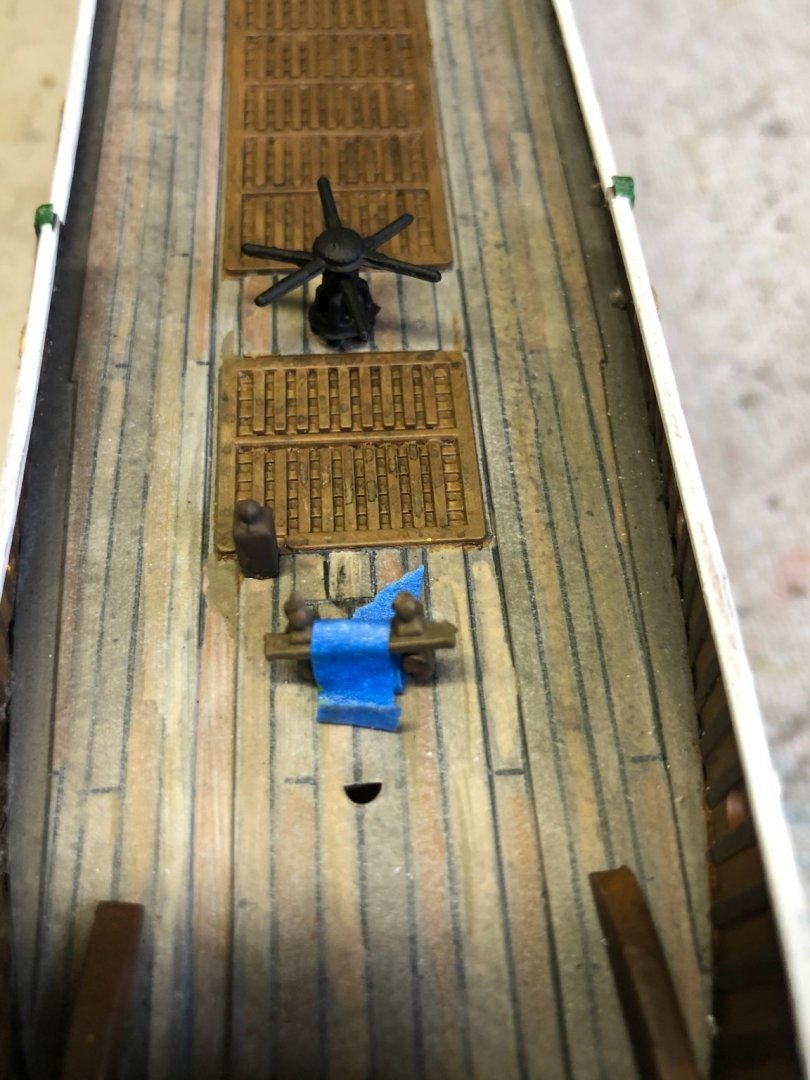
Thanks Backer. That is exactly how I have it. Think I may change the color of my capstan after seeing this photo. My instructions have it painted black. I think wood finish is more authentic.

-
Bolin looking at the illustration from the museum it looks like the knight is in the right place.
-
Oh and Charles Green I have no idea what that real low hatch at the stern was far. I would expect that it further added to the sinking of the ship if water was able to get in right at the water line!
-
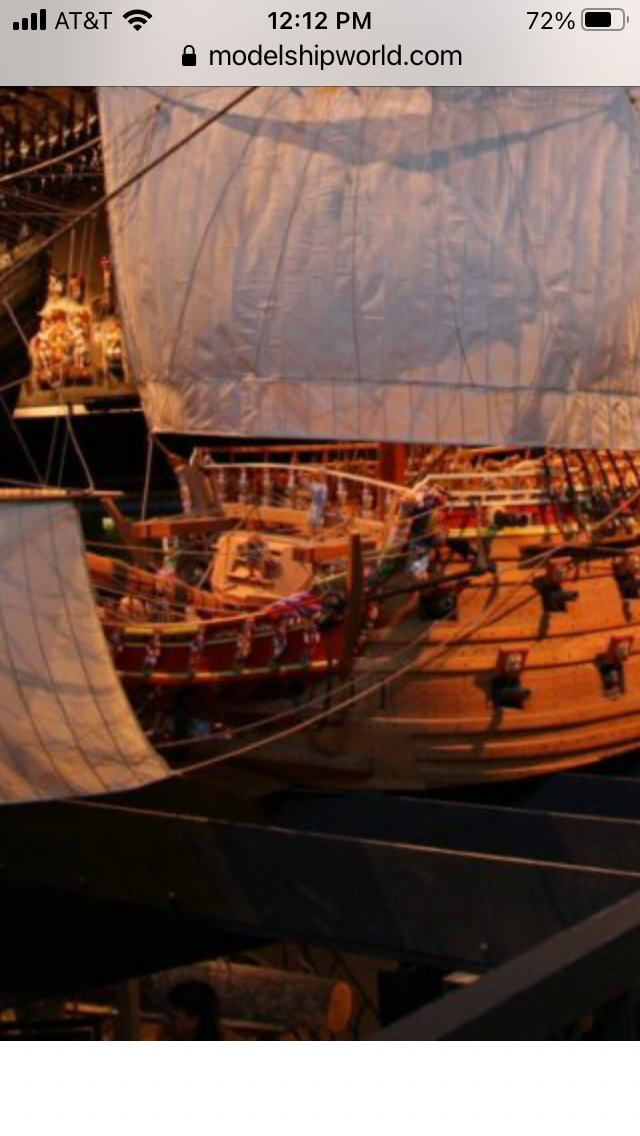
Thanks Bolin, Michael, kirill4. Bolin the pictures I posted on Mar 12th were actually photos of other builders ships when I was trying to figure out the front rail. Did not think to look back at them for position of the fore bitts. Perfect. Now I know where it goes. Does where I have held with a little piece of blue tape seem correct? Now looking back at those same photos I do not see the knight that the instructions had me install at the right front corner of the hatch. Piece #20 in the instructions I posted. I put it where it said and where the pre drilled hole in the deck. I guess it is correct?
-
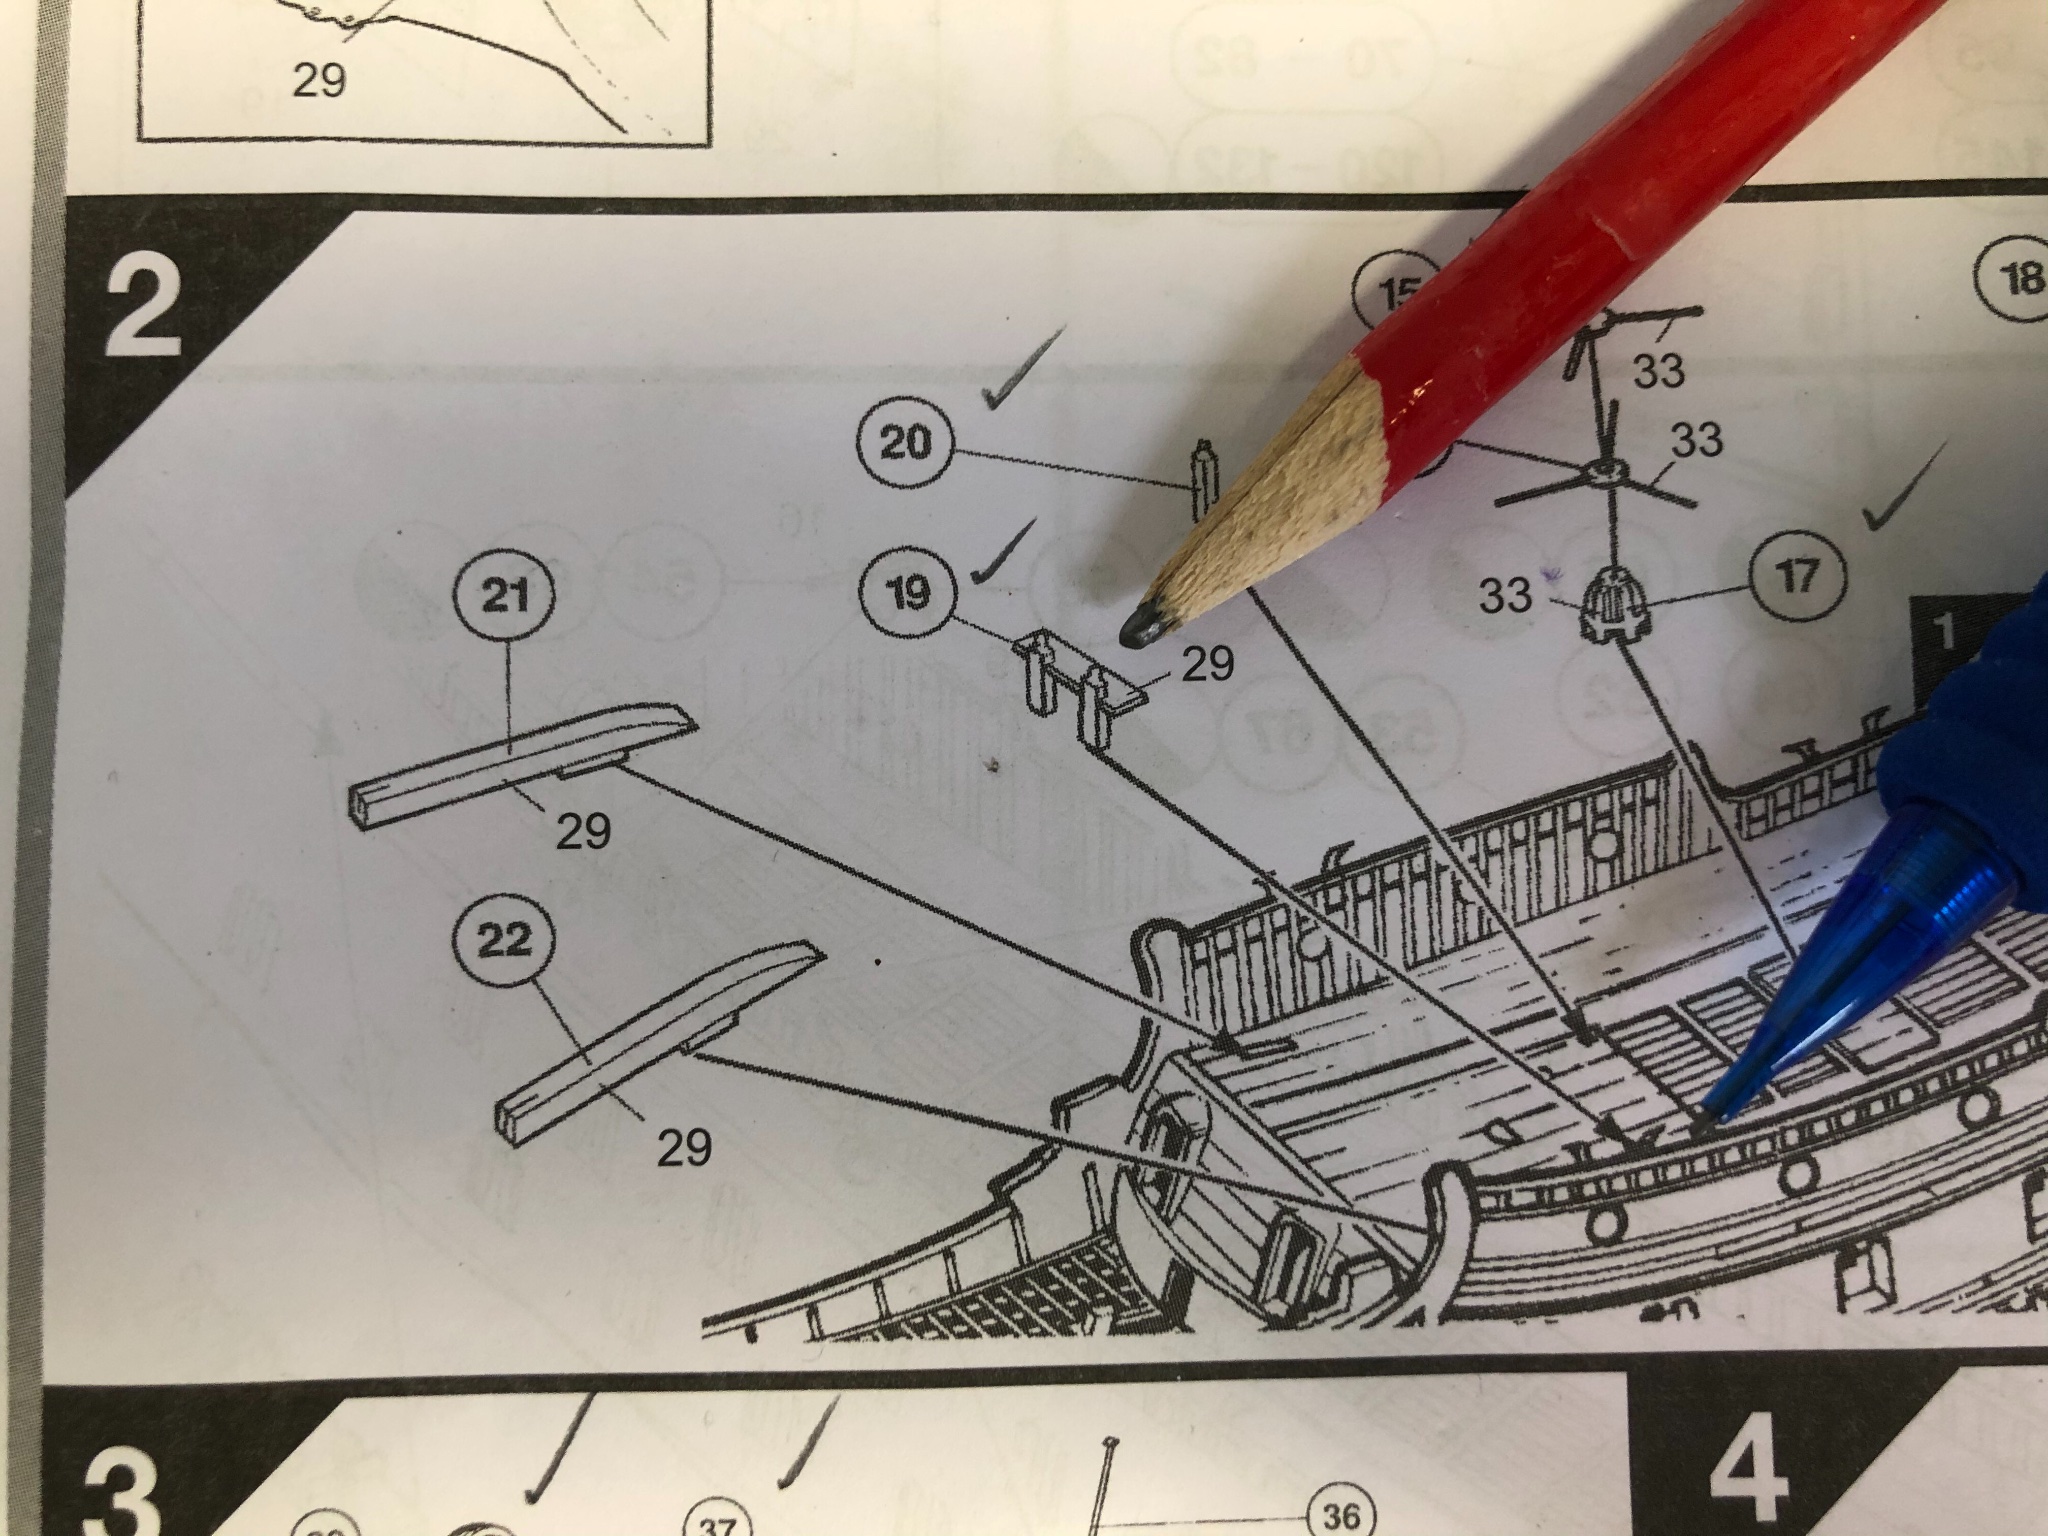
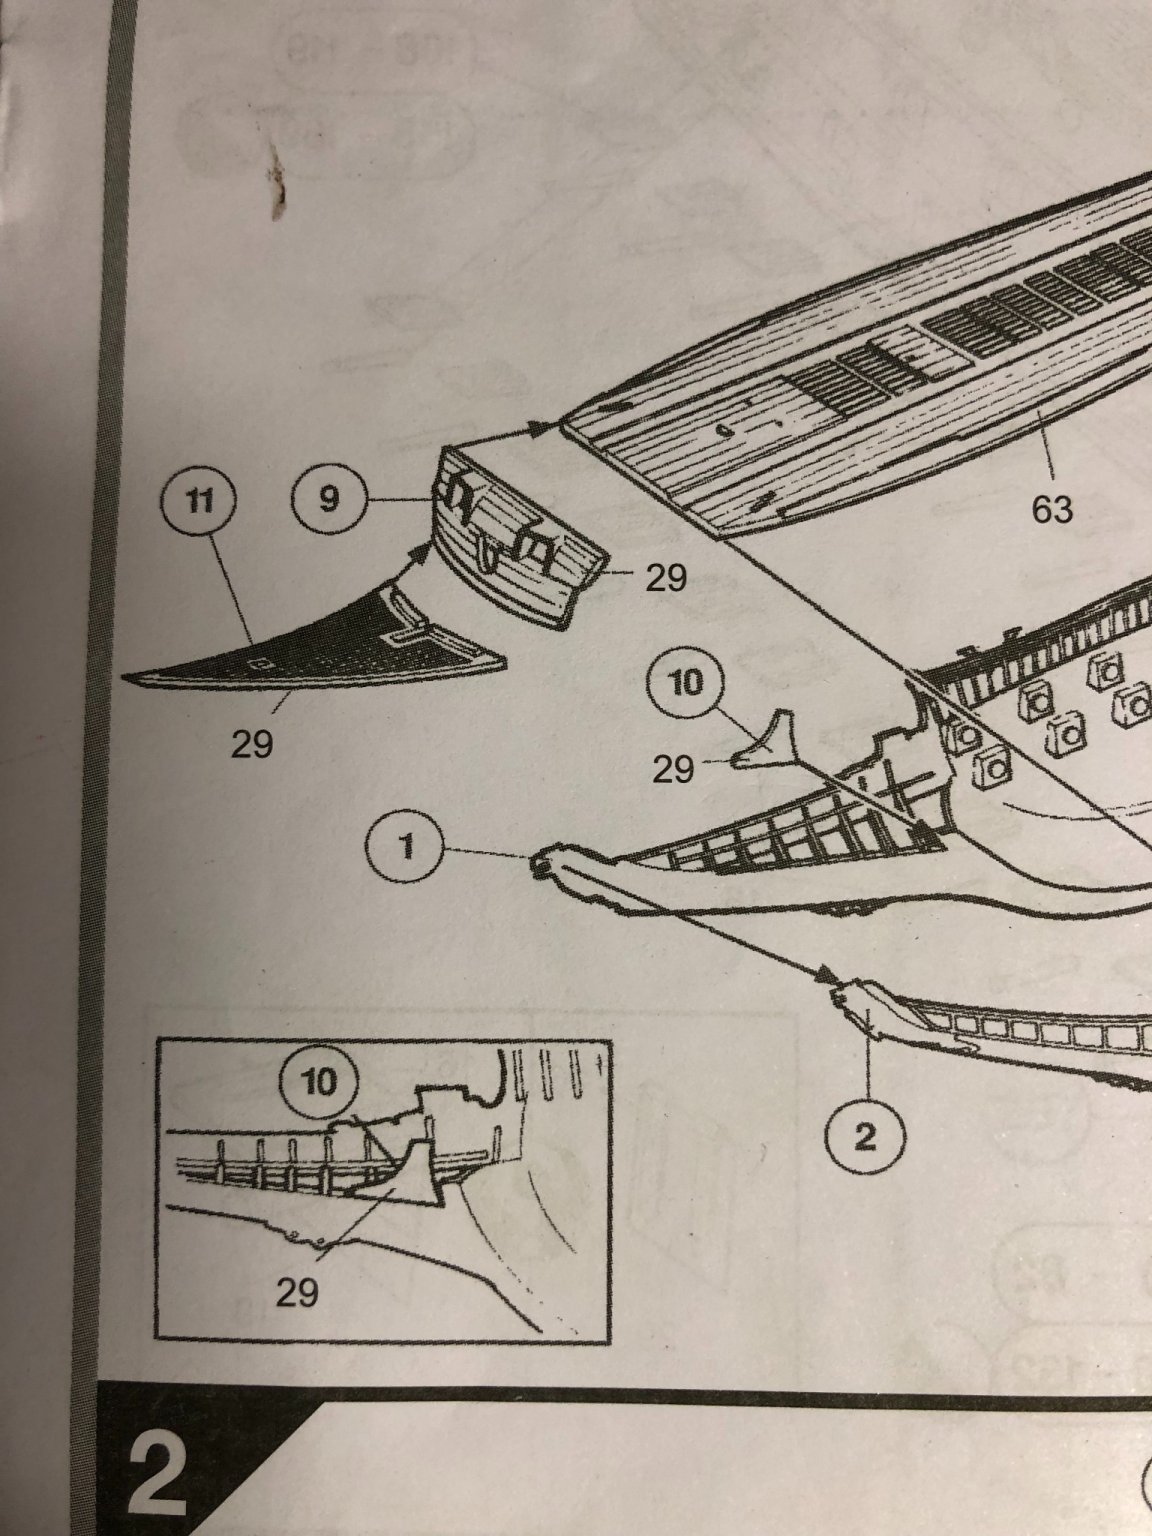
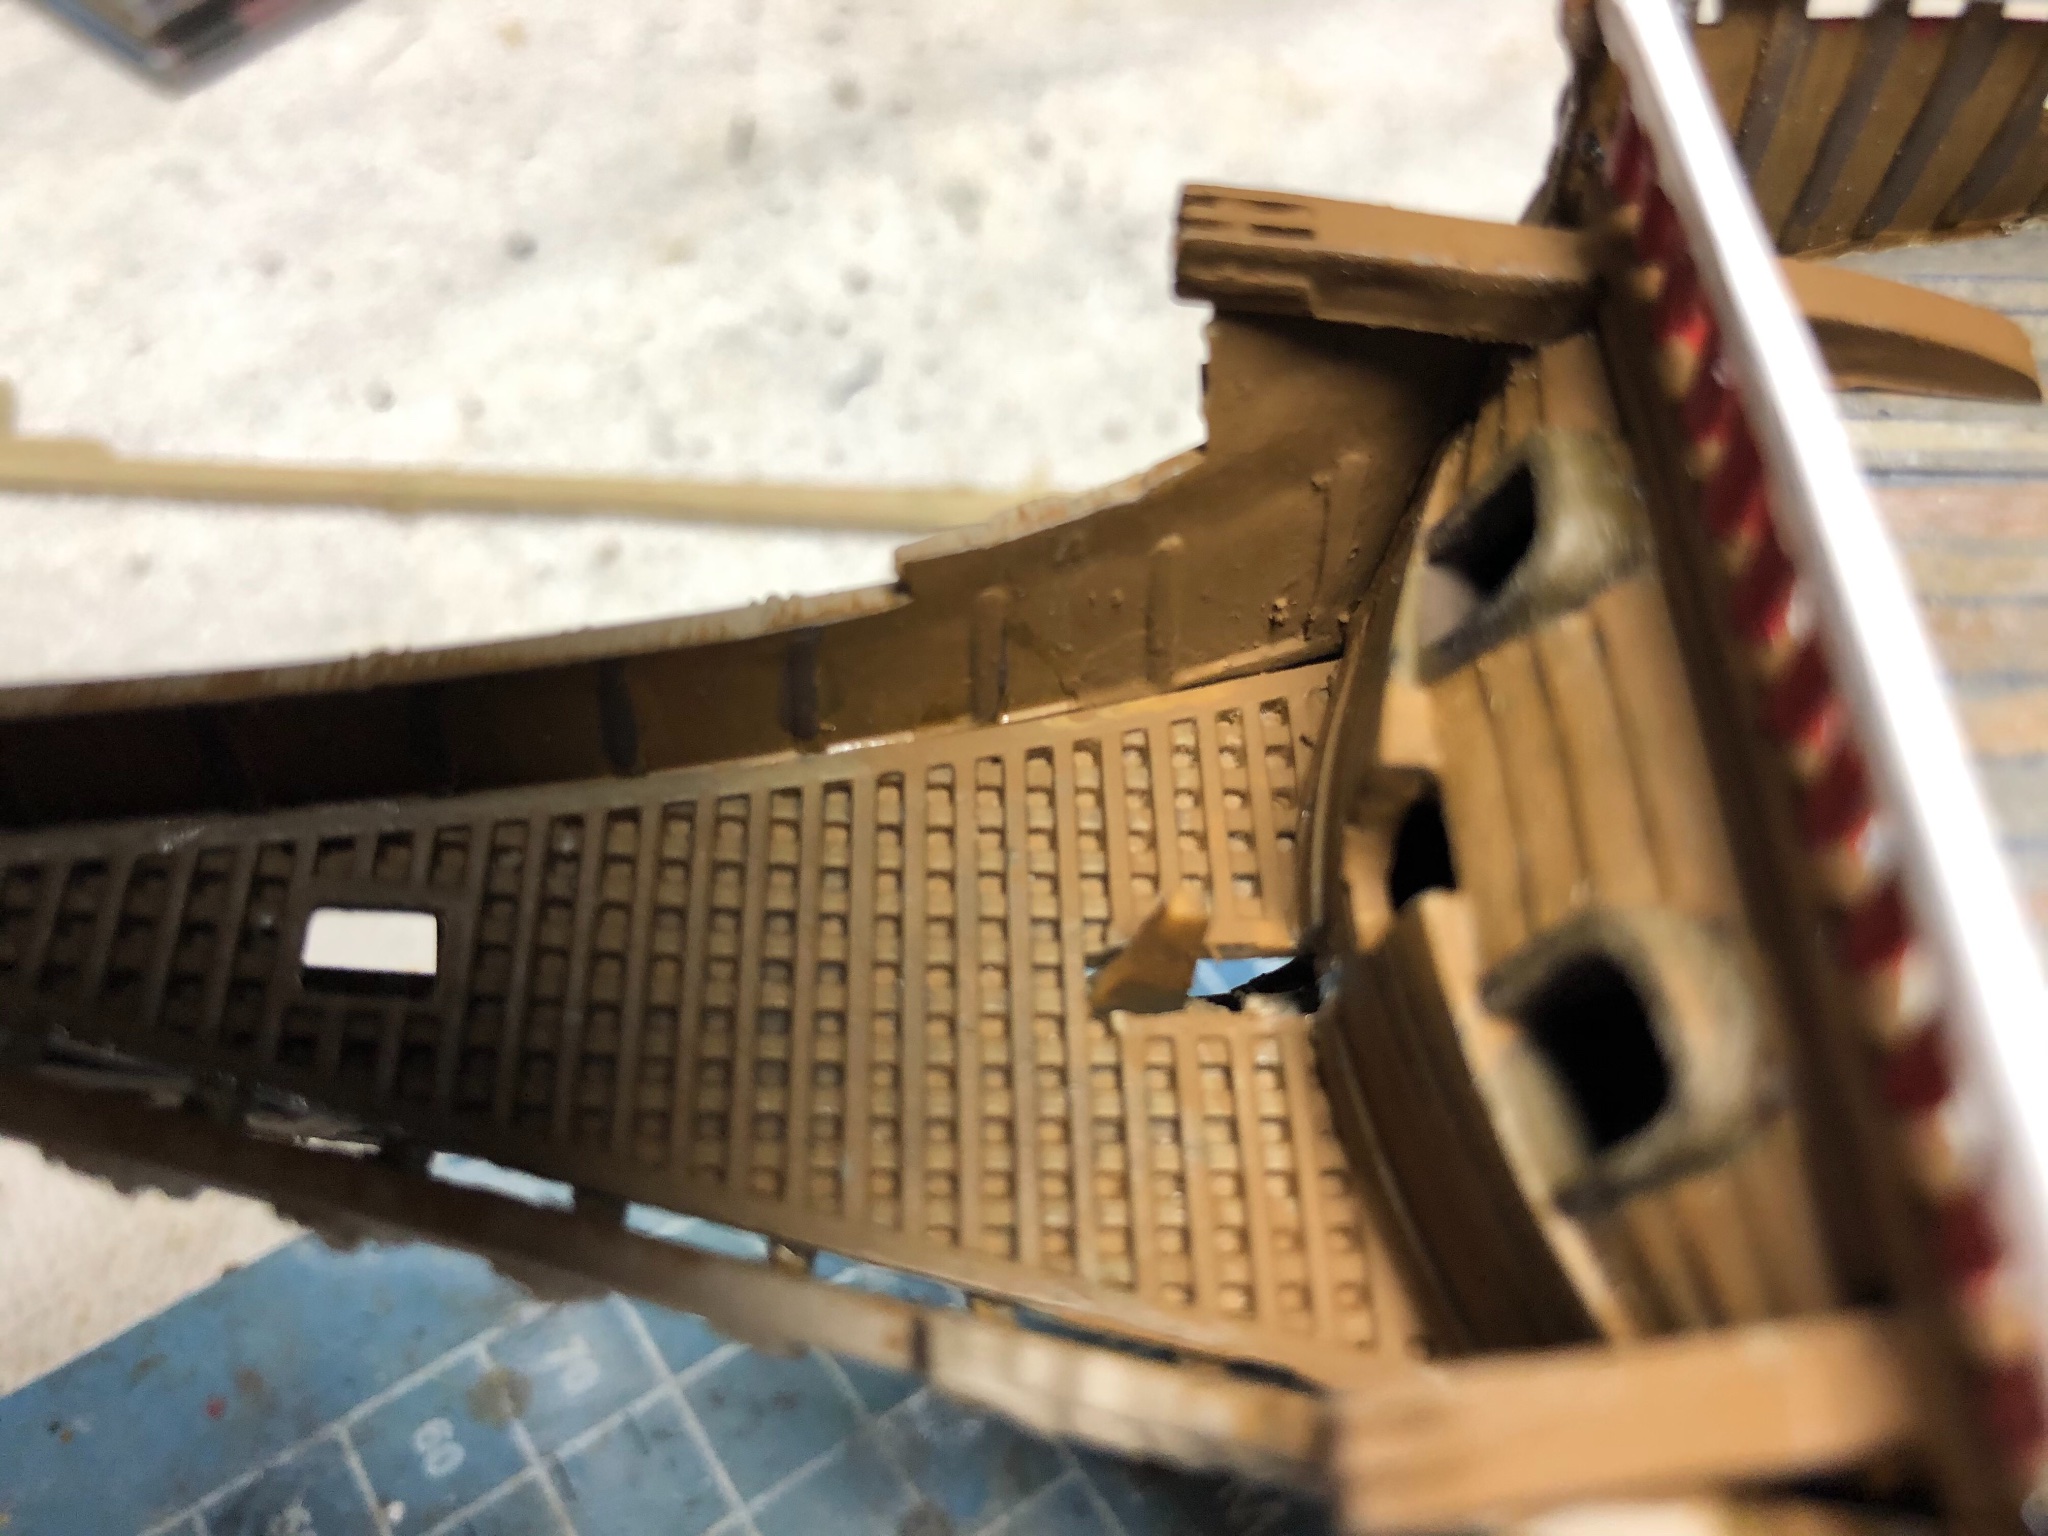
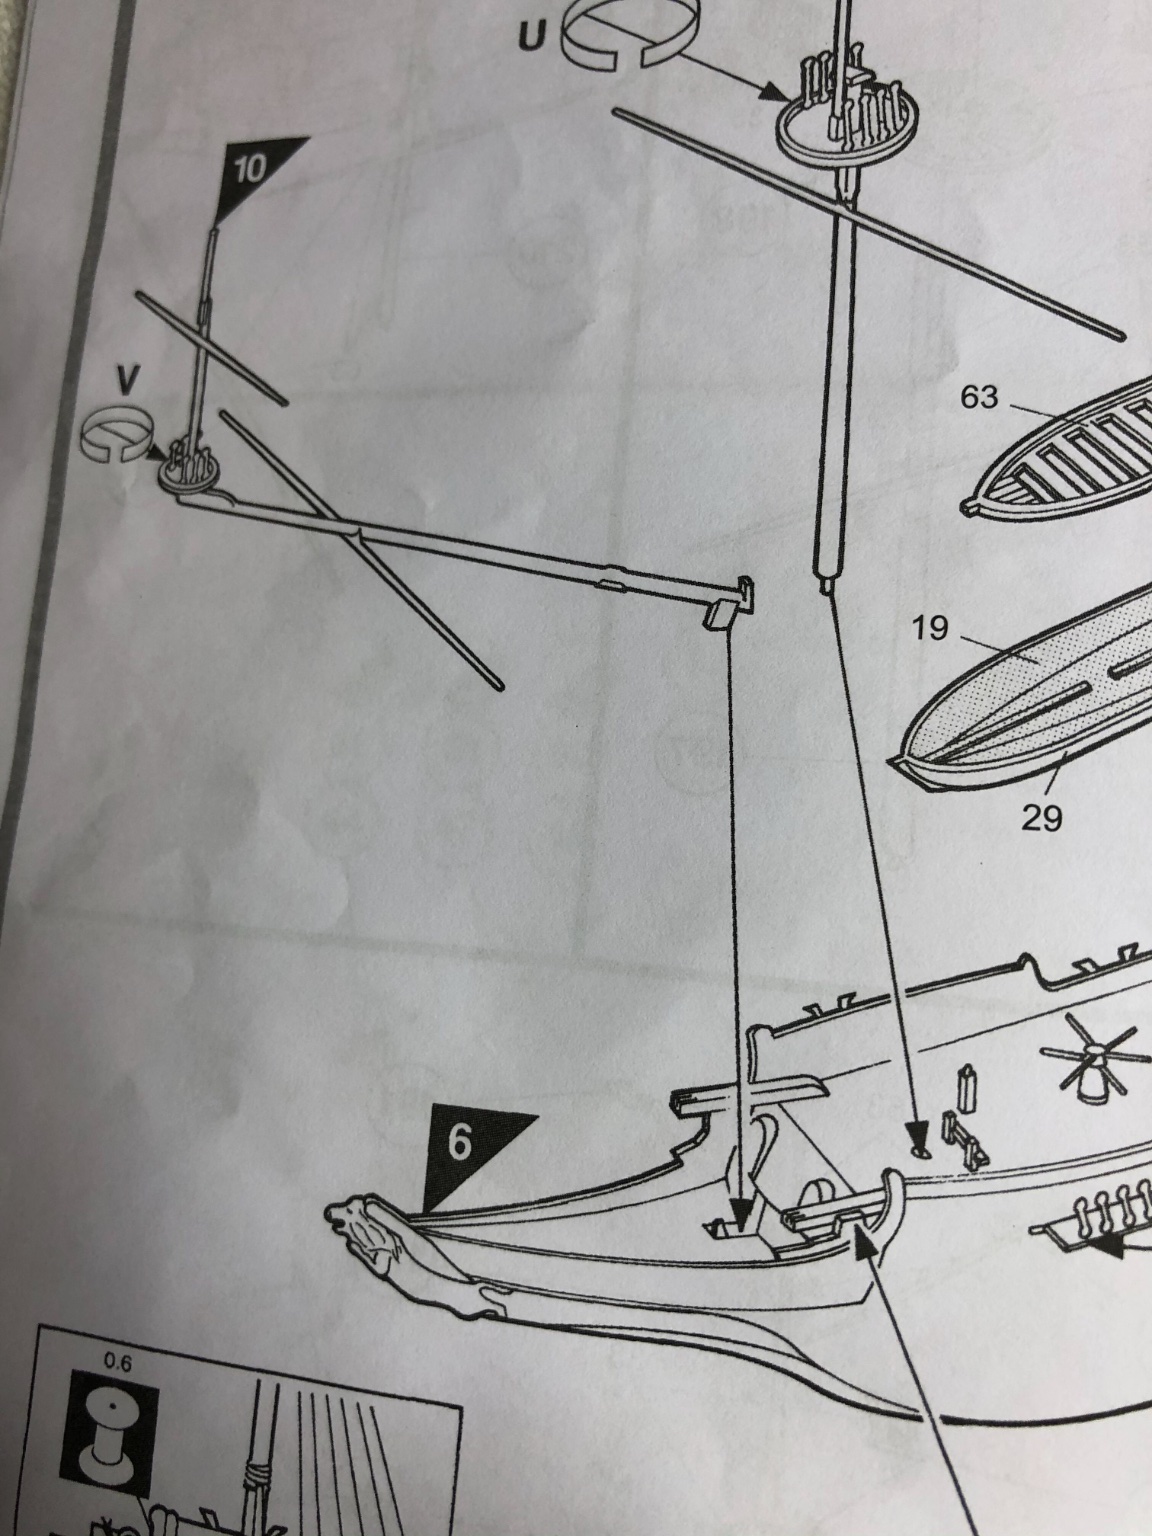
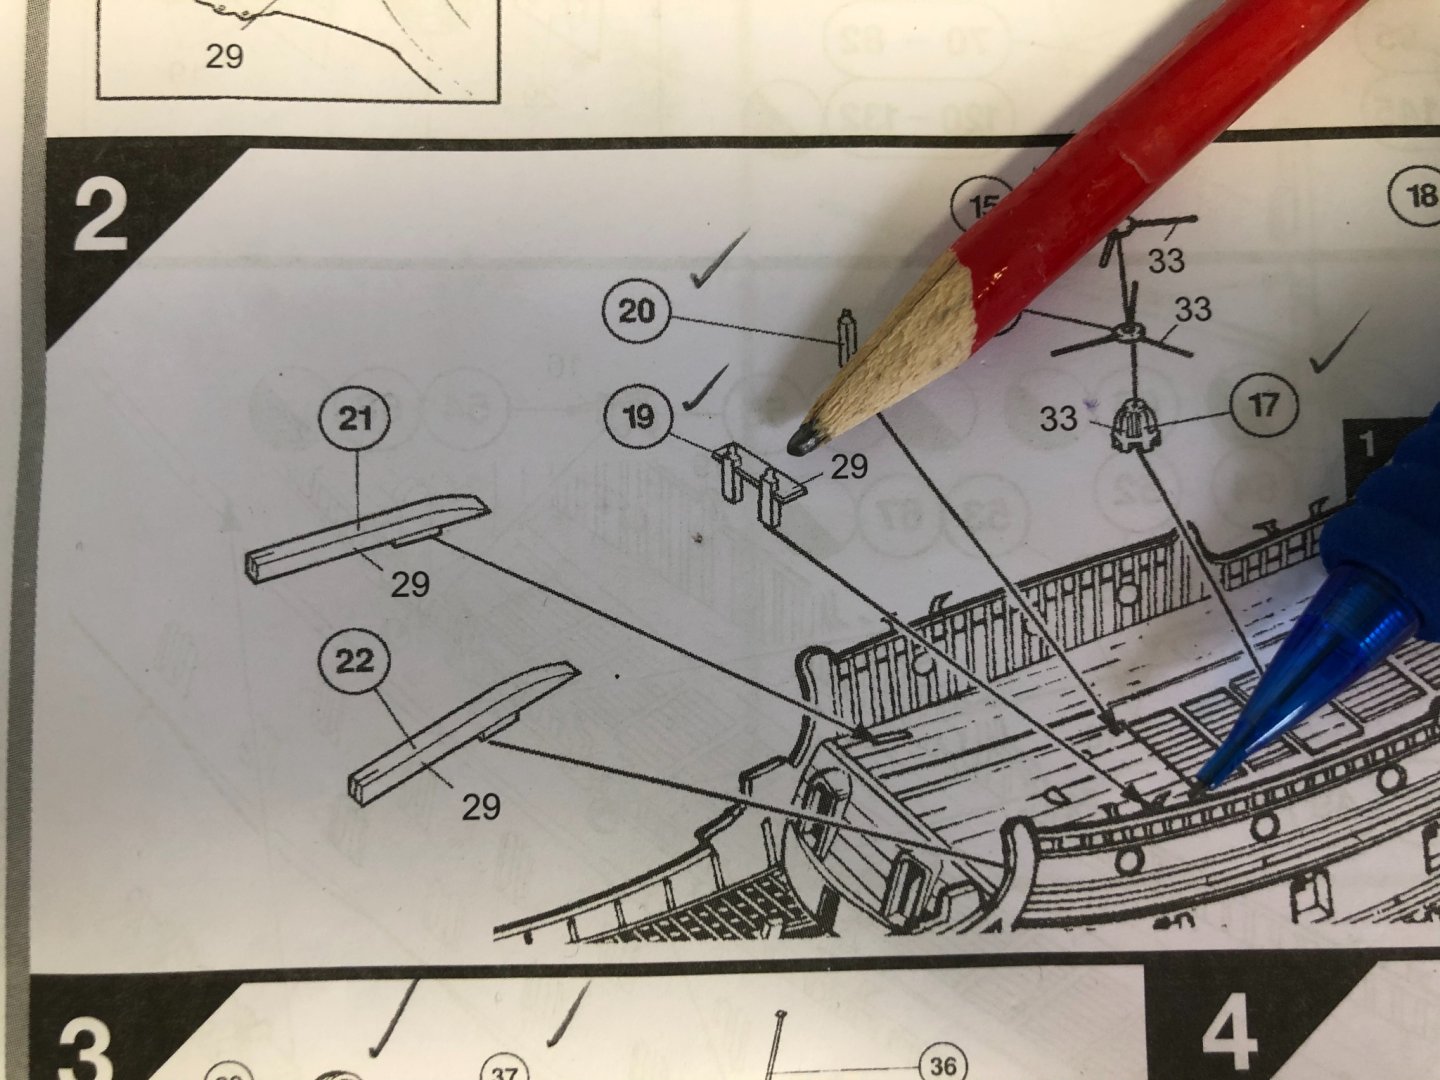
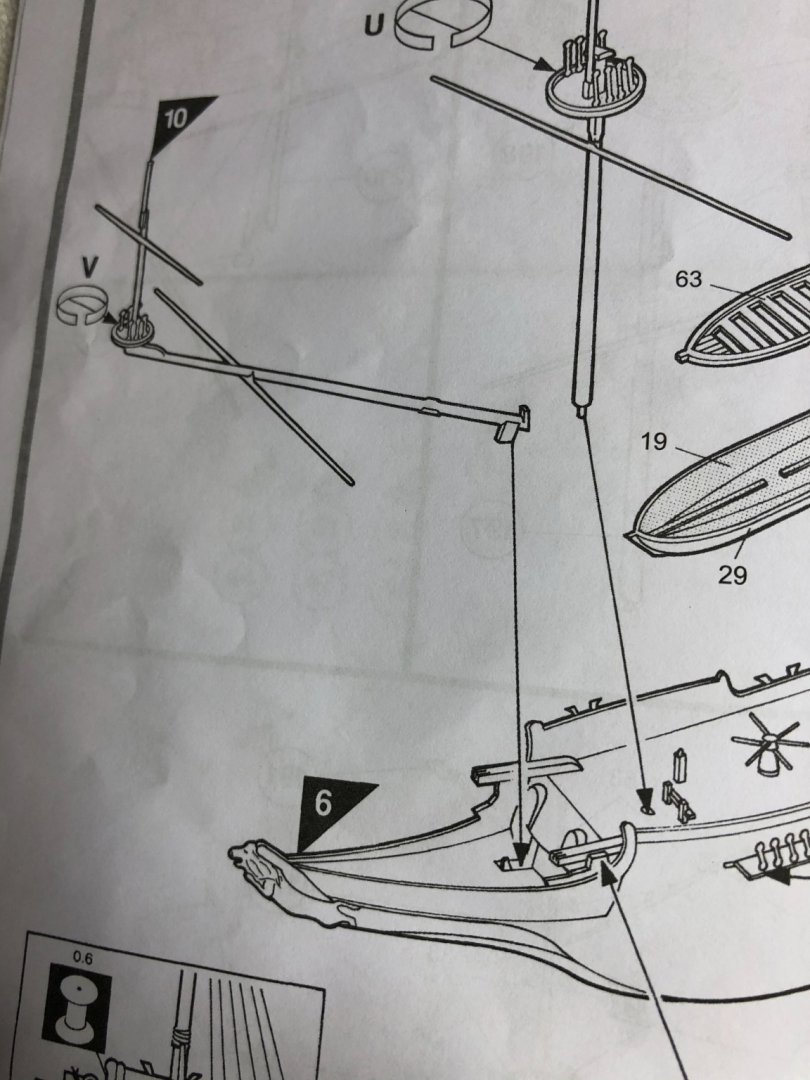
Michael D, wonder if you would mind checking something for me with your kit and instructions? Again, I know you have not started your Wasa yet but consider me the forward scout finding things in advance of you getting there 😊. Look at Step 2. In the picture I attached I have a pencil pointing to piece #19 at the front of the ship and a second pencil pointing to the general area where that piece is supposedly to go. On the deck that came with my kit there are predrilled holes for all the other pieces shown (20, 17, 18, 16, etc). However there are no predrilled holes for this piece #19 in the area the arrow is pointing. Is that the same on your’s? If so, where do you think we should drill to place it?
-
Thanks Hubac. Had no idea what it is.
-
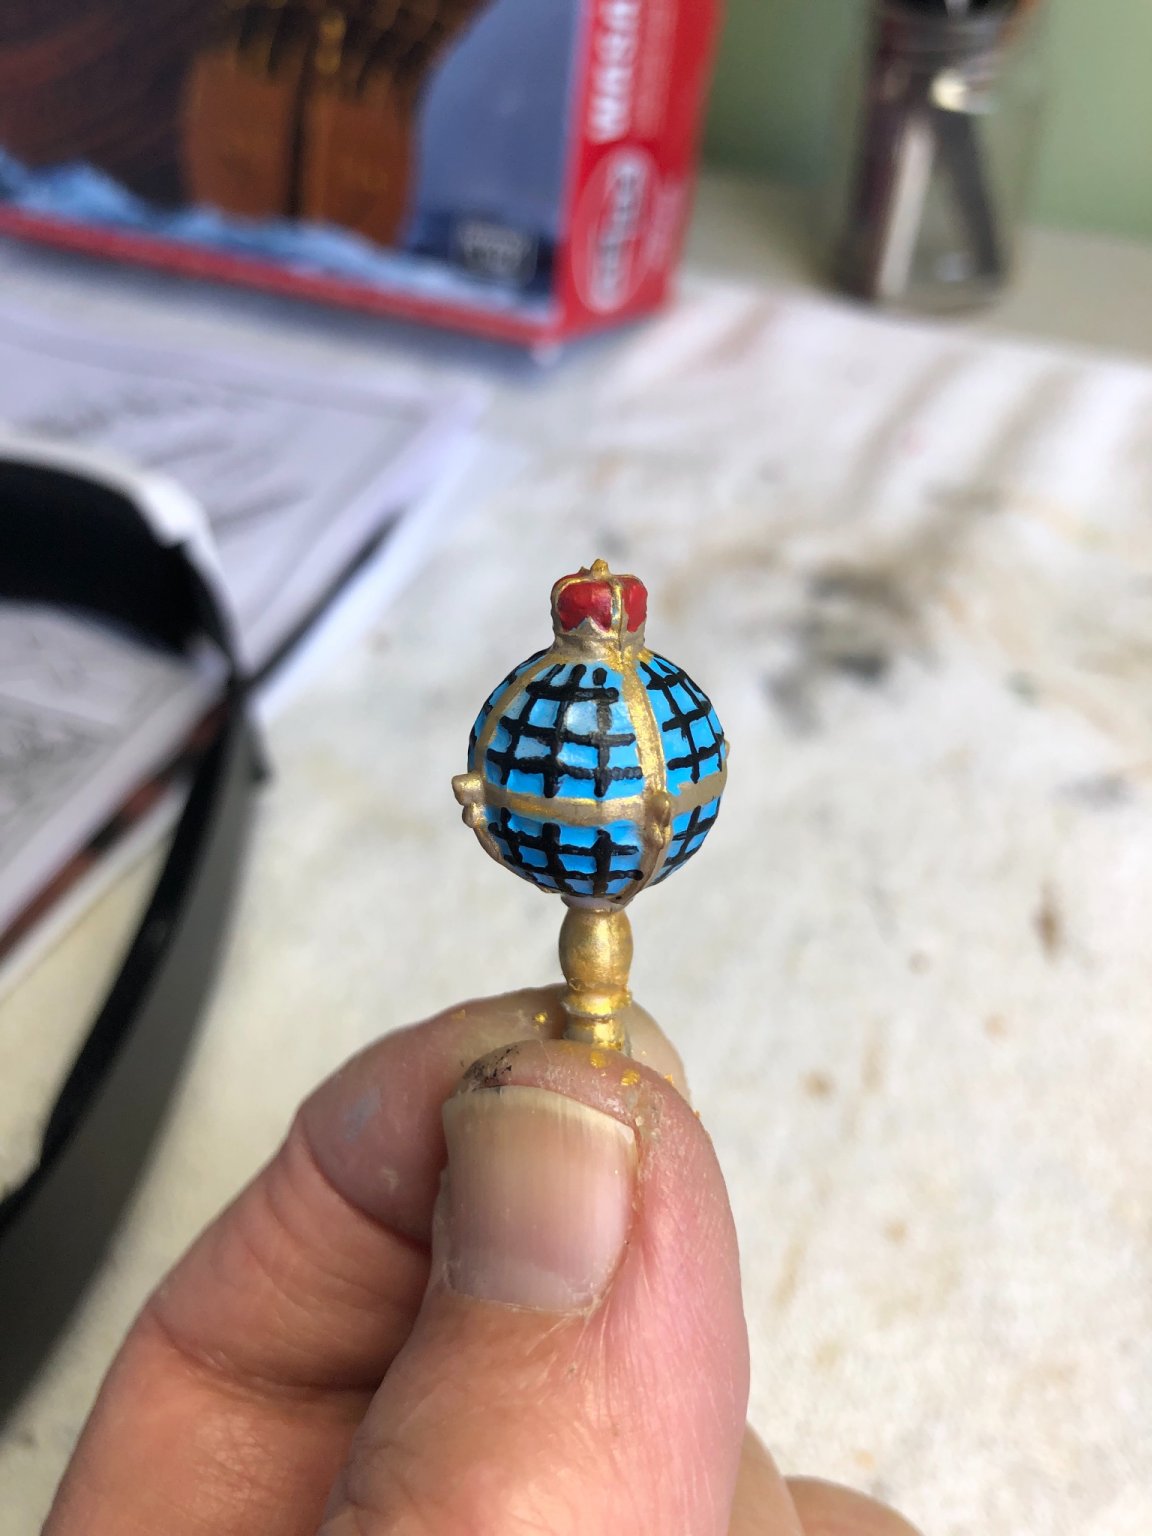
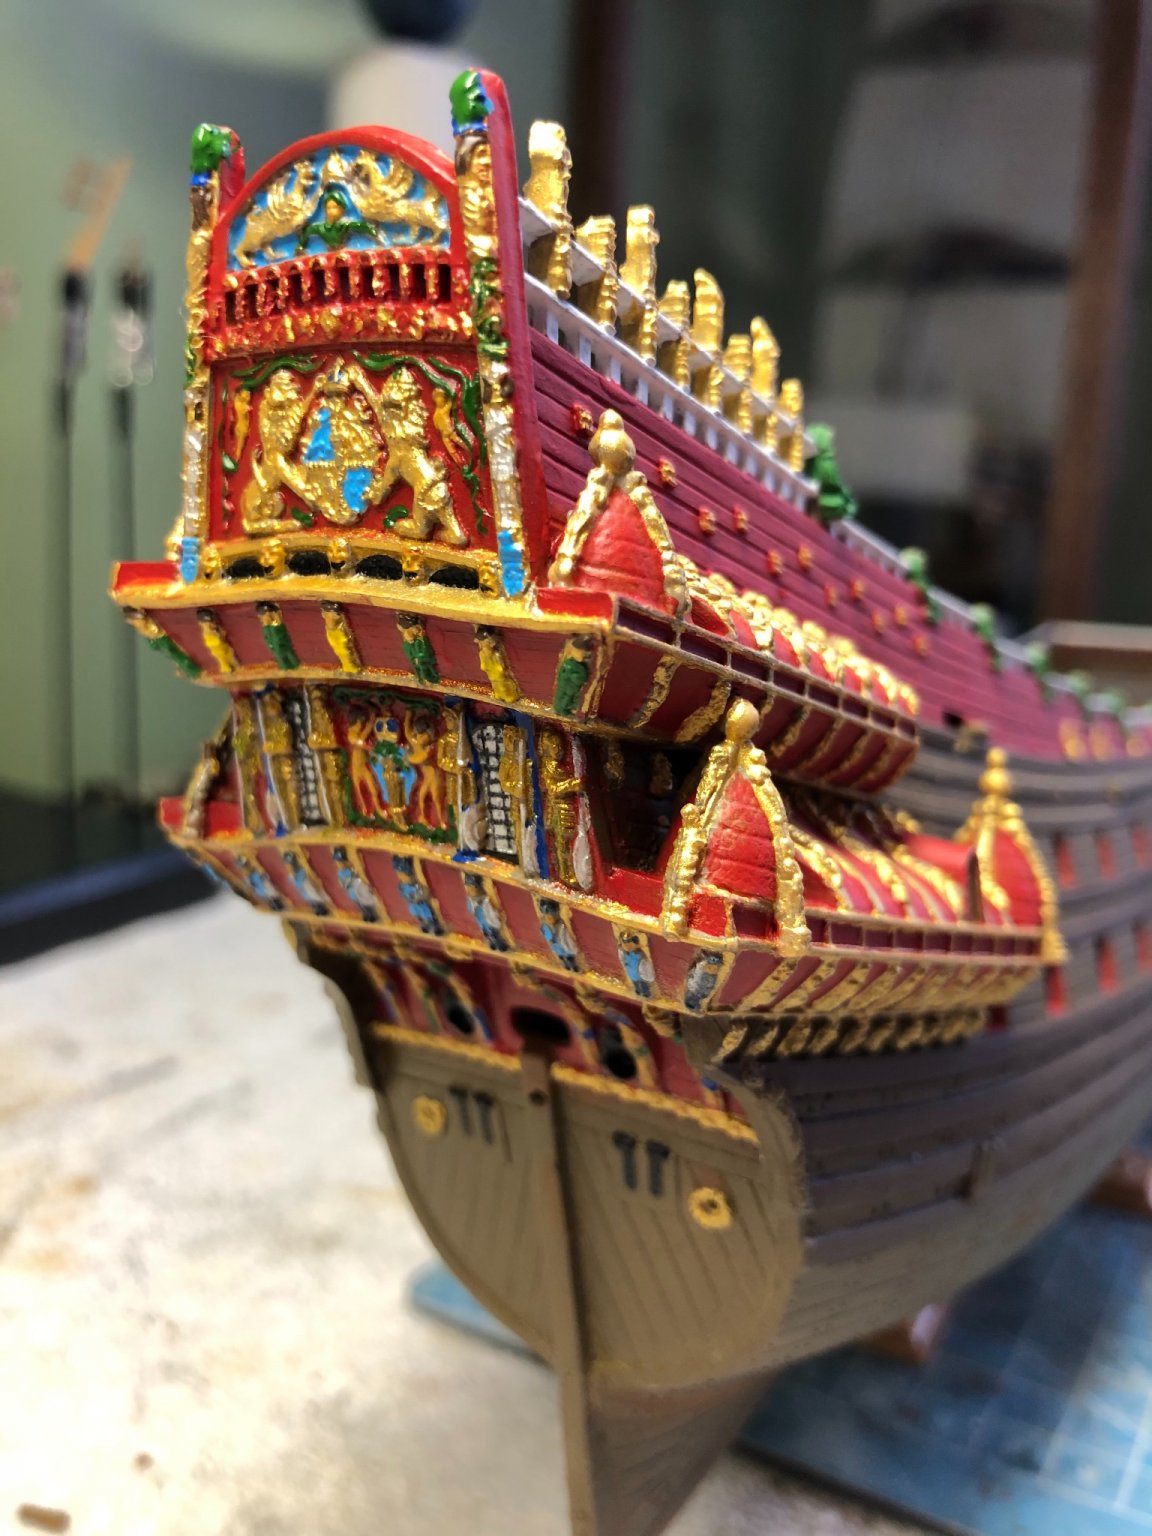
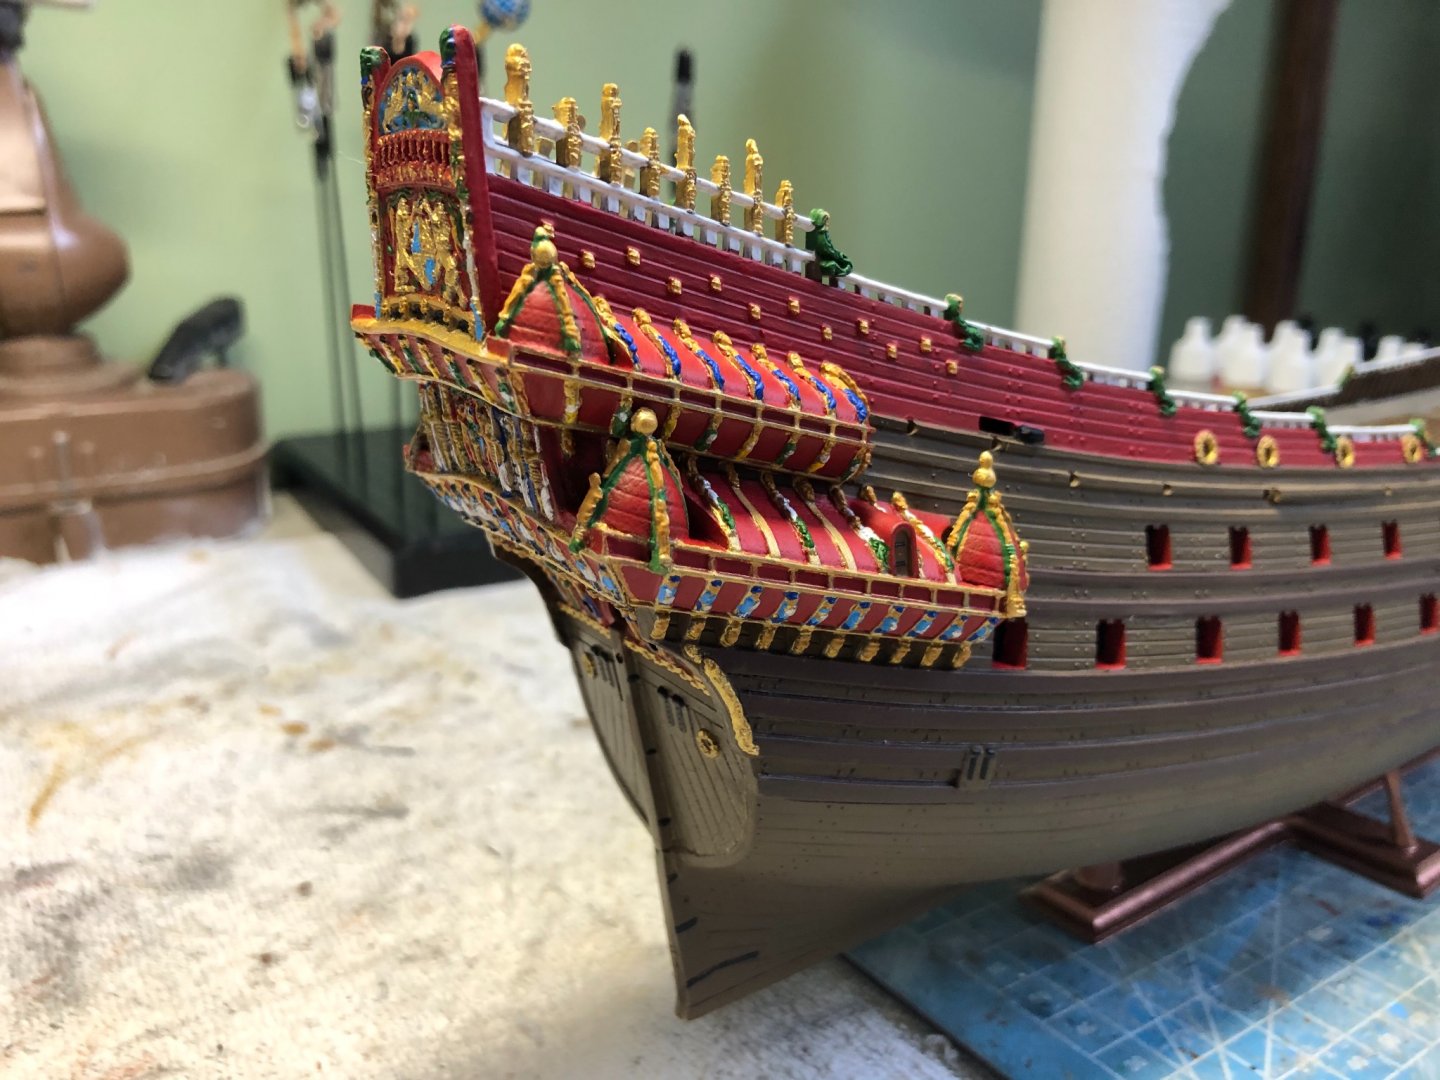
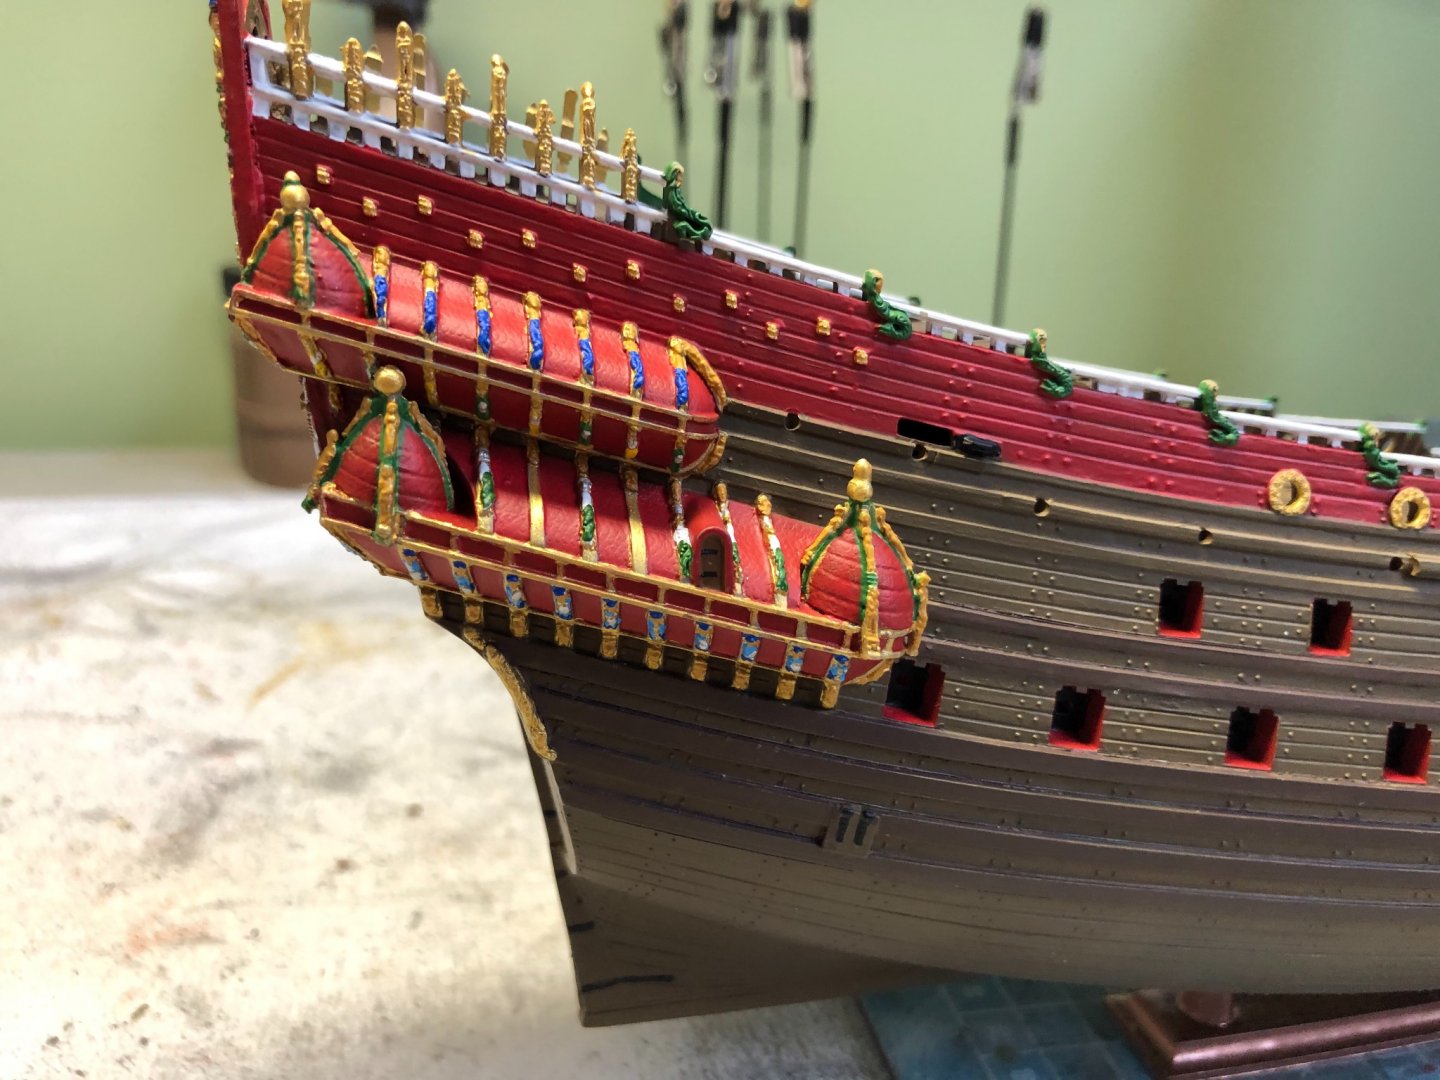
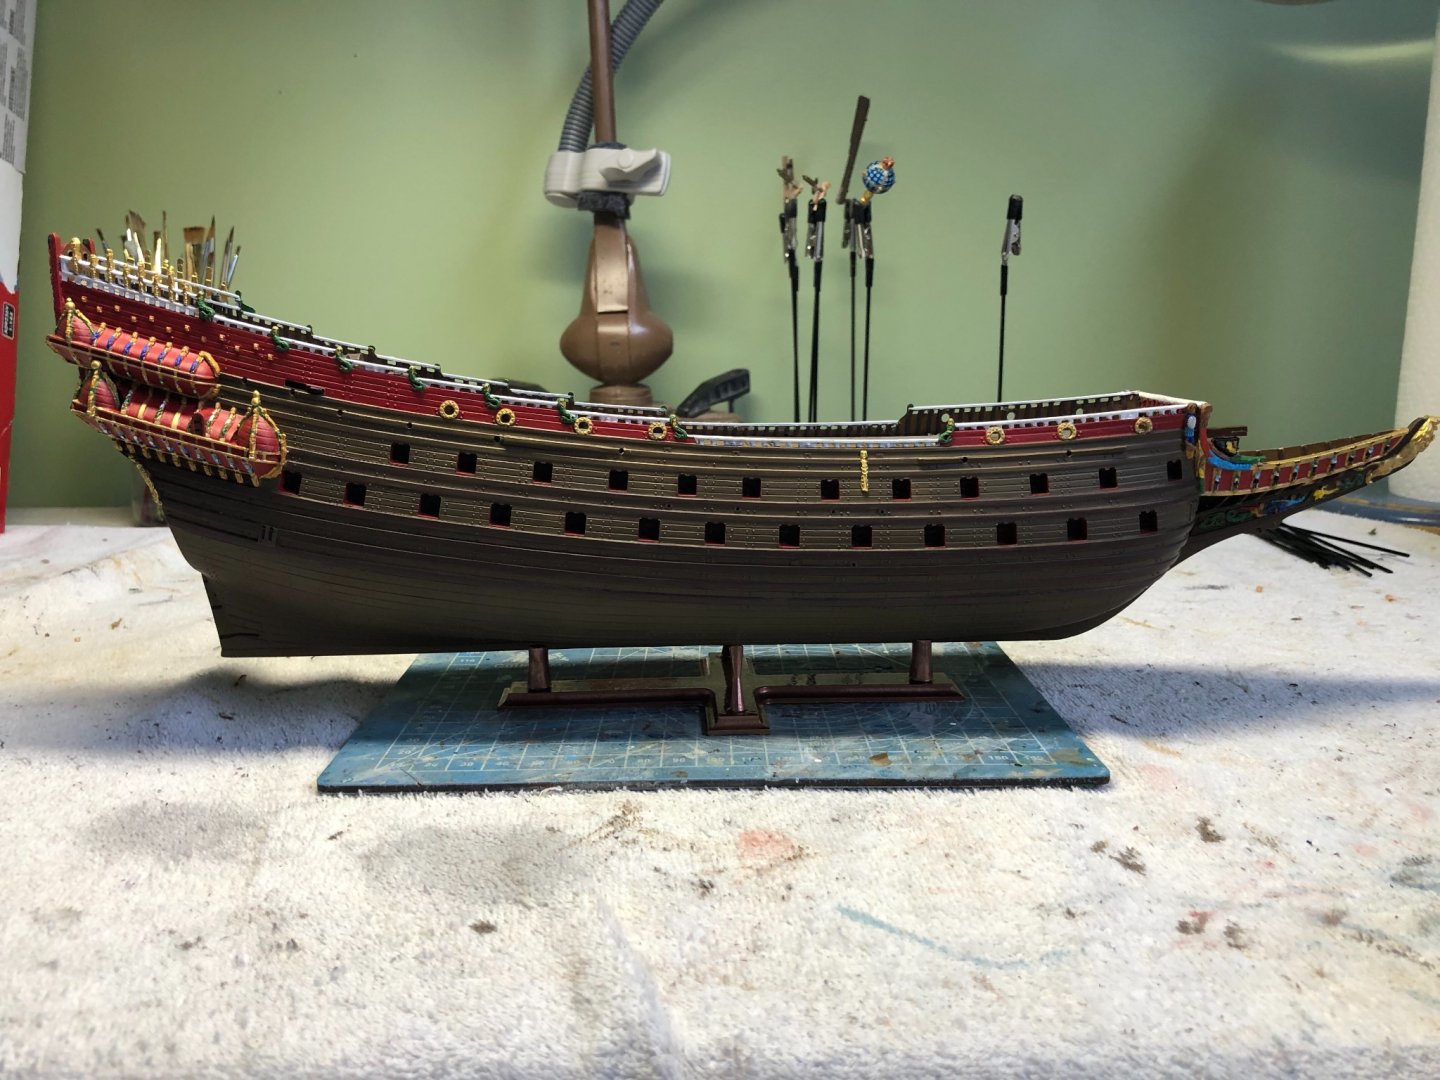
Finished the back section on the starboard side! Now the full starboard side is complete! I left some of the ornamentation solid gold. Woo Hoo! Also got the little globe shaped thing painted (whatever it is). Now on to the port side and what comes next.


-
Not sure Michael. Will be curious to see what you ultimately do with yours. I will mainly be anxious to see if you discover I did anything wrong and that your’s actually fits perfectly. Will not be surprised.
-
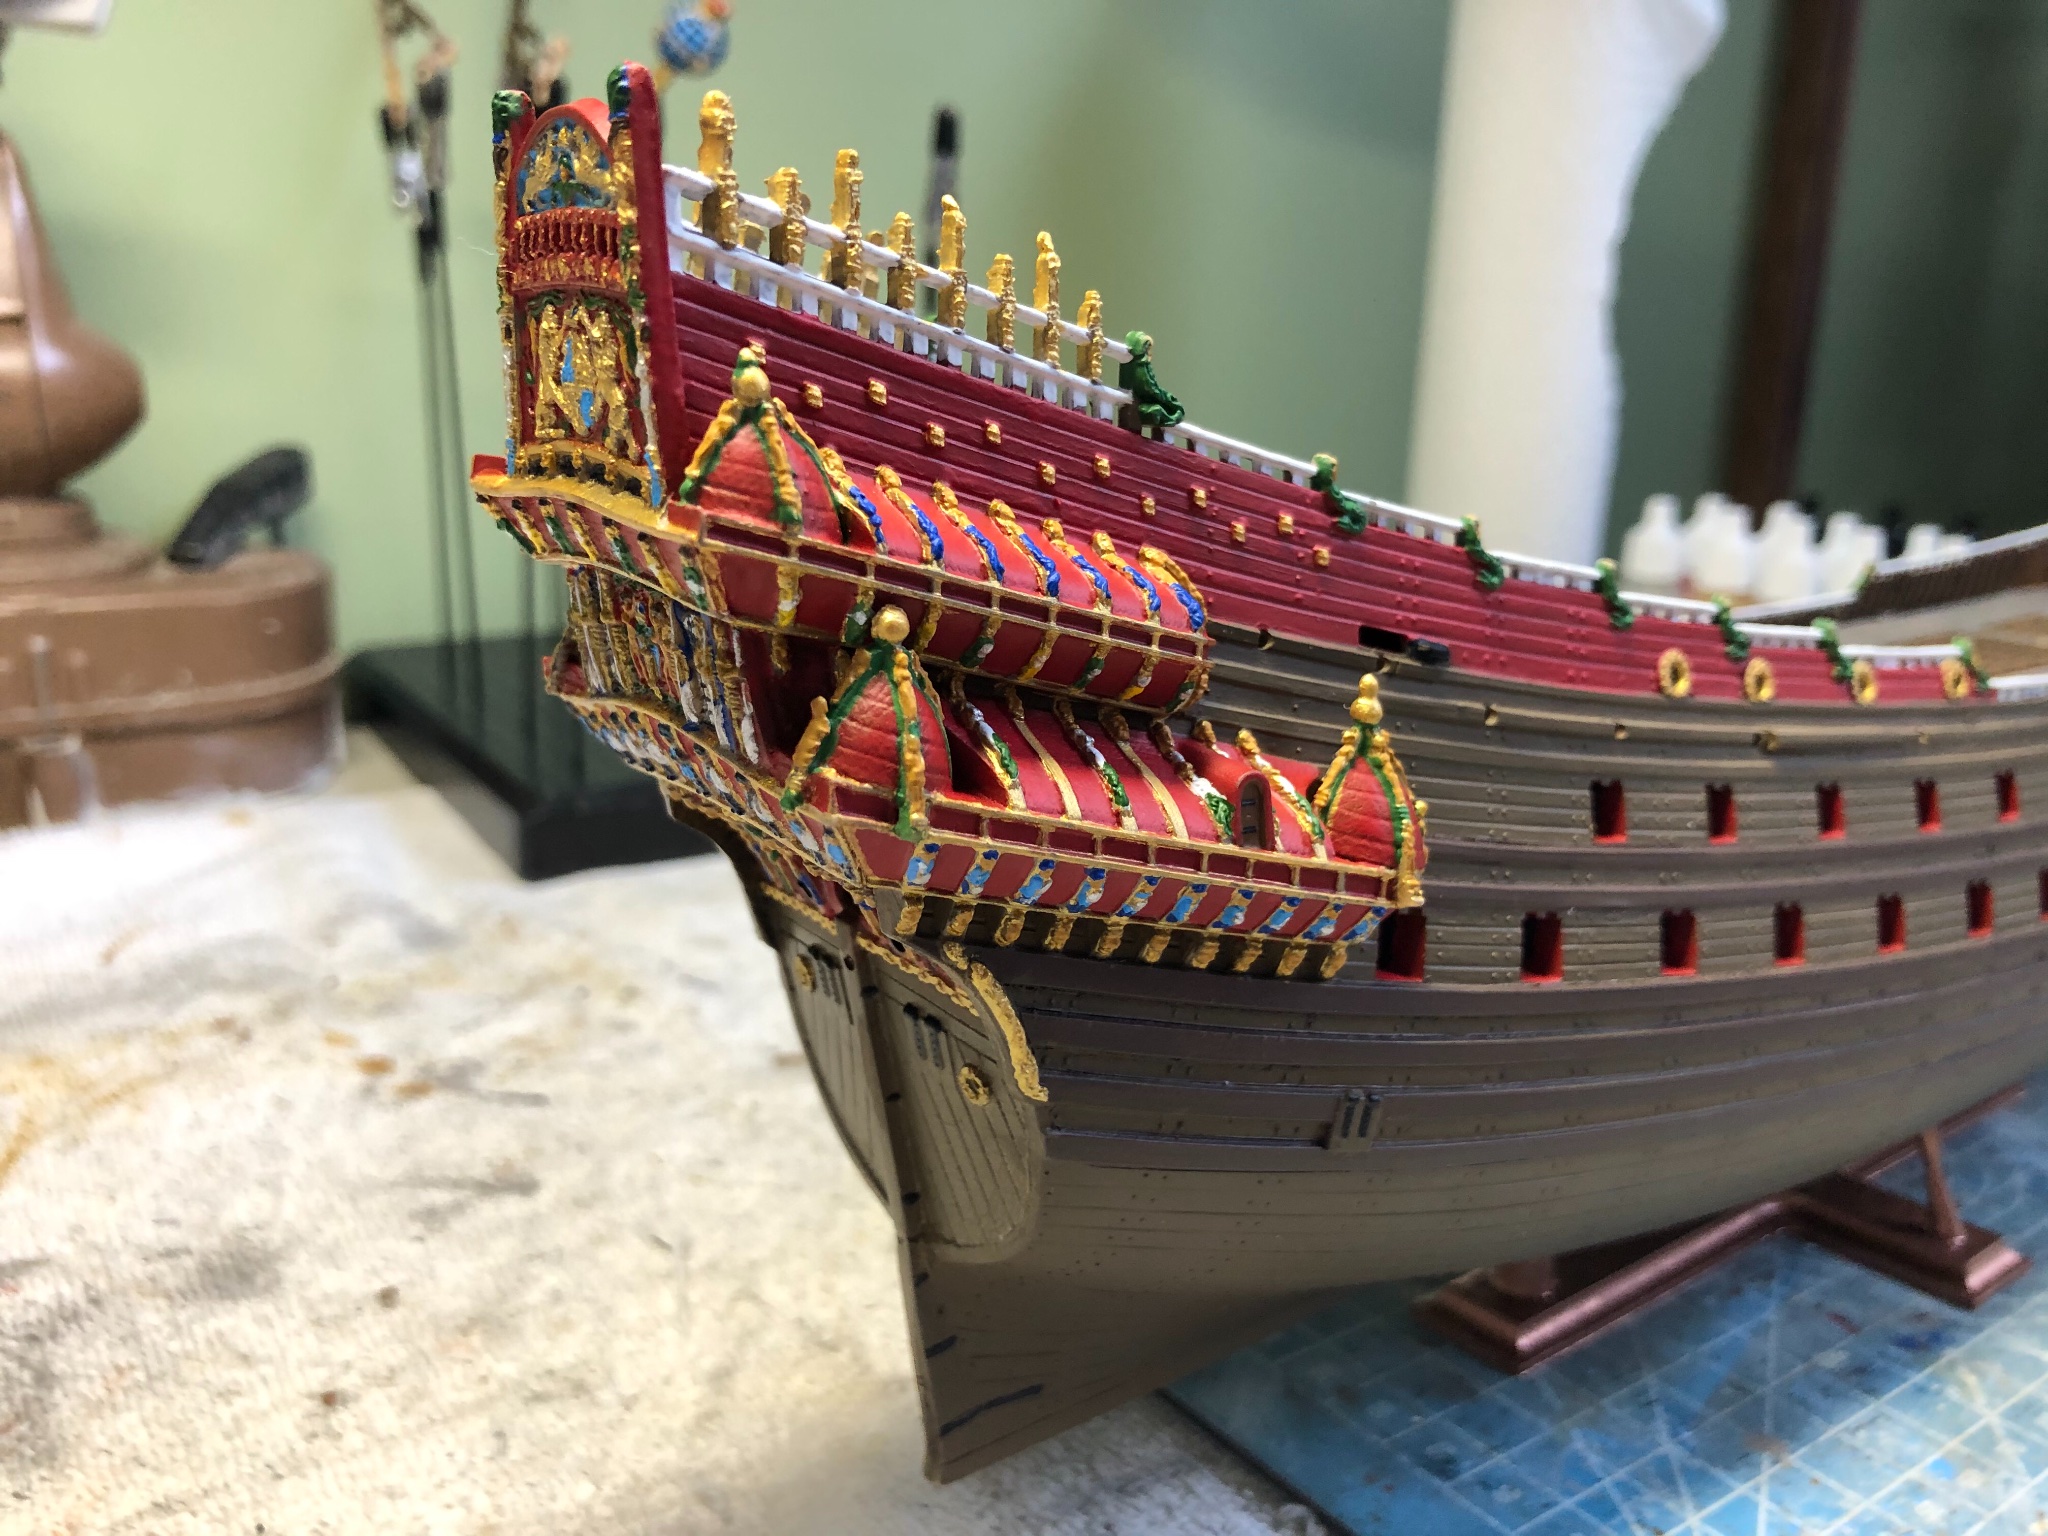
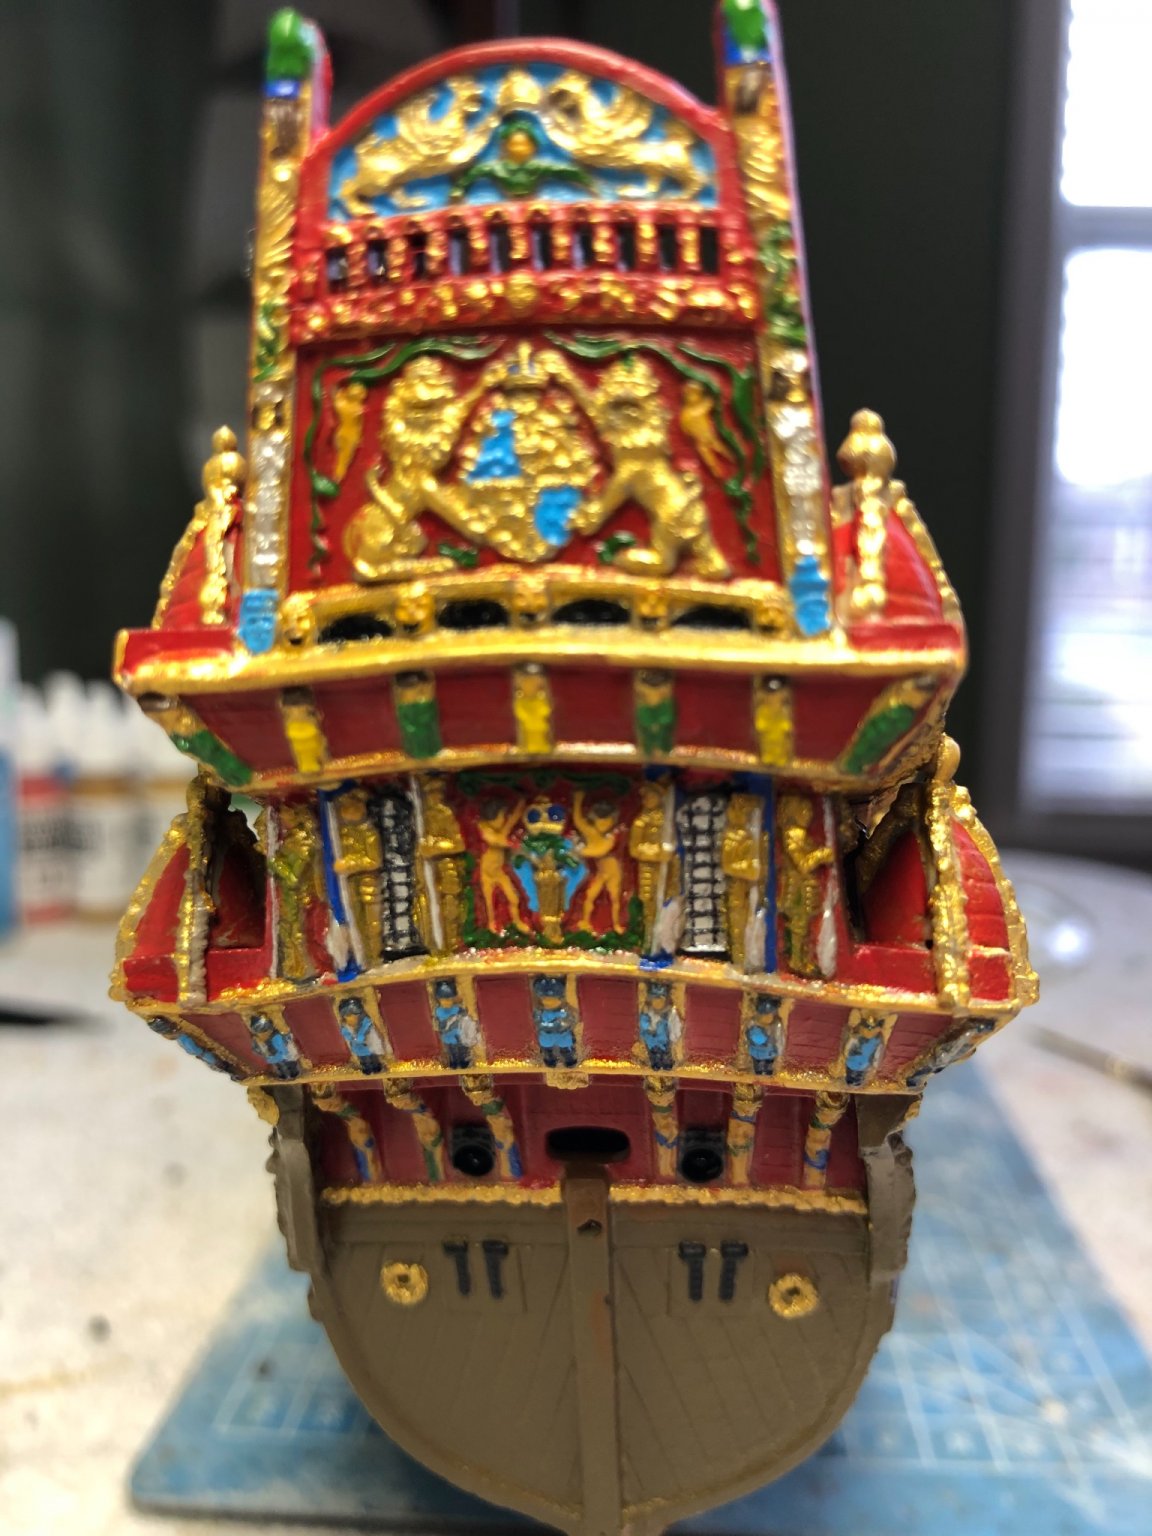
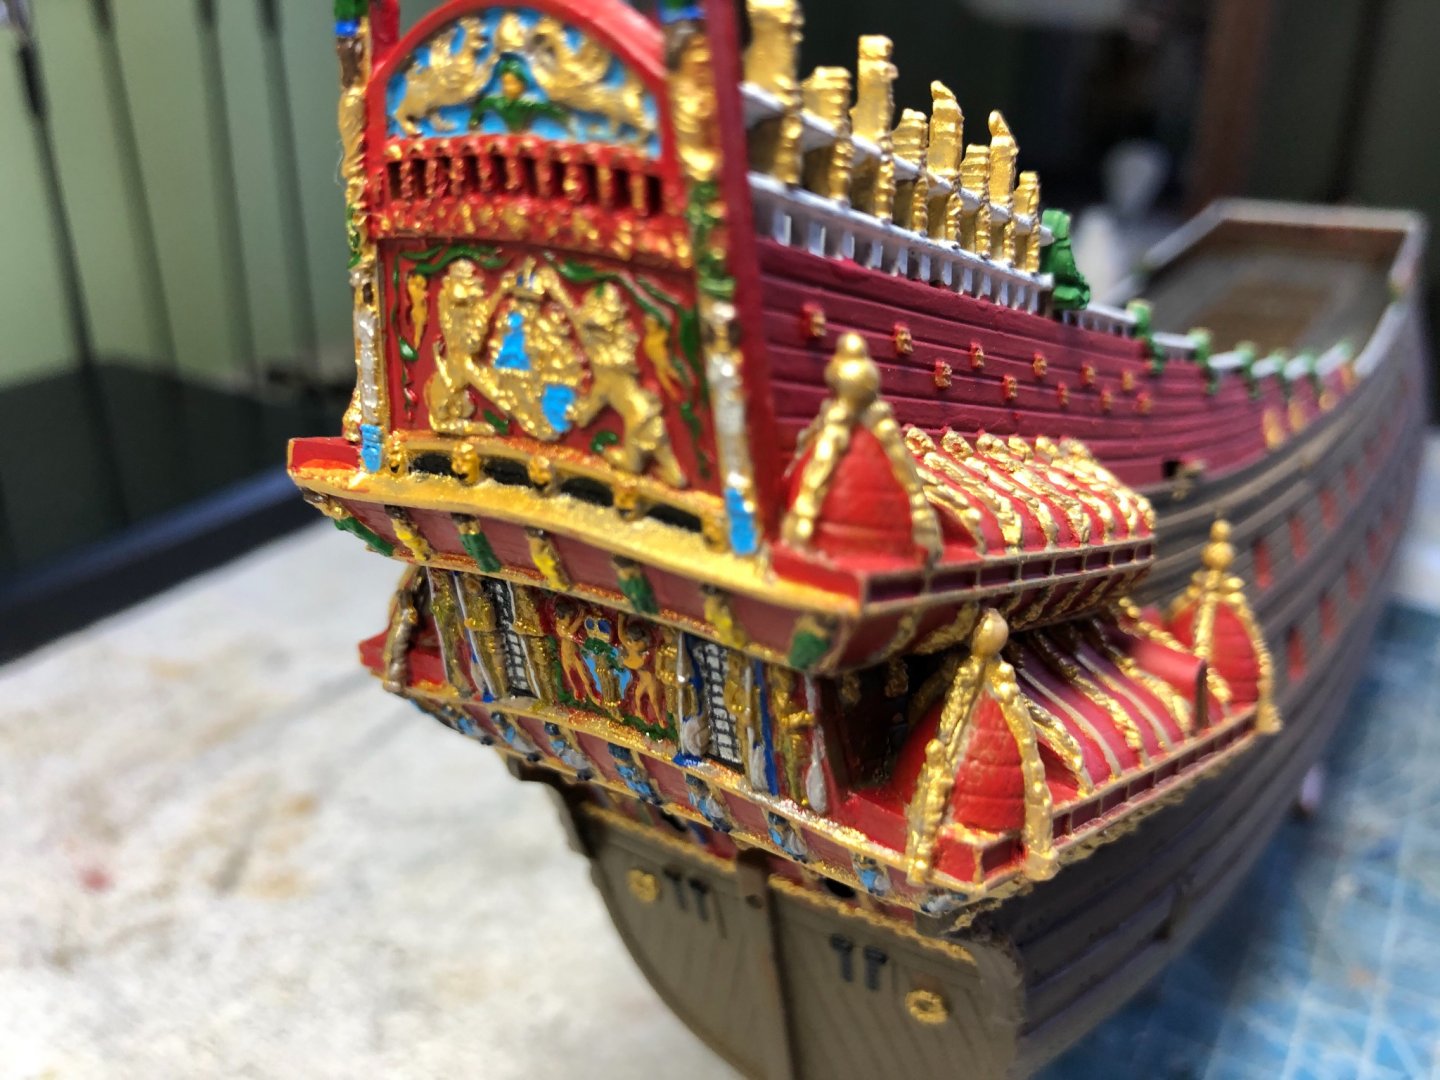
After many hours over a magnifying lamp, and a few bourbons to steady my hand, I finished the stern of my Wasa. Still have the port and starboard sides to detail over the gold but the back is done. Glad I went with polychromatic!


-
Forgot to add the photos before I hit submit. To much bourbon last night. 🥃 Photos are not in order of my explanation but are all there.


-
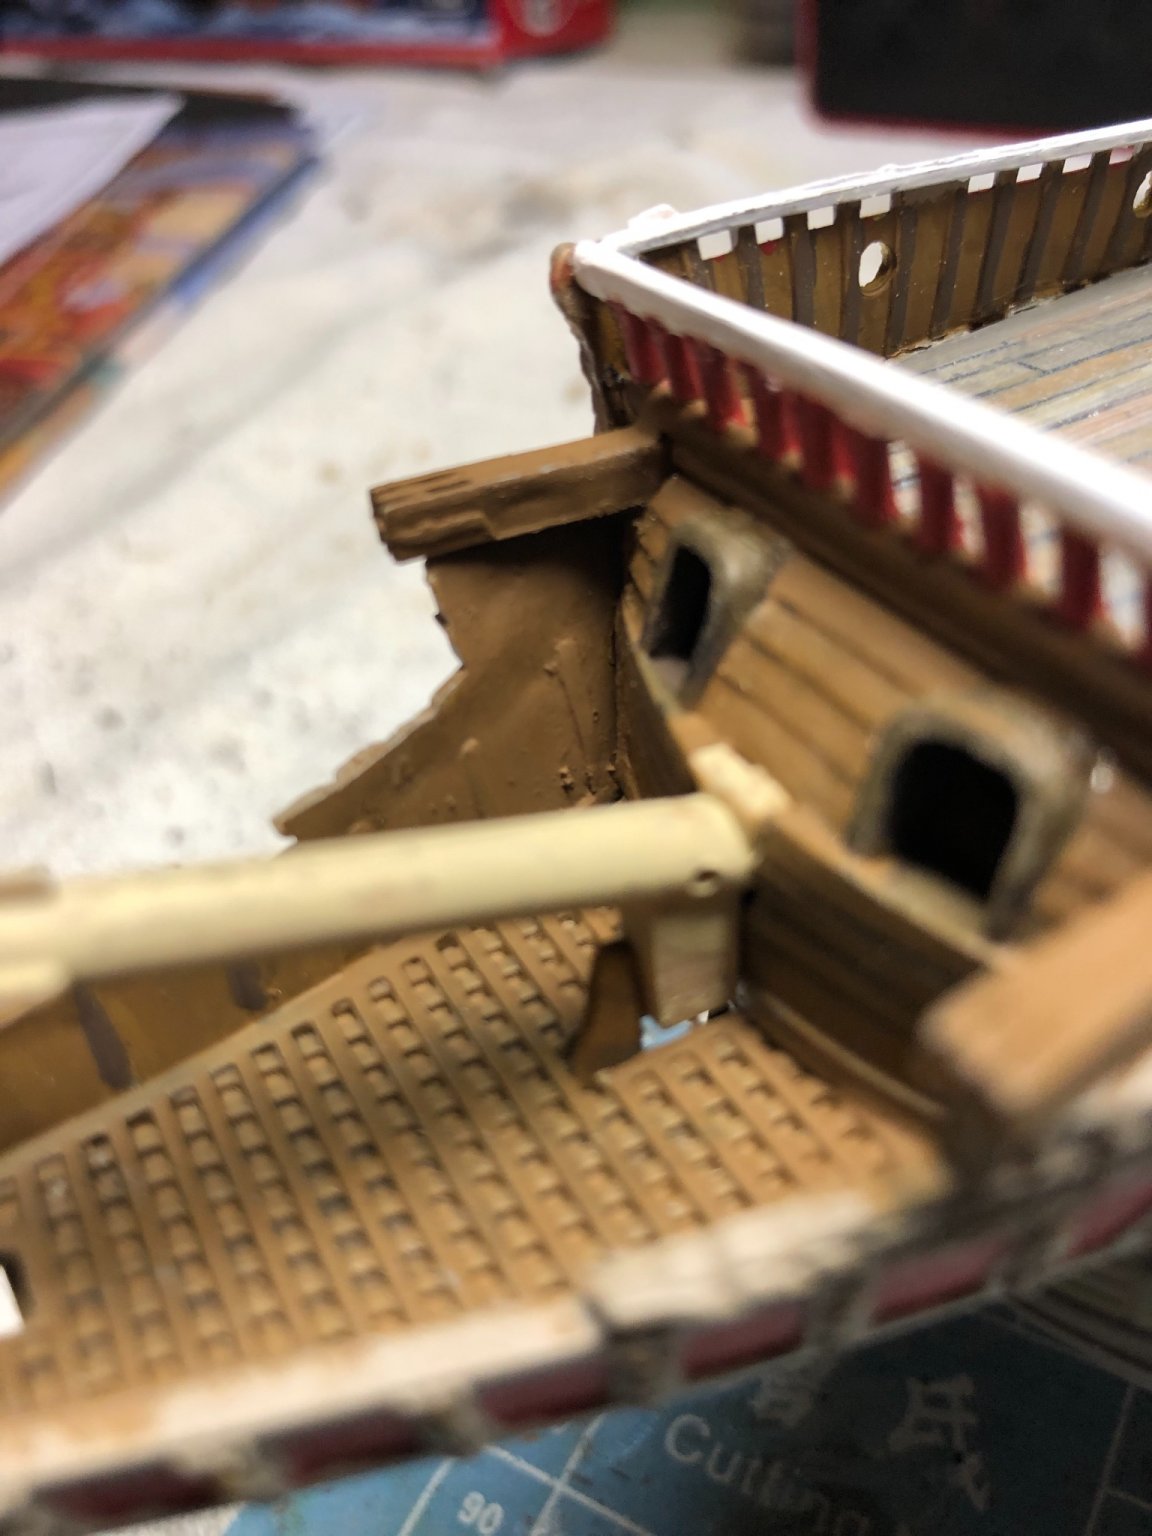
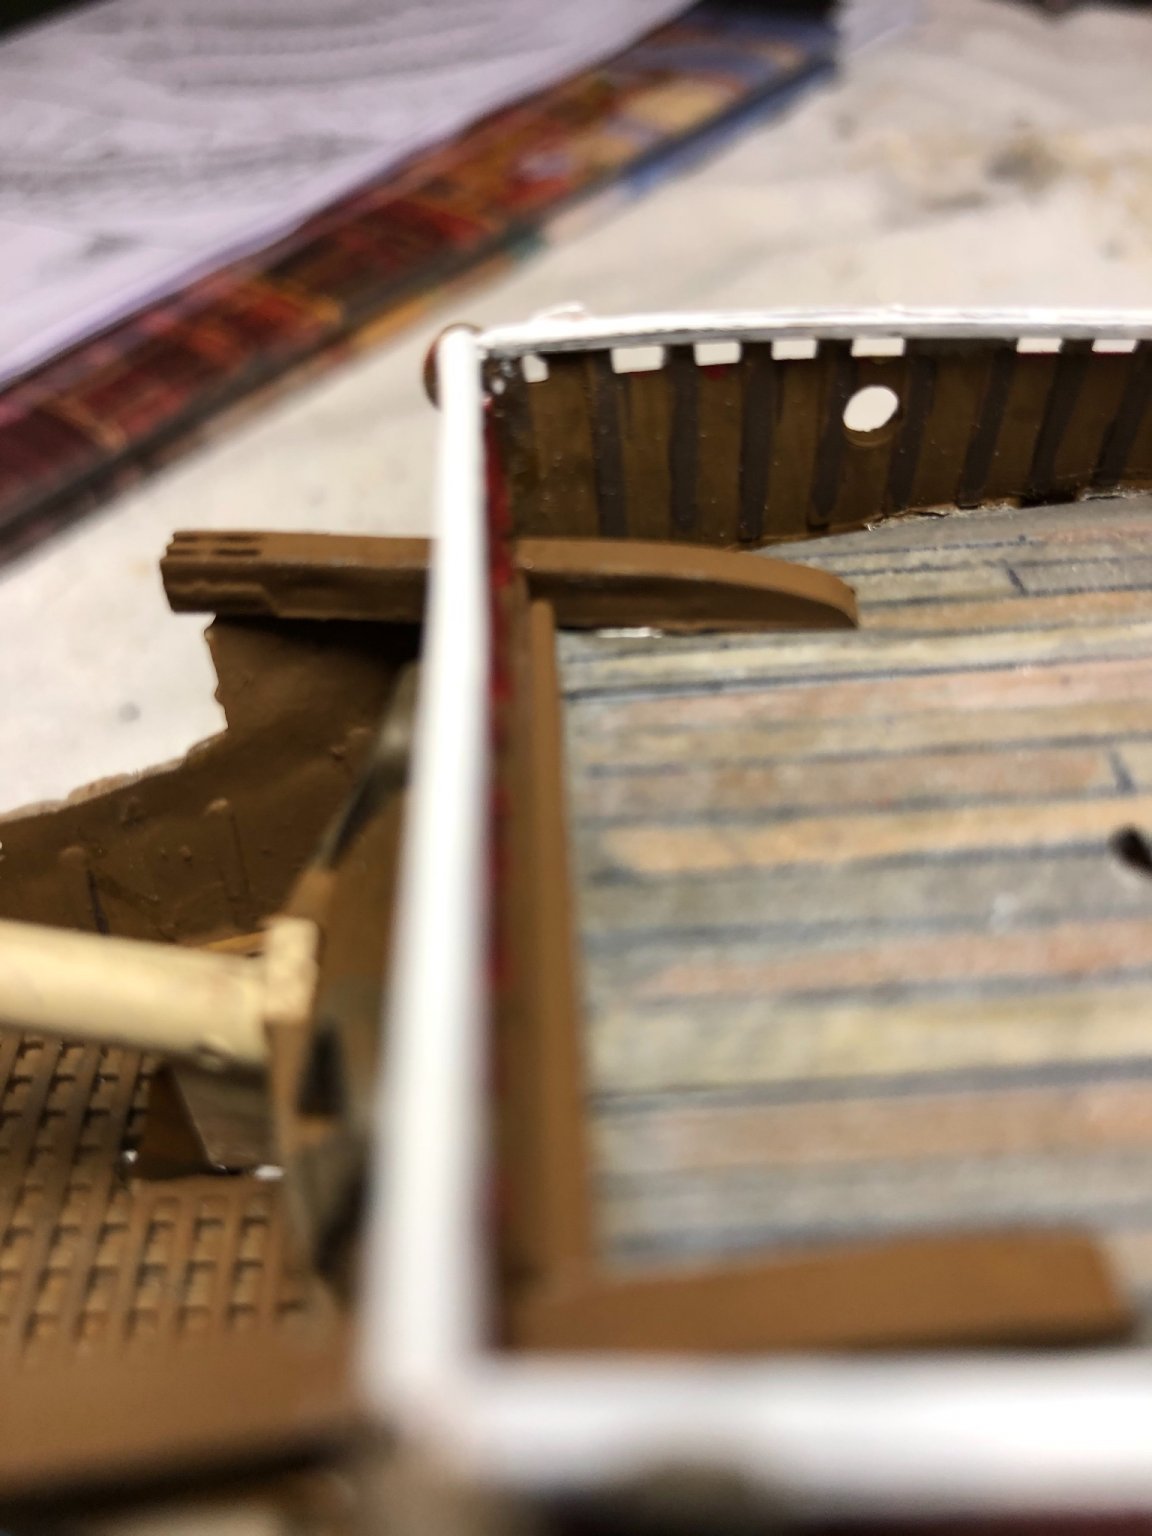
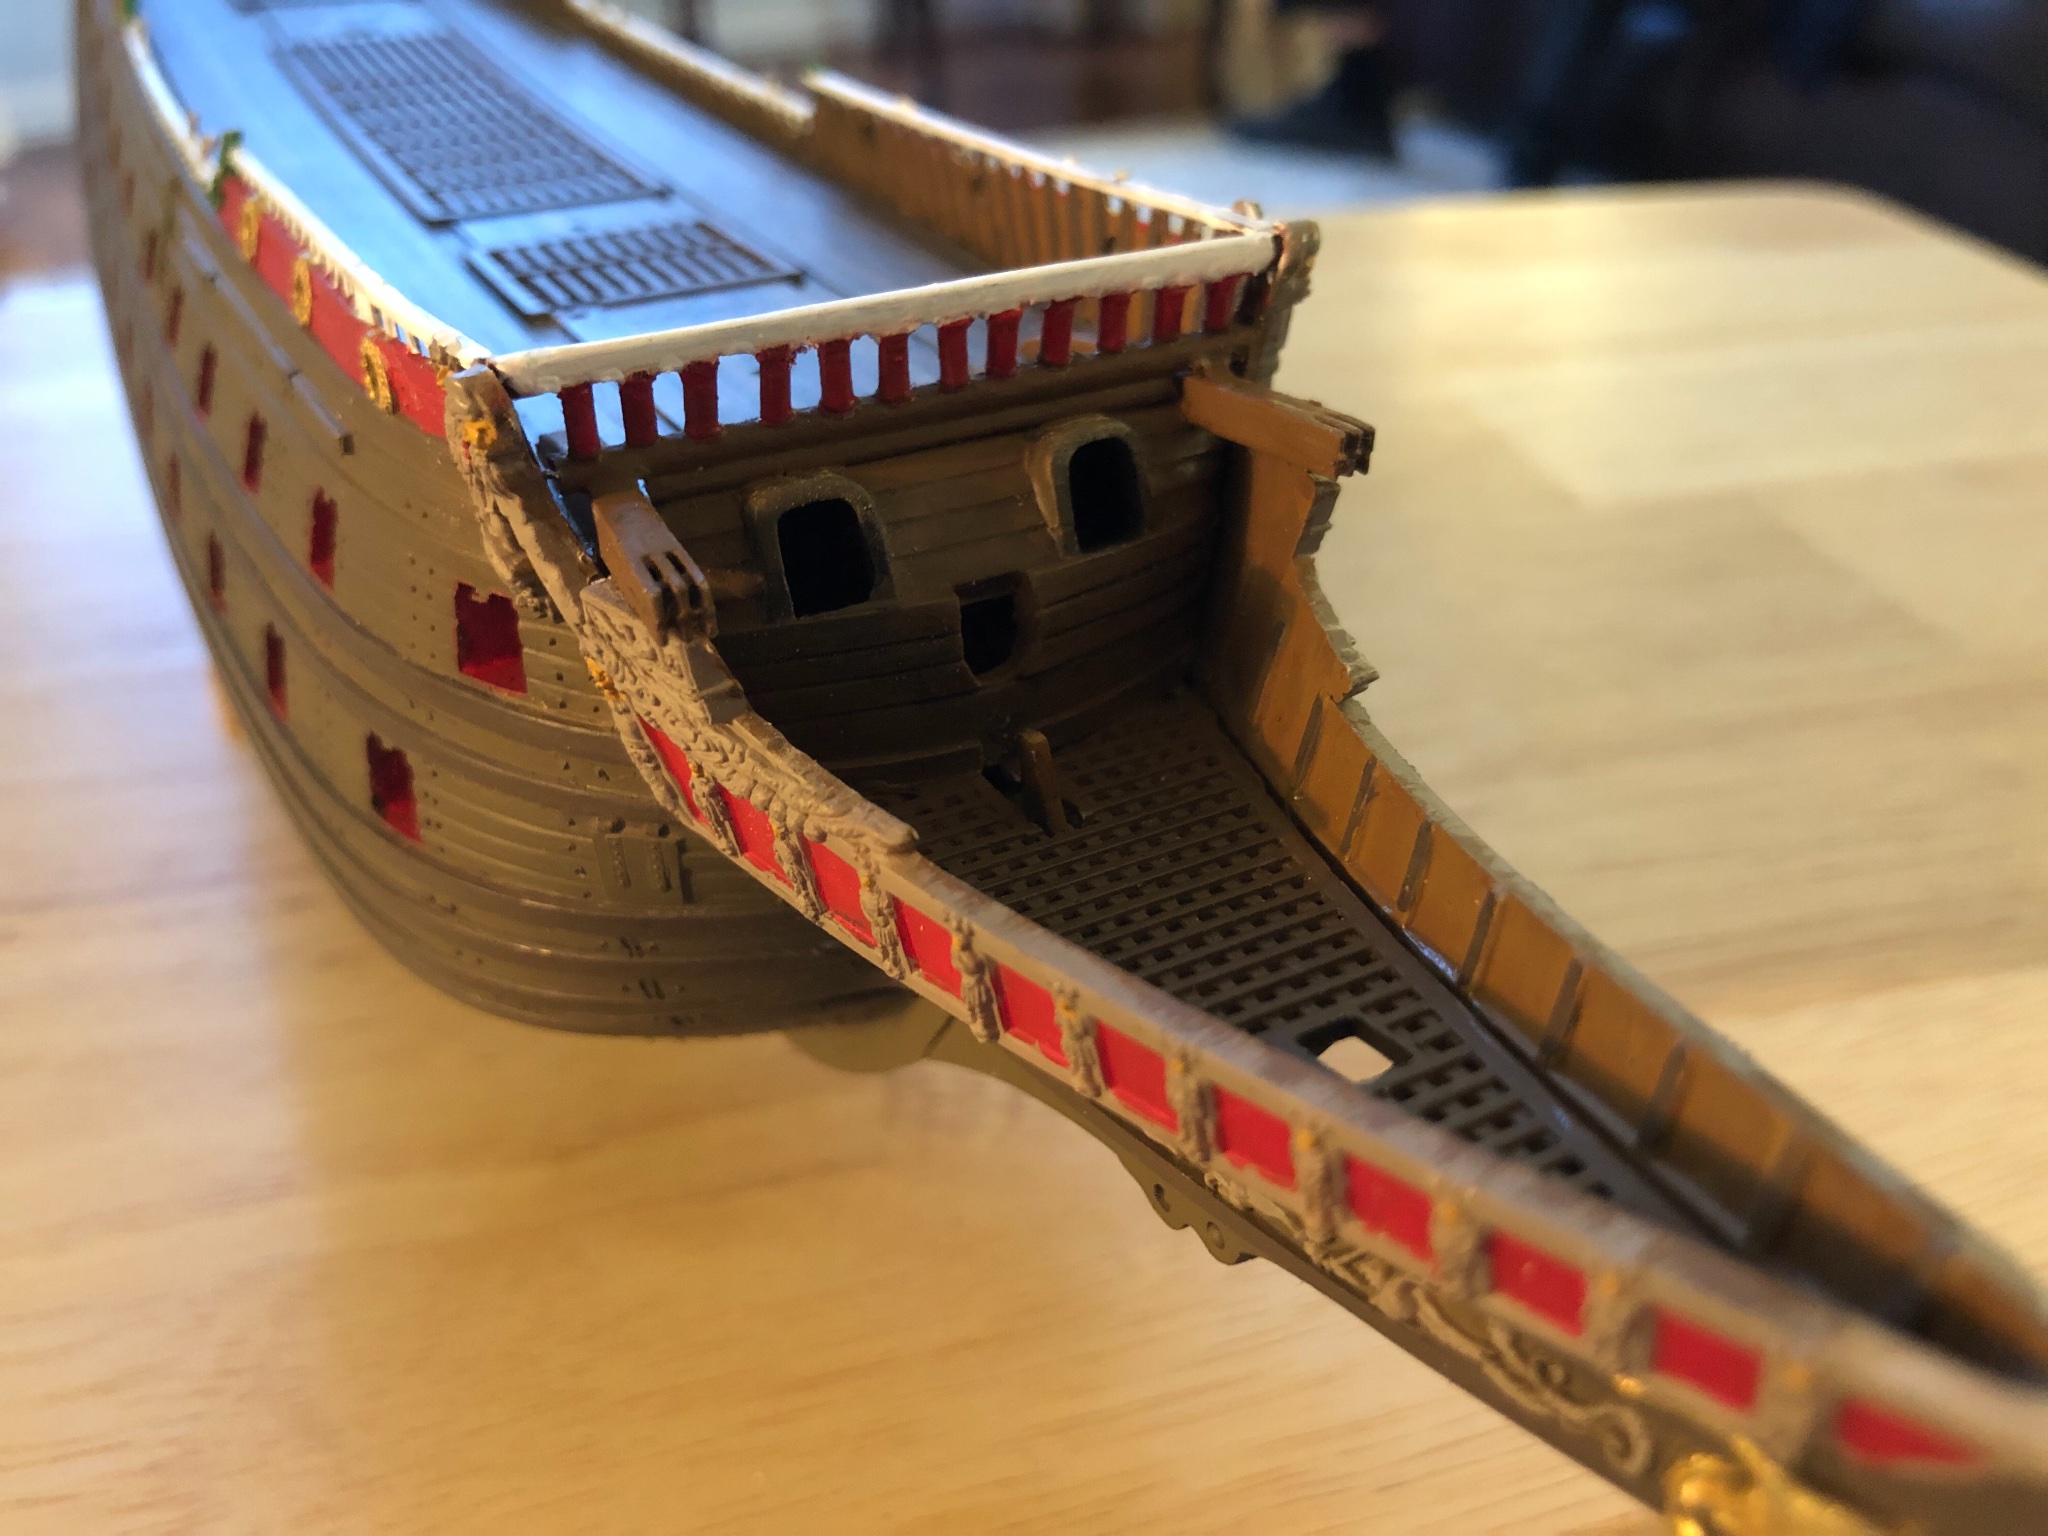
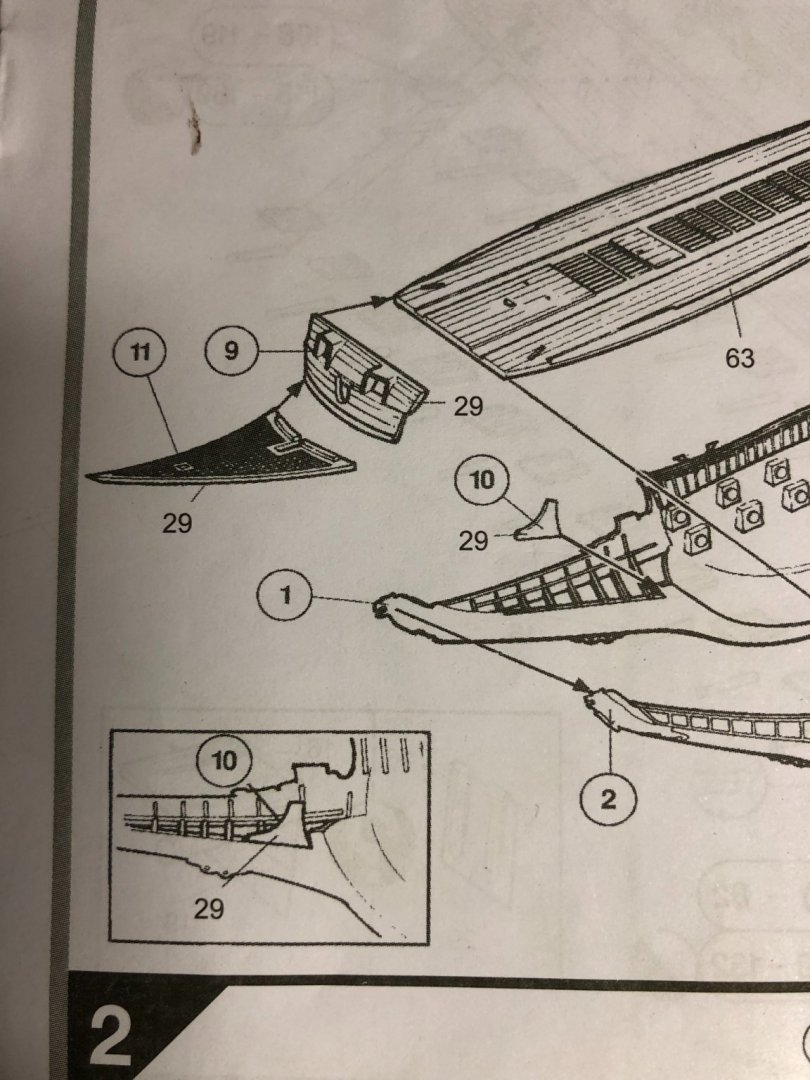
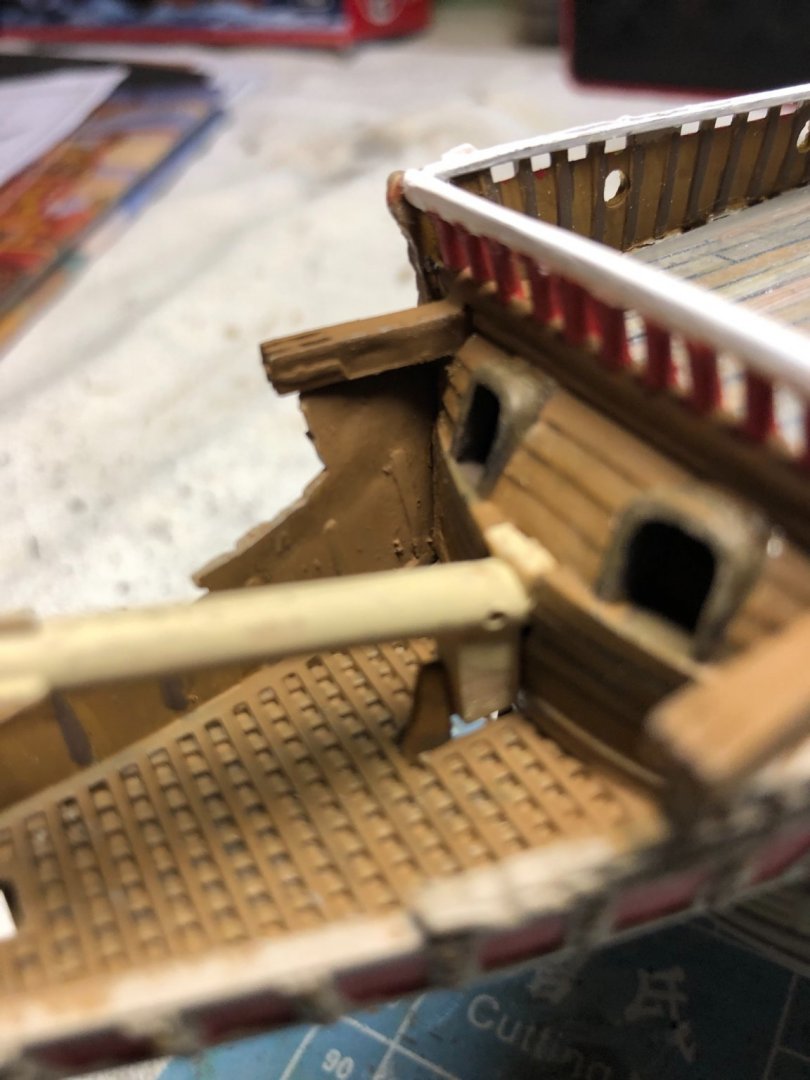
Michael I know you are going to finish your Reale De France before starting the Airfix Wasa but I just wanted to bring your attention to an area I struggled with. Will be anxious to see if you have the same issues later or if I just screwed up in my assembly. I will explain and attach some pictures of the instructions and the model. I assure you I will not use correct nautical terms in my explanation but hope you understand from my description. In Step 1 you will see there is a little triangle shaped piece (#10) that gets glued into the bow area before you cover it with grate (#11) and the window piece (#9). Now I will jump ahead in the instructions. I did this during my build to dry fit pieces to make sure parts are glued correctly. In step 10 you will see the tail end of the bowsprit has a little foot of sorts that is supposed to go behind that previously installed (#10) and glued into the slot in the deck part with the windows (#9). When I tried this I found there was not nearly enough space for the little foot. I ultimately had to gently remove the grate (#11) and slowly trim the triangle shaped piece until I got sufficient space. I studied this for awhile thinking I had to be doing something wrong but never was able to determine my possible mistake. I also had to trim the top left and right corners of the window piece (#9) so that the cathead timbers would lay flat when I was building the rail yesterday. Hope this makes sense and I will be curious to see if you encounter the same issue when you start your Wasa.
-
Thanks Michael. Has your’s arrived yet? Now you know you will need to fabricate your own front rail. : )
-
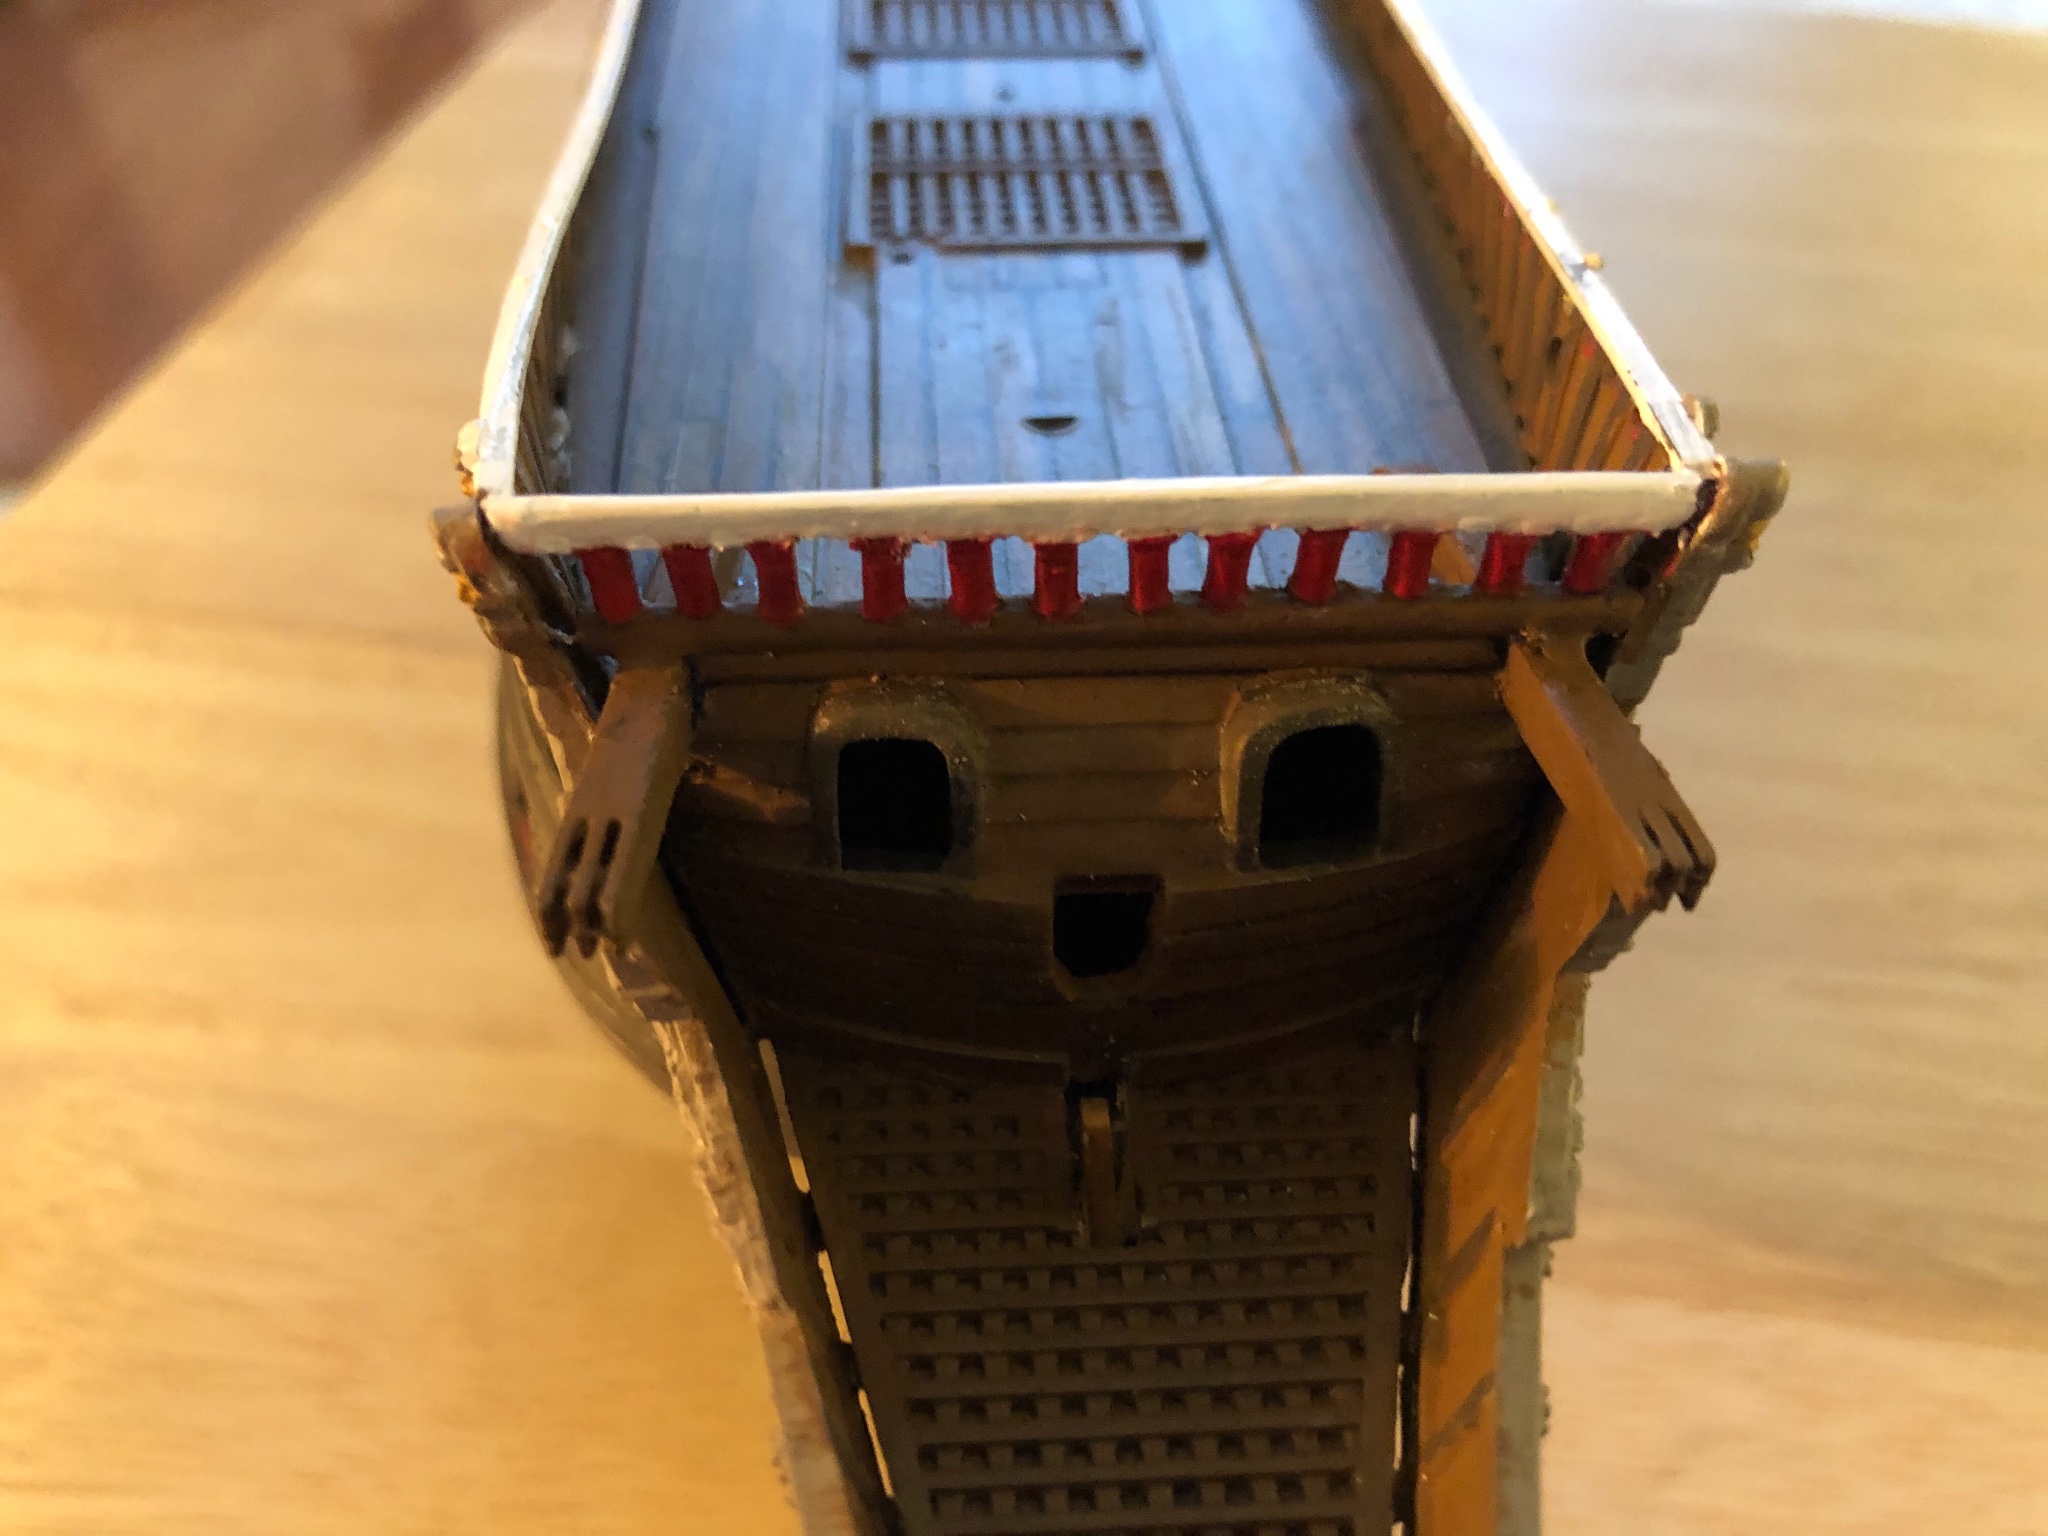
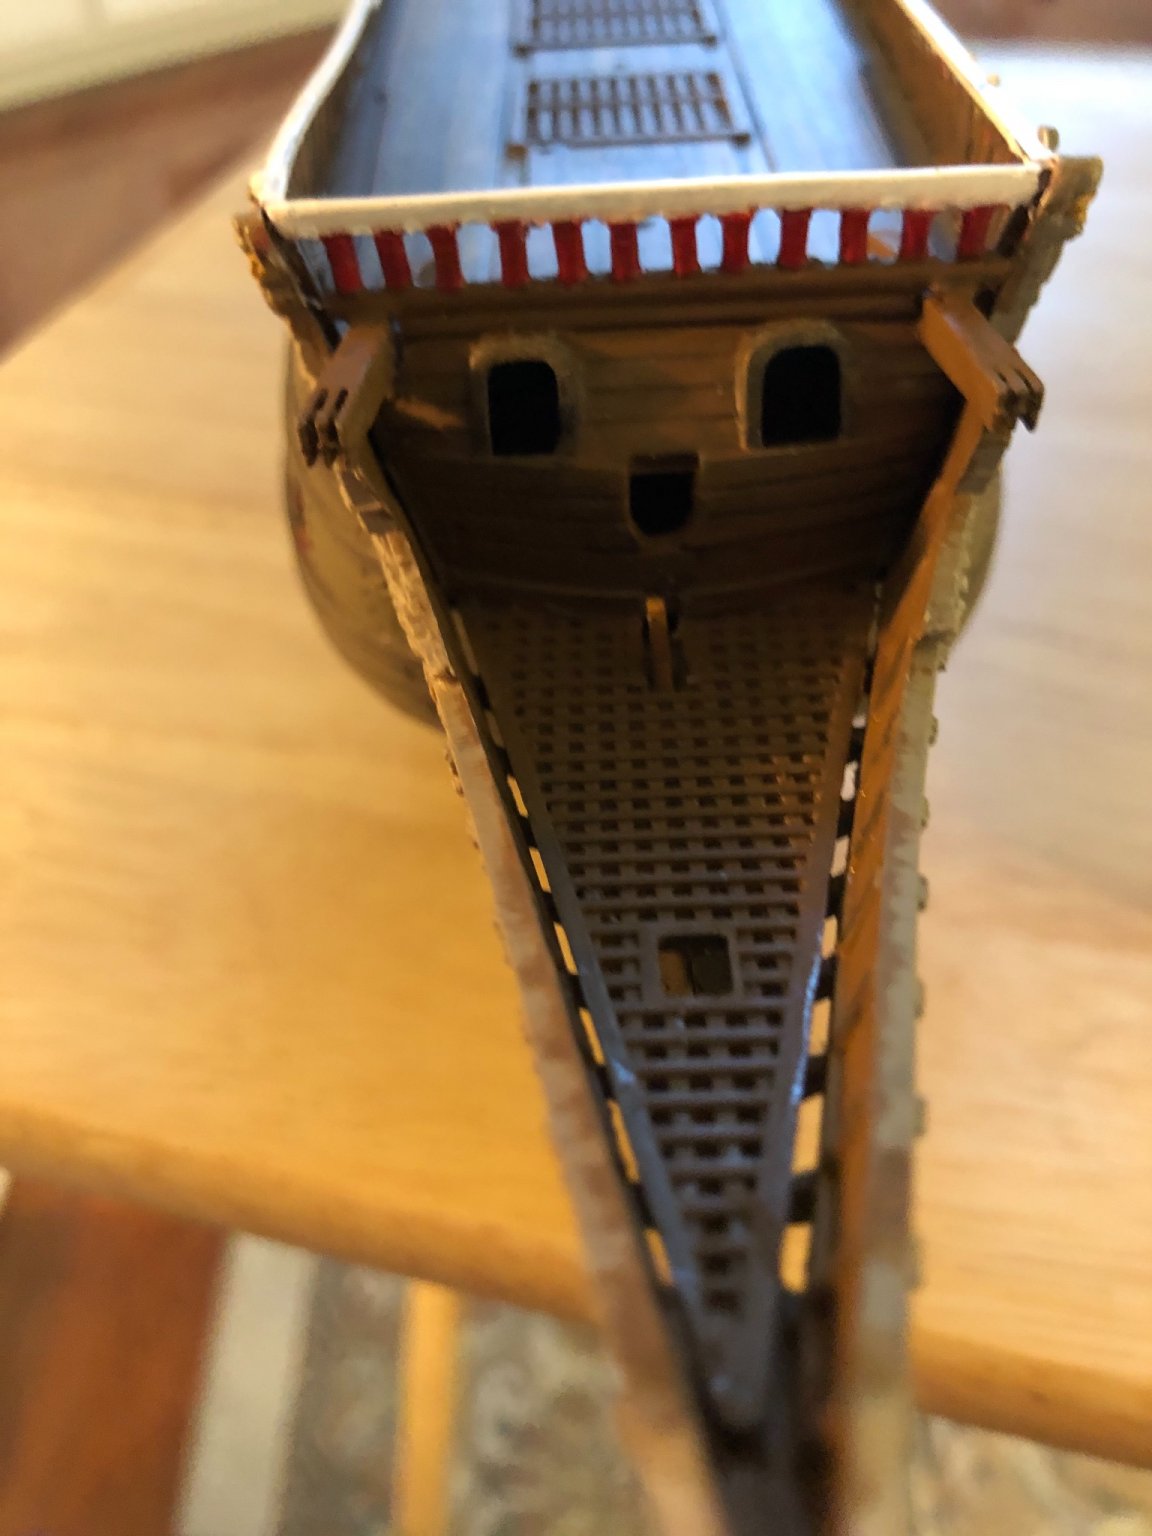
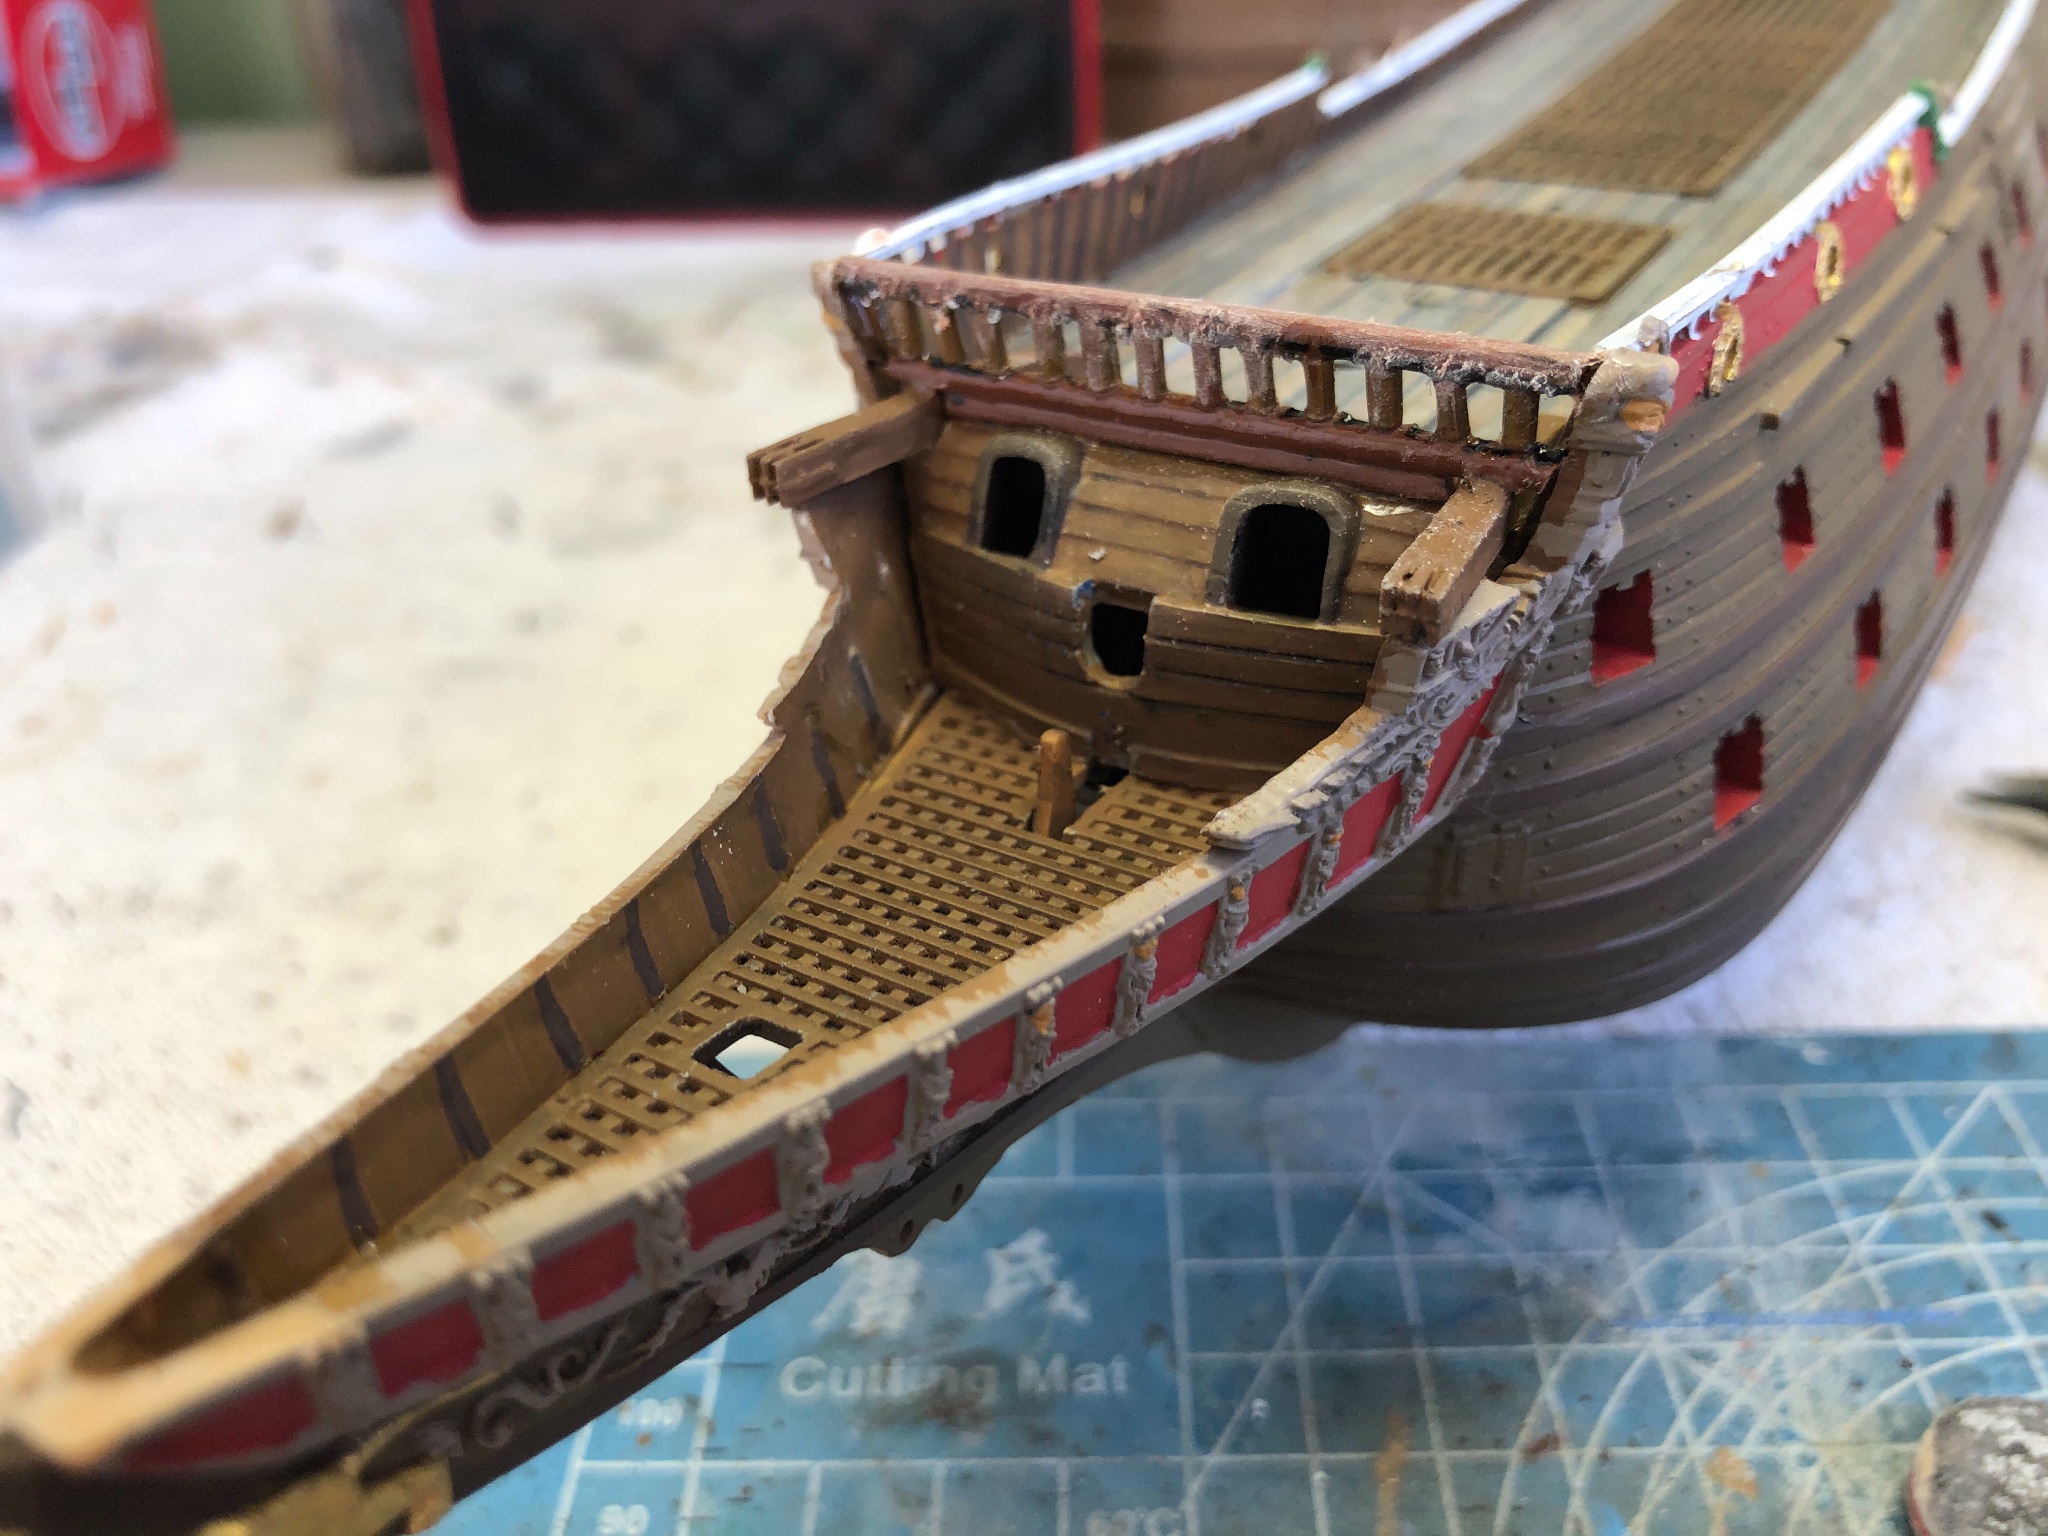
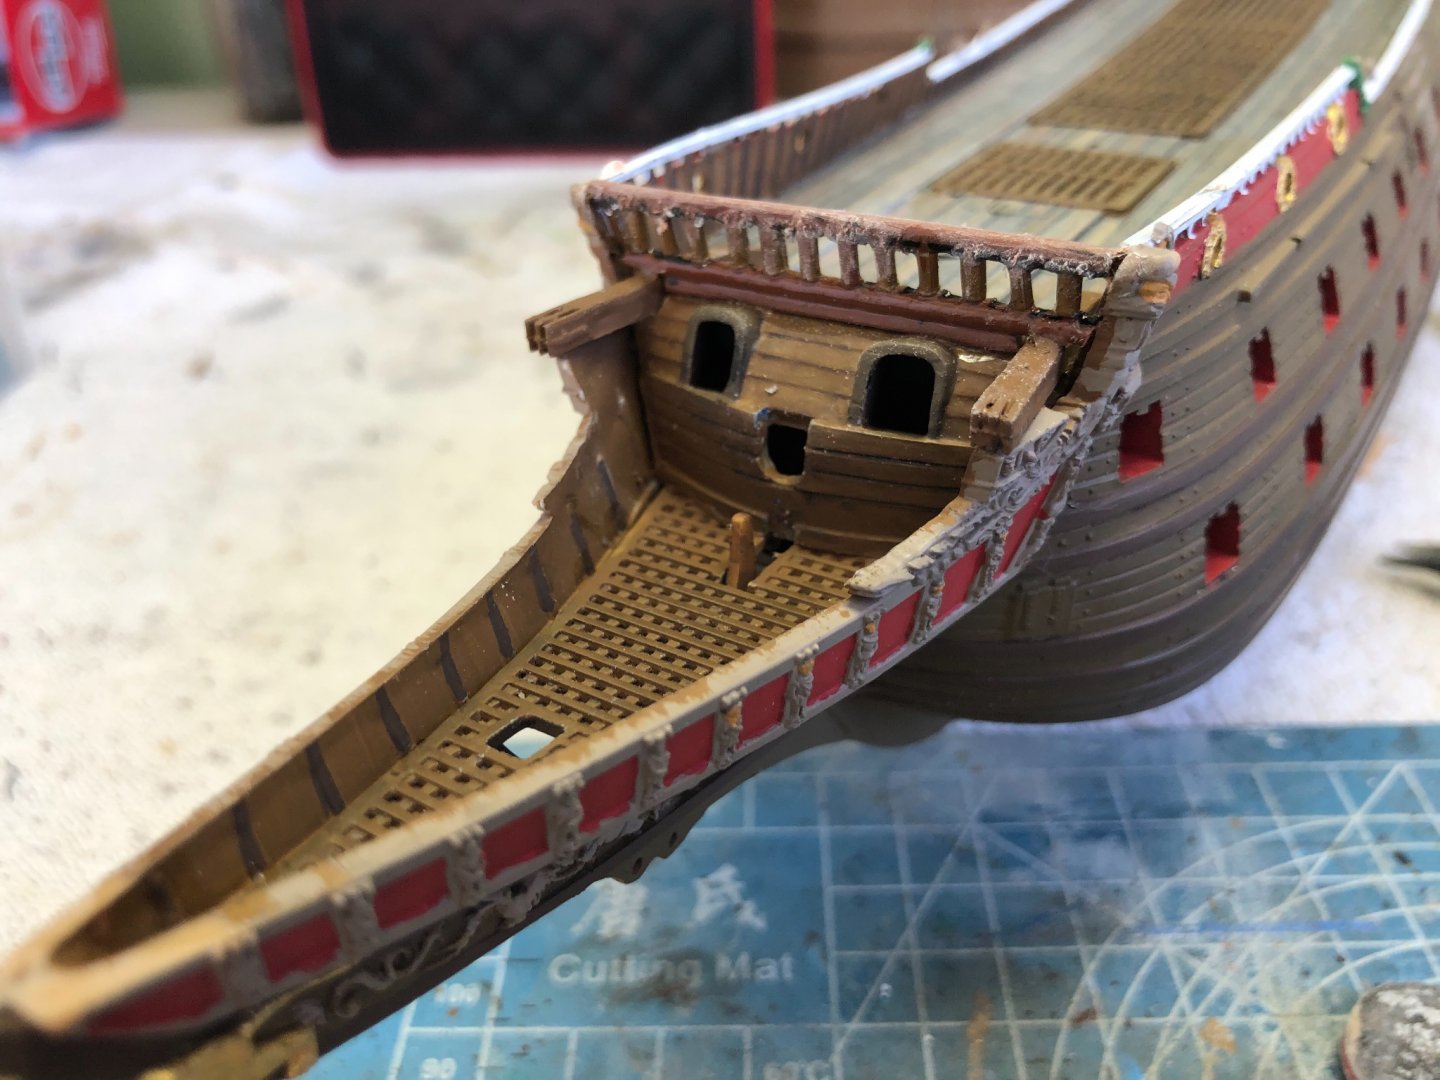
Went with something kind of like a rail with baluster. Basically a ladder laying on it’s side. Then added a piece below the bottom rail that ran between the cathead timbers. Once the glue dries thoroughly I will sand it a bit and paint it. Top rail white to match sides and maybe red balusters. Bottom rail earth brown to match rest of bow.

-
Thanks Hubac
-
Hubac I am sure you are right. Guess I will fabricate a rail to join the two sides. Wonder why Airfix left that detail out?