OT1138
-
Posts
39 -
Joined
-
Last visited
-
 mtaylor reacted to a post in a topic:
Proxxon cross cut sled + other accessories
mtaylor reacted to a post in a topic:
Proxxon cross cut sled + other accessories
-
mtaylor reacted to a post in a topic:
Proxxon cross cut sled + other accessories
-
Proxxon cross cut sled + other accessories
OT1138 replied to OT1138's topic in Modeling tools and Workshop Equipment
Thanks, that's a pretty nice list. My crosscut sled is ok-ish. It gets the job done but it really suffers when cutting longer pieces and I typically have to spend a lot of time evening things out on a sander. I wonder if perhaps trying again with some new runners might do the job. -
I've seen this posted before but never with any conclusive answers. Has anyone here managed to build a GOOD crosscut sled for their Proxxon table saw? I've built one following the steps in the popular German youtube videos on the subject but I found the resulting sled to be a bit wobbly and inaccurate (despite numerous attempts to perfectly align it). I used wood runners and found that between just ordinary wear and temp/humidity changes, the angles are really inconsistent. I'd love some pointers. Also was wondering if anyone knew of any other "must-have" accessories to buy/build for the Proxxon.
-
SUBaron reacted to a post in a topic:
Swift by OT1138 - Artesania Latina - 1982 kit
-
GrandpaPhil reacted to a post in a topic:
Swift by OT1138 - Artesania Latina - 1982 kit
-
That's great to hear. That is one of my favorite parts of this model. Who knew such a little tiny detail was buried in the original AL instructions?
-
Good idea!!
-
Gregory reacted to a post in a topic:
Swift by OT1138 - Artesania Latina - 1982 kit
-
ccoyle reacted to a post in a topic:
Swift by OT1138 - Artesania Latina - 1982 kit
-
And I'm missing some brass rings for the sails as well. The kit only came with 9 but I need at least twice that many.
-
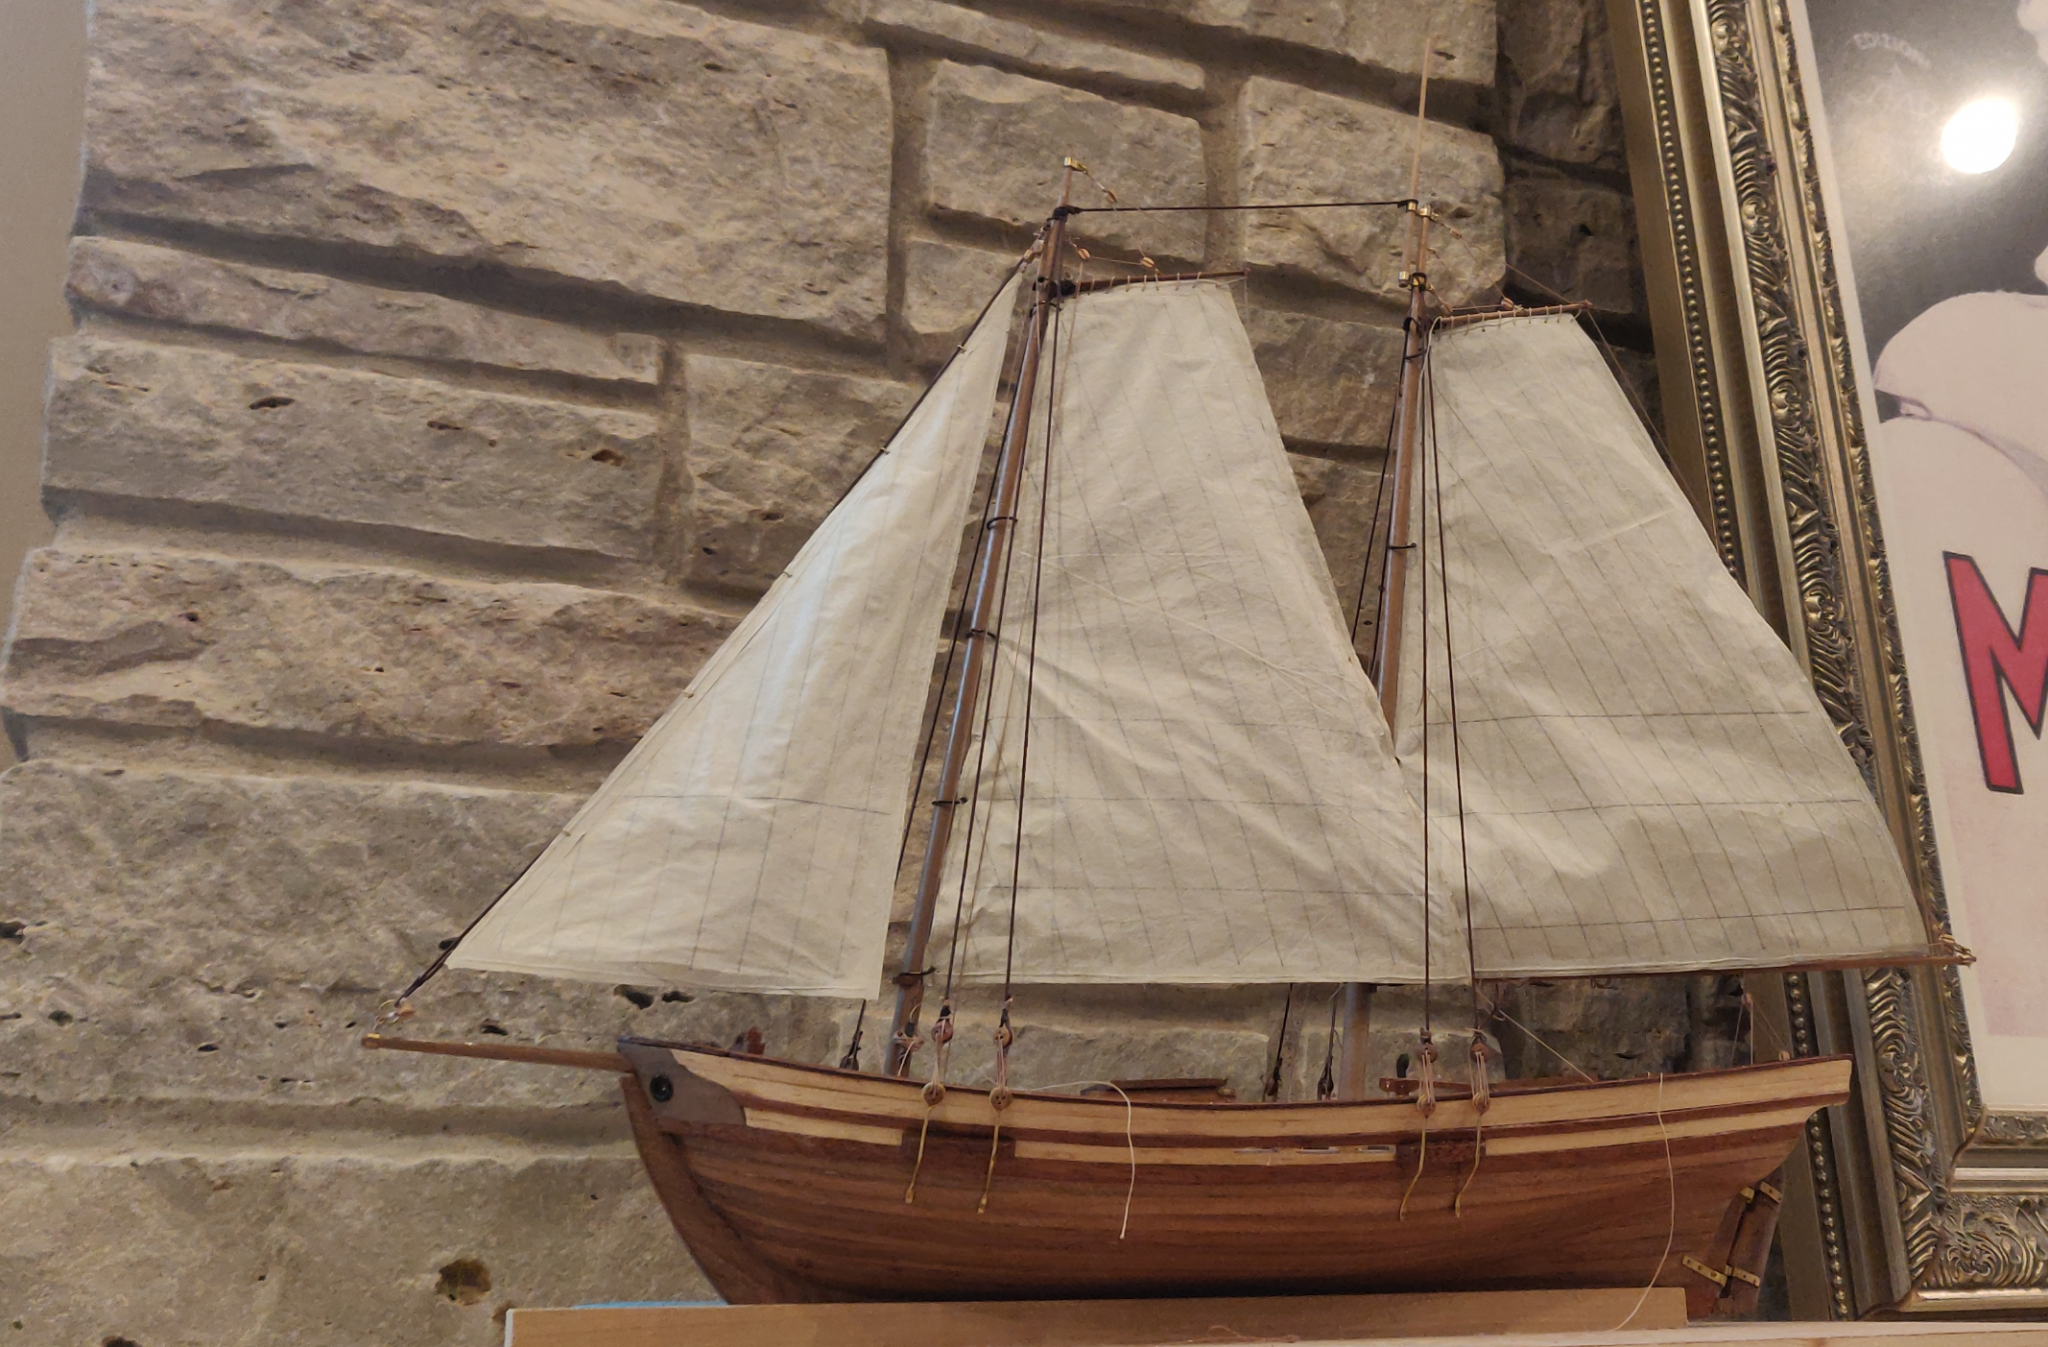
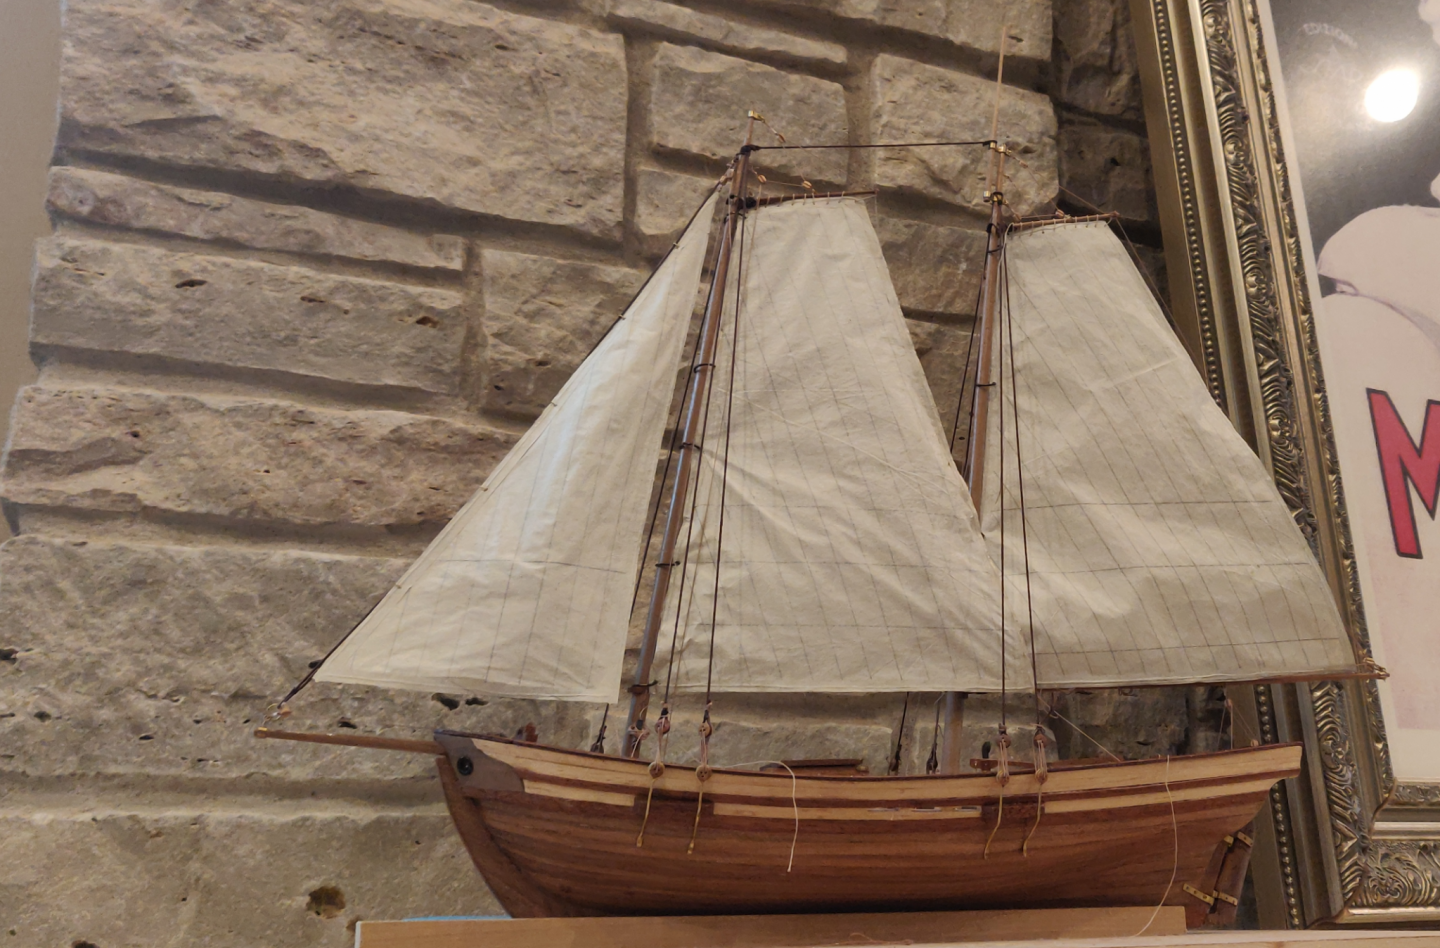
Tons of progress! I'll post more photos at some point but here's where the build currently stands. Almost finished, but still have the top sail, anchors and loose ropes to clean up. Oh yes, a flag! I've managed to billow out the sails but they don't stick out convincingly so I'm considering mounting the boat in an epoxy "sea" at an angle, like some others have done. A 15 degree angle or so gives them a dramatic look.
-
Was wondering if anyone has them? My 1982 version of the kit does not. Thank you!
-
Cabbie reacted to a post in a topic:
Swift by OT1138 - Artesania Latina - 1982 kit
-
Cabbie reacted to a post in a topic:
Swift by OT1138 - Artesania Latina - 1982 kit
-
Cabbie reacted to a post in a topic:
Swift by OT1138 - Artesania Latina - 1982 kit
-
Cabbie reacted to a post in a topic:
Swift by OT1138 - Artesania Latina - 1982 kit
-
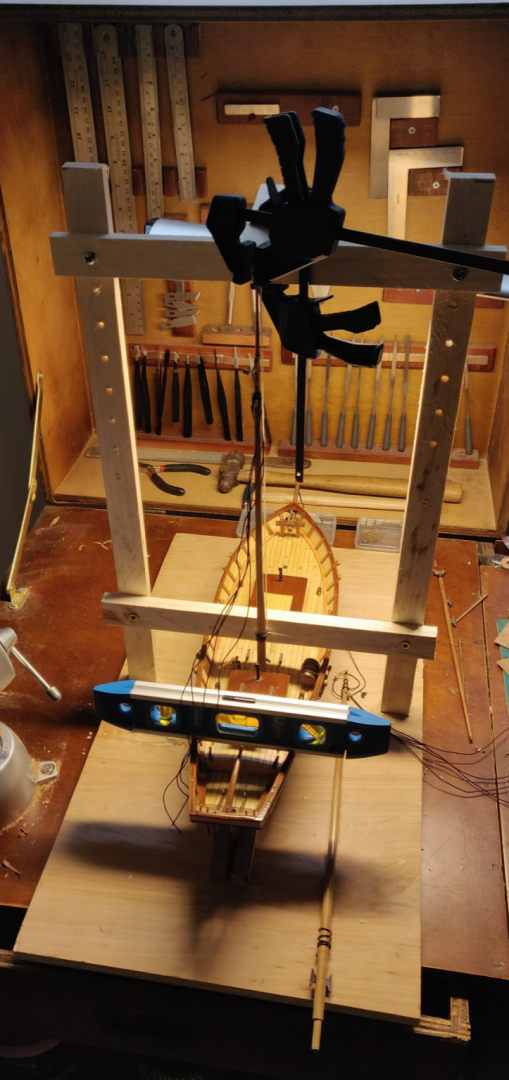
Mastini Masting Machine at work!
-
Lots of progress though I've been slowed down because the kit is missing a gaff and two cleats. Also, my only set of sharp drill bits (purchased from Amazon) were super brittle and all the bits broke pretty quickly. I really dislike the stock brass mountings for the boom and gaffs, so I purchased some 2mm beads to make proper trucks. I also hand carved a couple of boom cleats from basswood and hope they'll be an acceptable match for the ones in the kit. While I'm busy waiting, I ordered some replacement rope and blocks from Chuck. Should give the model a nice look.

-
Dilute some wood glue and spread it into those planks. Then give it a light sanding. The sawdust will likely help to cover it up. I think you are right though, the waterways will cover up most of it... maybe all.
-
Syren Rope Rocket
OT1138 replied to DelF's topic in Rope Making/Ropewalks's Commercial sources for ropewalk machines
Hi Chuck, I was wondering when these might be available? I just purchased one of your rope serving machines, expecting it to arrive later (as just about everything else on the market has been delayed by a month). It arrived way ahead of schedule! So now I need to make some rope. 🙂- 42 replies
-
- 1
-
-
- ropewalk
- rope rocket
- (and 1 more)
-
If you look closely, you'll notice I drilled the mounting holes for the mast. I wasn't particularly exact about this. Instead I plan to trim the bottom of the masts a bit undersize and use shims for alignment. I'll measure this with a home made Mastini masting jig.
-
Coming along nicely. Thinking about replacing the brass clips for the boom and gaft with parrels. Wonder what size of beads I could use for that? Ropes are another detail I'm starting to learn about as well. The kit comes with some beige twine but I'd like to have both standing and running rigging (with sails), so I may need replacements.

-
They look good!
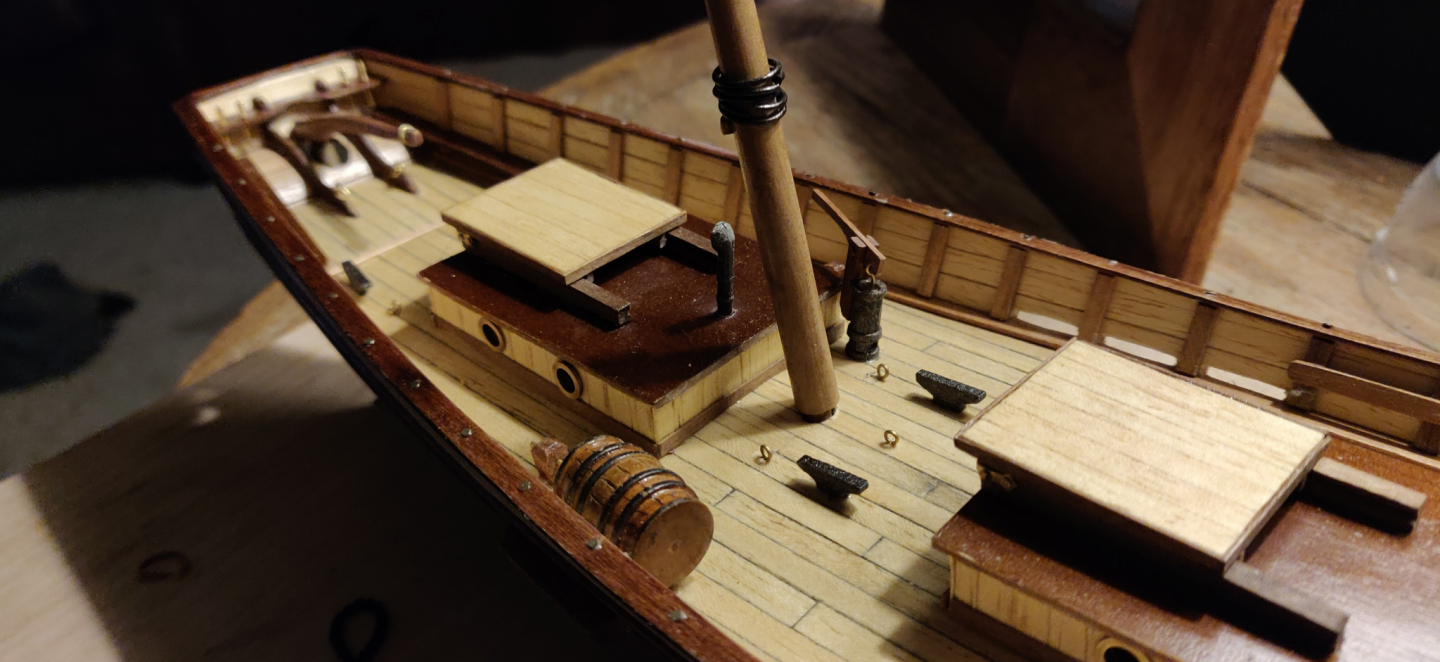
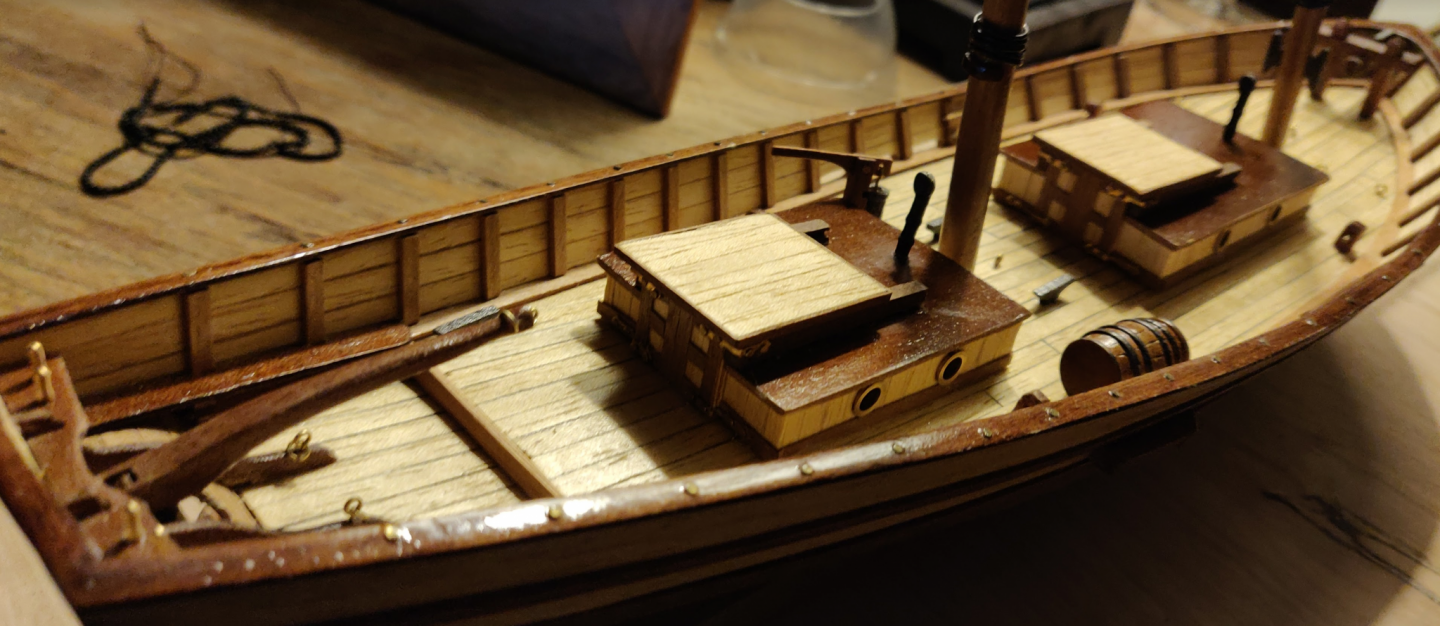
-
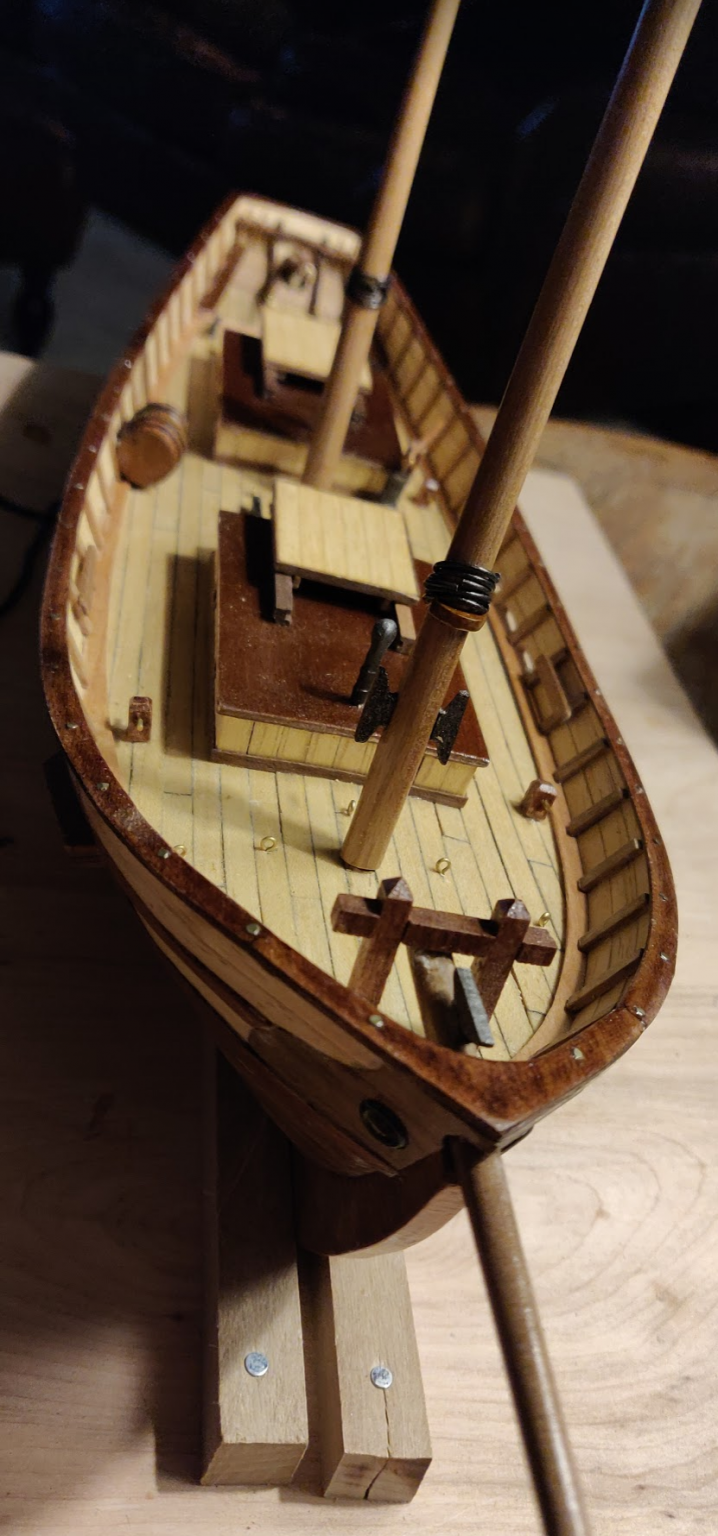
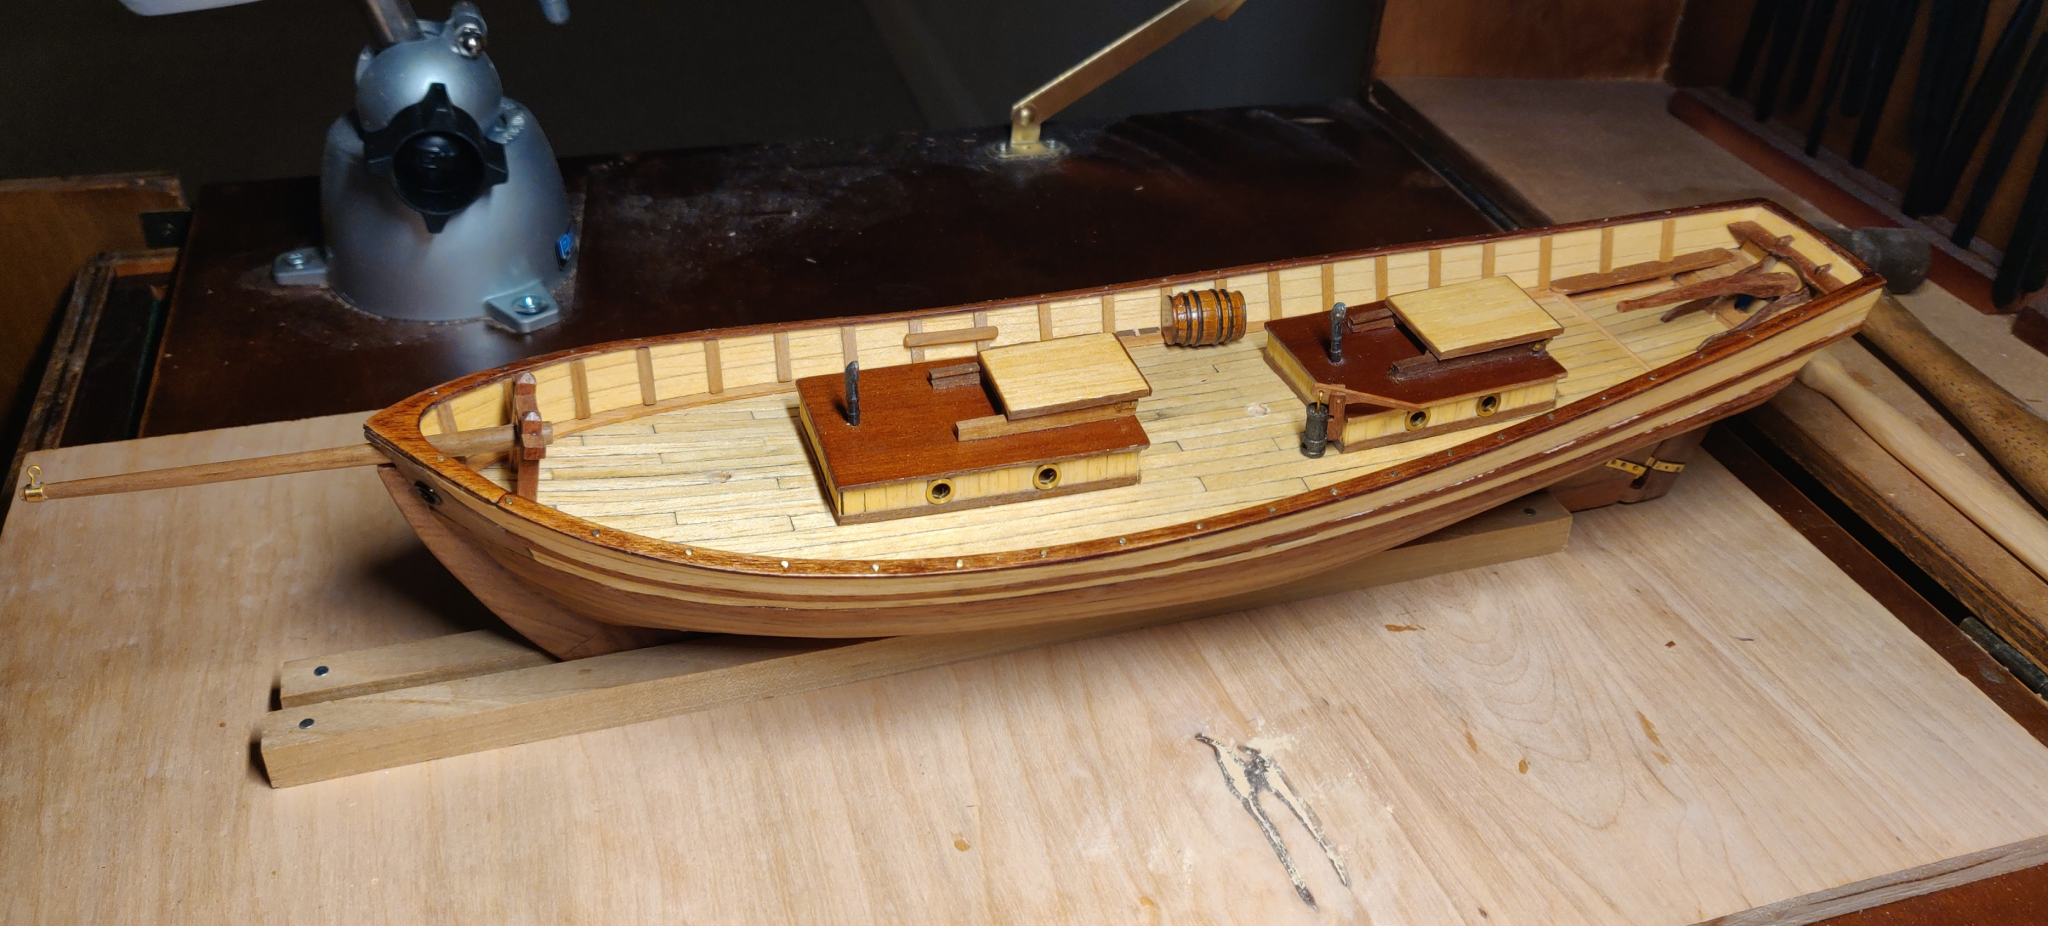
Cabins are finished and I just wrapped up the barrel. The pump is next and then I'll finally get to the rigging. Anyone know where I could get sails for this model?