


Micklen32
-
Posts
619 -
Joined
-
Last visited
Content Type
Profiles
Forums
Gallery
Events
Posts posted by Micklen32
-
-
Cheers Popeye

I thought fitting the painted strakes on the painted hull would be easier
I am not sure whether I am a messy worker but there will be a lot of touching up

Maybe even a spray of the red

-
-
Started fitting the strakes today
It looks as if it will be a long job :mellow:
I hate using CA on paint but I couldn't see an option

Maybe I should have got some more contact adhesive
Not sure
Anyway that's the top strake on one side
It took ages to gently bring it round and get it where I wanted it
There is another strake below the two side boards
That will be very slightly thinner and white
Above the black strake at bow and stern will be white and between the two strakes, black
On the actual barge, below the strakes, there are portholes
The model does not have them
I suppose really I should have them
They are very basic portholes
Do you think a simple hole in the hull with maybe a painted ring around it ???
Or should I go further ????????
Remember I do not have fancy kit to make good looking parts
-
Well I have found an image showing the deck of the Will at one point in her life
As you can see the planked part is coloured blue and the rest of the deck a similar colour to the lower hull
I think then that I will paint the planking the same as the upper hull and the rest the same as the lower hull
What do you think ???????
-
Managed to get some spraying done

It's so difficult to get the consistancy right
Didn't do too bad this time though


I think the colours look quite nice
What do you think of the deck that colour????
Club day tomorrow so should be able to look at the stakes or whatever on the outside on Thursday

- egkb, usedtosail and Sjors
-
 3
3
-
I am not sure the Will instructions have a lot of info on actually fitting the sails
I would have to say the from the photos of the barge with the sails furled I don't think they can be sewn
I will have to see if I can get some hi-rez photos to get a better idea
That is unless anyone knows how the sails should be fixed
-
Well I was going to do the spraying today but we went for a Christmas dinner round the local pub
Result, I am stuffed beyond stuffing
- egkb, mobbsie and popeye the sailor
-
3
-
Nice work Tom
Did you have a pattern for the sails ???
For the Will there is a cutting/sewing pattern for each sail as there is for the Endeavour
What neither of them show are the ropes that hold the sail furled that I don't know the name of
Did you have to work those out or were they on there ????
-
As they all say Adriaan it looks a great job
I hope you have a good time away and I wish you a Happy Christmas ❄
-
-
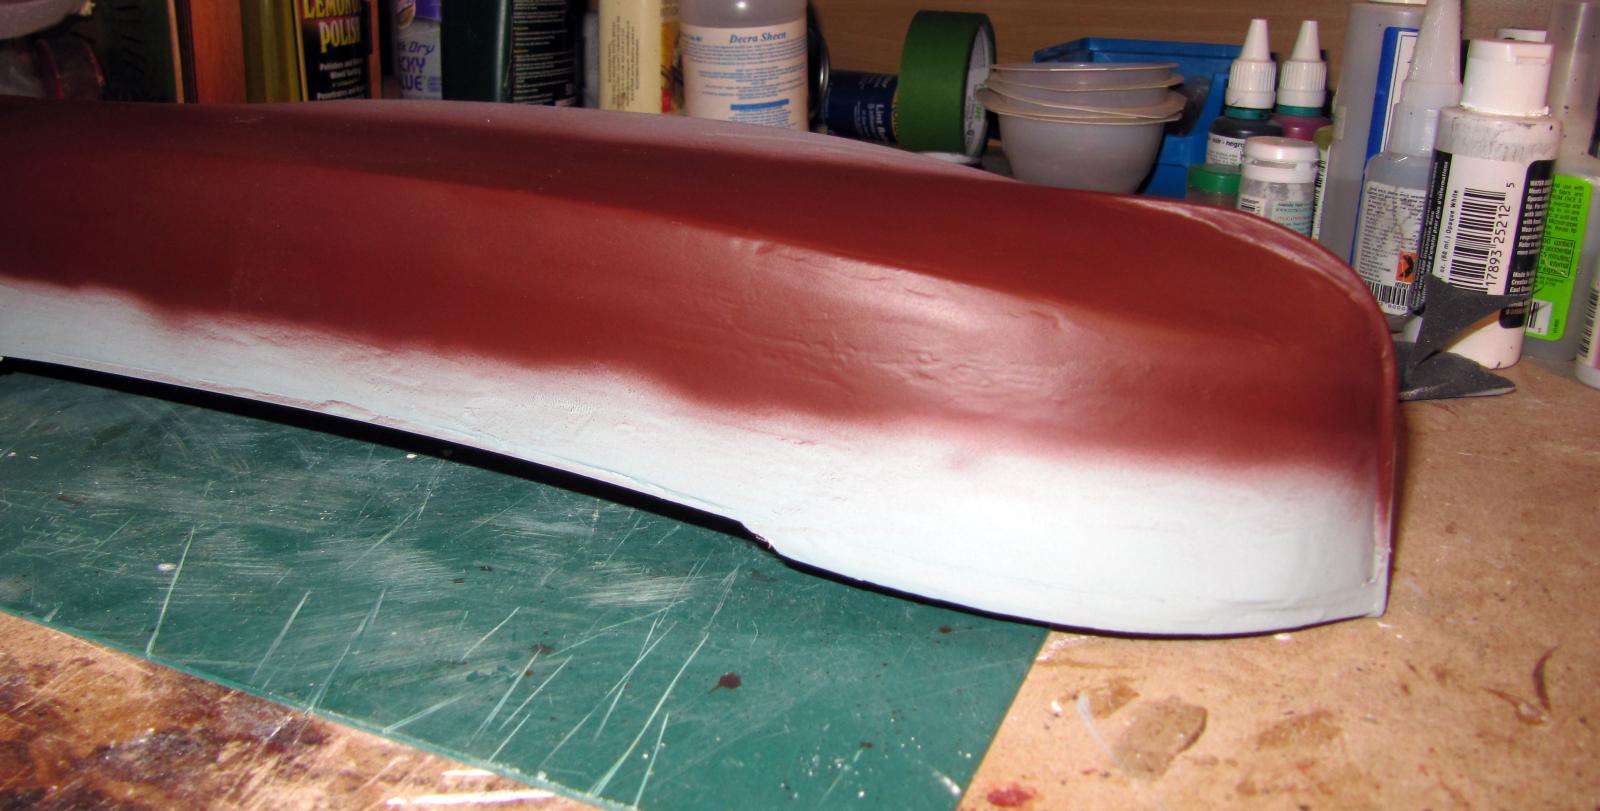
I thought I had better shake myself out of my laziness and do something
The physio has me doing exercises and the like that do drain me a bit :mellow:
But I did manage to do the filling I wanted
Obviously it is not easy to see but here is what it looks like after being smoothed off with the wax filler

Very little sanding should be required
You bring it to as perfect as you can by smoothing with your finger and scraping with a sharp knife
Tomorrow I hope to give it a few coats of paint
- popeye the sailor, mobbsie, Sjors and 2 others
-
5
-
-
I am working on the Will now until finish so I can get practice at sail making and fitting
I am hoping I will get some inspiration from the forum
-
Ok great
Thanks all
So that's the colour sorted

The filling wax arrived today
Here it is
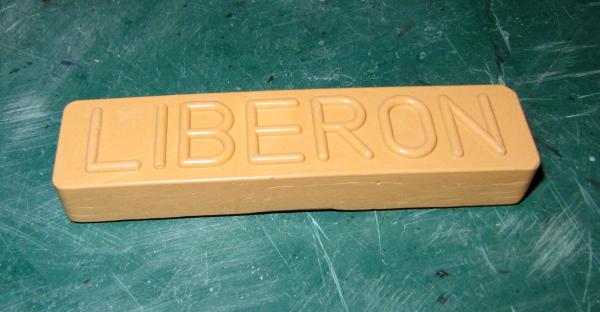
This is light pine
They do loads of colours
What you do is take a sharp knife and take a few shavings
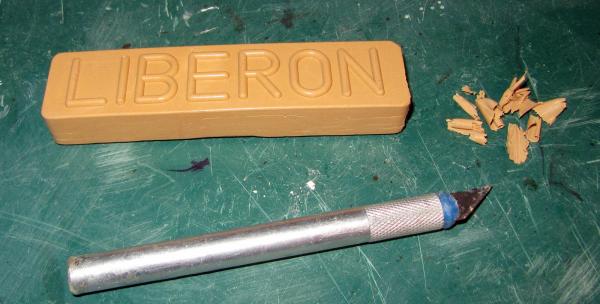
What you do then is take the shavings between your fingers and roll them into one lump softening it slightly
You don't want a lot at once unless you have a huge hole
I was using bits the size of a sunflower seed or smaller
You then rub it into the hole, split, whatever
Rub it in firmly trying to get it as good as possible
Then depending on the area you can gently scrape it with a blade to get it nearly perfect and use a very light paper on it
I tend to use Nyweb but 400 to 1000 grit wet and dry worked fine depending on how much you want to get off
What is really great is you can get it exactly where you want it
Also it doesn't seem to pull out very easily like wet filler can
I was very pleased with it
The amount you use it should last forever
I should be able to get the hull properly painted soon and fit the strakes and stuff that go on the hull
-
We all make mistakes and I would imagine using the wrong size/part is a common one
At least you caught it as you did it as it were
Just take your time with the dismantling
-
It looks fantastic Grant
The quality of the whole build just stands out
-
-
-
She looks lovely Adriaan
I have said it before but I will repeat myself
You have to be very proud
Congratulations
-
Glad to see you are still keeping it going David
Are you sure a PS4 was a good idea
I am bad enough with my iPad
It's coming along very nicely though
Good work
-
That looks a nice ship mobbsie
Quite a vivid blue on the deck
I think I will paint my deck
Maybe the hull colour
Maybe slightly different
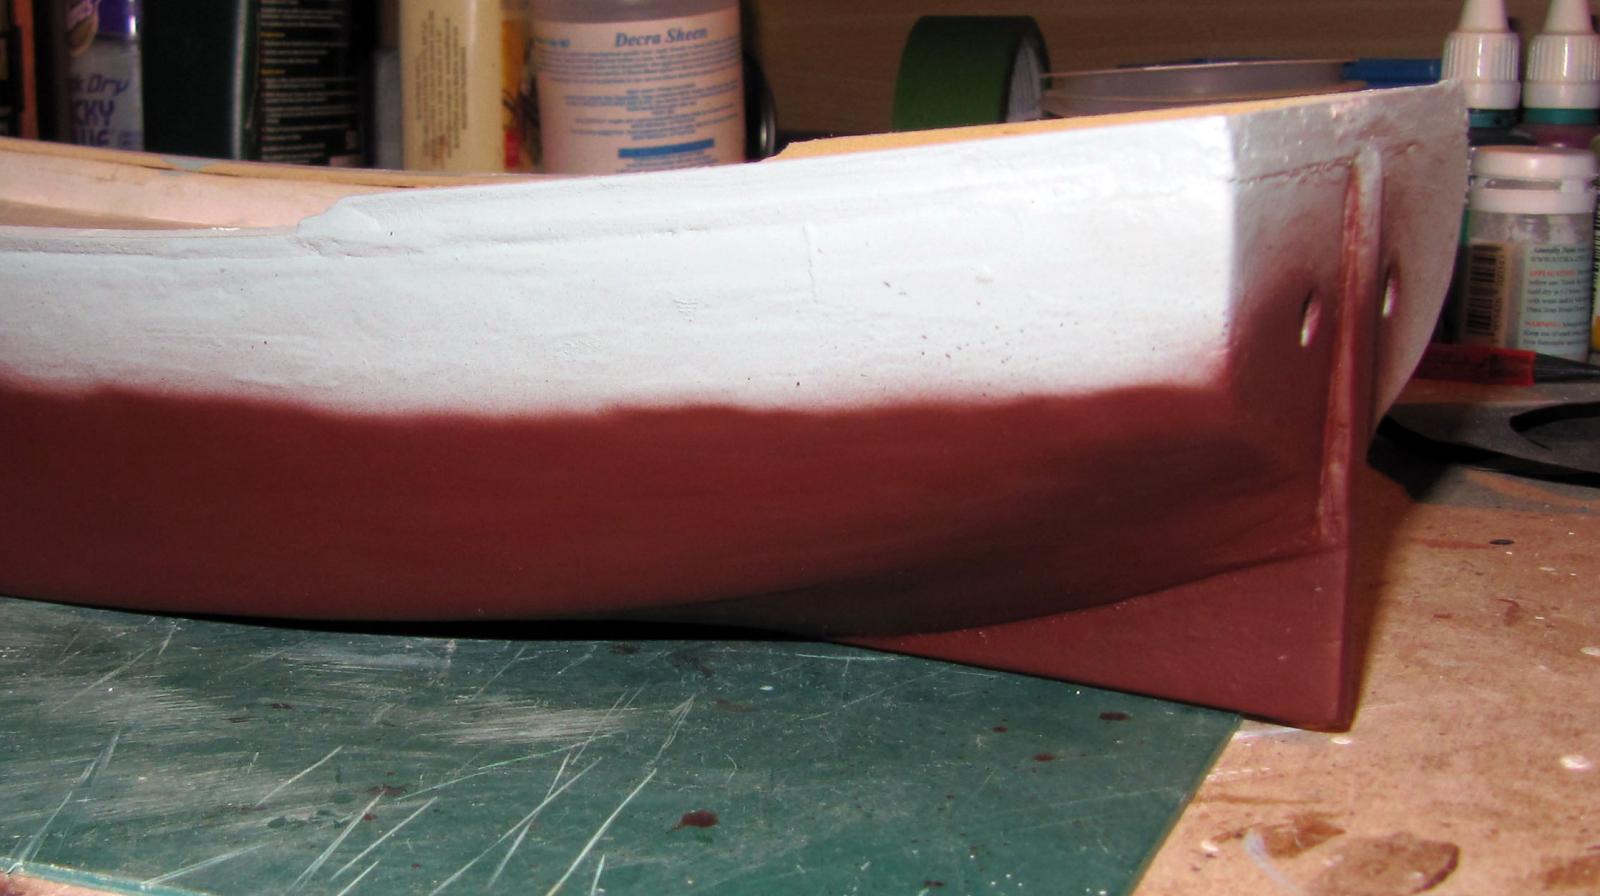
The hull paint arrived and I am very pleased with the colour

However it really really shows up that I need some very delicate filling if I want it to look good
I have run out of decent filler so there will be a bit of a wait again
I may just spray the very bottom of the hull to see what the red paint I have got looks like
May have a go at that tomorrow
- popeye the sailor, egkb, Sjors and 2 others
-
5
-
-
Nice job on the barrels Tom
They should look great when in position
Just as an aside, OcCre contacted me the other day to let me know that their version was now available
I may do it in the future but with the Endeavour and the Will on the go now and Stevenson's Rocket waiting in the wings it may not be for a while
I am really looking forward to seeing yours come together
-
Really wonderful job Adriaan
From doing my version I know they are not an easy build
Yours looks very fine indeed
Well done
How much longer do you think???


San Ildefonso by Sjors - FINISHED - OcCre - 1:70
in - Kit build logs for subjects built from 1751 - 1800
Posted
Shouldn't all the shrouds be in place before you start the ratlines??
Or am I totally out of it with that ????????????????????????