Sparky21
Members-
Posts
52 -
Joined
-
Last visited
Content Type
Profiles
Forums
Gallery
Events
Everything posted by Sparky21
-
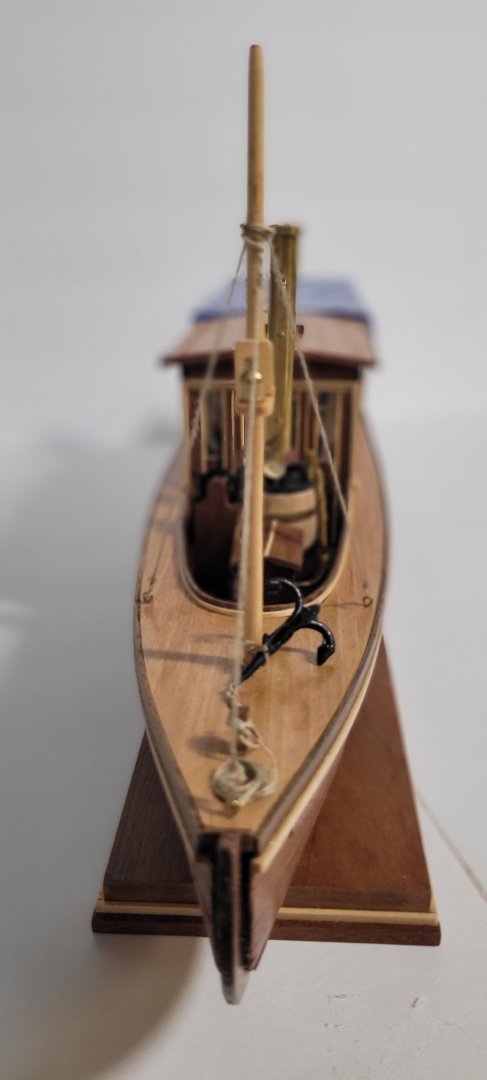
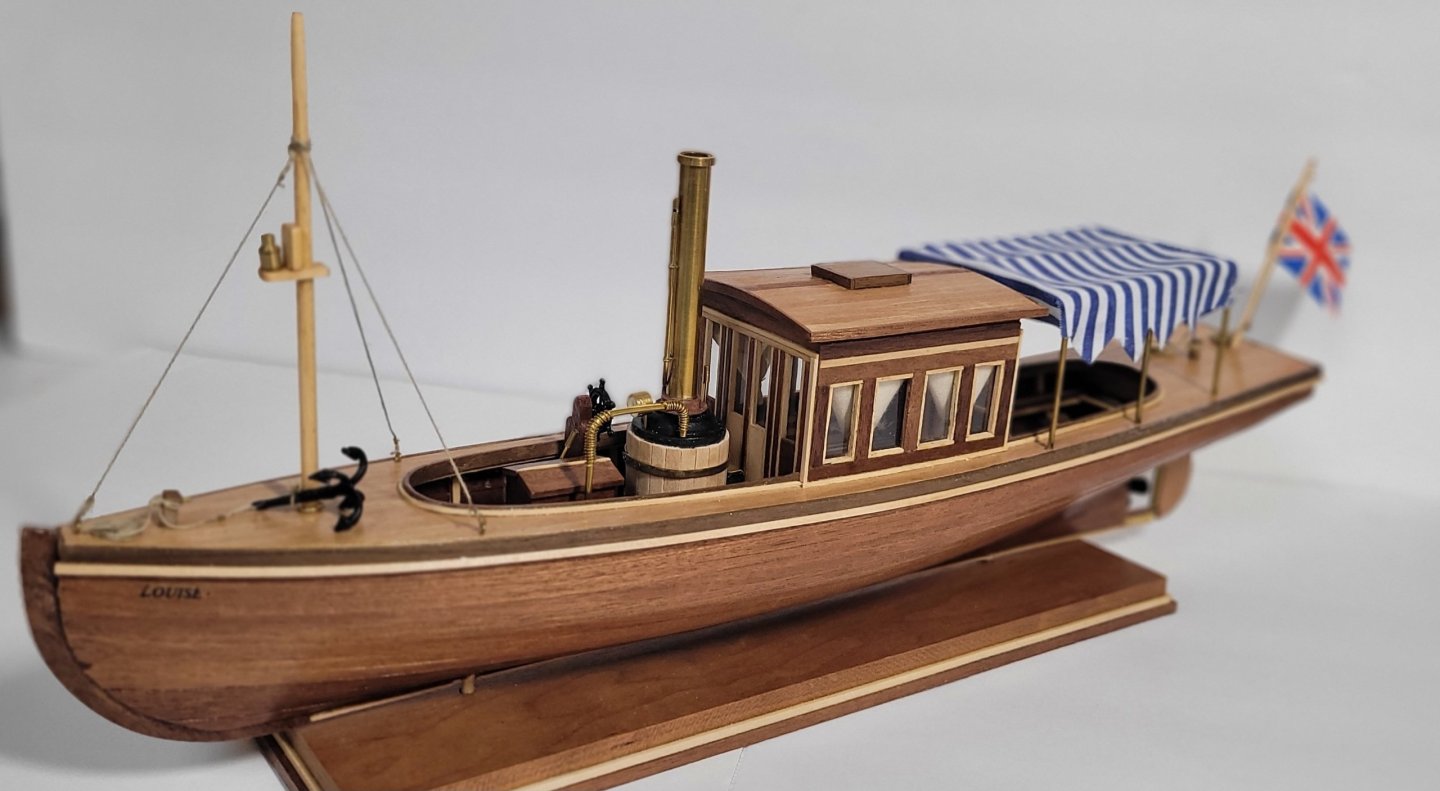
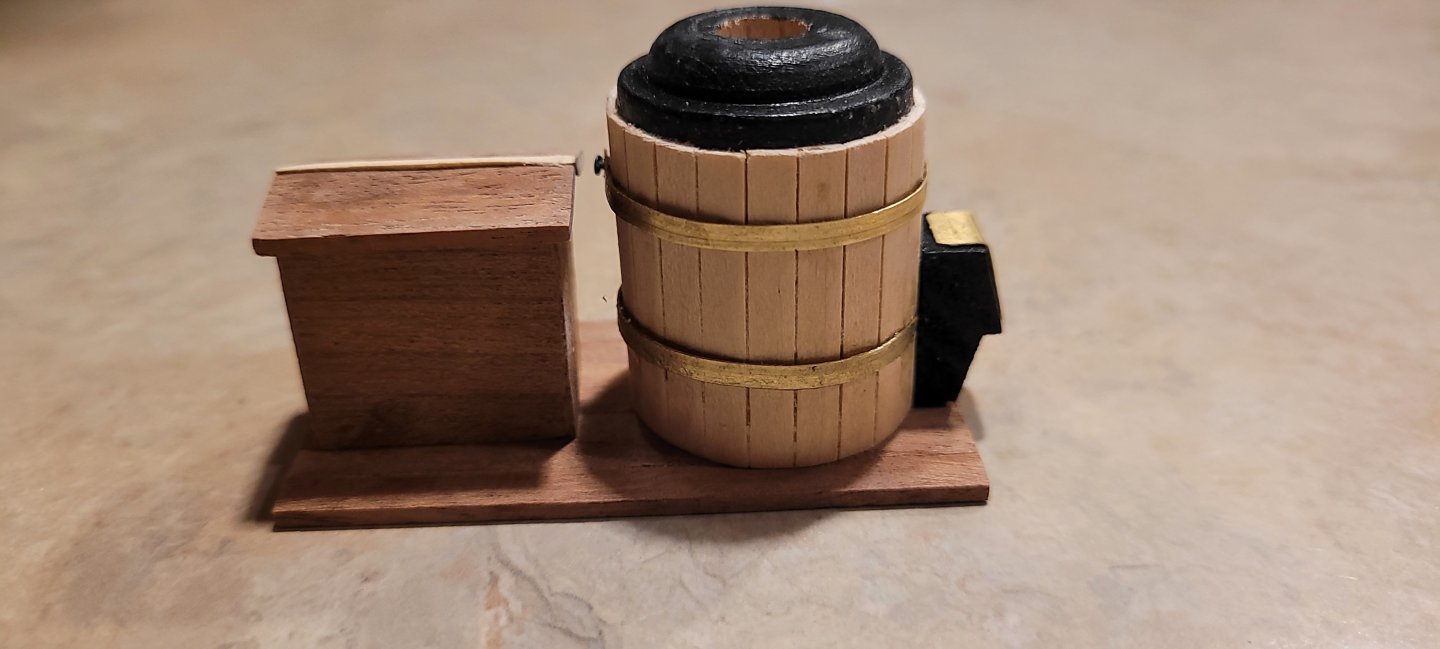
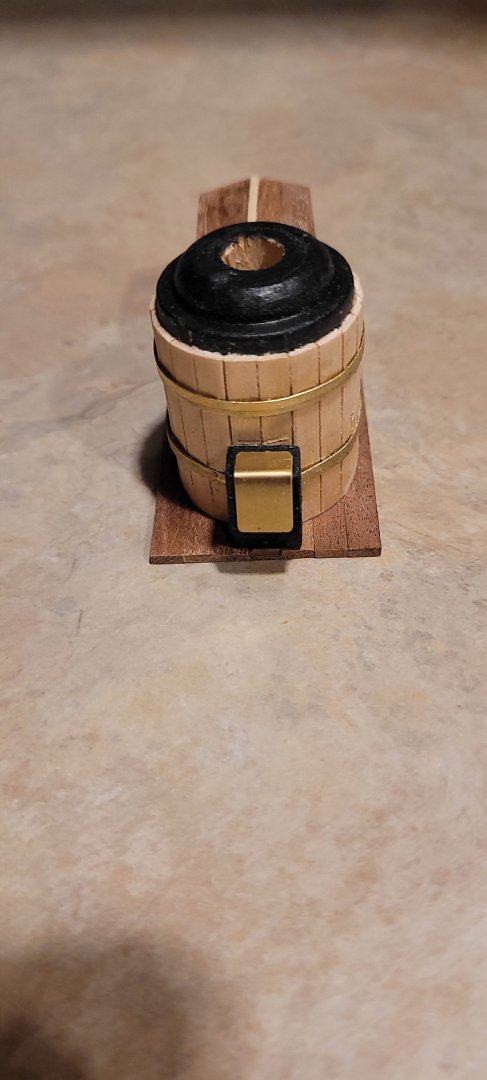
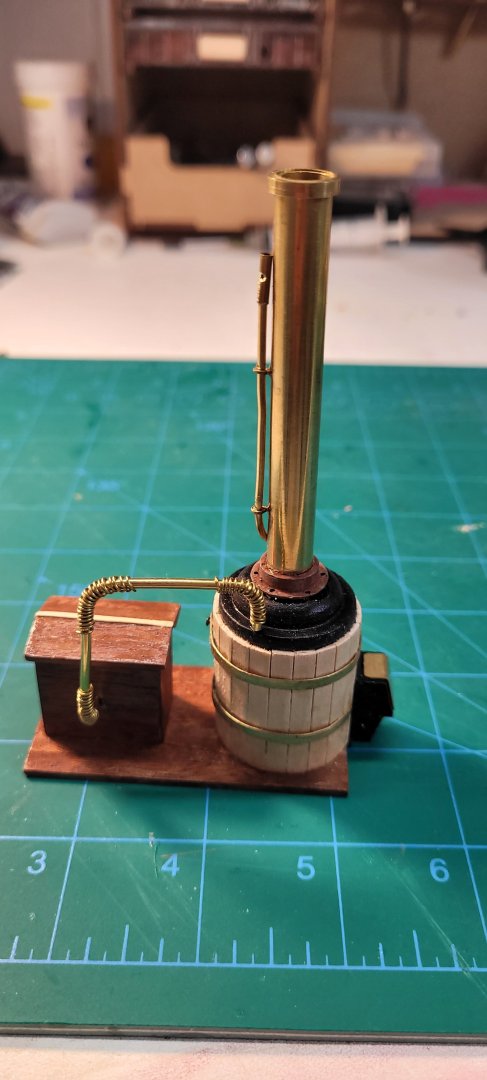
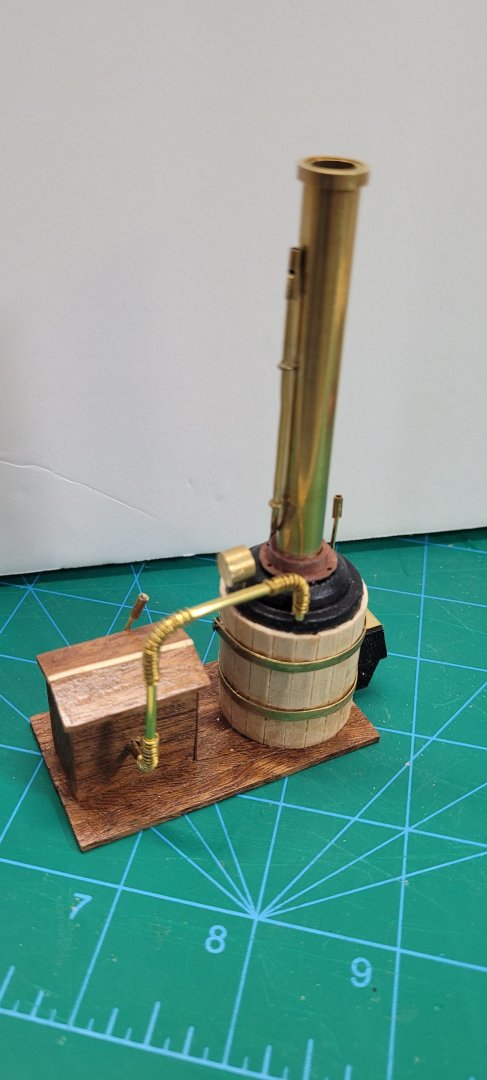
Engine Fittings Challenge: Assembling the small, non-functional steam engine and boiler components was surprisingly tricky. The kit uses thin brass wire to represent piping, but much of the wire was supplied already bent and kinked. I had to spend frustrating time straightening the wire completely before I could even attempt to shape it into the smooth, aesthetic curves required for the visible piping runs.
-
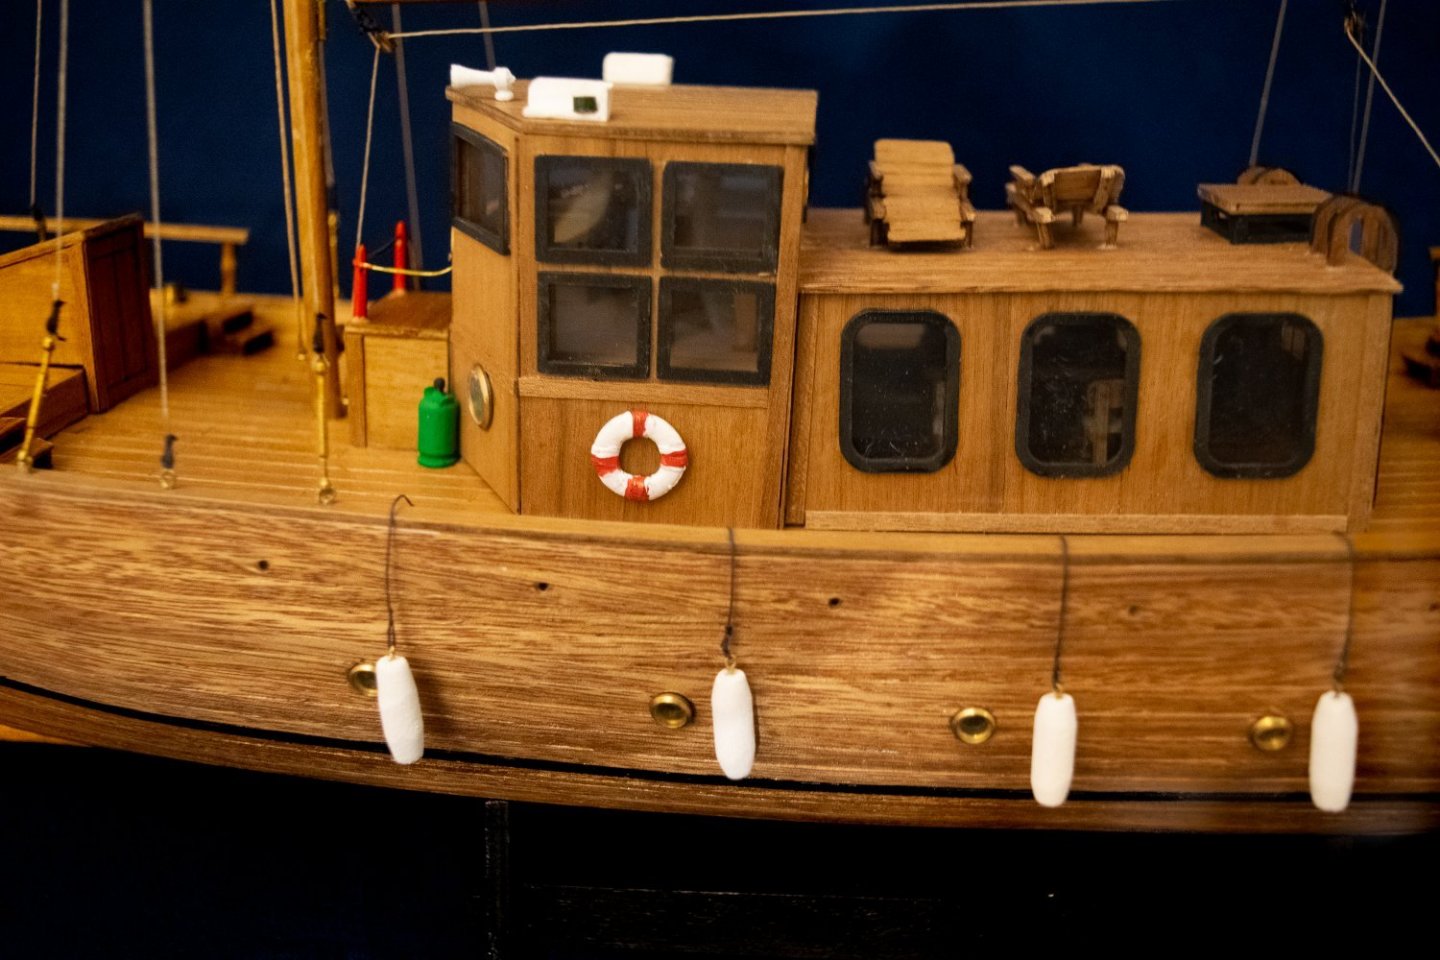
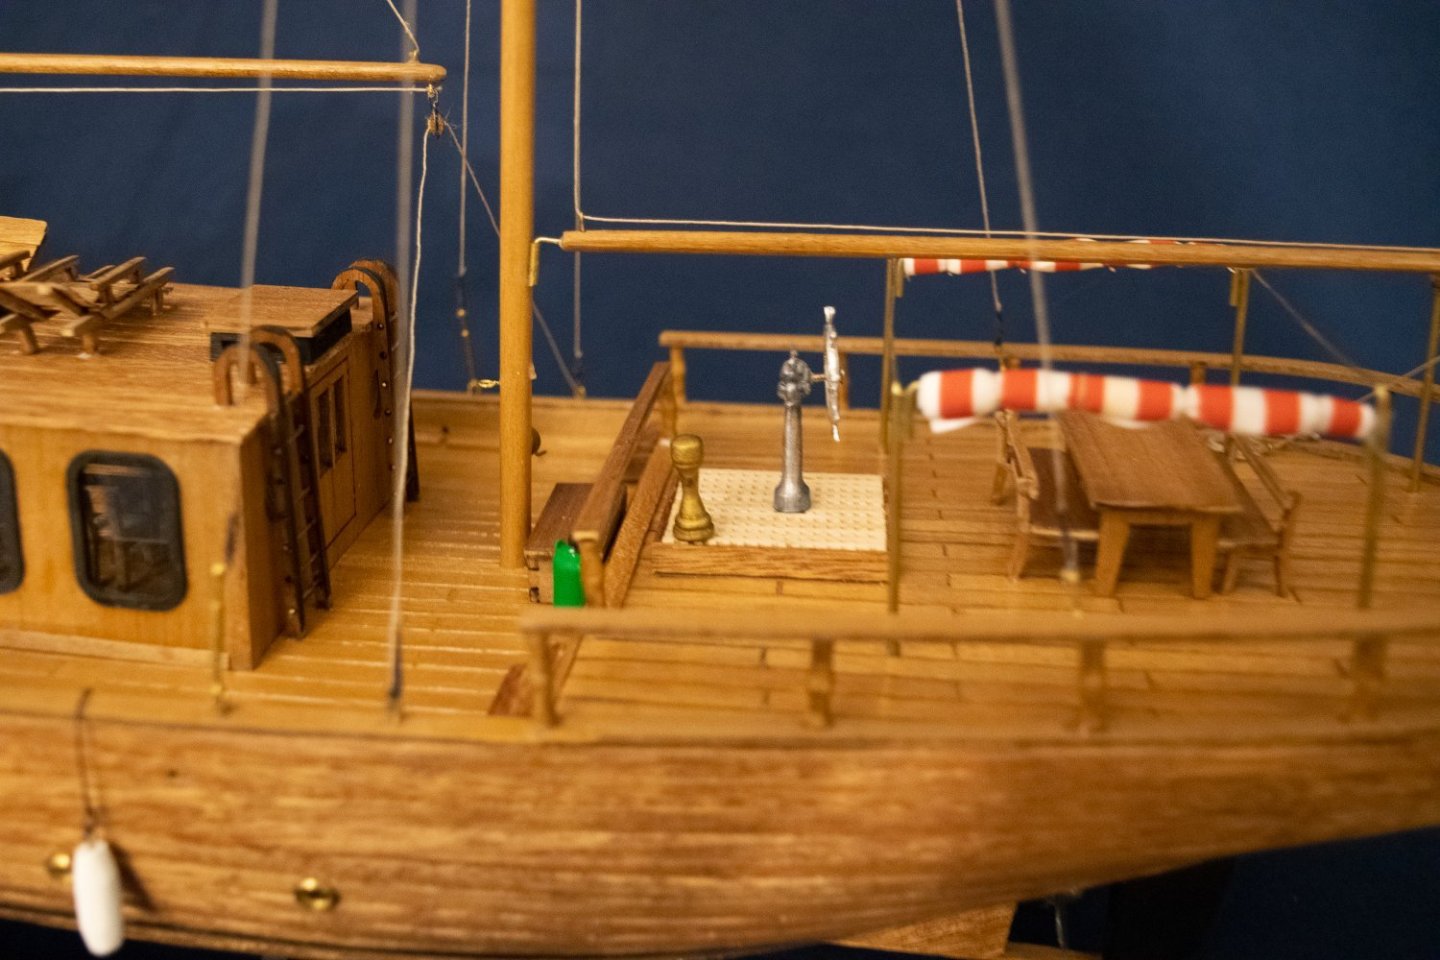
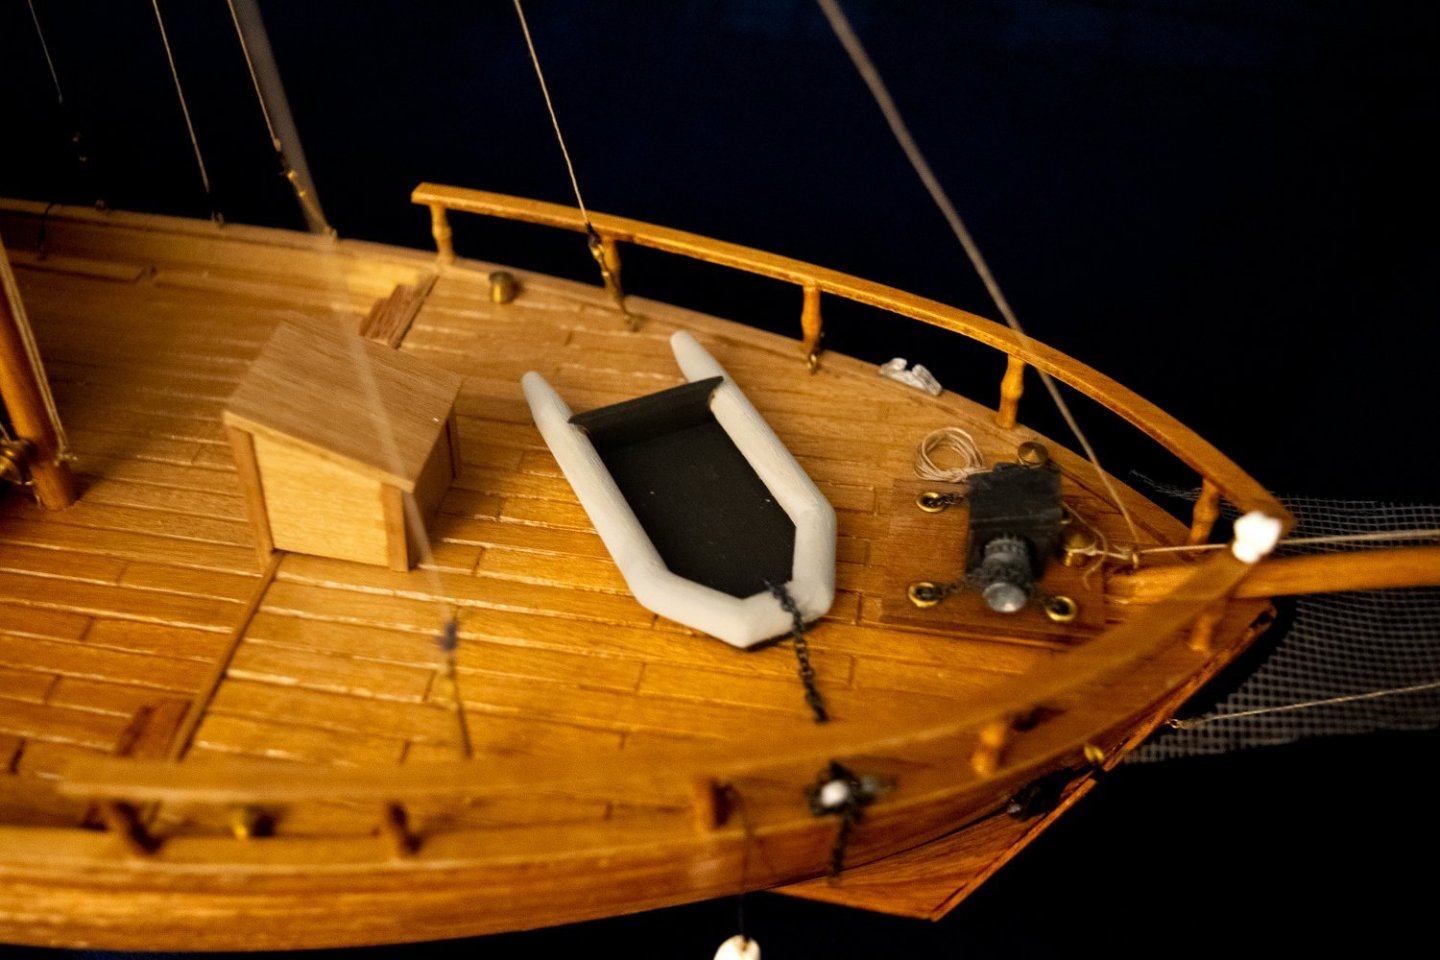
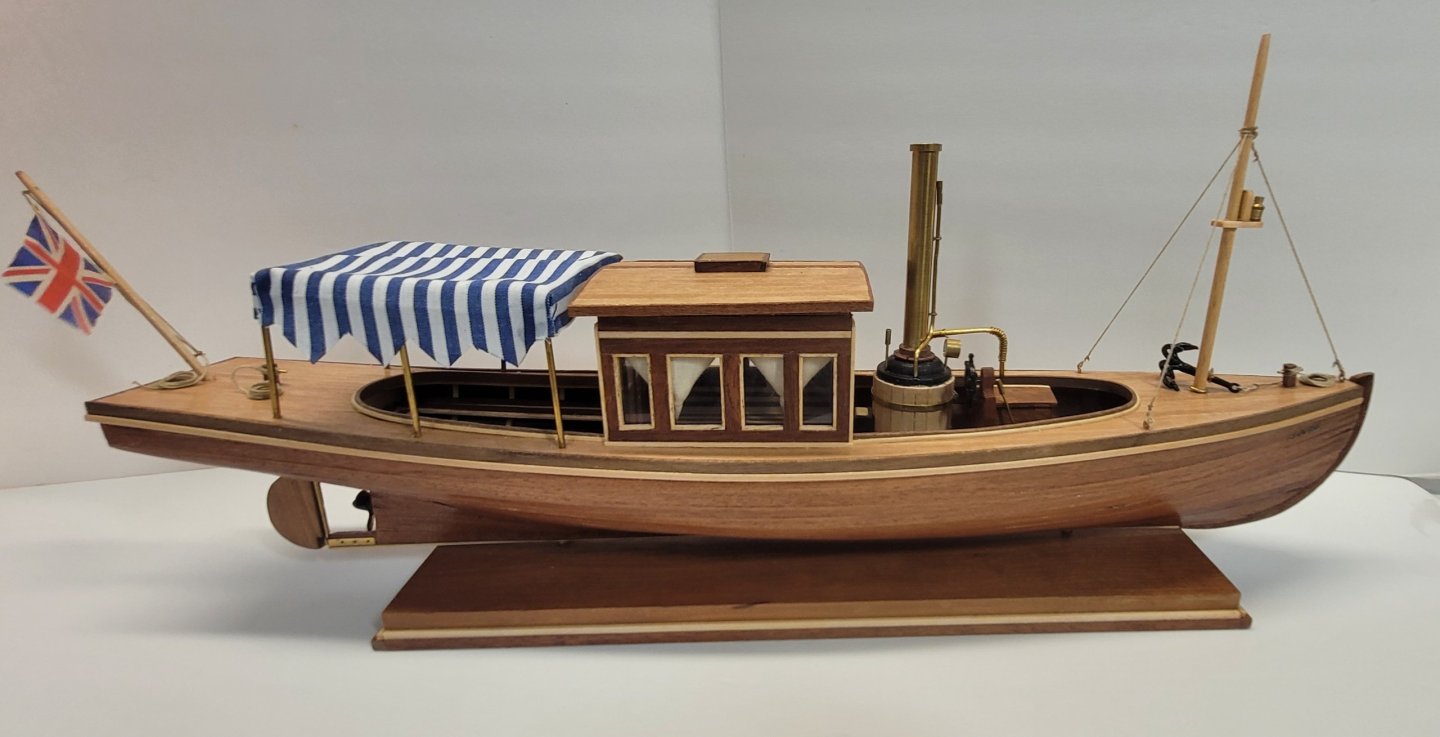
The Cabin: The final assembly of the small cabin posed its own set of challenges. Getting the structure square and ensuring a tight fit to the deck was critical. The fiddliest part was the detailing: Curtains: Getting the tiny curtain material to hang with the correct, natural-looking folds inside the windows took several attempts and the precise application of small amounts of glue. Roof Top: Attaching the final roof top required careful clamping to maintain its gentle curve and ensure a flush, clean joint with the cabin walls,
-
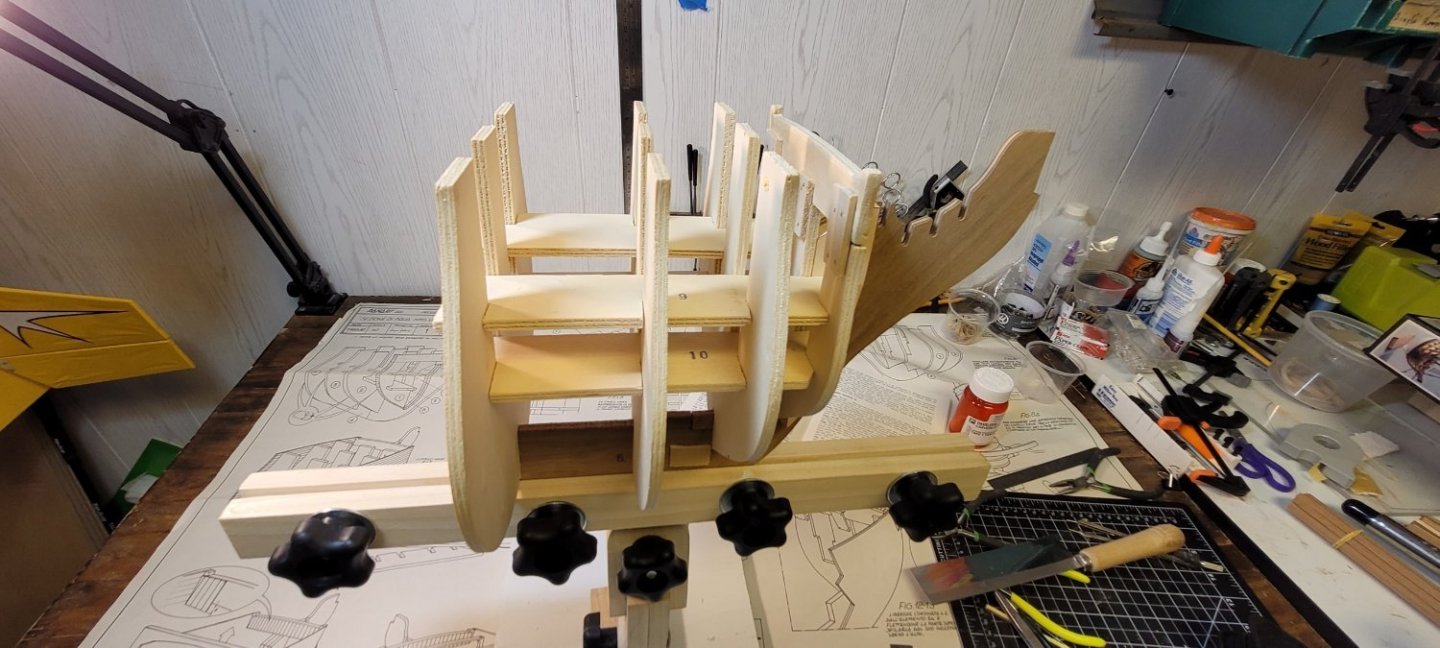
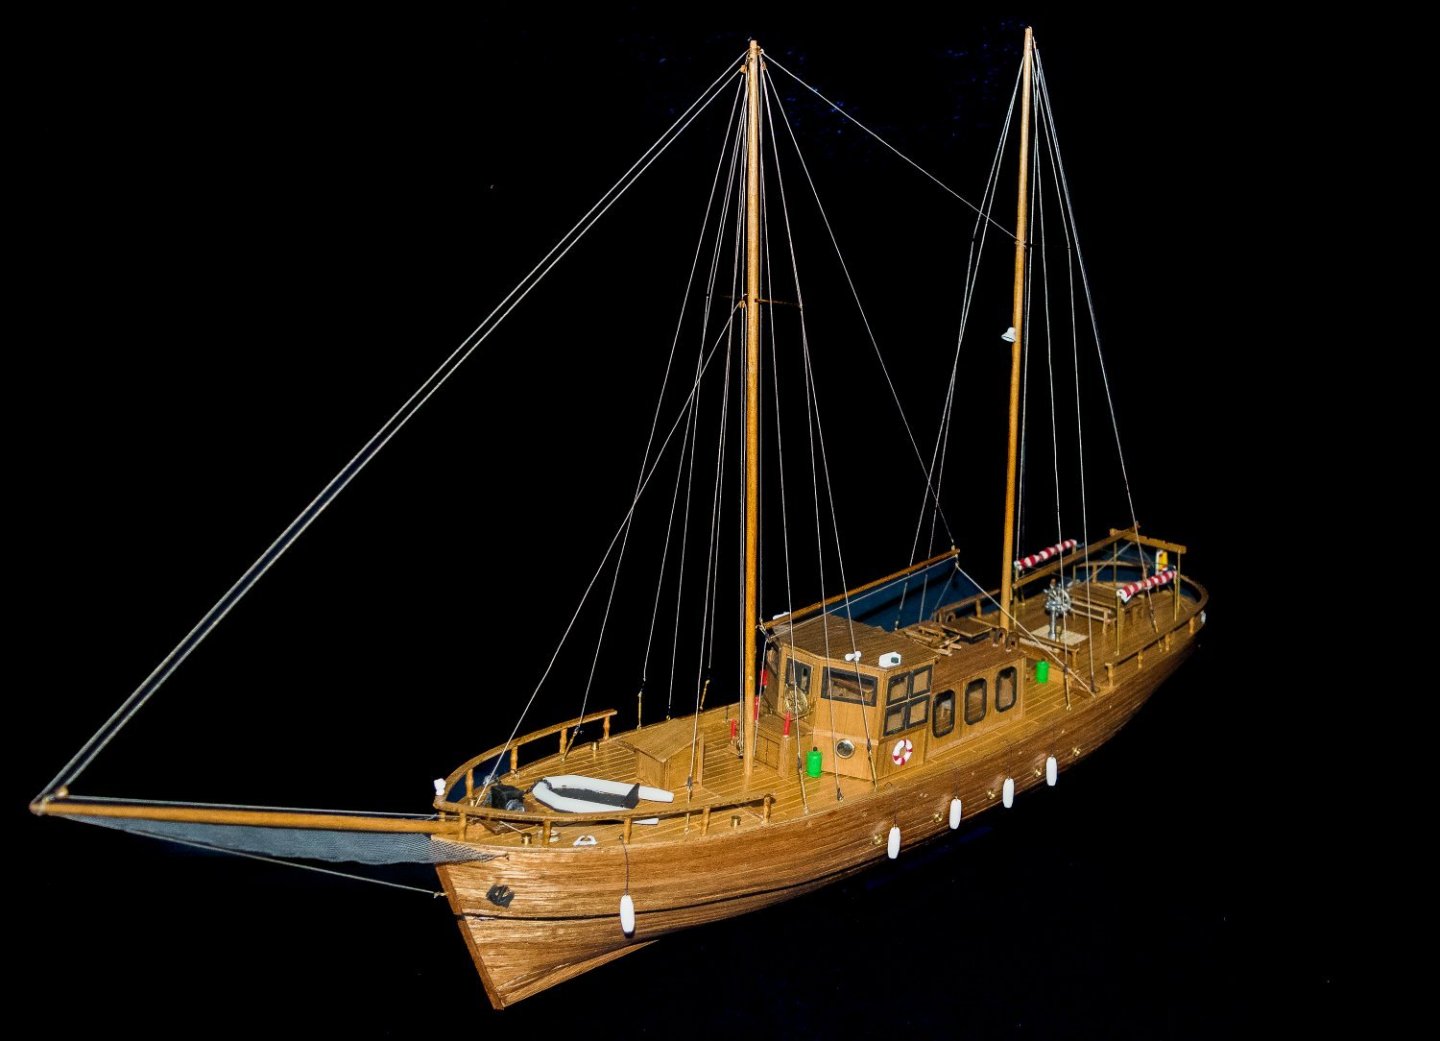
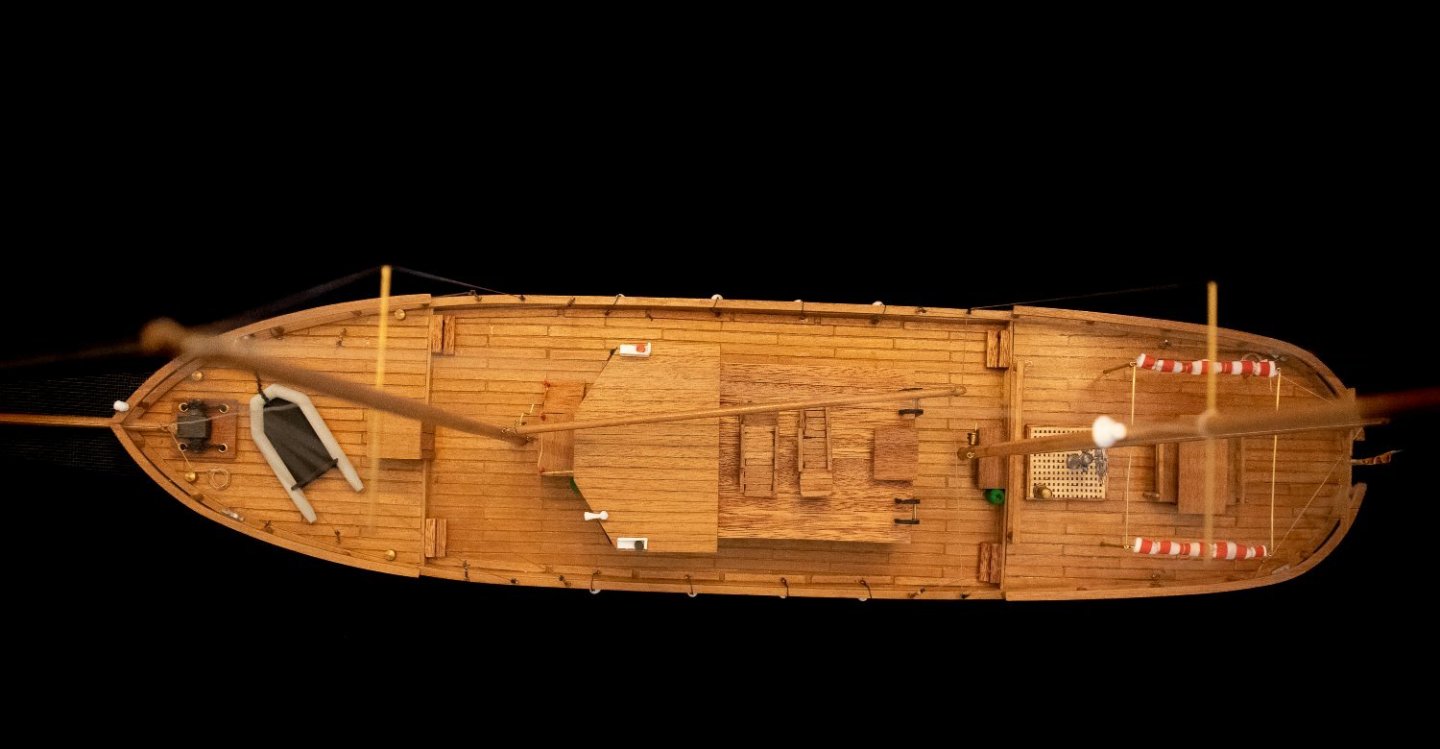
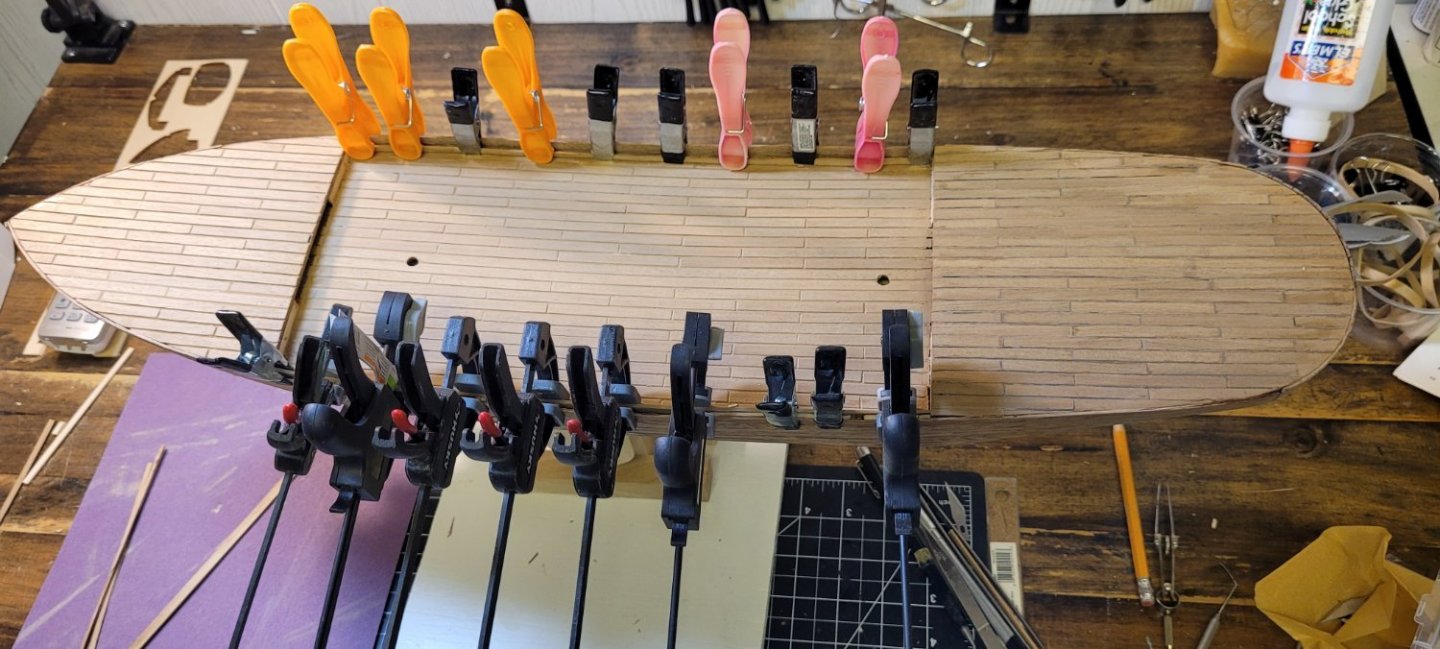
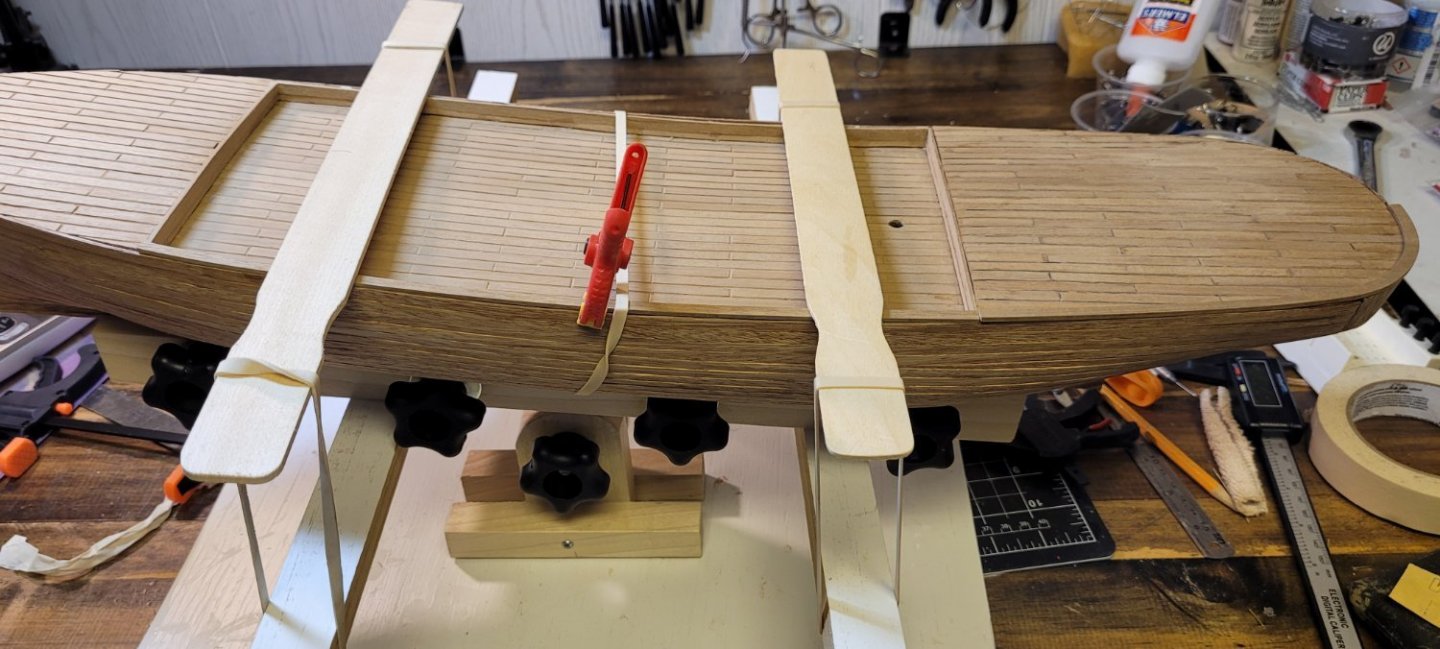
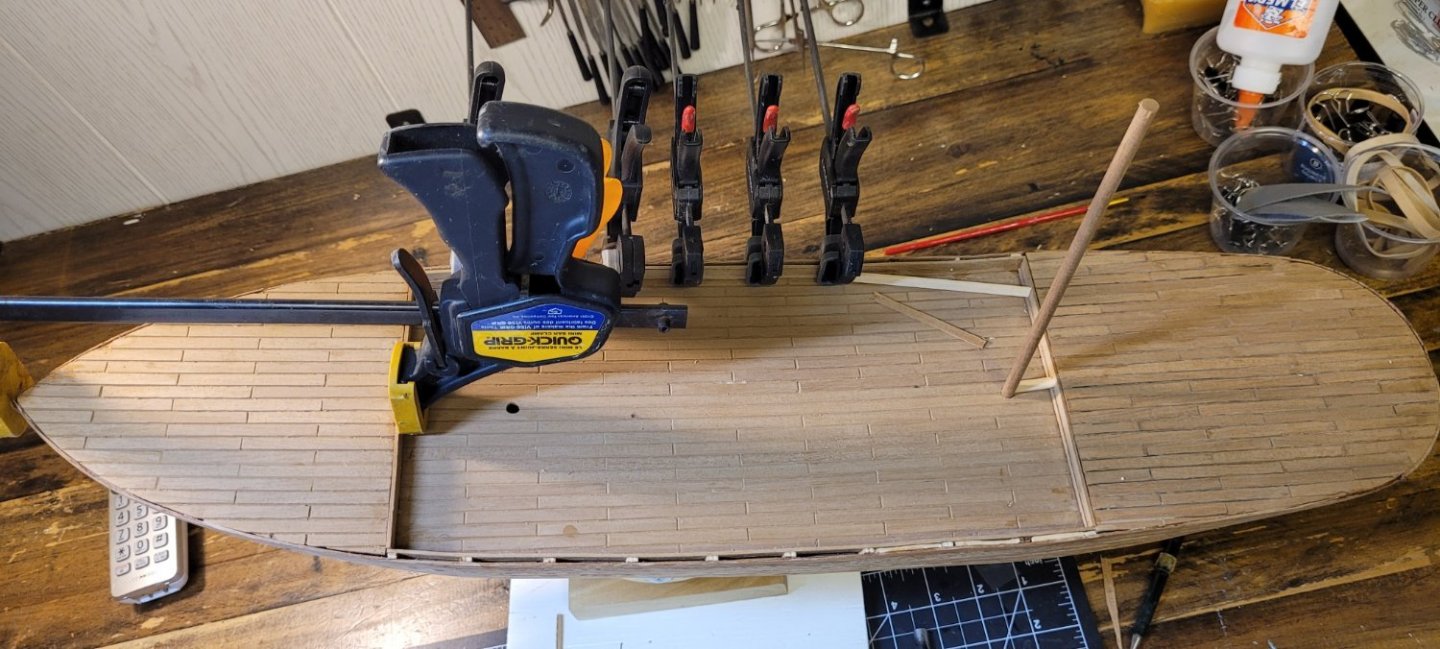
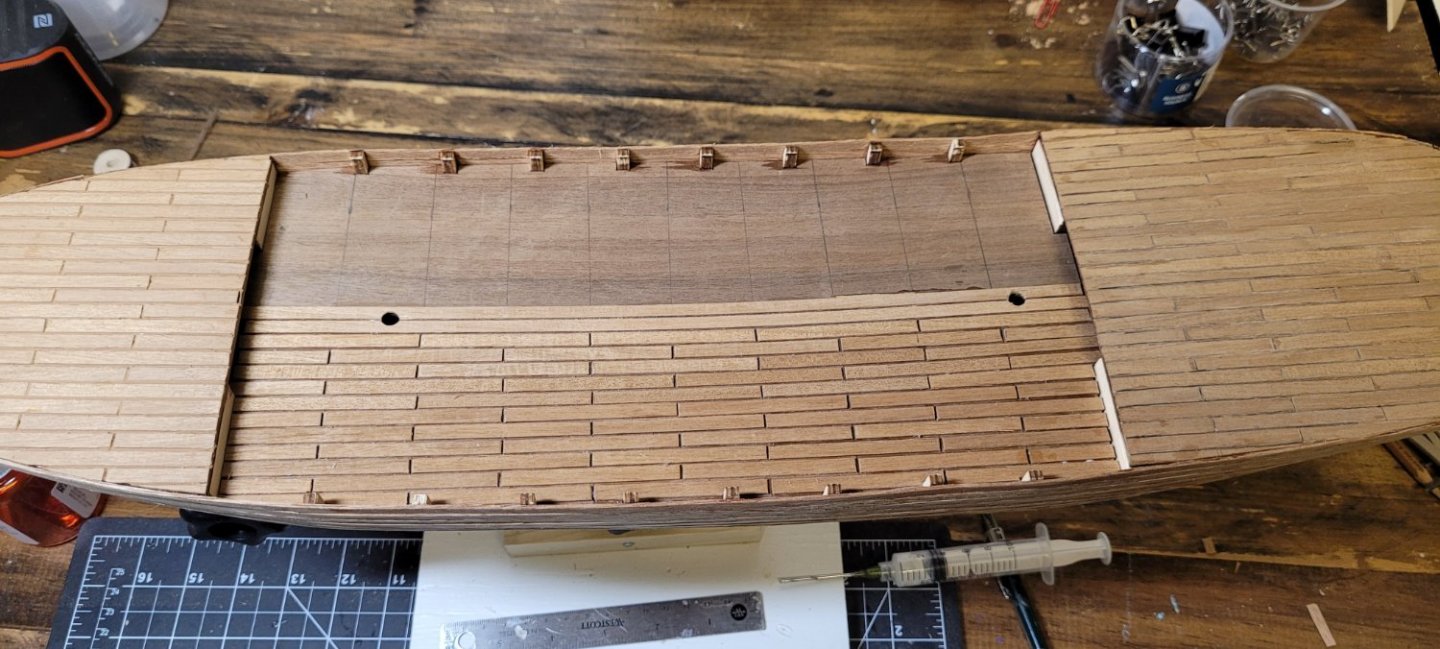
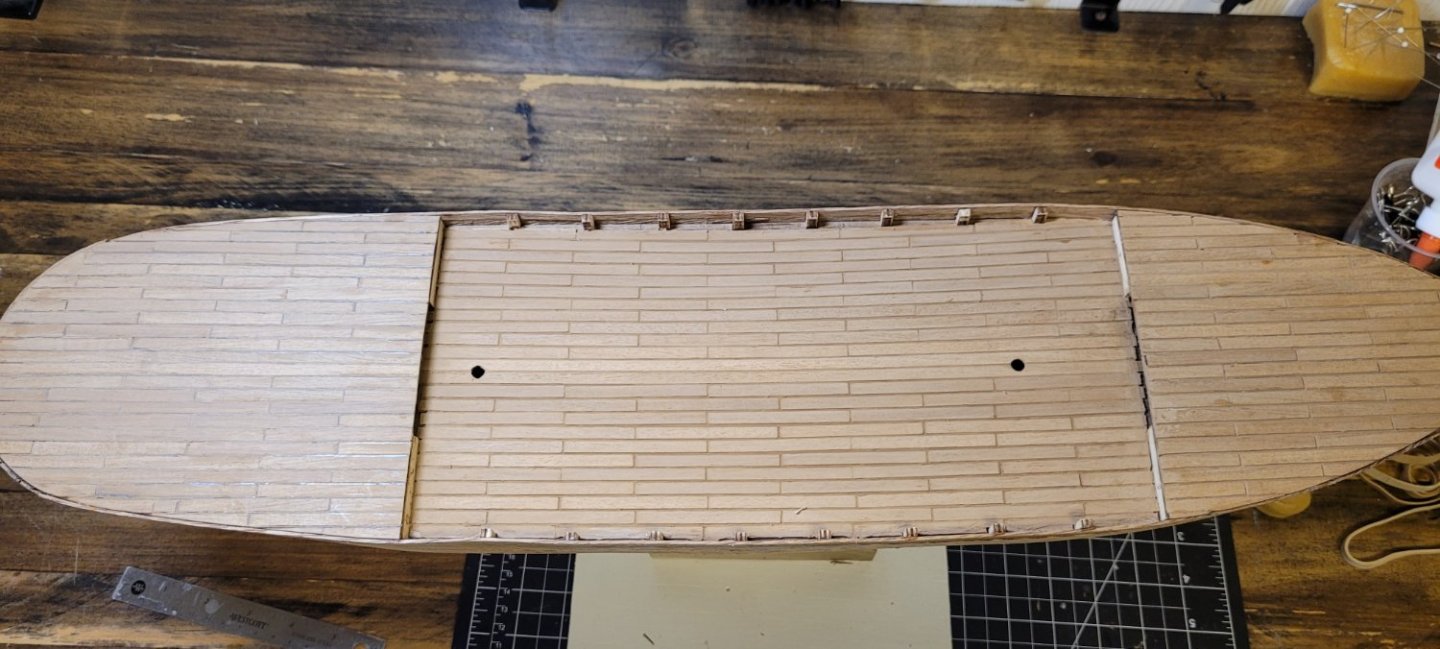
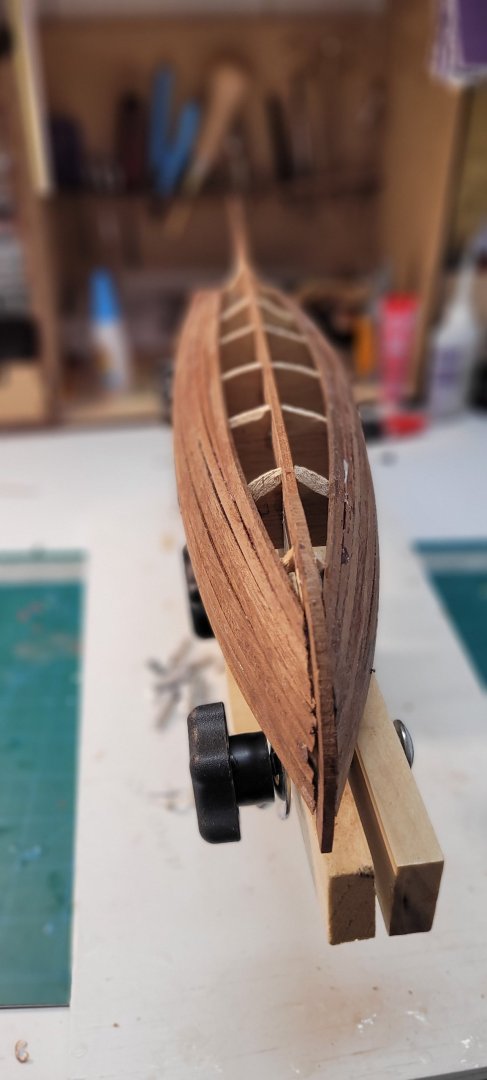
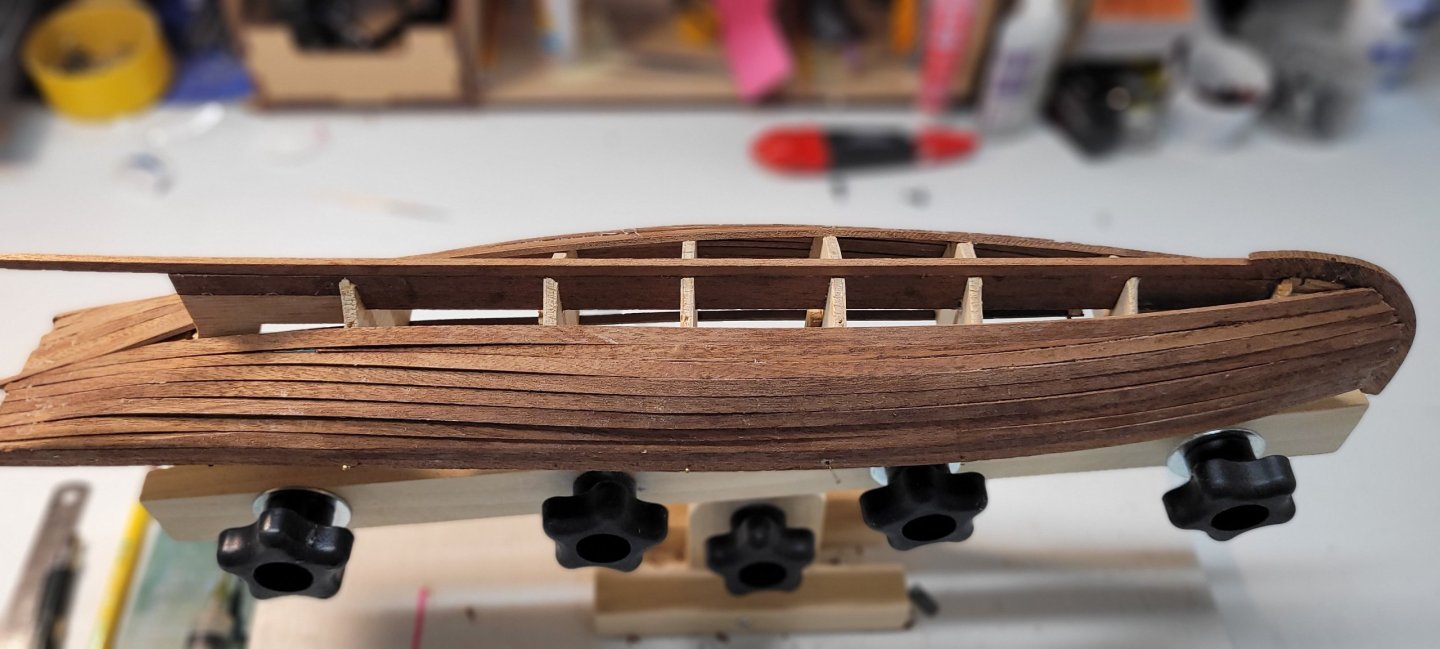
The Wood Problem: The Sapele strips were quite thick for the small scale of the hull. This made them stiff and difficult to bend, especially around the tight curves of the bow and the stern. Bending: I had to steam and soak every plank aggressively before applying it. Even then, great force was needed to nail and glue them securely to the bulkheads. Fairing: After the first layer cured, the hull was quite "steppy" and uneven, reflecting the difficulty of bending the stiff wood perfectly. Before moving on, I spent several dedicated hours sanding and fairing the entire hull. Frame Removal: The unique requirement to cut out and remove five of the internal bulkheads came next. This was unnerving, as I was essentially cutting out the temporary support structure, but the planking was rigid enough to hold the shape. The Second Layer of Planking I glued the veneer strips directly onto the sanded first layer, ensuring the edges were tightly butted together. Using rubber bands and clamps to hold the veneer tight to the shape. Once the second layer was sanded lightly and sealed, the hull finally took on the smooth, form of the Victorian steam launch. This transformation made all the previous struggle worthwhile. Deck: Planking the deck piece with the supplied contrasting strips was a delicate job, requiring precision to ensure the lines were straight.
-
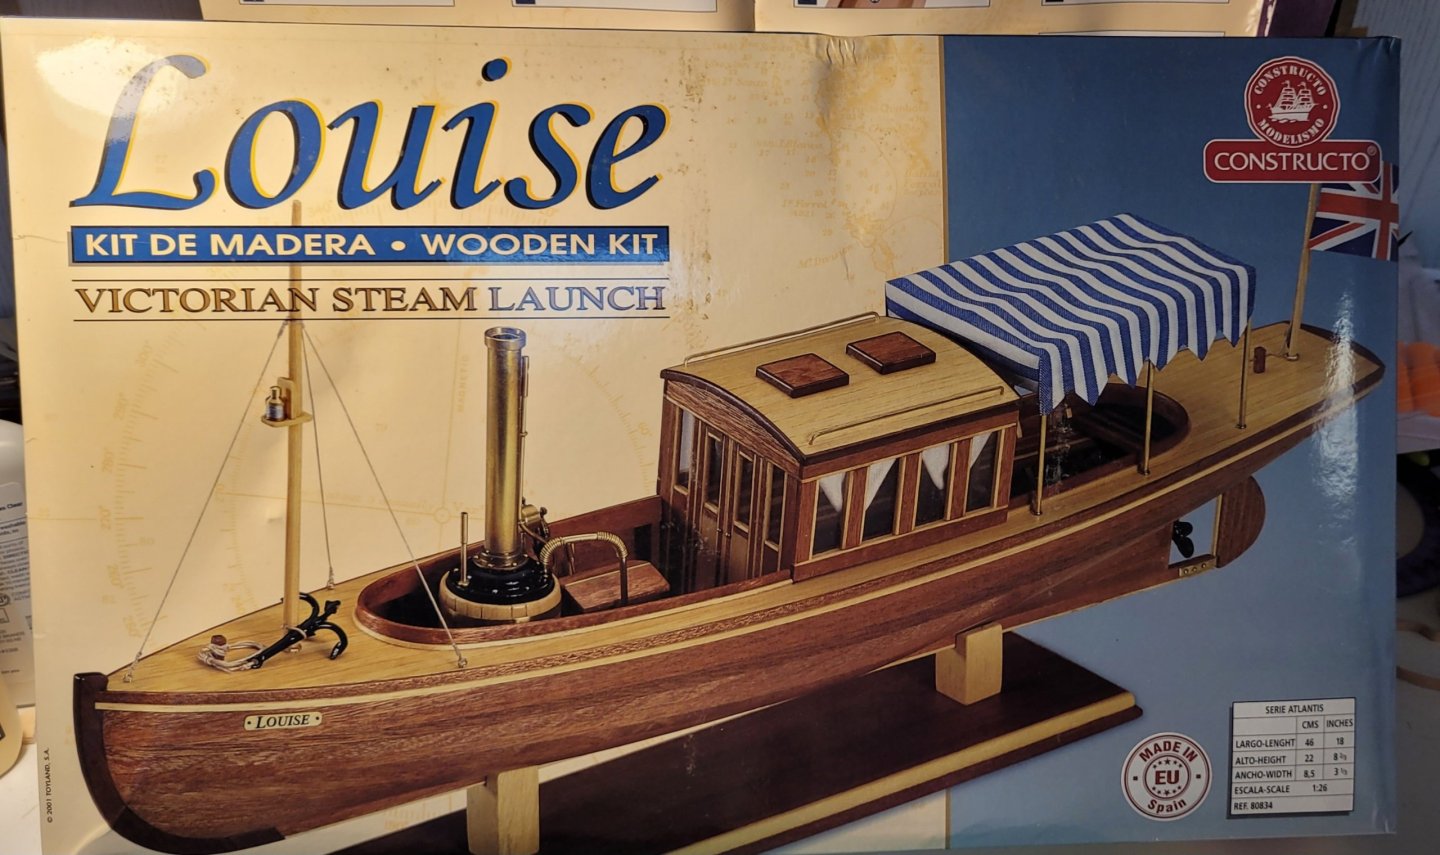
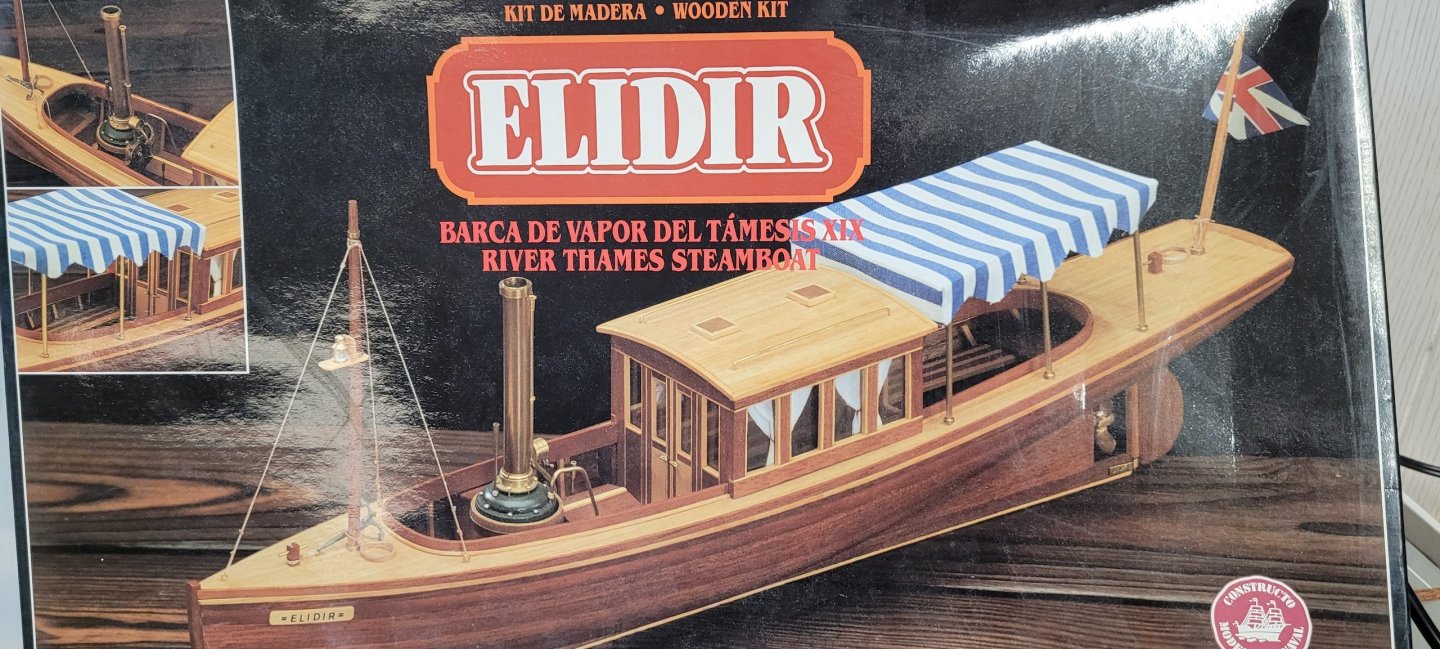
Missing Components: After completing the hull planking, I discovered that some key components were missing. This was unfortunate, as I hadn't checked the inventory first. Another member of this group believed he had the same kit and kindly offered to share parts. However, after further investigation, he found that his kit was actually the Louise, which was a renamed version of the Elidir by Constructo. Fortunately, he sent me the entire kit. It also contained better instructions, a sheet plan, and photos of each step to complete the build. But some of the dimensions of this kit are slightly different for the Elidir kit. So now the kit is going to be a combination of the two kits.
-
This is my 11th build I purchased the Elidir by Constructo kit online. After receiving it, I noticed that the box had already been opened. Unfortunately, I did not take an inventory of the parts before starting the build. I proceeded with the hull planking, This phase did not go smoothly, I have never worked with planks that are 2X5mm that are made out of Sapelly. I had to do extinctive sanding to get the hull looking decent. After sanding I found some cracks that need to be filled. I couldn’t find the correct color. So now there are color variations in the hull. I don’t want to paint the hull. They do give extra thin planking to do a second planking. I’m not sure at this point if I will be doing a second planking.
-
I recently purchased the Elidir kit by Constructo online, the box had already been opened. I’ve completed the hull planking, but unfortunately, I didn’t take an inventory of the parts beforehand. Now, I’ve discovered that some key components are missing. Does anyone know if the company is still in business or where I can find replacement parts? Thank you
-
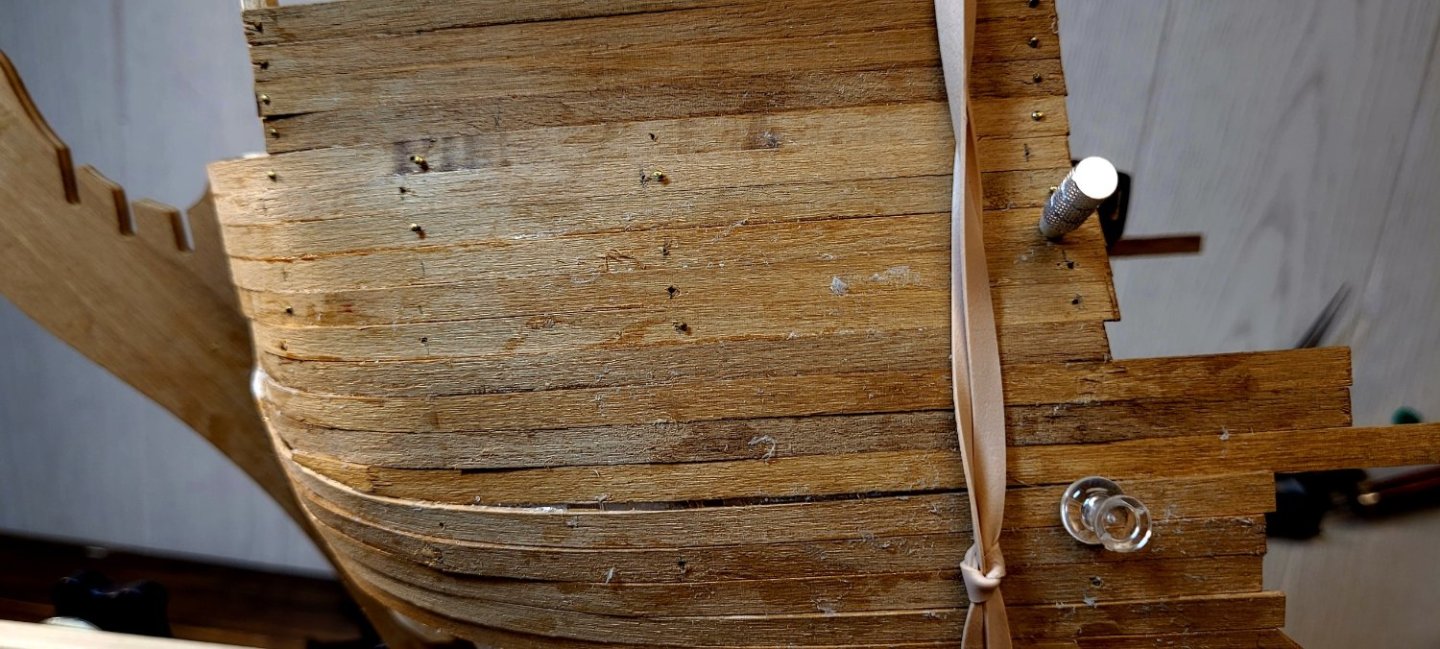
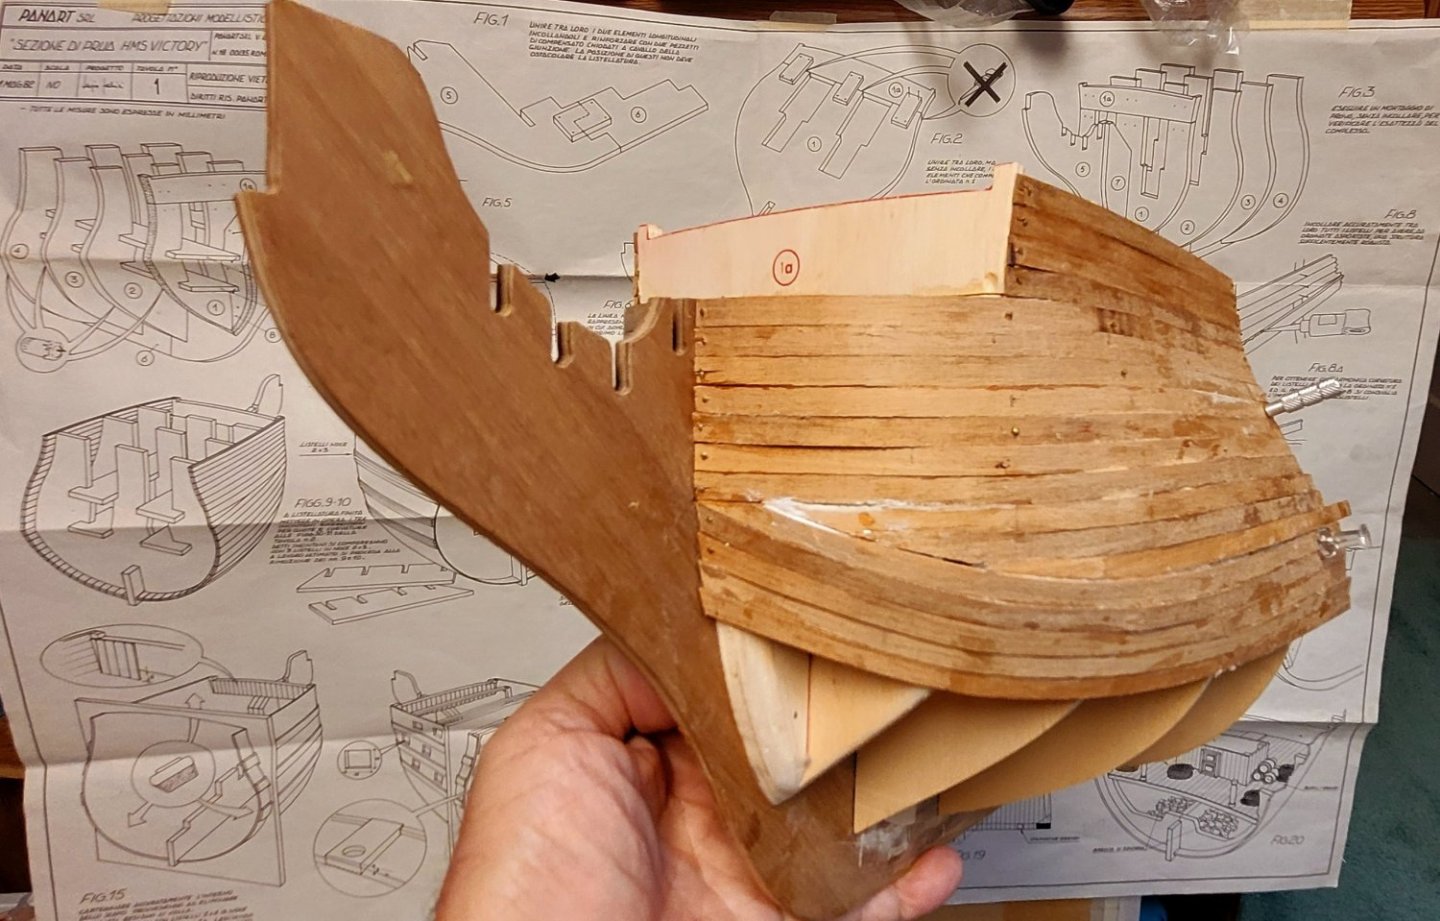
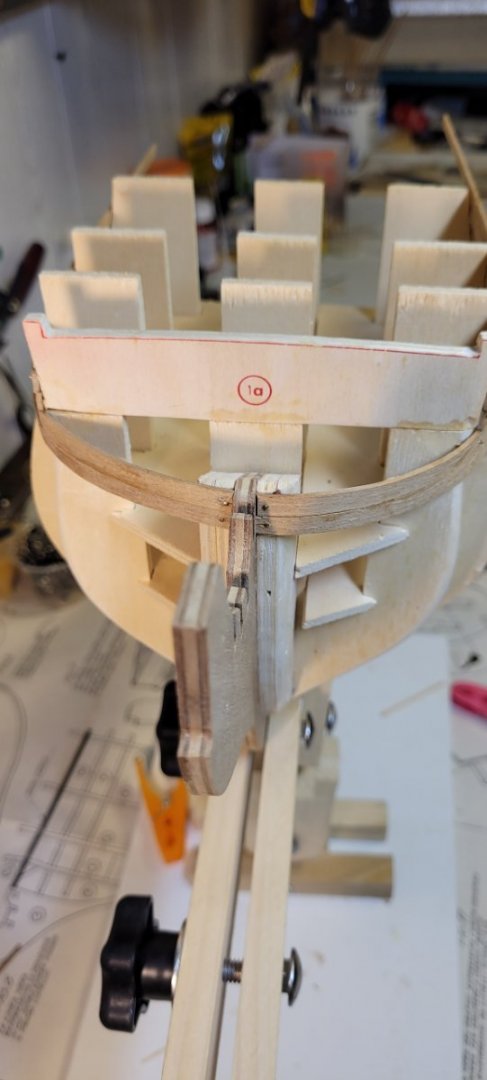
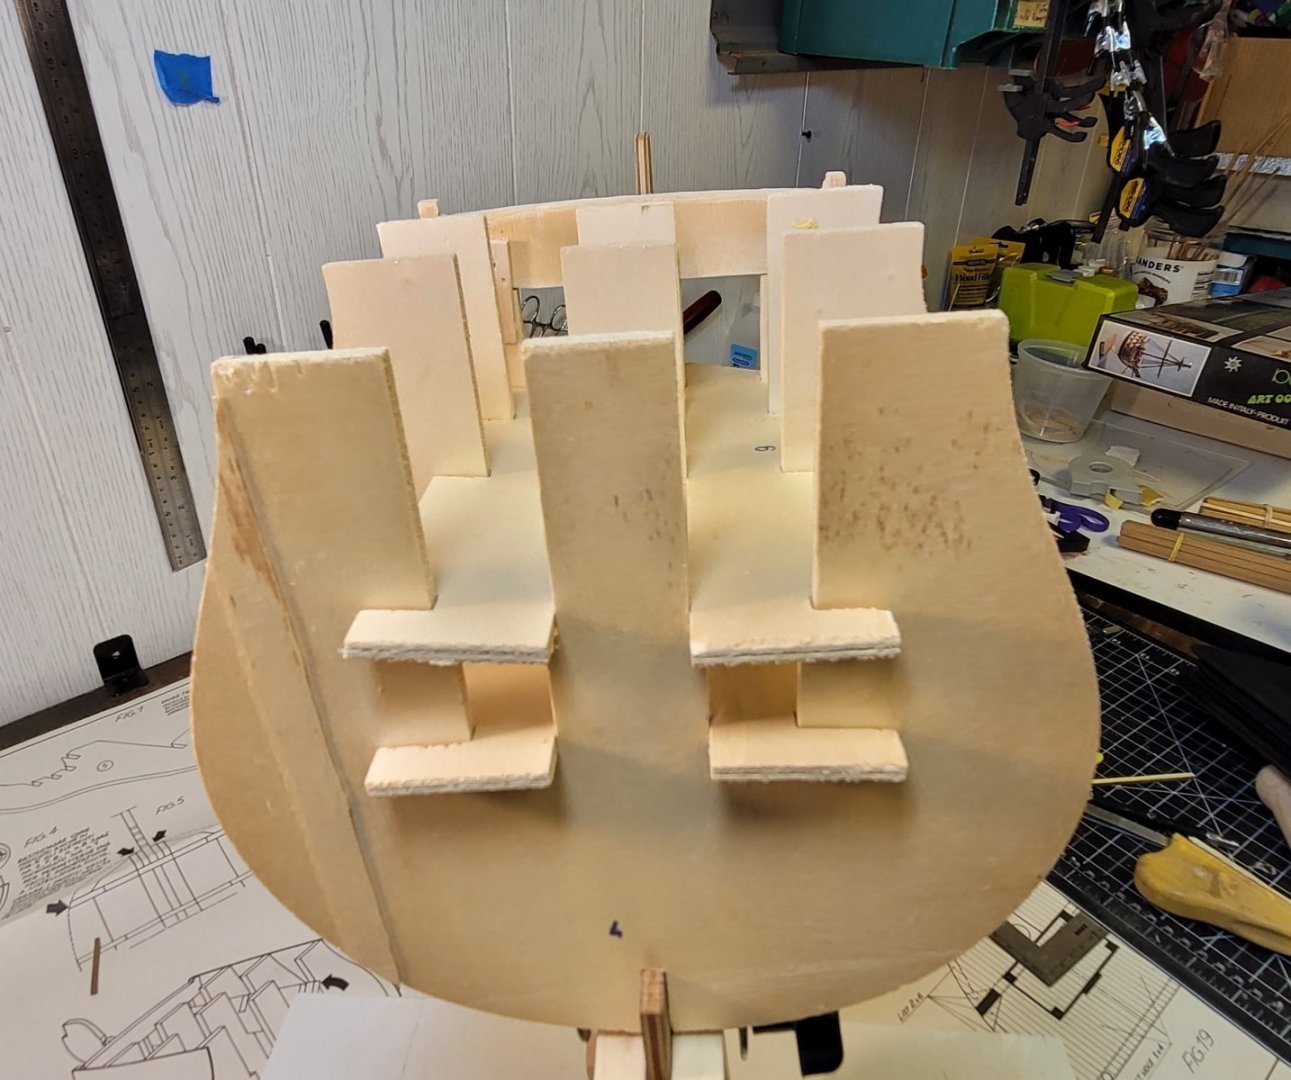
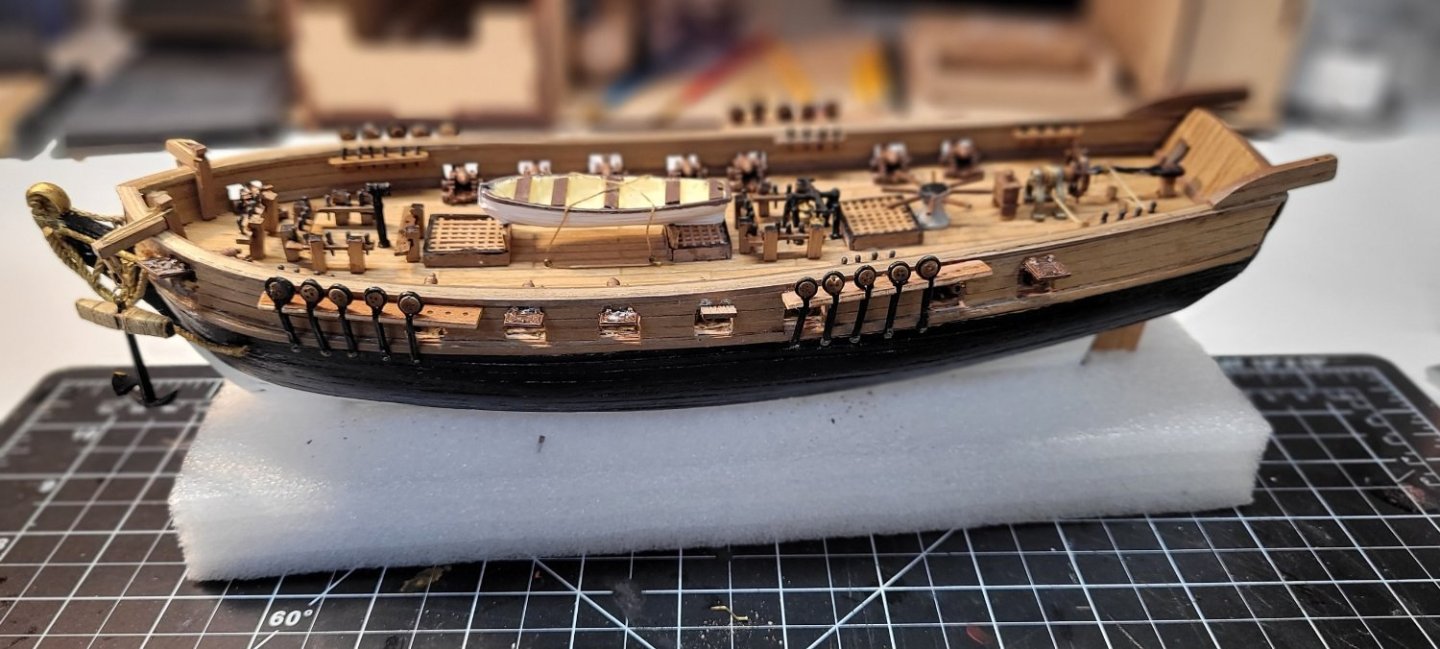
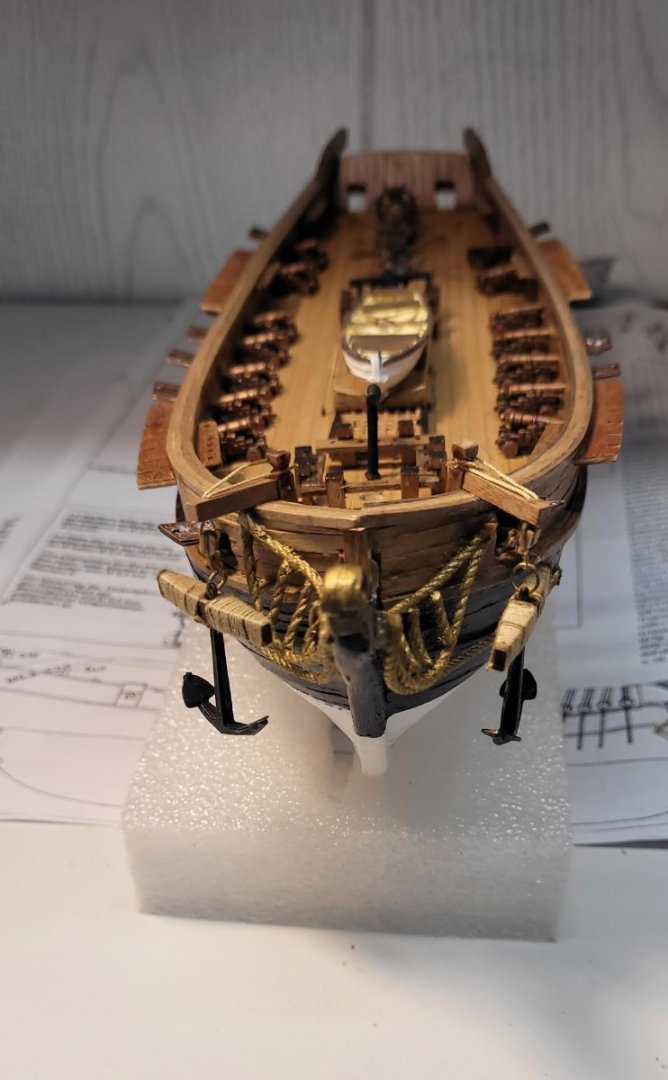
Have not worked on the HMS Victory for most all of the summer. Almost finished with the first layer of planking. I have a lot of prep work ahead for the second planking. I and wondering about the second planking methods. When adding the second planking how do you fasten the planks while the glue dries?
- 5 replies
-
- Panart
- bow section
-
(and 1 more)
Tagged with:
-
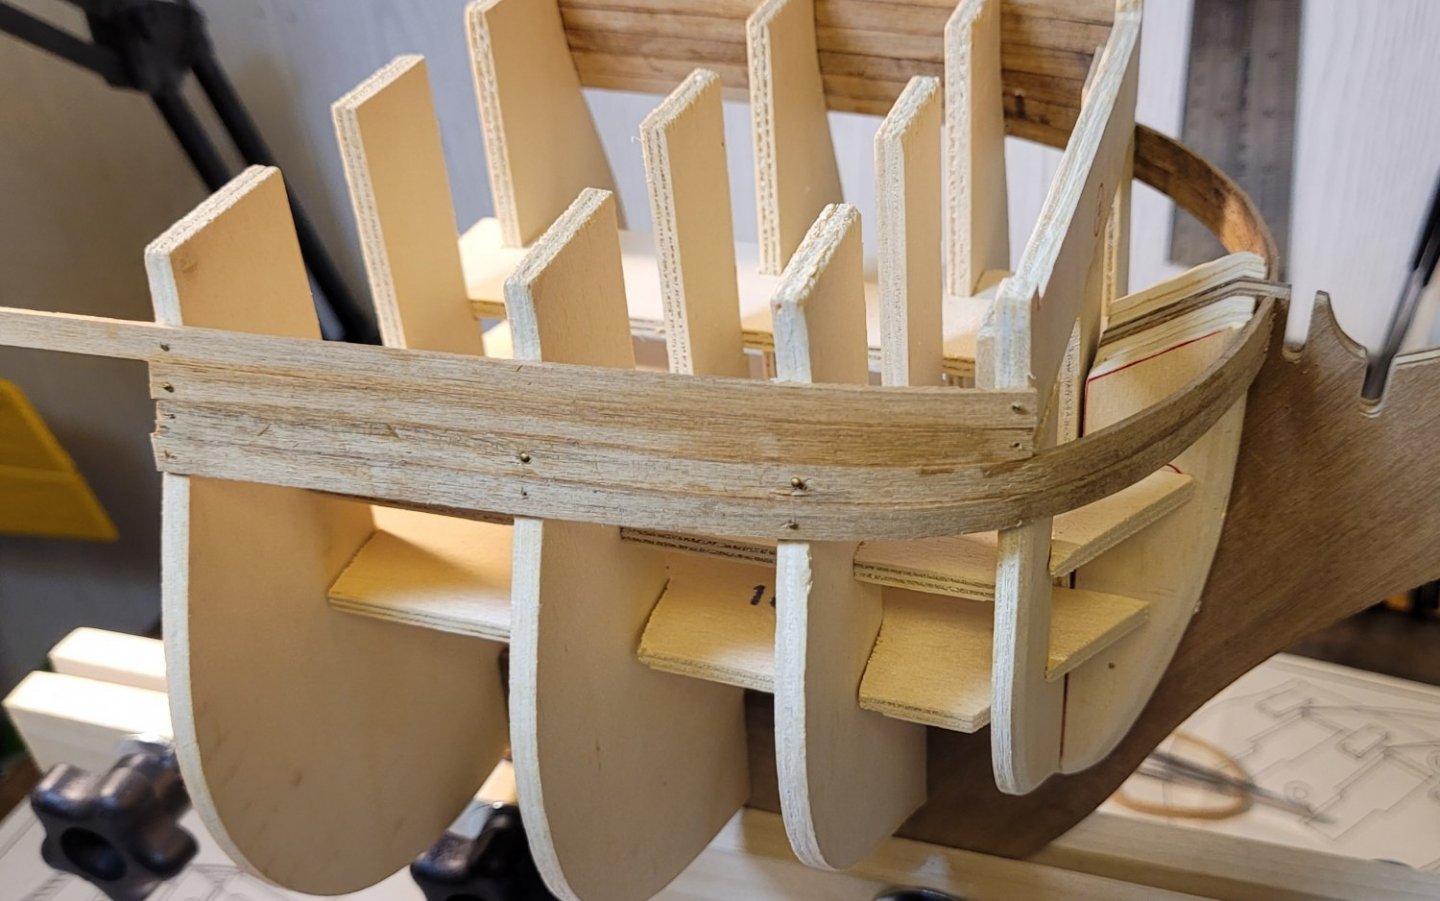
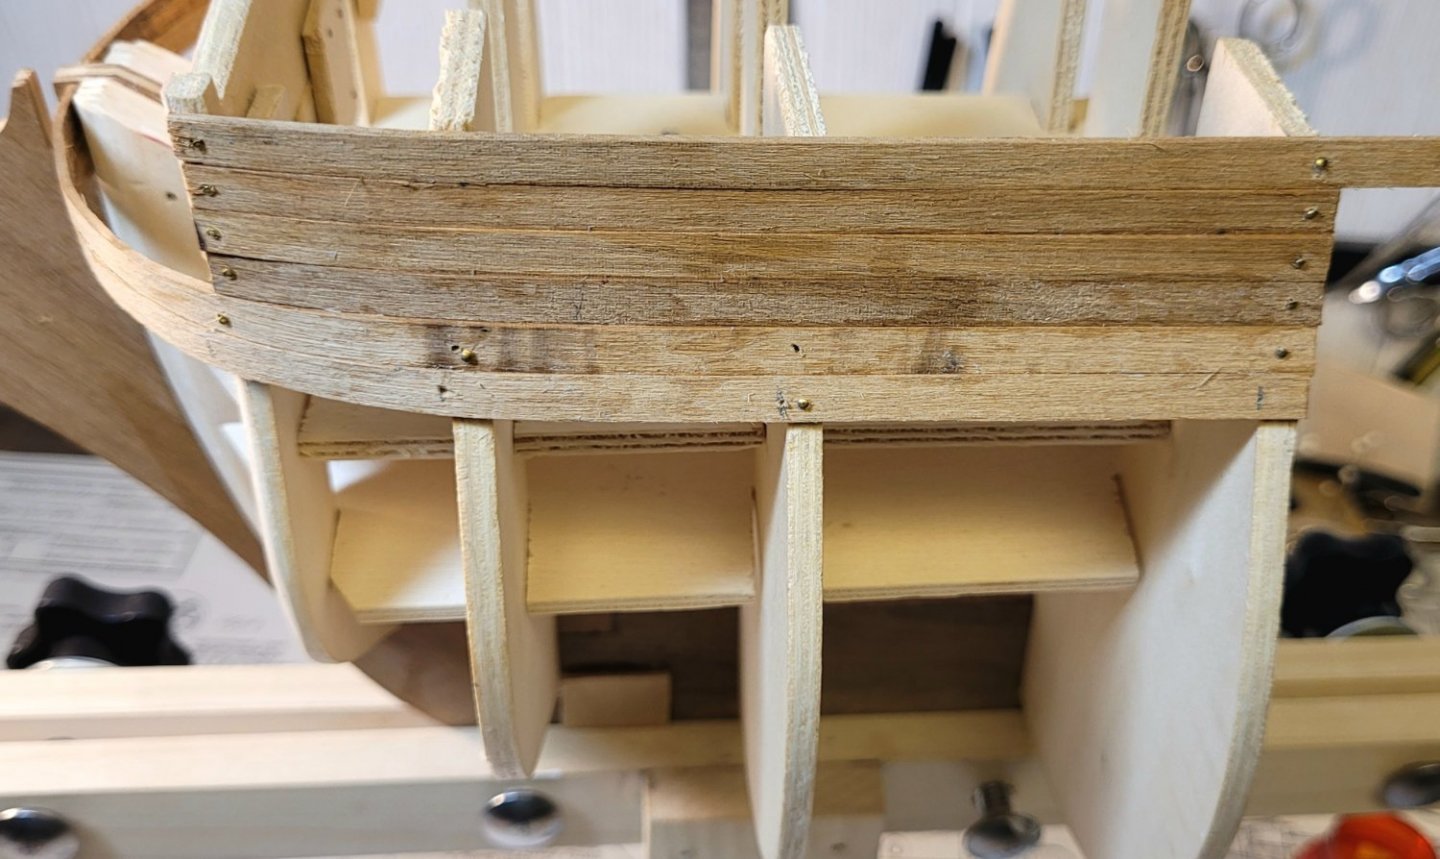
Started the first layer planking. It was a learning curve for me on how to use the soldering iron as to when enough heat was applied as to not burn the planks. As you can see in the second photo I scorched the planks. Also the written directions said to wax the frames so the frames can easily be removed after the planking is done. But in the sheet plans it show tiny nails into the frames. I'm not sure if I'm doing the planking correctly or not, time will tell
- 5 replies
-
- Panart
- bow section
-
(and 1 more)
Tagged with:
-
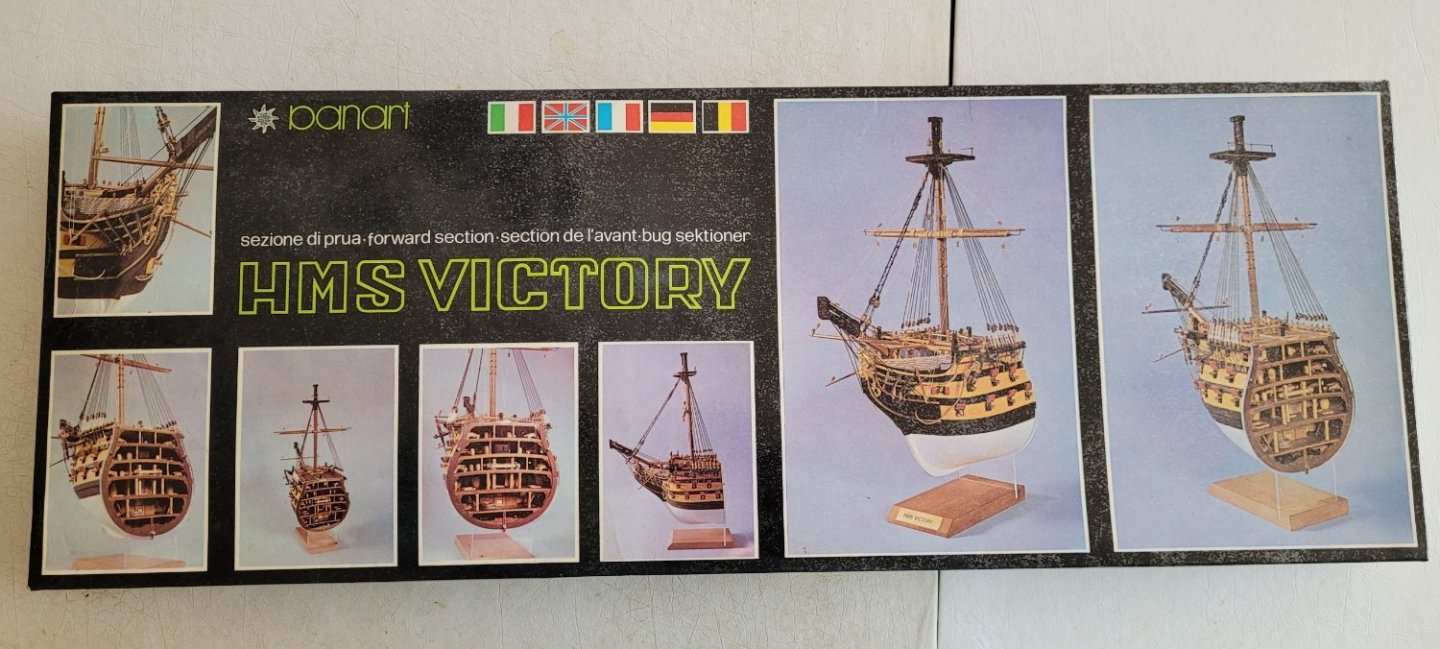
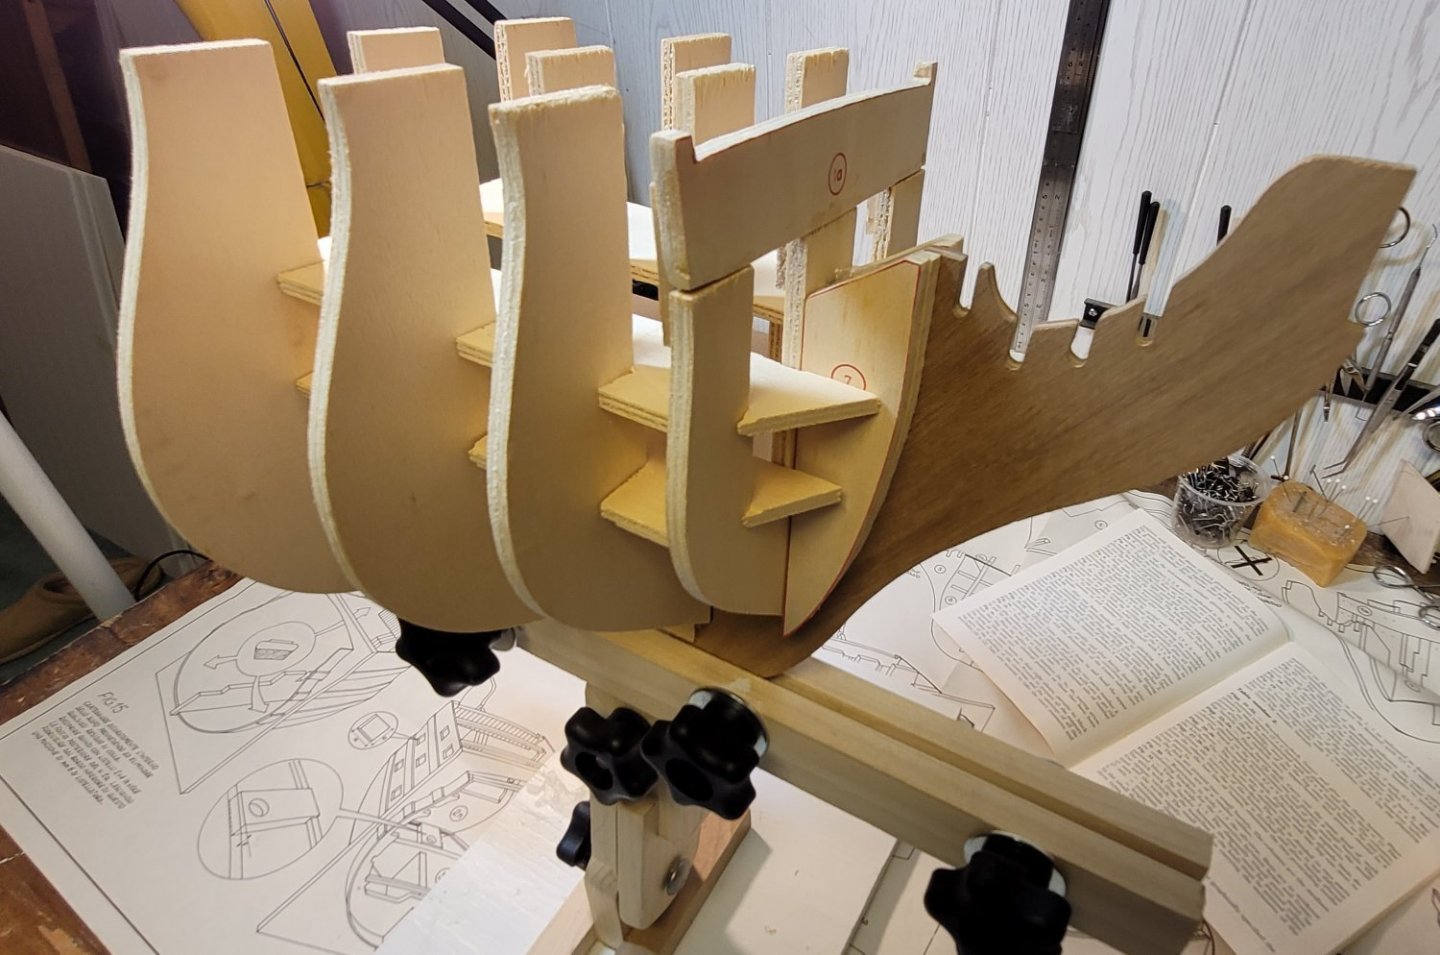
This is my seventh build. I do believe it's above my skill level but for better or worse I'm going to give it a try. I've never done a second planking so this will be interesting. Also, the sheet plans are all in Italian. I've been using the Google translator which works really good. I started using a soldering iron with a jig that I made for the bending of the planks. I've found that water soaking the planks before I heat them to bend work quite well. More photos to follow as I progress.
- 5 replies
-
- Panart
- bow section
-
(and 1 more)
Tagged with:
-
Could that piece be reversed? Looks like the longer flat side might be placed towards the bow. I'm probably way off on suggesting this.
- 62 replies
-
- lancia armata
- panart
-
(and 1 more)
Tagged with:
-
The plans for the rigging are difficult to follow. I did my best to follow it, but I guessed where they should go from past builds and sailing experience. I just do the best I can and learn from my mistakes.
- 25 replies
-
- Mantua
- Trotamares
-
(and 1 more)
Tagged with:
-
Your model looks great!! Not sure of the type of wood that came with yours, I'm thinking mine came with walnut. I purchased it on eBay and I think it was laying around for a log time a all of the wood was very fragile and kept breaking when I used an exacta knife. I ended up sanding most all of the planks into shape
- 25 replies
-
- Mantua
- Trotamares
-
(and 1 more)
Tagged with:
-
I finished I have found out that it's not a race to the finish line to complete the model, it's about finding out that I need to be more patient with myself while model making and not to rush any of the stages so I can better understand and slowly master techniques for future models.
- 25 replies
-
- Mantua
- Trotamares
-
(and 1 more)
Tagged with:
-
- 25 replies
-
- Mantua
- Trotamares
-
(and 1 more)
Tagged with:
-
- 25 replies
-
- Mantua
- Trotamares
-
(and 1 more)
Tagged with:
-
- 25 replies
-
- Mantua
- Trotamares
-
(and 1 more)
Tagged with:
-
- 25 replies
-
- Mantua
- Trotamares
-
(and 1 more)
Tagged with:
About us
Modelshipworld - Advancing Ship Modeling through Research
SSL Secured
Your security is important for us so this Website is SSL-Secured
NRG Mailing Address
Nautical Research Guild
237 South Lincoln Street
Westmont IL, 60559-1917
Model Ship World ® and the MSW logo are Registered Trademarks, and belong to the Nautical Research Guild (United States Patent and Trademark Office: No. 6,929,264 & No. 6,929,274, registered Dec. 20, 2022)
Helpful Links
About the NRG
If you enjoy building ship models that are historically accurate as well as beautiful, then The Nautical Research Guild (NRG) is just right for you.
The Guild is a non-profit educational organization whose mission is to “Advance Ship Modeling Through Research”. We provide support to our members in their efforts to raise the quality of their model ships.
The Nautical Research Guild has published our world-renowned quarterly magazine, The Nautical Research Journal, since 1955. The pages of the Journal are full of articles by accomplished ship modelers who show you how they create those exquisite details on their models, and by maritime historians who show you the correct details to build. The Journal is available in both print and digital editions. Go to the NRG web site (www.thenrg.org) to download a complimentary digital copy of the Journal. The NRG also publishes plan sets, books and compilations of back issues of the Journal and the former Ships in Scale and Model Ship Builder magazines.





.thumb.jpeg.1eb4b554ad84f11cc1cfa7bc0de6e479.jpeg)
