Davy Jones
-
Posts
38 -
Joined
-
Last visited
Recent Profile Visitors
1,084 profile views


-
 Knocklouder reacted to a post in a topic:
Lexington by Davy Jones - Mamoli - 1/100 - American Brig
Knocklouder reacted to a post in a topic:
Lexington by Davy Jones - Mamoli - 1/100 - American Brig
-
Knocklouder reacted to a post in a topic:
Lexington by Davy Jones - Mamoli - 1/100 - American Brig
-
Knocklouder reacted to a post in a topic:
Lexington by Davy Jones - Mamoli - 1/100 - American Brig
-
GrandpaPhil reacted to a post in a topic:
Lexington by Davy Jones - Mamoli - 1/100 - American Brig
-
mtaylor reacted to a post in a topic:
Reading/decoding Mamoli Rigging Charts
-
 Kevin reacted to a reply to a status update:
Many Happy Returns
Kevin reacted to a reply to a status update:
Many Happy Returns
-
allanyed reacted to a post in a topic:
Reading/decoding Mamoli Rigging Charts
-

Reading/decoding Mamoli Rigging Charts
Davy Jones replied to robnbill's topic in Masting, rigging and sails
Thank you for the explanation Robnbill. I was just looking at my rigging plan for the Mamoli Lexington Brig and swiftly put it away again. As it won't be long when i am at the rigging part of the build, your explanation of the Mamoli rigging plans are a god send. As a newbee at ship building my knowledge of the terms and understanding the plans is a huge learning curve. Thanx again. Davy. -
Many Happy Returns
-
Edwardkenway reacted to a post in a topic:
Lexington by Davy Jones - Mamoli - 1/100 - American Brig
-
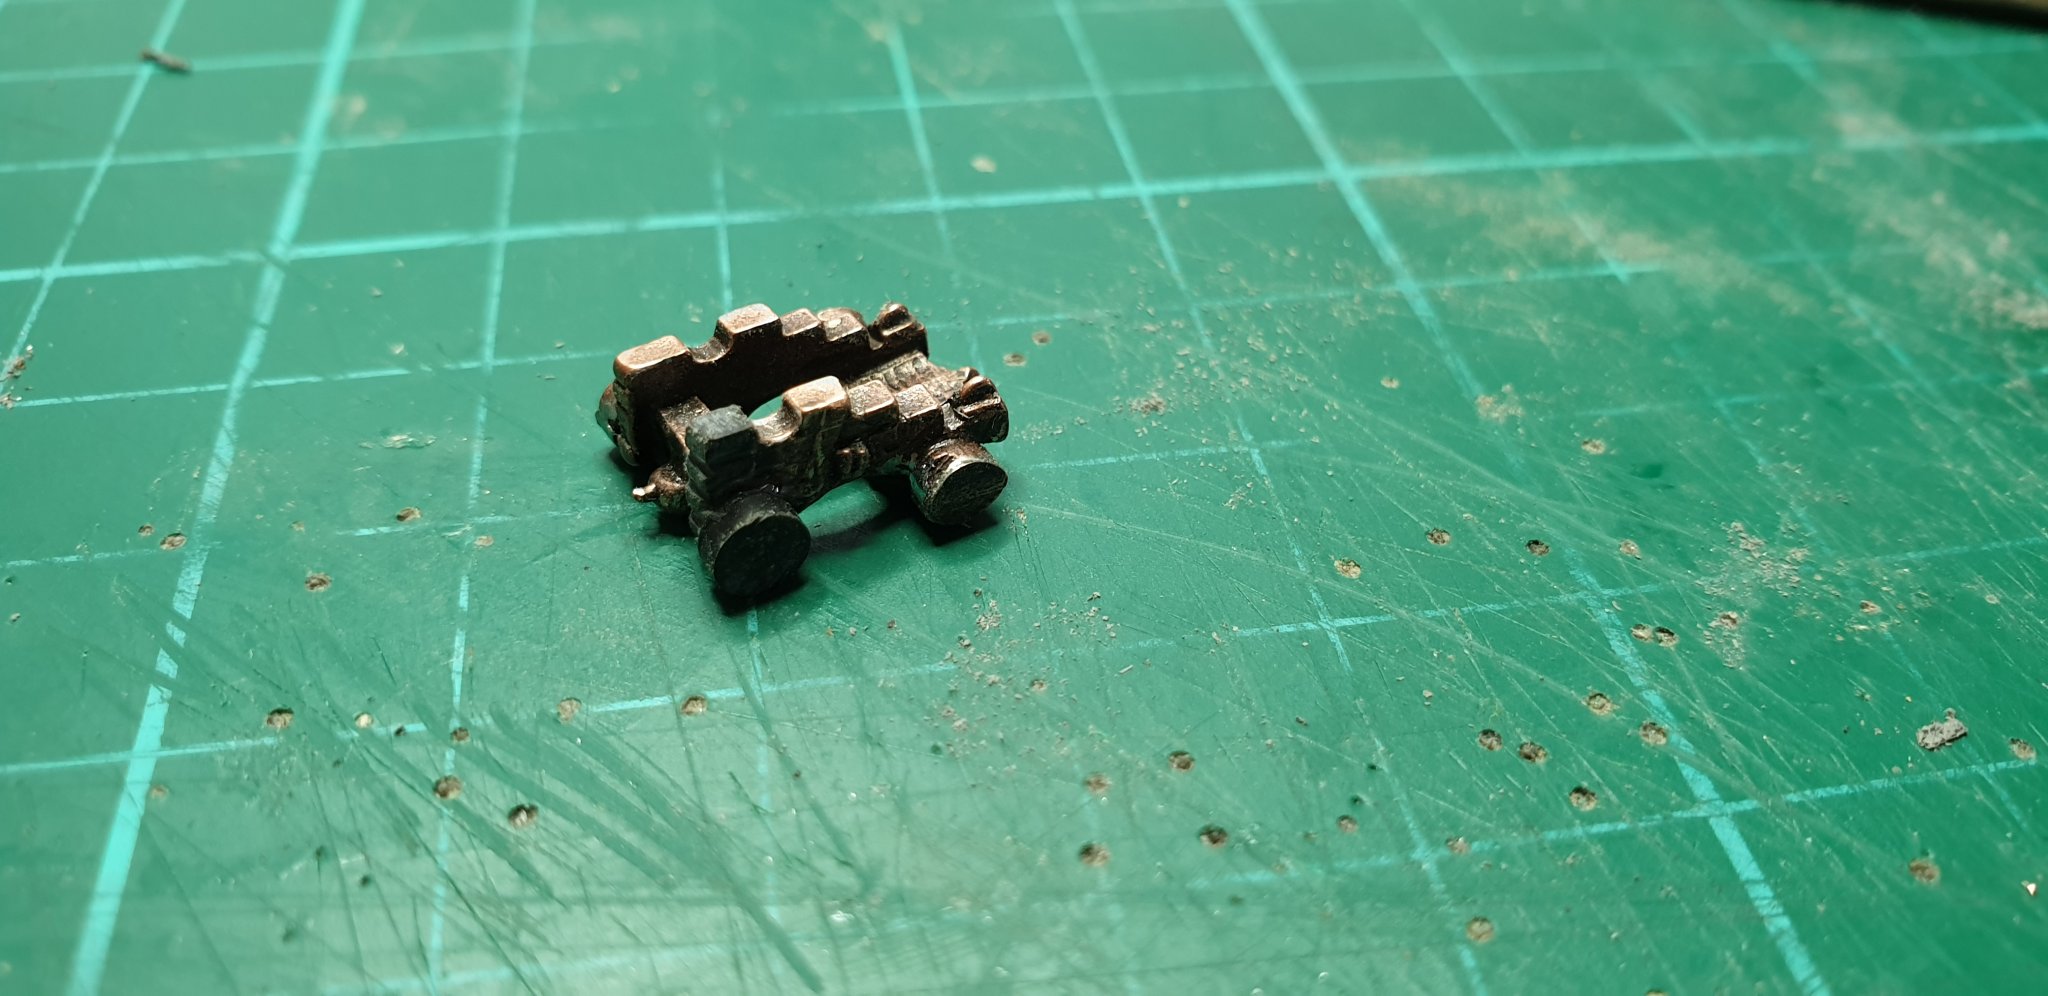
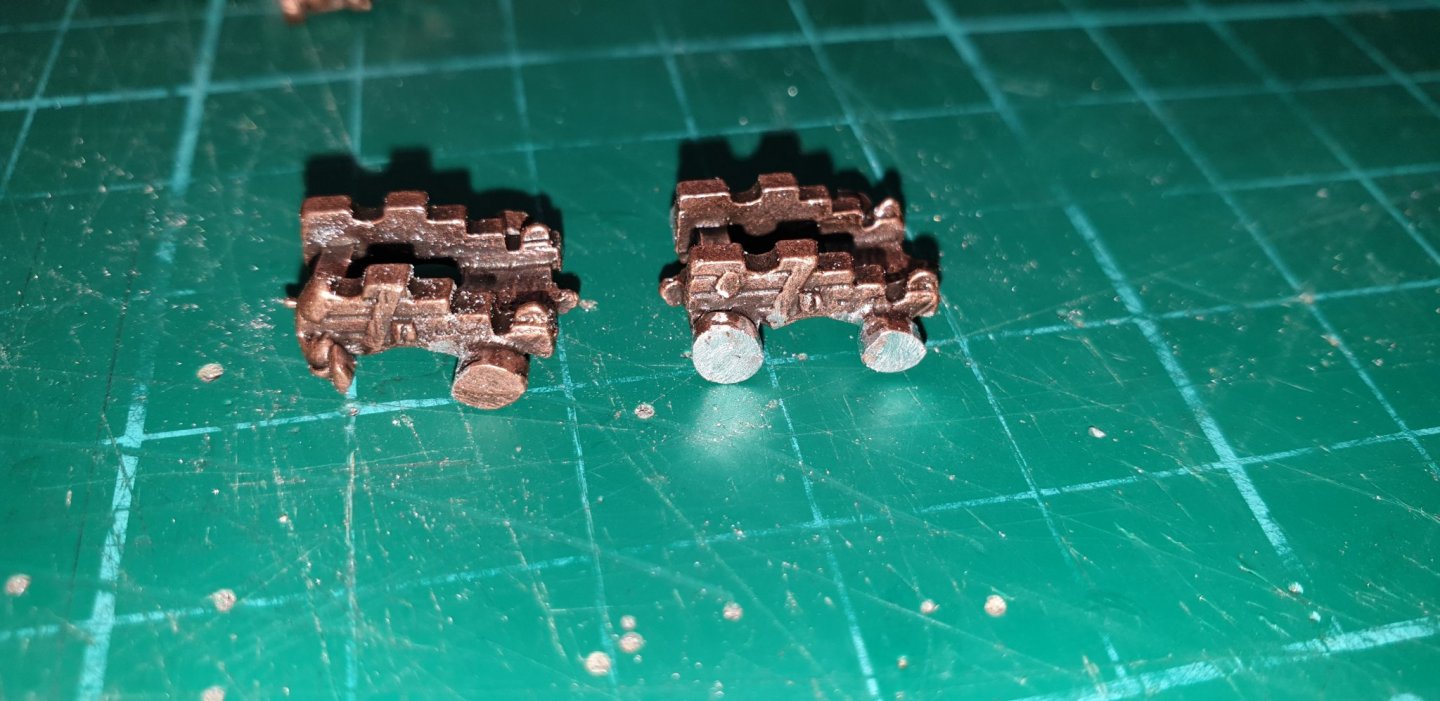
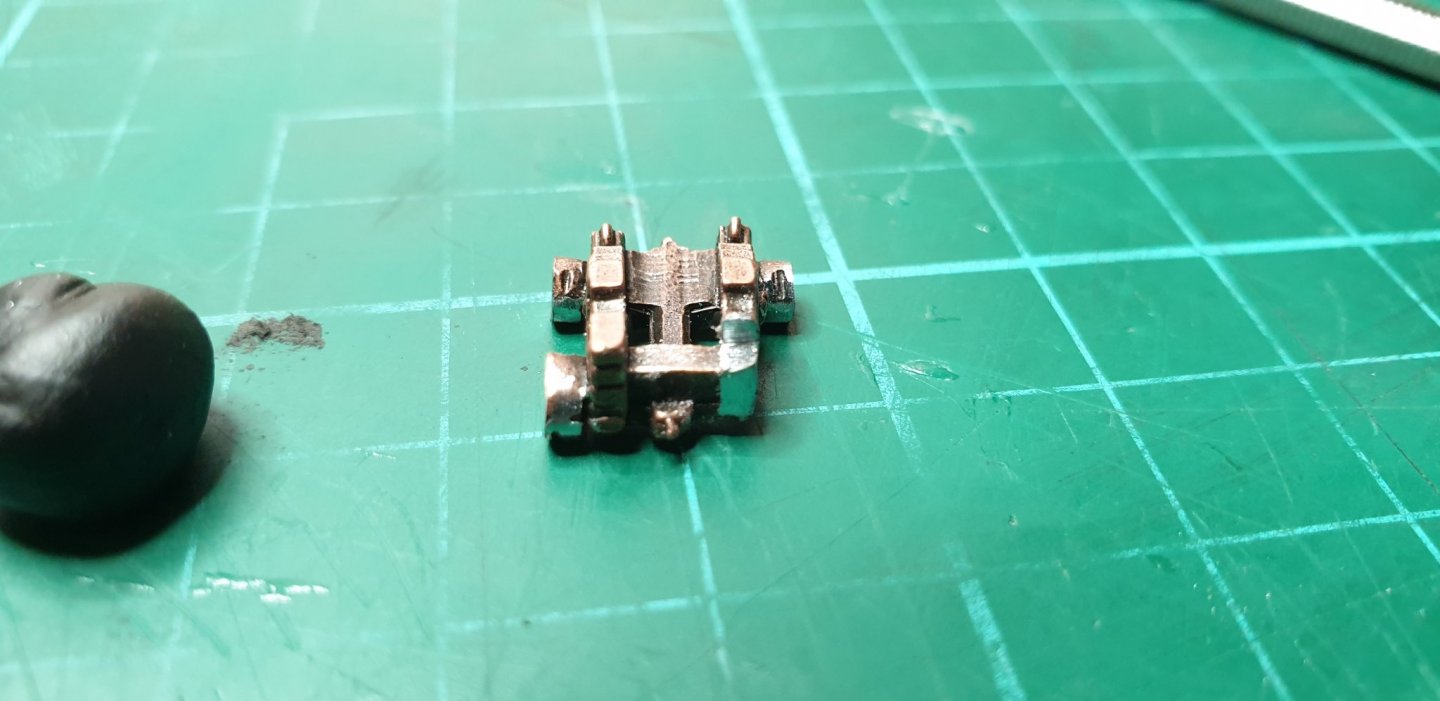
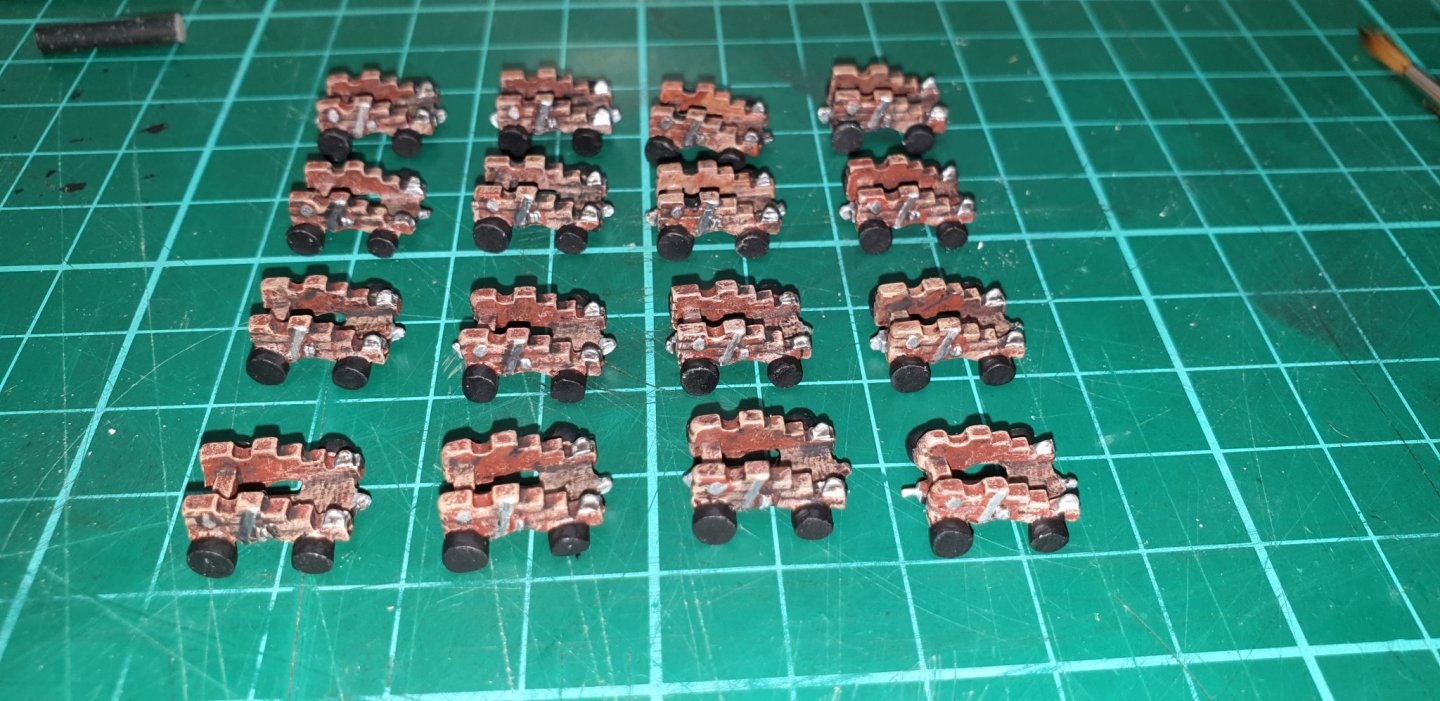
Now to tackle the deformed gun carriage. Thankfully this is the only bad one. All Done just got to add a filter now to darken them up a bit. Next up will be the cannons. Davy.

-
Dutchman reacted to a post in a topic:
Lexington by Davy Jones - Mamoli - 1/100 - American Brig
-
Dutchman reacted to a post in a topic:
Lexington by Davy Jones - Mamoli - 1/100 - American Brig
-
Davy Jones reacted to a post in a topic:
Lexington by Davy Jones - Mamoli - 1/100 - American Brig
-
Davy Jones reacted to a post in a topic:
Lexington by Davy Jones - Mamoli - 1/100 - American Brig
-
Davy Jones reacted to a post in a topic:
Lexington by Davy Jones - Mamoli - 1/100 - American Brig
-
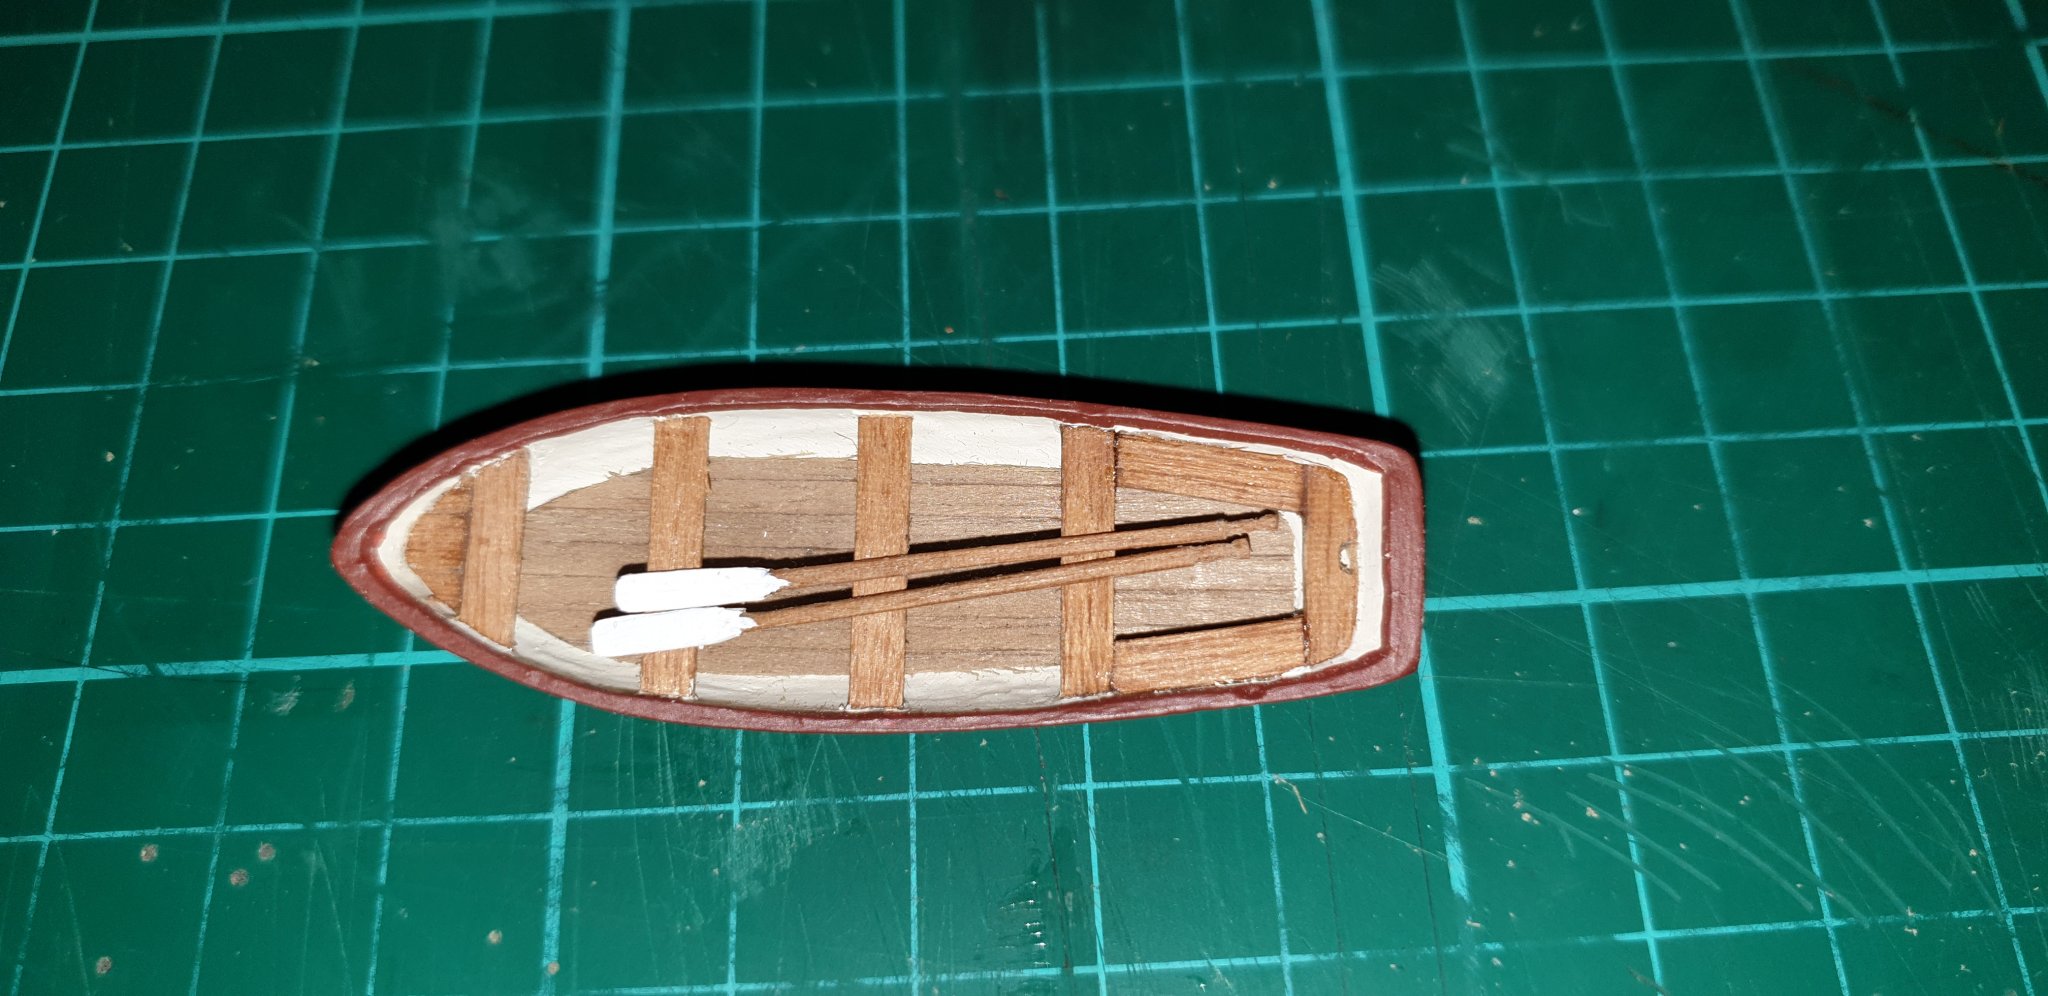
Davy Jones reacted to a post in a topic:
New Bedford Whaleboat by PJG - FINISHED - Model Shipways - 1:16 - First nautical build
-
Great looking model. With good attention to detail. Good job sir. Davy.
- 52 replies
-
- 1
-
-
- model shipways
- new bedford whaleboat
- (and 1 more)
-
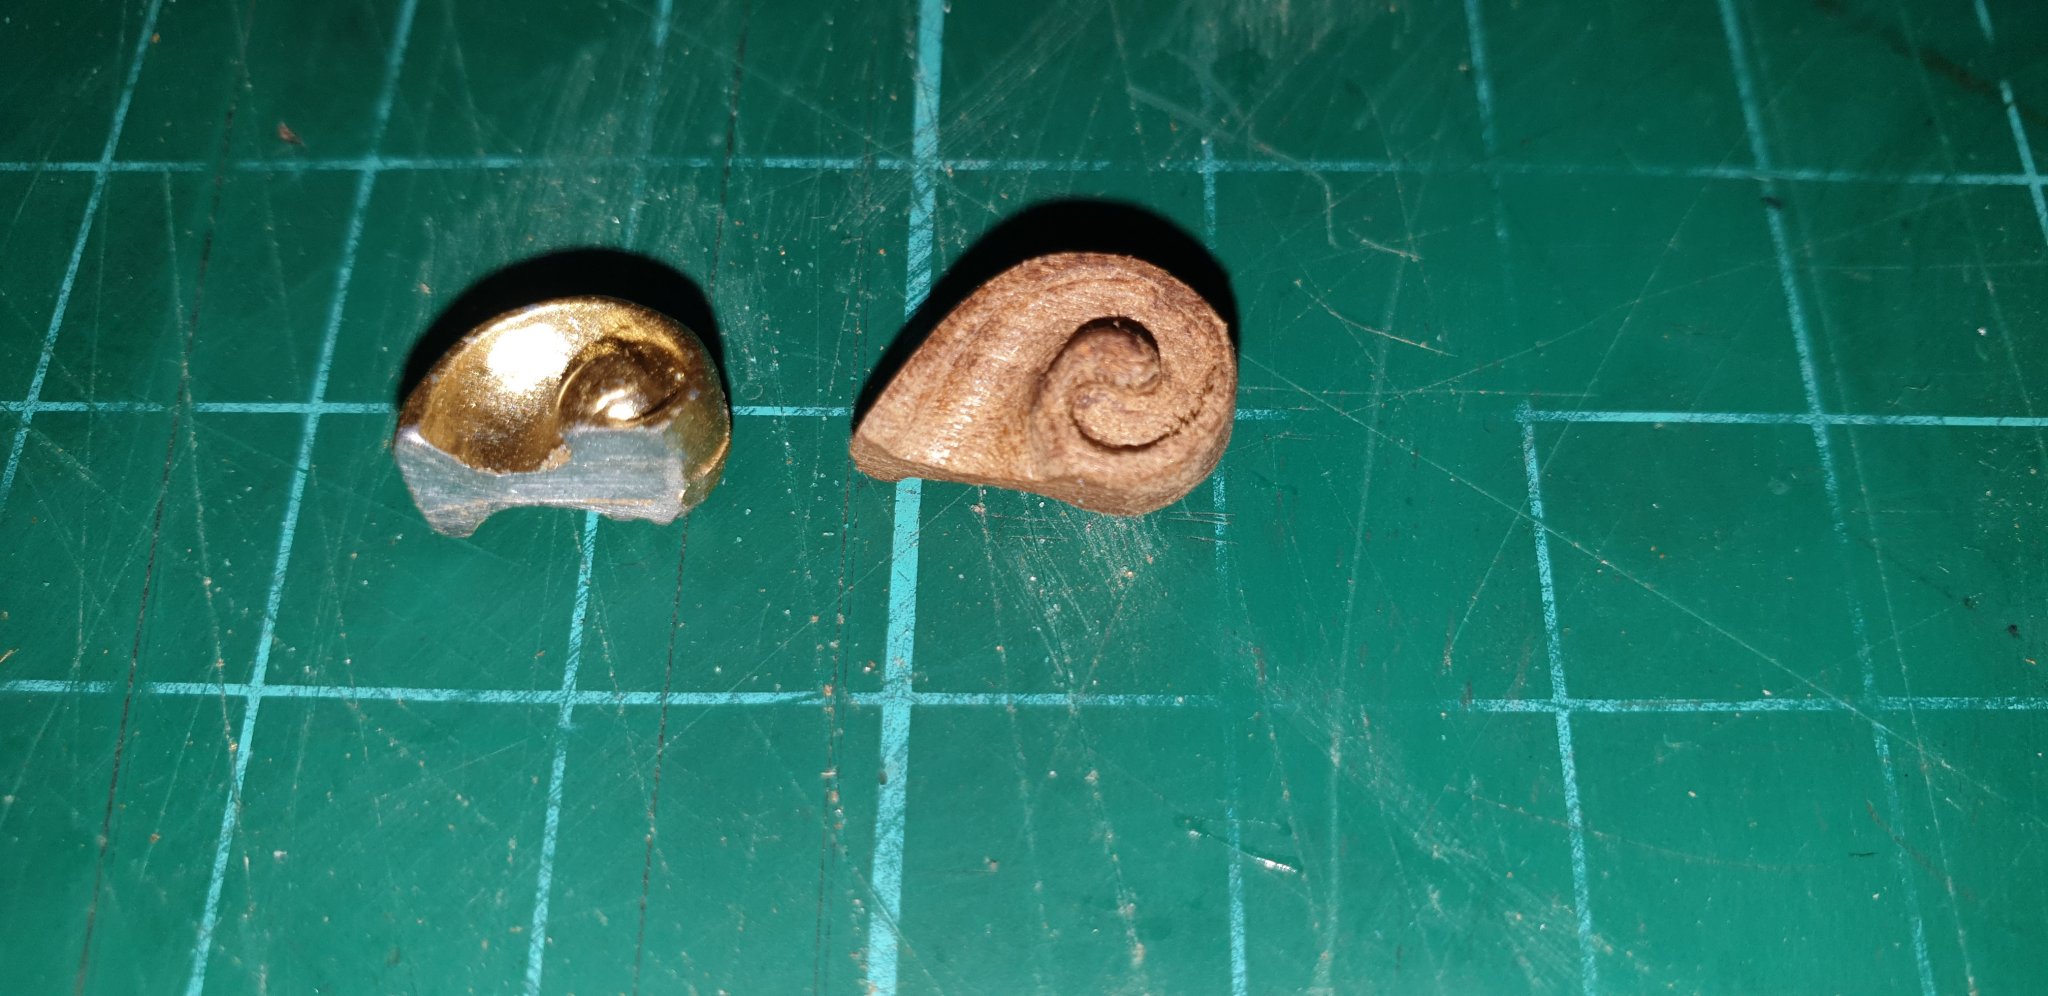
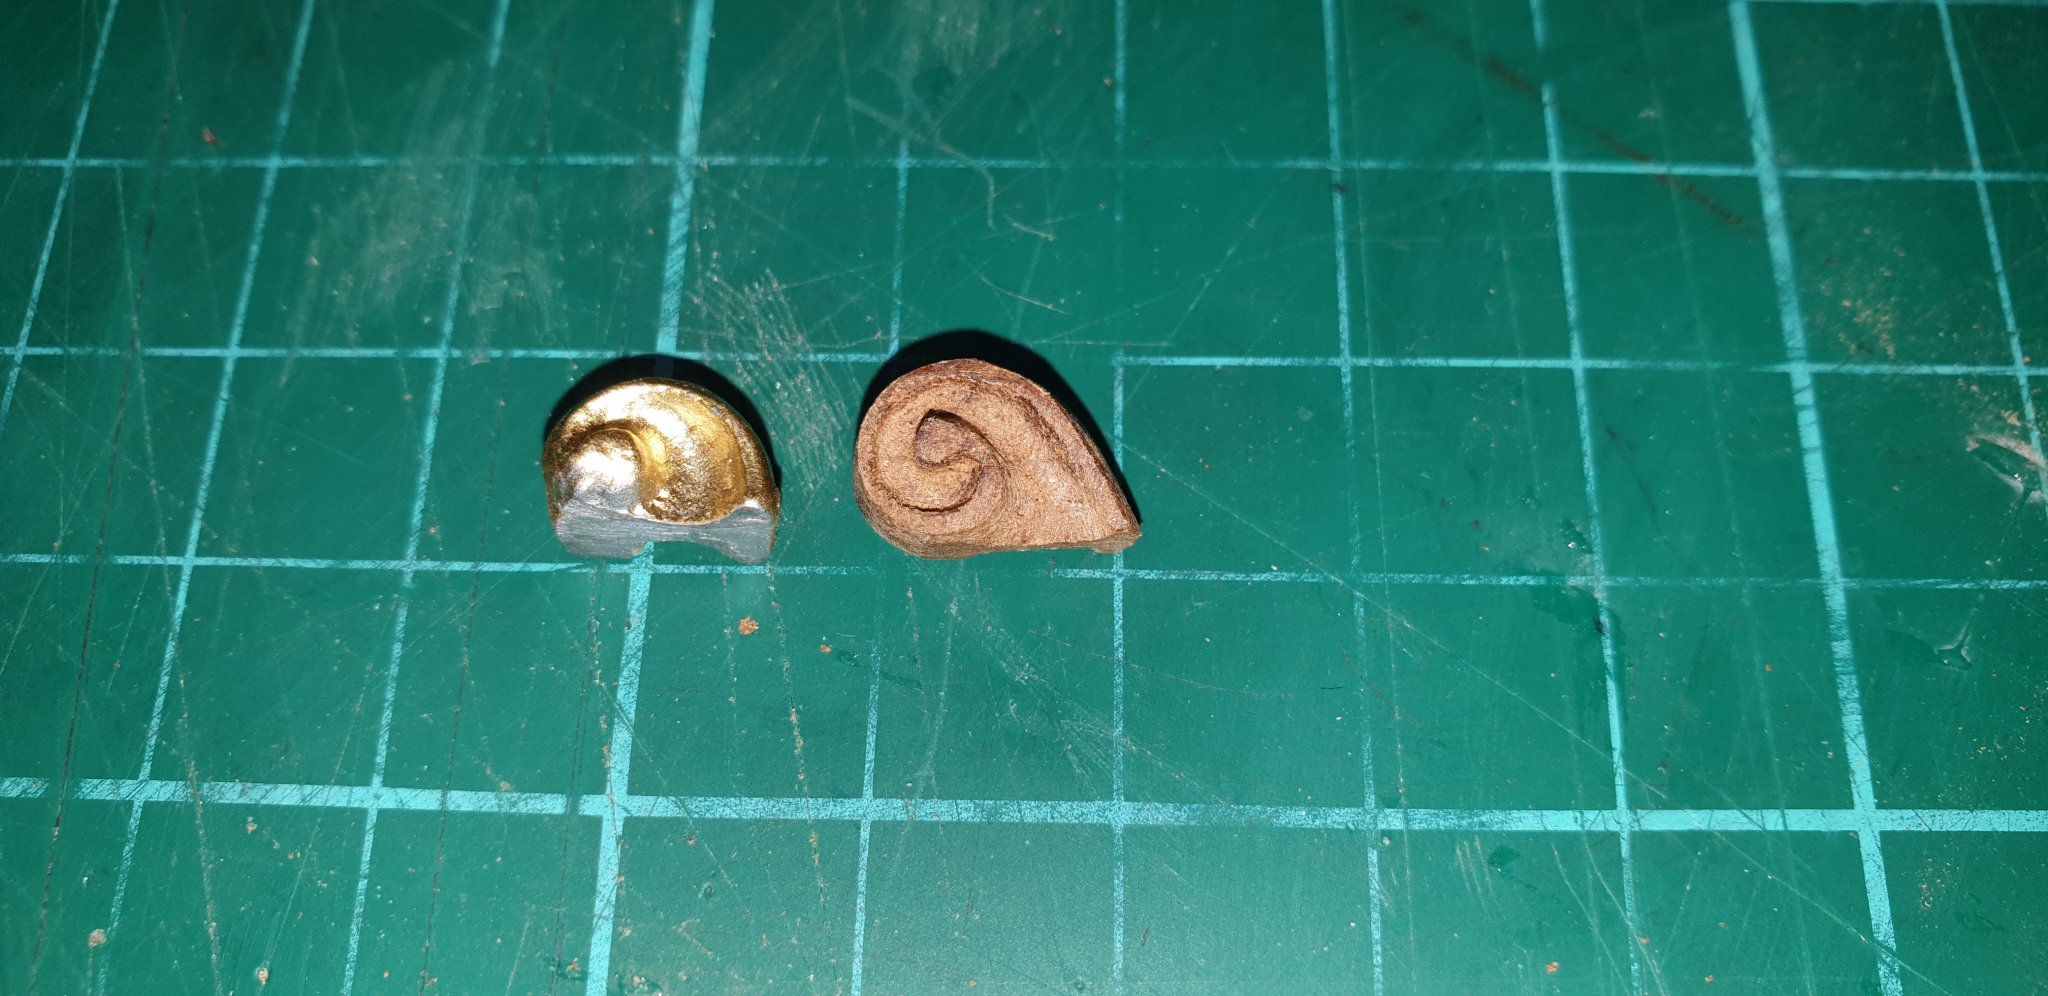
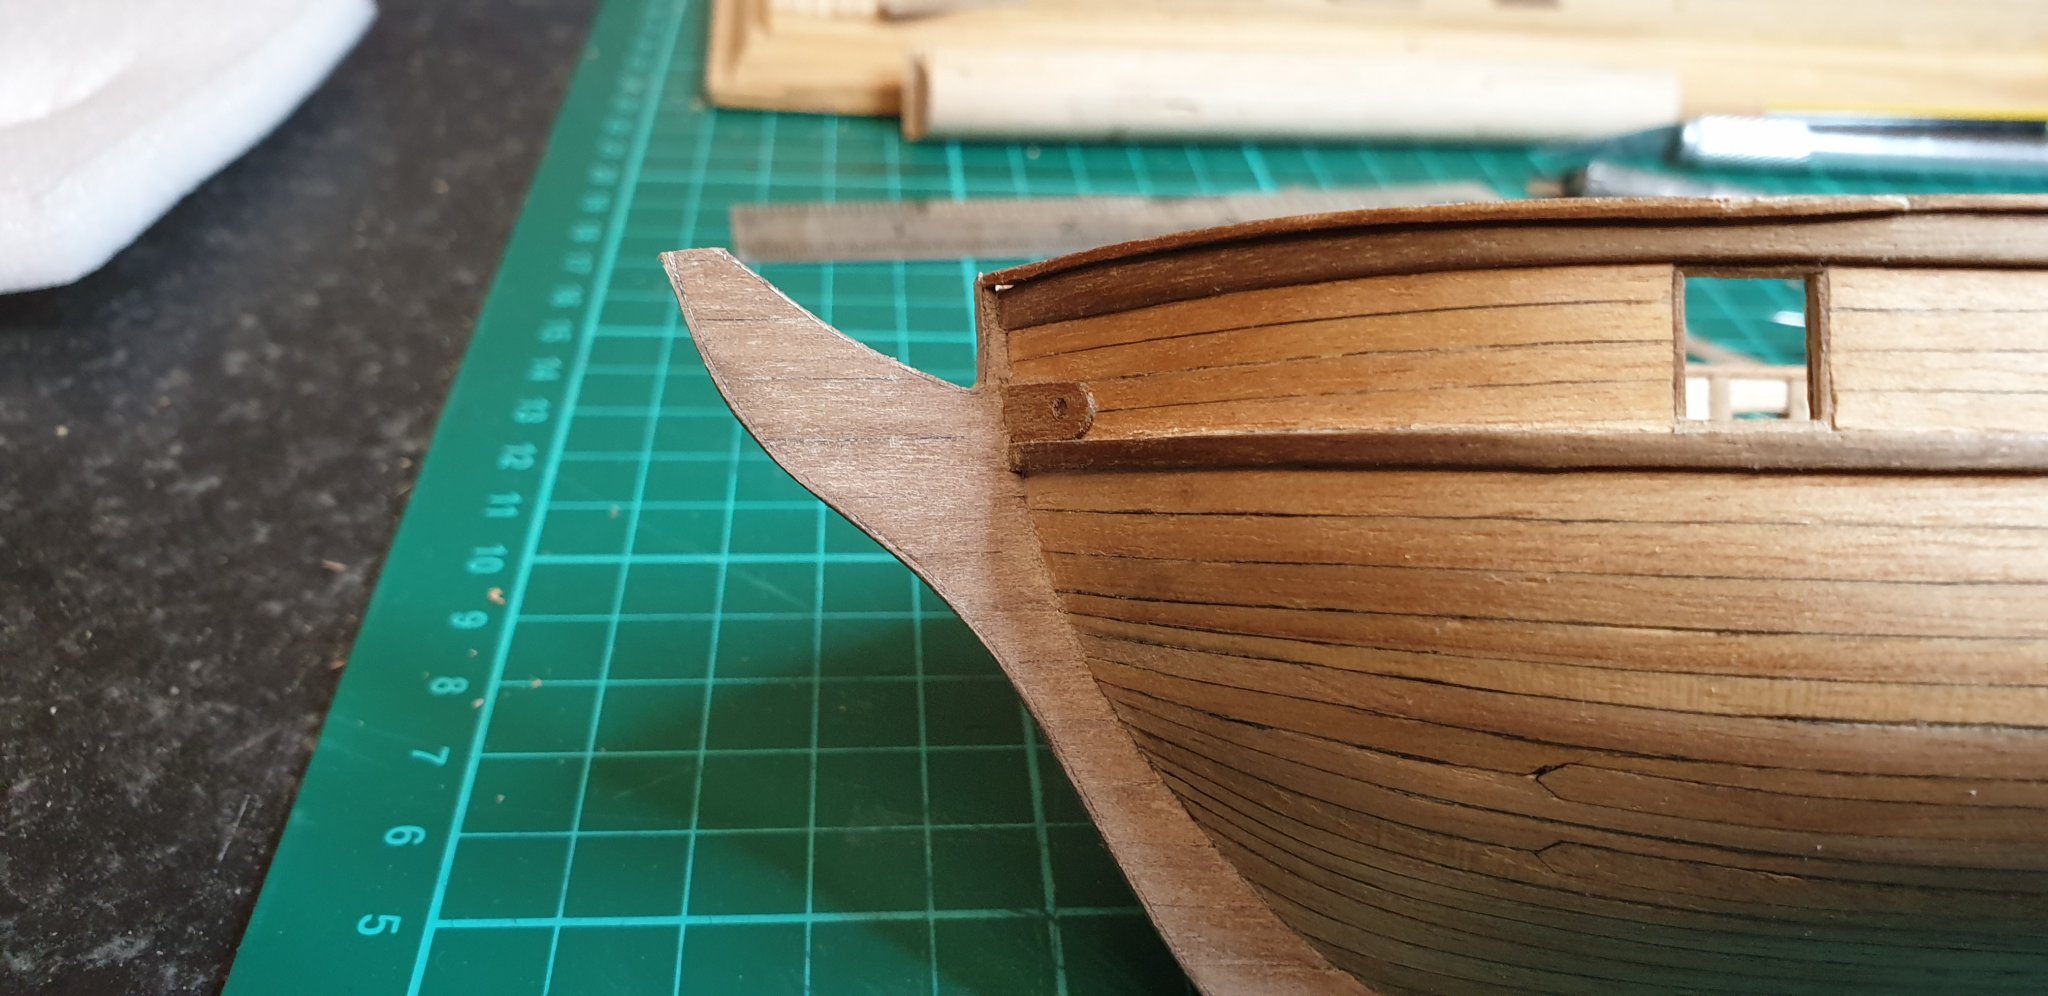
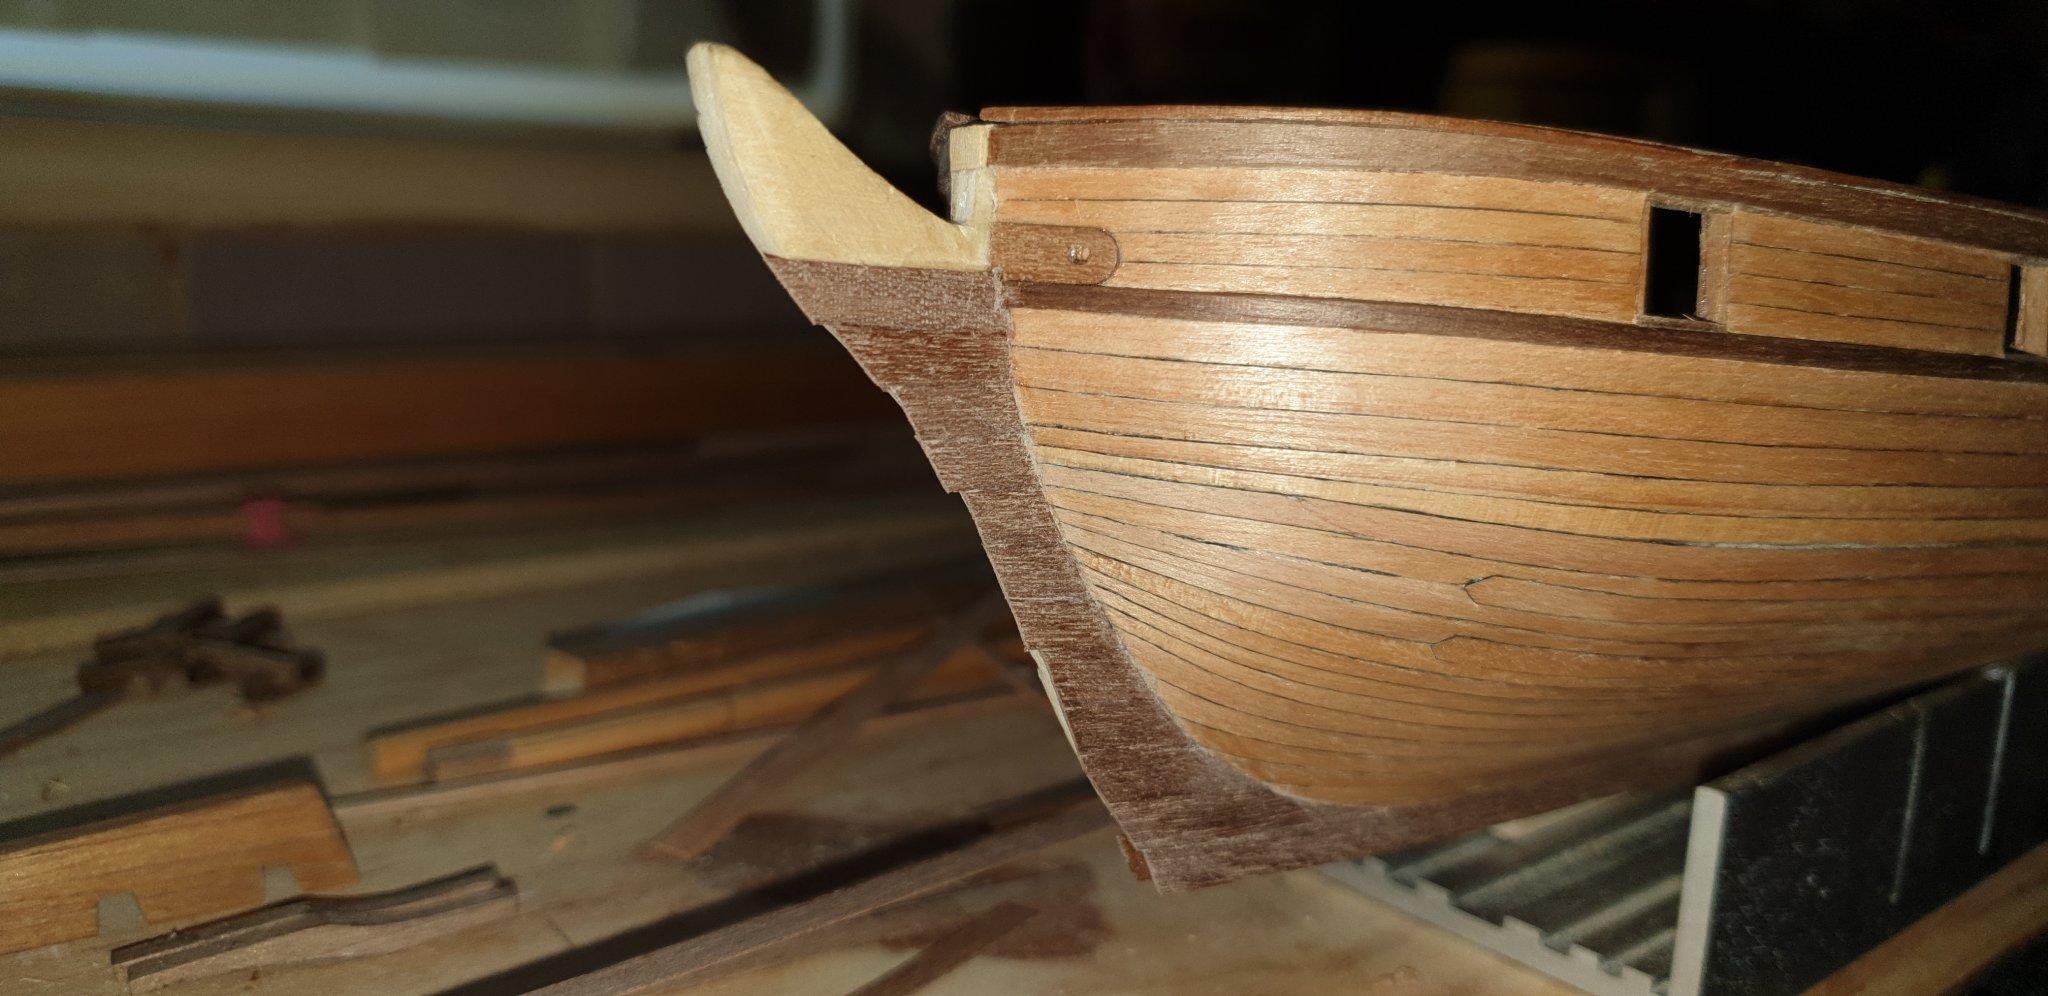
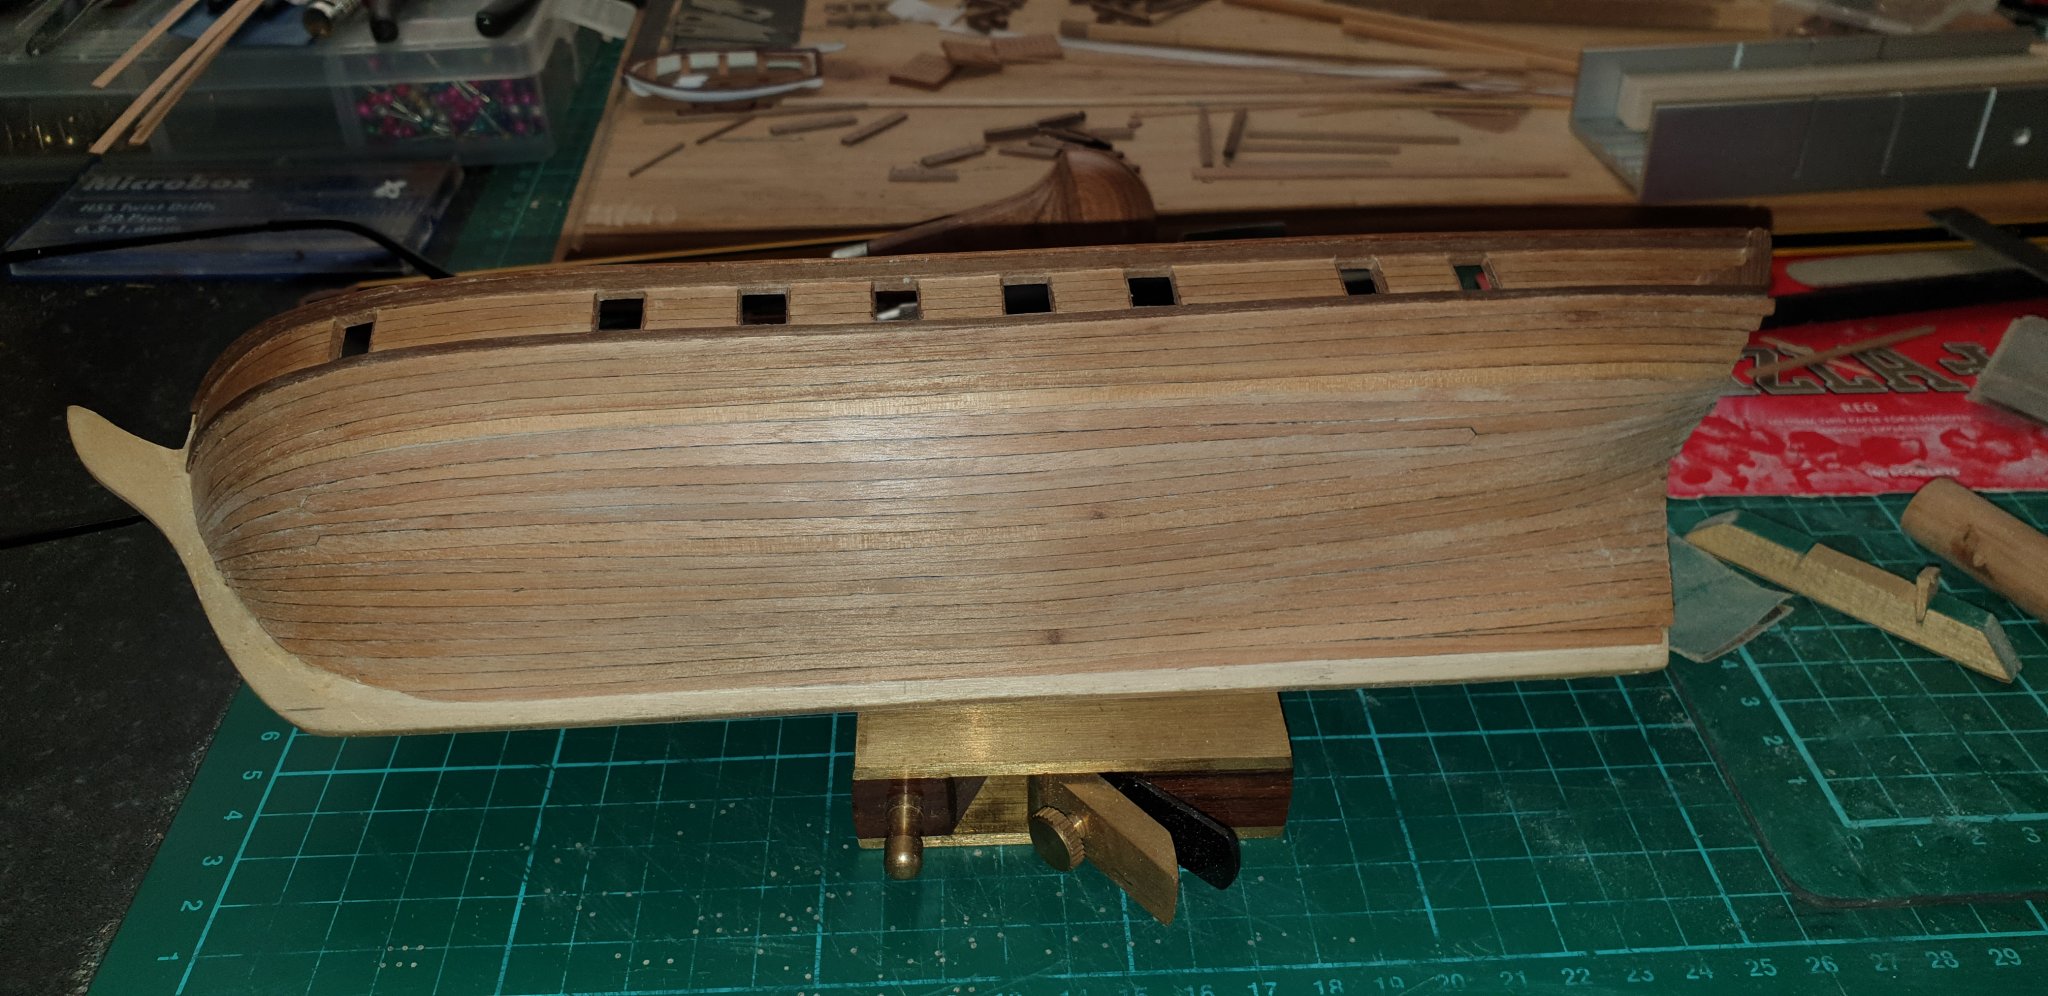
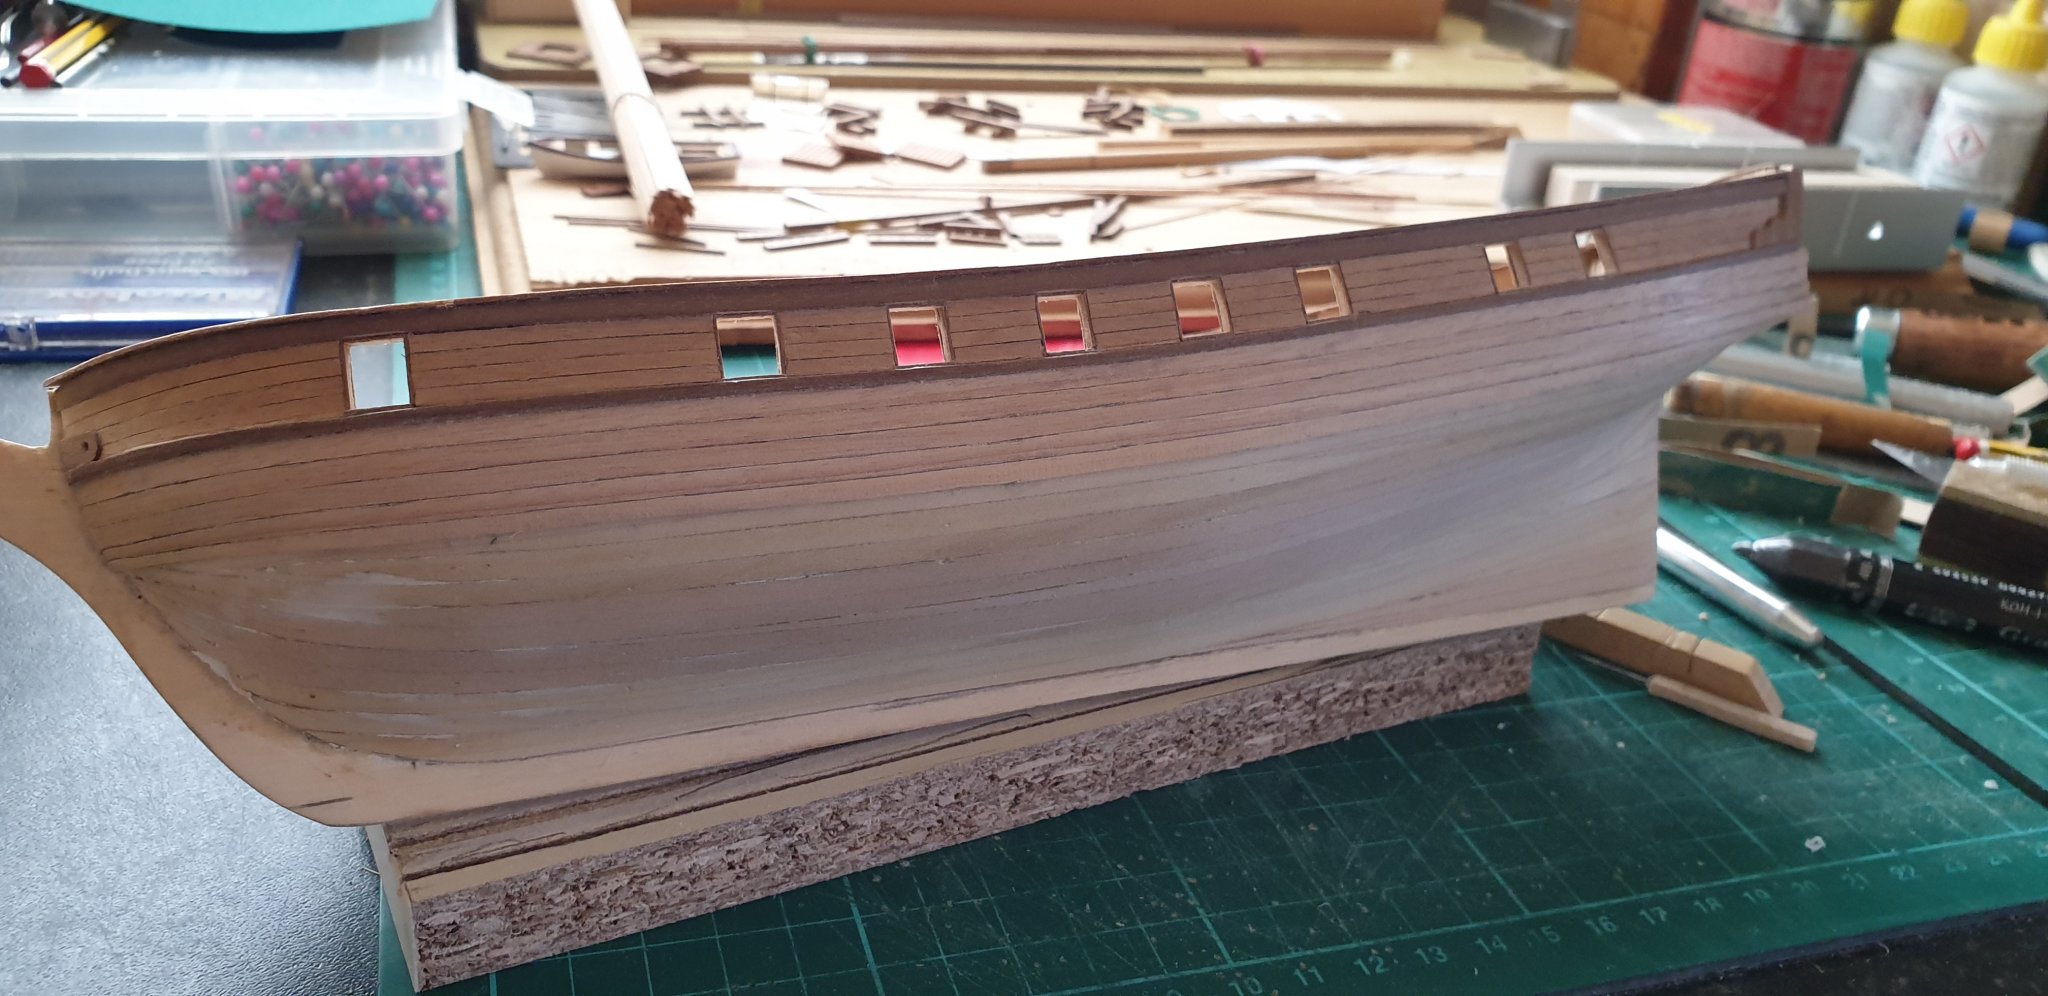
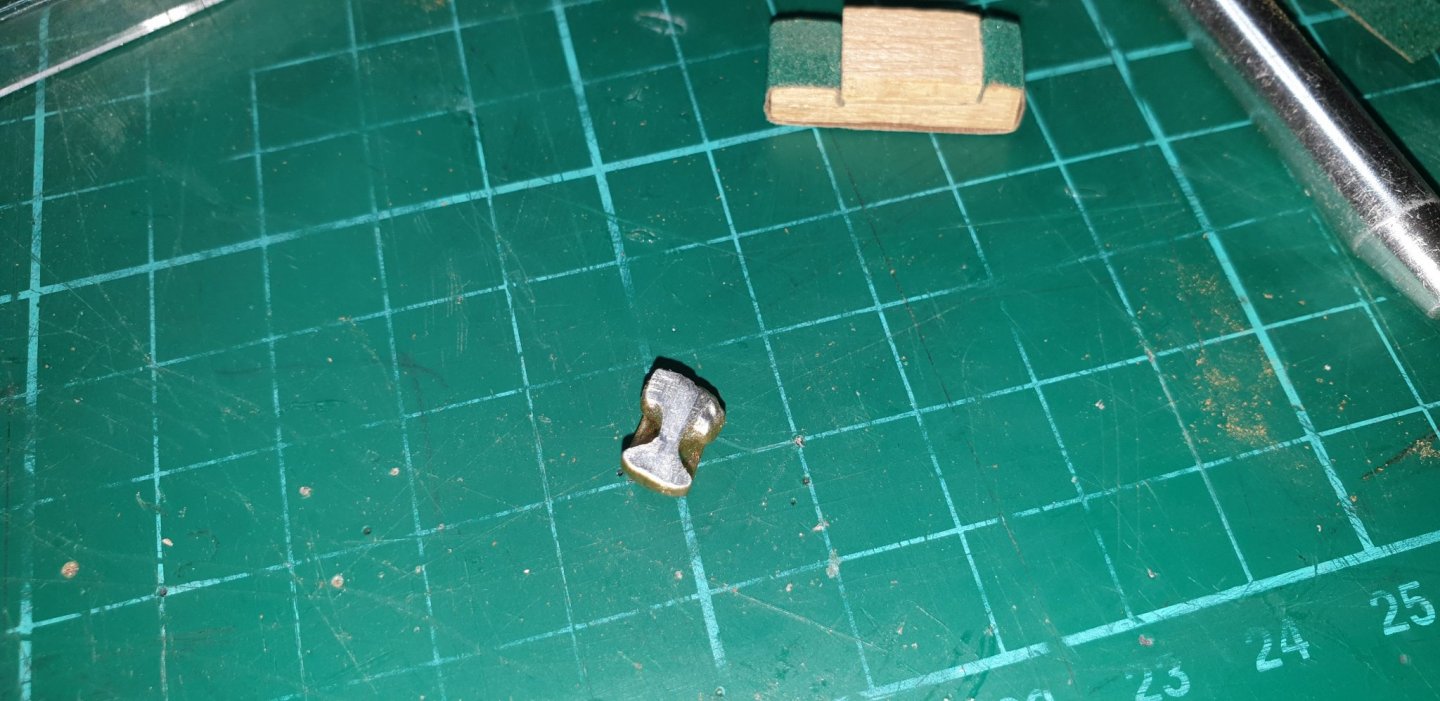
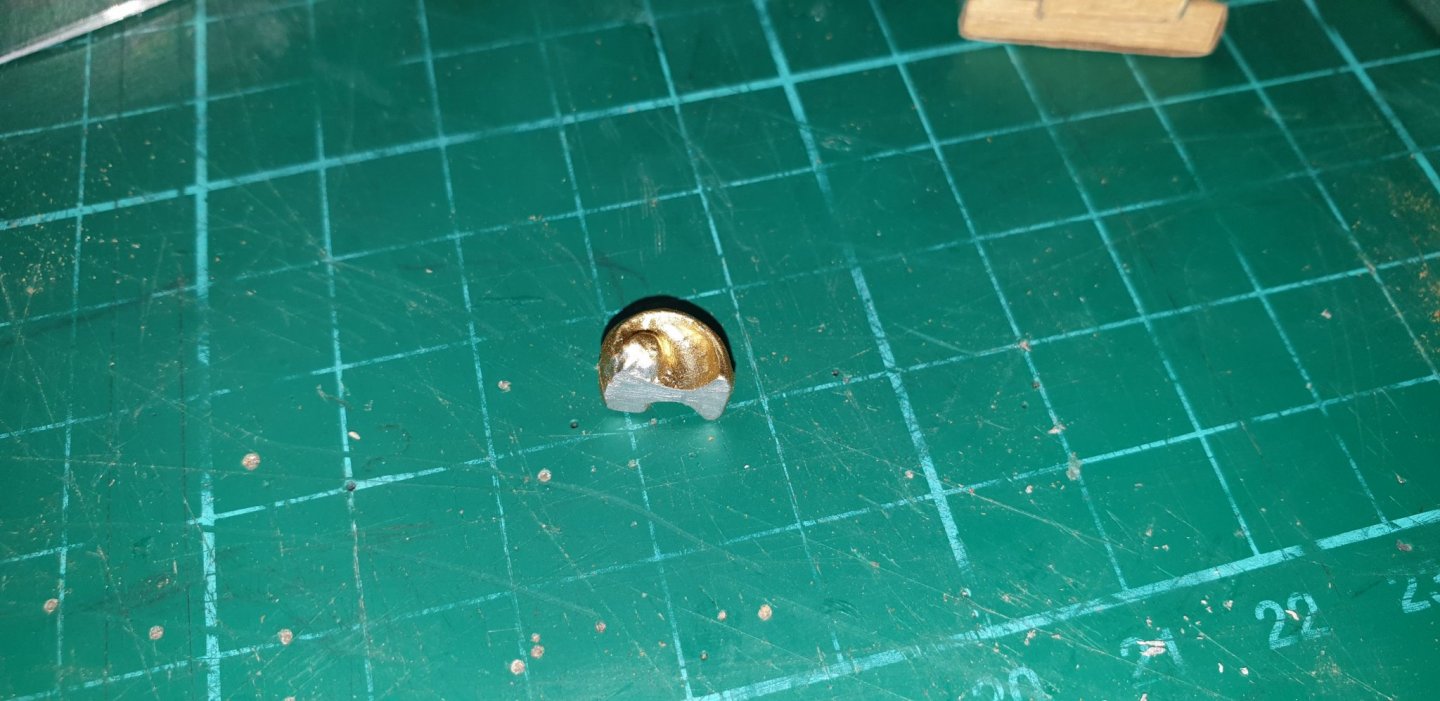
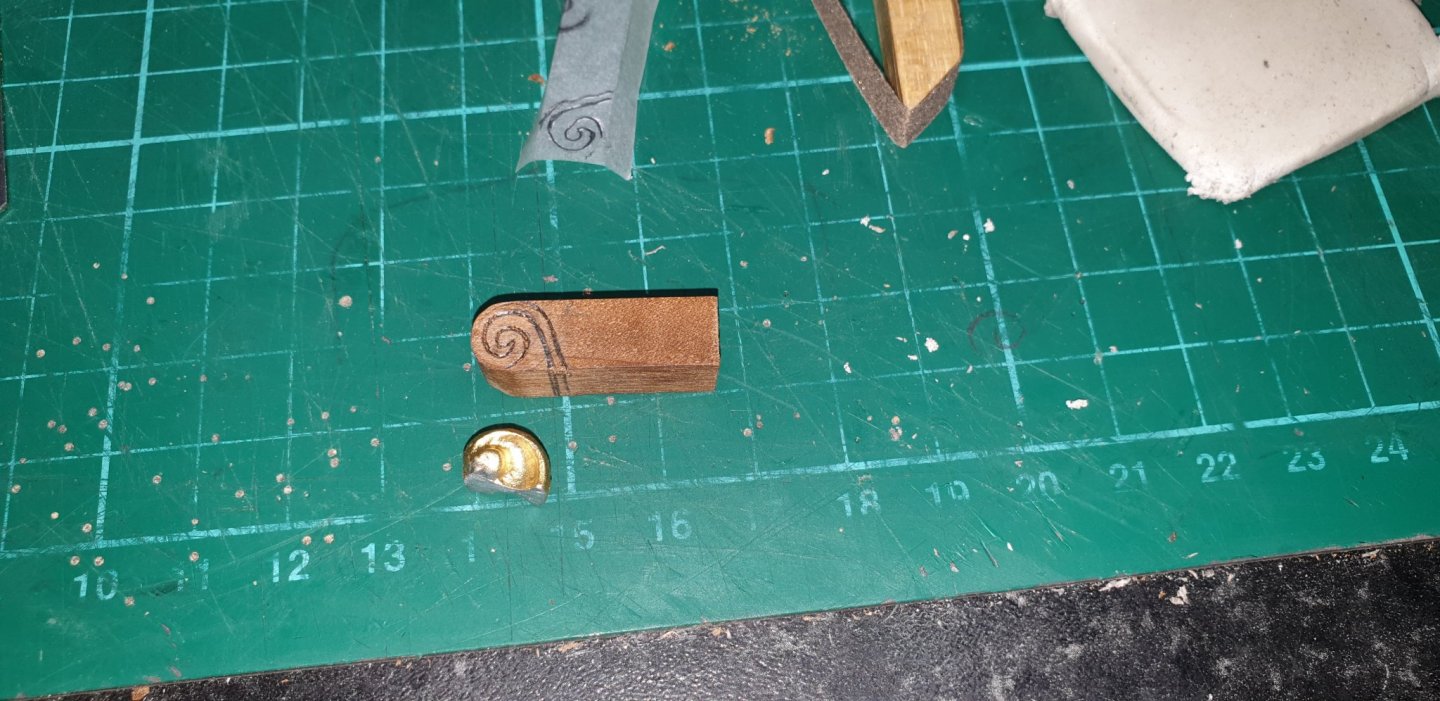
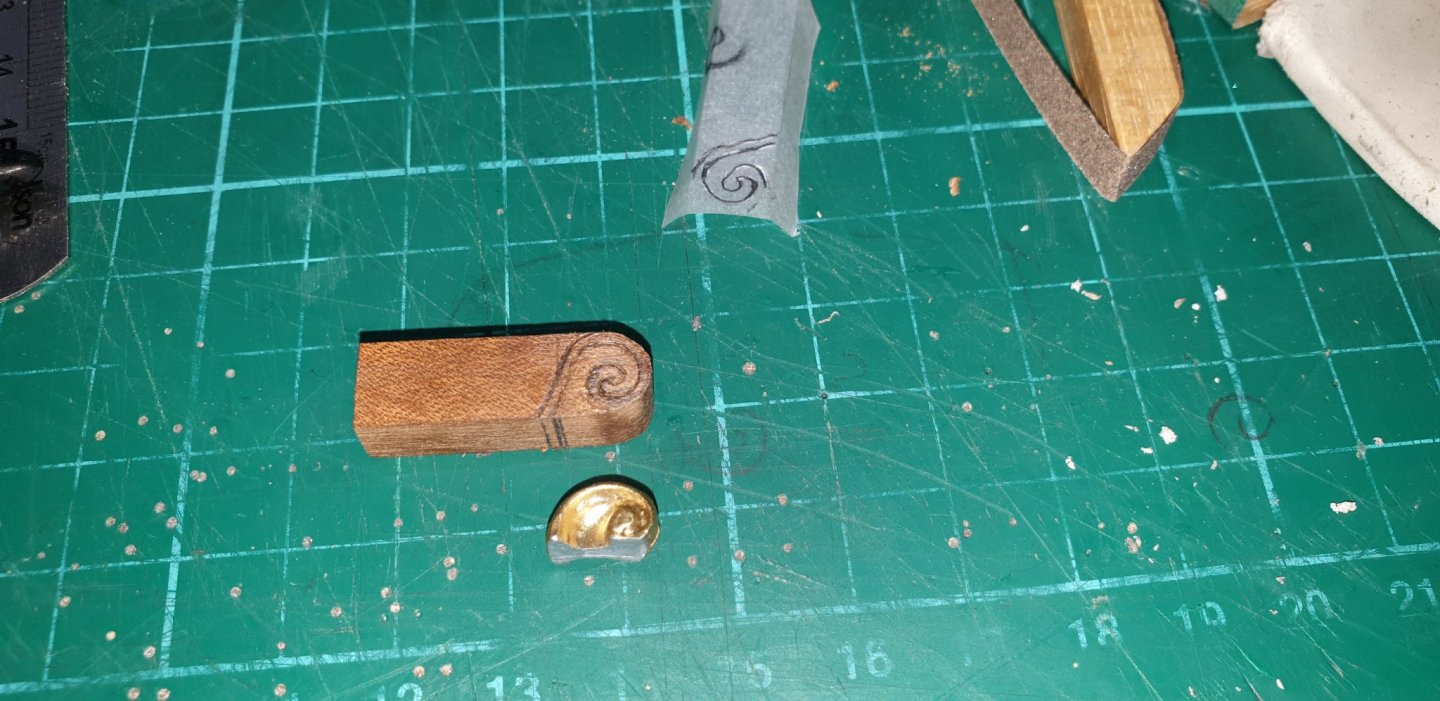
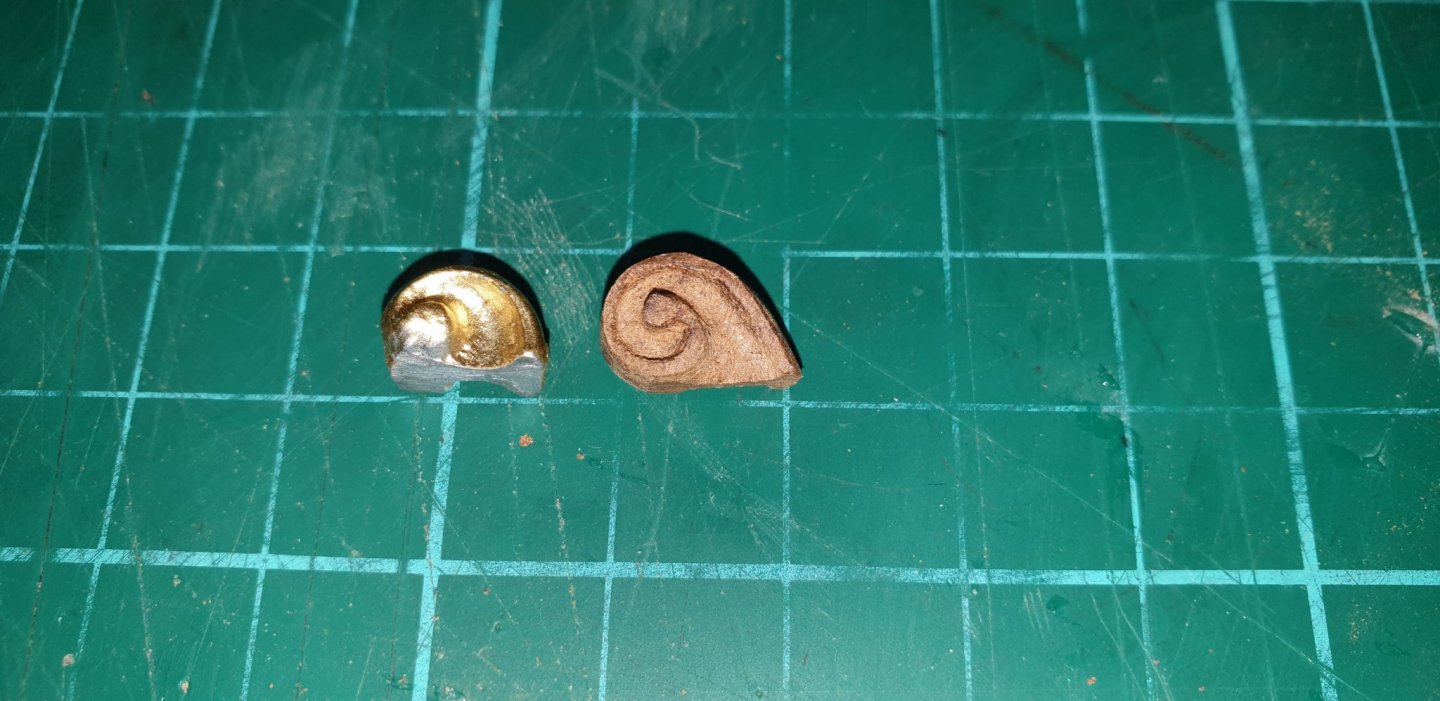
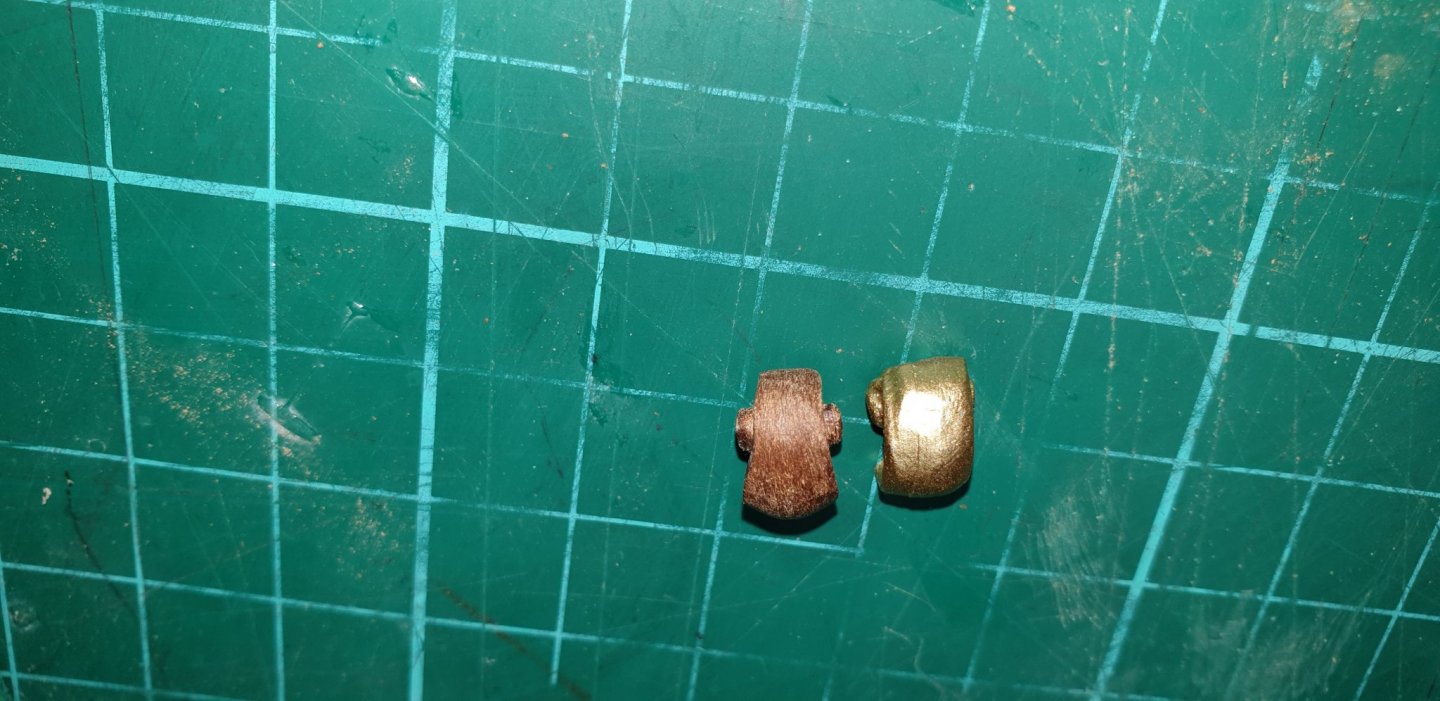
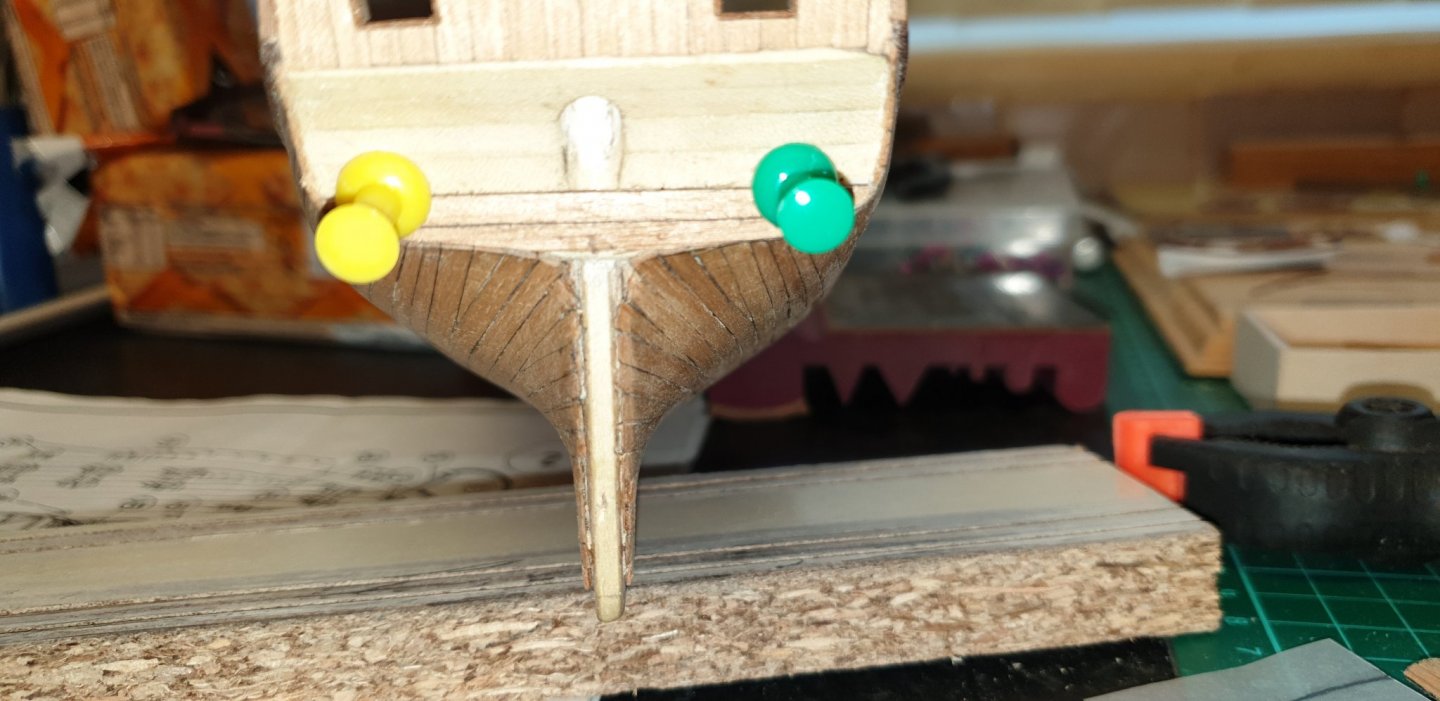
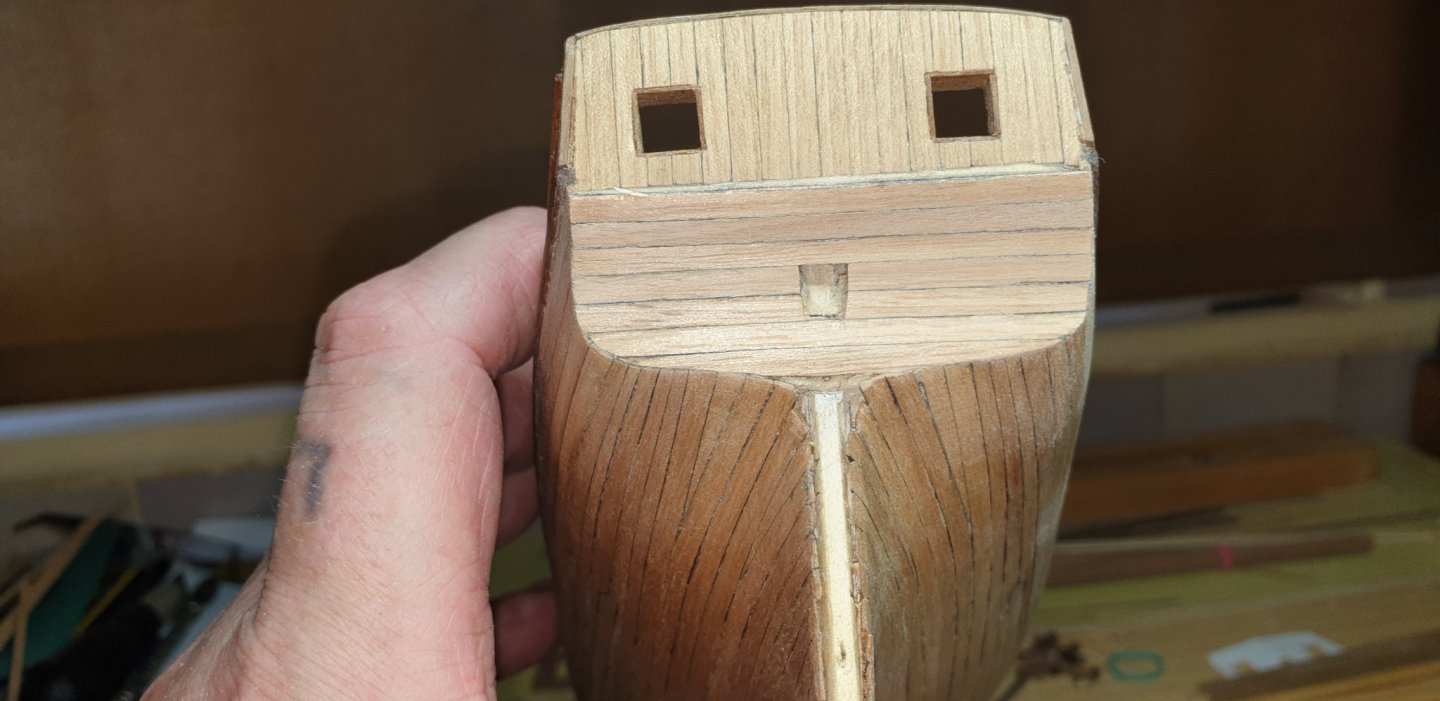
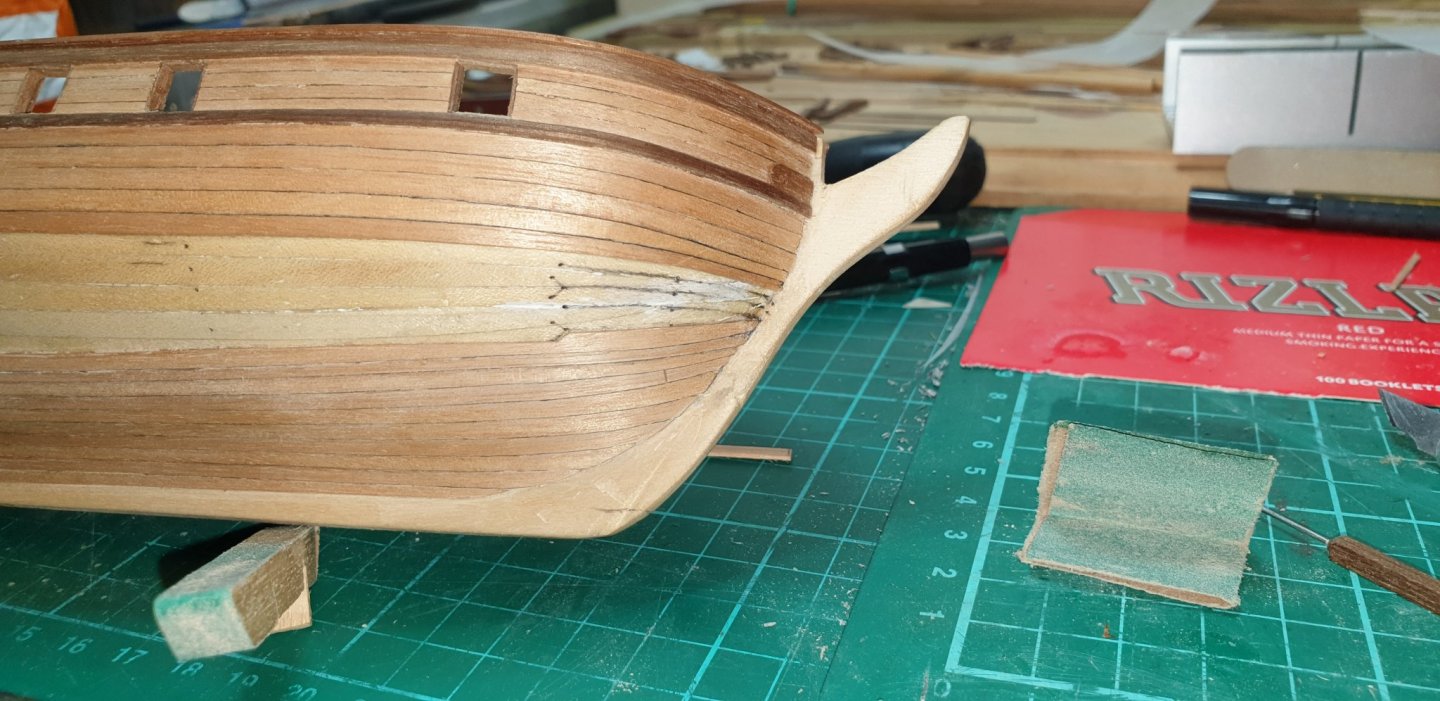
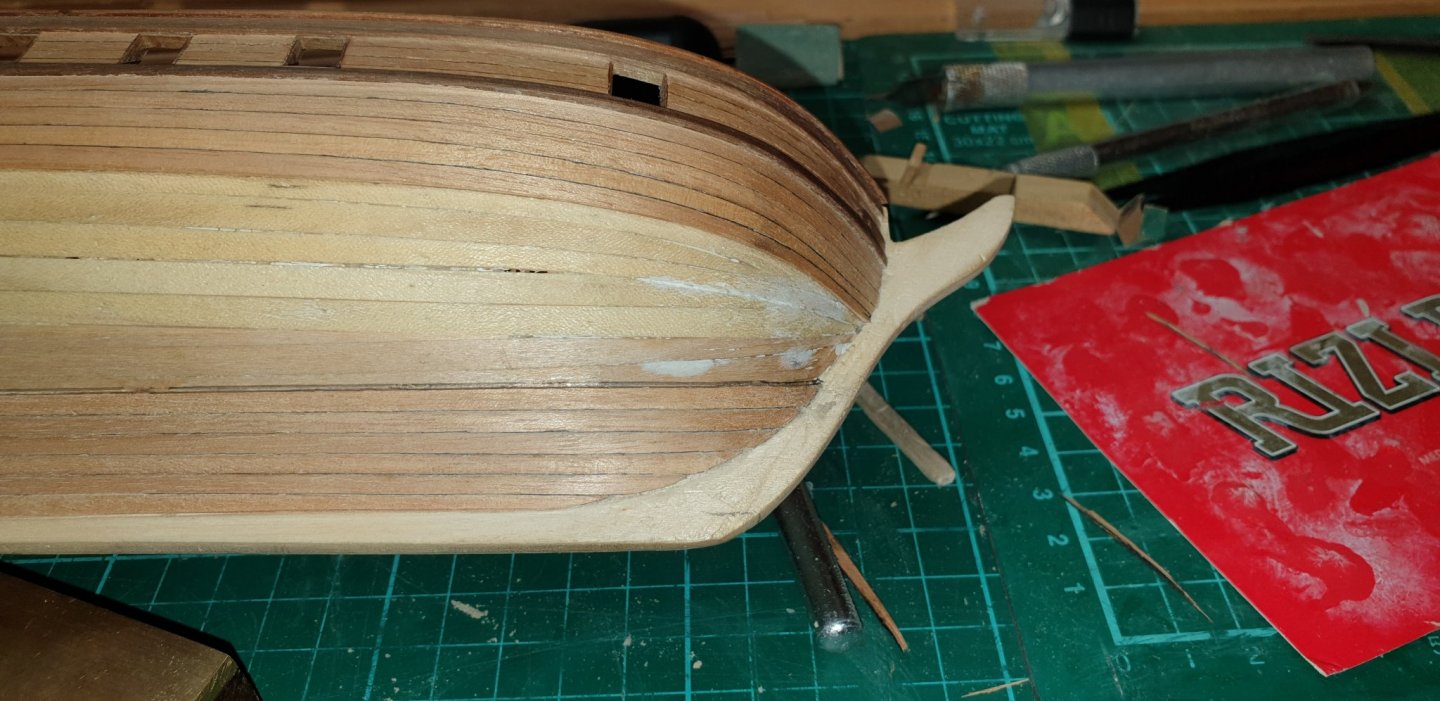
Thanks for the replies Edward & Charles. I to like the natural wood effect and the stealers were quite hard for me as this was my 1st go at it, but thankfully with time and patience it went better than i expected. Now I think this is the figure head, basically just a curl on the bow of the ship. They supply you with a gold colored metal curl, but i don't like it very much so i made my own out of walnut. As you can see the right side of the curl's base is missing and the detail is not very good. To me the new one looks better. Davy.

-
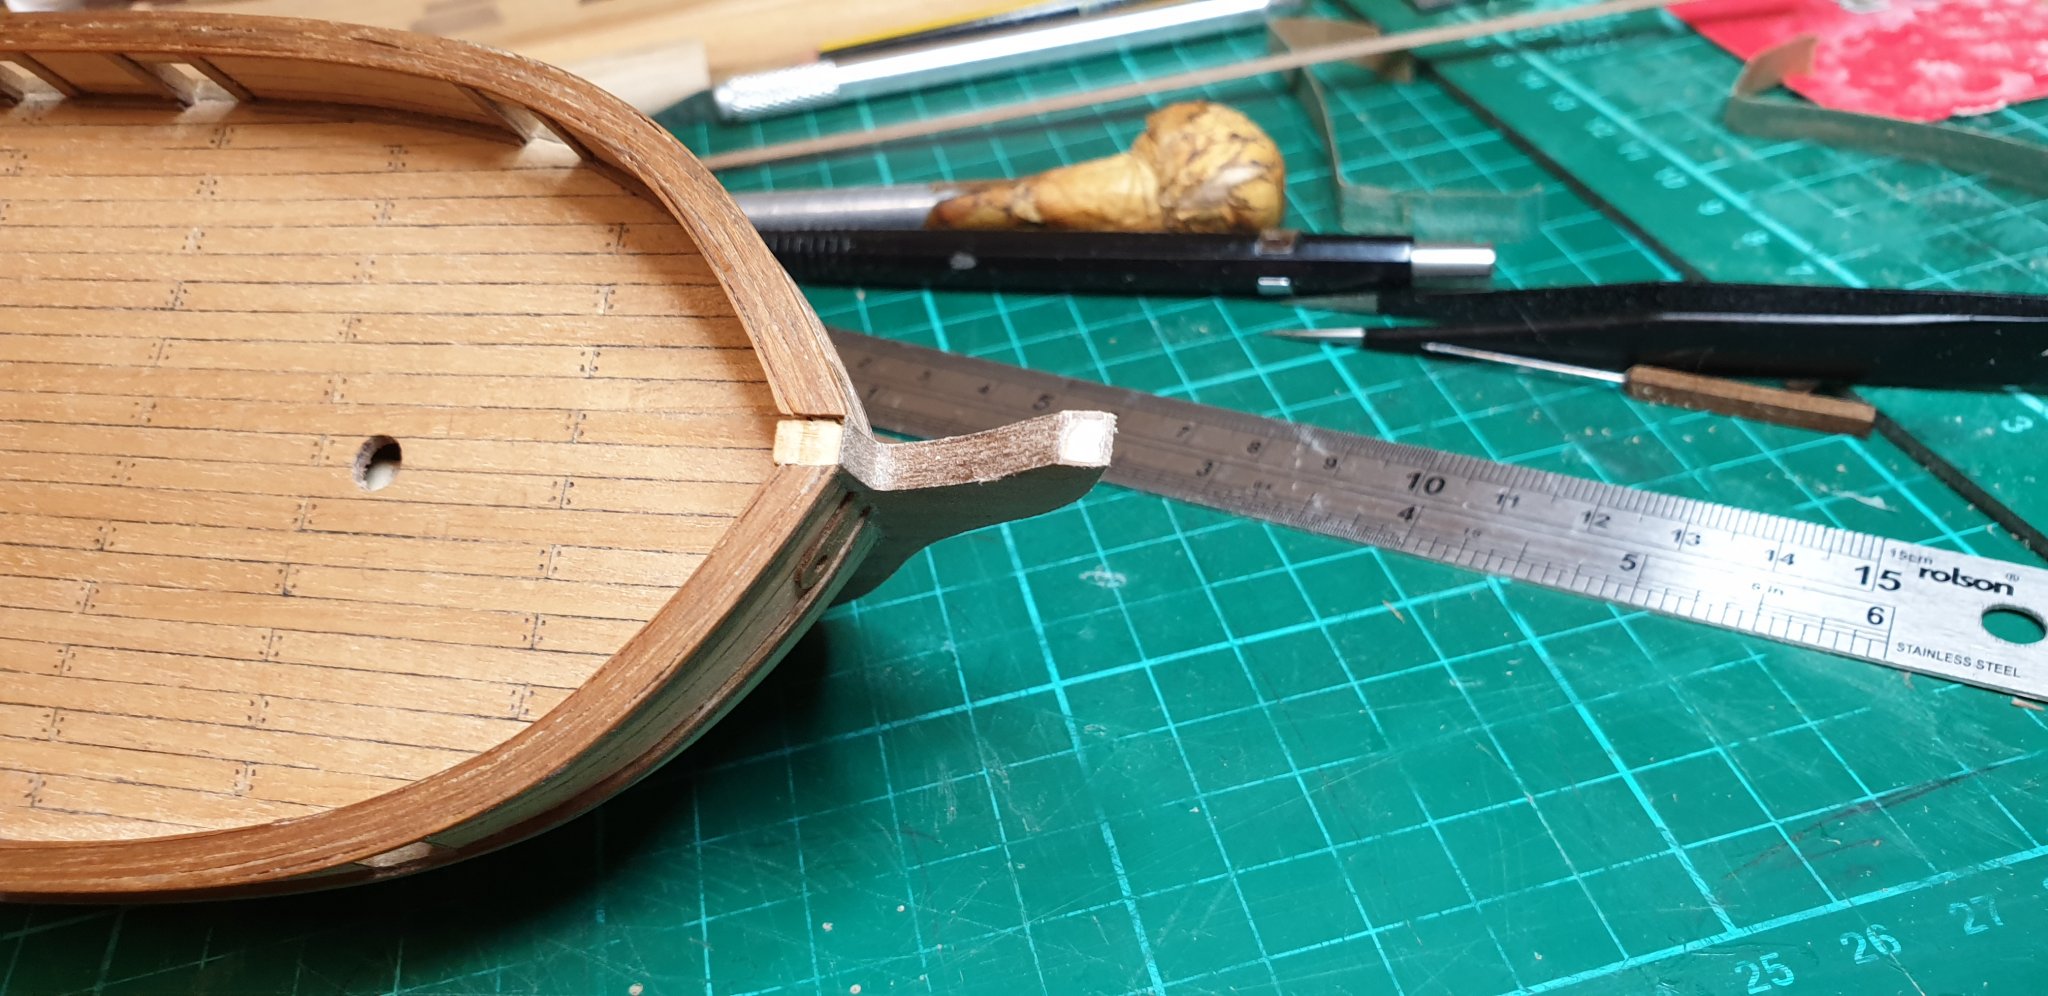
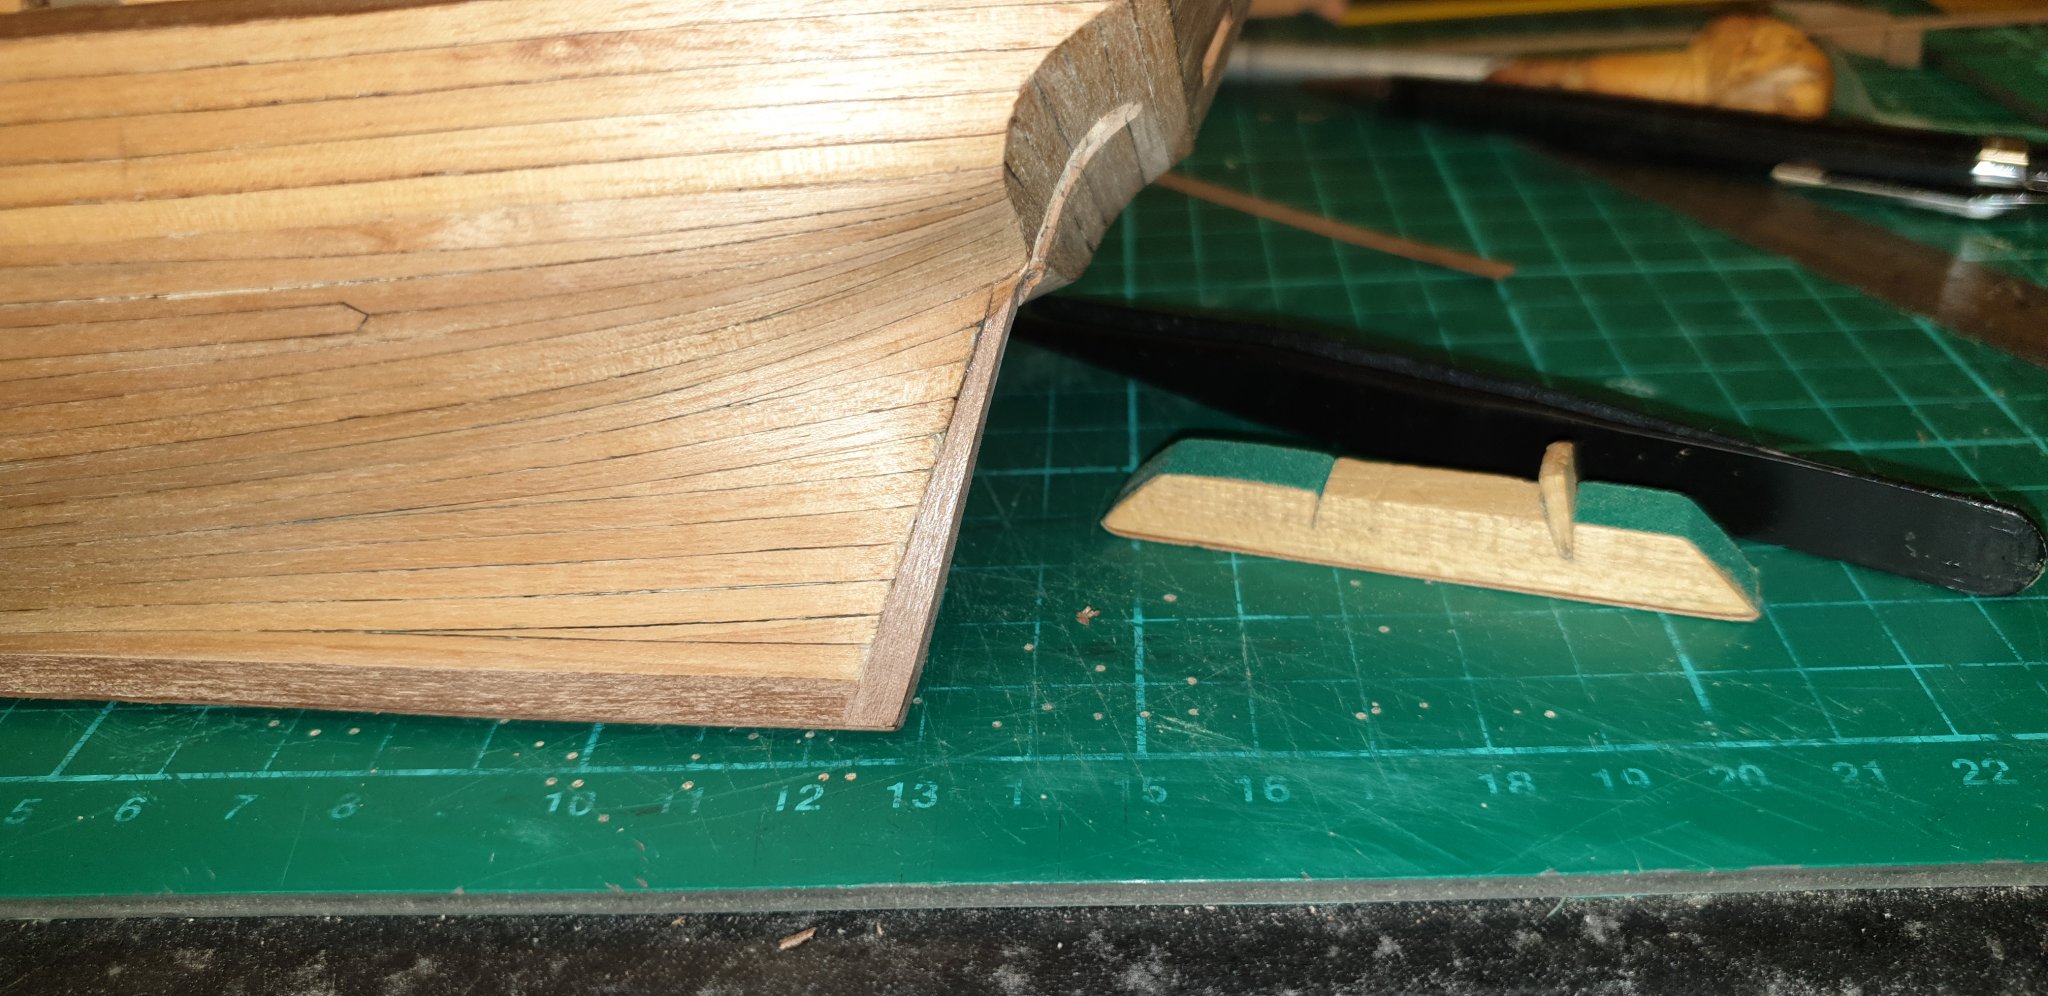
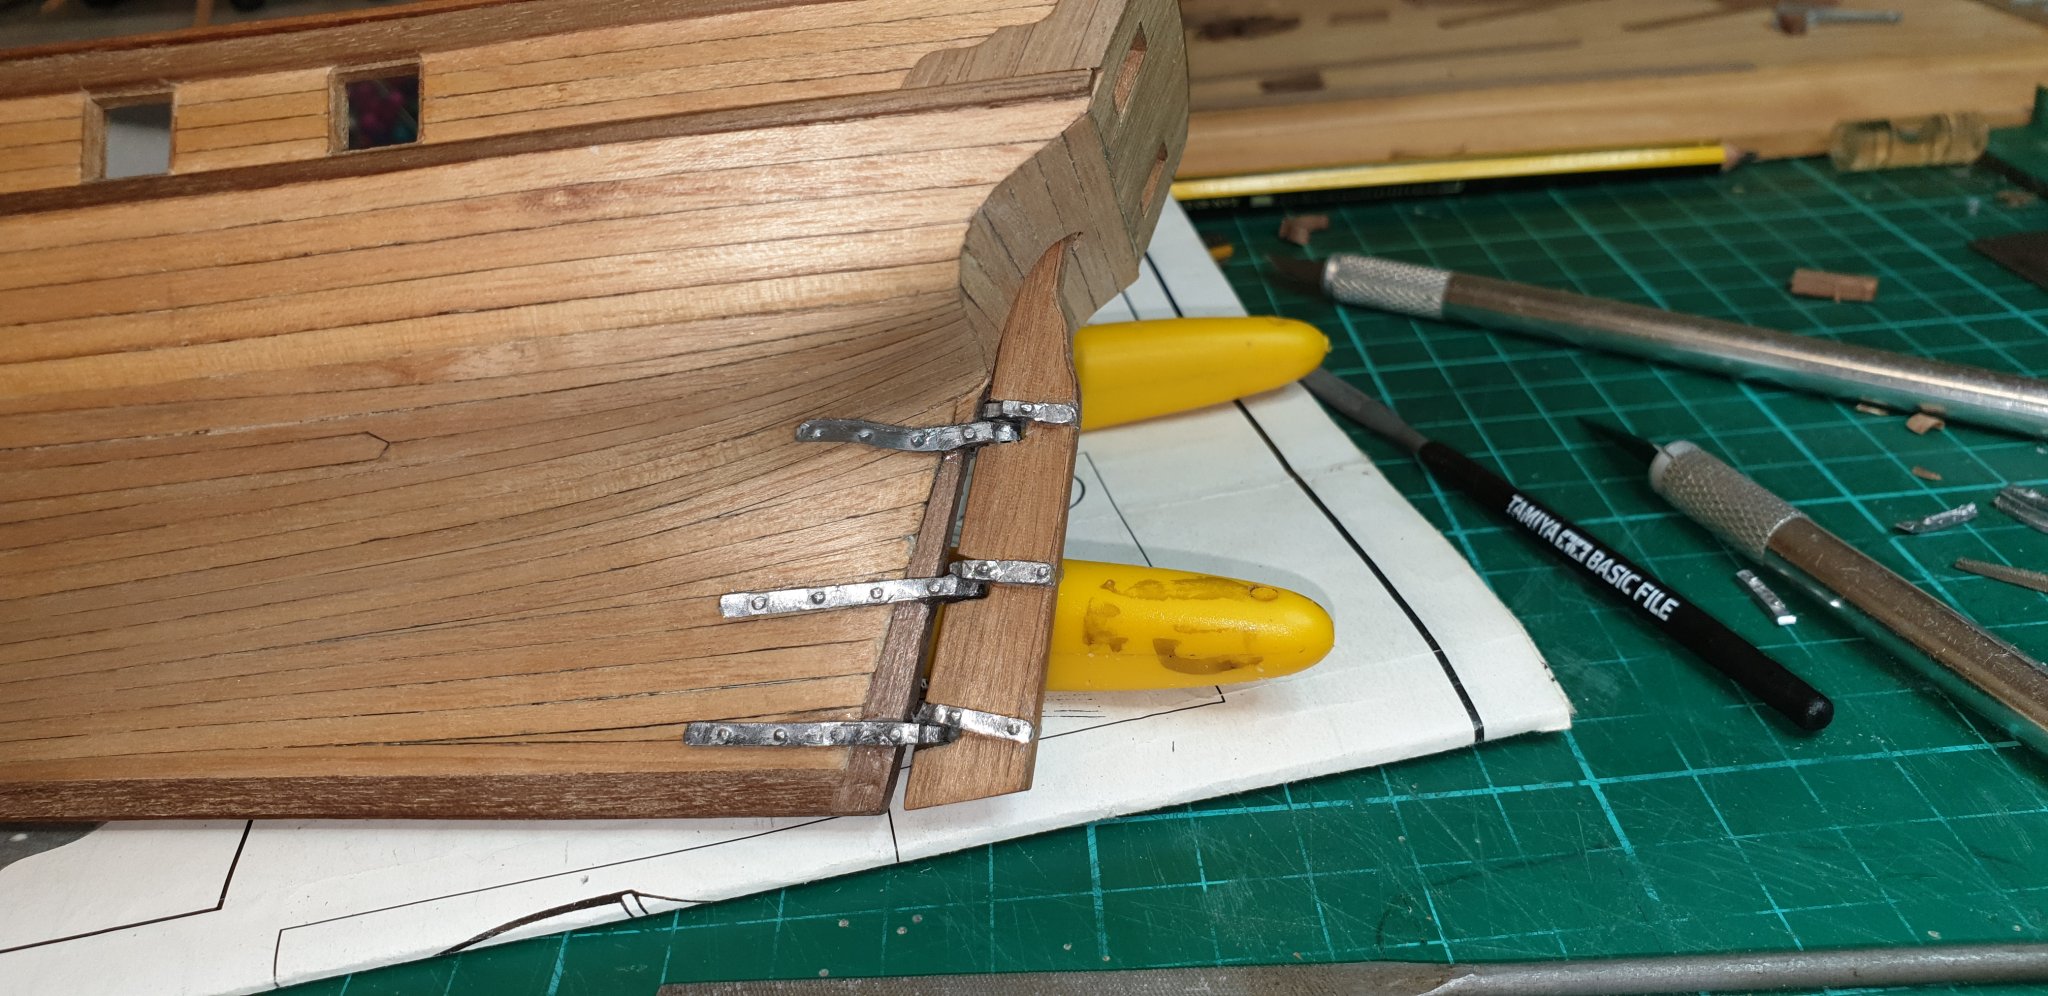
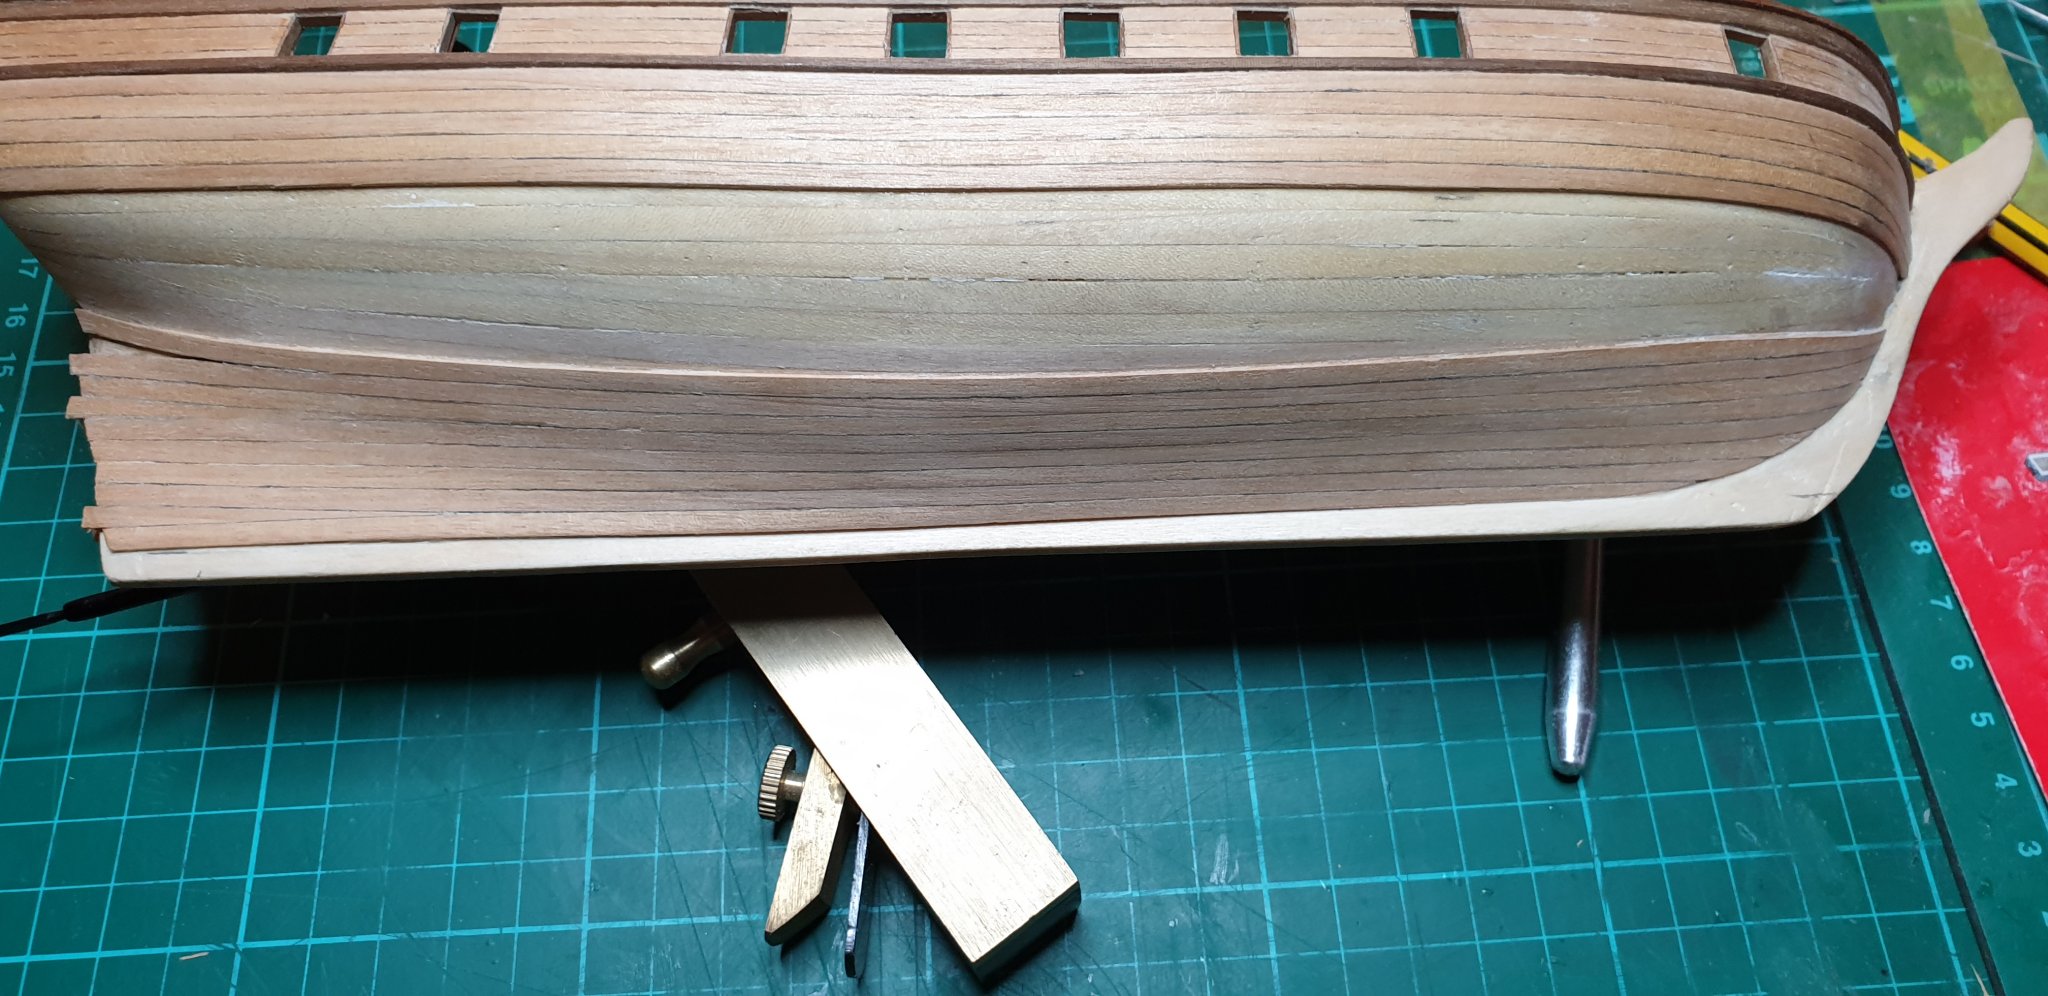
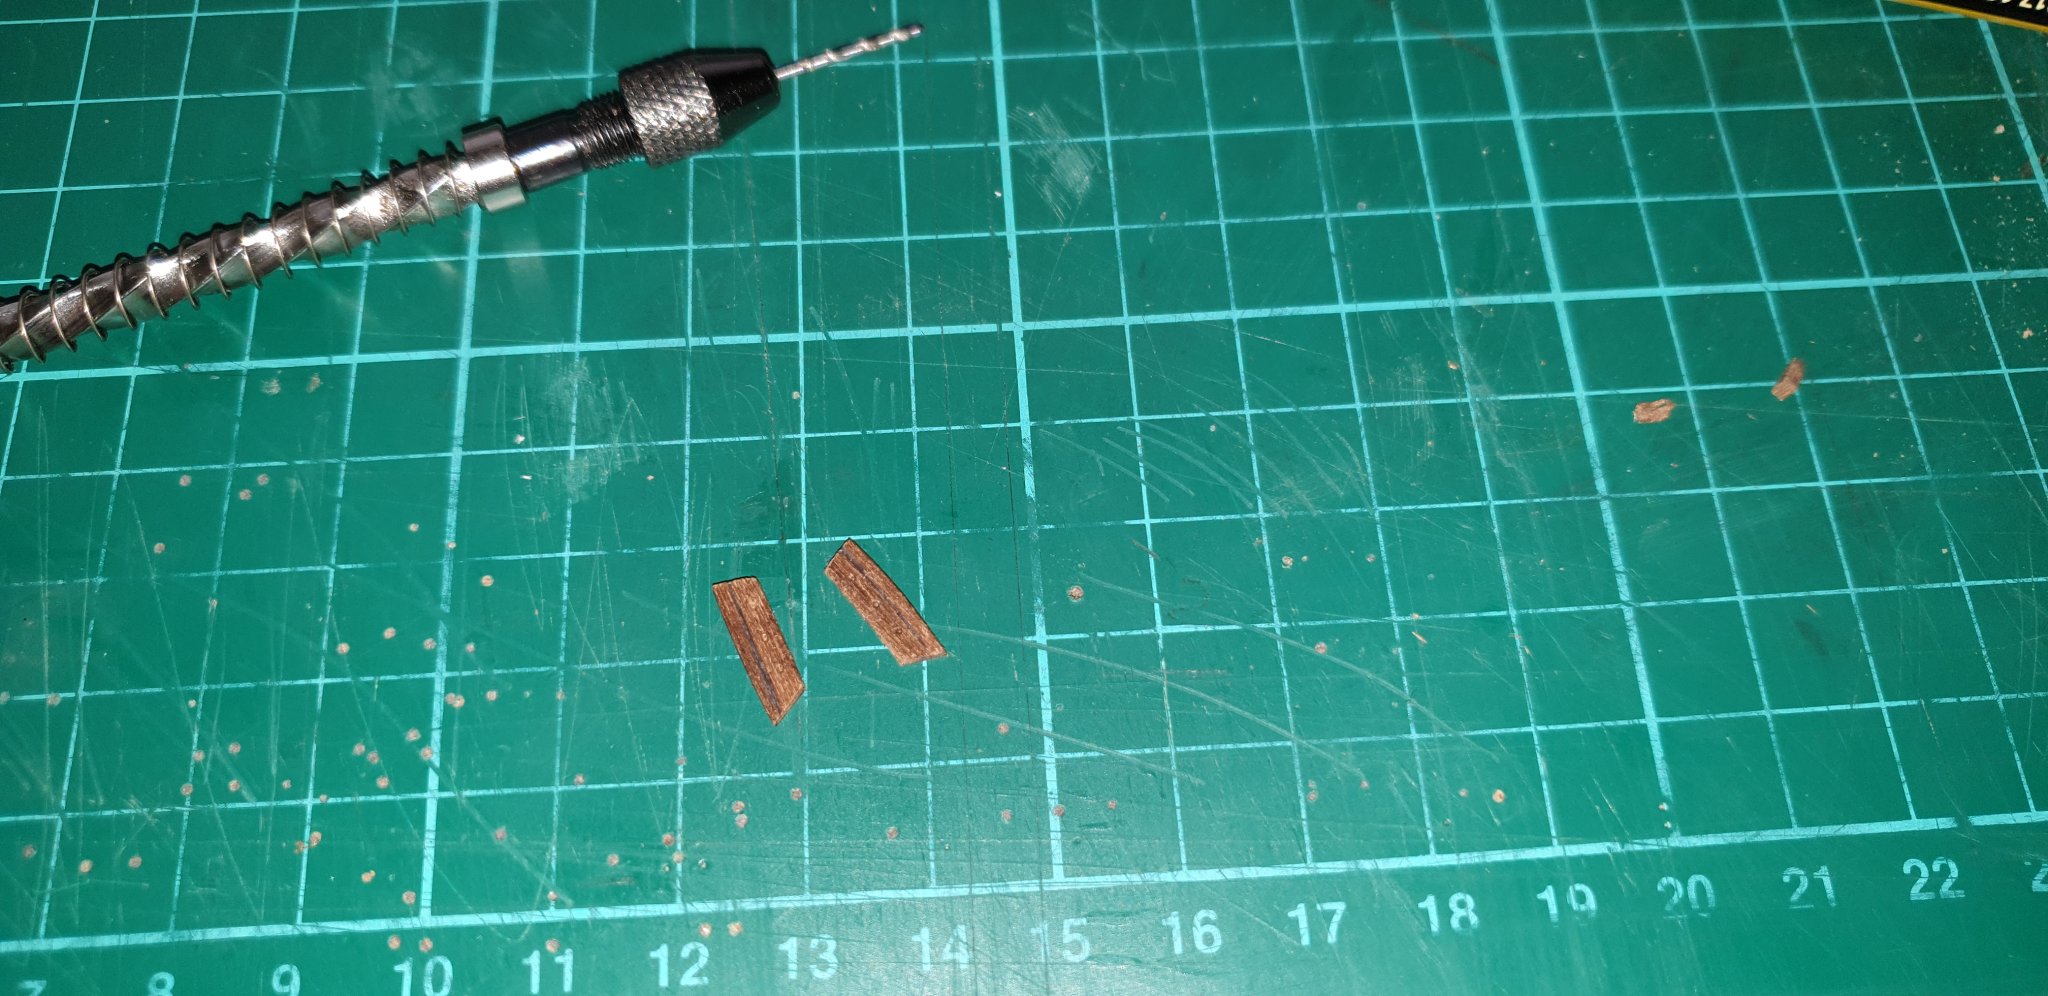
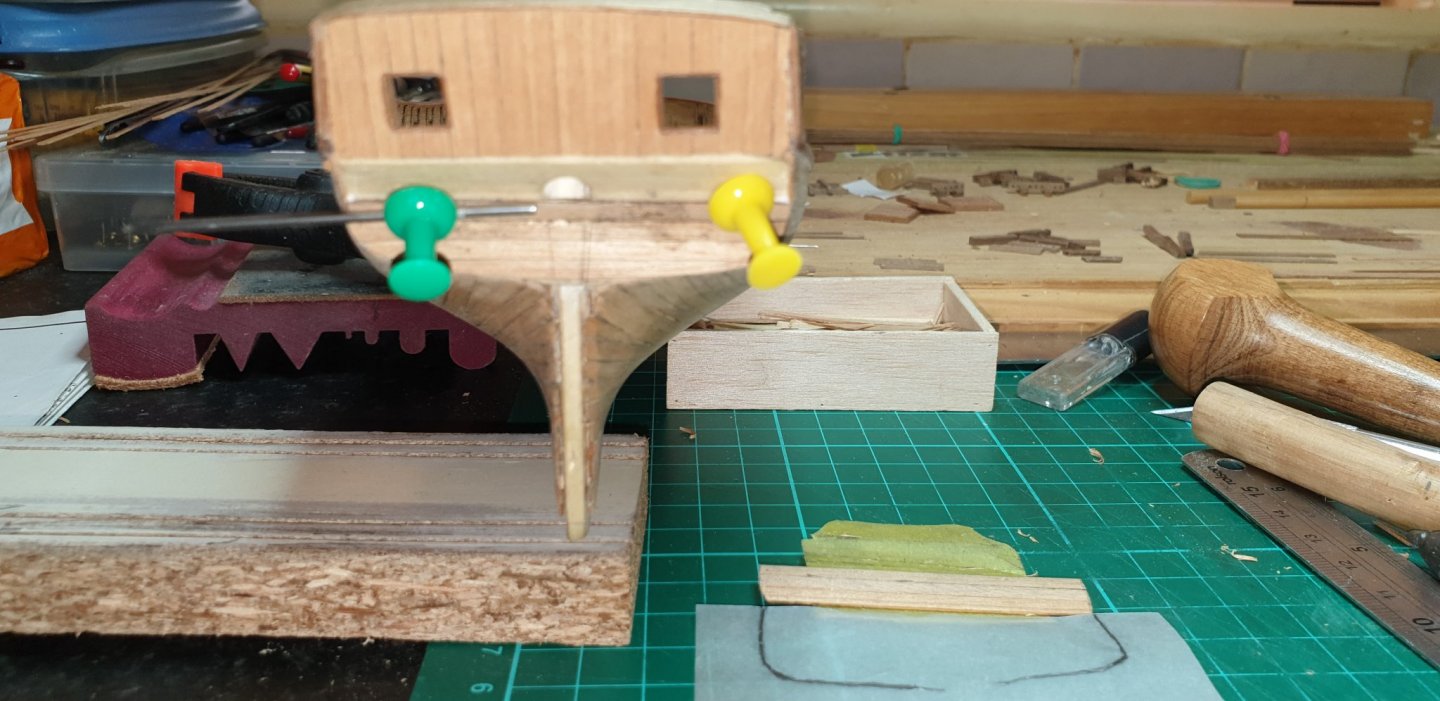
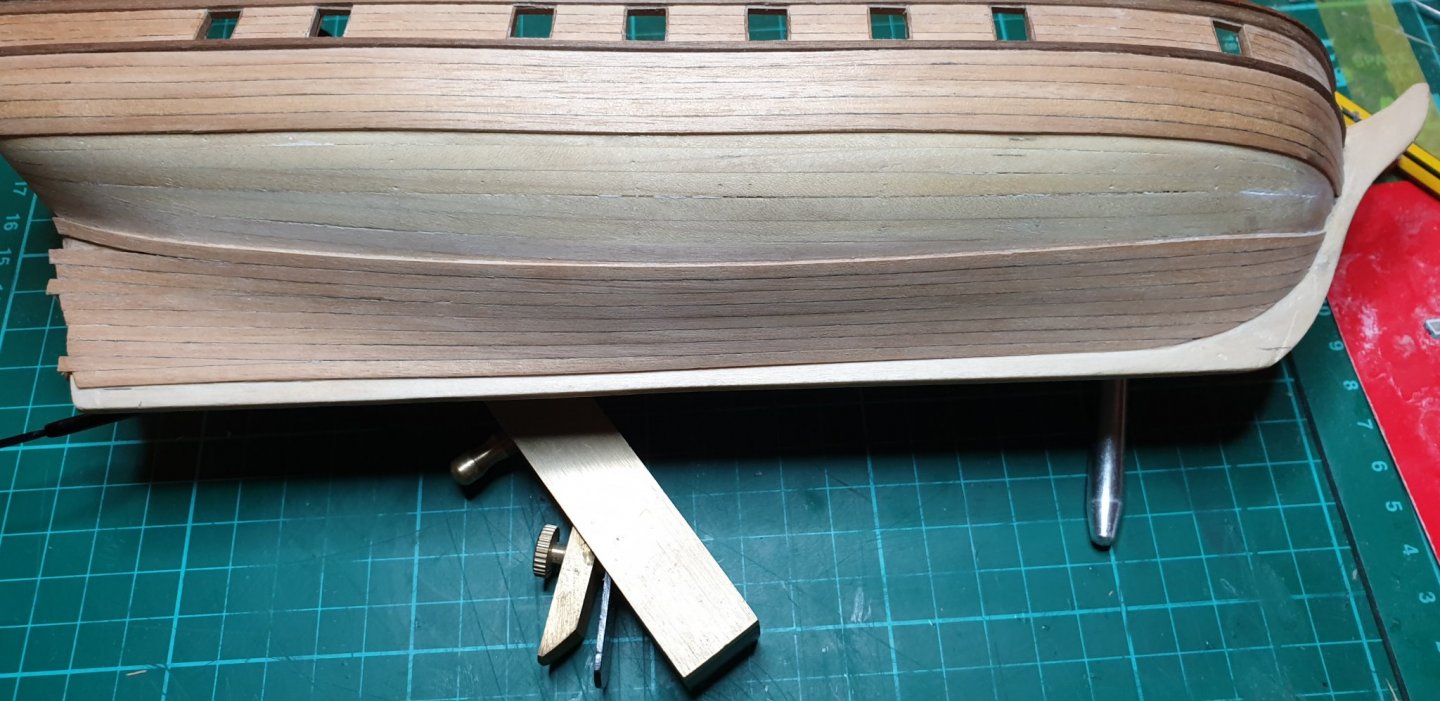
Finished the keel. I think it looks ok now its sanded. I also attached the rudder This was quite fiddly, it took alot of fitting the re-fitting but all went well I had to be quite carefull with the rudder Gudgeons i think thats what they are called, These are made out of a lead type metal and marked very easily. Davy.


-
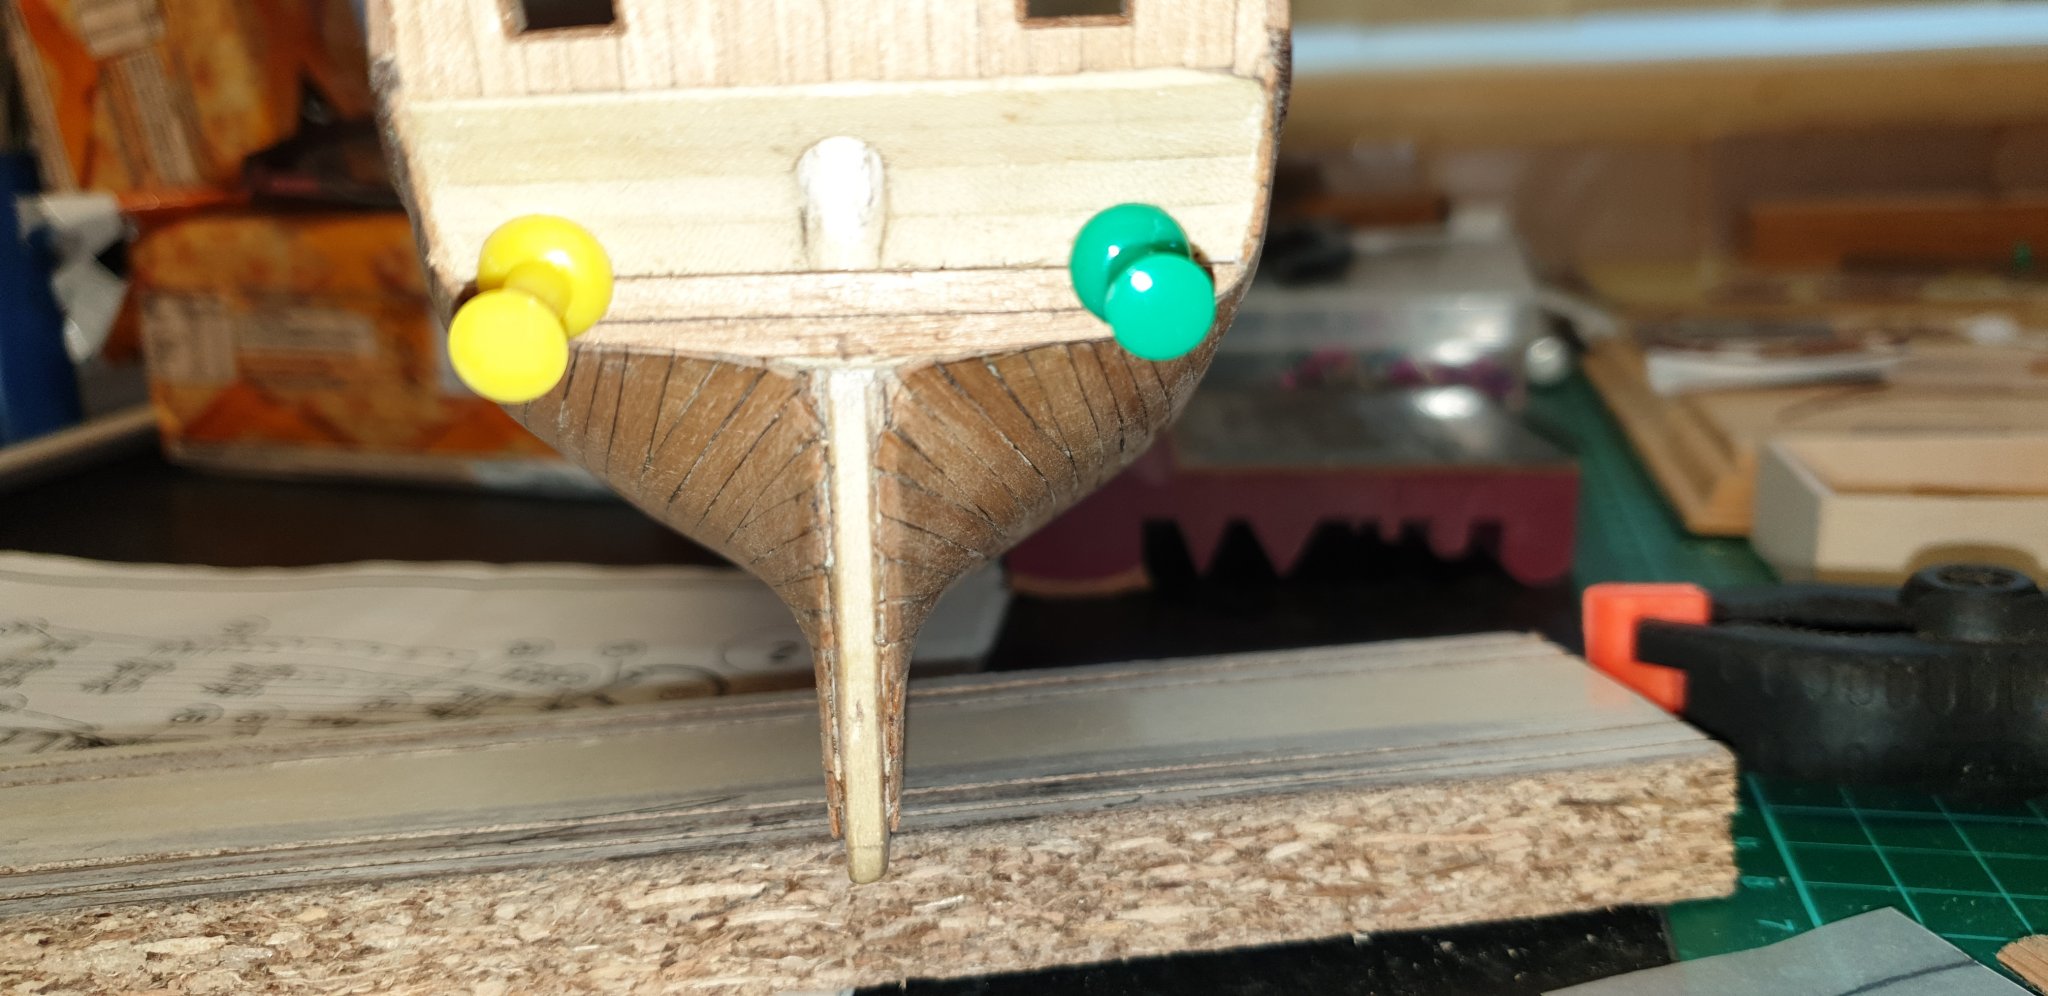
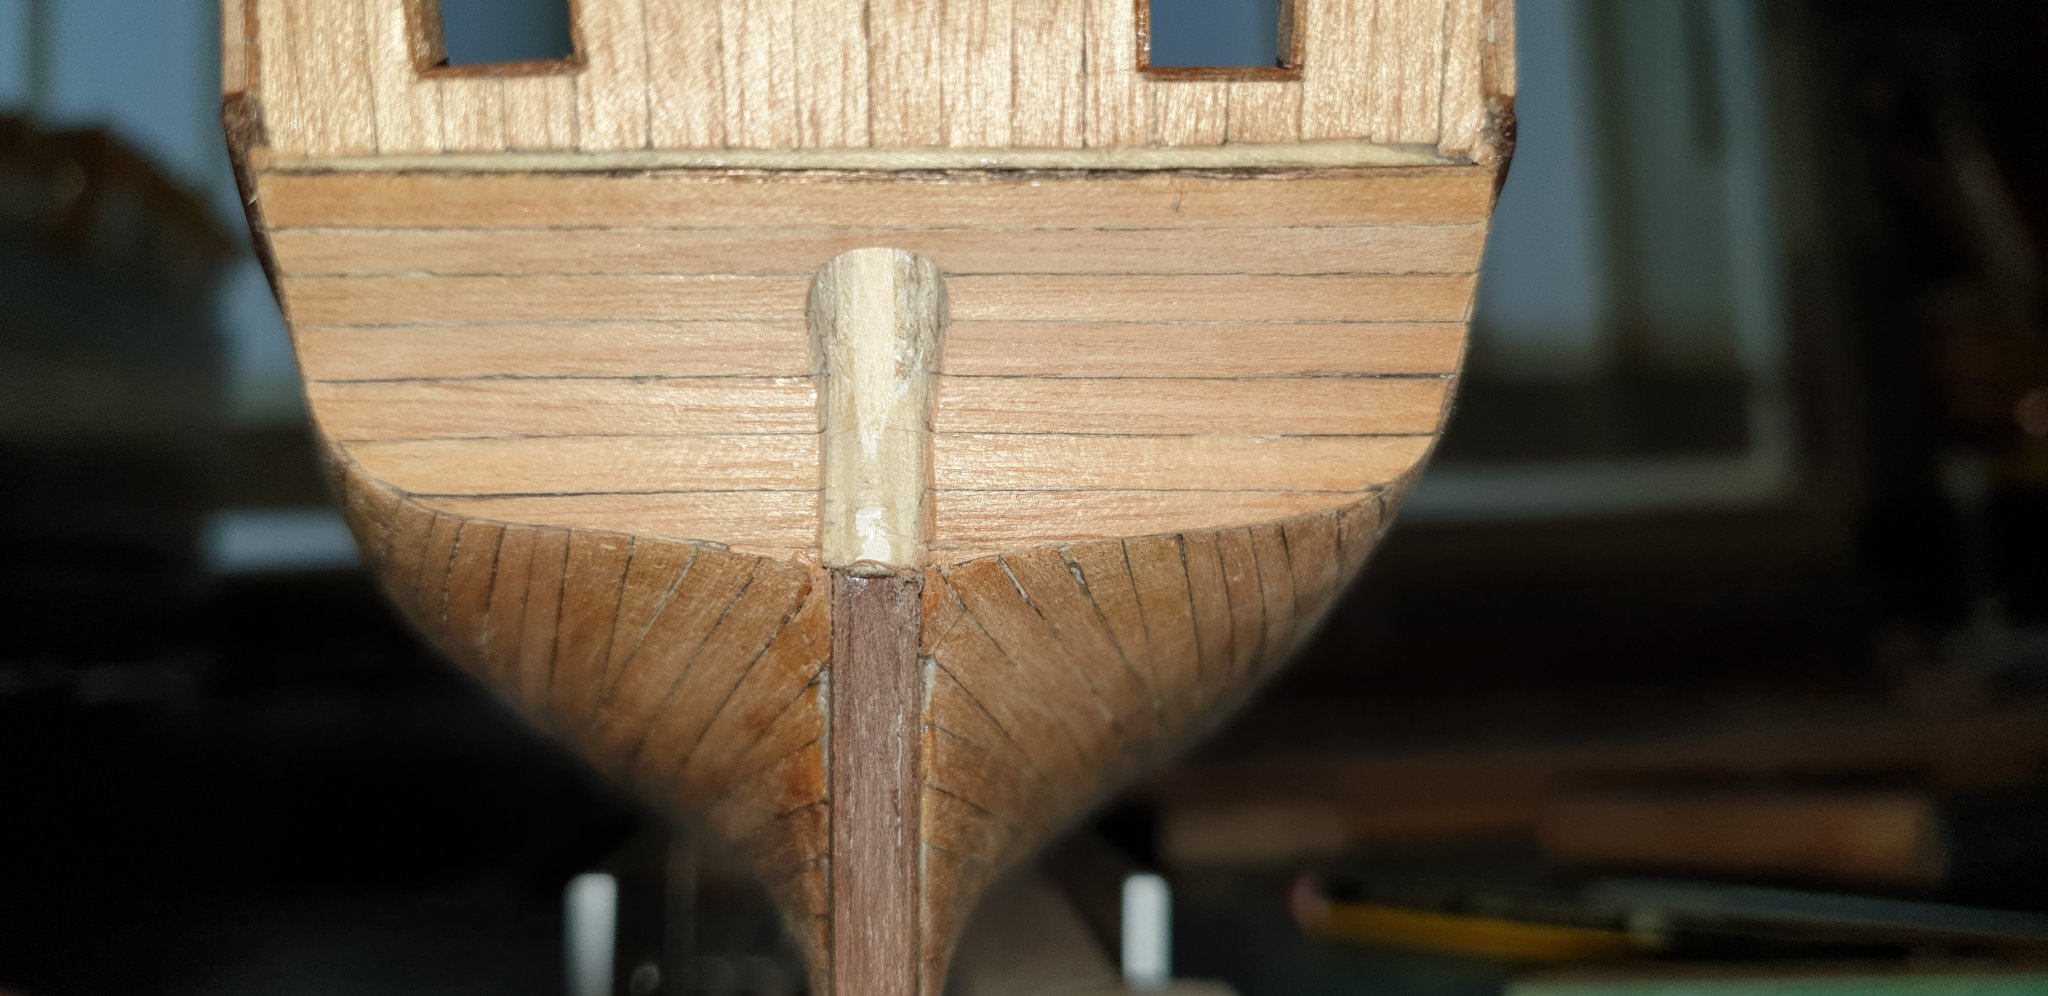
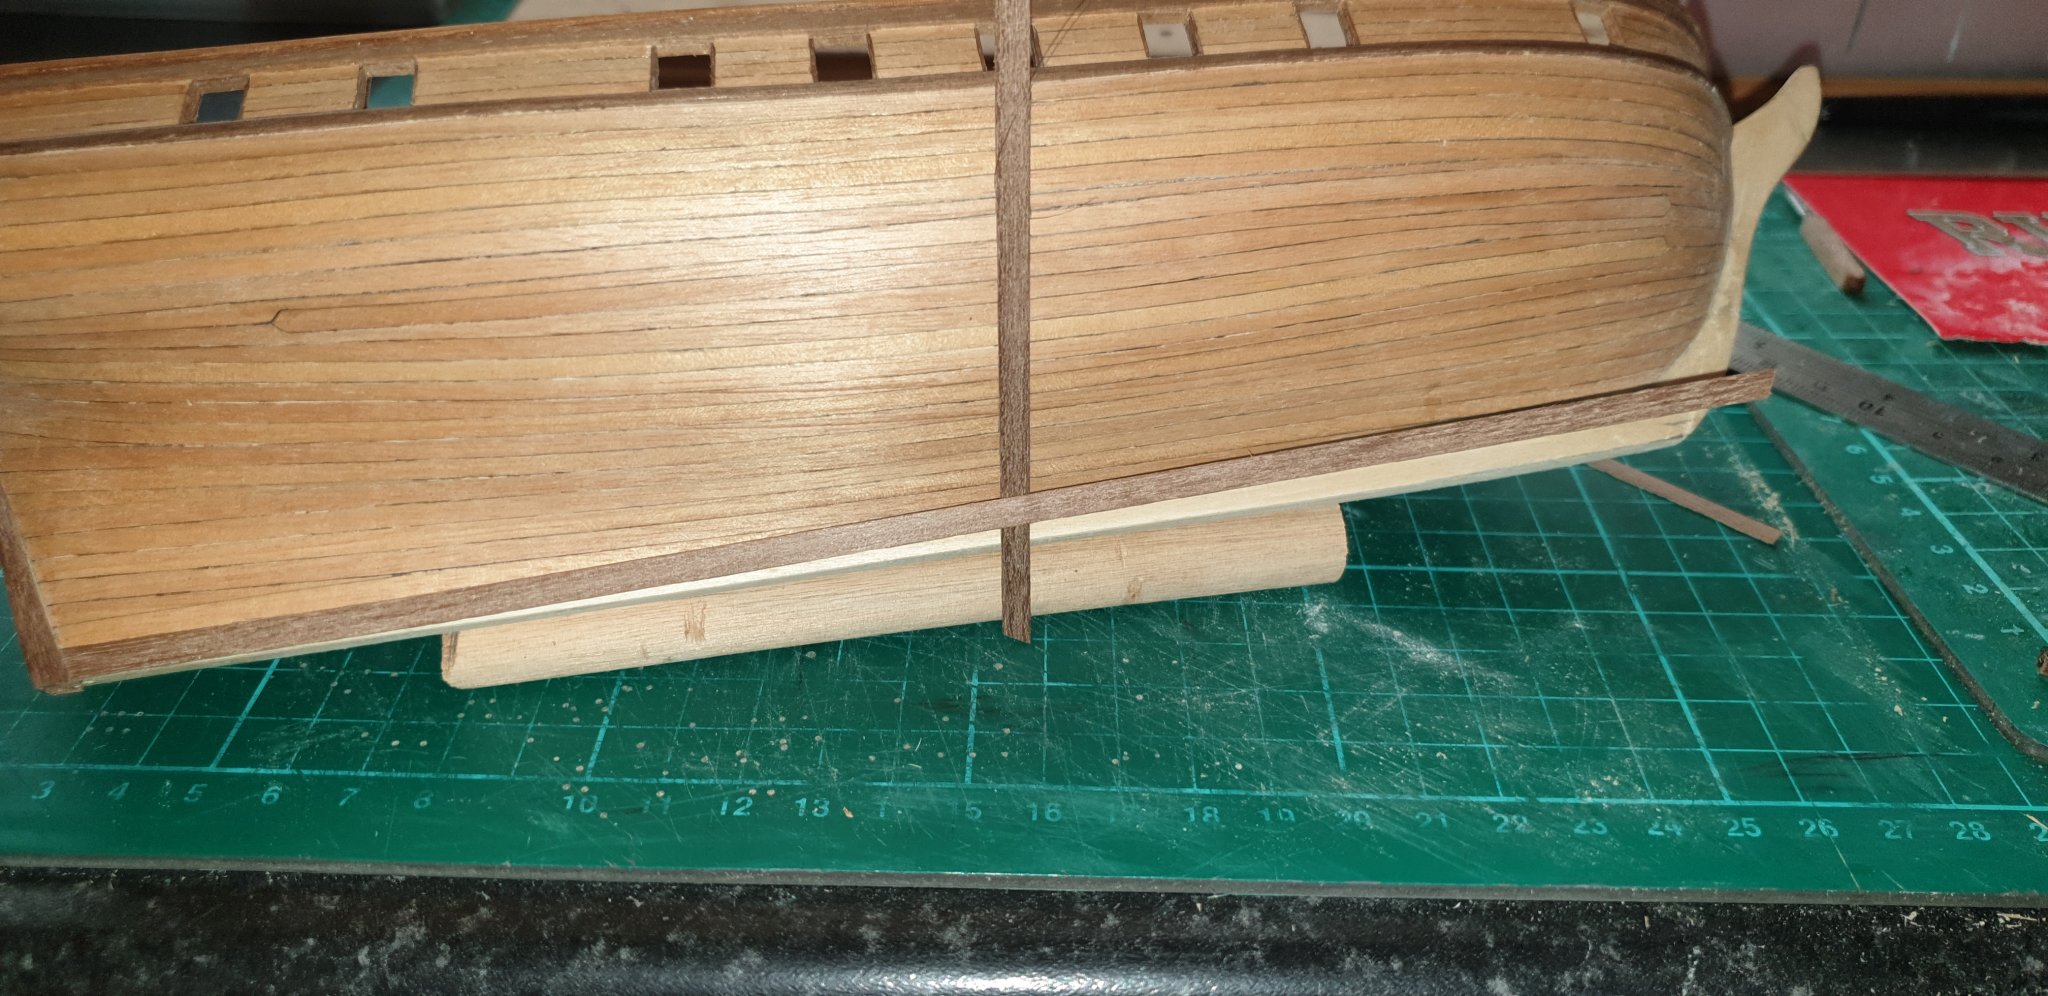
Now to do the Hull planking below the transom. THis was easy enough apart from the 45 degree angle around the edge. Now to cut the rudder hole, sorry not sure of the term for this. Now to do the keel covered with 0.5mm walnut strips, the bow part of the keel has horizontal strips as per the instructions I dont realy like the look of the bow part of the keel but she will be painted so not to much to worry about. Davy.


-
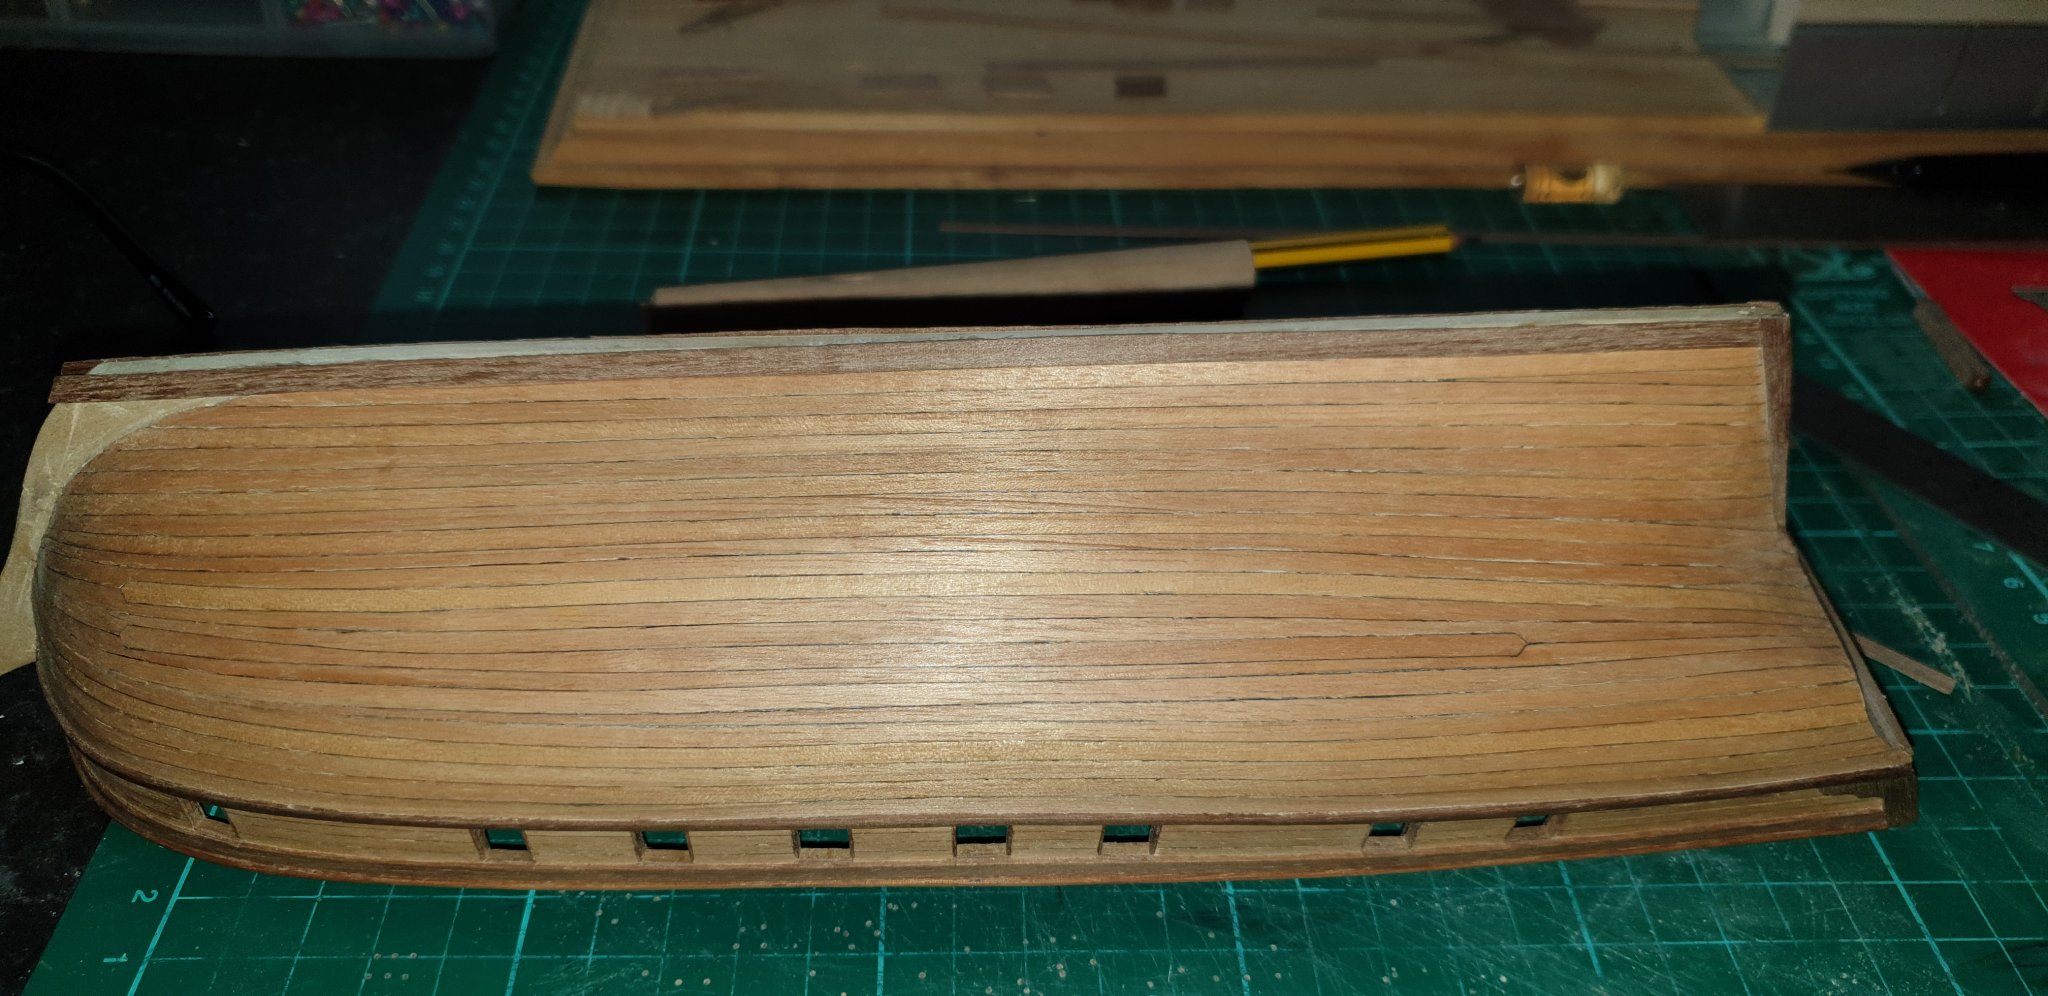
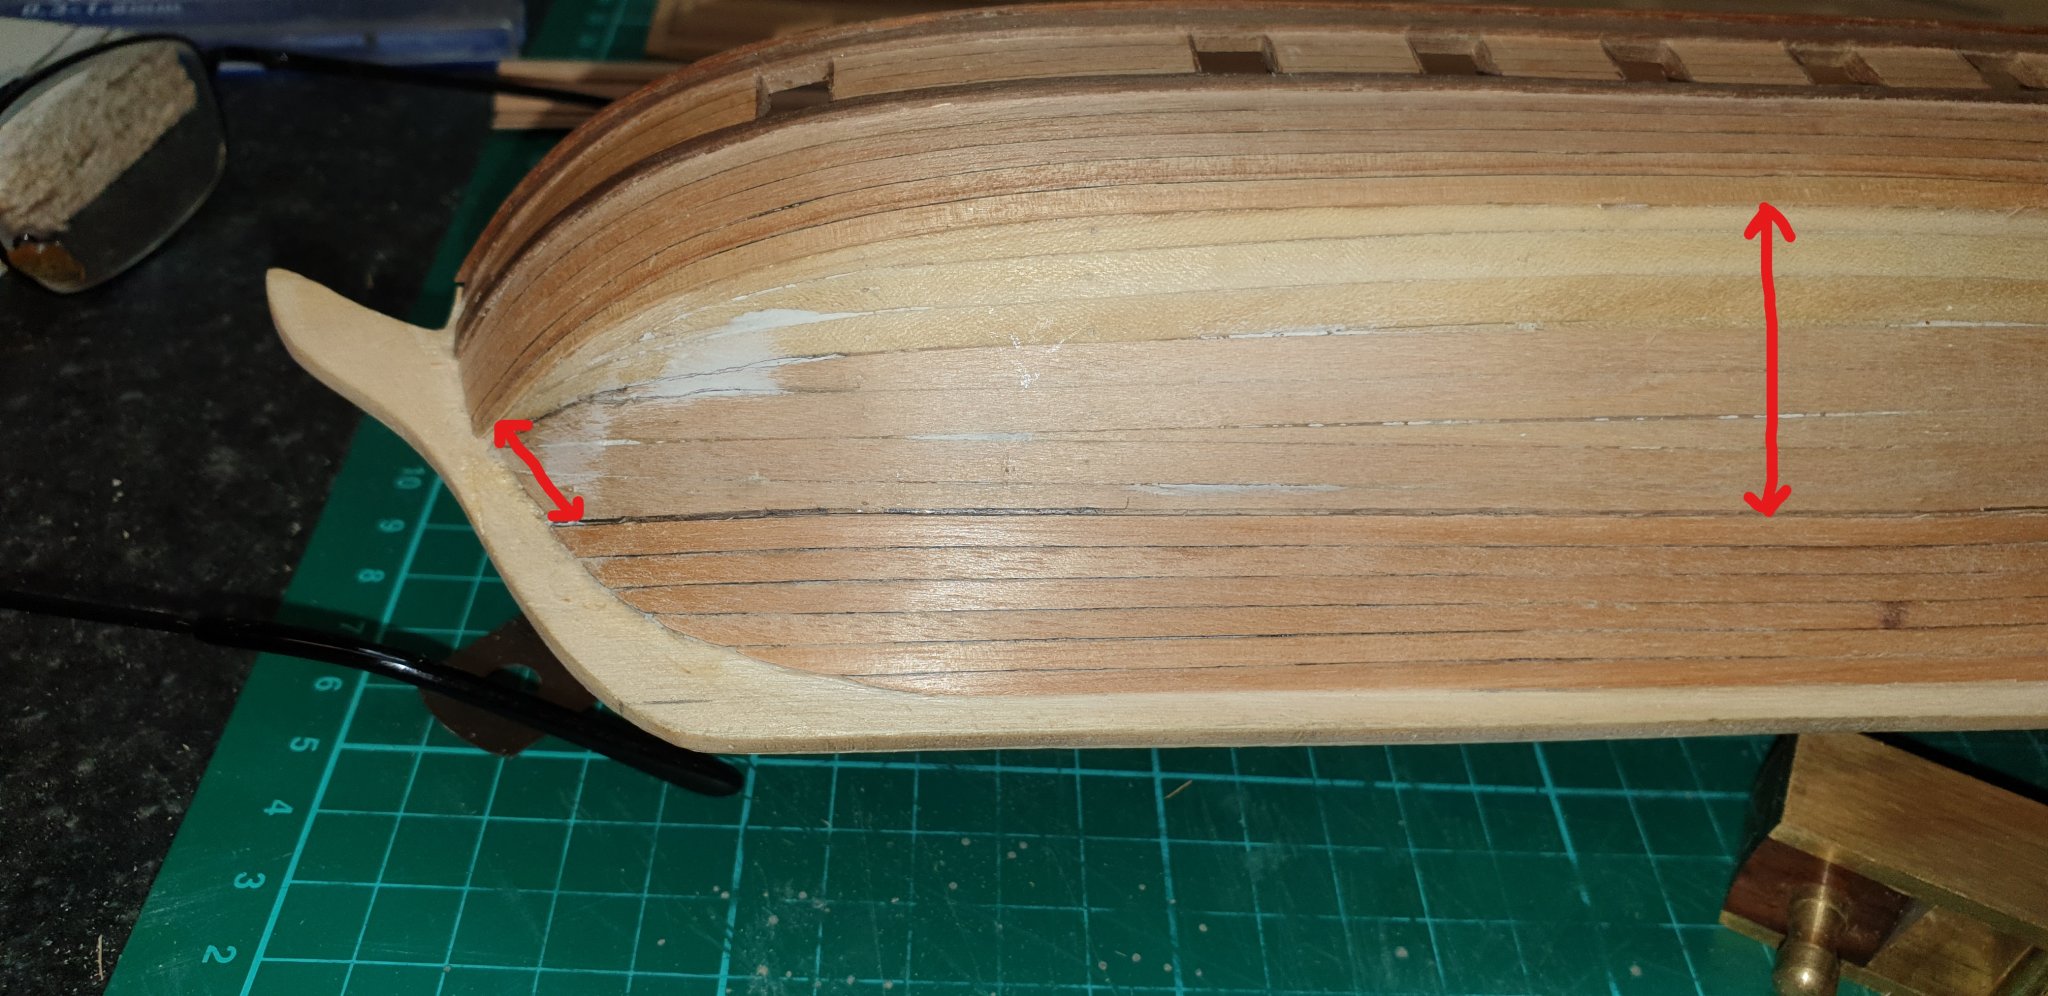
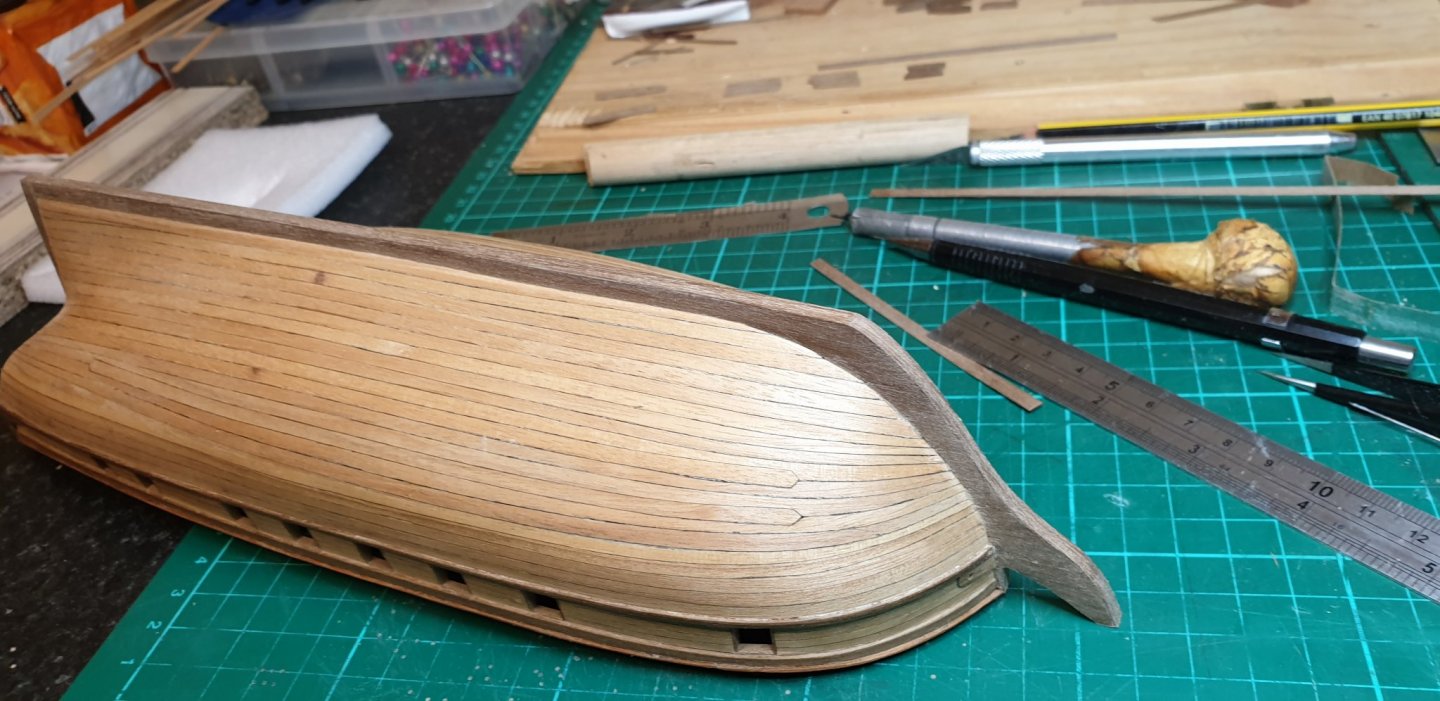
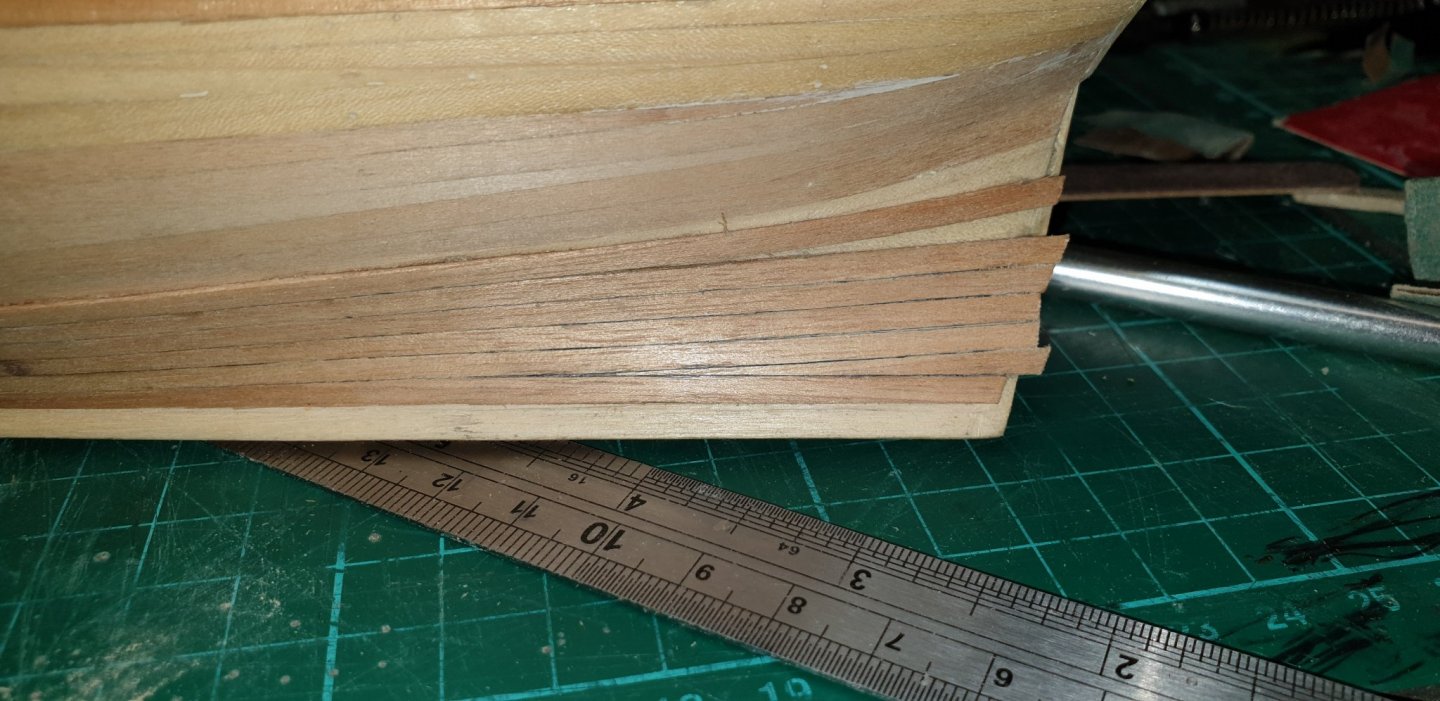
Just finished the 2nd planking. which did'nt realy go acording to plan but its done. I had a bunching problem in the bow and did the best i could to limit this. Its my 1st time planking a ship. Looks a bit wobly in places. Davy.


-
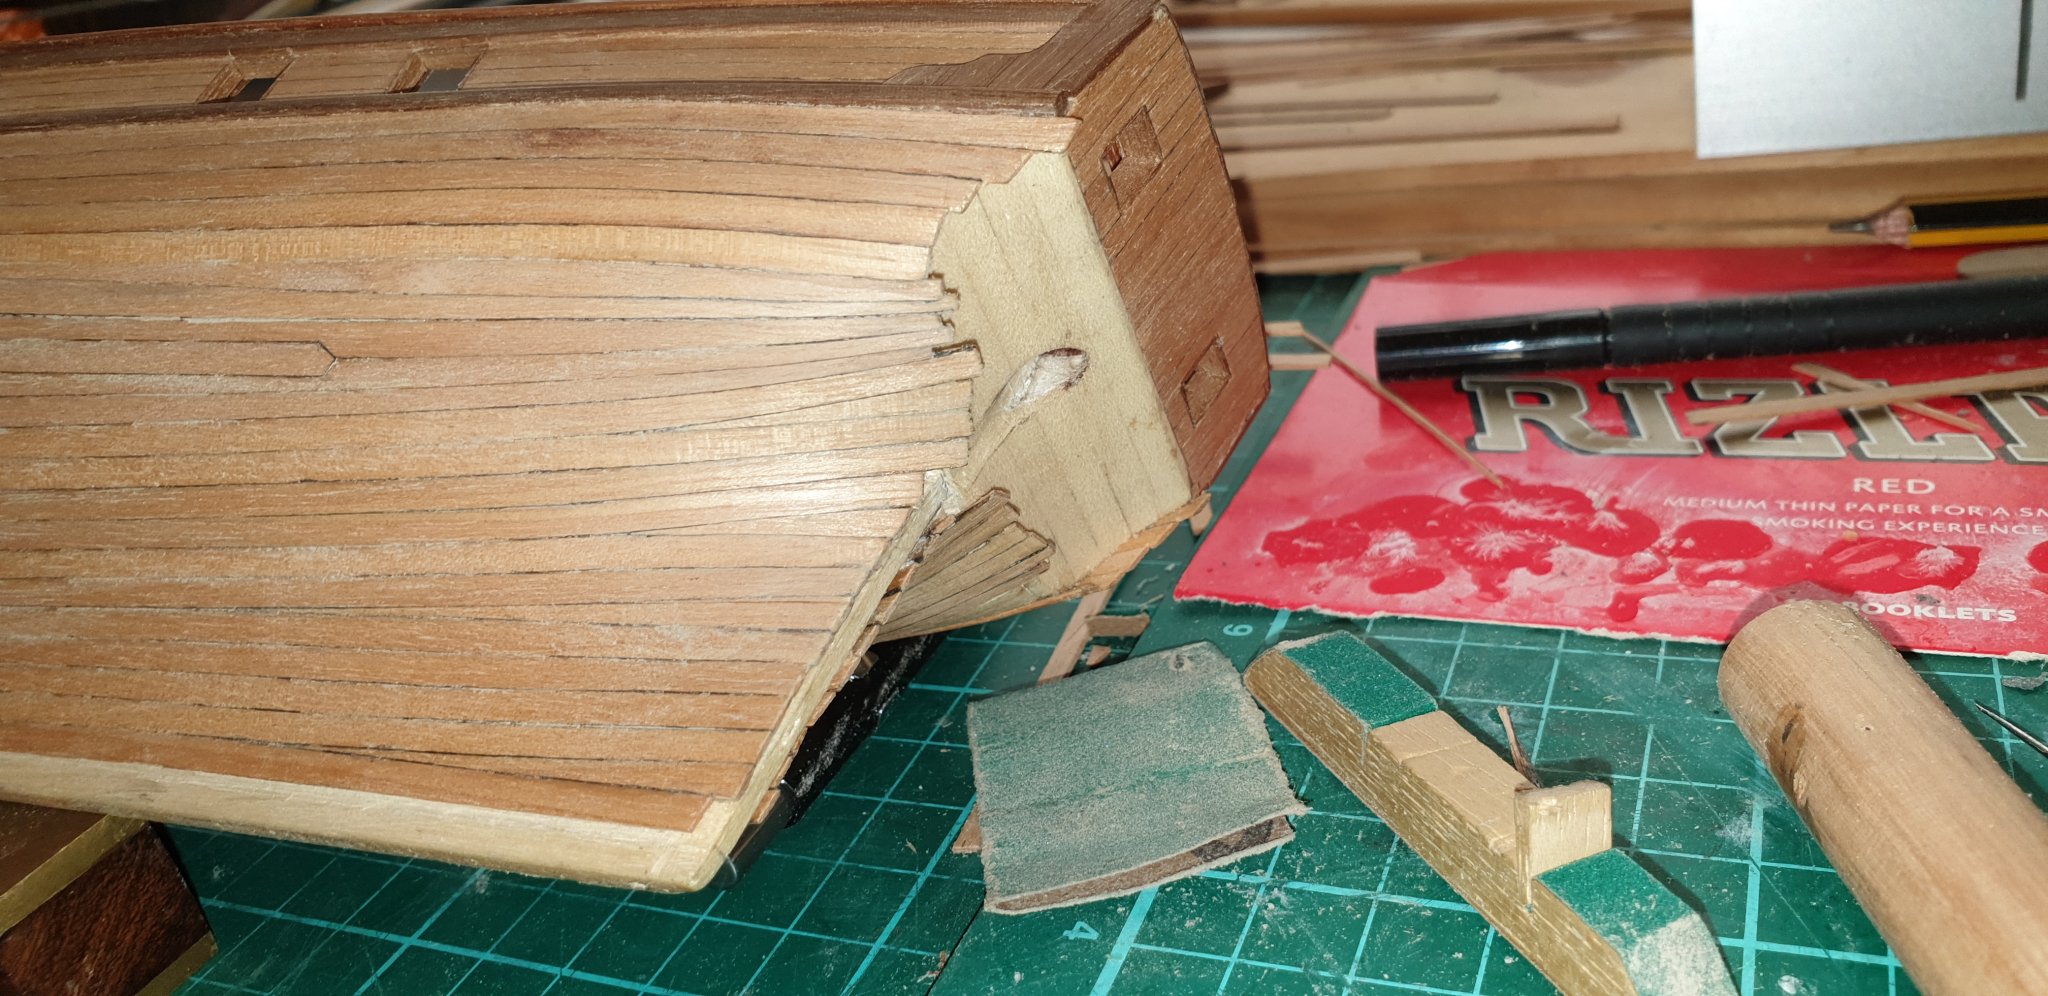
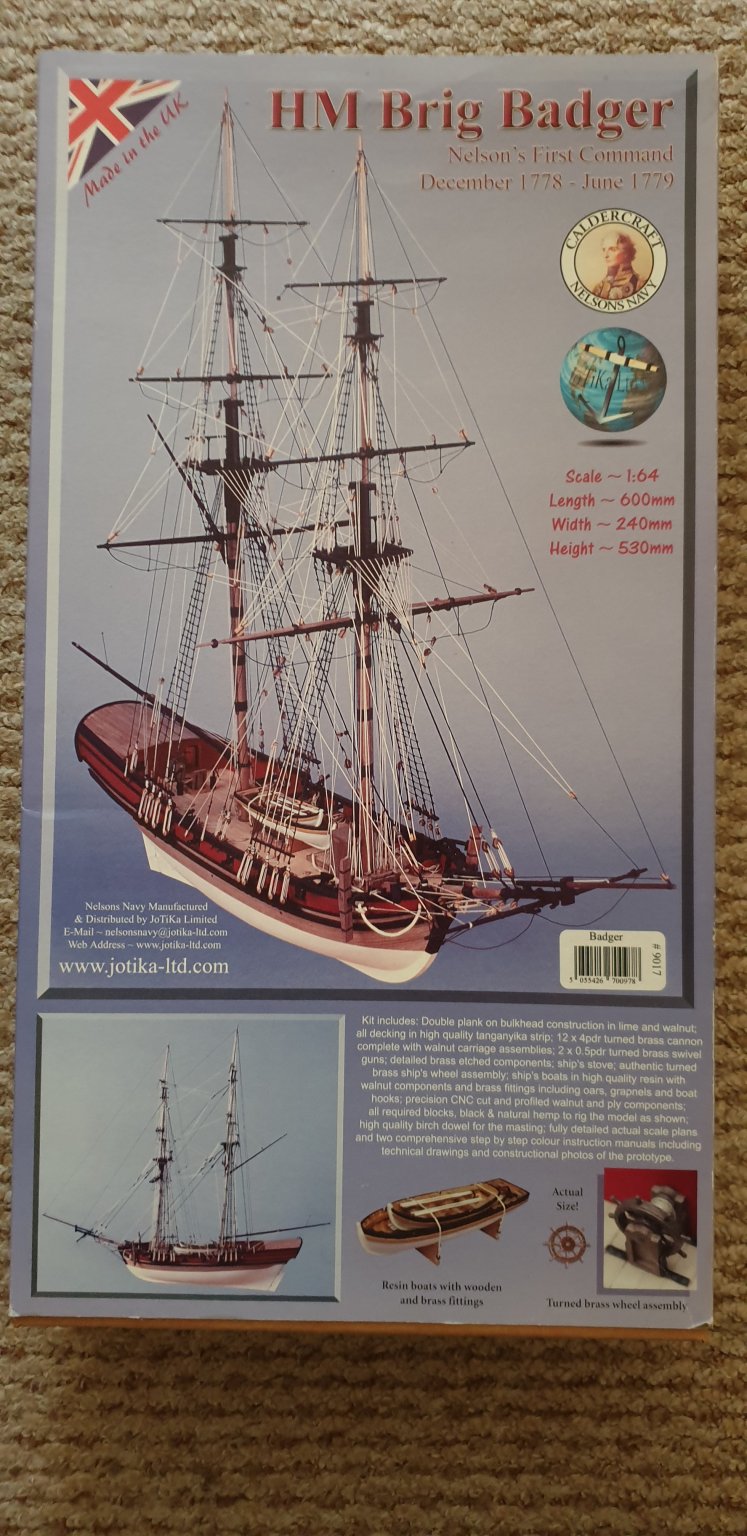
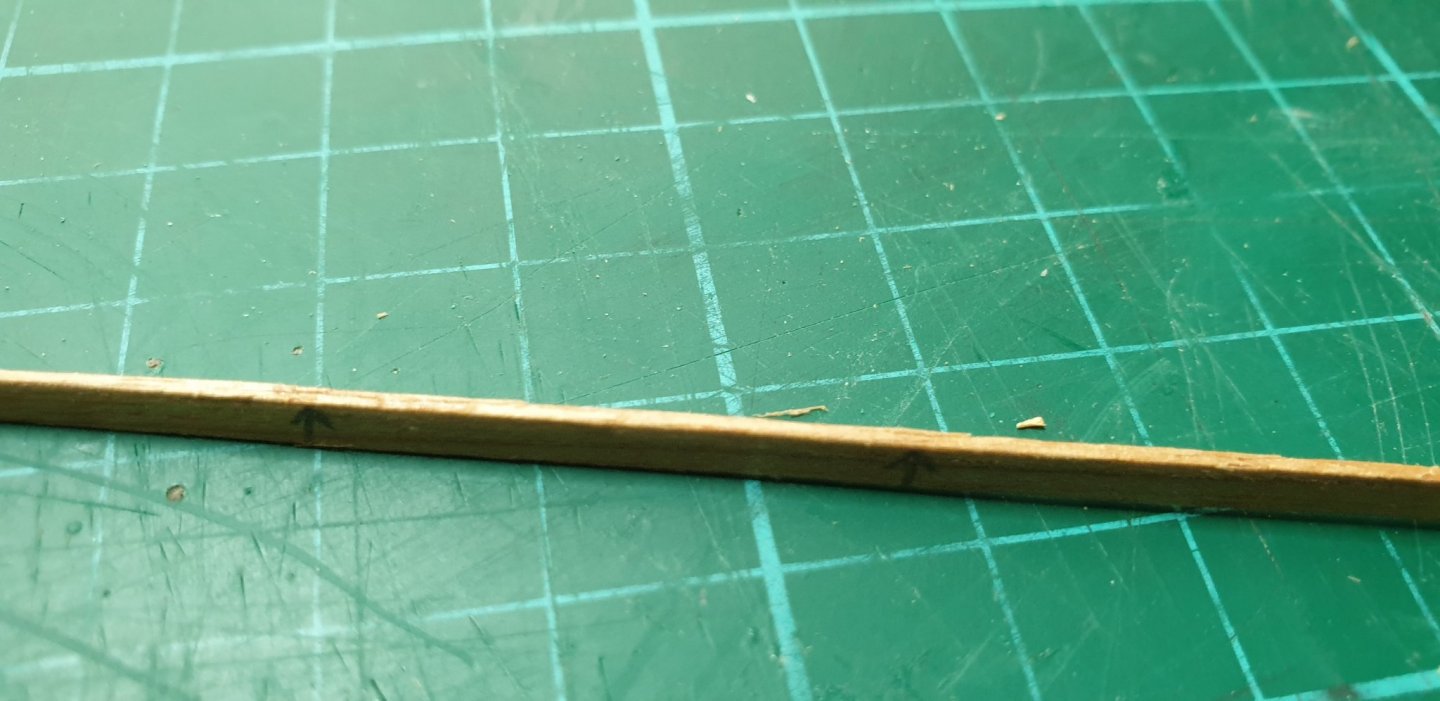
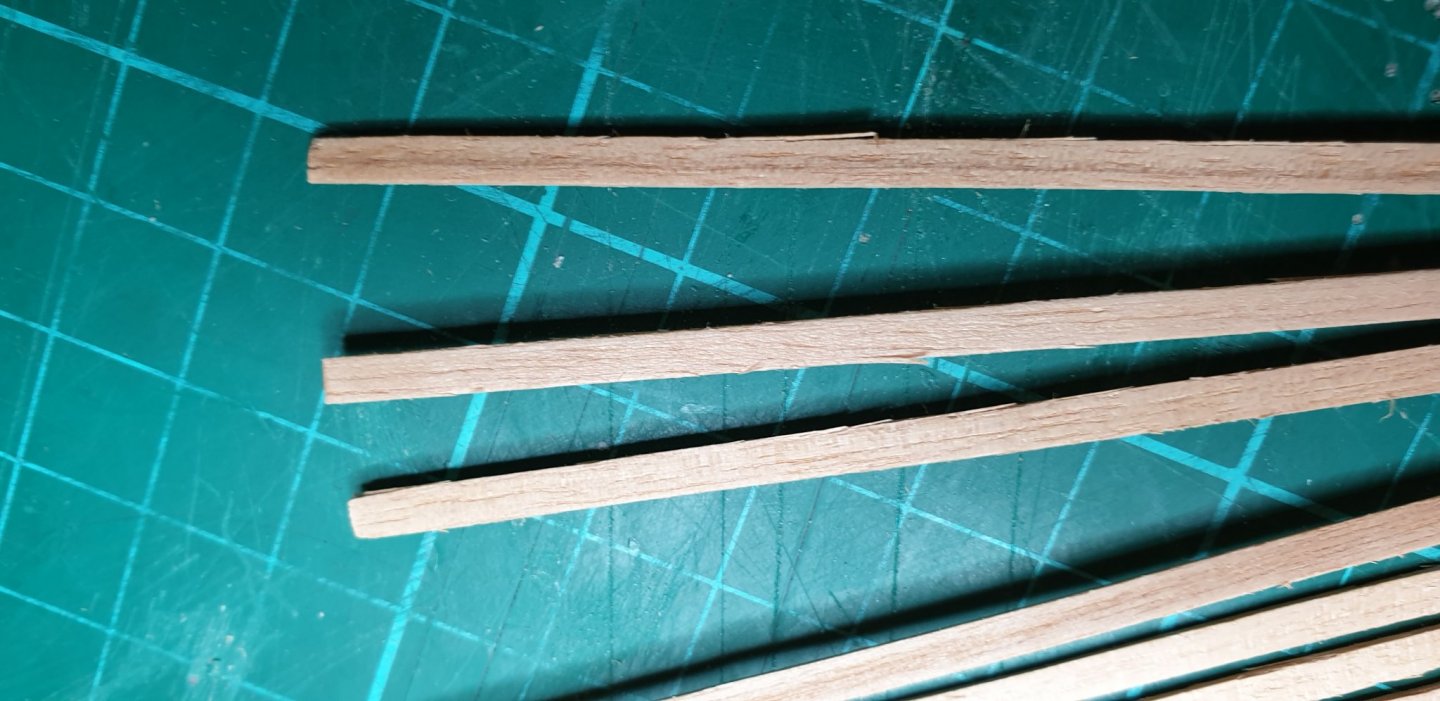
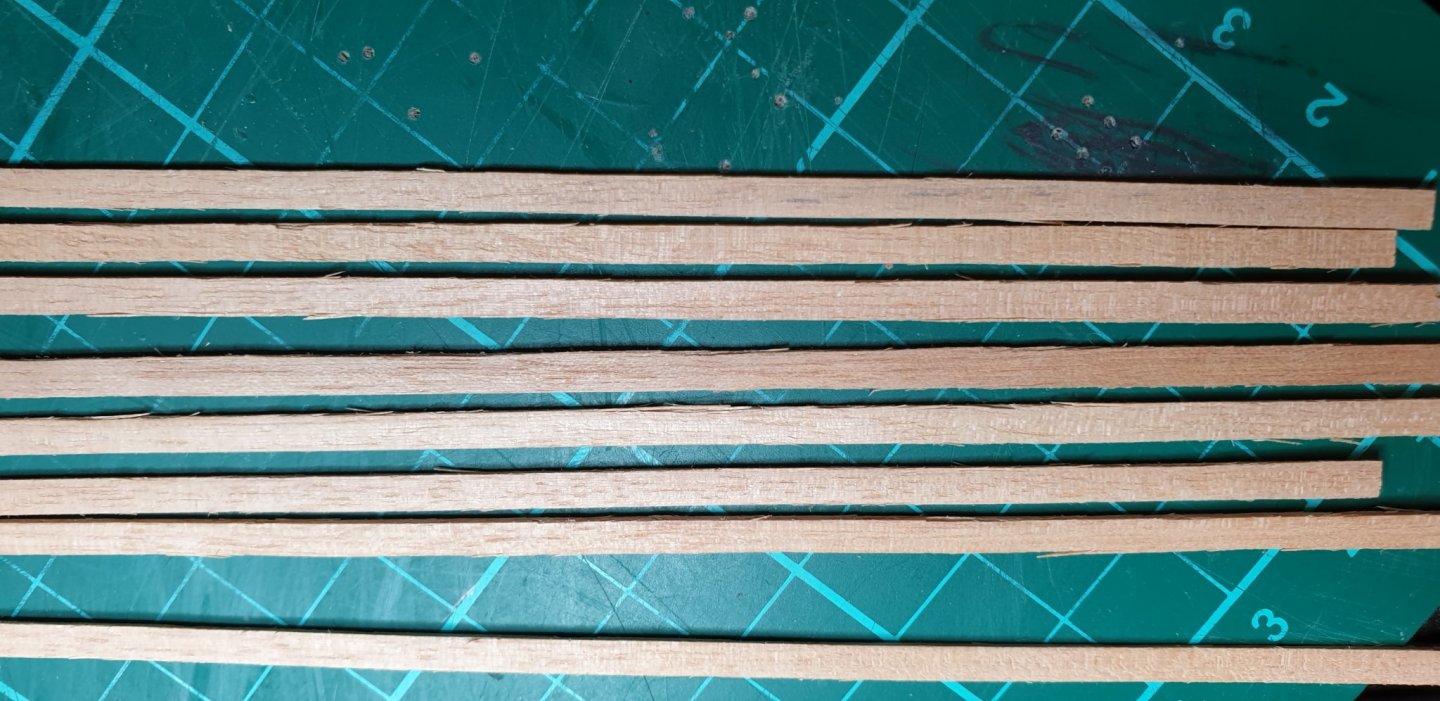
Well i was up till 4 am this morning. so my brain hurts now. but i have worked it out ( I think ) I have a 4 plank width on the bow and an 8 plank width in the middle of the ship, so if i shamfer the planks to half the width which is 1.5 mm. My planks being 3 mm wide i should theoretically < ( Big word for today ) be able to fit 8 in the bow at 1.5 mm width and the stern will get the usual Fill the gap treatment with triangular pieces. this is the point i am at after 4 am this morning. I think the hardest part of this build is going to be finding a big enough bottle to put this in lol. But seriously this I think the 2nd layer of planking is going to be the most difficult part of this build as I have never done it before. What I have noticed this Tanganyika wood. There are a lot fo splinered edges it also has a tendancy to splinter very easily on the edges even with slight bend. I found the solution to this is to run a little bit of CA glue on the edge then quickly wipe it off with my finger that seems to cure the problem. As these planks are only 3mm wide I could not aford to sand much This is when you bend. Befor glue. After glue. Then Sanded. As a side note when i bought the lexington in 2012 I thought it was going to be easy, just before i realised how hard it was going to be I purchased another kit I bought the HM Brig Badger 1/64 by Caldercraft. This will be interesting Davy.


-
Now at 6 planks up from the keel. Seems i read something in one of the posts or seen in a video that if you get the, I think its the garboard strake shaped and fitted good then the rest of the planking will be ok, and so far so good. I can see that there is a lot of space between the middle hull planking and the bow Planking. It looks like I need to research more to see how i can fill this gap. Davy.


-
Now on the 5th plank. so far so good. Next i will start from the keel up. Davy


-
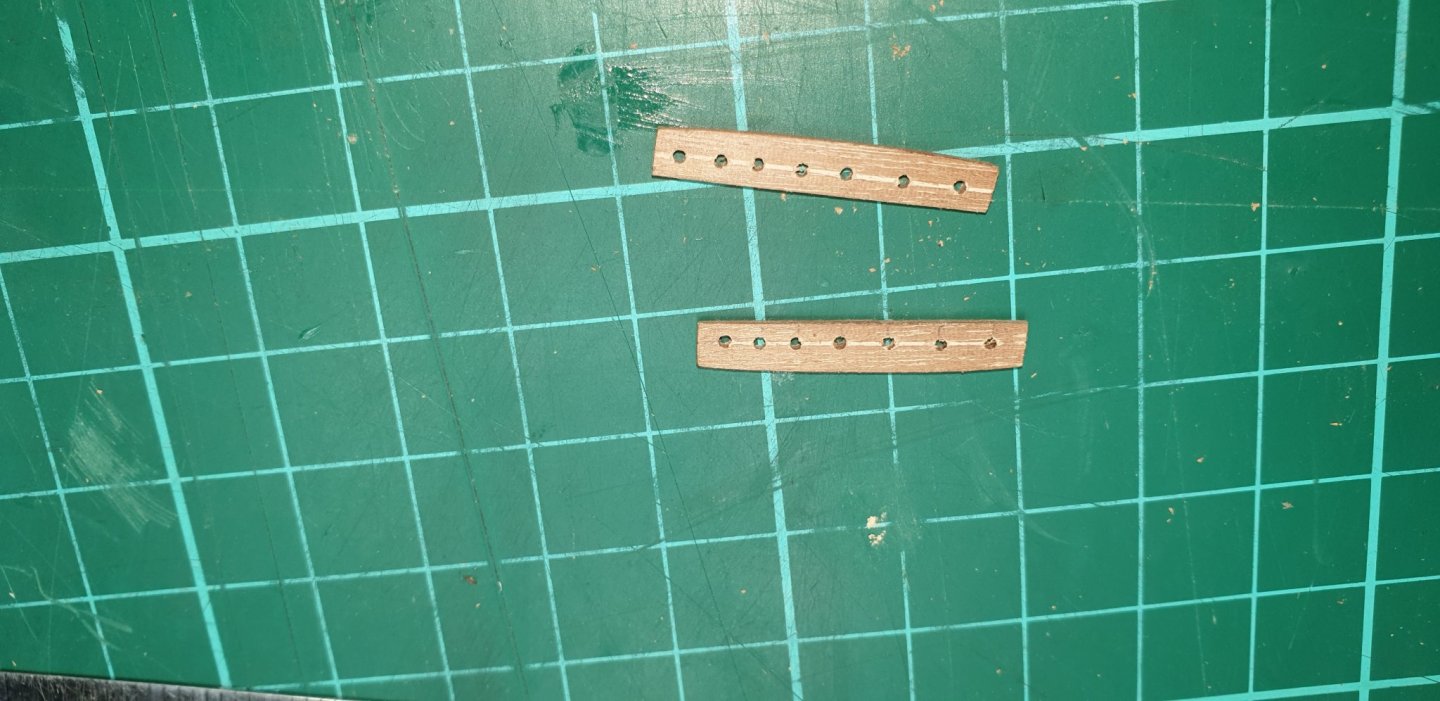
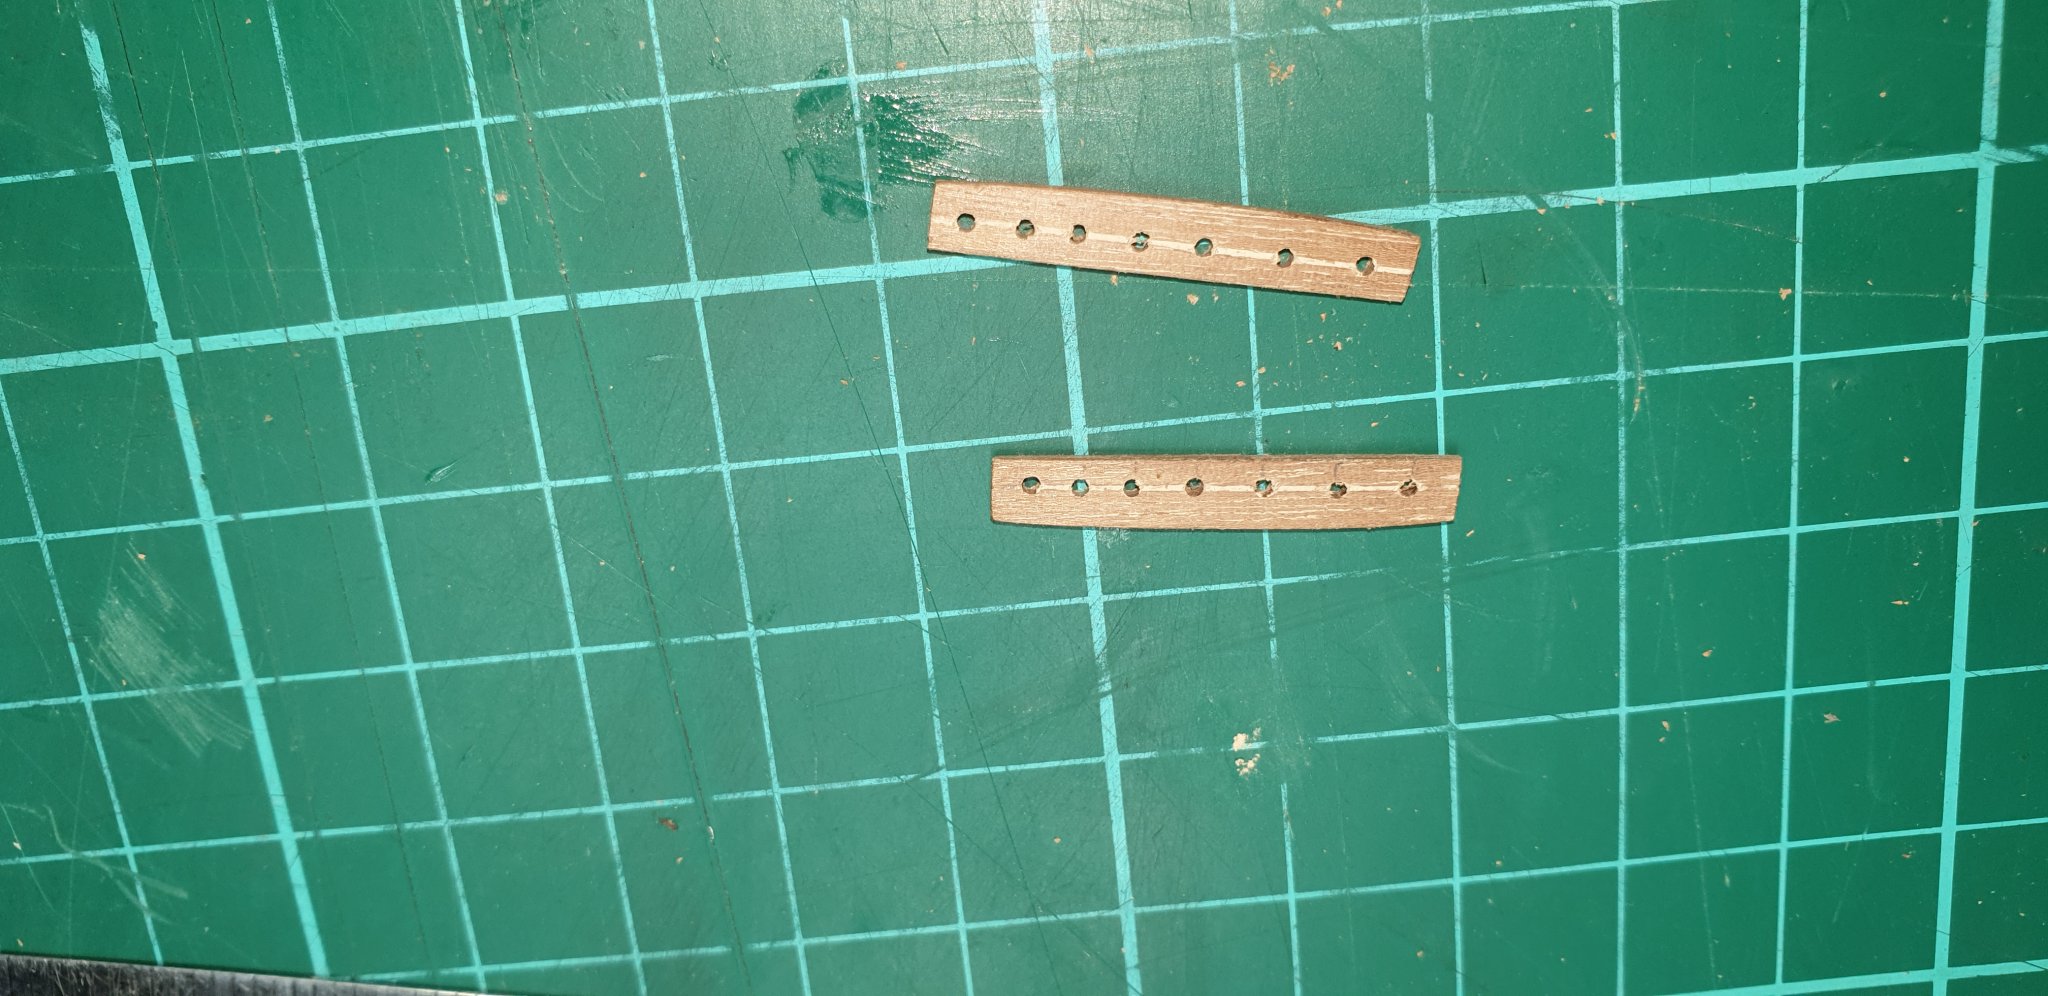
My wood arrived this morning, Thanks Cornwall model boats for your prompt service. so i finished the 2 bow belay pin racks. The pencil line in the 1st pic is how much overhang the handrail has so i know how far out to drill the 1mm holes. Now to start the second planking, I have no idear which technique to use so I'm just gonna wing it. my idear is to start from the top and work down then from the keel and work up as far as i can tell if I shape the plank nearest the keel i think is called the garboard strake. As long as the bow end of the garboard strake does not curve upwards and isa level the rest should just fall into place. This is a little jig I made to hold the planks so i can bevel and shamfer them. Well thats 2 done. I'm going to leave it there for today, but so far so good. Davy.


-
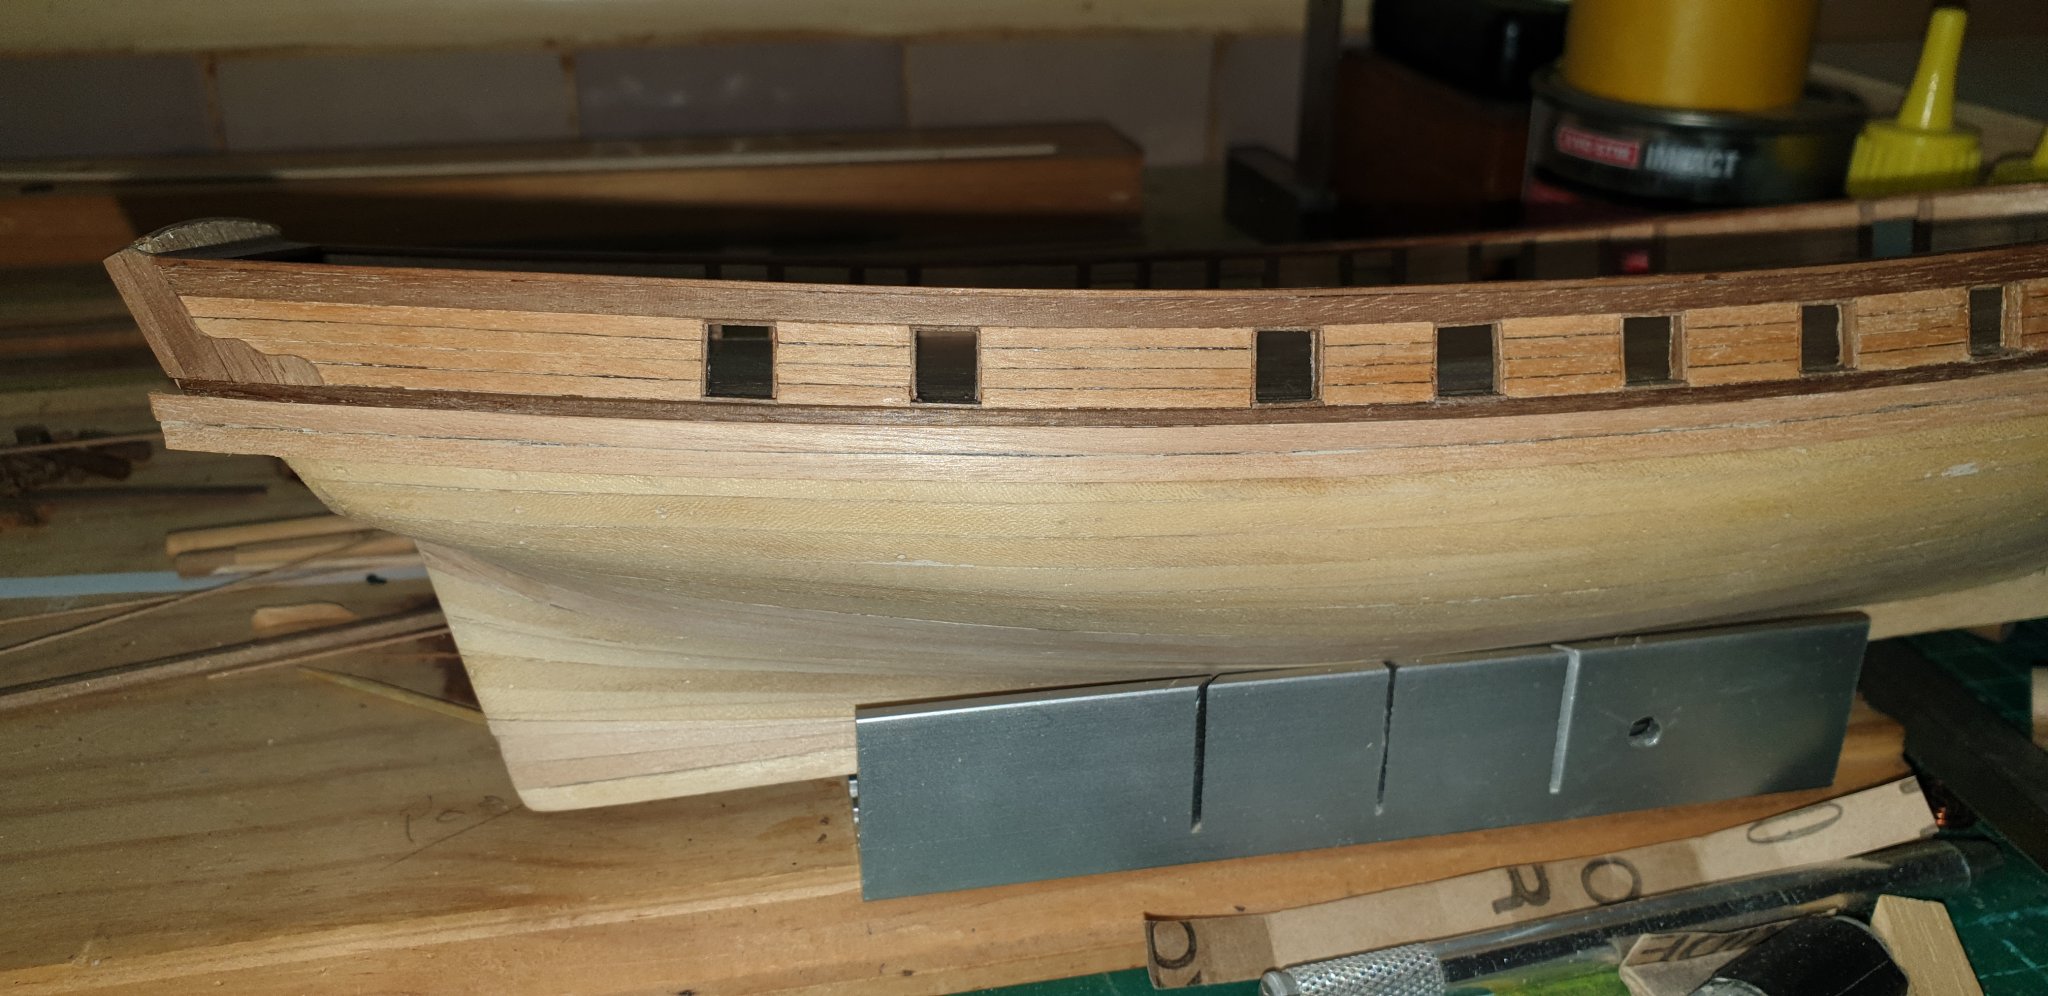
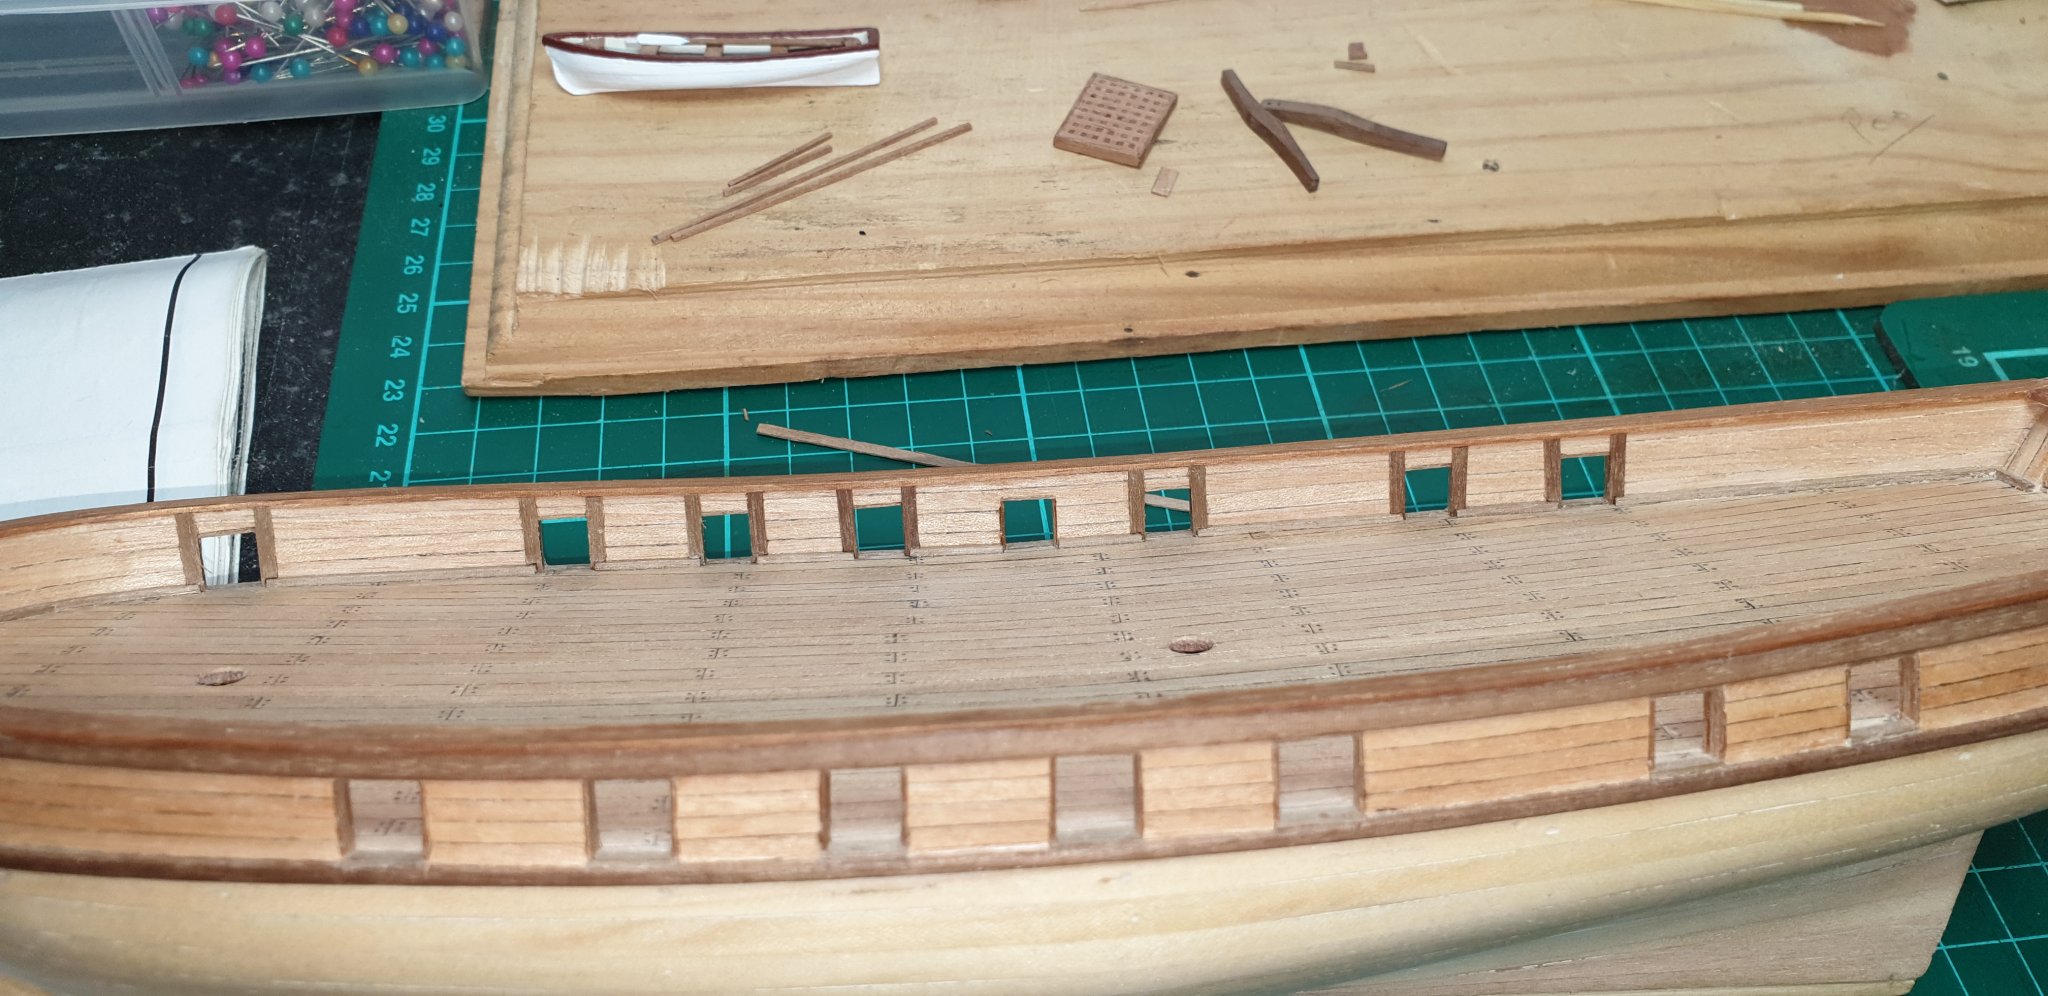
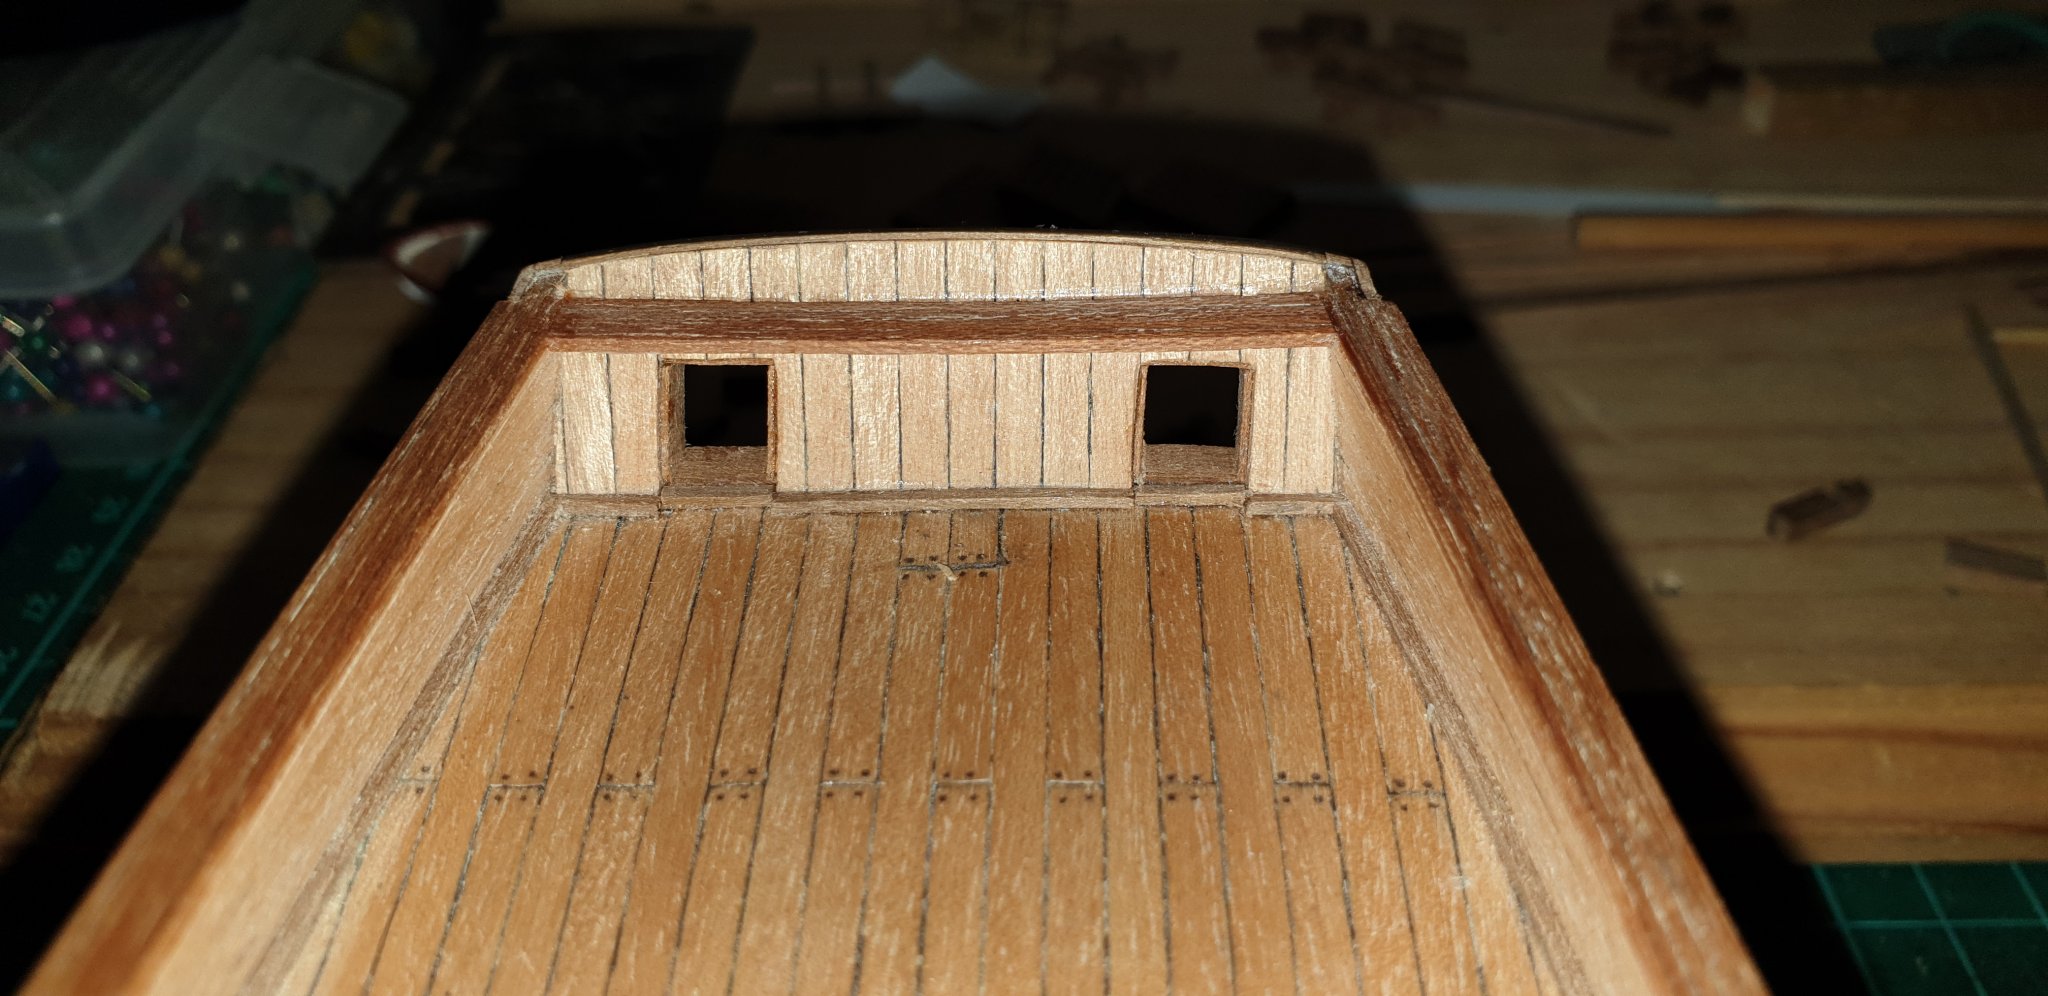
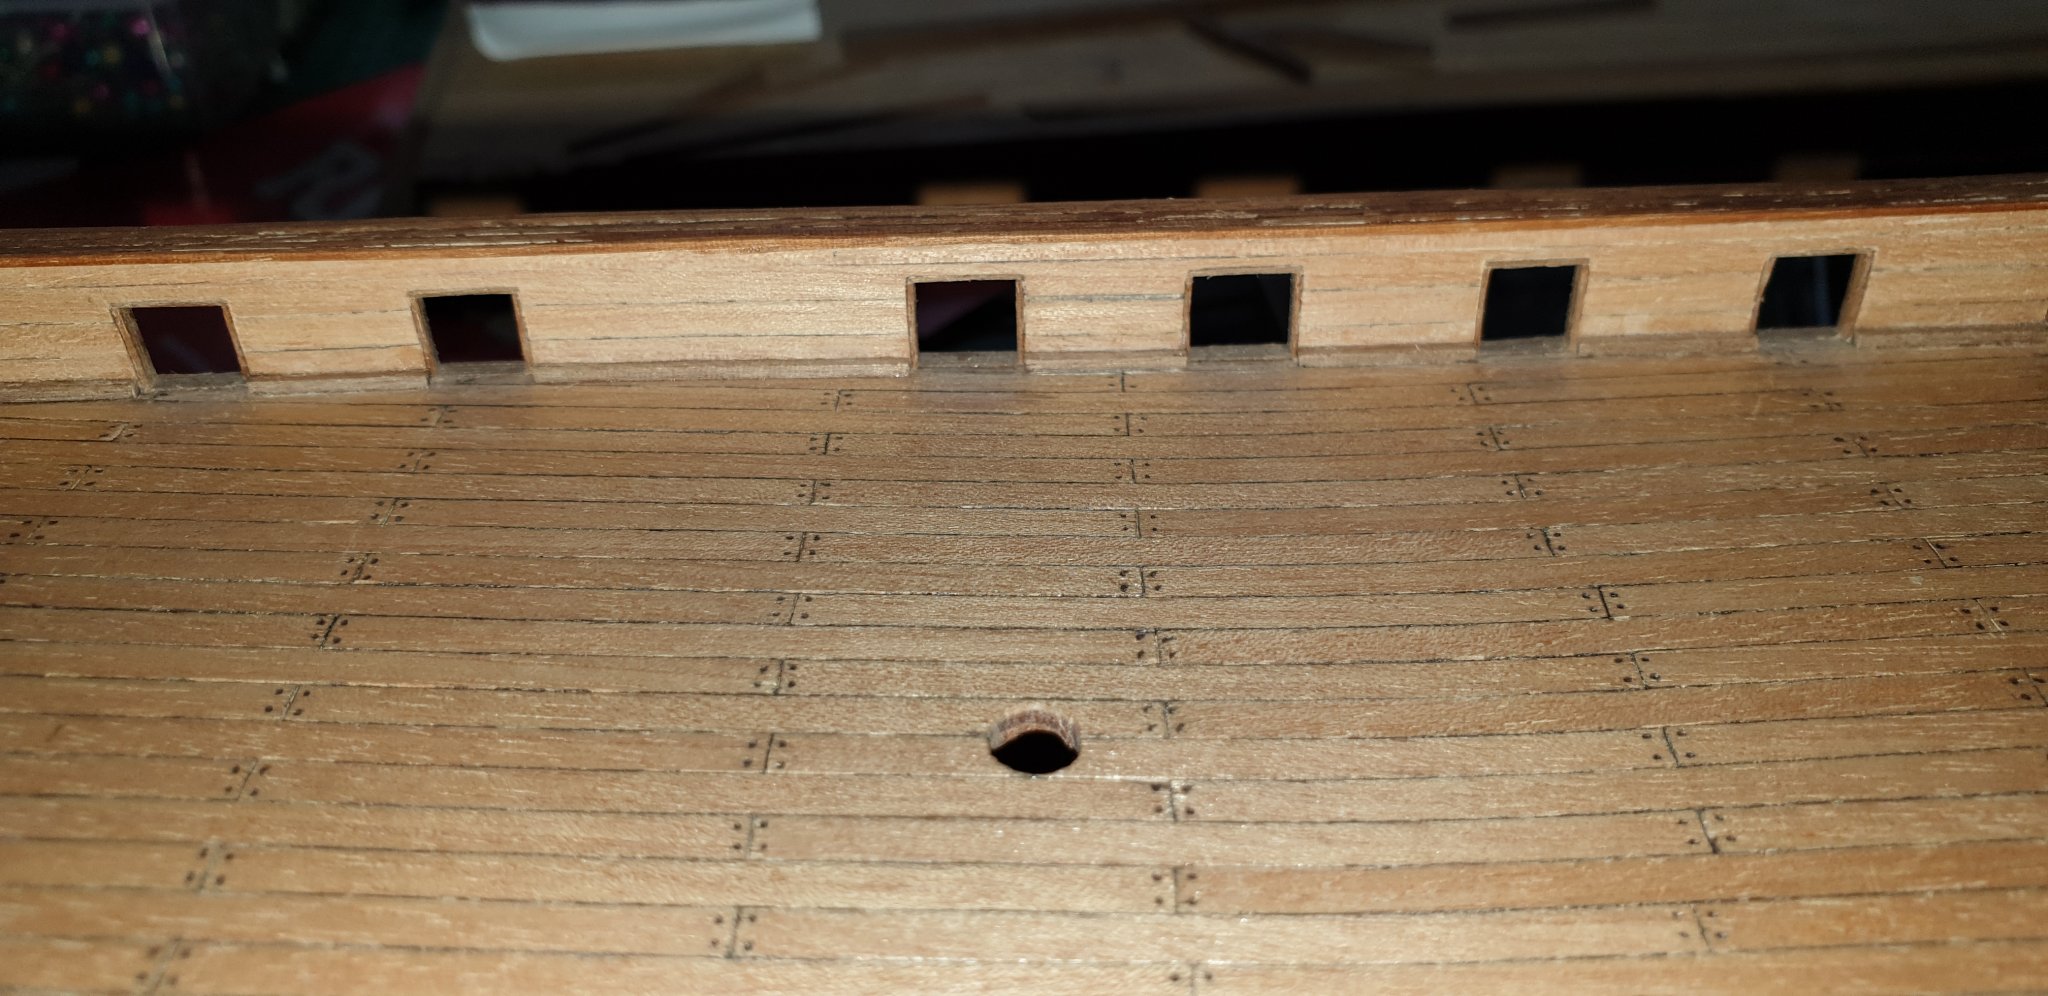
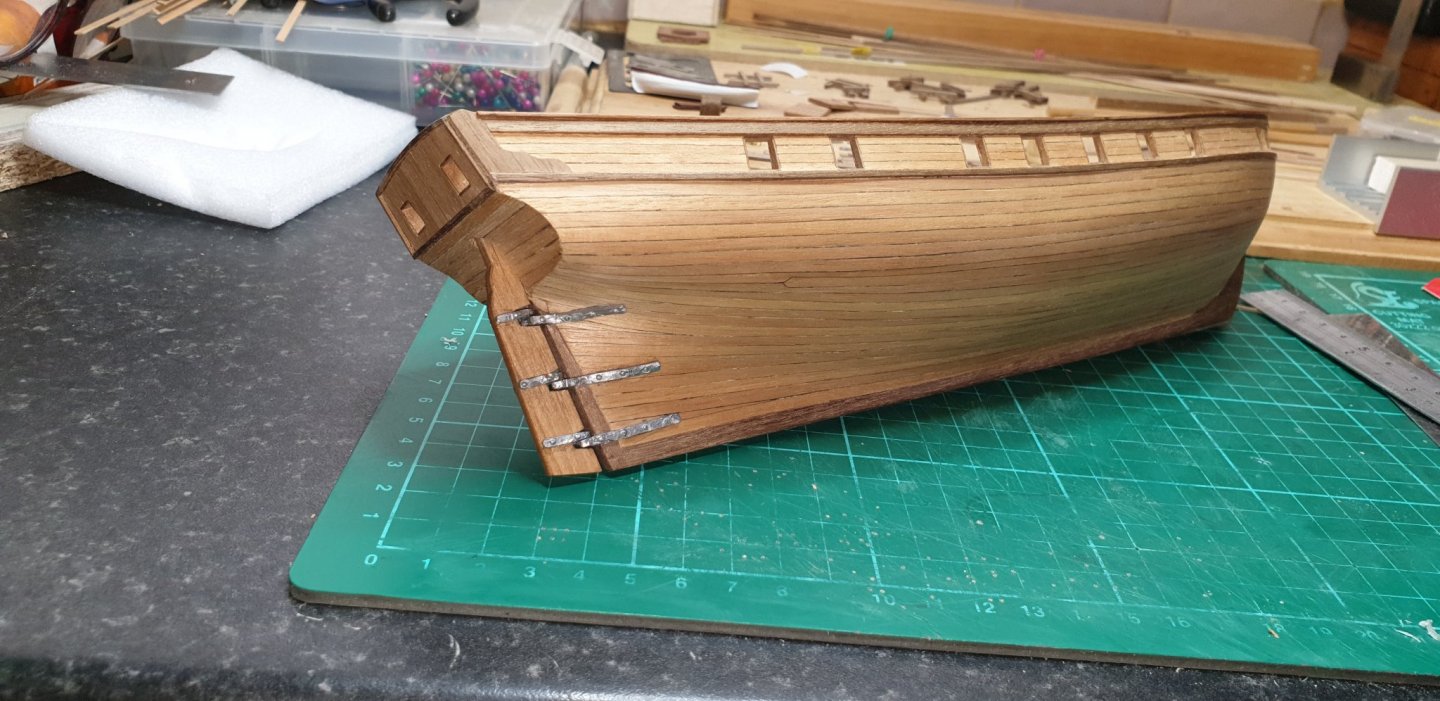
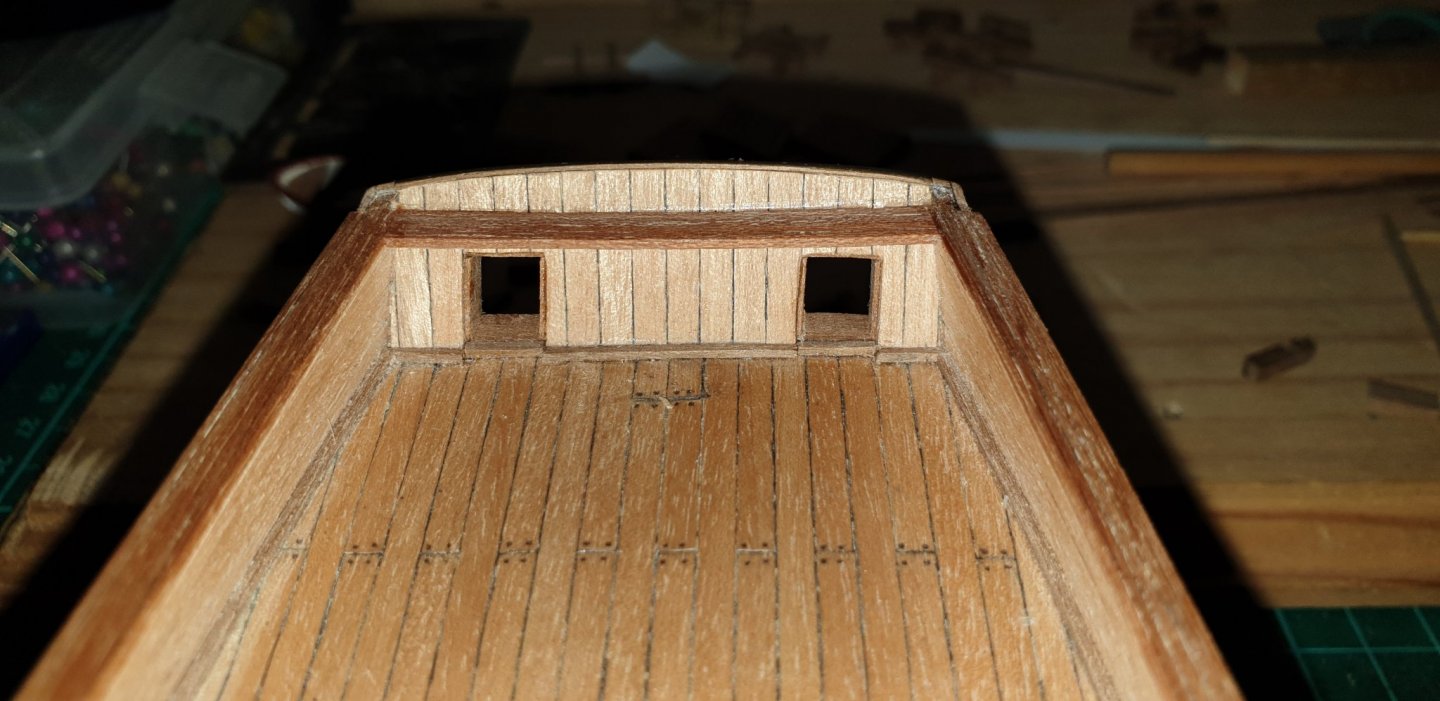
Transom supports done and I think their called bullwark stansions either side of the gun ports And the lifeboat I think the next thing will be the 2nd layer of planking , not looking forward to this because i know there a a few different techniques. I just have to find the easiest way. Davy.


-
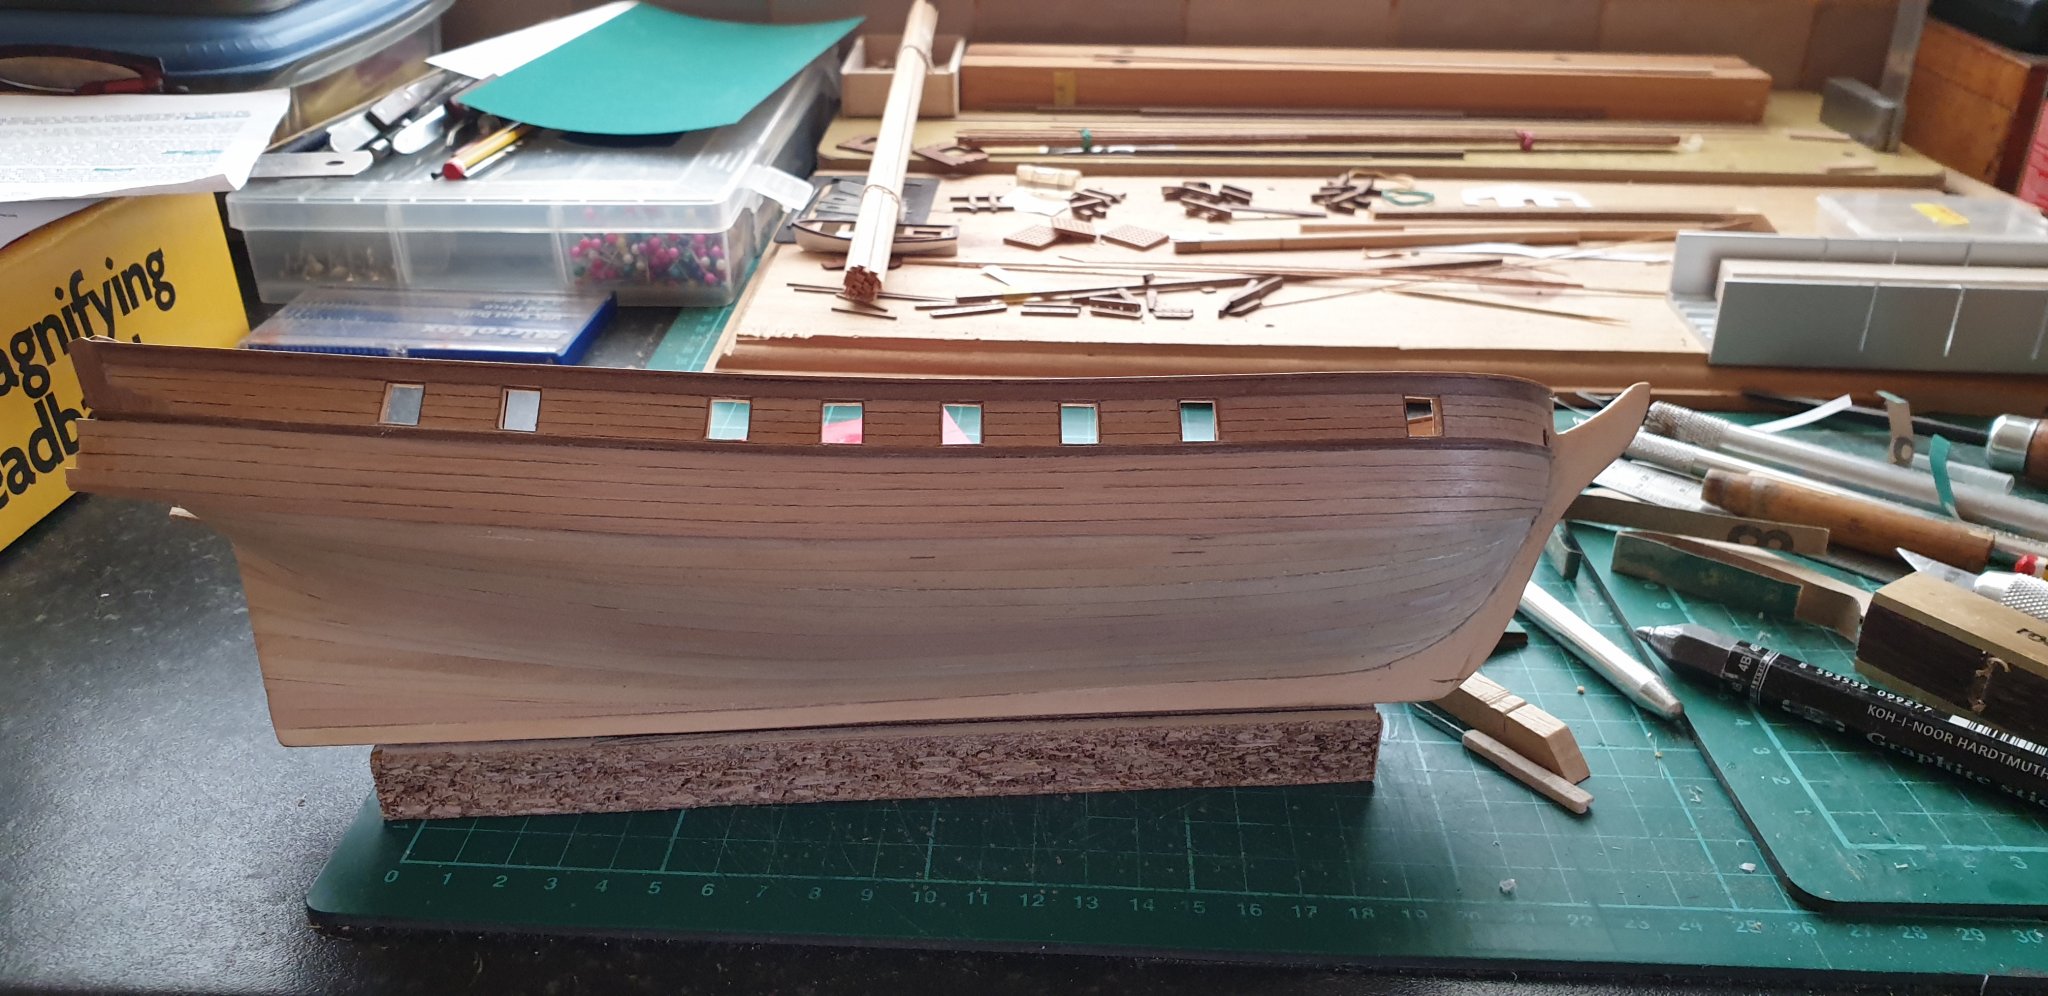
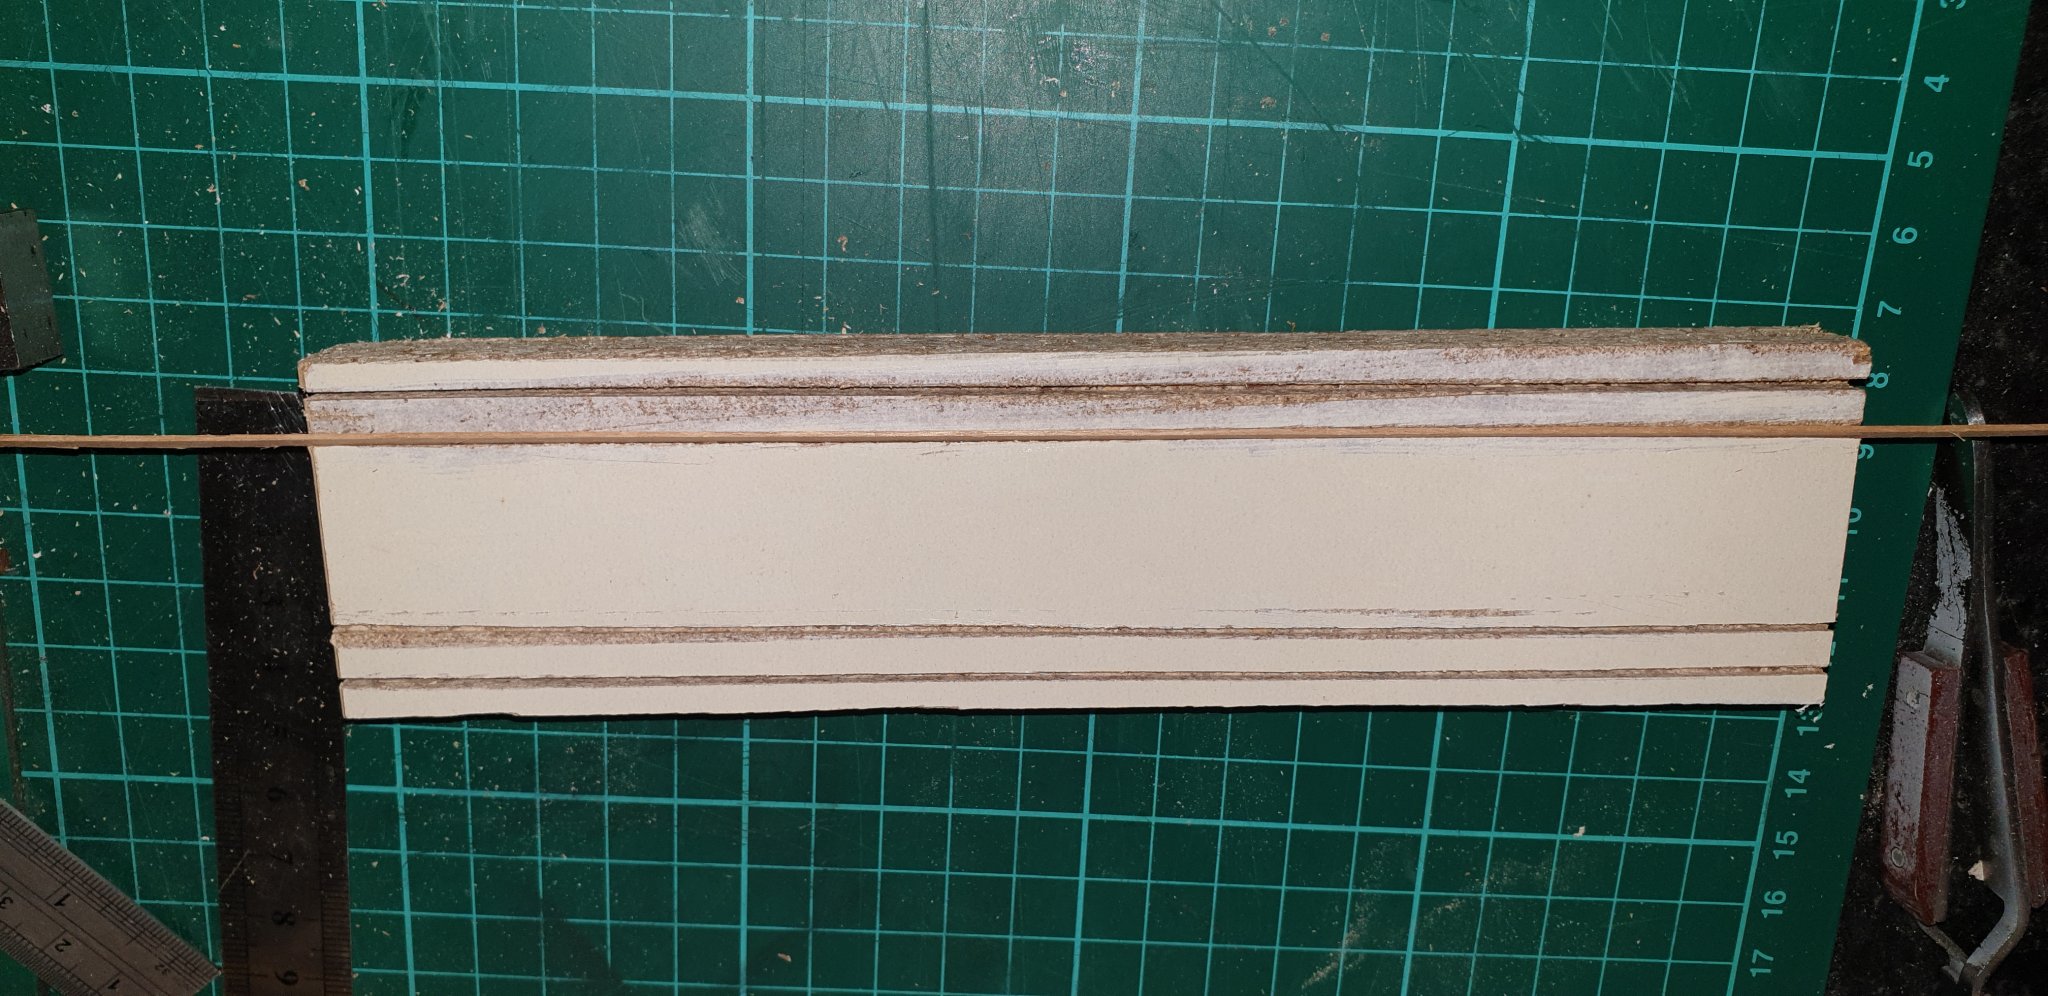
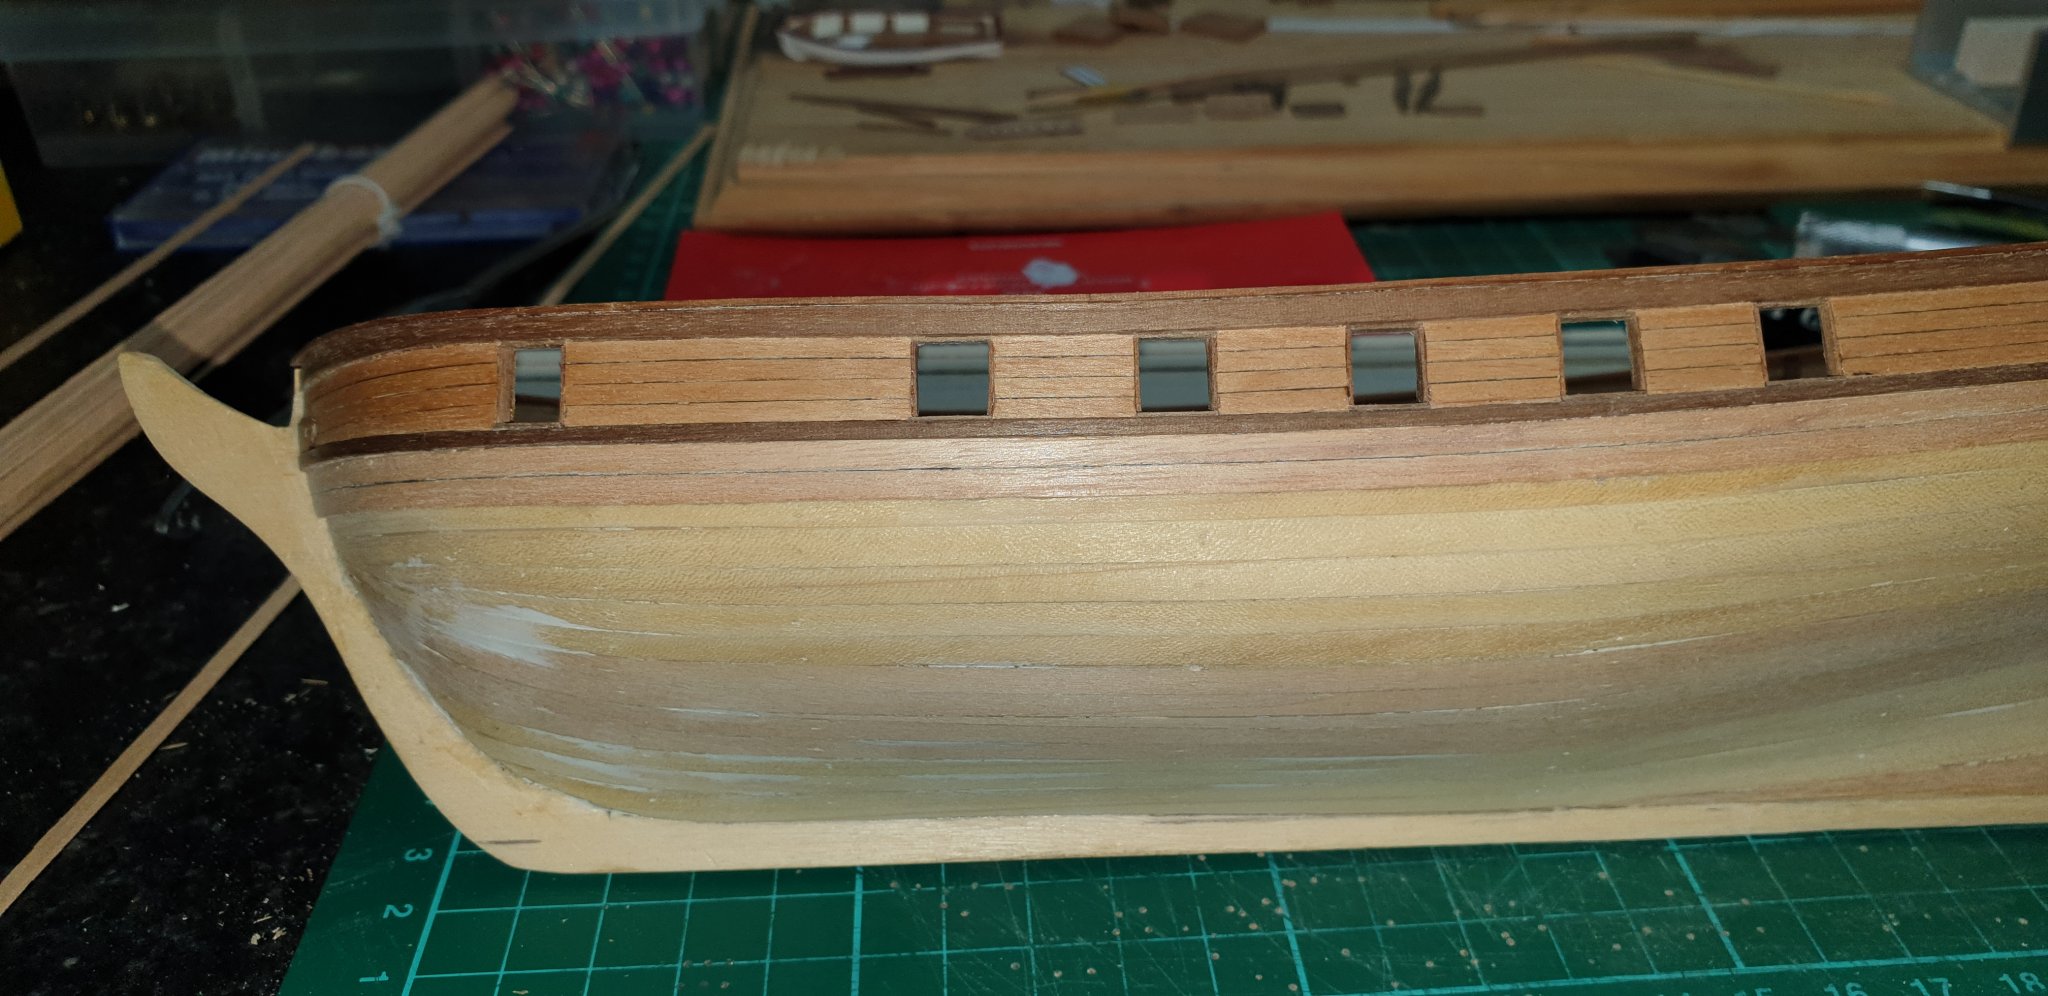
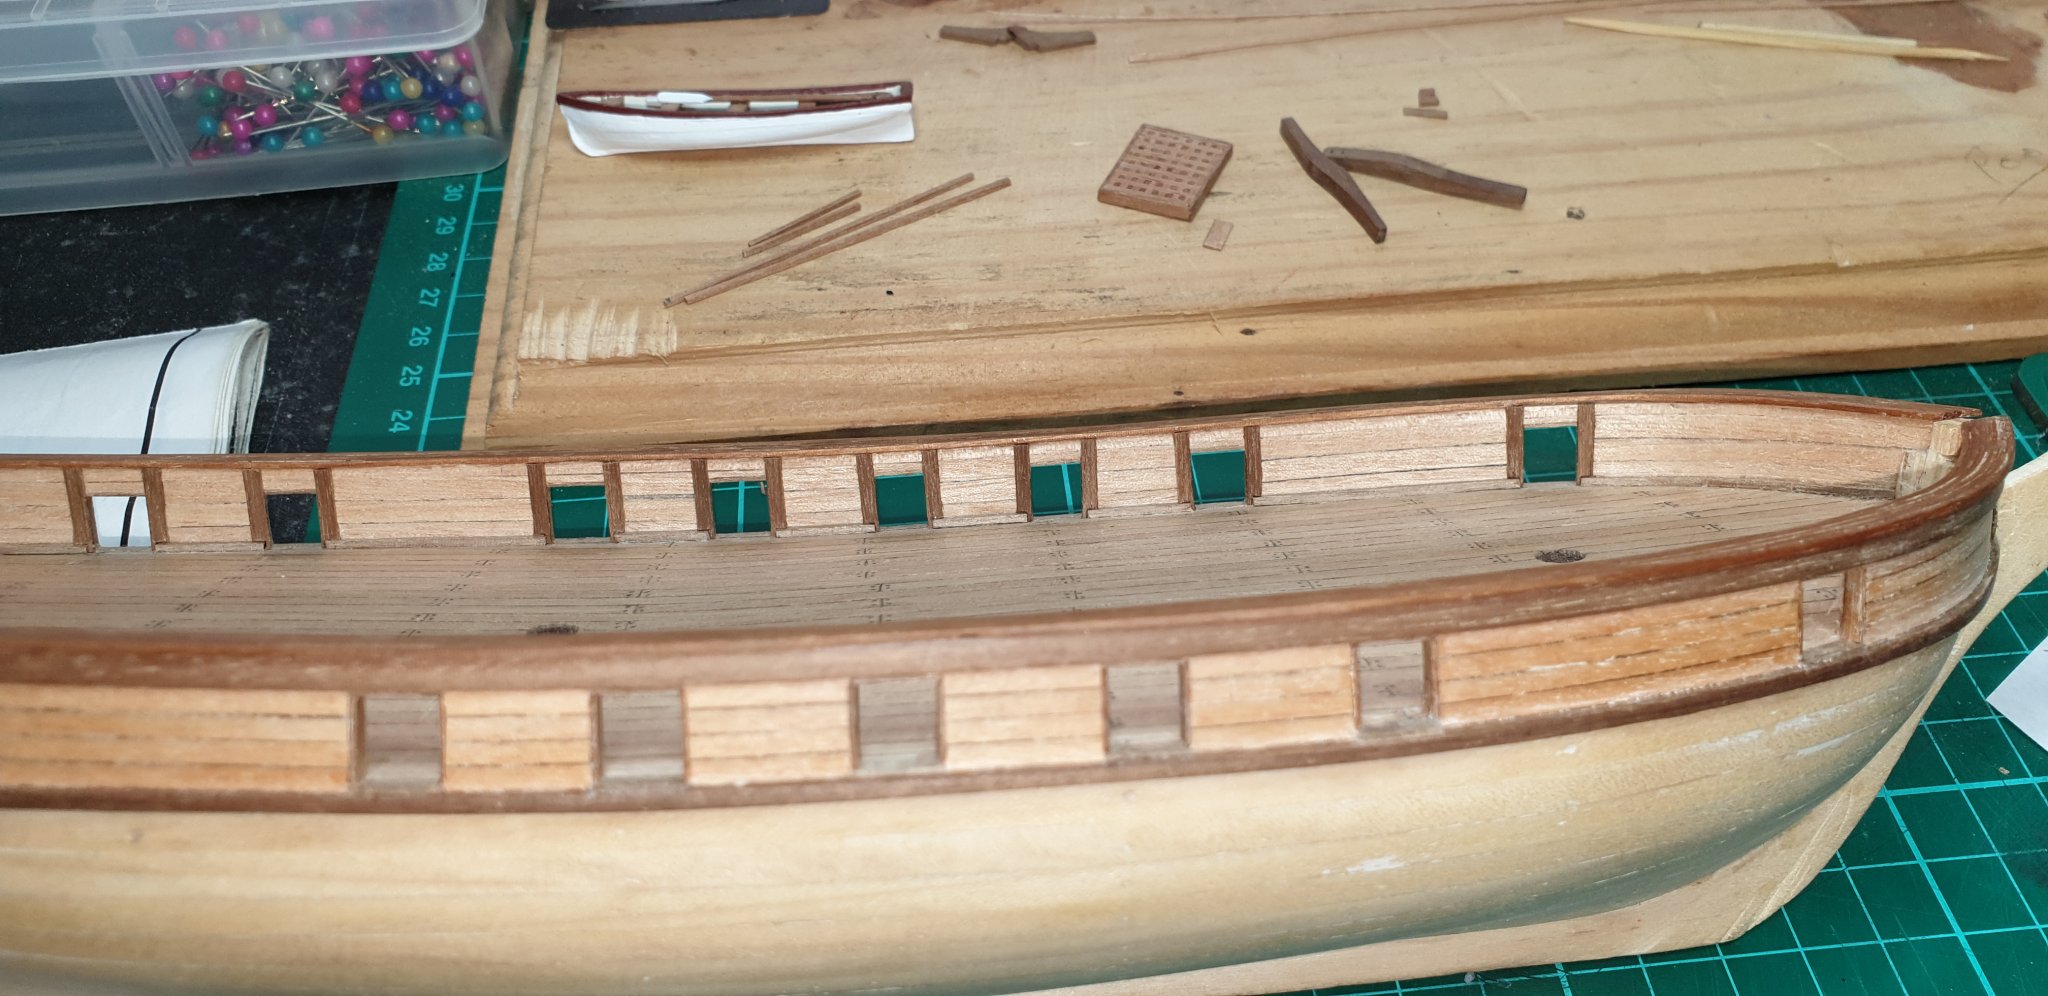
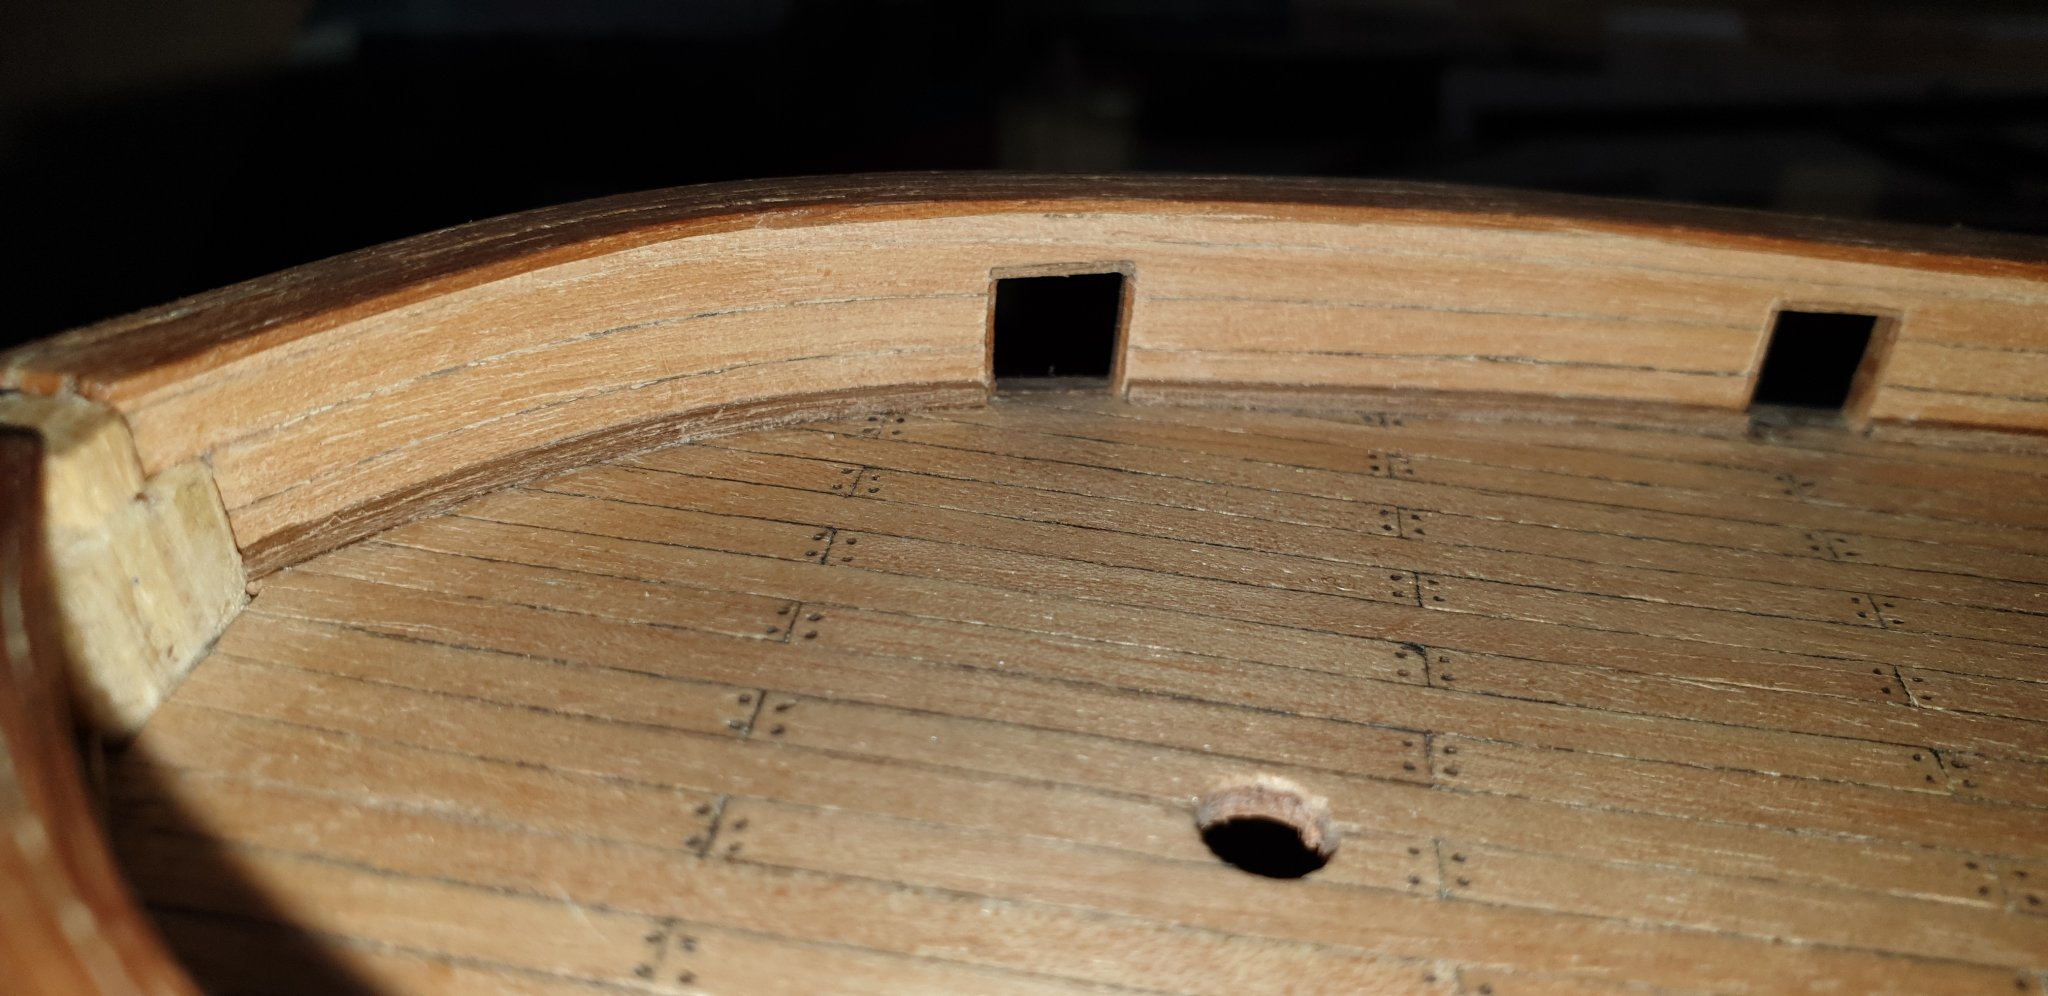
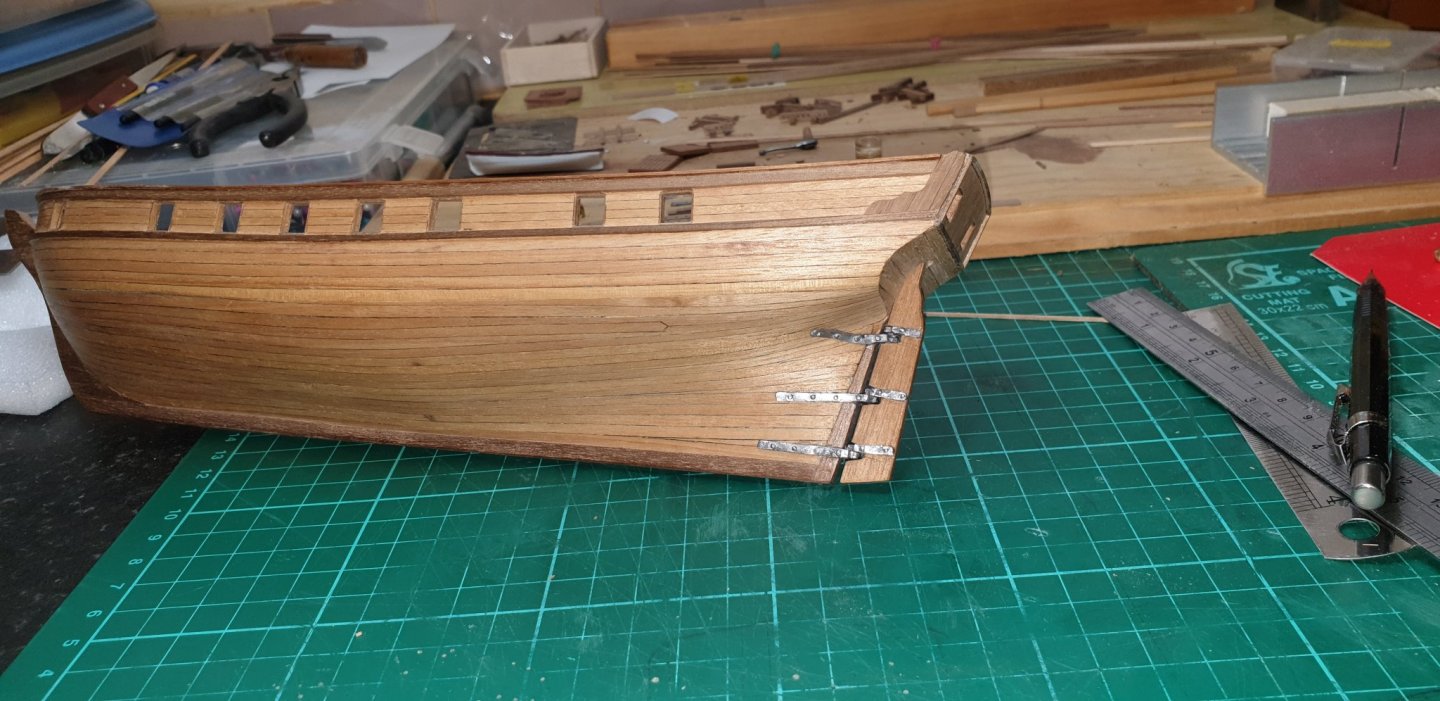
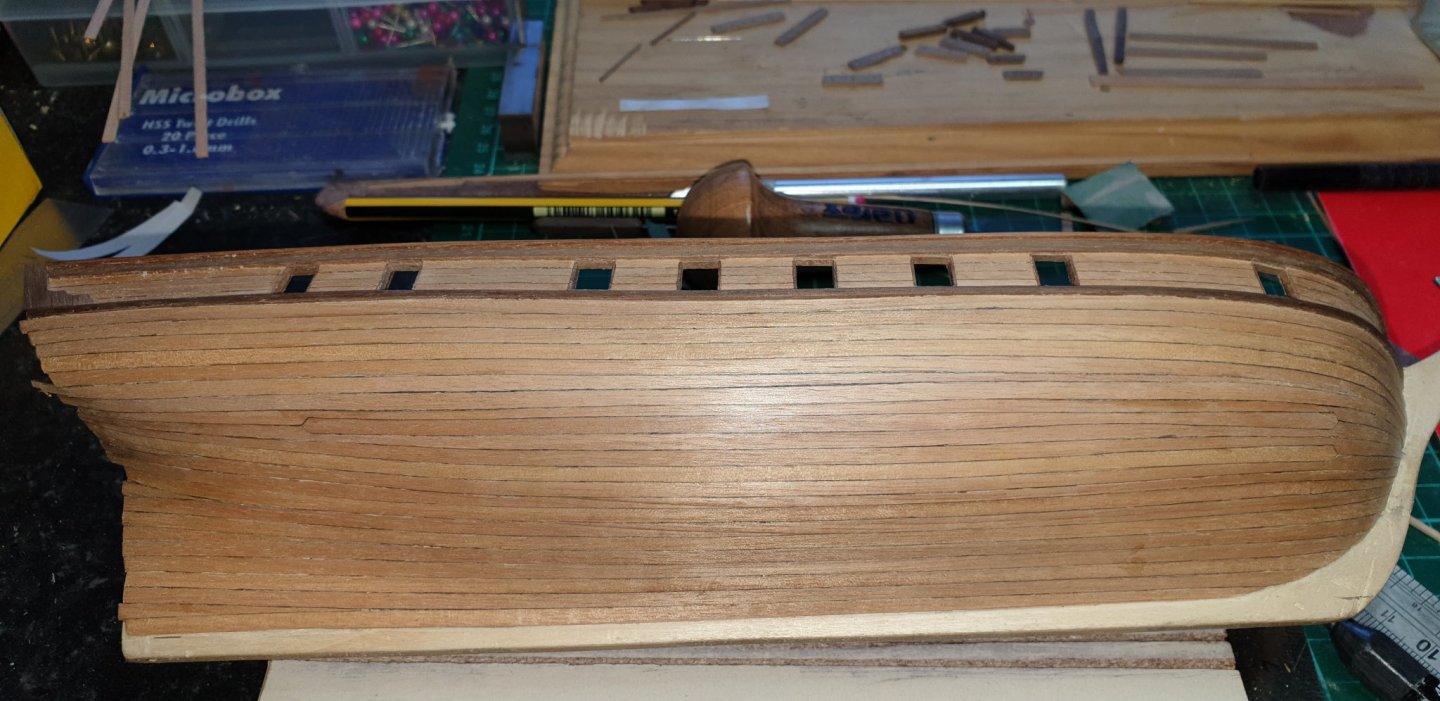
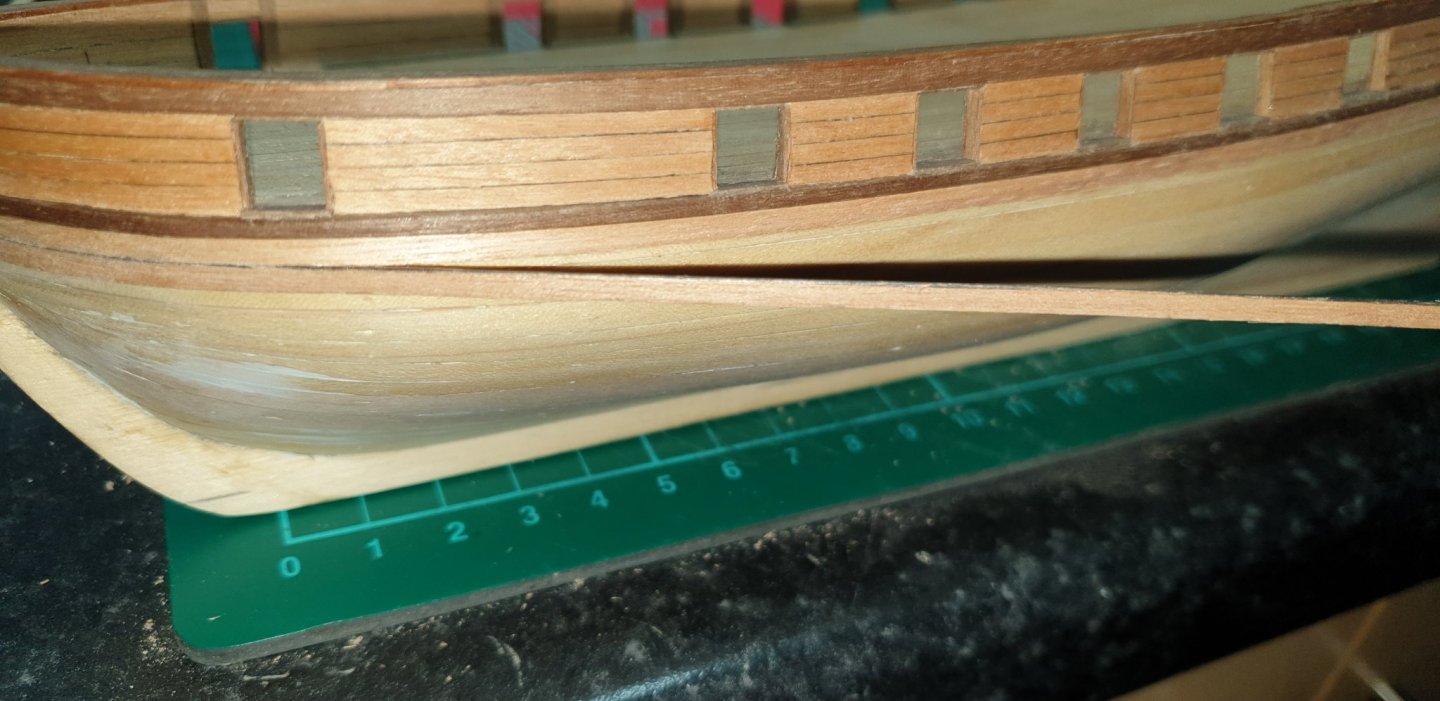
I just finished the transom handrail and the walnut waterway and the gunport frames. It was a fiddley process but its done


-
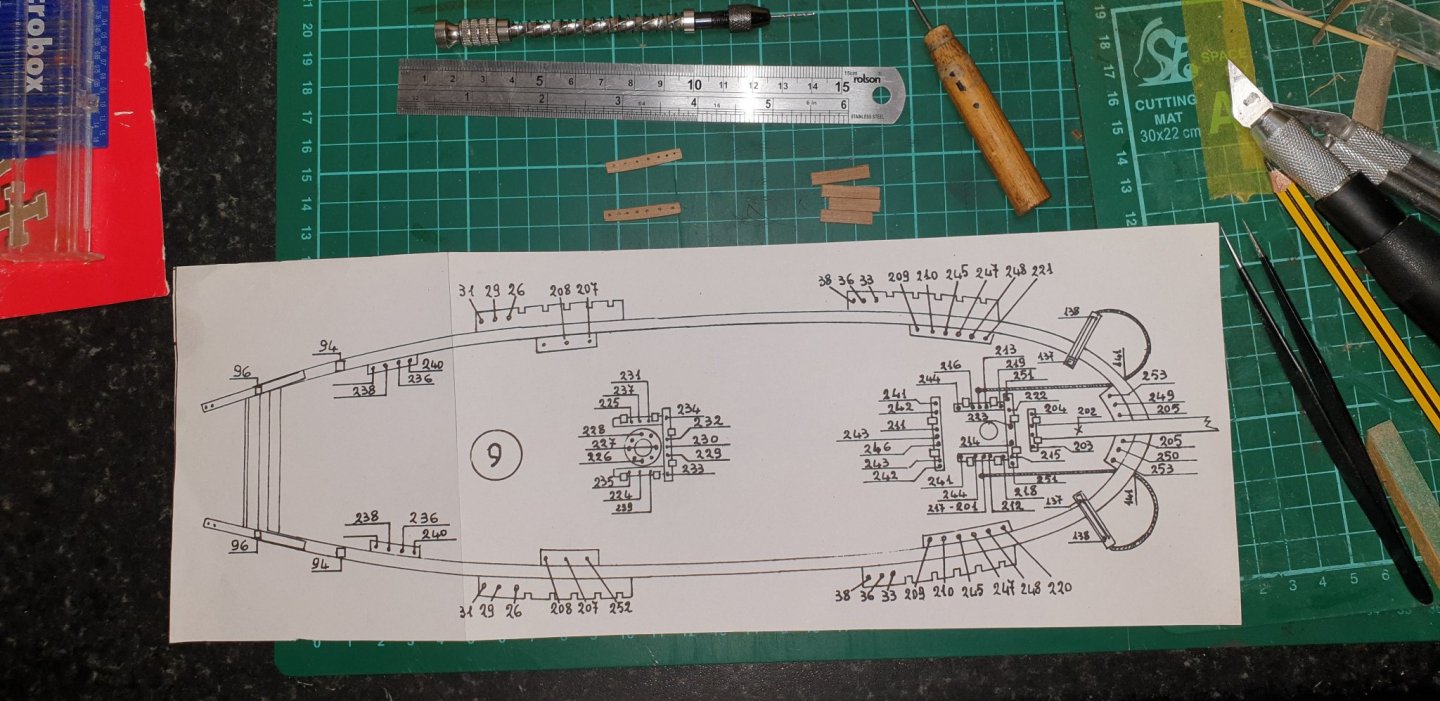
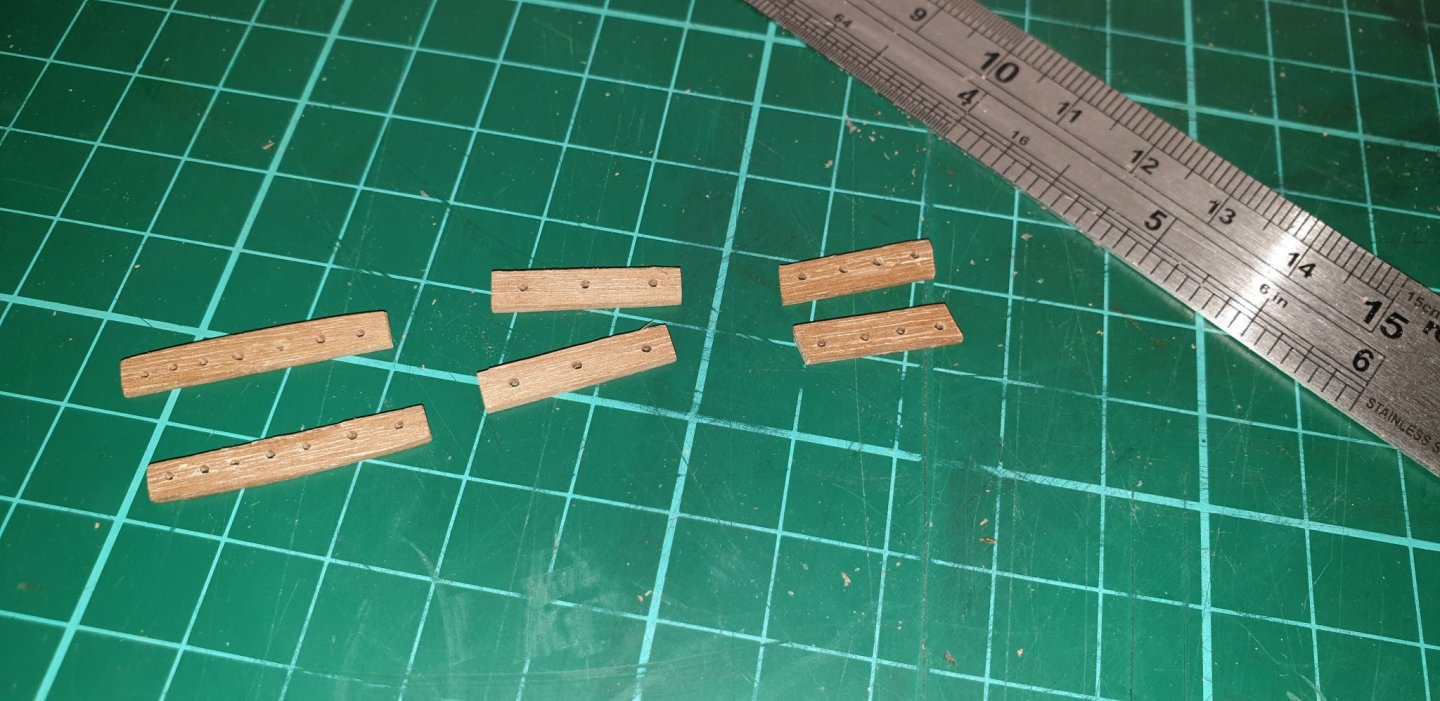
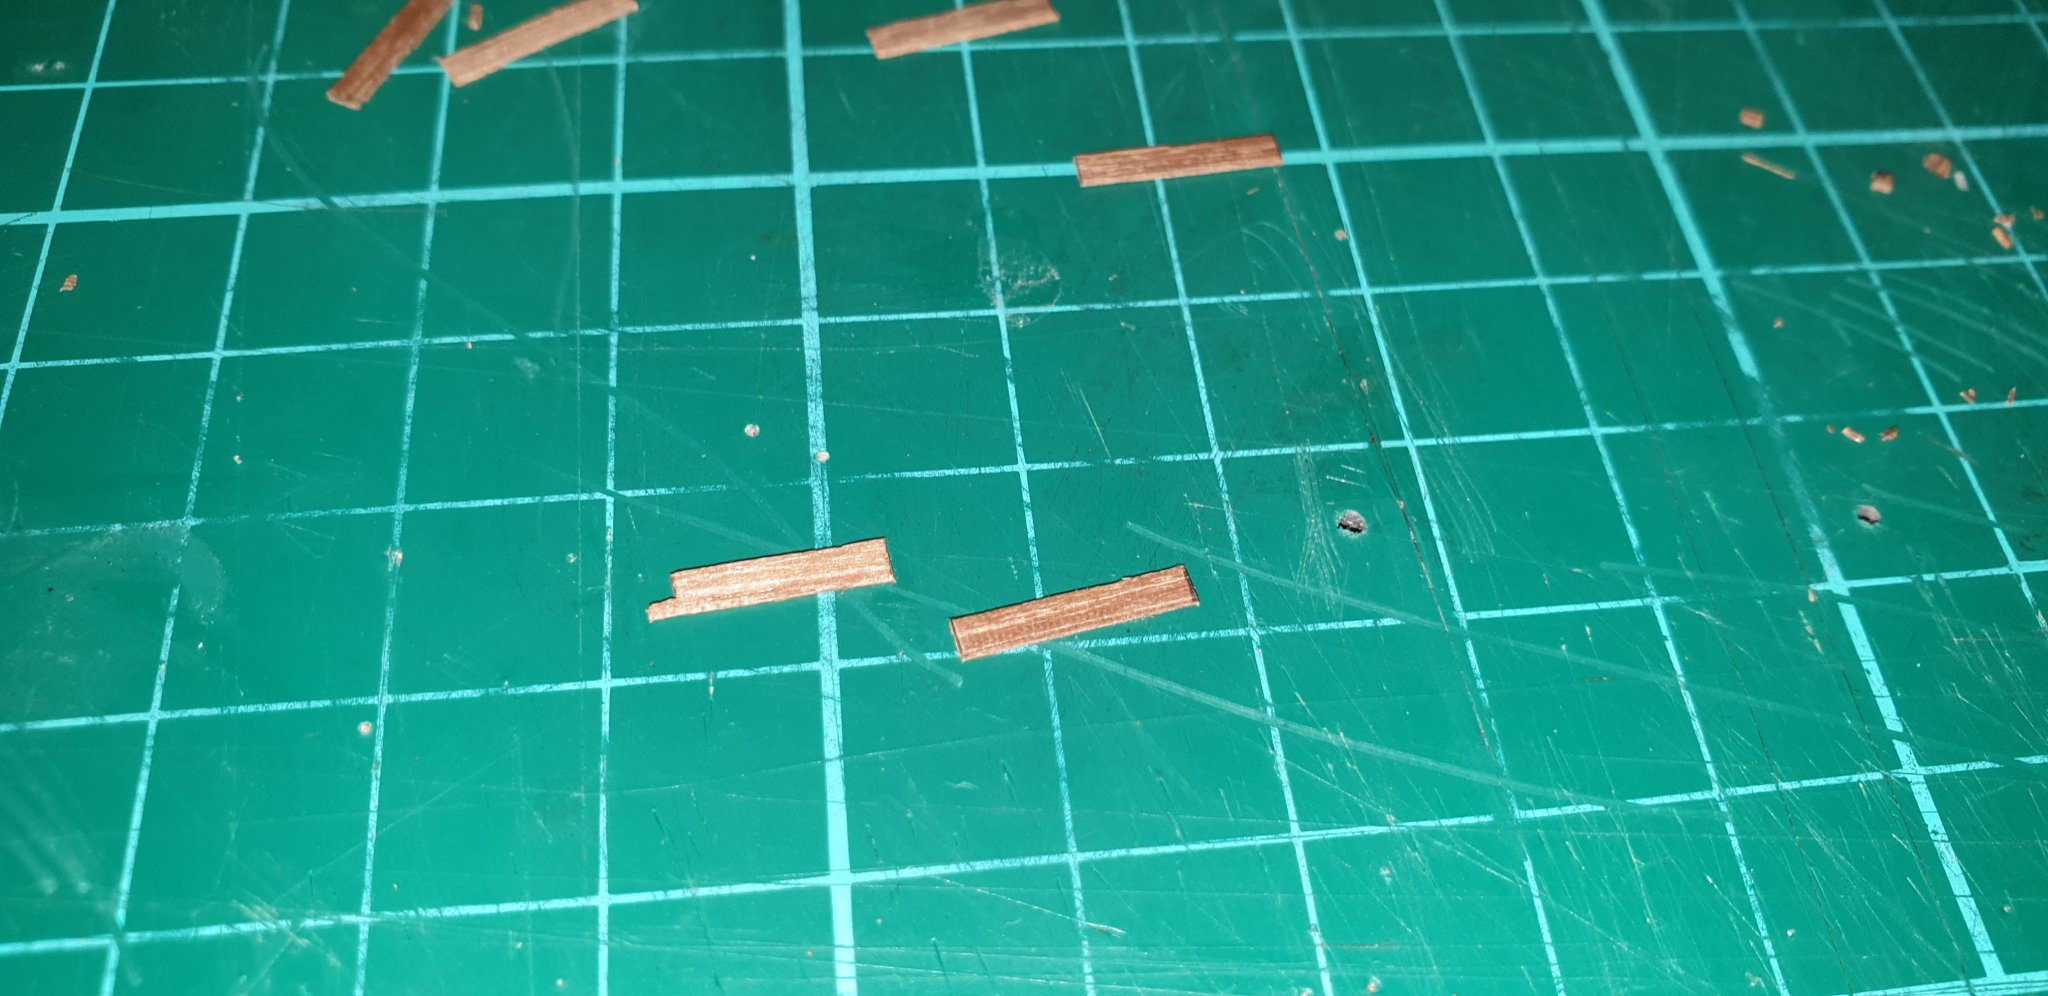
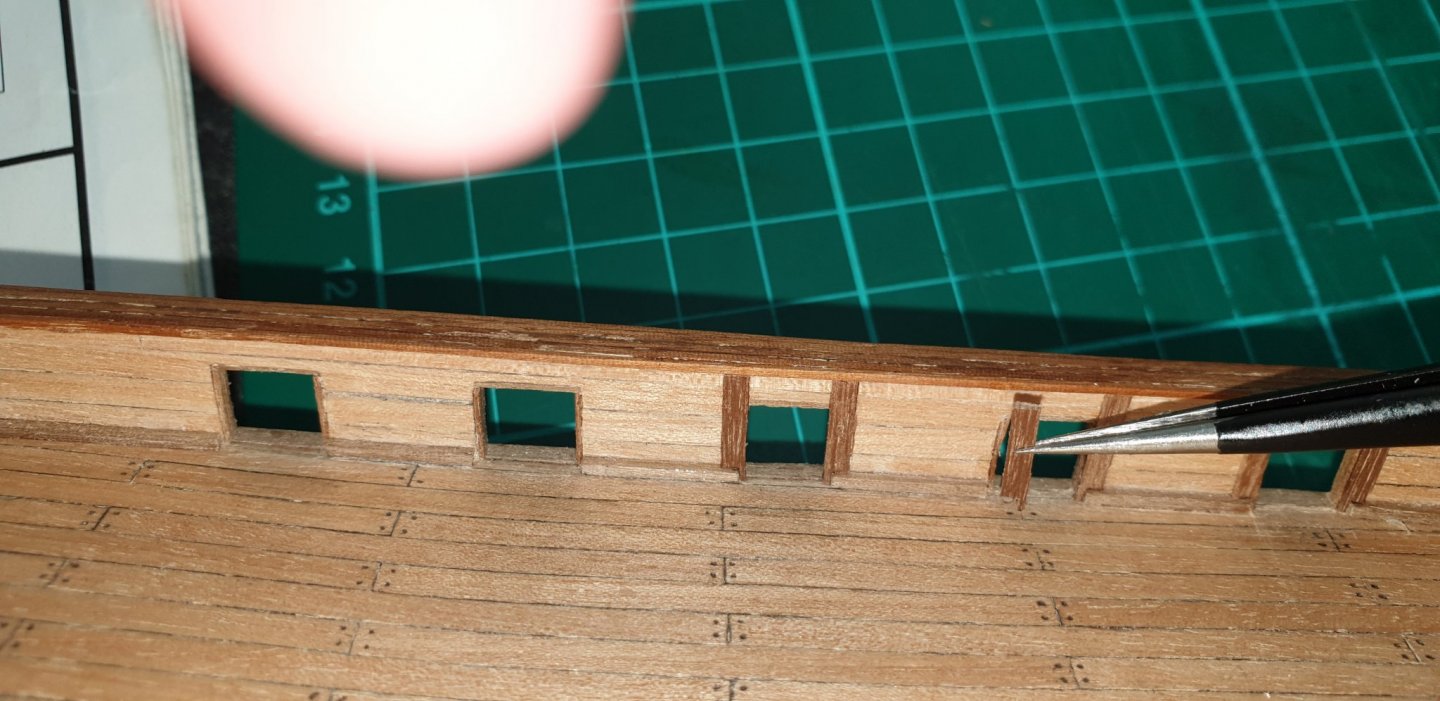
Thanks guys thats reasuring to know. Today i start the belaying pin racks for the inside of the bullwarks under the handrail next the smaller size ones. As for the 2 on the bow Mamoli didn't give me enough wood to do those so i had to order more wood, so I'll finish those 2 in a couple of days.