Redshadowrider
-
Posts
301 -
Joined
-
Last visited
Content Type
Profiles
Forums
Gallery
Events
Everything posted by Redshadowrider
-
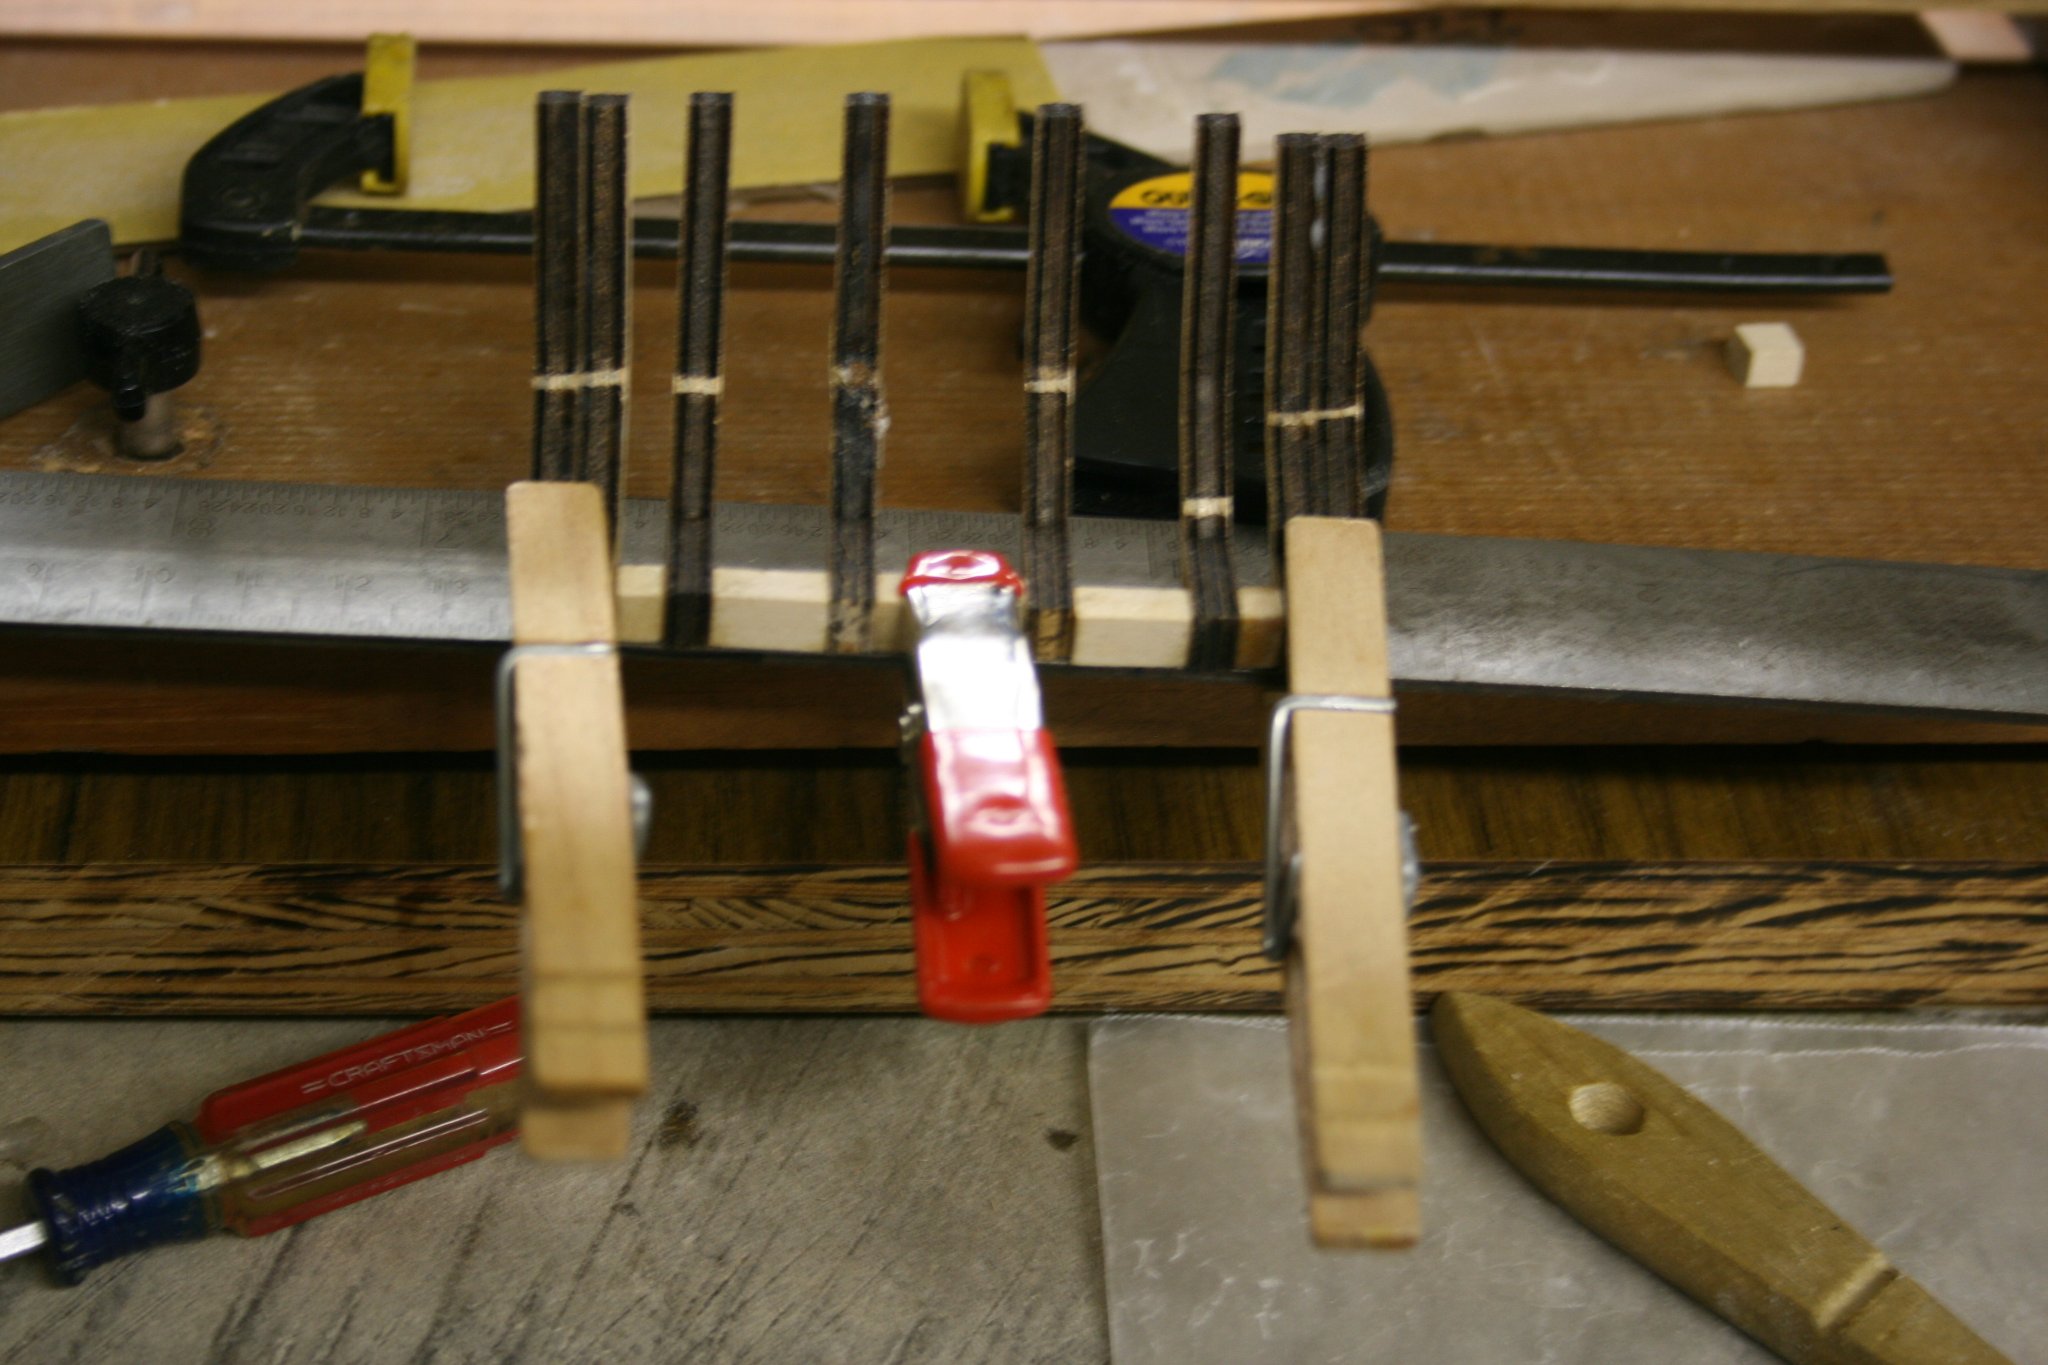
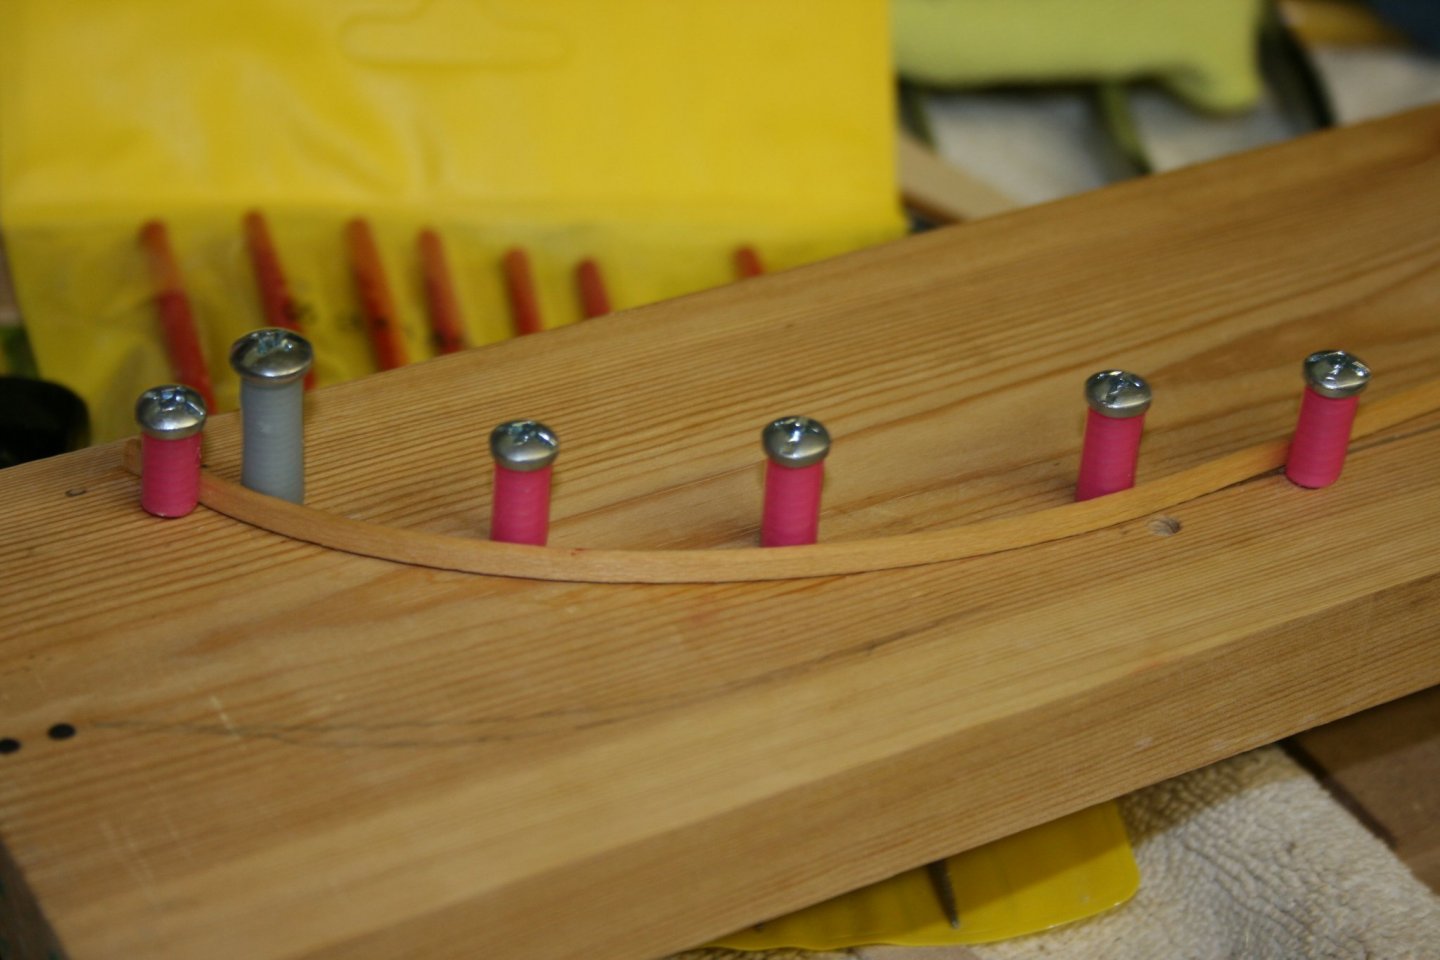
NEWBIE TIP: Once you get to this point, you are going to find out that bending planks is an ongoing part of the process. I have set it up where I have one soaking in water, and another on the bending jig. I have been bending only one at a time as my planking didn't need much more than one every once in awhile. Now, however, I am at the bow and doing gun port sides, and the need for bent planking is greater. I started to notice small grooves in the planking material left by the jig and the screw threads. It's not a big deal, but I do want to have a clean plank to start with. To get rid of the grooves, I took some RC fuel line and screwed it on the jig parts. ....No more grooves.......👍
- 436 replies
-
- 4
-

-
- Syren
- Model Shipways
- (and 1 more)
-
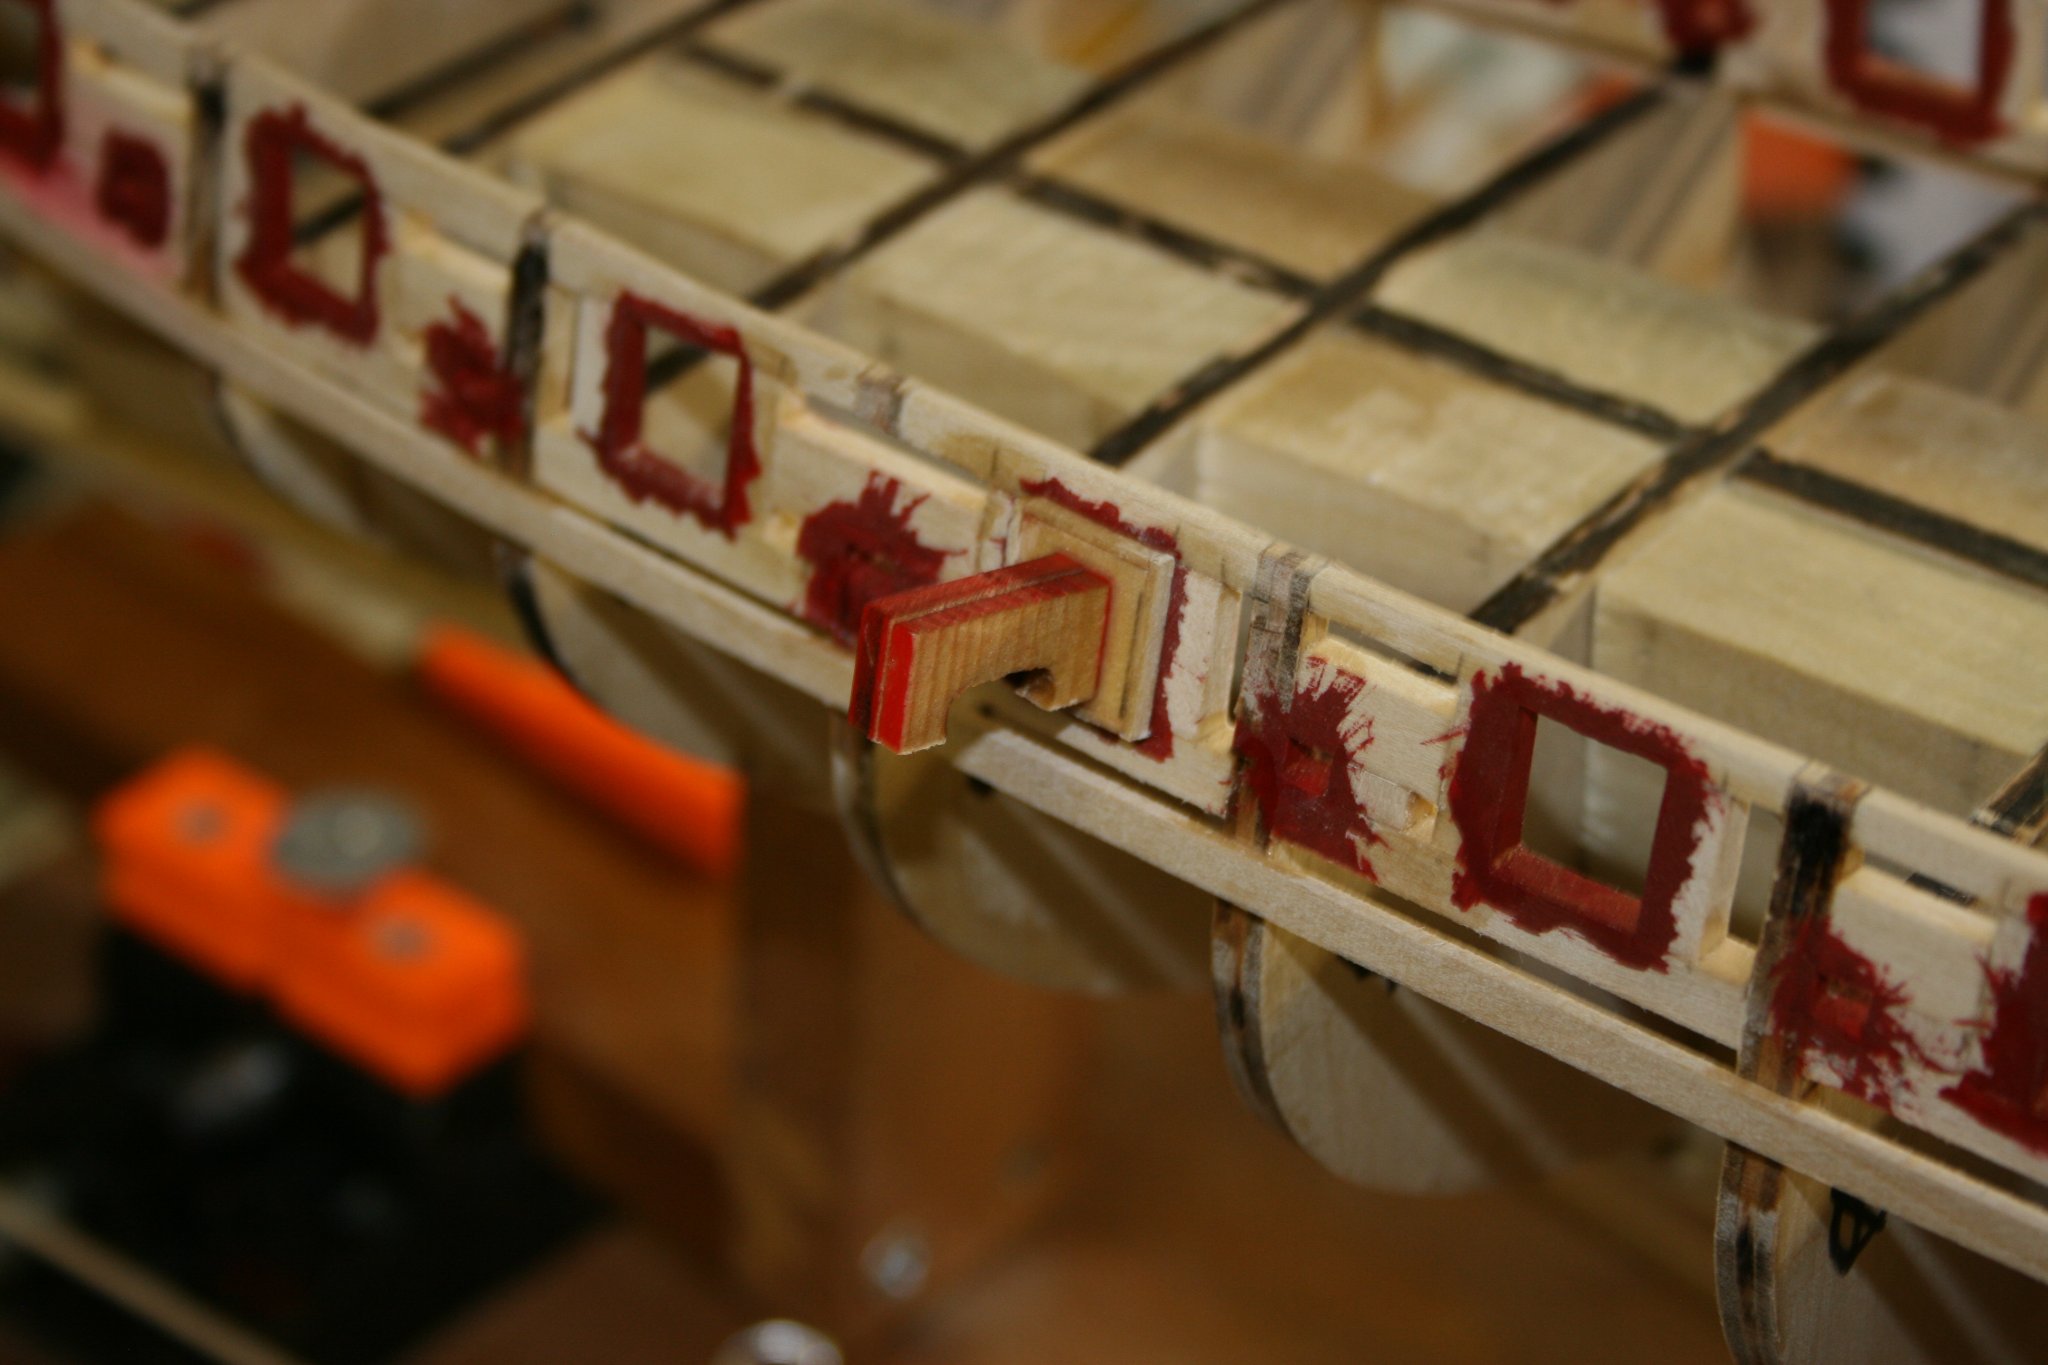
You are right Justin, once I tried cutting the planks off of the hull, it went much smoother, and any mistakes can be easily corrected. That's how I am doing it now. And if you patent the gun port template, I suggest that you sell them in pairs. You were right that 2 is what is needed.👍 As soon as I started planking around the gun ports, I saw the need for another. And ta-dah, added another and now I can make sure both gun port planks are right sized with ease. Here's a pic.

- 436 replies
-
- 4
-
-
- Syren
- Model Shipways
- (and 1 more)
-
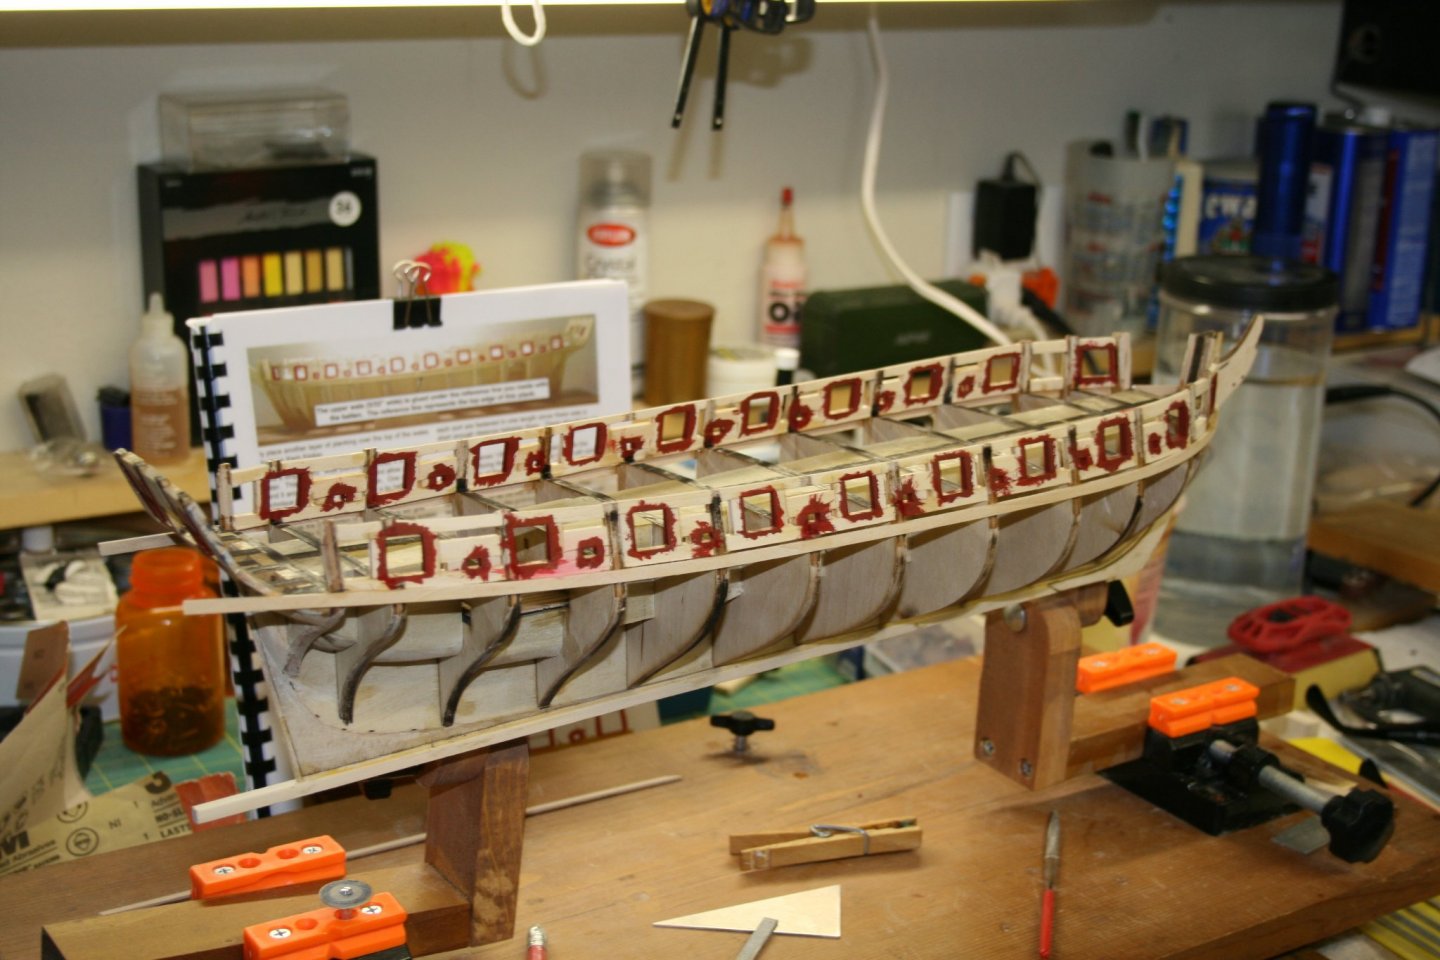
So far, it’s going good with the template. Now all I am doing is trying to decide on one thing. Do I put the plank on the bulkhead then cut out the plank opening? Or, do I mark it out, then cut out the openings before gluing the plank to the hull? I have tried both and prefer to mark, cut out the openings whenever possible, then glue in place. Any mistakes in cutting the openings is off of the hull, and not on. I haven’t had a big mistake cutting the planks, but, when it is on hull, it is inevitable that the gun port sill is very easy to scratch and going back and repainting is a pain. I have two sills that will need to be touched up. That’s much better than 18......... 😀
- 436 replies
-
- 1
-
-
- Syren
- Model Shipways
- (and 1 more)
-
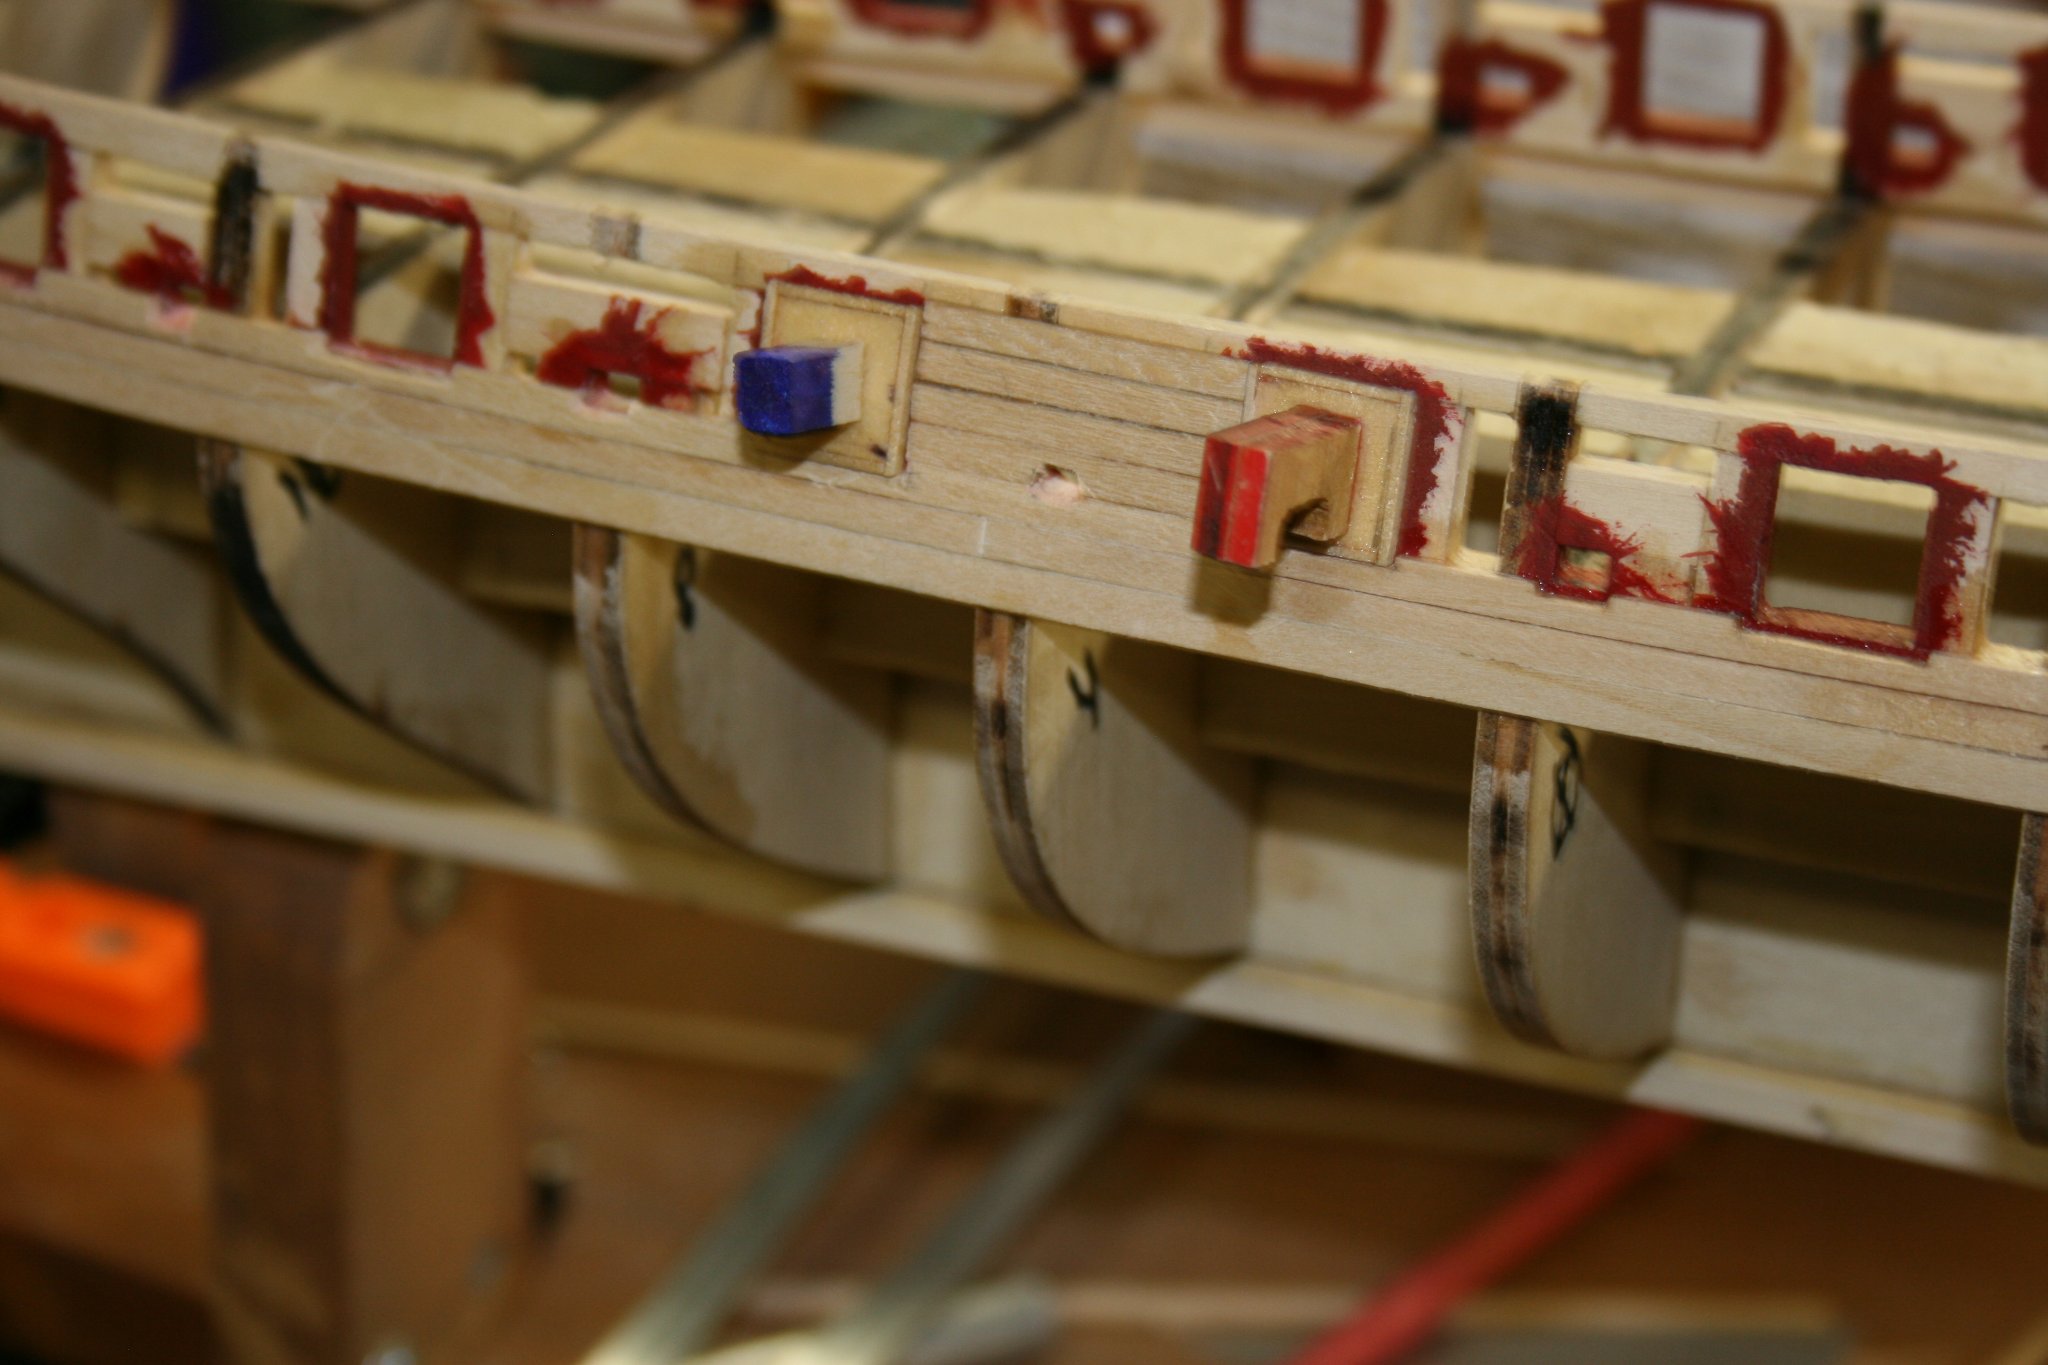
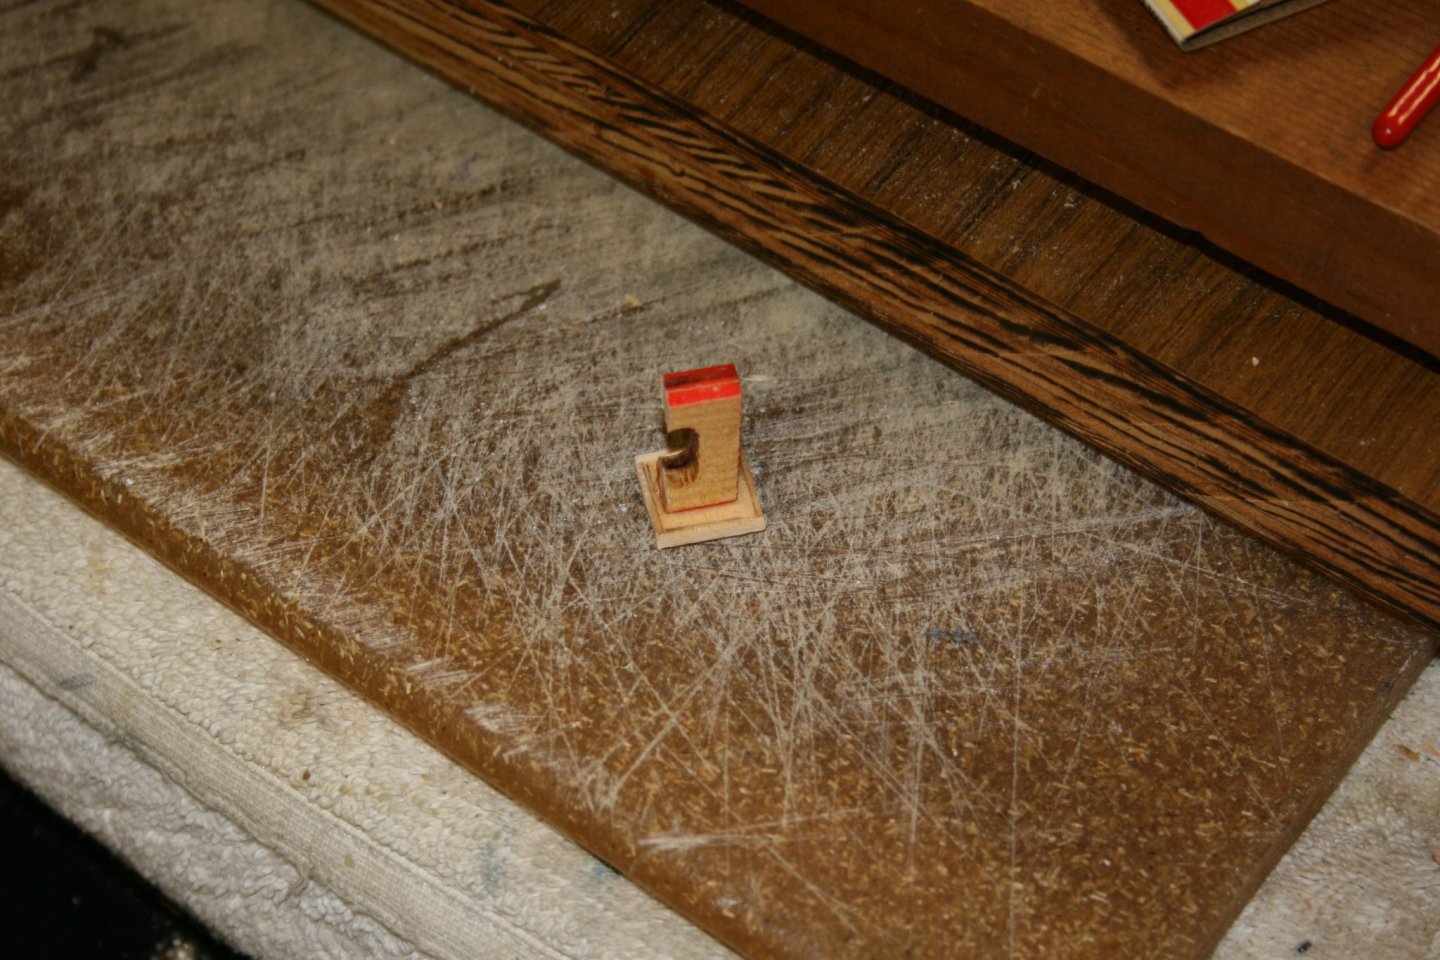
One Template 18 ports: After reading the planking instructions for above the wales, I decided that there will be enough cutting and measuring that I needed a better way. So I fashioned a small plug template to help me build the port doors while off of the model. It should also make it much easier to mark the planking for cutting as I build. Yes, you can patent this one too. 👍

- 436 replies
-
- 7
-
-
- Syren
- Model Shipways
- (and 1 more)
-
I like how it came out. The instructions said to not use real red, so I didn’t. 😉
- 436 replies
-
- 4
-
-

-
- Syren
- Model Shipways
- (and 1 more)
-
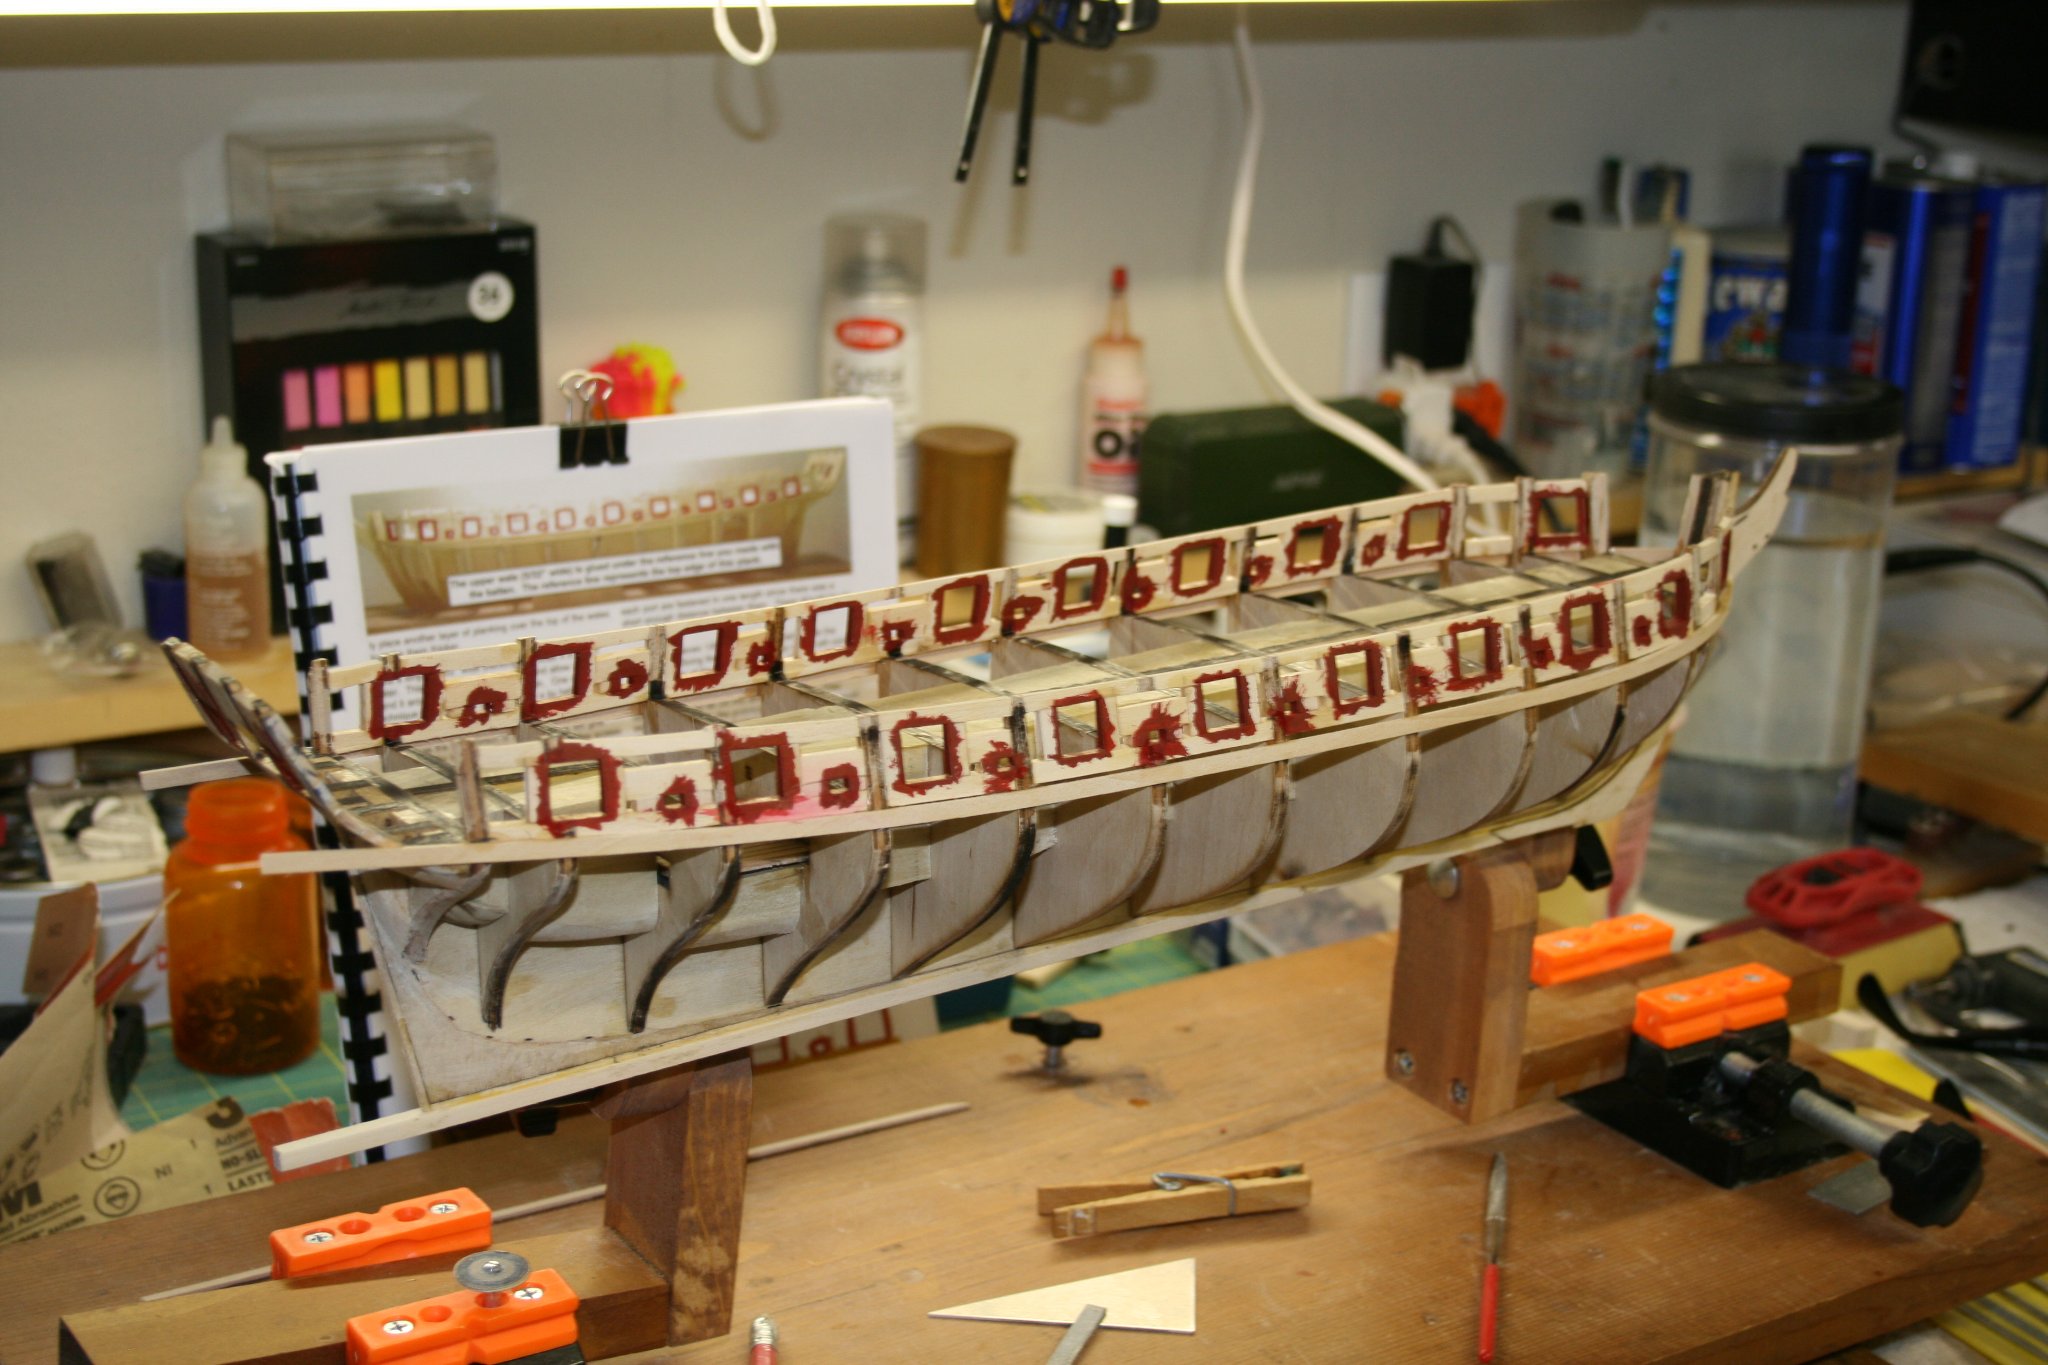
Symmetrical, Smooth, and Painted Red I have just added the top Wale plank on both the port and starboard sides. It took me awhile to get it right. Newbie Warning: I actually glued on both wales before realized that one plank was lined up with the top, and the other with the bottom. I was able to pop off the one put on incorrectly and re-glue it without any damage being done. The last thing I need to do is mess up on planking...and on the first plank. LOL The Red is Vallejo Flat Red, and Flat Brown mixed about 5 red to 1 brown. (eye balled mostly) Still reading about planking... 😁

- 436 replies
-
- 5
-
-
- Syren
- Model Shipways
- (and 1 more)
-
Four Hours of Filing, Cutting, and of course Sanding, I have the basic form for the filler blocks ready. I am sure that there will be minor adjustments, but for now these will do. And..I still have the rabbet.. 😉 On to Chapter 5: Hull Planking

- 436 replies
-
- 1
-
-
- Syren
- Model Shipways
- (and 1 more)
-
Sanding Again: Surprise 😄 I have added the filler blocks at the sternpost as in the previous post and have sanded the starboard side. It ain't as purty as the picture in the instructions, but I think it looks good for my first time. On to the port... yes, the port side, not the liquid.
- 436 replies
-
- 4
-
-
- Syren
- Model Shipways
- (and 1 more)
-
After looking at the picture online and comparing what there is of the rudder, and re-reading the instructions for the fifteenth time, I added another block side by side with the first ones. I also looked through other build threads and it needs 2 side by side. They are in place now.... although, sanding and shaping is not going to be easy. The rabbet is just sitting there saying “hey, don’t hit, or sand me at all....”. 😀
-
Question on preceding picture. I have looked at the transom area in the instructions both printed and online. For each filler block, I used a 3/16” x 1/4 block. Should I add one more block (same size) beside each block? I think the answer is yes, but wanted to check.
-
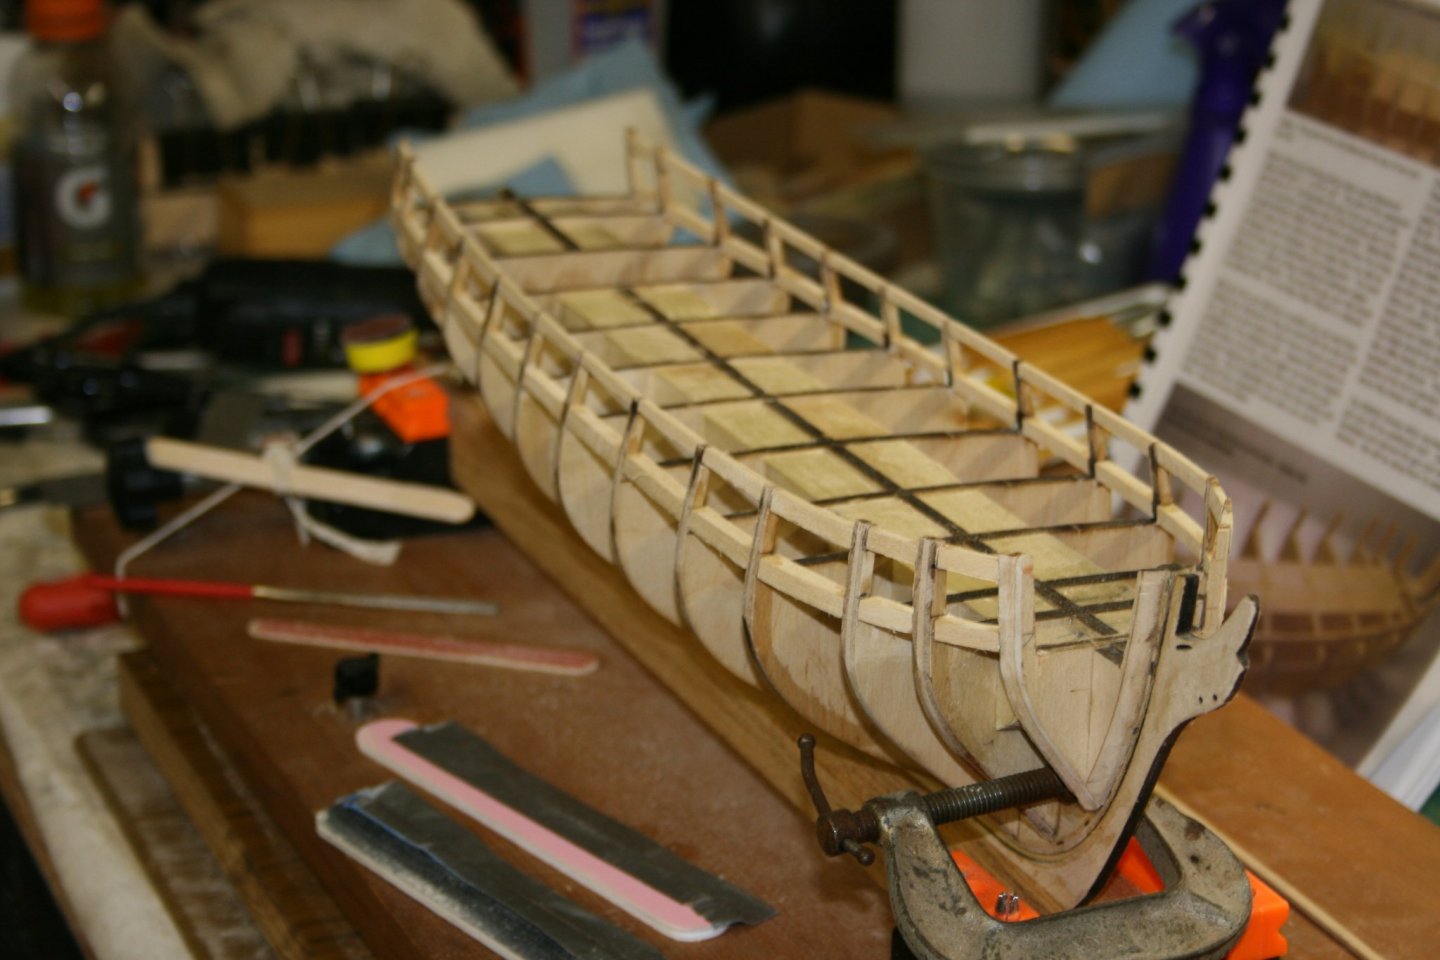
Time for a Break - (sort of) As you can see in the picture, I have added the filler blocks at the the stern. I have yet to sand them, but I just glued them in place this morning. I will get them sanded when glue is dry,.......but.... In reading the instructions, it says that if you haven't had any experience in planking a ship, it is recommended that I read a book on planking. I don't have the one by the author cited, but I do have "Planking Techniques for Model Ship Builders" by Donald Dressel. I am going to sit down and read it so I can get some insight. (132 pages) Once I have read it, I pick back up on the construction.
- 436 replies
-
- 2
-
-
- Syren
- Model Shipways
- (and 1 more)
-
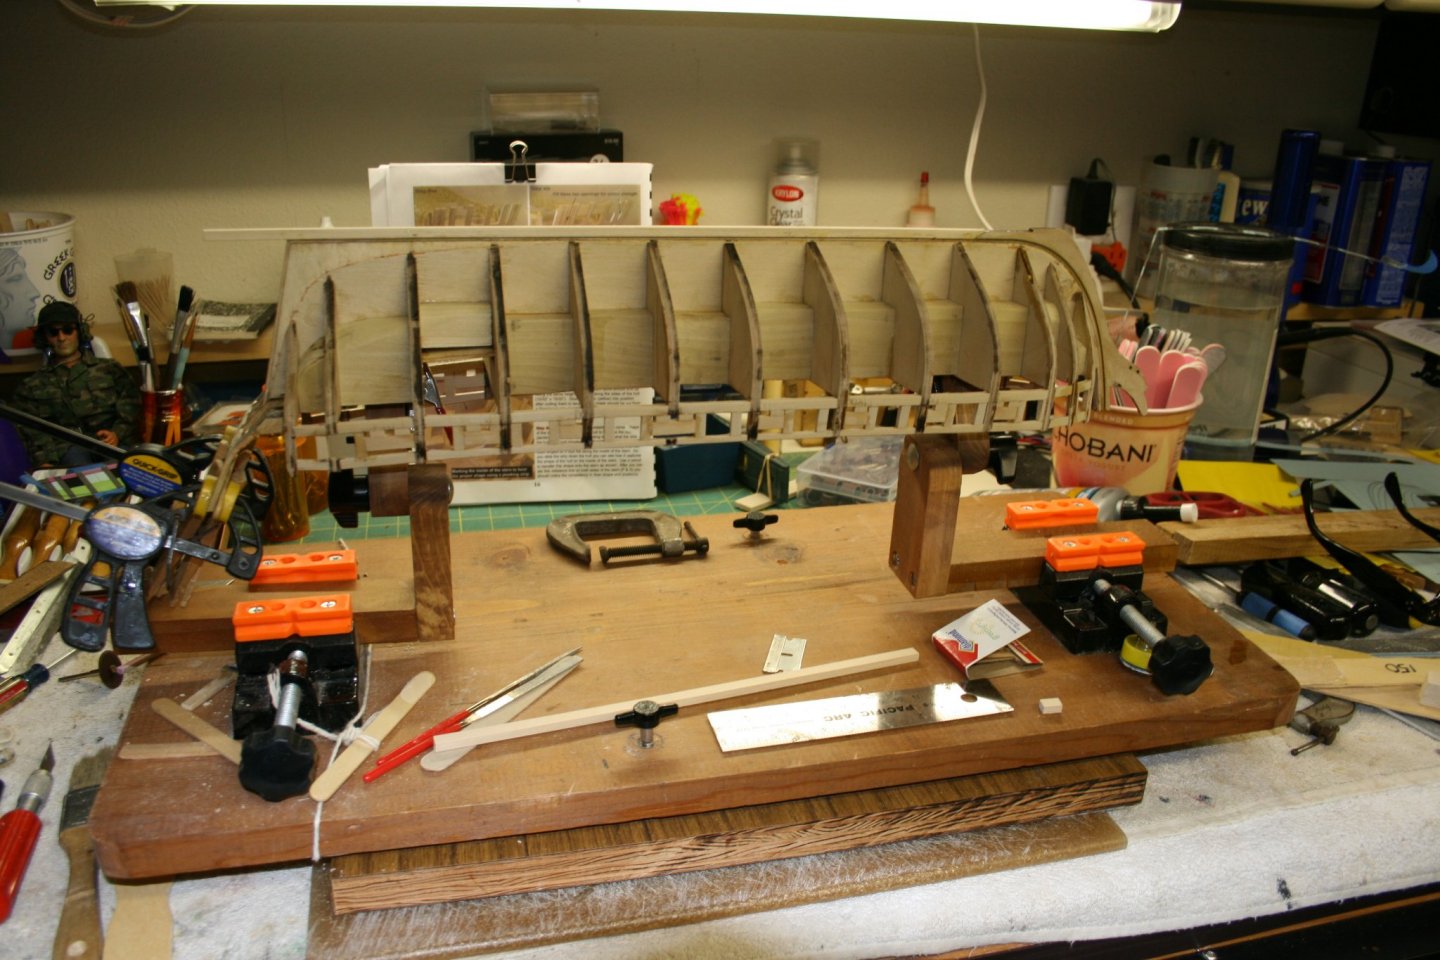
Just a couple of update pictures. The first is the transom with the sills added and sanded. Still a little to go, but for now, they are fine. The second picture is of the building board that I built with the holders in place for an upside down model placement. They are able to move side to side and the arms allow for forward and backward angles when needing a different view of the bottom. Well, back to the transom. (Oh, almost forgot, yes, I cut out the mini-12 pounder template and it fits perfectly in each gun port)... 1/16" allowed for the deck planking.
- 436 replies
-
- 2
-
-
- Syren
- Model Shipways
- (and 1 more)
-
I know that I shouldn’t say this because it will come back to haunt me....... so far, I have yet to break any stanchions on the main deck even though it’s probably the most sanded area,,,,,,,so I still have time. 😃
-
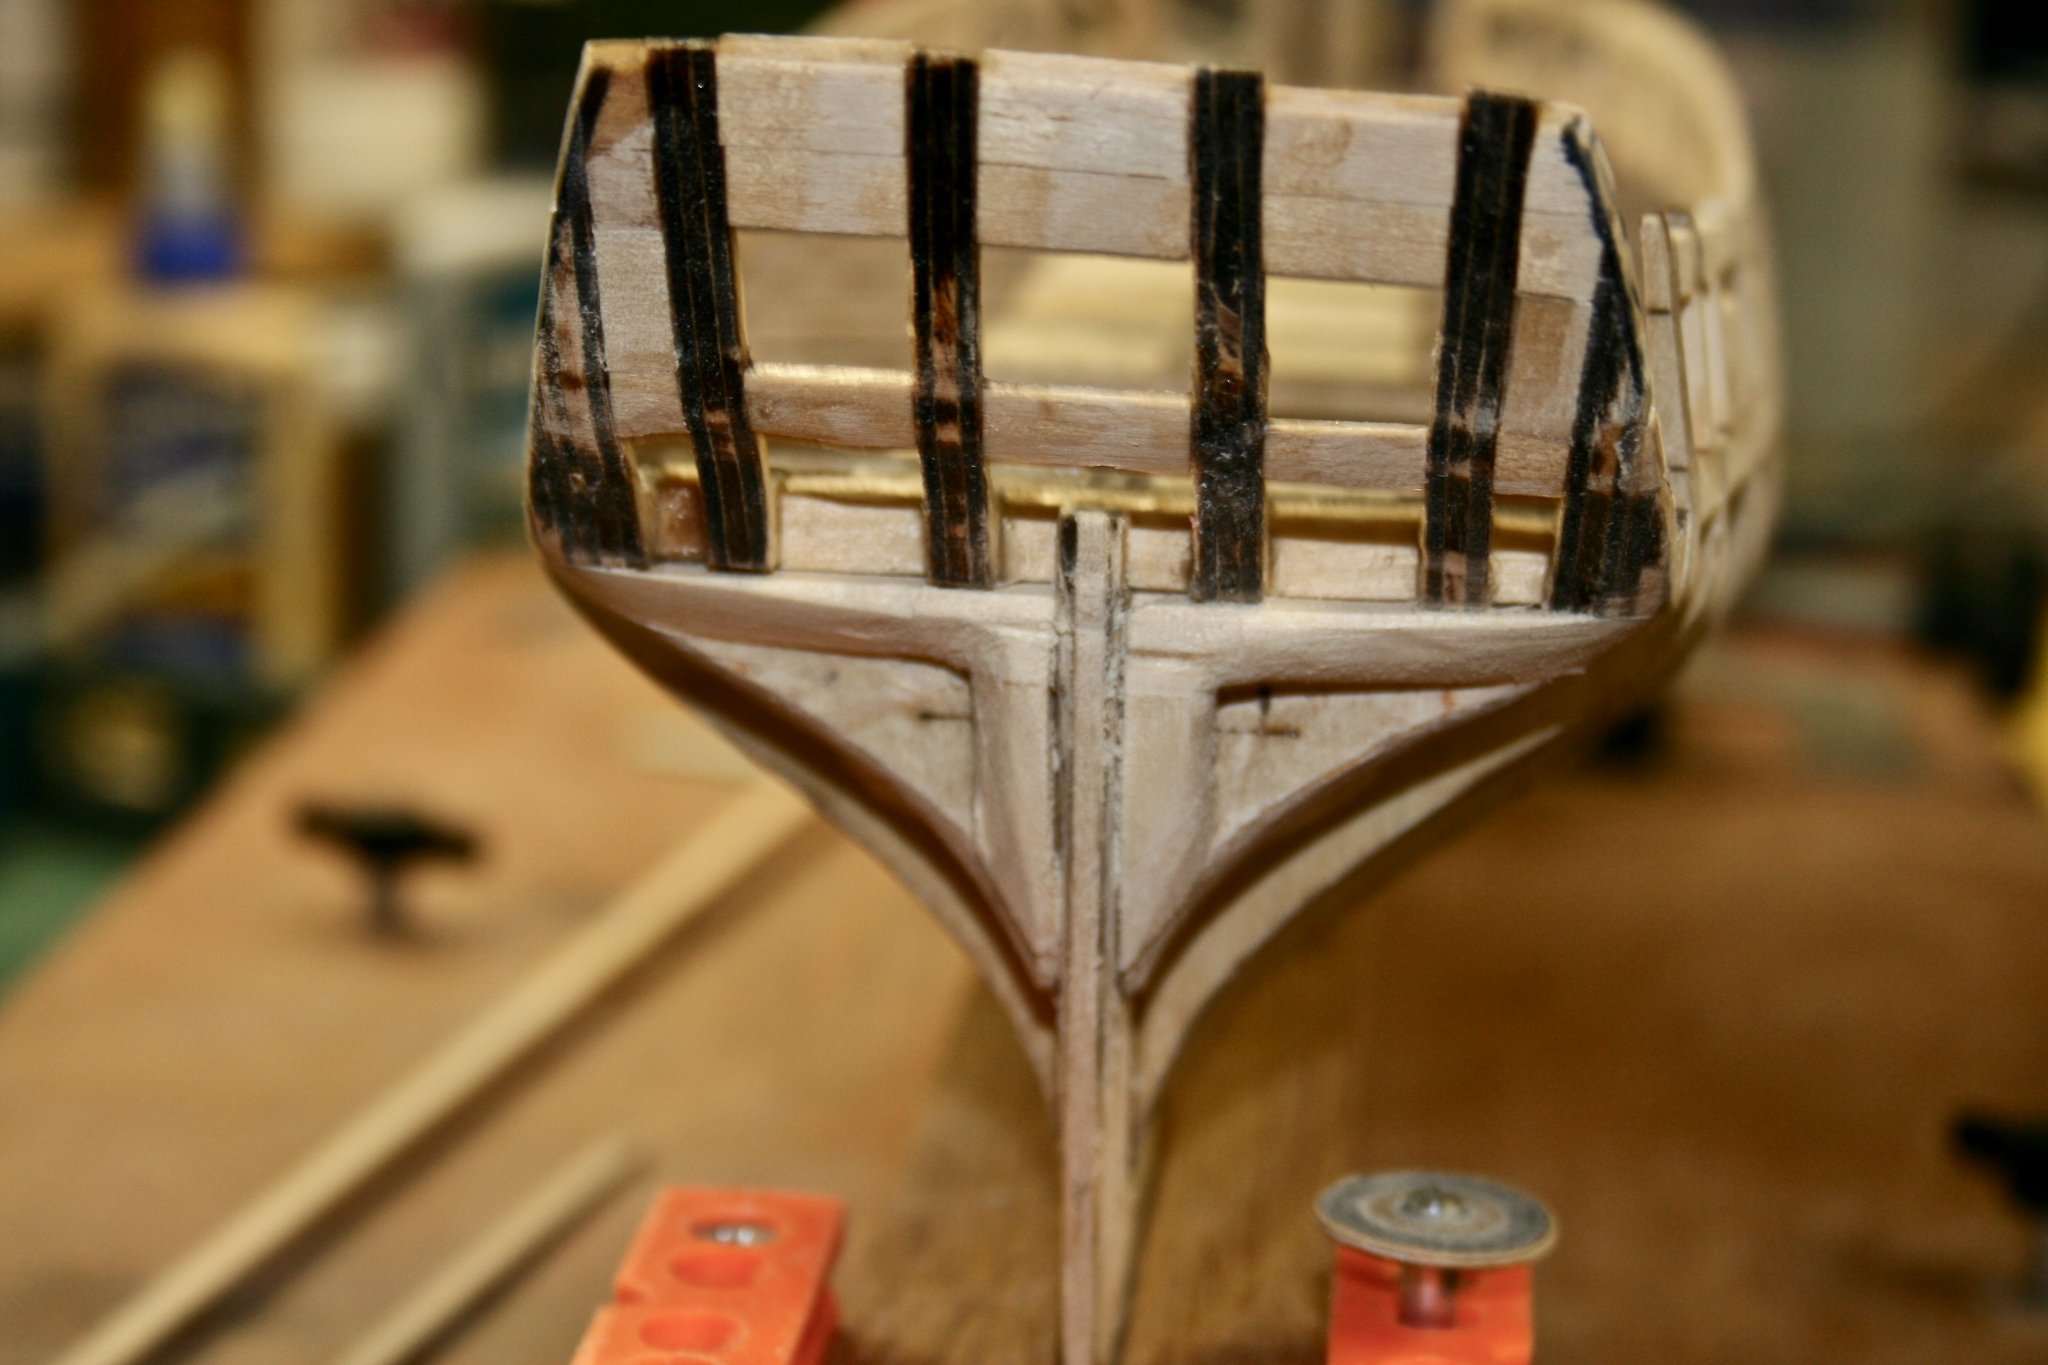
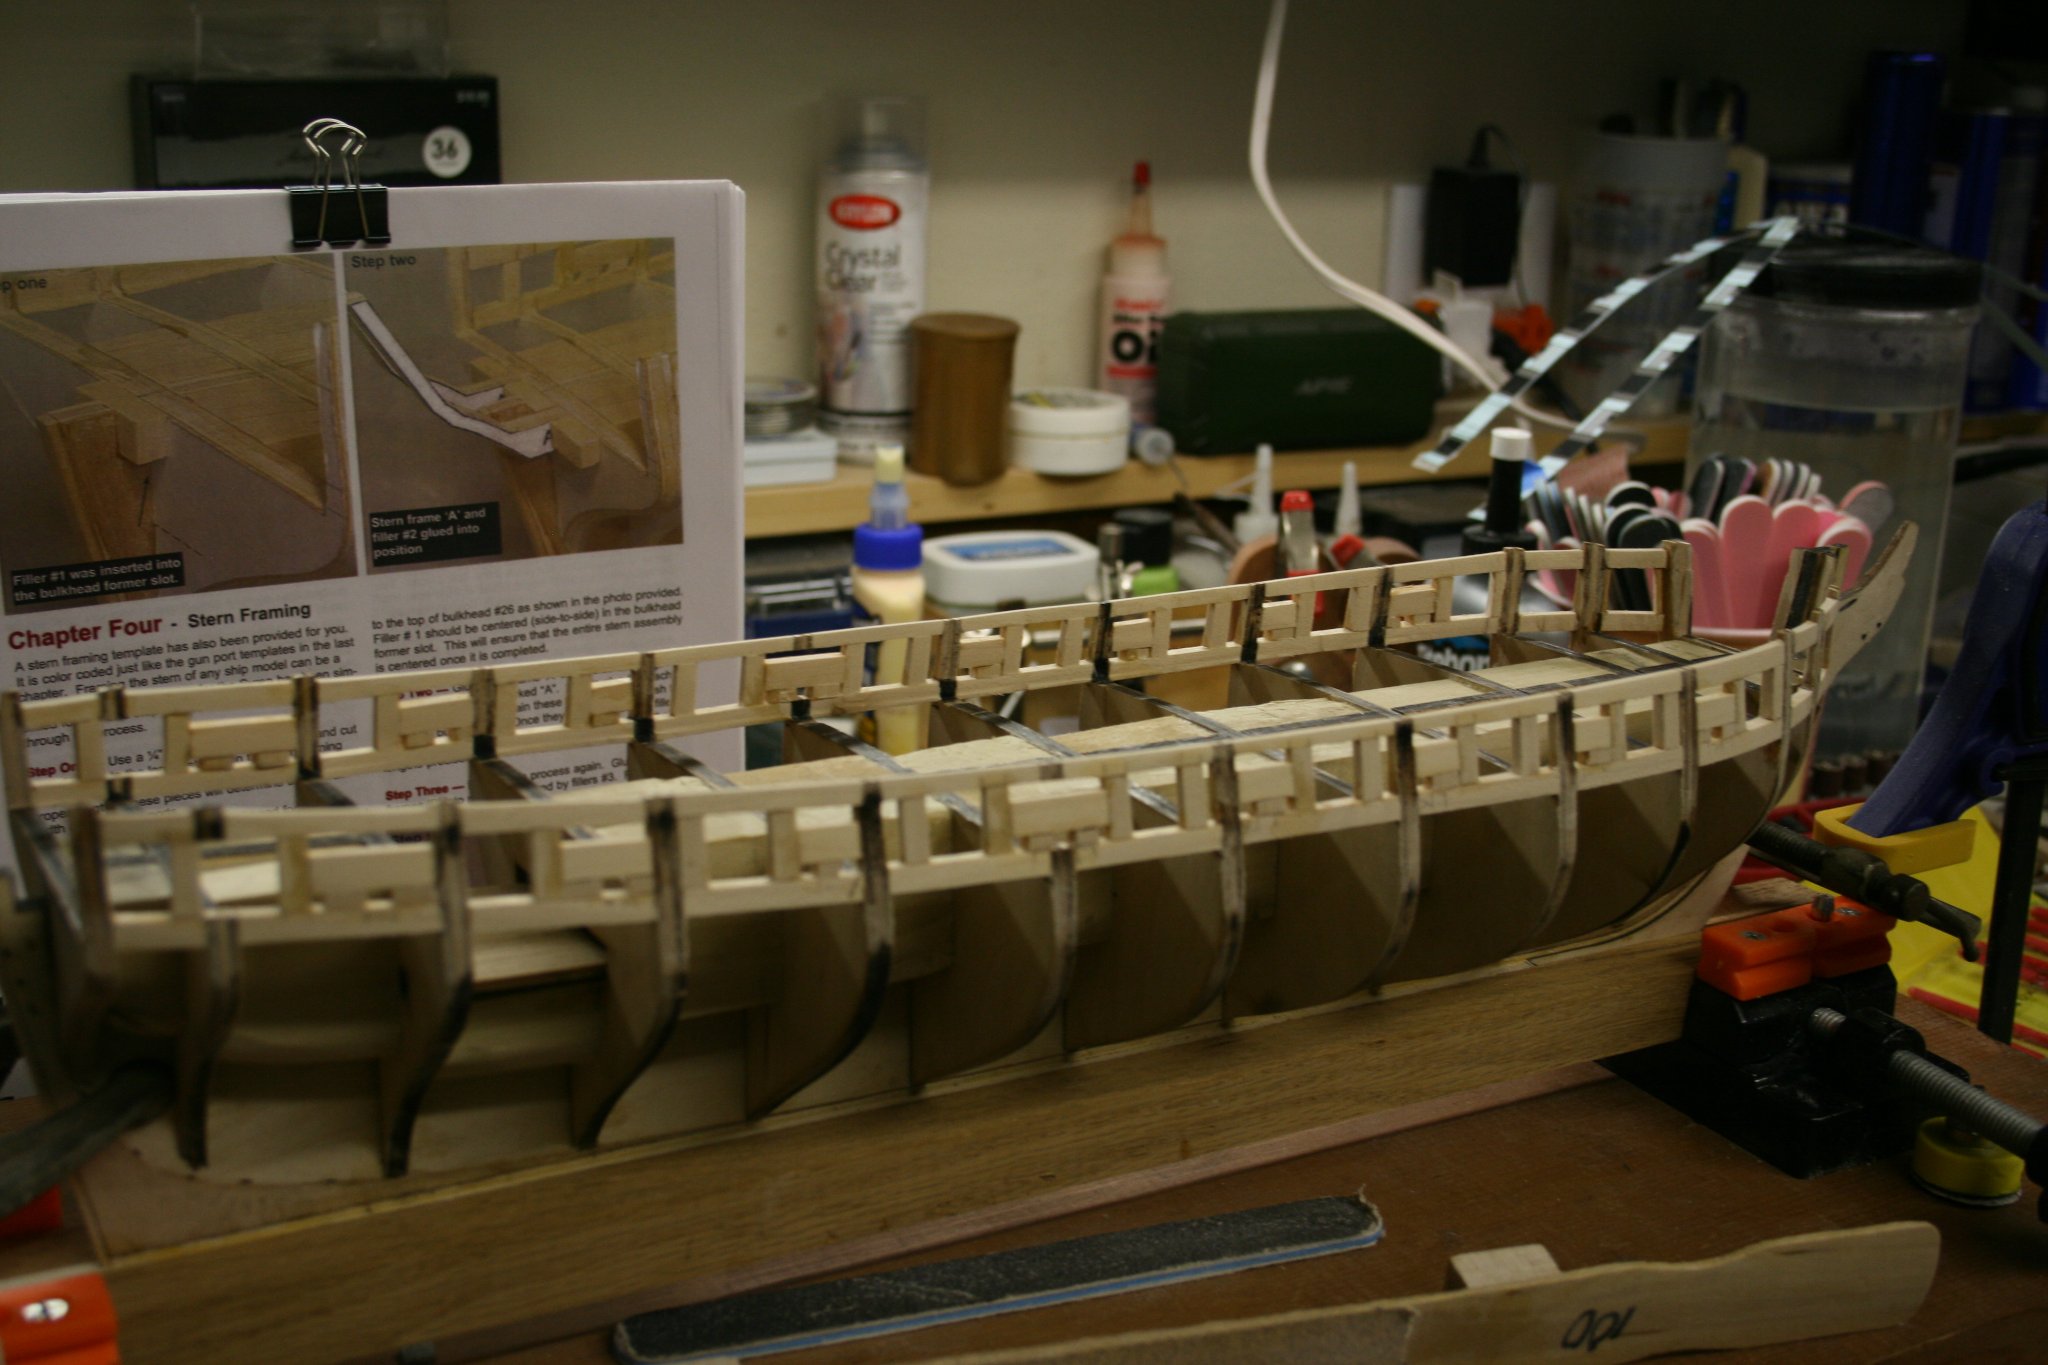
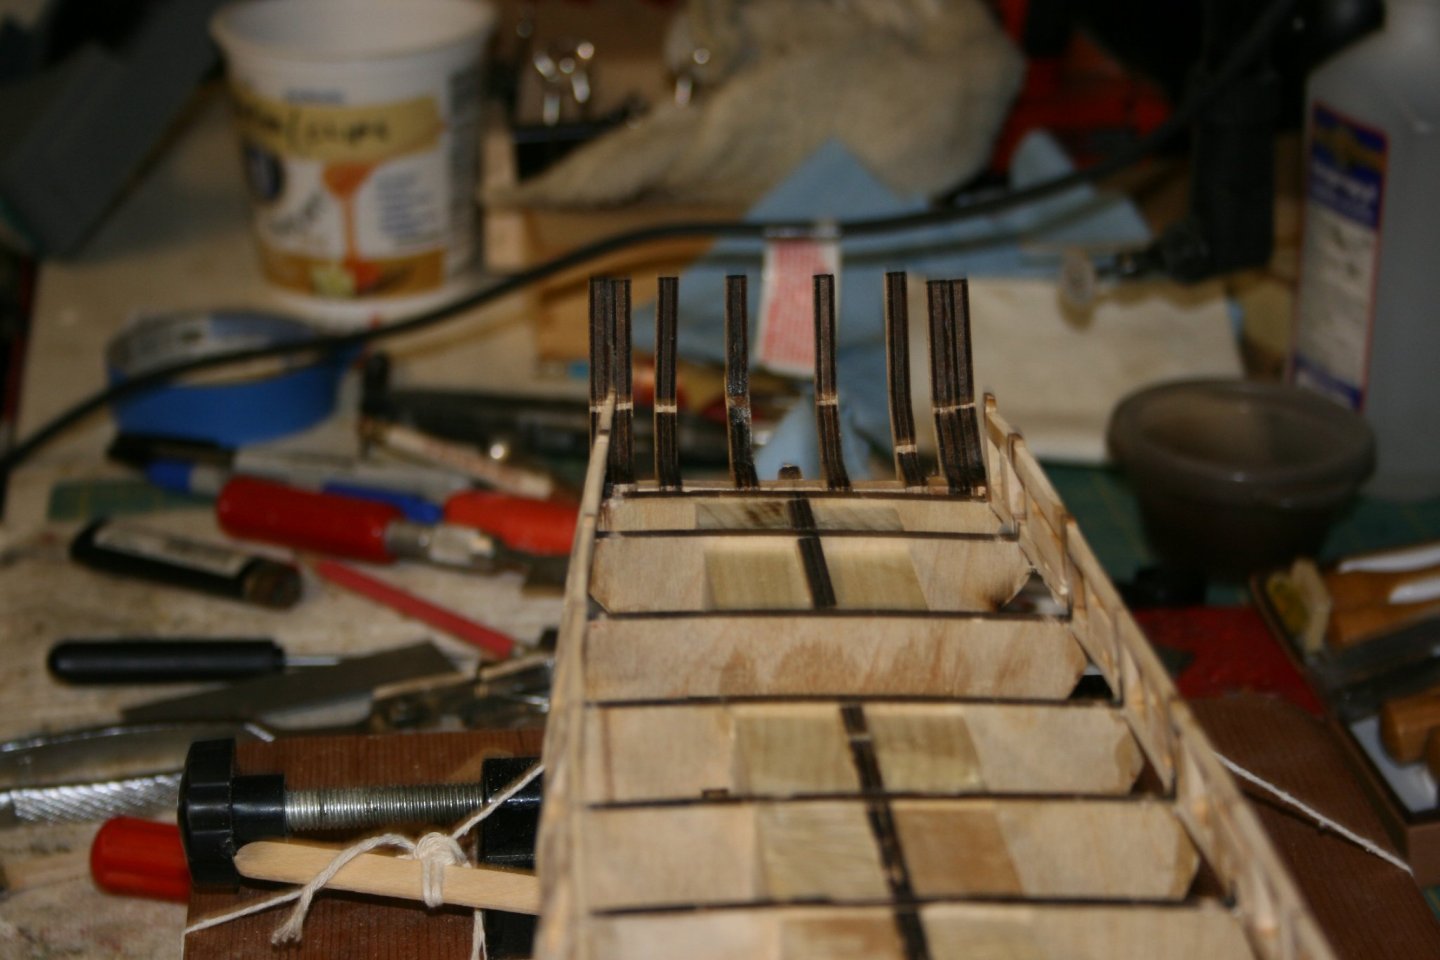
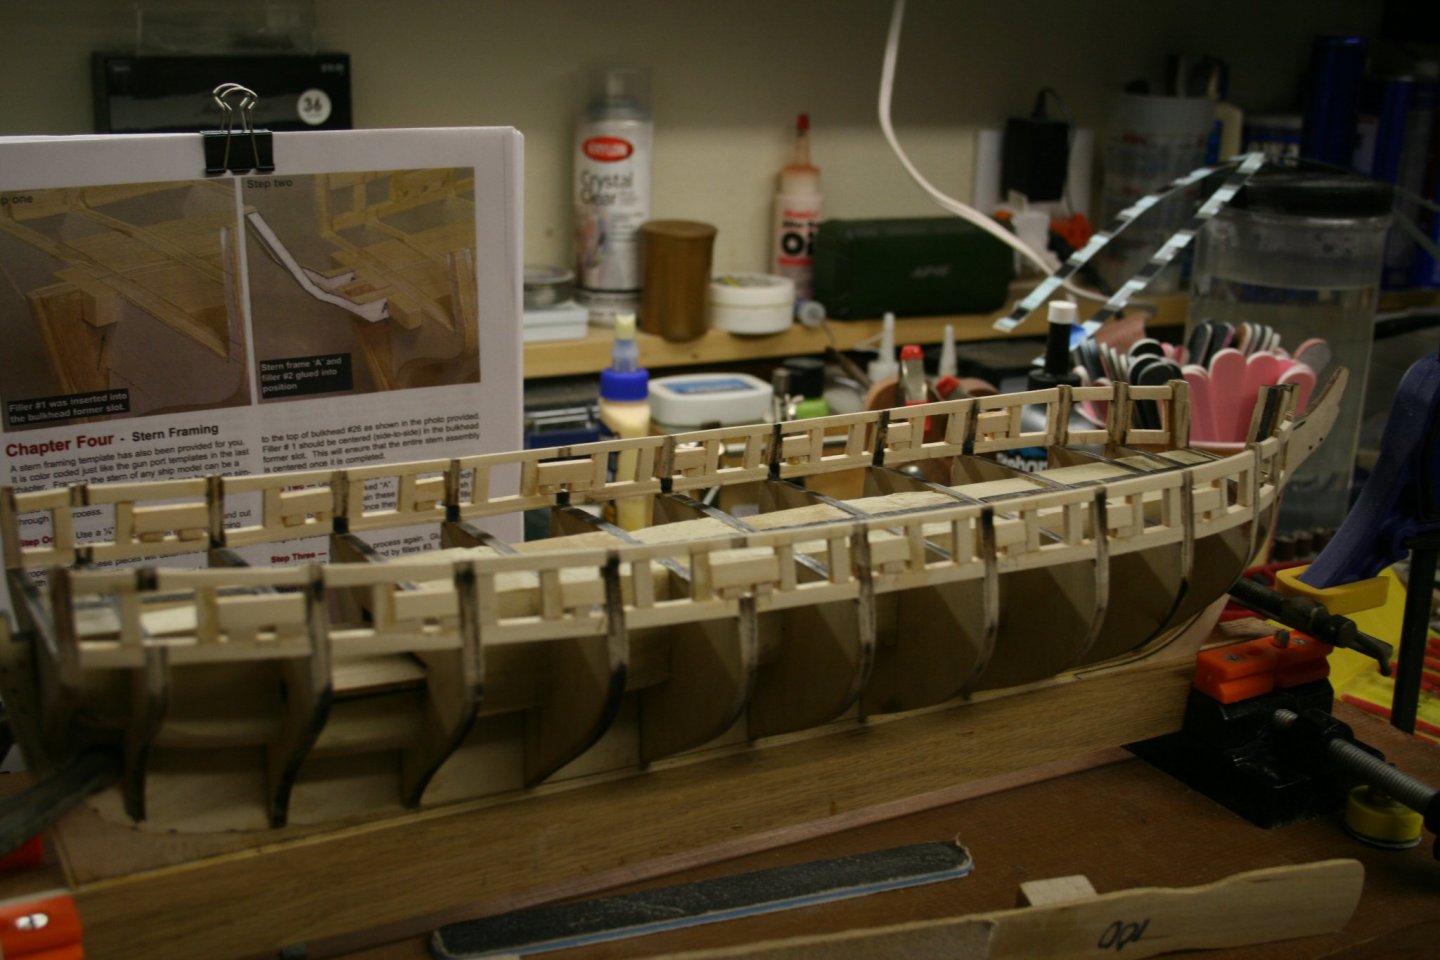
Stern framing started I am not near finished, but thought I would add this from a newbie point of view. Newbie Note: If you are new to this, please heed the warnings in the instructions that this is a delicate piece of construction. I have had to re-glue one of the vertical pieces as it came out of the form cracked and I did not notice until I went to add it to the assembly. In addition, I recommend assembling this on a piece of straight material that can be accidentally glued, but still allowing the whole piece to be removed after glue dries. (There are separate pieces to assemble, and keeping a straight and level line can be difficult.) I used an adjustable square and followed the edge for both straight and level gluing. I did this only after I tried to assemble it piece by piece with no form. I still have to straighten the far right double brace, but it is only out of square by very little. Any who, it is drying now and final adjustments will be made when the sills and tops are added later.

- 436 replies
-
- 2
-
-
- Syren
- Model Shipways
- (and 1 more)
-
Got her dun' ... well I finished the gun port, sills, tops, sweeps, and (sweep ports?..) and all, but a final sanding left. I found it to be pretty straightforward and I do appreciate having a color code....even if the templates are not in color. 😄 I do recommend reading through the instructions more than once, for a beginner like me, before doing any work. It helps a lot with sequencing the build of each port and does make it easier to follow. On to: Chapter 4 - Onward and Sternward .....
-
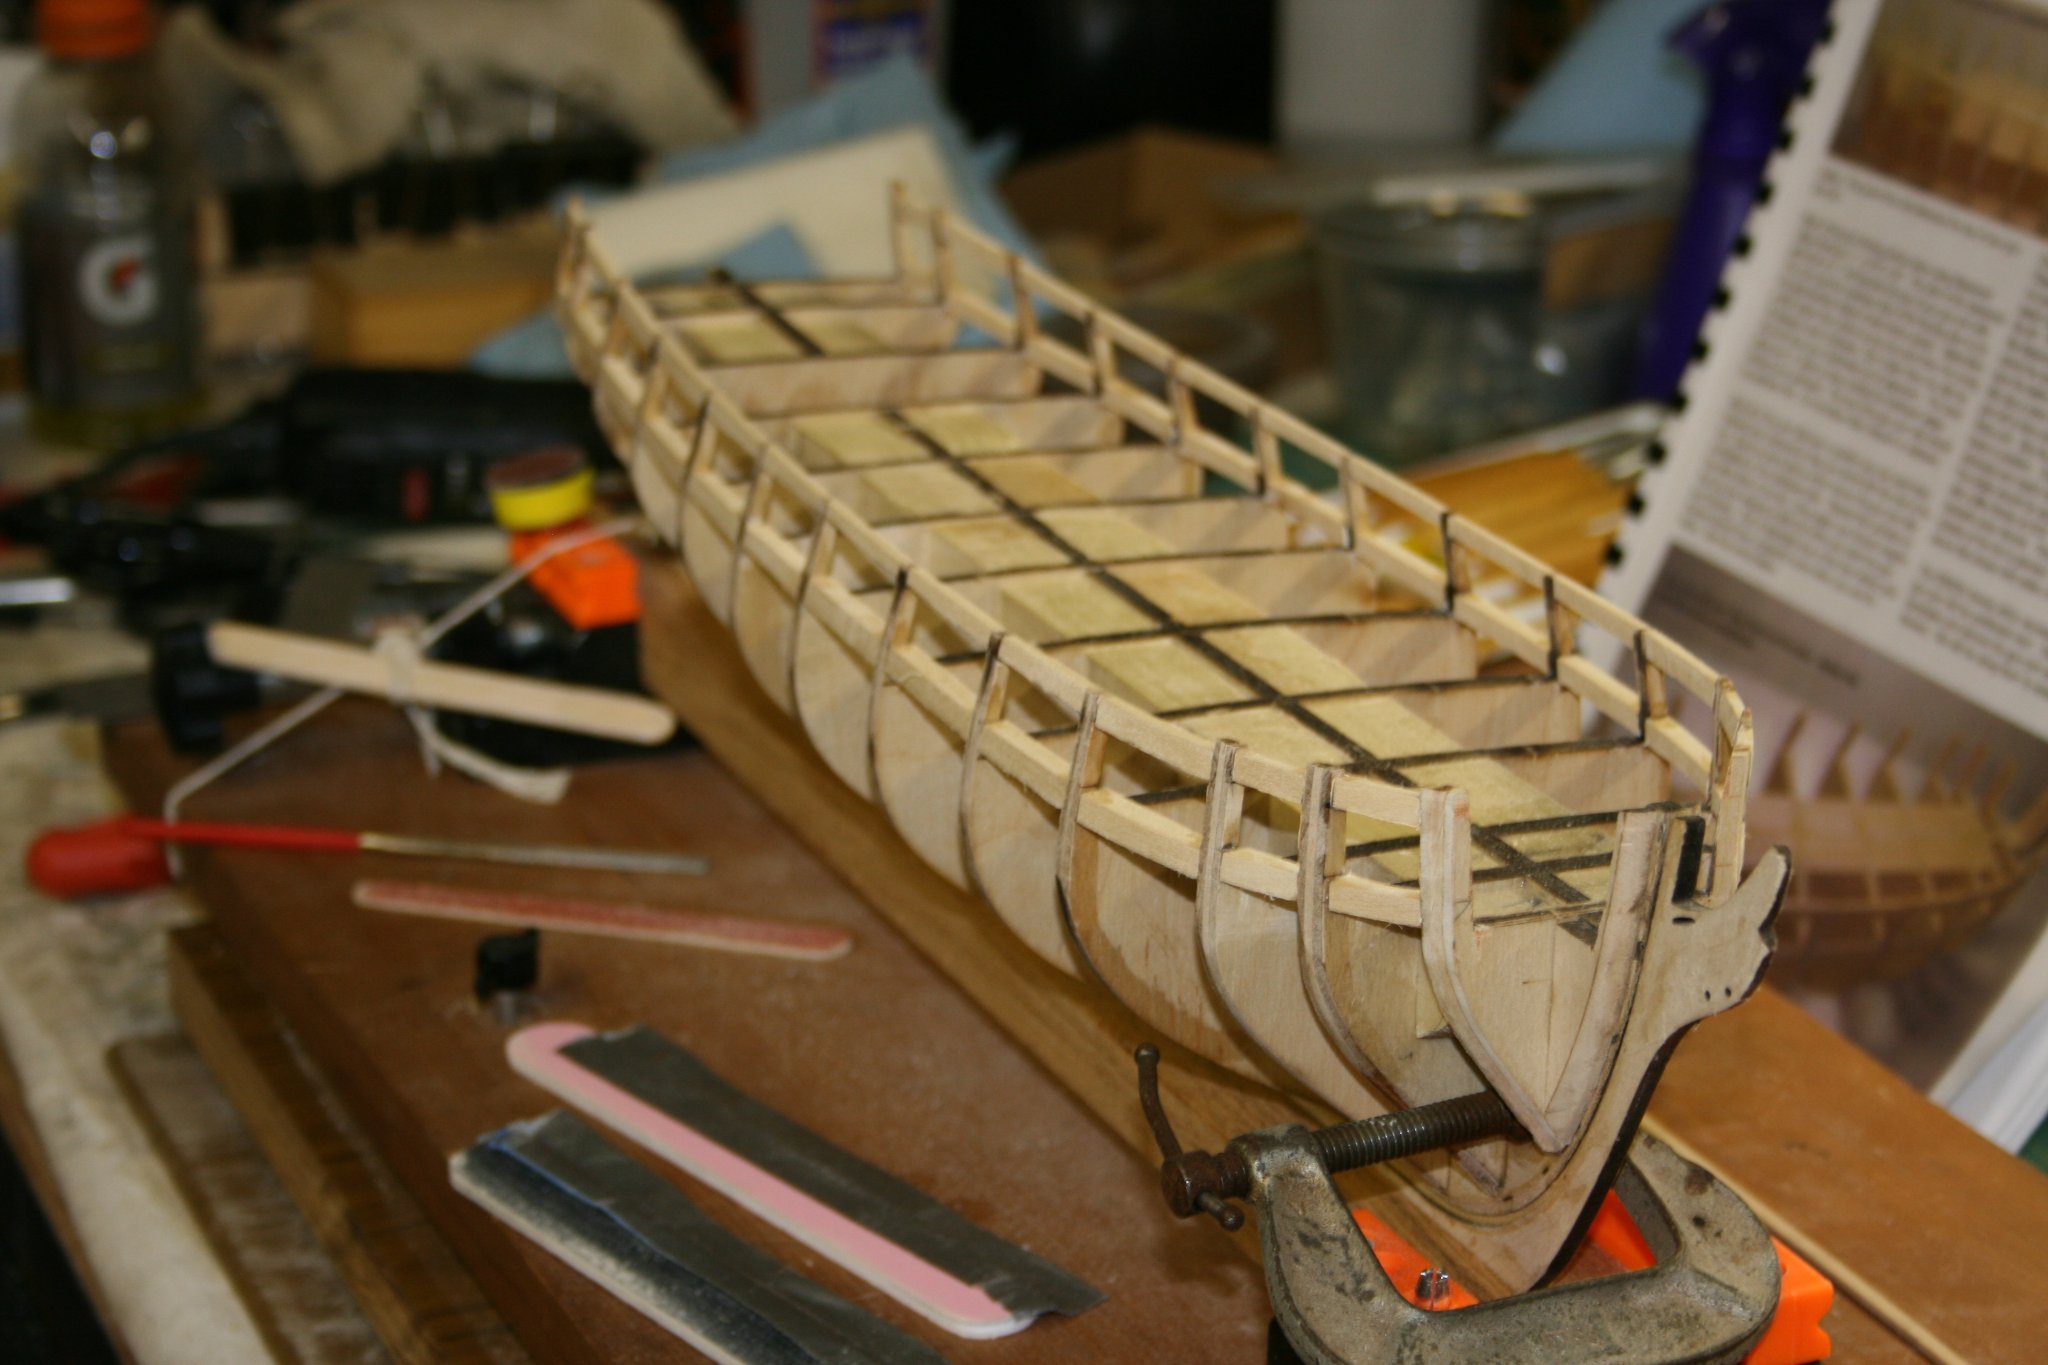
I can say: Without a doubt, I am gaining a lot of respect for early wooden ship builders. After sanding, I think I have more dust in the shop-vac than left on the bulwarks ....LOL I have been on a few, mostly museums, but never really sailed a wooden one, just a 253" Windjammer. Anyway, I have completed the shaping (read sanding) the gun port sills and lintels and am next to put in the cross braces (red) and take out the stanchions on 2 bulkheads. As soon as I get my order of X-acto Saw Blades, I am going to do the last gun ports at the stern. Weird, I have big saws, little saws, hand saws and razor saws. but never just a plain old saw blade. Who would have thunk it? Now that it is starting to look like a ship, here is a picture. I really need to figure out how to open up the depth of field on my camera. I do know I have to up the focus area so that not just the center is in focus.
- 436 replies
-
- 2
-
-
- Syren
- Model Shipways
- (and 1 more)
-
Hahaha.....Sorry, I was referring to using the blade by hand only. Of course, I have a circular saw that would make quick work of it. 🤪 I will get some of the micro mark blades.
- 436 replies
-
- 1
-
-
- Syren
- Model Shipways
- (and 1 more)
-
Question: I have finished adding the gun port frames except for Bridle Ports, and cutting out and moving bulkhead 24. I know the instructions indicate to use a "jig saw" blade and cut just above the sills to allow for sanding. I have lived enough places in this country to know that the term "jig saw" can mean the blade of what I call a saber saw, or it can mean jig saw can mean a "scroll saw" blade. 😉 So my question is what others have used? I am avoiding the Dremel cutoff wheel because it an jump at the most inopportune time. I have razor saws, but they have a rib across the back to keep the blade from bending and it makes a 90 degree cut a pain. Sorry, no pics today, I will add more when I have the gun ports in, and the hull sanded inside and out.
-
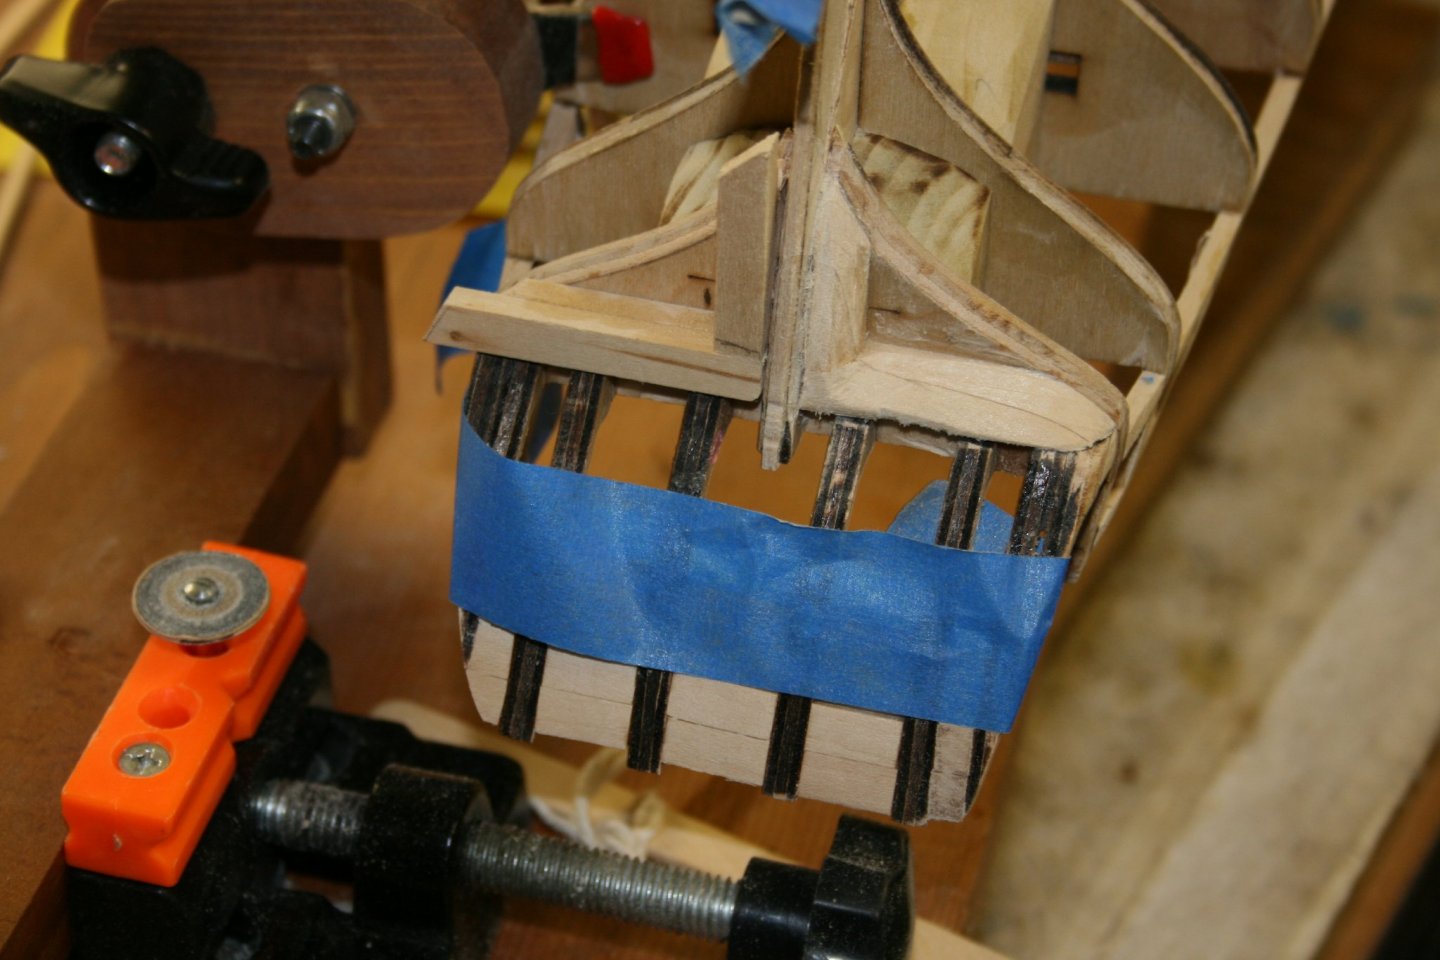
Yeah, once the lintels are in, the width of the bar hits them. So when trying to sand along the back, it is just flexible enough to sit in the curve, but you need the duct tape for 2 things. One, it provides a handle to hold on to. And...Two, it protects the lintels from additional sanding.
- 436 replies
-
- 1
-
-
- Syren
- Model Shipways
- (and 1 more)
-
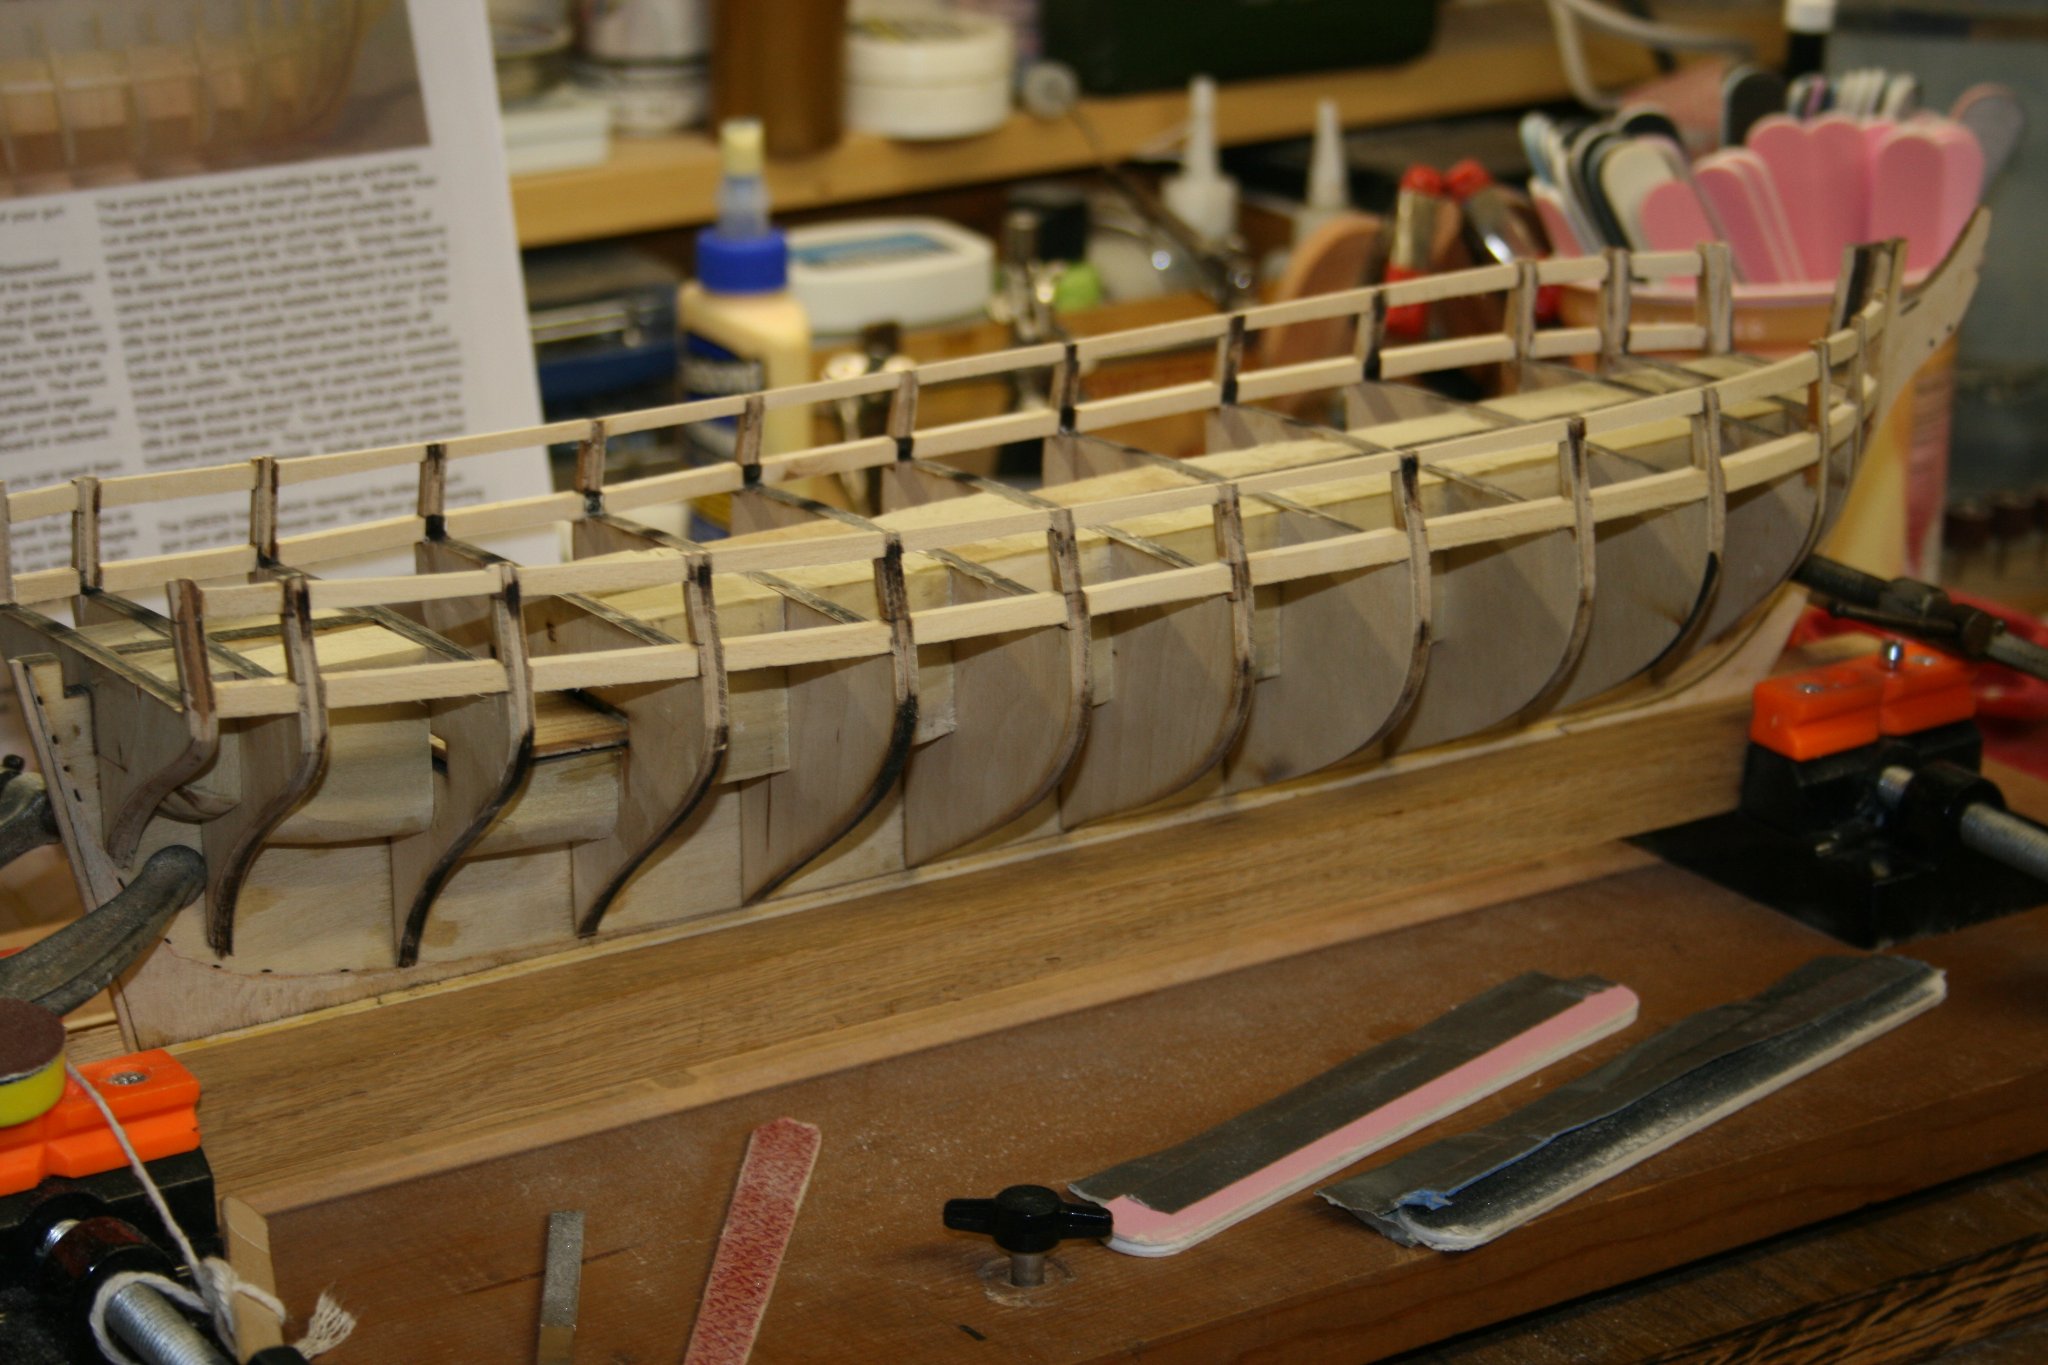
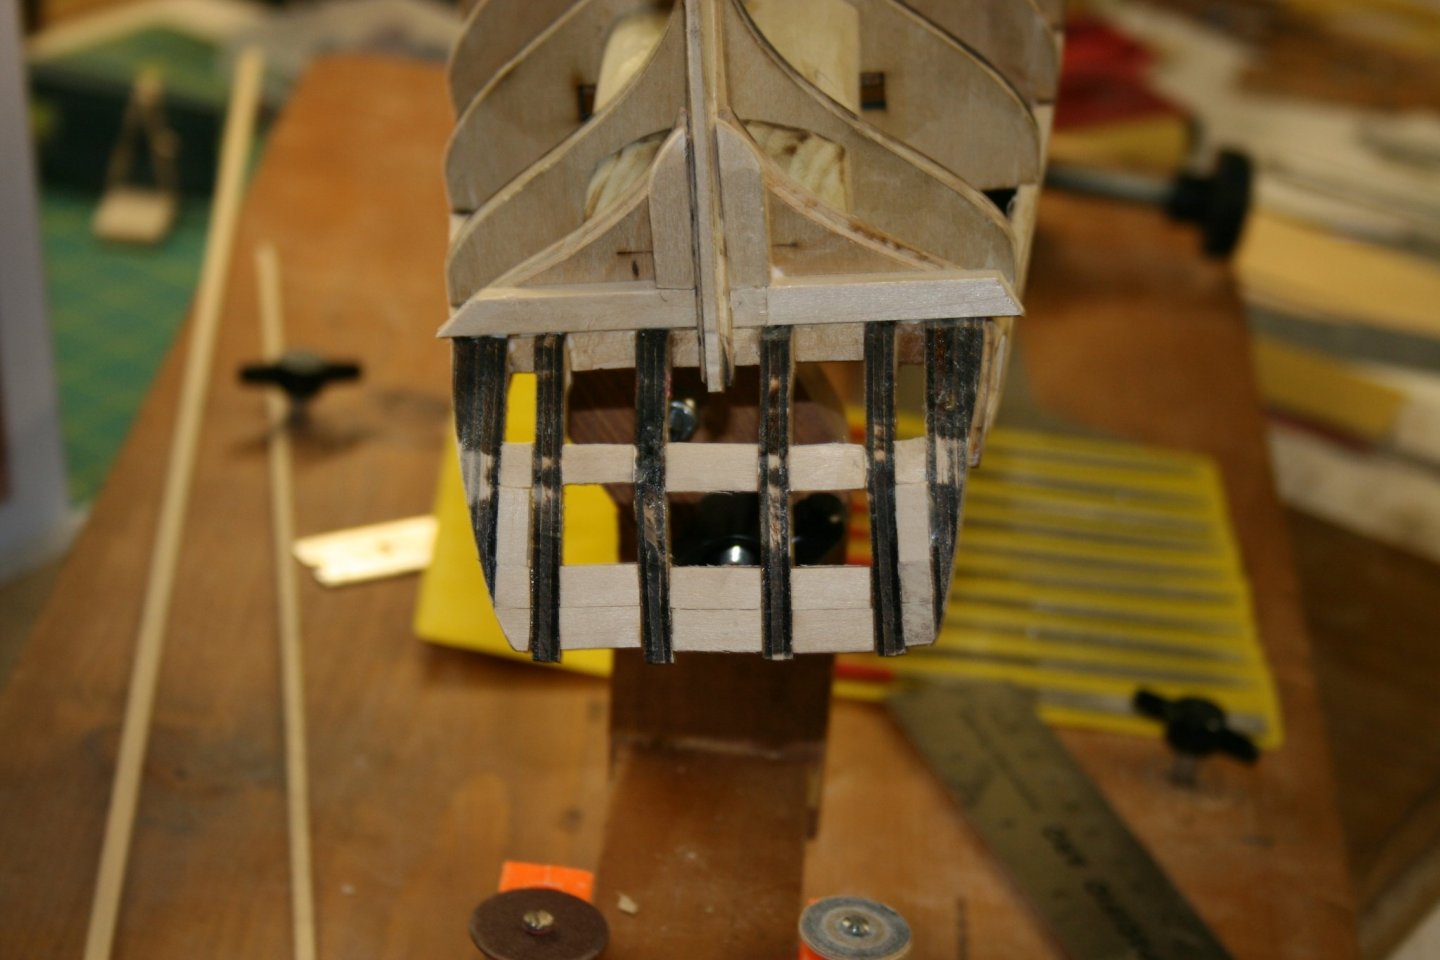
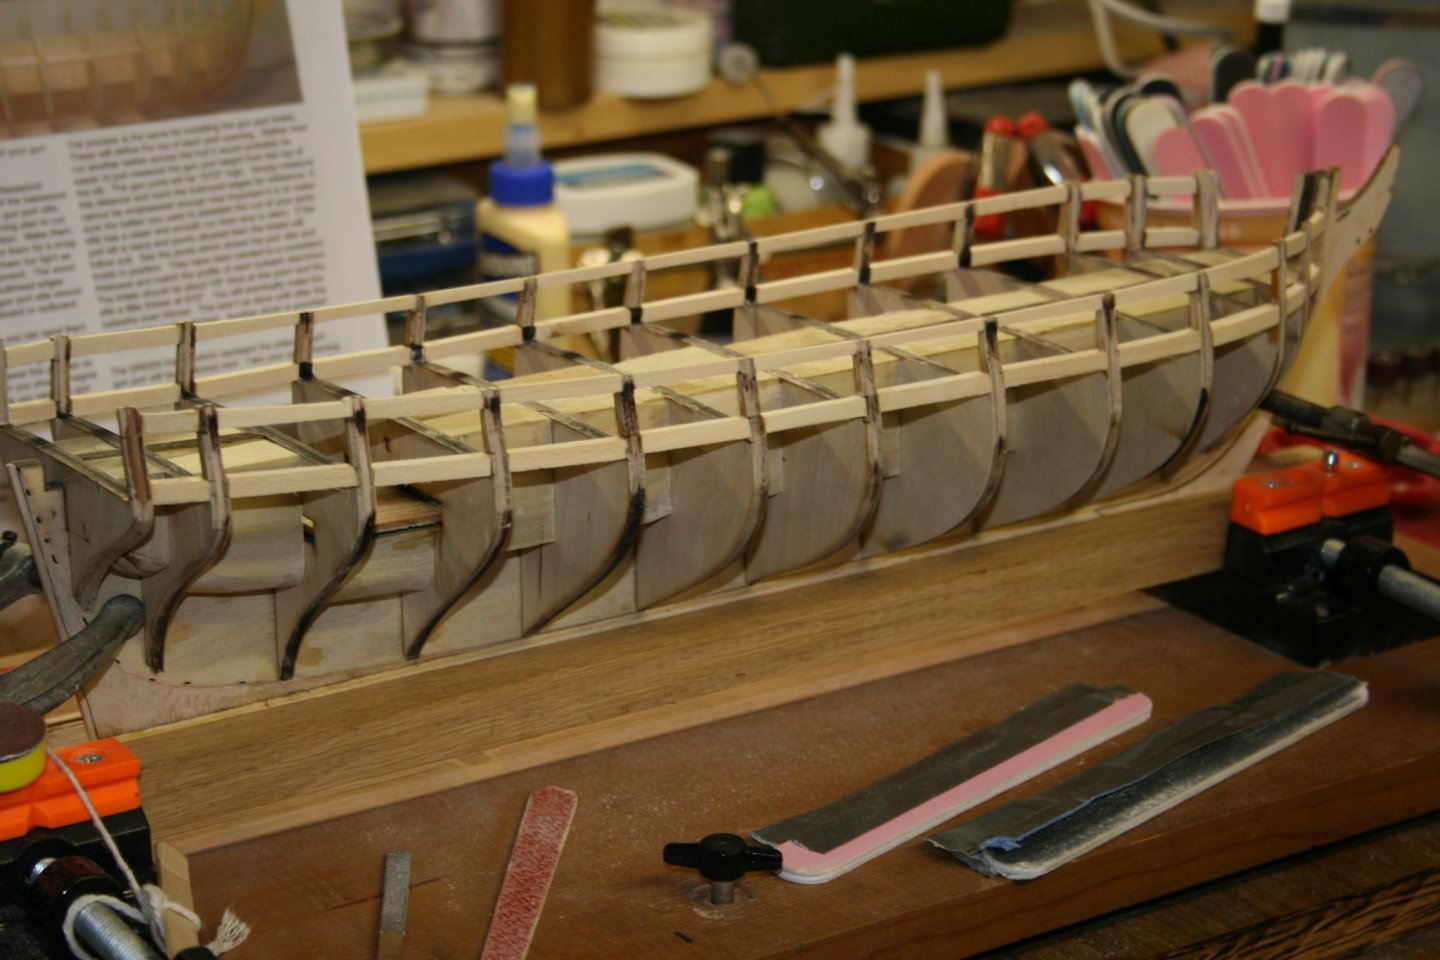
War is hell!...................but sanding is bring up a very close second place. 😄 Here is a couple of pictures of the gun sills and lintels in place..... and sanded. I still have a very minor amount left on the deck side of the sills. Lintels are pretty much done, and depending on how close I have to have the sills sanded to the bulwark bottom. I fitted in the first inside bulwark plank and it looks like I might have sanded close enough. (I bet I'll go back and sand some more....) Newbie note: When the instructions say to sand the gunport sills then add the lintels, don't save them until you do both. The problem I ran into, although not a big deal, is that when you are sanding the back side of the sills, it is very easy to knock off a top rail. ...or so I have read. 😉 I did find a way to sand the backside on the straightest part of the hull. At the bottom of the picture, I took some modeling sanding sticks and put a duct tape handle on them. I was able to sand from bow to stern on the long run of sills behind. You can patent this one too... LOL I was surprised it worked. On to GREEN: Gunport sides, oh yeah..... more sanding.

- 436 replies
-
- 9
-
-
- Syren
- Model Shipways
- (and 1 more)
-
Sand, Sand, Sand..... Sand some more. 😀 I have done most of the sanding on the tops and sills of the gun ports, but still have finish sanding to go. I have rechecked the 15/32" spacing and all ports are right on. I am using the little T shaped tool to measure each port left and right sides. It makes it easier to check when there is a handle on it...LOL Next is on to the port side......and then? Well you know sand, sand, sand...
- 436 replies
-
- 3
-
-
- Syren
- Model Shipways
- (and 1 more)
-
I am pretty sure I will move to the Amati clamp. I am trying to keep my investment to the minimum for now. $85 for the clamp is just not on the top of the budget yet, but it will get there. I went through the Ship Modeling tools on Micro Mark, and settled on the sanding tool, and I have added chisels, diamond files, and sanding supplies. The Admiral will accept things pretty openly, but I know the boundaries. 😉
- 436 replies
-
- 2
-
-
- Syren
- Model Shipways
- (and 1 more)
-
Construction Question: Once that I added the lintels, it became noticeable that the bulkhead stanchions, first 3 at the bow, and last 3 at the stern extend above the top of the stanchions. I have a couple that do not extend past the top of the lintels. I looked through the instruction manual and pics and it doesn’t show if they are used even after the cap rail is added. Is there any issue with one or two not being longer?
-
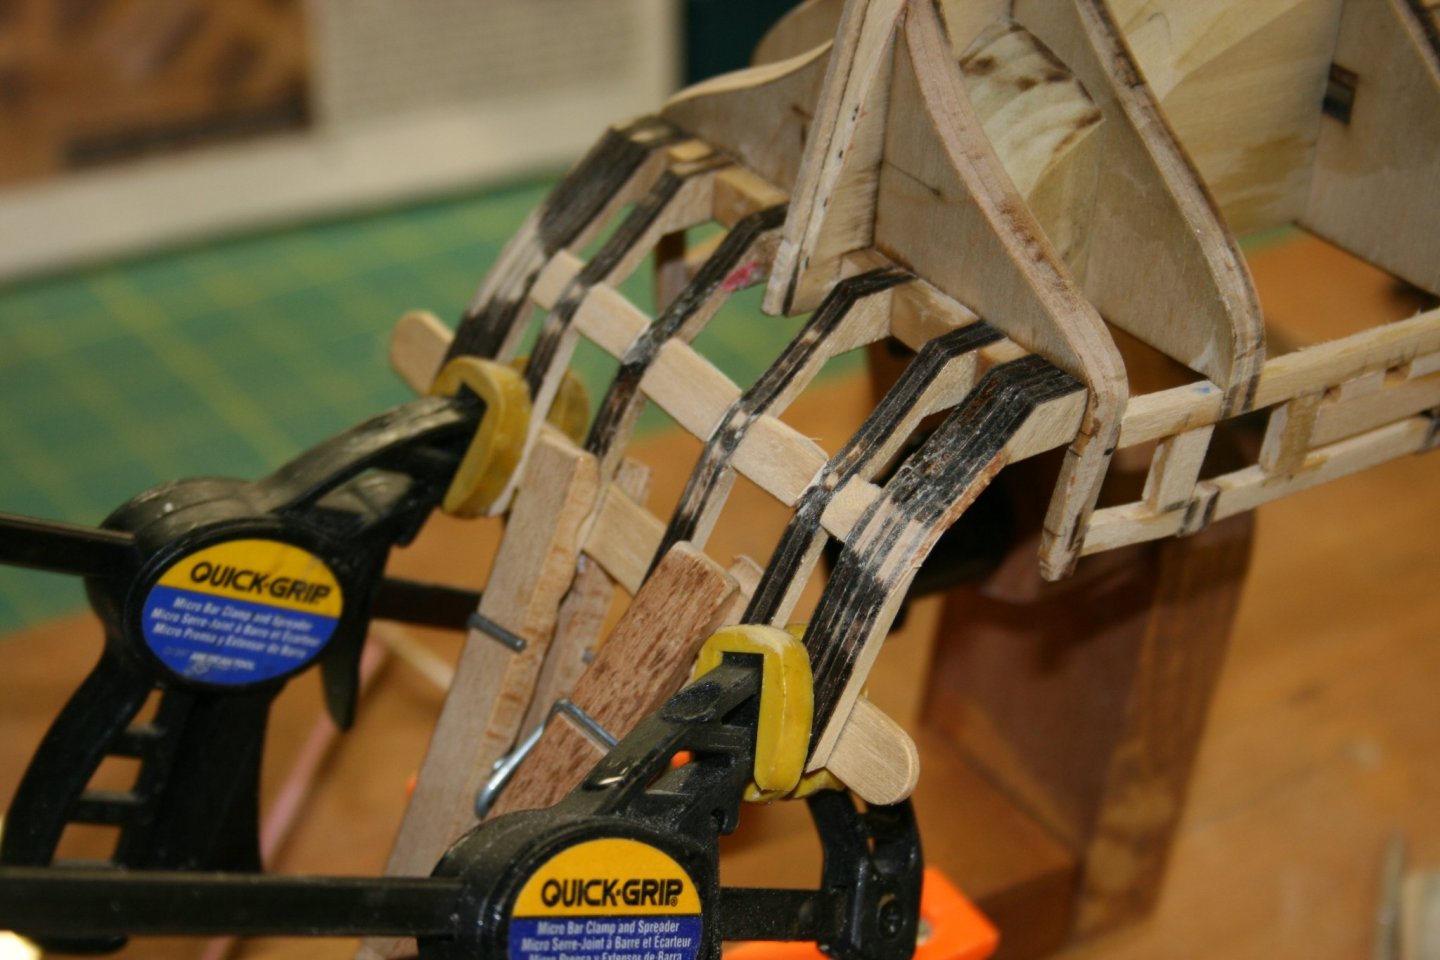
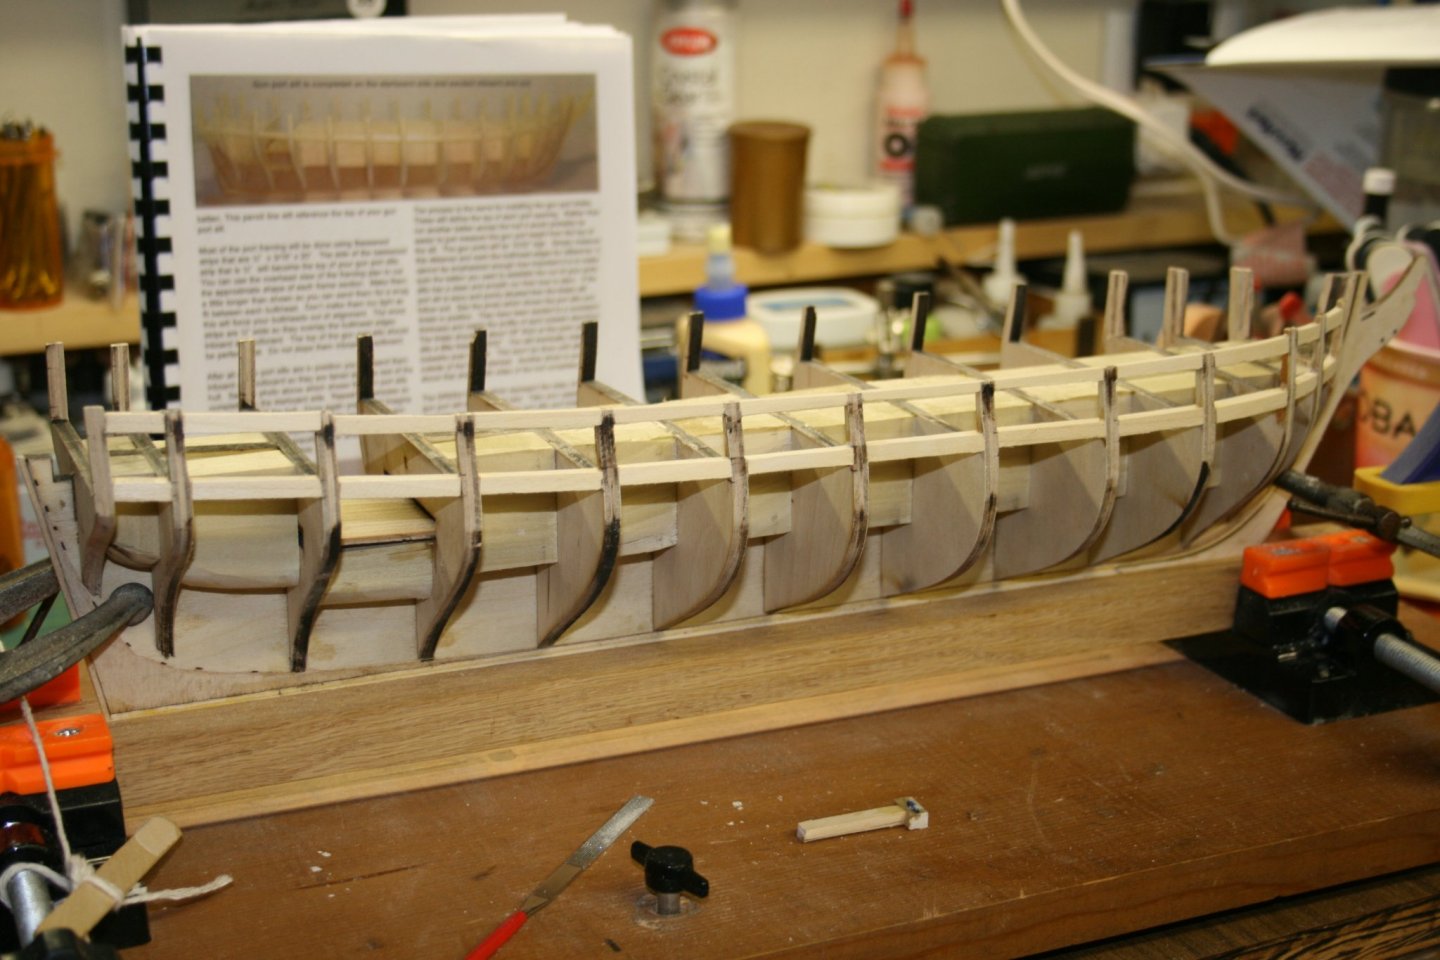
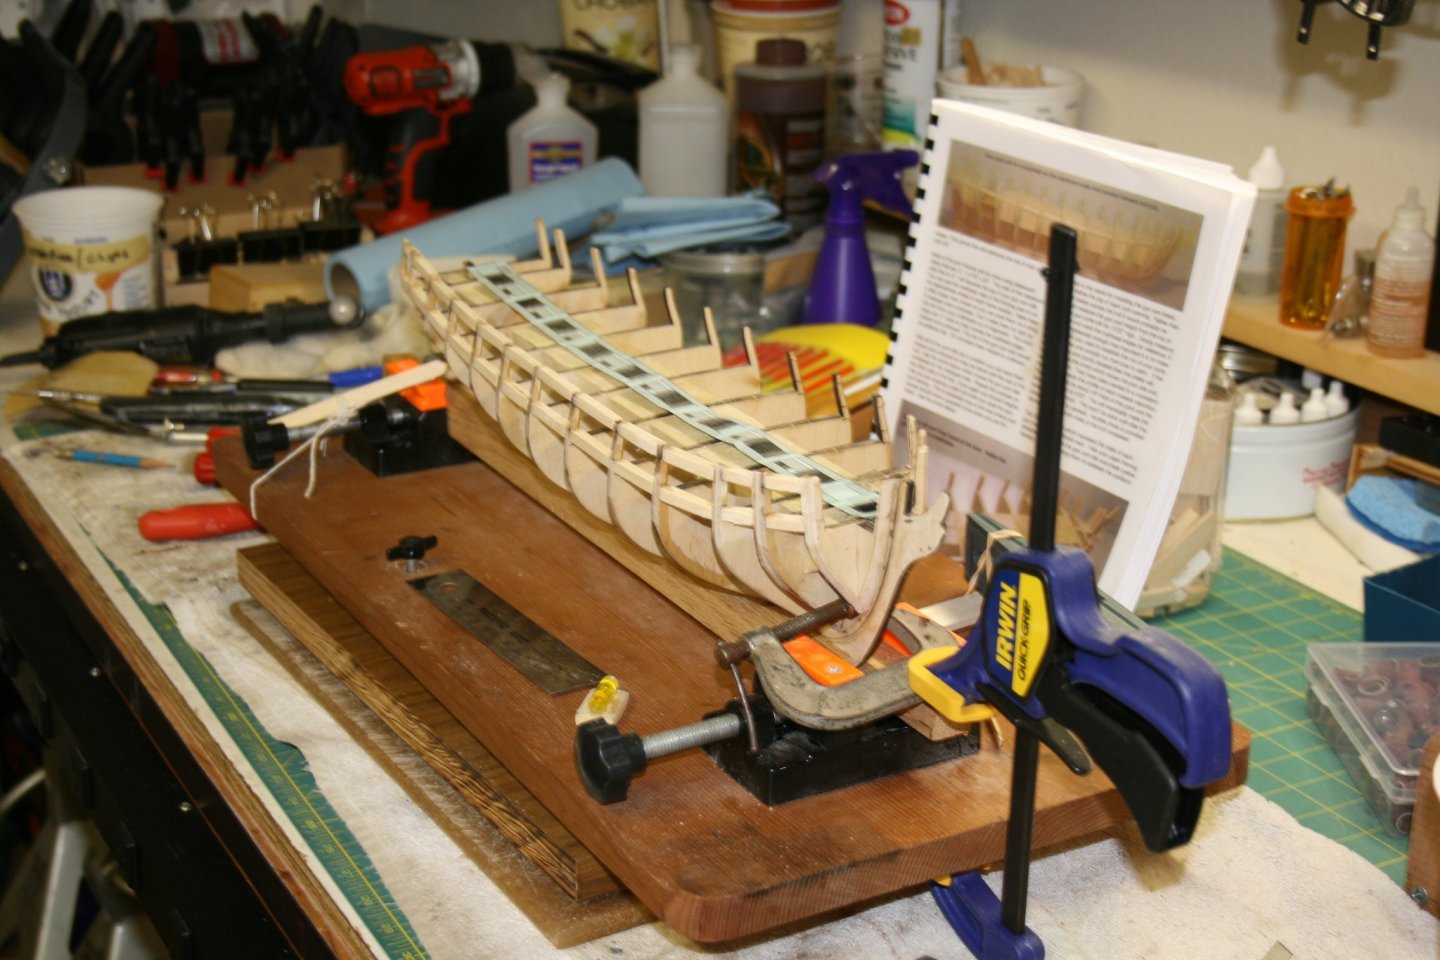
Another Problem Solved: Temporarily As I began sanding the gunport sills, it became evident that the hull, while solidly clamped at the keel, is very wobbly due to lack of support. I needed to clamp down the upper hull so that sanding was done on a solid surface. You can see the bow clamped in the picture... a small C clamp attached to the bulkhead former and tightened, then a squeeze grip bar clamp is placed under the rotating top. On the stern, the base clamp was too far from the edge to reach, so I attached the C clamp and ran heavy string through, and a pop-sickle stick was used as a tourniquet to tighten around the C clamp holding it into position. (Feel free to patent this if you like....... 😀 Here is a picture with the new port "sills" and a little of the tops sanded. The sills are smooth across the outside with some of the tops close to being finished. Should be able to move to the port side after a lifetime of sanding.
- 436 replies
-
- 5
-
-
- Syren
- Model Shipways
- (and 1 more)
-
Honestly, I haven’t used a plane in years don’t plane balsa much. 🙂 I have regular size that I have had for over 30 years and can’t remember the last time I took it out of its cloth protector. I will look at them though.