Redshadowrider
-
Posts
301 -
Joined
-
Last visited
Content Type
Profiles
Forums
Gallery
Events
Everything posted by Redshadowrider
-
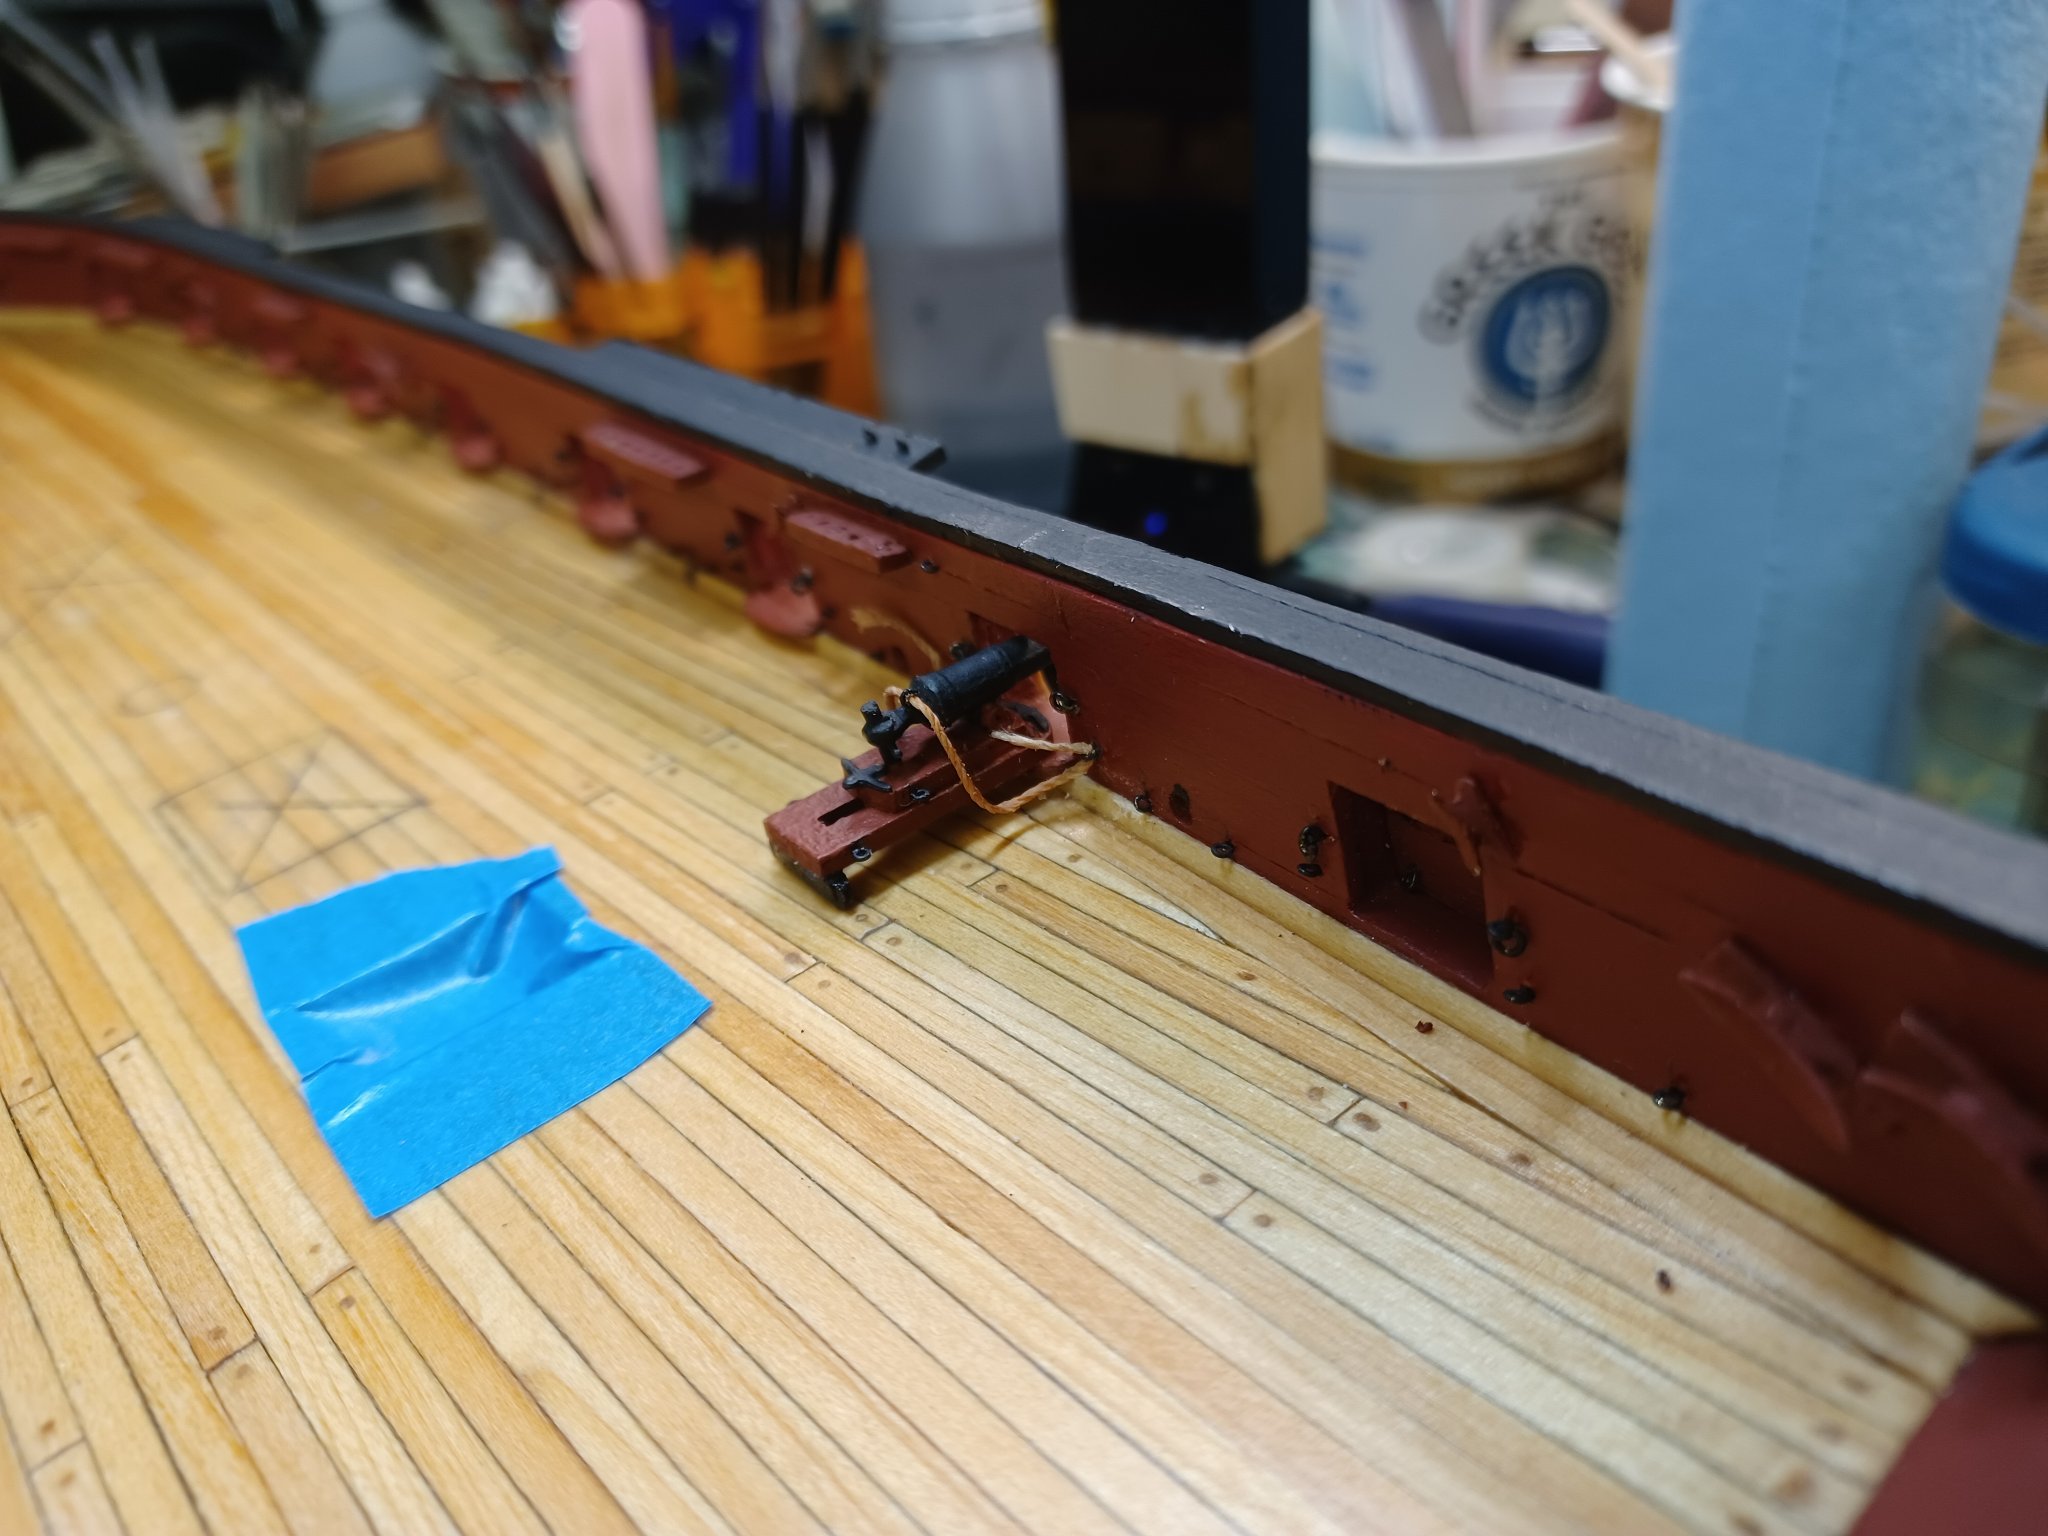
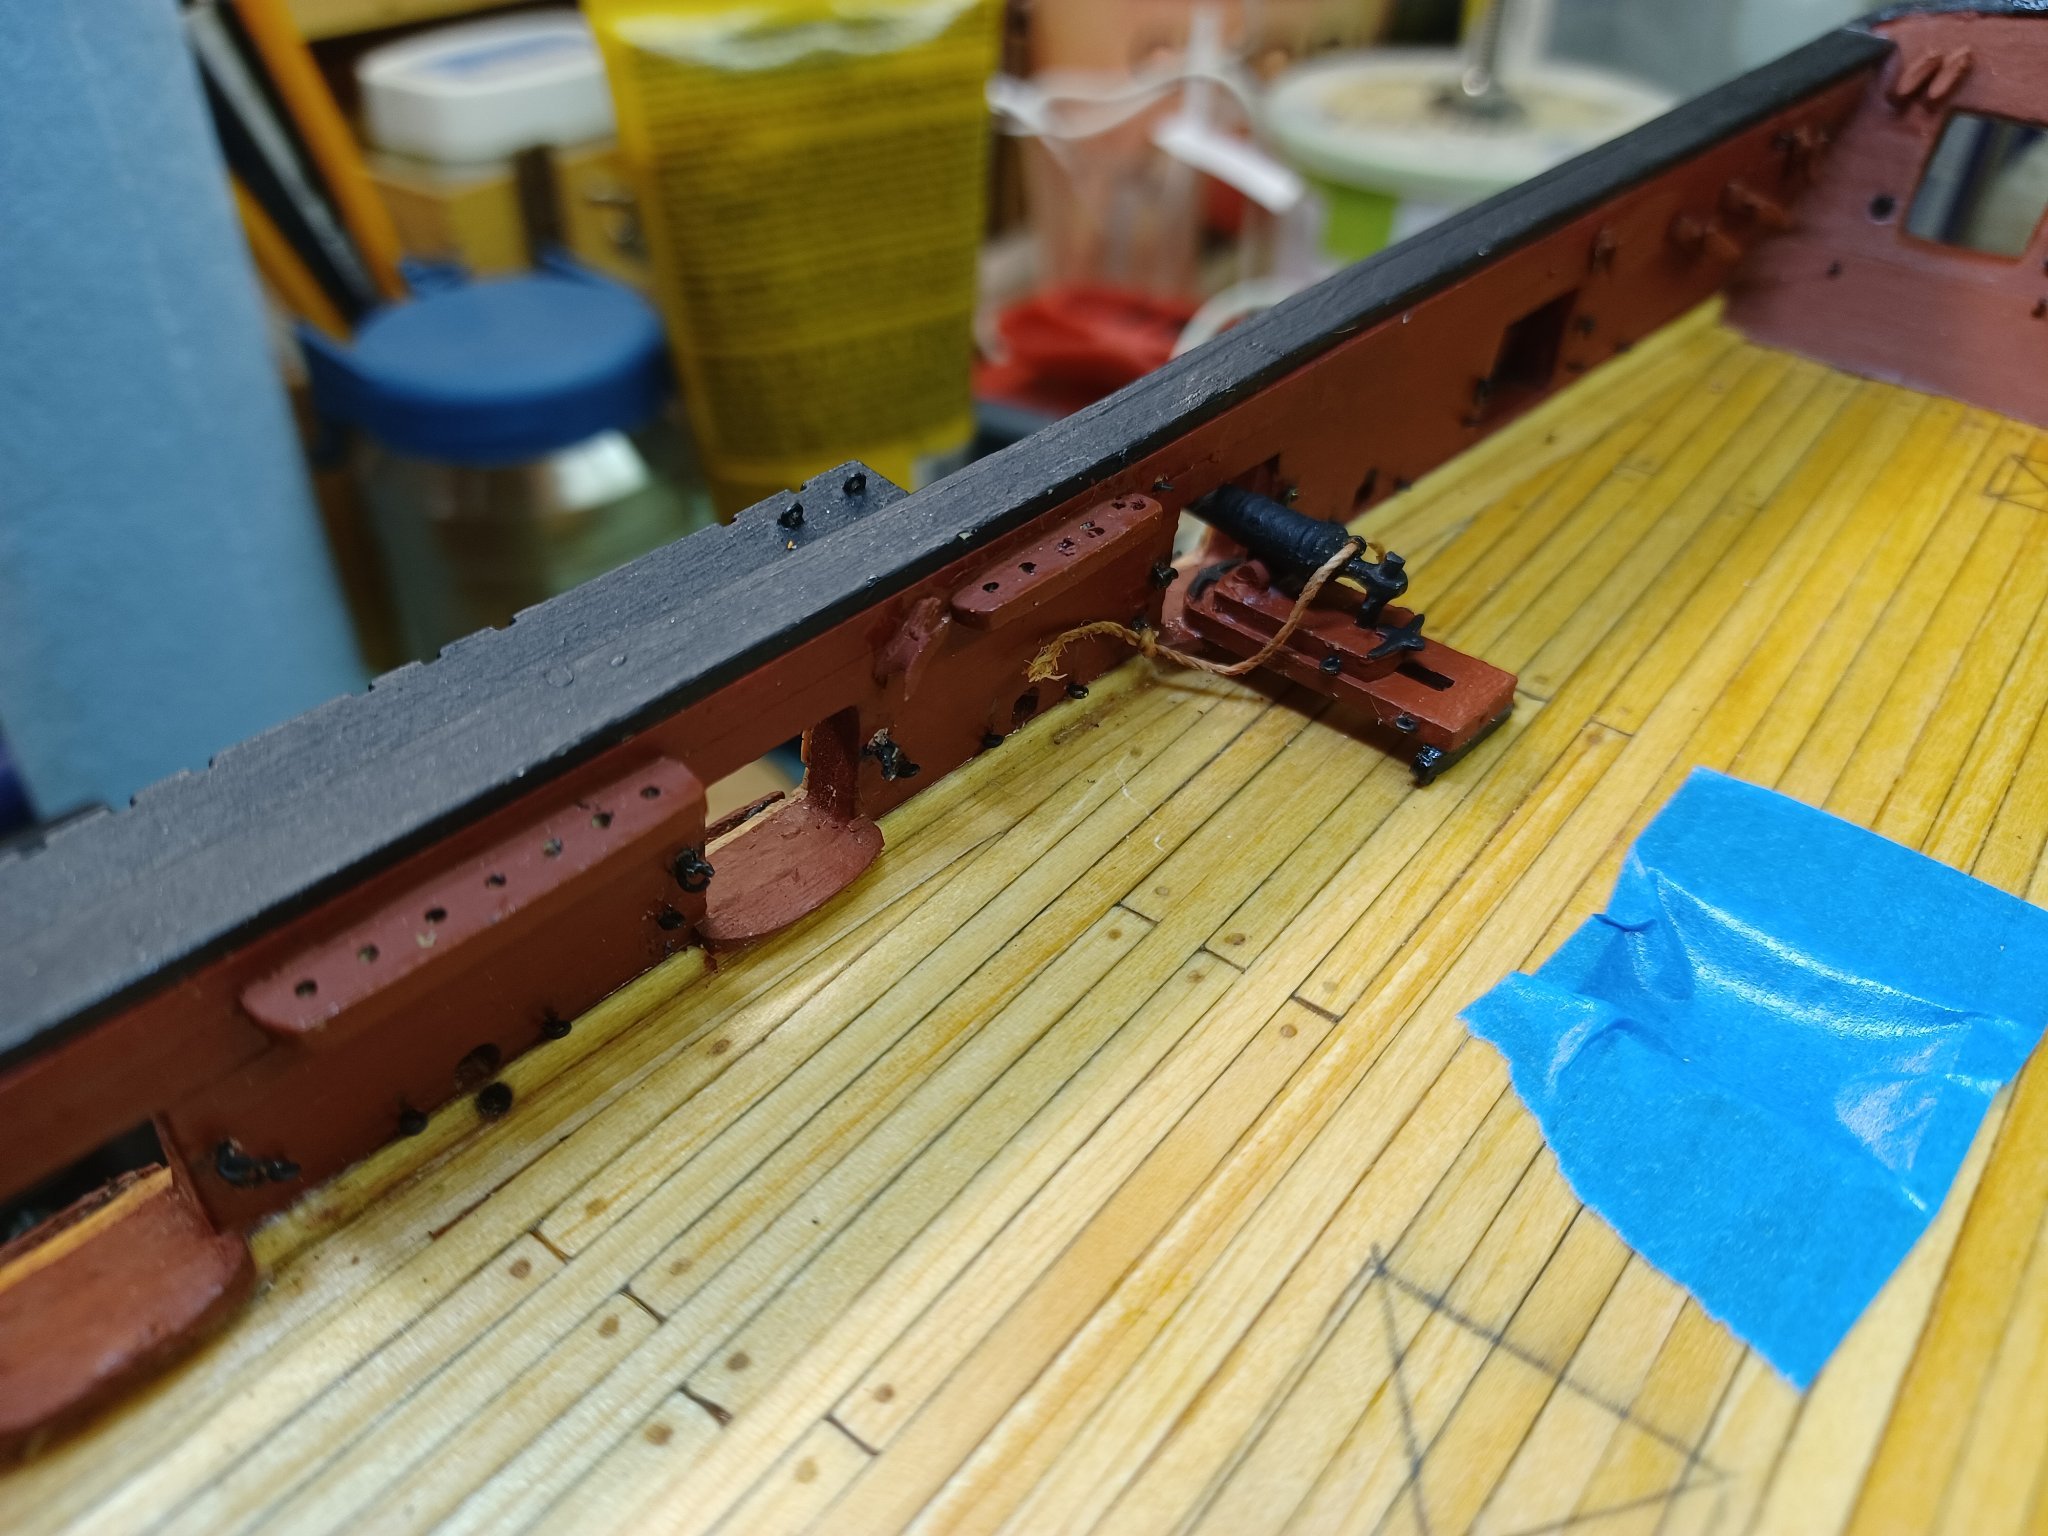
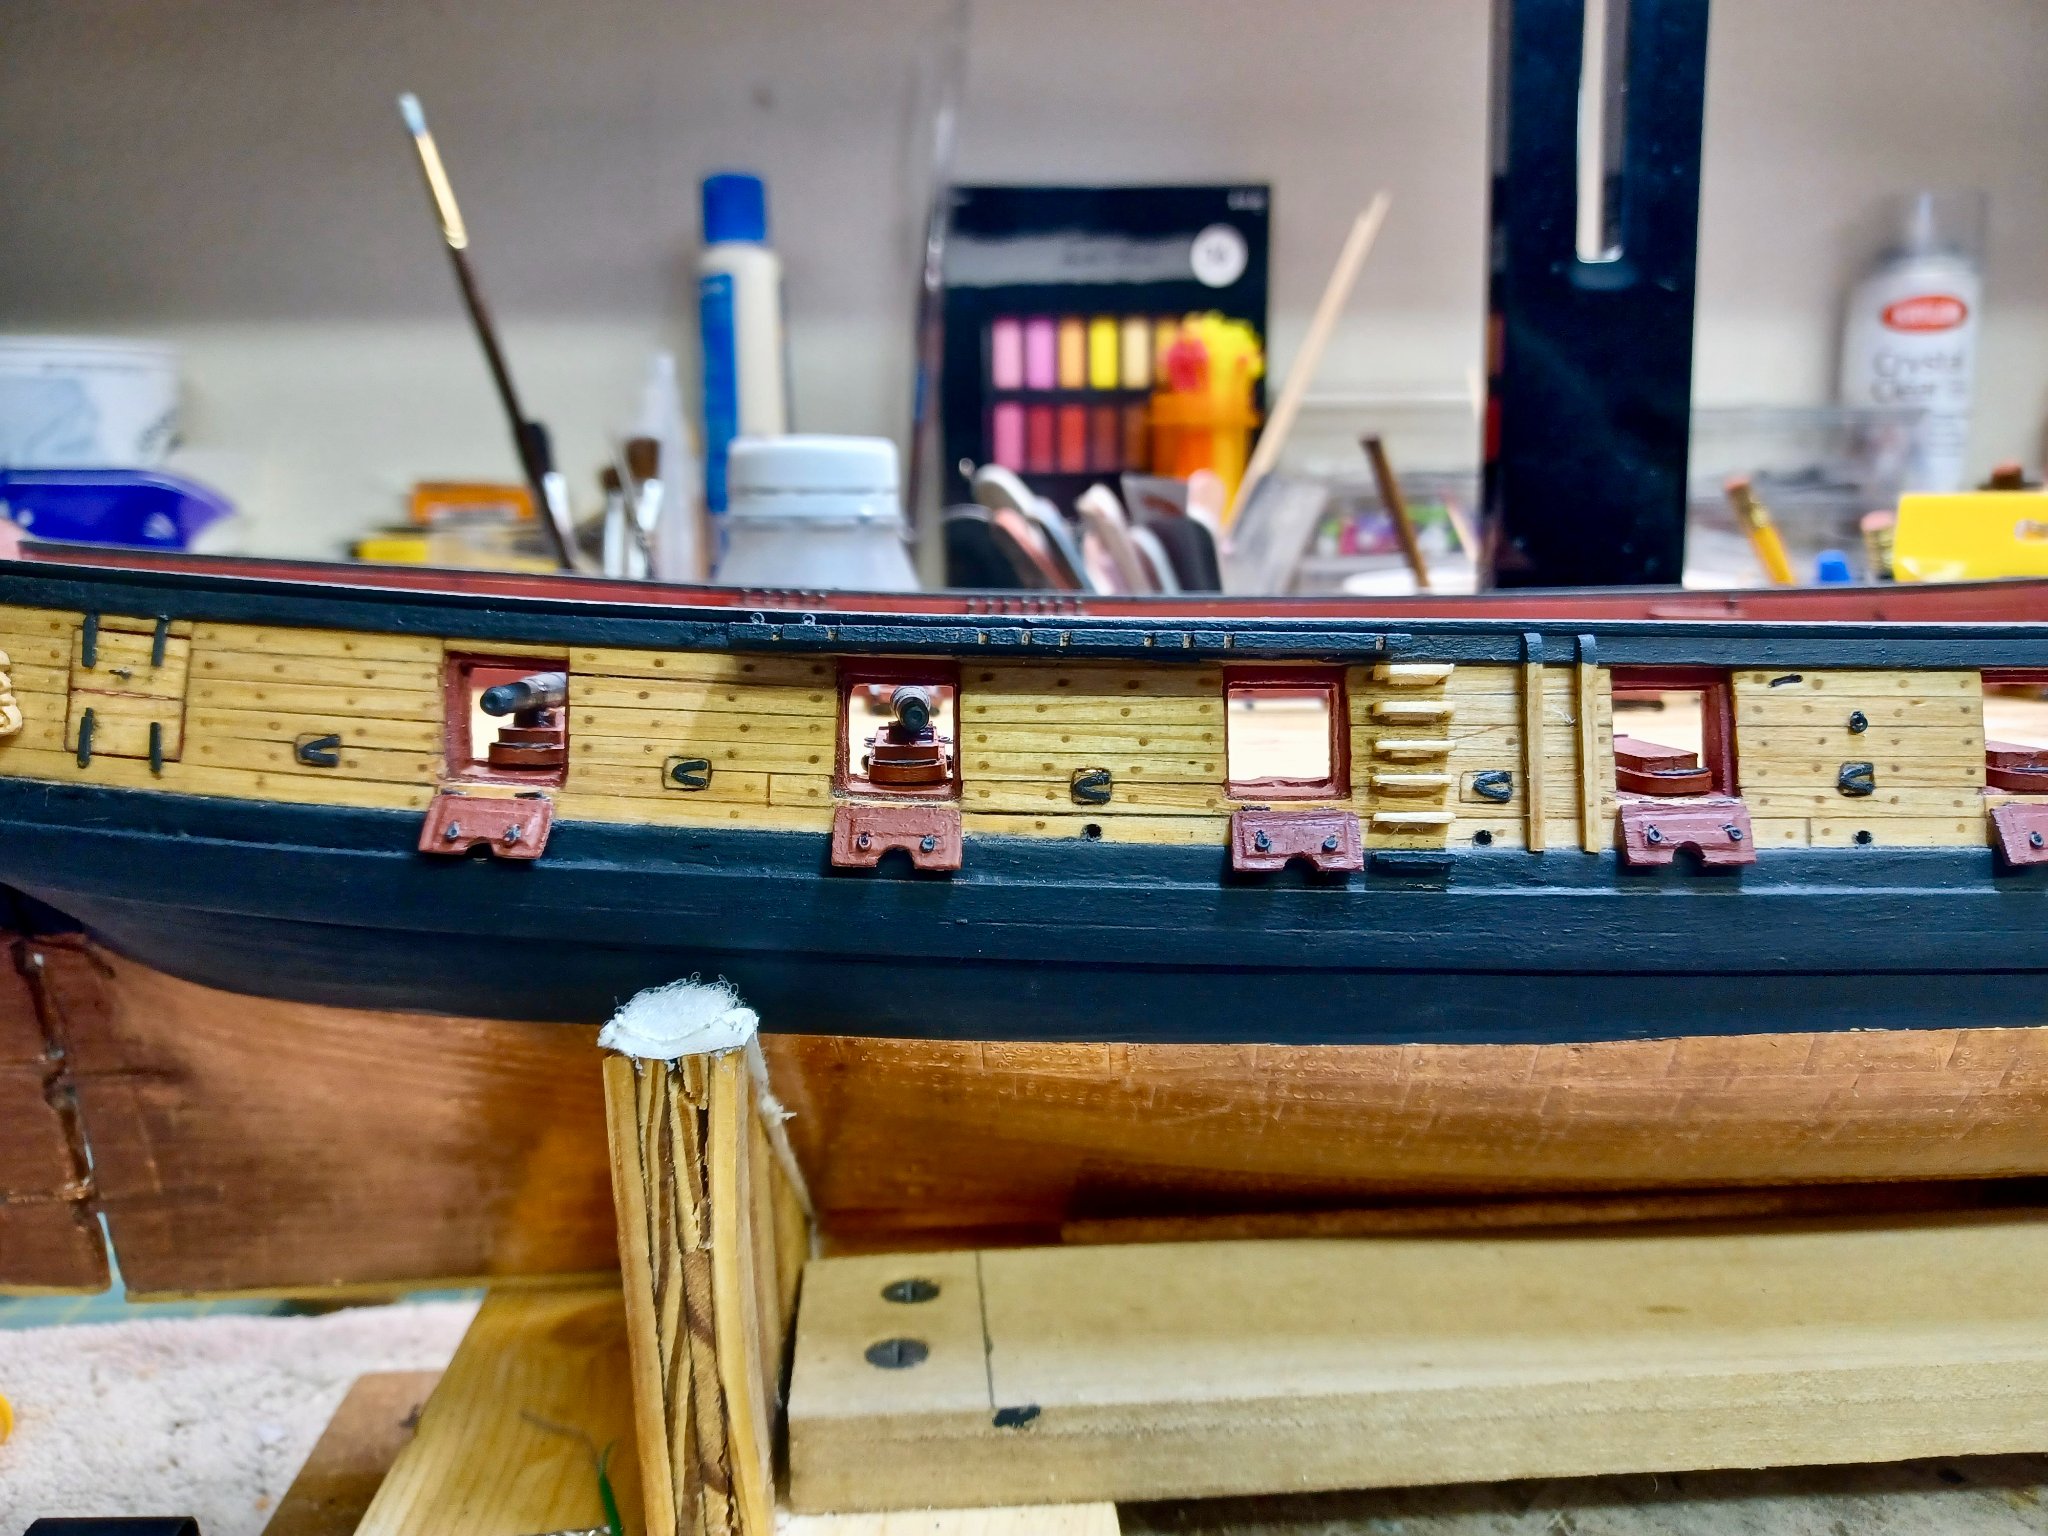
It Ain't Purty, yet........ .....but I have got my first (very first) breech line in place. Newbie Tip: See that blue tape?.... It's there for a reason. After losing 2 eyebolts down to the lower deck, I sealed it up. 😄 Newbie Tip 2: If you are looking for a good source of information on how to run rigging, search on "Threading" There are a lot of threads to read, and some info on how to resolve.


- 436 replies
-
- 4
-

-
- Syren
- Model Shipways
- (and 1 more)
-
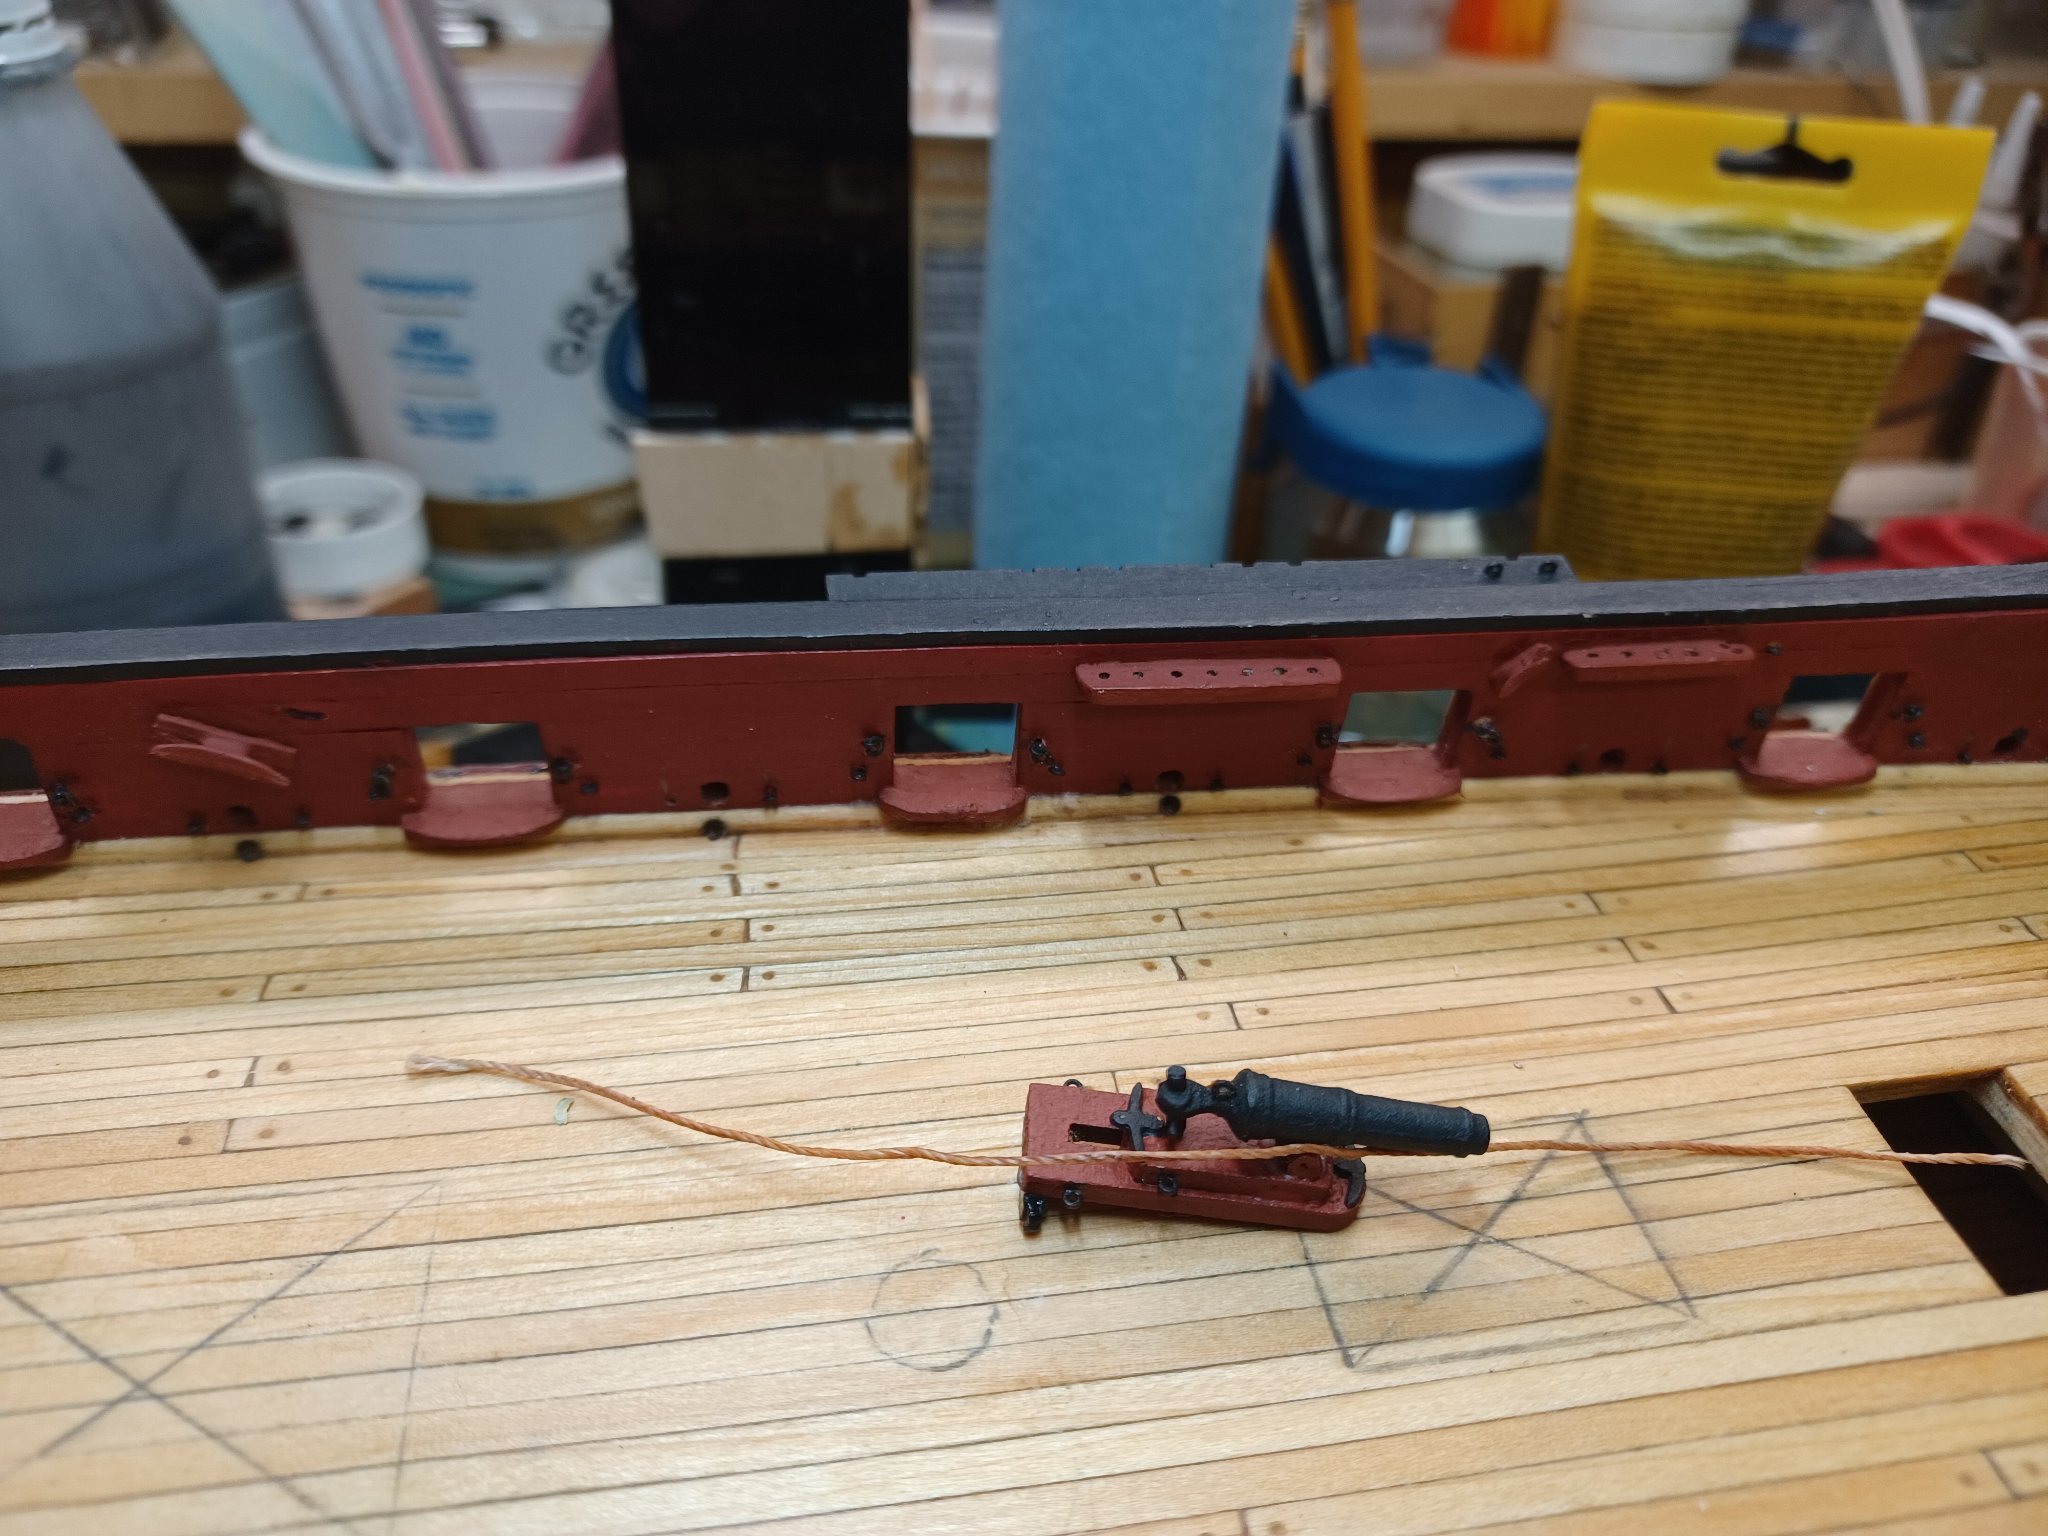
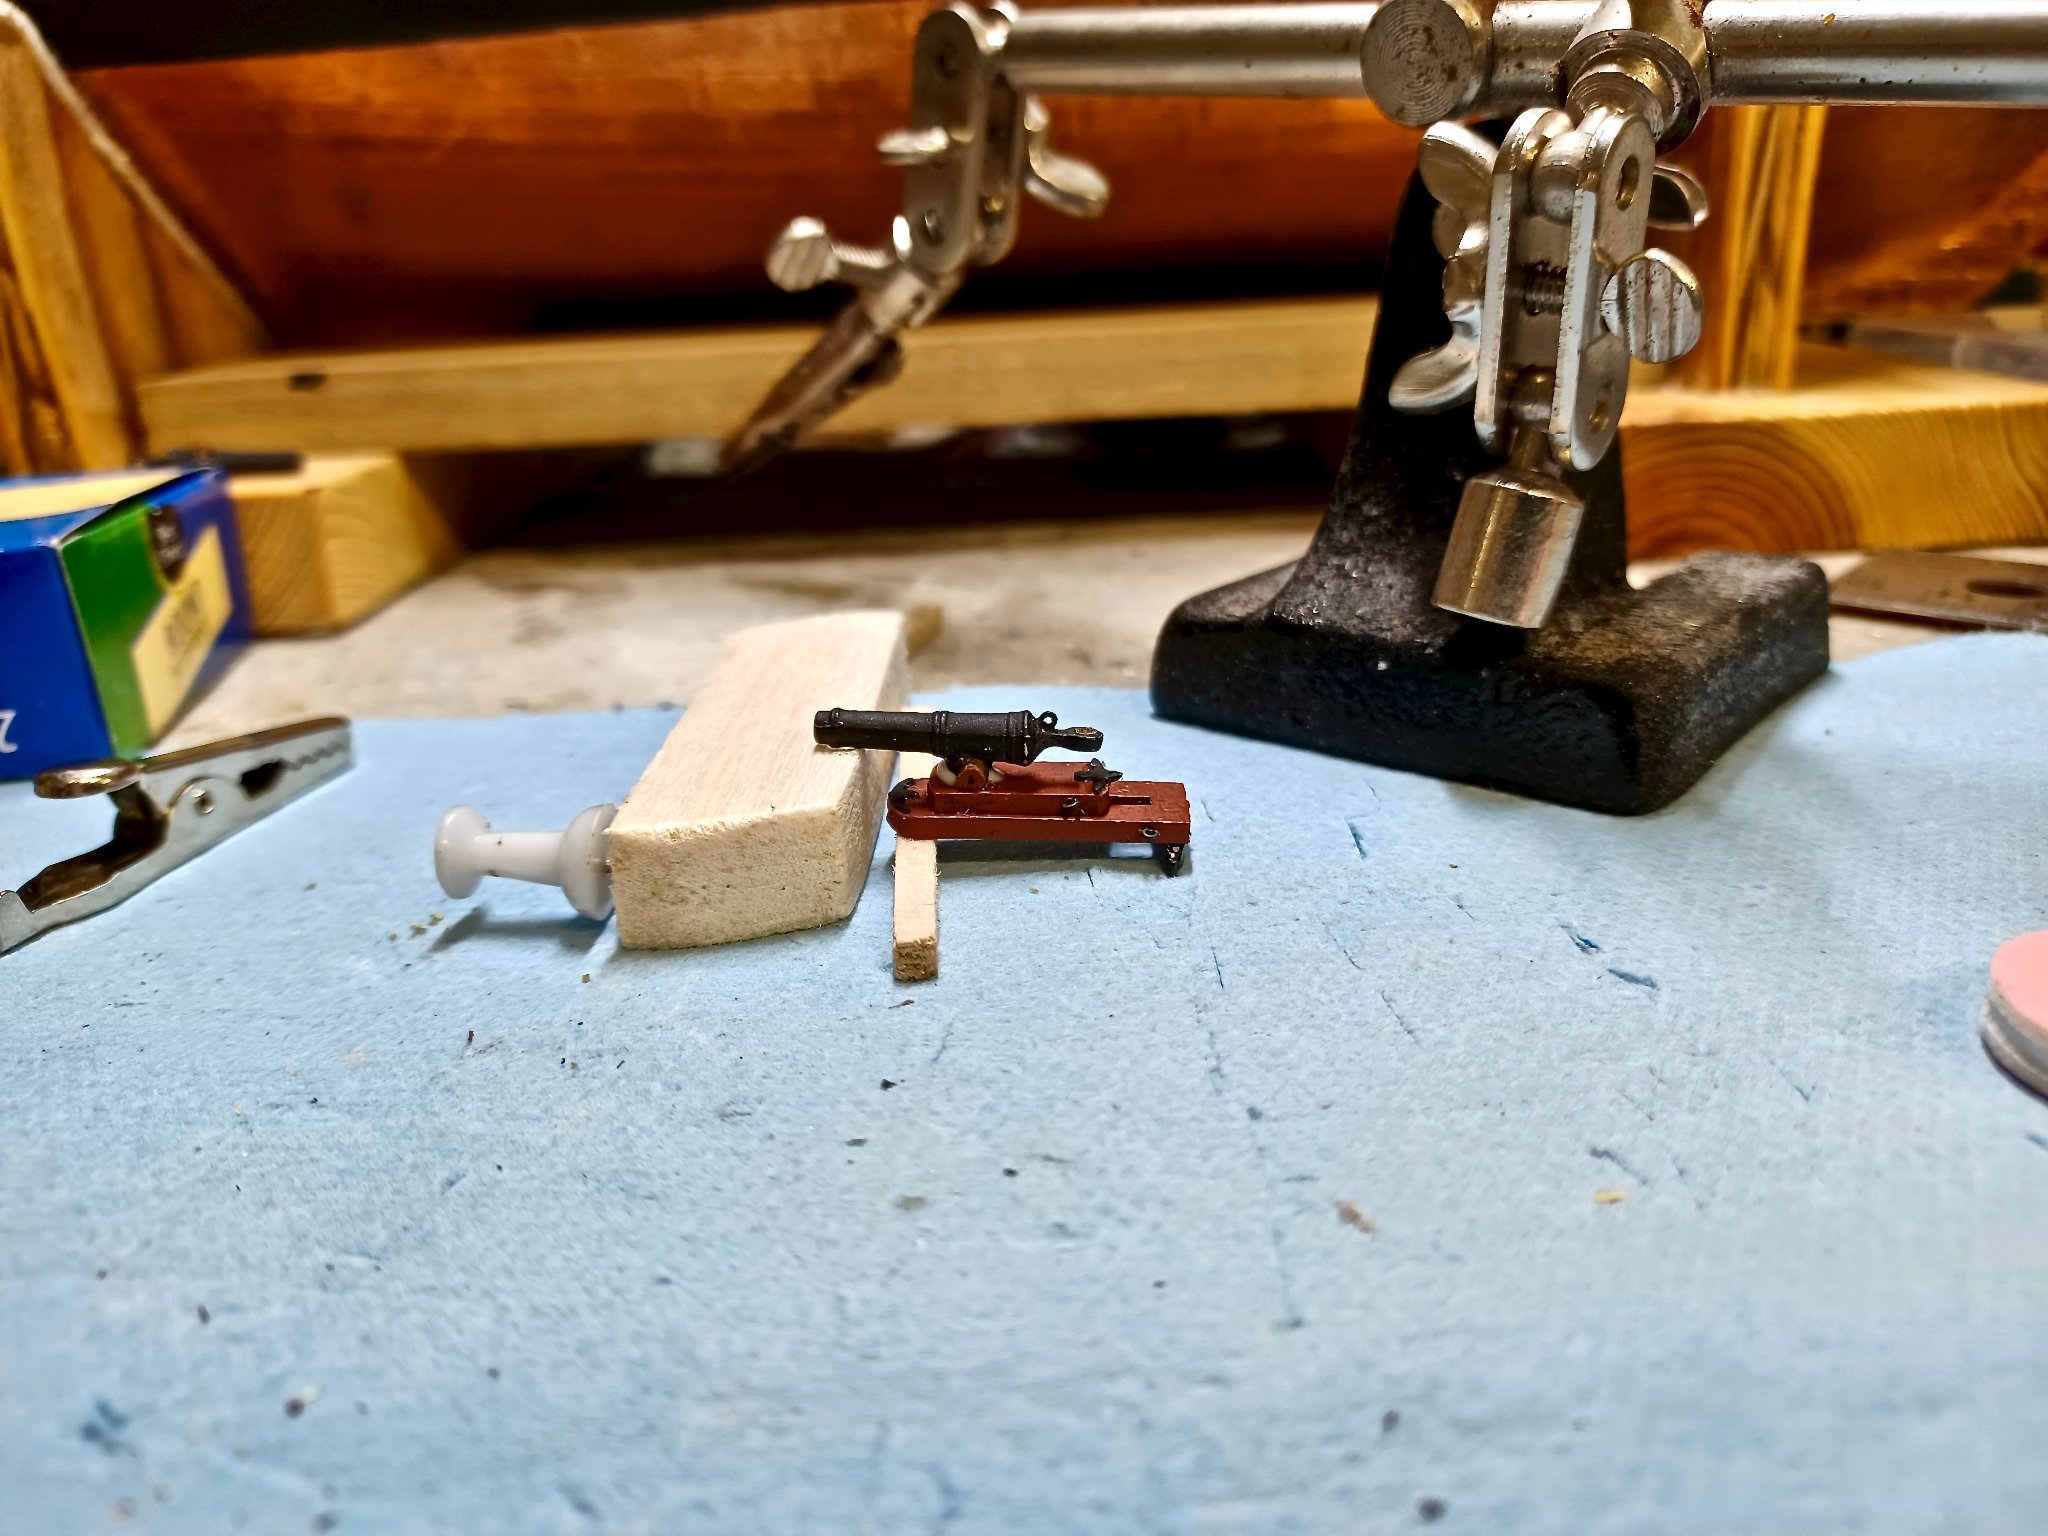
I am Stumped........ After going over the port and starboard onboard plans for cleats, eye bolts, and split rings, (feels like a thousand times), I am done adding them to the bulwarks. ……ready to start adding cannon. I am sure I have missed one or two rings, but I will find out soon. However, I am stuck and not sure where to look. I have searched, and have yet to find information on how to begin attaching the lines. I am trying to begin adding the breach lines first, and on the first cannon, I have yet to find a kind of guide. I do not know how to use the tools that I got from Micro Mark, nor do I know the process for running the breach lines through those tiny little rings and eye bolts. All I am looking for is either a thread, site, or place to read up on "how" it is done. When I look for it, I get a high number of responses, but they are how to build the block lines. With hooks, I have that figured out in my mind, threading the lines through the eye bolts has me stumped. I have added the pic for interest.... the breach line bolts on the cannon have been sized to accept the thread, which I have colored using chalk, and beeswax as a sealer. It's how do I thread the eye bolts as they are already installed. ⁉️

-
"Tim the tool man." here.... 😄 Because this is from the perspective of a first timer for this type of work, I think it is beneficial if I include those hand built aids I come up with. I am probably, not the first, nor do I say these are fine engineering. They do get the immediate task done if and when I have a lot of repeats. Two Items here are the "eye bolt and split ring template" and the "multi-cleat pinning jig" Neither of which look like much...LOL, but they got done what I needed. The split ring template allowed me to mark all the gun ports on starboard and port without having to measure each one. I the template (shown) slips into the gun port from the deck side, and a fine point marker is used to locate the eye bolt and split ring positions. After marking one side, I drilled each hole for the bolt or split ring, It made it much easier to drill, then start inserting the parts. Keeps switching tools to a minimum, which I like. The "multi-cleat pinning jig" allowed me to take two medium soft "balsa" stock pieces and press each cleat along the edge of one. I used green tape to help hold them in position. Then the second balsa block was gently pressed over the cleats...pinning them in place. Then using a mini drill bit chuck on the press, I drilled the pin hole in the bottom. Before removing from the blocks, I glued in the pins, which were made using the cut off pieces of eye bolts for the pin. They are stiffer than the 28 gauge wire, and since I had saved them, they worked great.


- 436 replies
-
- 1
-
-
- Syren
- Model Shipways
- (and 1 more)
-
Internal View..... I thought it would be a good idea to show the internal workings.

- 436 replies
-
- 5
-
-
- Syren
- Model Shipways
- (and 1 more)
-
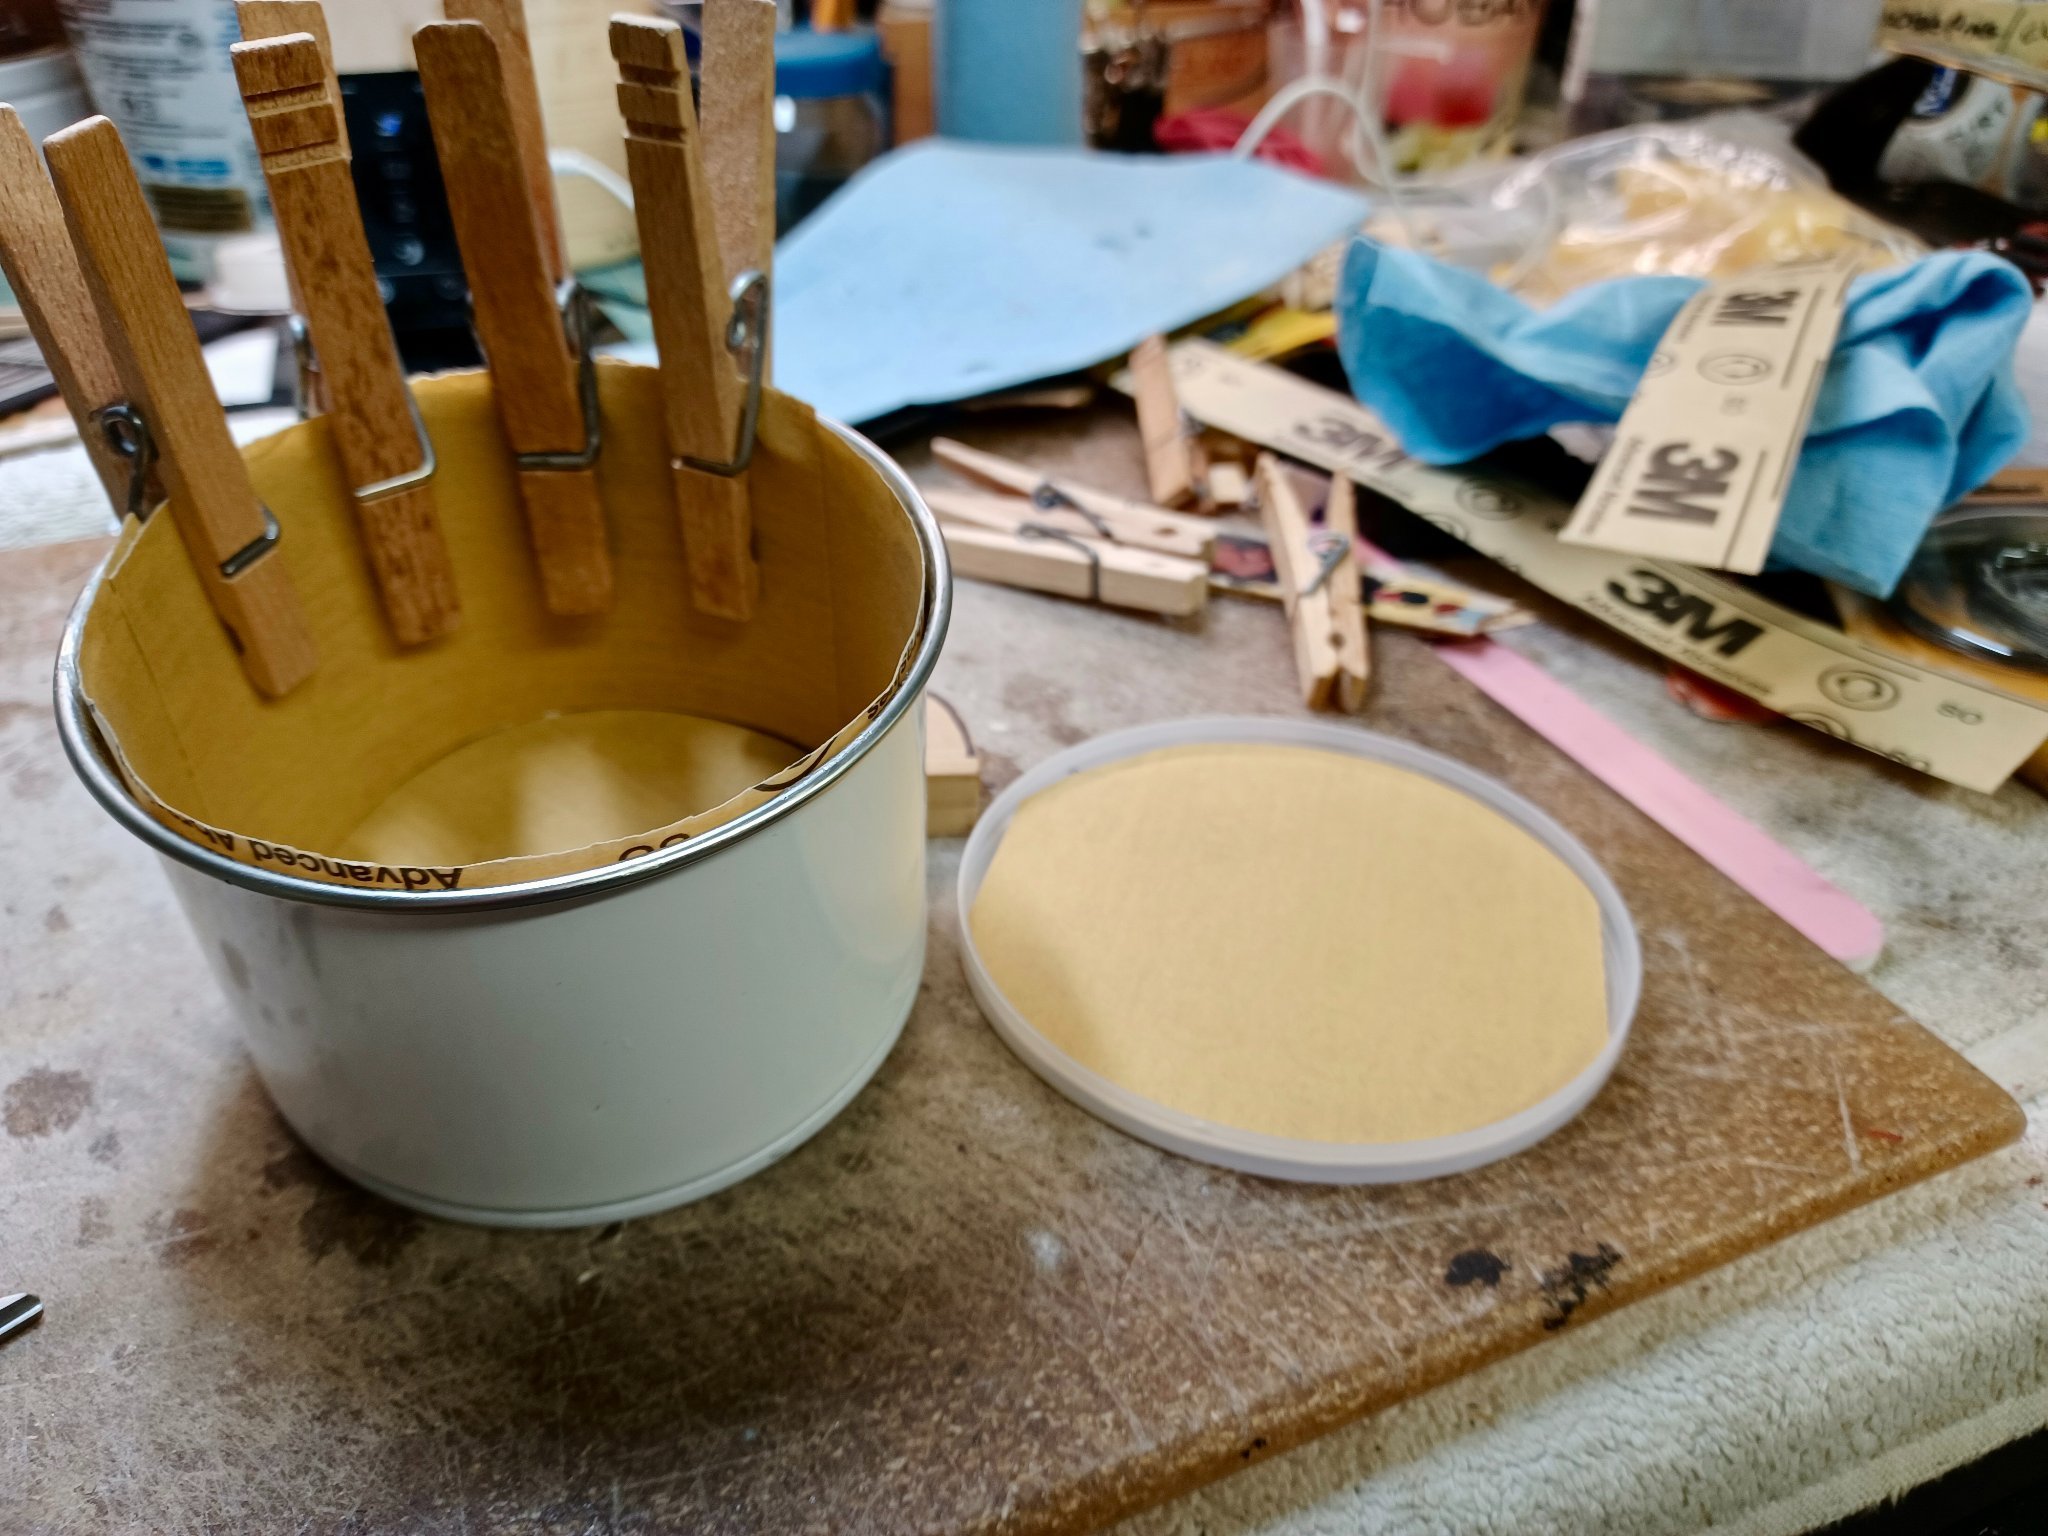
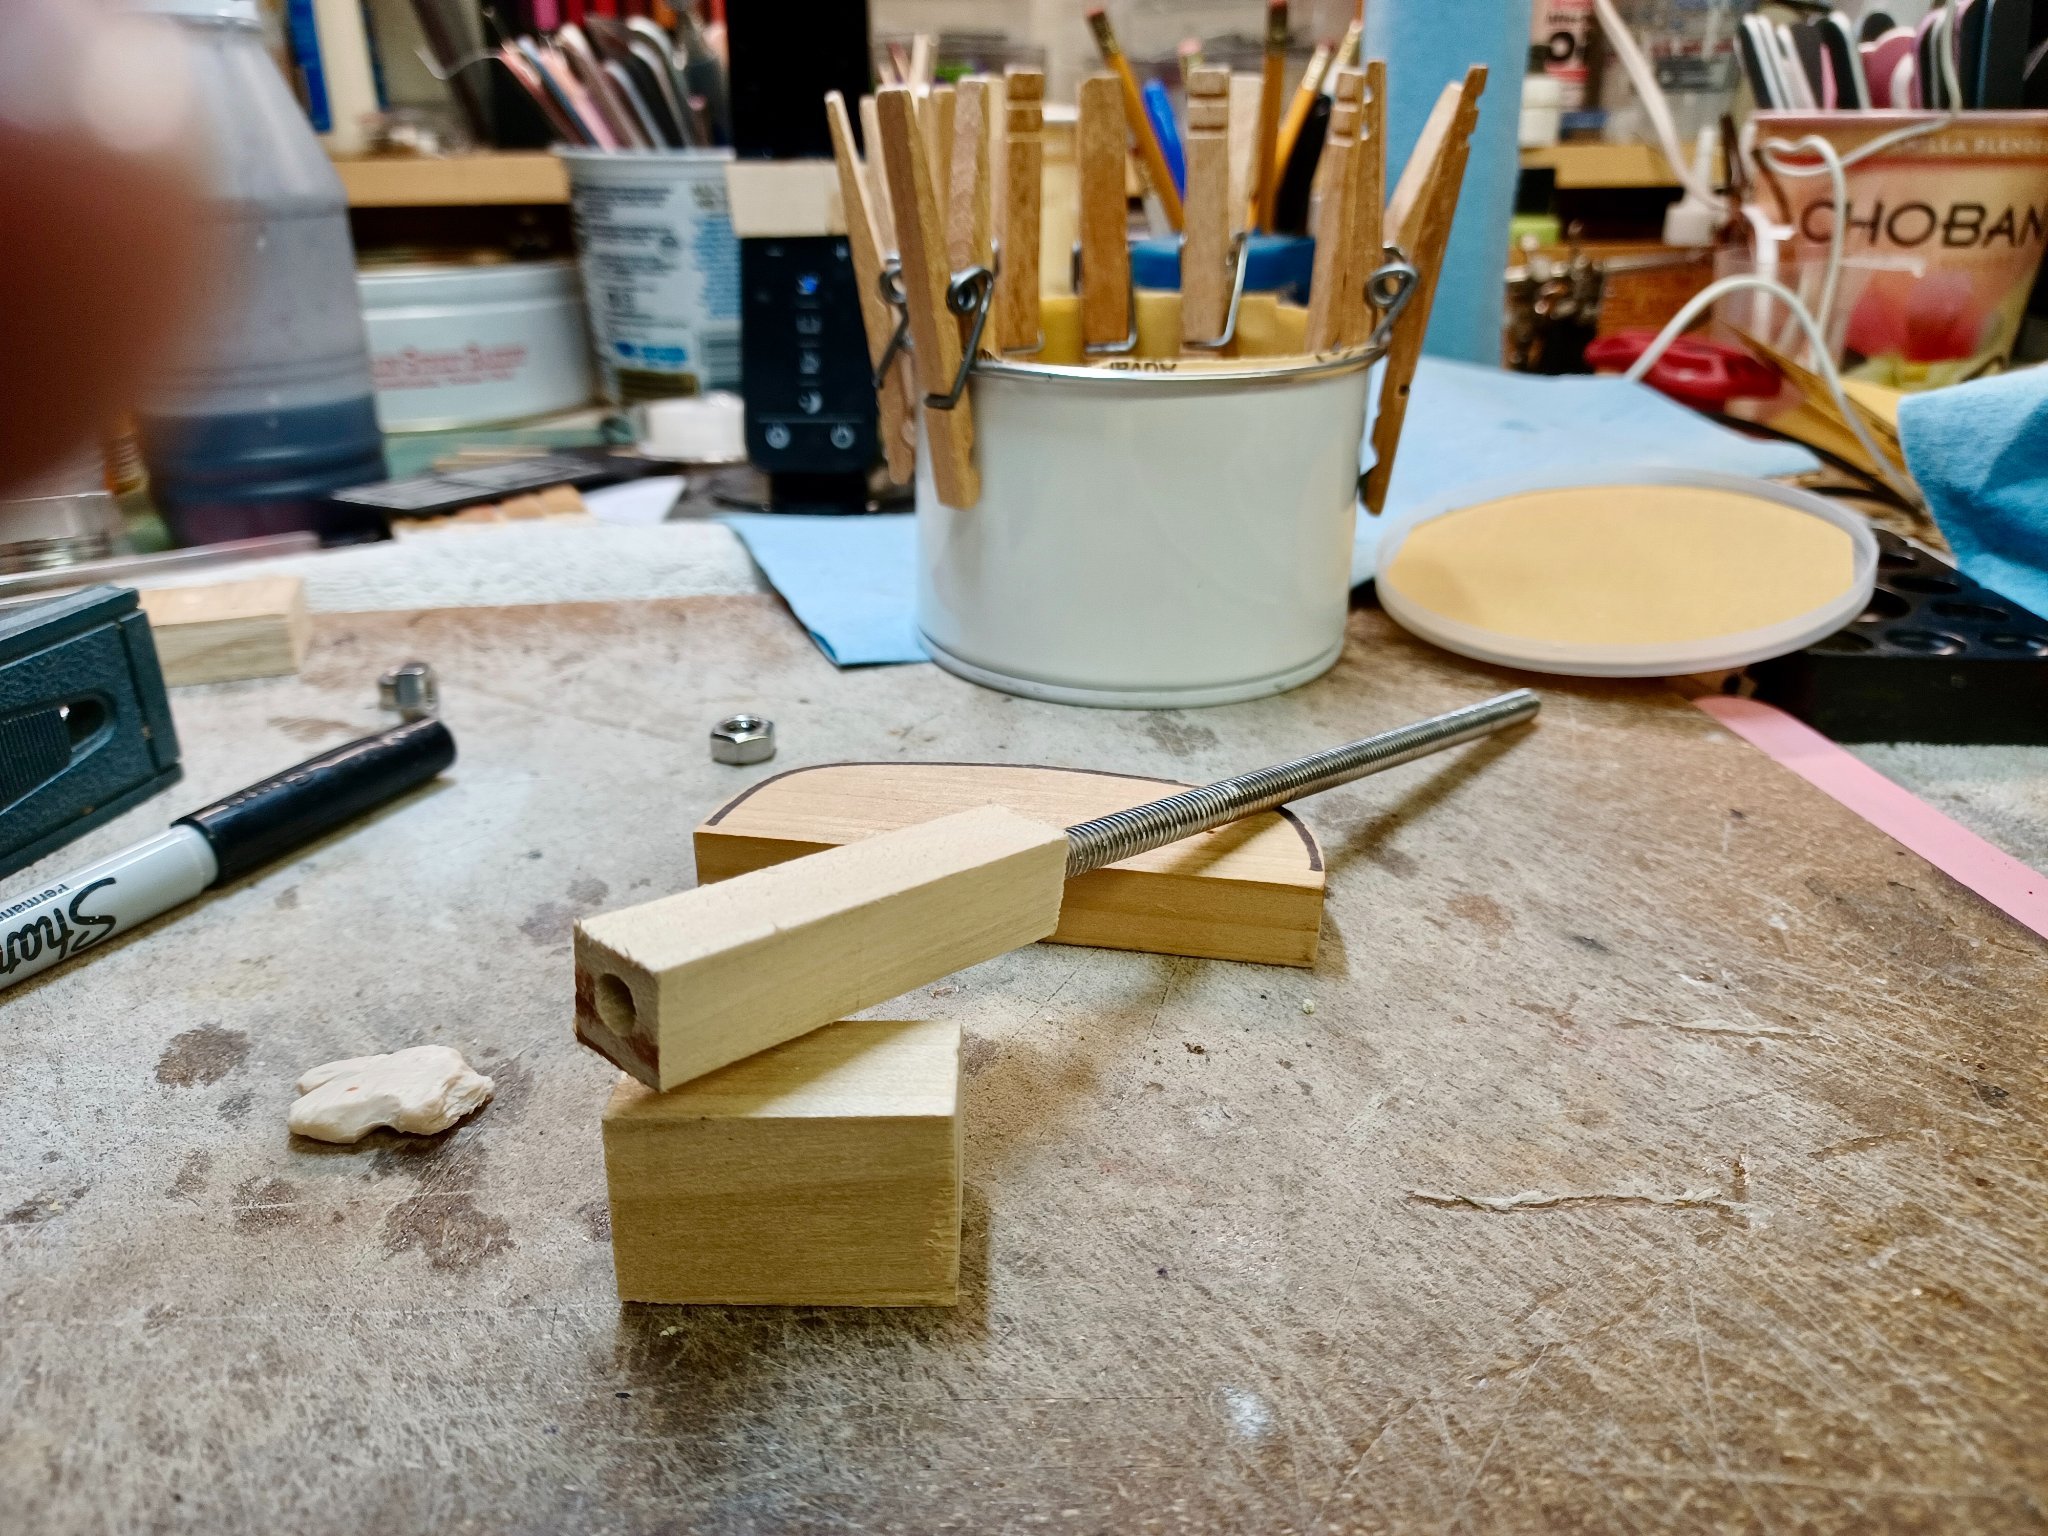
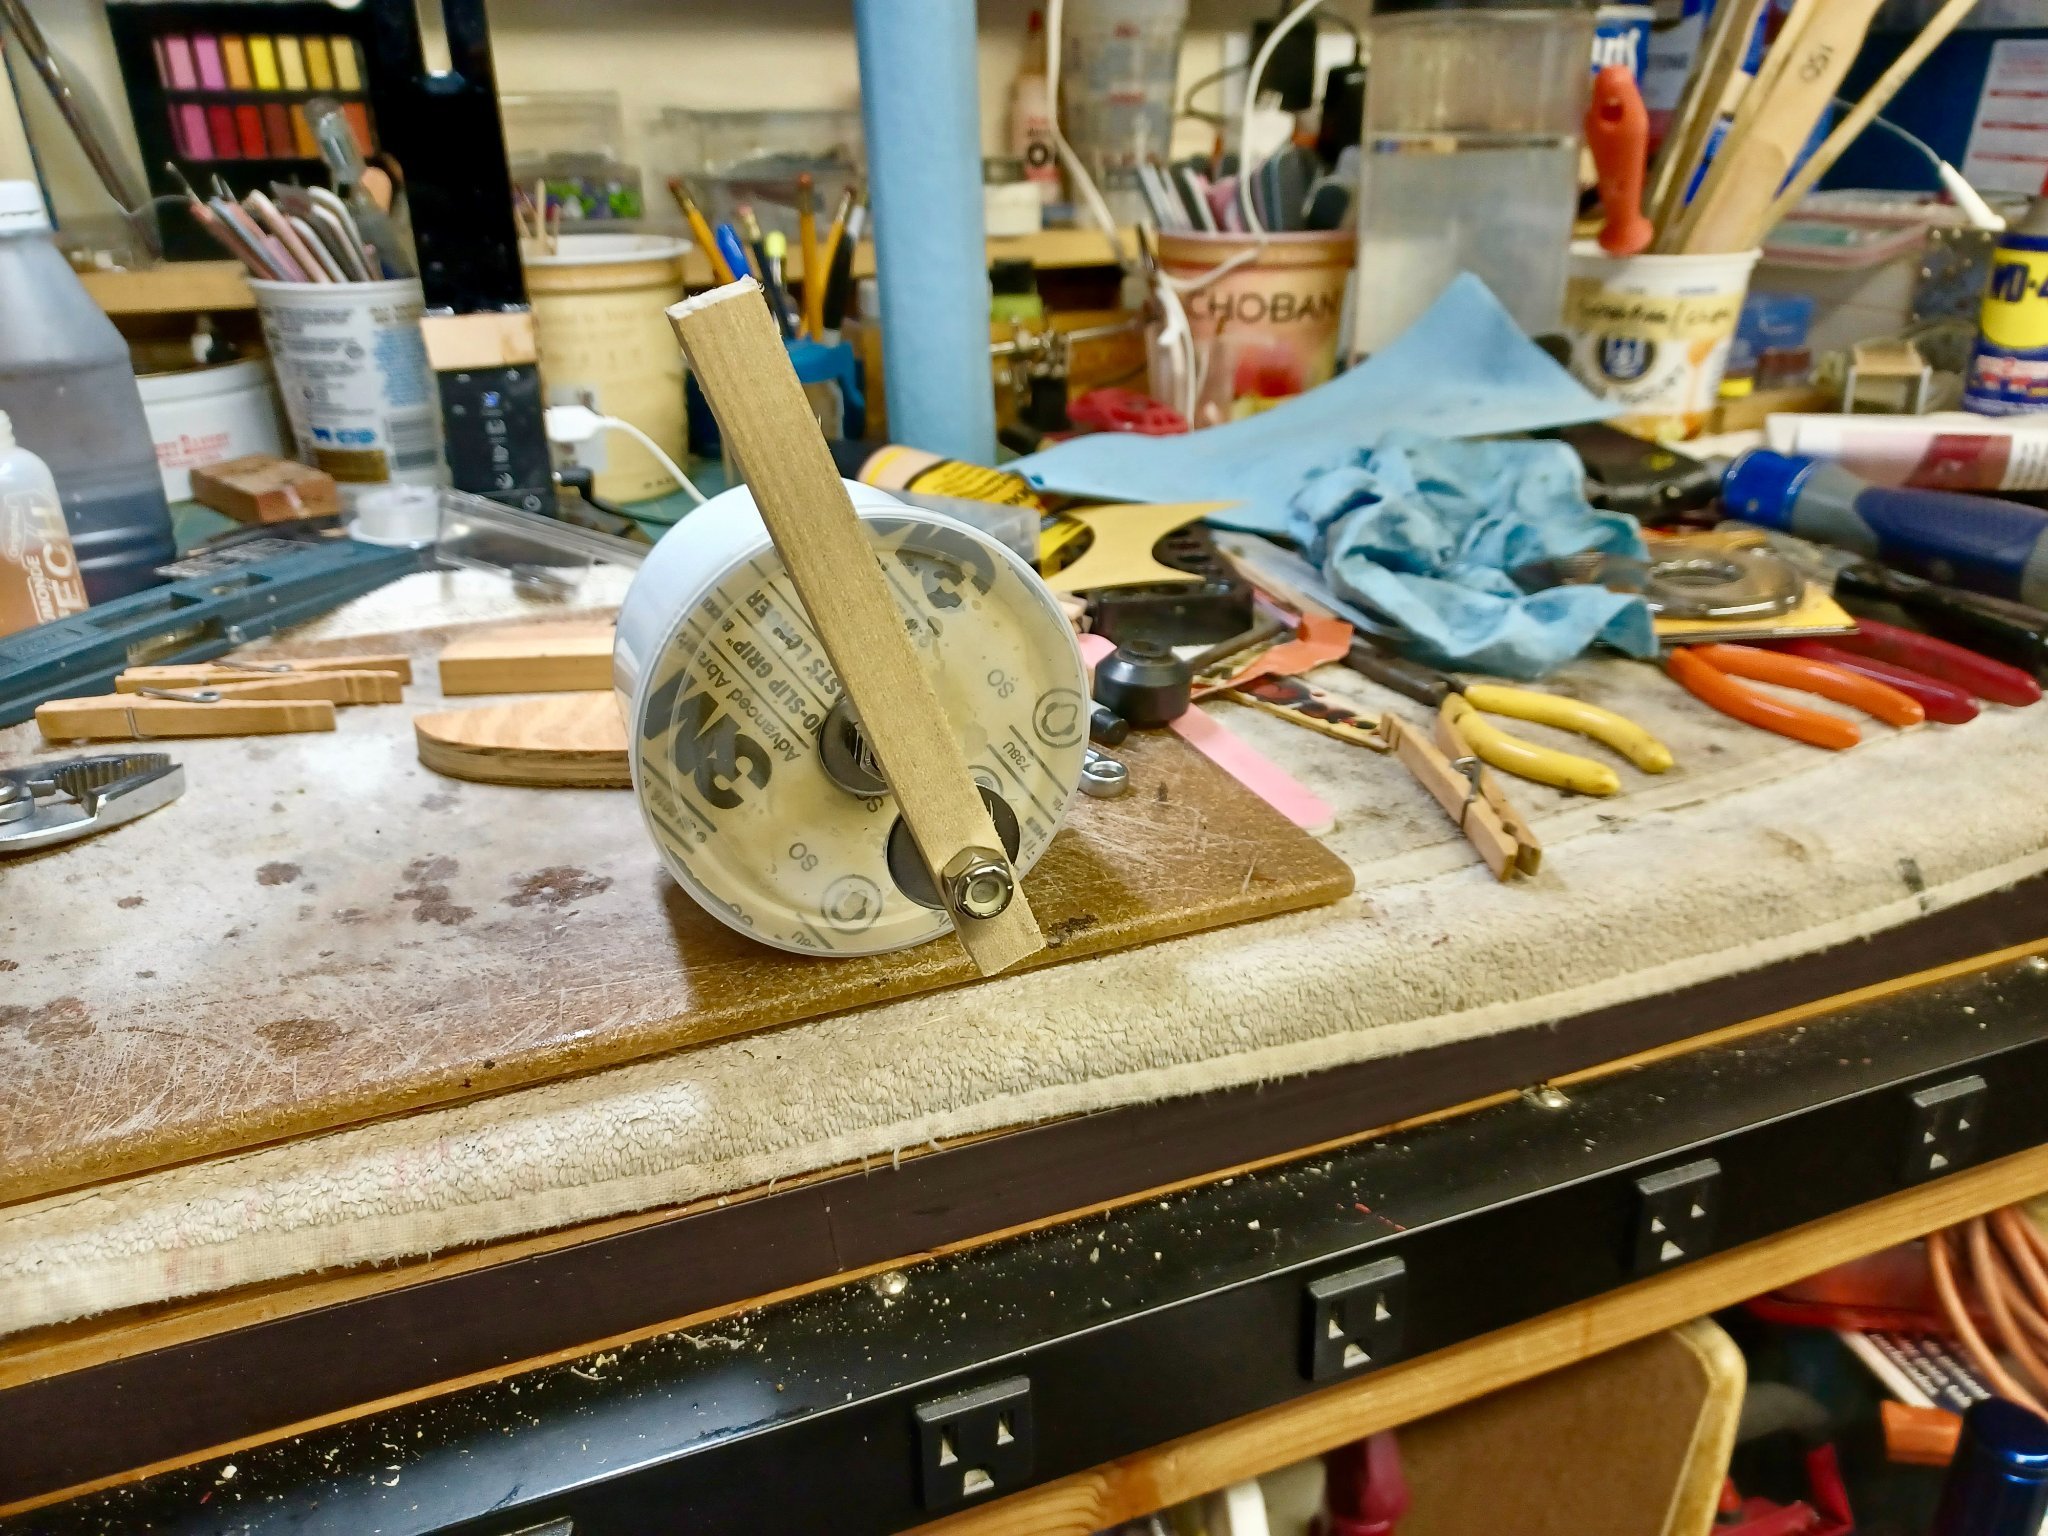
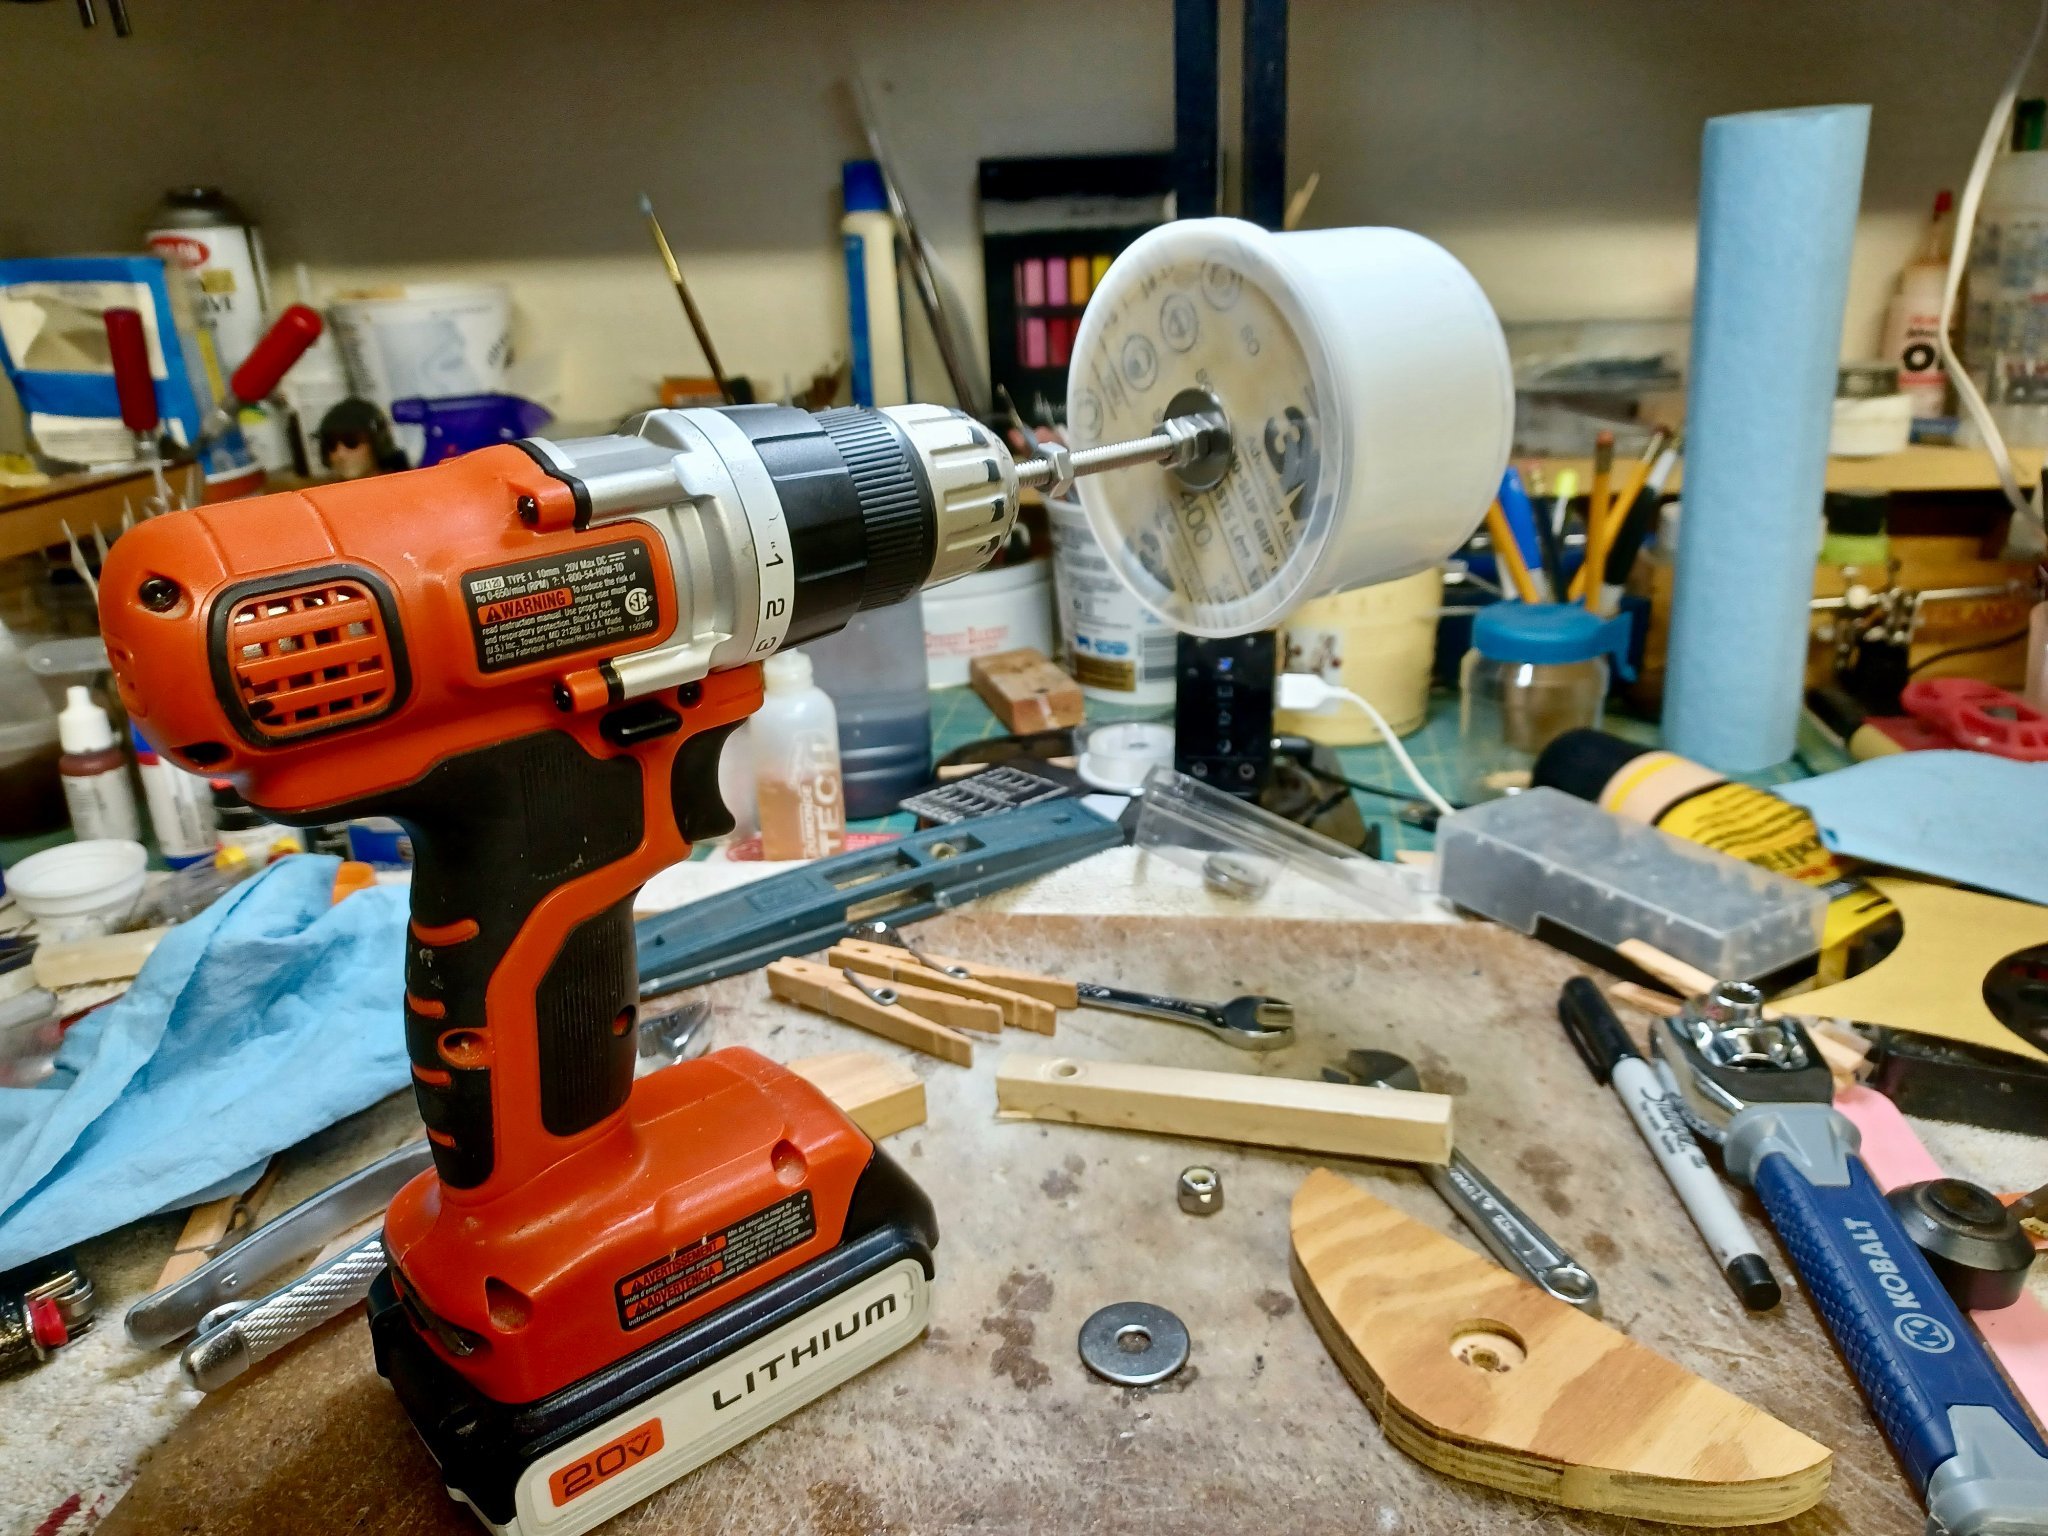
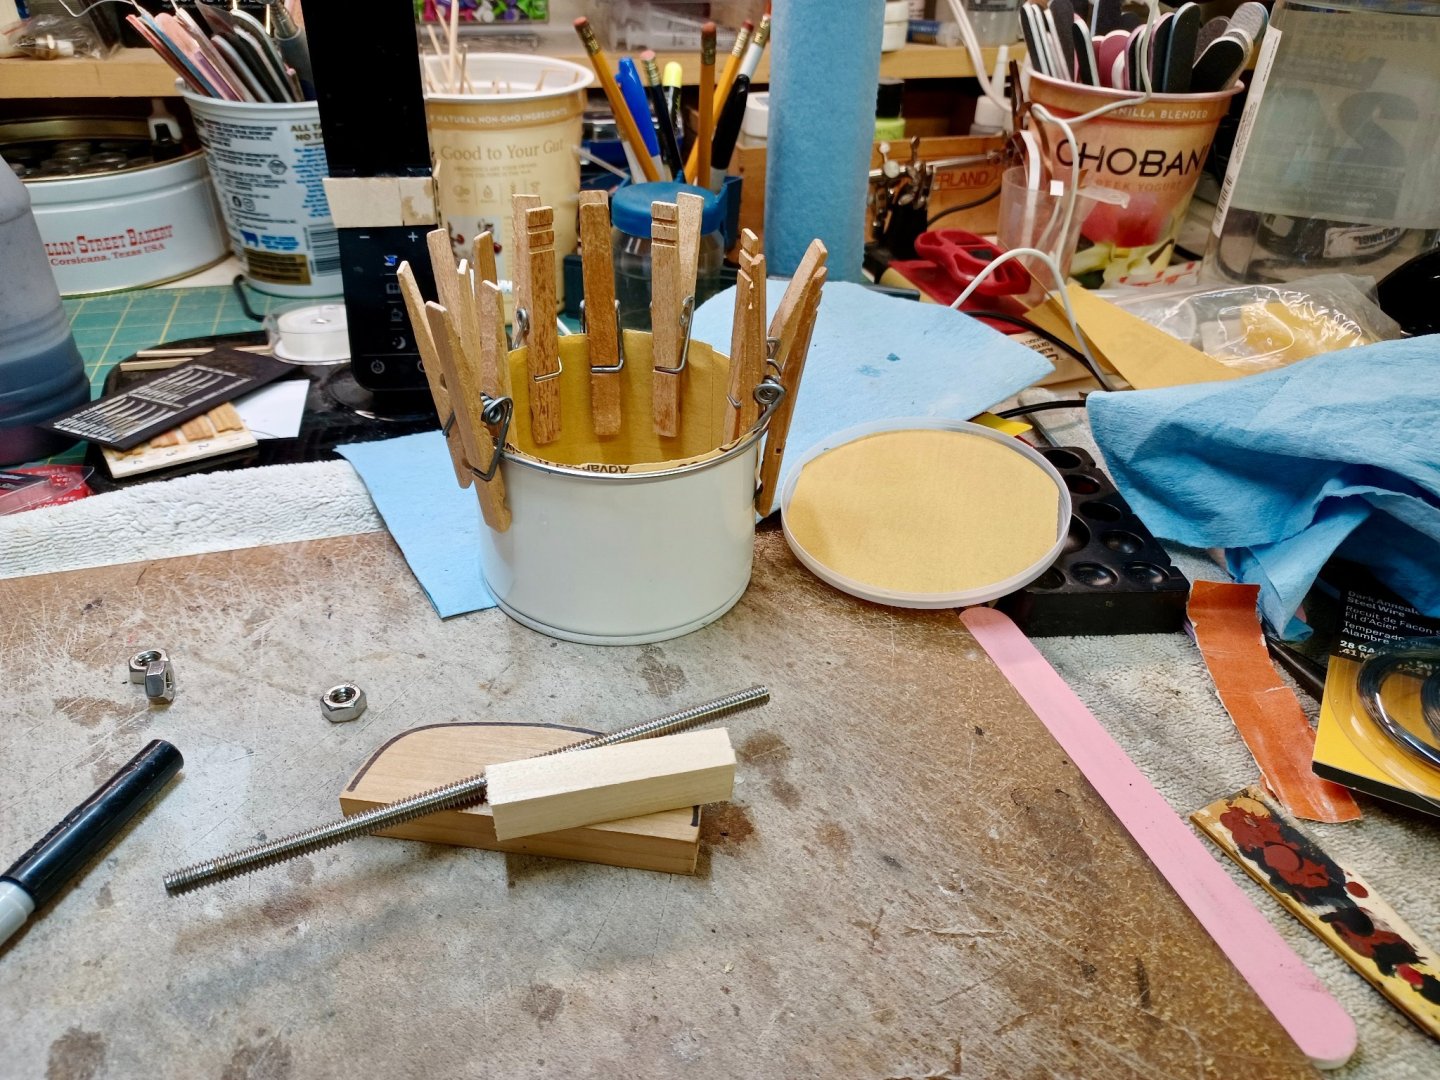
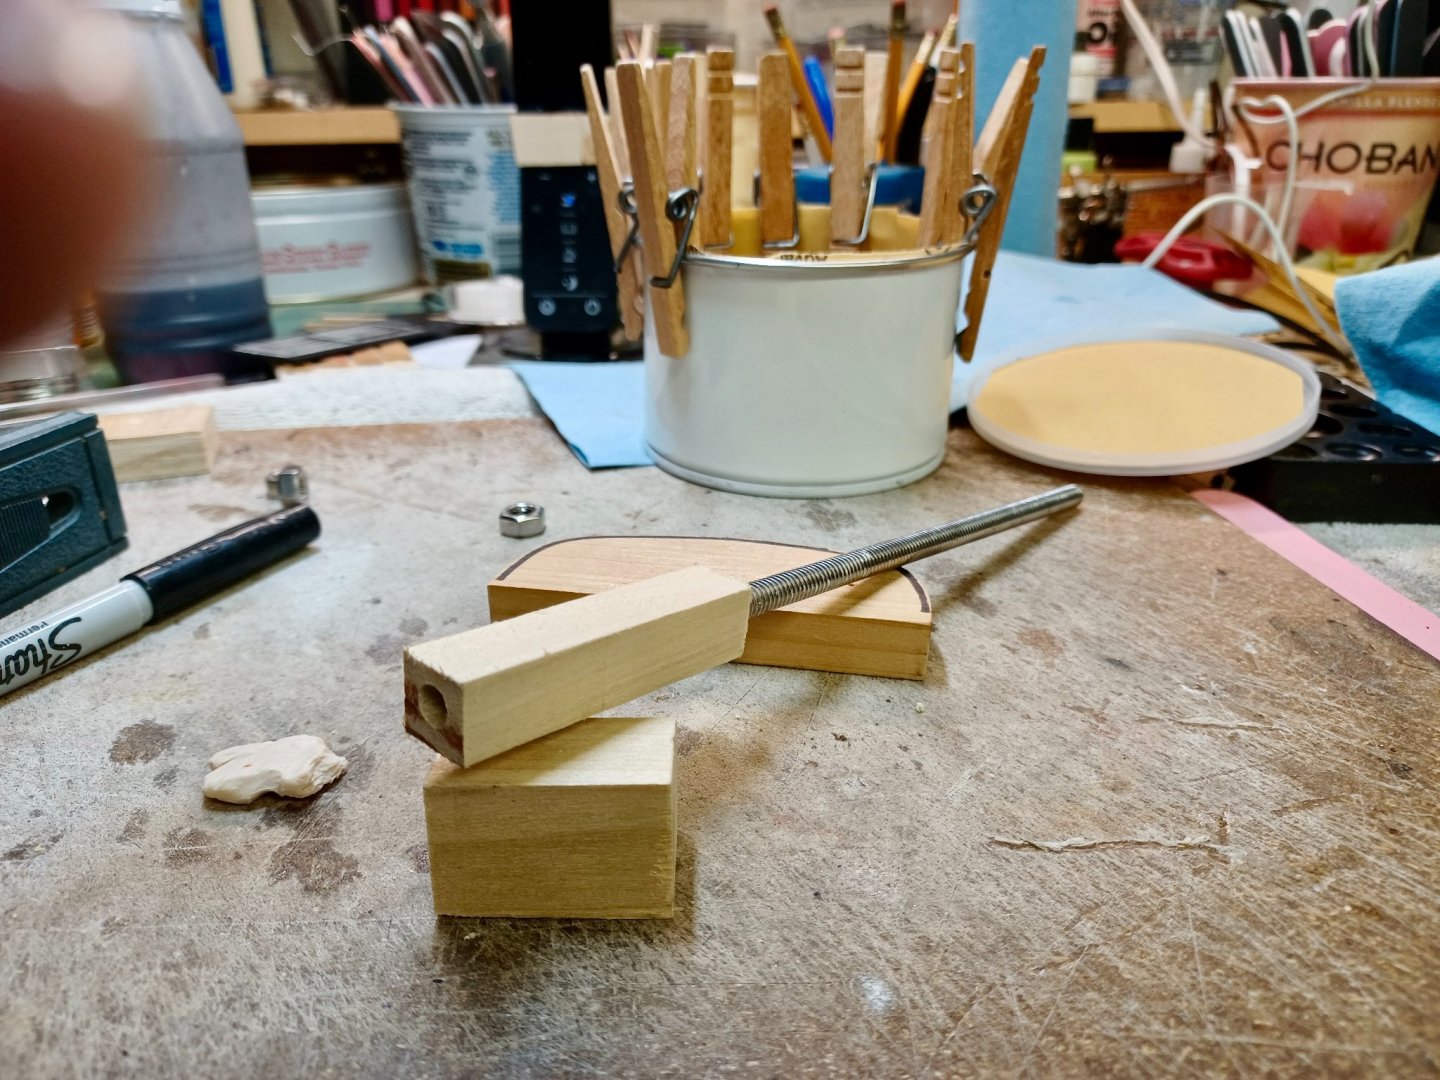
Building a Simple Tumbler... Several videos on the net can provide instructions on how to do these, so I will stay away from them and they are easy to find.. I did order a small one from Micro Mark, that just got here 45 minutes ago. Price comparison is that buying the parts to build one from scratch cost twice as much. 😀 Although, mine is metal, can be cranked with a handle, or a drill, with 400 grit sandpaper, it is taking a while to tumble the 300 some odd blocks. I also used sandpaper that has the "non-slip" backing for all of the internals. I find it lasts longer anyway, and the non slip is a bonus. Here are my pics... Final Note: Pay attention to how you insert and spin the internal flapping sander part. You will want to "drag" the sandpaper along the cans' edge, rather than push it around. Pushing just tends to rip the paper off of the center spindle. If your drill is reversible, you can change direction. I have run mine counter clockwise for 5 minutes, with my hand drill, and all parts are still in place.


- 436 replies
-
- 3
-
-
- Syren
- Model Shipways
- (and 1 more)
-
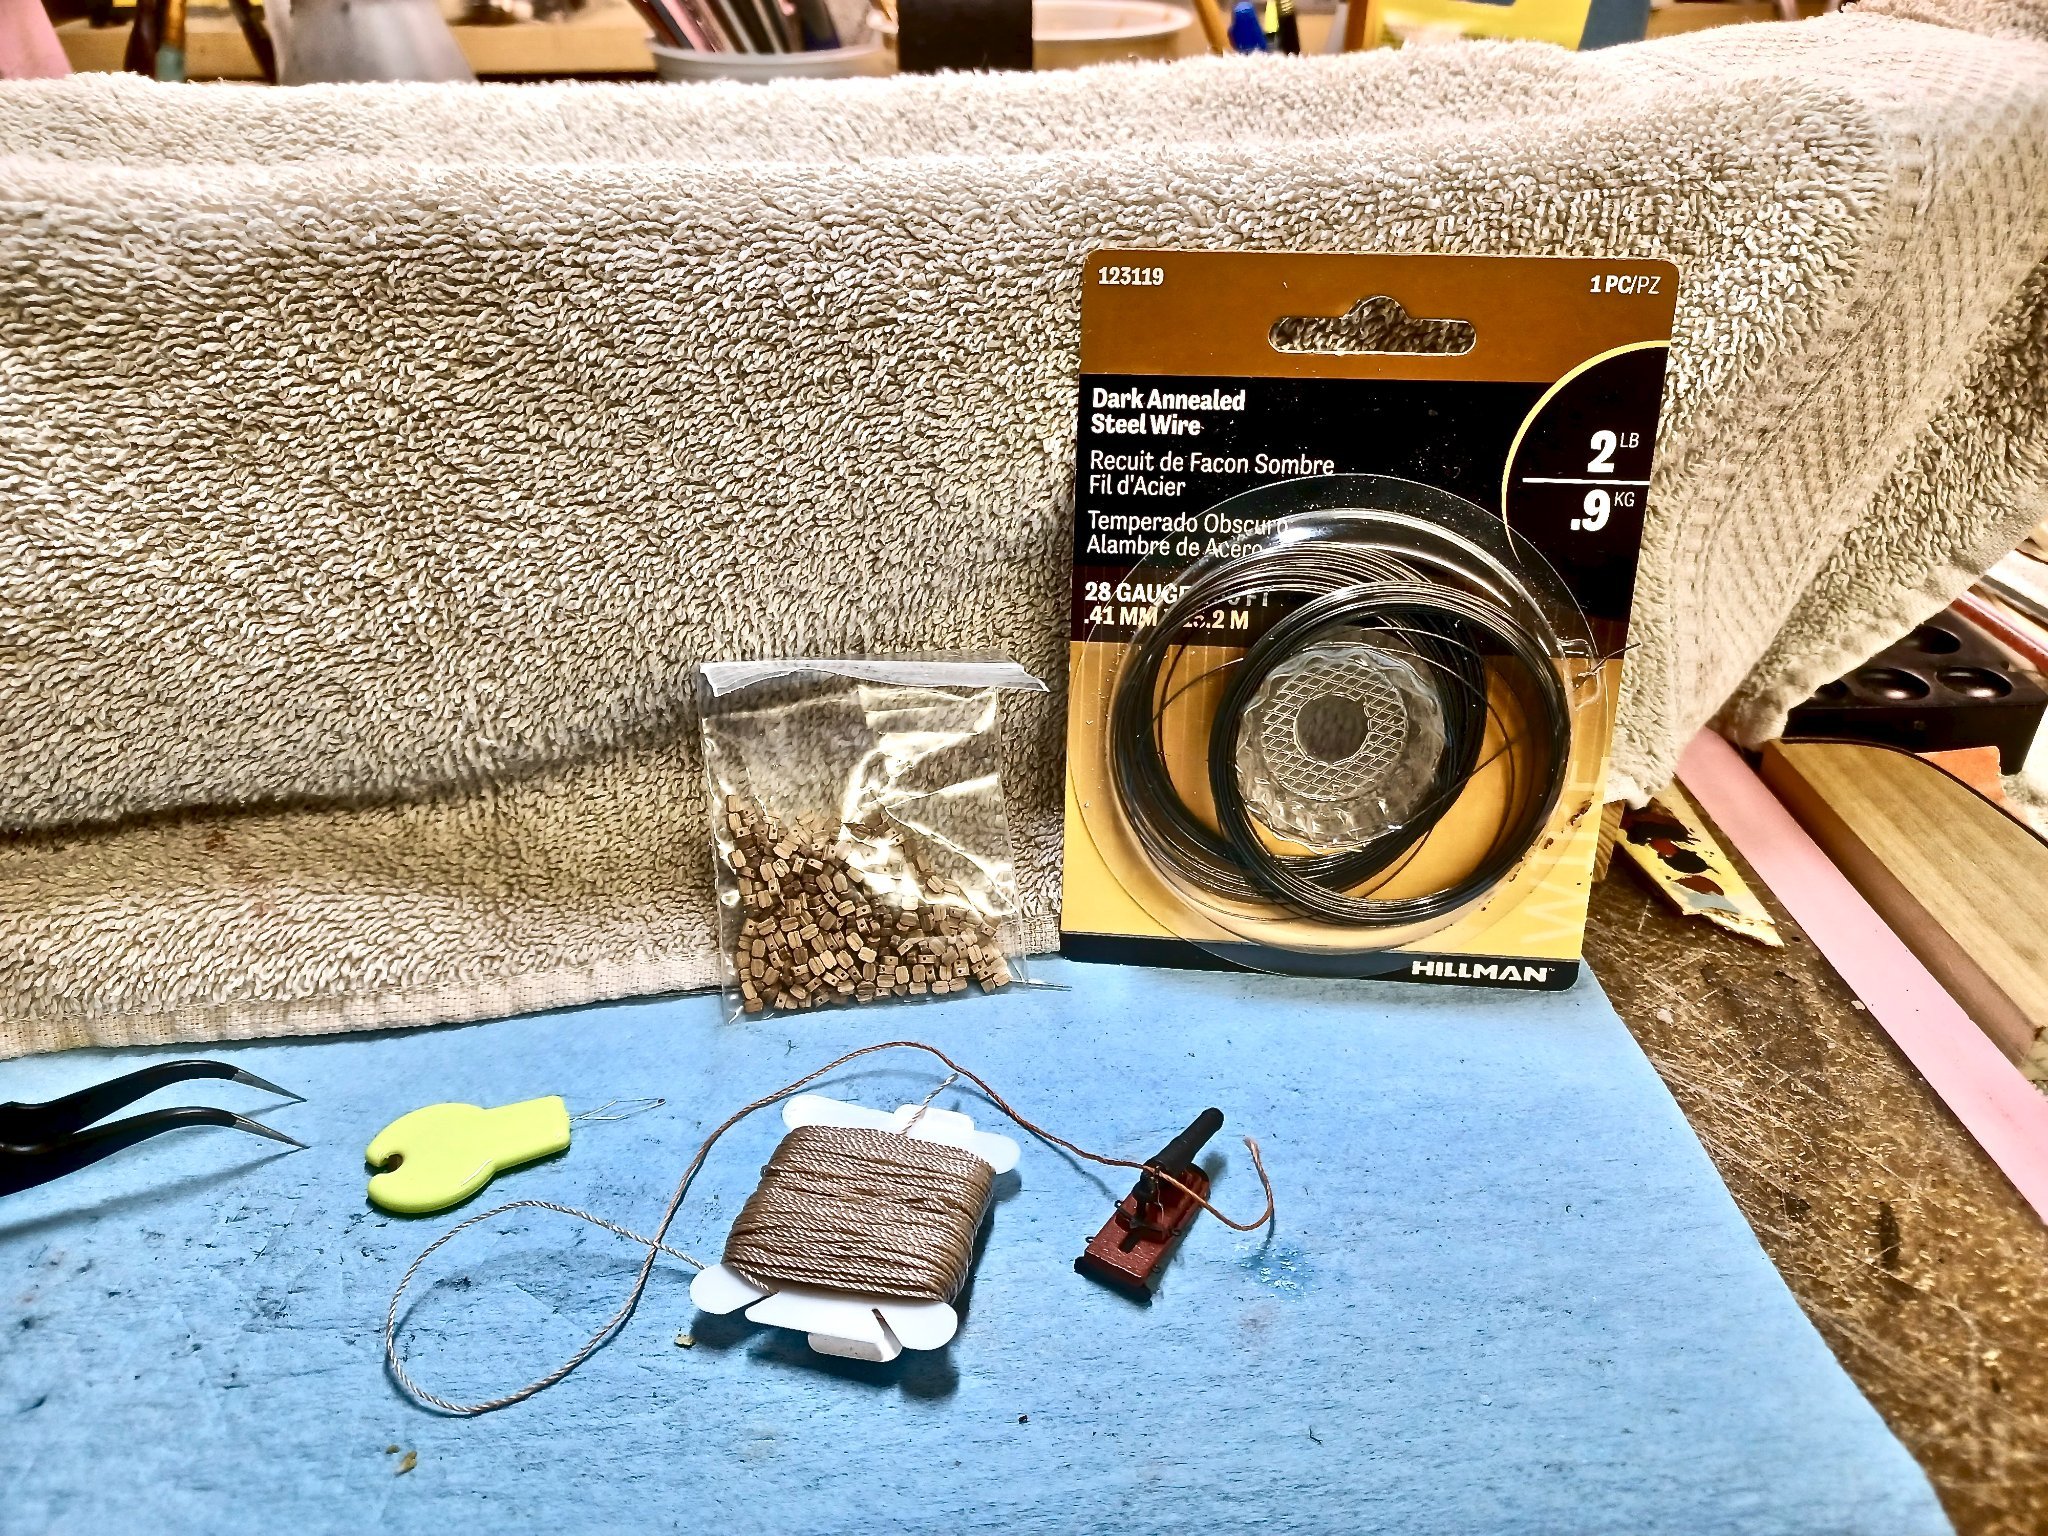
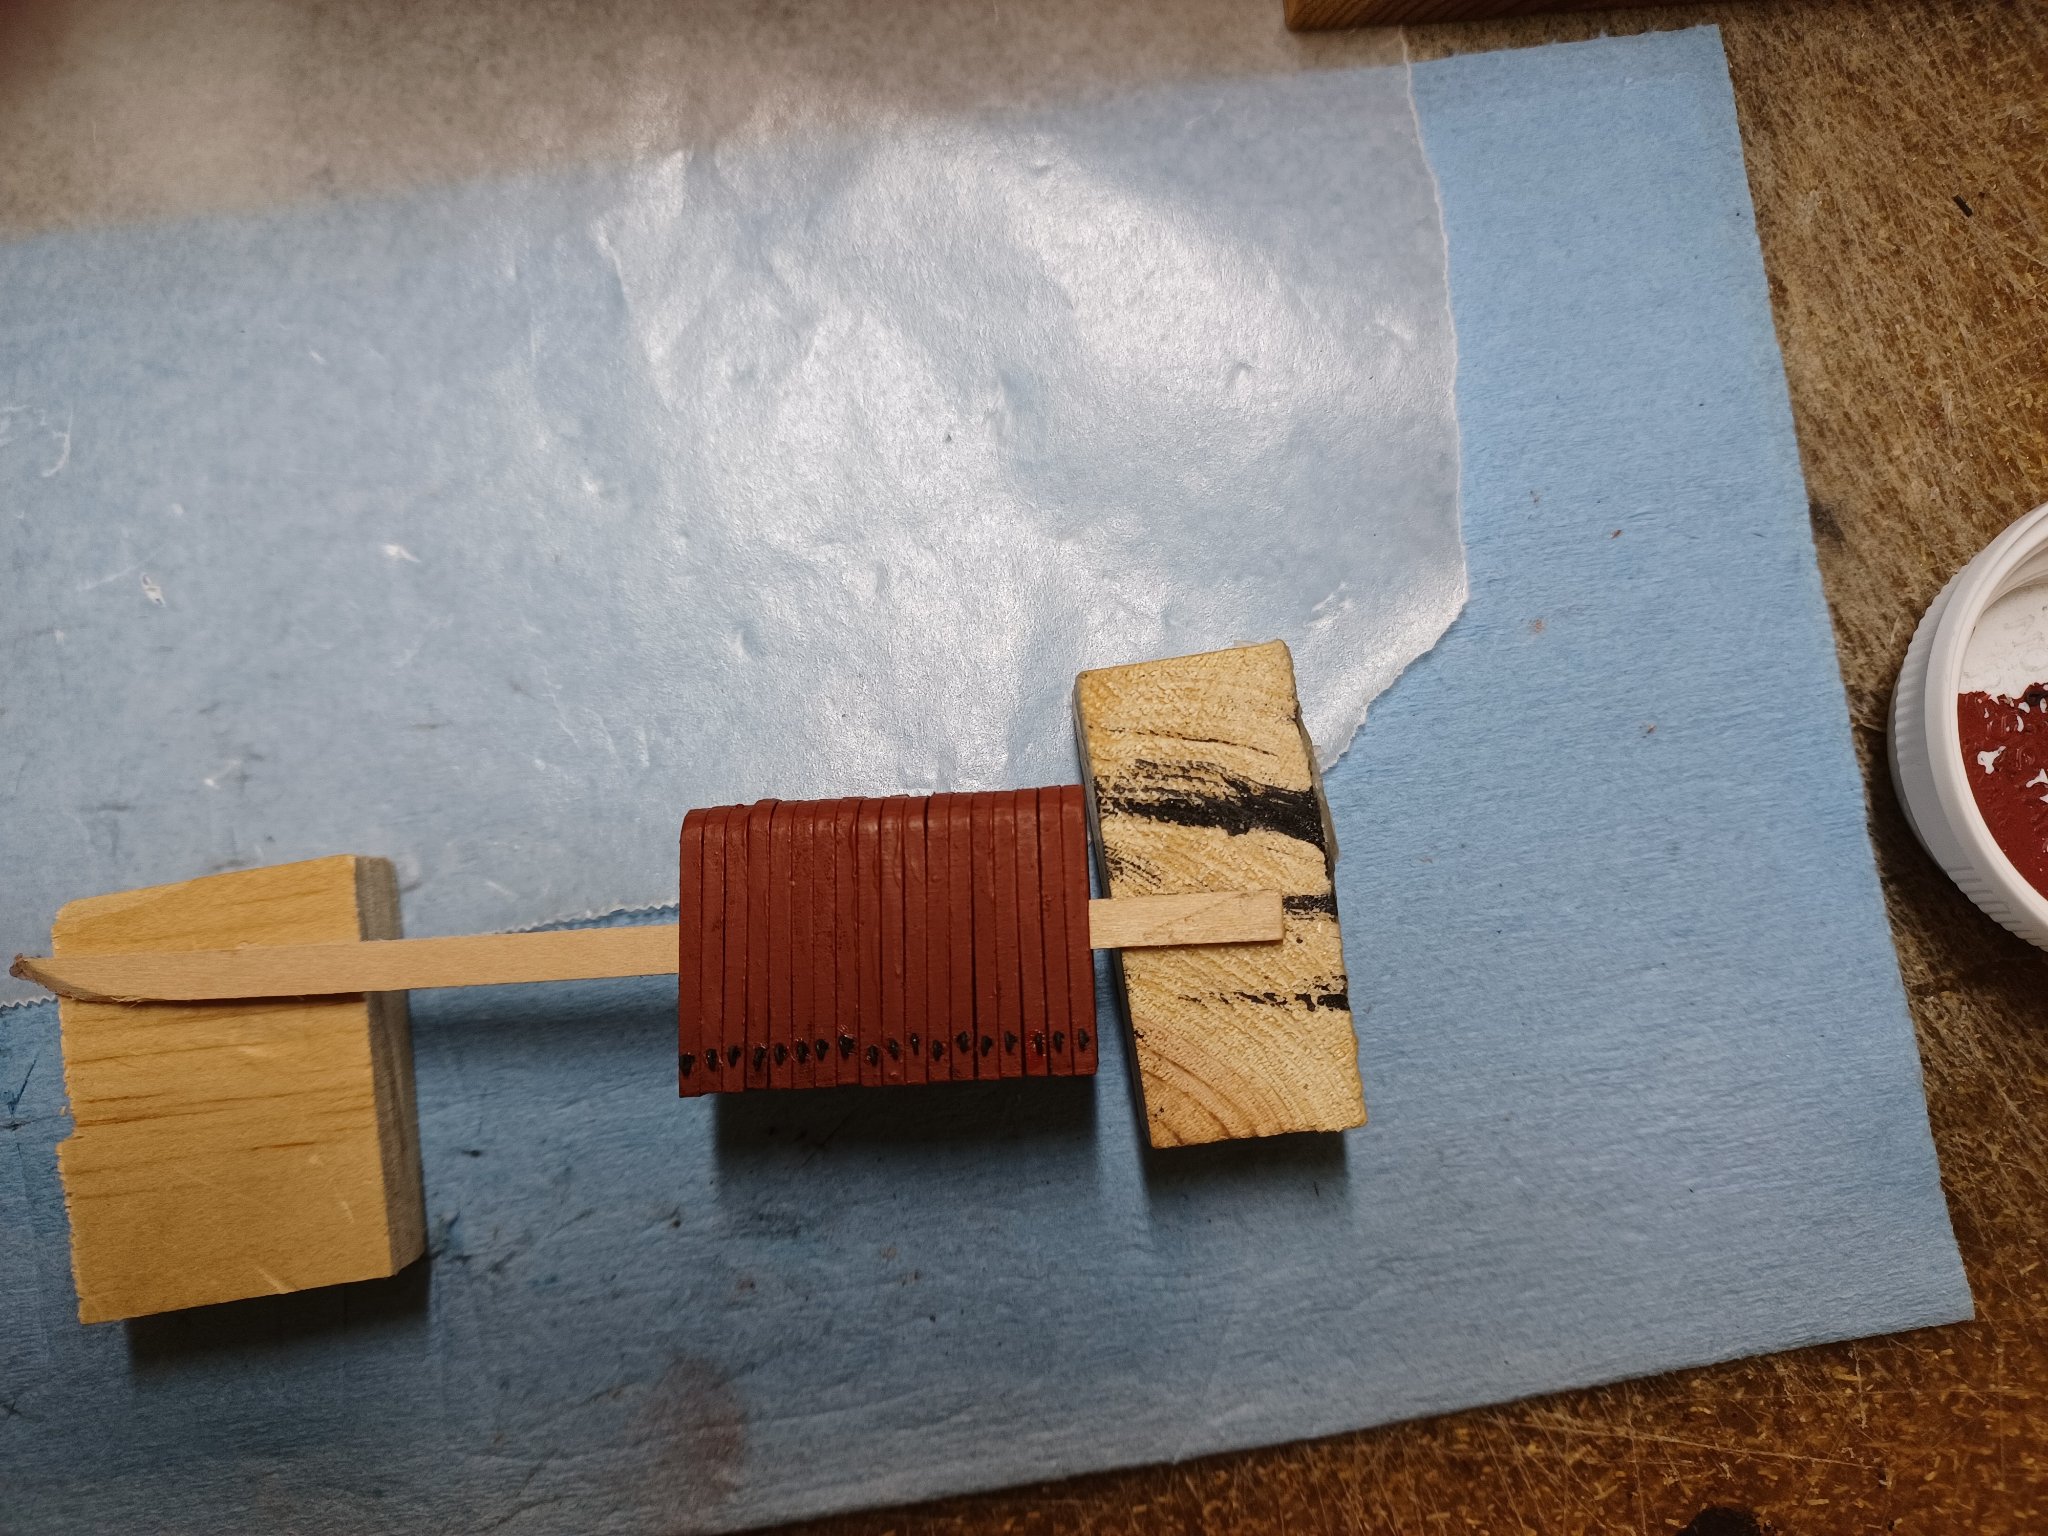
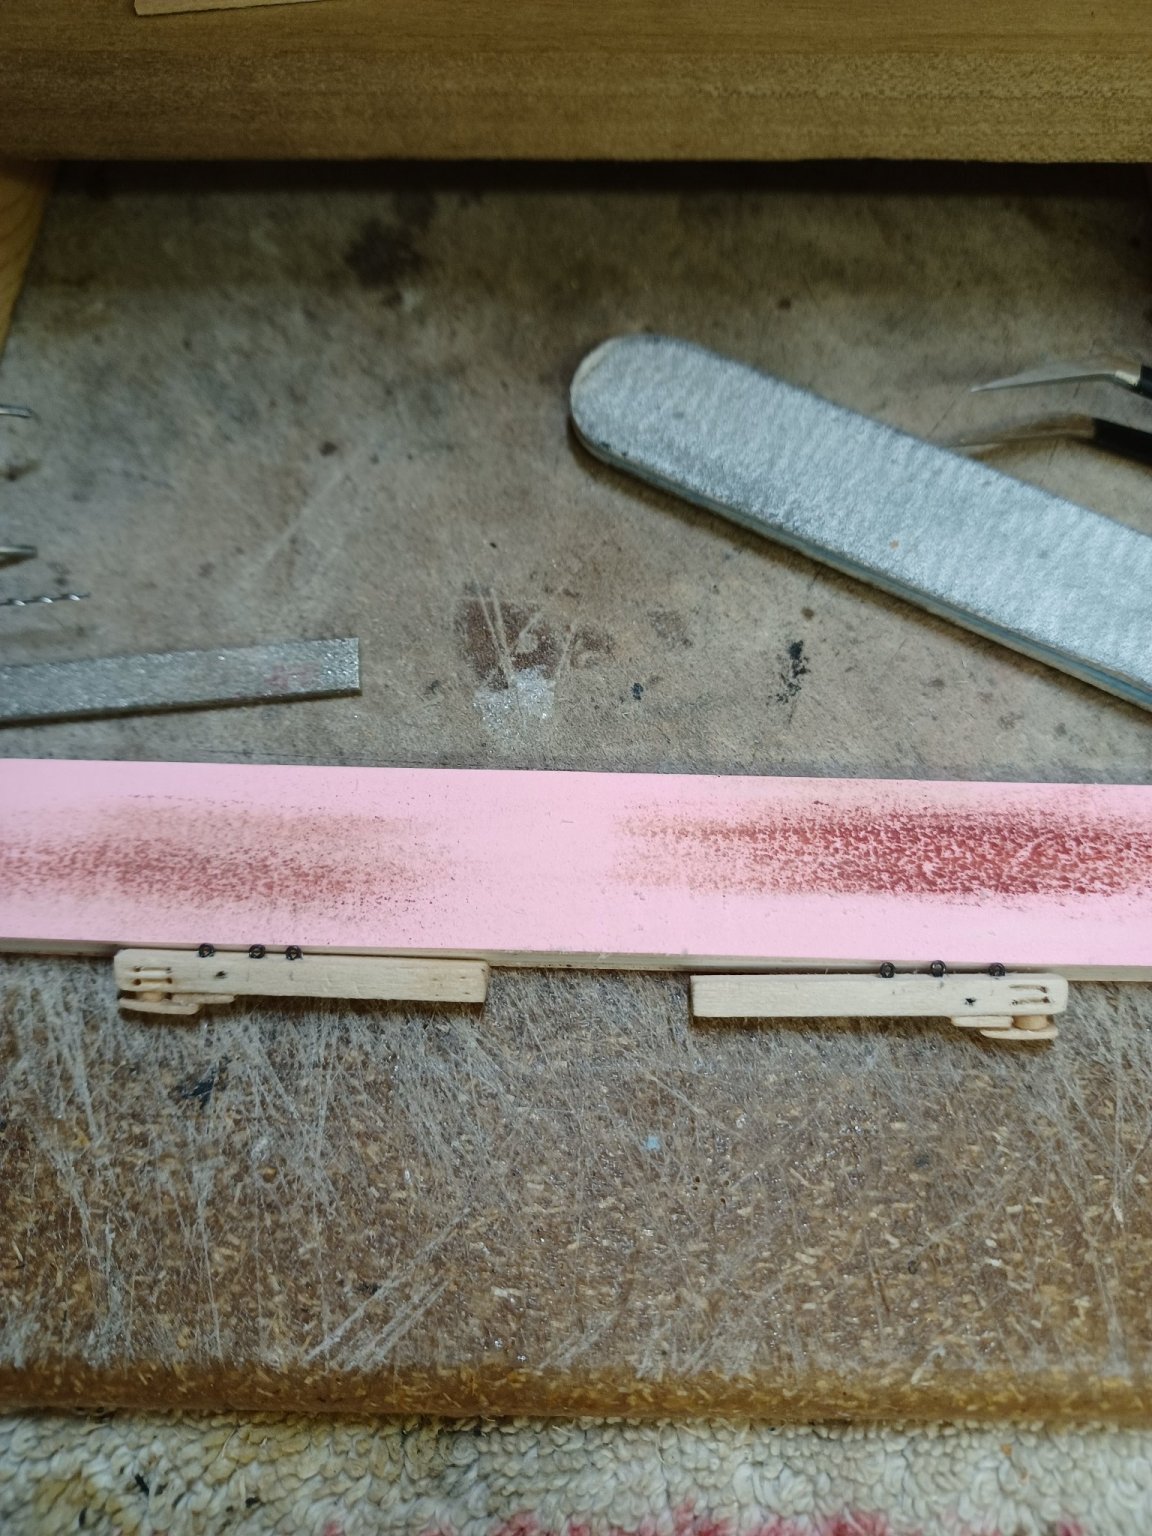
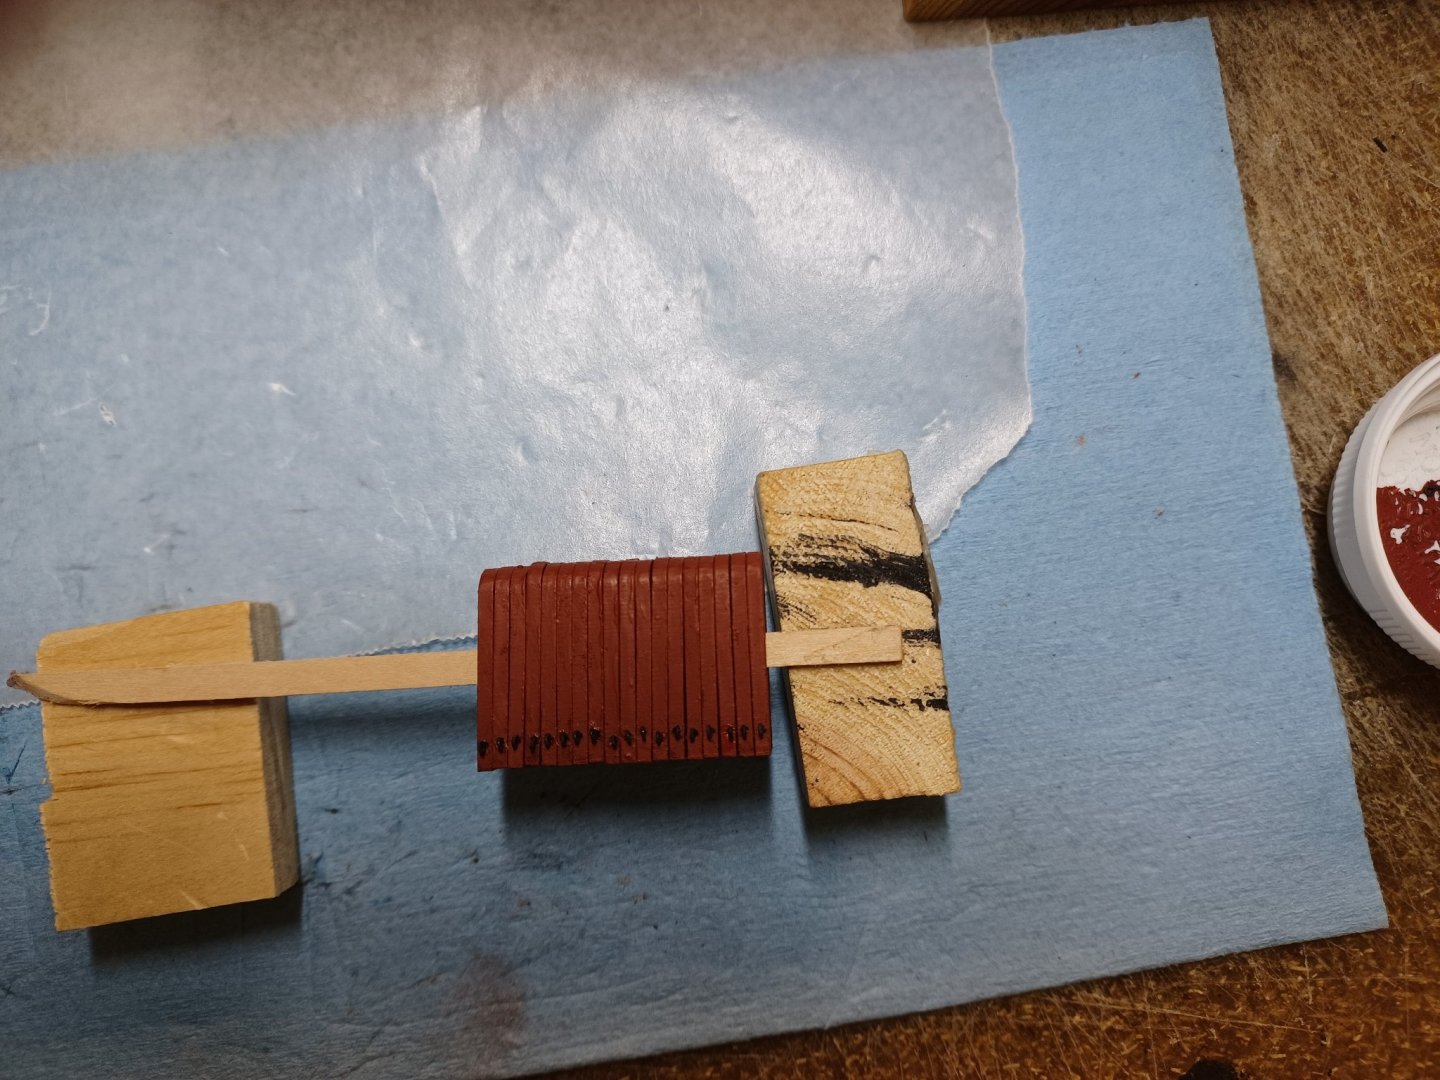
Well Here I Am: A bag of wood bits, a roll of wire (28 gauge), 18 carronades, and a roll of thread that could use better coloring. I am not really looking forward to this, but the decision has been to rig the Syren to include the rigging beyond the breach lines. I have decided to work the color of the breach lines to make it look more like large woven rope. The color that came with the kit is just too manufactured to look like real rope. So, I took a box of colored chalk that I have and began to try to change the breach lines look more real. I have arrived at a color I like, but stupid me, I forgot to keep track of the chalk that I used and how much.. 🤯 The main objective is to keep the lines similar enough in color, but not exact so that the breach lines do not look like thread. You can see my first attempt in the picture. I have 21 different chalk colors that I sand to make colored powder from. I usually use them for detailing the face of an RC Airplane pilot, but in this case it is the breach line. The other item is the 28 gauge wire, and the small, small, wooden blocks that need sanding.... Oh boy, can't wait. I can hardly see them let alone sand their shapes. But...I am gonna try. I went ahead and bought from Micro Mark, a tumbling canister. I will take about 30-40 of the blocks and run them through the tumbler in order to soften their edges. If this works like I have read in threads and posts, I should be successful. In any case, this will probably mean the next post will be around Thanksgiving...which in a weird way will be appropriate. LOL I will keep the log updated with pics and such, but I may not have much to show for awhile. "I am off to see the wizard...." hehe.

- 436 replies
-
- 5
-
-
- Syren
- Model Shipways
- (and 1 more)
-
I like that as well. When I have a small locking plastic bag I use that too. I need as much space as I can get. My workbench gets small no matter its size, when I am in working on something. Between each project , I start on one side of the bench , work my way over to the other side. Some things stay on the top of the bench, and others are put back where they should be. 🤭
-
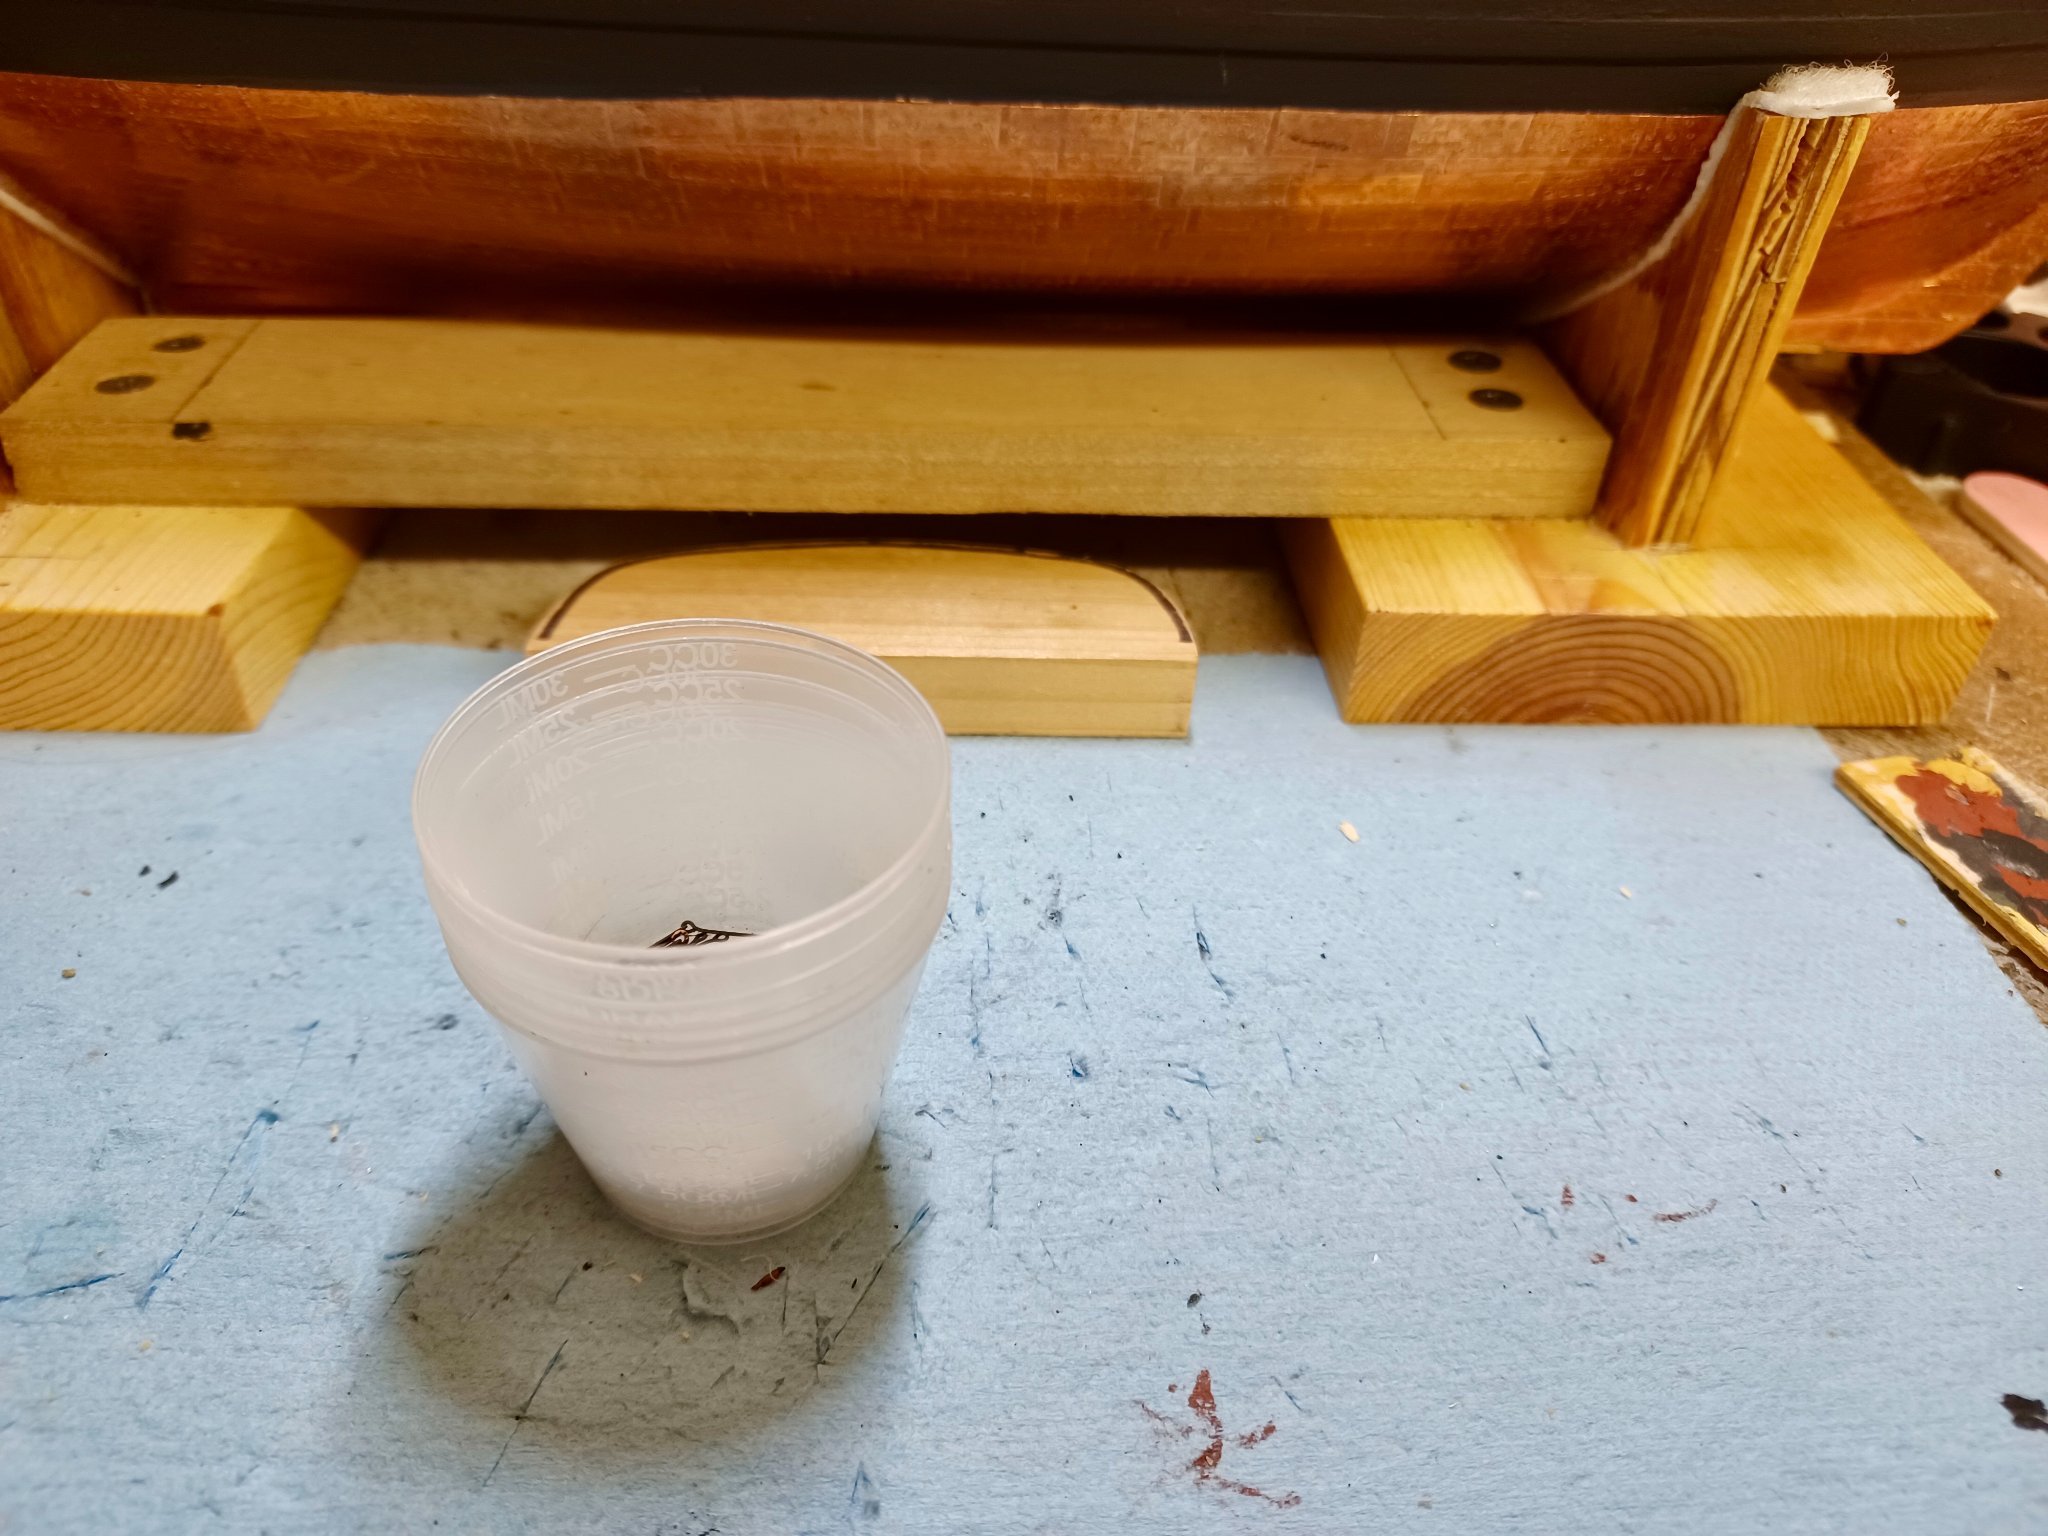
And A Side Note for Newbies: If you build like I do...not just the ships, but the RC stuff, there are usually 3 or 4 sub processes also underway. In this case, I am still adding all the deck hardware, i.e. split rings and eyebolts. Since I am always trying to work a little ahead when I can, I try to avoid having parts just sitting on the bench. I found something that I like just by accident. It may be an old tip, but it has worked well for me. When building an RC airplane, a lot of epoxy can be part of the assembly. I started using mixing cups, and still do, when I have a lot of epoxy to mix. For the myriad of small parts this type of model has, I started with a small set of drawer bins, but when I am working with the parts, I have them on the bench. I separated by type and put them in a mixing cup. Each different part gets its own cup, and then I stack them. The top cup can be left empty so it can serve like a lid. Your system may be the best, but this works for me and helps me find the parts when needed... Just look for the mixing cups.

- 436 replies
-
- 4
-
-
- Syren
- Model Shipways
- (and 1 more)
-
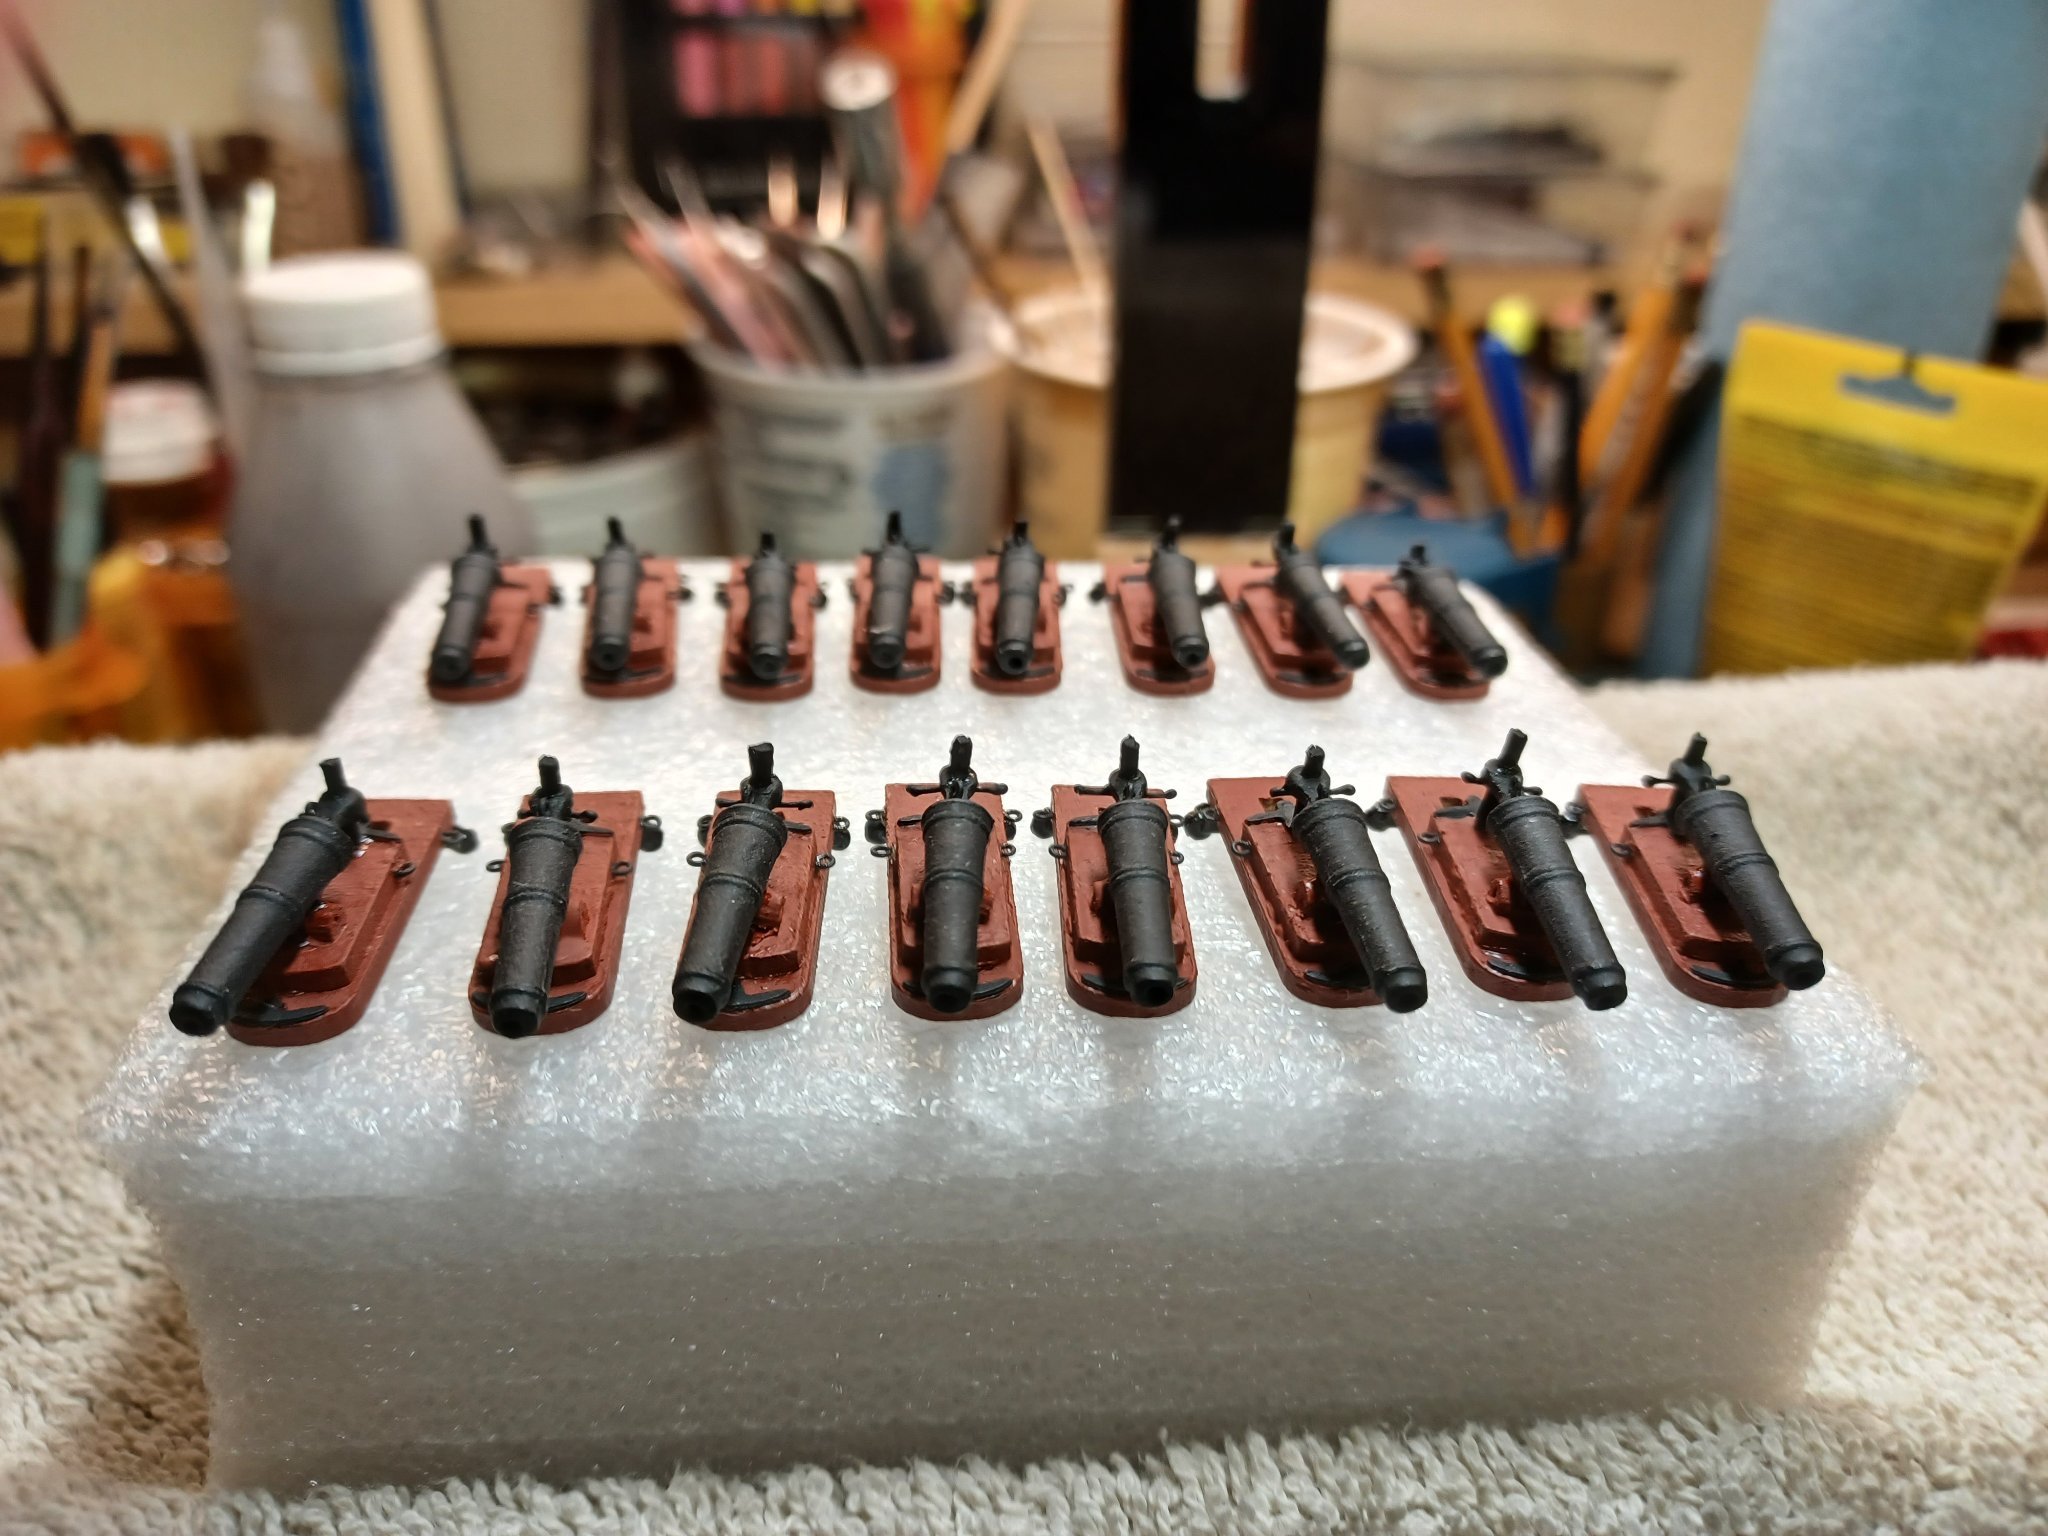
18 Canon & 216 parts: When I started putting together the Carronades, I thought... I'm getting close to the deck furniture... 🤪 Damn, that was a real under estimation of how long it was going to take? 18 Canon, and 216 parts later, I am just getting ready to install them. I did them as the instructions indicate, down to the small dots of glue on each canon elevation handle. And I didn't even include 36 glue dots on each handle. Anyway, here are a couple of pics of the Carronades that are now set to be installed. Next step, to me is to go through each carronade breach and ensure that the breach line hole is big enough. Just by looking at them, I highly doubt it. So, they remain off the deck, until then. And before you laugh, yes, I have already read through some of the next steps. The creating of the blocks and ...hahahahahaha. I can't wait. 😃


- 436 replies
-
- 5
-
-
- Syren
- Model Shipways
- (and 1 more)
-
Thanks Patrick, I am pretty familiar with the CA glue types due to using them on my RC planes. The part that is new to me is the tiny parts that need so little of it. Parts that small don’t stay on a plane sporting a 30-35cc engine. 😁 Thanks for the tips that I will put to use.
- 436 replies
-
- 1
-
-
- Syren
- Model Shipways
- (and 1 more)
-
Thanks PRS. Since posting my question, I have found tools called Glue Loopers and they look like they will fit the bill. I will also look at getting the one from Micro mark. 👍
-
Just a Quick Question: I am struggling with gluing the smaller parts as I progress with this build. I prefer to use CA, but have been using wood glue because it doesn’t wick like CA does. I do use an applicator similar to an eye dropper, but it still runs all over the place. I tried a syringe using and small gauge needle, but my first attempt led to it shooting pretty far. Luckily, it missed the Syren, so I stopped using it. Any assistance on ideas is welcome, or you can point to be a thread on here. Thanks 😊
-
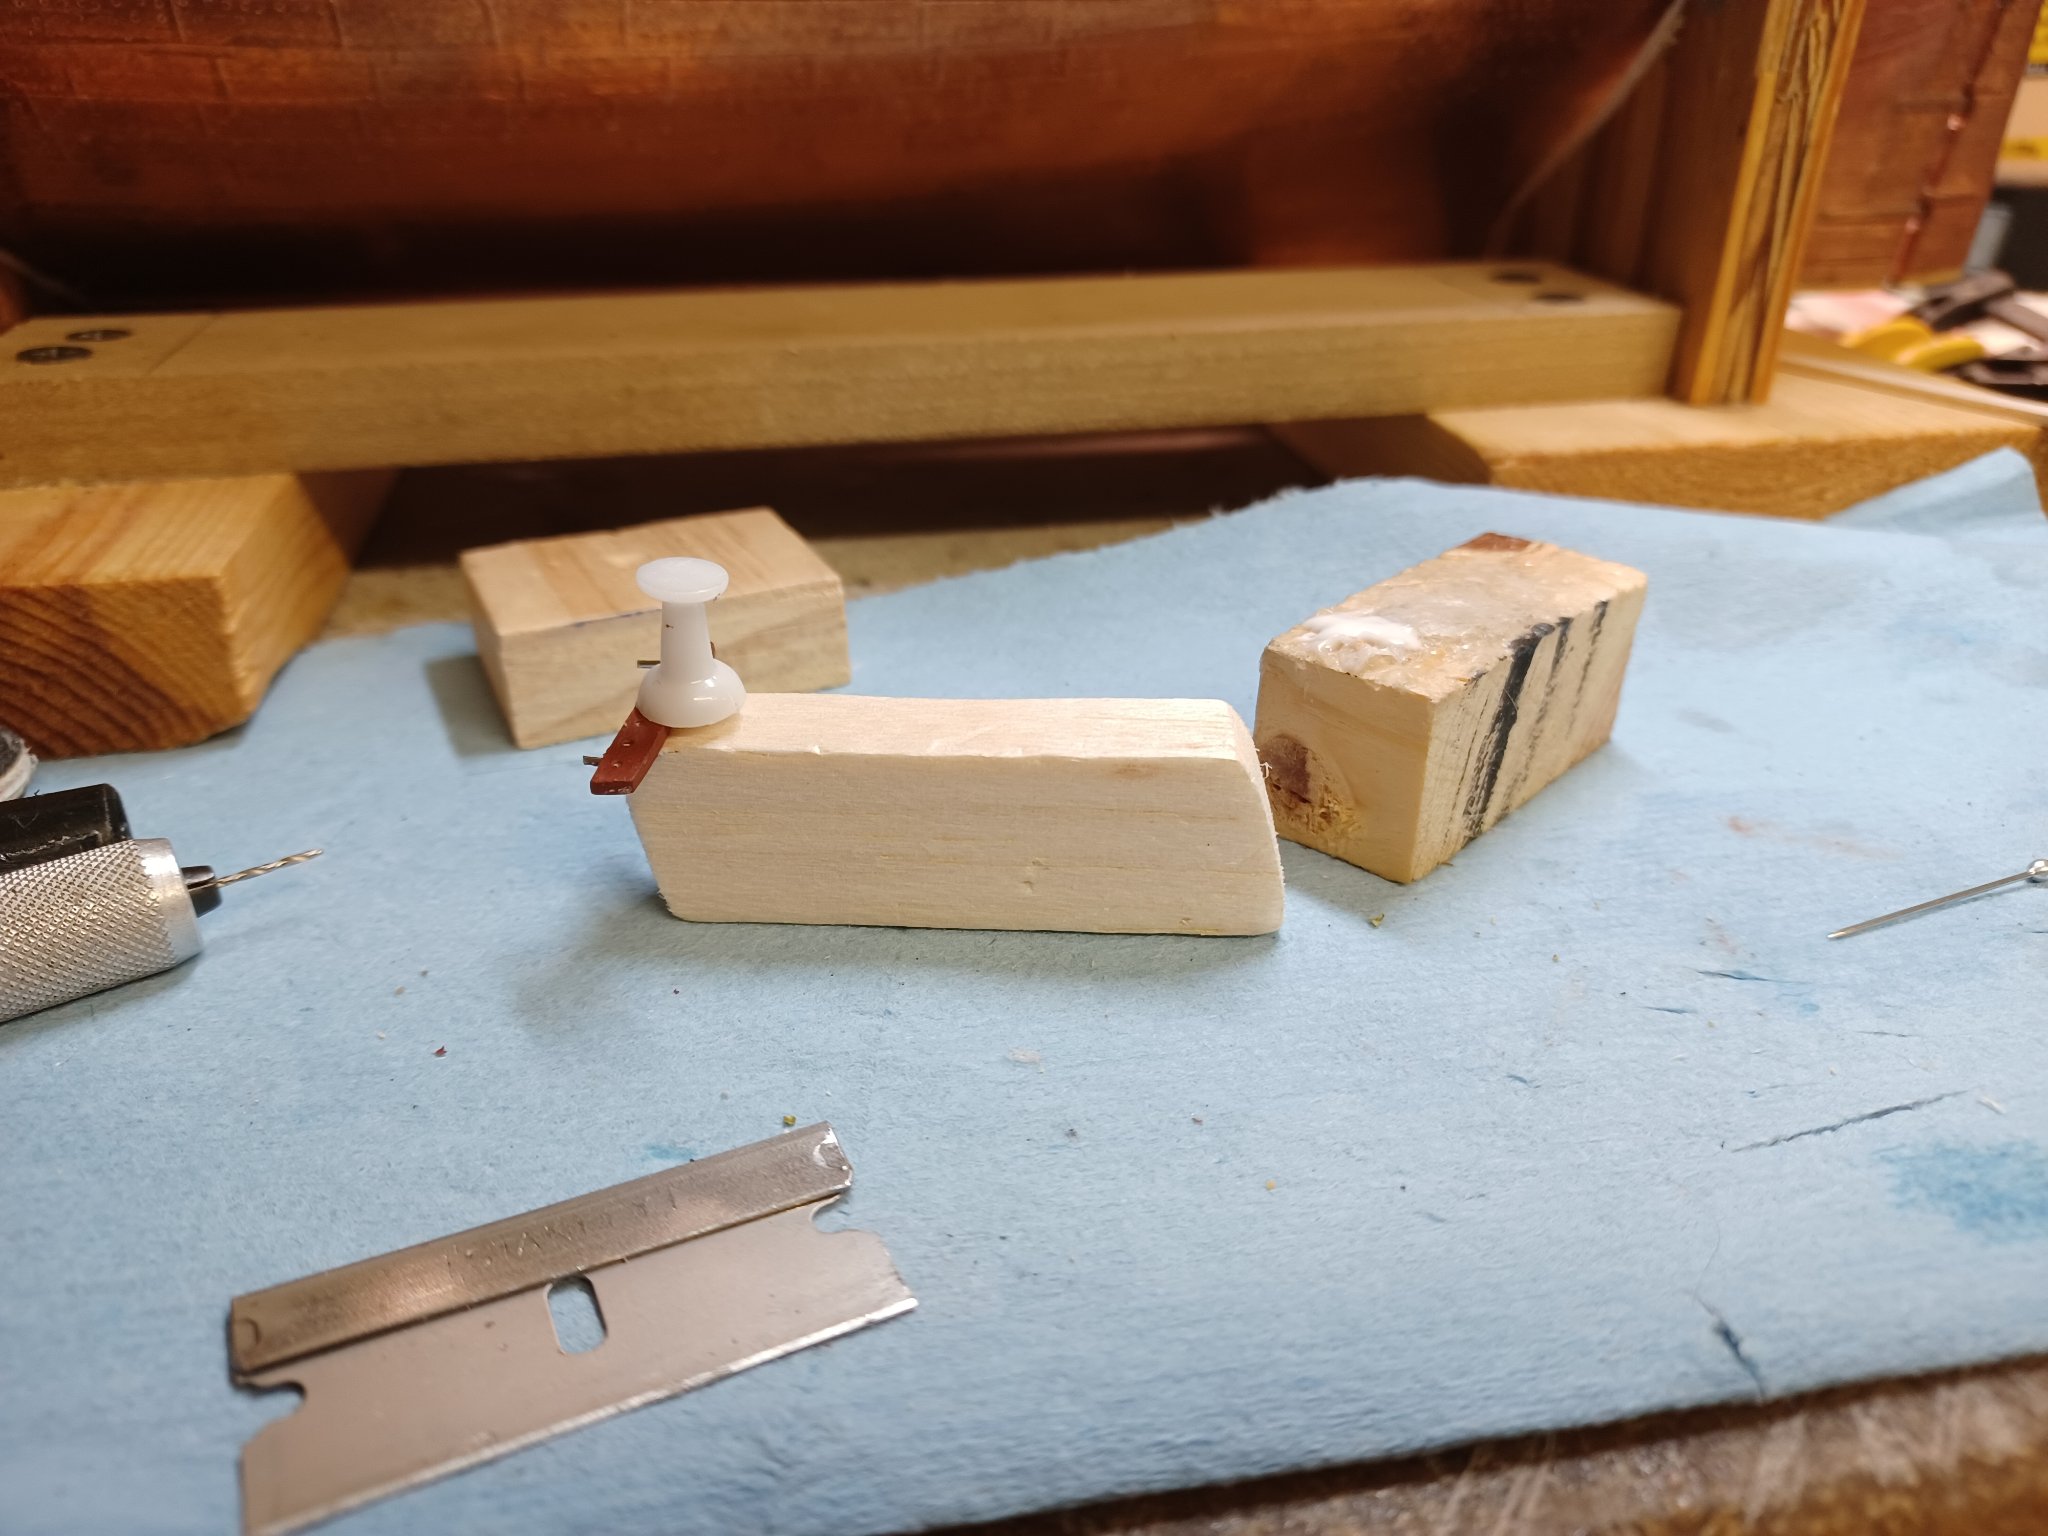
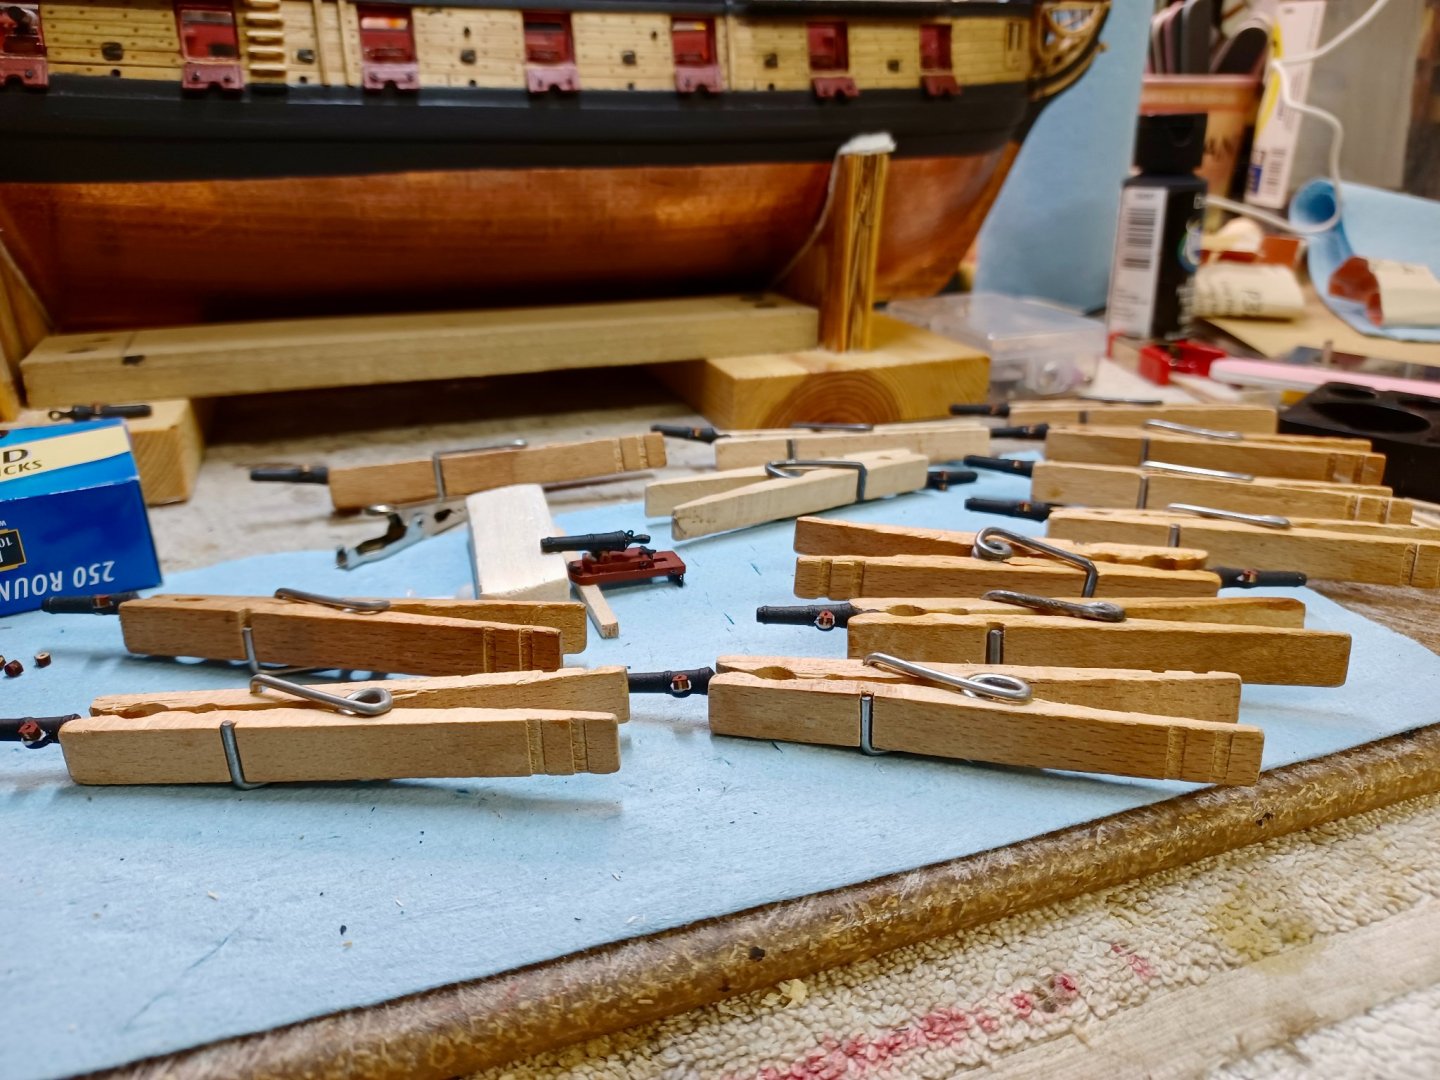
Carronade Assembly: A couple of things that I have found in building a ship for the first time. First, if you can recreate anything that is measured without actually measuring each time, you are ahead of the game. And....Second... If you can do the same step multiple times without having to waiting for glue to dry it can really speed up processes. Both are fairly basic, but there is a solid difference between waiting for glue to dry, when comparing it to CA. I have been assembling the Carronades and am at the point where the brackets need to be glued to the barrel lugs, and then glued to the base. In the pictures, you can see where I have multiple brackets in clothespins waiting for the glue to dry. And, a picture of gluing the gun barrel onto the base. In that picture, I took a barrel, and pressed it into the balsa block. This allowed me to place the barrel in the depression on the block at the same height every time. I measured the first port for barrel height at the center of the port, and then copied it onto the block and depression. This allowed for the same position of the gun on each base. This ensures that each barrel is set at the center of the gun port. (Trying to set each gun separately while holding the carronade base in the port, before gluing, takes more hands than I have.)


- 436 replies
-
- 4
-
-
- Syren
- Model Shipways
- (and 1 more)
-
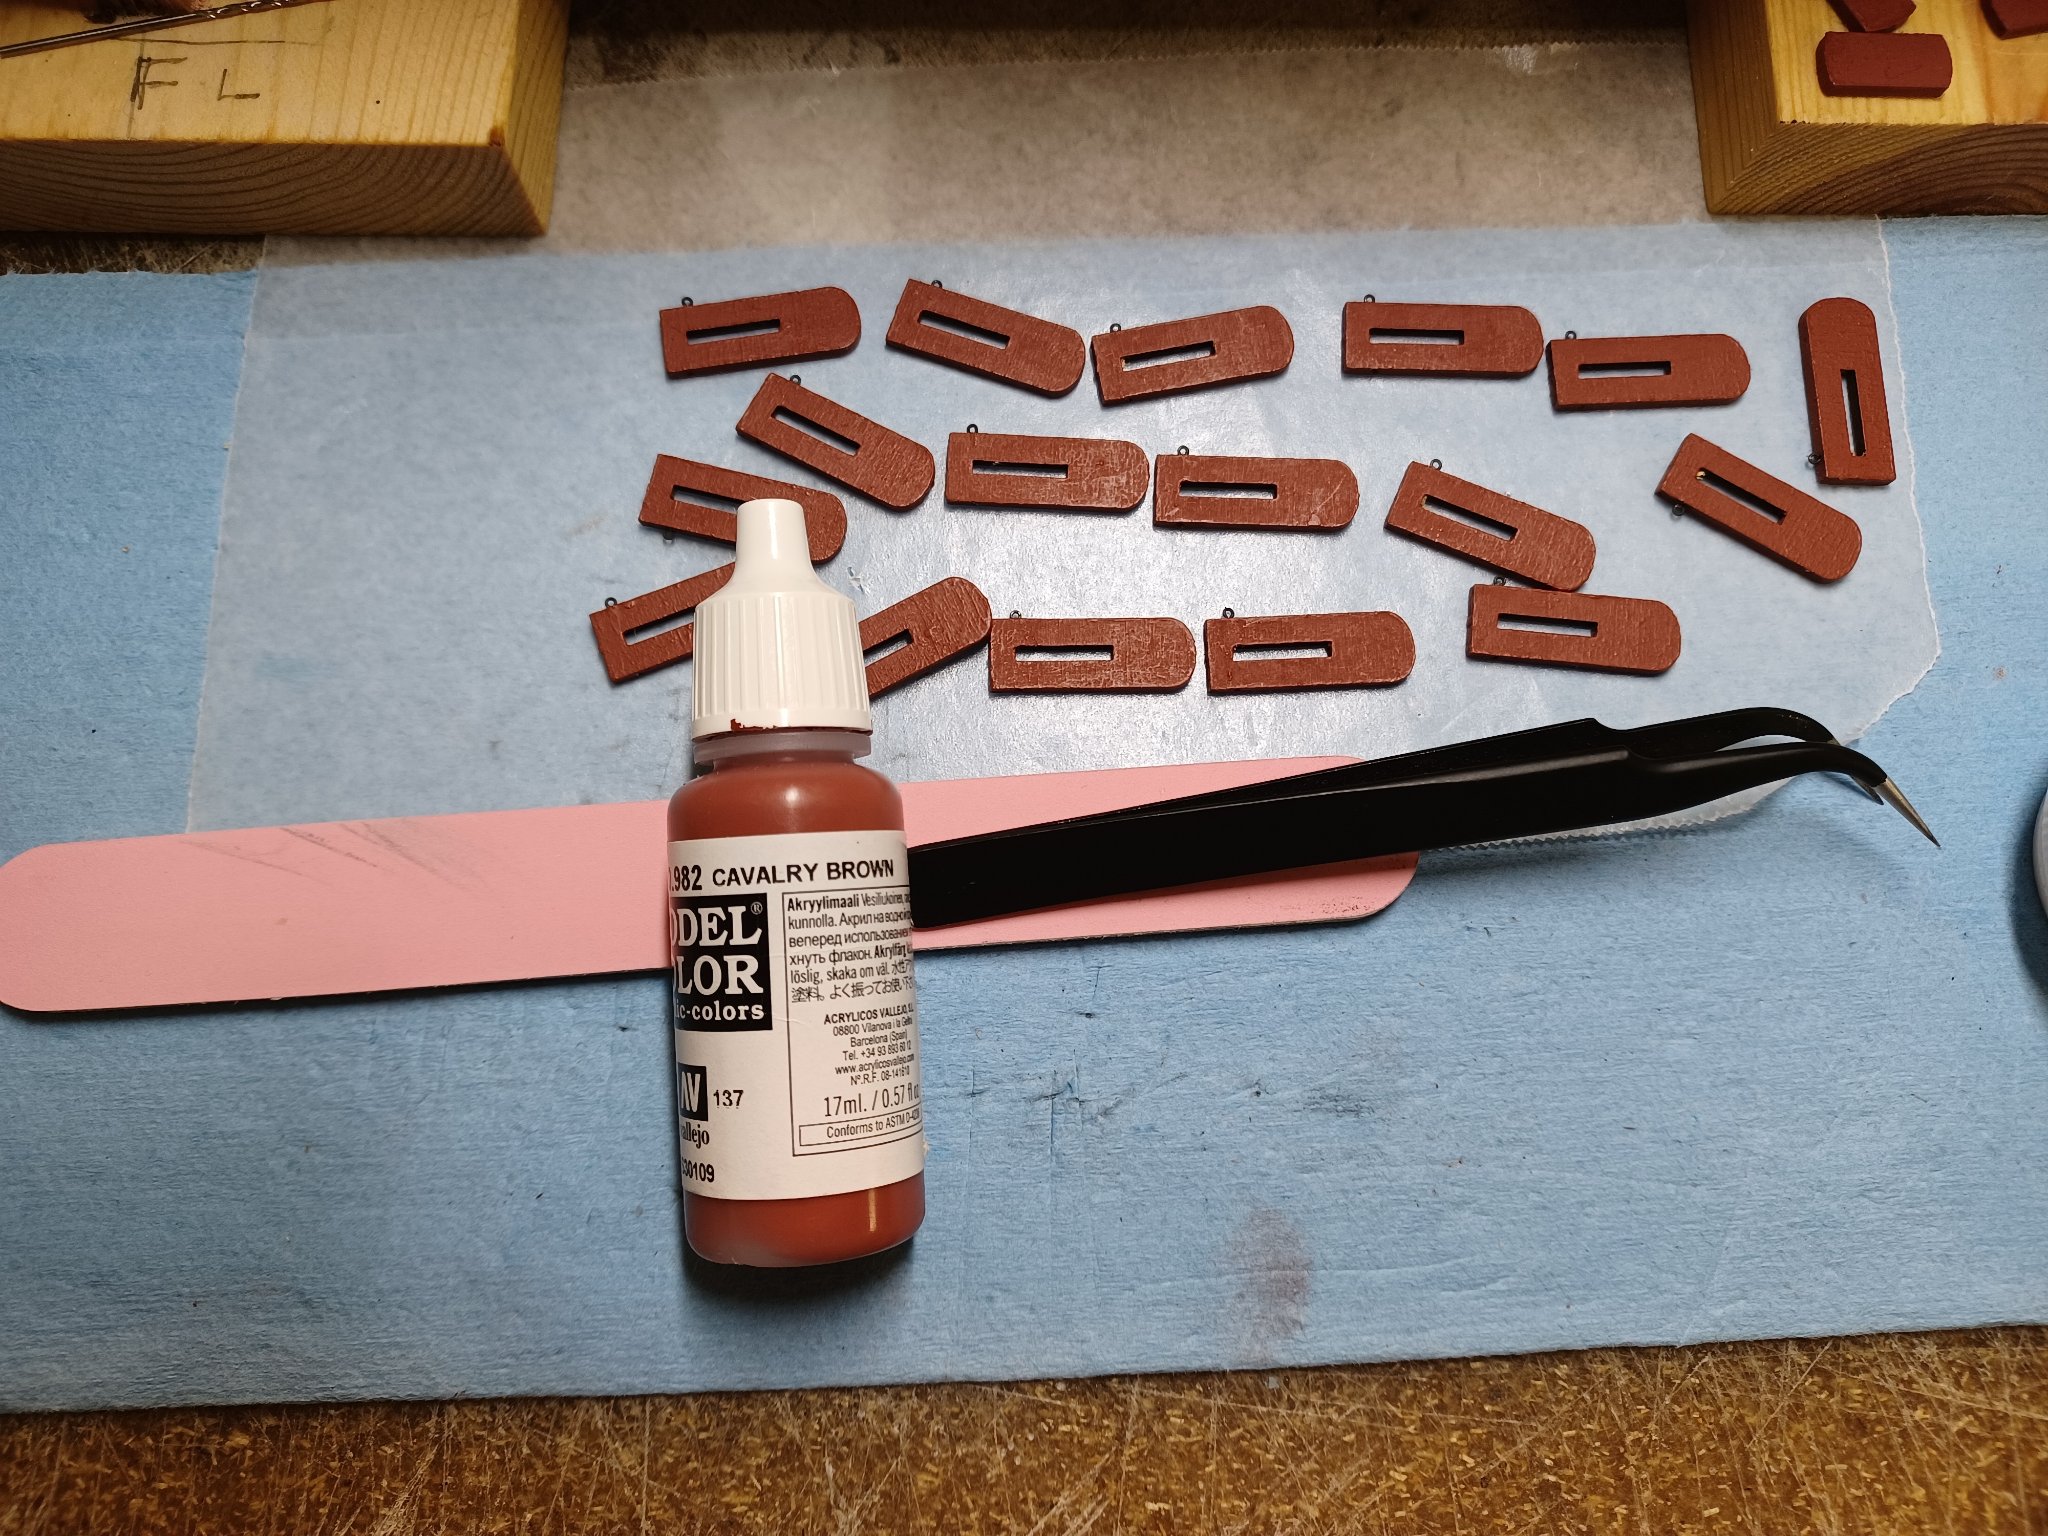
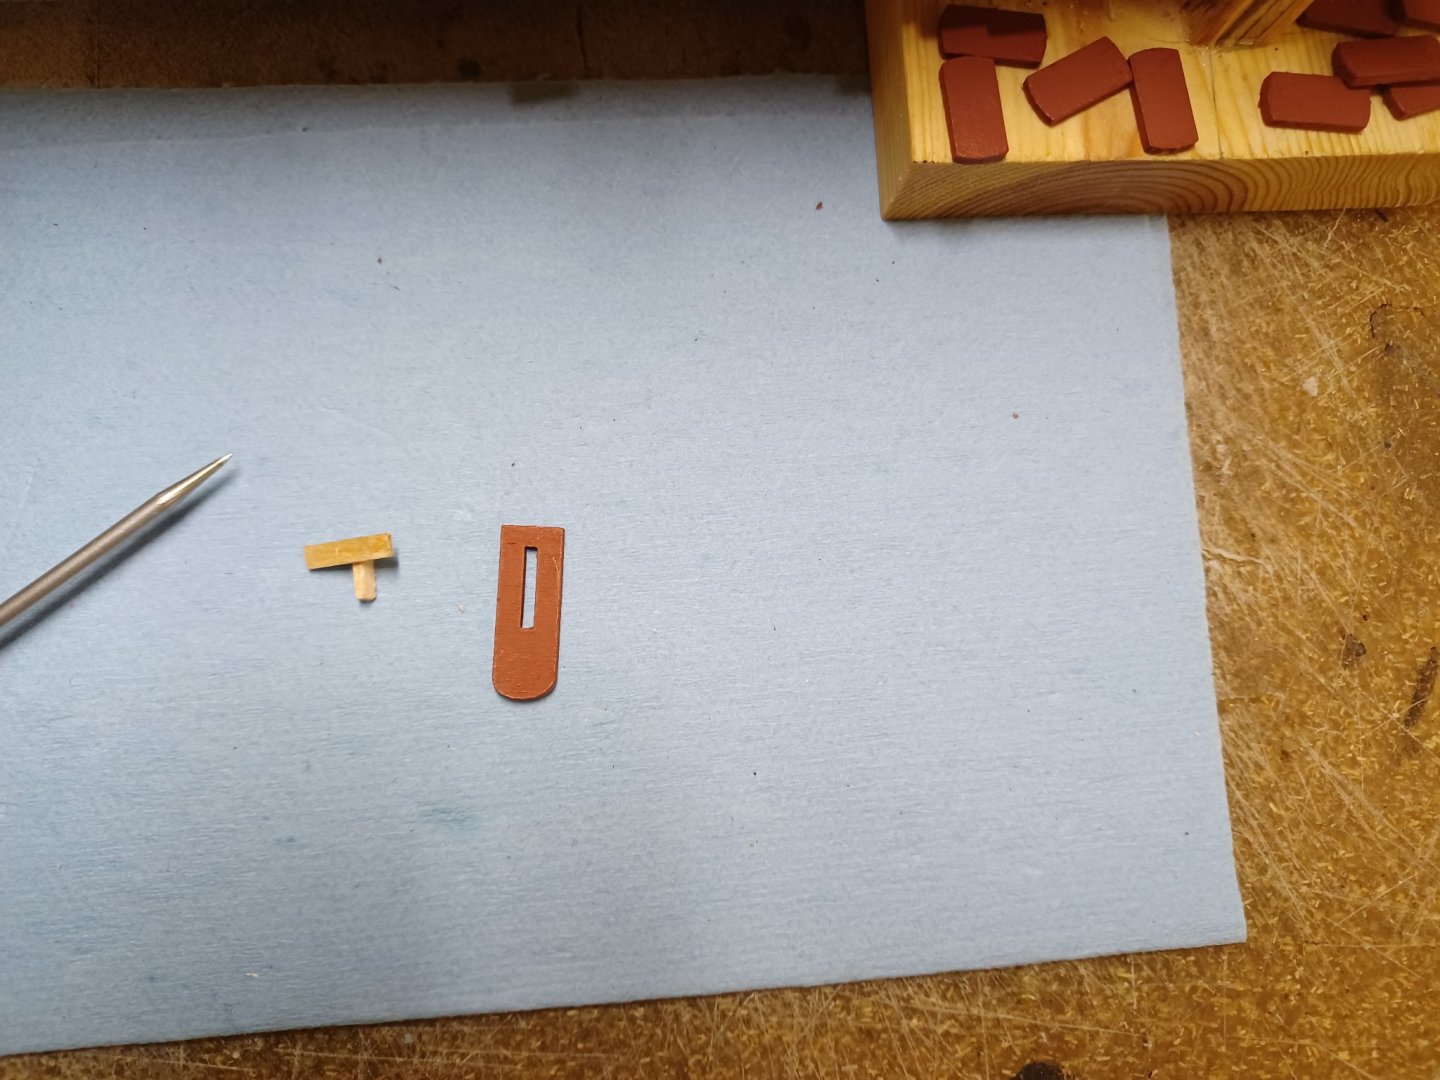
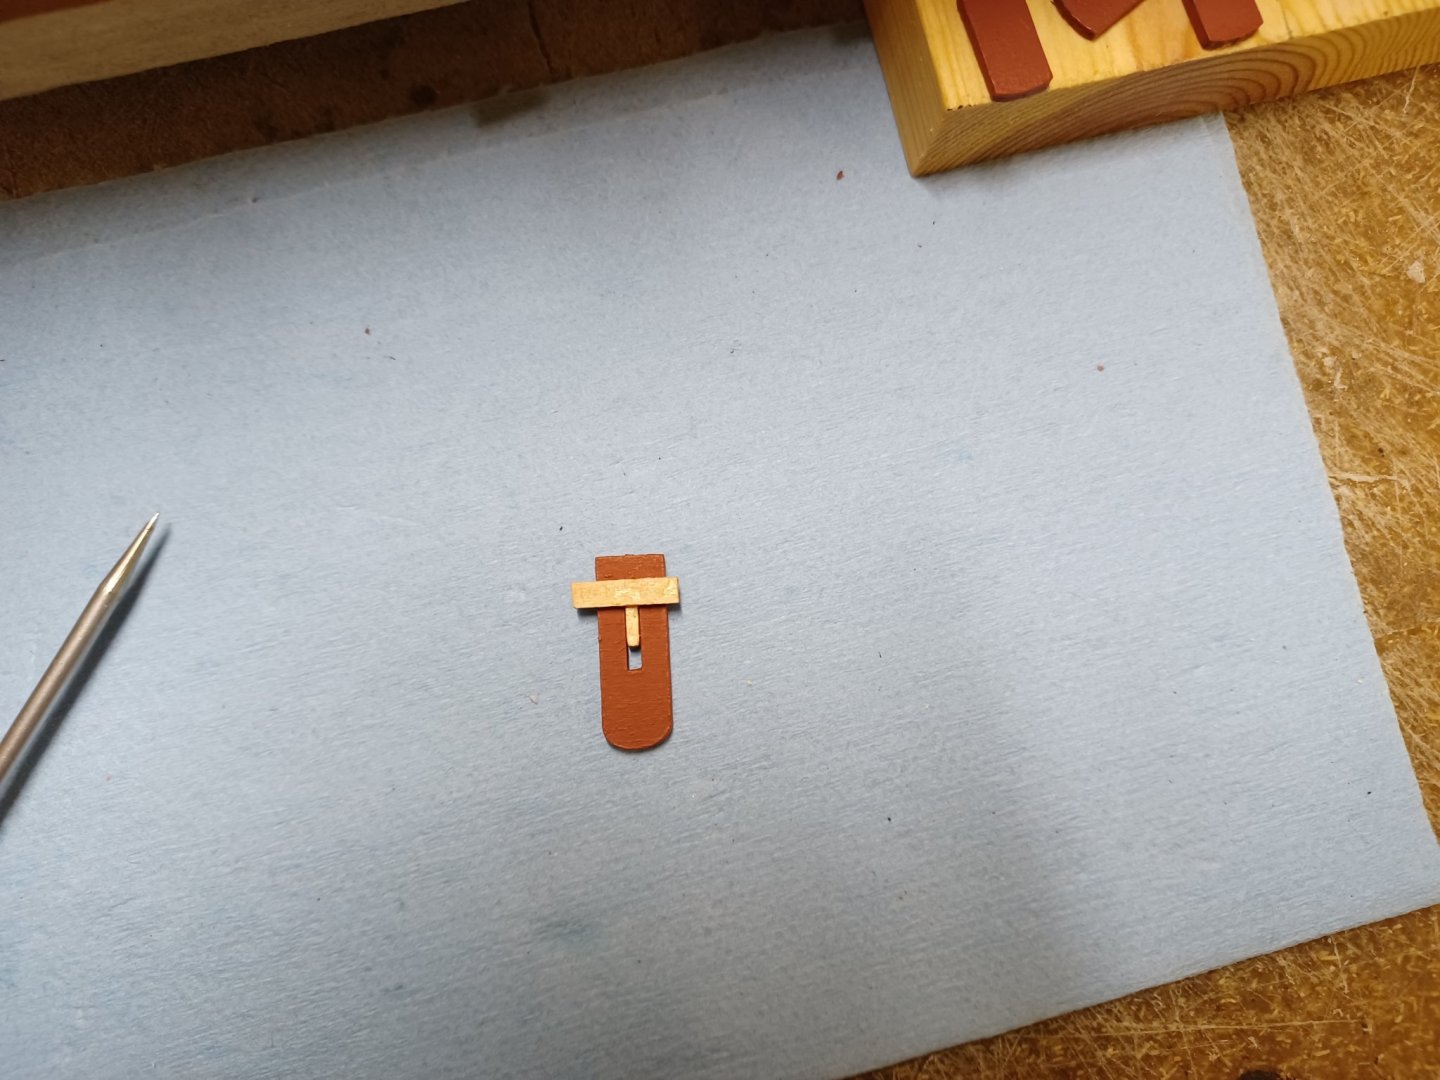
Carronades, and Notes: Those of you who are keeping up with my build, have probably realized that I do not like remeasuring the same thing over and over. So, to make it easier, I take the time to make a template when possible. The time spent does allow for repeating the same steps over without having to measure each one. In light of that, I created a eye bolt template for the carronade base. The last thing that I wanted to have to do was to measure their placement on each side of the base. So I created a simple tool to repeat the same measurements on each base and for each side. Another benefit is that it does speed up the process. (Of course, if you make an error, it repeats over and over as well. ....so be careful. 😉 ) I have included pics of what I did and the results. Note: Since I began painting the color red for the bulwarks, I have been mixing Vallejo Flat Brown, and Flat Red for a dark blood colored surface. Since I seem to be going back over and over mixing the color, I decided to see if I could find a color that would match. I spent some time going through different reds online and from different vendors. I finally found one from Vallejo Paints that is close to a dead on match, so I began using it. I have painted the carronade shelves on each gun port as well as the carronade parts. The color is Cavalry Brown, and if the color I have made the bulwarks, pin rails, and carronades is what you would like, I recommend it.

- 436 replies
-
- 2
-
-
- Syren
- Model Shipways
- (and 1 more)
-
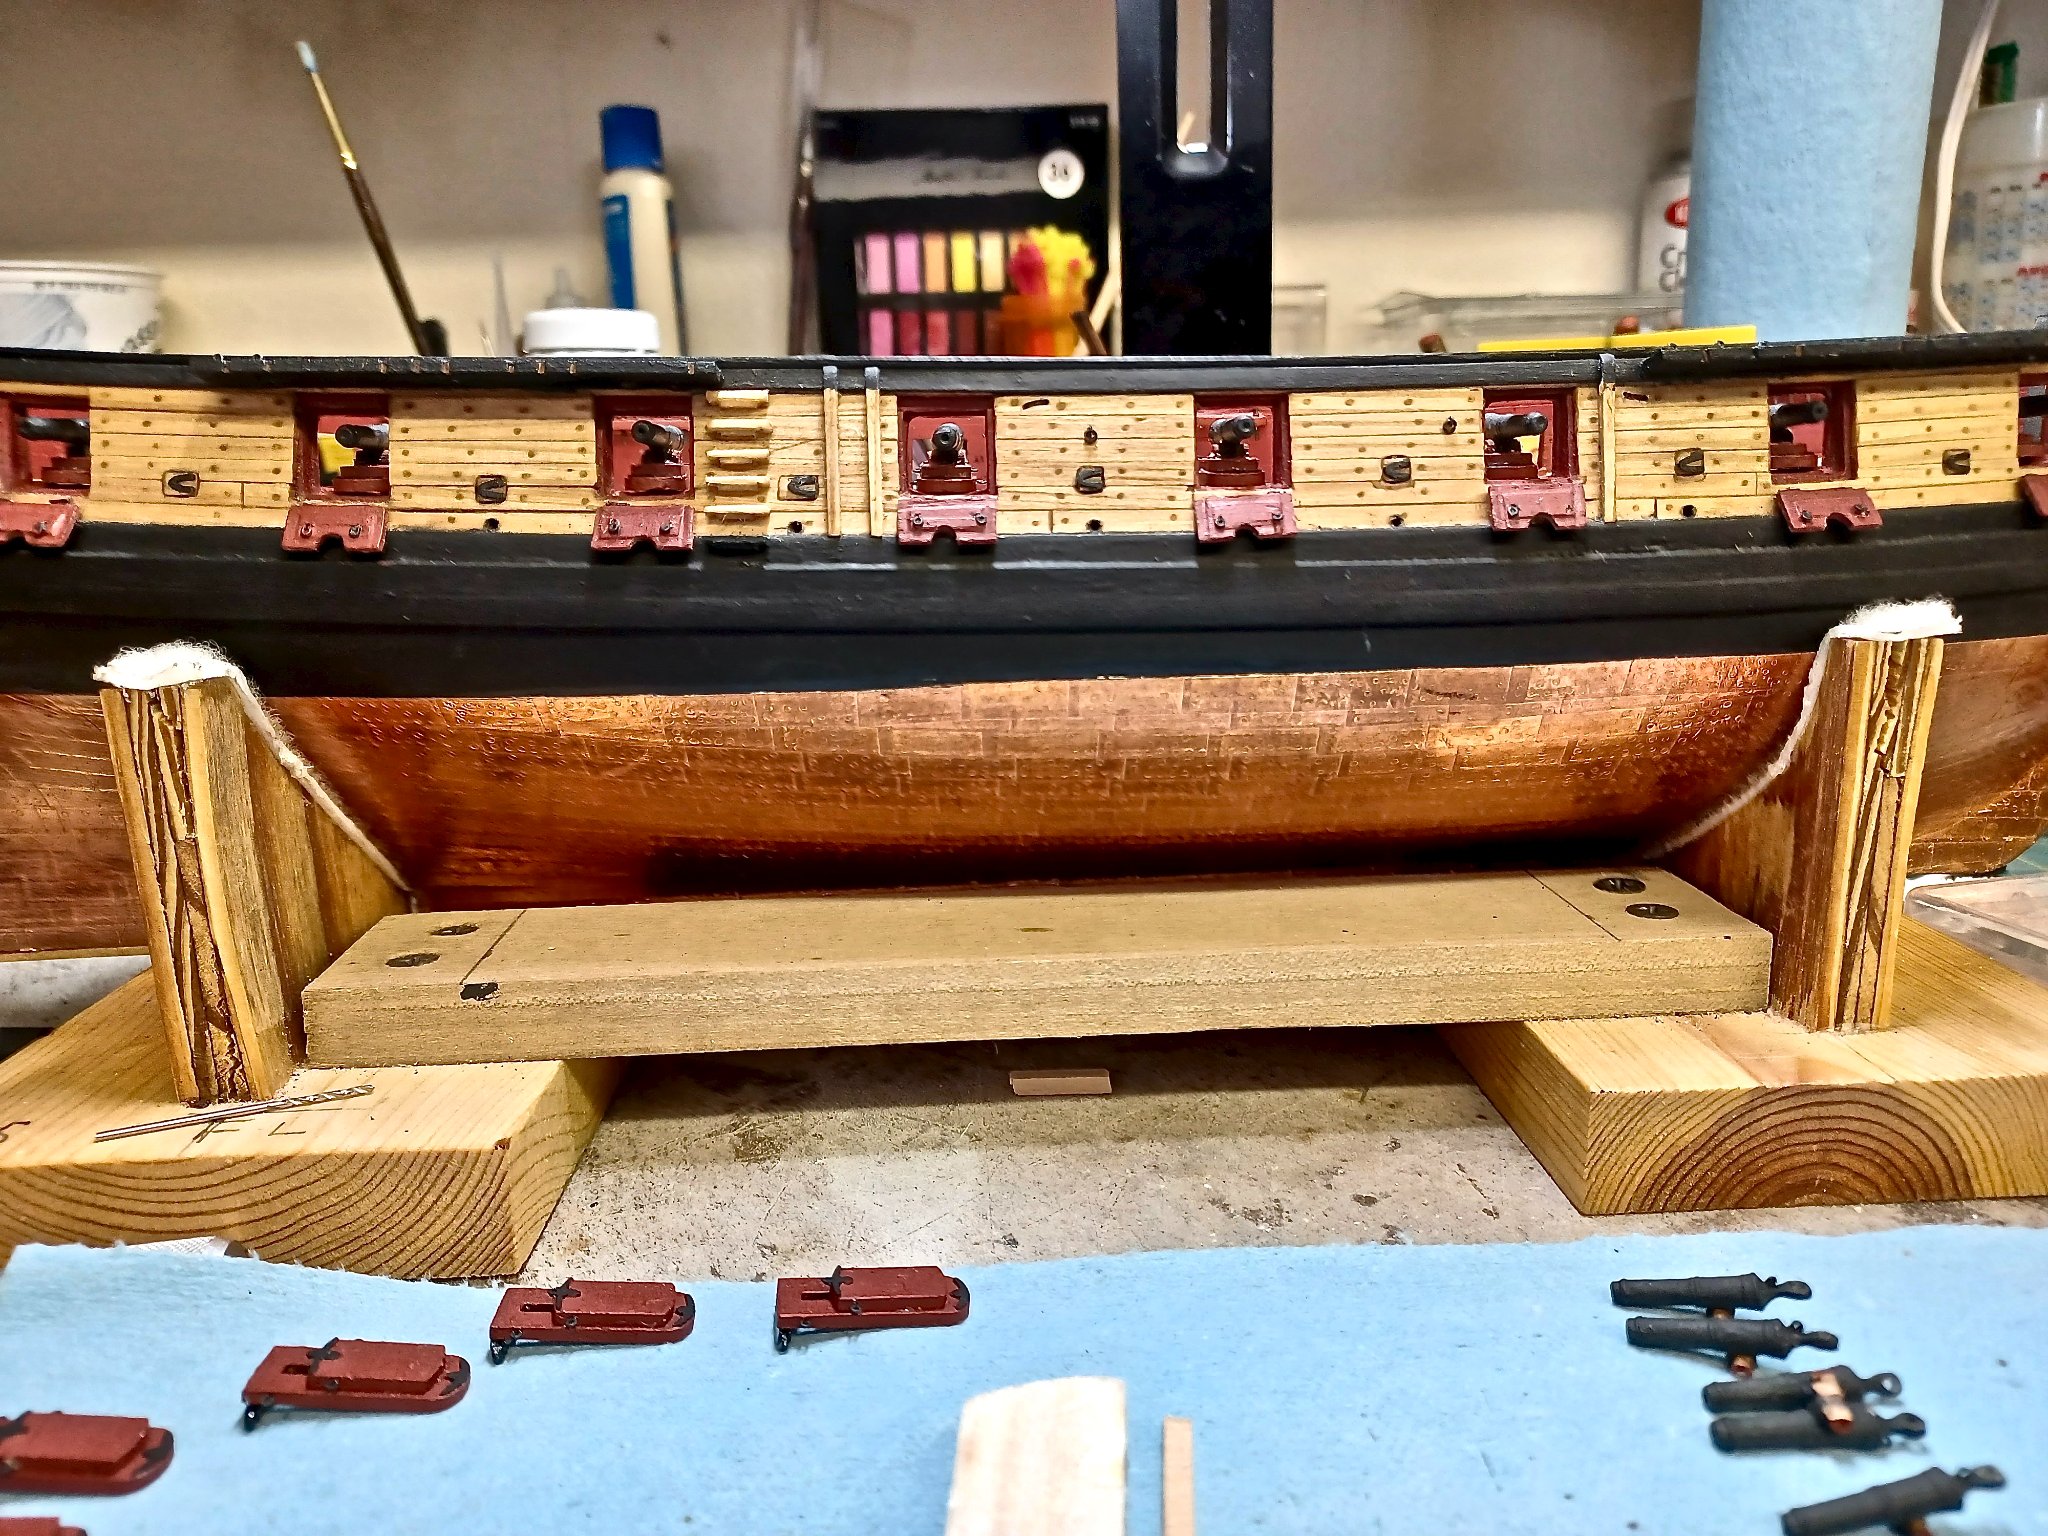
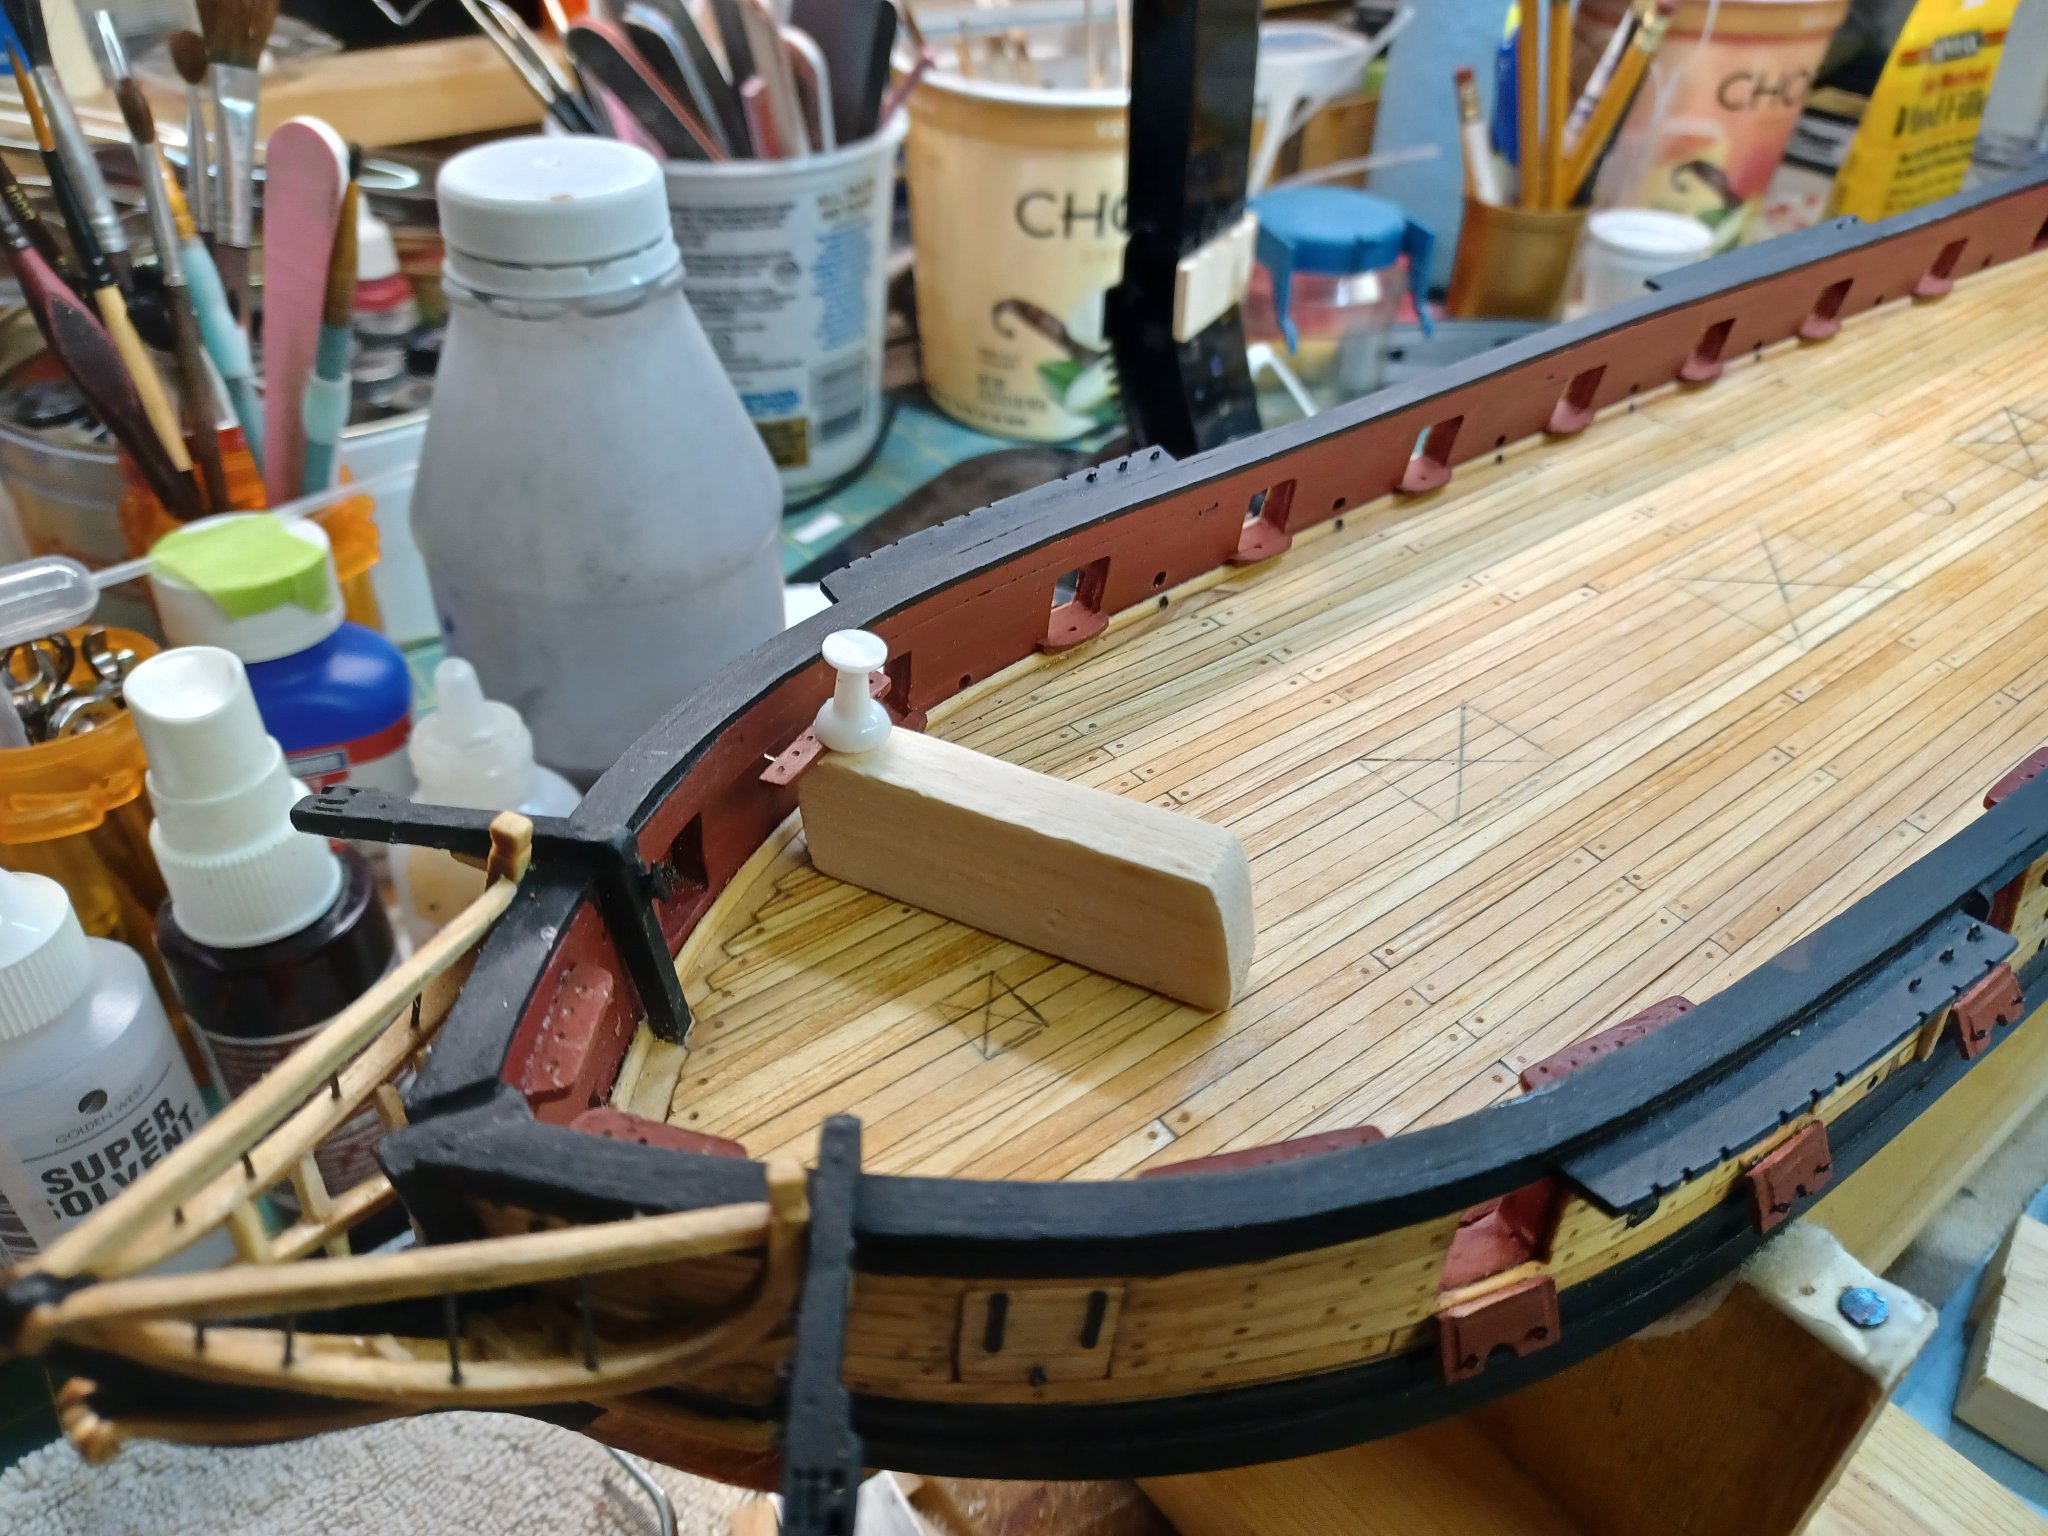
Pin Rails, and Carronades: I have installed both the Carronade bases and the pin rails. To make the pin rails stronger, I added support pins as the instructions recommend. To ensure that I got the drilled holes in the right places, I created a jig. It sure made it easier to note where the holes needed to be. It's just a block of balsa shaped and made at the correct height. I could then slide it into position with the pin rail clamped and was then able to mark them correctly. It also made holding the pin rail in place while marking the holes an easy task. (It seems I am making tools for a lot of the processes. 🙂) Or maybe that is just how I think. If a step needs to be repeated/copied, it begs for a tool or jig that can replicate the process without measuring every one. Now it is on to a multitude of small parts eye bolts, cleats, and a bunch of split rings on the end of the eye bolts. The first two pics are those that show the jig and its operation. Last two are the updated pin rails and carronade bases.


- 436 replies
-
- 8
-
-
- Syren
- Model Shipways
- (and 1 more)
-
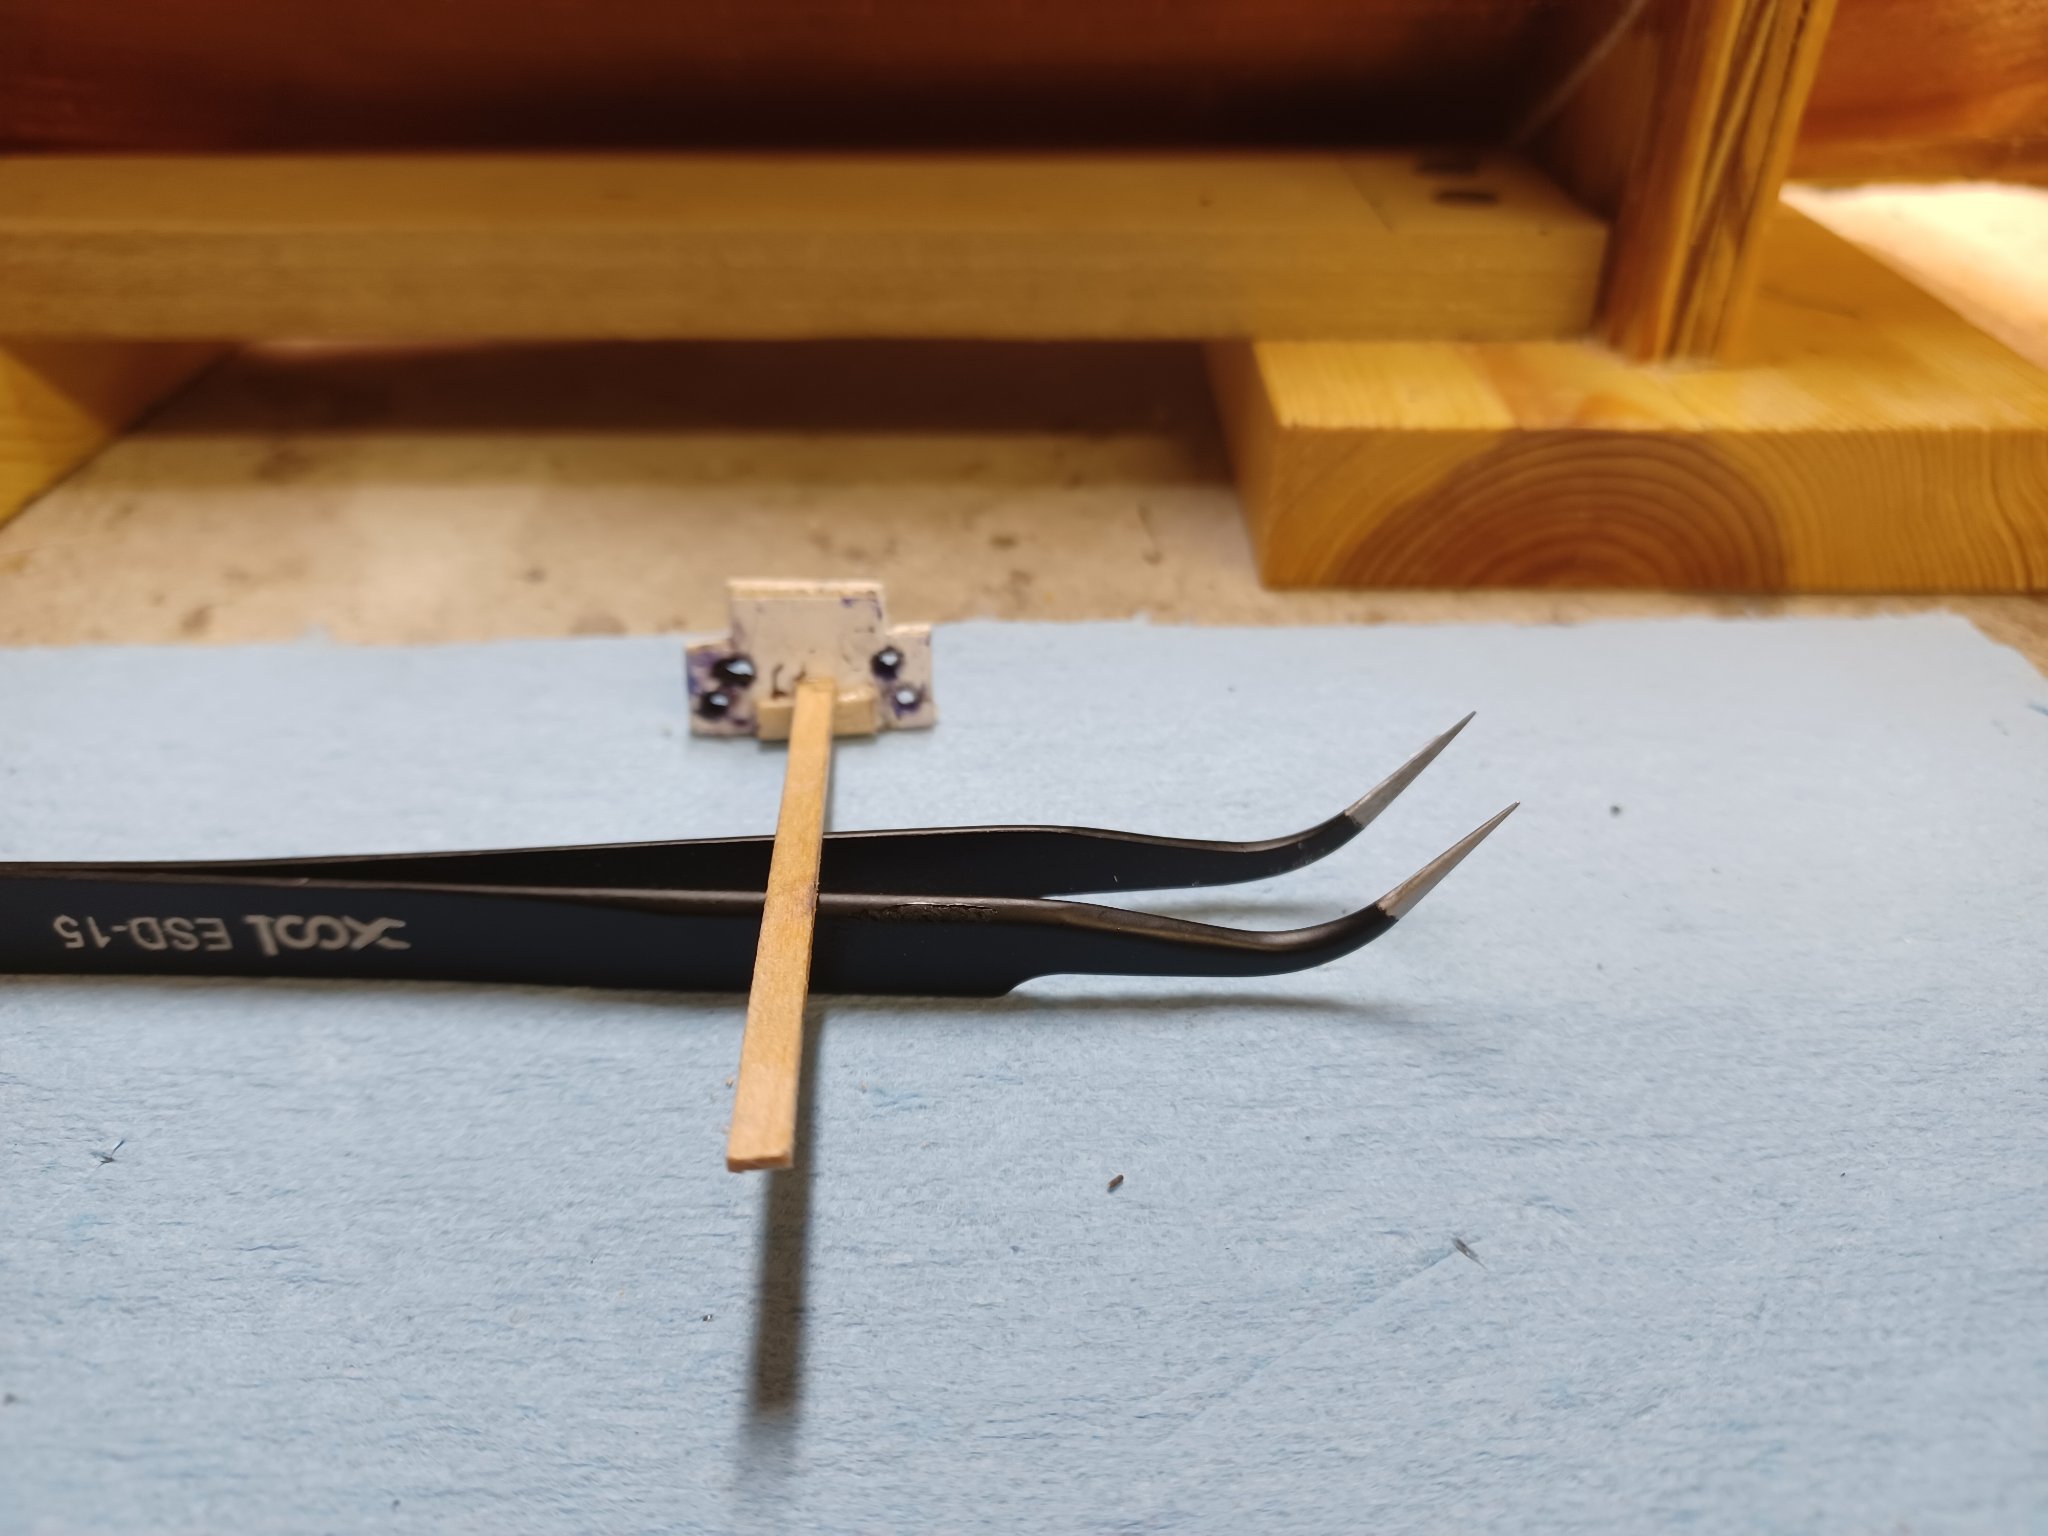
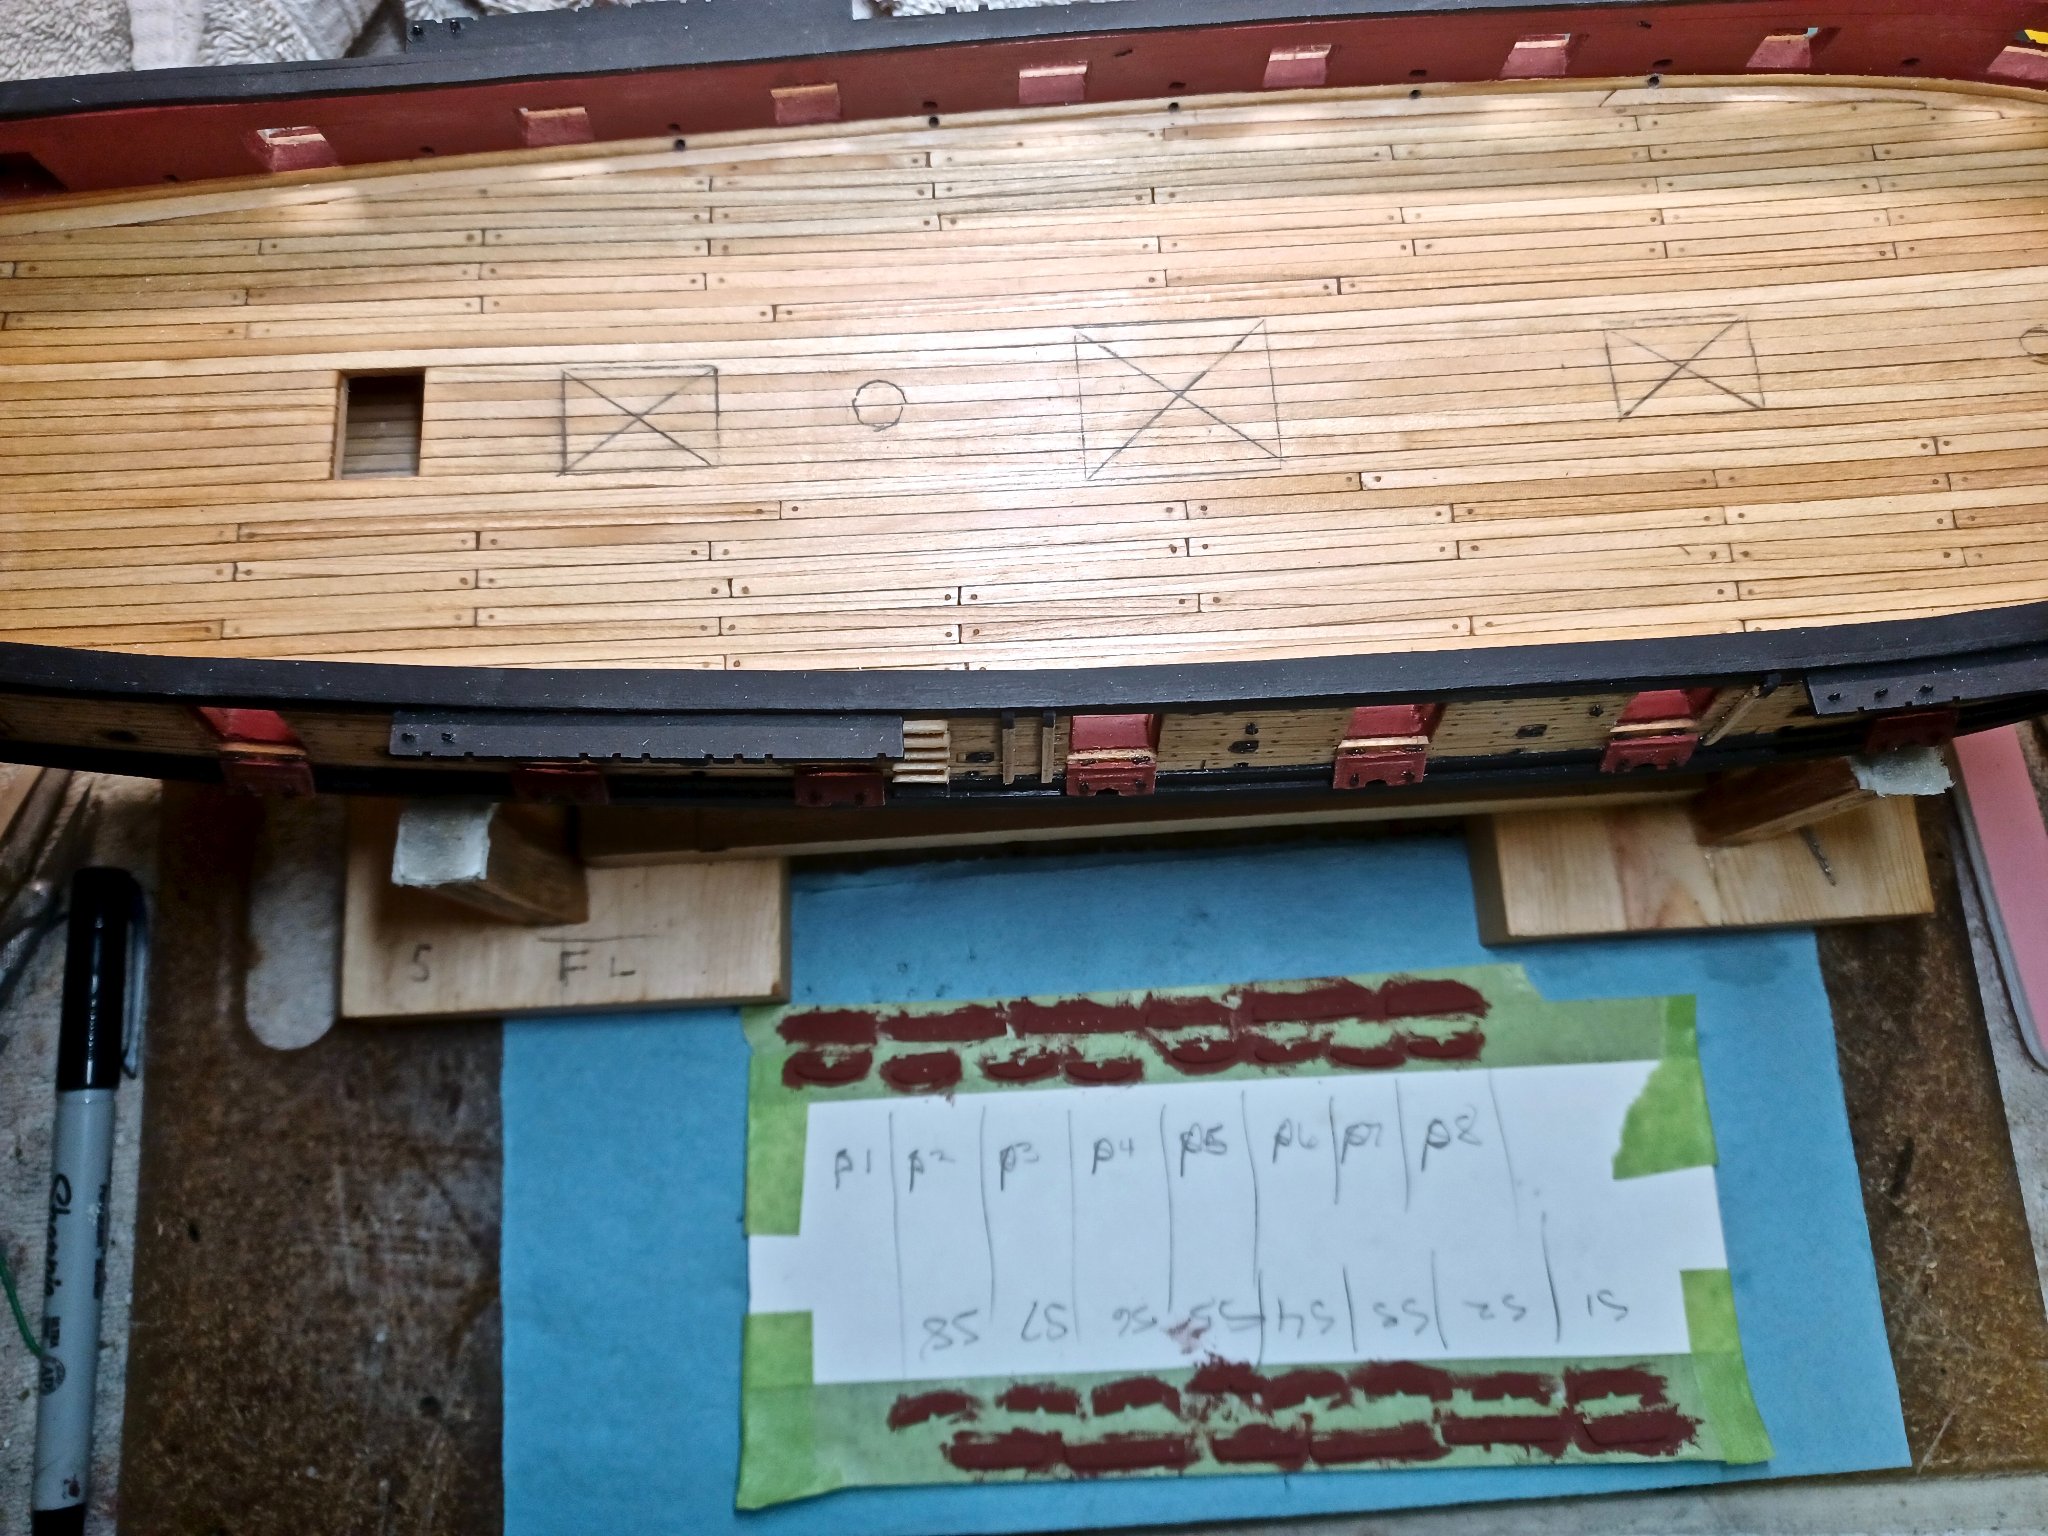
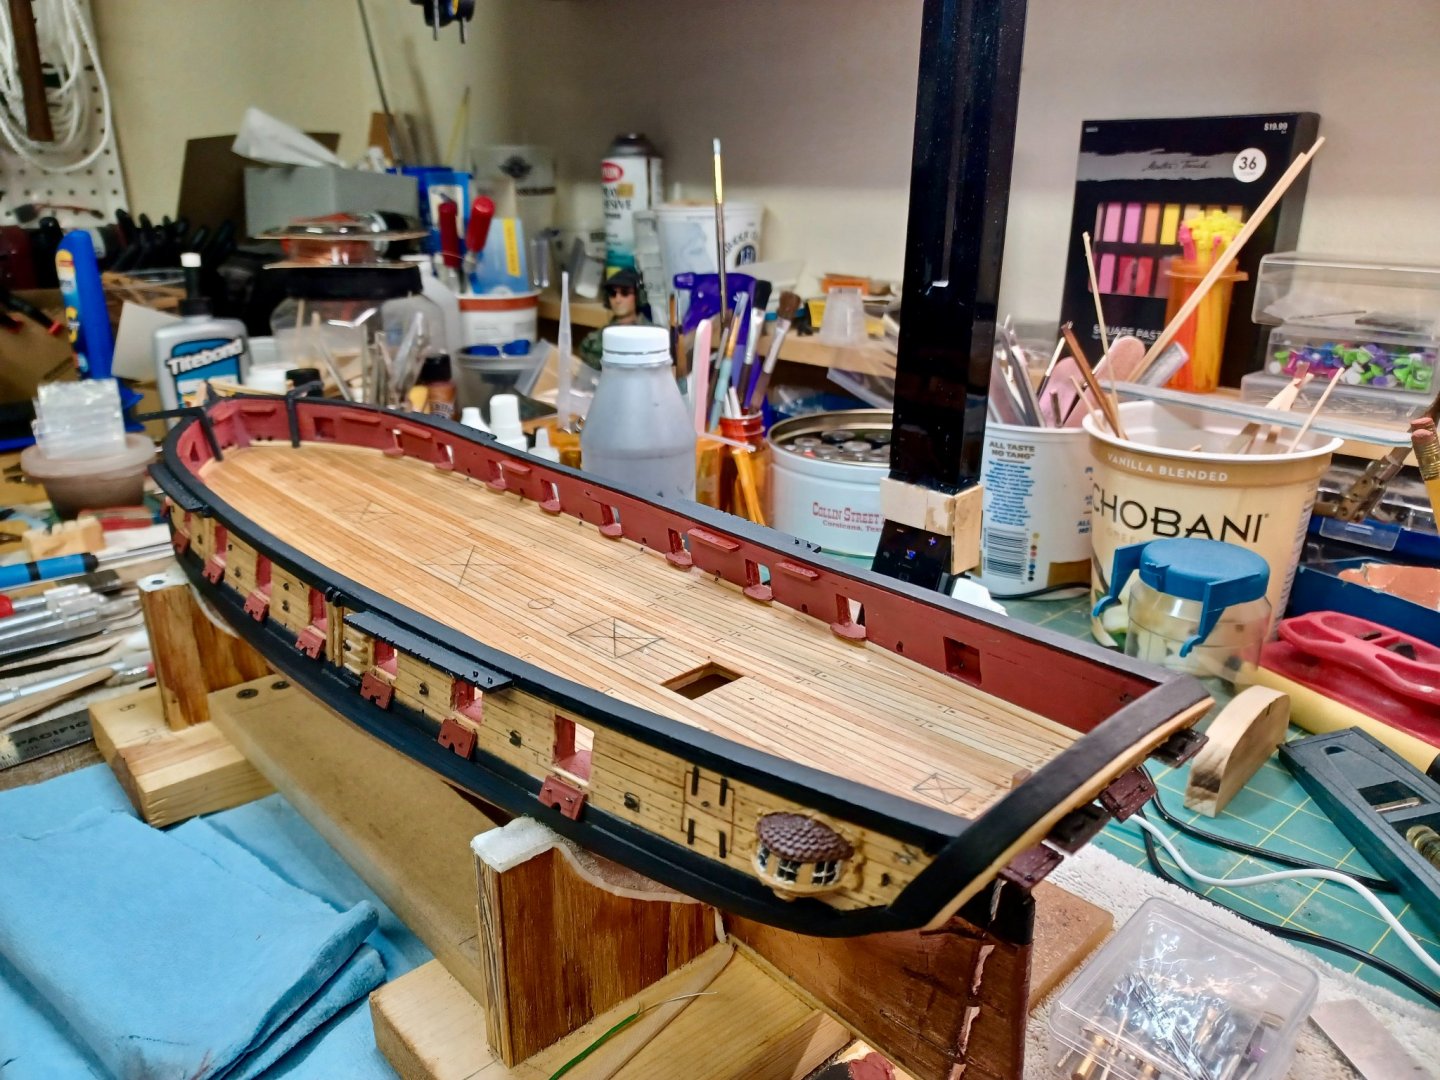
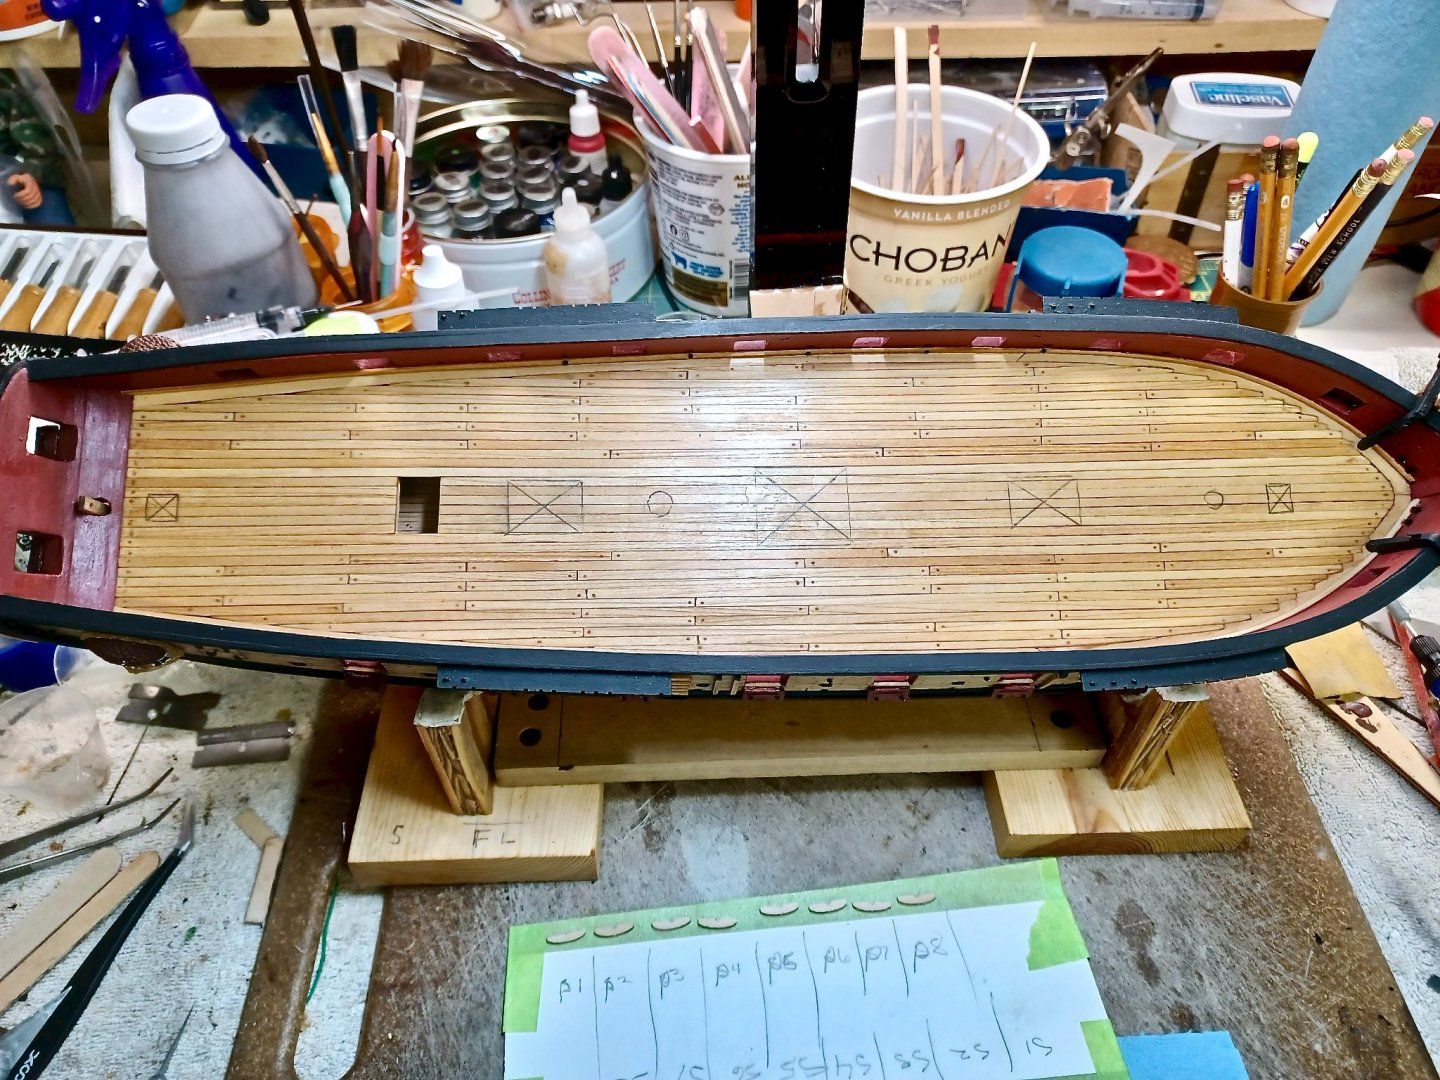
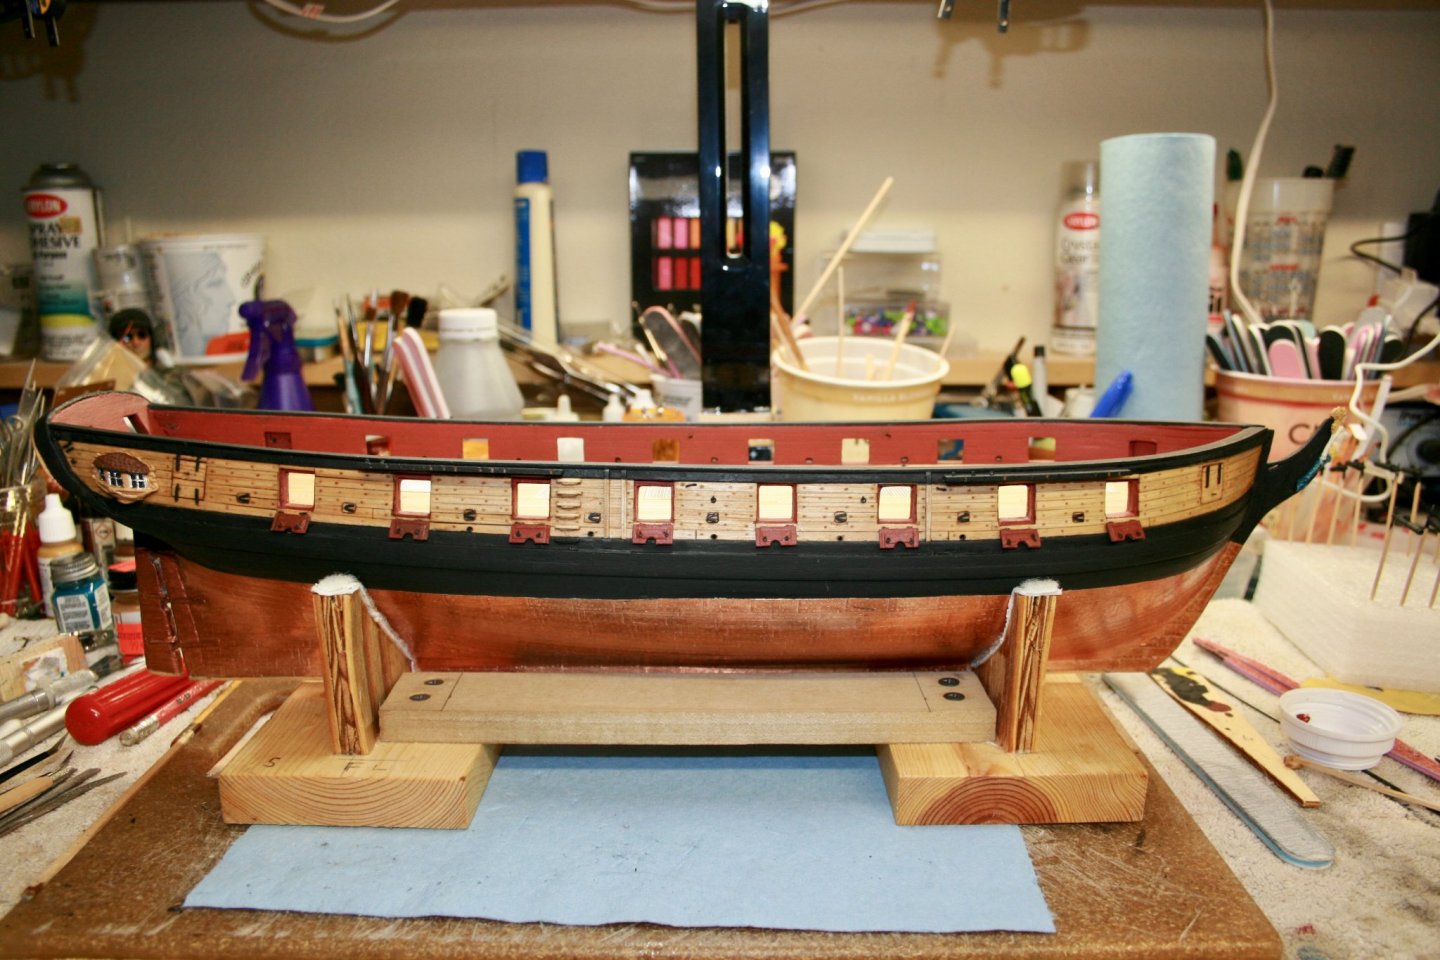
Hidden Progress: I have been working on Chapter 11, although it's progress that is just getting the next pieces ready to glue in place . First, I have completed the gun port carronade mounts, pin rails, and re-marking of the main deck features for upcoming furniture emplacement. While glue/paint dries, I have started assembling small on deck parts. This afternoon, I added split rings to 22 eye bolts for placement on the main deck. There are 22, and I think I lost 2 or 3, during assembly. I am using 2 sets of tweezers, and invariably, .....ping..... there goes the split ring, or .....ping... there goes the eye bolt...or both. Tomorrow begins the gluing on of the gun port shelves and the pin rails. Couple of Comments: 1. Earlier in this build log, I indicated that I had glued down a few of the main deck grates and mast location templates using paper glue. Well, the paper came off ok, but the glue loved the deck wood and it was a bear to remove. Deck needed sanding anyway. 2. For the pin rails, I copied the deck plan, cut out each pin rail, and glued it to the 1/16" basswood that I purchased for the cap rails. Once the glue dried, I spent time sanding and shaping them and once they were ready, I sanded off the templates. Not a big deal, since you can turn the pieces over and never see the template. Newbie Comment: Since all of these parts are custom formed to the area they are located, I recommend using a system for numbering them, so that you can put them back into the same spot for gluing. You can see in my pics, P1; P2; etc, and S1; S2 etc. this allowed for tracking which part goes where. That way you do not constantly have to reshape each piece. (This is probably a well known process, but it bears repeating.) .....and a couple of pics.

- 436 replies
-
- 2
-
-
- Syren
- Model Shipways
- (and 1 more)
-
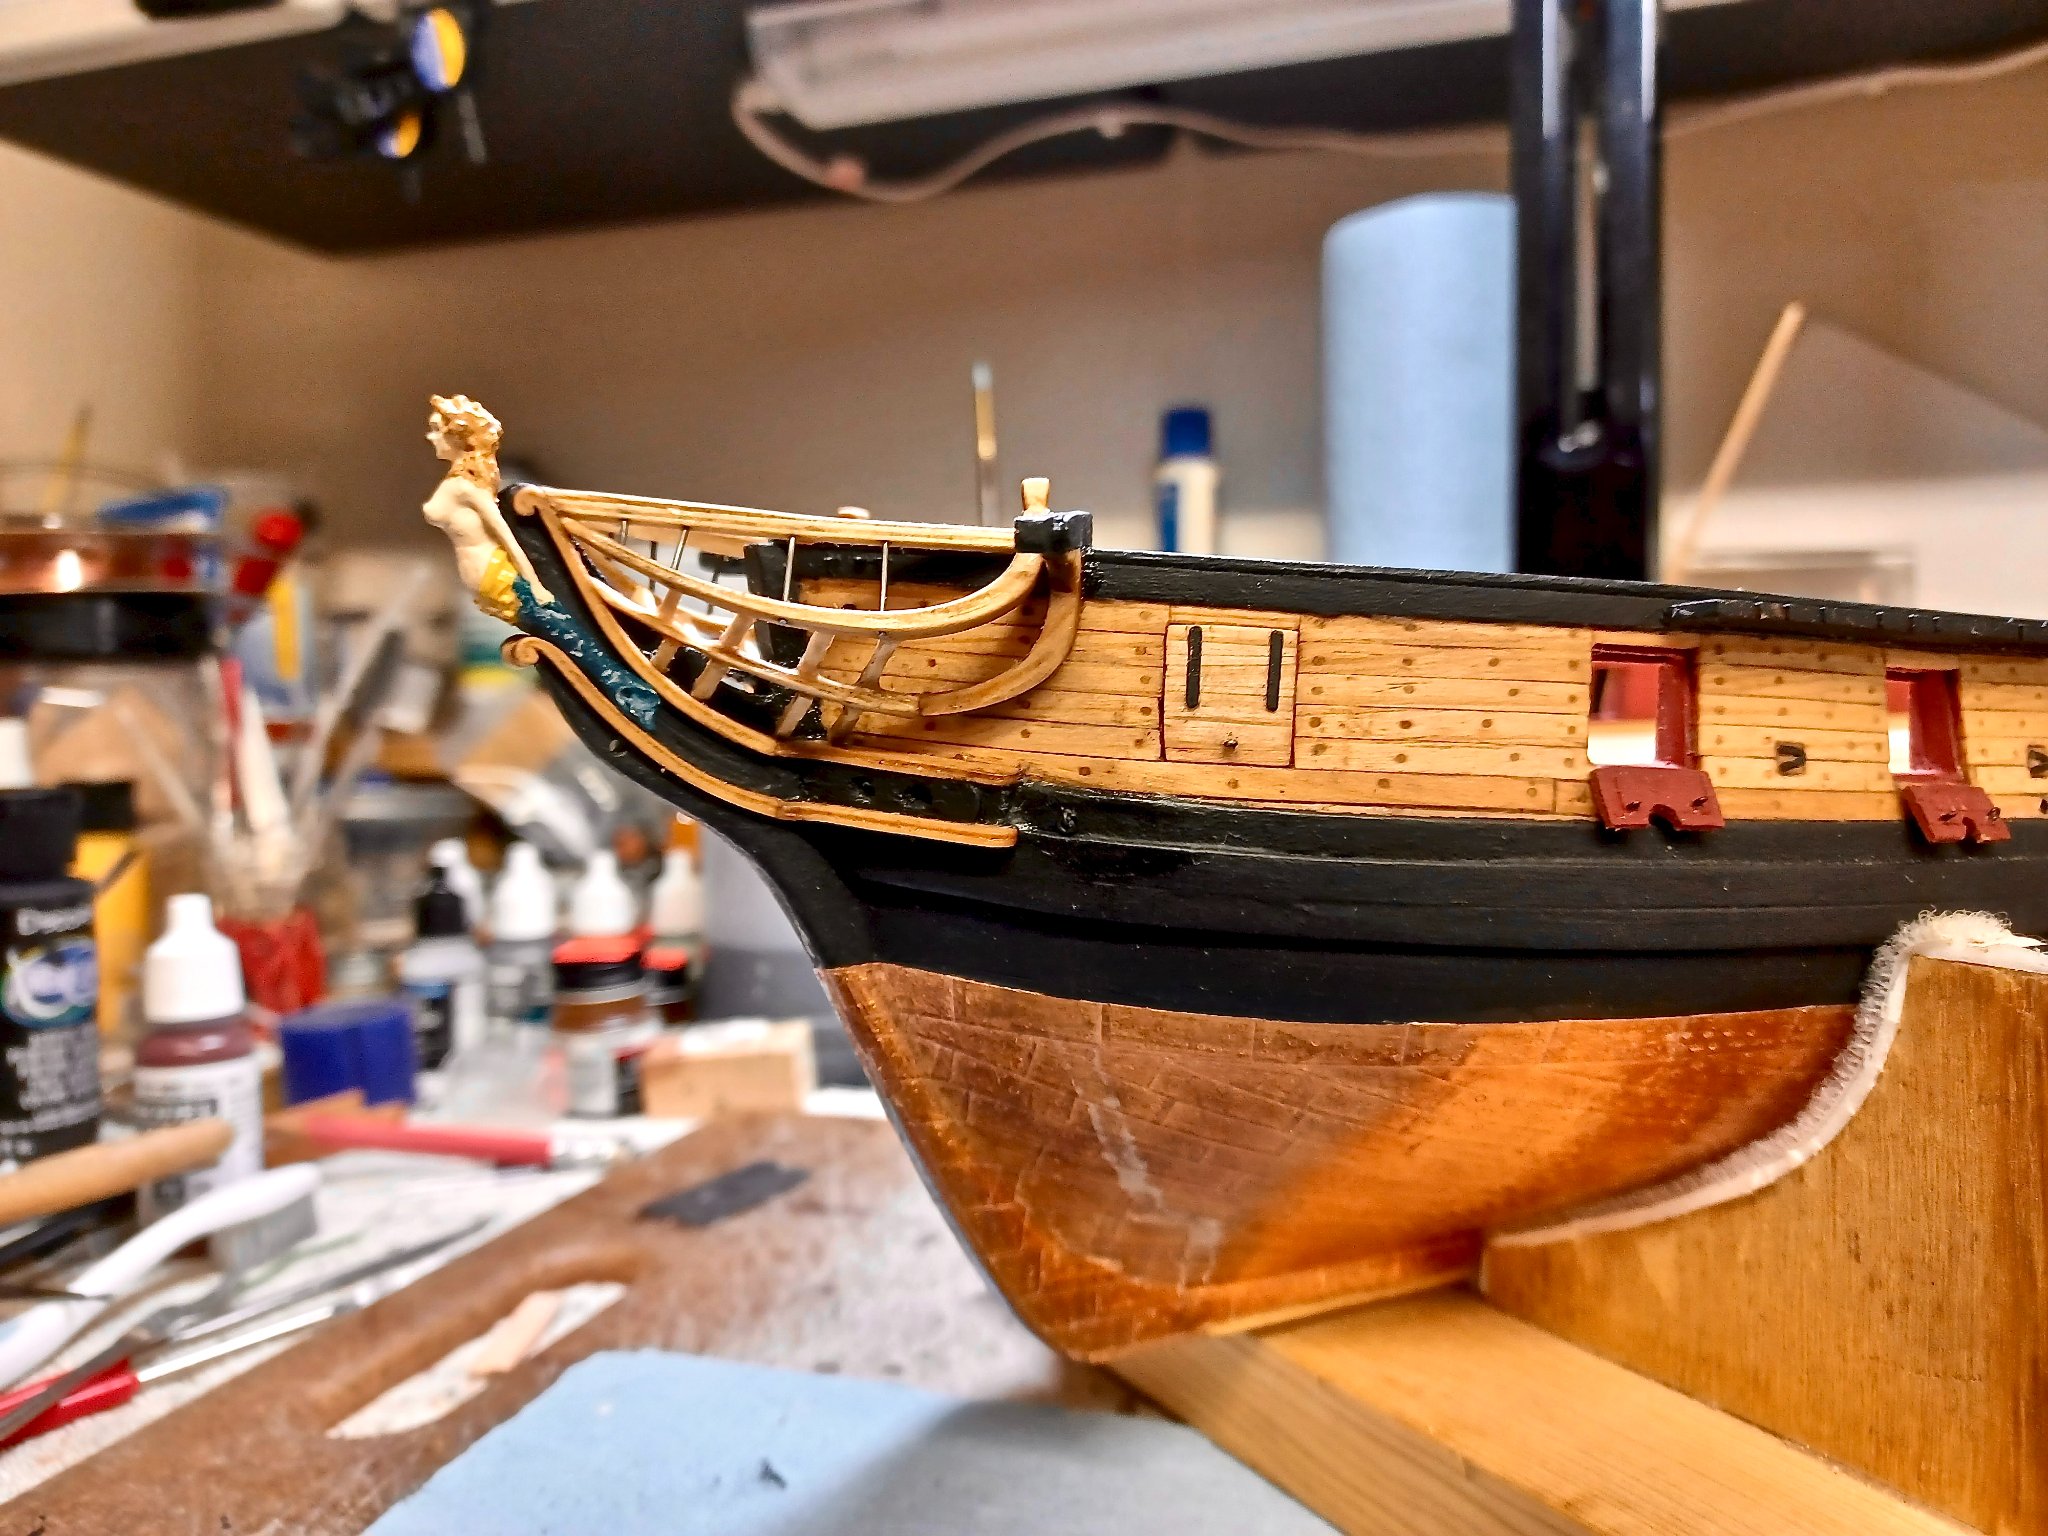
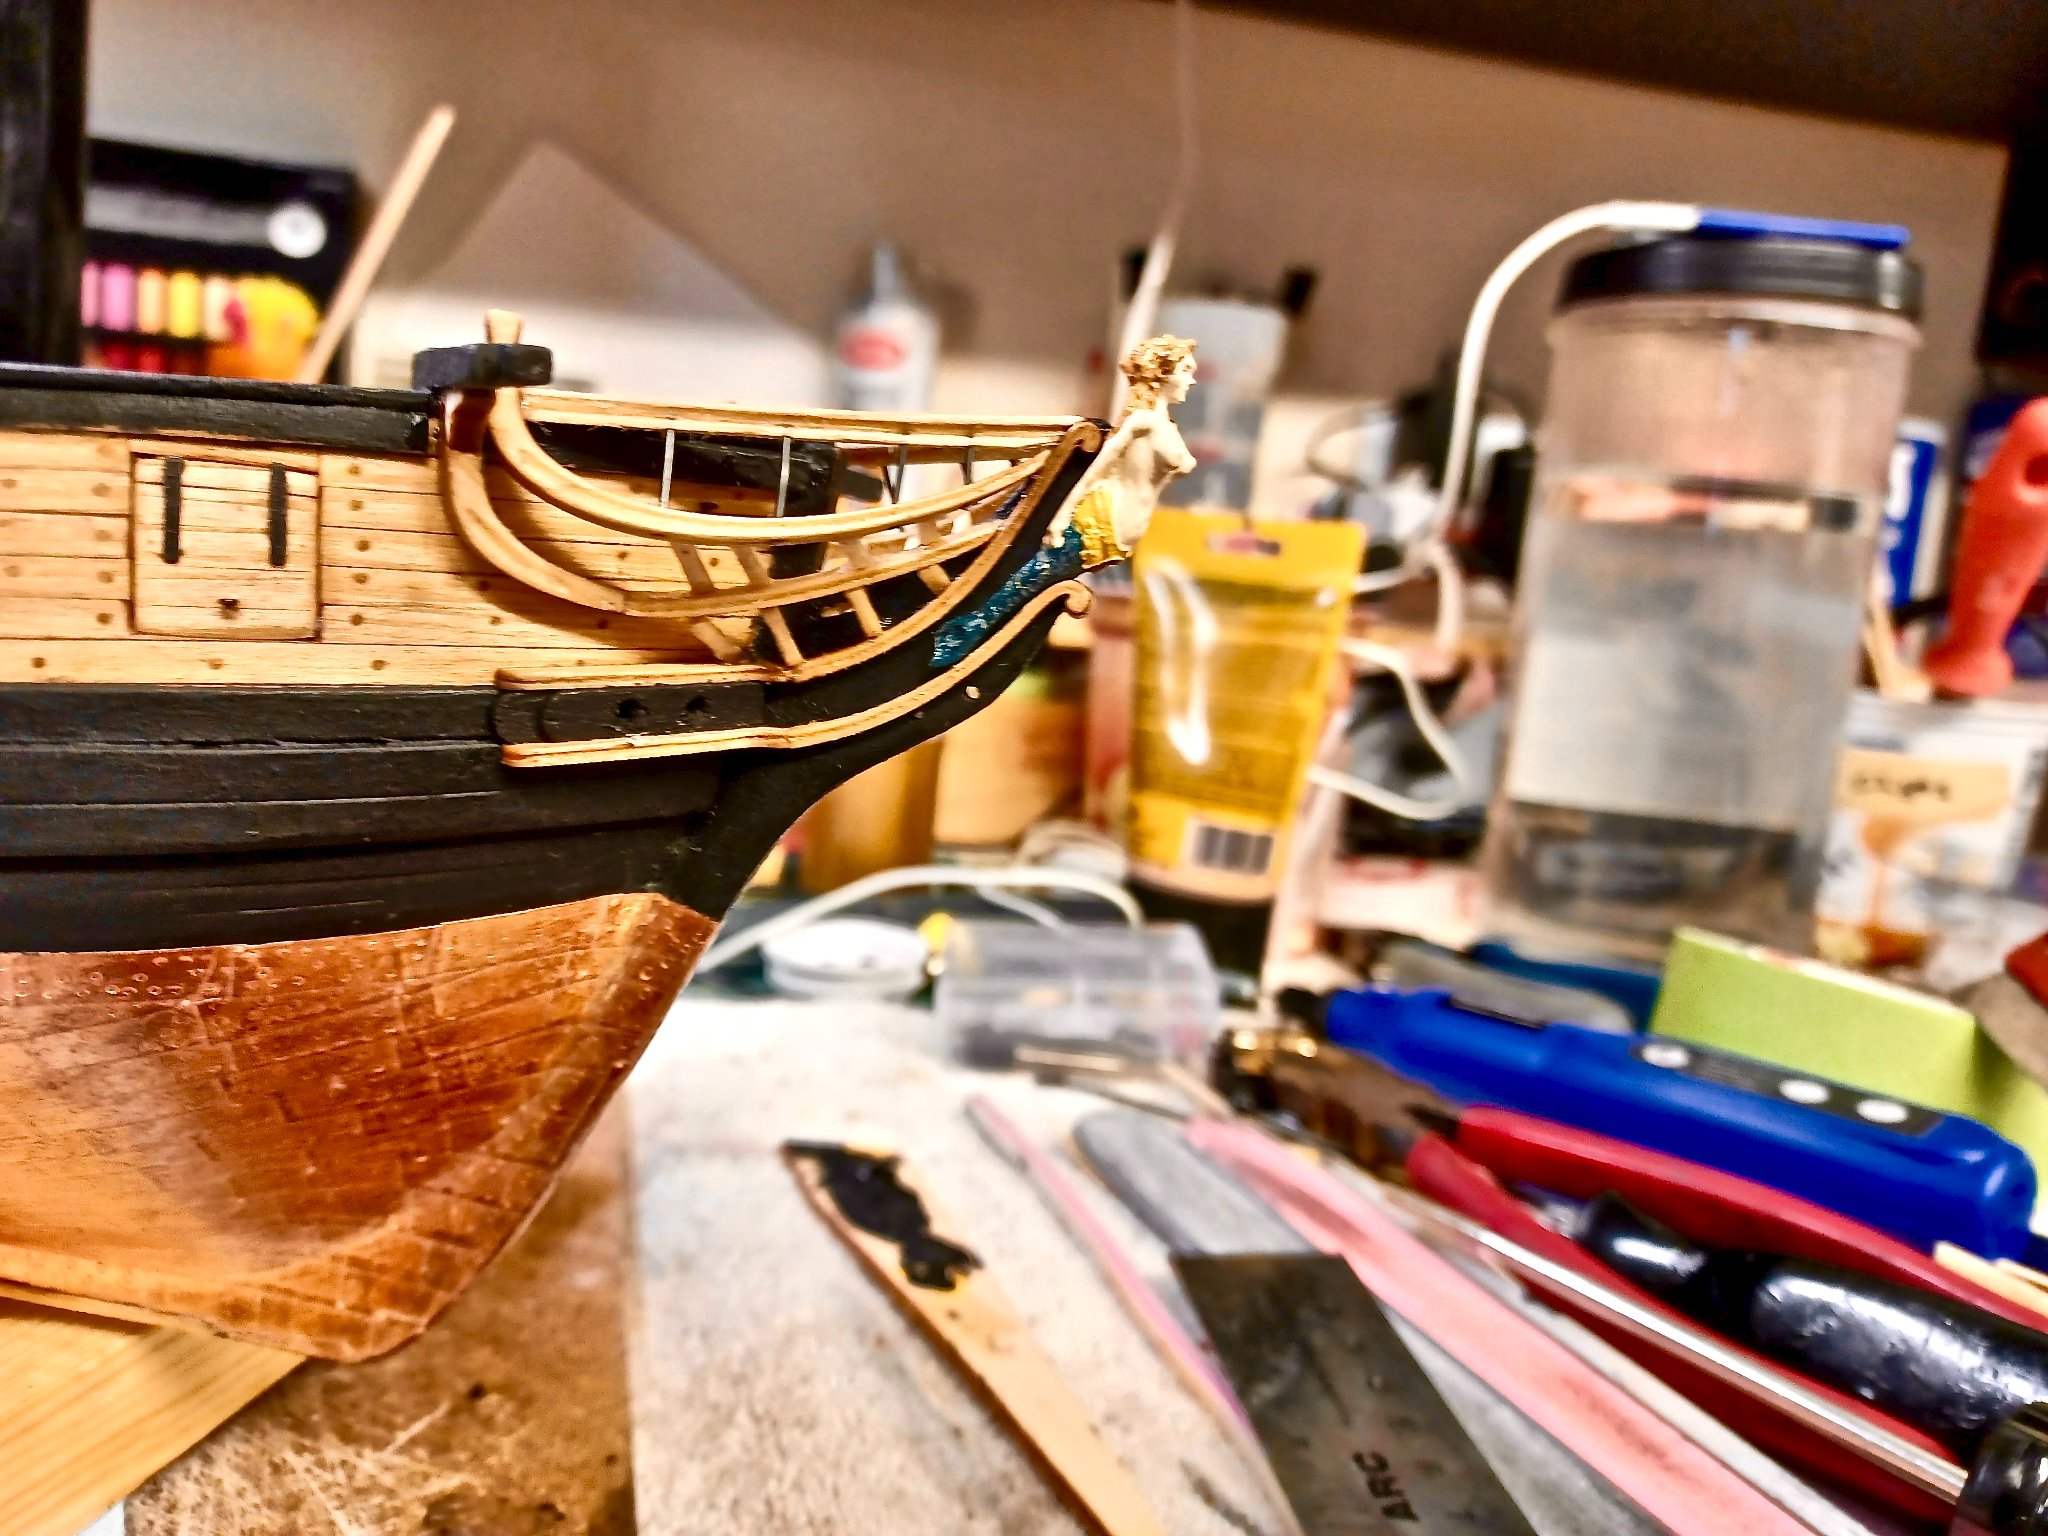
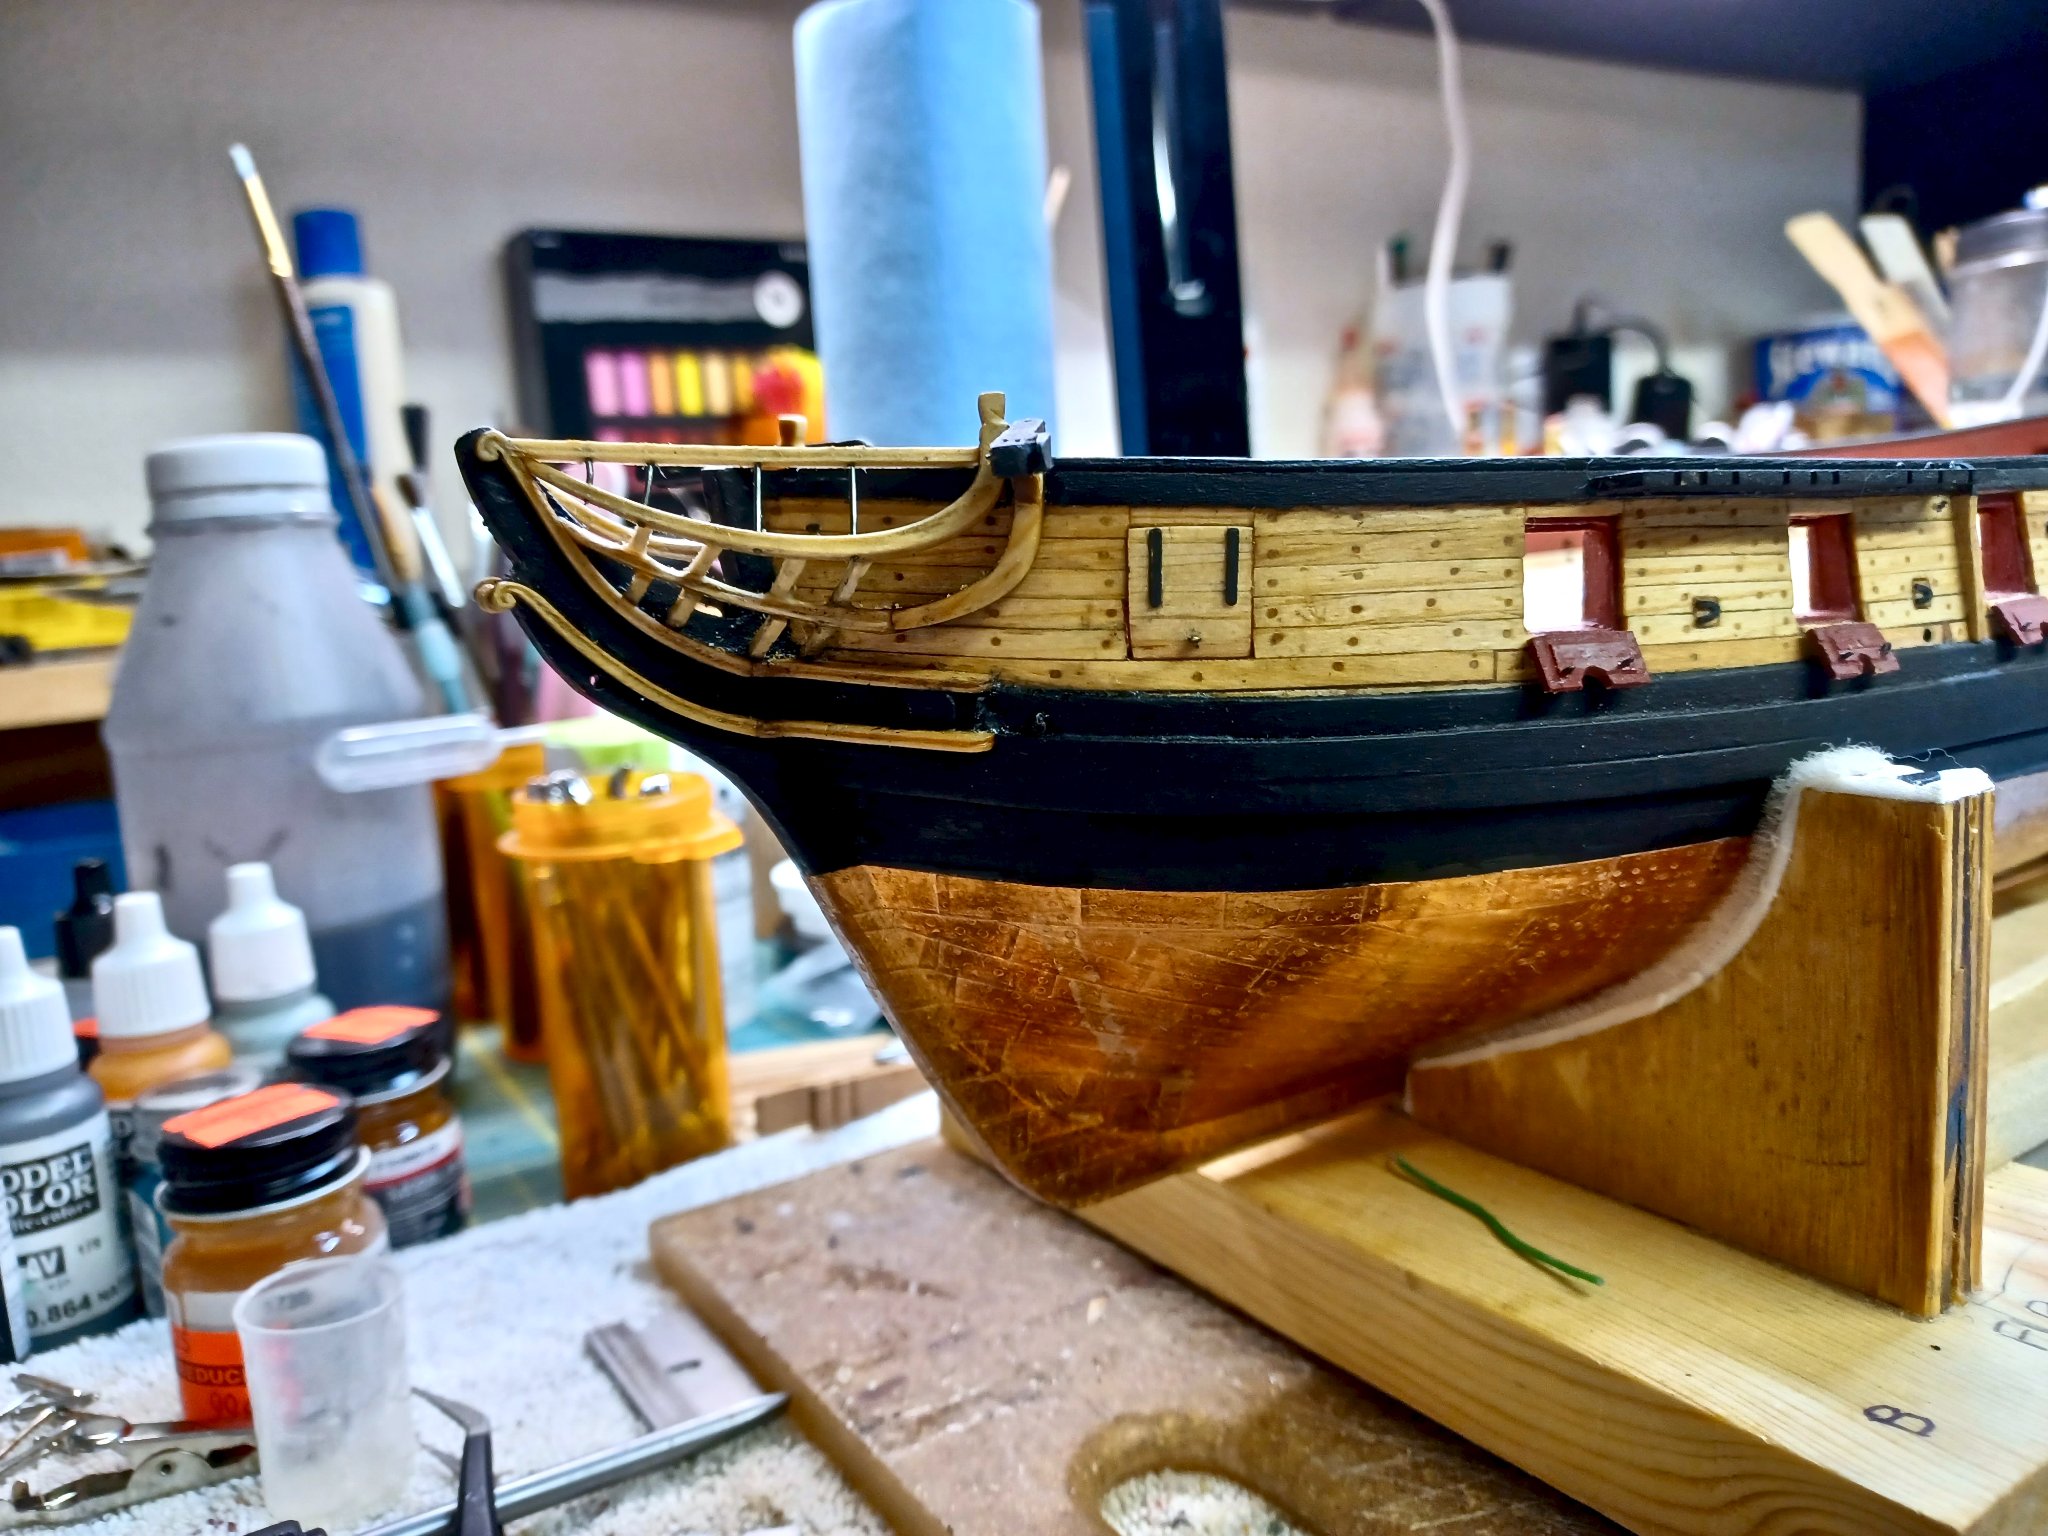
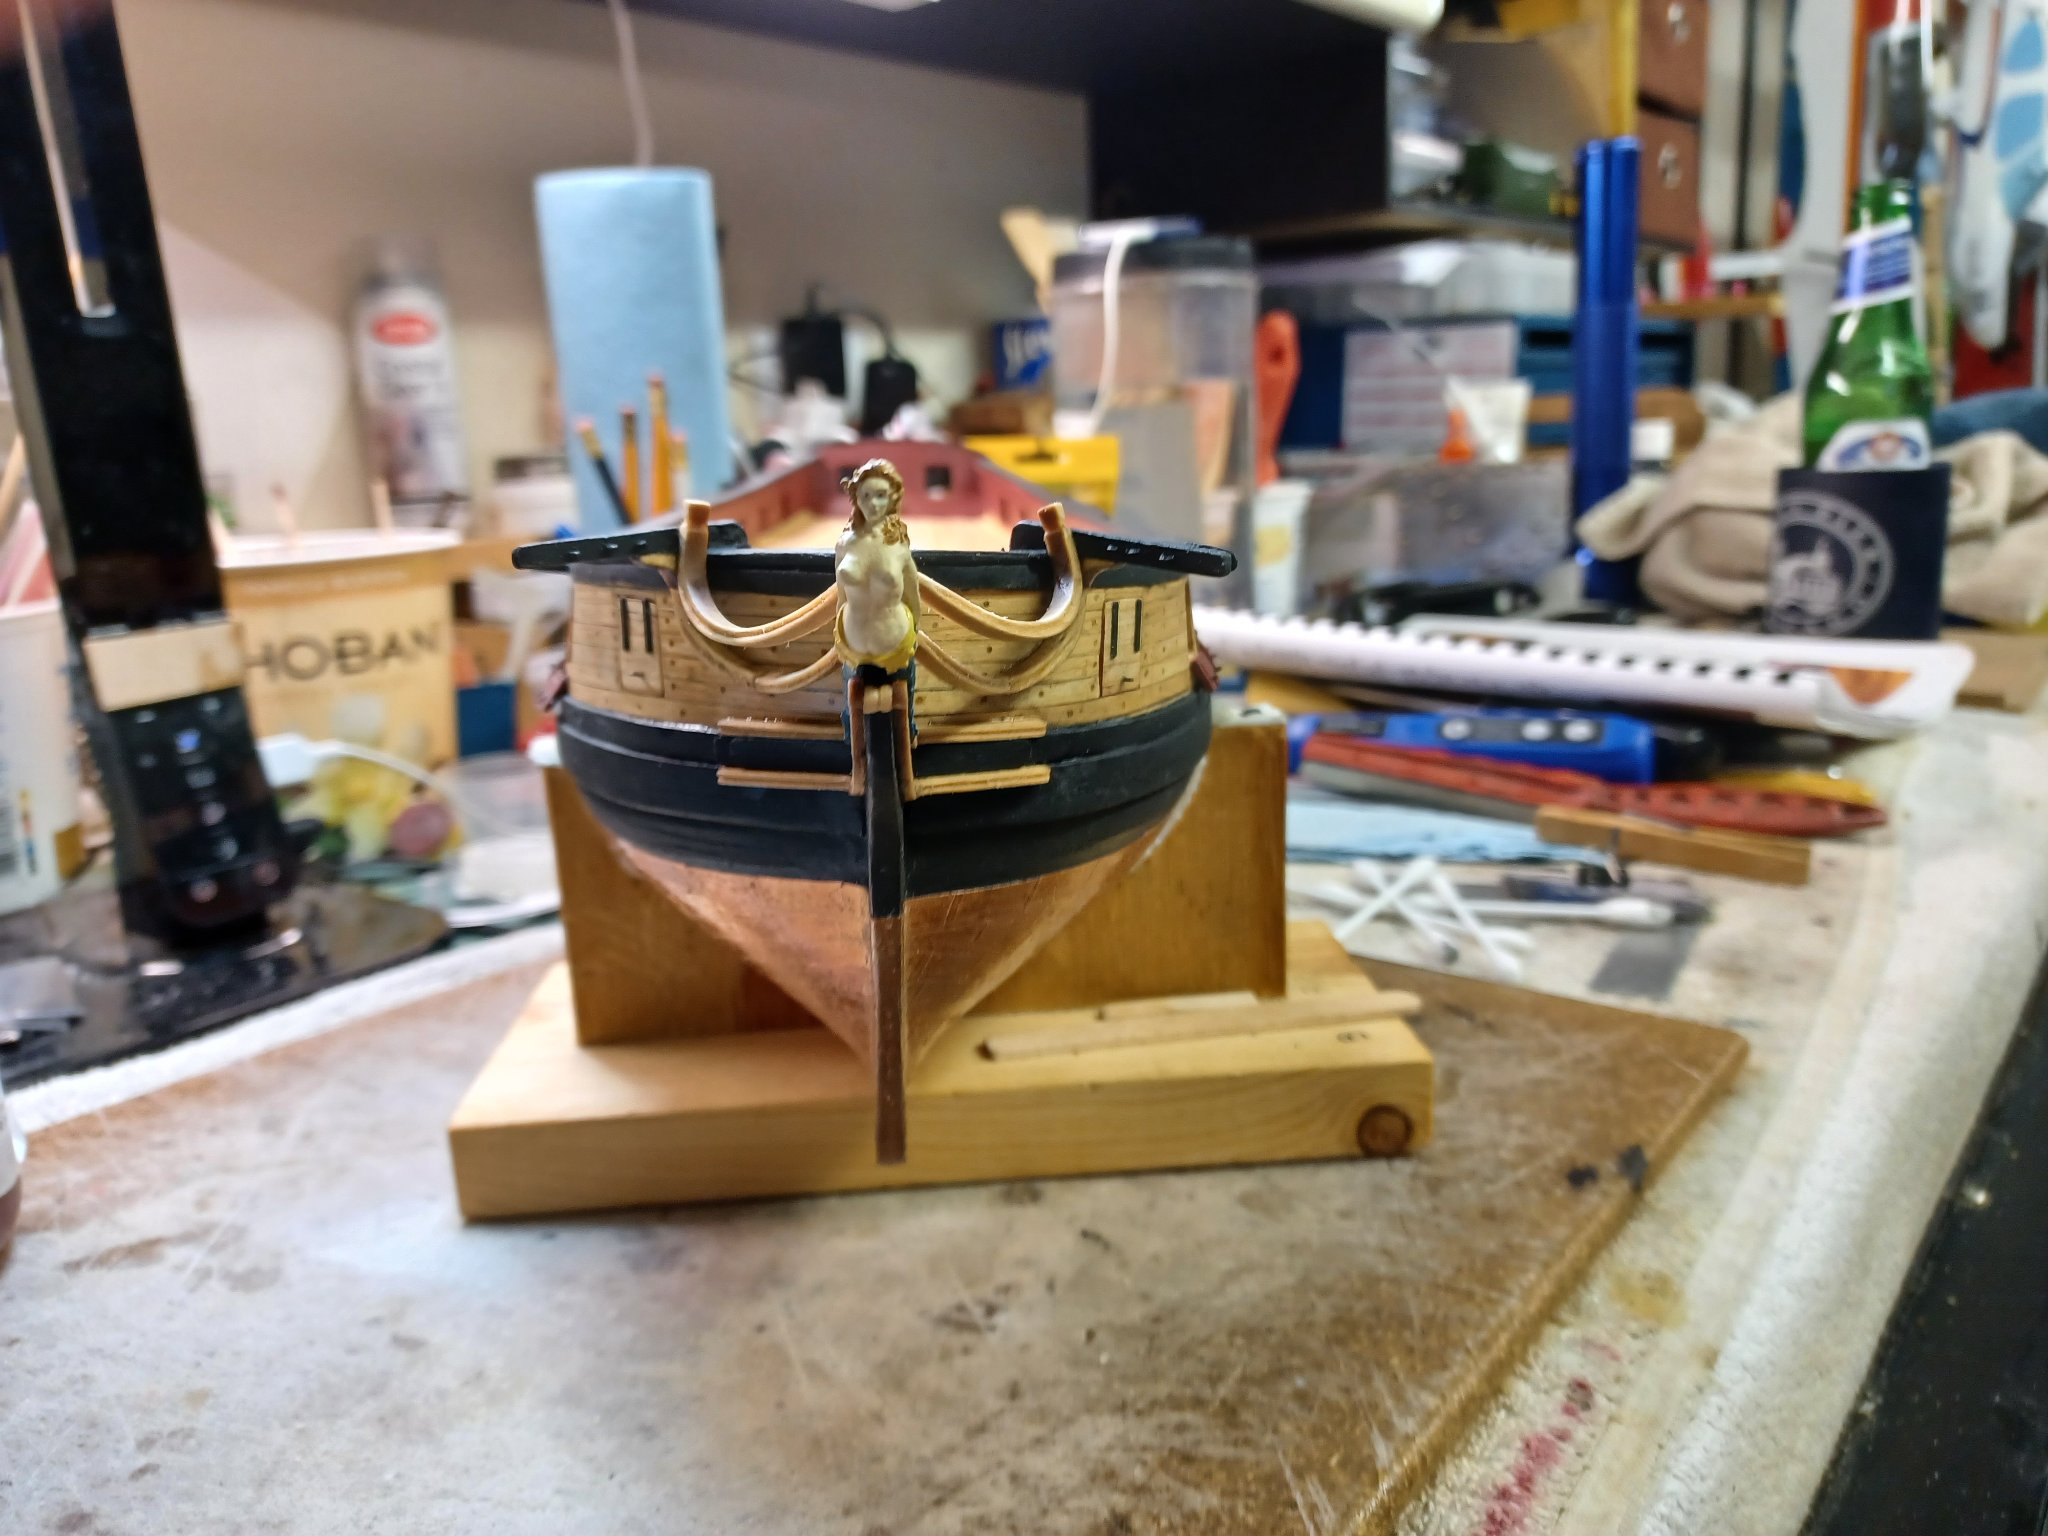
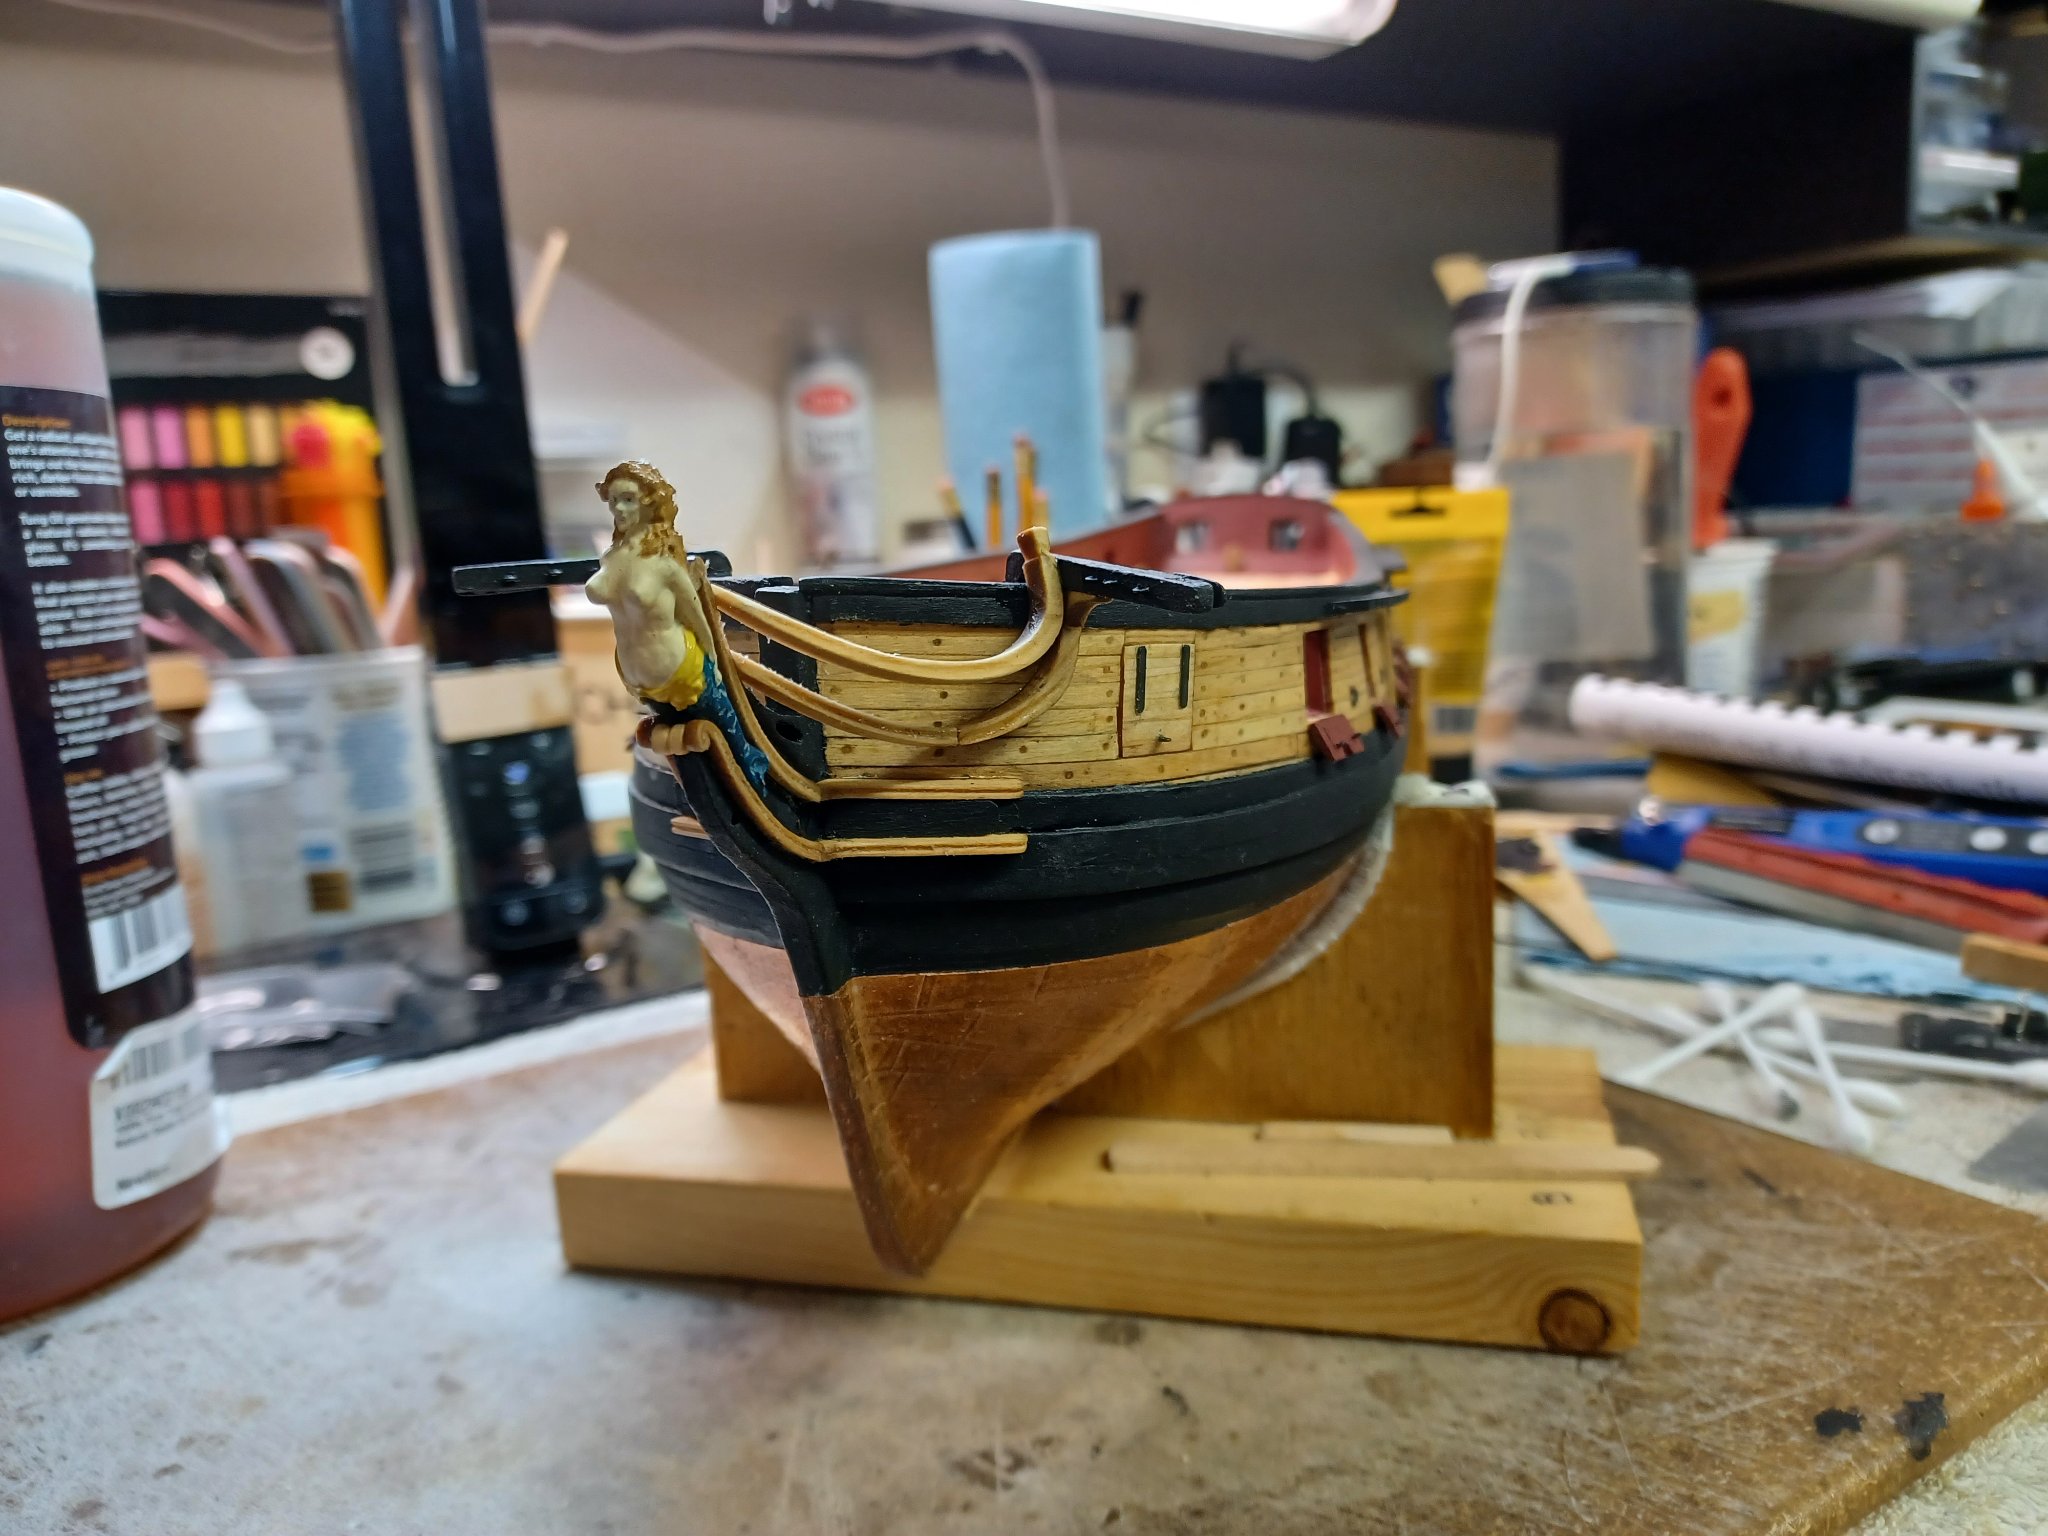
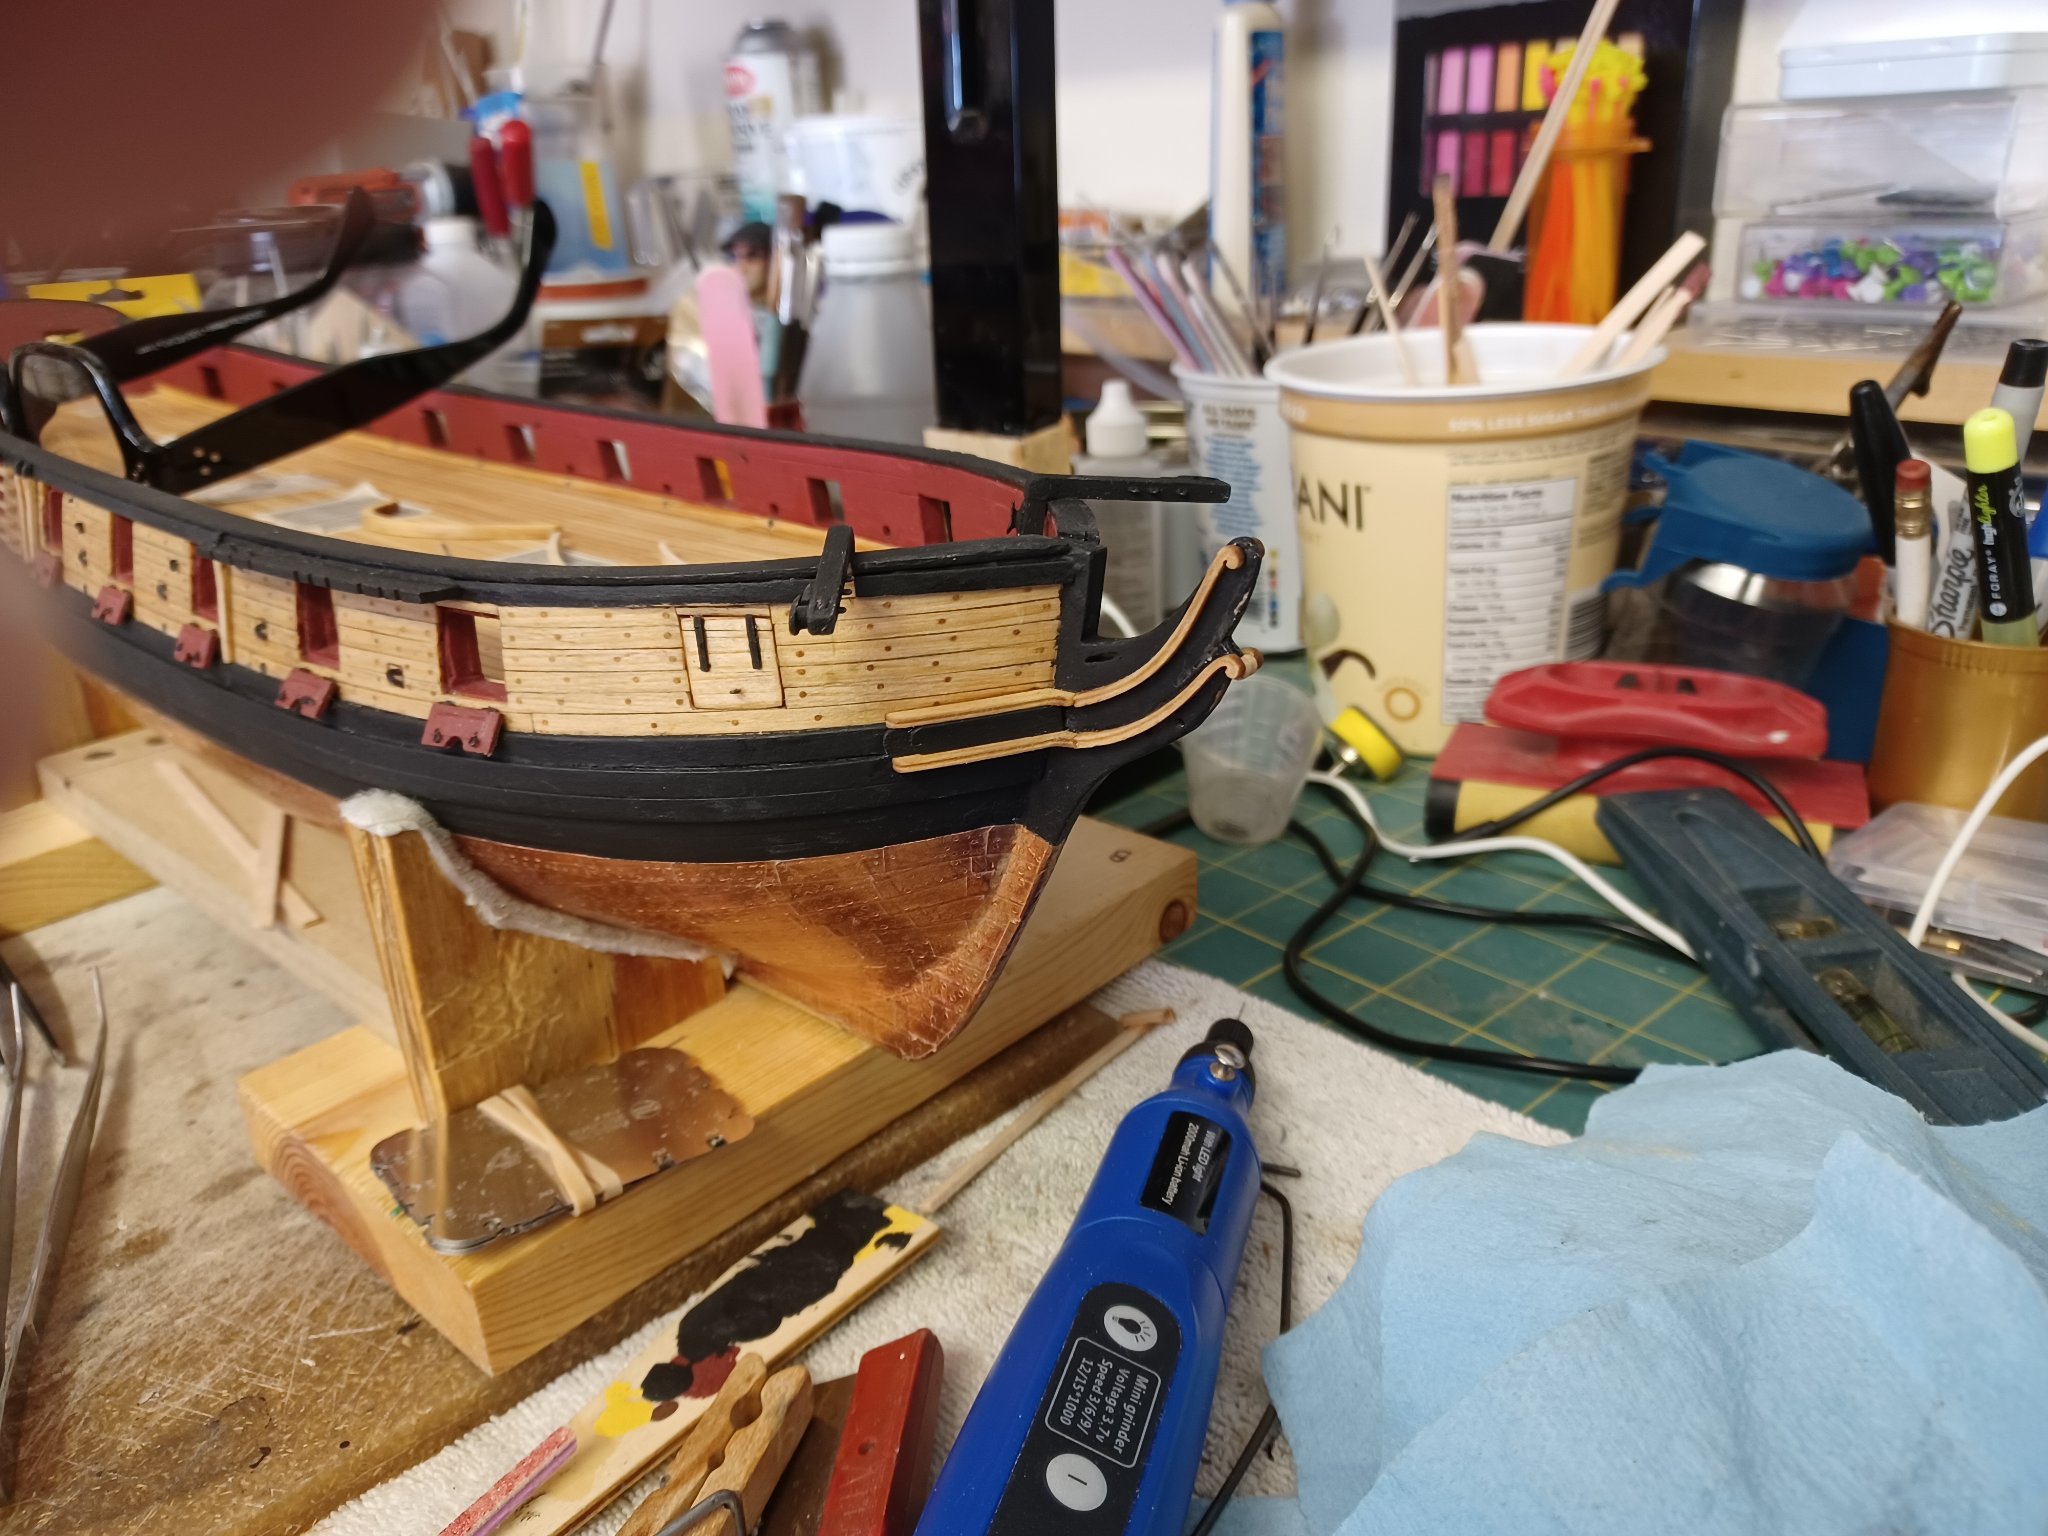
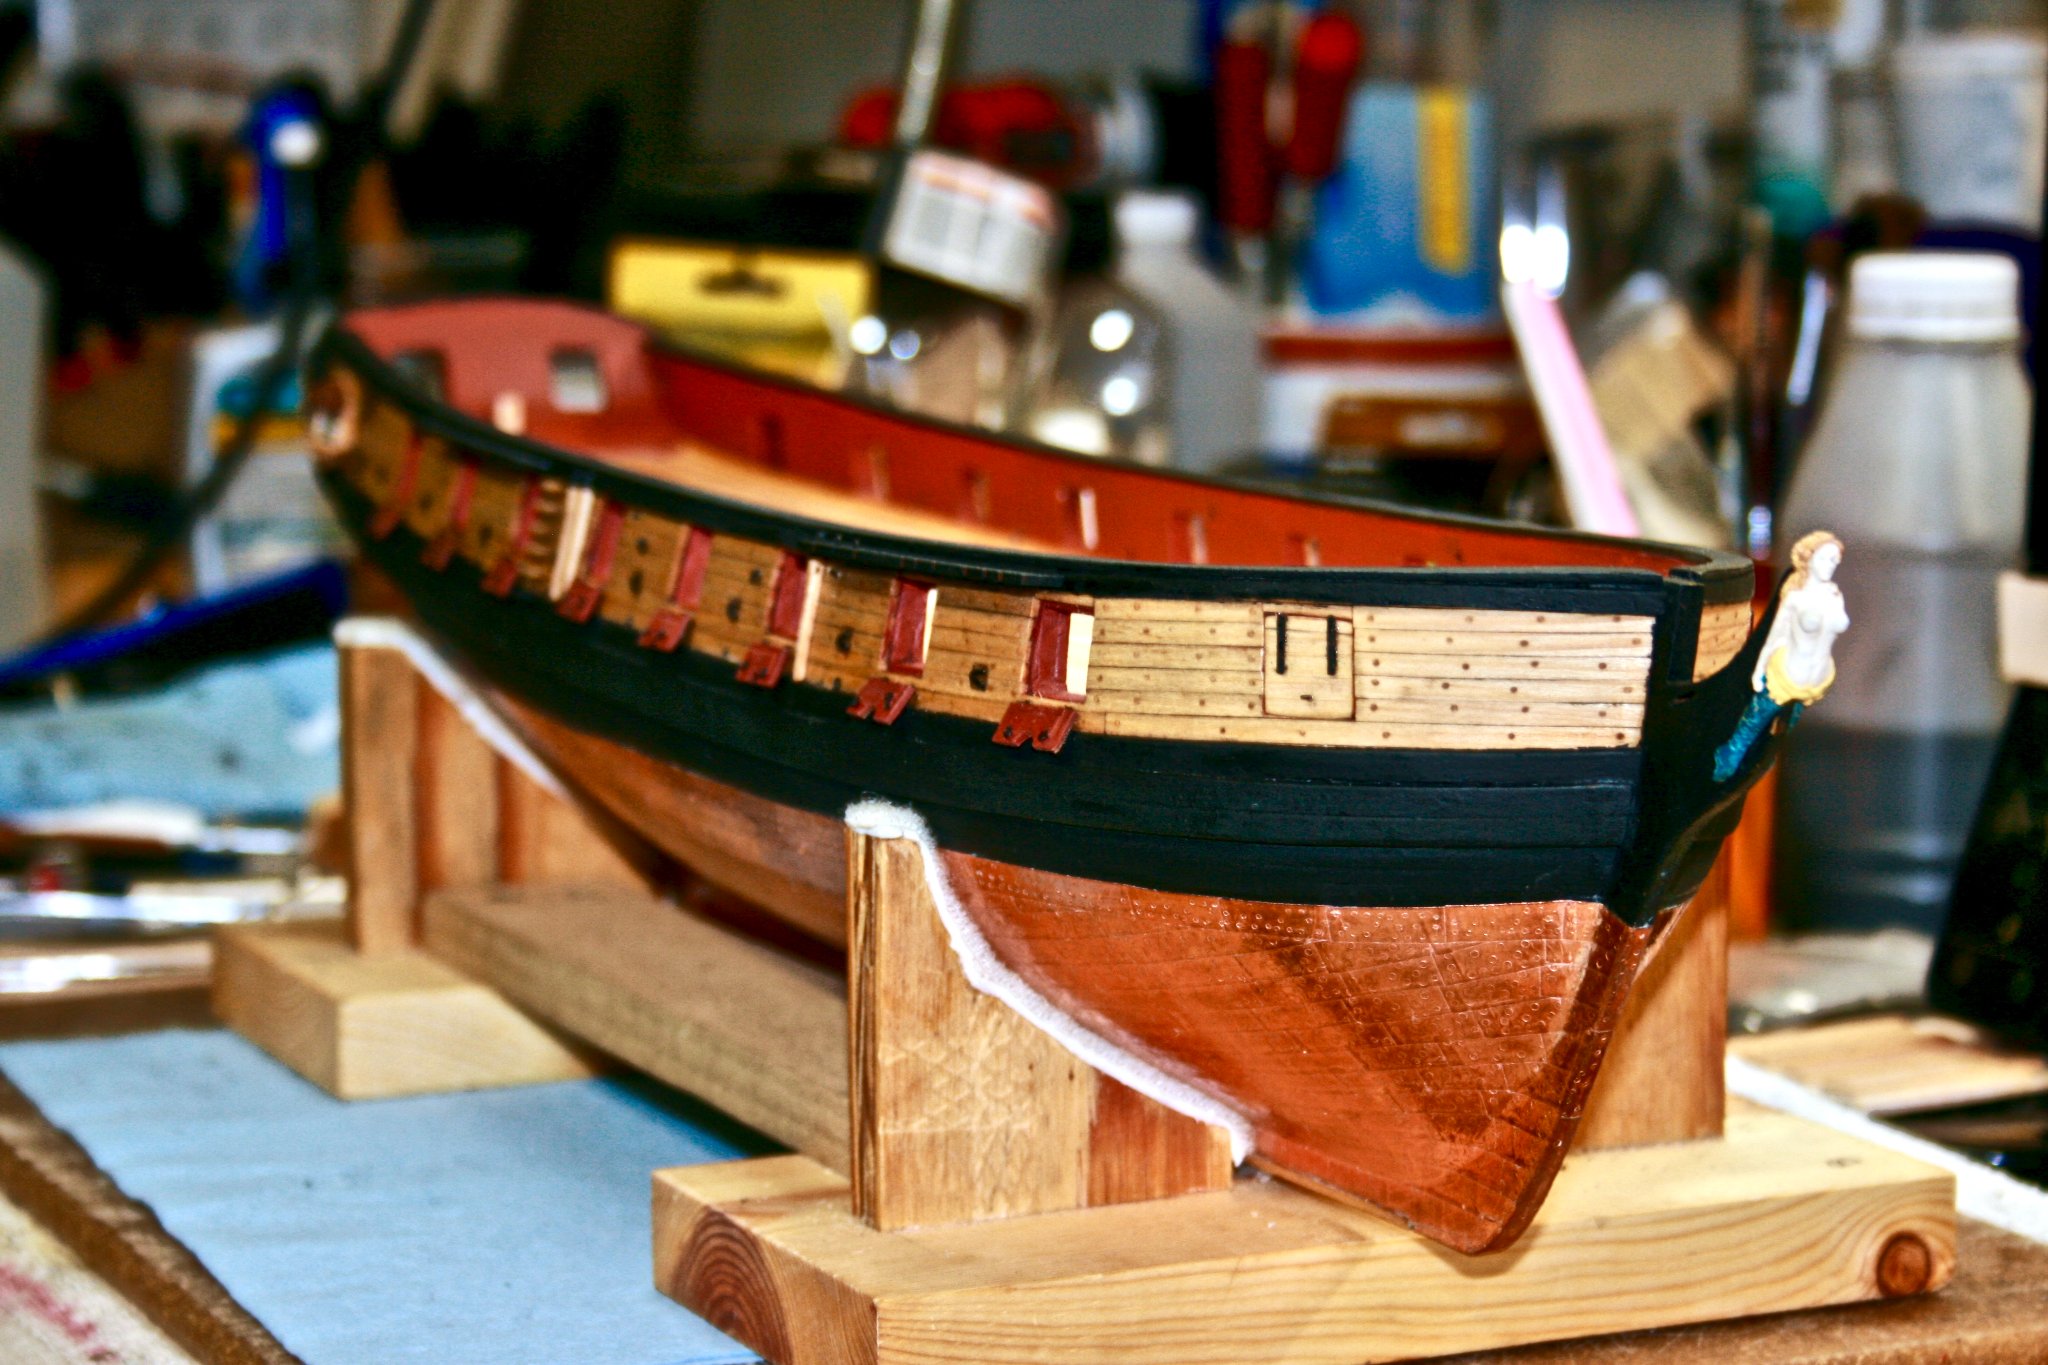
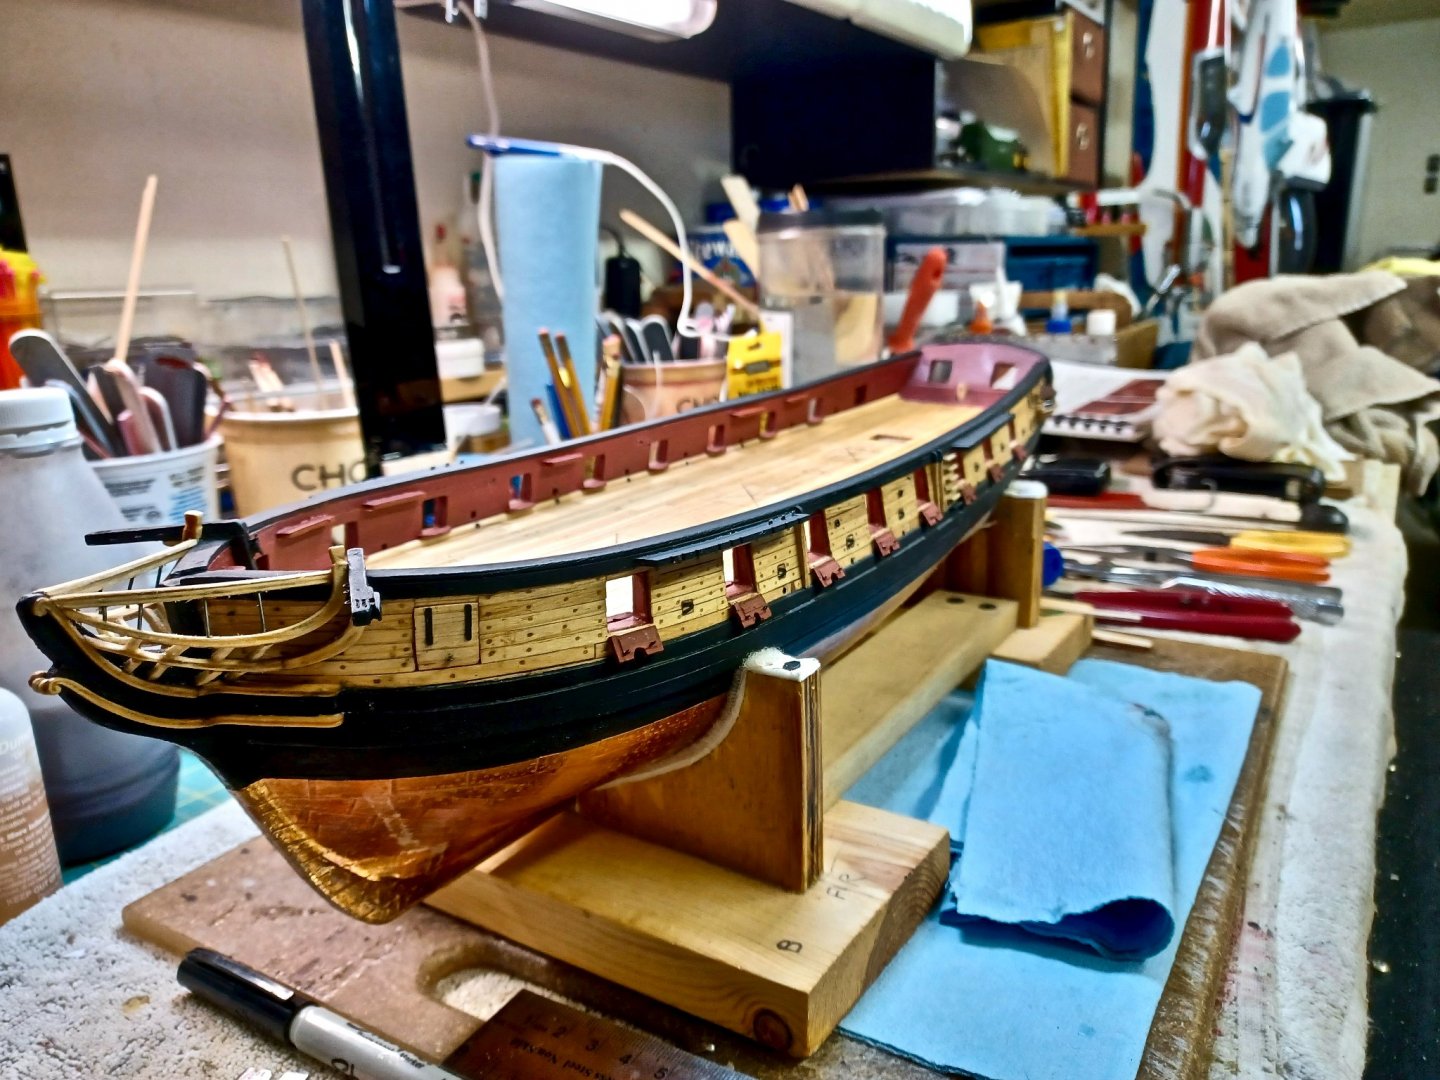
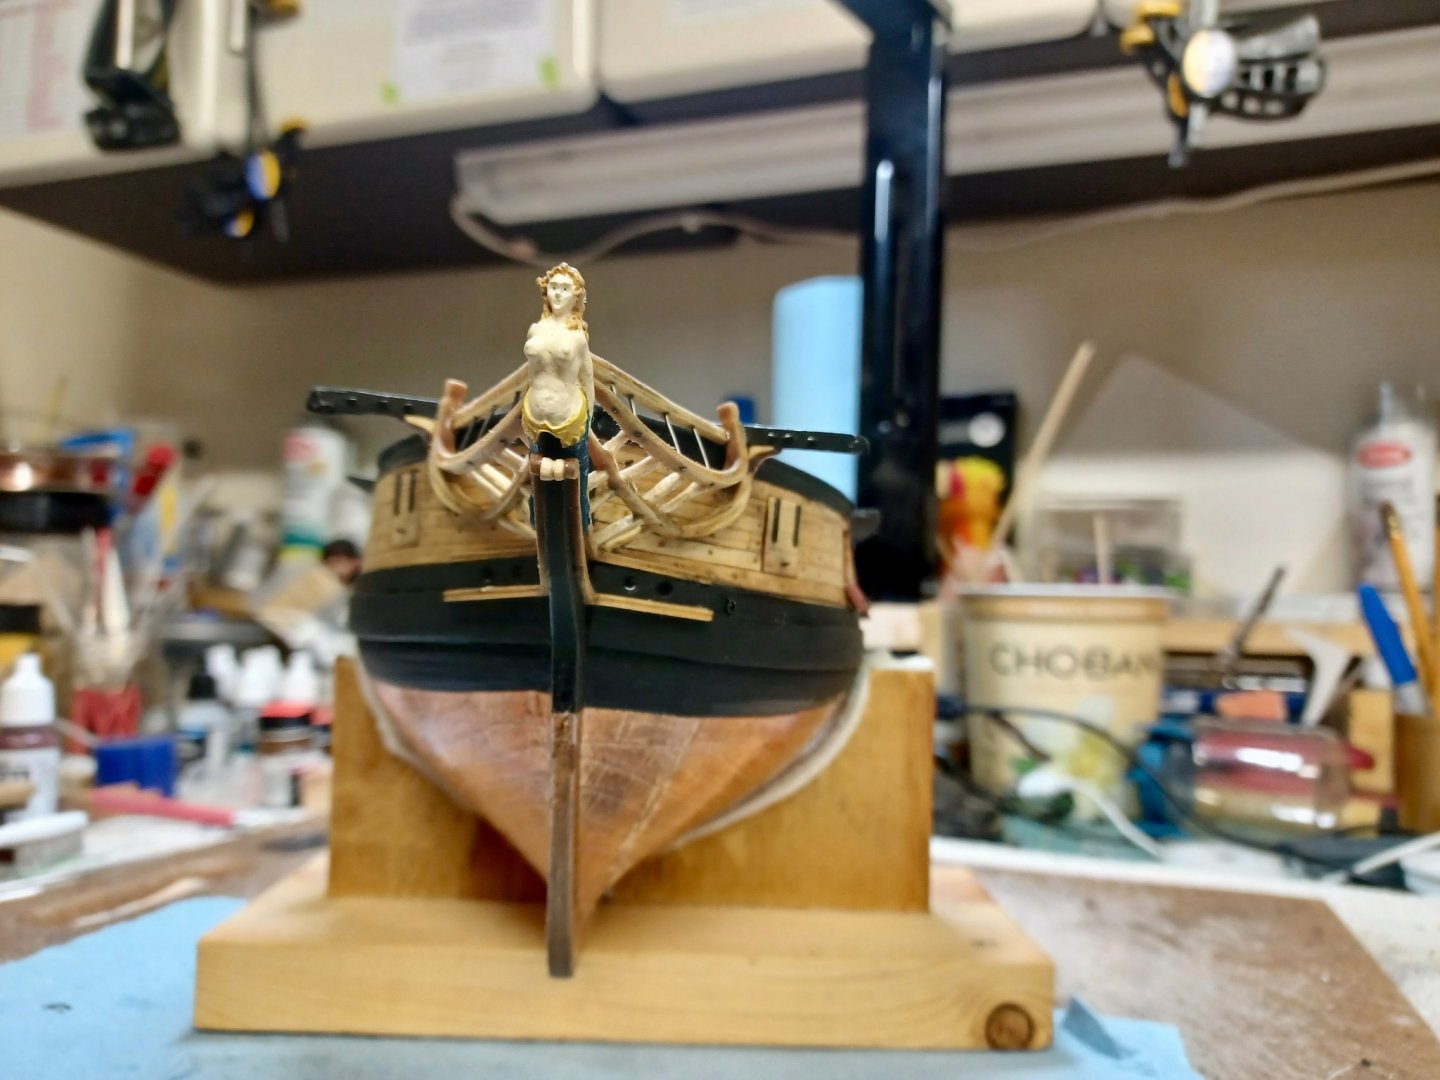
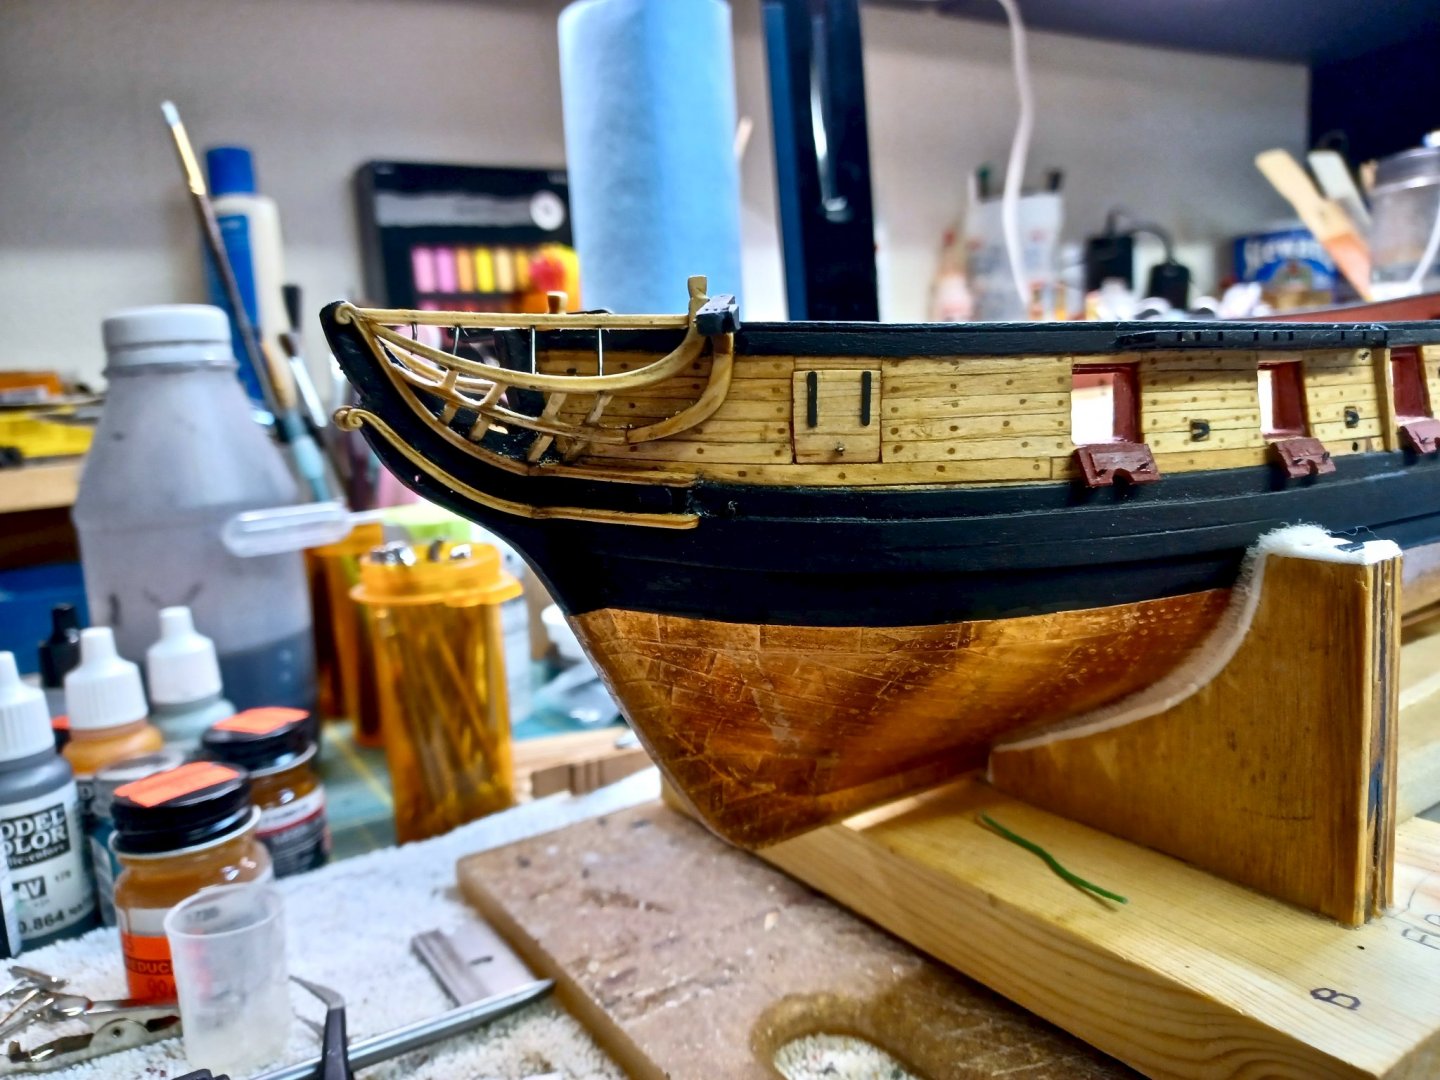
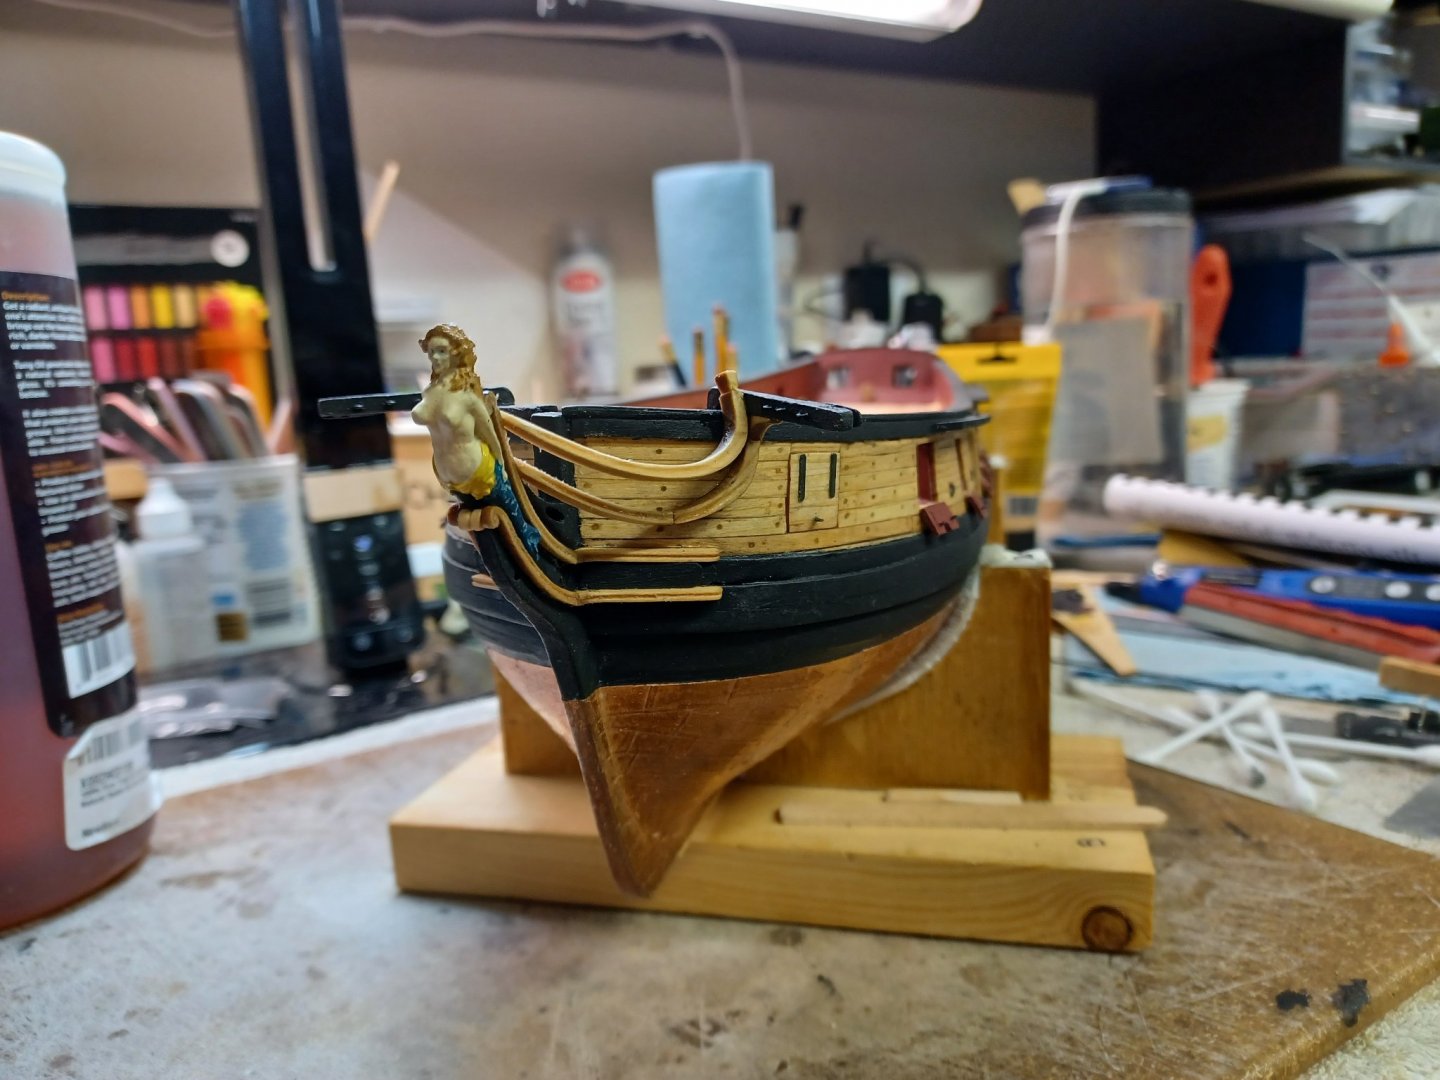
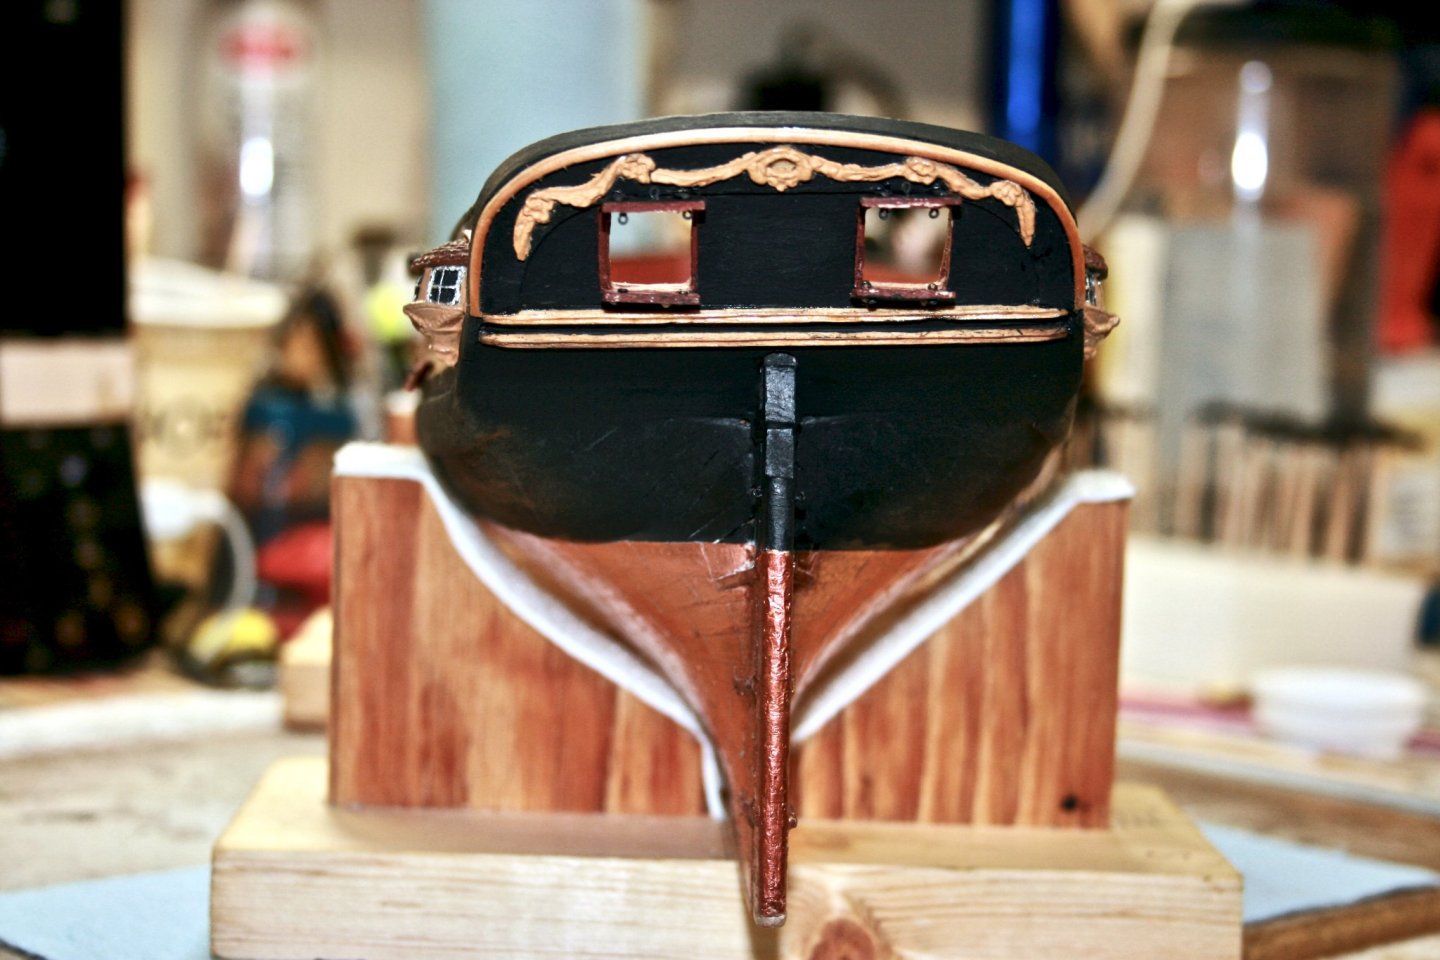
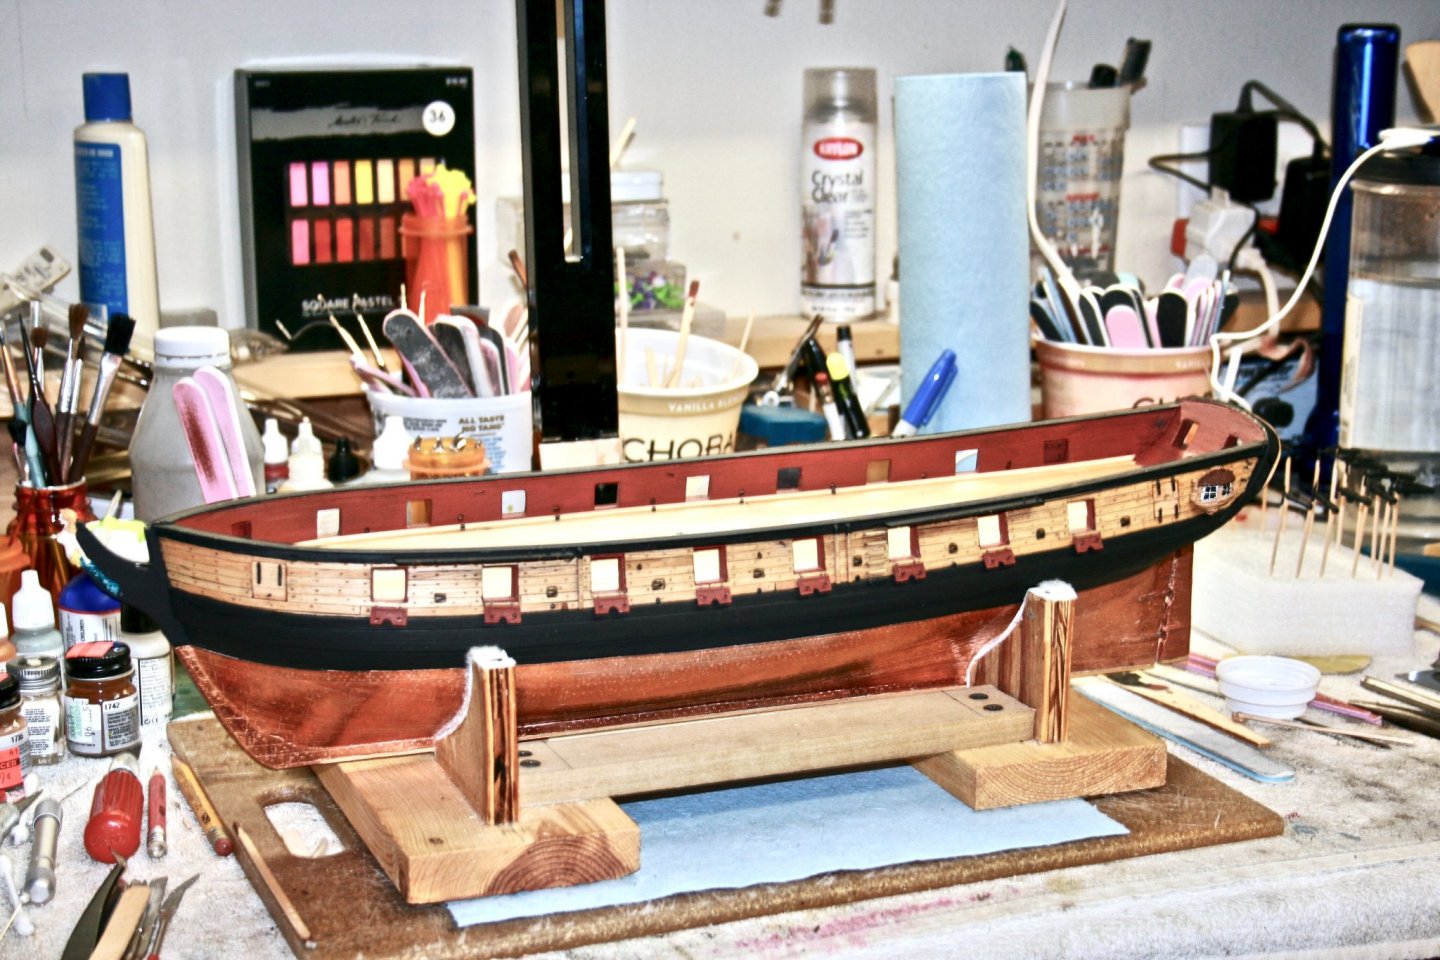
Onto Chapter 11 - Bulwarks and Carronades For any person building a POB or any wooden ship this last part has been the most frustrating and complicated so far. I struggled to get the different parts to fit together well. Not only are the details small, they are full of curved structures and angles that need to be matched between parts. This is my first time through something this detailed and small at the same time. I did change process somewhat, but unless someone guesses, it will be interesting to see if it is noticed. Noobie Recommendation: Do not speed through this part! It will be frustrating and complex enough without having to redo parts because of too much speed. Take your time and work slow read both the instruction booklet and Chuck's practicum multiple times. And when you reach the "bumpkin" create and install, make note of the practicum that indicates to install the bumpkin later. And for the figure head, it is removable for now. Like the catheads it is just one of those knockoff parts that sit's there daring you. I took the suggestion in the practicum to add both the bumpkin and figurehead later. I am looking forward to the next part... on the deck stuff. ....👍


- 436 replies
-
- 3
-
-
- Syren
- Model Shipways
- (and 1 more)
-
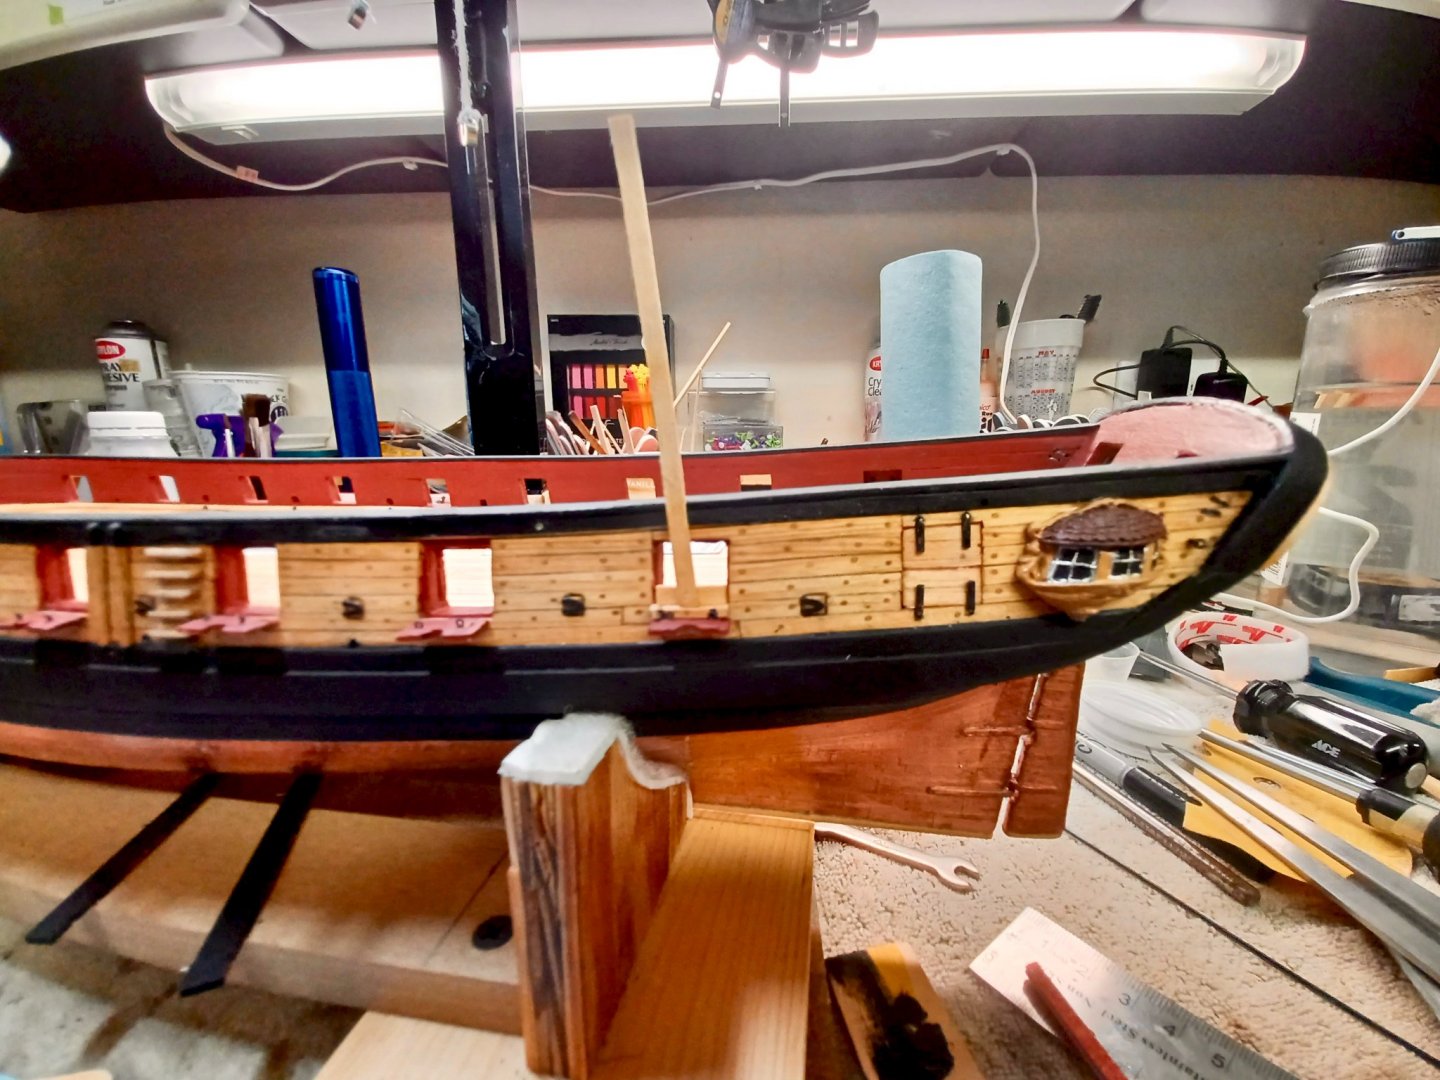
Headrails (Port) Almost done: (Disaster Averted) I have completed the head rails on the port side and now need to move to the starboard. I have to say this has been the hardest part of the build so far. Numerous parts in a small area and most are custom fit. Except for the clean up of the area, I am satisfied at the outcome. However, an almost disaster required a lot more clean up than can be seen. I have been using CA for a good portion of the construction since it allows for a quick drying of the contact. This helps to speed up the process of small parts that need to be held while gluing. The timber heads along with the curves make wood gluing difficult without clamping. And I just don't have clamps that would work anyway. While I used very thin CA, I did not see how much had run down the bow until it built up quite a bit on the carved parts around the hawse holes. When I finally discovered it, it took an hour or so if cleaning up the overruns. Once that was done, I had to go back and repaint, and refinish the wood parts with tung oil. Next time it is gap filler CA which does very little running since it is thicker than the thin stuff. I was sweating it for awhile, especially where it had built up. Whew.......
- 436 replies
-
- 2
-
-
- Syren
- Model Shipways
- (and 1 more)
-
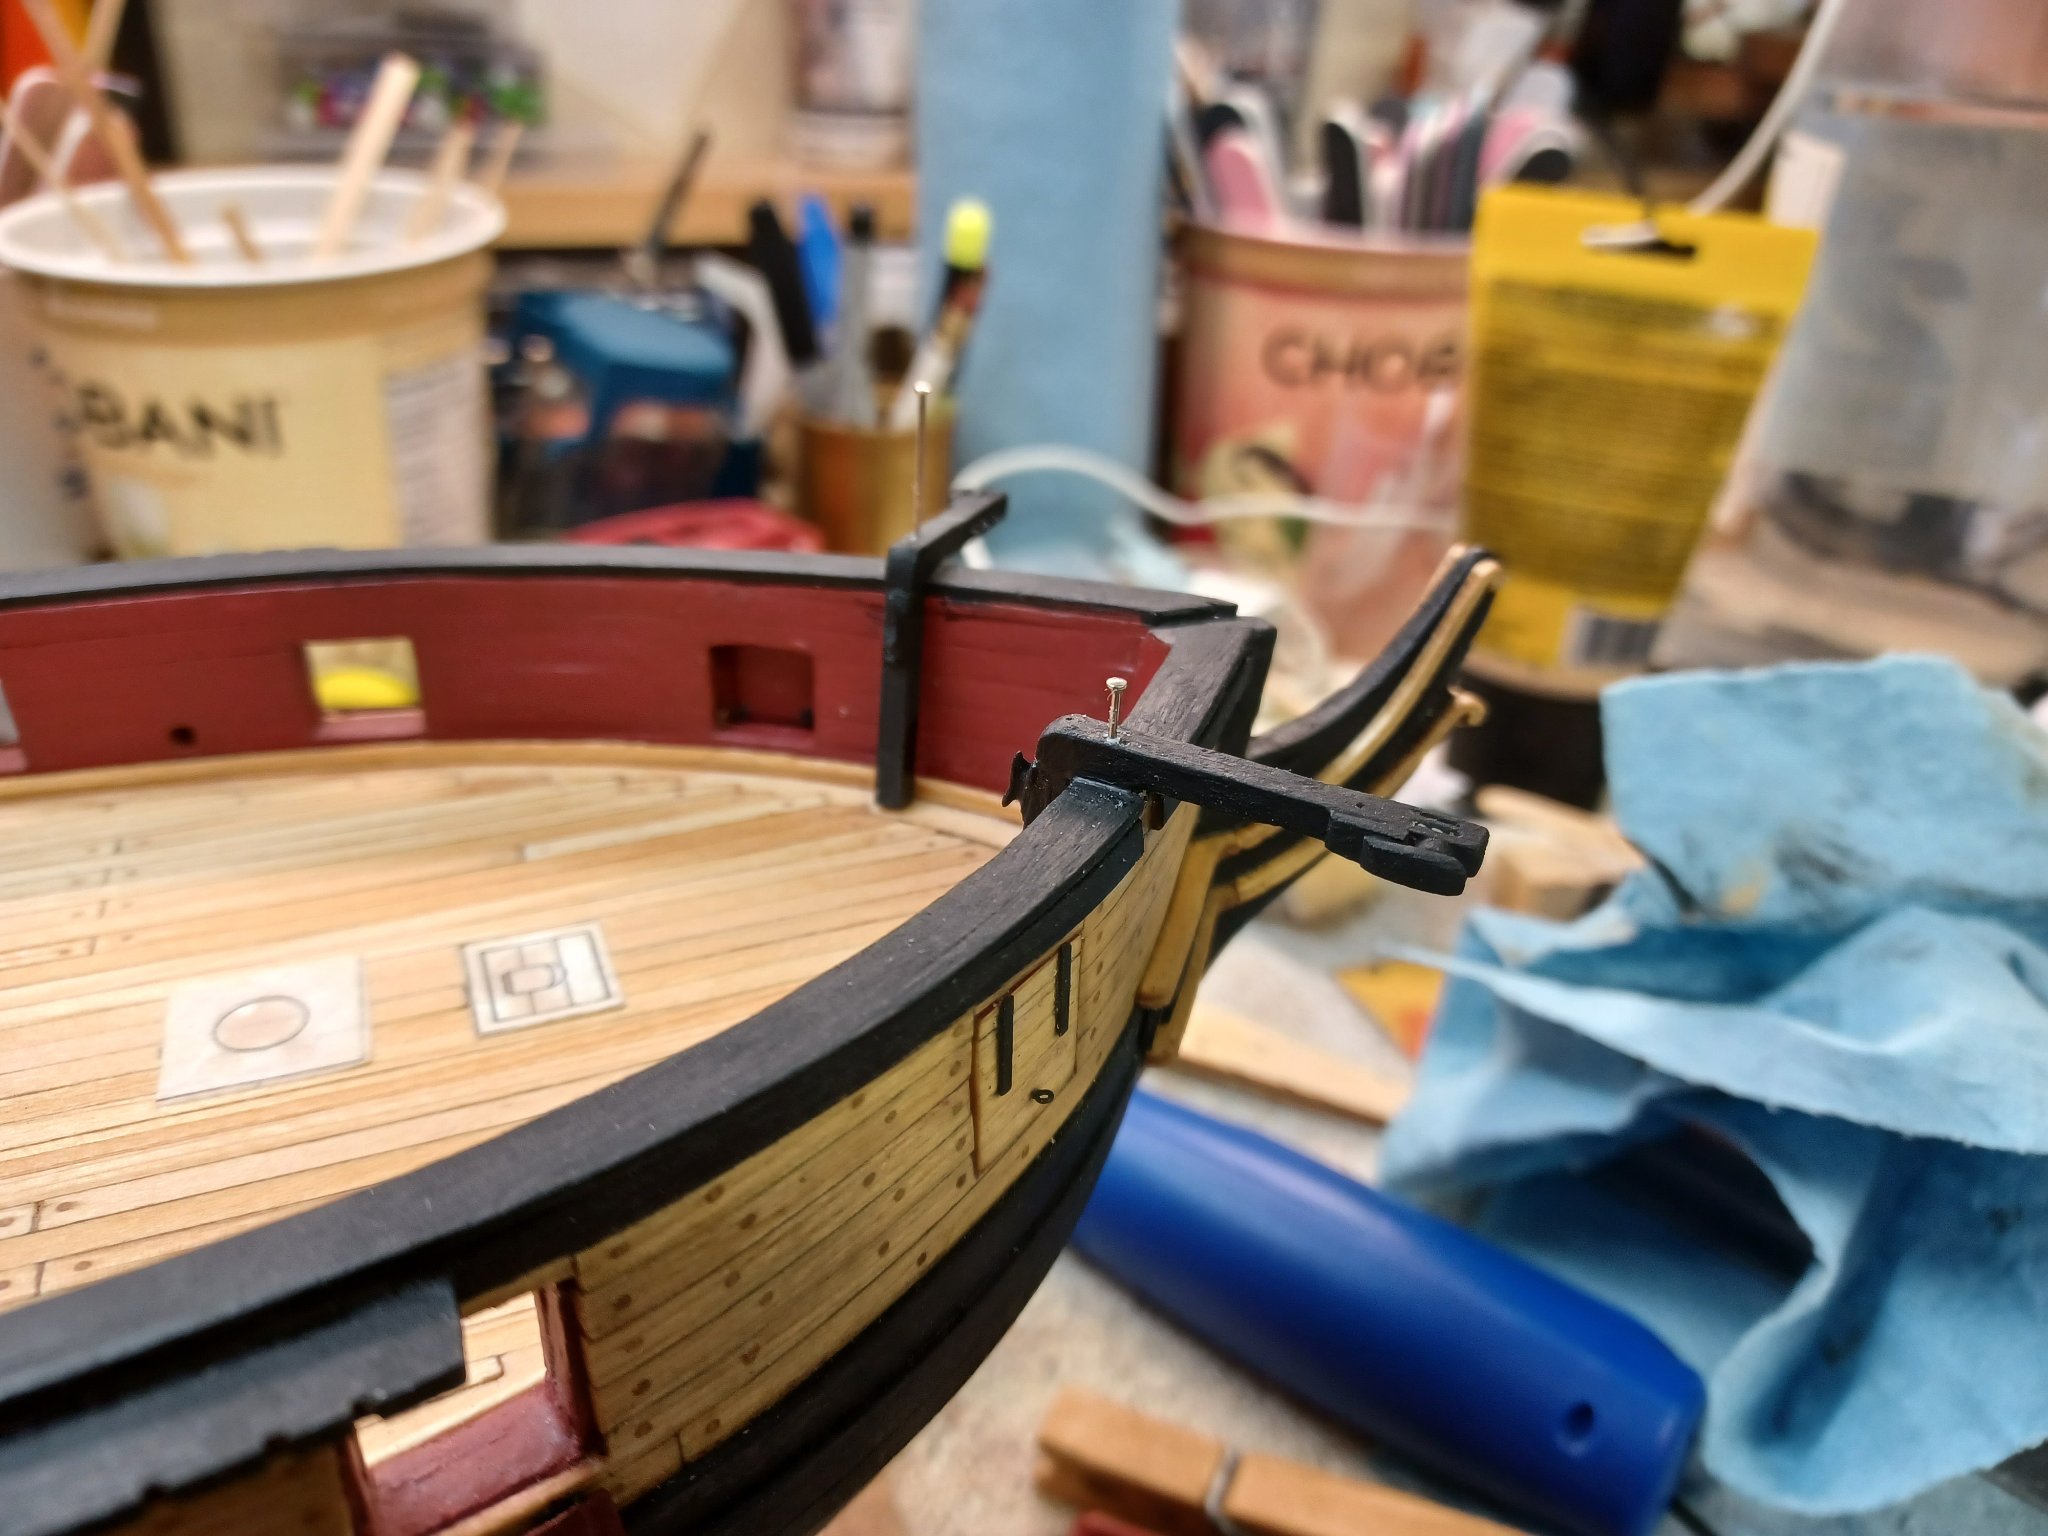
Catheads, and Headrails: One thing that I noticed about the catheads is that they just sit there waiting to be hit and knocked off. (I am not talking about regular catheads... 😁 ...although?) Puns aside, I did break off one of the catheads, so after I repaired it and reinstalled, I decided to pin both of them. (PIC) Then it was on to the head rails...something that I have been anxious about. I haven't carved wood very much until this kit, so I was a little hesitant to get here. Here is the progress I have made and so far, I am ok with the results. The middle rails do not have as smooth a curve as I would like, but they are in place. Next step is to add the head rails on the interior, then the final top rail. I also included the figurehead since it has been painted. Here are the pics. (pins first)


- 436 replies
-
- 3
-
-
- Syren
- Model Shipways
- (and 1 more)
-
Thanks @baskerbosse there is a picture on page 121 in the instruction book that shows them. Parrel “trucks” is what is used and has beads in between each one, I think. The angle of the picture makes them easy to overlook. It now makes sense that they were scotch taped to the boom and gaff jaws. 😀 duh...
-
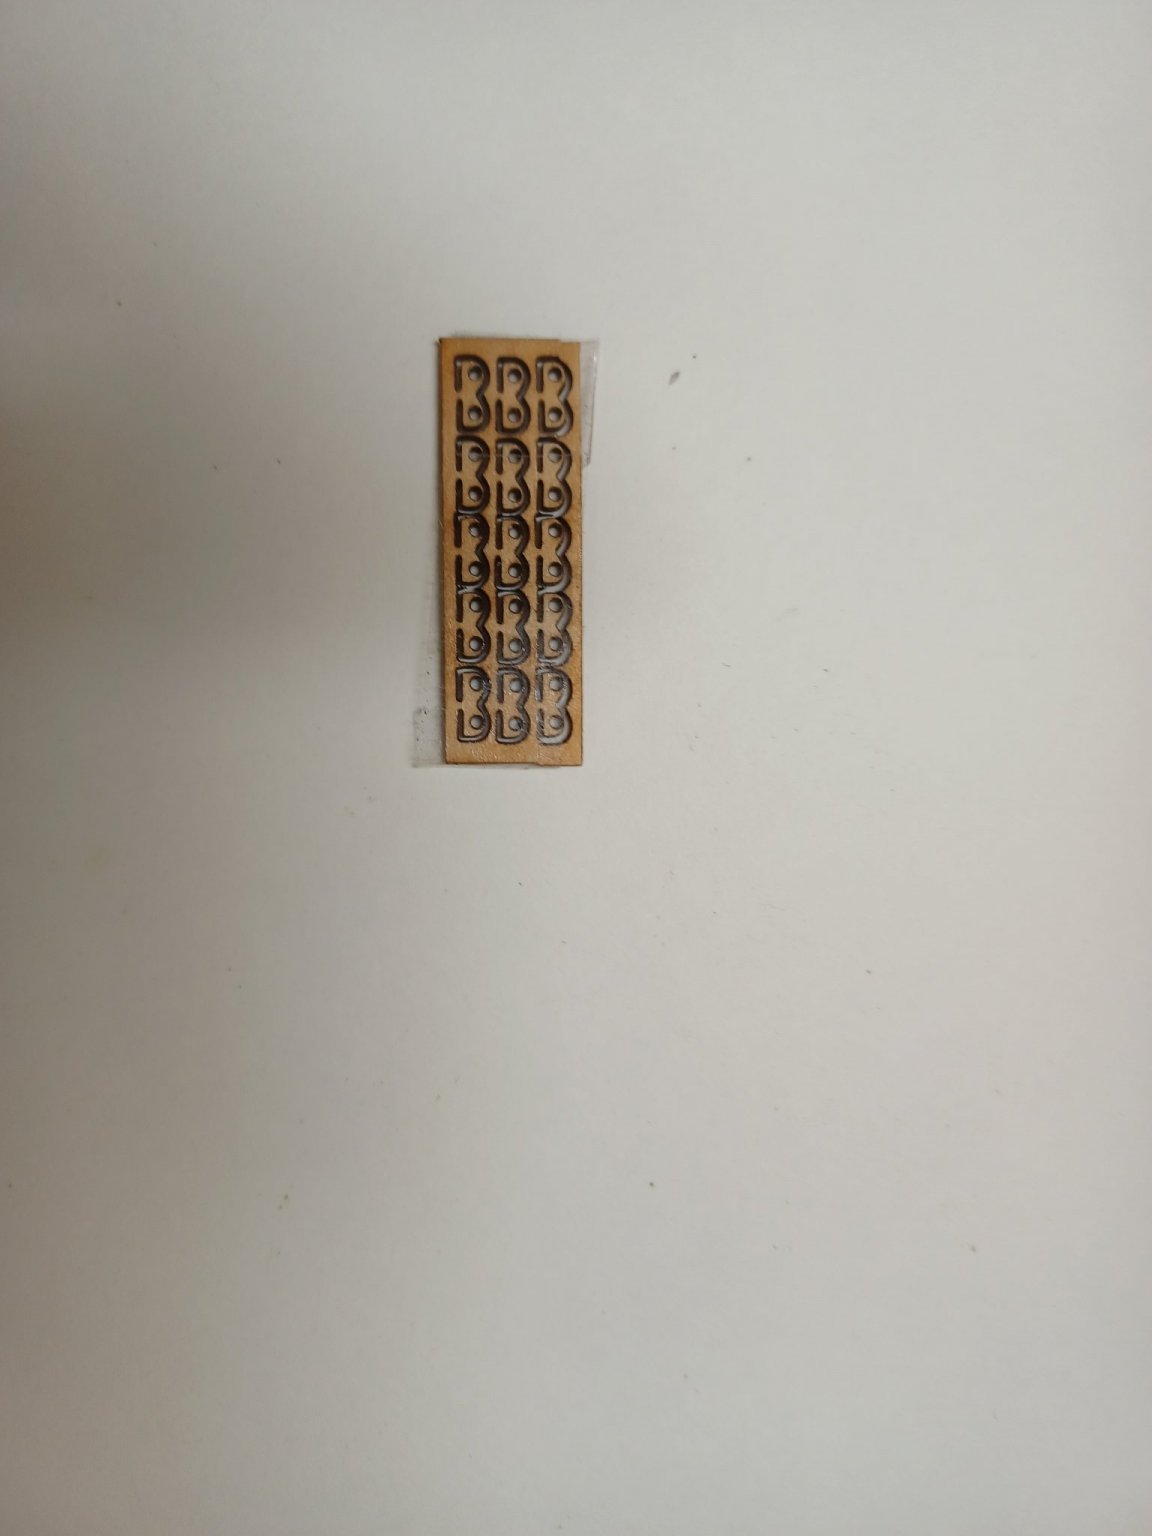
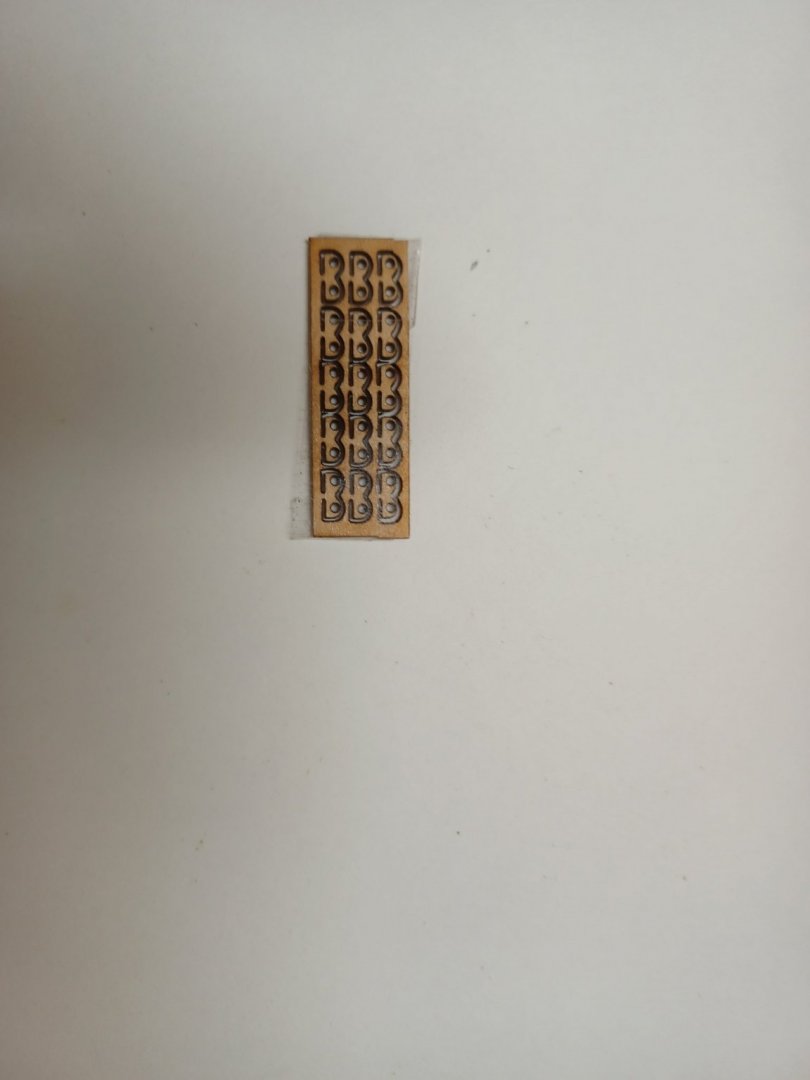
Catheads and Headrails & What is this? I am making progress on the headrails, but it does take time to make sure it is right. Thanks to the kit for having extra parts, just in case I break (...or broke) one. 🙂 I have added the pictures of the progress, and a picture called: What is this? I have gone through the instruction book several times looking for these parts, but still haven't found them pictured, or found out what they are used for. I first thought it was for the inboard part of the hawse holes, but even the kit doesn't have that many extras. I then thought it might be the base for the oar locks for the long boat, but even the instructions talk about cutting strips for it and then adding 28 gauge wire. So, I am still not sure. Any help will be appreciated. I hope to get the head rails completed in the next day or so, but for now gotta rest my back. Have a great holiday weekend all.


- 436 replies
-
- 4
-
-
- Syren
- Model Shipways
- (and 1 more)
-
Thanks Allen. I have to say, I am very happy at how she is turning out. For my first time building one of these, I have been able to learn new building styles, but also have used a lot of what I have learned in other hobbies. Nothing quite this small and with as much detail. I do appreciate hearing from another builder that my efforts are noticeable.
-
On To Chapter 10!!!!!..... It seems I have been on Chapter 9 forever, but there were delays for an order or two and vacation. Finally though, all the little details are in place and now it is on to the headrails ...oh joy🤪 I even had time between drying glue to paint the figurehead. I took the liberty to go down the creative path and painted it with some color. It felt sometimes like I was painting with one hair in the brush. Also went back and did some more clean up/painting on the transom. Any way, onto the headrails..... Here are the pictures of my progress:

- 436 replies
-
- 4
-
-
- Syren
- Model Shipways
- (and 1 more)
-
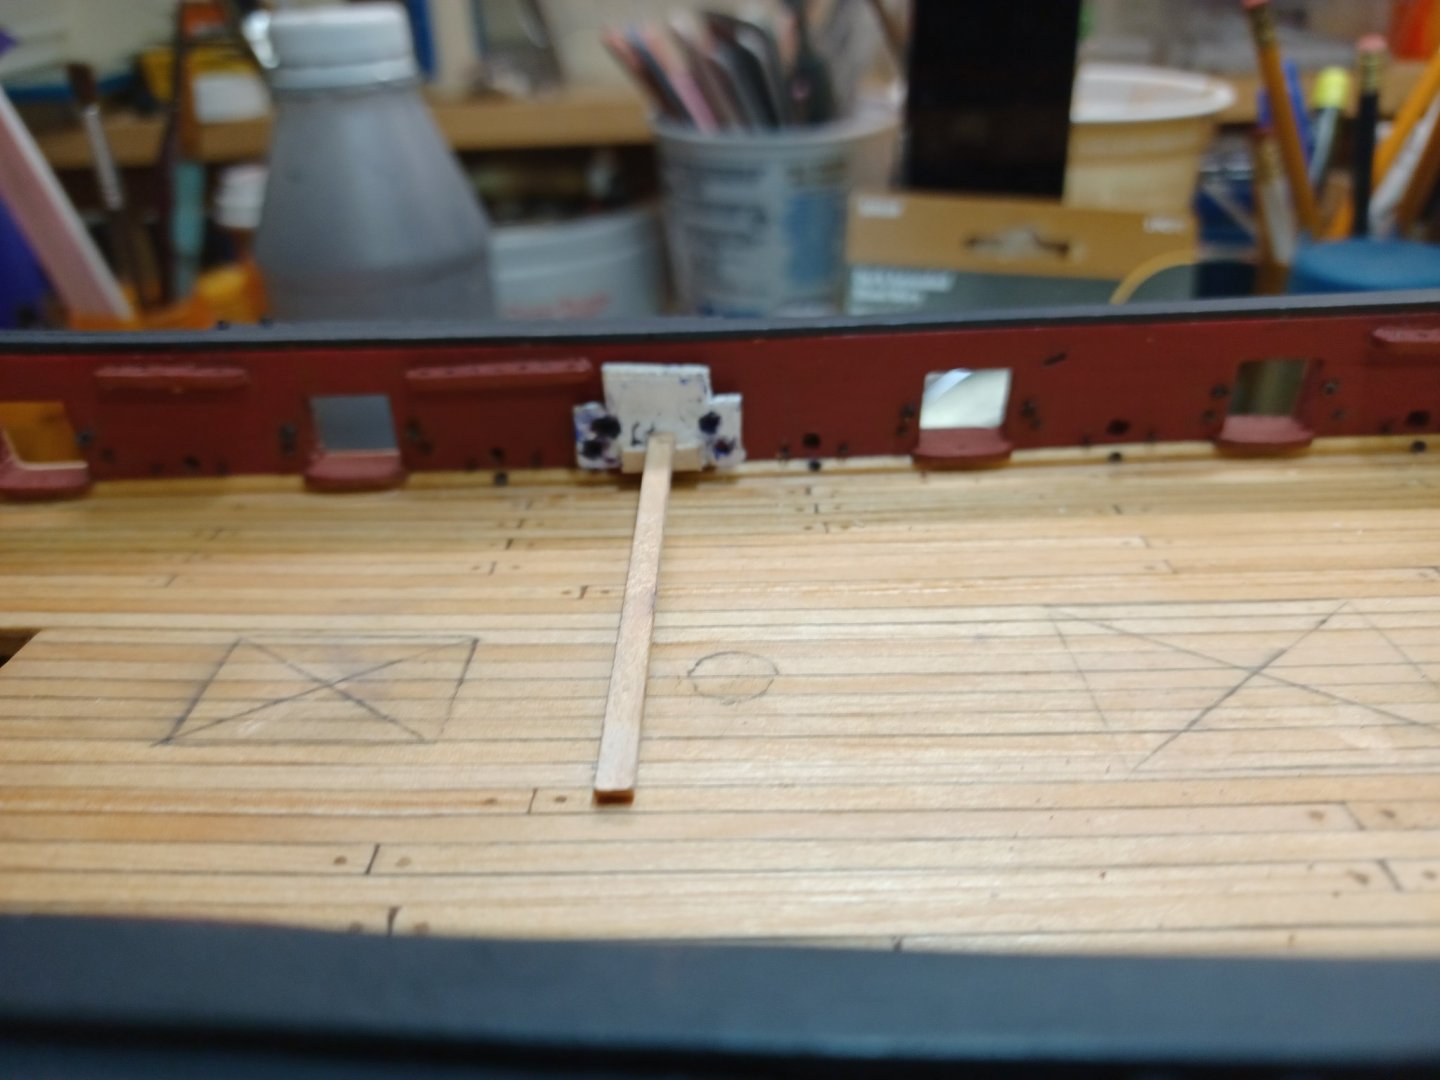
An Inconsequential Tool That Turned Out Not To Be: Chapter 9 has, what seems to be the installation of door hinges, split rings, and eyebolts for the carronade port doors. So to make it a bit easier, I made a tool in about 5 minutes. You can see it in the picture it is placed into a gun port opening and has 2 marks which mark the lines for both the rings, and hinges. When I first made it, I was trying to avoid a lot of measuring.... It also worked for the rear gun ports as well. I ended up using it more than I would have imagined. Funny how that turns out some times.
- 436 replies
-
- 2
-
-
- Syren
- Model Shipways
- (and 1 more)