Redshadowrider
-
Posts
301 -
Joined
-
Last visited
Content Type
Profiles
Forums
Gallery
Events
Everything posted by Redshadowrider
-
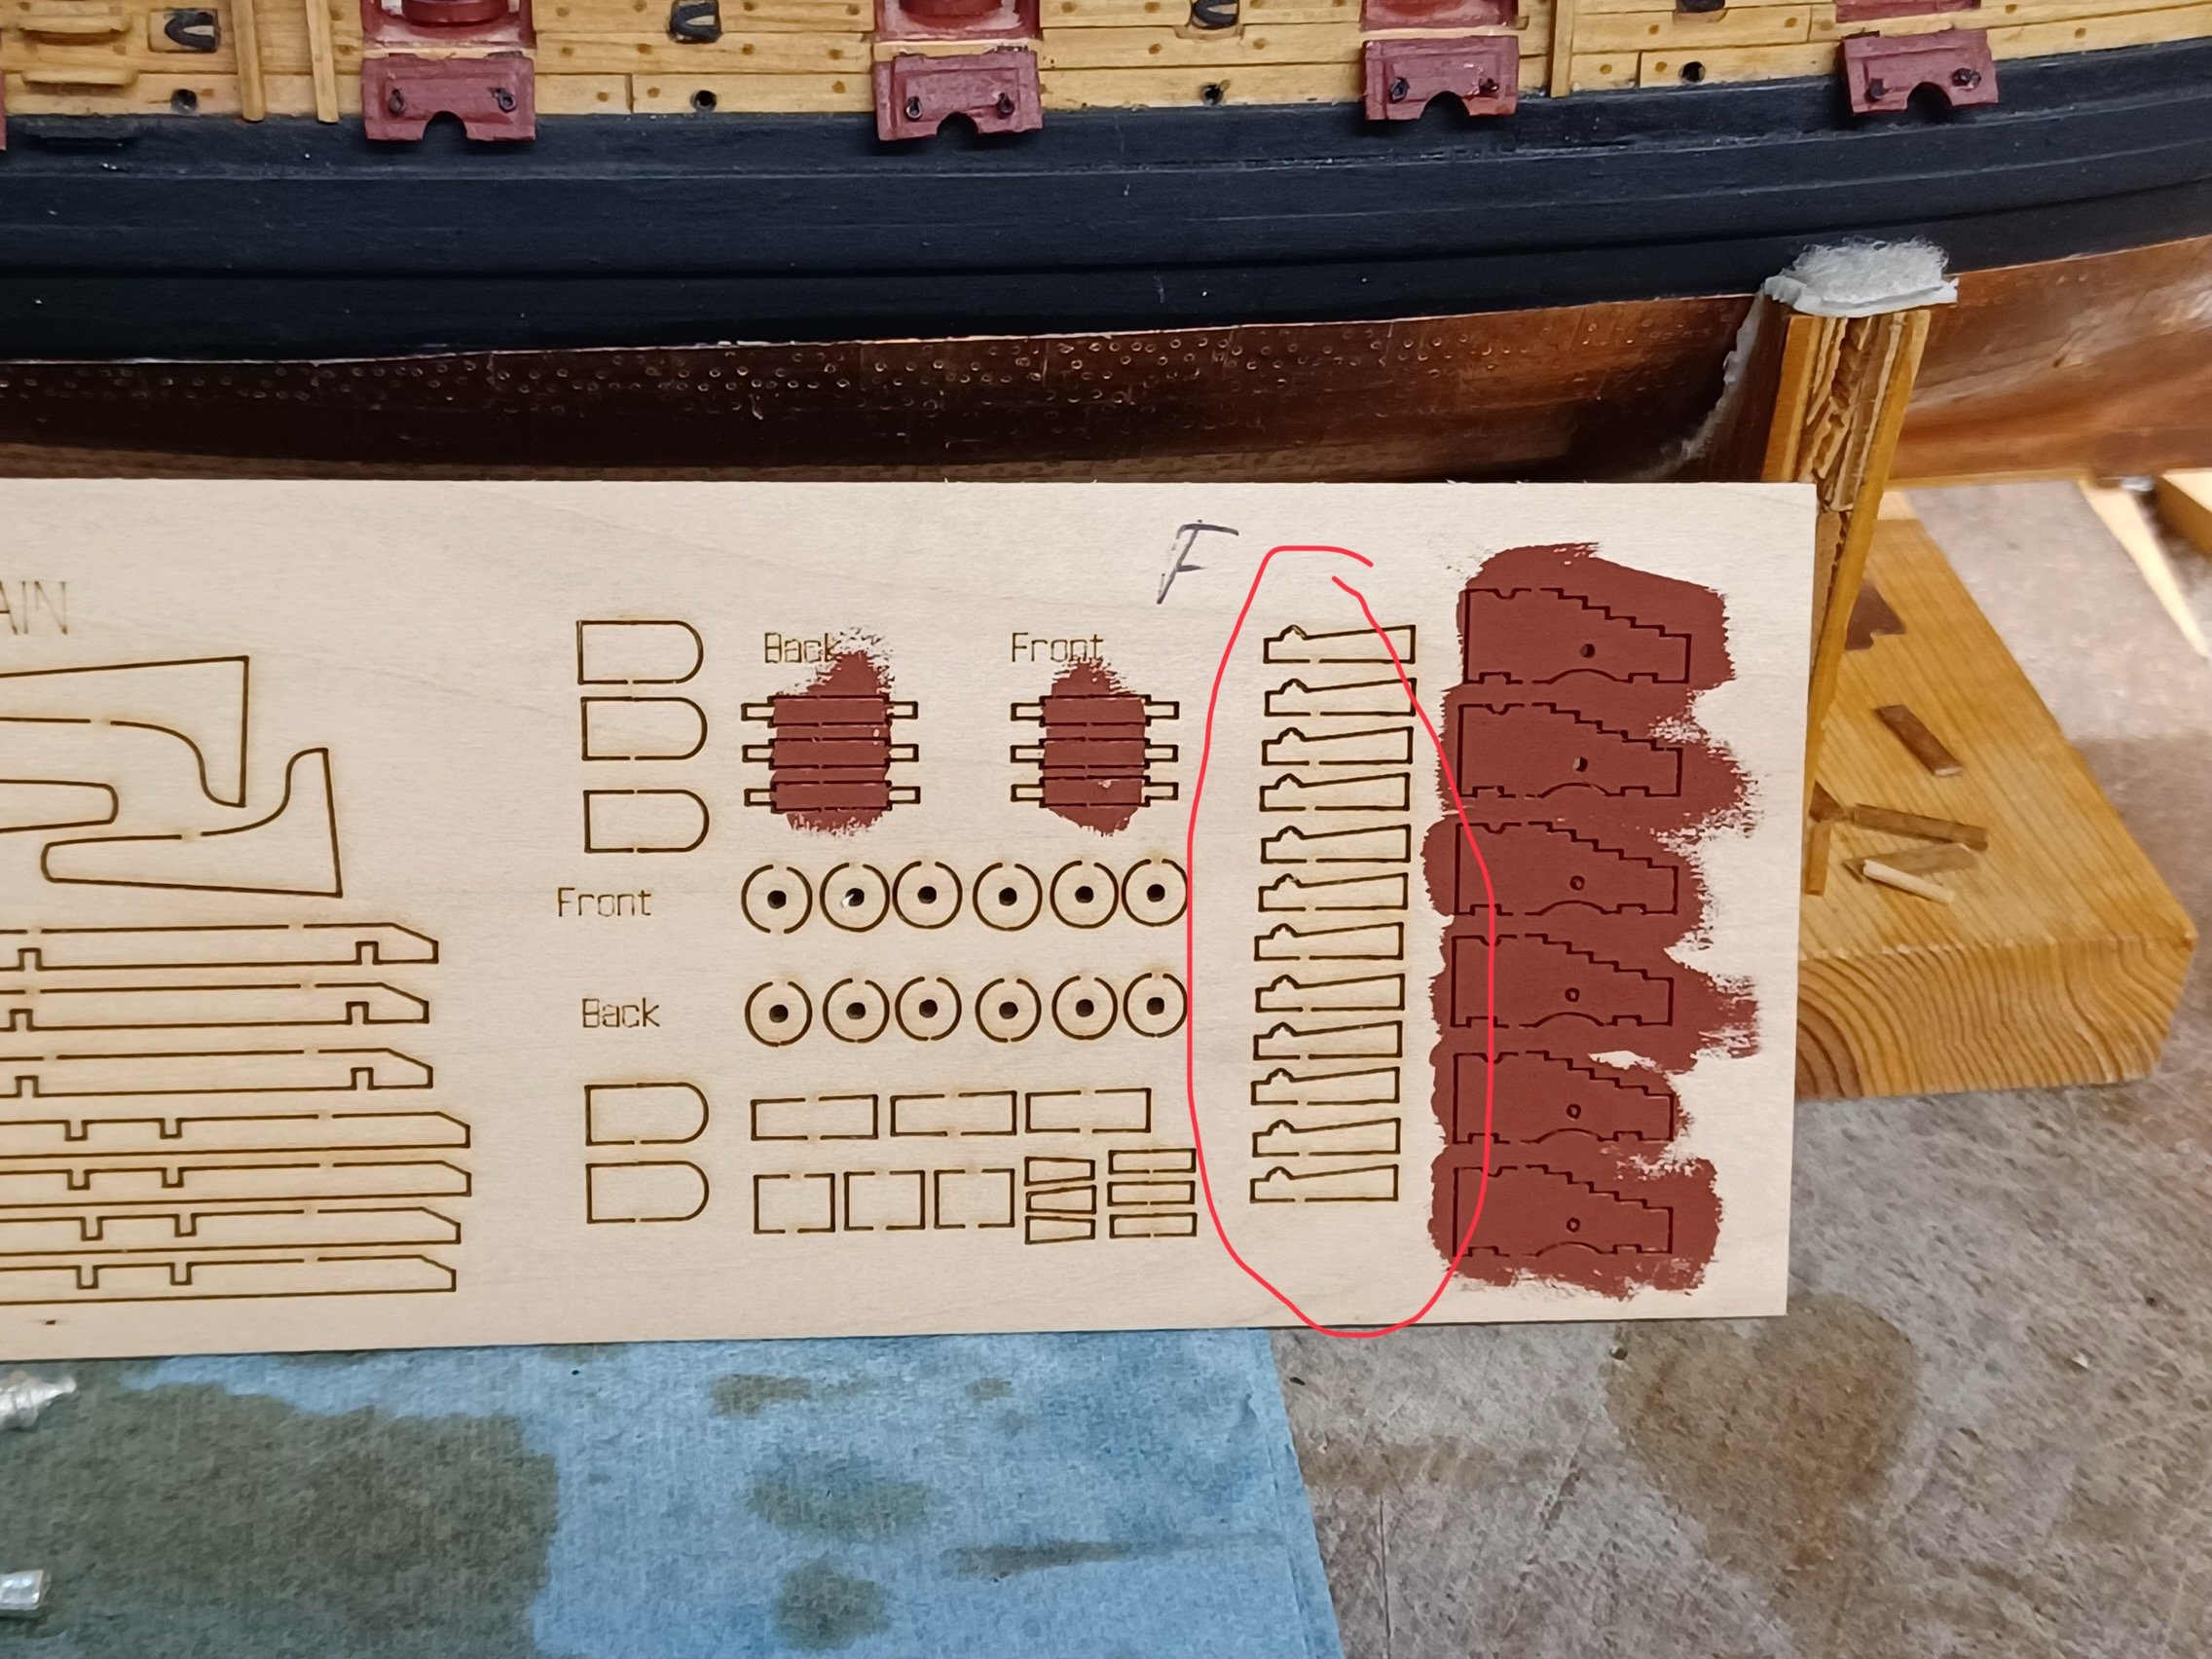
A Funny Thing Happened on the Way to The 12 Pounder 😆 So, here I am painting the carriages red, and what do I find?……whelps. But, wait, I have already built and installed the capstan. So, I check, and nope, these are not used elsewhere, nor did I look for them when I assembled it. To be fair, the drawing on the plans did show 1/16” stock, so that is what I used. Oh well, they came out ok on the finished product…

- 436 replies
-
- 2
-

-
- Syren
- Model Shipways
- (and 1 more)
-
Thanks for the positive comments, they are appreciated. I have thought about the pin heads and either painting the edges to hide most of it, or maybe do as Phil suggests, and remove the pin heads.
-
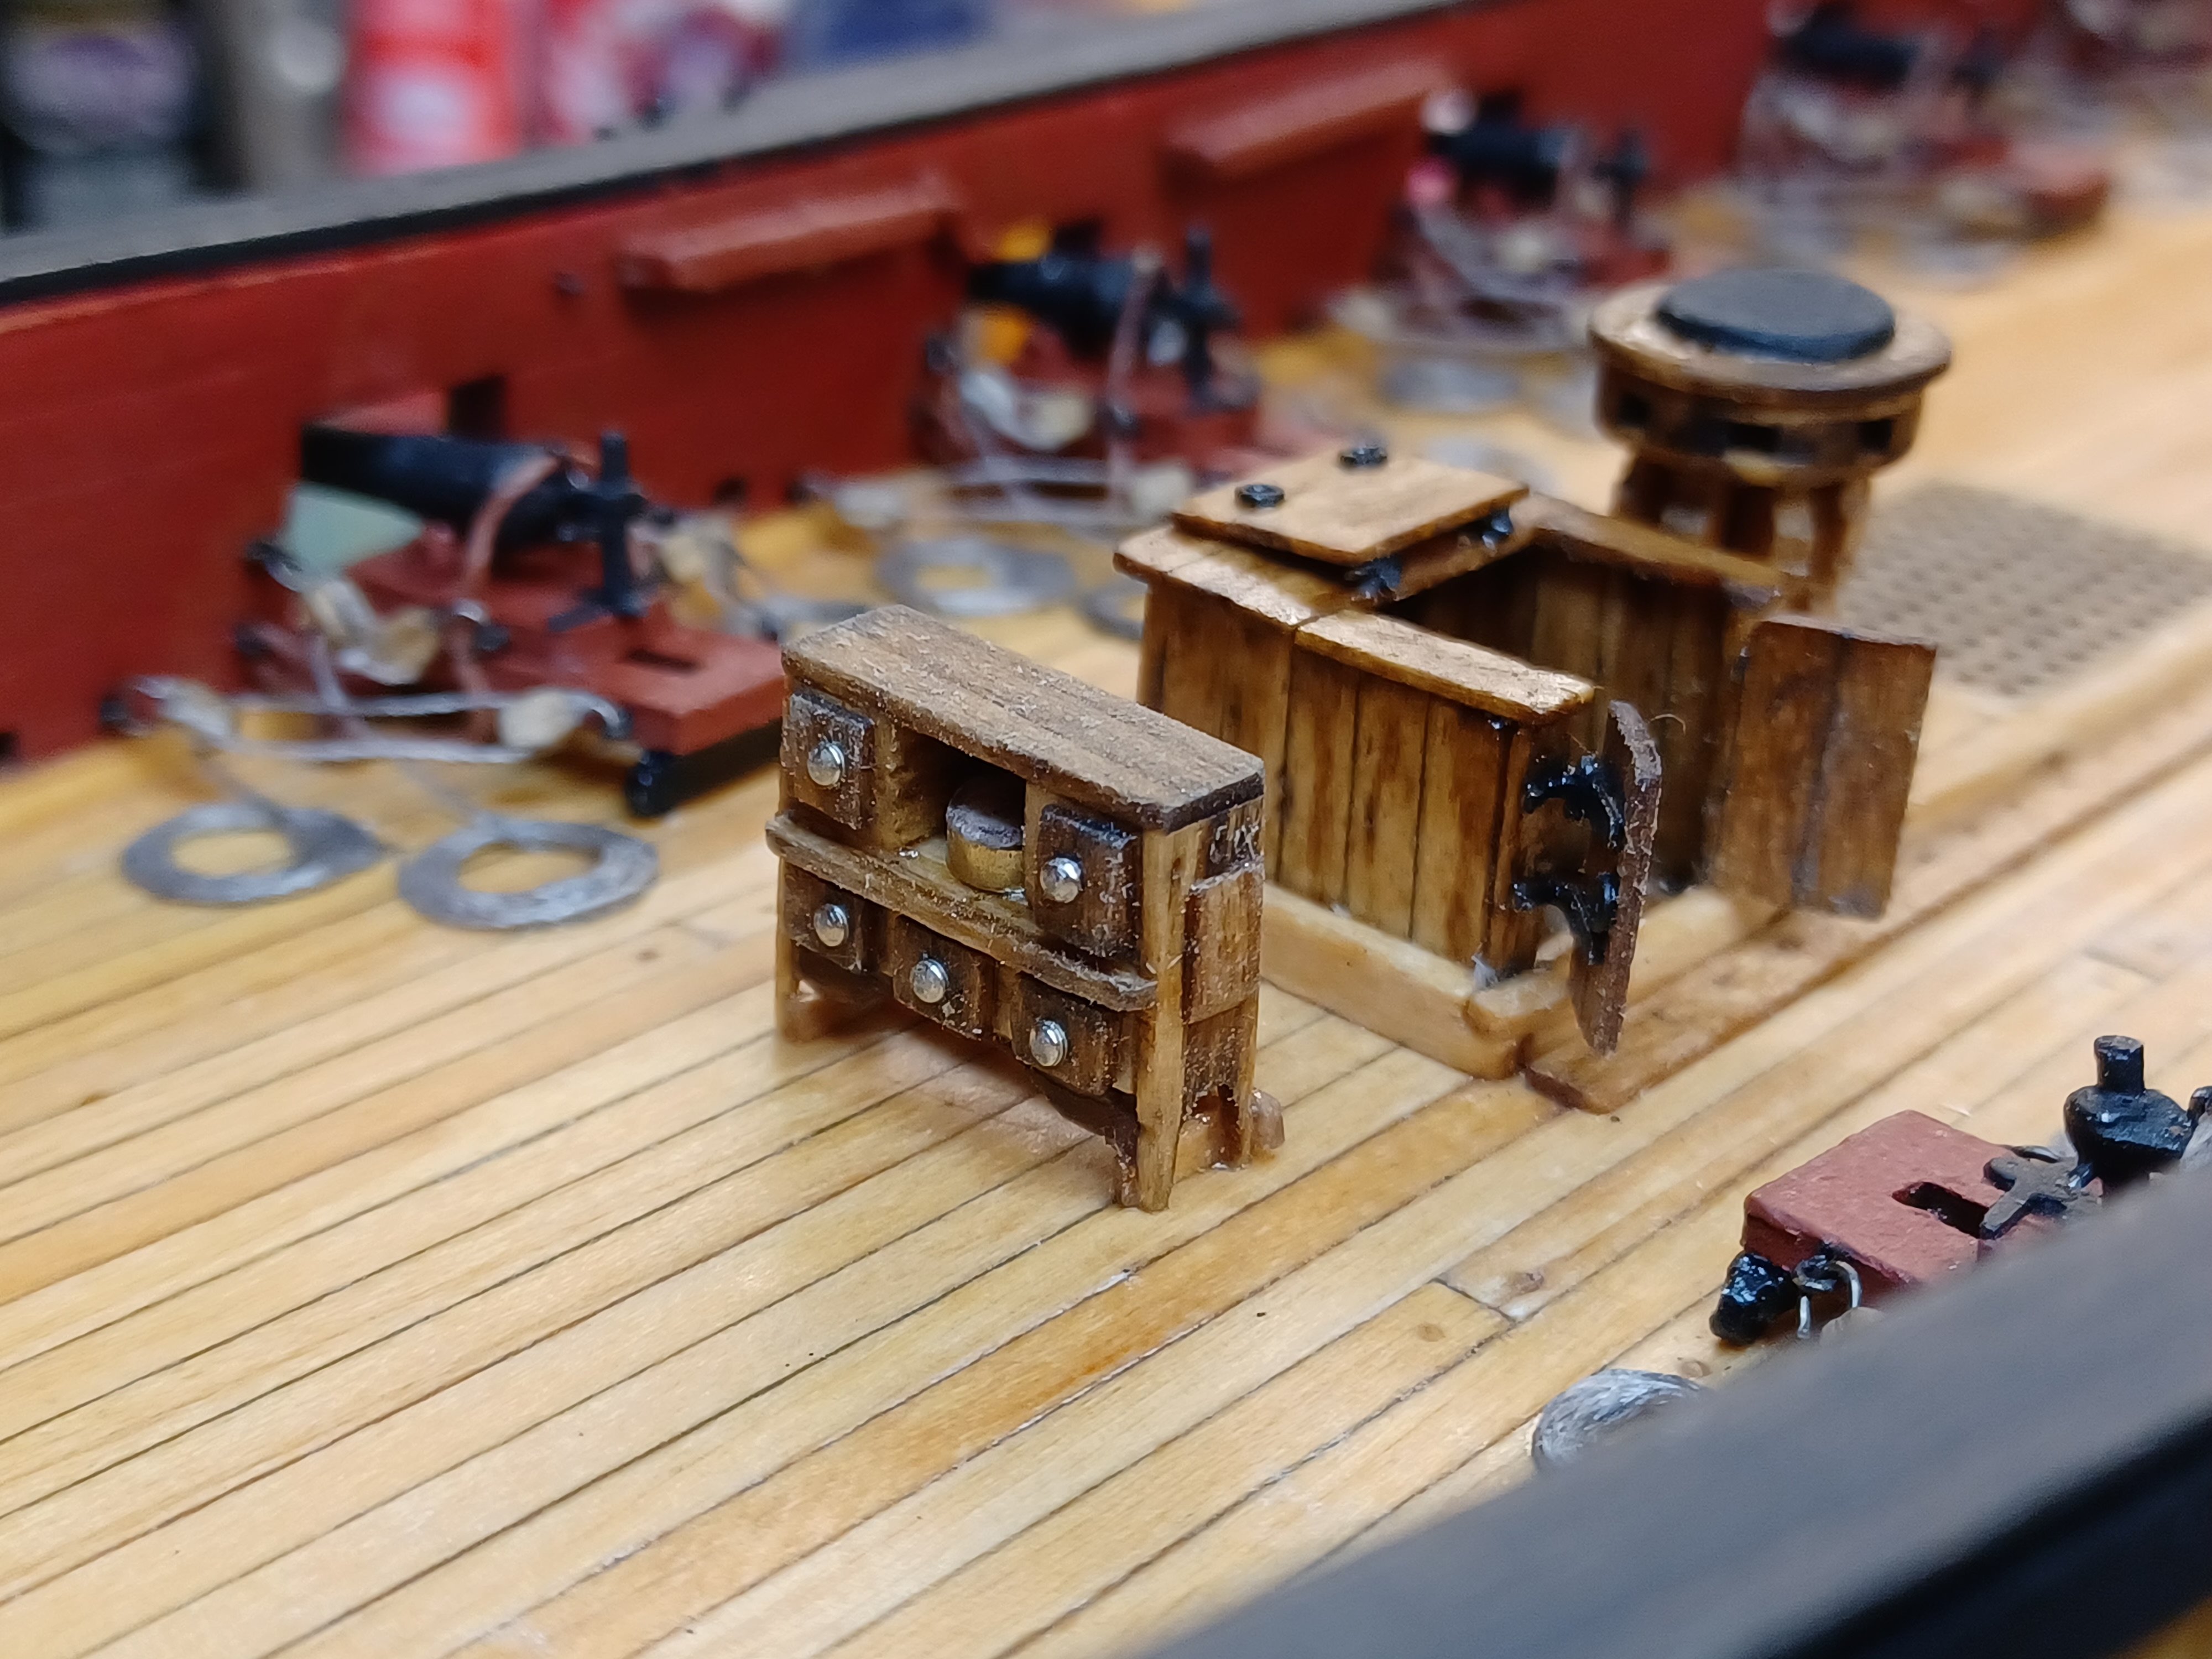
Binnacle Finished, Installed, and I Am Not Happy I have installed the binnacle and its size looks good except for the door handles. I used the heads of straight pins, and still they are clunky looking. I am going to try to make them look smaller, but still need to work out a process. Overall, I think I can do a little work to improve the appearance. However, I need to clean up the overall appearance. The larger picture really makes the rough surface stand out. Maybe a tooth brush would smooth it up if used carefully. Looking at it without enlarging does not show so badly.

-
STUMPED..sort of I have noticed that I am getting low on split rings and eyebolts. Since I will need them, I am looking for a source from which I can order some additional before I run out. I have been looking, but am unsure of which vendor is still active. Can anyone point me to a good source?
-
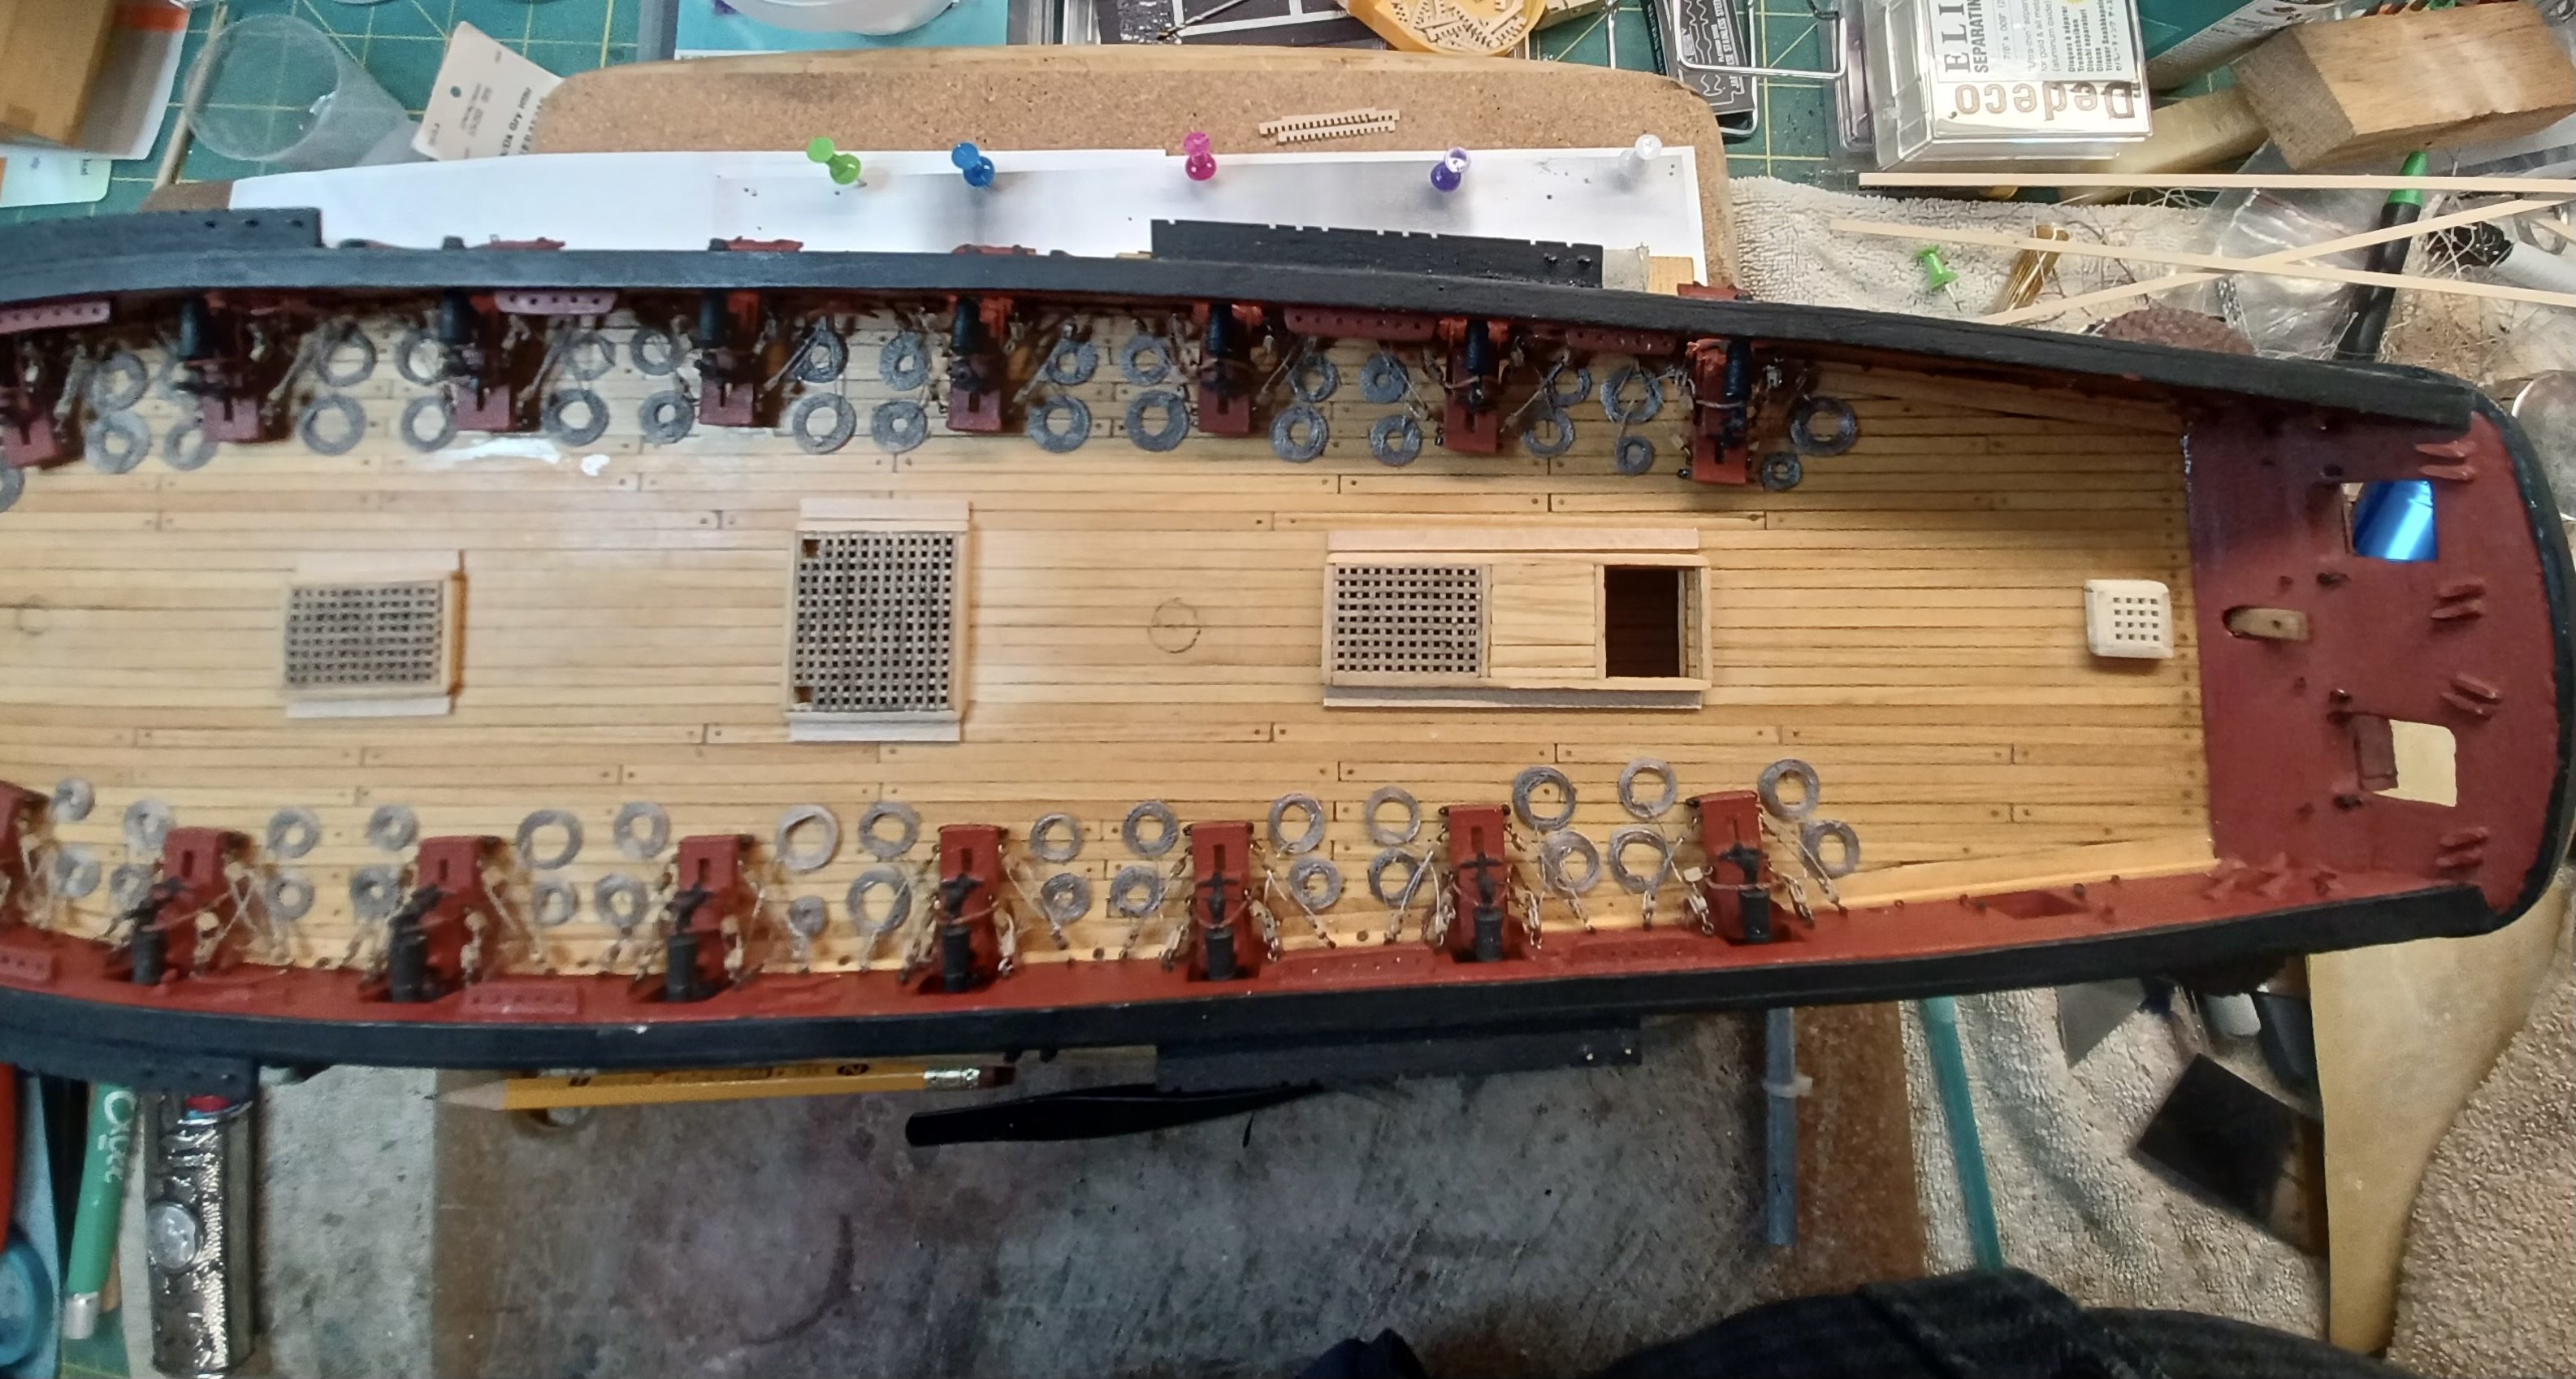
Still Warm Enough for Progress Well, I have moved along and next is the binnacle. The only thing I missed was the tiny wedges that go between the whelps on the capstan. I should be able to add them in a tweezer operation. The camera tends to amplify the gratings coloring. They look much better off photograph, so I am keeping them as is. I am holding off of adding the cannonballs to the racks until I have much more of the deck features in place. I can envision knocking off most of them, and them disappearing to somewhere. These things are tiny. I am also trying to make the ship used. I hope I am doing it correctly, so far, I am satisfied, but I have seen other builders that are very good.


- 436 replies
-
- 5
-
-
- Syren
- Model Shipways
- (and 1 more)
-
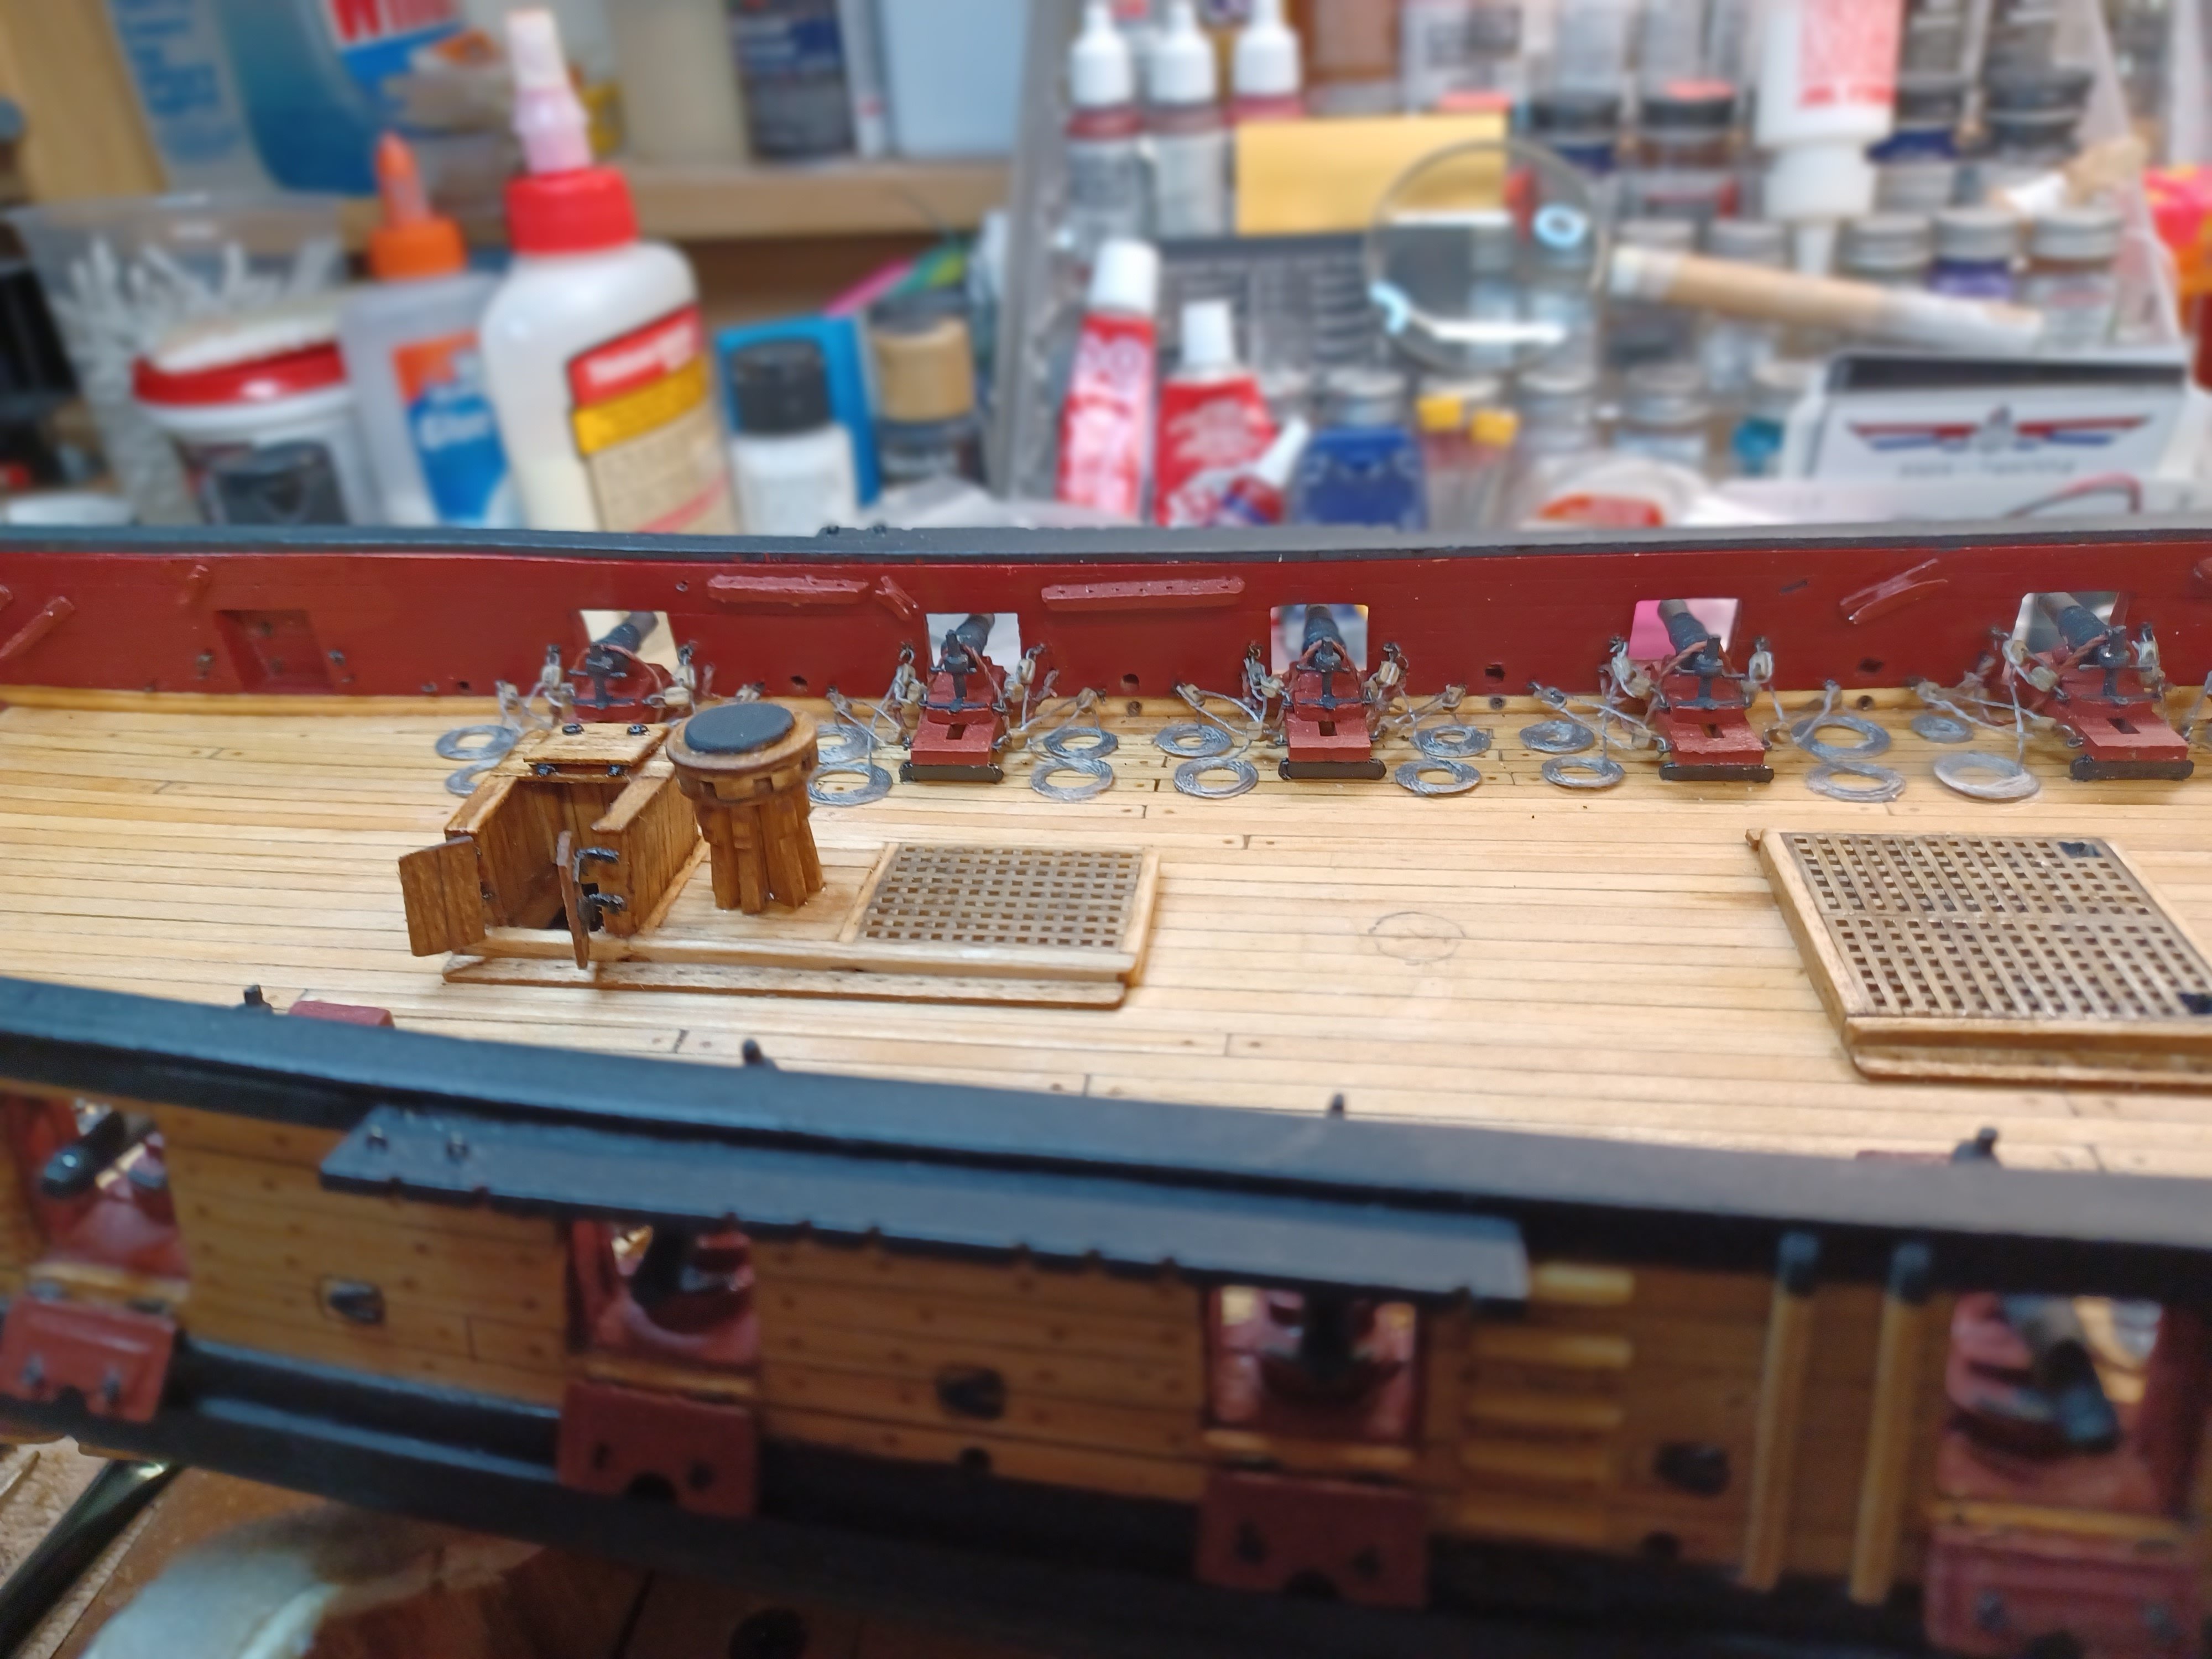
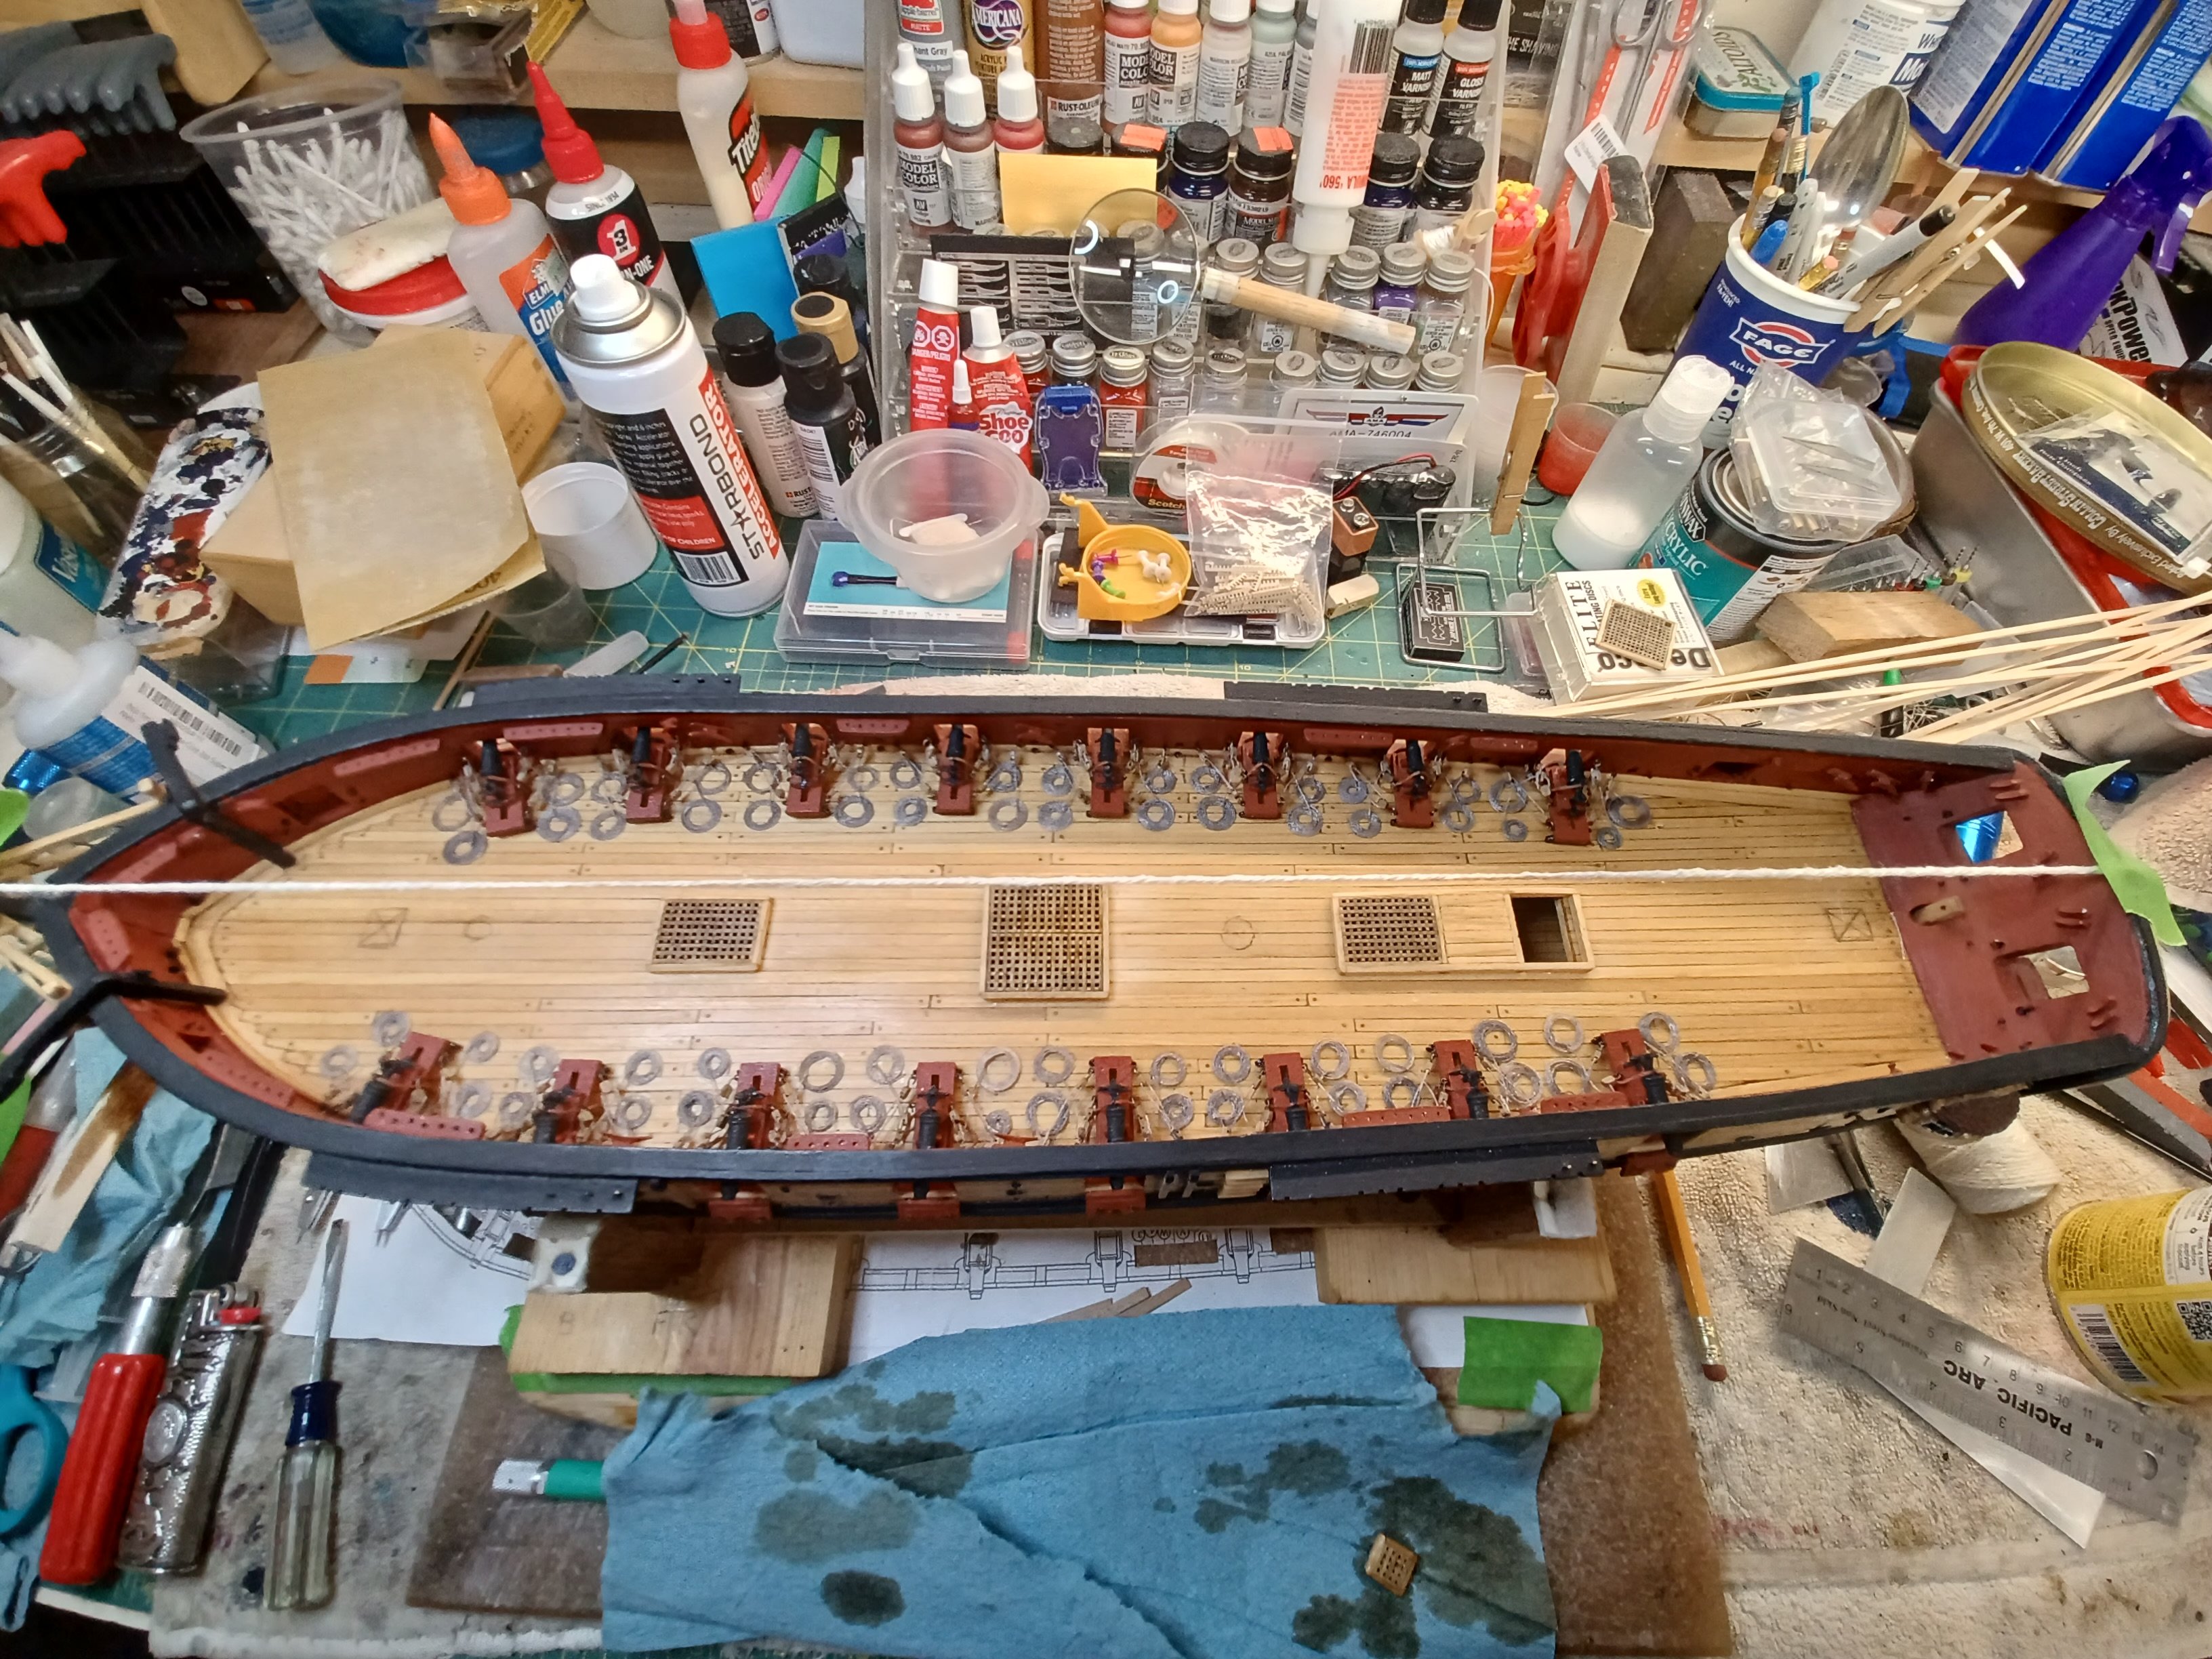
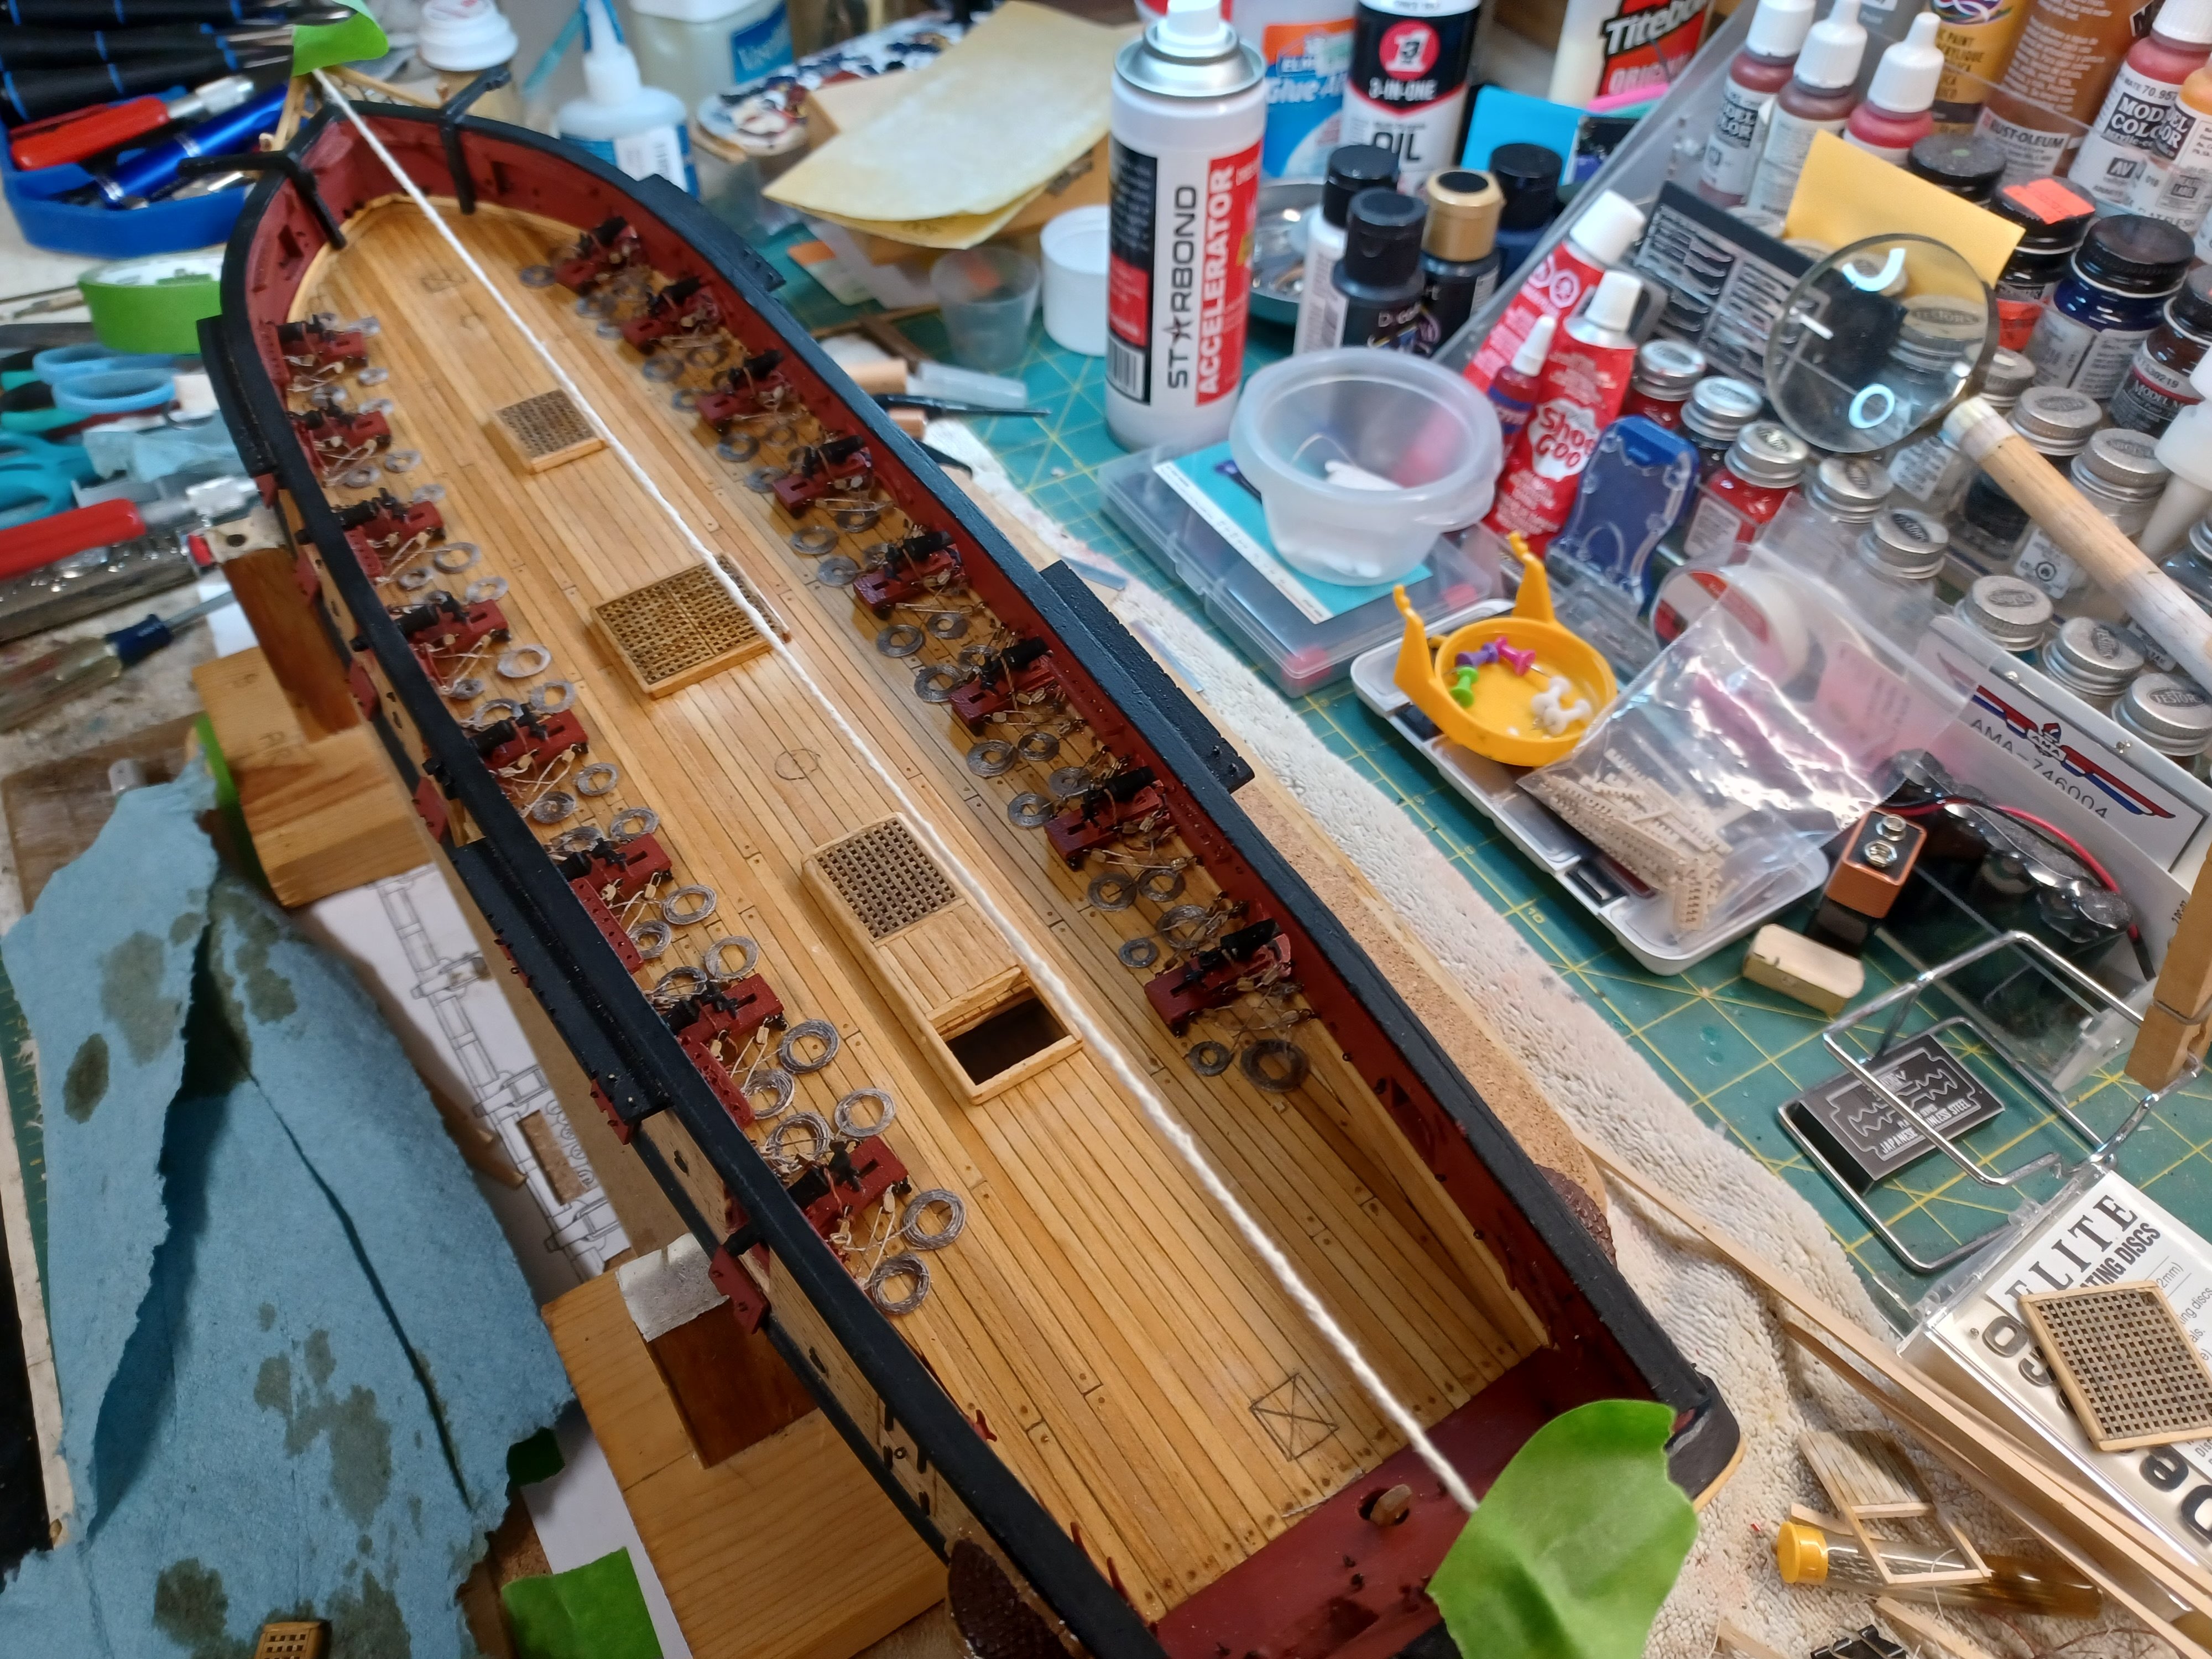
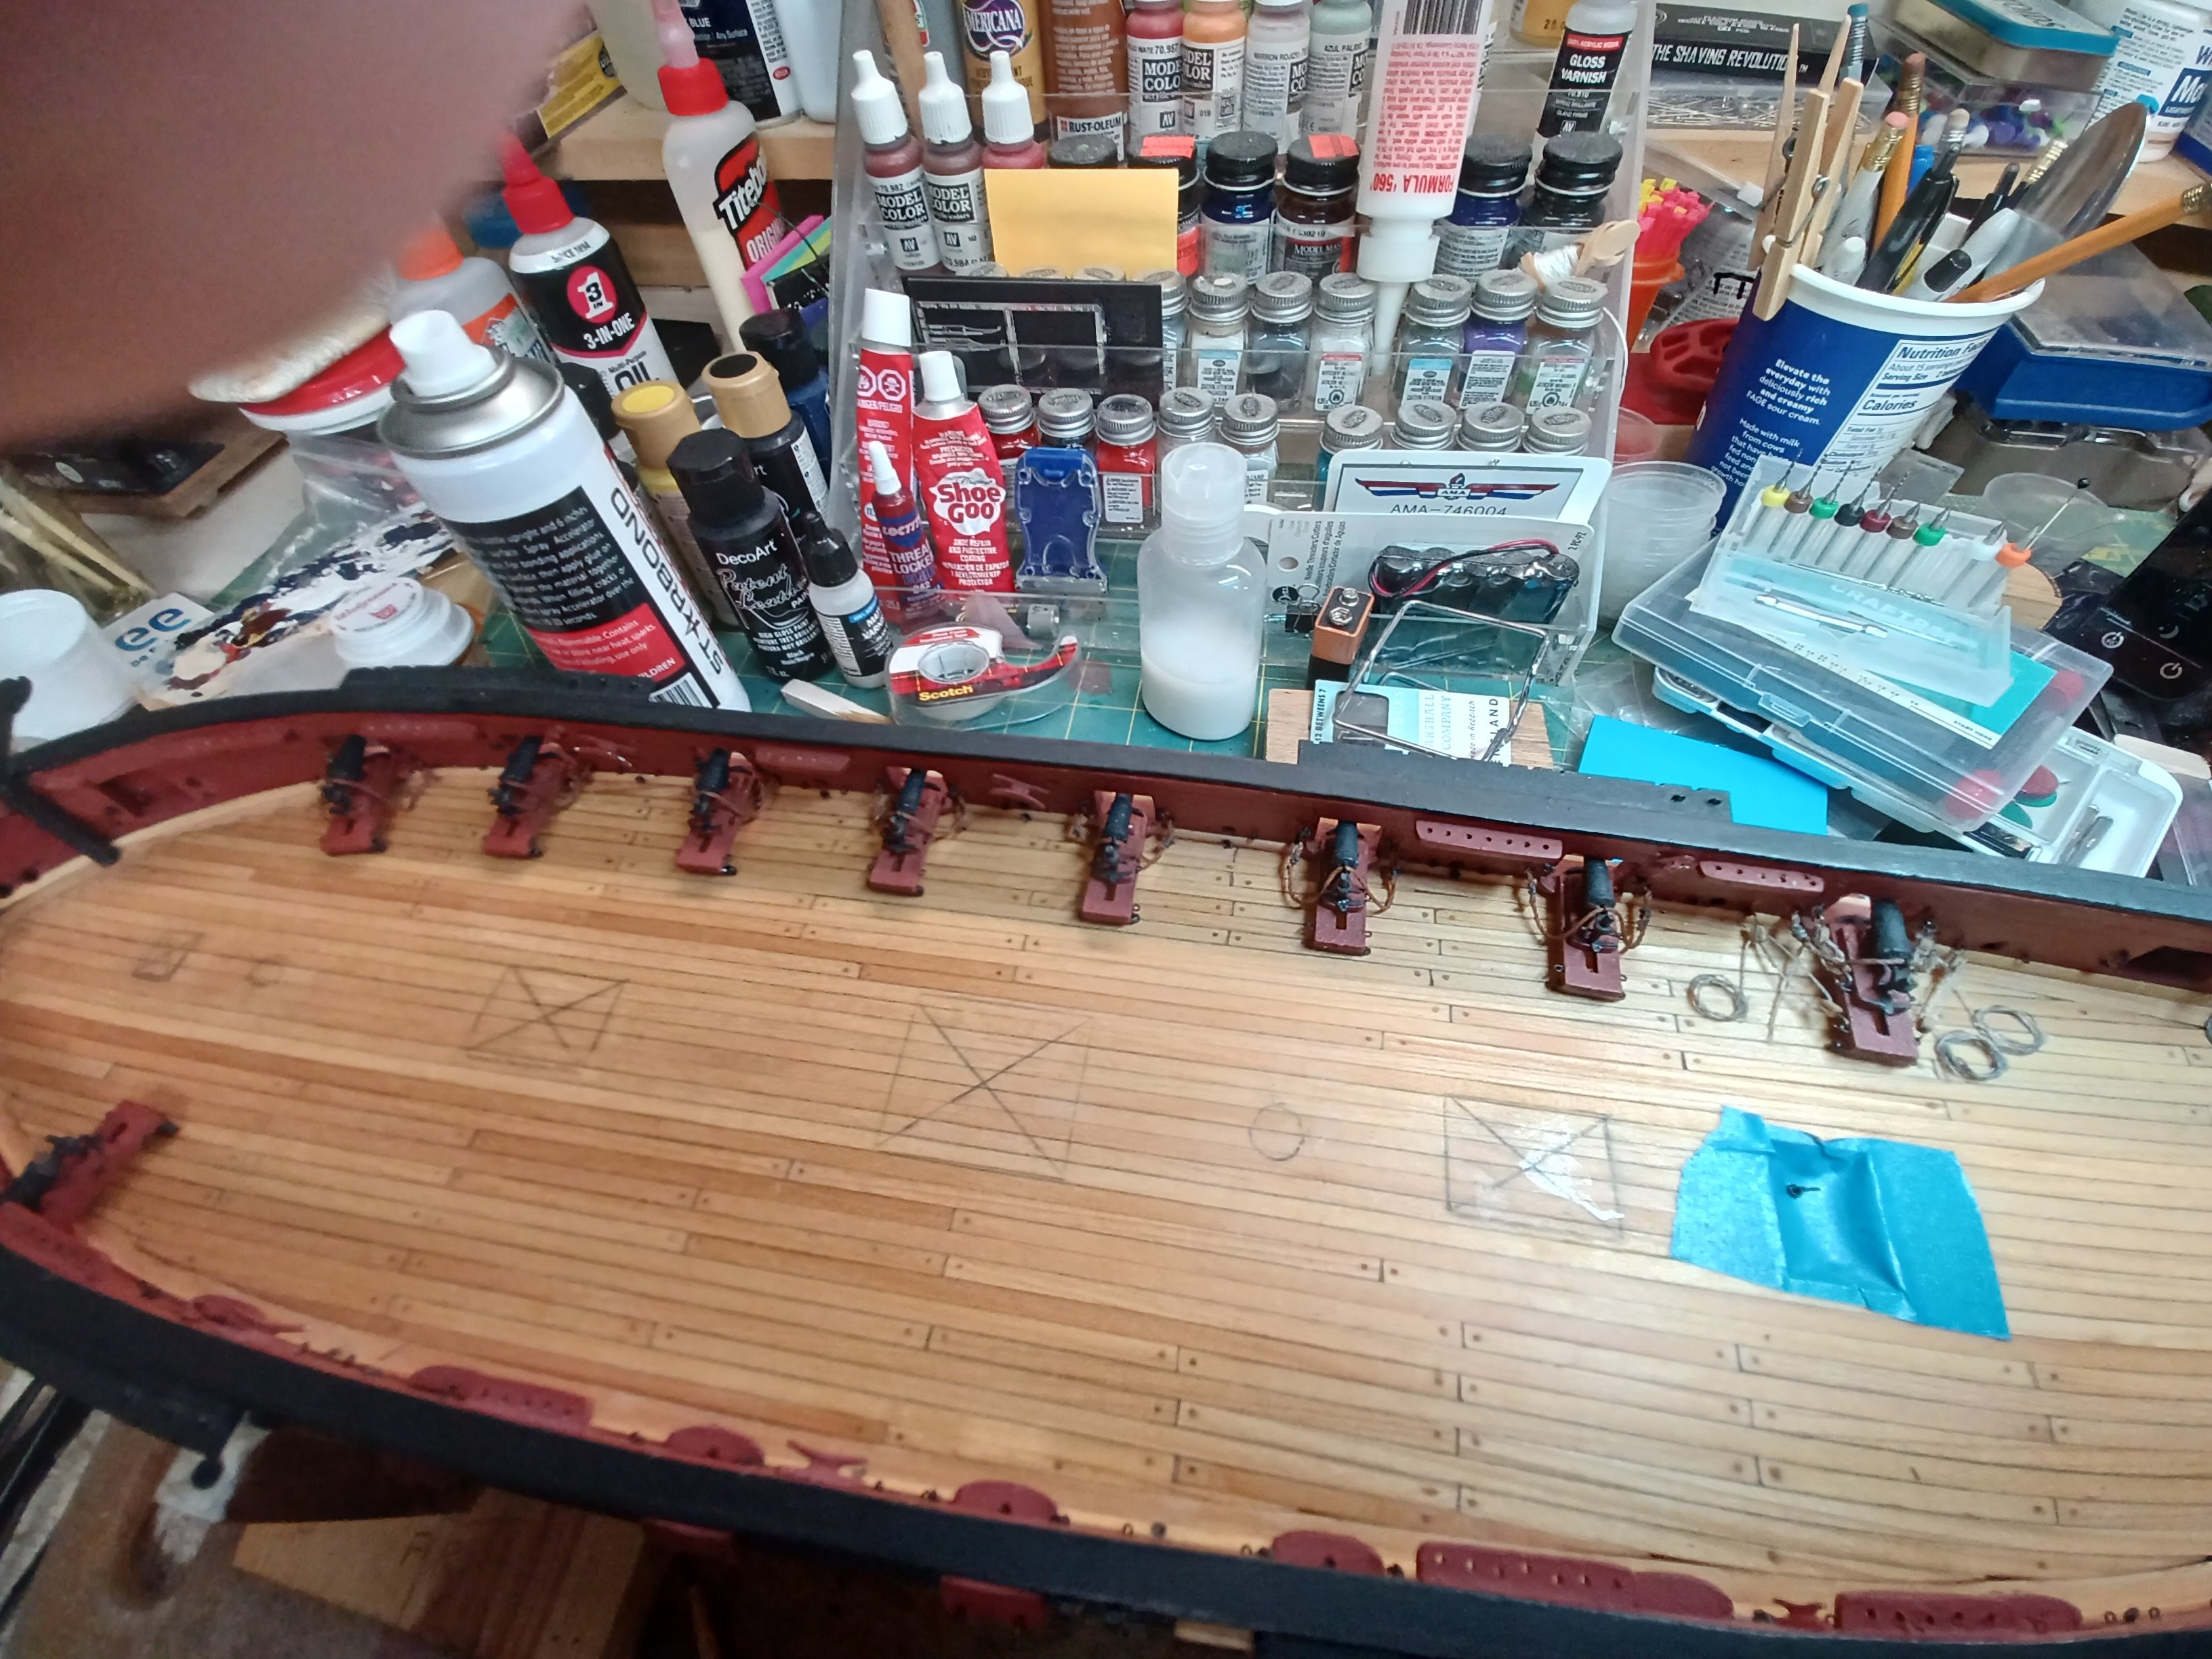
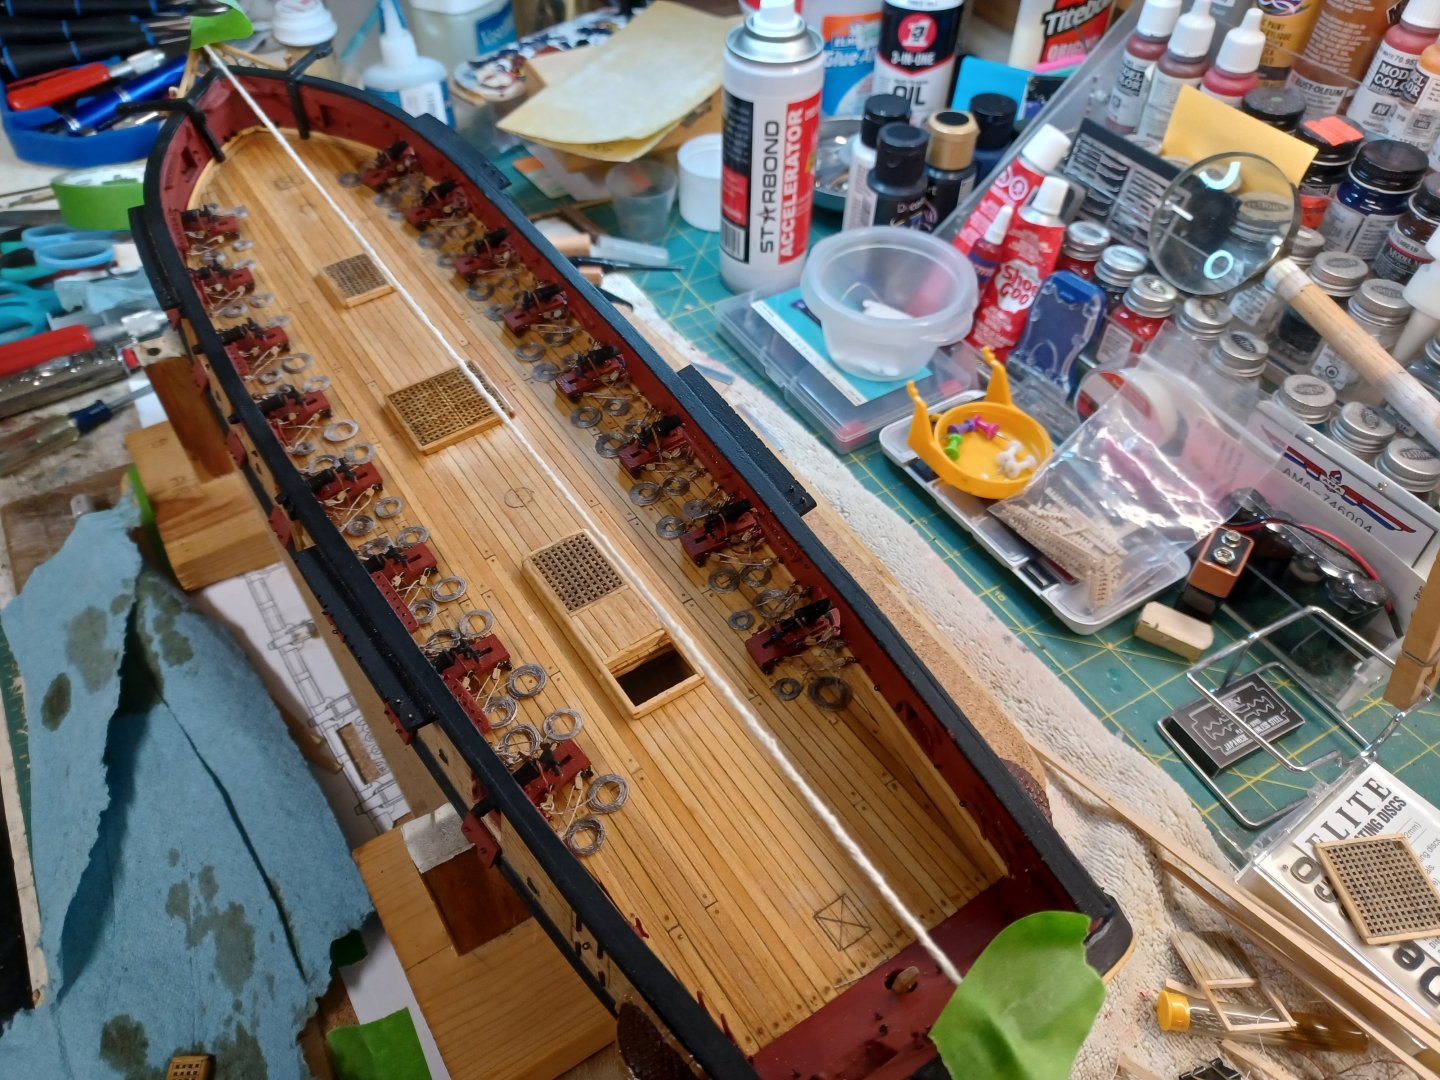
Progress Even During Cold Snap Even though we have had record cold the last couple of weeks, I have been able to work short periods with a space heater. I have completed the main gratings and combings and glued them place. Next step is the cannonball racks, but I am going to want to do the indents in them first. Not a difficult task, but it still needs to be done. I am using Minwax Oak stain for the gratings and will add some more to even out the coloring. The string was used to help center the hatches on the deck. It runs from the center of the bowsprit notch to the center of the freeboard. Made center placement much easier than using the bulwarks as a measuring point. Camera angle makes it look off center, but it isn’t. Yes, my workbench needs attention. 🤫

- 436 replies
-
- 4
-
-
- Syren
- Model Shipways
- (and 1 more)
-
Winter Has Returned so, I am on a short hold until it warms up a bit. However, I have gotten some work done on the gratings and combings. I have just placed them on deck, but not glued. CA does not hold very well n cold weather, and I have had to use accelerator. I also had time to do some final prep work before installation. In other posts, I have seen where the grating spans should point forward and the center hatch is twisted by 90 degrees. My fault really, I cut out one of the anchor line corners incorrectly. Still have time to decide. Also, a question: I have attempted to age the grating, but I am on the fence about how it turned out. In a non picture view, they do look better, but I wonder if they would have that much variance in color as they aged?

-
Time for the Finish Sanding I might redo the smaller grate/coming as it appears to be just a little too large.
- 436 replies
-
- 1
-
-
- Syren
- Model Shipways
- (and 1 more)
-
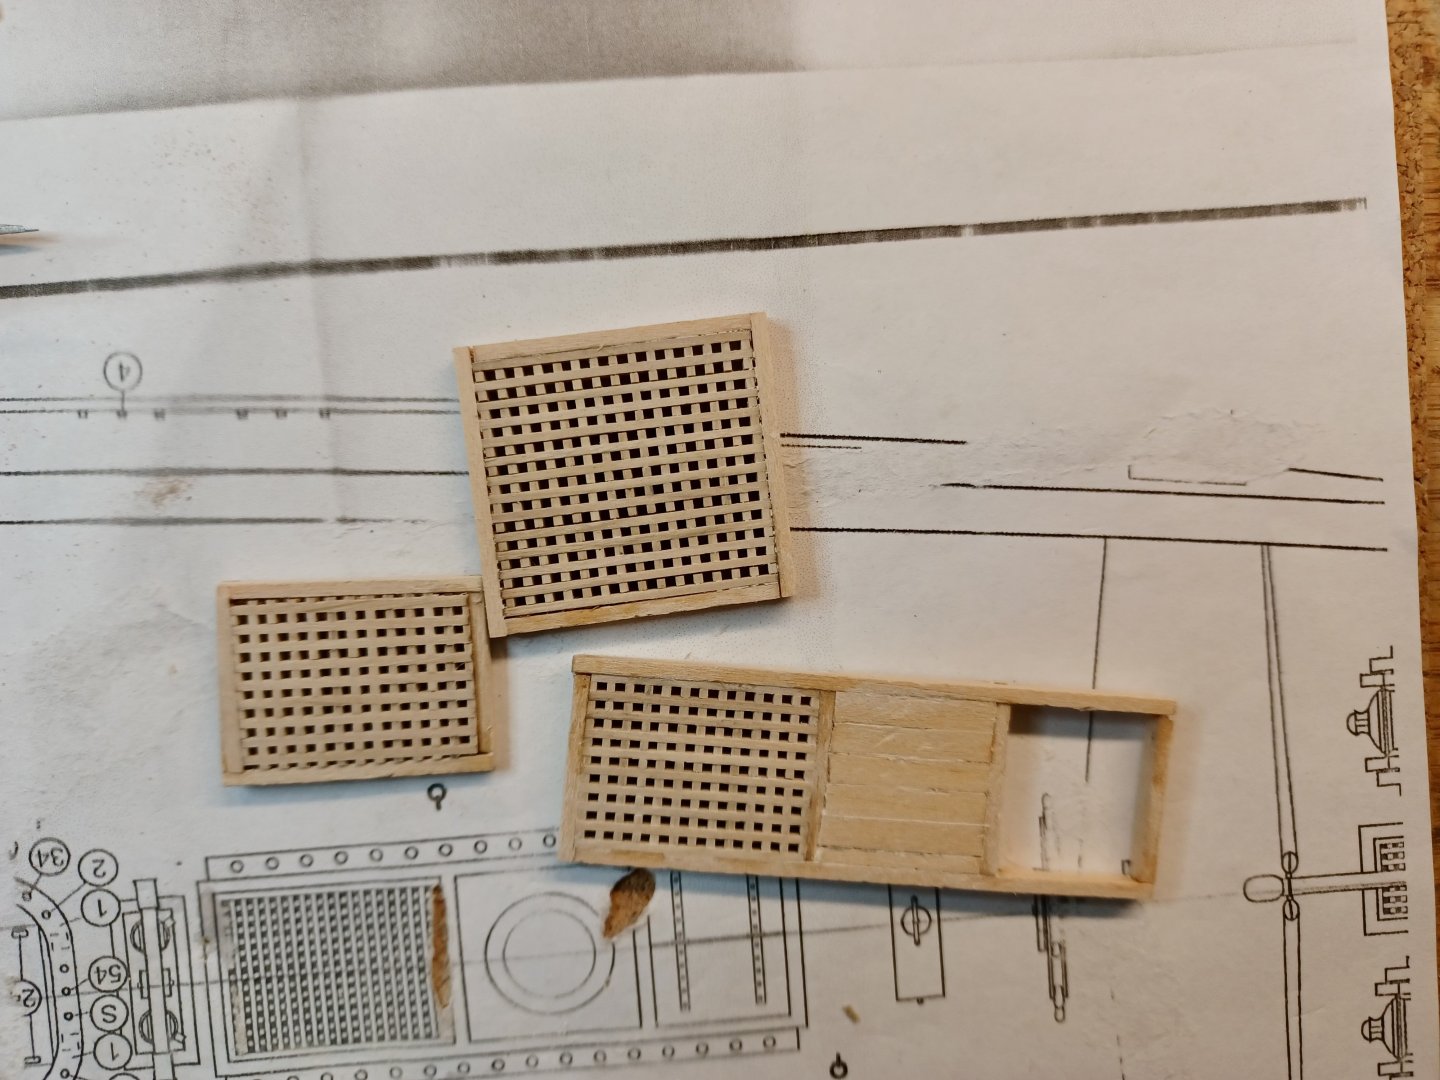
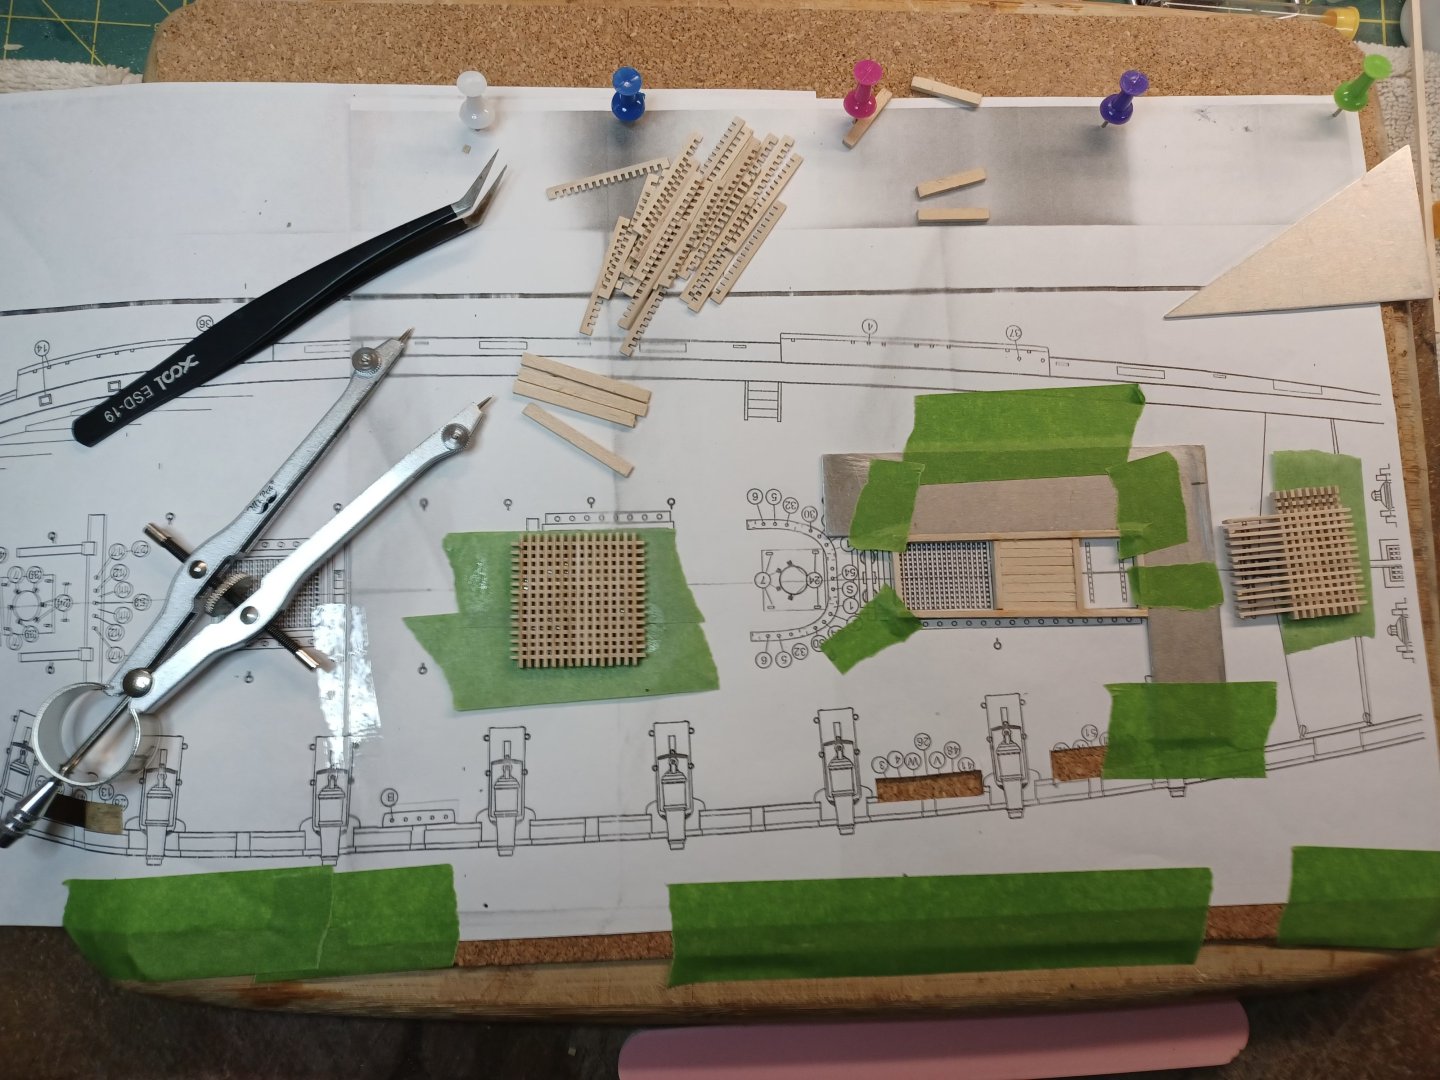
Murphy’s Law gets Murphy’d As things go, there are times that a mistake turns out to not be one. In the picture, you can see my progress on the comings and grates. The mistake was on the rear grate where the capstan is located. I chose the wrong wooden strip width for the coming and used the less than 1/8th it calls for. When finished, the grating was fine, but the opening to the below deck ladder and capstan base were out of square enough to make it an easy decision to rebuild. Then when I cut the capstan base off the original built, it’s the exact size I need for the forward grating. Sooooo, it’s done too. Still have to fit it to the deck camber.
- 436 replies
-
- 1
-
-
- Syren
- Model Shipways
- (and 1 more)
-
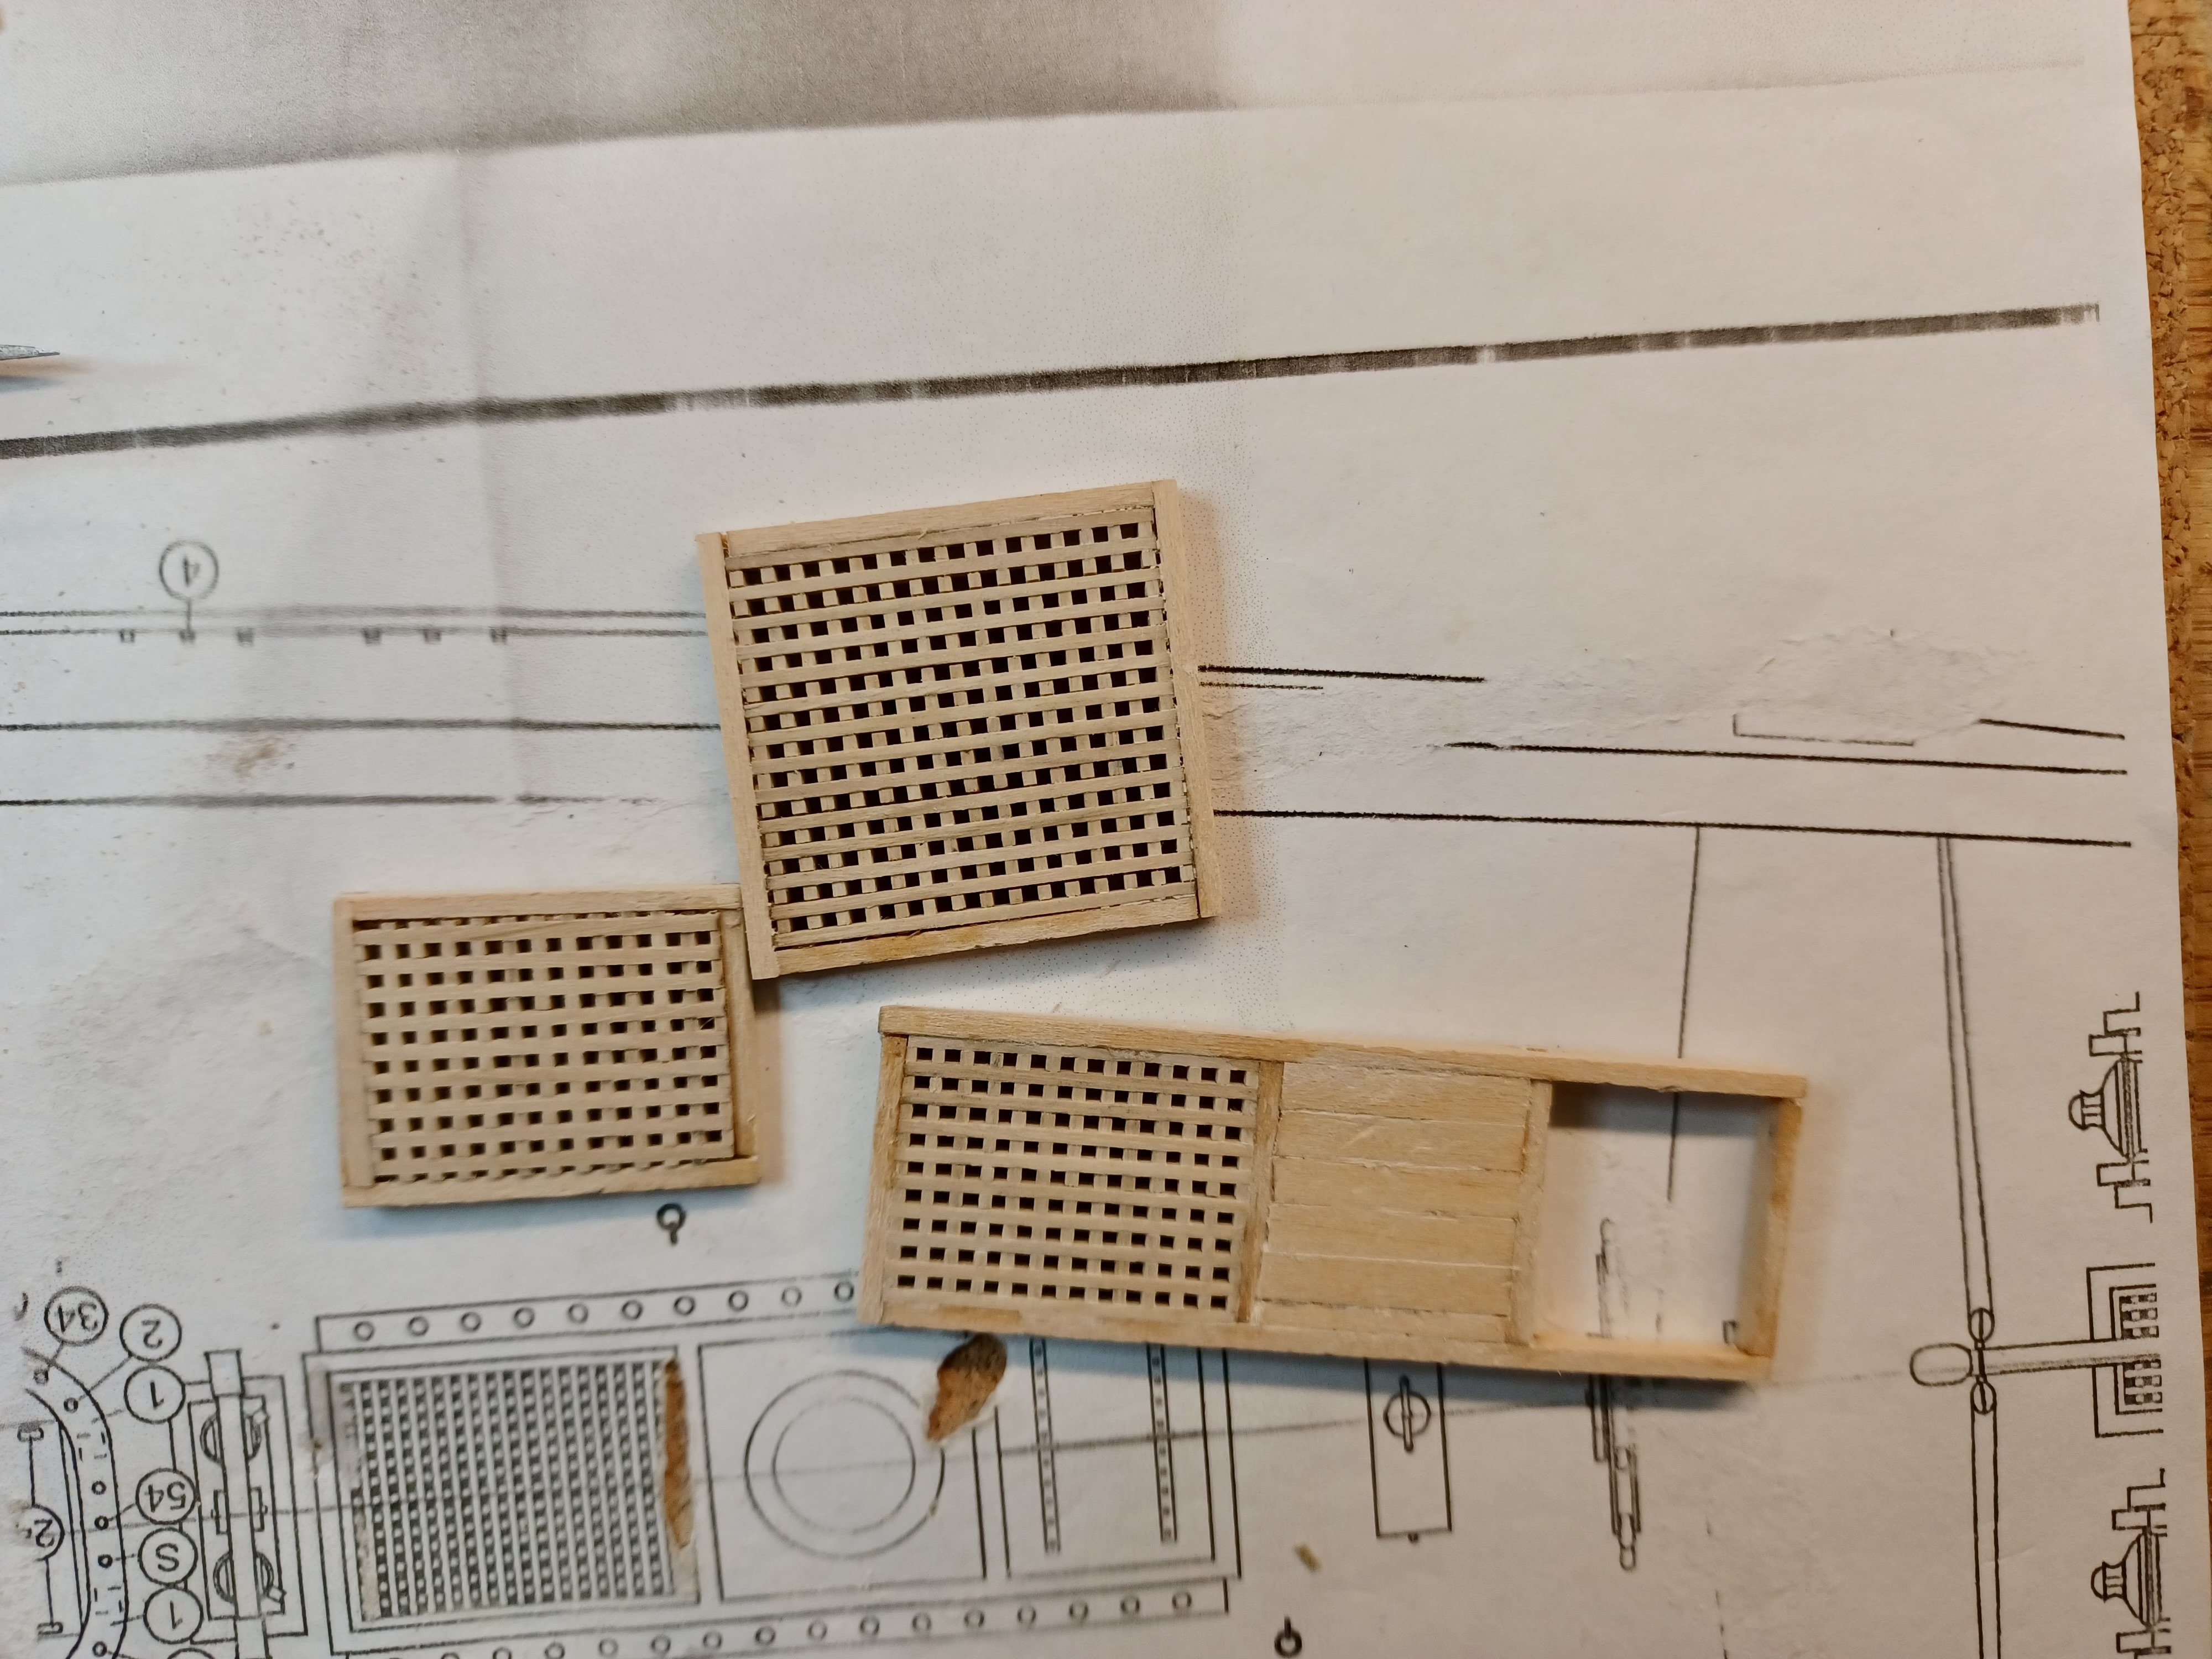
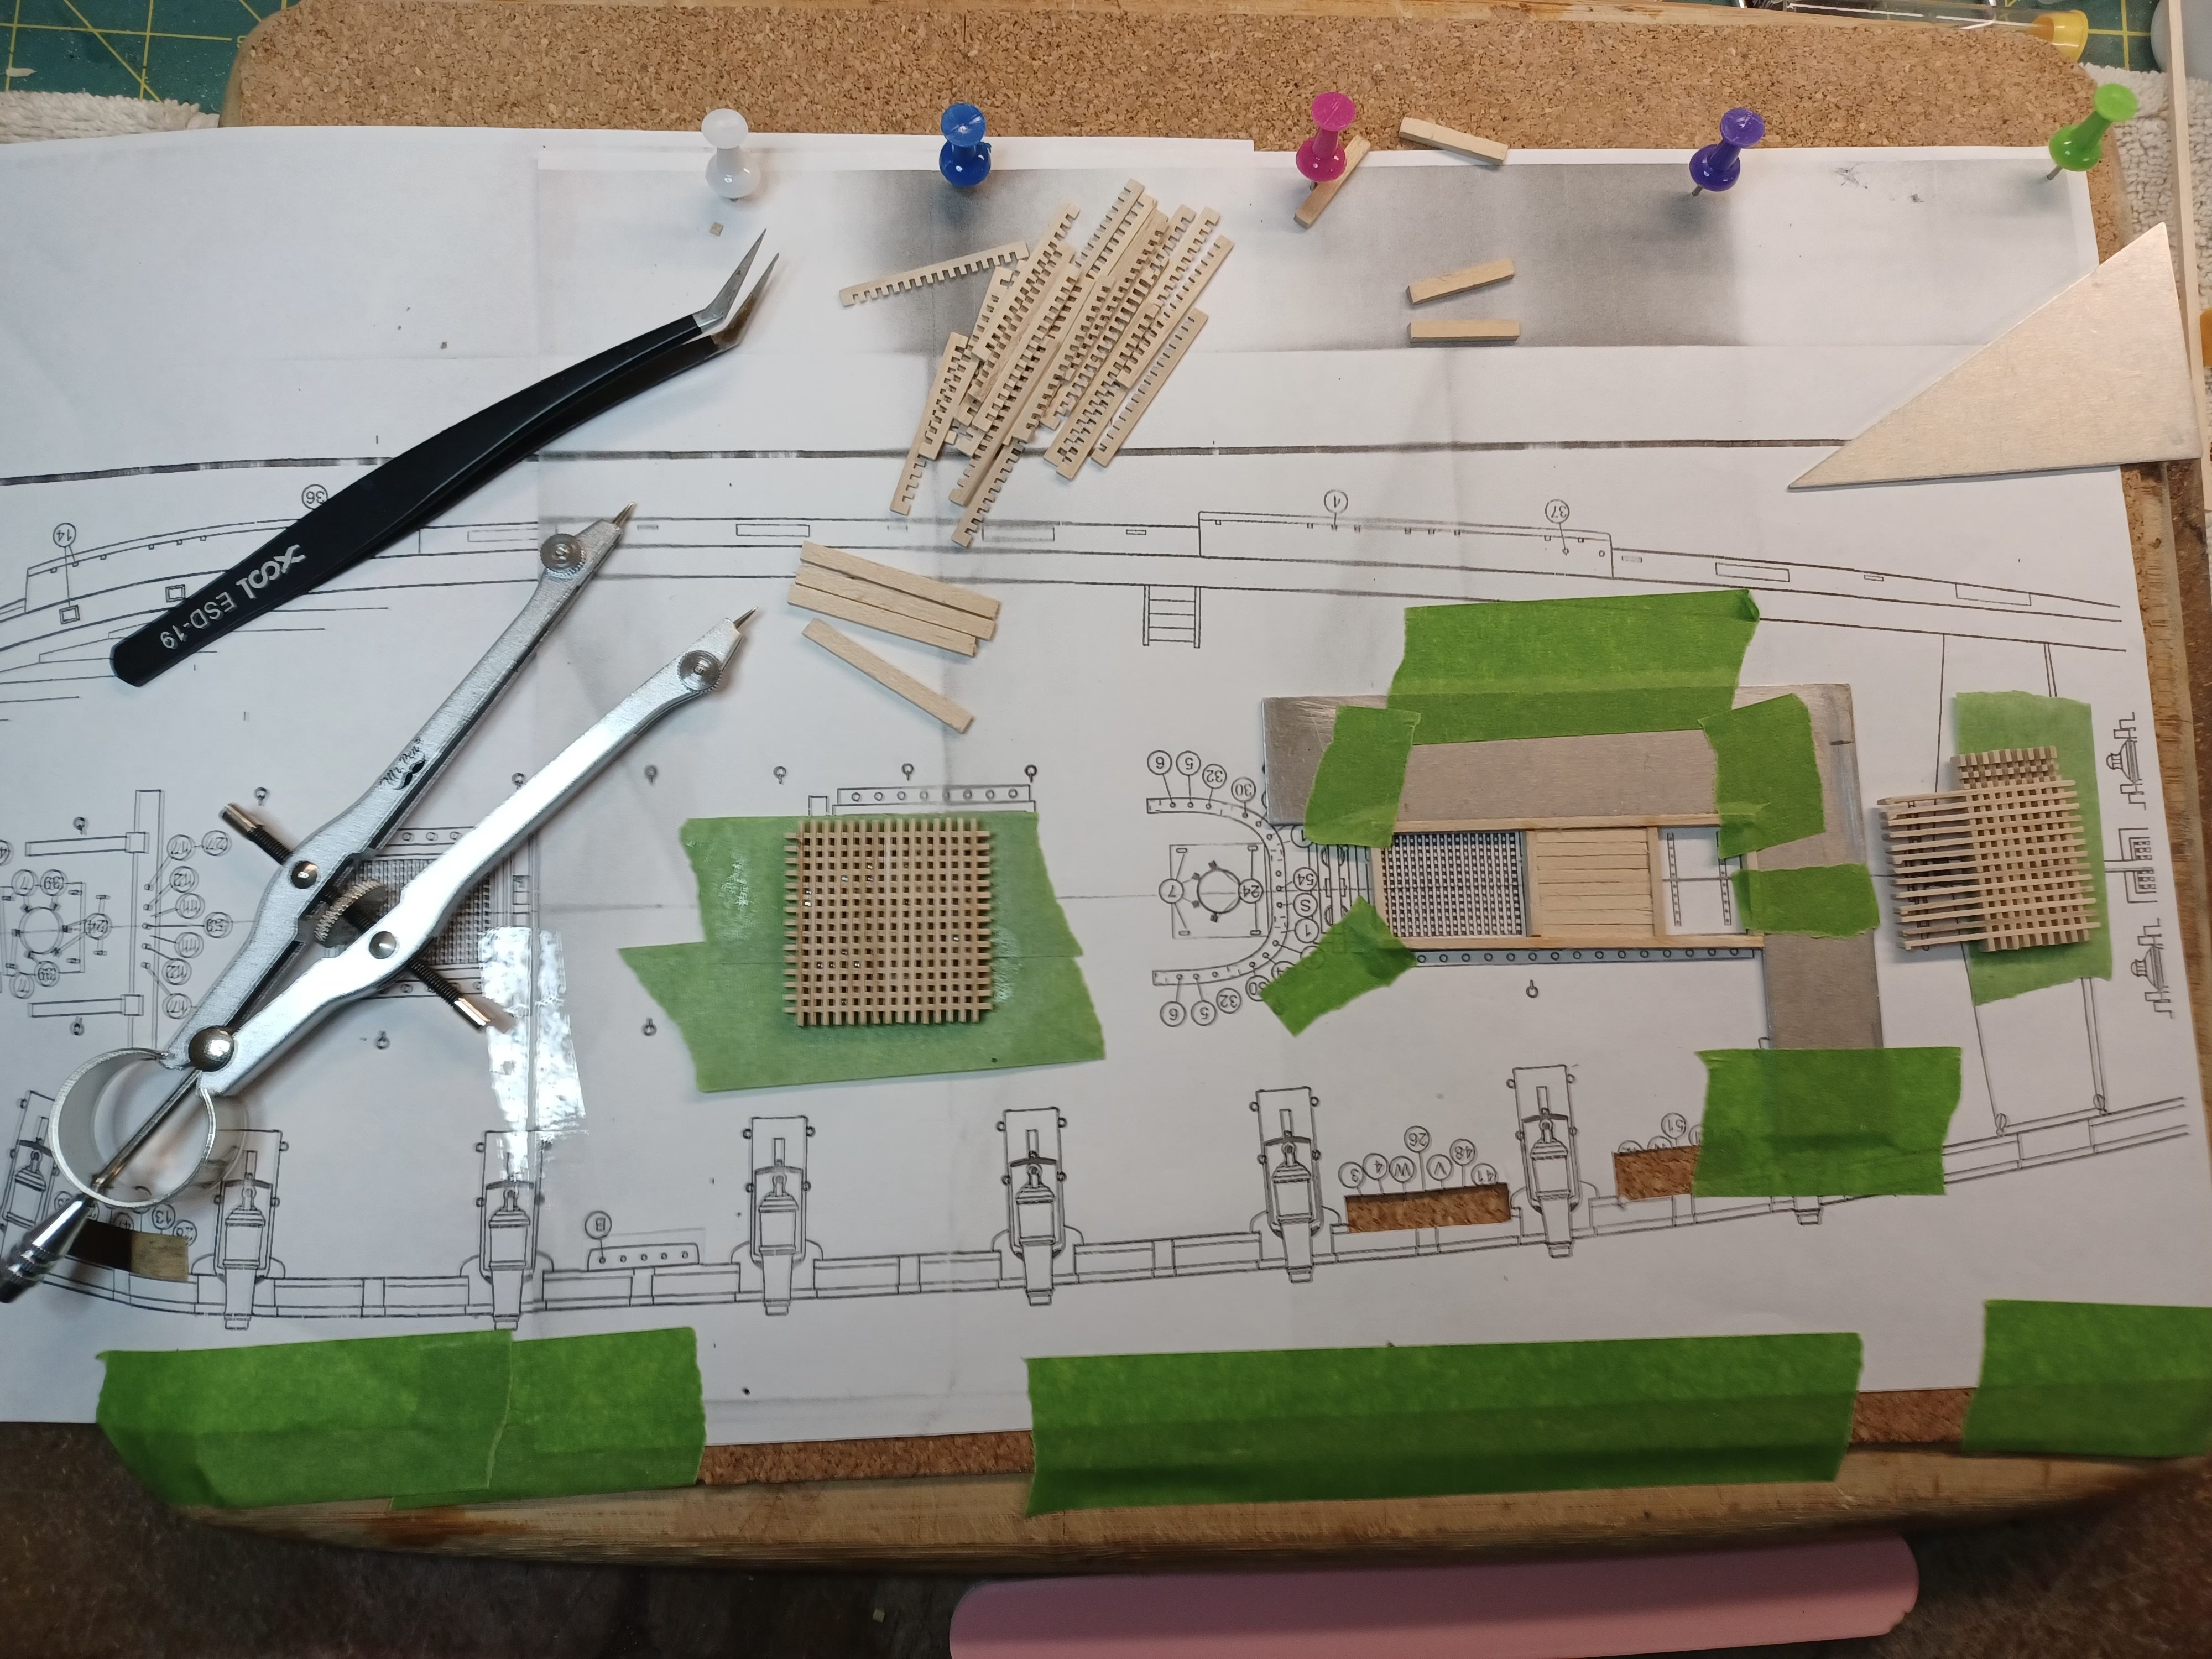
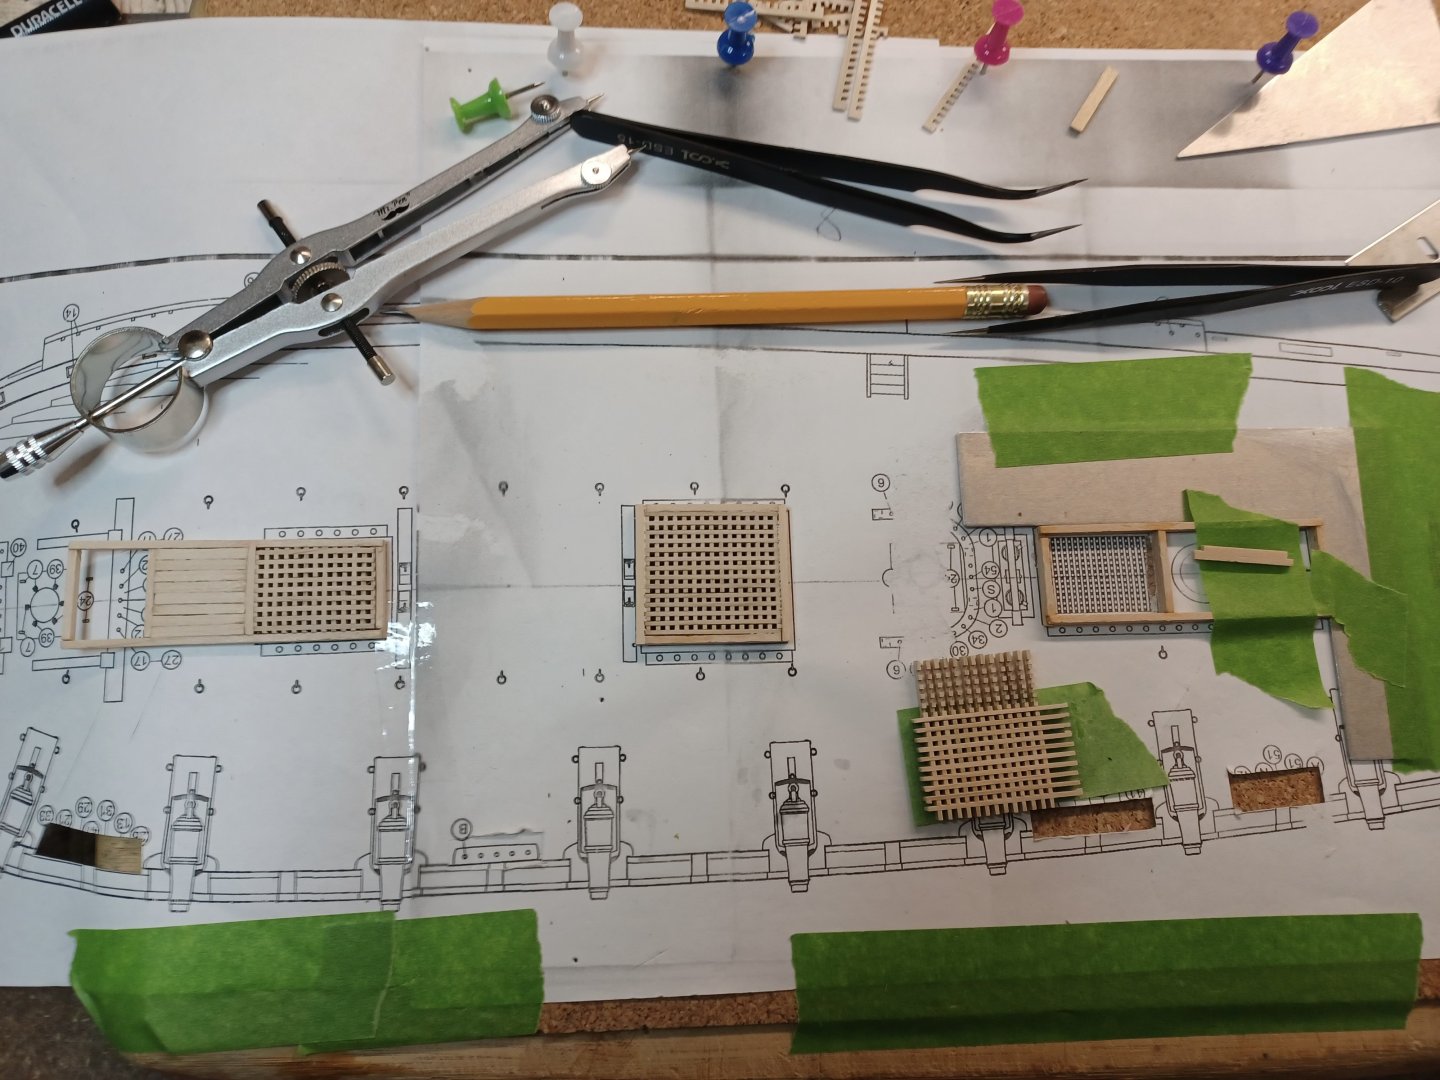
Grates and Combings After repositioning my work area, I have started on the deck. As with all new steps I did some research on creating the grates. I am combining a few different steps from different modelers that I found. I assemble the grates on the paper copy, then use green tape to keep them together. Then, I turn them over and use white glue and water and add it to the grate openings. Soak up the excess glue/water and leave to dry for 24 hrs. Here is a pic
- 436 replies
-
- 3
-
-
- Syren
- Model Shipways
- (and 1 more)
-
Carronades Port & Starboard I sure am ready to get this behind me. Time to work on the hatches and grates…
- 436 replies
-
- 5
-
-
- Syren
- Model Shipways
- (and 1 more)
-
Port Side Carronades. Although it has not been that warm, I have been able to complete the carronades. Now it’s on to the starboard. I can honestly say that I am glad to have it behind me. I thought I had a good set of tweezers, but they don’t grip very well. I spent a good portion of this part looking for parts that popped out of them. Some were found, and others have gone to that parts graveyard called the workbench. I figure I will find them when I clean off the bench to build another airplane. Flying season is getting close.
- 436 replies
-
- 2
-
-
- Syren
- Model Shipways
- (and 1 more)
-
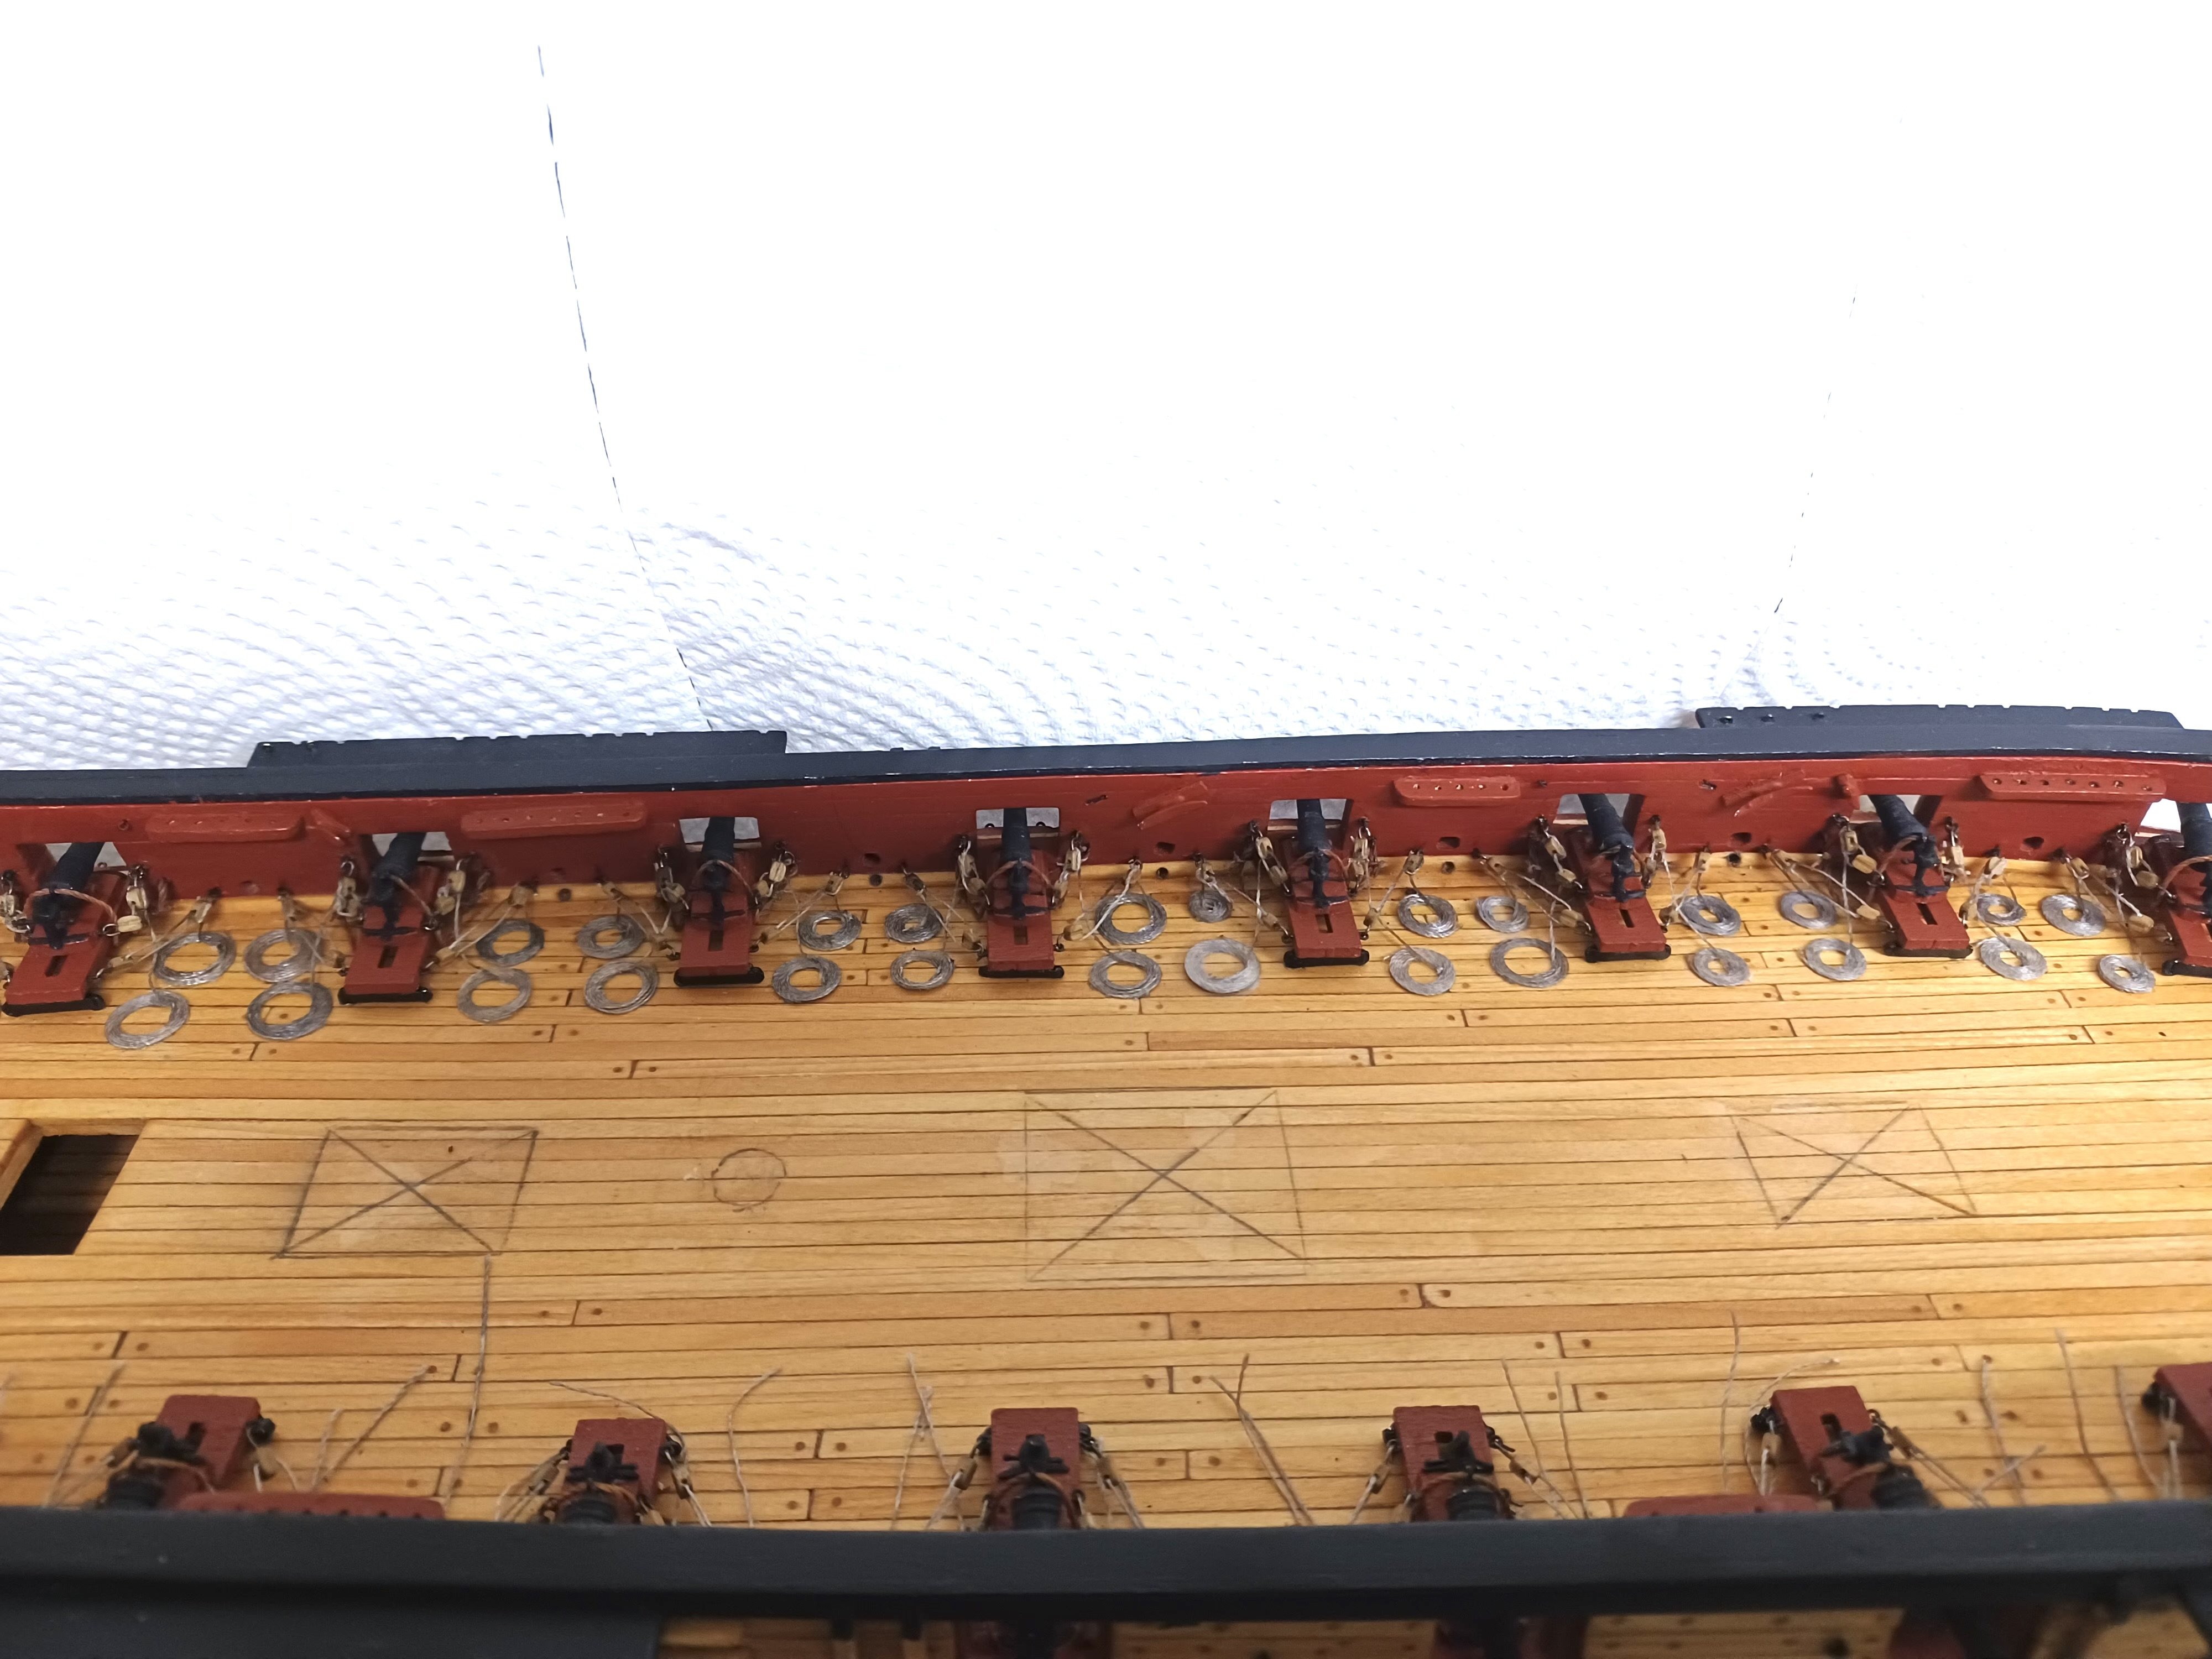
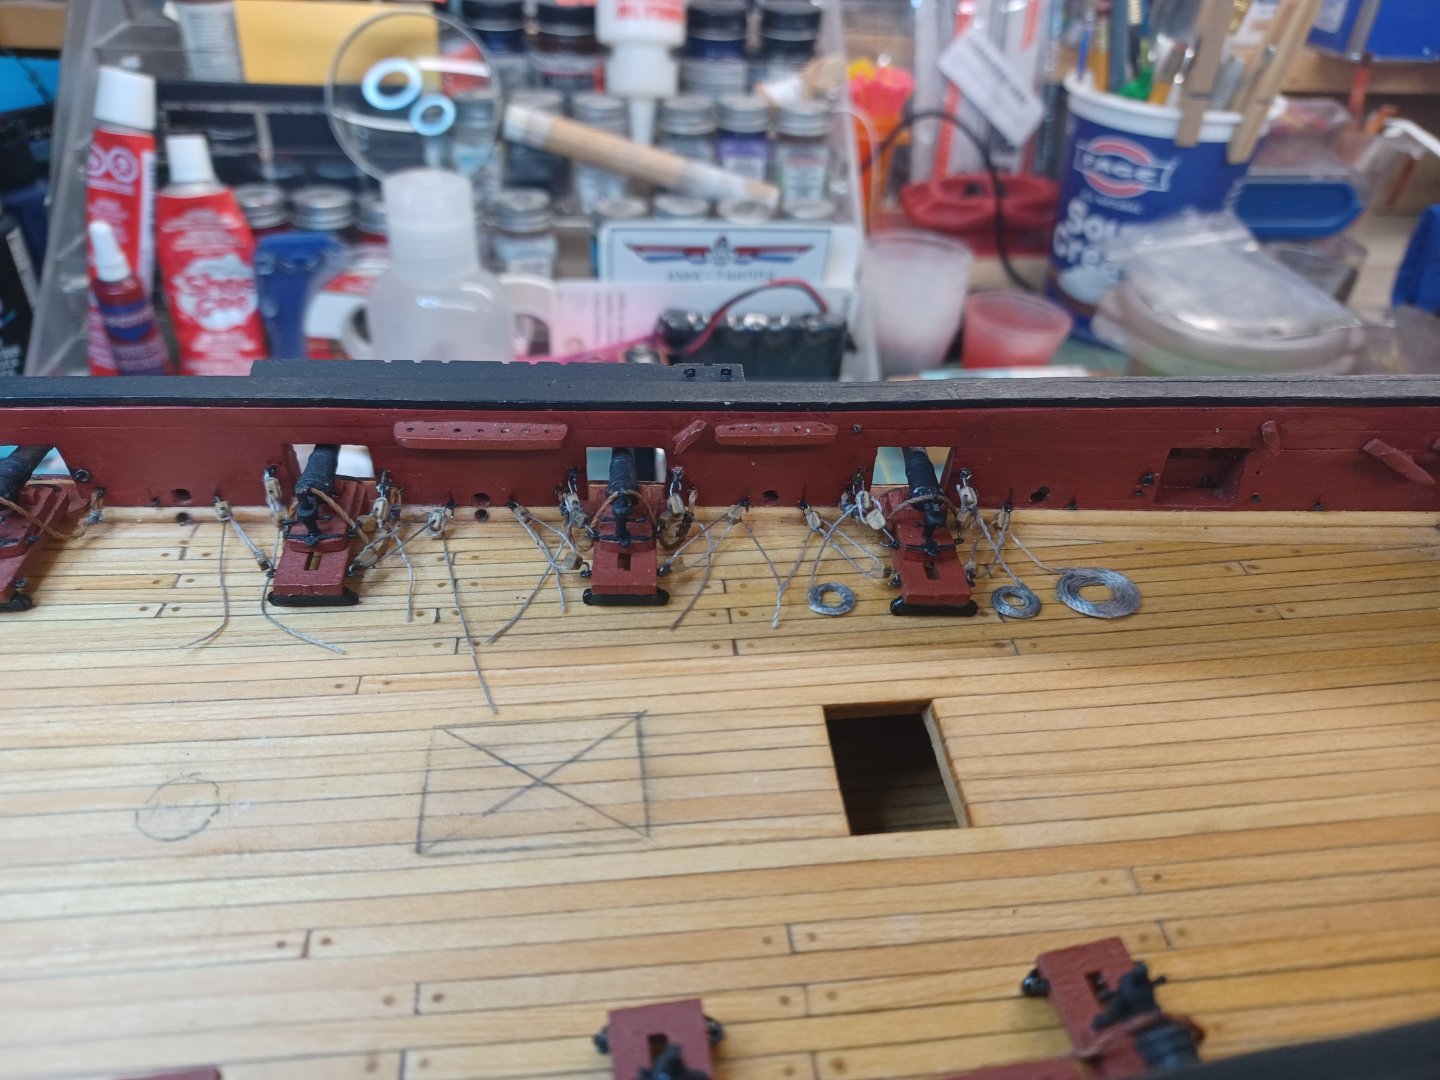
Minor Process Change Rather than complete each out haul from one cannon to the next, I decided to go as far as needing the line coils, then hold off adding them until all are ready. This will keep the deck clear until the very last minute and I will add all of them after one last deck cleaning. Newbie Note: I did not see this in any notes, but ran across it on these cannon. The top left and right out hauls are very short. Be sure to keep the distance between the blocks very short. I found myself reshaping the hooks just so I could pull the line tight enough.
- 436 replies
-
- 1
-
-
- Syren
- Model Shipways
- (and 1 more)
-
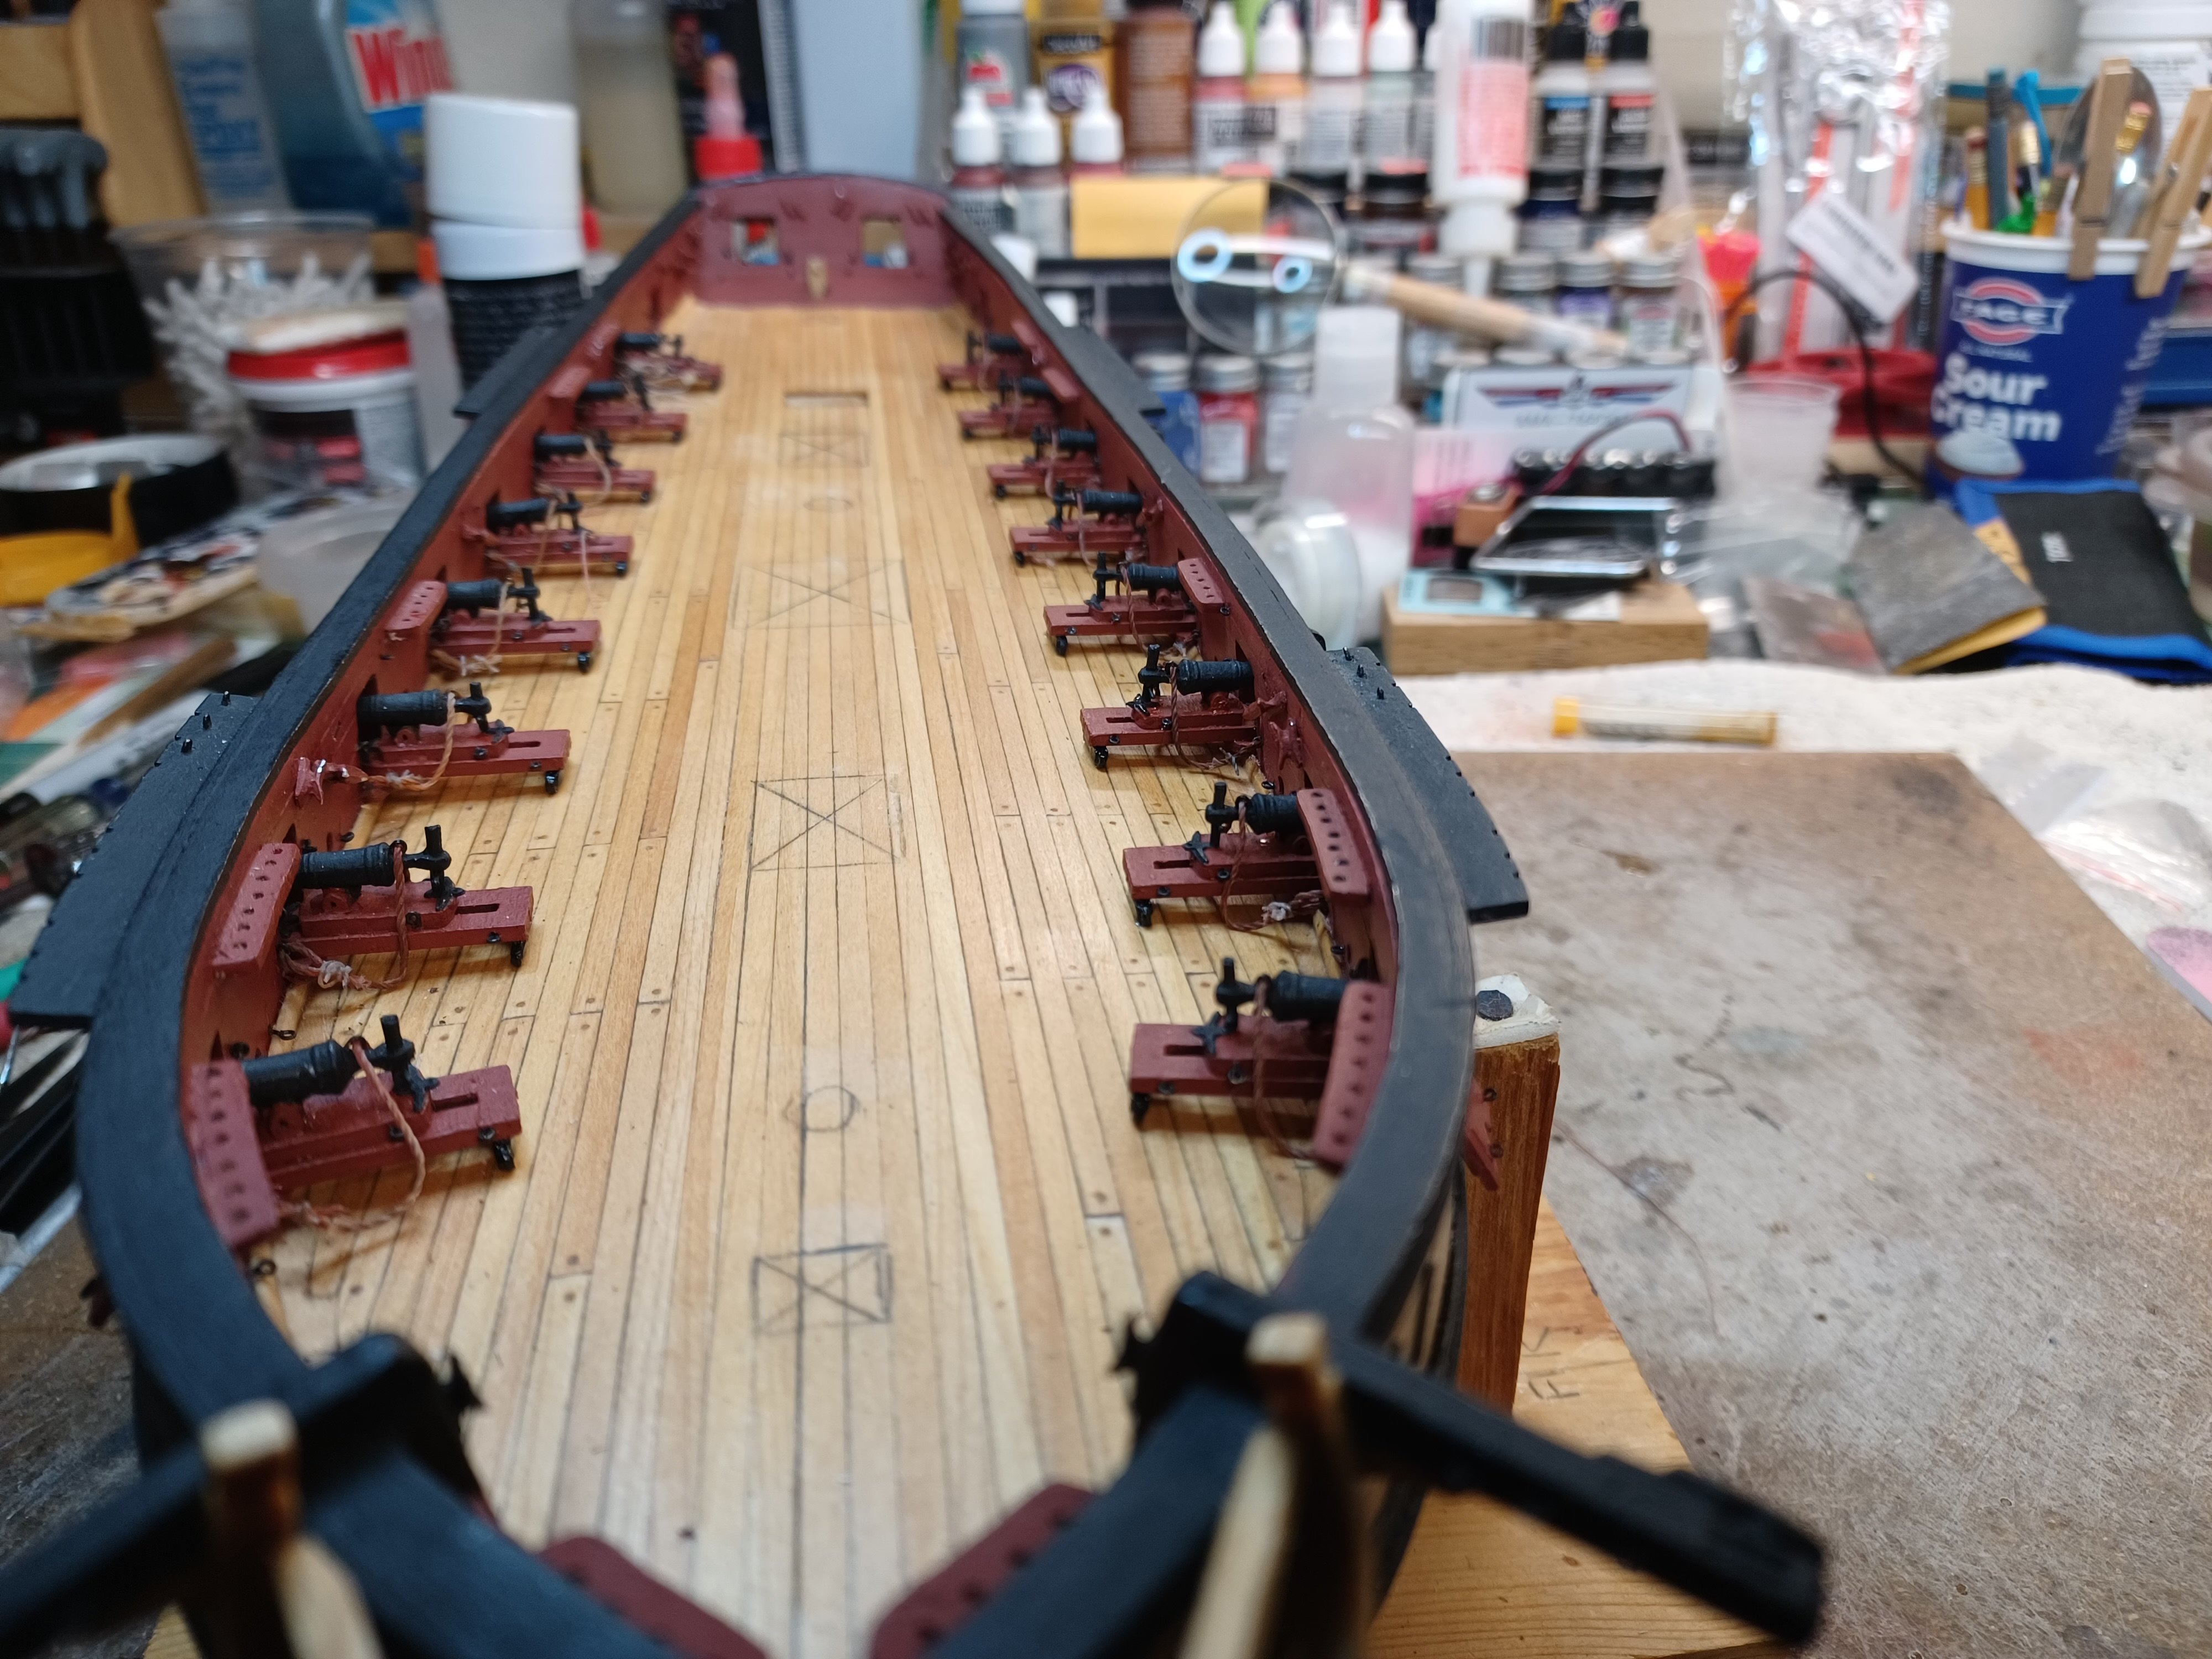
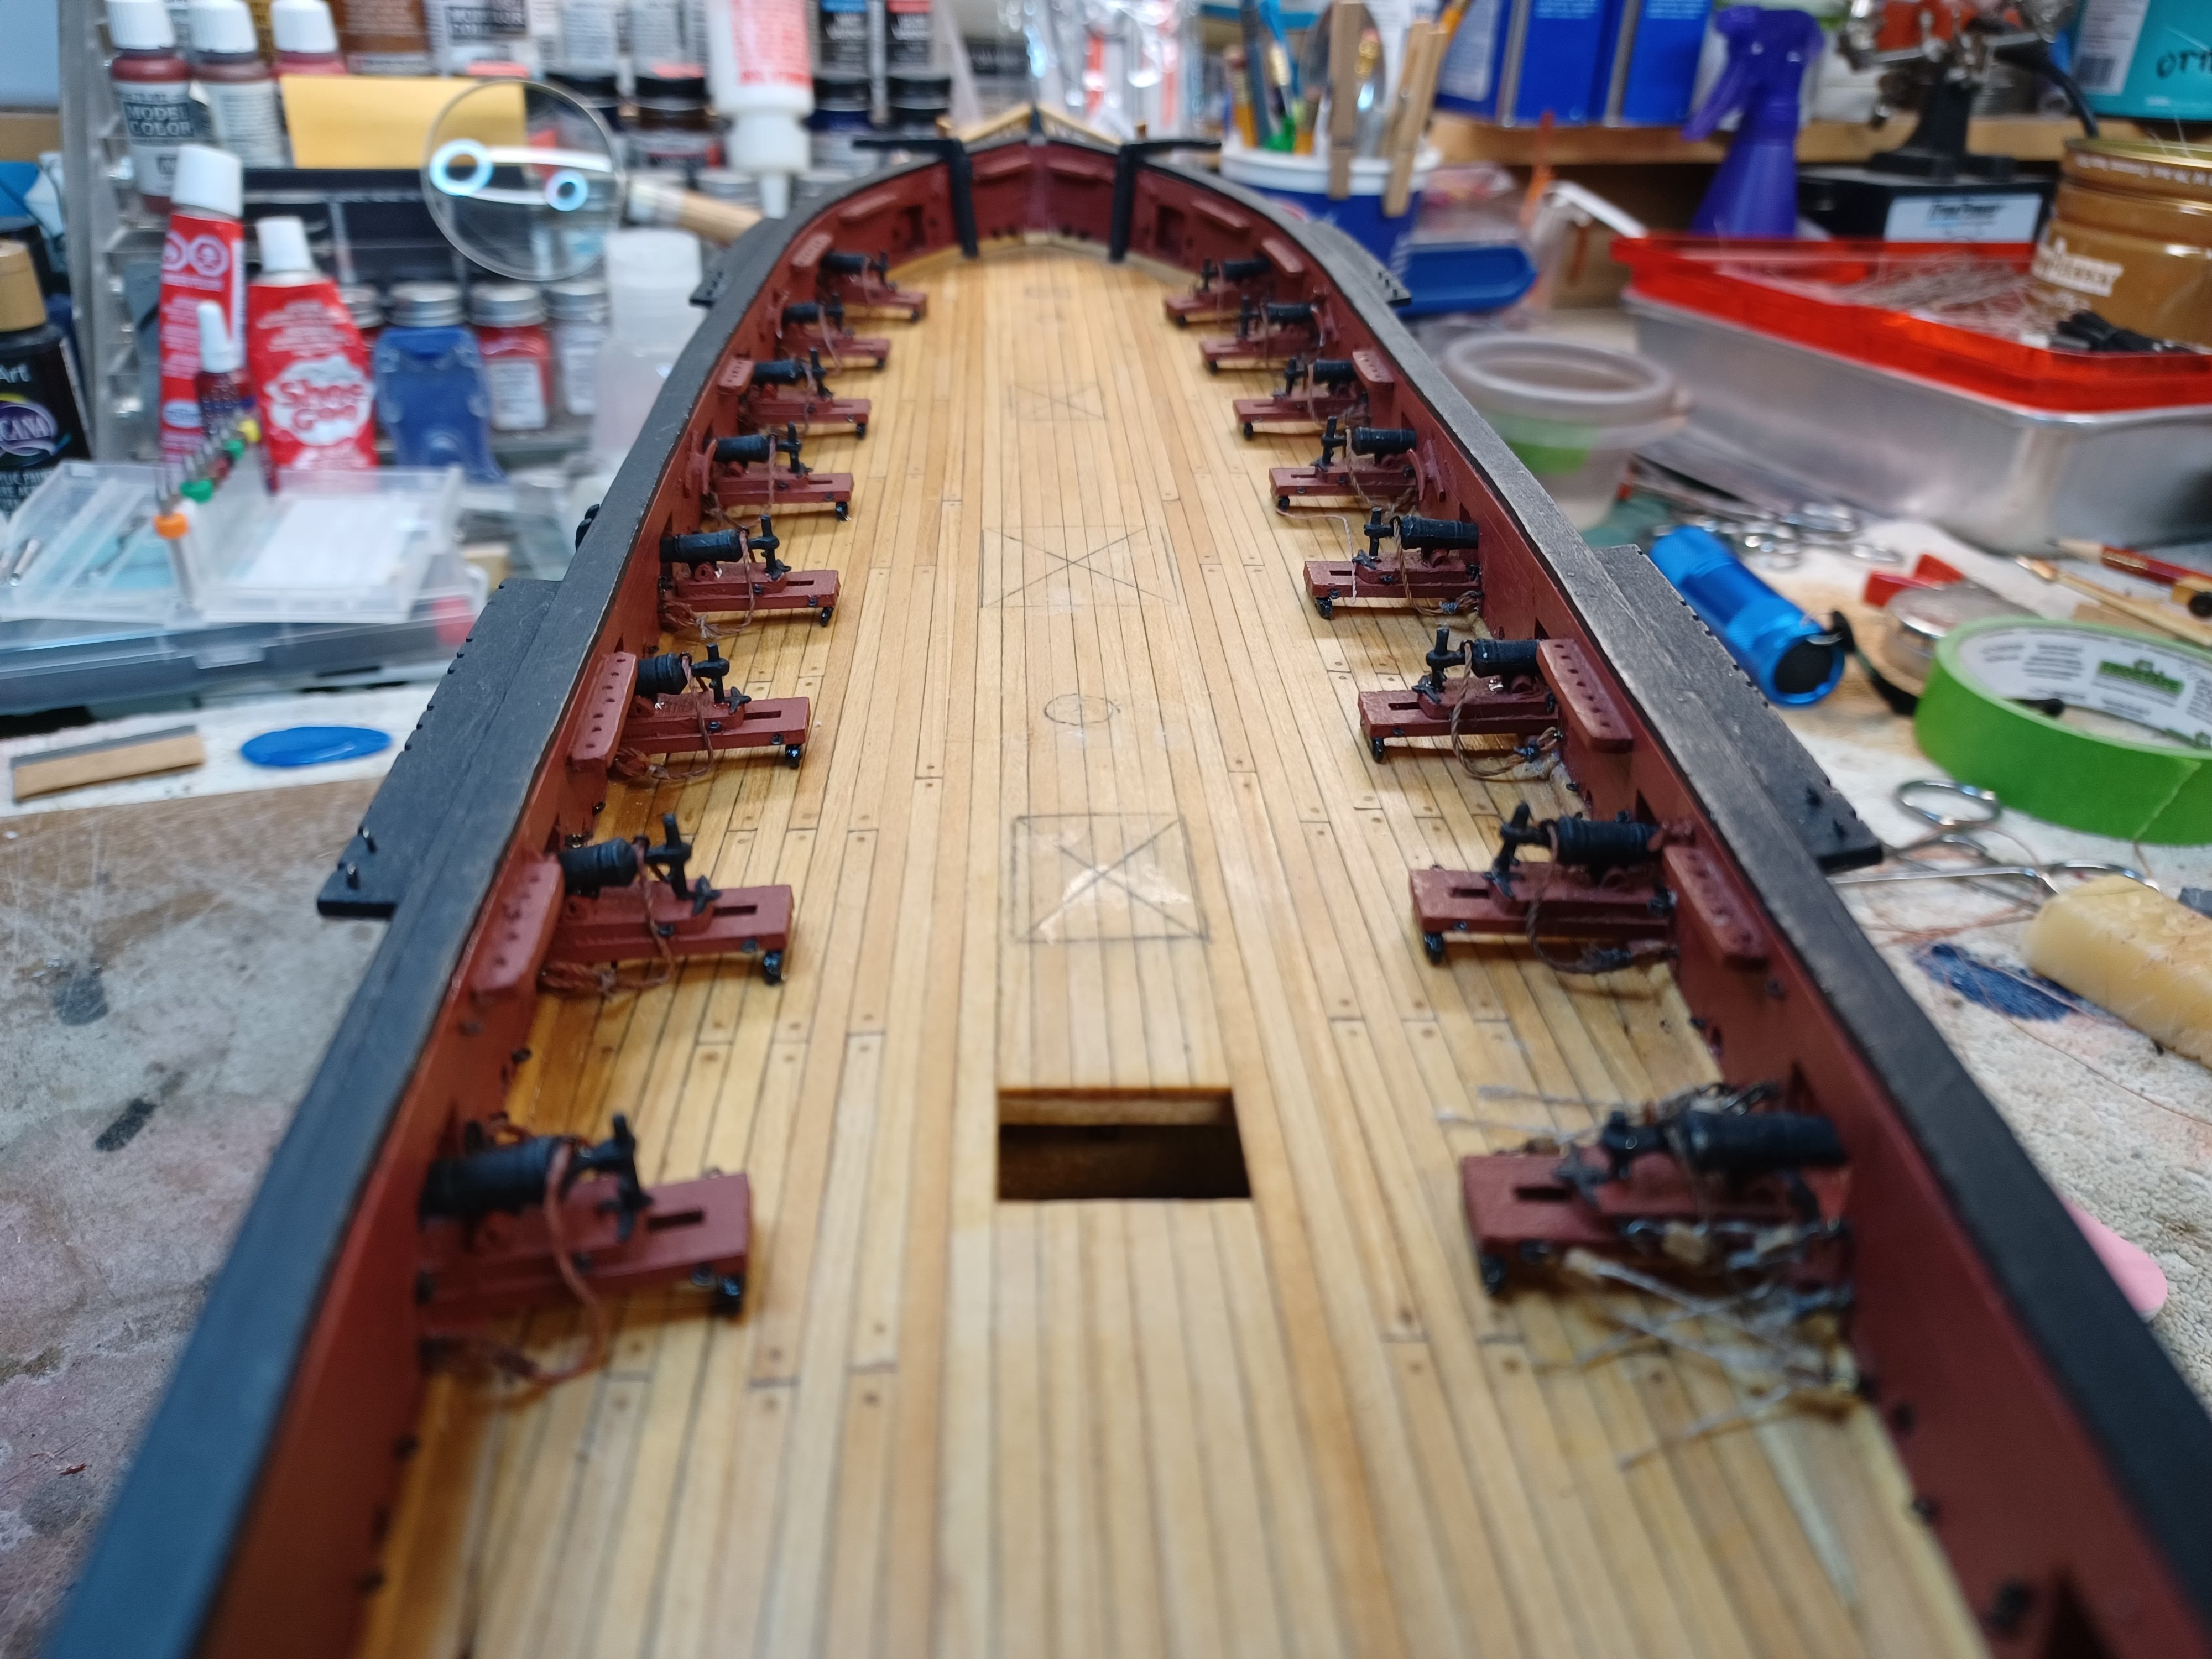
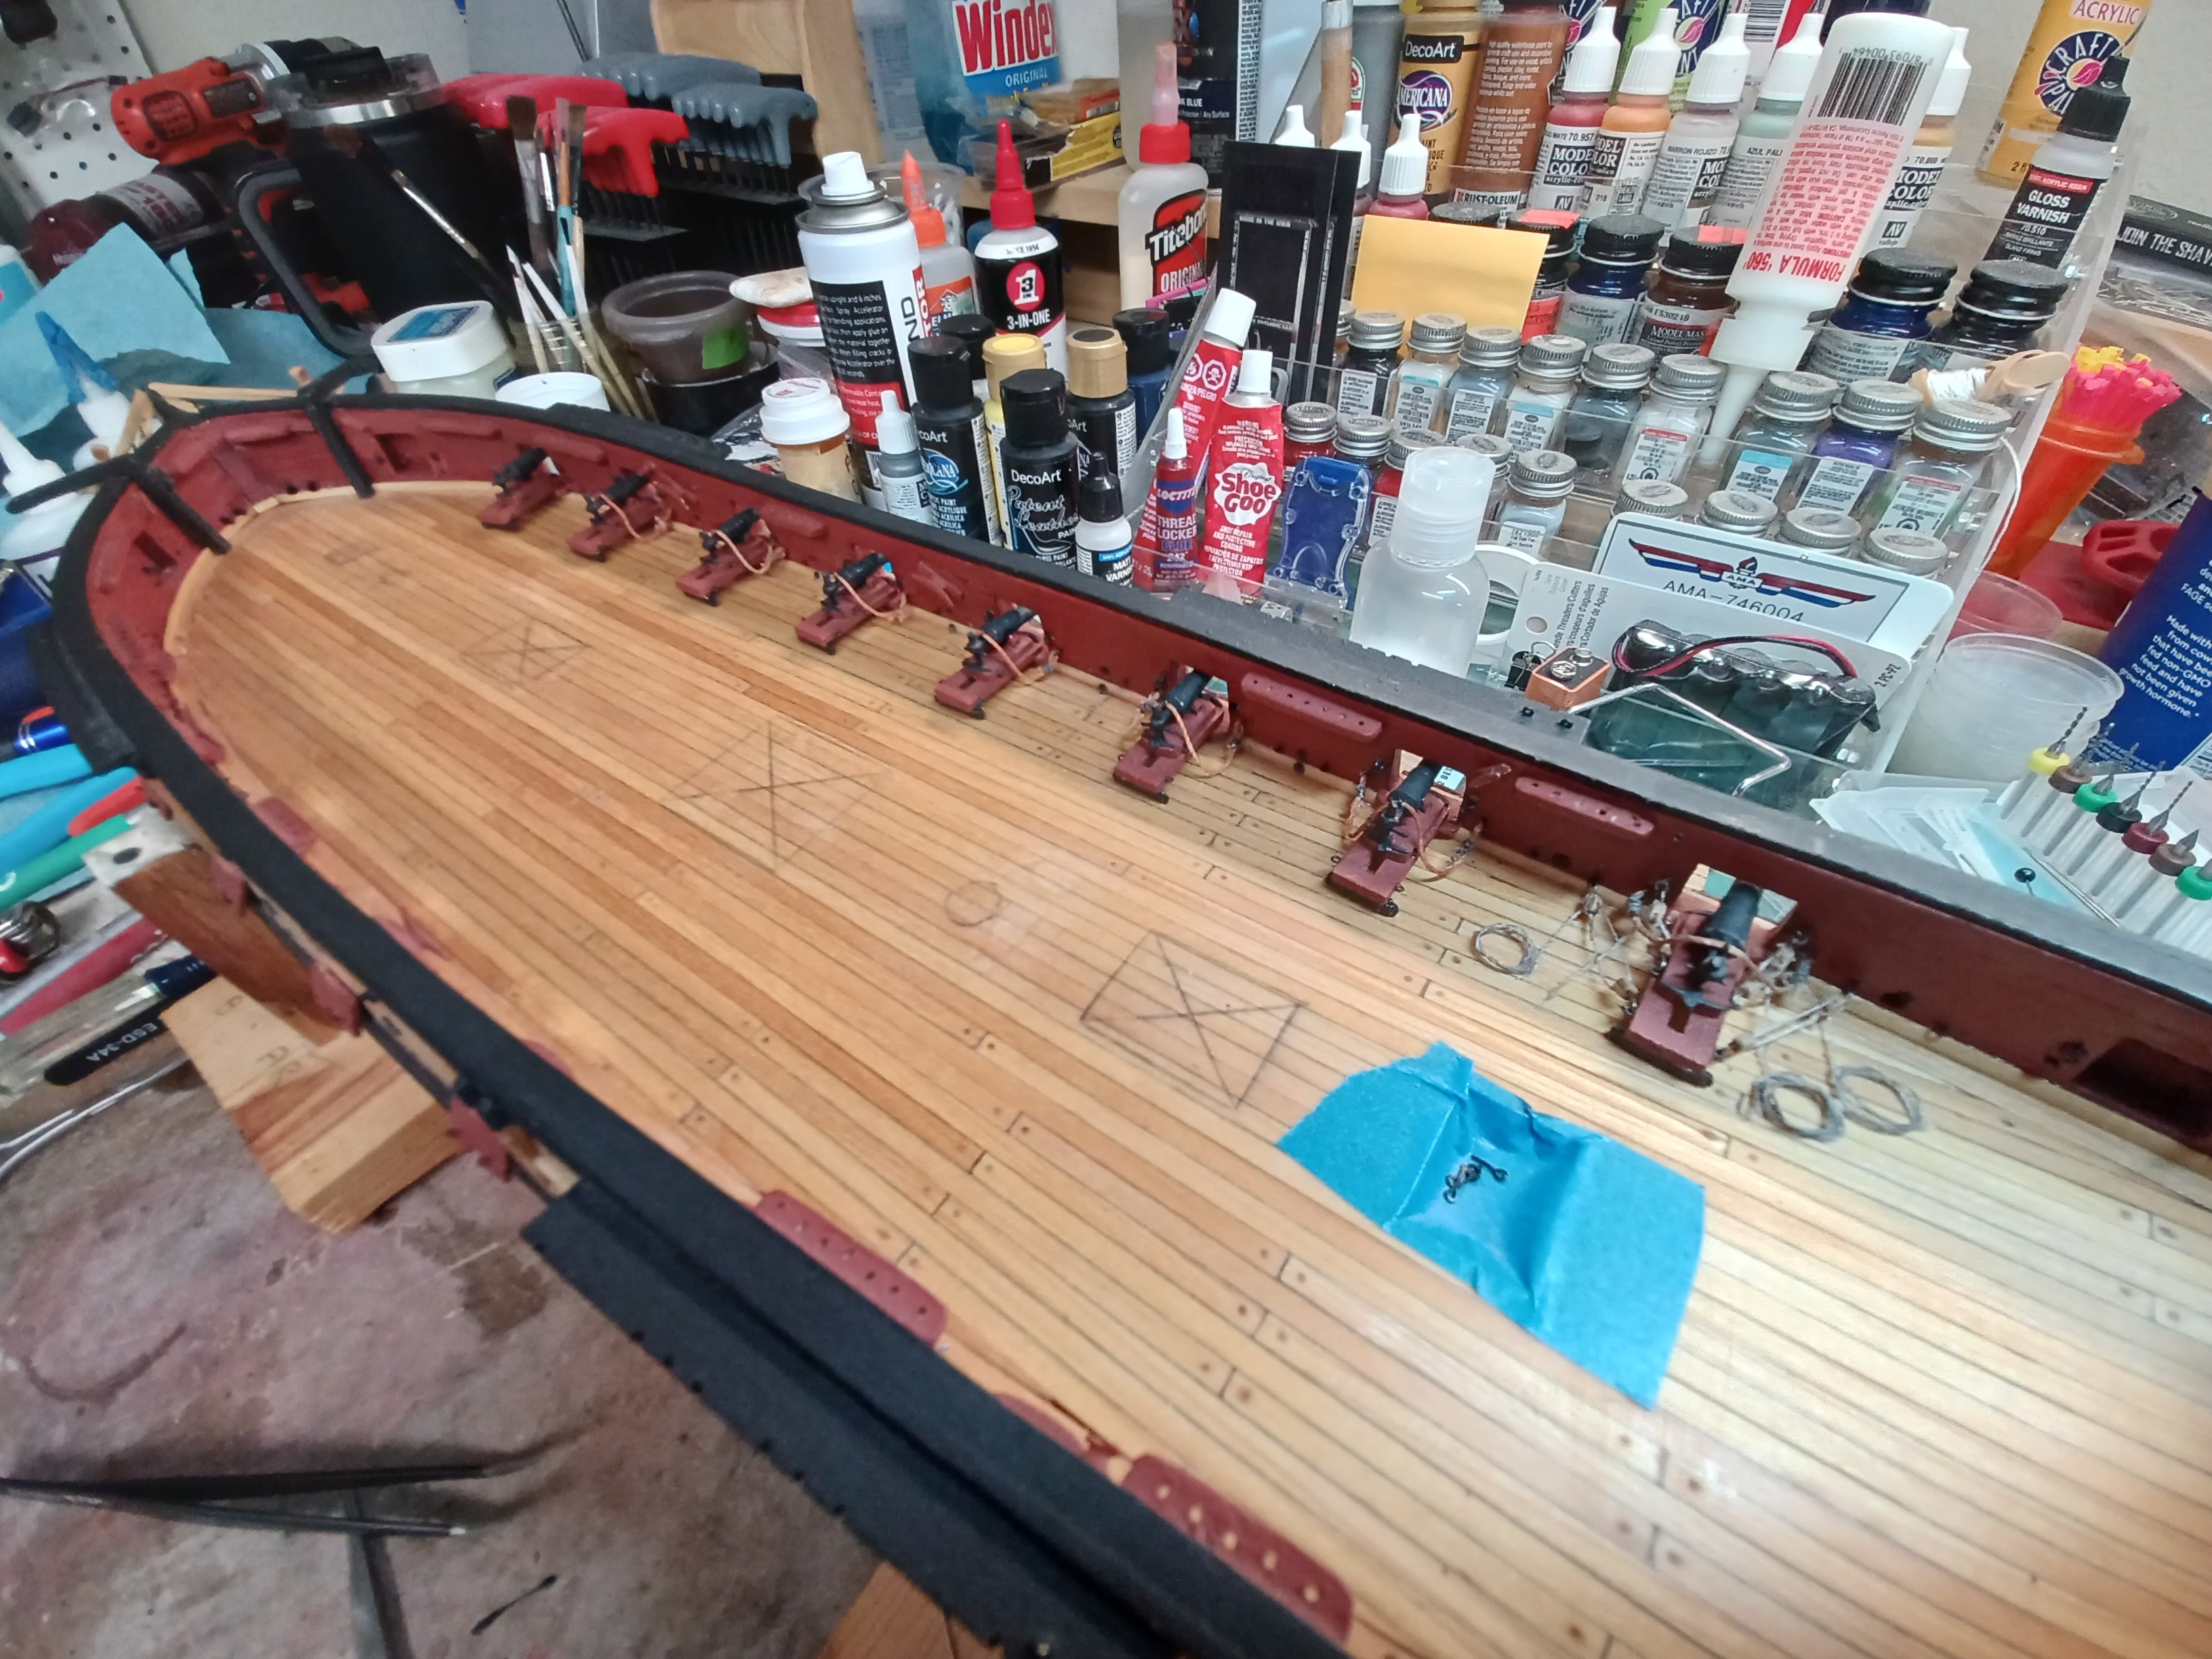
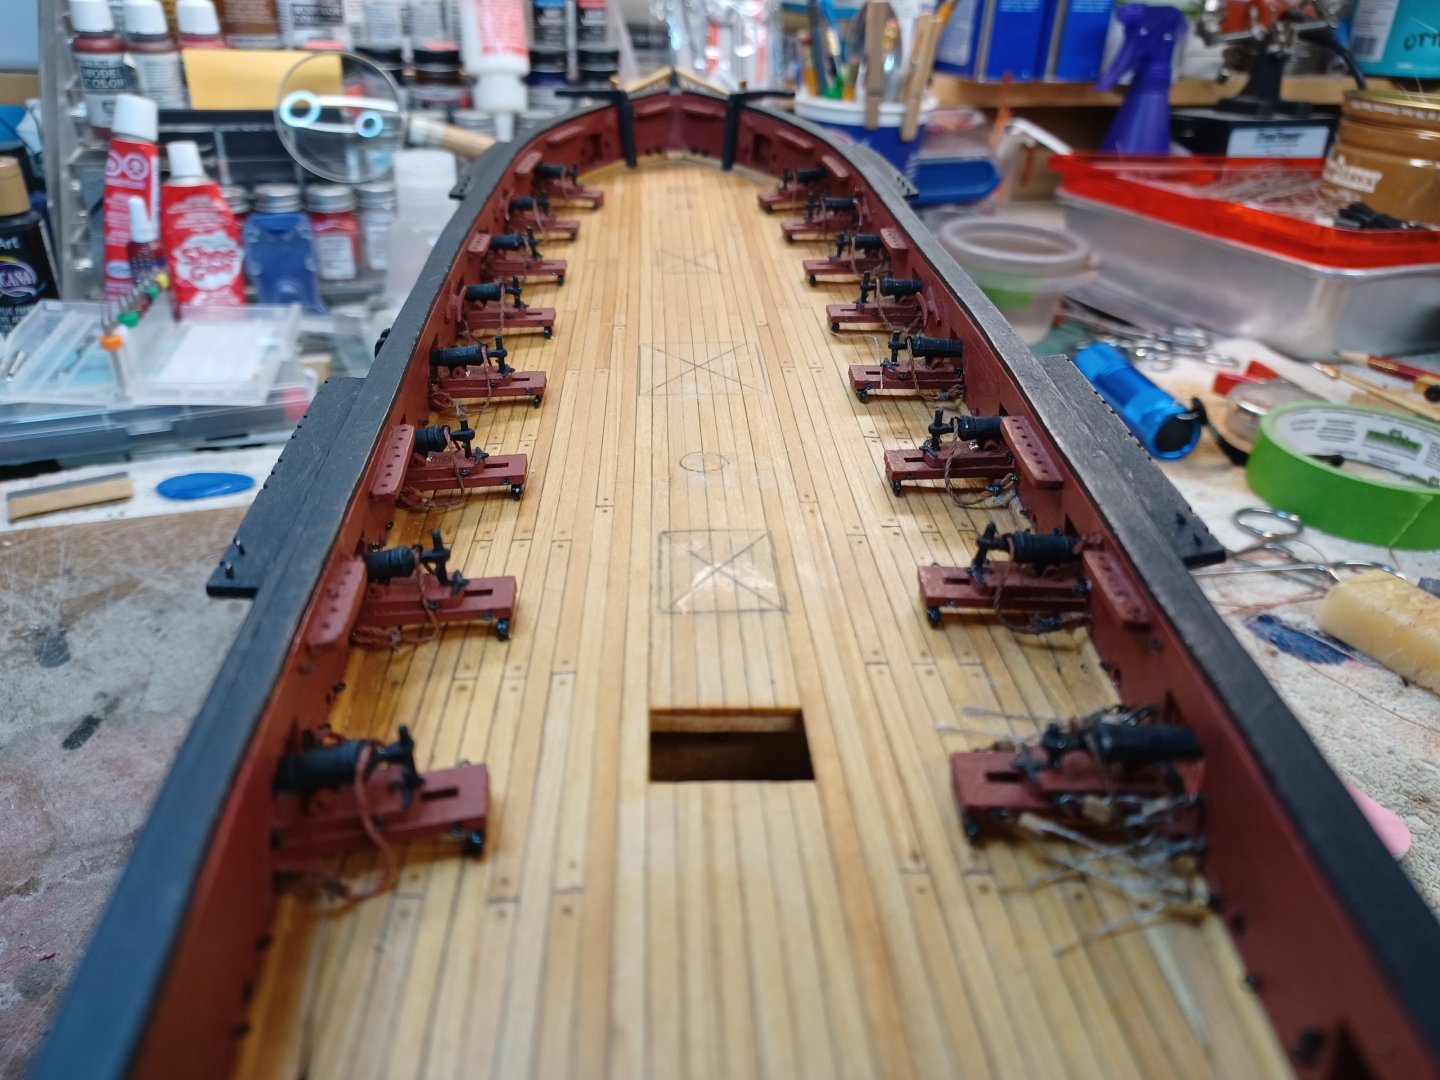
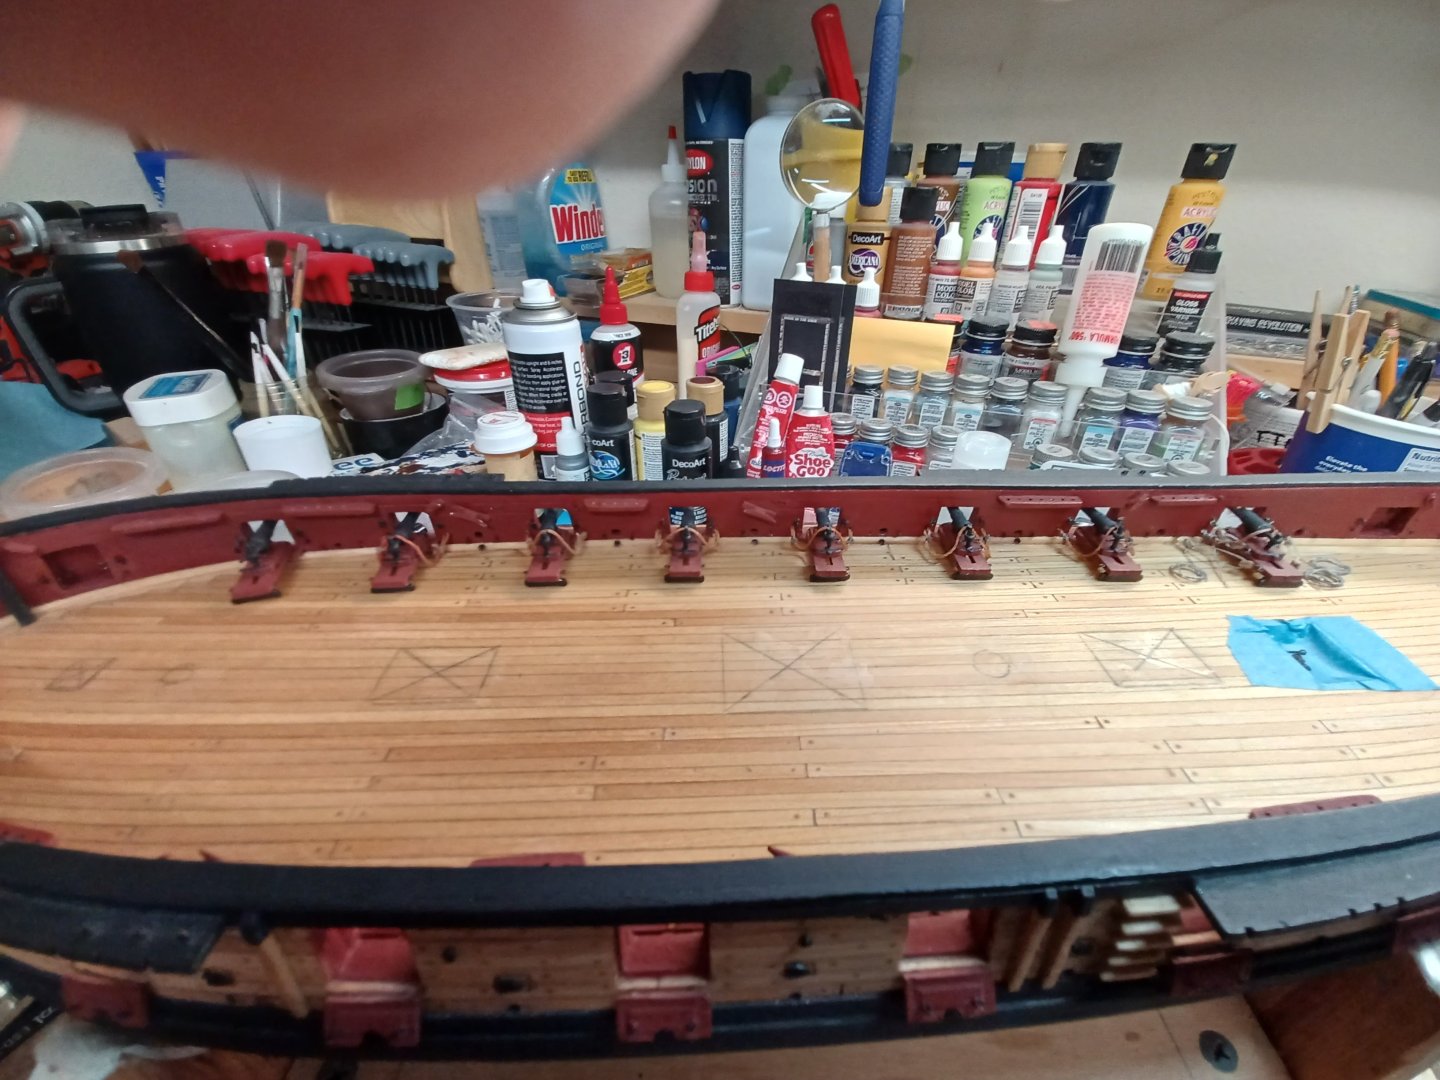
Breech Lines Not Breach Today while typing Breach, I looked at the word, and thought, that it just didn’t look right. Sure enough, even though, spelling is not my weakness, in this case I missed it entirely. So it will be correct moving forward. 16 Cannon, and “breech” lines are in place and next step will be the out hauls. These pics show my progress. Please overlook the spare line on the starboard cannon. I will have a talk with the crew about leaving things about on deck.😀

- 436 replies
-
- 4
-
-
- Syren
- Model Shipways
- (and 1 more)
-
And Now the Coils Since the garage temp is wreaking havoc on my fingers, I chose to use the wash on the coils as well. As I suspected, a few of them sprung apart even using alcohol. However, these are my first attempt to make them, and I am chalking it up to ones that I made early. I noted that I changed the process (jig type) several times before I found one that worked. When I do it again, I will add a step to apply heat after coiled and waxed. It worked well on the breach lines to keep them drooping toward the deck. Will update when it when weather warms up a bit.
- 436 replies
-
- 1
-
-
- Syren
- Model Shipways
- (and 1 more)
-
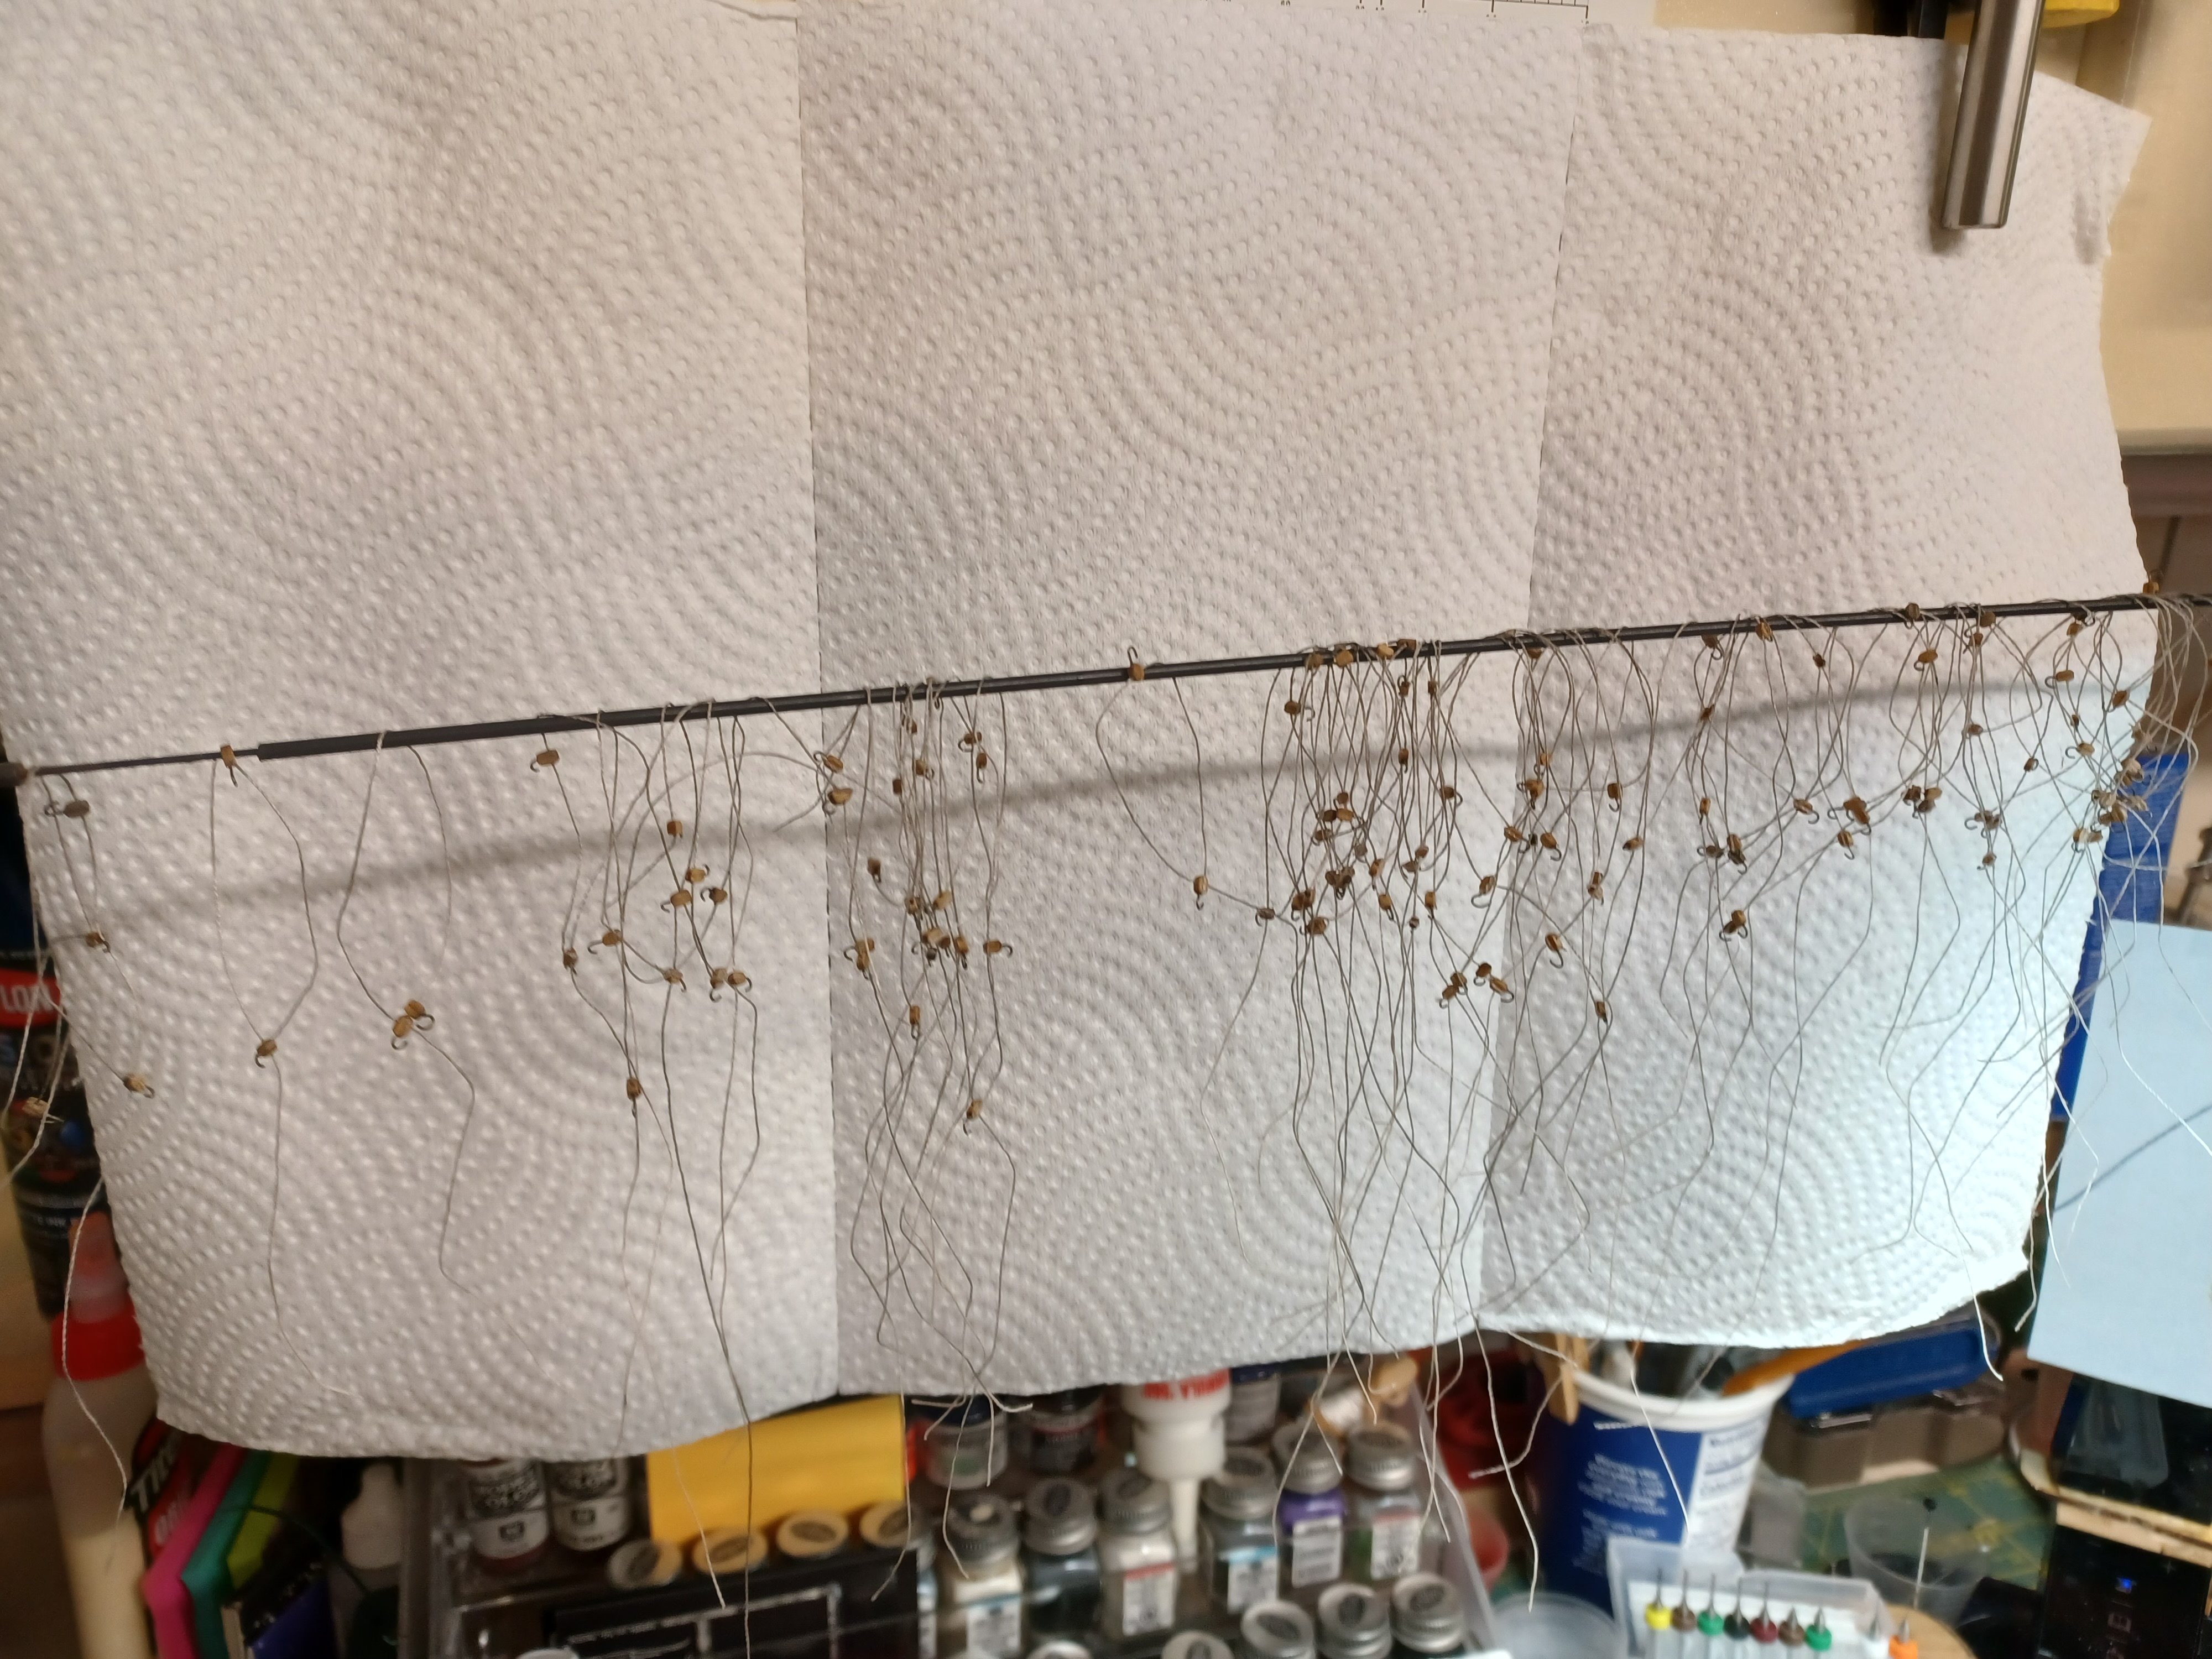
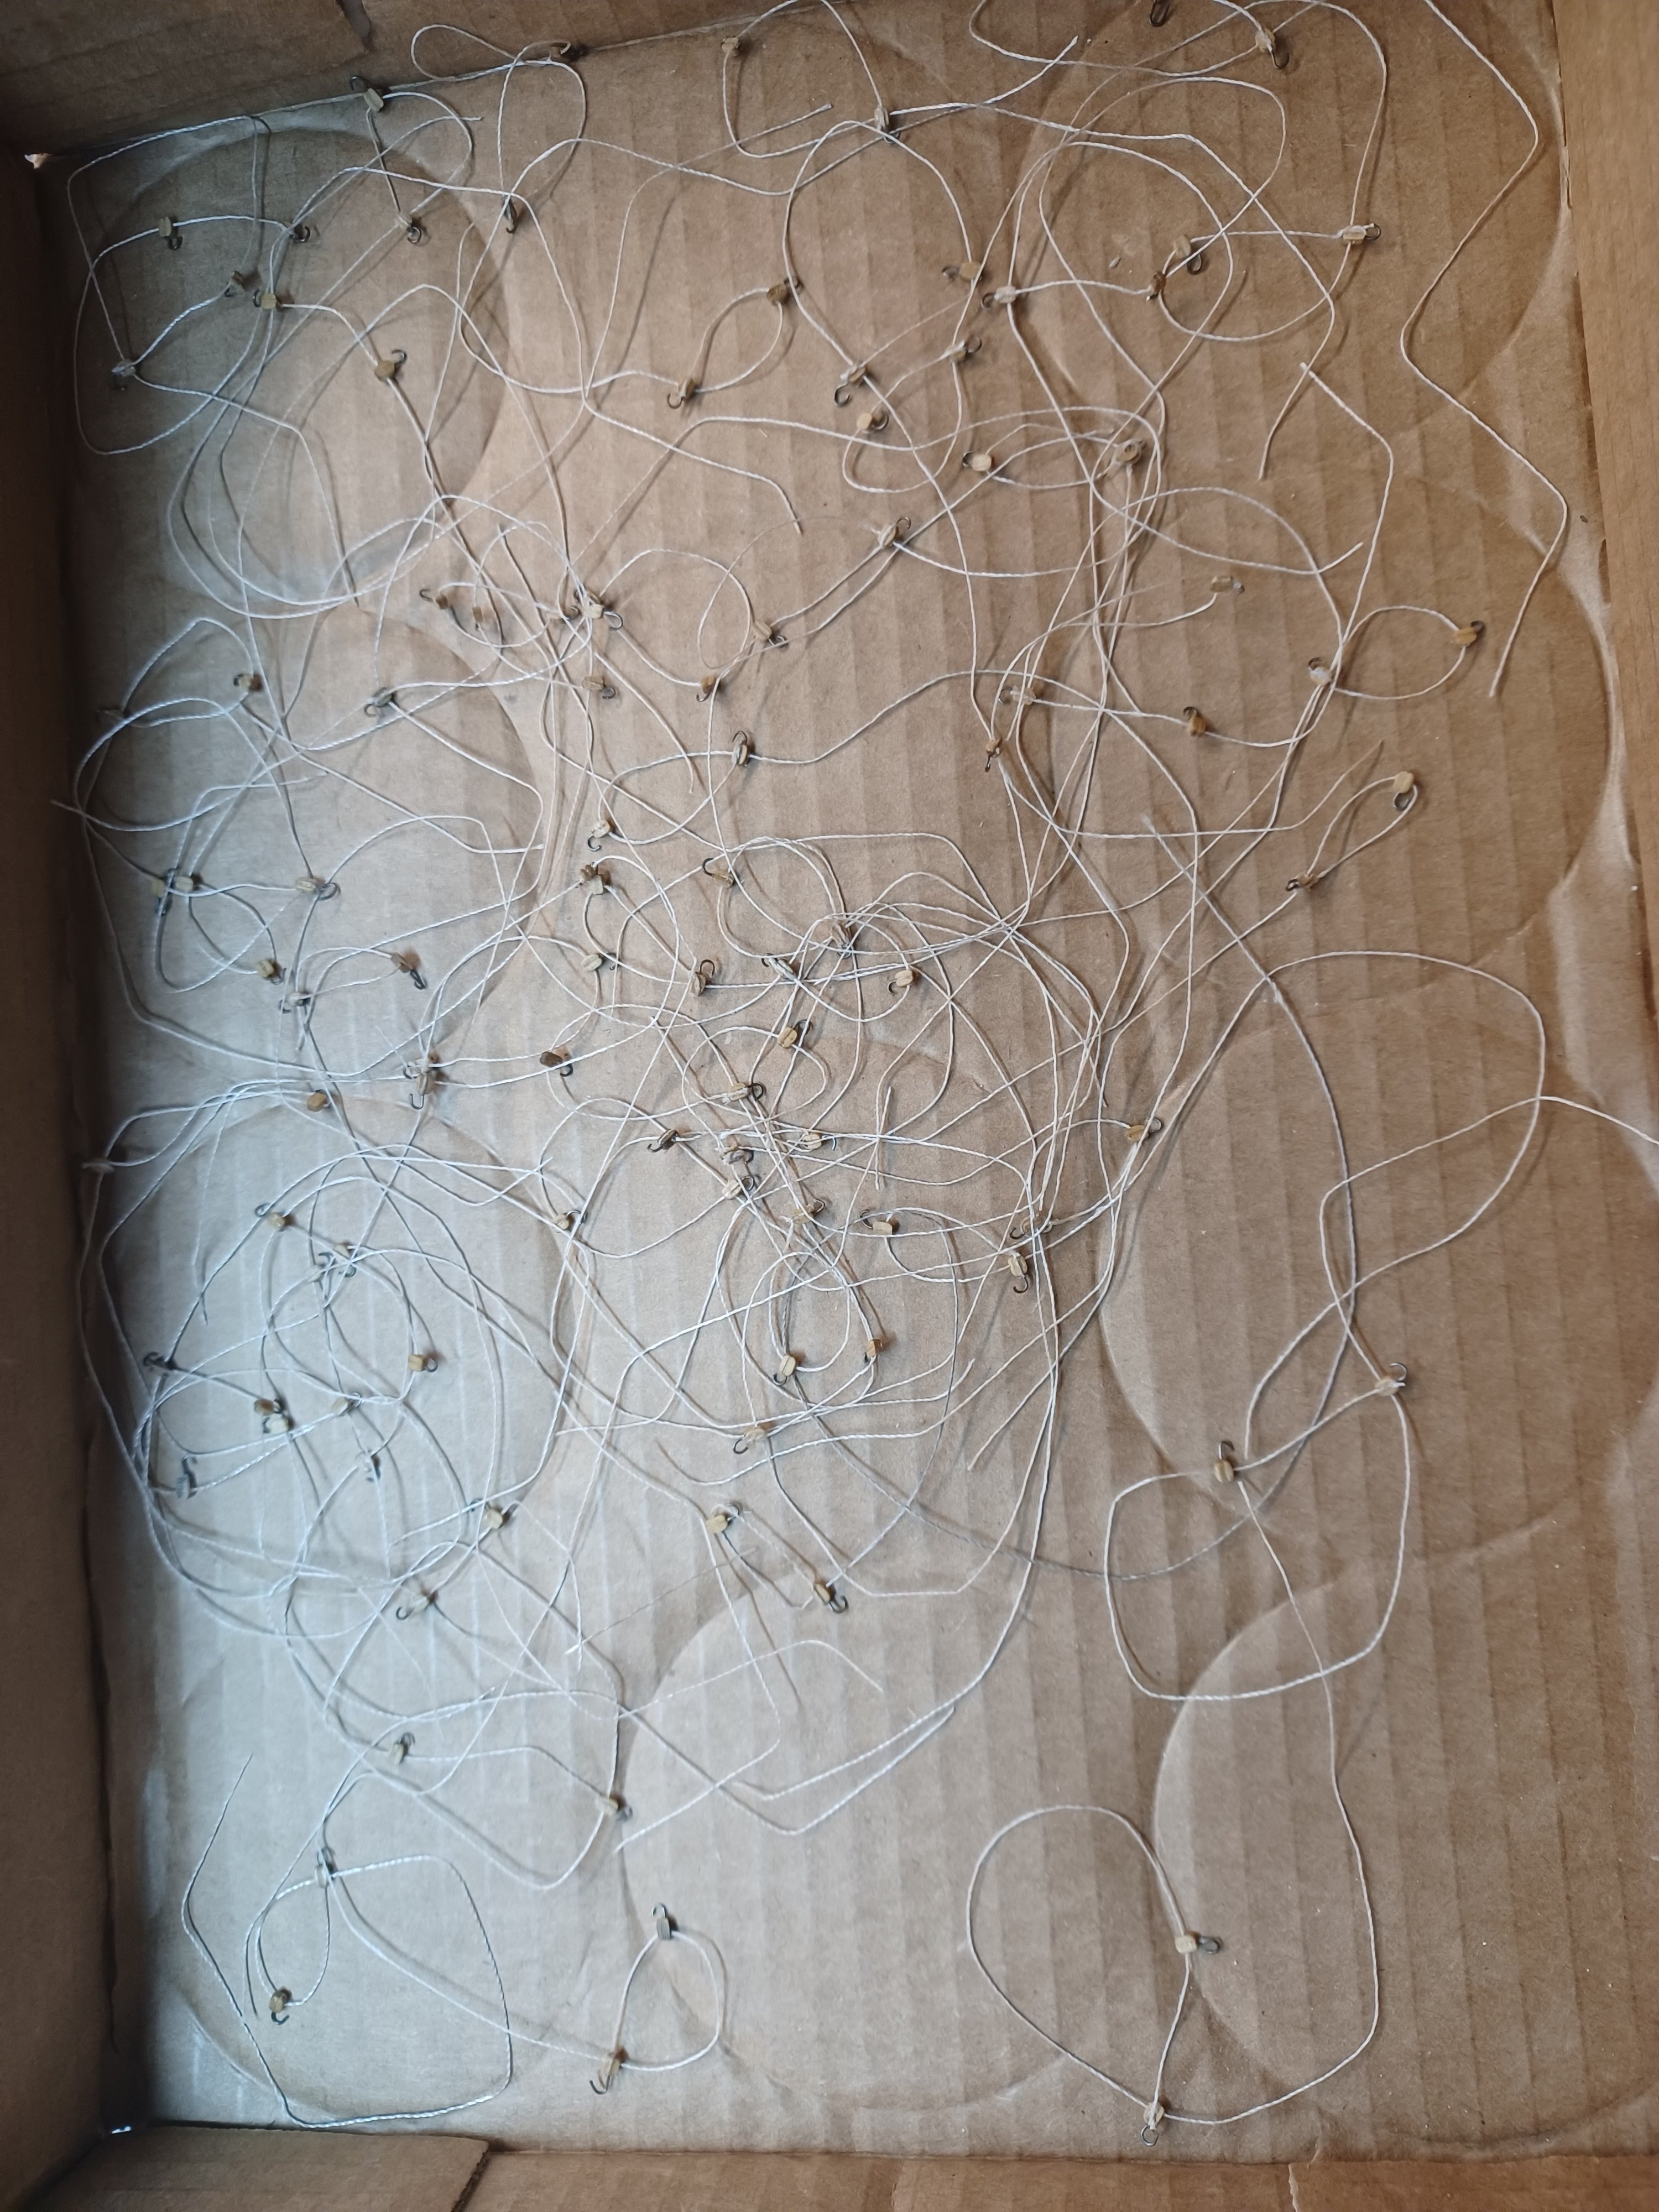
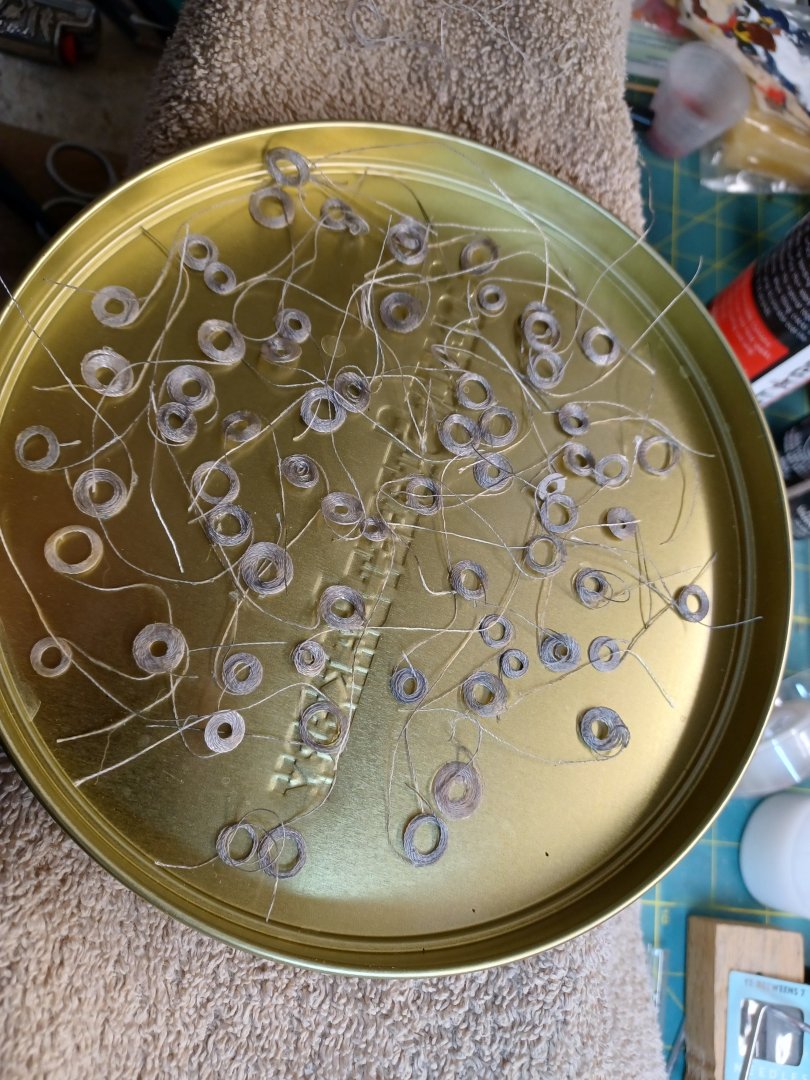
Hung ‘em Out to Dry The weather warmed up enough to do some prep work. Now that I have the color wash at the tint I was looking for, I took the time to wash the out hauls. The picture is of them drying, although most were dry in a couple of minutes. I blotted each after they were in the wash for less than a minute. They all vary in tint just a little, but I that’s what I was going for.

- 436 replies
-
- 1
-
-
- Syren
- Model Shipways
- (and 1 more)
-
Temporary Hold Due to the return of the cold weather, the garage has become a giant fridge. So I set about working on the color of the rope coils, and outhauls. I mixed some black acrylic, steel (mostly silver) and alcohol to create a wash. I dipped one out haul, and coil in, and used paper towel to soak up the excess. In the pic, the left side is before, and the right side is after. By sheer luck, I found the right combination. The difference is subtle, but that’s what I wanted. Warm up is coming in a day or two so I can continue.

- 436 replies
-
- 1
-
-
- Syren
- Model Shipways
- (and 1 more)
-
A Mistake Resolved I think that I might be doing something wrong. I have been cutting the rigging line and running it through beeswax, then adding color. It probably should be the reverse….colored, then waxed. It hasn’t been a big issue for the breach lines because I give them a shot from the heat gun, but it could pose a problem down line. The reason I bring it up is because I got to looking at them and they looked too orange. So, I decided to try to age them a little. I mixed some acrylic black and alcohol to create a wash. Tested it on a short length breach line and it looked good. Taking a small brush, I put a drop on the breach lines, both sides, and touched up where it didn’t get to. The pictures in the previous post show the before. Here is the after.

- 436 replies
-
- 1
-
-
- Syren
- Model Shipways
- (and 1 more)
-
8 Cannon, 7 Breach Lines The weather has warmed up a bit, so the space heater in the garage does make it tolerable. Mostly, it’s the hand dexterity that goes first. Just added the 8th cannon on the Starboard side. When it is truly dried, I will add the breach line. I am still using my heat gun to help set the line positions…as indicated, this is some of the sproingiest line I have used. However, once through the bee’s wax a small amount of heat makes it easier to form after it is in place. I know what I know: Progress is at a nails pace, so patience is this week’s word.

- 436 replies
-
- 4
-
-
- Syren
- Model Shipways
- (and 1 more)
-
Thanks, @vossiwulf that gives me a couple of options. As soon as it warms up, I will.
- 436 replies
-
- 1
-
-
- Syren
- Model Shipways
- (and 1 more)
-
Idle Hands…. Just a quick update. Unfortunately, my work area is in the garage. The weather around here is cold and snowy, making one’s hands hard to manipulate. However, we are warming up next week, so I will be back to working. In the meantime, a Question I did not recolor the lines for the out hauls, or the coils, but I still plan to. Does anyone have a good process for doing this. I am not too concerned about the out haul’s because I can make a wash to brush on them. It’s the coils that have me wanting to stay away from liquids. I can just see them unraveling once the diluted white glue softens. Does anyone know a better way to do this without affecting the coil? I will be going for a slightly oily look.
-
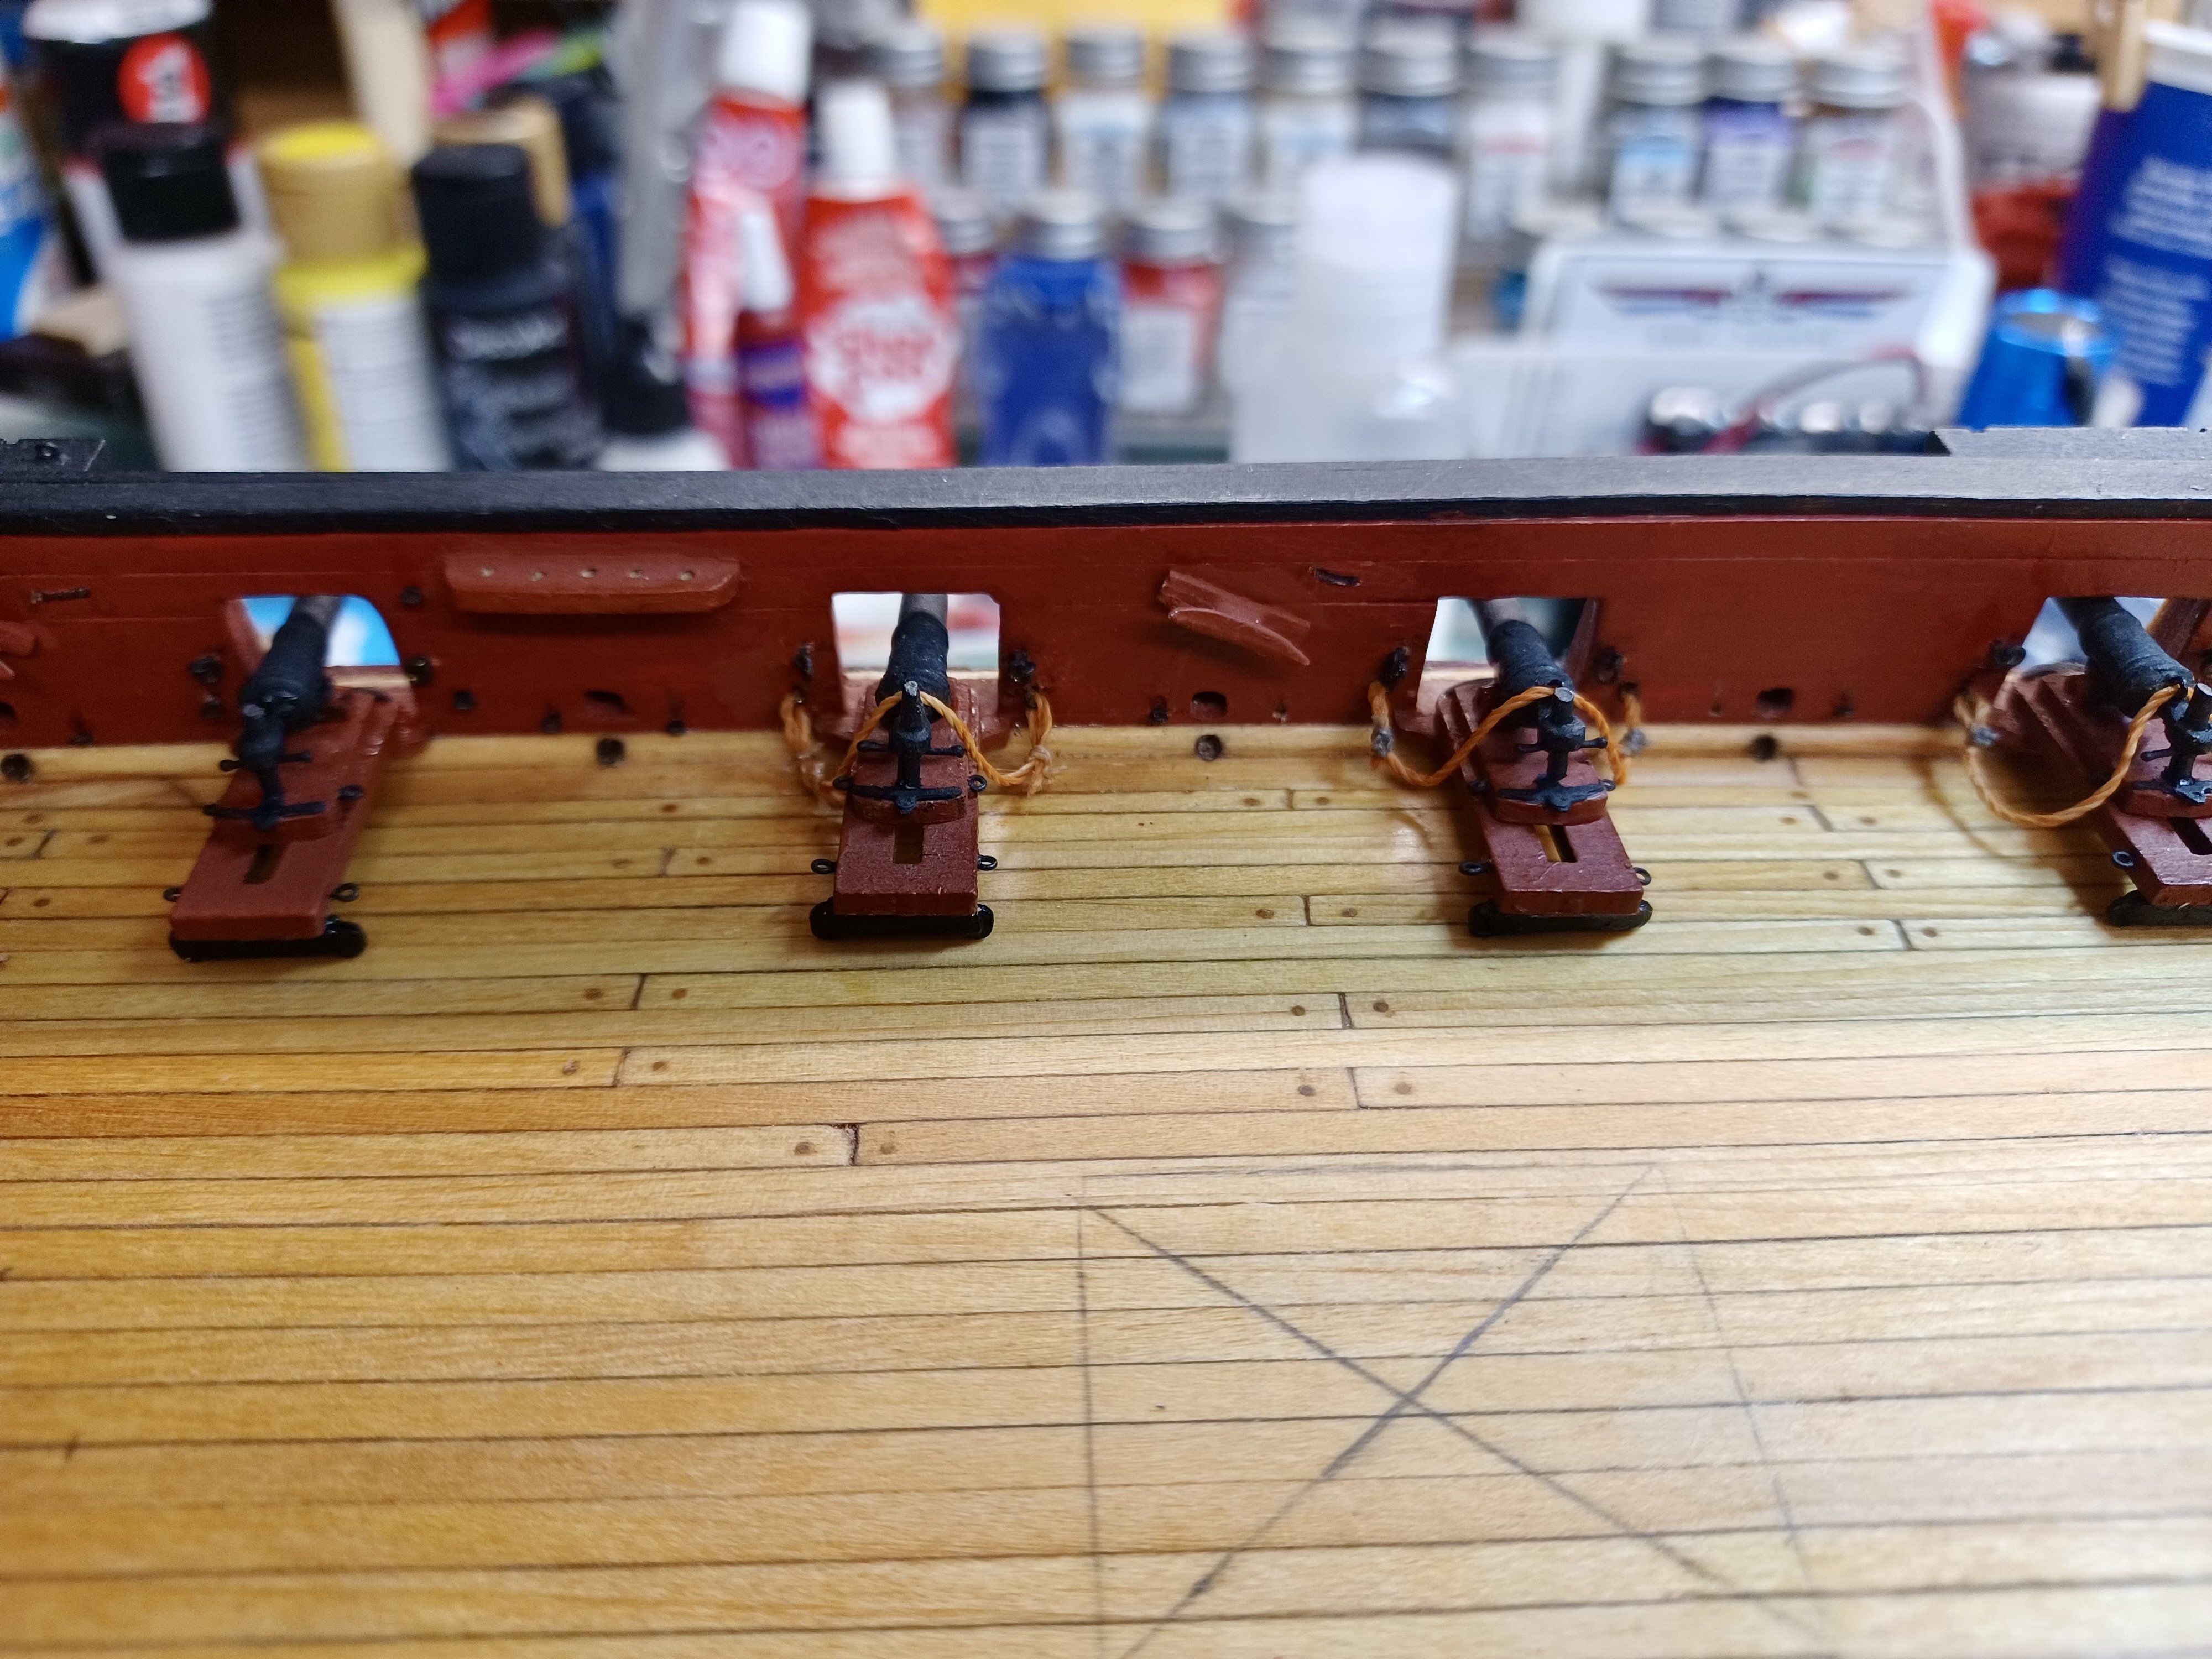
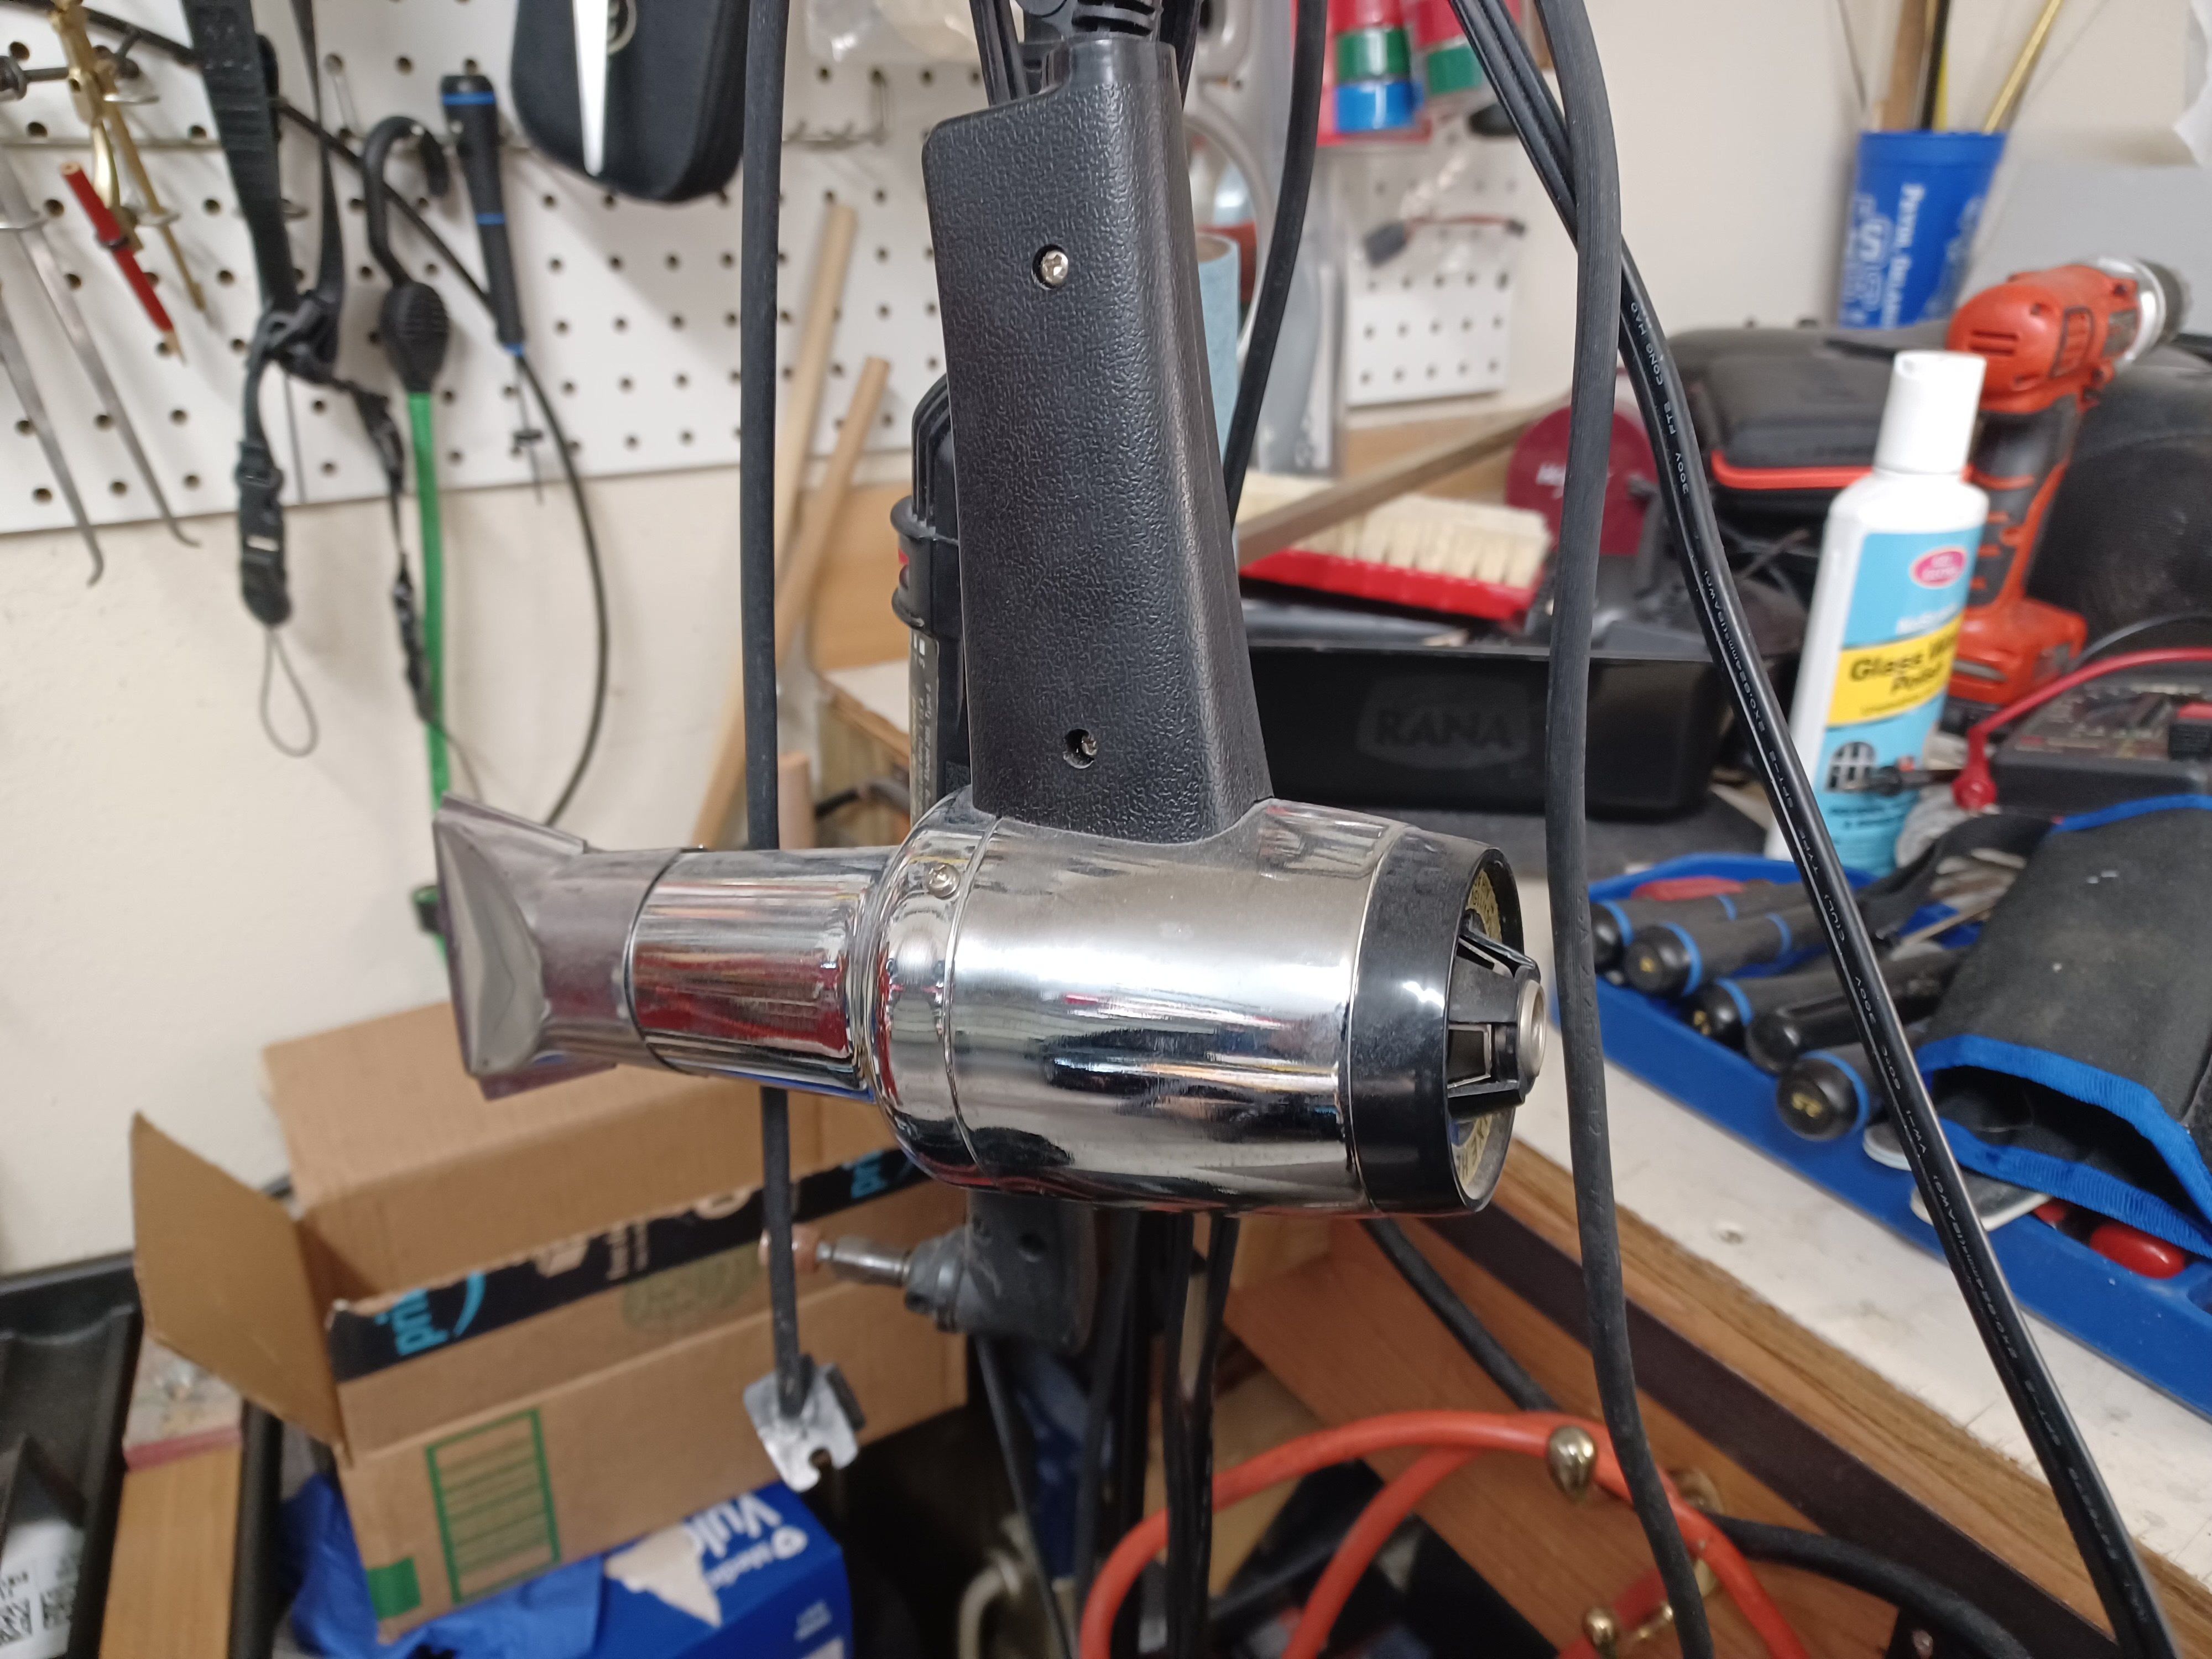
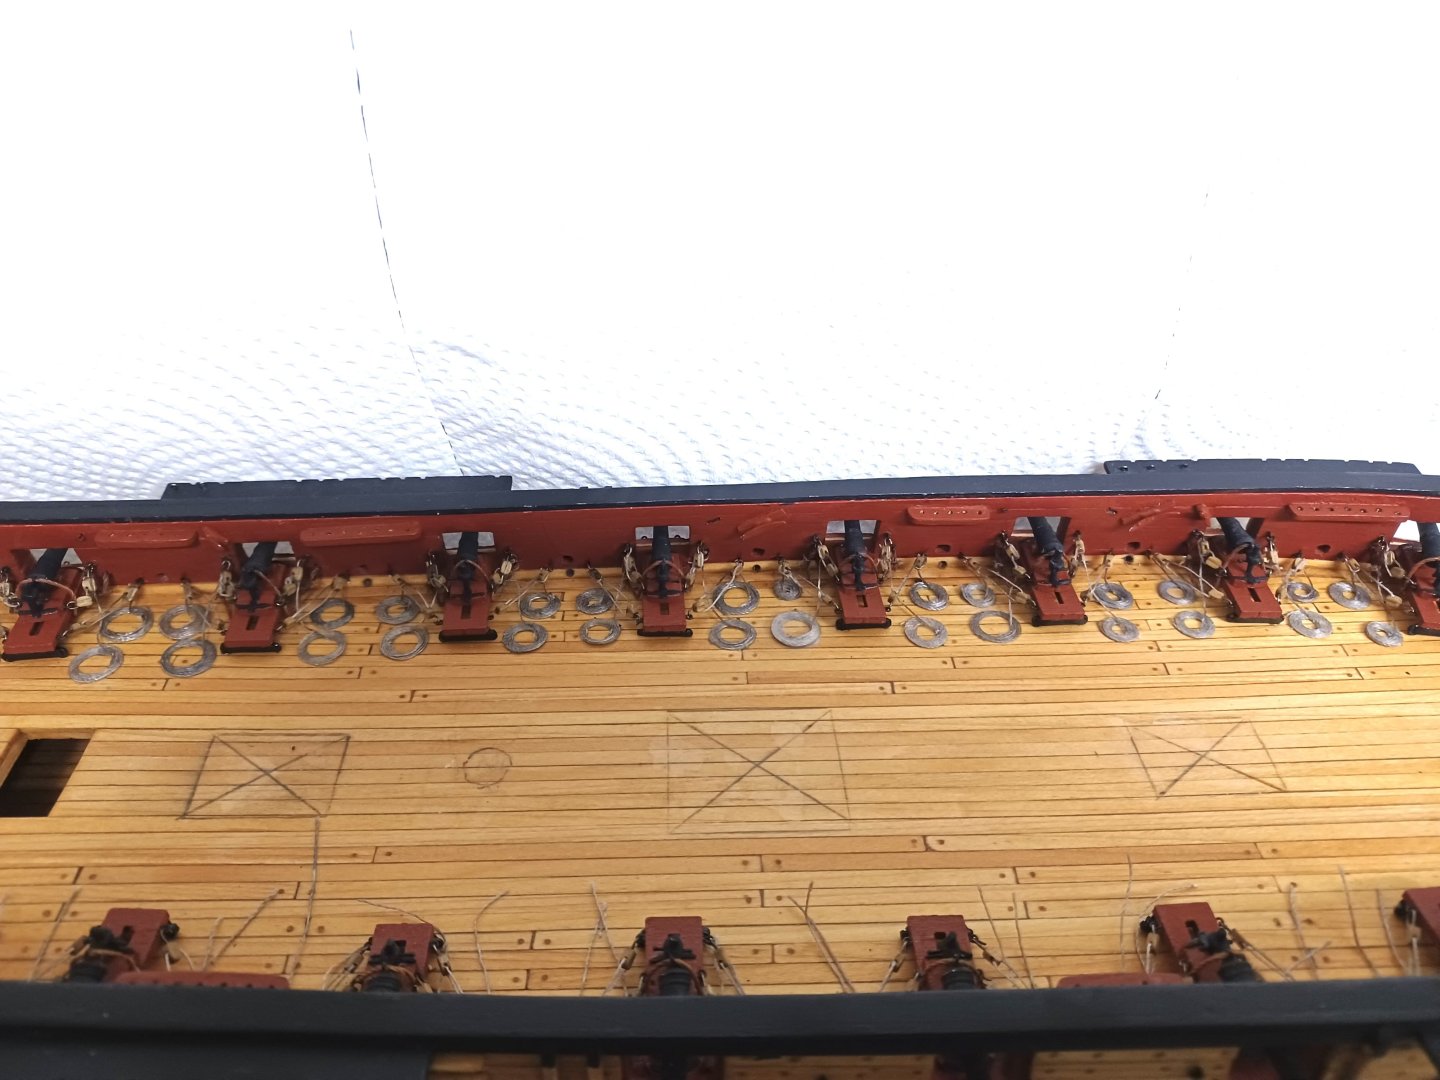
Flipping Tip (literally) and 2 PICs I am now on deck, and am starting on the breach lines. As we all have experienced the lines flipping up and even glued to the deck to hold them in place. I have shown that placing a long straight pin under the sled and bringing the breach line under each side does help. However, that does not always work. So today I tried another way to avoid having to glue them down. If you have ever dealt with RC planes, there is a type of film that shrinks to tighten after applying. So, before I removed the straight pin, I used a covering heat gun to make the line more flexible. I am sure one can use a hairdryer, but I would have to check with the admiralty first. I took mine, and carefully heated up the line so it would hold its shape then removed the pin. It did seem to help. As usual…..YMMV Here is a pic of the heat gun and of the result on the deck…
- 436 replies
-
- 1
-
-
- Syren
- Model Shipways
- (and 1 more)
-
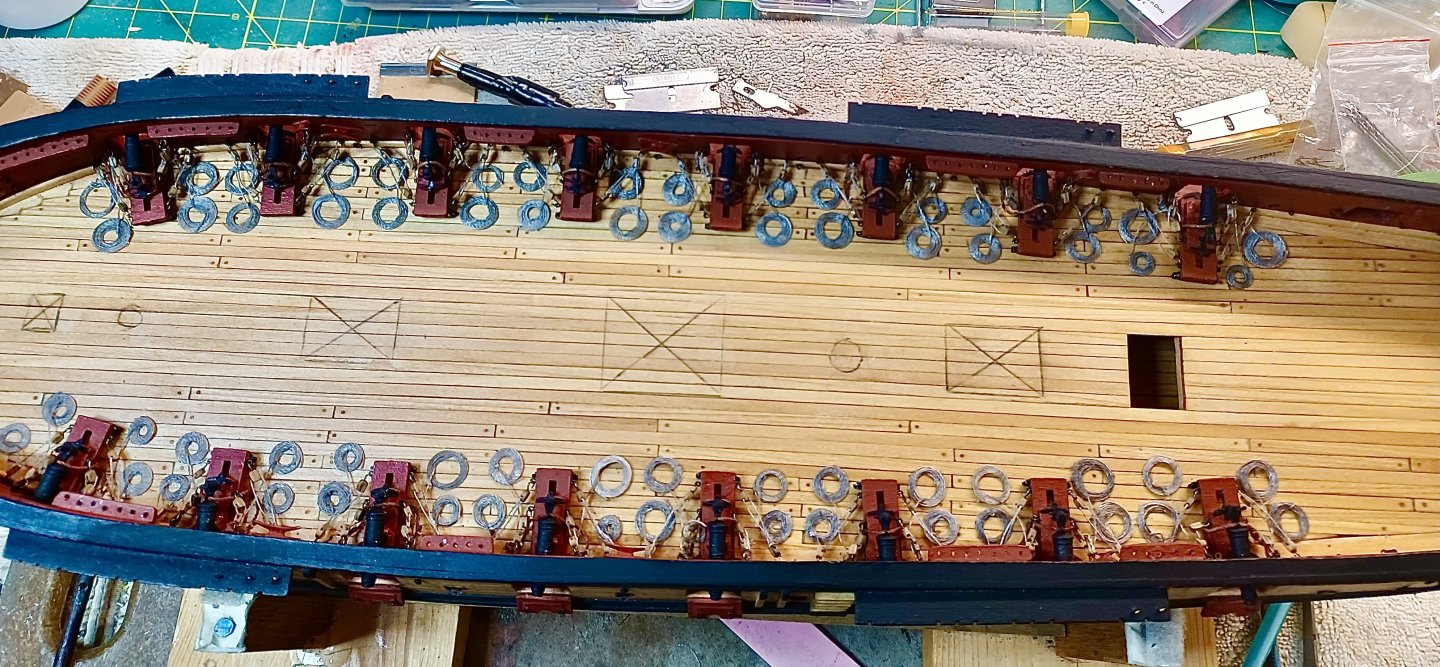
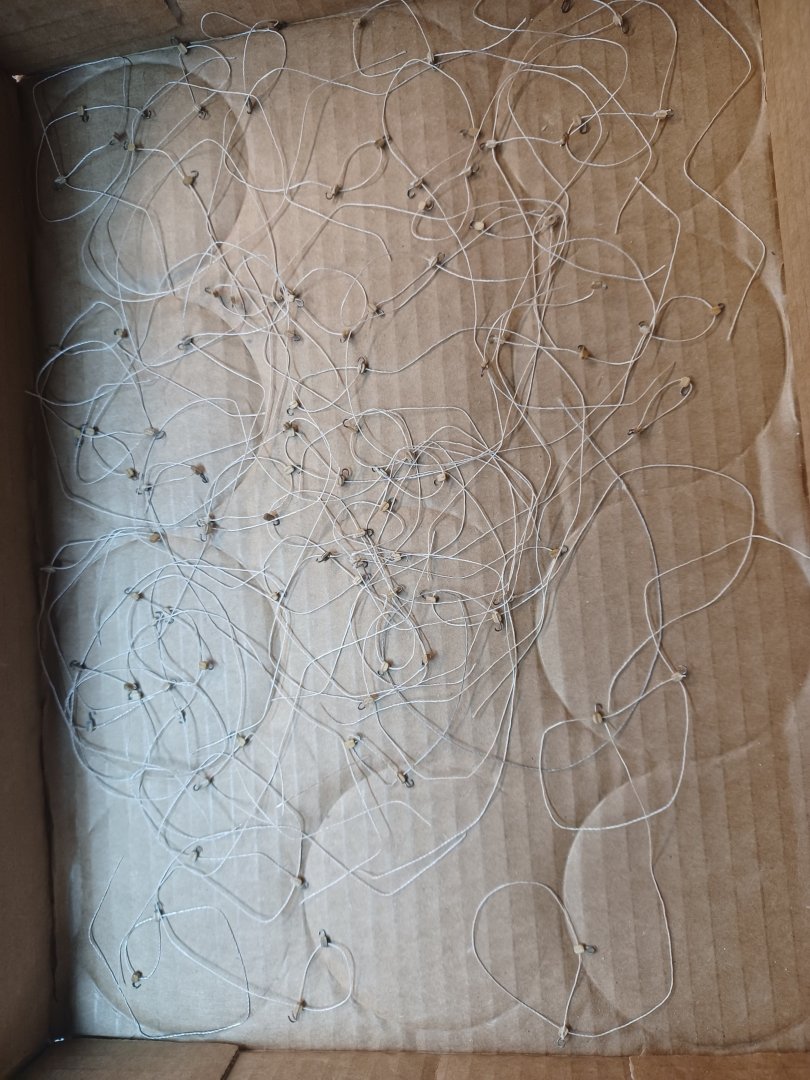
No Pictures Needed……. Finished the outhaul lines today. I completed 75 of them, which, by my count should leave me with 1 extra for the cannon rigging. So, next step is to begin on deck with the breach lines. I am considering two different approaches to the rigging. First, will be to do all the rigging on each cannon, then move to the next, or ….. to install all of the cannon, with the breach lines in place then add the rest of the rigging. I am thinking that doing it one by one will leave me more space to work with. Once I get my work area ready, I will move in the hull and update progress. One thing is for sure, this was a huge task that didn’t look like it from reading the instructions,…and I am glad it is behind me. Now to the rest of the deck!
-
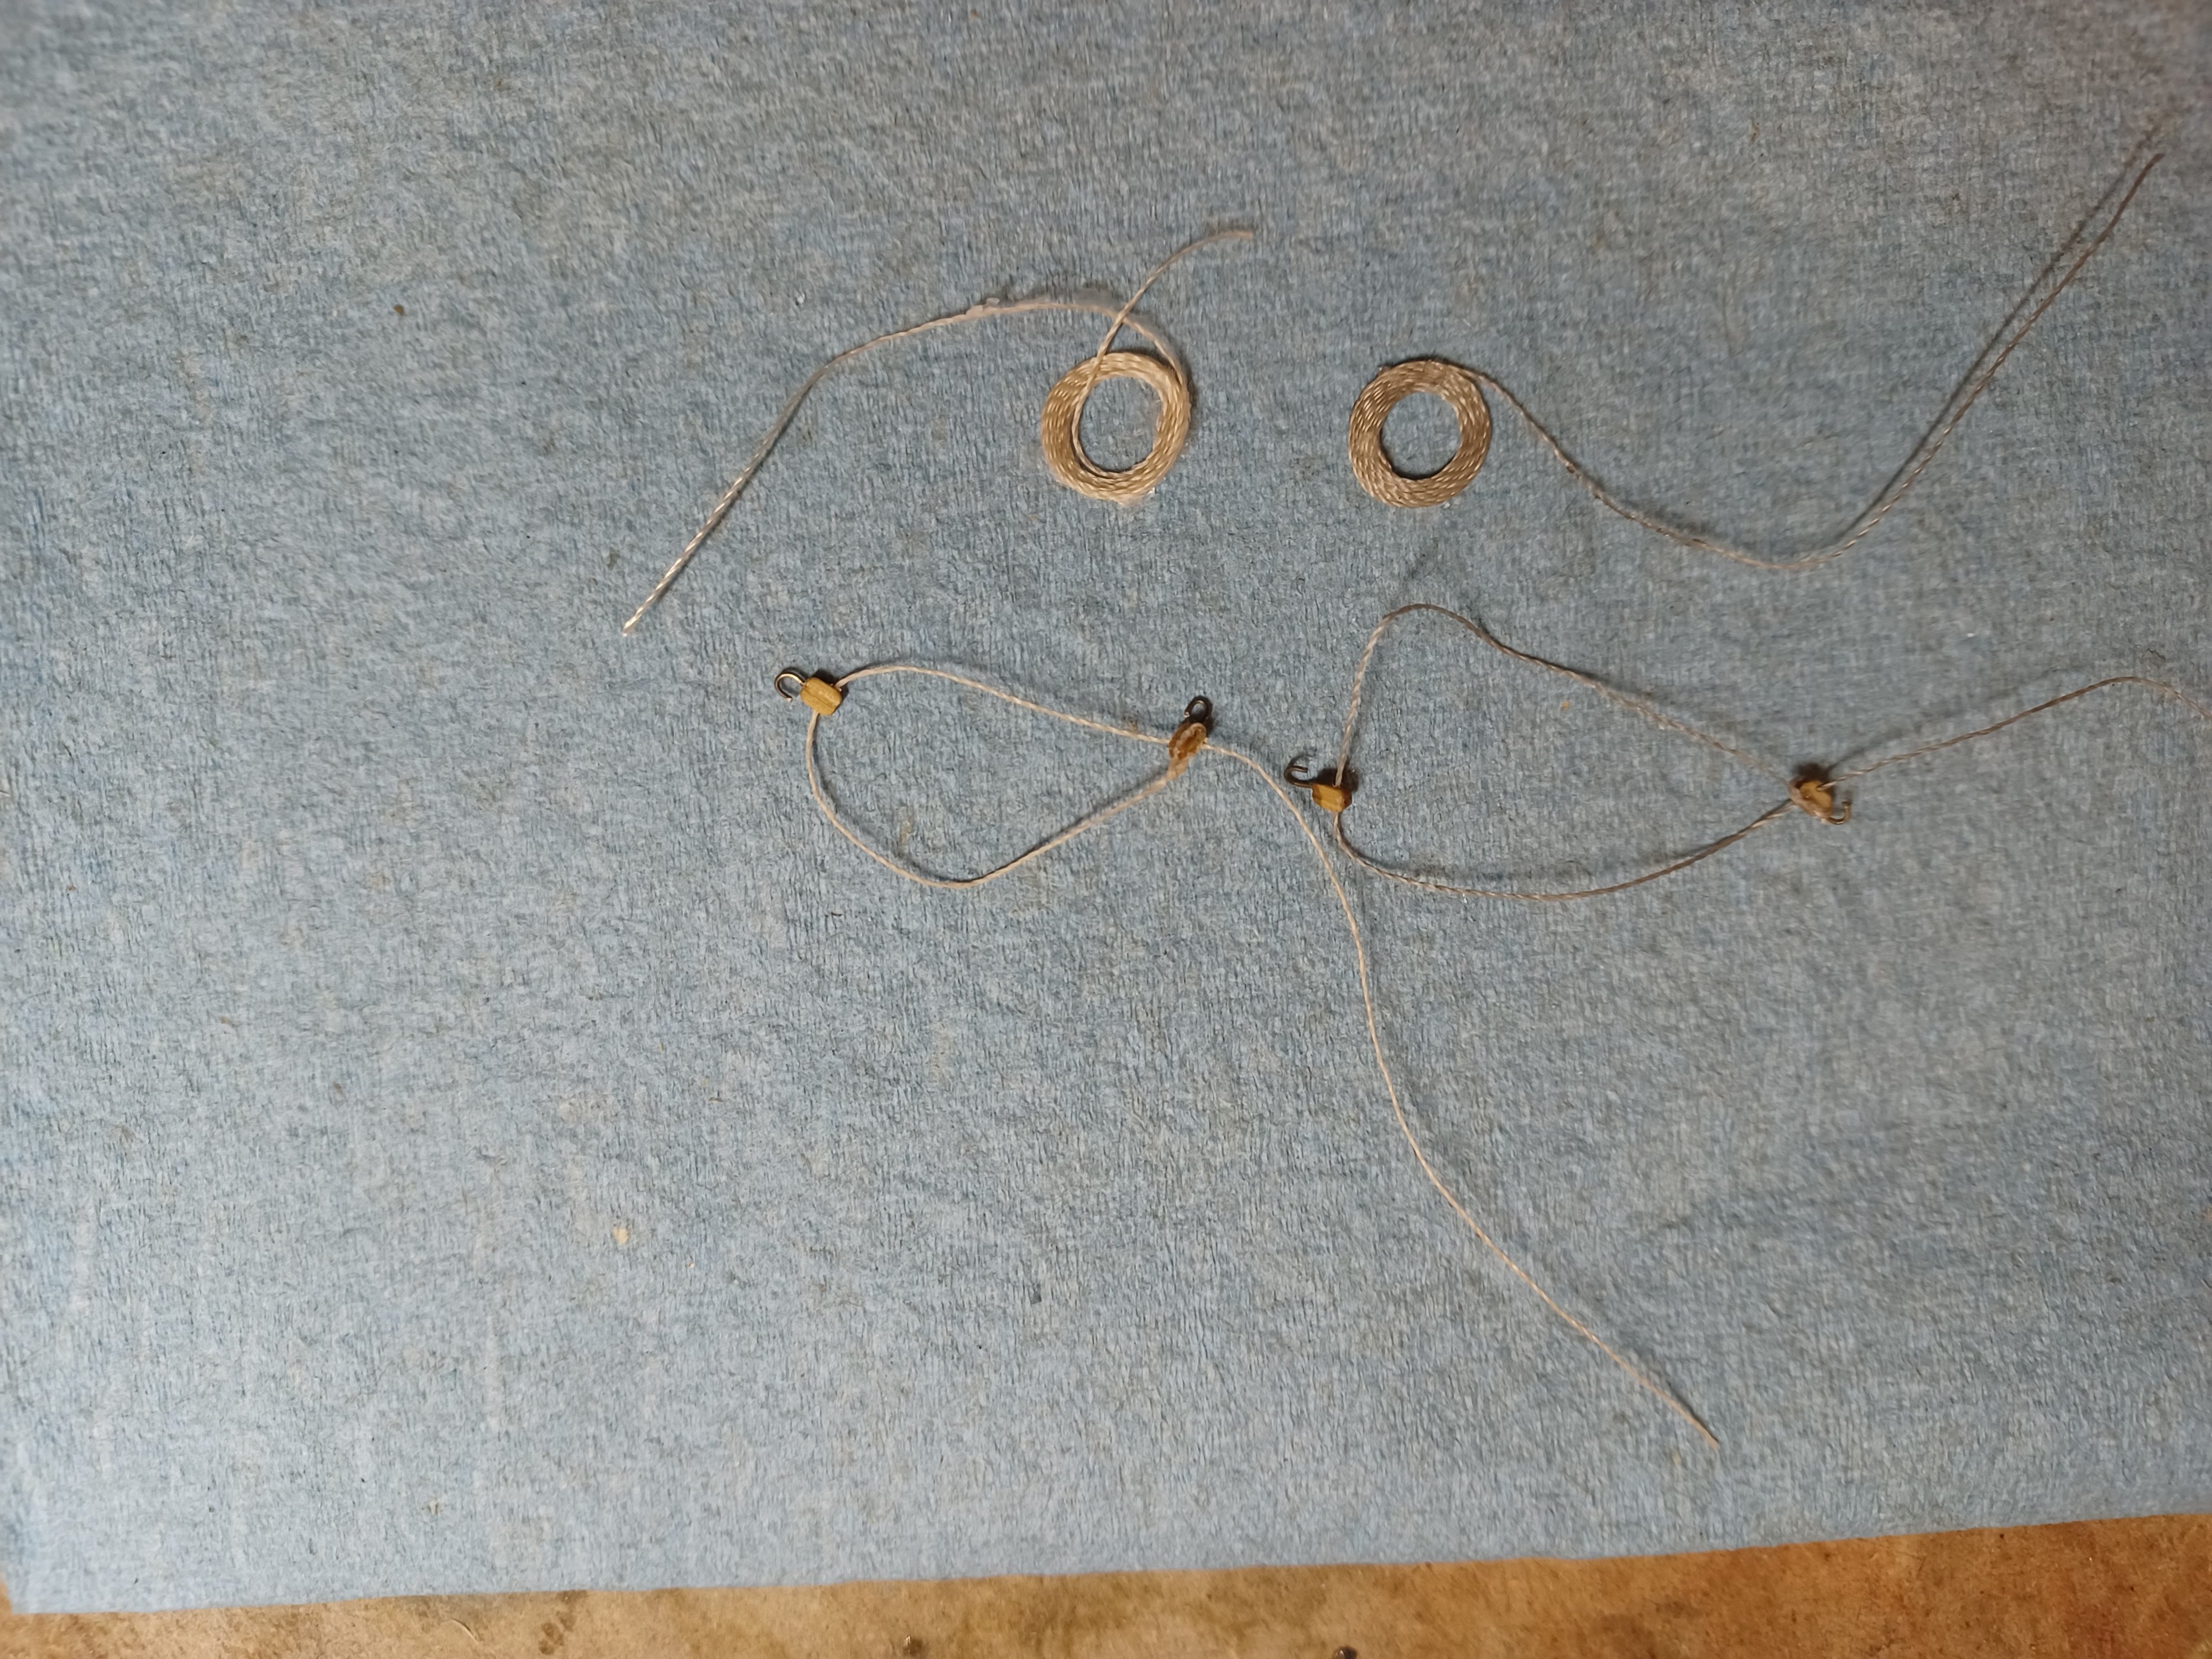
No, I Am Not Just Drinking Eggnog 😀 After breaking a couple of micro drill bits, and getting replacements, I am back to constructing the outhaul lines. For first timers be aware of a couple of things. The blocks are really really small, and I have to use my visor to drill out the holes for the line to go through. Even drilled out, I have to dab CA on the line end then cut it to a point to be able to thread the line………And about the line. I have never worked with such a springy material and so thin, I can barely feel it between my fingers. I didn’t do this, but some builders buy lines with better consistency. I can’t count how many times, I had to reshape it while tying it to the blocks. However, I am making good progress and have now completed 58. Feel free to count..😁
- 436 replies
-
- 2
-
-
- Syren
- Model Shipways
- (and 1 more)