marsalv
-
Posts
613 -
Joined
-
Last visited
Content Type
Profiles
Forums
Gallery
Events
Everything posted by marsalv
-
L'Amarante by marsalv - 1:36 - POF
marsalv replied to marsalv's topic in - Build logs for subjects built 1501 - 1750
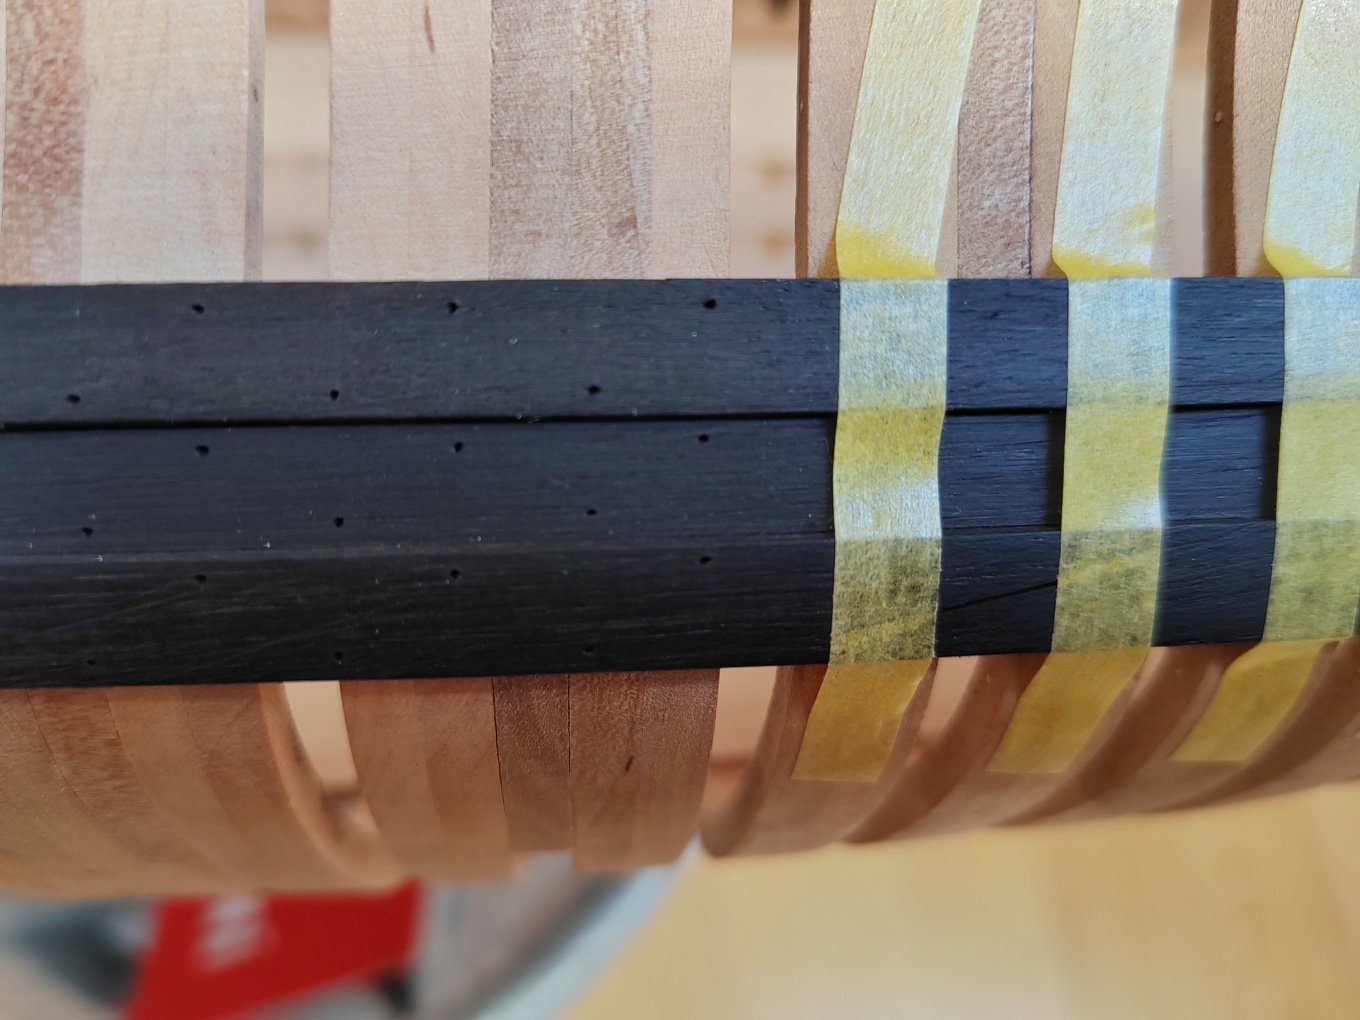
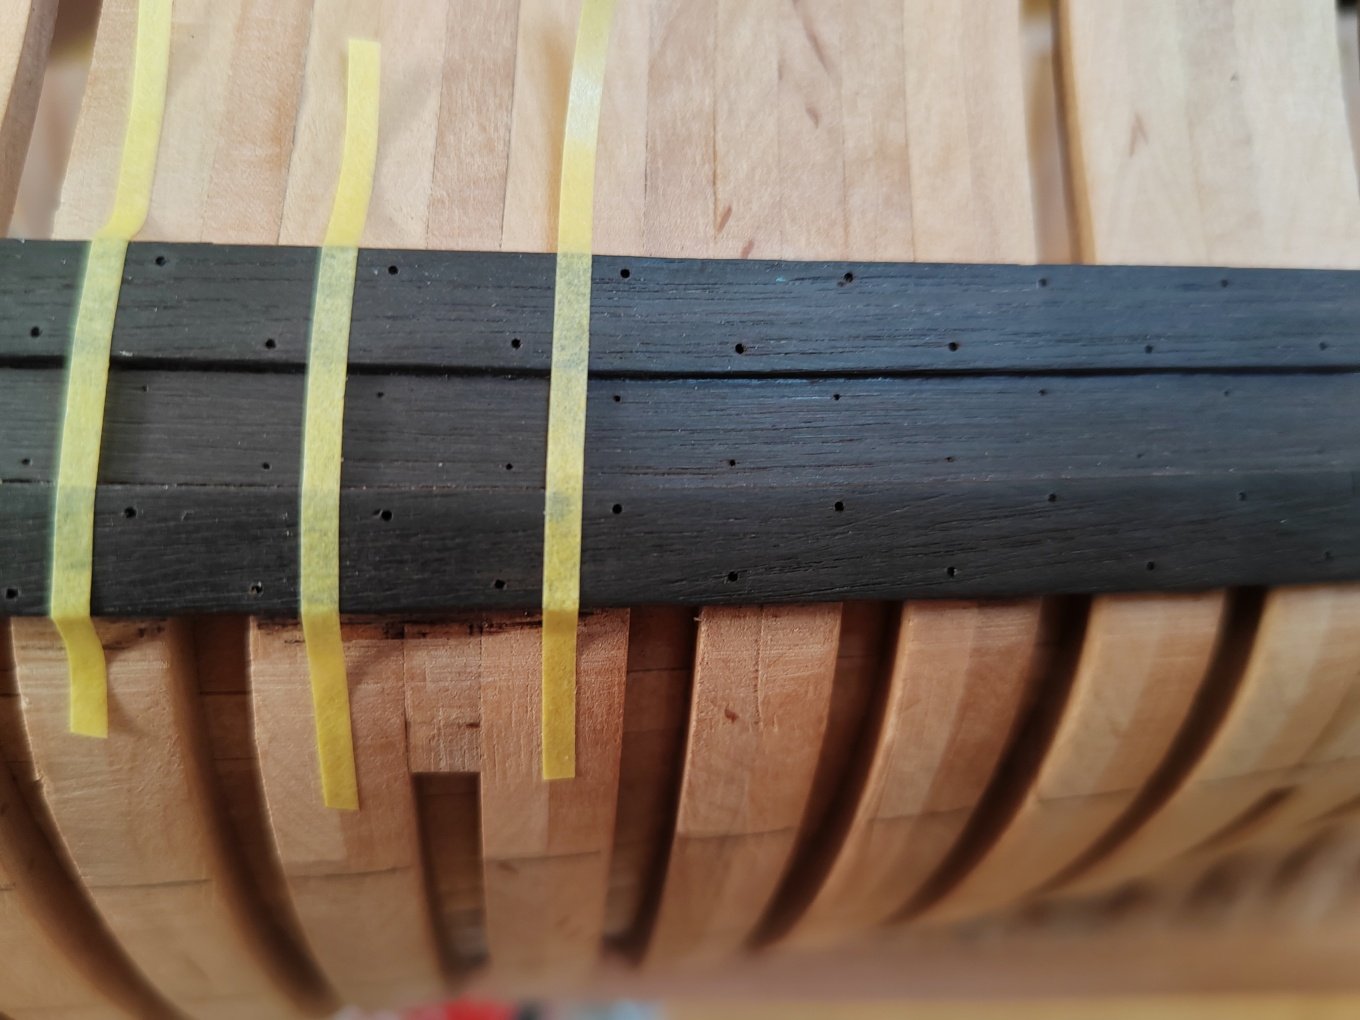
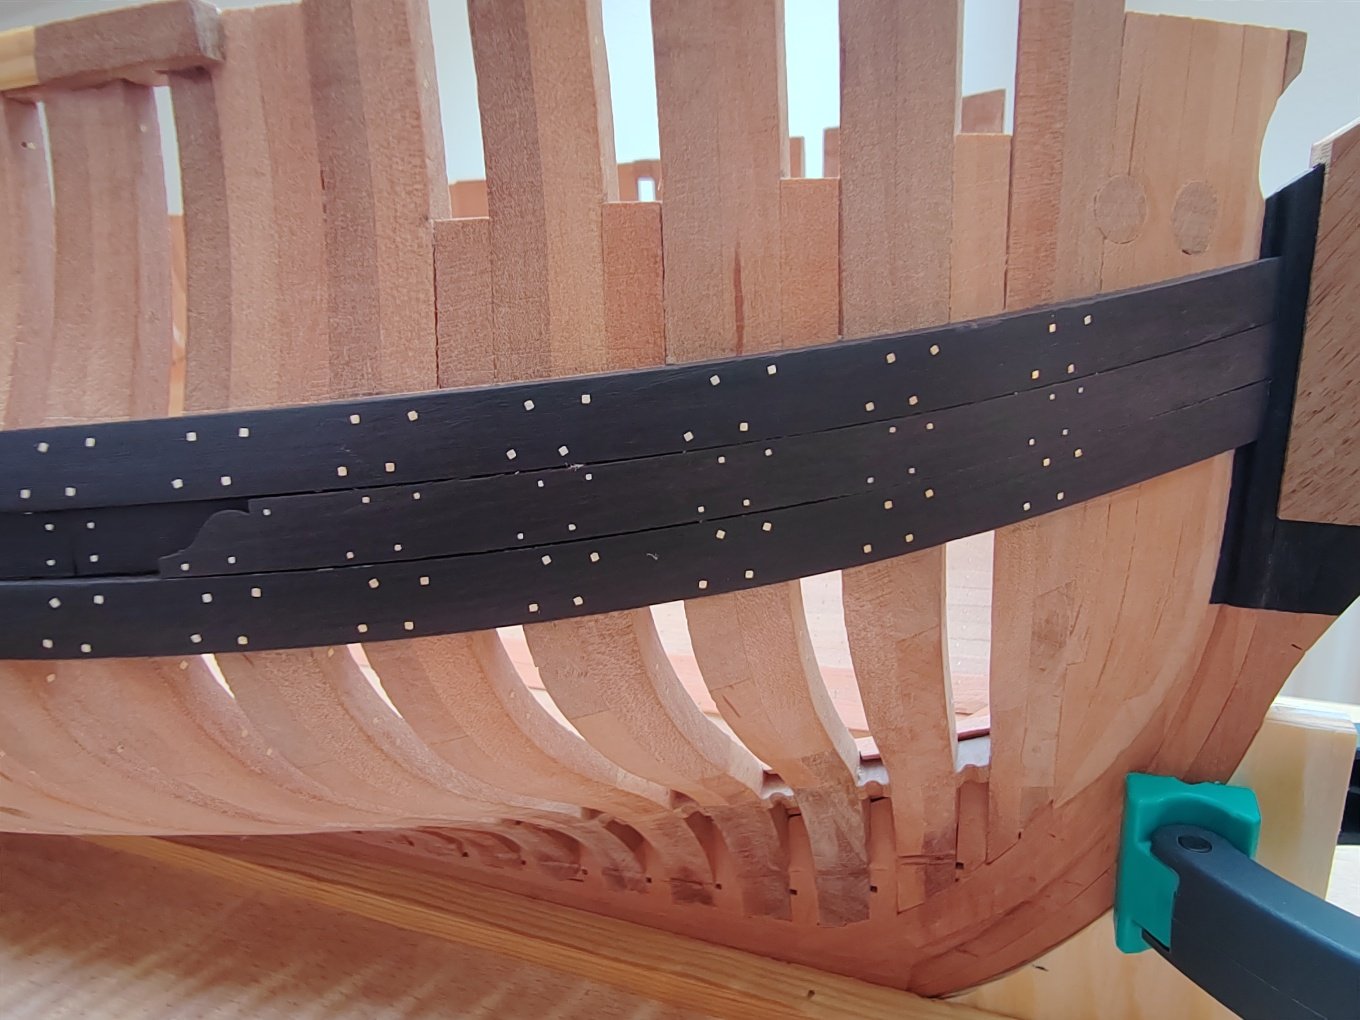
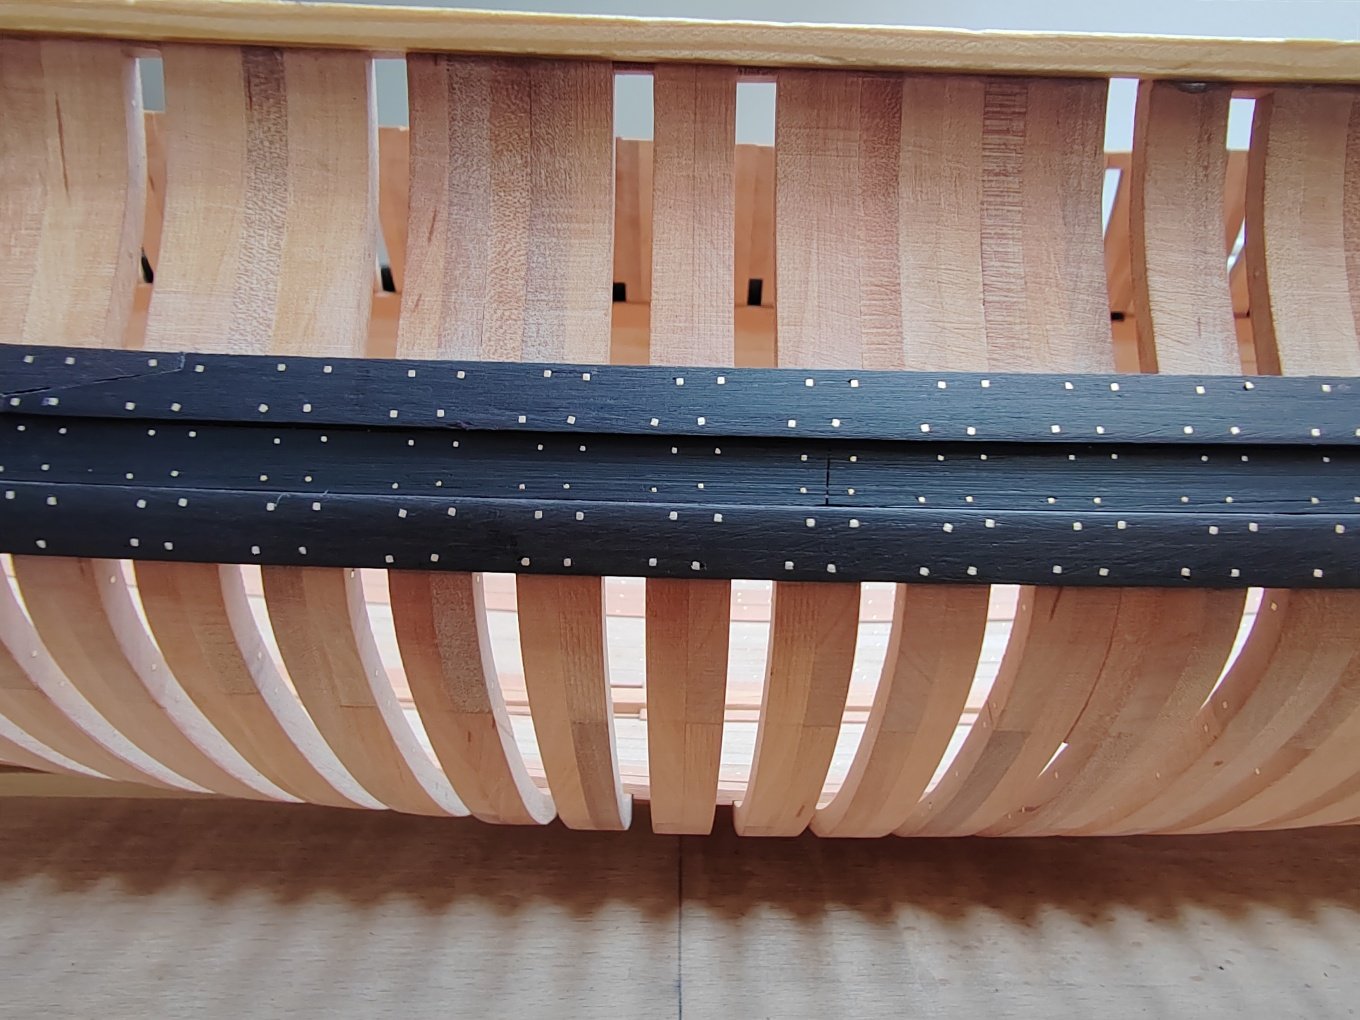
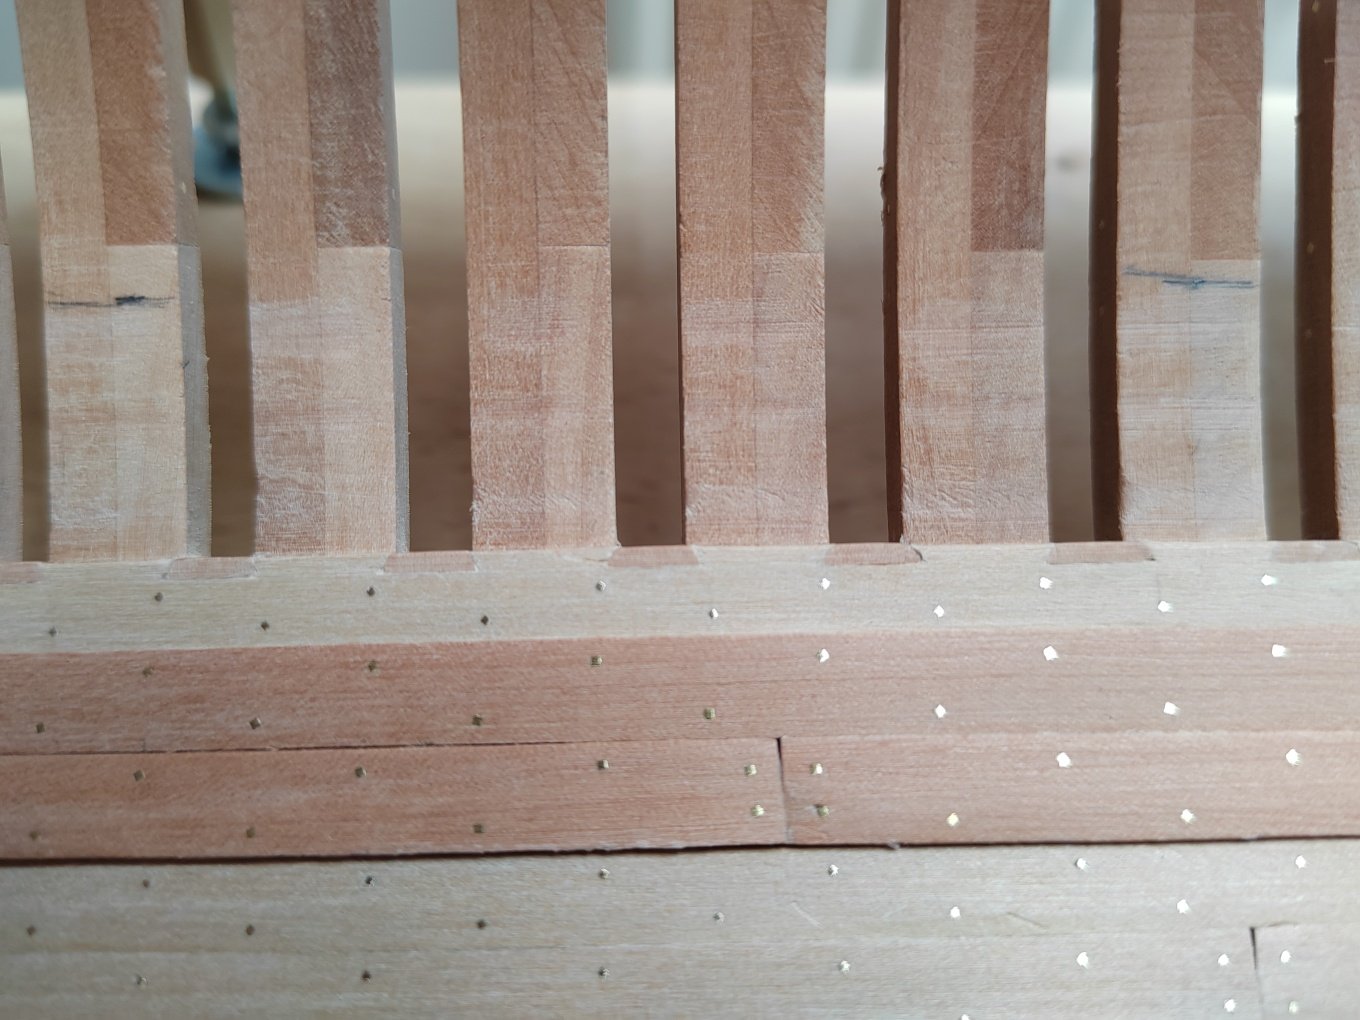
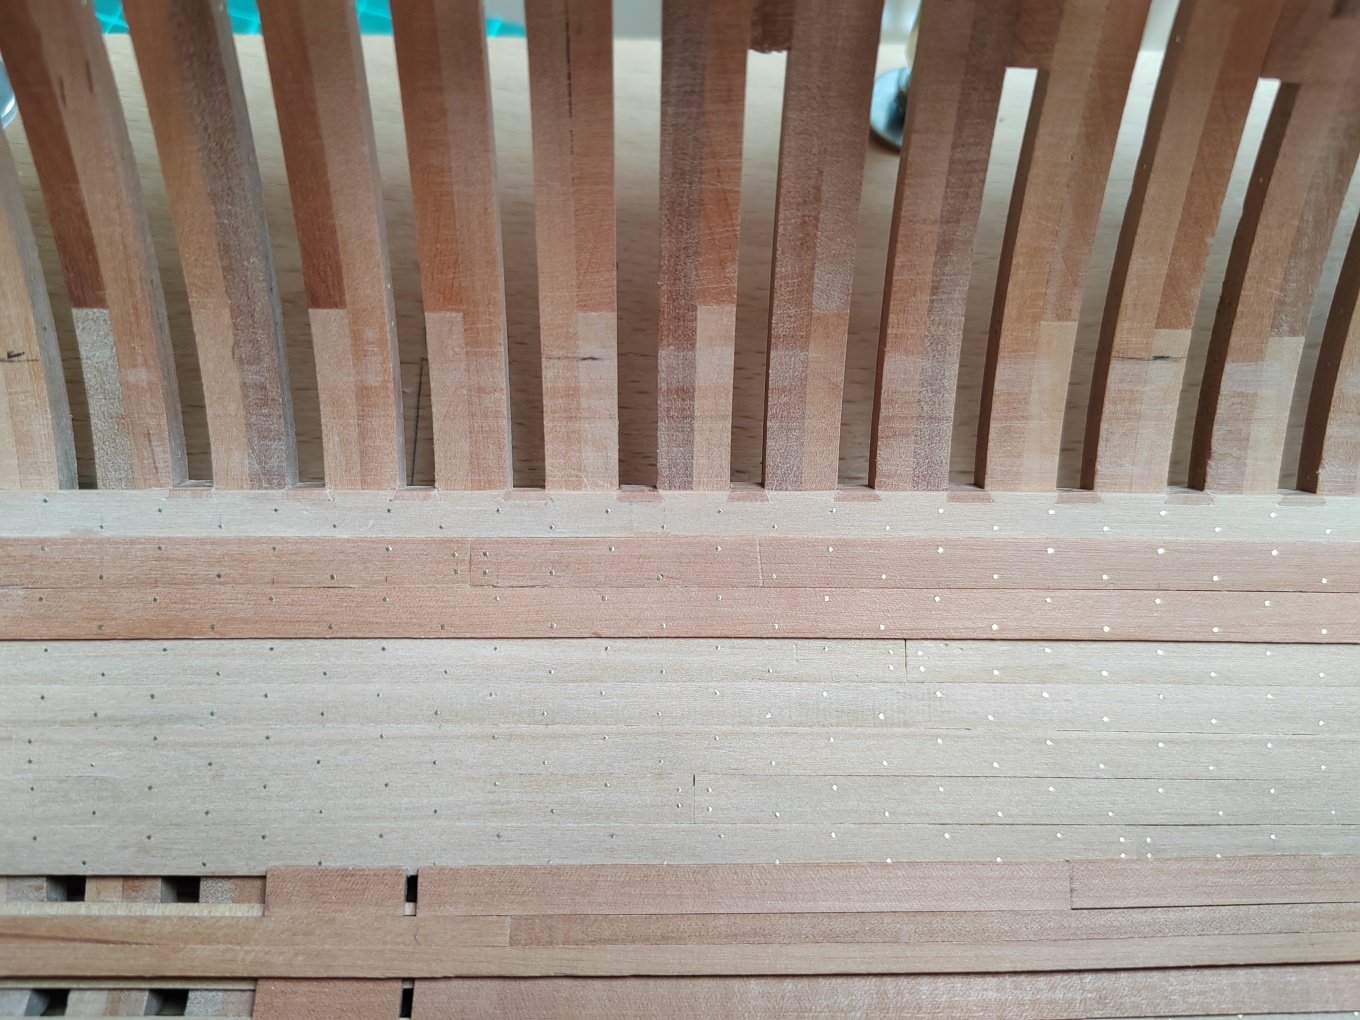
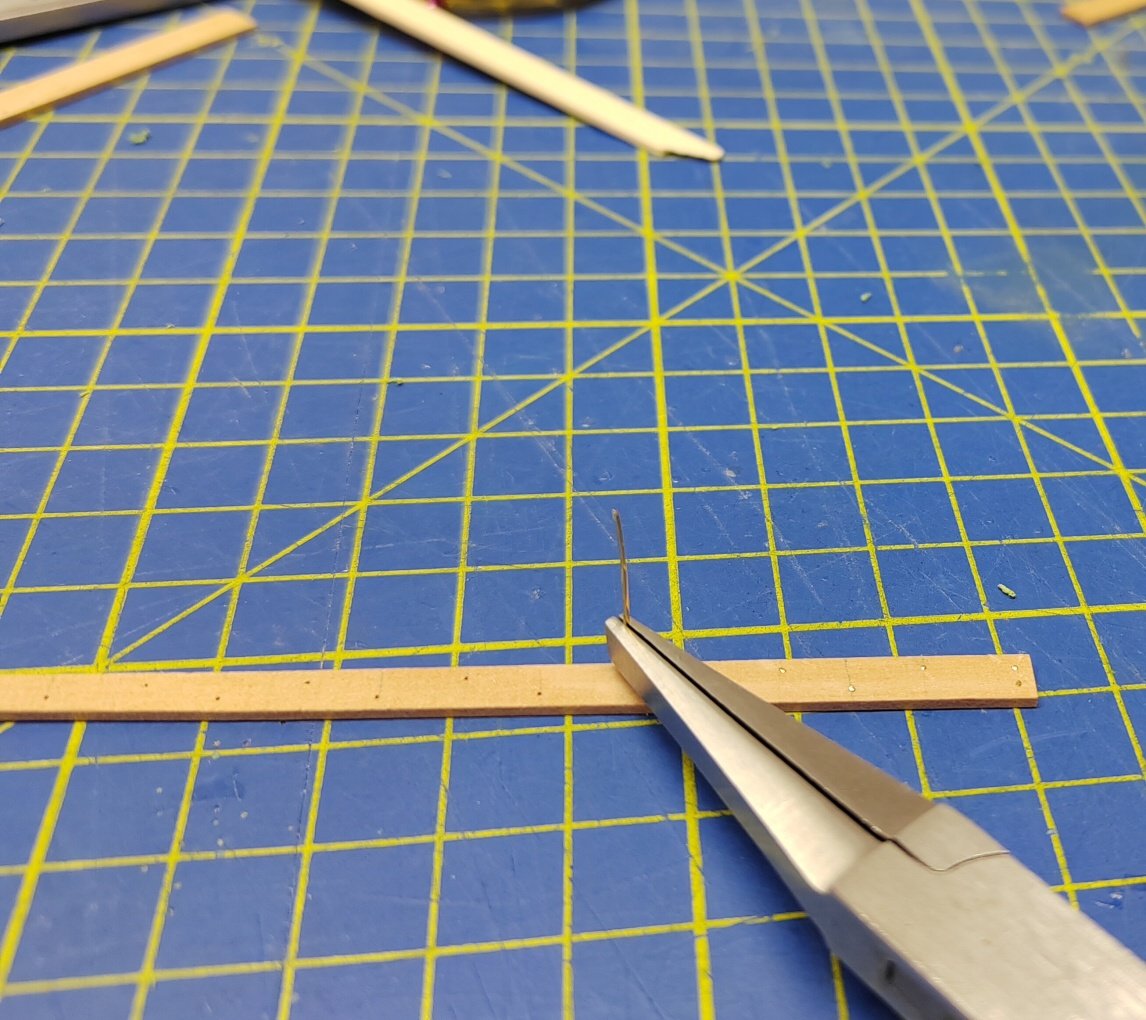
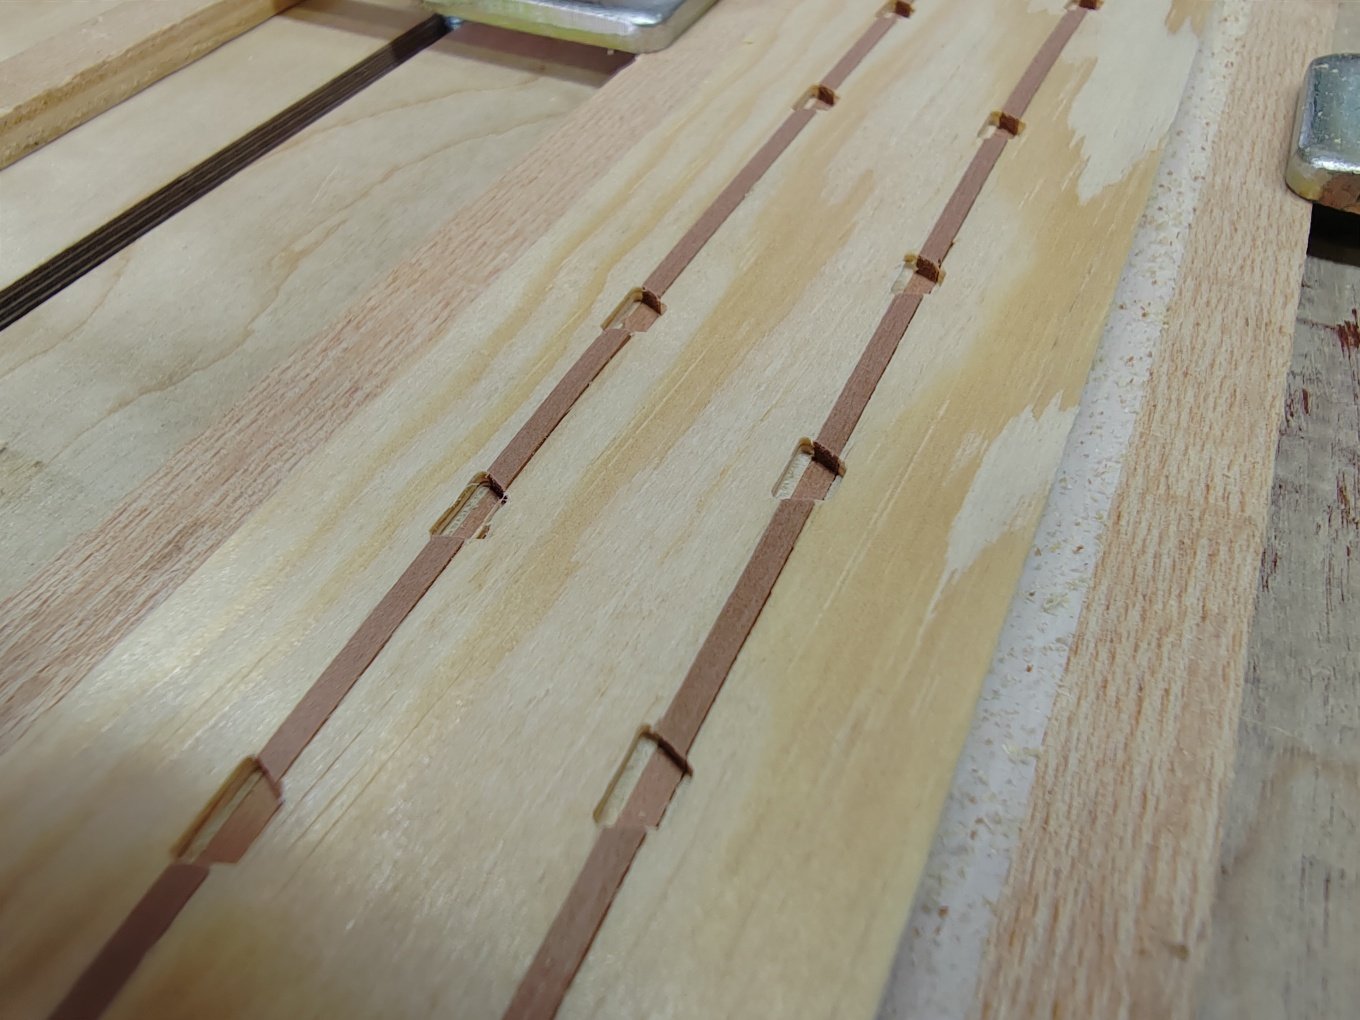
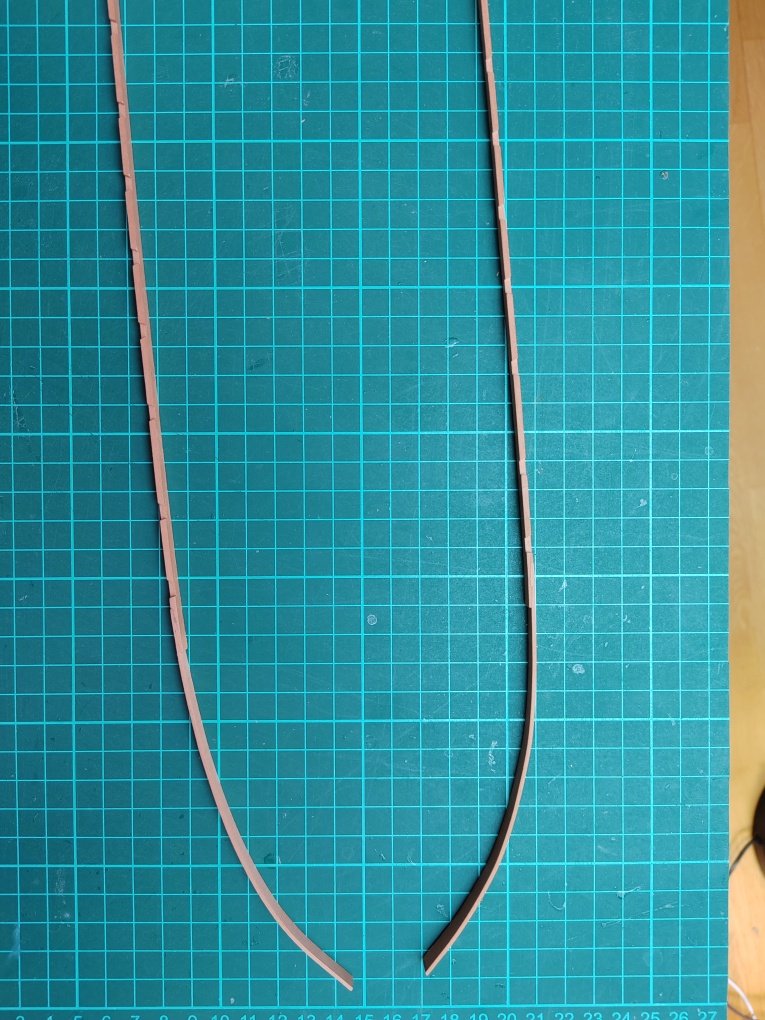
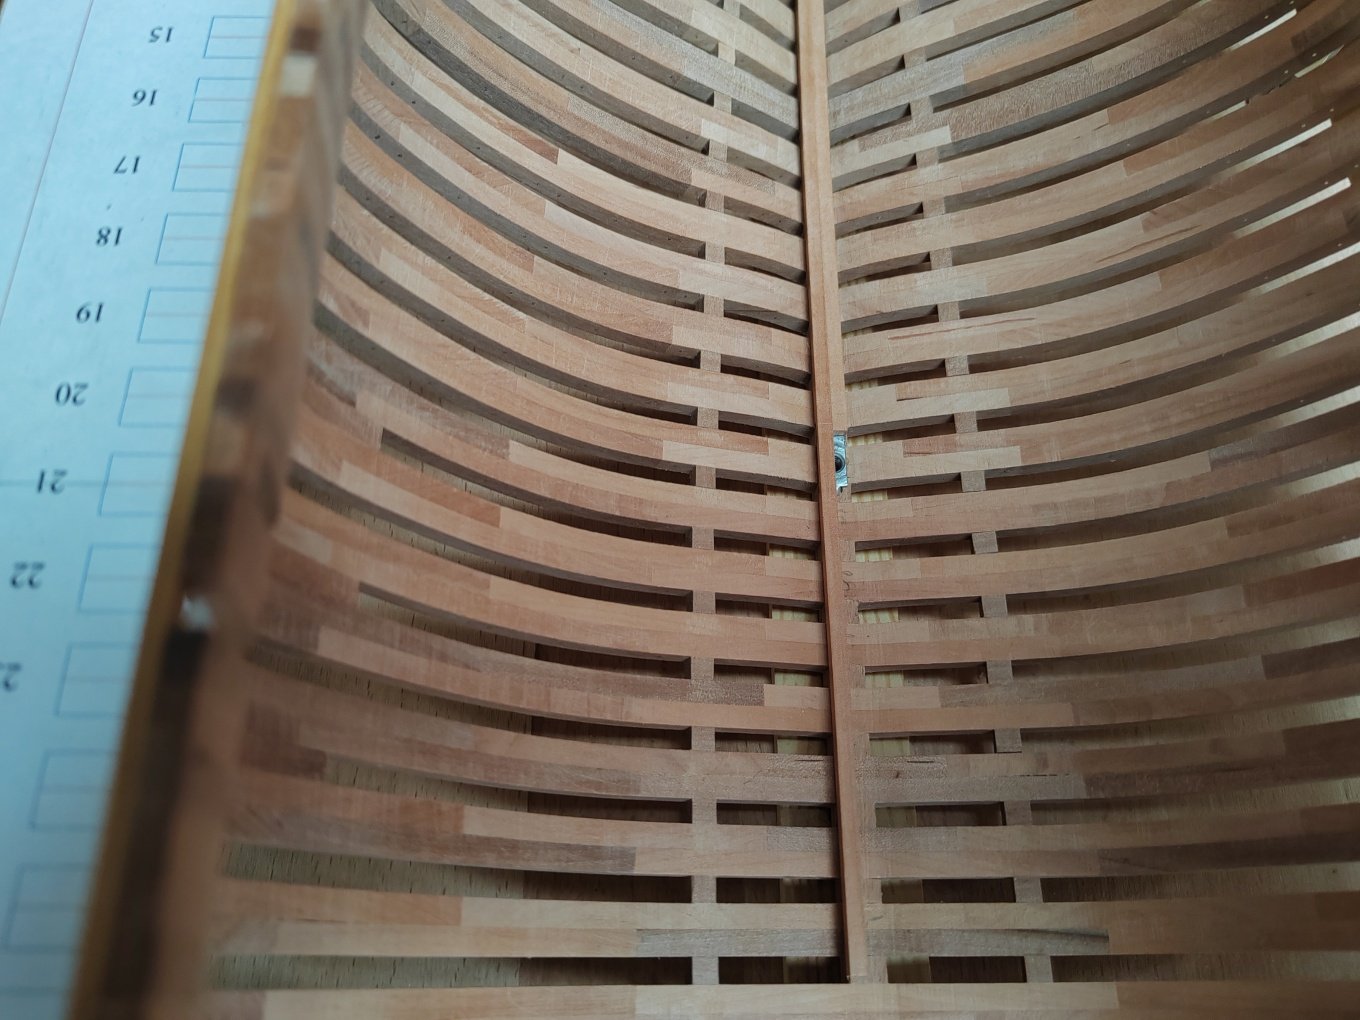
Nailing wales.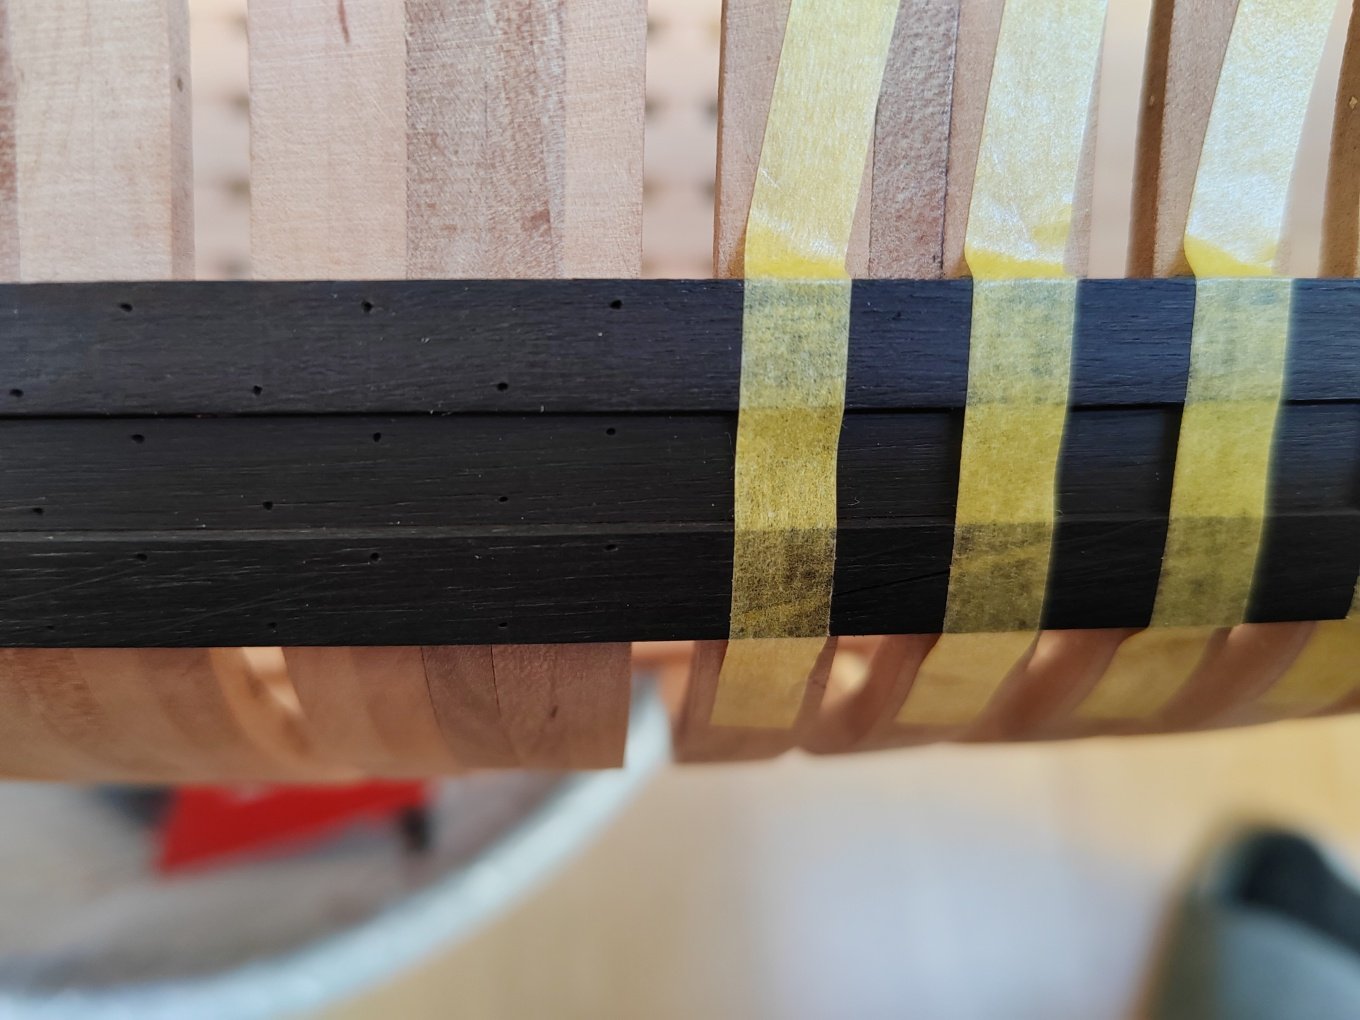
-
L'Amarante by marsalv - 1:36 - POF
marsalv replied to marsalv's topic in - Build logs for subjects built 1501 - 1750
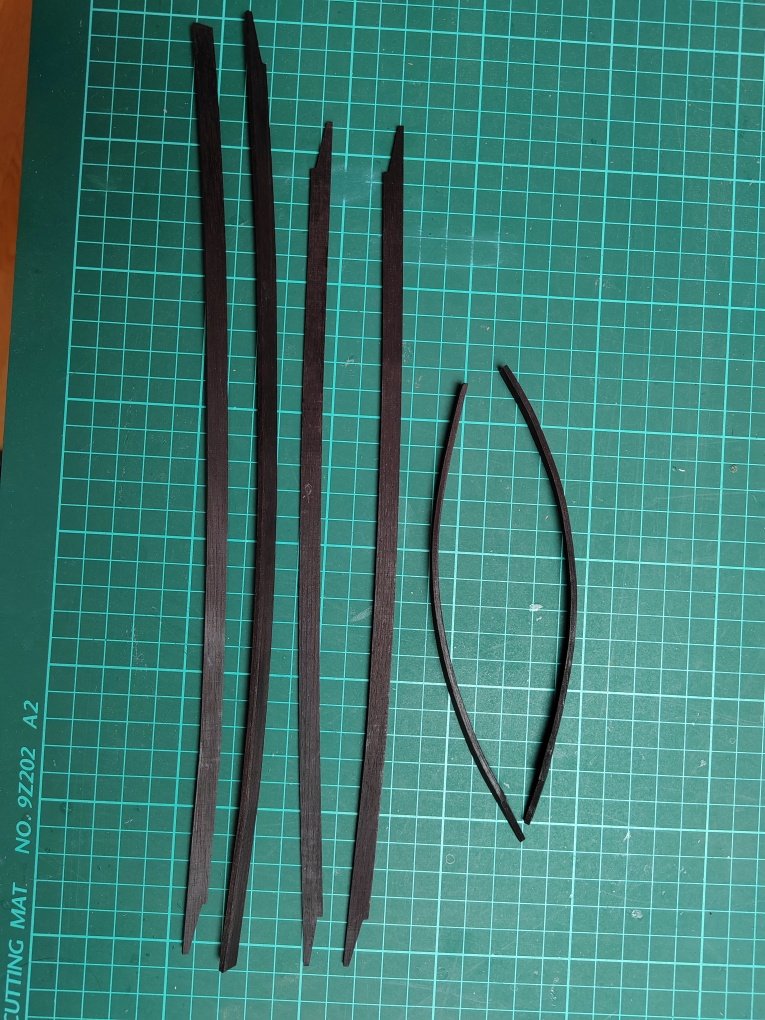
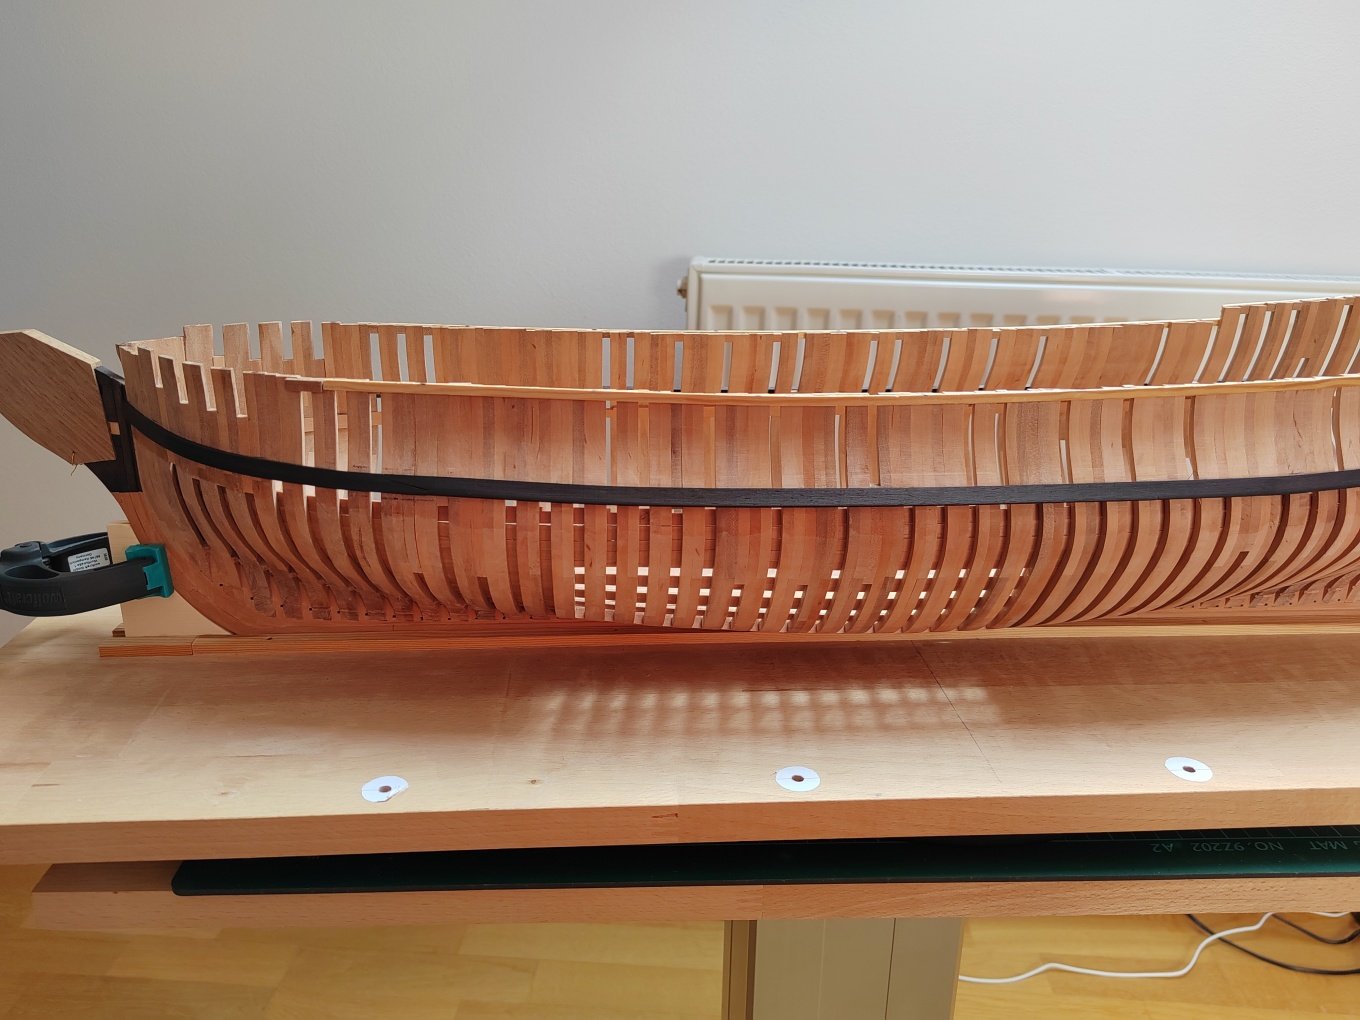
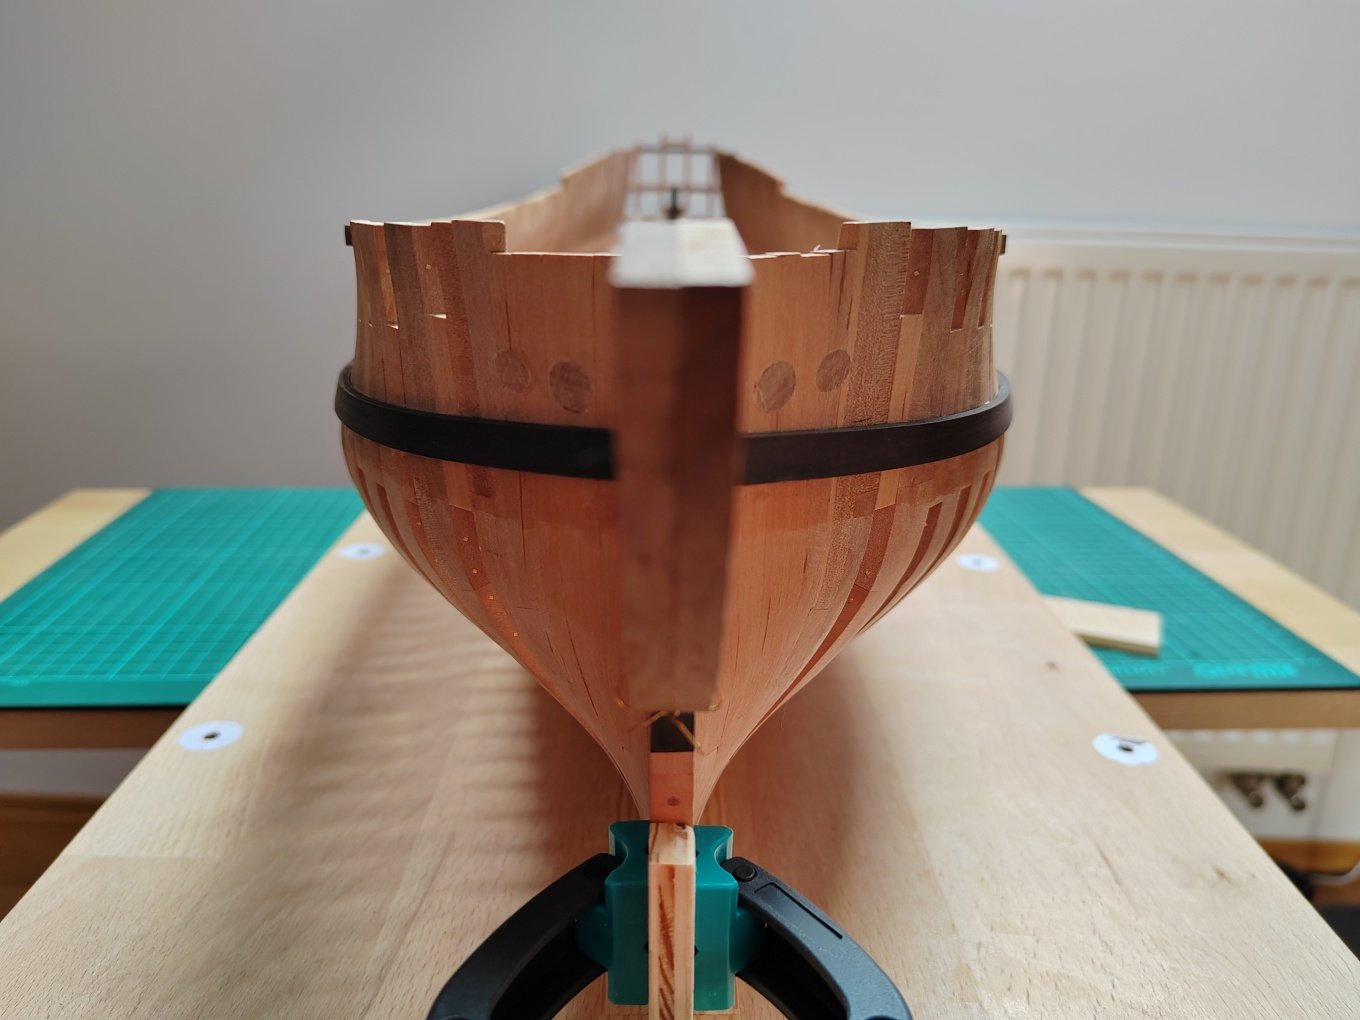
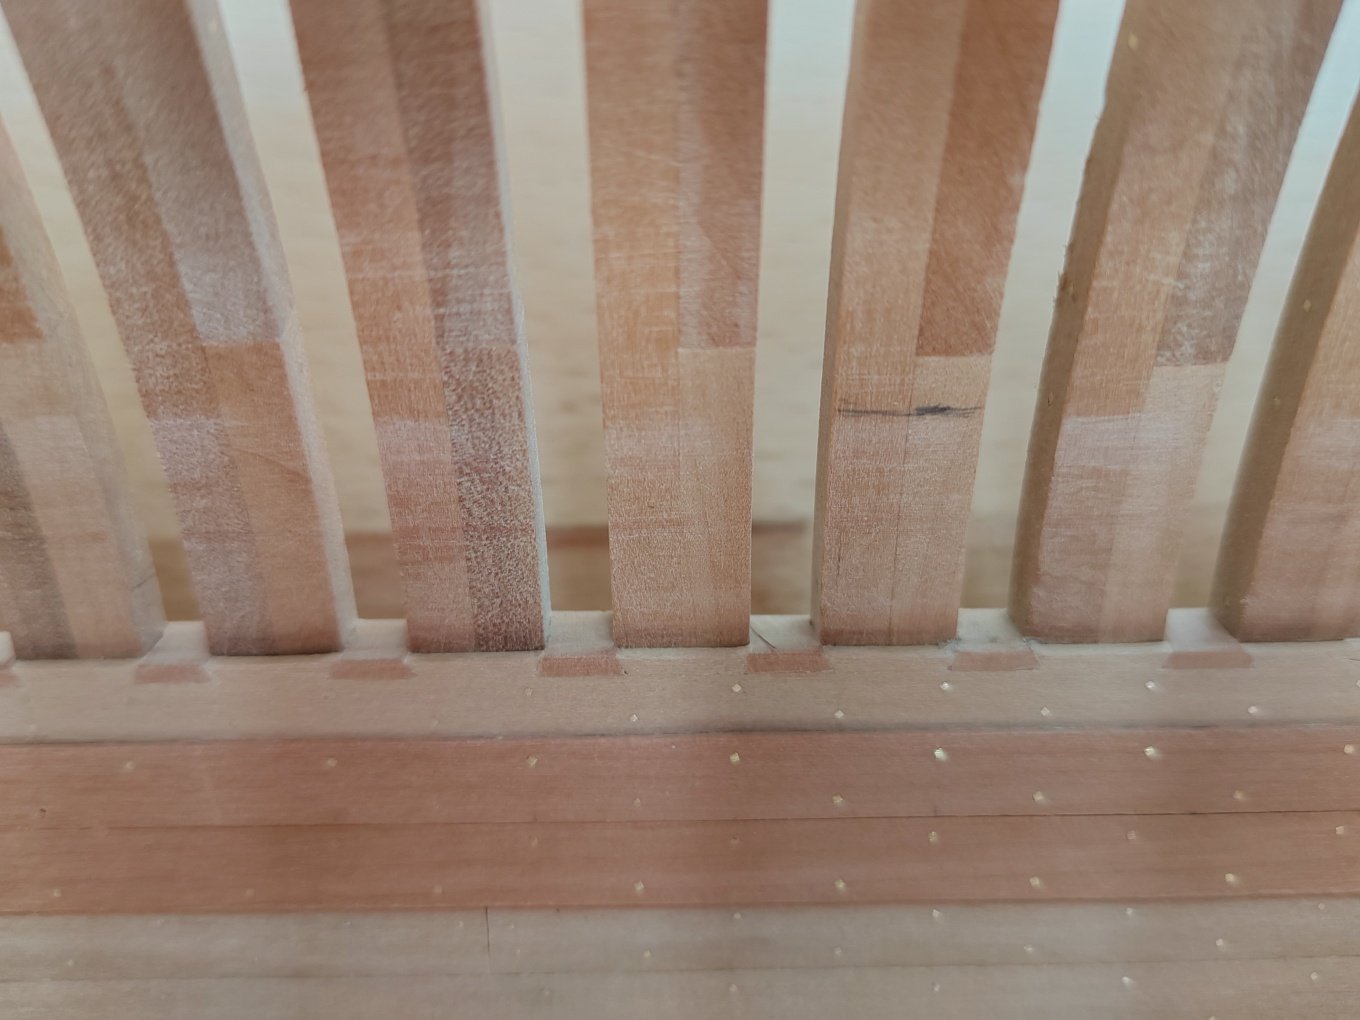
Thank you scrubyj427, the black wood is blackhornbeam, not ebony. Black hornbeam is a bit easier to work with than ebony . Installation of wales completed.
-
L'Amarante by marsalv - 1:36 - POF
marsalv replied to marsalv's topic in - Build logs for subjects built 1501 - 1750
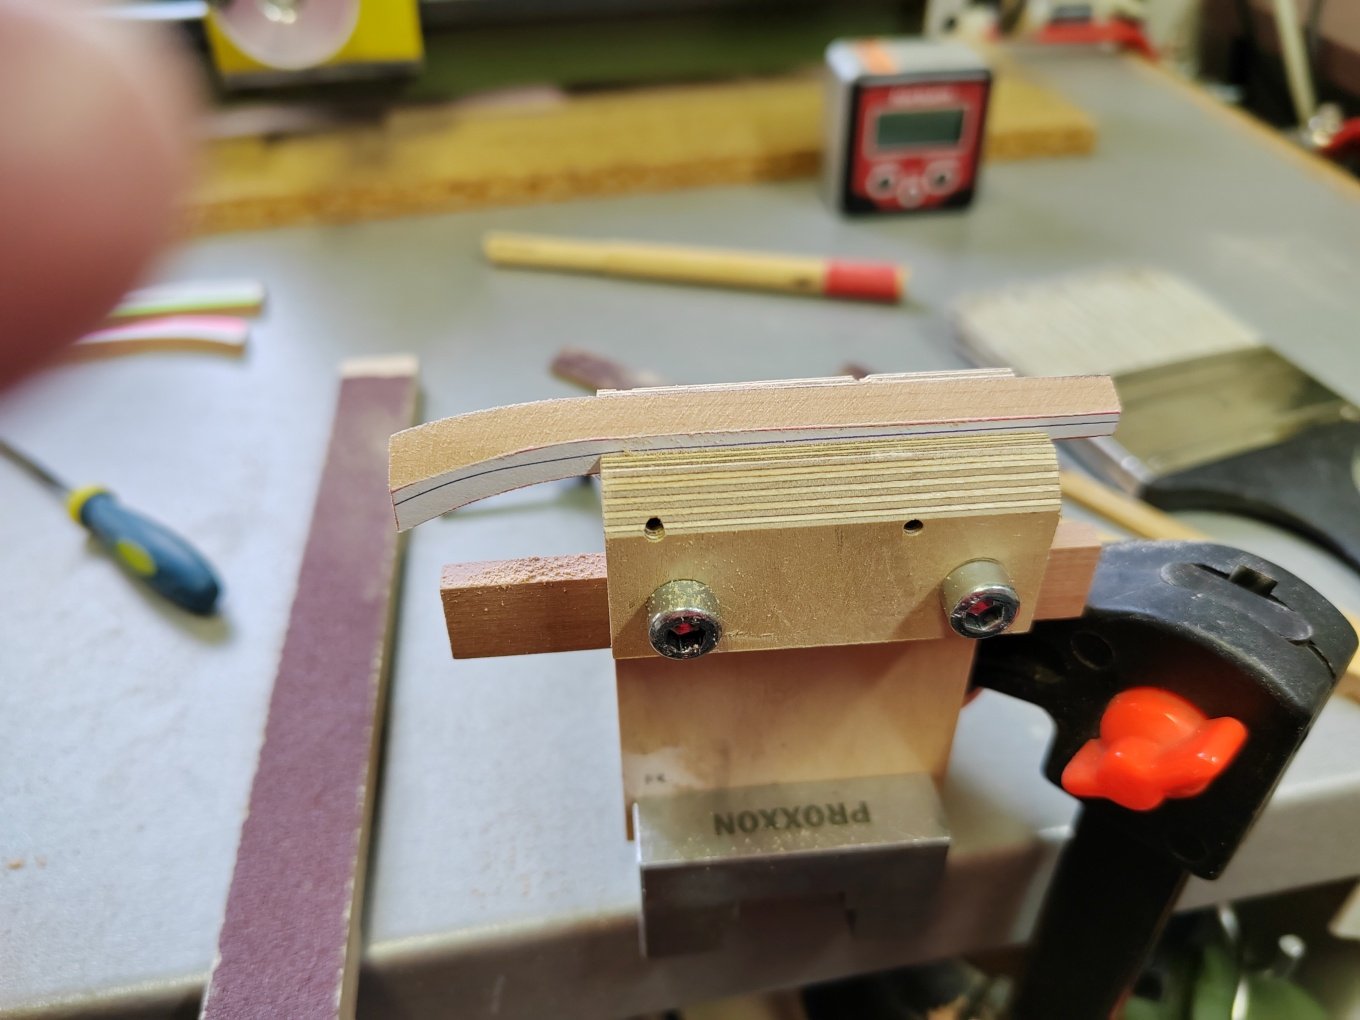
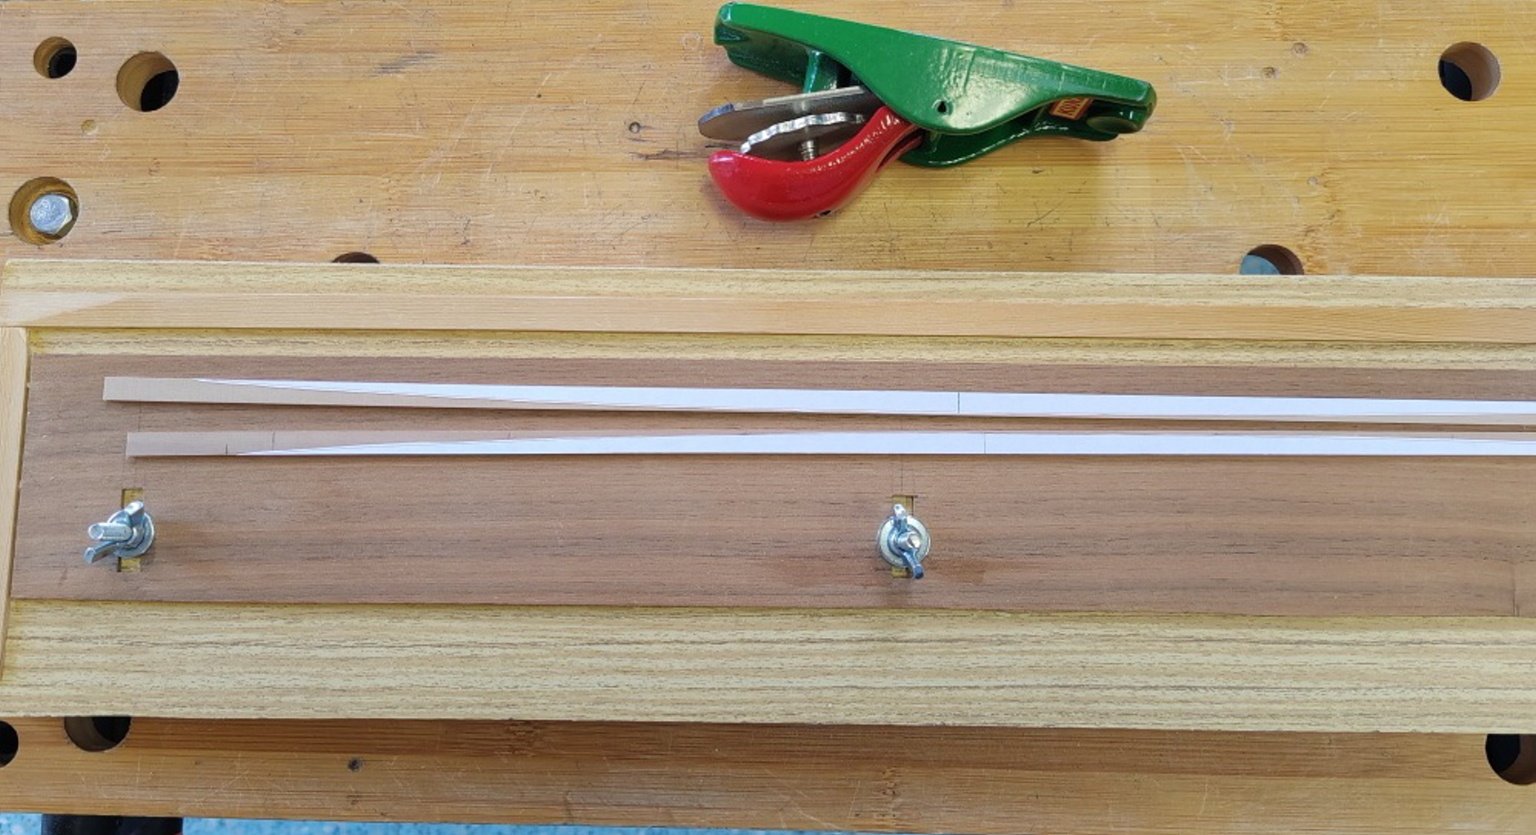
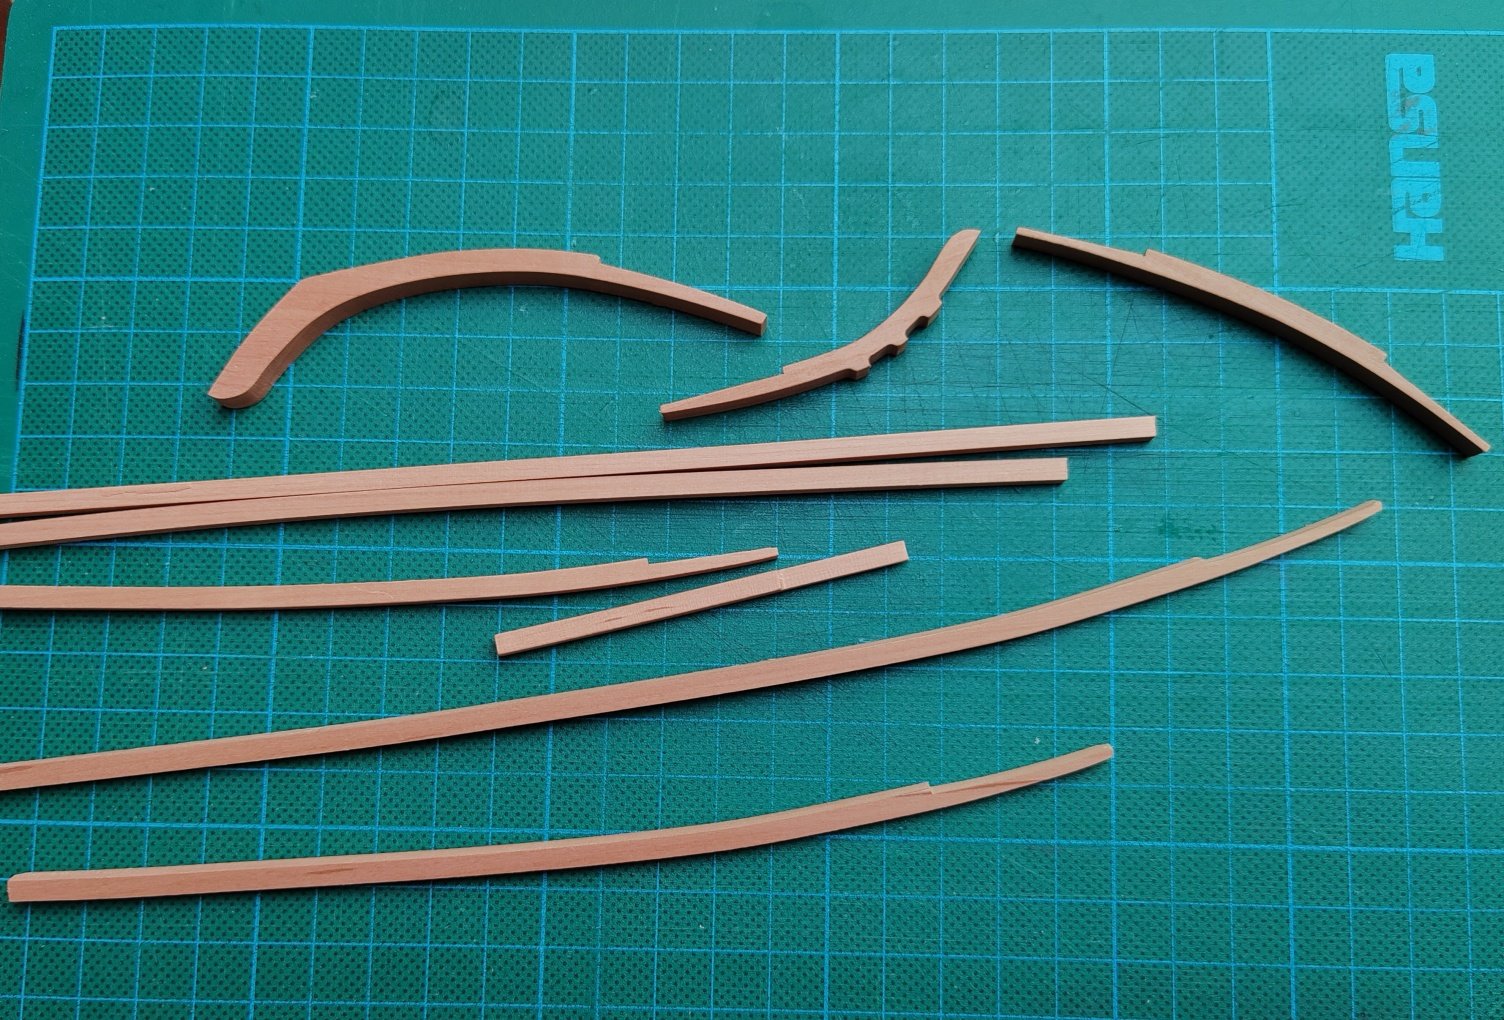
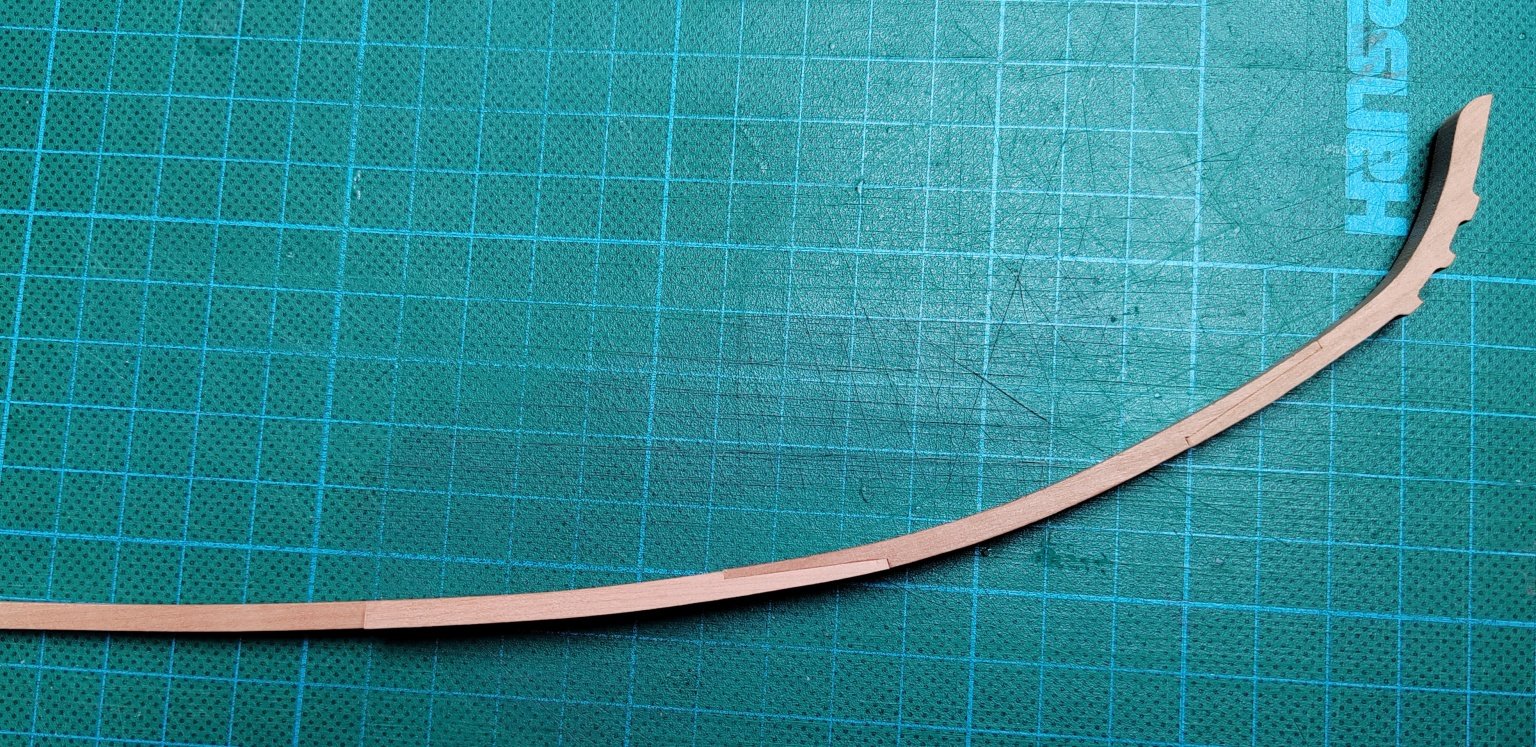
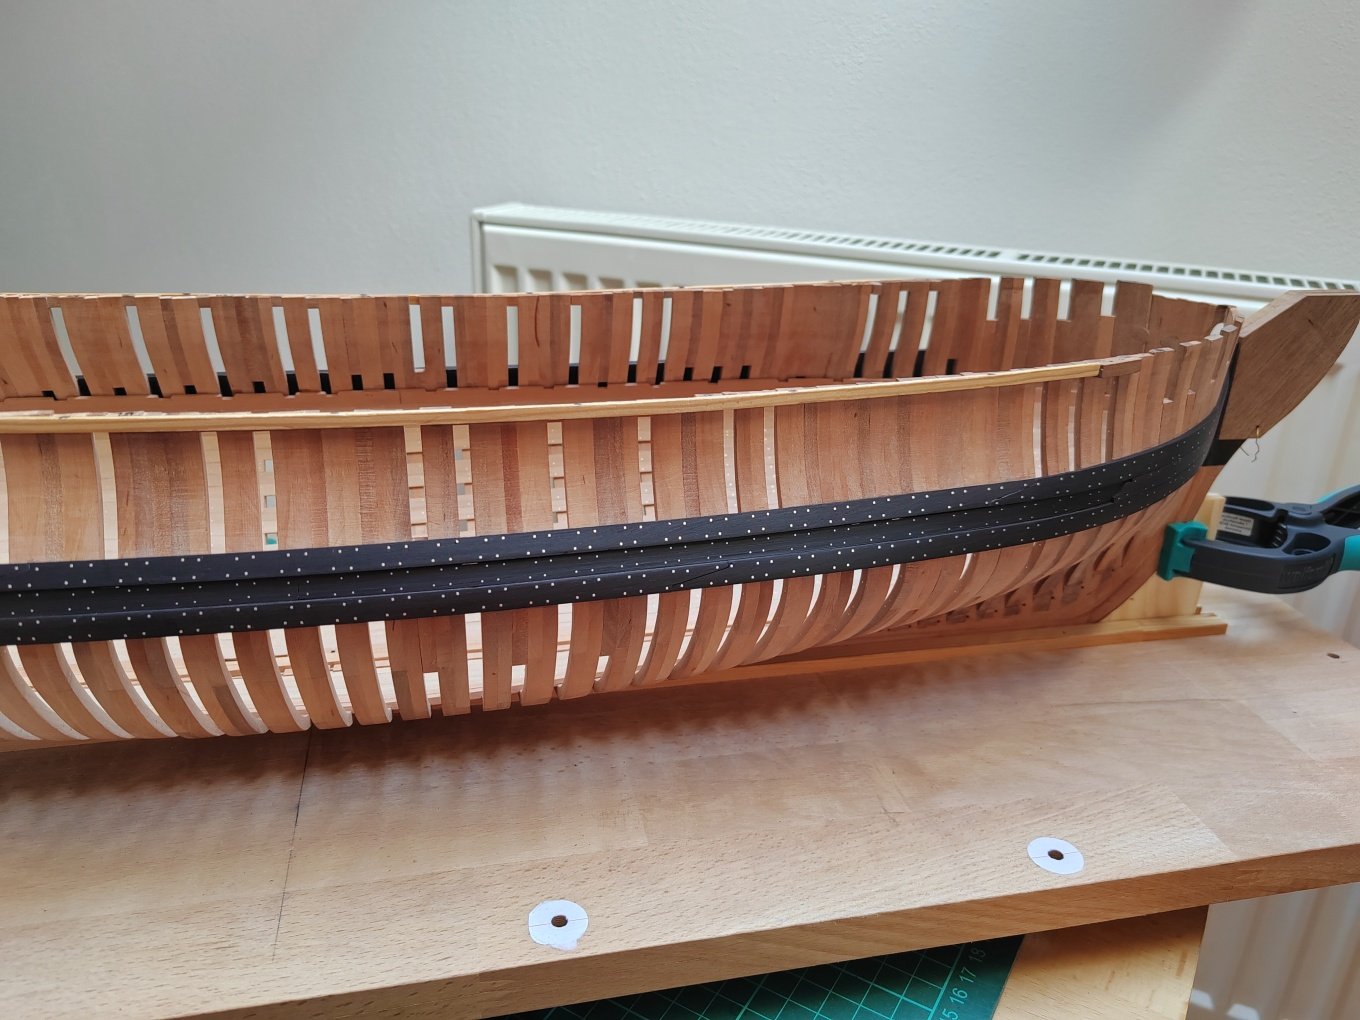
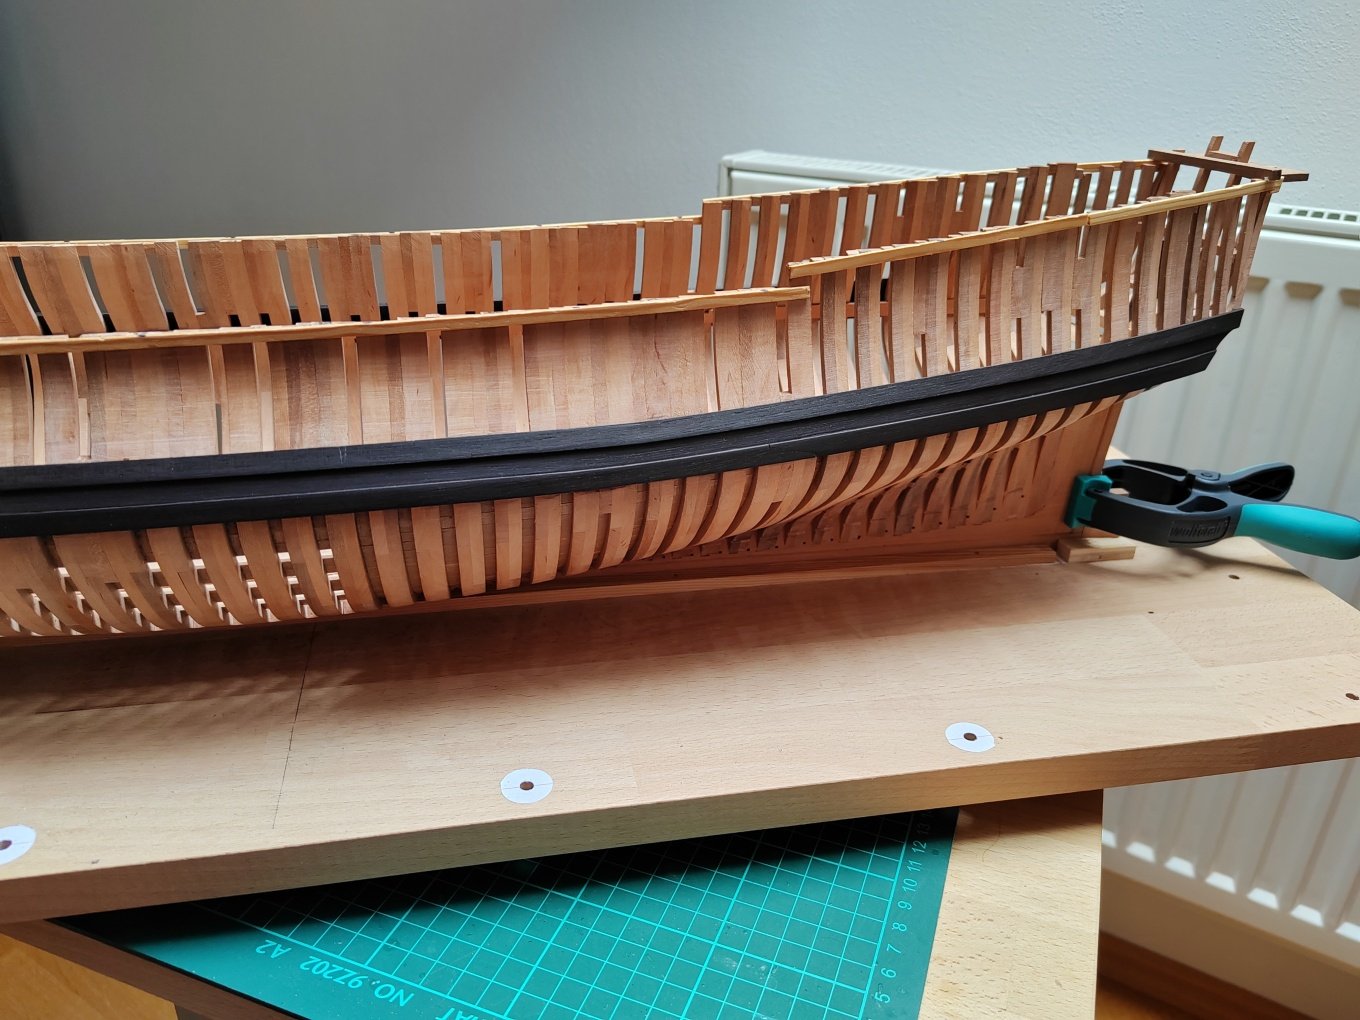
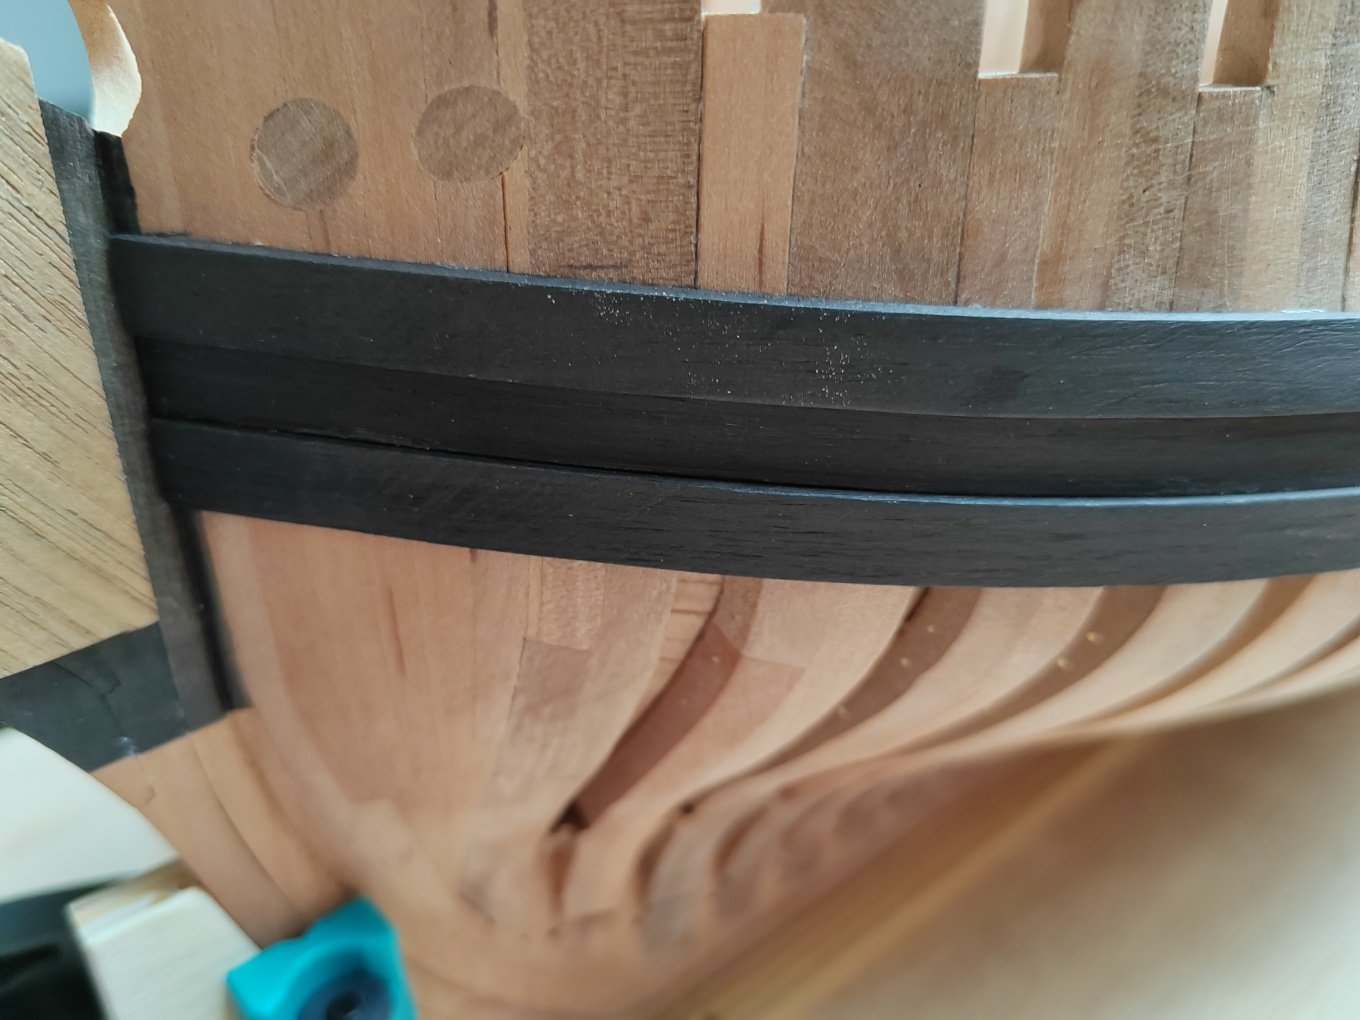
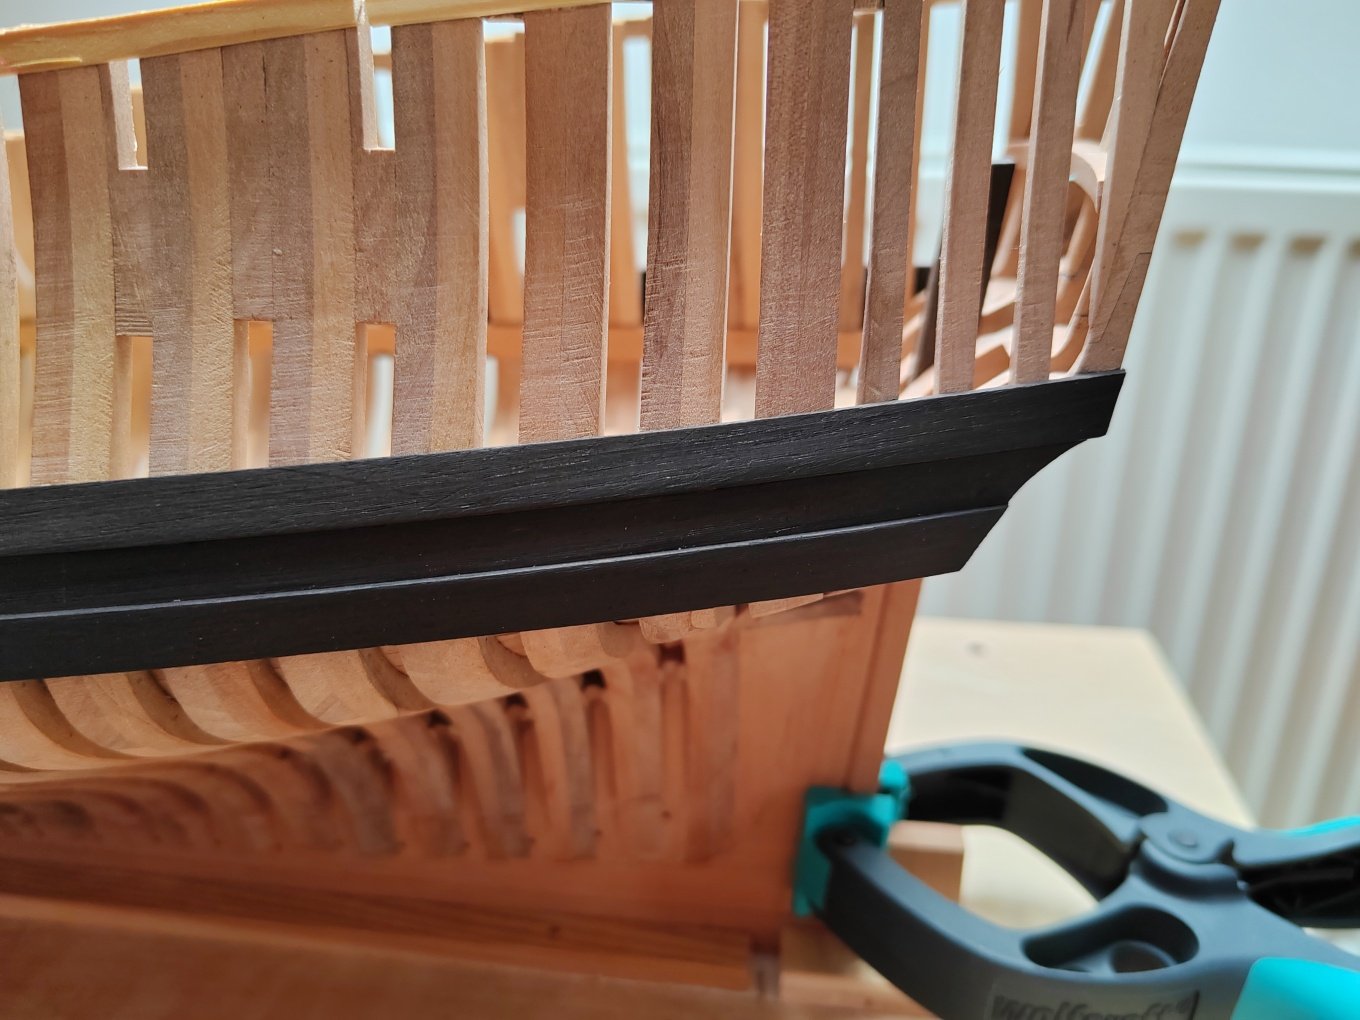
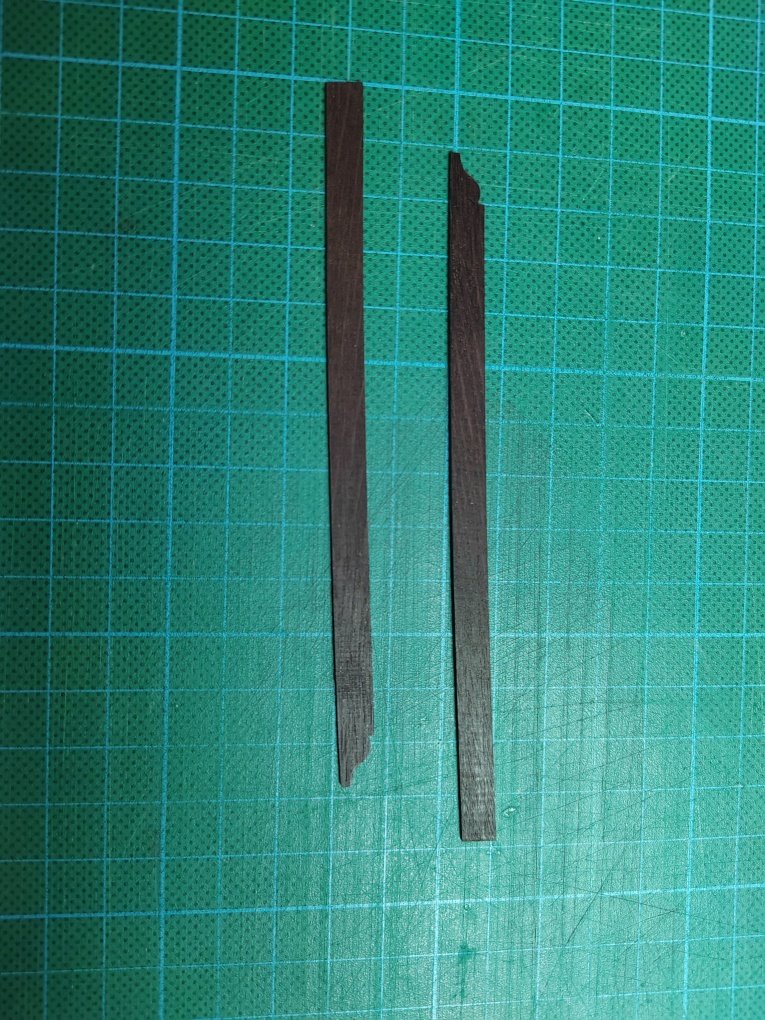
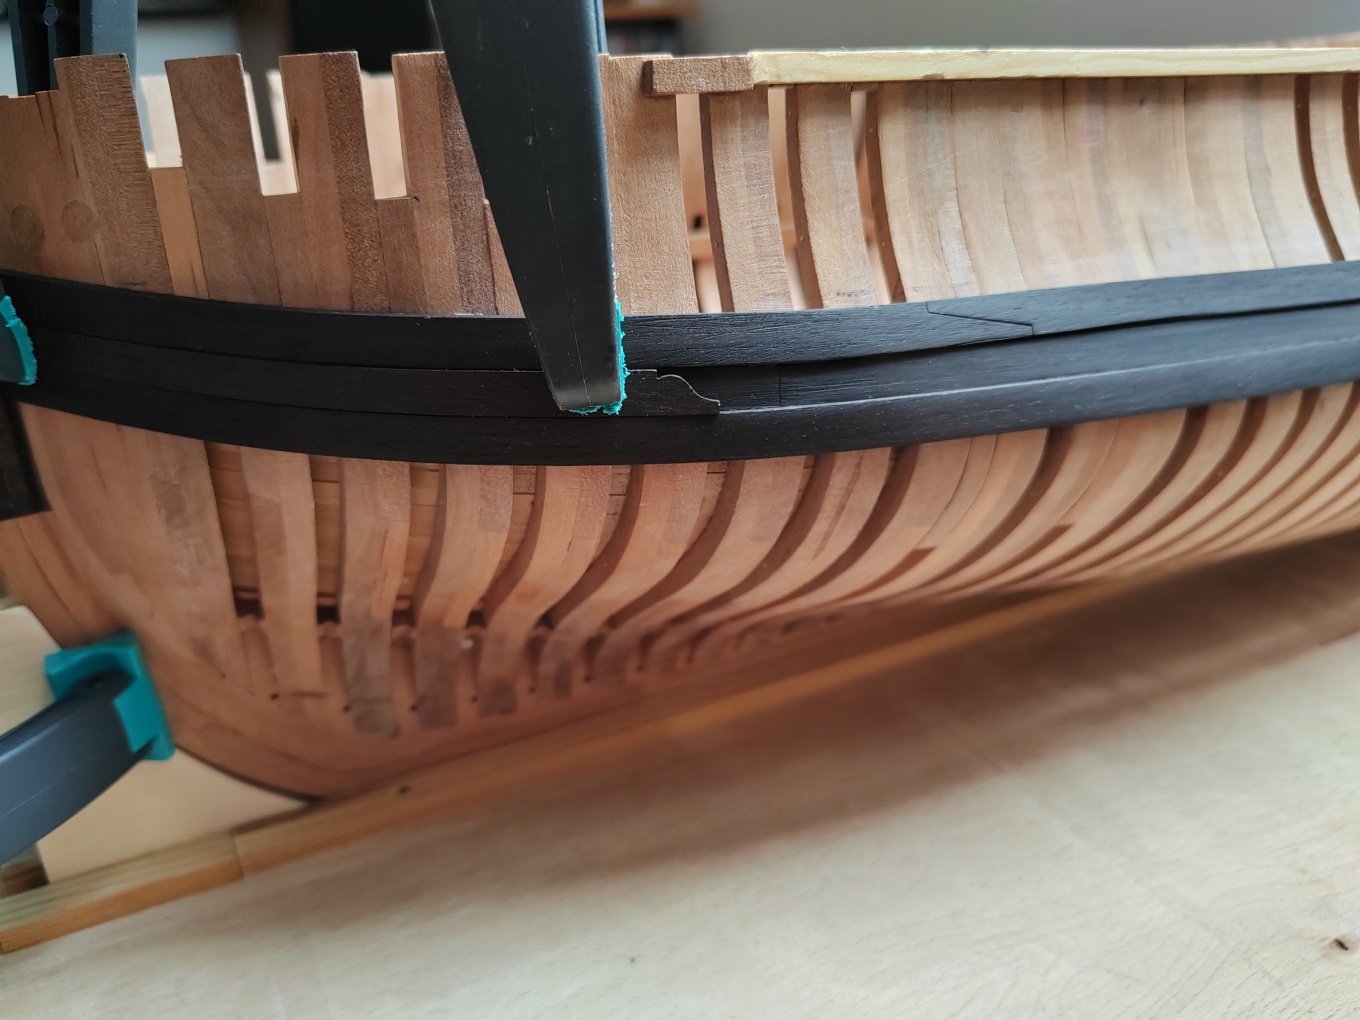
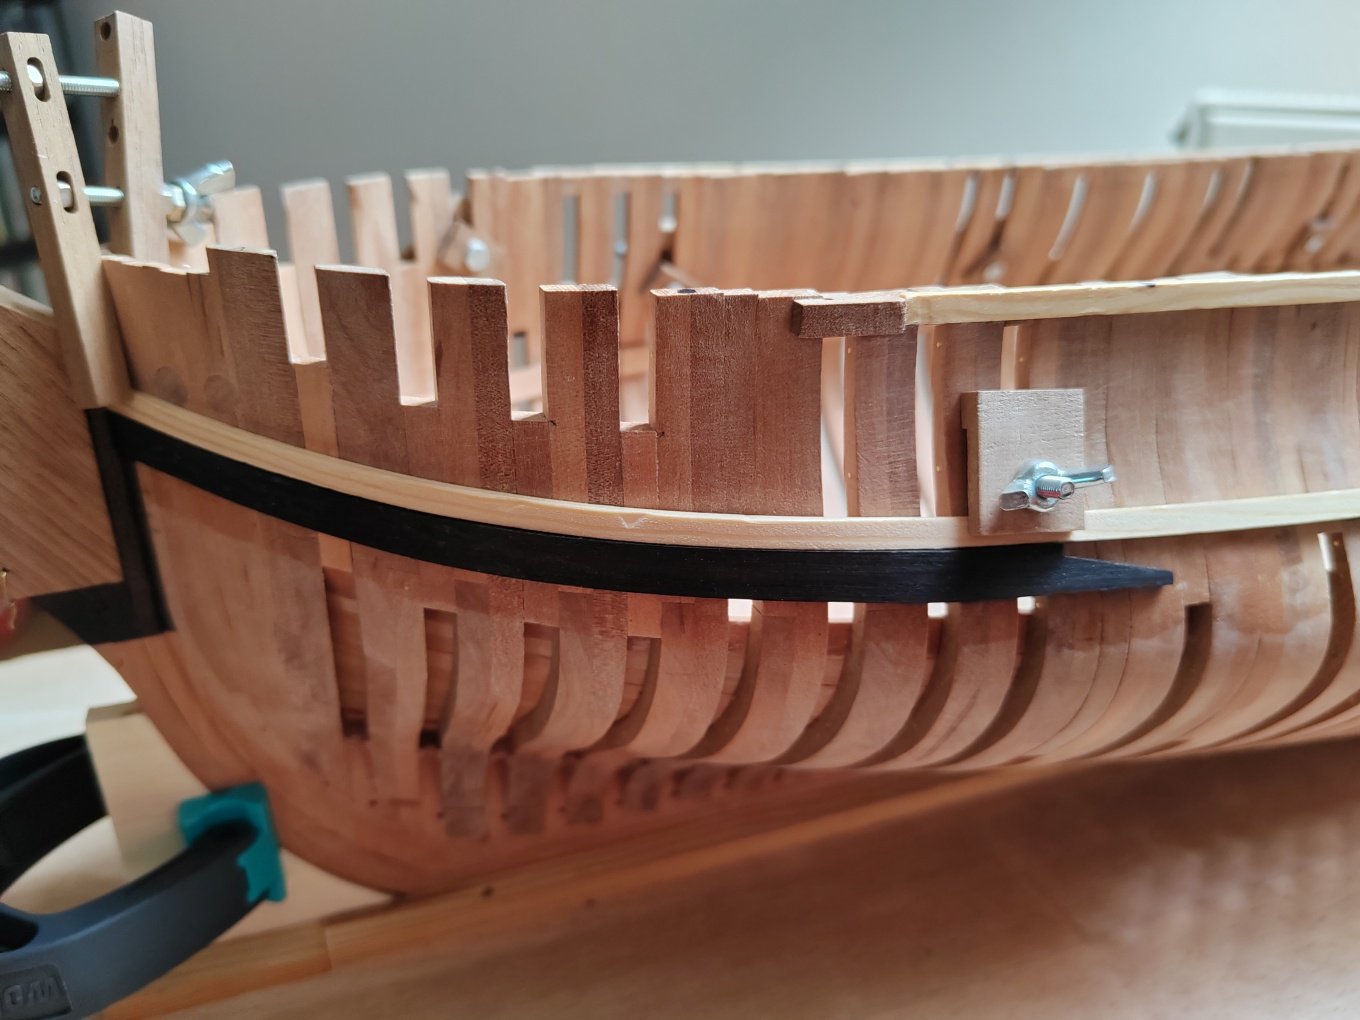
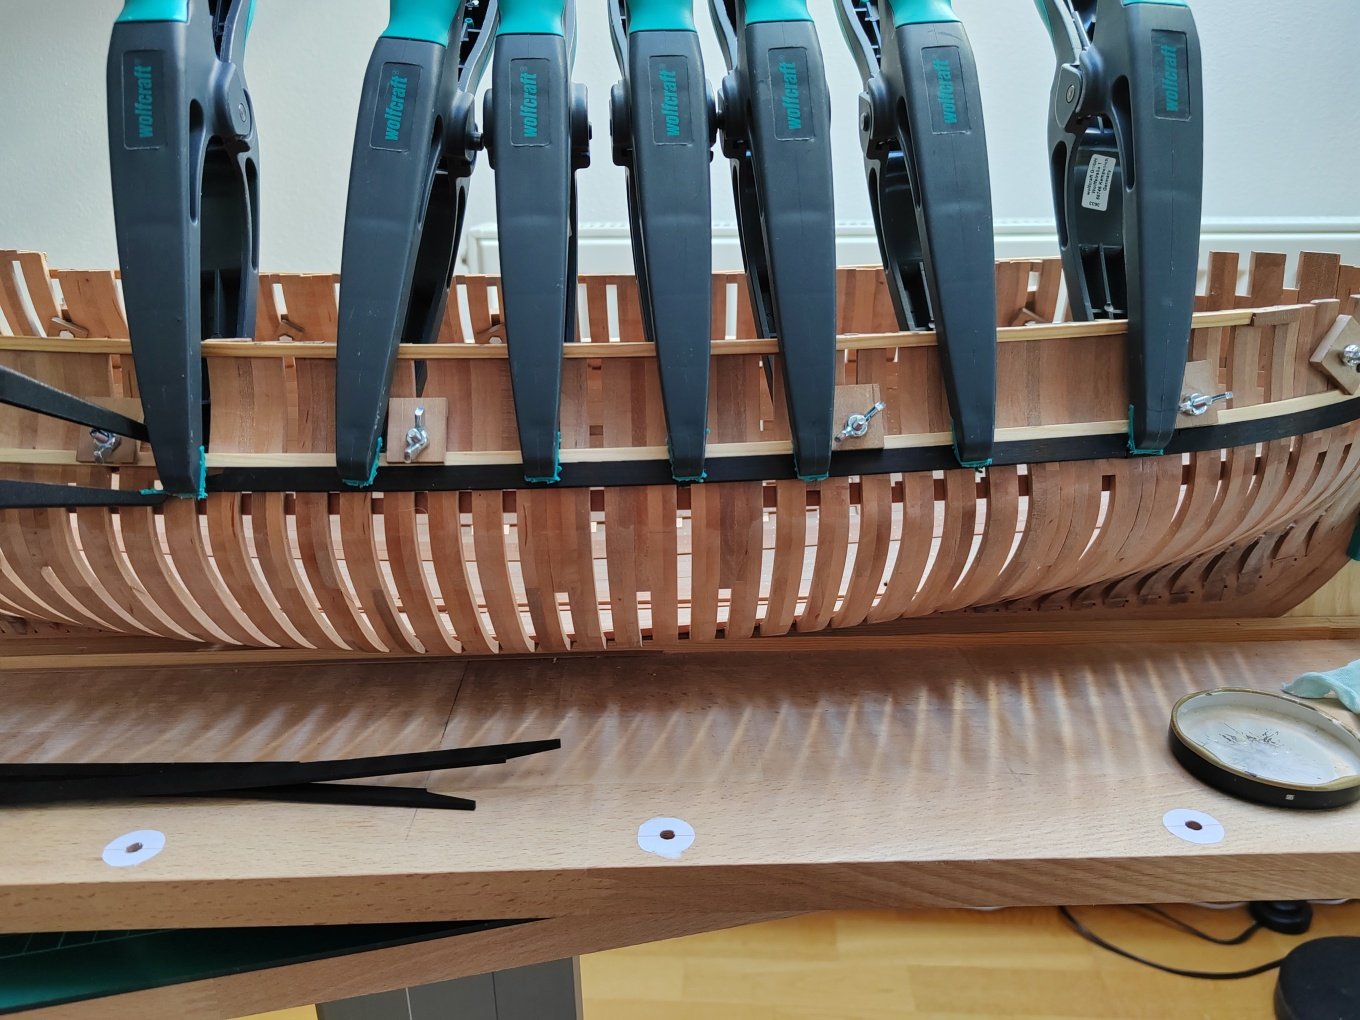
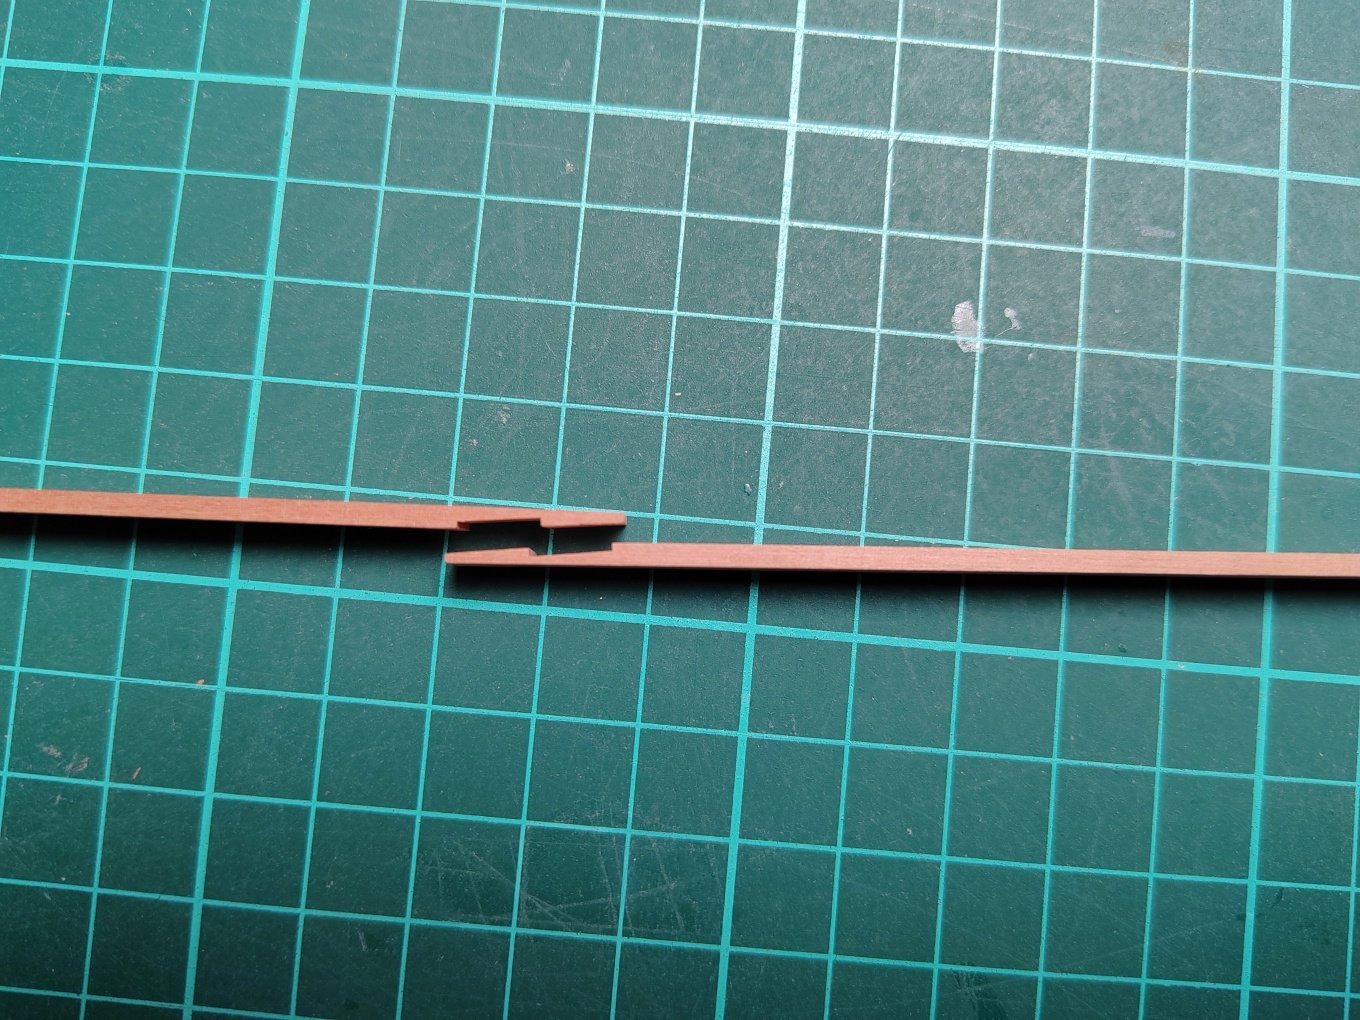
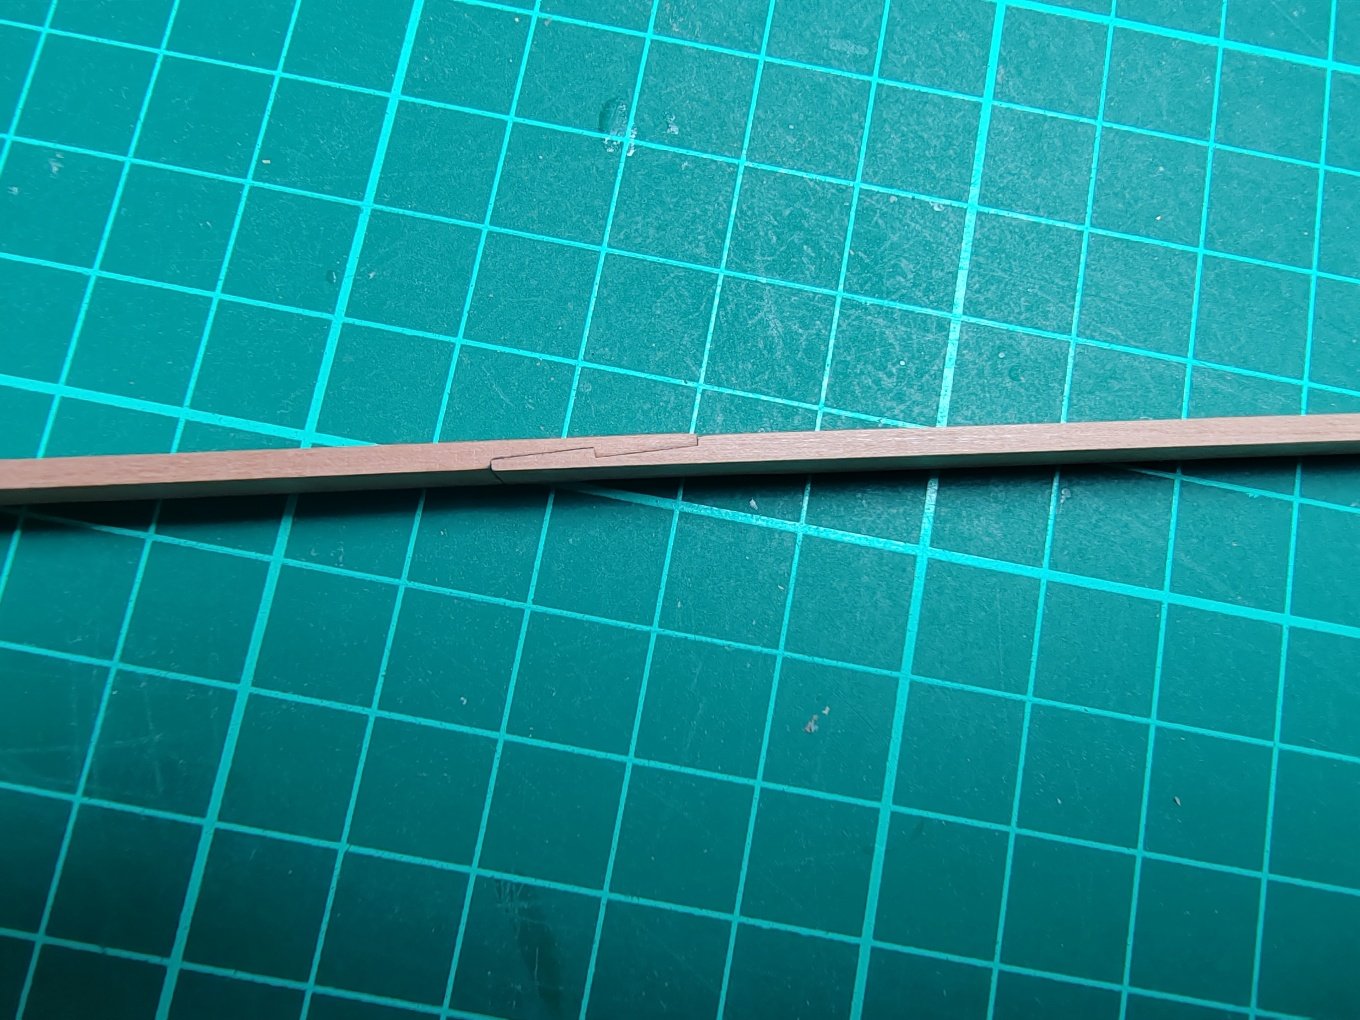
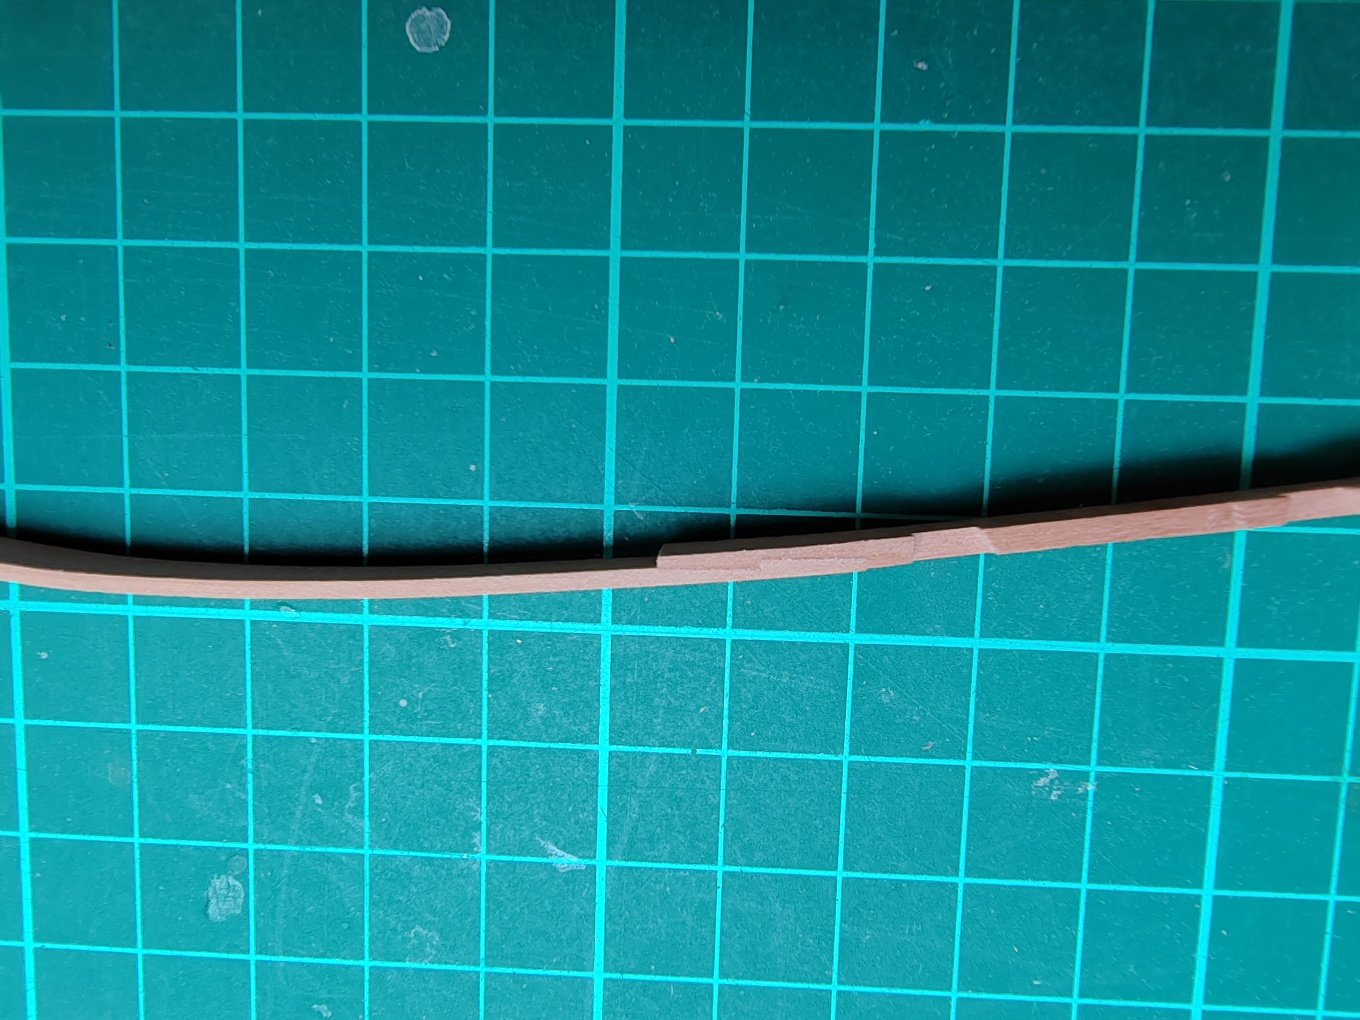
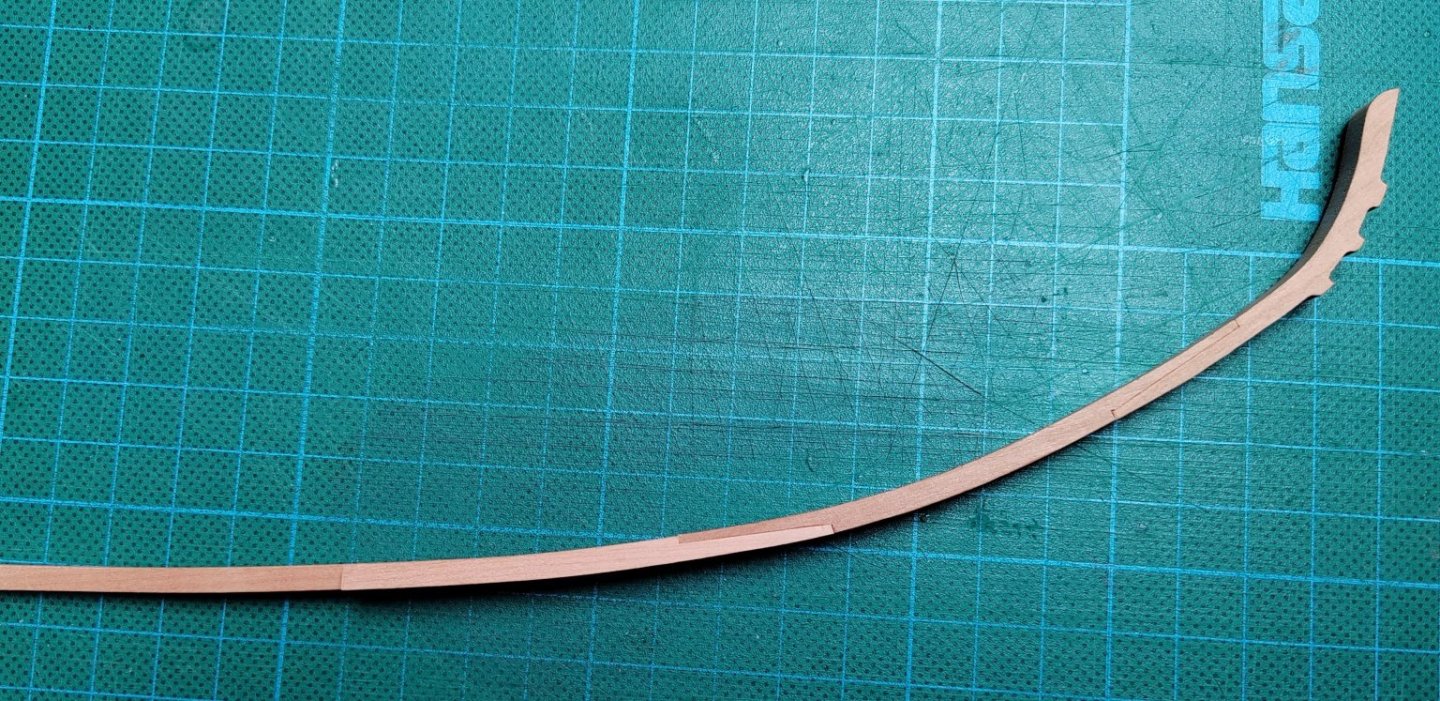
I proceed by installing wales. I decided to glue the upper wale first - using a "guide" strip. Wale is connected using a scraph joint and the one in the front part is directly in the bend, which significantly complicated the accuracy of connection and gluing.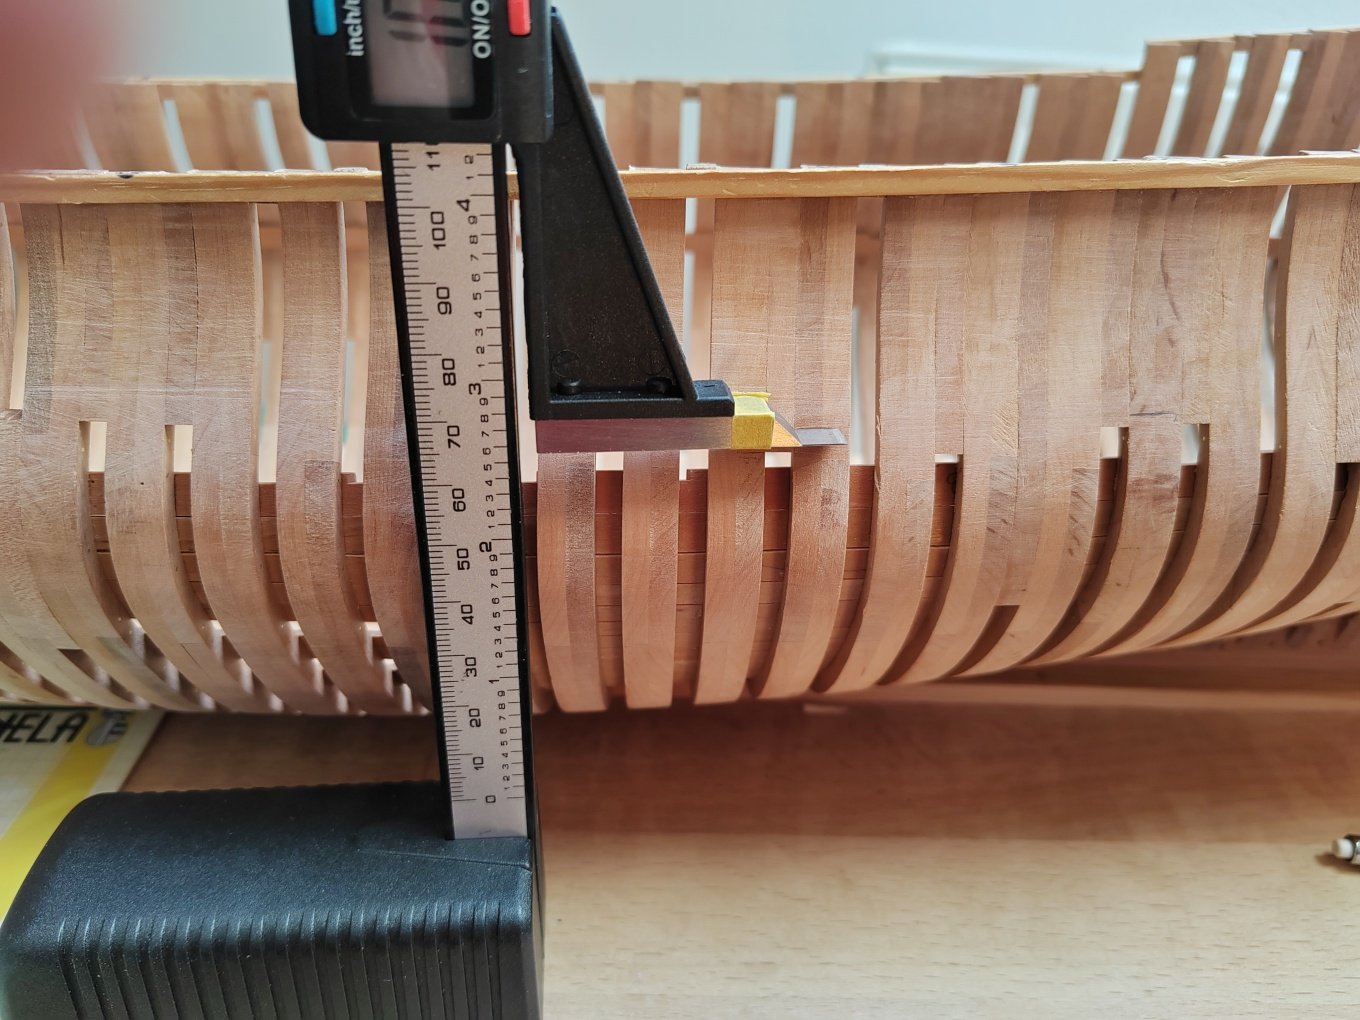
-
L'Amarante by marsalv - 1:36 - POF
marsalv replied to marsalv's topic in - Build logs for subjects built 1501 - 1750
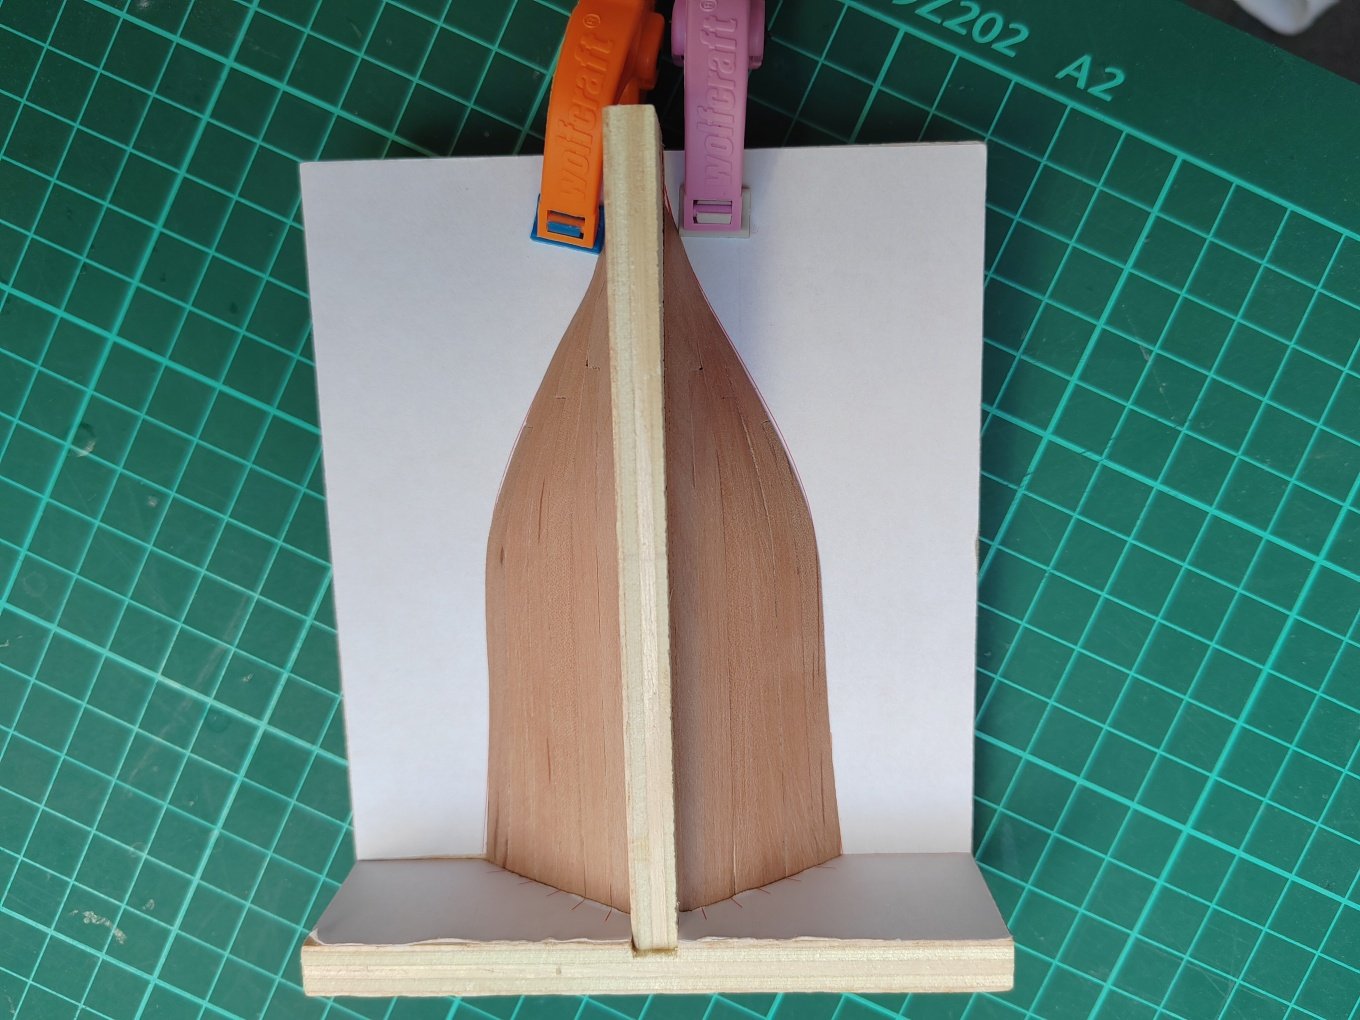
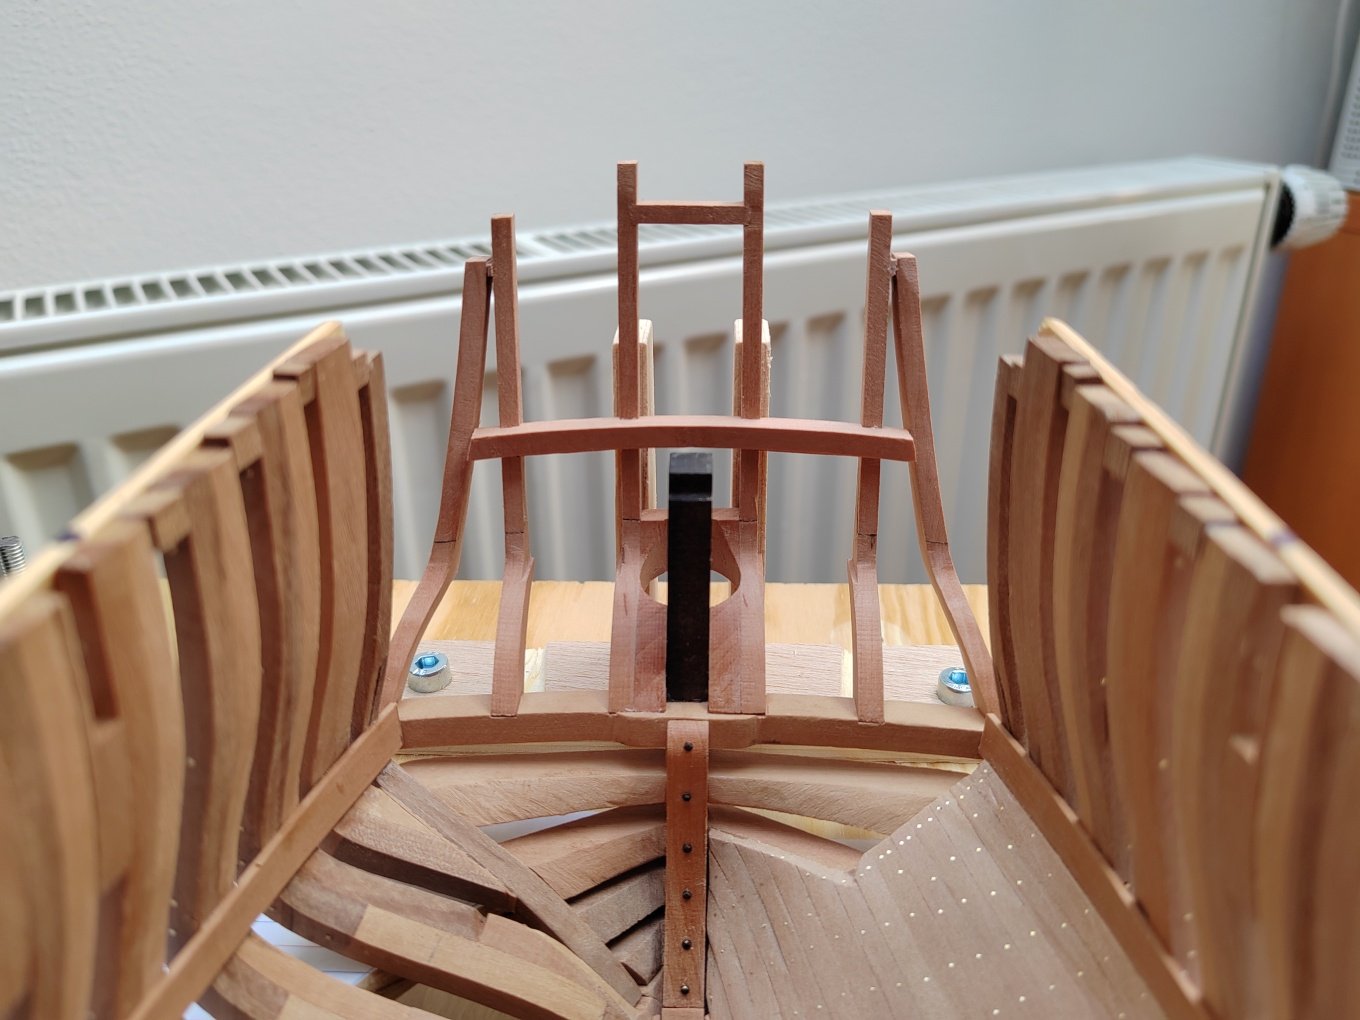
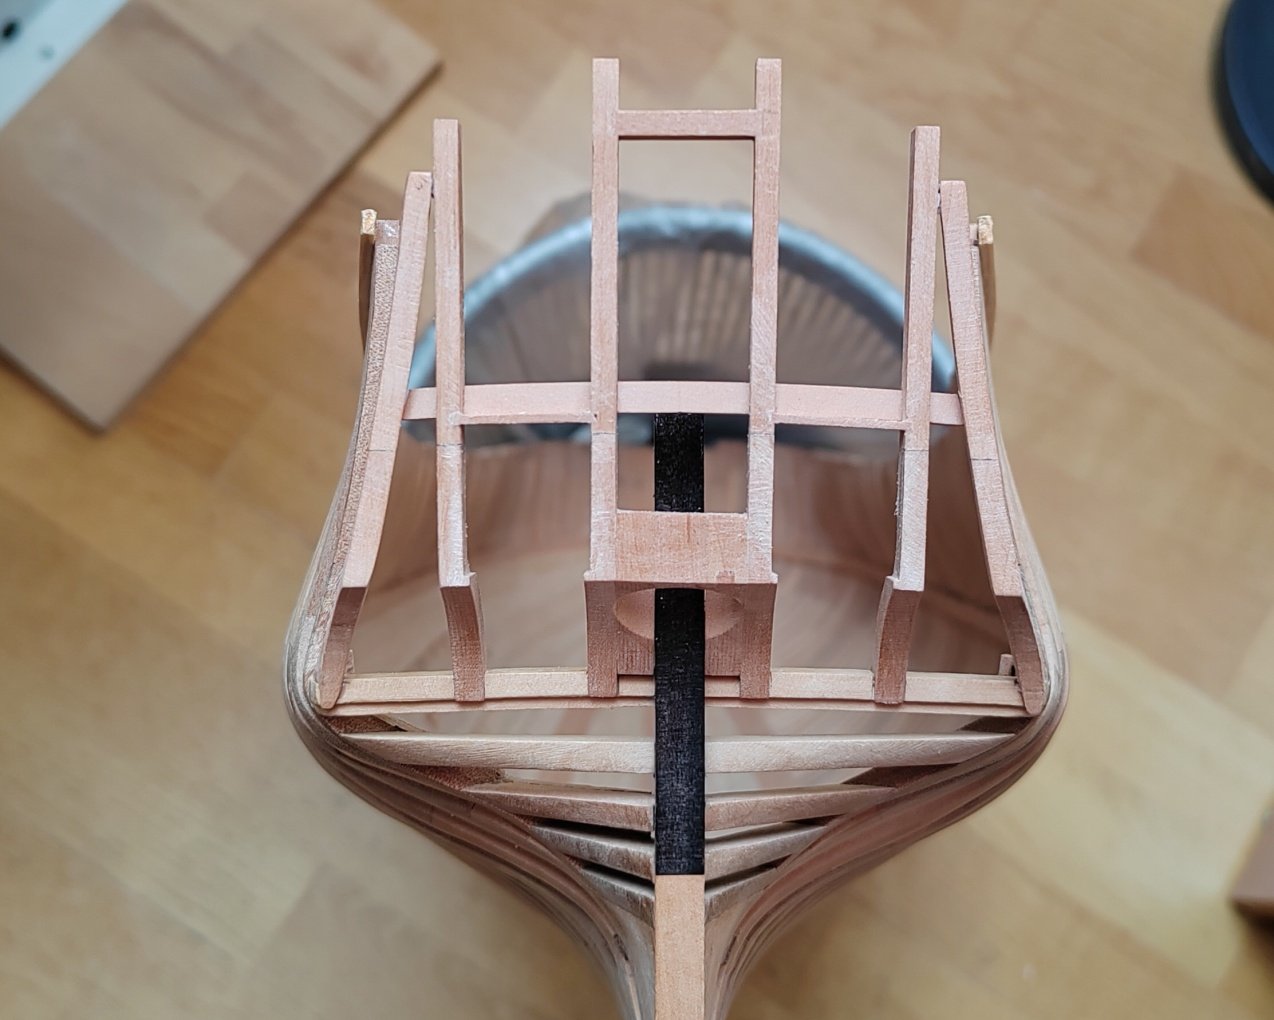
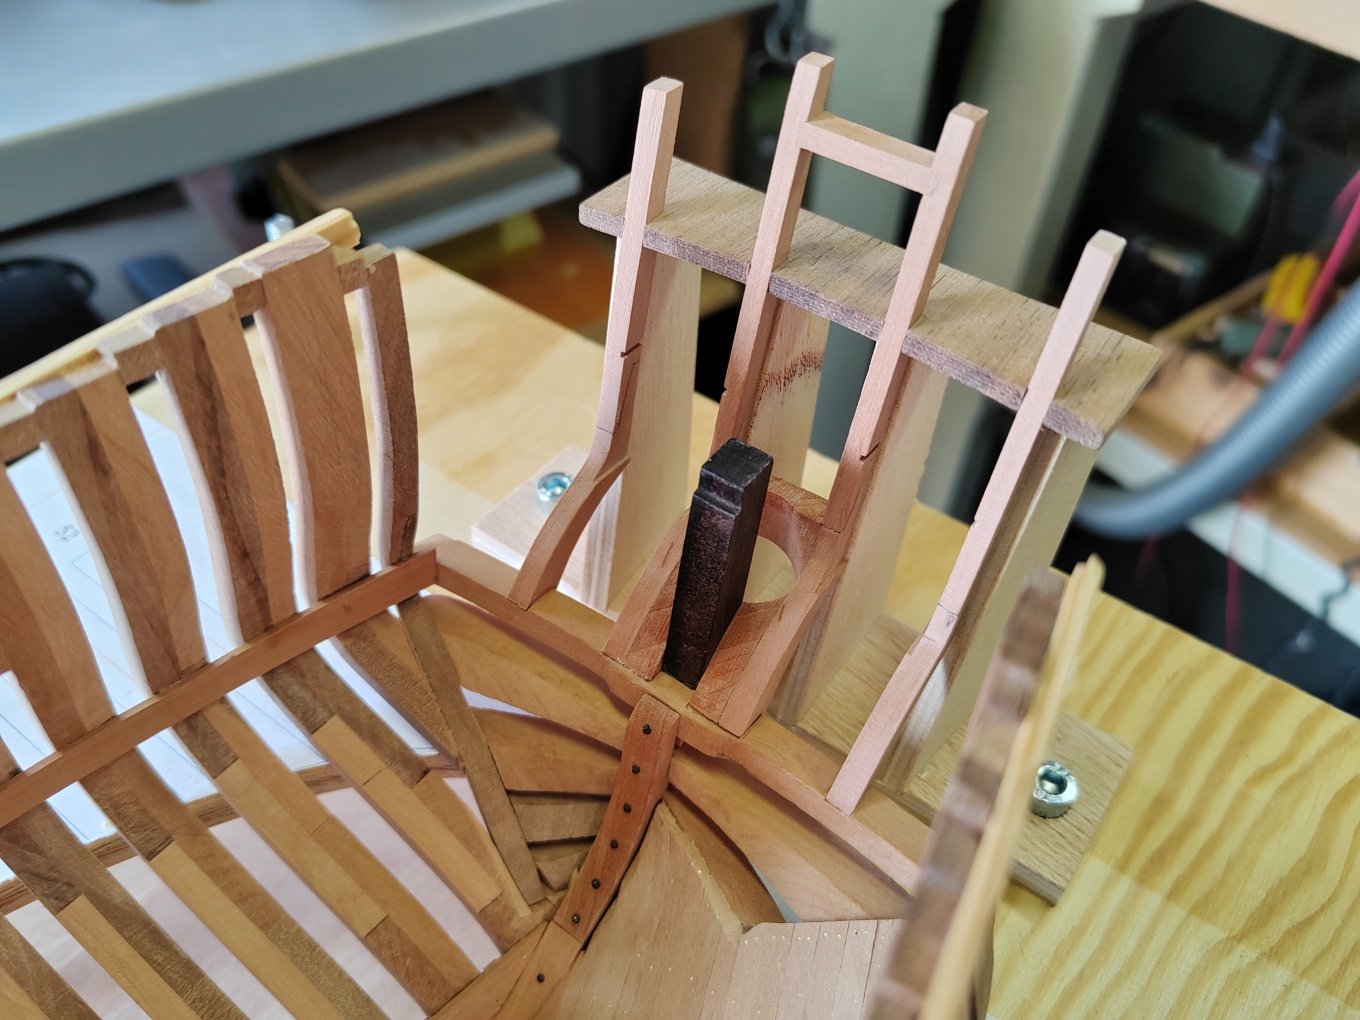
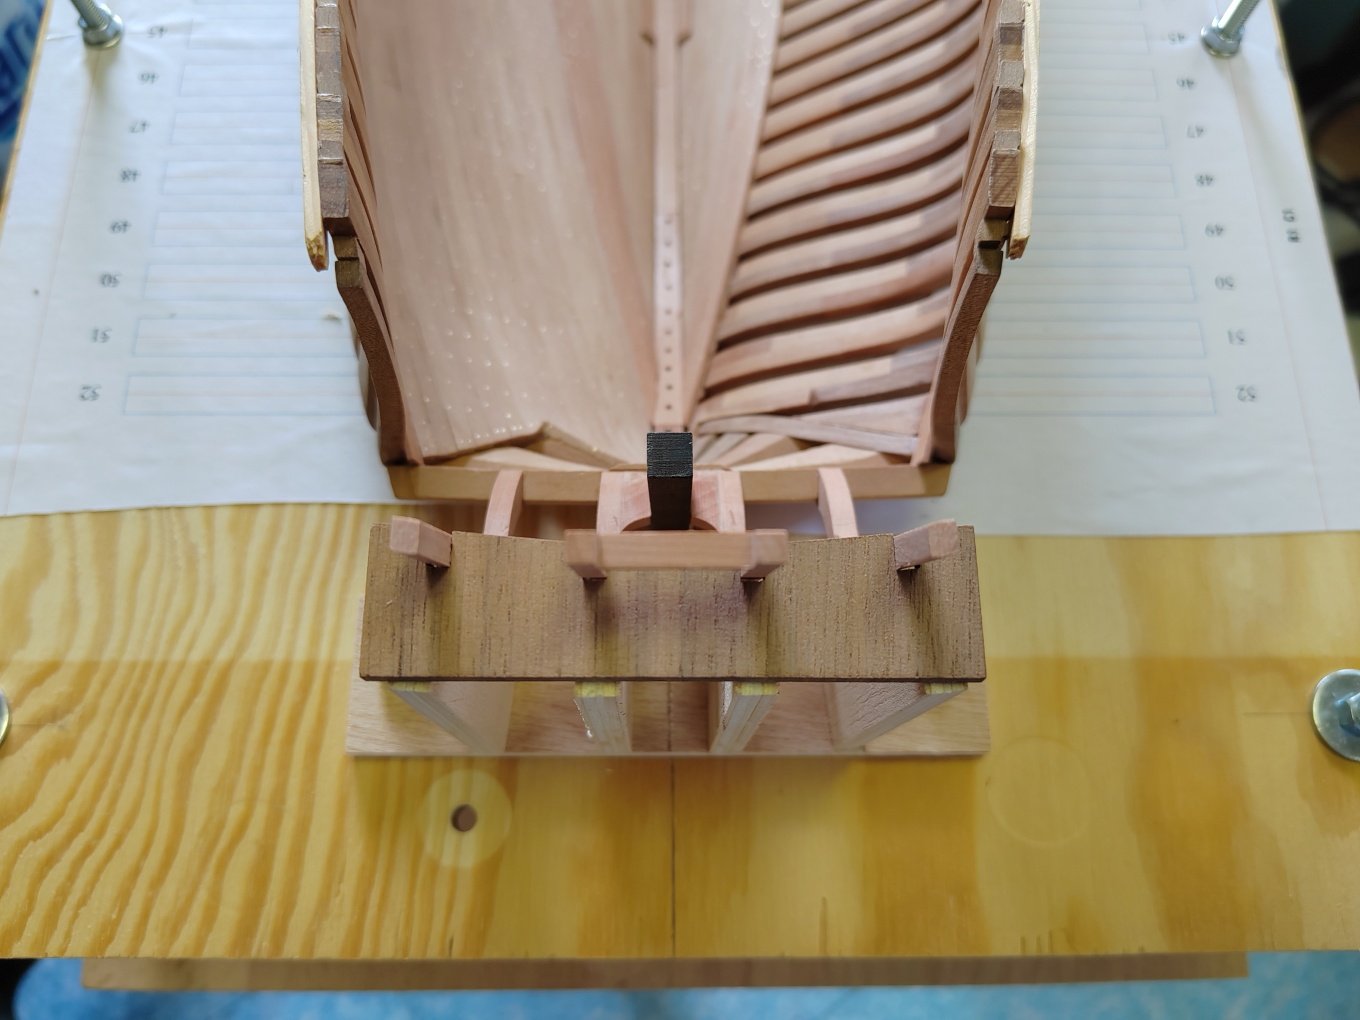
Thank you No Idea. Completed stern construction.
-
L'Amarante by marsalv - 1:36 - POF
marsalv replied to marsalv's topic in - Build logs for subjects built 1501 - 1750
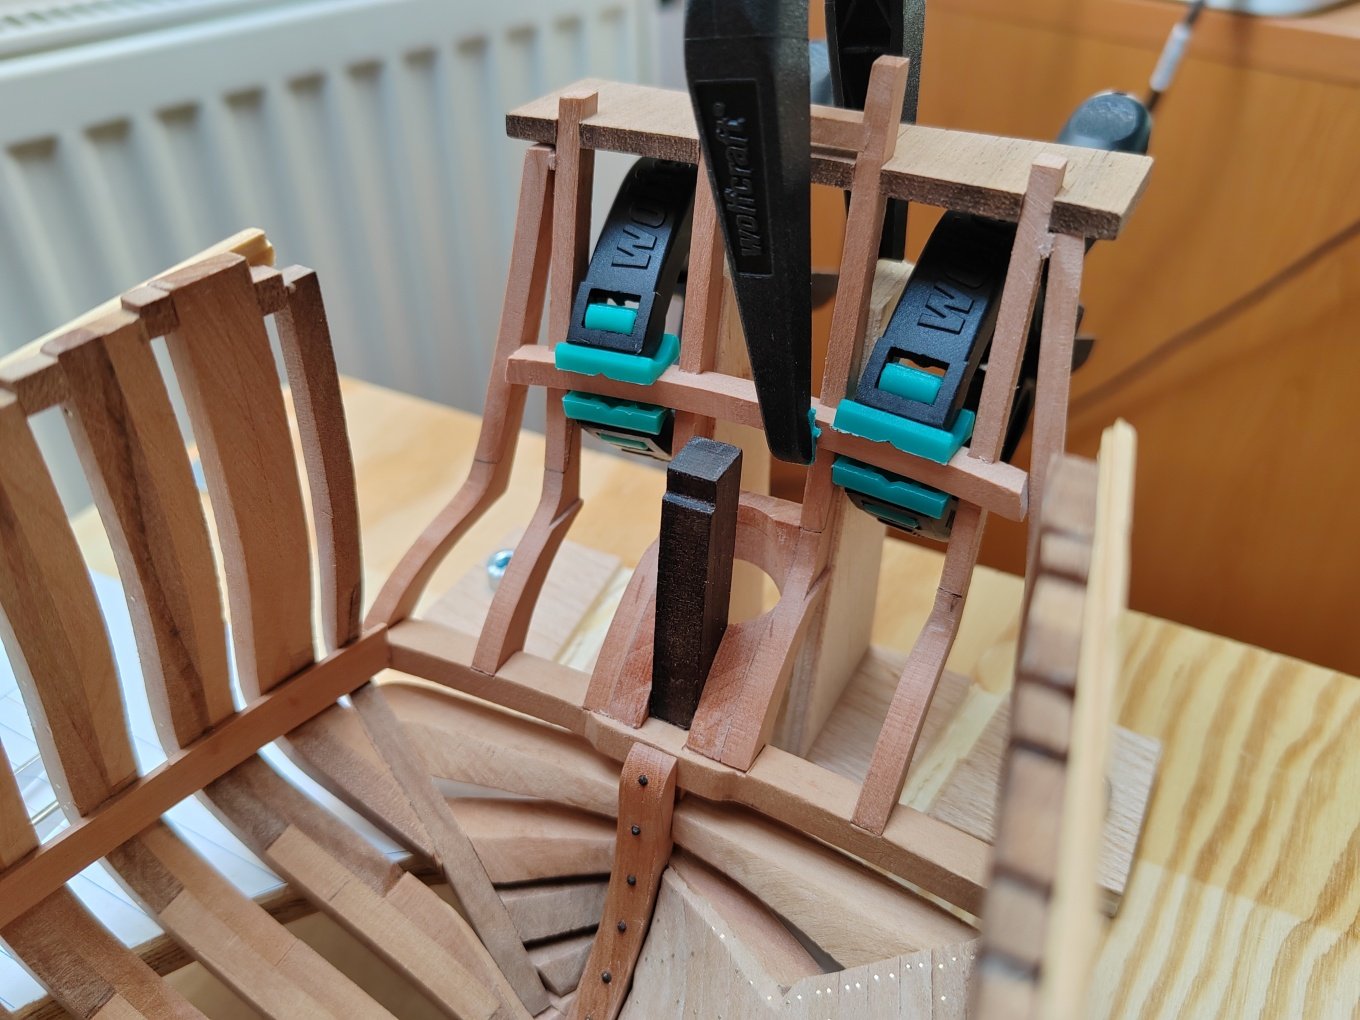
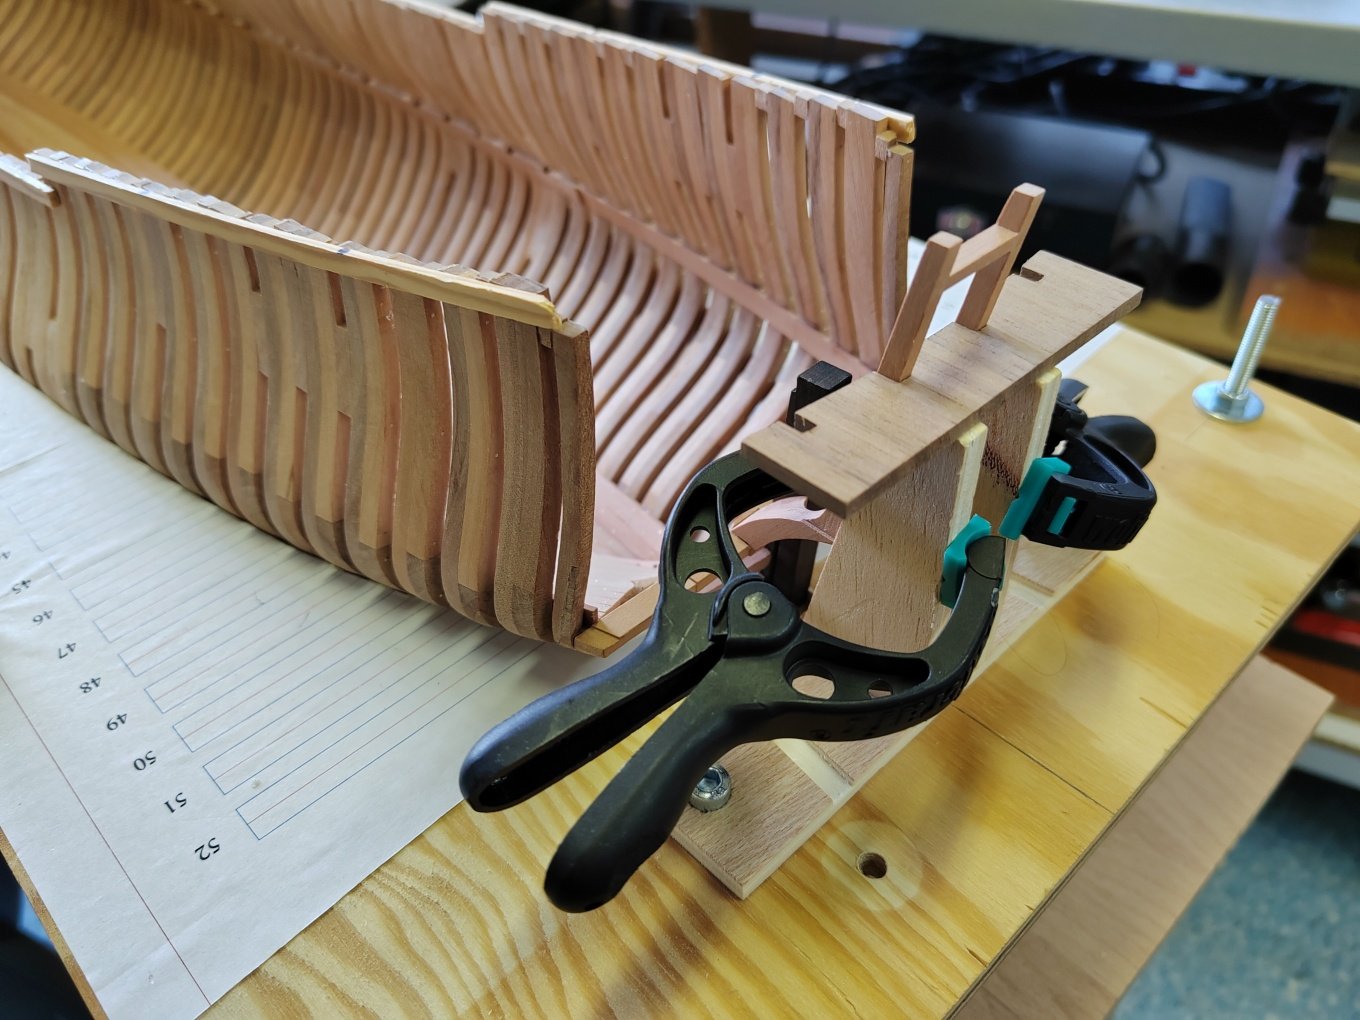
Now came one of the more complicated parts.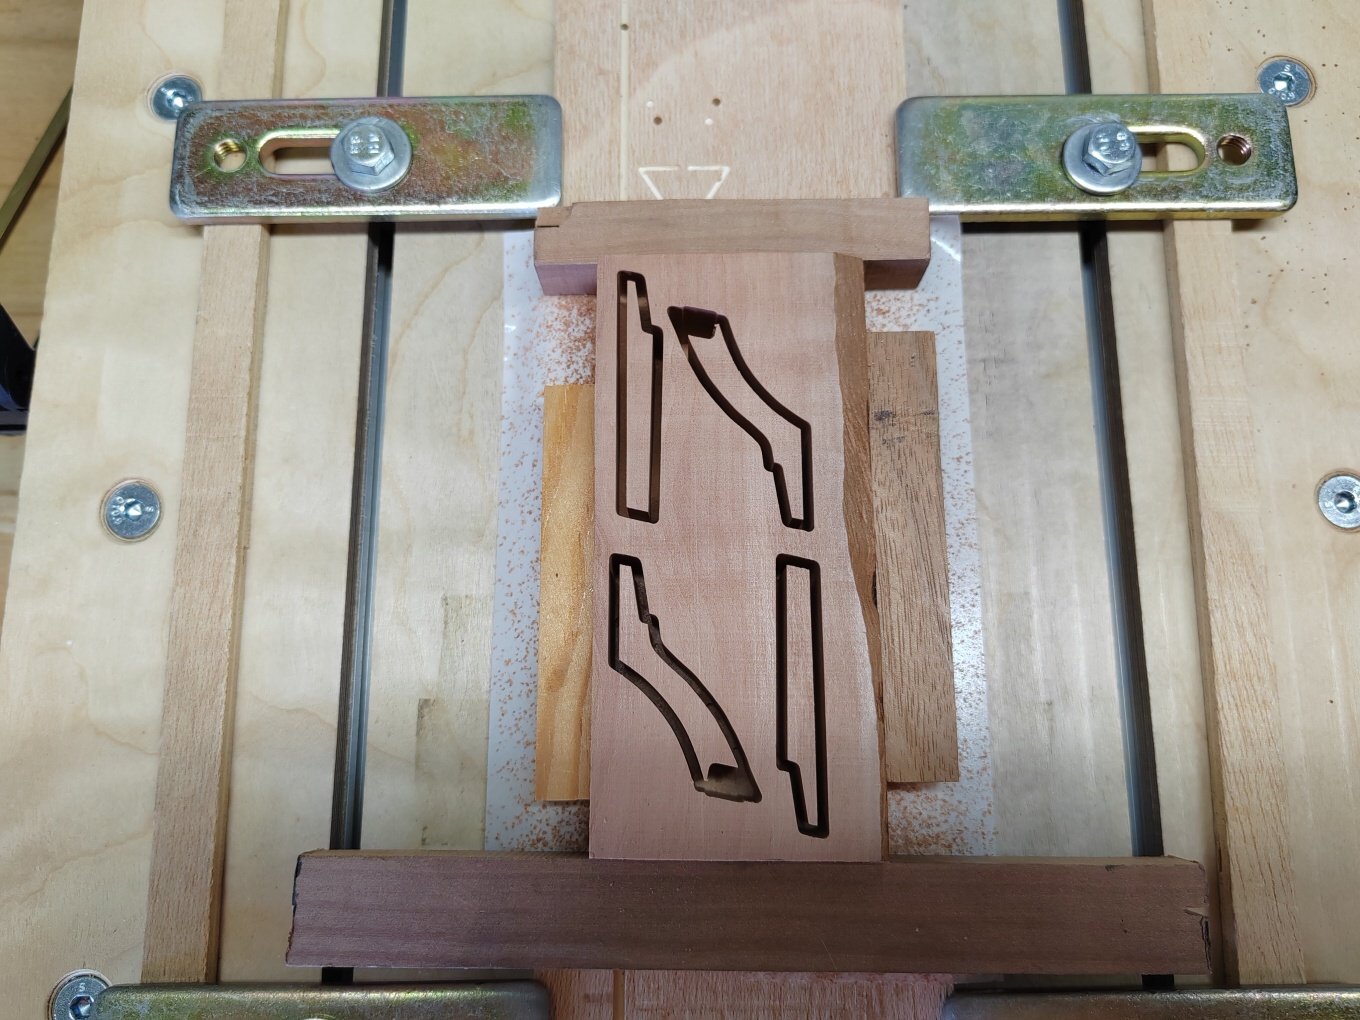


-
L'Amarante by marsalv - 1:36 - POF
marsalv replied to marsalv's topic in - Build logs for subjects built 1501 - 1750
Thank you No Idea. I started to complete the stern.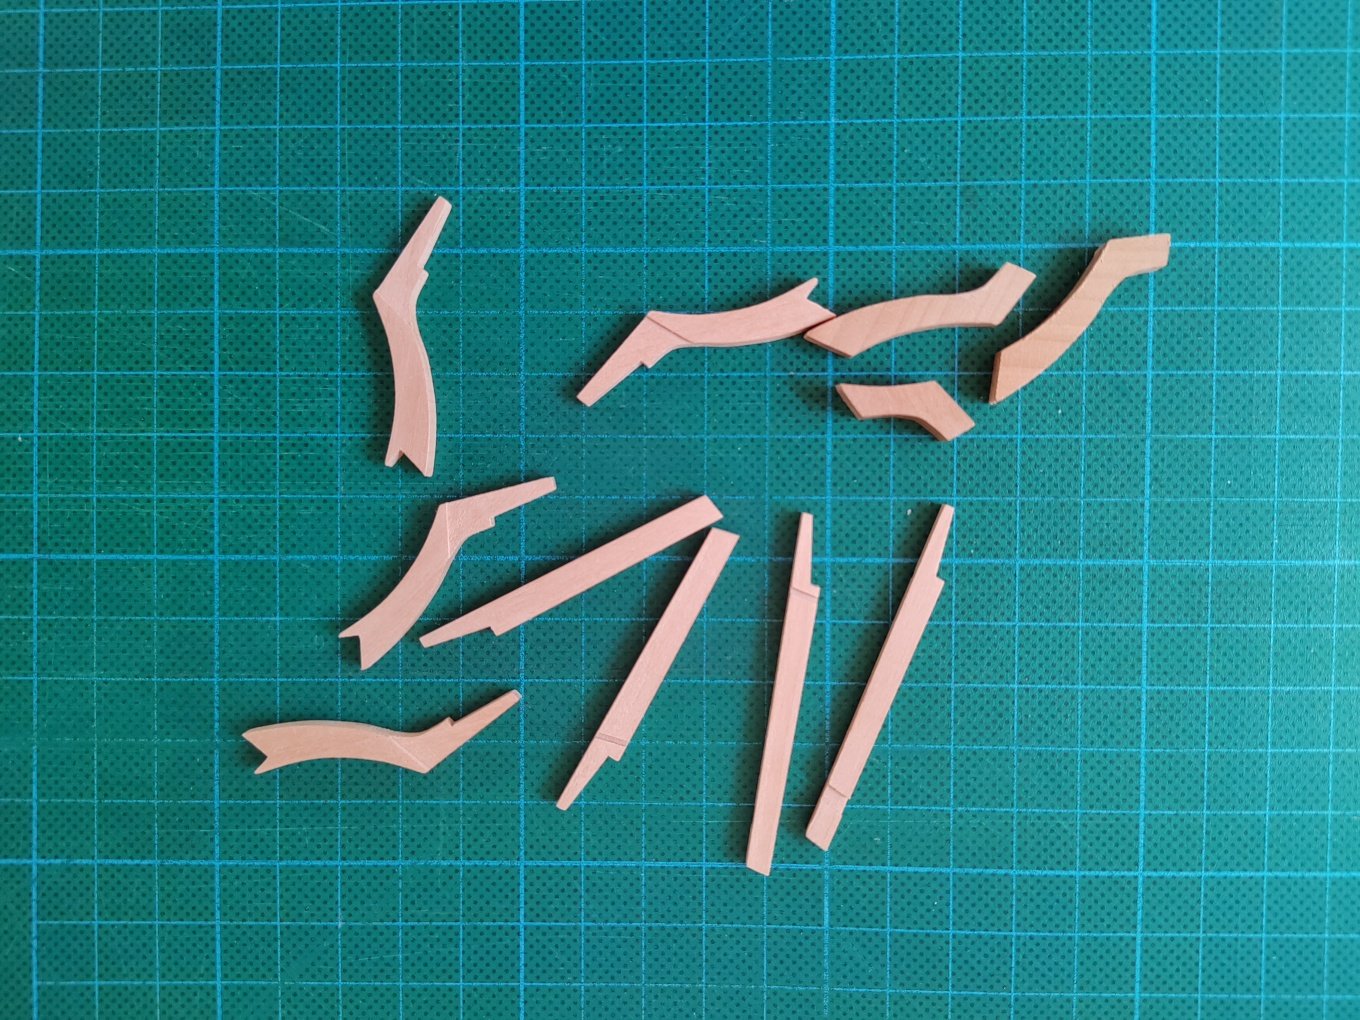

-
L'Amarante by marsalv - 1:36 - POF
marsalv replied to marsalv's topic in - Build logs for subjects built 1501 - 1750
I finally finished the internal planking to the deck clamp level.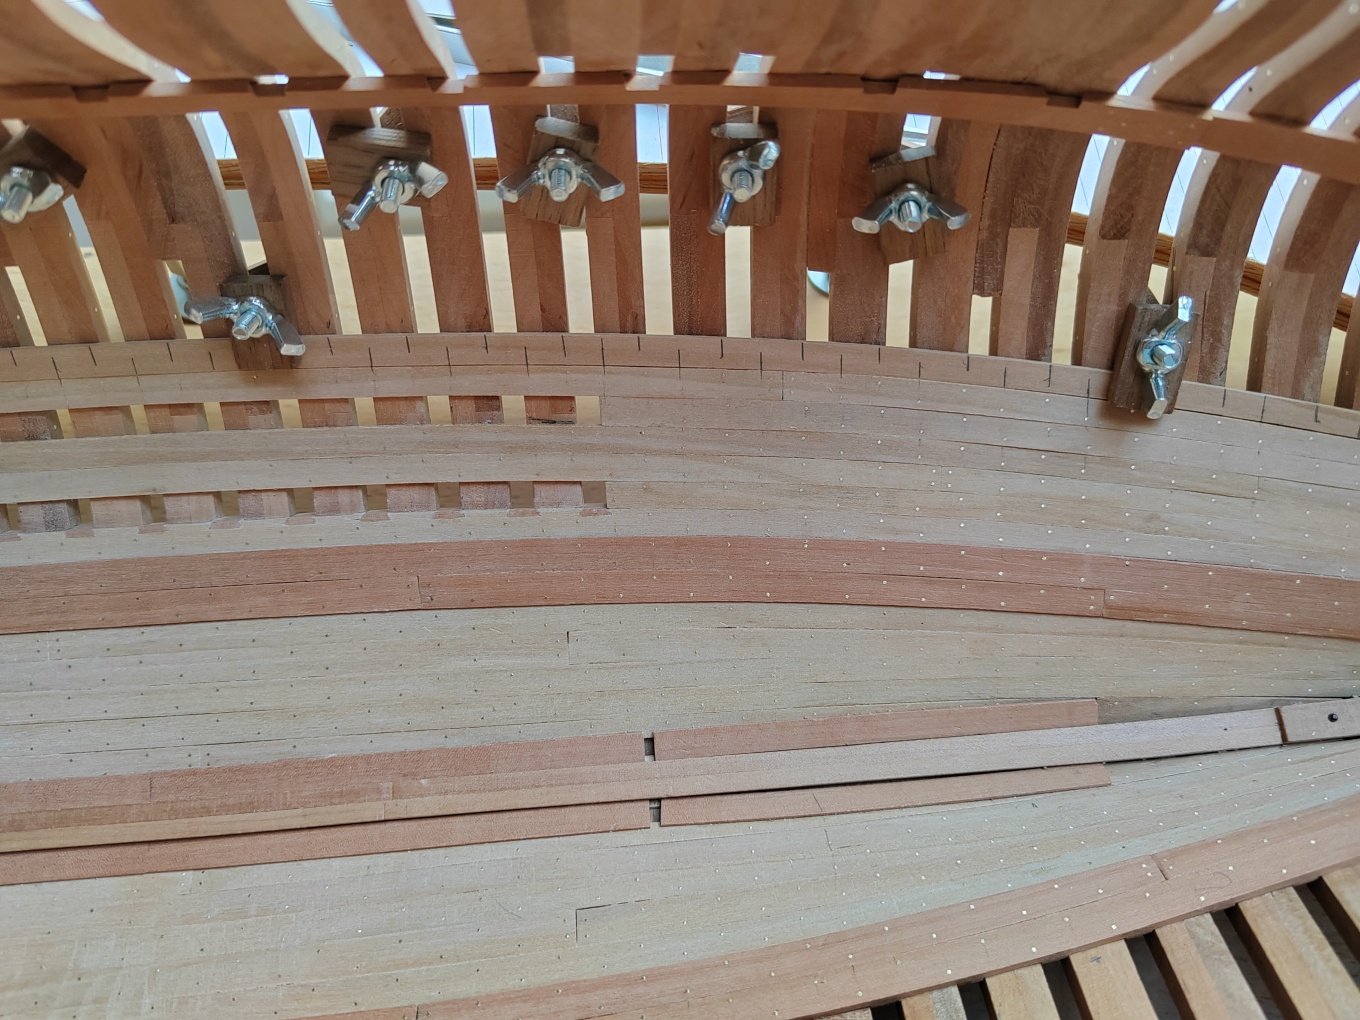

-
L'Amarante by marsalv - 1:36 - POF
marsalv replied to marsalv's topic in - Build logs for subjects built 1501 - 1750
I started planking over the thick- stuff.
-
L'Amarante by marsalv - 1:36 - POF
marsalv replied to marsalv's topic in - Build logs for subjects built 1501 - 1750
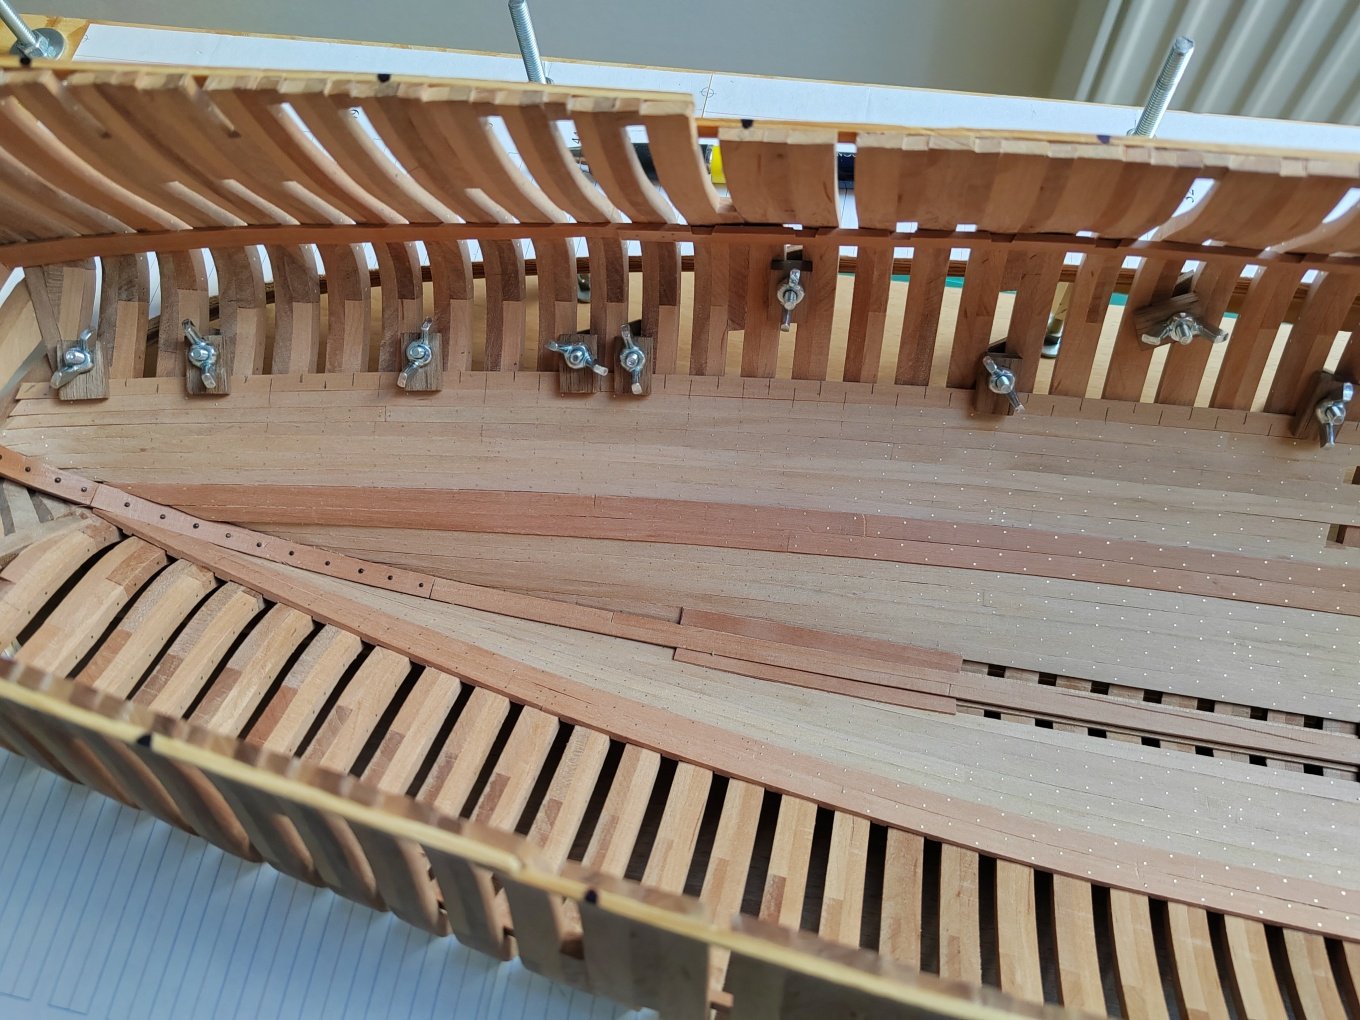
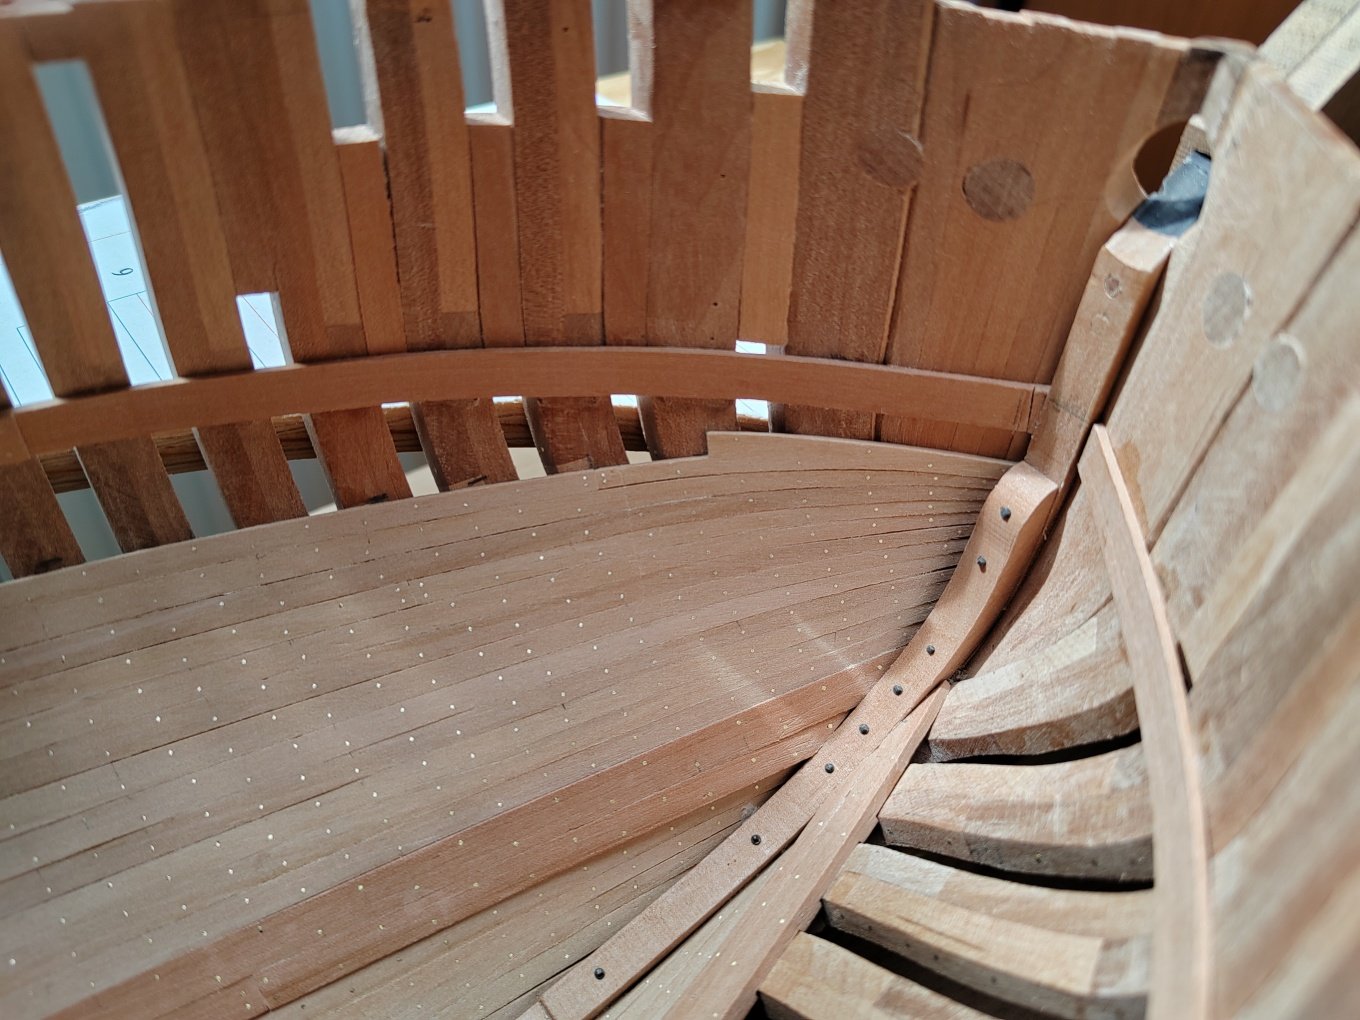
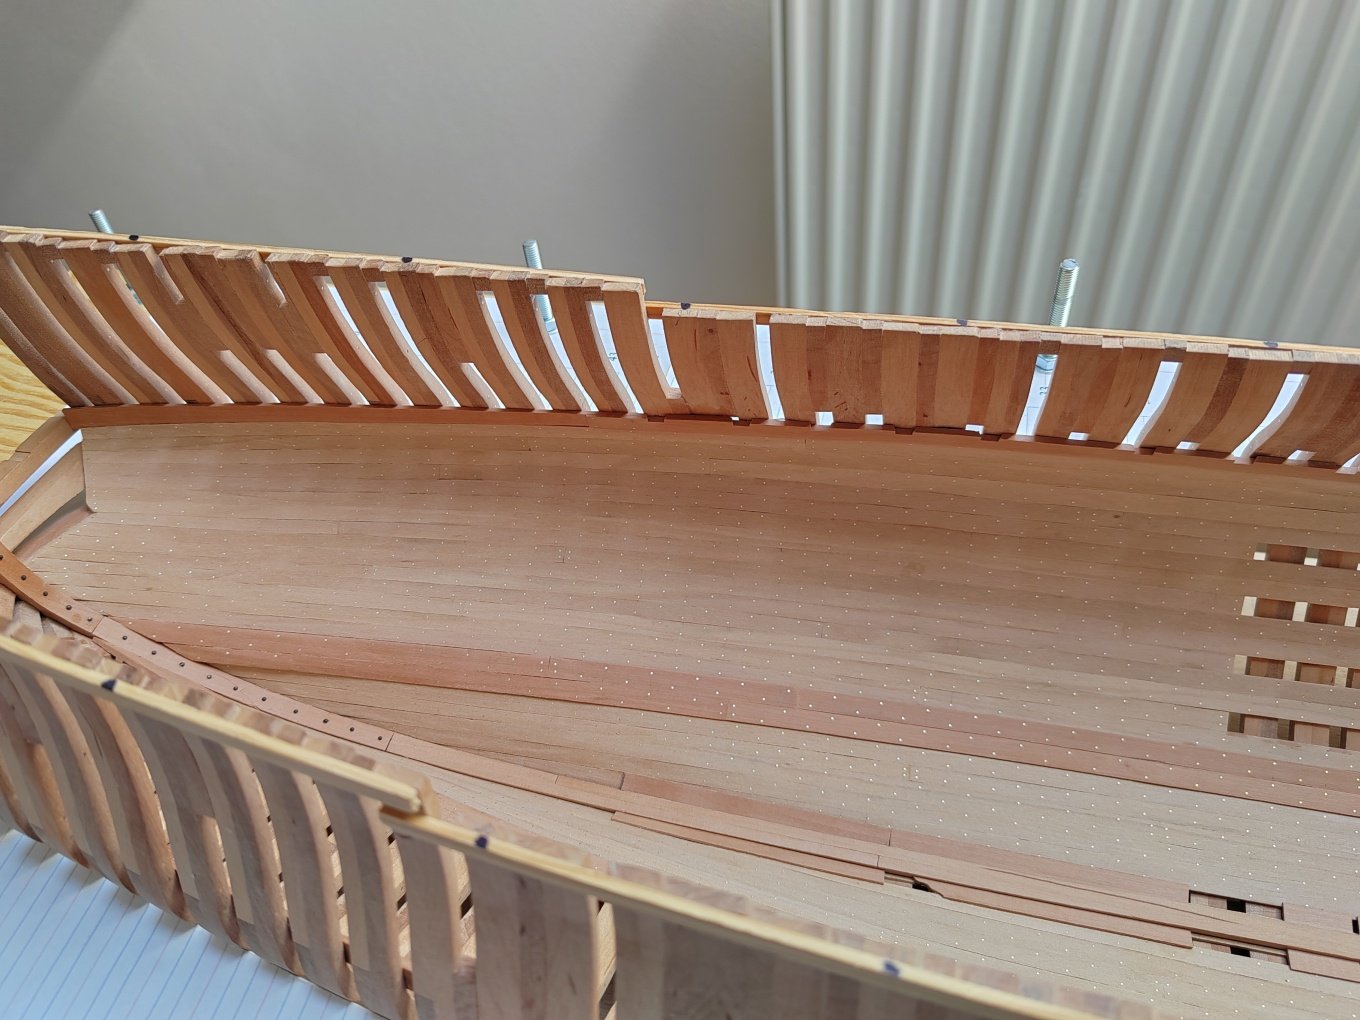
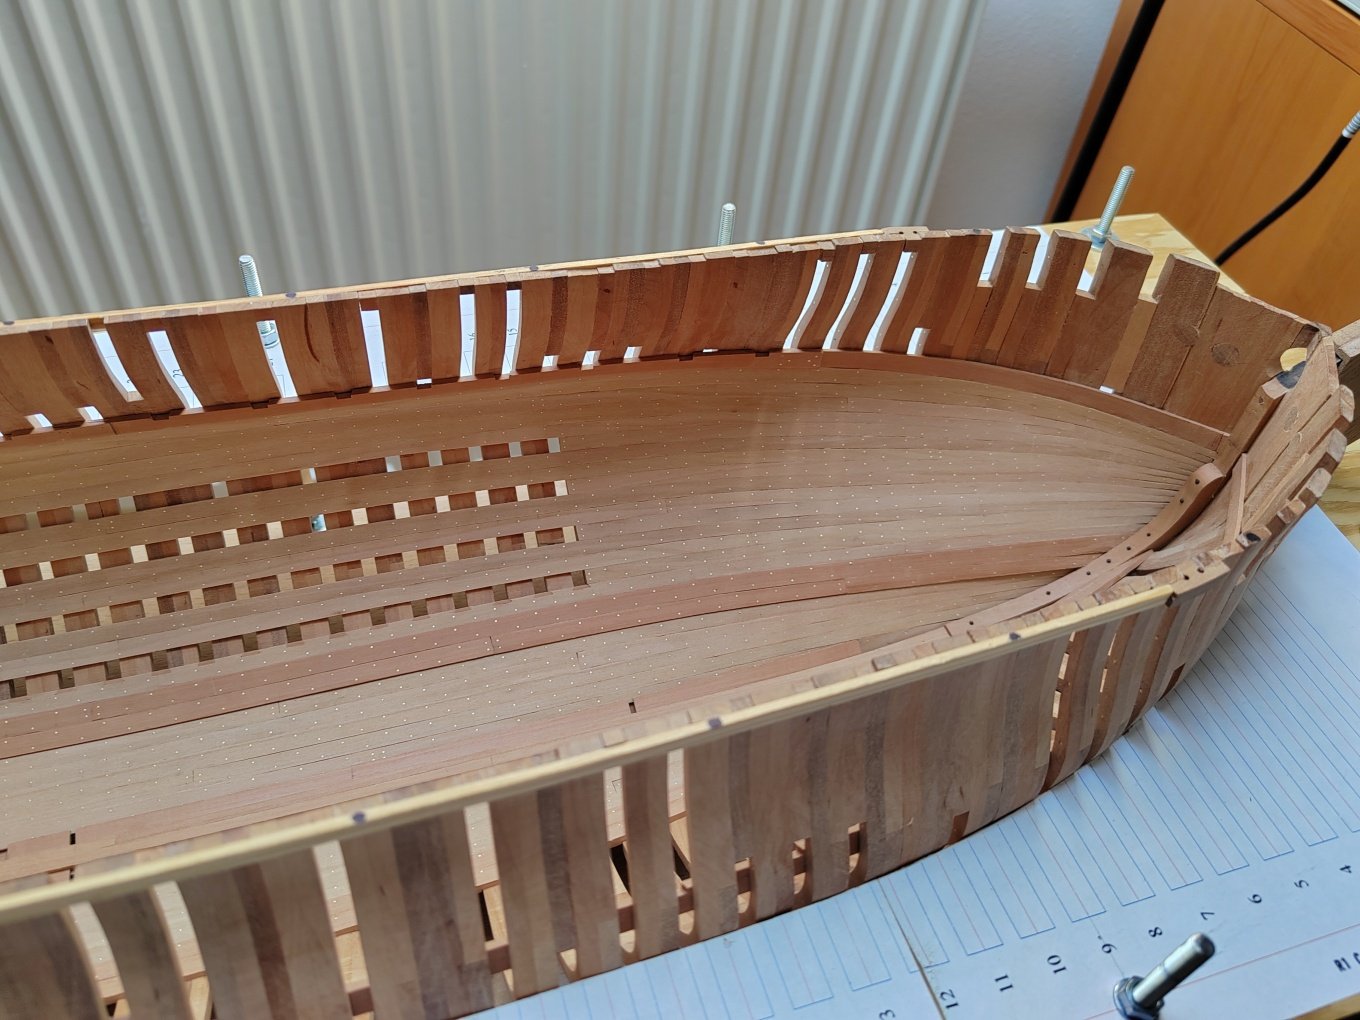
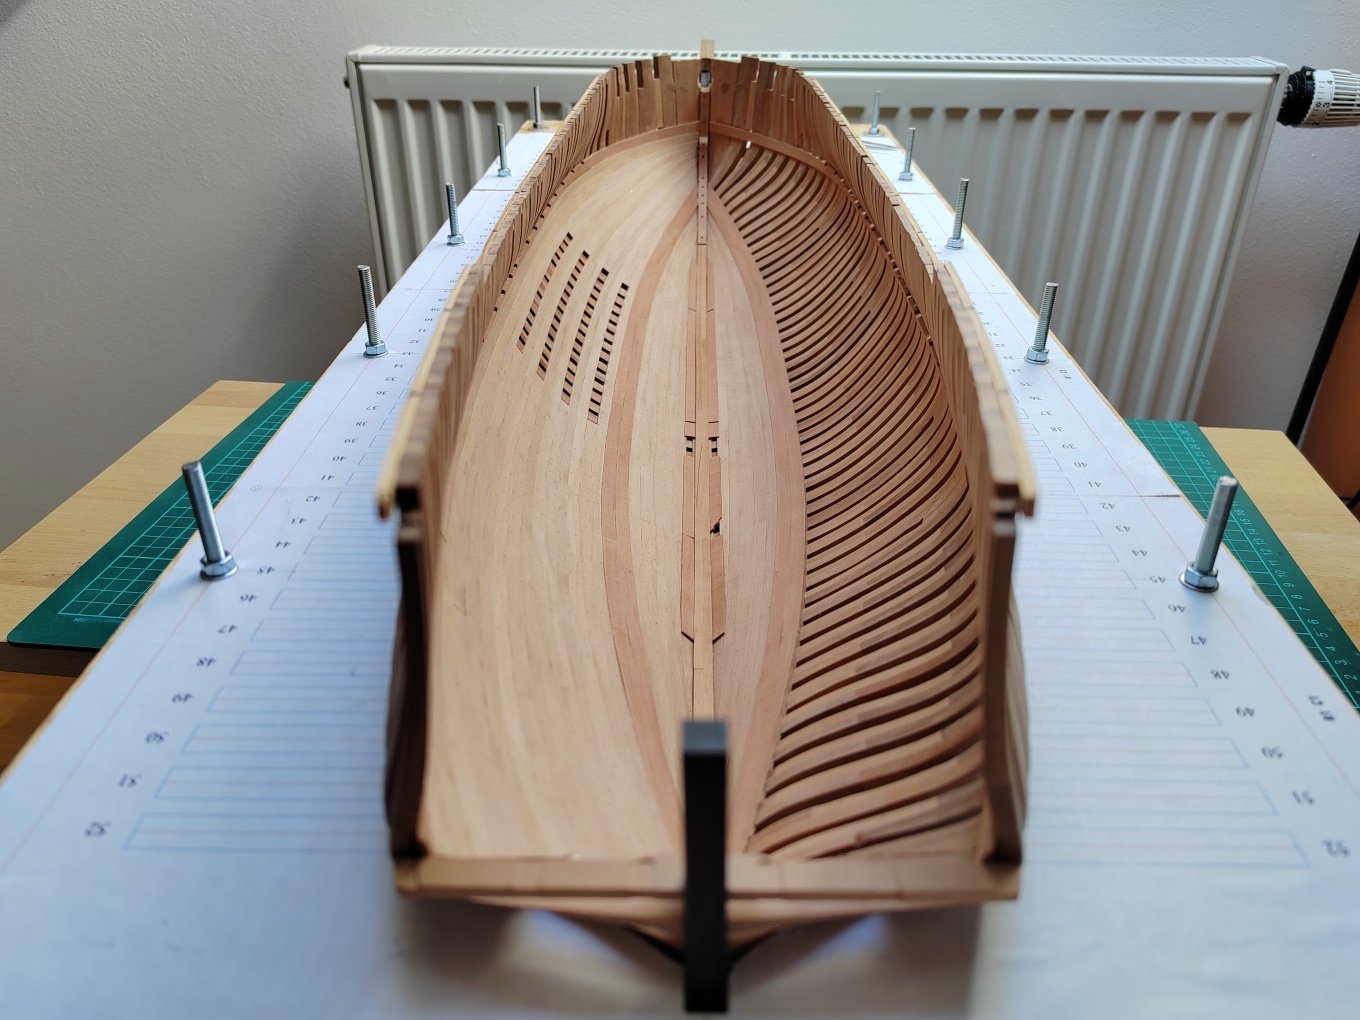
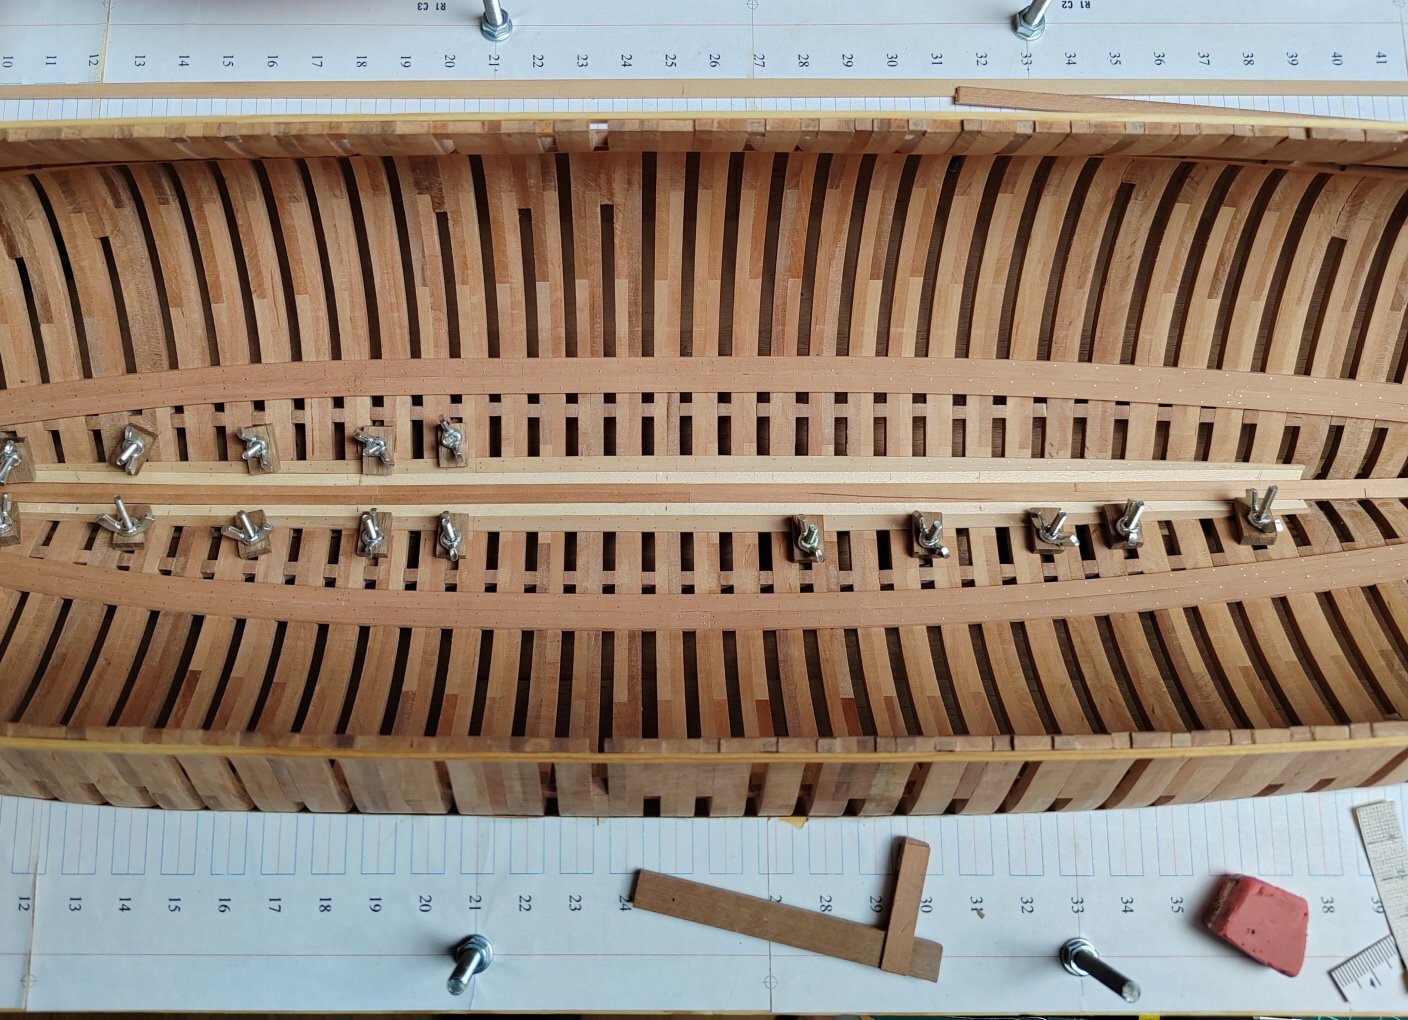
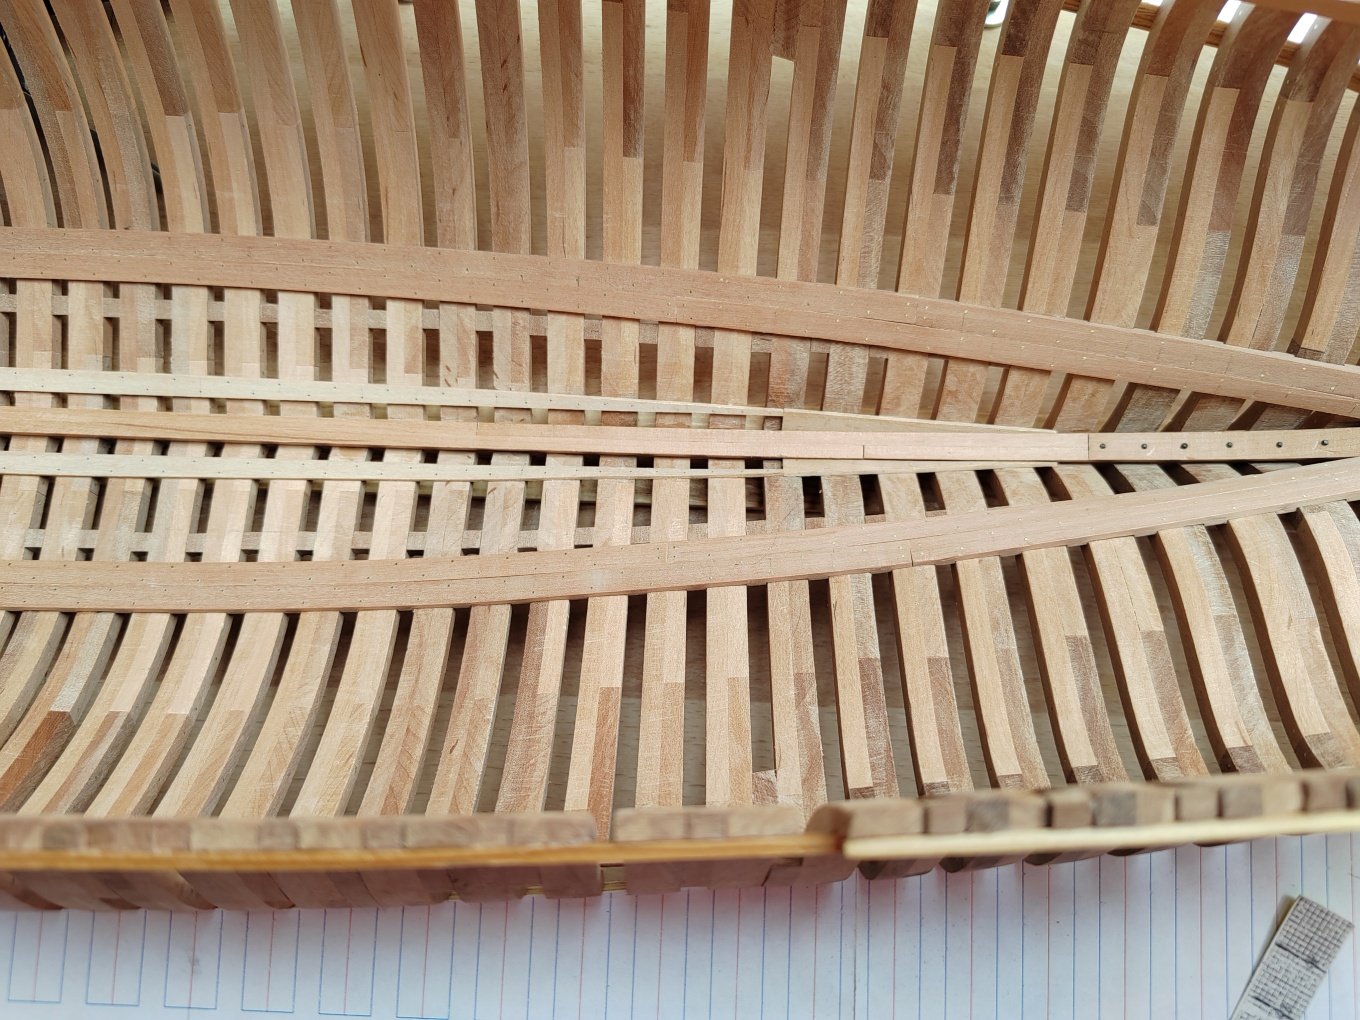
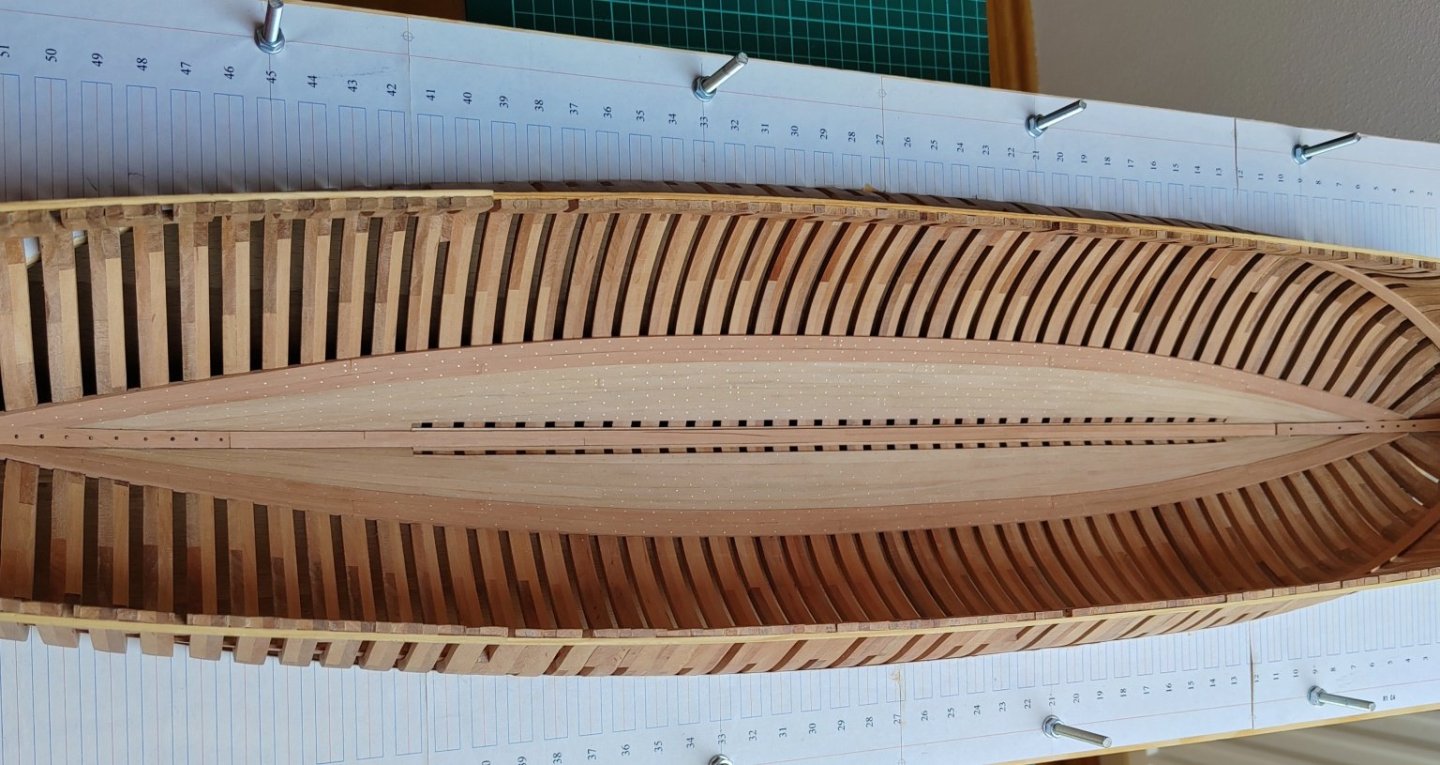
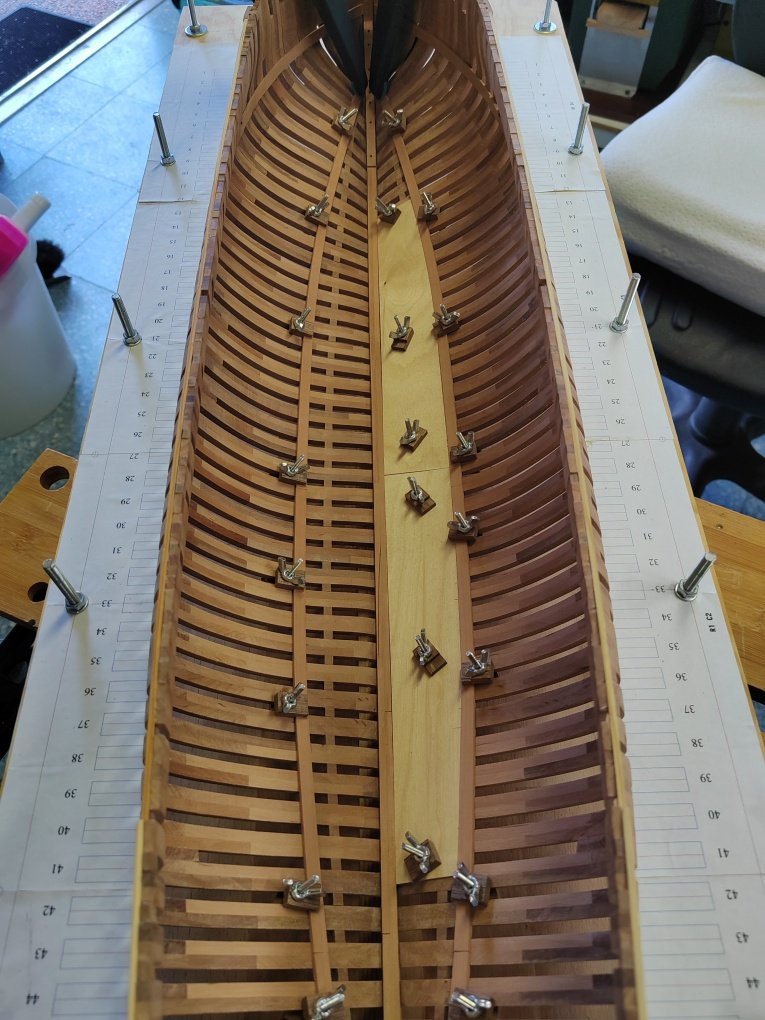
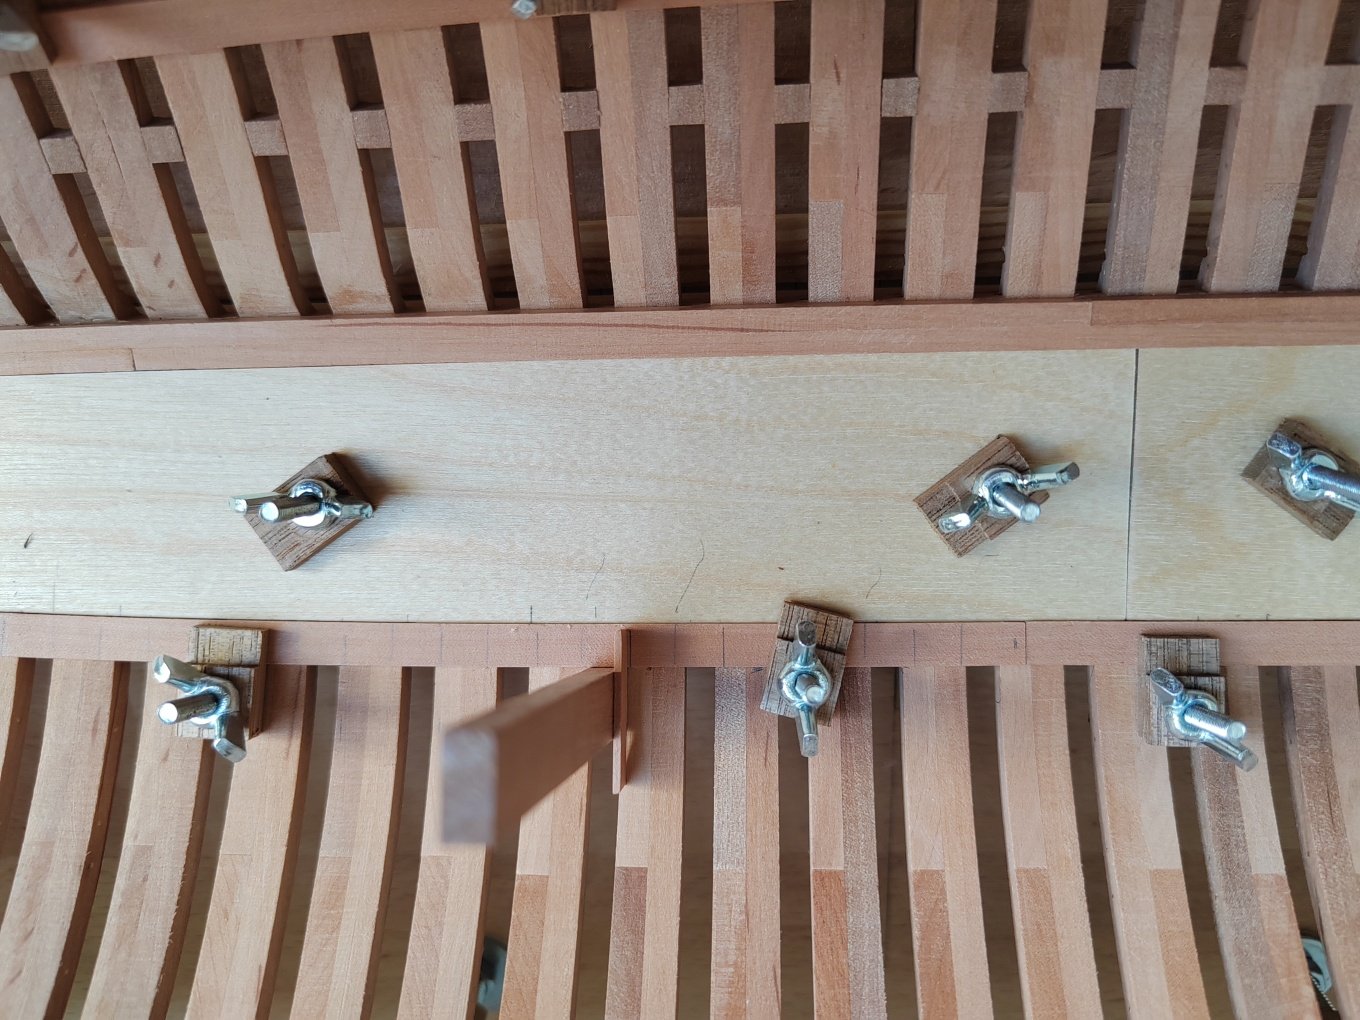
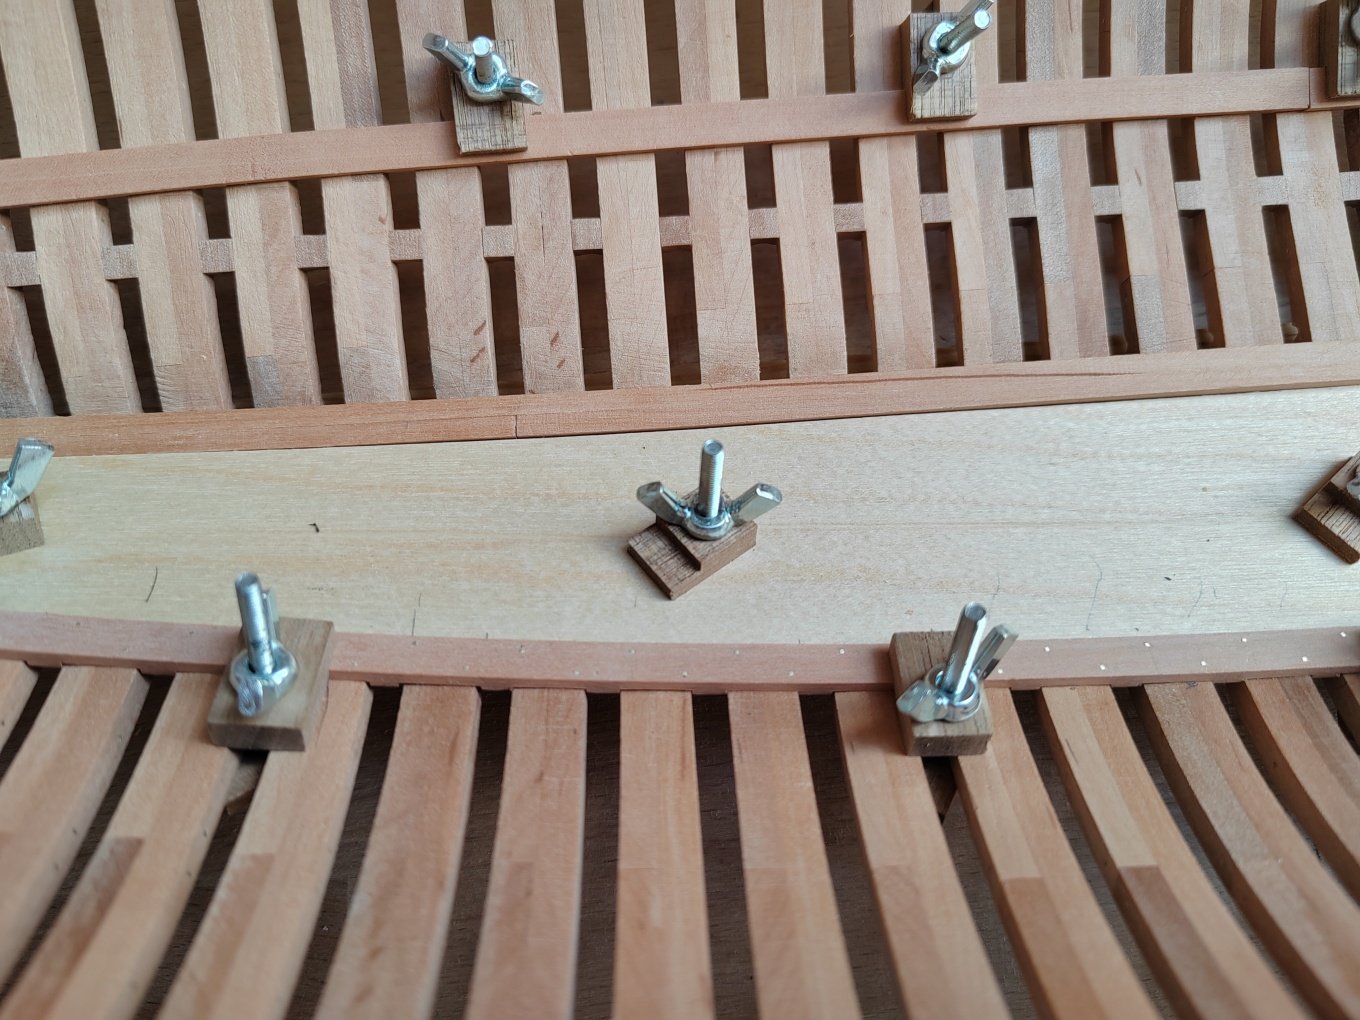
My posts have gotten me to the stage where the actual model building phase is, so now my posts won't be as frequent . The first part of the inner planking (the ceiling) is finished, including the limber boards.


-
L'Amarante by marsalv - 1:36 - POF
marsalv replied to marsalv's topic in - Build logs for subjects built 1501 - 1750
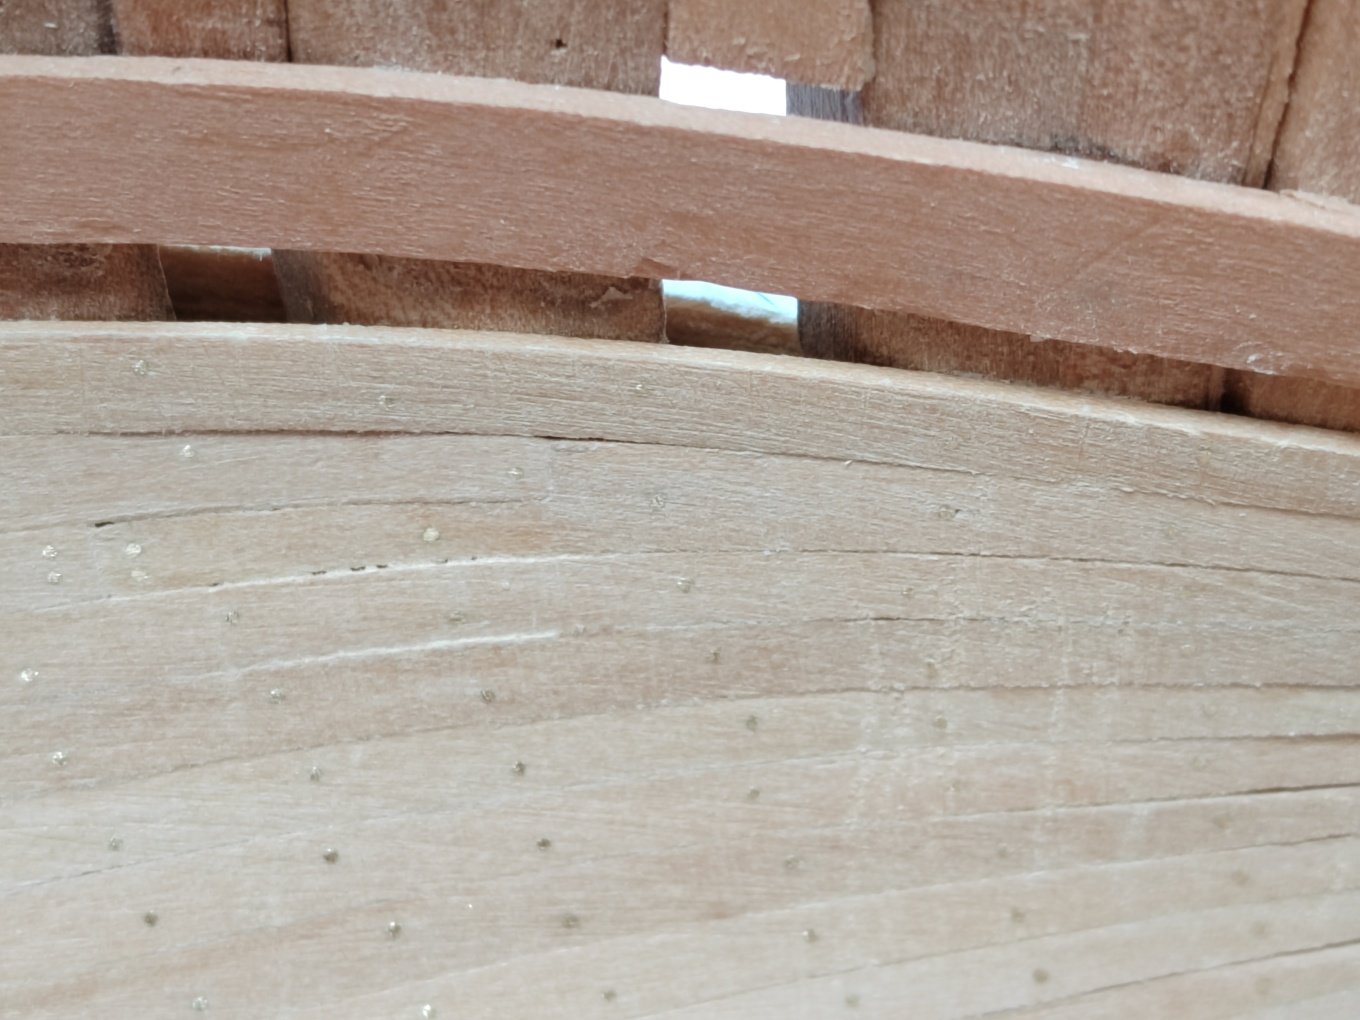
Thank you guys for all likes and nice comments. It's time for inside planking. The spirketting, which is made of two thicker planks, was installed first. These planks are slightly recessed below the level of the frames.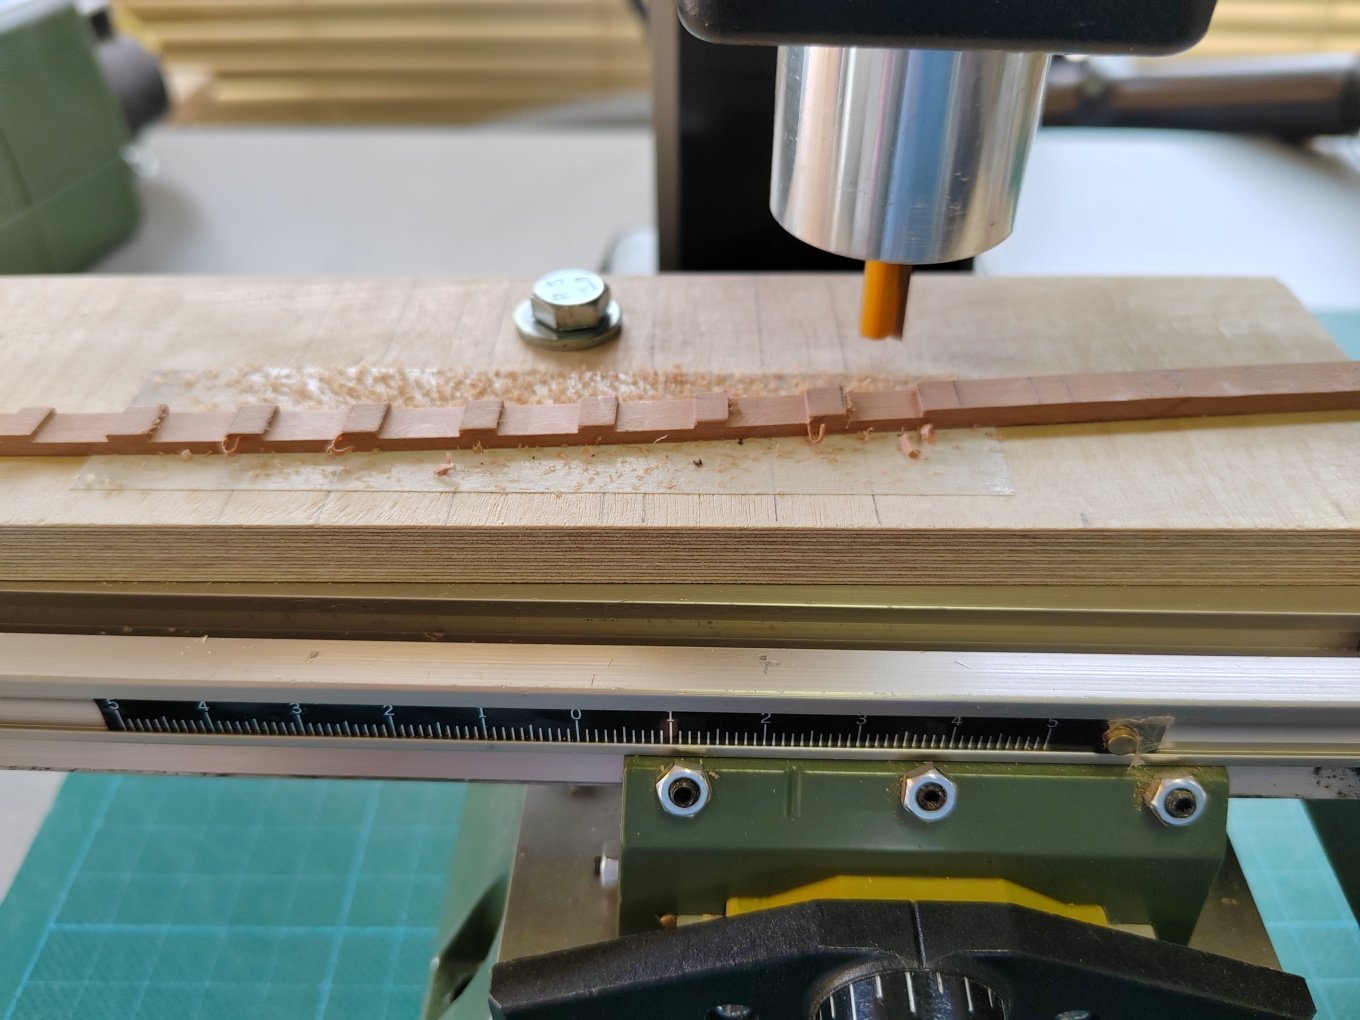


-
L'Amarante by marsalv - 1:36 - POF
marsalv replied to marsalv's topic in - Build logs for subjects built 1501 - 1750
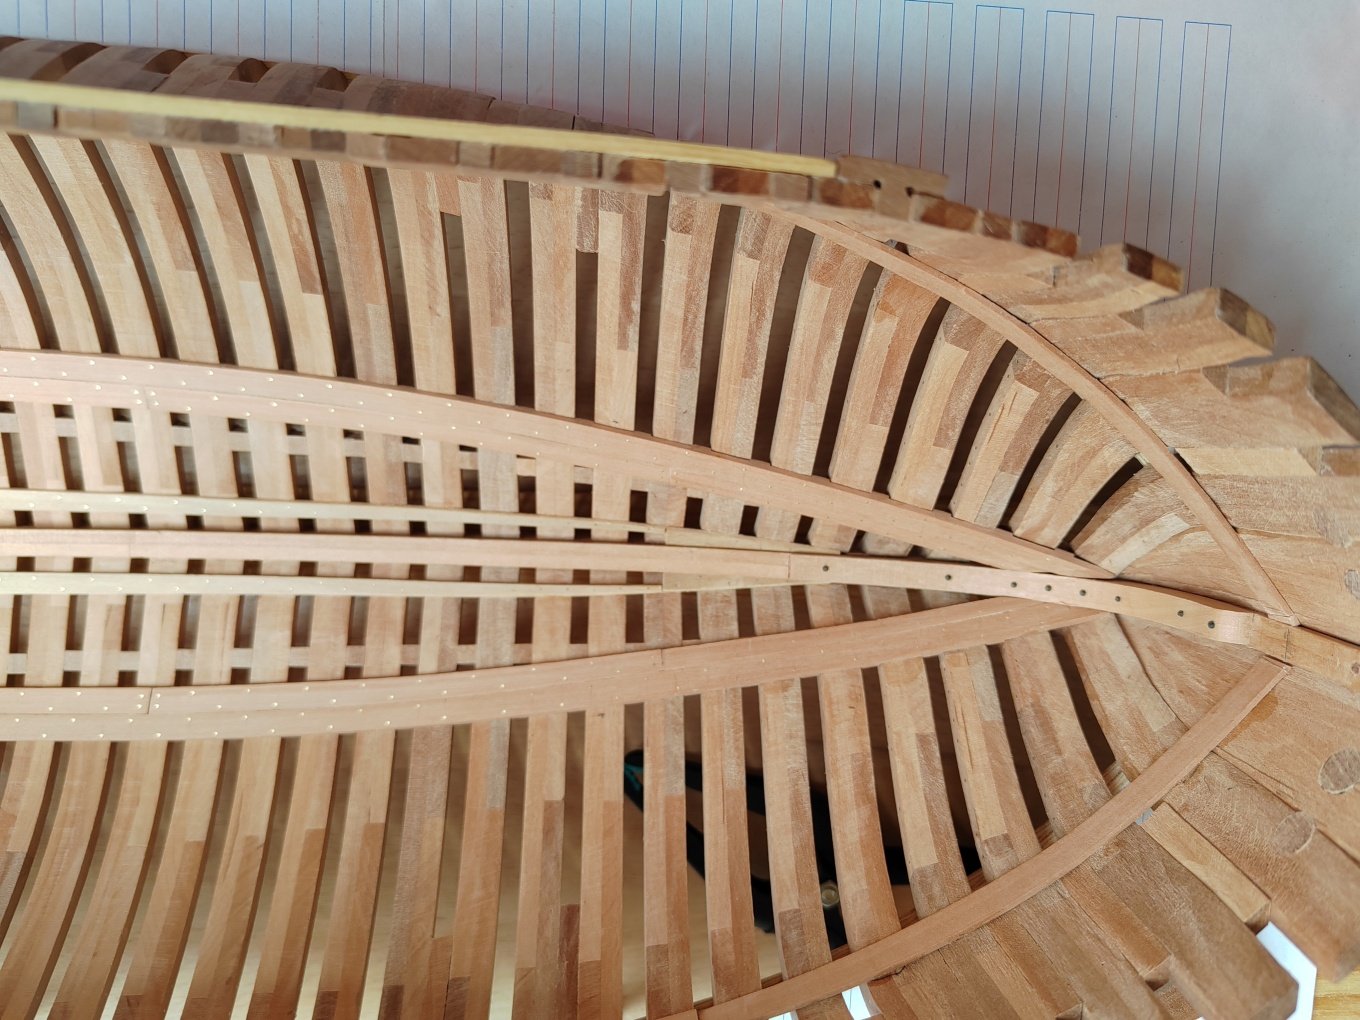
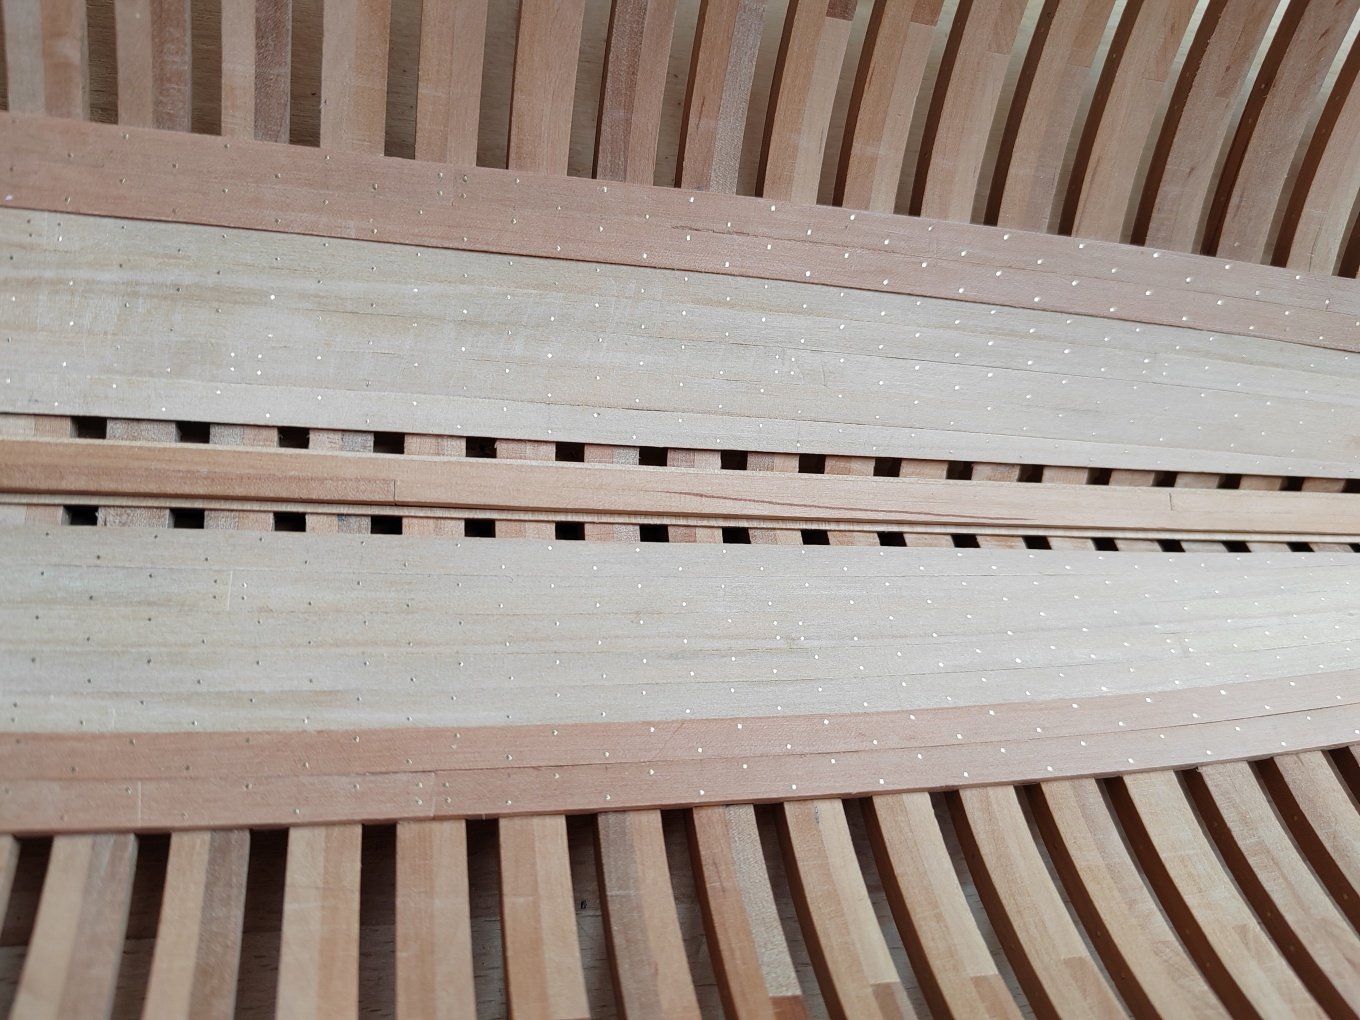
Thanky you Applying the deck clamp strengthened the hull so I could complete the limber-passage.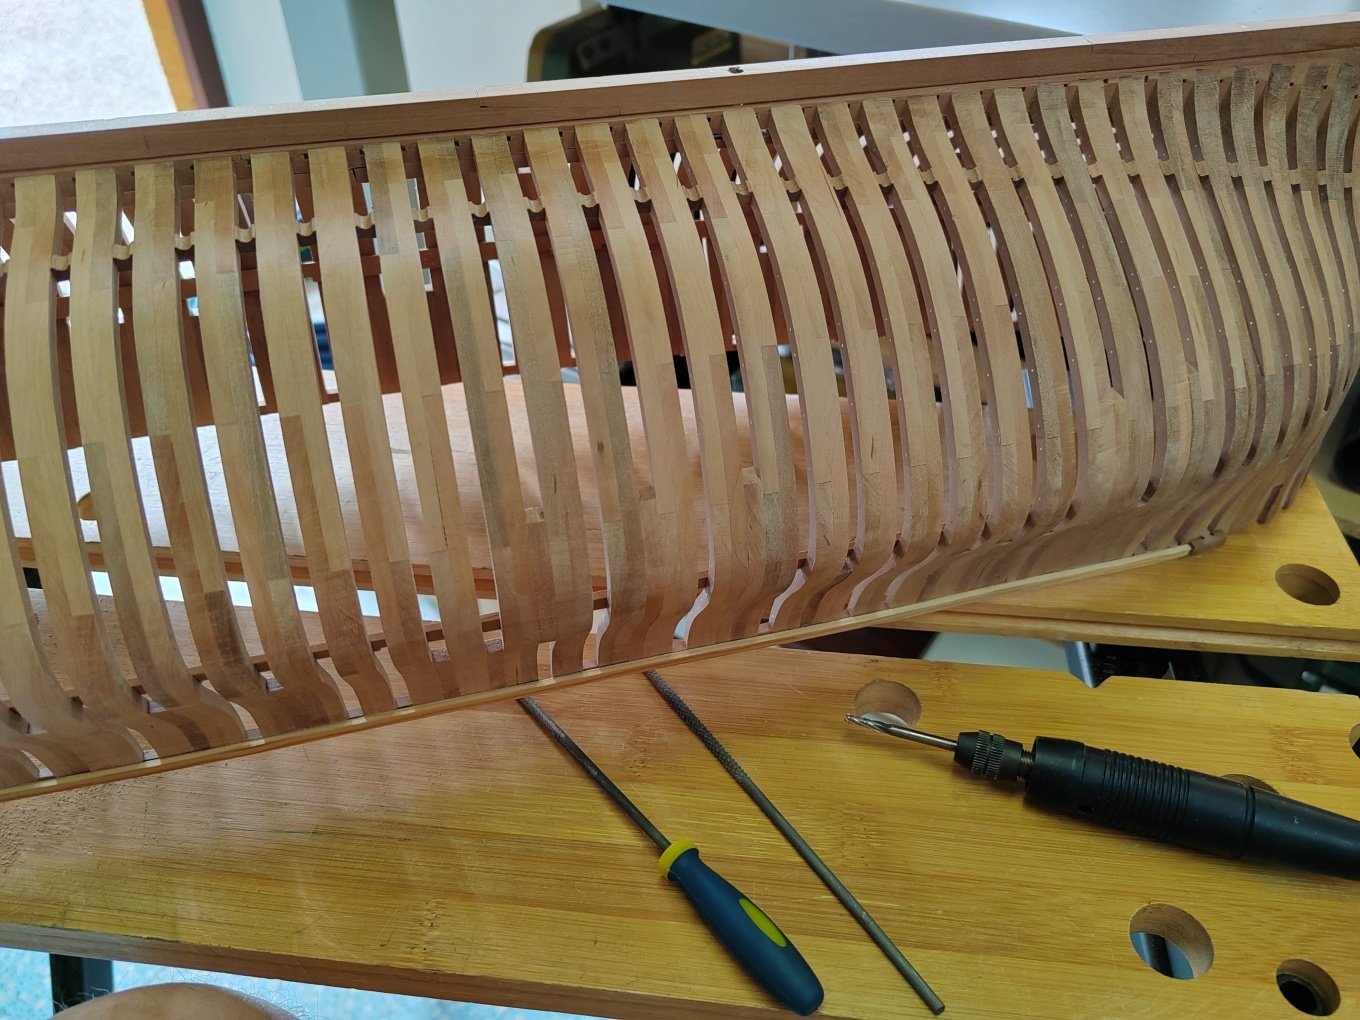

-
L'Amarante by marsalv - 1:36 - POF
marsalv replied to marsalv's topic in - Build logs for subjects built 1501 - 1750
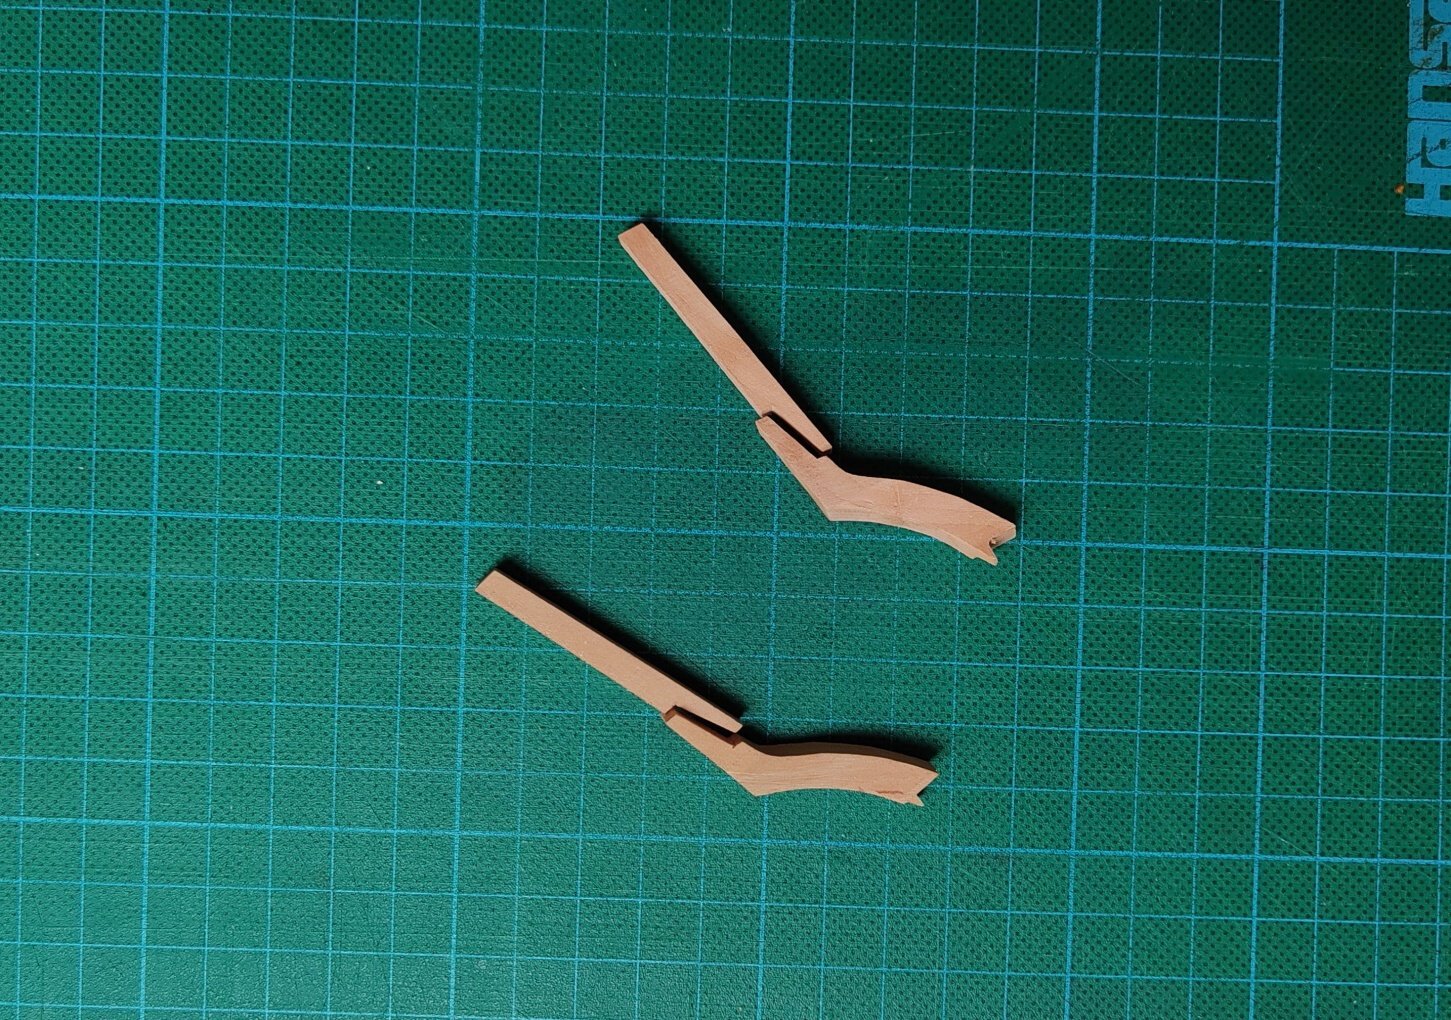
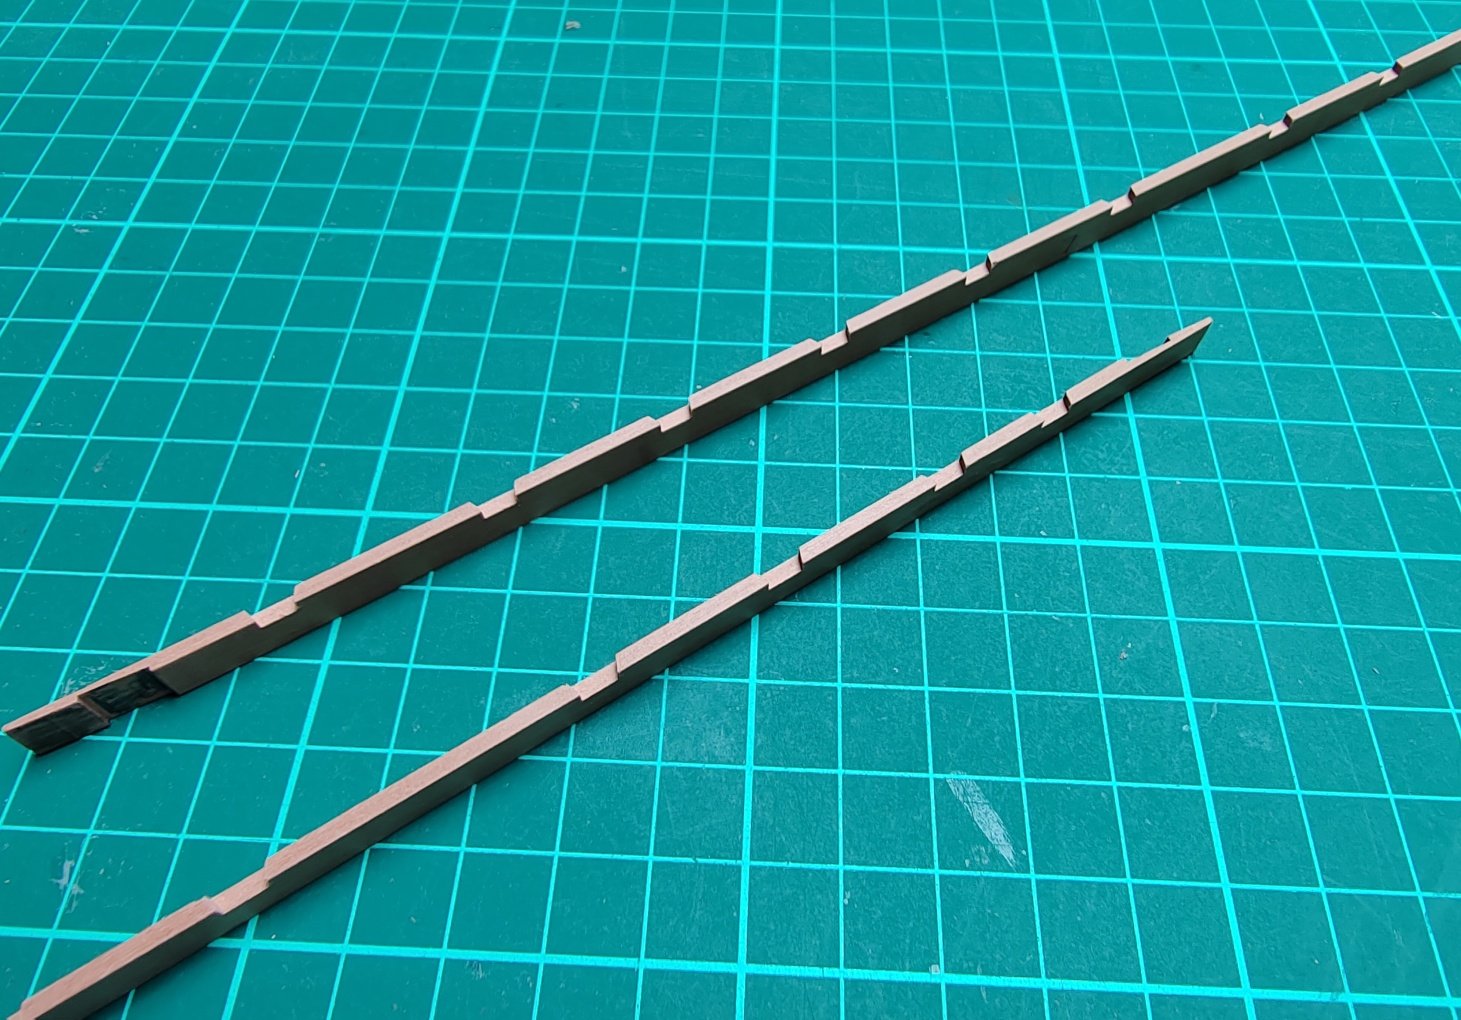
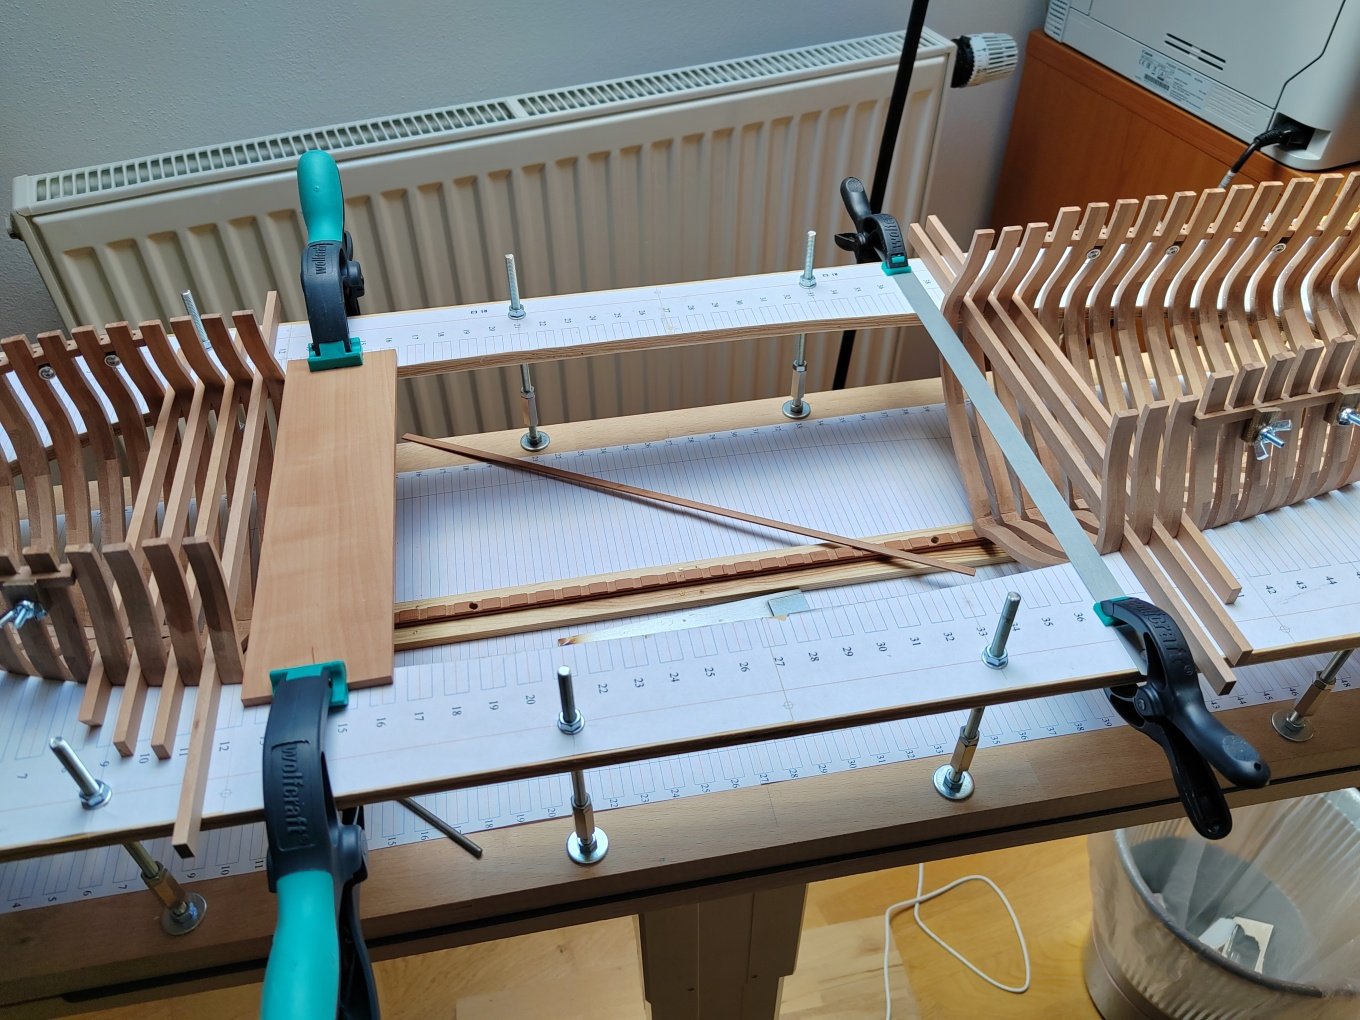
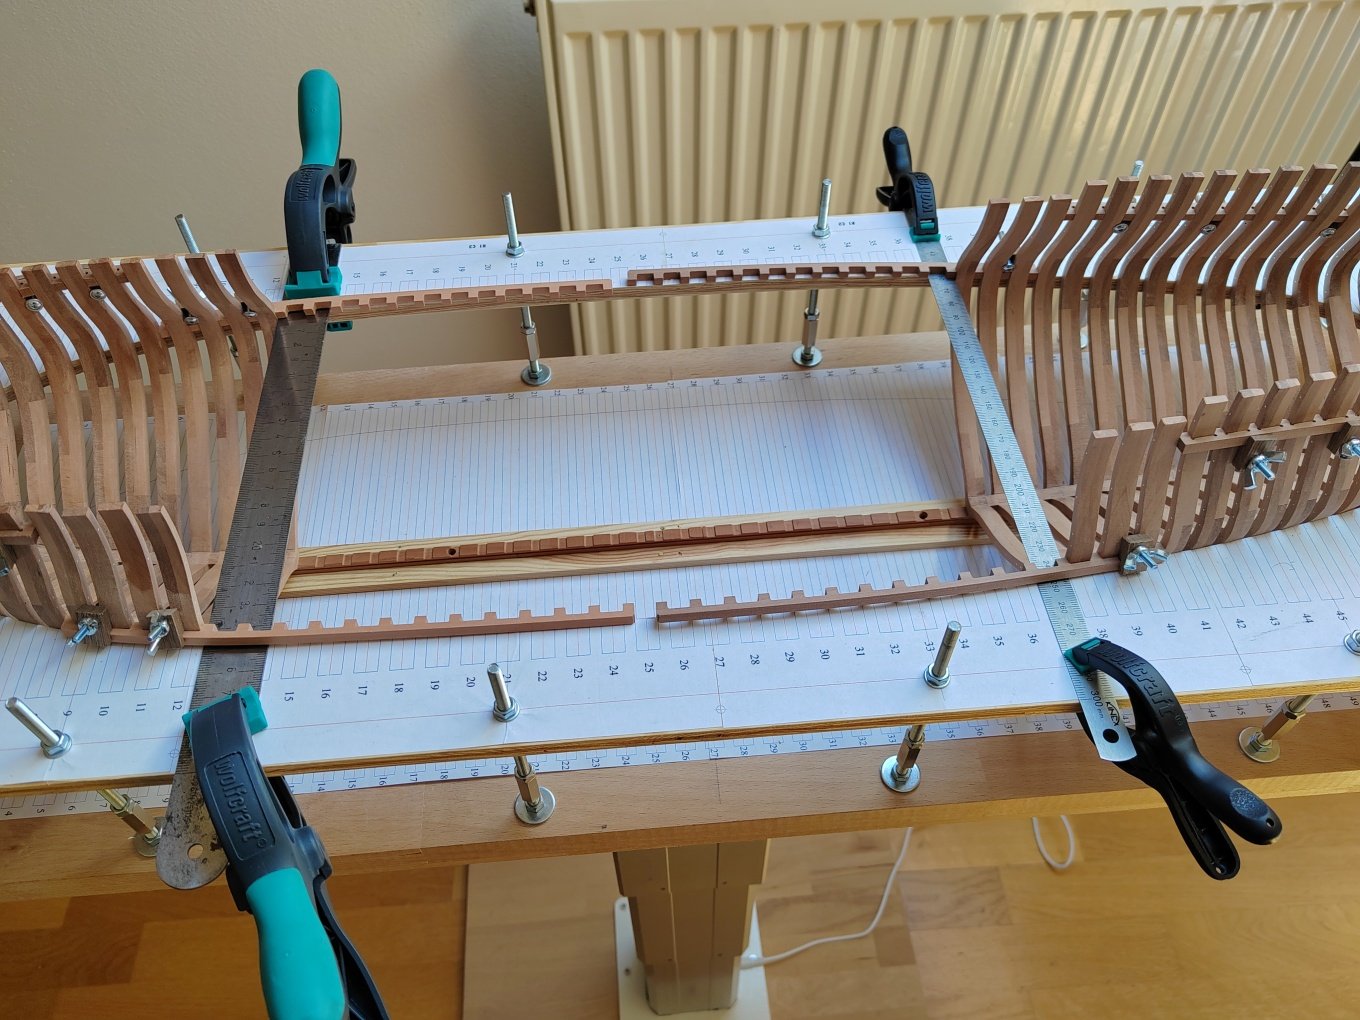
Gluing deck clamp, making temporary deck beams to check the location.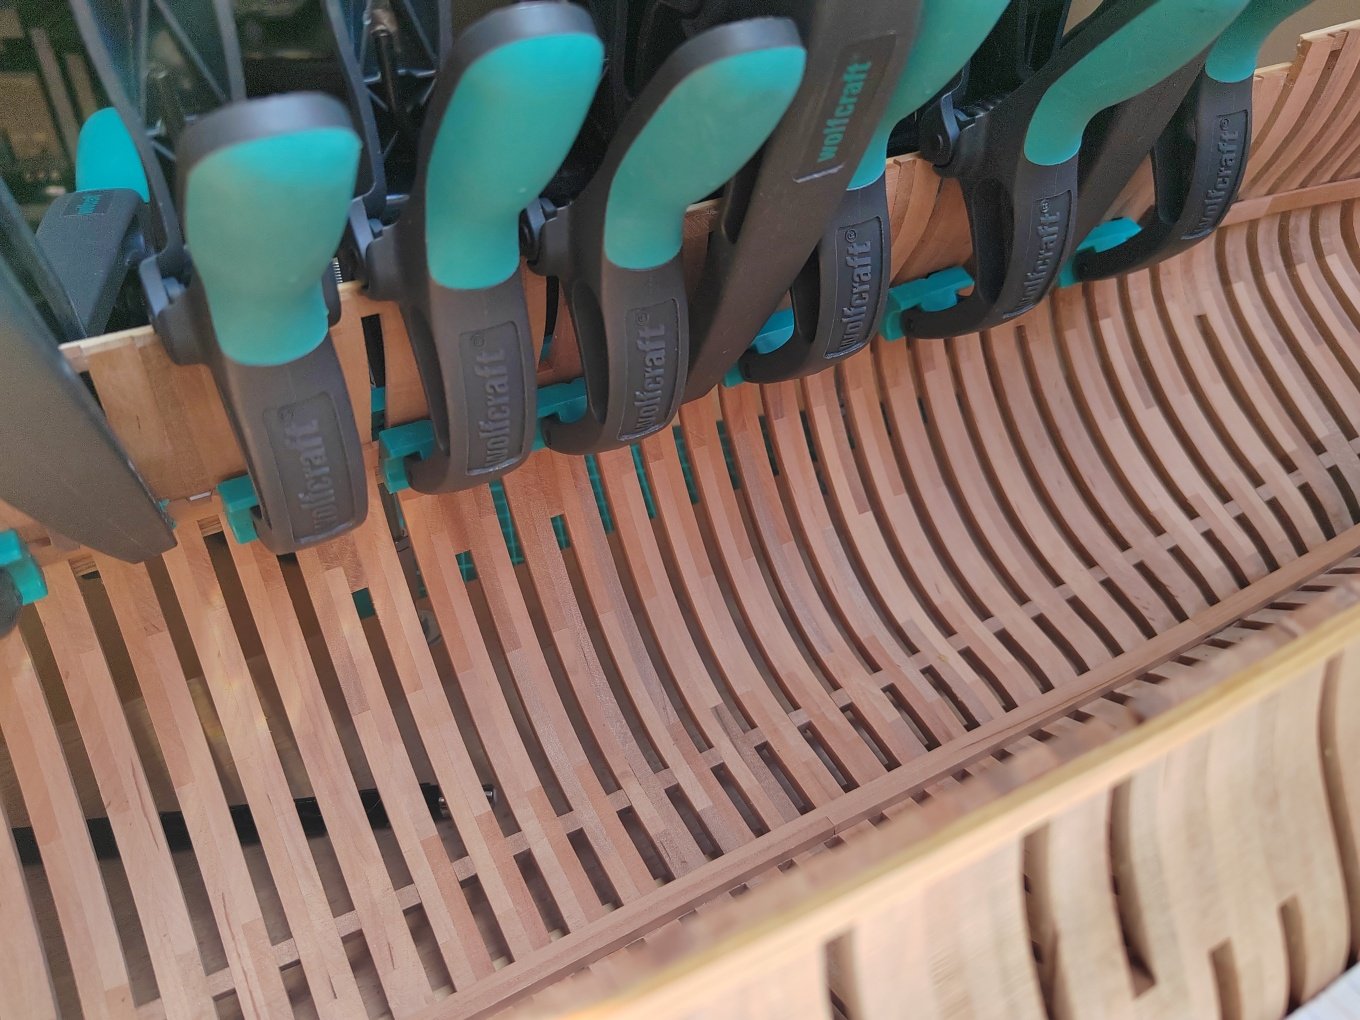


-
L'Amarante by marsalv - 1:36 - POF
marsalv replied to marsalv's topic in - Build logs for subjects built 1501 - 1750
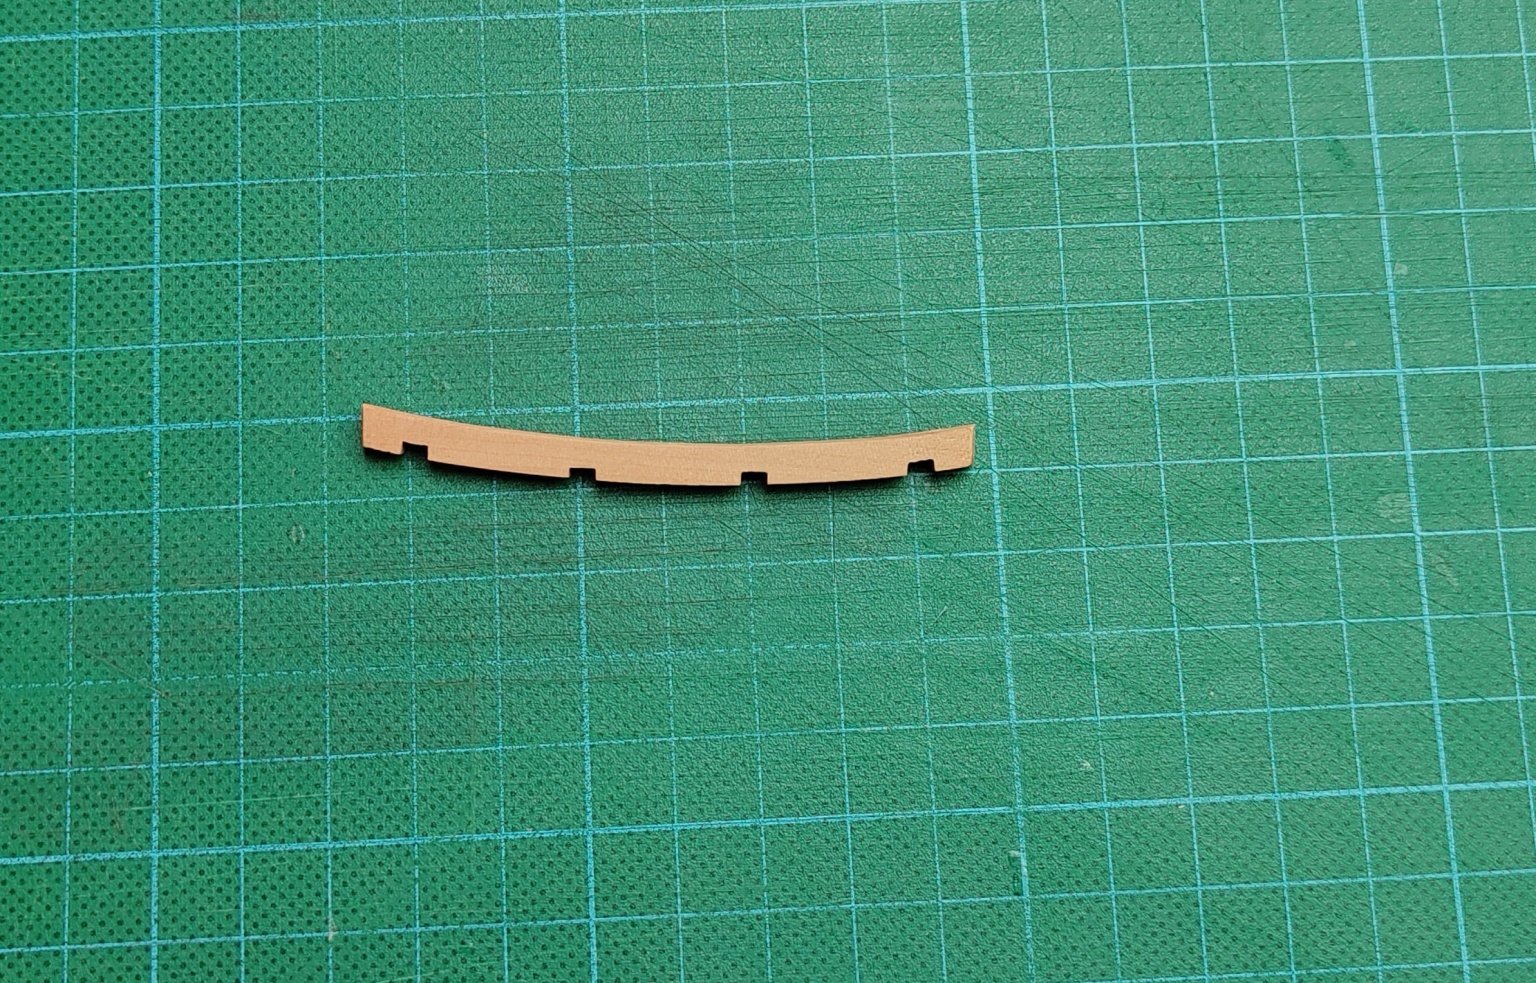
Deck clamp preparation.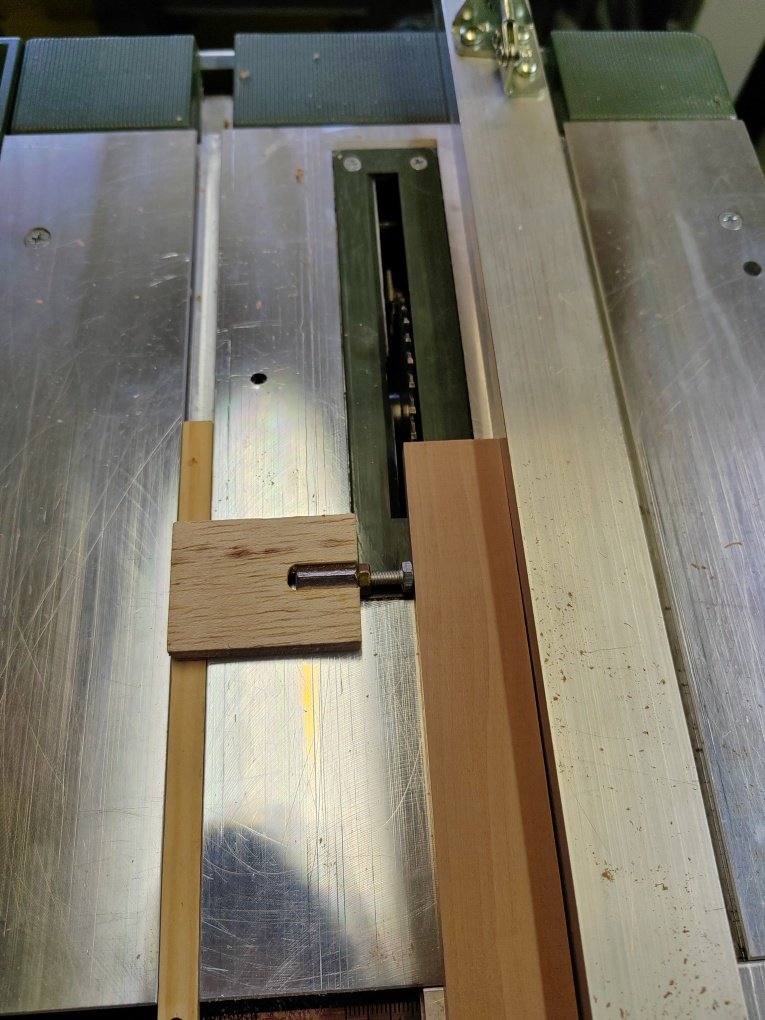


-
L'Amarante by marsalv - 1:36 - POF
marsalv replied to marsalv's topic in - Build logs for subjects built 1501 - 1750
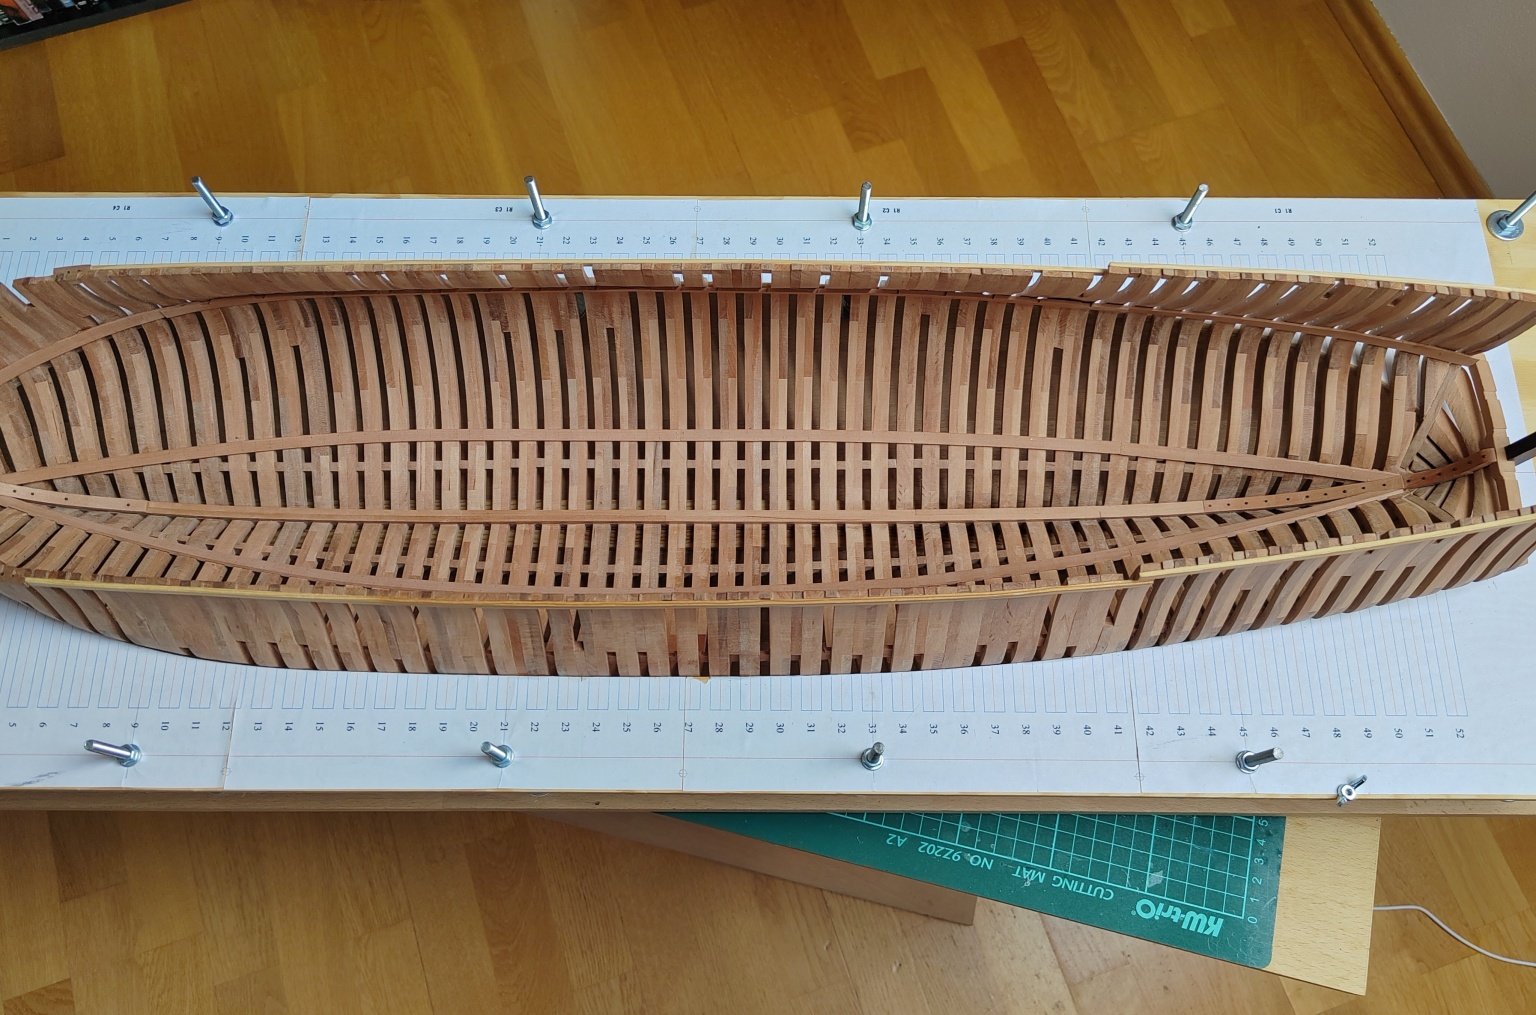
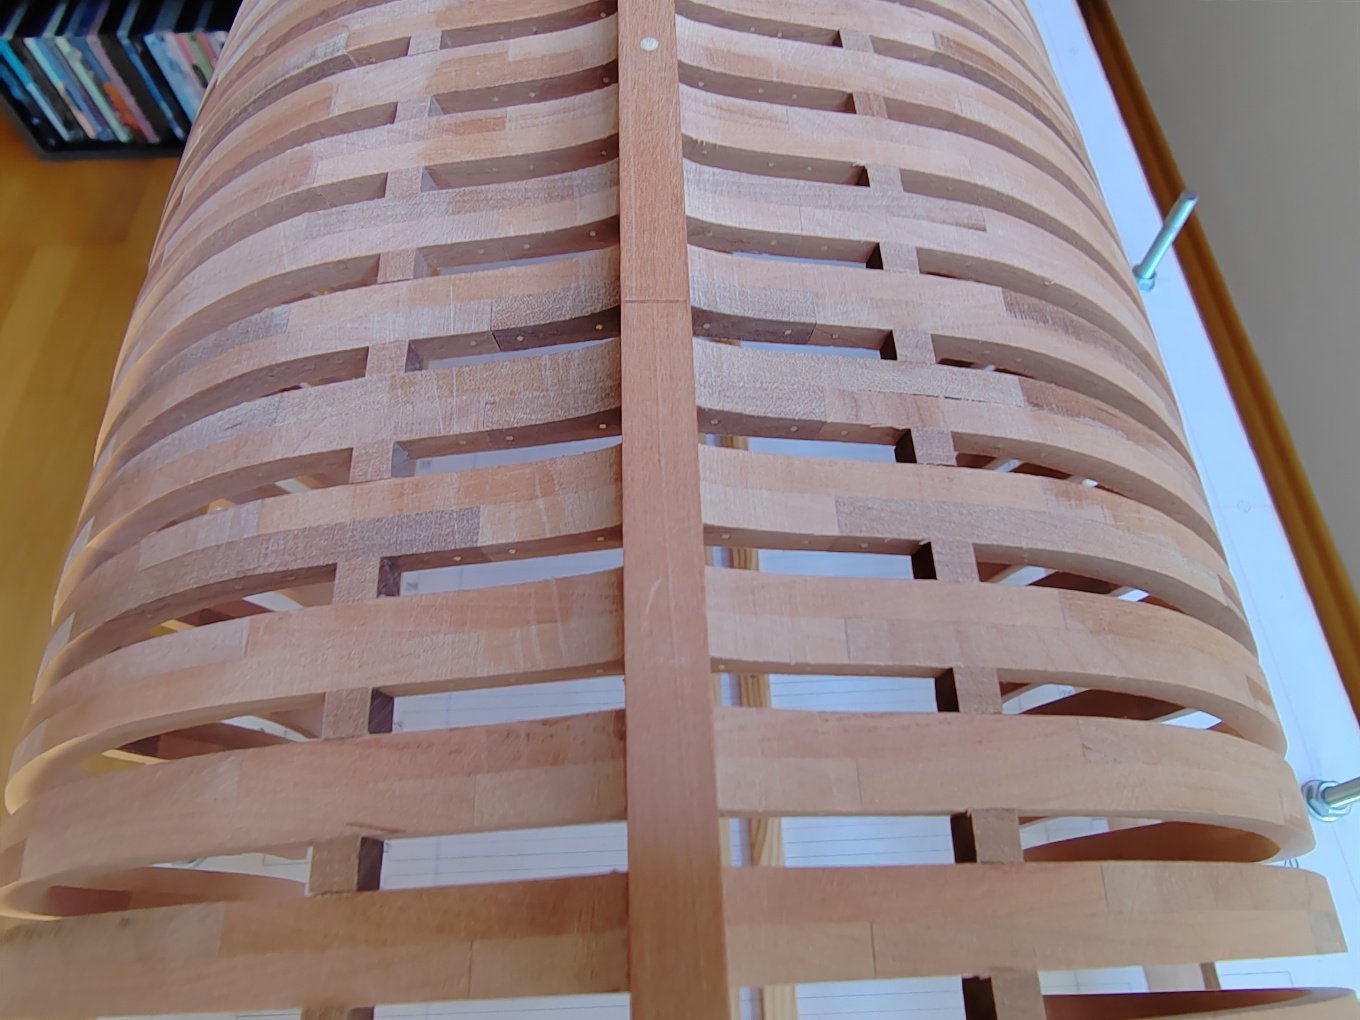
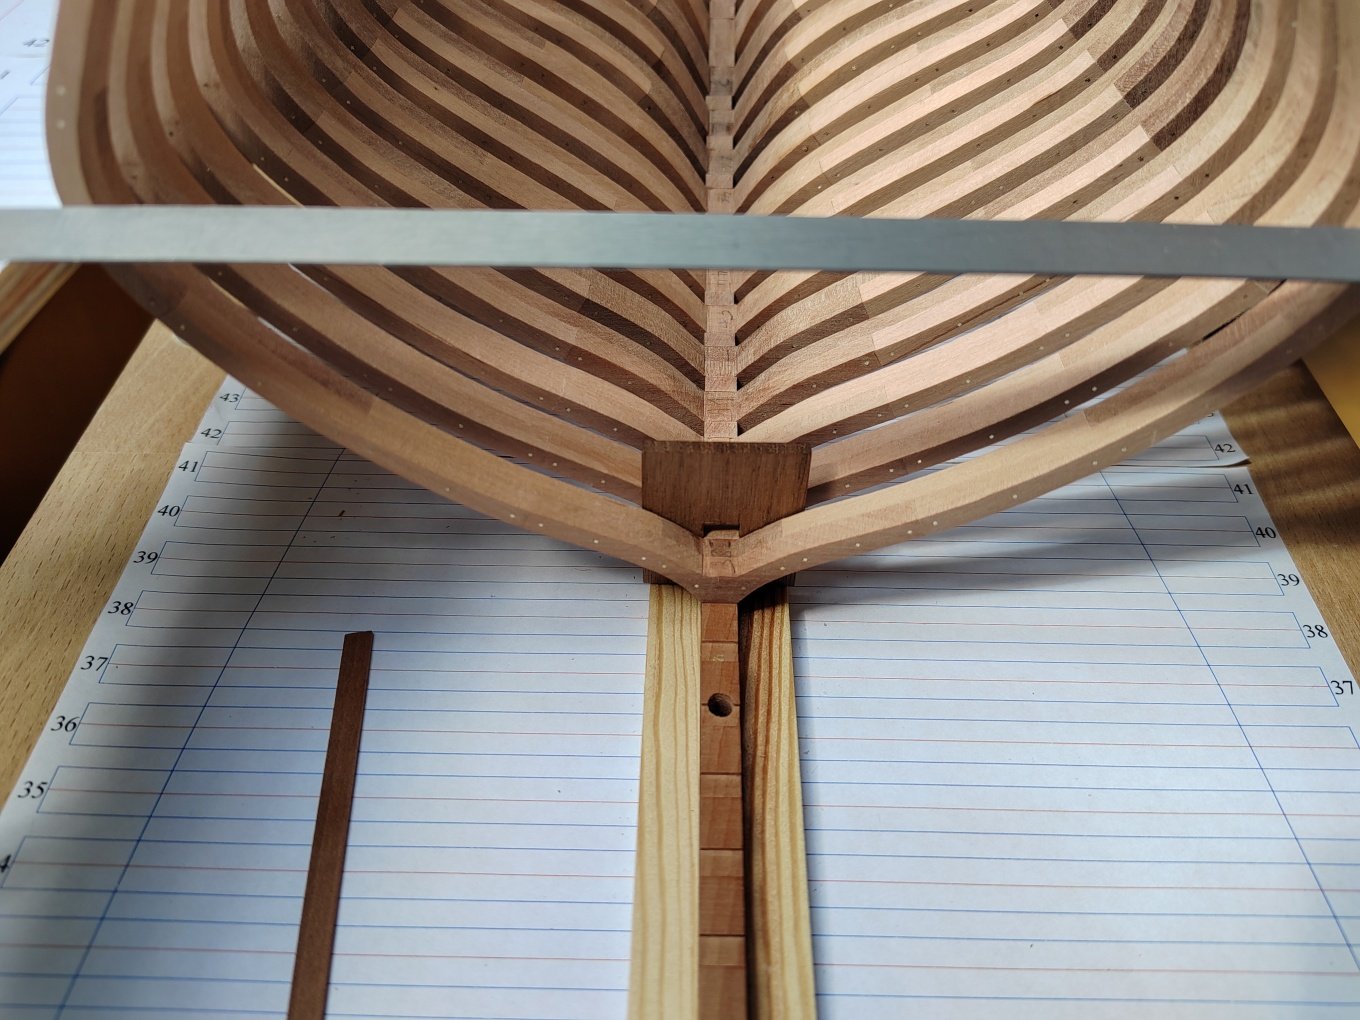
Added keelson. This completes the basic hull skeleton.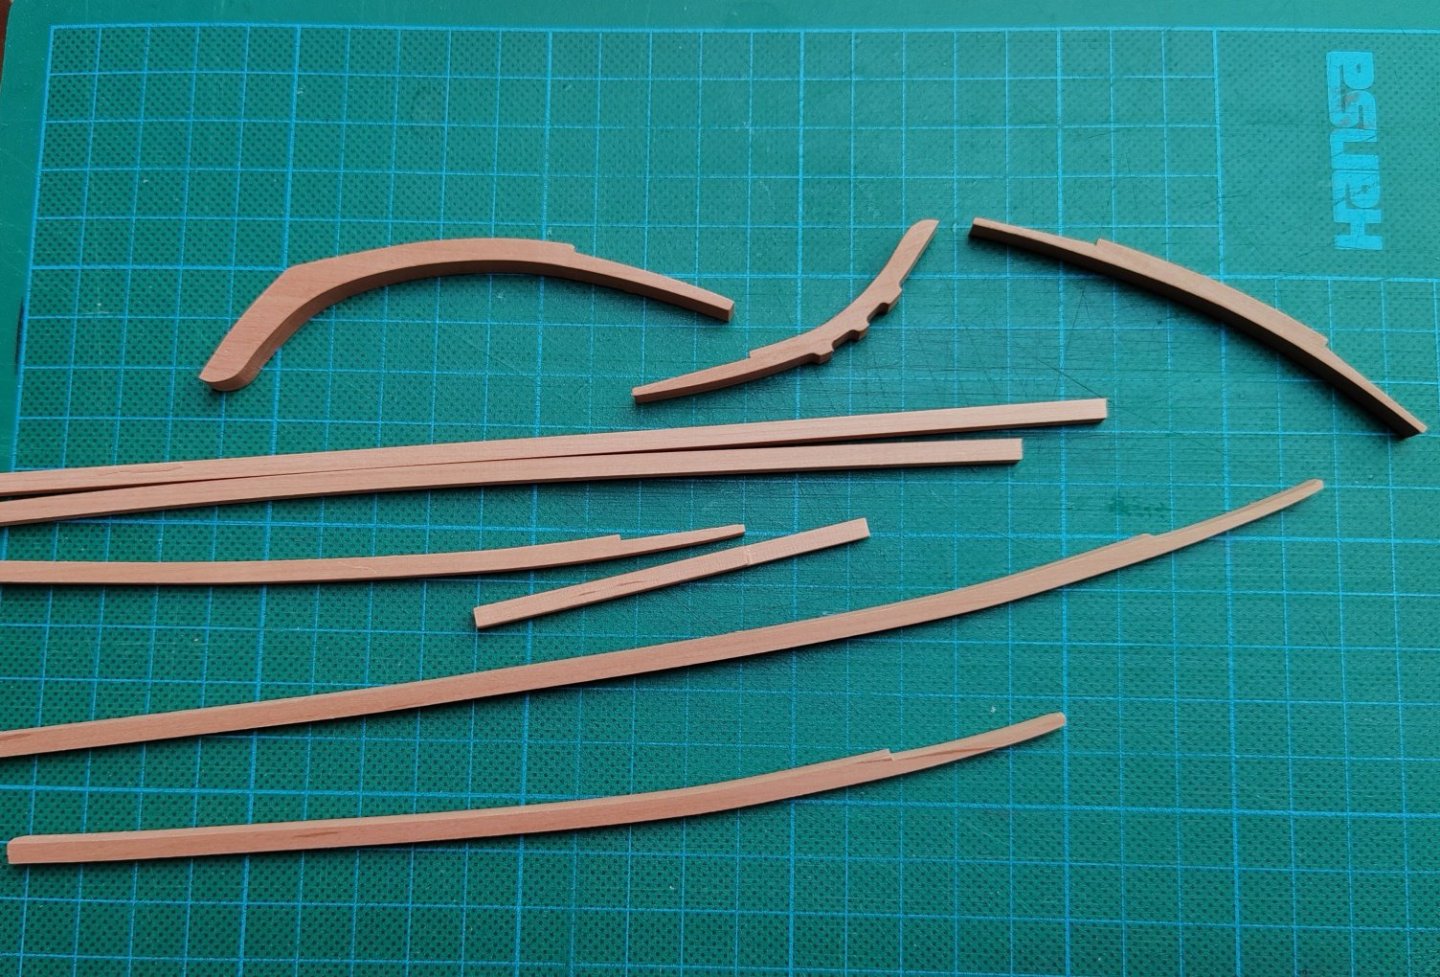

-
L'Amarante by marsalv - 1:36 - POF
marsalv replied to marsalv's topic in - Build logs for subjects built 1501 - 1750
Hull sanding completed.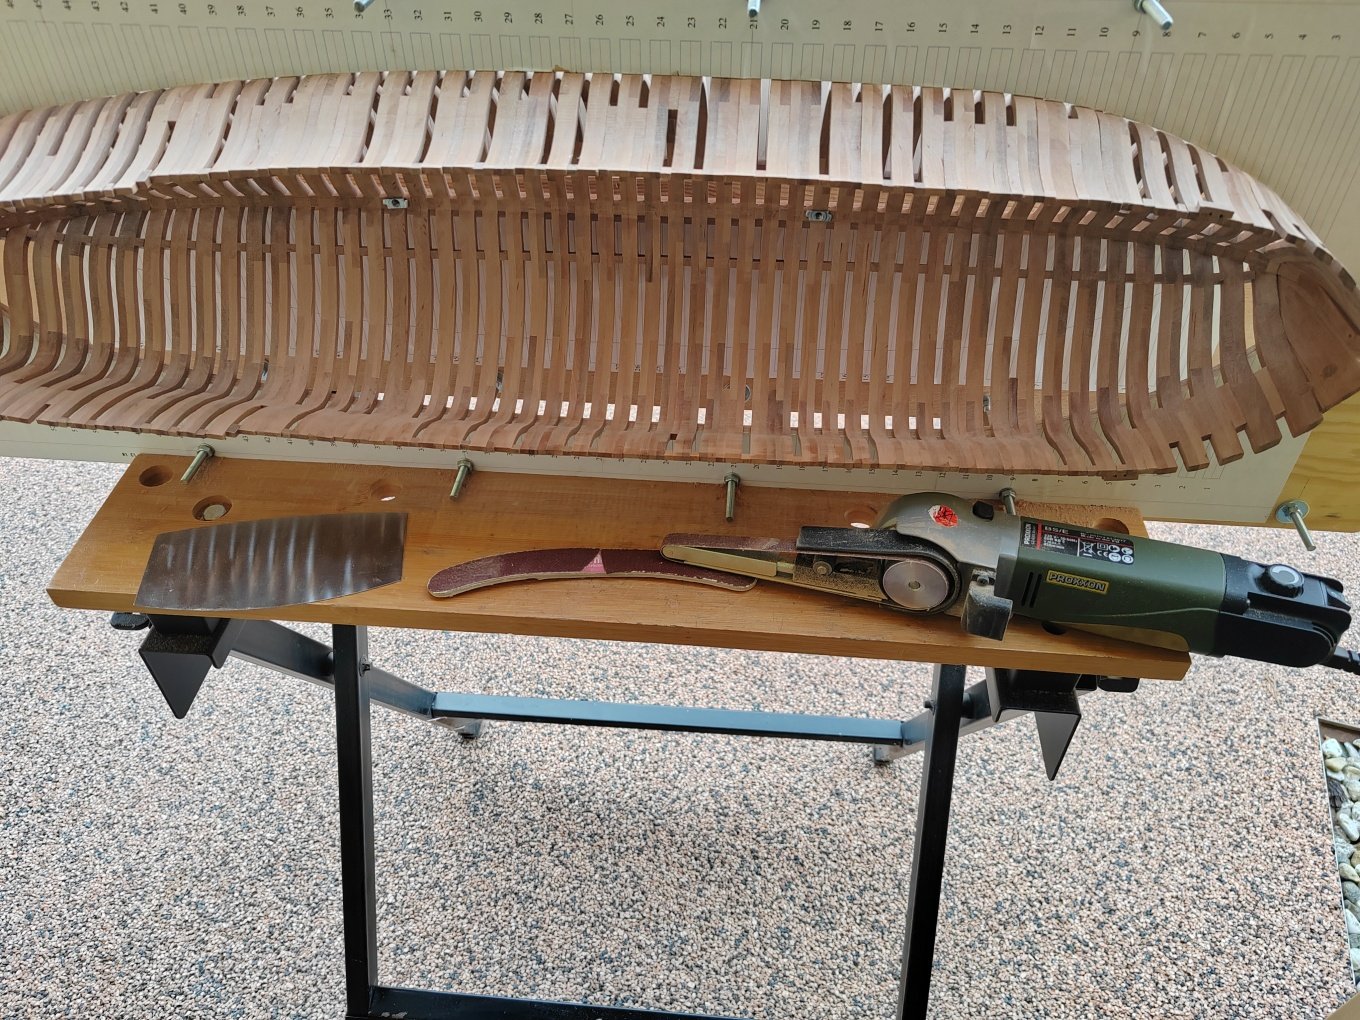

-
L'Amarante by marsalv - 1:36 - POF
marsalv replied to marsalv's topic in - Build logs for subjects built 1501 - 1750
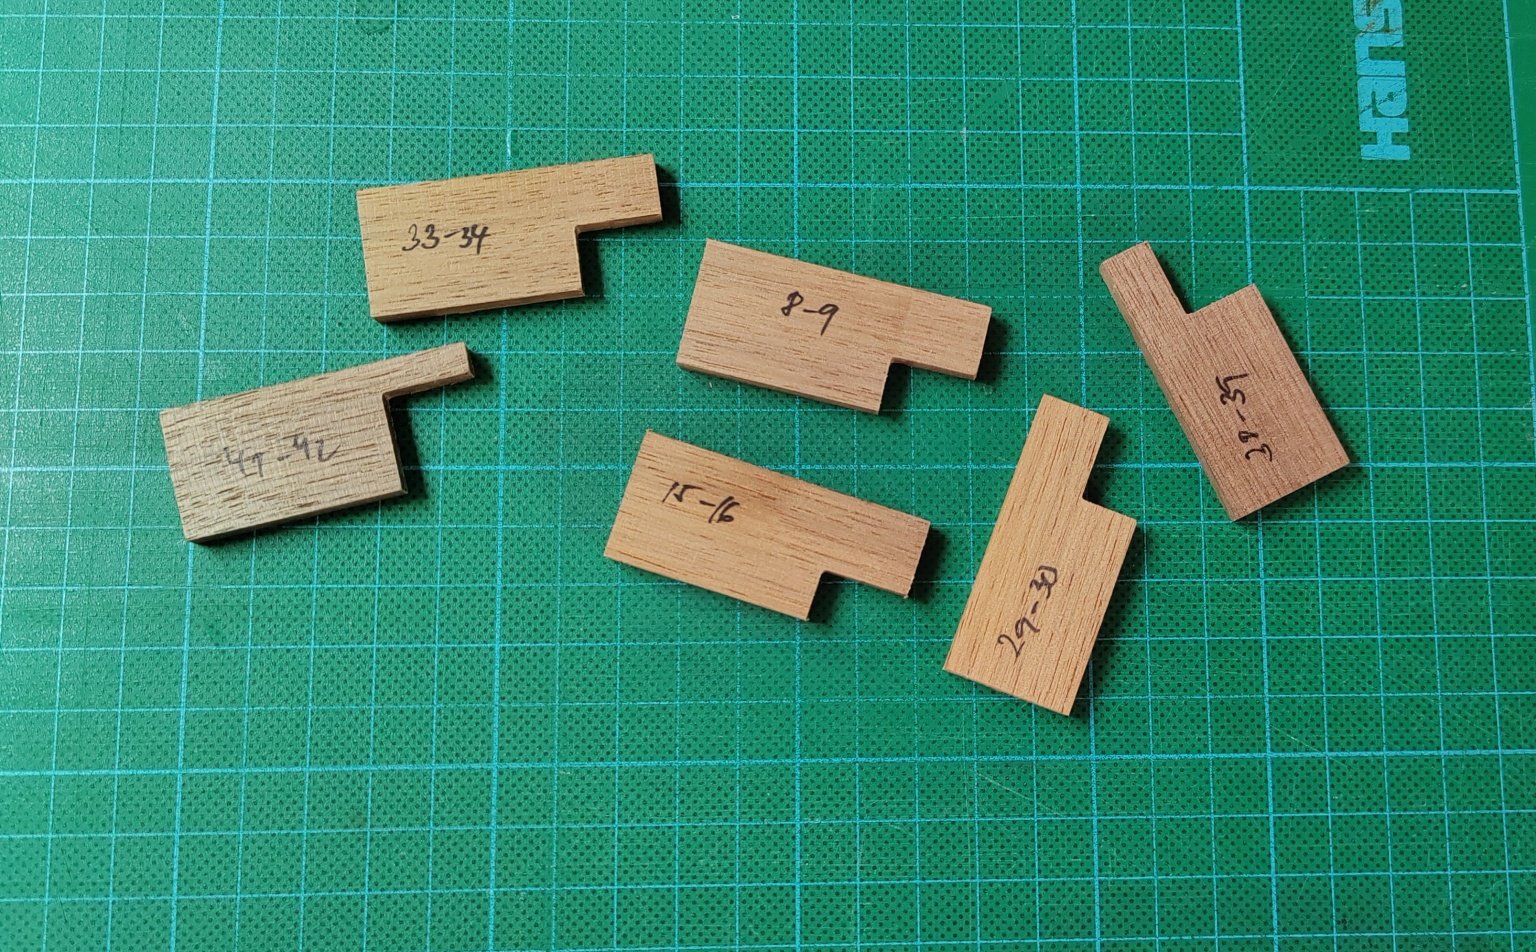
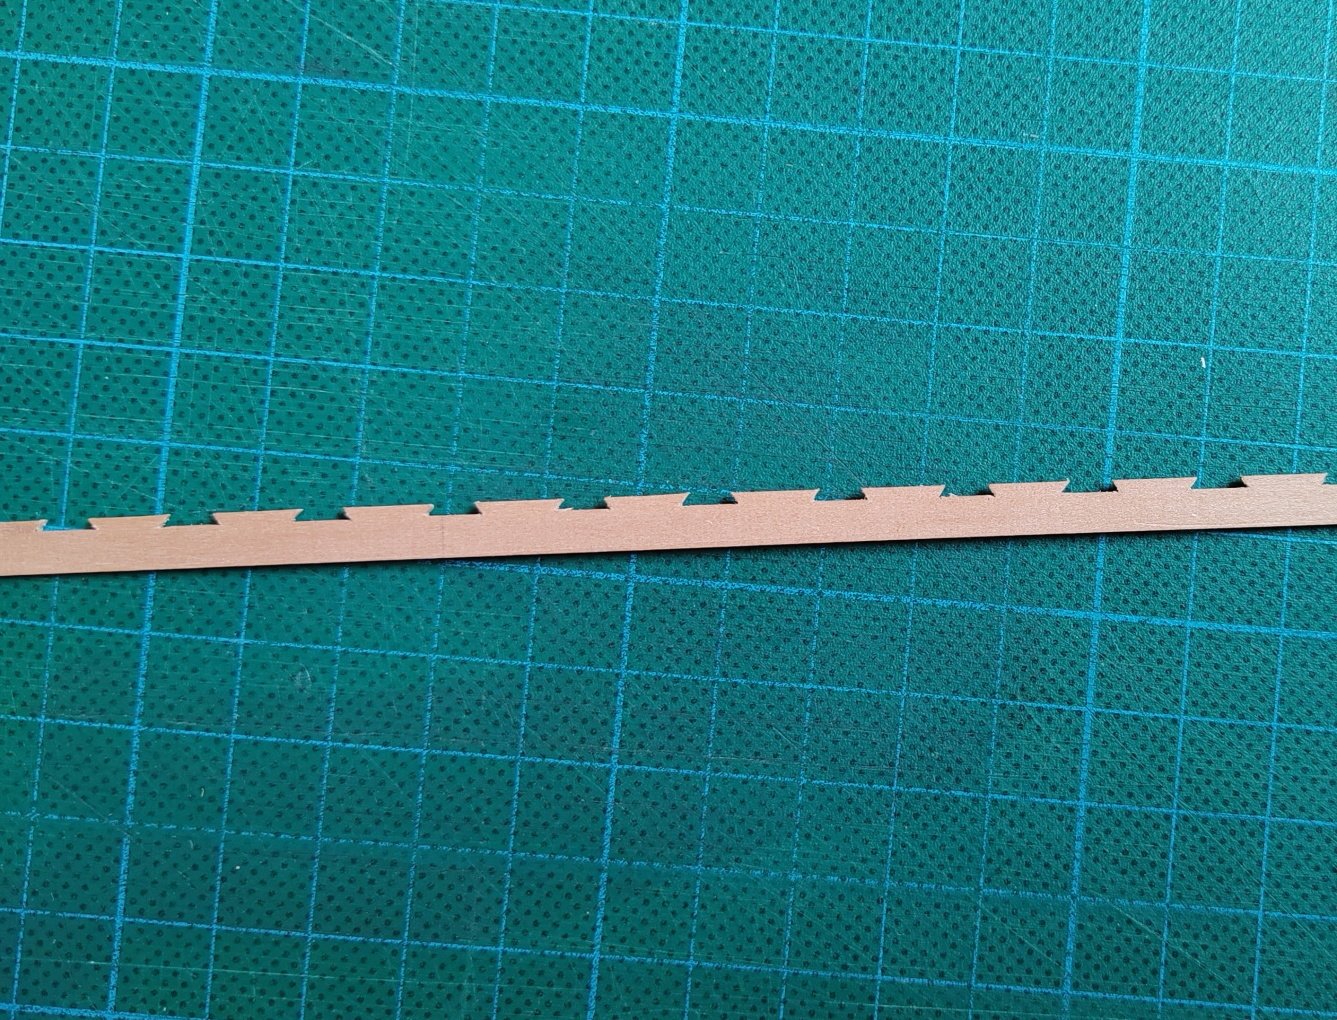
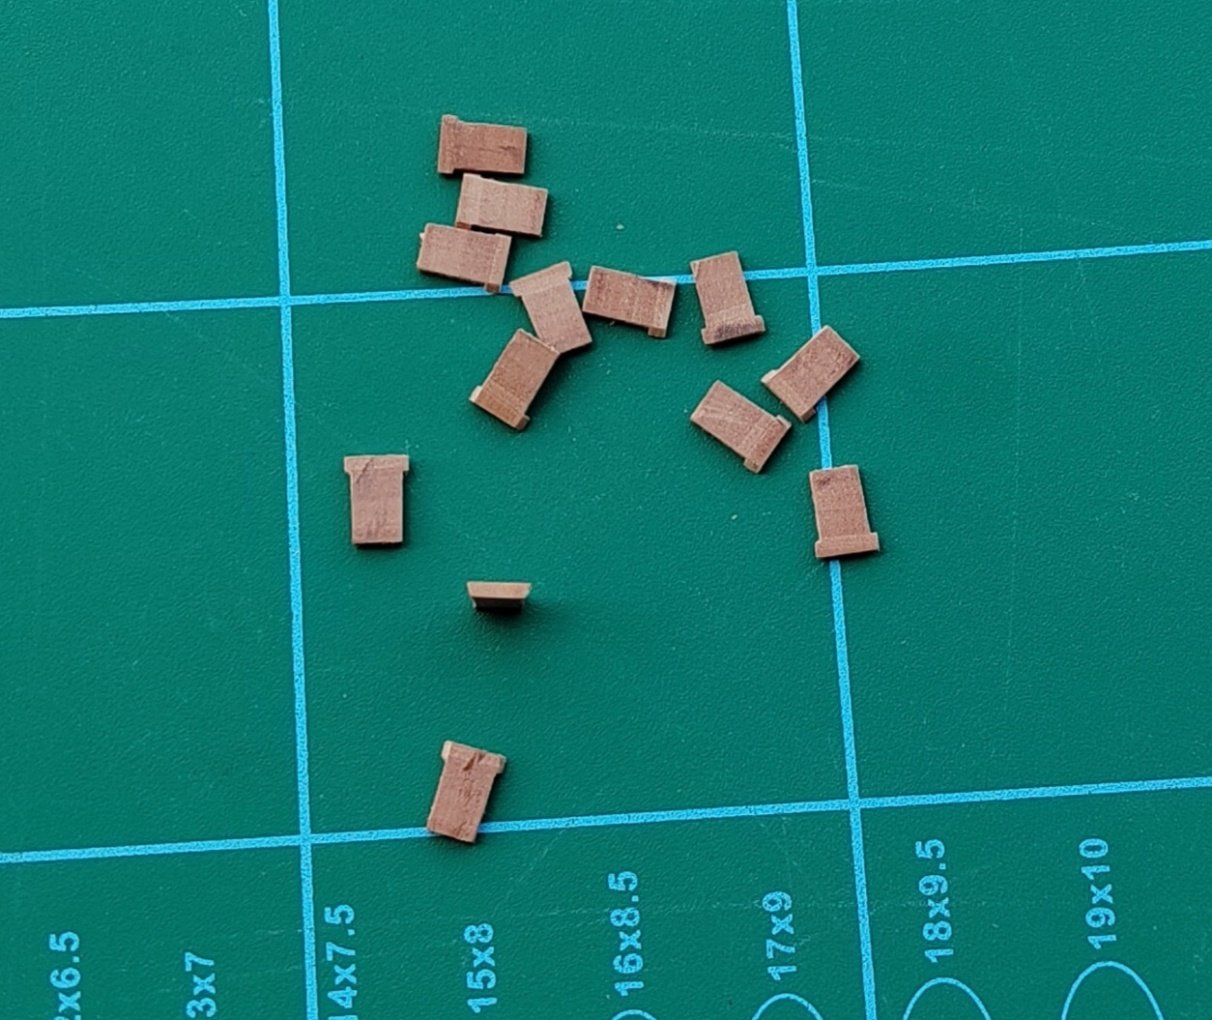
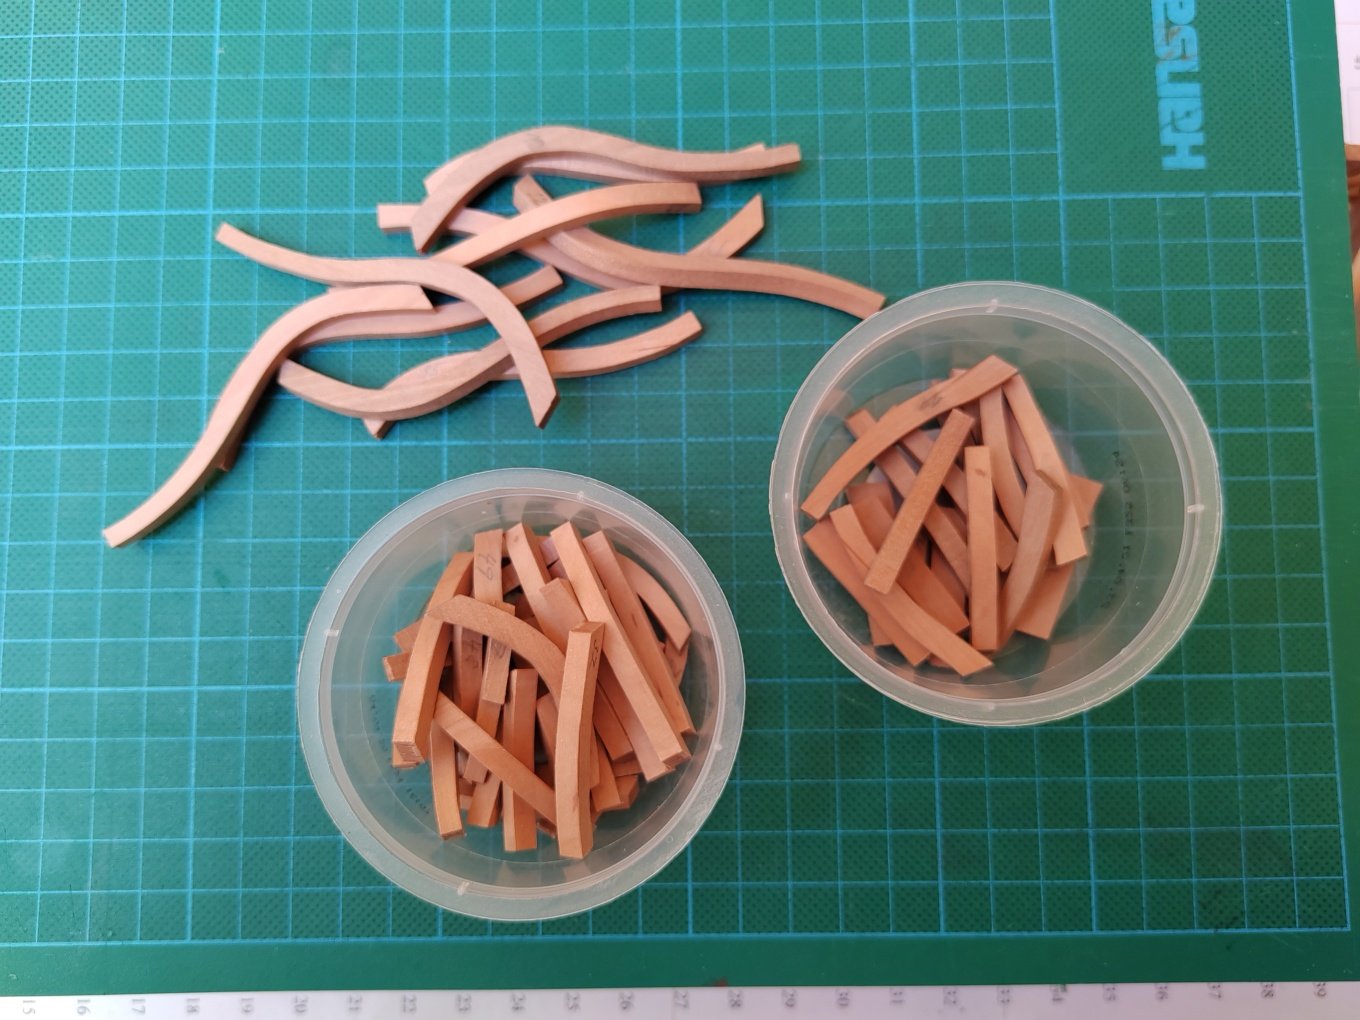
Thank you. Filling pieces.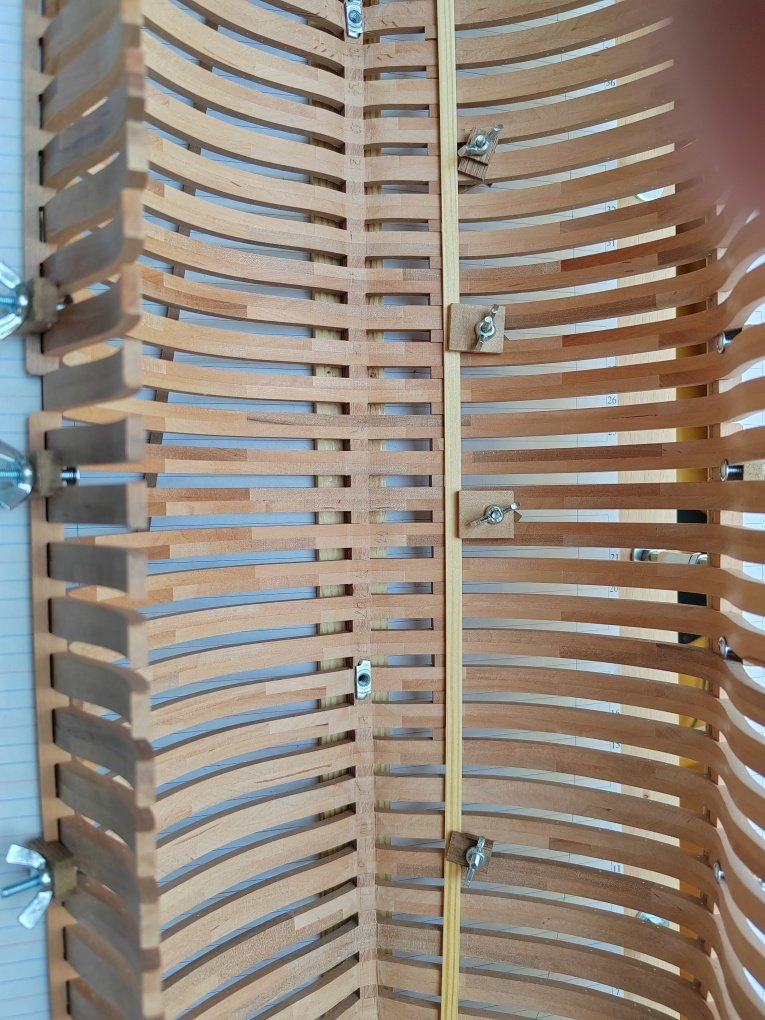
-
L'Amarante by marsalv - 1:36 - POF
marsalv replied to marsalv's topic in - Build logs for subjects built 1501 - 1750
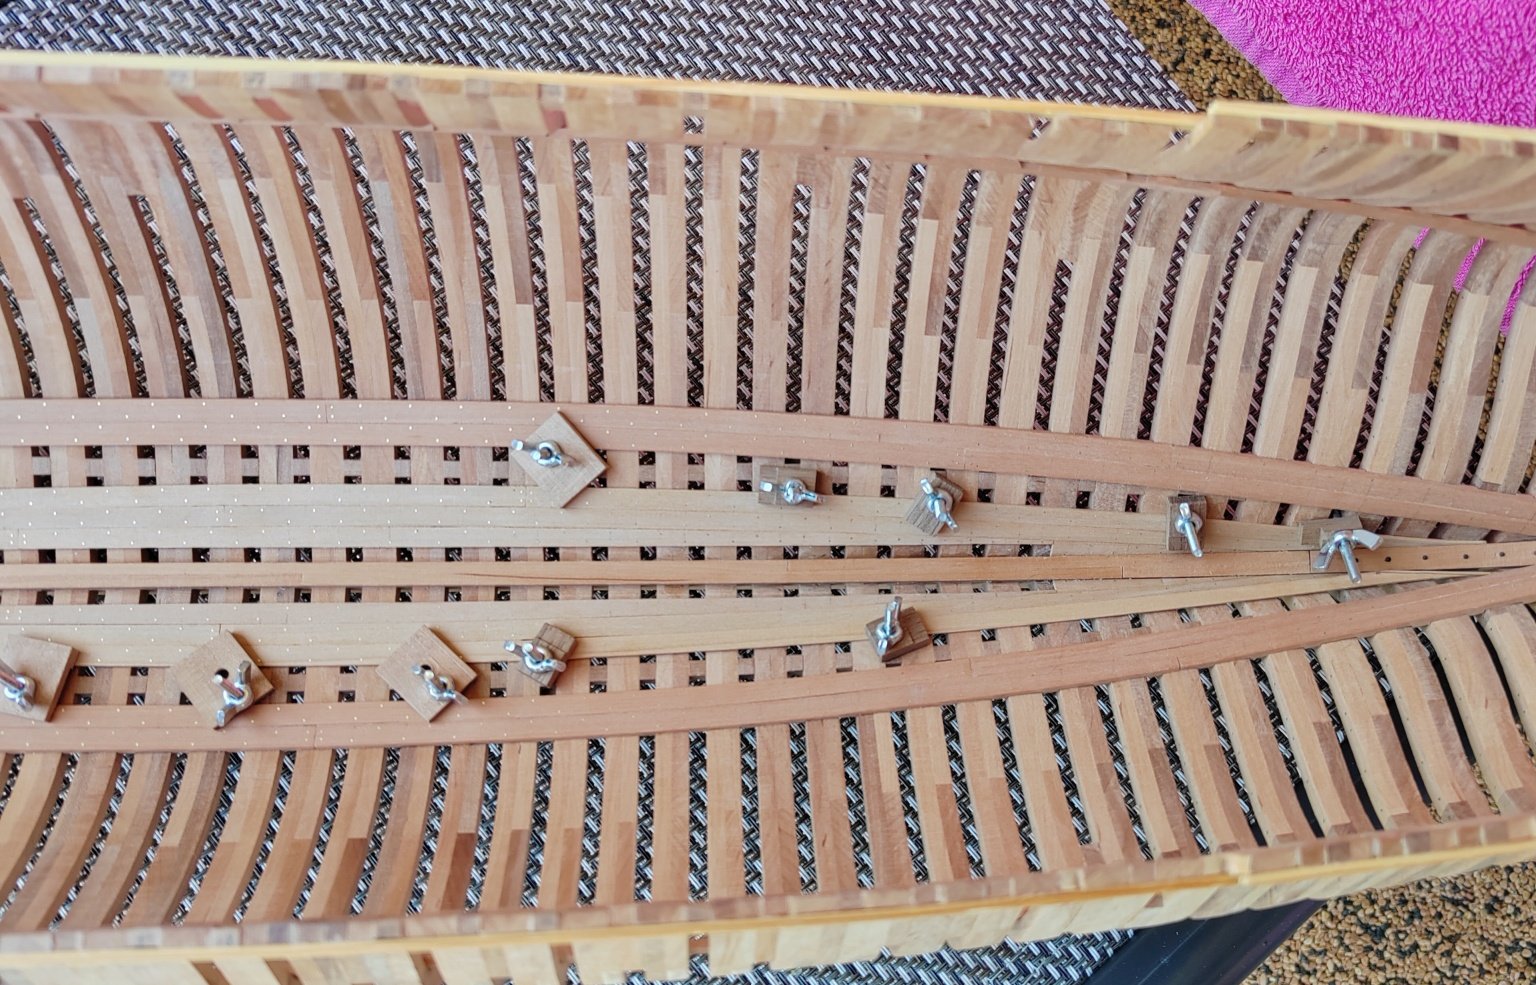
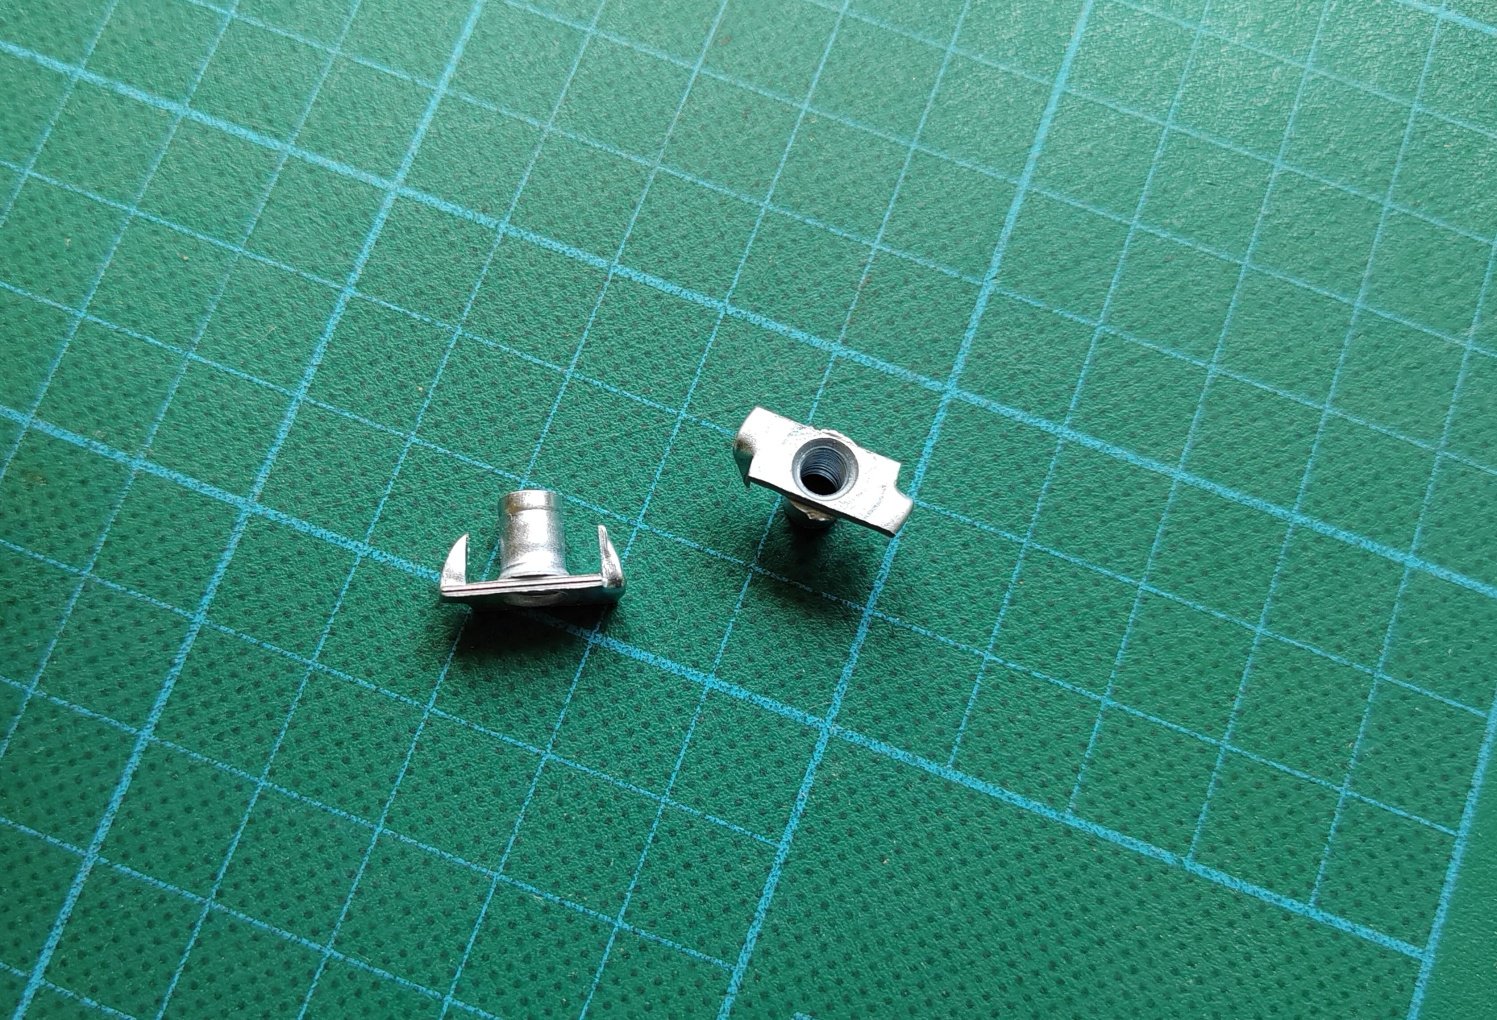
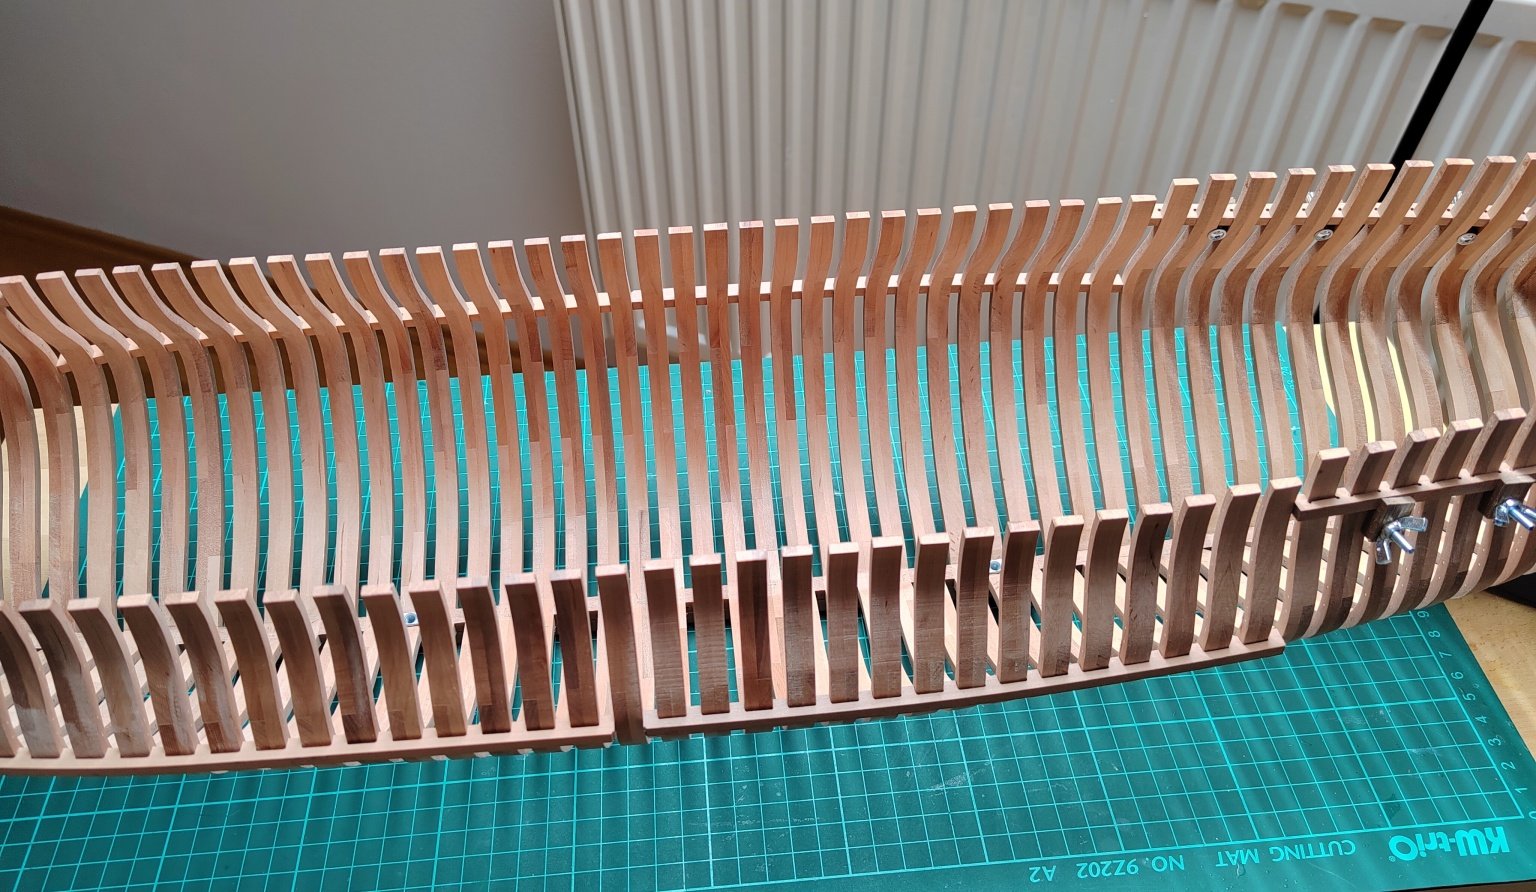
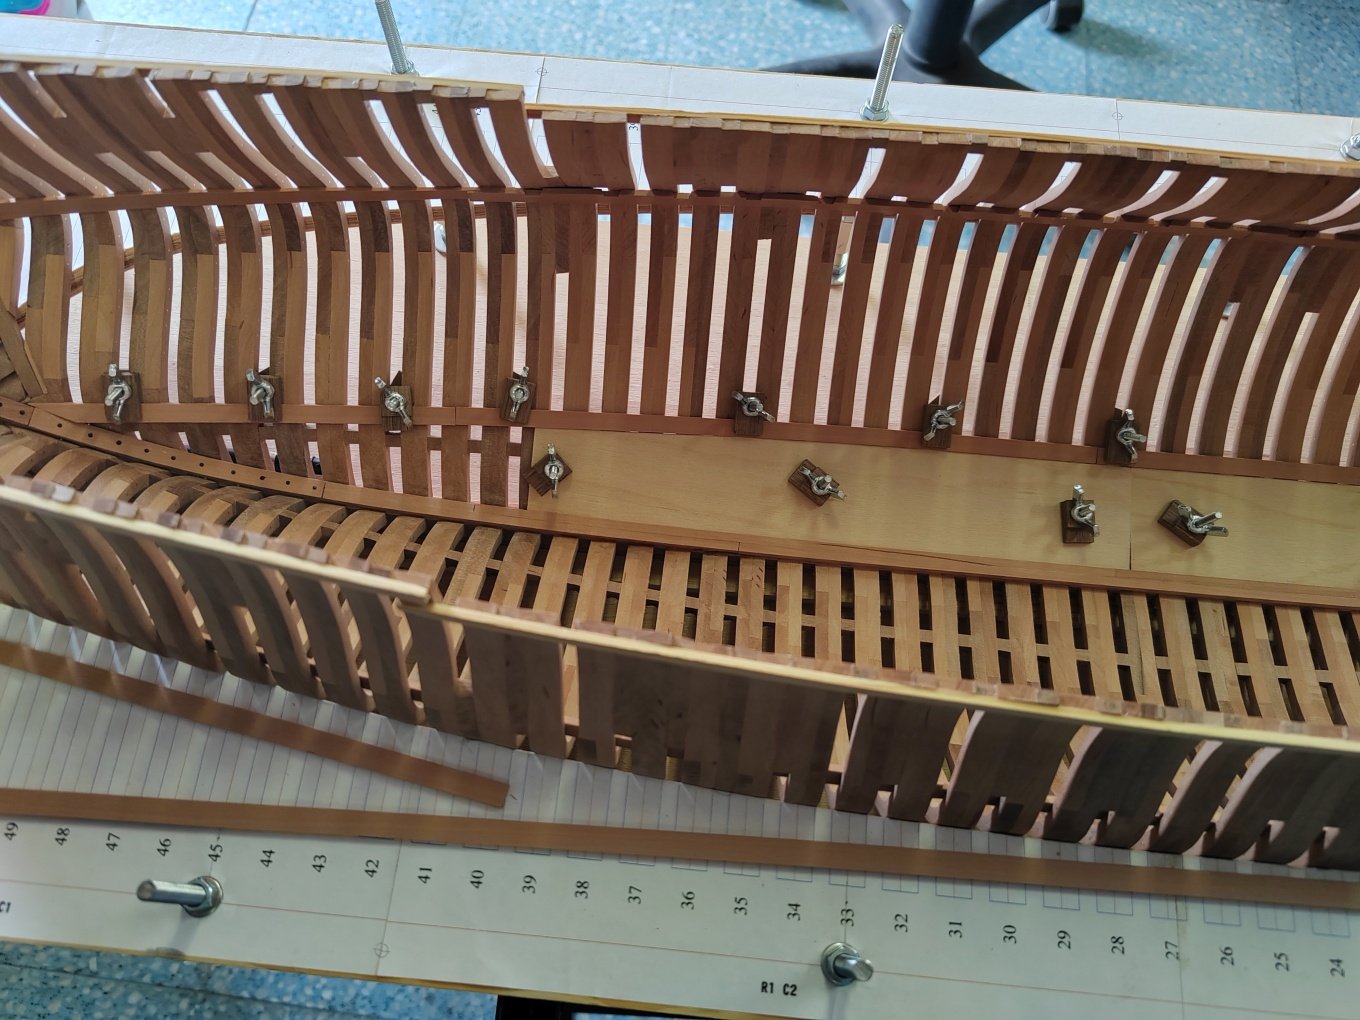
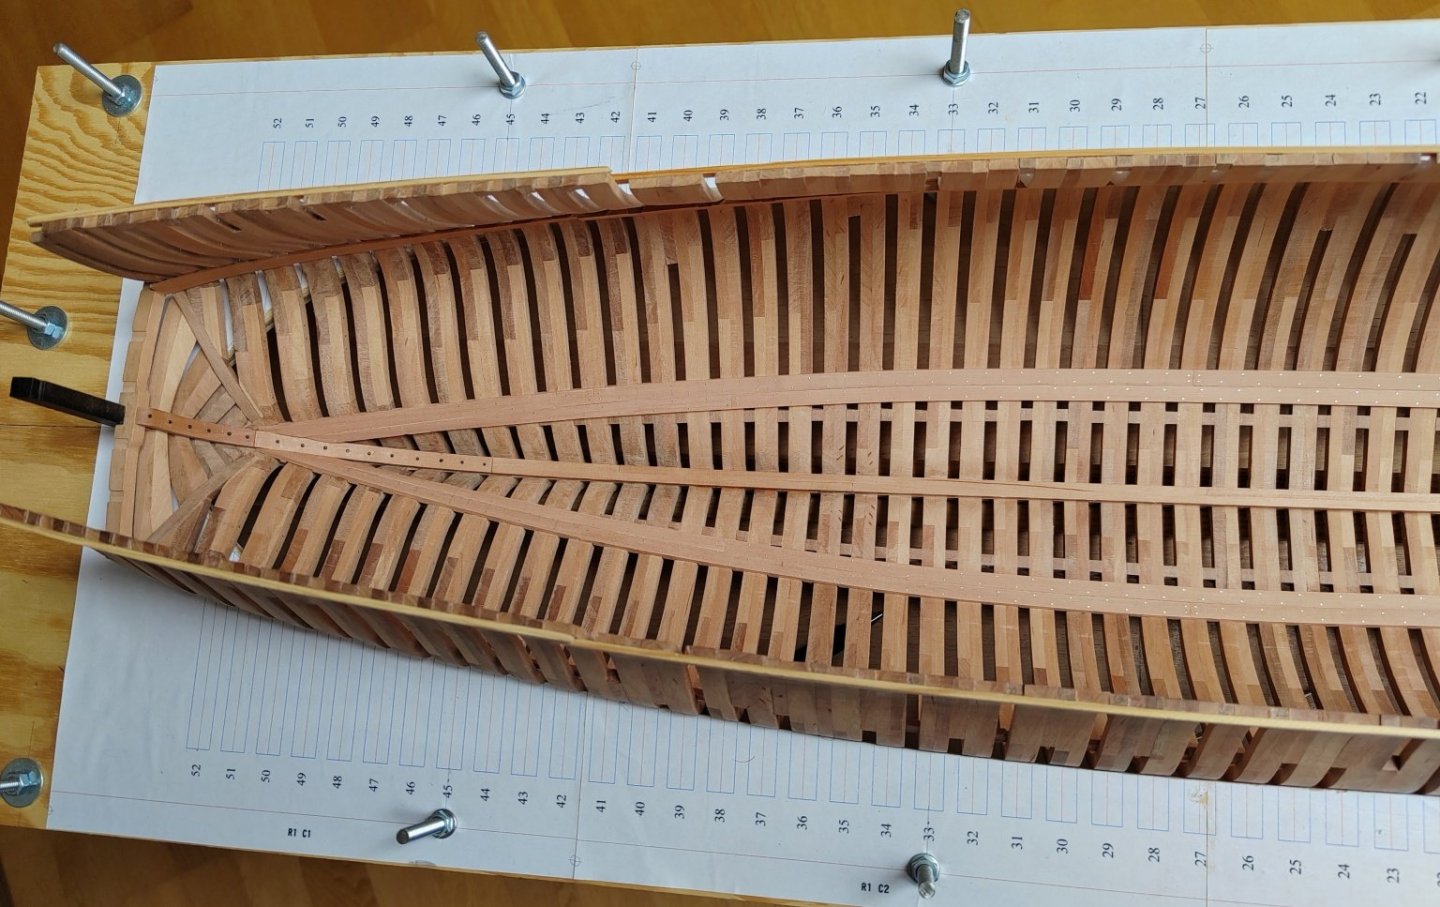
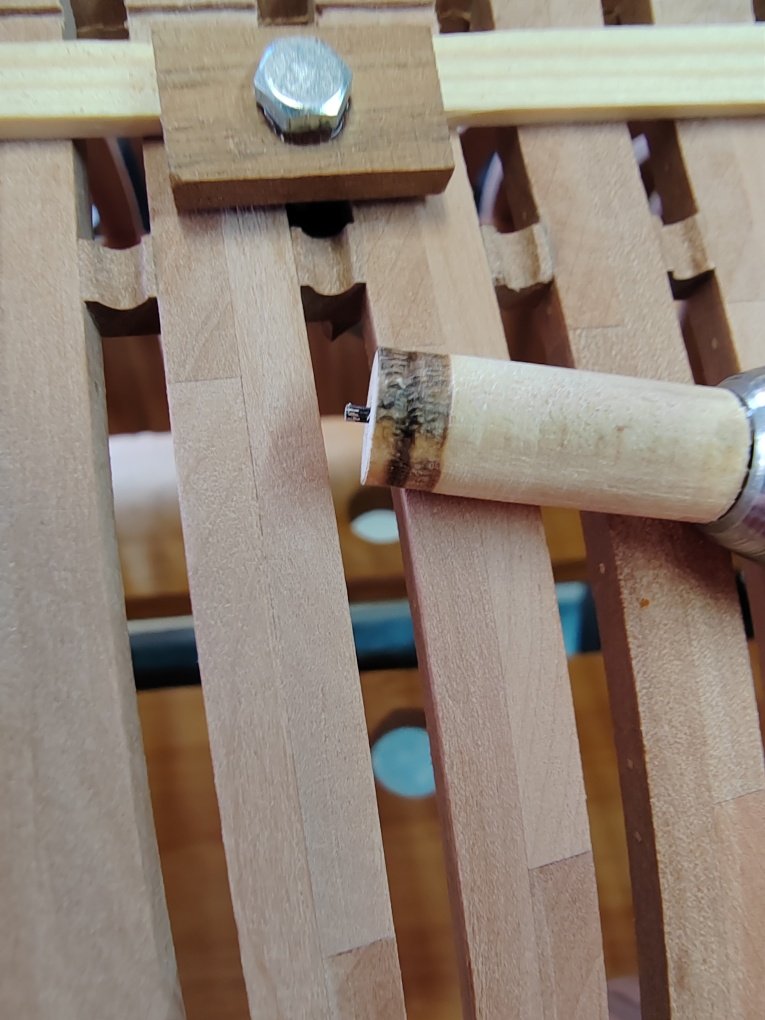
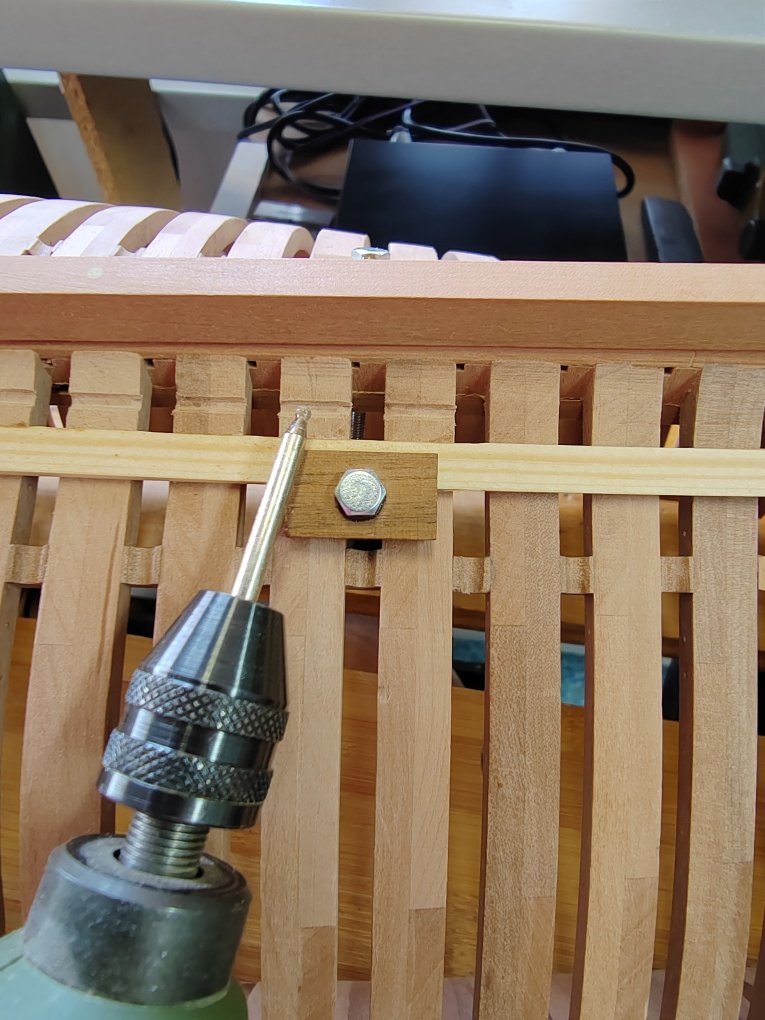
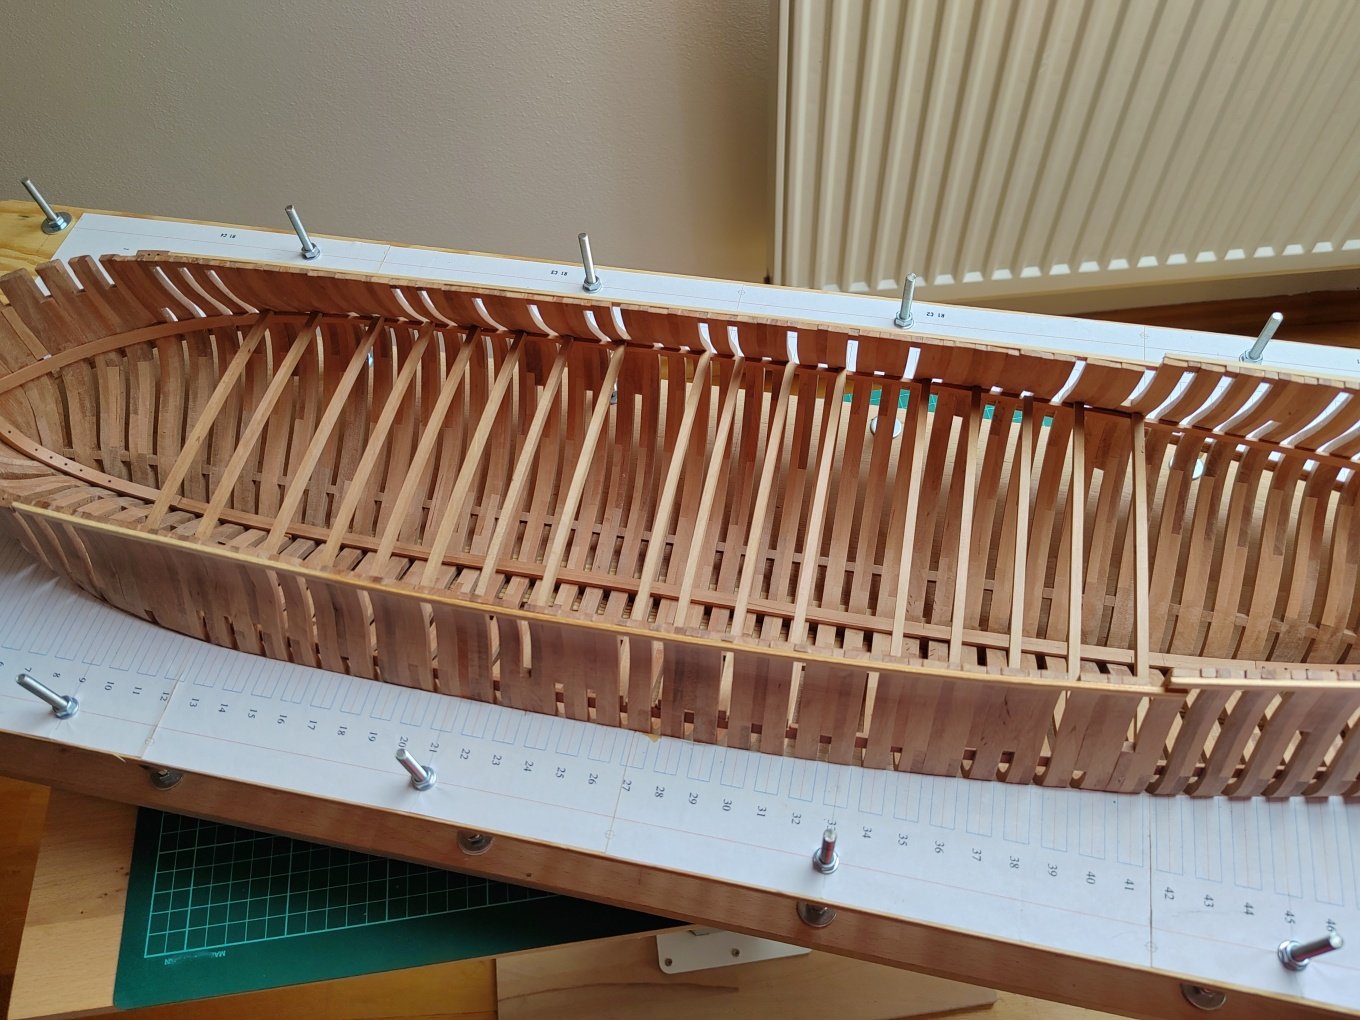
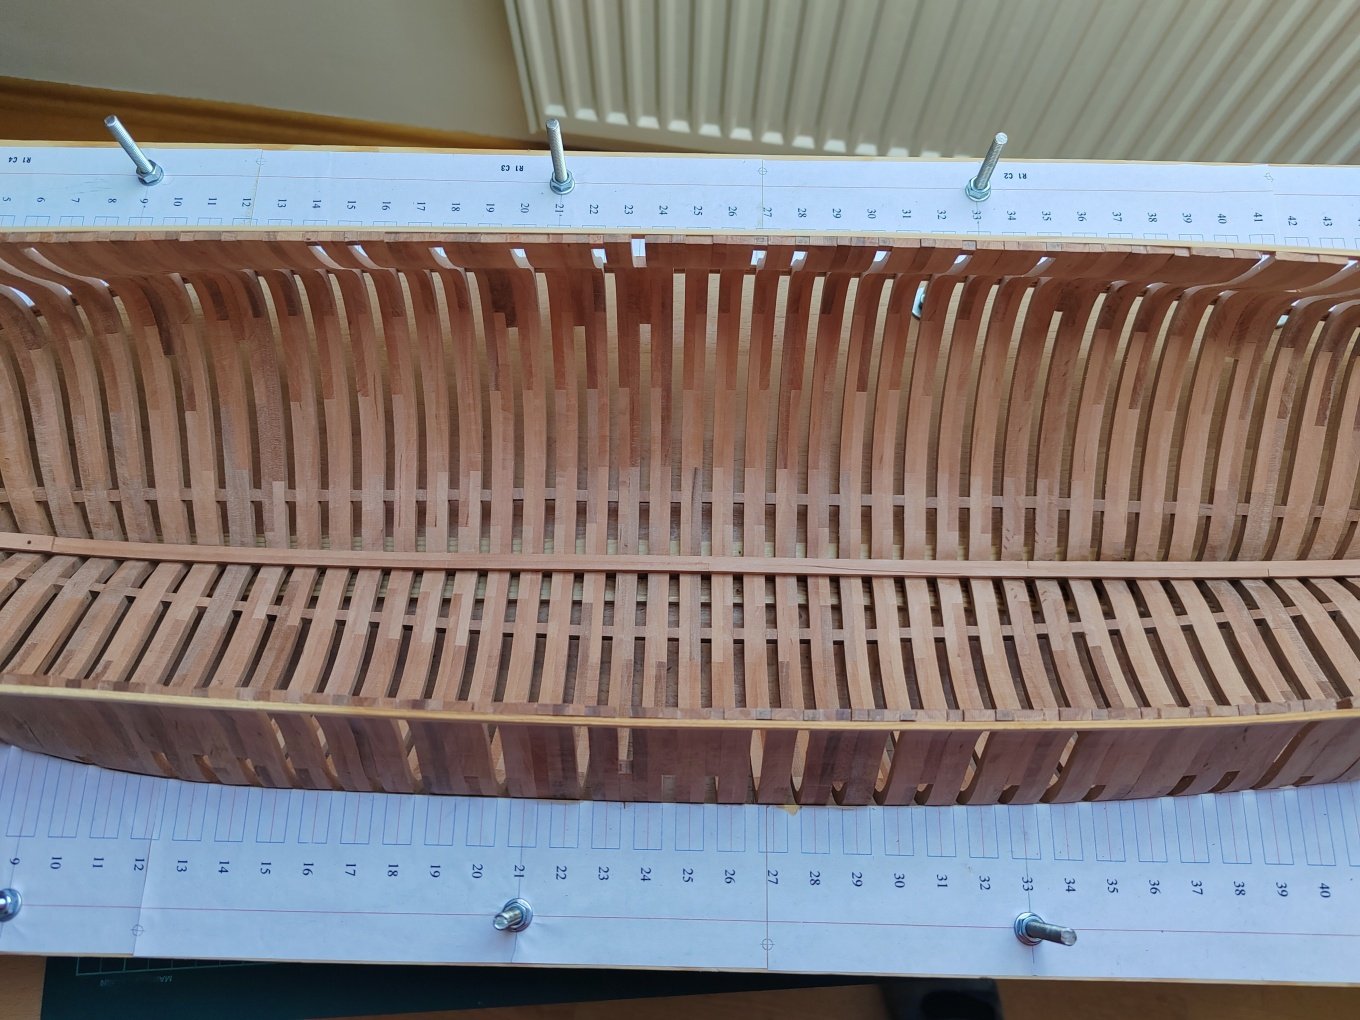
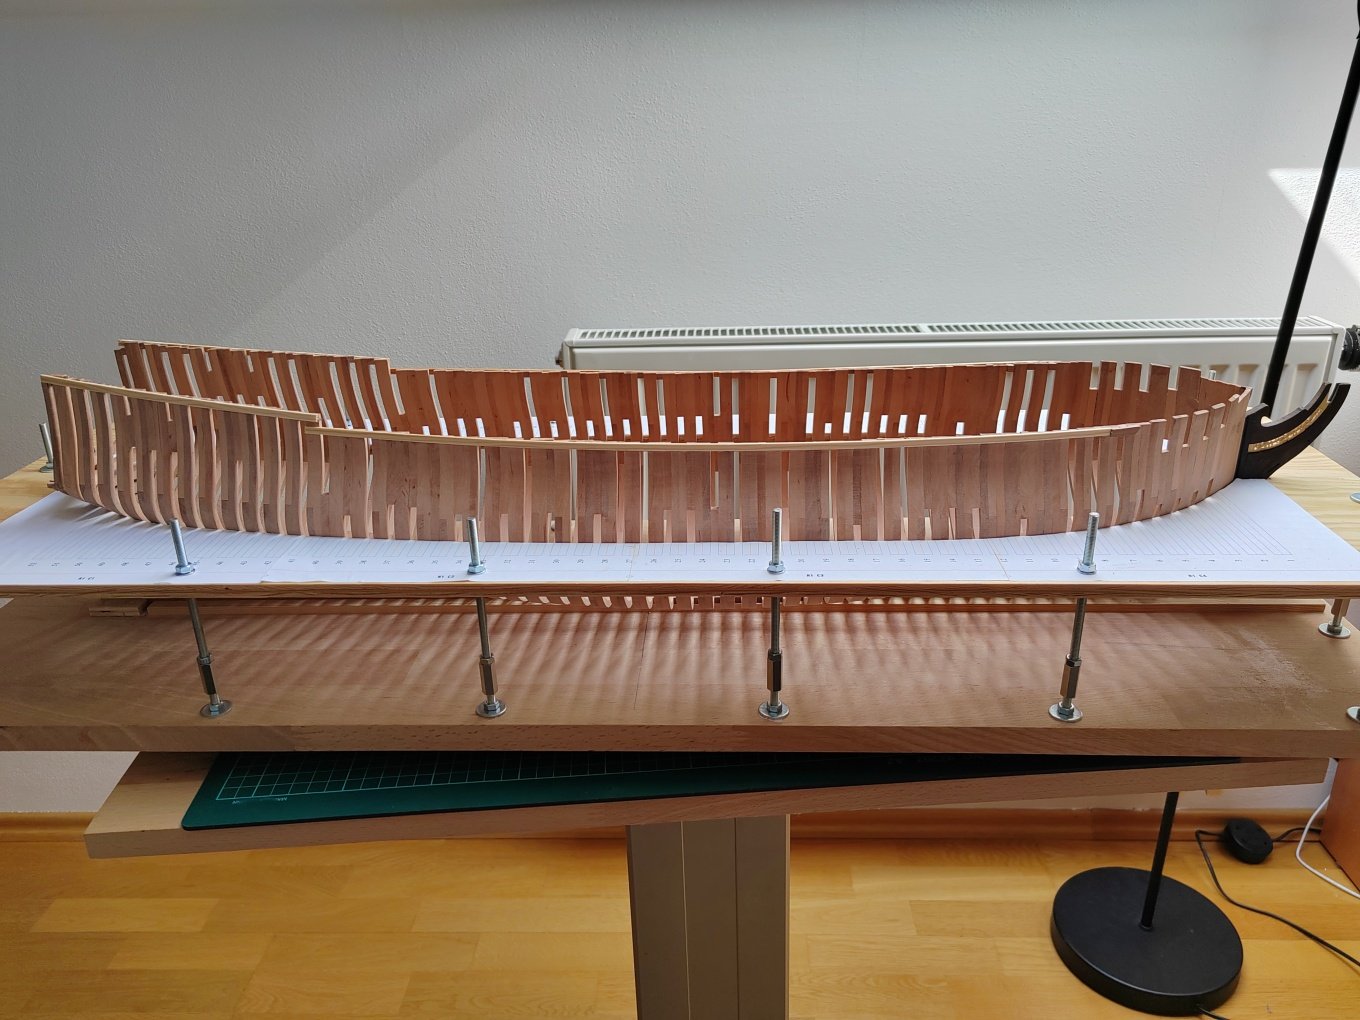
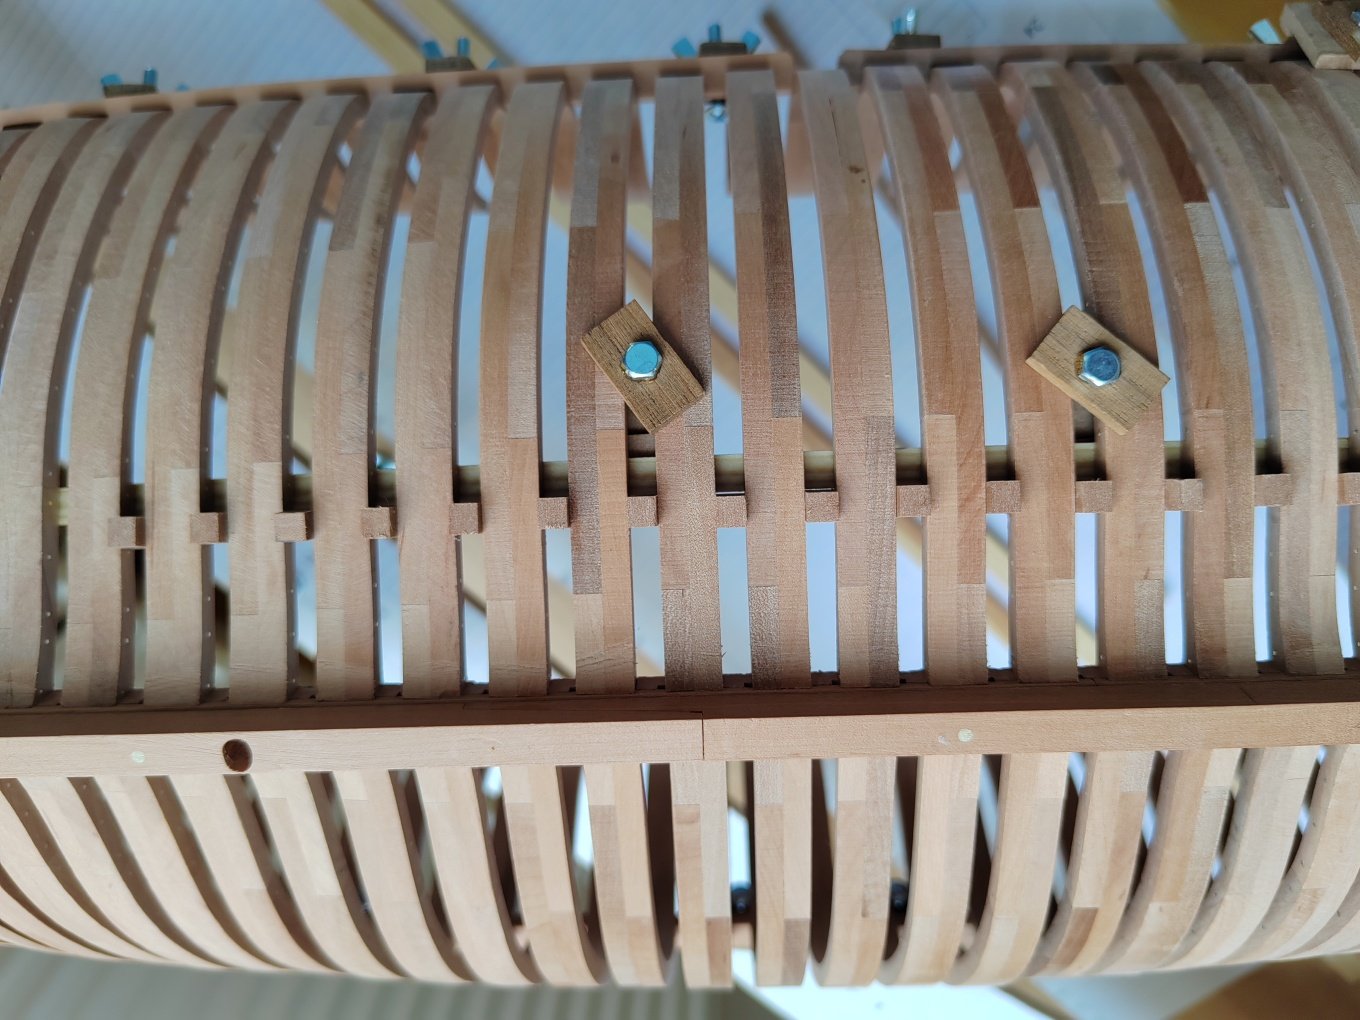
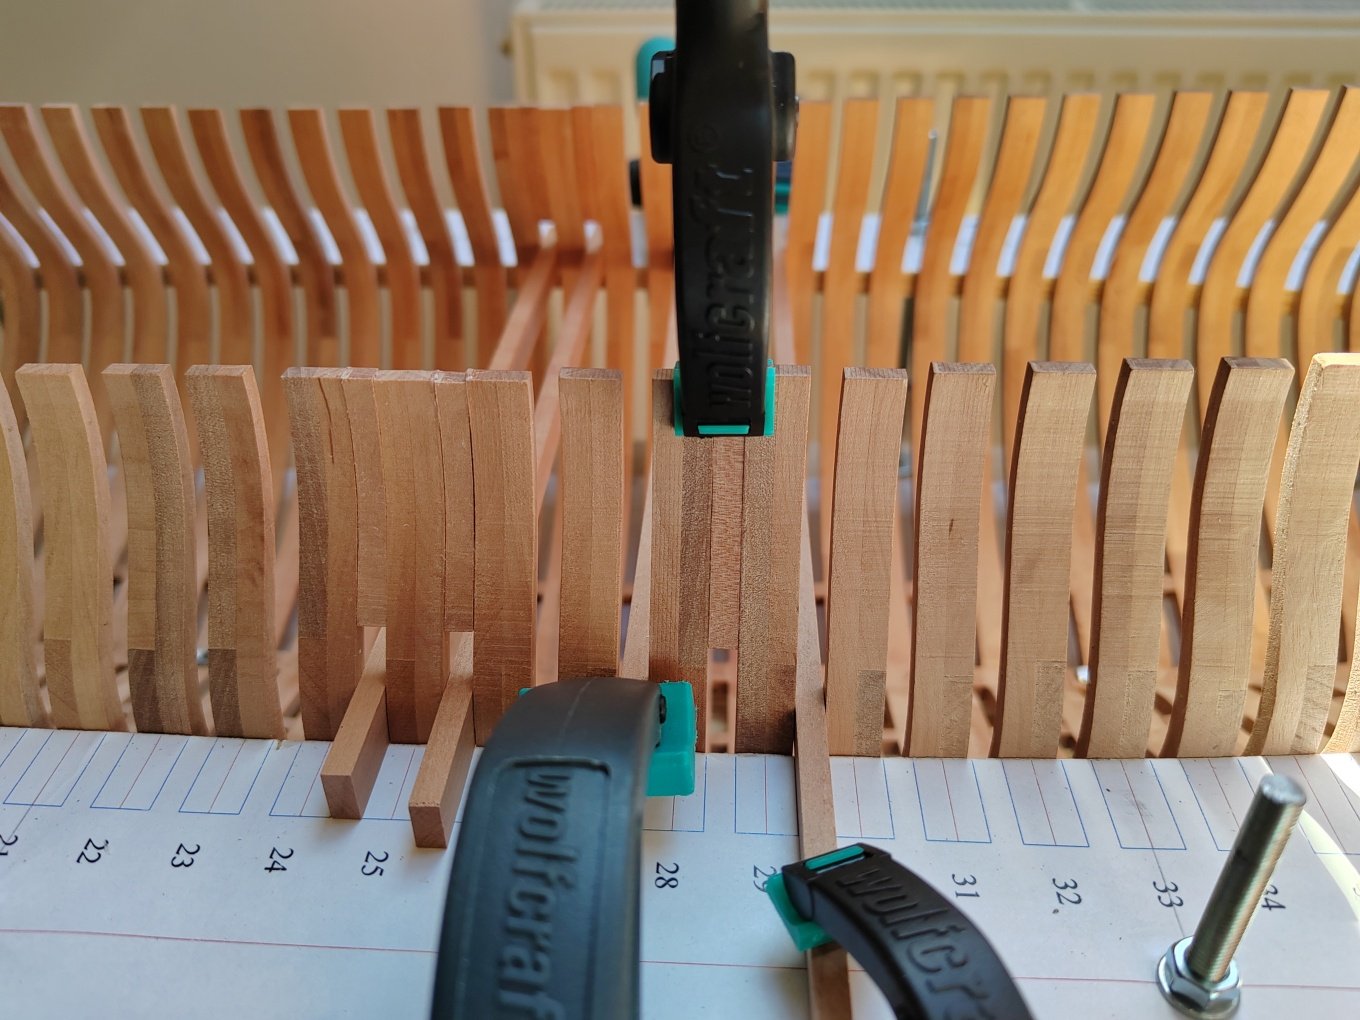
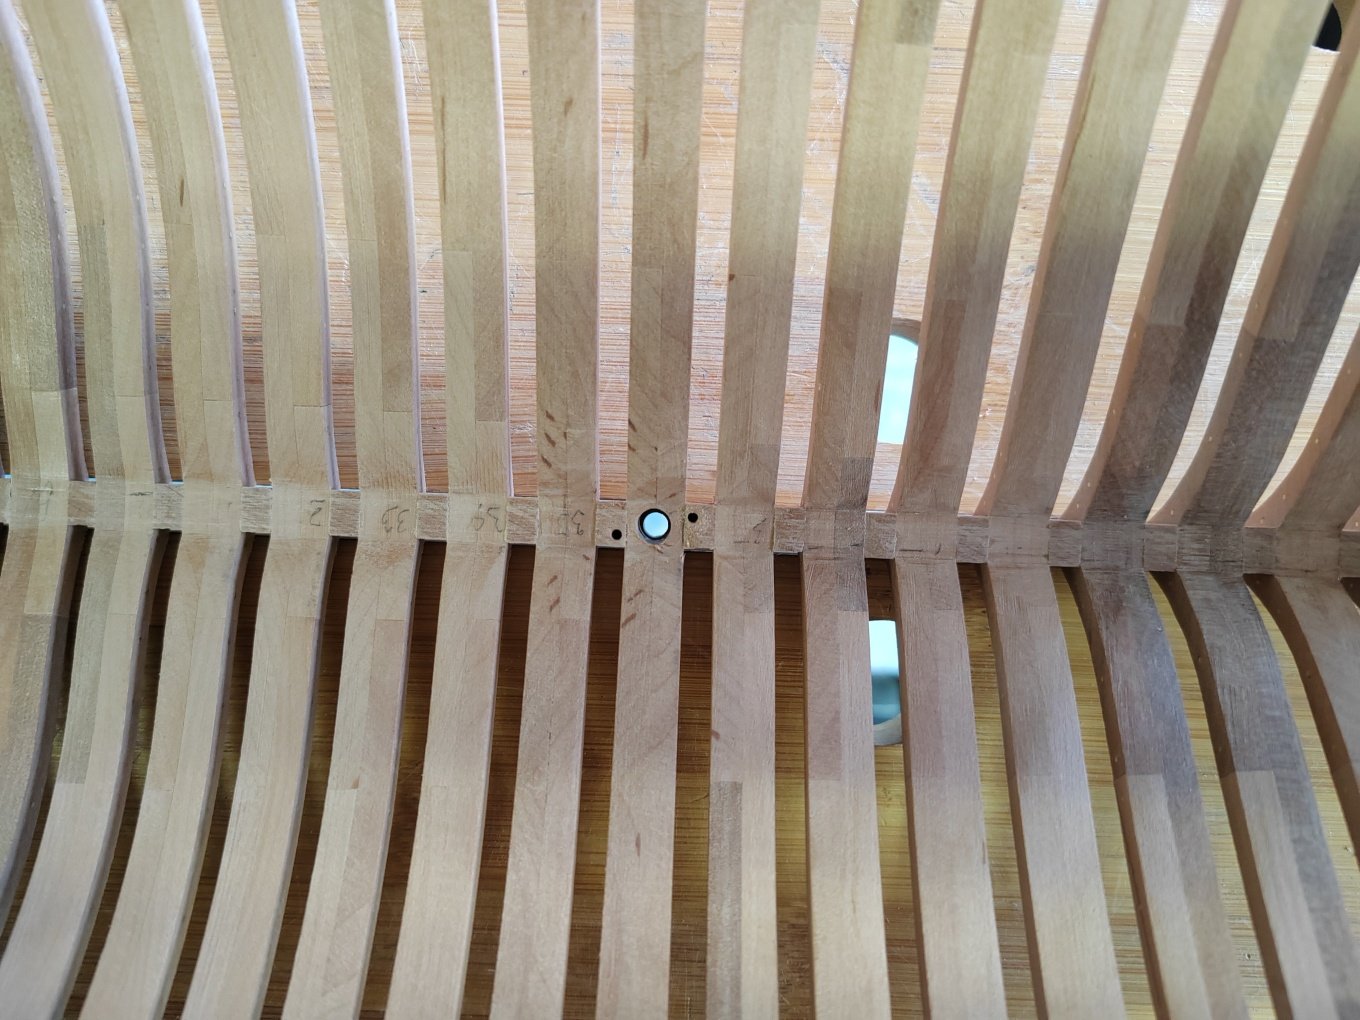
All the frames are in place, it's time to make the mounts for the stand screws. After gluing the keelson will not be visible.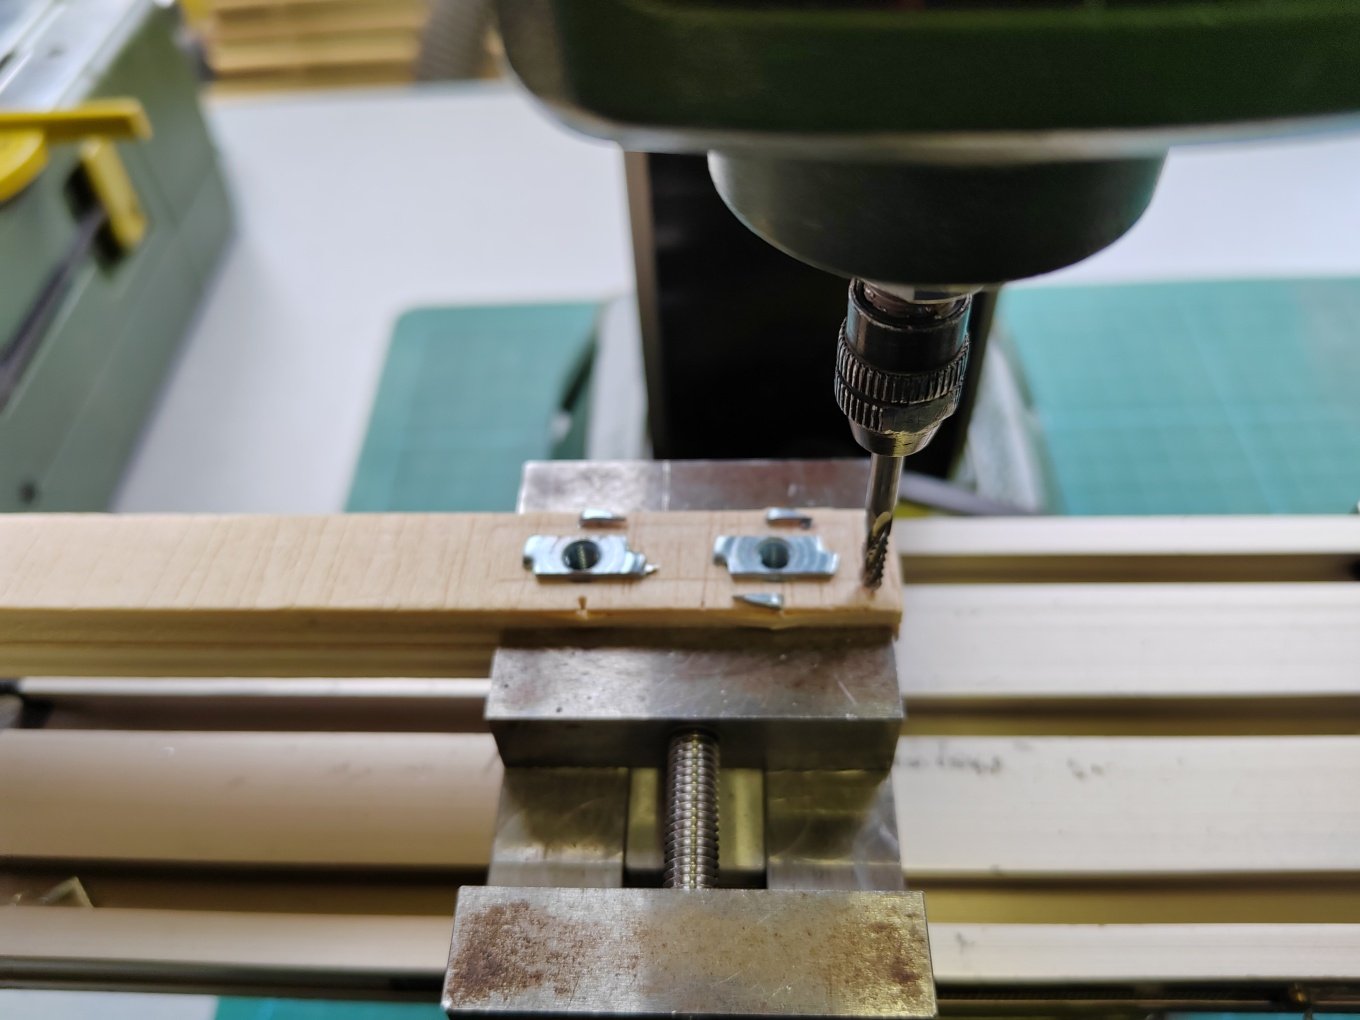

-
L'Amarante by marsalv - 1:36 - POF
marsalv replied to marsalv's topic in - Build logs for subjects built 1501 - 1750
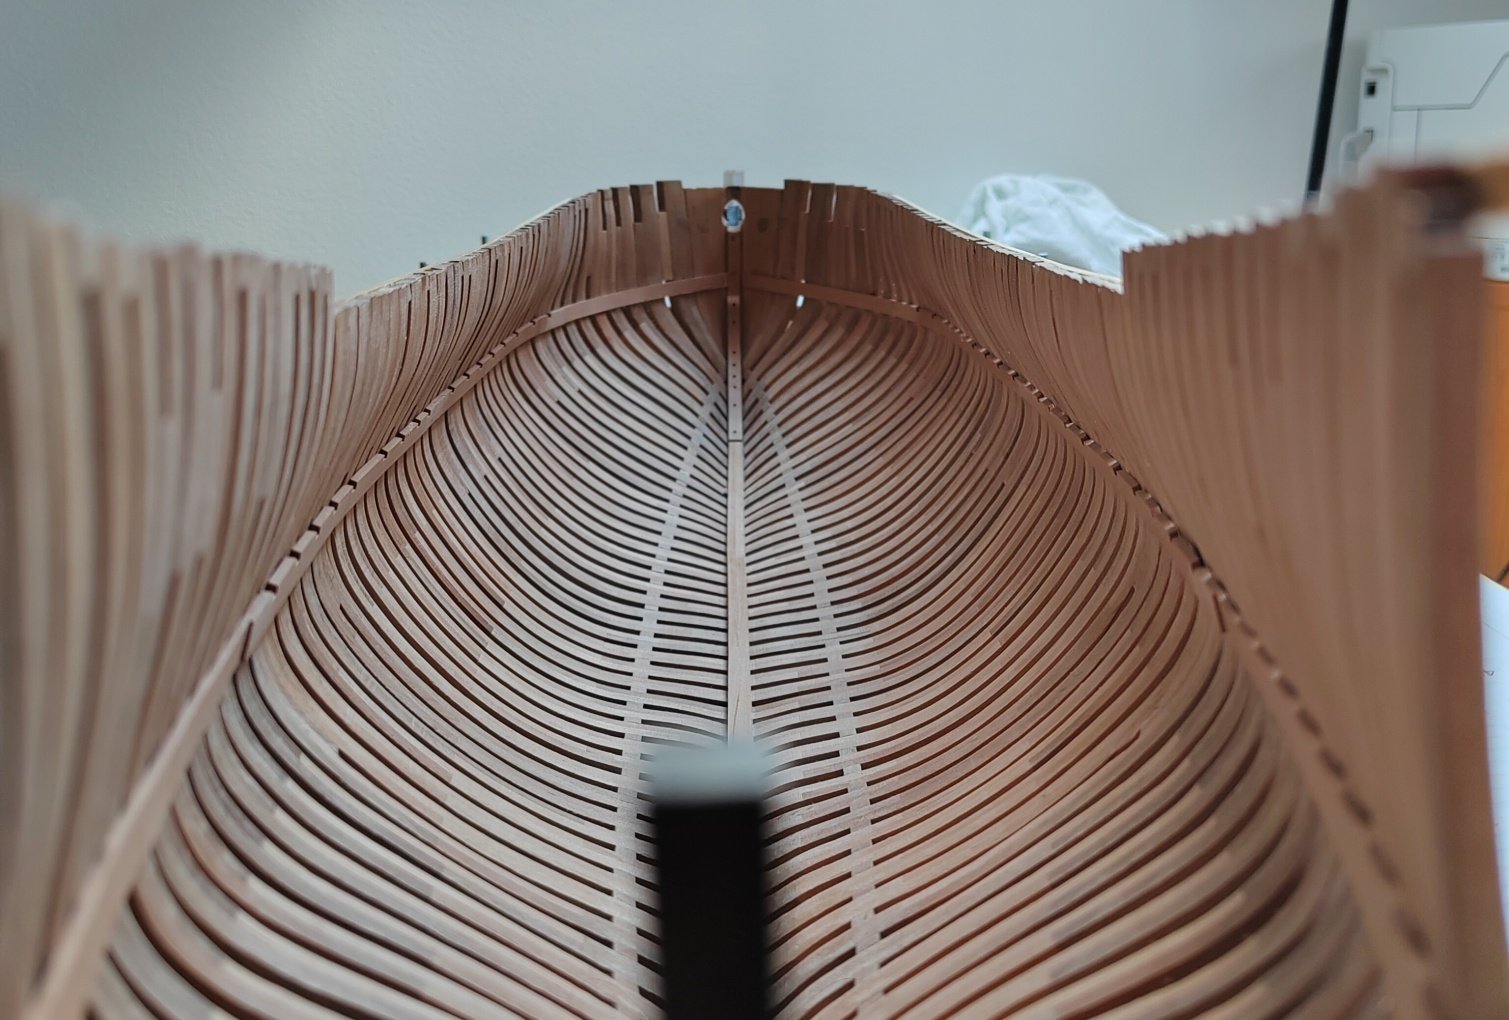
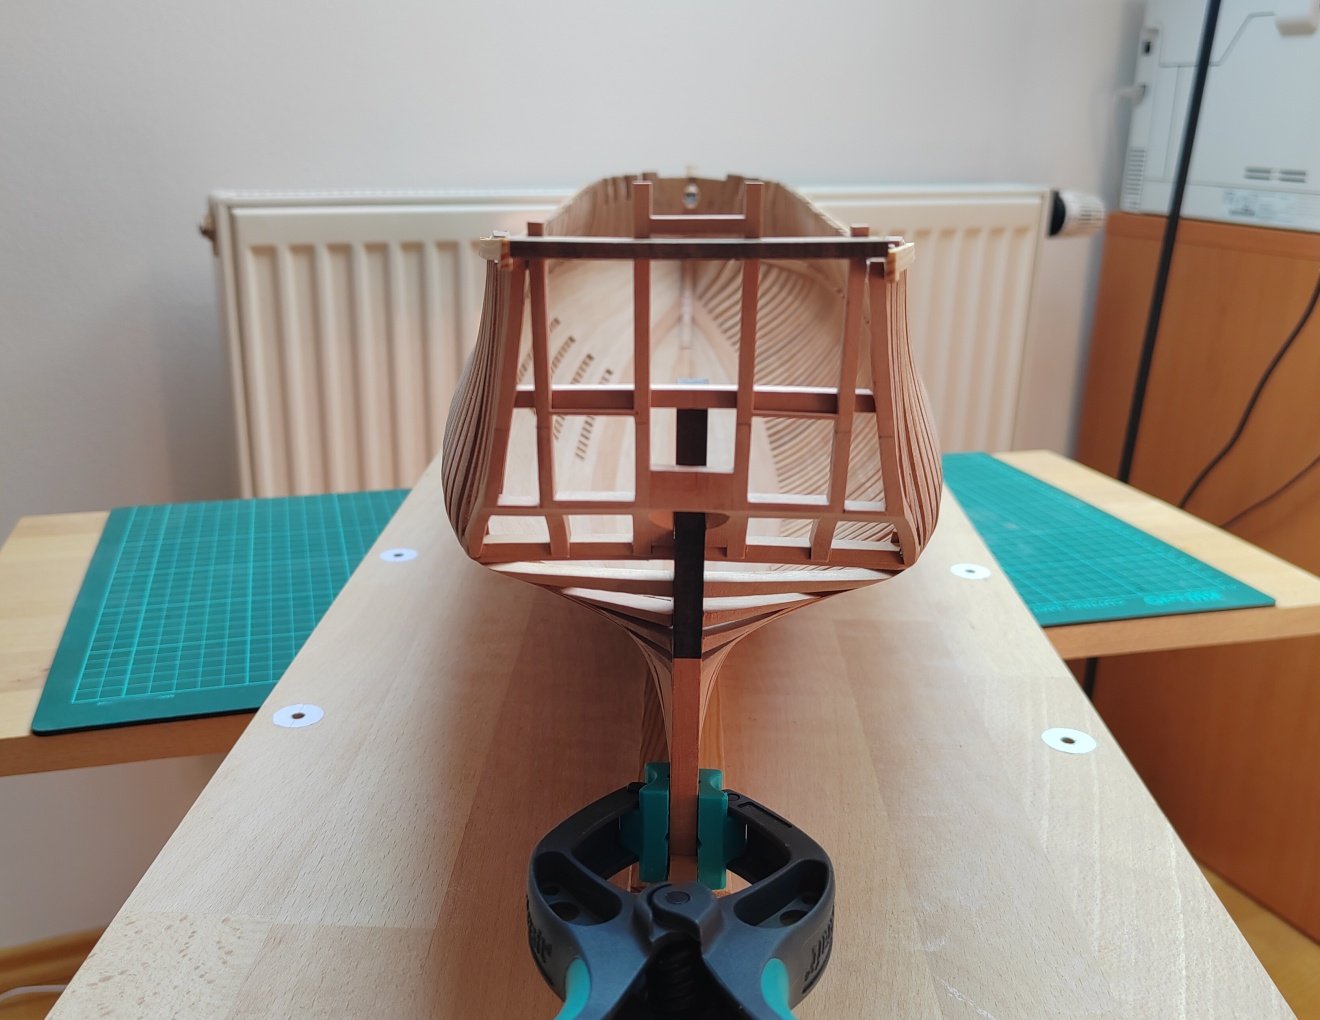
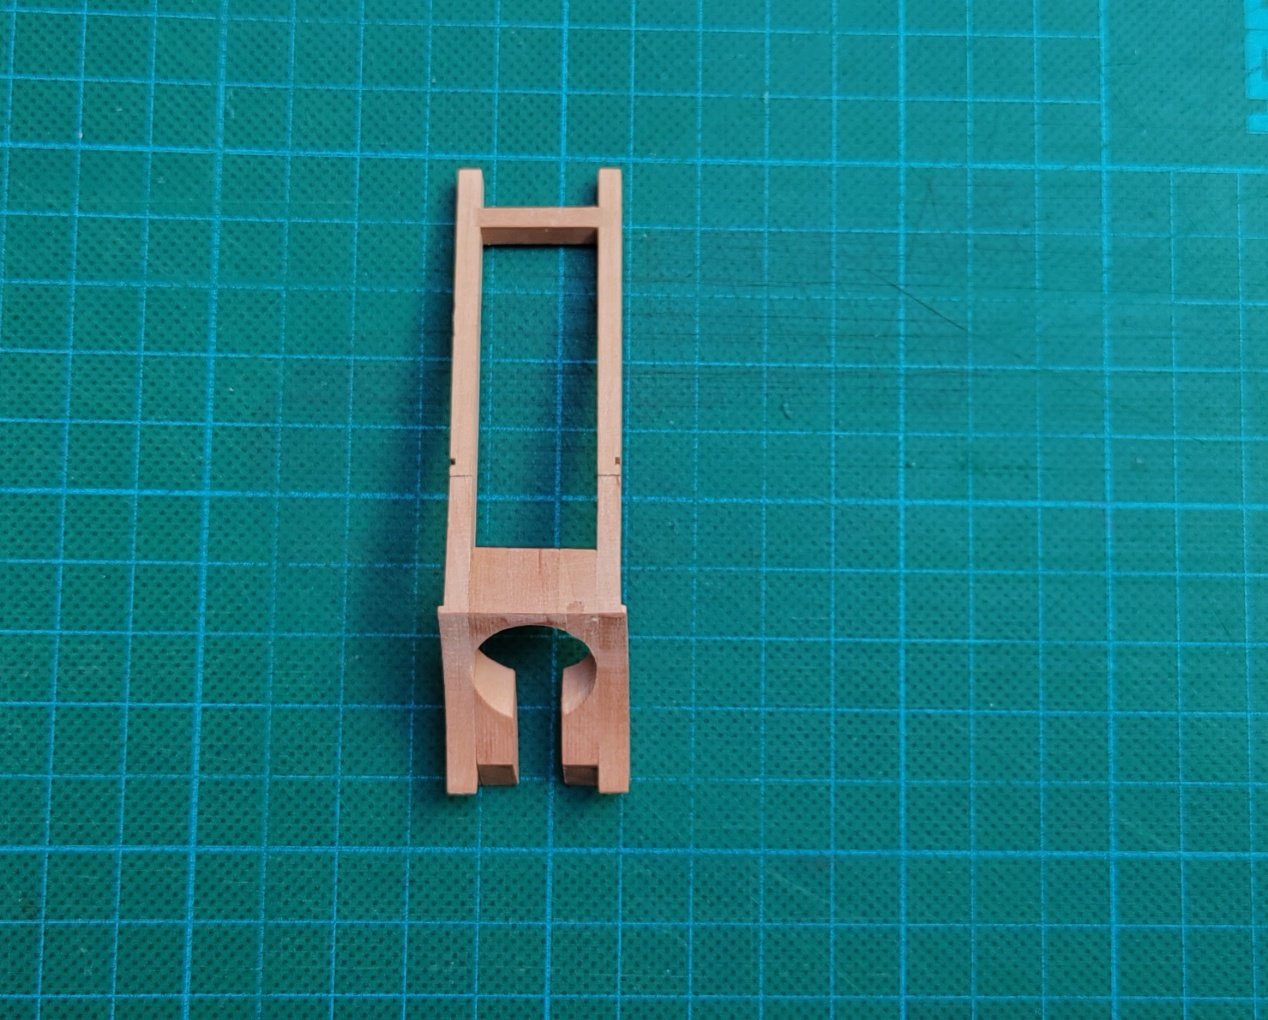
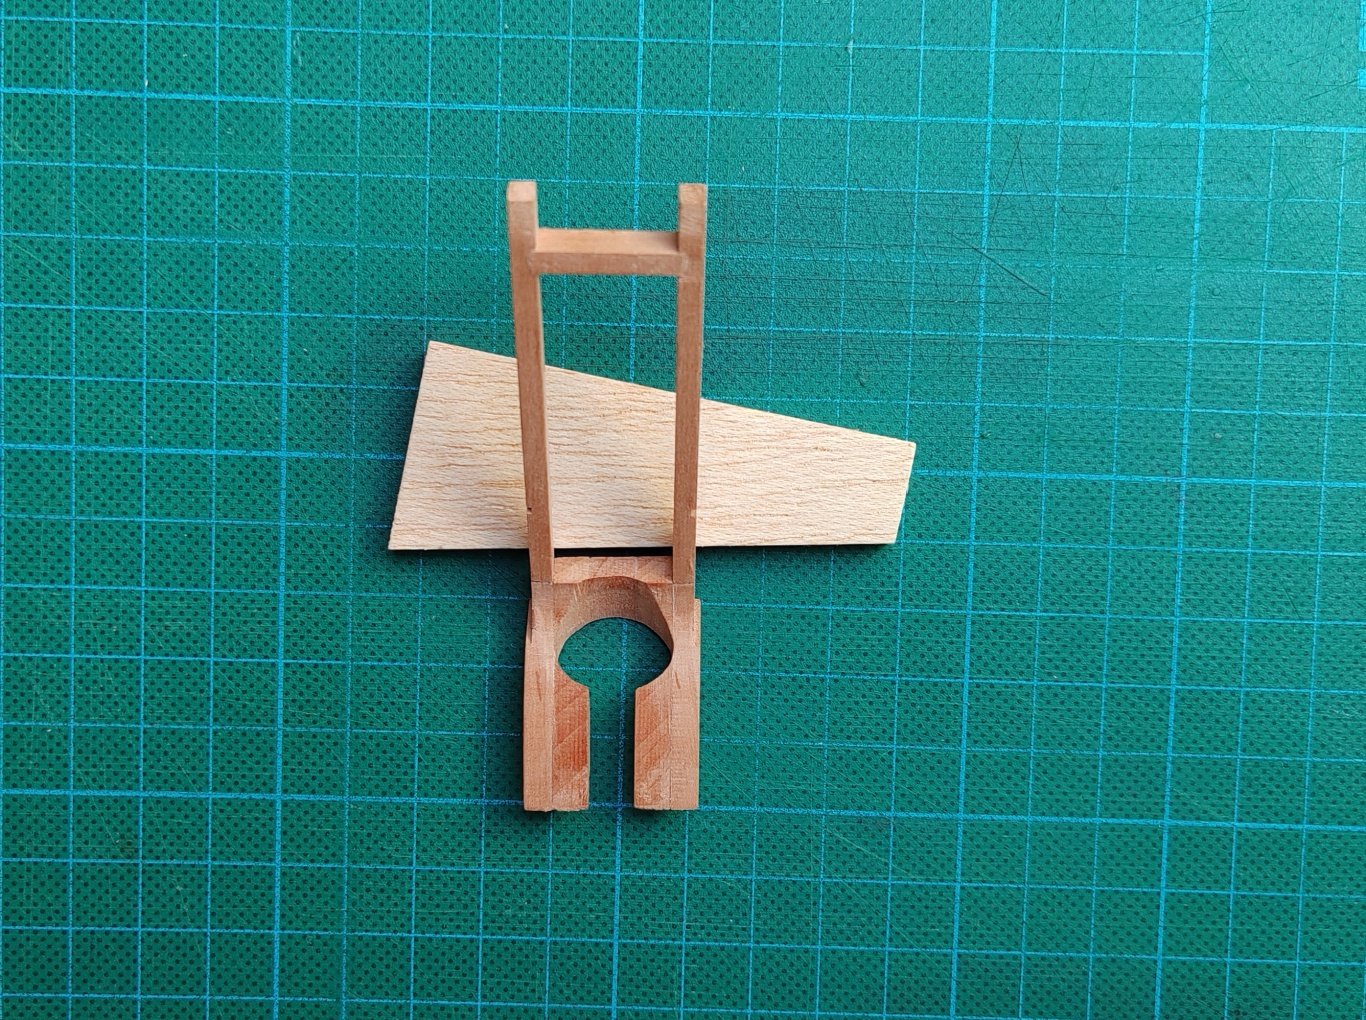
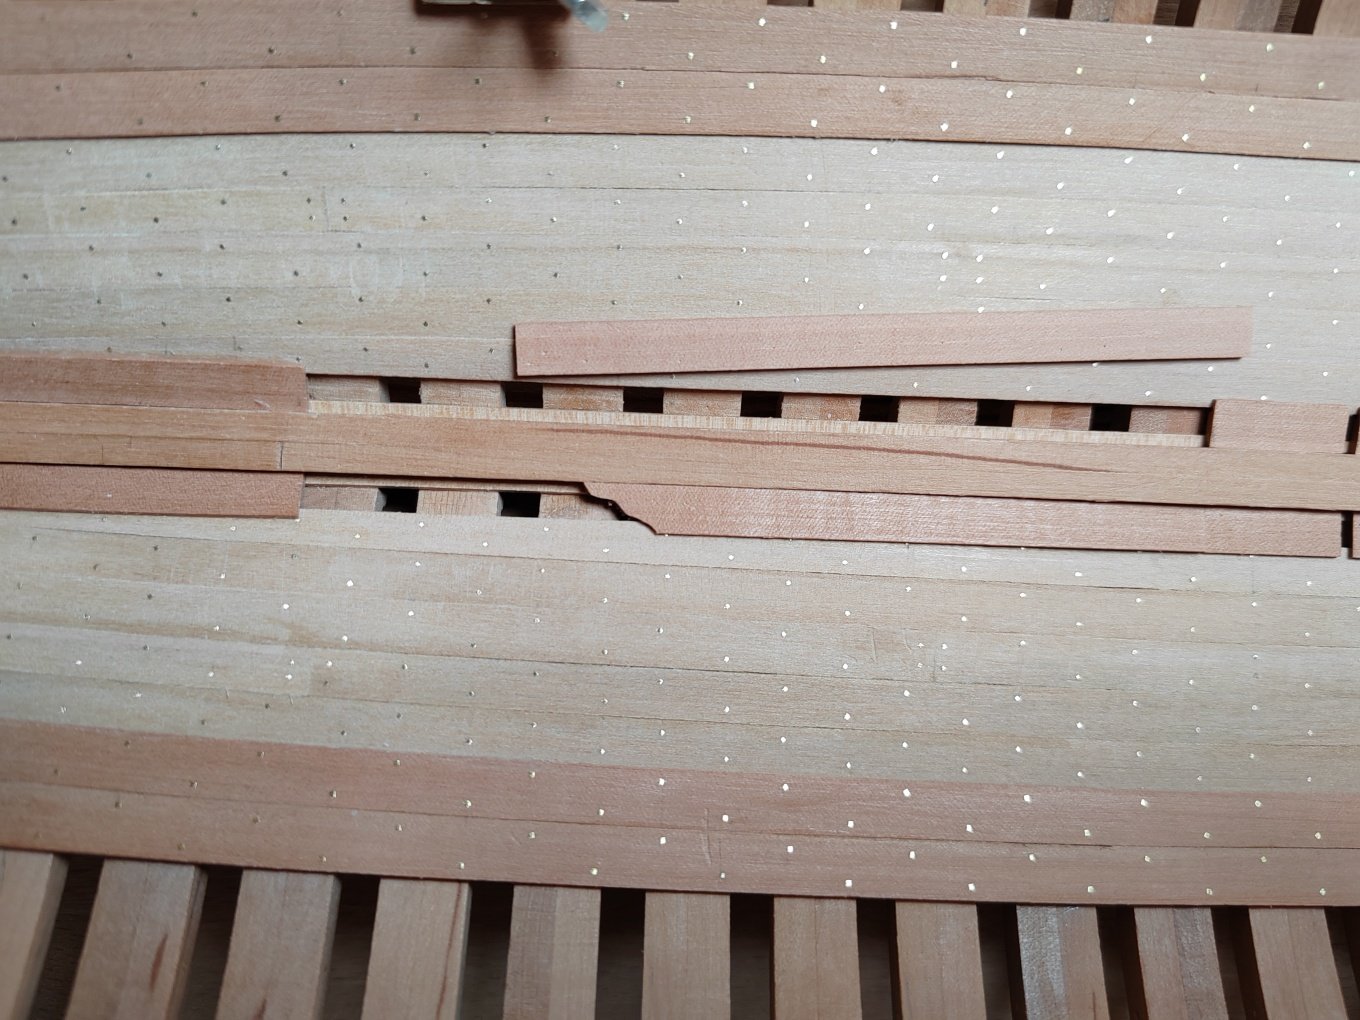
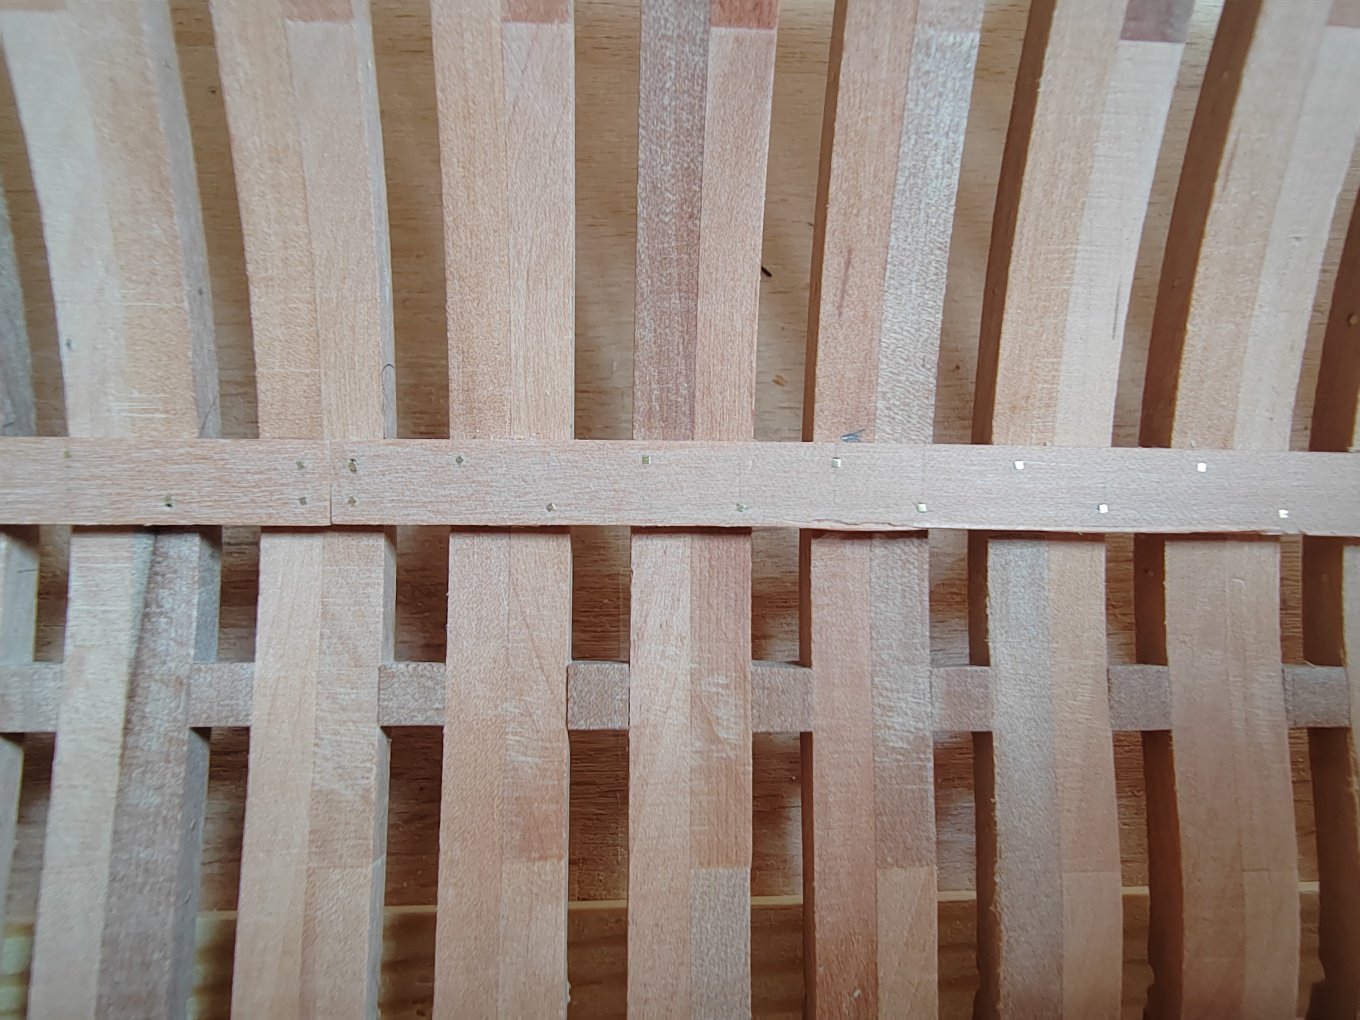
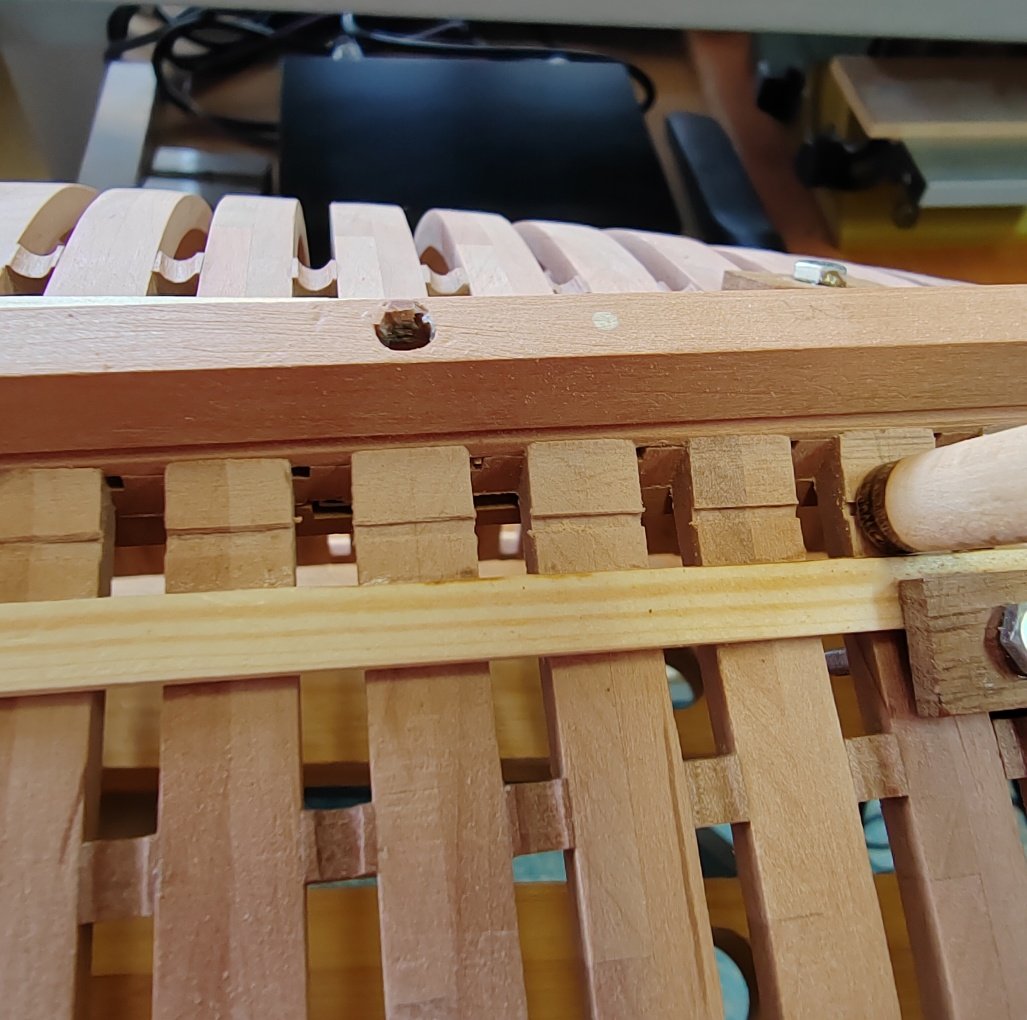
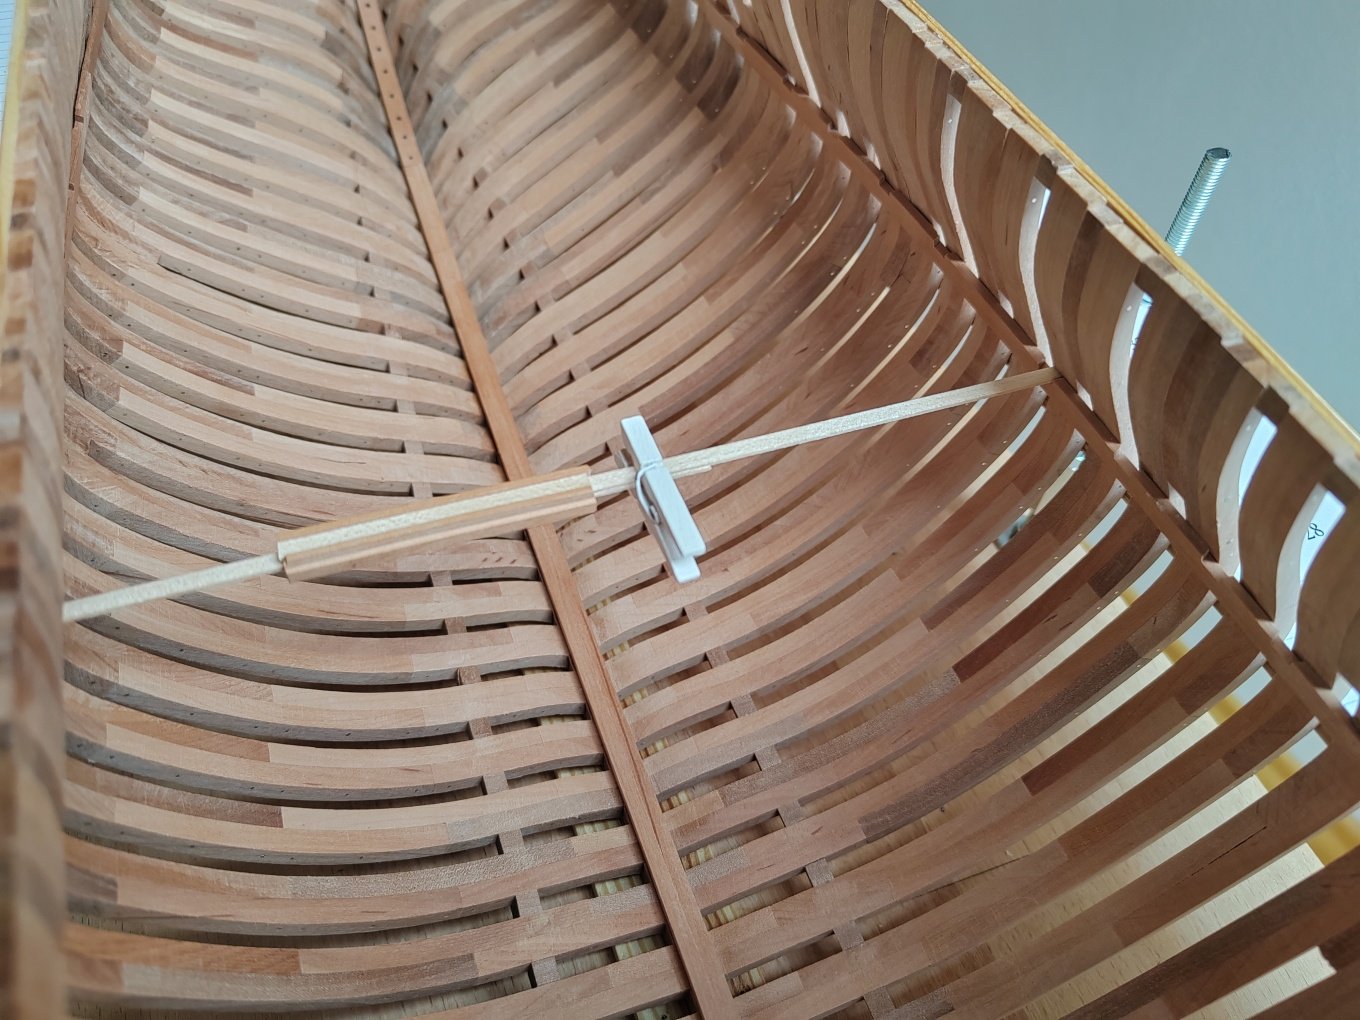
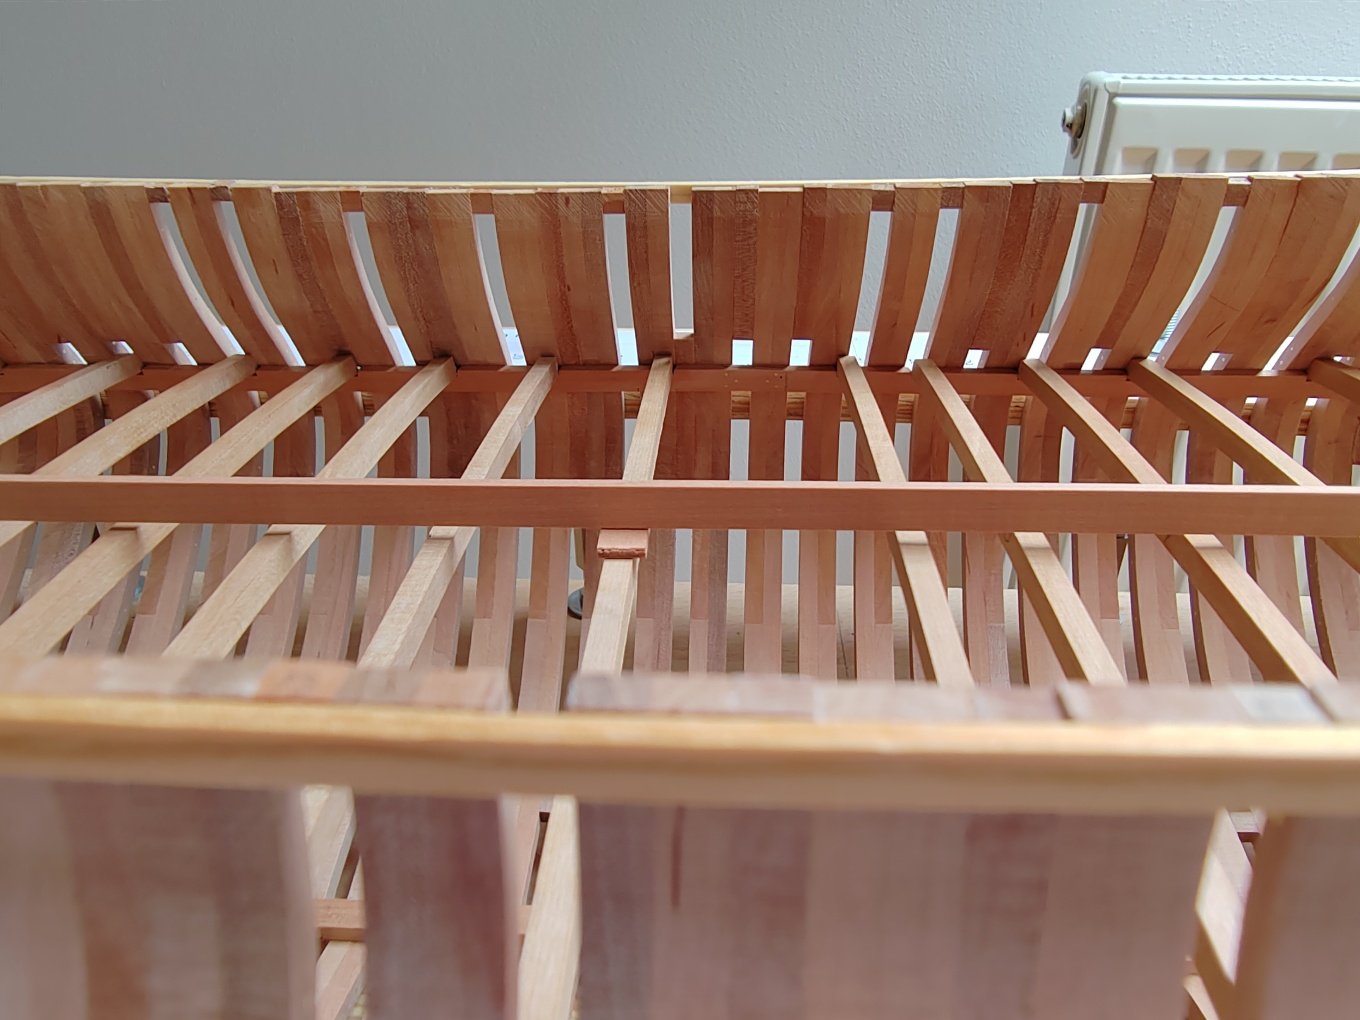
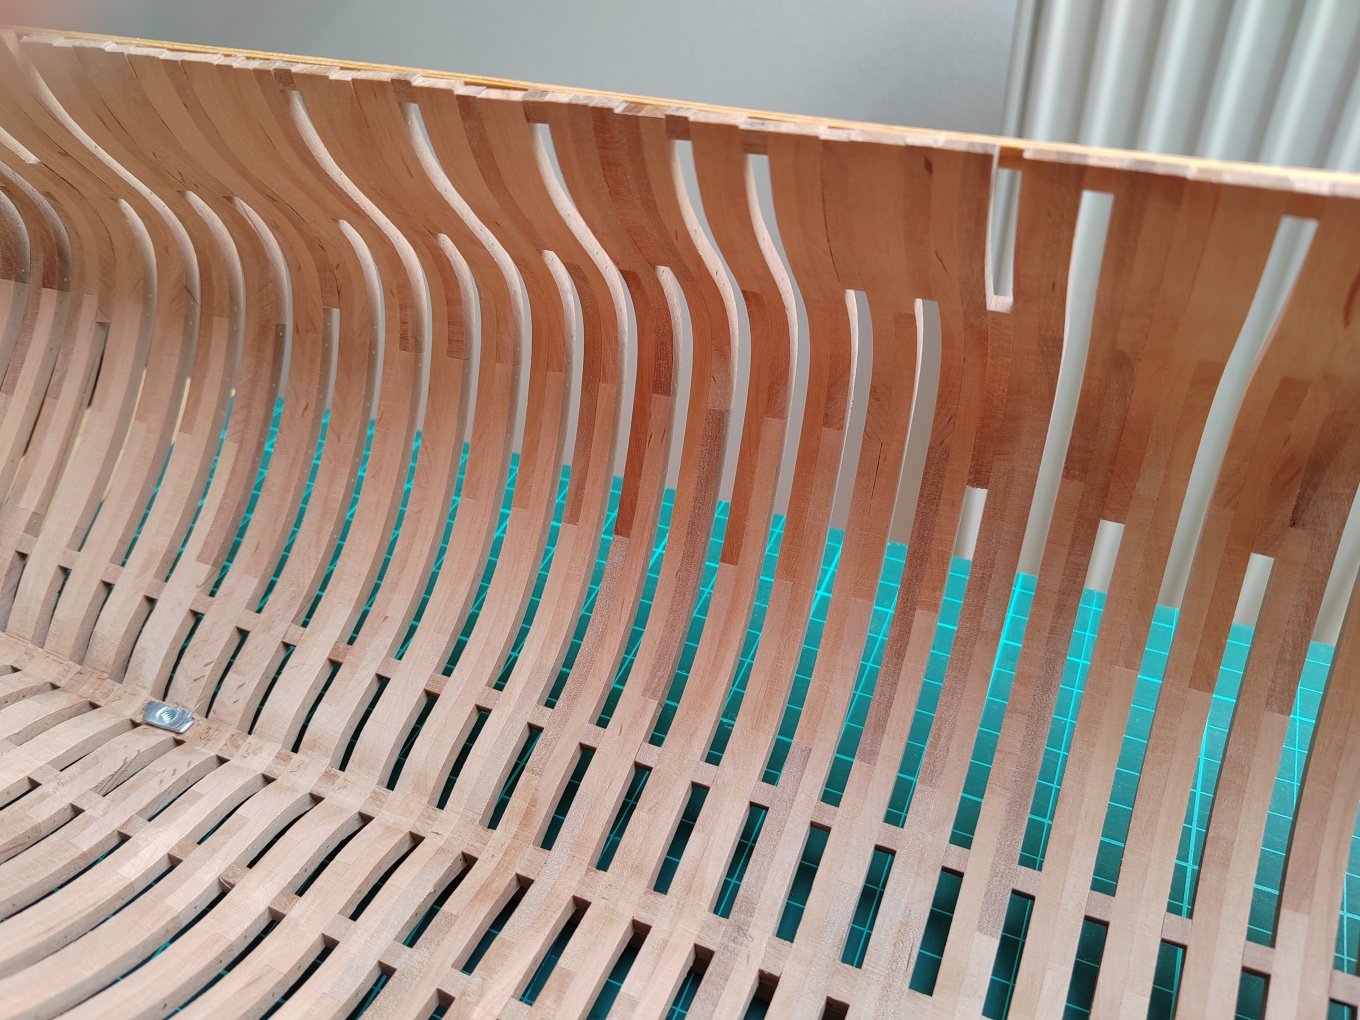
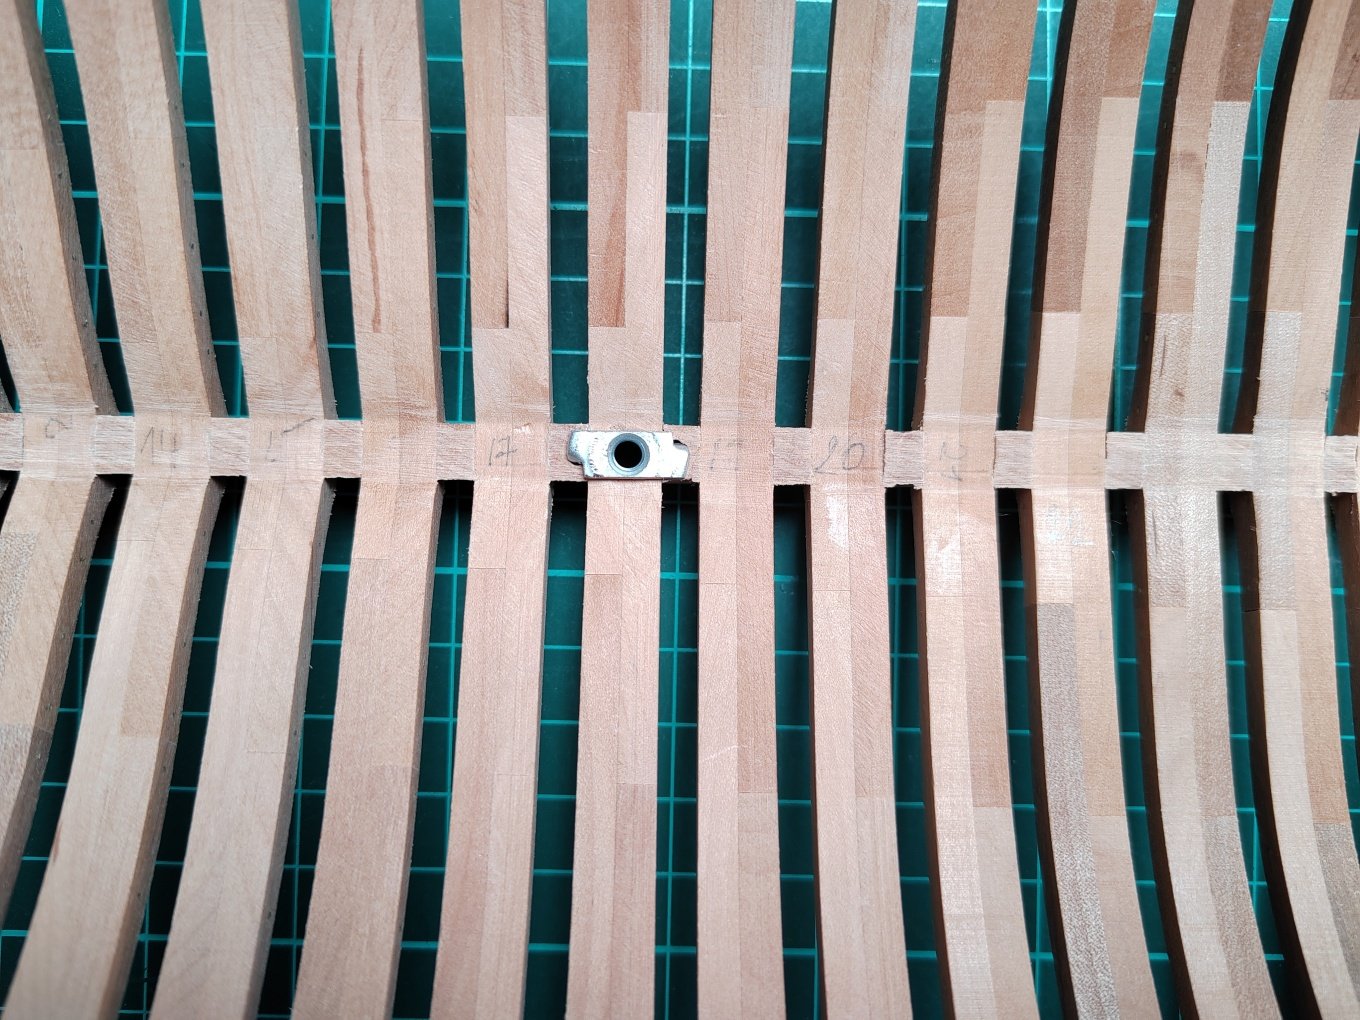
To contrecerf: In fact, these are square holes - limber-passage - see picture.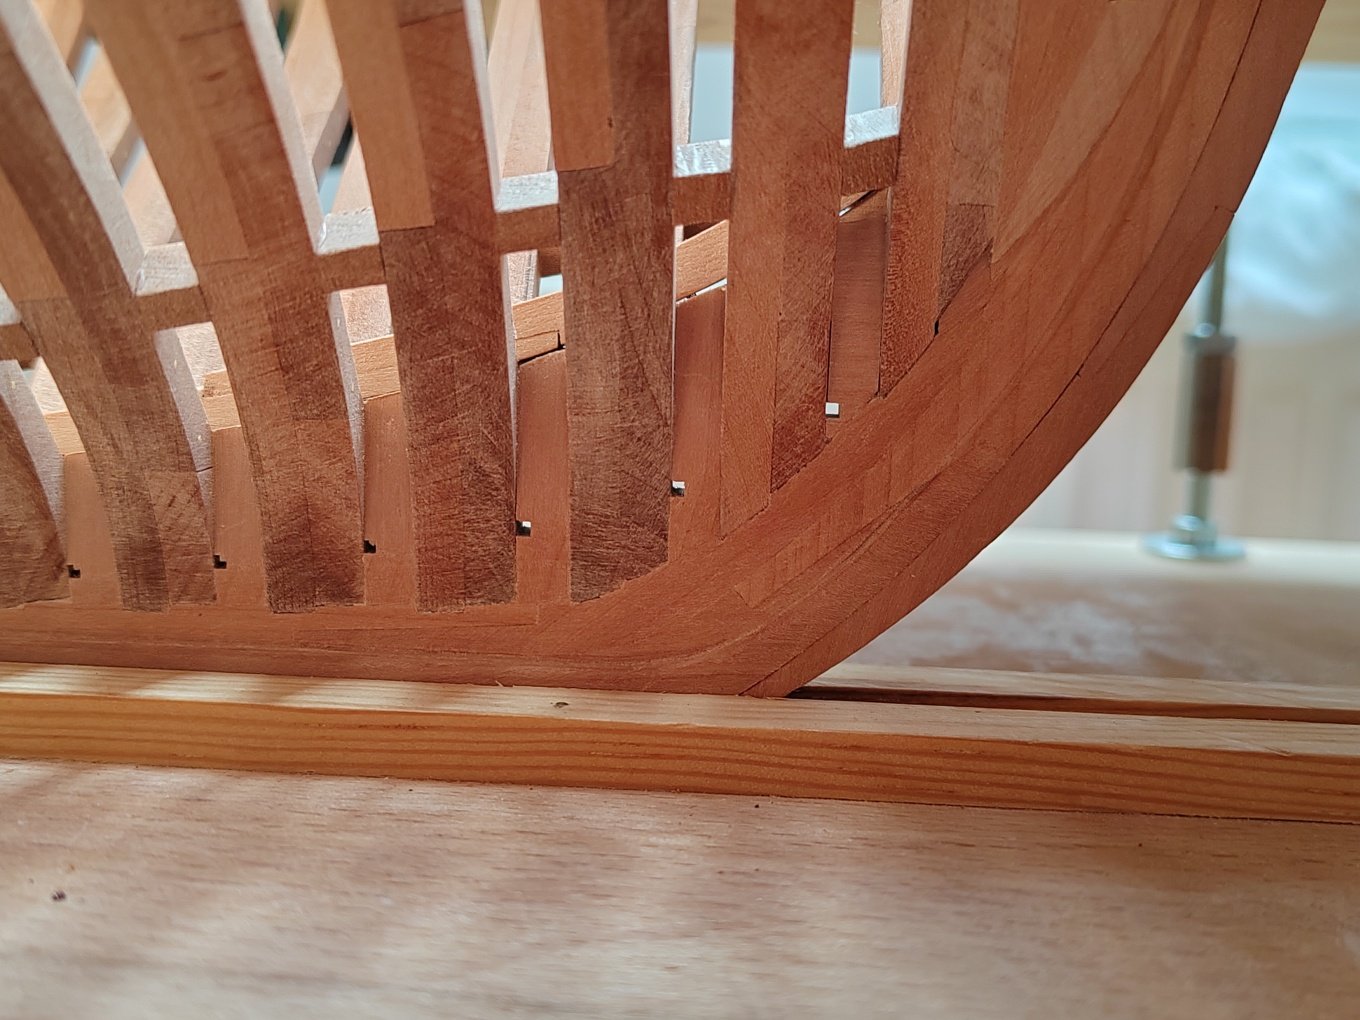
-
L'Amarante by marsalv - 1:36 - POF
marsalv replied to marsalv's topic in - Build logs for subjects built 1501 - 1750
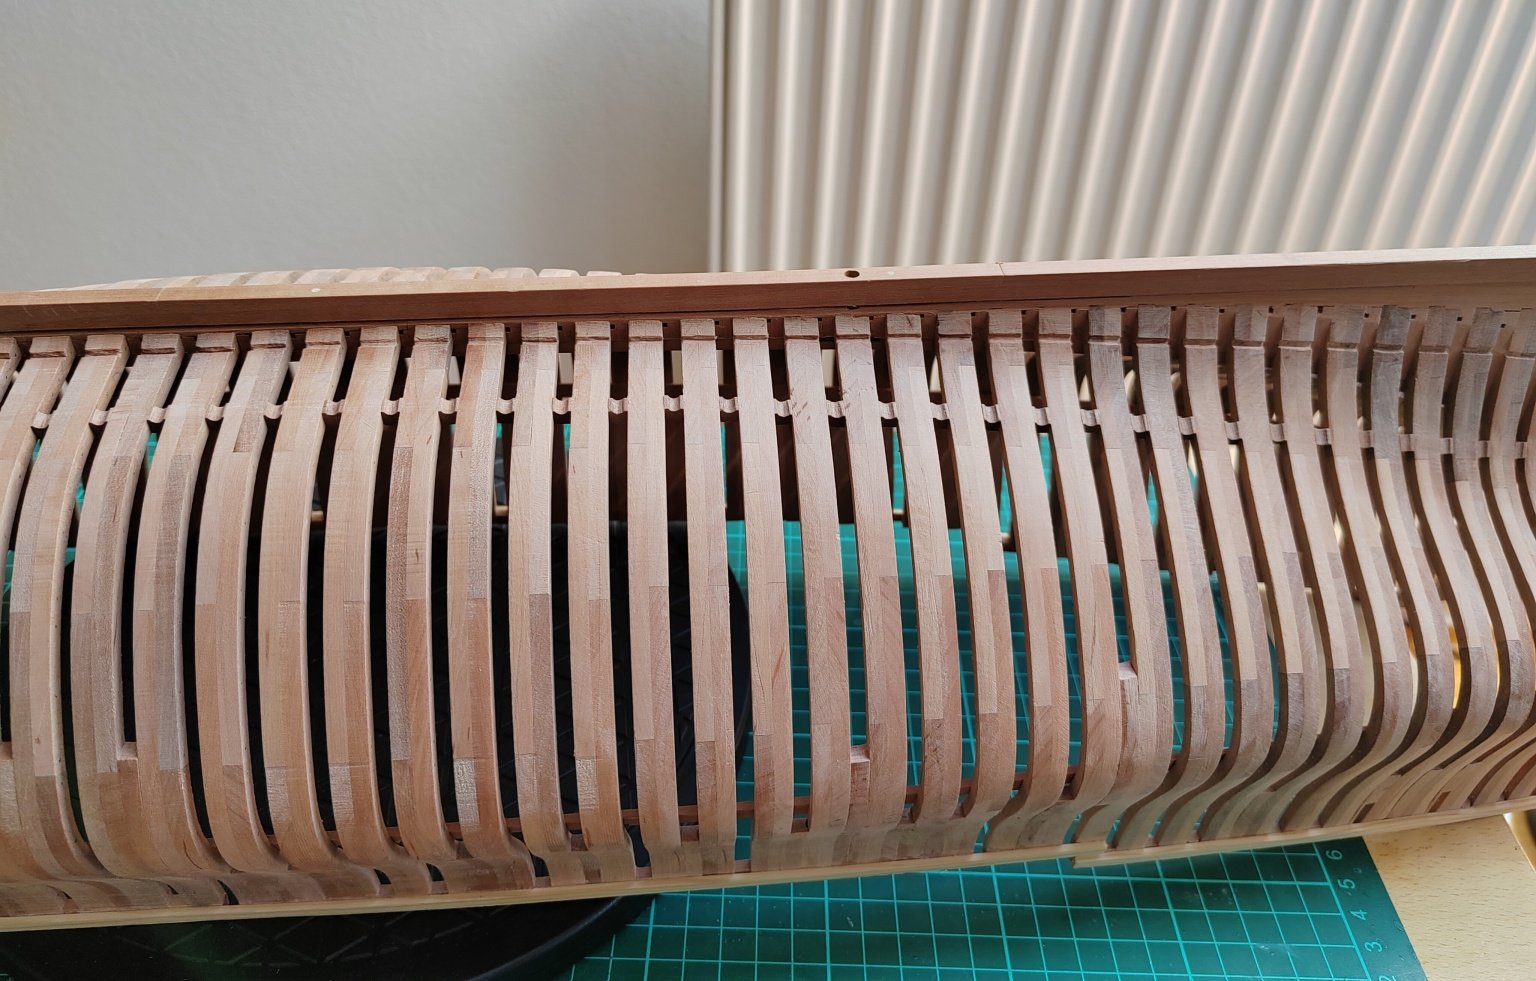
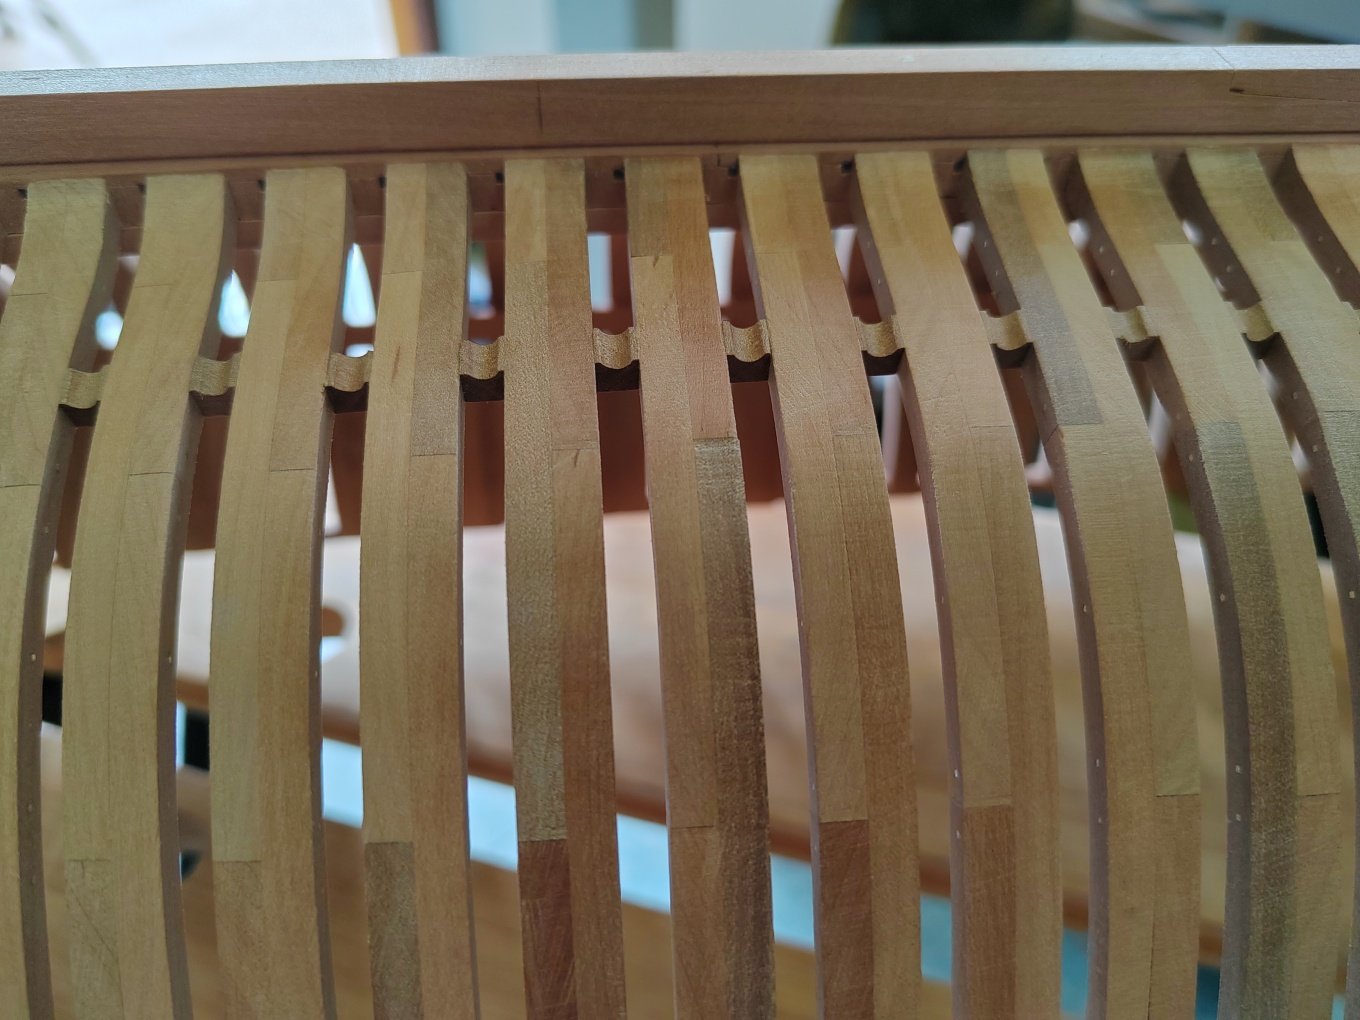
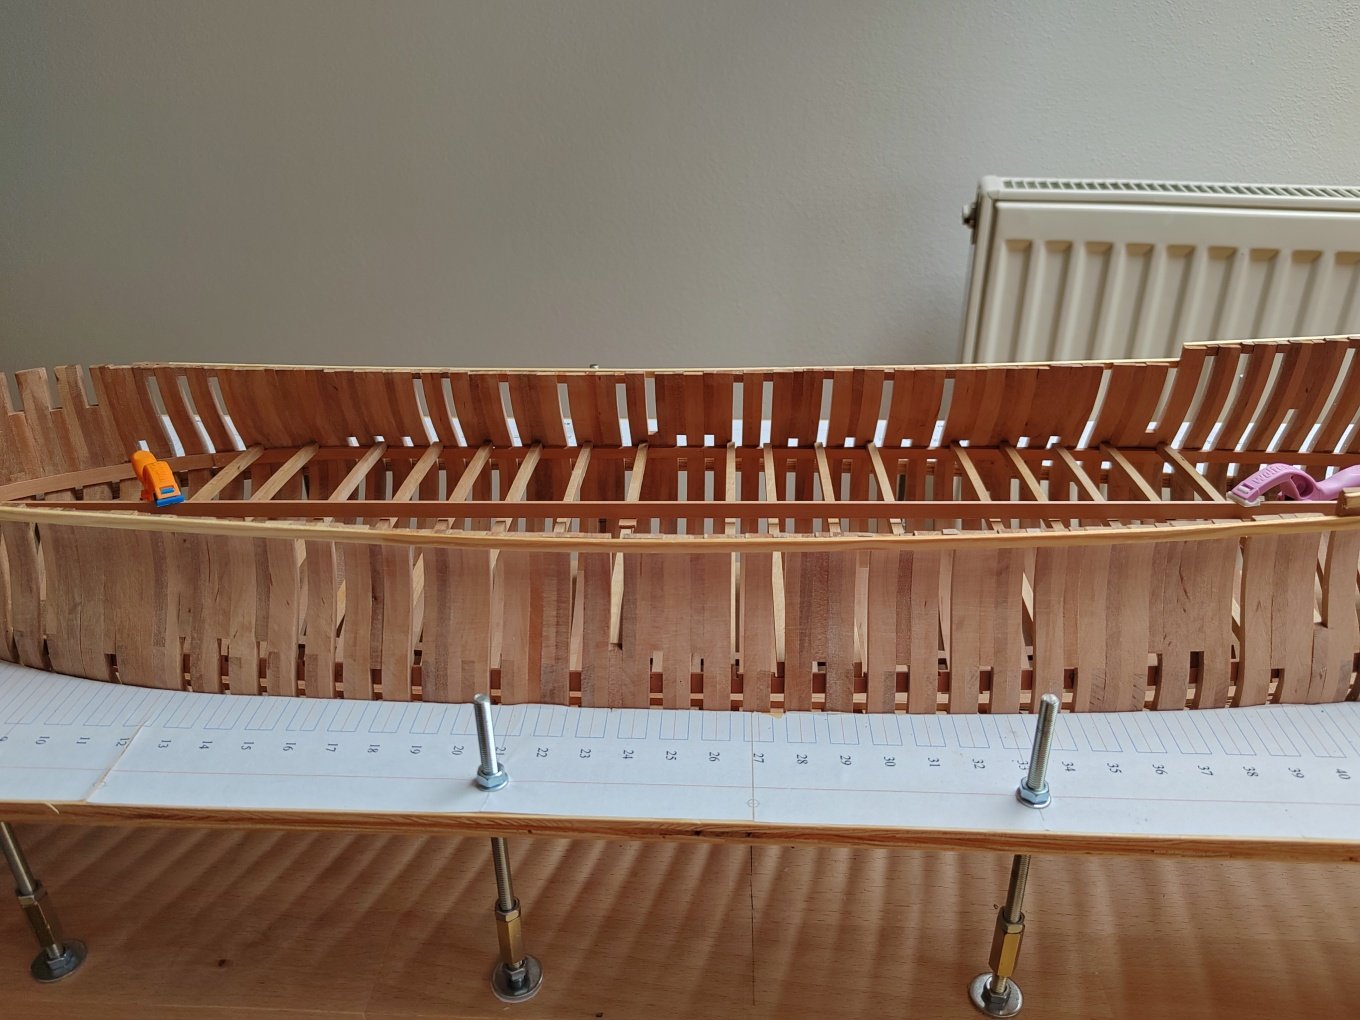
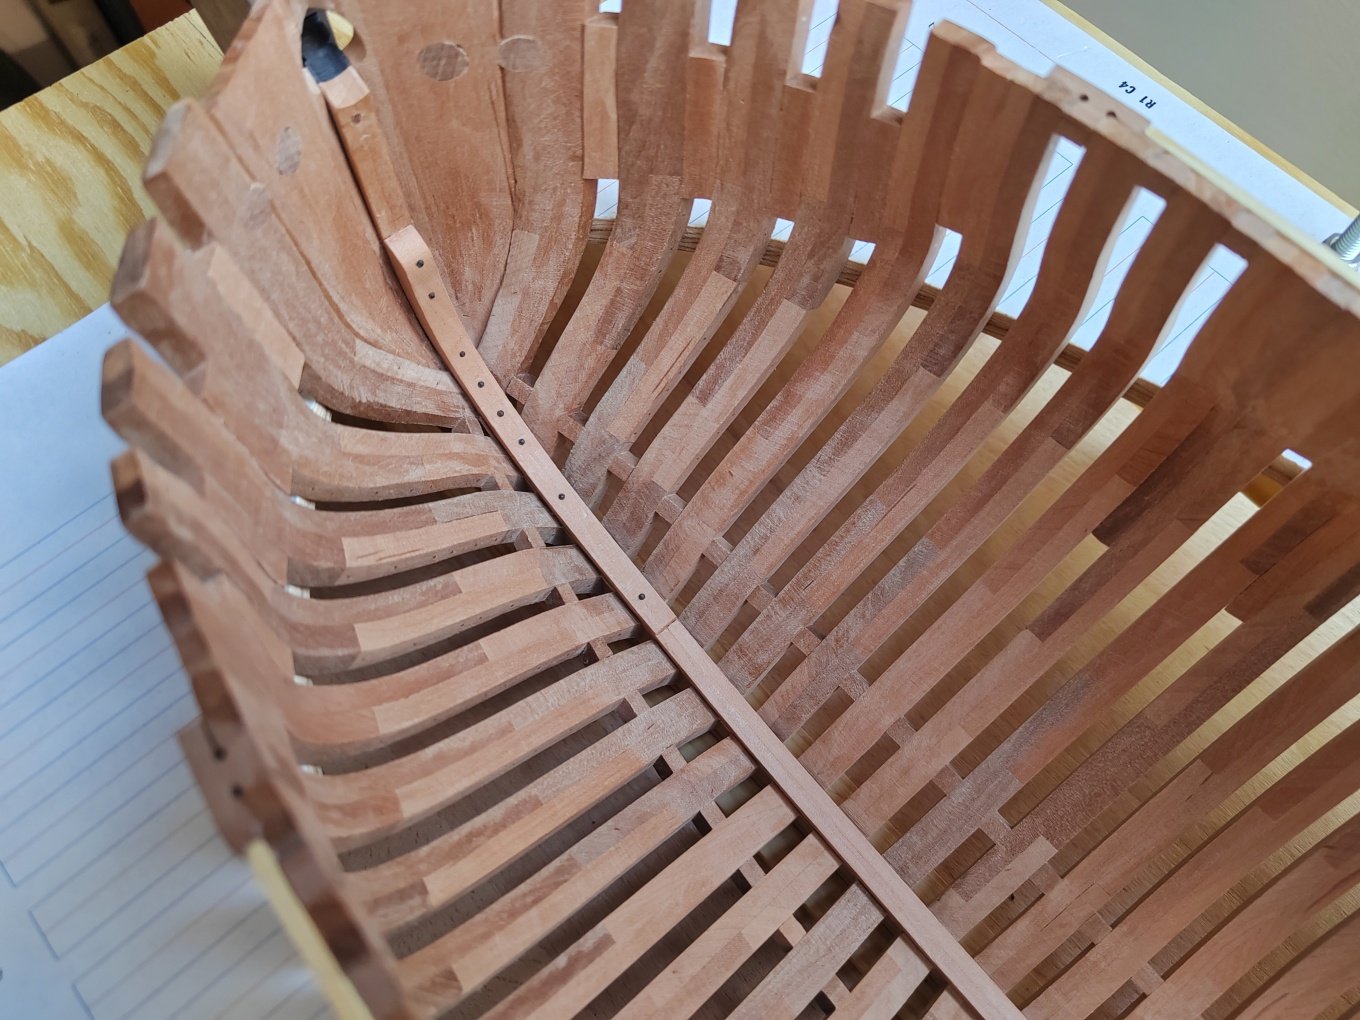
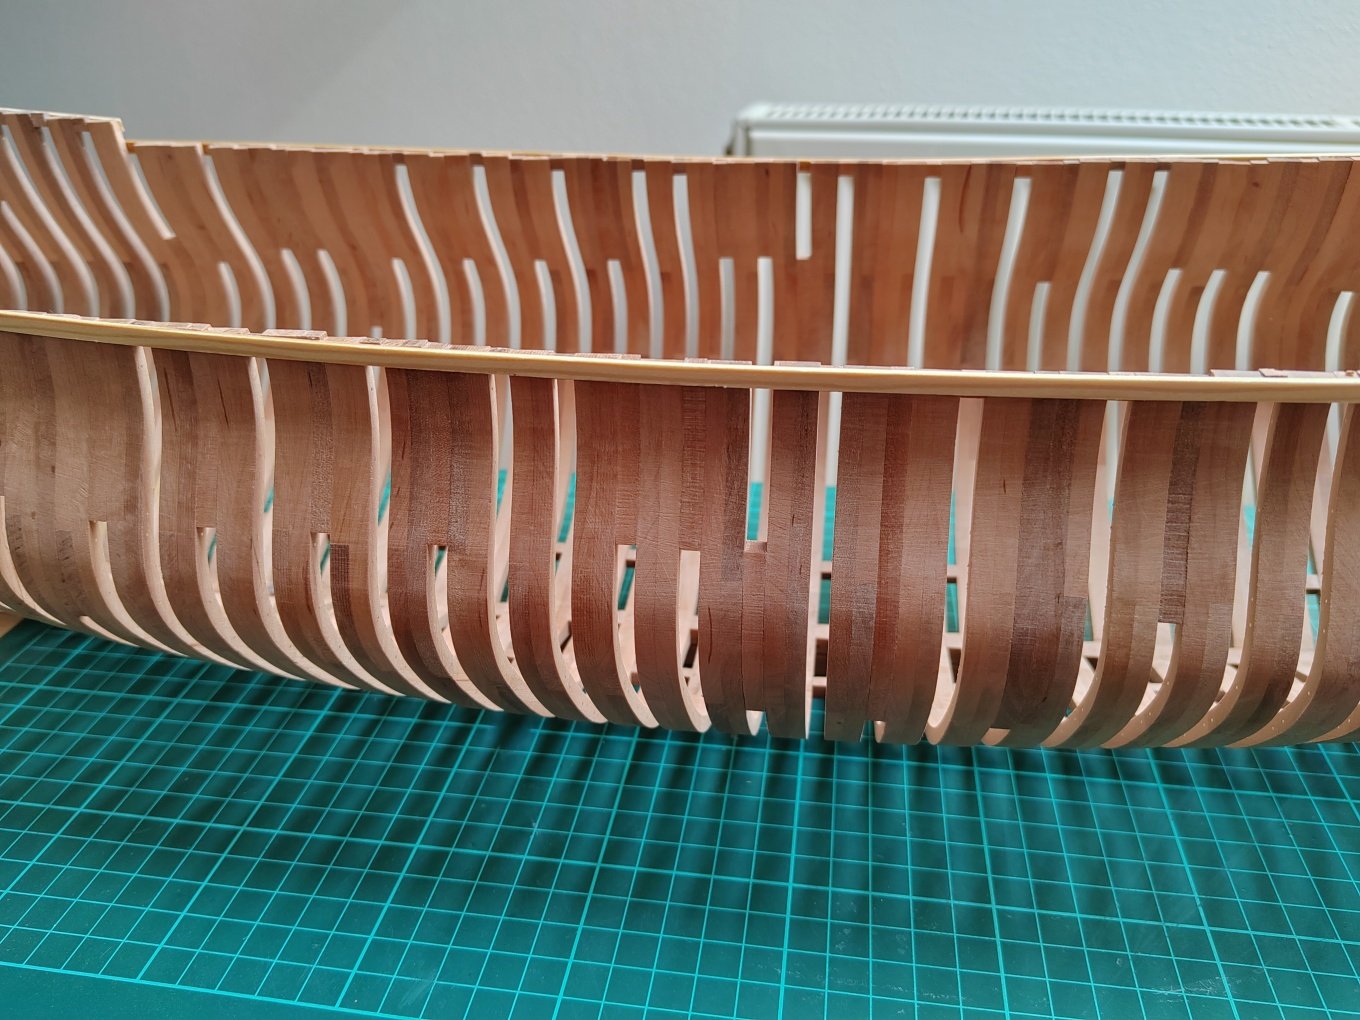
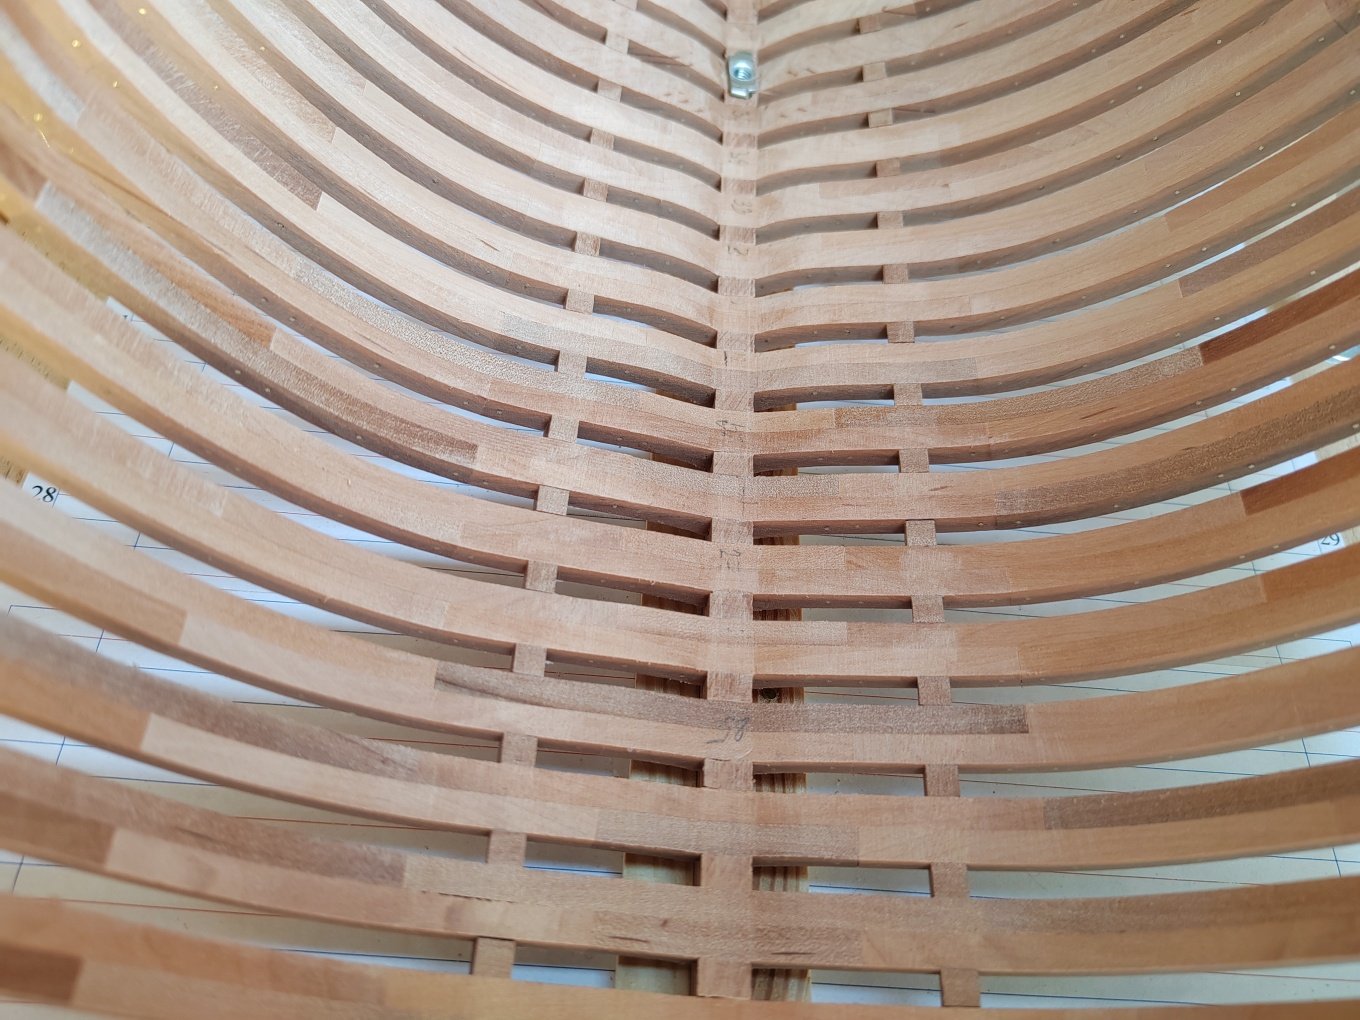
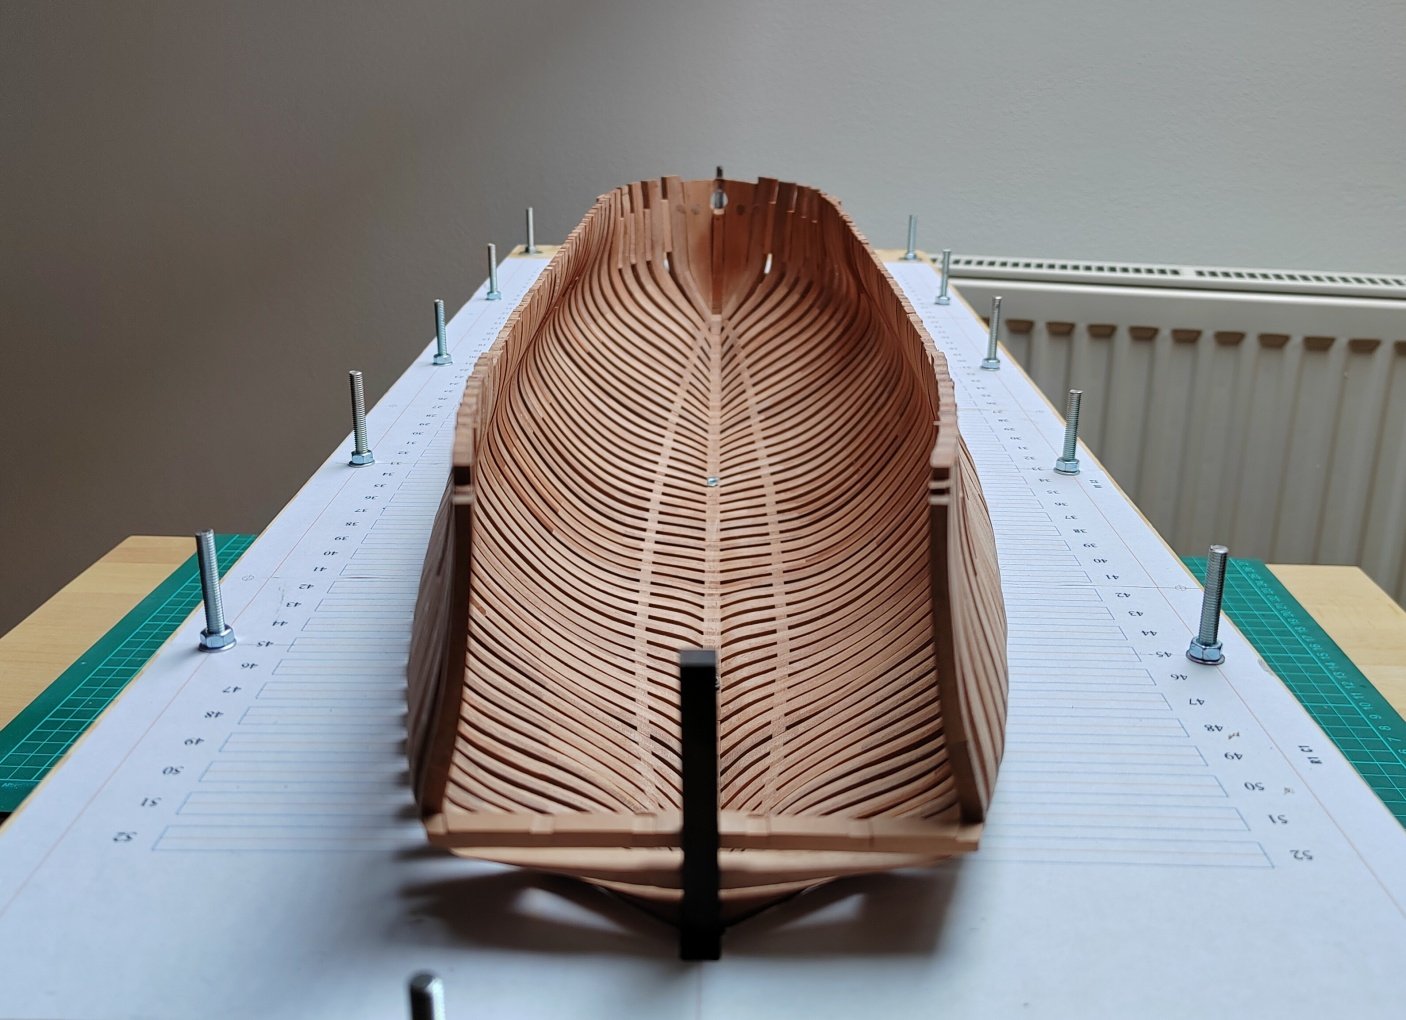
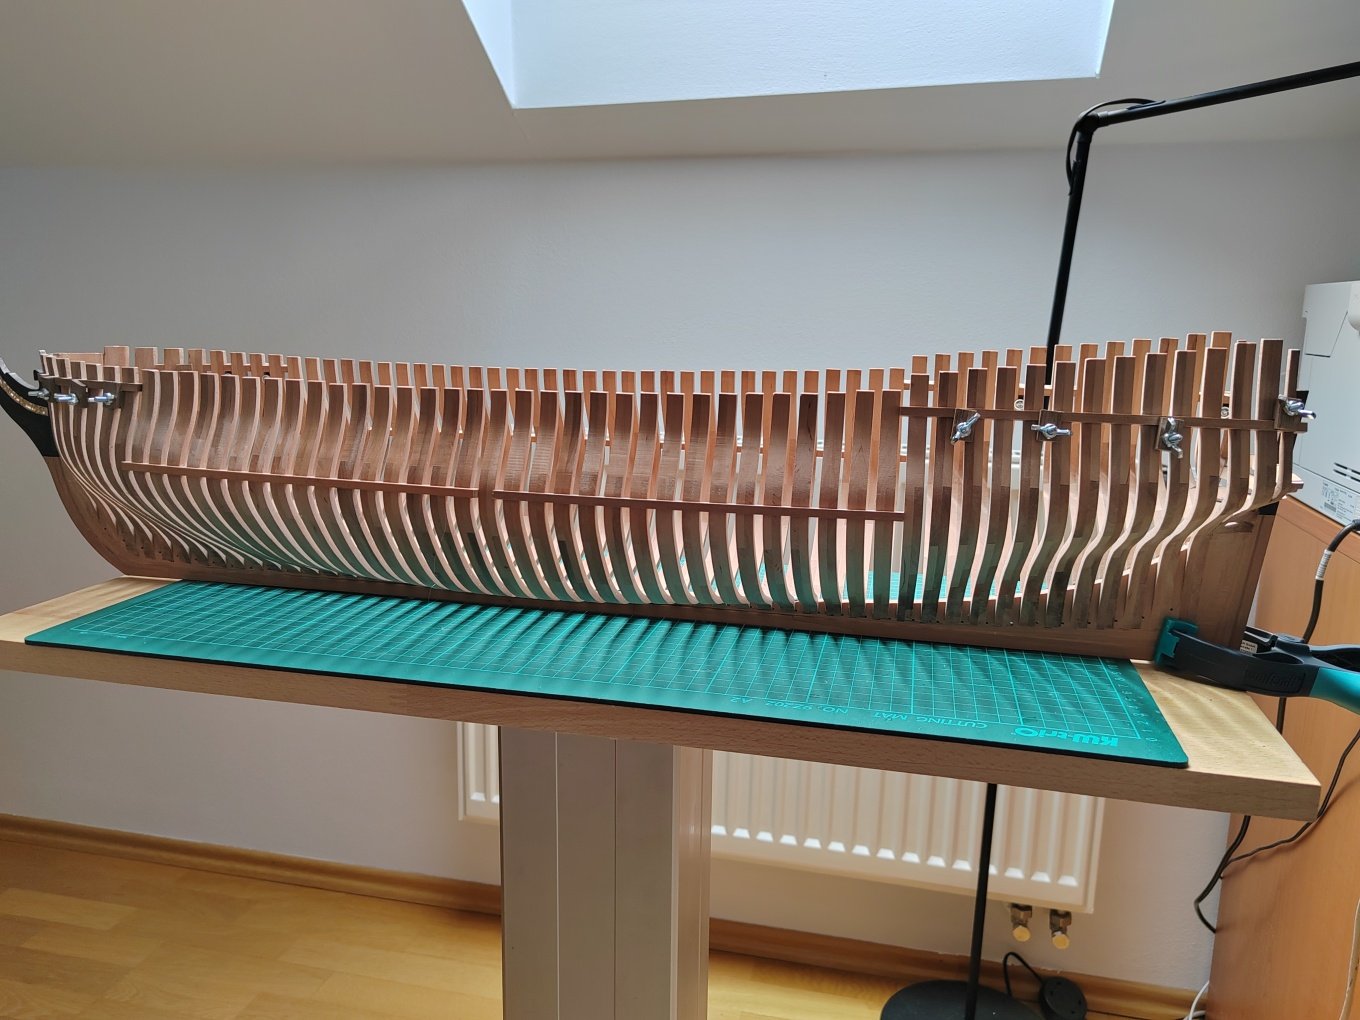
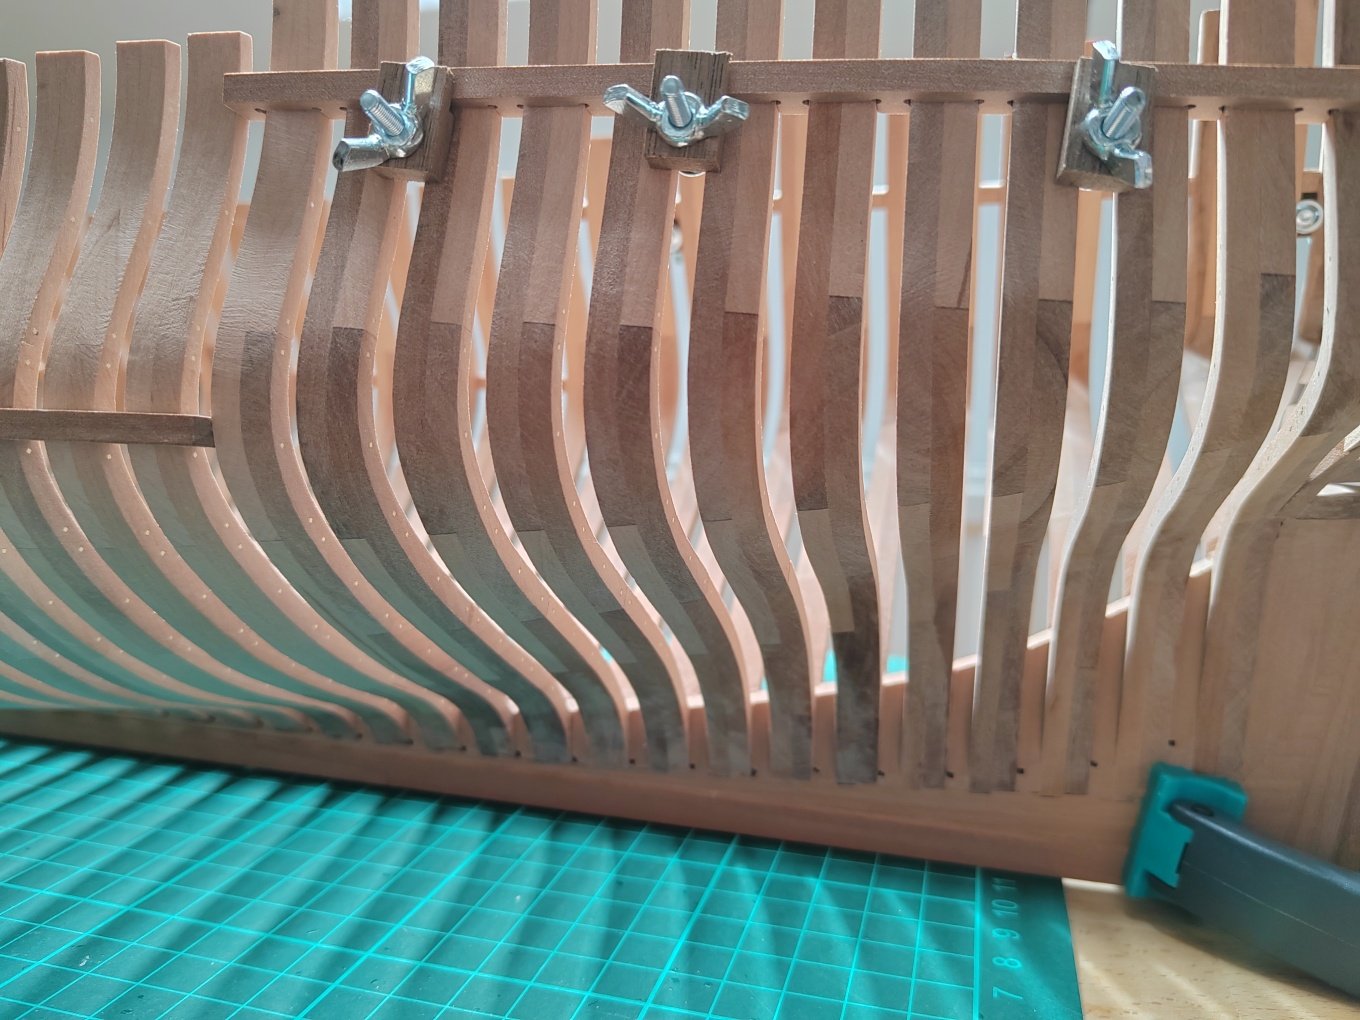
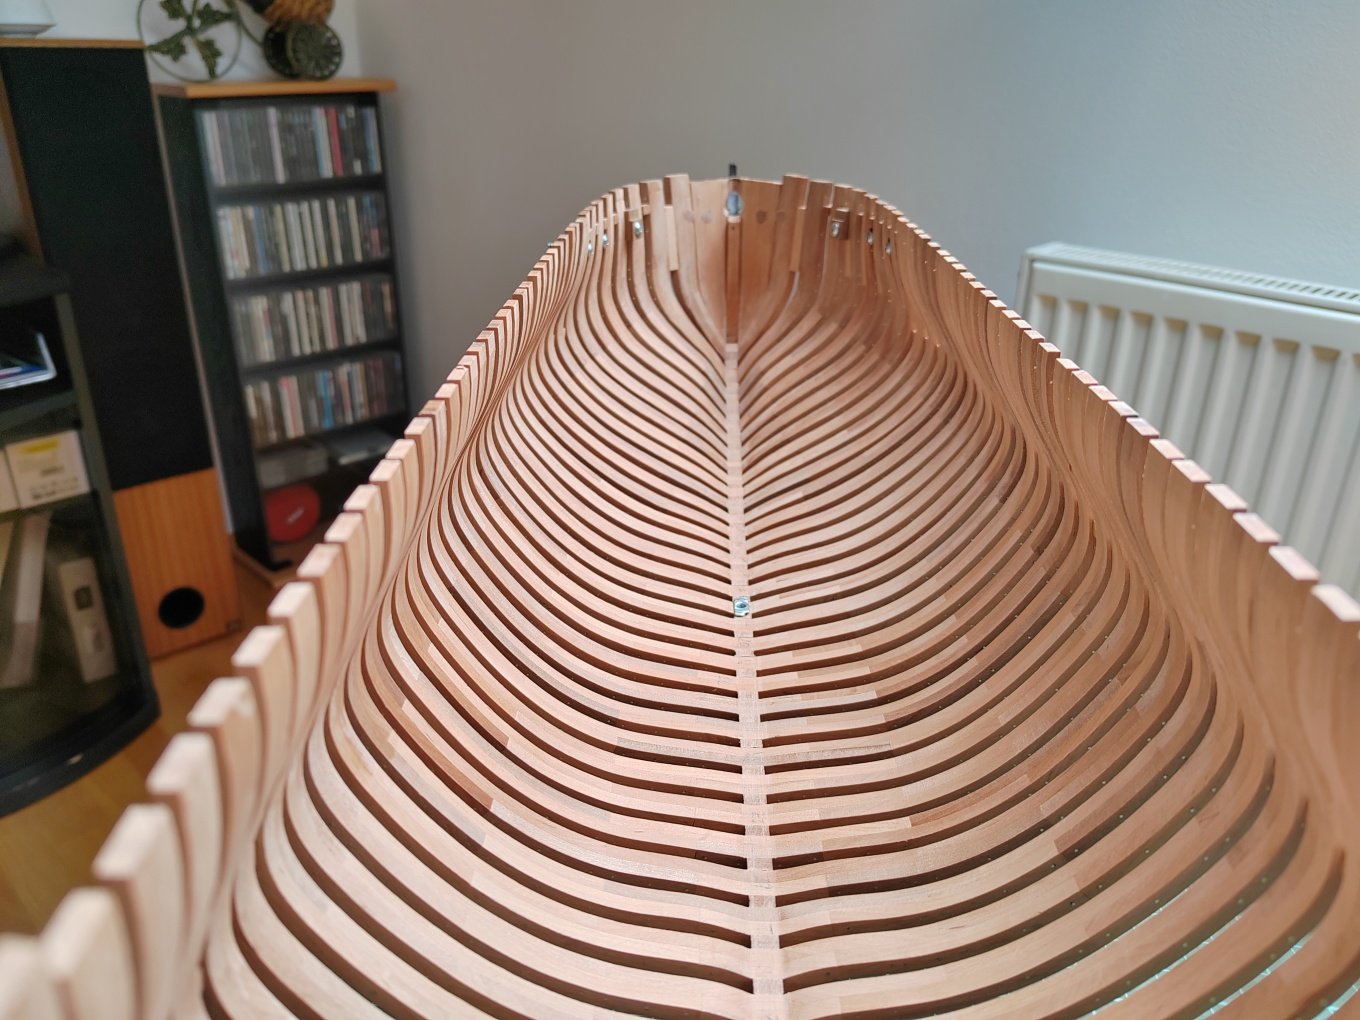
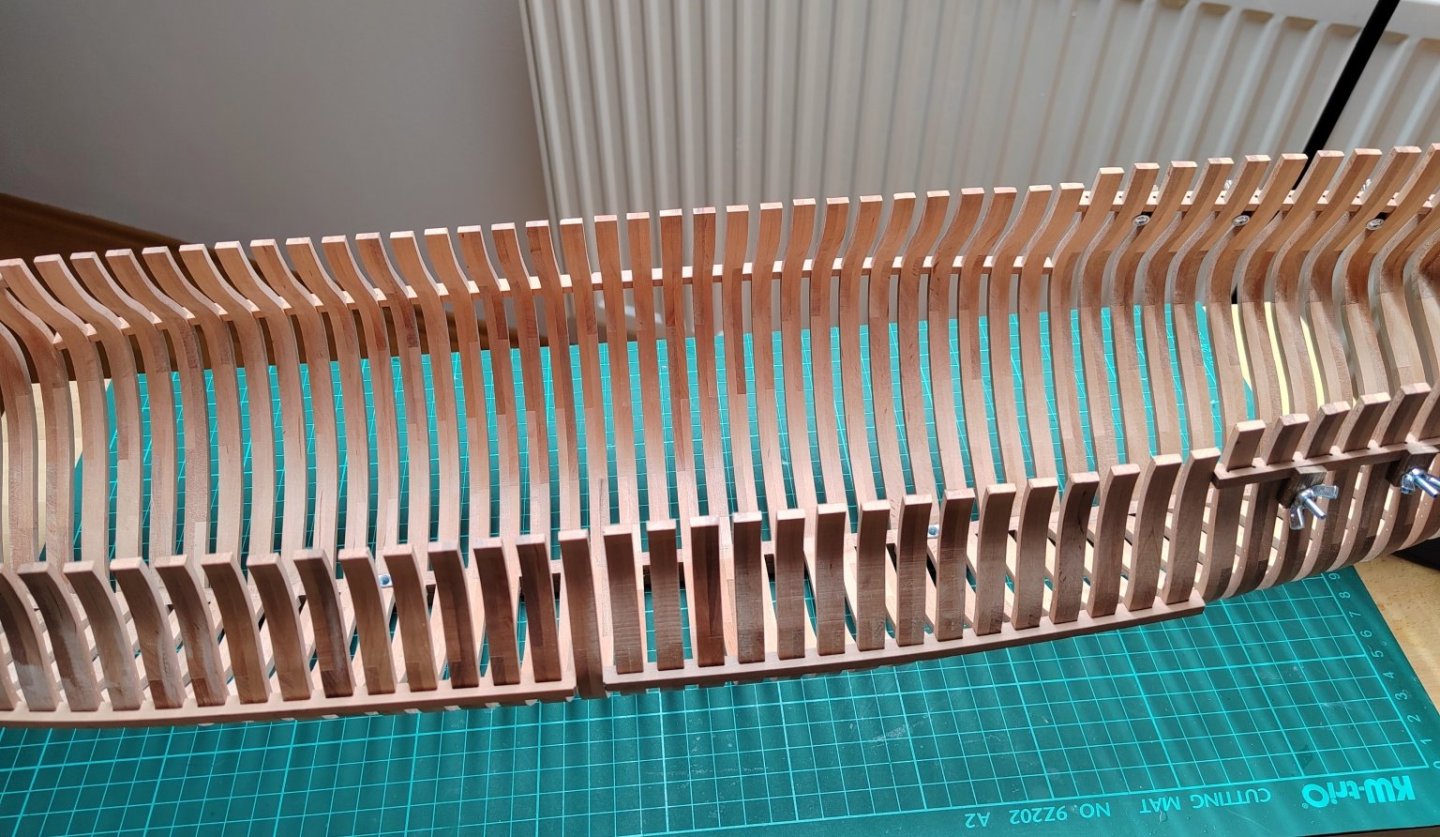
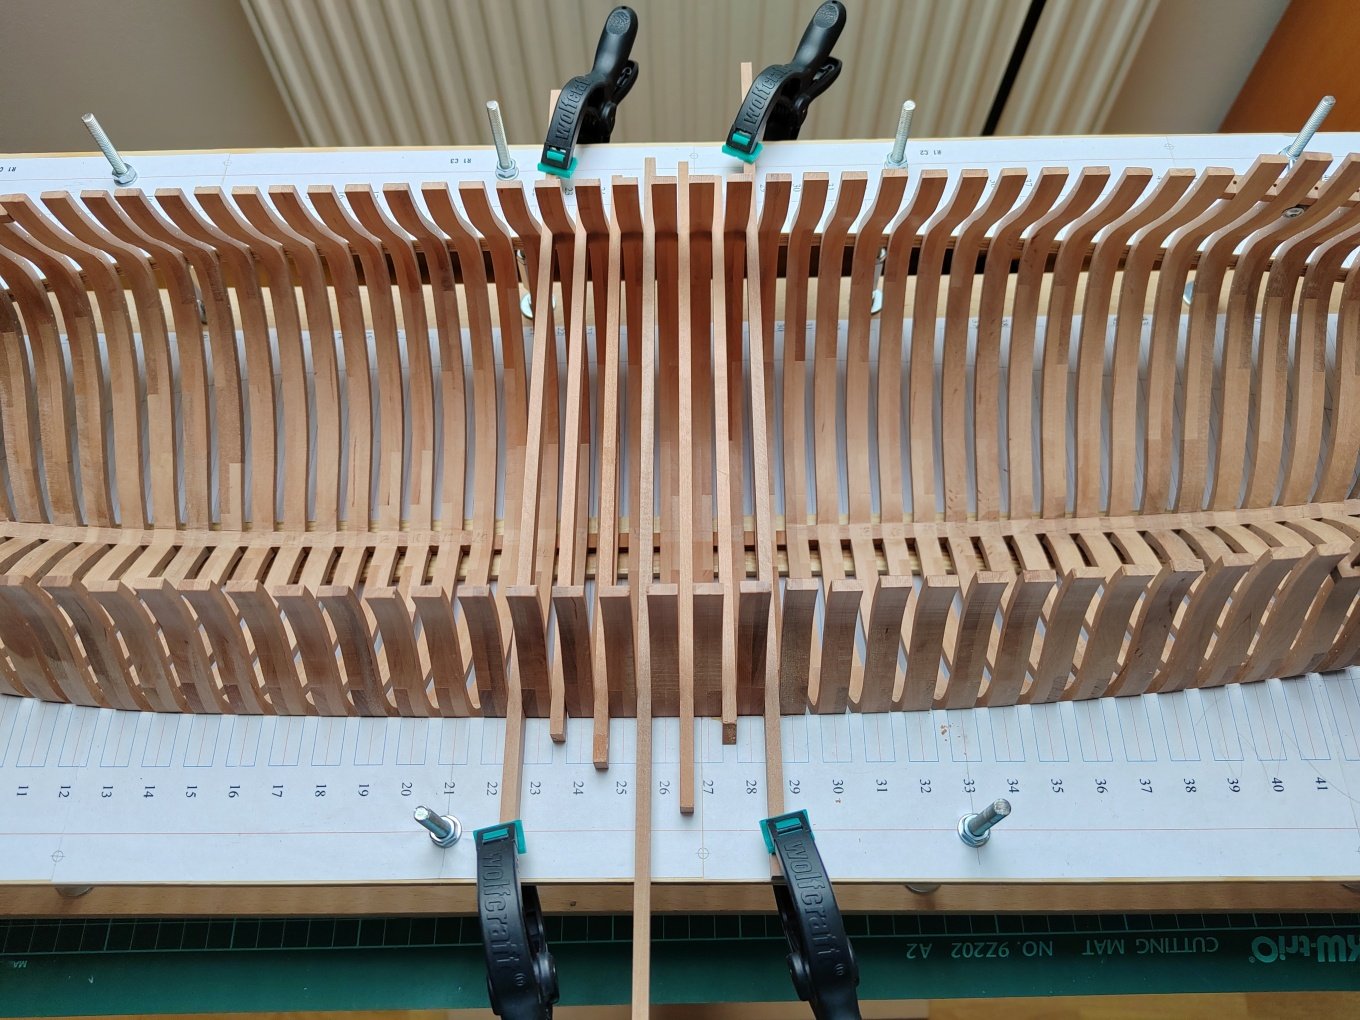
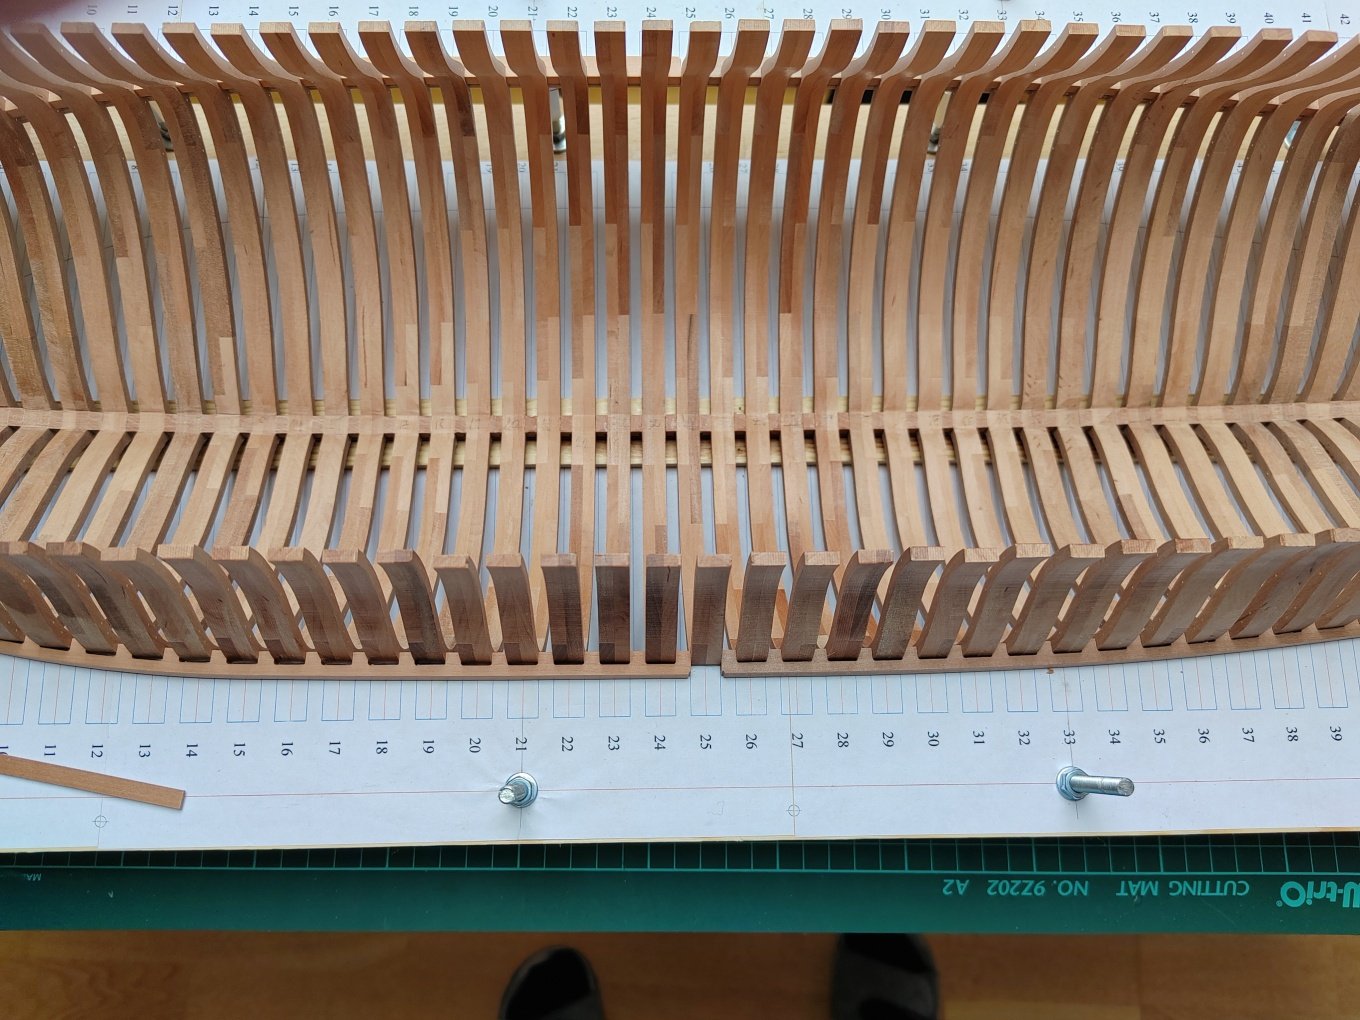
To Hubac´s Historian: Thank you for nice comment, but be careful, we're just at the beginning (that was a joke ). The most beveled frames are done, the frames in the middle part don't have as much beveling anymore so it went a little faster.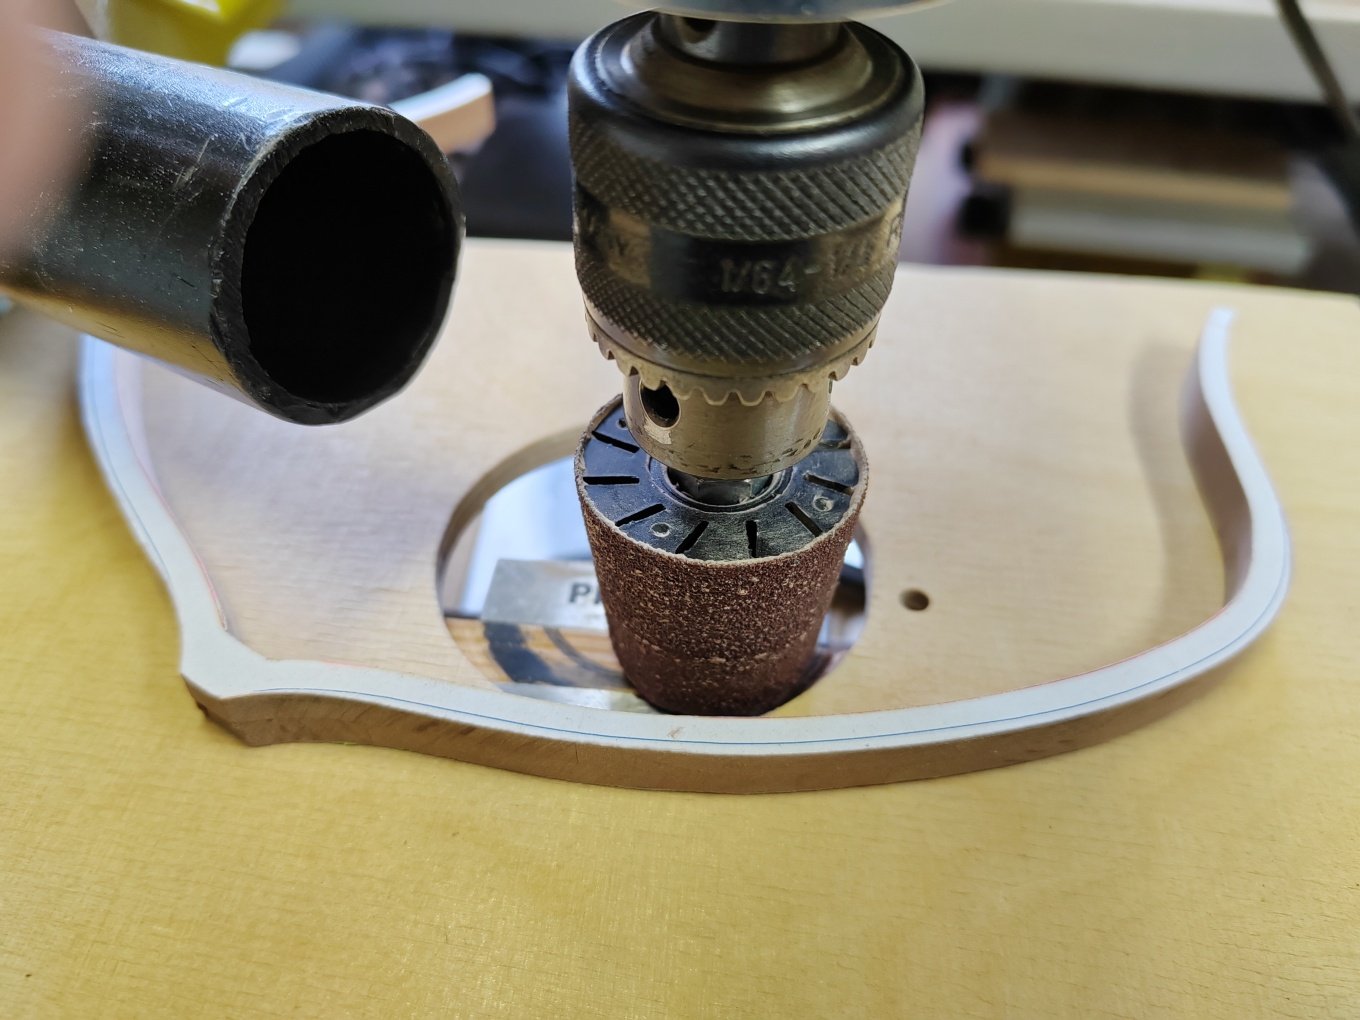


-
L'Amarante by marsalv - 1:36 - POF
marsalv replied to marsalv's topic in - Build logs for subjects built 1501 - 1750
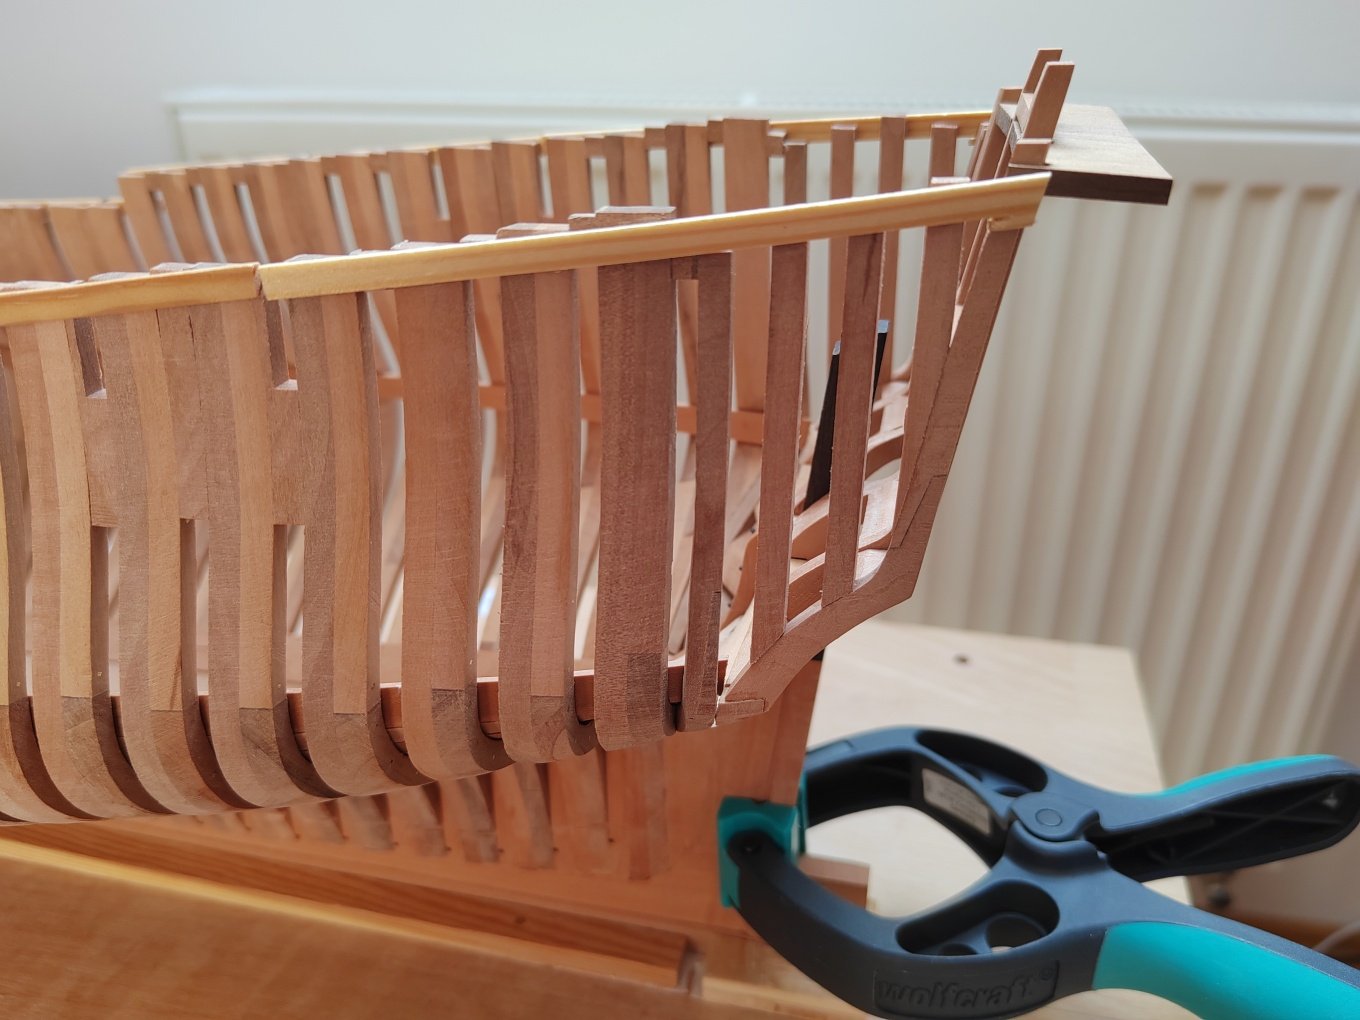
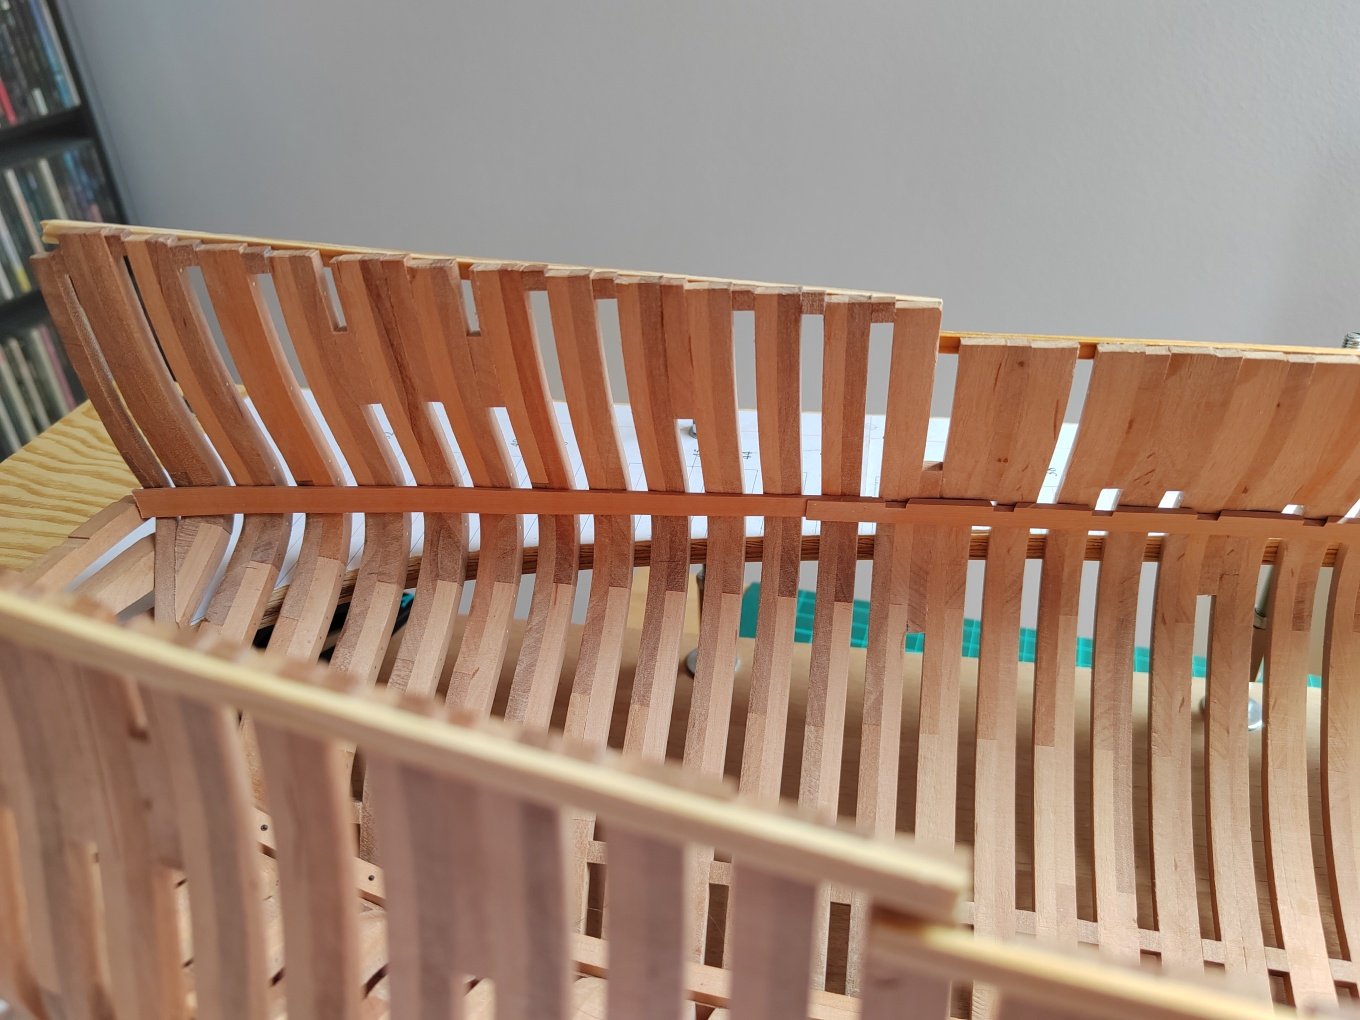
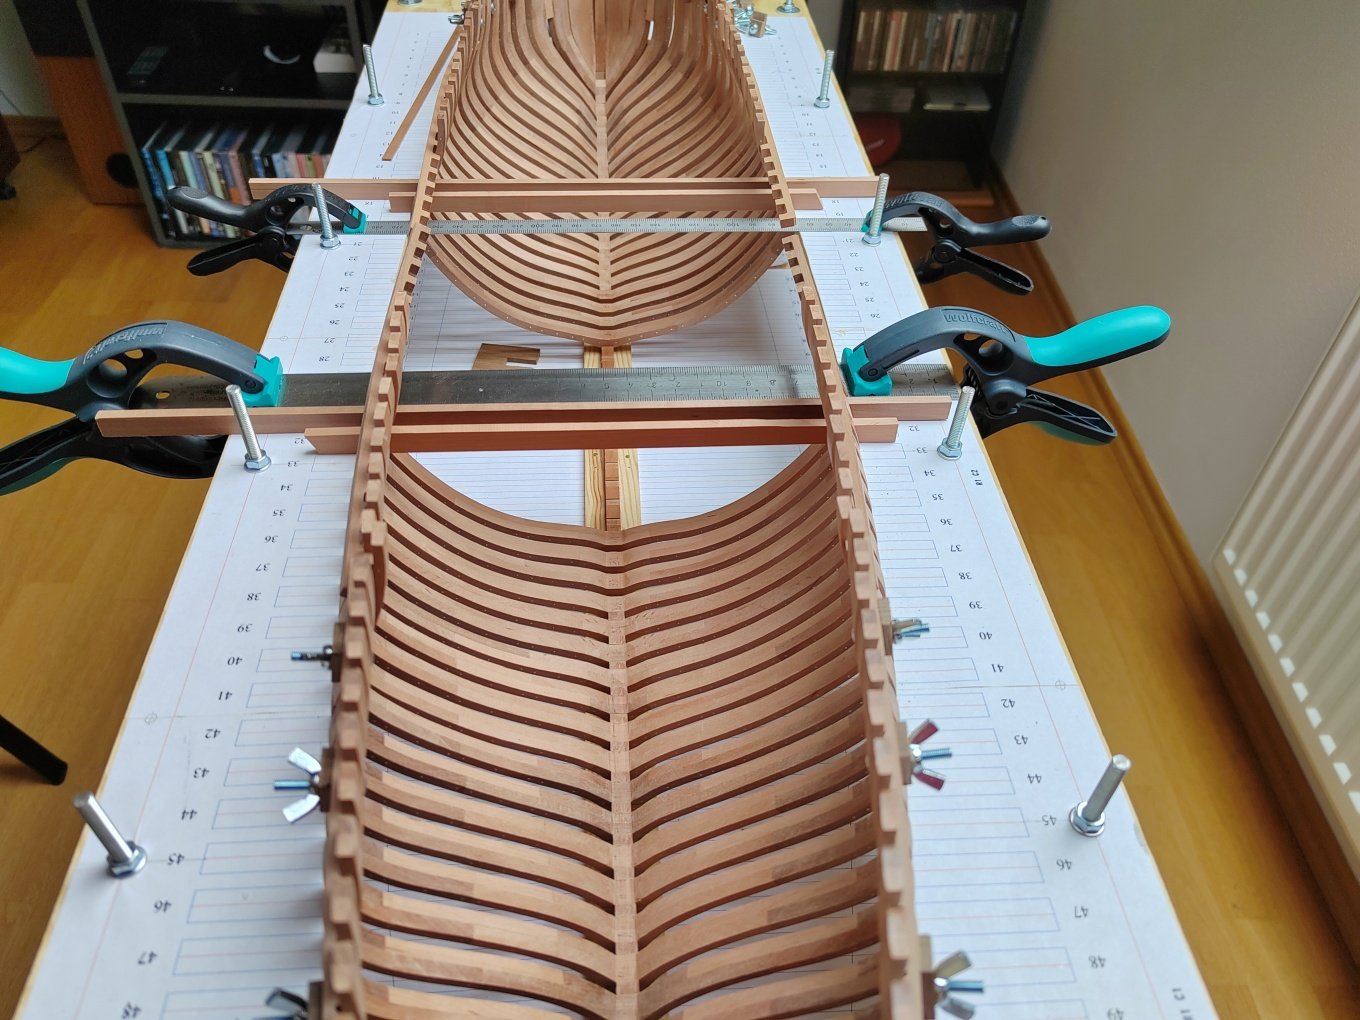
I decided to finish and fit the frames in the front and back of the model first - these frames require more beveling and I want to get this done as soon as possible.


-
L'Amarante by marsalv - 1:36 - POF
marsalv replied to marsalv's topic in - Build logs for subjects built 1501 - 1750
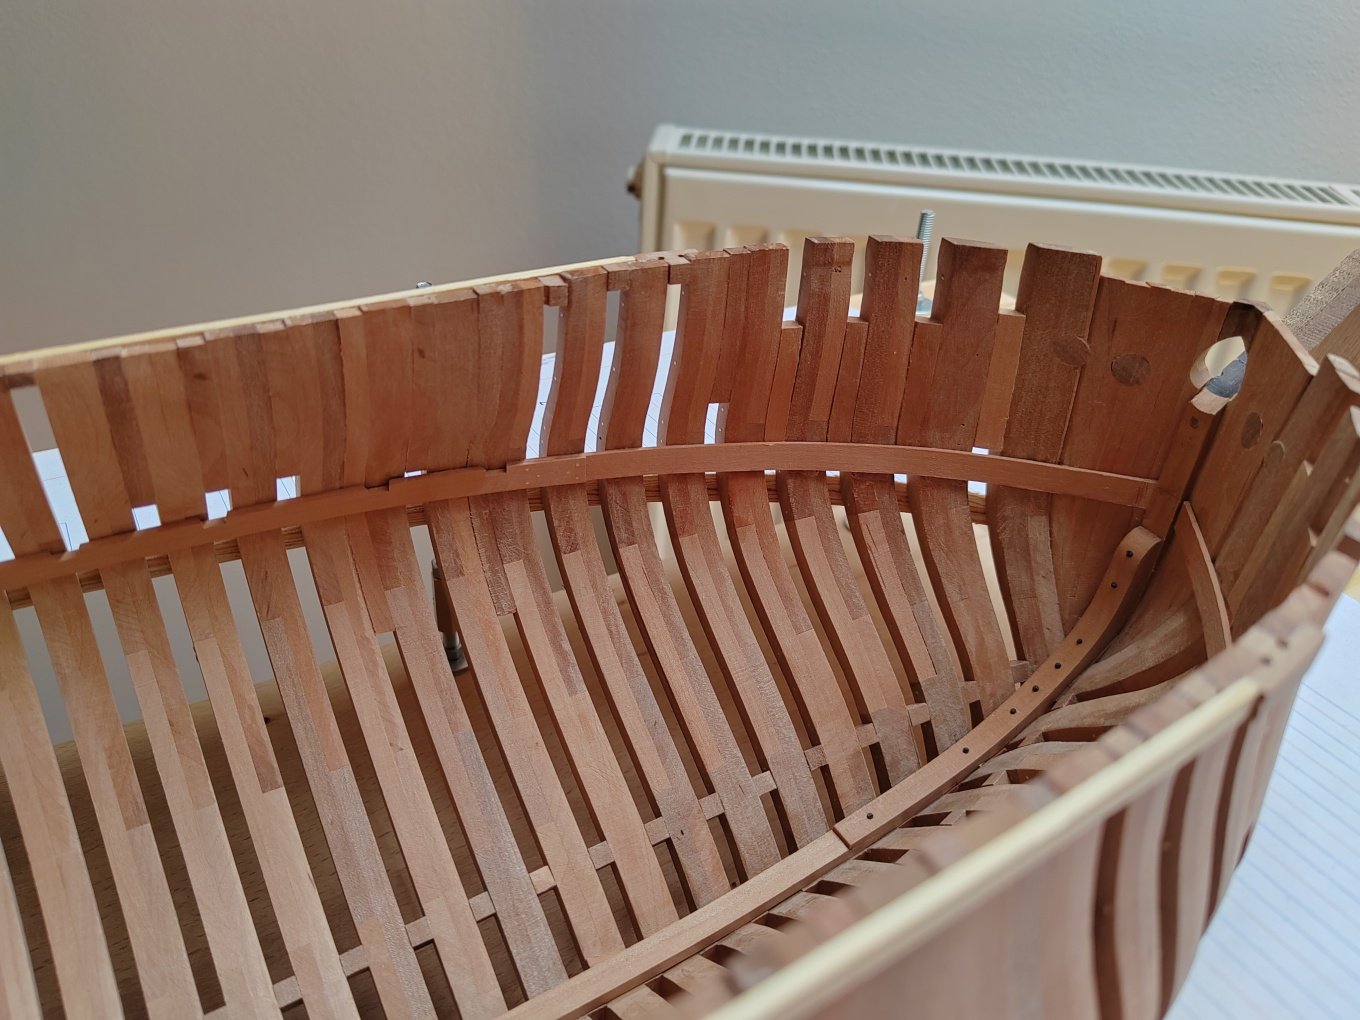
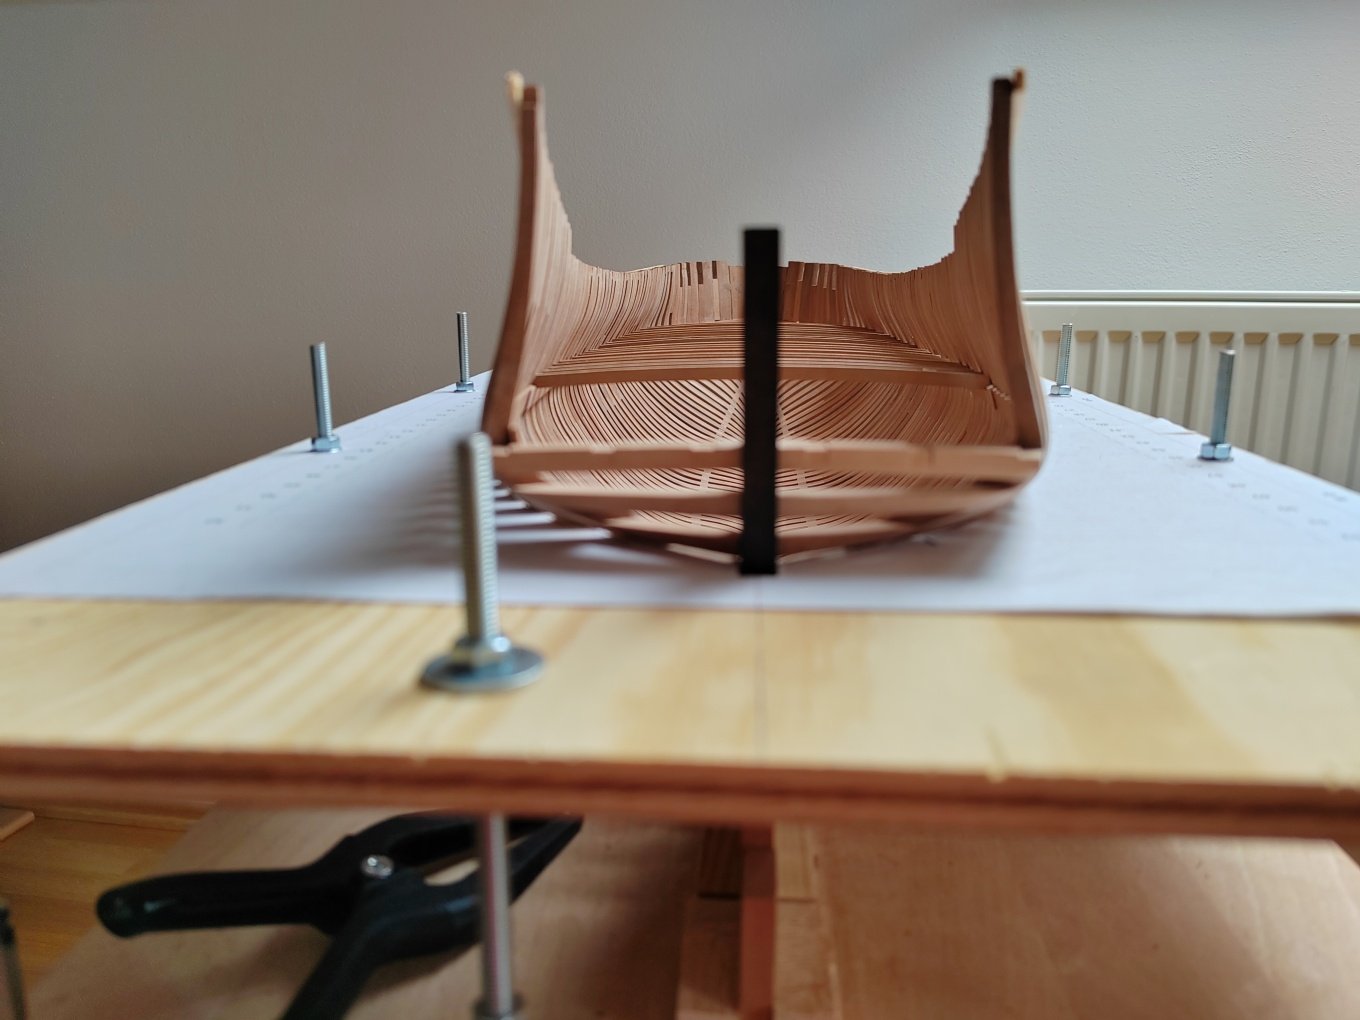
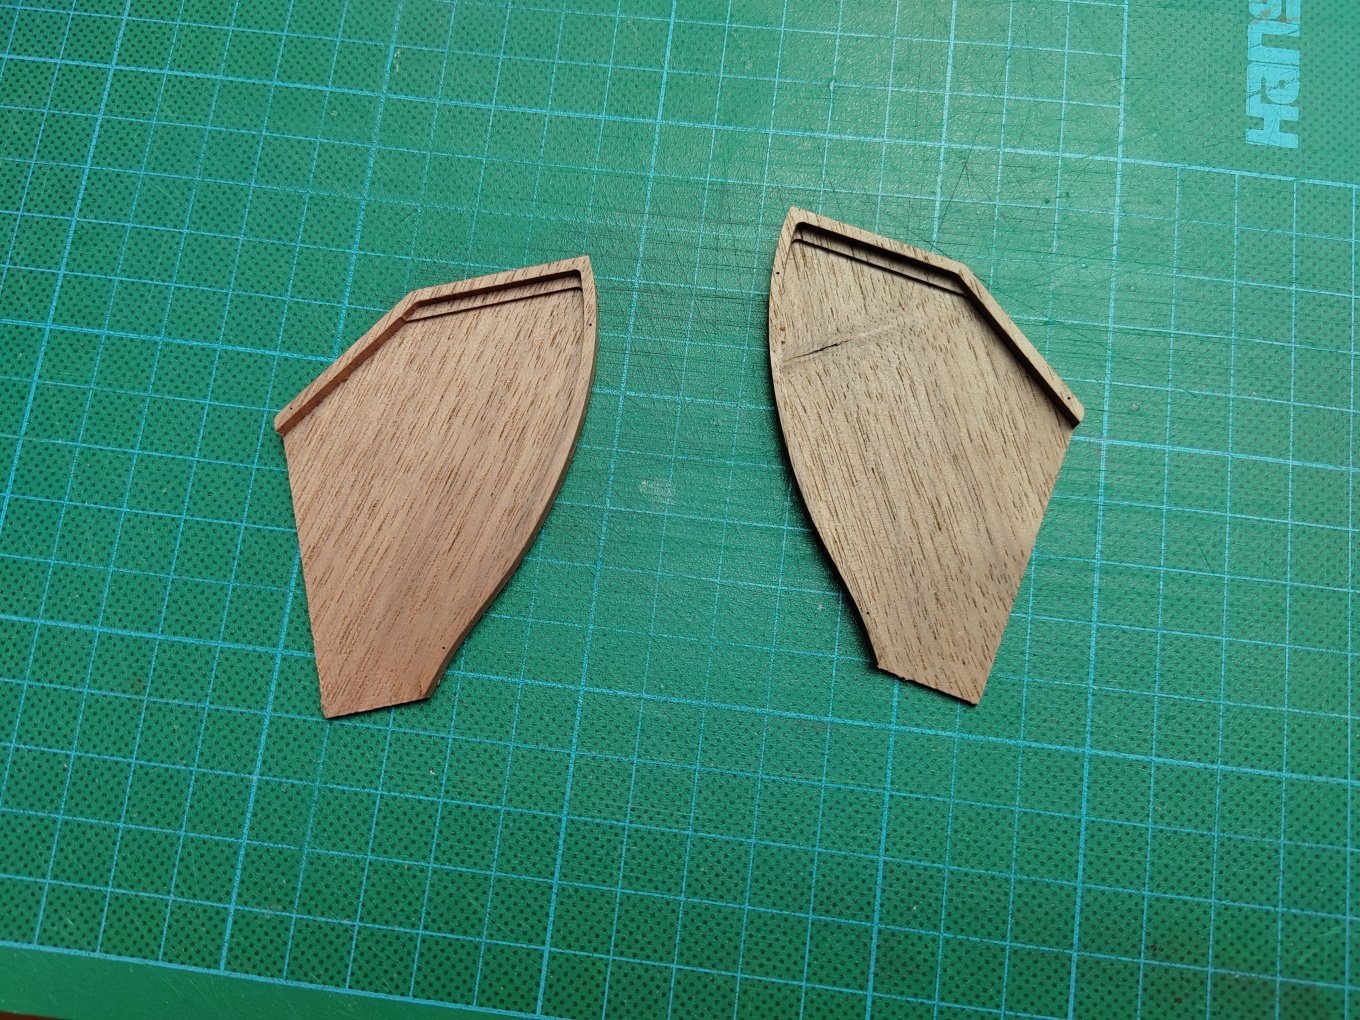
Frames on the stern.


-
L'Amarante by marsalv - 1:36 - POF
marsalv replied to marsalv's topic in - Build logs for subjects built 1501 - 1750
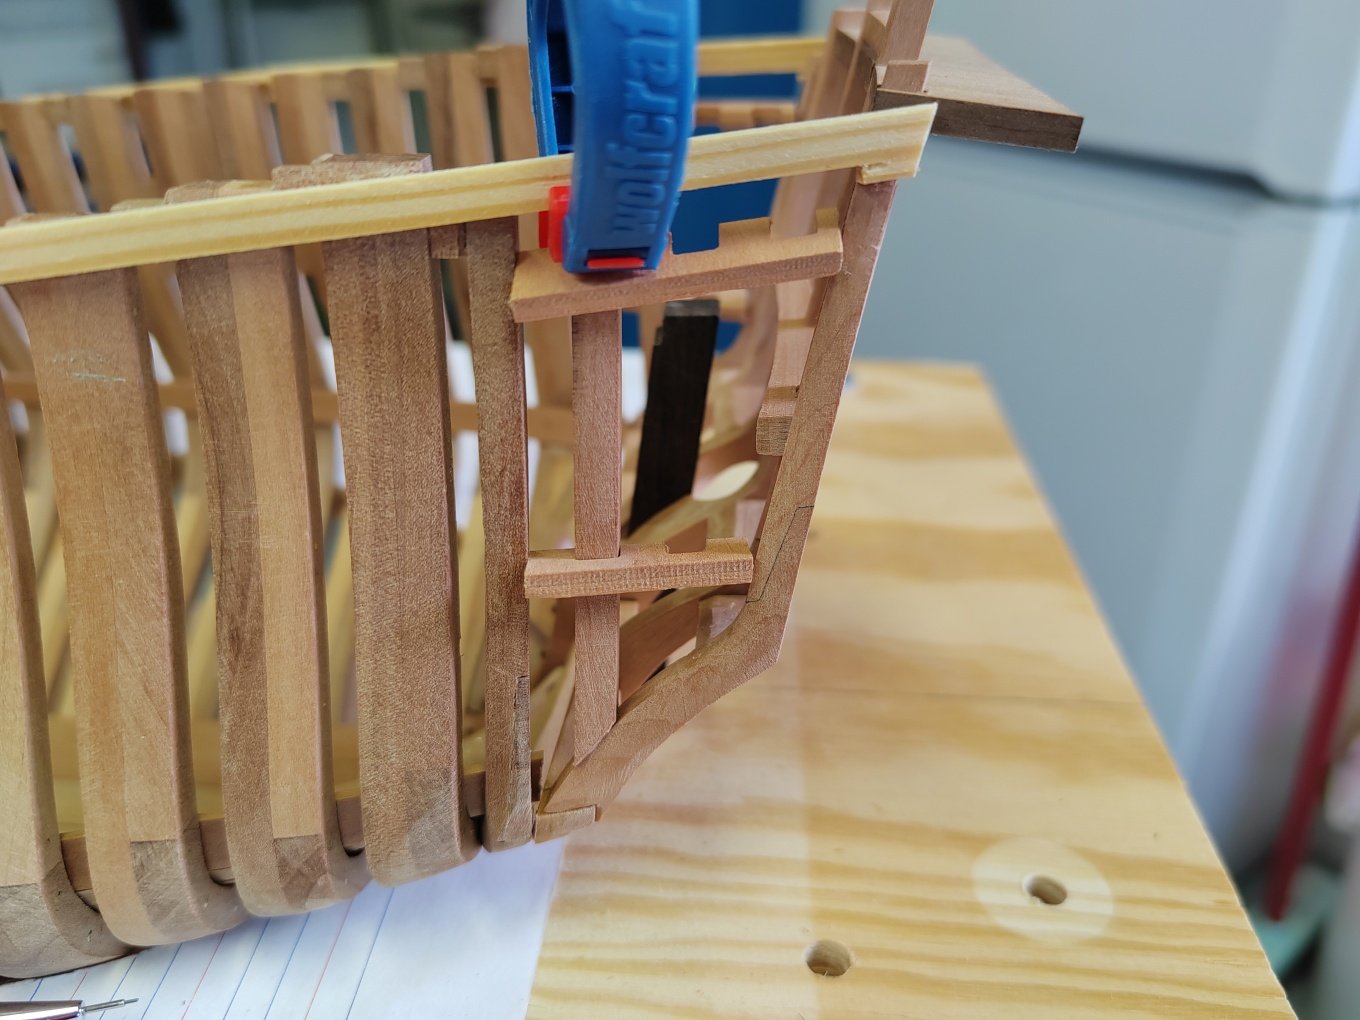
Making the hawse holes at this stage was a mistake, so I blinded them with a wooden plug and will drill them again after the planking. -
L'Amarante by marsalv - 1:36 - POF
marsalv replied to marsalv's topic in - Build logs for subjects built 1501 - 1750
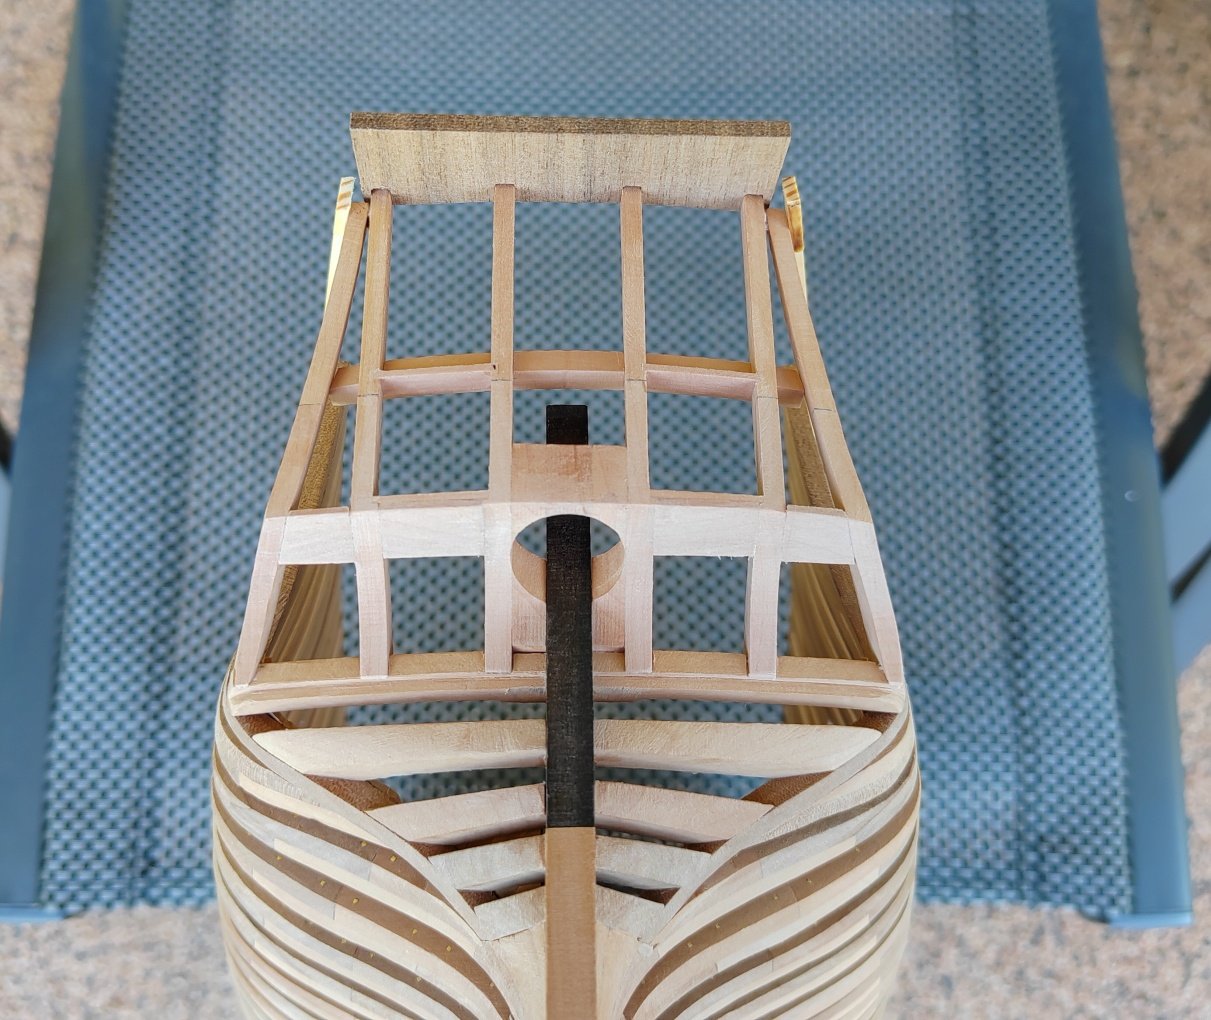
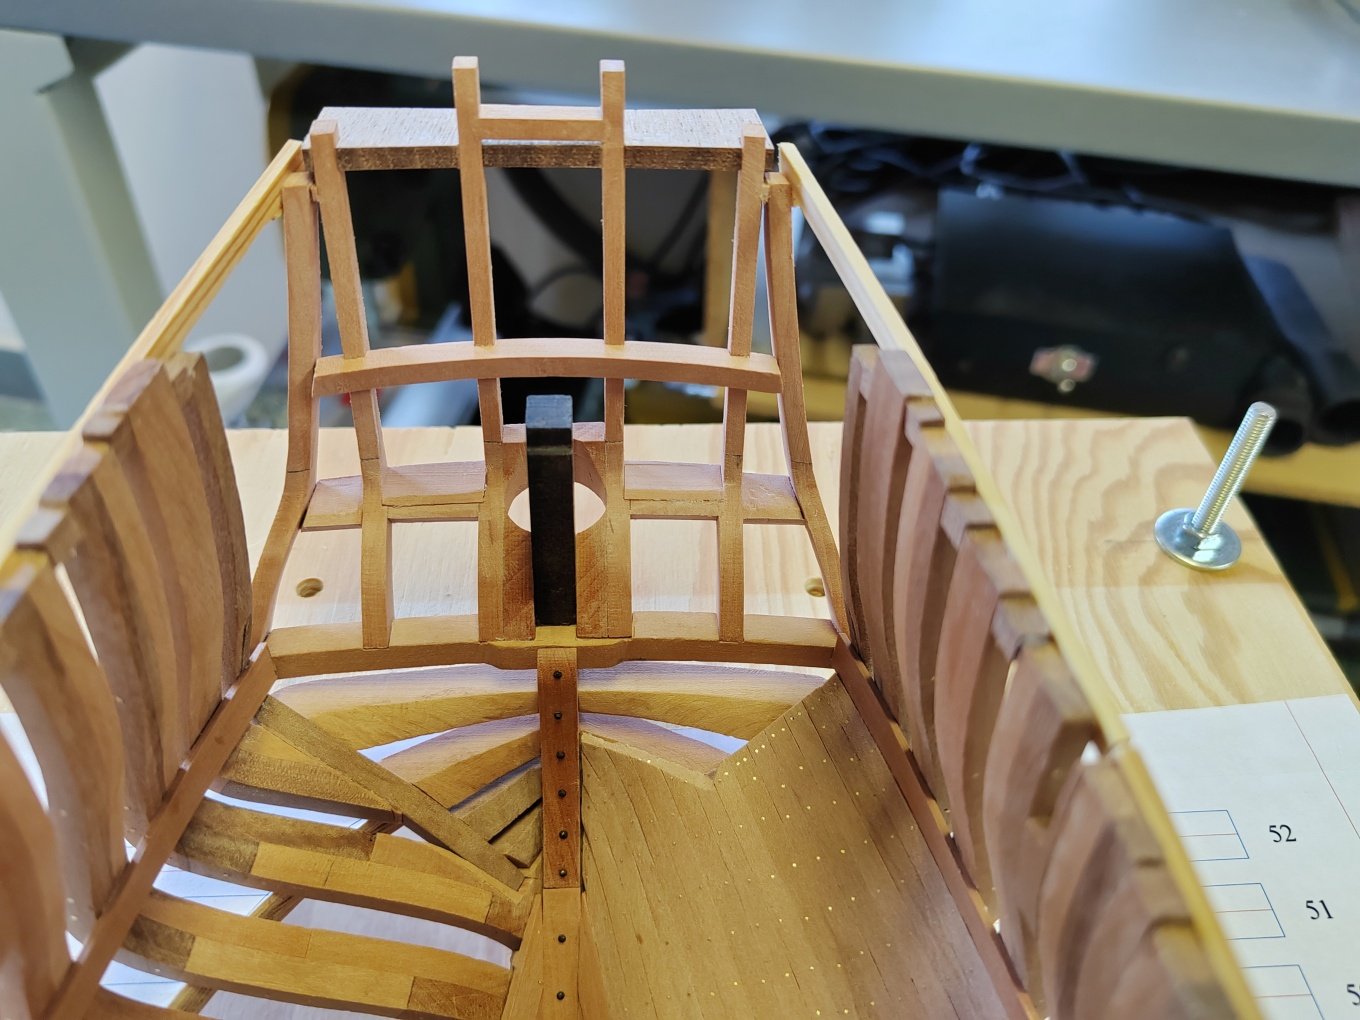
I continue to complete the bow.


-
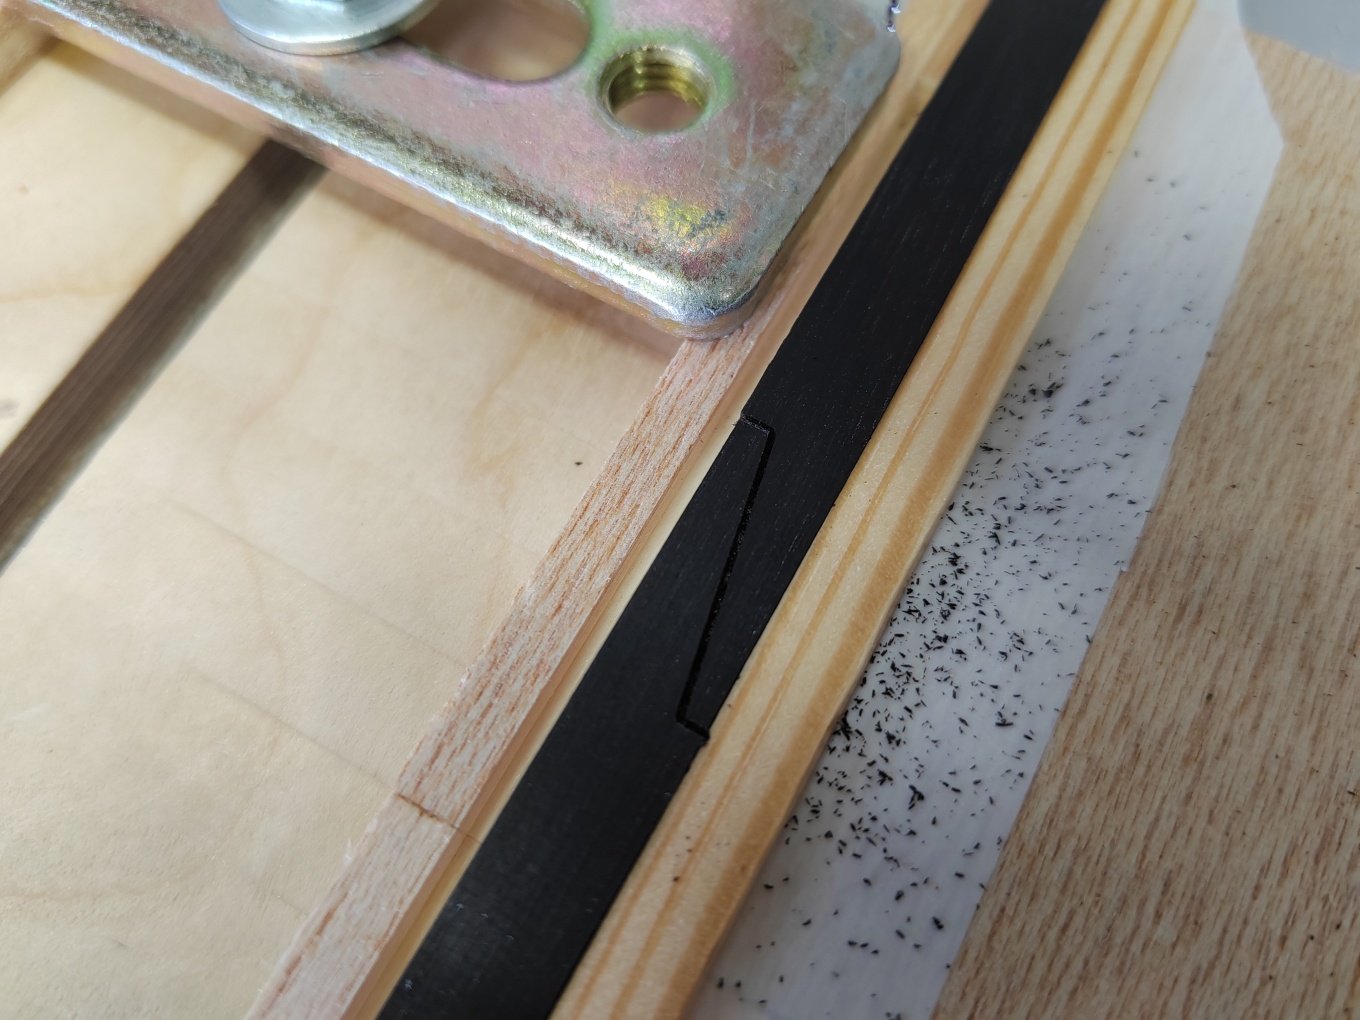
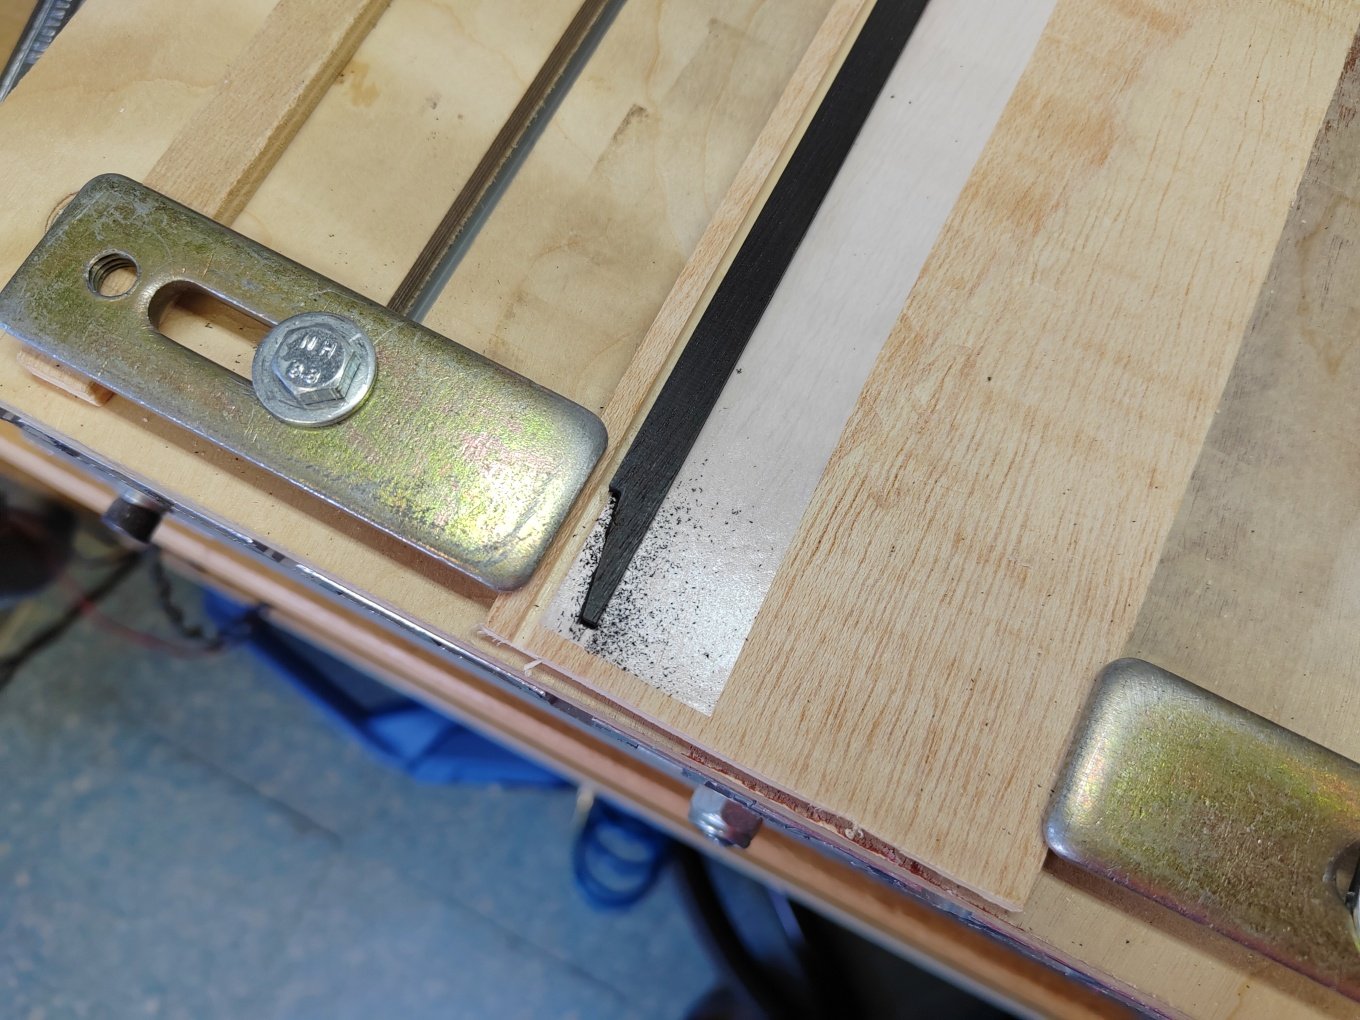
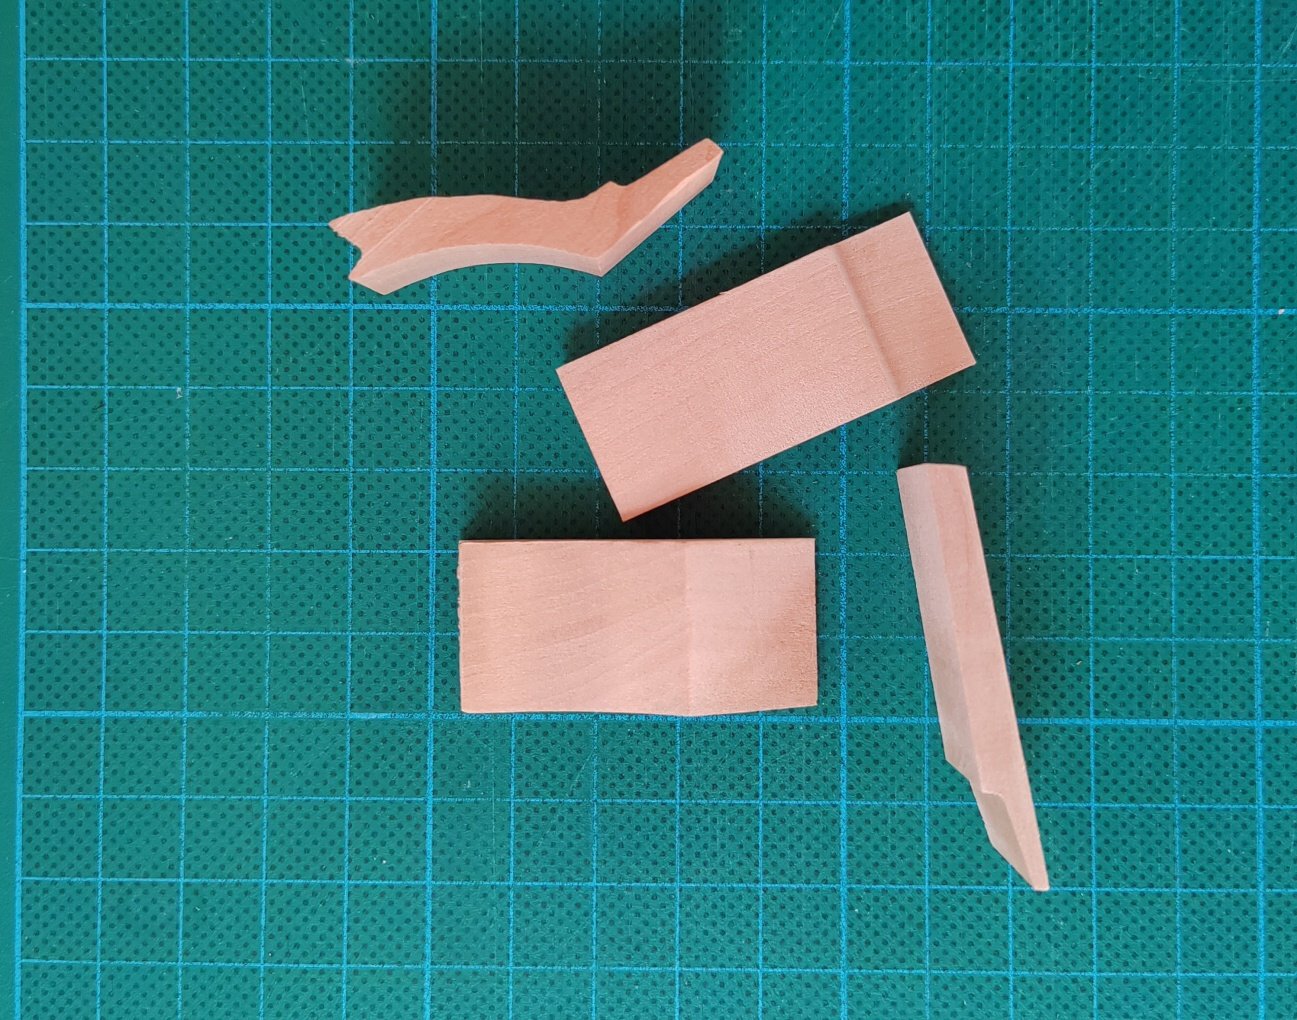
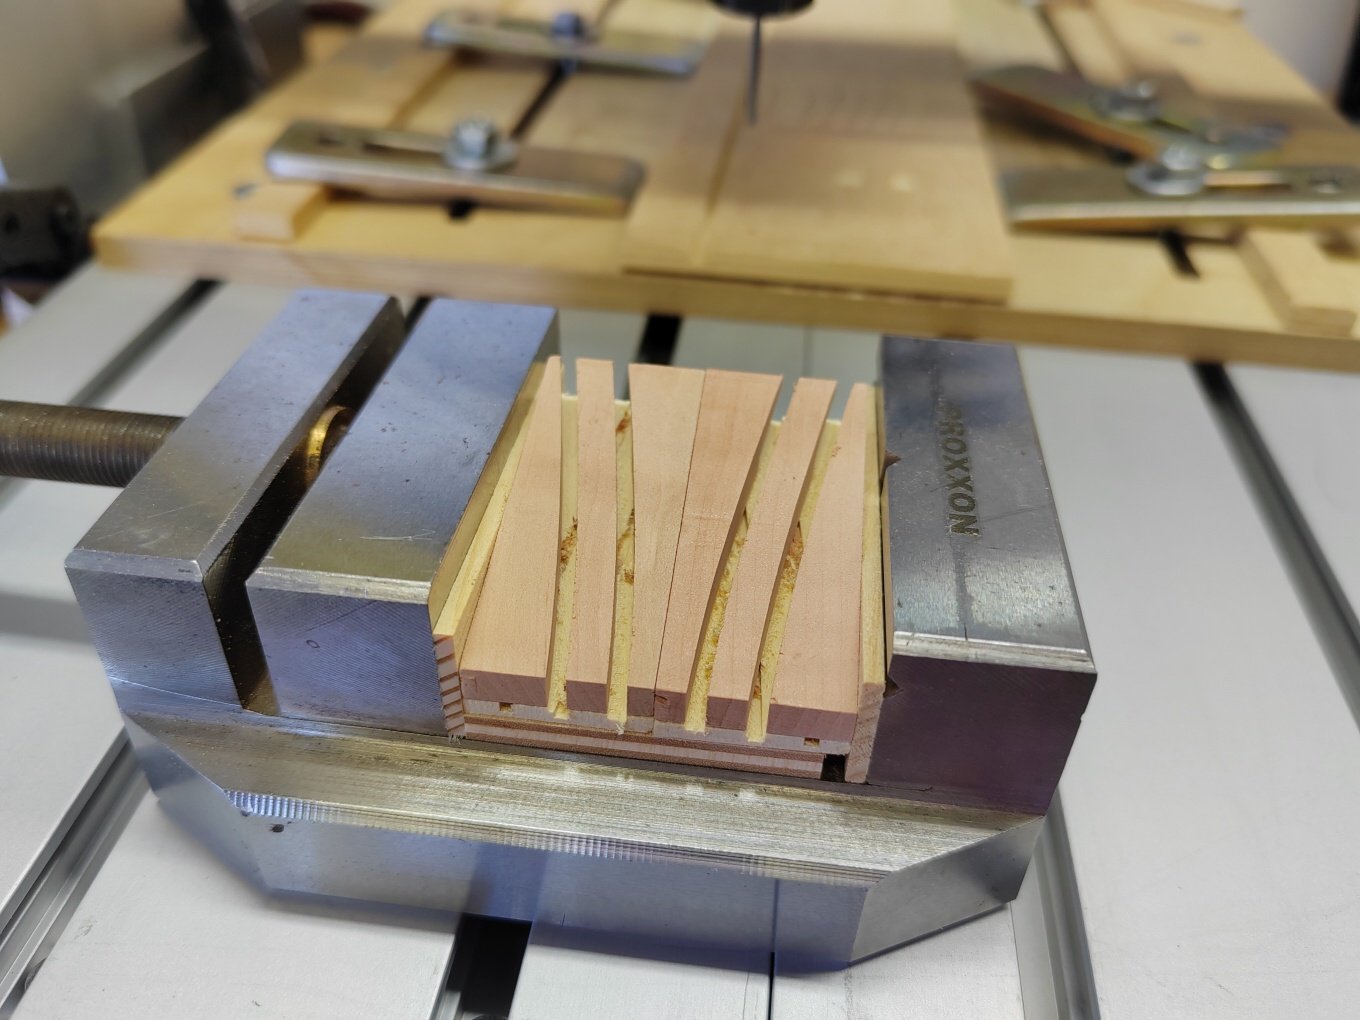
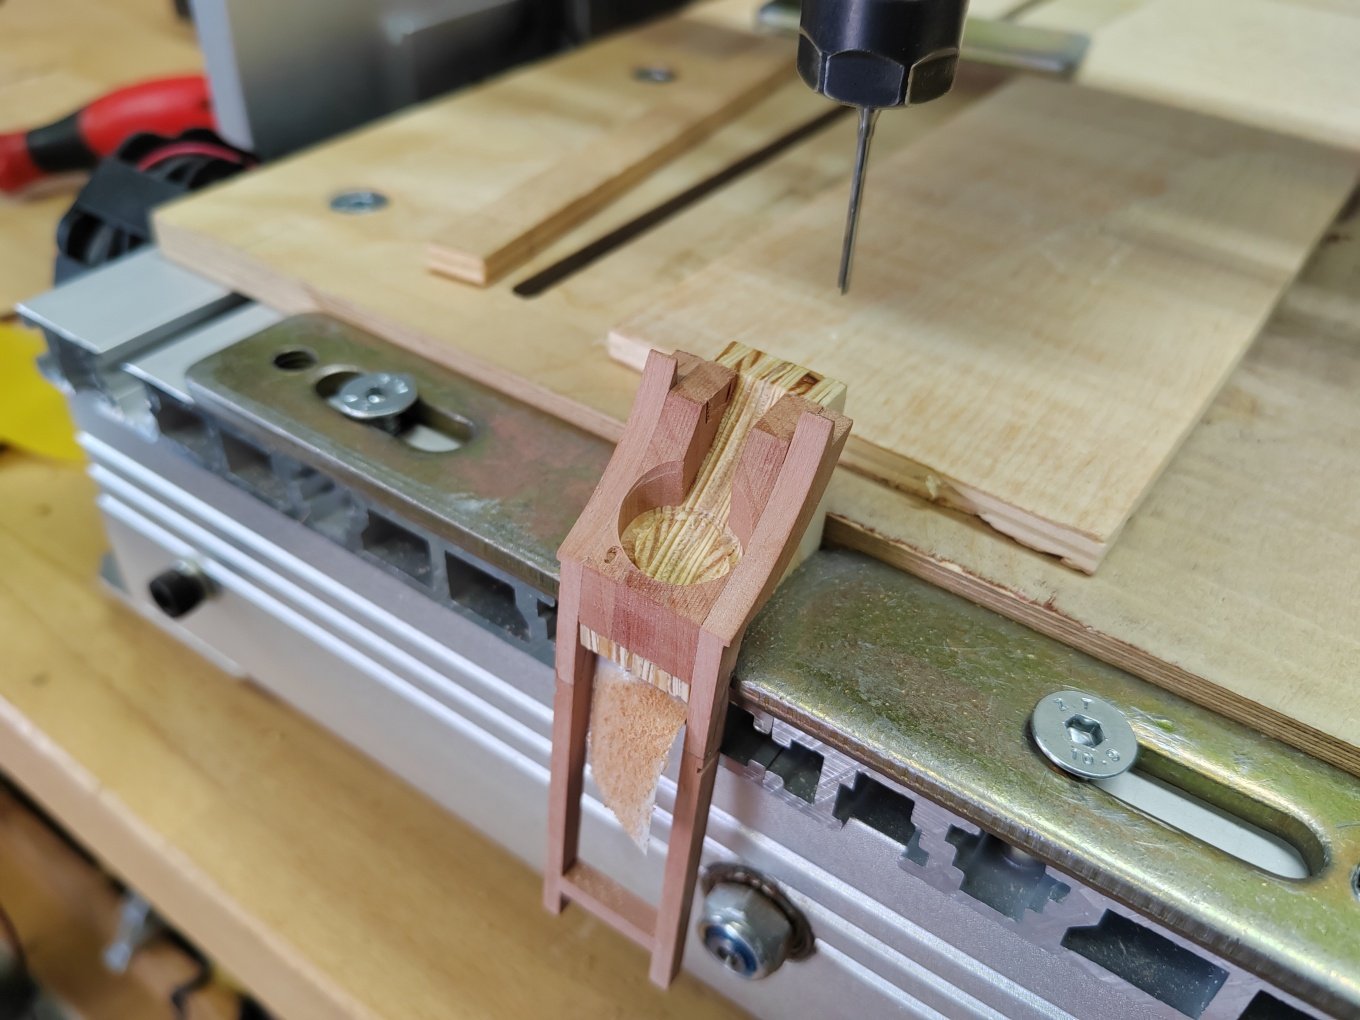
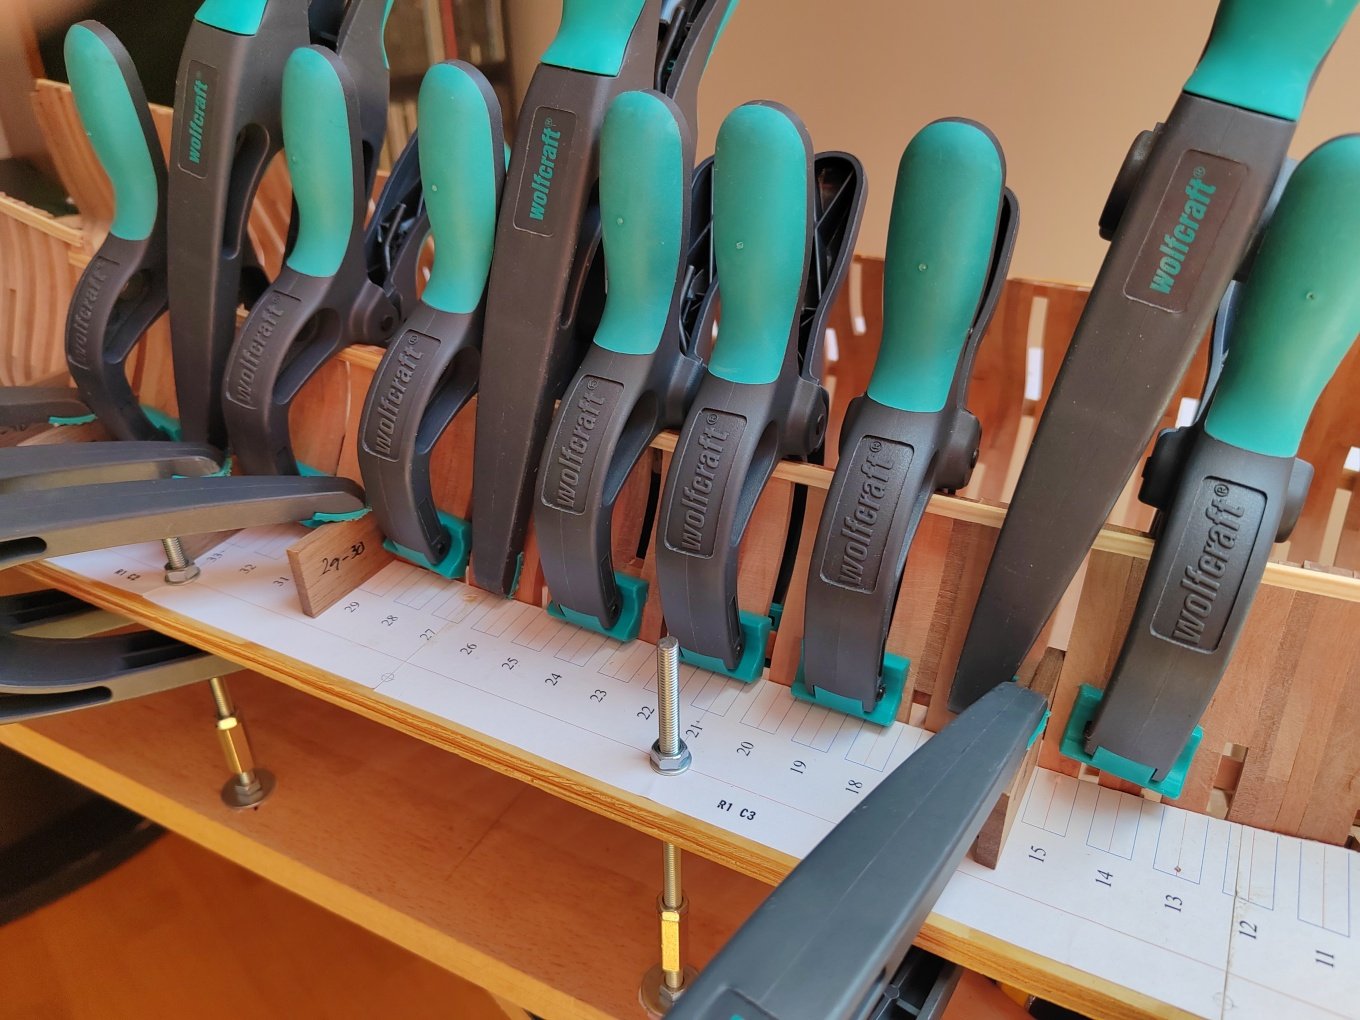
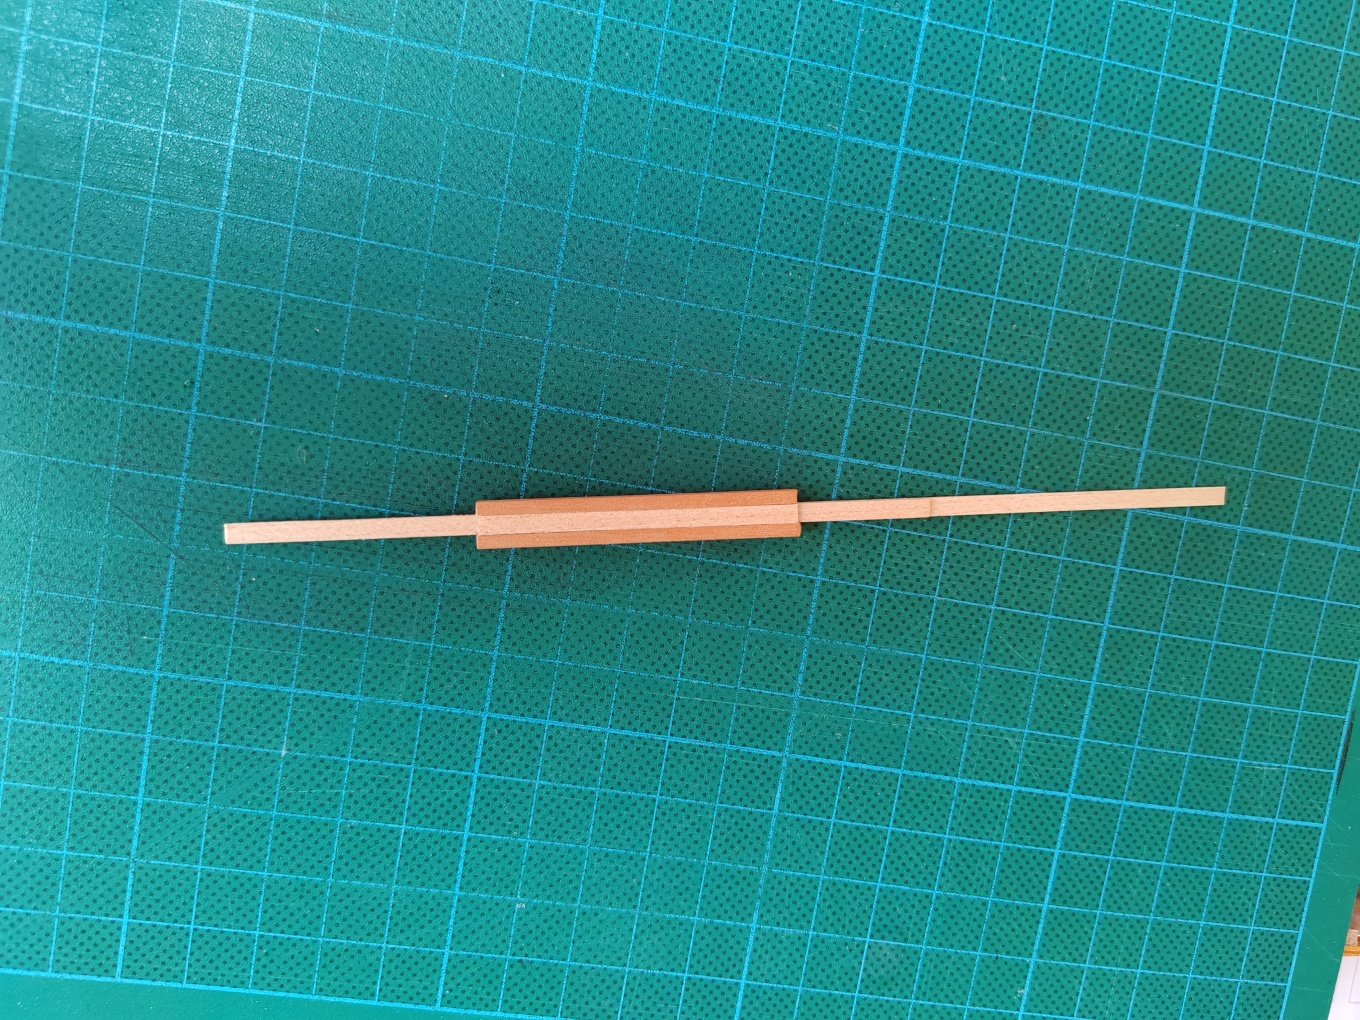
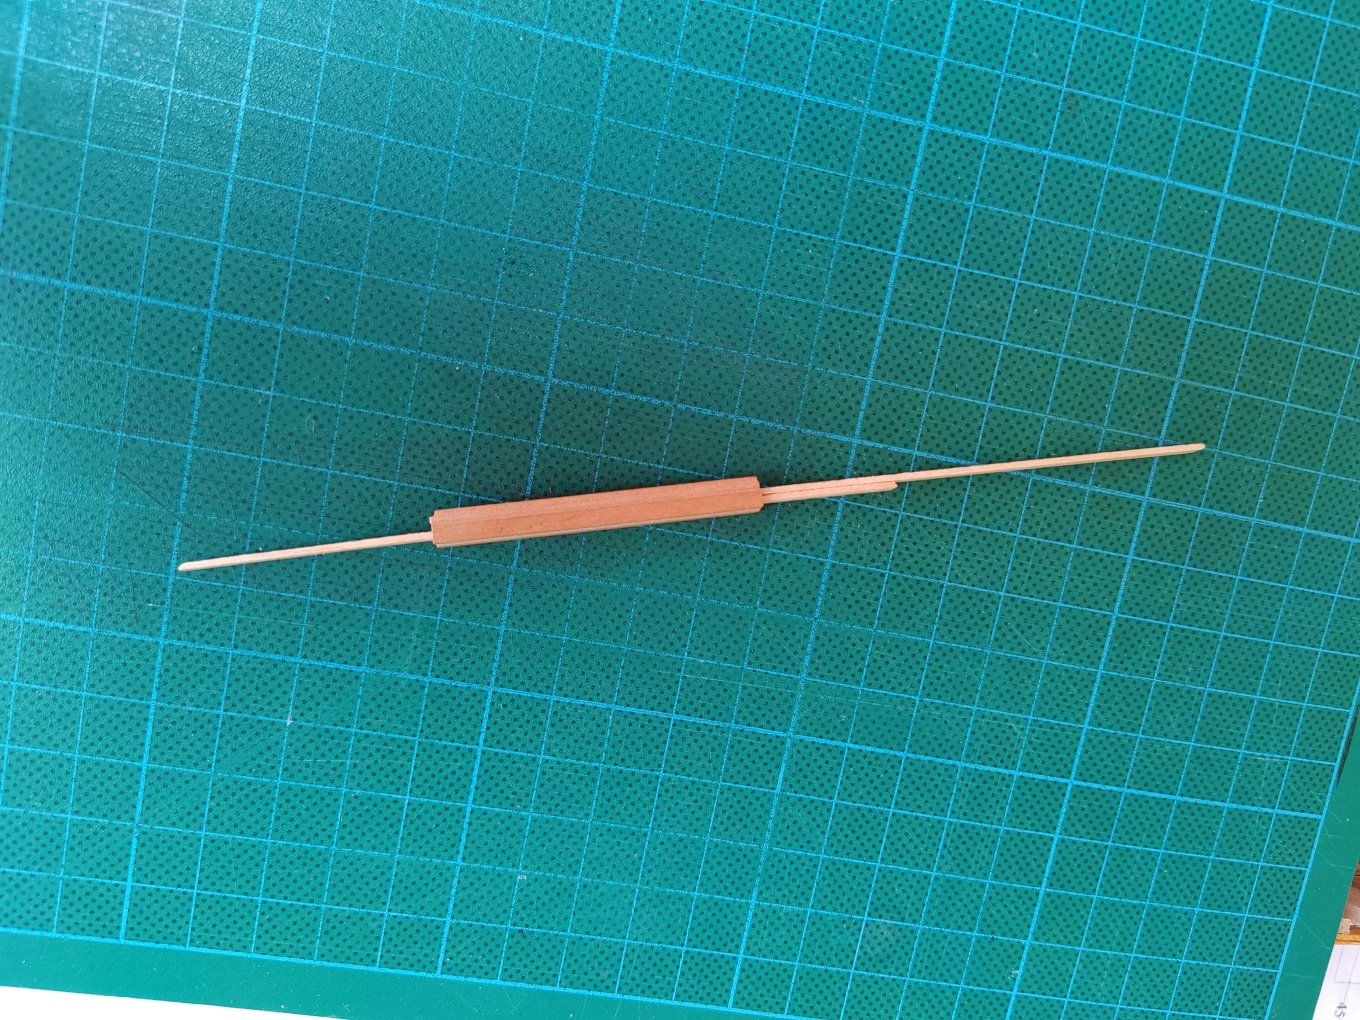
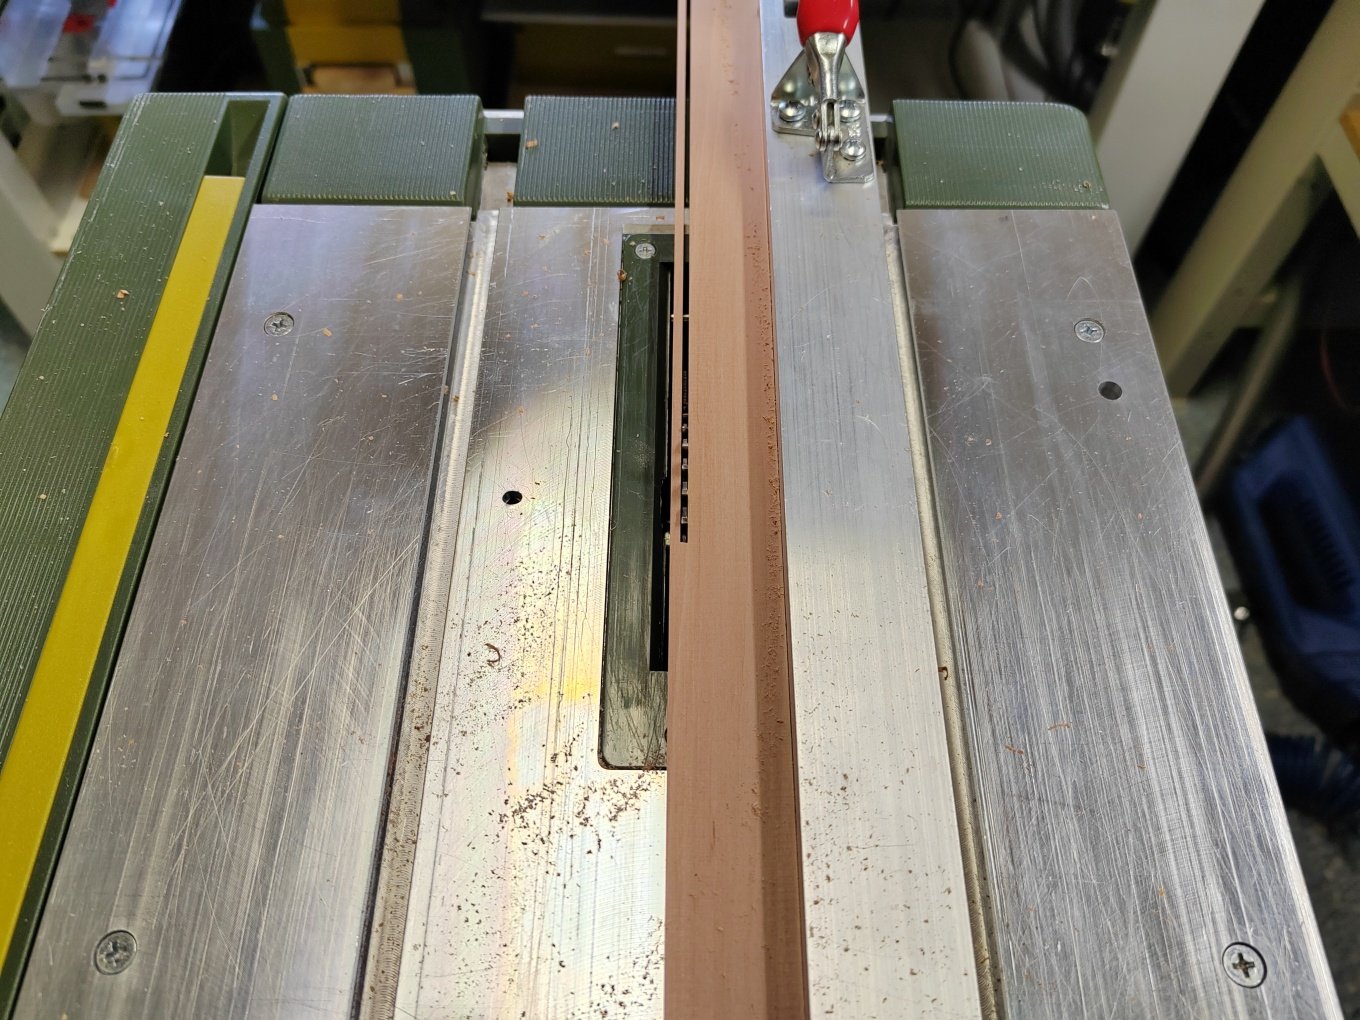
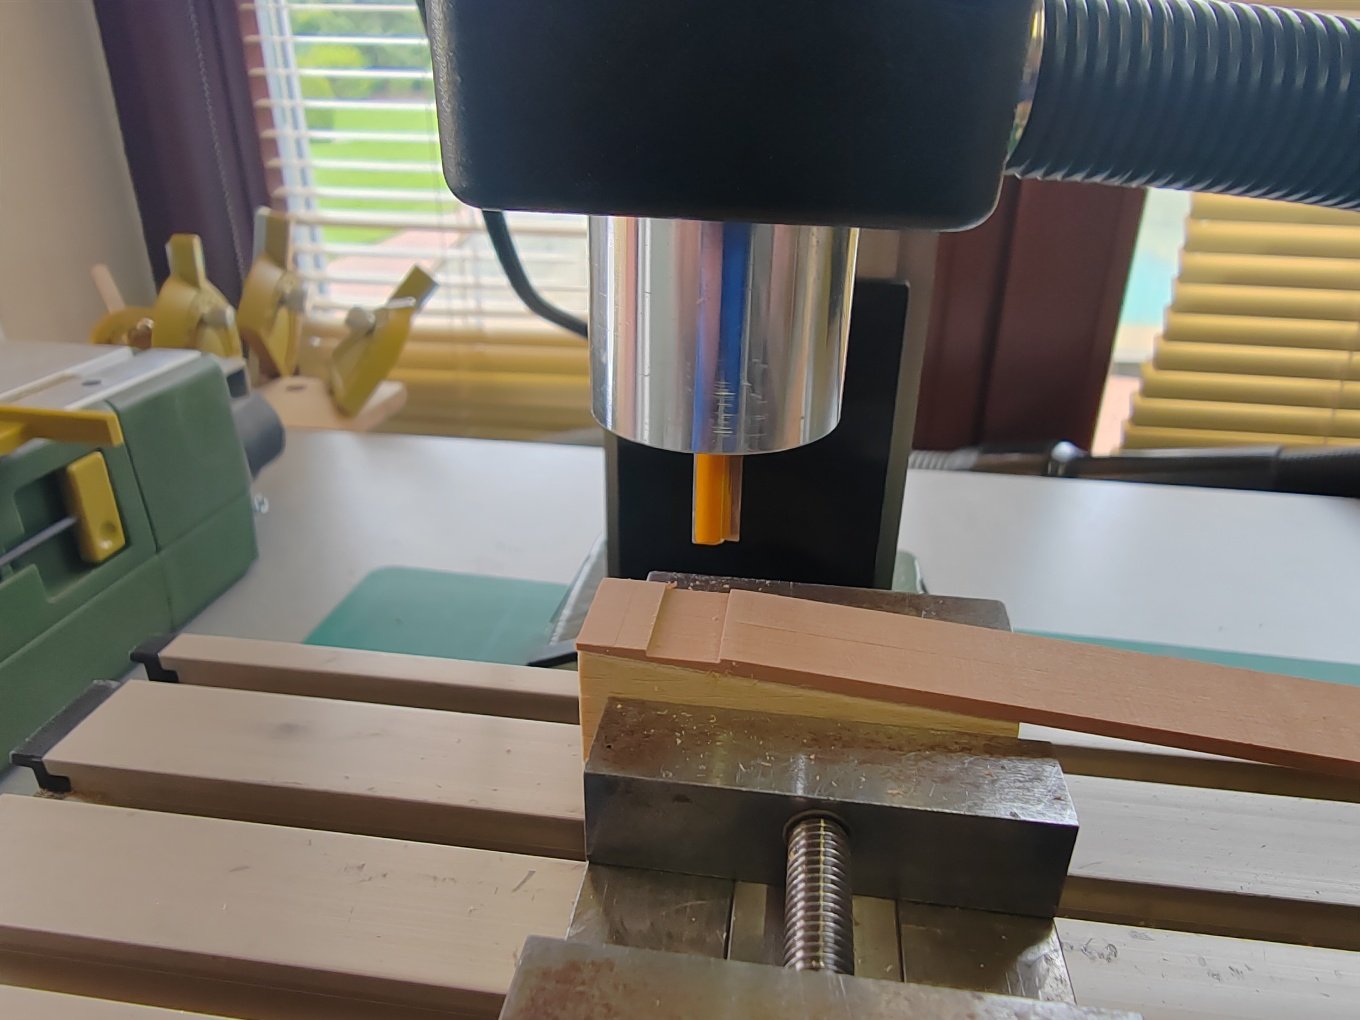
An ingenious way of milling .
-
L'Amarante by marsalv - 1:36 - POF
marsalv replied to marsalv's topic in - Build logs for subjects built 1501 - 1750
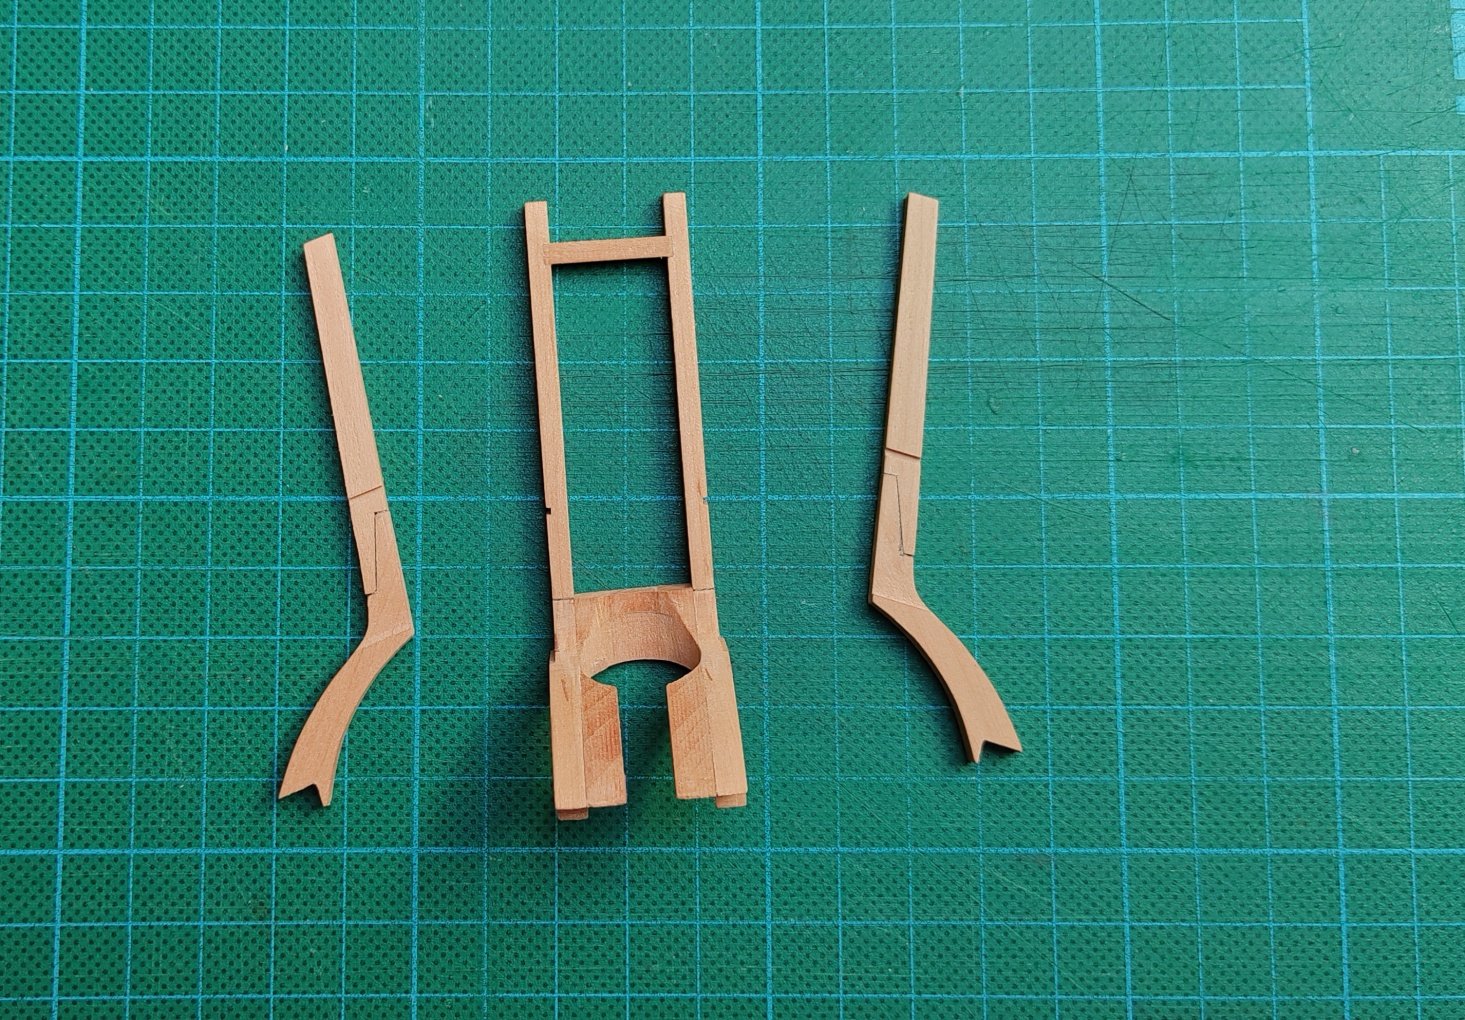
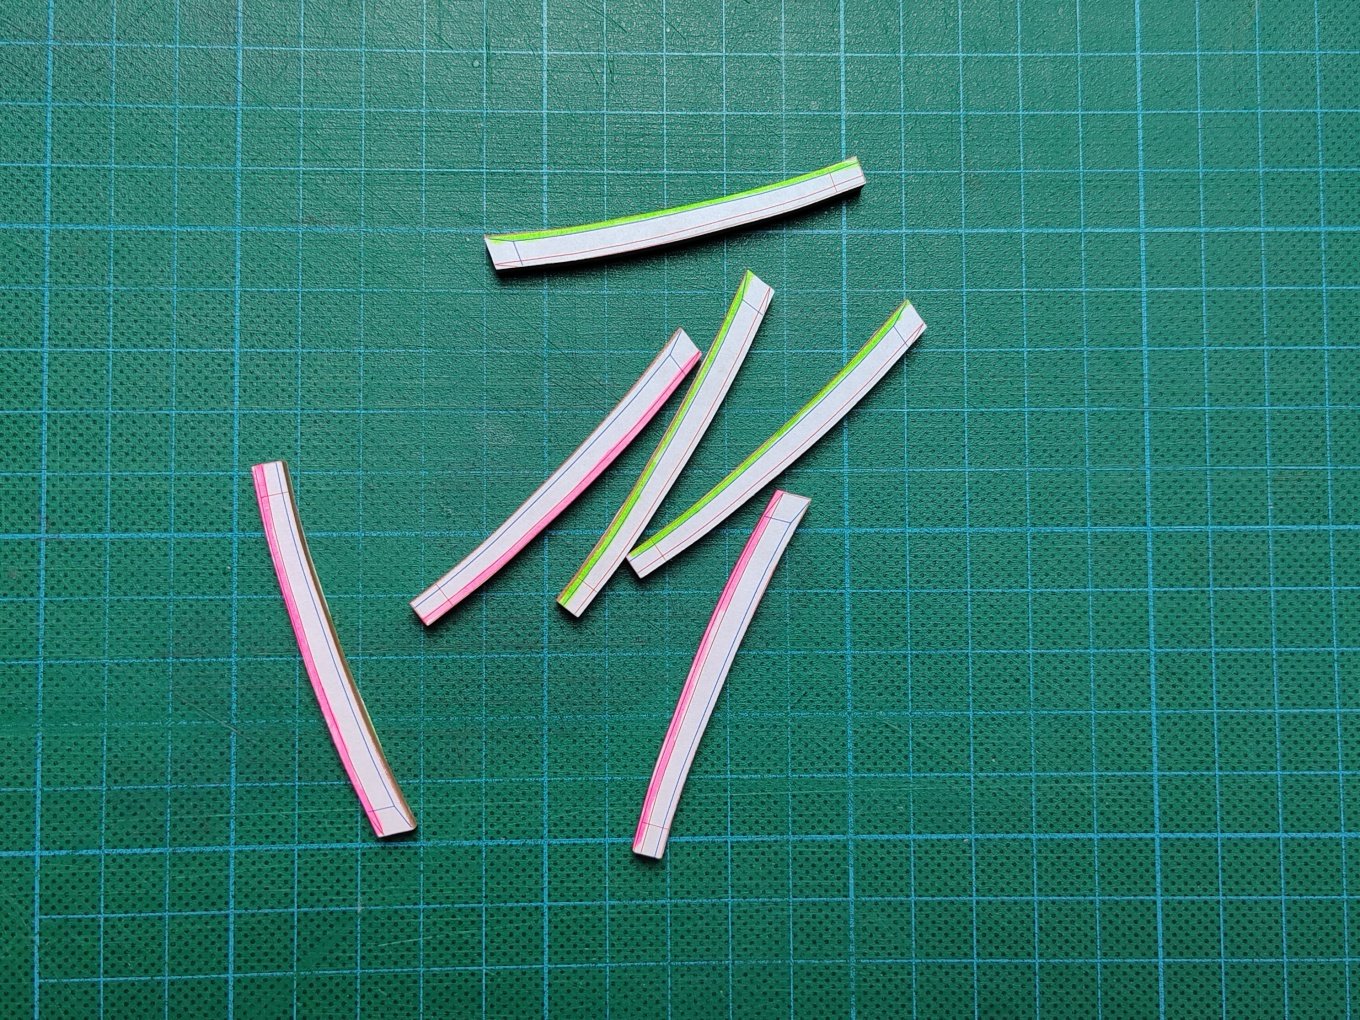
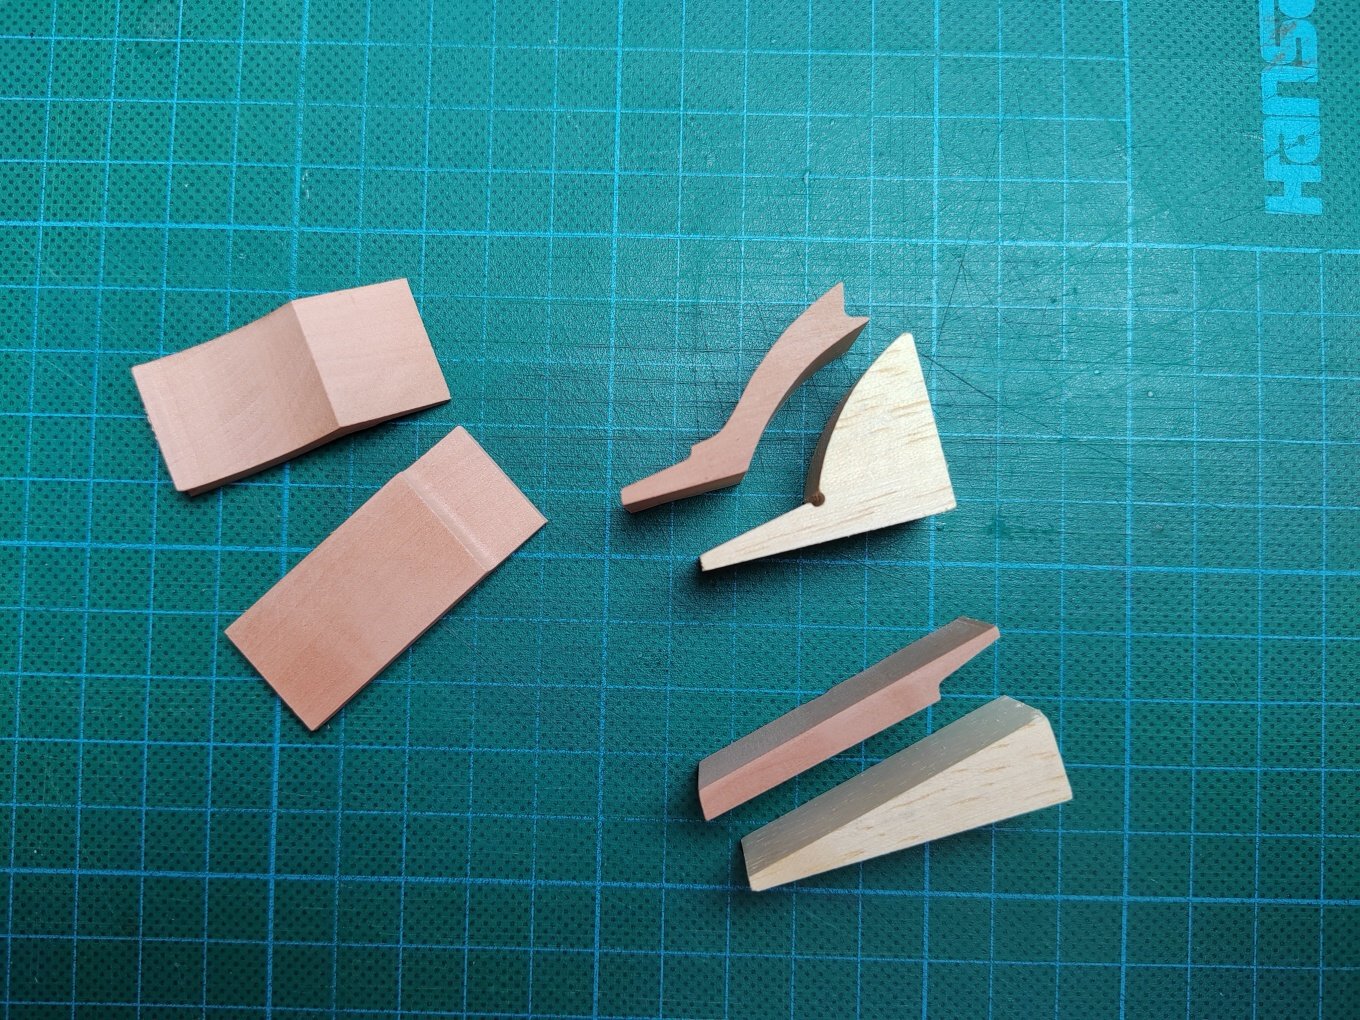
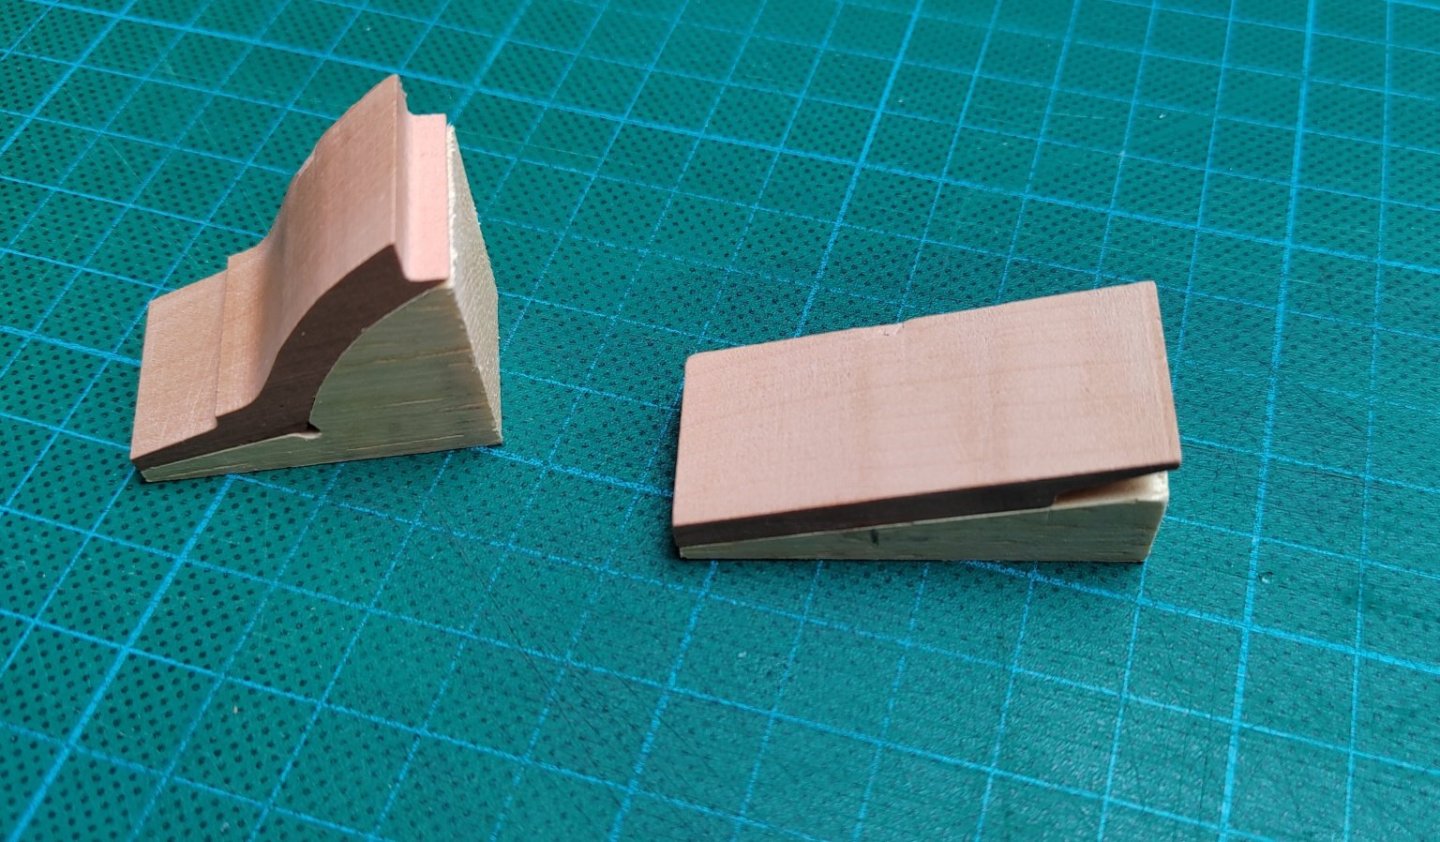
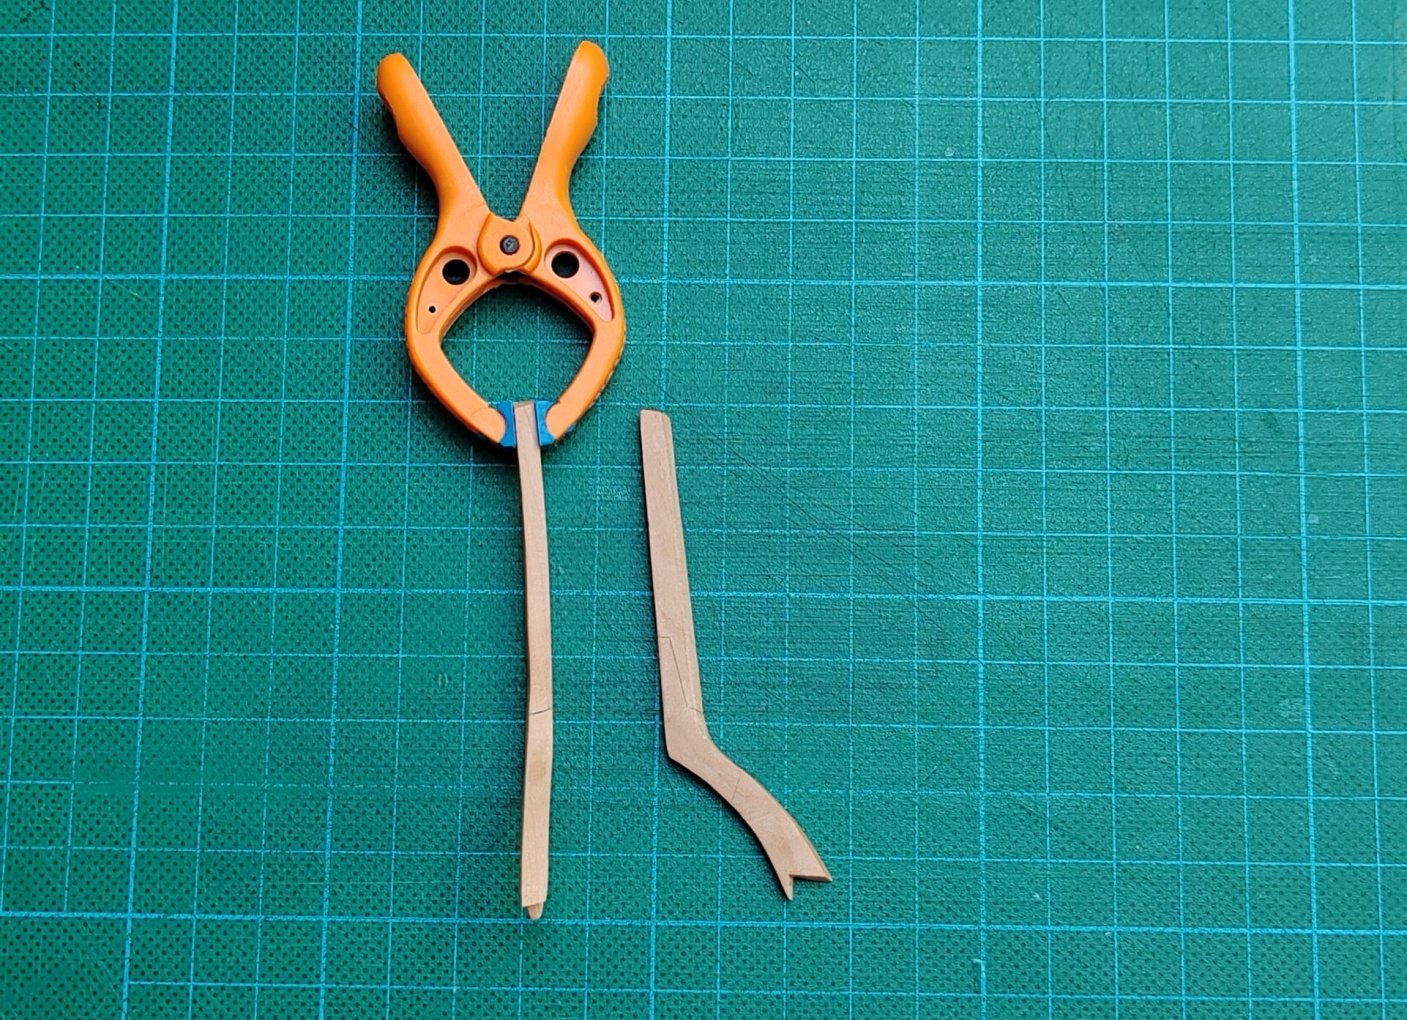
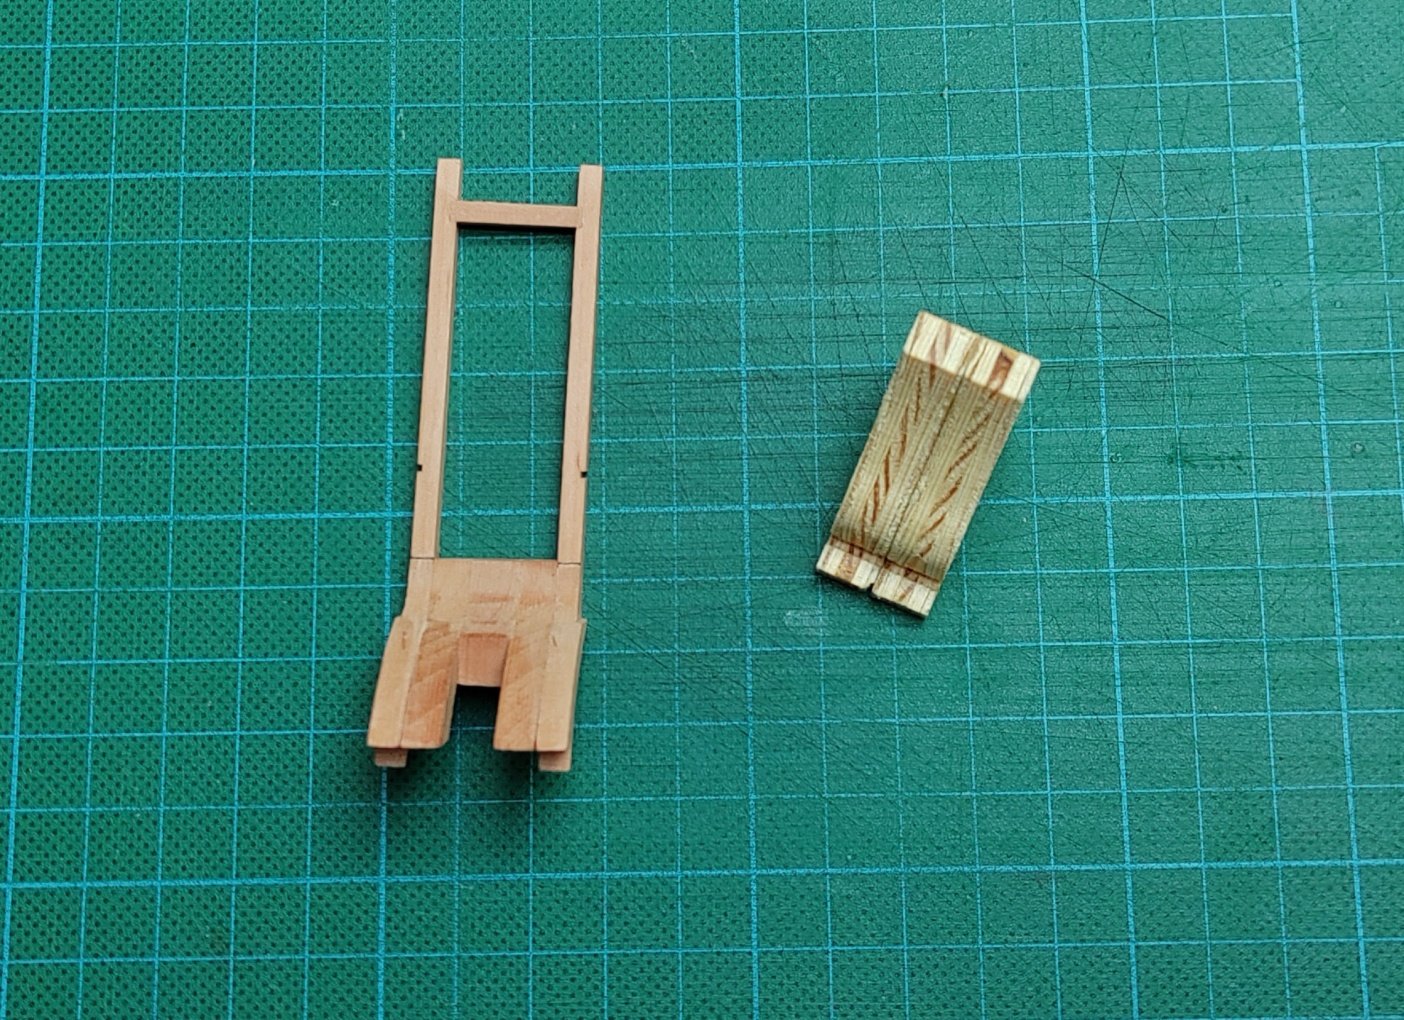
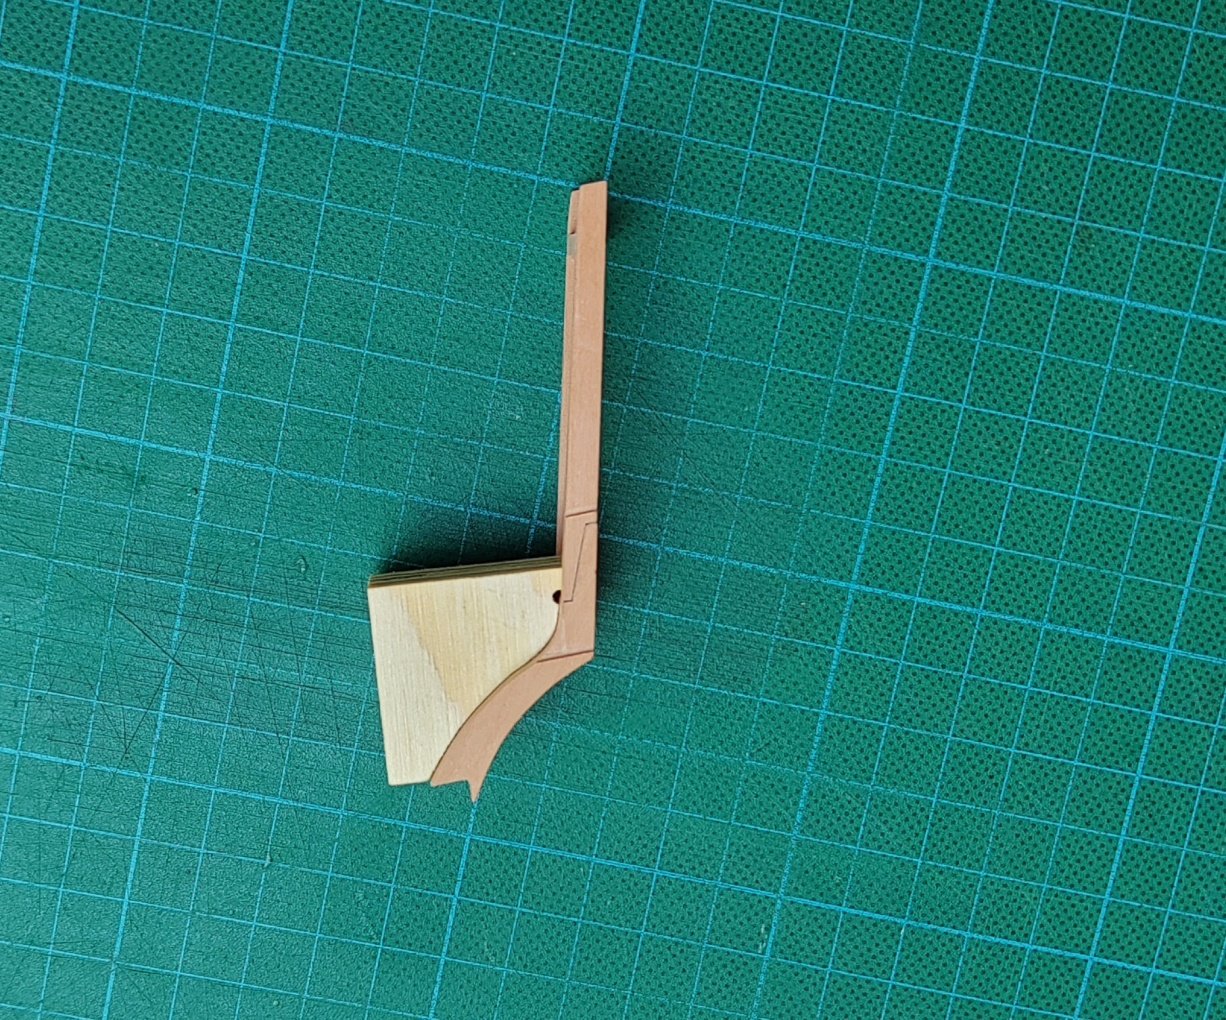
Thank you guys for nice comments and likes. I continue with the construction of hawse timbers.