marsalv
-
Posts
620 -
Joined
-
Last visited
Content Type
Profiles
Forums
Gallery
Events
Everything posted by marsalv
-
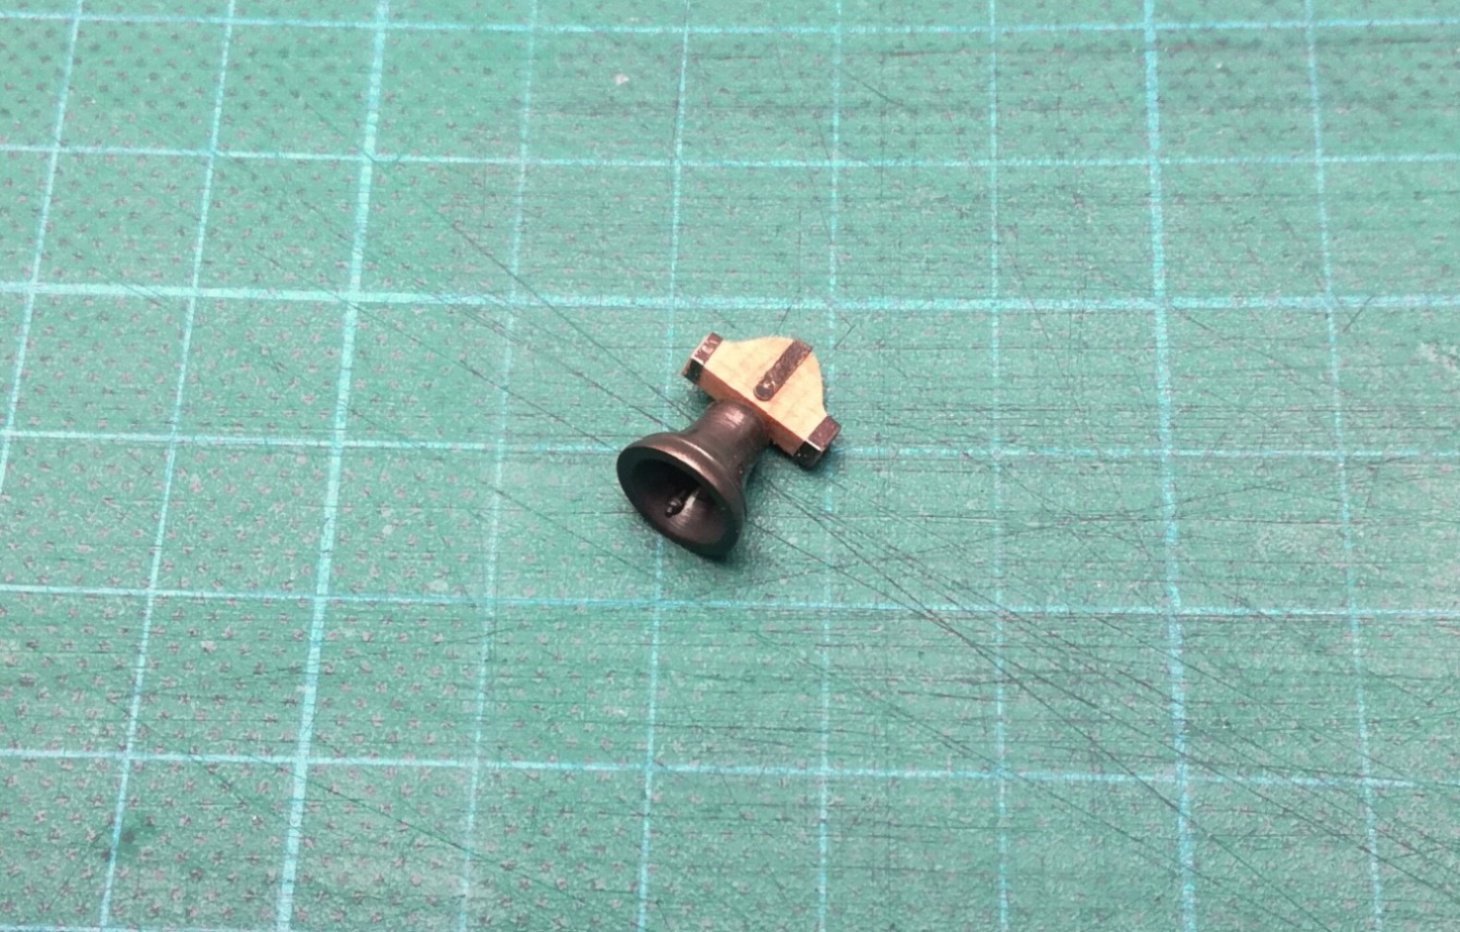
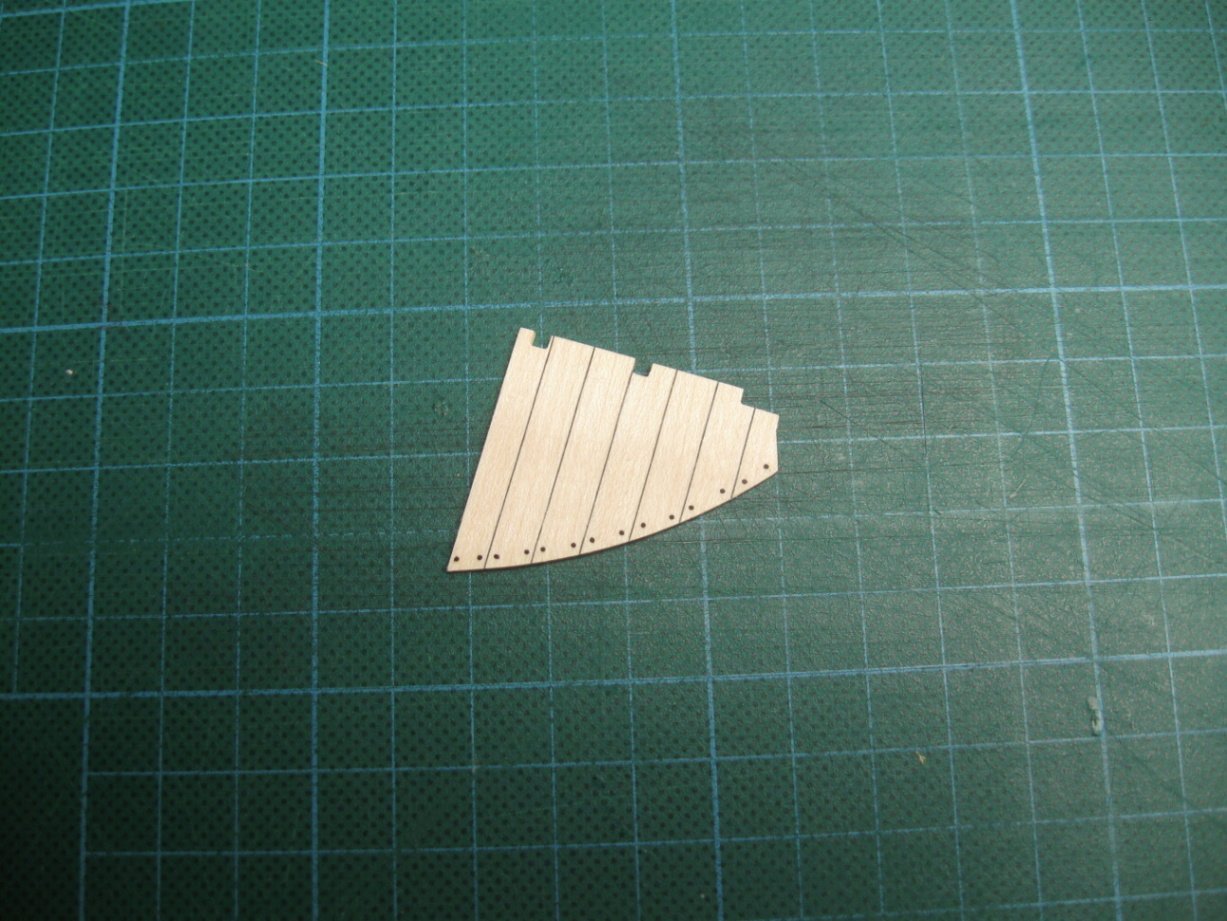
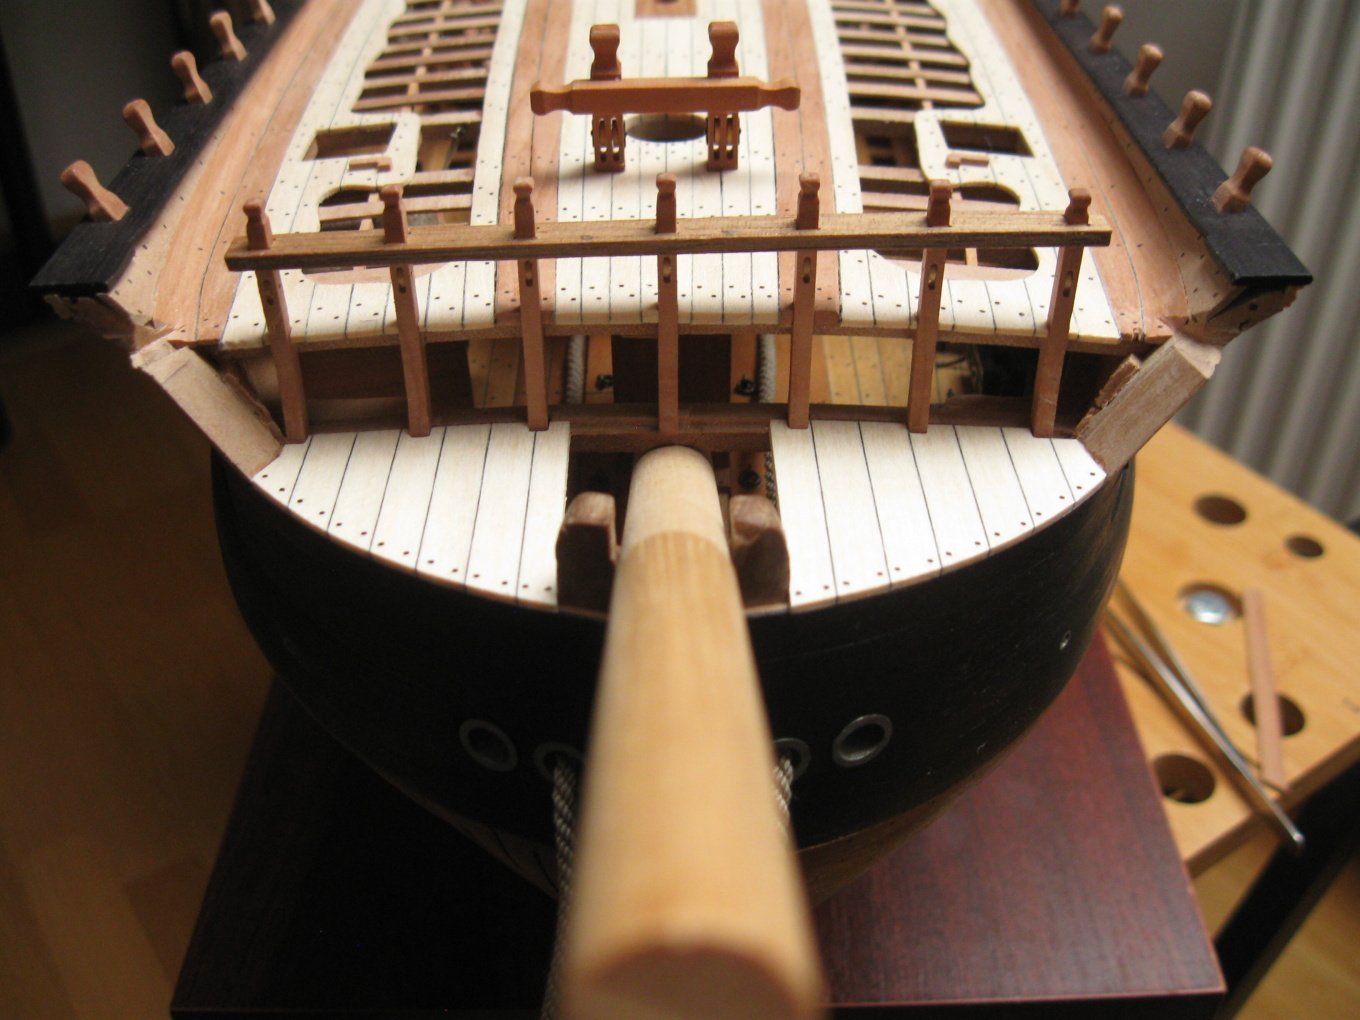
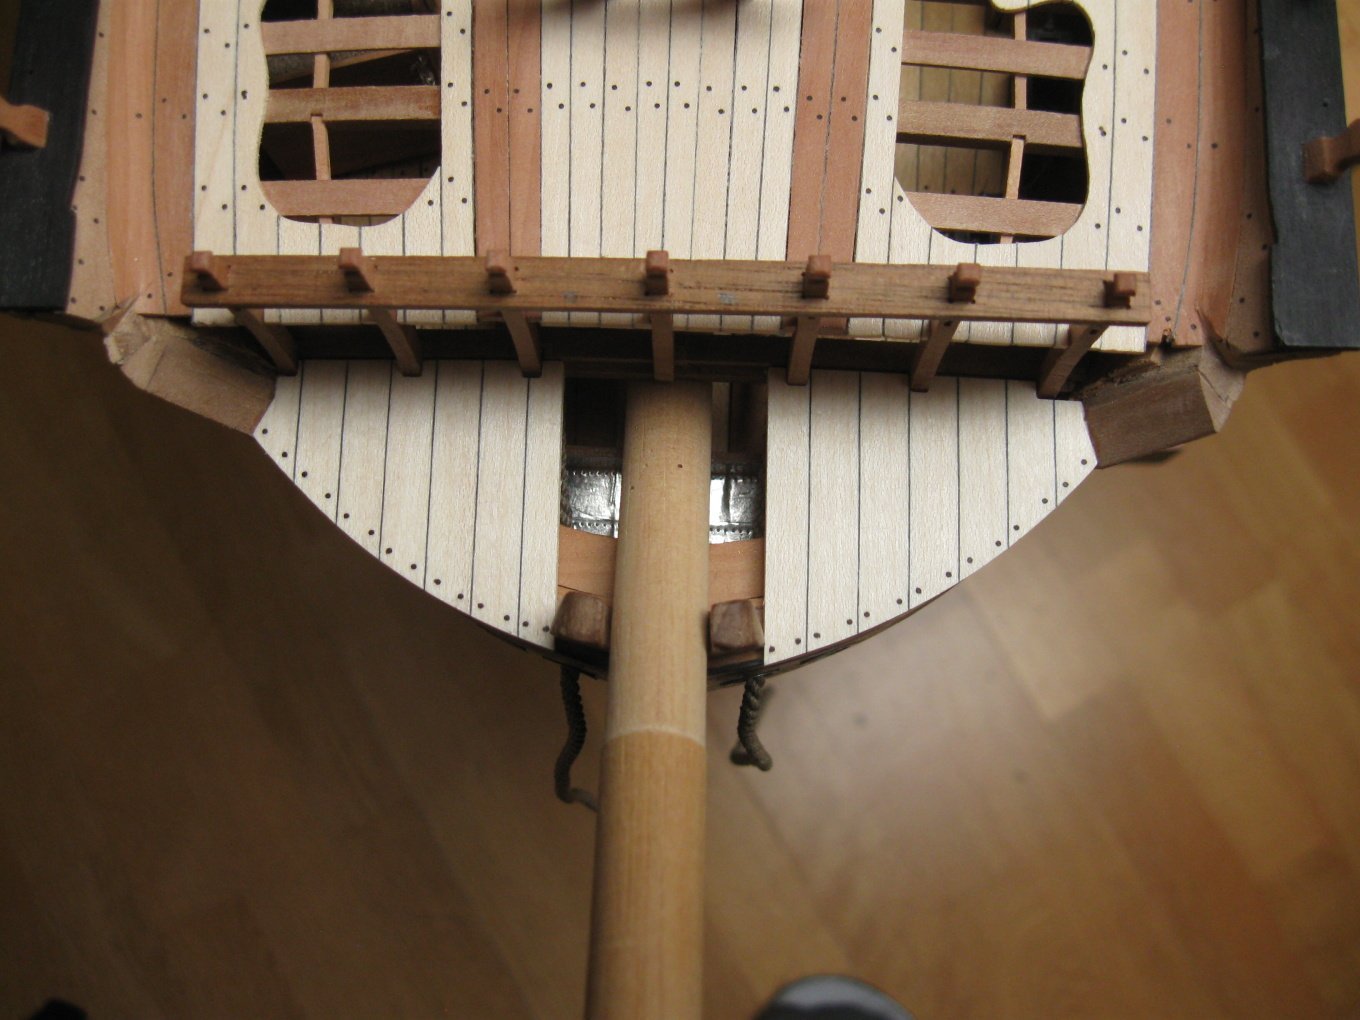
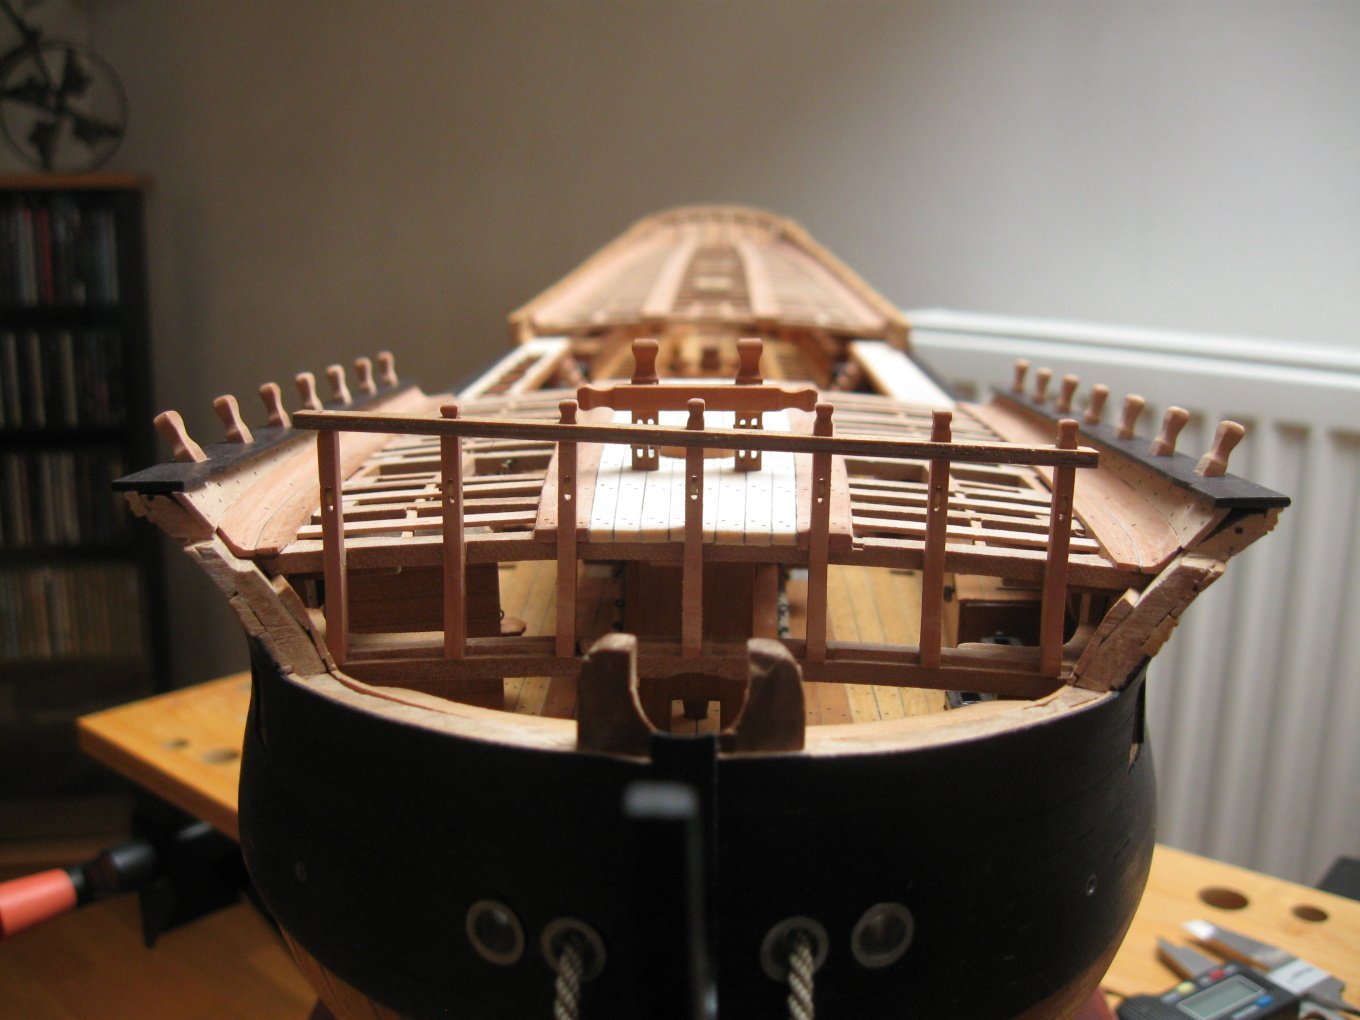
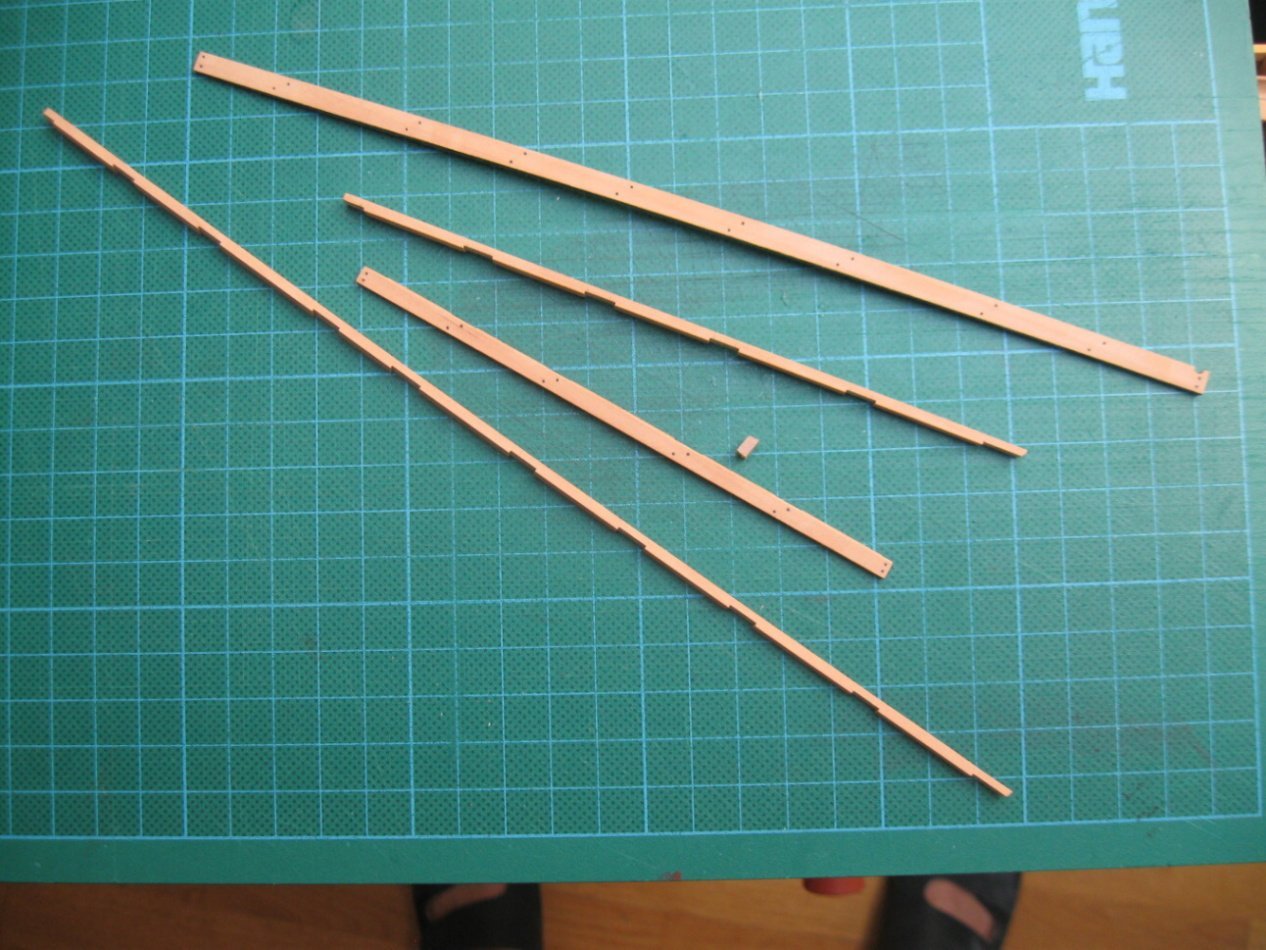
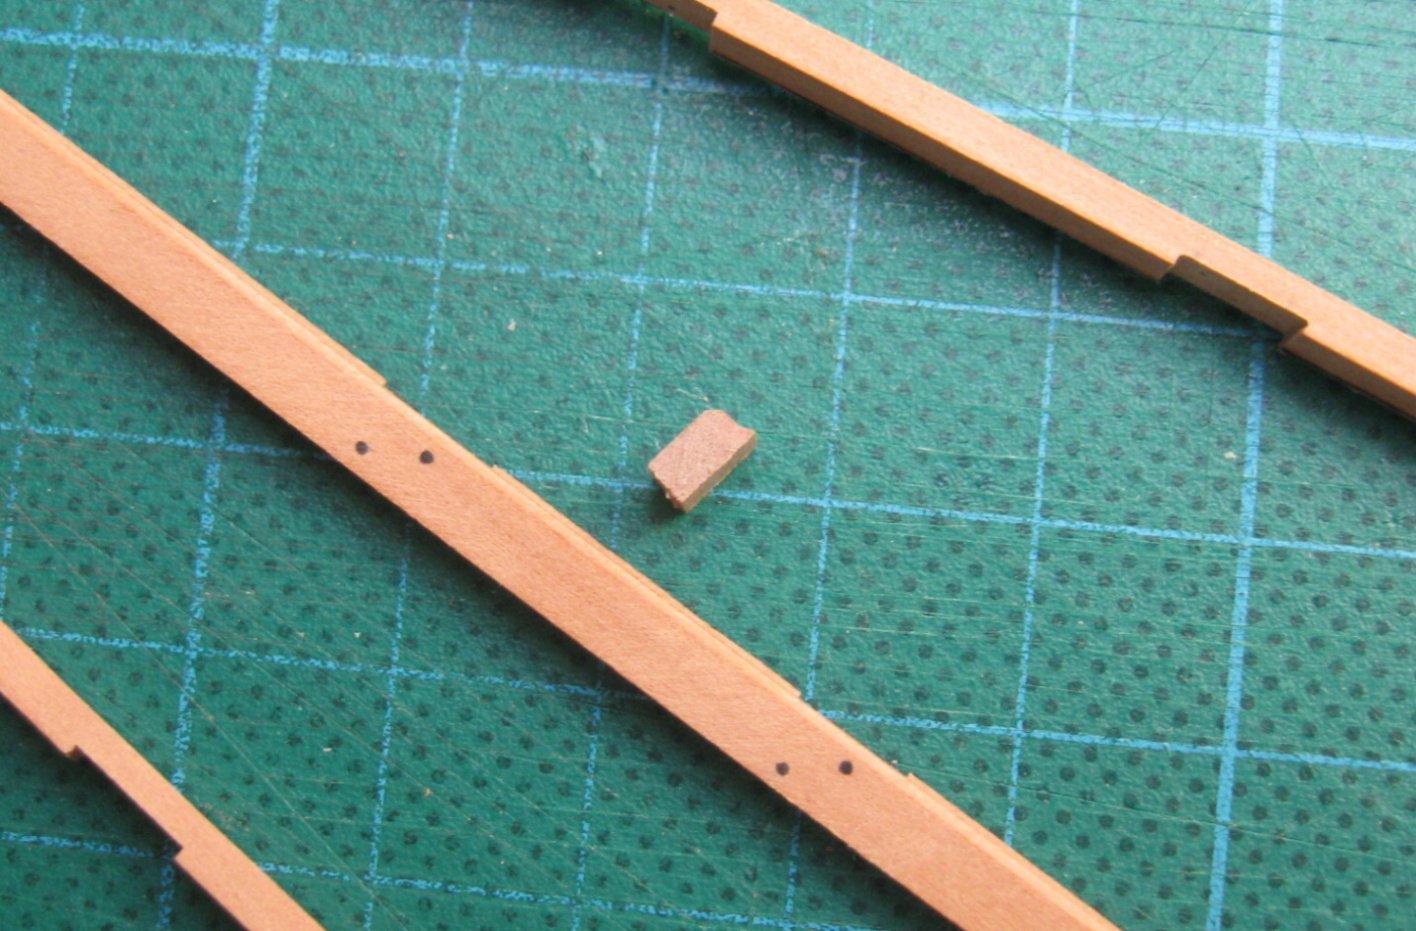
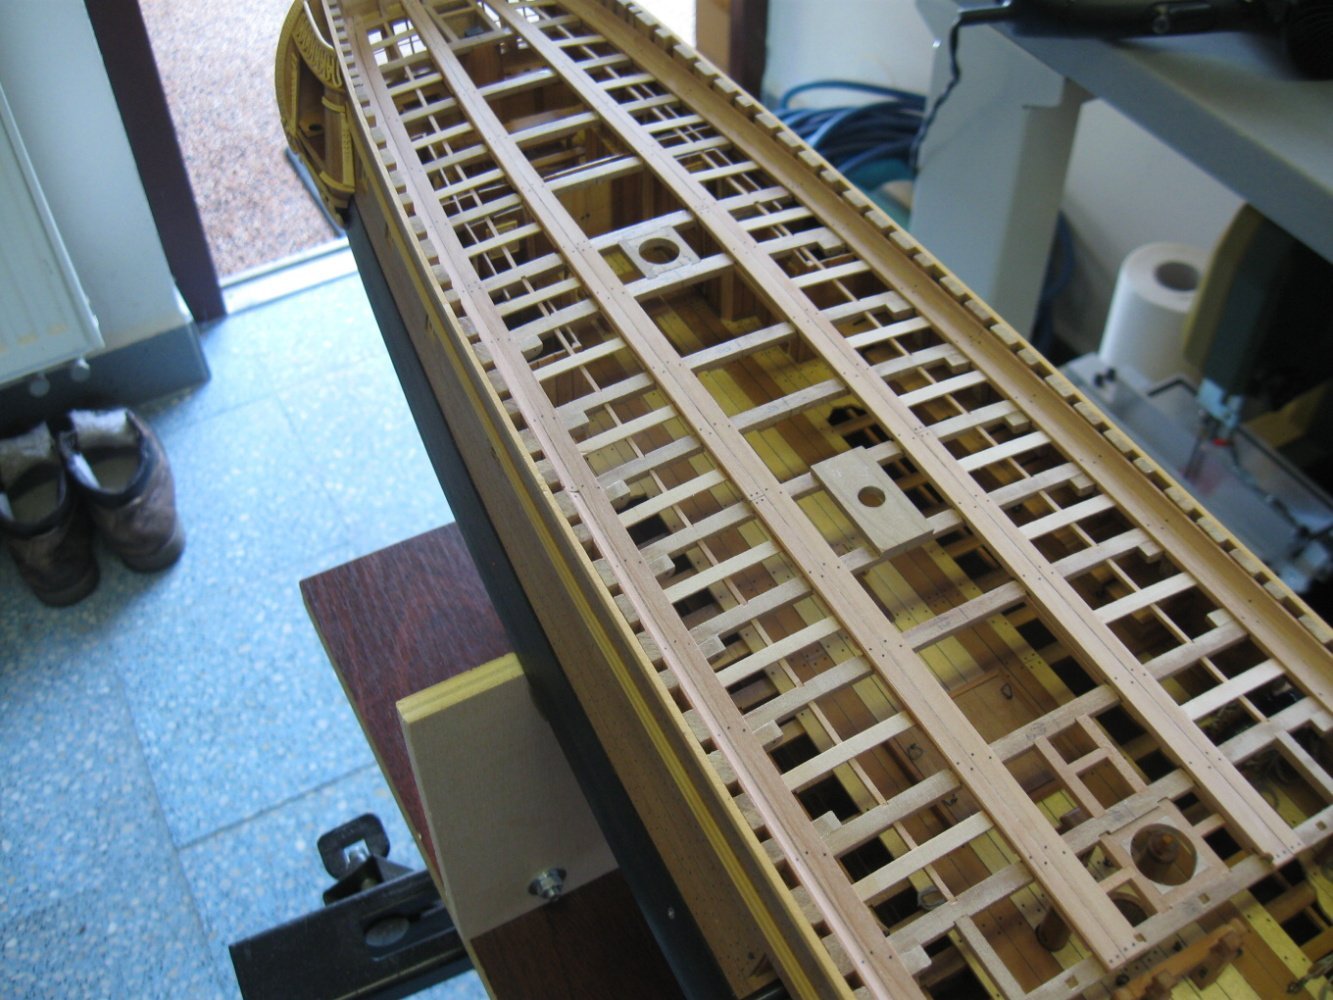
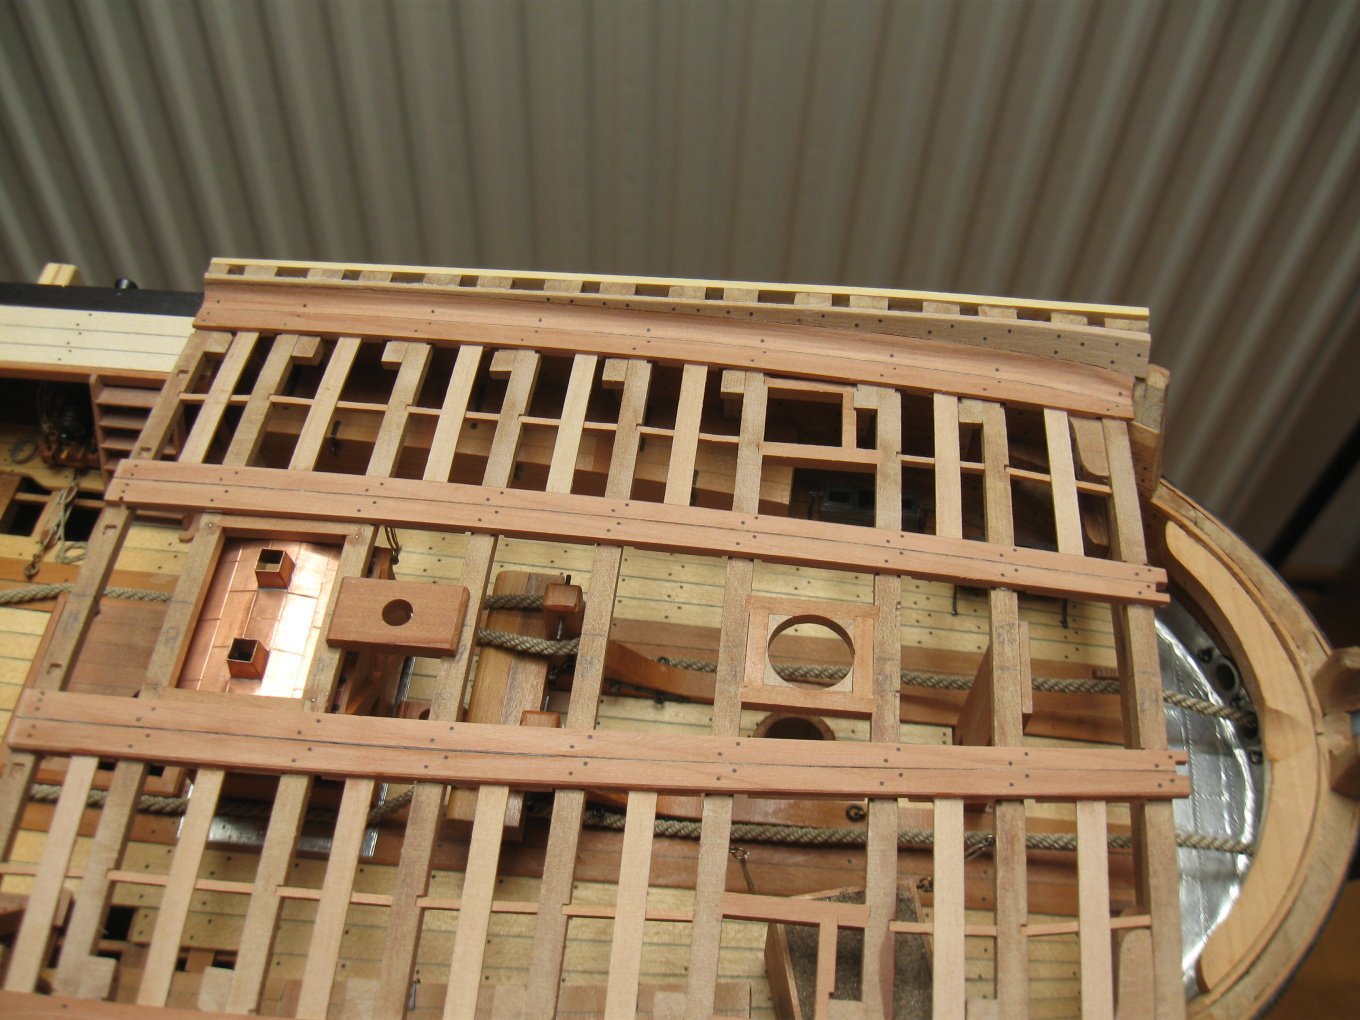
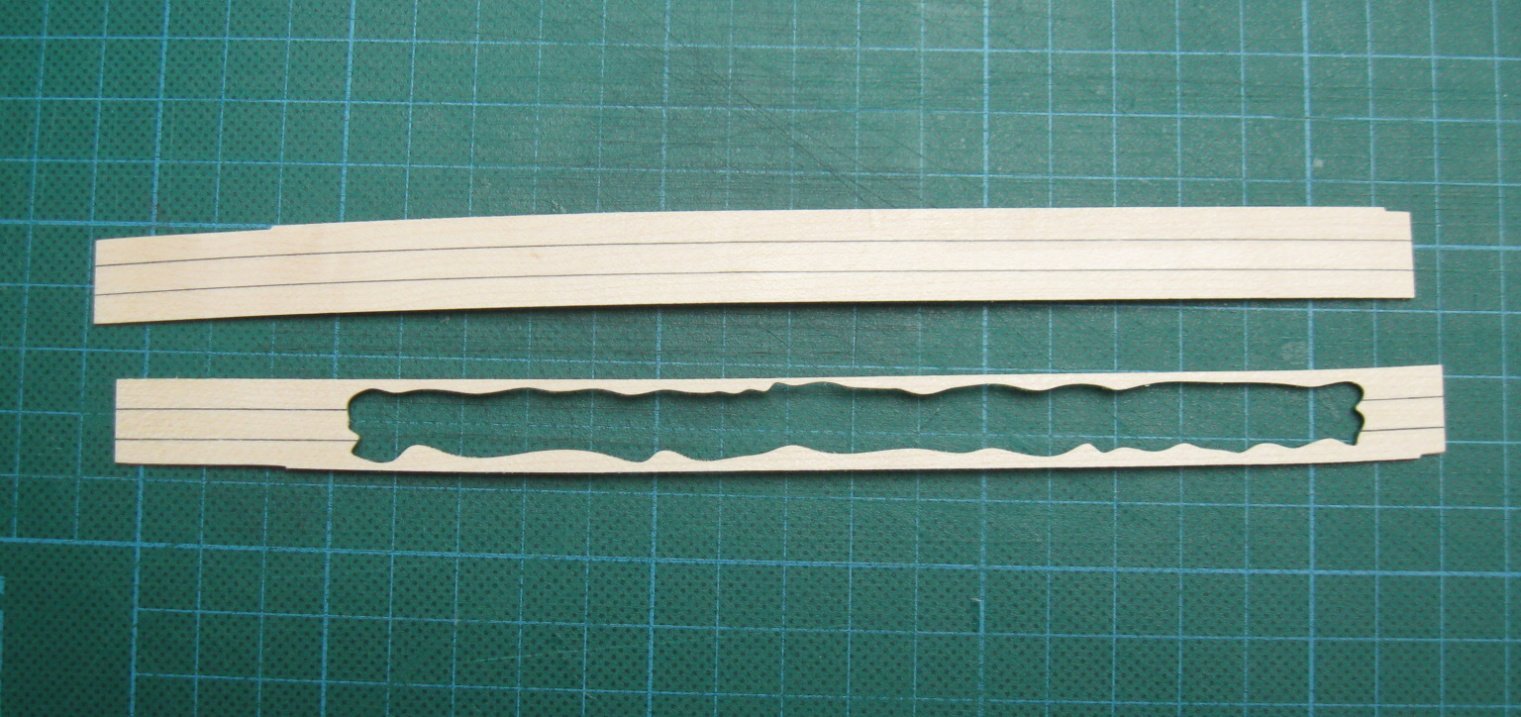
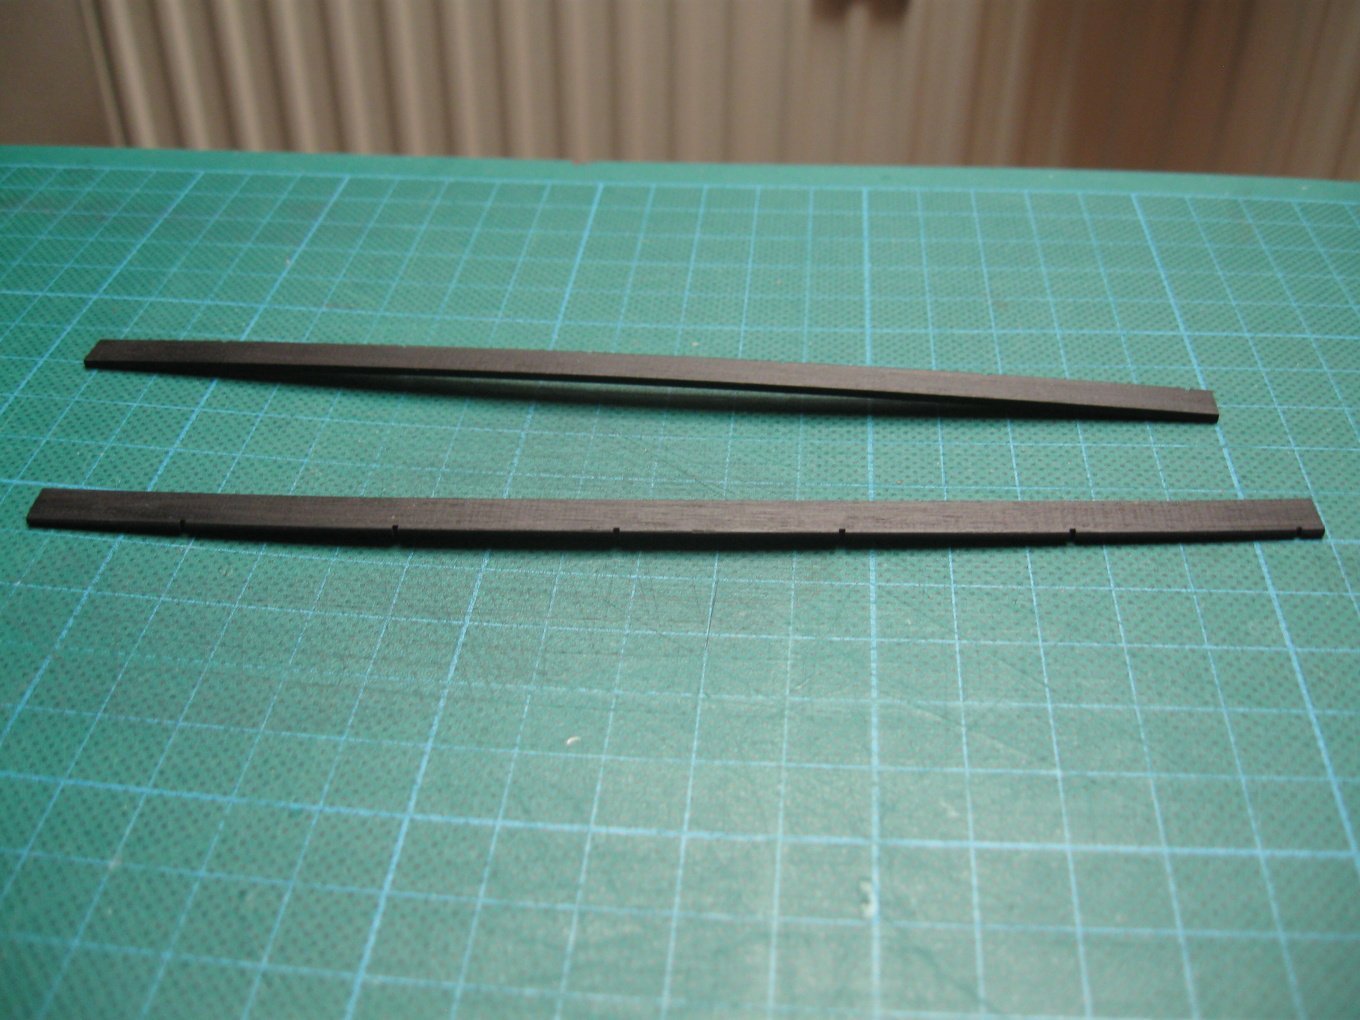
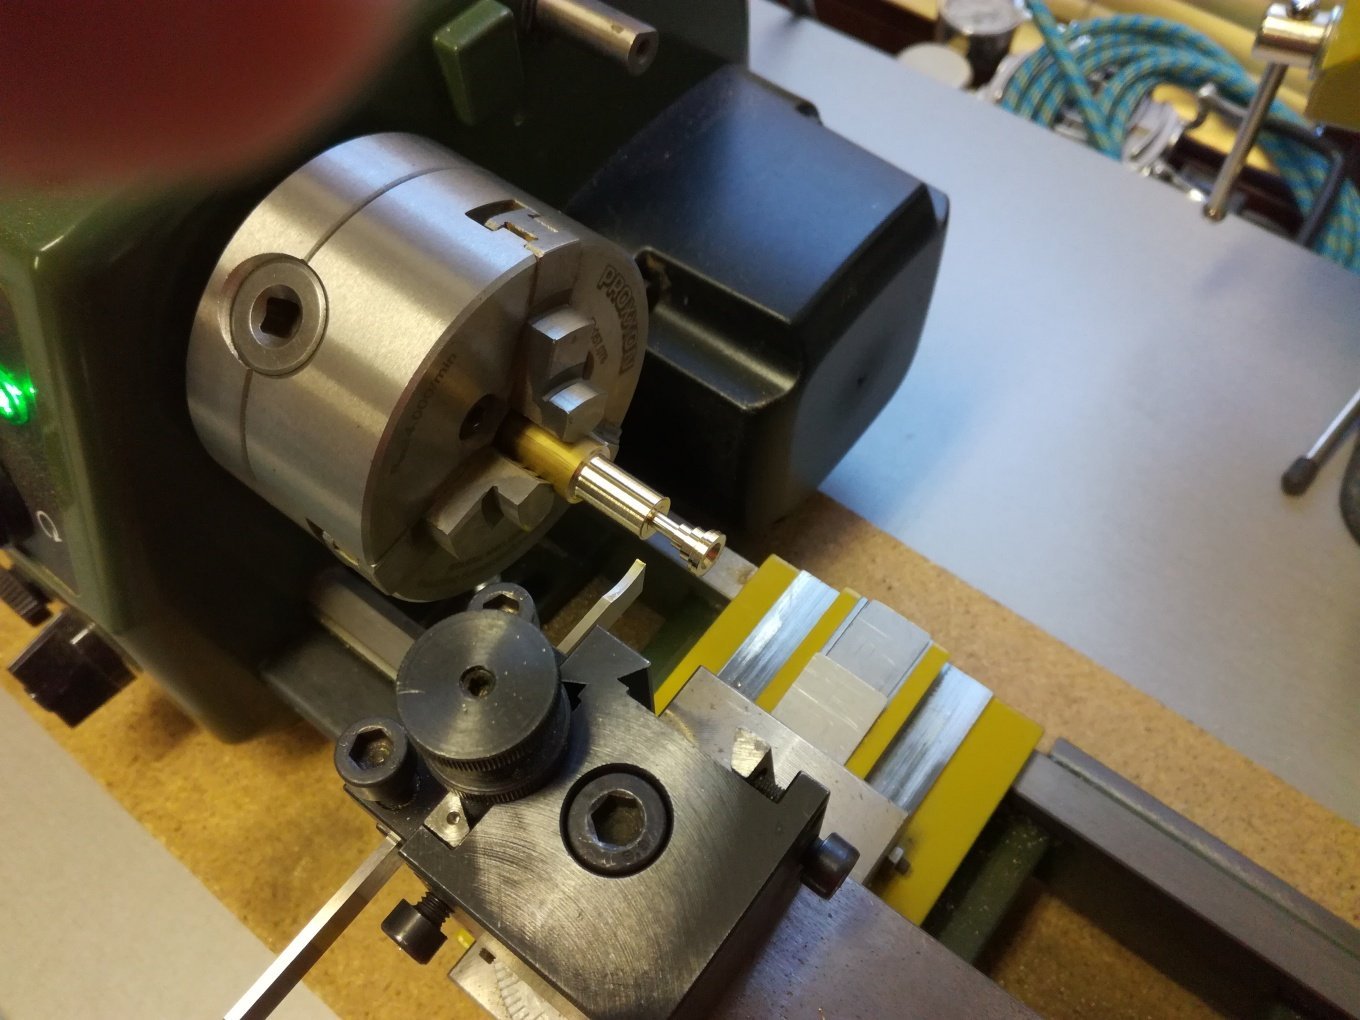
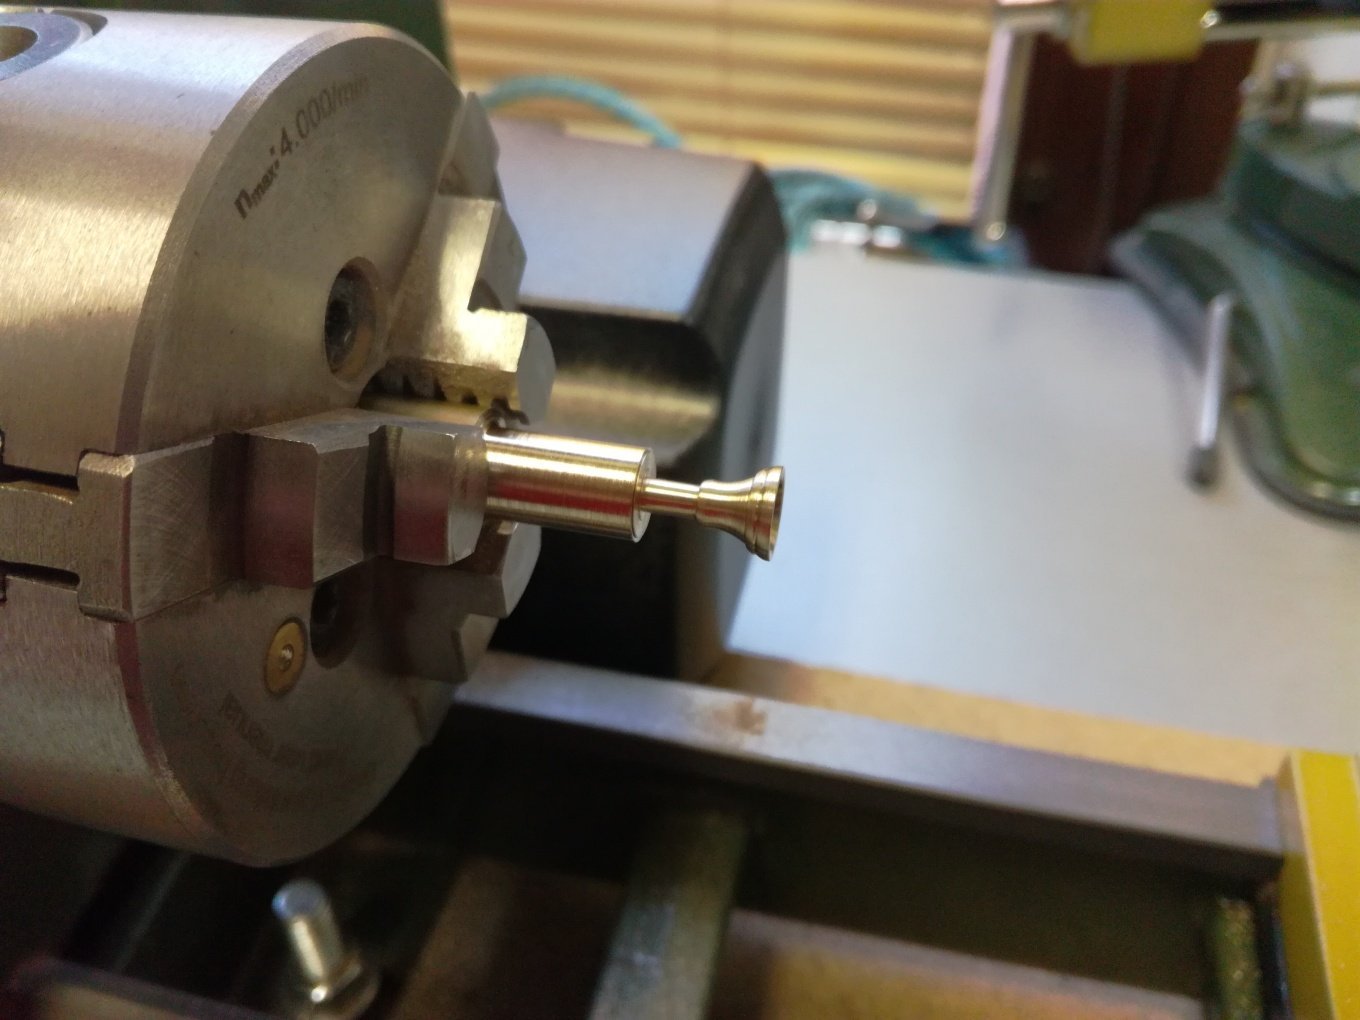
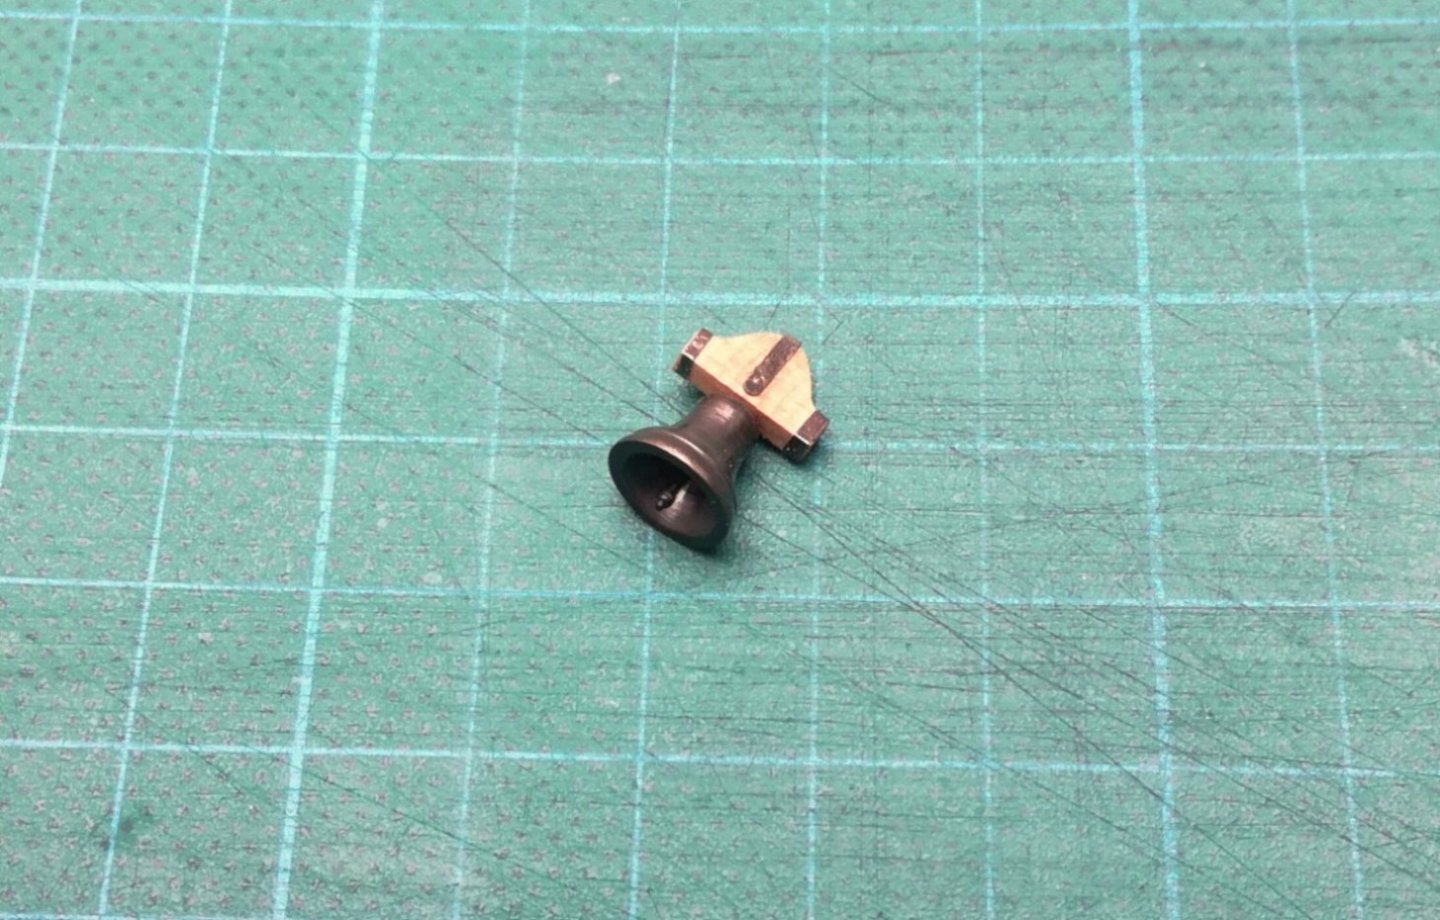
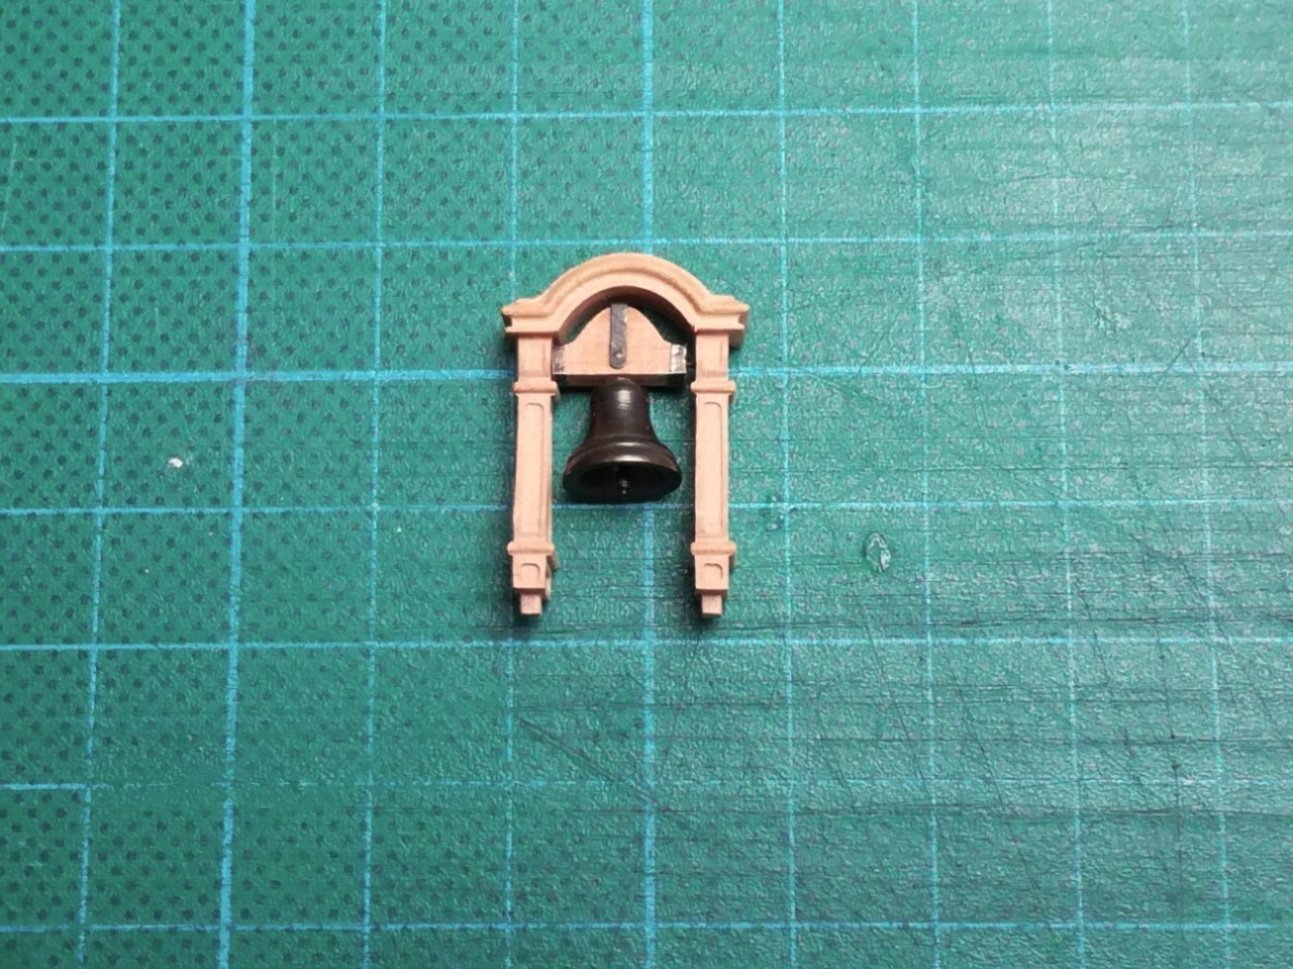
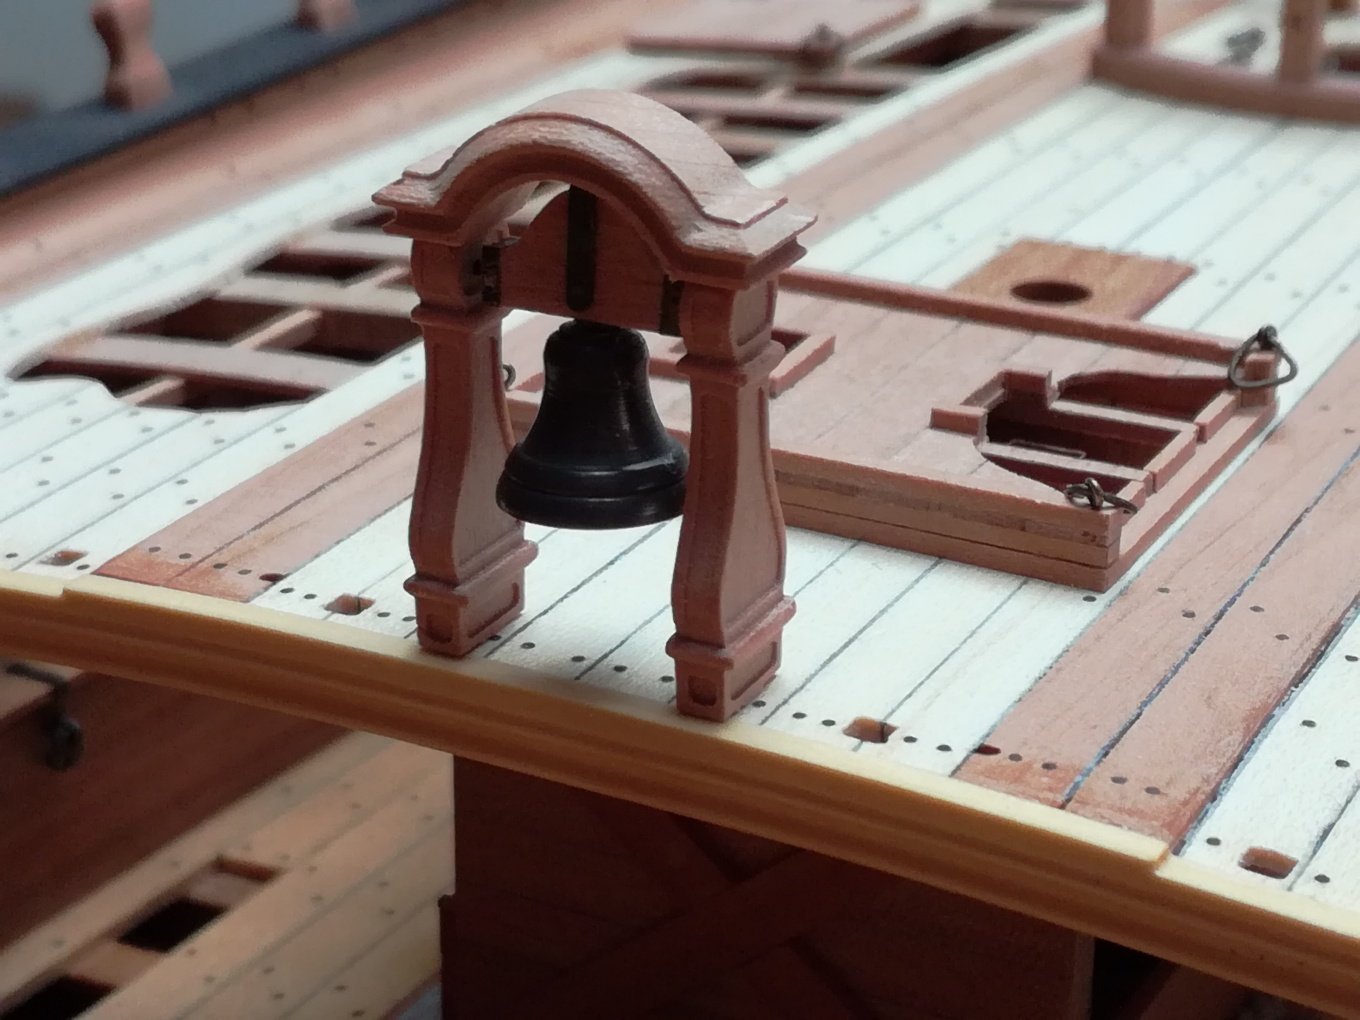
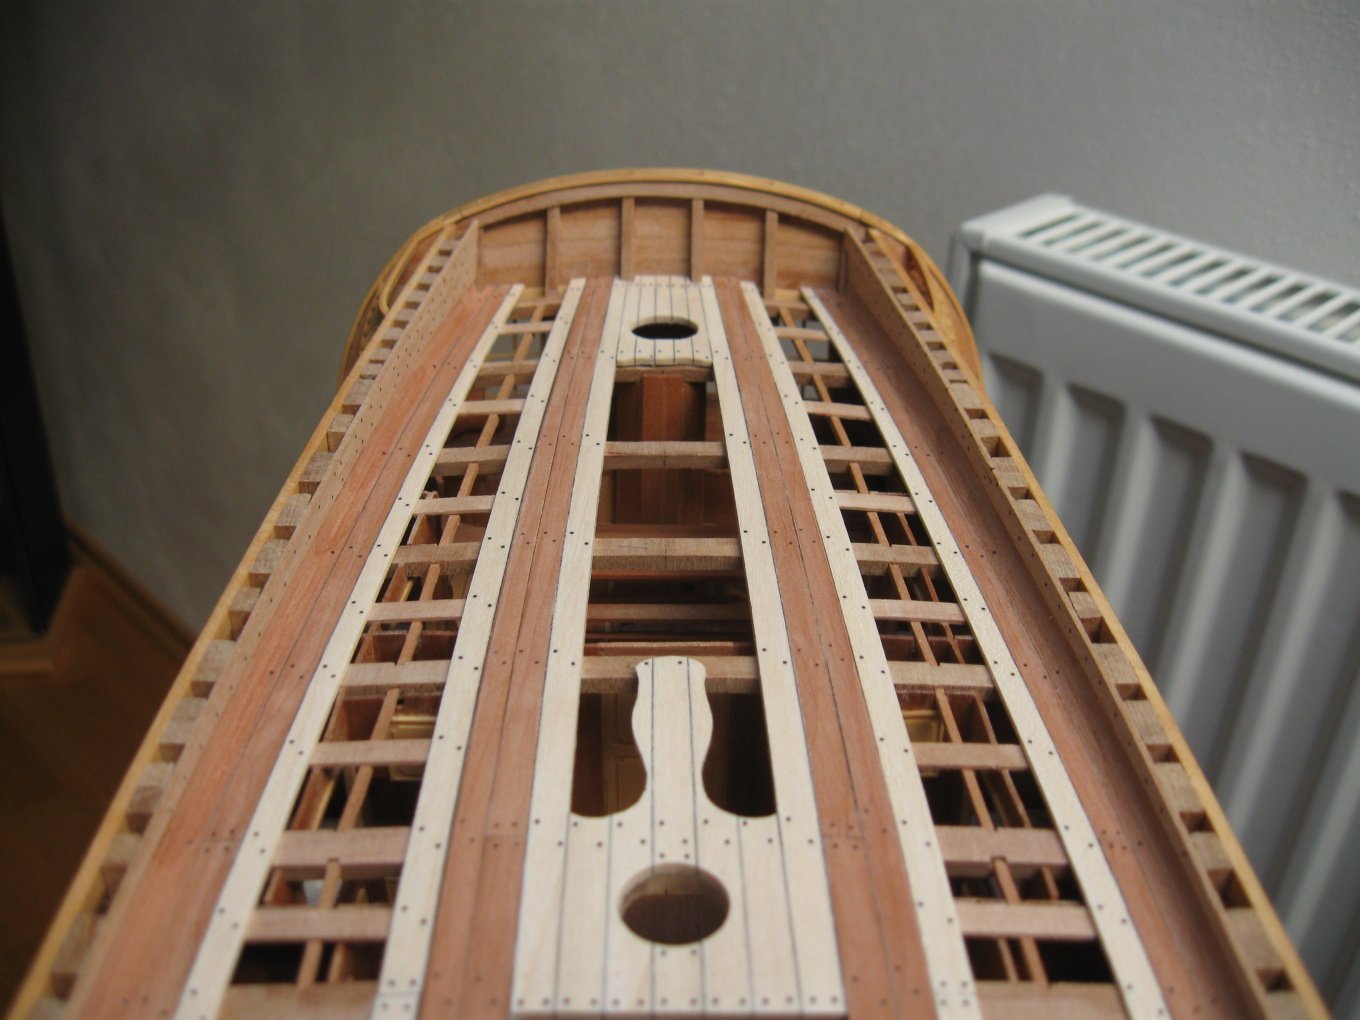
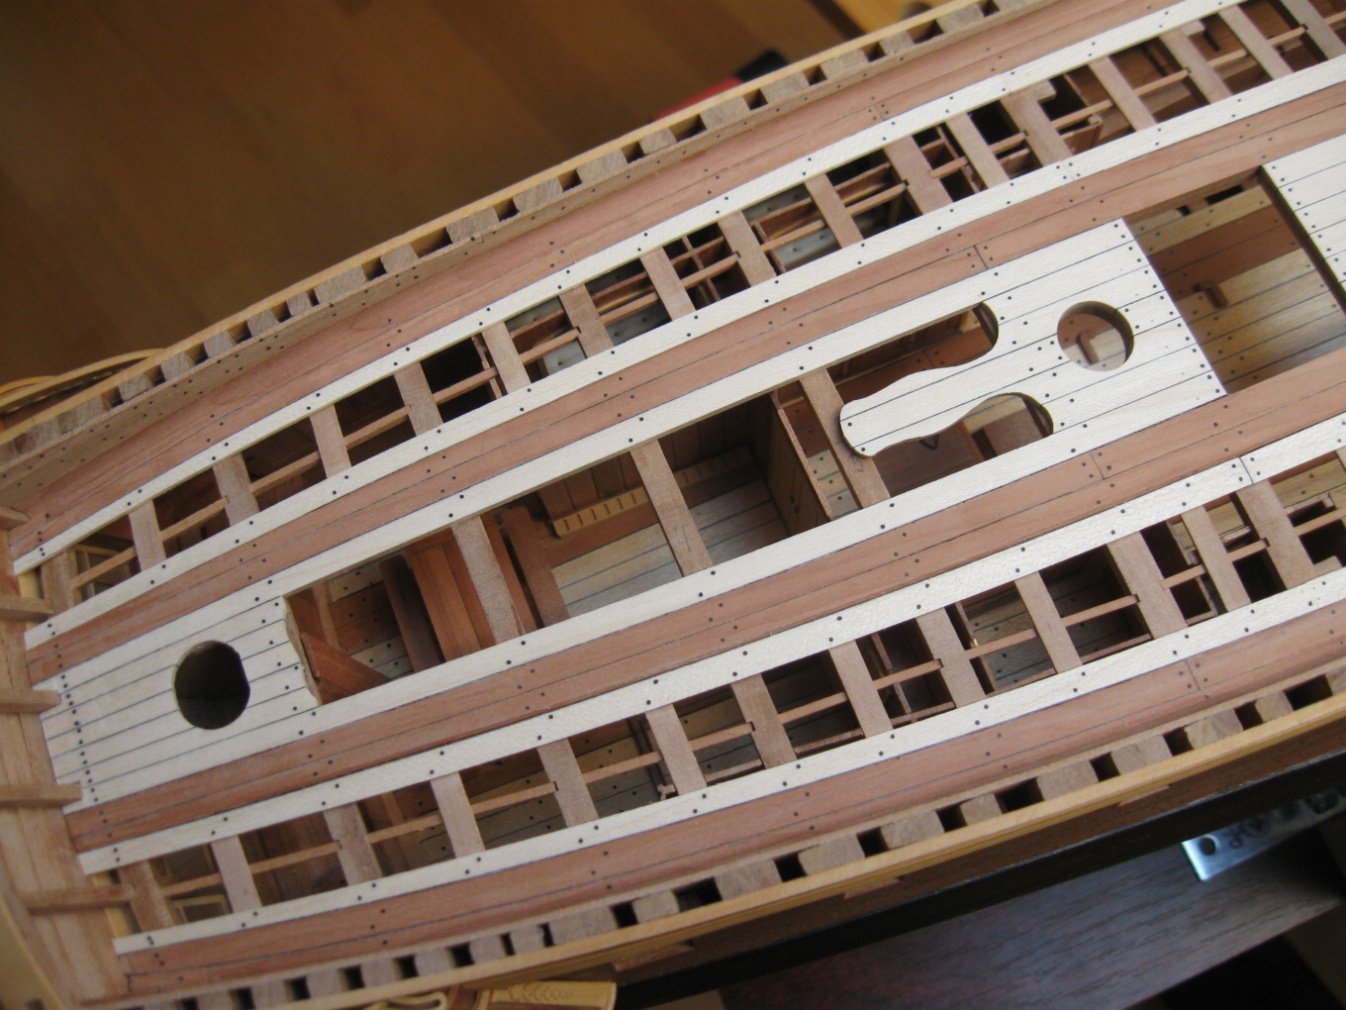
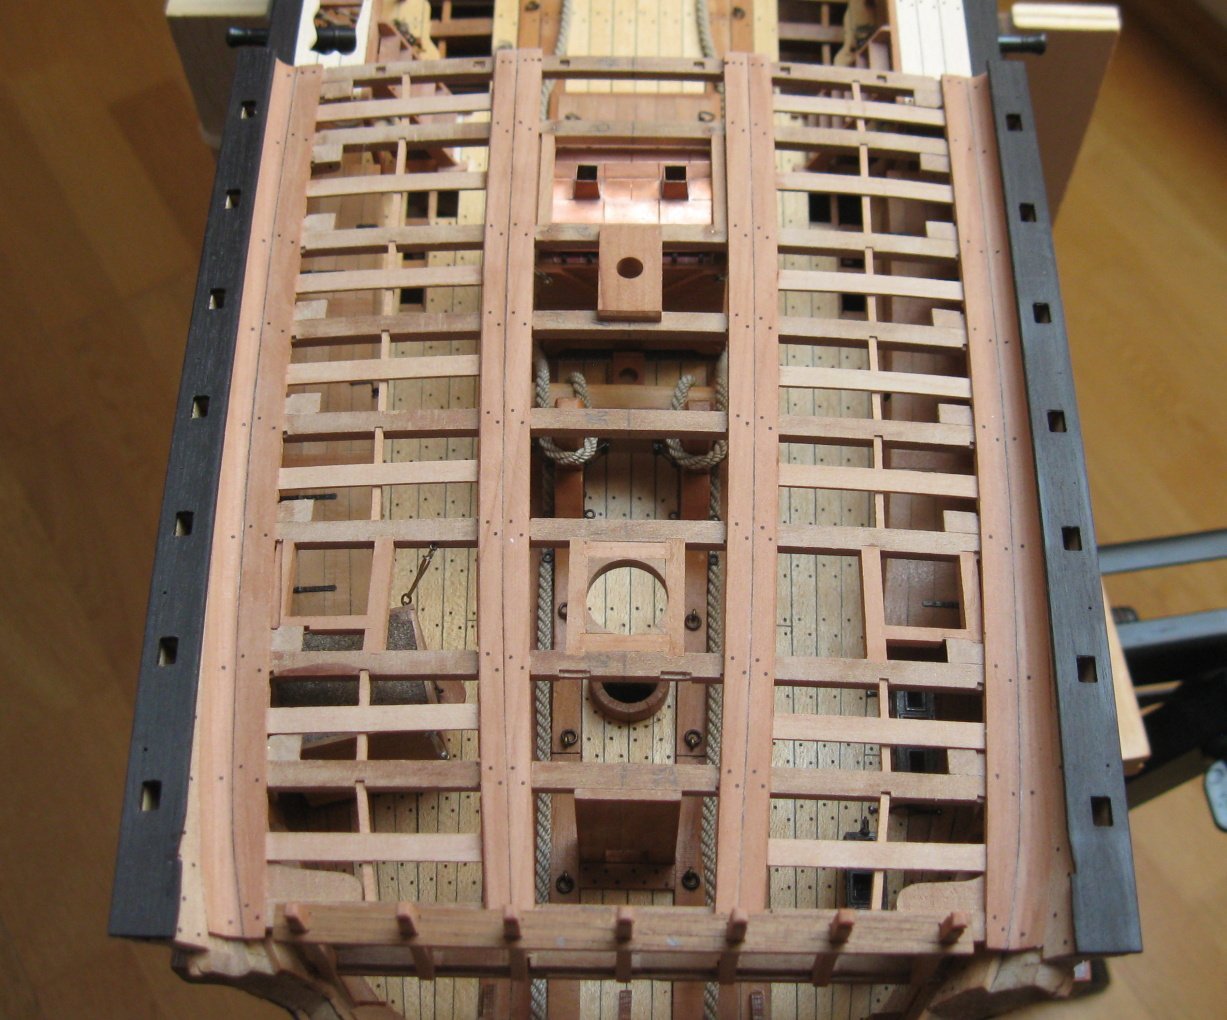
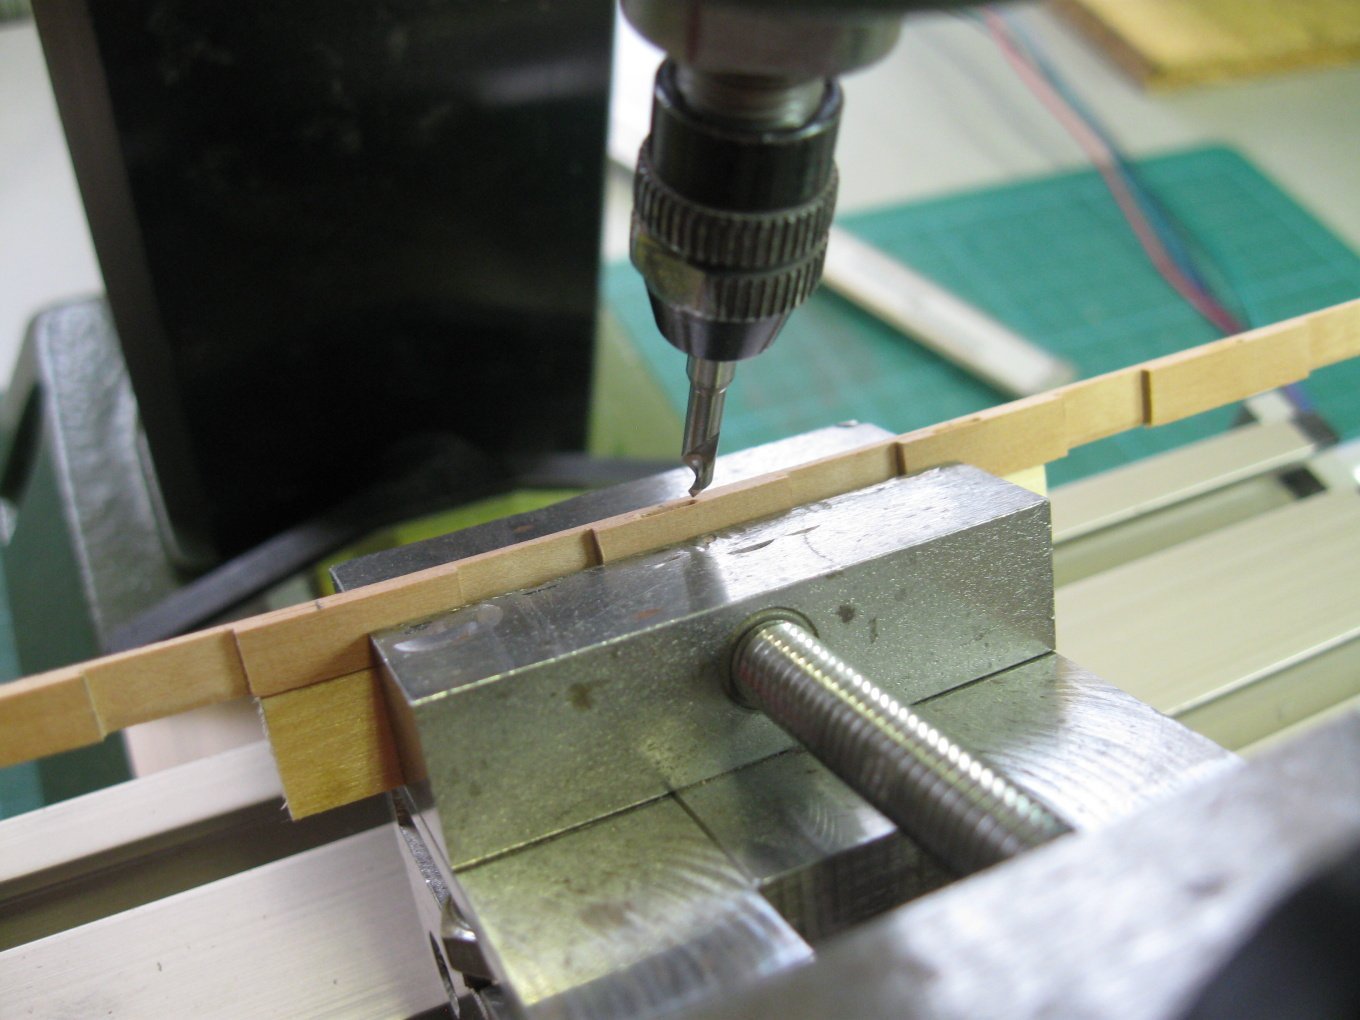
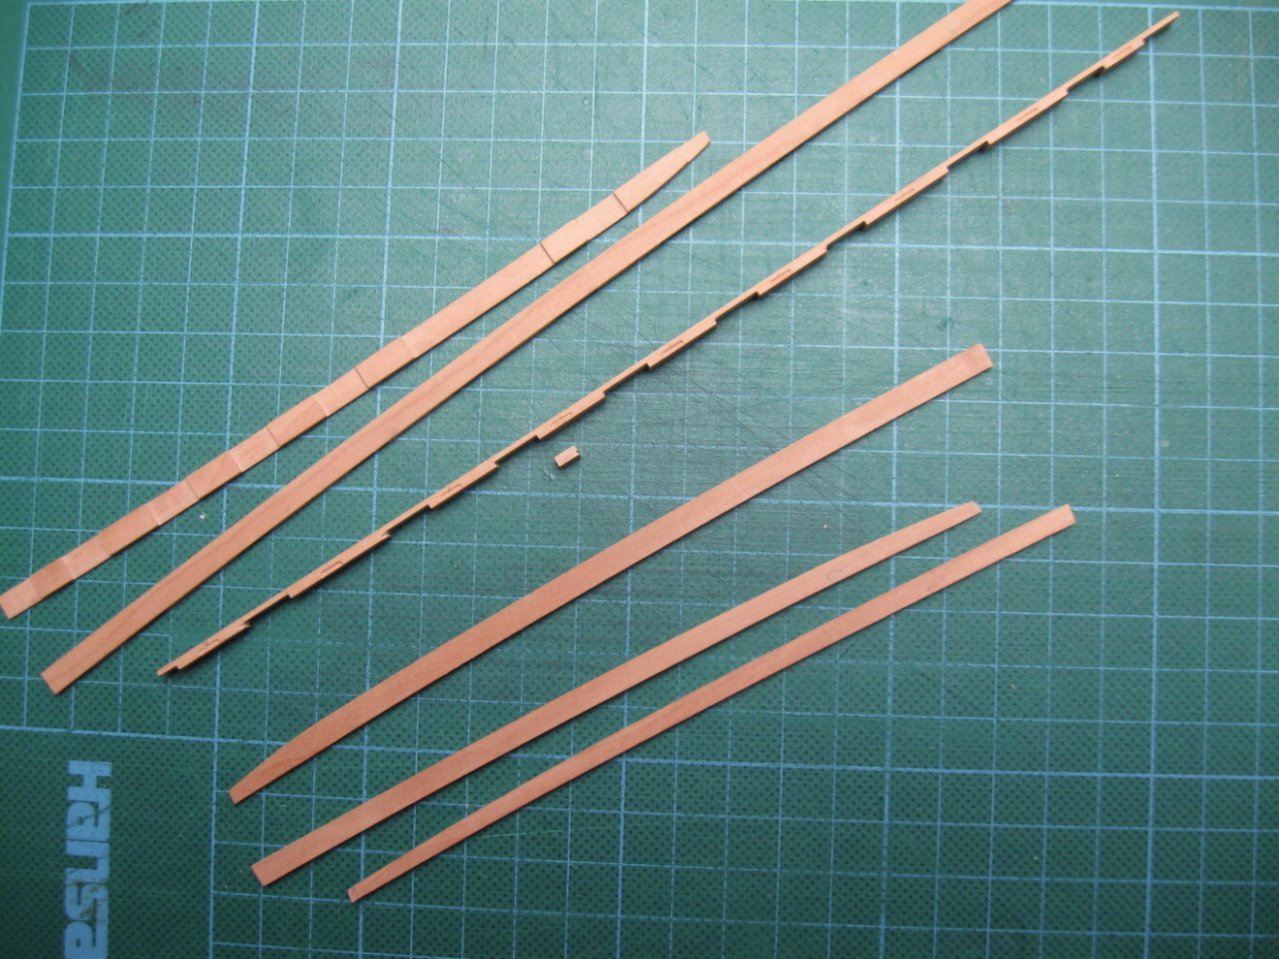
Thank you guys. To Taner Yagci: This is line nr. 8 form the Plate 3 - Hull horizontal section - the widest part of the hull. I finished the belfry.

- 589 replies
-
- 26
-

-
- le gros ventre
- cargo
- (and 1 more)
-
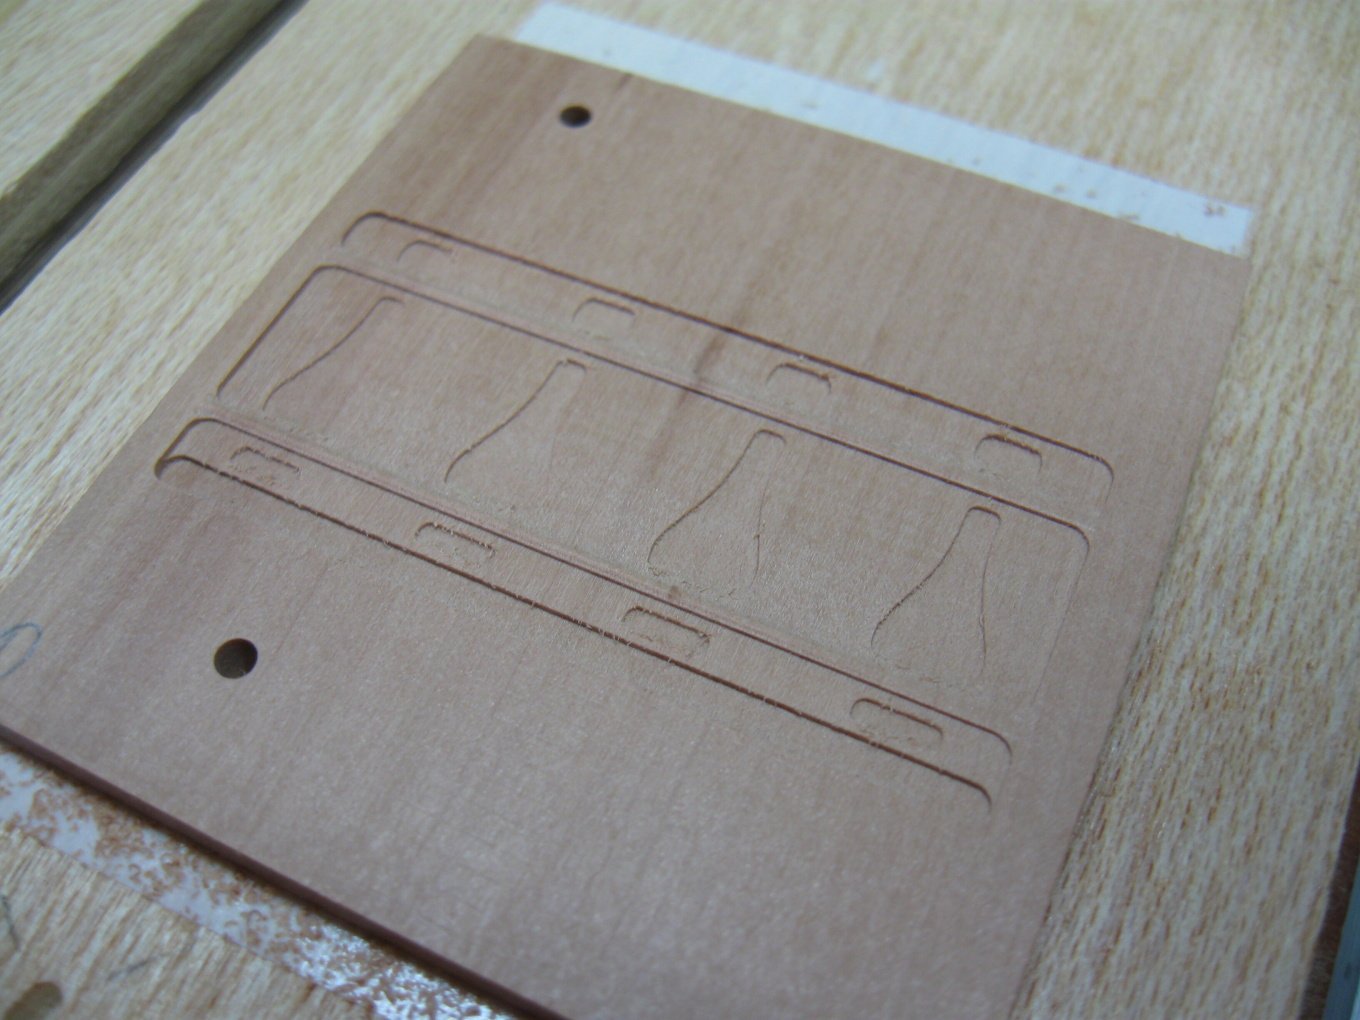
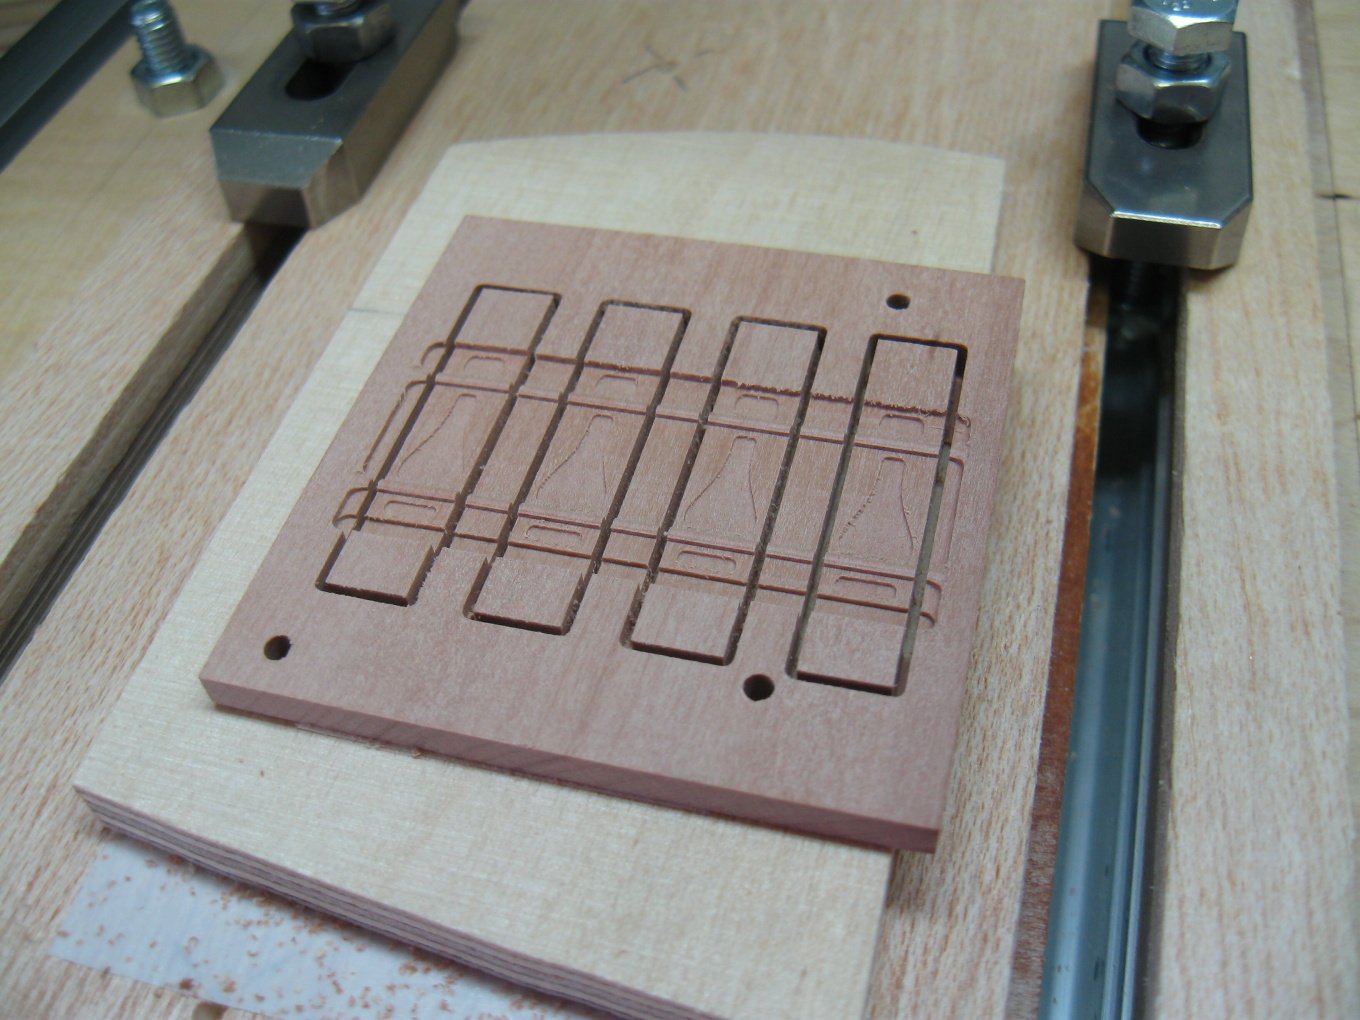
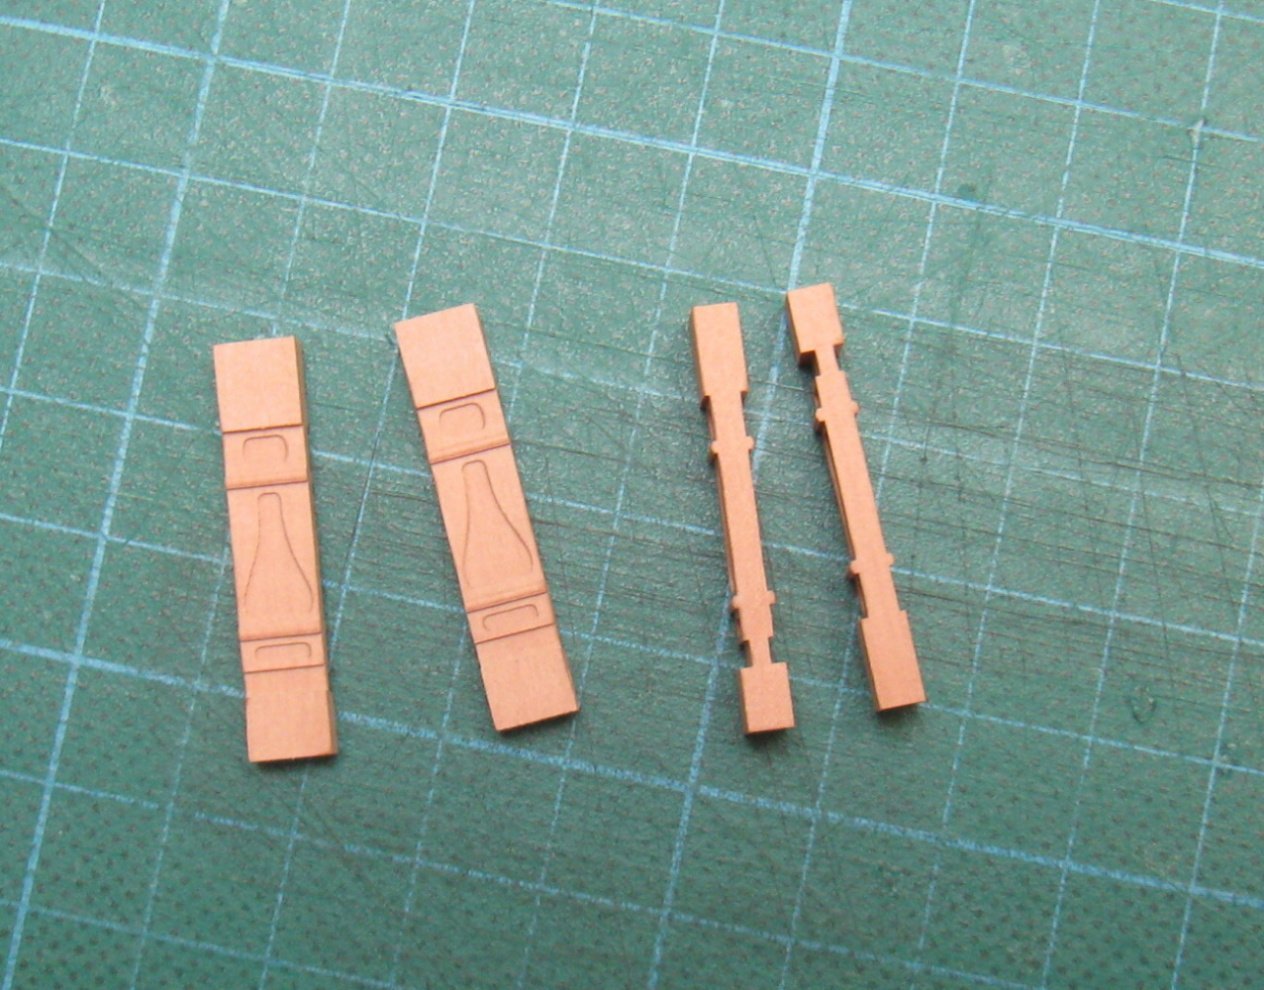
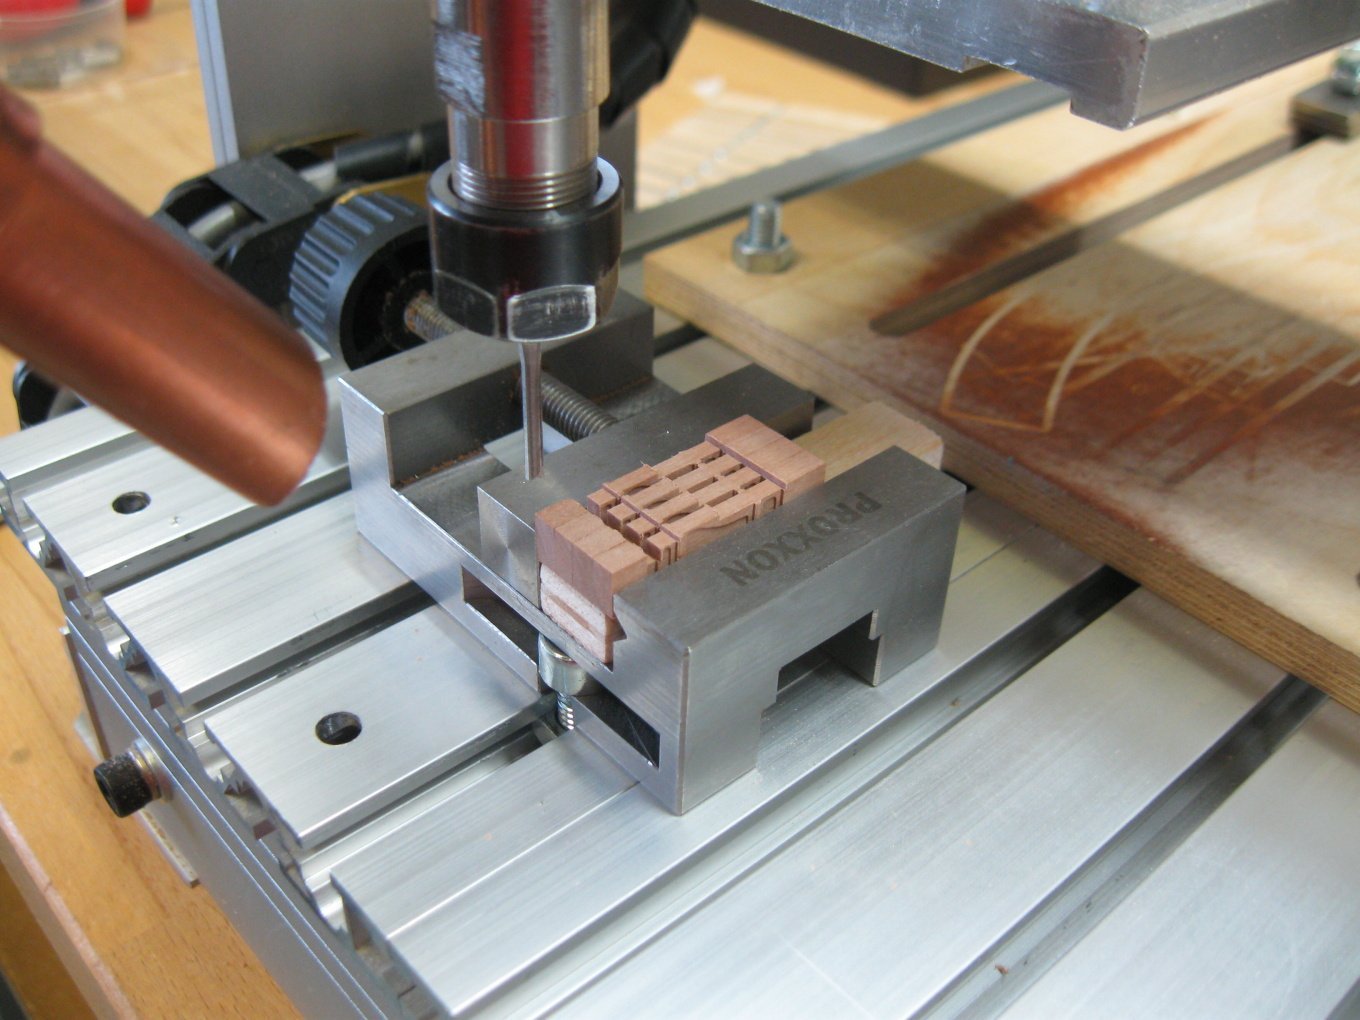
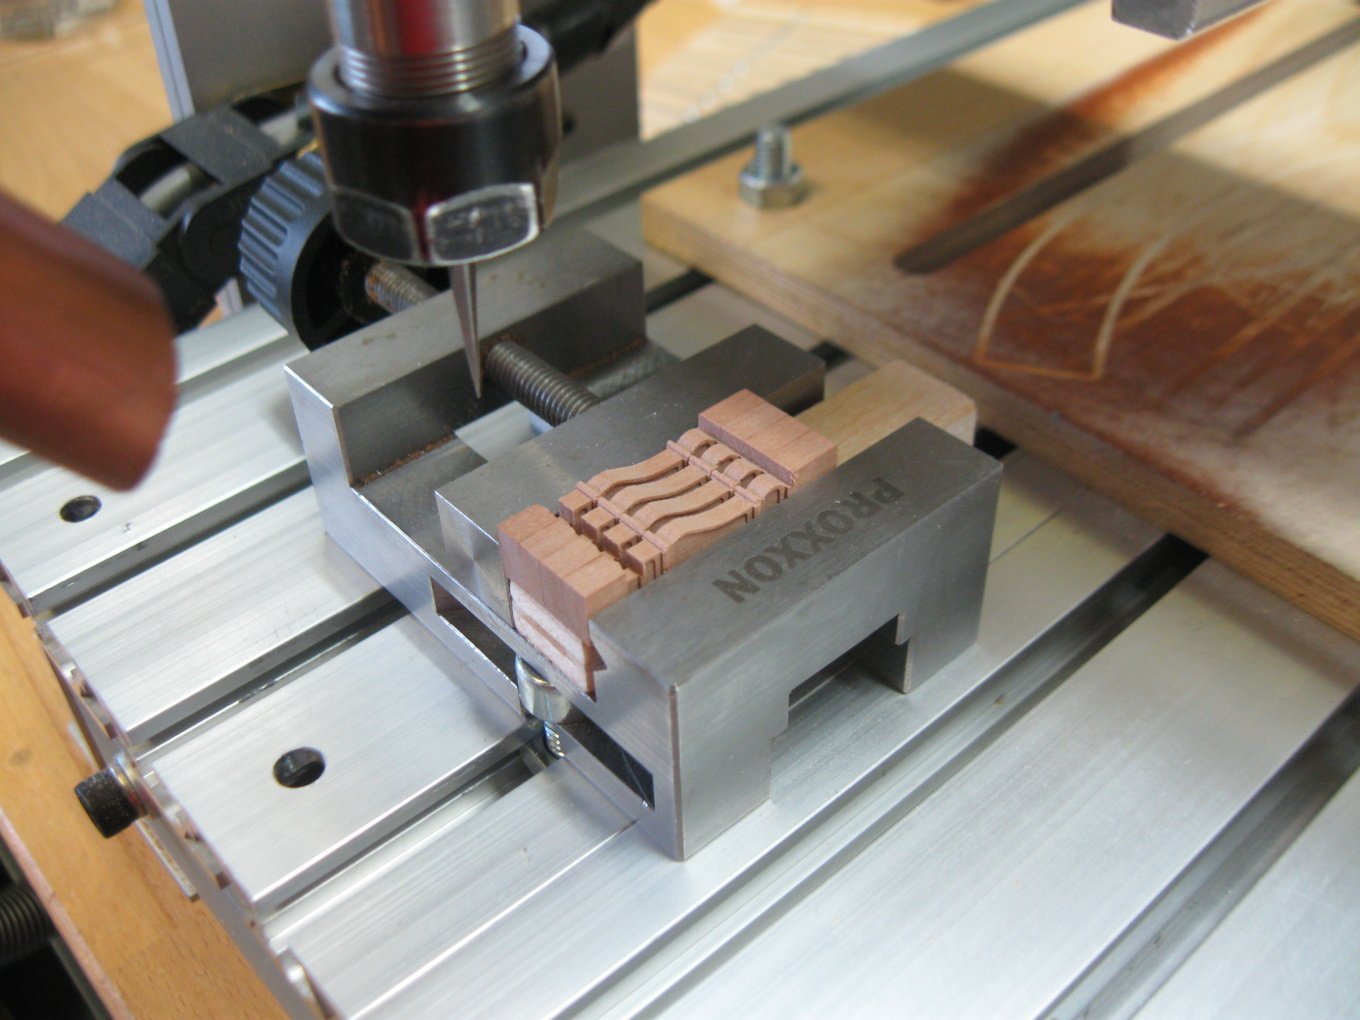
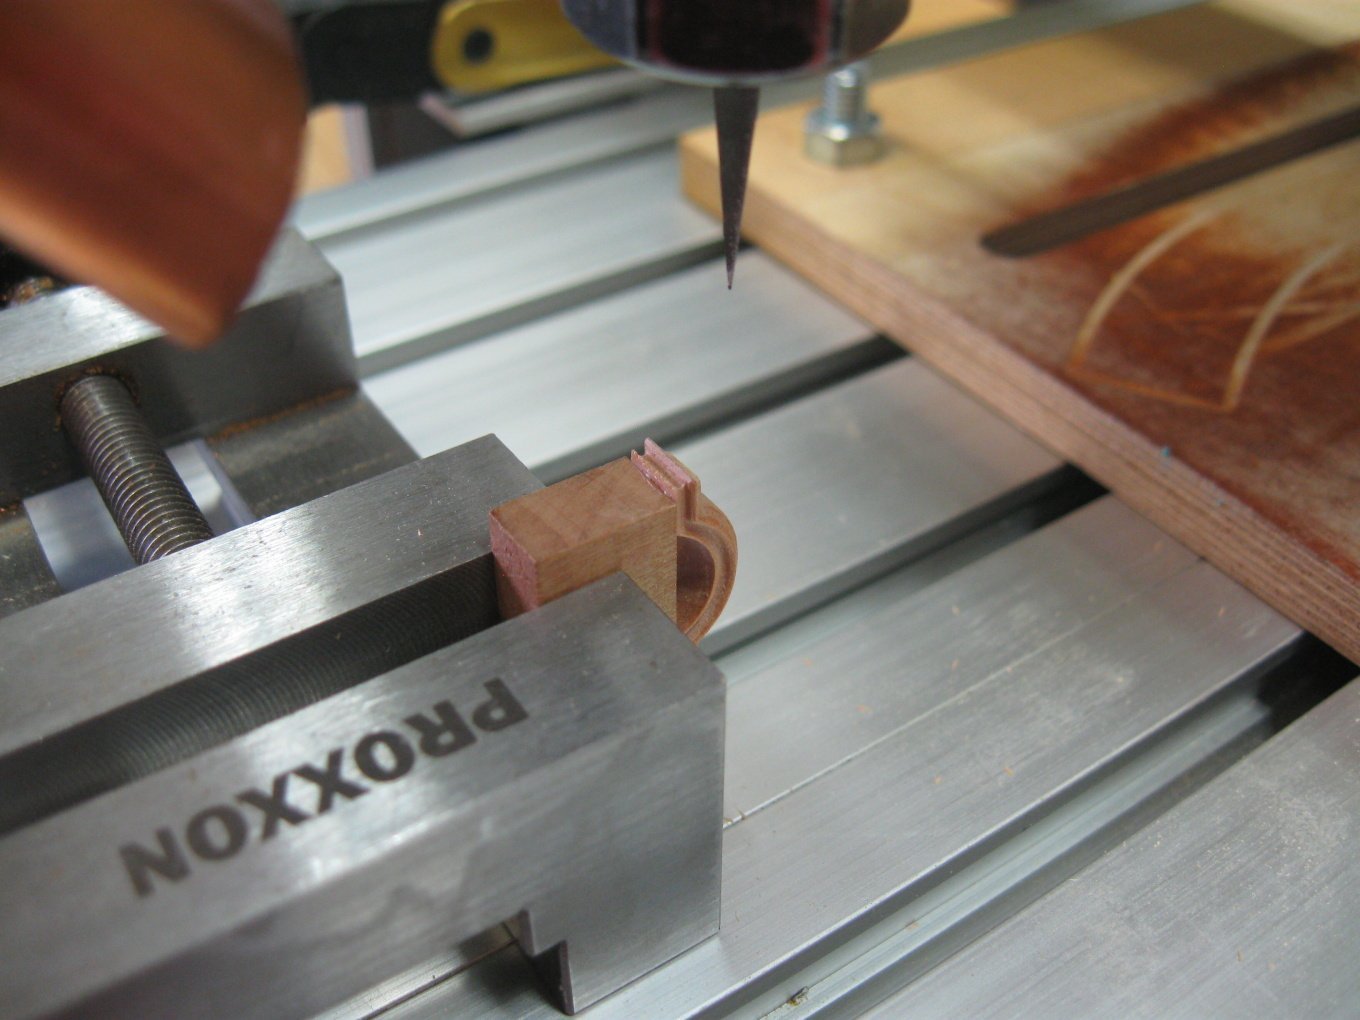
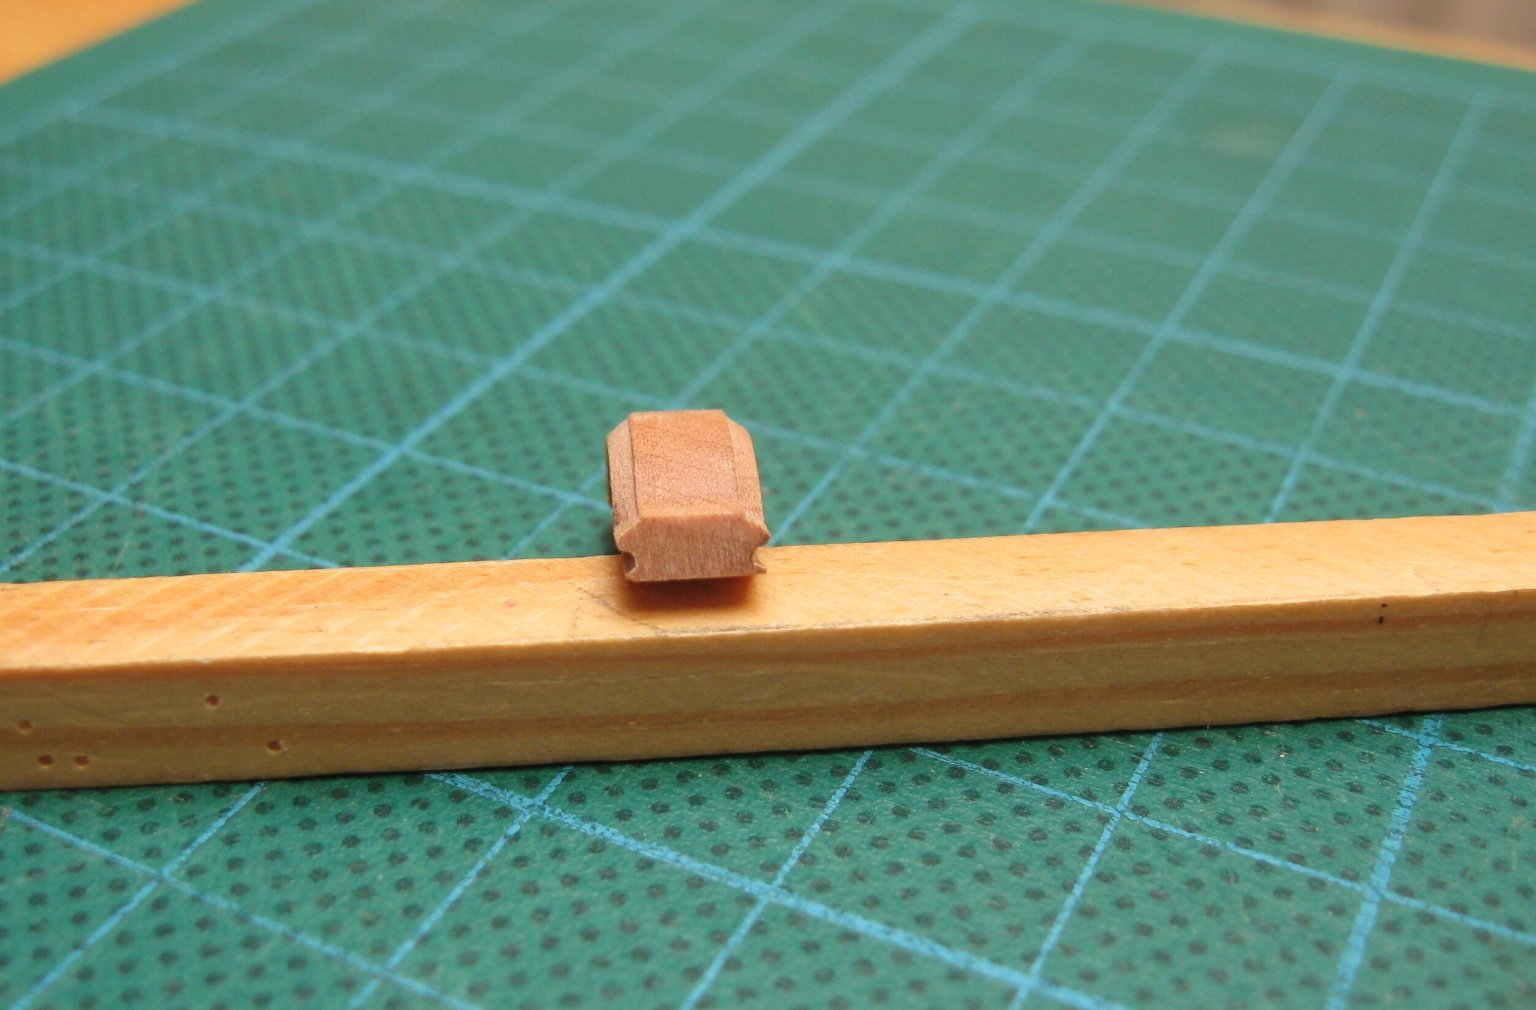
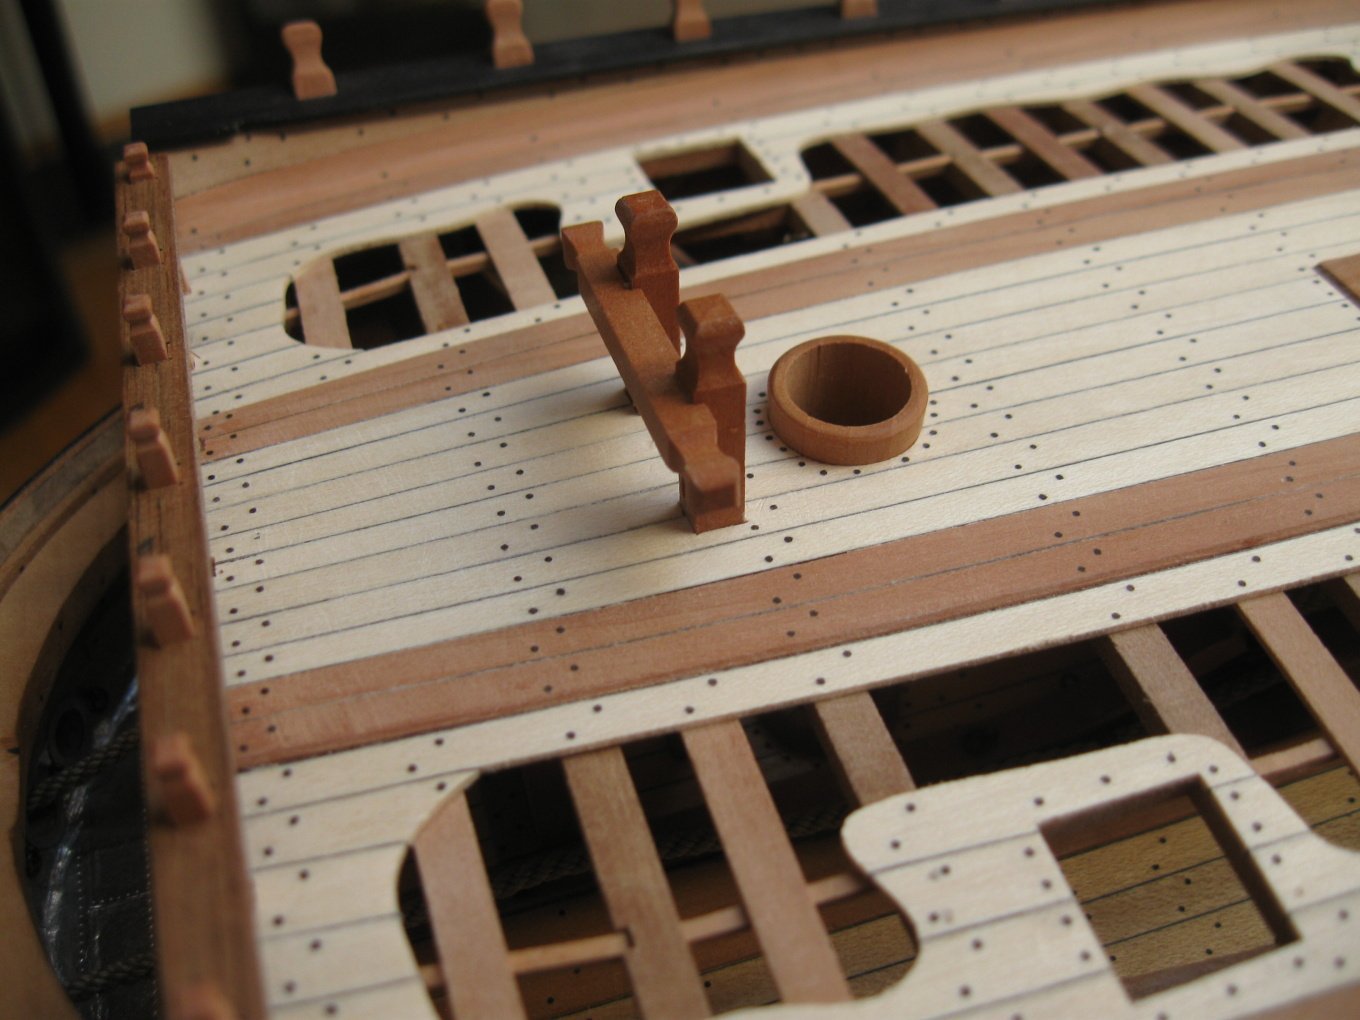
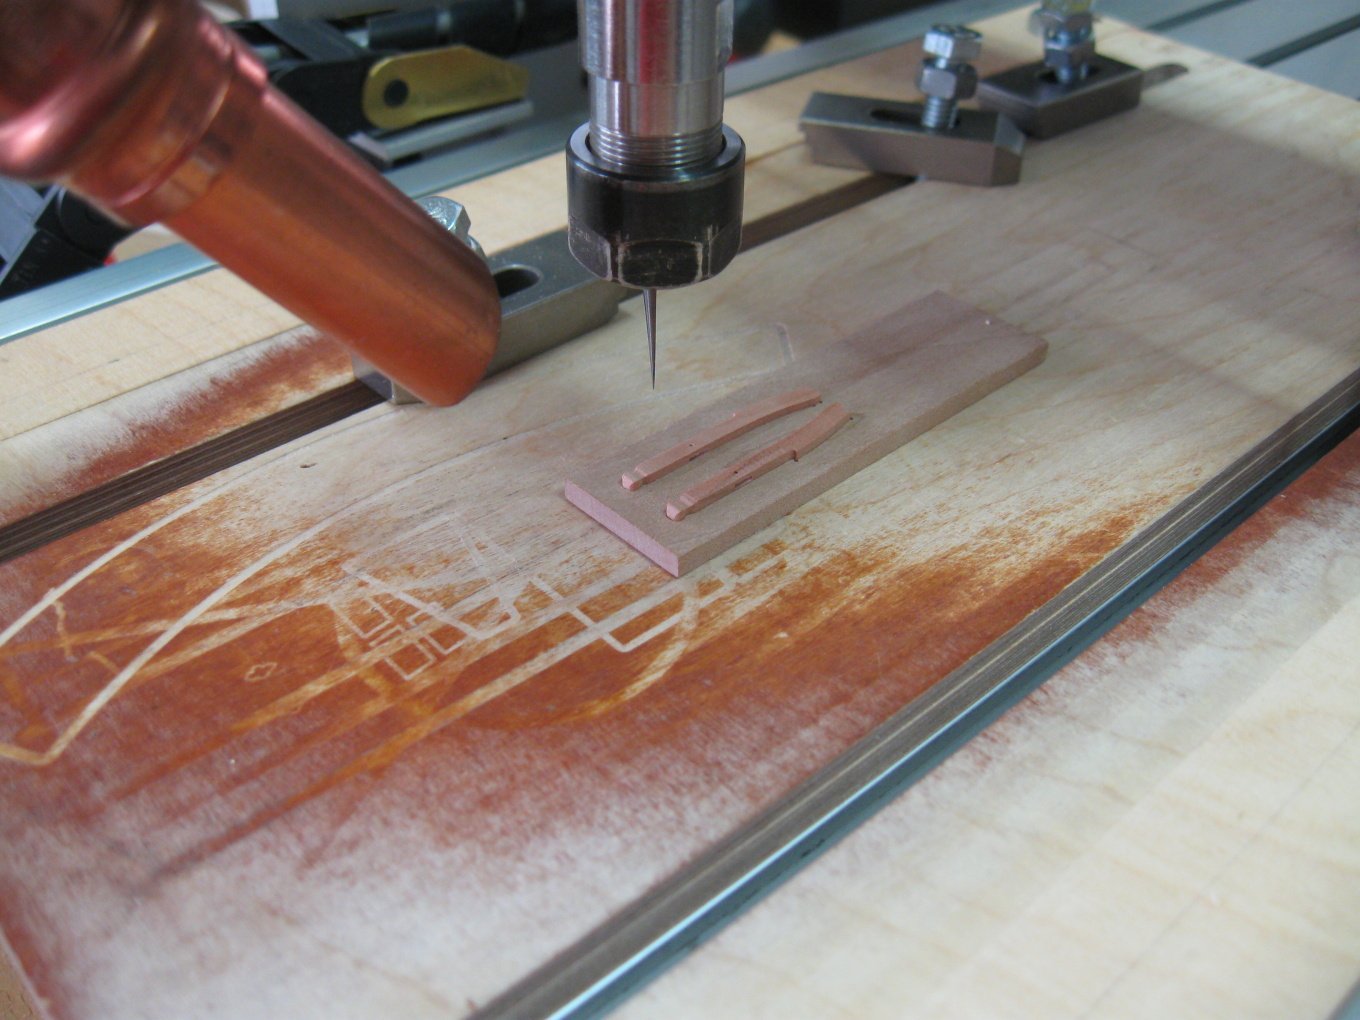
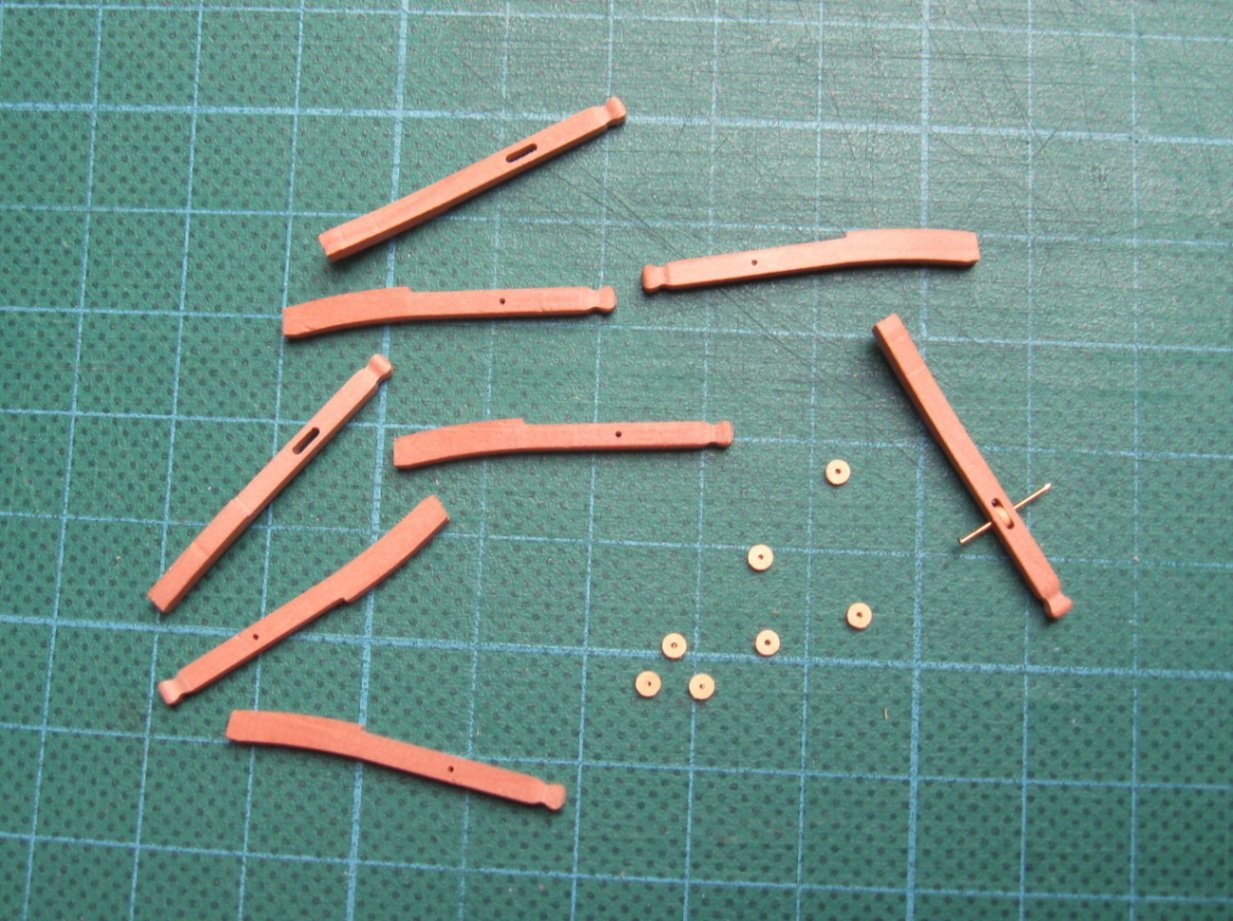
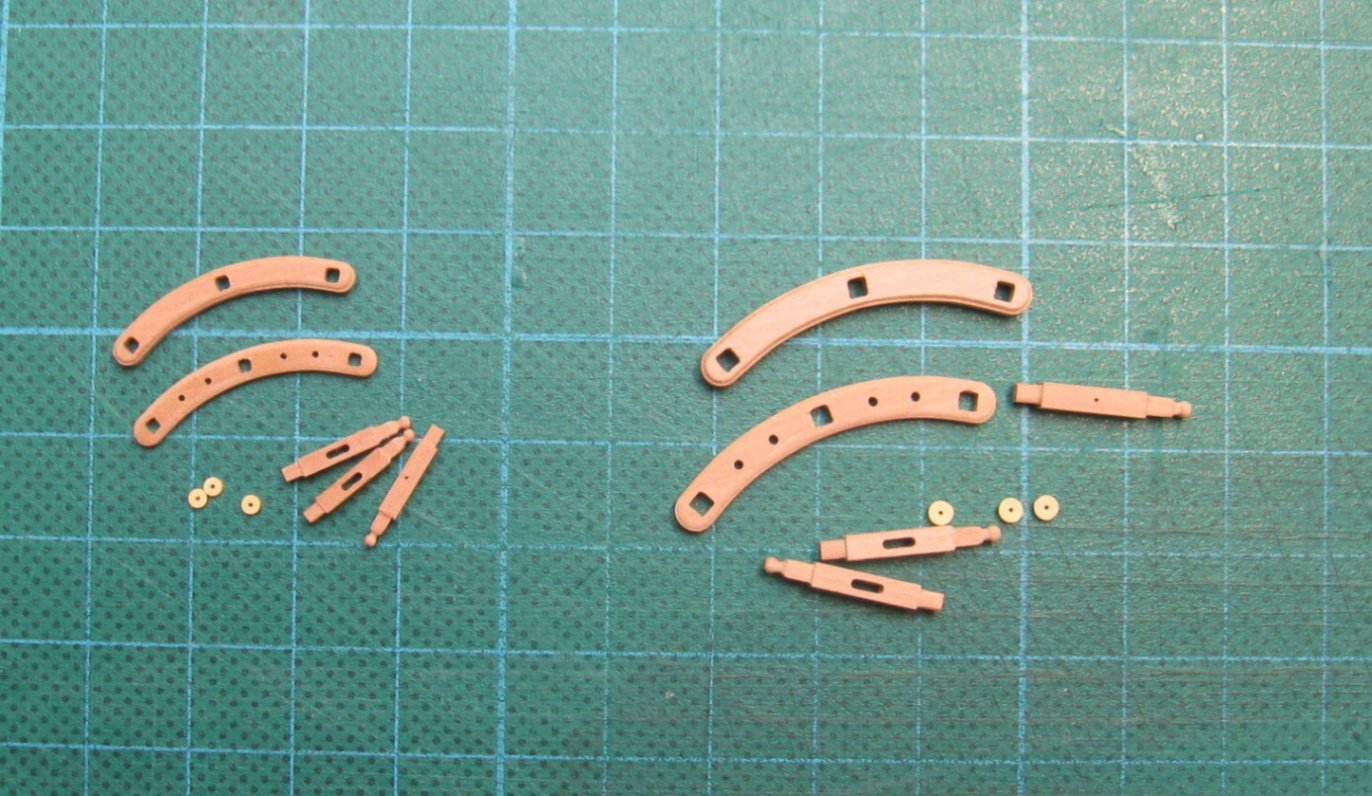
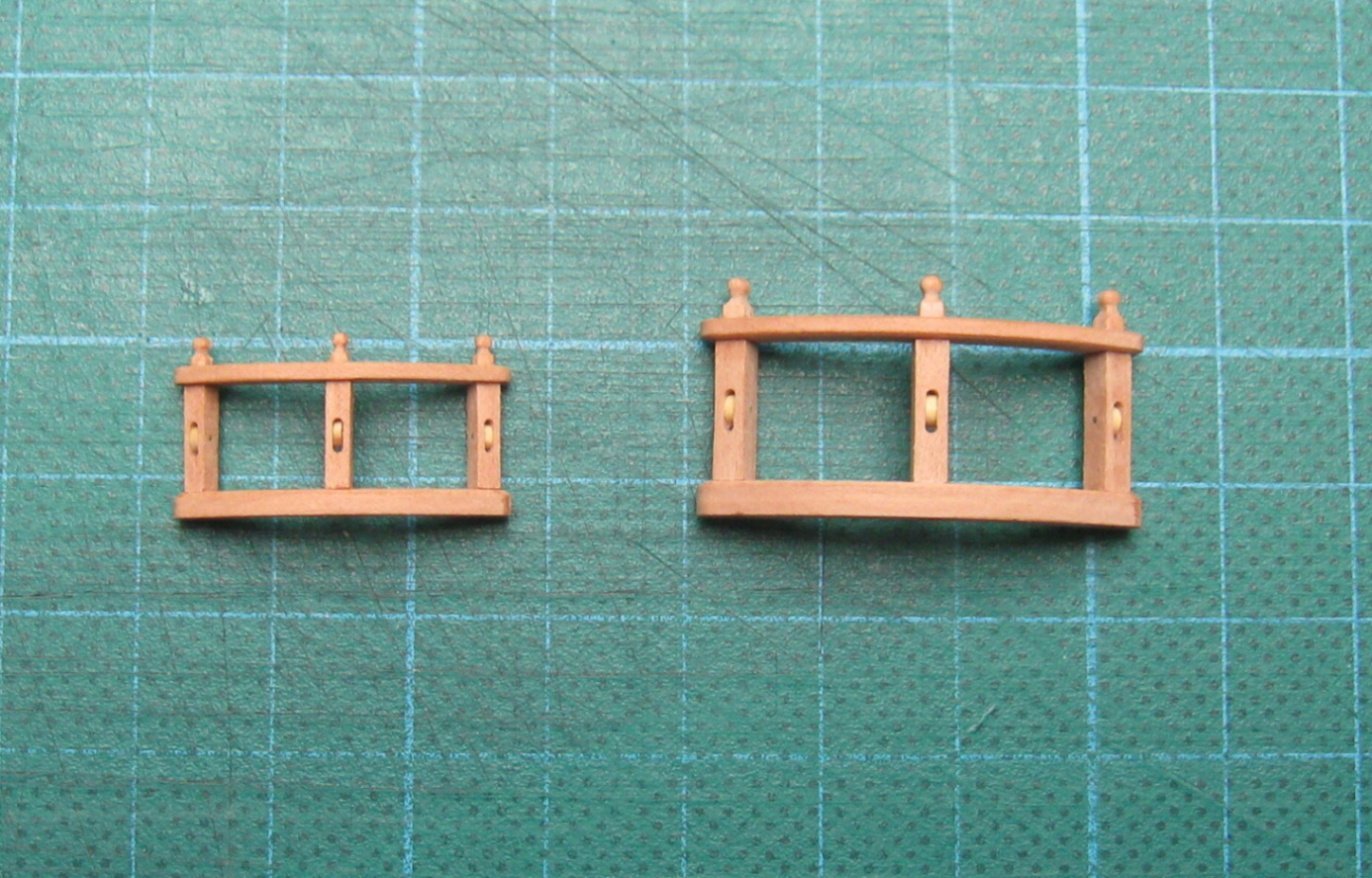
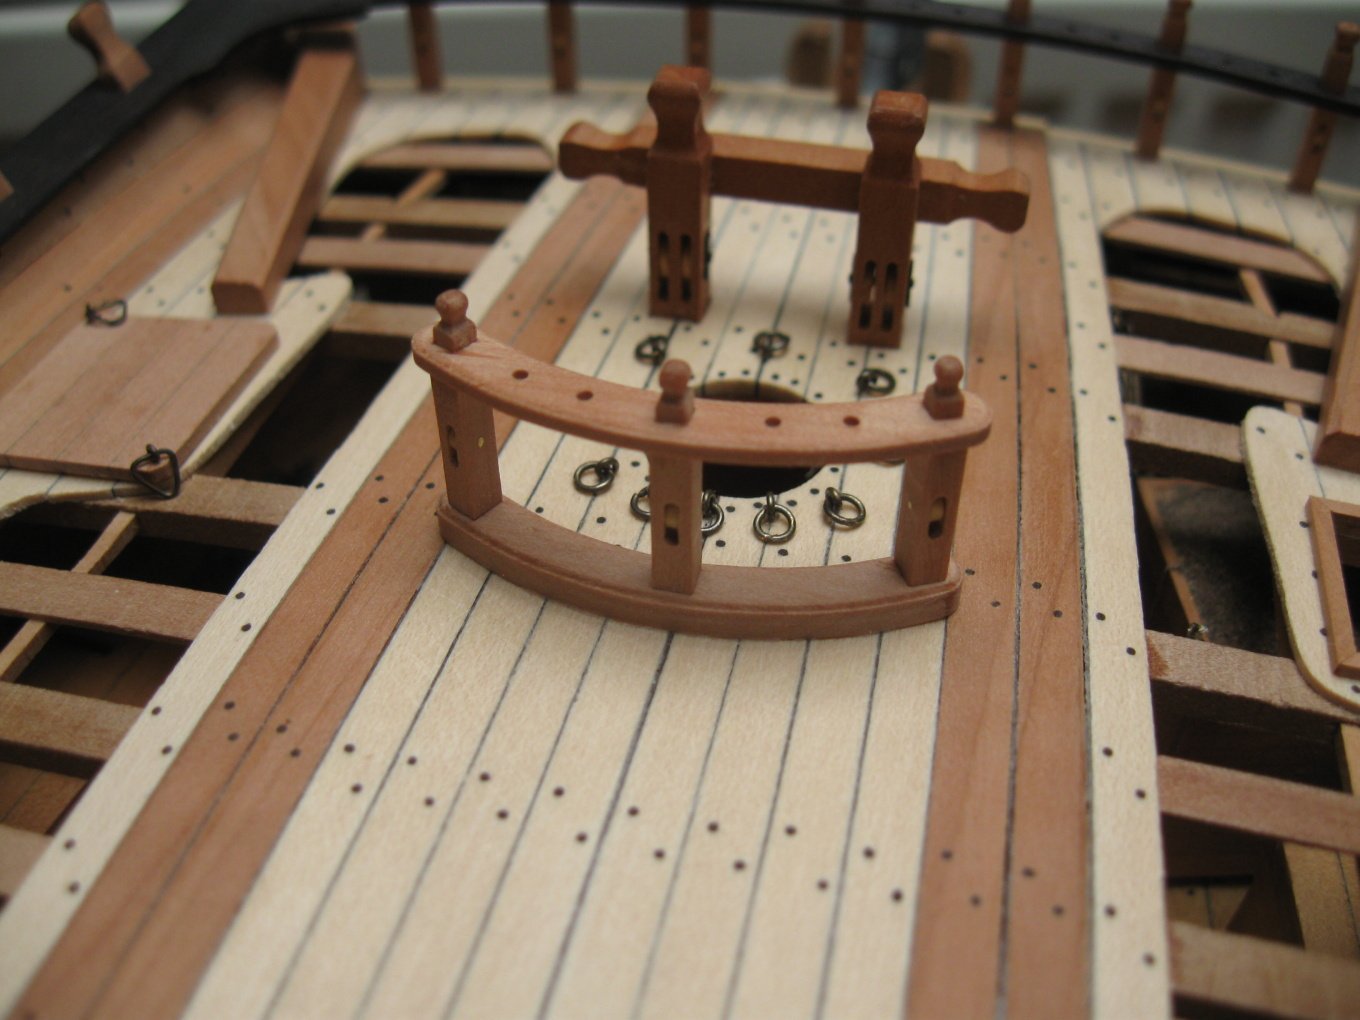
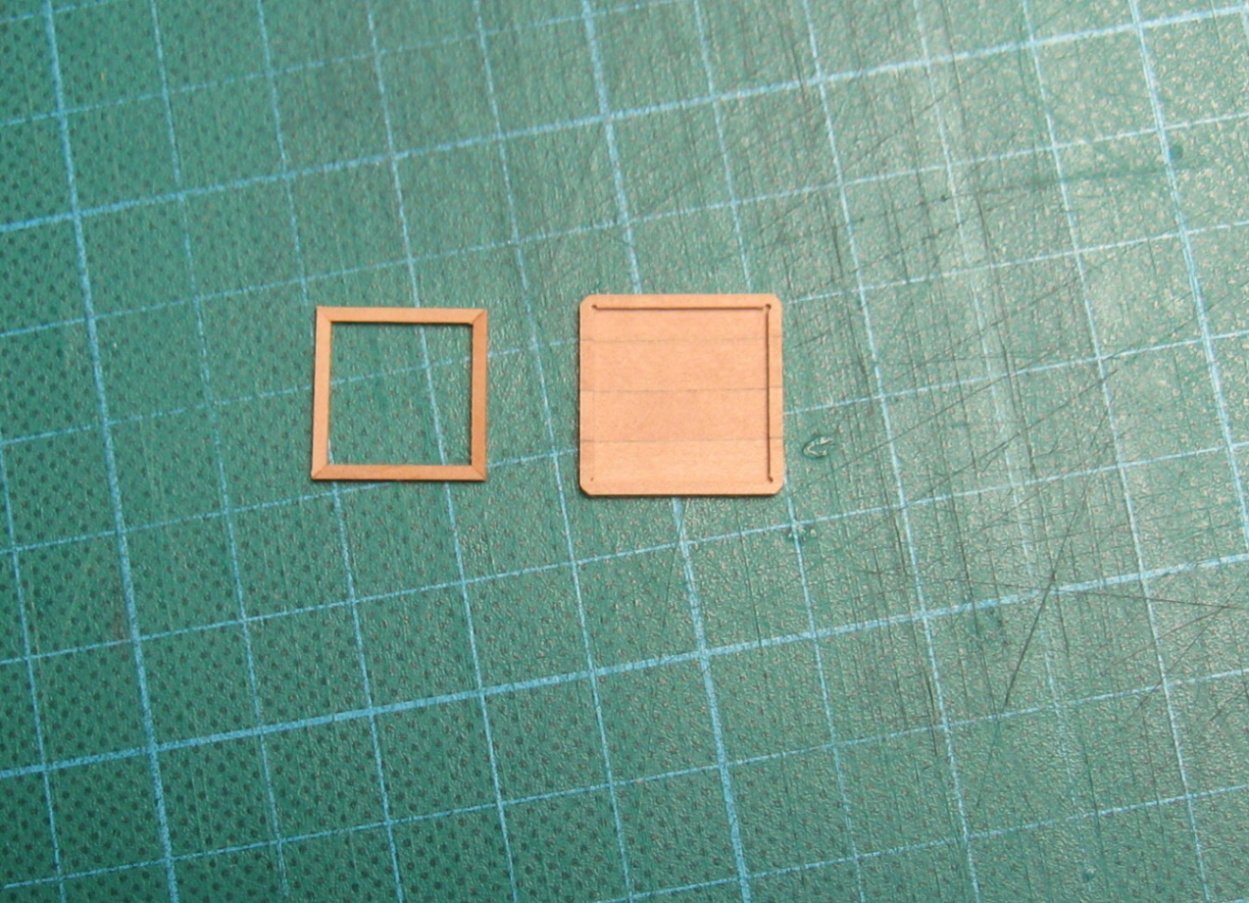
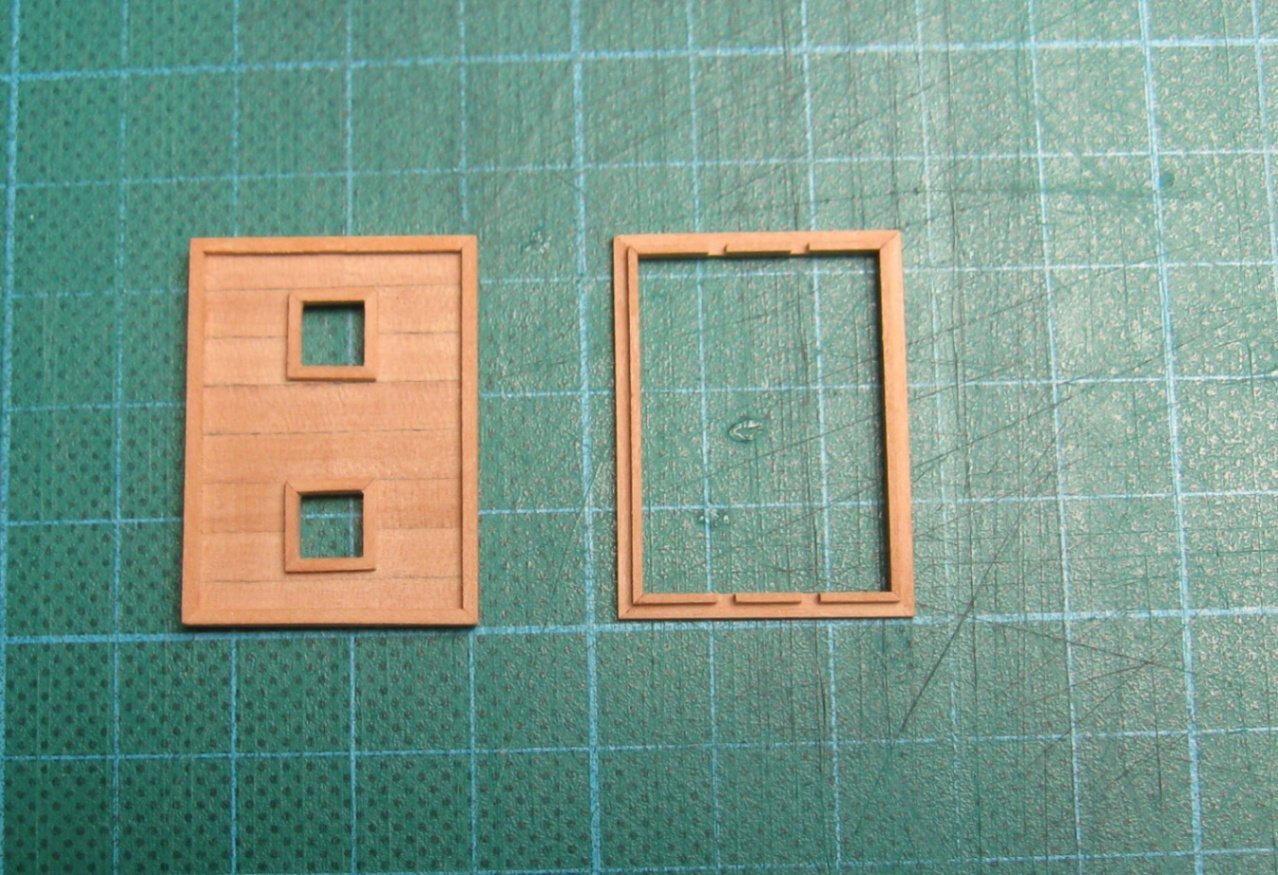
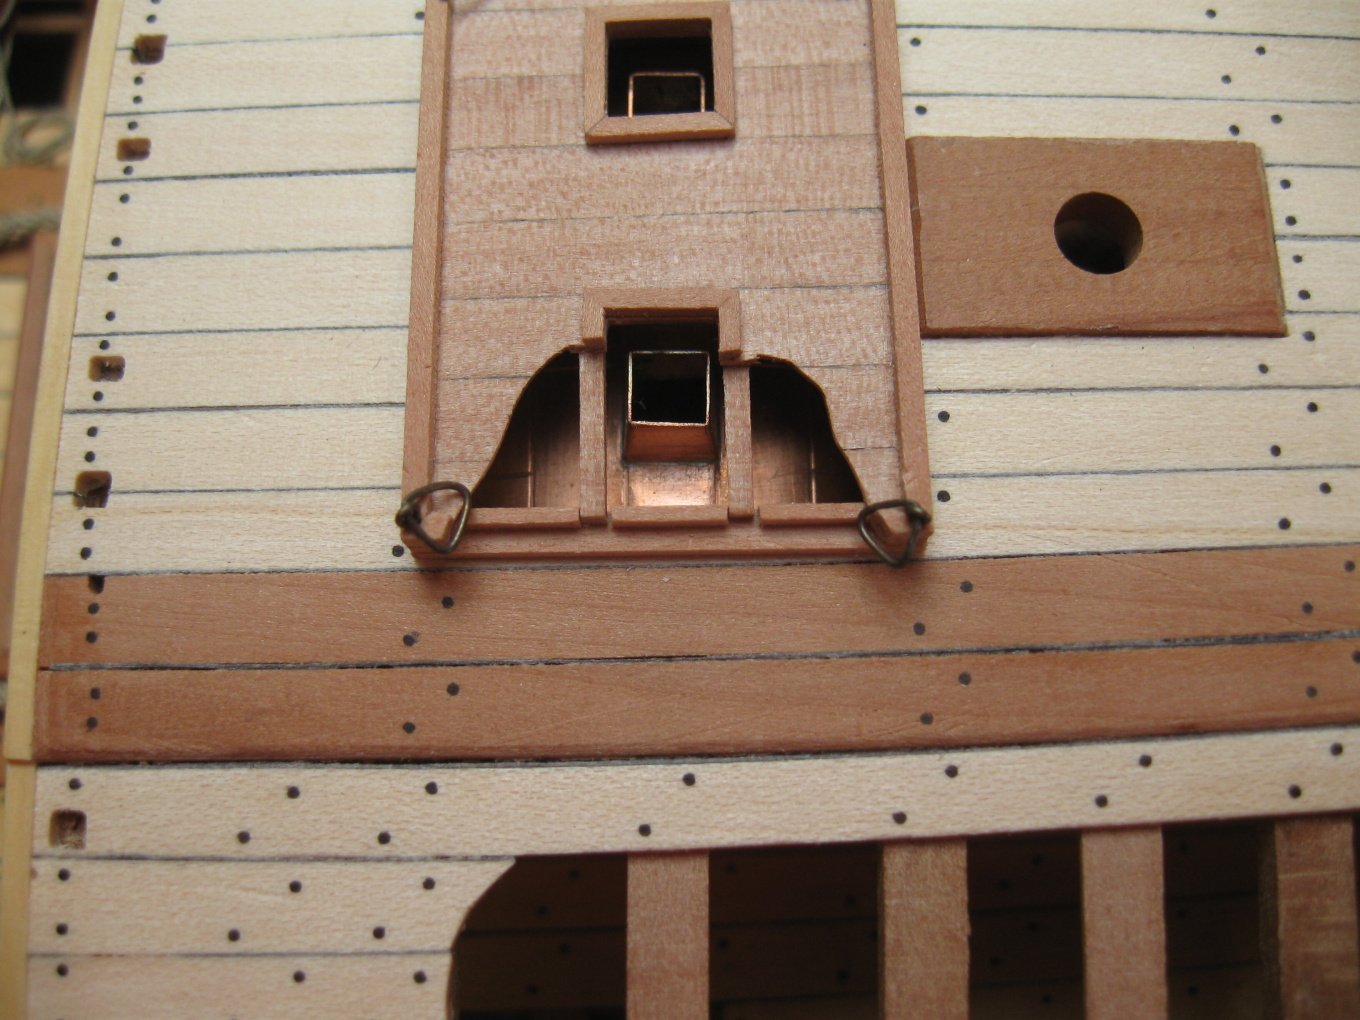
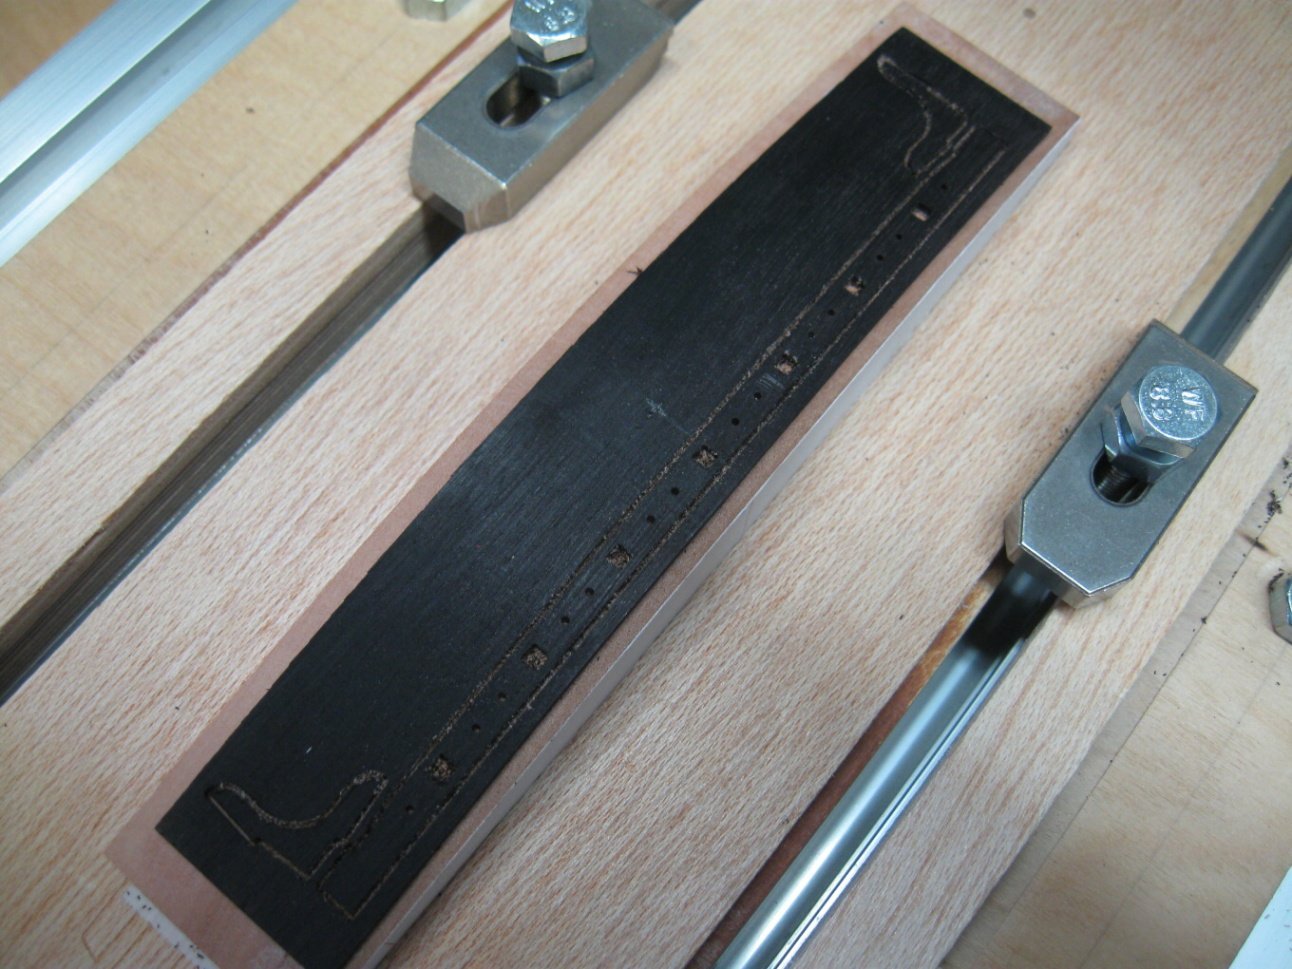
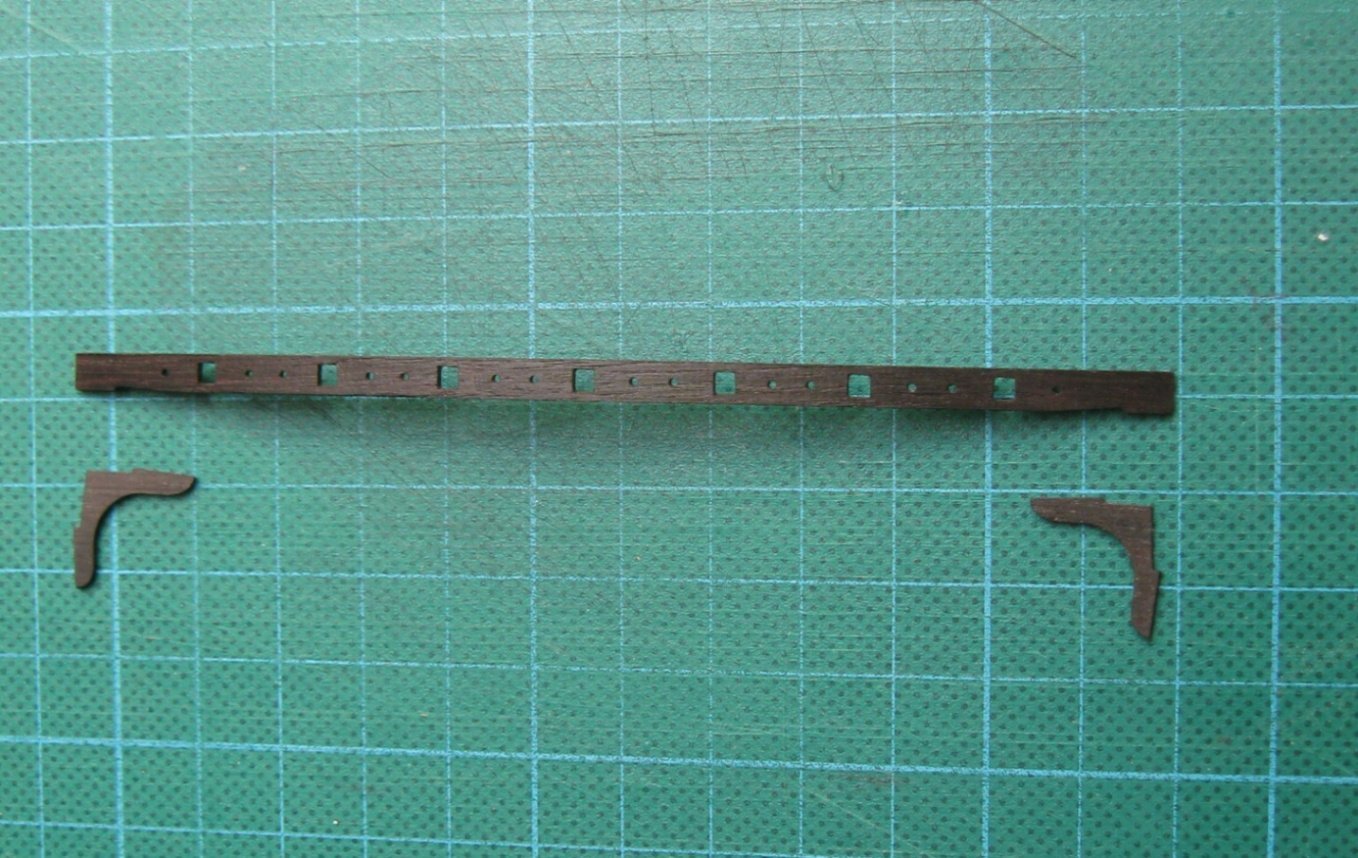
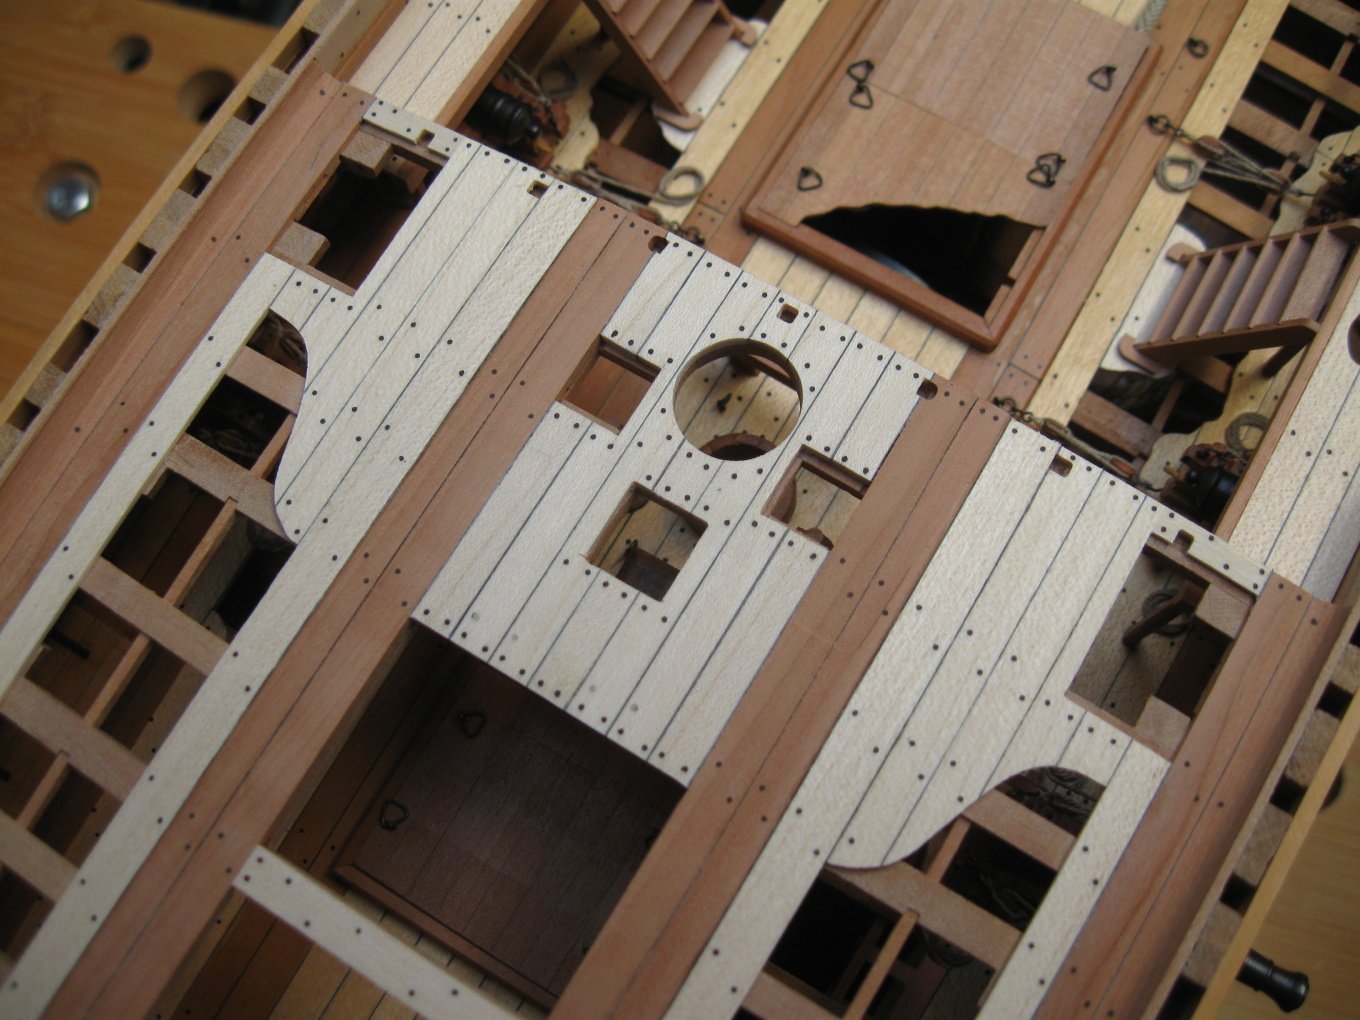
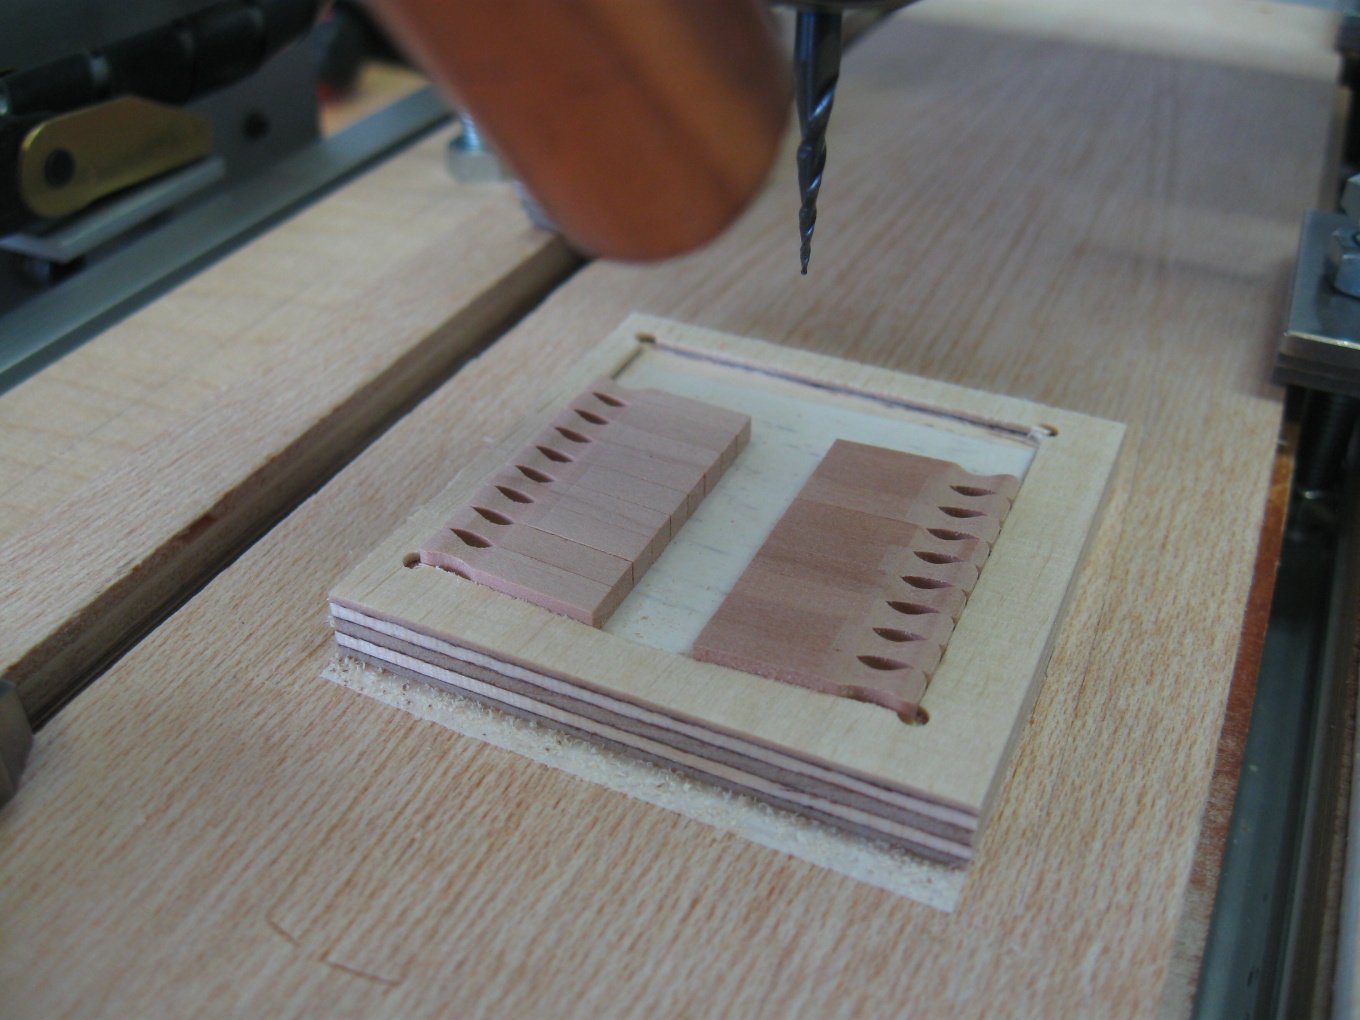
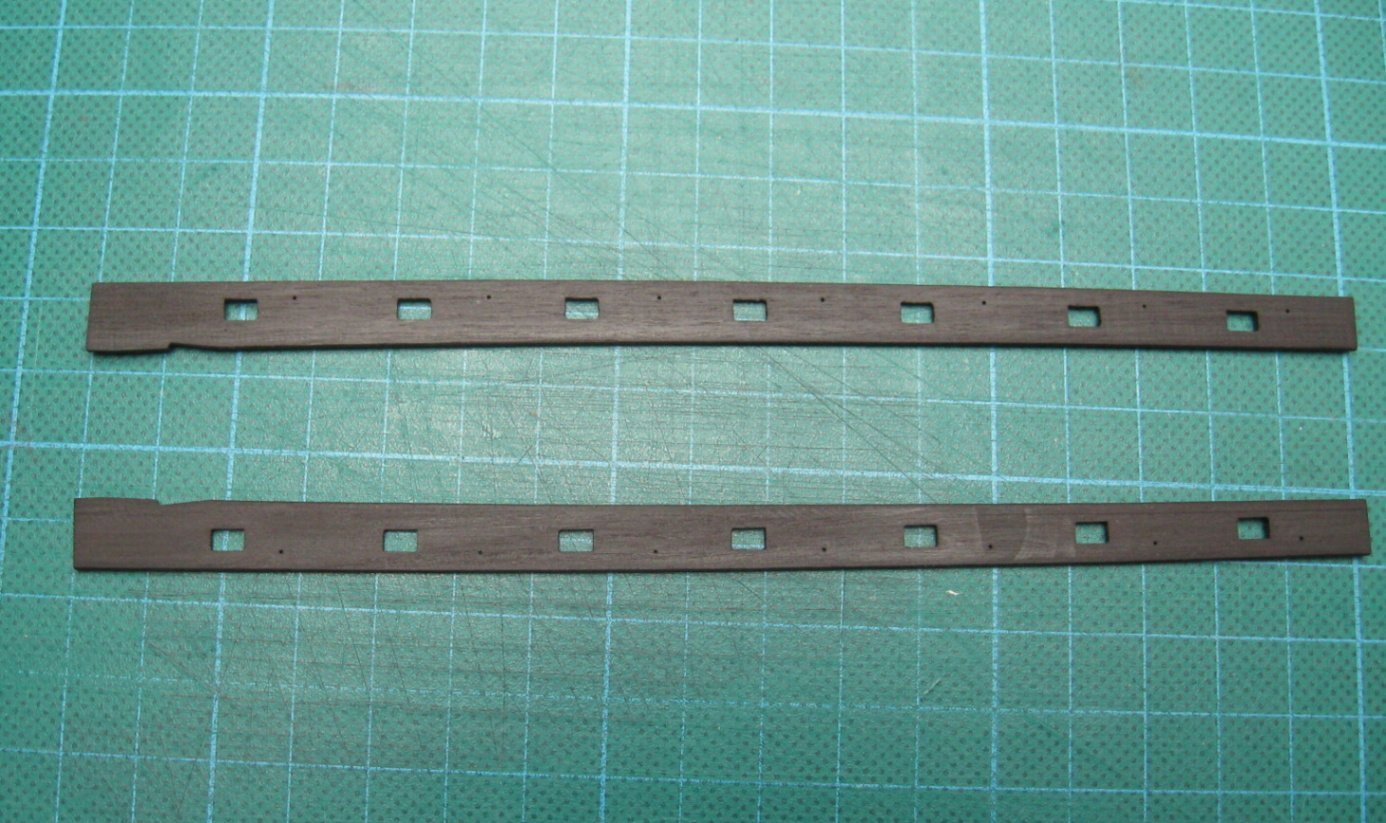
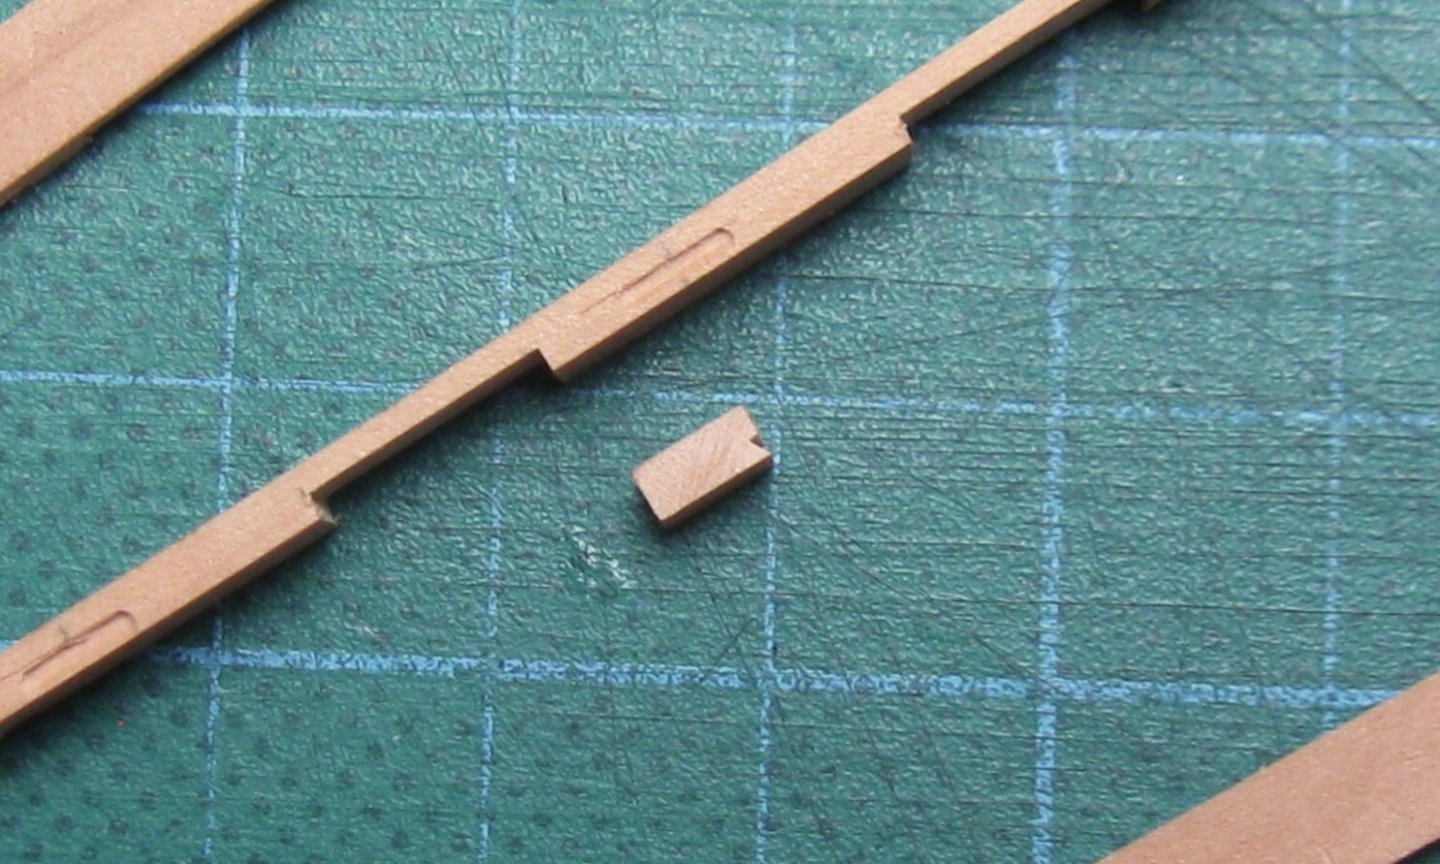
To Hsae: The square holes are made with small diameter milling bit (0,5 mm) and the rest with file. To popash42: I am using VCarve Desktop software for CNC milling. As regards Laser Engraver, I´m not sure, but the VCarve Desktop is propably not primarily intended for laser. You can find information on the optional laser add-on module on the Vectric website (https://www.vectric.com/products/laser-module). Pinrails.

- 589 replies
-
- 20
-

-
-
- le gros ventre
- cargo
- (and 1 more)
-
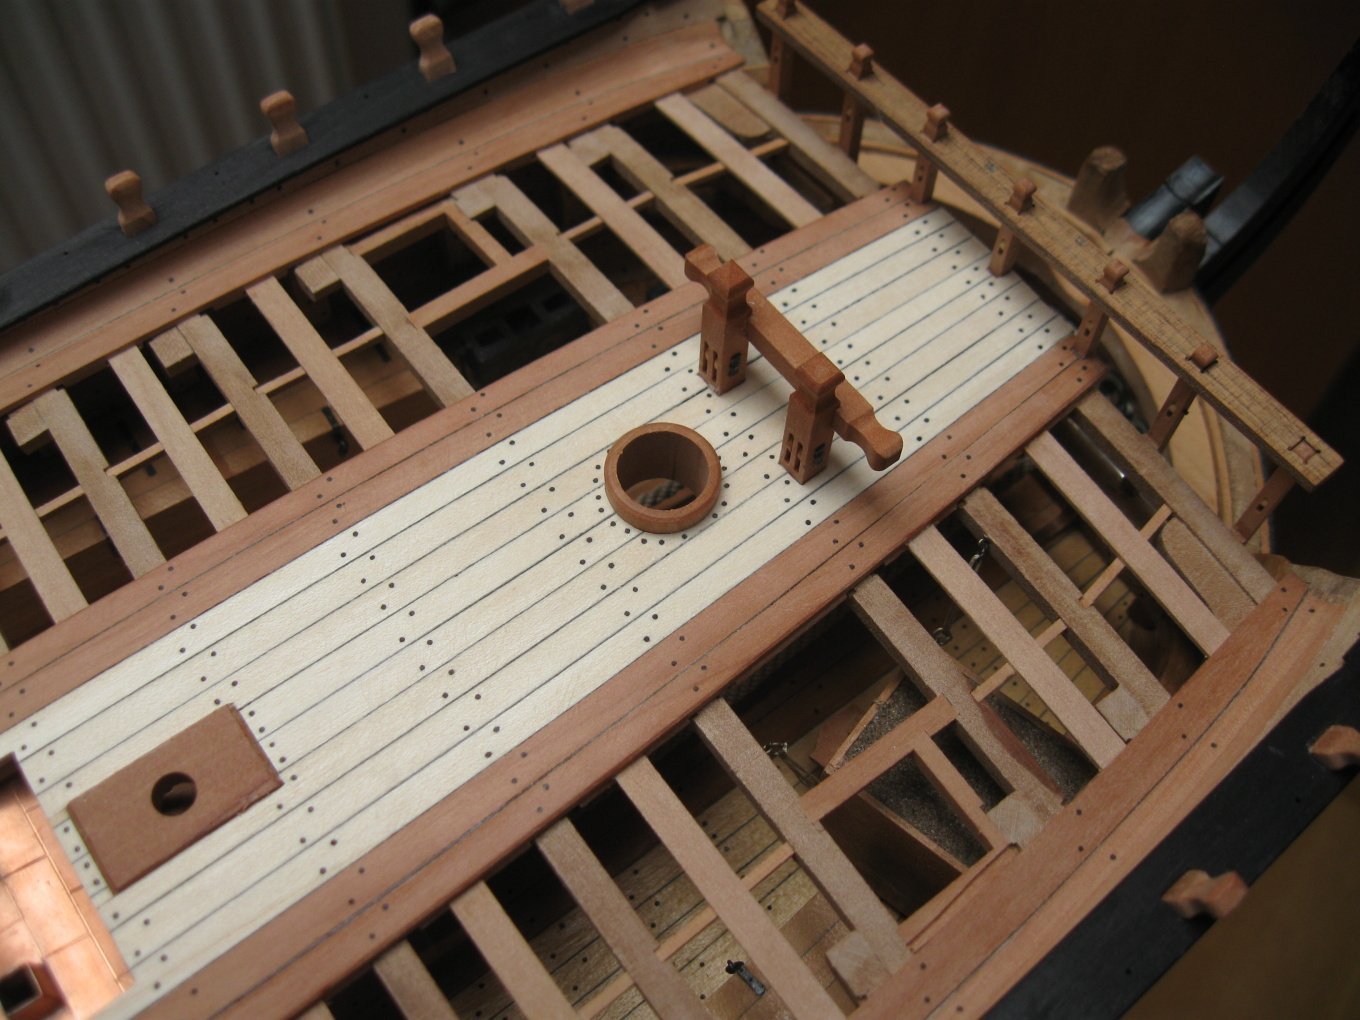
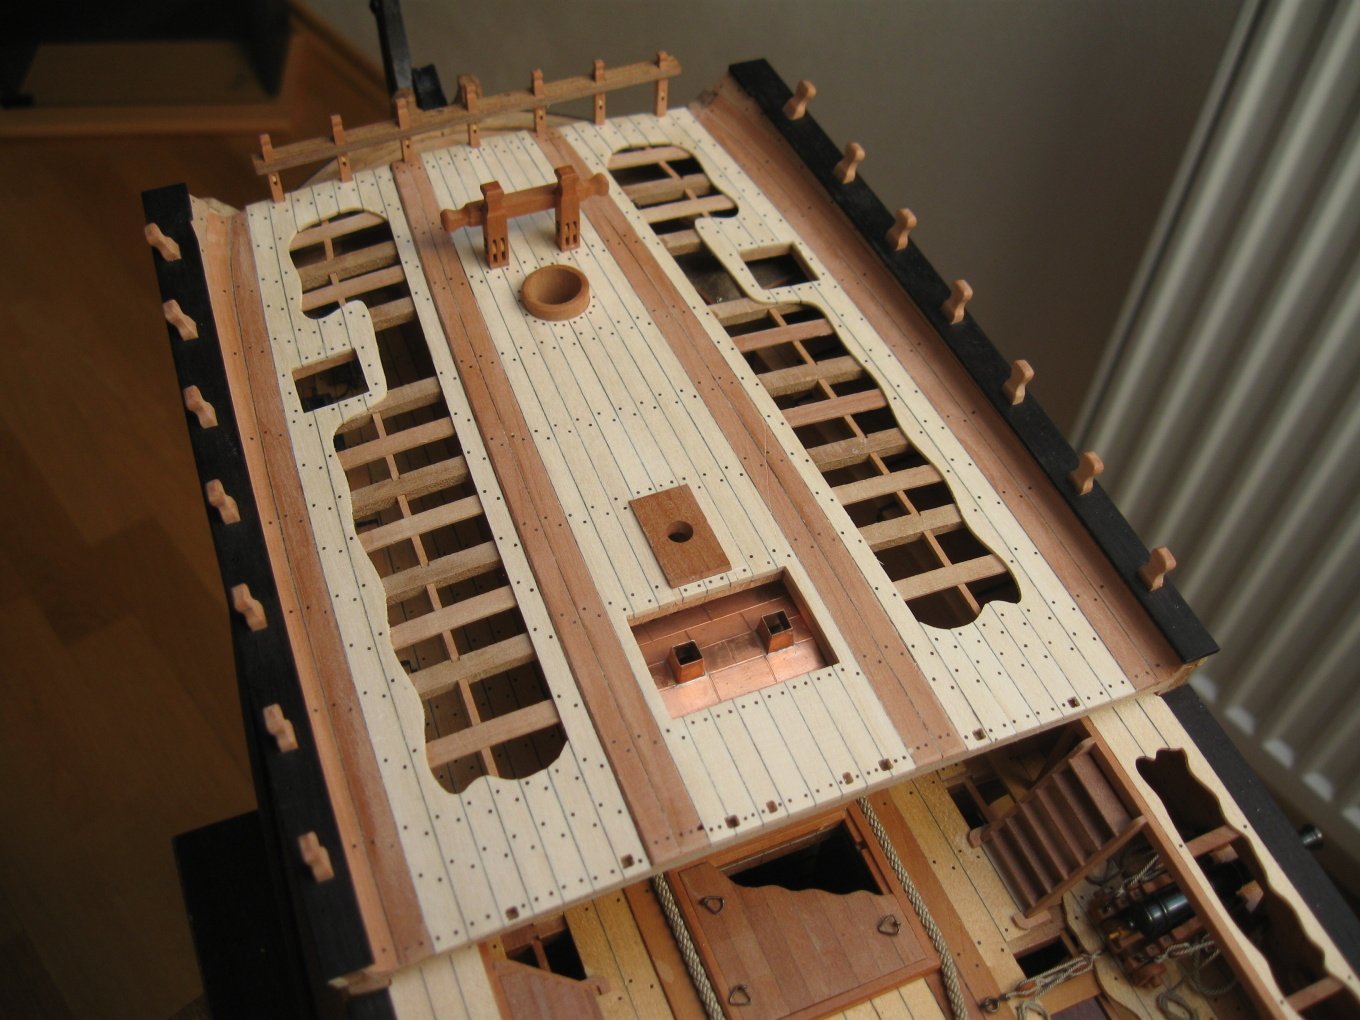
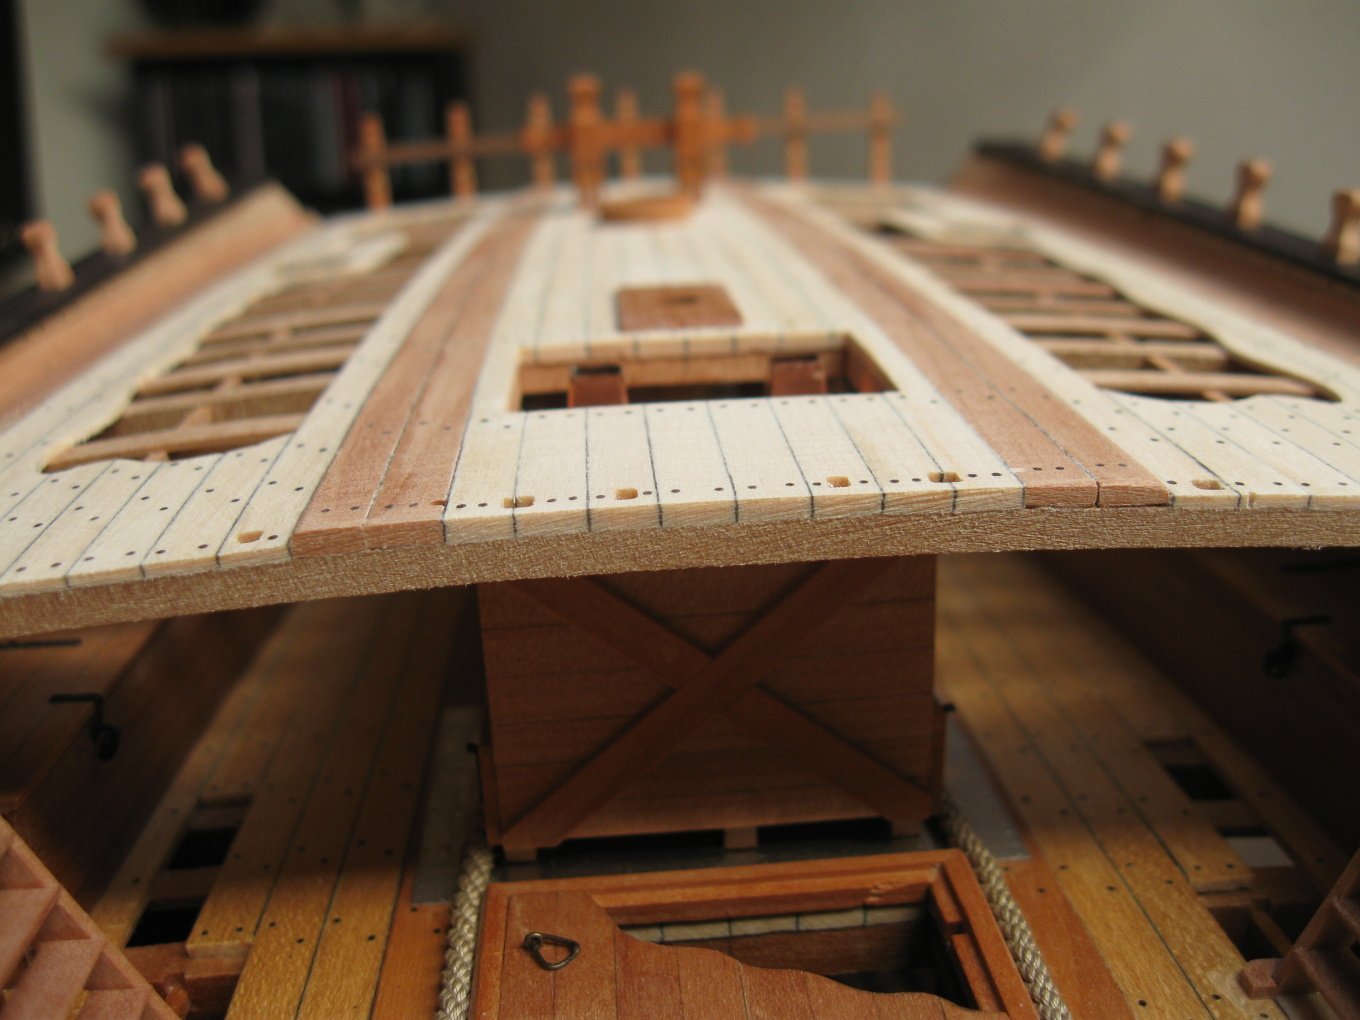
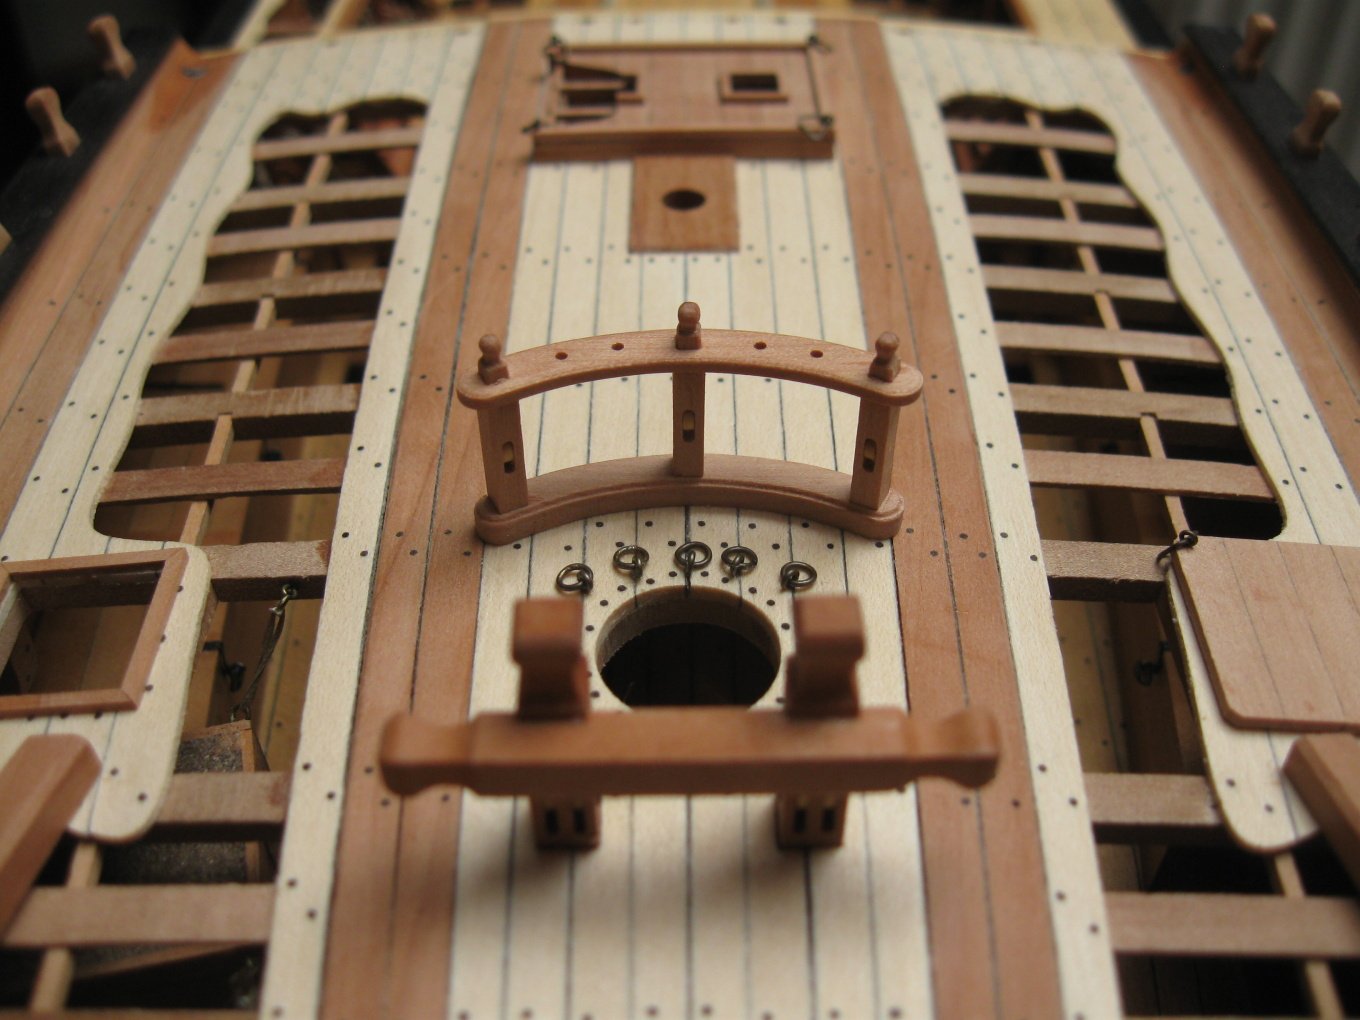
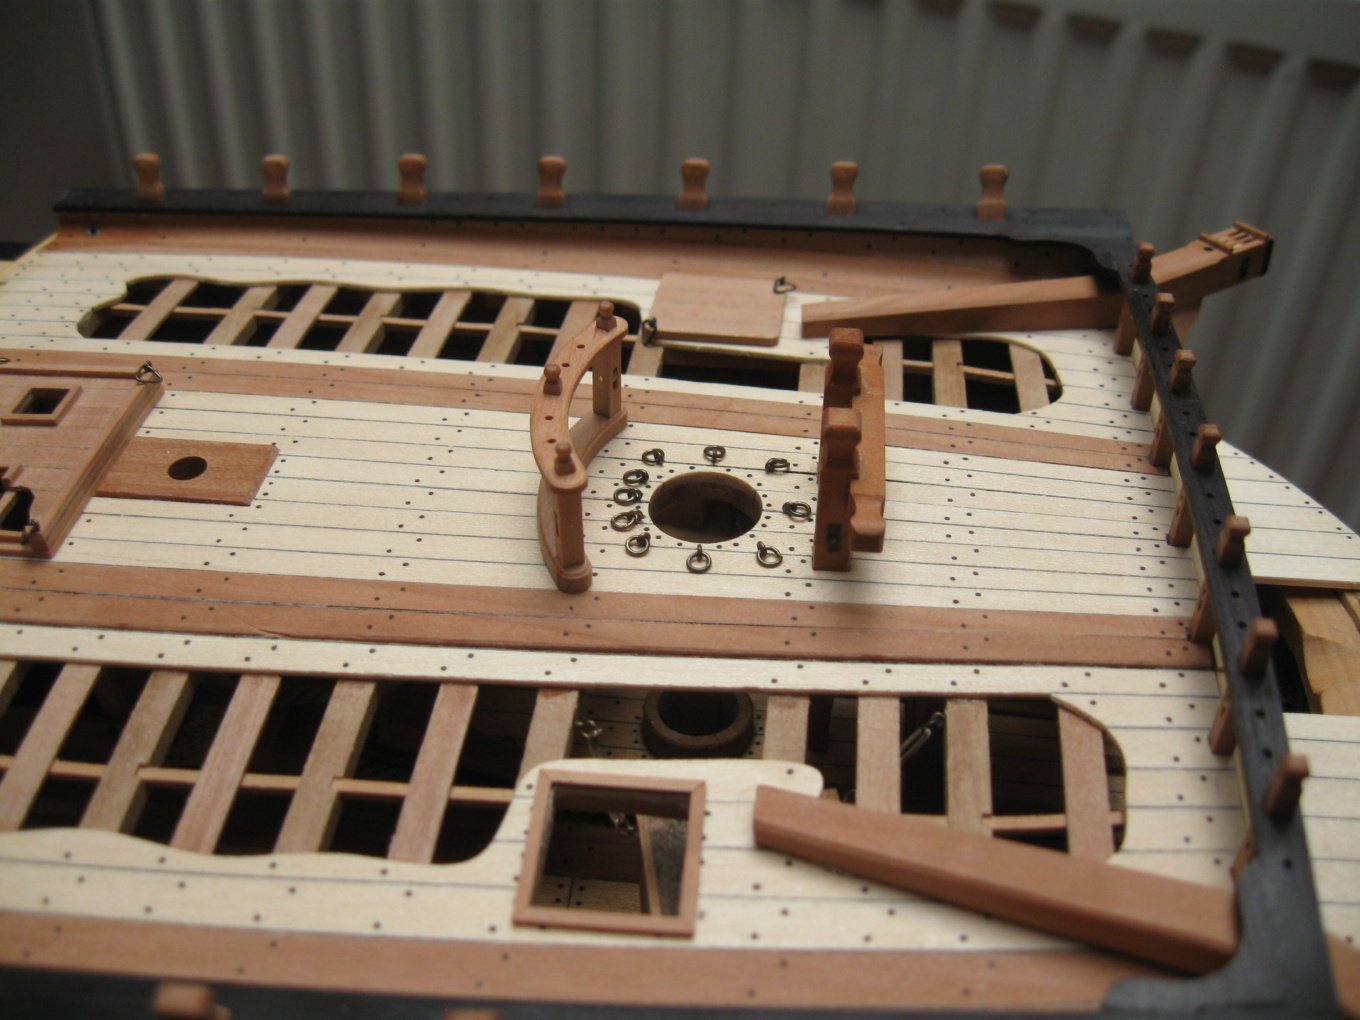
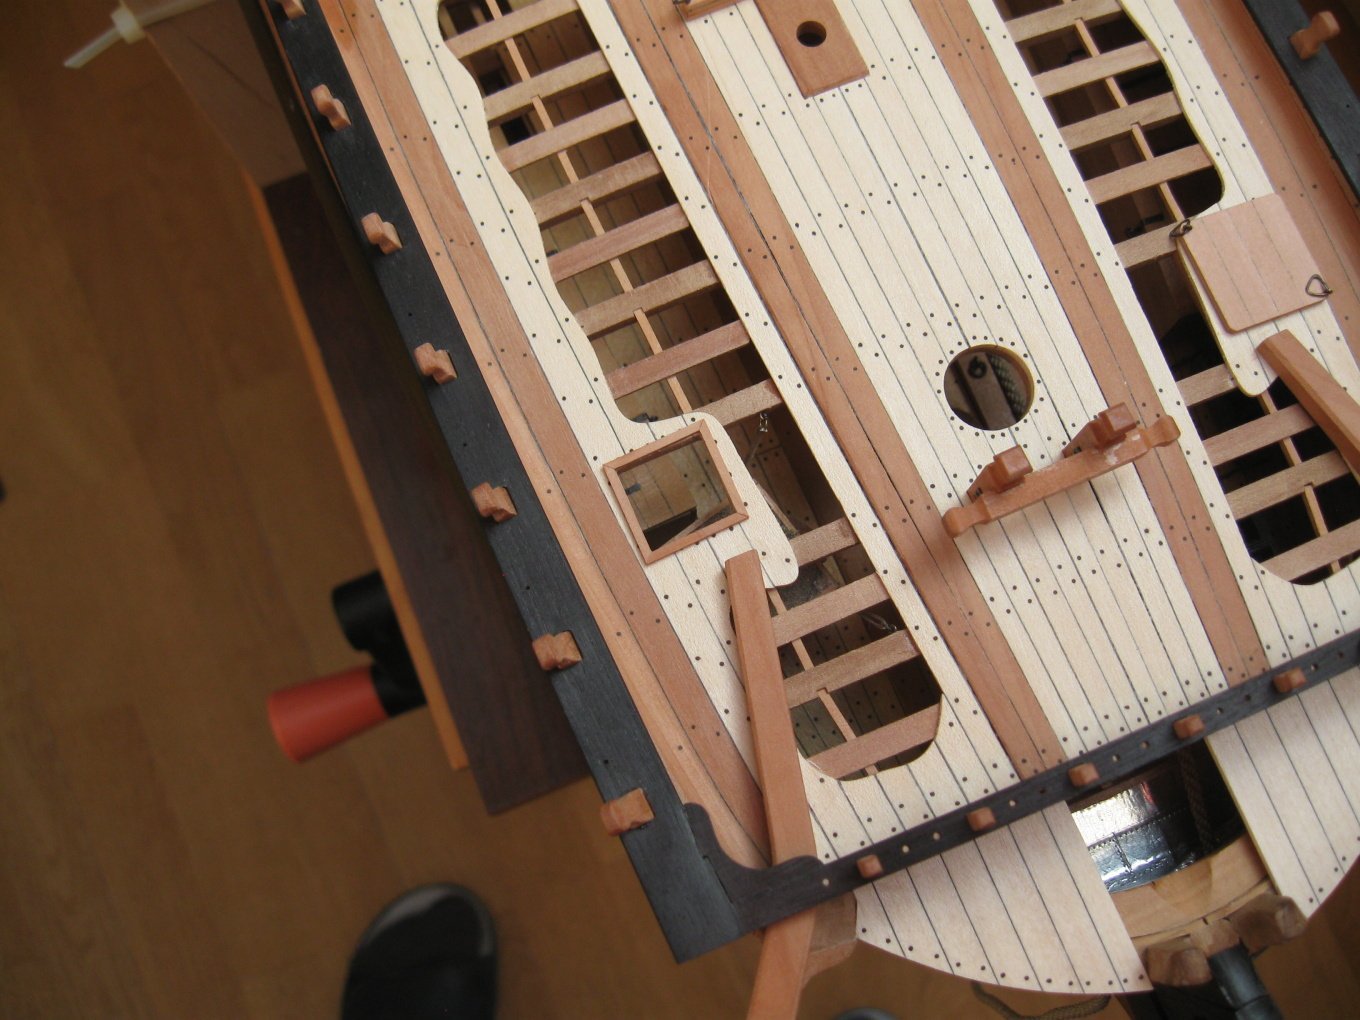
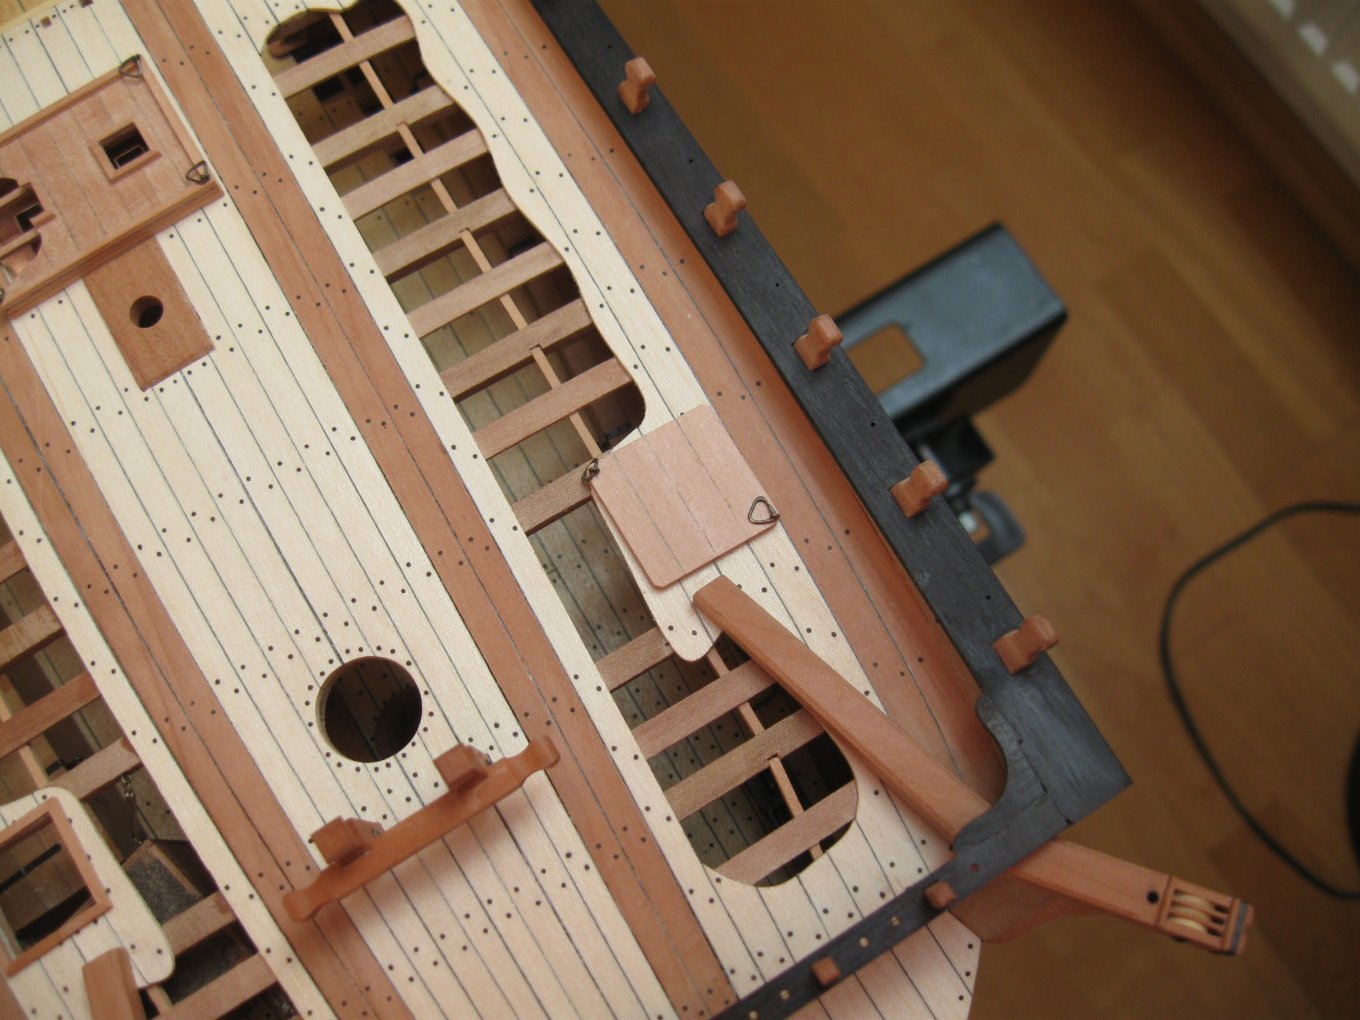
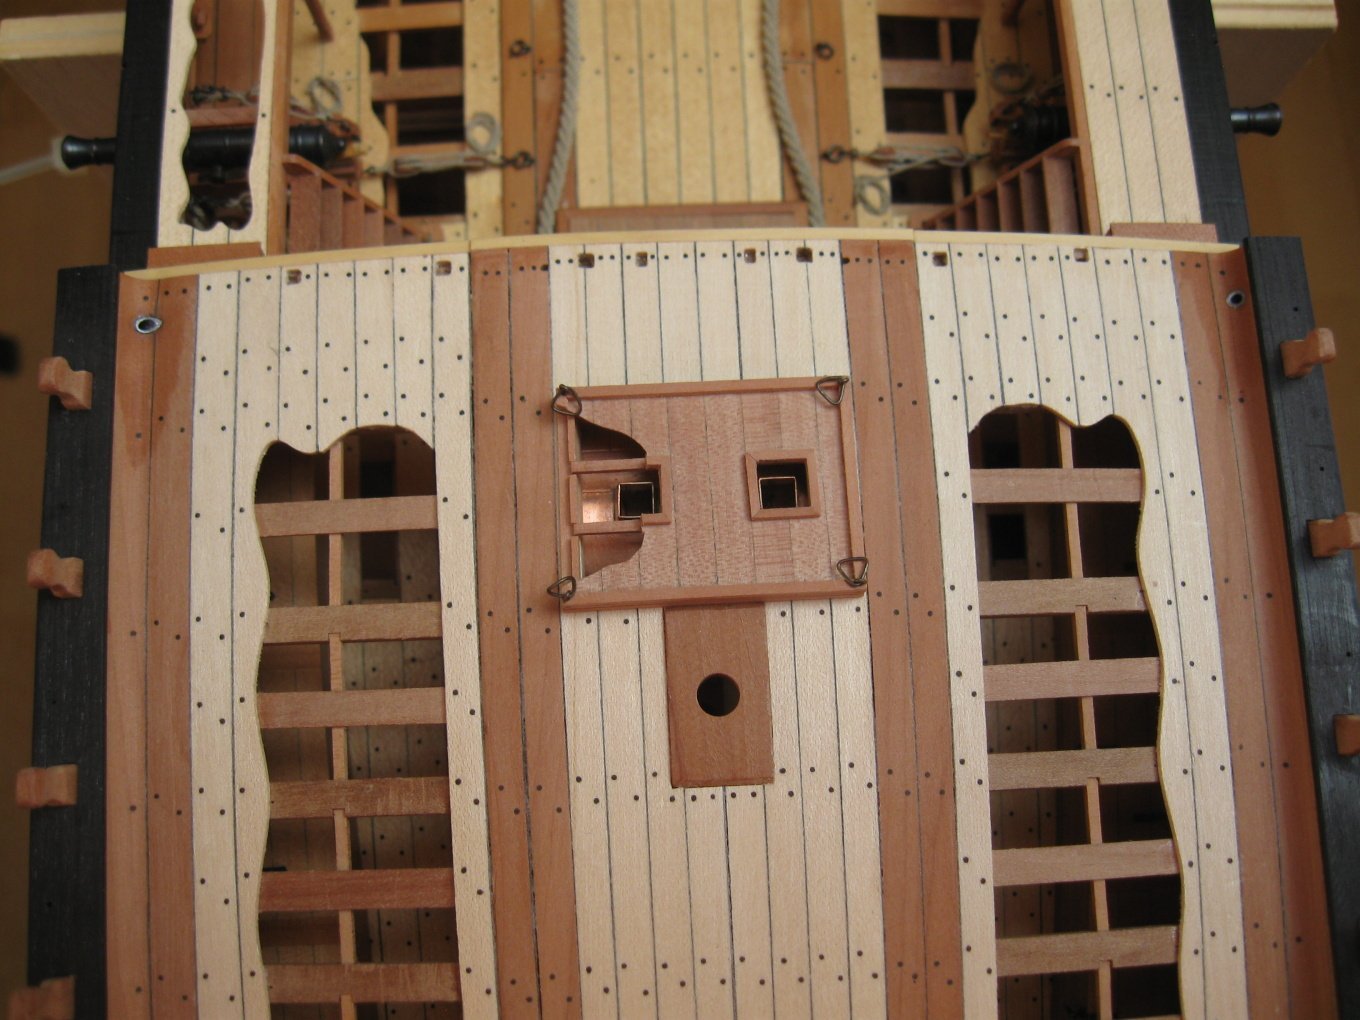
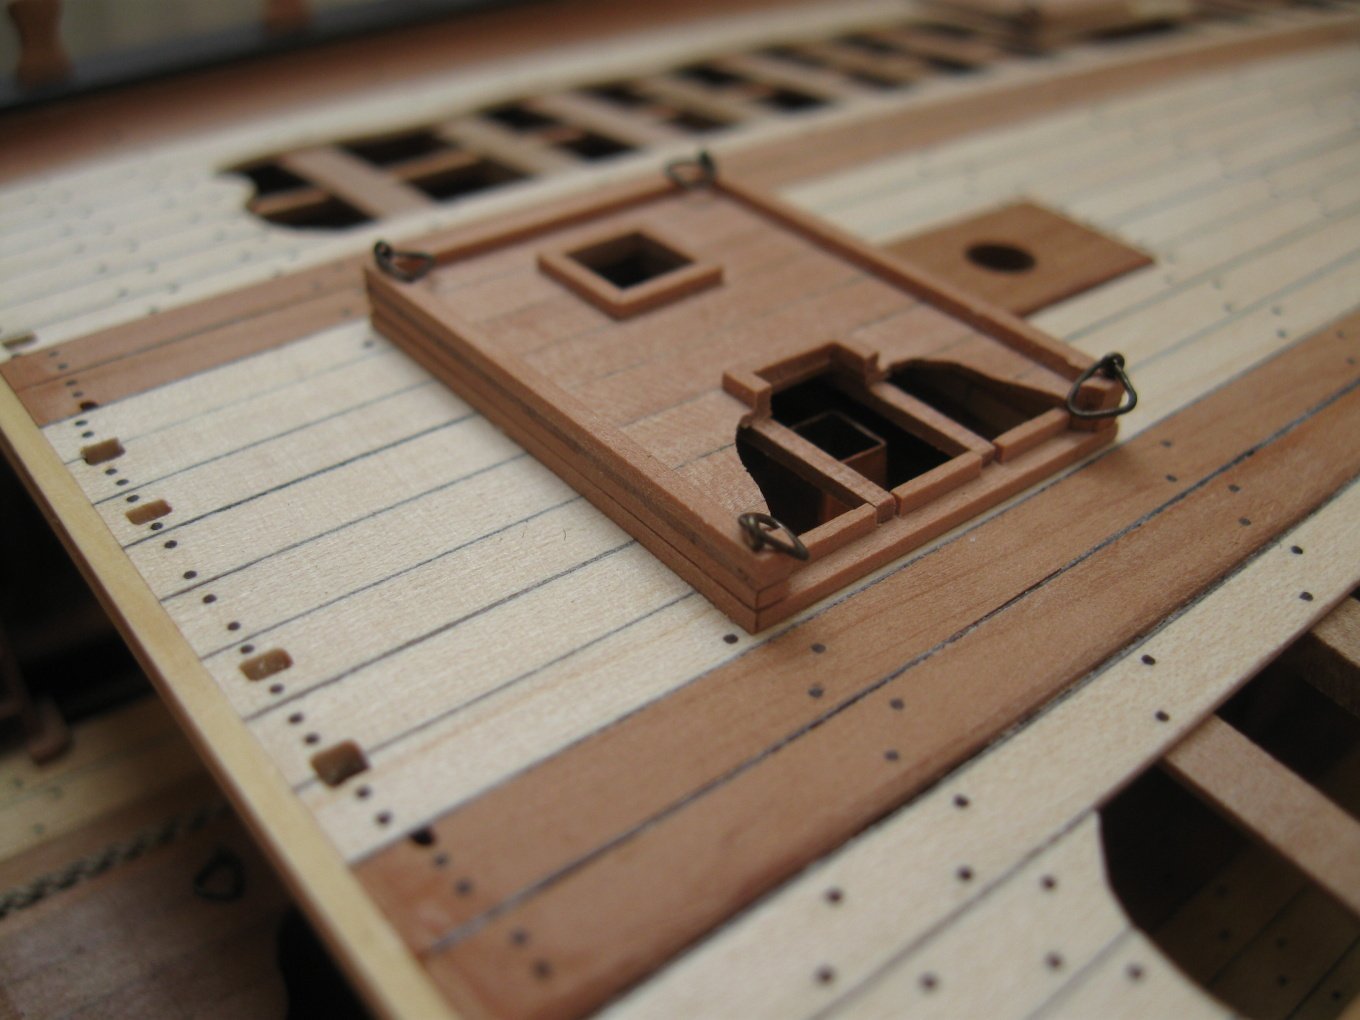
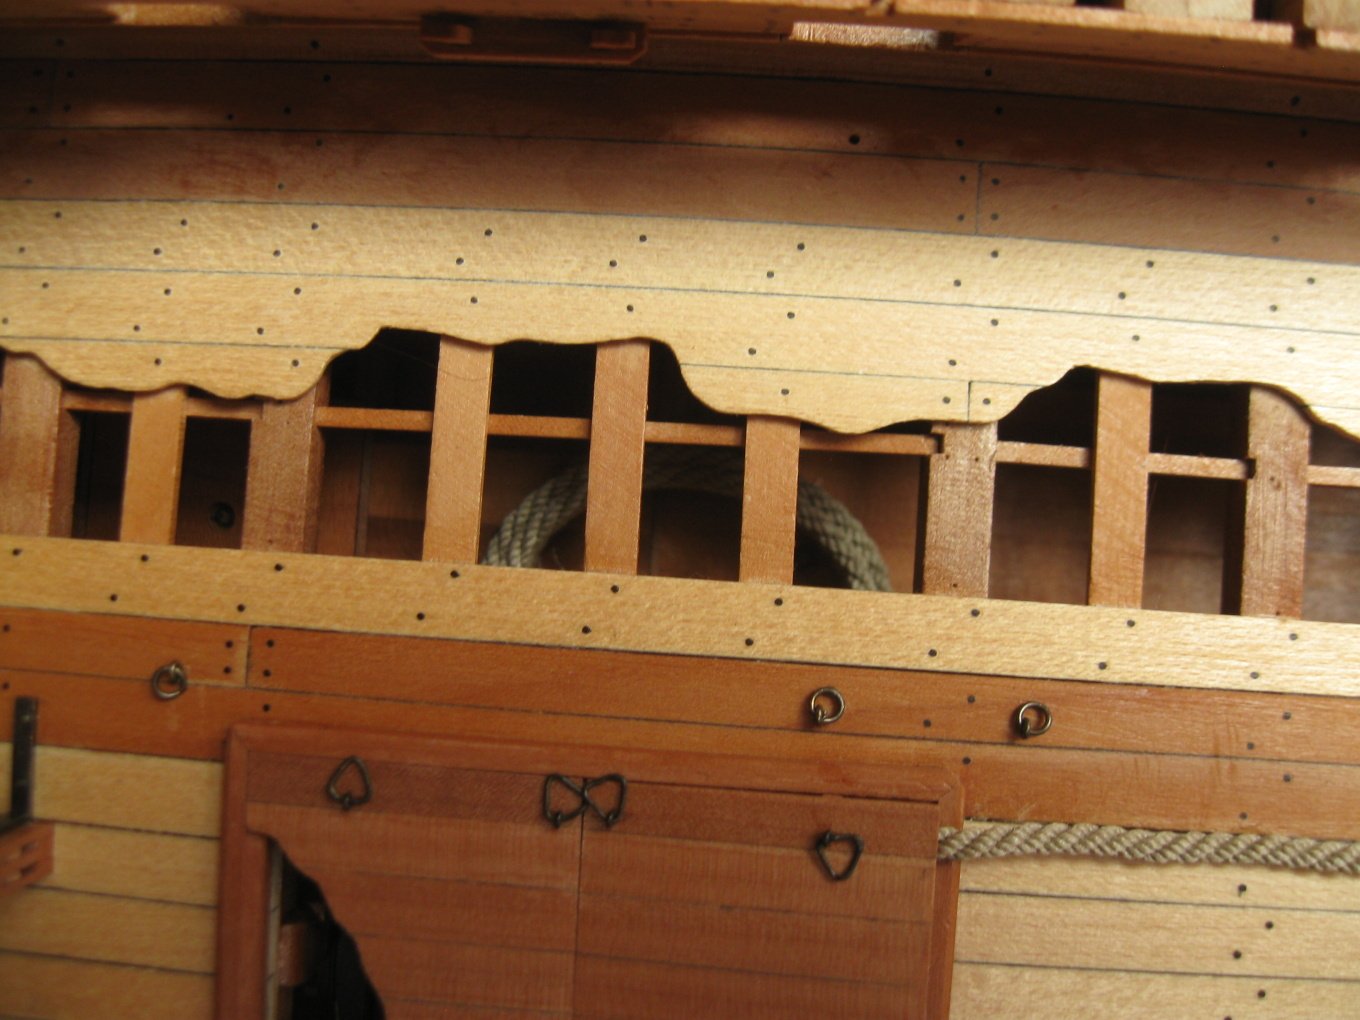
Thank you guys. I continue with some details on the forecastle deck. As the first ones - scuttles and the galley´s hatchway.

- 589 replies
-
- 29
-
-
-
- le gros ventre
- cargo
- (and 1 more)
-
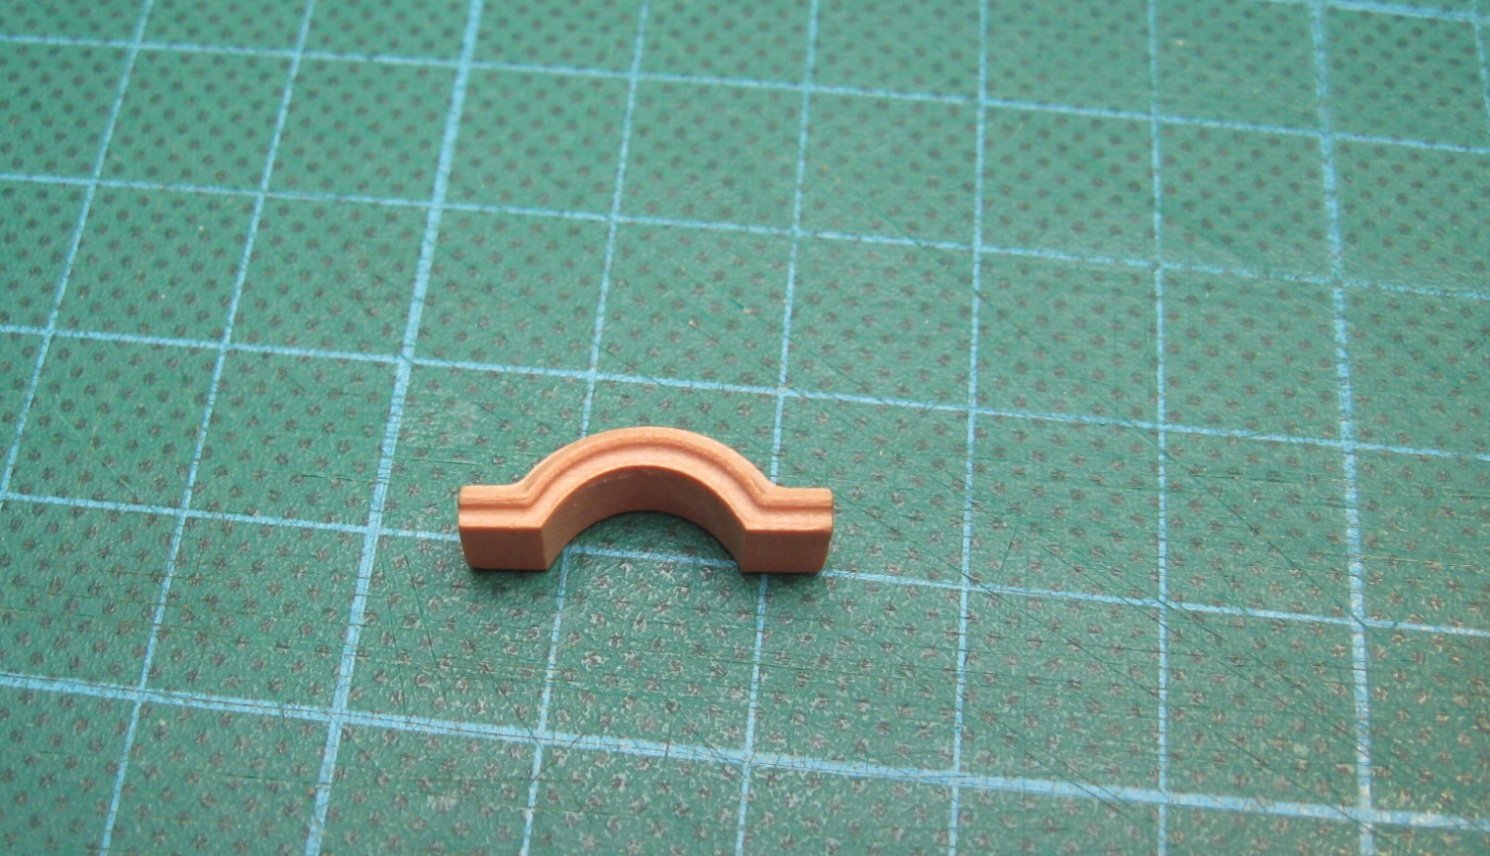
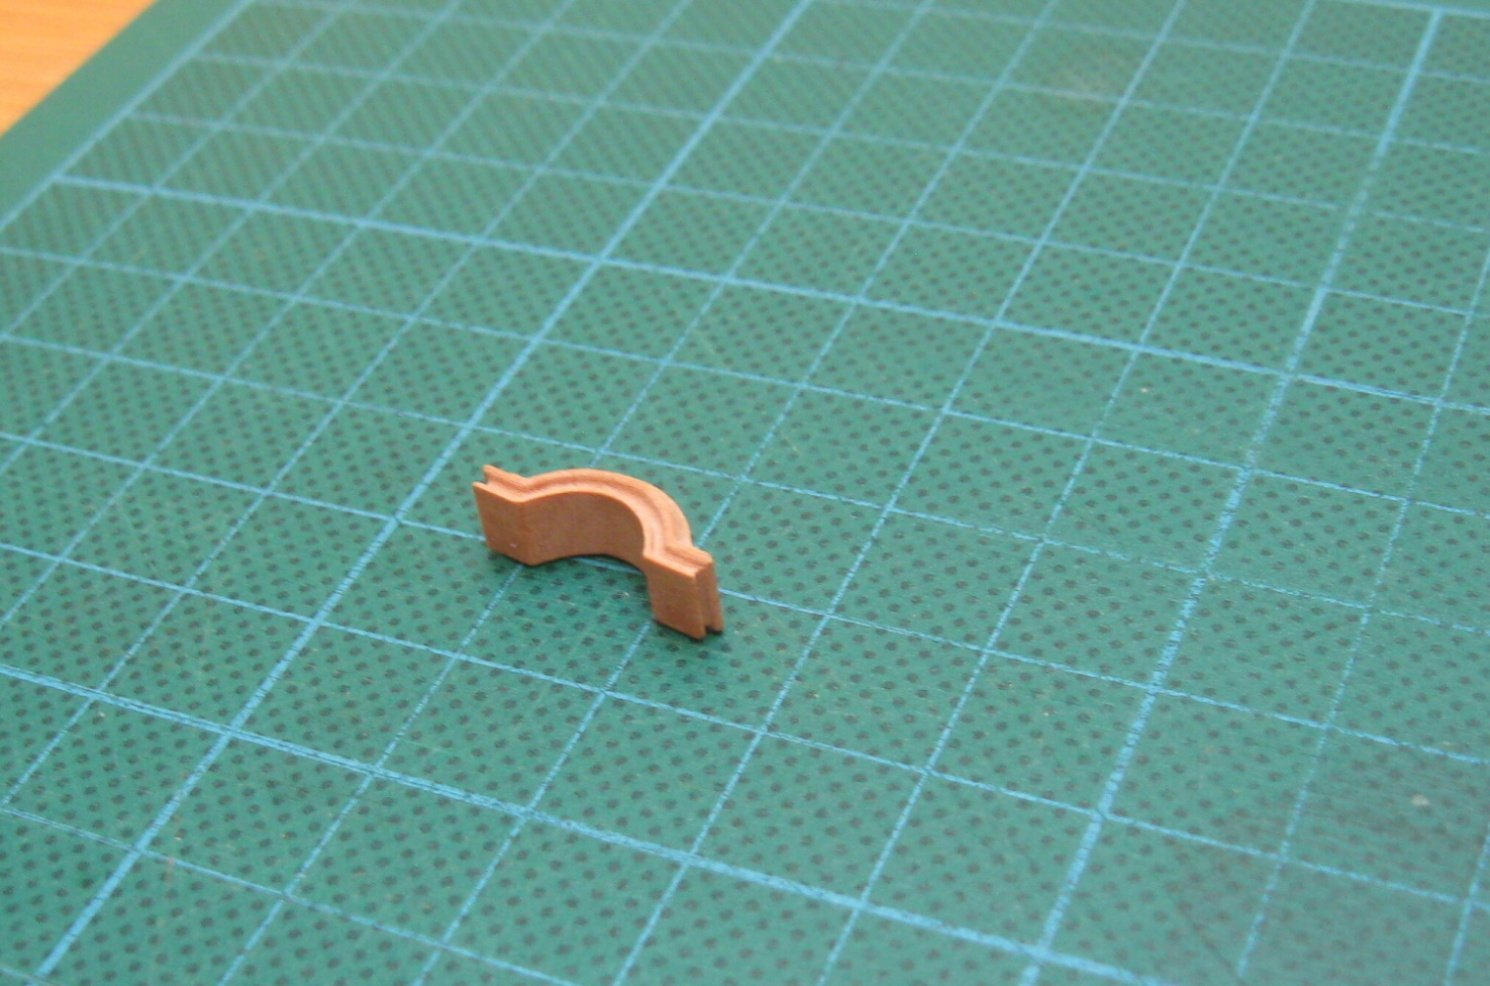
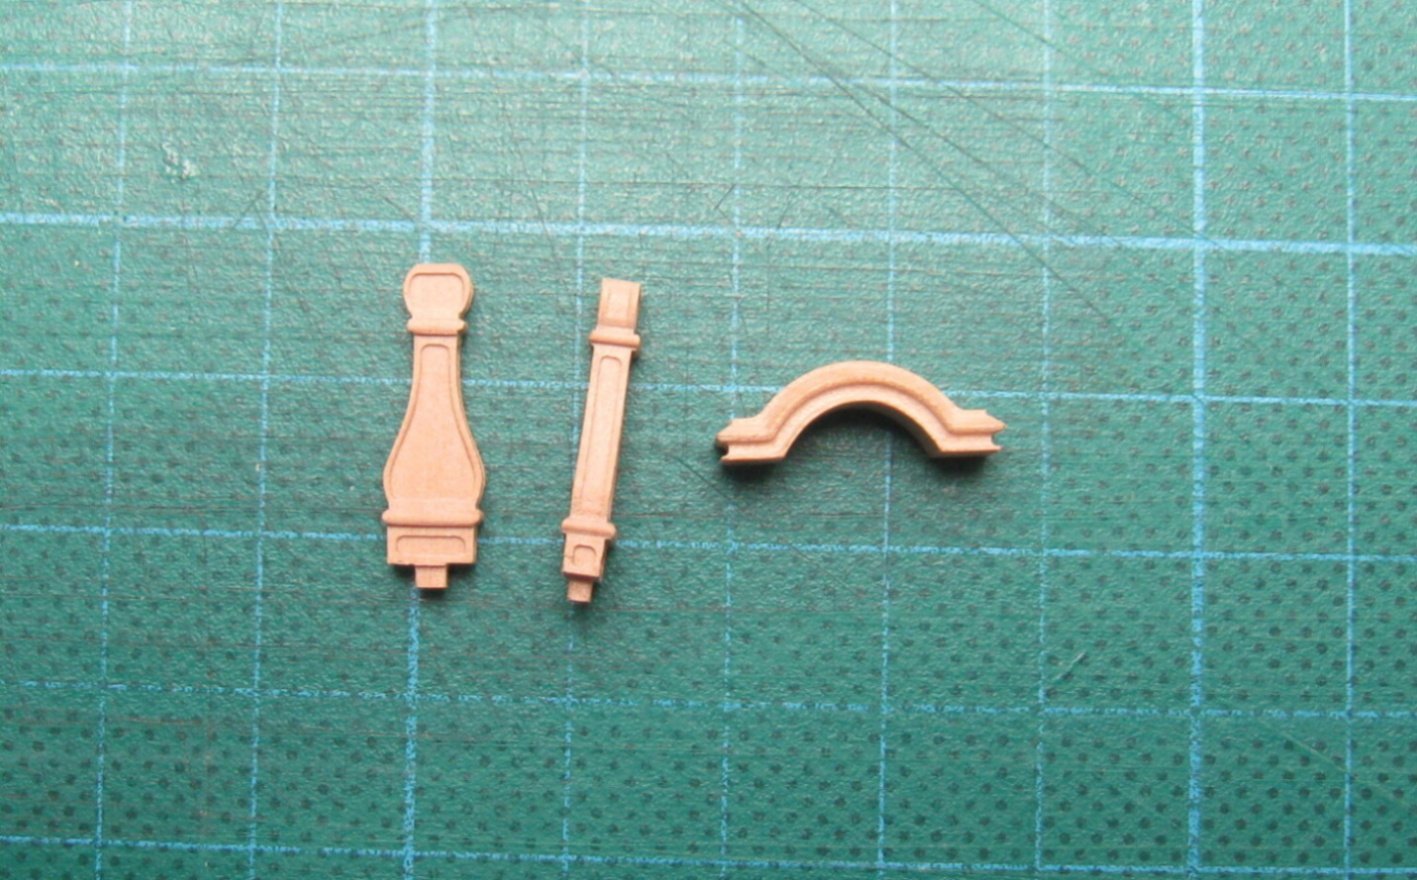
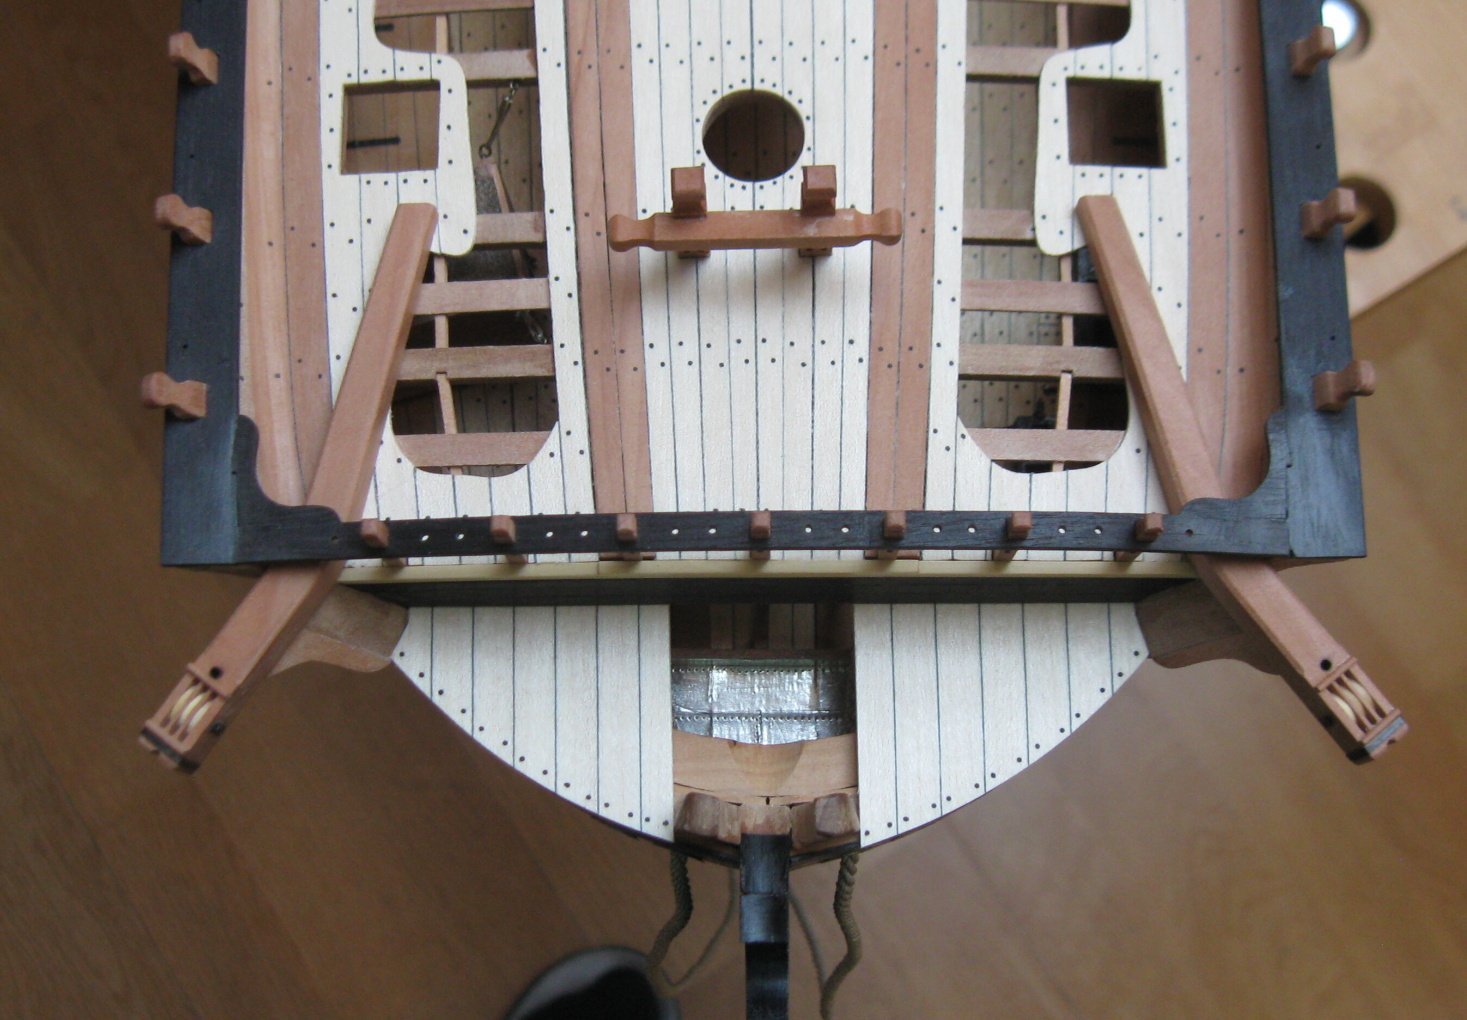
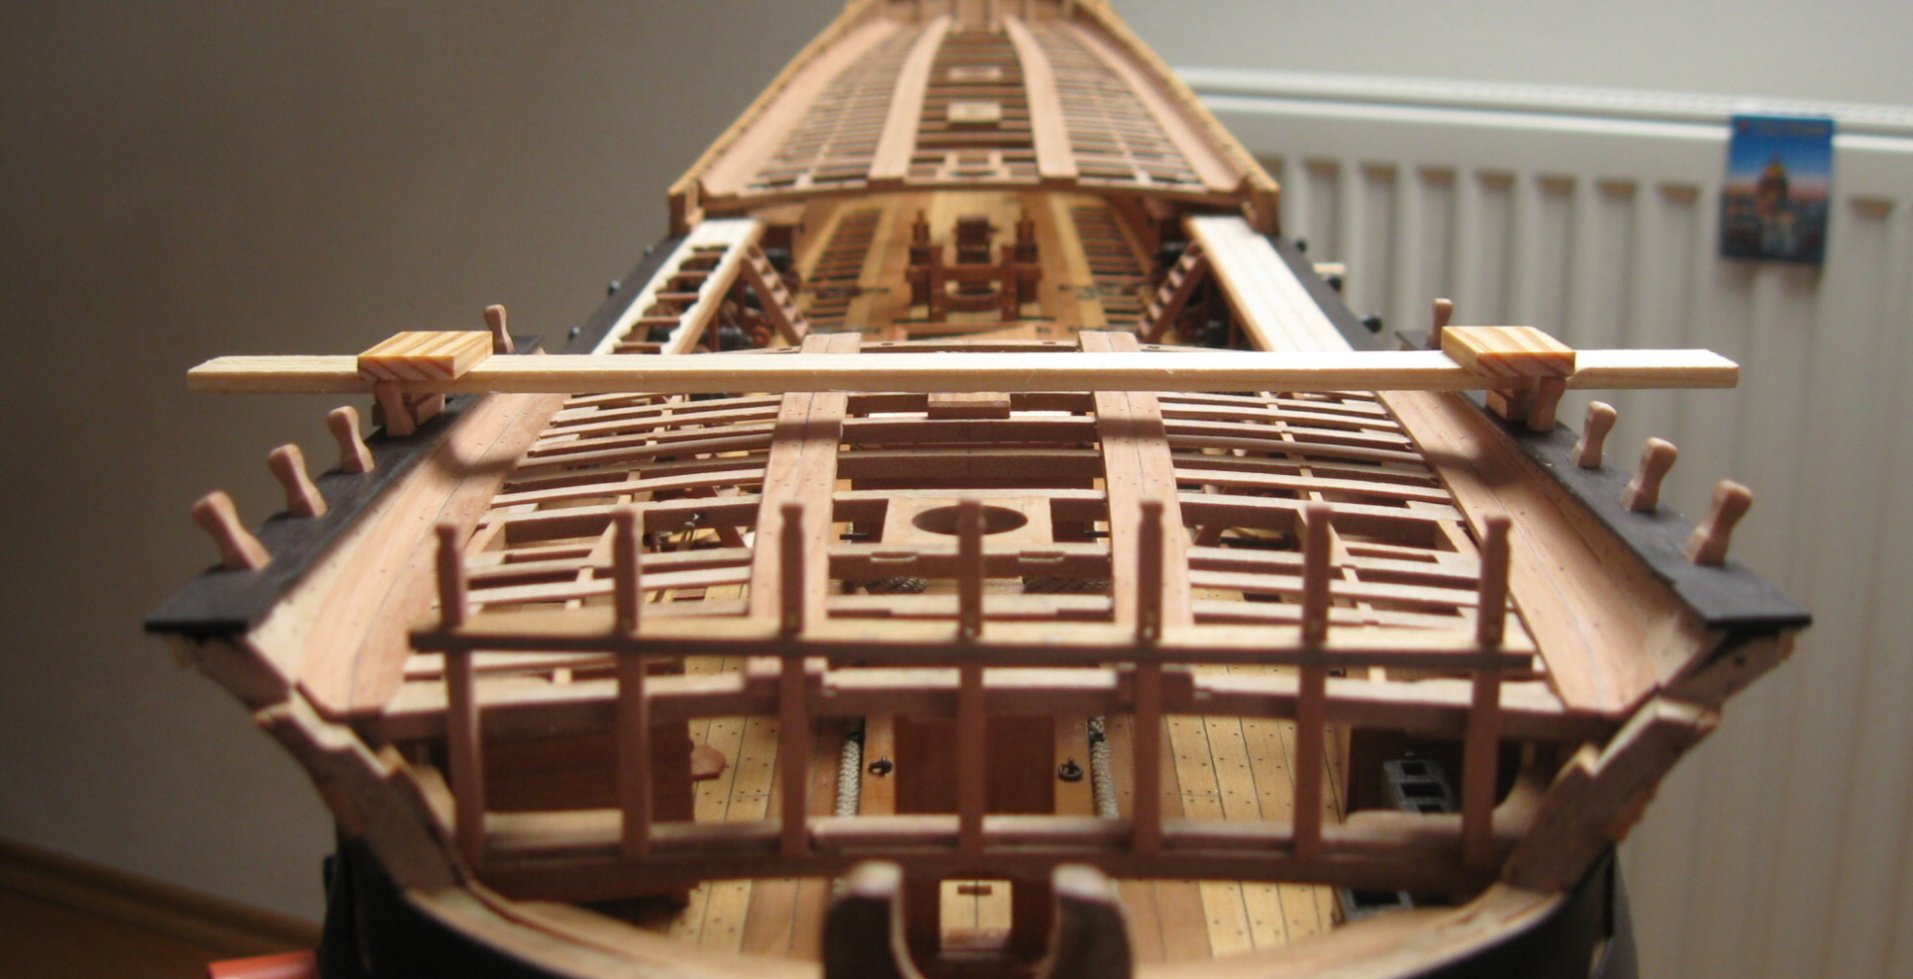
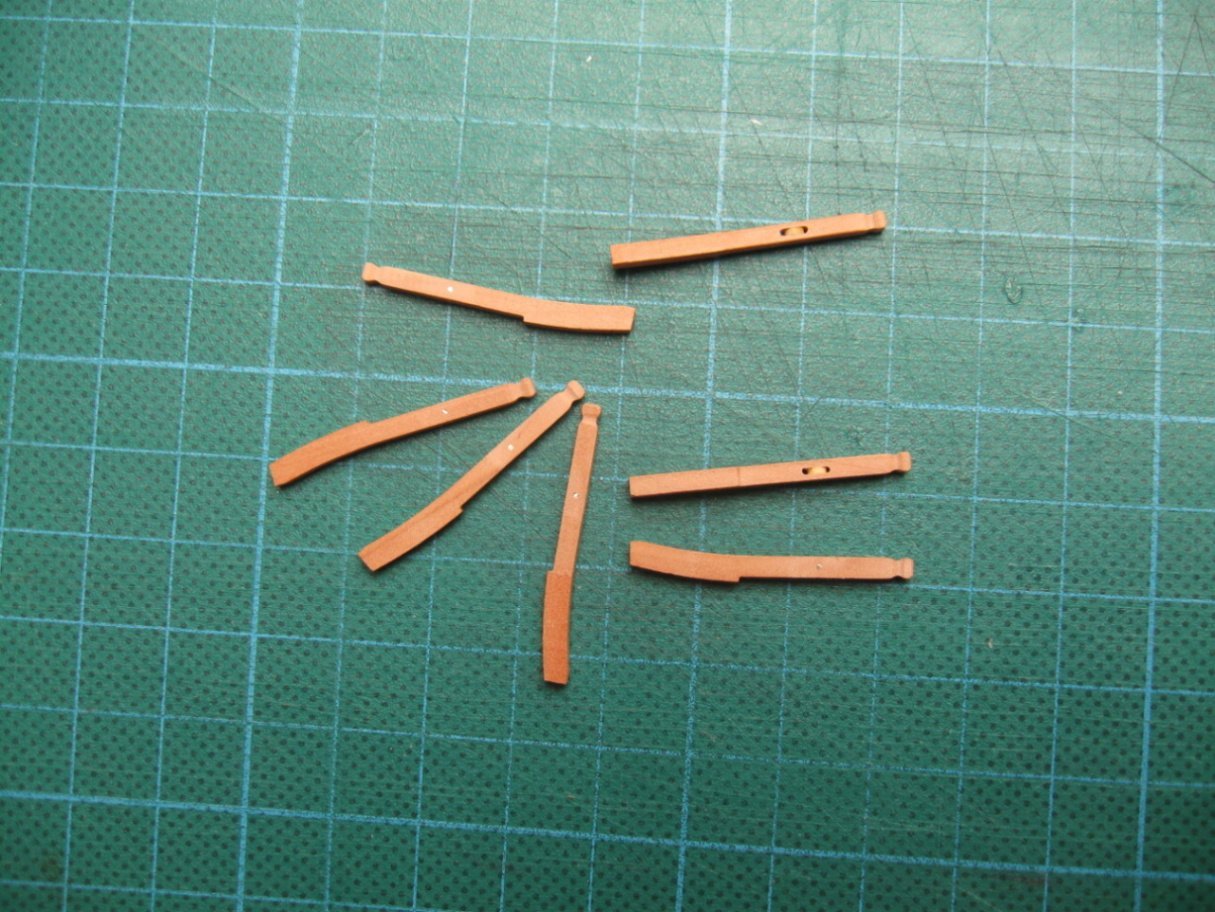
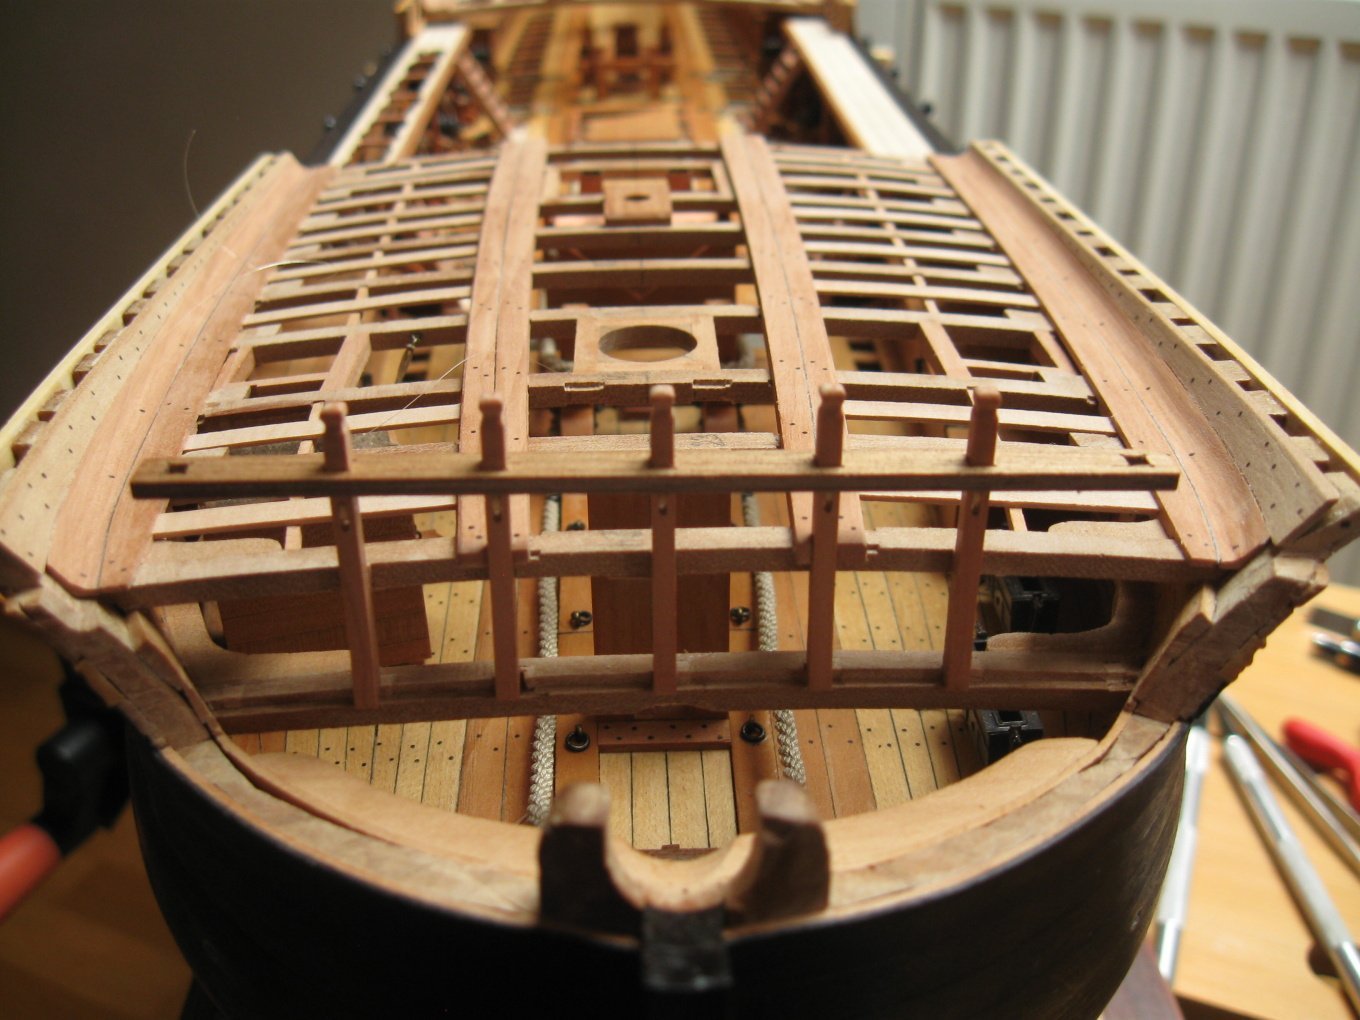
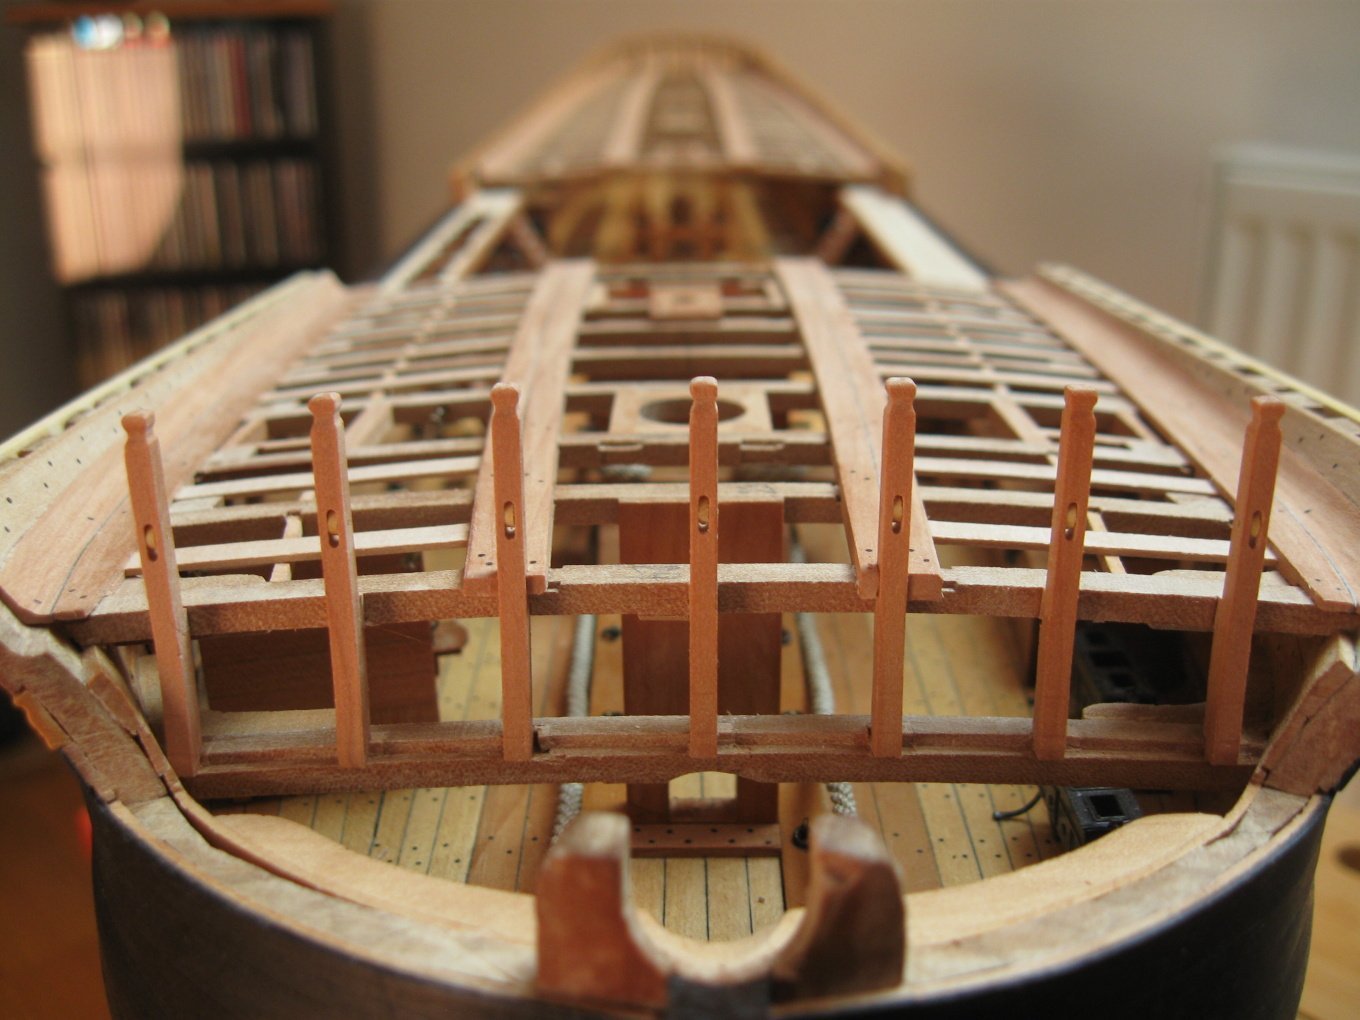
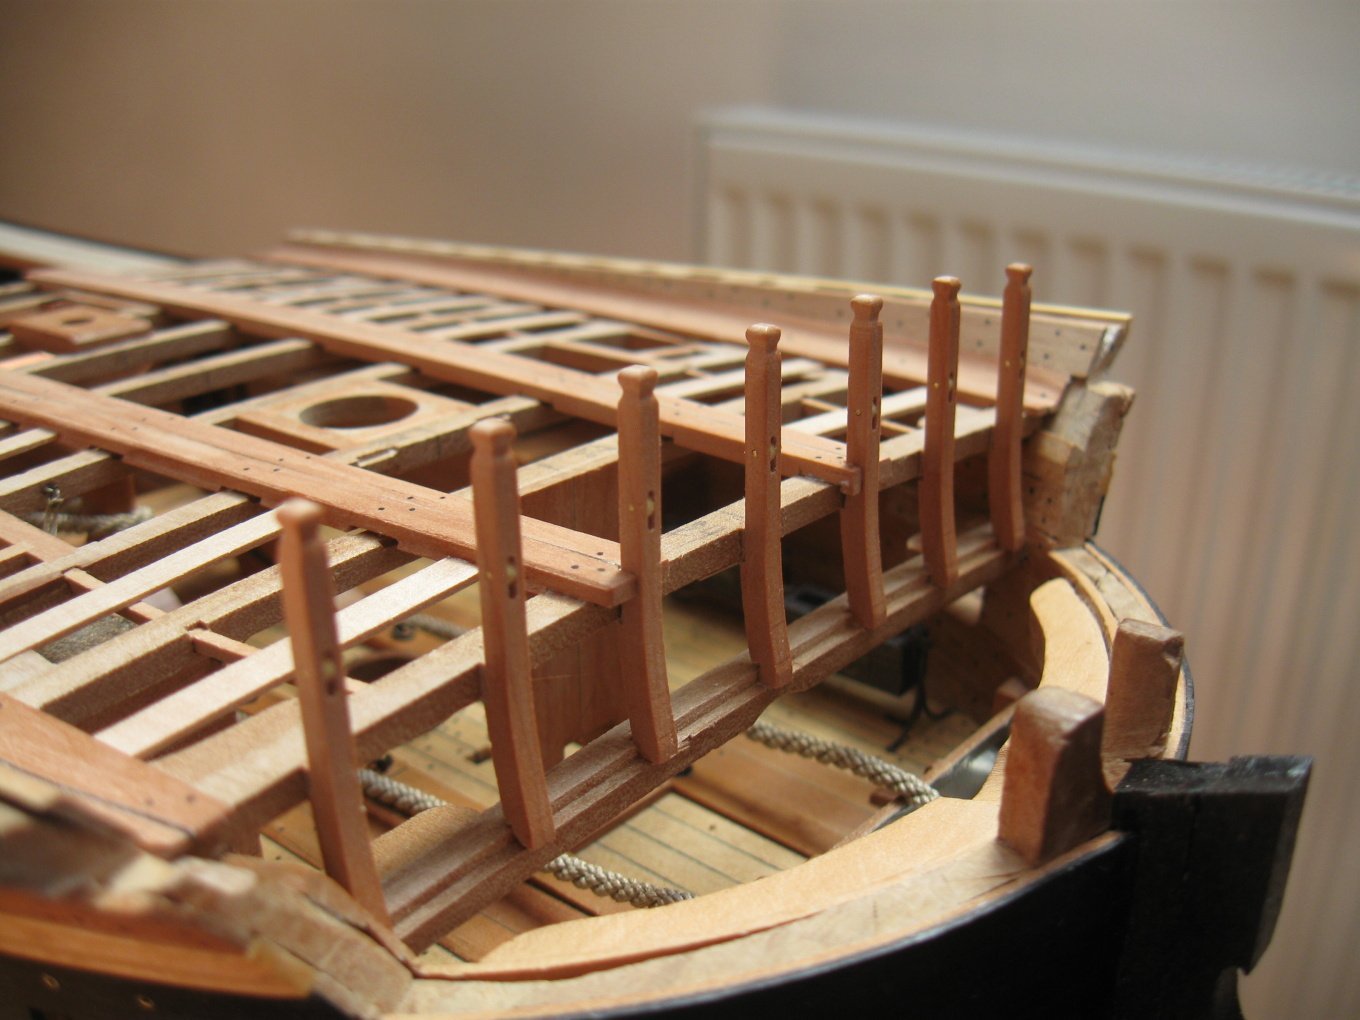
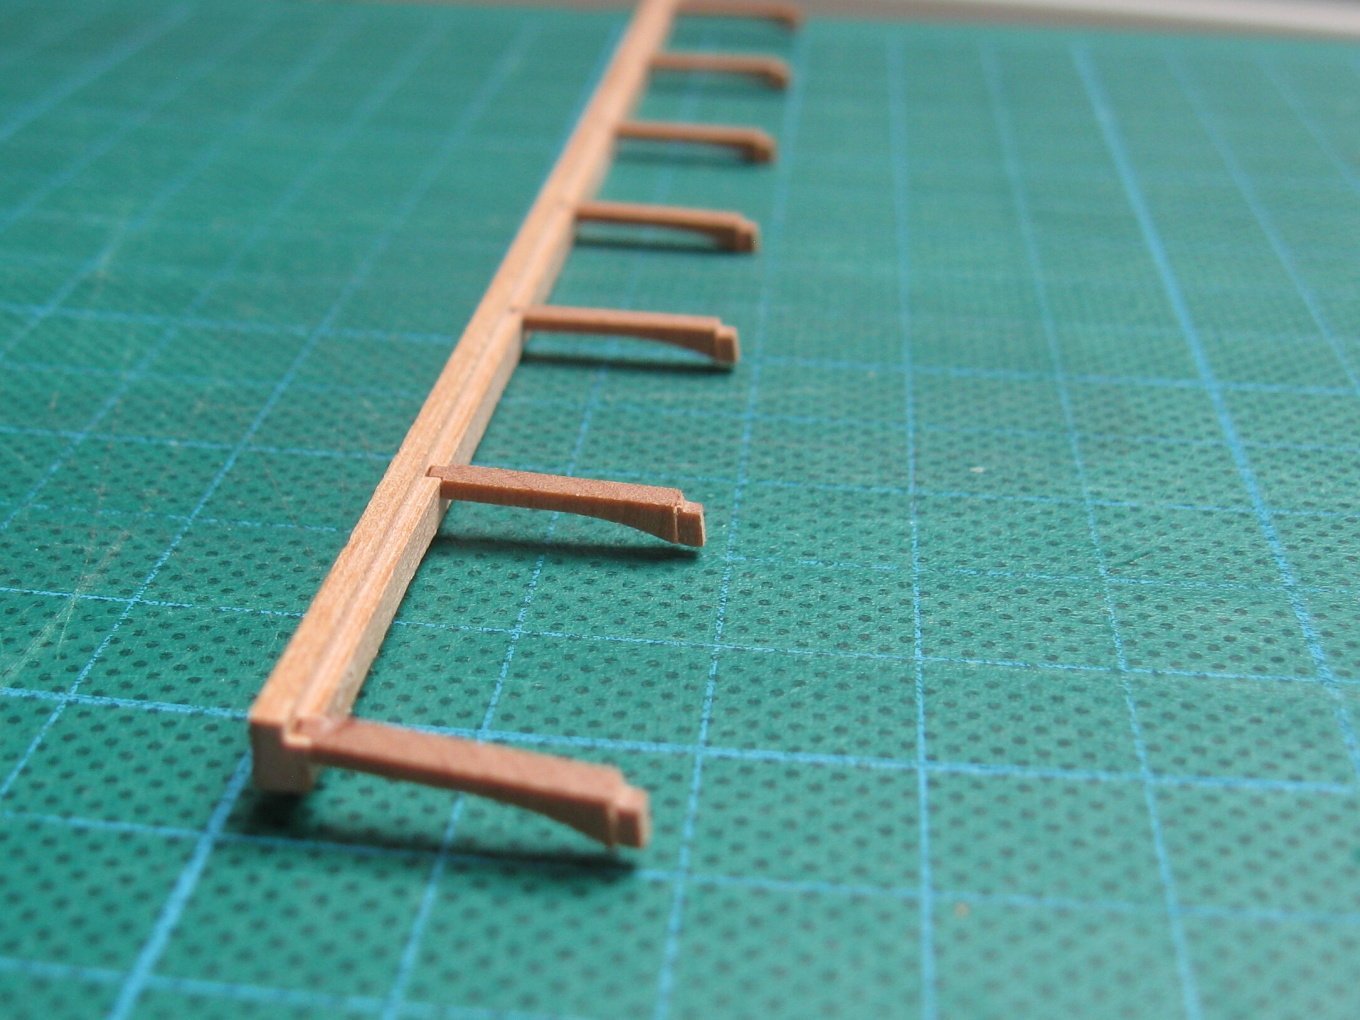
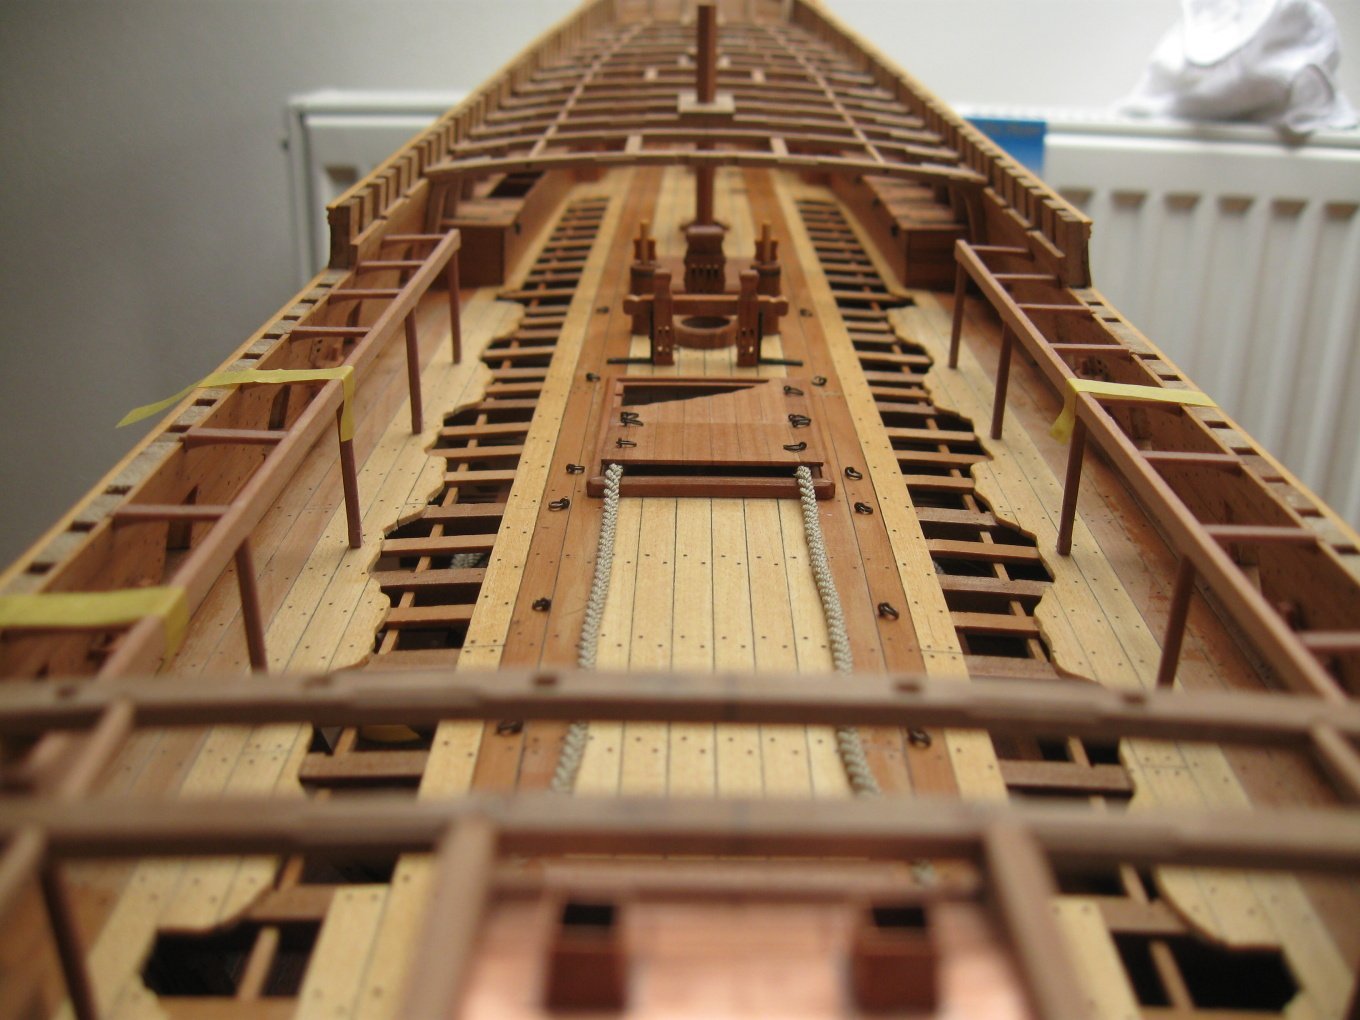
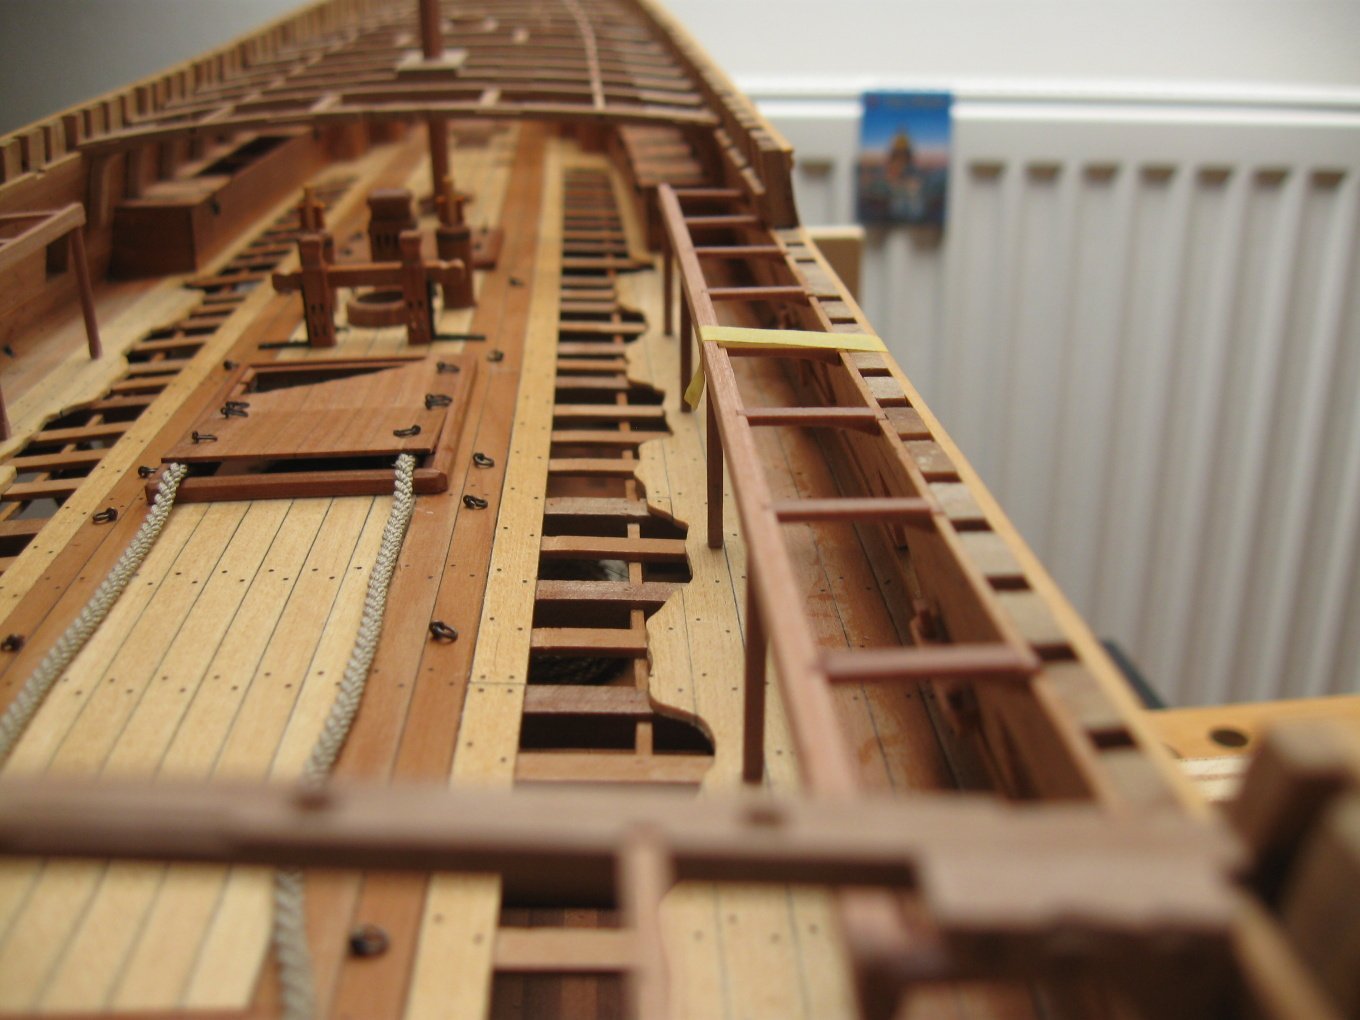
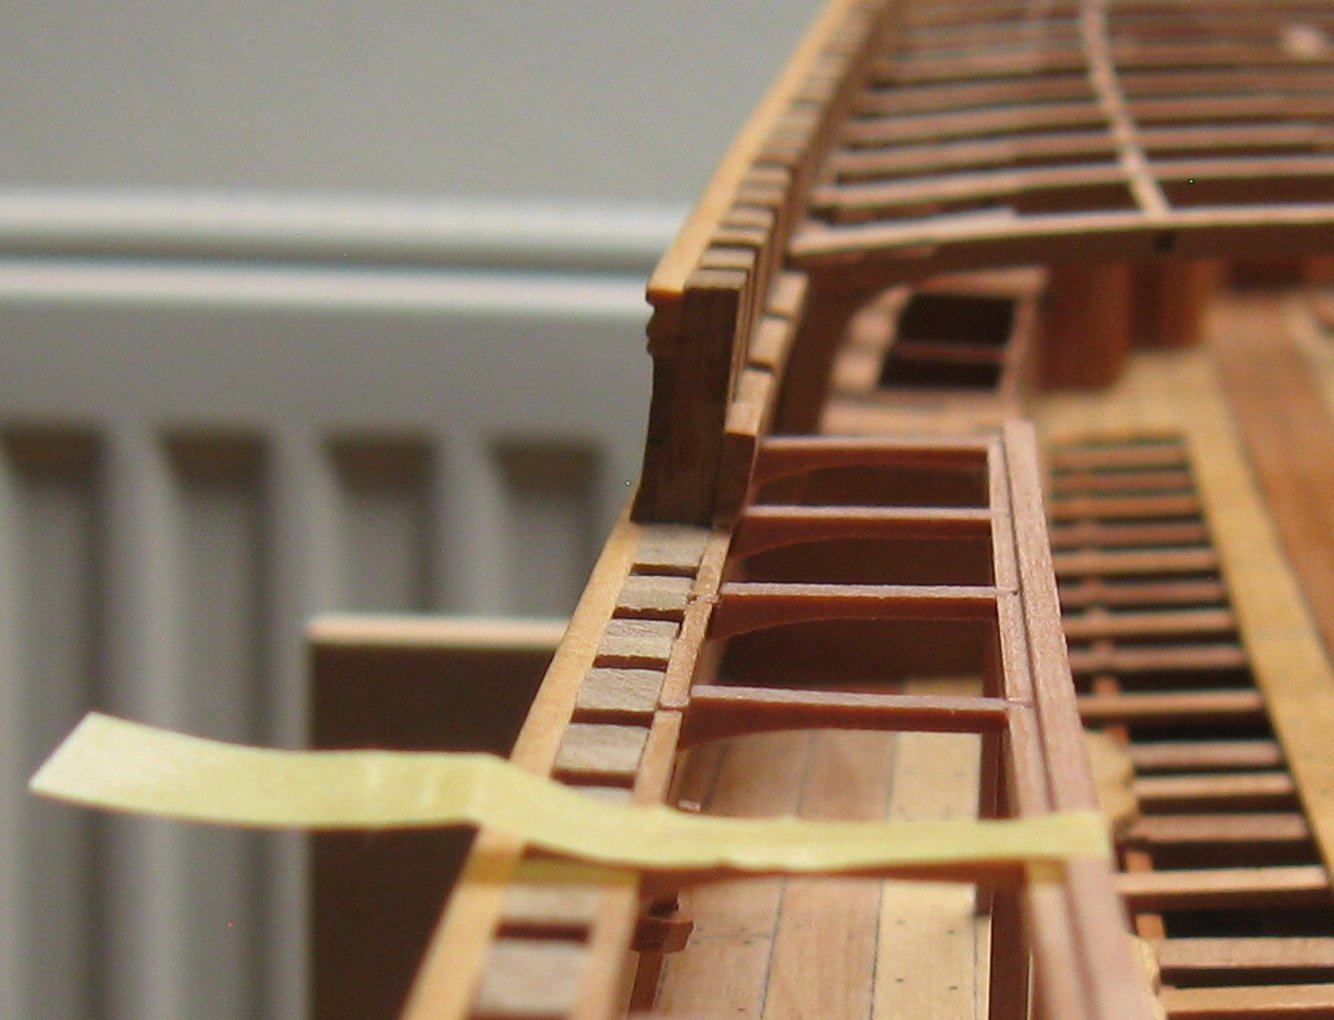
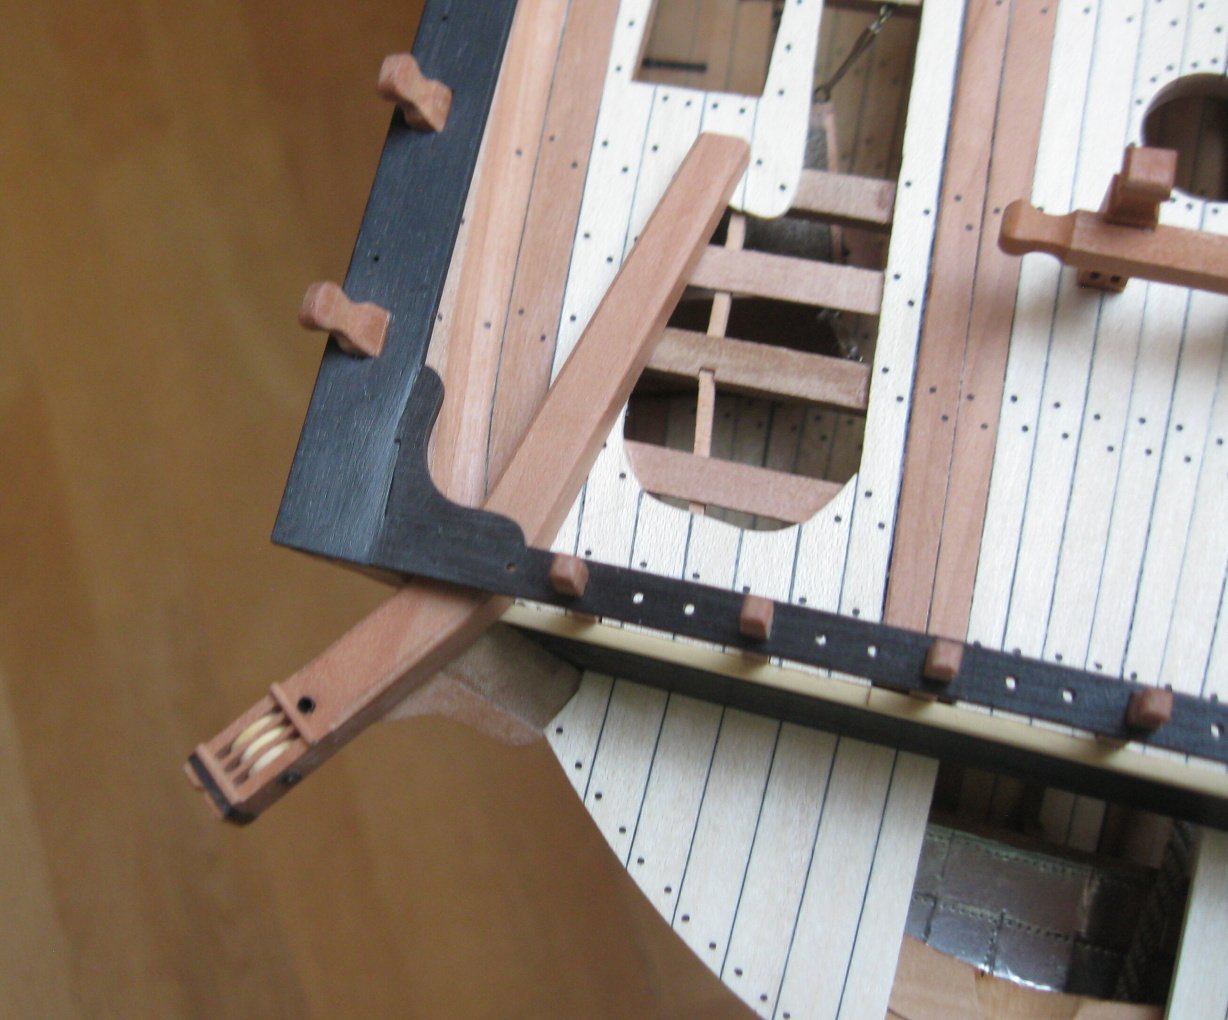
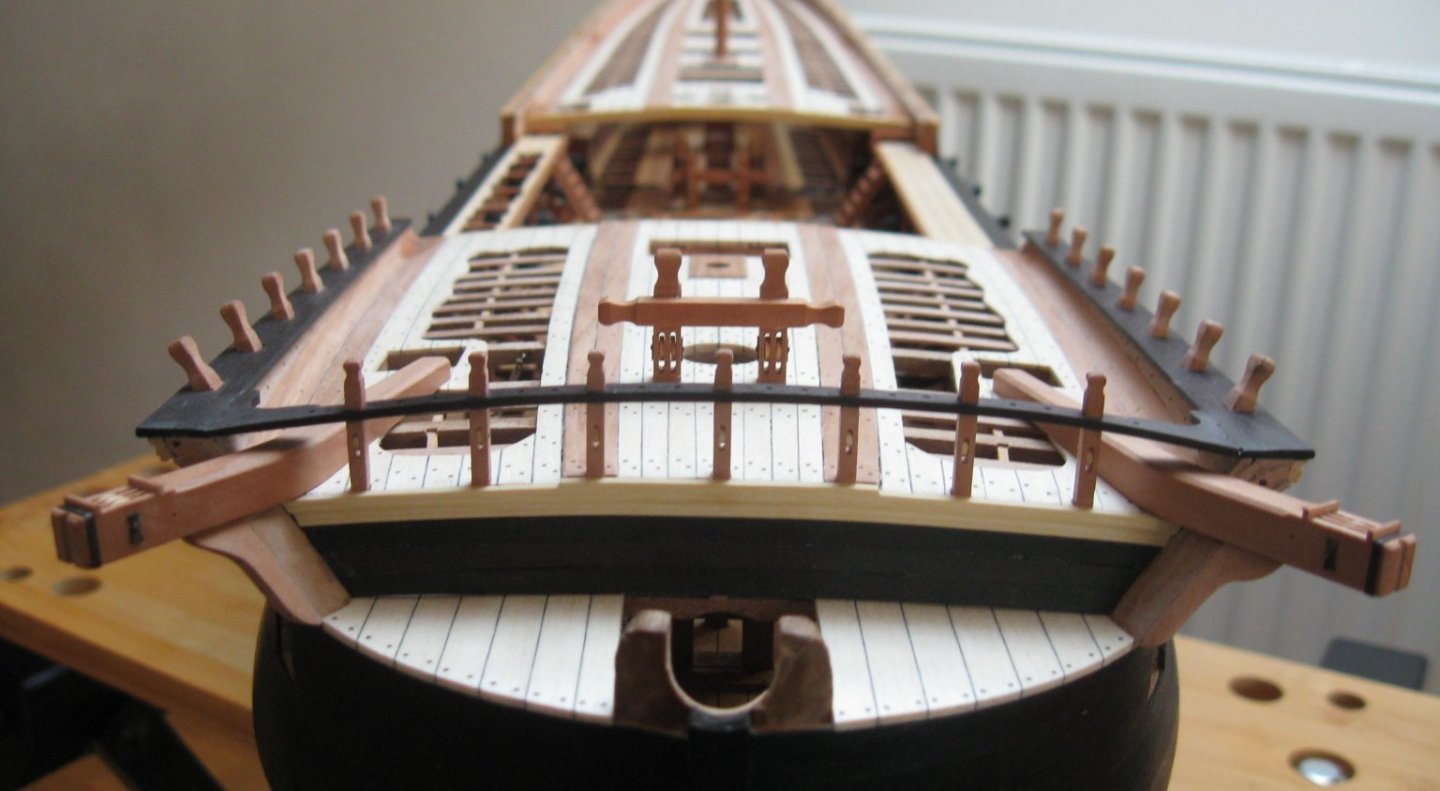
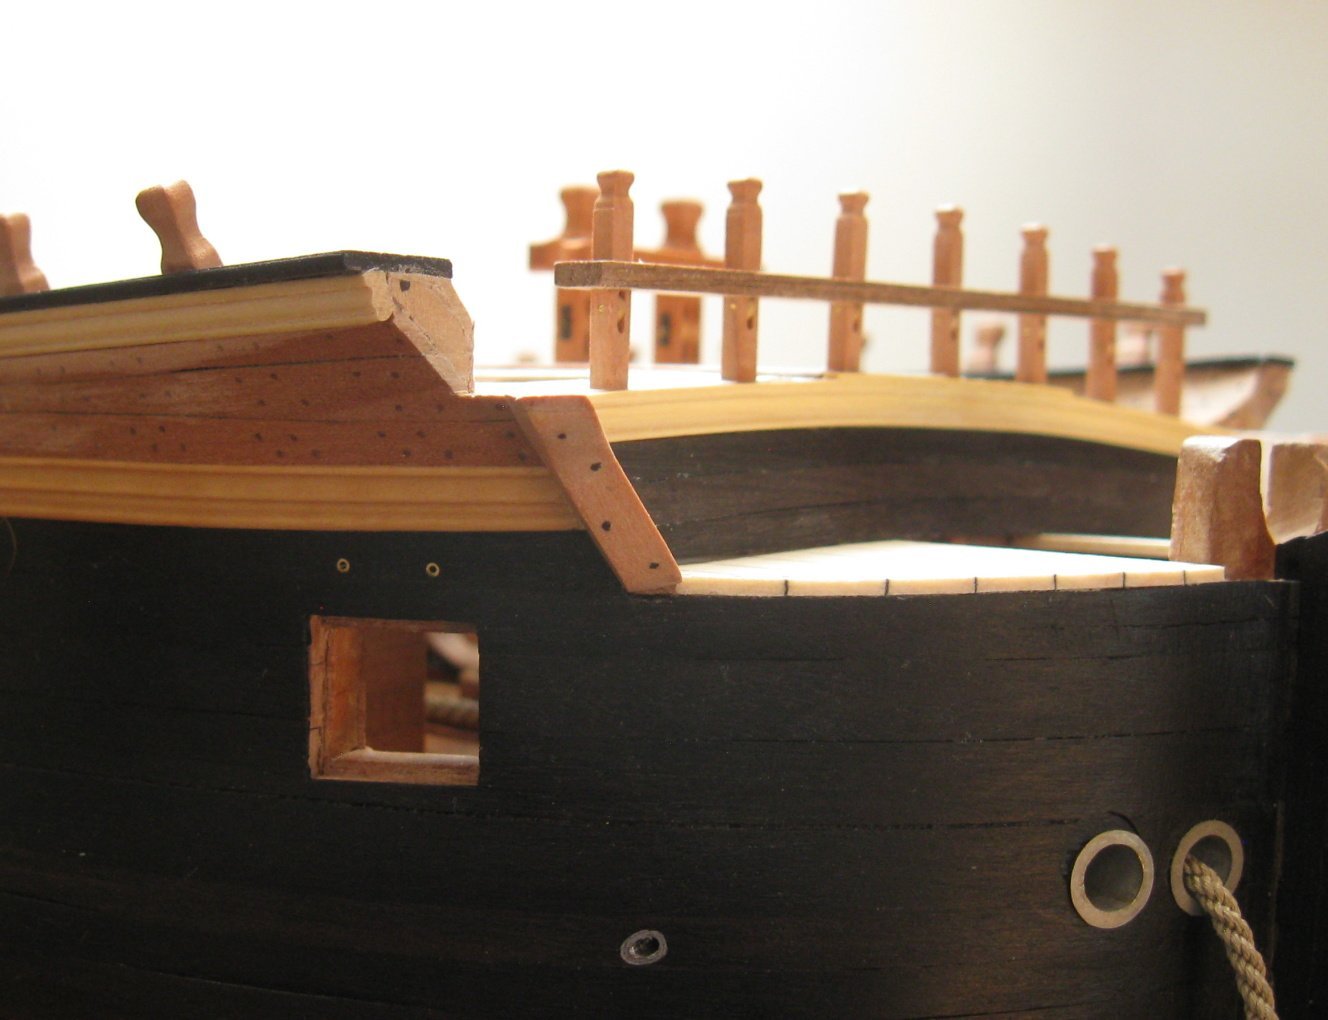
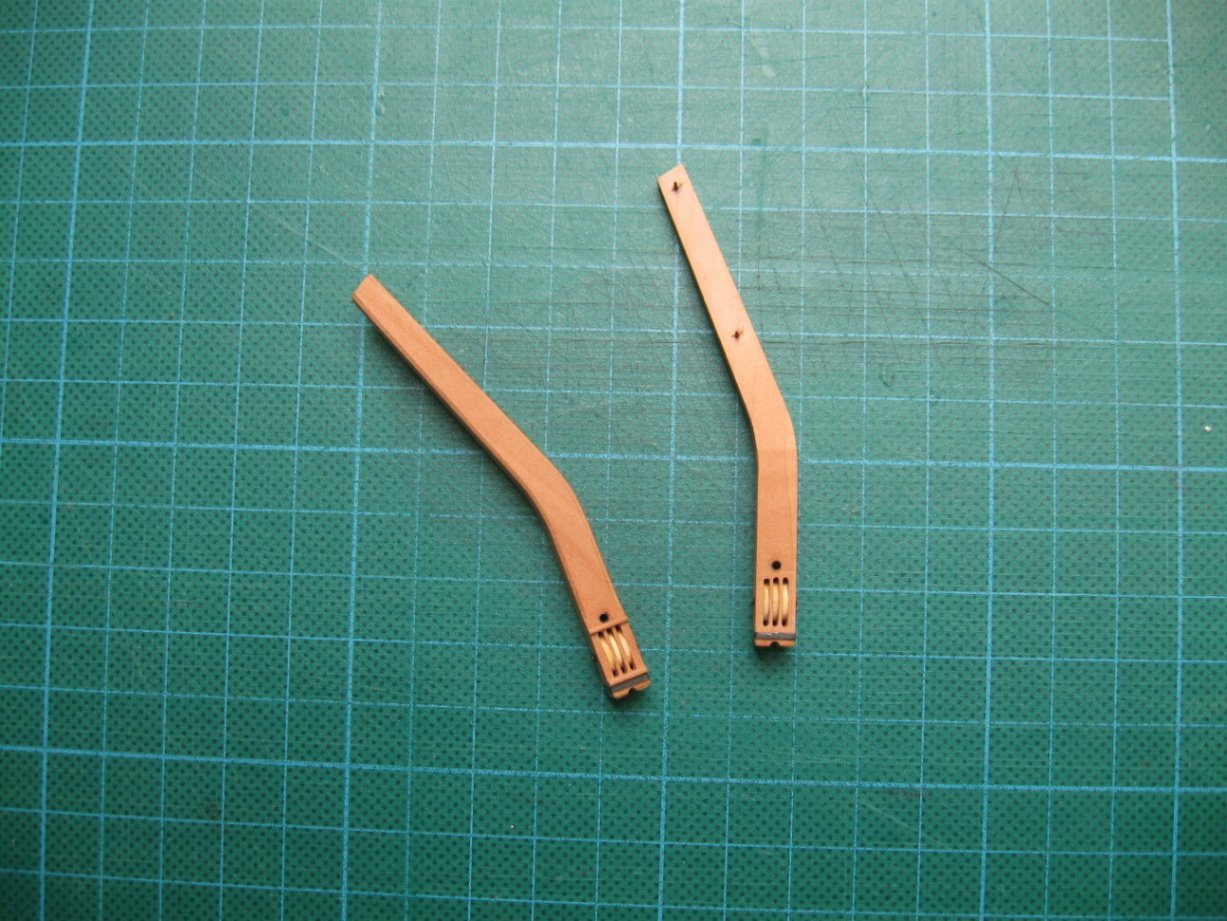
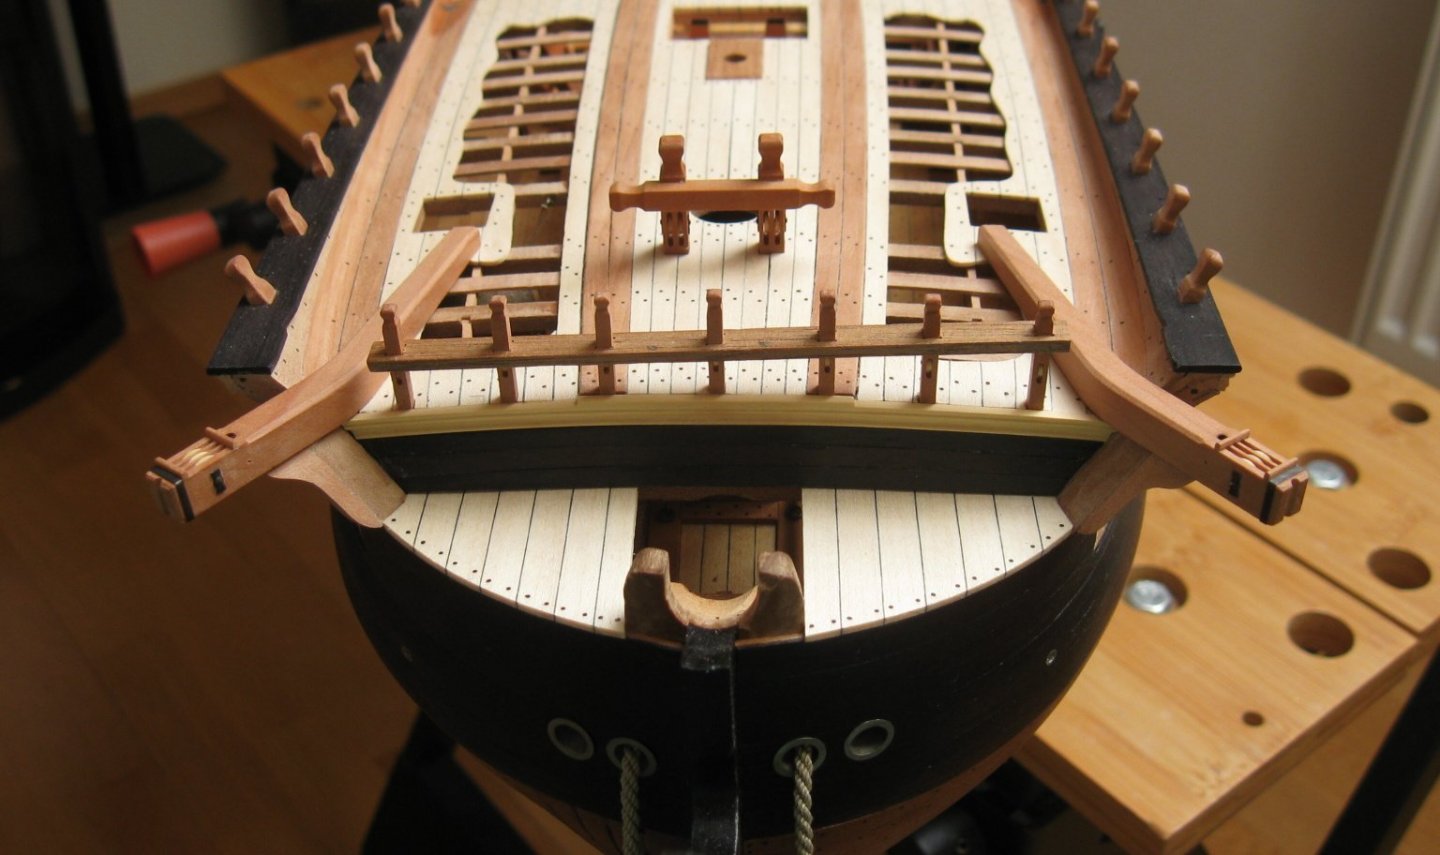
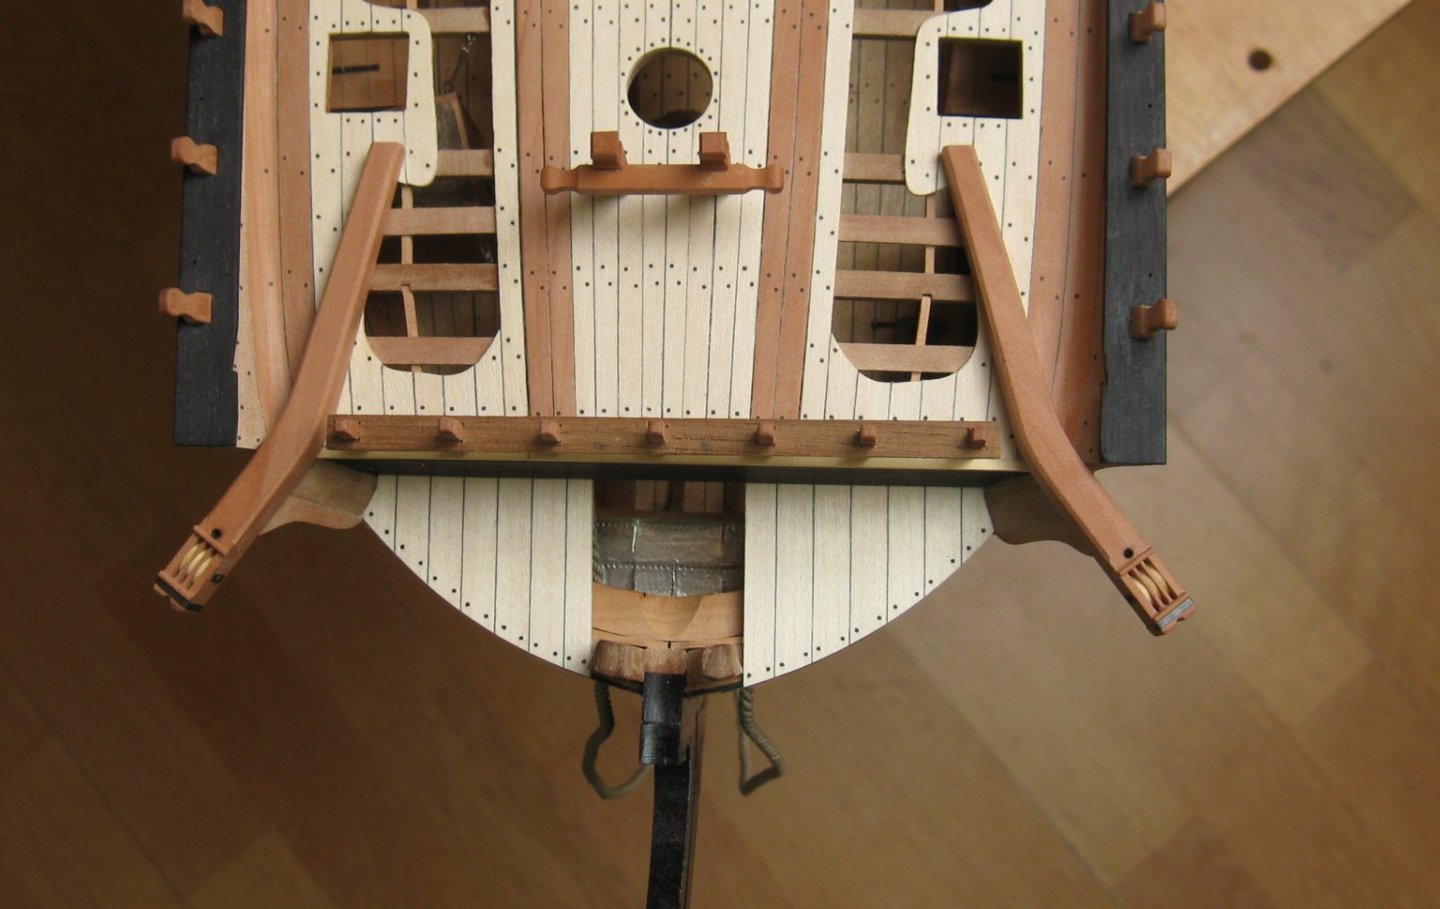
Thank you mtaylor. I continue with the beakhead bulkhead pinrail and knees.

- 589 replies
-
- 27
-
-
-

-
- le gros ventre
- cargo
- (and 1 more)
-
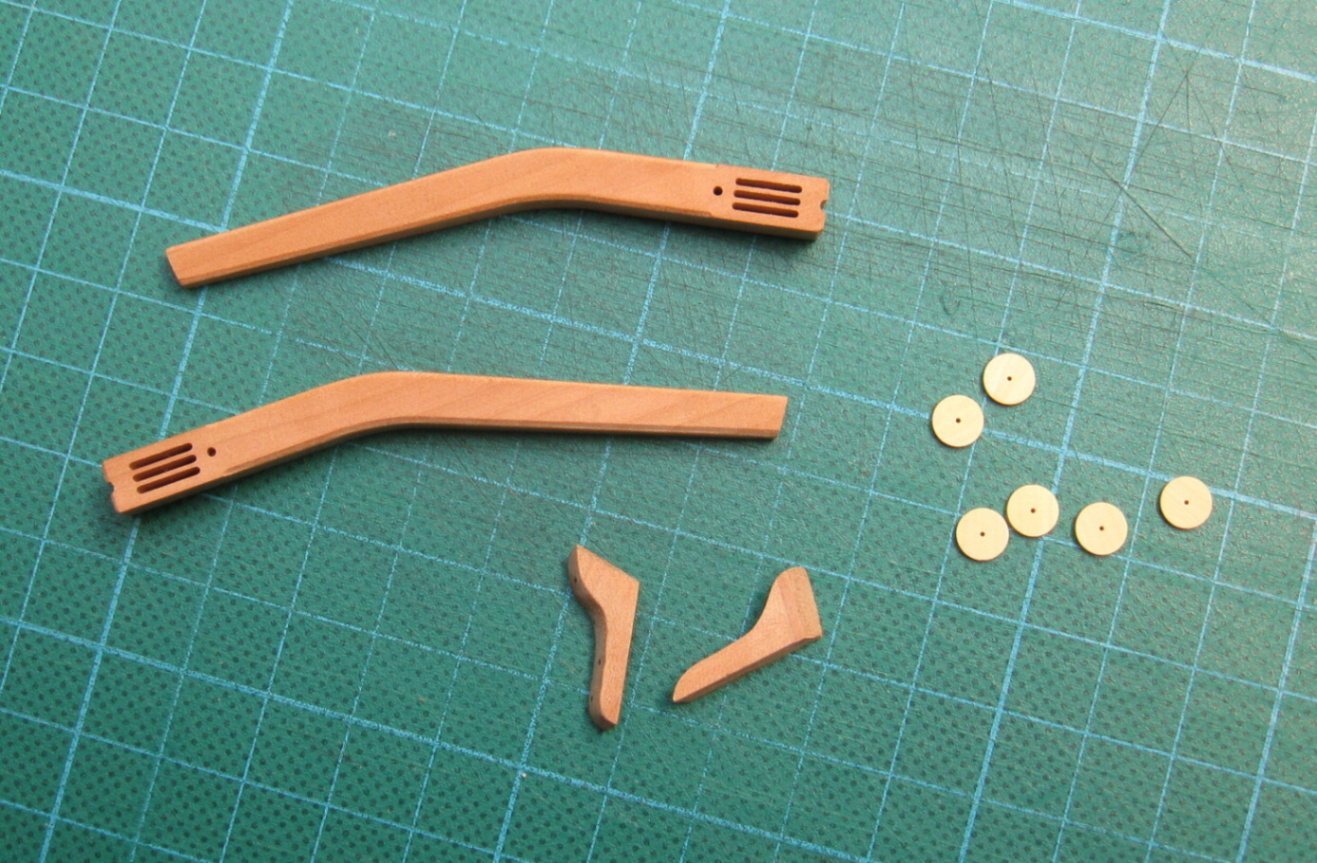
Catheads + forecastle deck and quarter deck scuppers.

- 589 replies
-
- 28
-
-
-
- le gros ventre
- cargo
- (and 1 more)
-
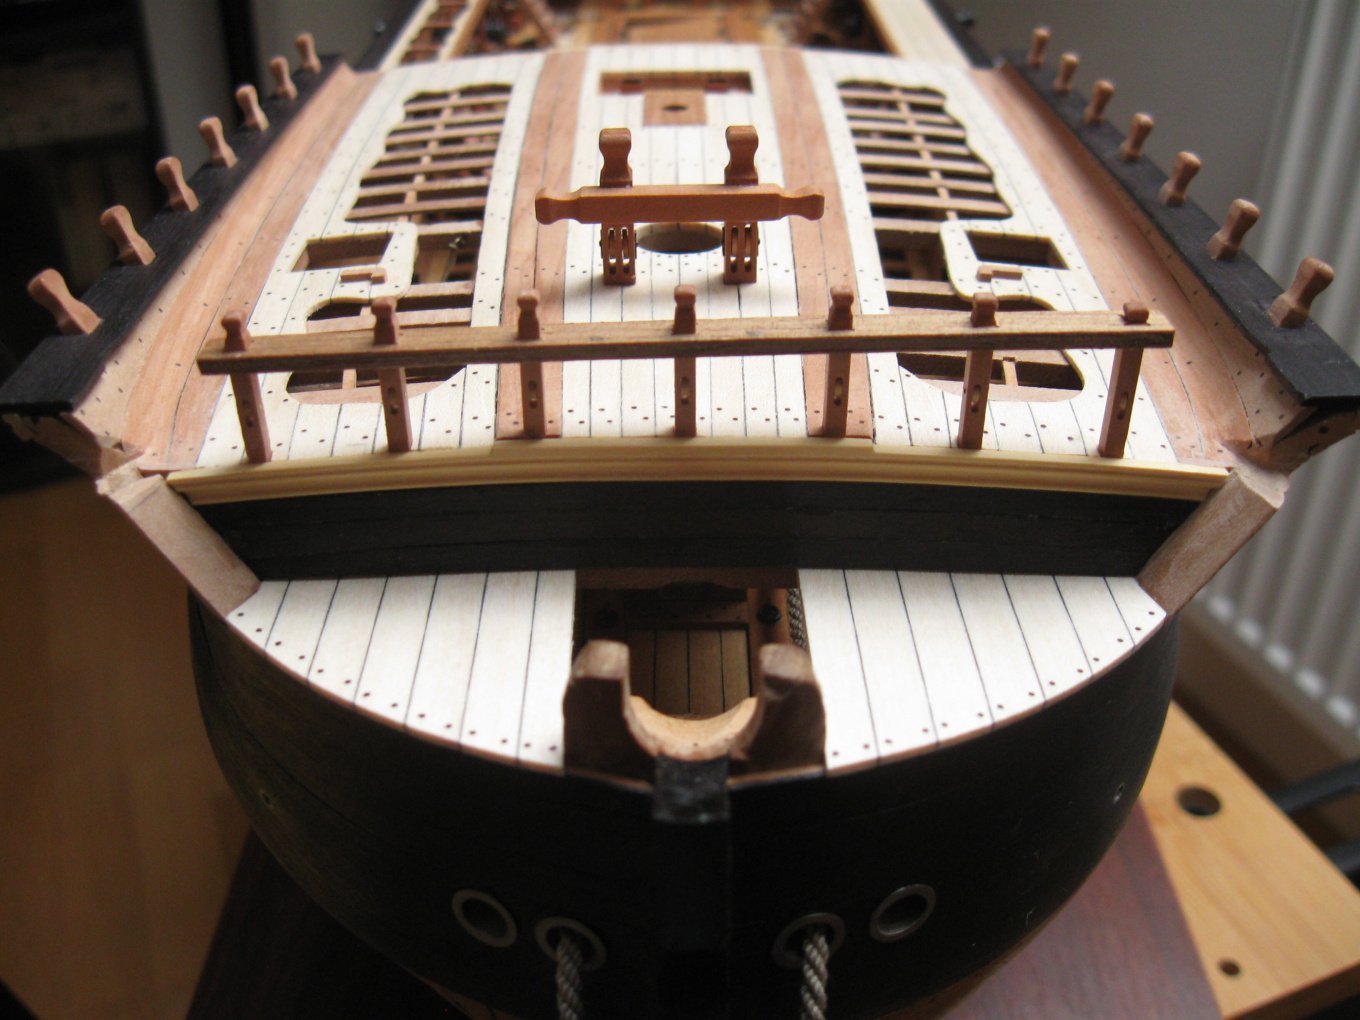
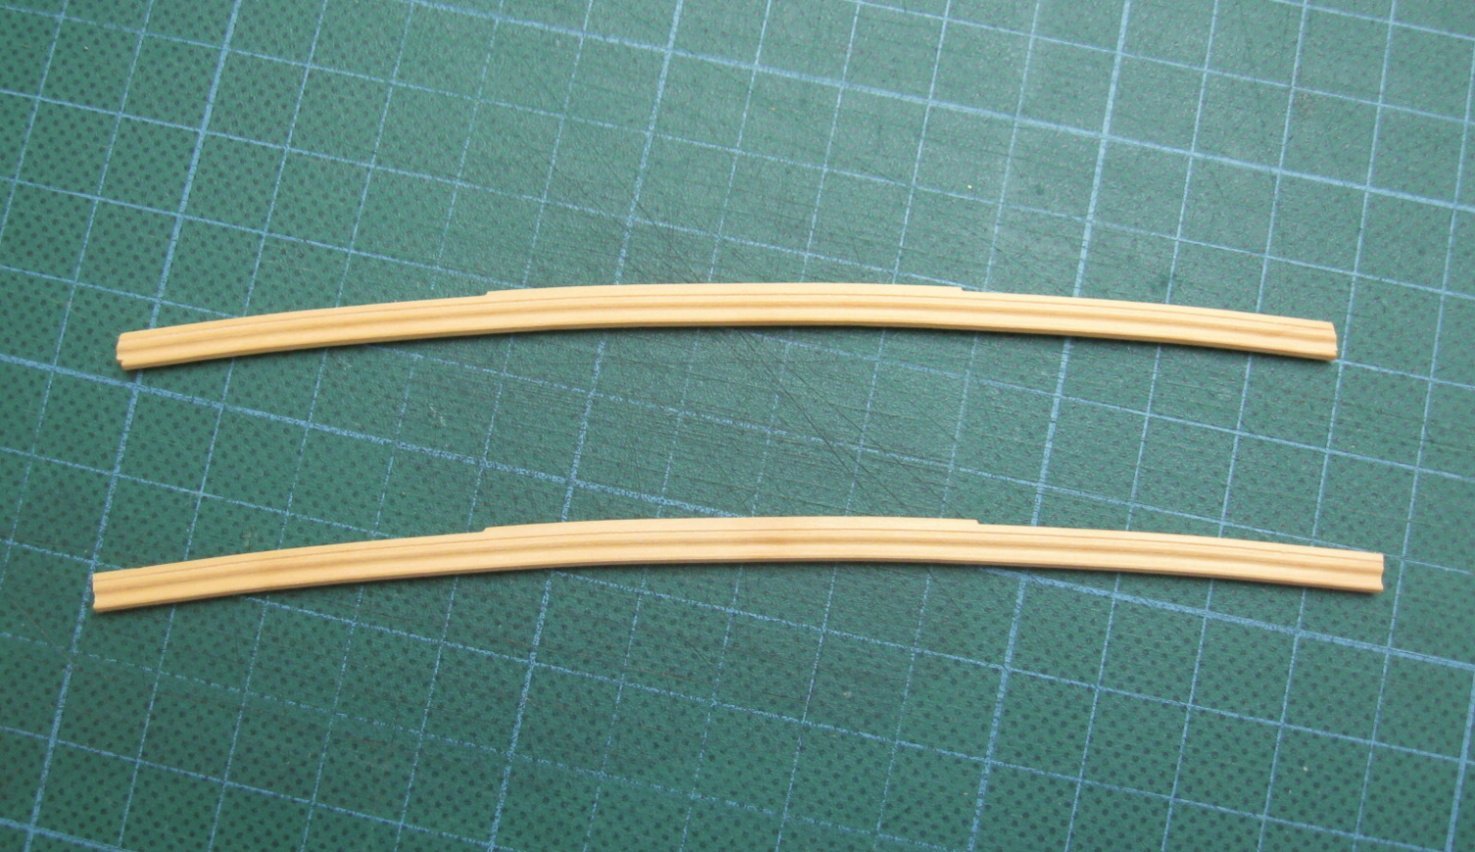
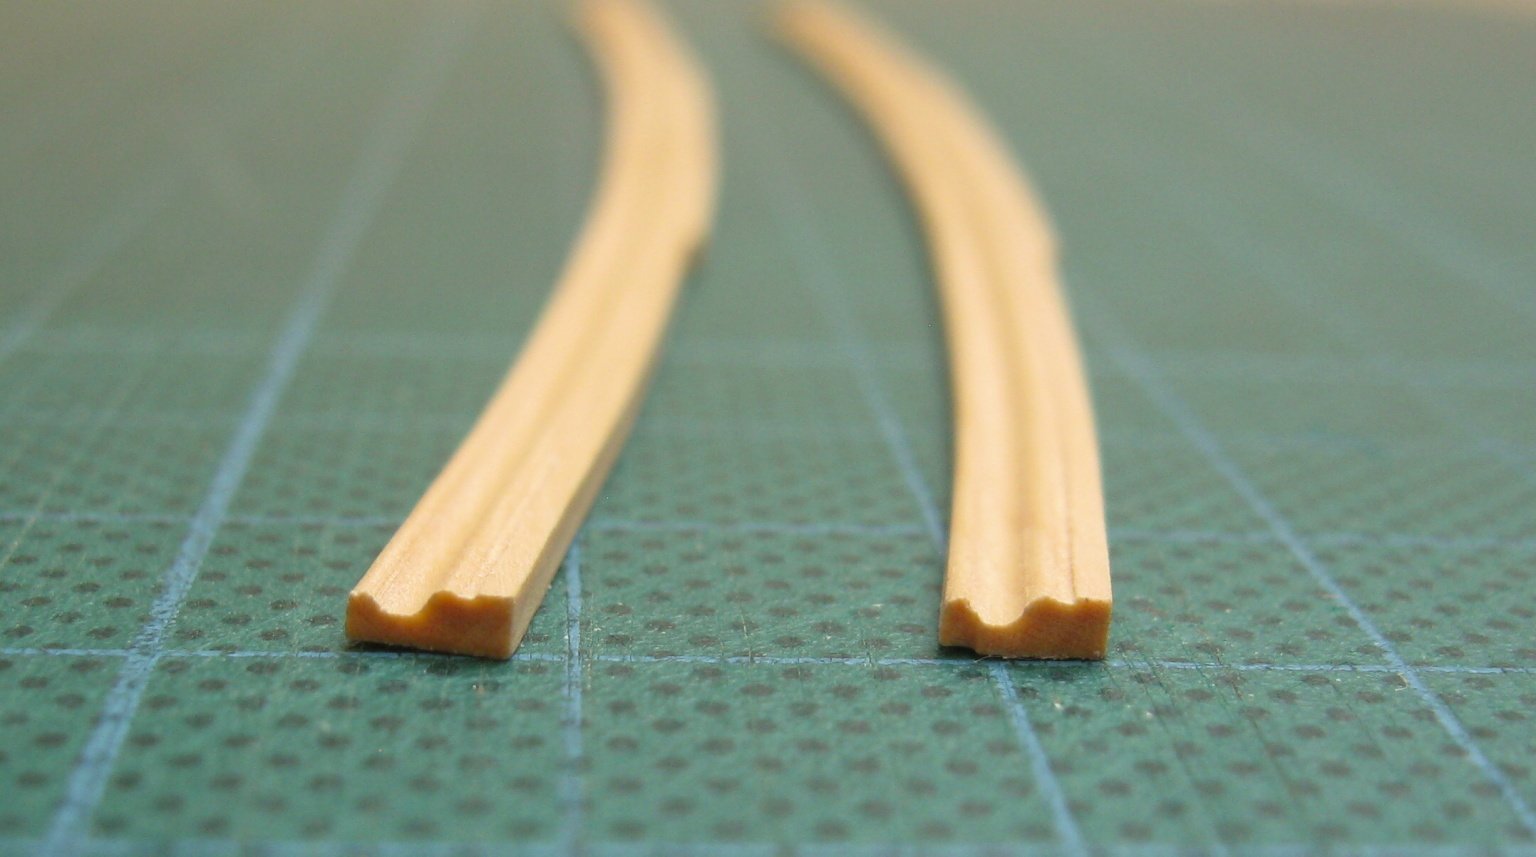
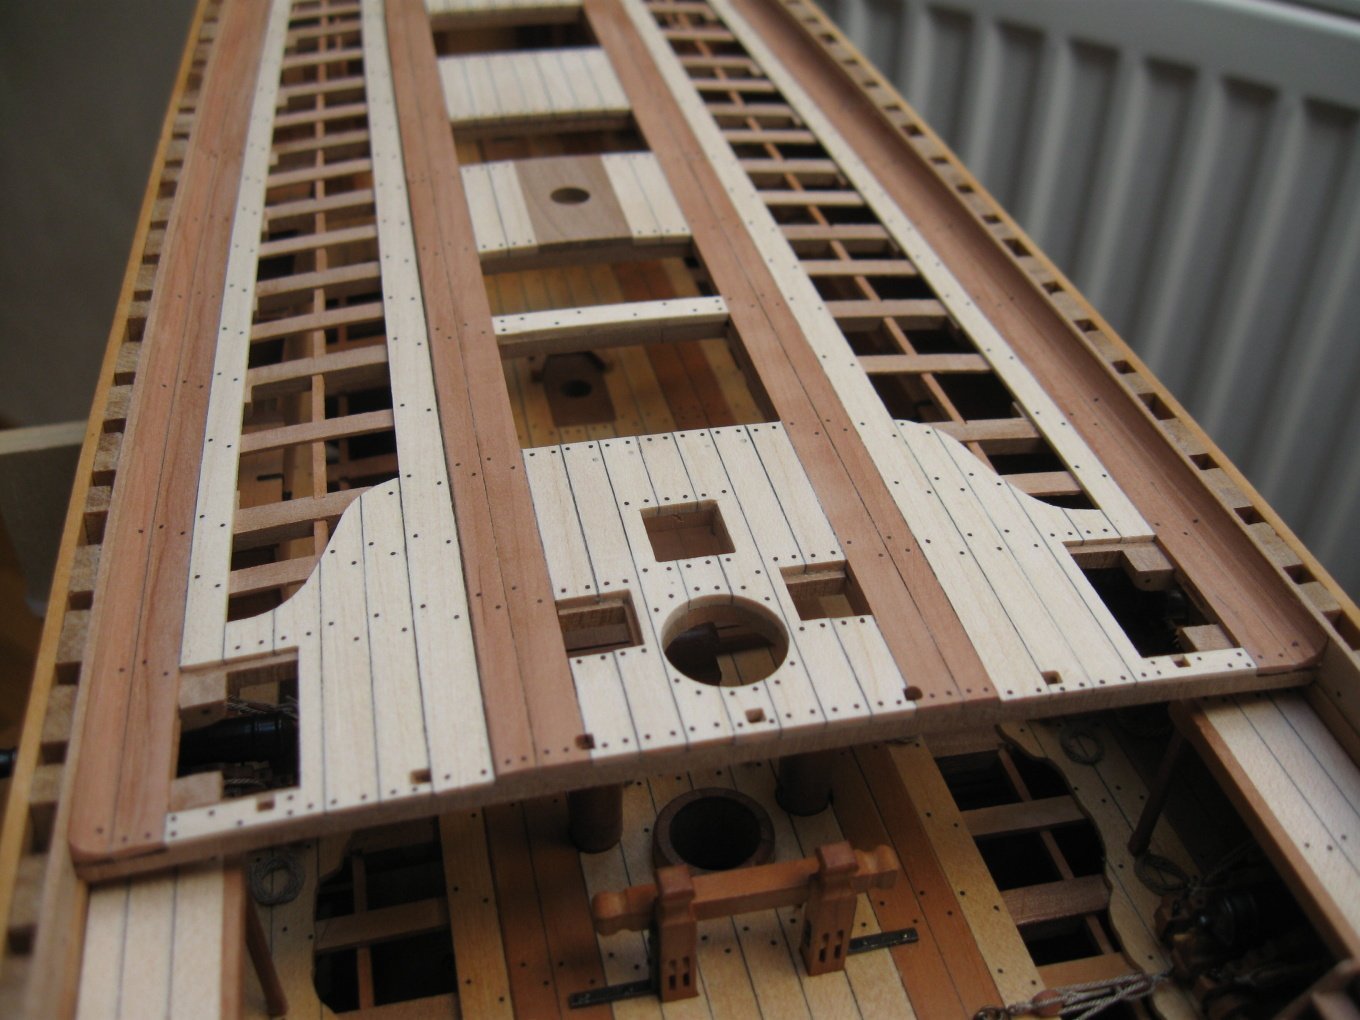
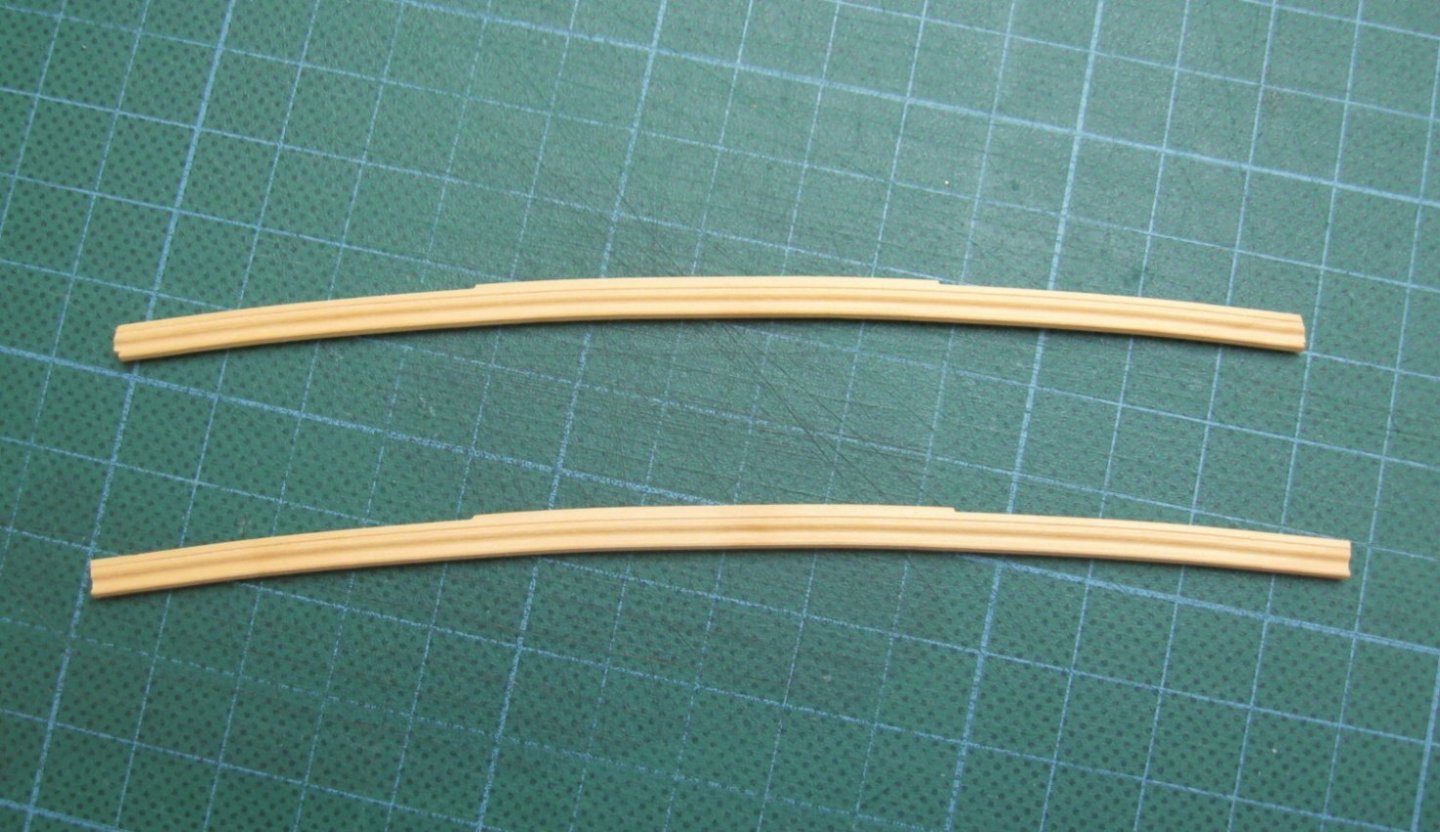
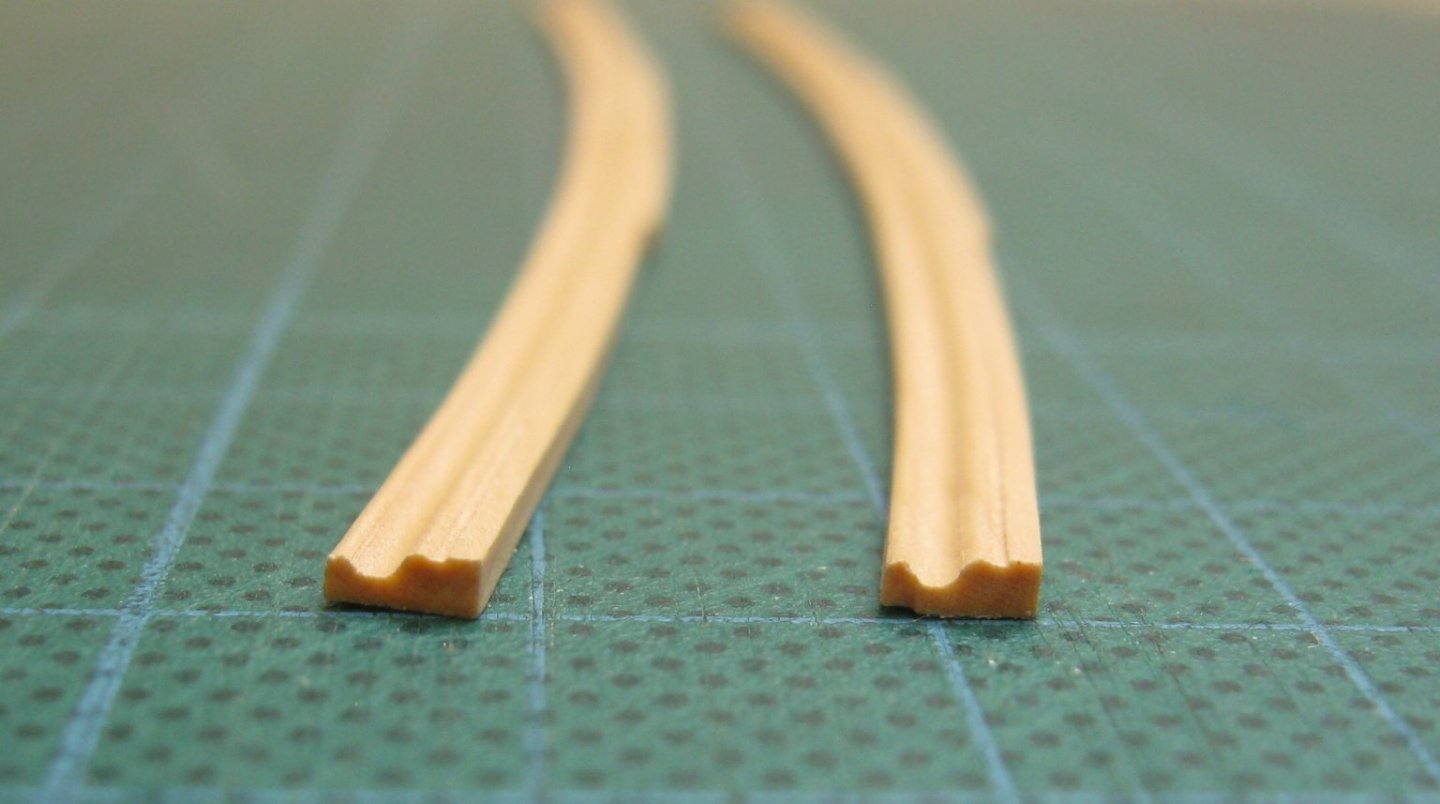
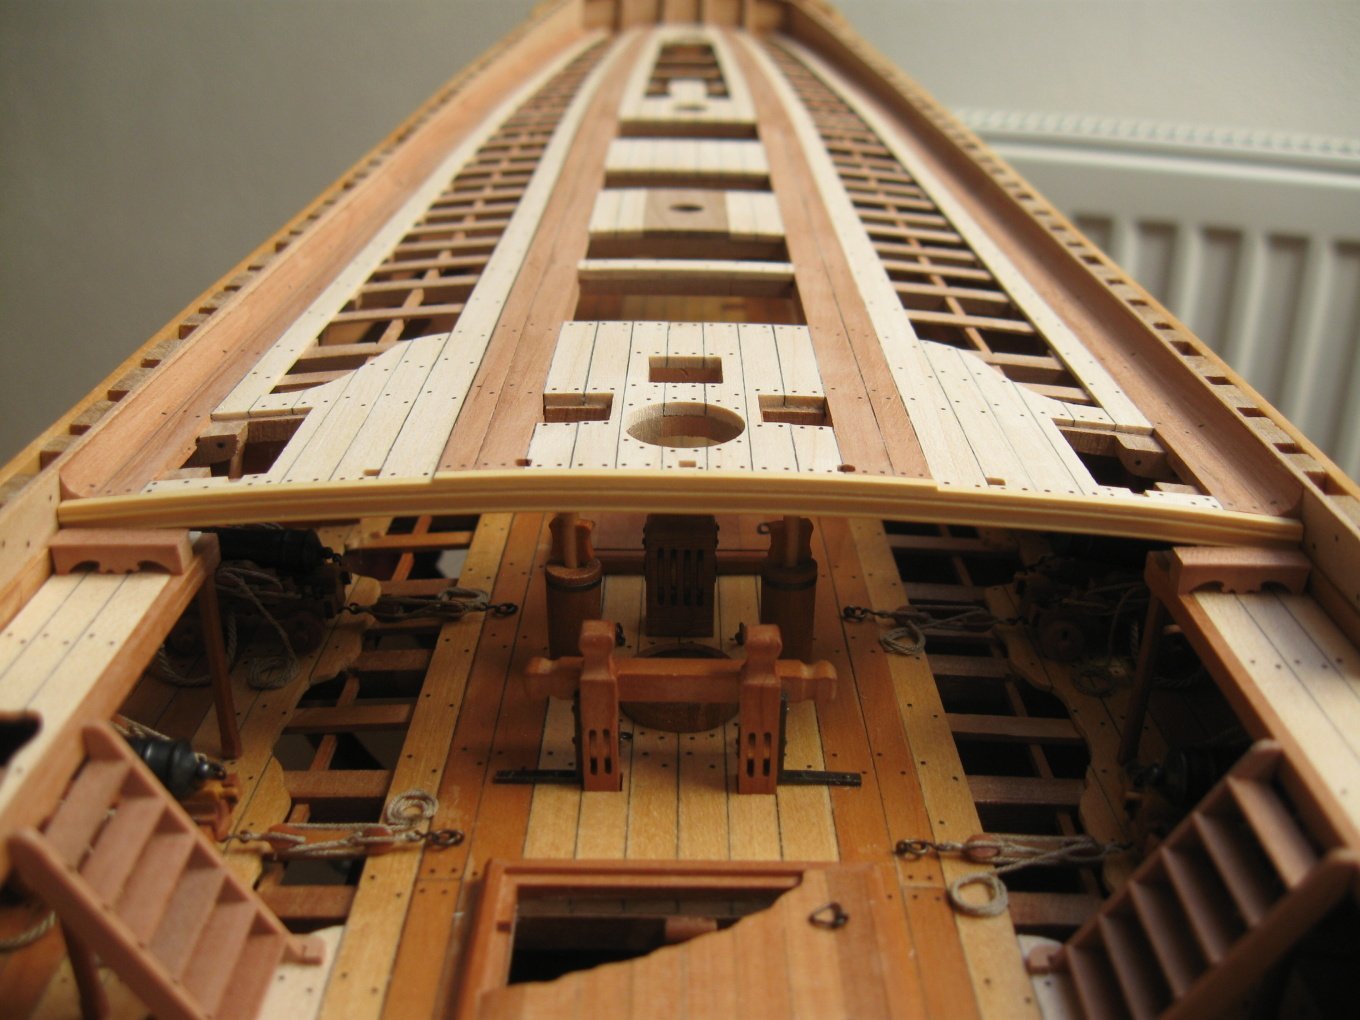
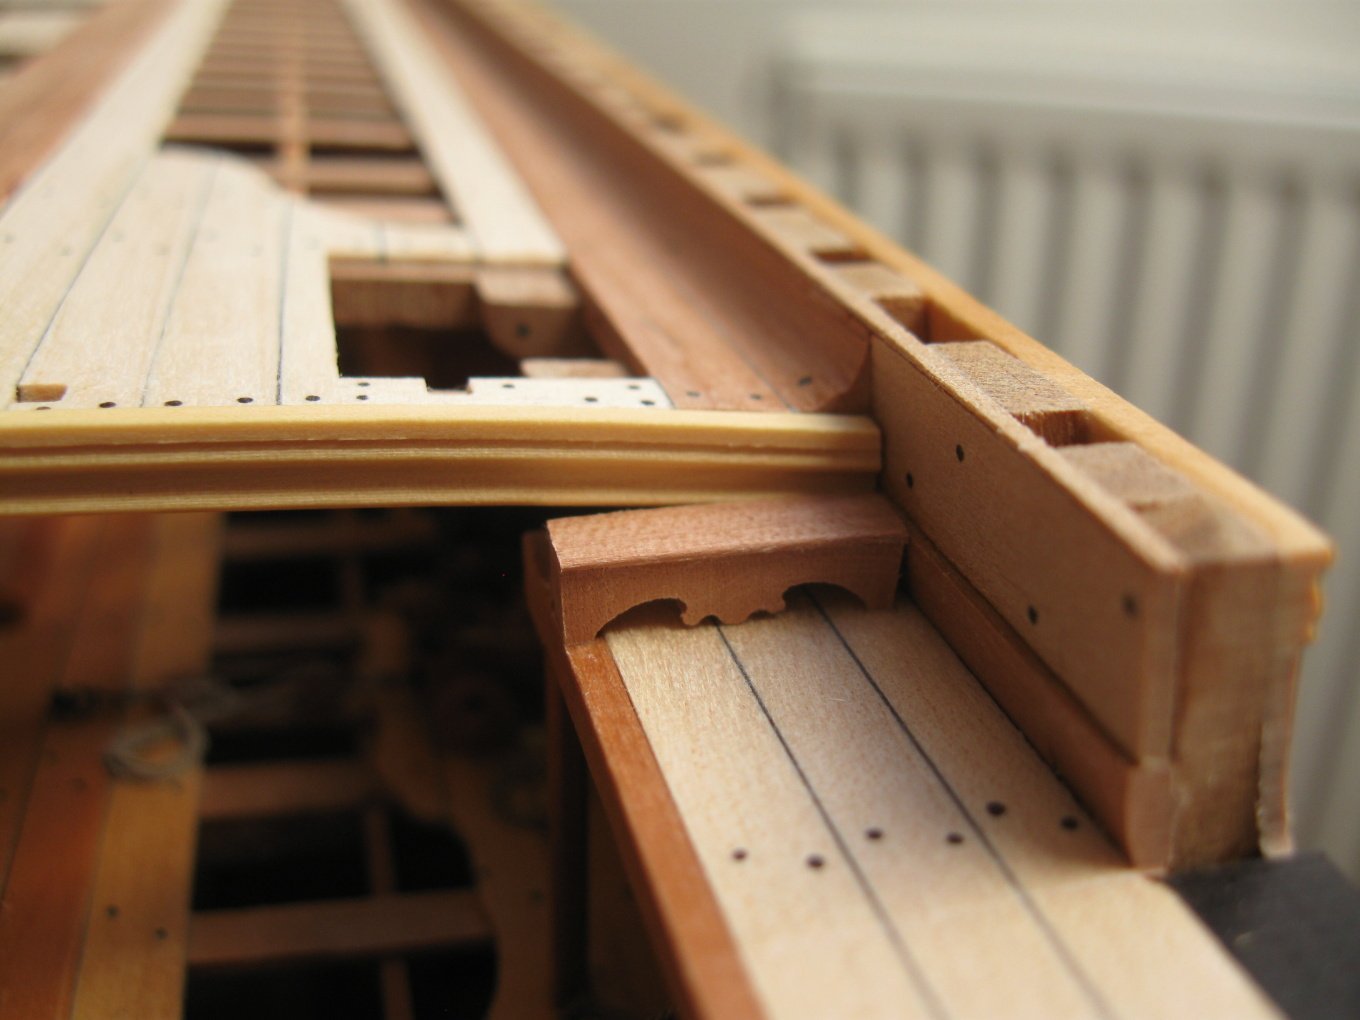
The planking of the quarter deck is completed, decorative mouldings are added at the end of the quarter deck and forecastle deck.

- 589 replies
-
- 22
-
-
-
- le gros ventre
- cargo
- (and 1 more)
-
To Dziadeczek: The used wood for deck planking is maple.
- 589 replies
-
- 2
-
-
- le gros ventre
- cargo
- (and 1 more)
-
Thank you guys for answering daniel.b question and for the compliment my work too. Forecastle deck planking on the pictures is before waxing. After waxing get the wood little bit yellowish color so the contrast between maple and pear is not so big. On the other hand, I must say that on uncolored models, the color contrast of different types of wood is very important. Otherwise, the model is too dull from my point of view.
- 589 replies
-
- 1
-
-
- le gros ventre
- cargo
- (and 1 more)
-
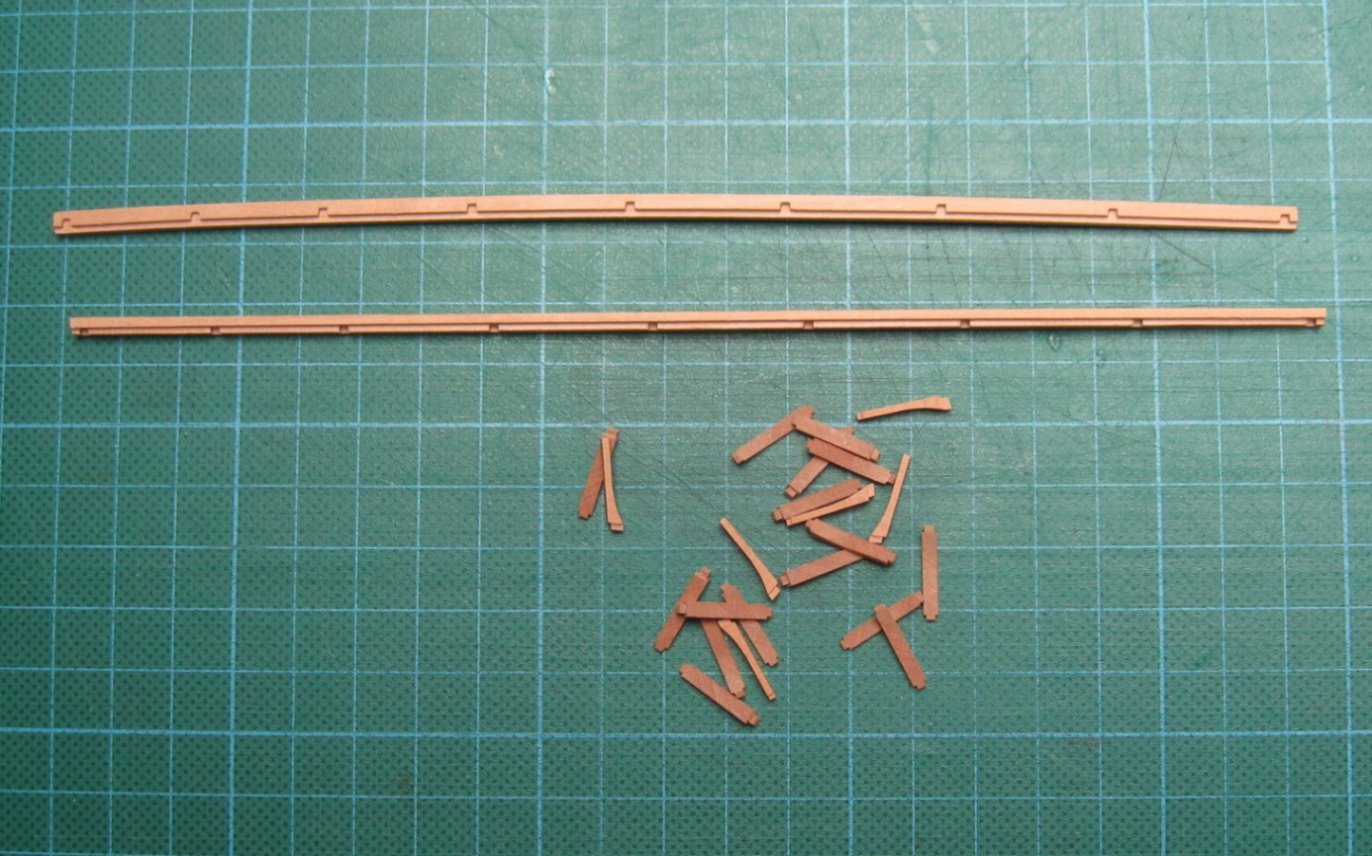
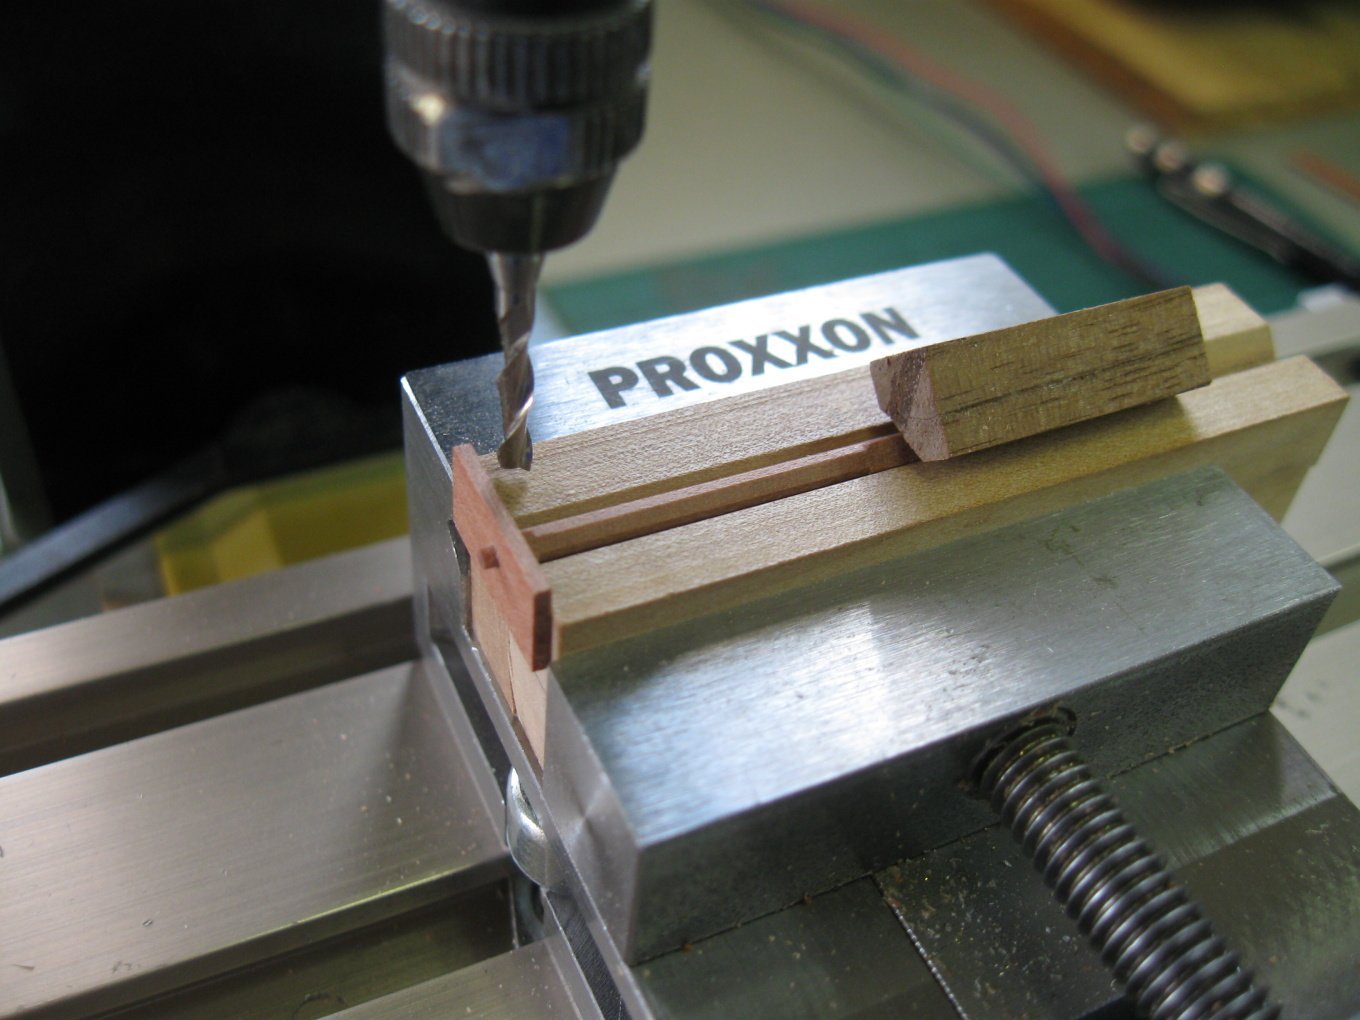
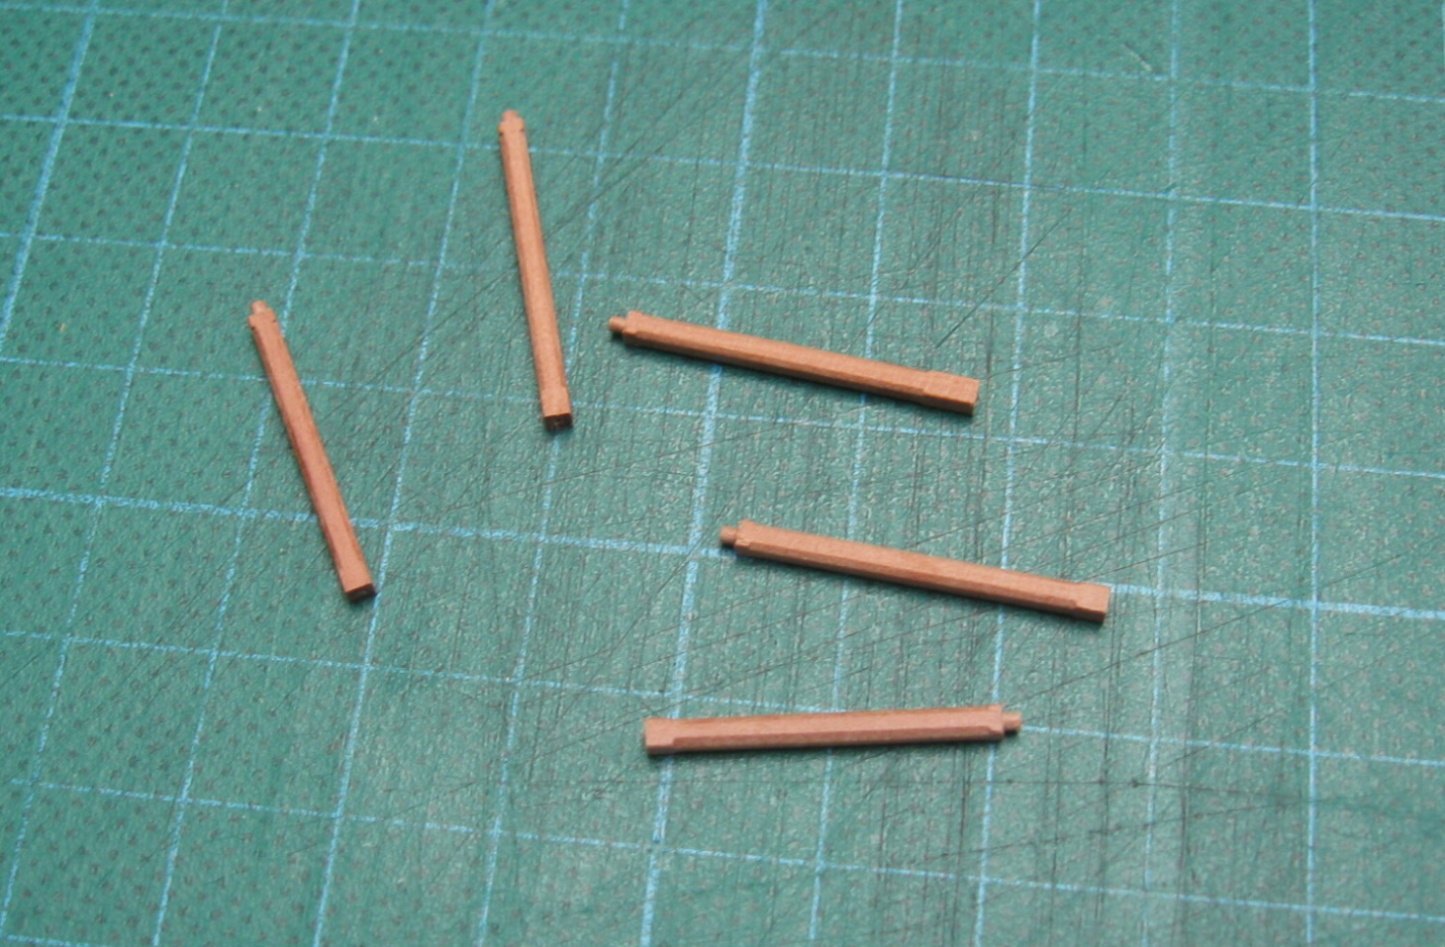
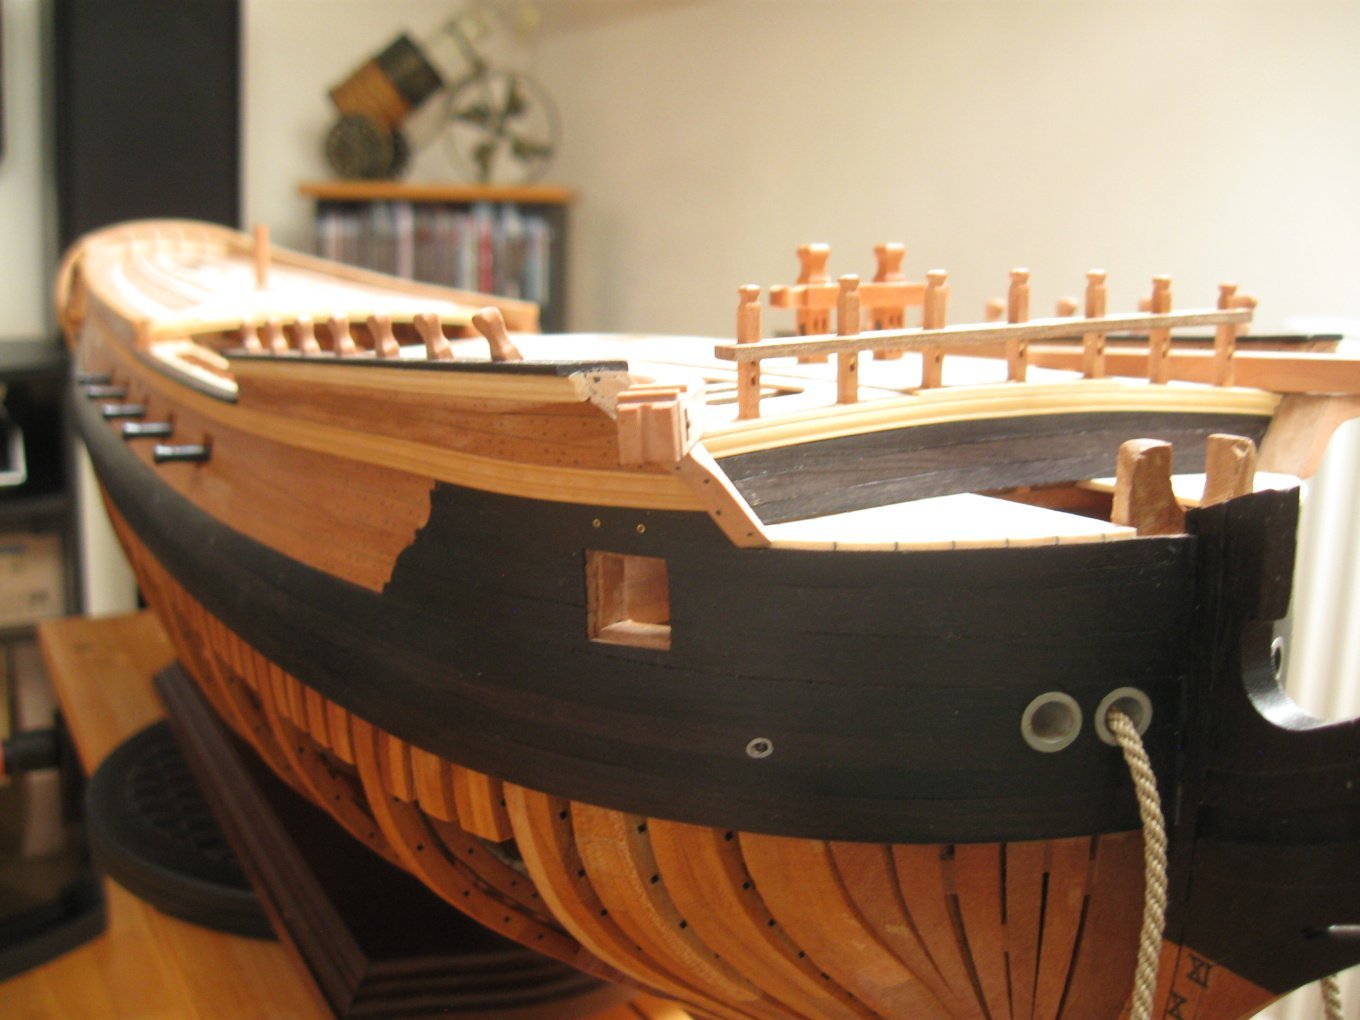
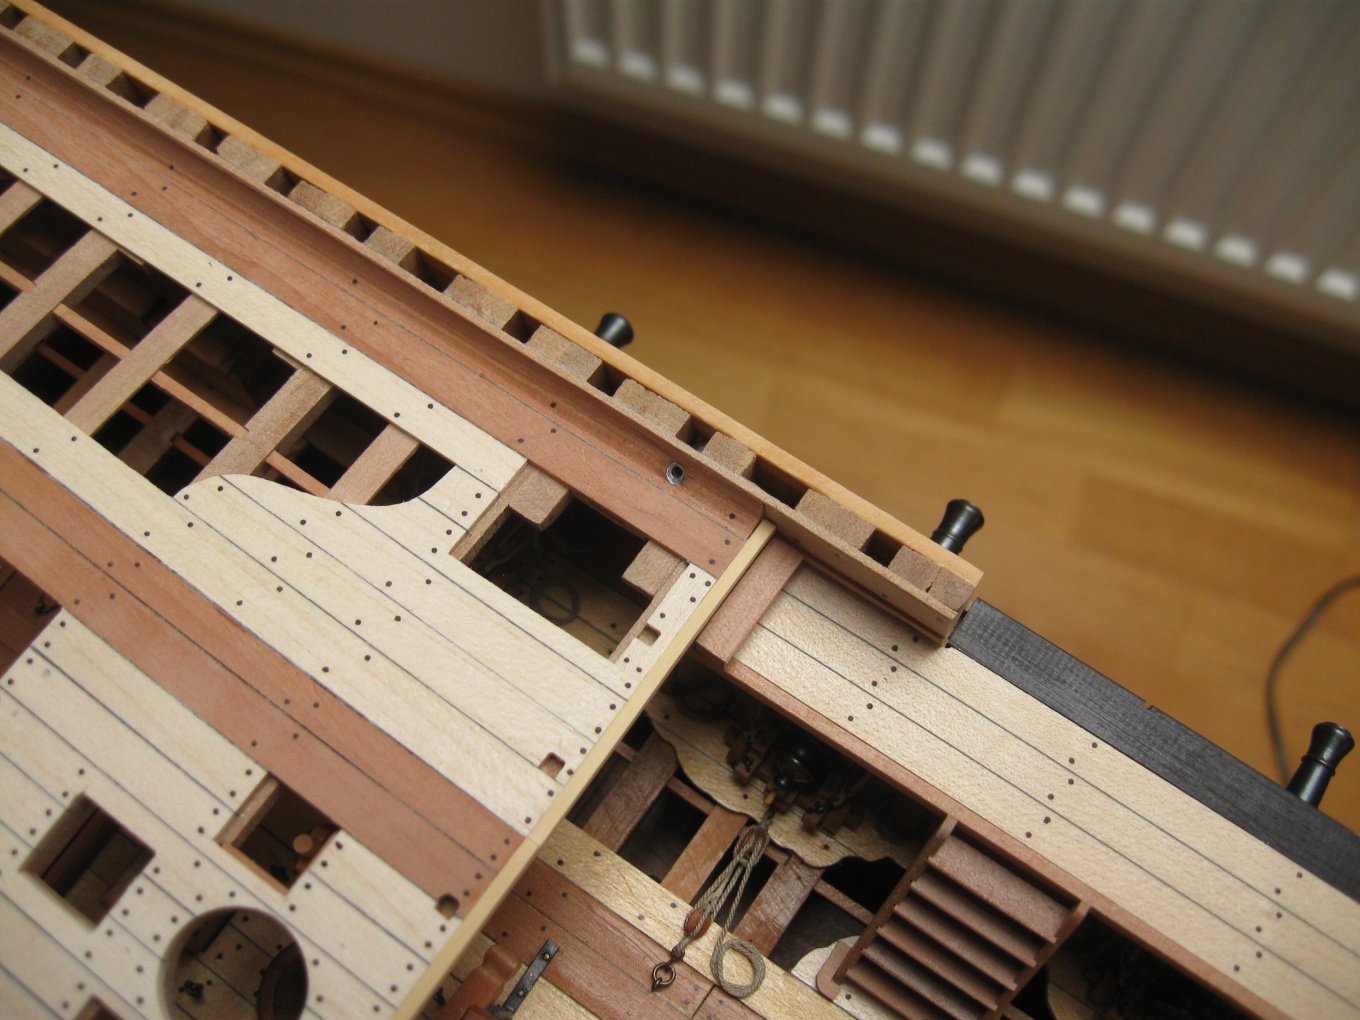
Timberheads and planksheer (I don't know if it's the right term).


- 589 replies
-
- 30
-
-
-
- le gros ventre
- cargo
- (and 1 more)
-
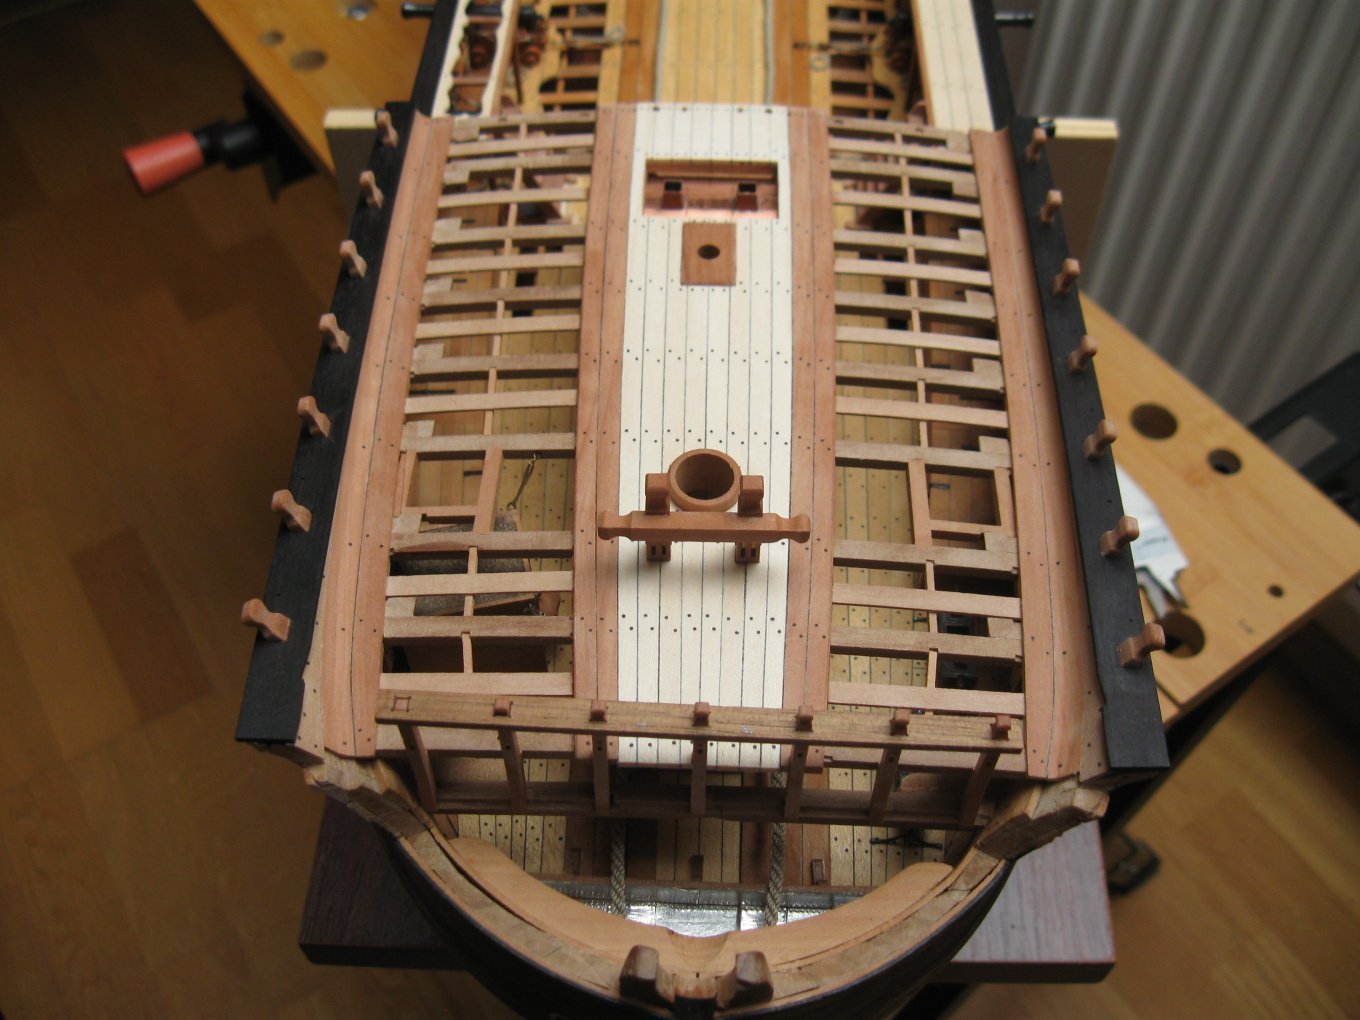
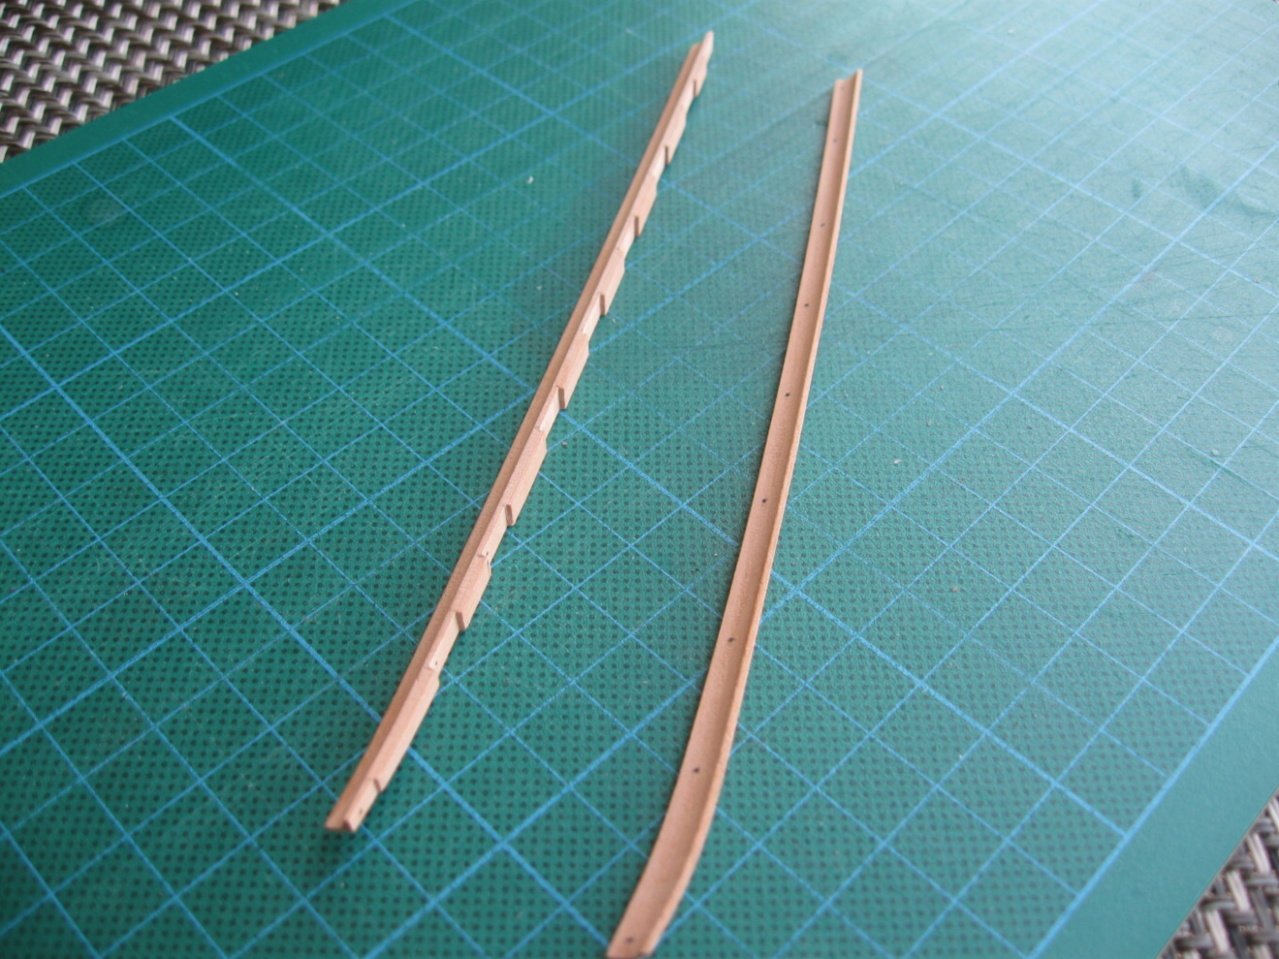
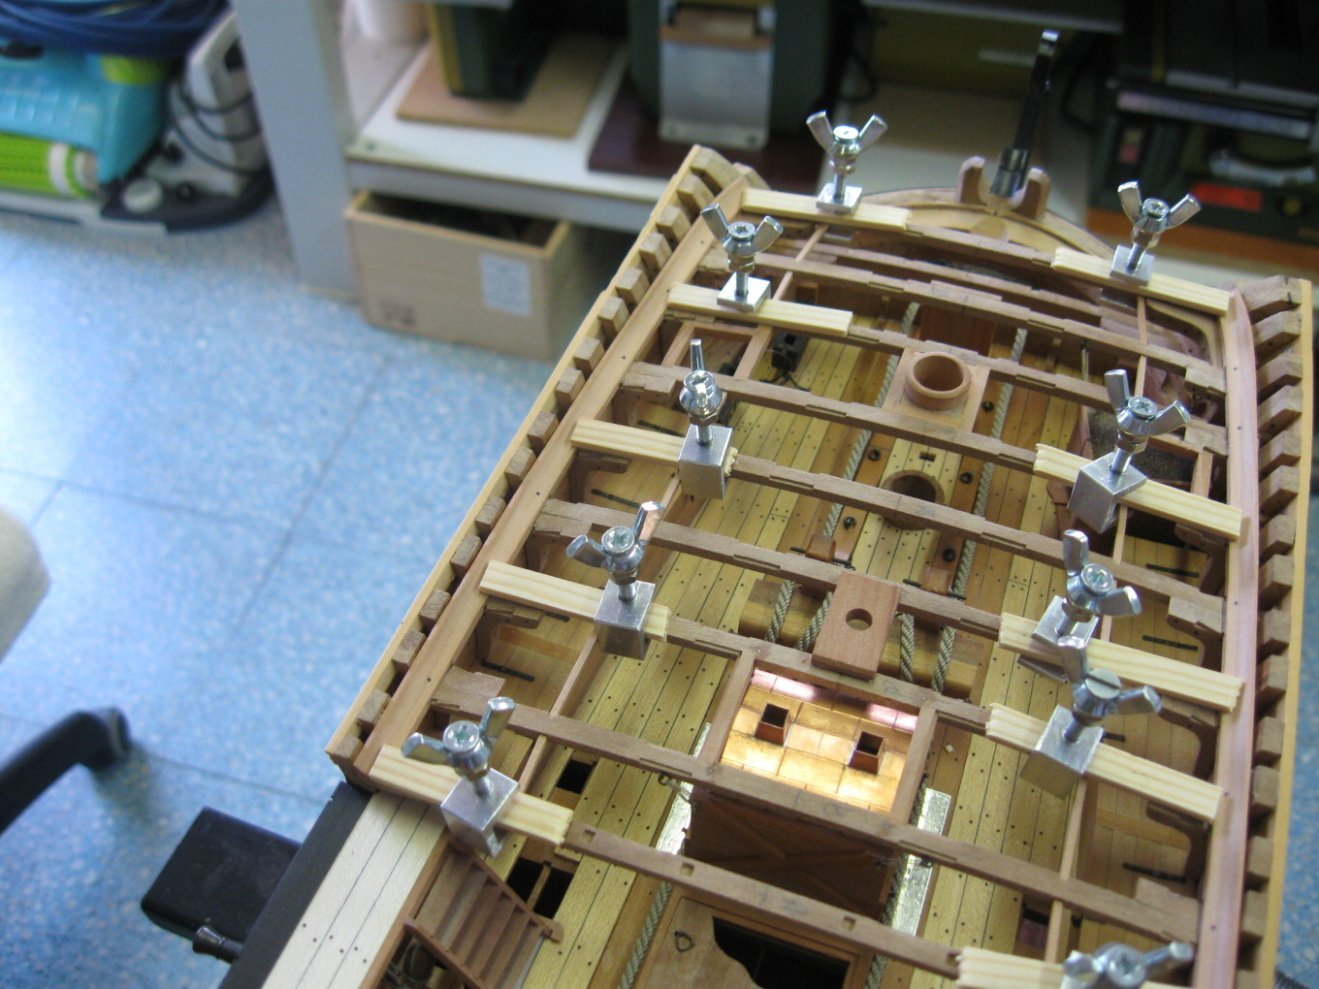
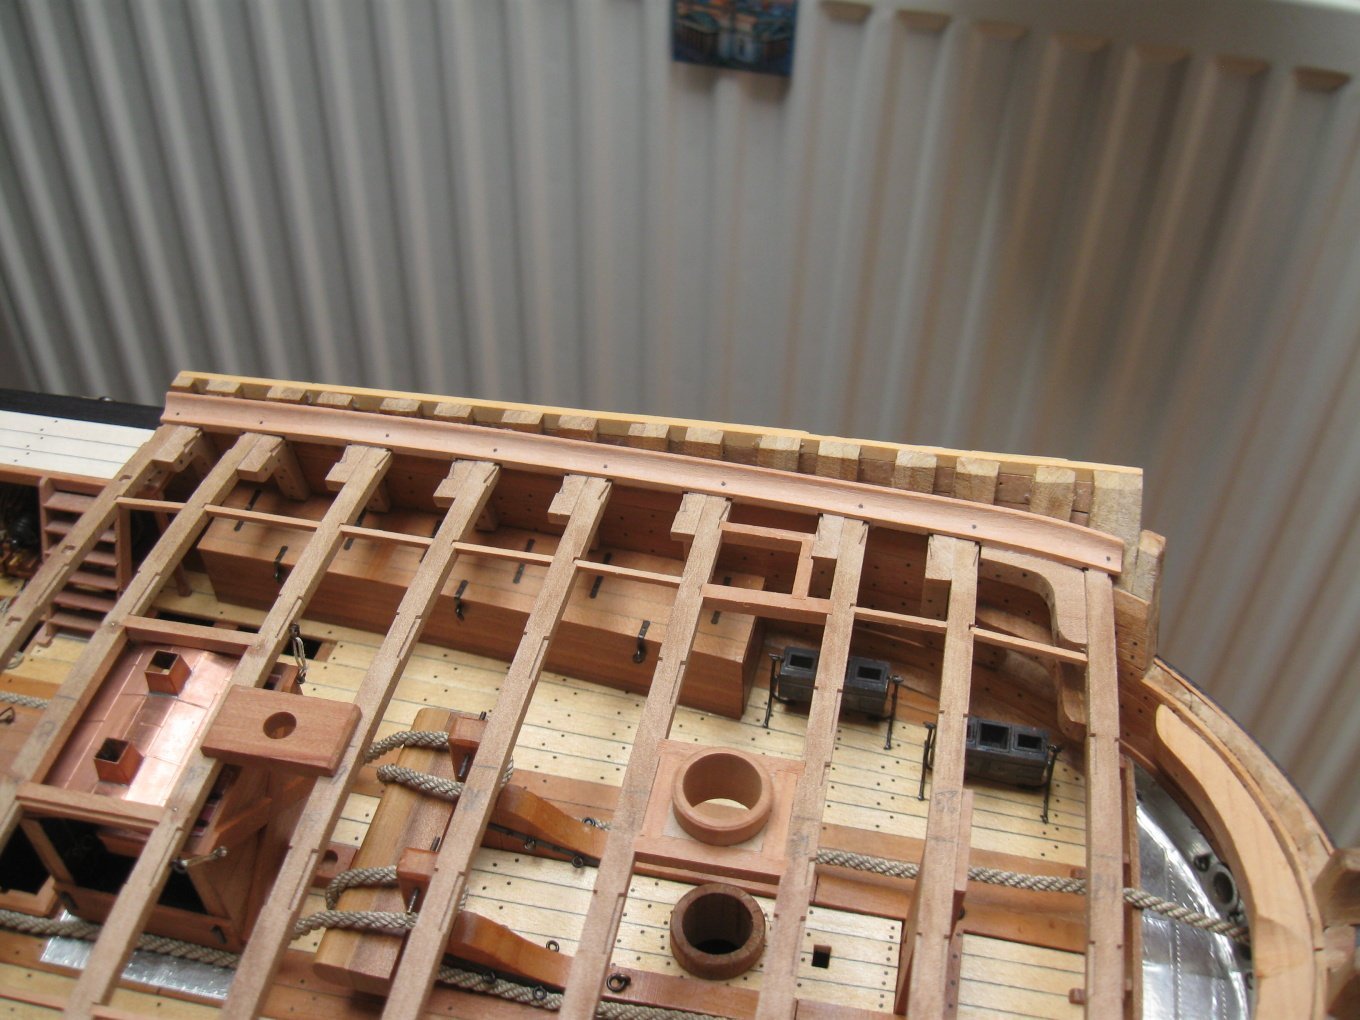
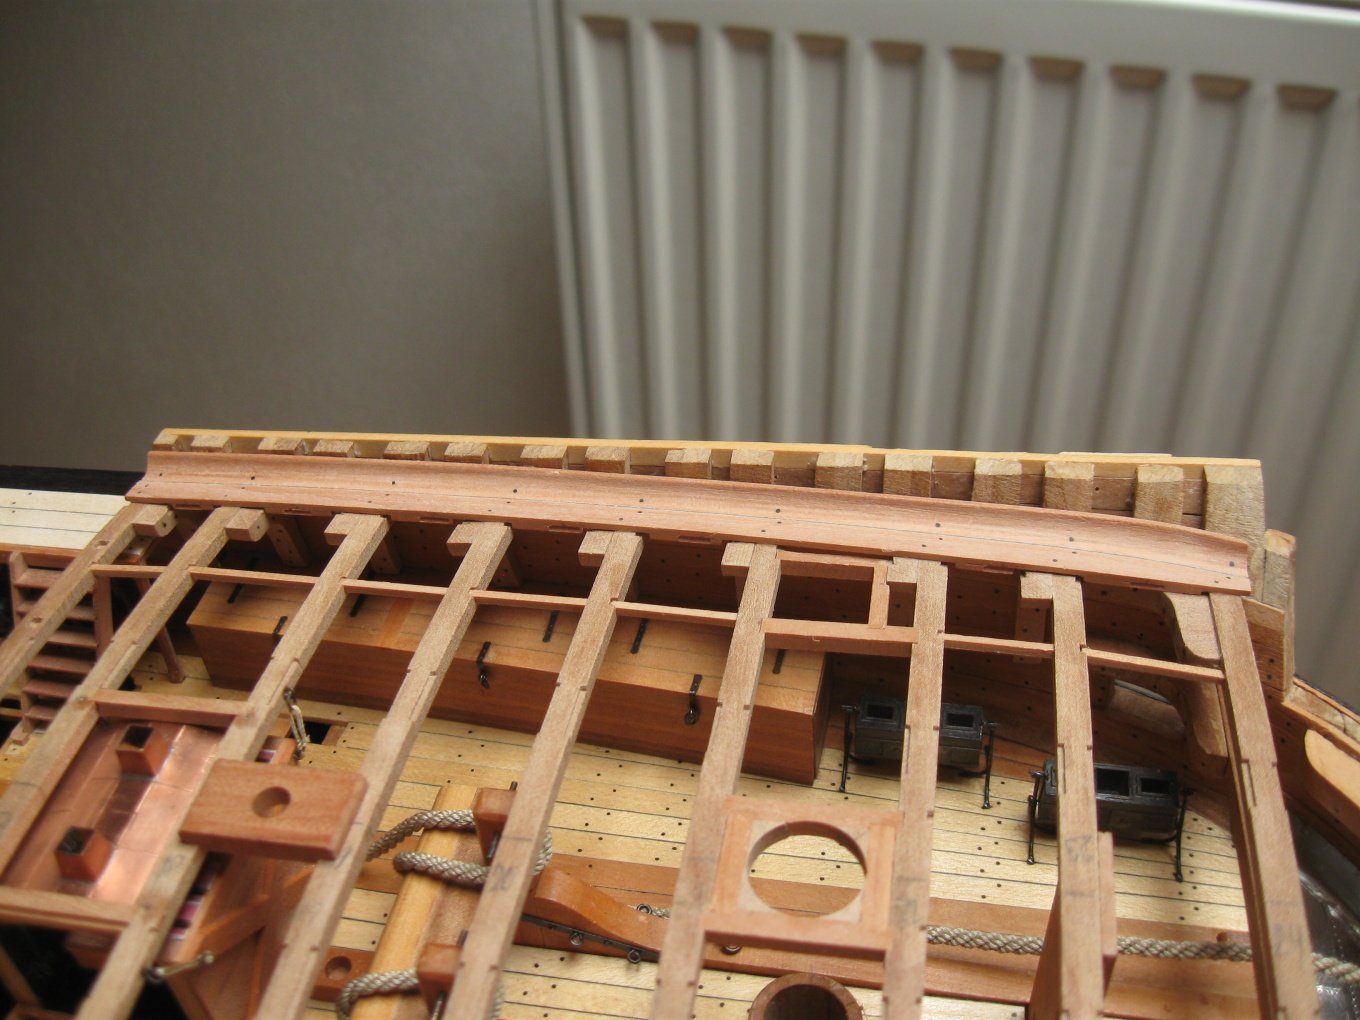
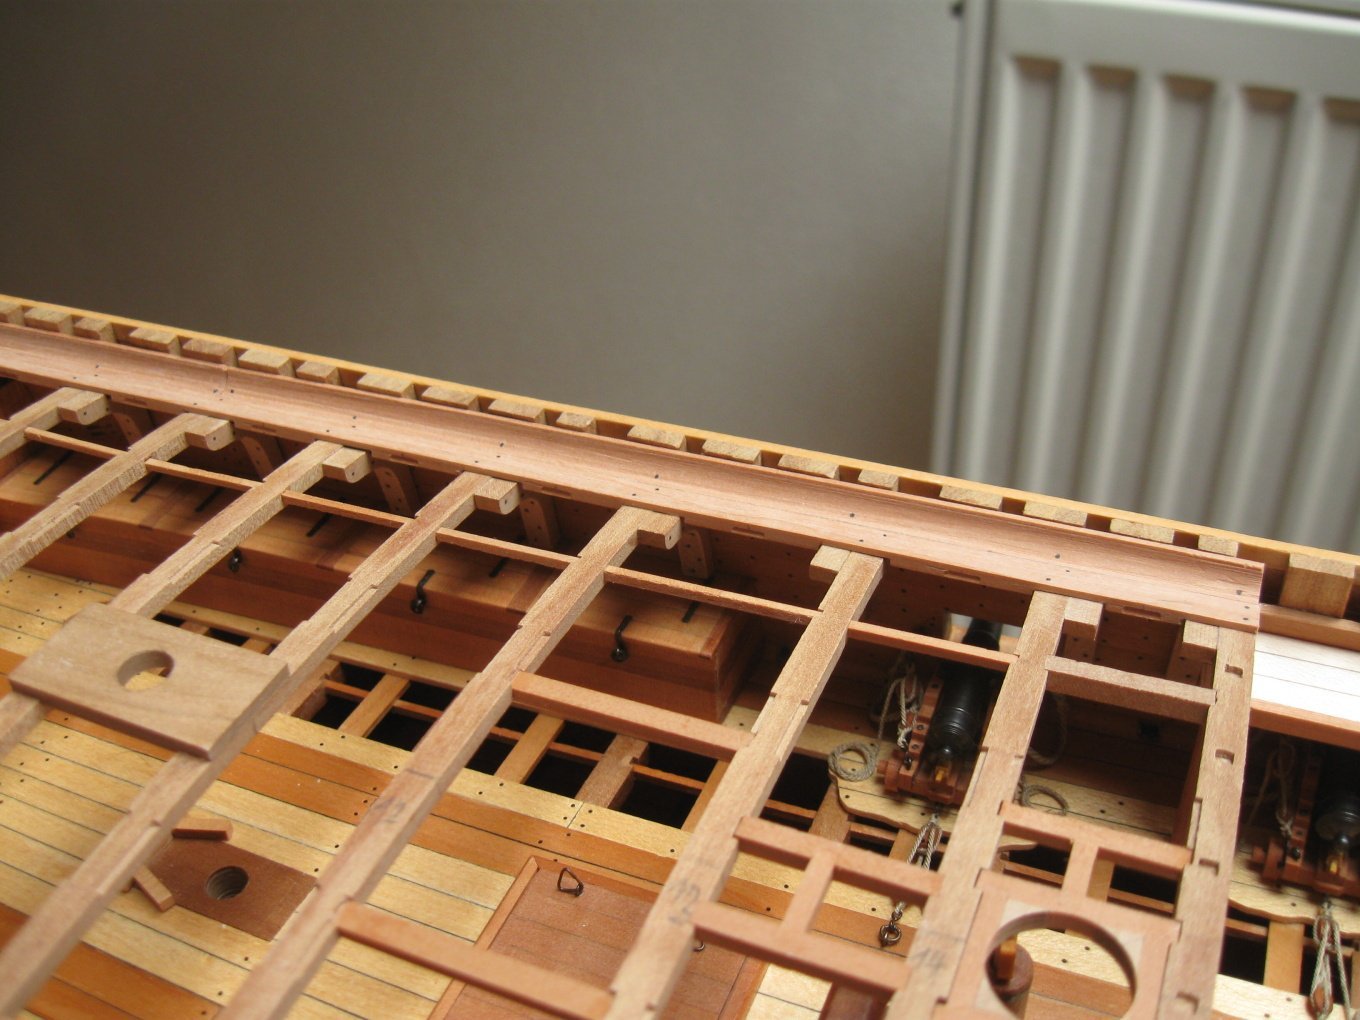
Forecastle and quarterdeck waterway + inner waterway.
- 589 replies
-
- 19
-
-
-
-
- le gros ventre
- cargo
- (and 1 more)
-
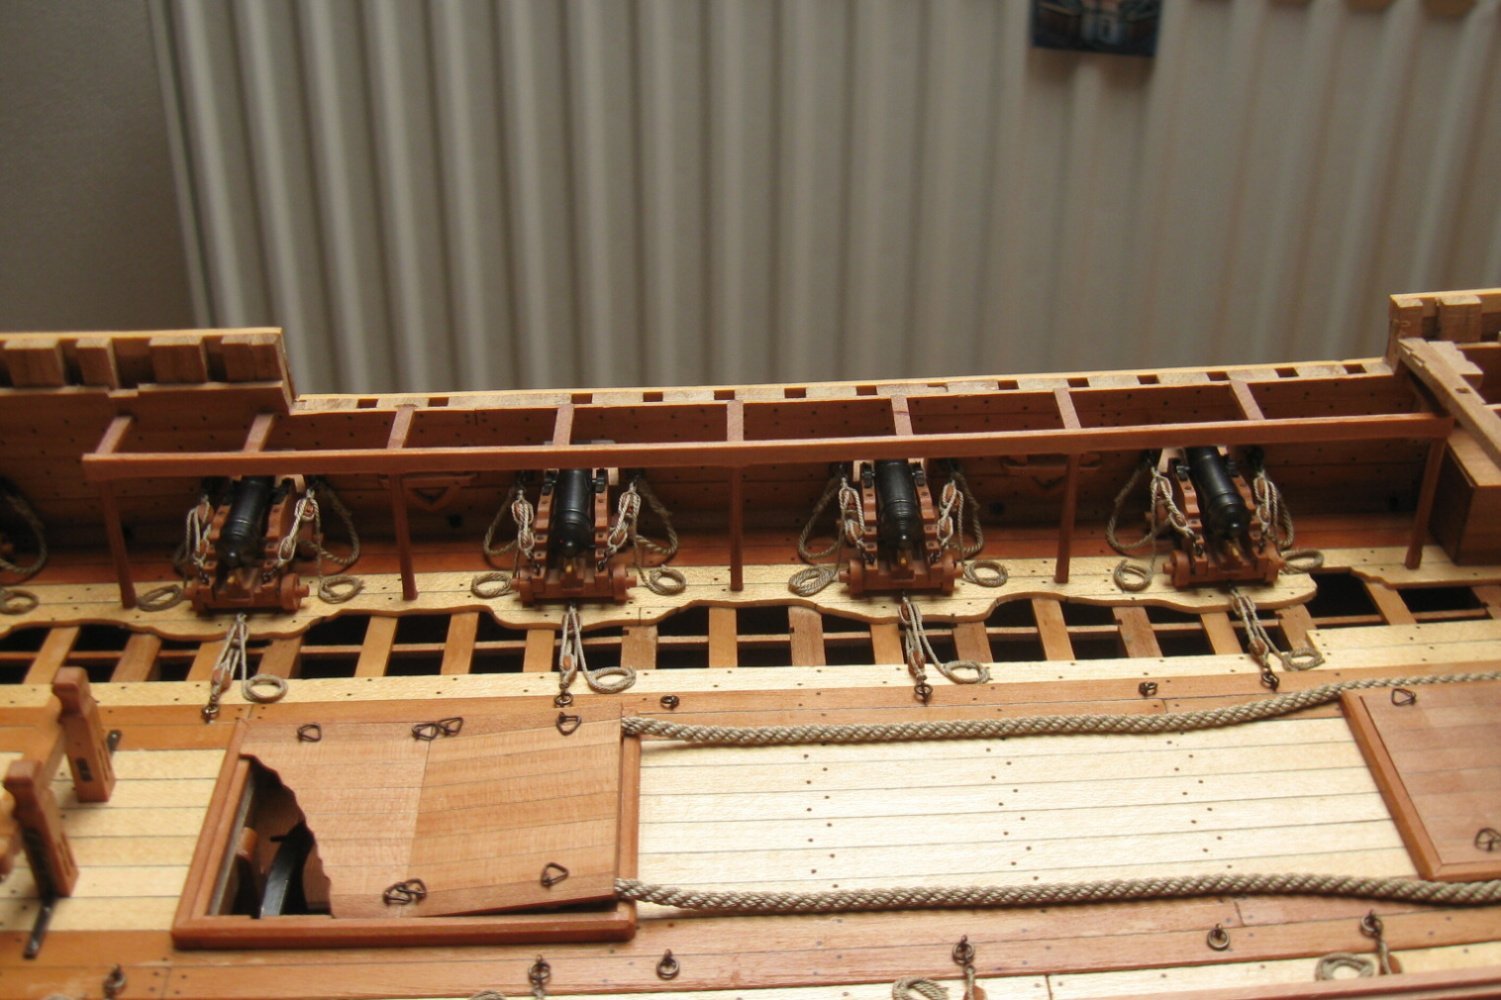
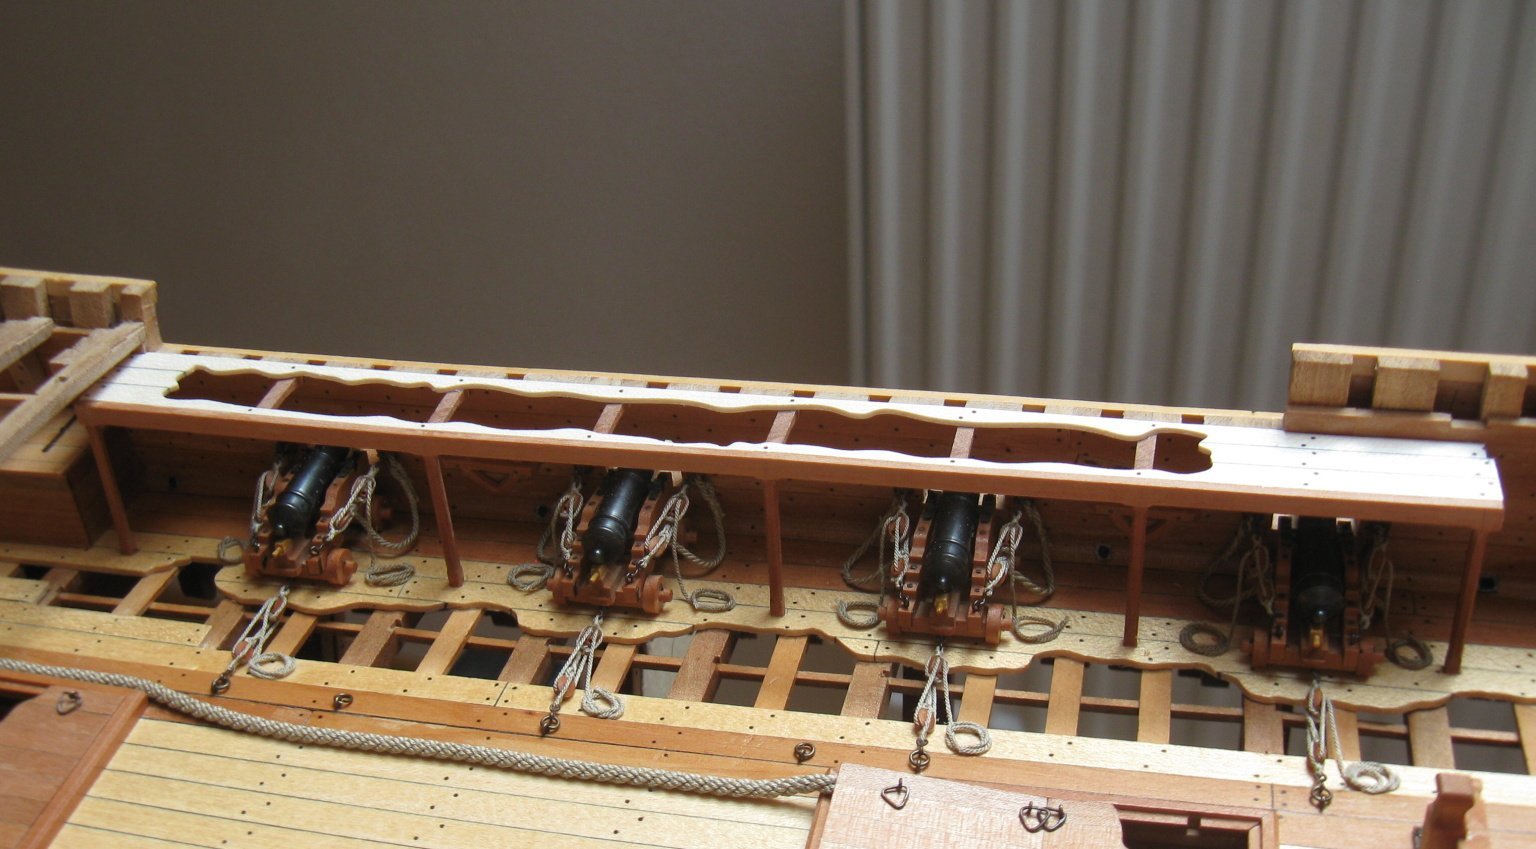
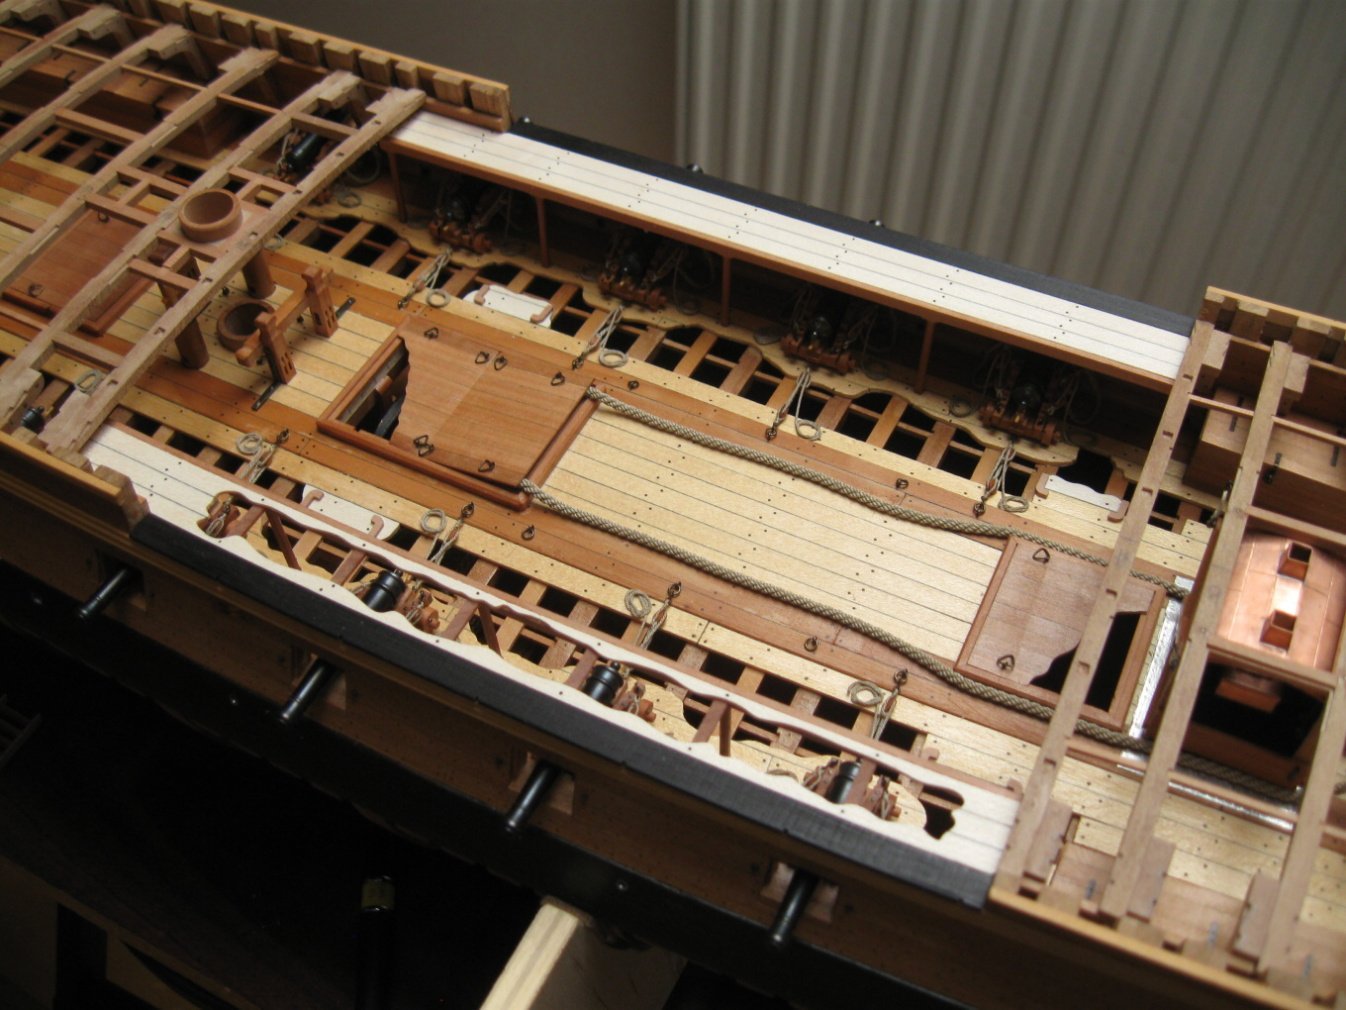
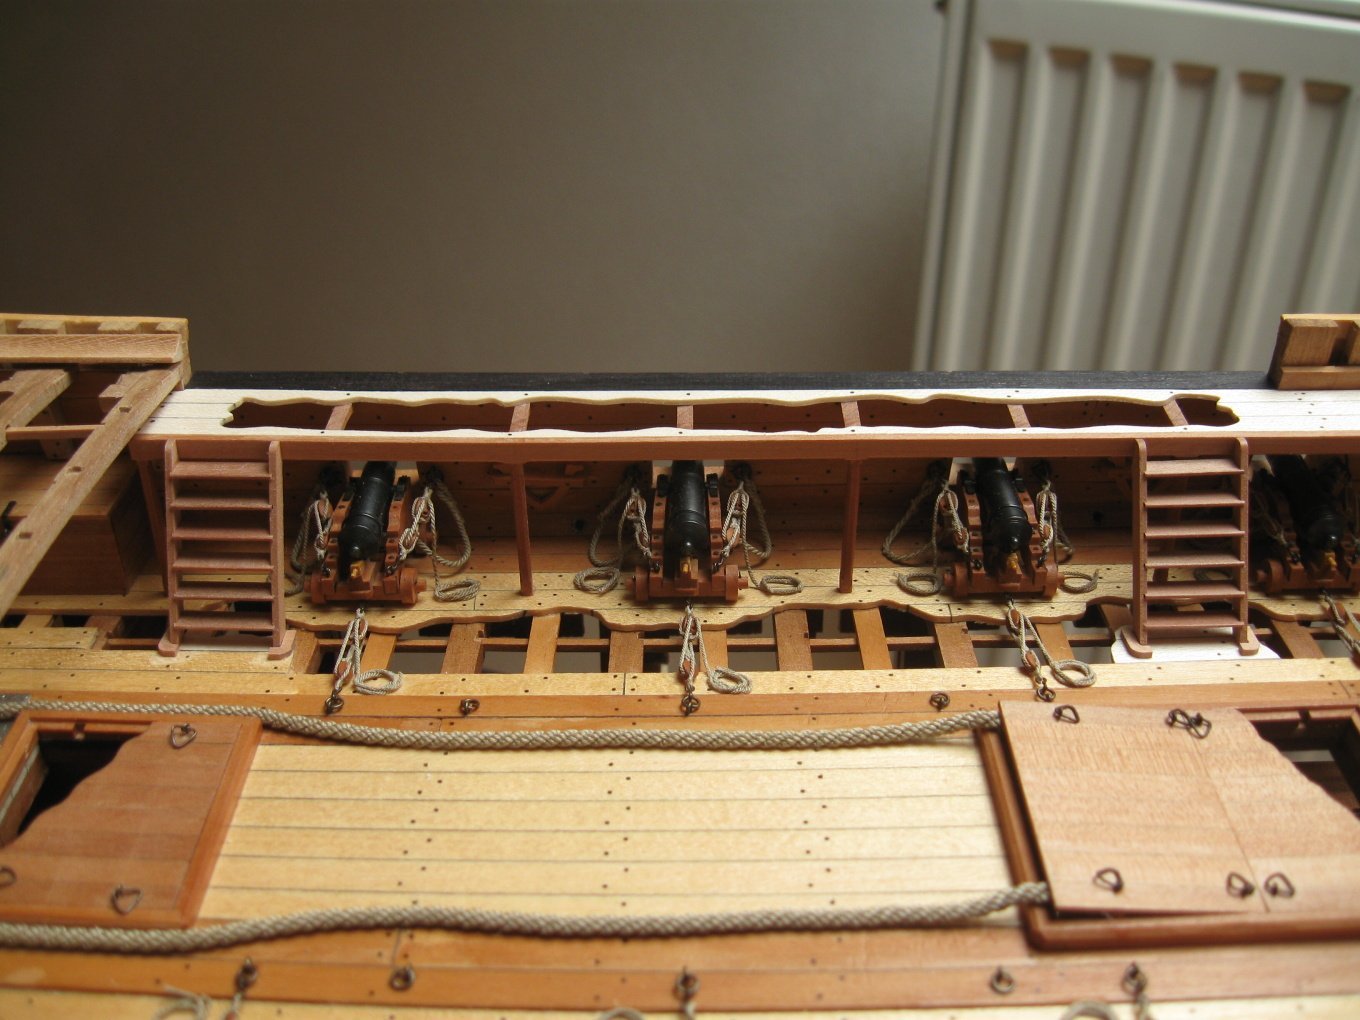
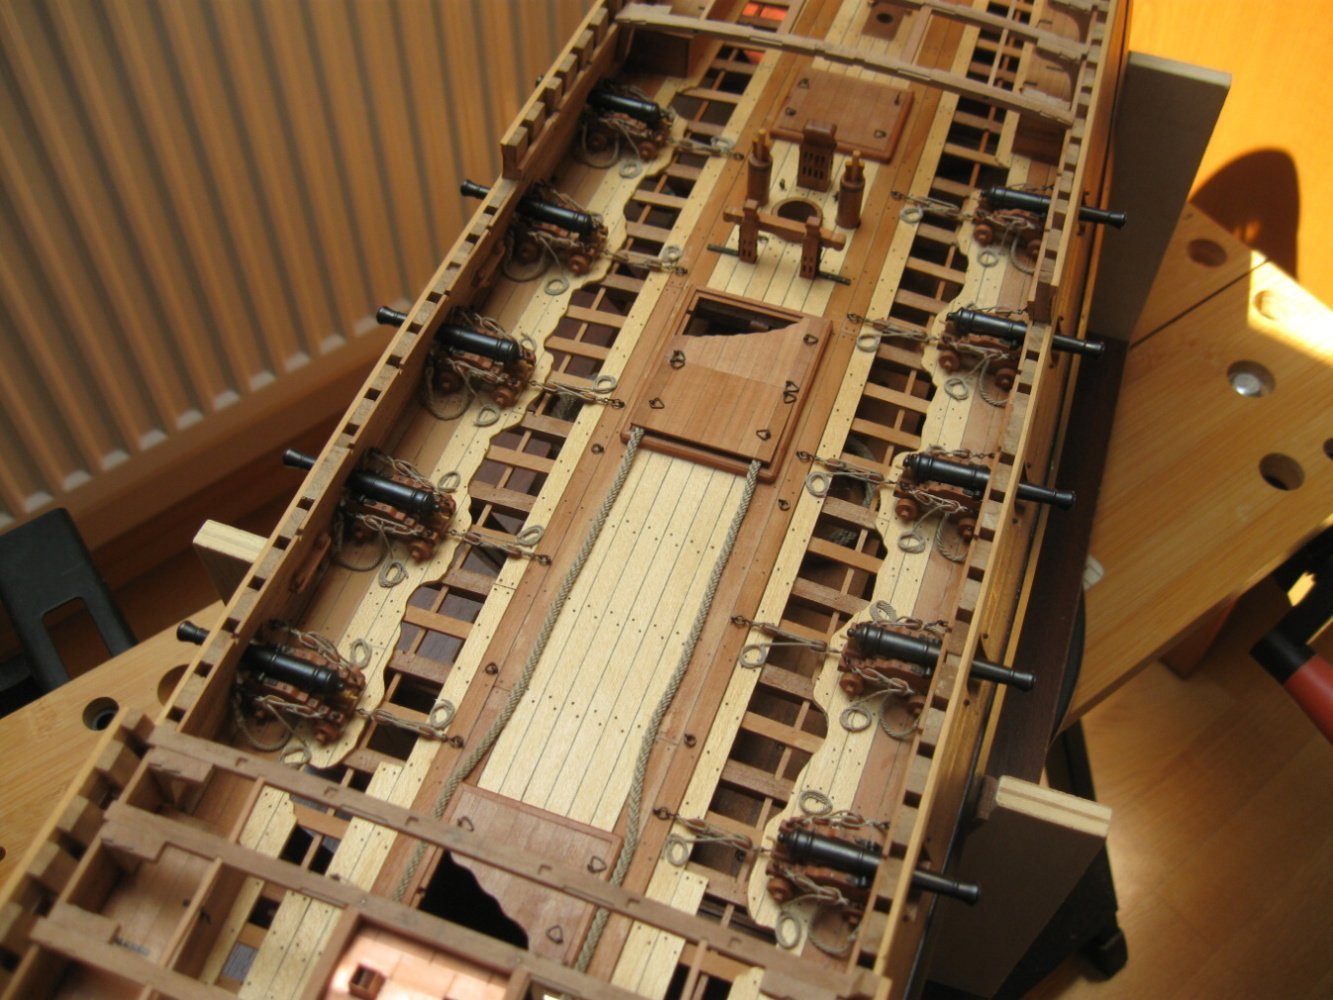
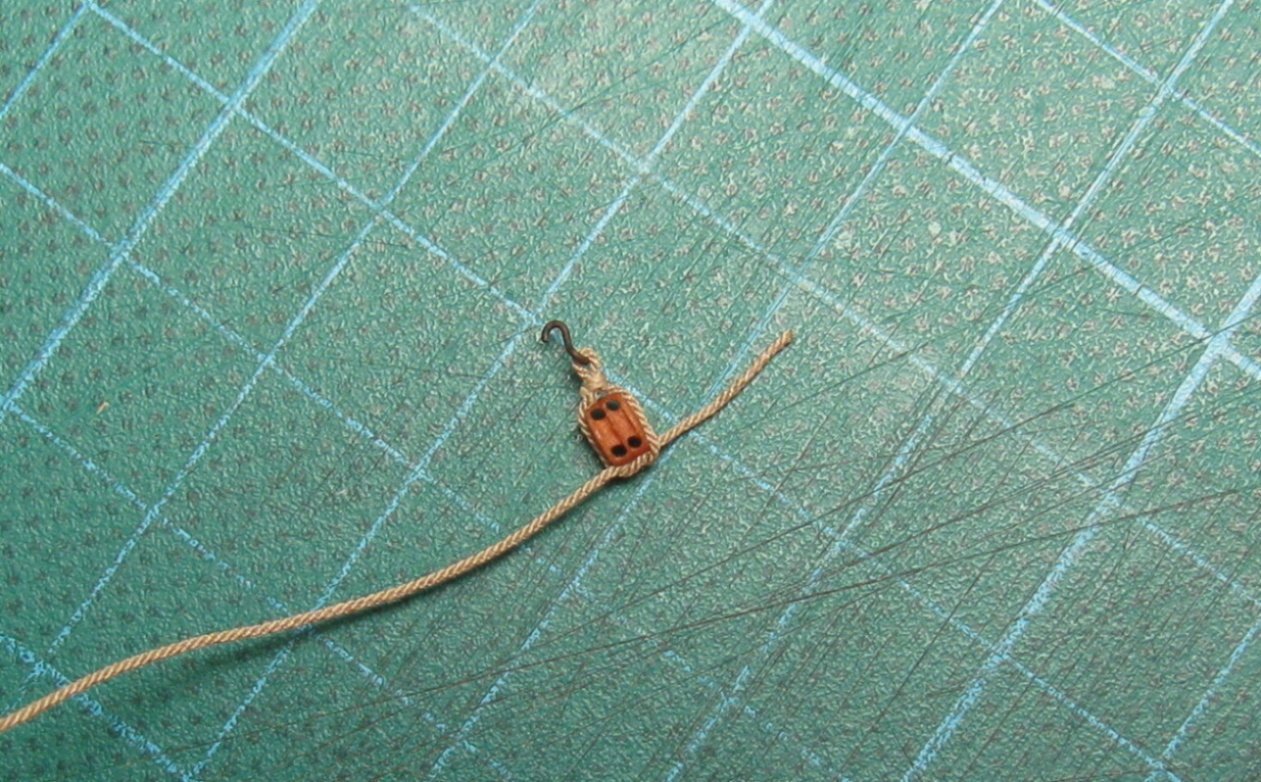
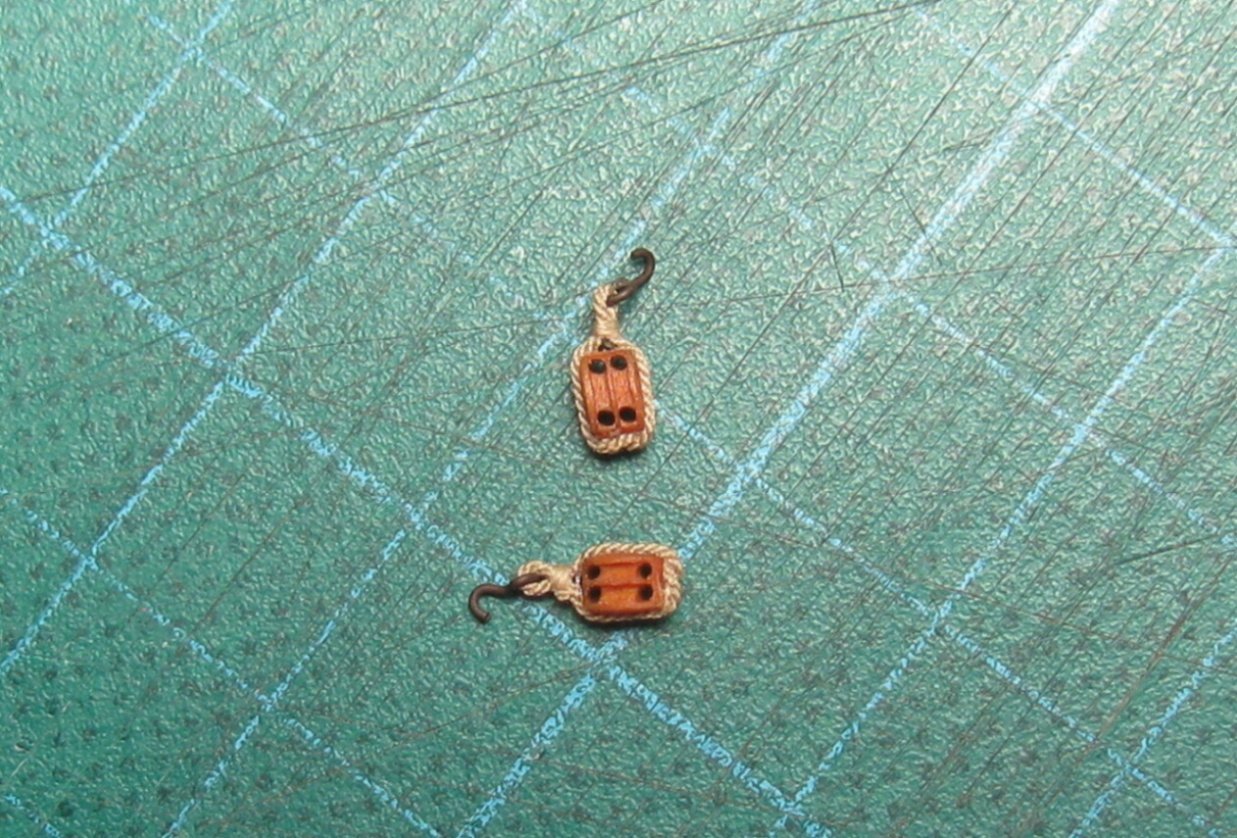
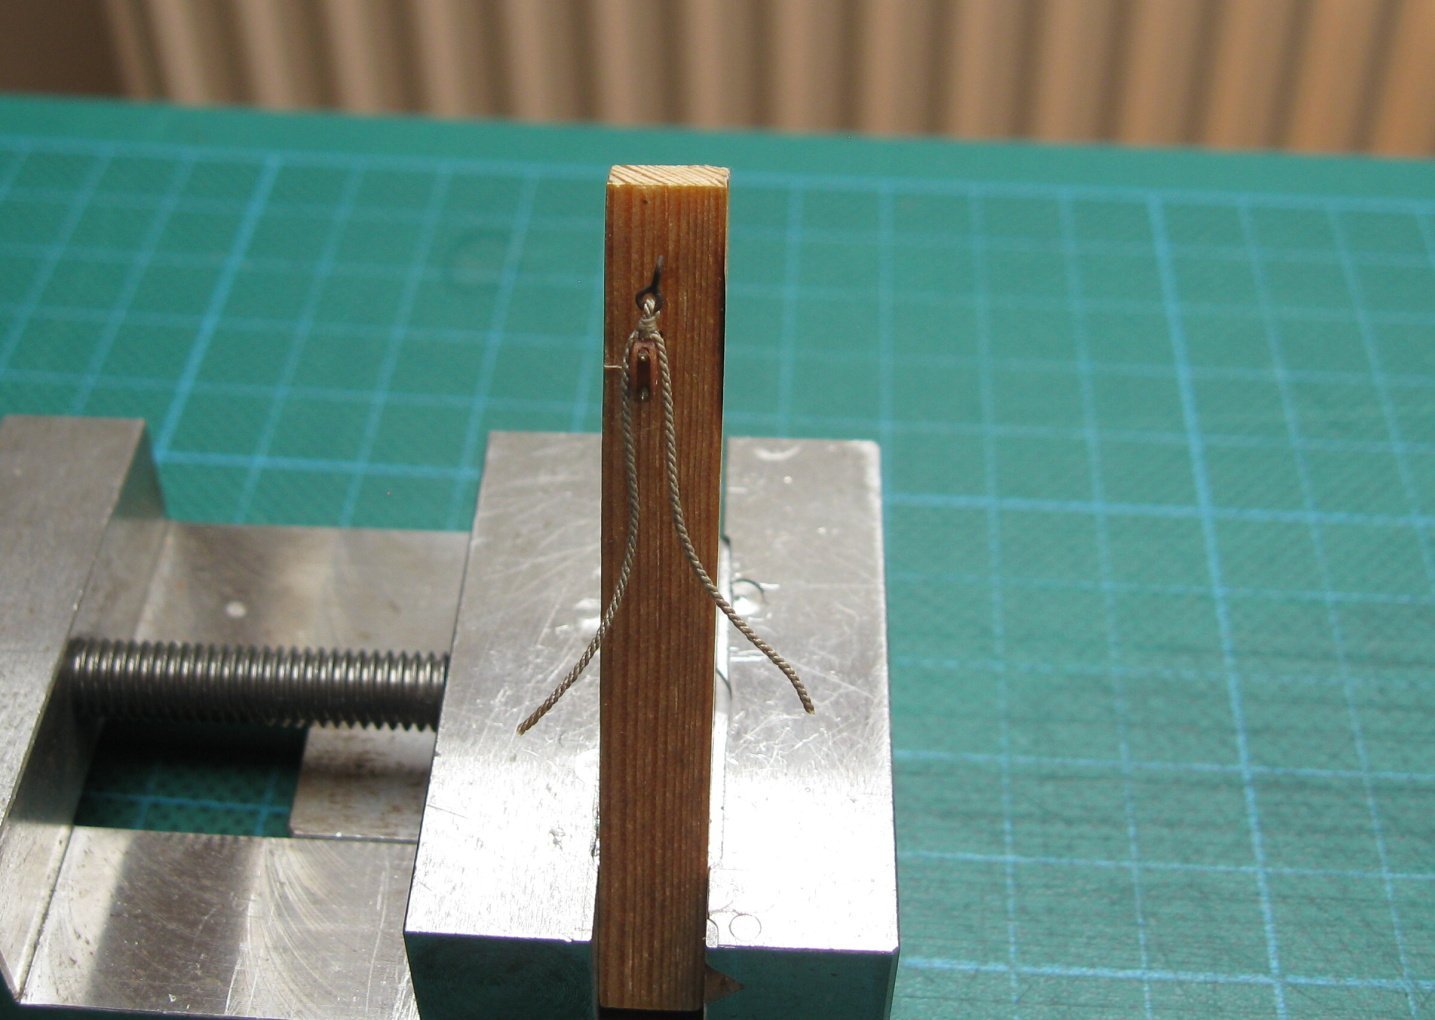
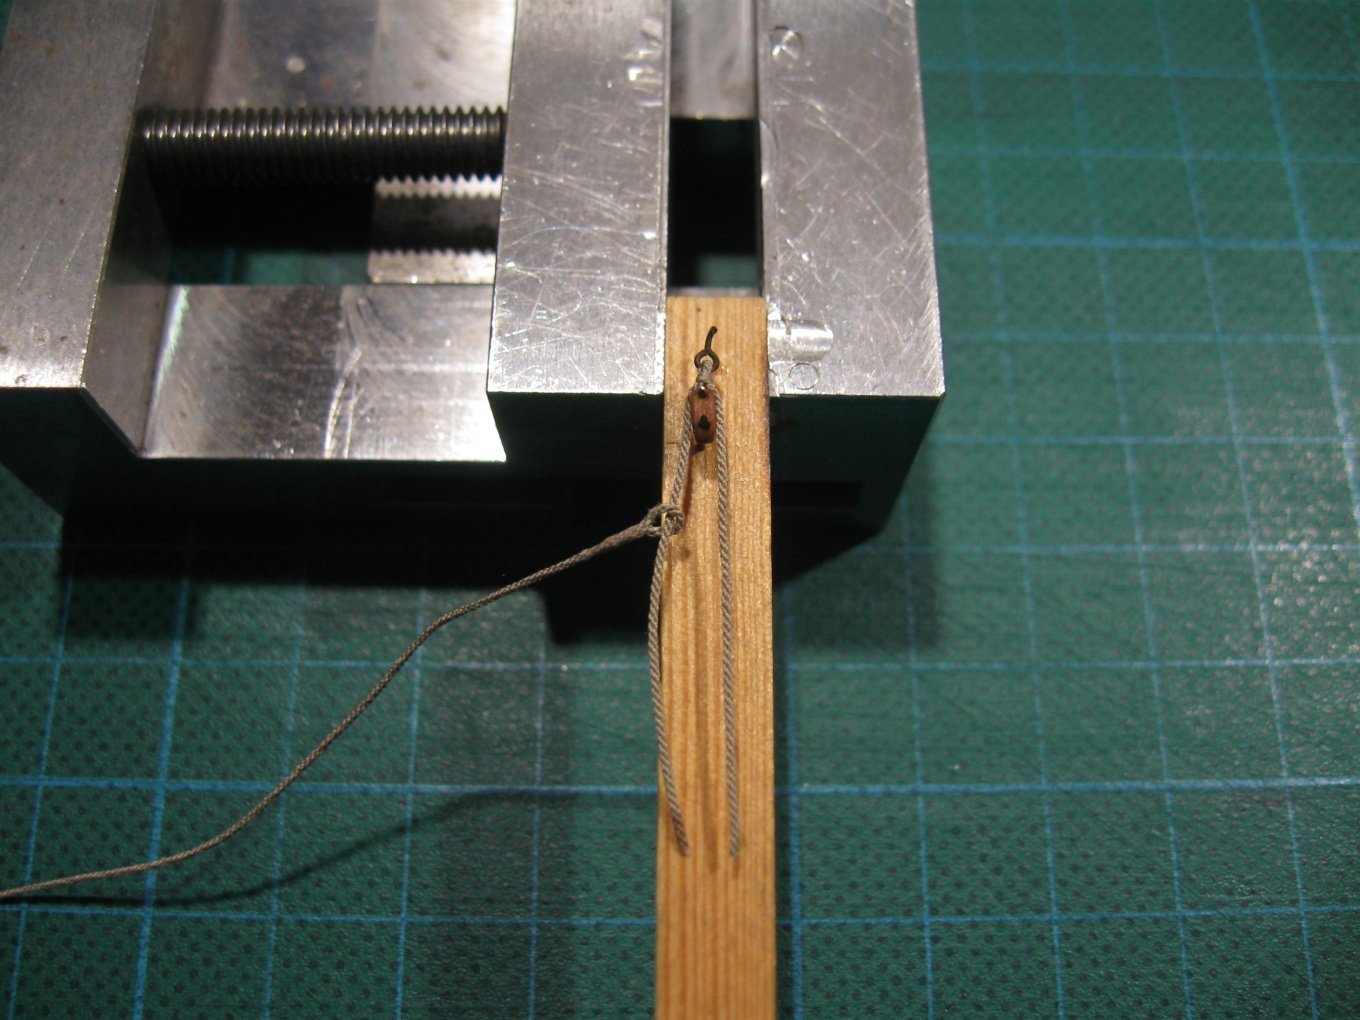
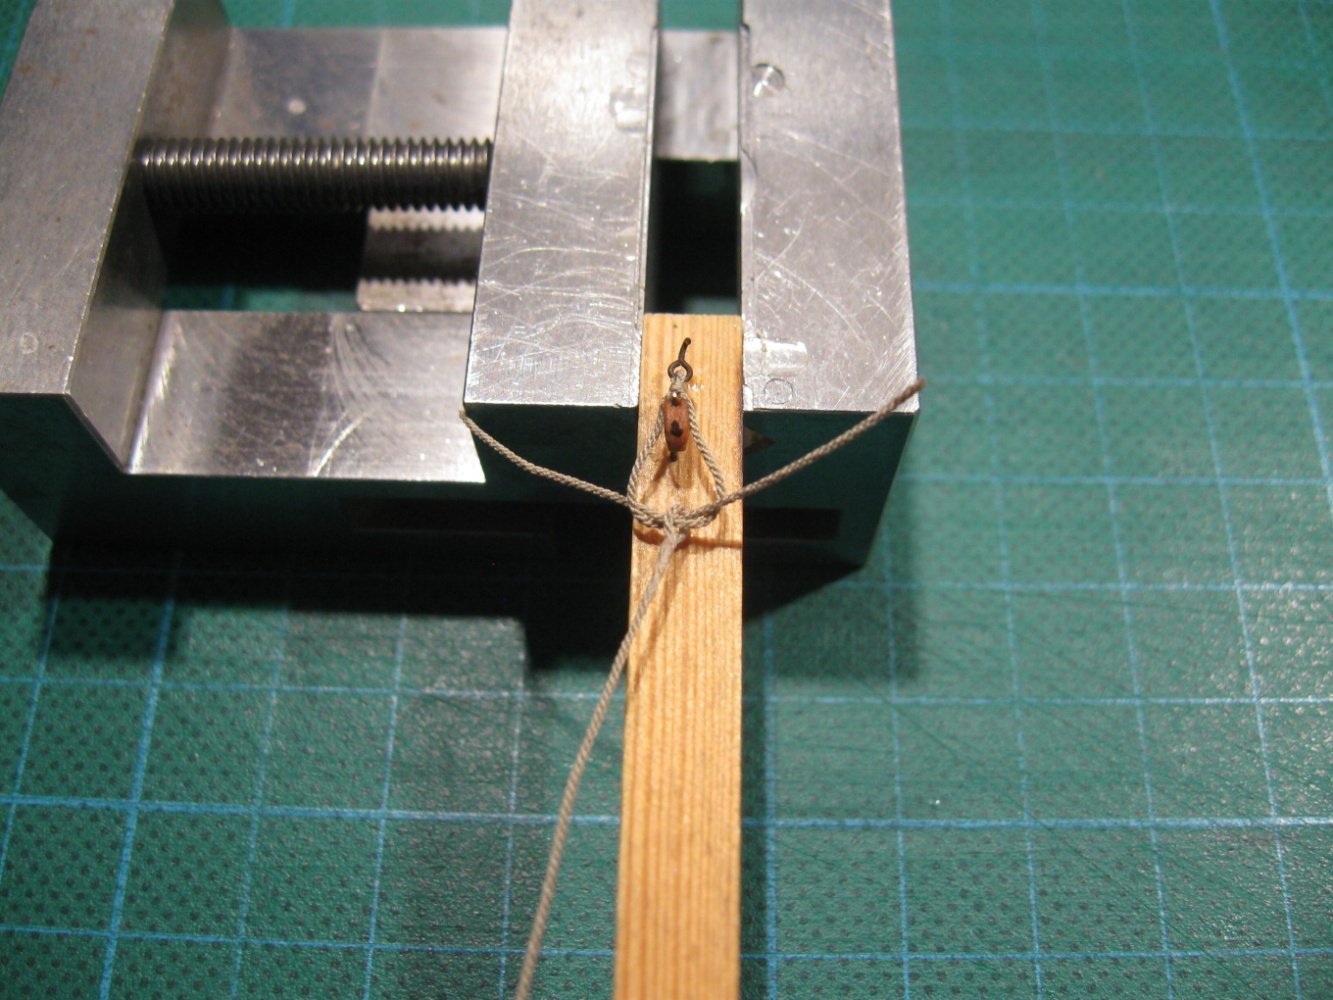
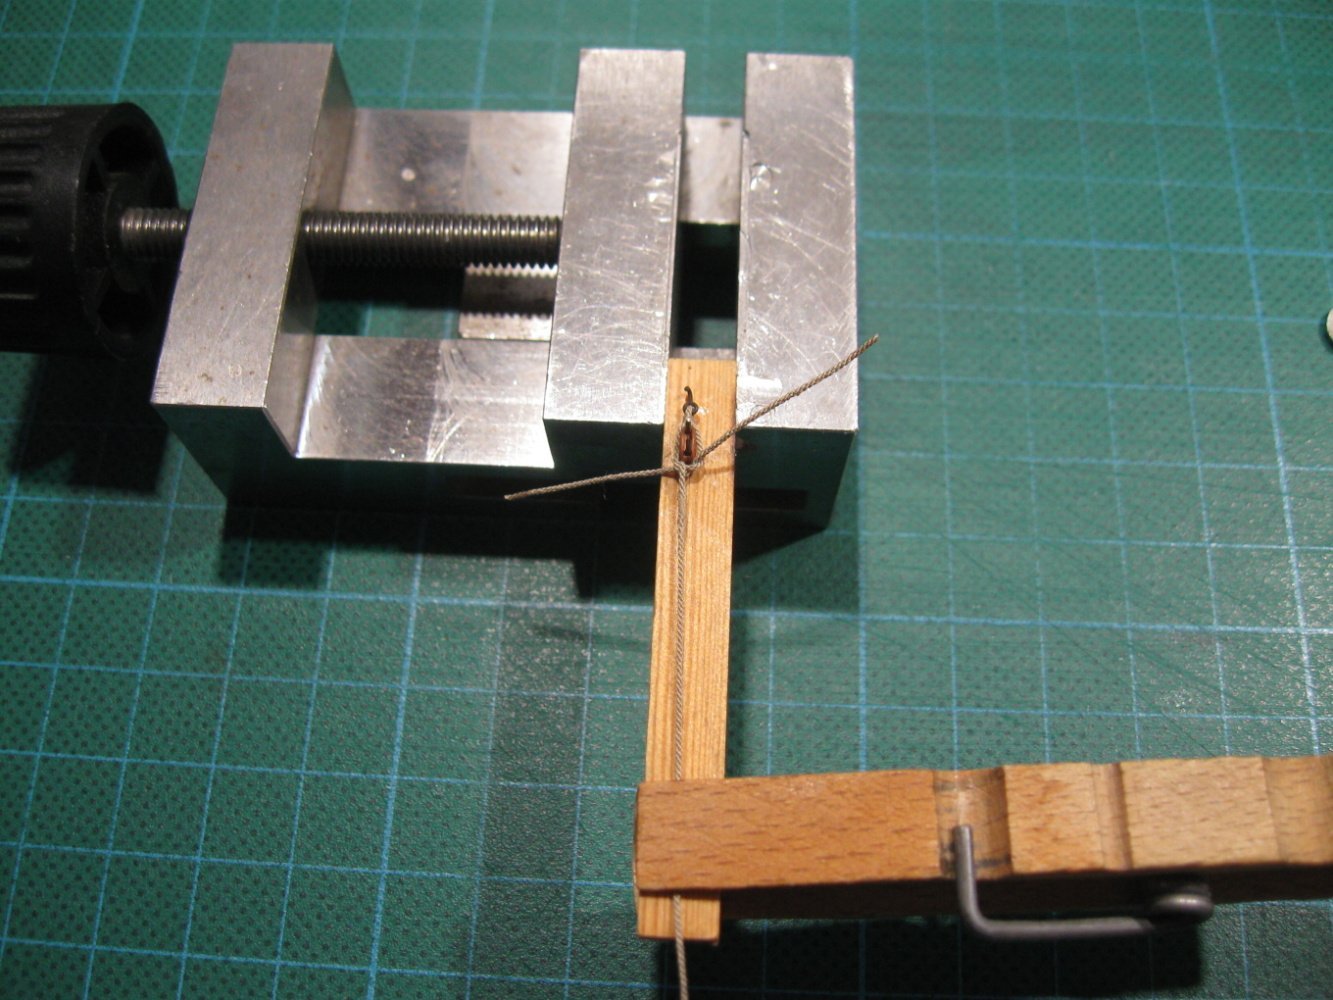
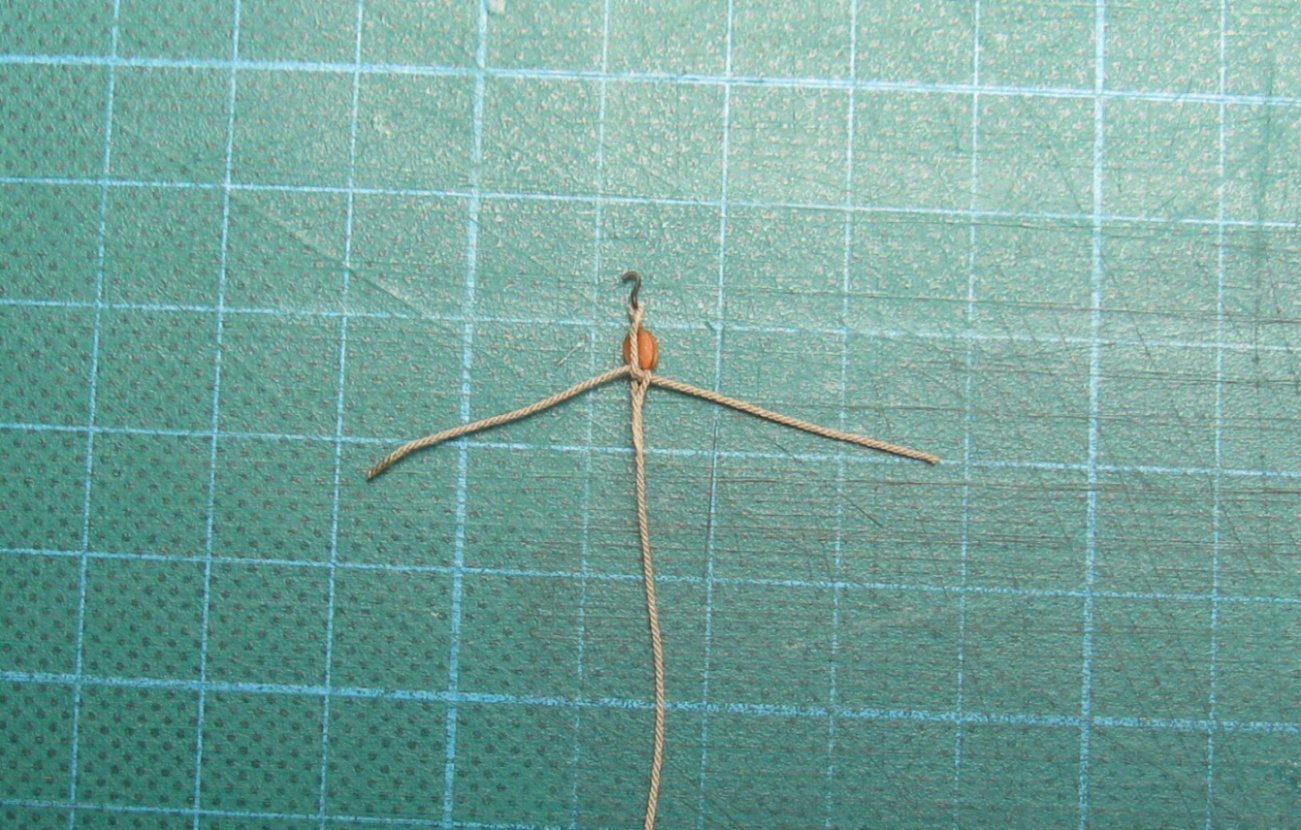
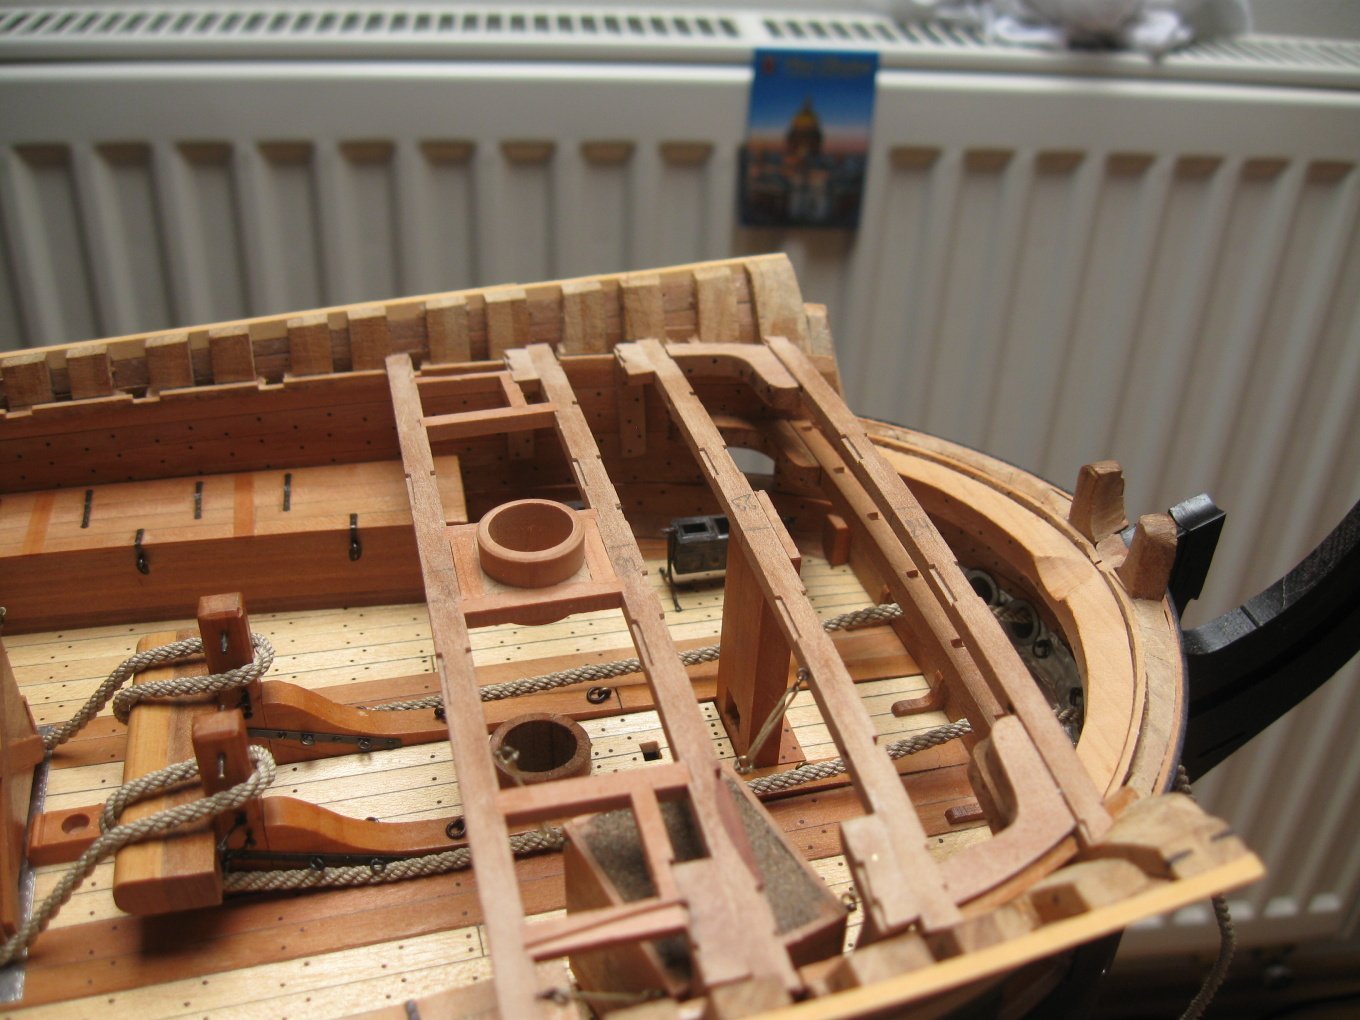
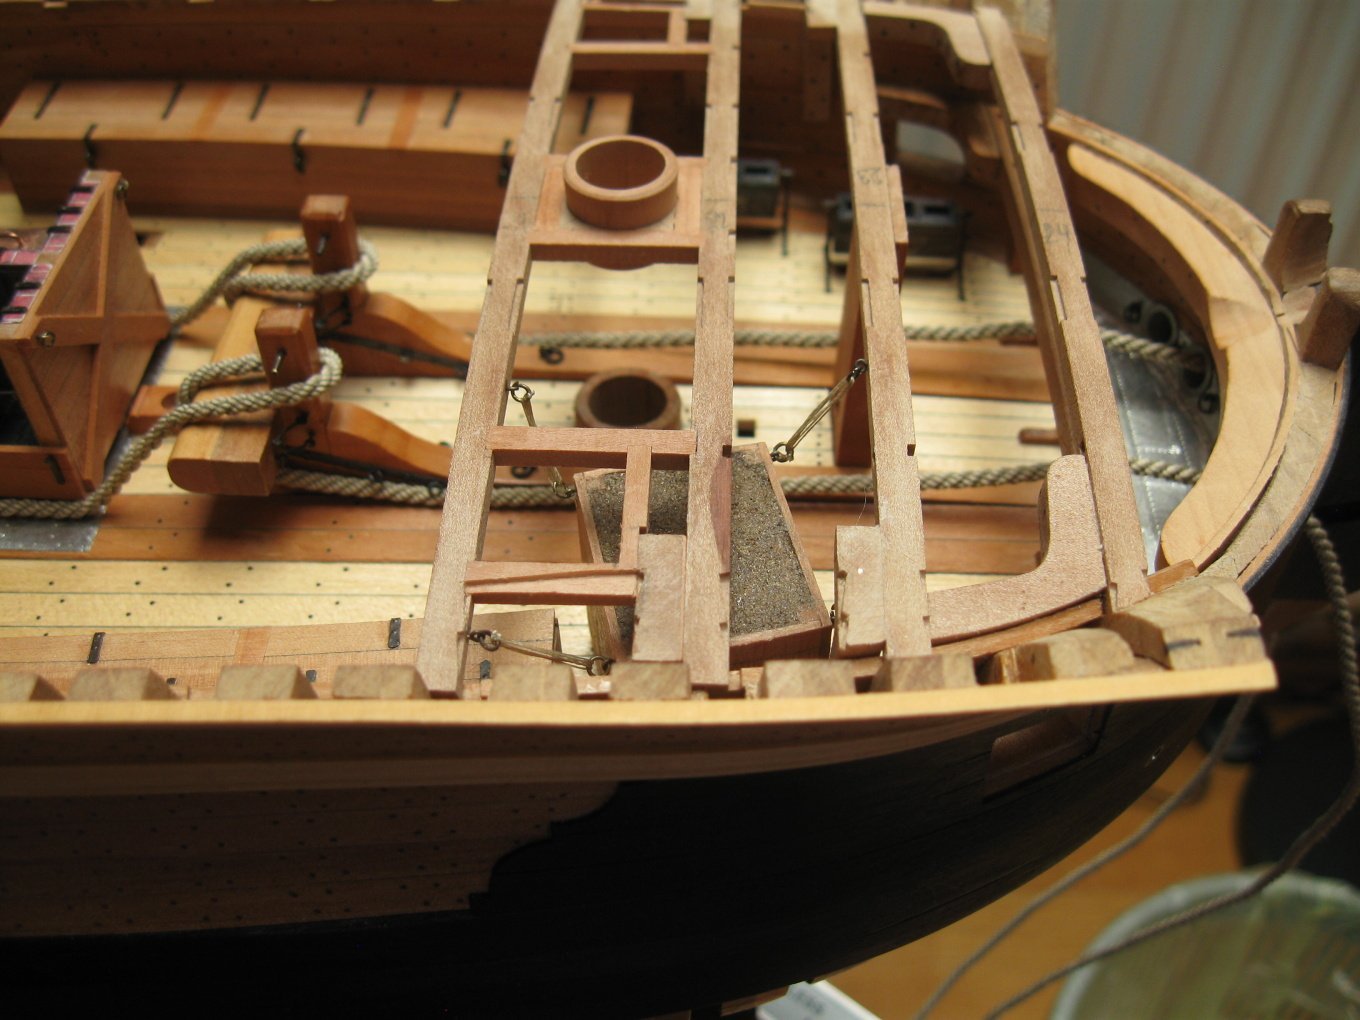
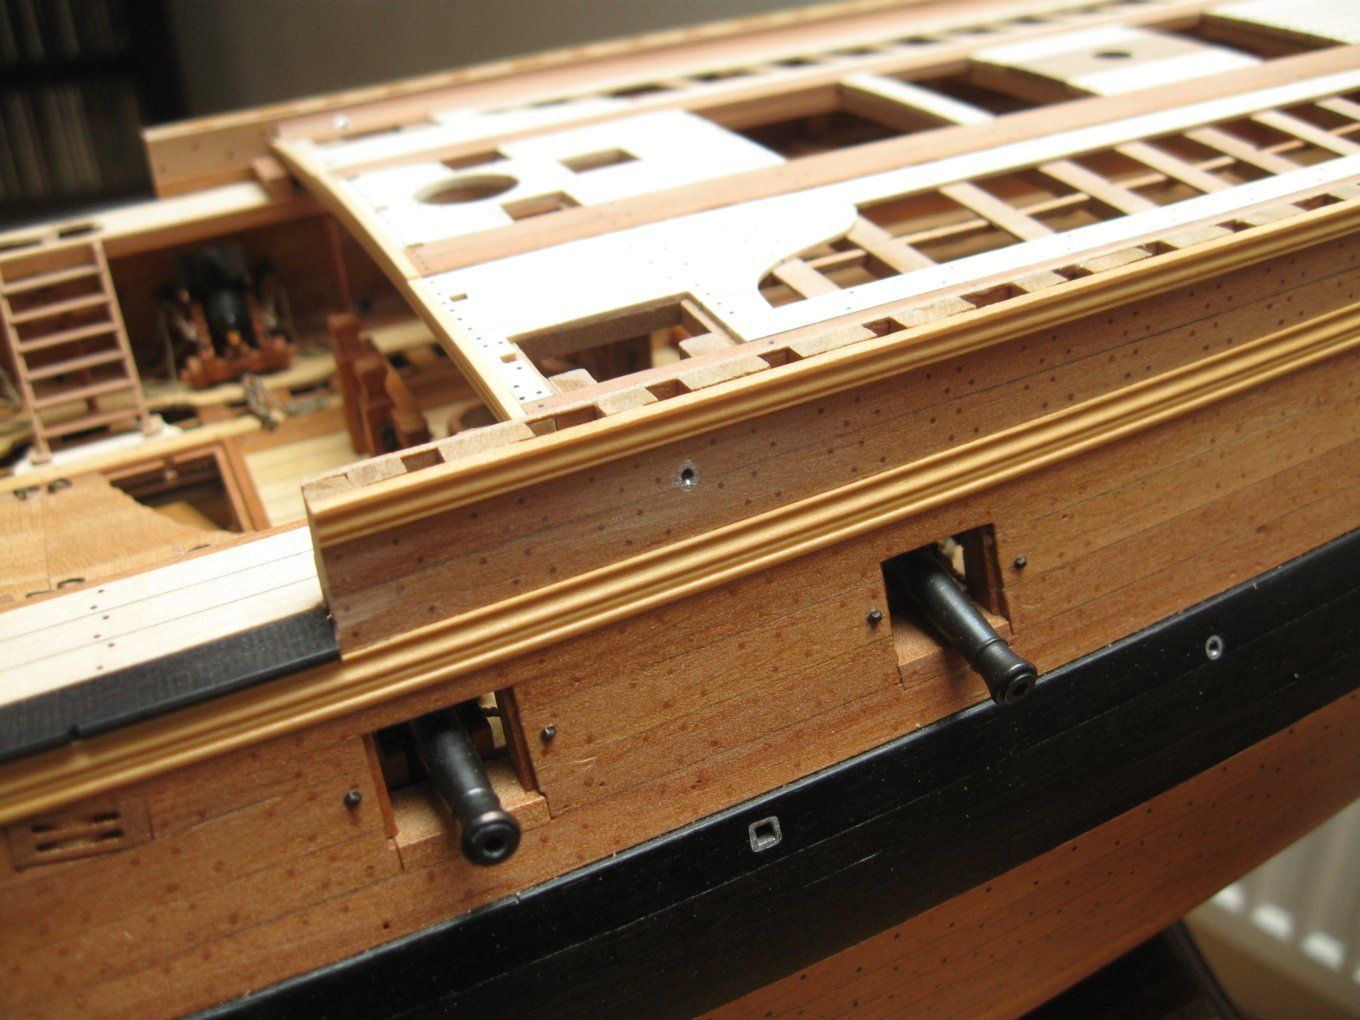
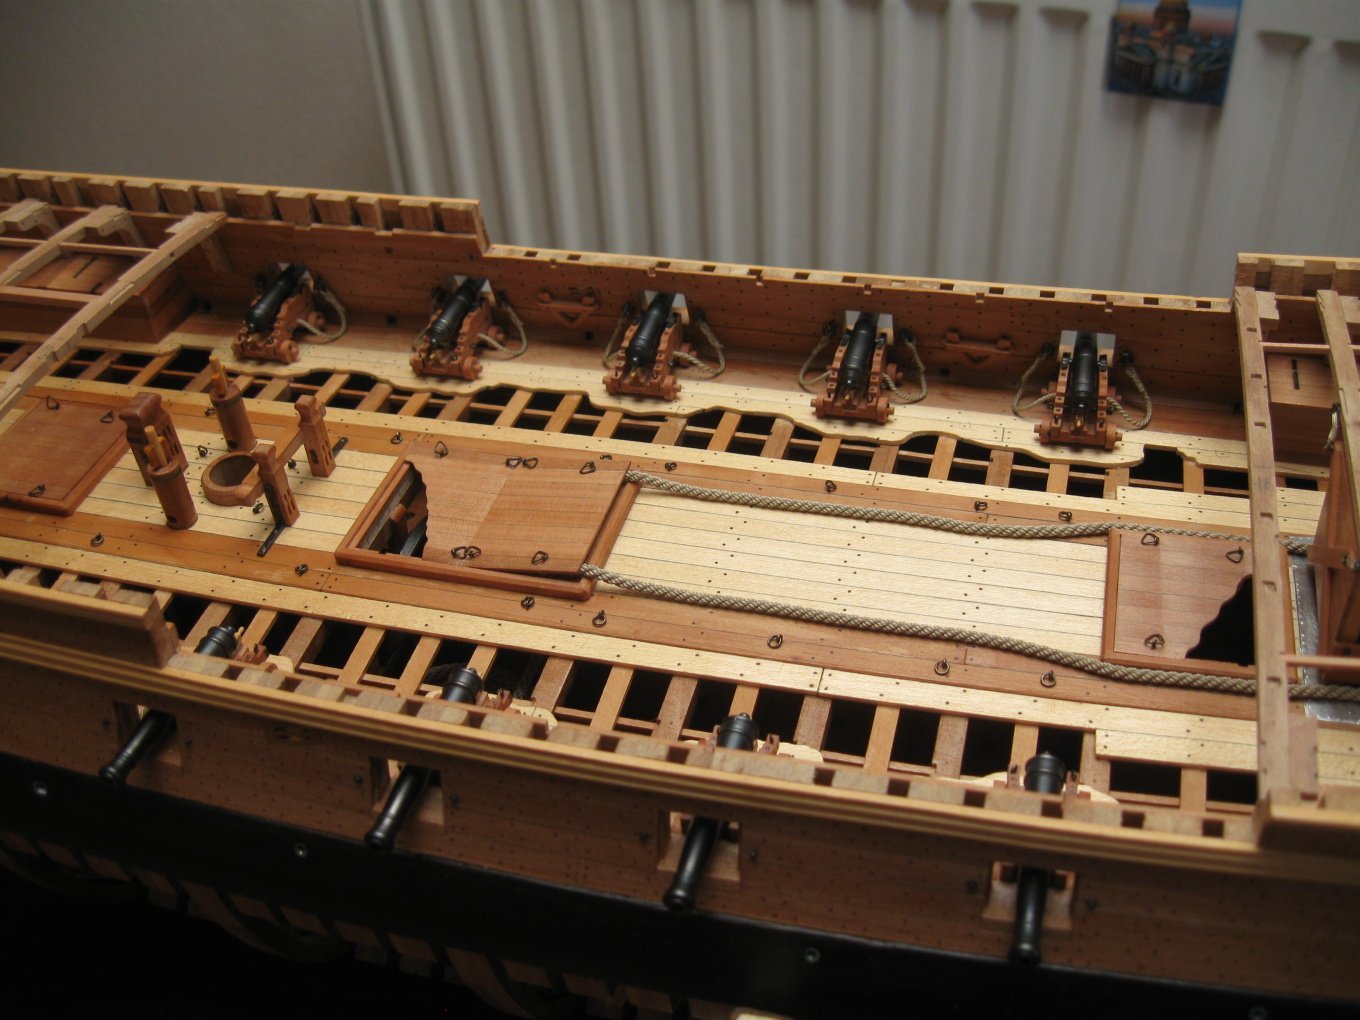
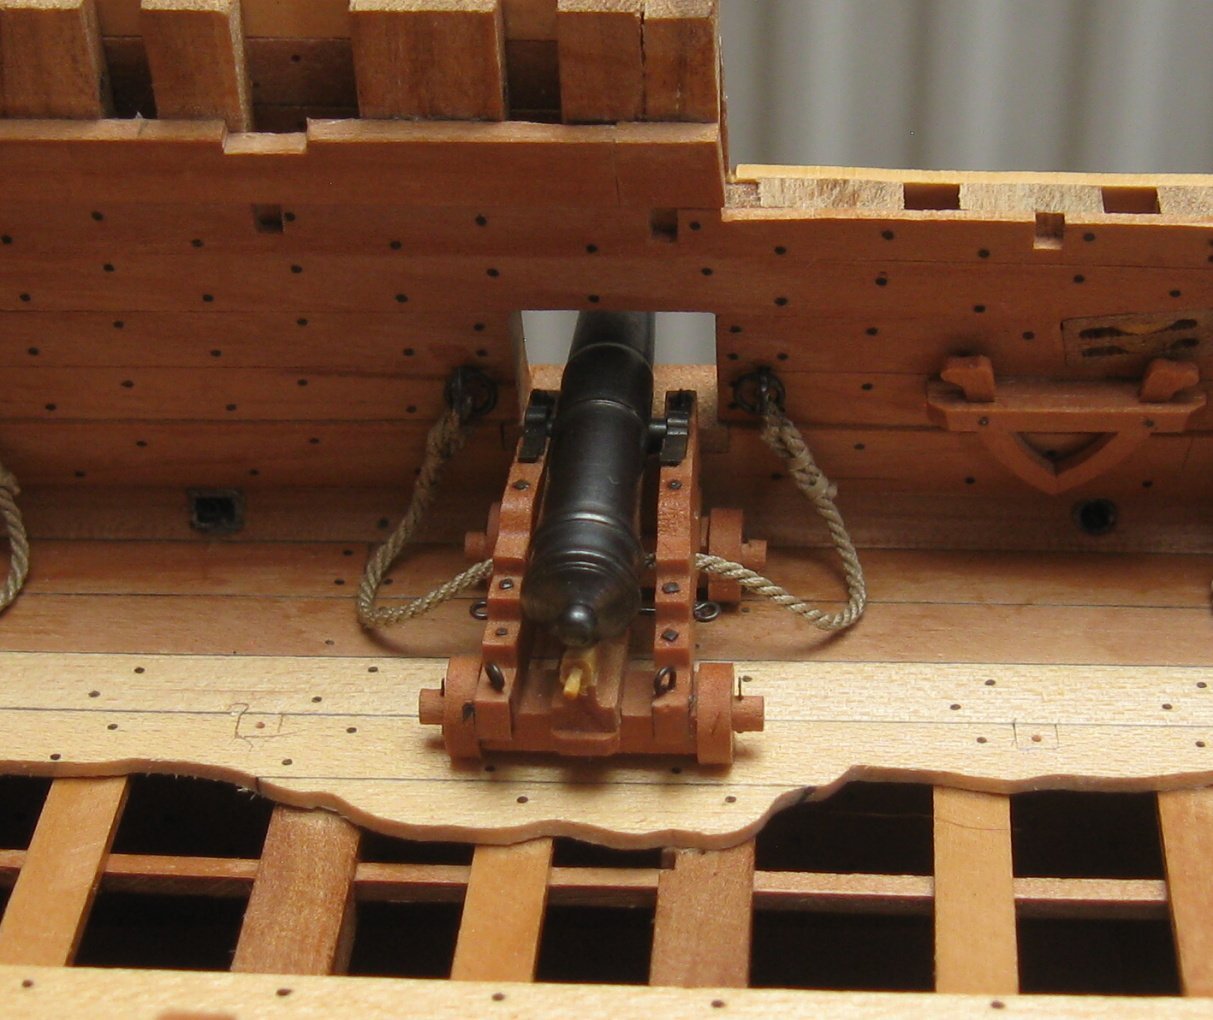
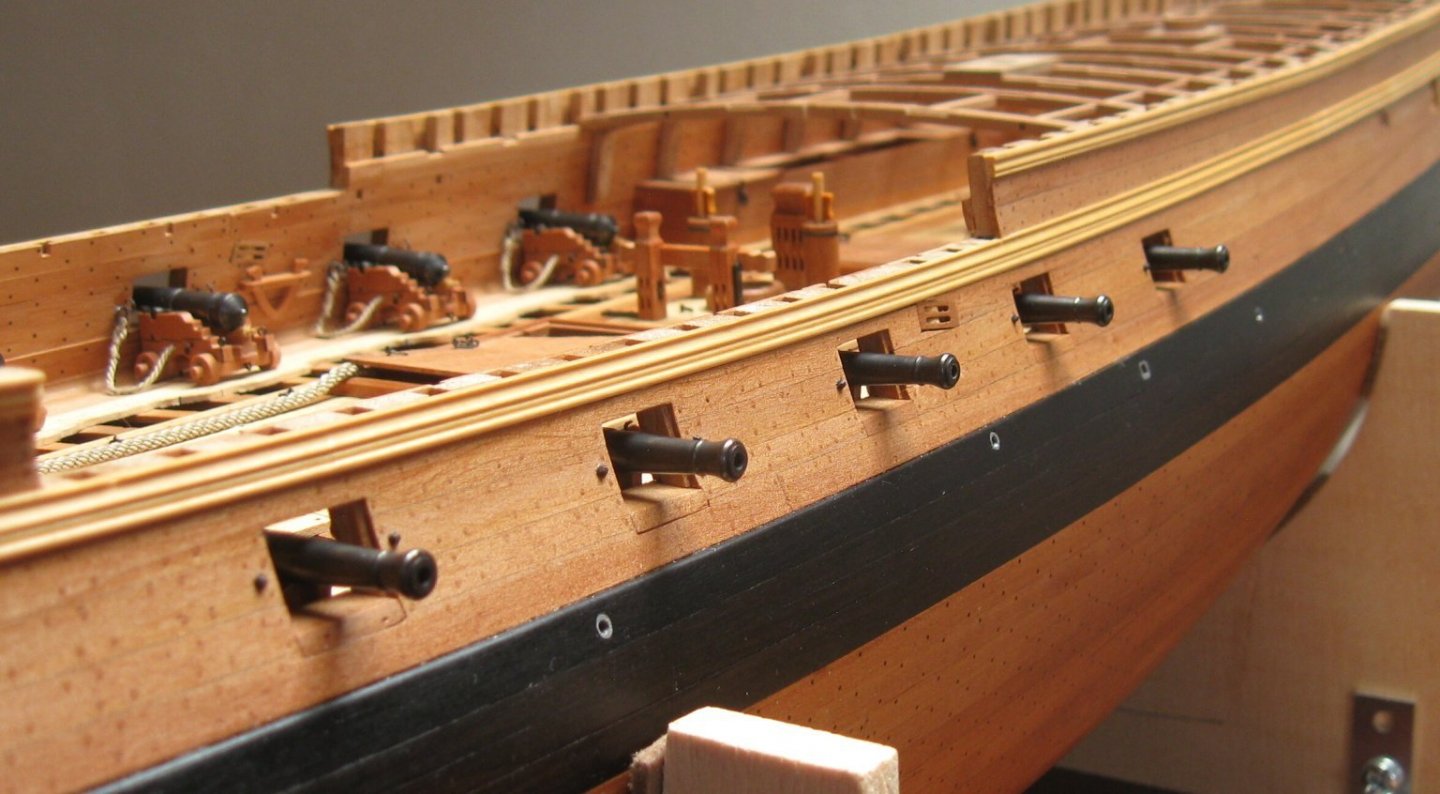
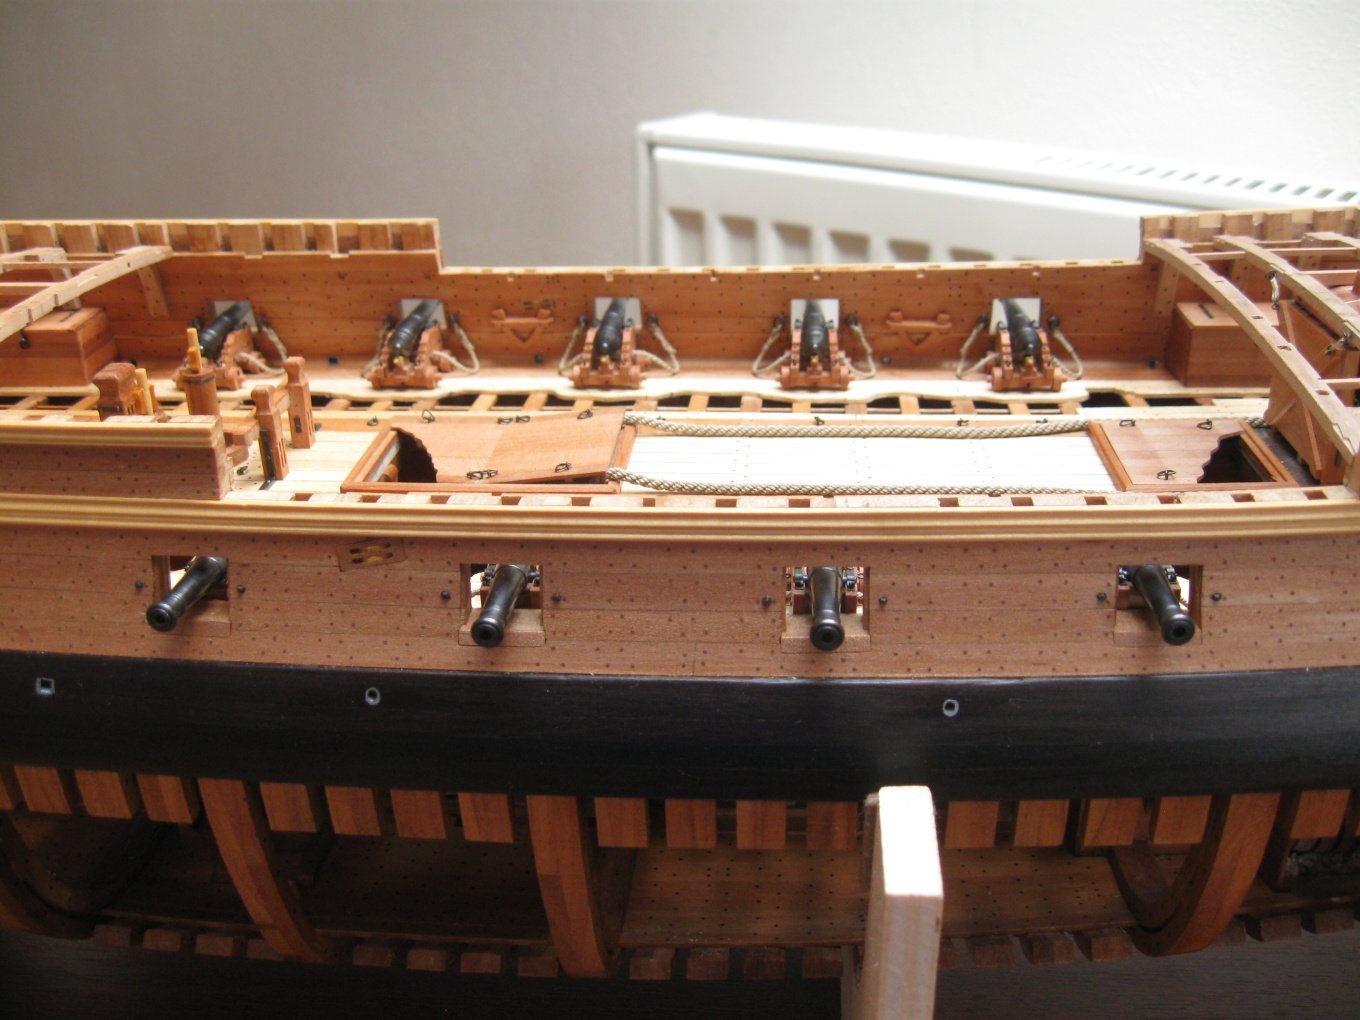
To stuglo: I got this device from a friend, but the equipment was made to order by another company. So I have no way of getting another one. I´m sorry. Installation of guns. It remains to complete the side nd train tackles.
- 589 replies
-
- 24
-
-
-
- le gros ventre
- cargo
- (and 1 more)
-
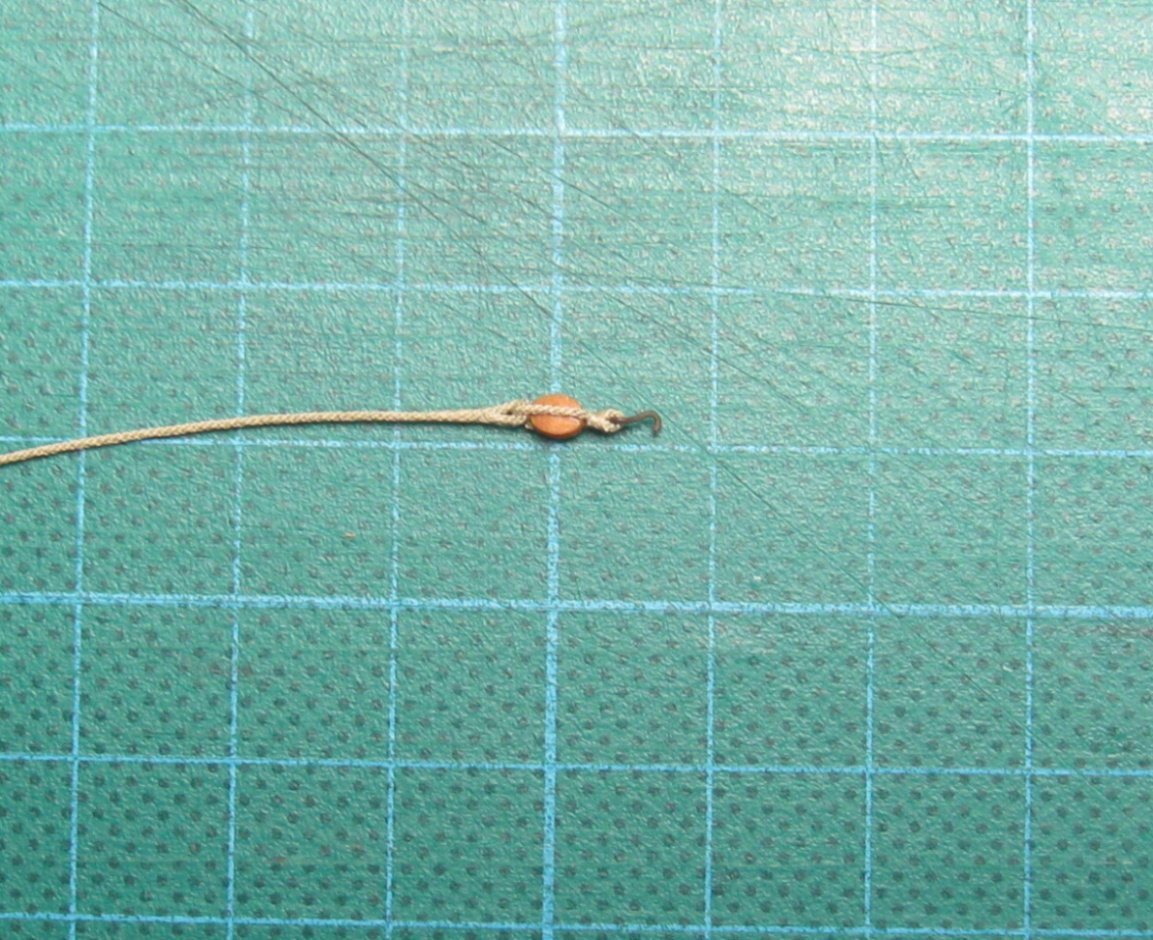
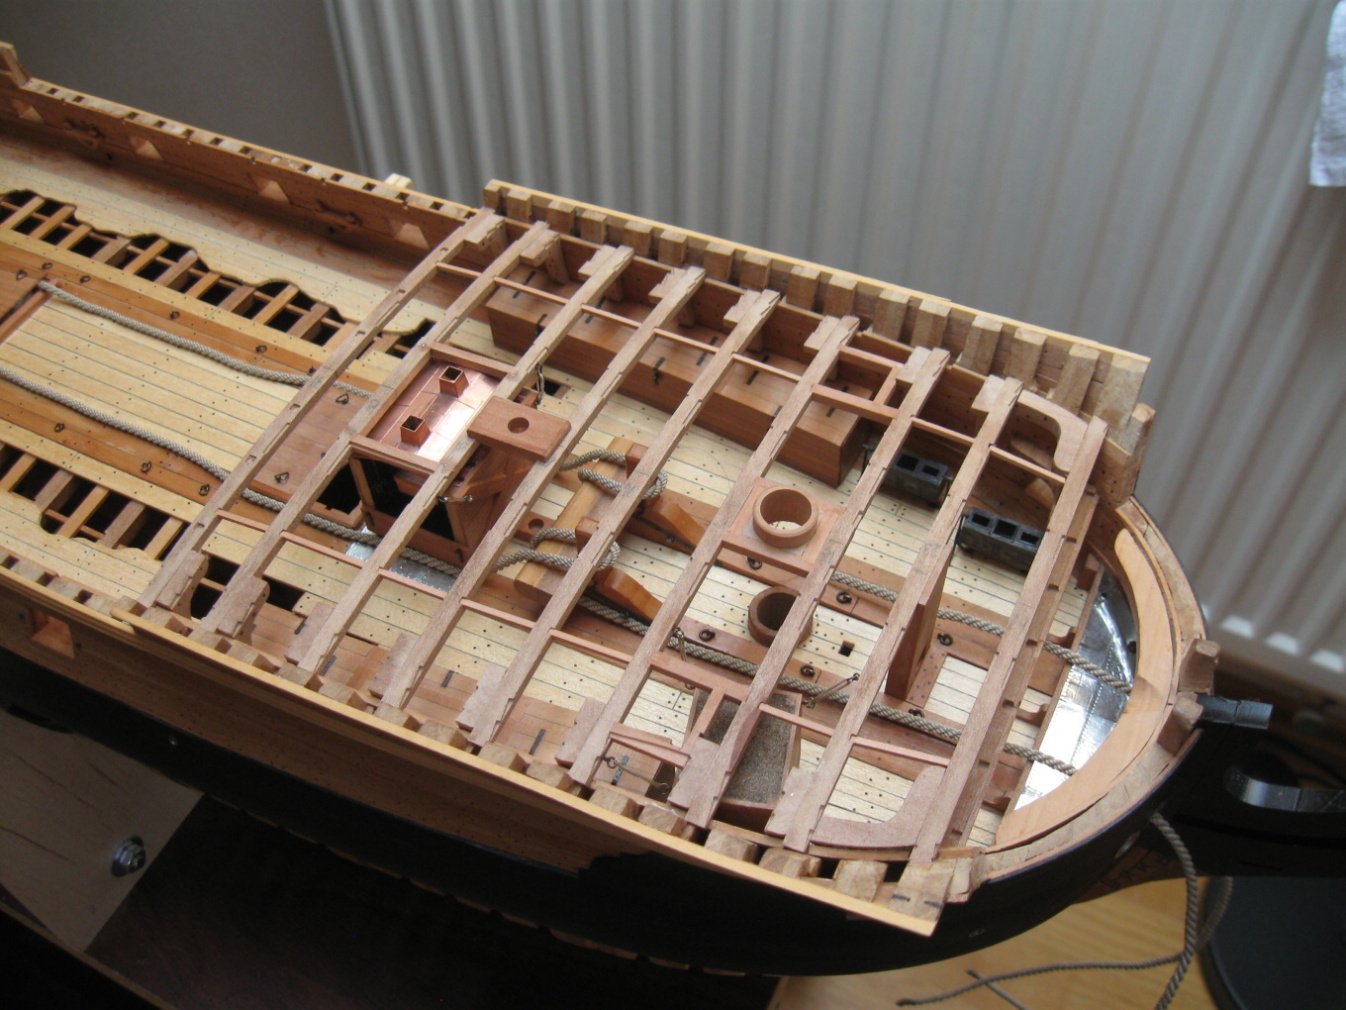
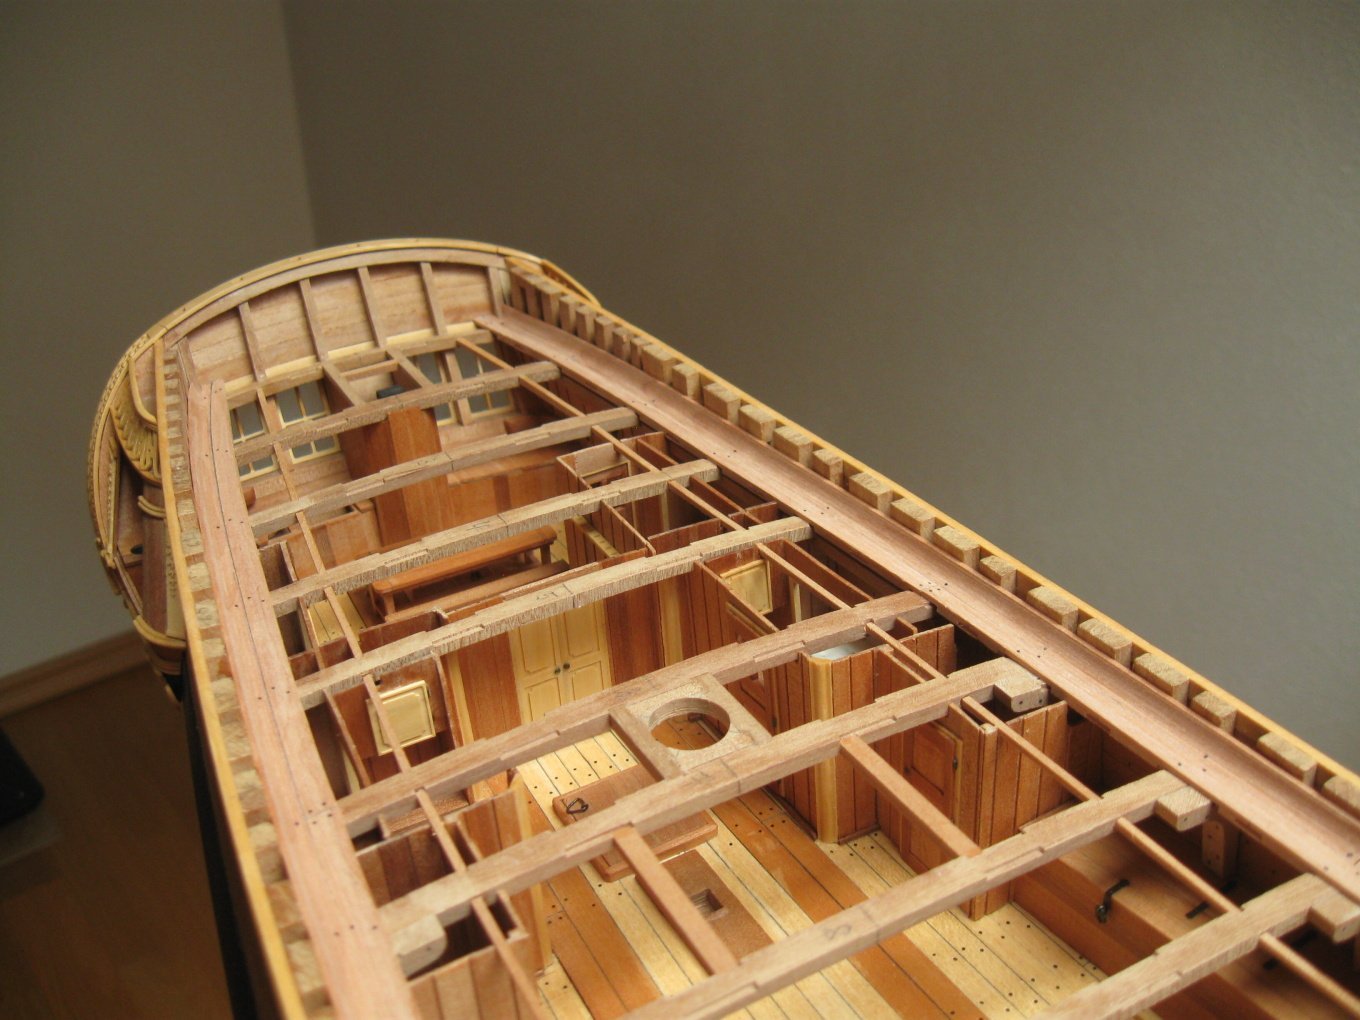
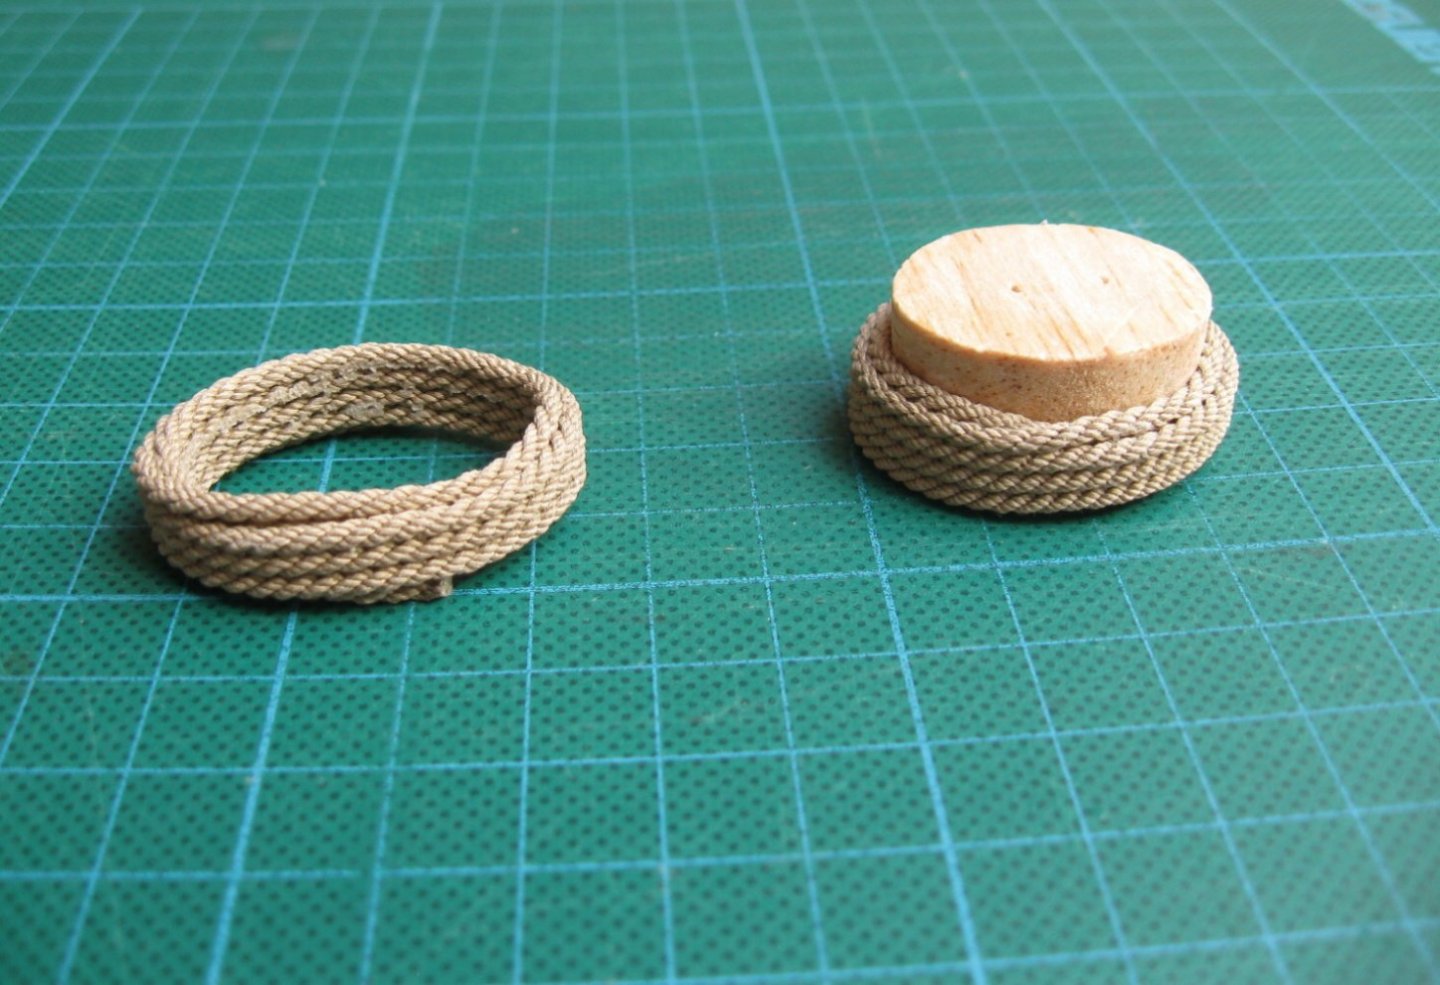
I installed the anchor ropes before the front of the deck will be covered.

- 589 replies
-
- 25
-
-
-
- le gros ventre
- cargo
- (and 1 more)
-
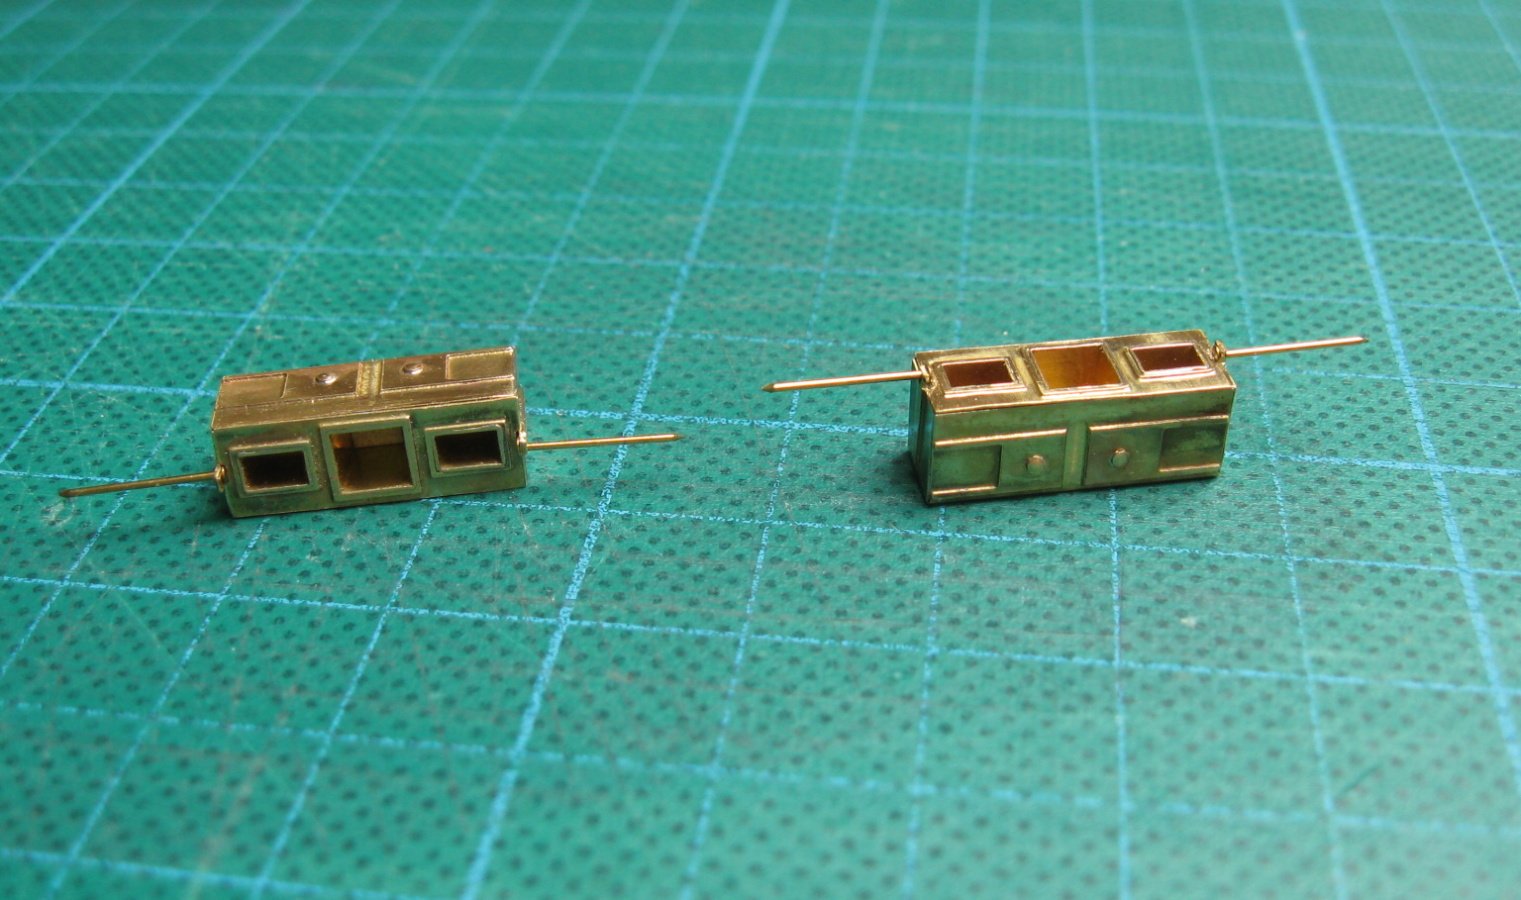
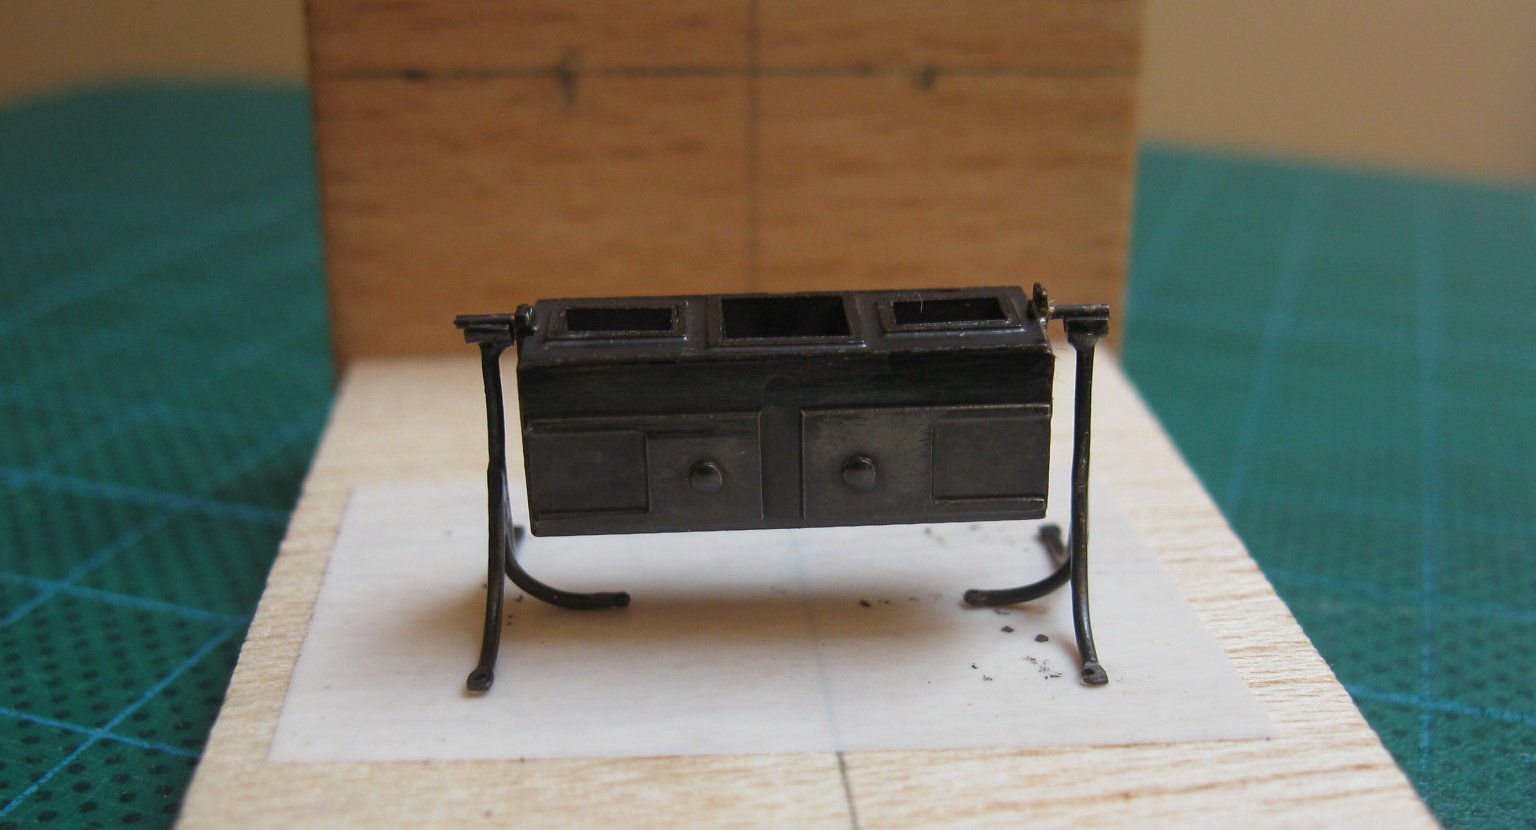
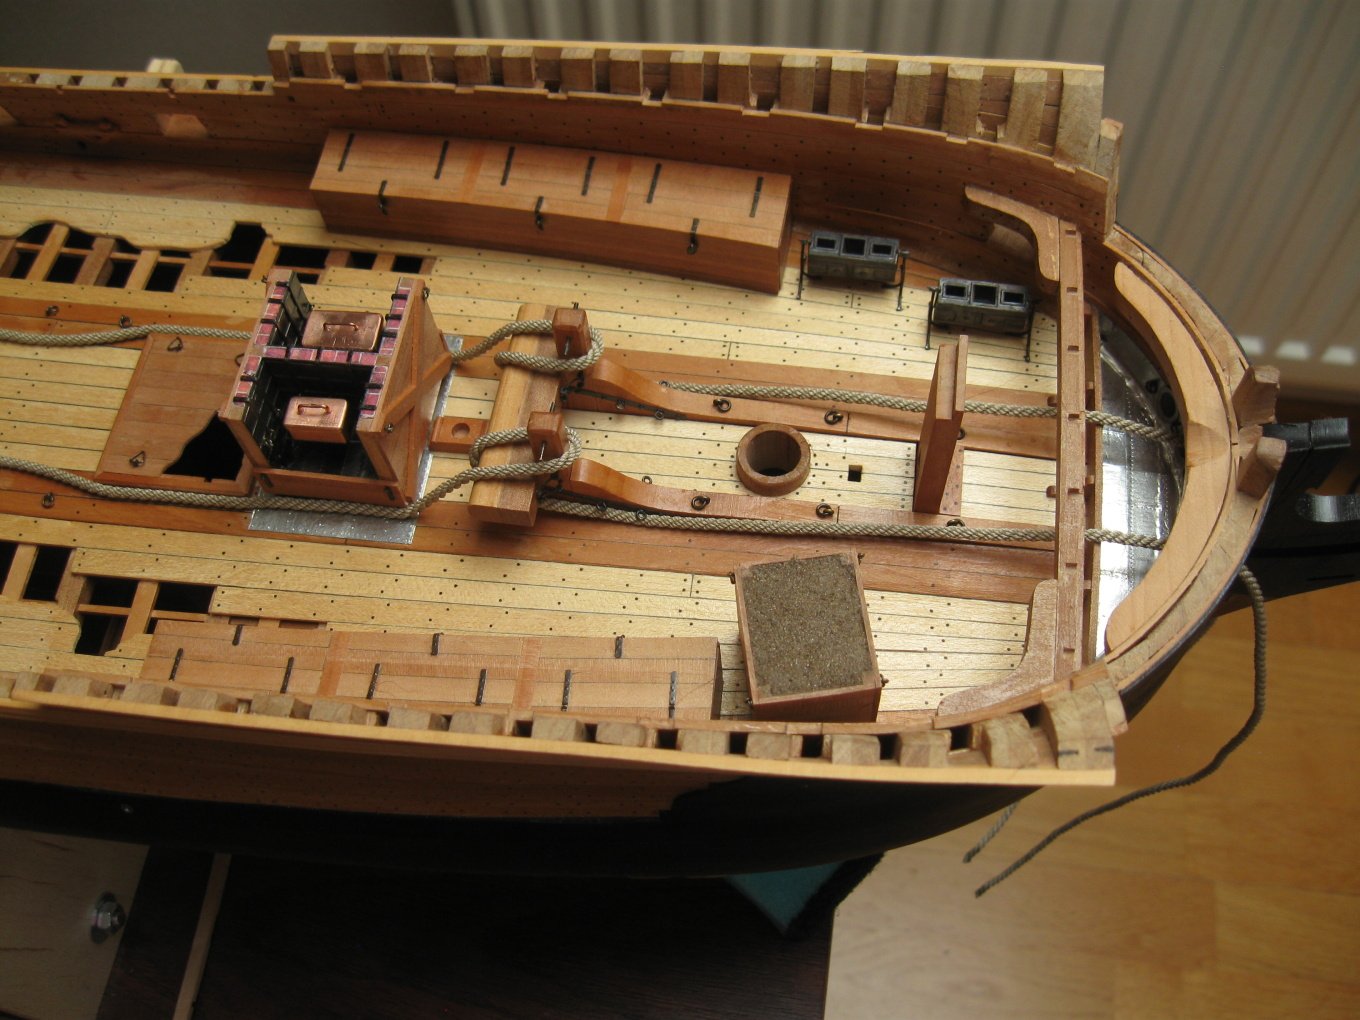
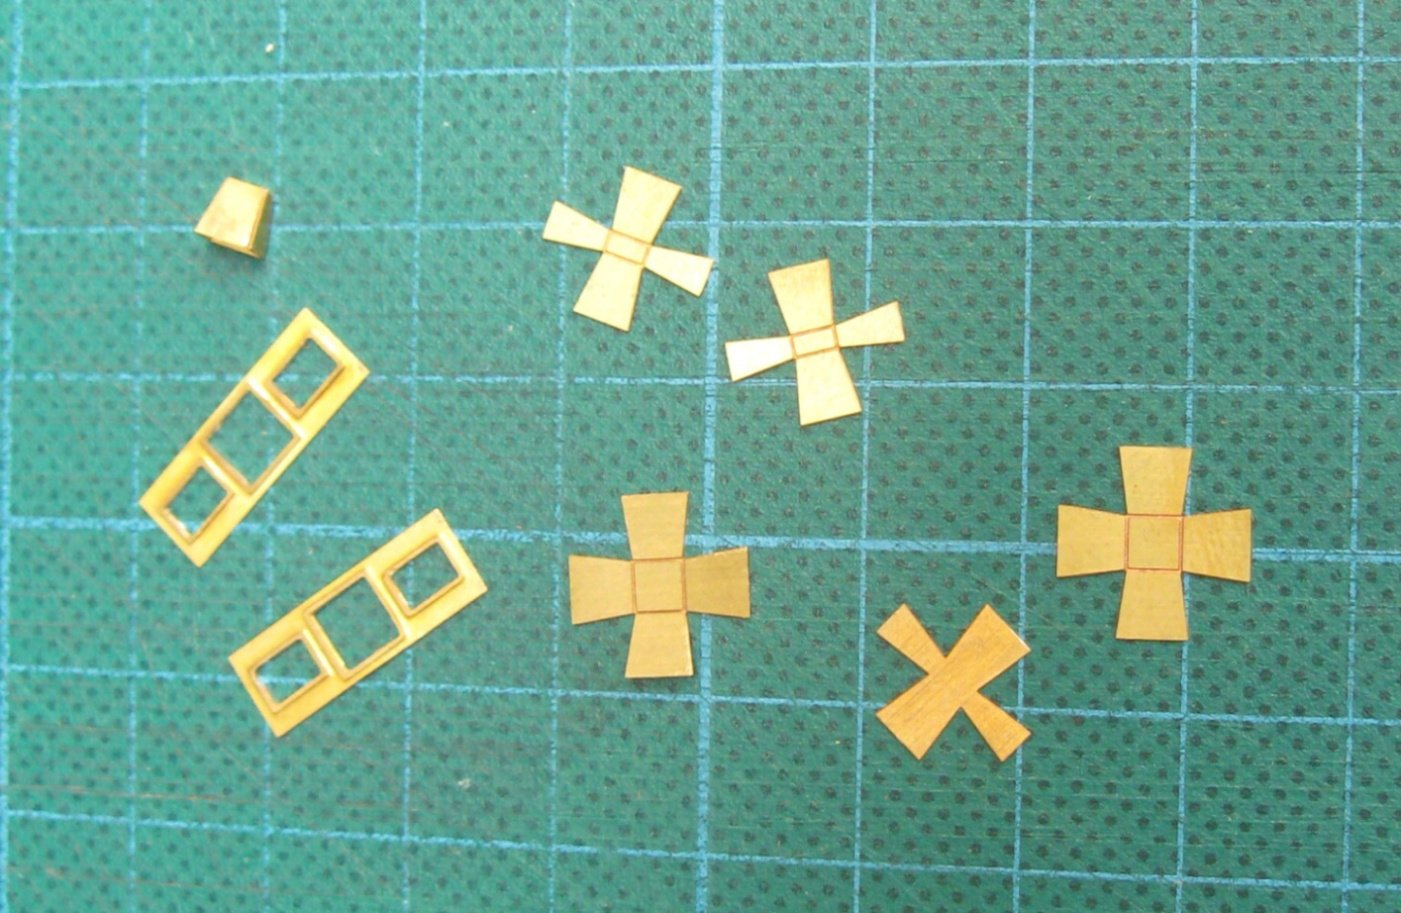
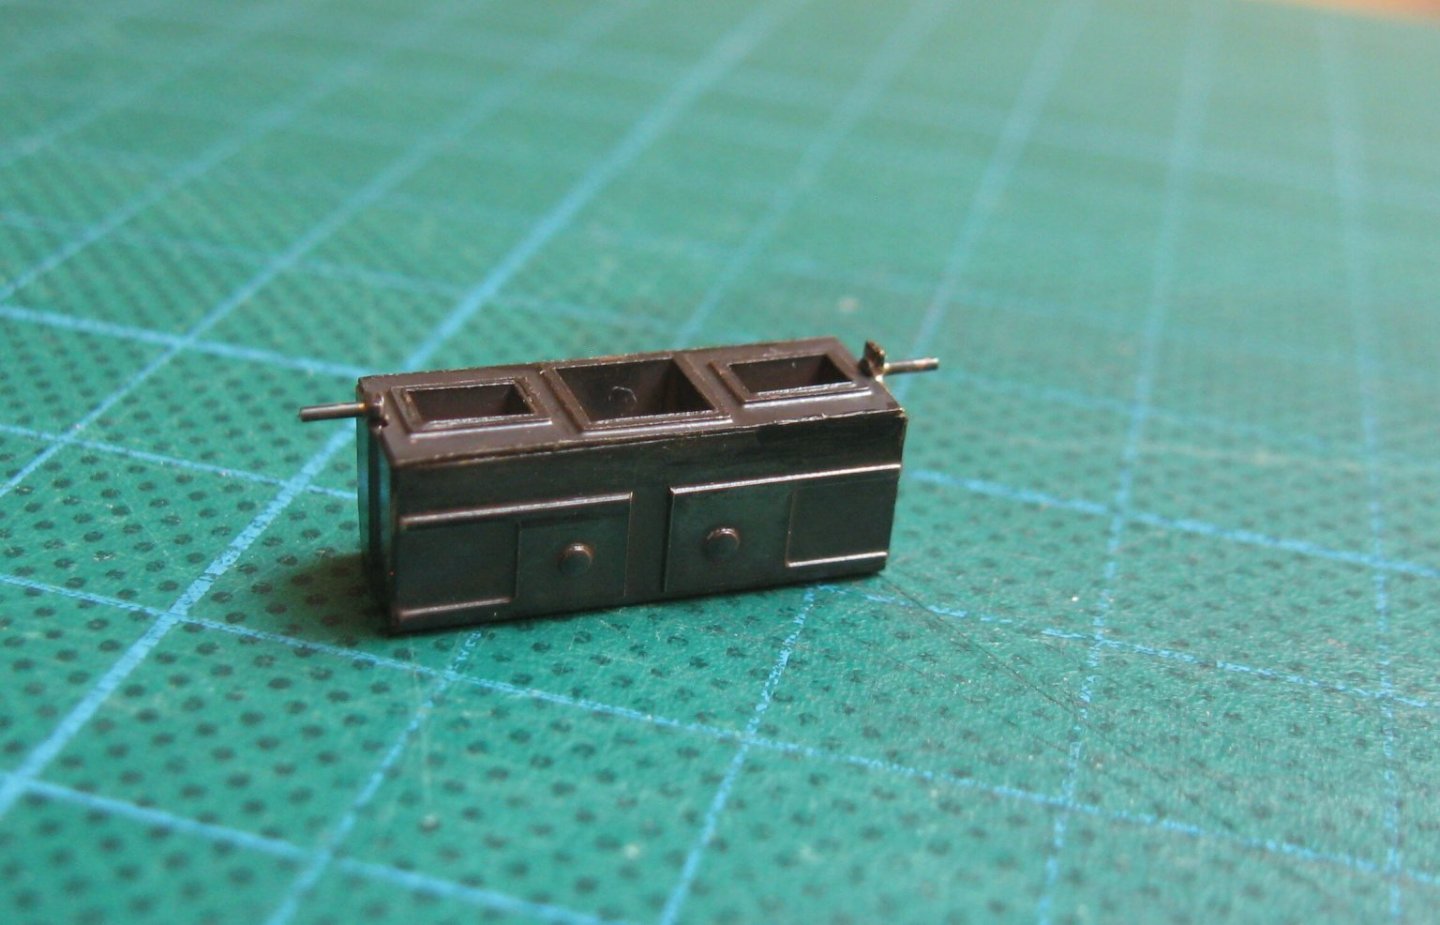
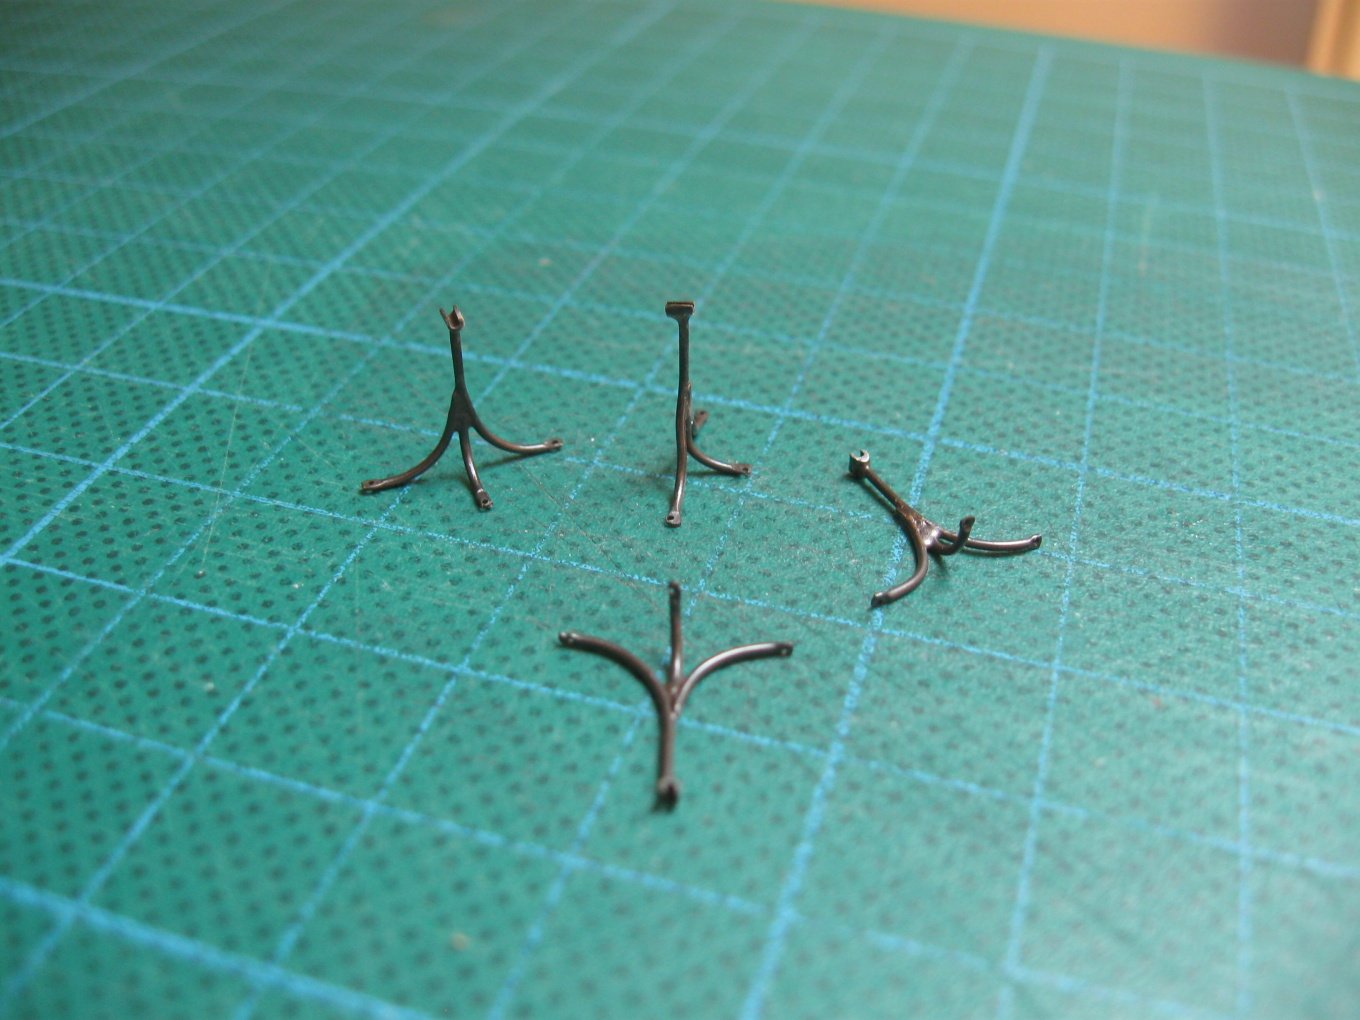
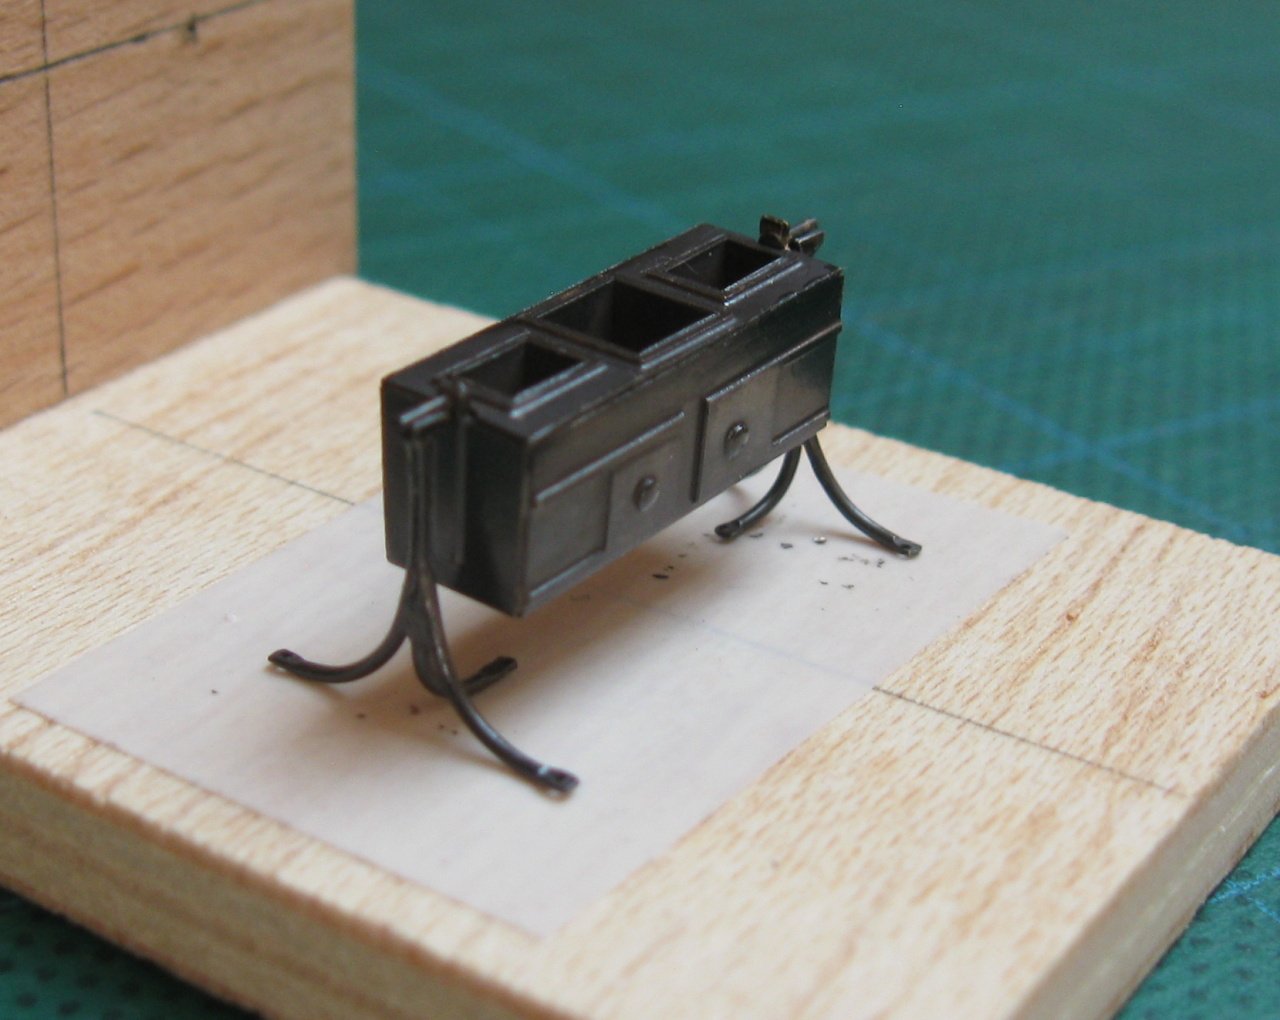
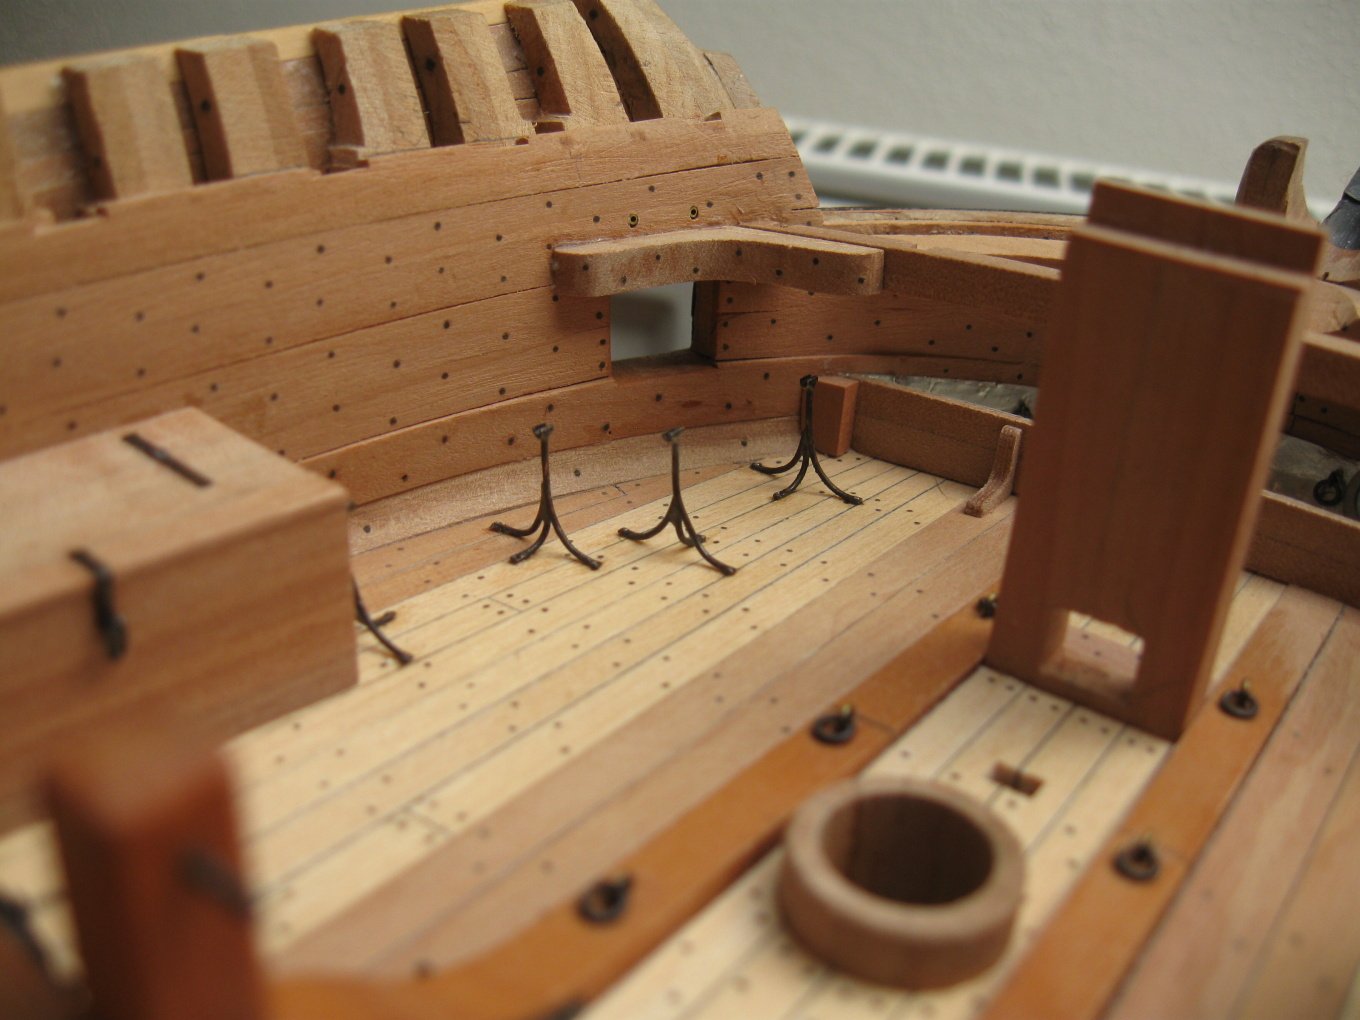
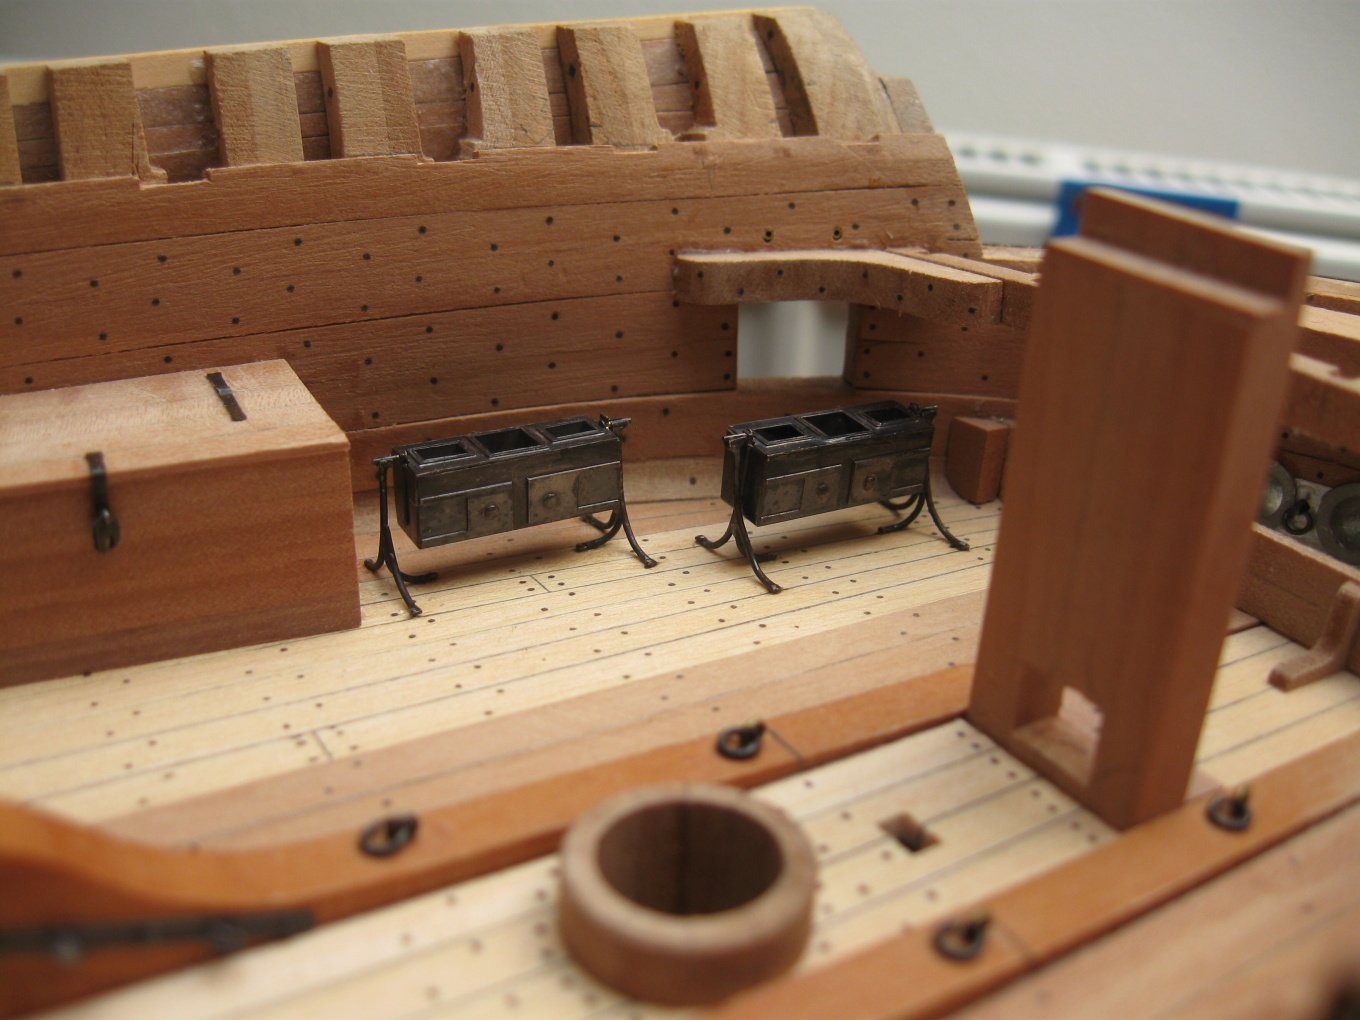
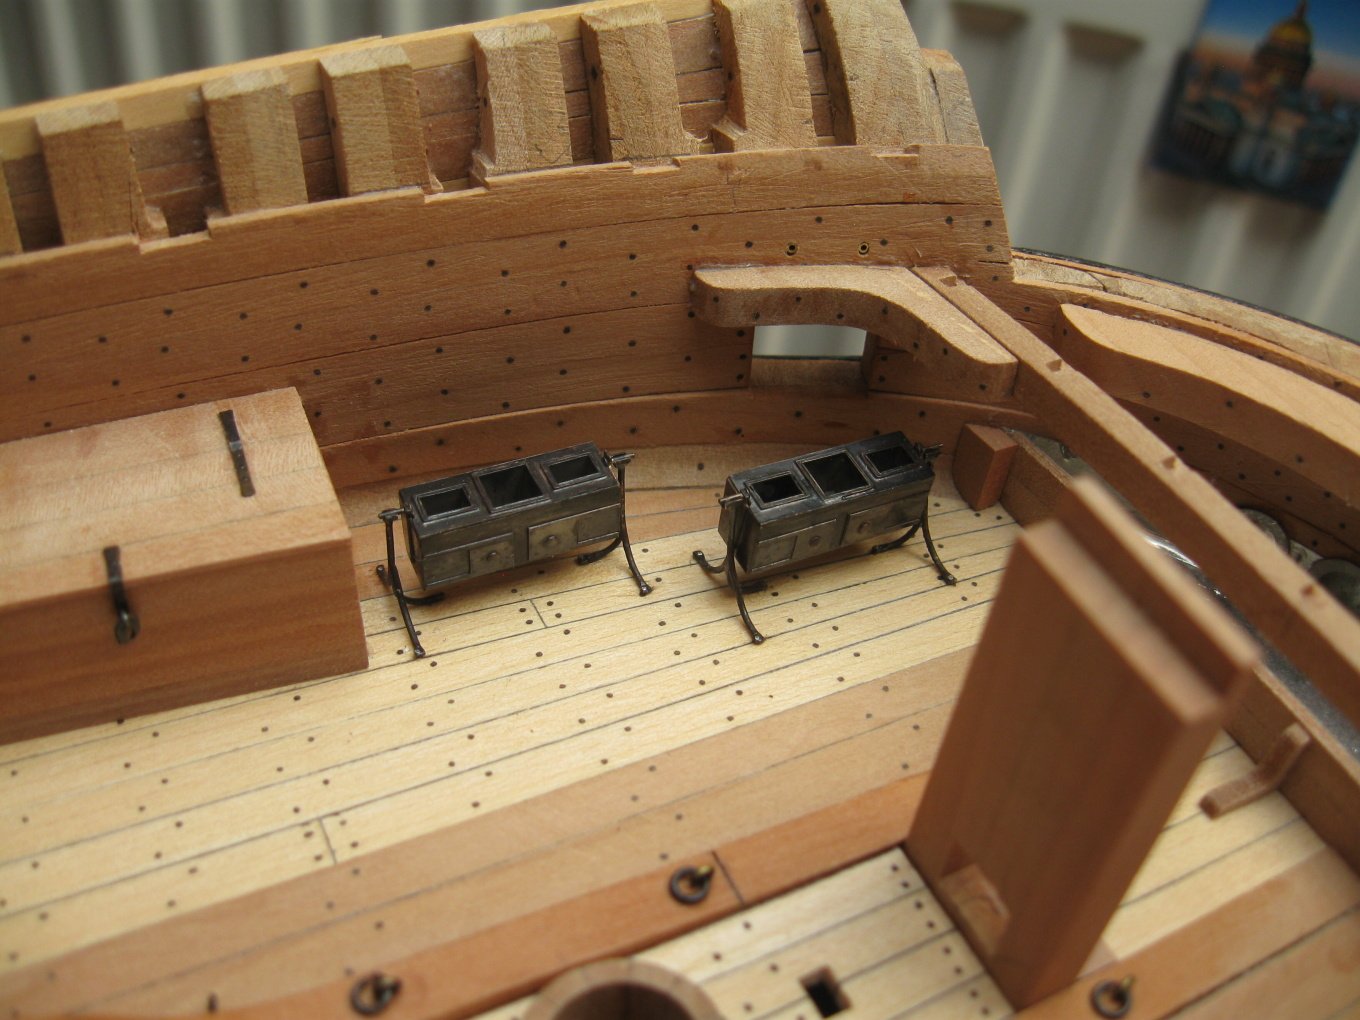
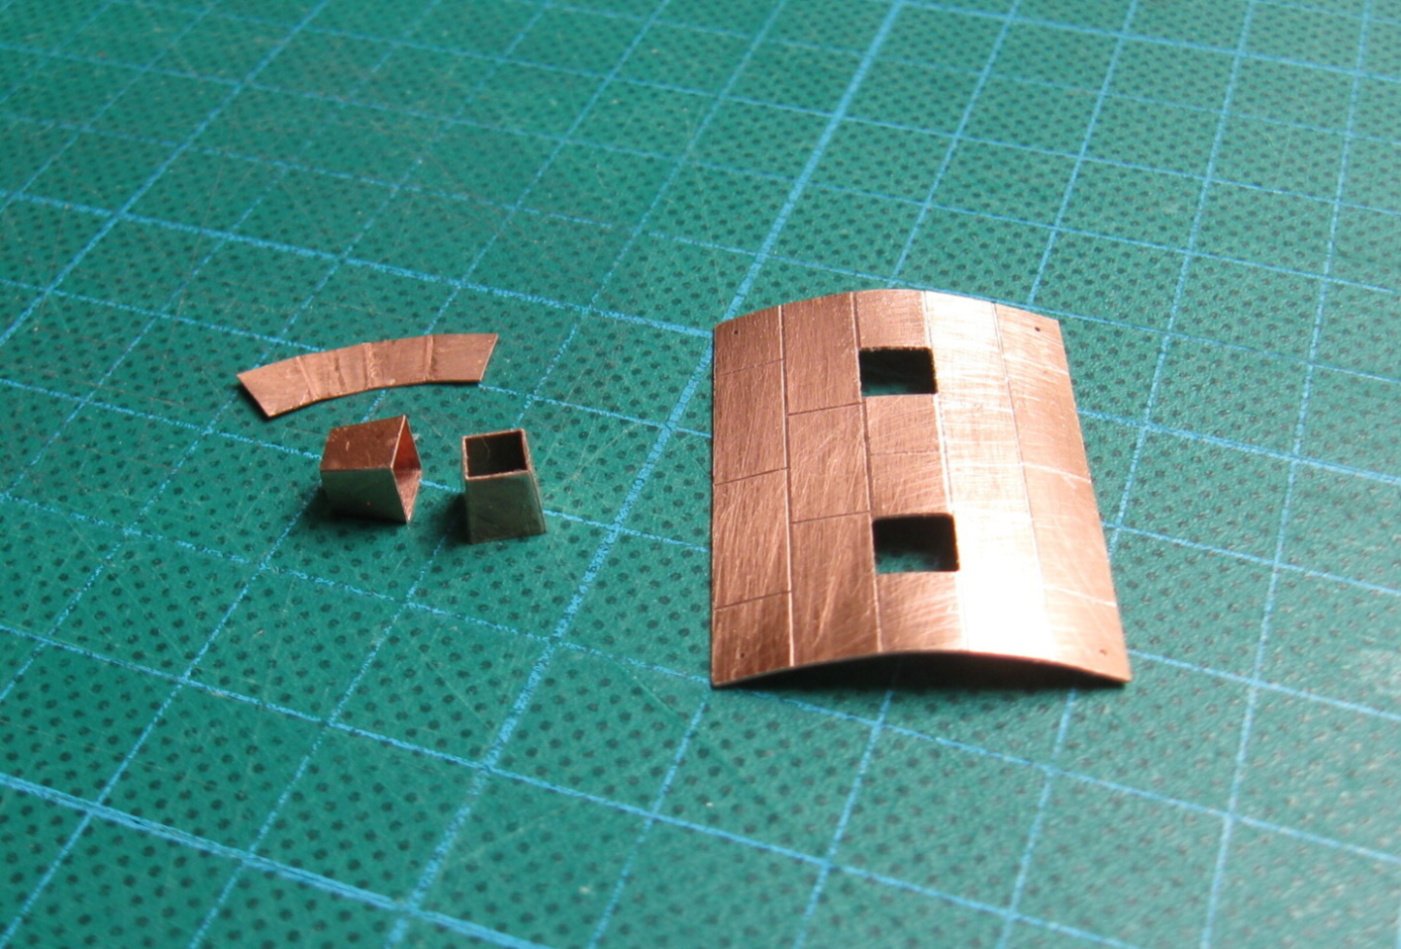
Glenn, thanks for your warm comment. The charcoal stoves are done.They are made of etched parts, so their assembly was not so difficult. Making tripods was much more complicated and demanding. But I am satisfied with the result.


- 589 replies
-
- 31
-
-
-
-
- le gros ventre
- cargo
- (and 1 more)
-
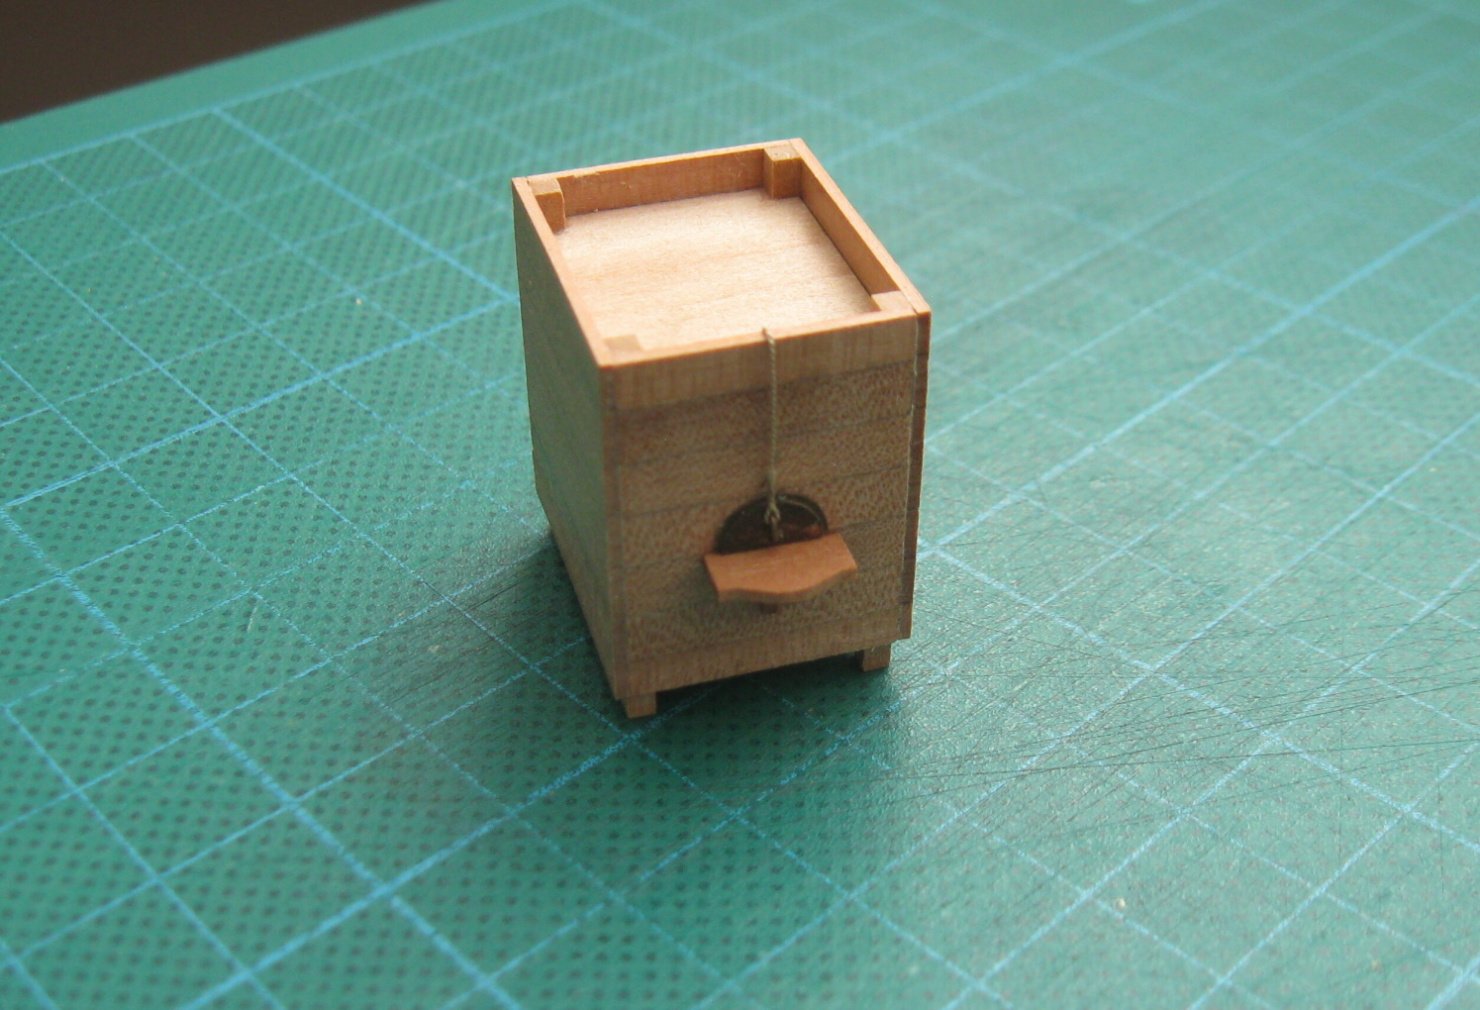
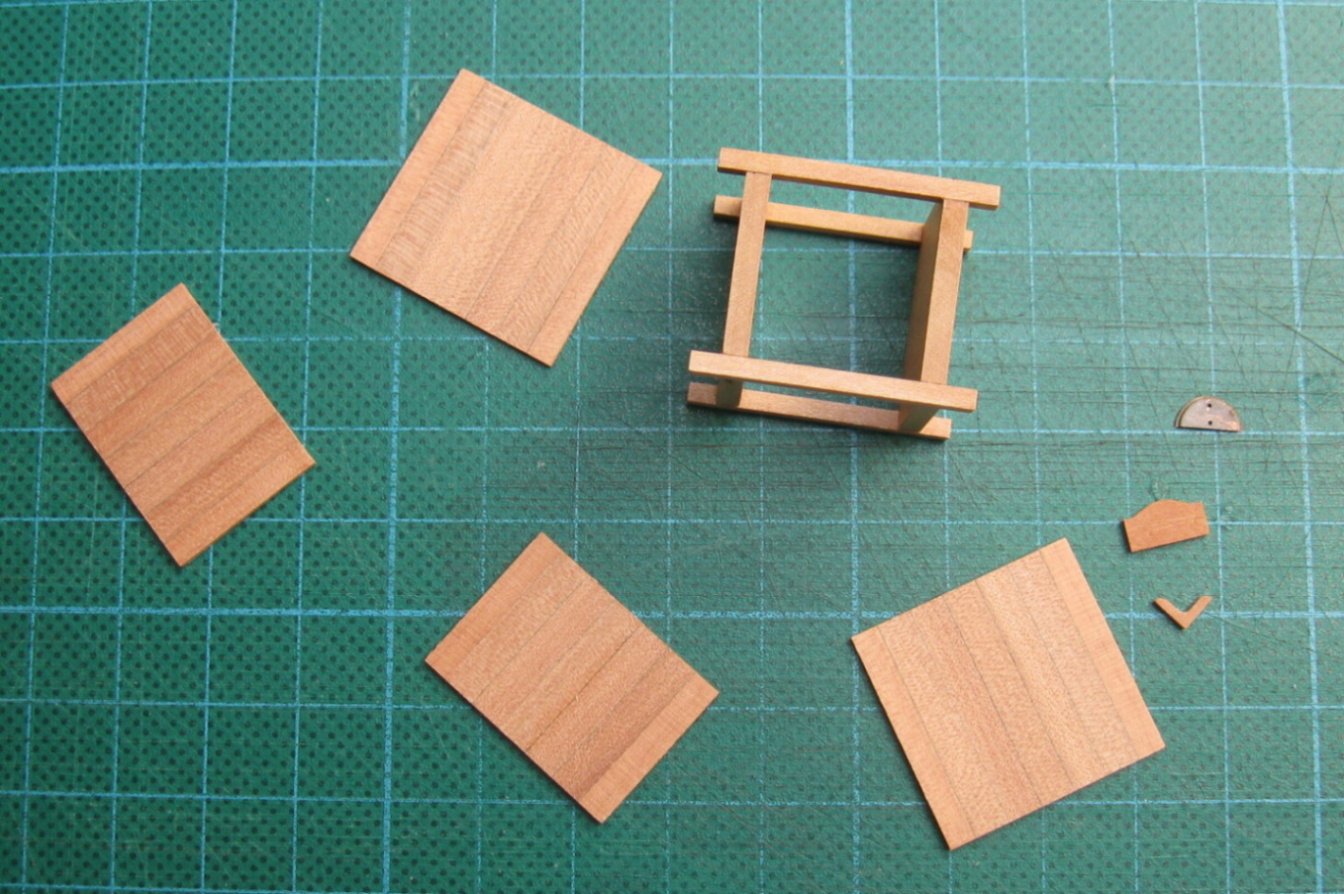
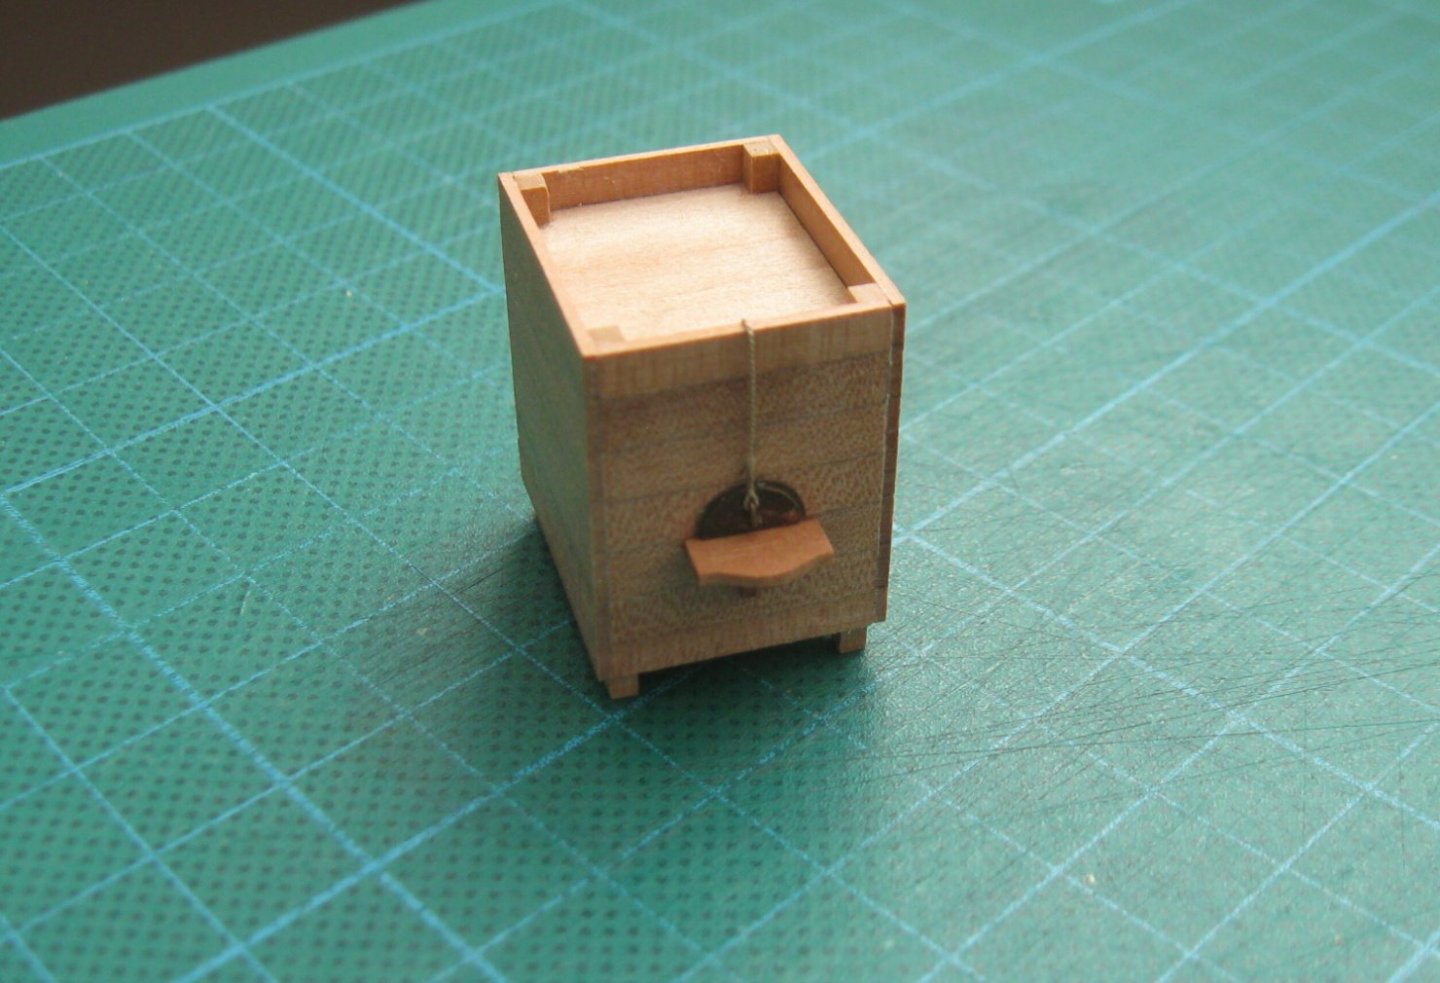
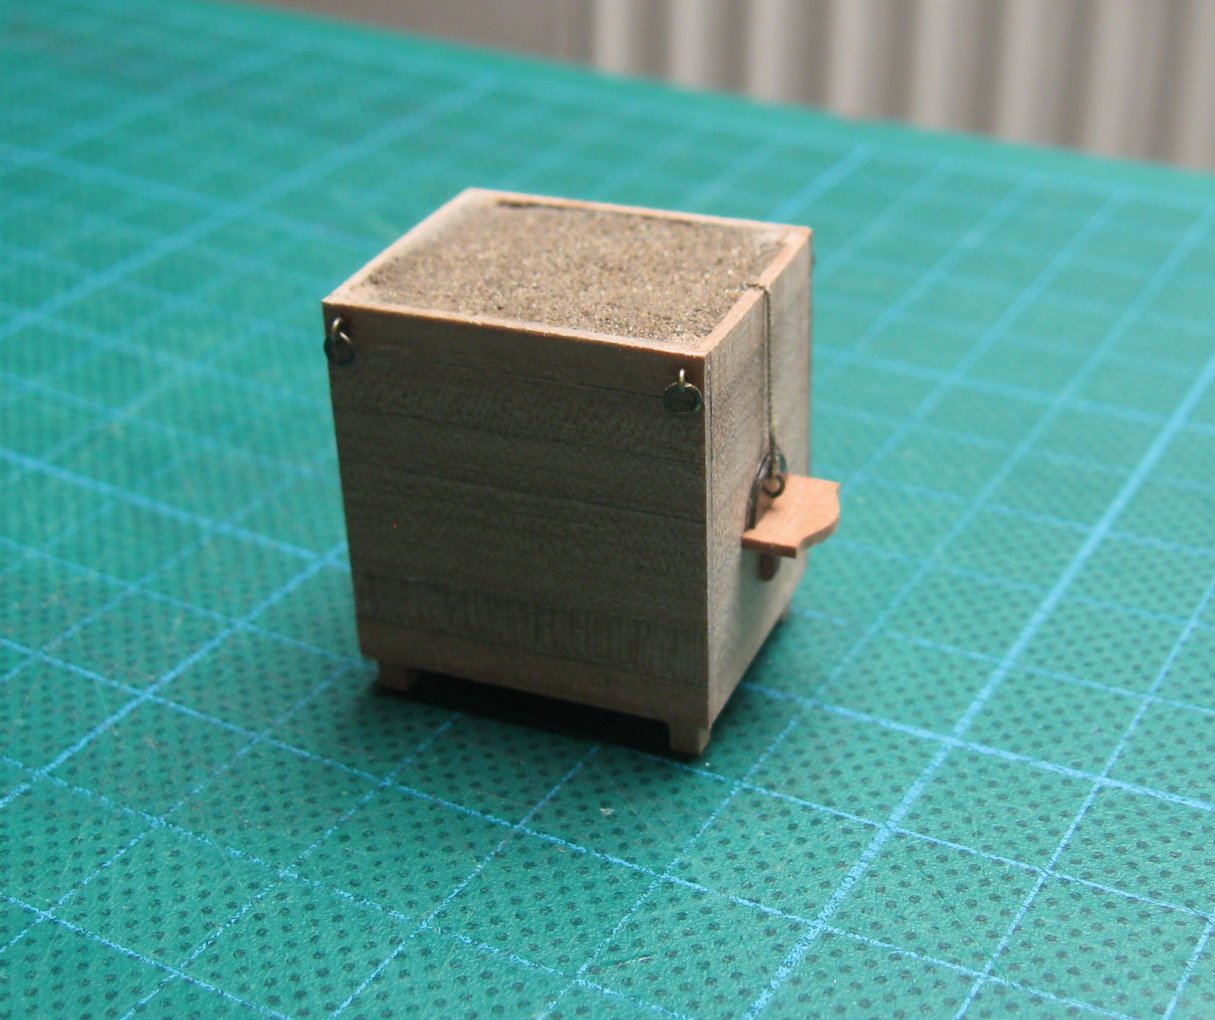
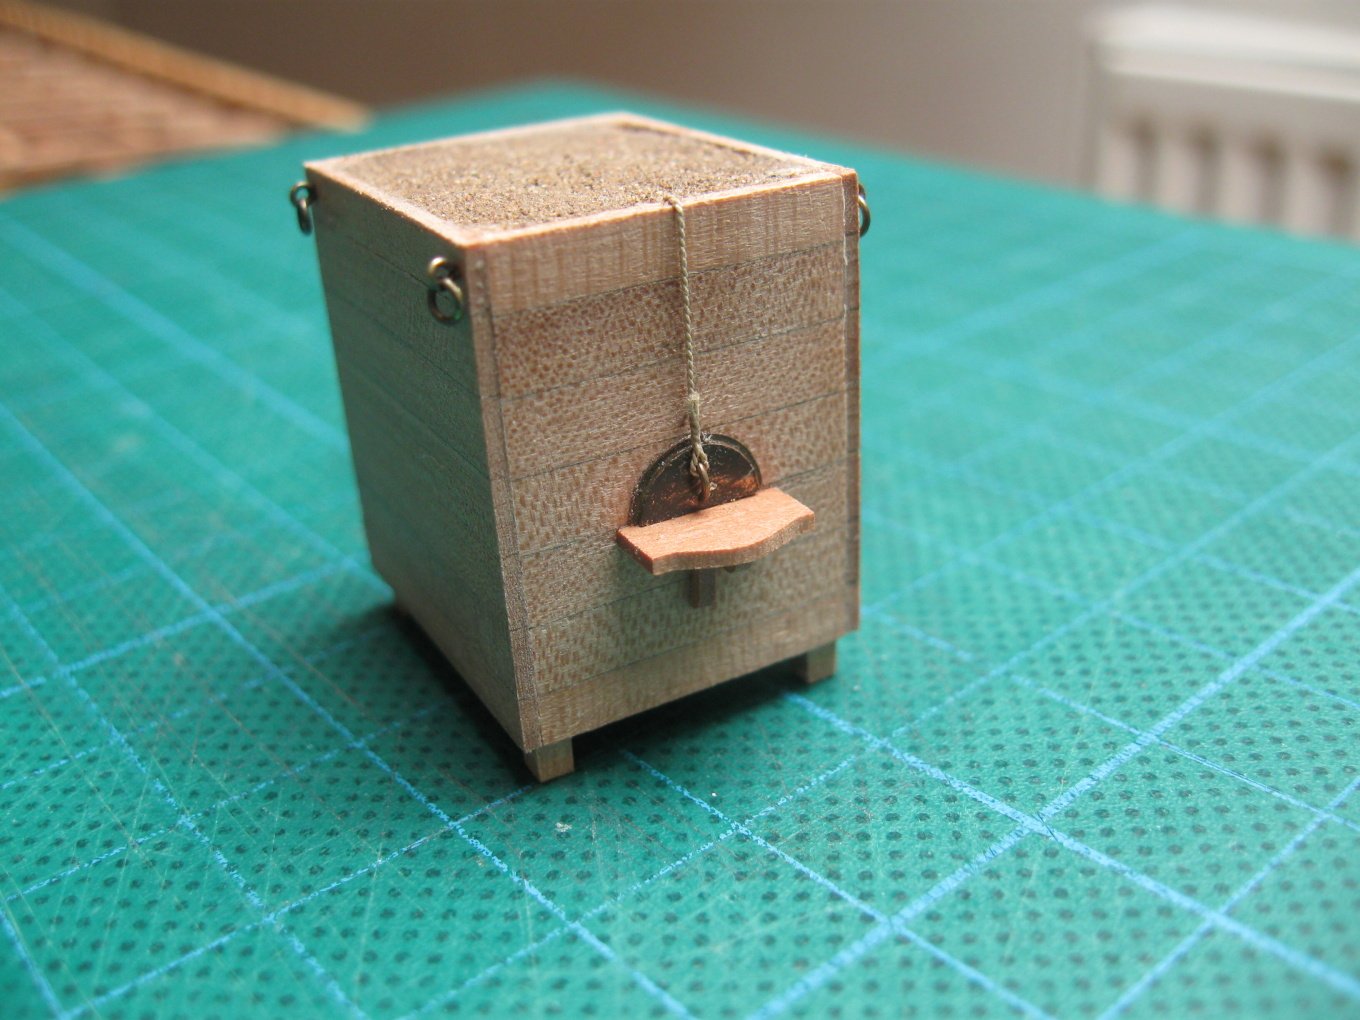
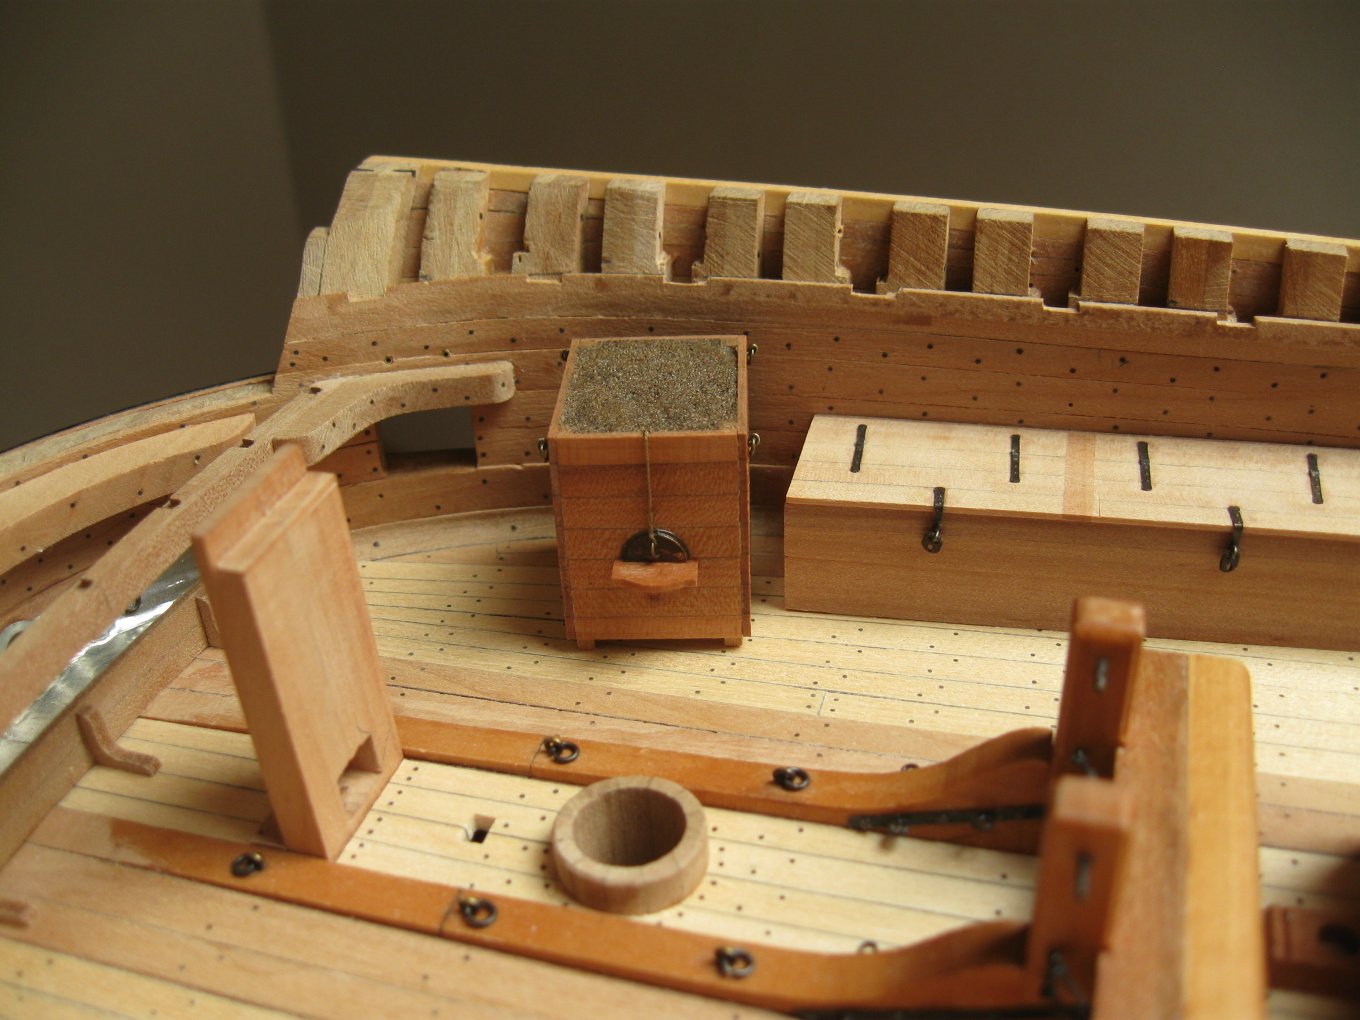
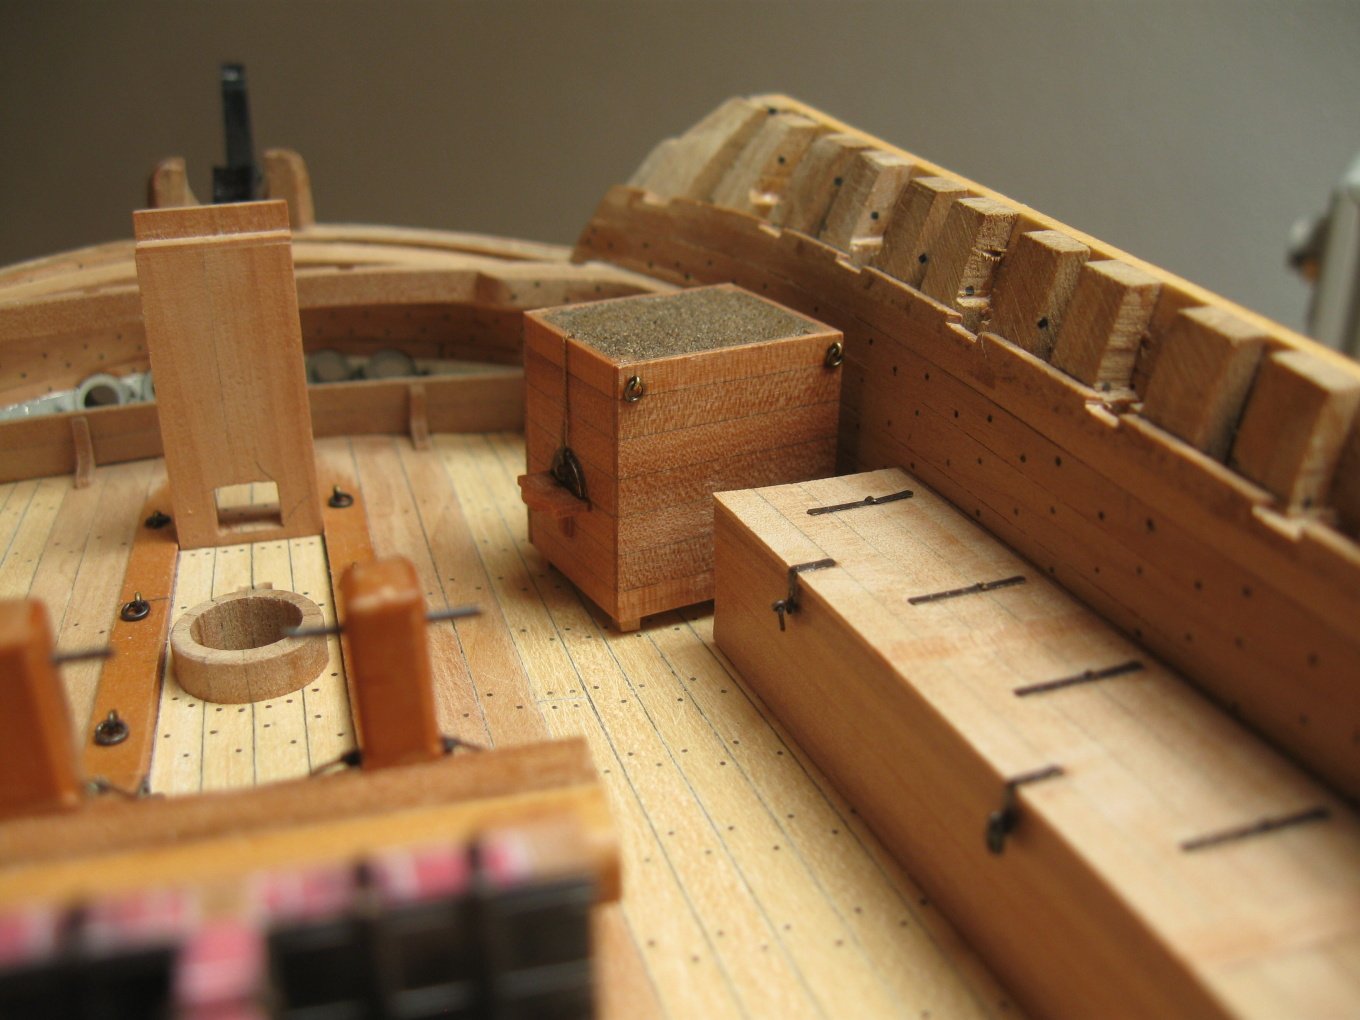
Baker´s oven. Two more charcoal stoves remains to be made. It will be quite a challenge at this scale.
- 589 replies
-
- 26
-
-
-
- le gros ventre
- cargo
- (and 1 more)
-
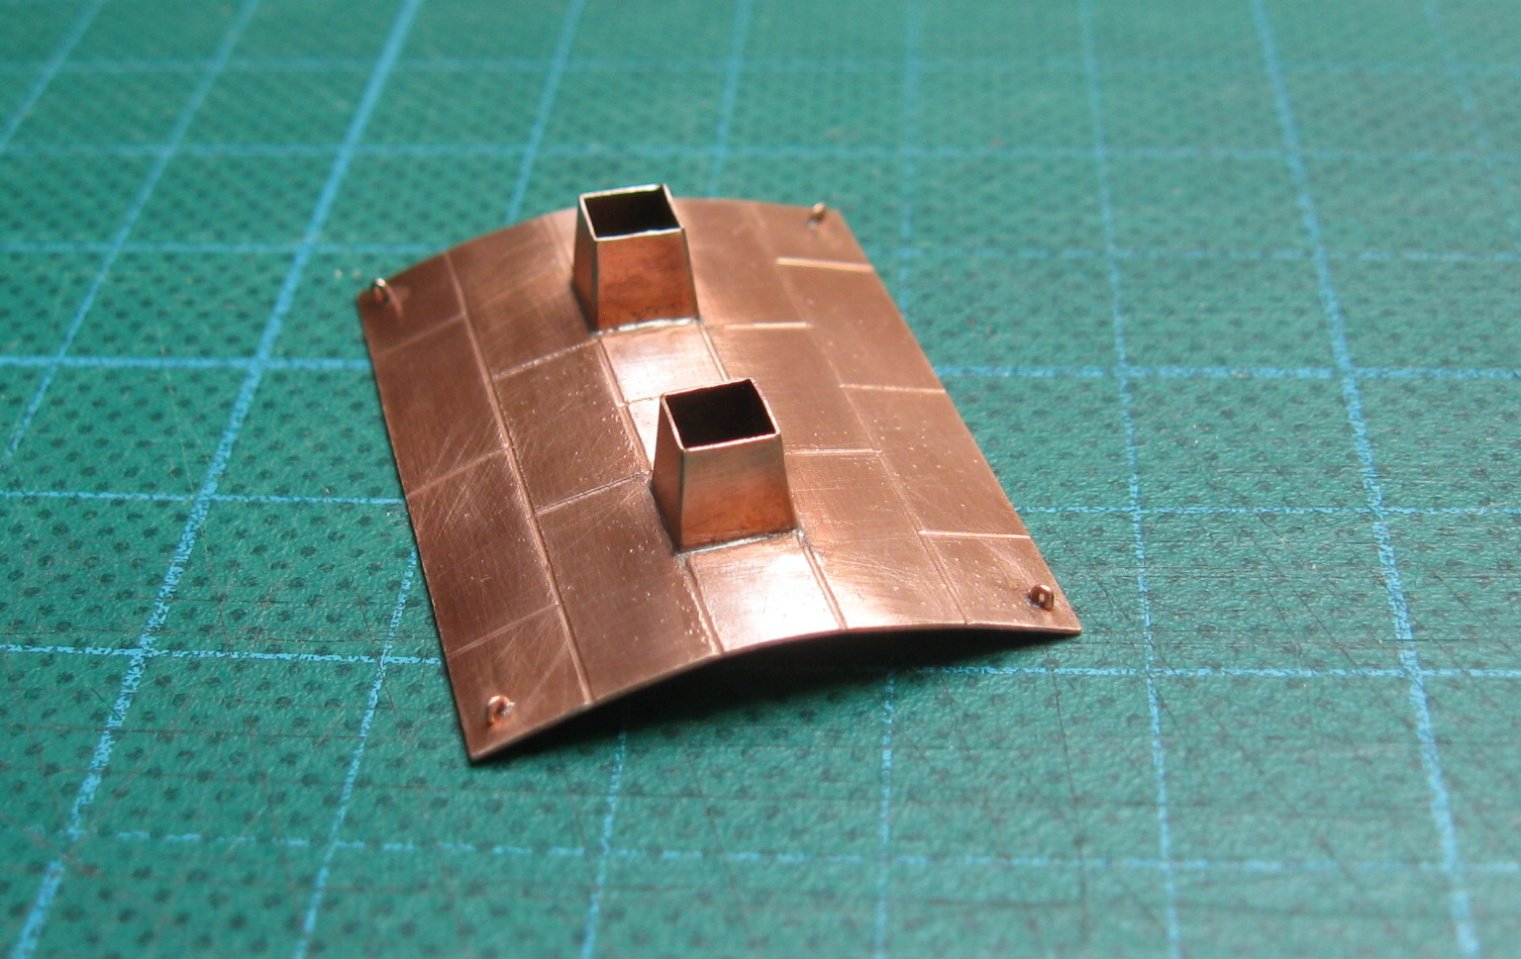
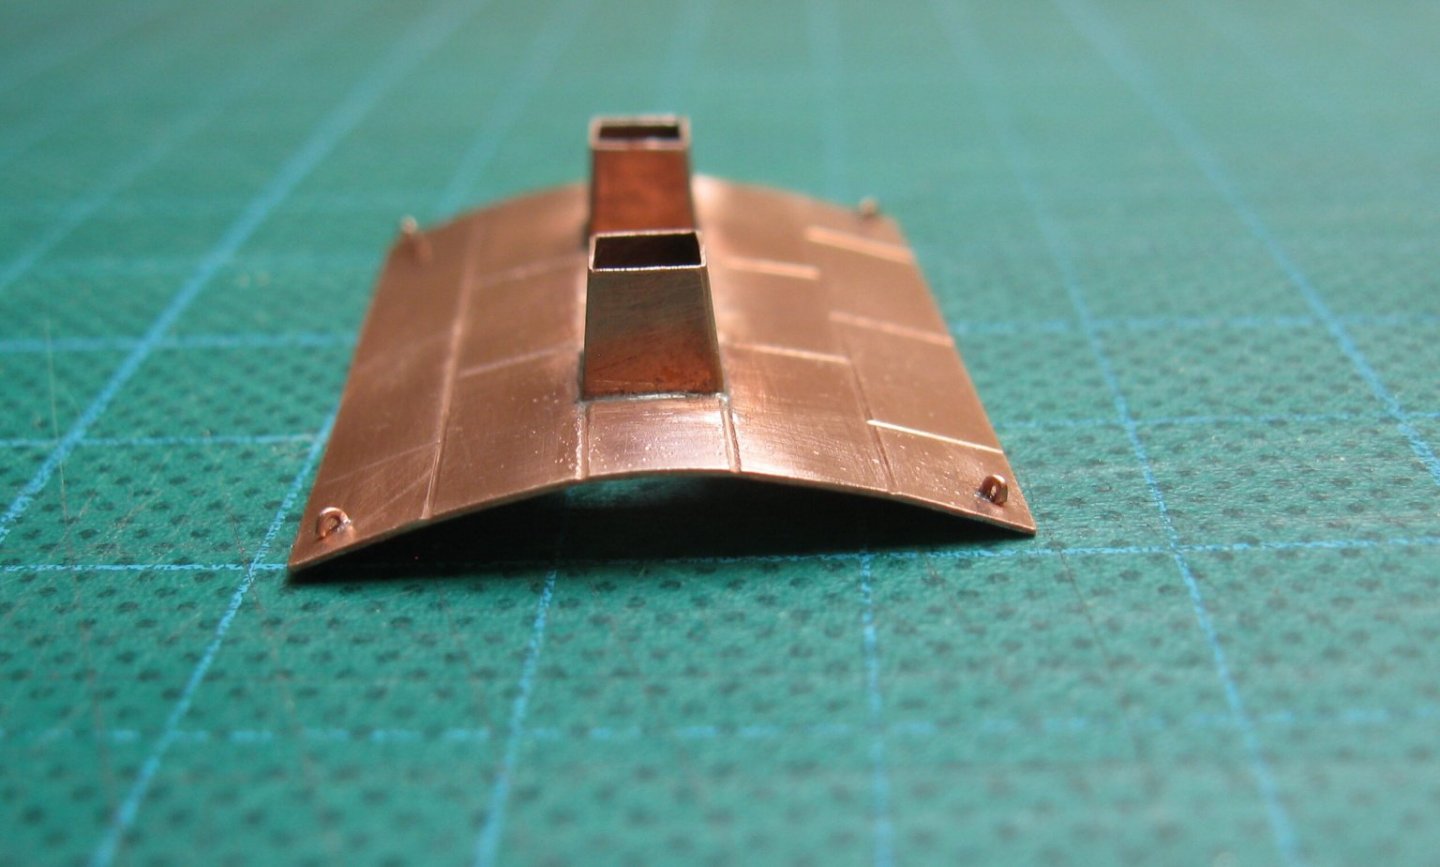
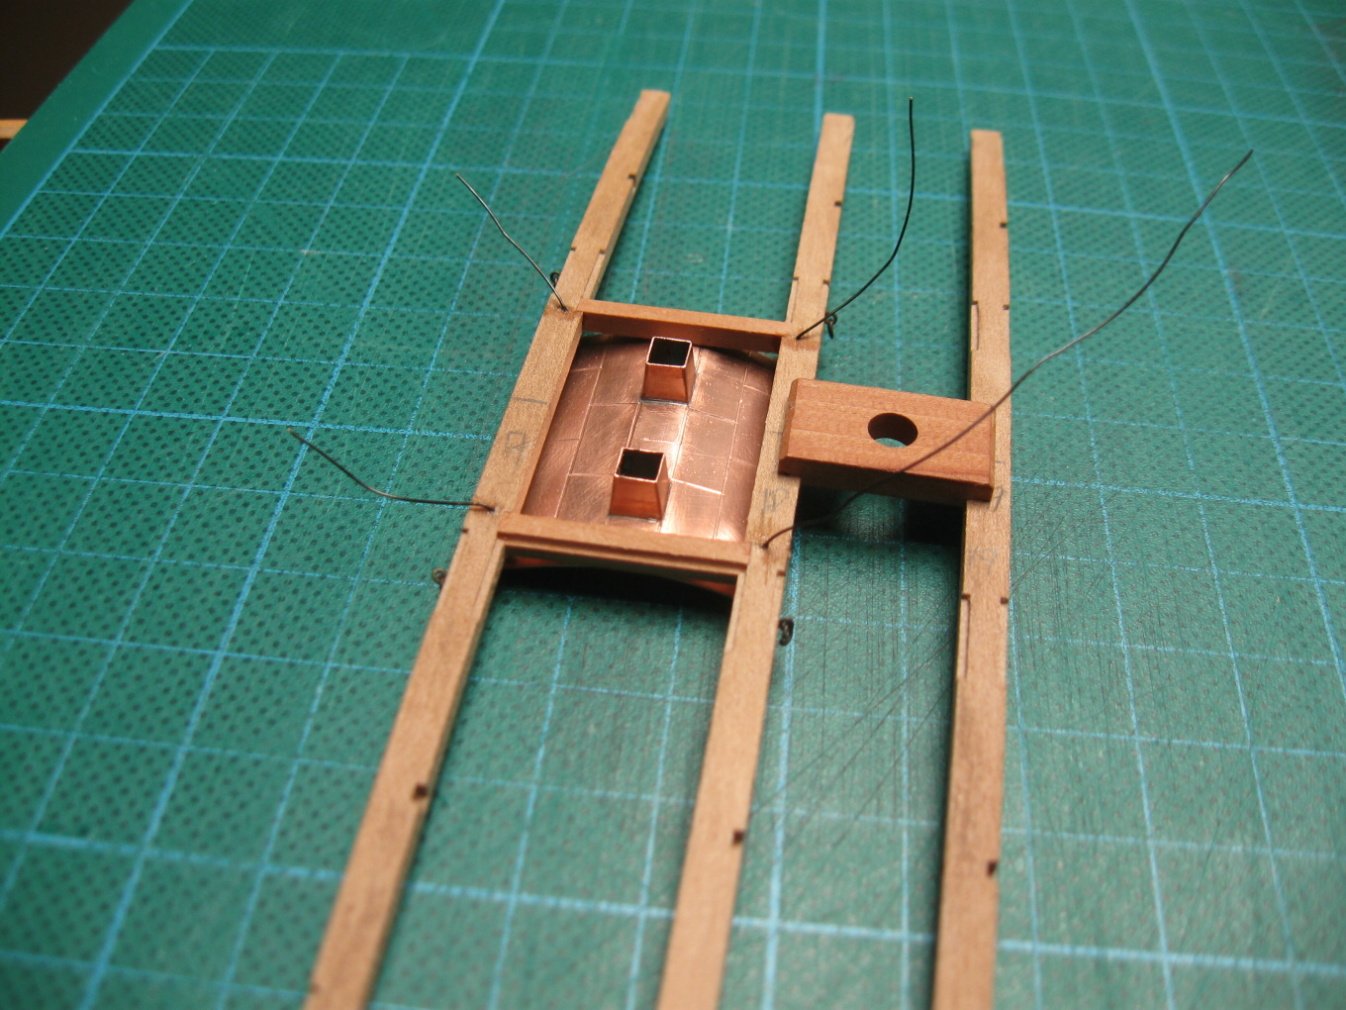
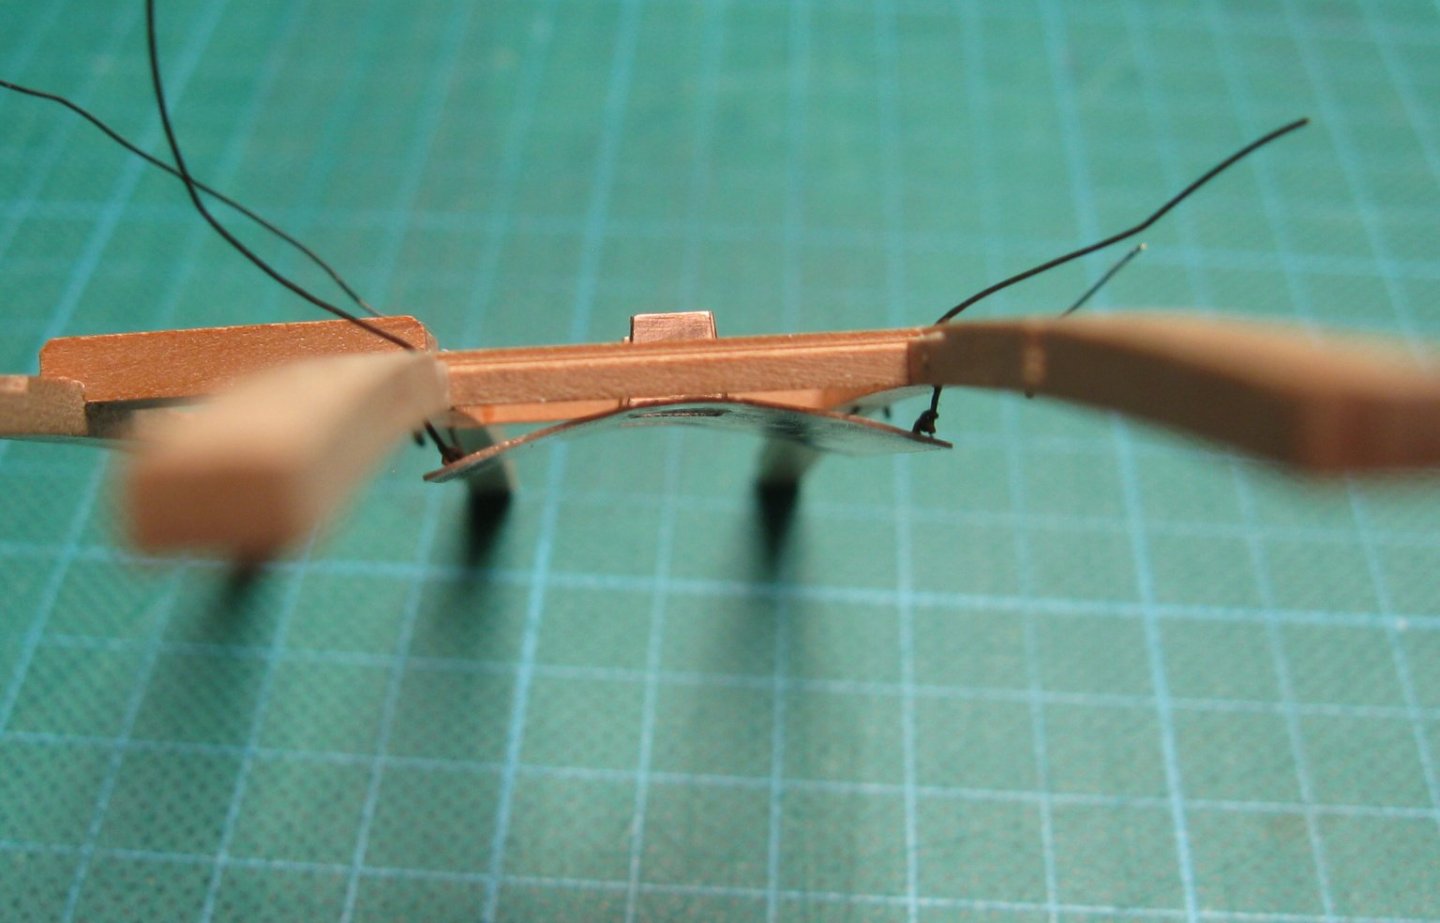
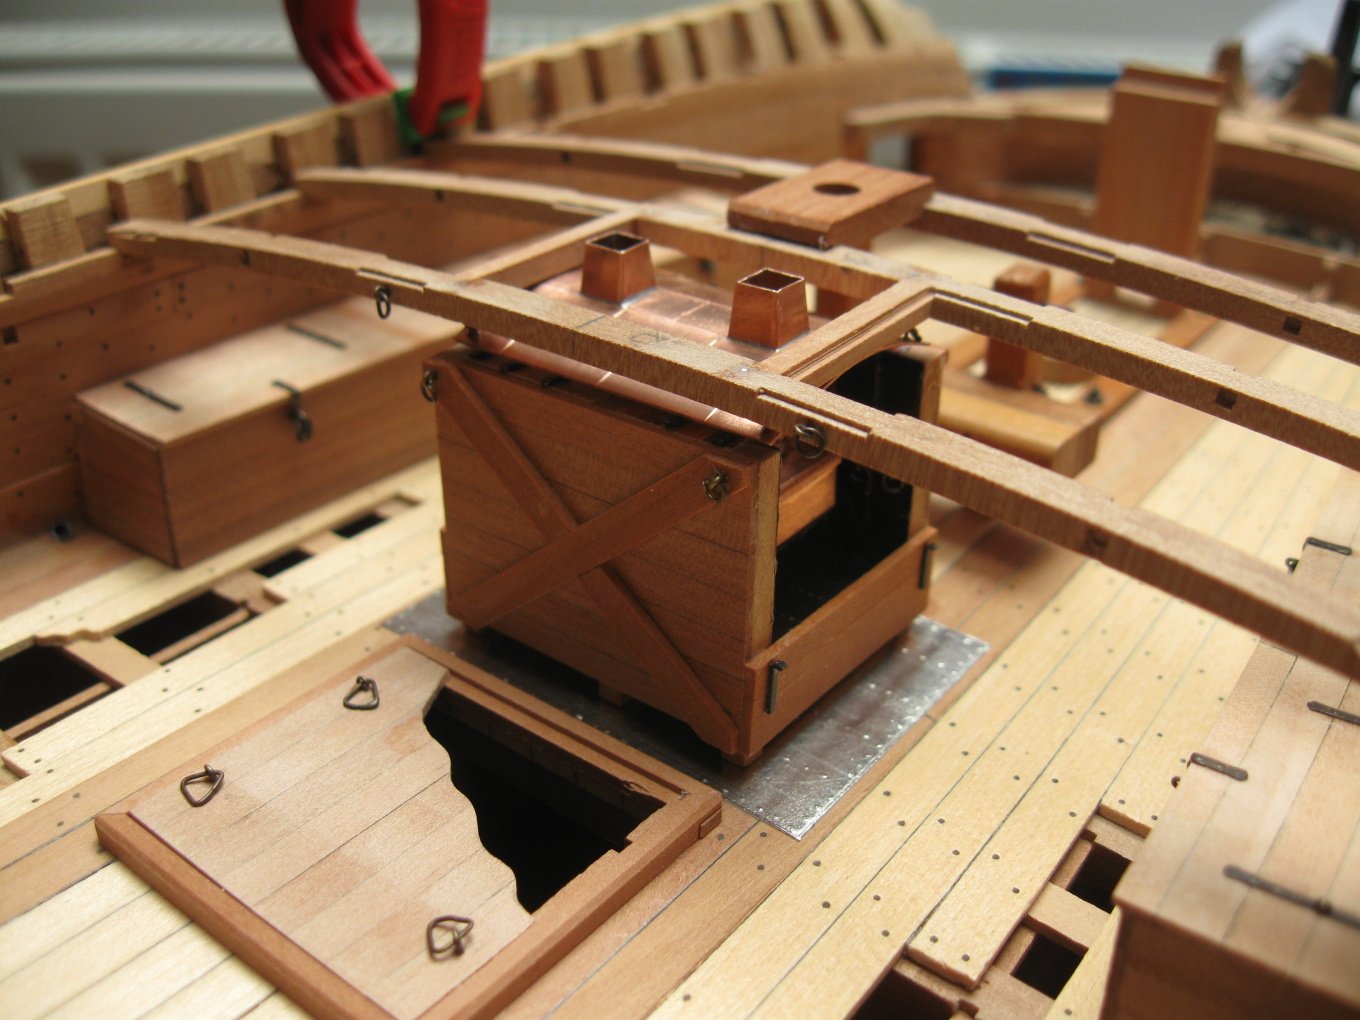
Druxey, you're right. But no one would say how much time these details will take. I continue with the roof of the galley. Due to the small space, I simplified the attachment of the roof a bit (this detail will not be very visible in the final).


- 589 replies
-
- 28
-
-
-
-
- le gros ventre
- cargo
- (and 1 more)