marsalv
-
Posts
617 -
Joined
-
Last visited
Content Type
Profiles
Forums
Gallery
Events
Everything posted by marsalv
-
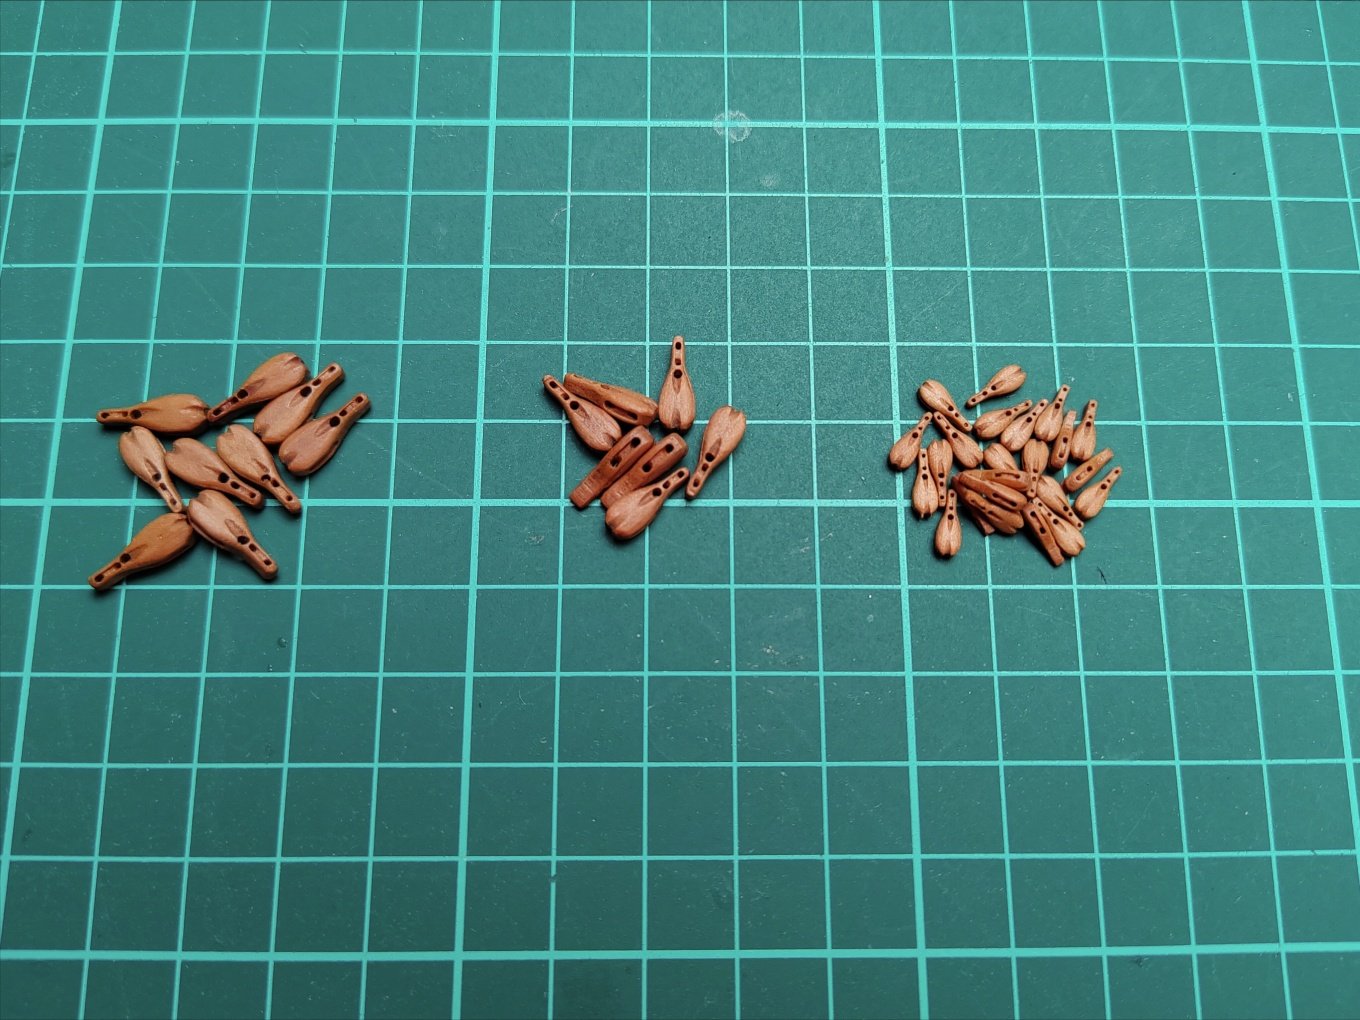
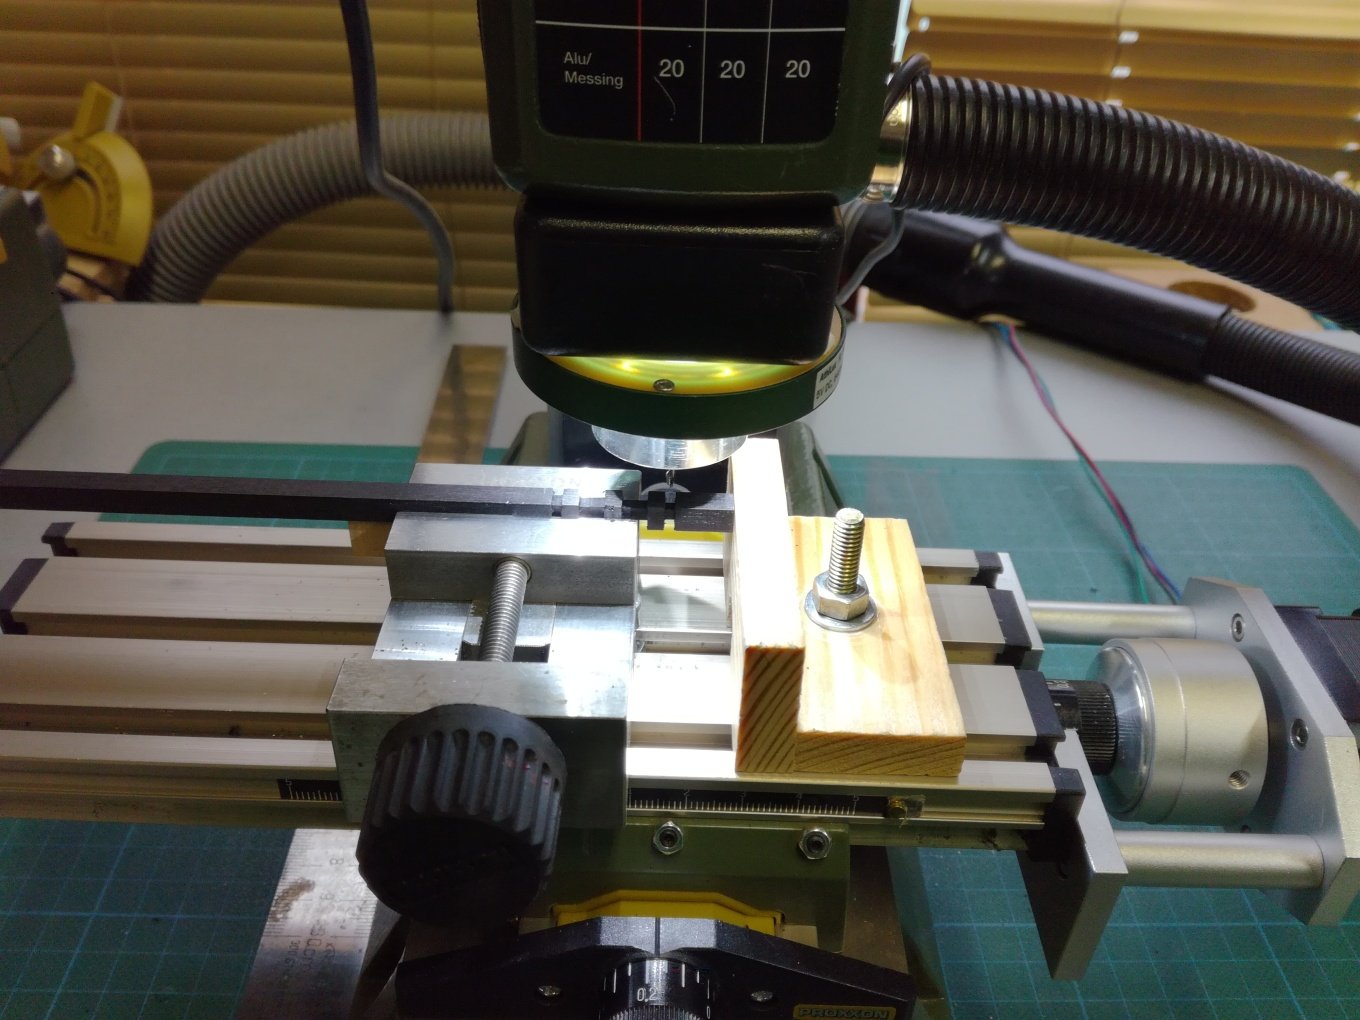
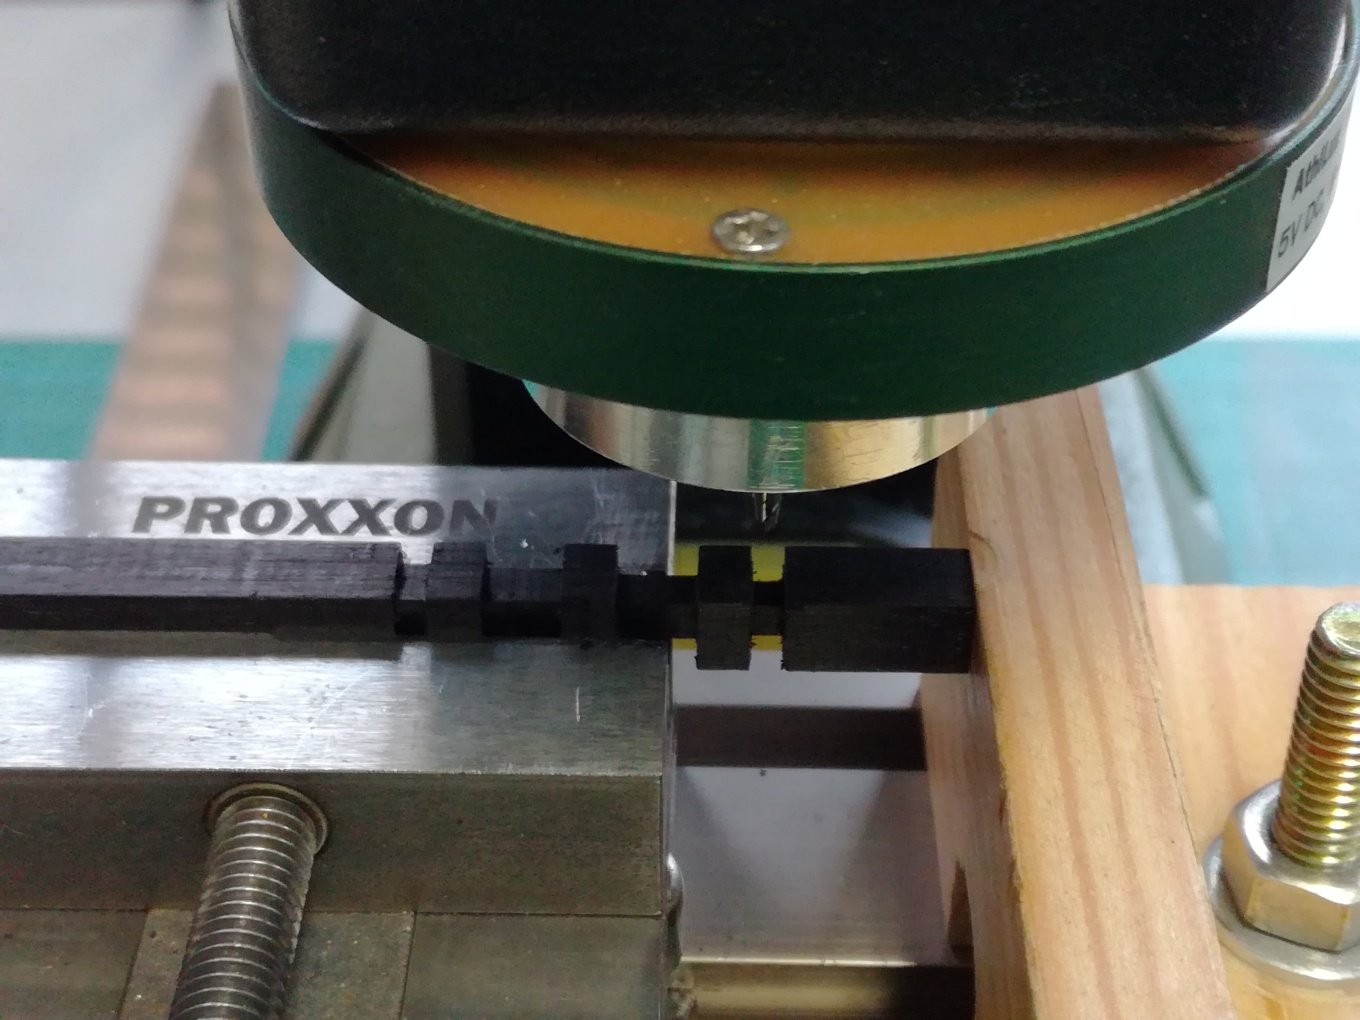
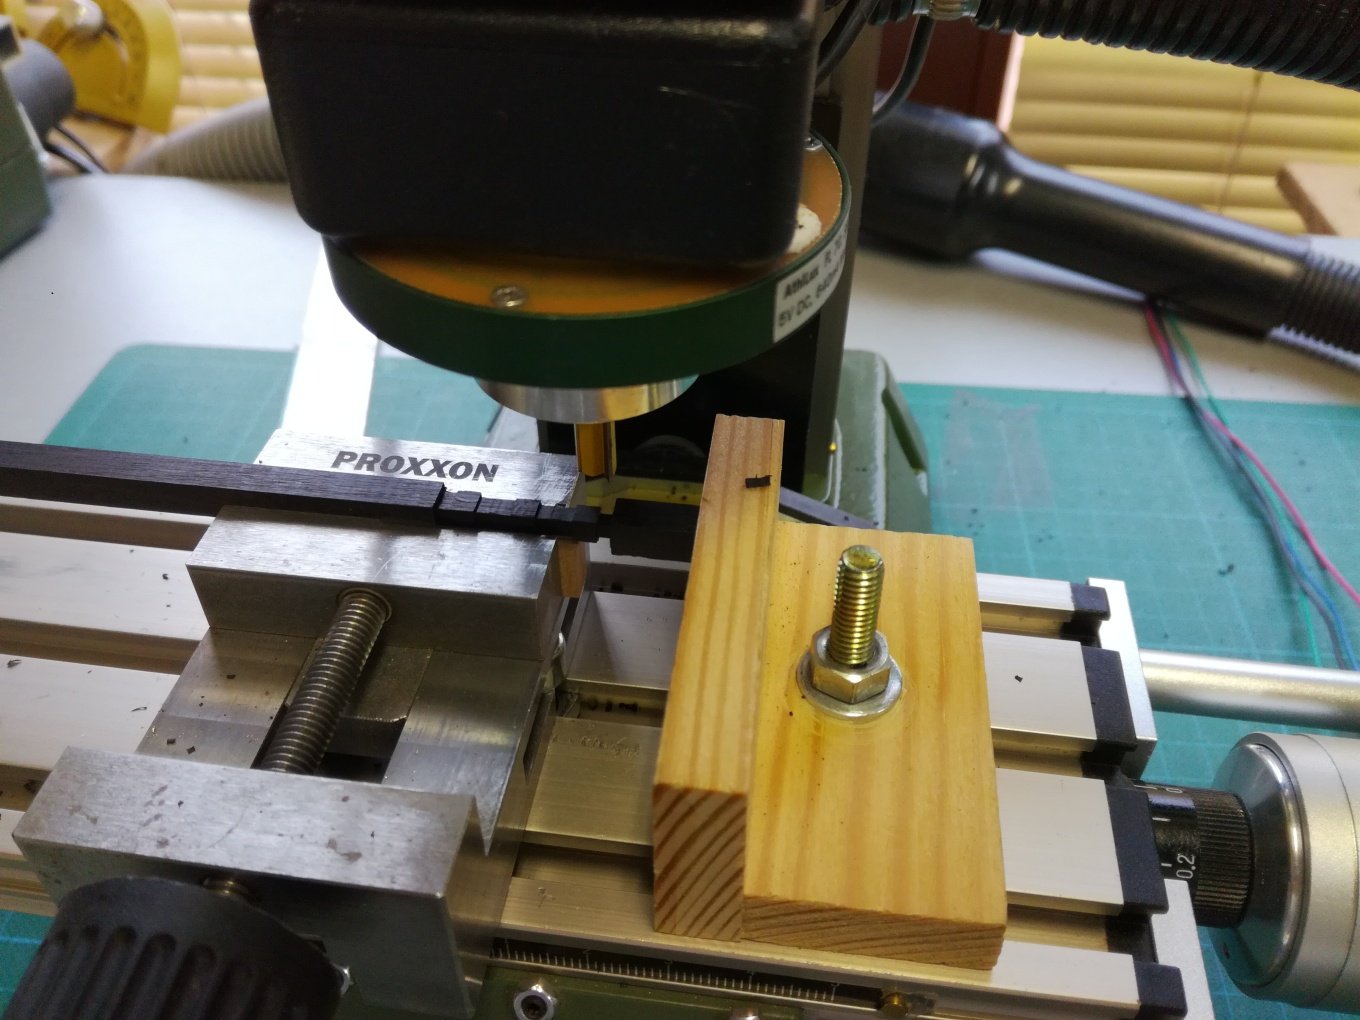
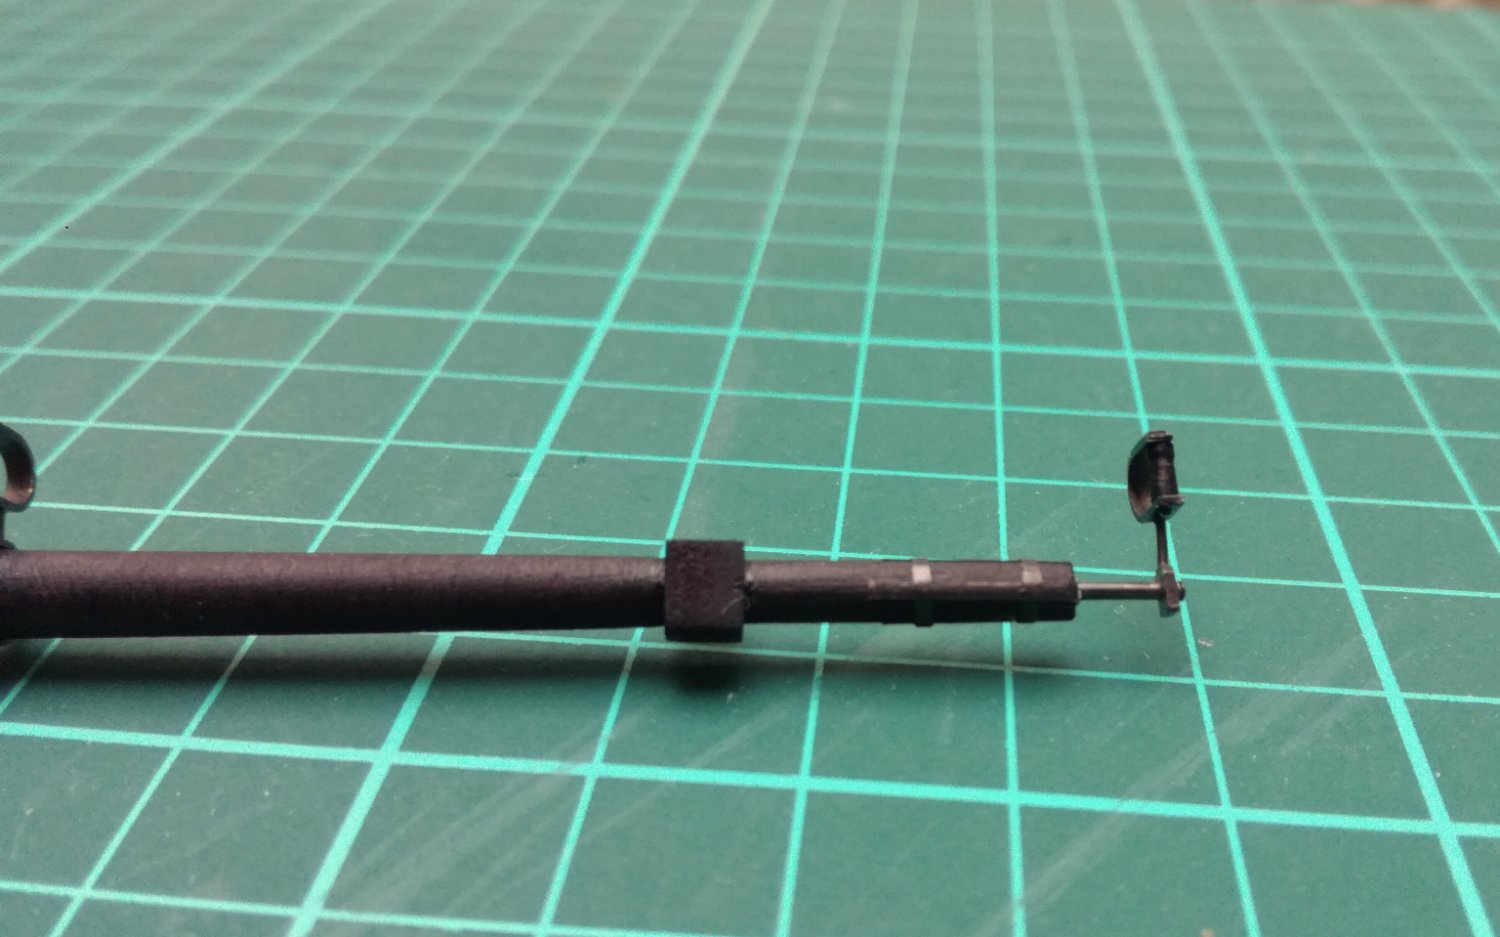
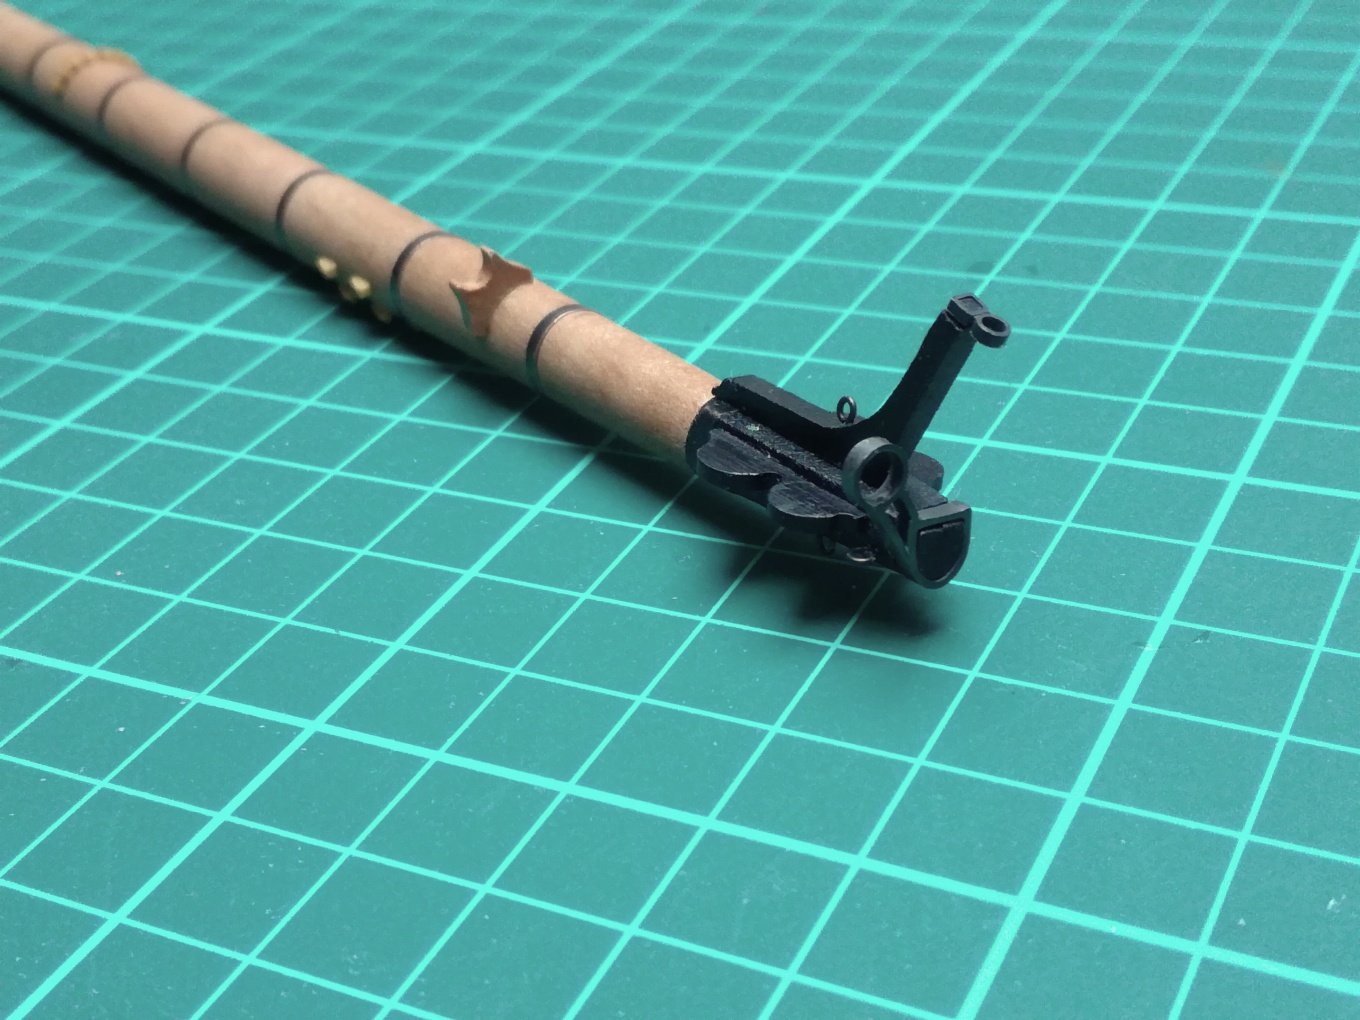
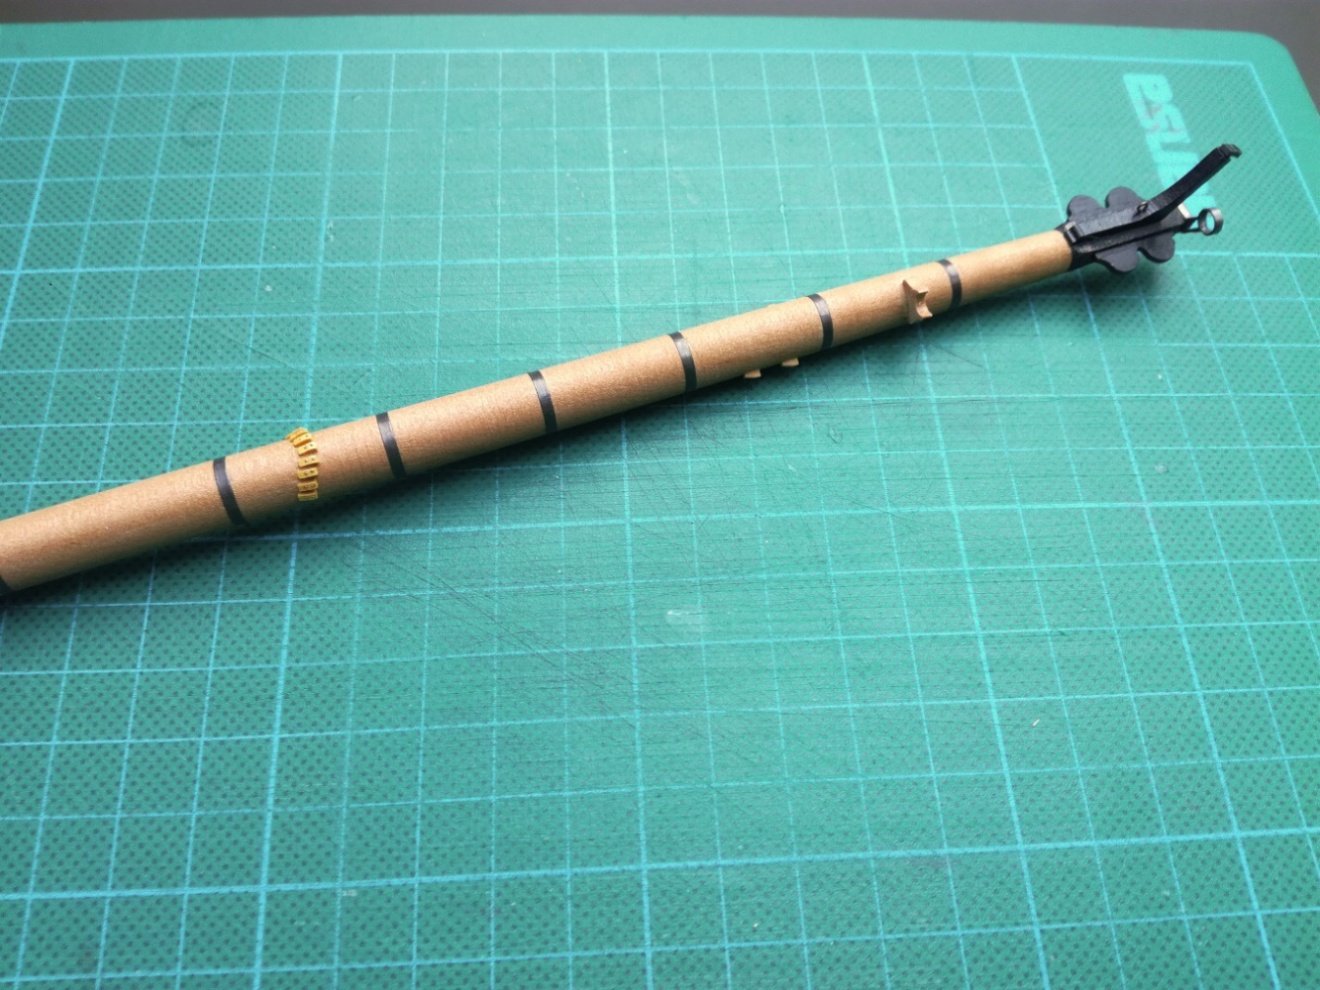
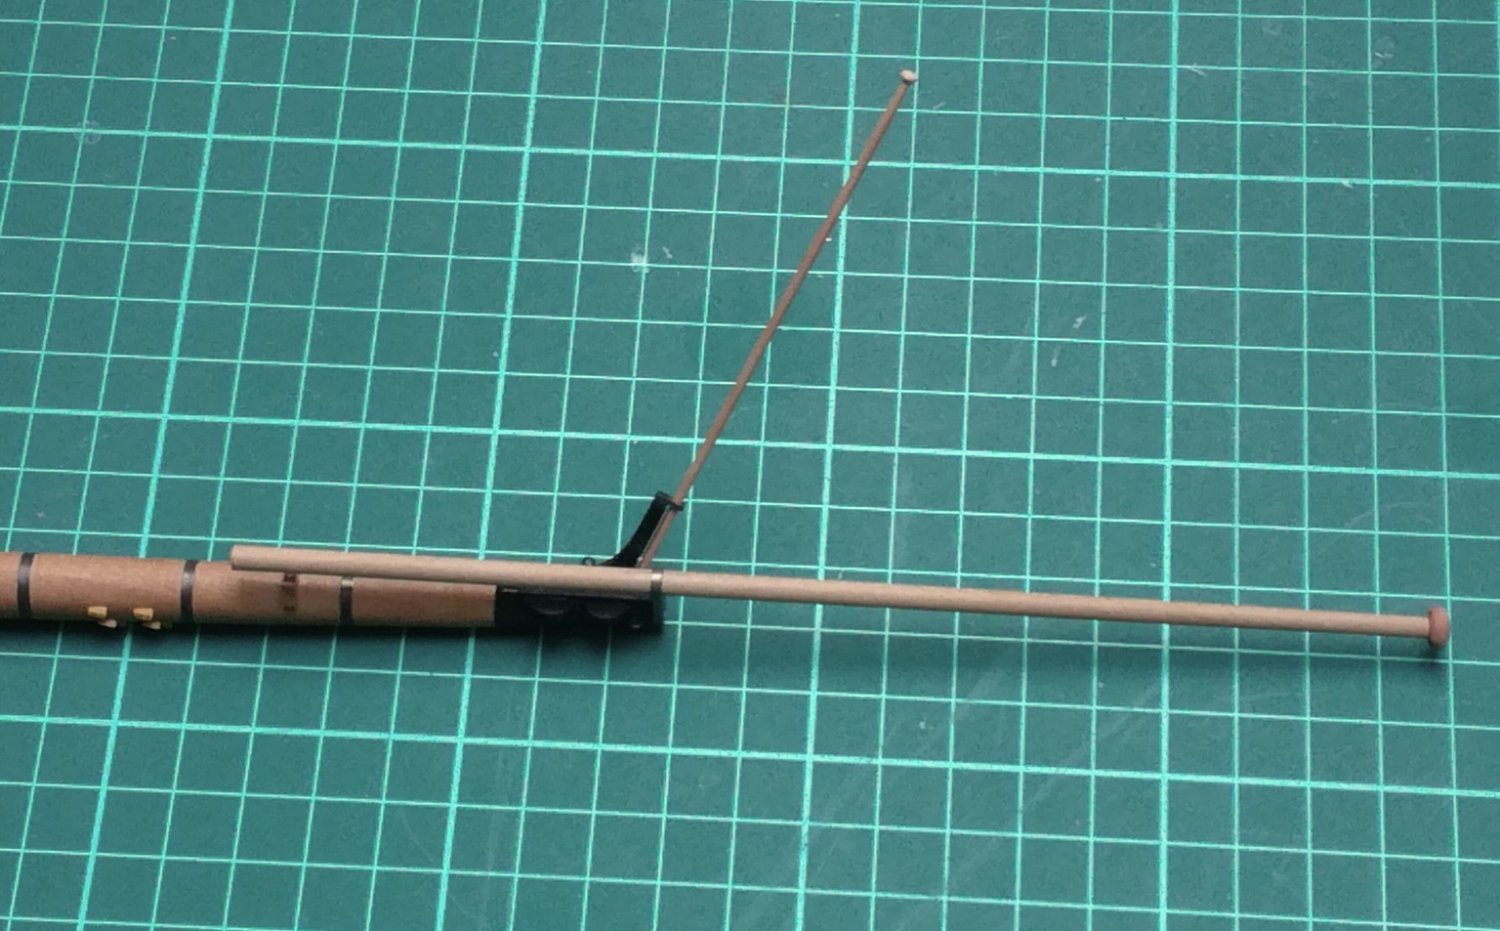
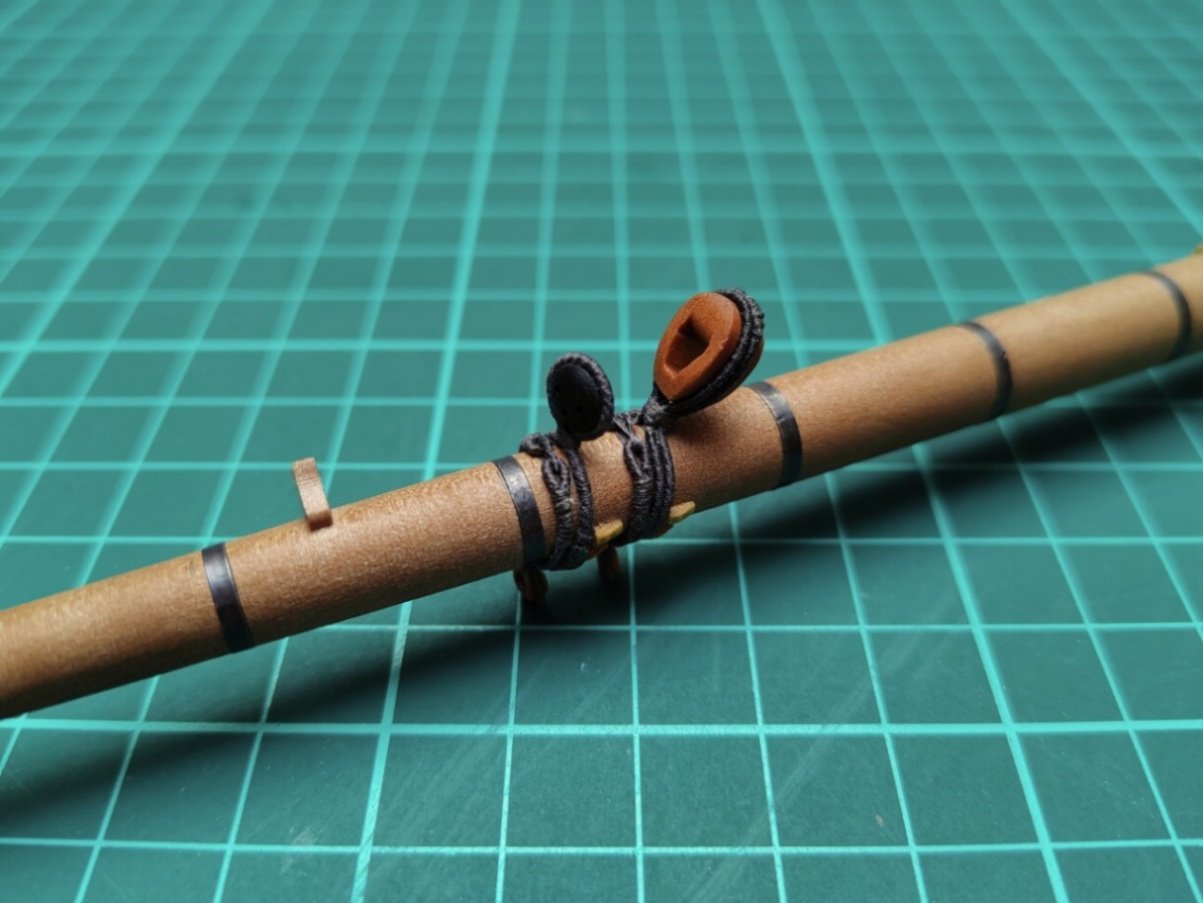
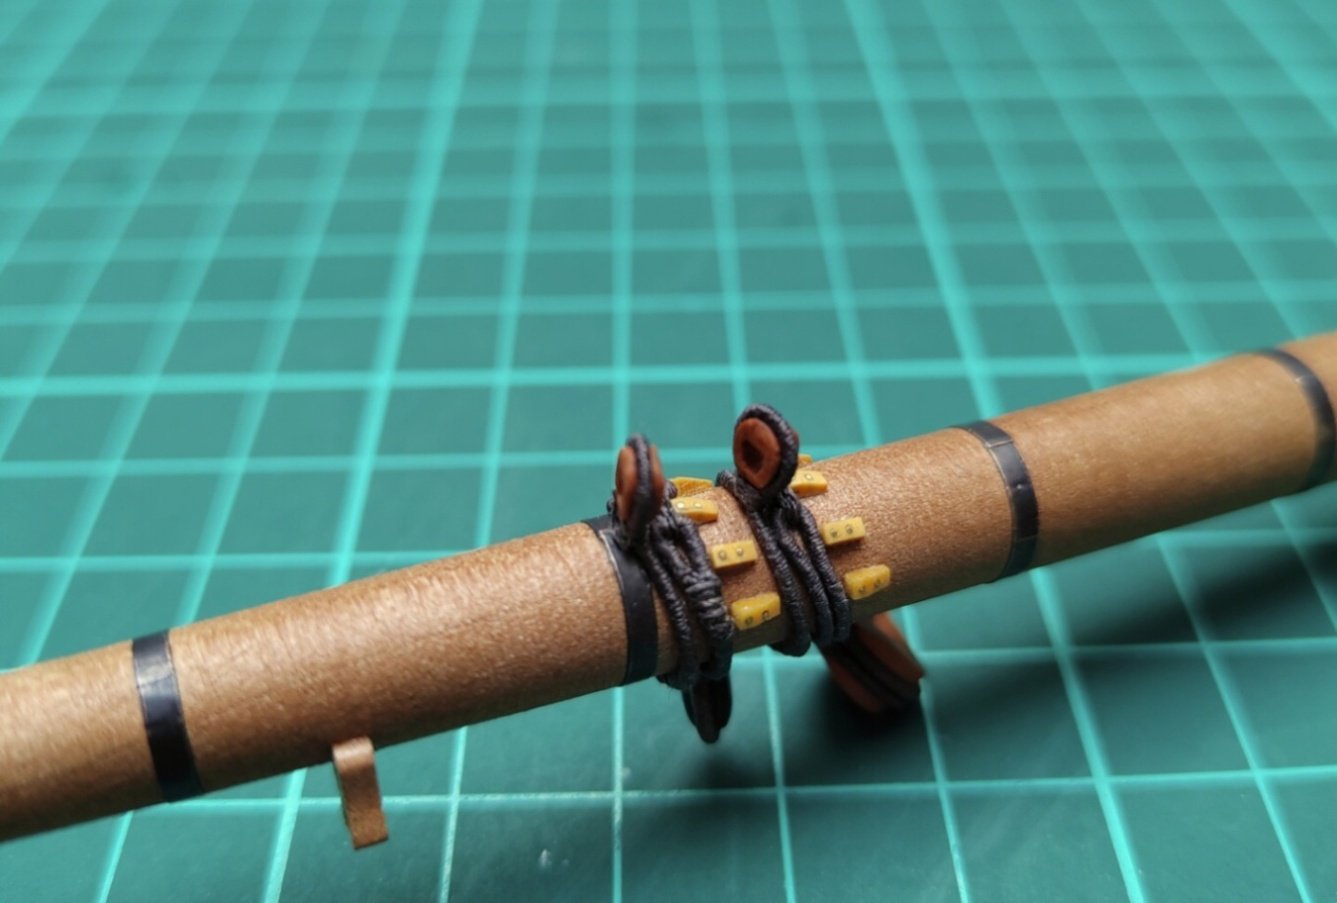
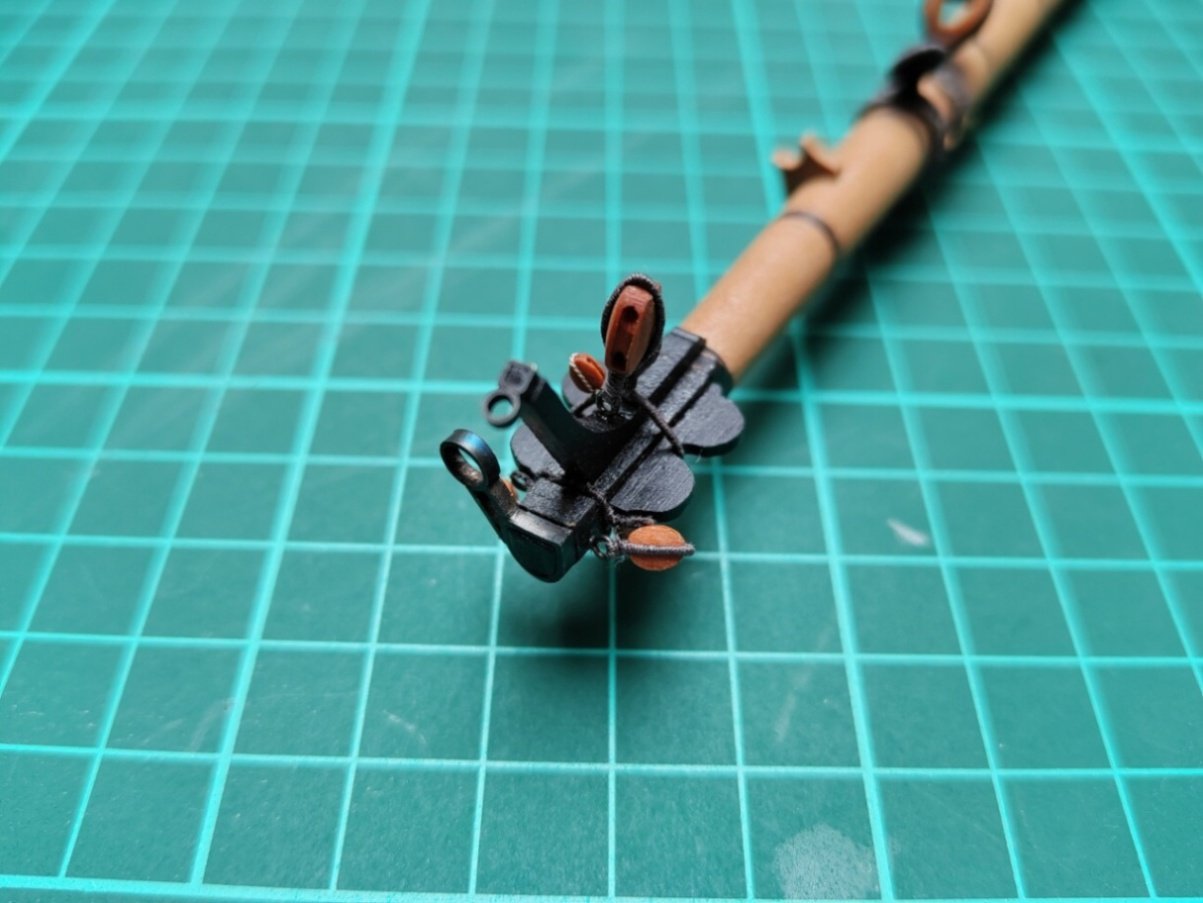
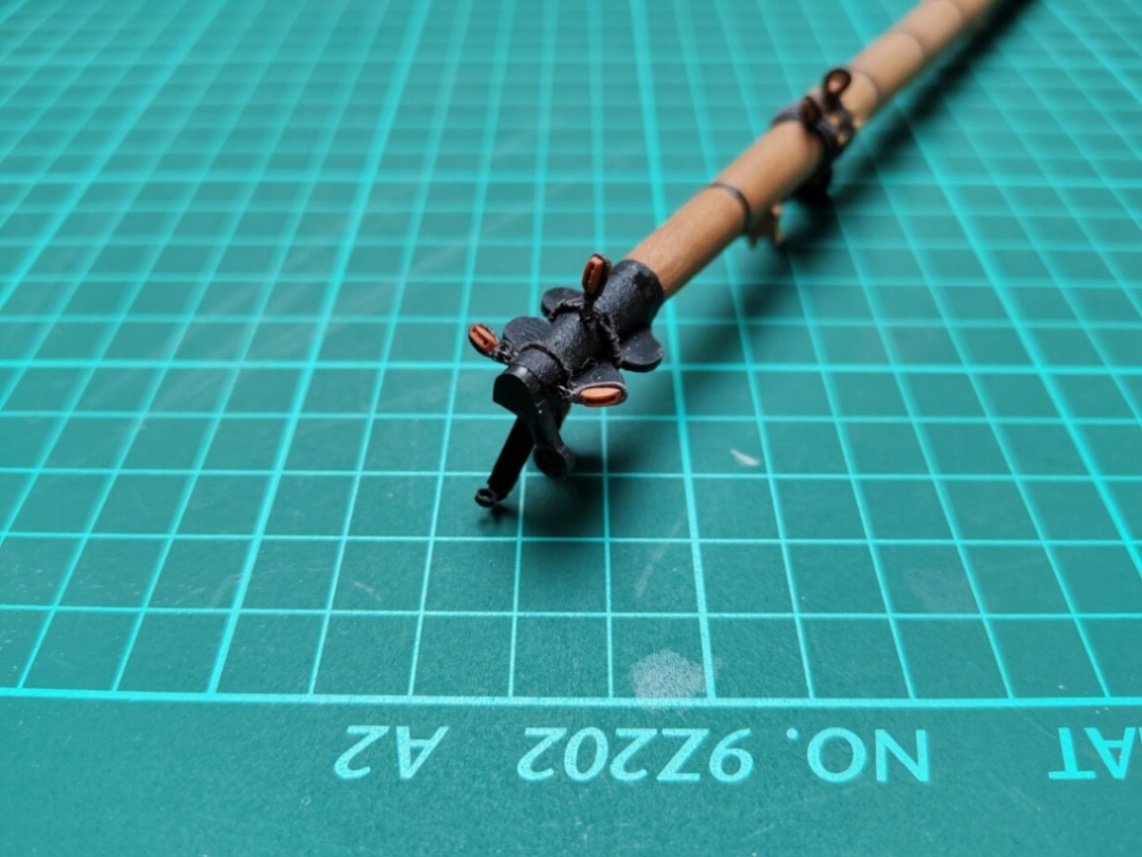
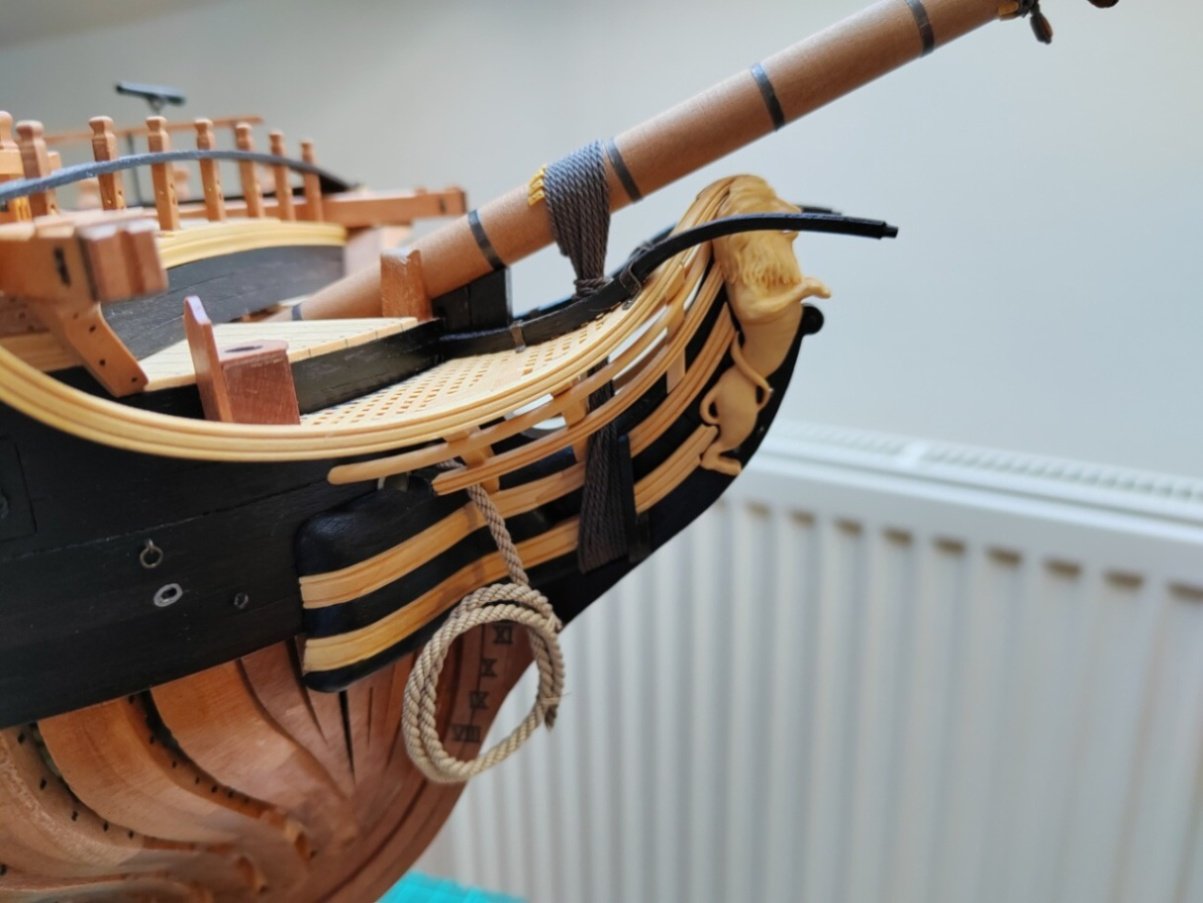
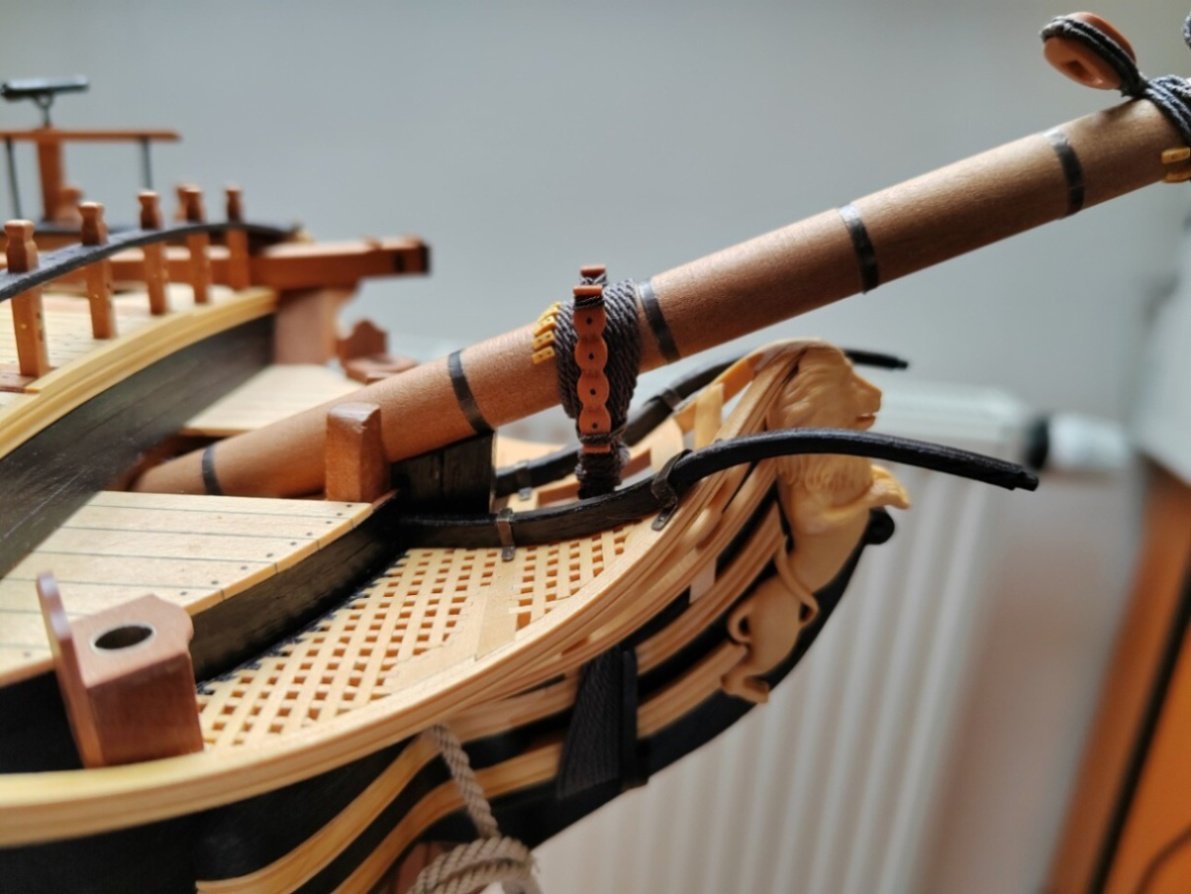
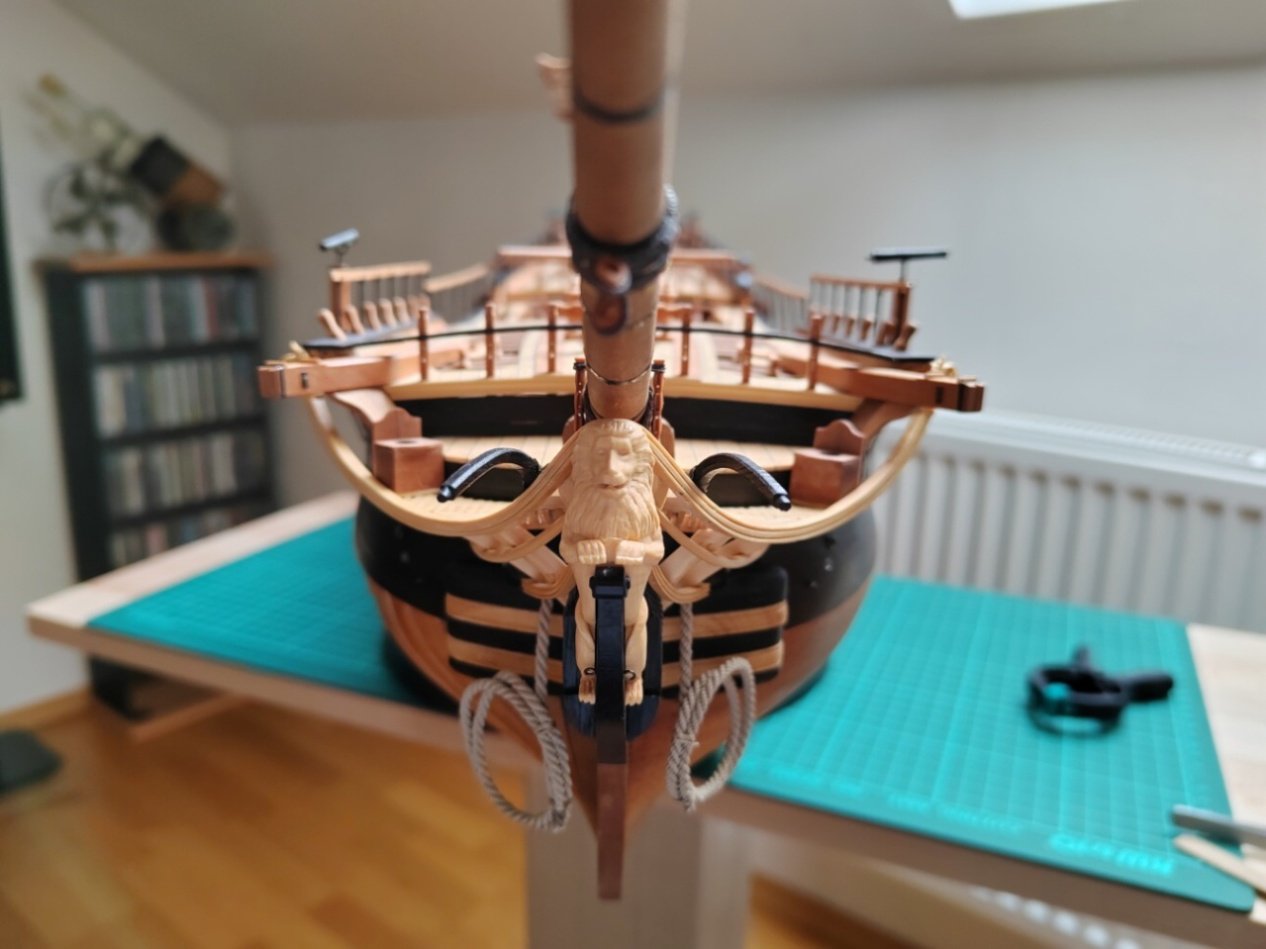
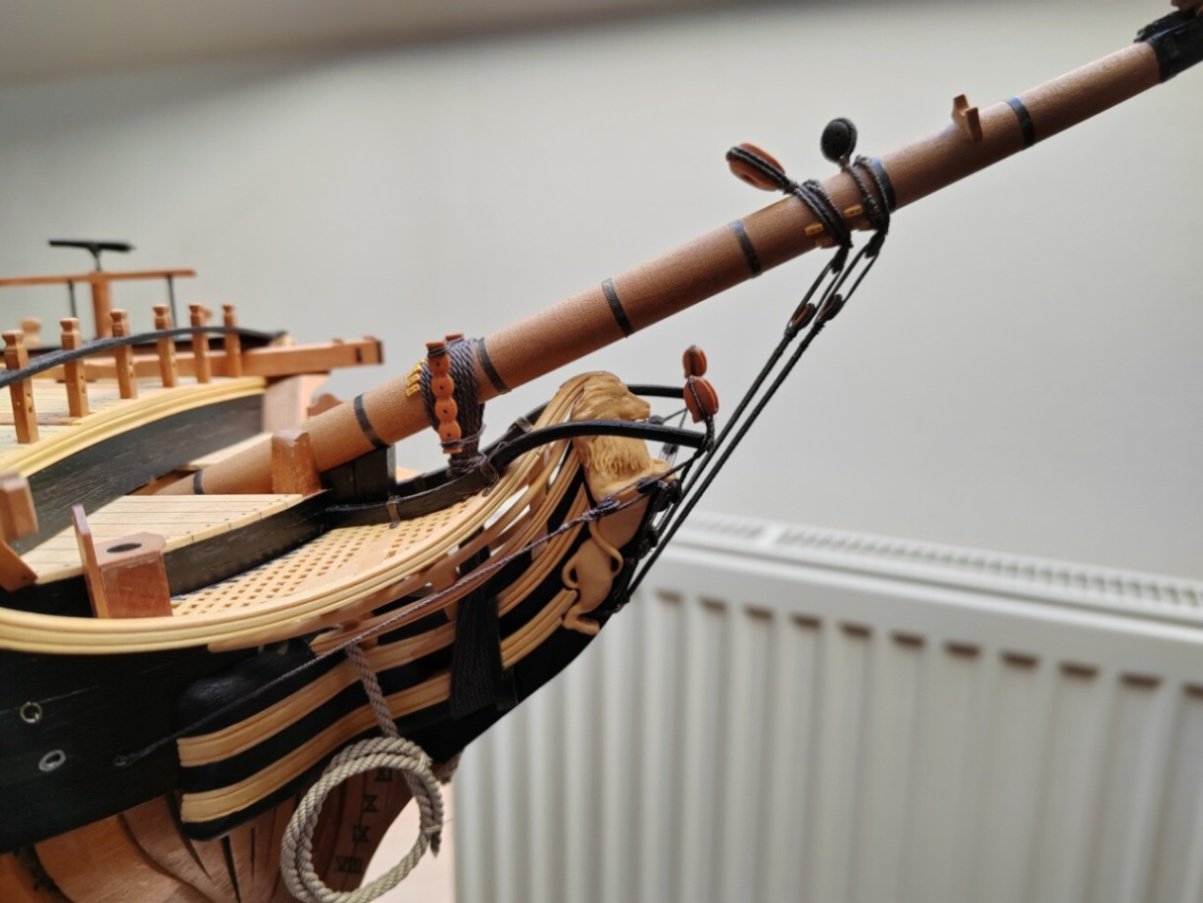
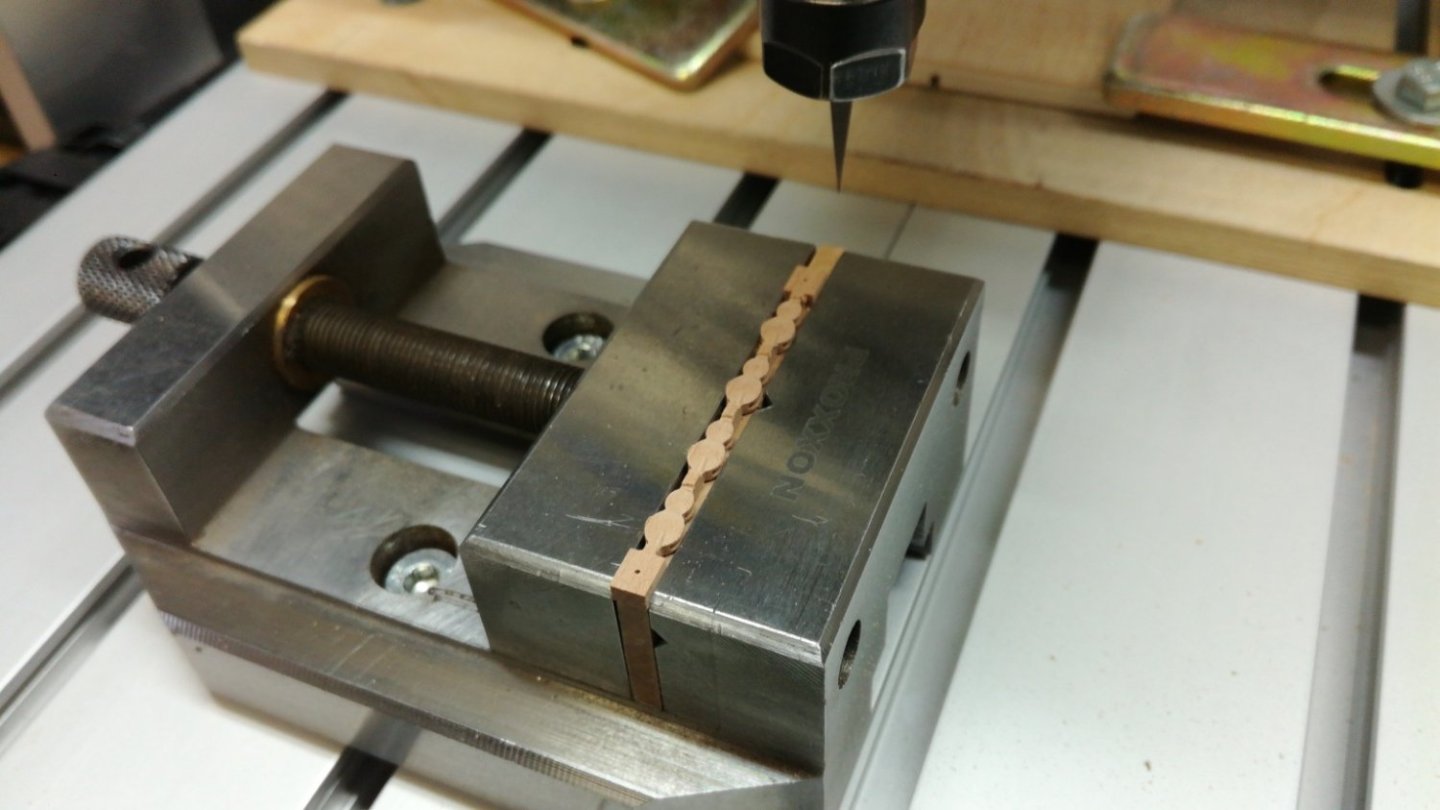
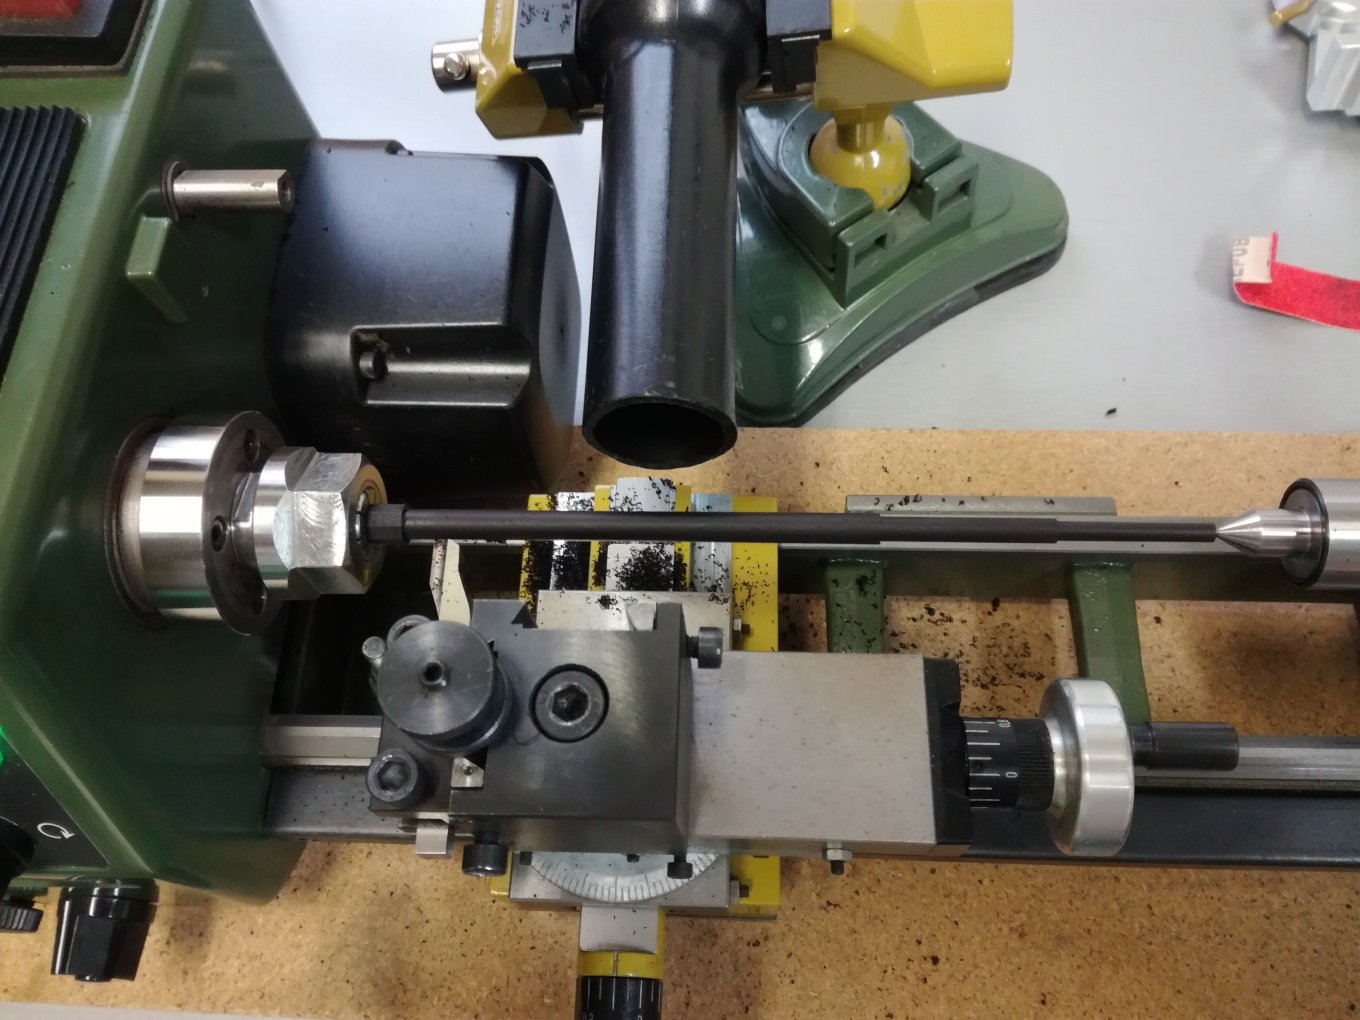
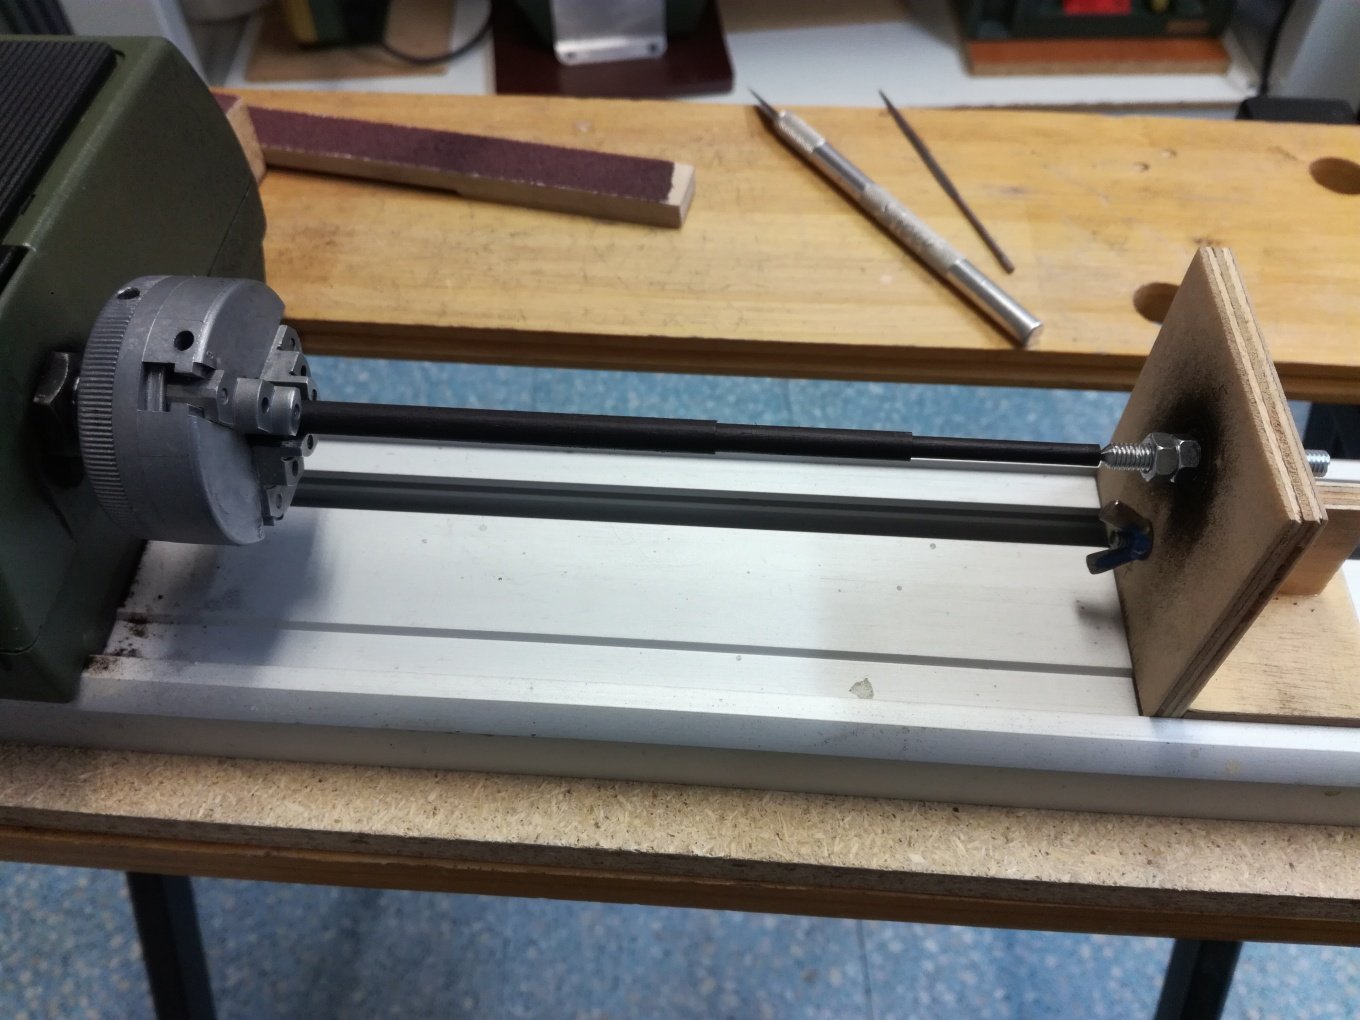
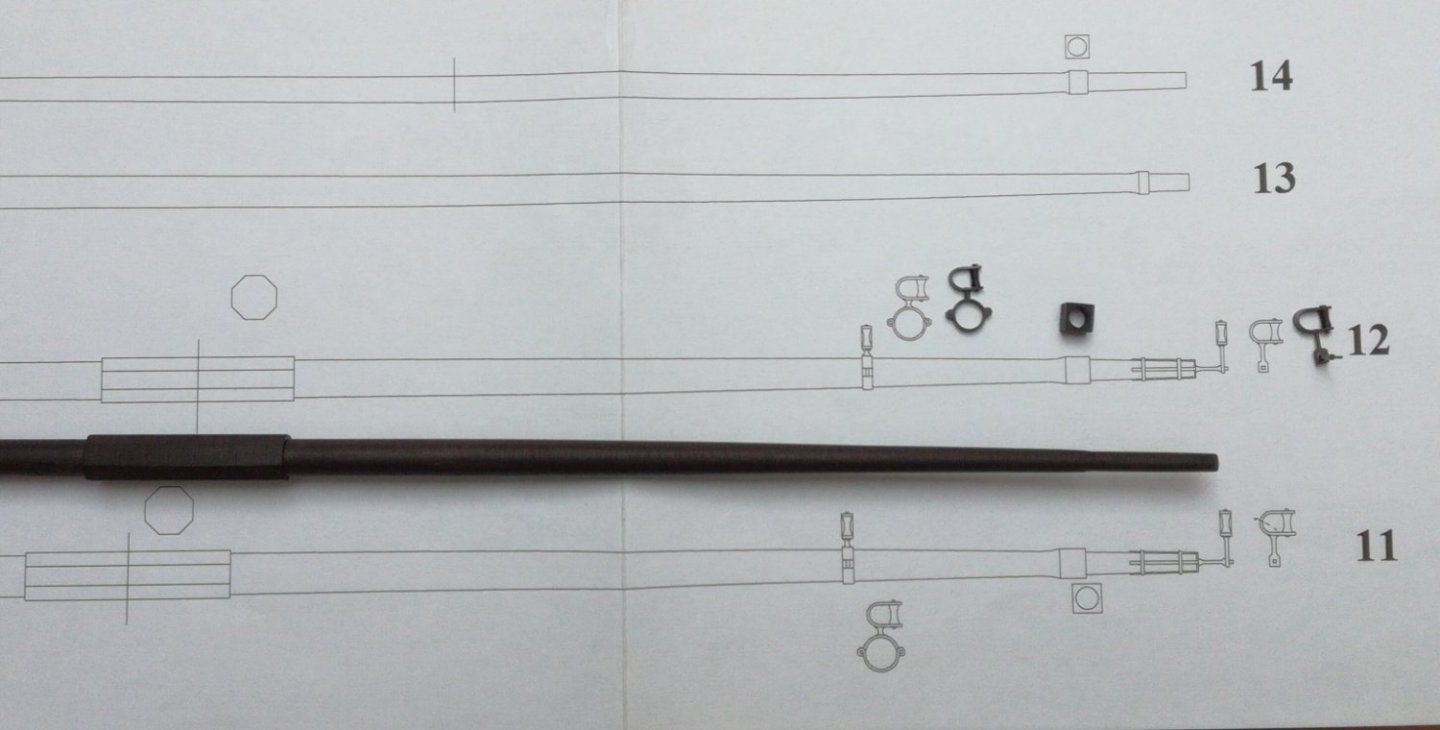
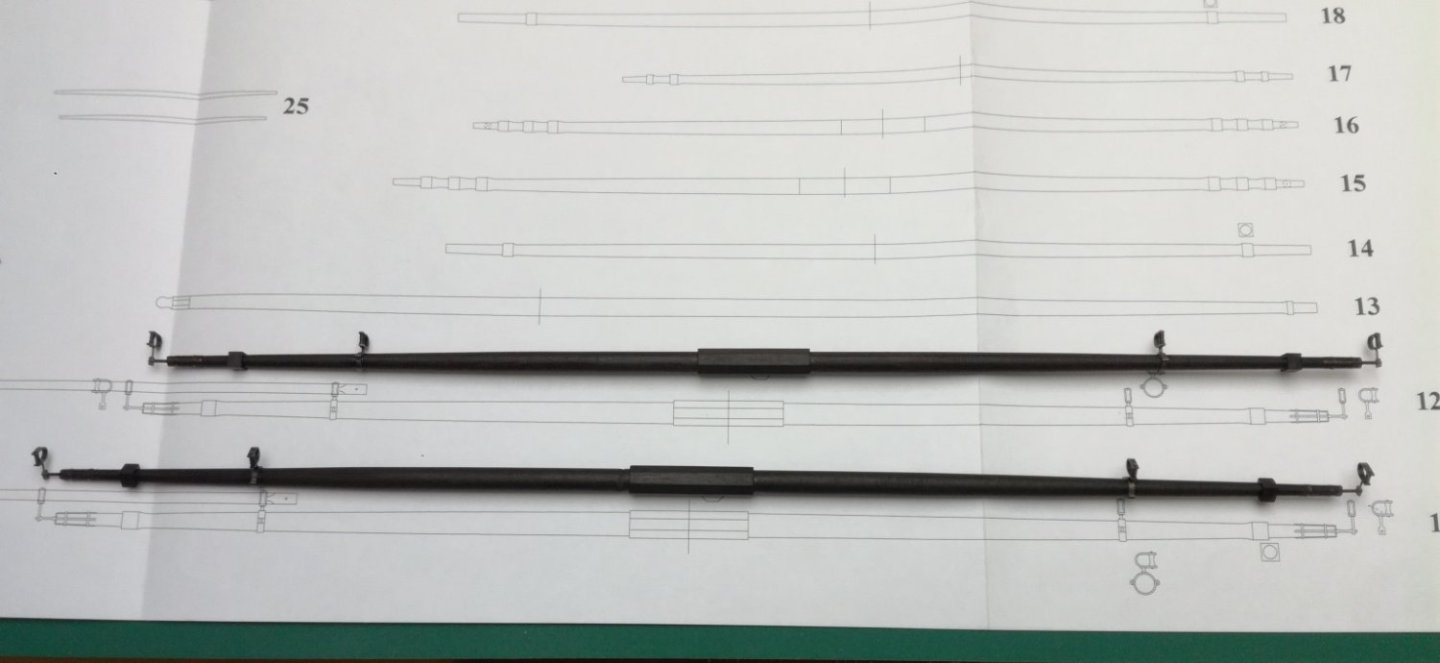
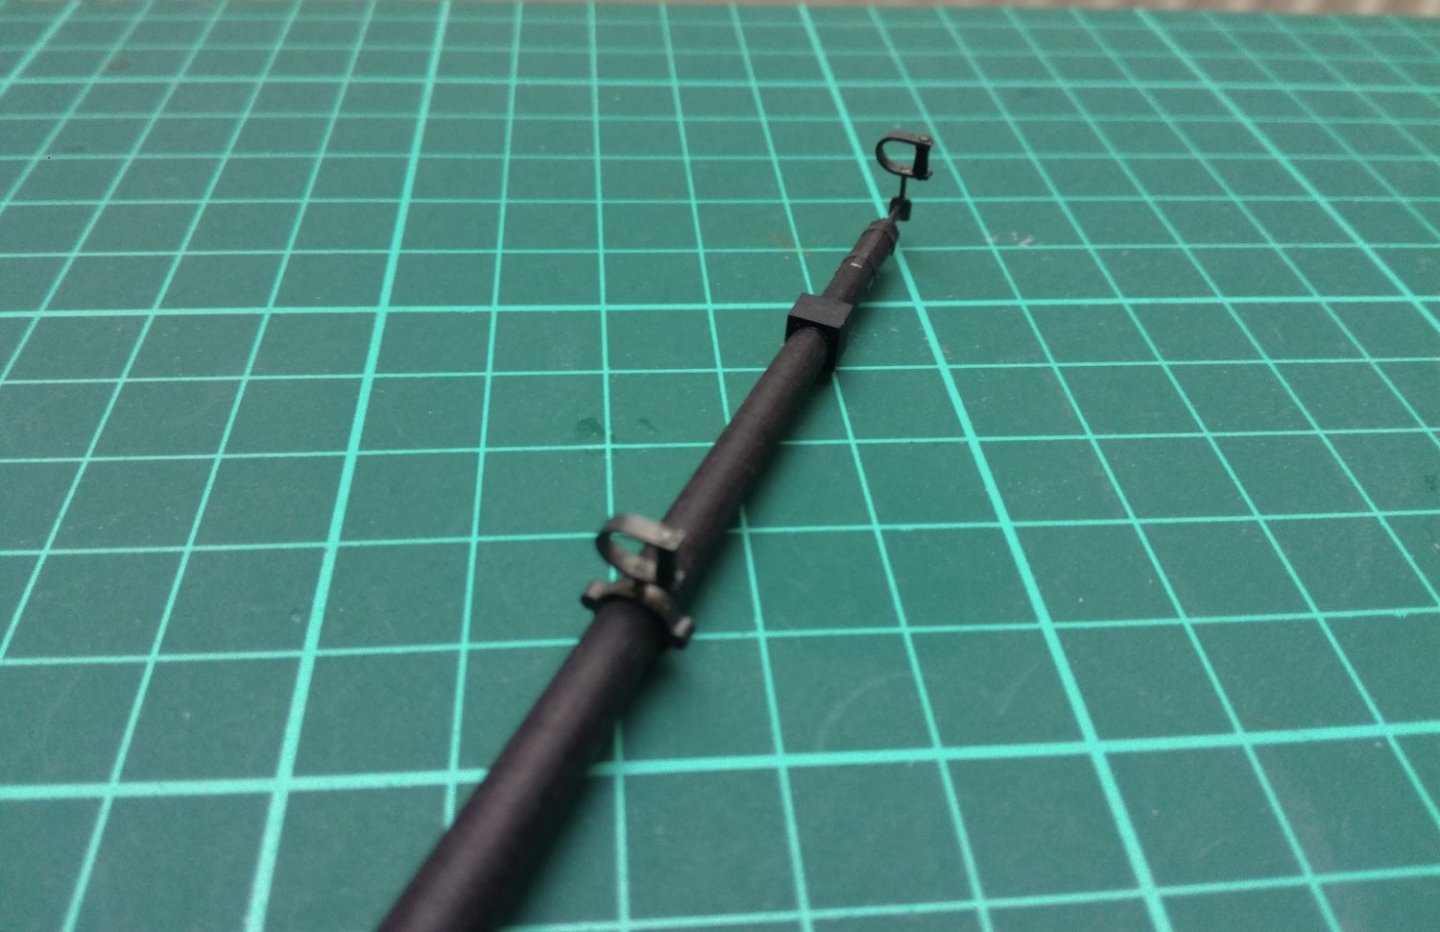
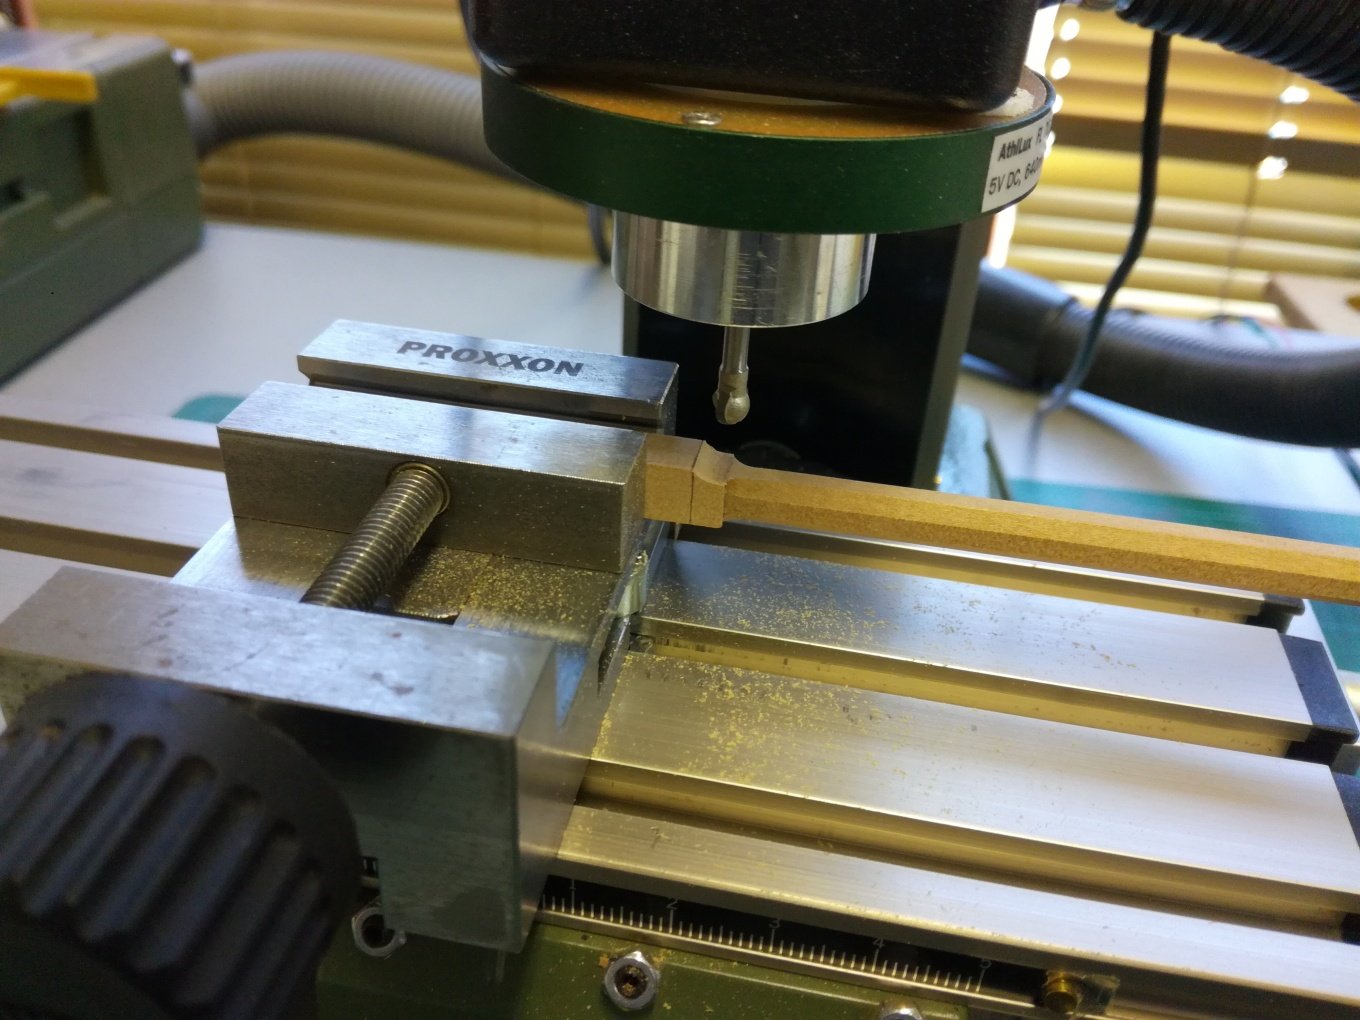
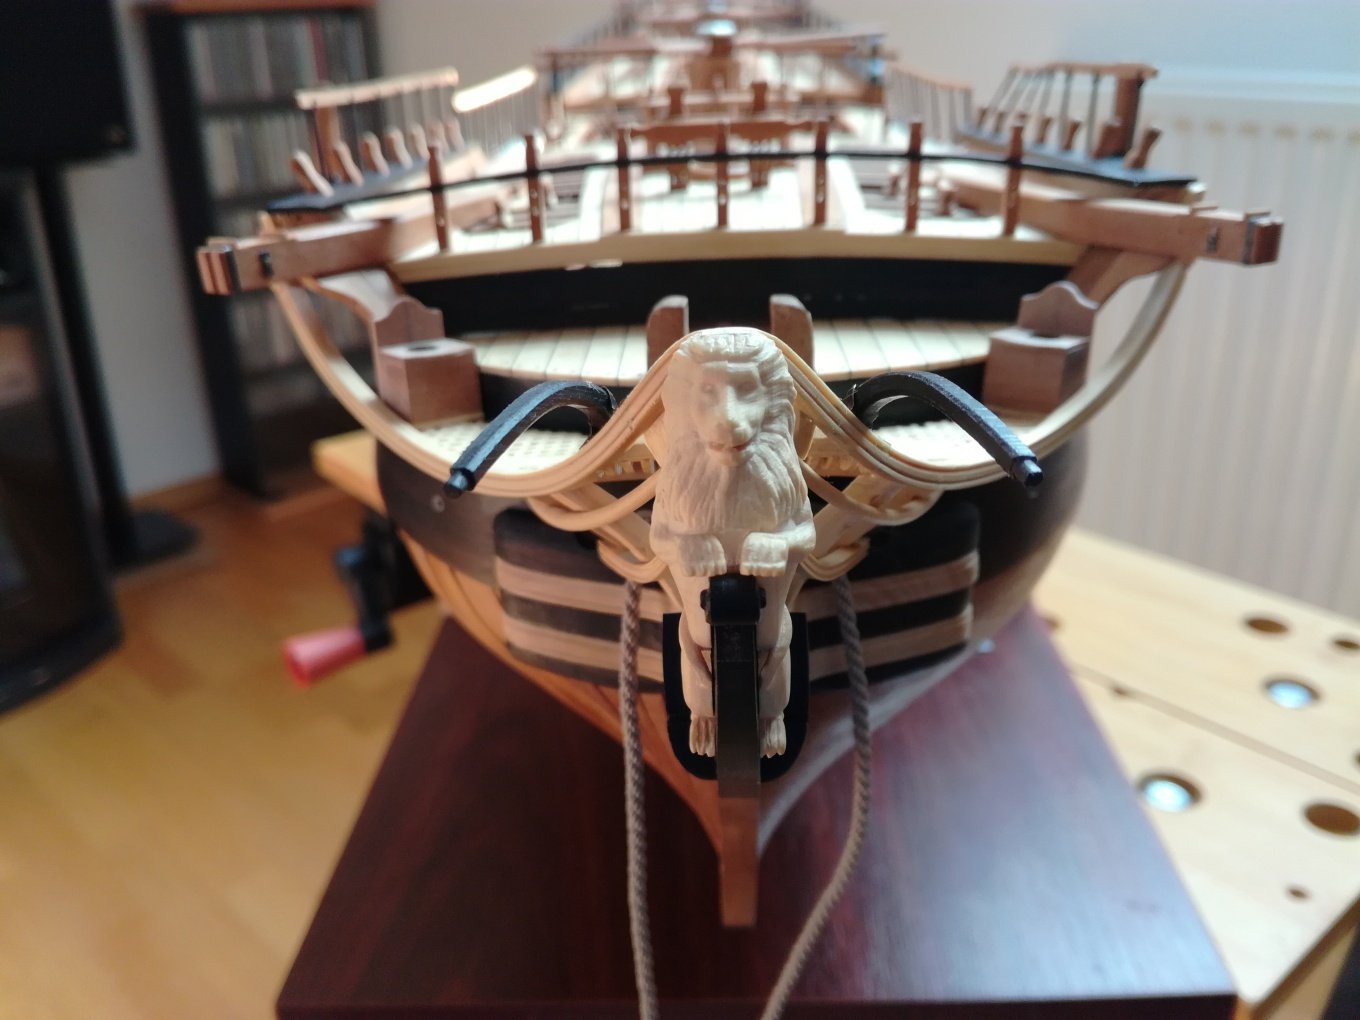
Thank you guys for very nice comments. Preparing to make these blocks was quite a challenge for me. But the result exceeded all my expectations. Uncritically, I have to admit that I myself am very satisfied with the result.. To Hsae - The blocks are made with a CNC milling machine, not from Proxxon, but a commonly available Chinese milling machine. The material for the blocks is pear. The construction of the model moved to the next stage - rigging. I start by attaching the bowsprit.
- 589 replies
-
- 37
-

-

-
- le gros ventre
- cargo
- (and 1 more)
-
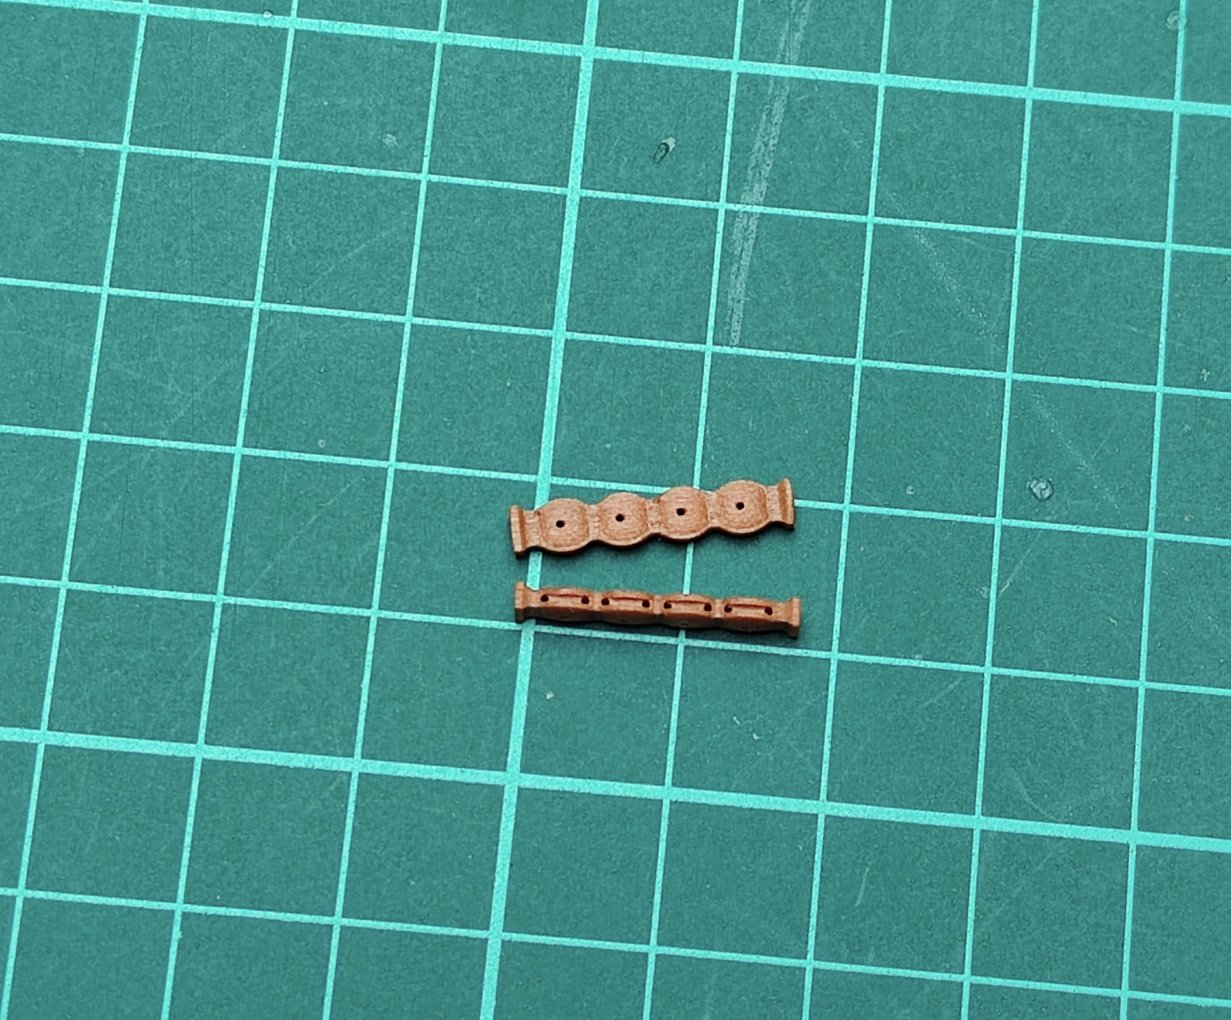
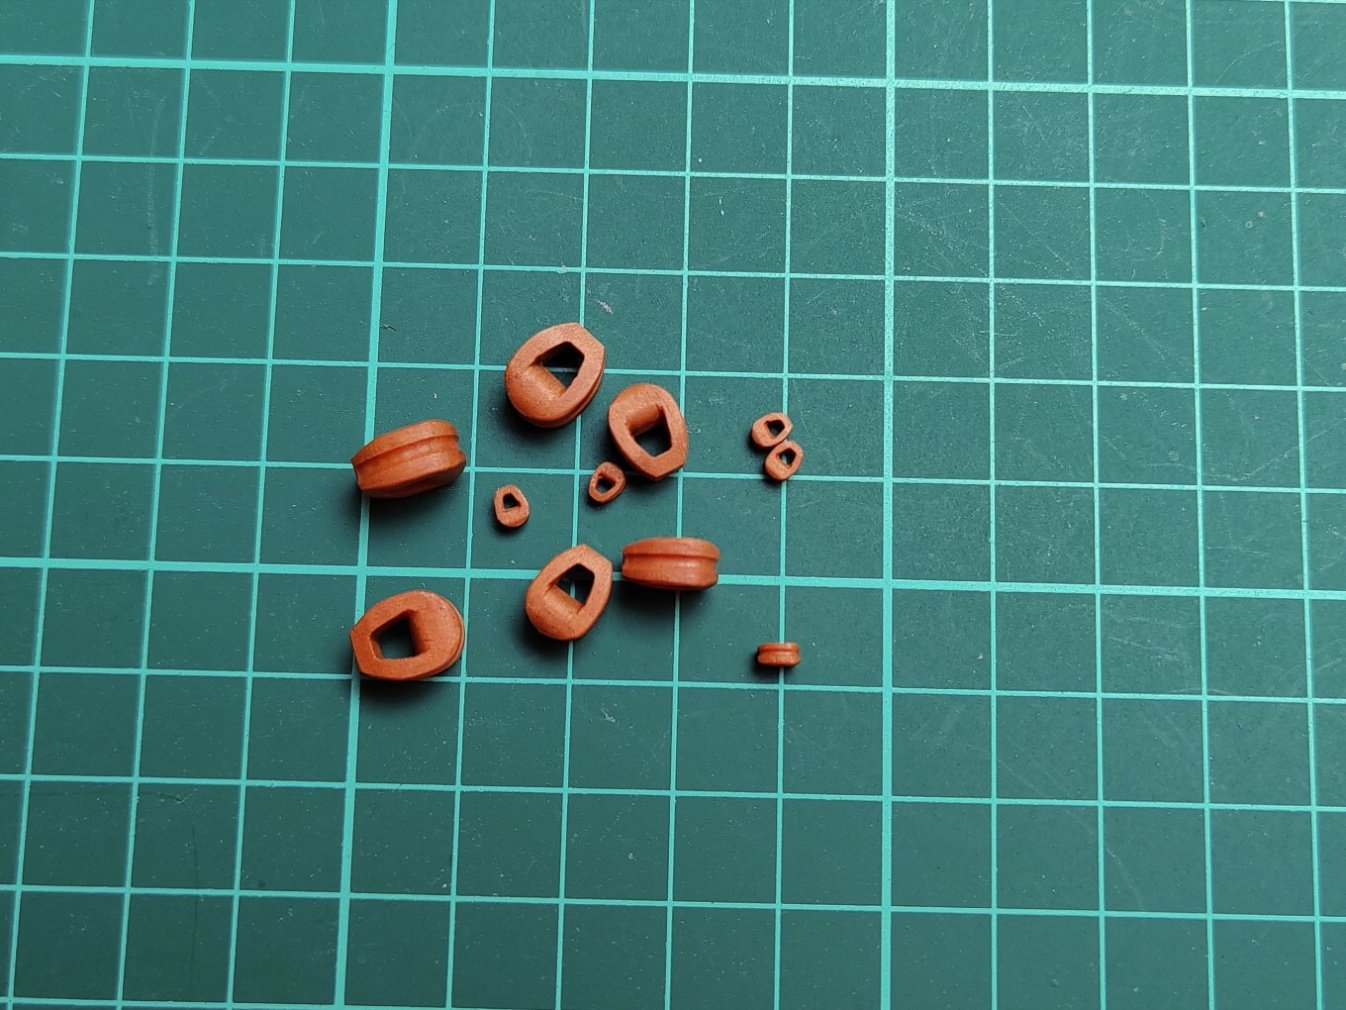
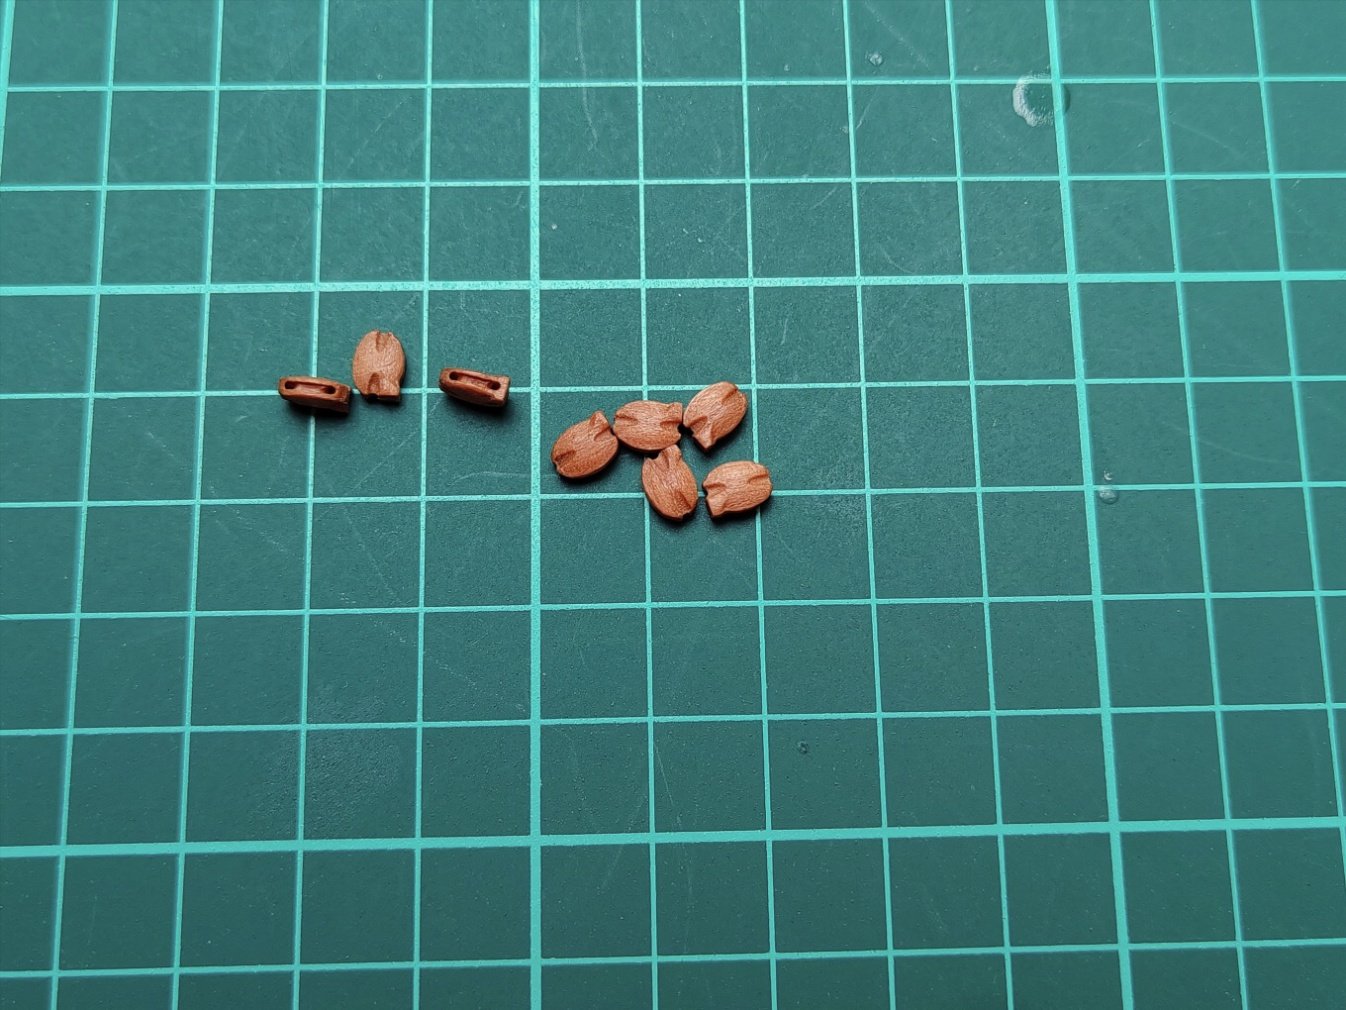
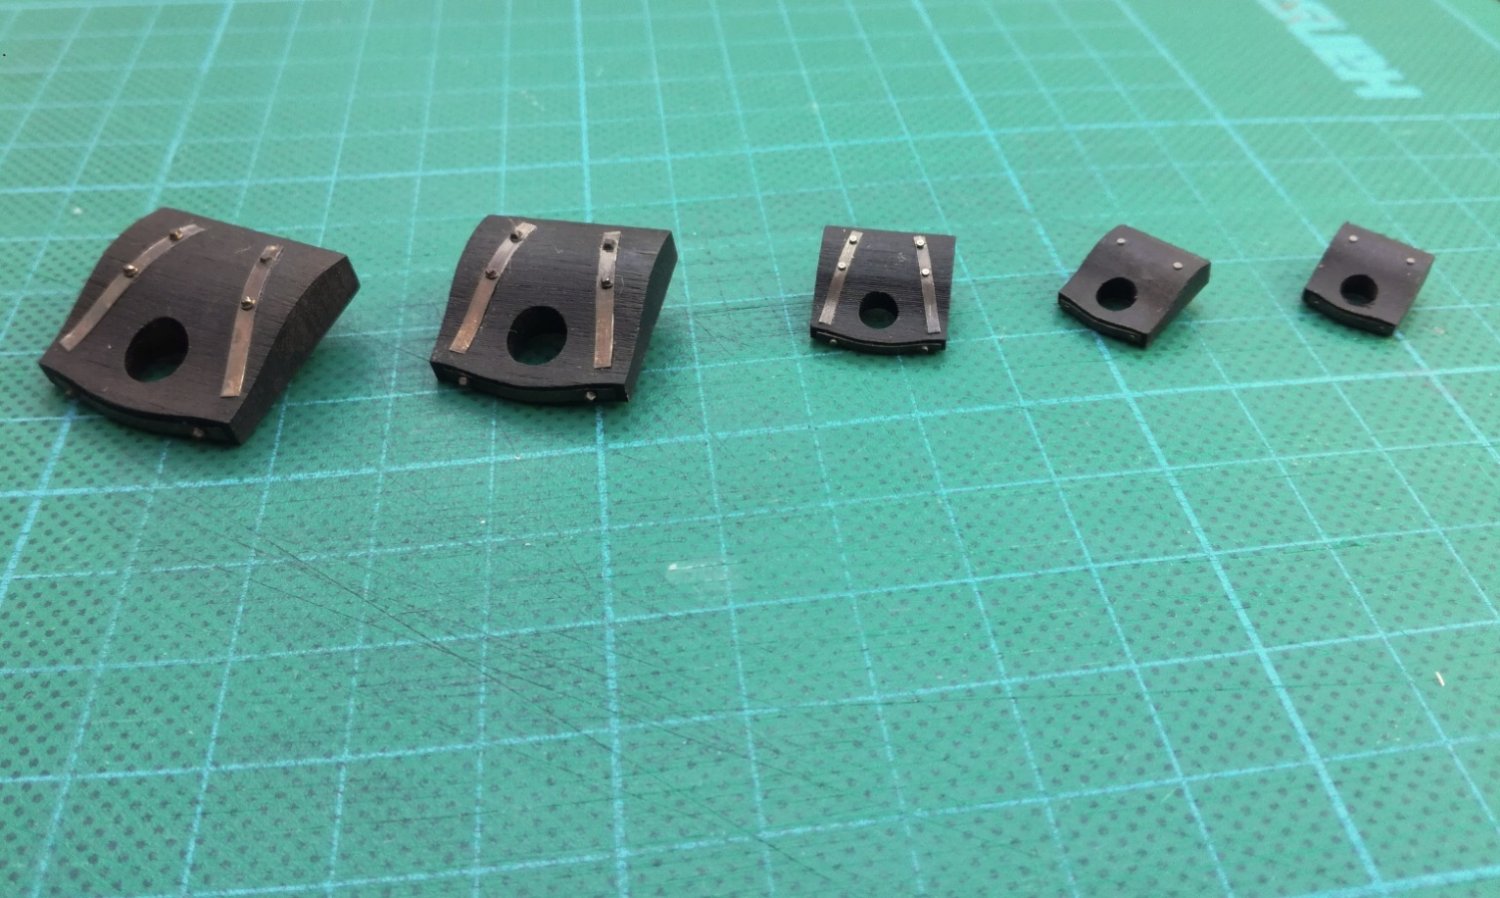
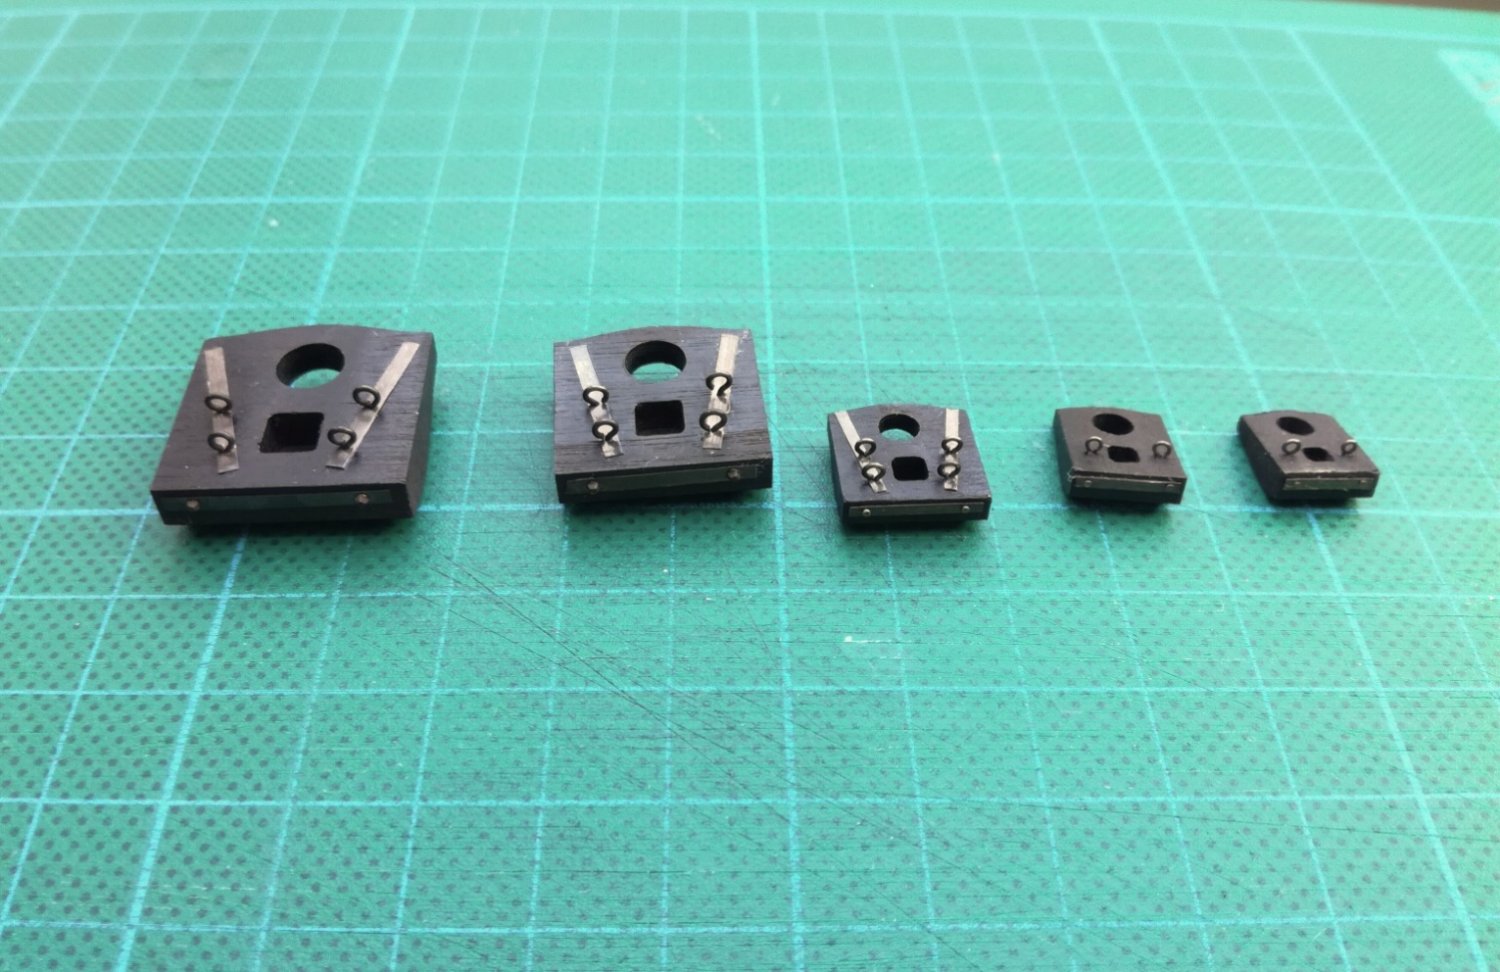
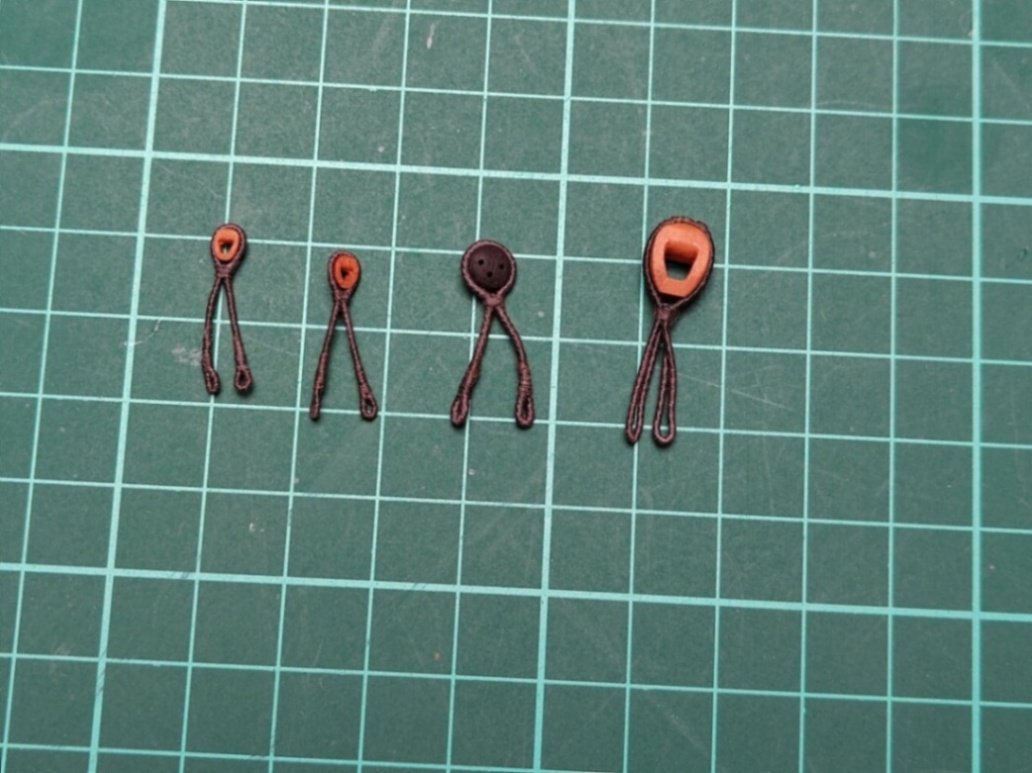
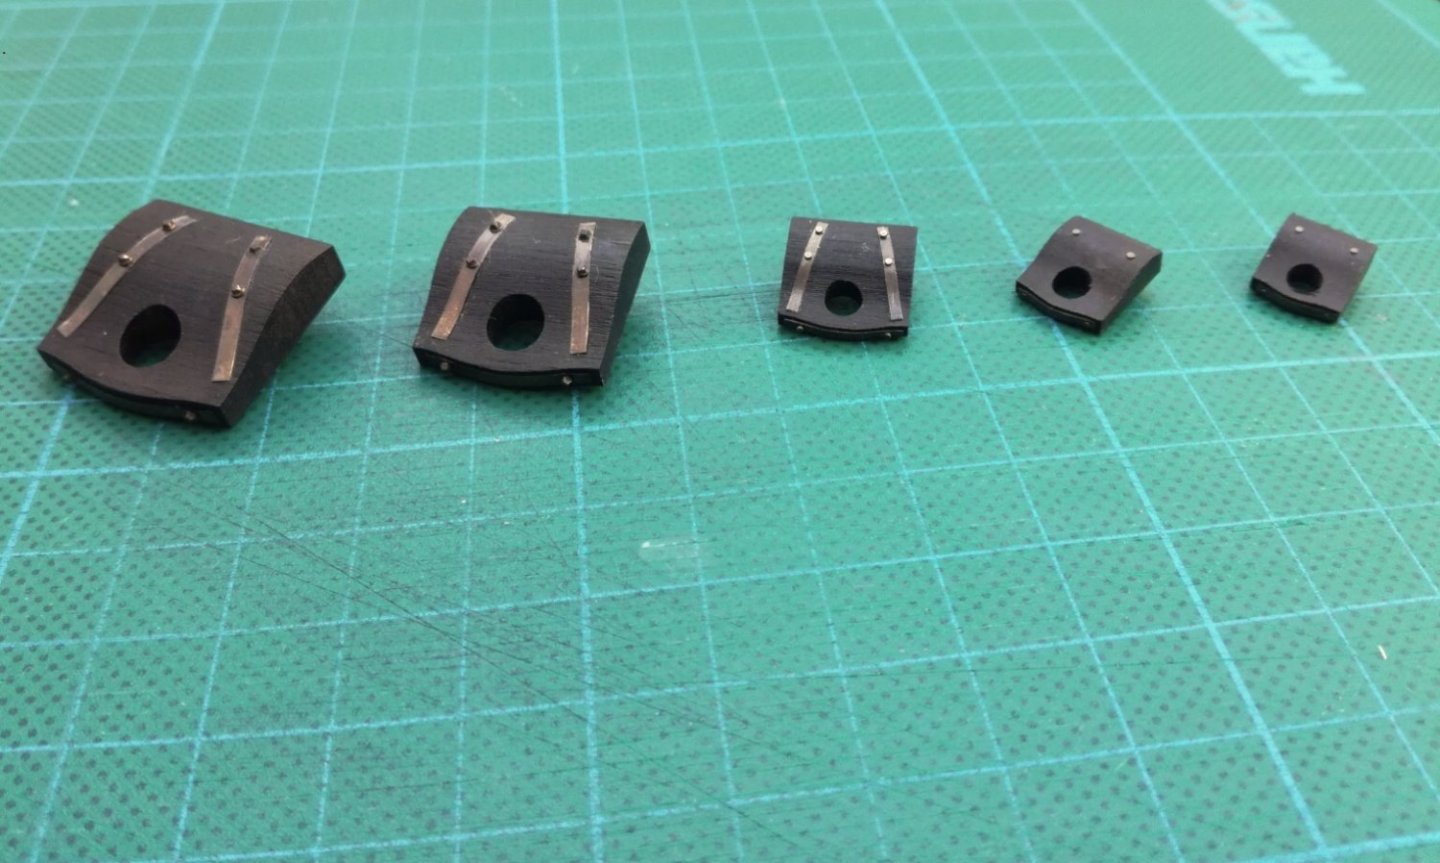
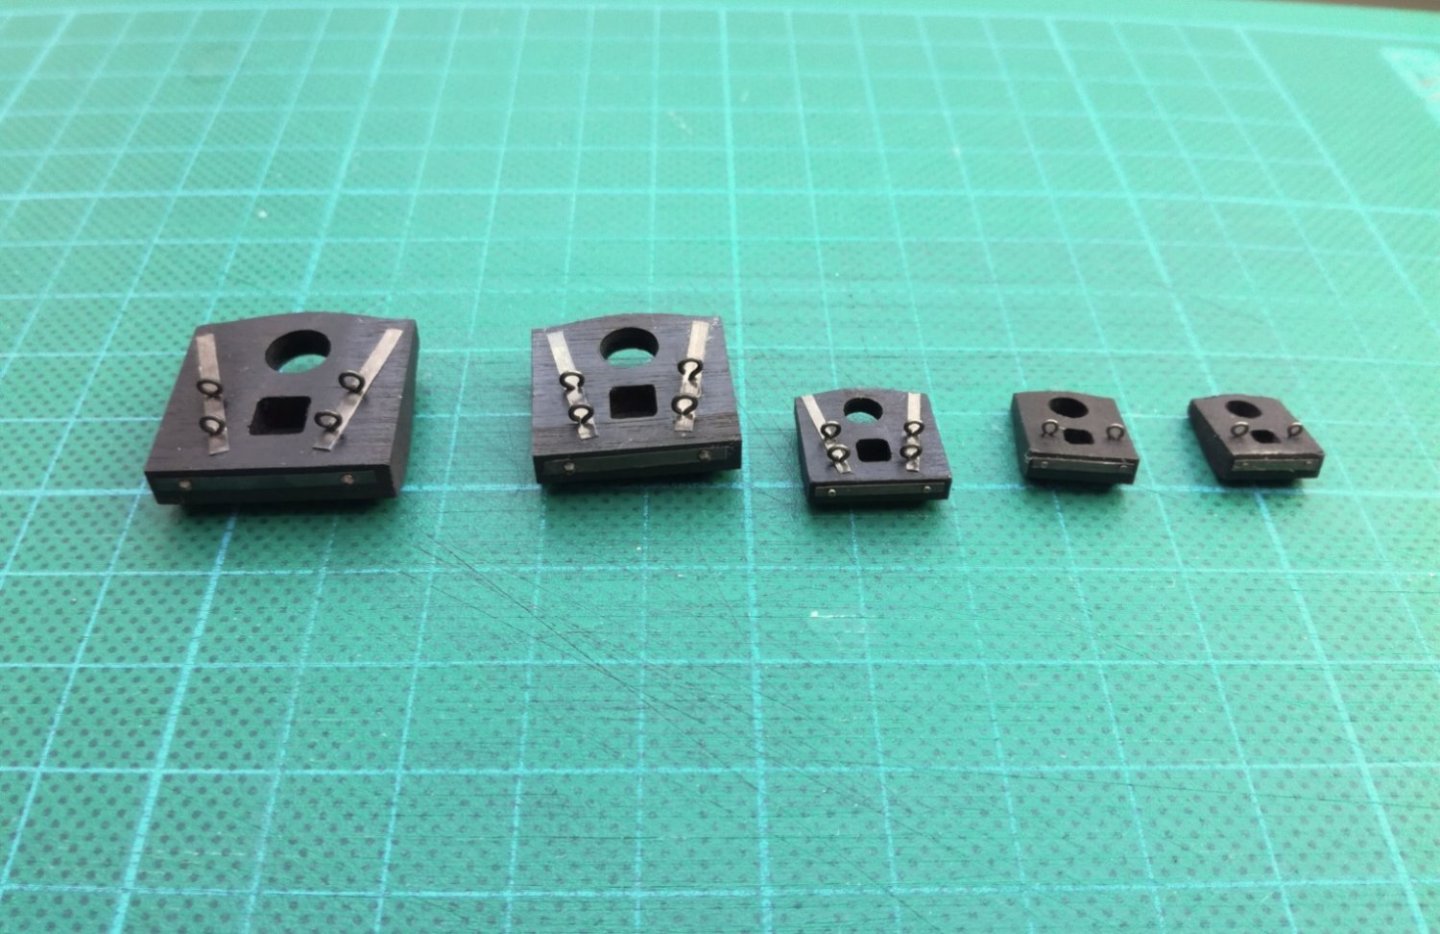
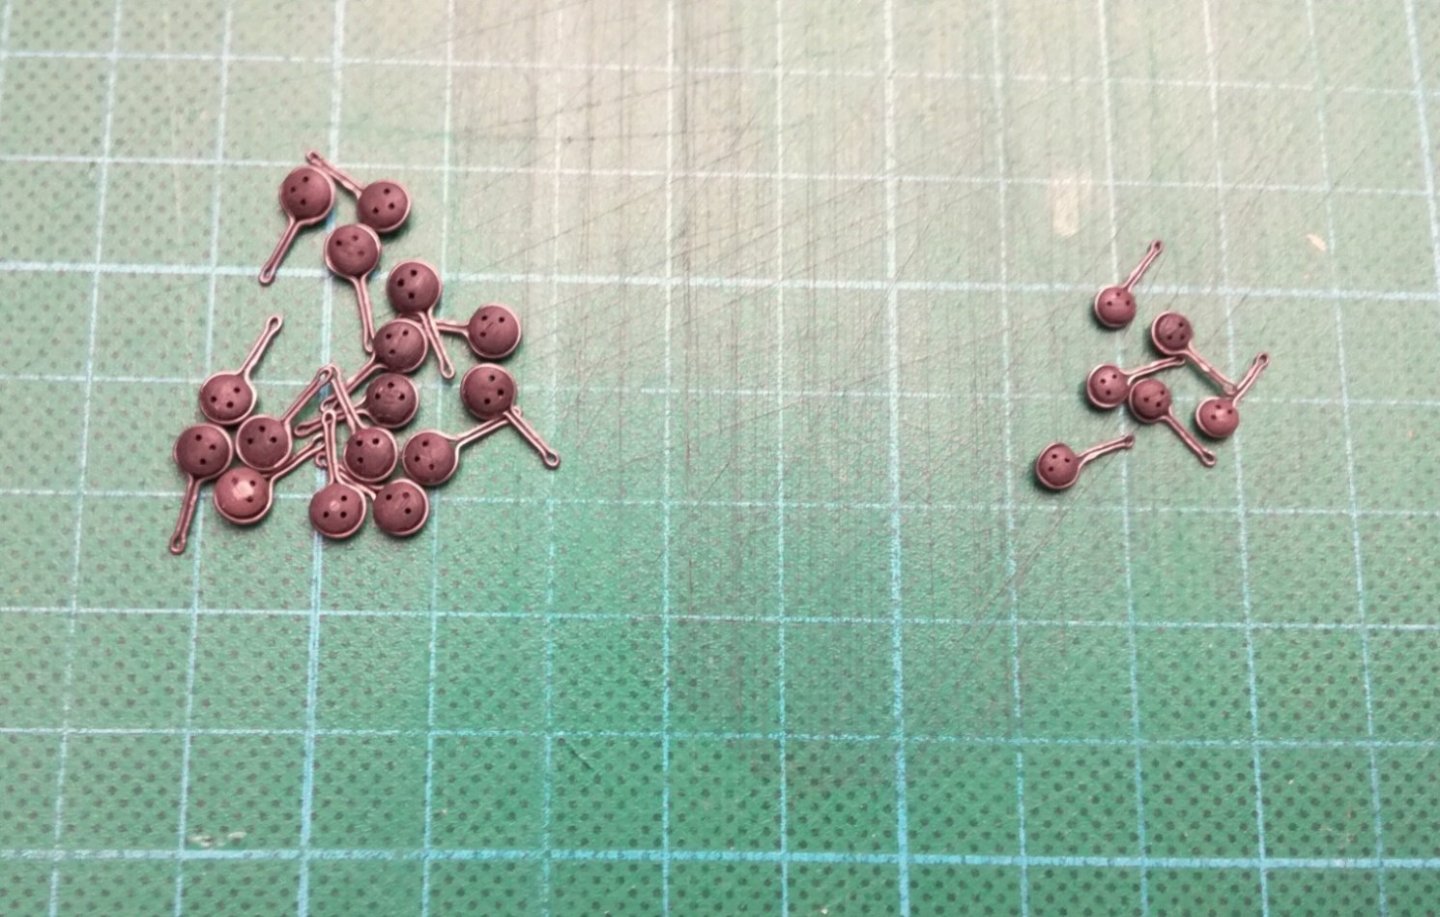
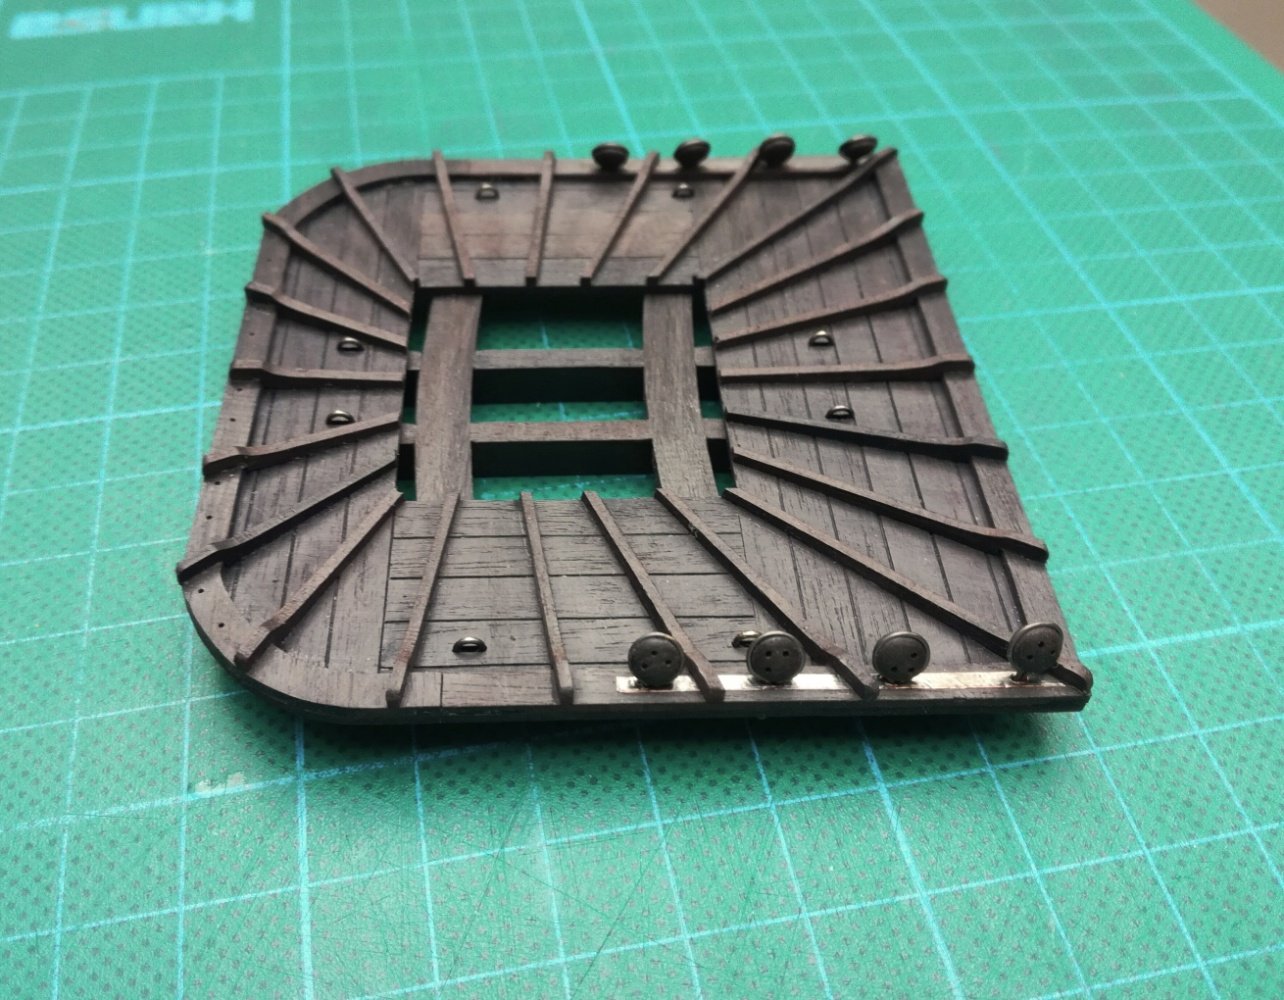
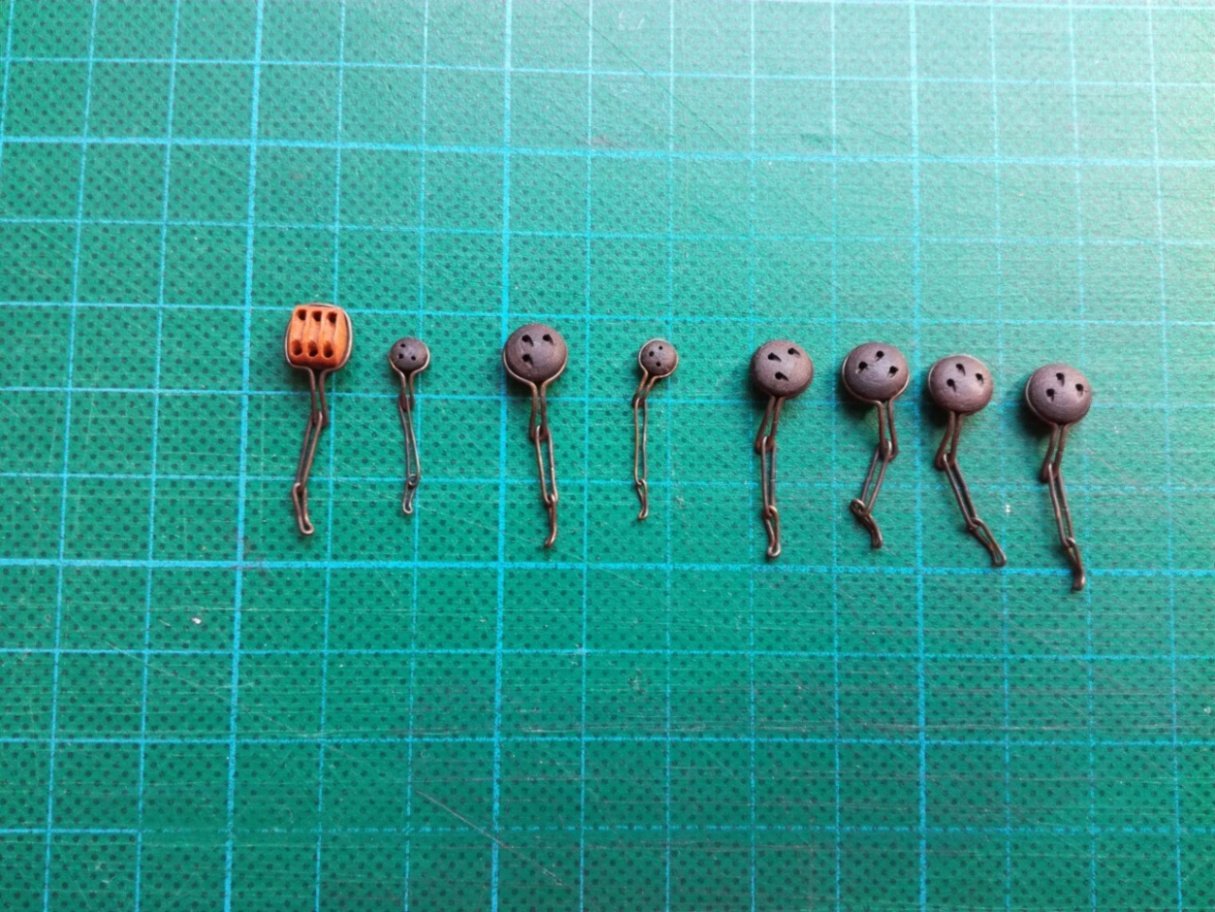
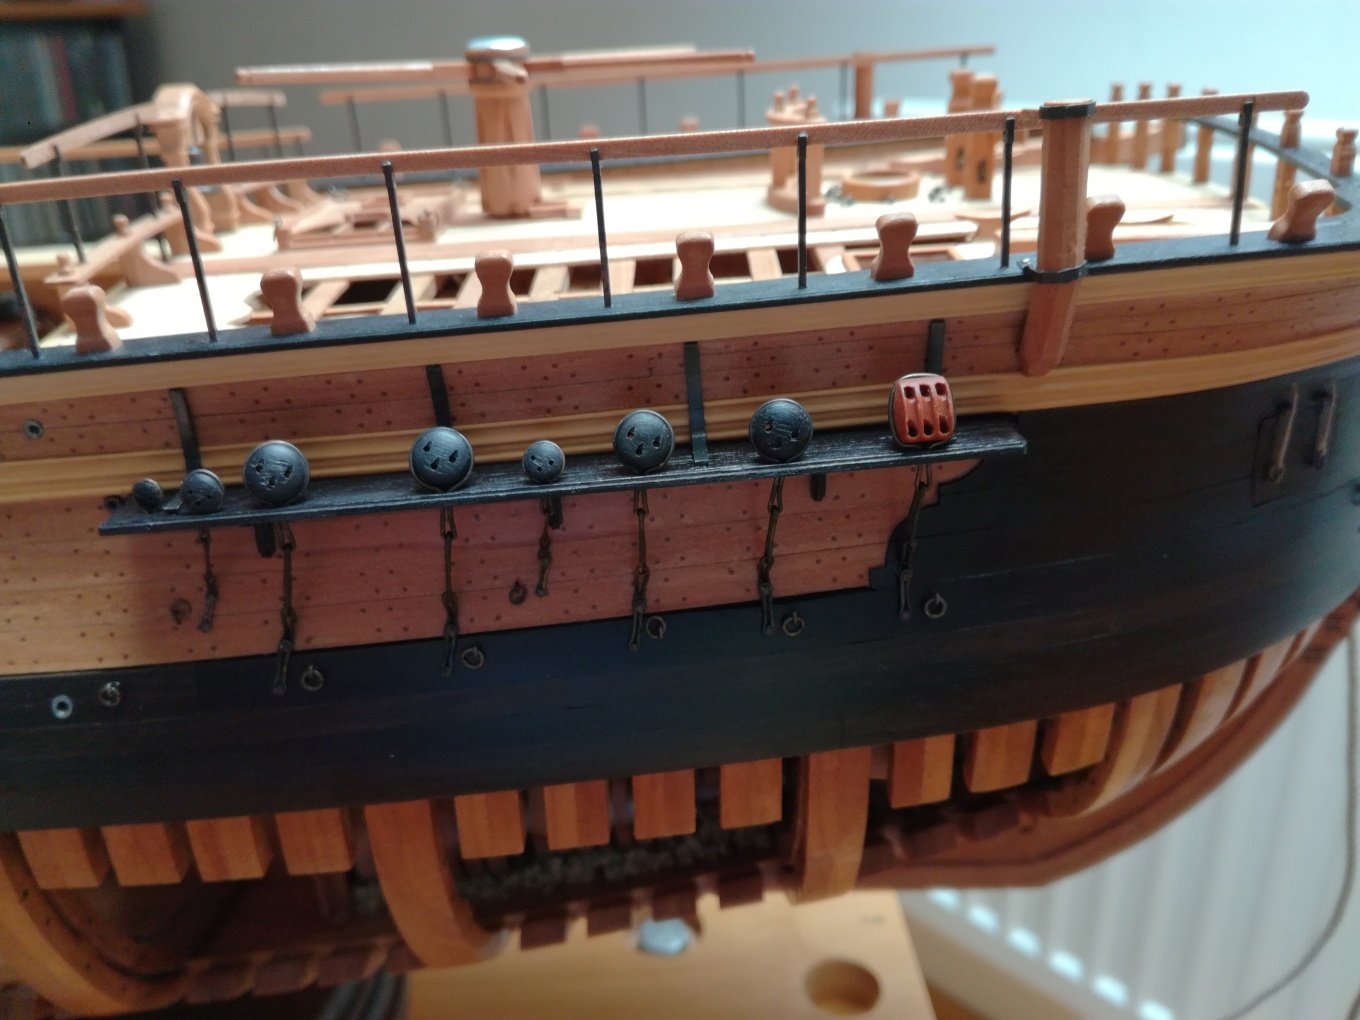
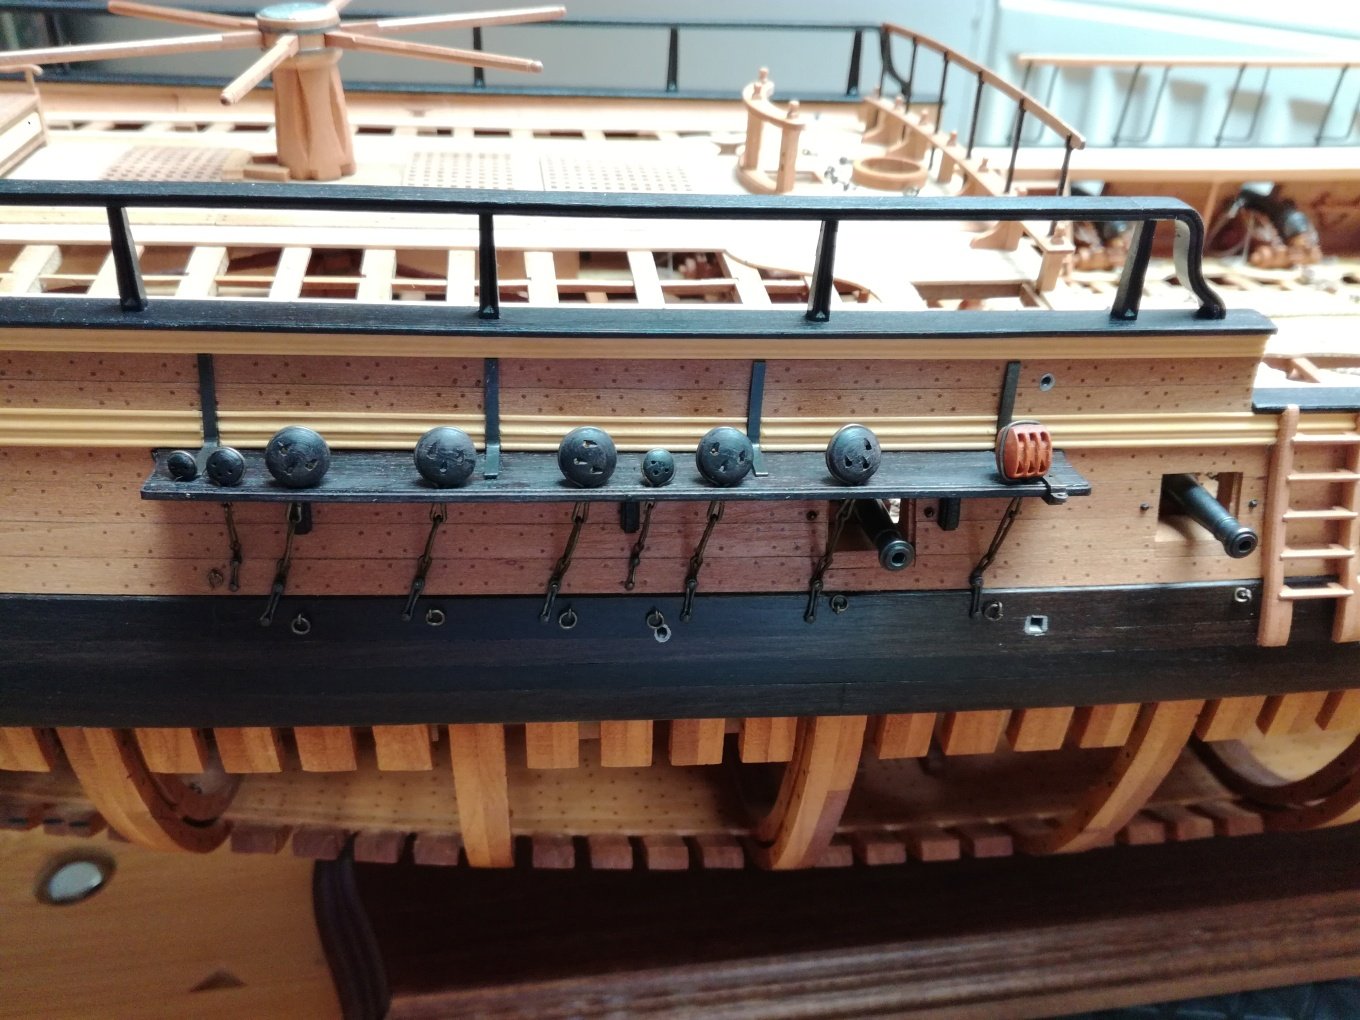
A few more "special" blocks remain to be made before I start rigging.


- 589 replies
-
- 16
-
-
-
- le gros ventre
- cargo
- (and 1 more)
-
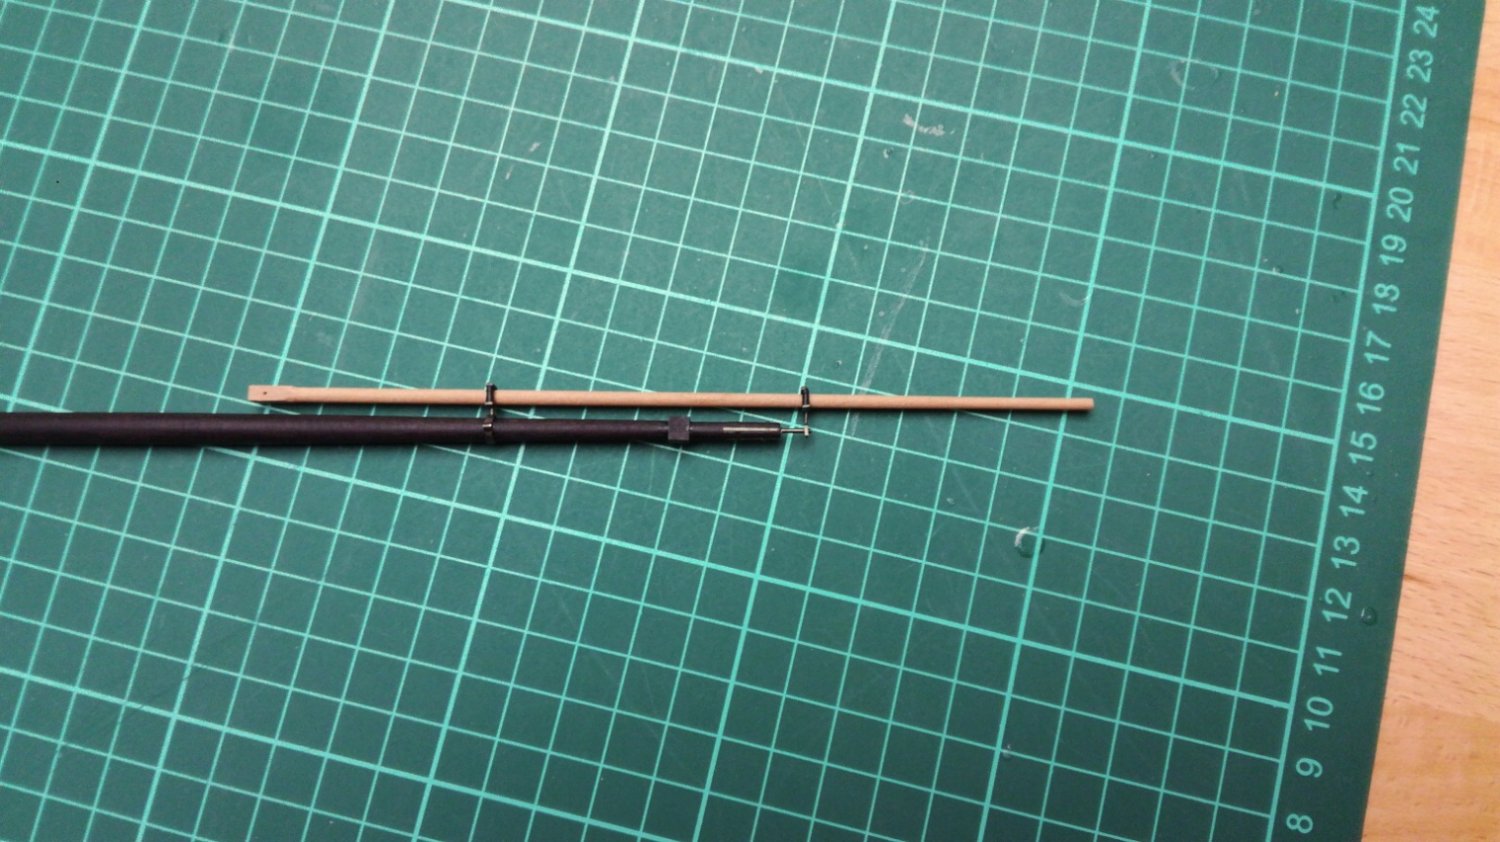
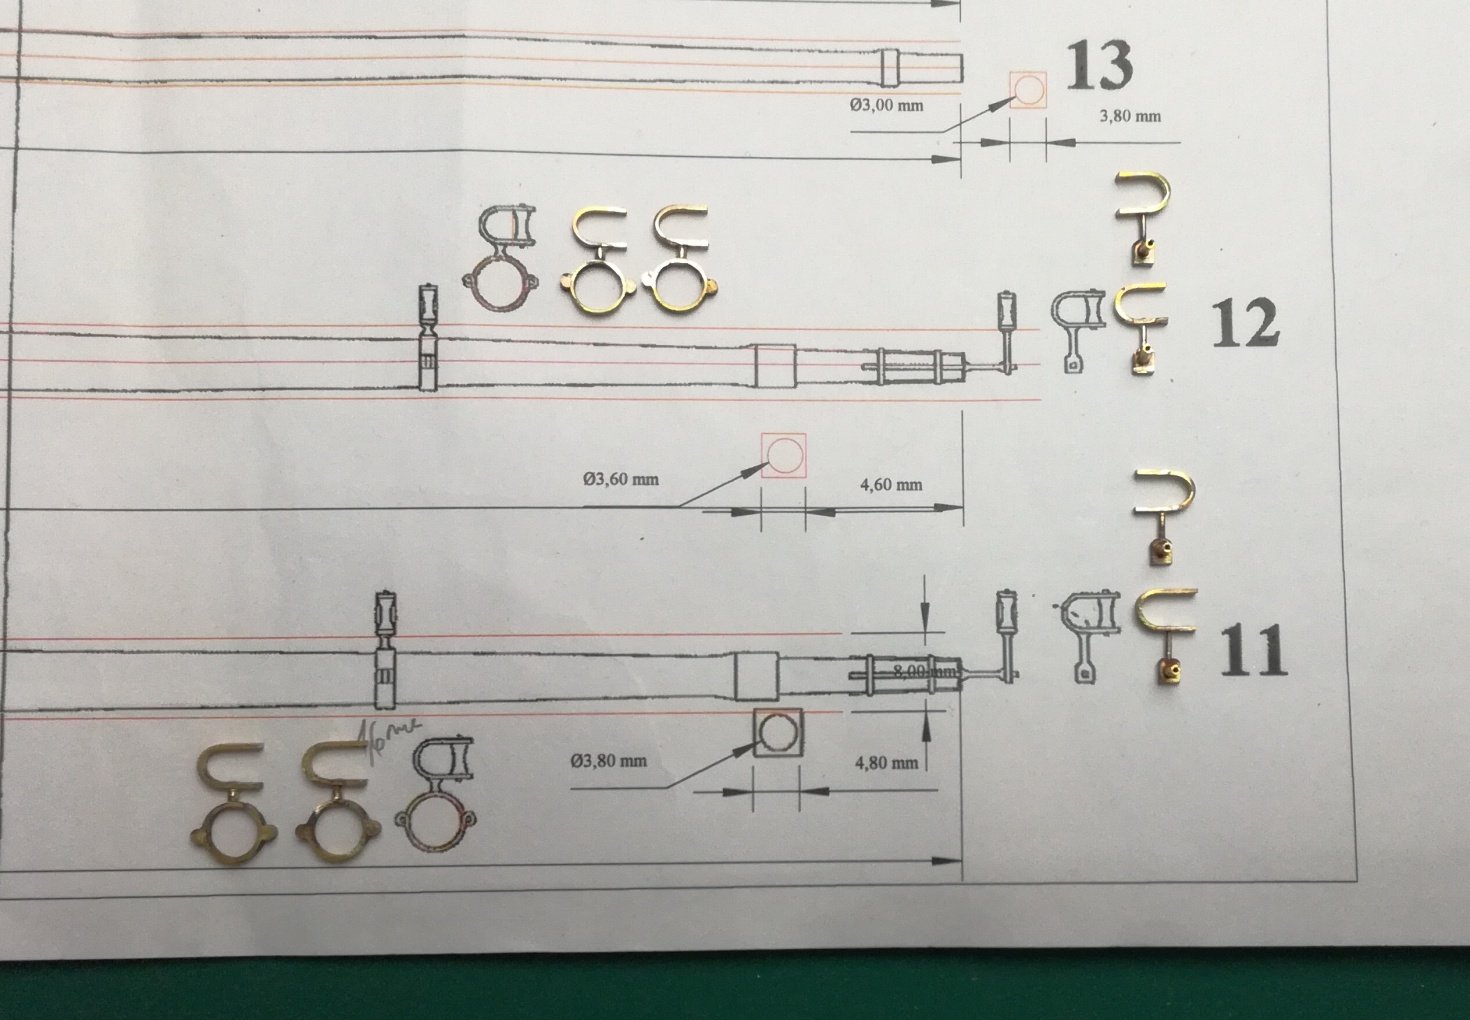
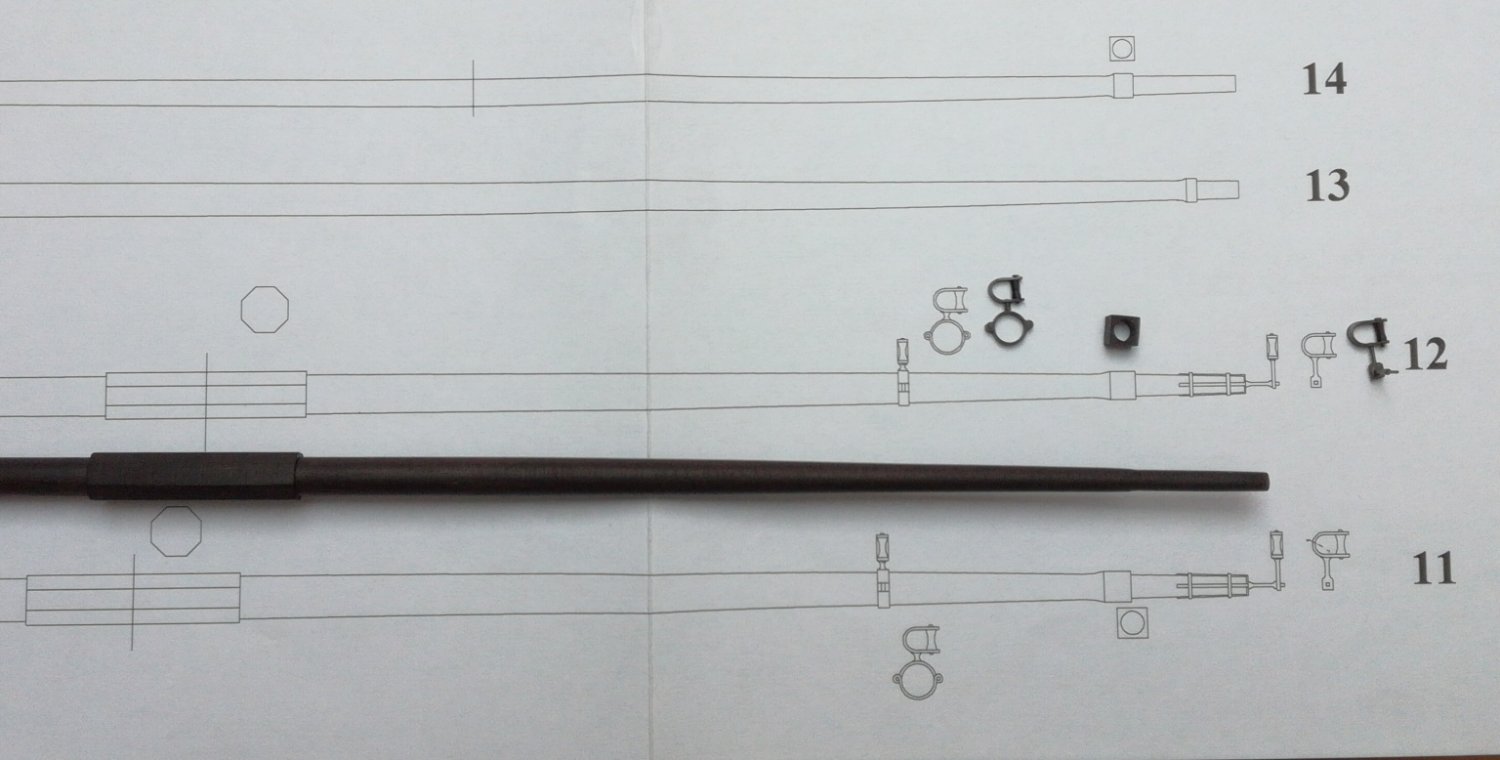
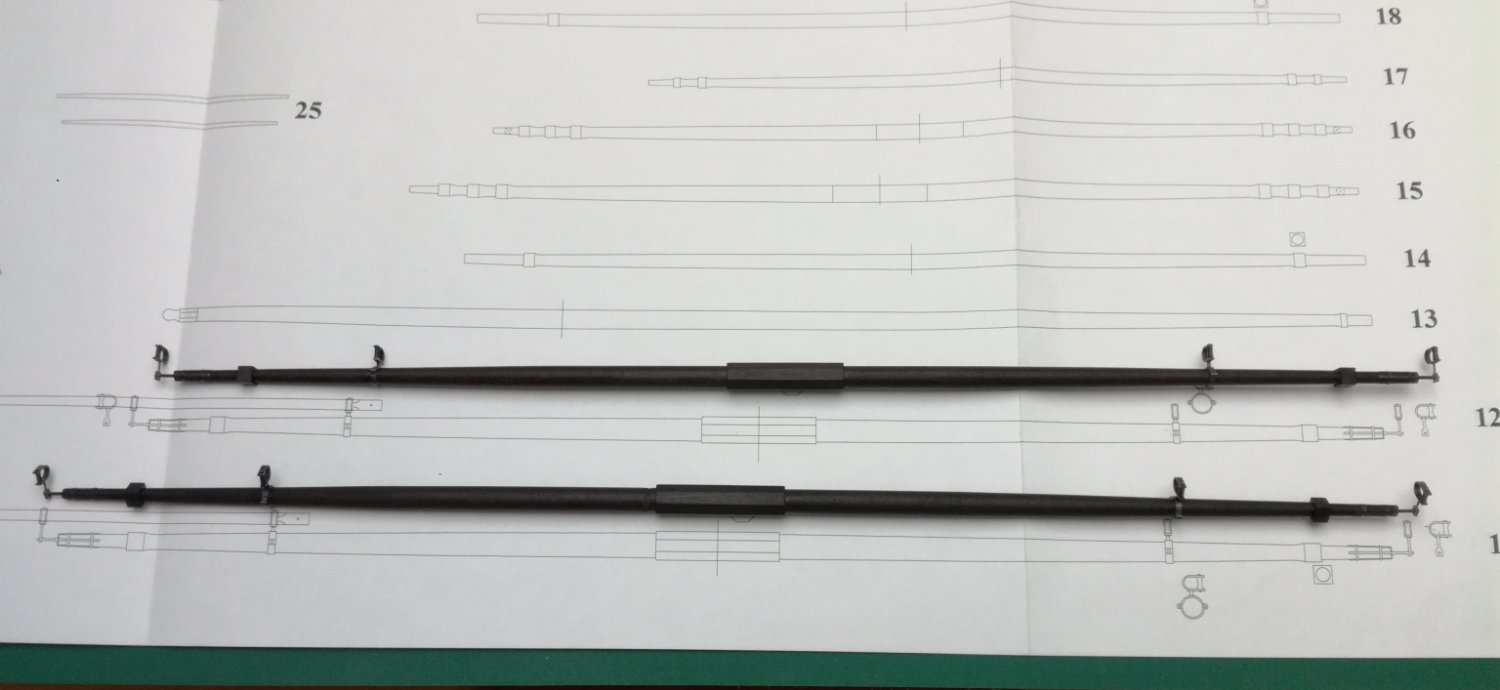
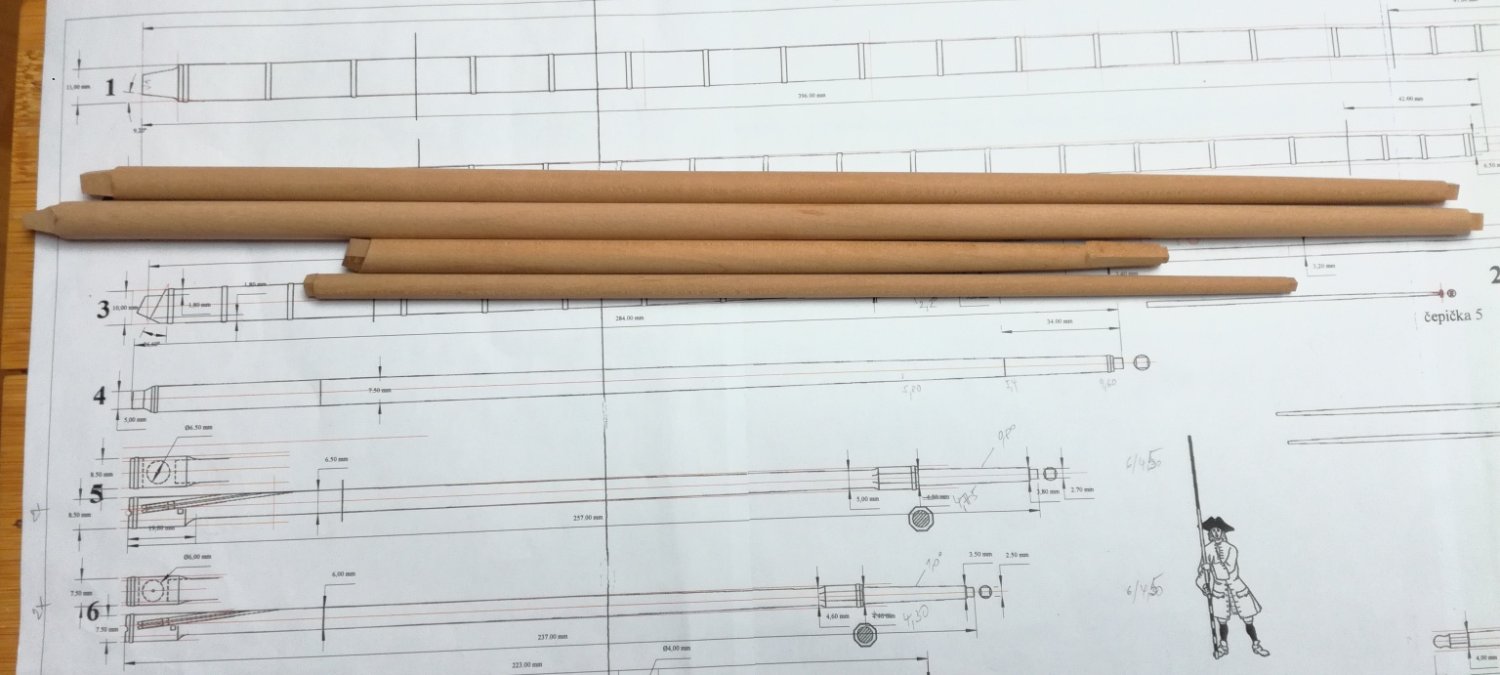
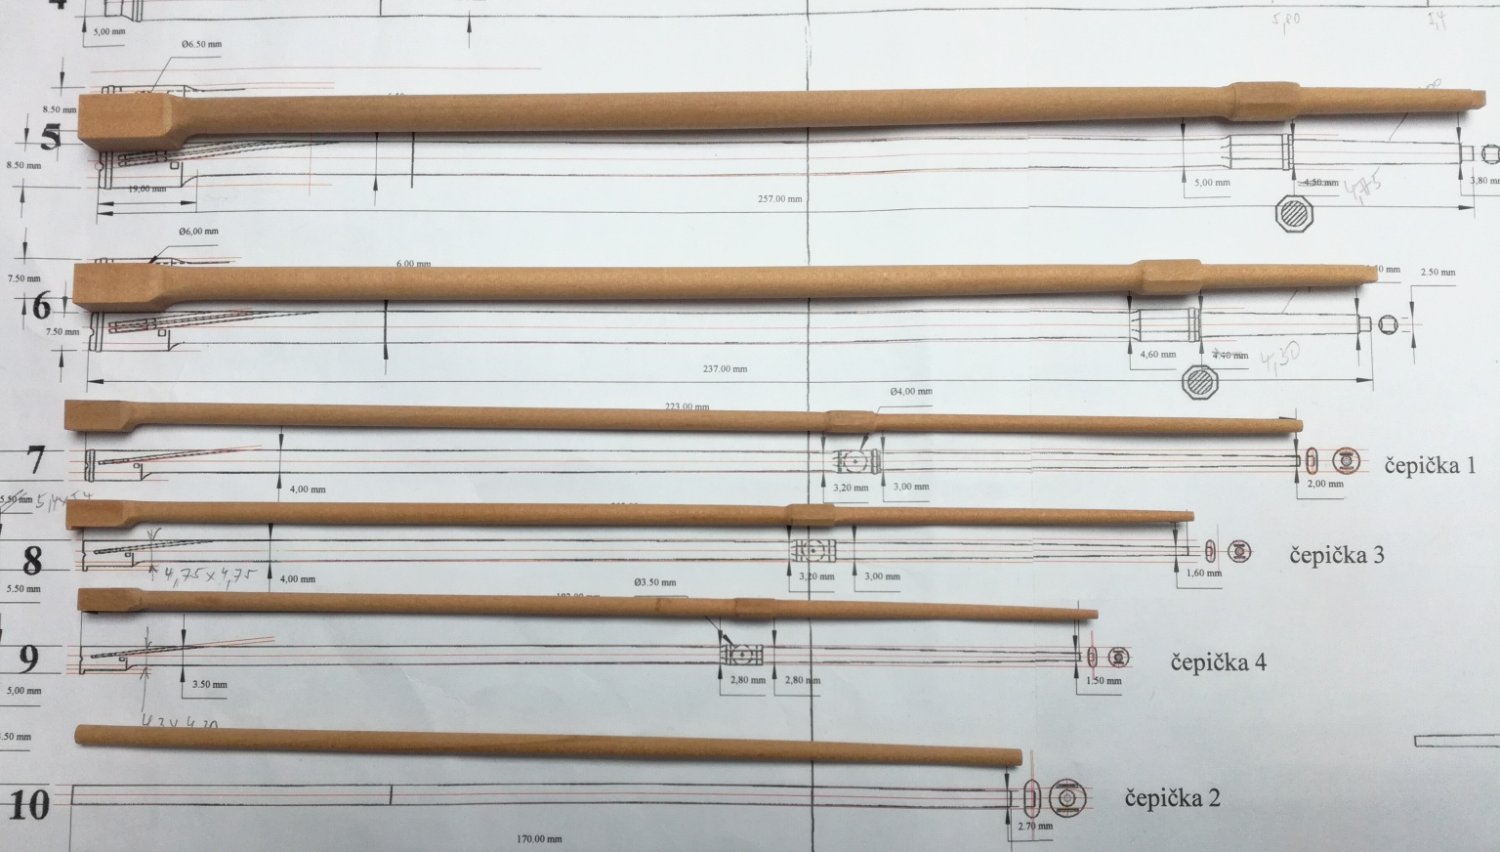
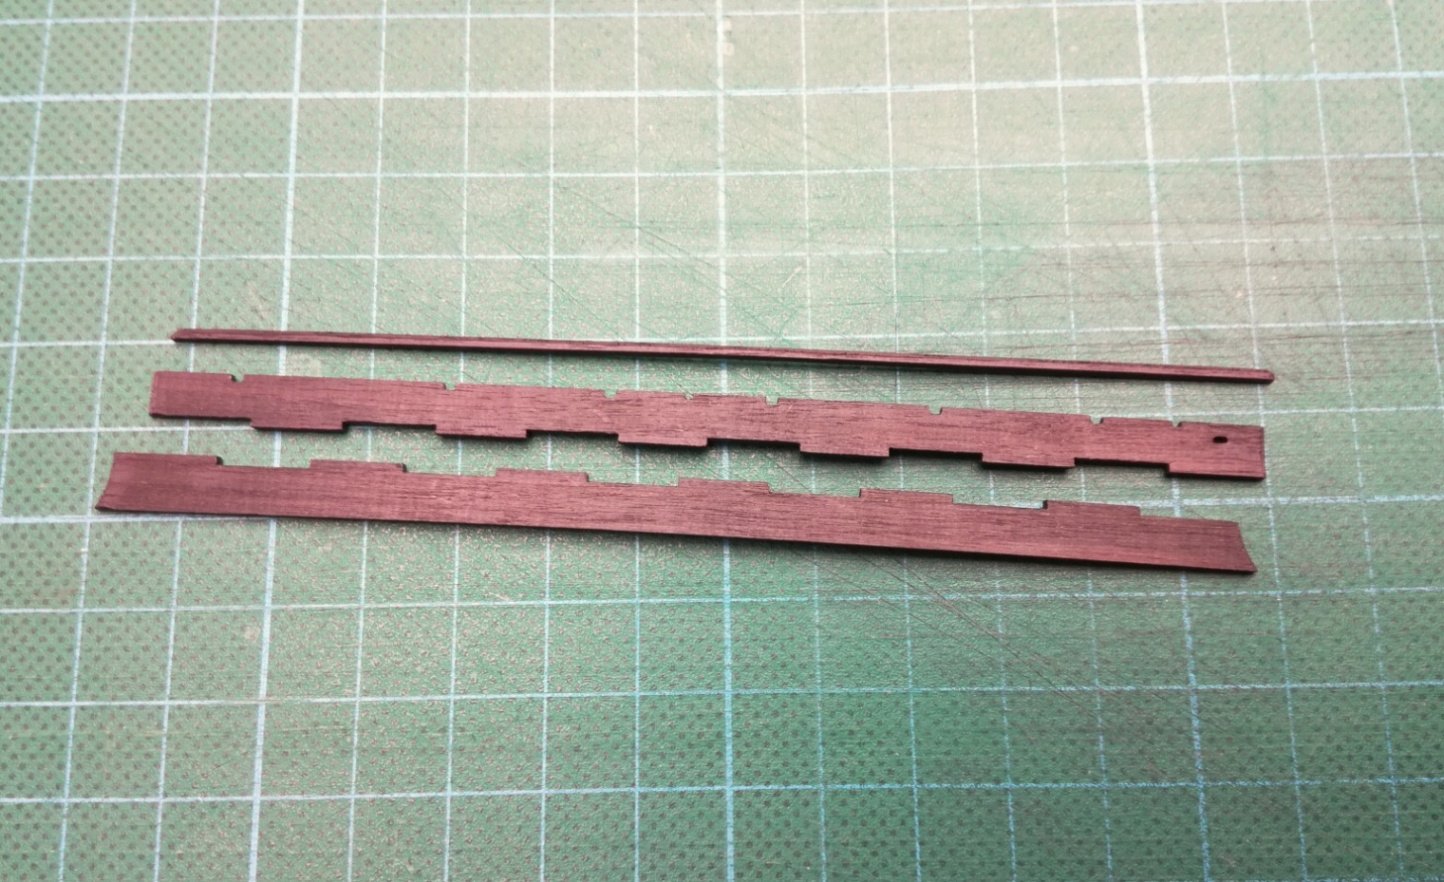
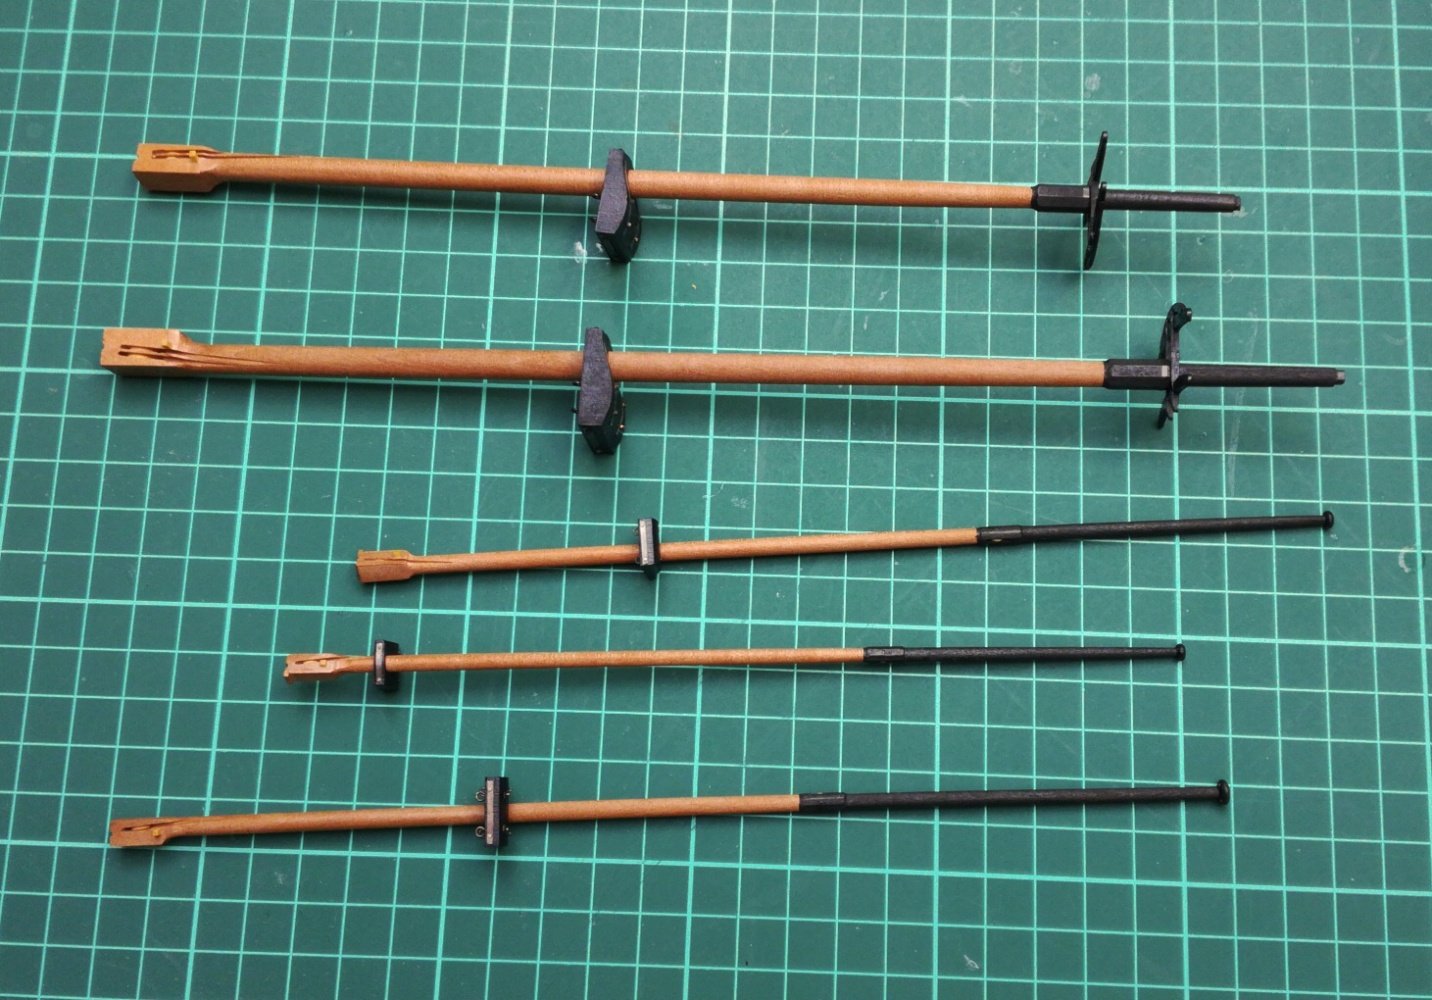
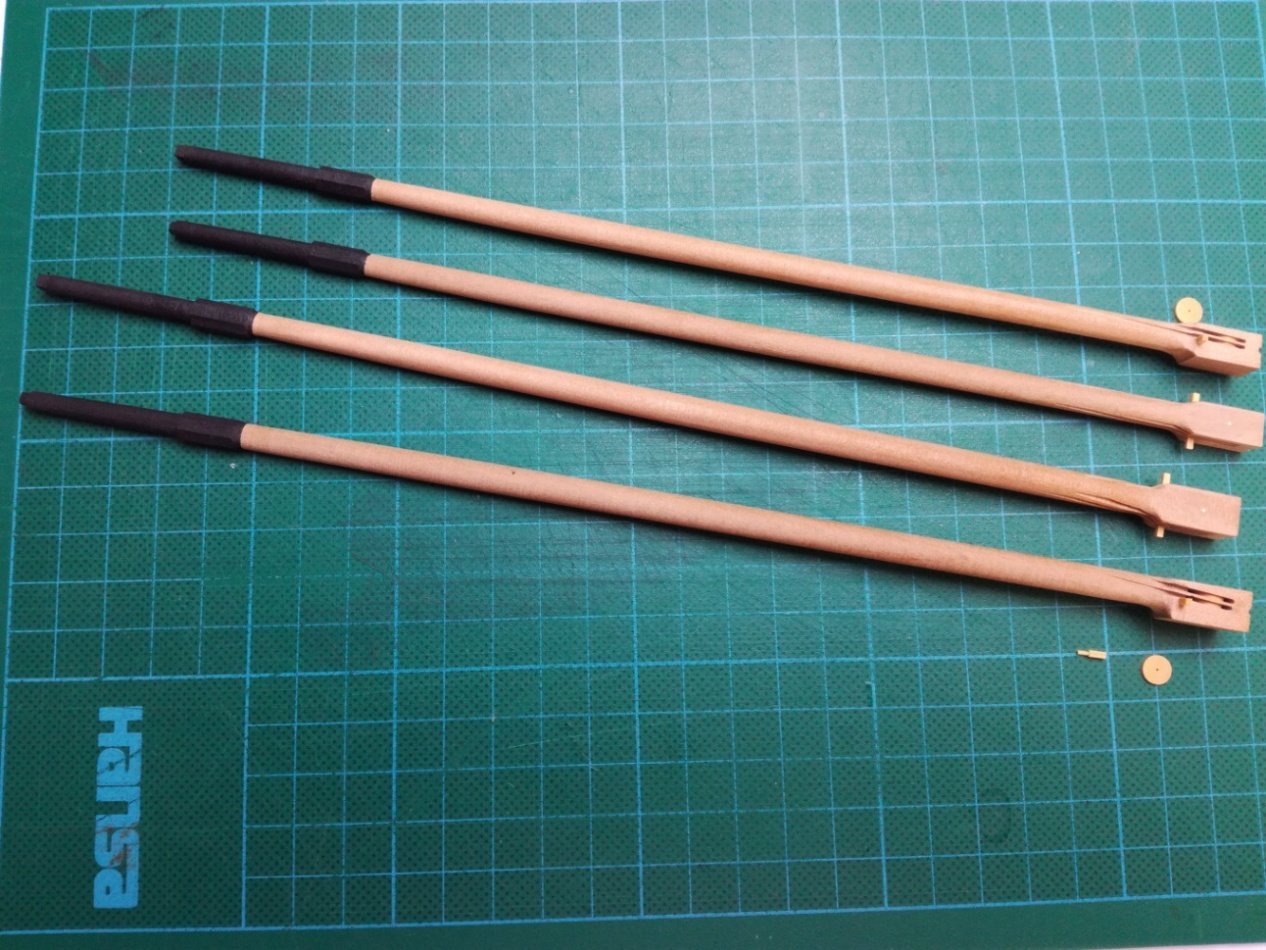
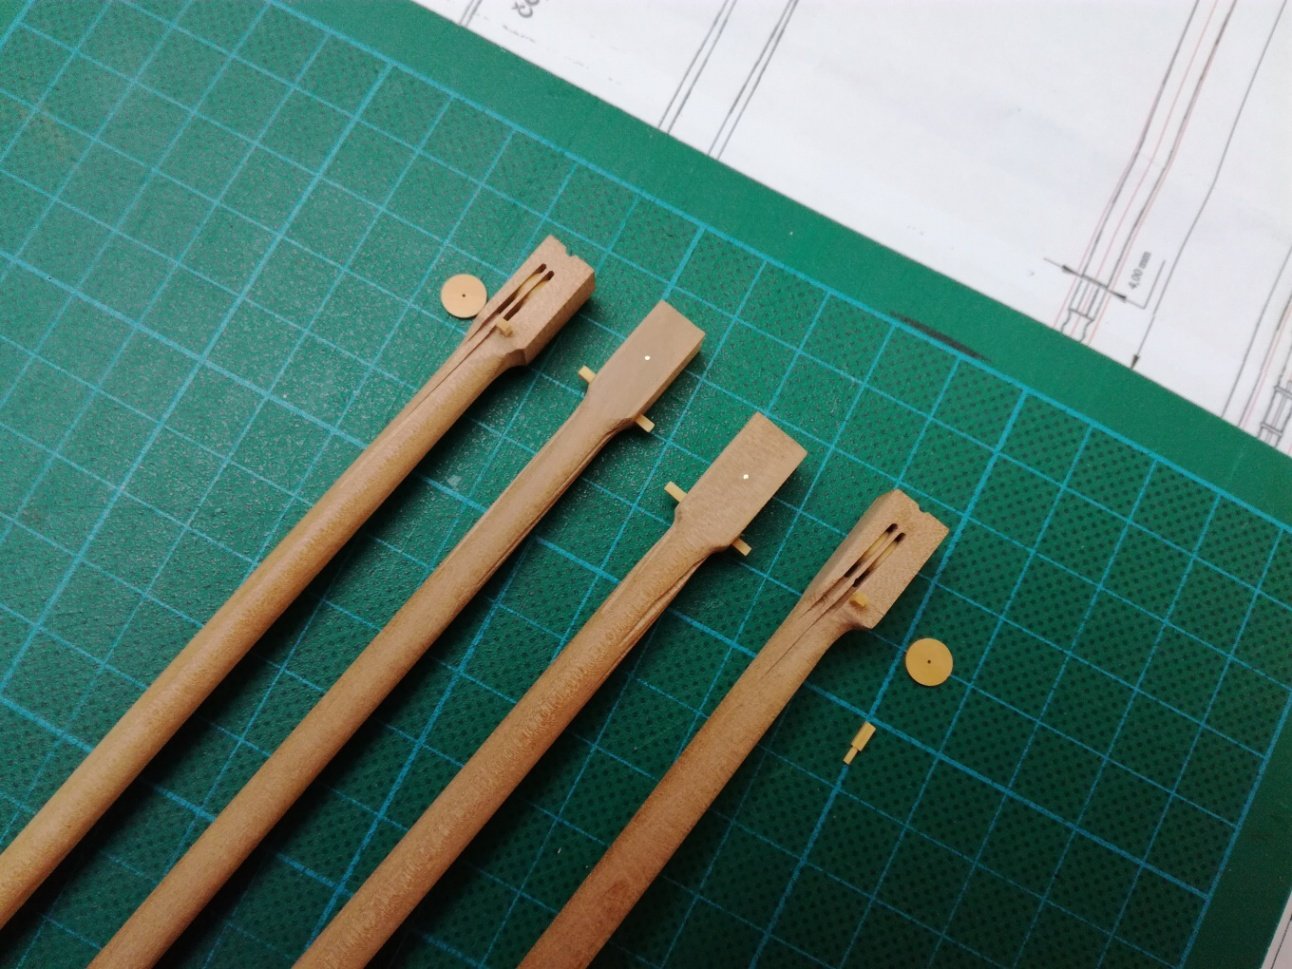
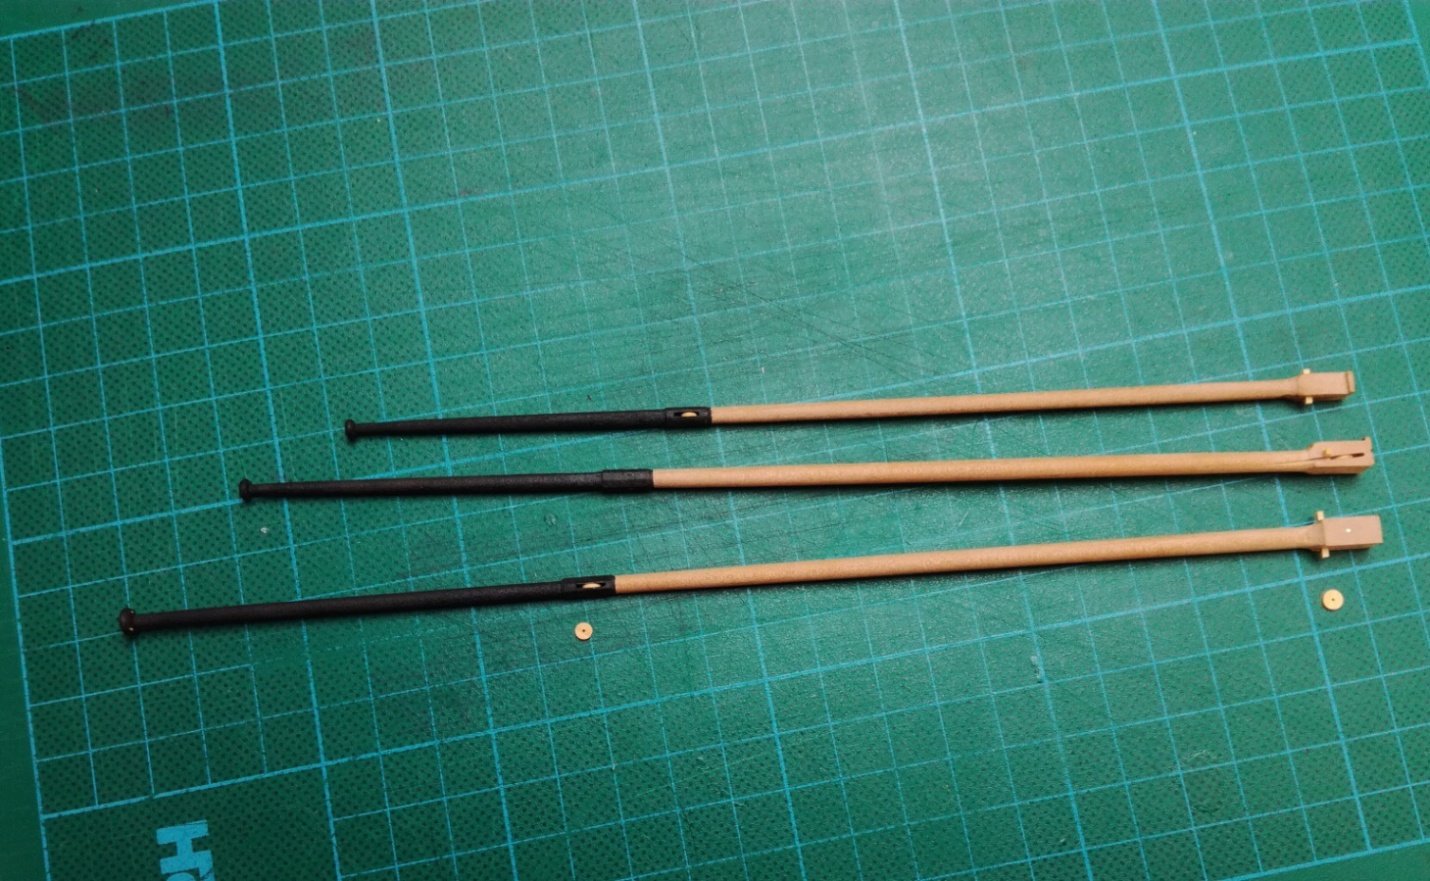
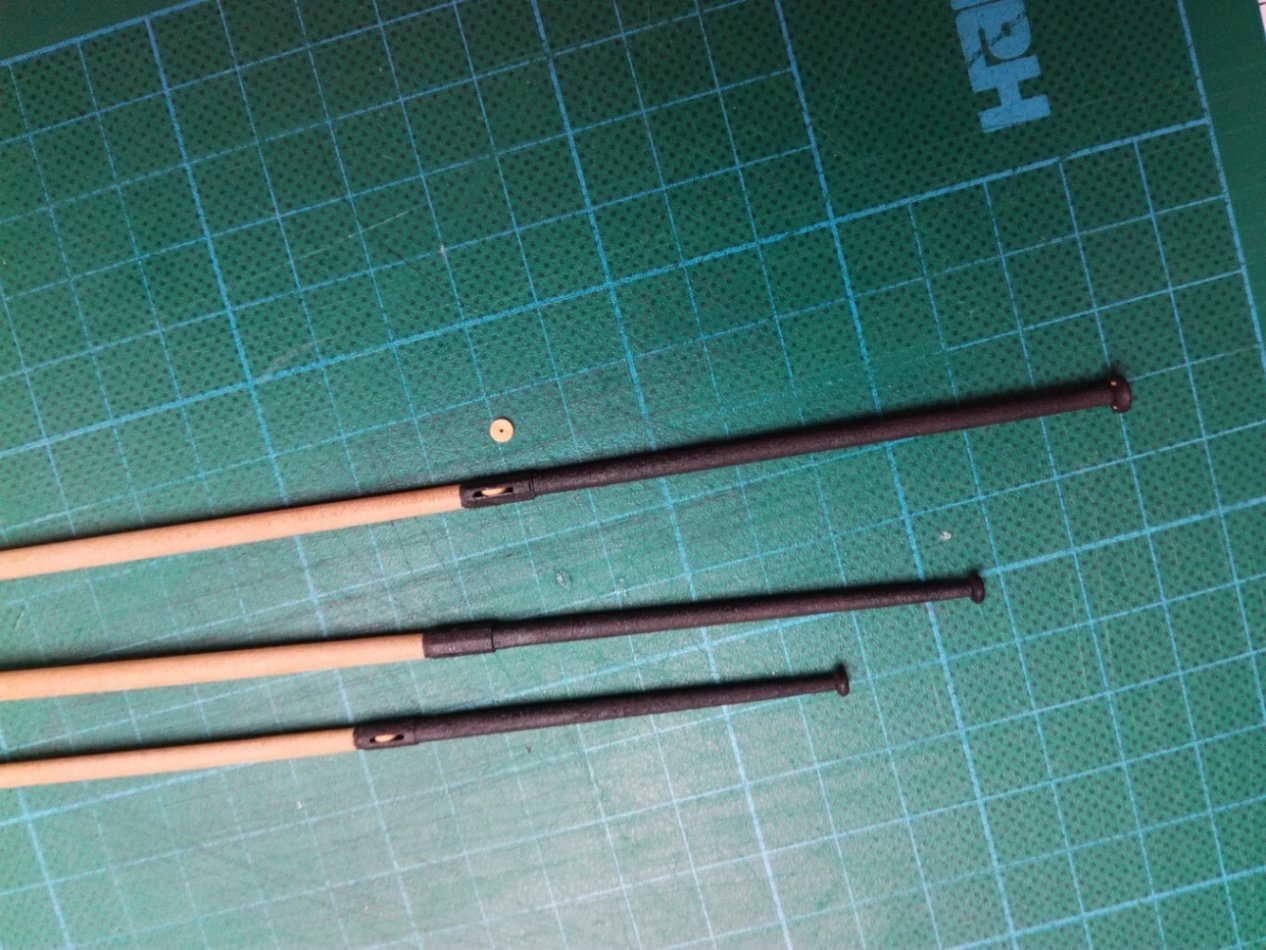
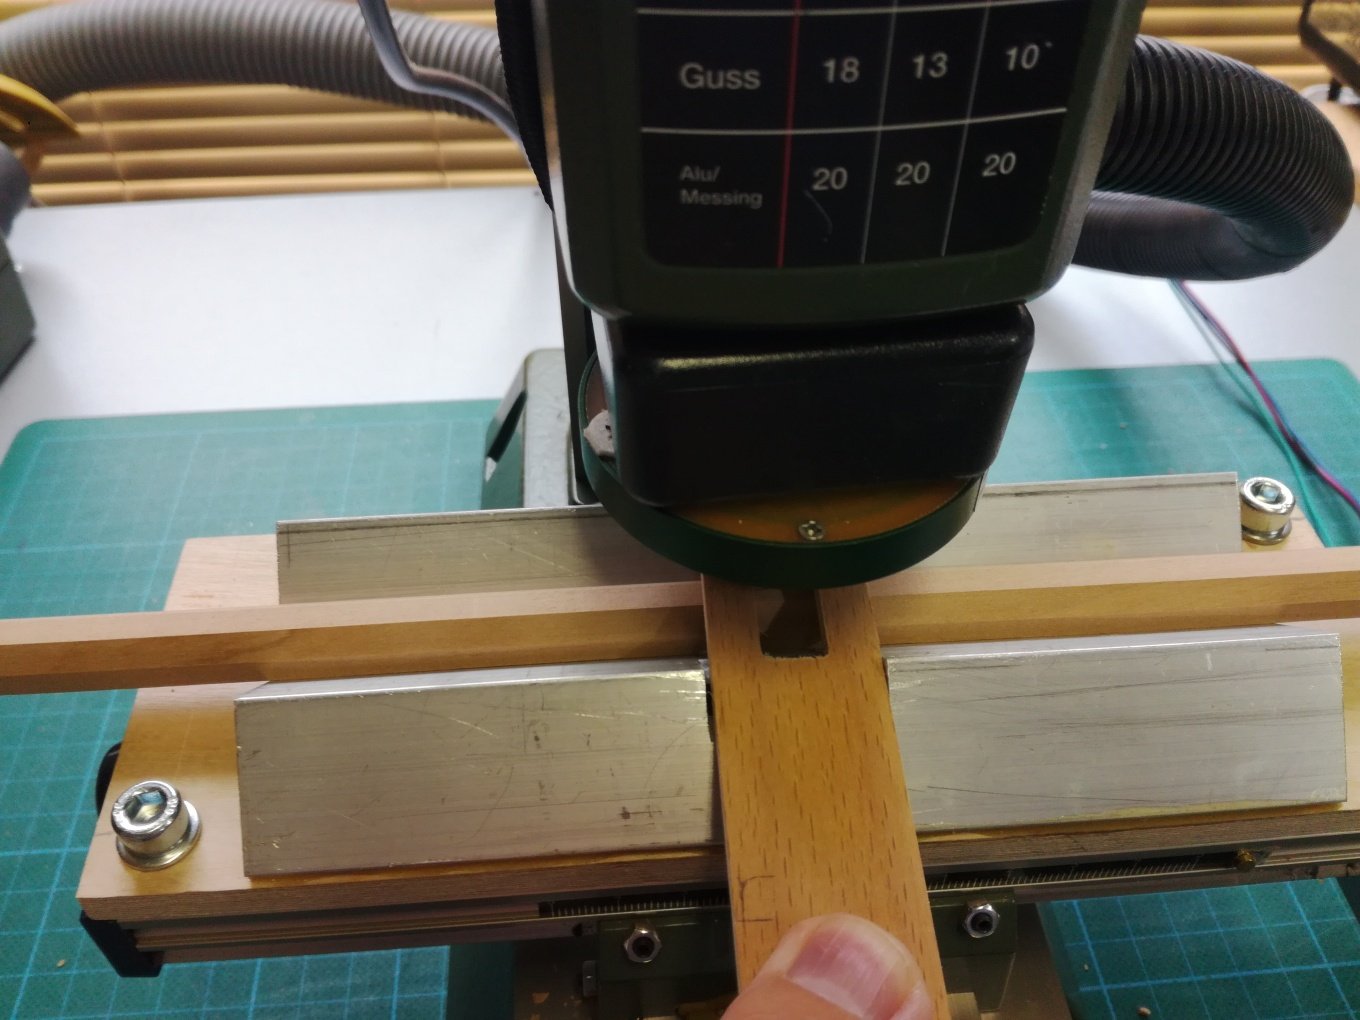
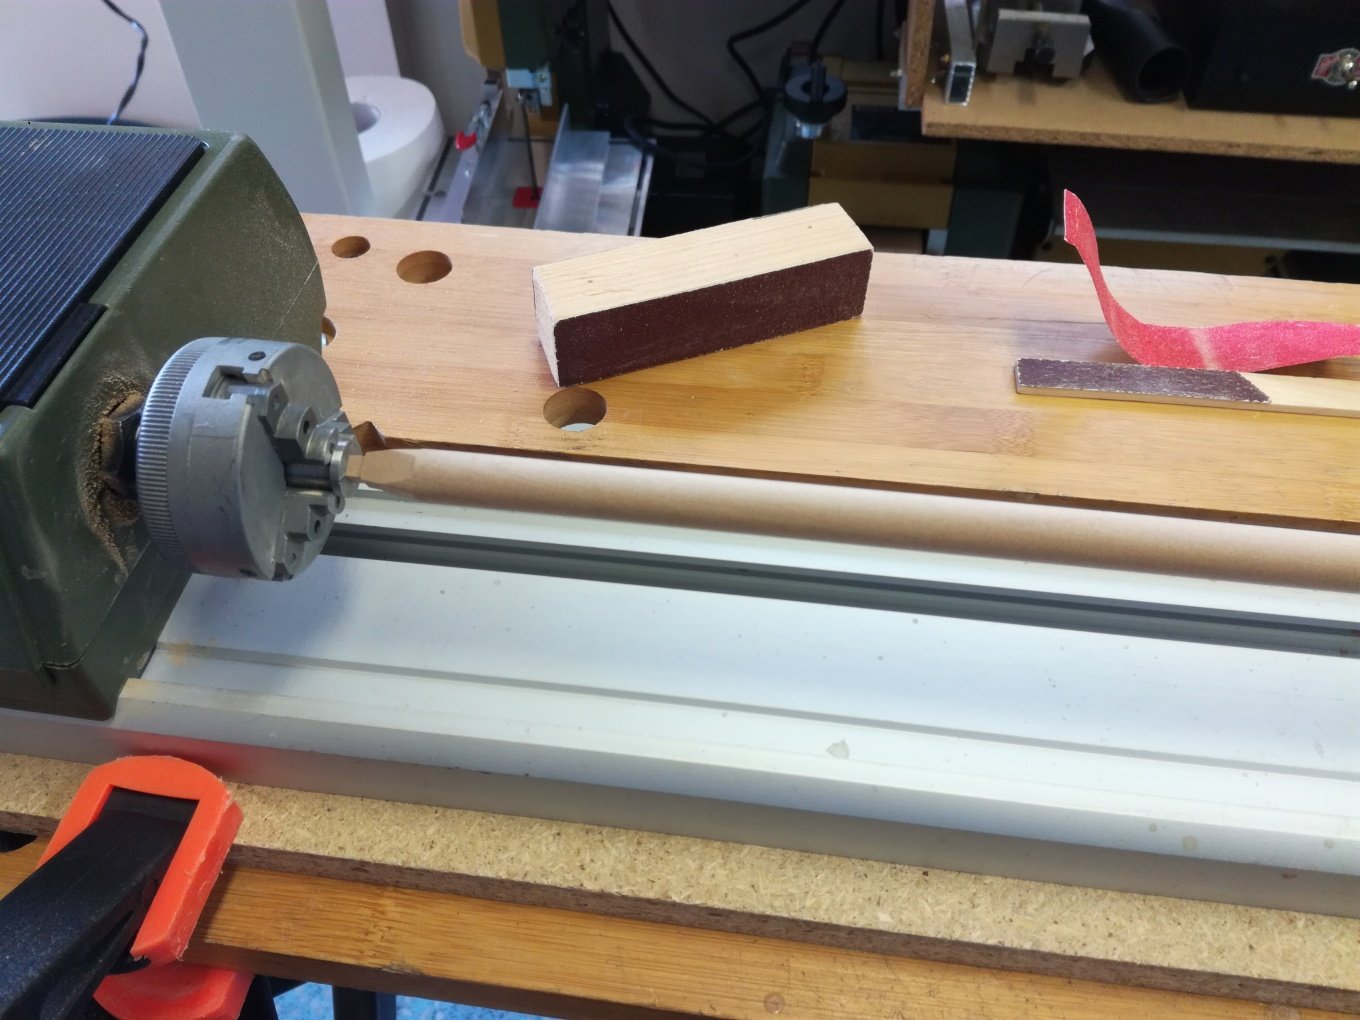
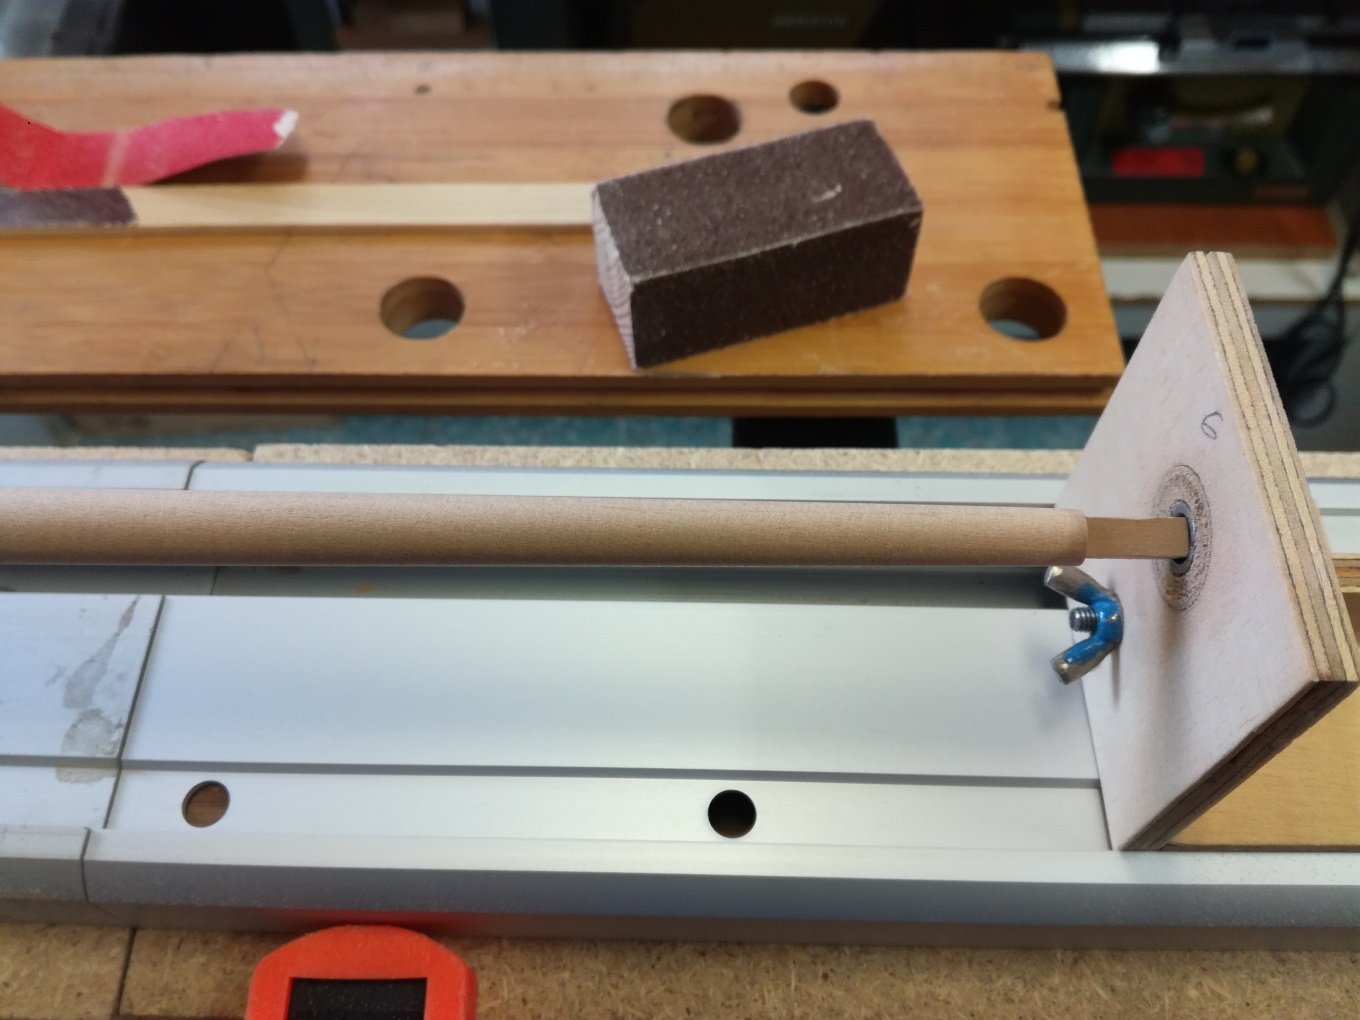
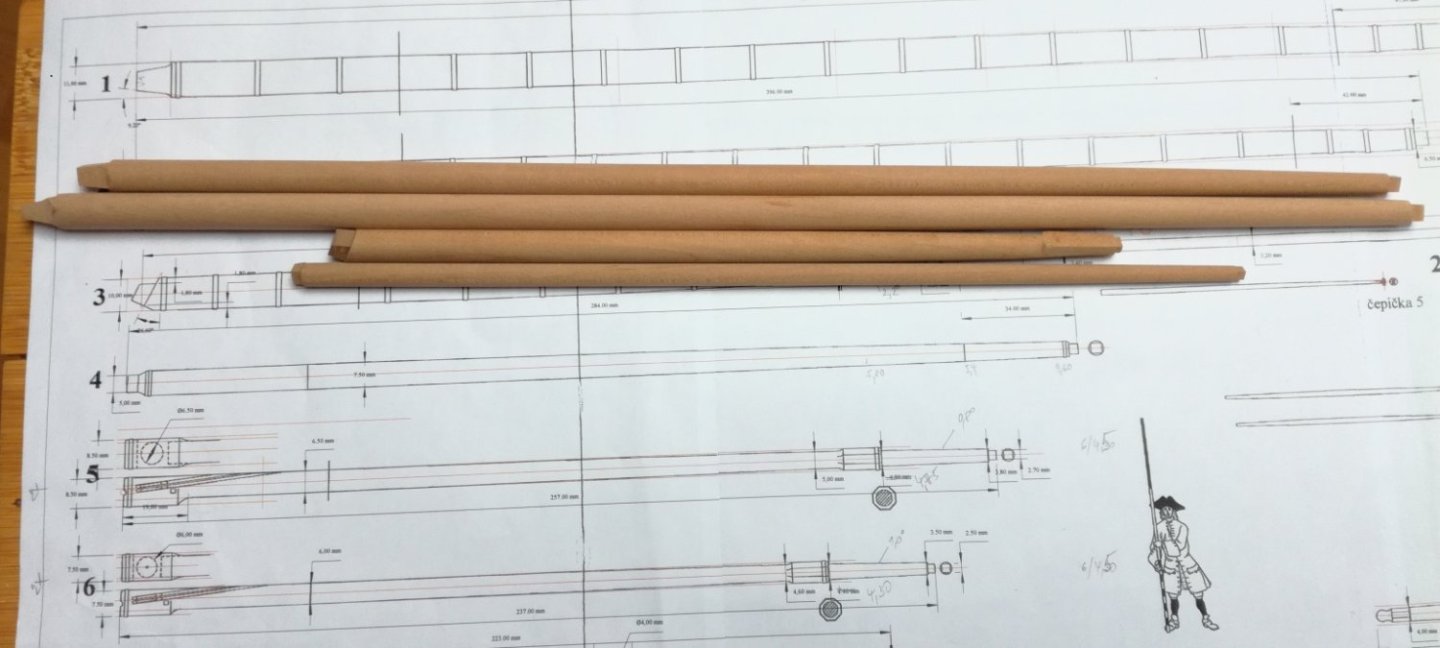
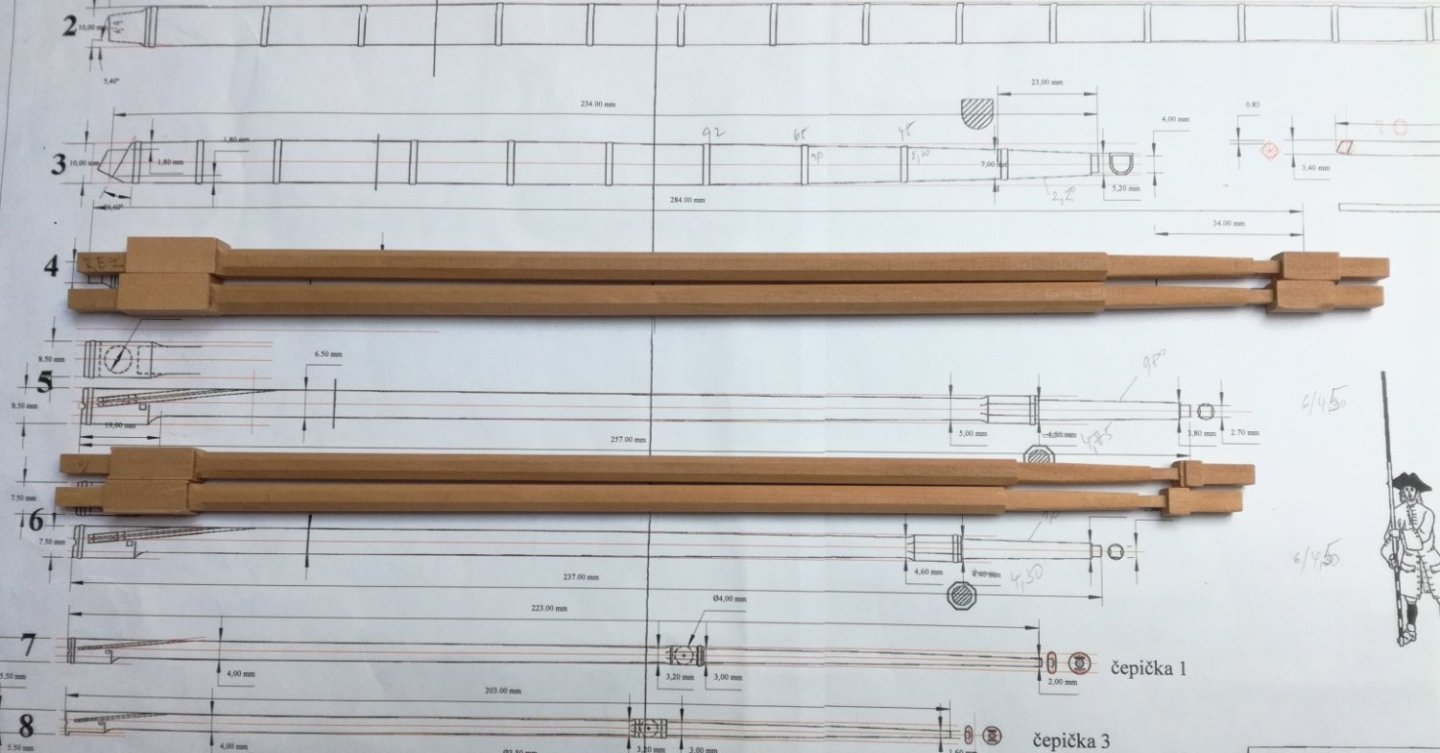
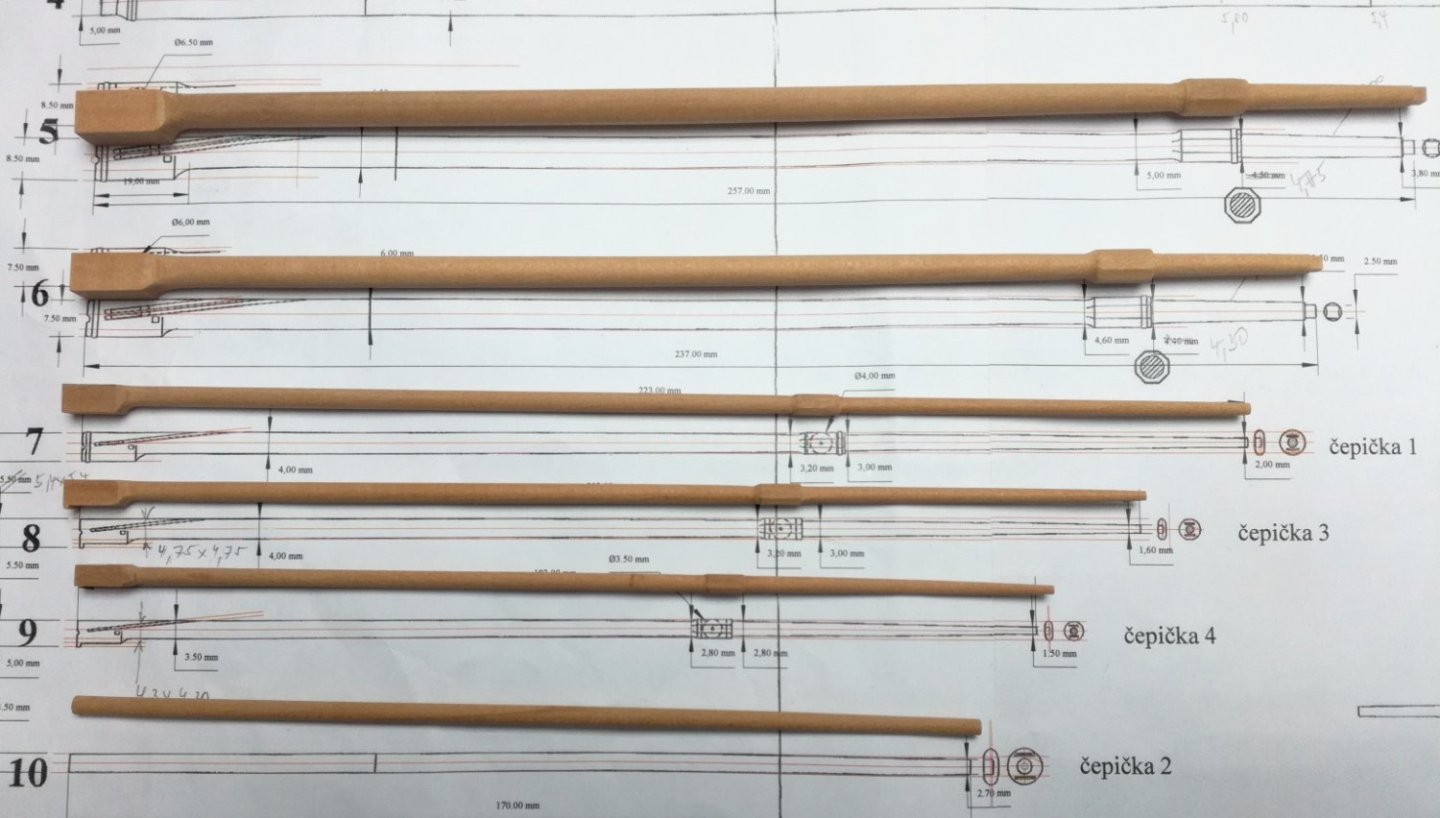
Thank you guys for nice comments. Now it's time to make the yards.


- 589 replies
-
- 25
-
-
-
- le gros ventre
- cargo
- (and 1 more)
-
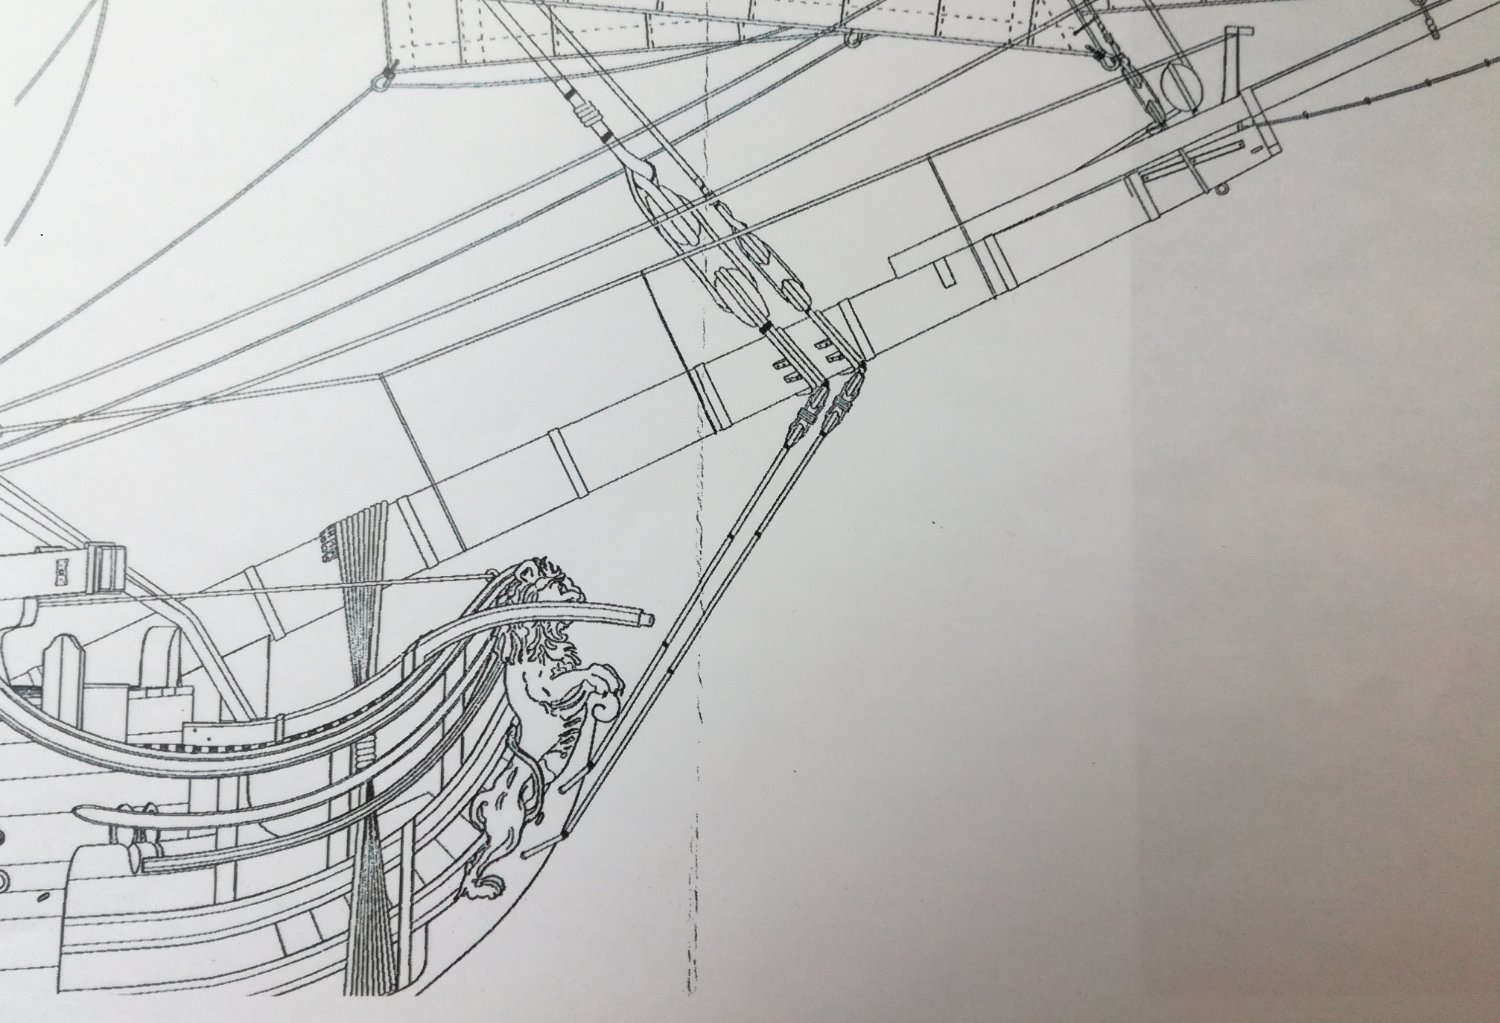
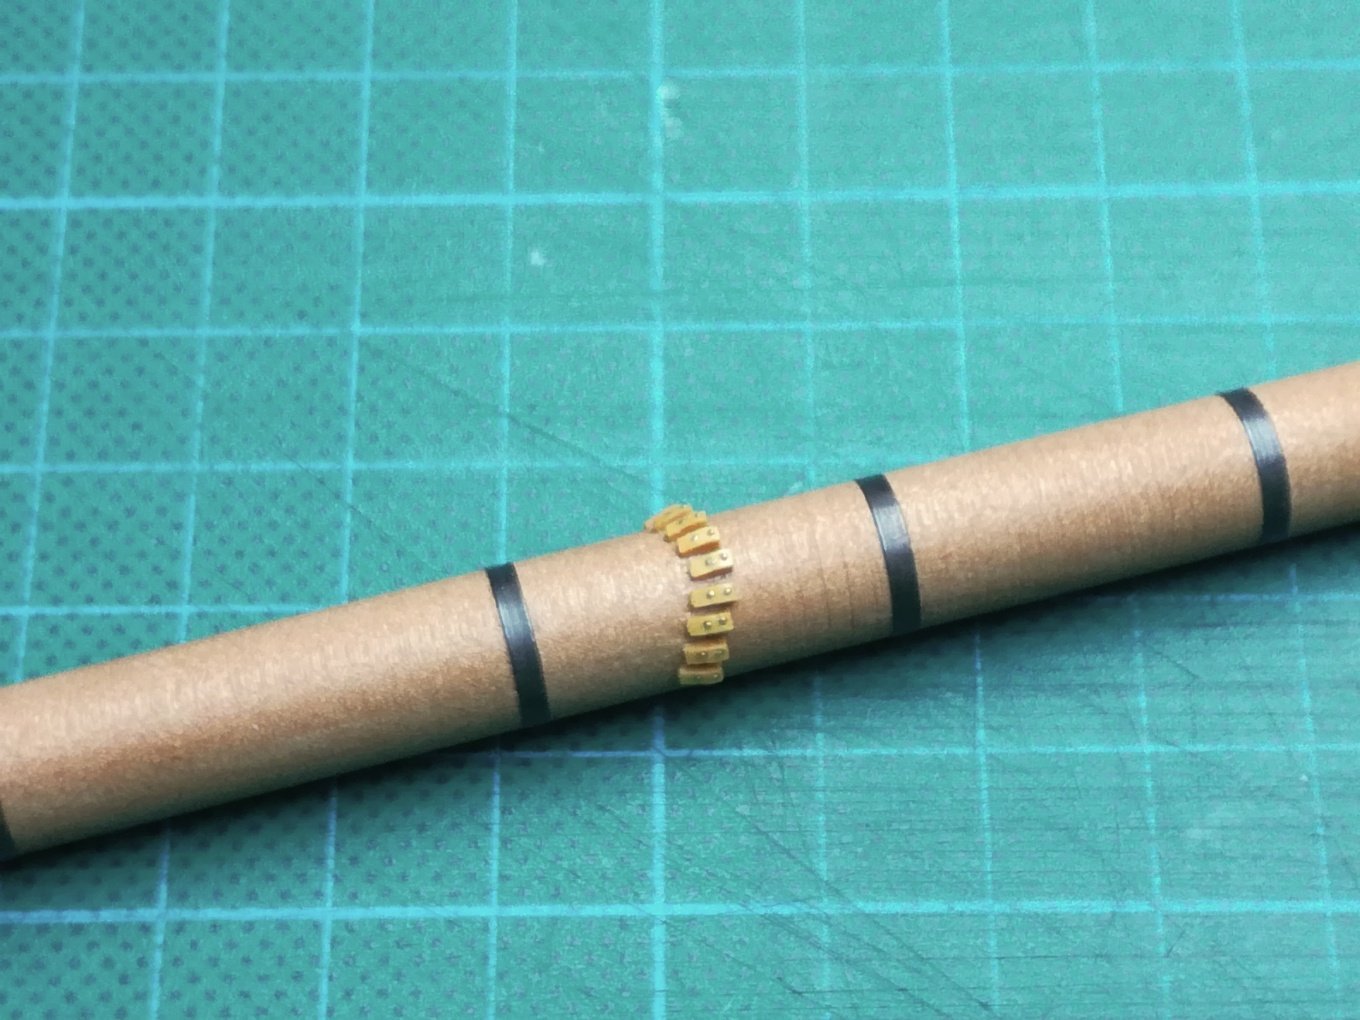
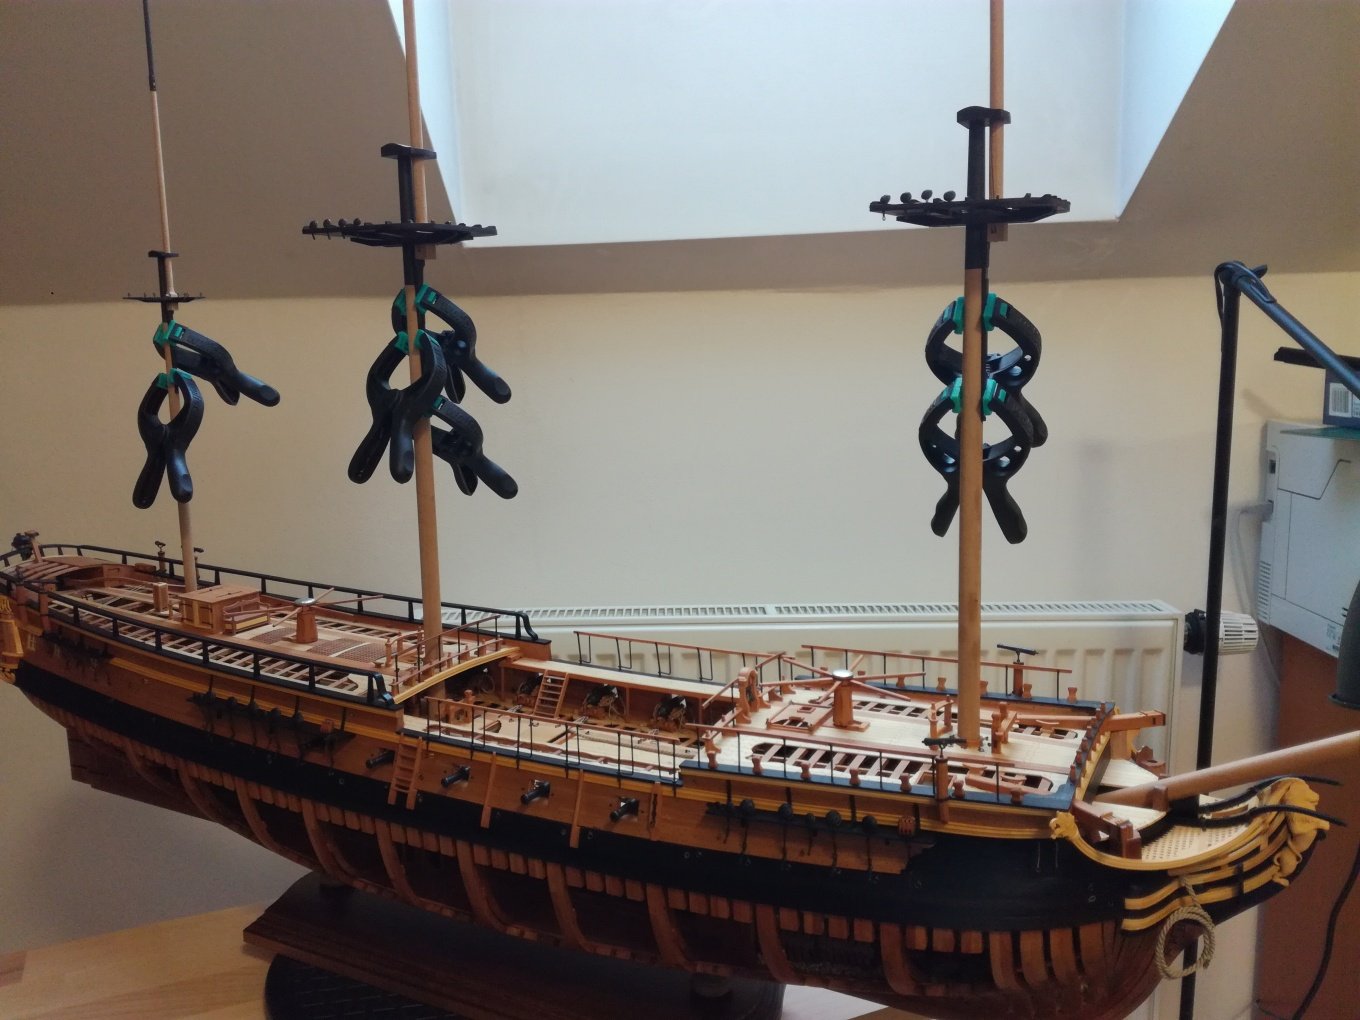
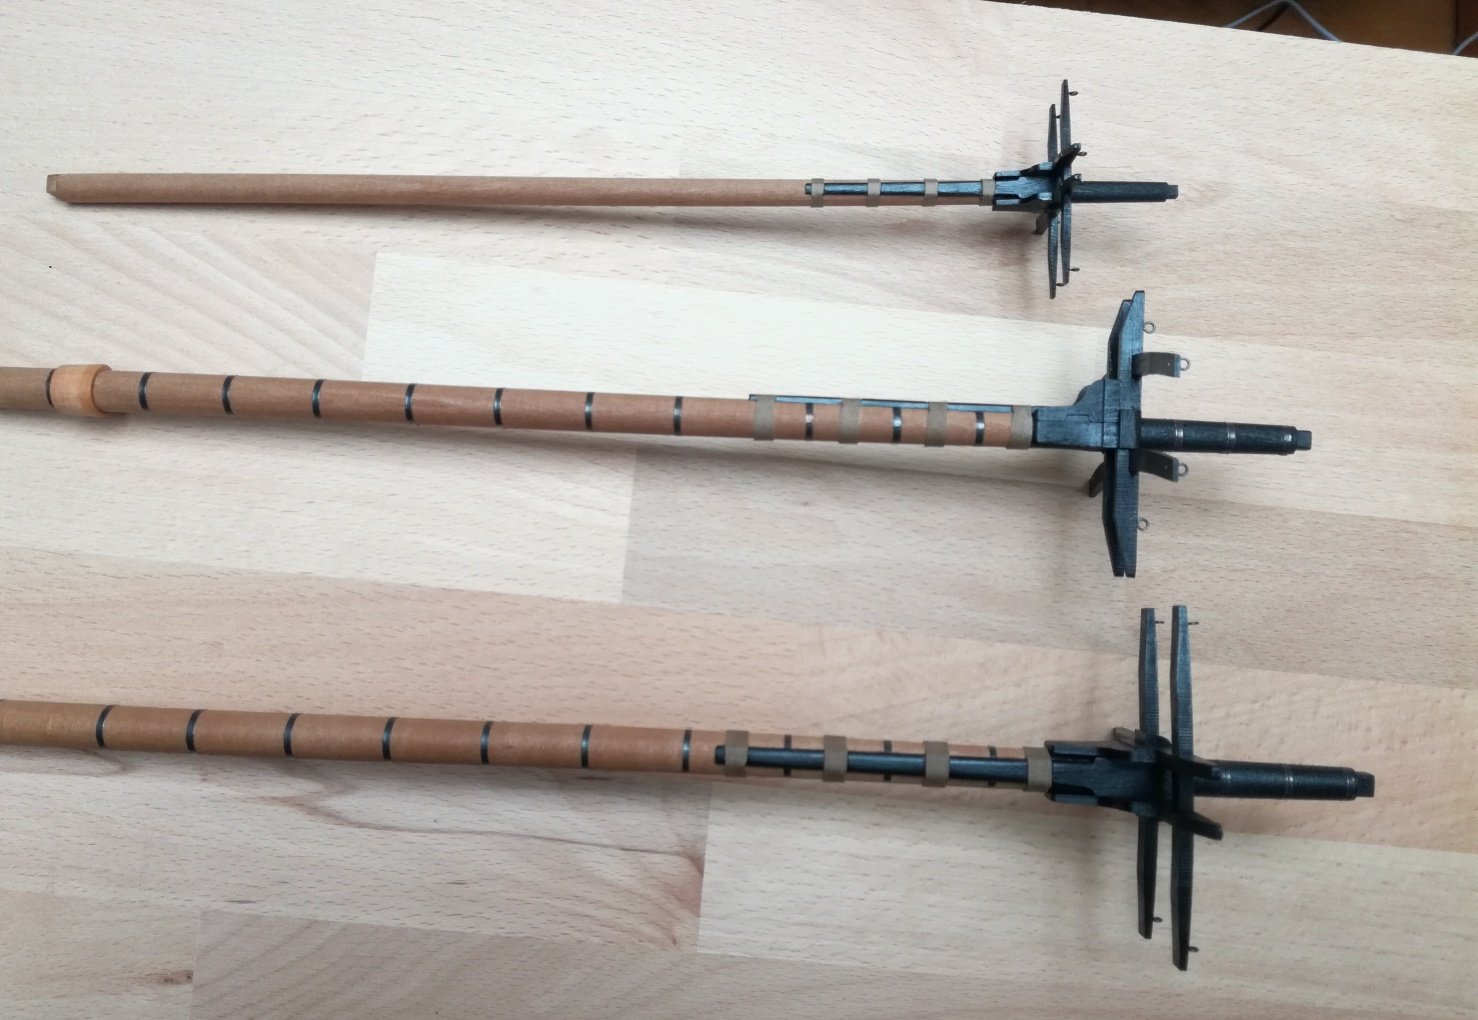
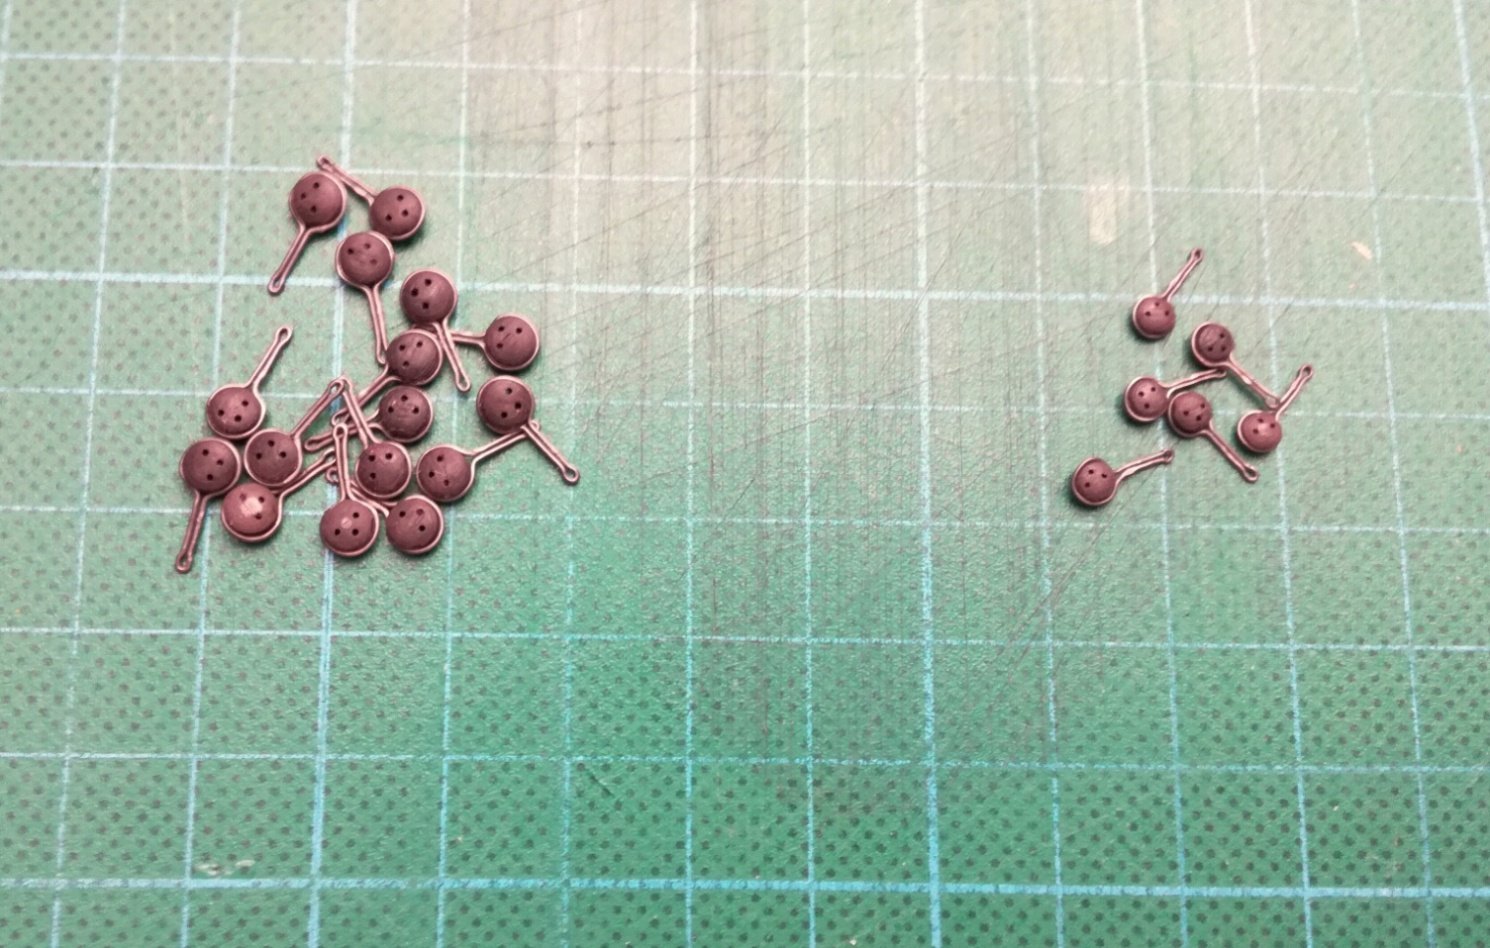
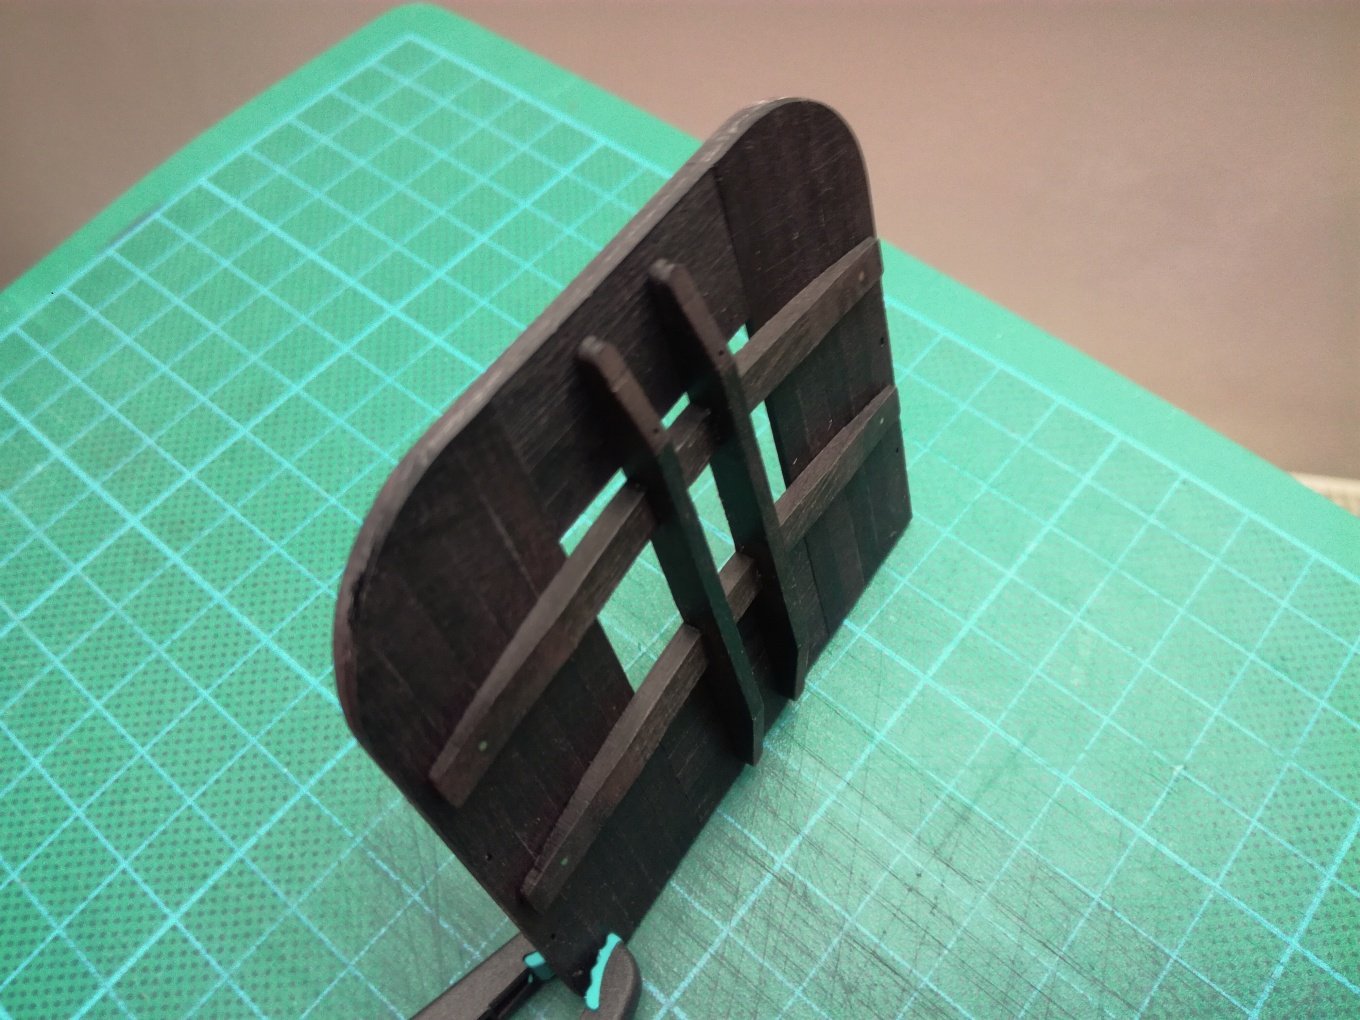
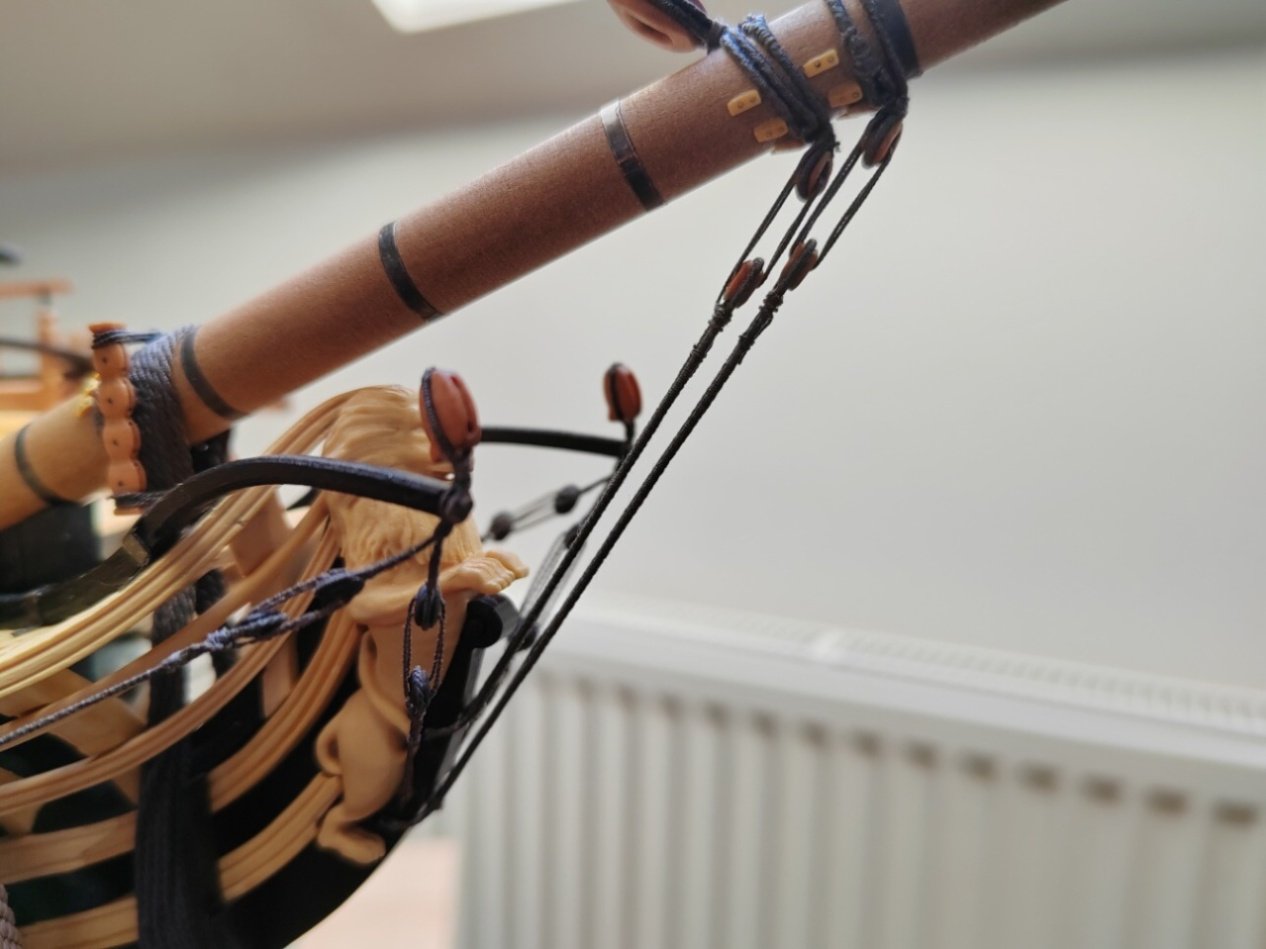
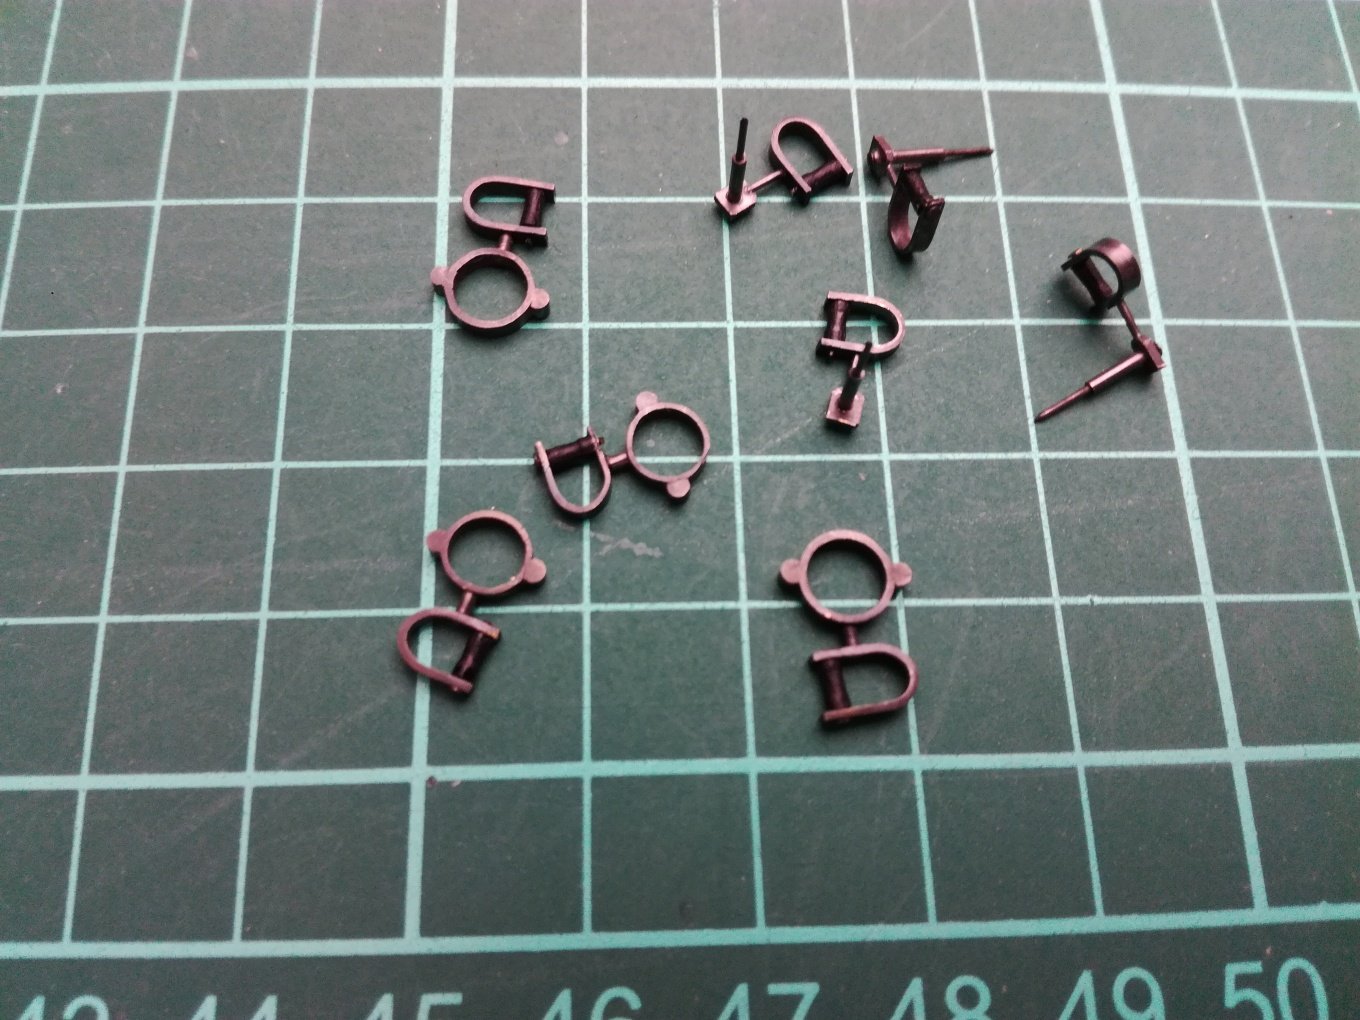
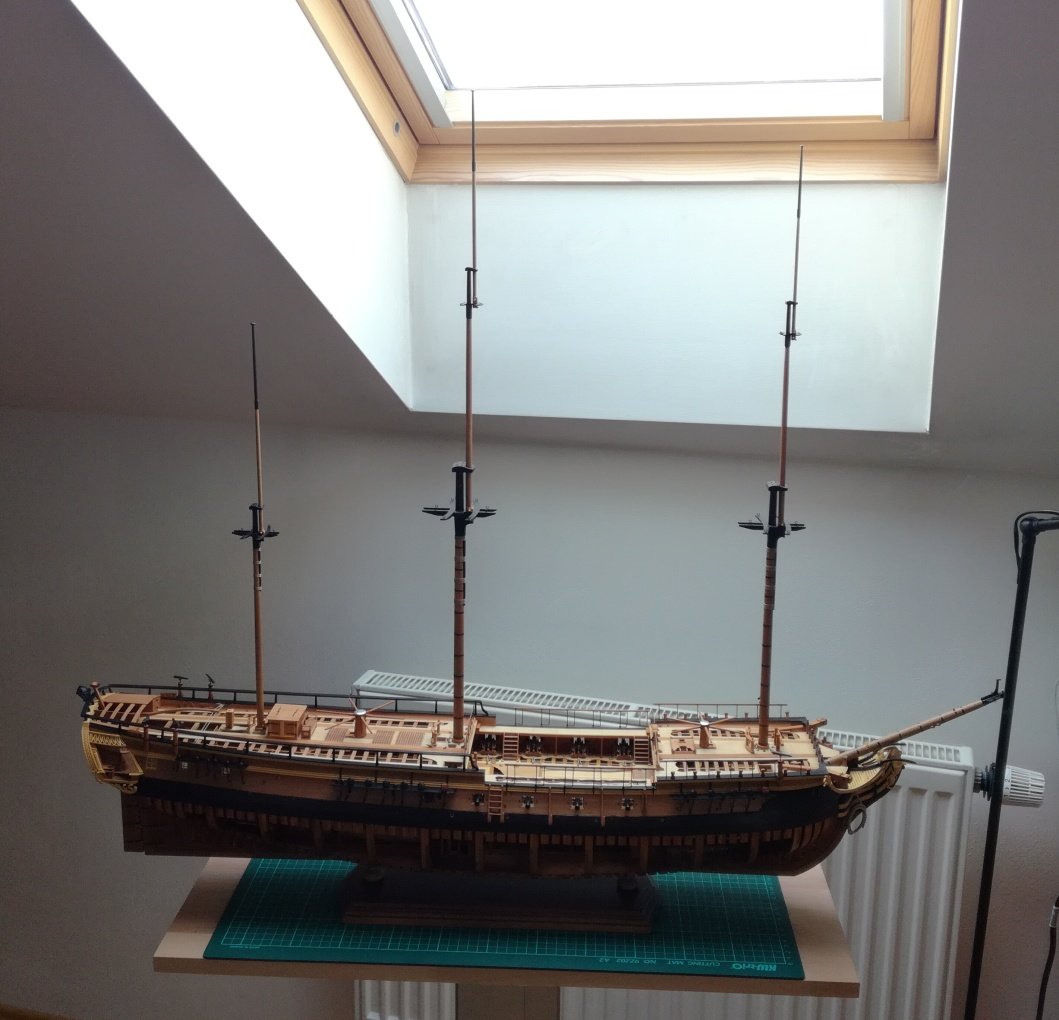
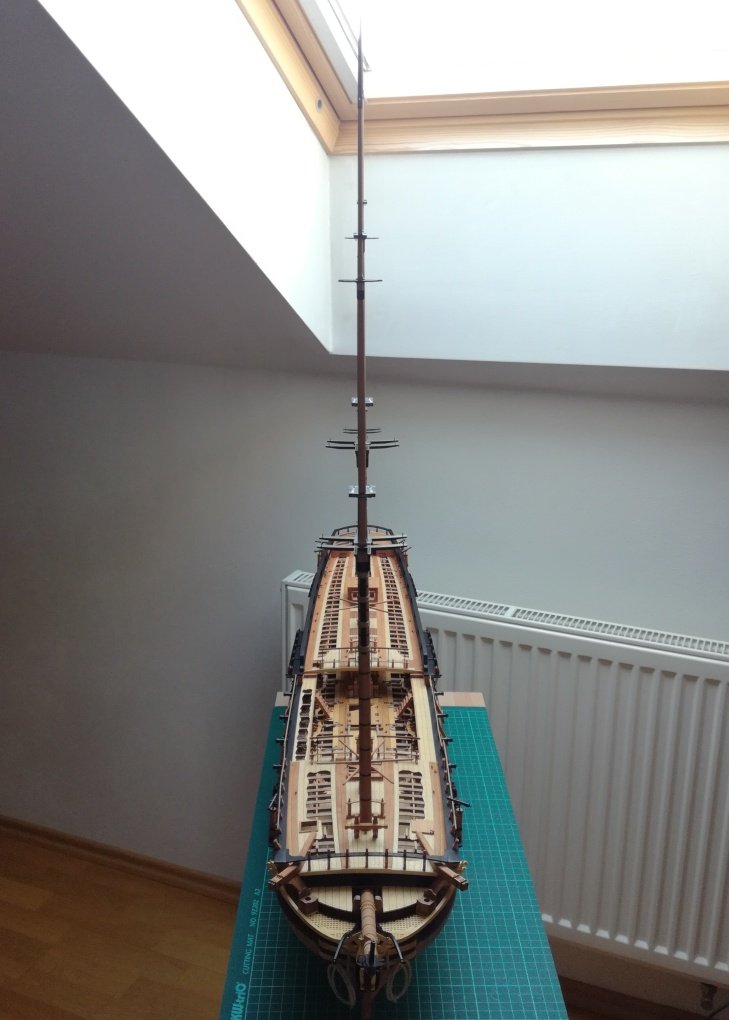
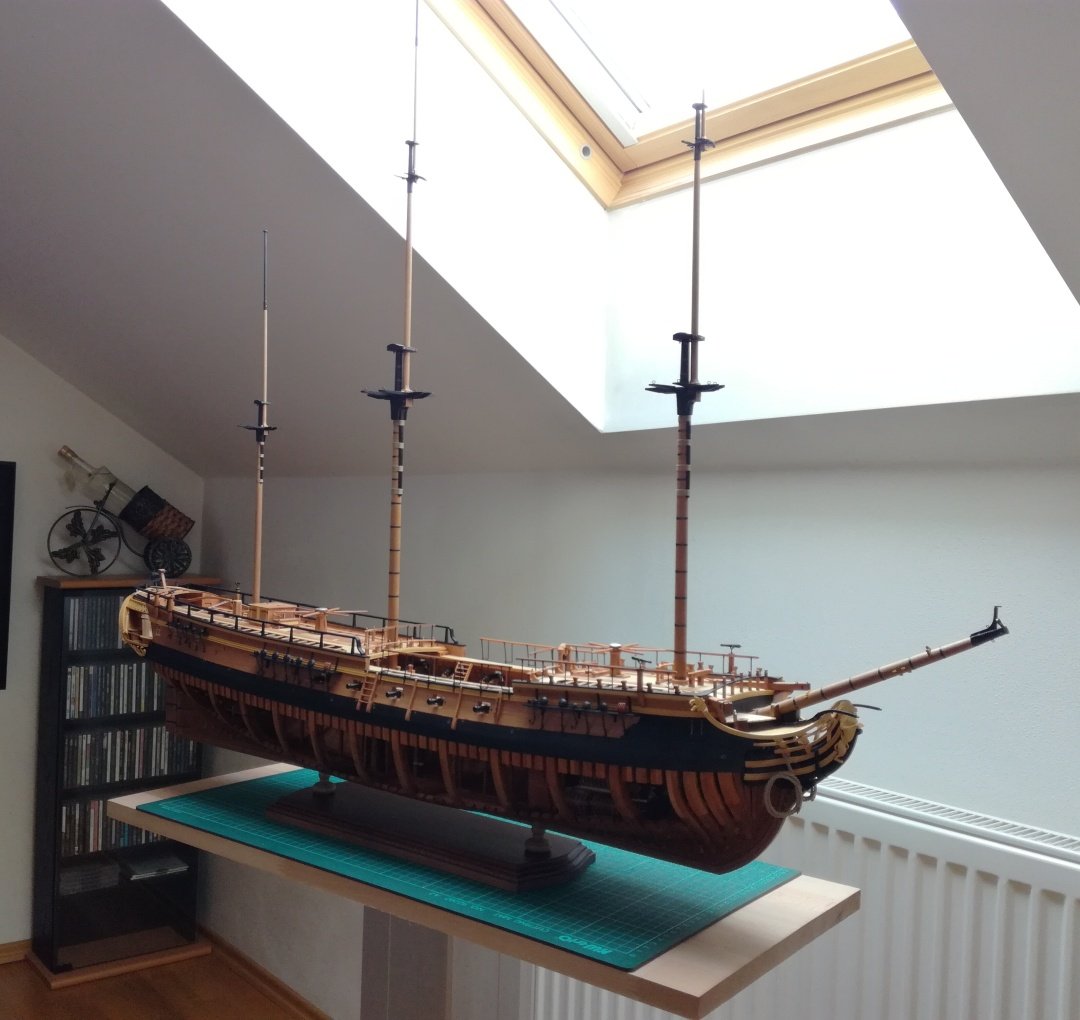
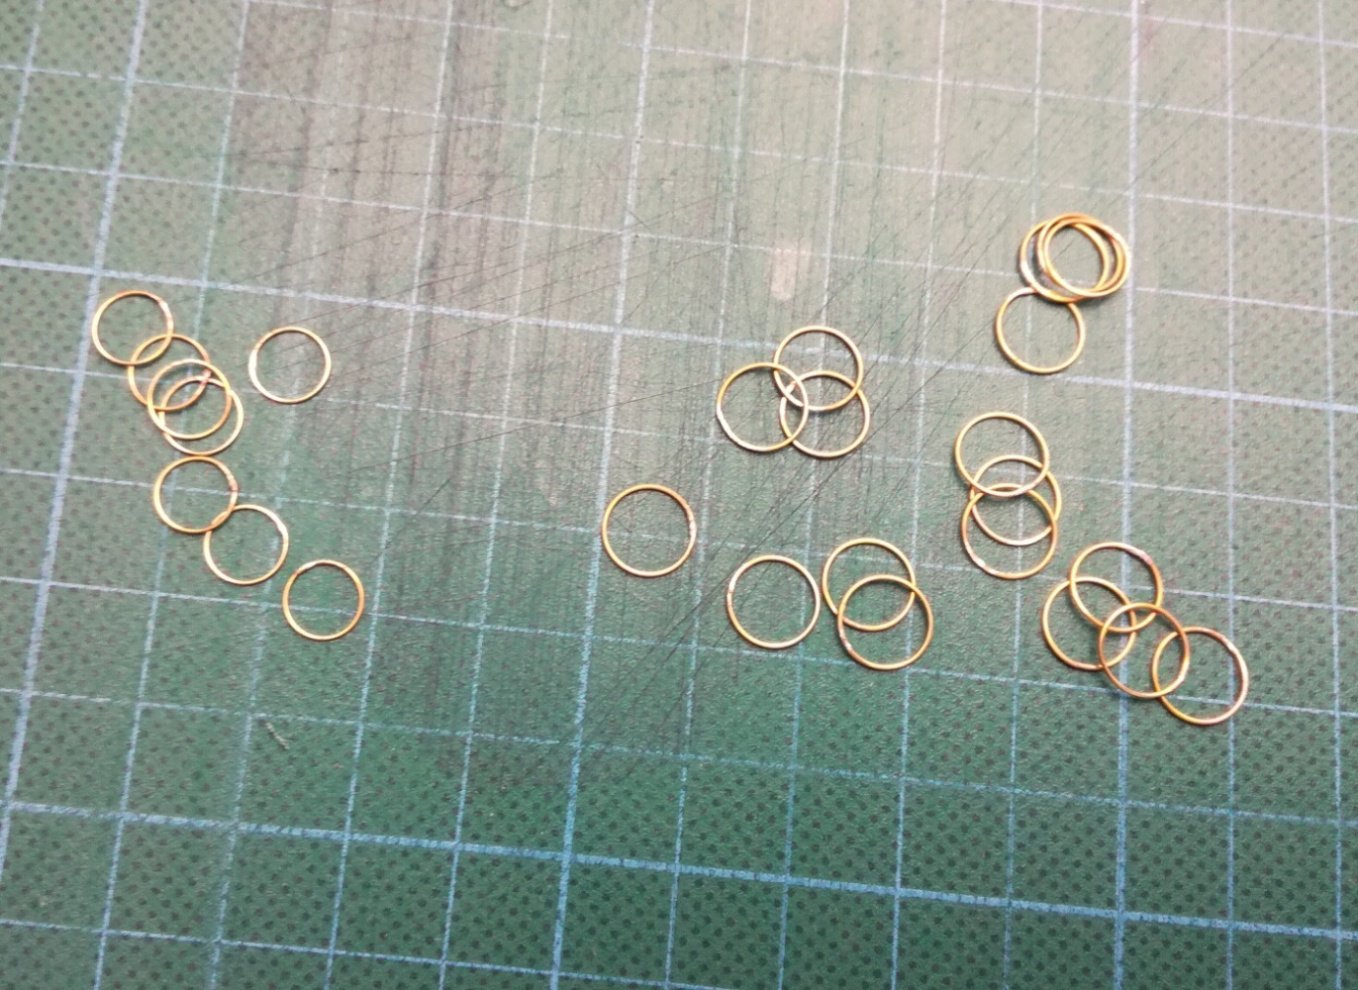
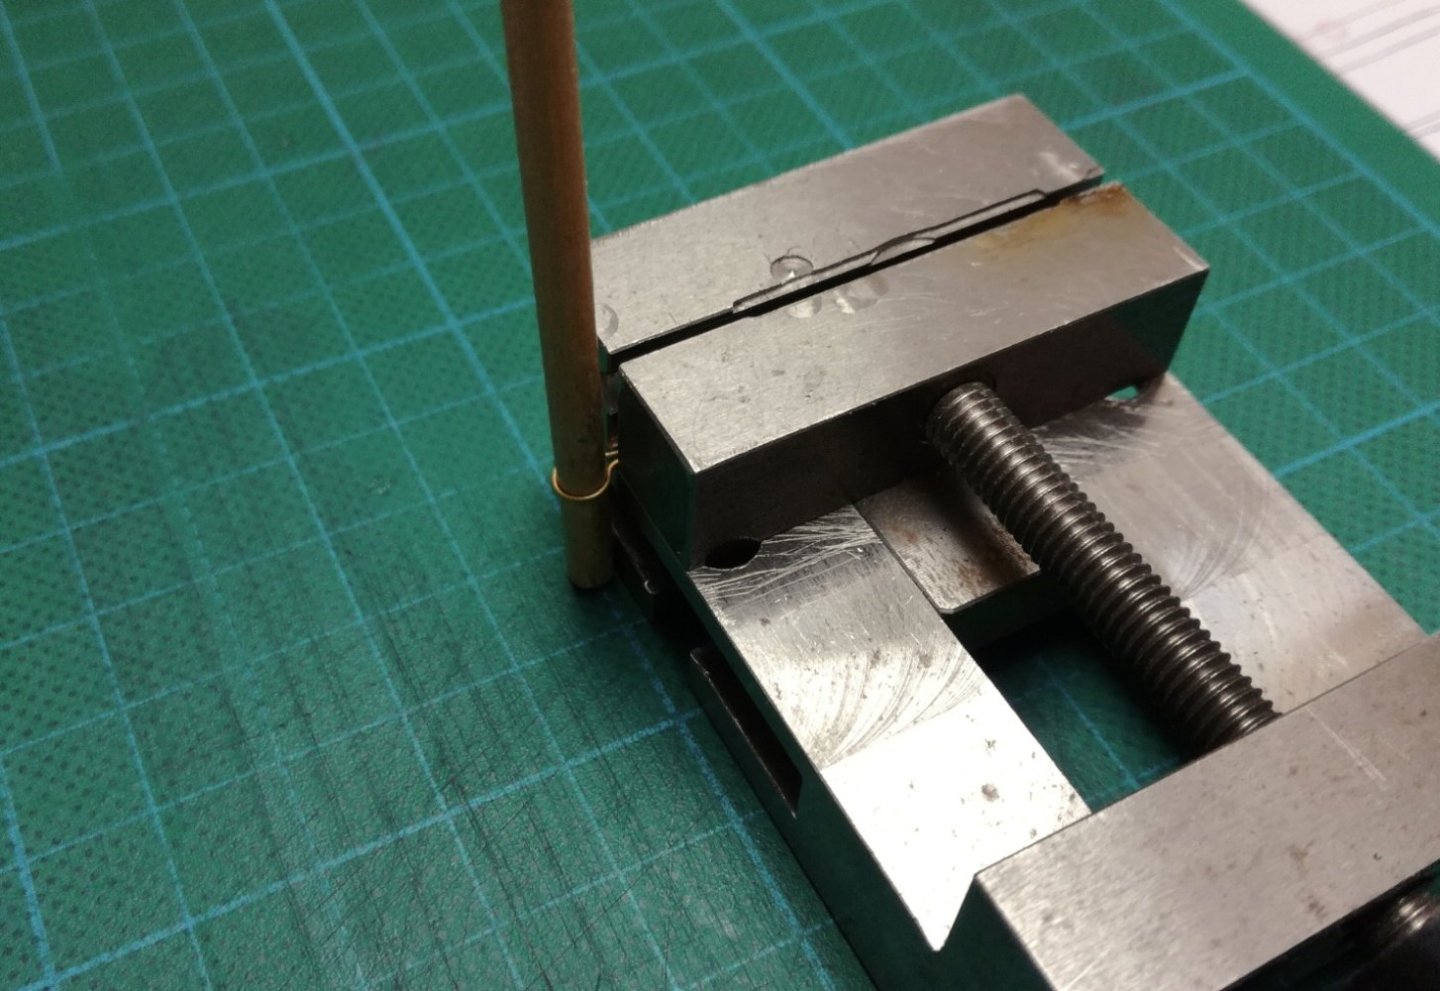
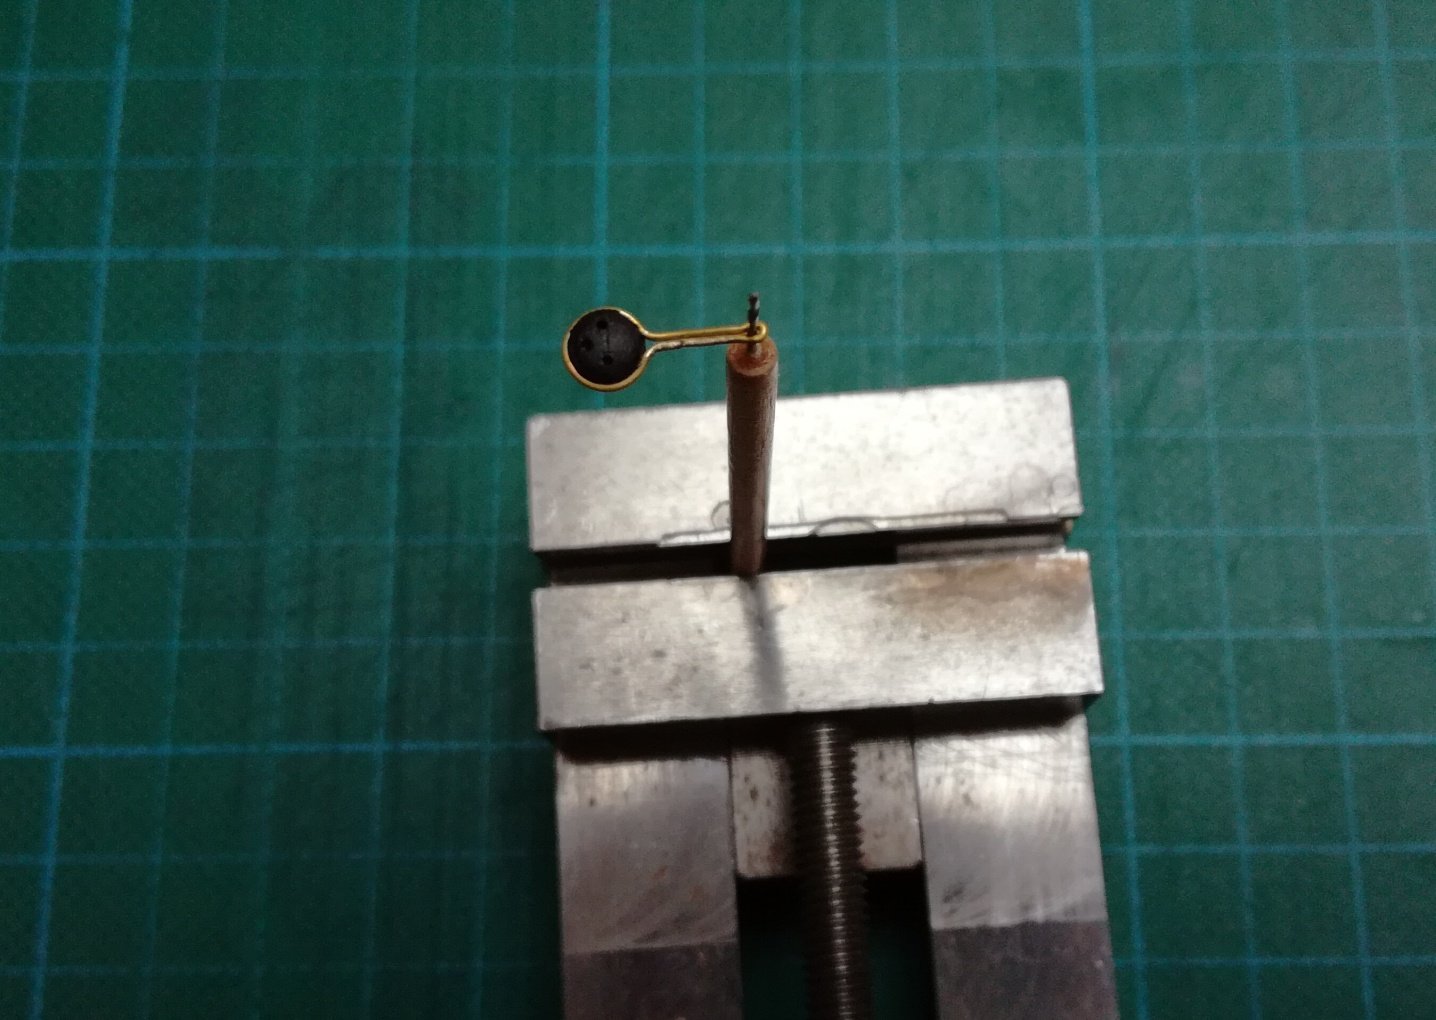
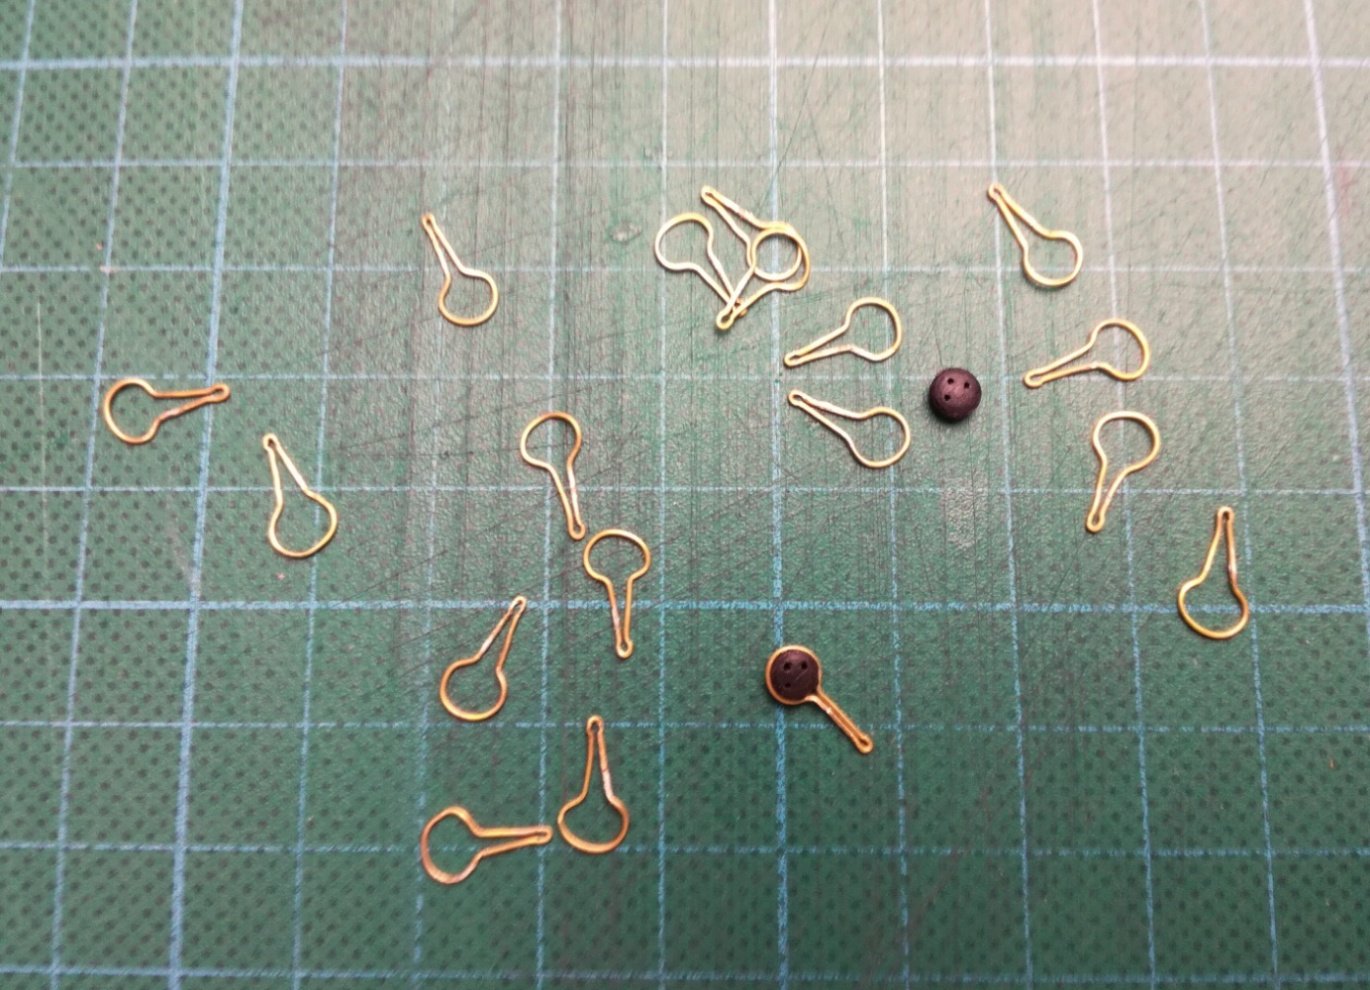
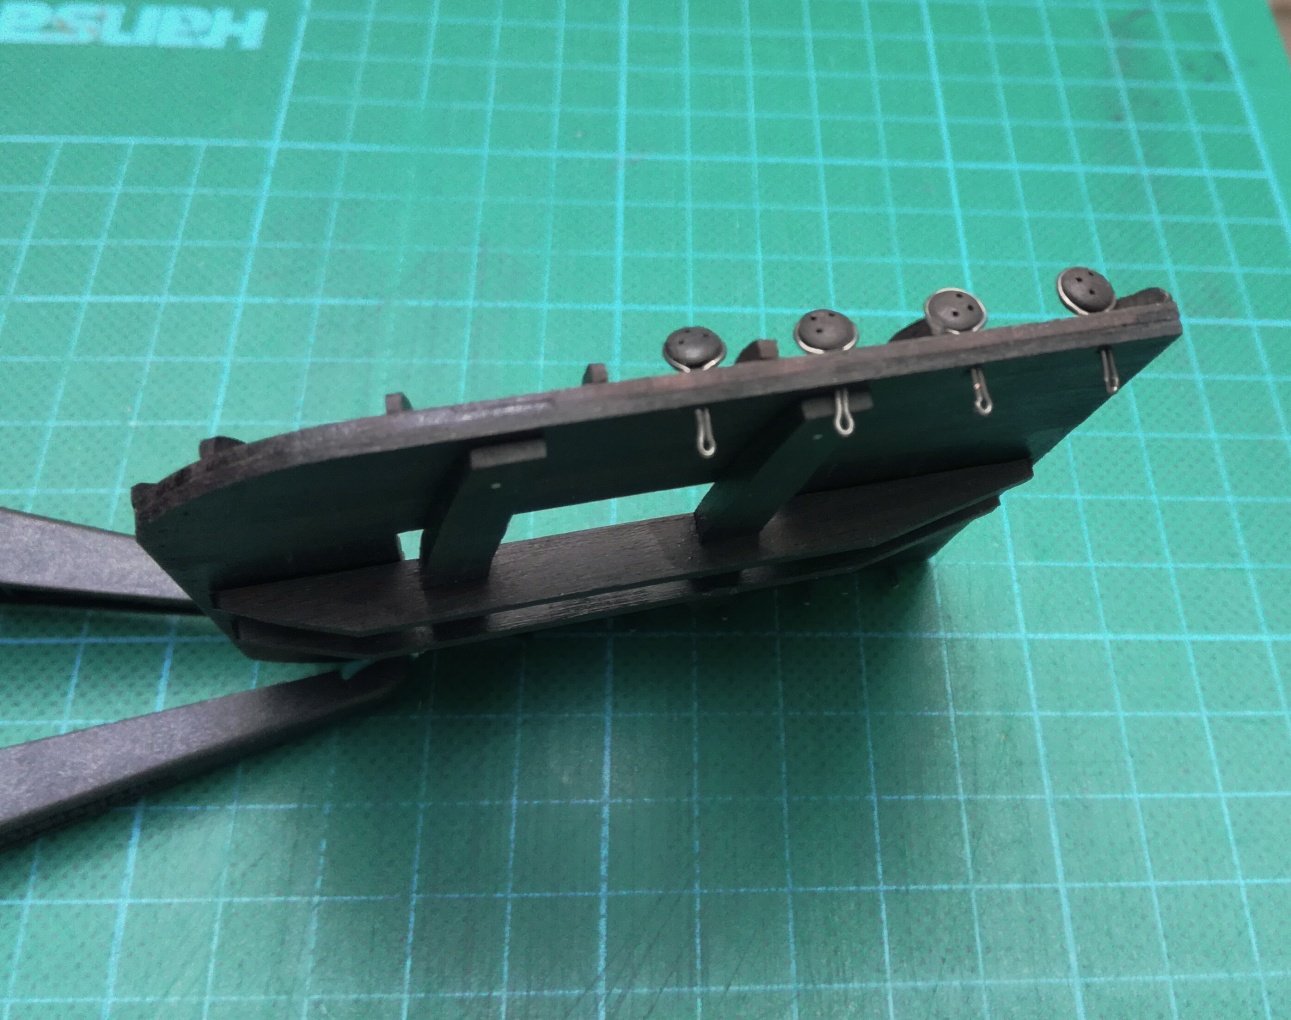
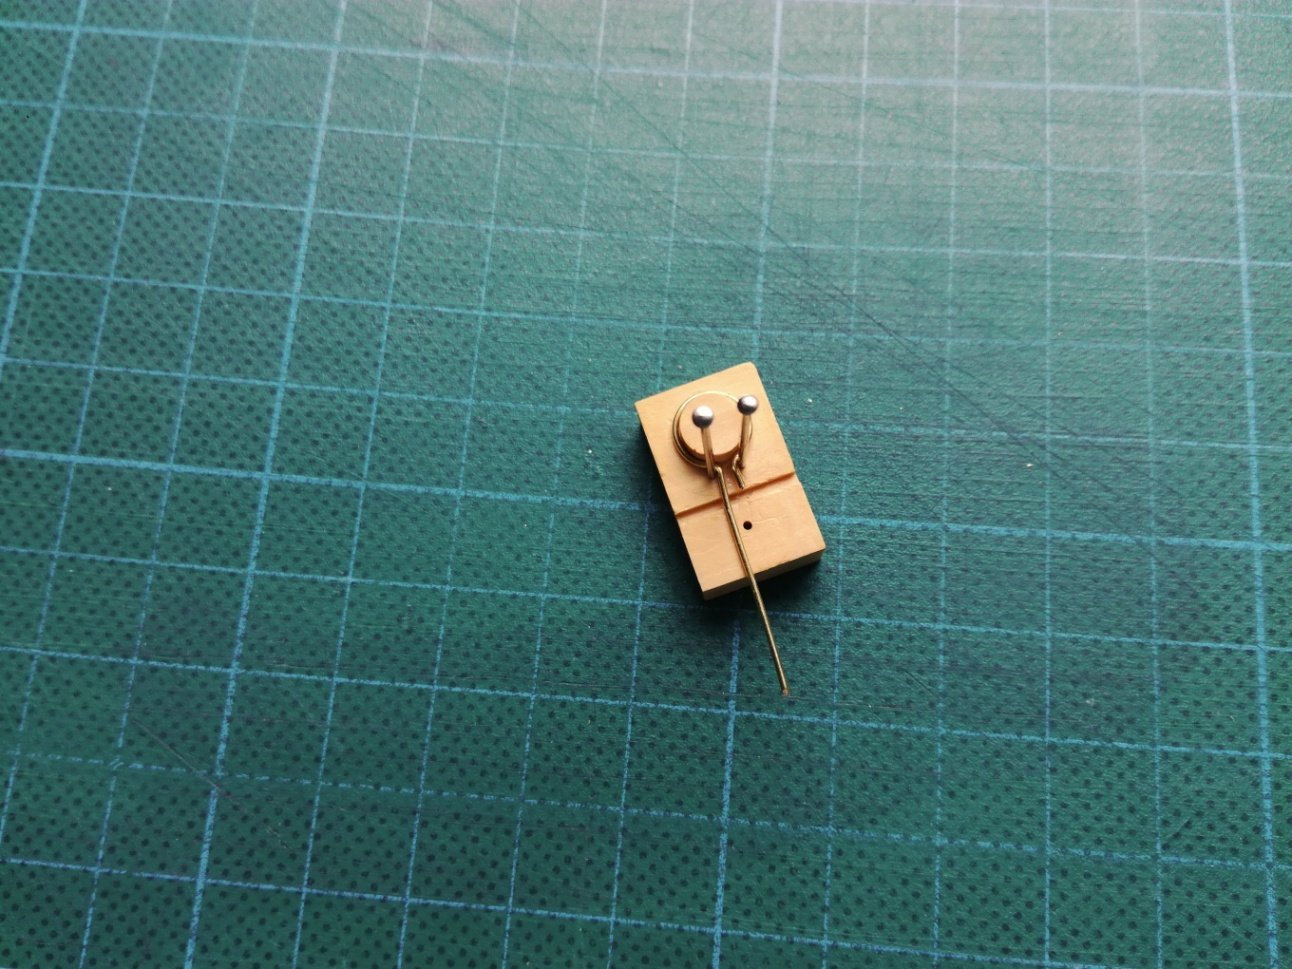
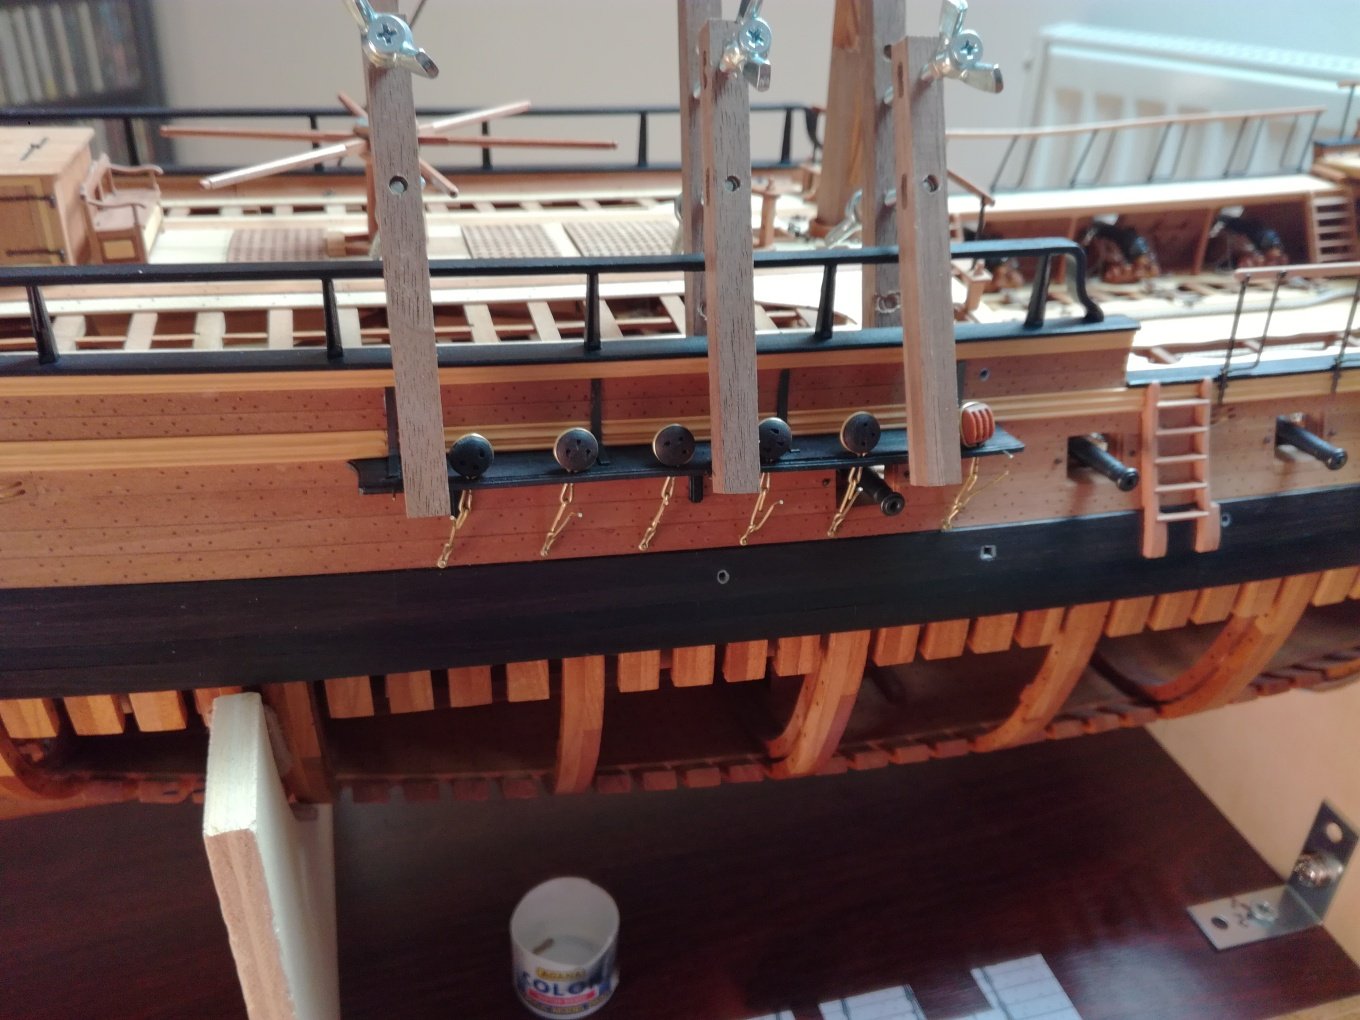
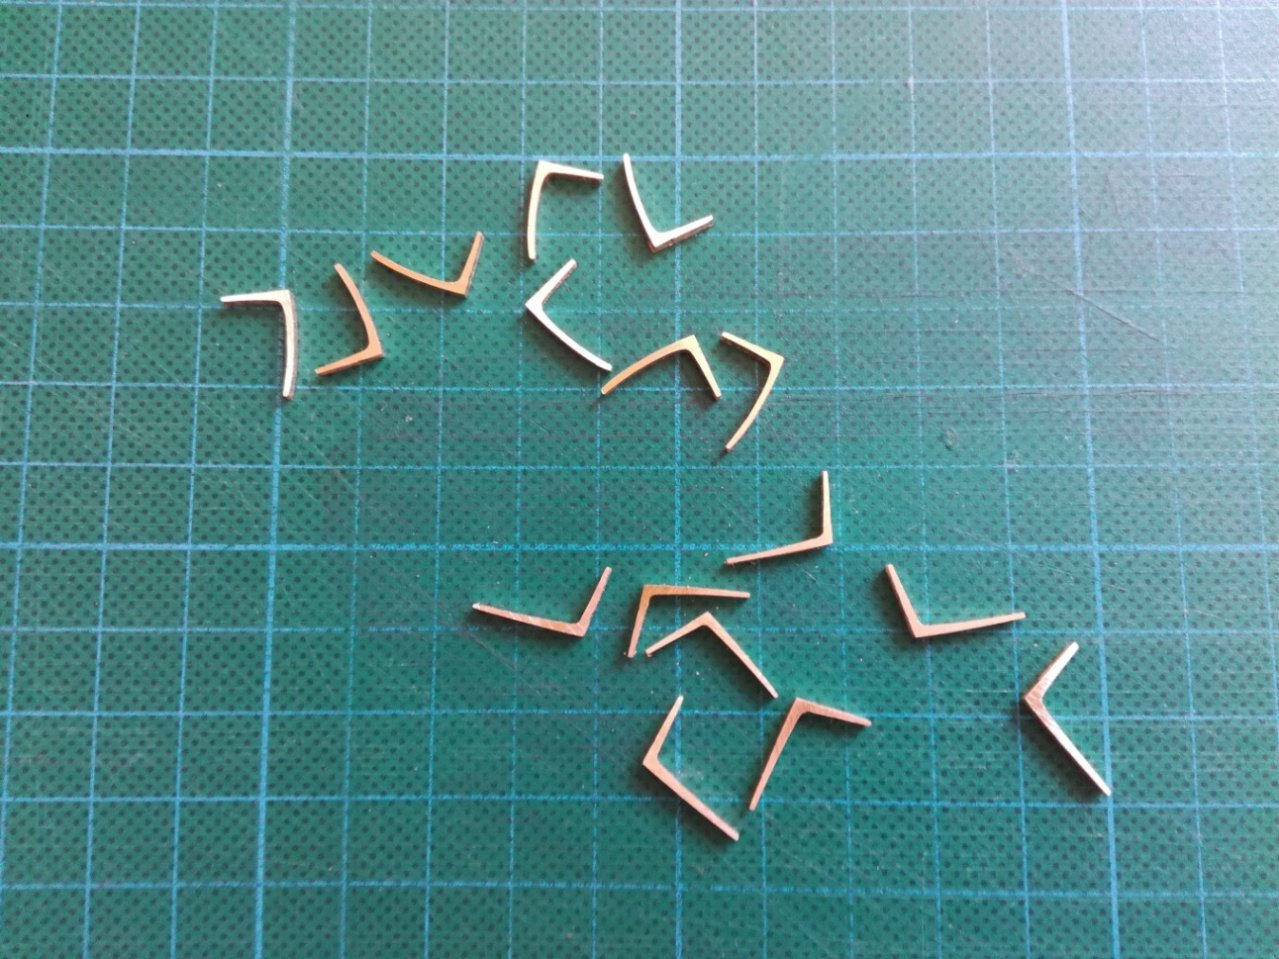
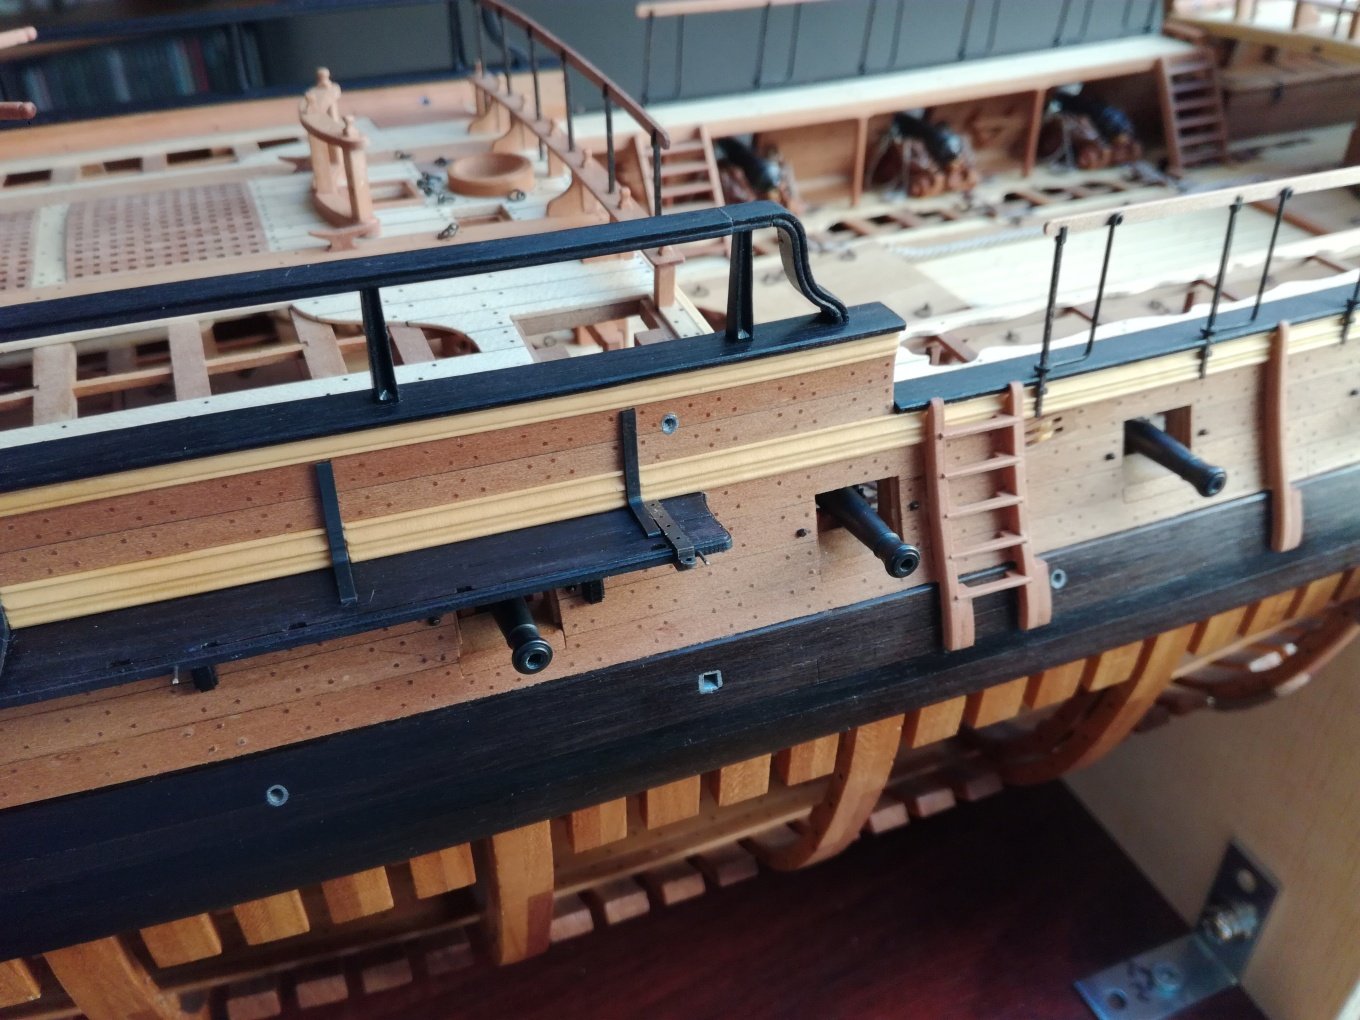
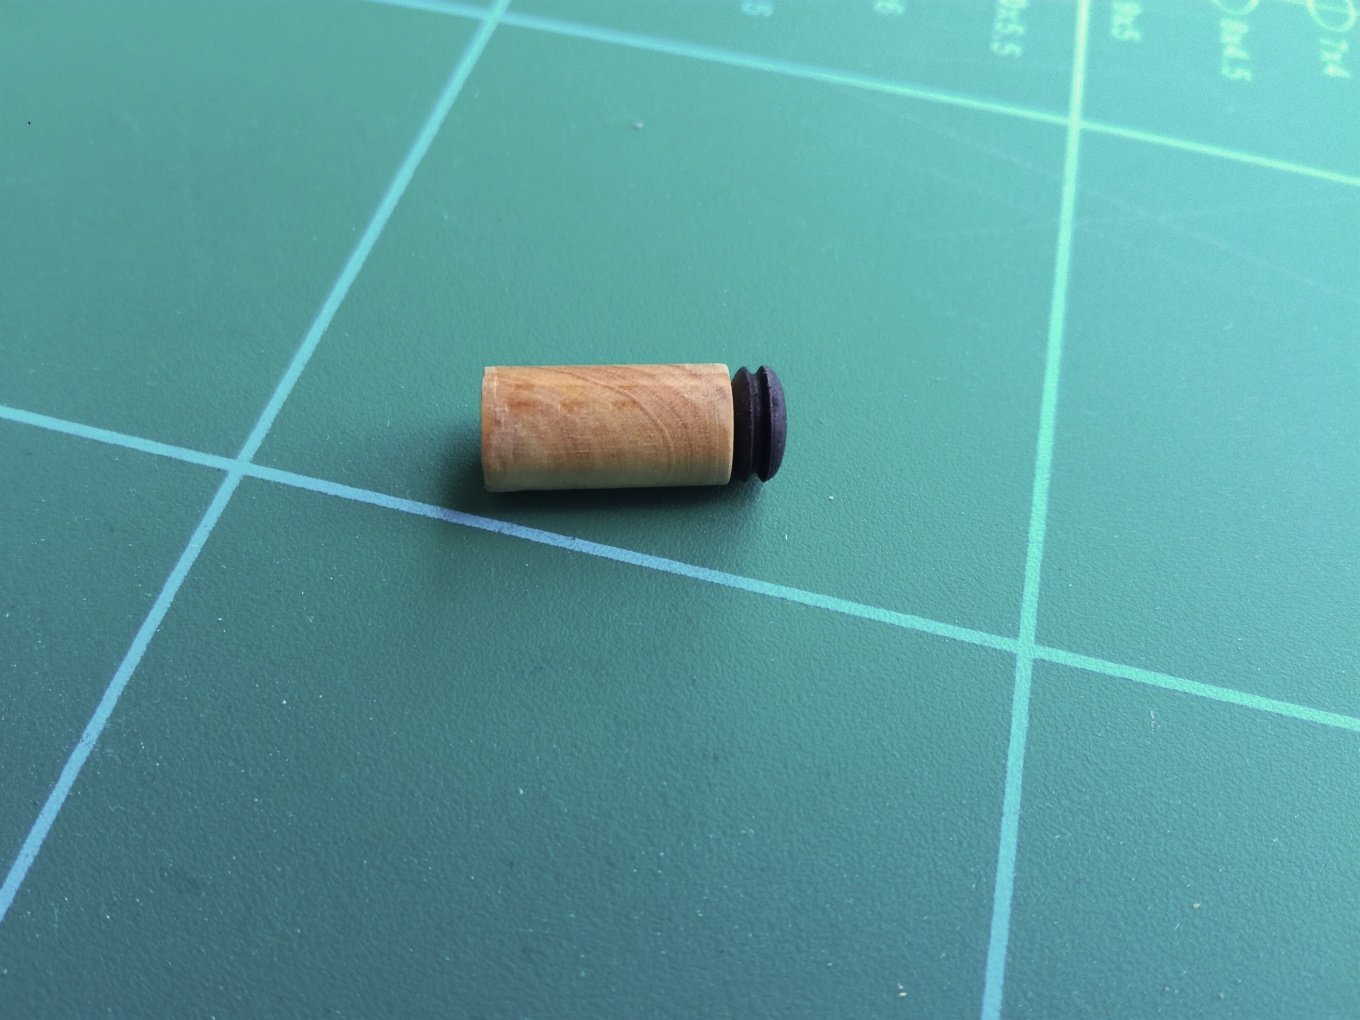
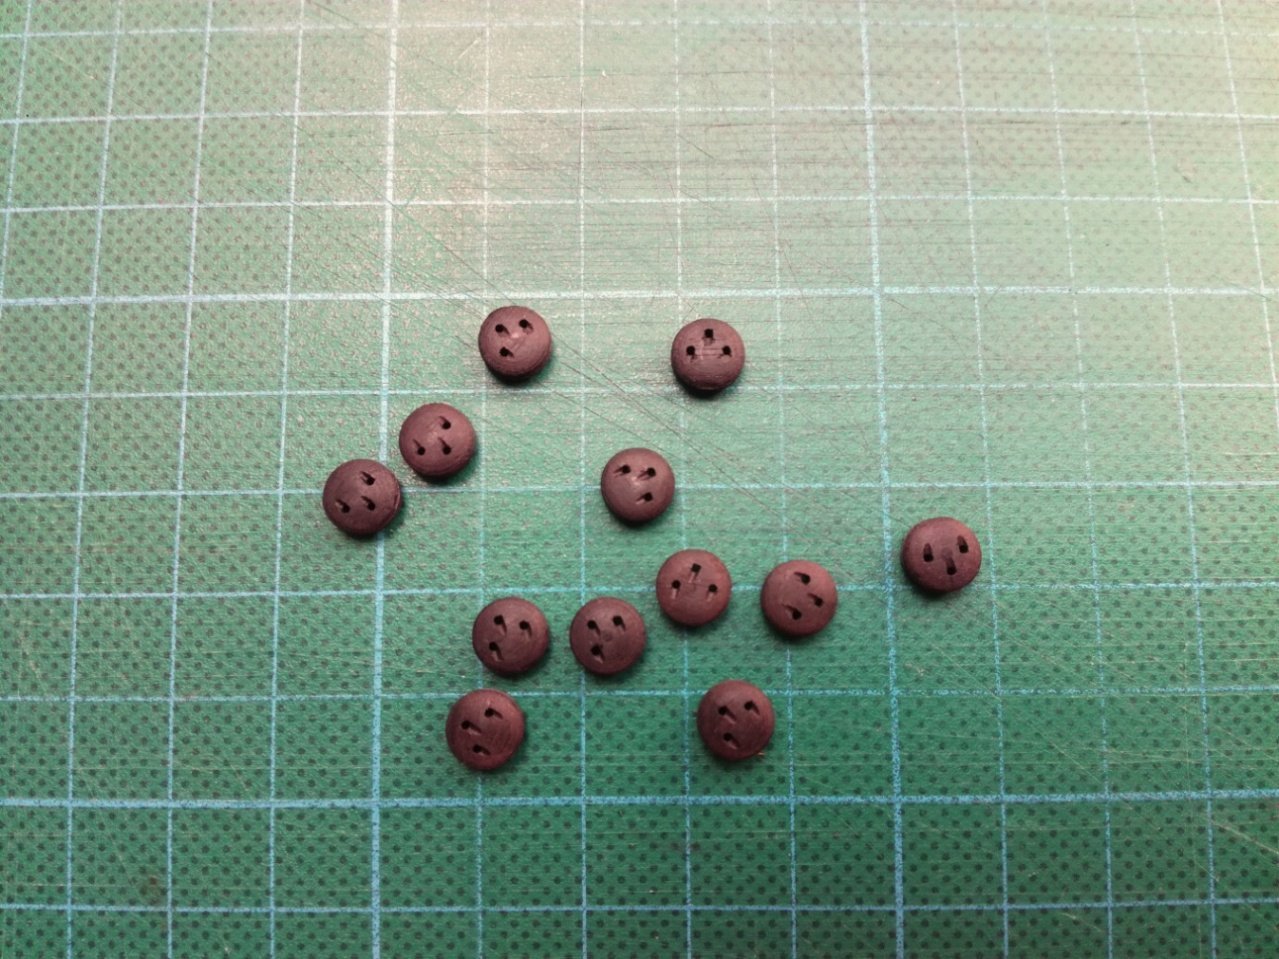
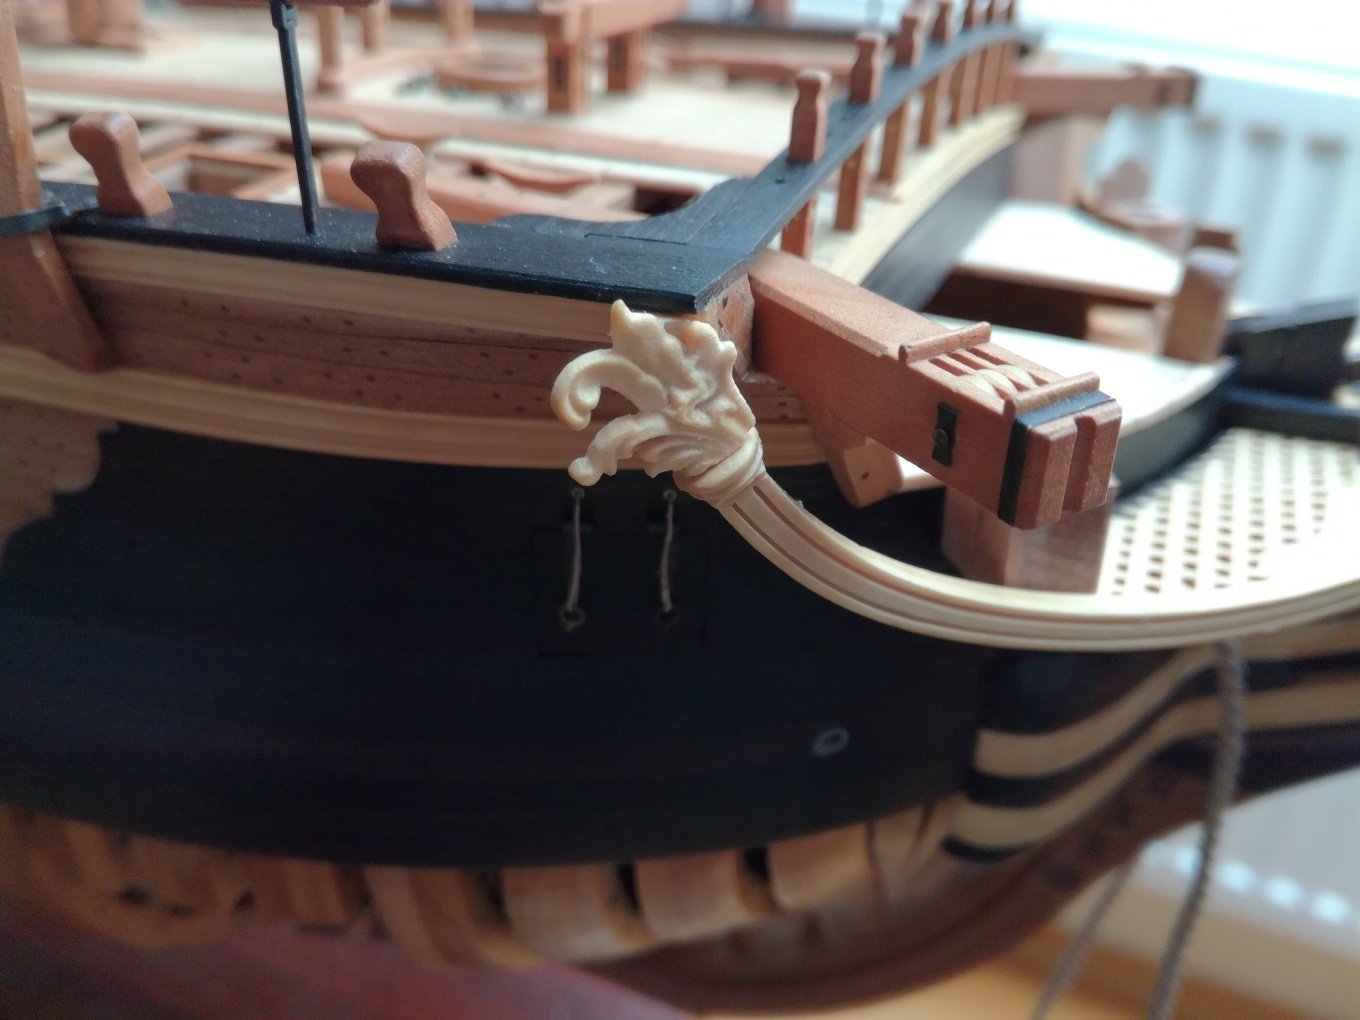
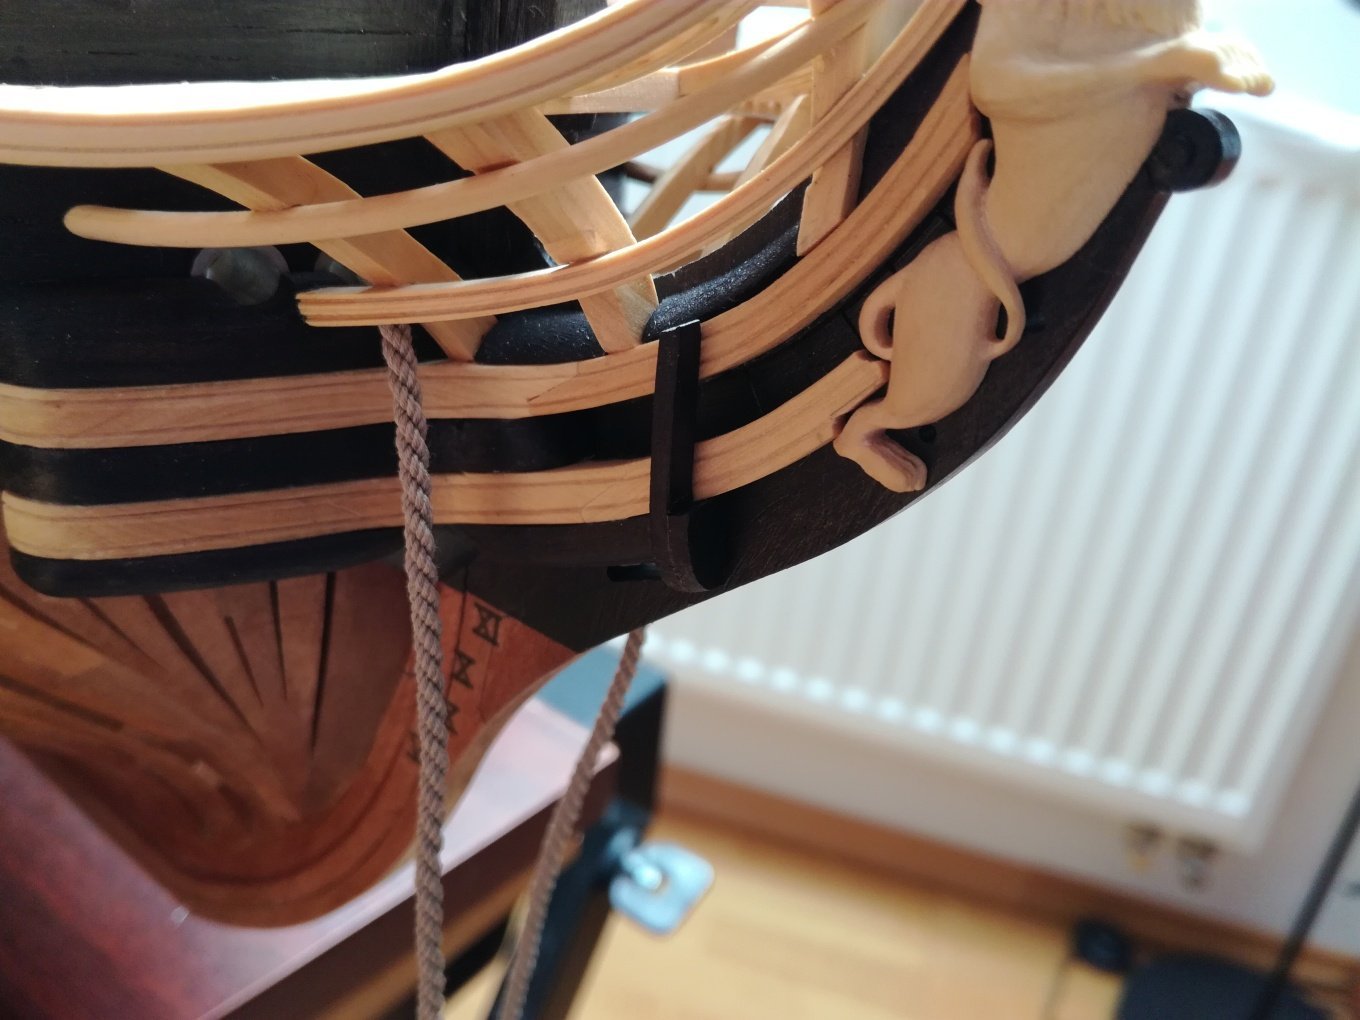
To No Idea: As garyshipwrighter partially answered you, the small blocks are intended as a stop for gammoning and collars (fore stay, fore preventer stay, inner and outer bobstay) - see enclosed picture. I finished all the masts and tried installing them on the model.

- 589 replies
-
- 25
-
-
-
- le gros ventre
- cargo
- (and 1 more)
-
Hi Richard, I will be very happy to follow your construction. In the 1:24 scale, a truly impressive model will be created. Will you be building just the hull or the whole model?
-
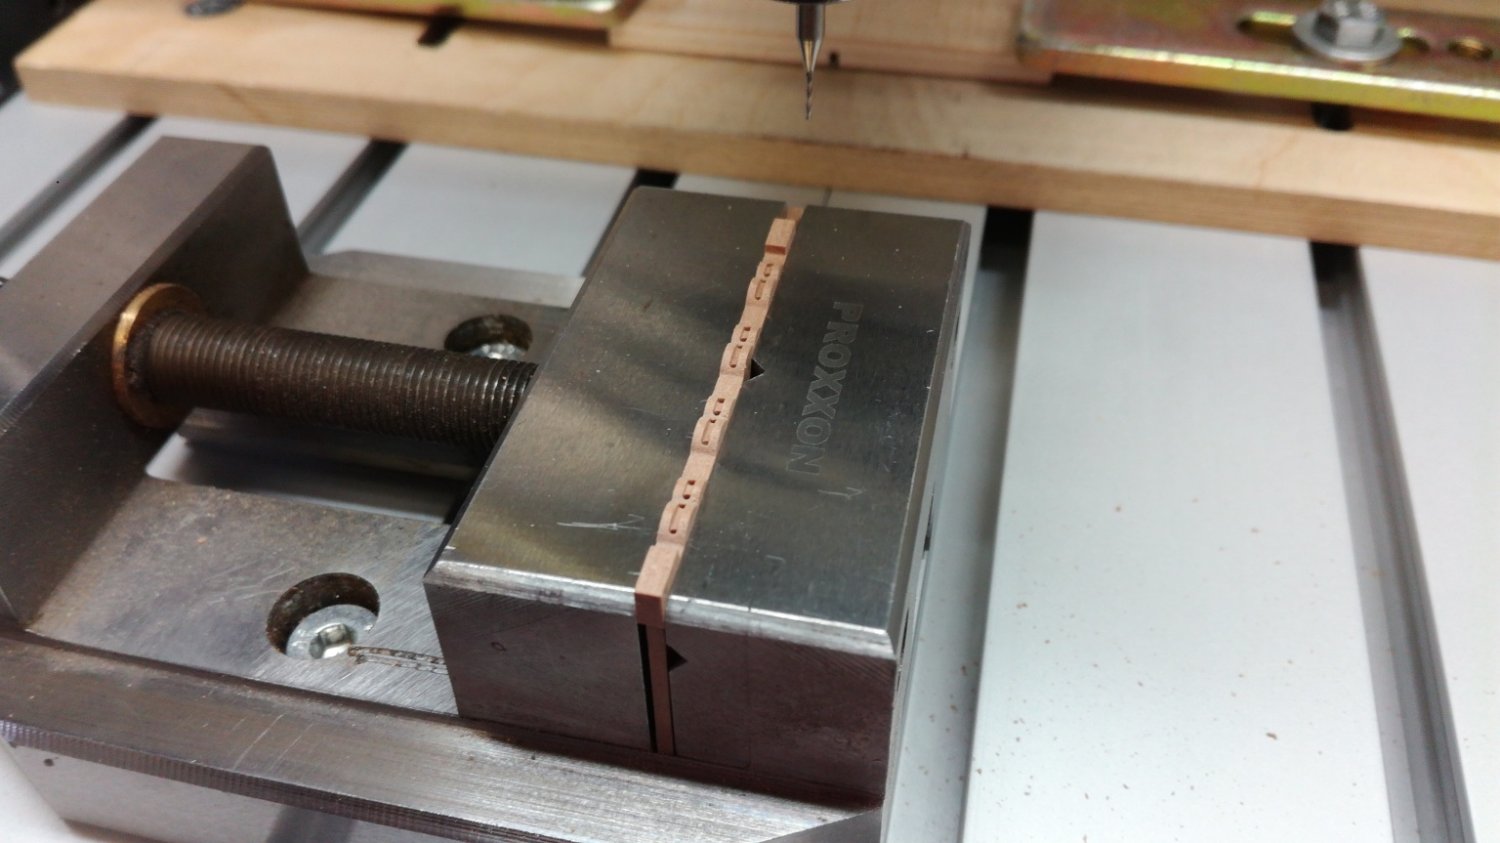
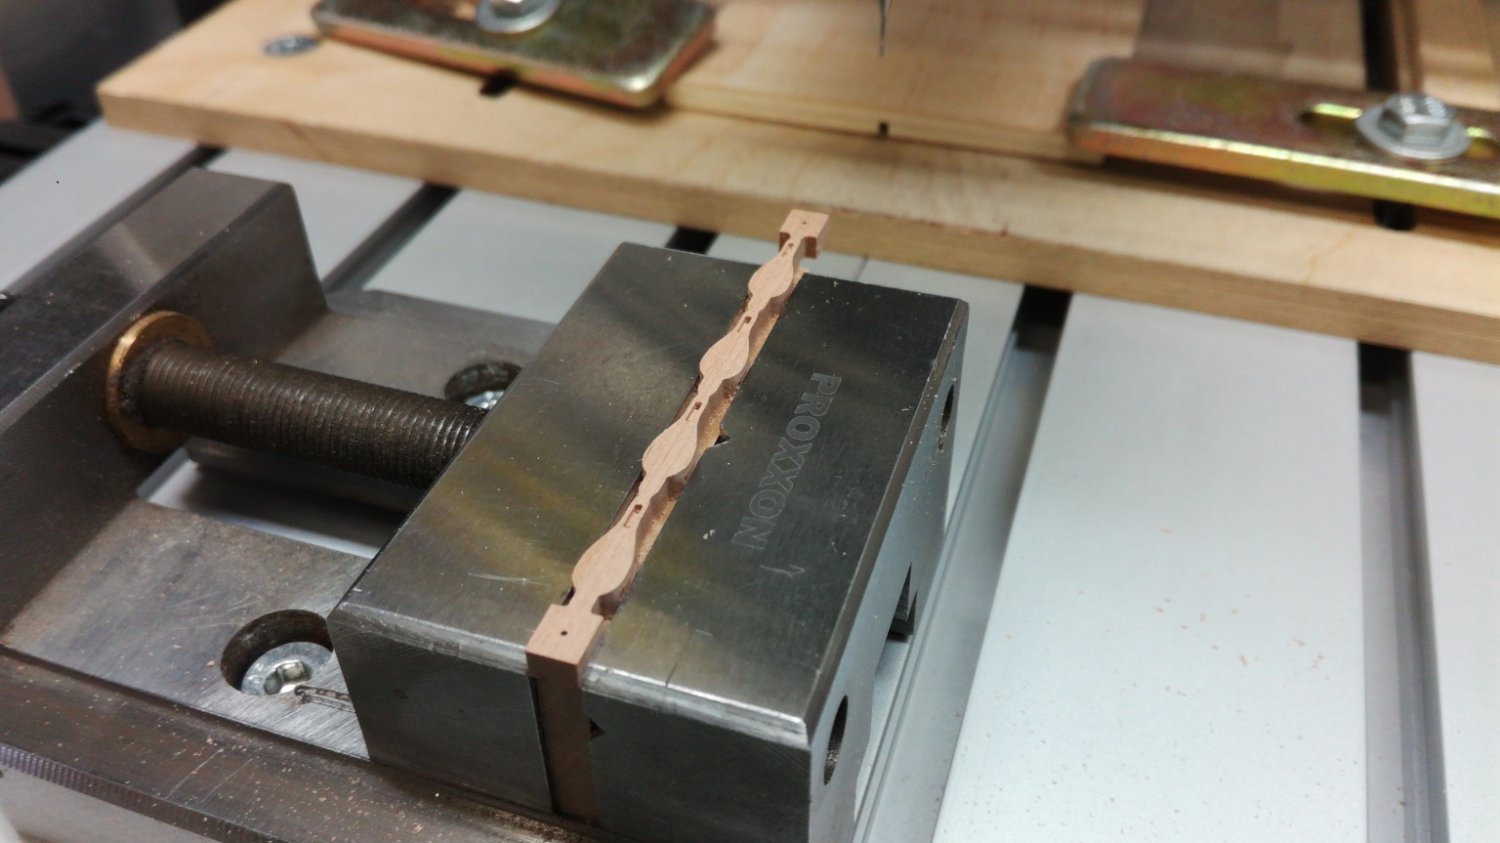
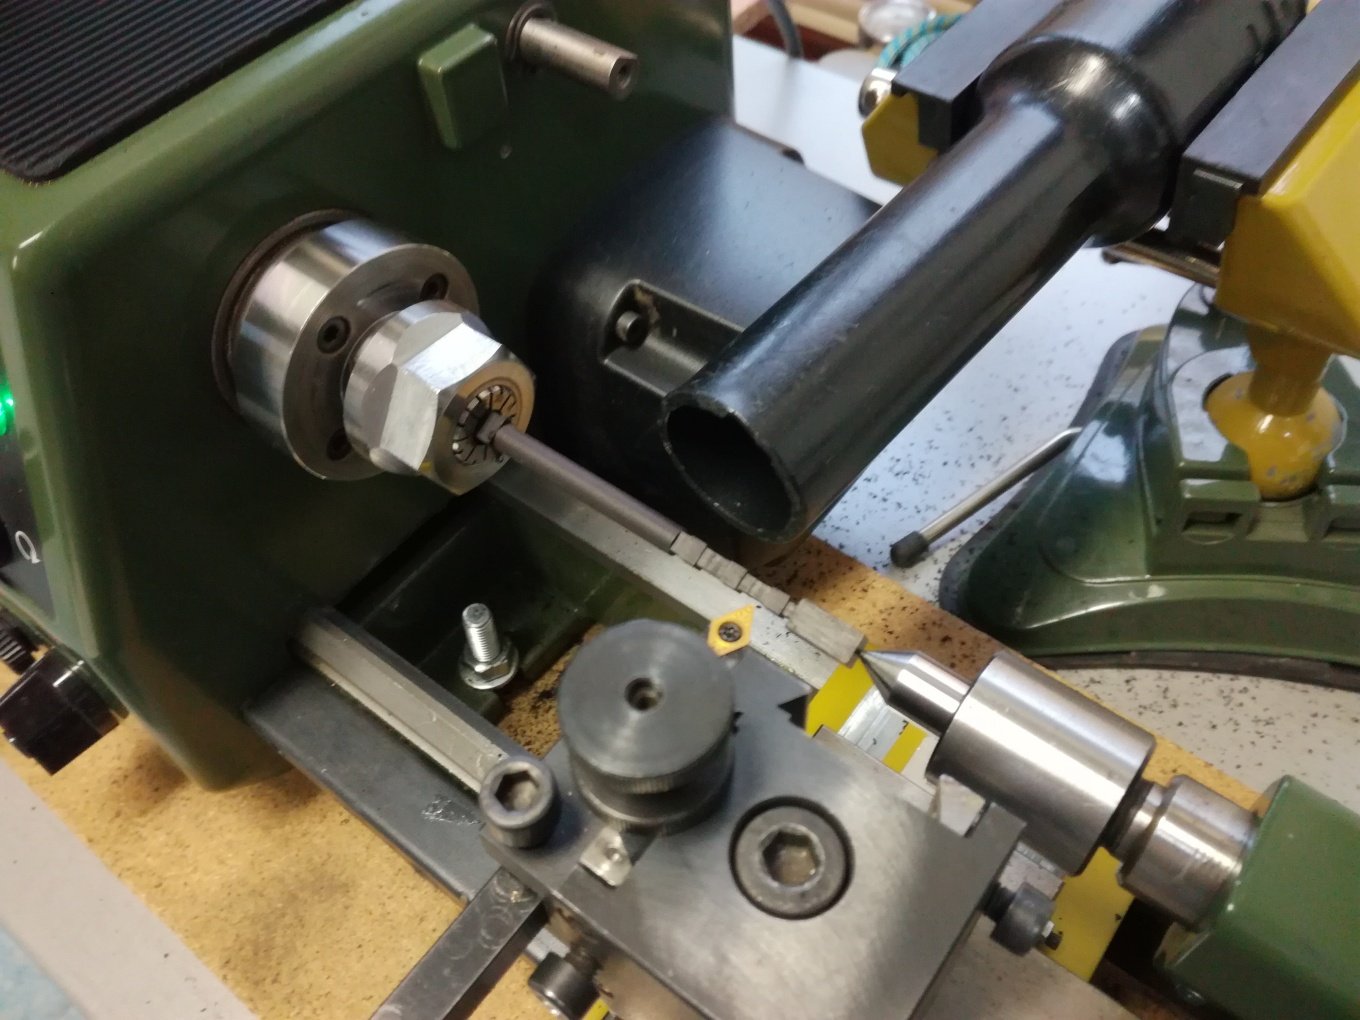
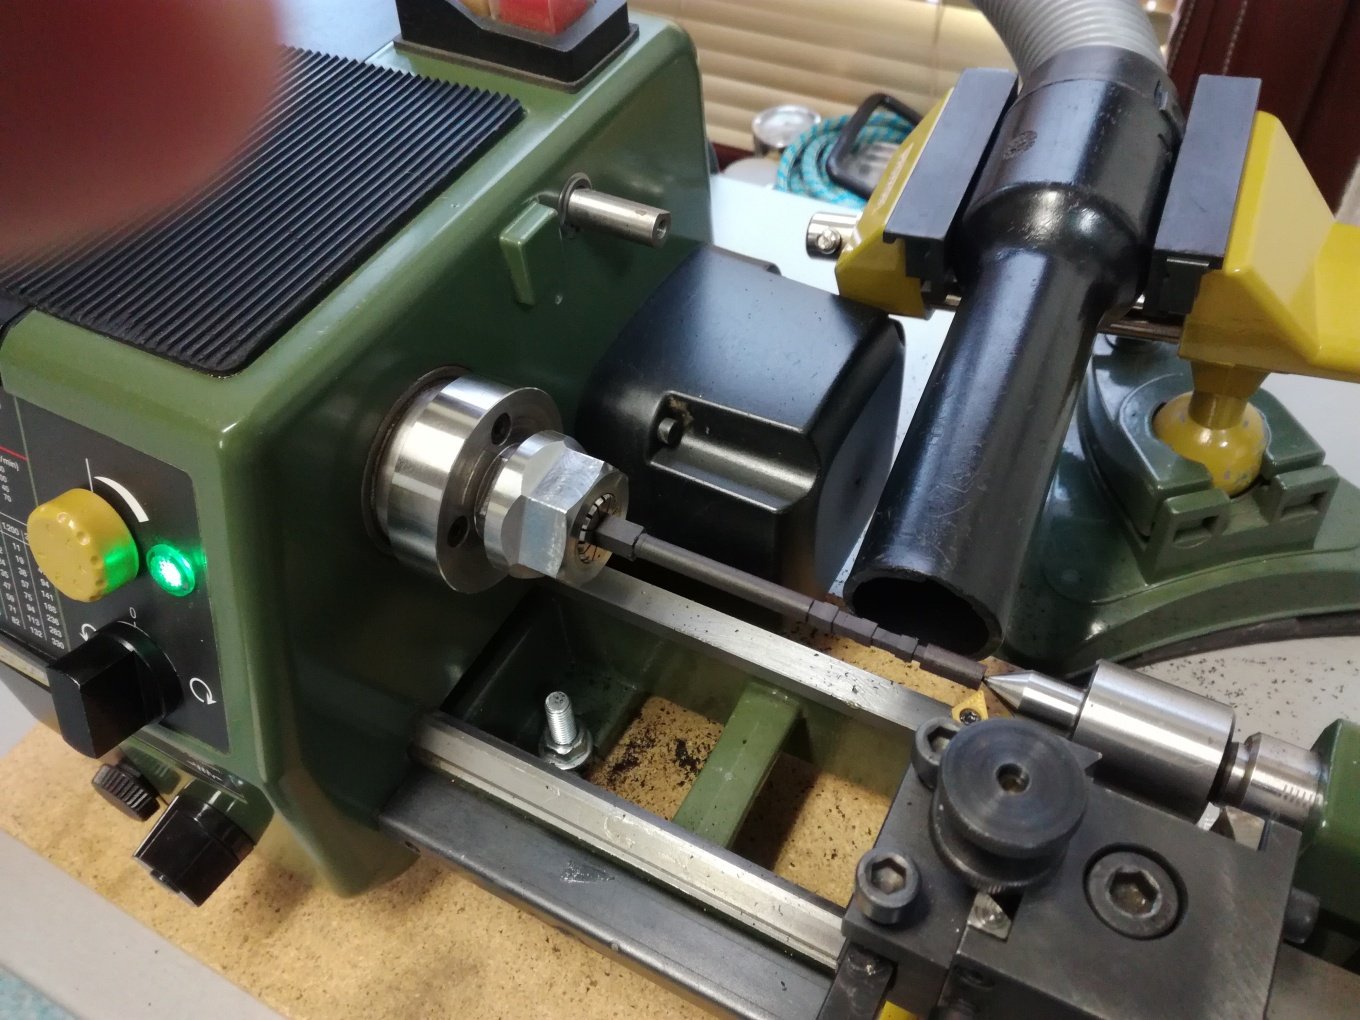
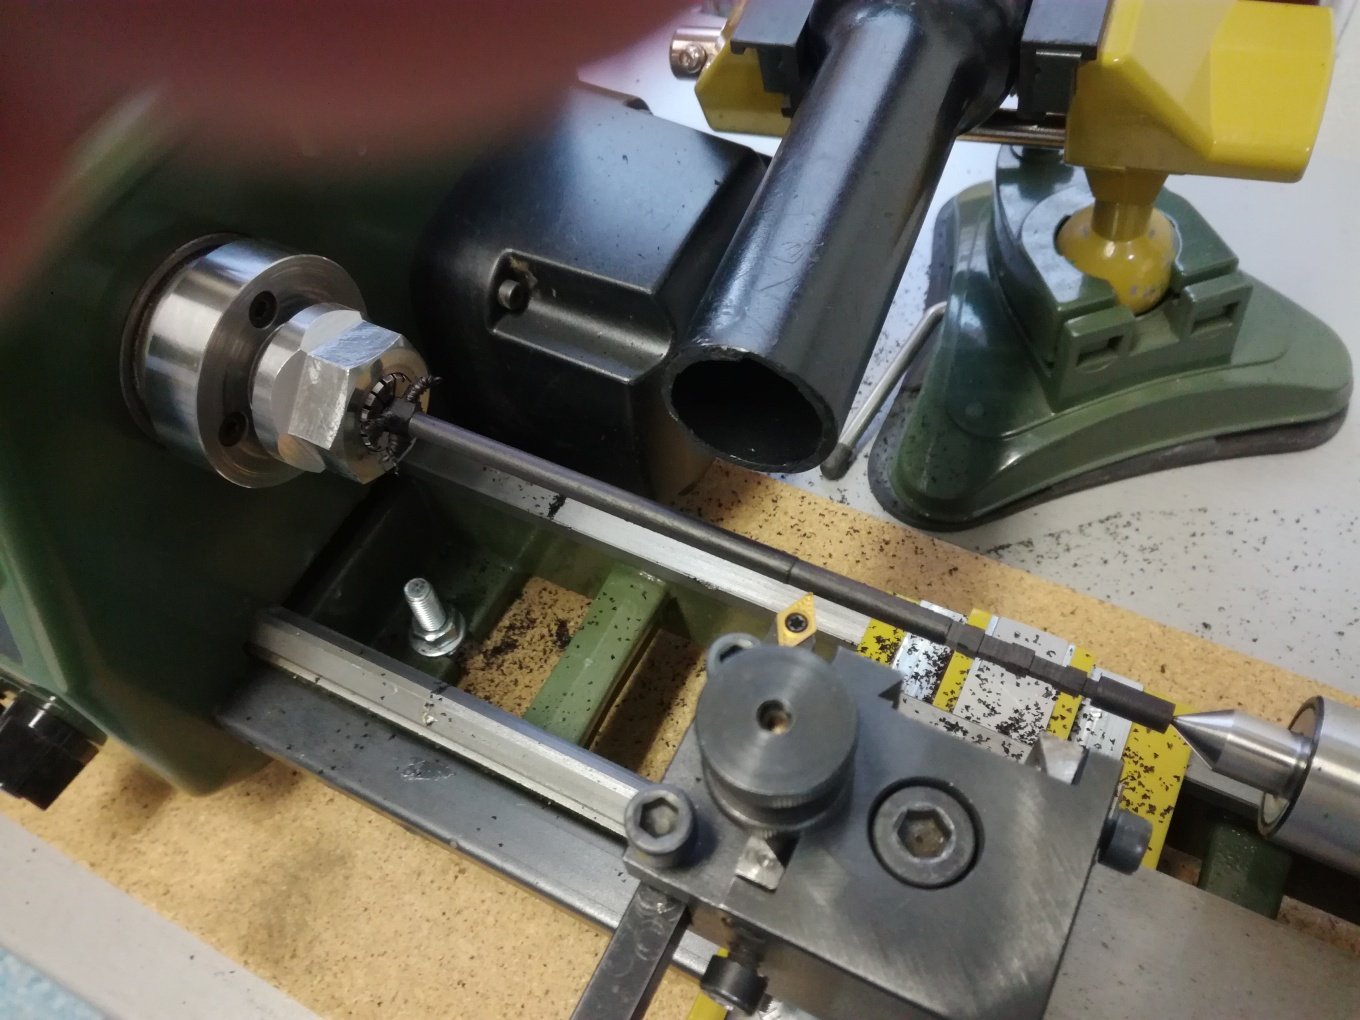
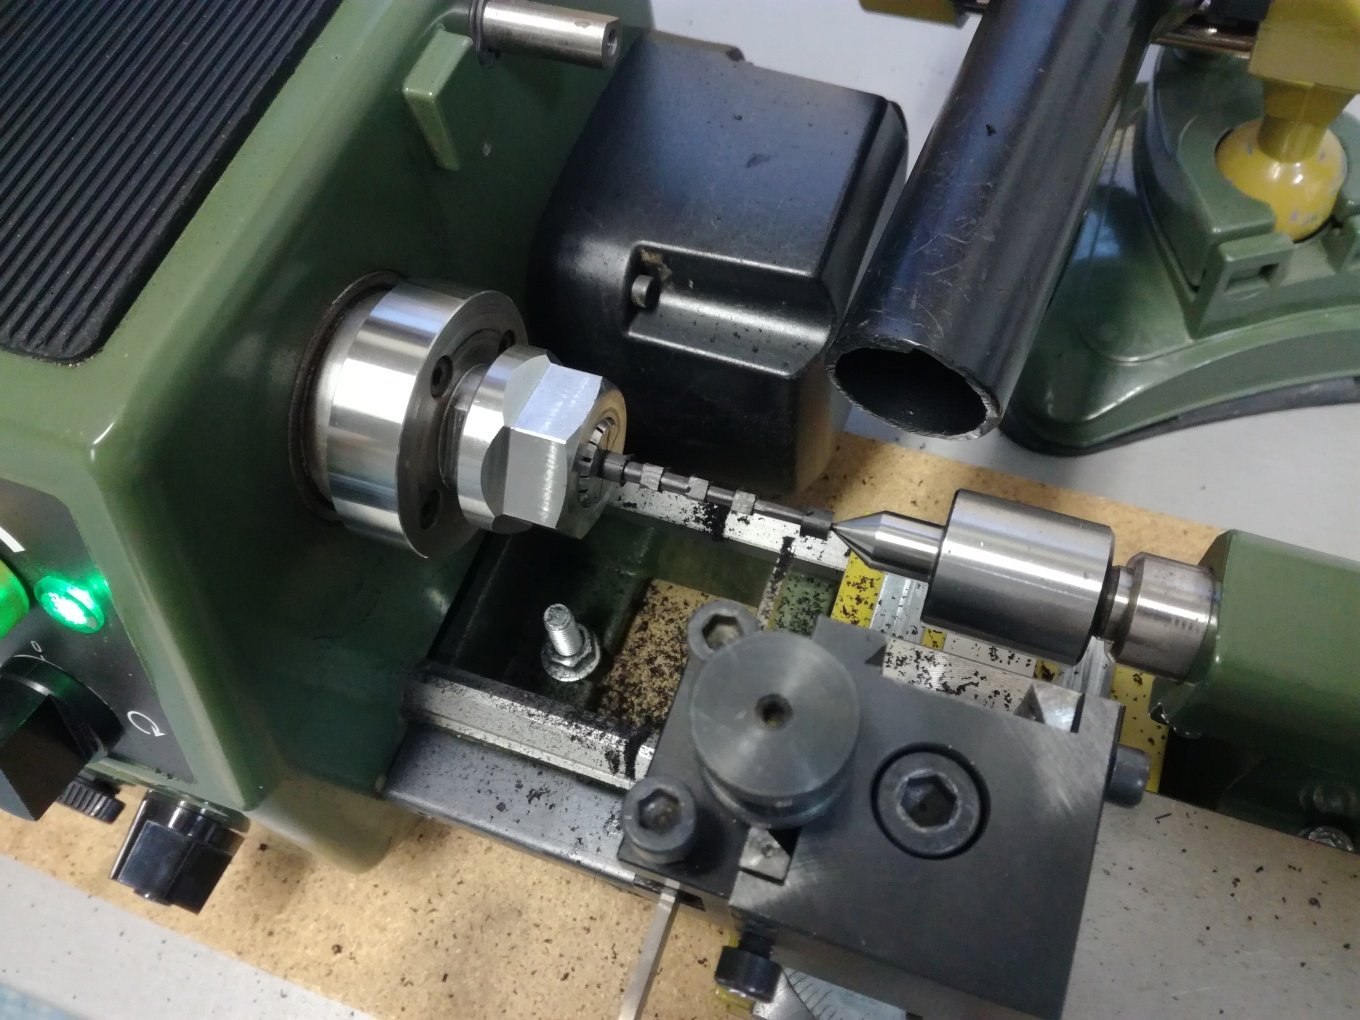
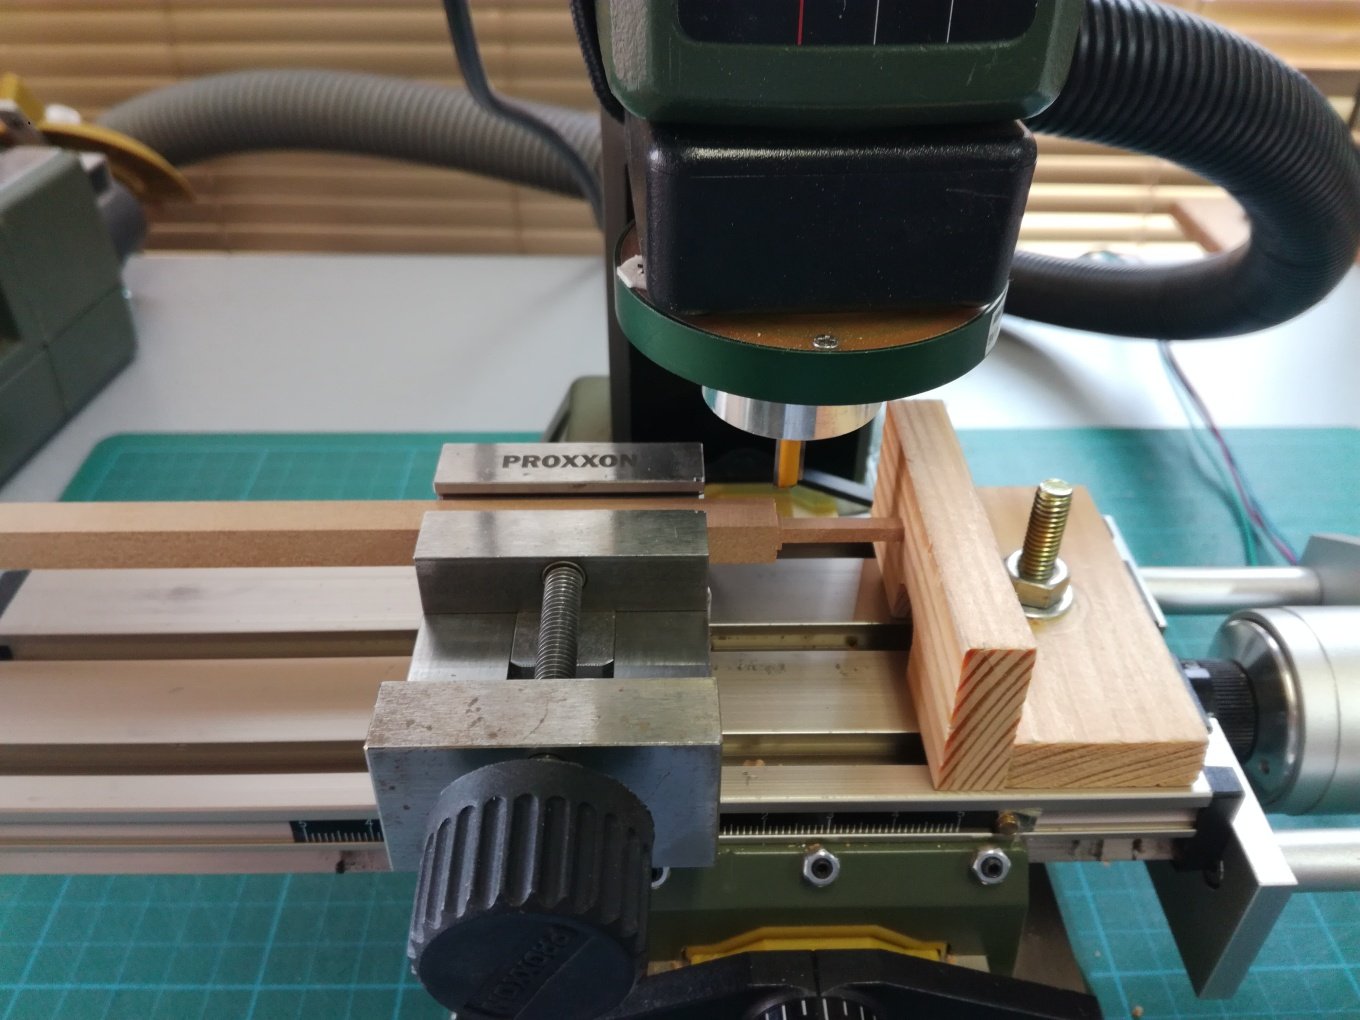
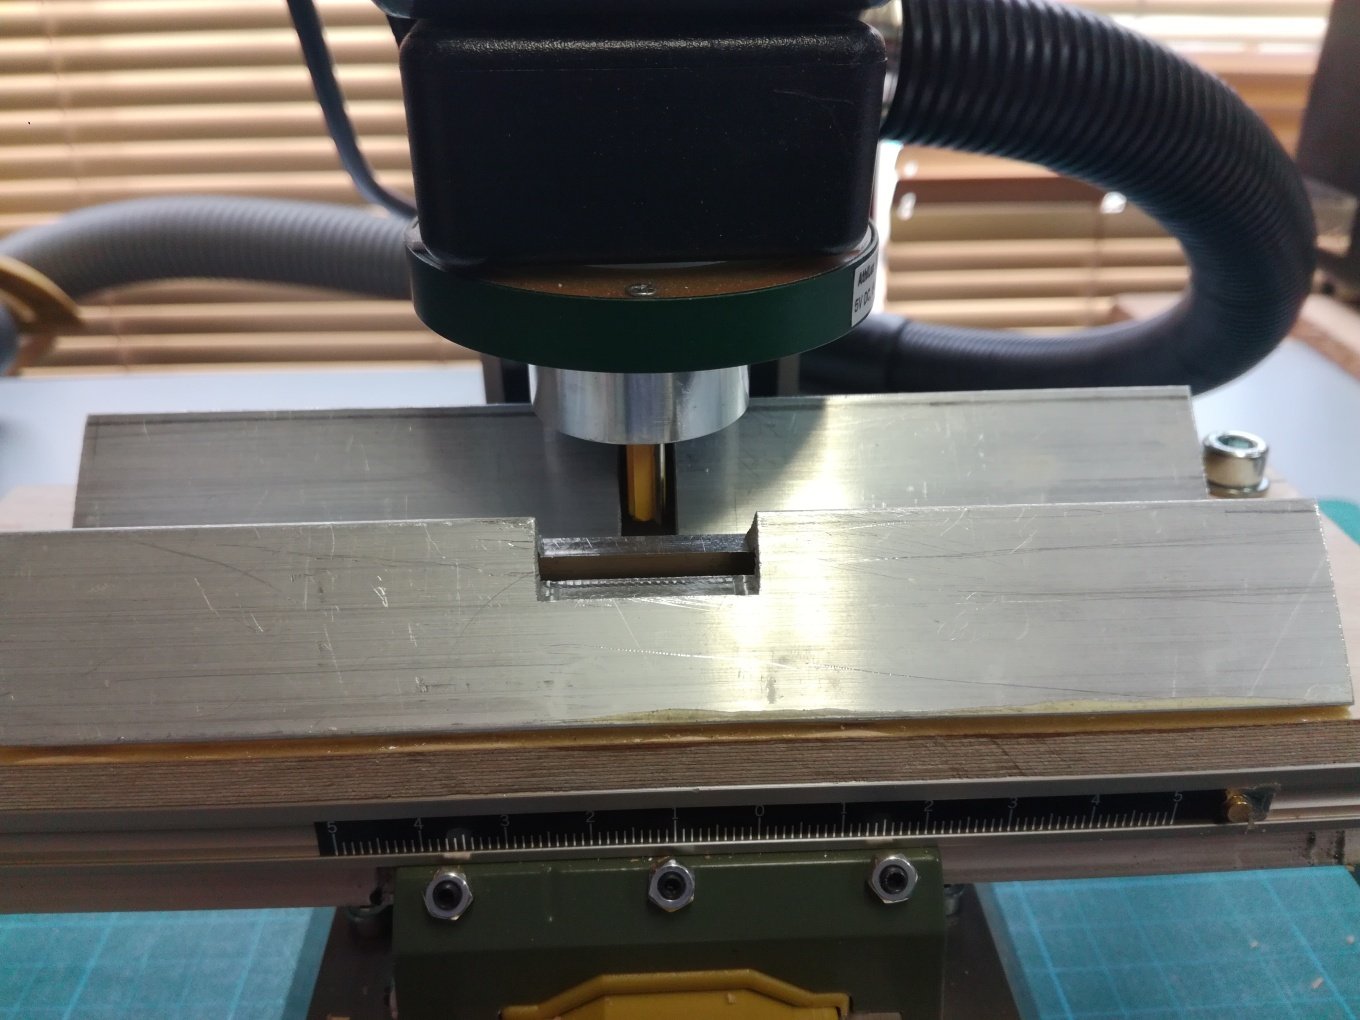
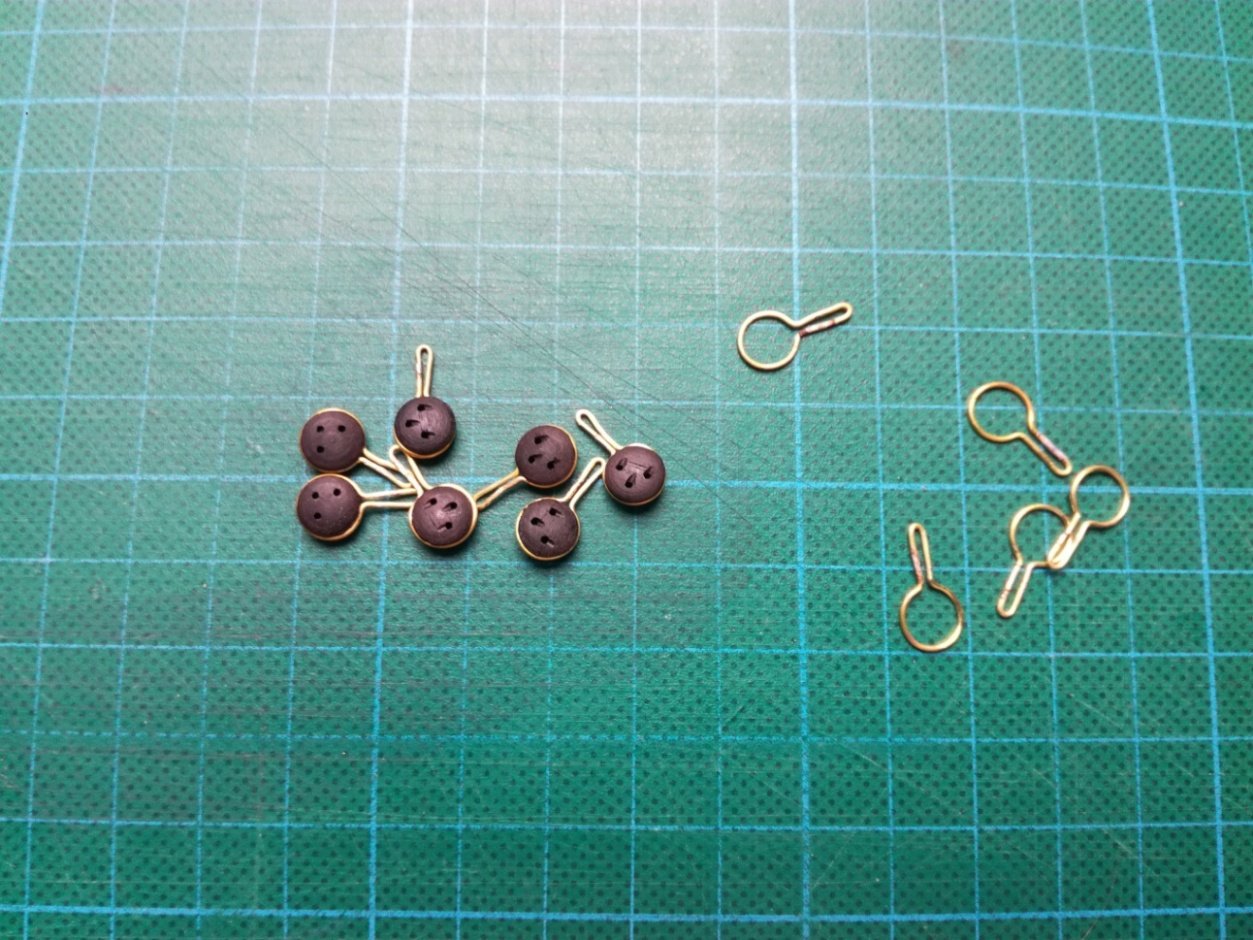
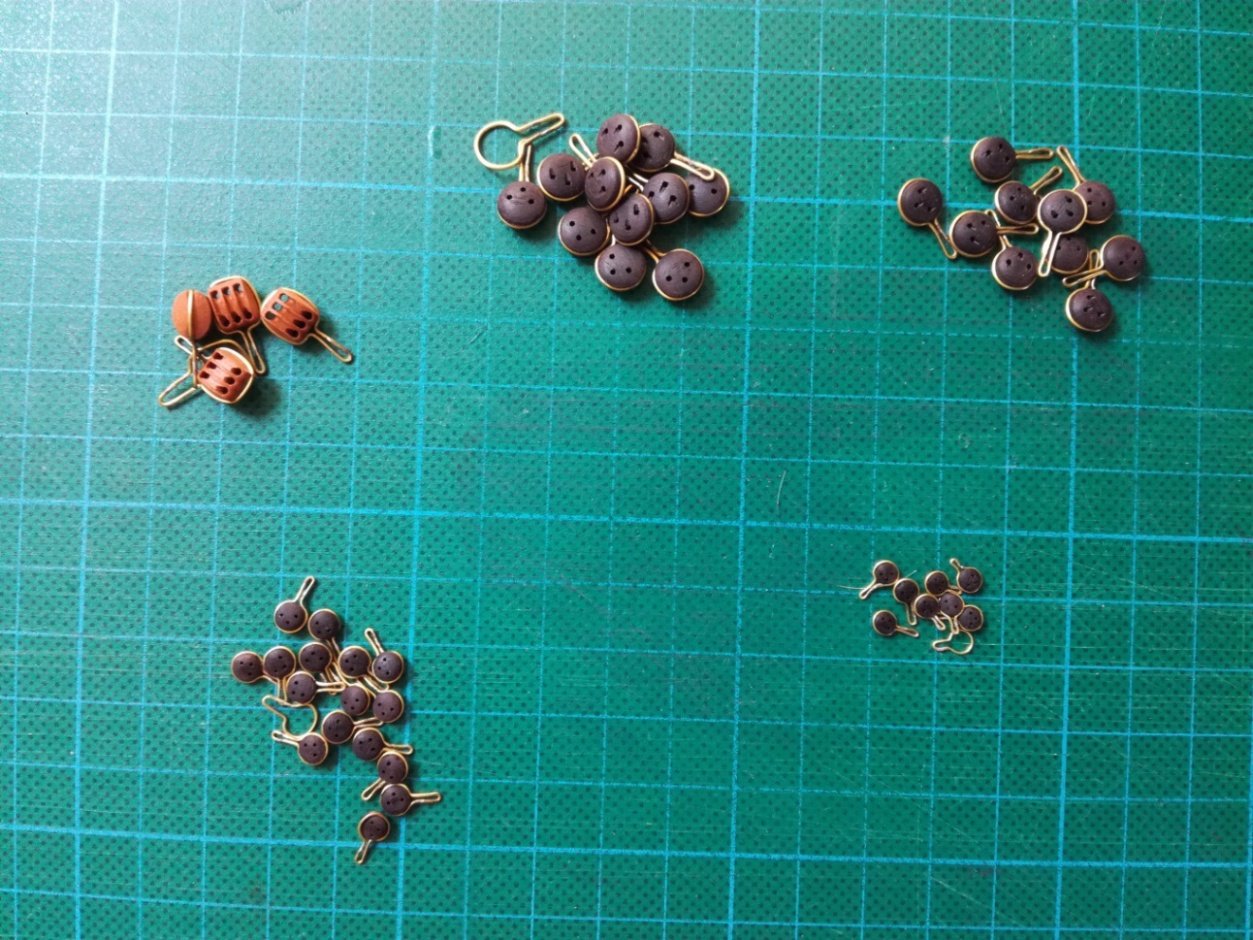
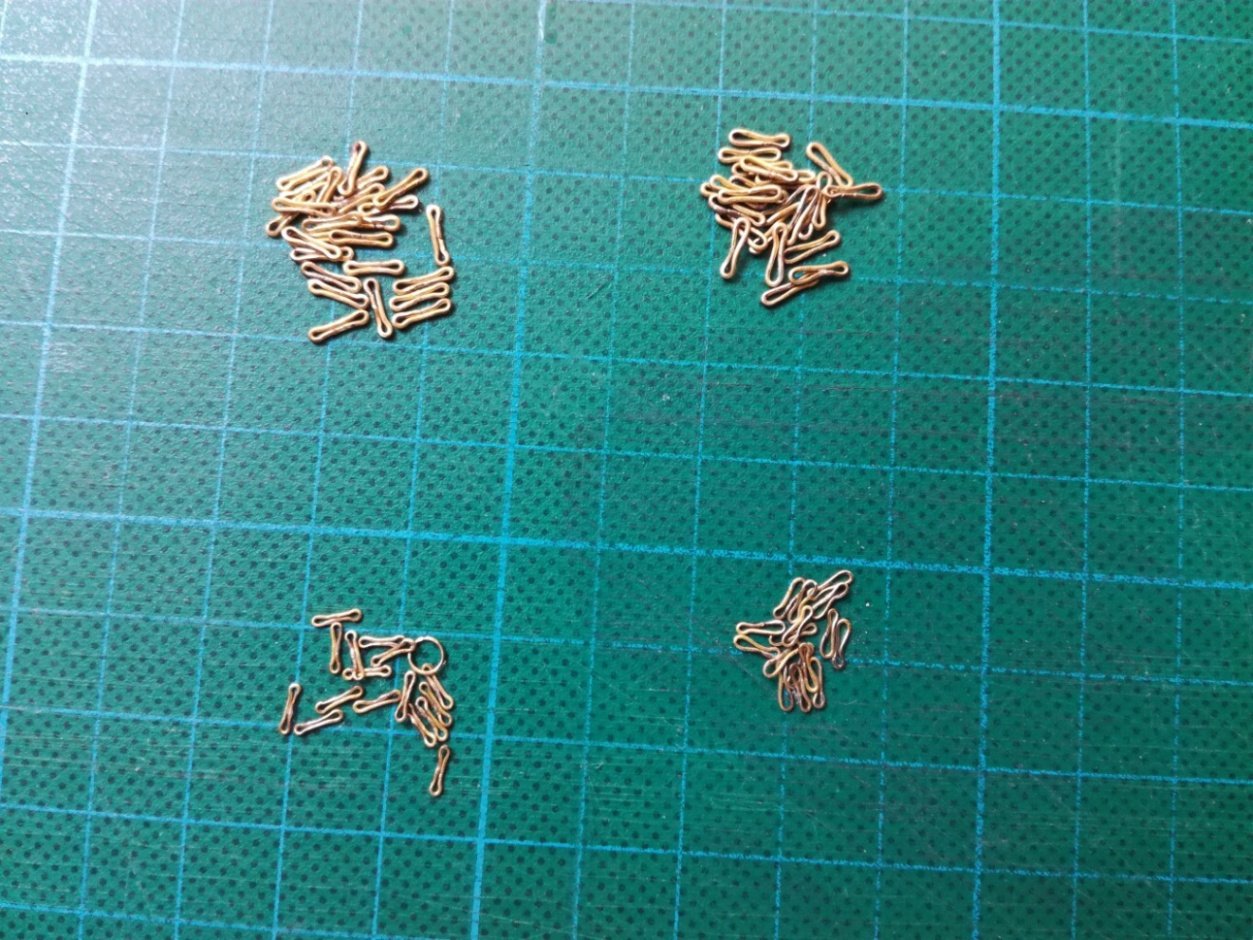
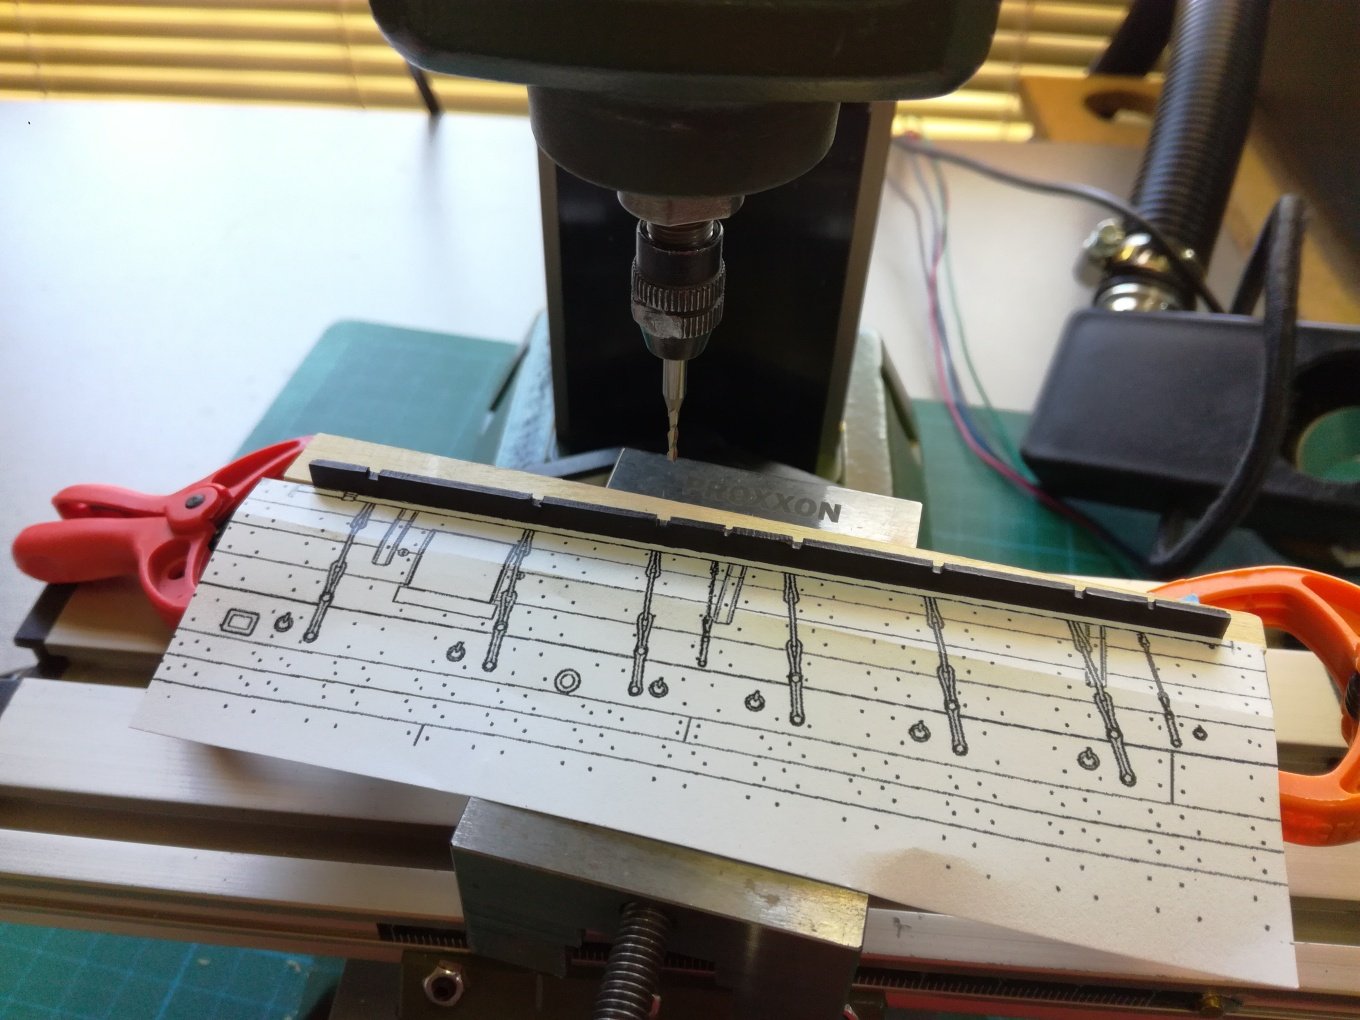
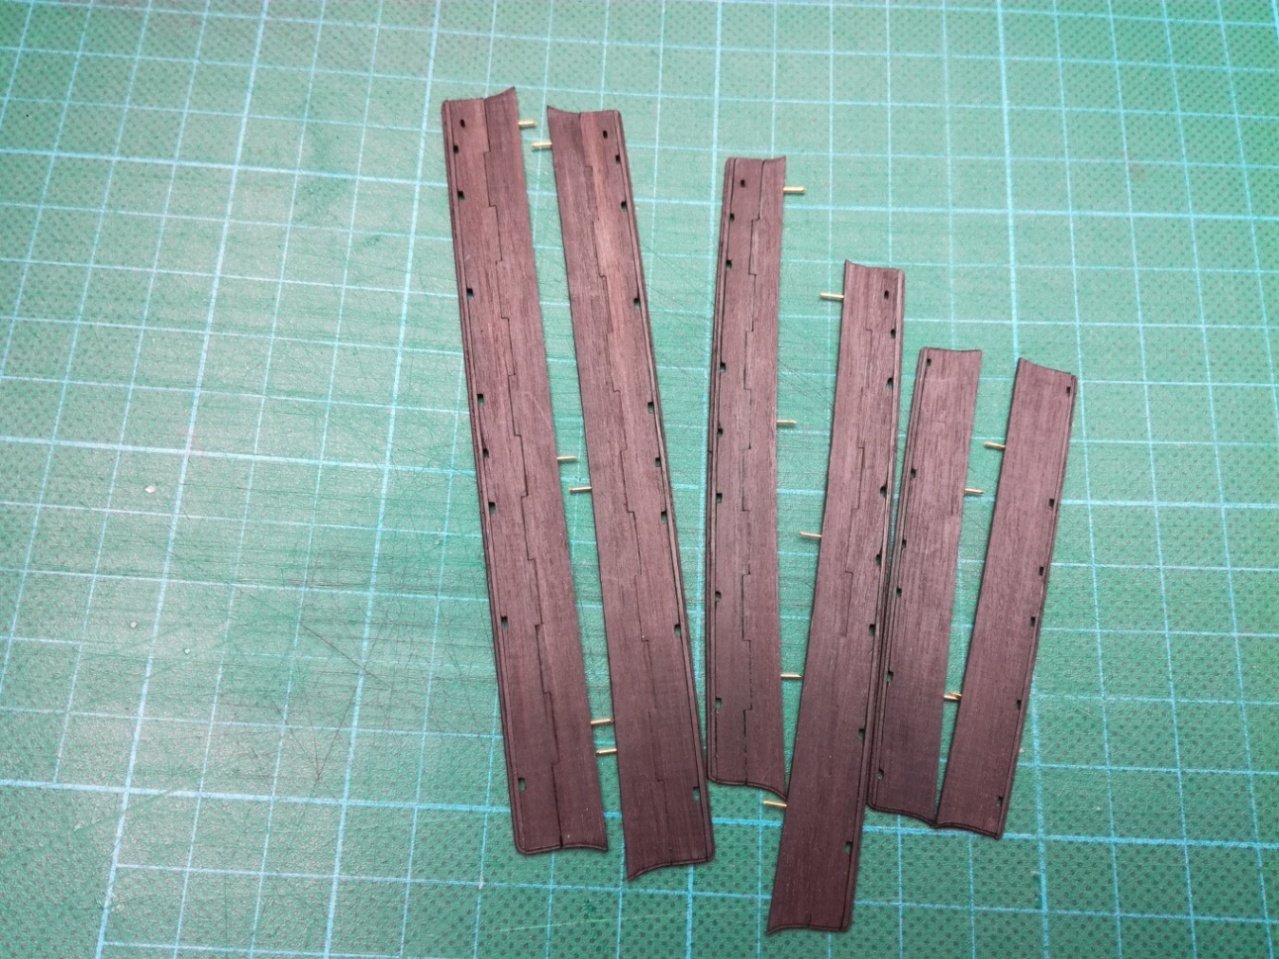
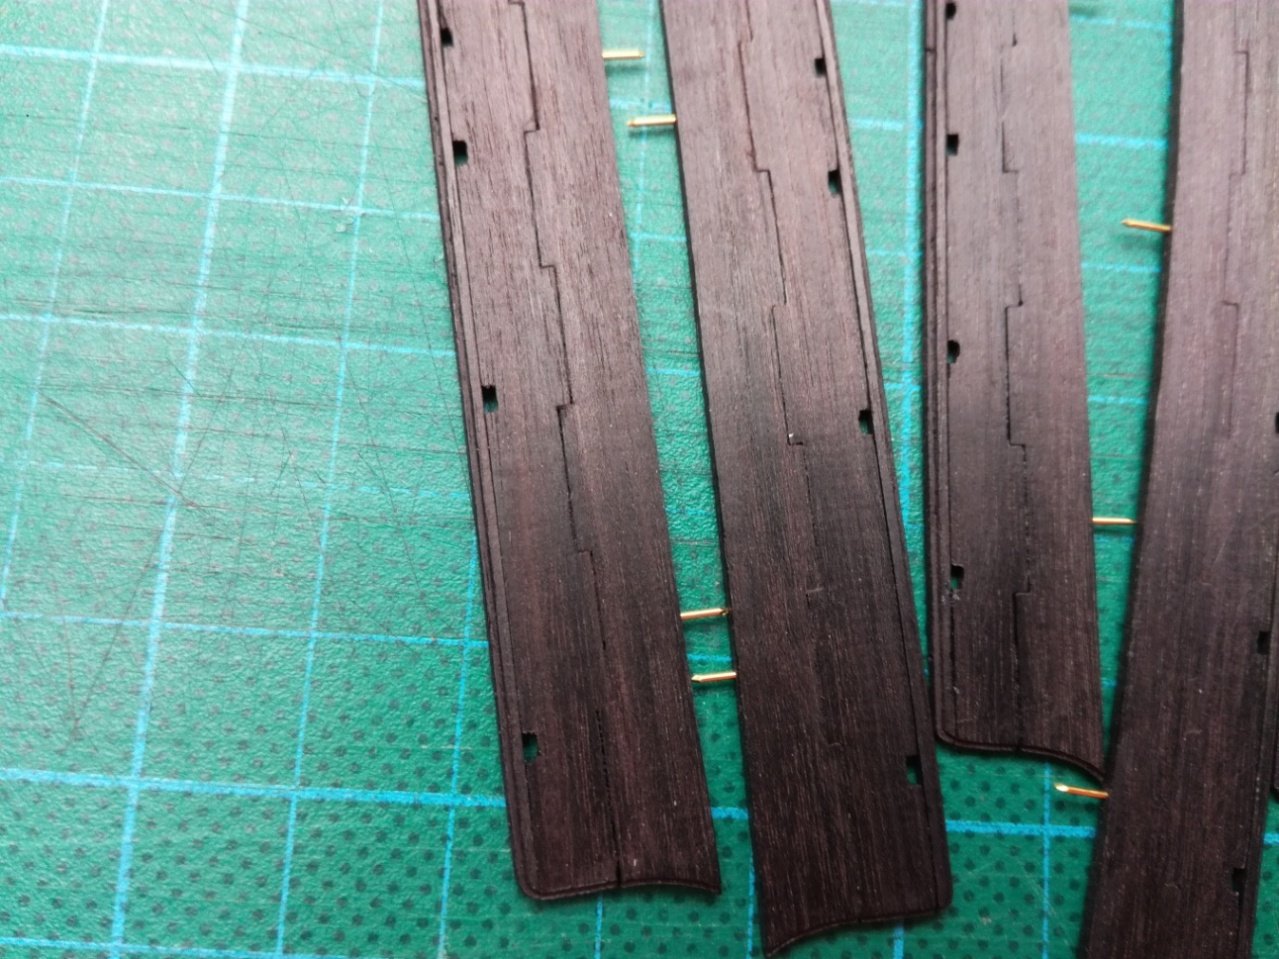
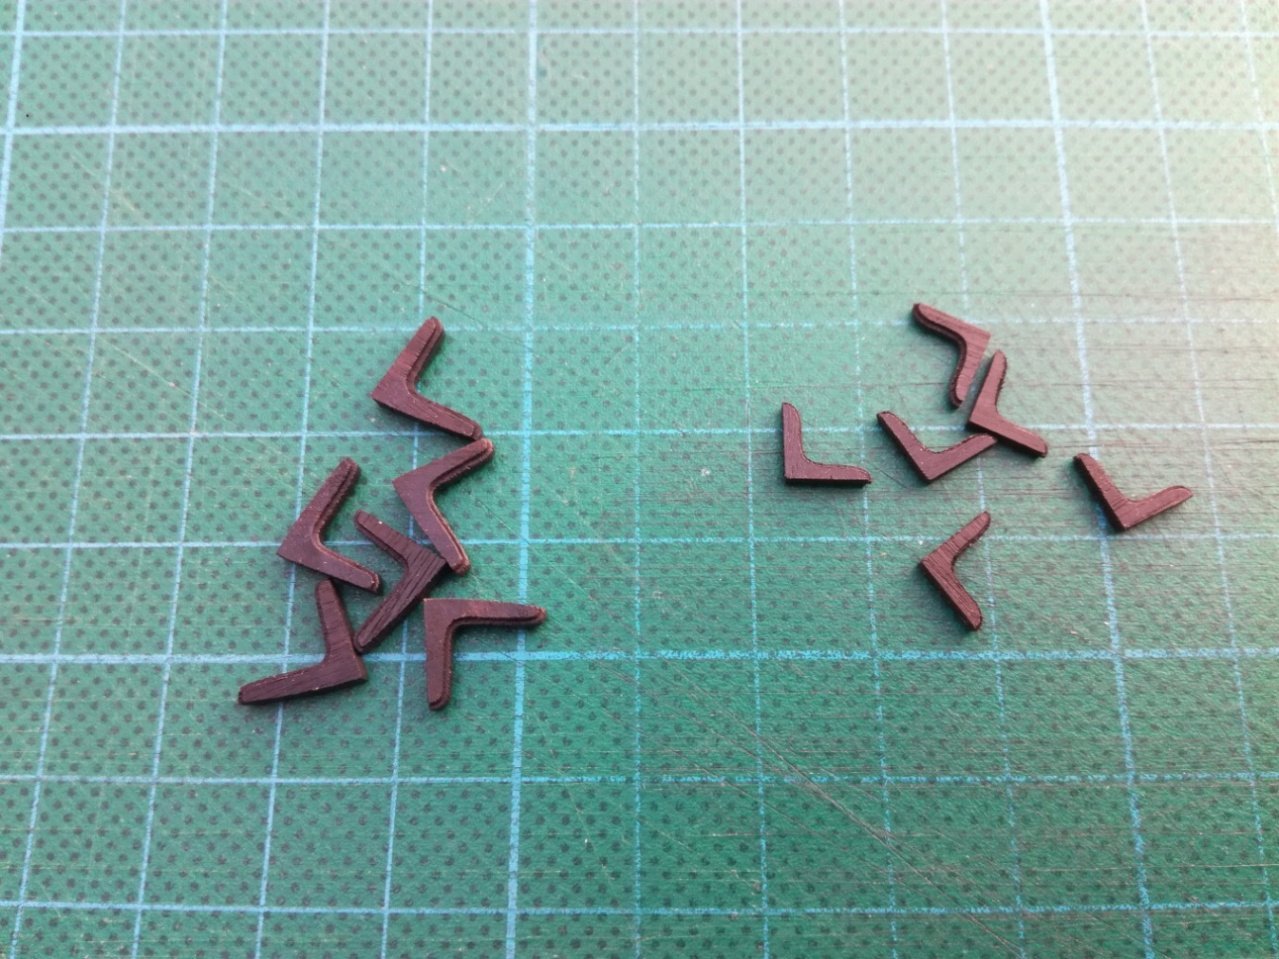
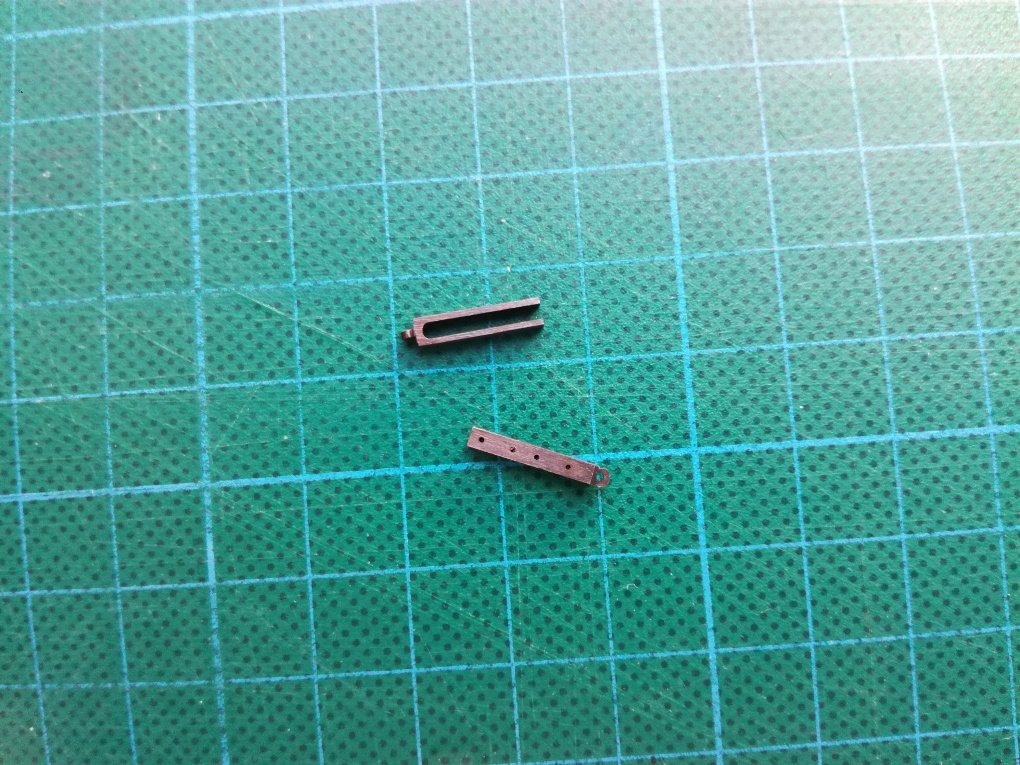
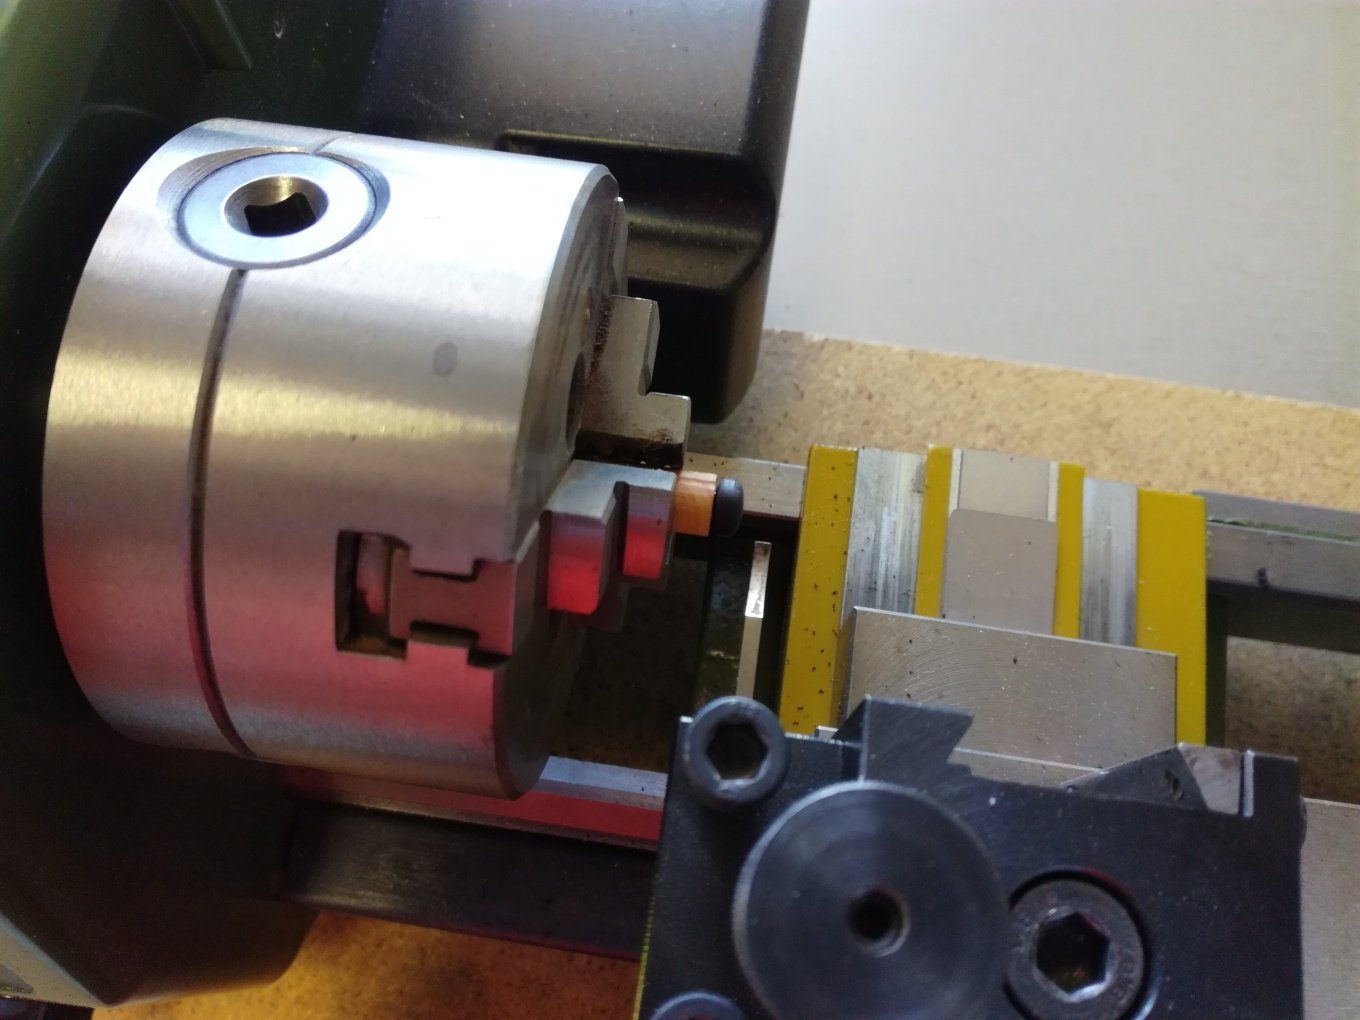
To Hubac´s Historian: Chain segments are soldered with silver solder paste. Using solder paste instead of solid solder has the advantage that it is possible to dispense a really minimal amount of solder onto the soldered joint. In places where a really minimal amount is needed, it helps to first heat the soldering parts with a flame and only then dose the solder paste. The solder spreads when it touches a heated area, which makes dosing easier. To Richard Dunn: I am going to rig my model, but only rigging without sails. To Daniel.b: I only have one stepper motor (x-axis) attached to the MF70, so it doesn't work like a real CNC machine. I only use it for x-axis scrolling (on/off switch). For these purposes, I have made a simple driver to control the stepper motor (i.e. without connecting to a PC). Topmast deadeyes and futtock-plates. Tops are completed.
- 589 replies
-
- 20
-
-

-
- le gros ventre
- cargo
- (and 1 more)
-
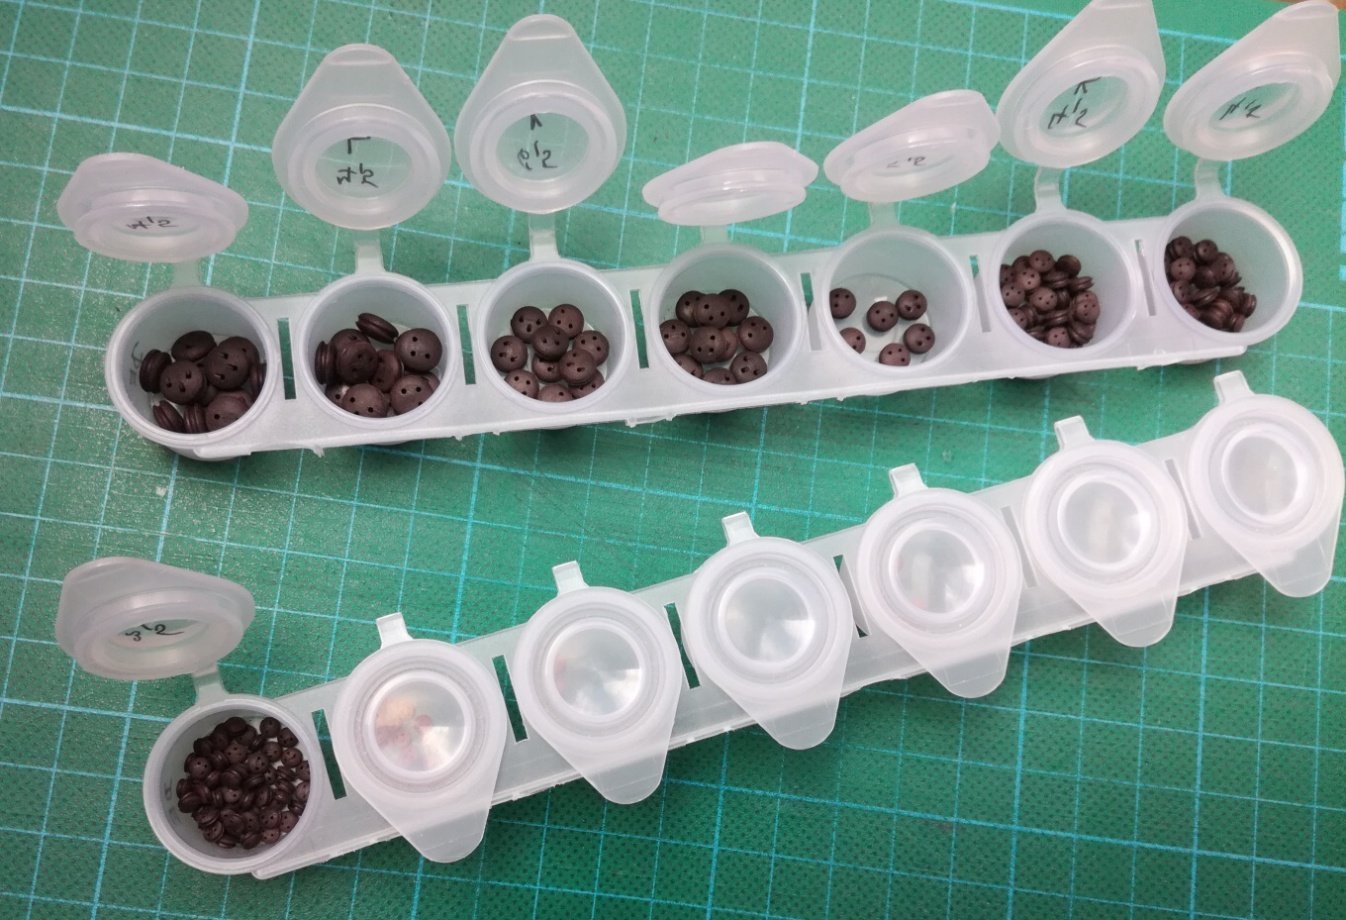
To robert952: This is not a pill container. These are plastic cups intended for paints, which can be advantageously used for storing small things - see link: https://www.sevt.cz/produkt/kelimek-plastovy-primo-7-6-ml-25040400820/ https://www.sevt.cz/produkt/kelimek-plastovy-primo-3-75-ml-25041501850/
- 589 replies
-
- 4
-
-
-
- le gros ventre
- cargo
- (and 1 more)
-
Fantastic and inspiring work. Have you tried using silver solder paste instead of solid solder for silver soldering? Dosing solder paste is much easier, even when adding a small amount.
-
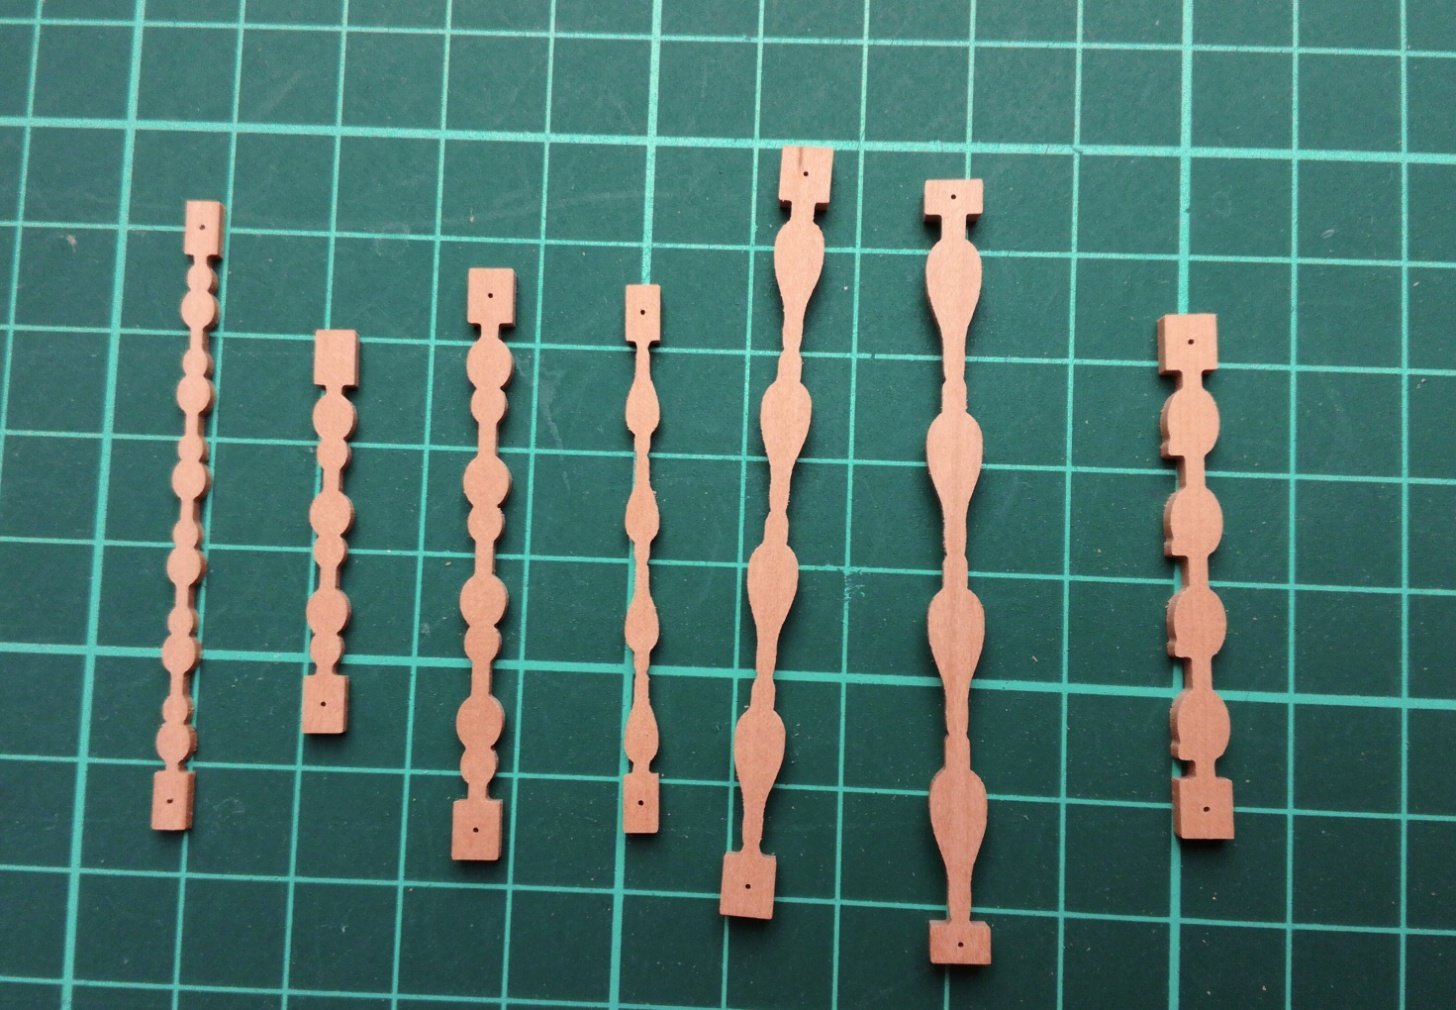
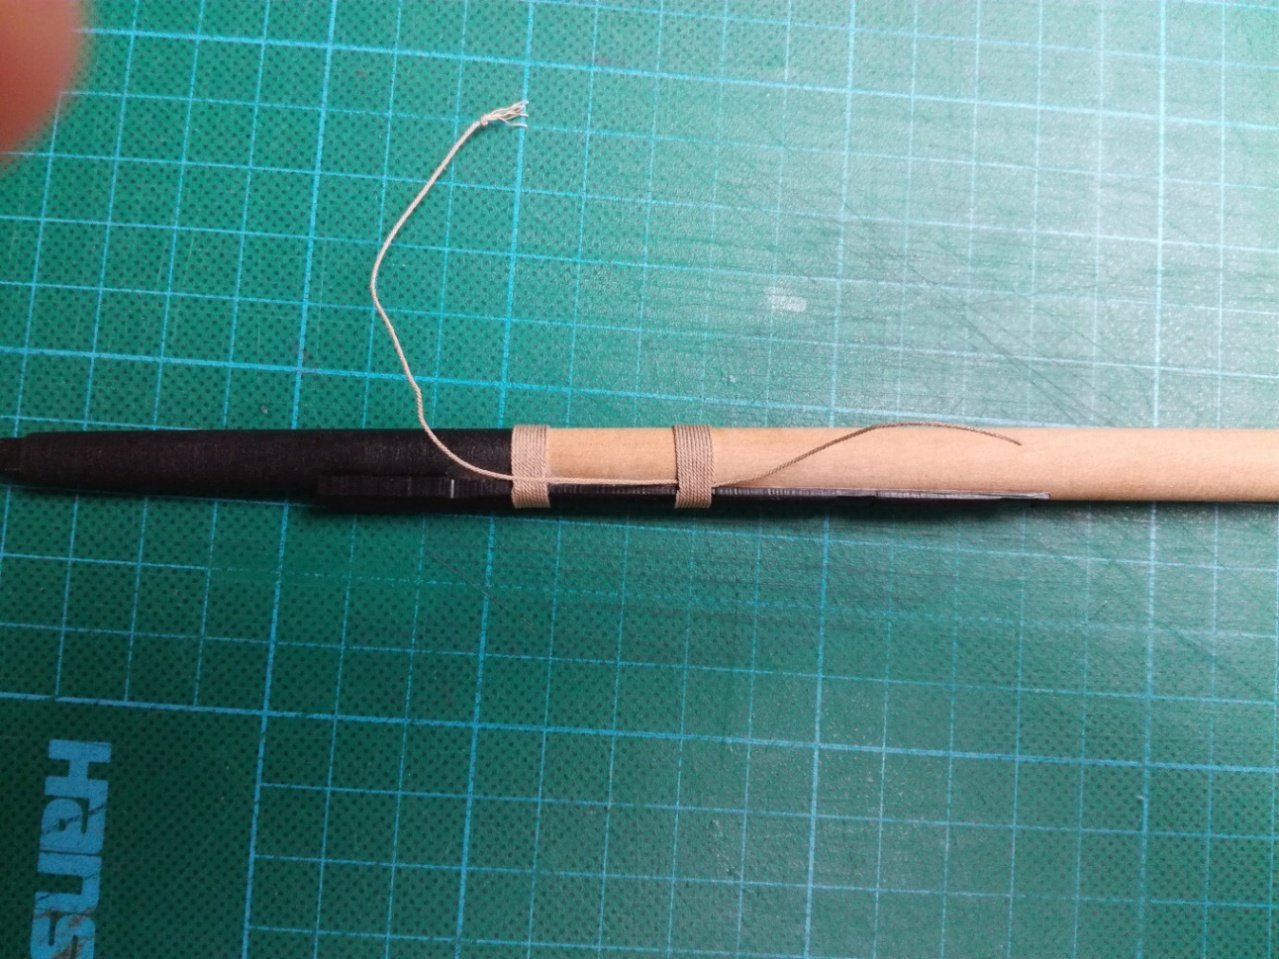
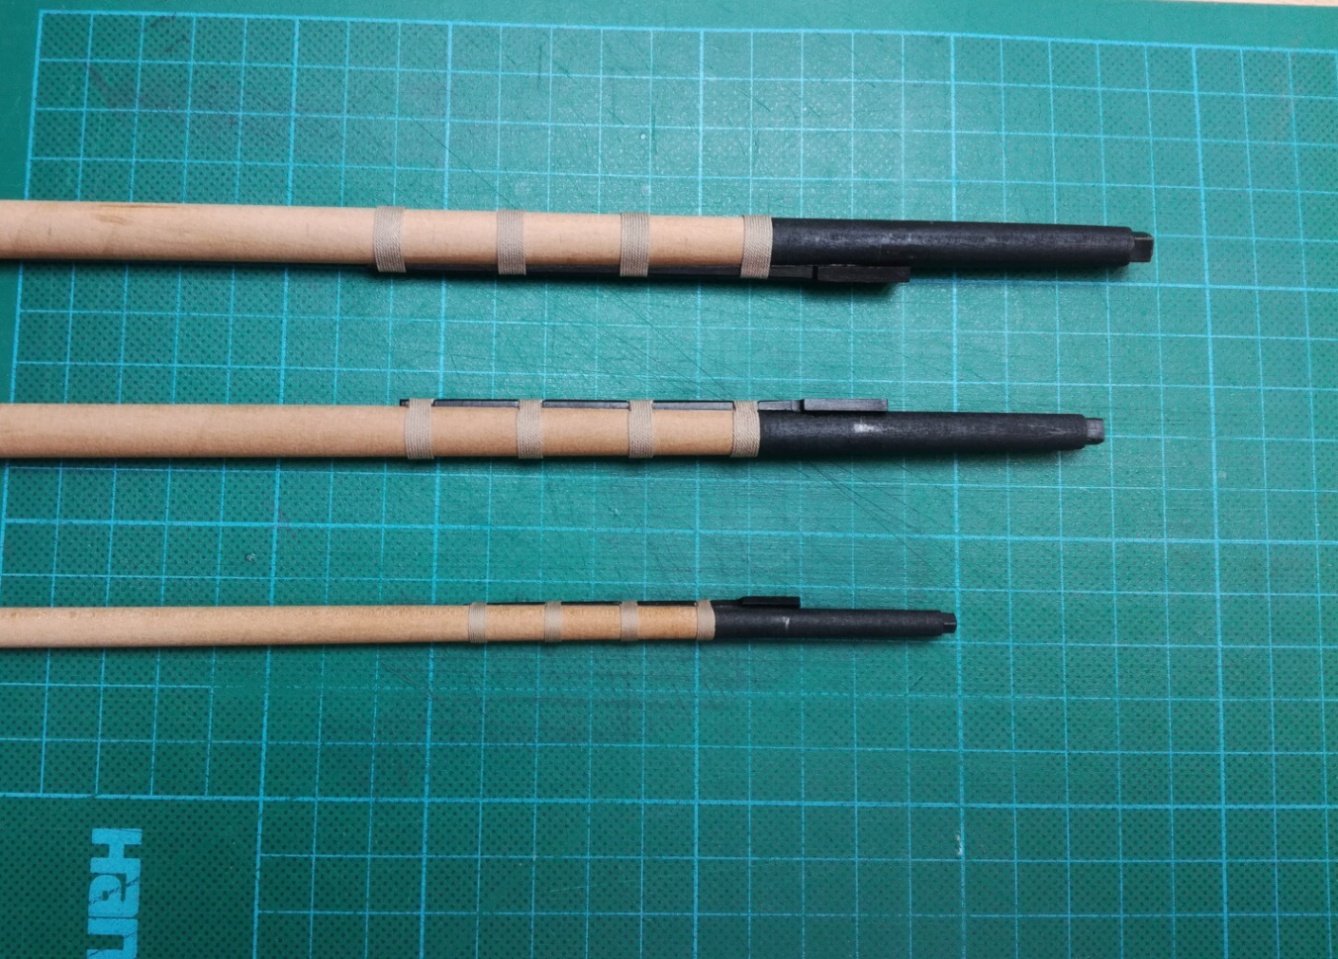
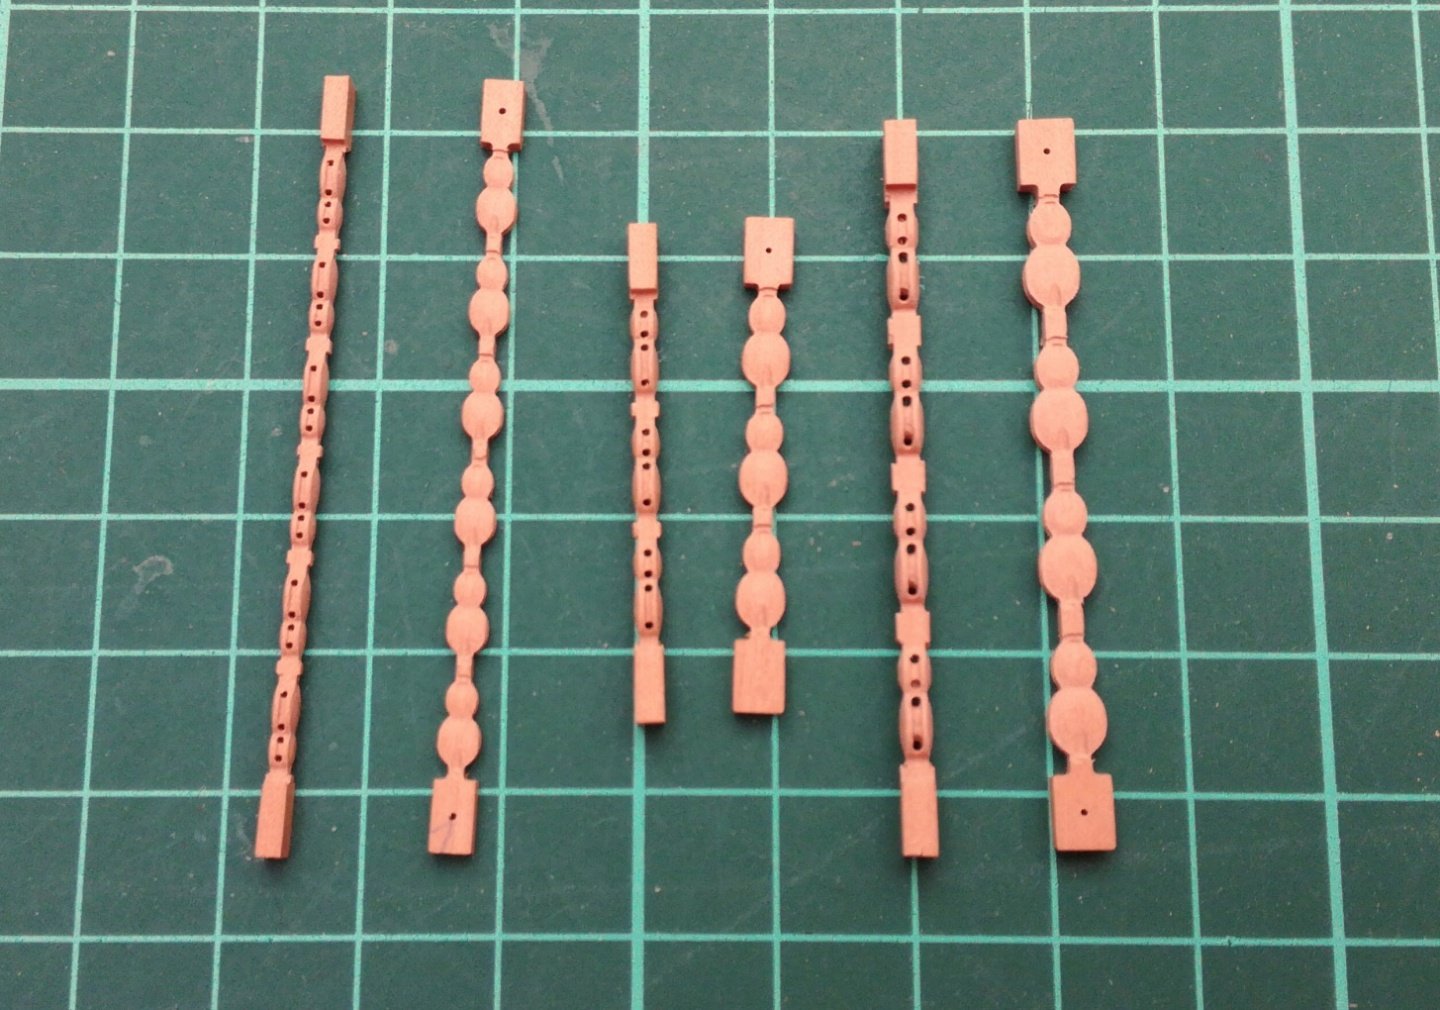
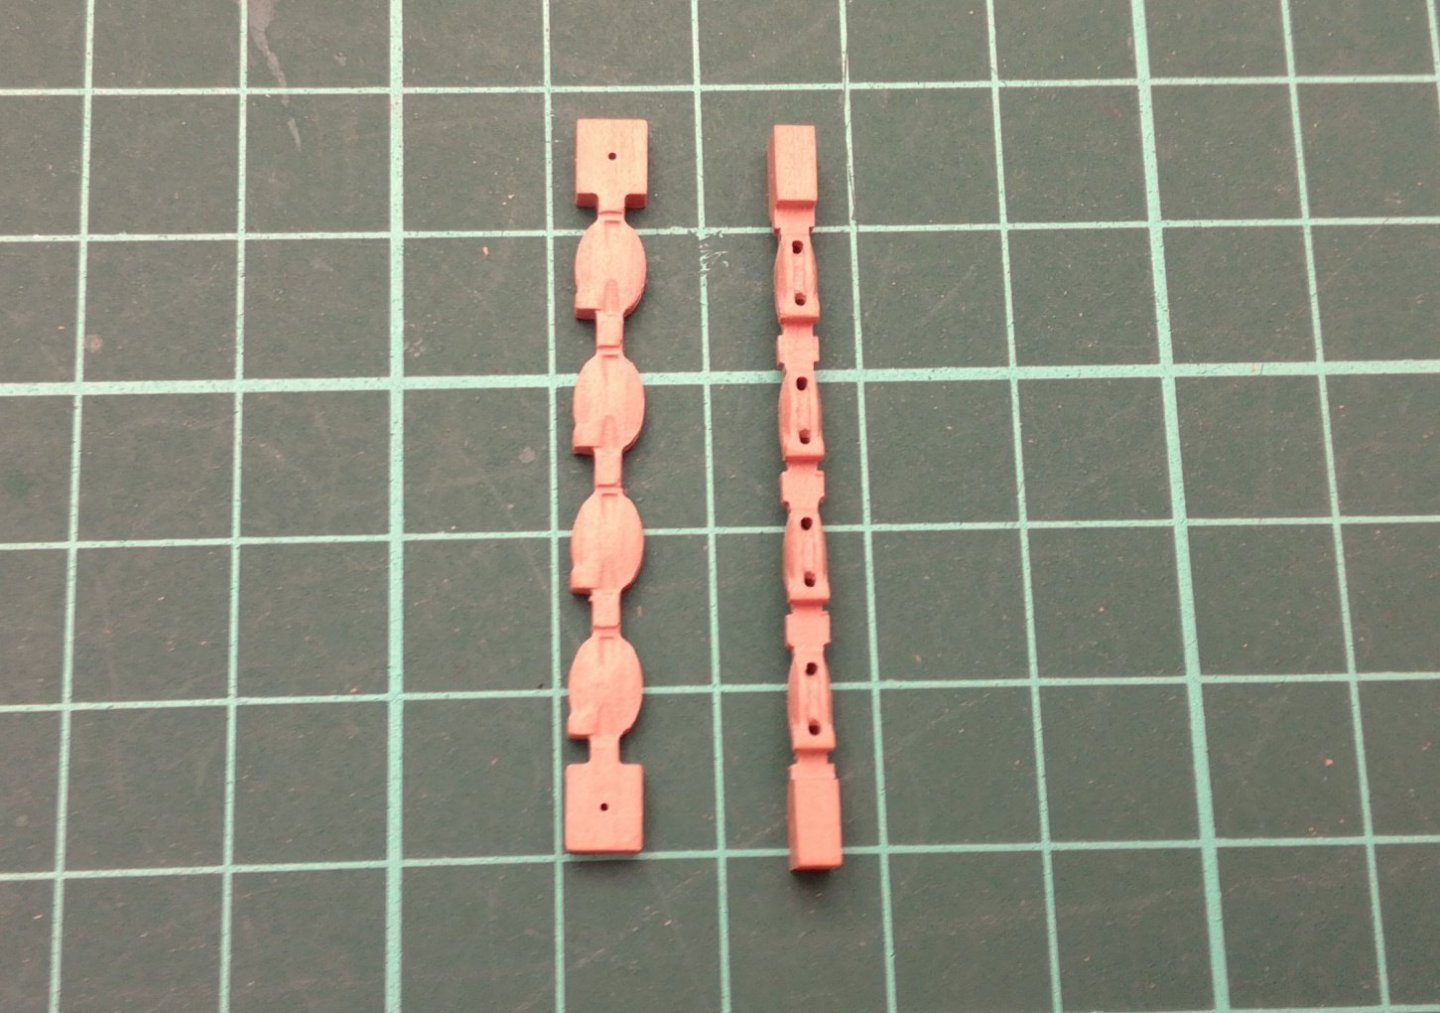
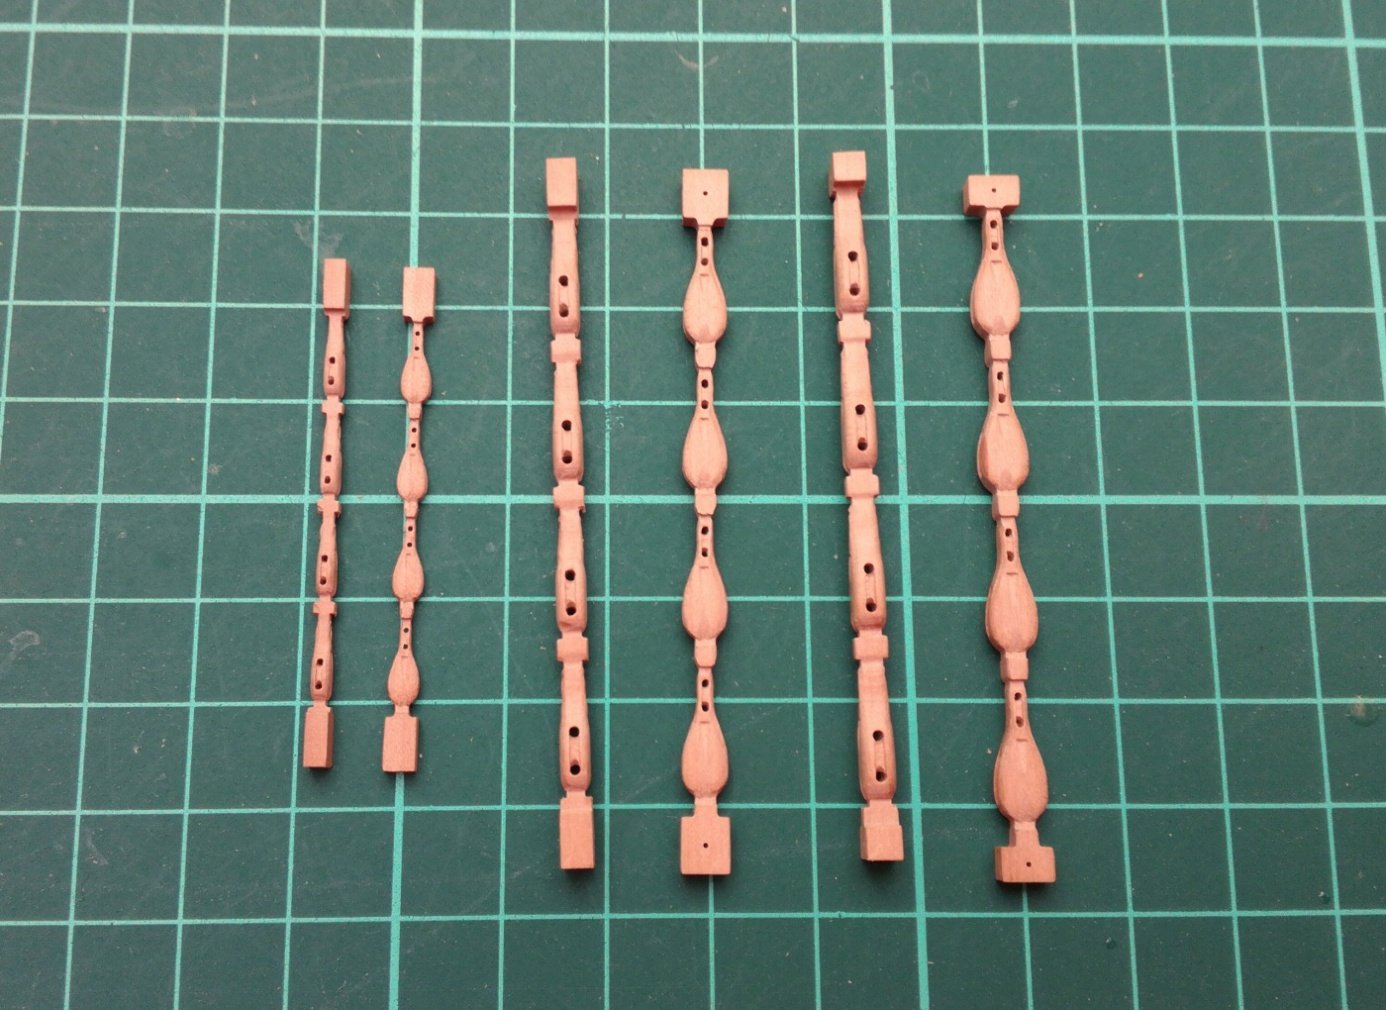
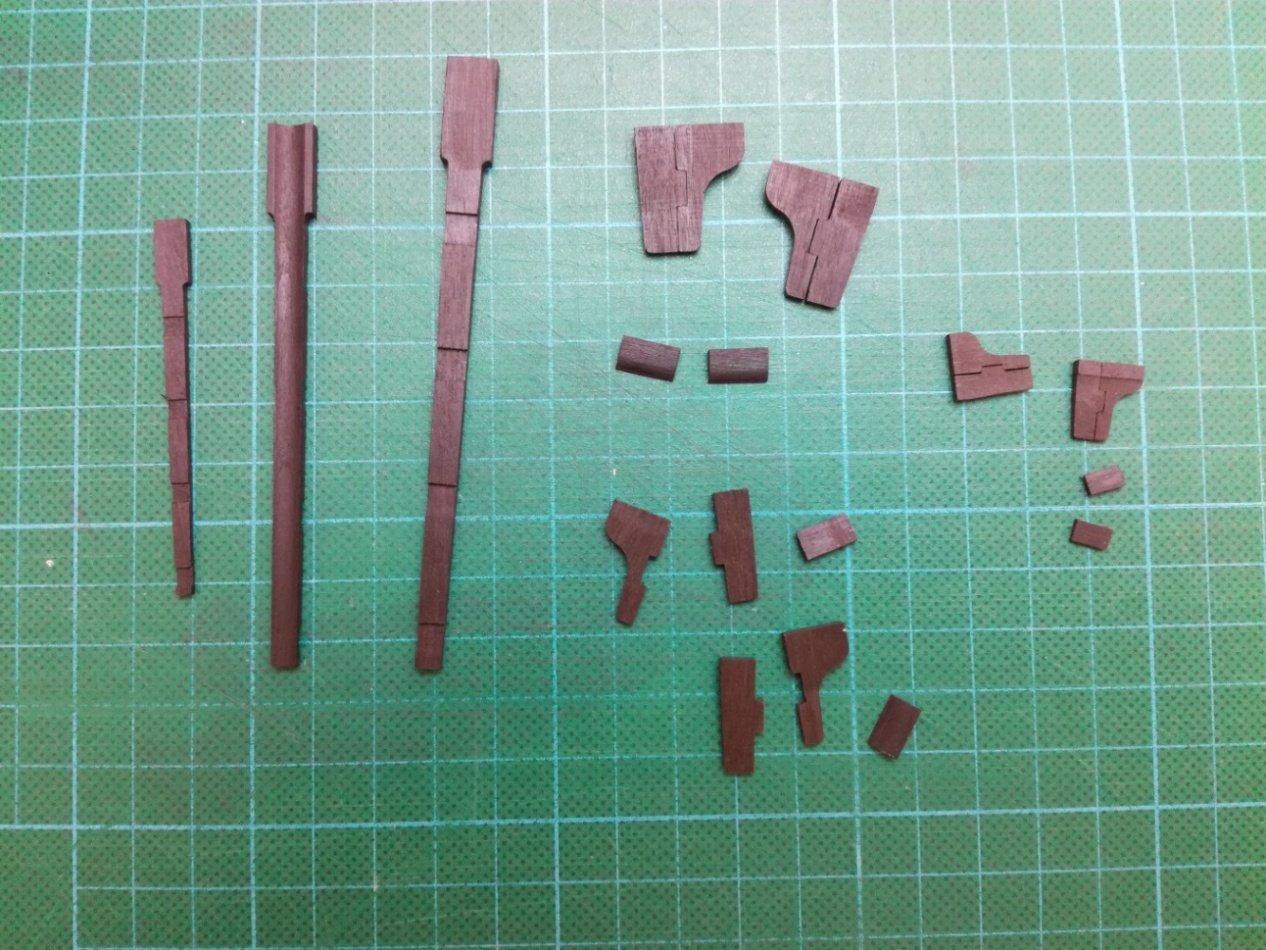
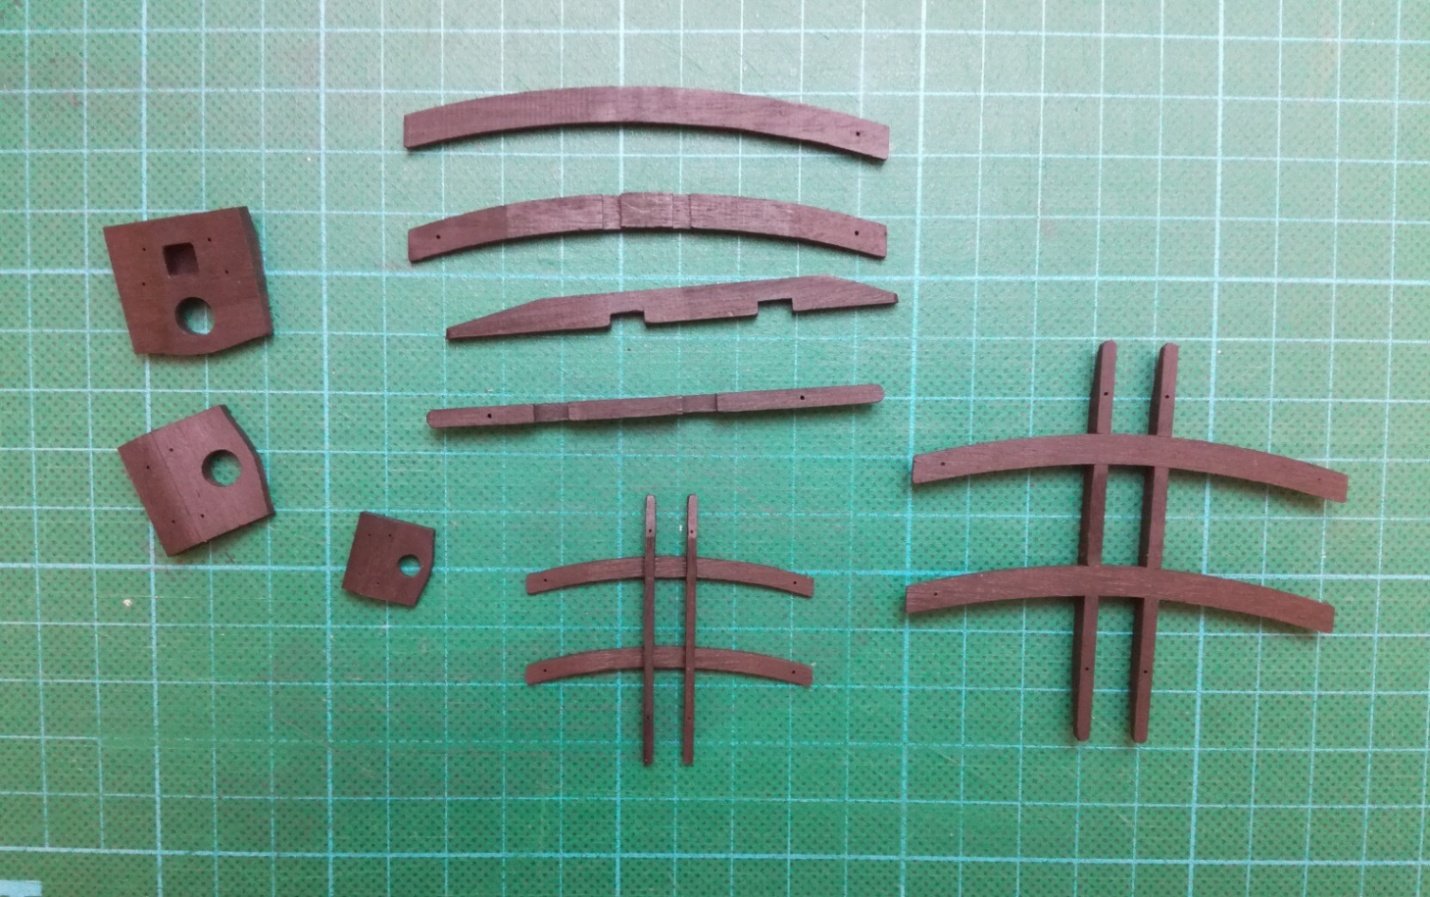
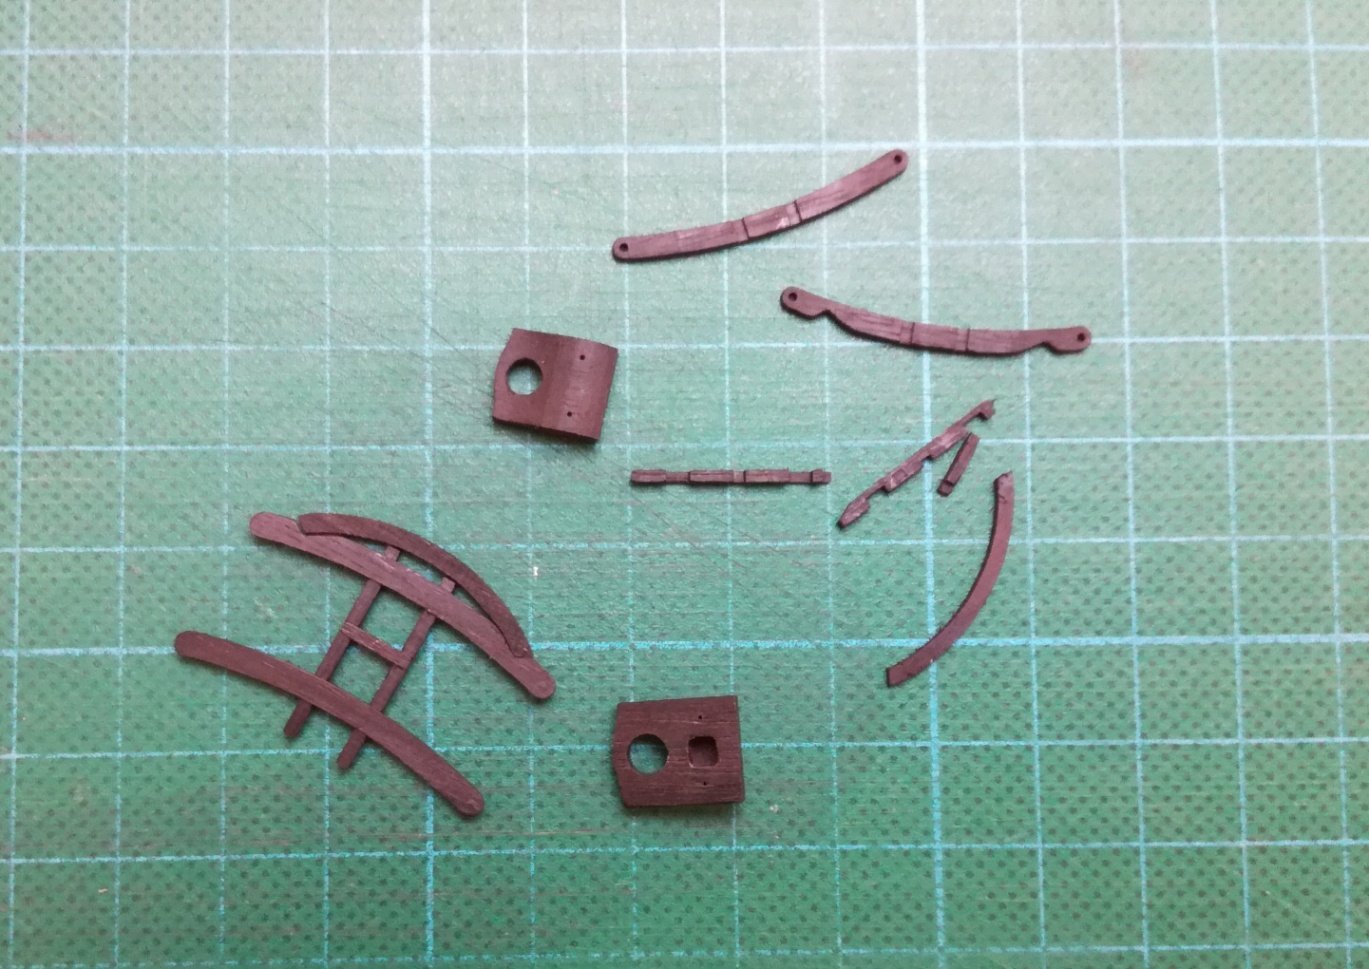
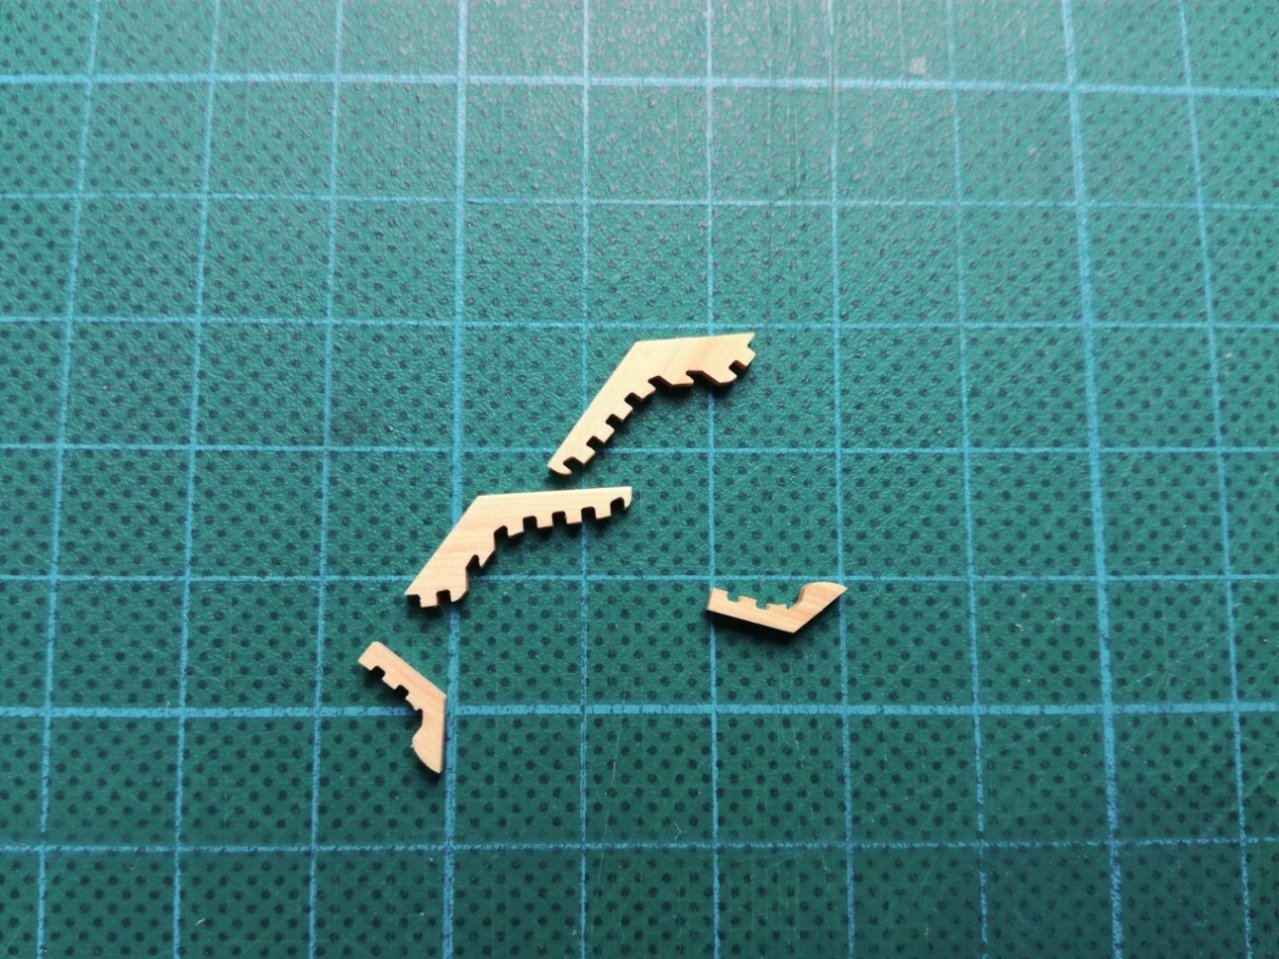
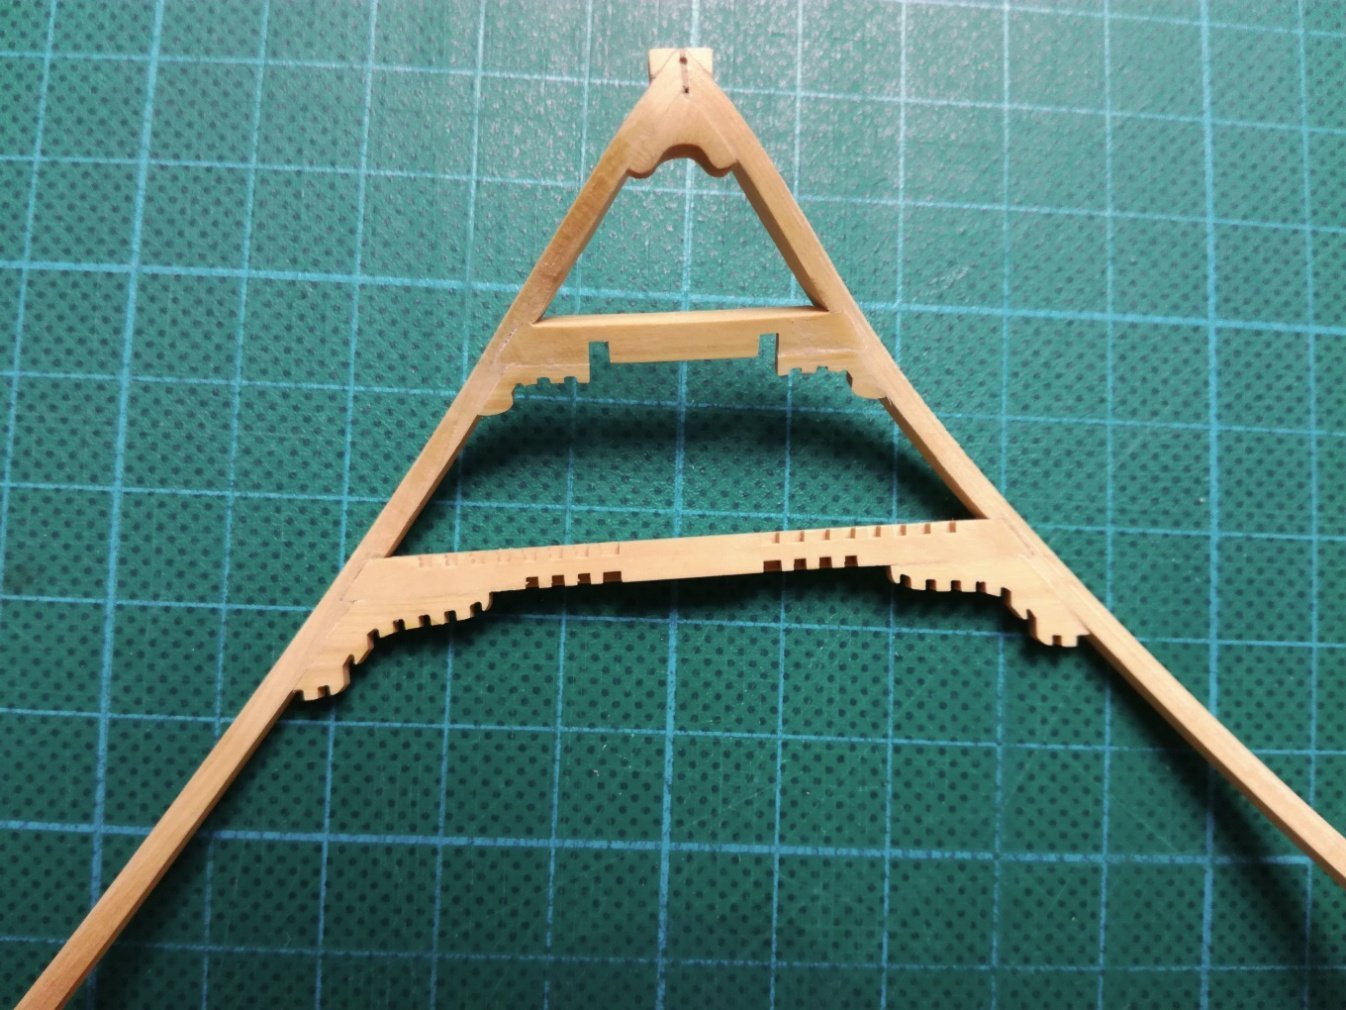
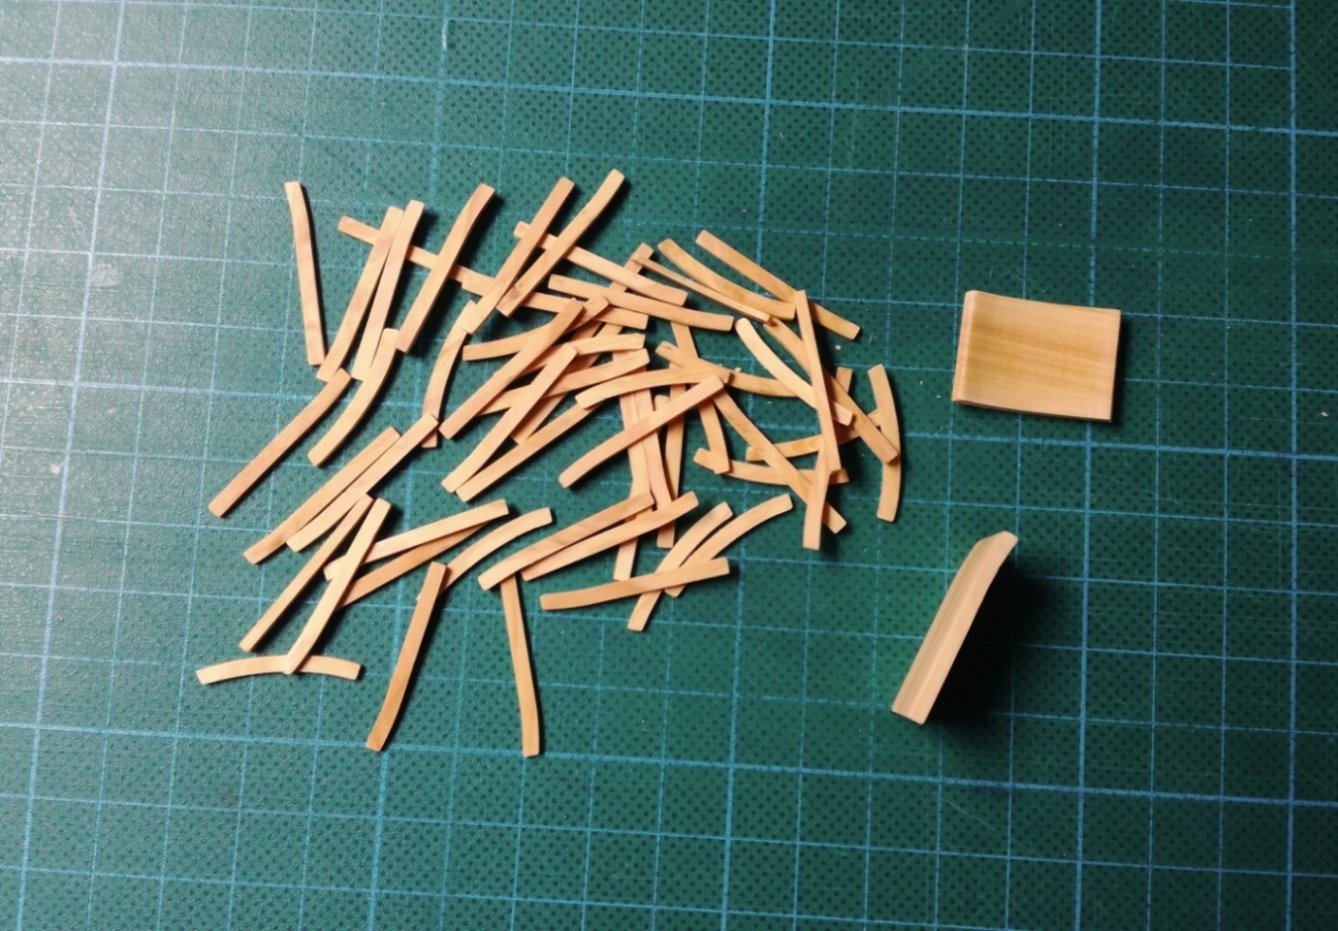
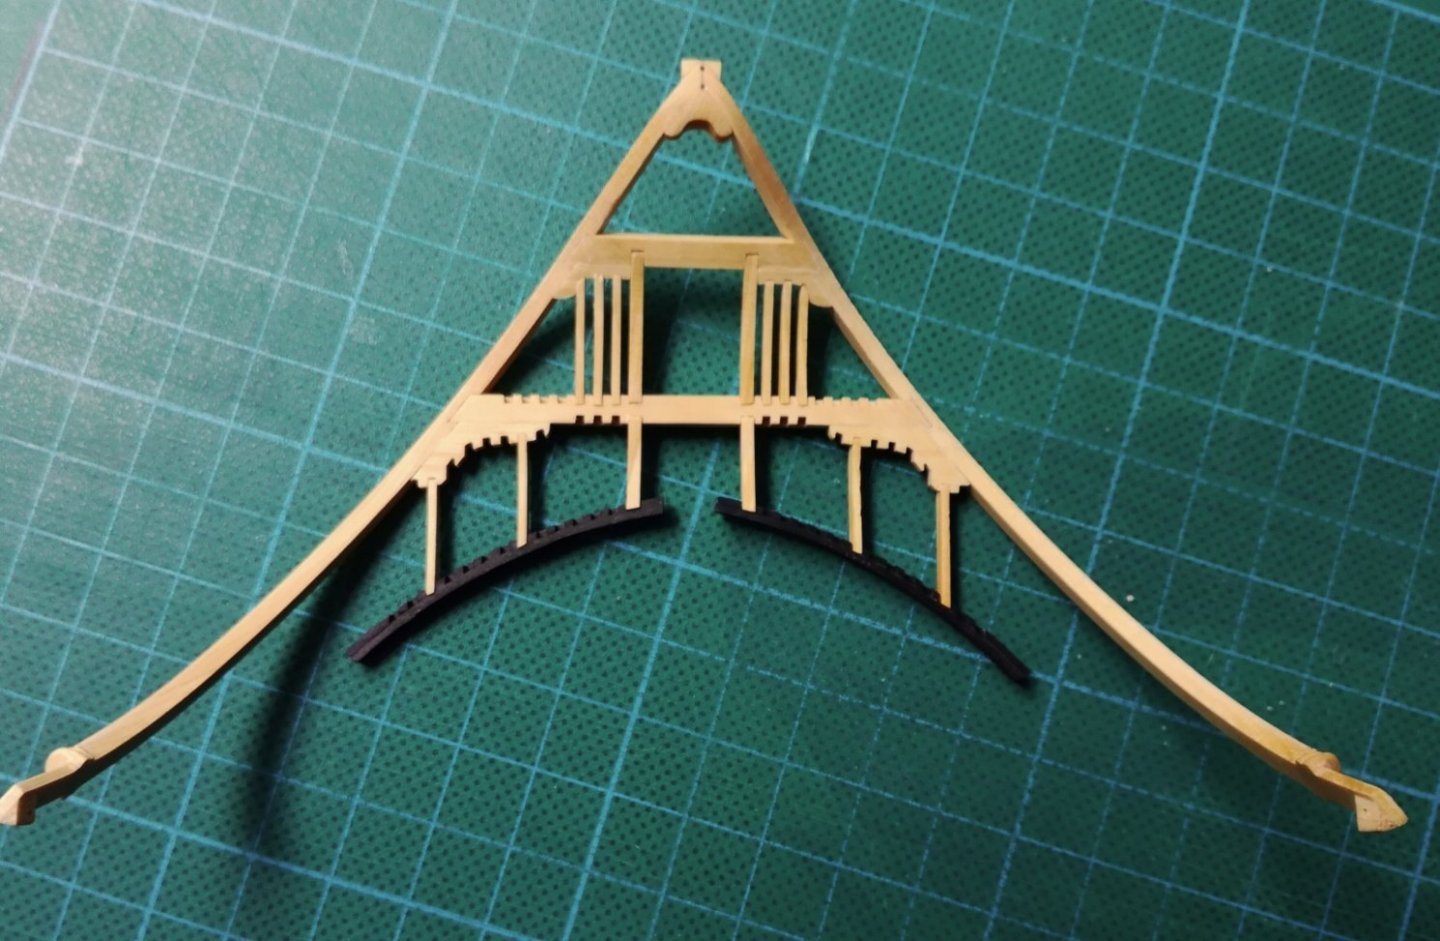
Small adjustments to the masts, preparation of parts for the masts and tops - fishes, crosstrees, trestletrees, cheeks, caps.
- 589 replies
-
- 24
-
-
-
- le gros ventre
- cargo
- (and 1 more)
-
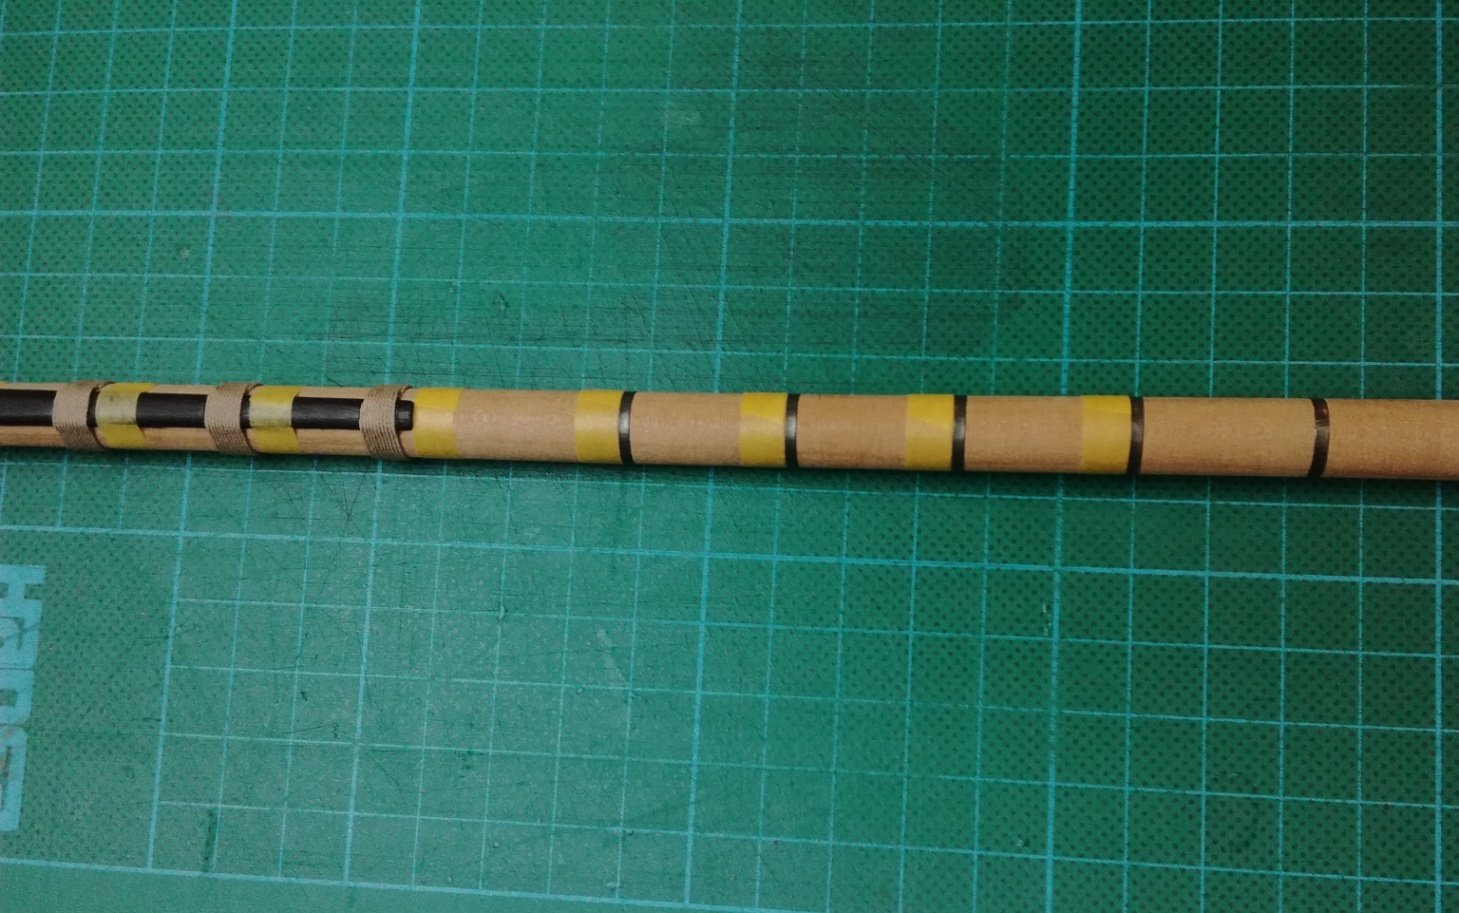
Hull is completed, so I started produktion of masts.

- 589 replies
-
- 30
-
-
-
-
- le gros ventre
- cargo
- (and 1 more)
-
ancre Le Gros Ventre by ChrisLBren - 1/36
marsalv replied to ChrisLBren's topic in - Build logs for subjects built 1751 - 1800
Nice to see you again. -
NAIAD 1797 by Bitao - 1:60
marsalv replied to Bitao's topic in - Build logs for subjects built 1751 - 1800
Fantastic work! -
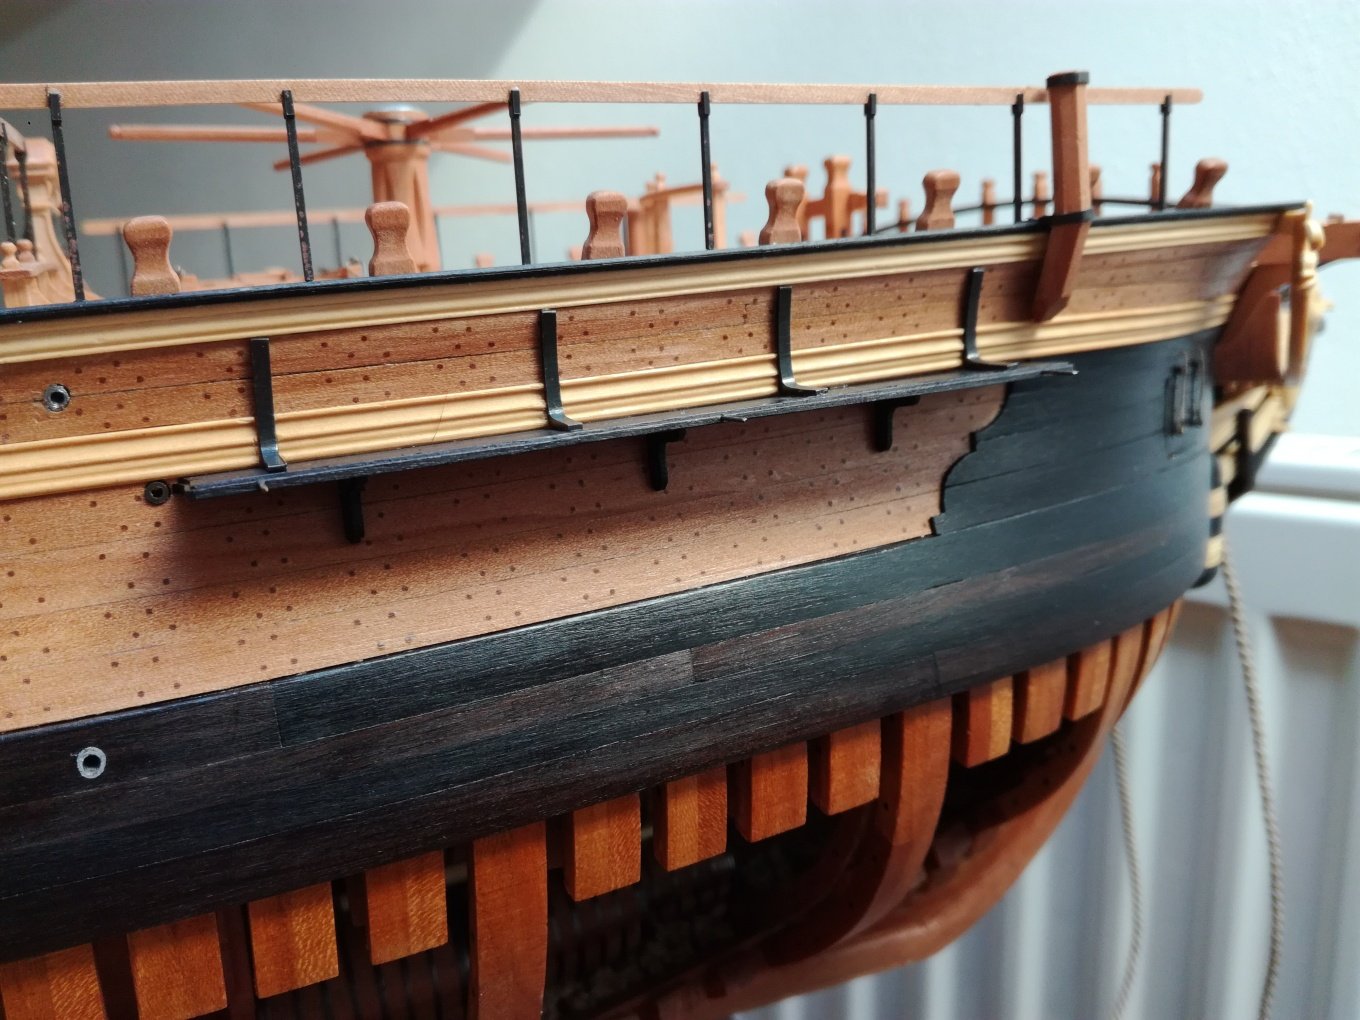
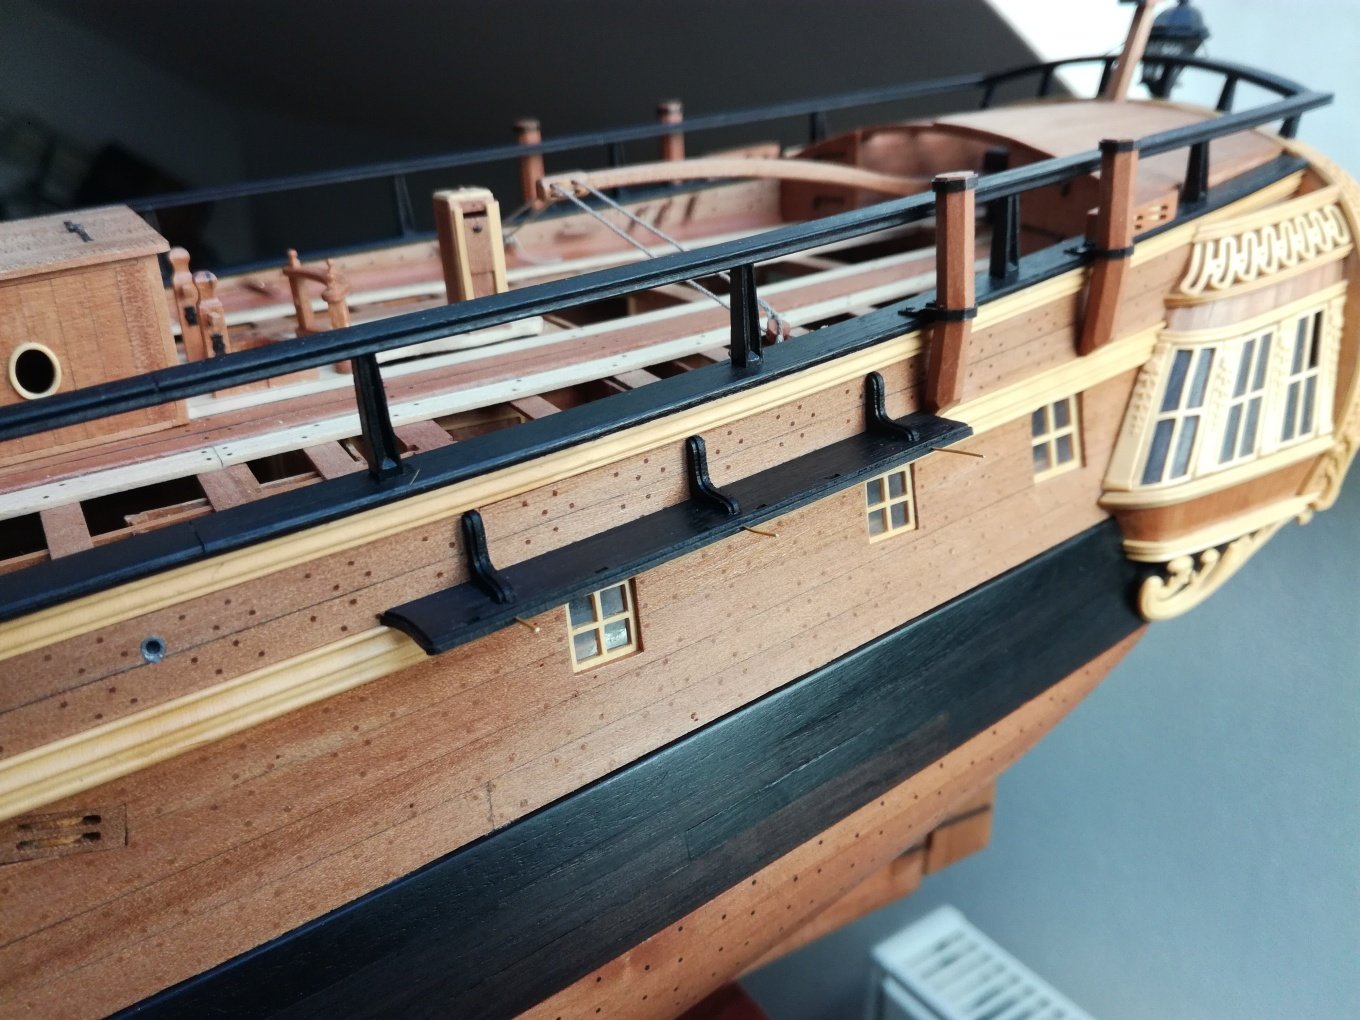
I finally finished installing channels, deadeyes and chains after a long time.


- 589 replies
-
- 32
-
-
-
- le gros ventre
- cargo
- (and 1 more)
-
Thank your guys for all likes and comments. I continue with channels.
- 589 replies
-
- 30
-
-
-
- le gros ventre
- cargo
- (and 1 more)
-
La Palme by Tobias - 1:36 - POF
marsalv replied to Tobias's topic in - Build logs for subjects built 1501 - 1750
Very nice and clean work. I have a question. How is the blackening of brass achieved? Just painting it with tung oil? marsalv -
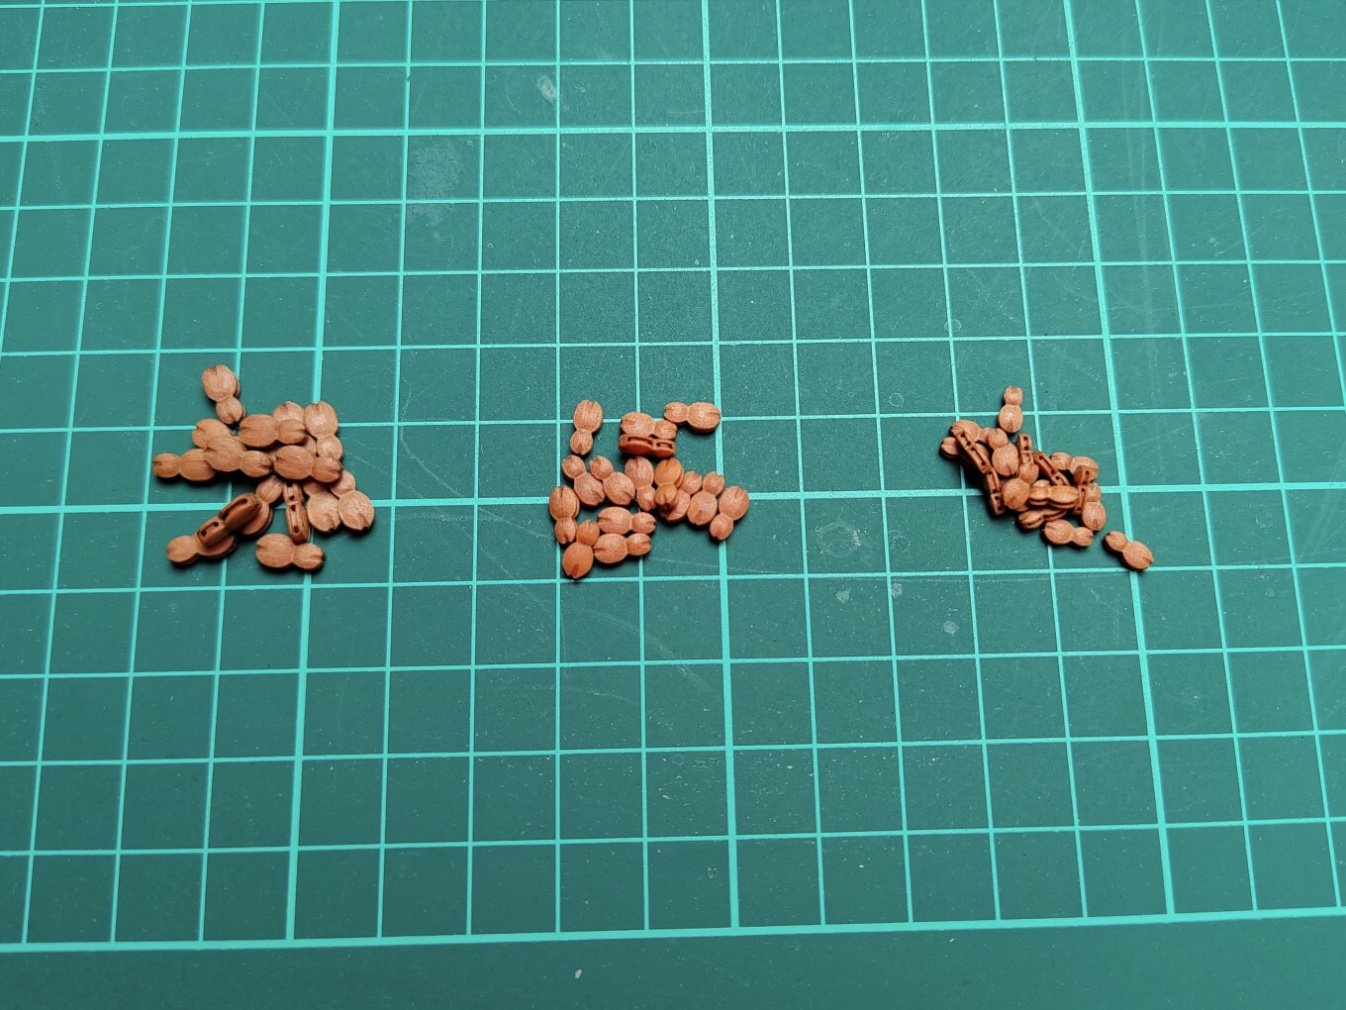
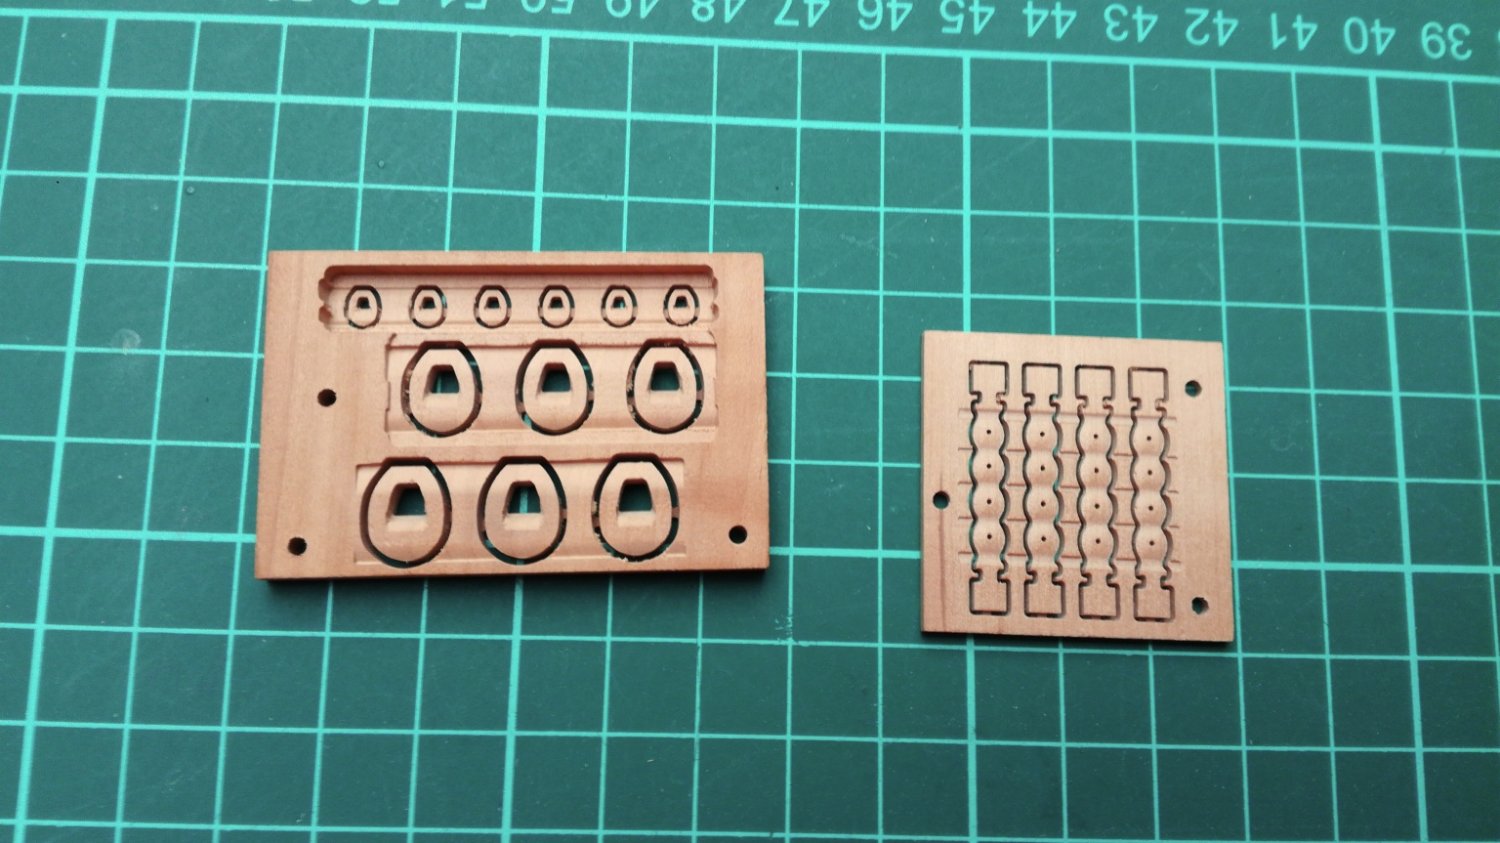
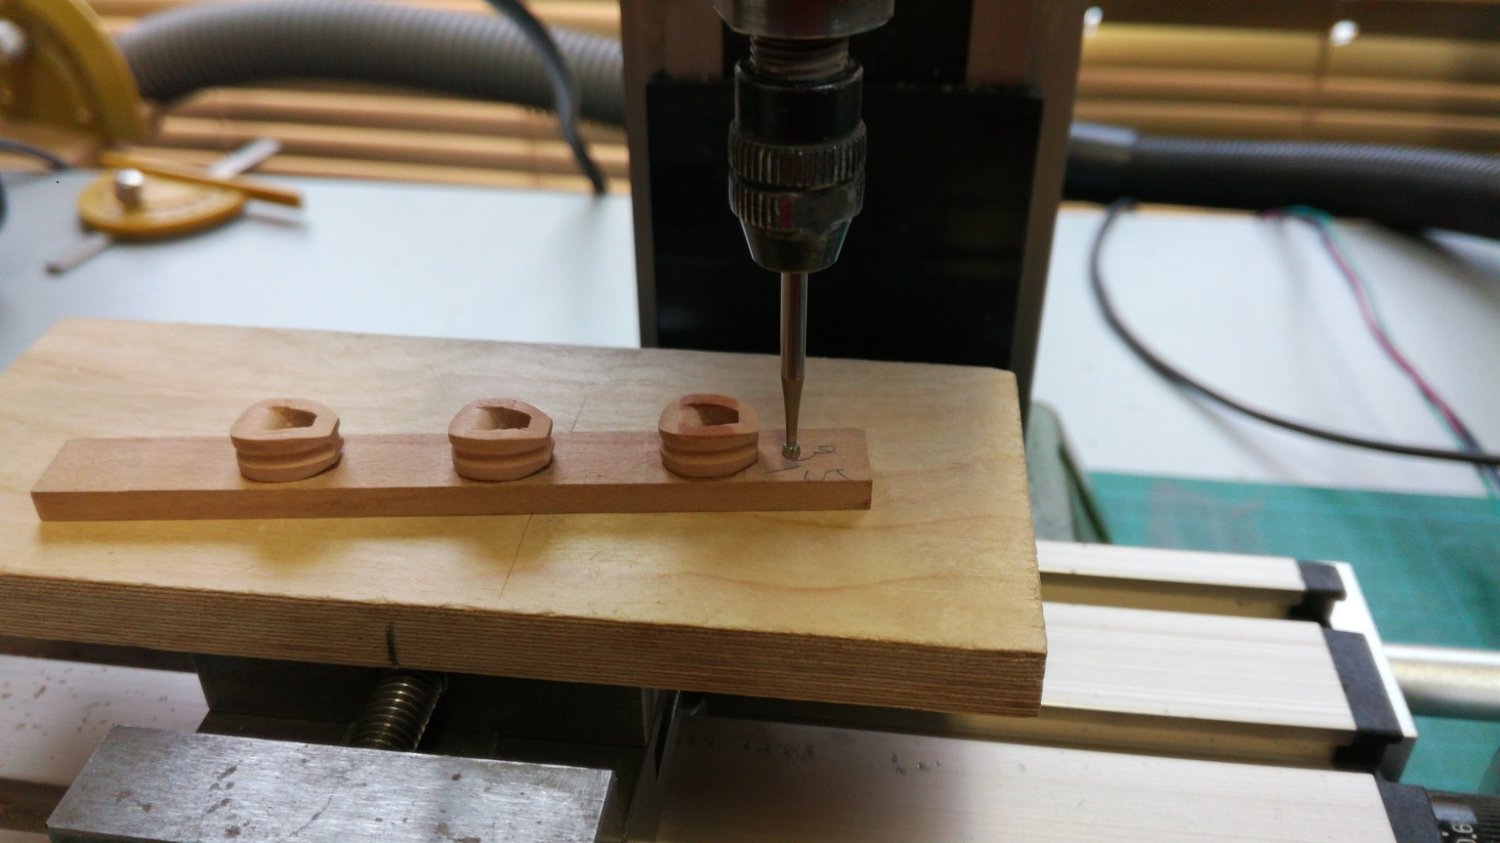
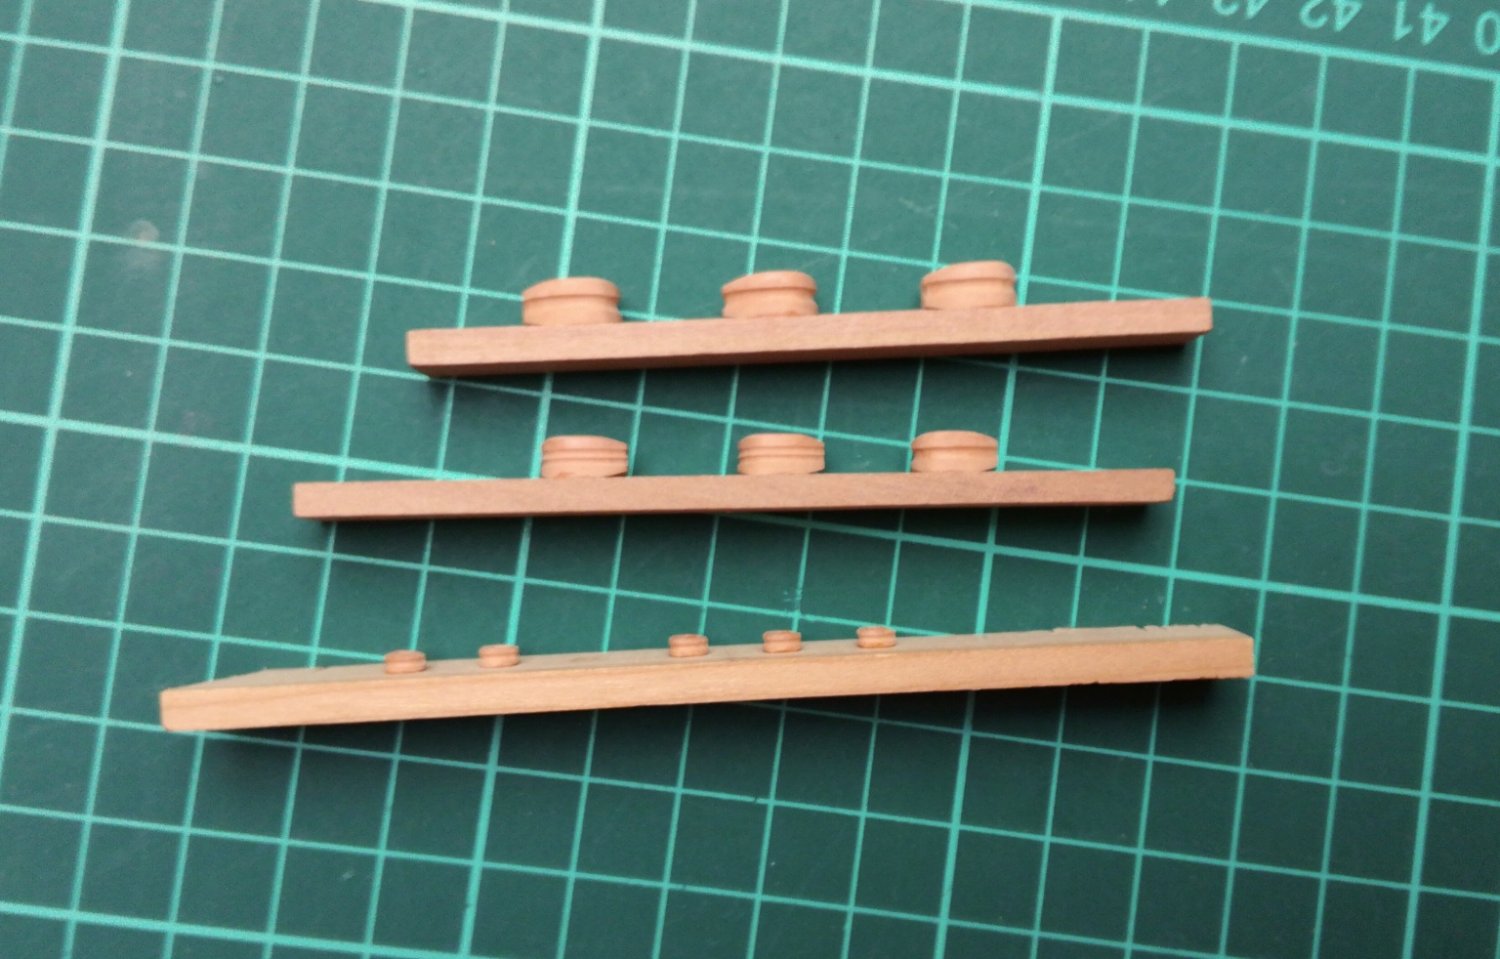
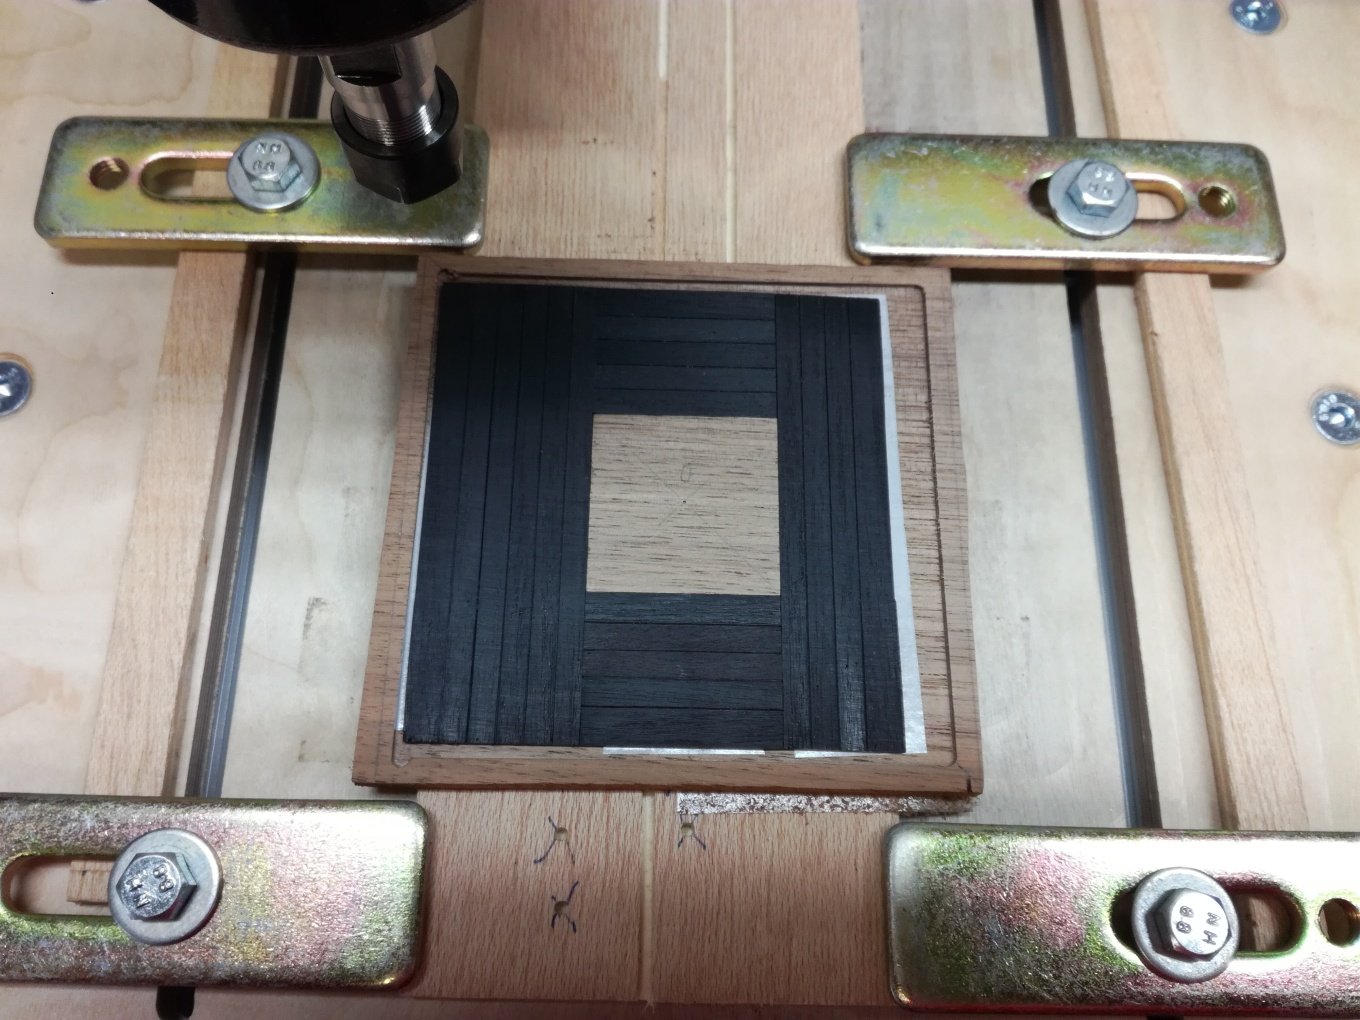
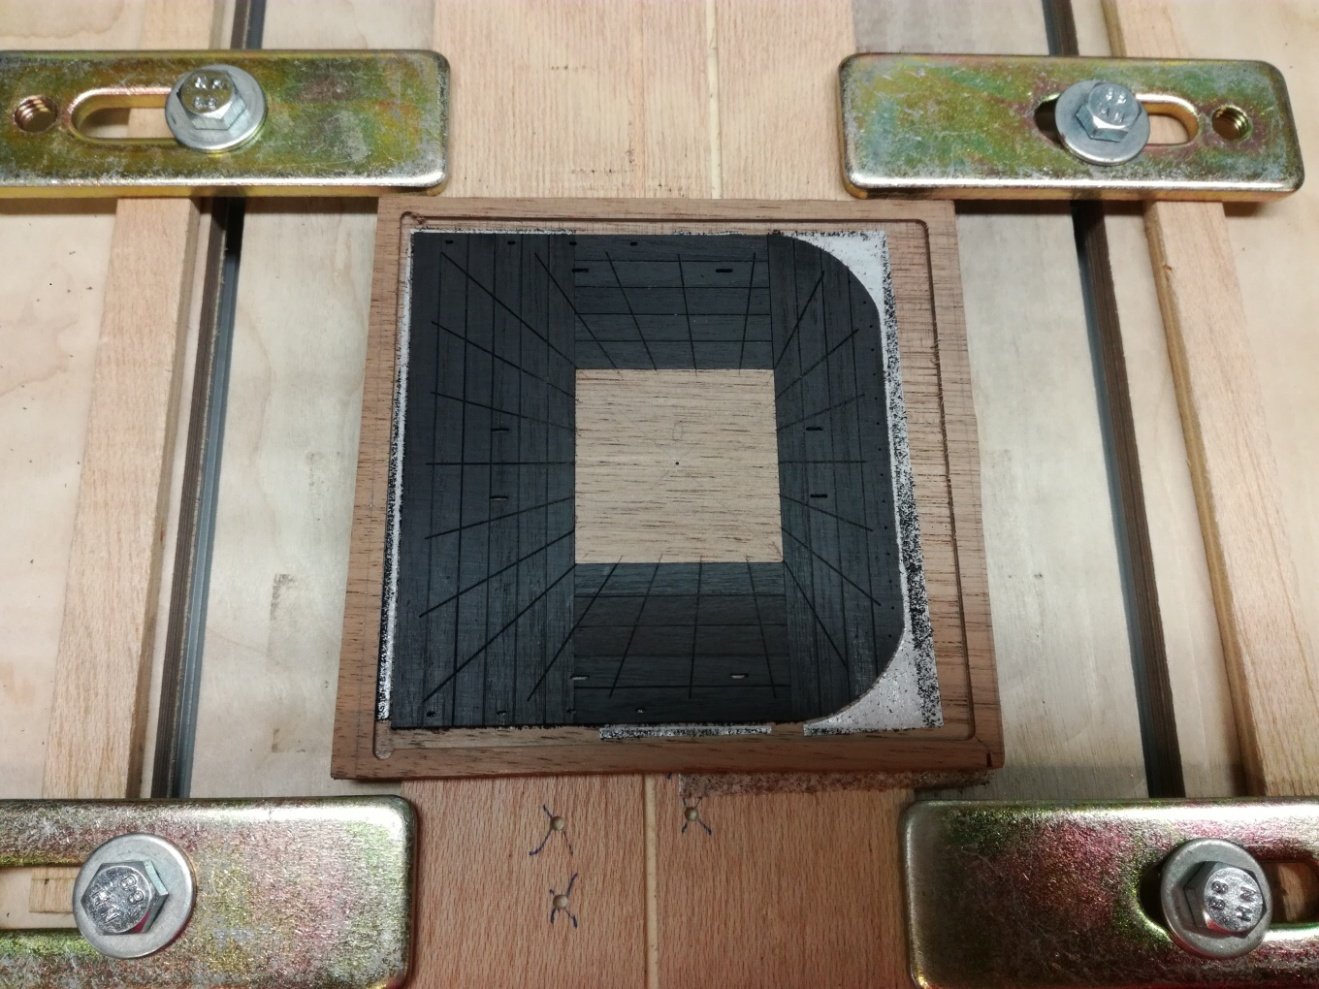
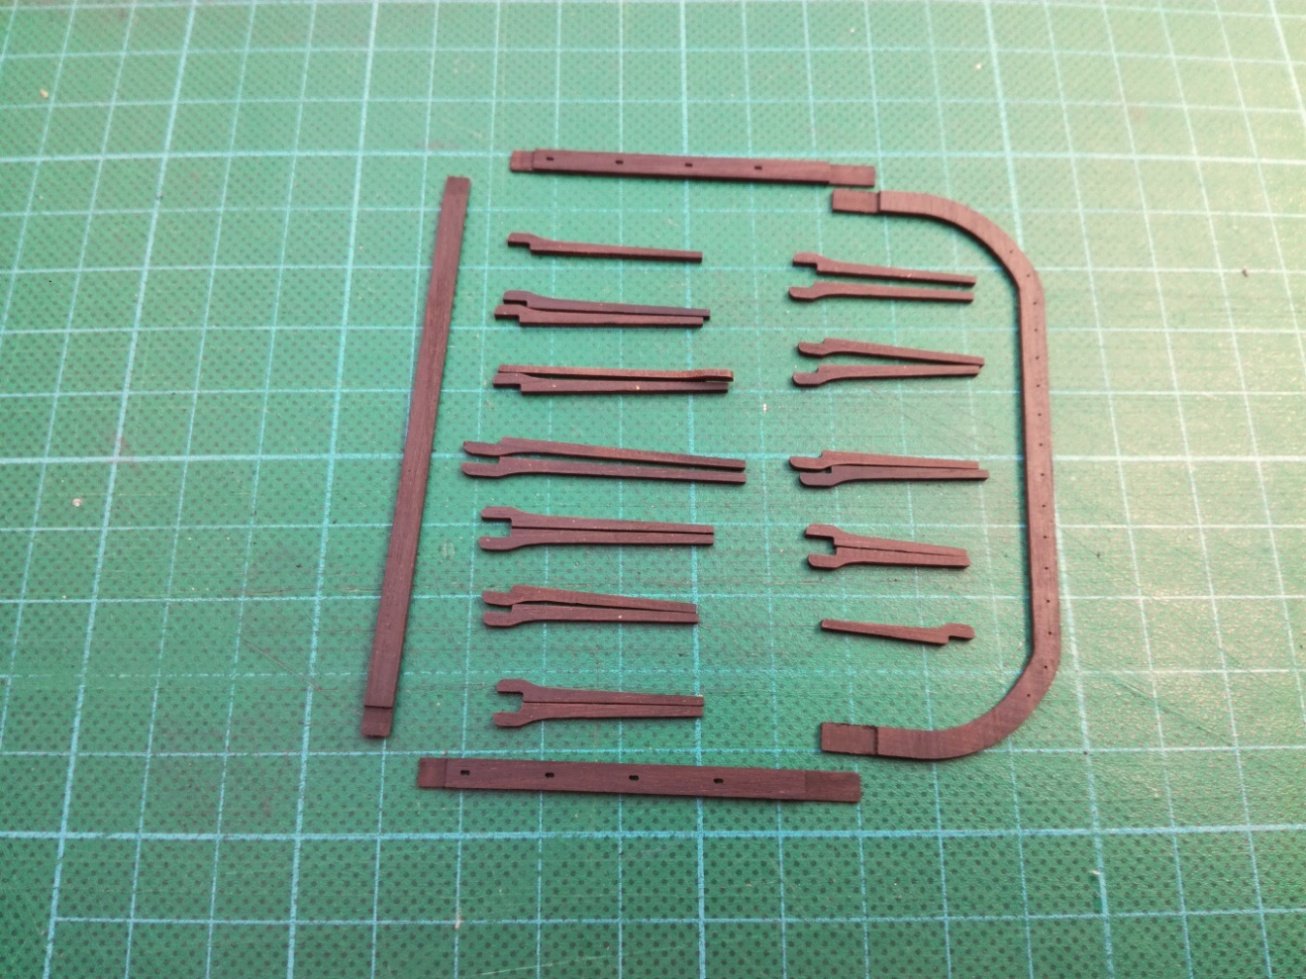
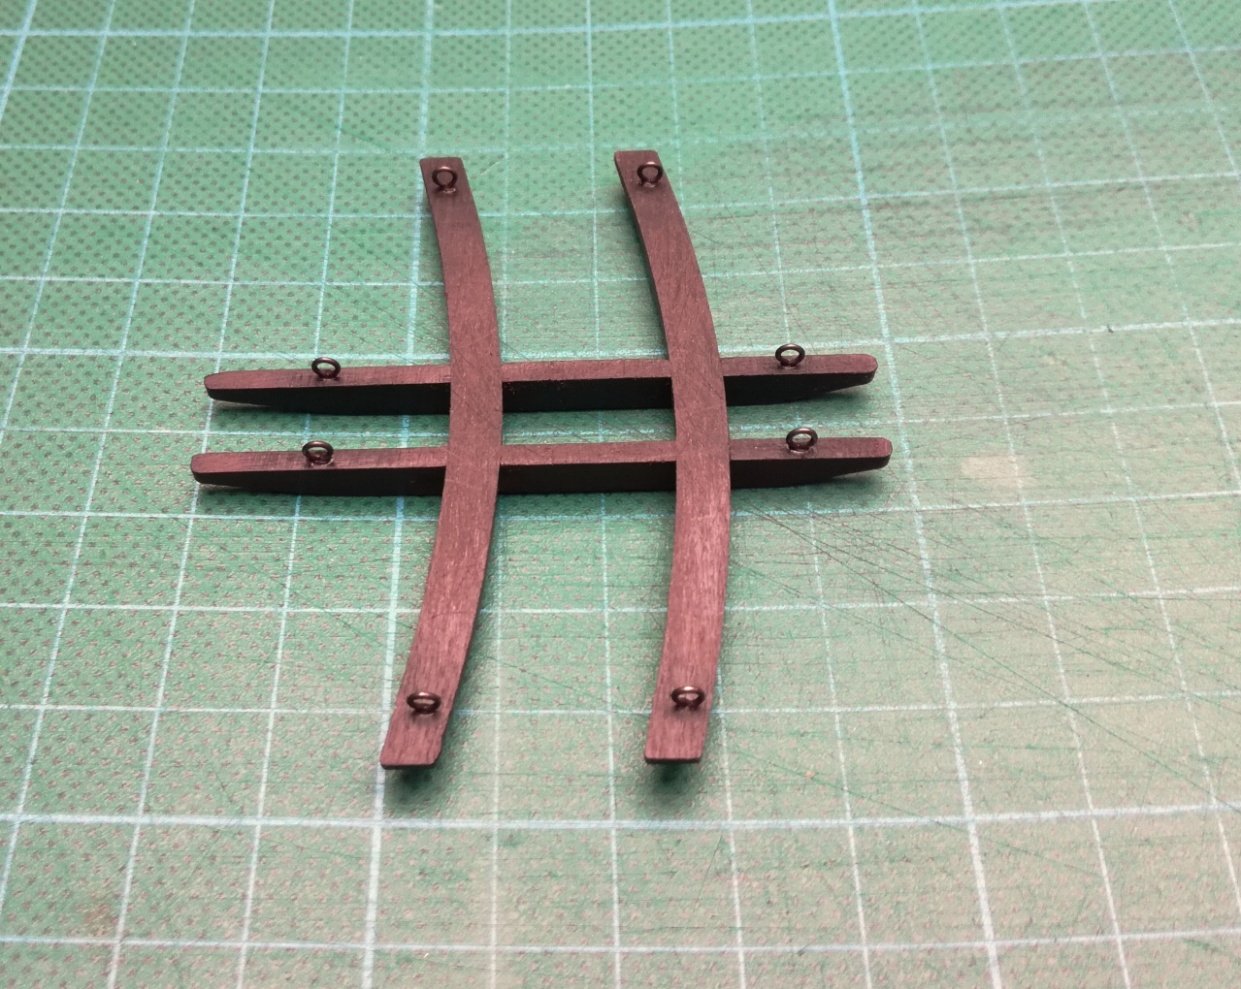
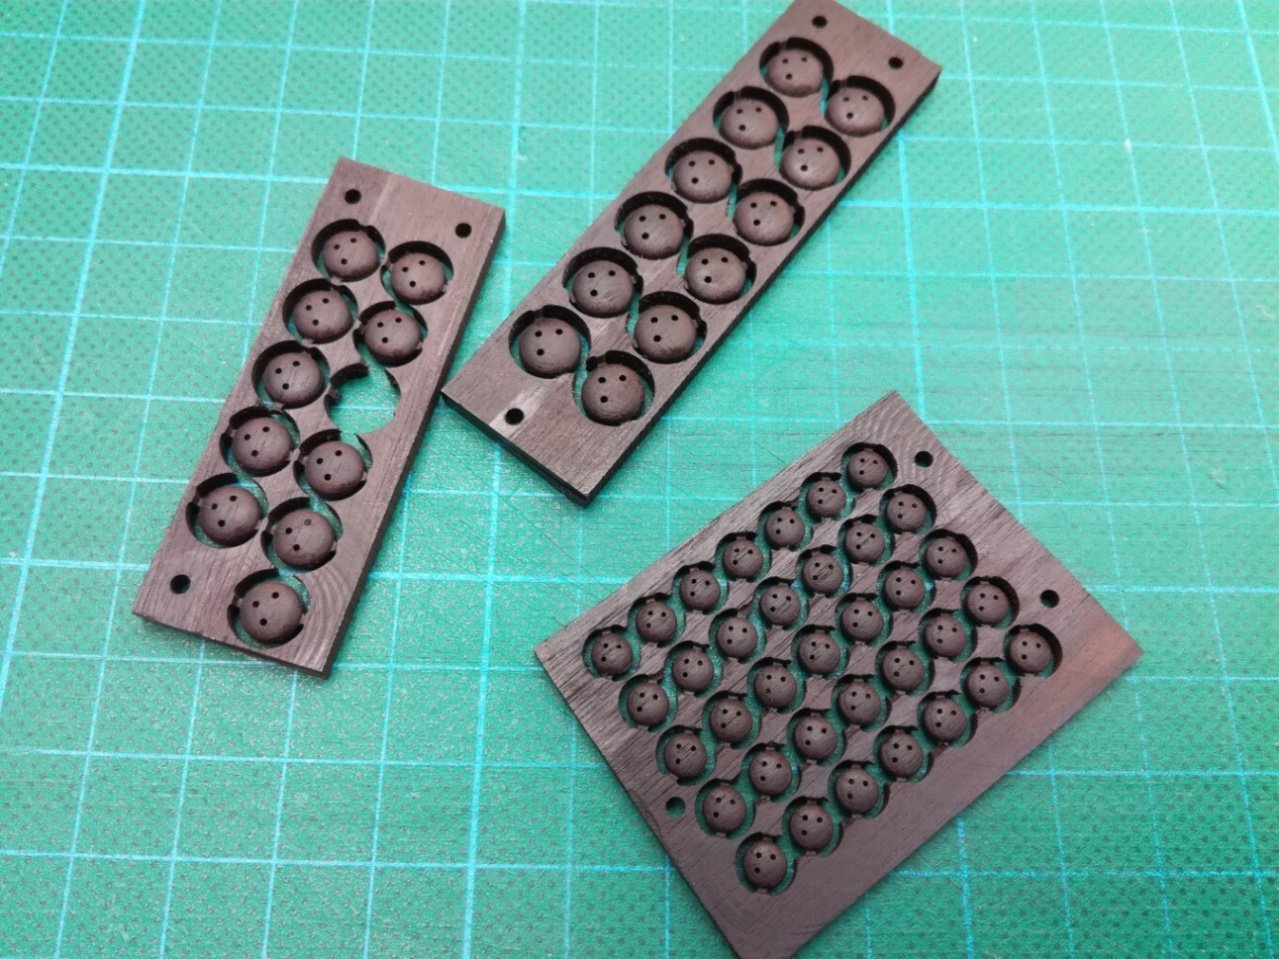
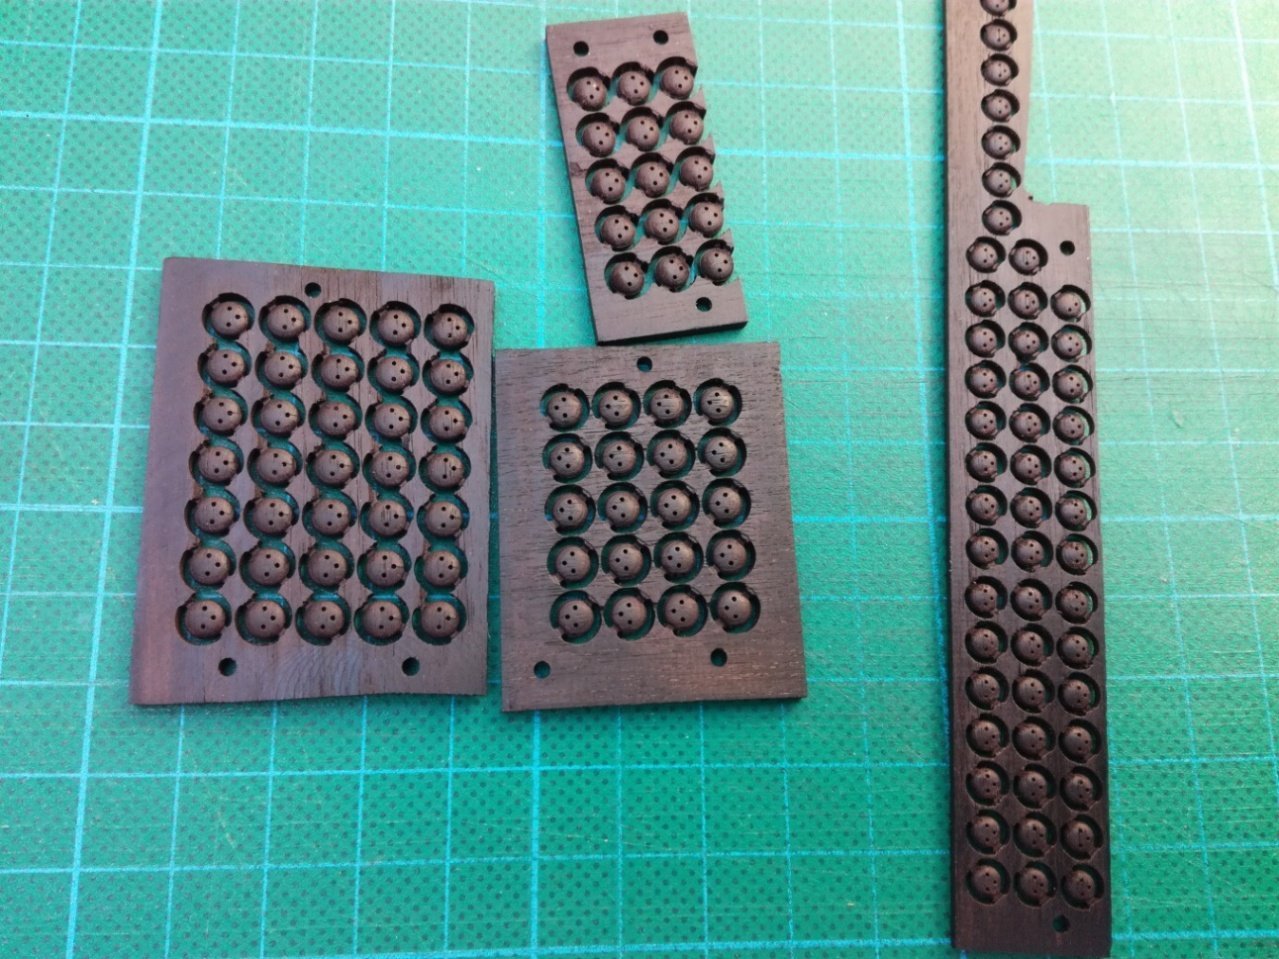
Deadeyes. Most modelers make deadeyes using a lathe. I tried a new method (at least for me) of production using a CNC milling machine.

- 589 replies
-
- 28
-
-
-
- le gros ventre
- cargo
- (and 1 more)
-
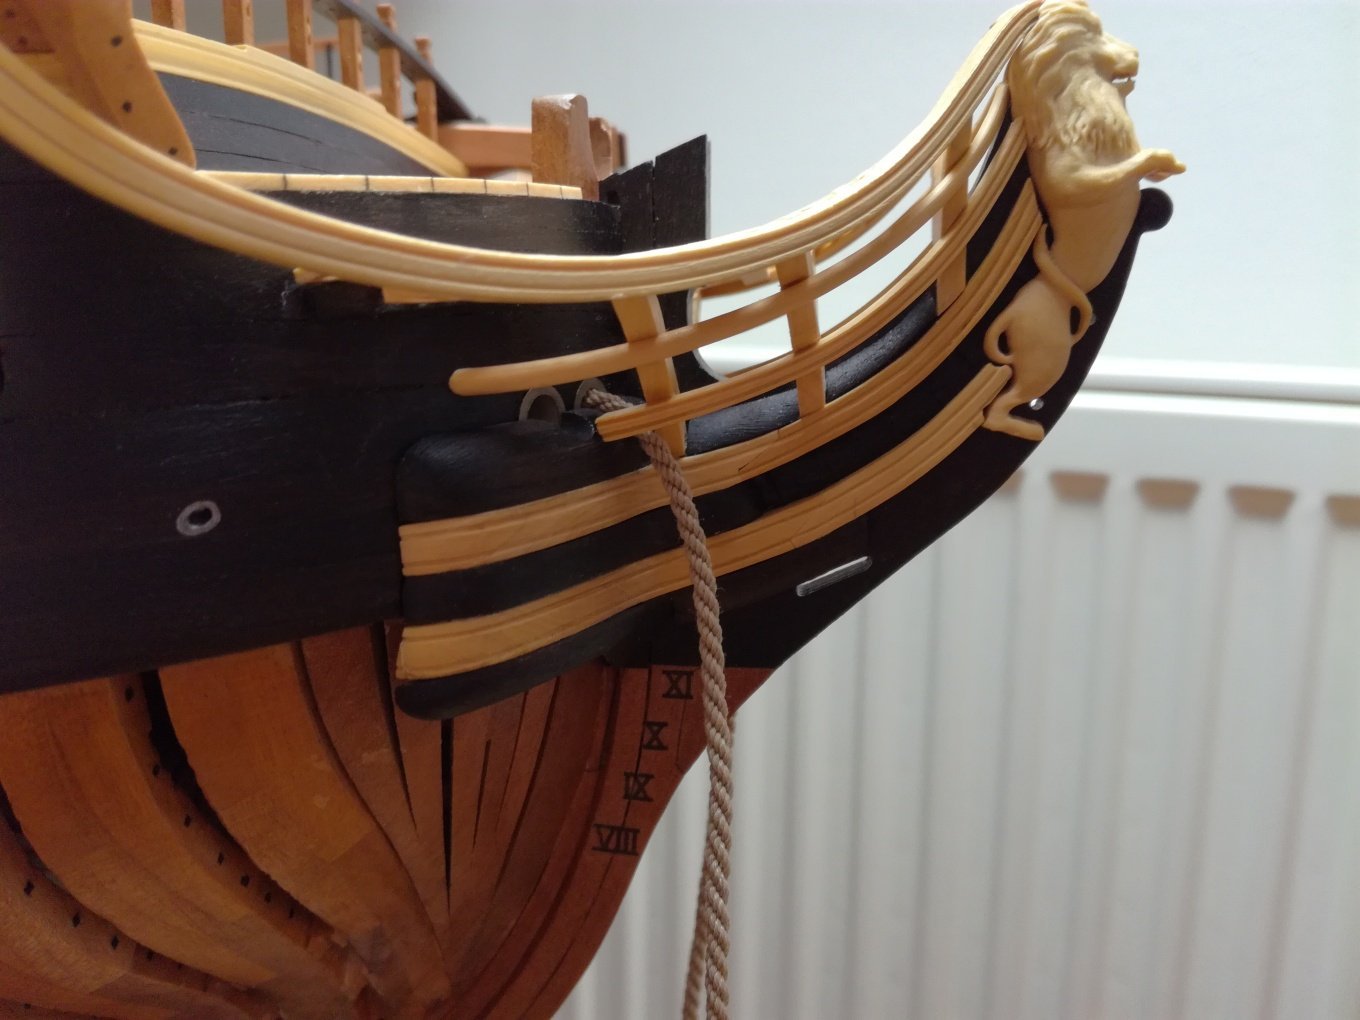
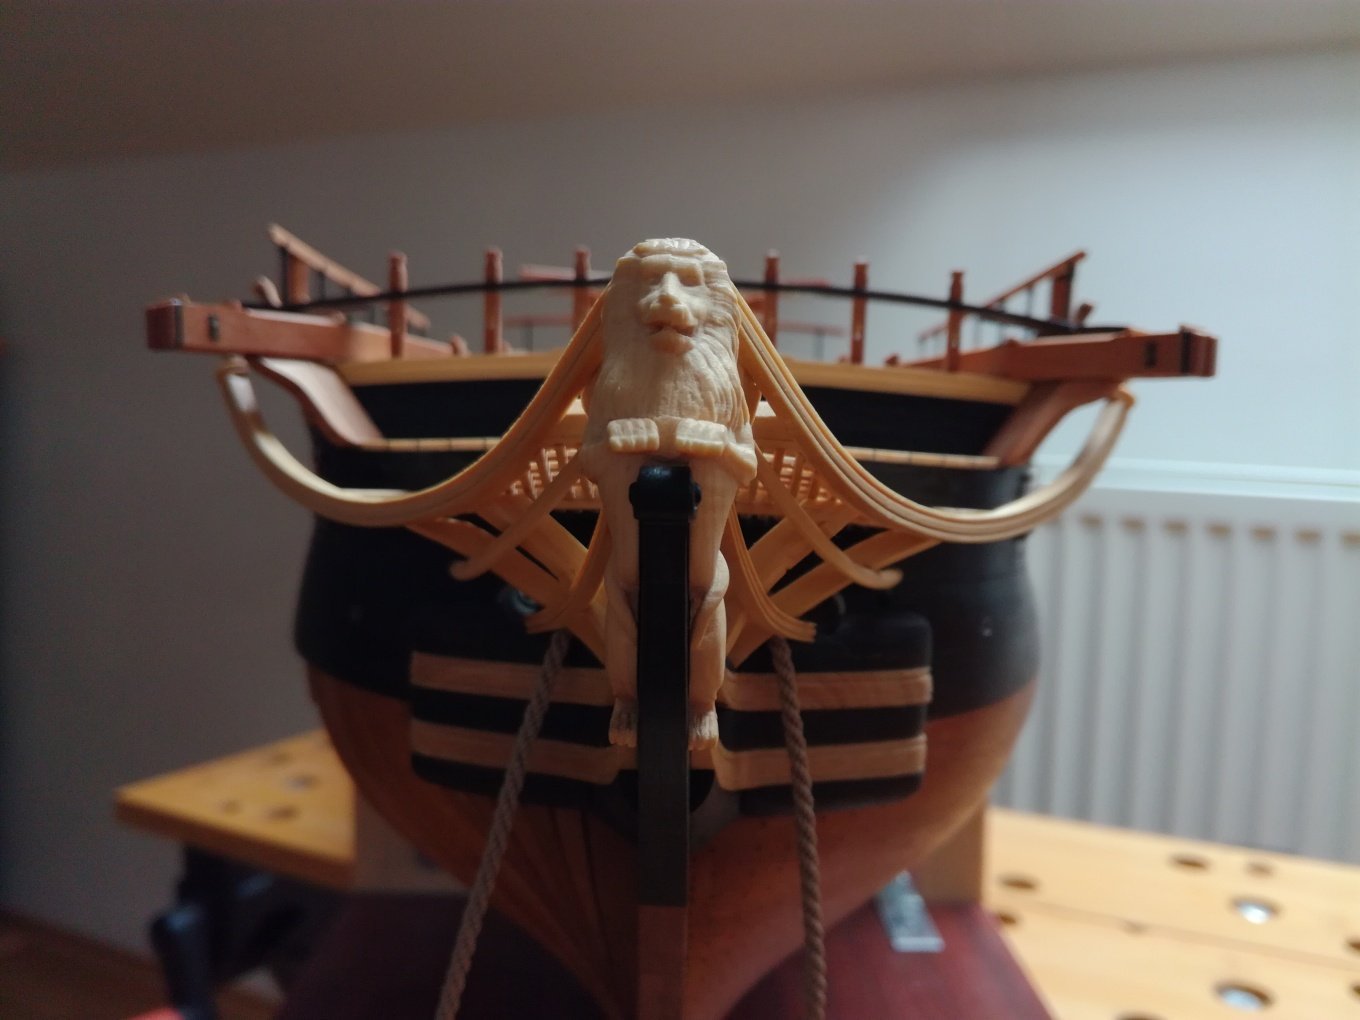
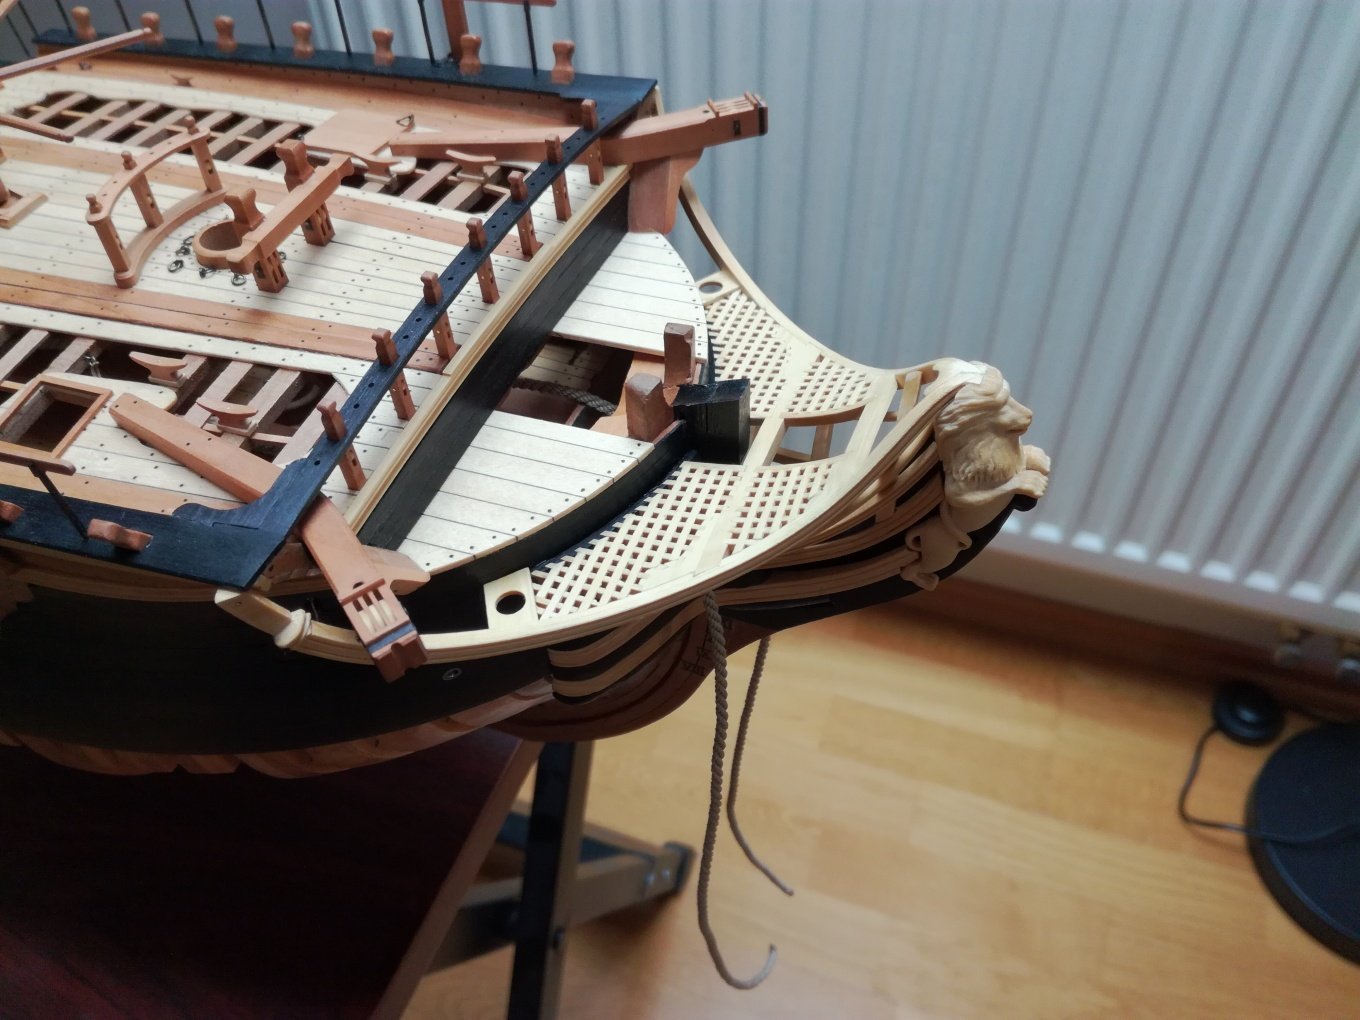
Thank you No Idea. The last decoration is added at the end of the mainrail and the head is completely finished. Next parts will be channels, chains, deadeyes etc.


- 589 replies
-
- 27
-
-
-
-
- le gros ventre
- cargo
- (and 1 more)
-
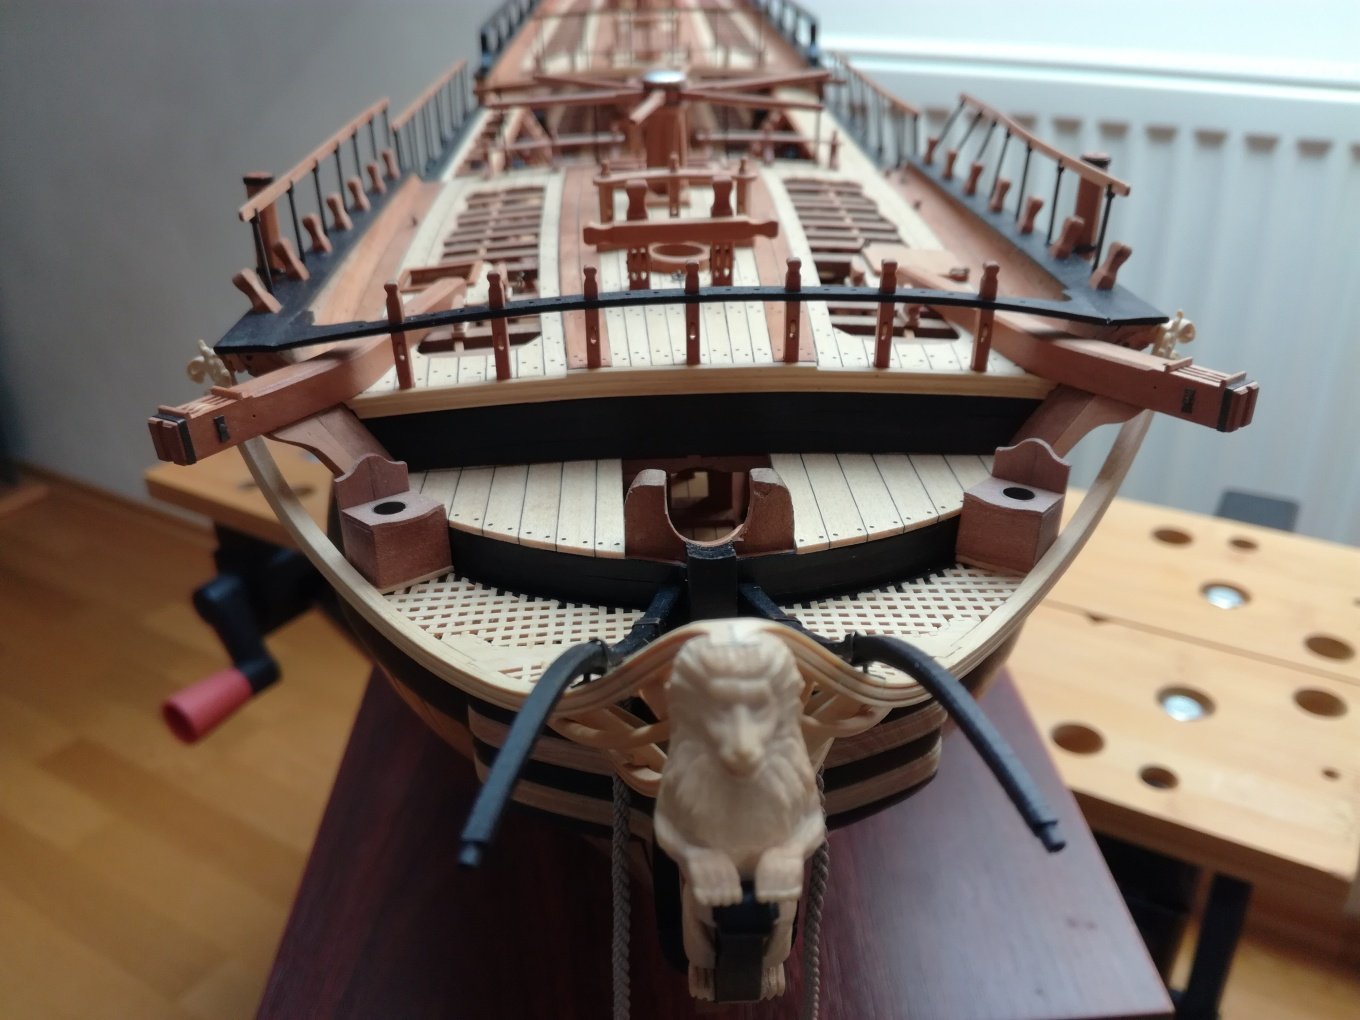
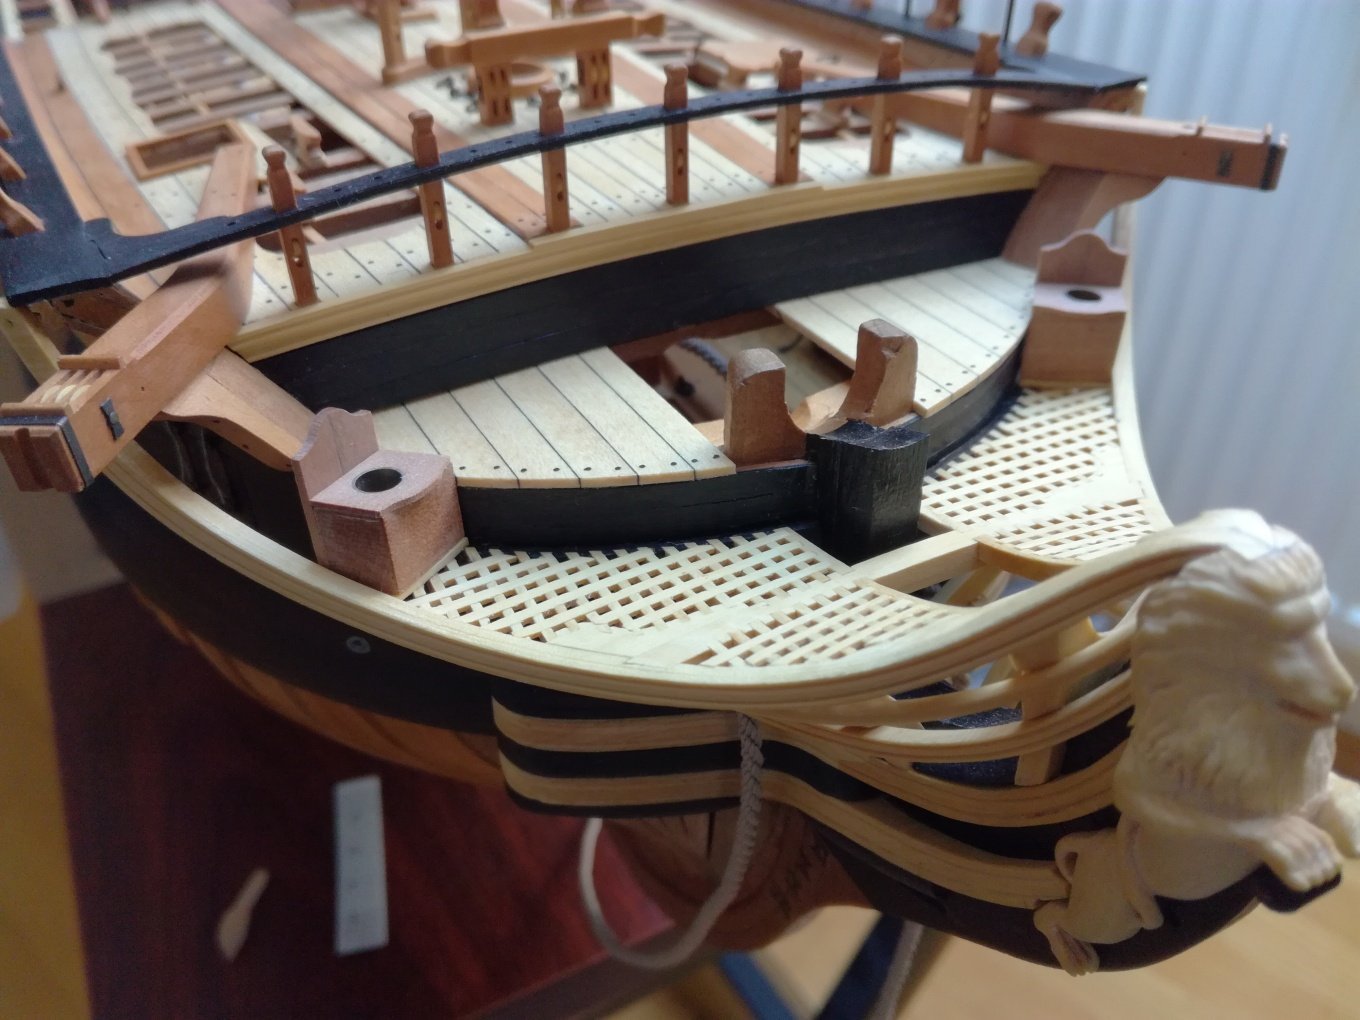
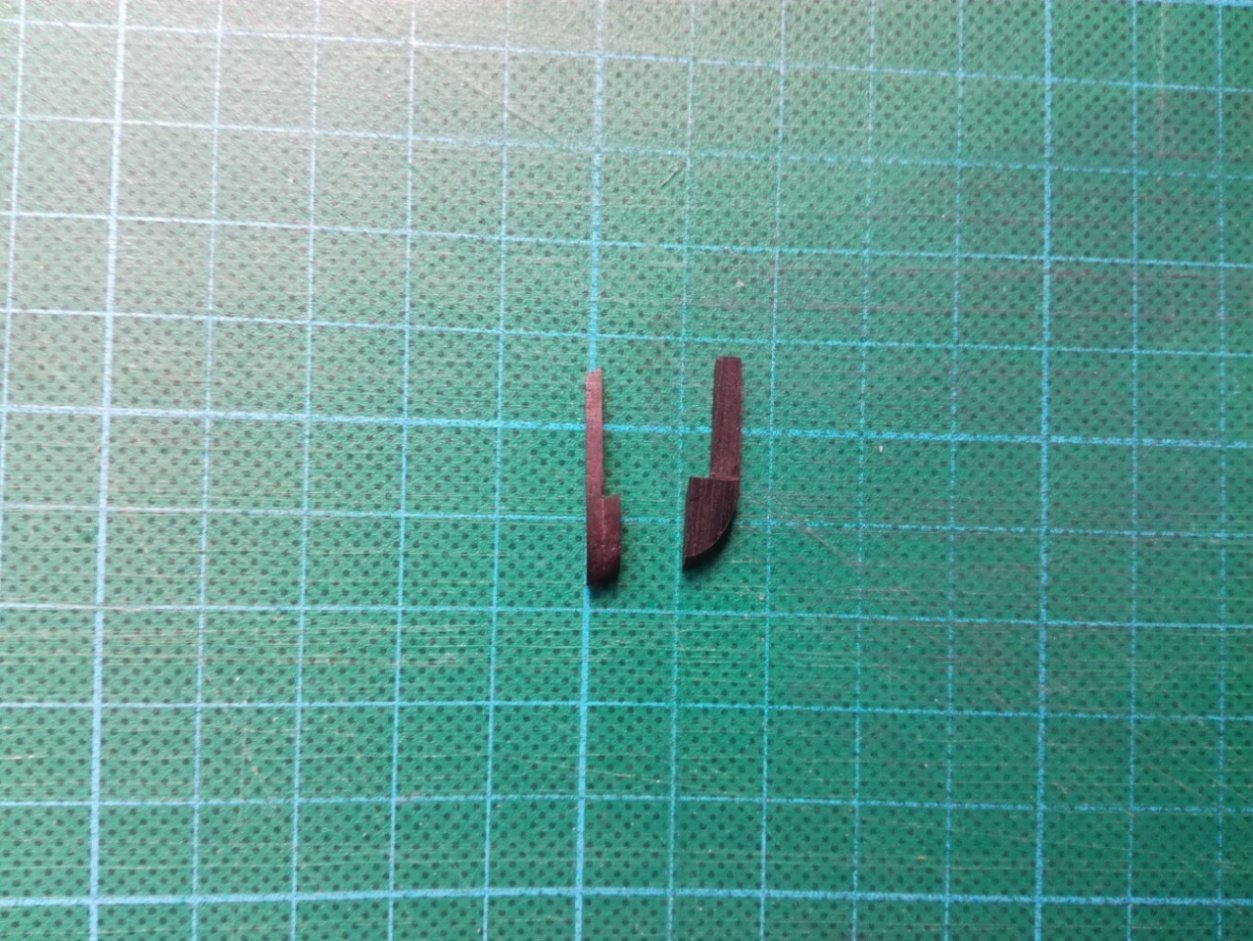
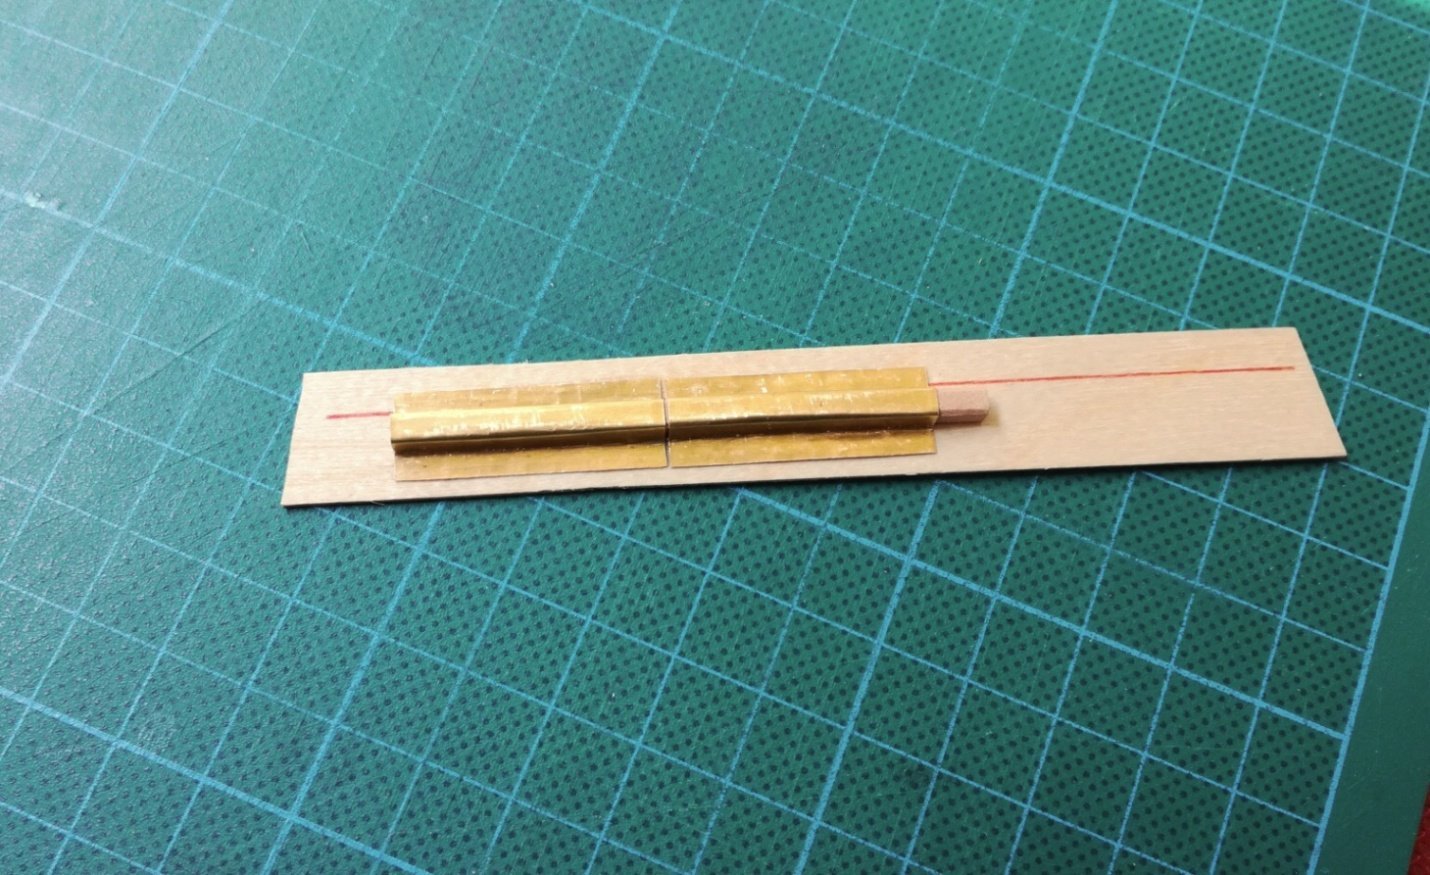
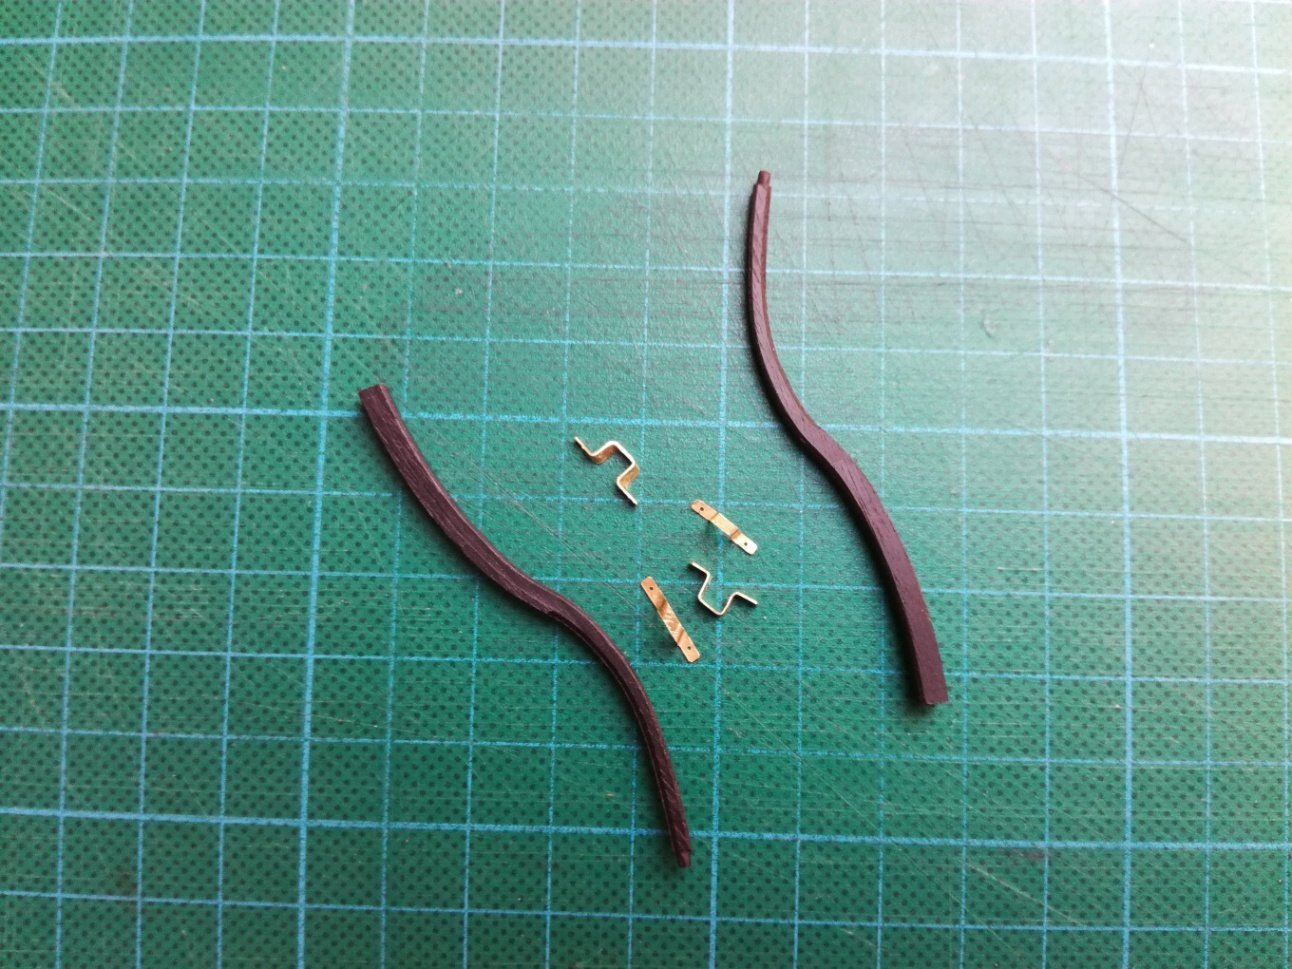
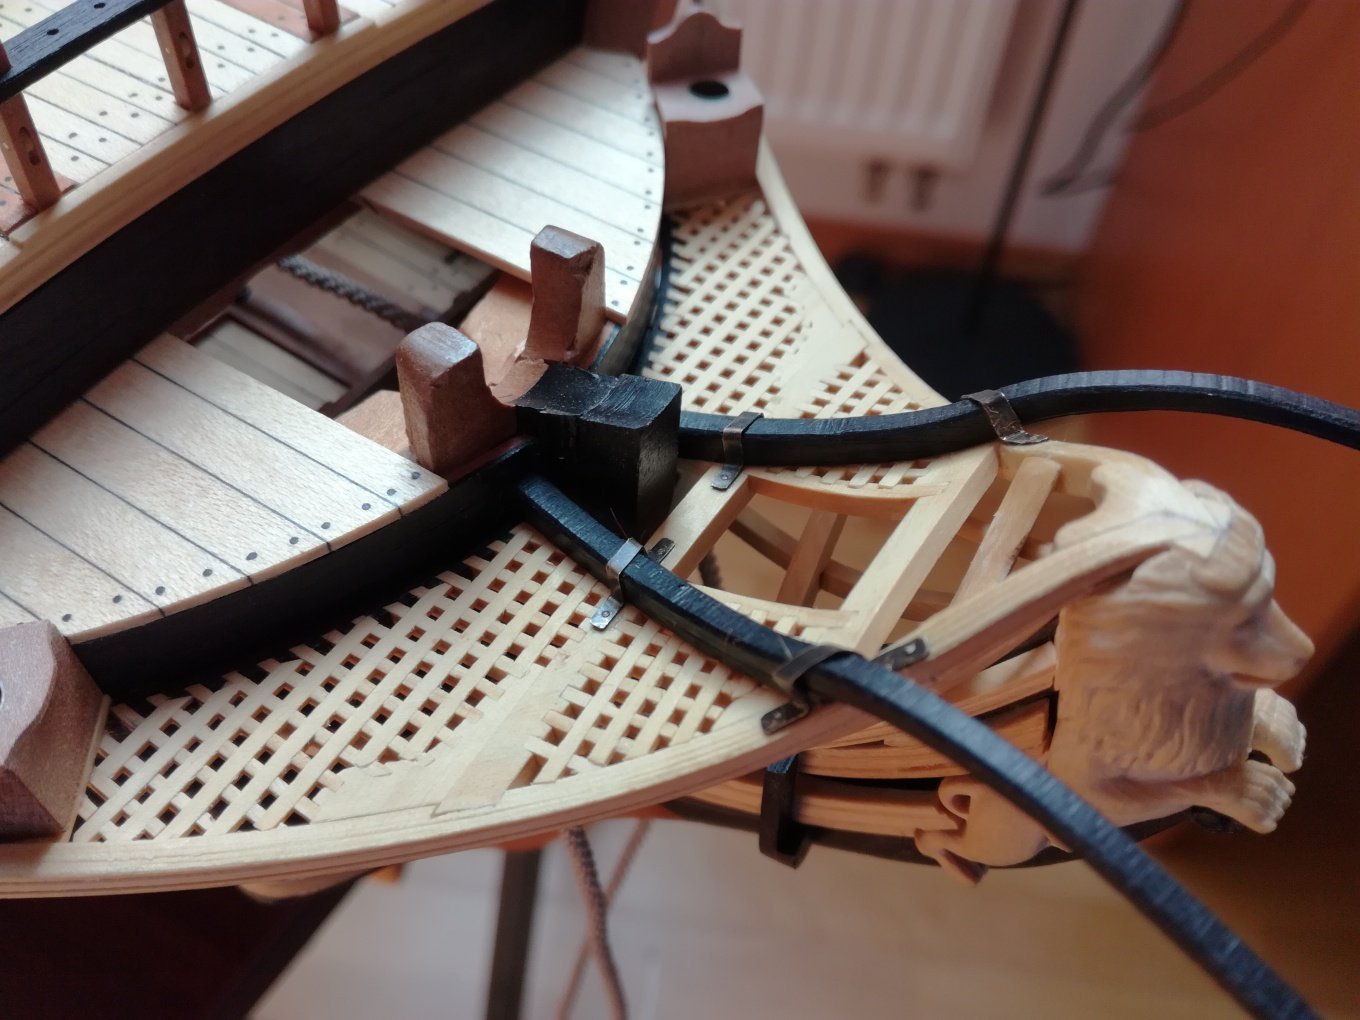
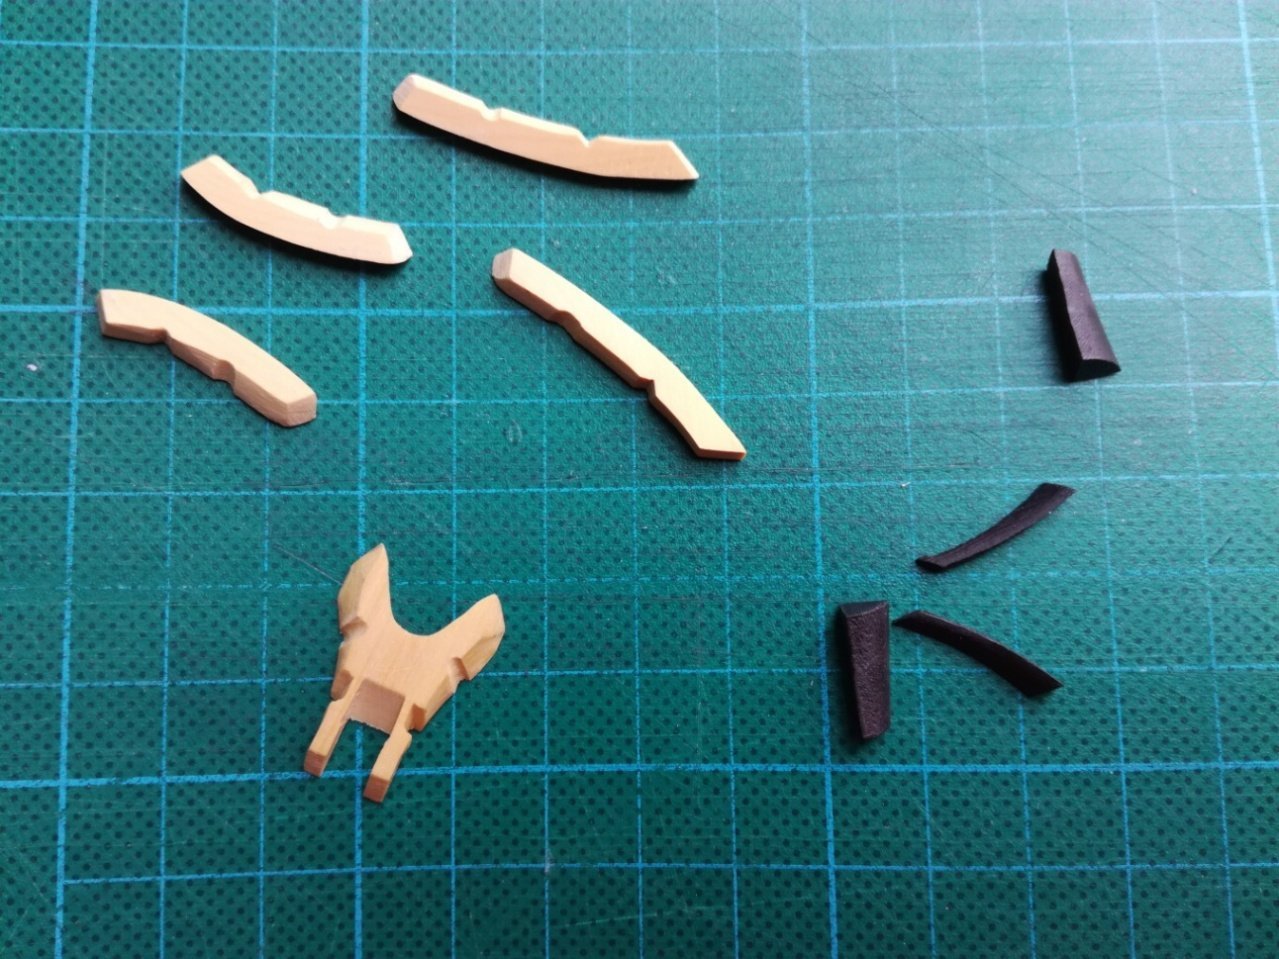
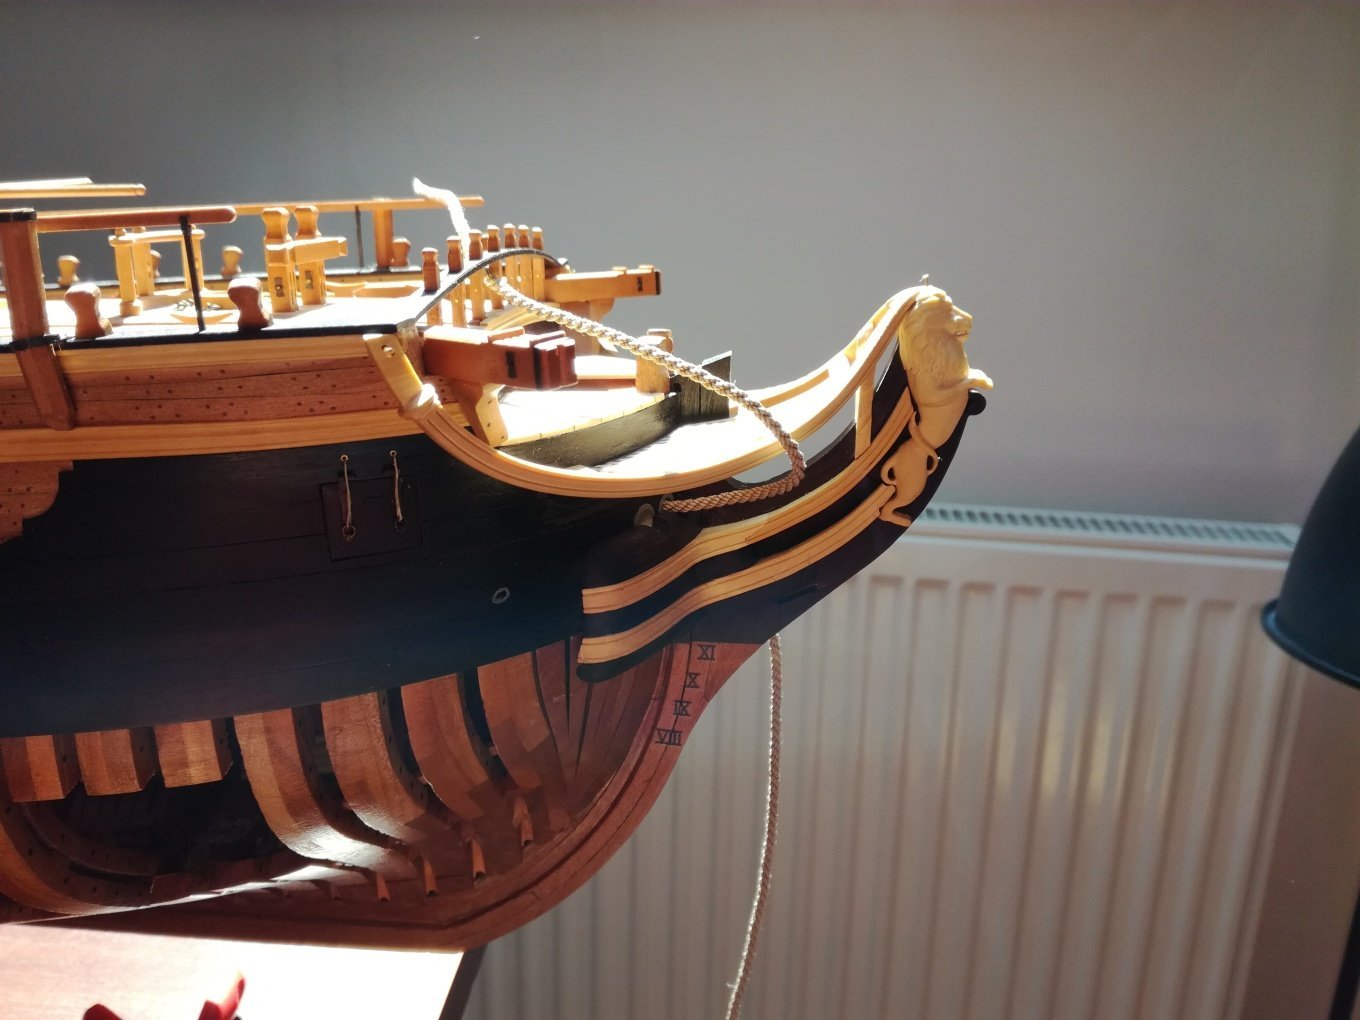
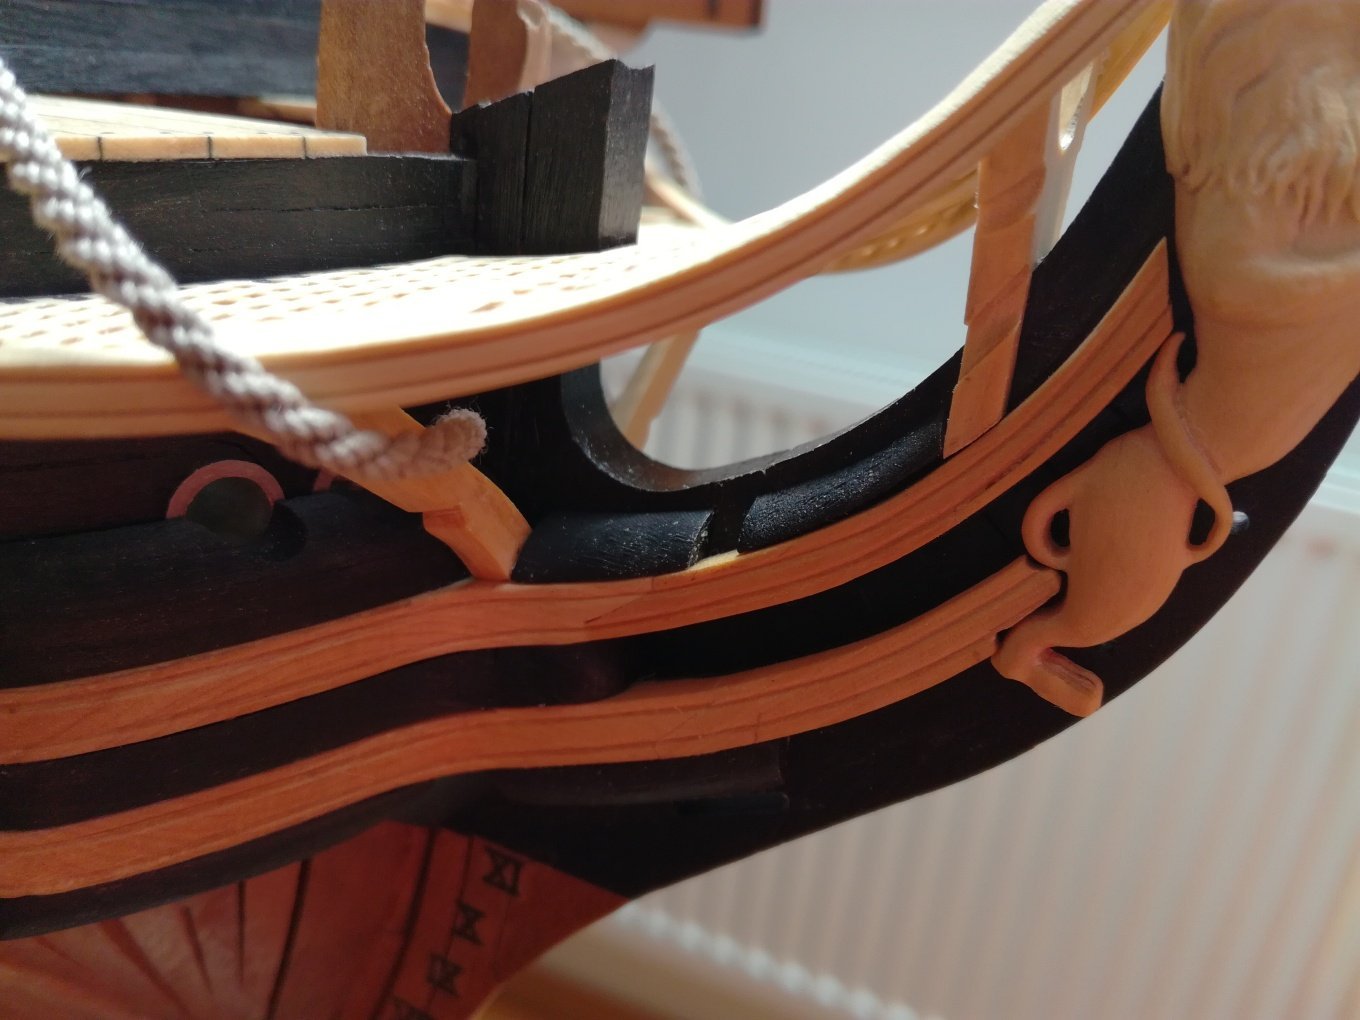
Thank you guys. I continue with seats of easy, filling peace (in front of the gammoning) and boomkins.

- 589 replies
-
- 26
-
-
-
- le gros ventre
- cargo
- (and 1 more)
-
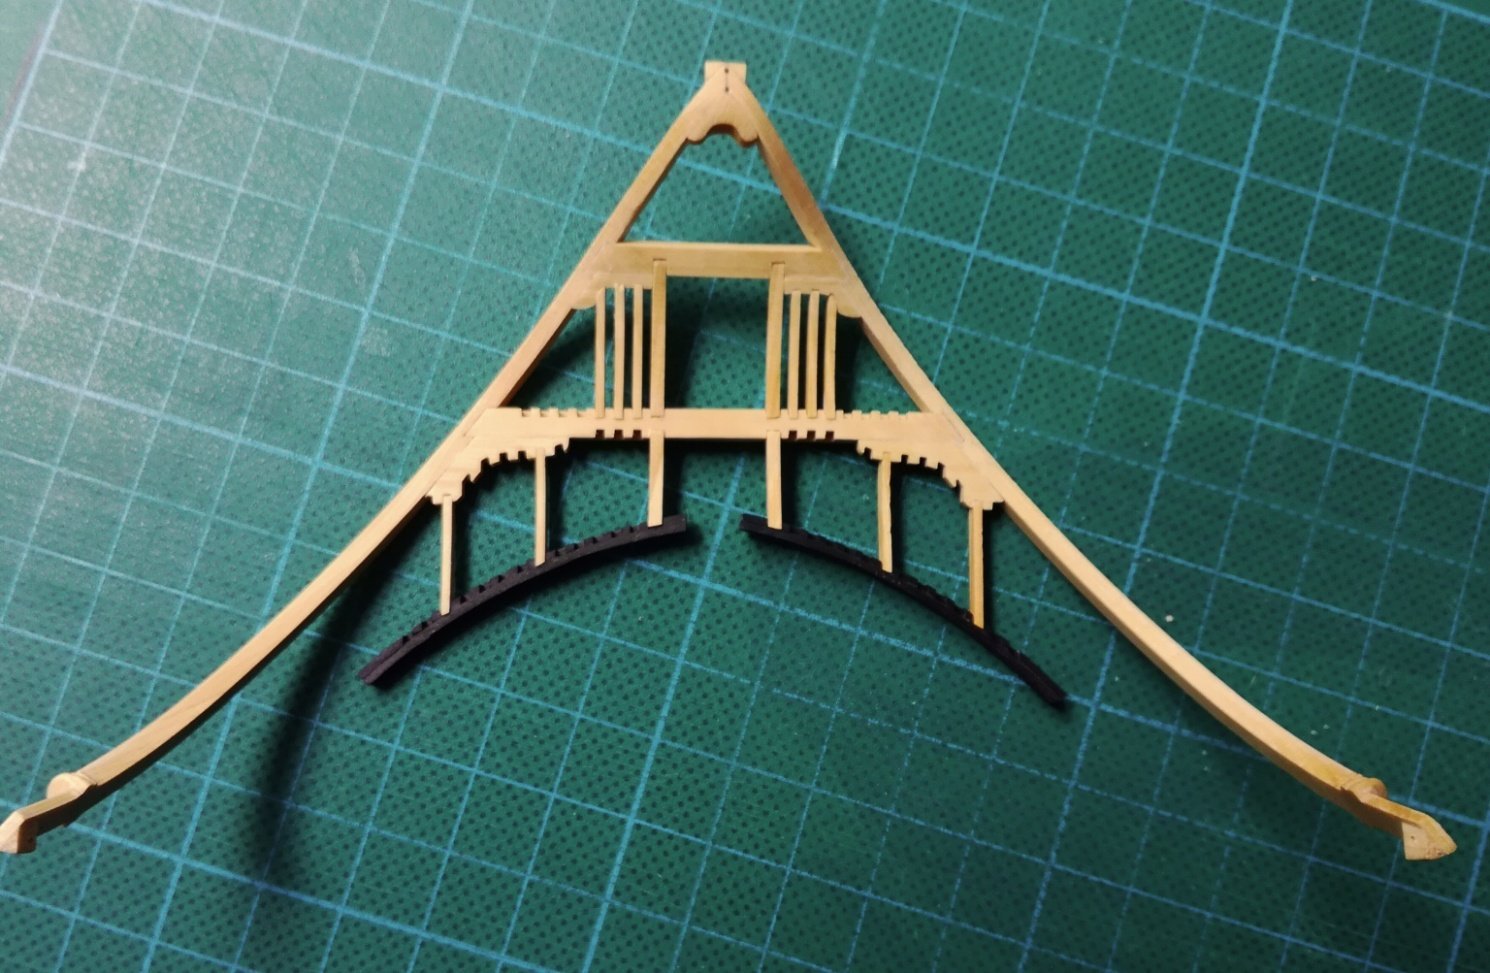
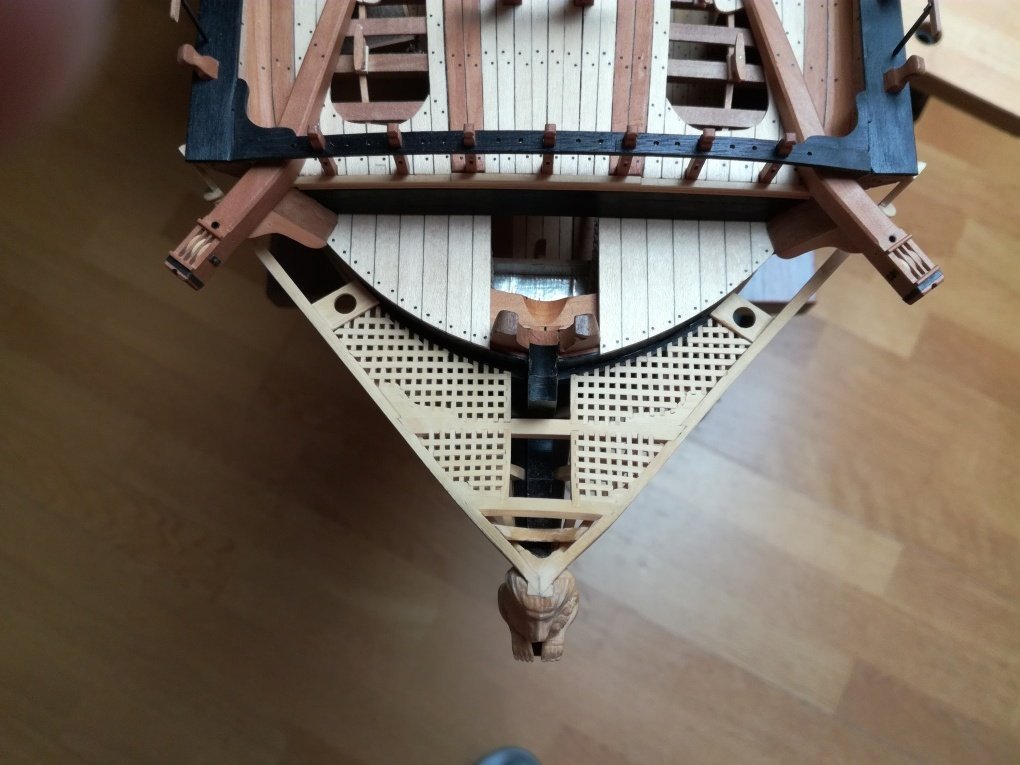
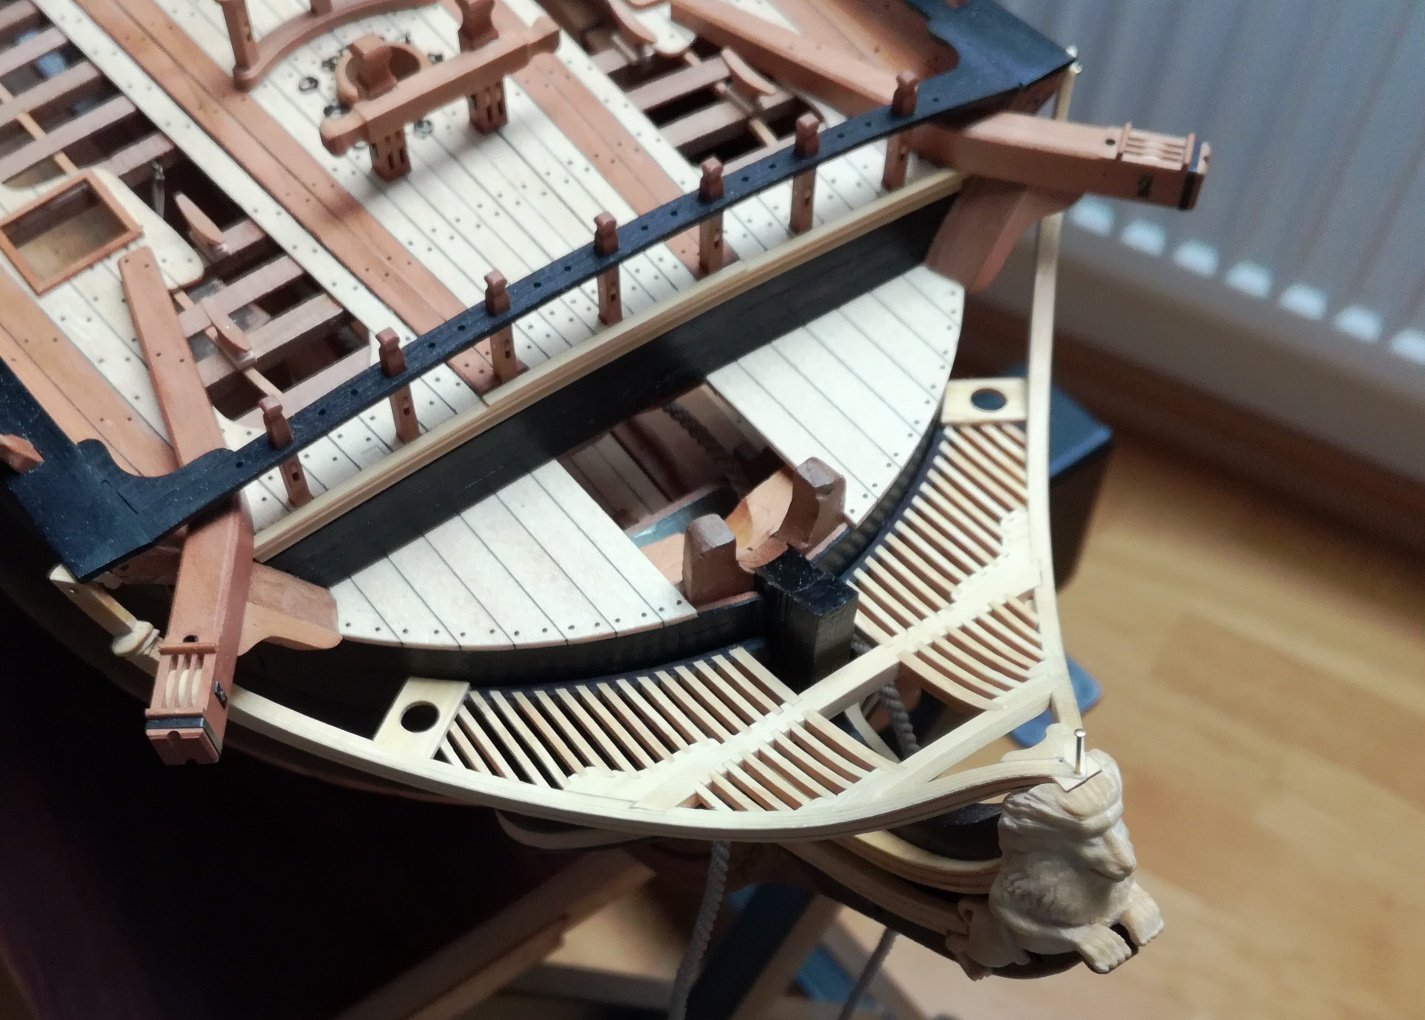
Thanks for all comments and likes. The front part of the model is practically done except for a few details.
- 589 replies
-
- 33
-
-
-
-
- le gros ventre
- cargo
- (and 1 more)
-
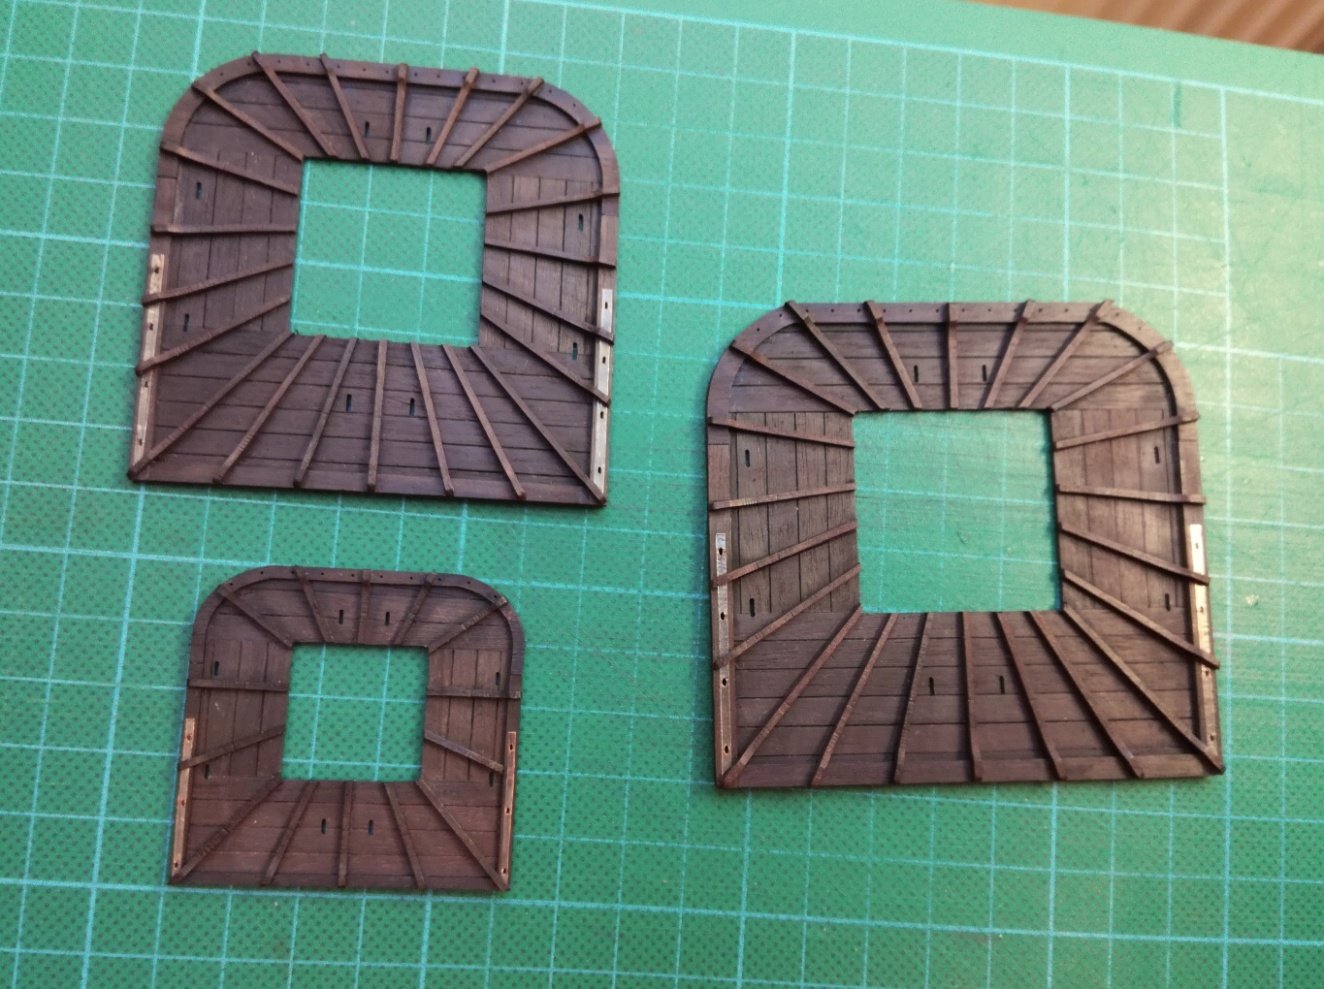
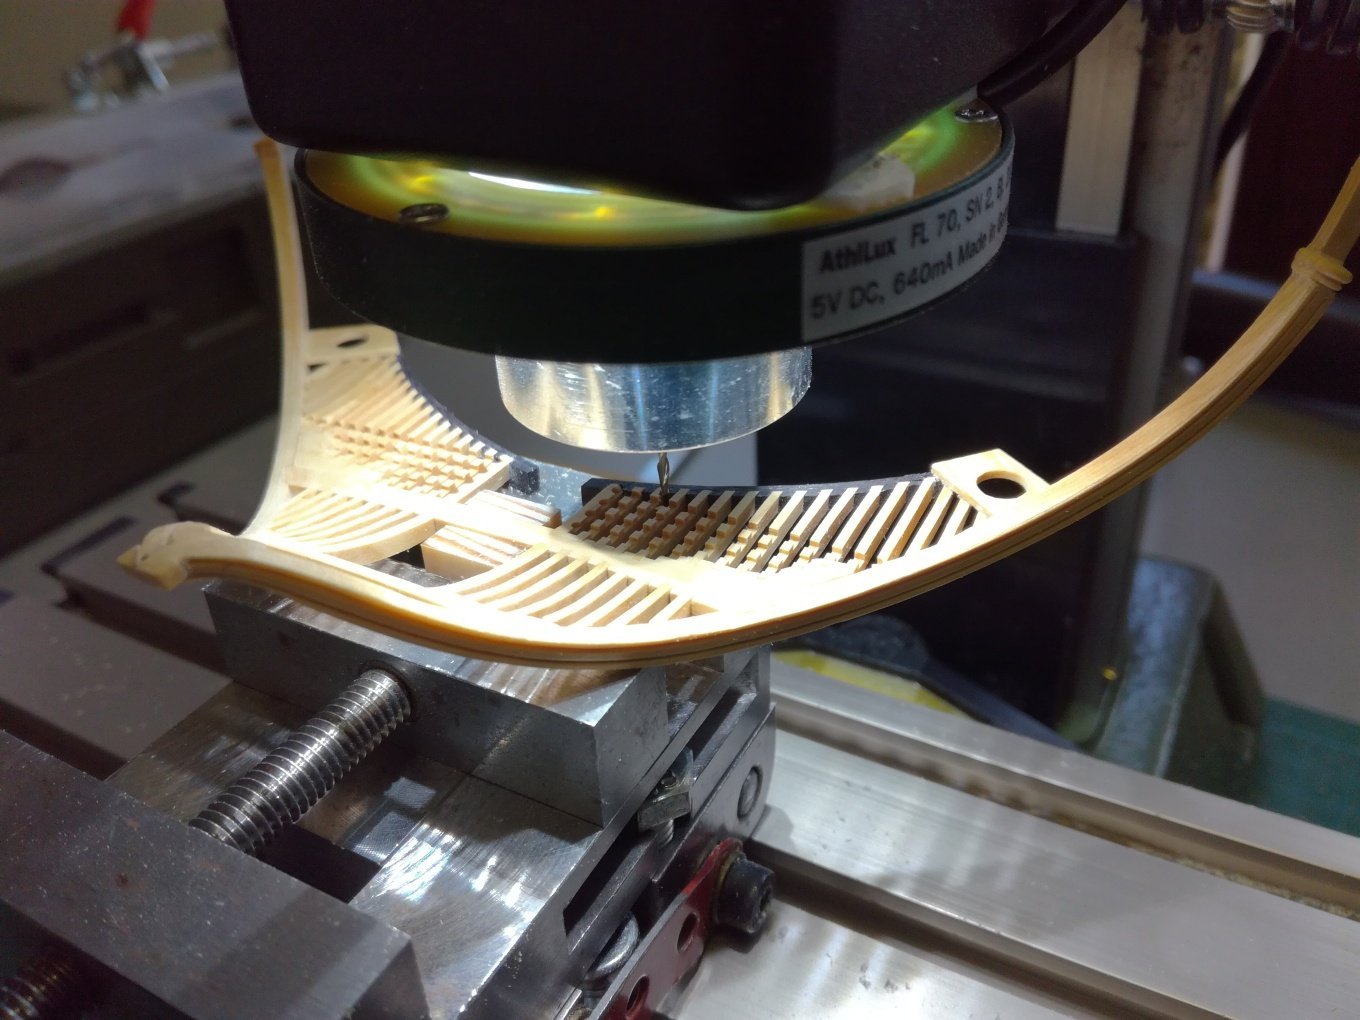
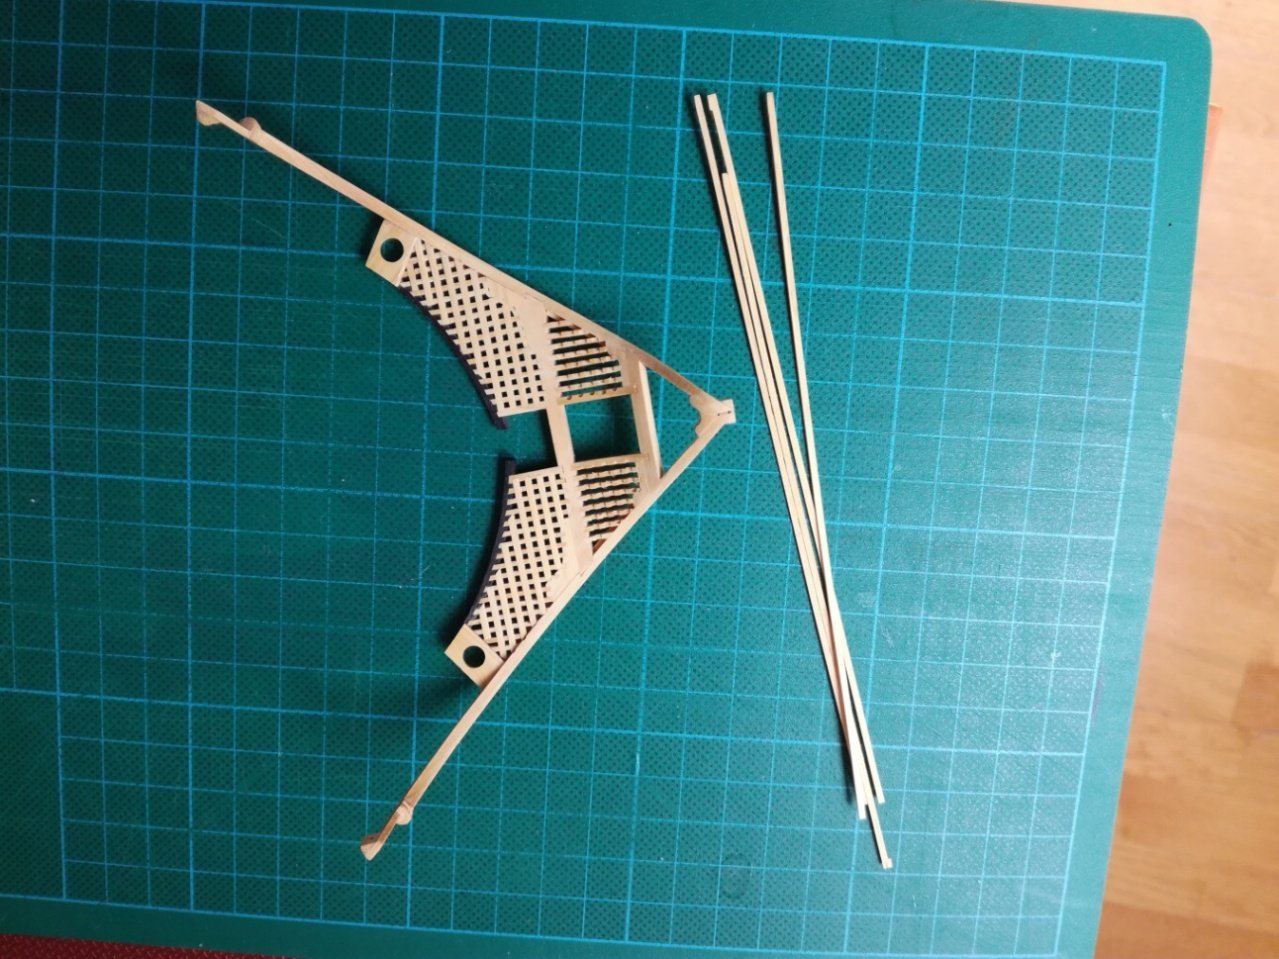
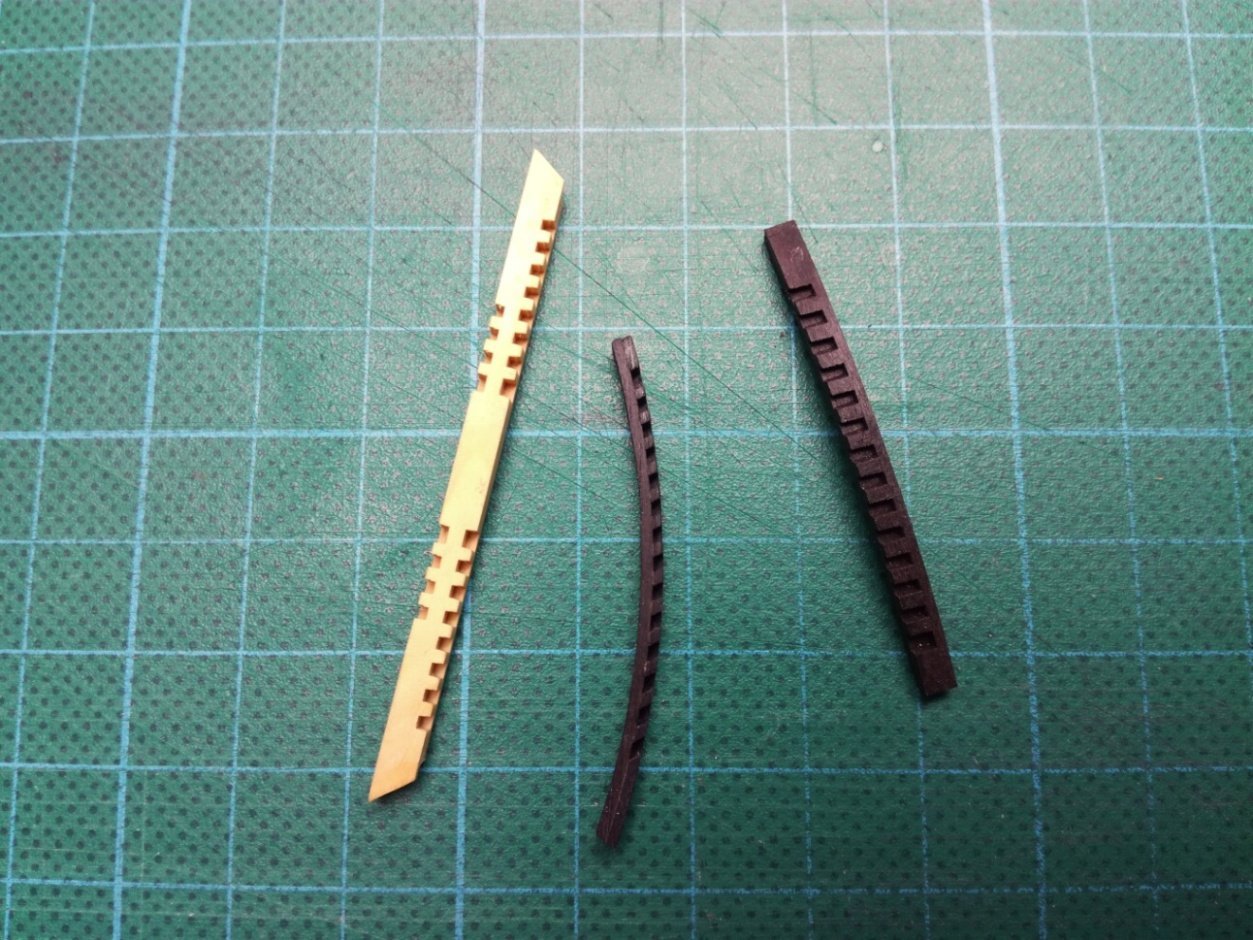
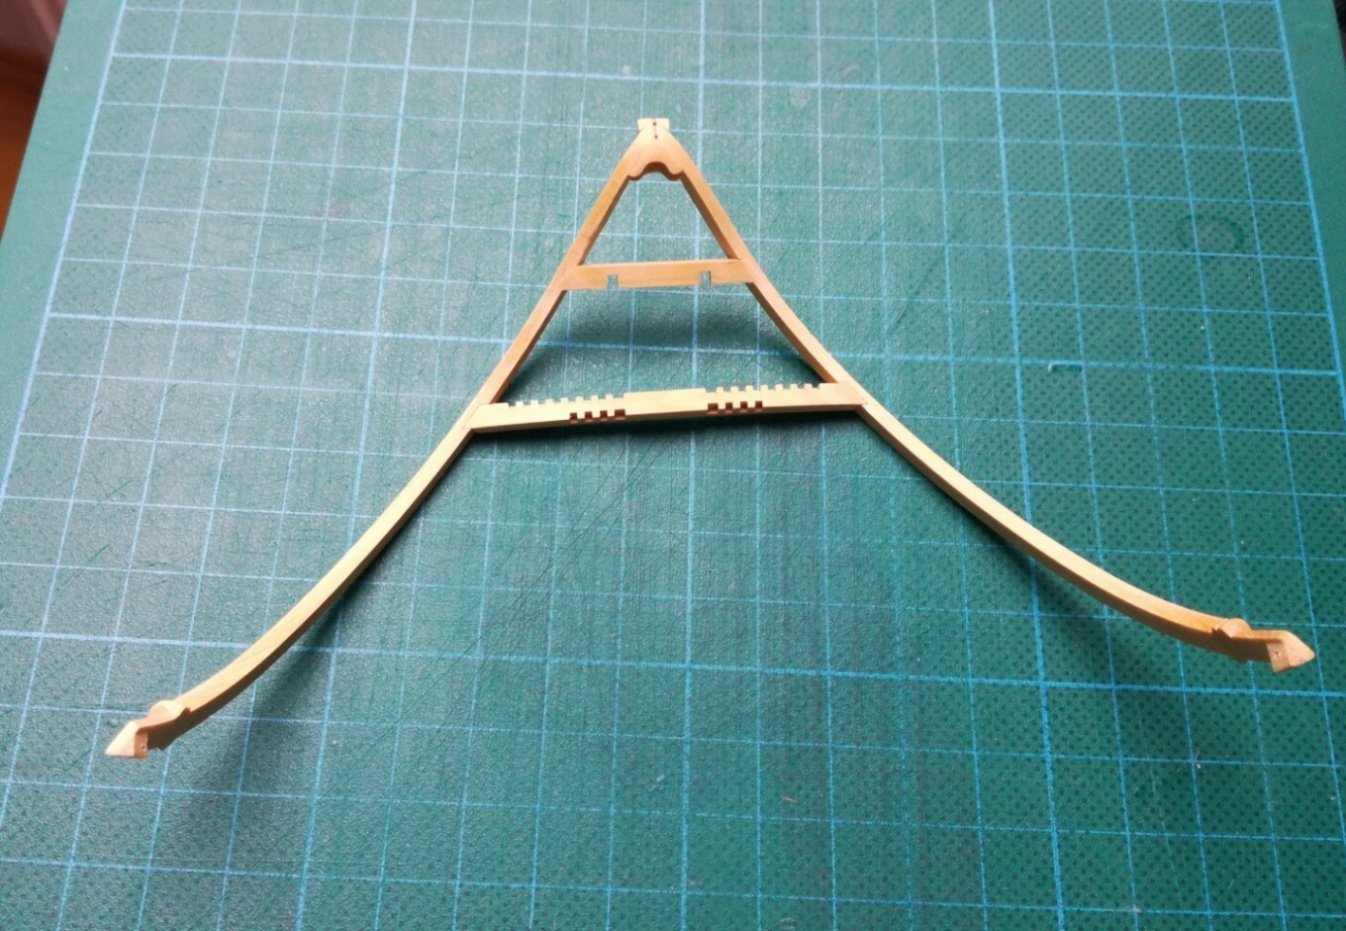
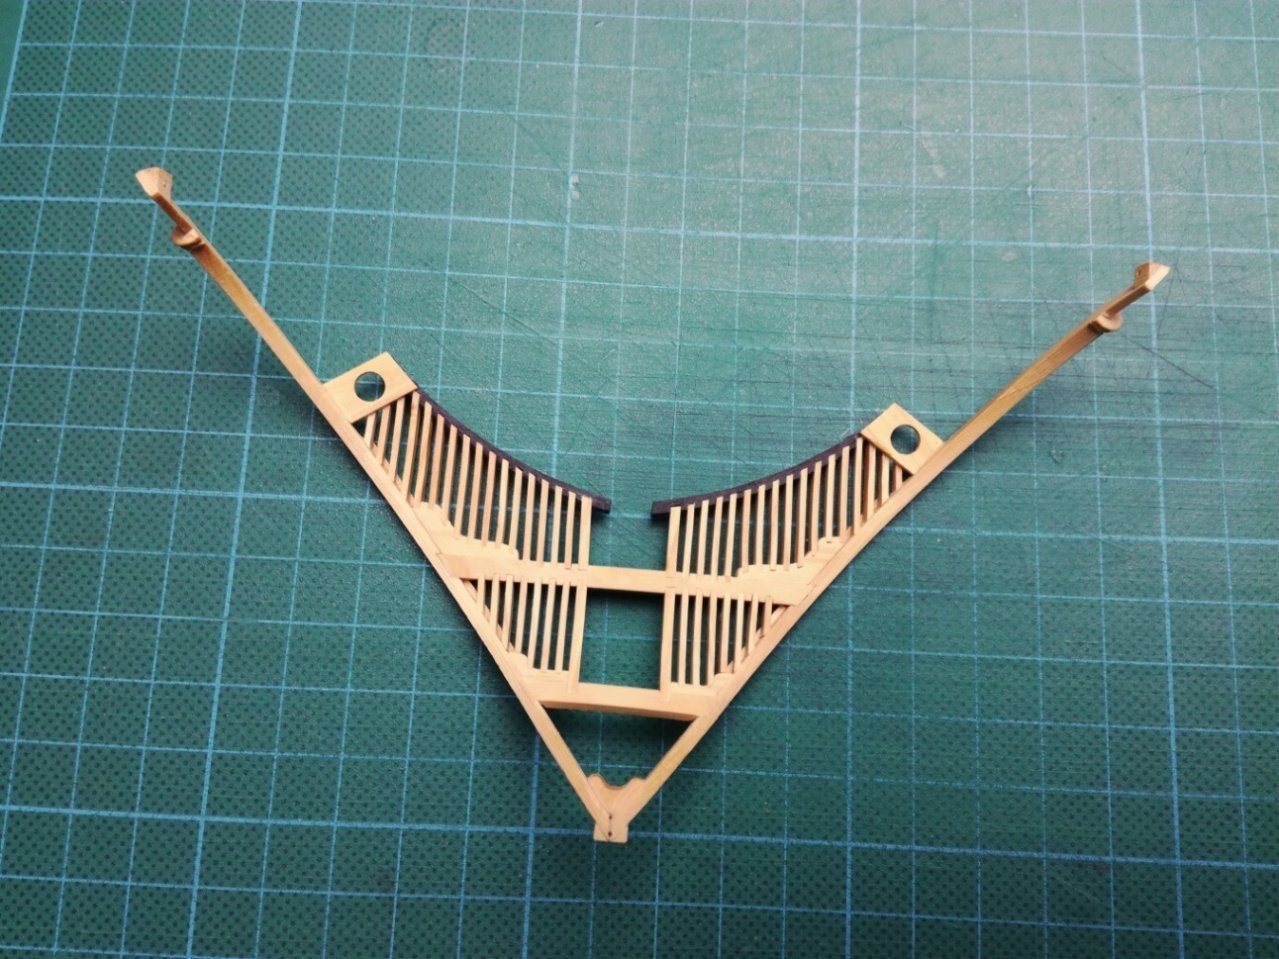
Thank you guys. I continue with making of gratings - to be continued...


- 589 replies
-
- 36
-
-
-
-
- le gros ventre
- cargo
- (and 1 more)