


Josh Williamson
-
Posts
117 -
Joined
-
Last visited
Content Type
Profiles
Forums
Gallery
Events
Posts posted by Josh Williamson
-
-
Documentation on Day 4 Spray build:
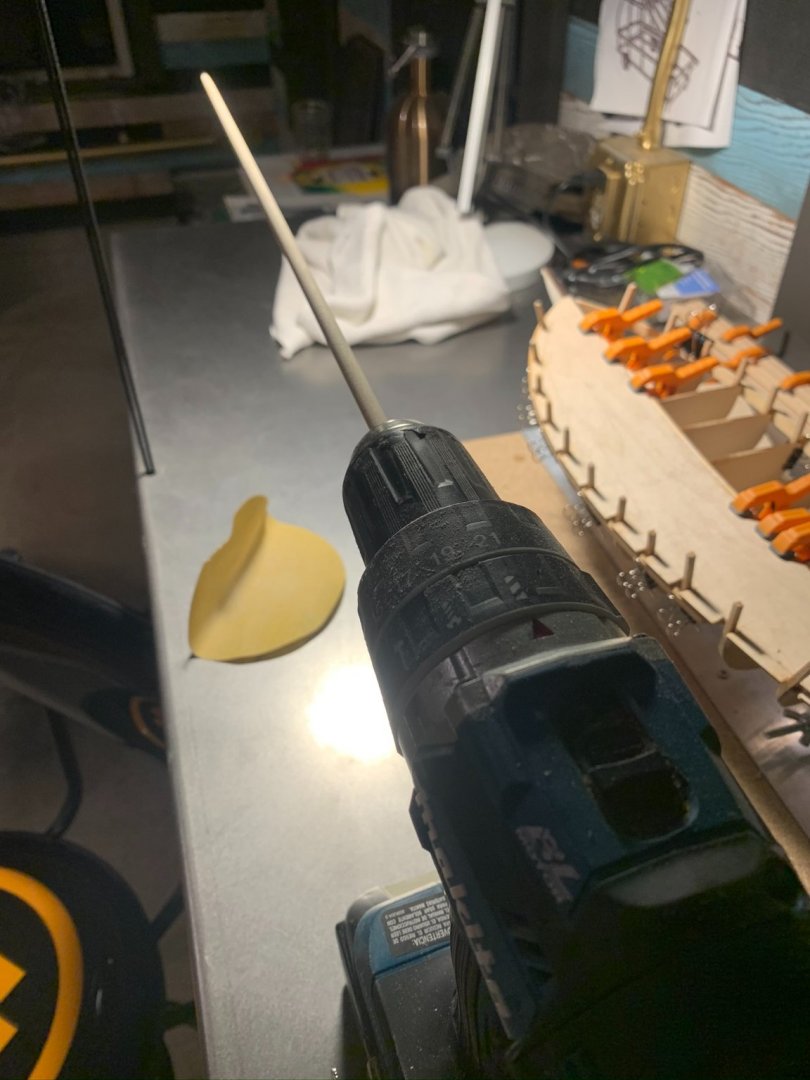
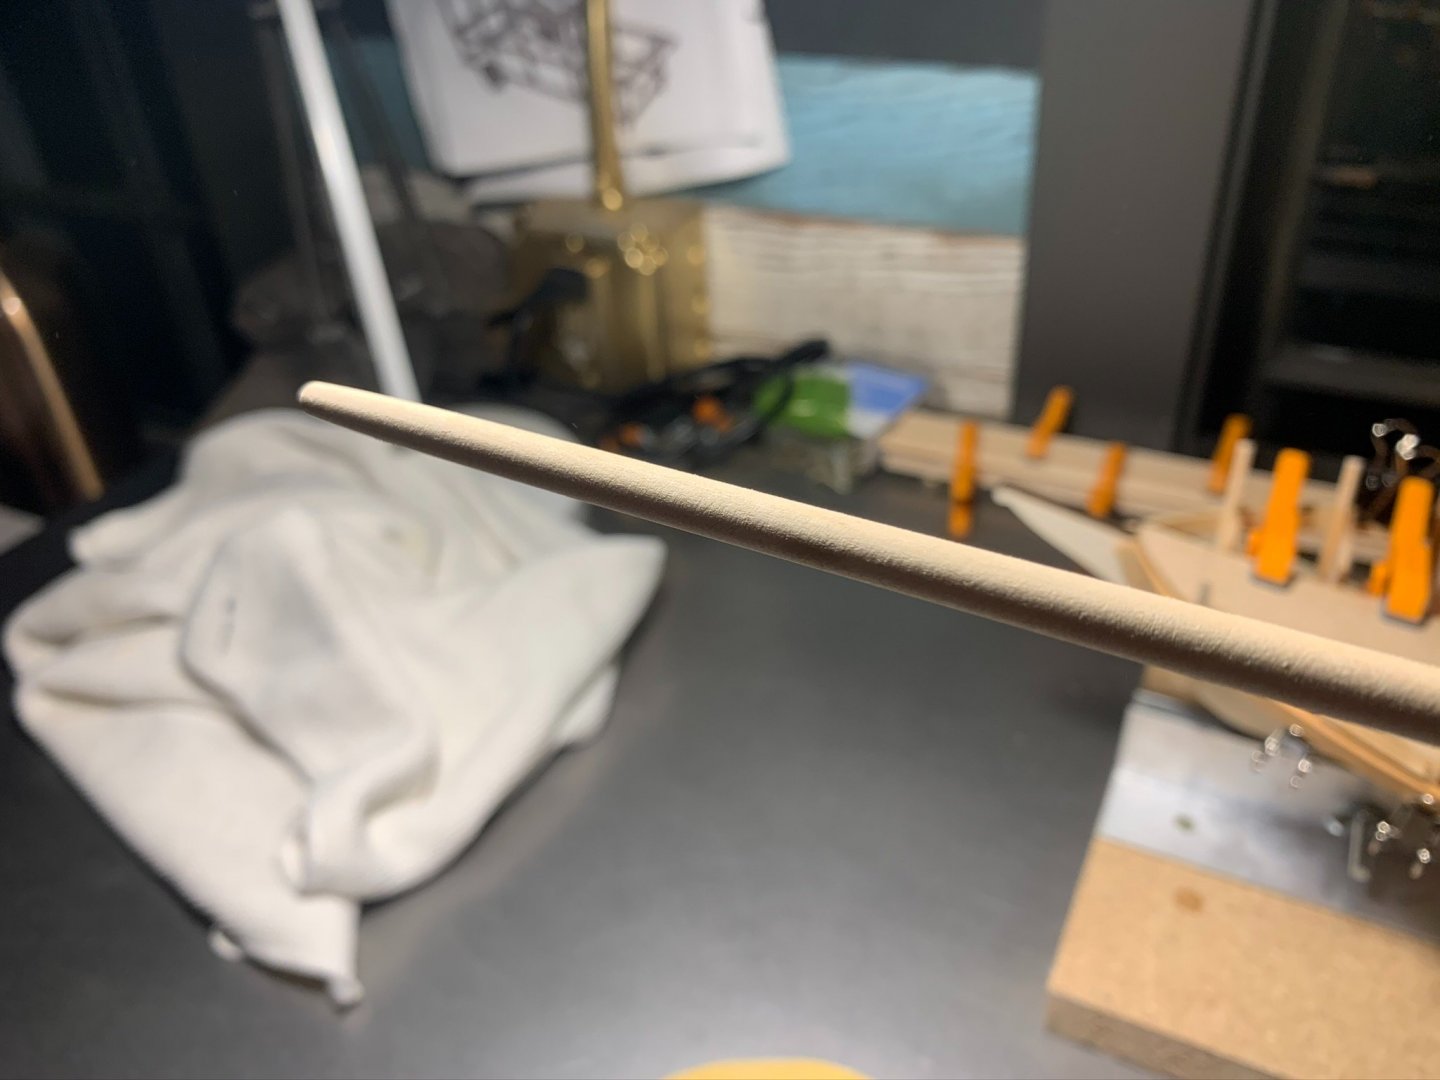
1. Using a drill in a mini-lathe setup, I gently sanded the taper into the mast. Comparing with the 1:1 scale on the plans, it looks to be in the range.
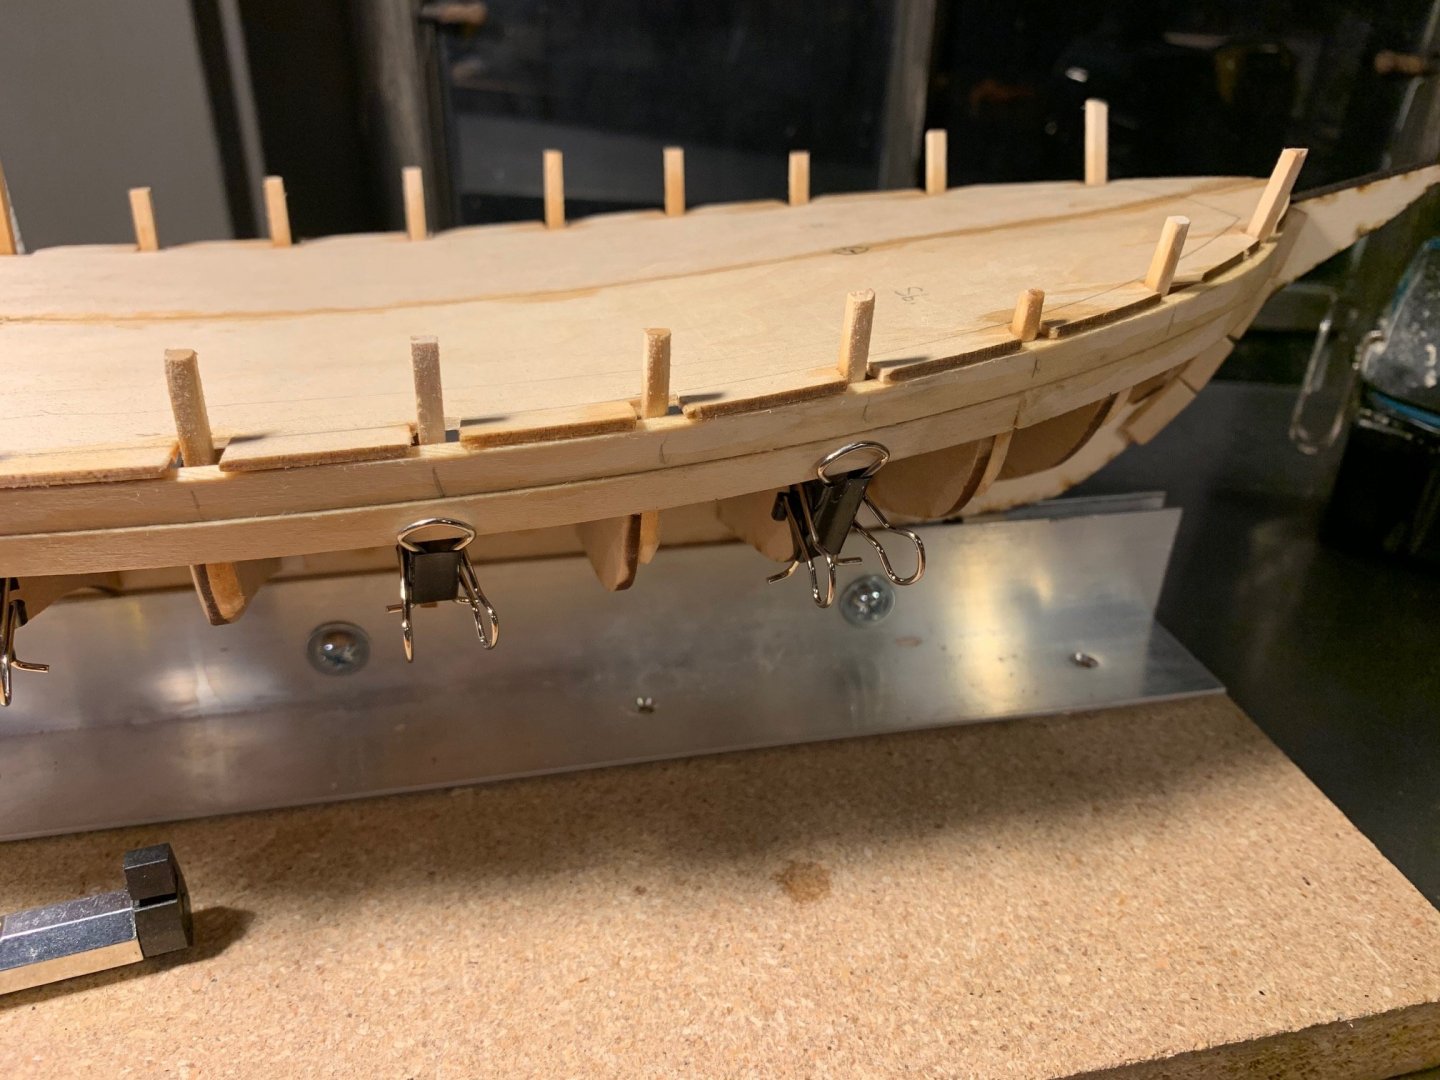
2. Starting the planking process, I am using the method seen in many other builds on this forum: soaking planks and bending using modified binder clips. I let them dry to the correct shape, and then apply glue before permanently affixing.
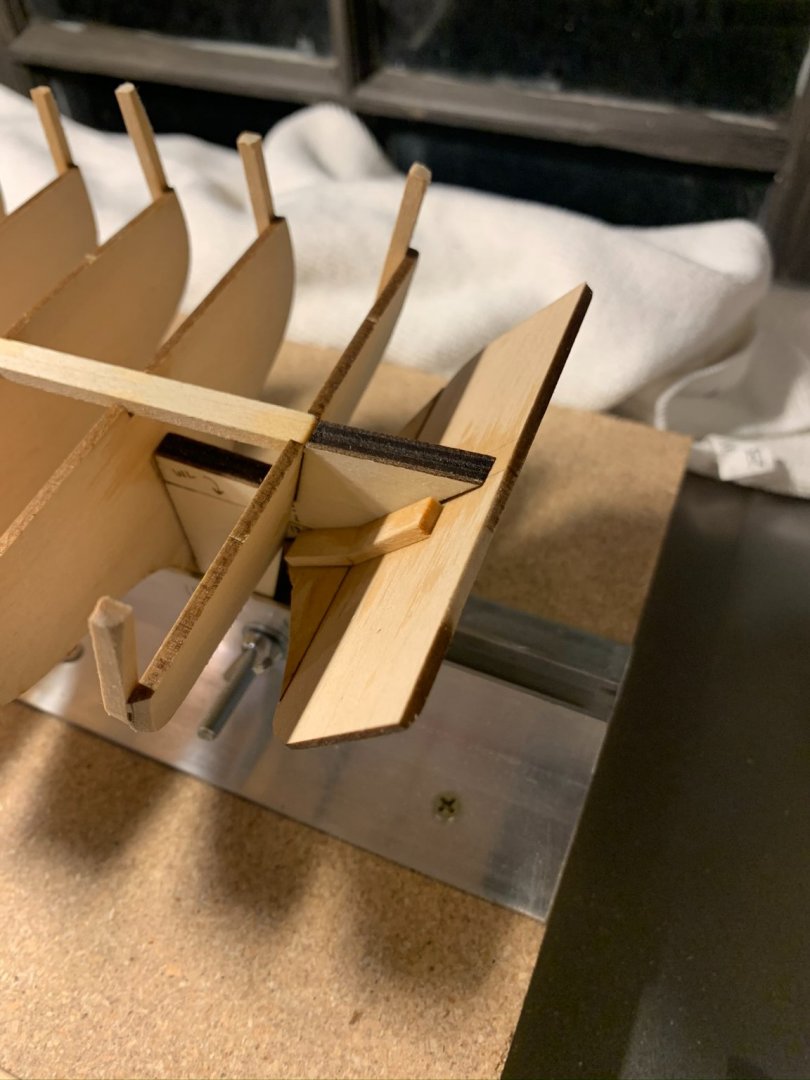
Note: I see one 1/8" support that is short and I will need to glue a piece on top to achieve the correct height. Perhaps here is the downside to not installing the 1/8" ribs after the planking is in (as the plans recommend). Lesson learned.
A bit of a short post today... will need to get more time in the shop this next week.
Until then -
JW
-
-
18 hours ago, Balclutha75 said:
But I just finished reading “The Hard Way Around: The Passages of Joshua Slocum” by Geoffrey Wolff.
Haven't read that one yet, but I will add it to the list. Thanks for the suggestion!
-
Thanks for the detailed build log of this kit. It has been an invaluable resource in my own build of the same model.
-
-
Here is documentation on Day 3 of my "Spray" build:
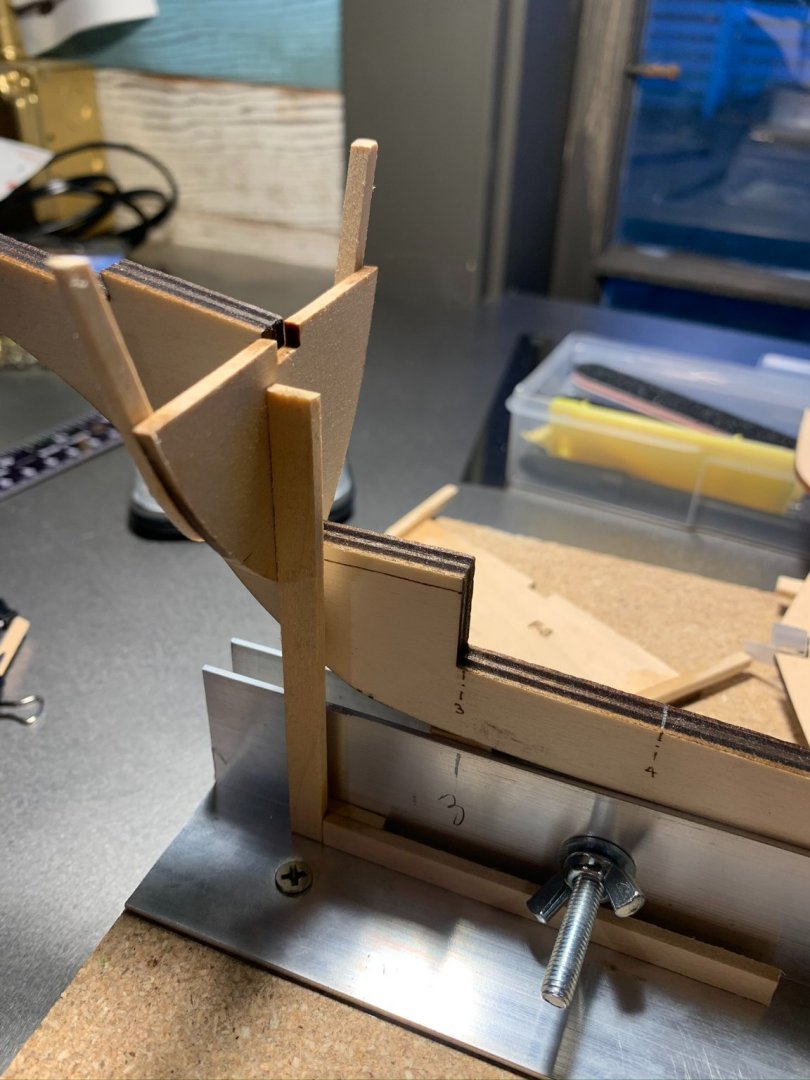
1. I installed the transom pieces as indicated (labeled Transom 1 and Transom 2). Added a little bit of reinforcing with the leftover deck stringer pieces for more adhesion area.
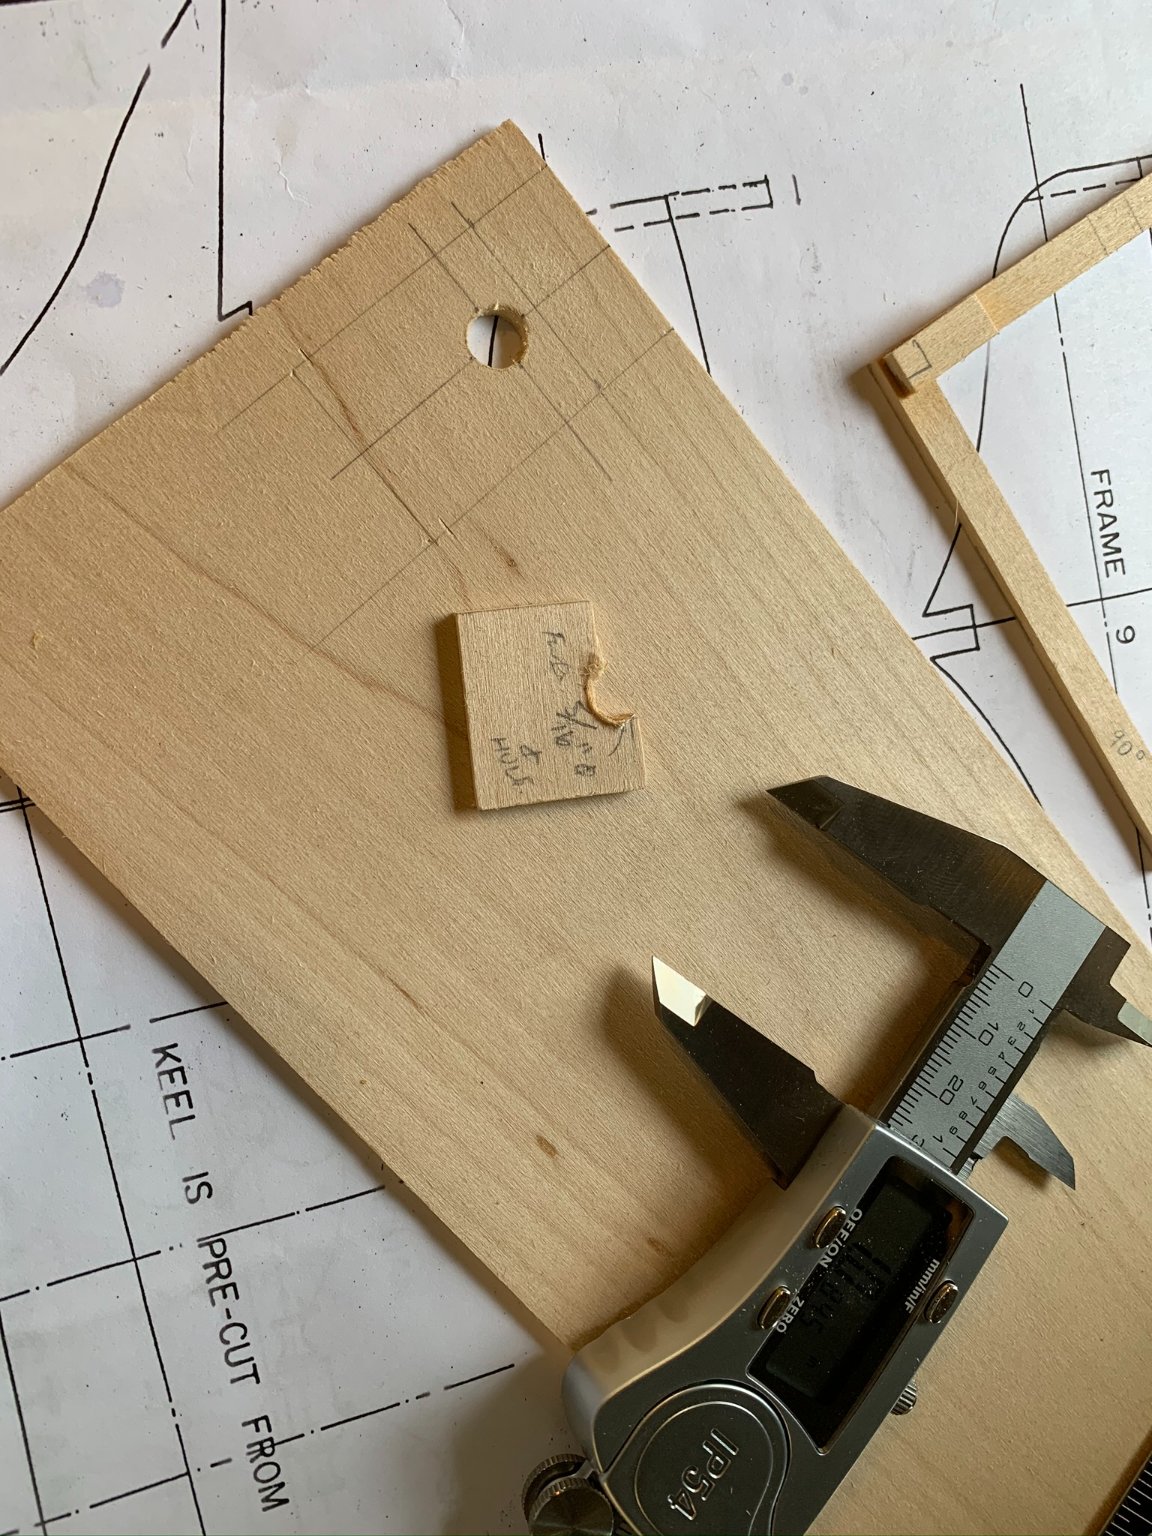
2. Attempting the mast seat next, I carefully measured the distance between frames 4 and 5 and transferred that dimension to the basswood sheet using calipers. The plans show a width of 1", so I cut out that rectangle and marked the center line for the 5/16" diameter hole for the mast seat. Drilled, and SNAP! A better method is to drill the hole first, and then cut out the desired shape. Did just that, and fit the piece into its respective place.

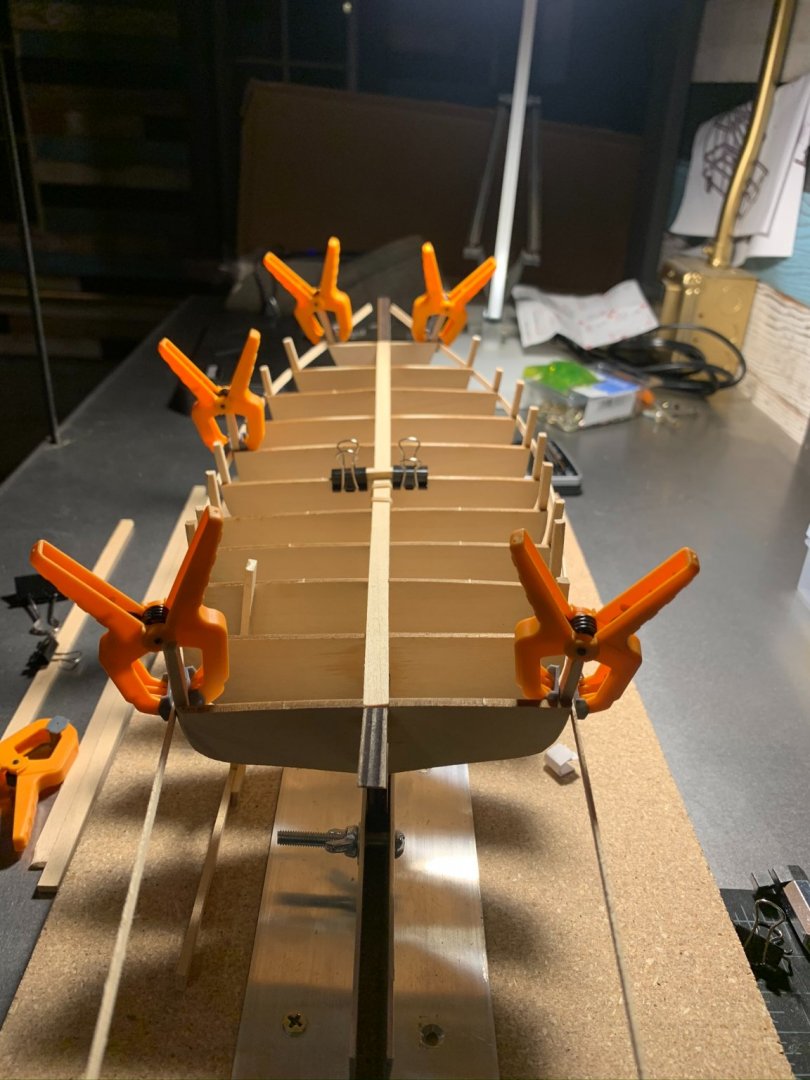
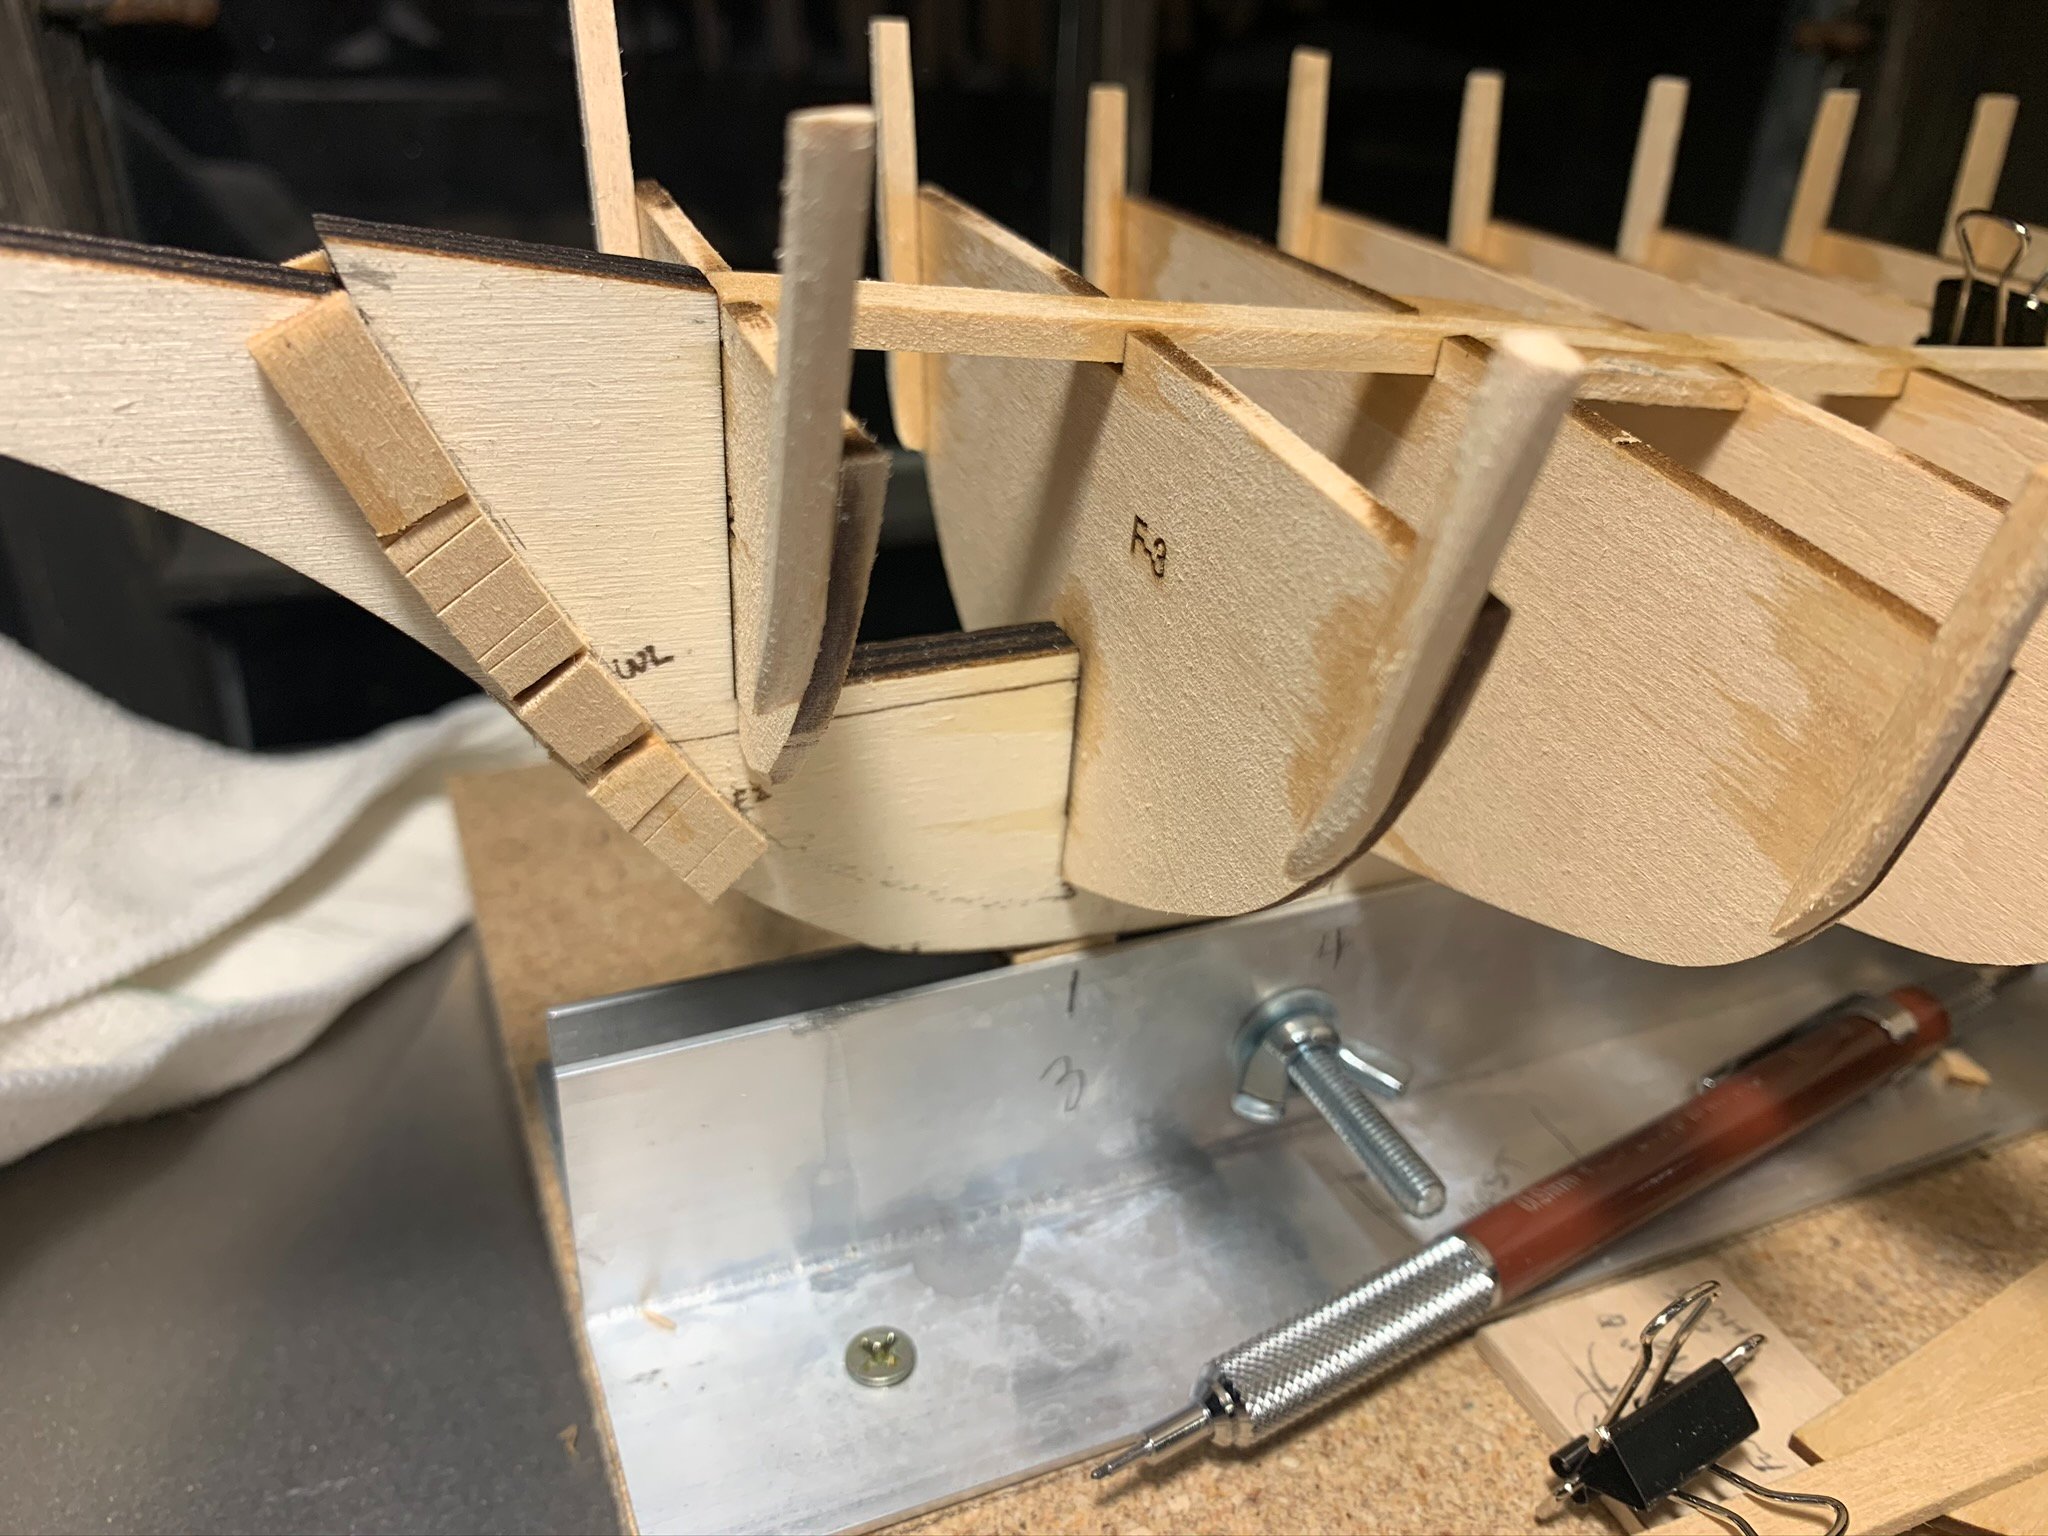
3. I am prepping the subdeck next, which as others have noted, is premature to what the plans would indicate. In the booklet, the planking is to go on first, followed by the deck buildup. I like the idea of adding some rigidity to the hull before attempting the planking. Nevertheless, I fit the port side subdeck first and made many small adjustments in the small slots that let in the multiple ribs. When I had a proper alignment with the leading edge and the centerline, I glued and clamped.

4. NOTE: I would imagine that most modelers soak the subdeck prior to fitting (?)...not sure. What I found made the basswood sheet more pliable was to score some small grooves on the underside of the laser cut pieces so as to allow for more pliability into the intended shape. I carefully (and gradually) bent the piece and kept dry-fitting until it sat more or less in it's spot with the hint of the proper curve. The starboard sheet had to be lightly sanded at the centerline seam edge to be let in snuggly.

** Before doing the deck, I glued some forward cleats in place that would assist in the planking process for the sharp curve at the bow. (Upon looking at this image, I am wondering if I am using too much glue?? Perhaps some with a keen eye may be able to advise on that based on how much "glue bleed is visible." When I have made models previously (albeit architectural in nature), I was always taught to use as little glue as possible.

Next installment: shape the mast, start planking.
- Ryland Craze, BobG, lmagna and 1 other
-
 4
4
-
Greetings-
New here to the forum, and new to the model ship building world. I have been a sailor for several years and have increasingly grown more fond of anything and everything related to sailing, and life at sea. I lived on my sailboat for a couple years in Seattle, WA and have had the opportunity to sail abroad on some fantastic journeys in the North Sea, Ionian Sea and Dalmatian Coast. Before COVID hit, I was set to do a charter in French Polynesia with some family and good friends. Always looking for more opportunities to get out on the water under sail...
Now on to genesis of starting this model:
About every year or so for the last decade, I would pick up my copy of Joshua Slocum's "Sailing Alone Around the World," and lose myself in the fantastic story of his solo circumnavigation of the globe. I found myself gravitating towards his story when times were stressful, work was unrelenting, or when my mind just simply needed somewhere else to be. The telling of his journey is so astonishing in some respects that it can almost be from the pages of a Jules Verne story. I wondered about the things he saw at night under the stars, and pondered those long crossings on open water. Since reading "Sailing Alone", I have been fascinated with the Spray, and the almost mythical qualities of it being able to hold a course over many nautical miles. This seemed like a great first build, and I am excited to share the progress. (As an aside, I only later noticed that the kit is labeled
"Admiral" level on the build complexity. Not that it would change my approach to the build, but I plan to move slowly and carefully. I am hoping that my architectural model building experience will help...)* Before starting the kit, I read up on other's build logs of the same (and similar) kits. Some of my methodology was borrowed from others, whereas other techniques were adapted from my own experimentation and trial and errors.
Here is my documentation of Days 1 and 2 of building the model: Upon receiving and opening the kit, I surveyed the parts list and took out the plans and booklet. I read the instruction book once (and probably a bit more), and perused the 2 plan pages on the kitchen table every evening for a few days. I removed the laser cut keel first, and marked the centerlines of each frame as well as the WL marks.
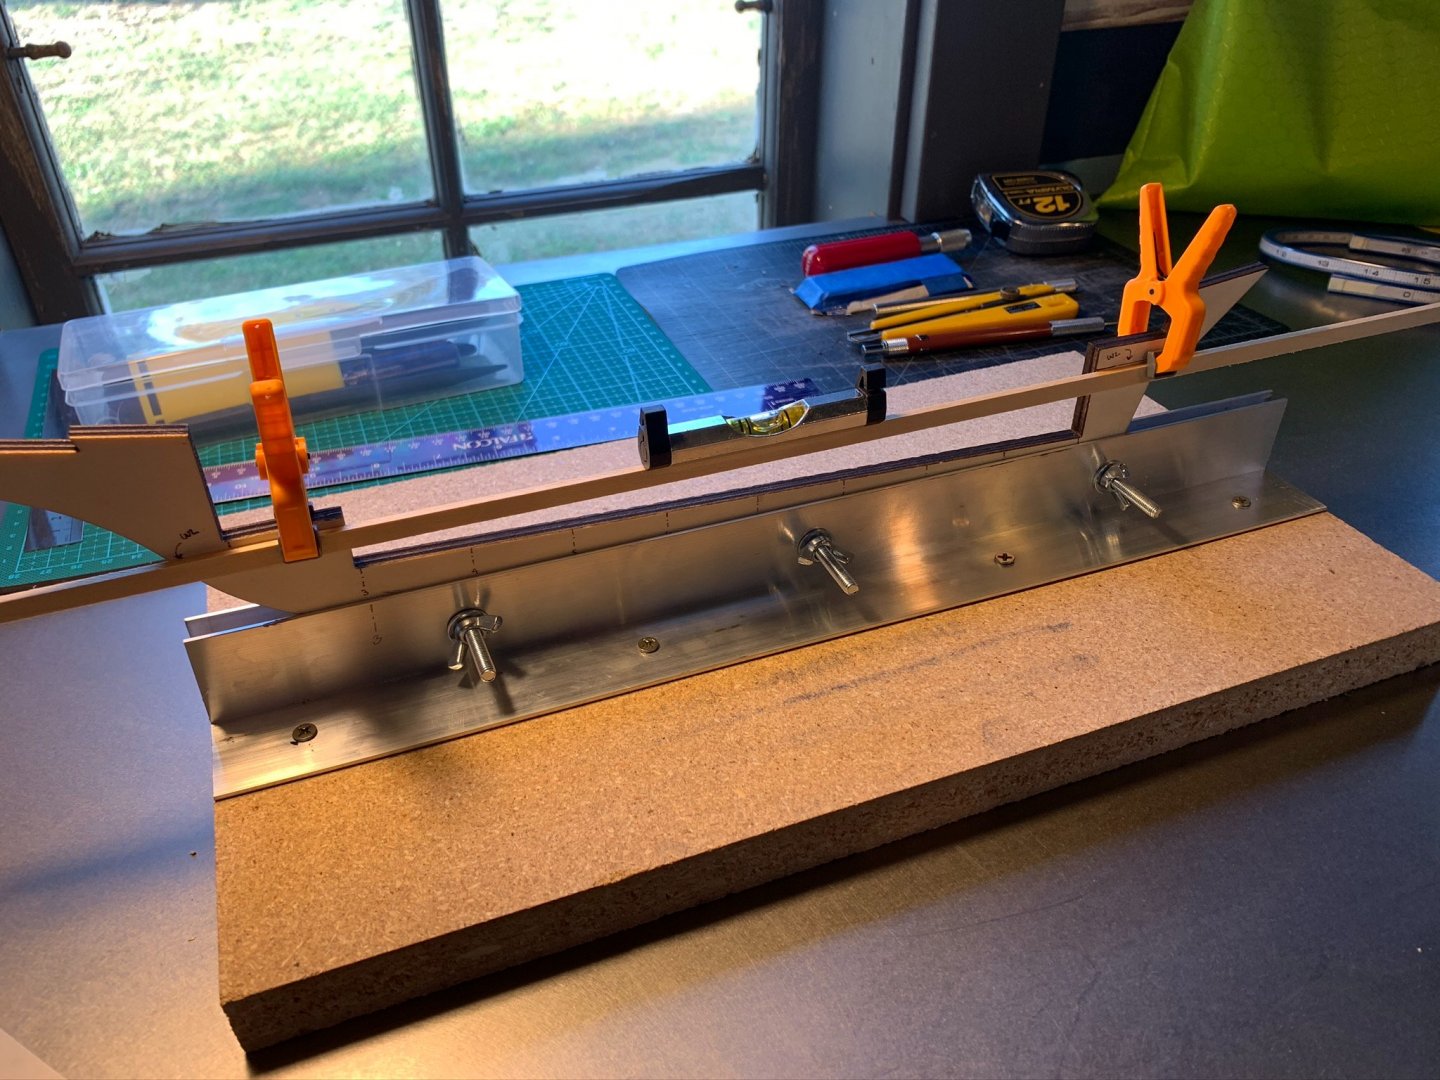
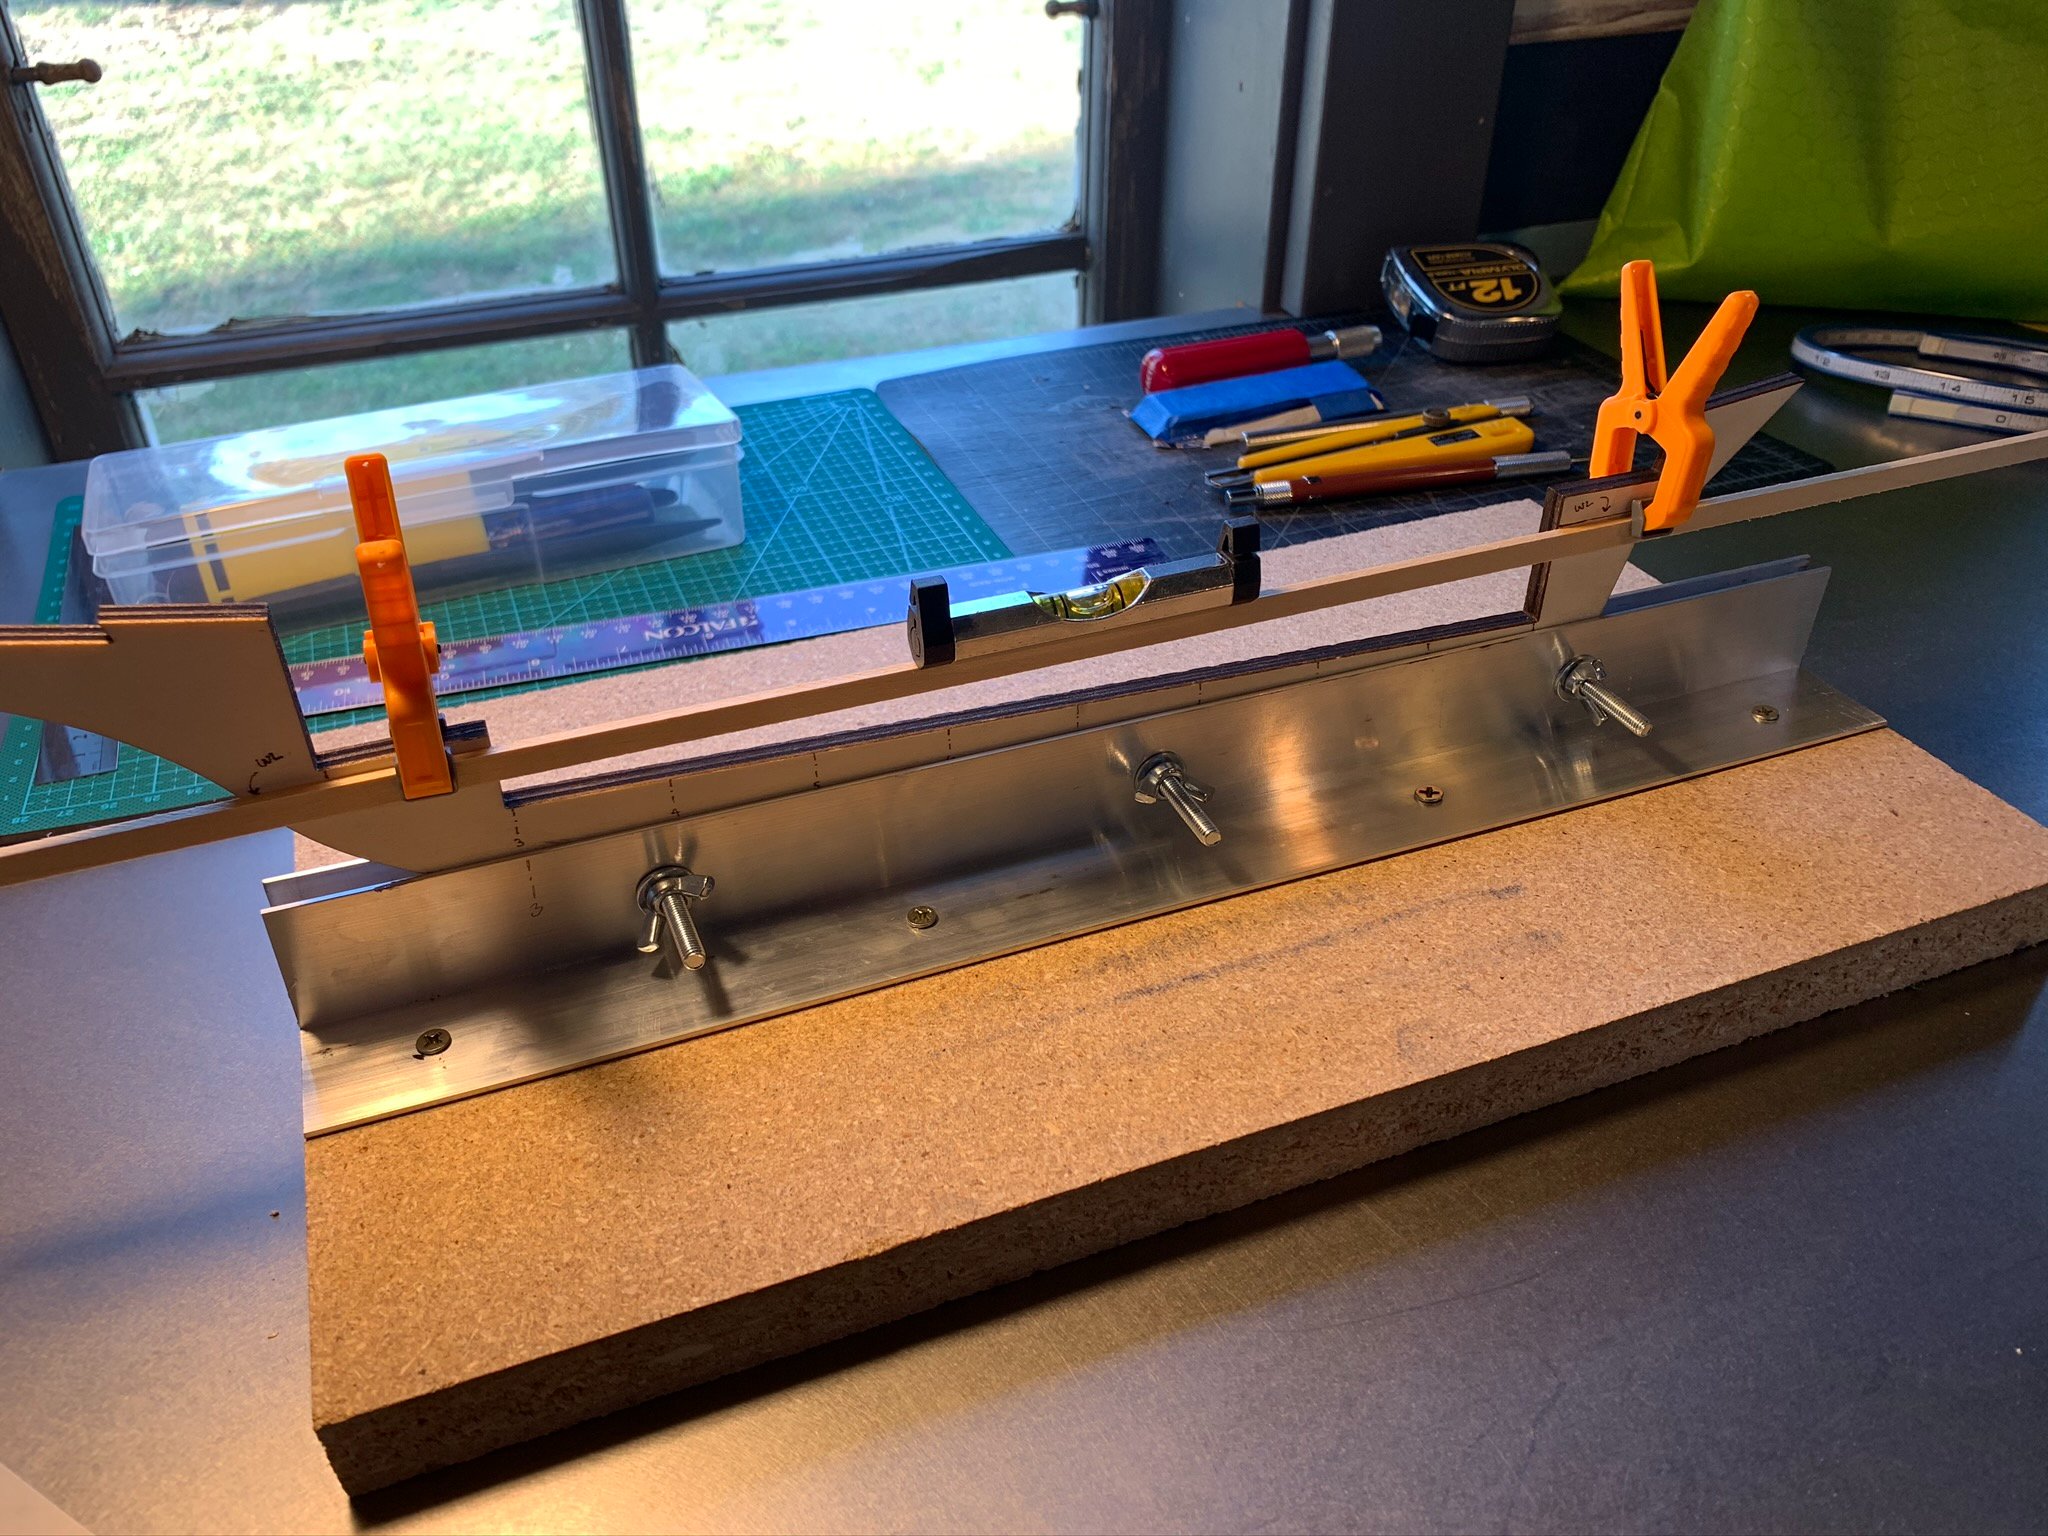
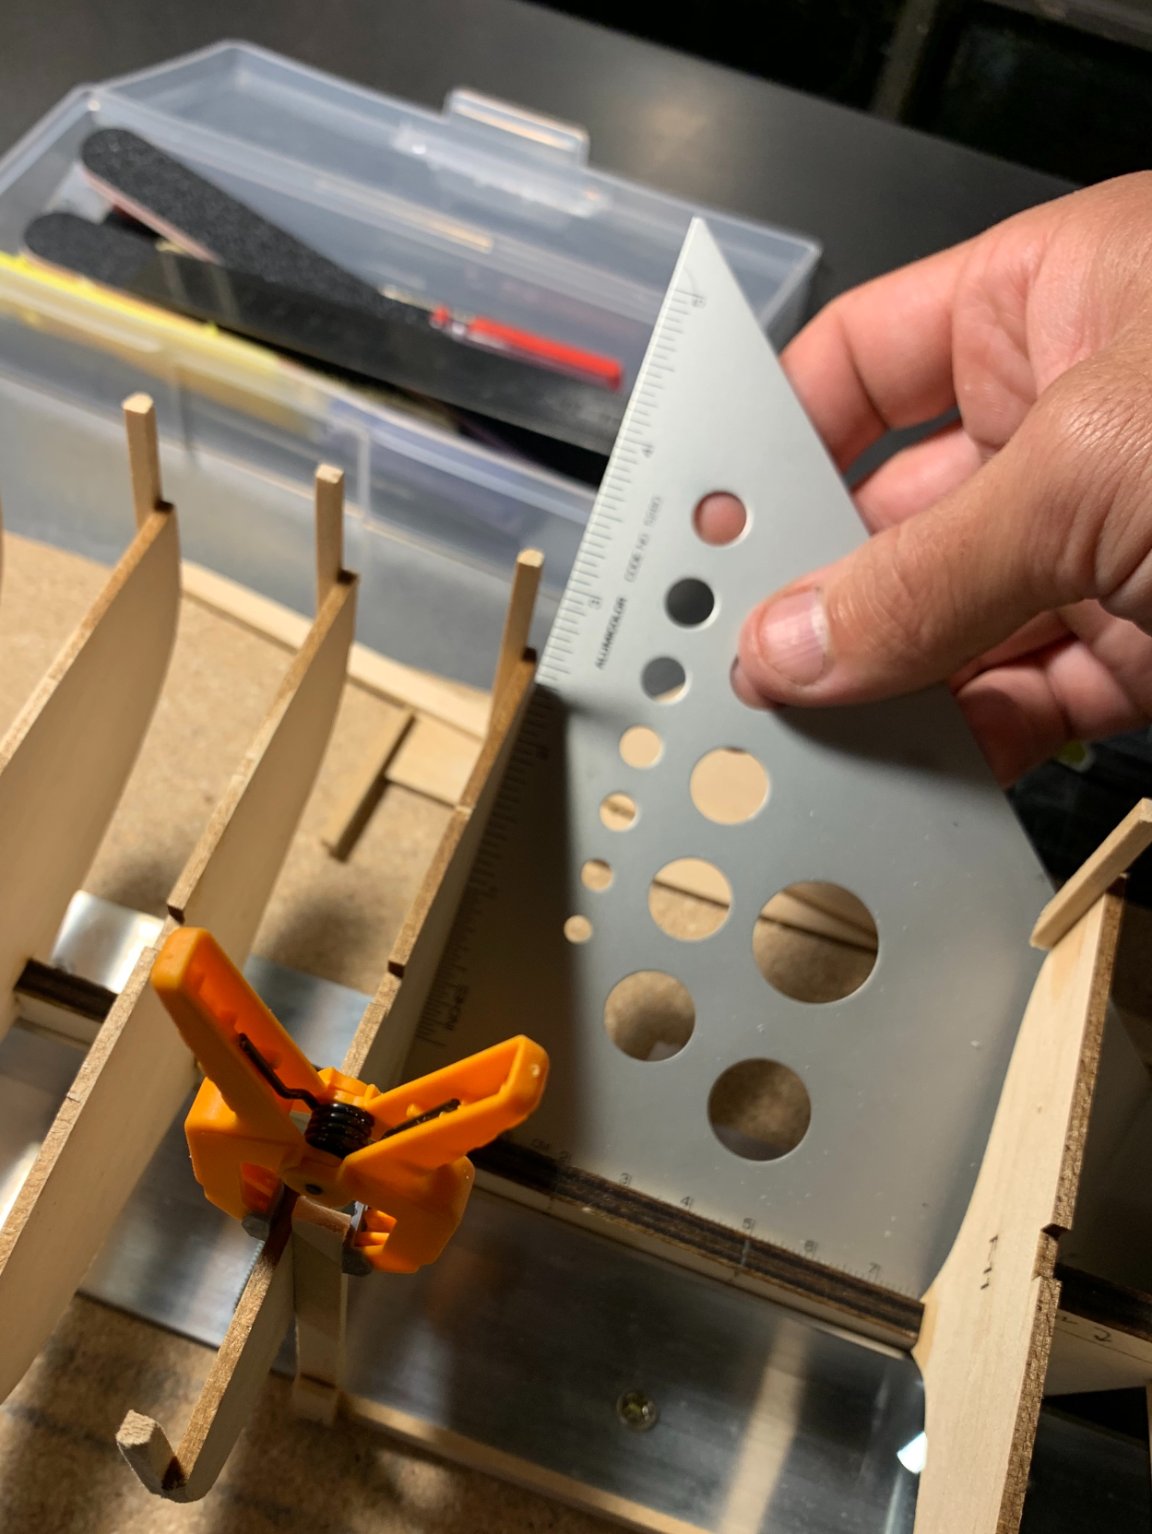
1. I set out to make a cradle for the Spray which would hold her at correct position relative to the waterline. All of the bulkheads (except for 12) are perpendicular in this position. I wanted to be able to remove the Spray from the cradle and return it to correct alignment , so I built little blocks that elevated the stem and stern accordingly. Using a scrap piece of particle board and two aluminum angle metals, some machine screws and wing nuts, the loose angle is "clamped" into the fixed one. This gives a sturdy base to work from. Testing the angle of the keel, I placed a level about the waterline marks and made sure the bubble was centered. It was. (NOTE: Prior work ensured that my desk was also level and true).
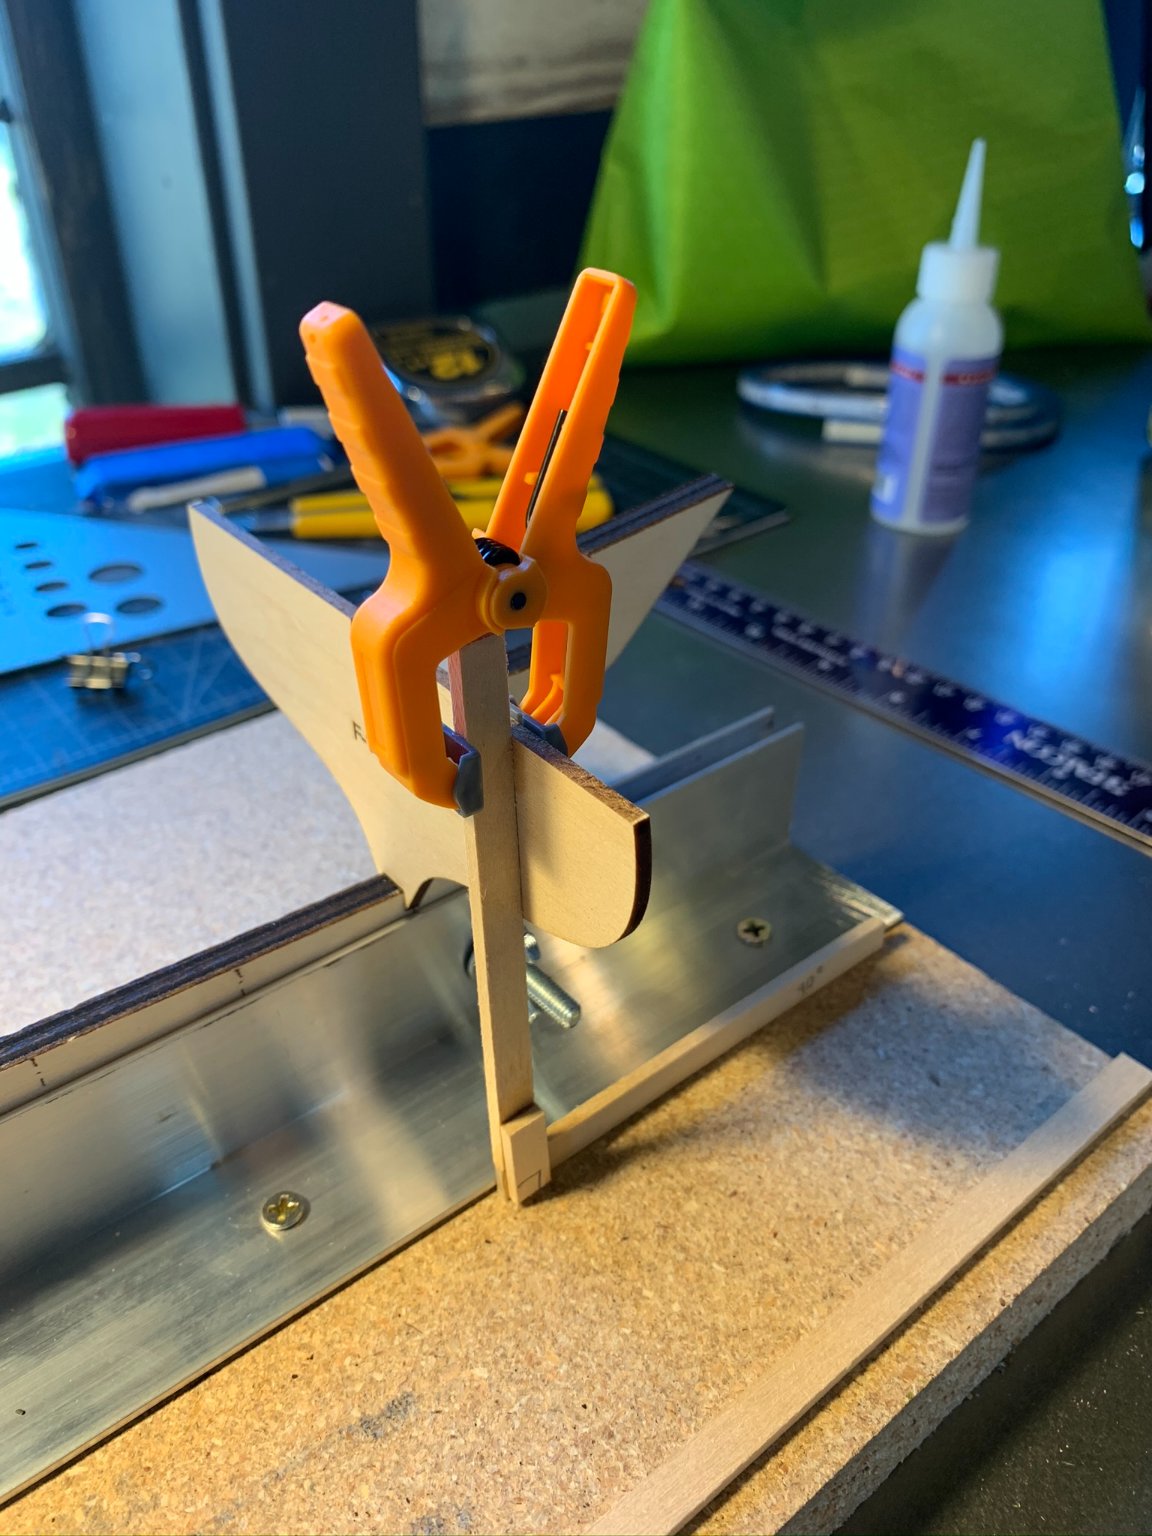
2. Test fitting bulkheads, I made a small T-square that I used to make sure the position was correct relative to the waterline. Most of the bulkheads fit just right, whereas 3 or 4 needed a small paper shim to get snug.

3. After reading some other build logs of the same model, I chose to install the stanchions to bulkeads PRIOR to decking. (The instructions prefer doing this after the sub-decking install because this method better approximates how Slocum raised the gunwales to make the Spray more seaworthy). I measured each stanchion from the plans (giving a little extra height at the top that can be cut off if need be), and glued them to the forward face of each bulkhead. Before gluing in place, I rounded edges to better accept the future planking.. A little bit of guess work on the correct bevel of the edges, but I assume I can finesse this a bit more later.
4. Working forward to aft, each bulkhead was glued and while the glue set, I checked the "true-ness" relative to the waterline as well as to the keel.

5. I cut and dry fit the center stringer, and well as curved a thin batten near the sheer line of the bulkheads to look for any anomalies which would make the planking more difficult. The center stringer is running quite straight, but I did notice a small curve to port at the stern where meeting the transom. I will make a center mark that is adjusted so that when I am fitting the sub-decking I will have a better idea of the true center-line.
That's it for now. Next installment... prep for planking, affixing transom panels.

- Ryland Craze, ccoyle, lmagna and 1 other
-
4


Spray by Josh Williamson - FINISHED - BlueJacket Shipcrafters - 3/8" = 1' - Joshua Slocum's yawl
in - Kit build logs for subjects built from 1851 - 1900
Posted
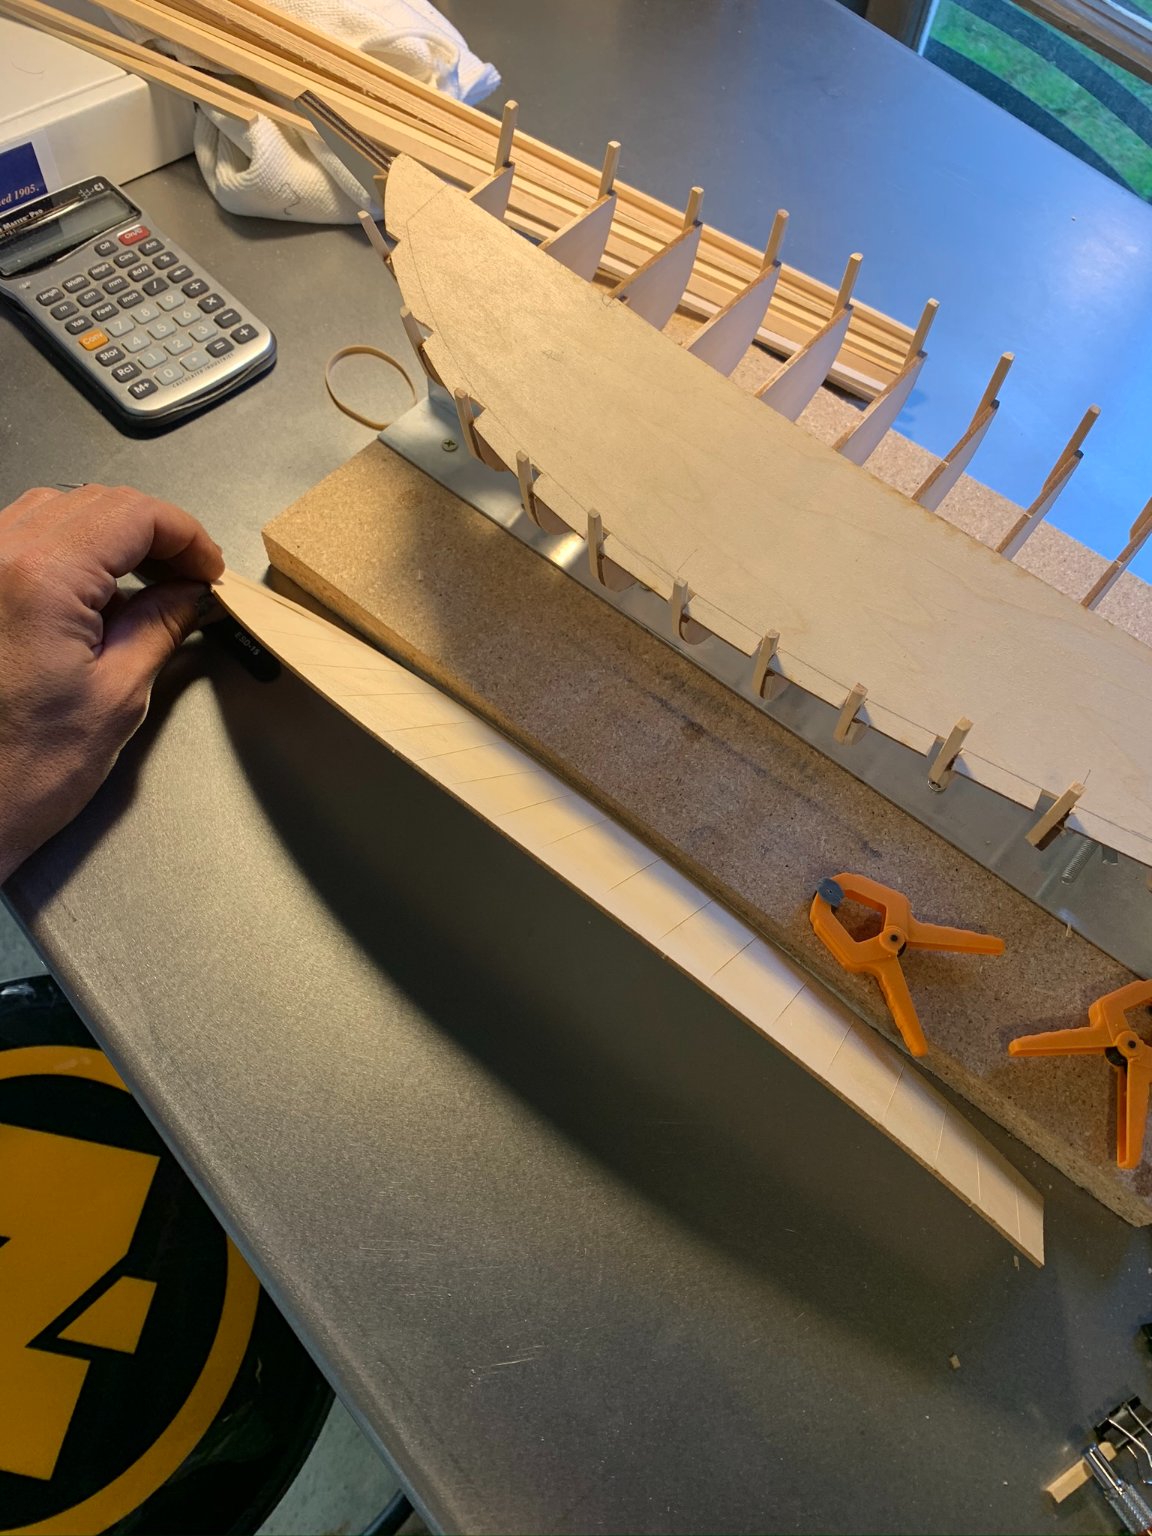
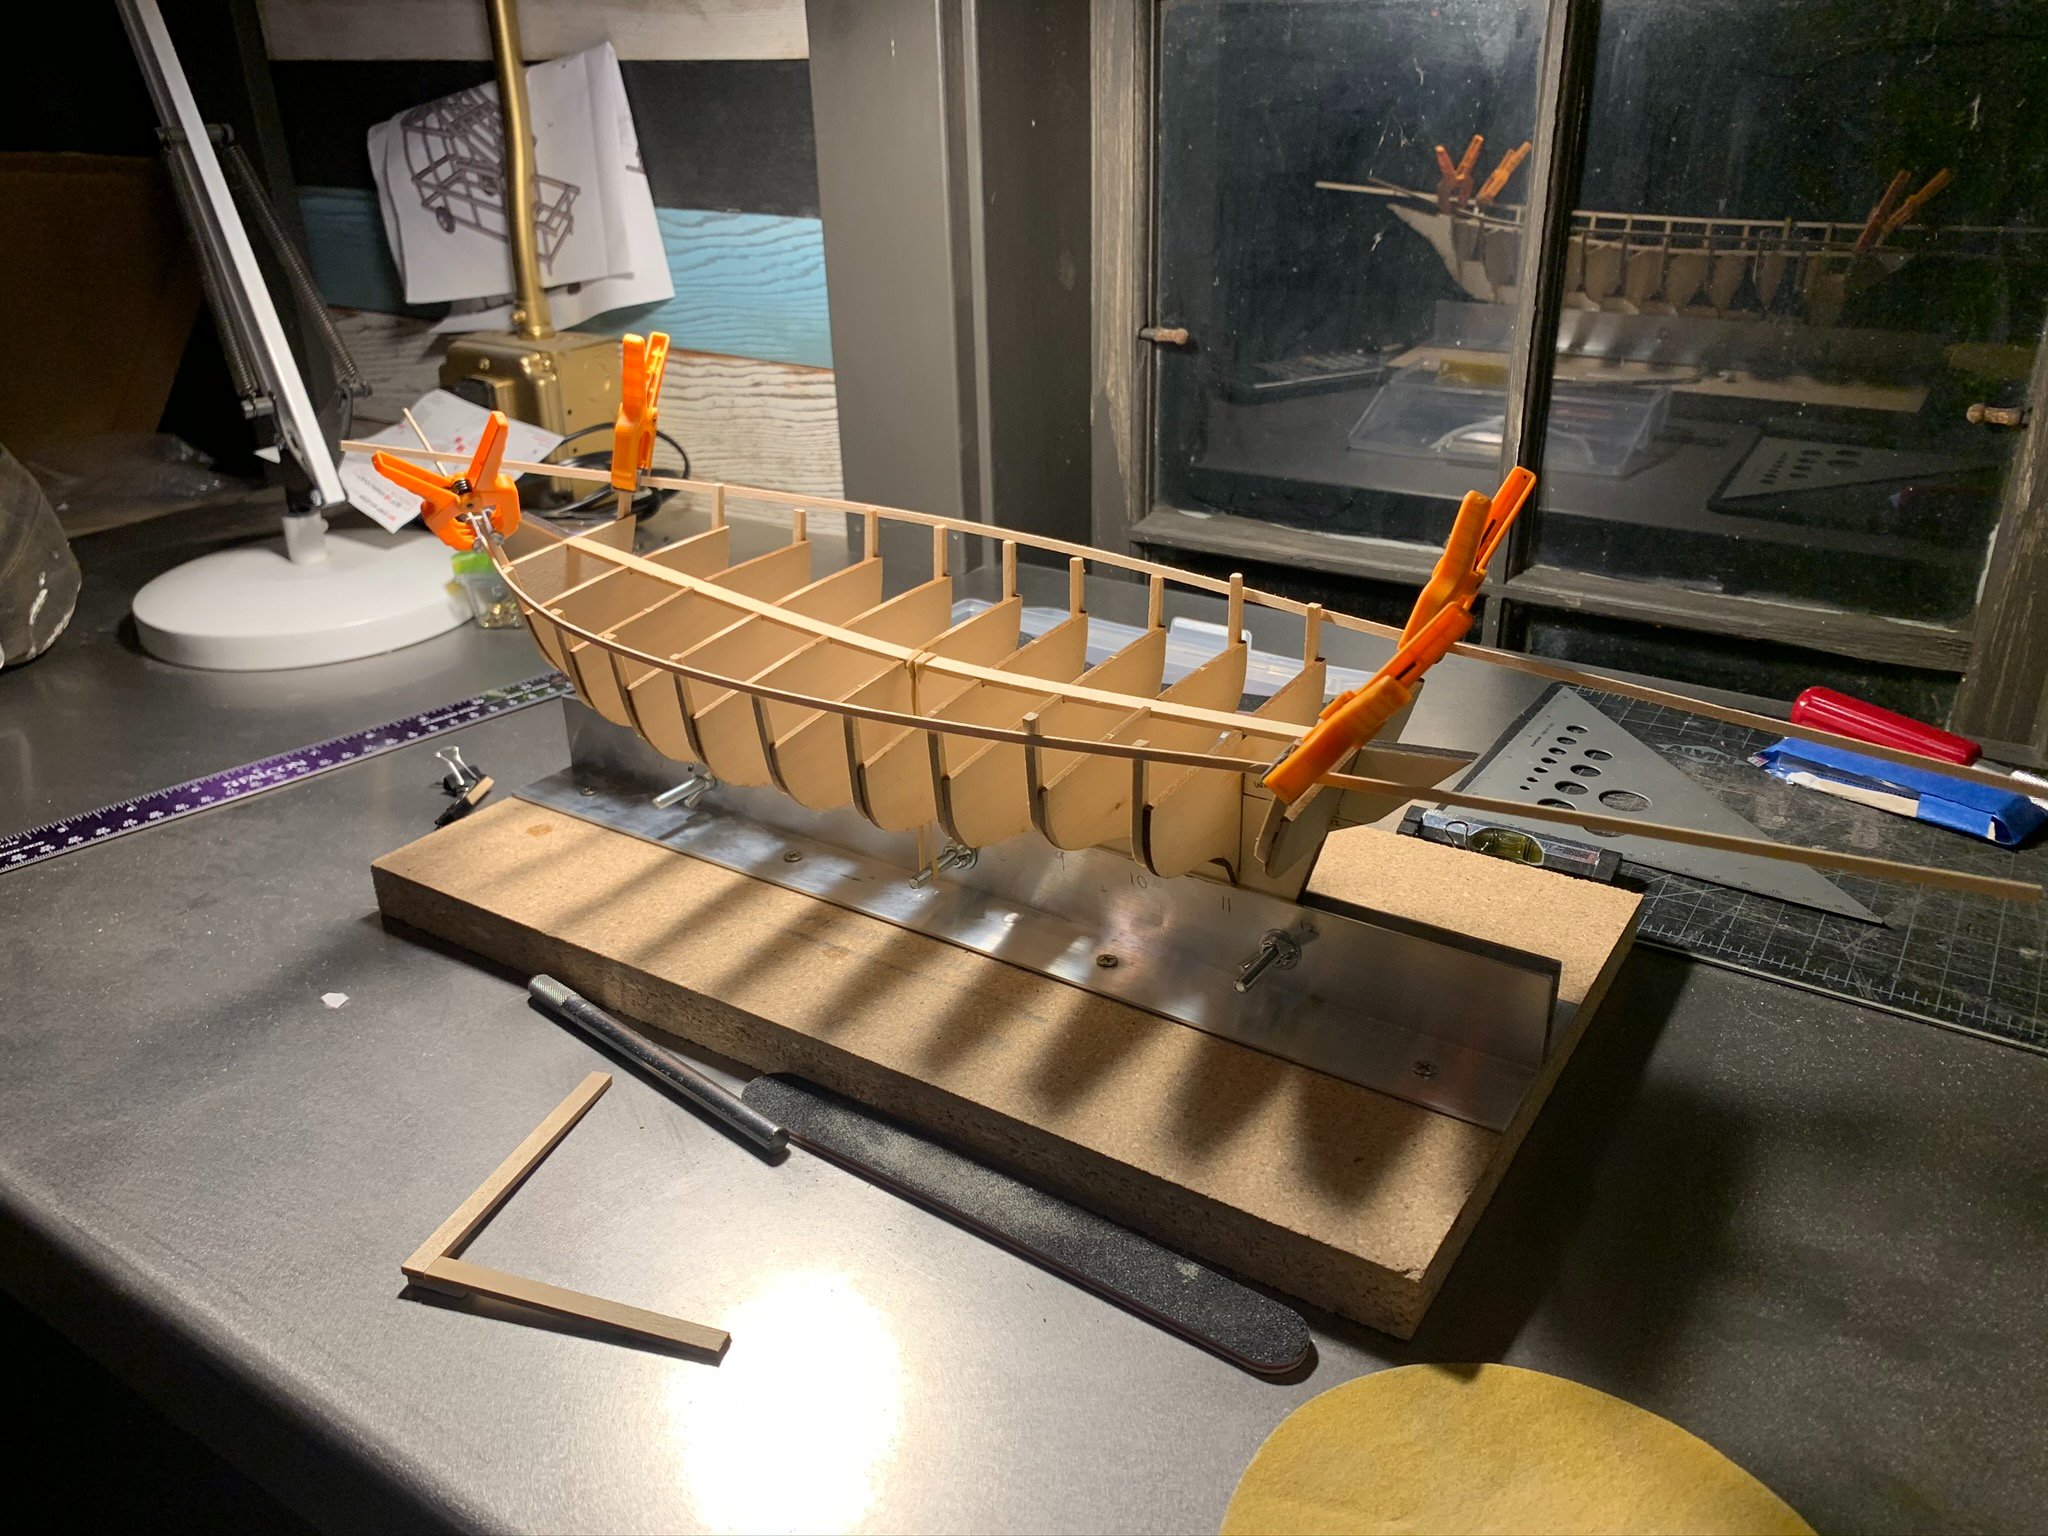
Documentation on my Day 5 of Bluejacket Shipcrafters 3/8" = 1' scale model "Spray" build:
1. The plans would have you start with two 3/32" x 1/4" strips of planking starting at the sheer line and working down. After two courses, transitioning to a smaller plank width to better facilitate the sharper bends of the hull. The method I found myself using (which worked well I think), was to pre-soak the planks in a tray of water (holding down the plank pieces with a glass) for about an hour. I would then bend and pre-fit the piece and clamp or clip in place. I would then spin the model around to the other side to do the same respective section (and process) there. By the time that I would have that piece placed and drying, the first section on opposite side was dry and ready to glue and permanently fix. I worked back and forth like that to place the first two larger sections of top-most planking and the first few sections of the smaller planking.
2. Once these five sections of planking were satisfactorily glued in place, I decided to start up from the keel and "meet in the middle." (This will be detailed in my next segment.
3. Overall, I am fairly pleased with the planking so far, although there are sections right away that I can see will need some putty and plenty of sanding time. Being as this is a painted hull scenario, I believe the overall look will be acceptable. I imagine finding the right balance of sanding and puttying will be important so as to not lose the look of the construction of the hull, but to also eliminate the major shape deficiencies.
Below is my progress at end of Day 5:
Until next time -