HOLIDAY DONATION DRIVE - SUPPORT MSW - DO YOUR PART TO KEEP THIS GREAT FORUM GOING! (89 donations so far out of 49,000 members - C'mon guys!)
×


BikerMart
-
Posts
336 -
Joined
-
Last visited
Content Type
Profiles
Forums
Gallery
Events
Everything posted by BikerMart
-
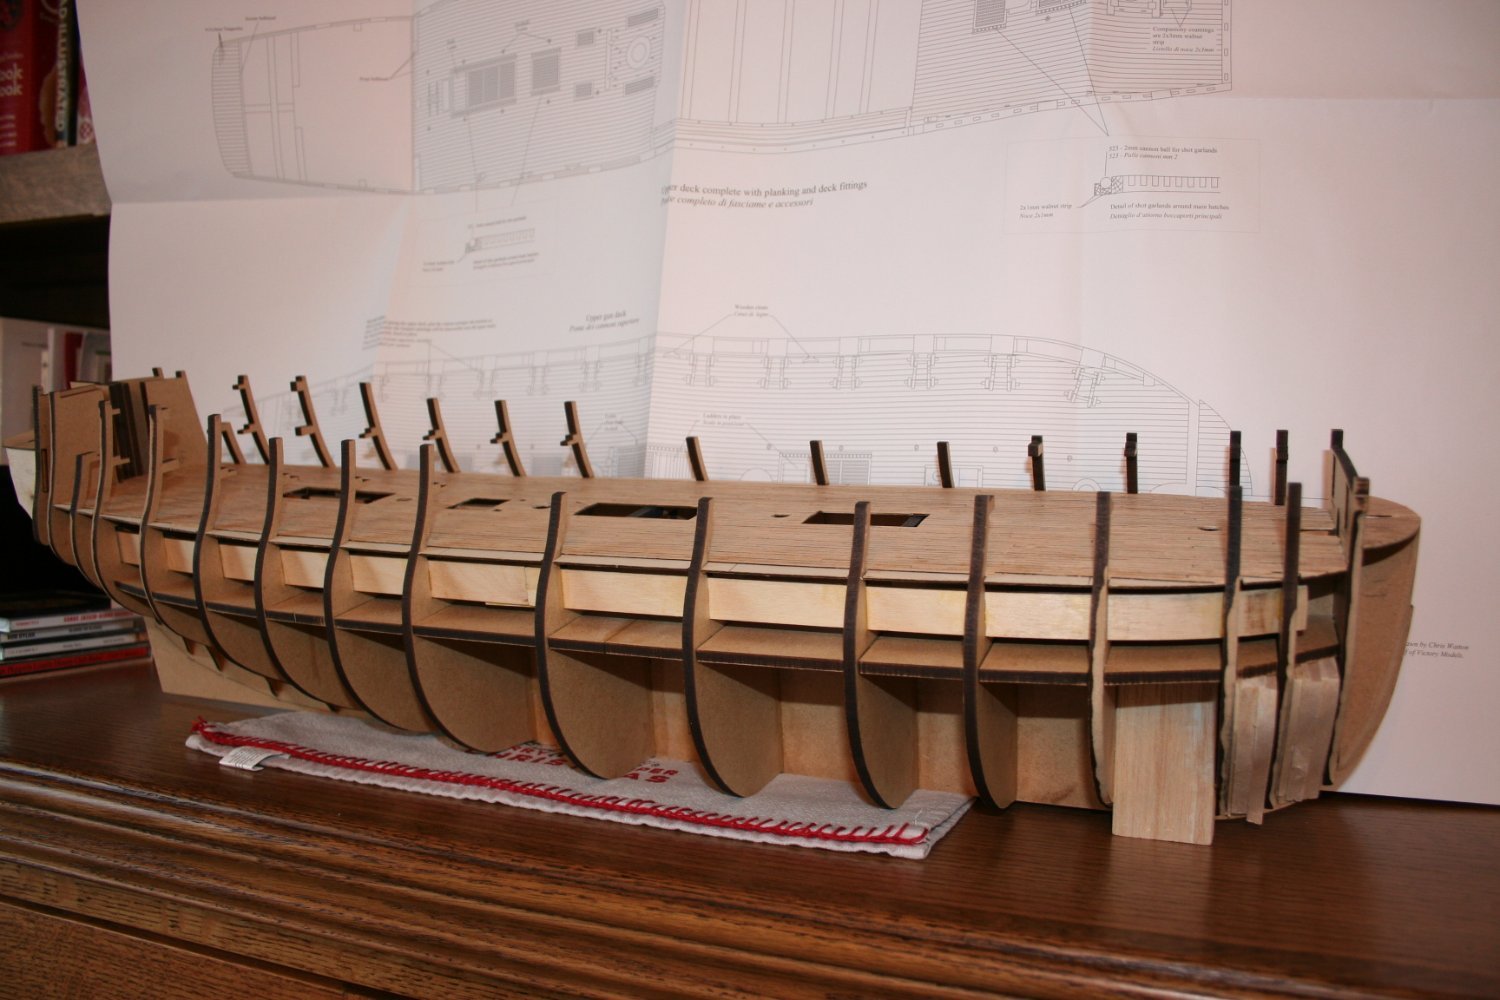
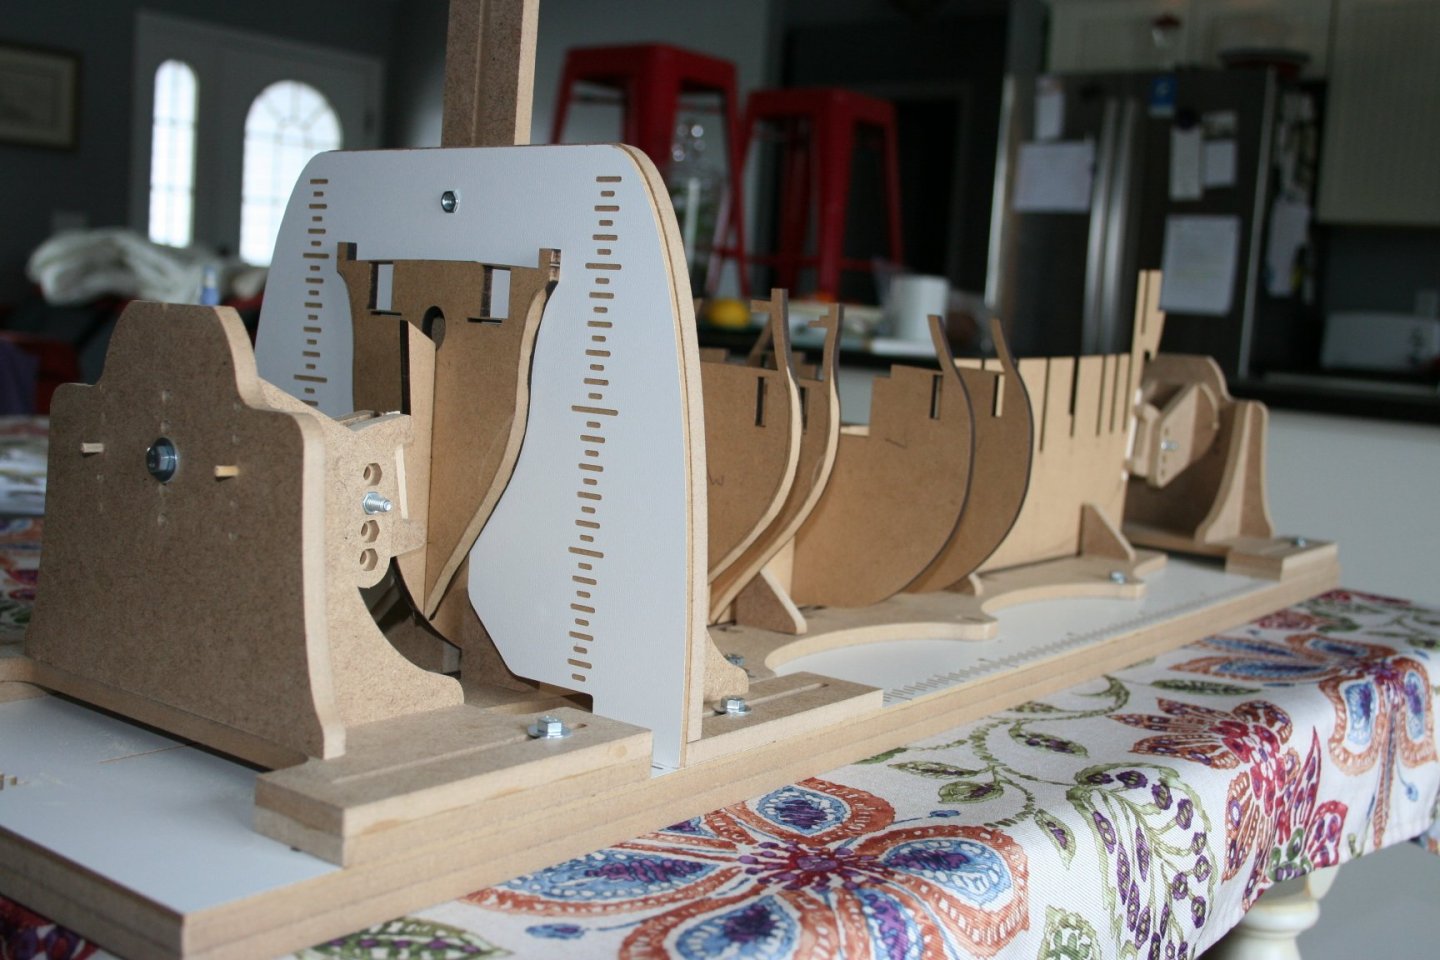
A belated build log for HMS Vanguard. Bulkheads in place on the keel.

- 21 replies
-
- 4
-

-
- Amati
- Victory Models
- (and 1 more)
-
Agreed. I just don't do patience very well !
-
Thanks all. I have just returned from a holiday in England. My daughter got married on March 19th. I did visit the Victory again and took a few pictures of some areas of the ship that I am particularly concerned about, mostly of where the planks/wales meet the transom. And now, of course, I am itching to get started on a Victory model. It will be Caldercraft; at 1/72 it will sit well alongside the HMS Vanguard that is currently a work in progress.
-
Shipman - I see a 'Triumph' logo in the background of your profile pic. Are you a past or present owner? Off-topic, I know!
- 444 replies
-
- 1
-
-
- Cutty Sark
- Revell
- (and 2 more)
-
How many kits do you have on the go at the moment?
BikerMart replied to CaptnBirdseye's topic in Wood ship model kits
Yes, the railroad is operational. Trains can go around and around. Locomotives are under DCC control and so more than one can be run at the same time. Mostly steam but I do have one diseasel. I think that the railroad being operational now may be the issue. I think: Okay; I've done that, now what do I do? Once more, it's the journey and not necessarily the destination. -
How many kits do you have on the go at the moment?
BikerMart replied to CaptnBirdseye's topic in Wood ship model kits
Good job then that you don't suffer from Agora-phobia! -
How many kits do you have on the go at the moment?
BikerMart replied to CaptnBirdseye's topic in Wood ship model kits
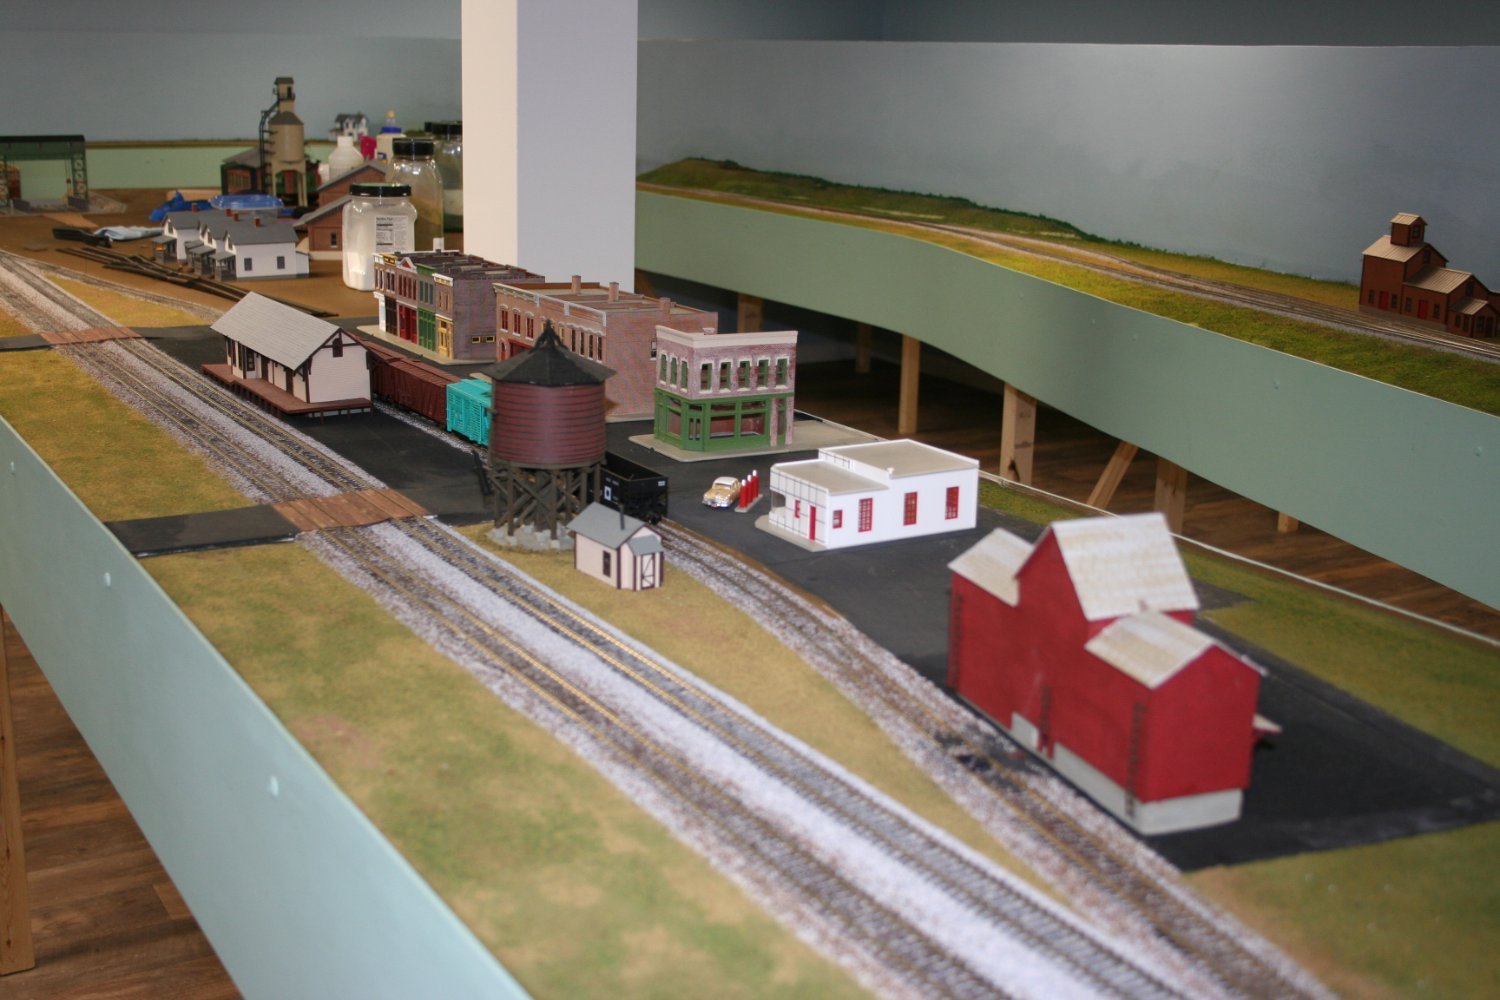
The model railroad...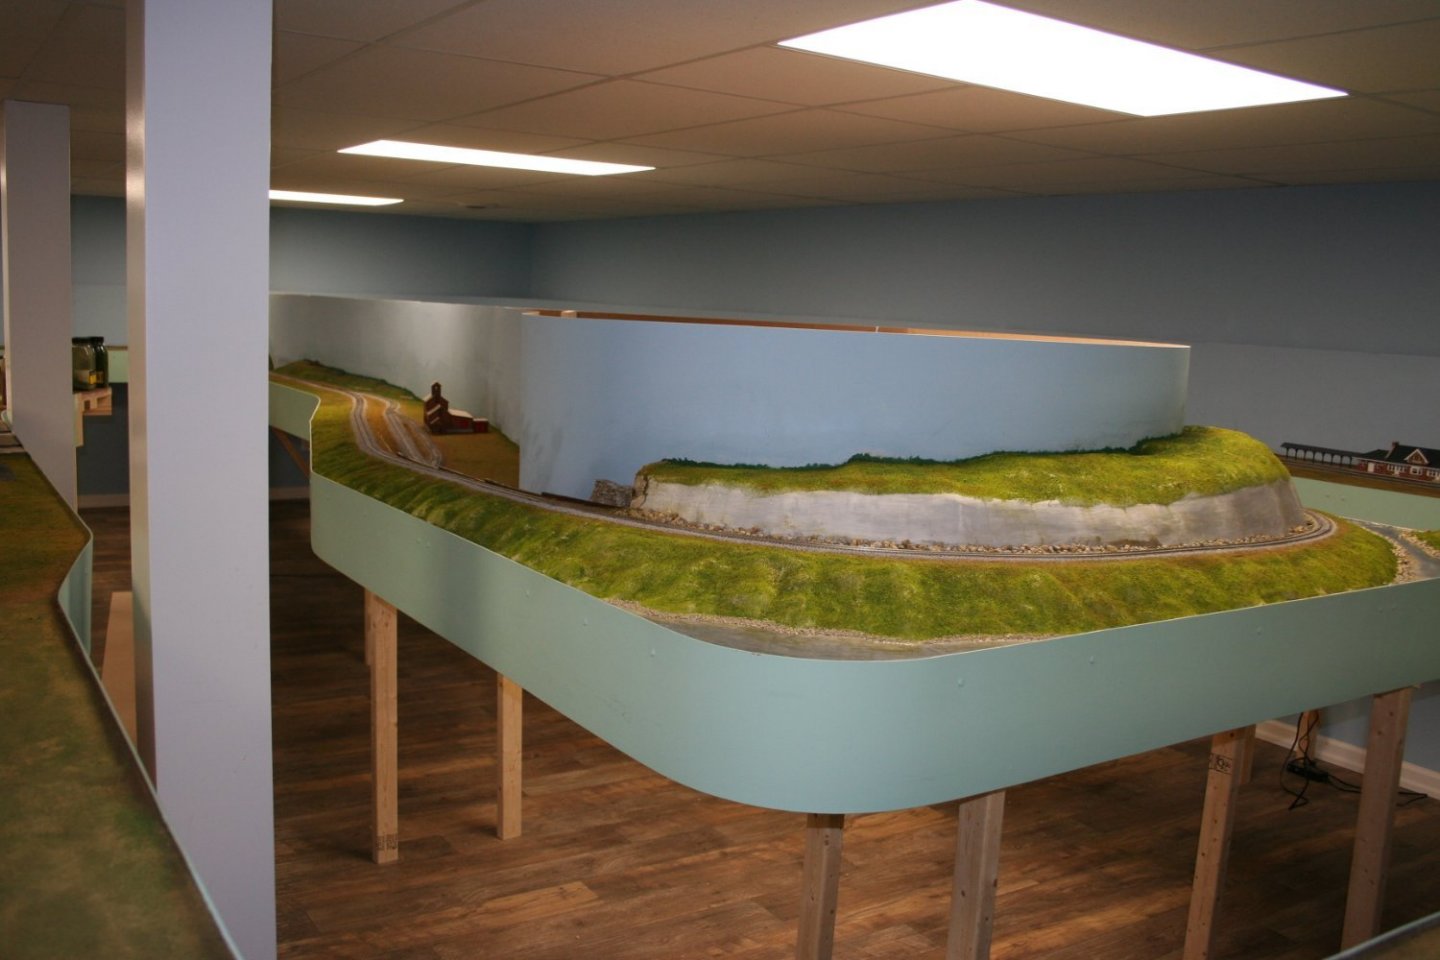

- 54 replies
-
- 23
-
-

-
How many kits do you have on the go at the moment?
BikerMart replied to CaptnBirdseye's topic in Wood ship model kits
So right! I already have a 16 feet by 30 feet model railroad in the basement, started a few years ago and not touched for quite a while now. And really nowhere to display model ships. A big problem, too, will be what to do with them upon my demise. I have no issue in the US, and one daughter in the UK (who will be getting married on March 19th this year). How do I get all of these models to her, as my sole heir(ess)? But the journey continues, regardless! -
How many kits do you have on the go at the moment?
BikerMart replied to CaptnBirdseye's topic in Wood ship model kits
You are not alone..... Charles P. Notman - Bluejacket Shipcrafters HMS Bounty - Billings HMS Endeavour - Billings HMS Pickle - Caldercraft HMS Vanguard - Amati -
Thanks for the replies. HMS Vanguard is the ship in question - though hopefully others will follow if time and finances in my retirement allow of it. This captain has a supply of both poly varnish and red ochre, so I think that I will use the poly on the capstan, bitts and coamings. Red ochre for the bulwarks. Interestingly, the pictures that I have of the Victory, from 2008, show both inner bulwarks and gun carriages in yellow ochre! Hmm.
-
I trolled through the topics and couldn't see an answer to this, so please excuse if this has been answered before. I have some pictures that I took of HMS Victory in 2008 and most of the 'furniture' appears to be stained dark wood - although the belfry appears to be painted black. I see that some modelers have just varnished the bare wood from the kit - walnut, say. And yet others paint the fittings in red ochre. I am guessing then that there is no real 'correct' color, and that how the furniture is finished is at the modelers' discretion?
-
This might not be the appropriate spot, but I wanted to let you know that when I navigated to ModelShipWorld, it showed me logged in as 'jeff shreve'. Looks like for some reason an incorrect cookie or session was picked up?!
-
Realistic Water
BikerMart replied to taylormade's topic in Painting, finishing and weathering products and techniques
Woodland Scenics, for example, purvey a couple of products for simulating water. Doubtless other model railway-centric manufacturers also have their own versions. -
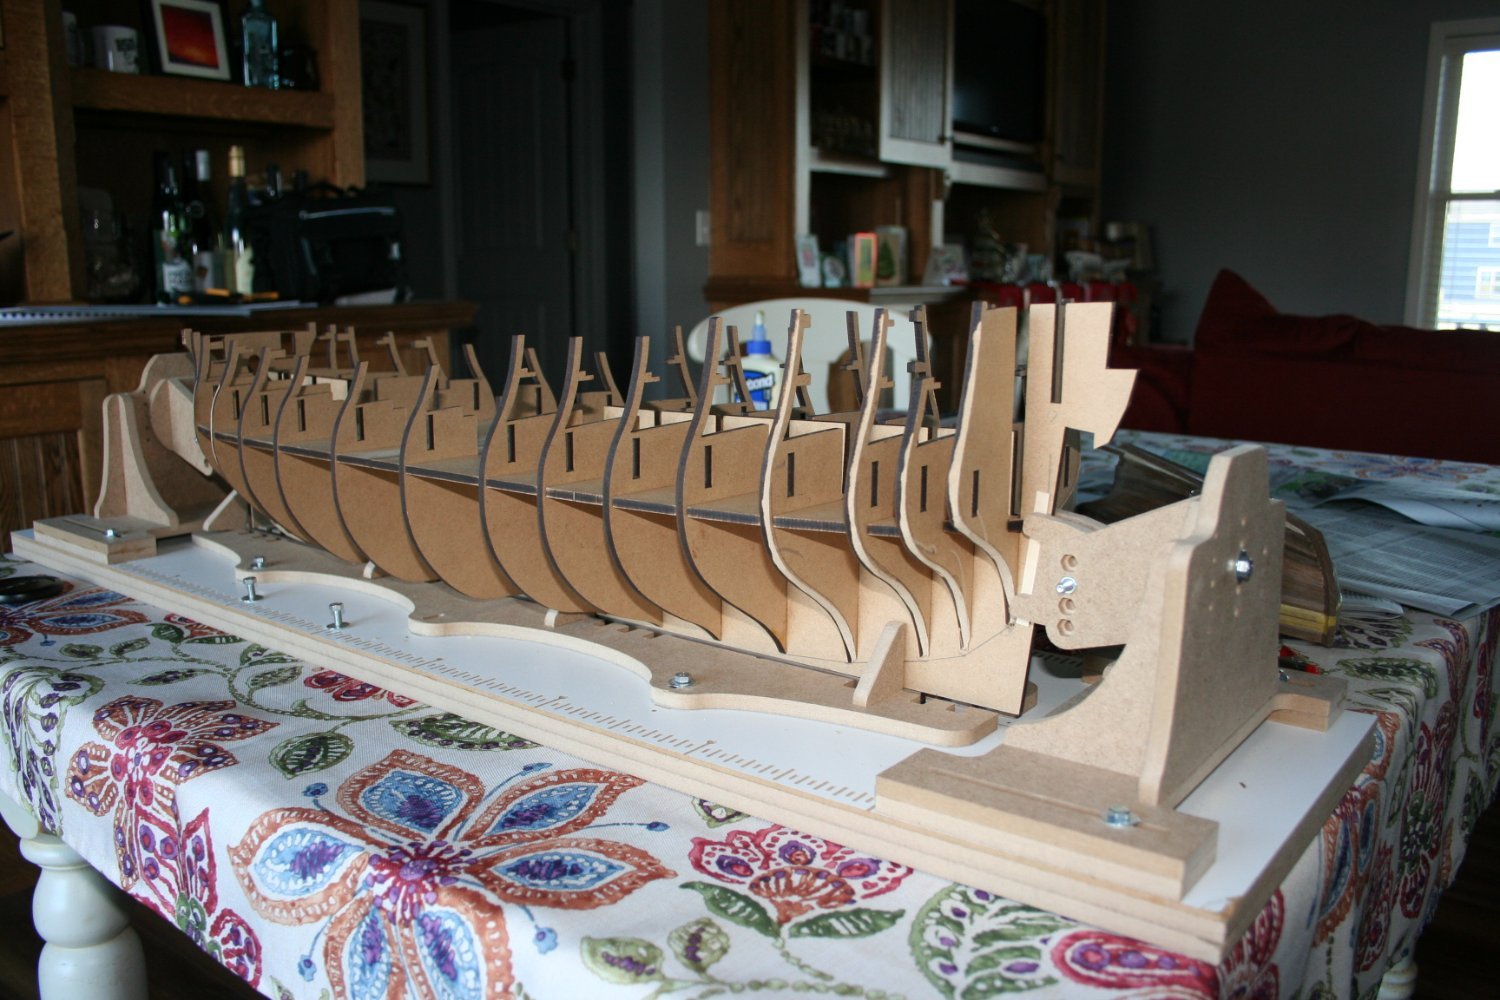
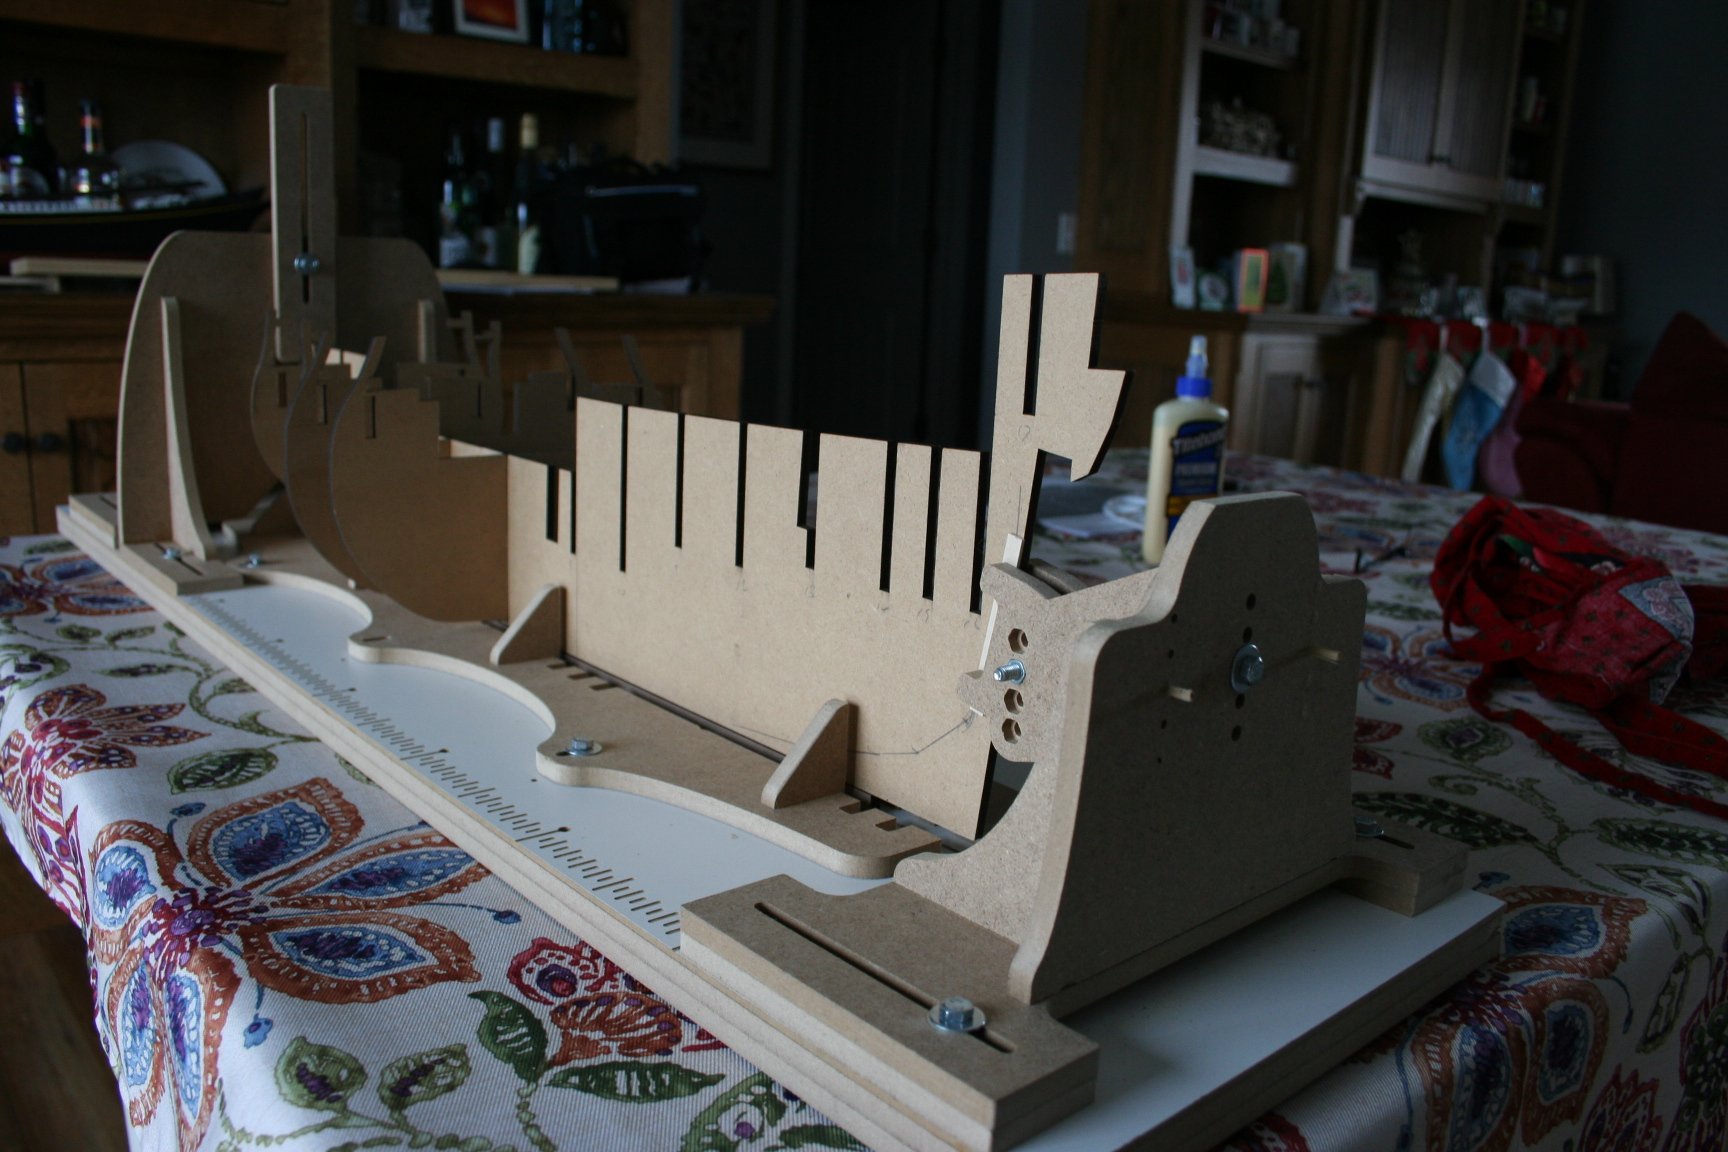
Thanks to Dave B for the slip, and James H for the instructions in English! Pictures are of my rendition of Deptford Dockyard in 1779, with HMS Vanguard on the slip. I added pegs of bamboo (kebab skewers) to keep the end clamps in position.

-
While I have not yet assembled the bulkheads to the keel, I can see that the gun barrel strip will be vertical along its length.
-
I'm liking that idea! The gun ports need to be lined. Maybe the fitted patterns would become the linings. Kind of like a box, with the gun barrels attached to the bottom of the box. Food for thought indeed.
-
I don't think that the gunports would be think enough to as a guide. They would be the width of gunport 'pattern' ply - 1mm - plus the width of the double planking. But I planned for the dowel to be long enough to seat flat on the barrel strip, and that that would prevent side-to-side or up-down movement.
-
In the Amati HMS Vanguard - and others, I am sure, there are dummy gun barrels to be located in the lower gun ports. These gun barrels are to be fixed into a gun barrel 'strip' that runs the length of the deck. But how to determine exactly where to drill the locating holes? My thought is to produce a dowel of some sort - square or round - that is a snug fit in the gun port. And that dowel will have a hole through its center down which I can poke a pointed rod that will mark the drilling location on the strip. Anyone got any thoughts or better ideas for such a jig?
-
Dave. Yes, please. Put my name on it!
-
I am not familiar with this kit. But, from what I can see in your pictures, attaching the deck should cure the slight bend. Perhaps you could draw lines down the centre of the deck, on the underside, to aid in ensuring that the keel is straight.
-
For what it's worth, I recently got a Proxxon DB250. I have used it for both tapering masts and turning round masts from square stock. I wish that I had bought one of these years ago!
-
Thanks for the responses. As mtaylor and Jaager suggested, I think that I will go with the 'sacrificial' stem and keel pieces.