Ronkootje
-
Posts
7 -
Joined
-
Last visited
-
 mtaylor reacted to a post in a topic:
SM U9 by Ronkootje - Das Werk - 1/72 scale - PLASTIC - abandoned
mtaylor reacted to a post in a topic:
SM U9 by Ronkootje - Das Werk - 1/72 scale - PLASTIC - abandoned
-
 Canute reacted to a post in a topic:
SM U9 by Ronkootje - Das Werk - 1/72 scale - PLASTIC - abandoned
Canute reacted to a post in a topic:
SM U9 by Ronkootje - Das Werk - 1/72 scale - PLASTIC - abandoned
-
bruce d reacted to a post in a topic:
SM U9 by Ronkootje - Das Werk - 1/72 scale - PLASTIC - abandoned
-
Landlubber Mike reacted to a post in a topic:
SM U9 by Ronkootje - Das Werk - 1/72 scale - PLASTIC - abandoned
-
ccoyle reacted to a post in a topic:
SM U9 by Ronkootje - Das Werk - 1/72 scale - PLASTIC - abandoned
-
Ronkootje reacted to a post in a topic:
SM U9 by Ronkootje - Das Werk - 1/72 scale - PLASTIC - abandoned
-
Ronkootje reacted to a post in a topic:
SM U9 by Ronkootje - Das Werk - 1/72 scale - PLASTIC - abandoned
-
Ronkootje reacted to a post in a topic:
SM U9 by Ronkootje - Das Werk - 1/72 scale - PLASTIC - abandoned
-
Hi guys and girls, I have some sad news about this project I was trying to get the model ready for 26 November this year for the model show in the Netherlands. I was nearly done only the rigging and ropes had to be added, but then I knocked the extra thin cement over my model. All hard work was ruined so I have dumped it in the bin This project is done for now when I feel up for it I will buy another one and start over. The good news is that my 1/200 Bismarck arrived last week so that will be my next project for next year. Atm I am preparing for the build making a build stand and getting the reference anatomy of a ship etc. Moor on this project soon in a new topic. Regards Ron
-
mtaylor reacted to a post in a topic:
SM U9 by Ronkootje - Das Werk - 1/72 scale - PLASTIC - abandoned
-
Canute reacted to a post in a topic:
SM U9 by Ronkootje - Das Werk - 1/72 scale - PLASTIC - abandoned
-
Hi guys, Been a while for me to have time for this model. I have been looking at pictures and I found that you are right and that the upper hull is to low so that will mean surgery finger crossed that it will work. Regards Ron
-
GrandpaPhil reacted to a post in a topic:
SM U9 by Ronkootje - Das Werk - 1/72 scale - PLASTIC - abandoned
-
JohnB40 reacted to a post in a topic:
SM U9 by Ronkootje - Das Werk - 1/72 scale - PLASTIC - abandoned
-
Old Collingwood reacted to a post in a topic:
SM U9 by Ronkootje - Das Werk - 1/72 scale - PLASTIC - abandoned
-
@bear Hi, I had time to measure your claim that the deck is to low. My opinion is that Das werk has done a good job in the height of this deck you can find pictures of this submarine here : https://uboot-recherche.de/en/sm-u-9-pictures#&gid=1&pid=5 The picture SM U 009-71 shows men sitting on the deck of the U boat. You can clearly see that they are sitting with there feet down on the lower deck so I can use the measurement of my own leg taking in account that people of that century where smaller then us. If I measure my own leg from foot to knee that is 52 cm I myself have a height of 183 cm so 0.52/72= 7.2 mm I know for a fact that the current generation is growing bigger then the generation in 1914/1919 so taking that 7.2mm and then measuring the kit itself it is 6mm so 0.6 times 72 is 43.2 cm of knee to foot, this to me sound right and does not confirm the 2.5 mm height you have added to your model. To give this a perspective it would be 6mm plus 2.5 is 8.5 mm on the model so 0.85x72= 61cm foot to knee so that would mean that people would be larger then hour generation I do not think that this is the case and will leave the deck as Das werk made it to be. Regards Ron PS still did not find the Facebook page your are referring about....
-
@bear Great work on the hull I can't find the Facebook page you are revering about... What color are you going to use for the pressure hull? And do you have photo's of the things you did to the section where the exhaust is going into looks logical to me though. The .100 is in inches? Thanks for the comment Regards Ron
-
@bruce d Its the second last picture the part lying in front of the submarine hull witch is 3d printed and is not in the kit itself. What you see there is the outside of the pressure hull at least sort of I used the kit part where the chimney goes down when they submerse and that part showed ribs every 7 mm and the dia of the pressure hull in the kit I worked out at 45mm so that makes 3.24 meter in real live. Also leaving the hatches on the deck and tower op so when you look down there will be showing an off white color with some small detailes inside the pressure hull instead of looking in an empty hull. There will not be much seen of this part because the flood holes in the hull of the boat are 2mm wide and 1mm high. But when a judge on a model contest shines a flash light inside the hull he will c there is a pressure hull inside Hence the reason I have made this, only need to know the color. @ccoyle Thanks for the welcome I myself never heard of this brand Das werk also until I saw it on the aircraft forum on the what's new topics. thanks all for the comments much appreciated! Regards Ron
-
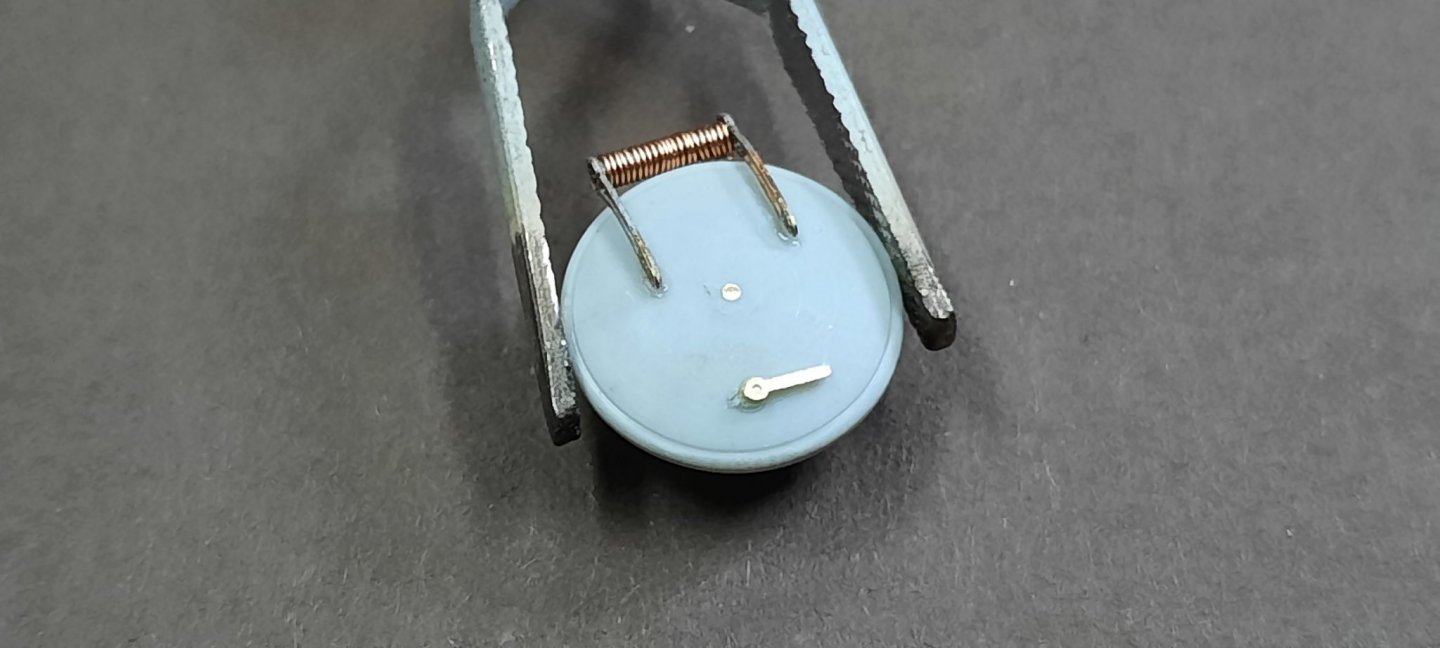
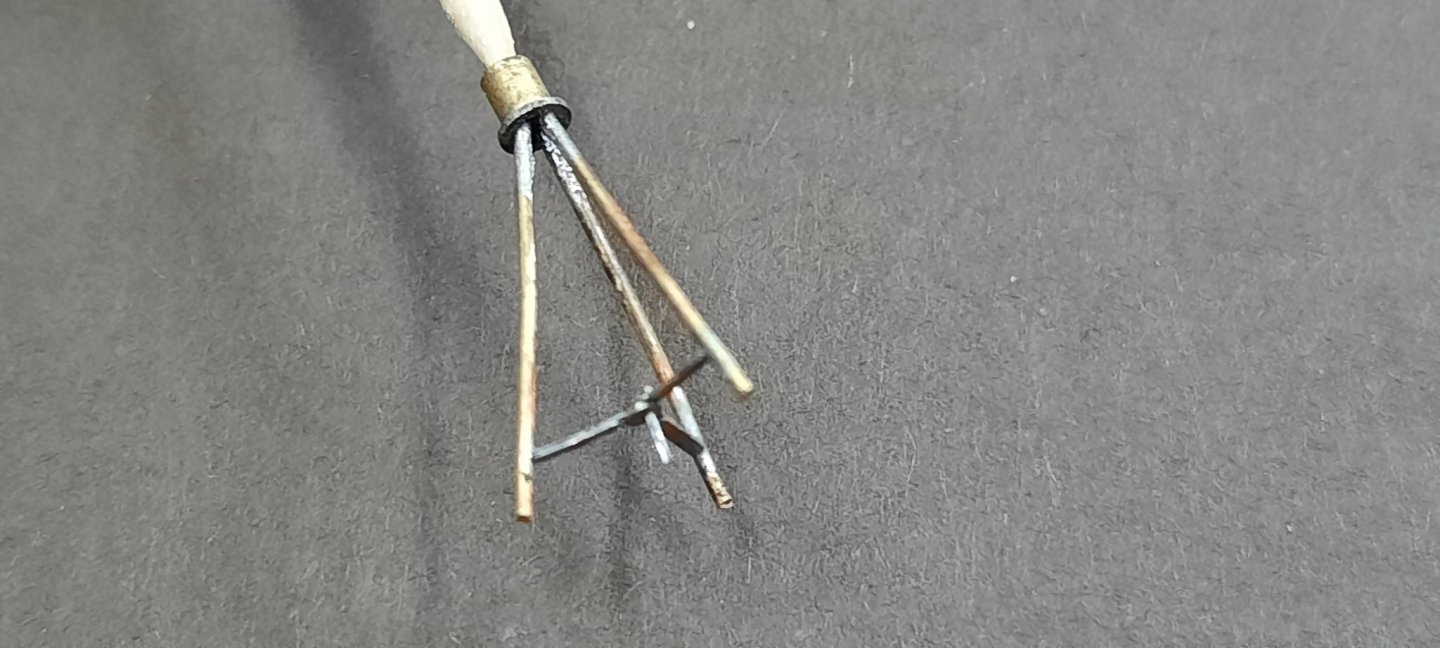
@Bruce The instructions of Das werk also say the inside is an off white, but what about the outside of the pressure hull is this painted also? I am thinking to spray it Iron color and add a bit of rust here and there. If any one knows if this pressure hull was primed that would be a great help. @Shotlocker Thank you! I have used a regular soldering iron for this the key is to apply flux sparely and ad a tiny amount of solder paste, then make sure your tip of the soldering iron is clean and has no tin on it and just heat up the part you want to solder instead of heating the tin directly. I also place a drop of flux on the spot I want to solder the part on and pre tin the spot. Again heating from the underside and not on the tin itself (if possible) you will see a nice spot of tin spread out where the flux is. Then add flux to the part you want on there (do not drown the part in flux only add where its needed because tin goes where flux goes) and hold down with tweezers and place the iron on the part again not on the solder and wait for it to sis and take of the iron and hold on the tweezers until the tin goes matt and then its done. I am saving up for a resistance soldering unit but they are very expensive I am looking at the American Beauty unit 220v 250 watt. Around 700 euro to get to the Netherlands. Thanks for the comments guys! Regards Ron
-
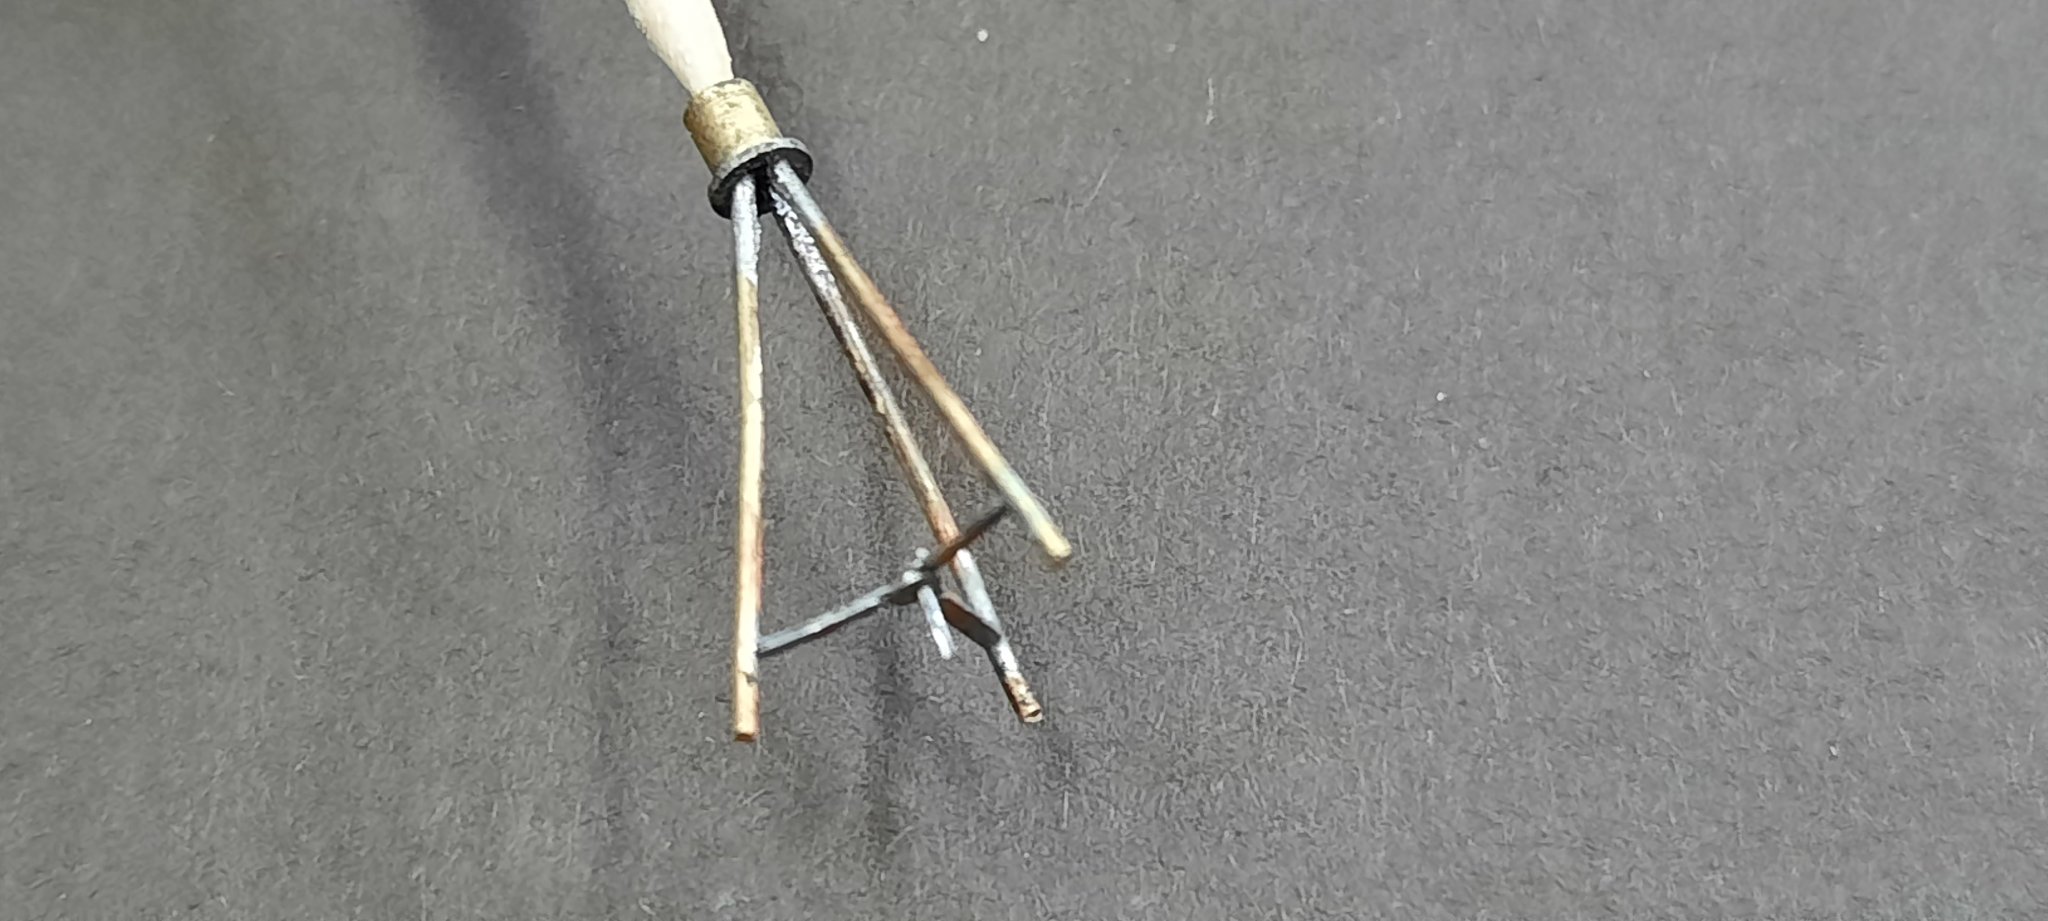
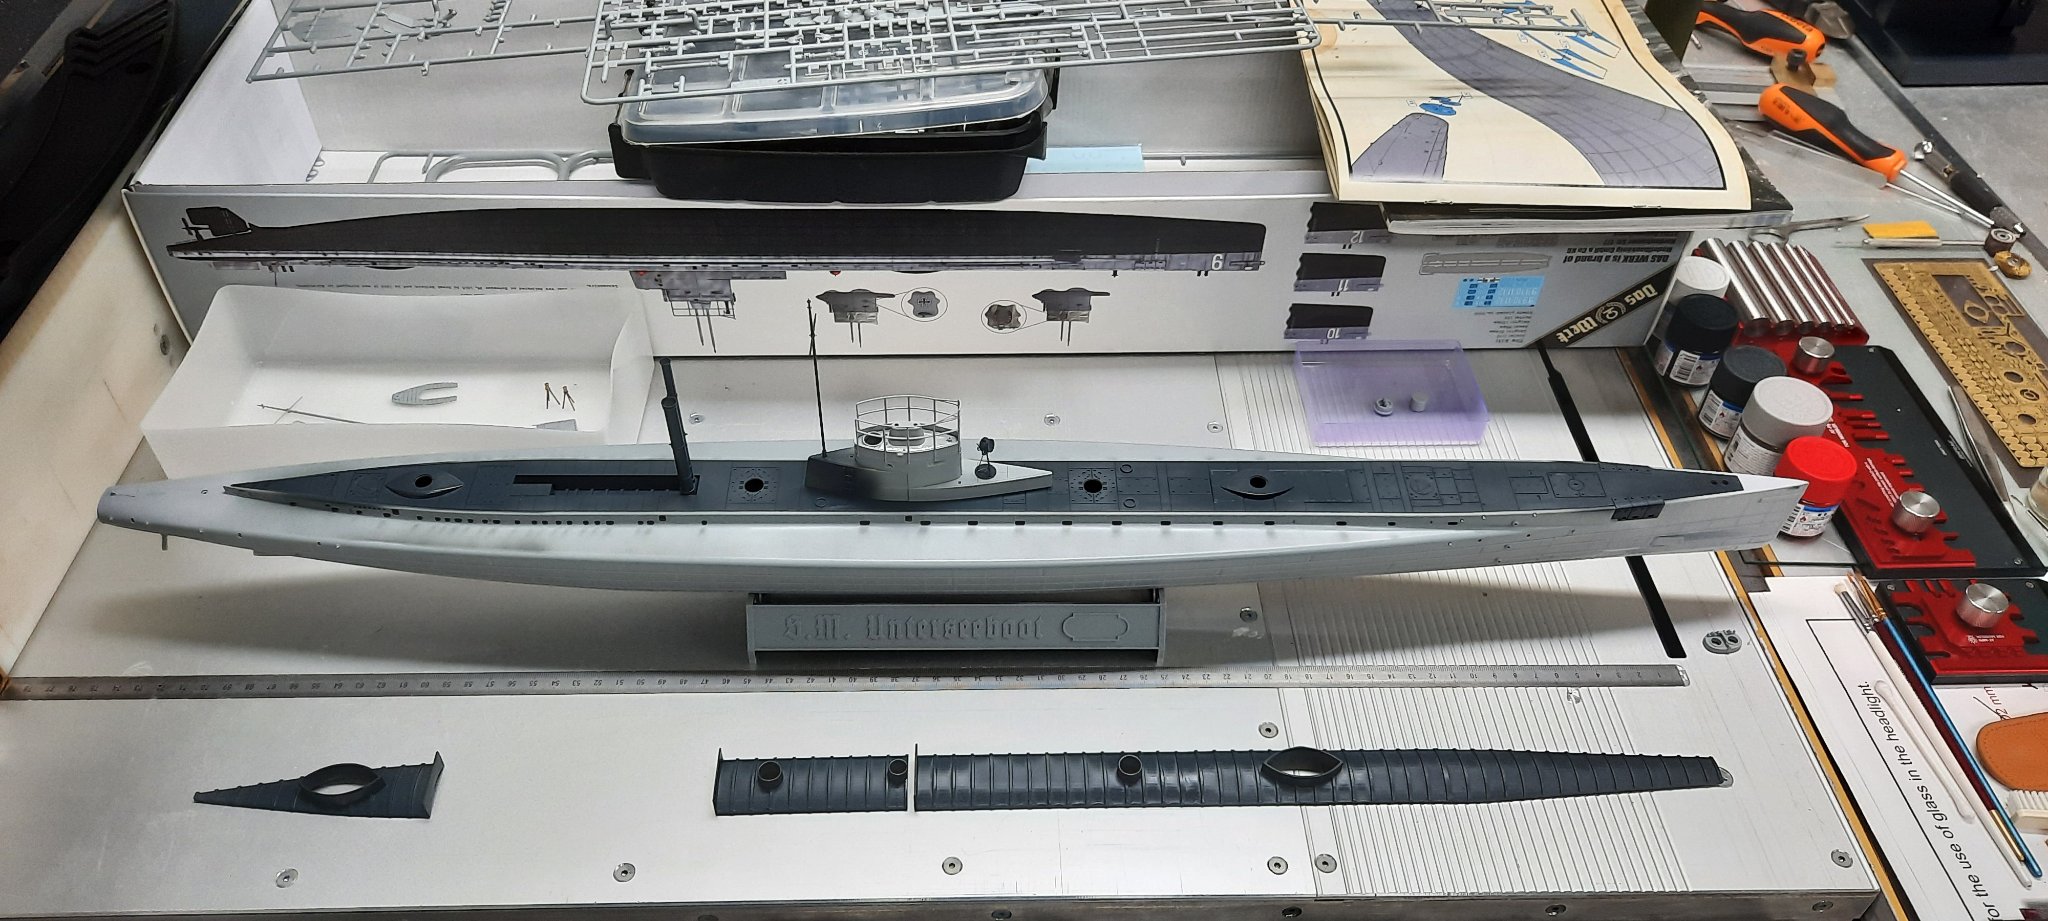
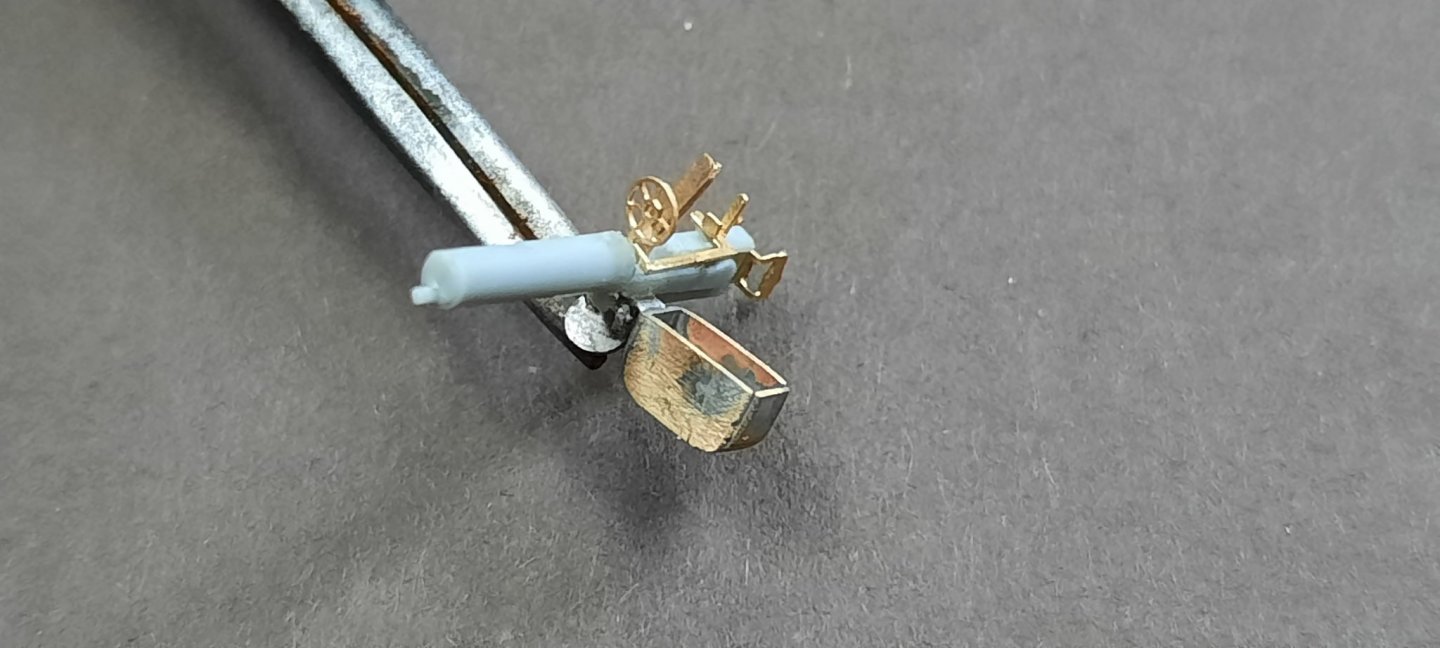
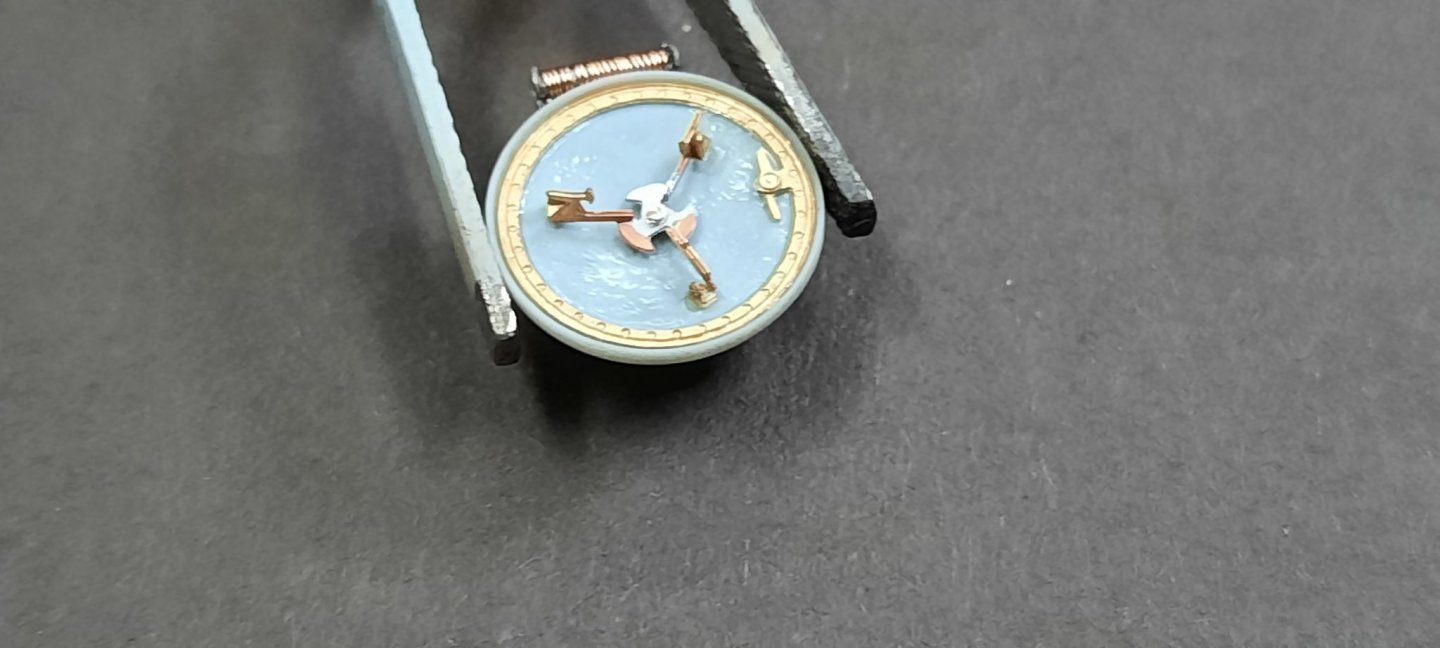
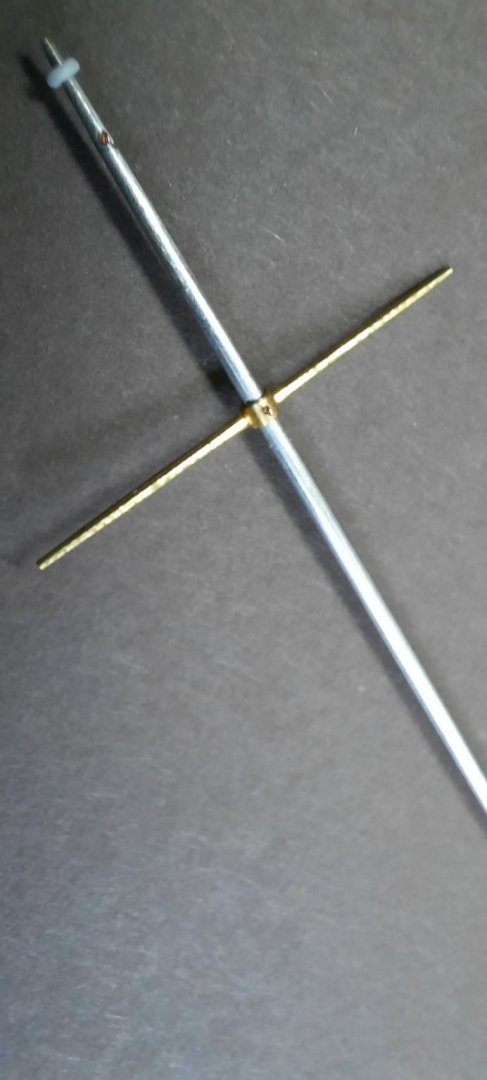
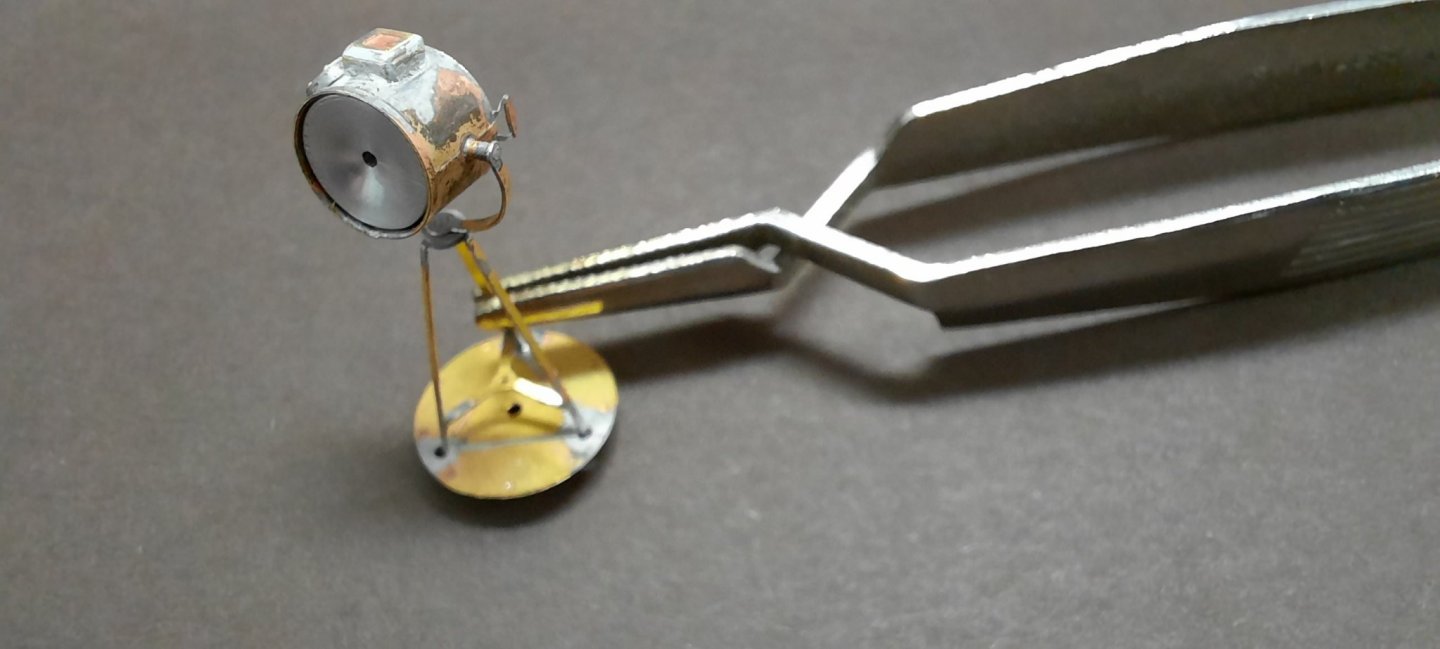
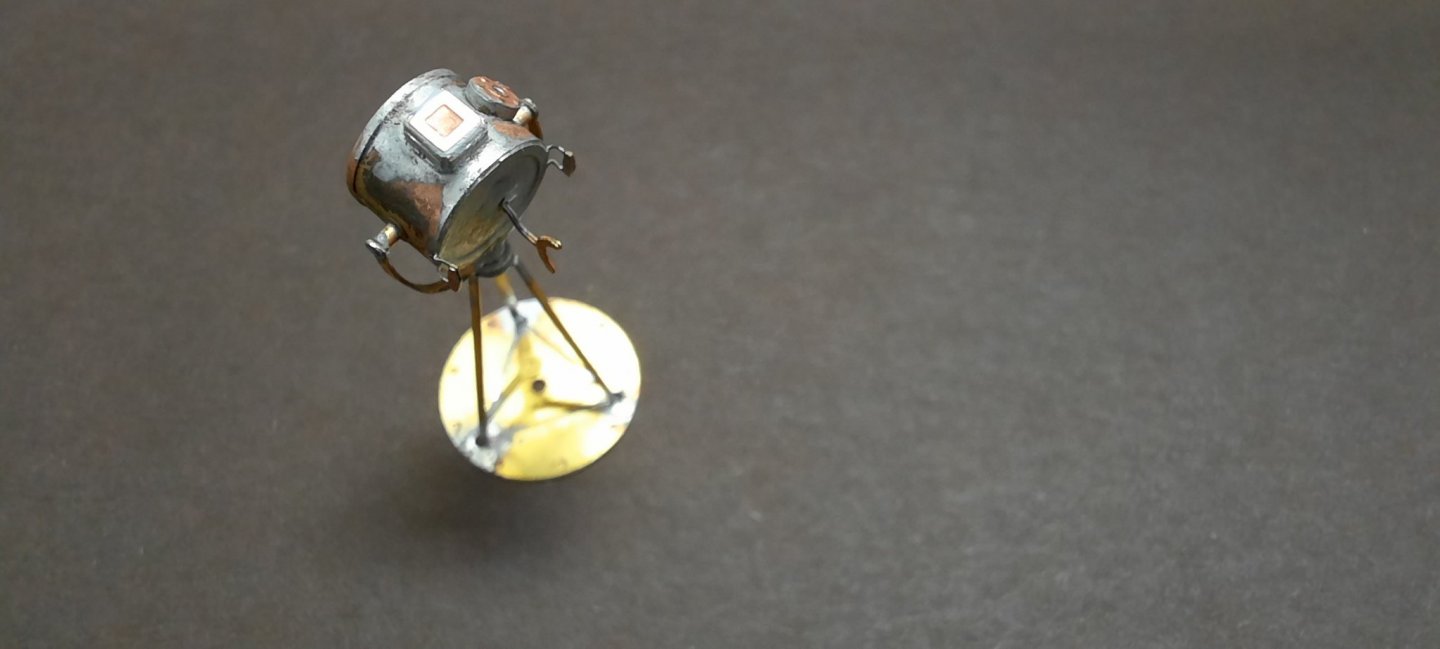
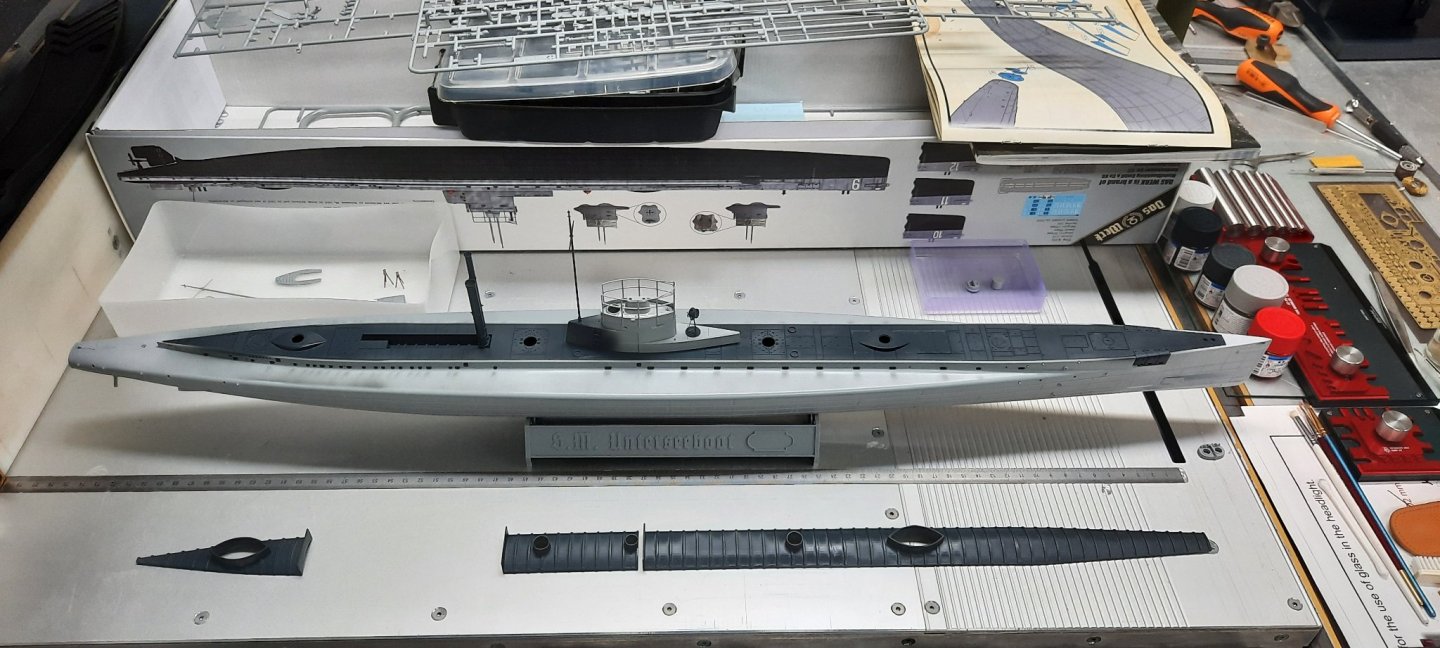
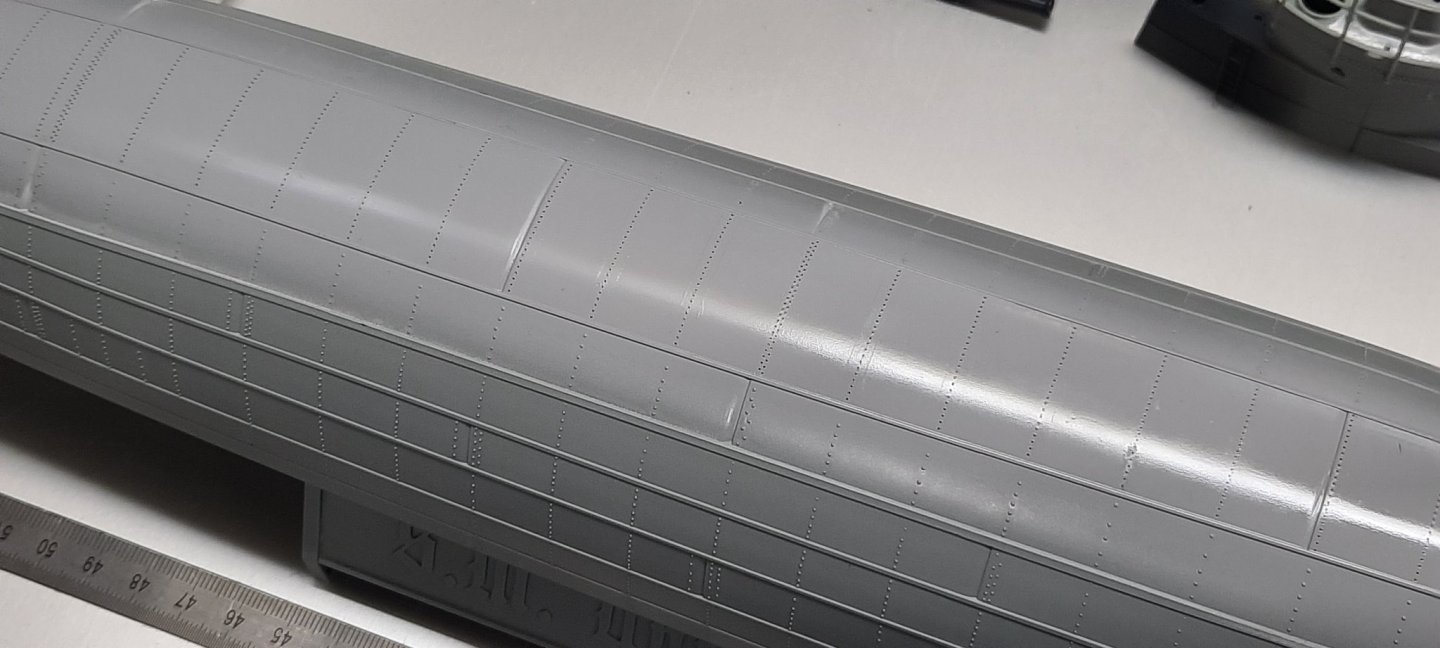
Hi guys and girls, I have started the build of the Das werk world war 1 submarine, mainly I build 1/32 scale world war 1 aircraft, but when I saw this on be announced I had to have one. Then looked at ship model forum and came across this forum. I have read one guys topic of the Mikasa 1/200 and I liked it so much that I have also ordered this one with the Pontos set, so you can kinda say I am hooked on ships now Anyway lets start first with building the submarine, the Mikasa is next. The kit itself is not allot of plastic but fits very nicely together to make a good model, I also got the book with the model not allot of pictures are around but you can buy them at a museum witch I am planning to do. I have also bought the etch set witch is from RC subs CZ its quite a nice set. You can buy the set here: https://www.rcsubs.cz/index.php/photo-etched-sets/65-sm-u-9-1-72-das-werk-dw72001 (If I cant place links here I am sorry in advance and admin can remove the link.) On with the build Looking at the model there are a view things I found out the deck is to short when placed in the hull and needs to be made larger in the middle where the tower is placed as to line up the front detail with about 1 mm. Next thing I have noticed witch is also pointed out in the etch set manual is that the bow is about 3mm wide and should be about 1 mm. The anthracite primer you see is a two part paint witch adheres to plastic and brass very well. I have done an experiment with JB weld quick and glued brass on top of the two K paint and it adheres very well, I like to avoid the use of super glue where I can because it is not strong and hard to position. The holes you see behind the scratch build ladder are filled with 3d printer resin and sanded smooth, this also works better then putty or superglue. As you can see I am a fan of soldering and all the brass parts you see in the pictures are soldered not glued. The shiny part you see in the search light is turned aluminium and then policed to a shine, light bulb and glass still needs to be added. In front of the boat you can see the 3d printed parts to simulate the pressure hull inside the boat, reason for doing this is because if you look trough the holes in the side of the boat you can clearly see its a empty shell witch I don't like. (If any one is interested in also getting this 3d print fore there model let me know in a PM and we can discus details.) For the underside of the boat I have sanded out the seam and place HGW 1/32 scale rivets since the 1/72 scale are too small compared with the once on the boat itself. Is there anyone that knows what colour the pressure hulls are painted or are they one big rusty tube? This was it so far hope you all like it! Regards Ron Now on with some pictures of the build and where I am so far.


- 23 replies
-
- 13
-