bbb555
-
Posts
6 -
Joined
-
Last visited
2 Followers


-
 GrandpaPhil reacted to a post in a topic:
Lowell Grand Banks dory by bbb555 - FINISHED - Model Shipways - 1:24
GrandpaPhil reacted to a post in a topic:
Lowell Grand Banks dory by bbb555 - FINISHED - Model Shipways - 1:24
-
nehemiah reacted to a post in a topic:
Lowell Grand Banks dory by bbb555 - FINISHED - Model Shipways - 1:24
-
Ryland Craze reacted to a post in a topic:
Lowell Grand Banks dory by bbb555 - FINISHED - Model Shipways - 1:24
-
Sea Hoss reacted to a post in a topic:
Lowell Grand Banks dory by bbb555 - FINISHED - Model Shipways - 1:24
-
druxey reacted to a post in a topic:
Lowell Grand Banks dory by bbb555 - FINISHED - Model Shipways - 1:24
-
bruce d reacted to a post in a topic:
Lowell Grand Banks dory by bbb555 - FINISHED - Model Shipways - 1:24
-
bruce d reacted to a post in a topic:
Lowell Grand Banks dory by bbb555 - FINISHED - Model Shipways - 1:24
-
bruce d reacted to a post in a topic:
Lowell Grand Banks dory by bbb555 - FINISHED - Model Shipways - 1:24
-
bruce d reacted to a post in a topic:
Lowell Grand Banks dory by bbb555 - FINISHED - Model Shipways - 1:24
-
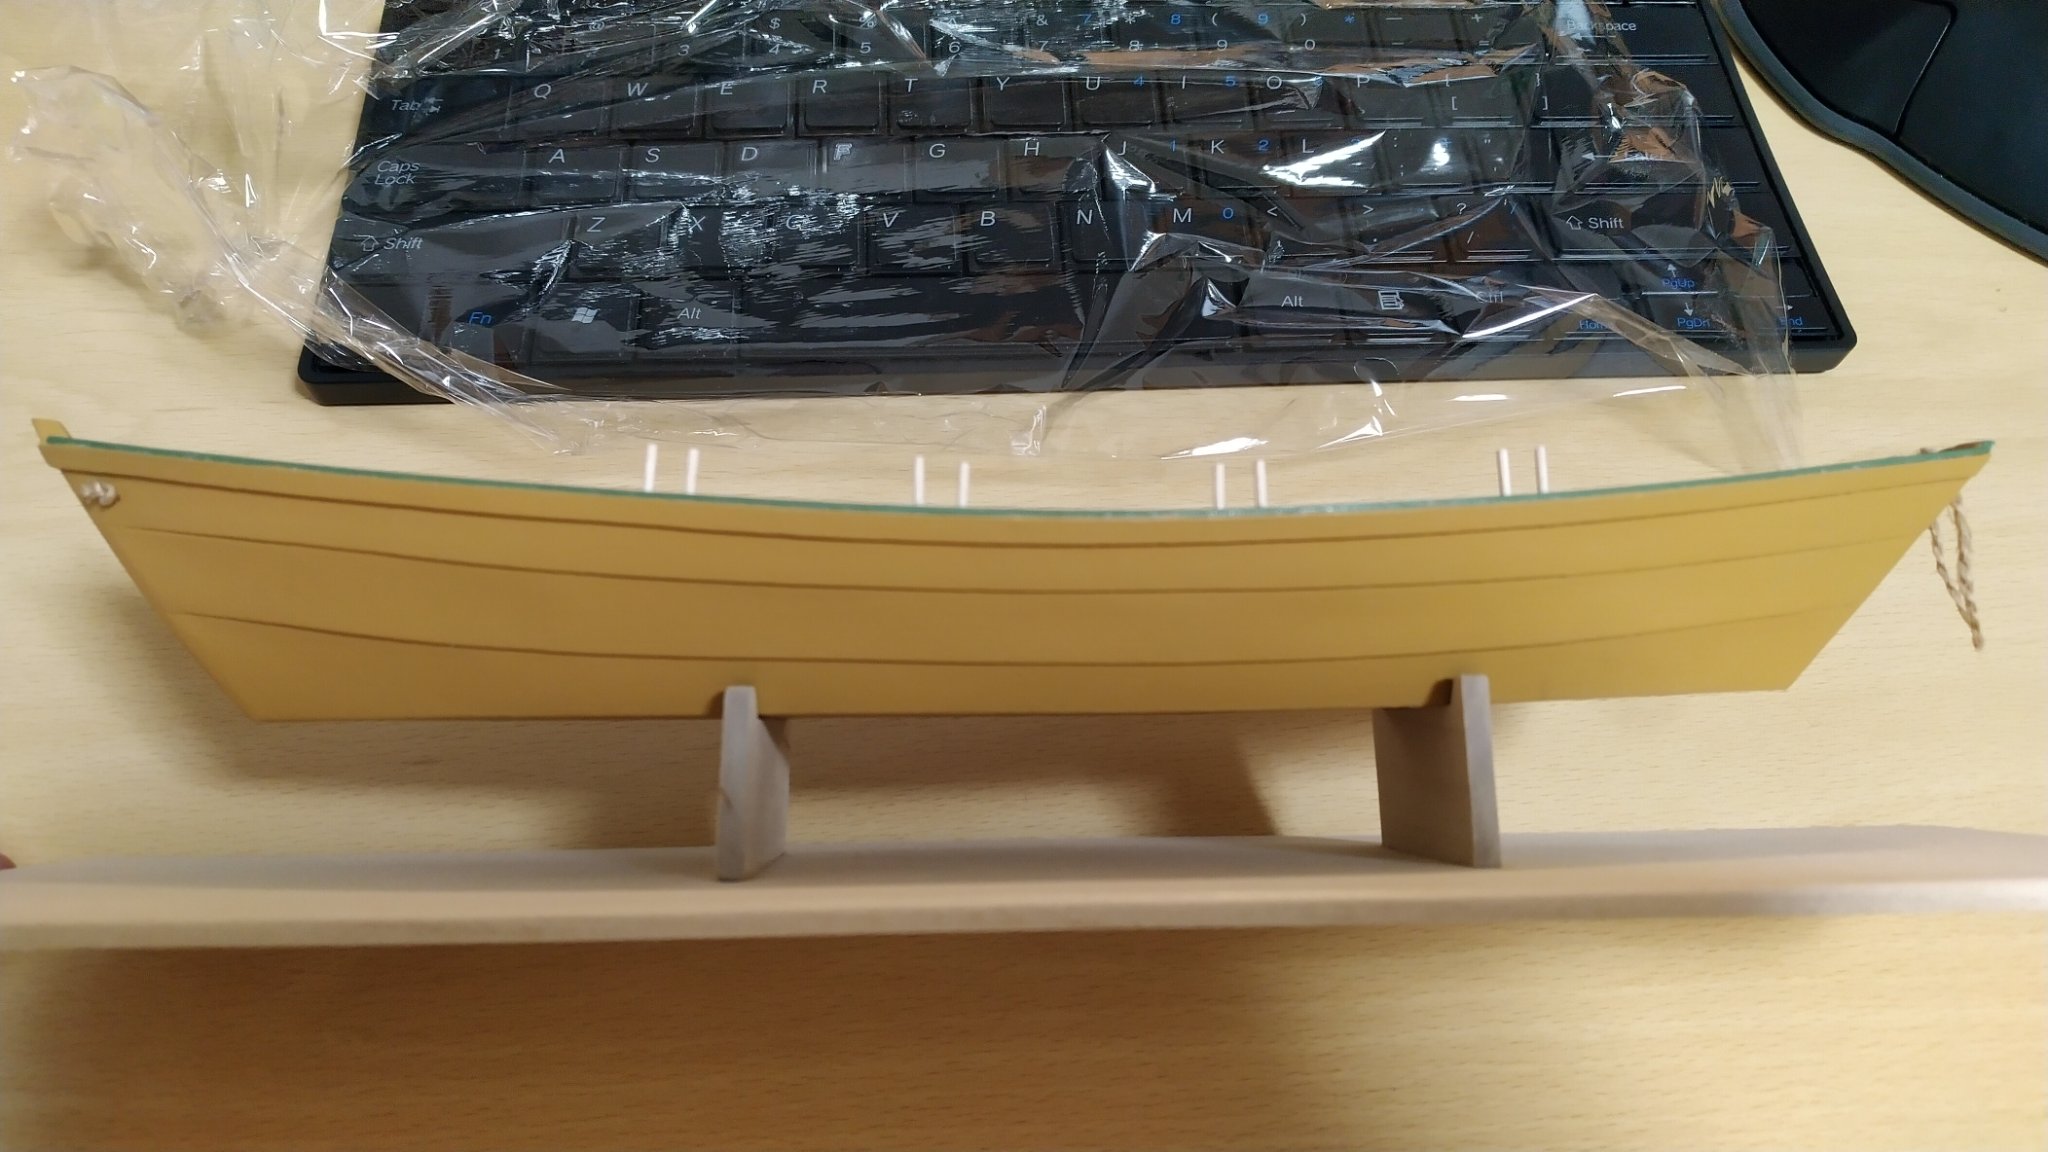
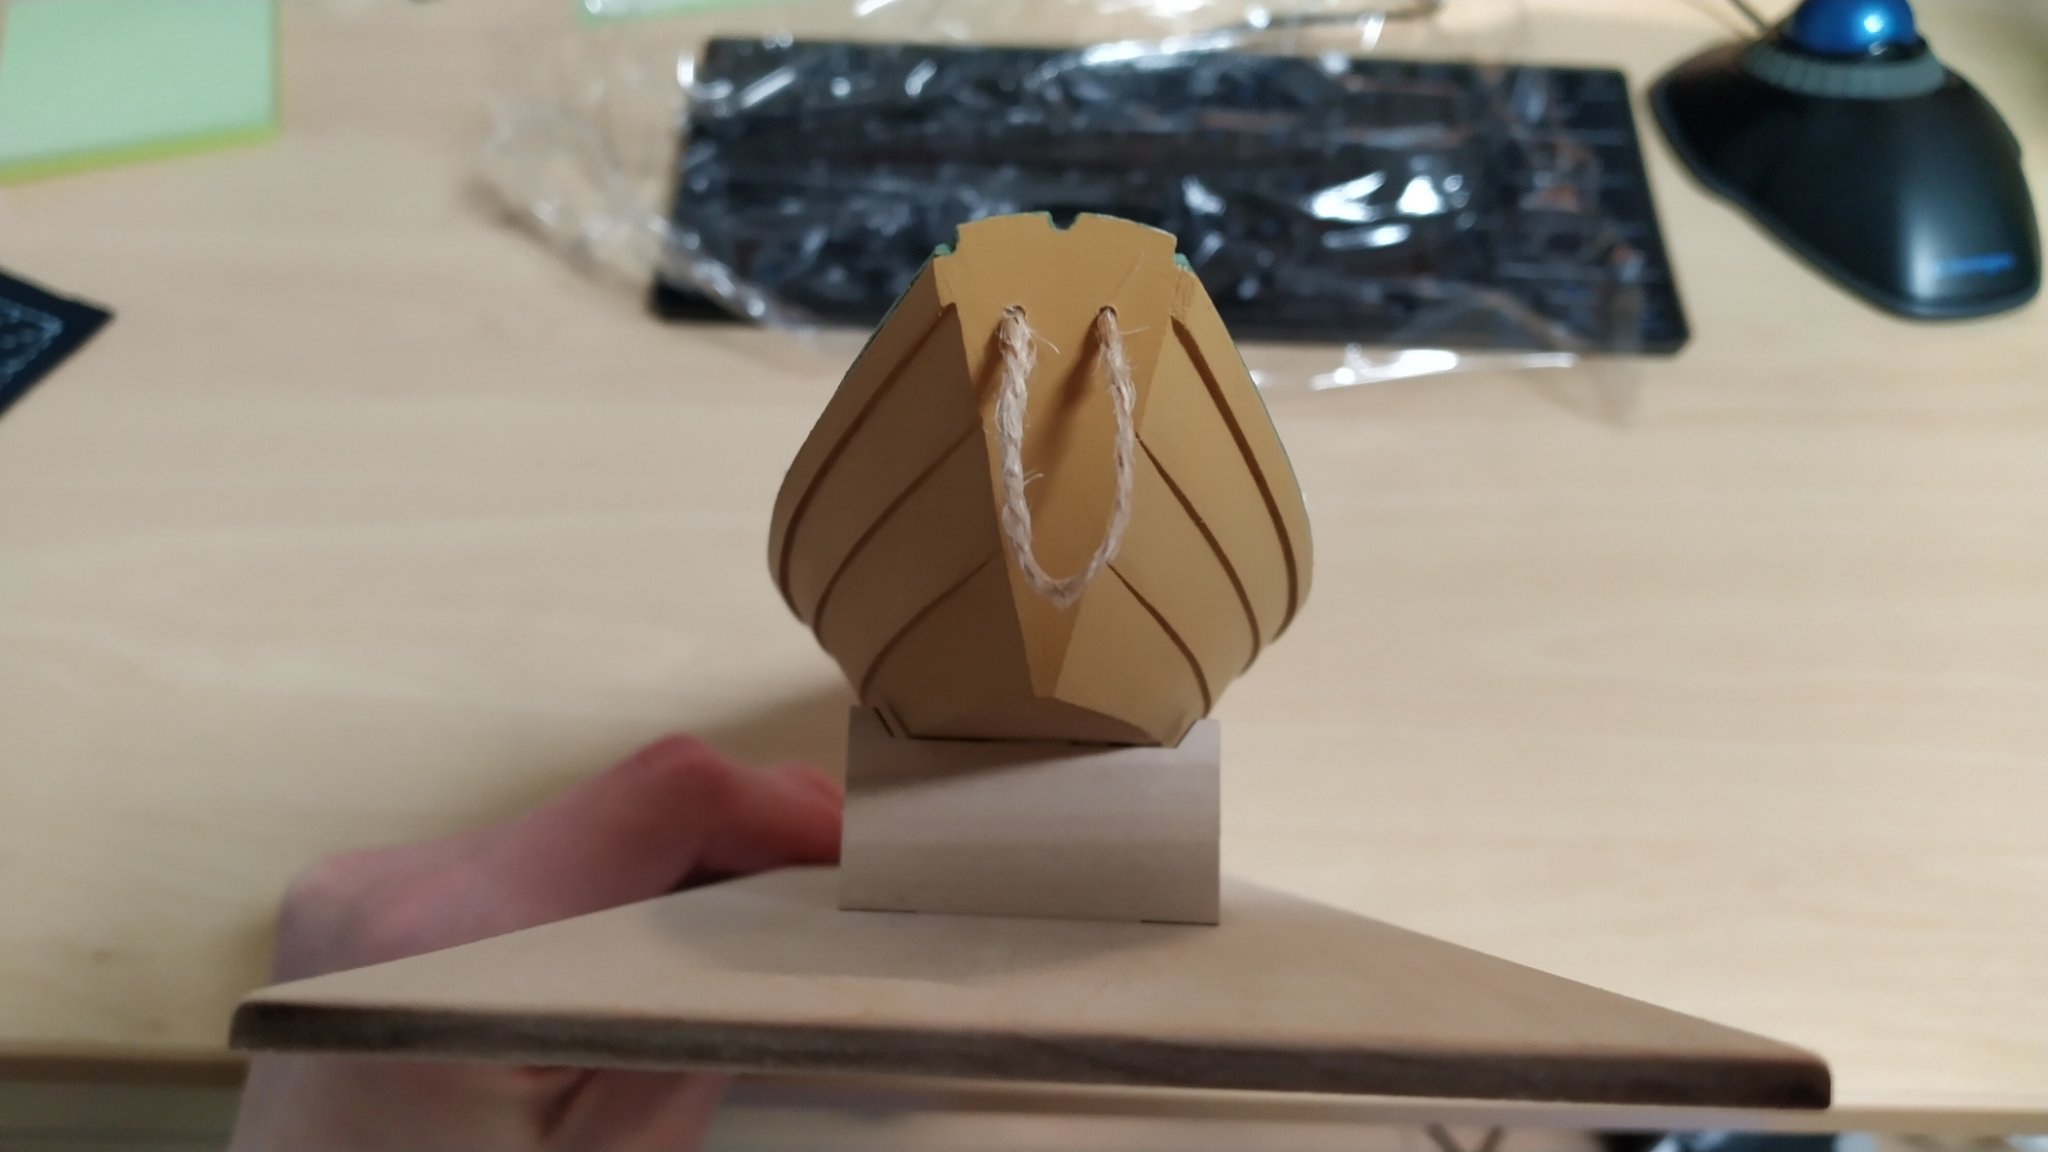
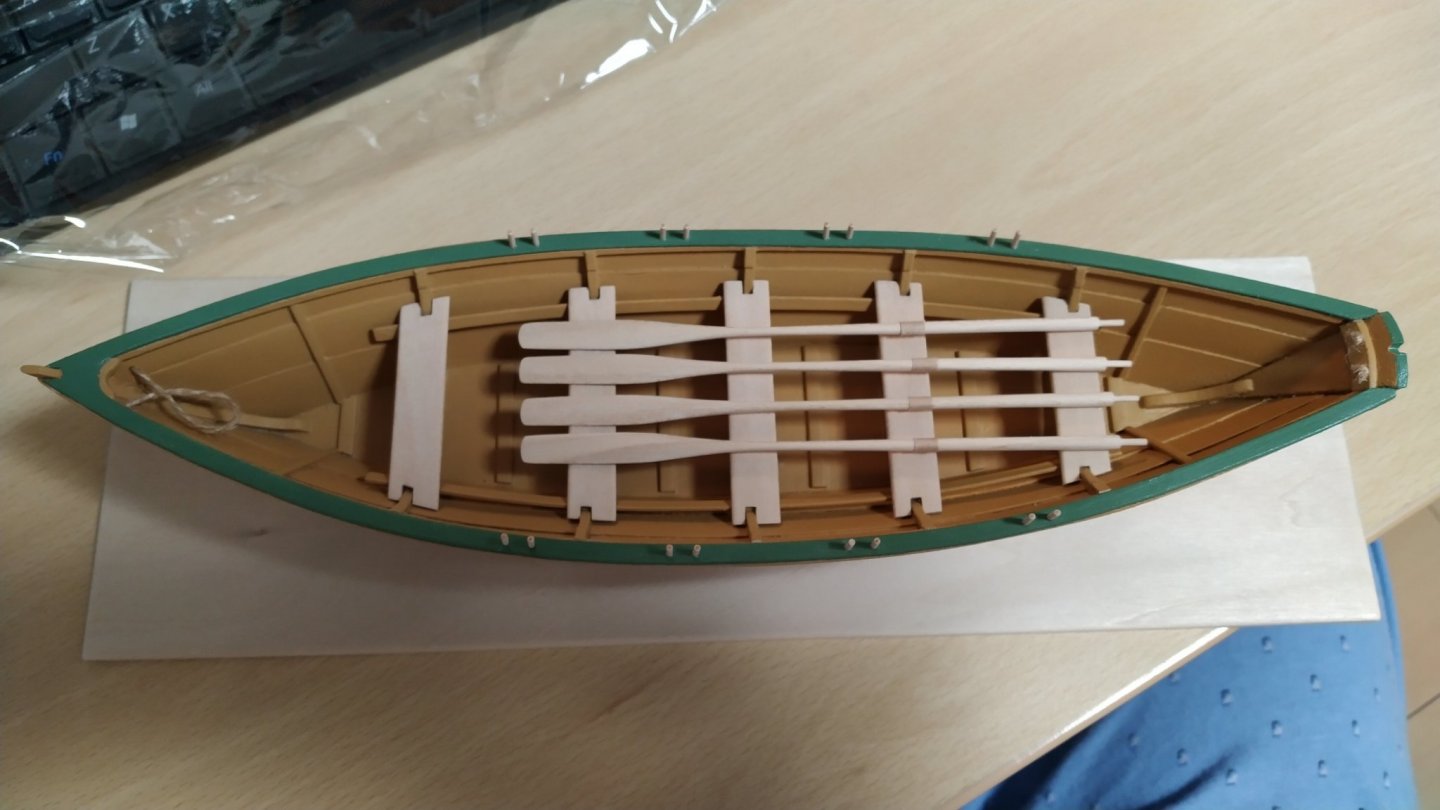
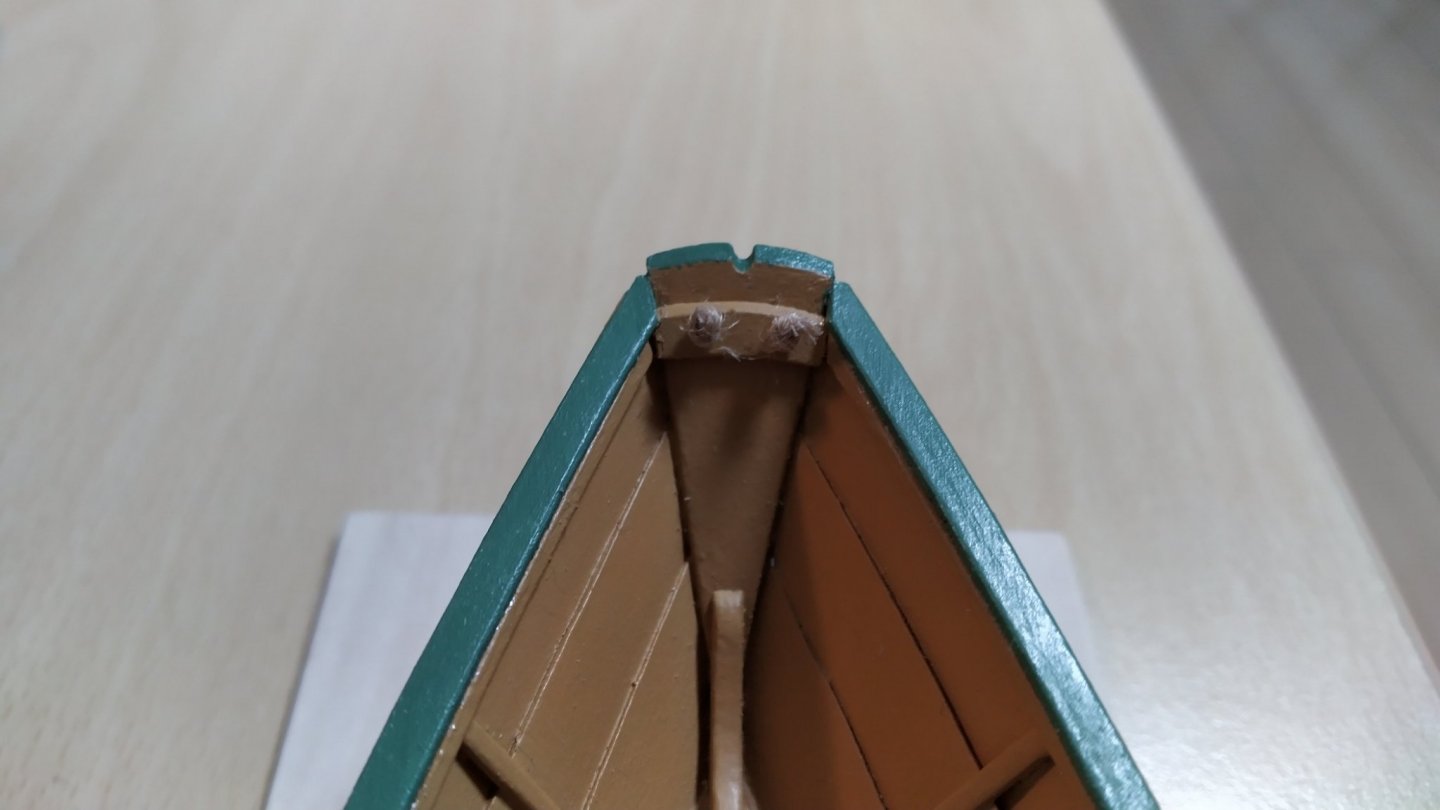
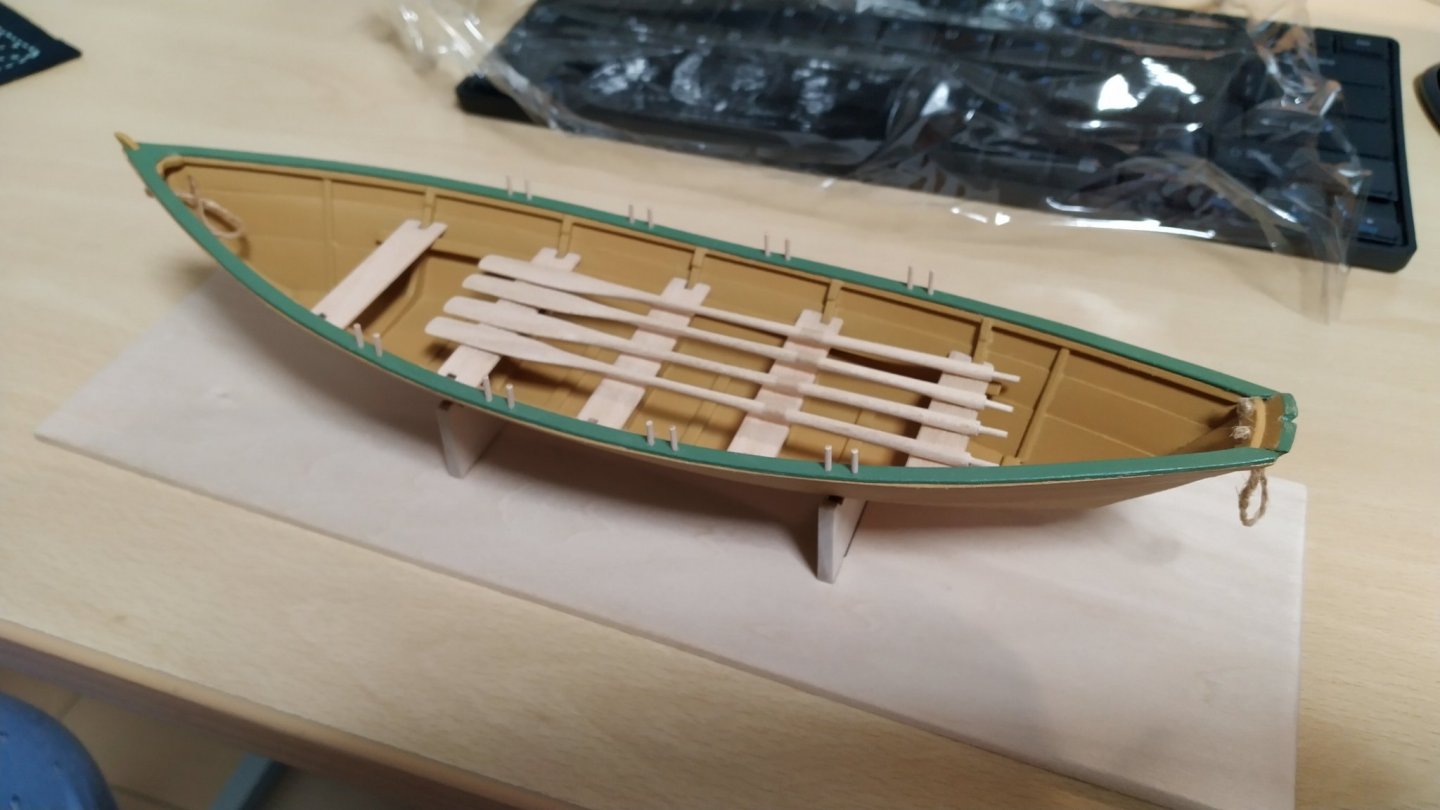
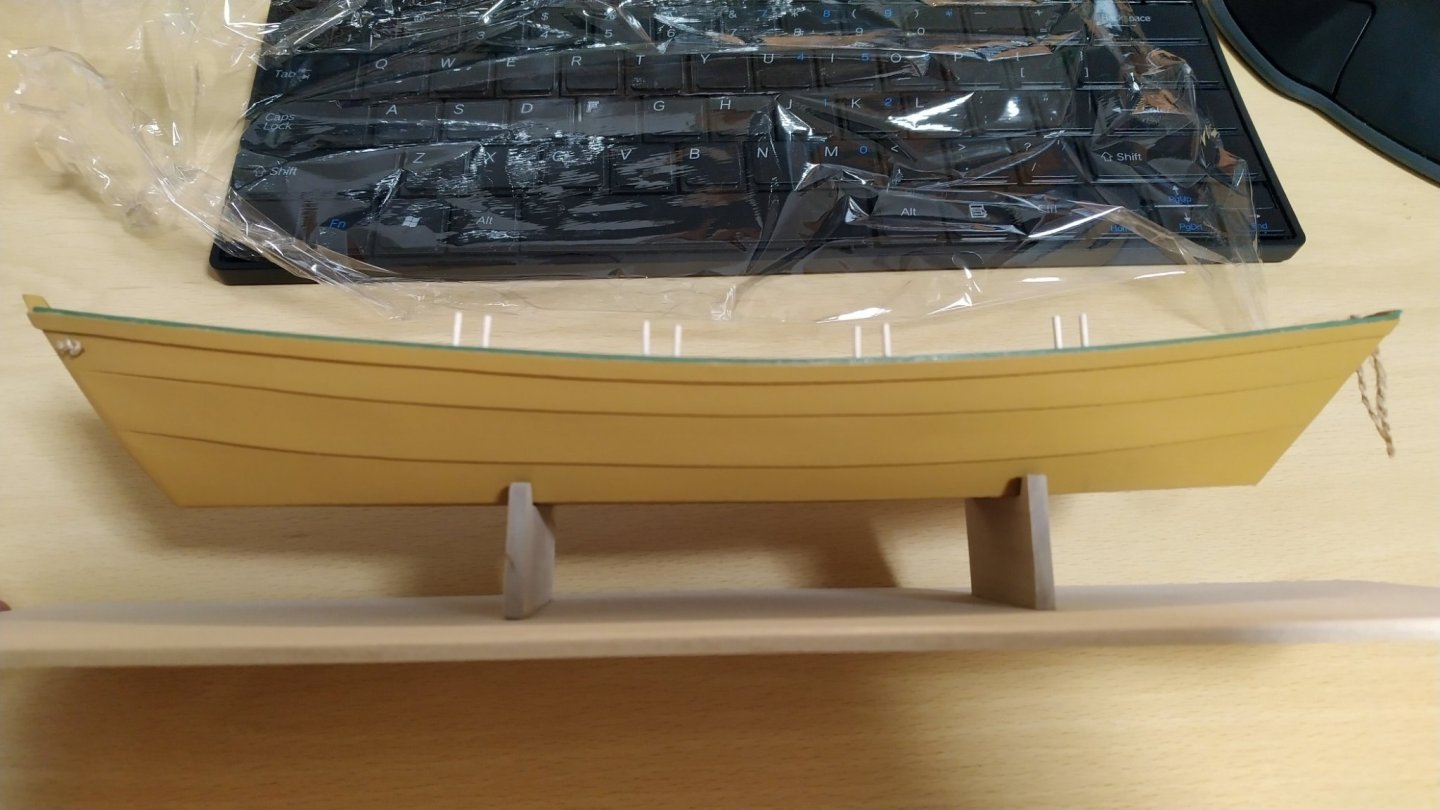
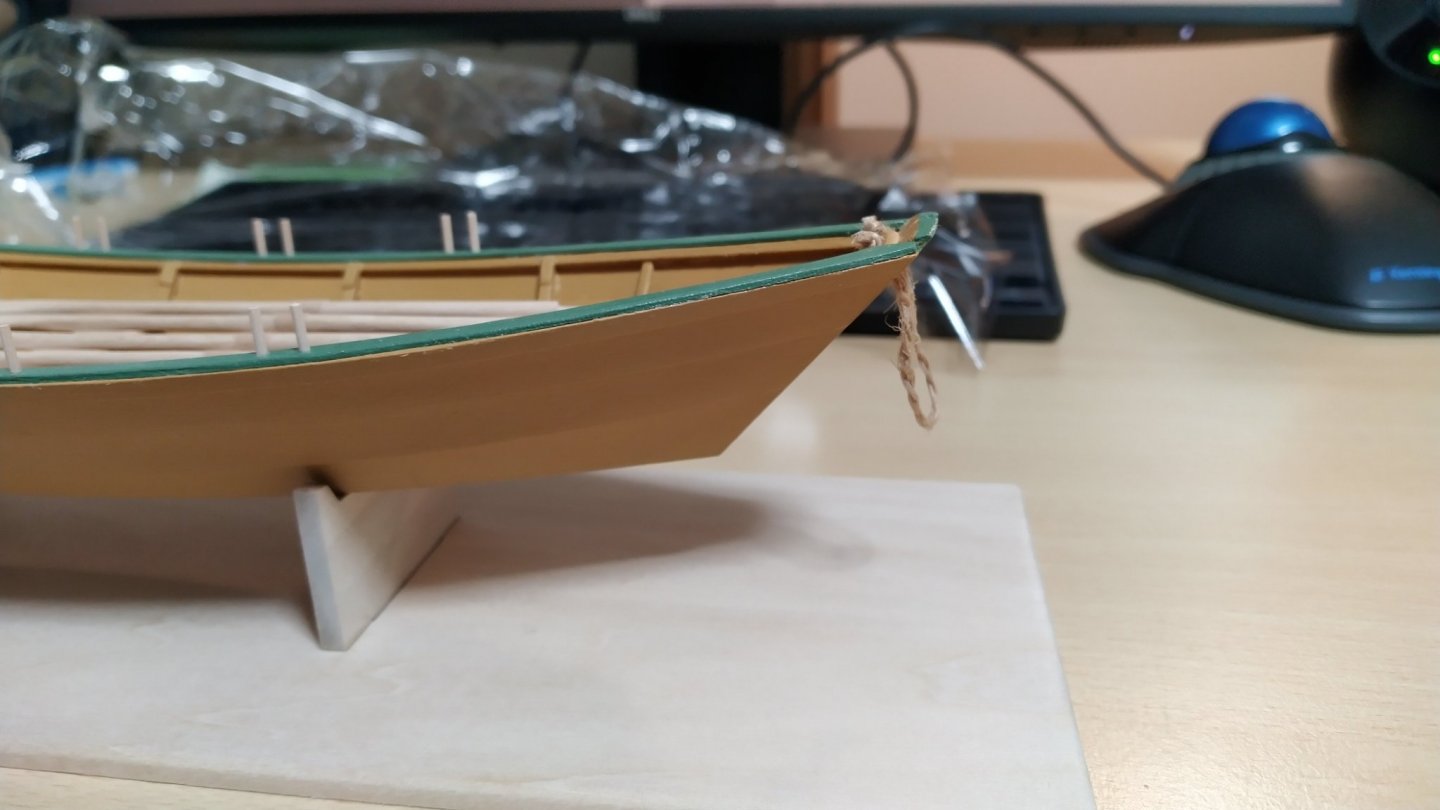
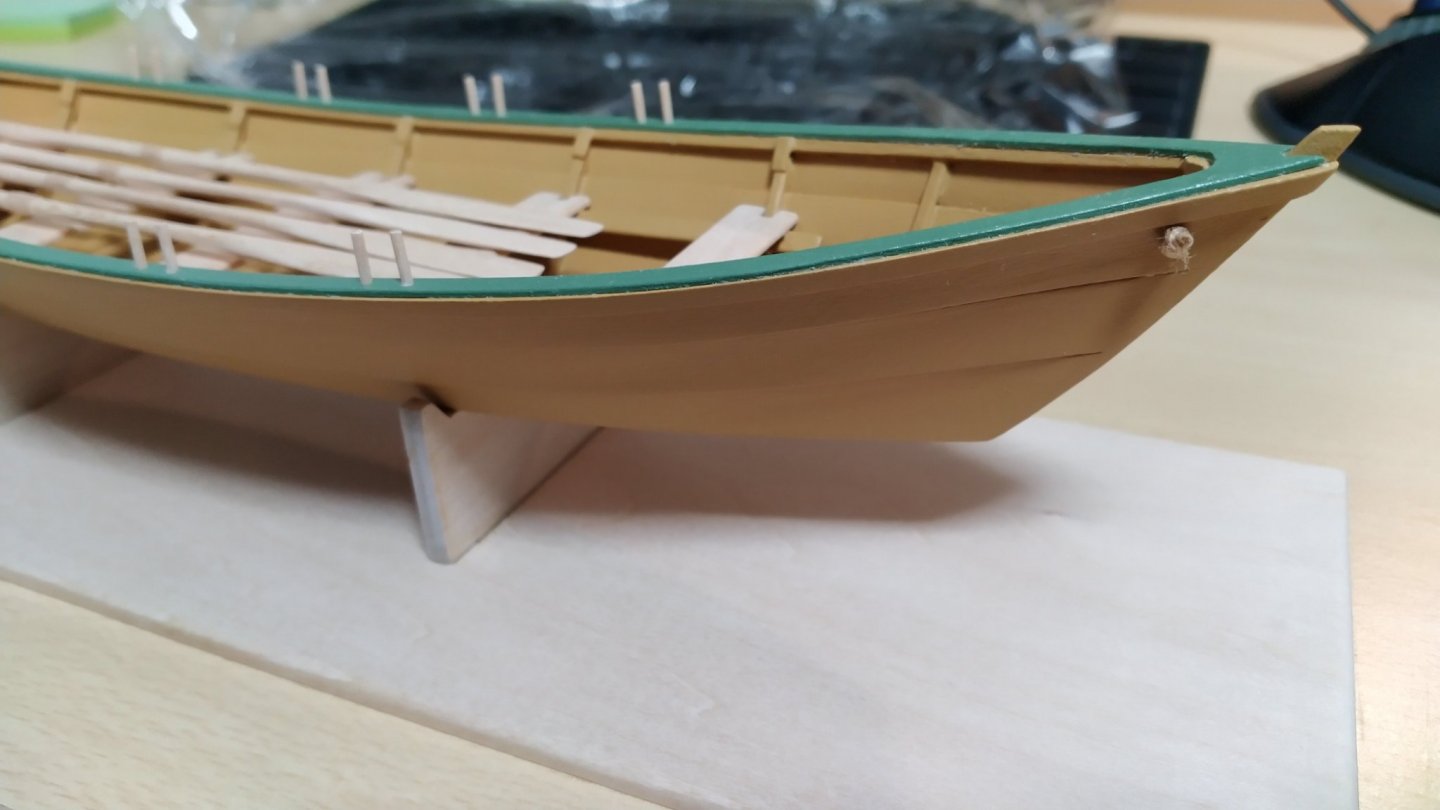
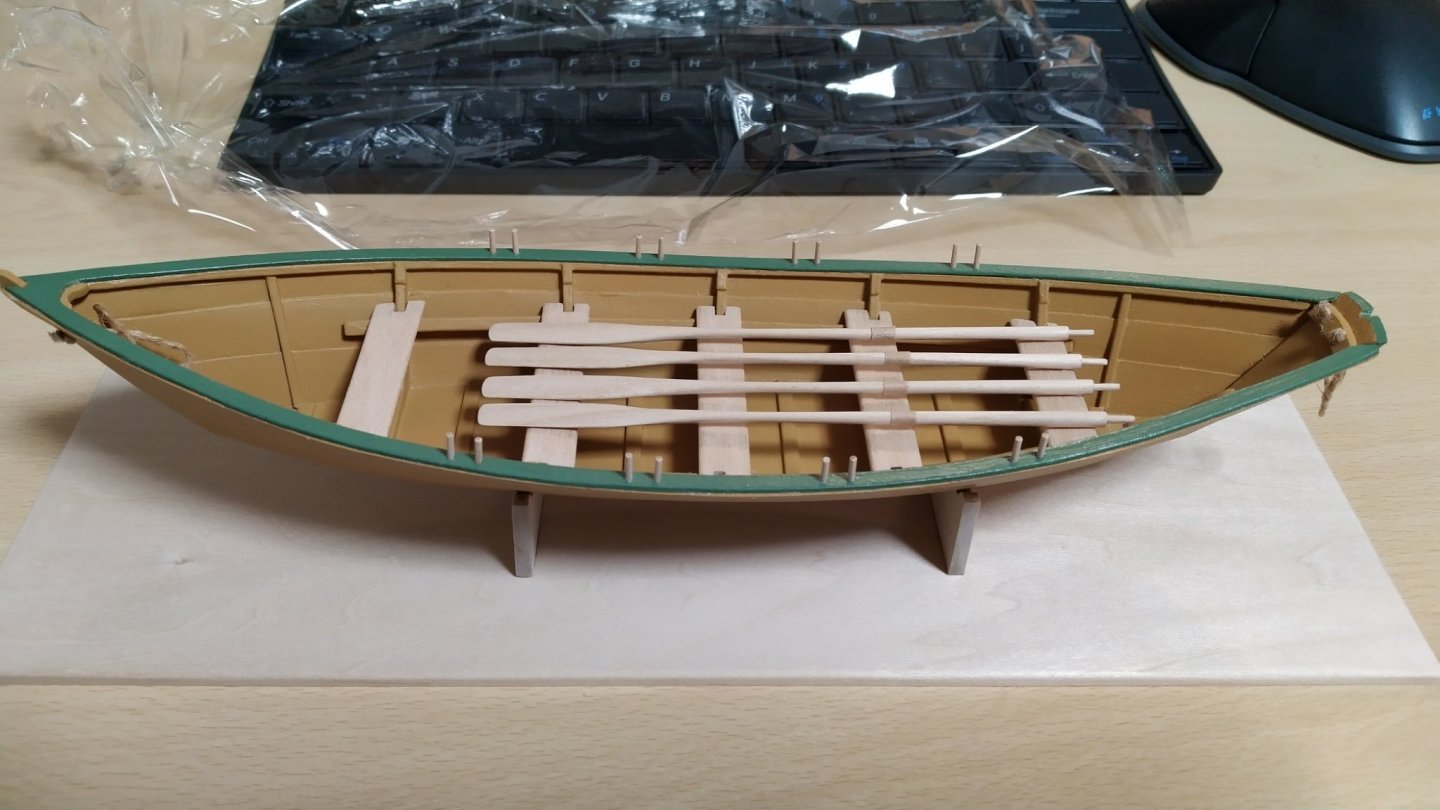
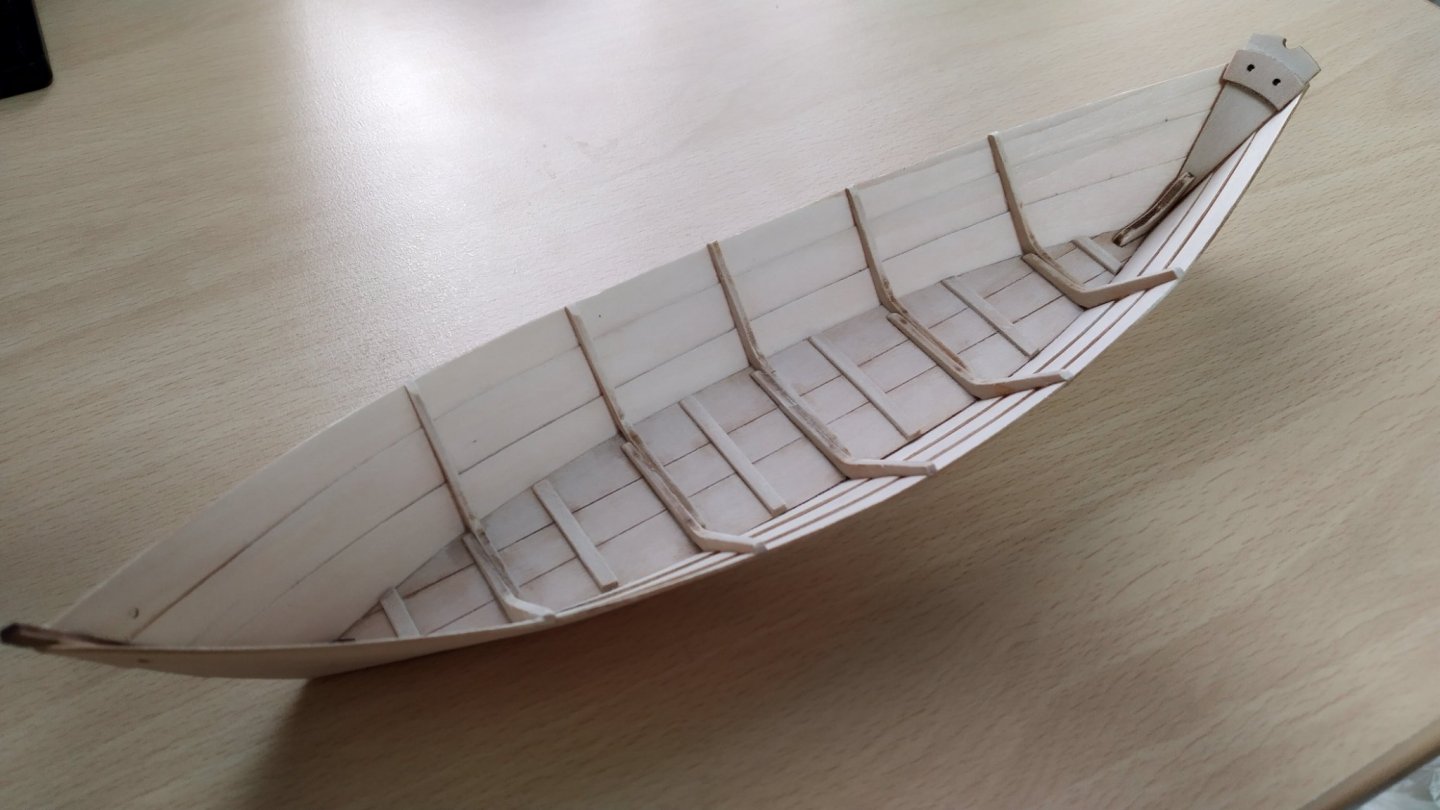
It took a while, but I finally finished my dory. Attaching the gunwale and cap rail showed me how out of alignment everything was, which was somewhat disappointing, but lesson learned. It was about the time that I finshed attaching the gunwale that I realized that the transom was too tall: probably due to the fact that the initial angle of the transom was incorrect as I was planking. So I cut the transom down while also trimming and moving down the stern cleat. The cord supplied with the kit to use for the beckets was just too thick to pass through any of the holes in both bow and stern (the sheen and color didn't really match the more natural fiber-like look of the materia used in the manual), so I found some hemp twine at my local drug store and did an amateurish job at making my own. Another skill to practice. Painting was done using Admirality colors (the only brand I could easily get hold of here) over spray-on Mr. White Surfacer 1000. I was concerned about making the thole pins, seeing as how my kit did not include a dowel, like the manual said, but just a long, square strip of wood. However, sanding it into a dowel wasn't as difficult as I thought it would be. I get the feeling they're a little too long. I took the time to make the frame head irons out of card, and I found that the dimensions provided in the manual were too big, meaning I had fit them to my model. I think the card was a little too thick. Oh well. I was surprised at how well the oars turned out, this being my first attempt at carving and sanding. Overall, the dory was a good learning experience. Despite the many mistakes I made I'm proud of it because it's the very first model of any kind that I have actually finished! The second and third models in the Shipwrights' Series are beside my desk. I'm looking forward to getting started on the sailing pram someday soon. Thanks to everyone who offered their advice and kind complements.

- 10 replies
-
- 6
-
-
- First Build
- Model Shipways
- (and 2 more)
-
Ryland Craze reacted to a post in a topic:
Lowell Grand Banks dory by bbb555 - FINISHED - Model Shipways - 1:24
-
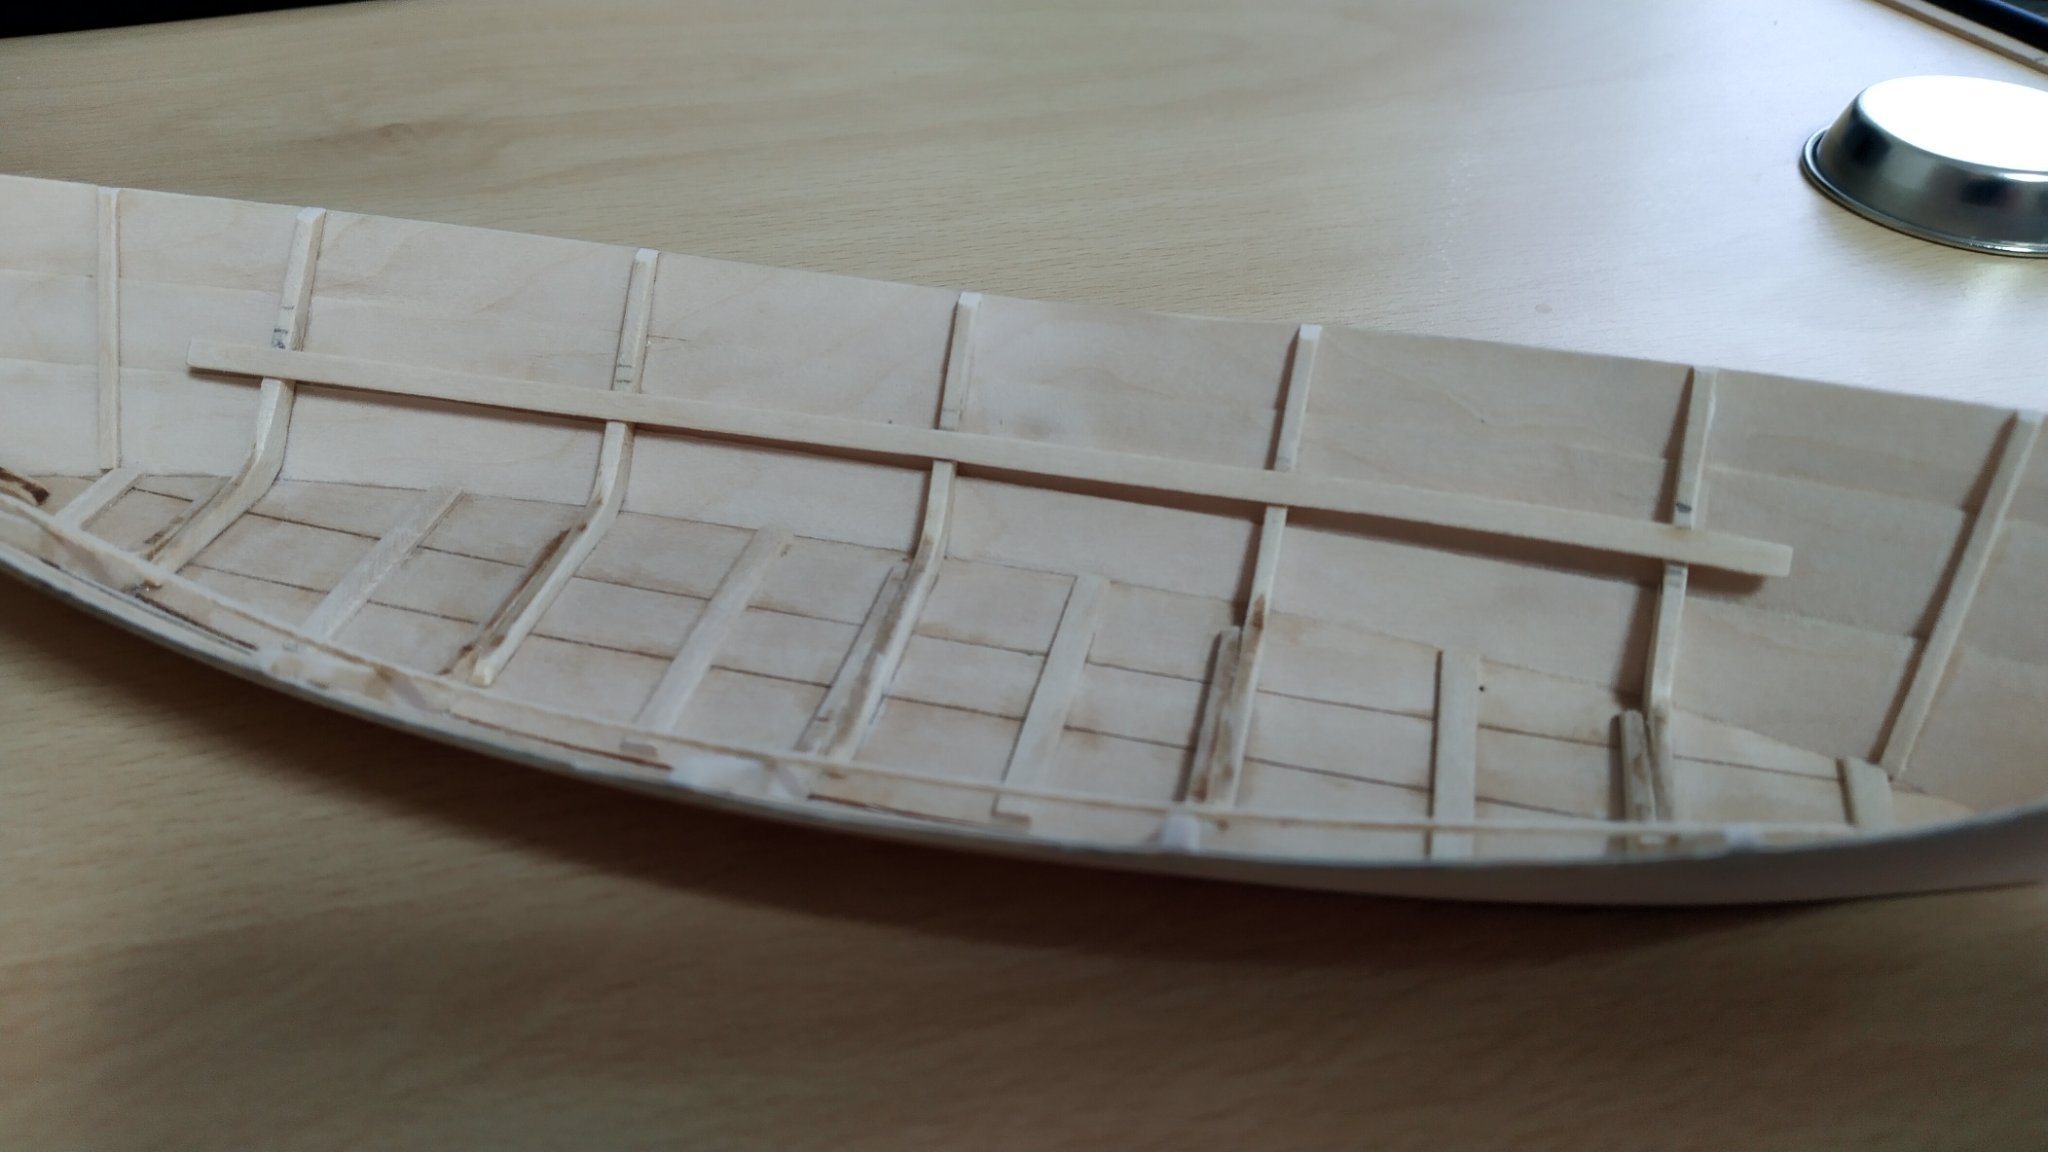
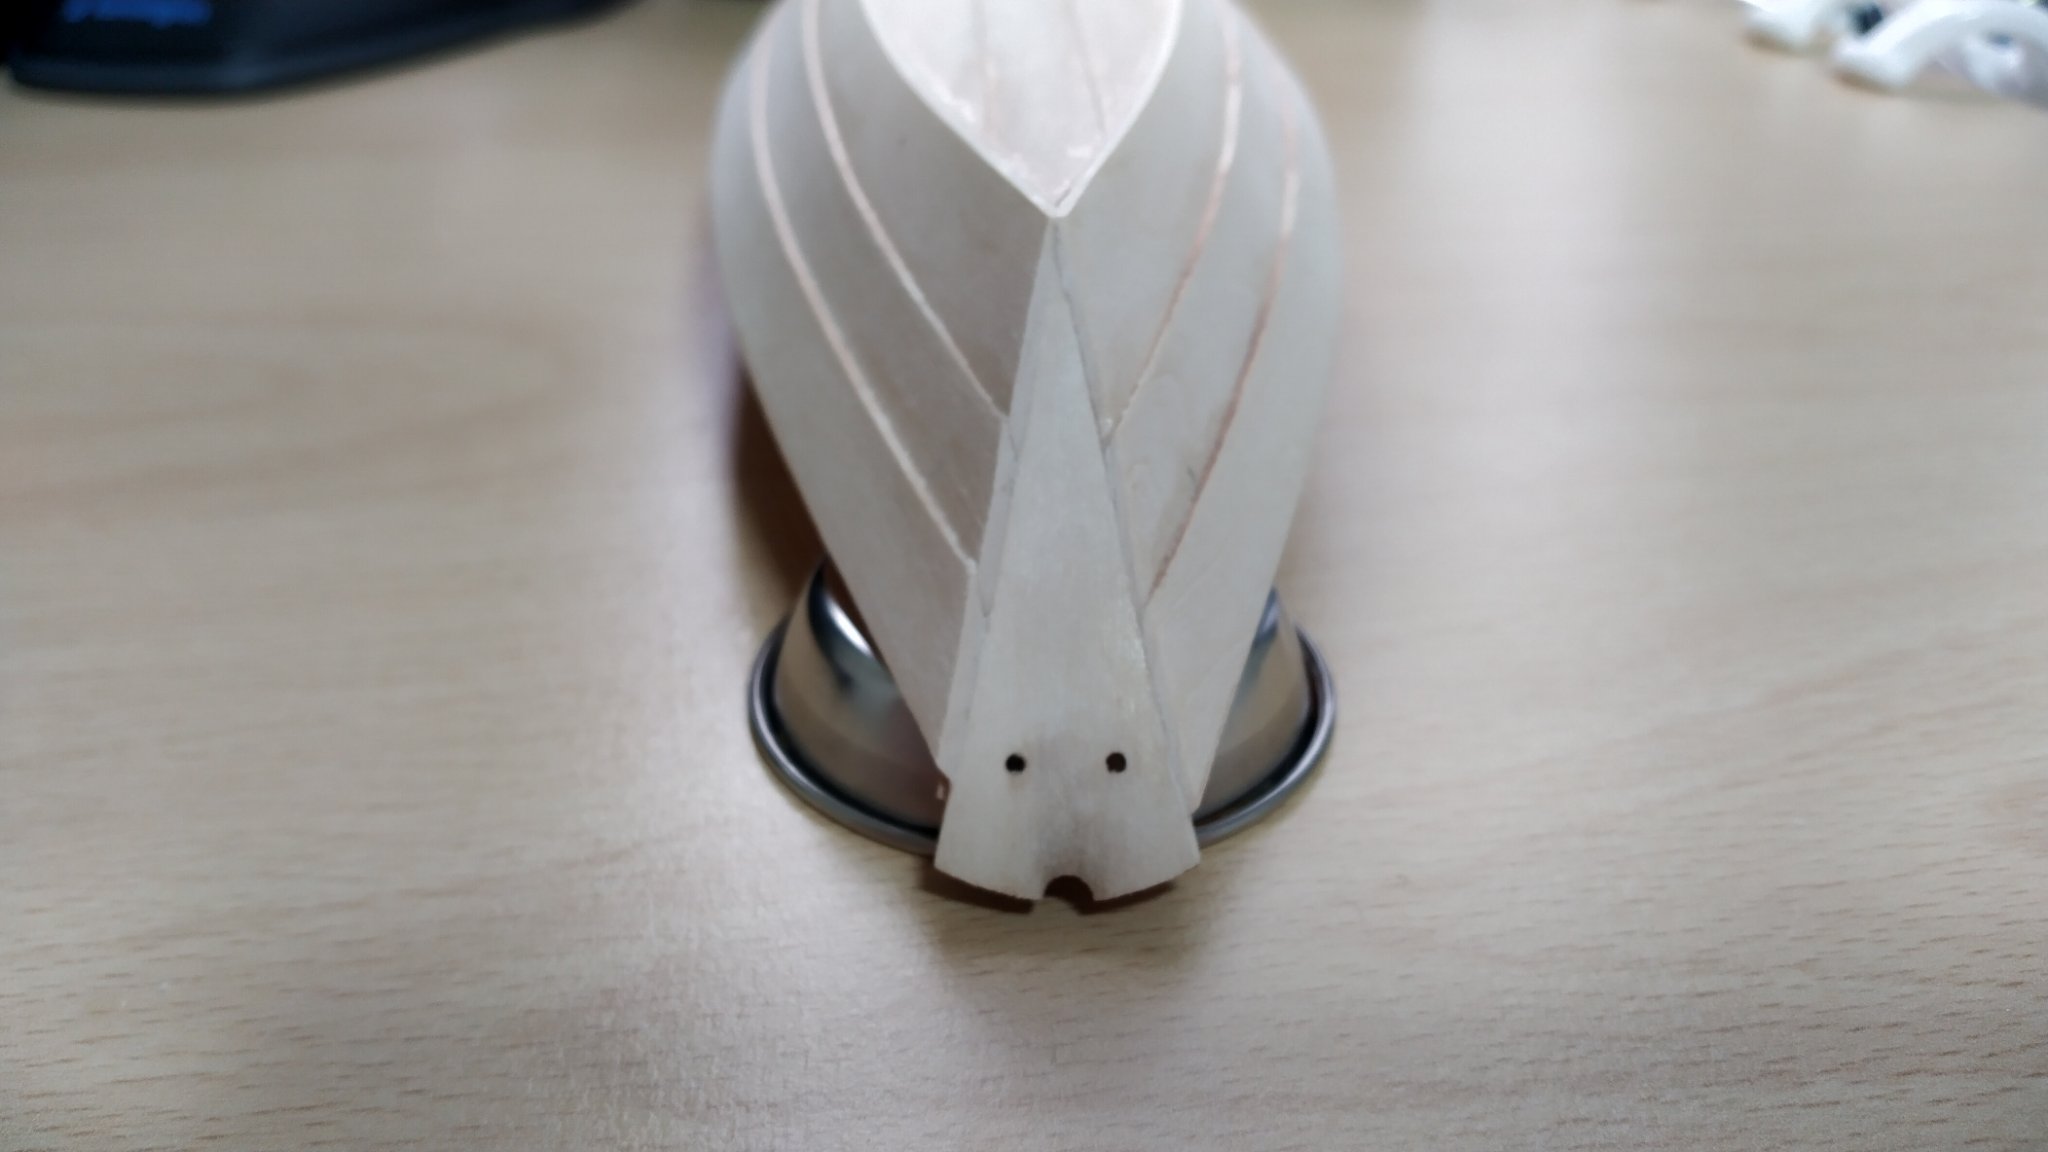
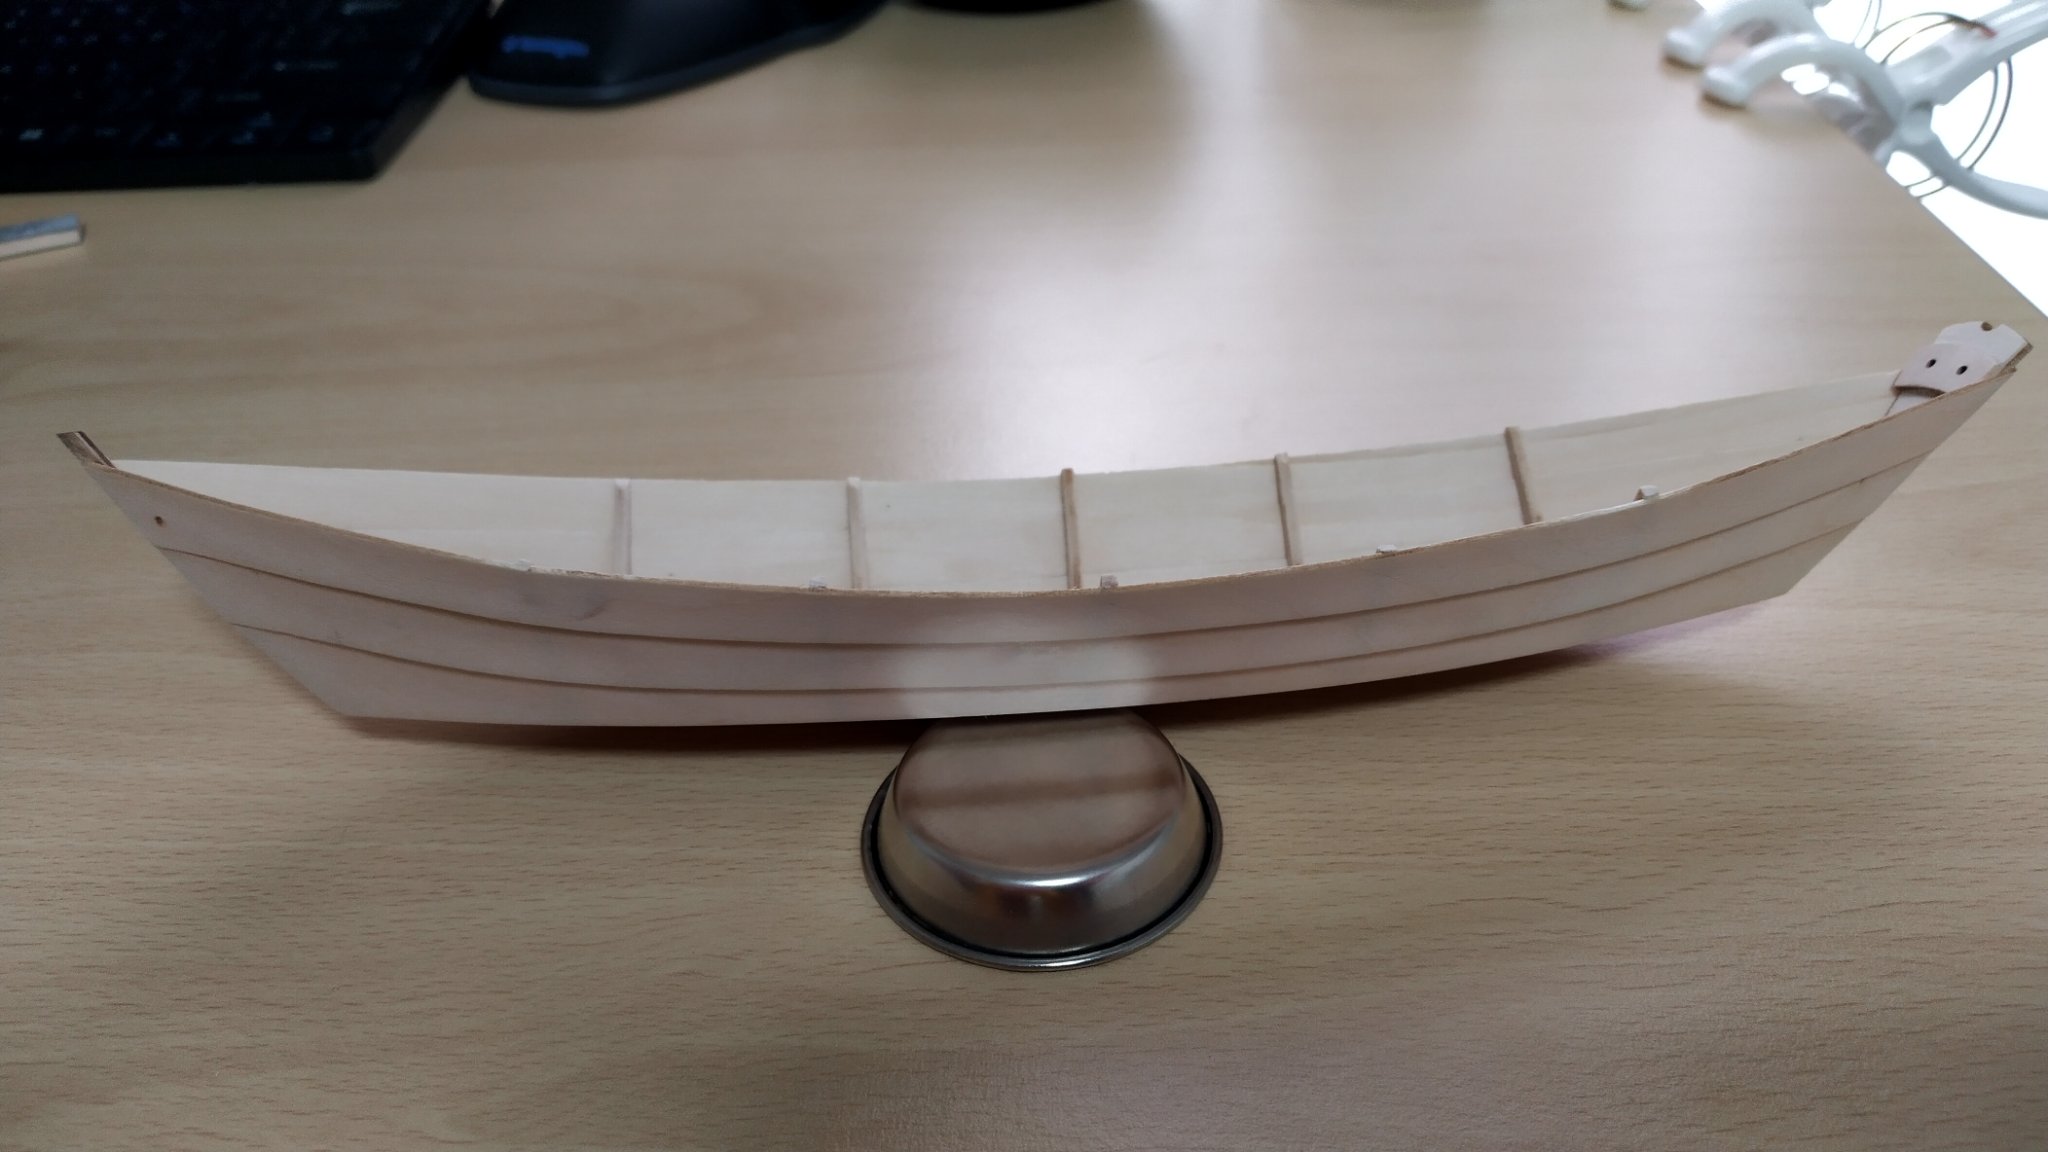
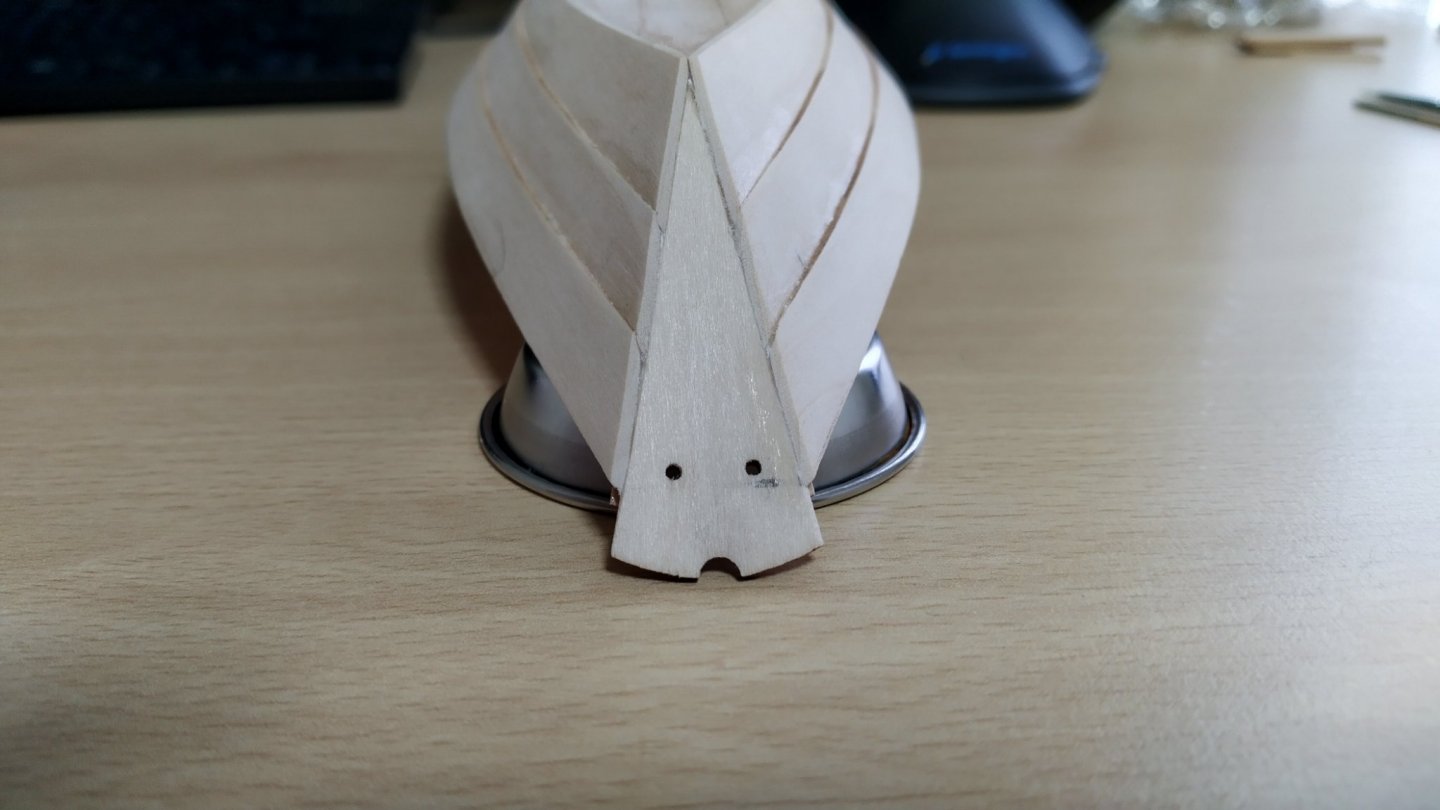
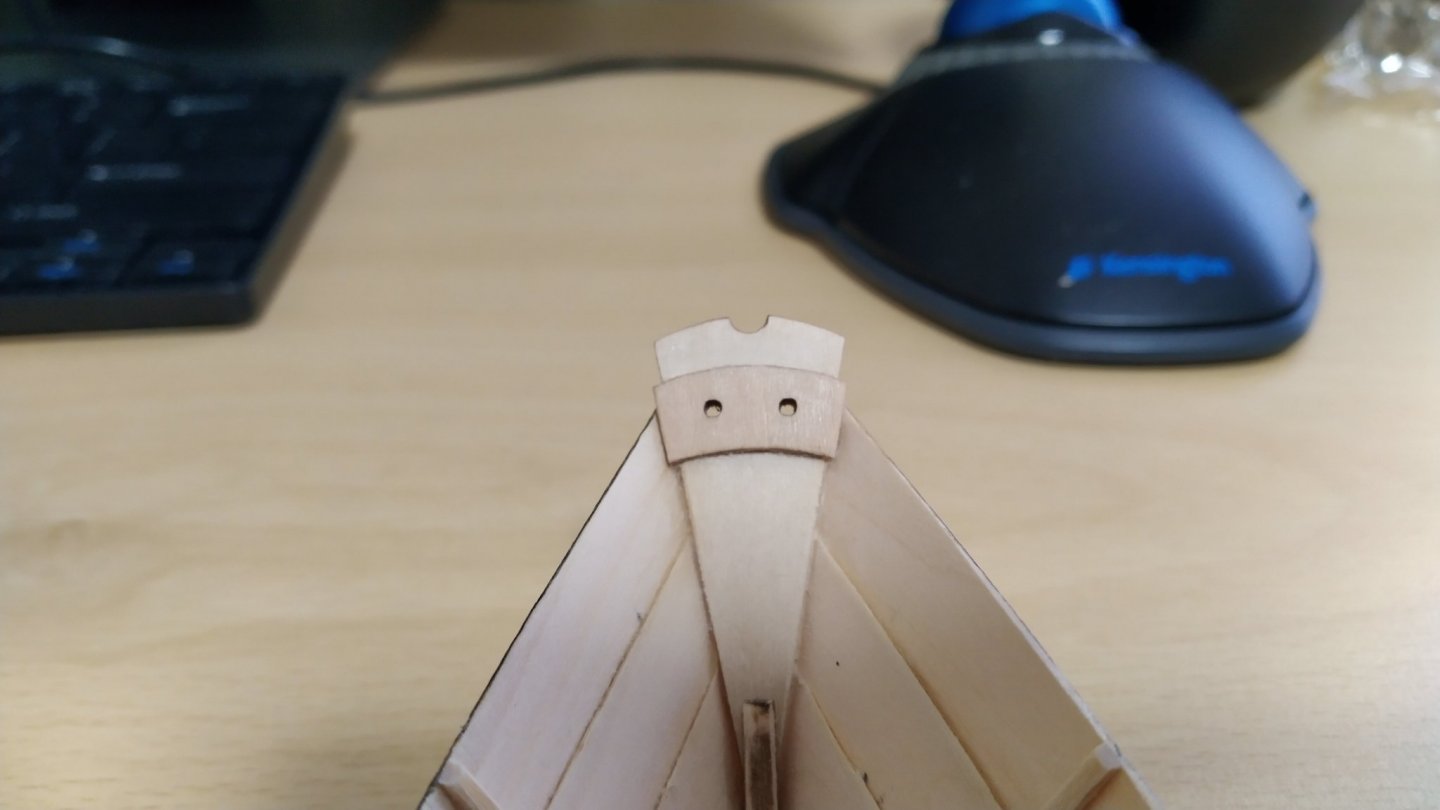
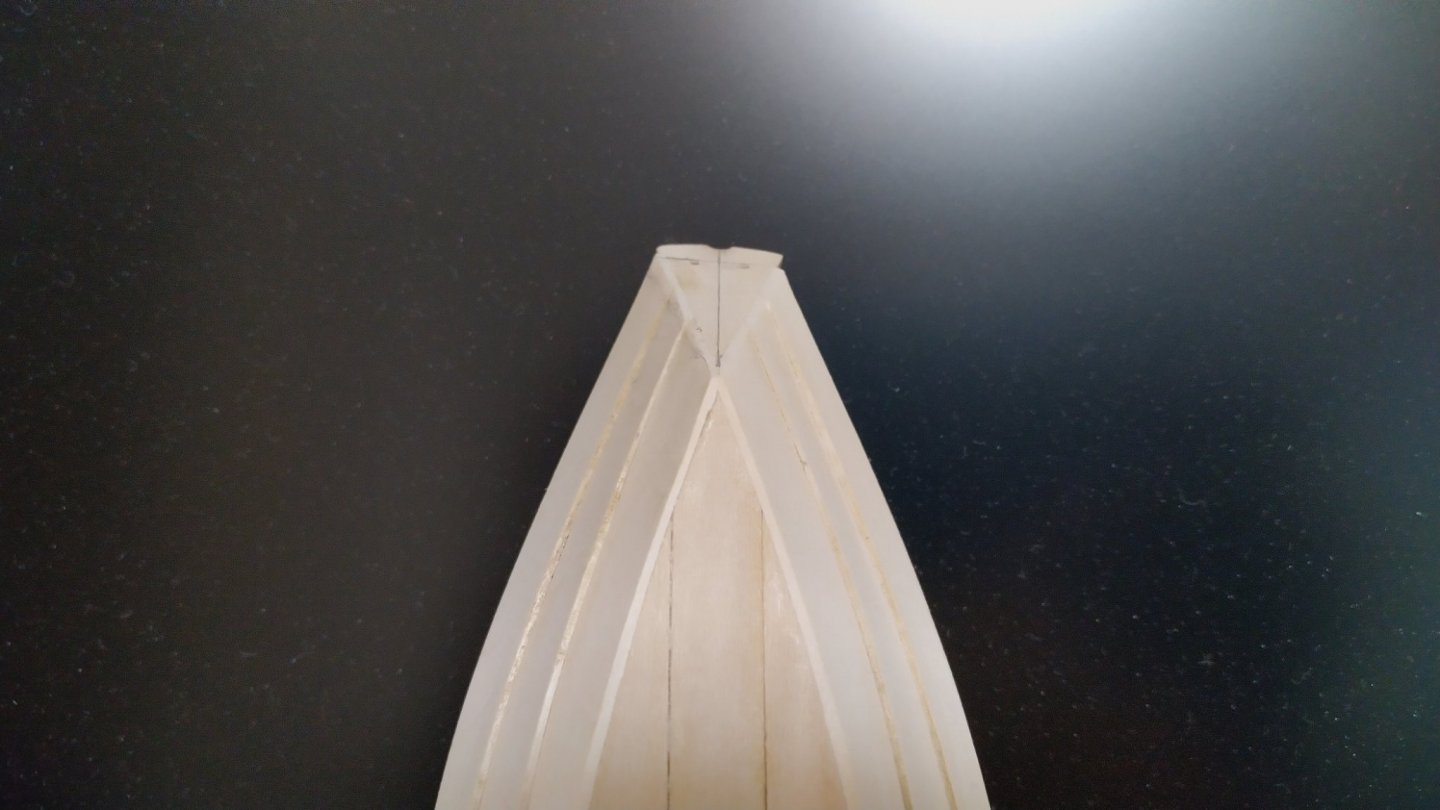
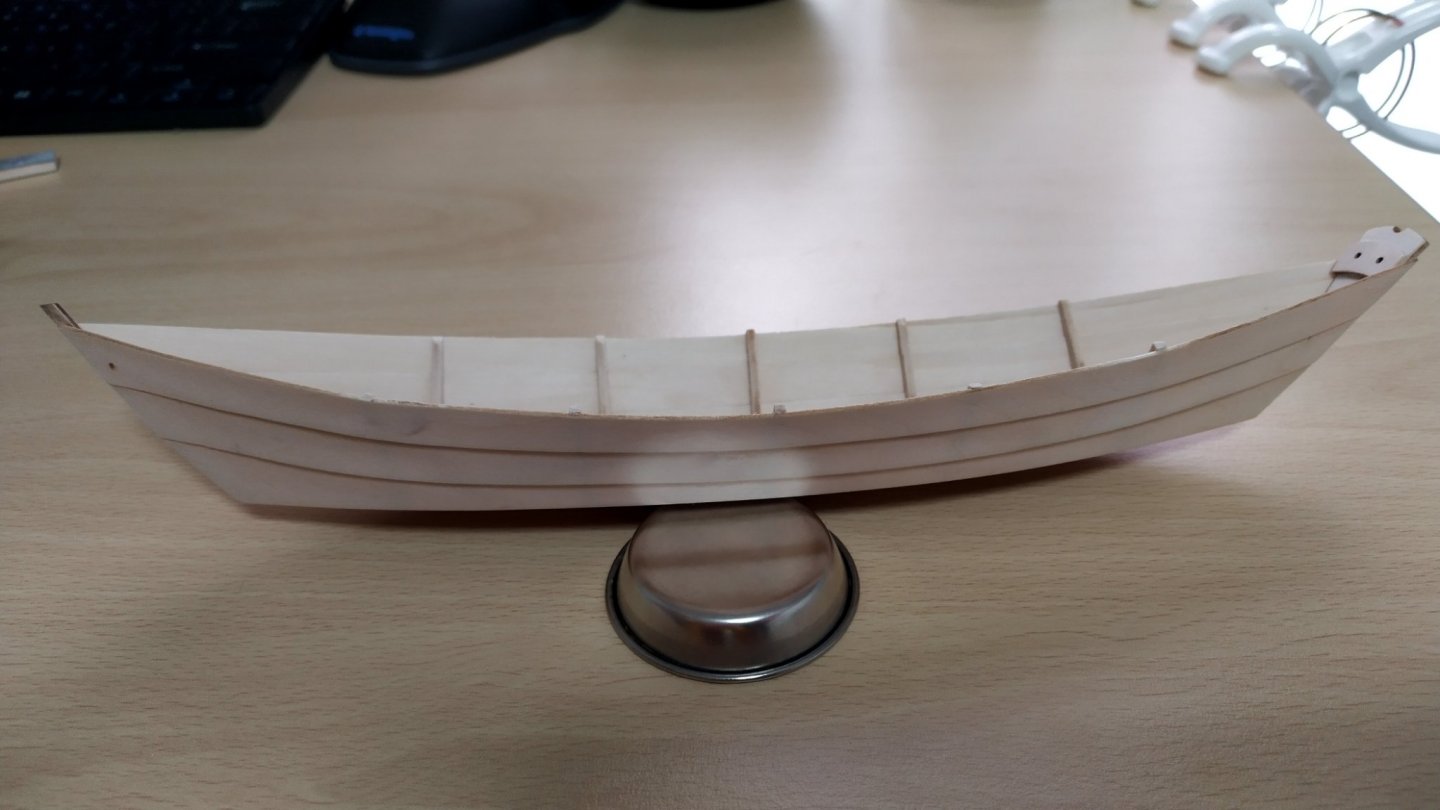
Finally finished reworking the transom, and moved on to attaching and shaping the false keel and the seat risers. Ryland, thank you for the advice and interpretation, it helped a lot. And, yes I need to develop my photography skills as well as my modelling ones😄 Here's the reworked transom. A bit better than before. Need to fill in all the tiny gaps around the transom. Next, the false stem. Per Ryland's recommendation, I cut a 1/8" strip from the sheet that had the bottom cleats. Glued it on and shaped it carefully with sanding paper... As I was doing this I discovered how the starboard side of the bow is a little less curved than the the port side... Should have planked more carefully, I guess. I'm pleased with how the false stem turned out, though. While the photos of the model in the manual seem to show the stem sanded down quite flat, I like the look of the real-life dorys I saw online with "sharper" stems. So, I'll be leaving it as is. Finally the risers. The manual says there are marks on the 1, 3 and 5 frames to align the risers with, but the only marks I found were on the plans at the front, and none on frames themselves (unless I didn't notice them when I sanded them down). So, I used the sheet of wood that the frames came from as a stencil, lined the empty spaces where 1, 3 and 5 were on top of the drawings at the front of the manual, then transferred the marks on to the wood sheet. Then I traced all three frames onto a piece of paper, cut those out and used those as templates to transfer the marks to the actual frames. After much adjusting, measuring, remeasuring, test-fitting and sanding the thwarts, I got a good idea of where the risers should be attached and glued them in, praying that they would be at the right height, and that the thwarts would be parallel with the bottom. And they were. However, when I did another test fit of the thwarts, I found that the hull was too wide at frame 3 and the thwart there just slid back and forth. So I wet the frames, and am compressing the area with a somewhat tight rubber band. I plan to let it sit for a few days like that and hopefully it will squeeze the hull in at that point so the thwart will stay in place. Thank you. It's turning out to be a lot more fun than I expected. Have to keep my eye on the clock though, or else I end up spending all day on it😉 Now on to the bands and gunwale.

- 10 replies
-
- 4
-
-
- First Build
- Model Shipways
- (and 2 more)
-
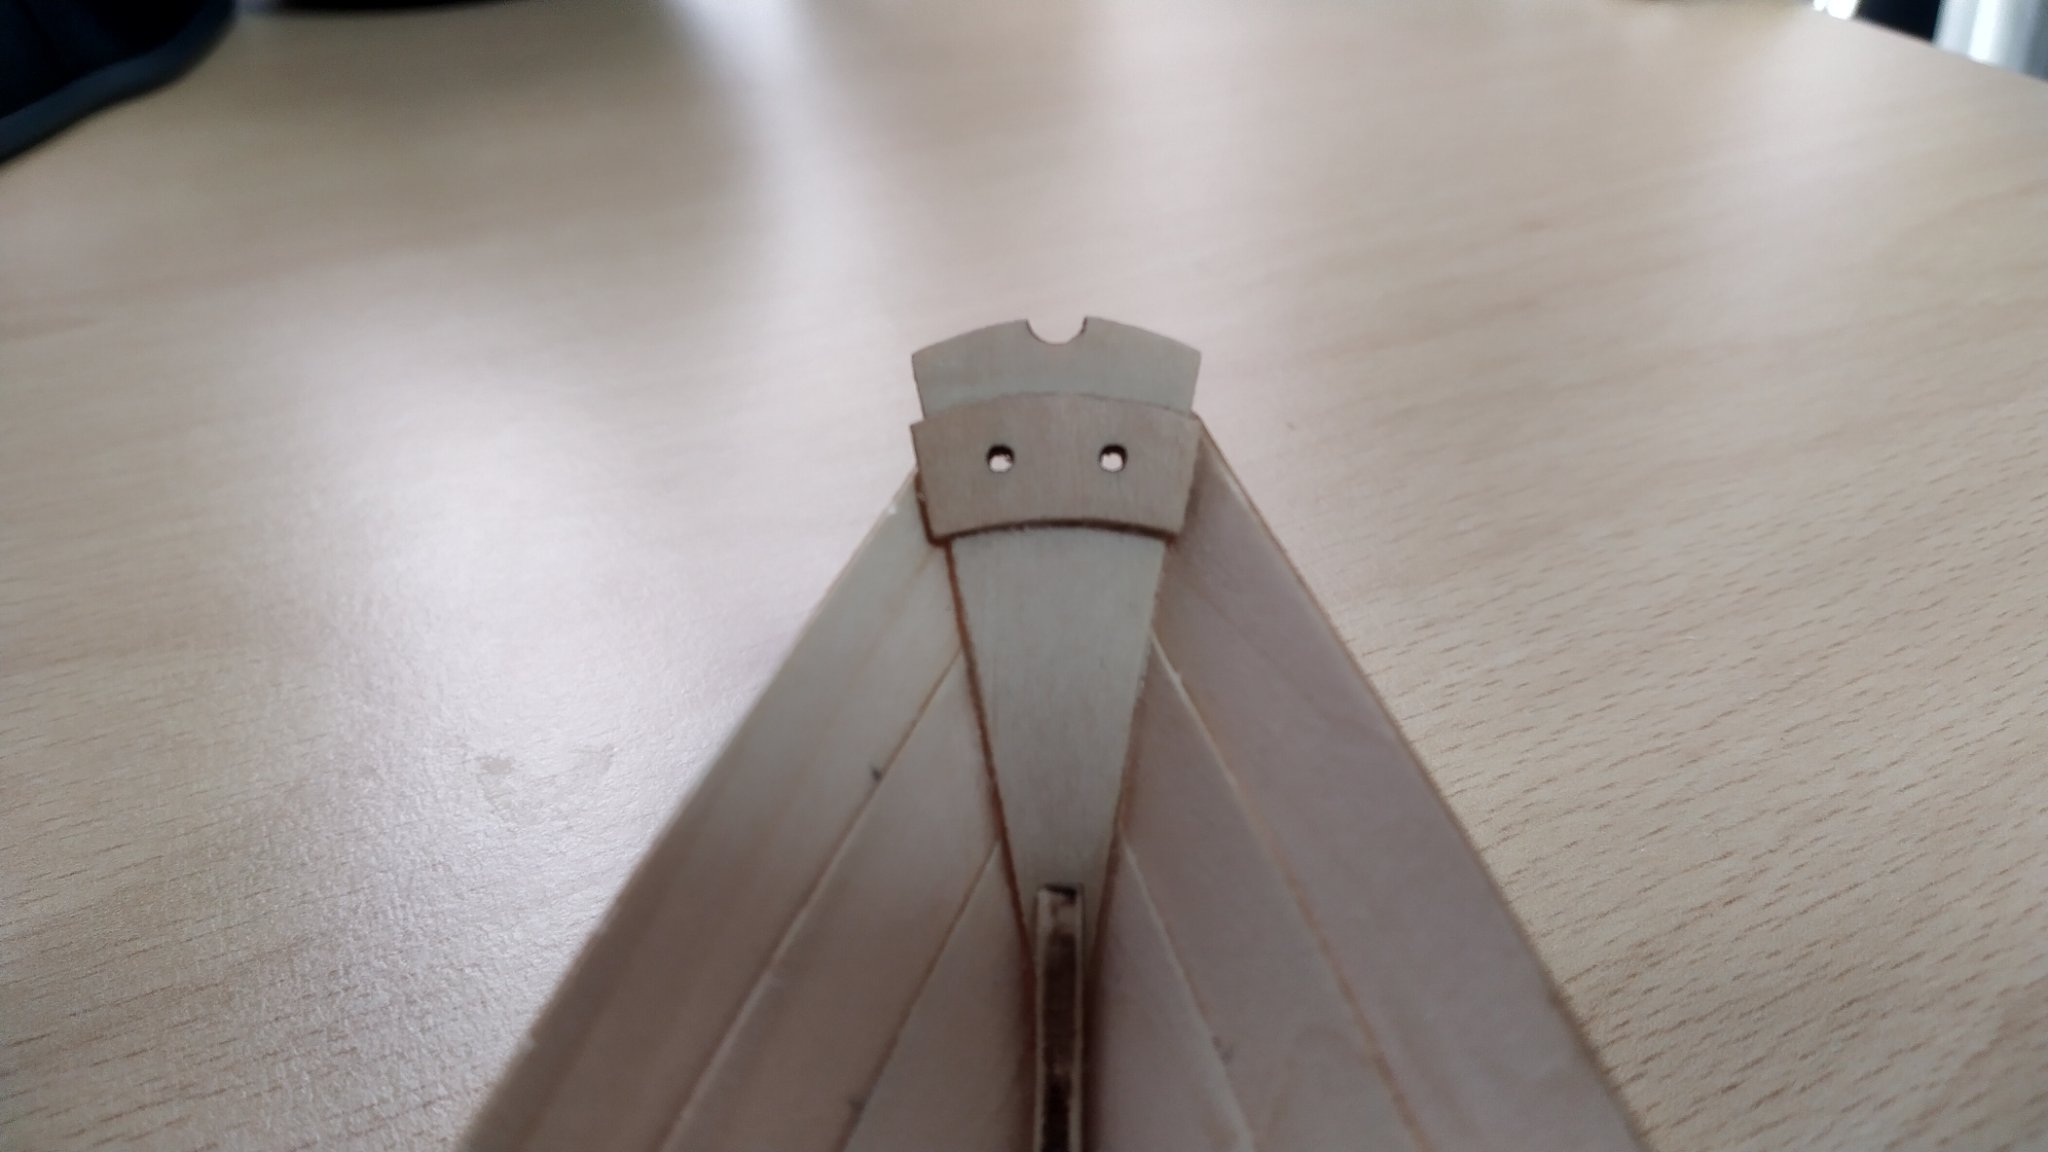
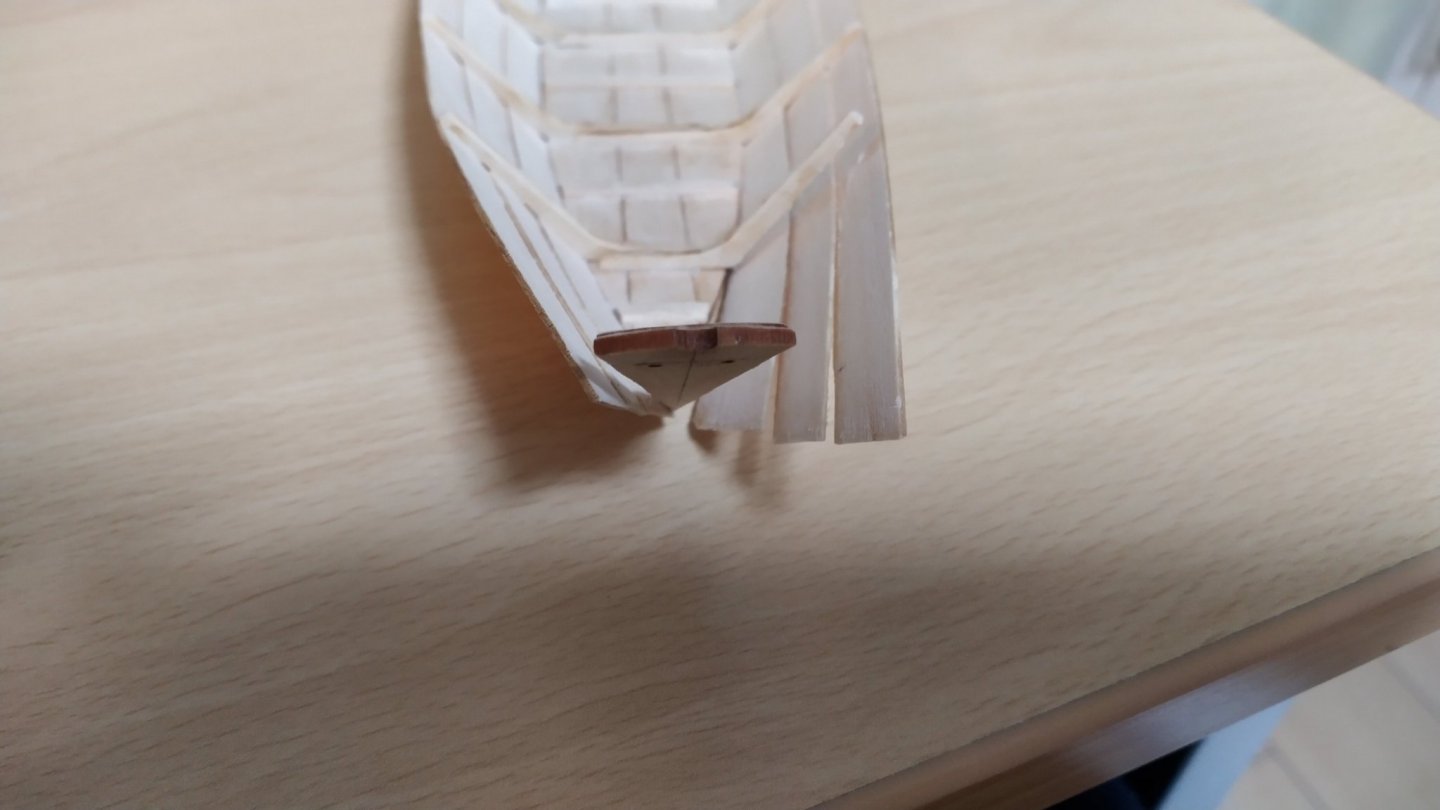
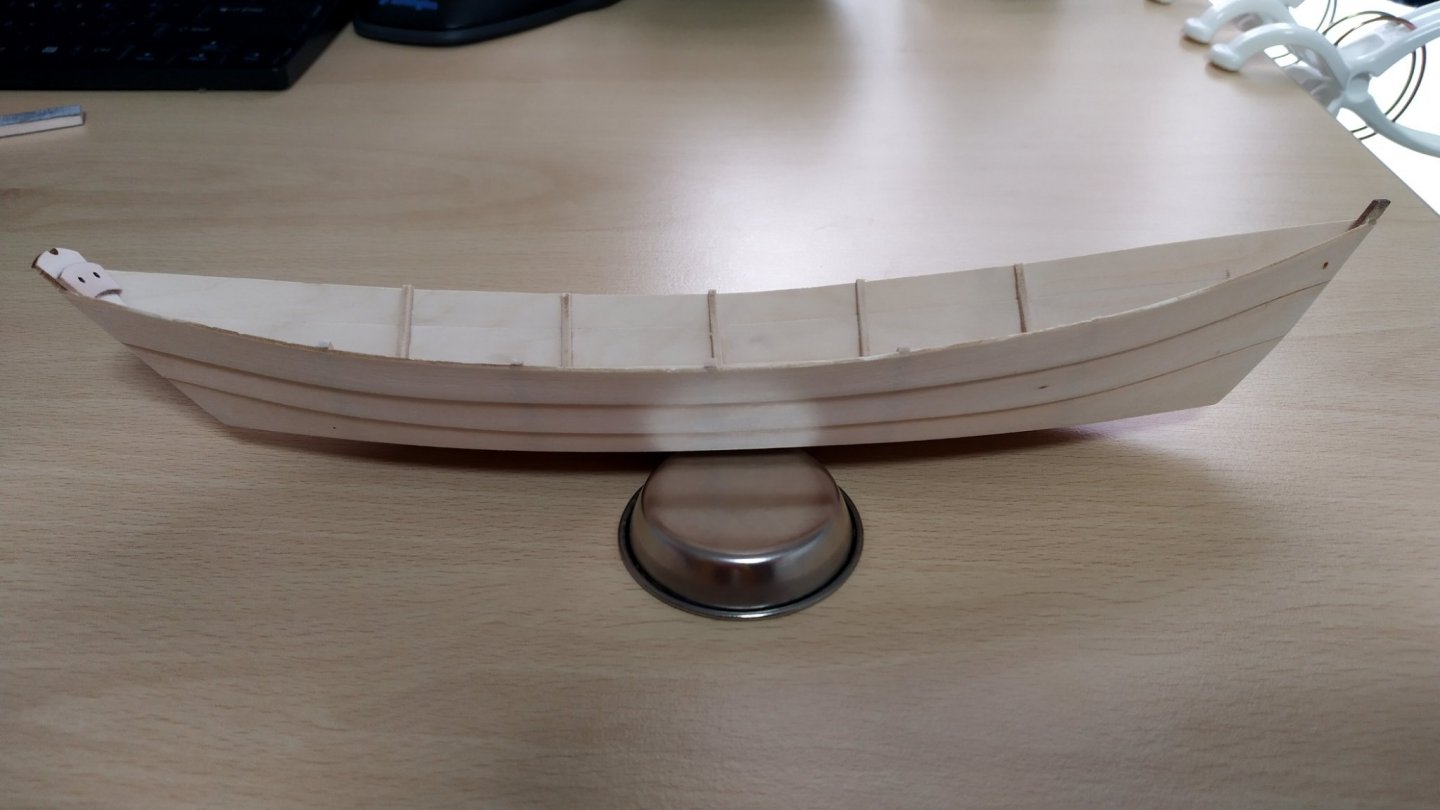
After a close look at the transom, I discovered it was twisted (hard to see in the photo, but the port side edge was further back) which seems to be the reason for the uneven plank height. I then realized there was more than enough room to move the transom forward, and readjust all of the planks on both sides. So now I'm using 99% isopropyl to undo everything. Then I'll move the transom forward and carefully readjust and reattach all of the planks.
- 10 replies
-
- 3
-
-
- First Build
- Model Shipways
- (and 2 more)
-
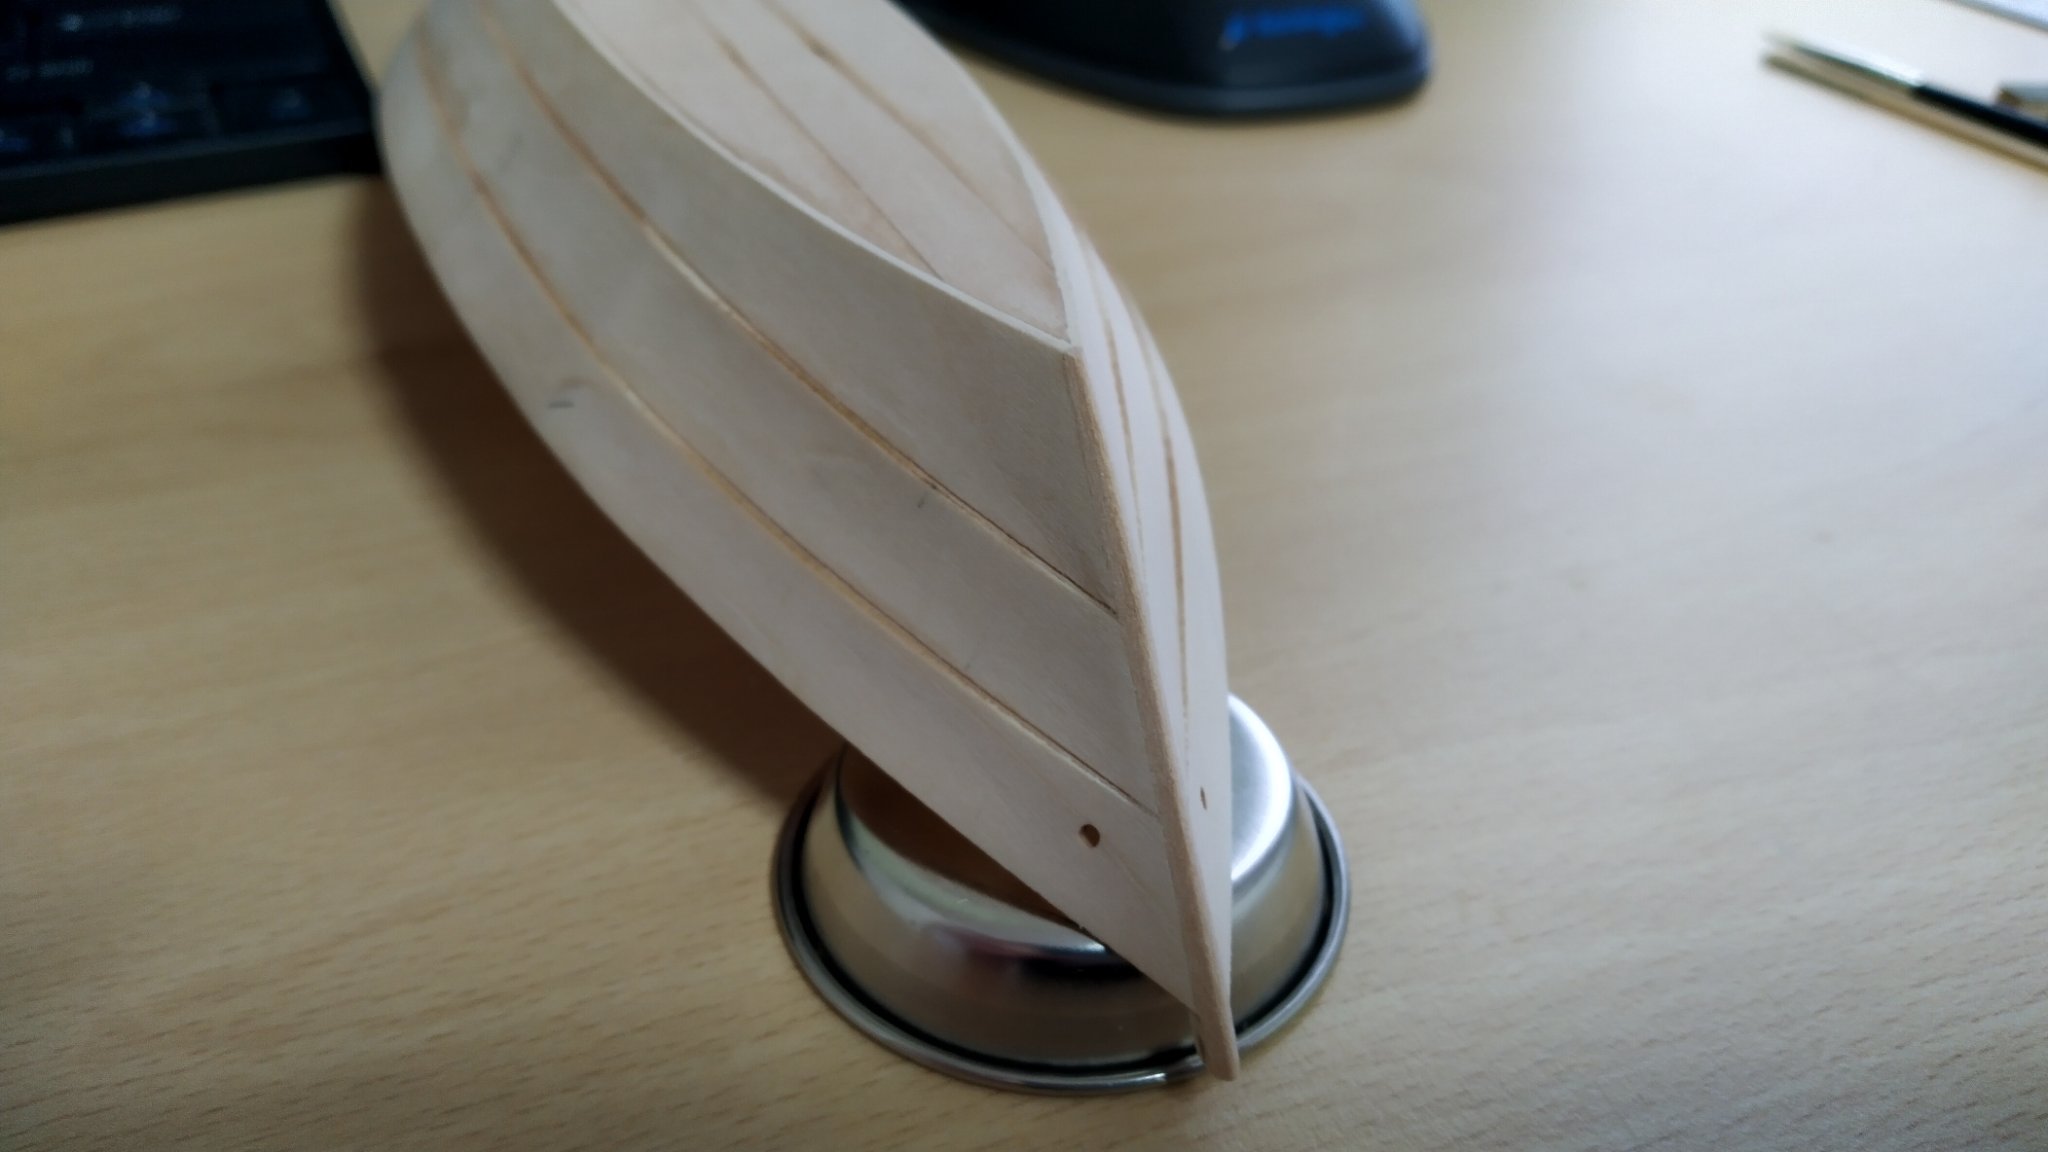
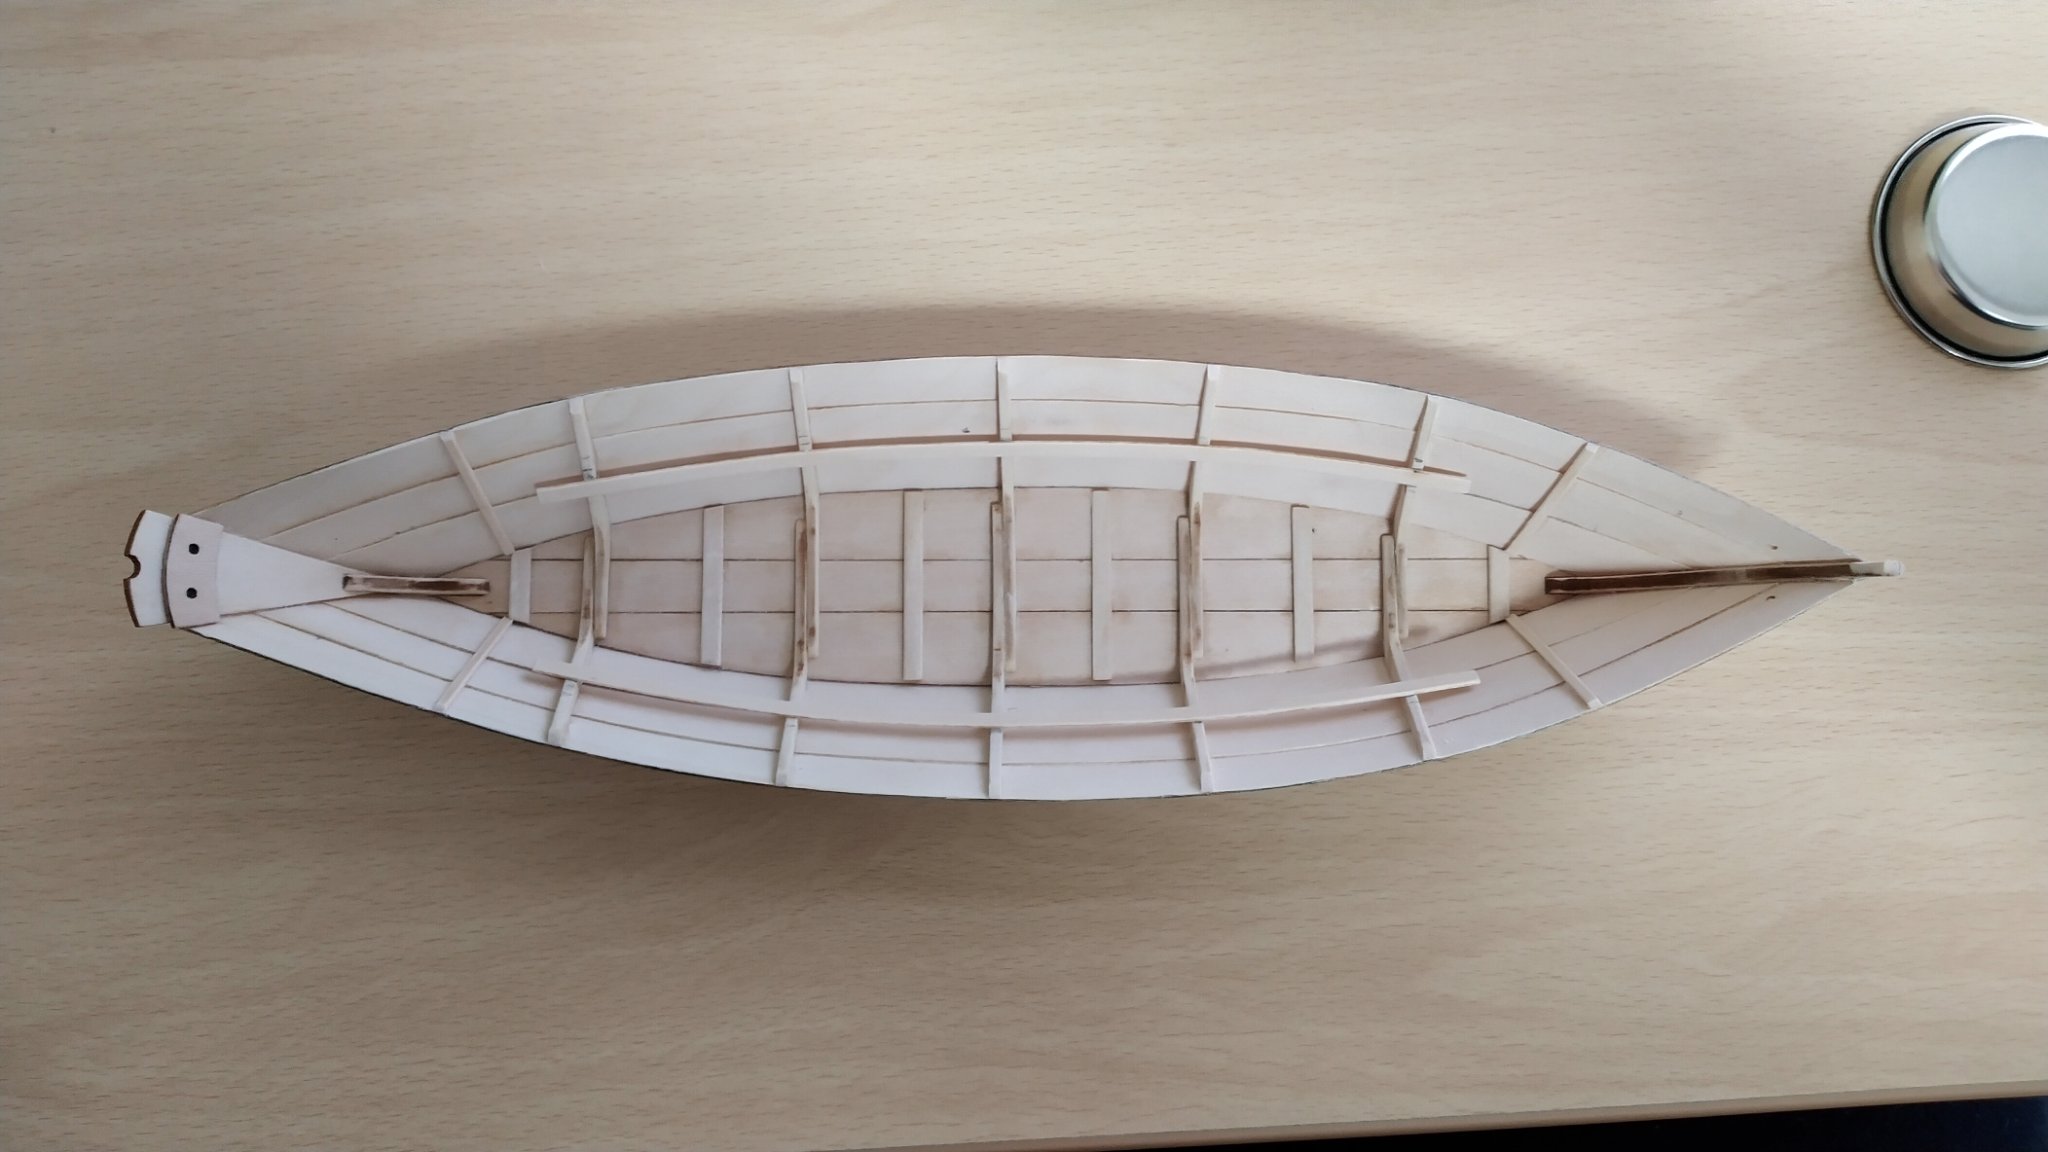
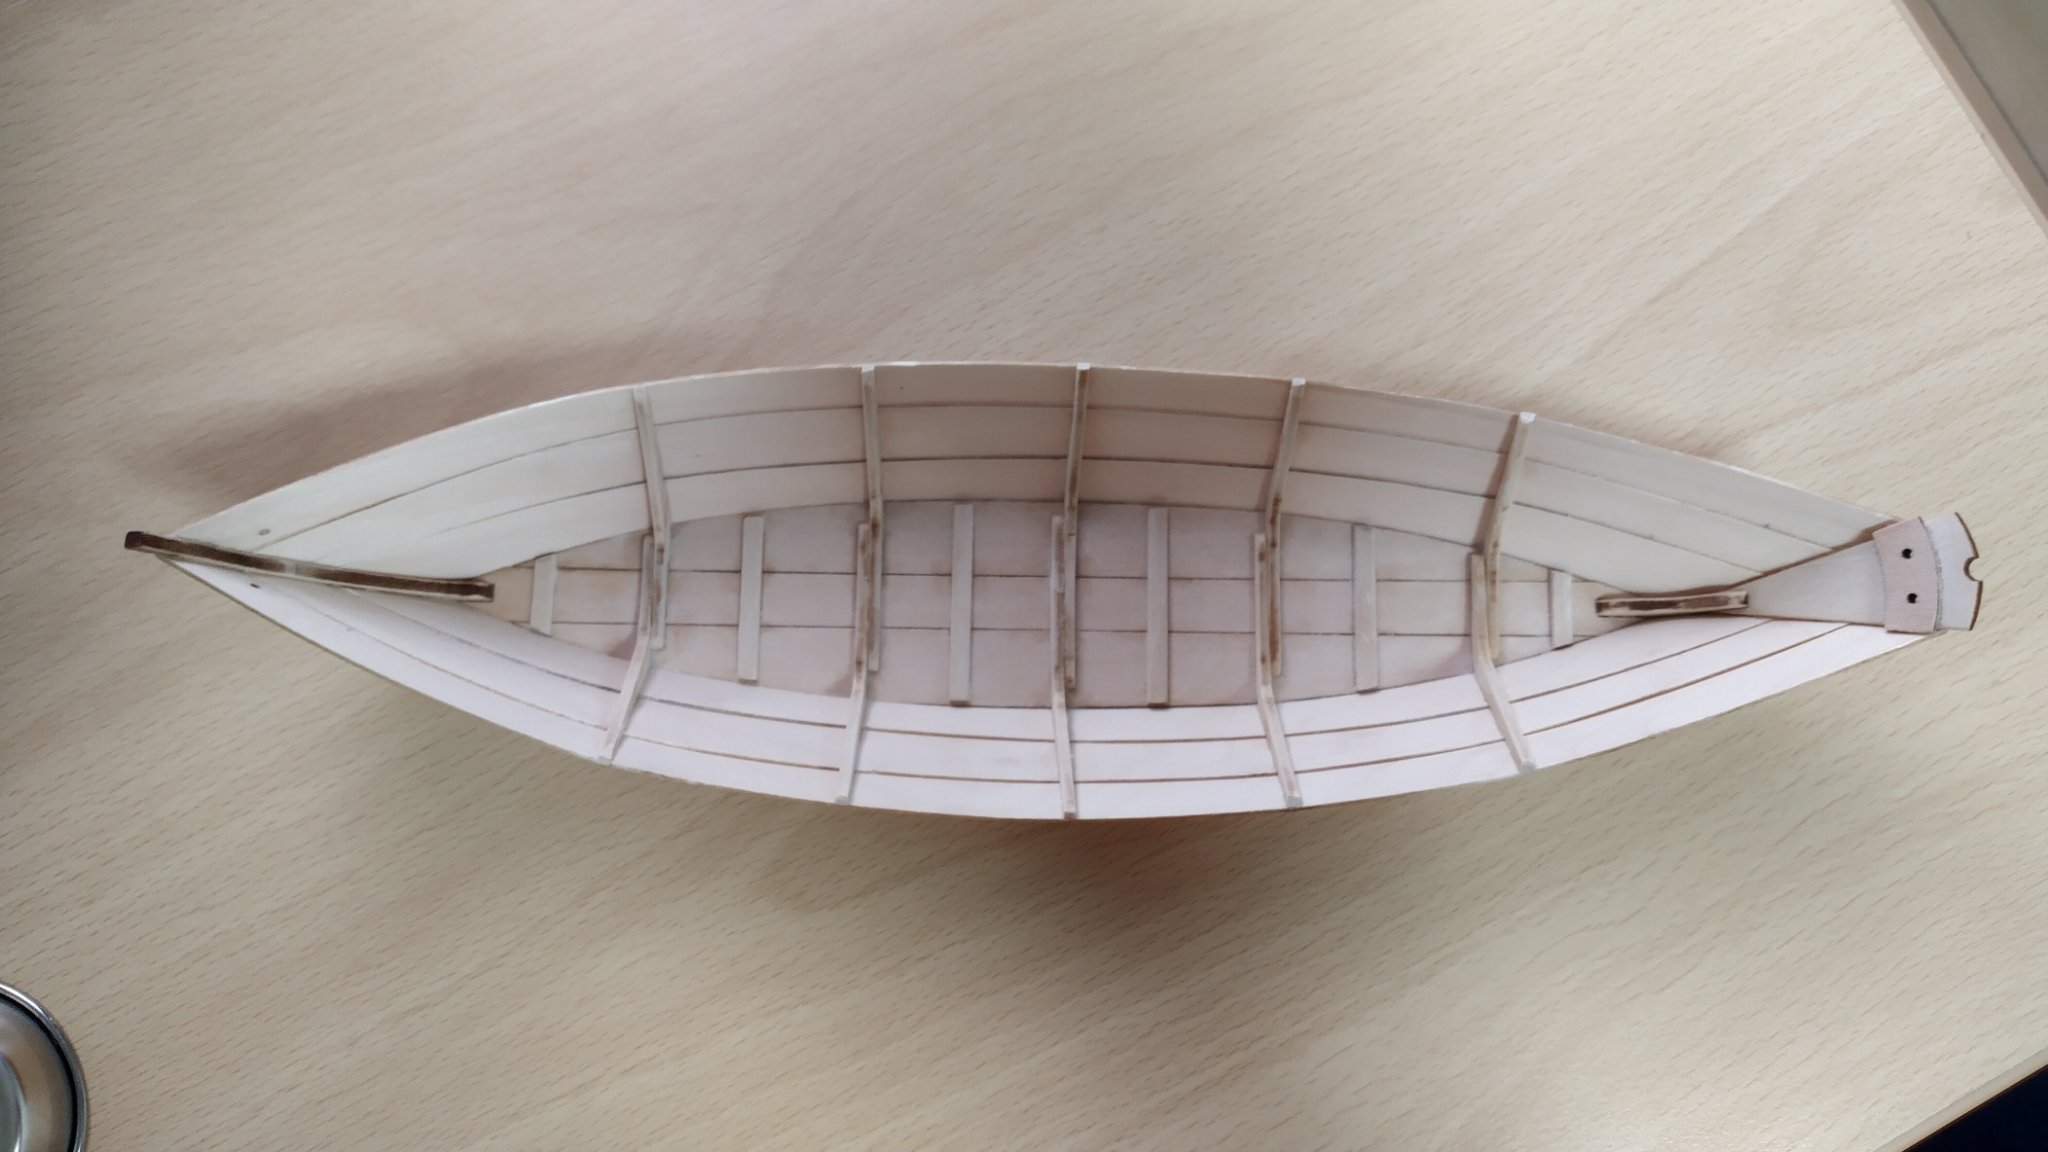
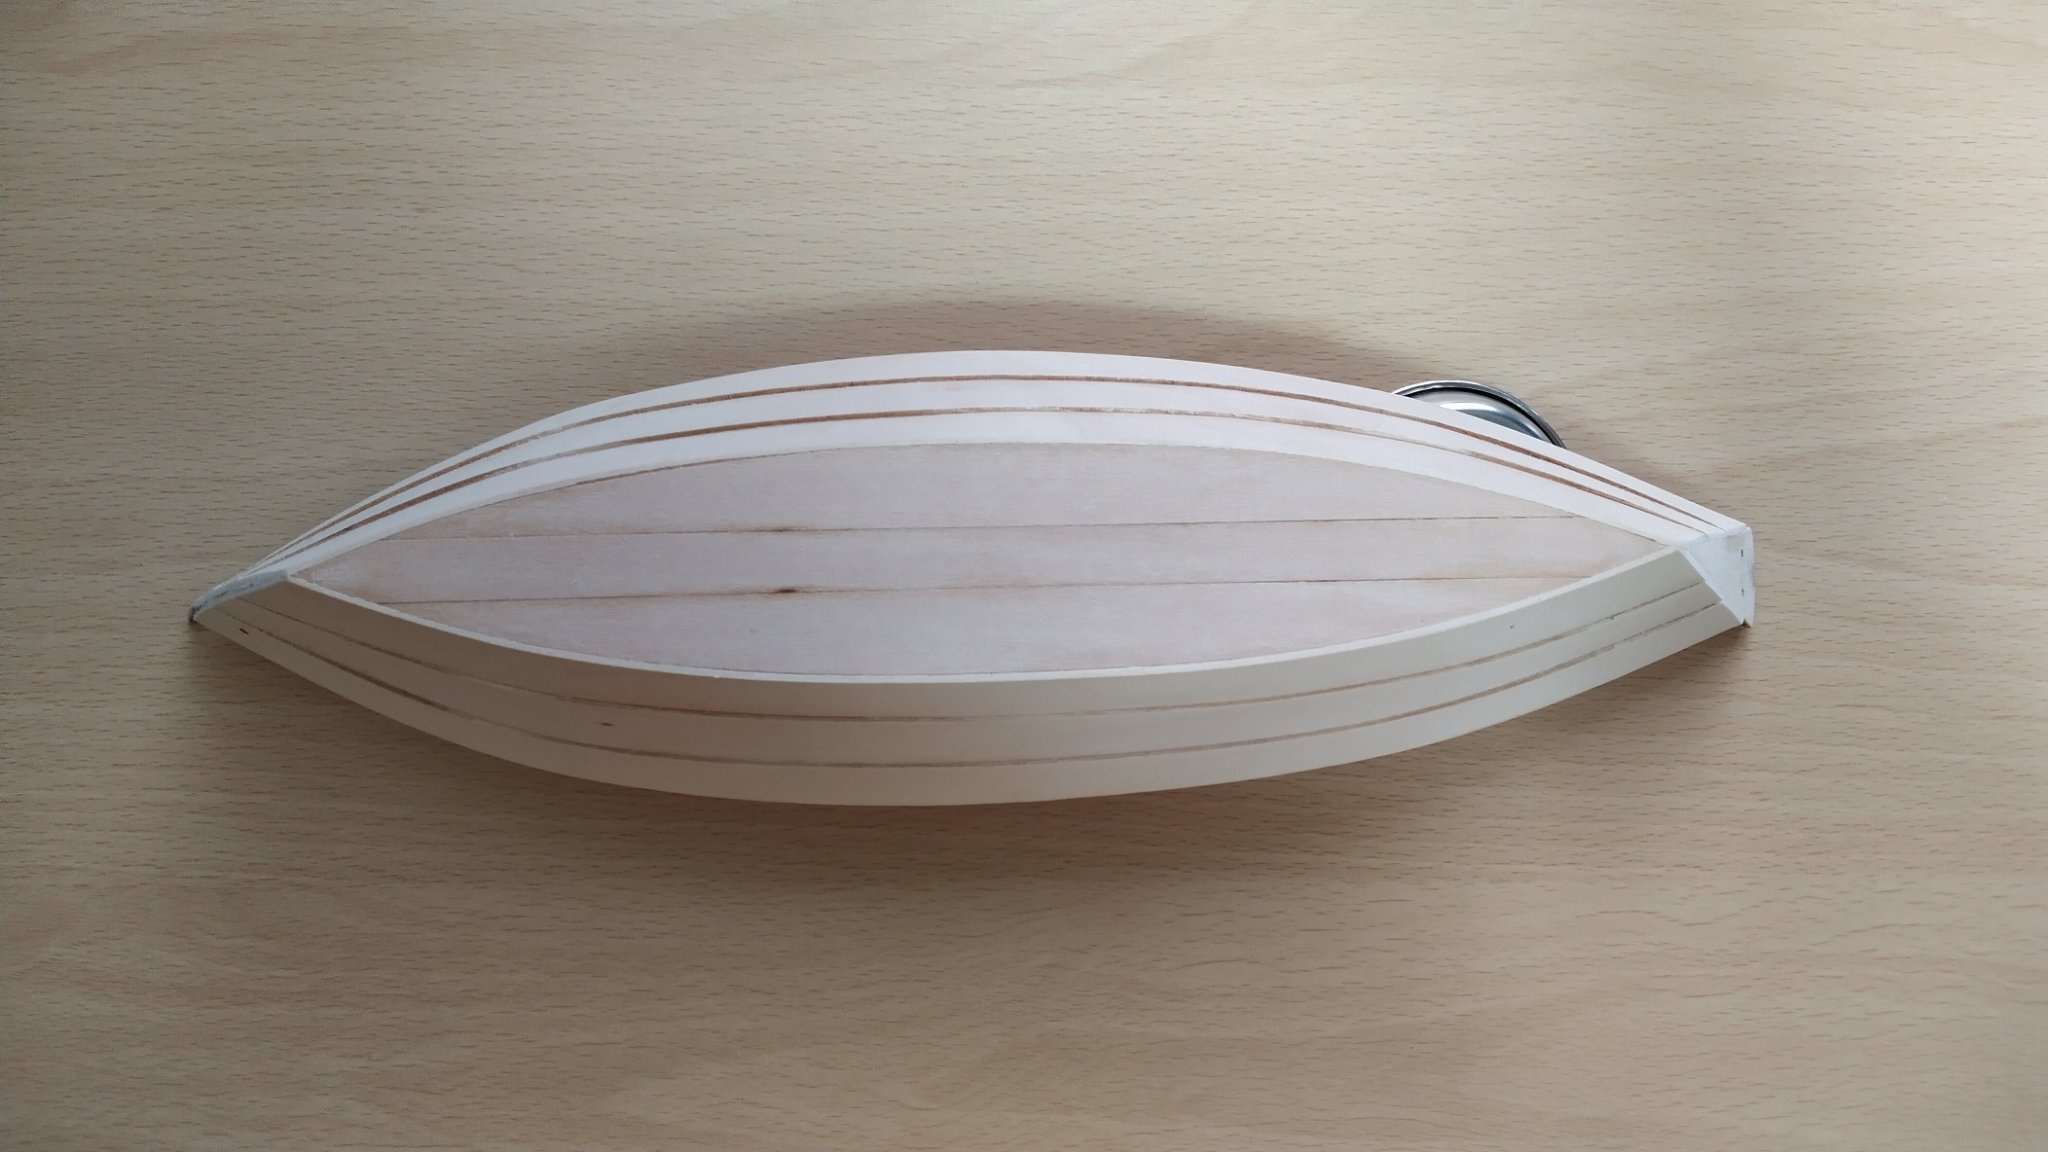
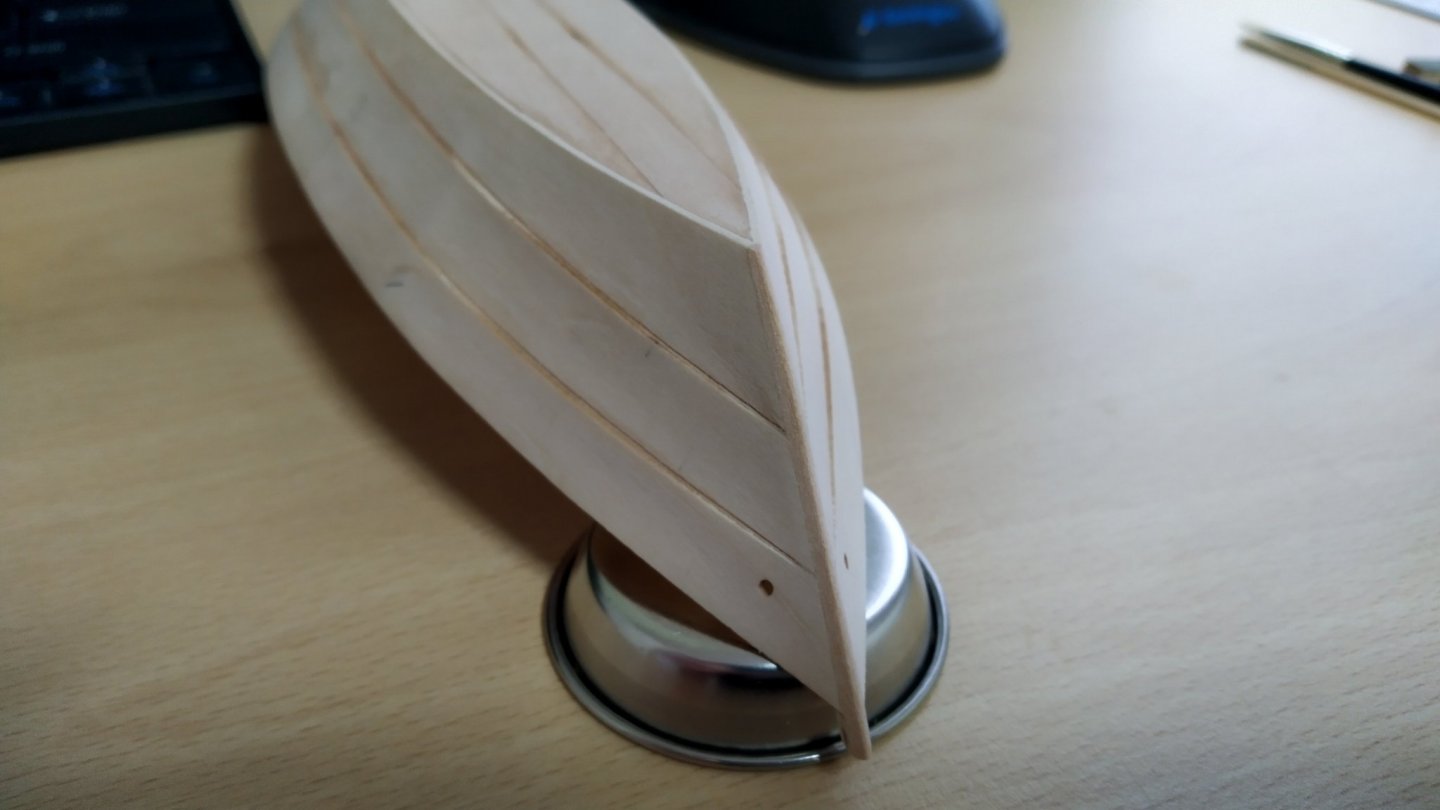
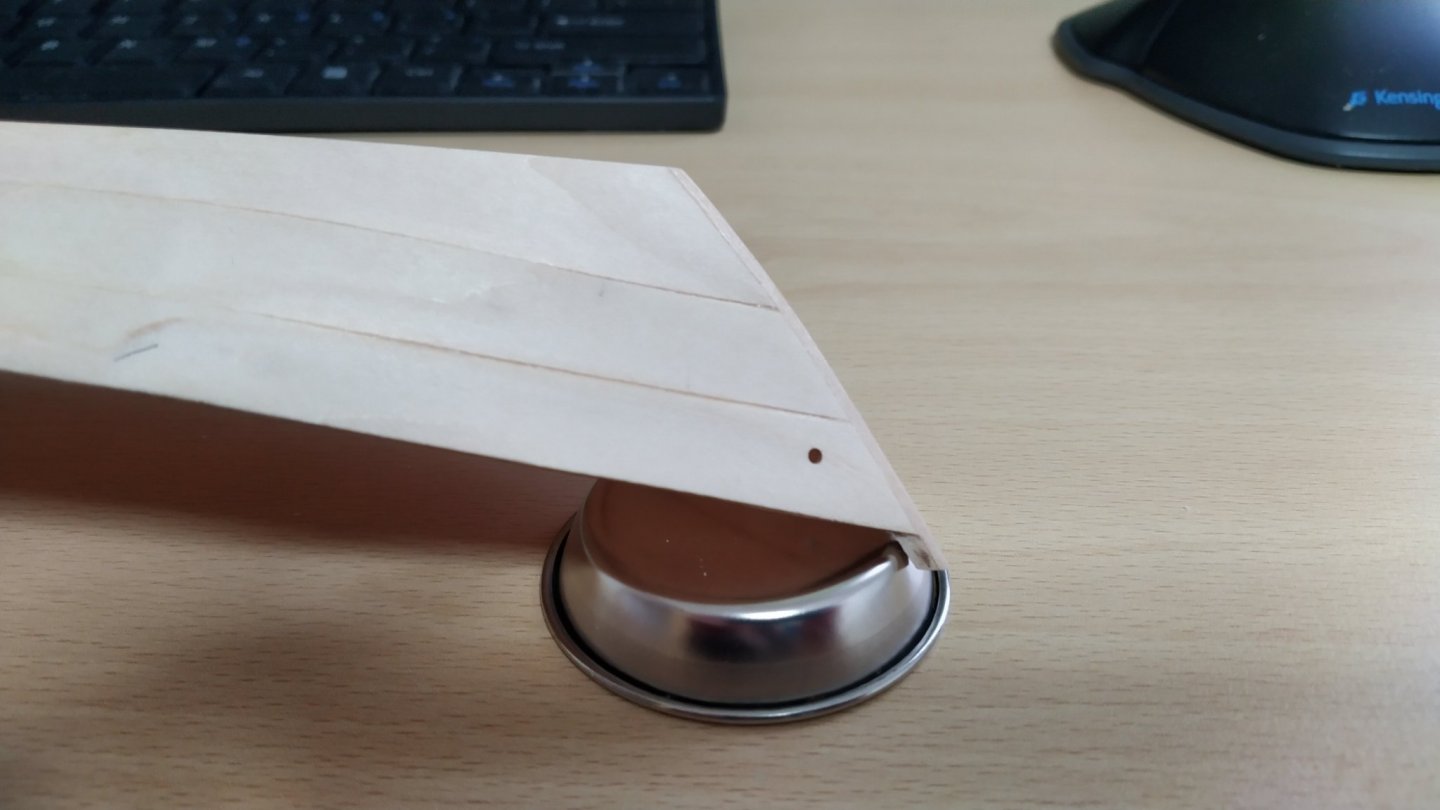
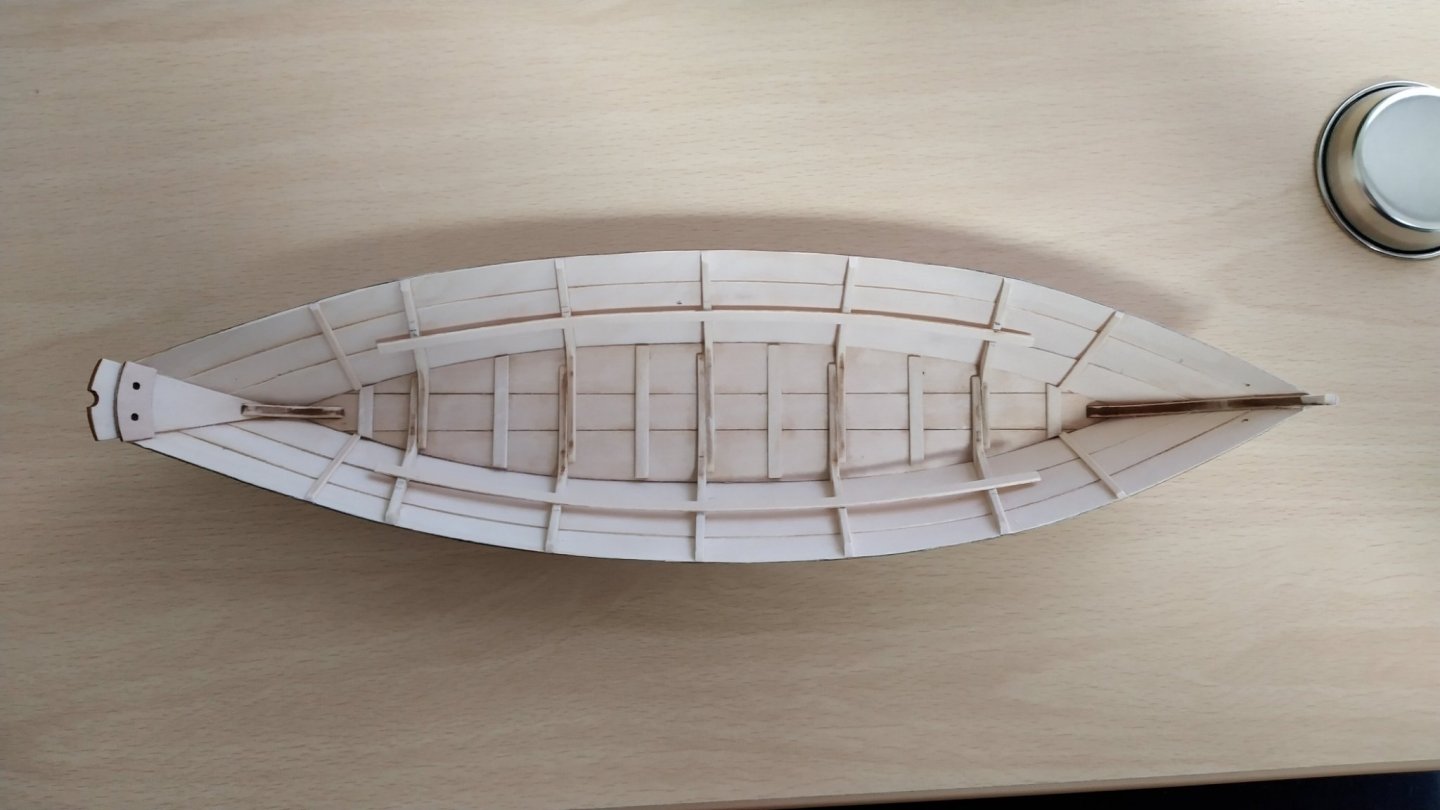
New modeller here with my first build log. Unfortunately, I stumbled upon this site after I finished planking the dory, so this log will probably be of little use to anyone starting from the beginning. Here's where I am so far. I just finished freeing the boat from the building board and cleaning up plank edges at the bow and transom. Everything looks okay from far away... Oh my. As you can see, the port side planking is several millimeters higher than starboard. I think this is partly due to worrying about getting the edges of the planks flush with one another that I overlooked whether both sides were at the same height when gluing. As a side note, I found the transom holder did not do what its name implies. I followed the instructions regarding the assembly of the hook piece (don't glue) and the transom locator blocks on both sides (do glue), and silly me assumed that pressing the transom in would magically it lock in place. Well it didn't. Before and during planking, the transom would keep popping out, so I was busy worrying about that as well, and paid no attention to the height of the planks. Anyway, I seriously wonder if I can fix this (cosmetically) by sanding down the sheer plank to around the same height as the port side (and just ignore the unevenness of the broad and garboard planks). Looking at the above photograph now, it seems a lot worse than in person😞 I read ahead, to see what awaits me after fixing this blunder, and I find I'm going to be stuck at steps 12a and 13: For 12a it says to sand down the inner sides of the frames parallel to the side planking with the greatest bevel on frames 1, 4 and 5, some on 2 and none on 3. Living overseas for nearly half my life may have impacted my ability to understand written English, but is this basically bevelling the inner frame edges like I did with the outer ones in preparation for planking? That's the only way I can interpret this. Step 13 involves attaching and shaping the false stem. The instructions don't make it clear what is used for the false stem, just that it is an "extra piece." Am I supposed to use one of the strips? I've enjoyed the building process so far, but the above have shown me I have a long, long way to go before I tackle anything more complex than this dory.


- 10 replies
-
- 2
-
-
- First Build
- Model Shipways
- (and 2 more)
-
Thank you all for the warm welcome. I looked through your build logs, Bradley. I enjoyed all the extra details like the paint, bailer and trap, as well as the nails. I think it will be a while before I can get to that level🙂 Something for me to work towards. As everyone recommended, I'll go ahead and start a build log and include my questions there. Thank you again!
-
bbb555 joined the community
-
Hello everyone, Having always been interested in sailboats and wood ship modelling, and with a little more time on my hands recently, I imported Model Shipways' Lowell Grand Banks dory from the States to get started. I've been working on it for the last few weeks (I'm already halfway done so it seems too late to start a build log), but I've run into some issues specific to the model, and now work on it is at a standstill. Where would I post model specific questions at on the forum?