HOLIDAY DONATION DRIVE - SUPPORT MSW - DO YOUR PART TO KEEP THIS GREAT FORUM GOING!
×


ECK
-
Posts
632 -
Joined
-
Last visited
Content Type
Profiles
Forums
Gallery
Events
Everything posted by ECK
-
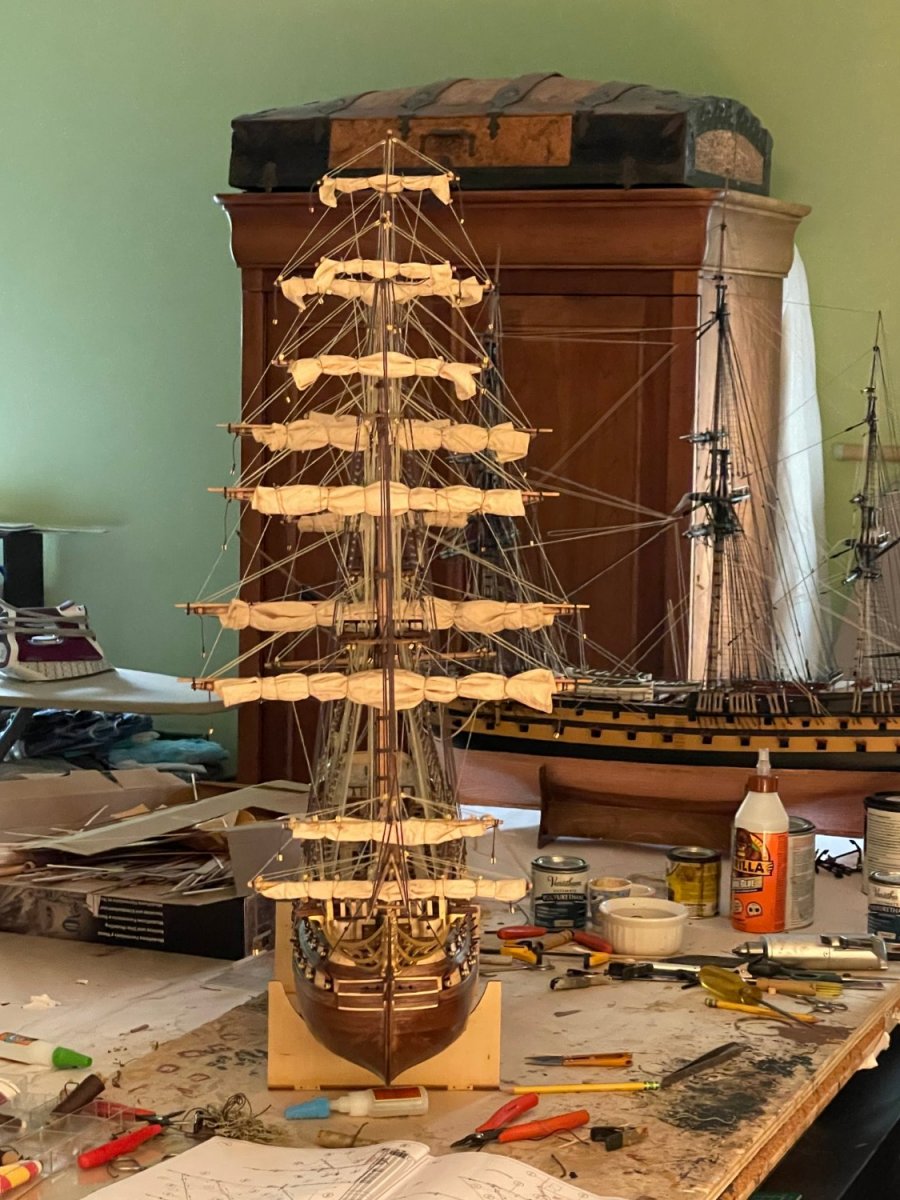
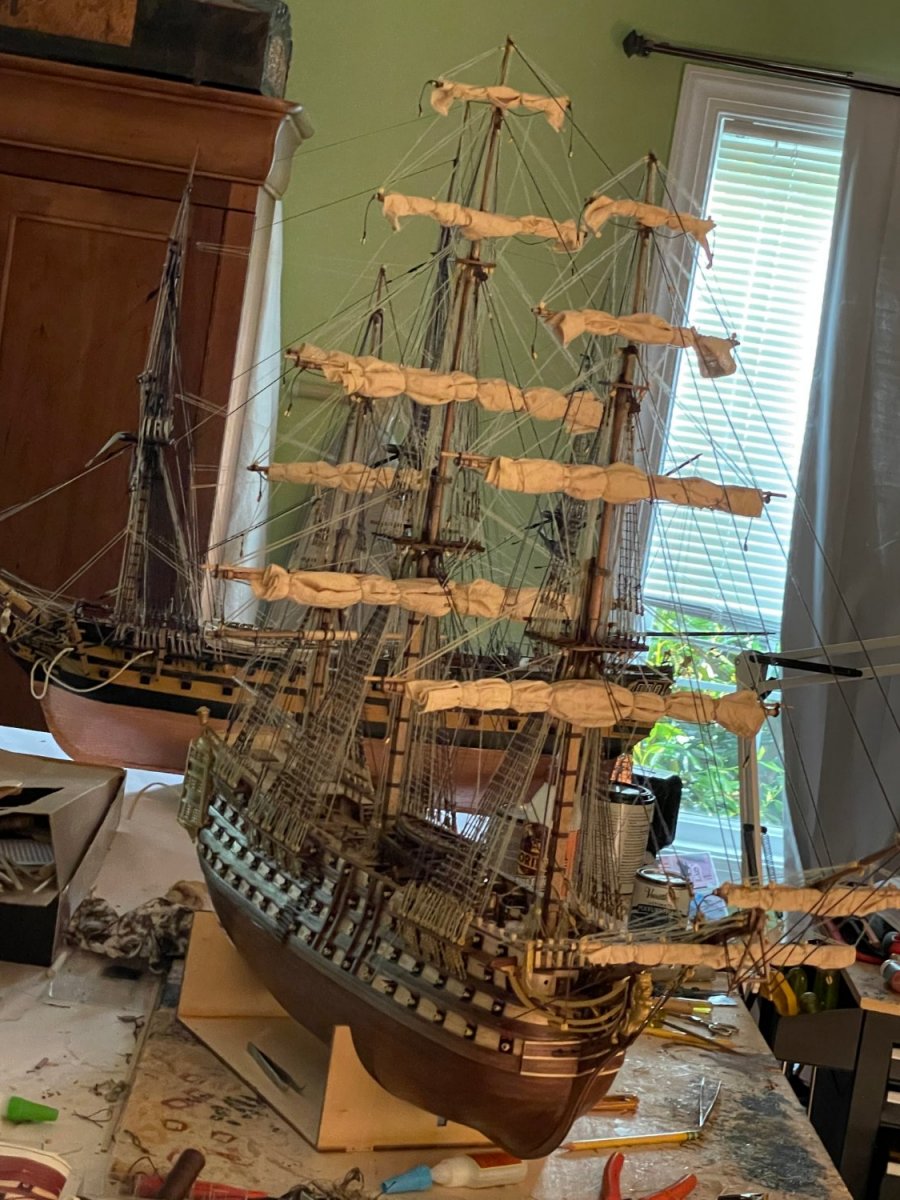
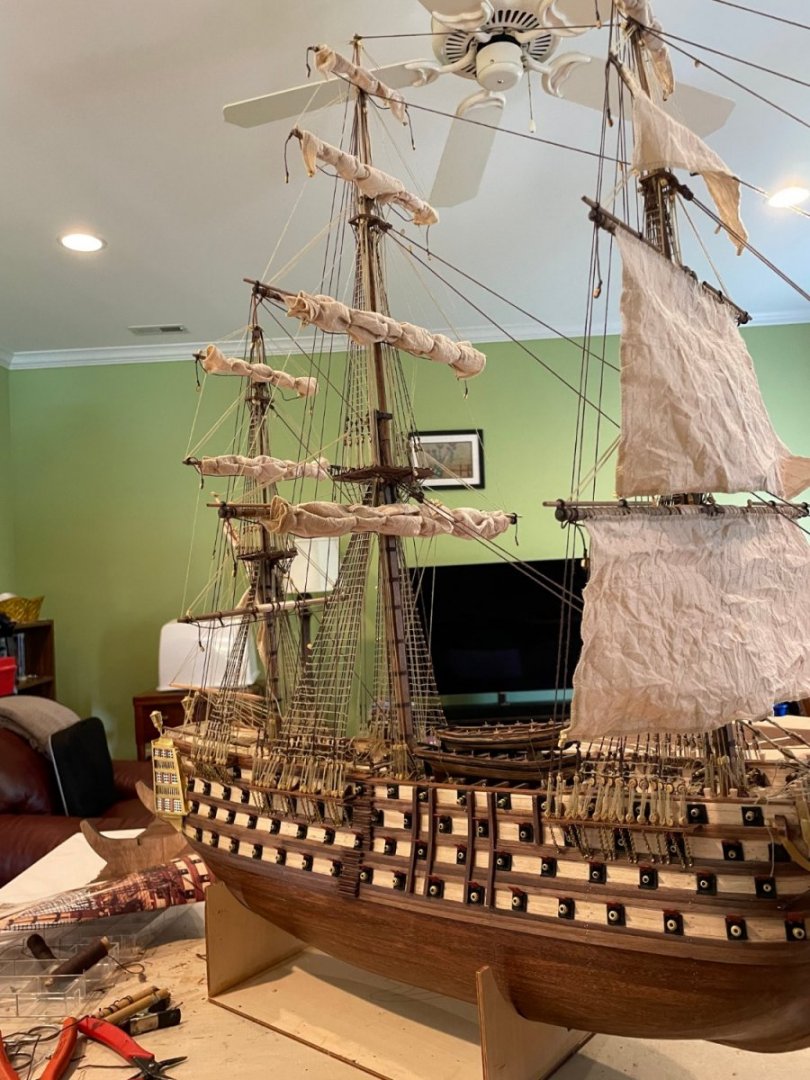
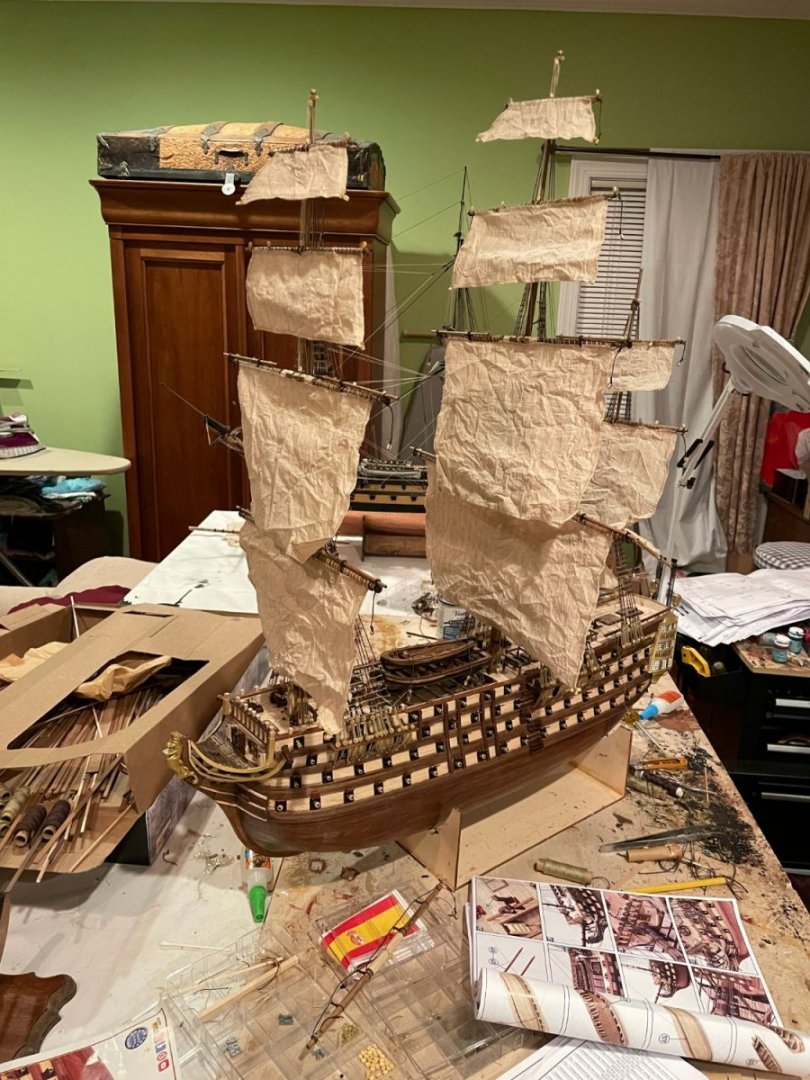
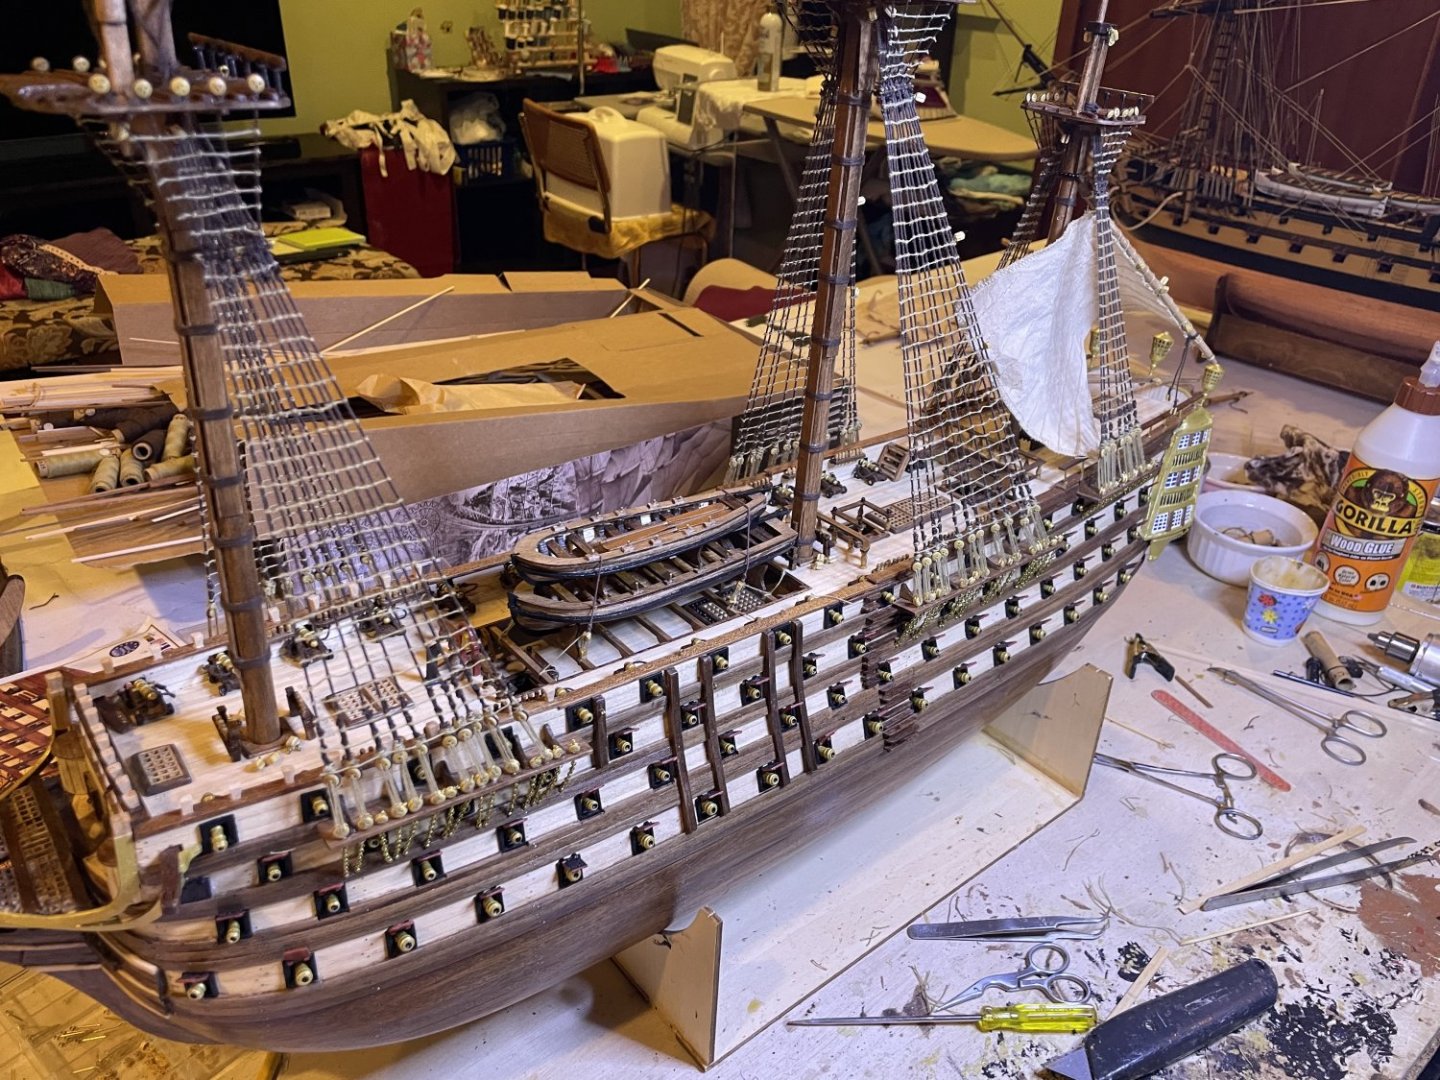
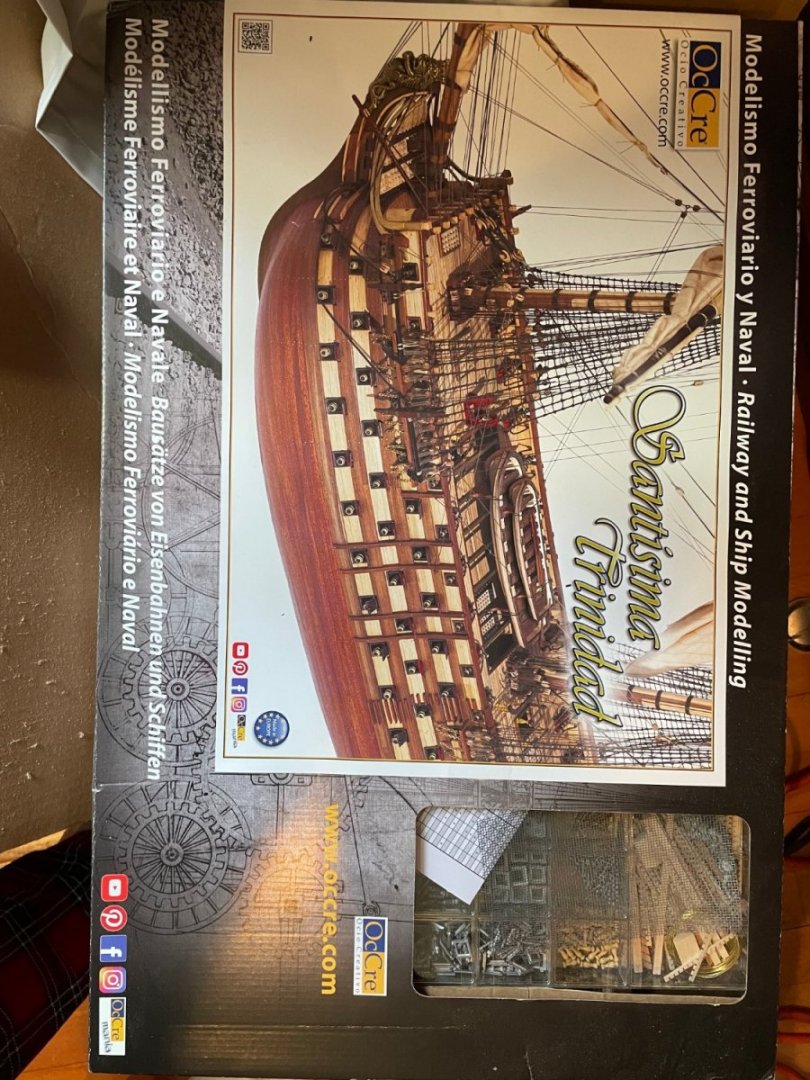
So the riging continues. As the model picture on the box has the sails furled, I have decided to do the same. Again , instructions not always the greatest for placement of lines.
- 41 replies
-
- 3
-

-

-
- OcCre
- Santissima Trinidad
- (and 1 more)
-
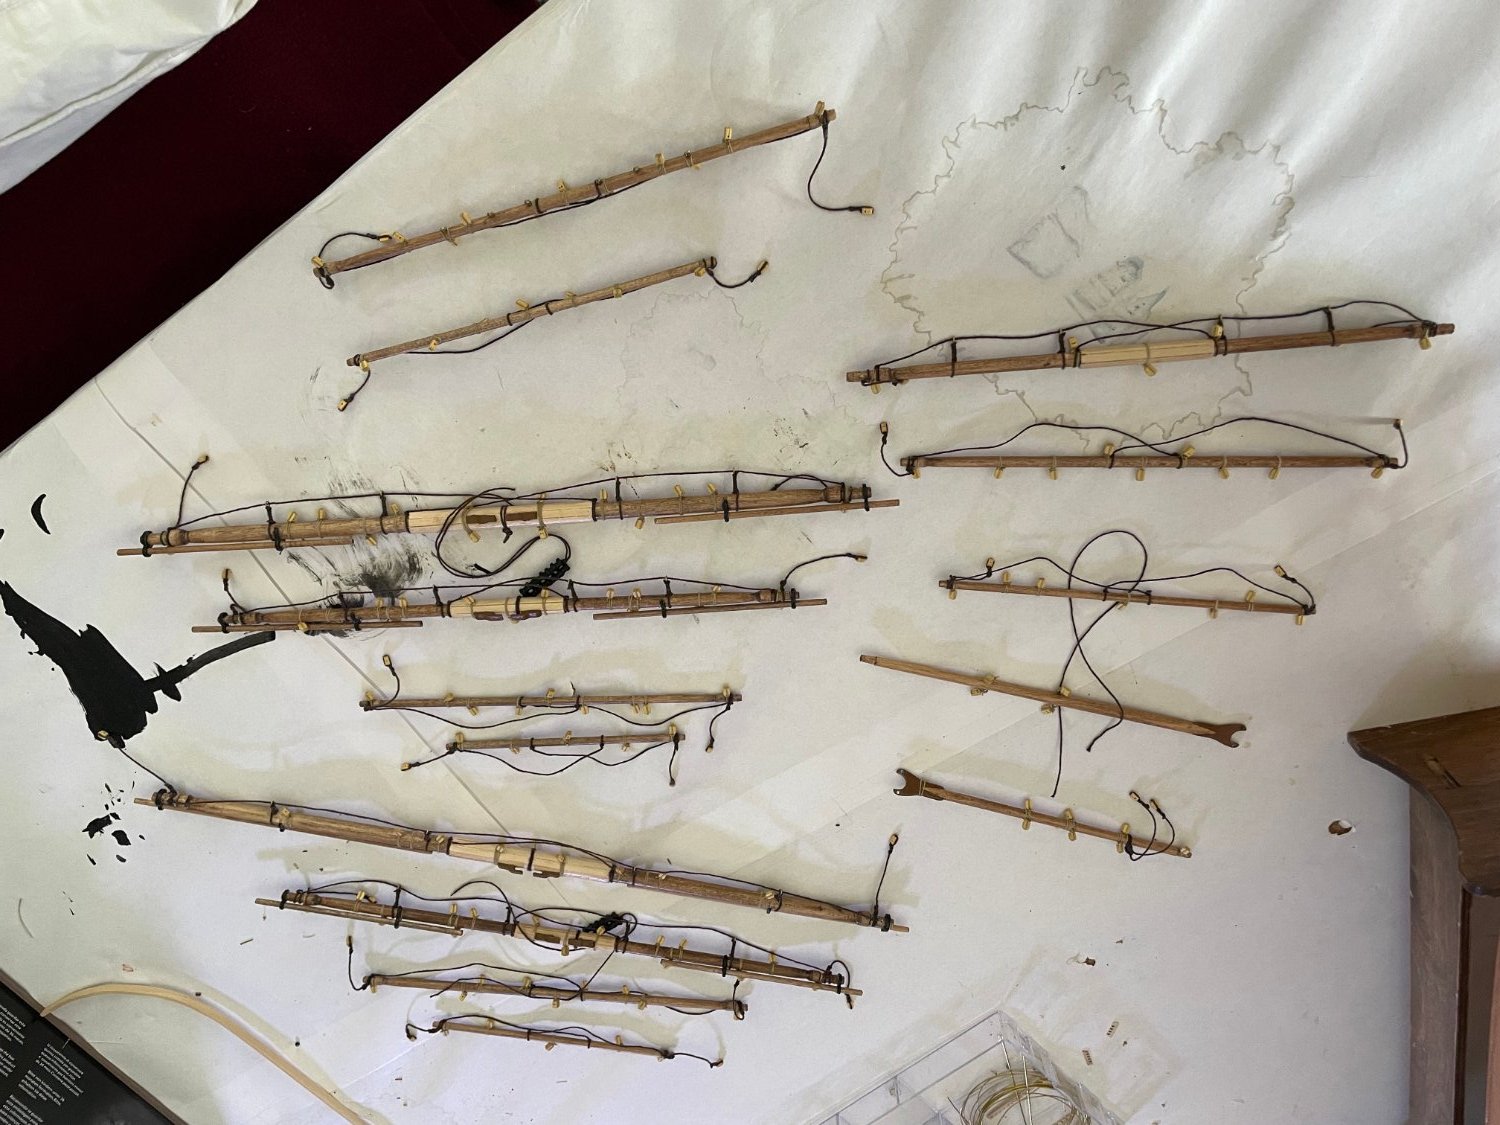
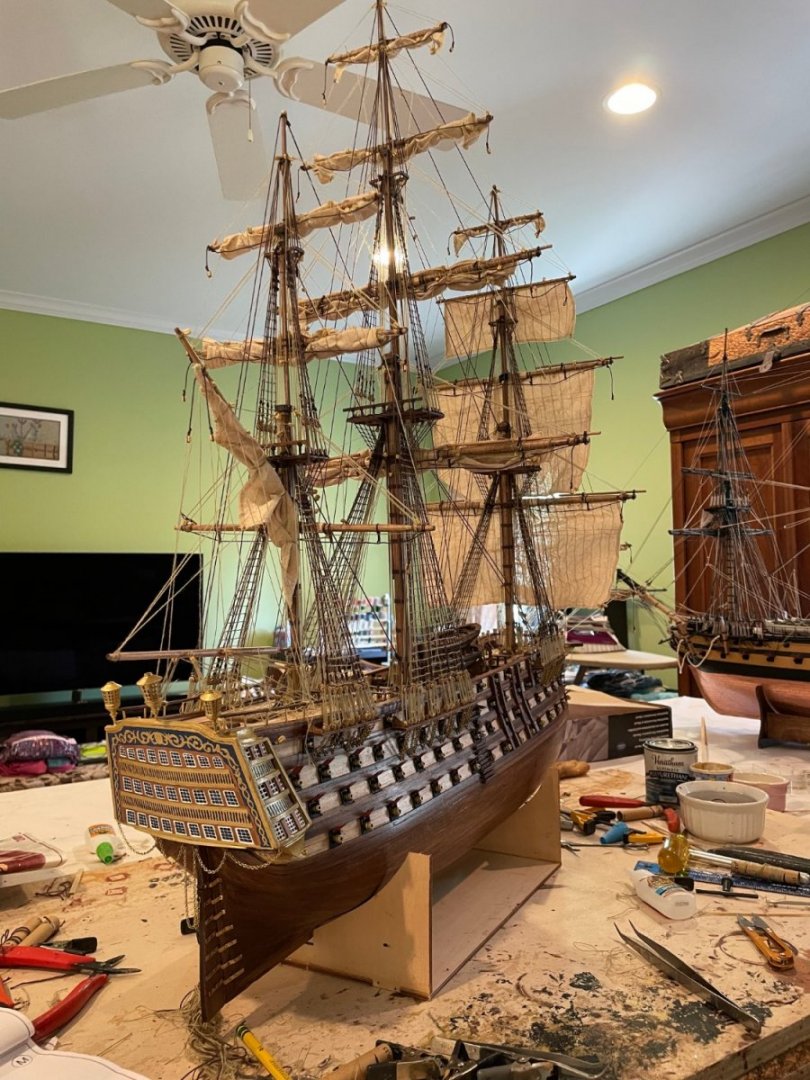
Yards and sails attached. Plans are very poor marking locations for tying things off, some points missing and others on opposite sides depending which picture you look at.

-
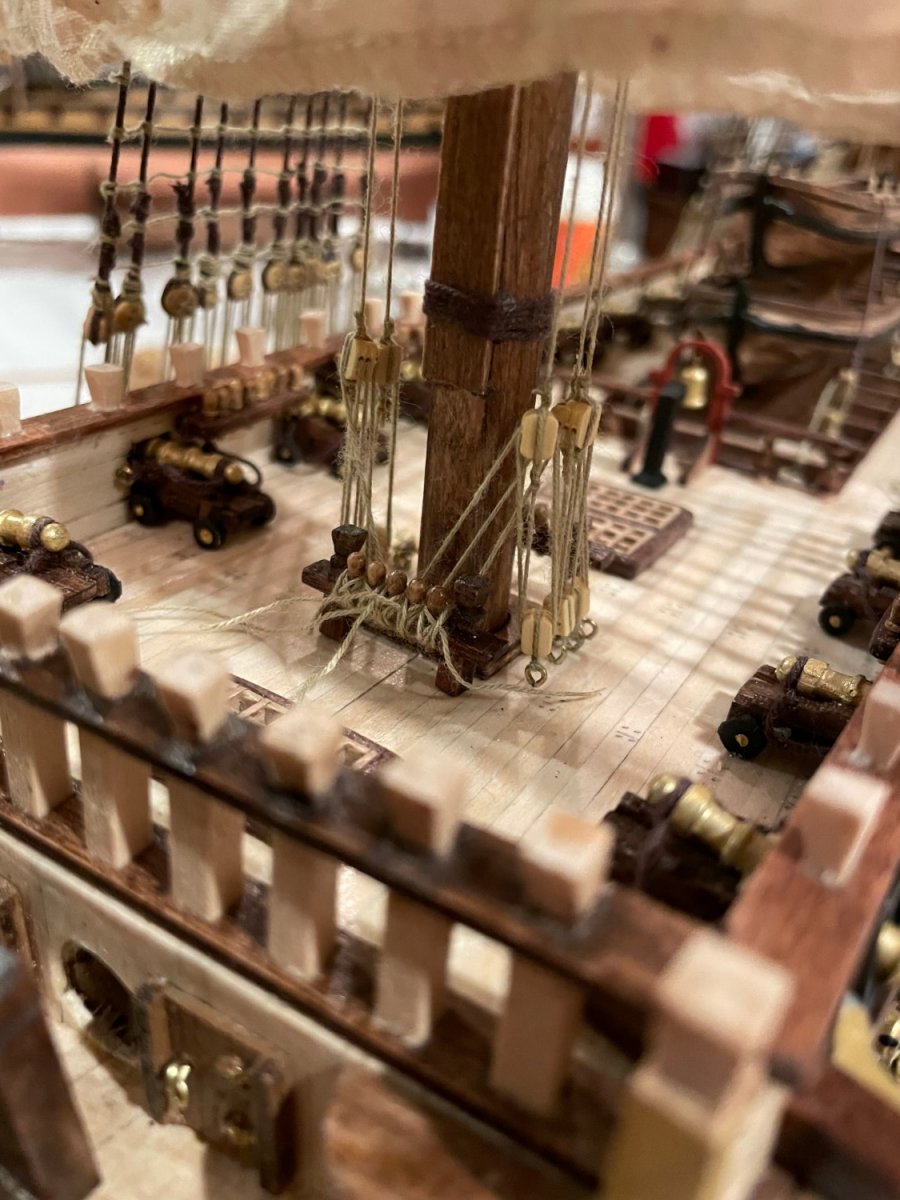
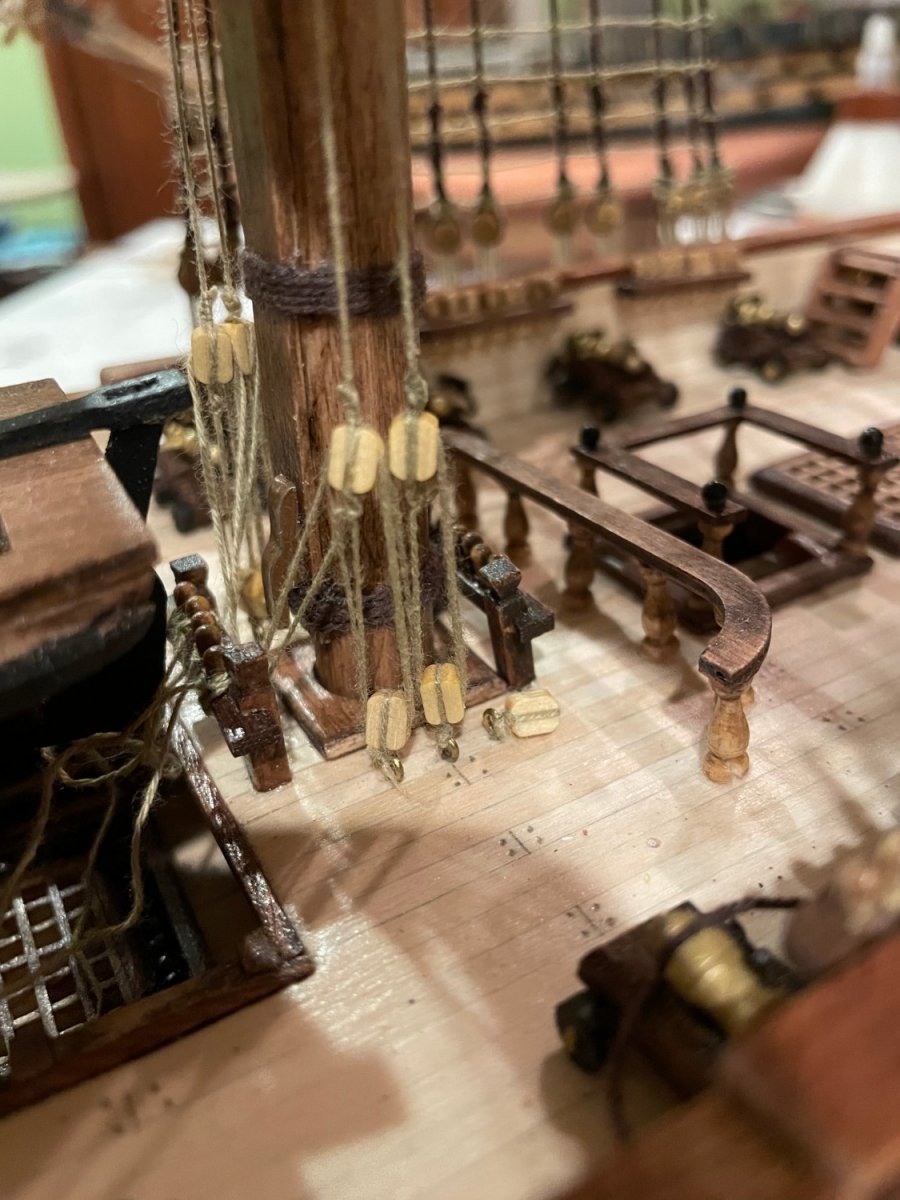
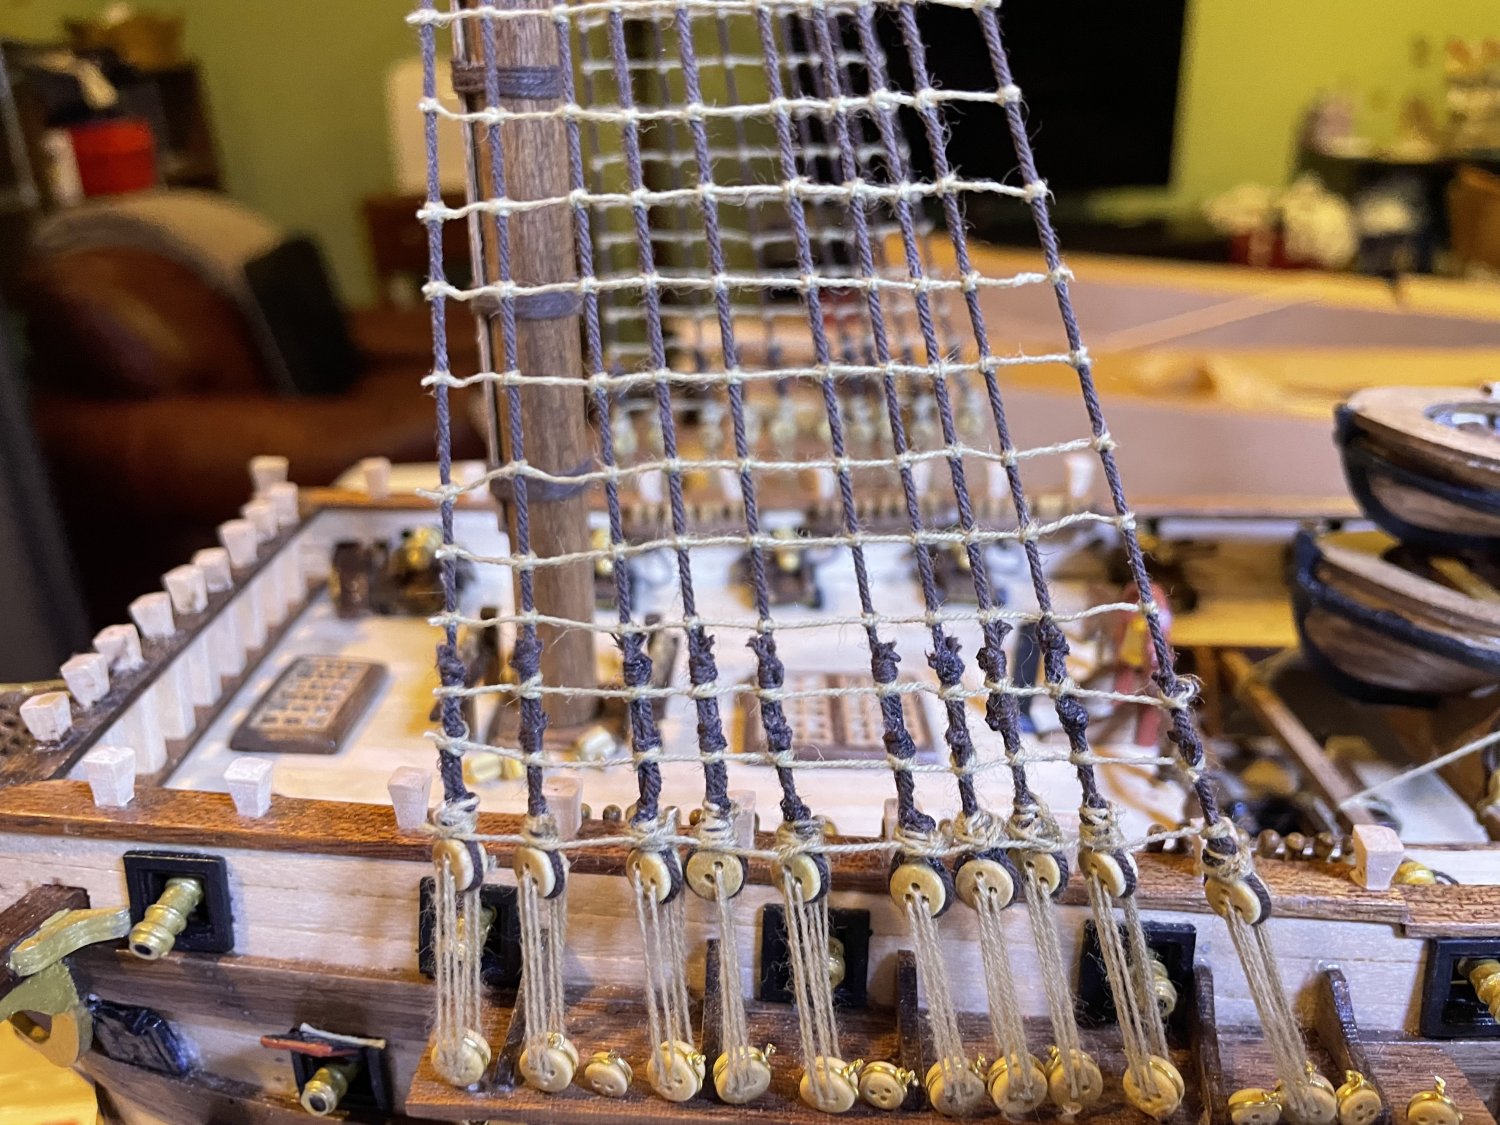
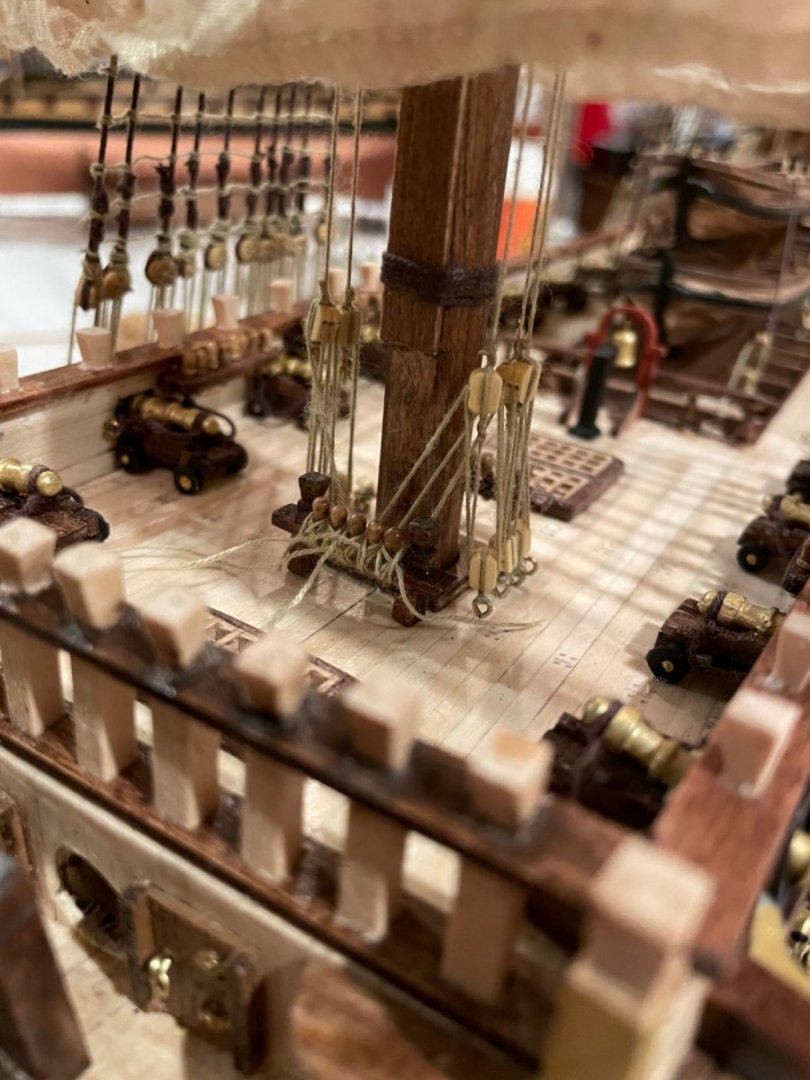
Bit by bit shrouds going up. I find the knotting rather relaxing once you get into the rhythm of it. Occre instruction very poor here as do not make note of the catharpins needed for the upper shrouds. Also do not give distance between ratlines. I use a piece of 2x5 to space and straighten knots here


- 41 replies
-
- 1
-
-
- OcCre
- Santissima Trinidad
- (and 1 more)
-
Another few weeks, yards all done. Starting on the shrouds

- 41 replies
-
- 3
-
-
- OcCre
- Santissima Trinidad
- (and 1 more)
-
Thanks, I consider it an honor
-
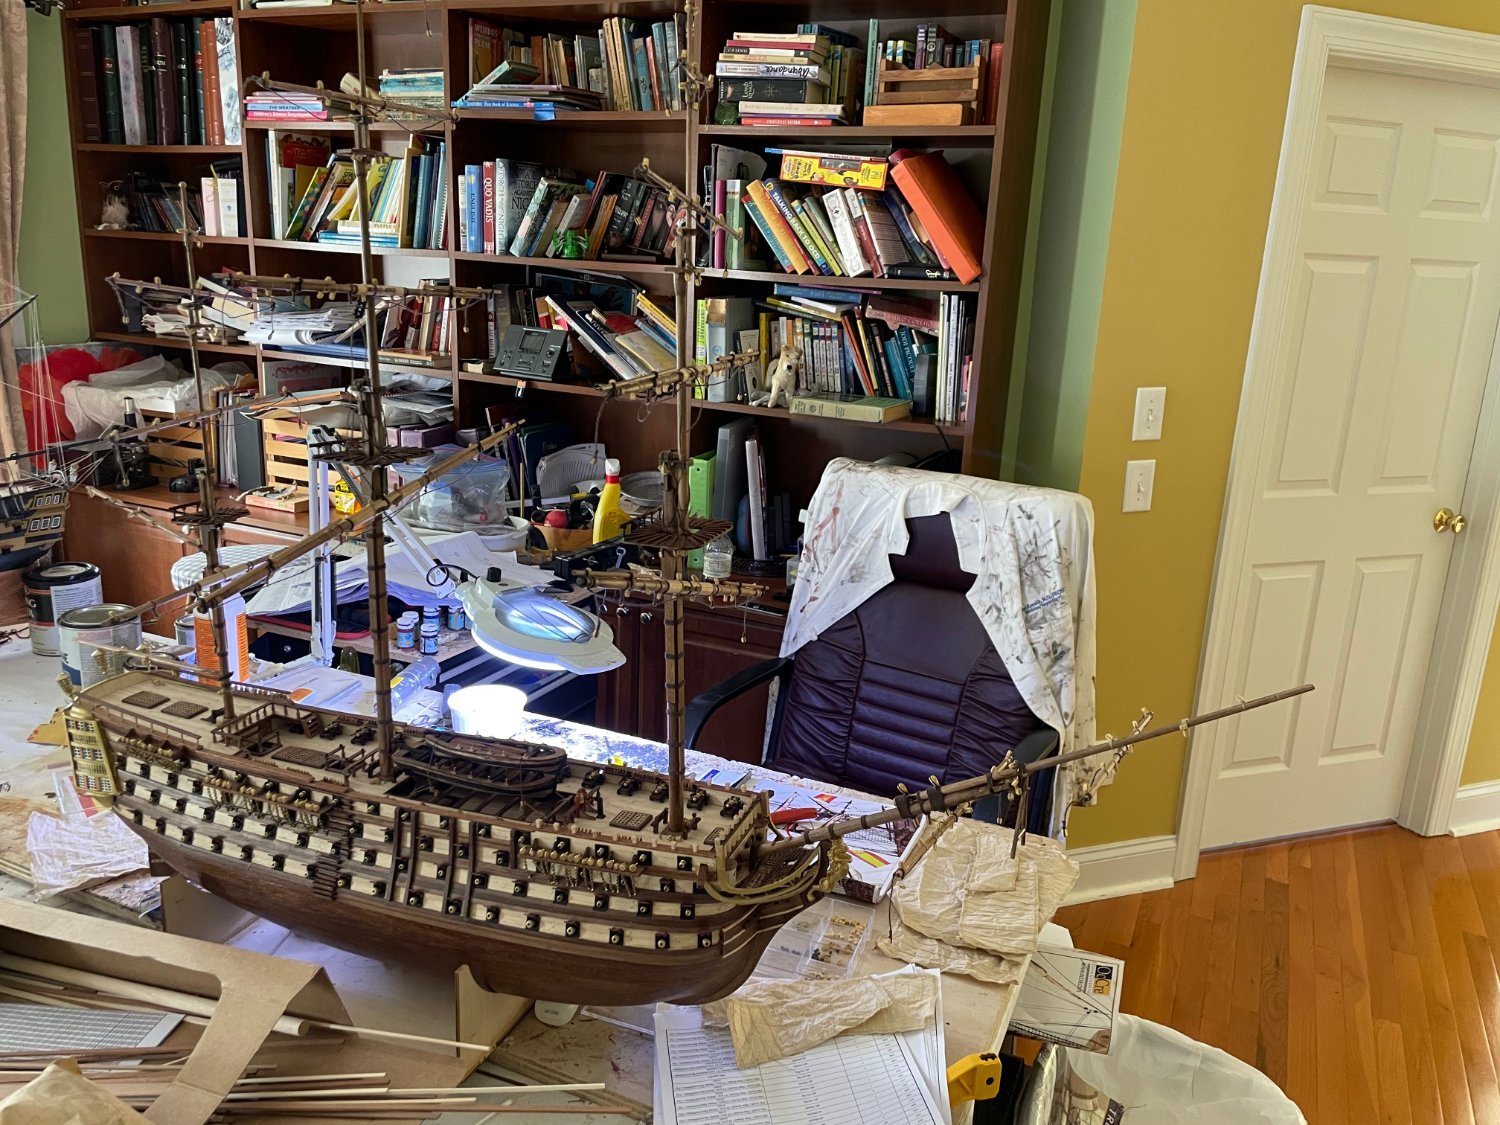
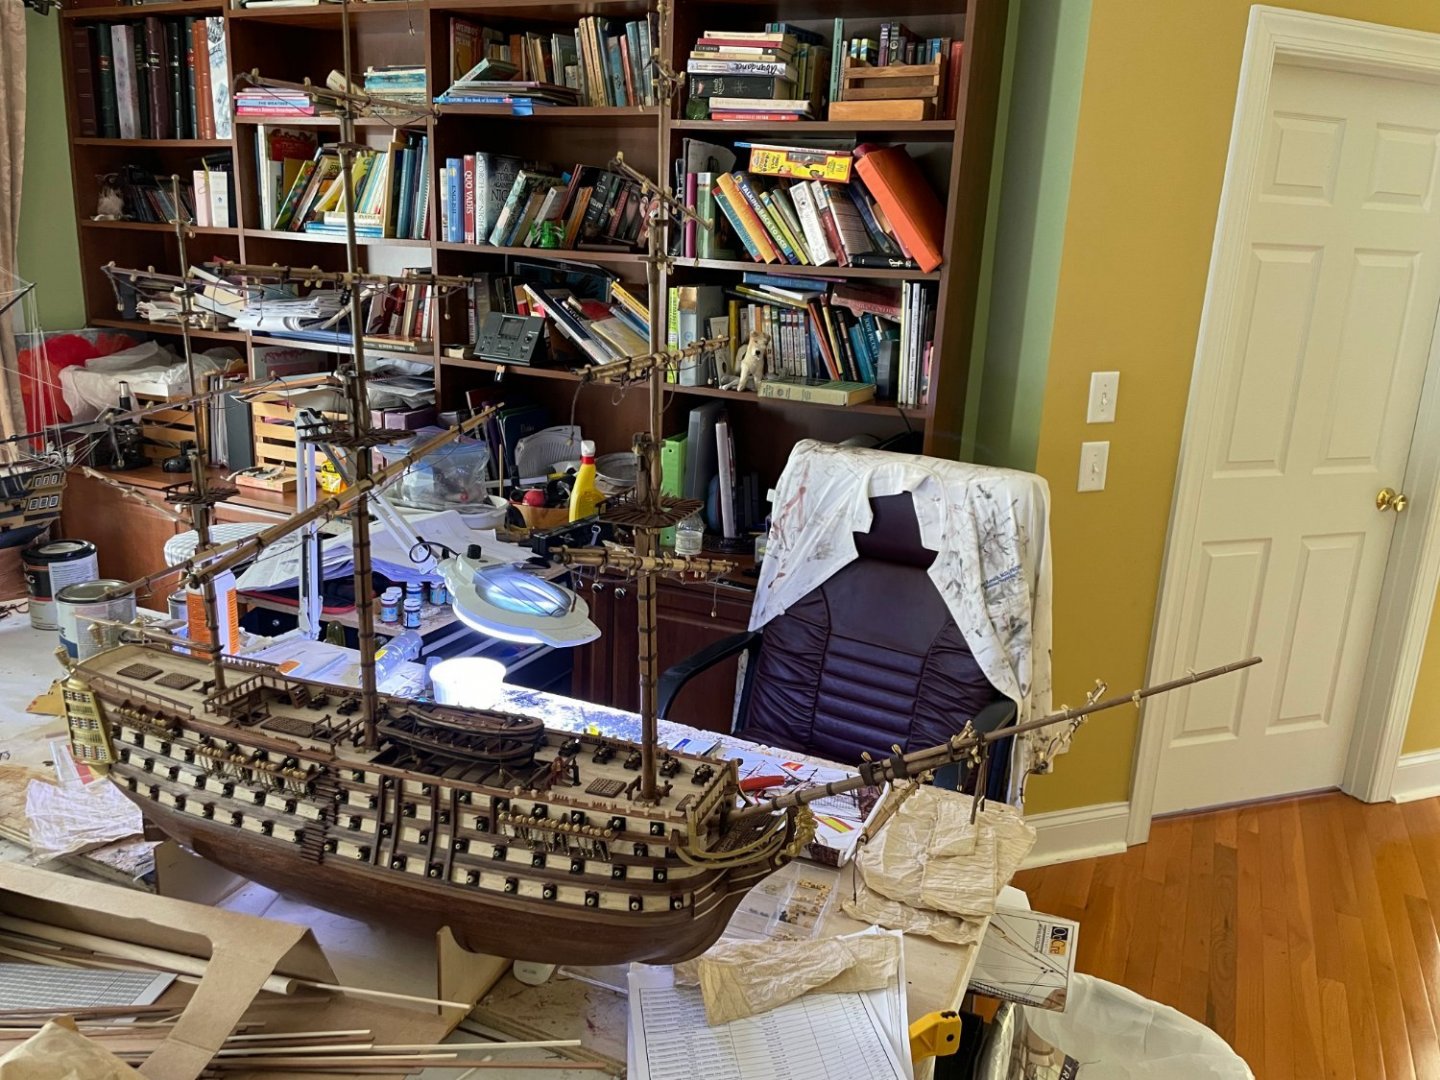
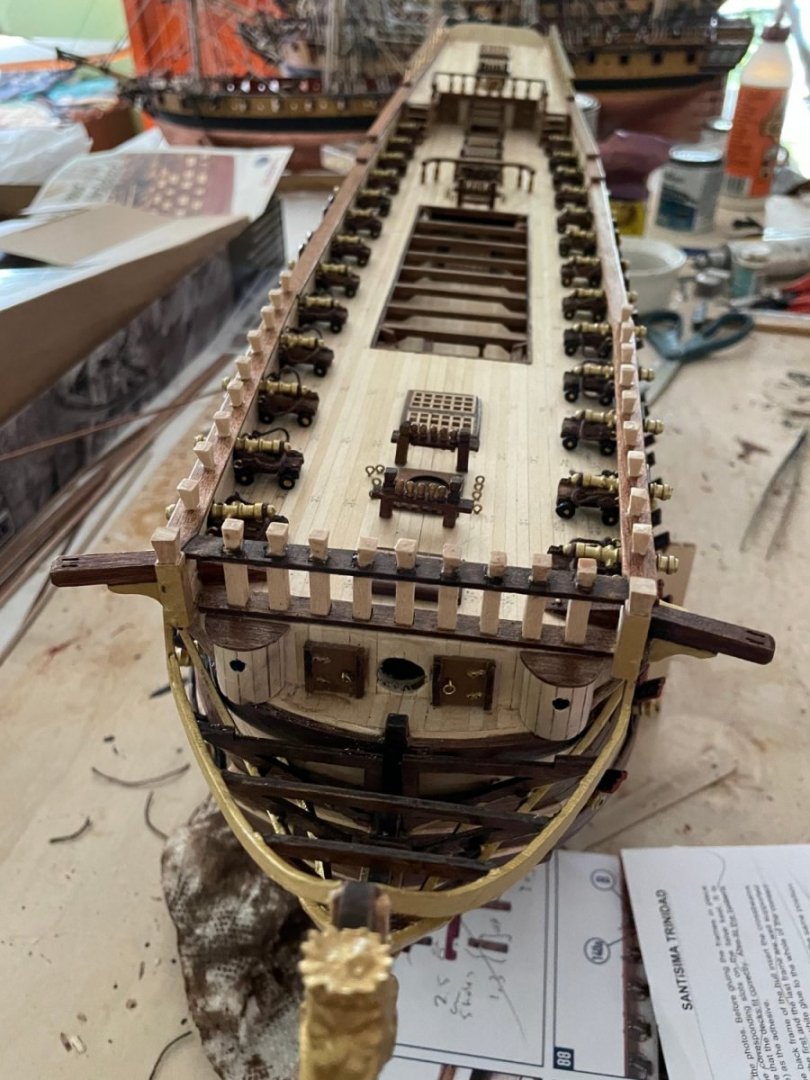
Hull and ship's boats done. Foremast completed and mainmast started. I leave the bowsprit until after setting up the shrouds as it gets in the way and I am always snagging it.

- 41 replies
-
- 1
-
-
- OcCre
- Santissima Trinidad
- (and 1 more)
-
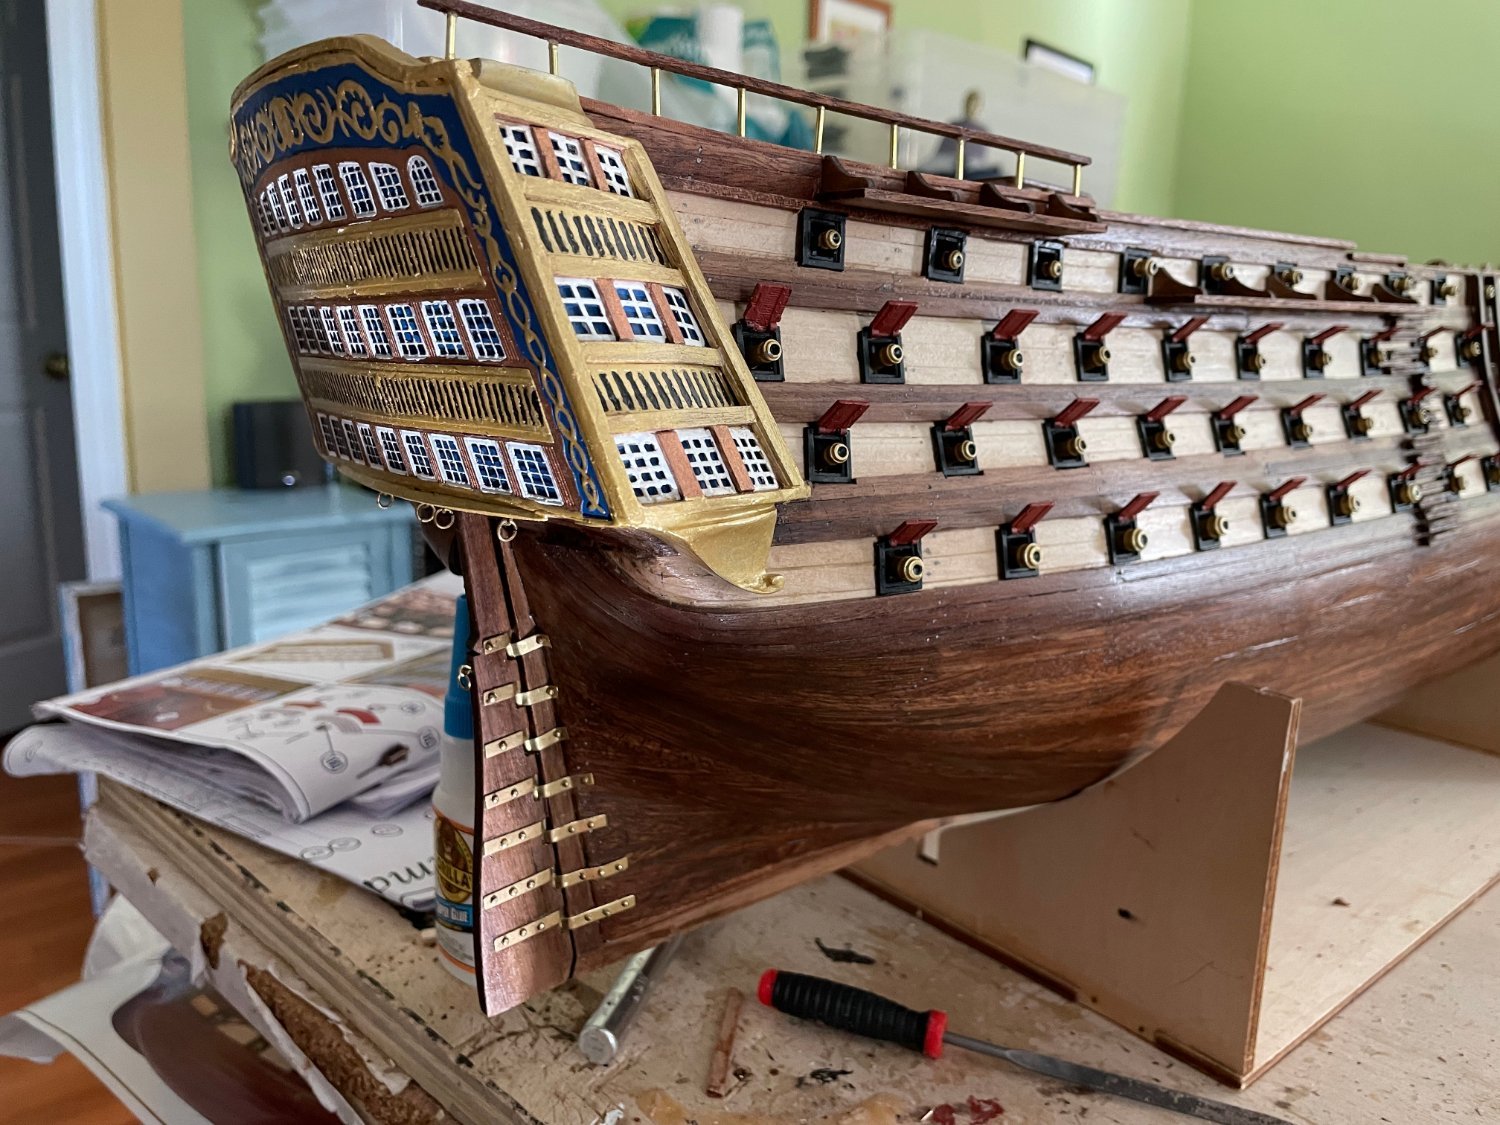
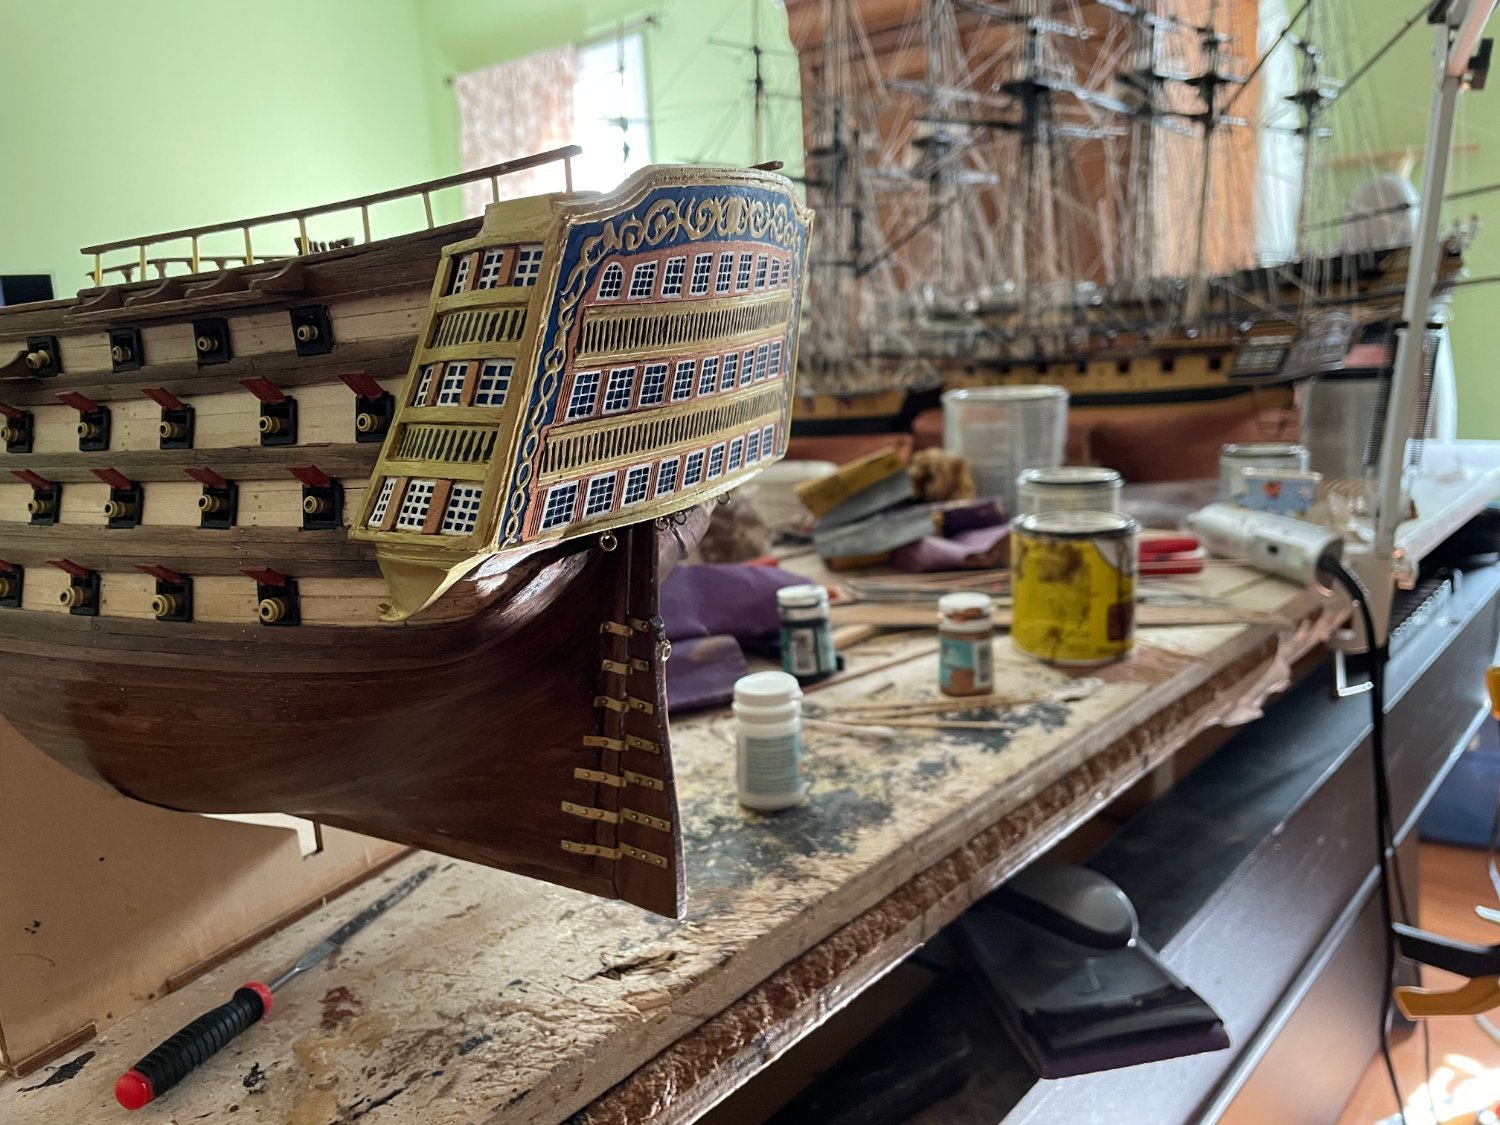
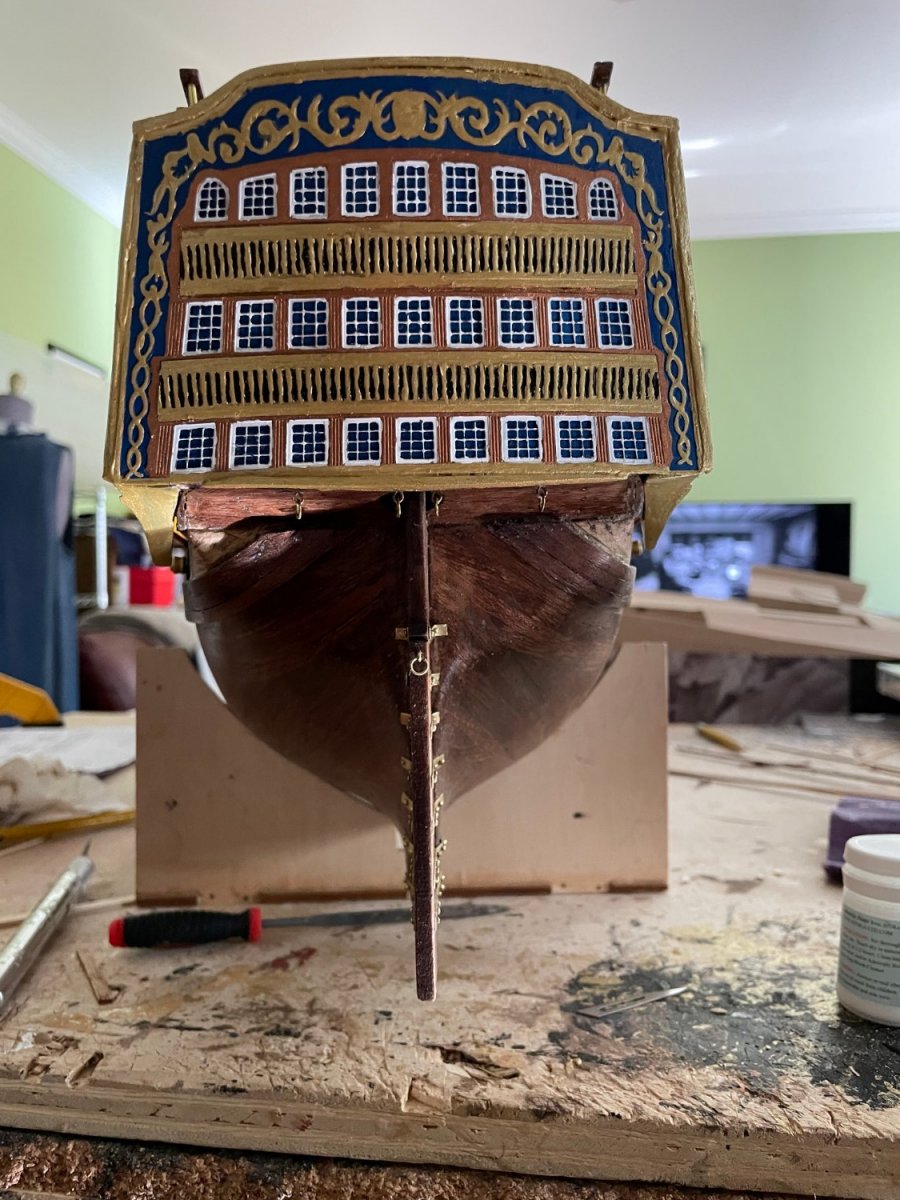
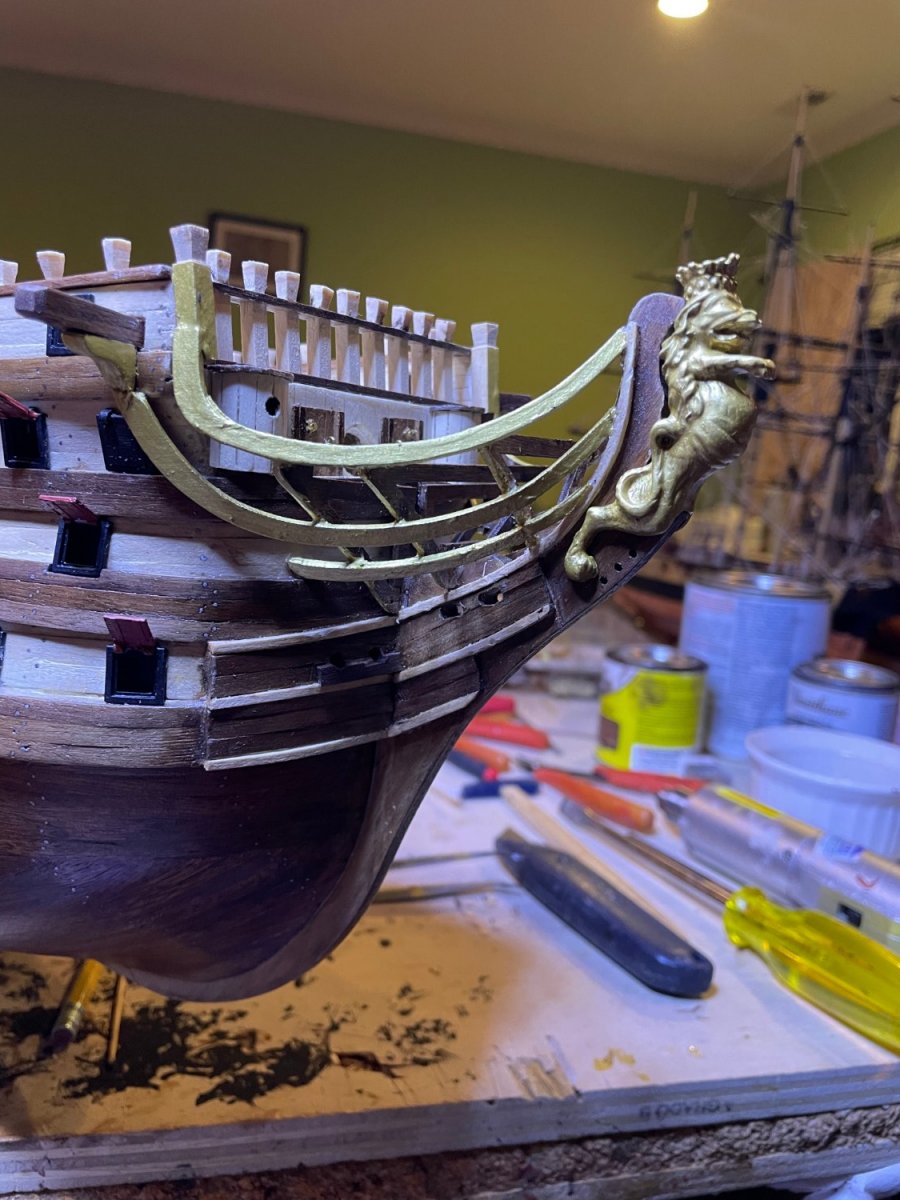
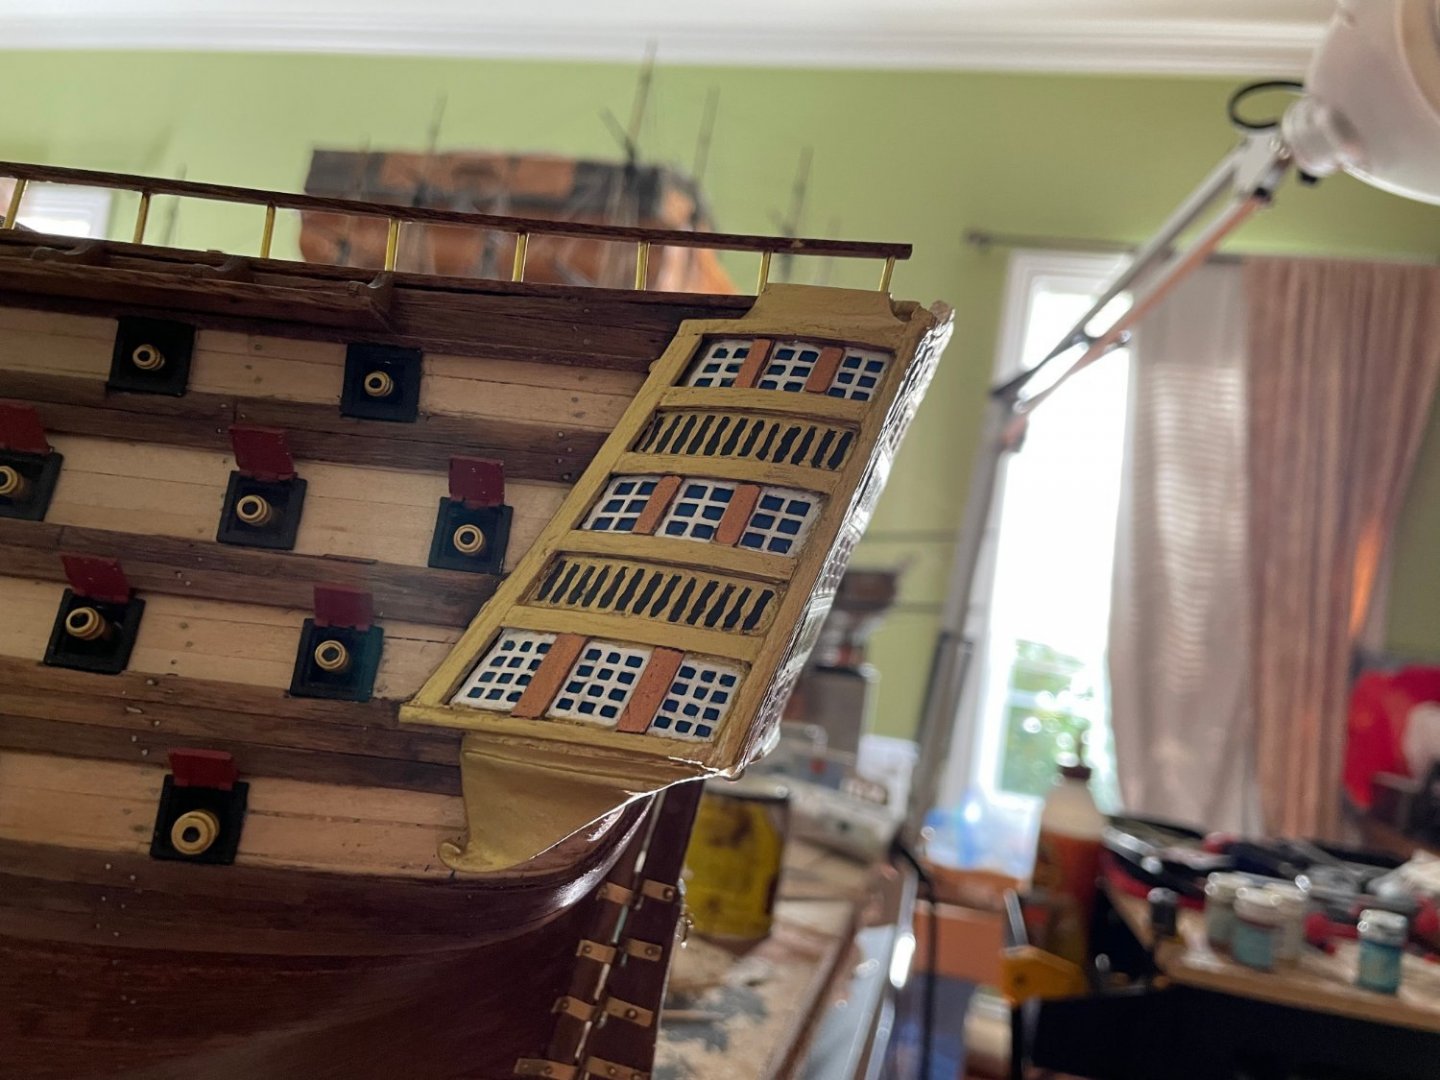
Here is the stern. A bit different than the plan for several reasons: Things did not line up and in the plan pictures it actually shows thins lining up differently from each other. Also looked a bit incomplete . The etched parts just do not look good and it would have been better if the windows and columns were put in separately for better depth.


- 41 replies
-
- 3
-
-
- OcCre
- Santissima Trinidad
- (and 1 more)
-
Thanks. New pictures of the stern tomorrow as I am about done.
-
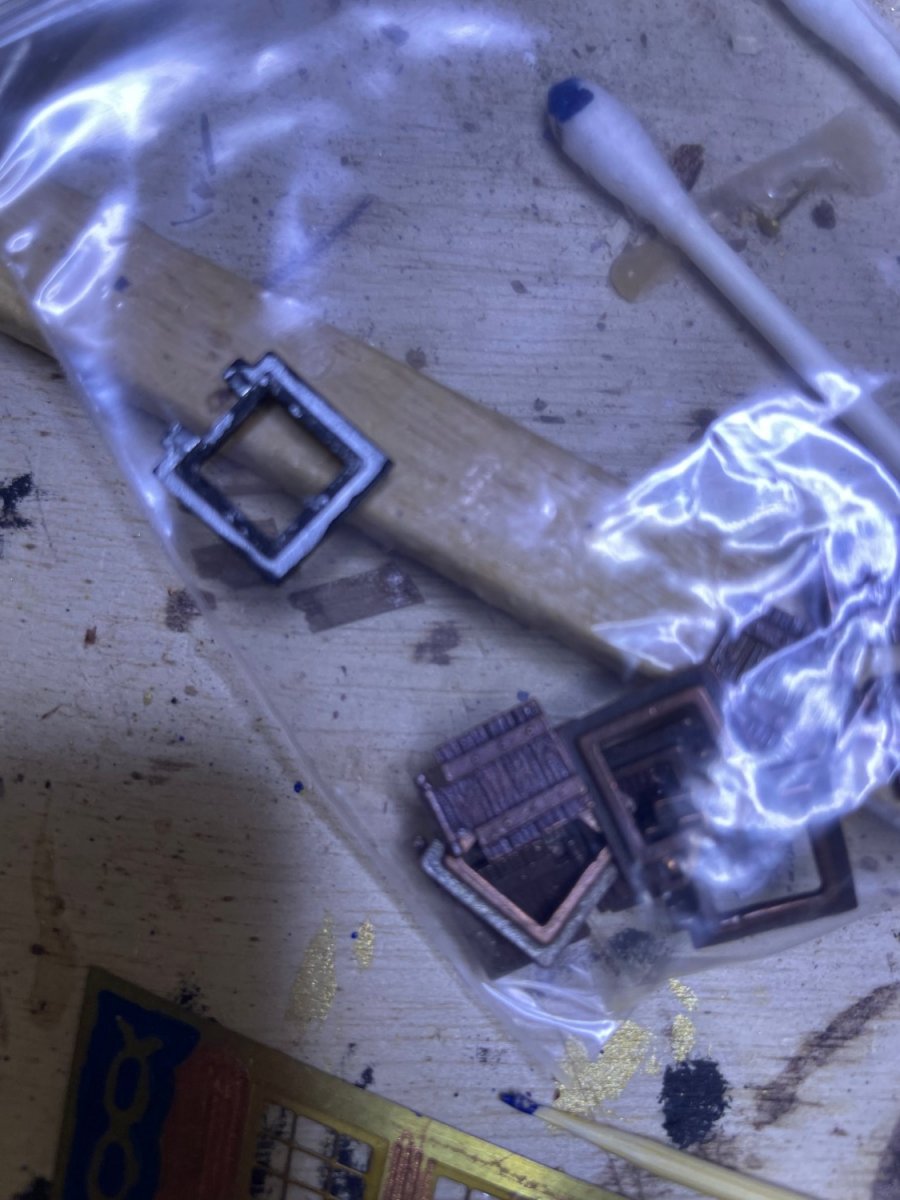
Thanks. It takes some modifications at times as things do not always fit like the plans show. I was pleasantly surprised that the missing gunports came in in 2 weeks. Interestingly, the parts that came with the kit were dull cast metal that I had to paint black whereas the replacements were a nice bronze color which you see in the assembly manual. So unfortunately I had to paint them black.Original upper left replacements bottom right.

-
Actually the first ship I ever built was the DeAgostini Victory. Instructions for a beginner were good and well illustrated so I learnt a lot.The hull is truly the hardest to do. Only other problem in many kits is the way the lower deadeyes are set up.
-
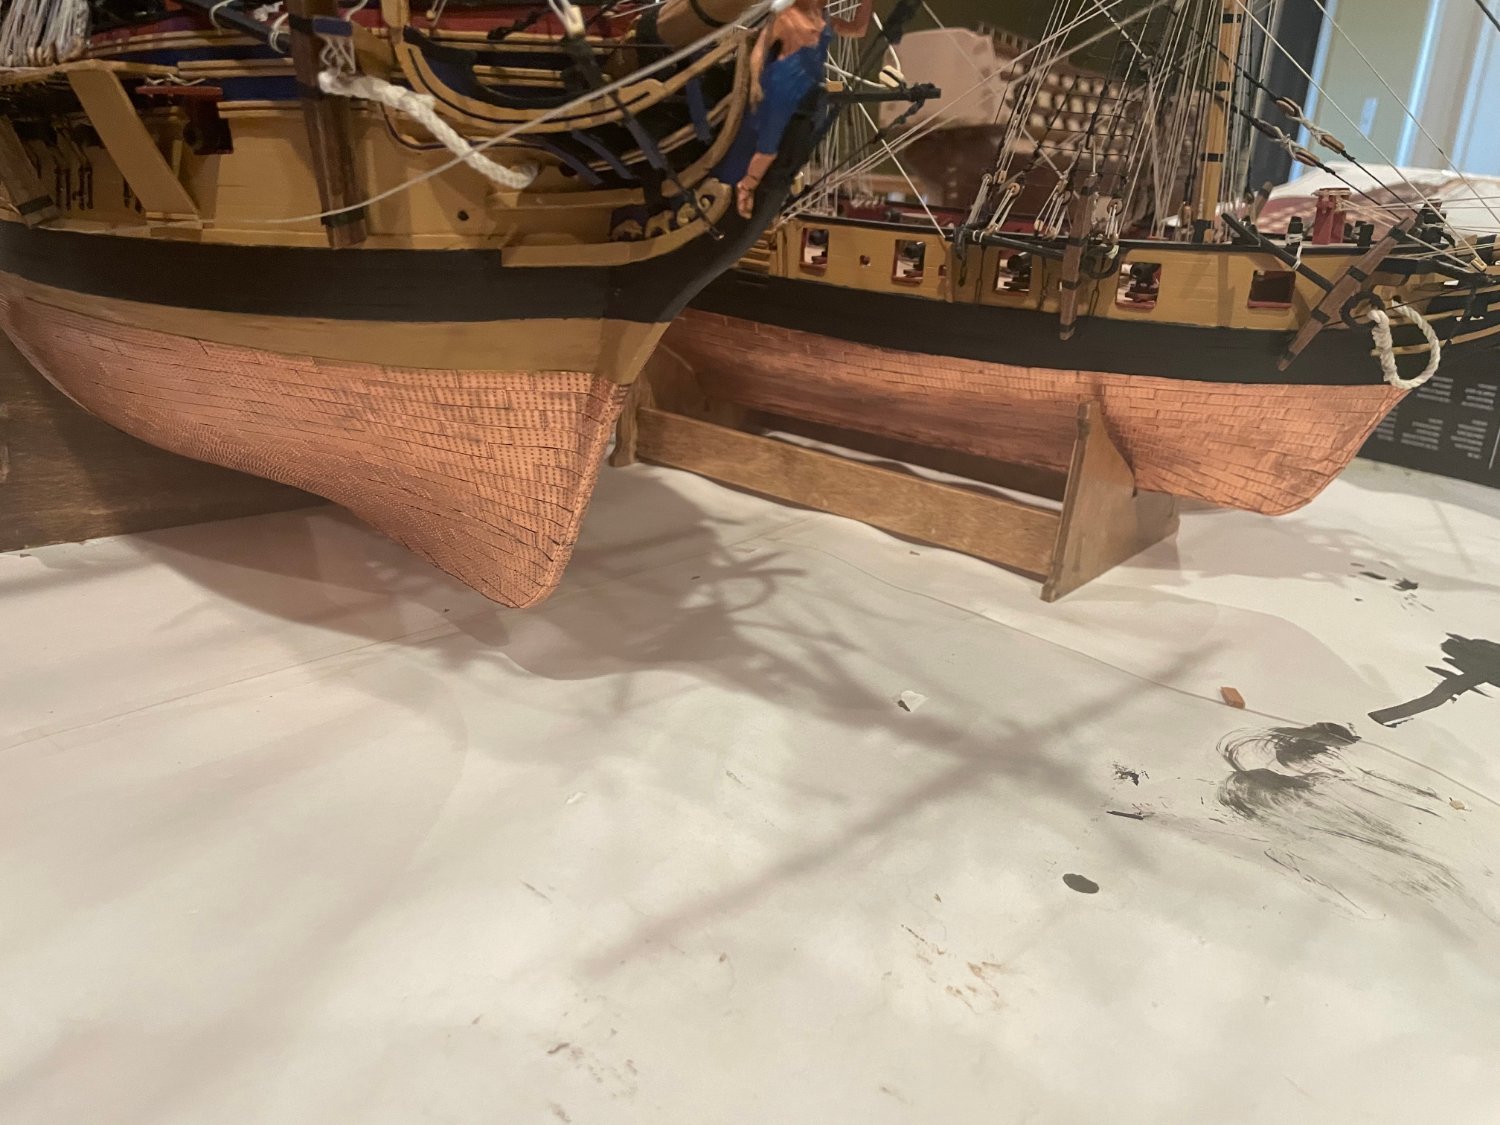
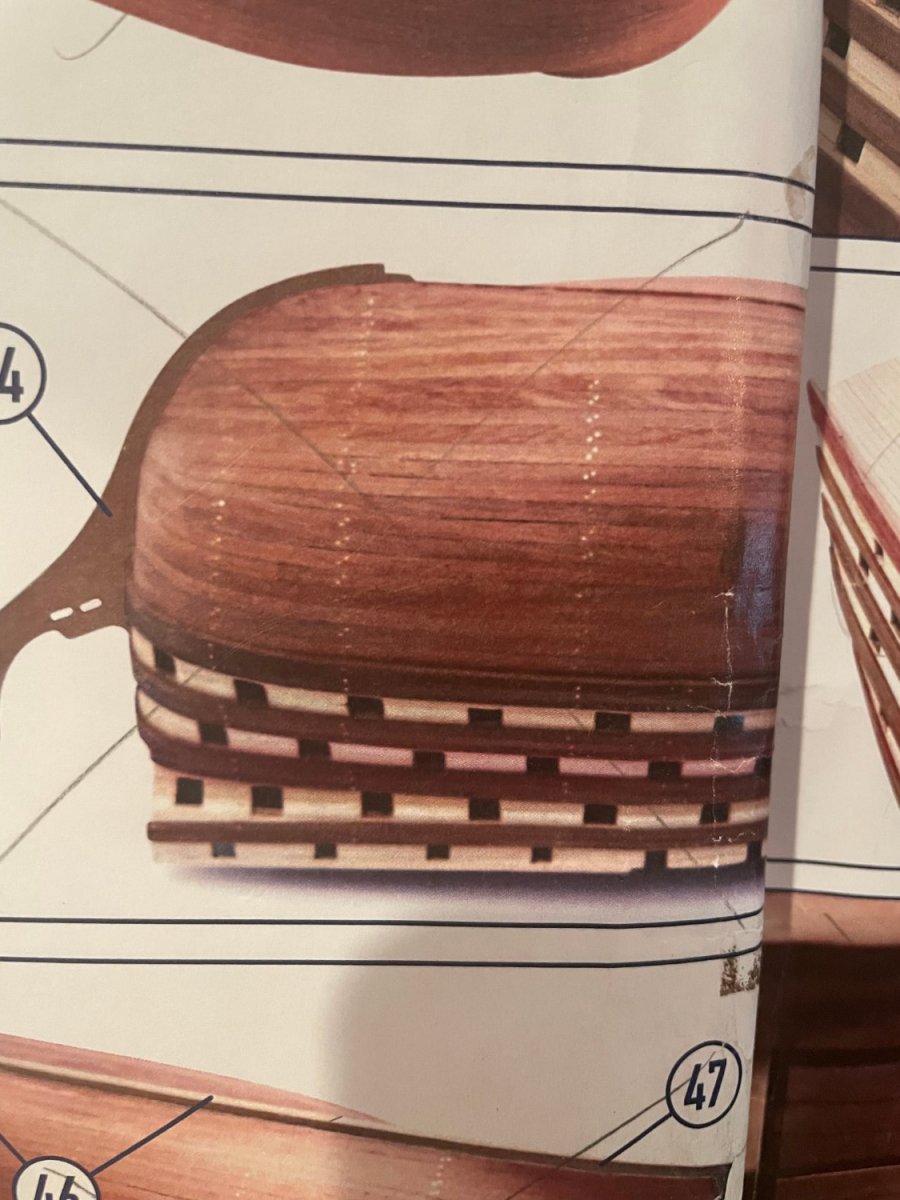
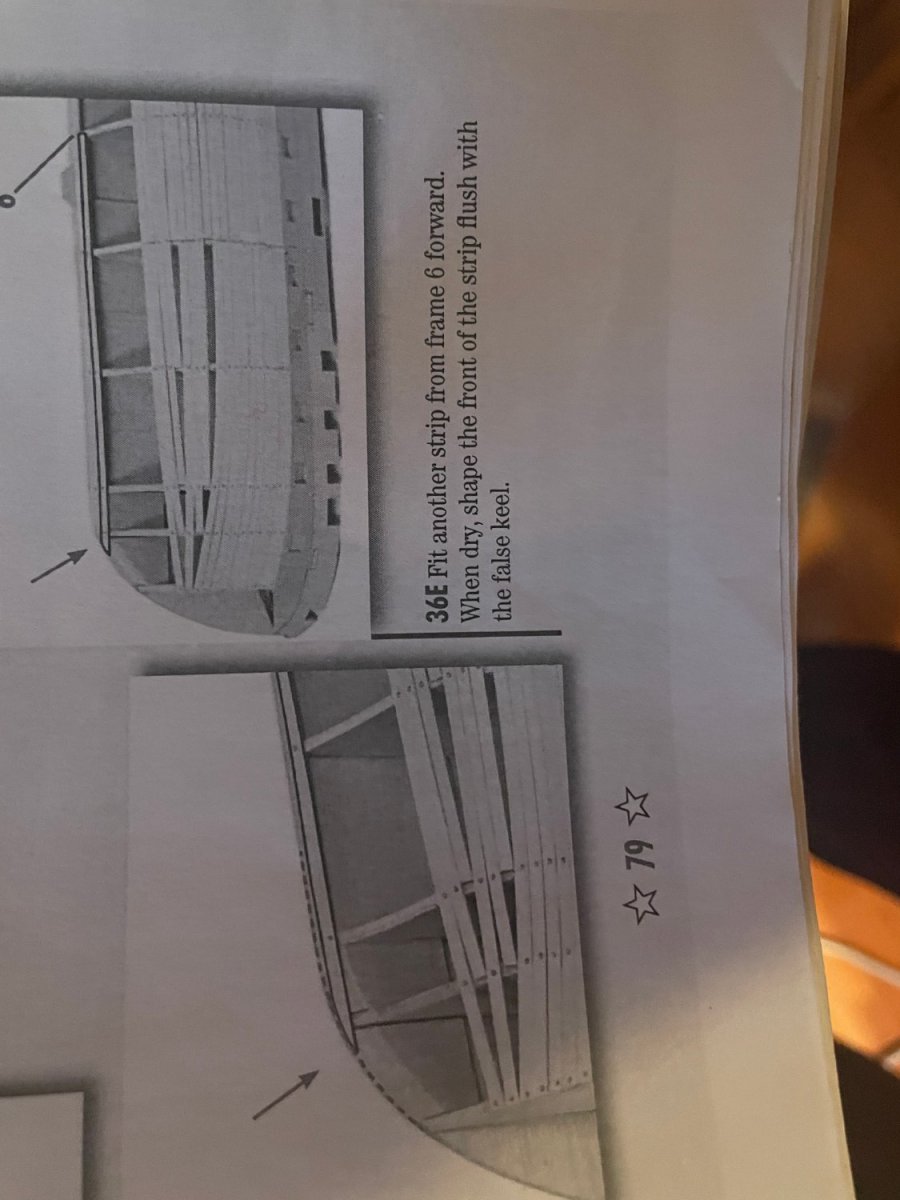
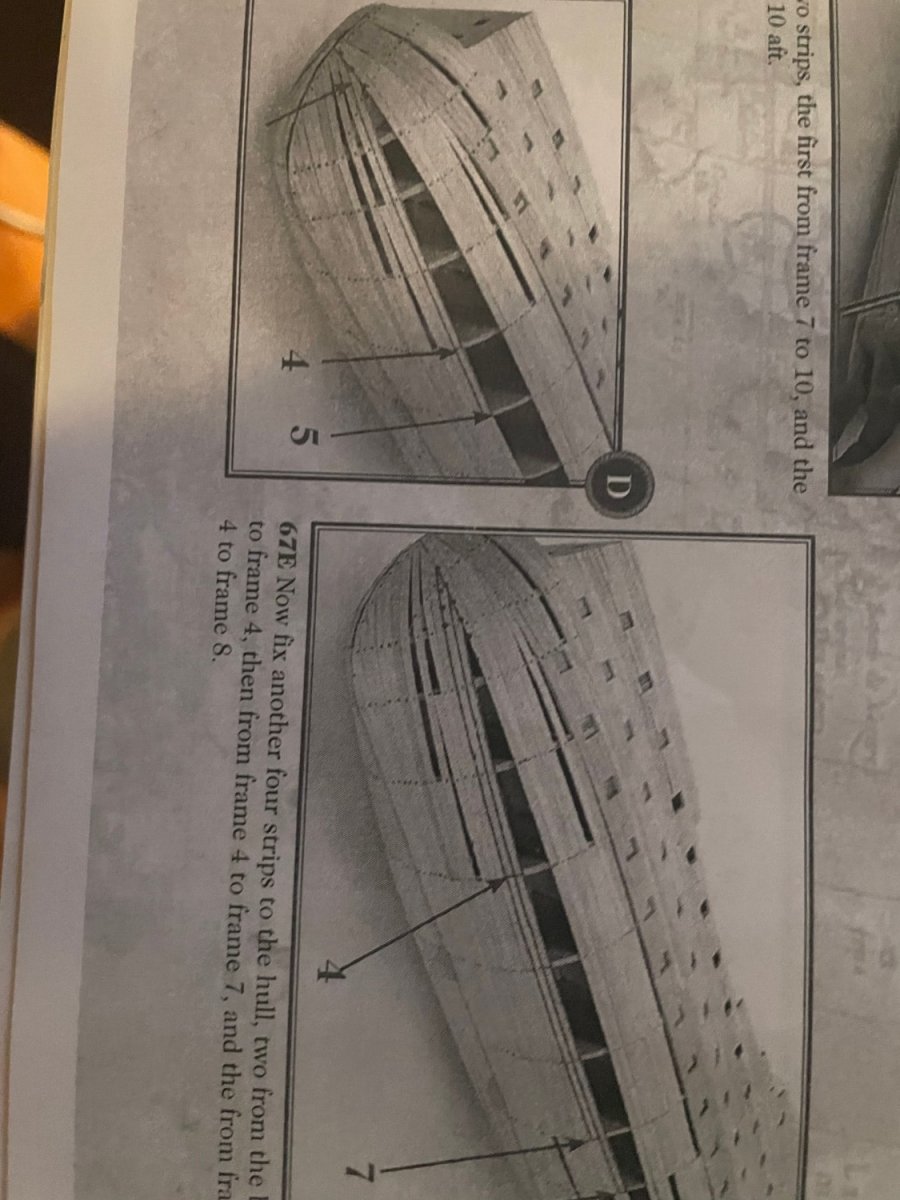
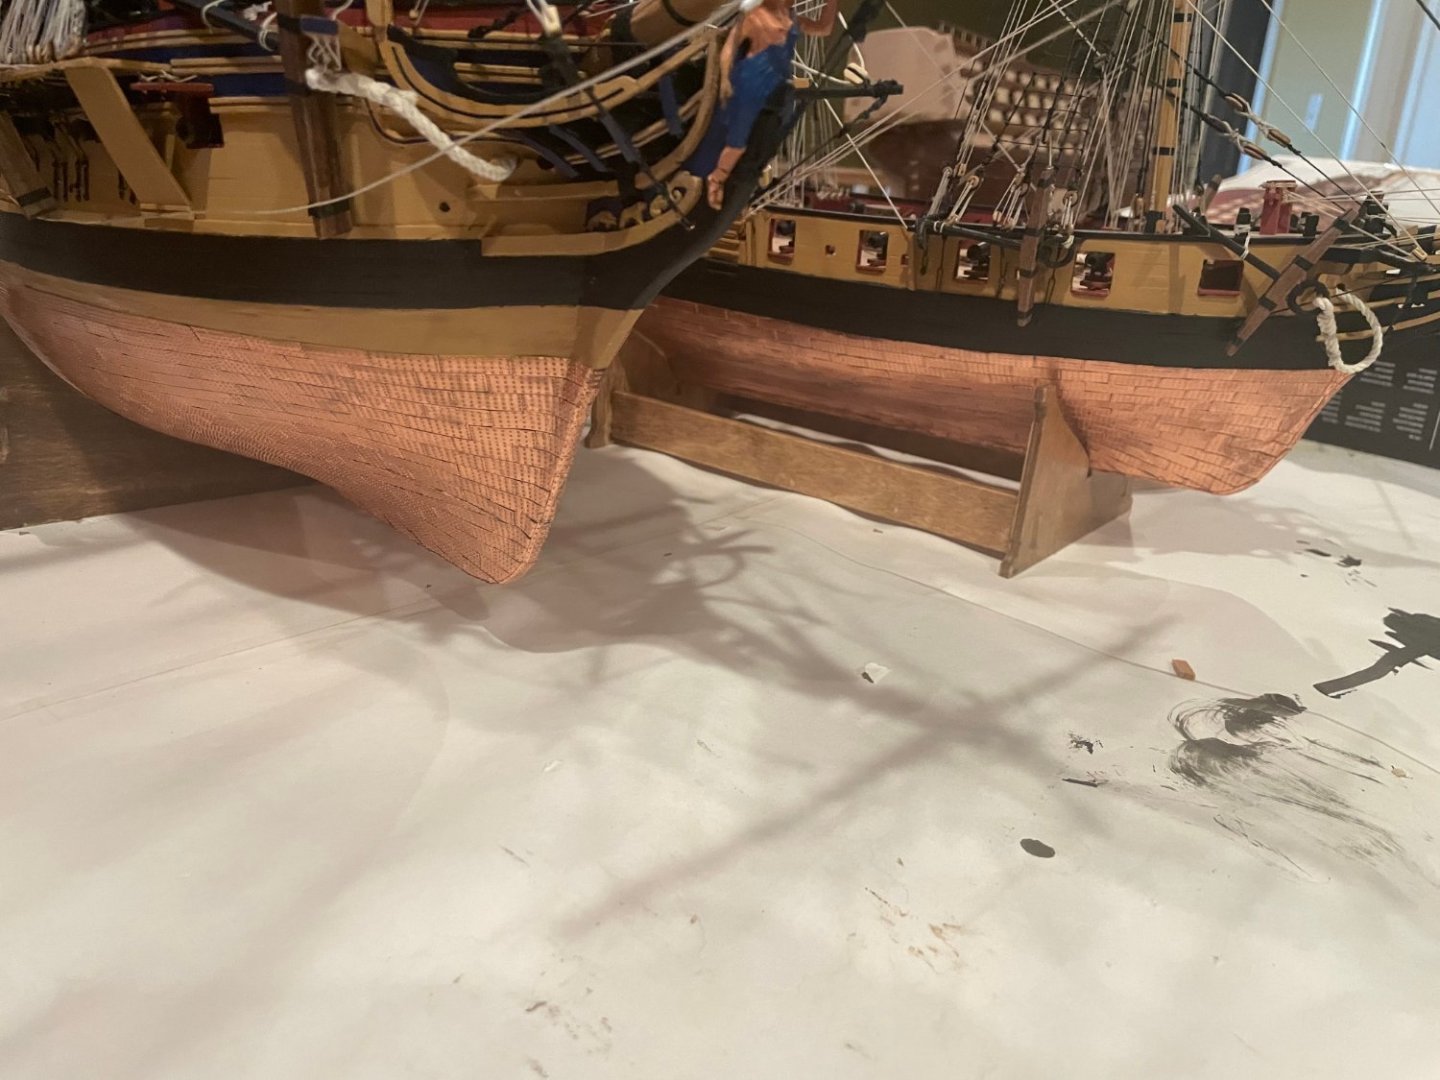
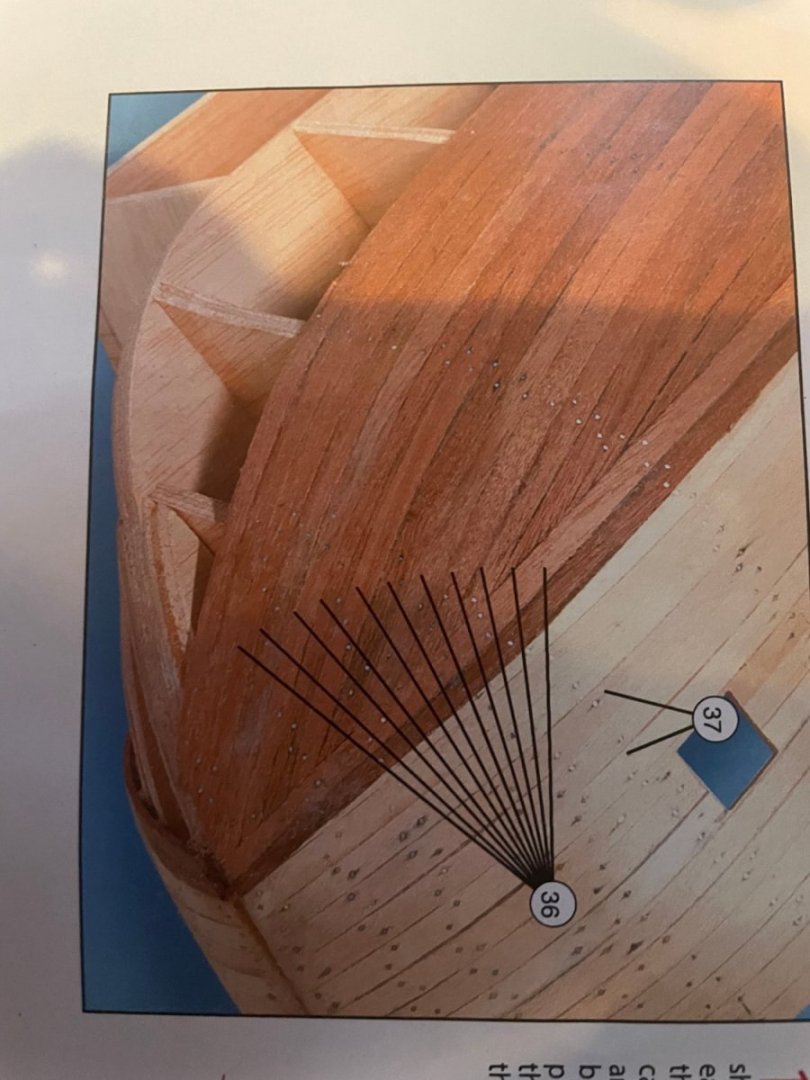
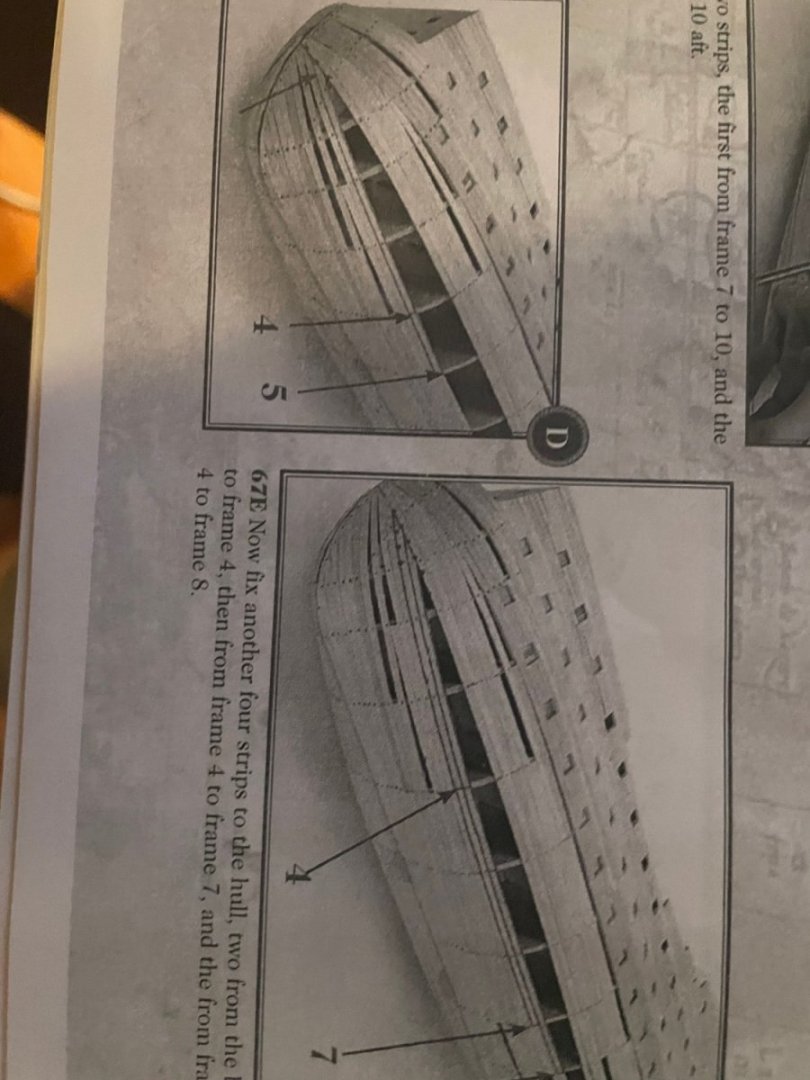
I find the hull the most difficult. To do it proper requires tabling and calculating the taper at each rib (or do the override and trim as in the Caldercraft instructions). If you copper and paint, nobody will see it . Here are the instructions from various ships I have built. Some use stealers. Below is this build, Santisimo Trinadad Here is HMS Surprise Here is USS Constitution Here is Soleil Royale It is easier to do if you do a second planking as strips thinner. My next ship in the wings (HMS Sphynx by Vanguard) has a painted lower hull so nobody would know but I will try to do it "correctly" as I can hide the attempt with paint later if I mess up. What I am truly waiting for is the Amati 1:64 Victory where I will try to do it properly although if coppered and painted still will not see the efforts.


- 41 replies
-
- 3
-
-
- OcCre
- Santissima Trinidad
- (and 1 more)
-
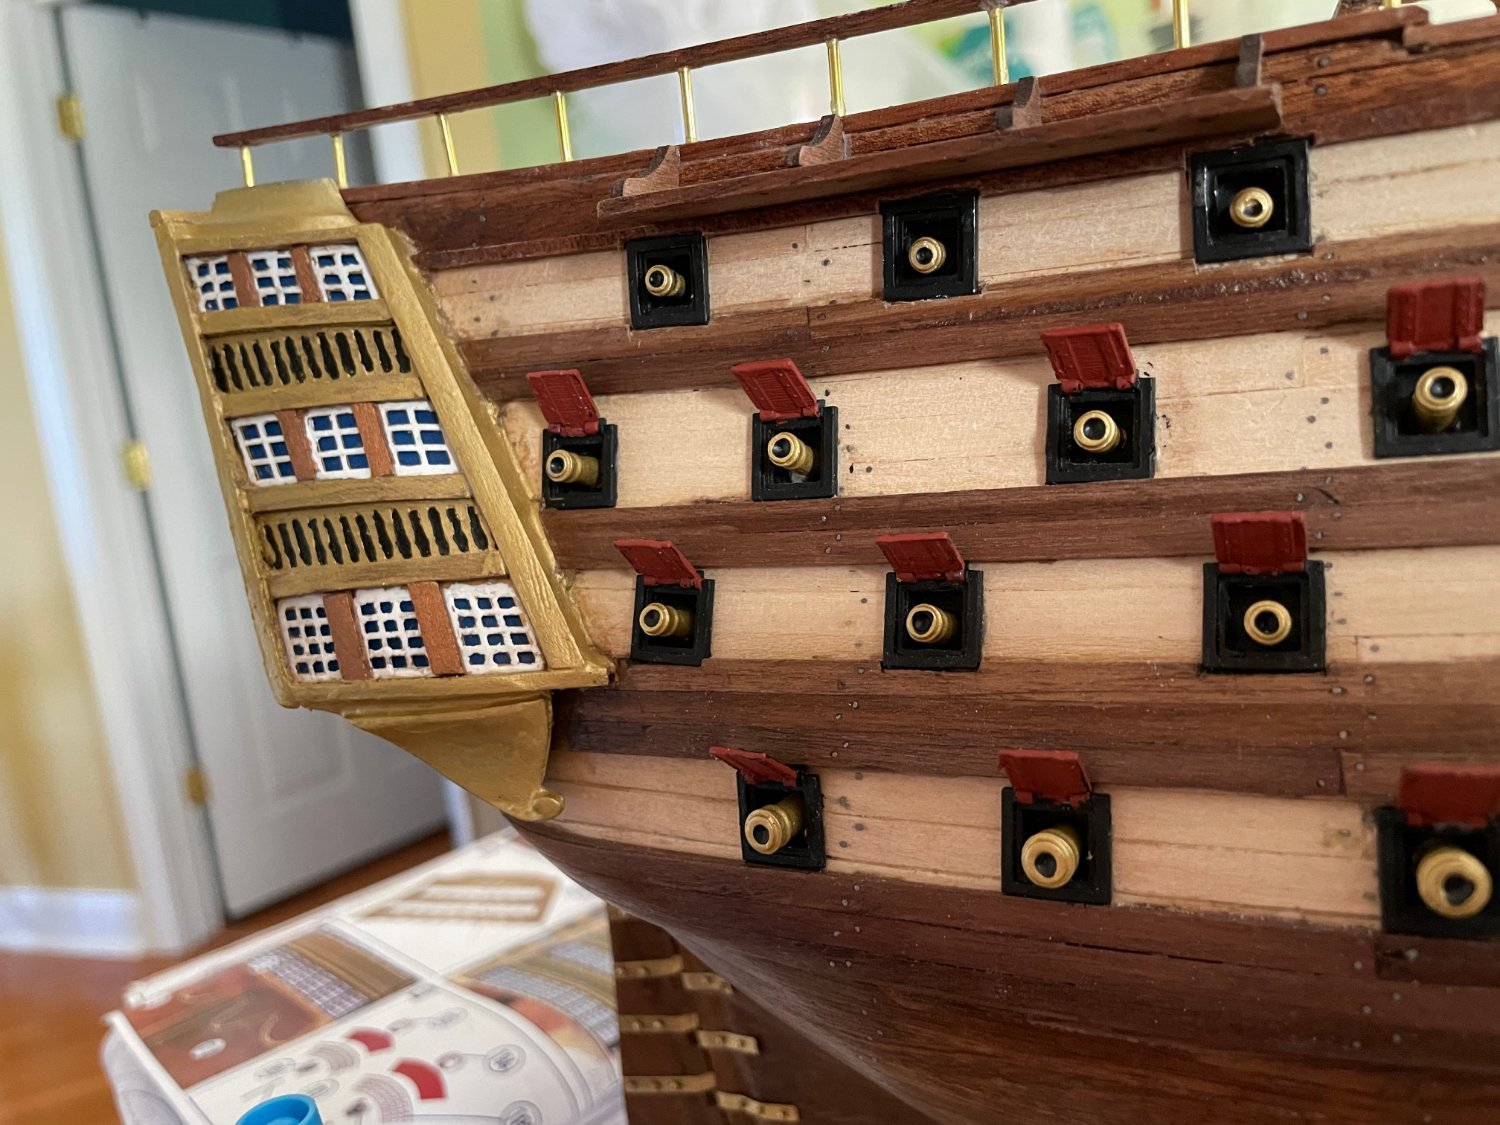
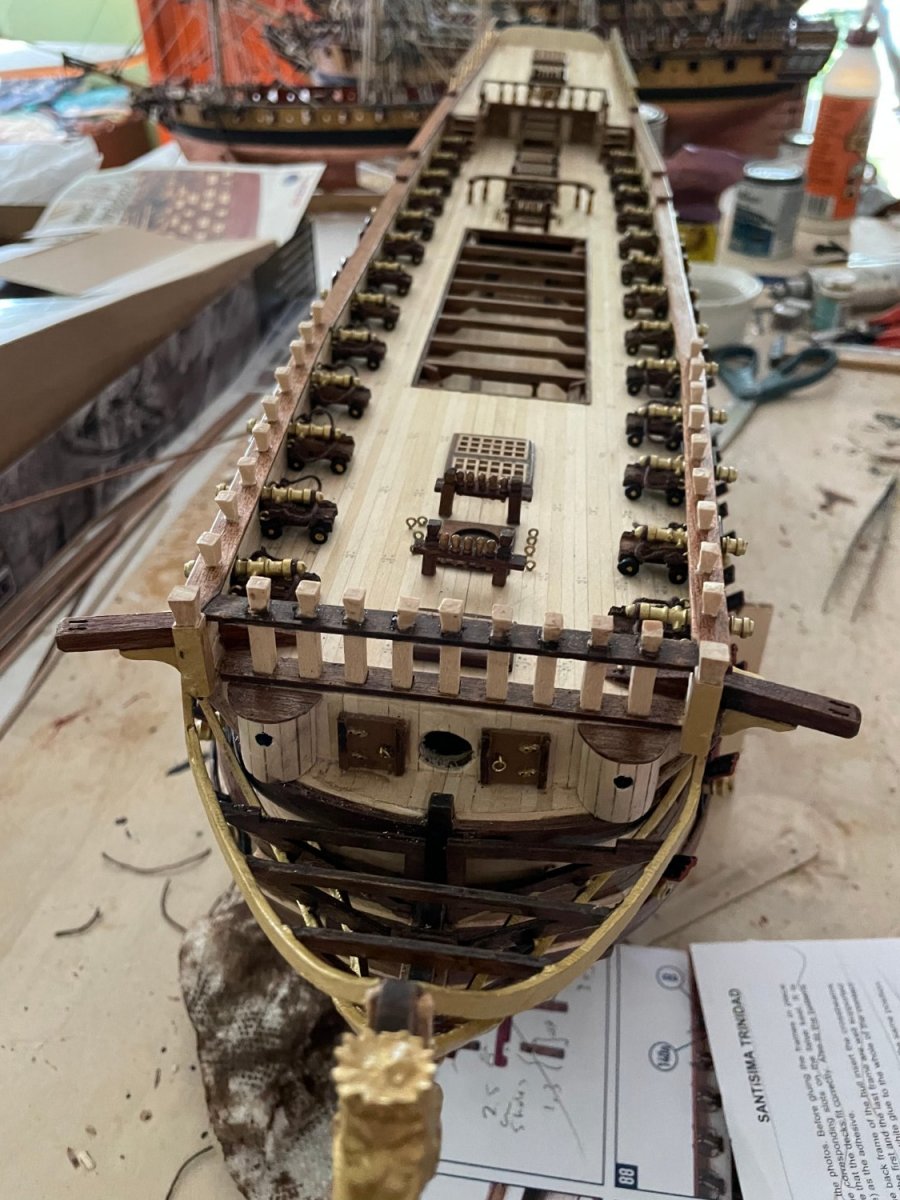
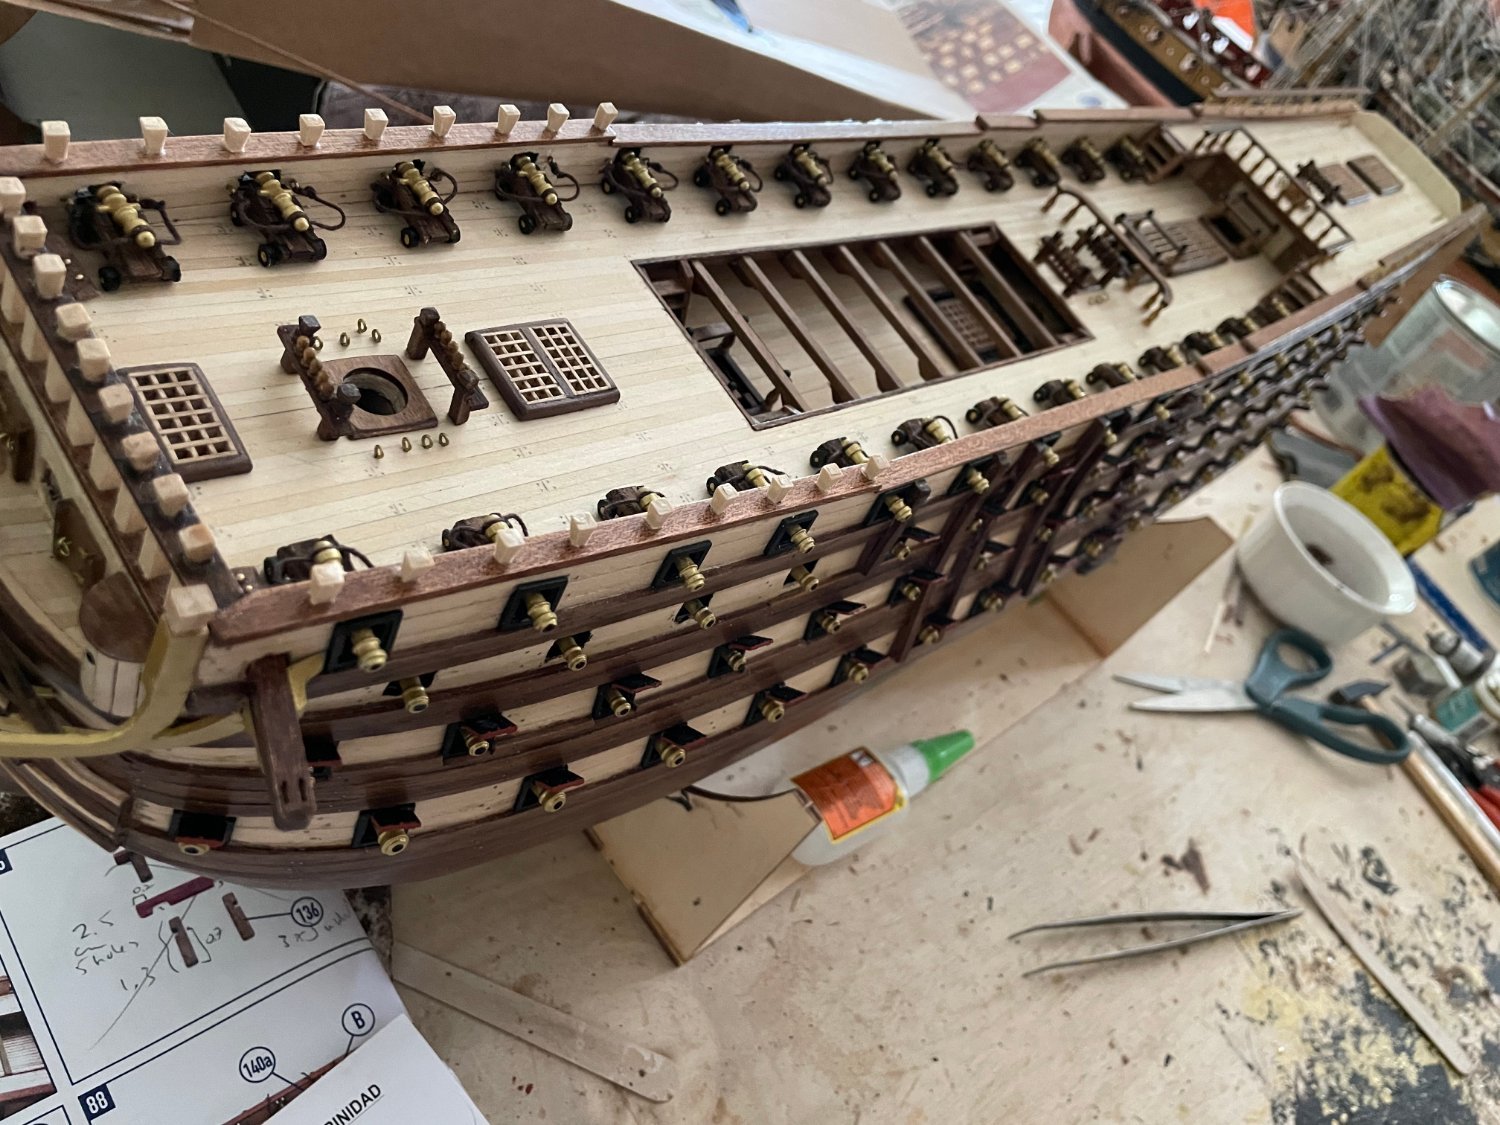
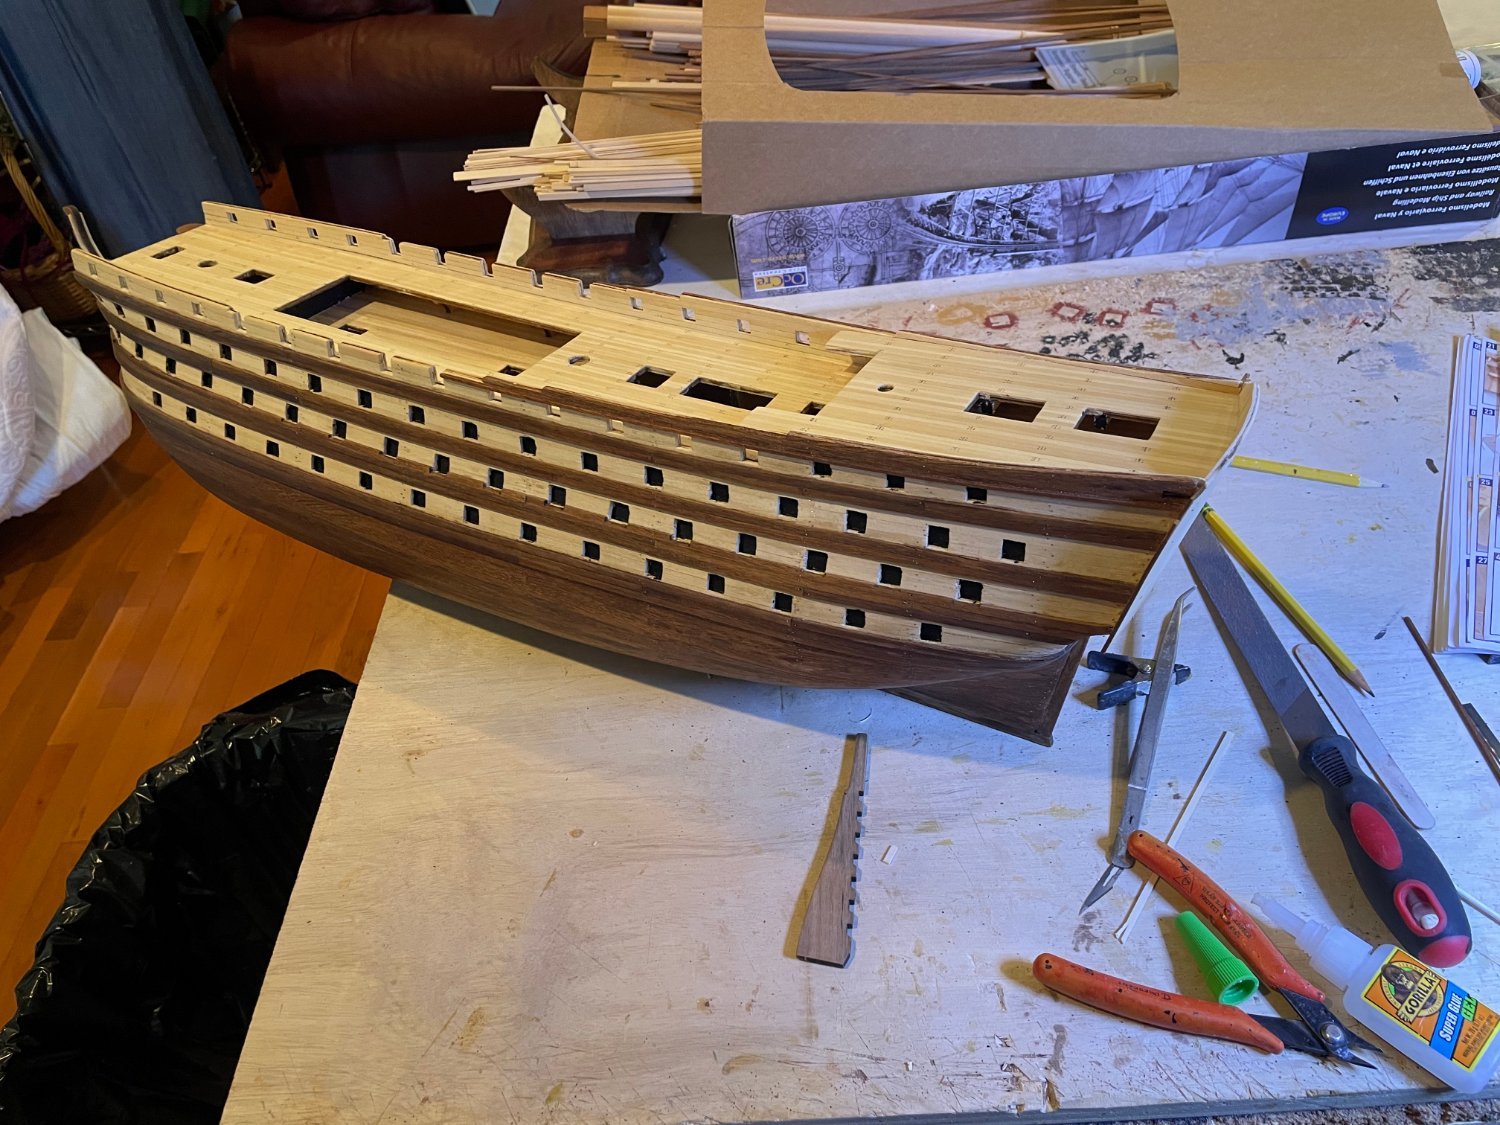
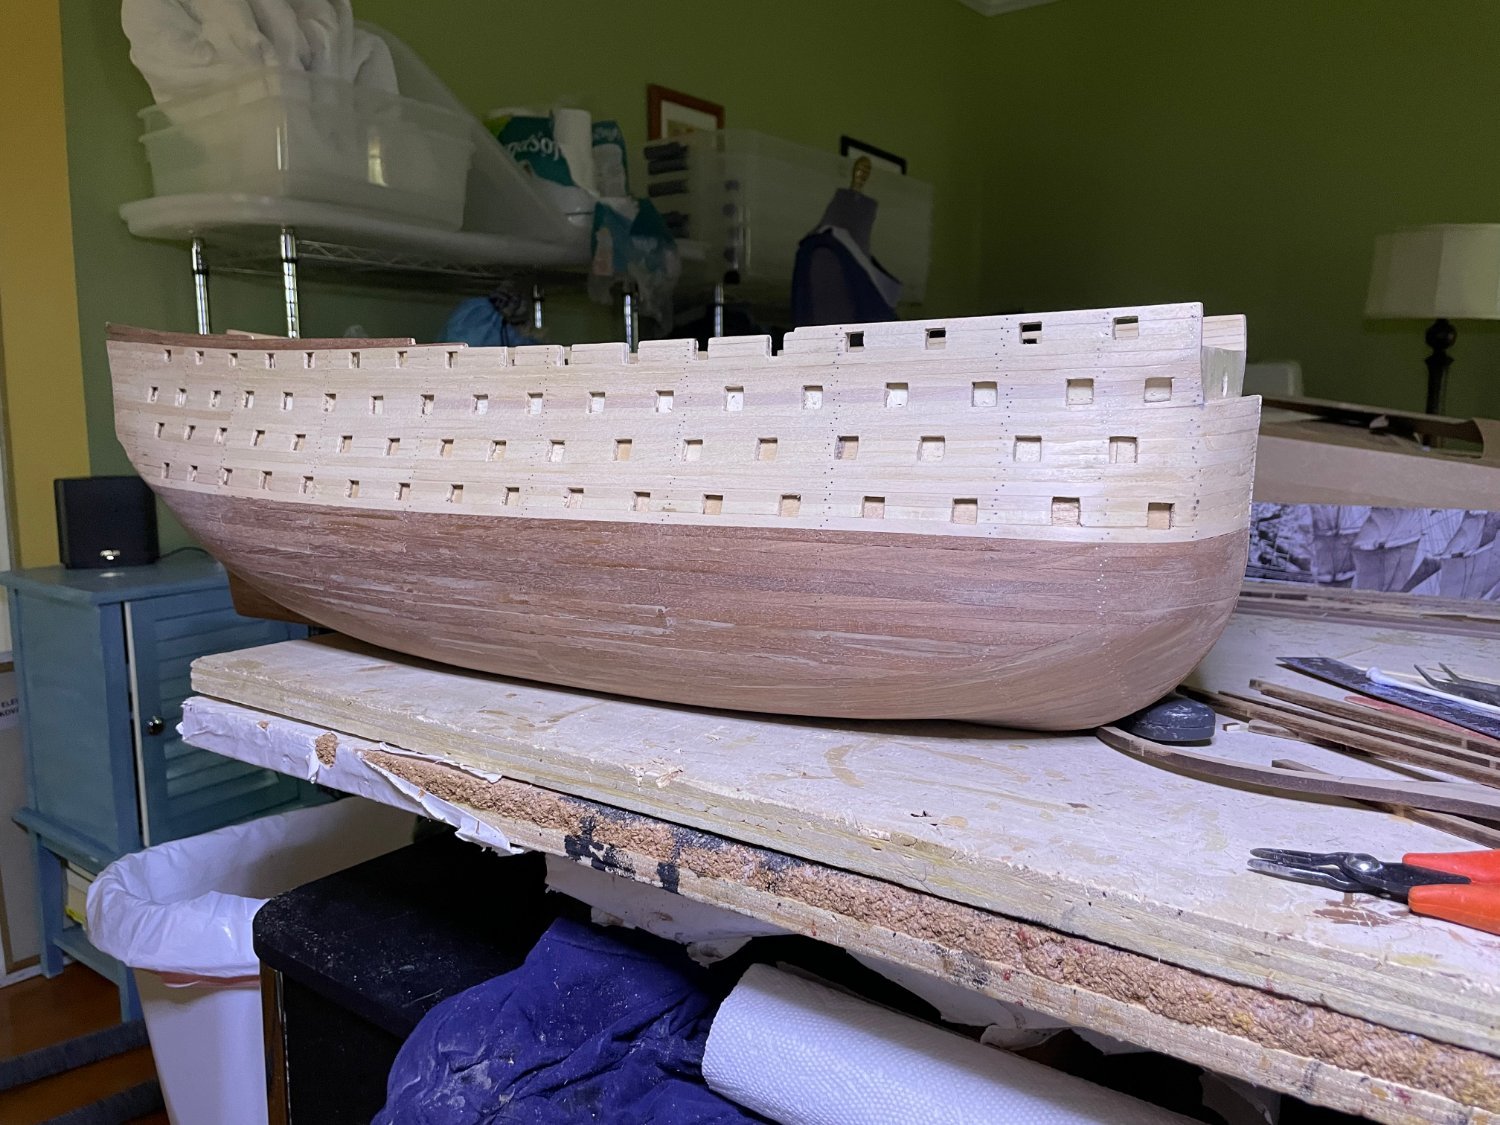
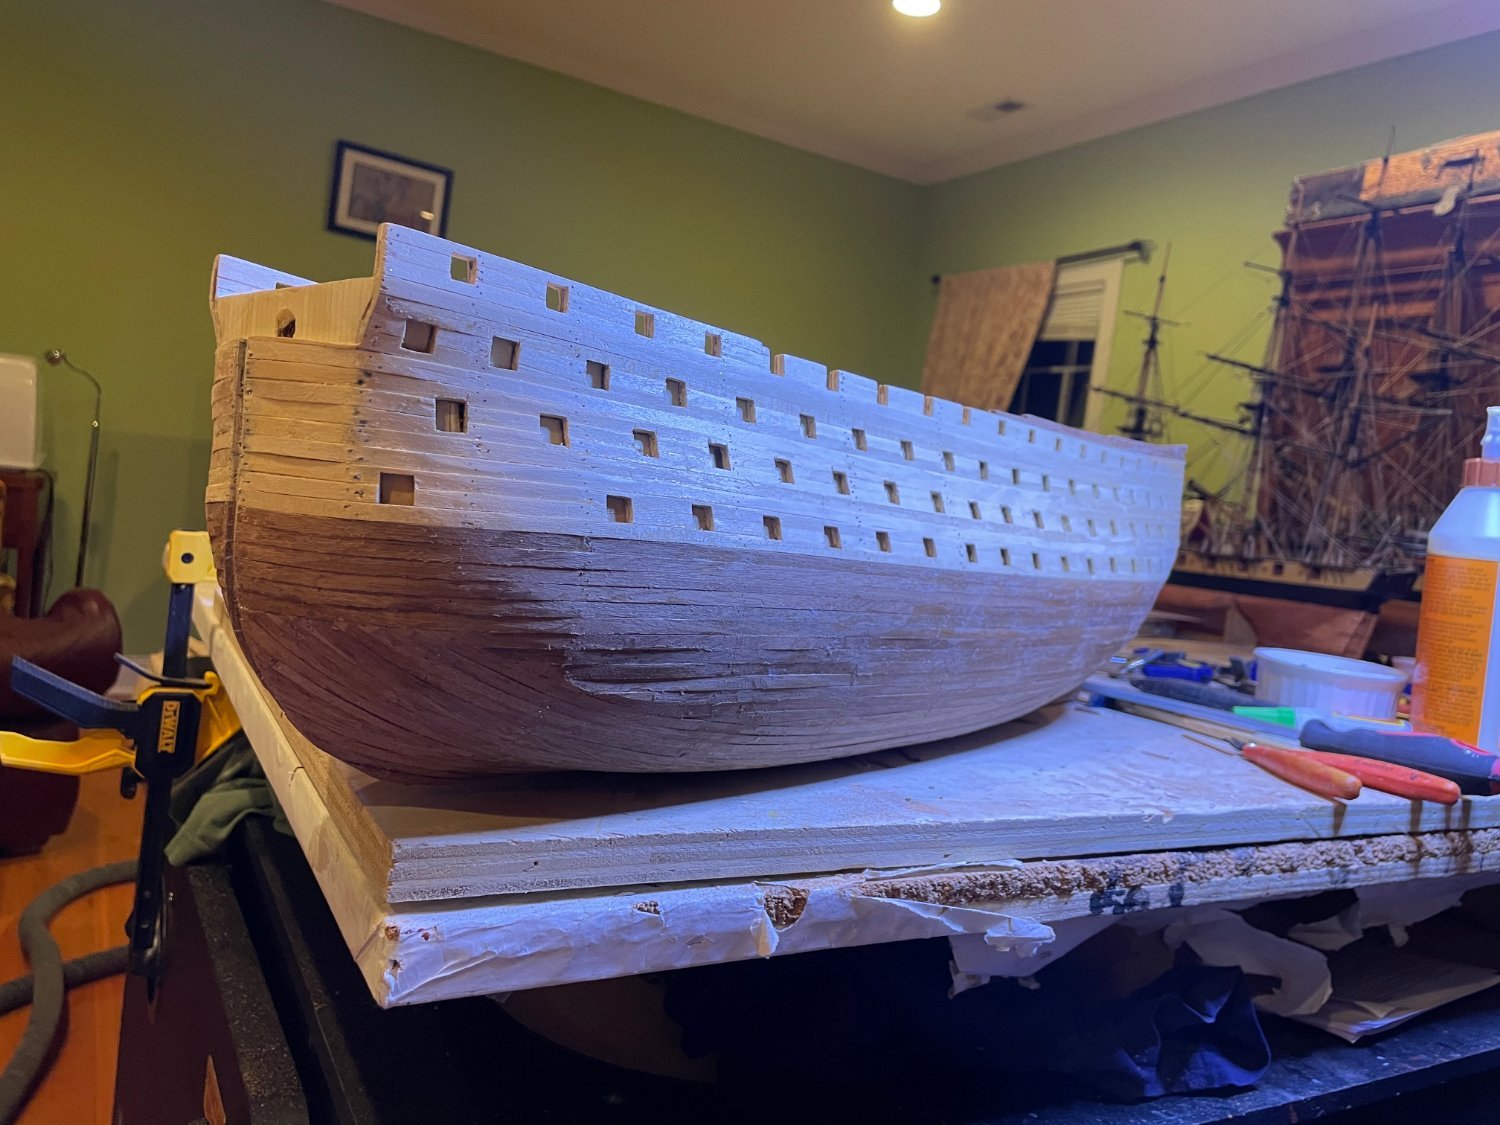
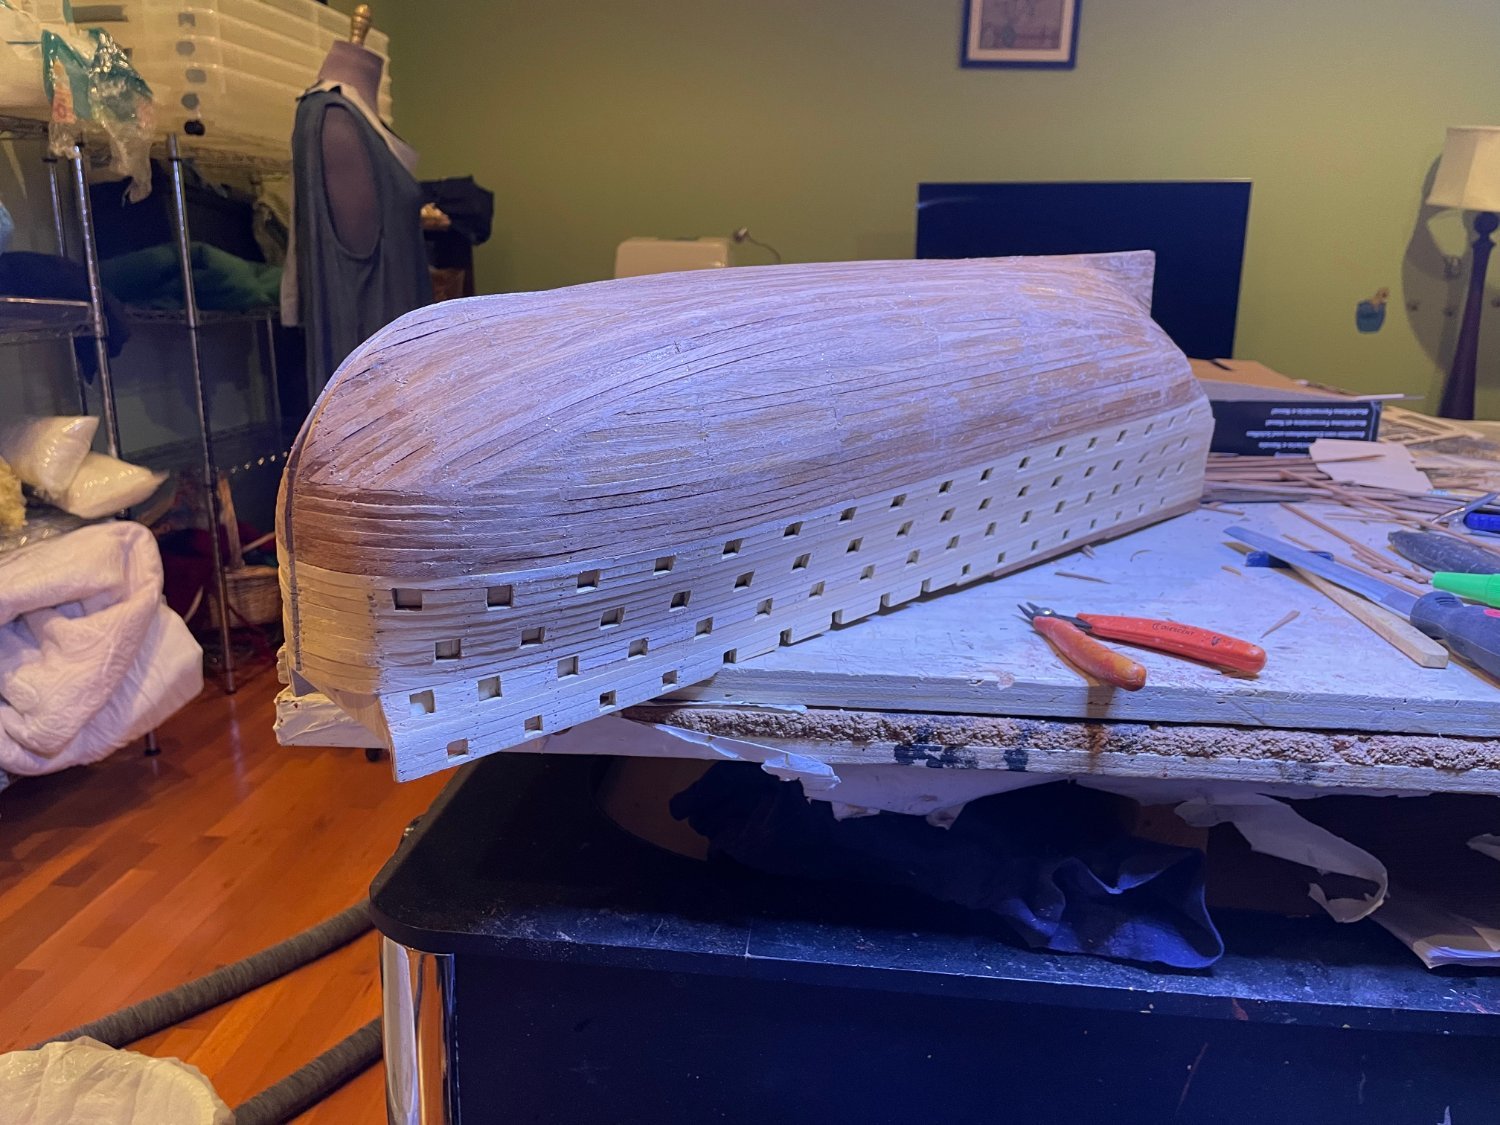
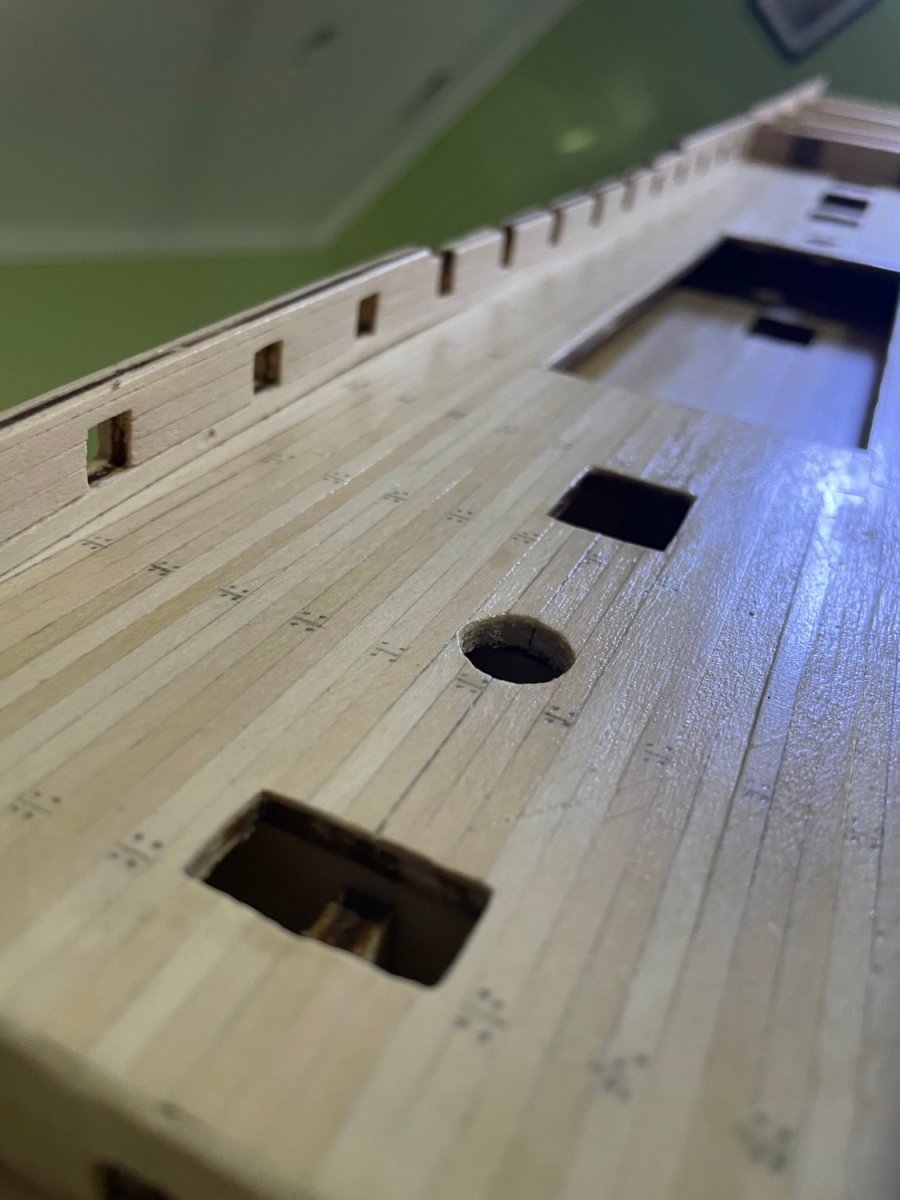
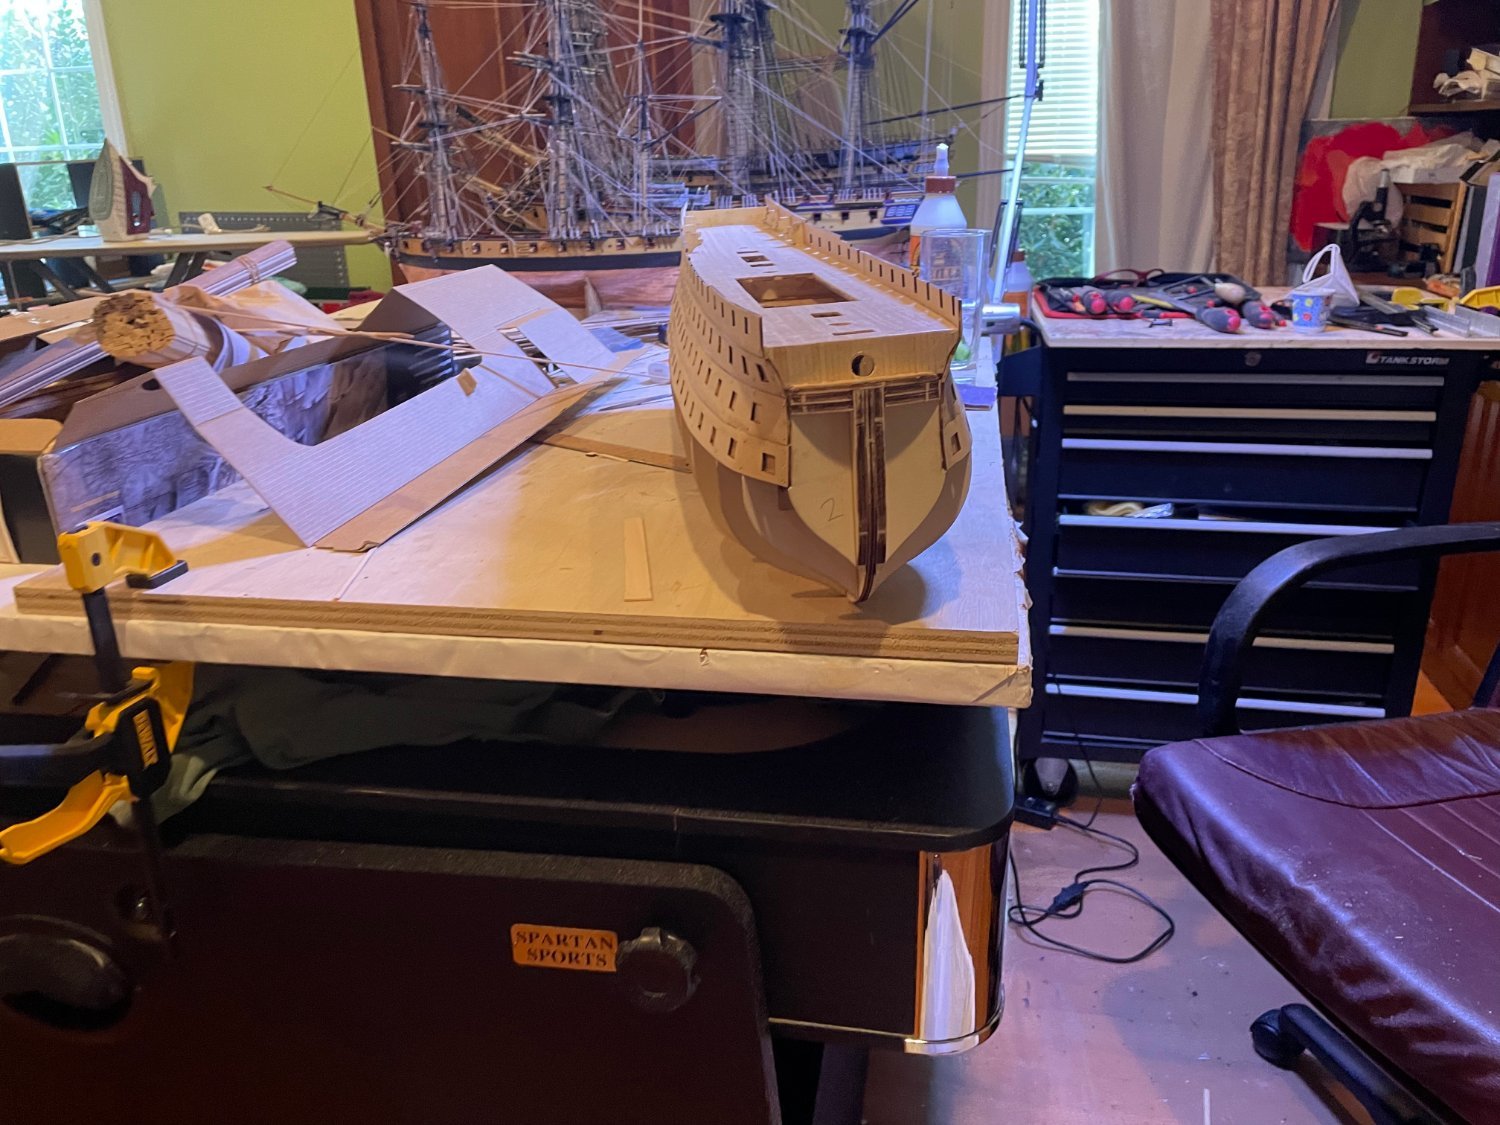
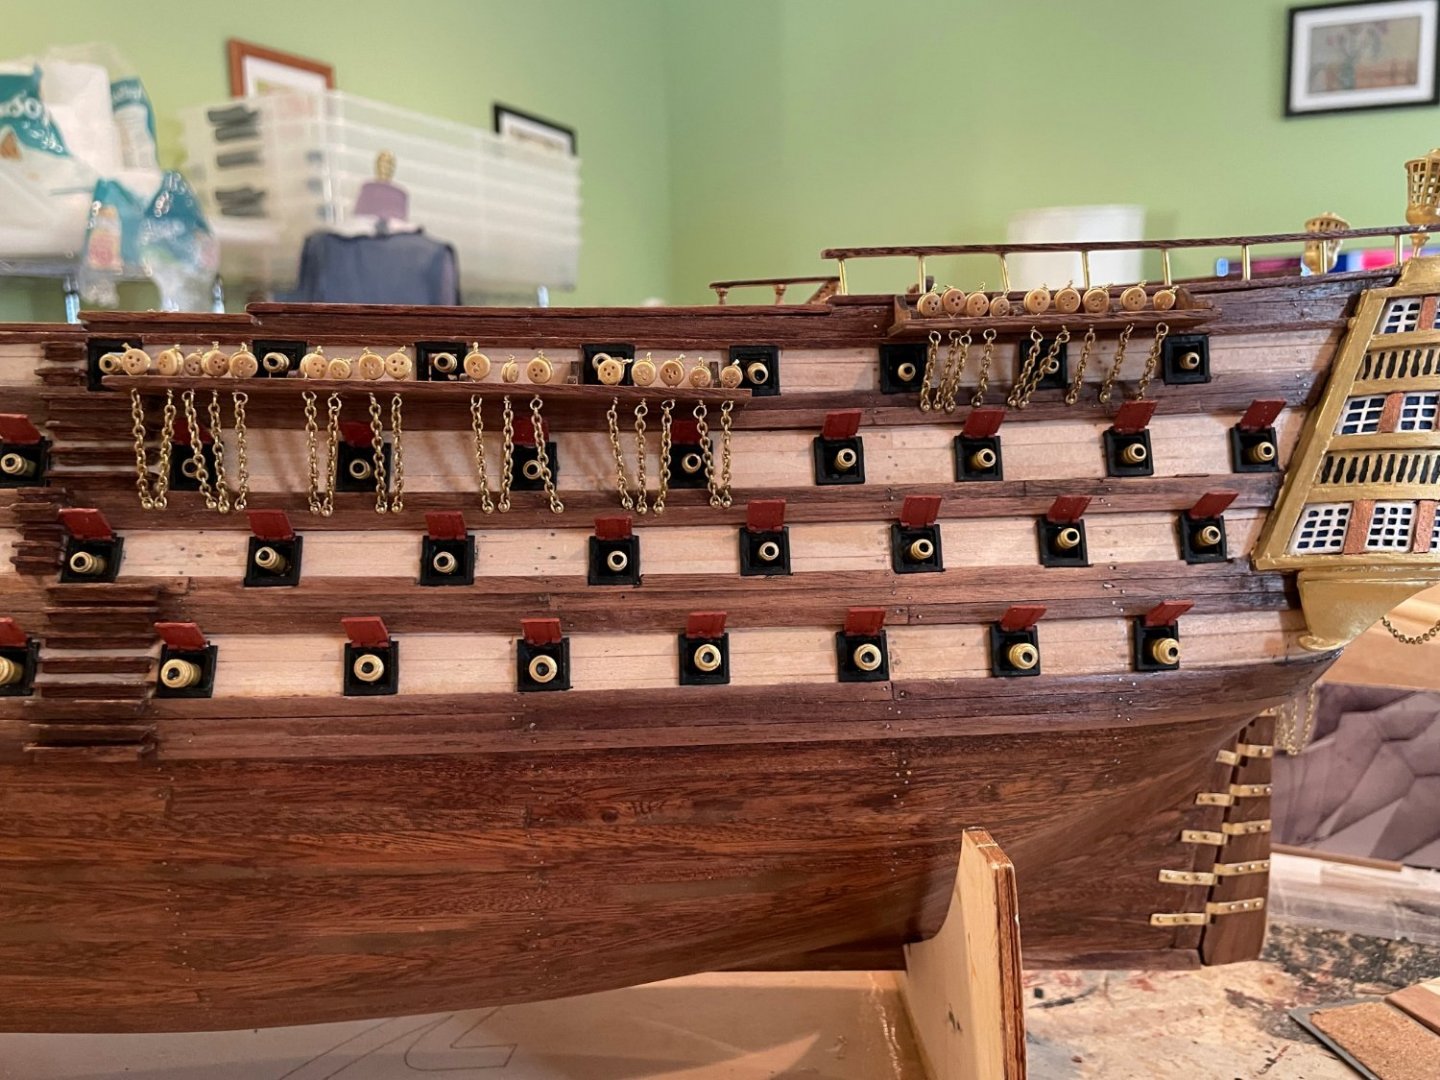
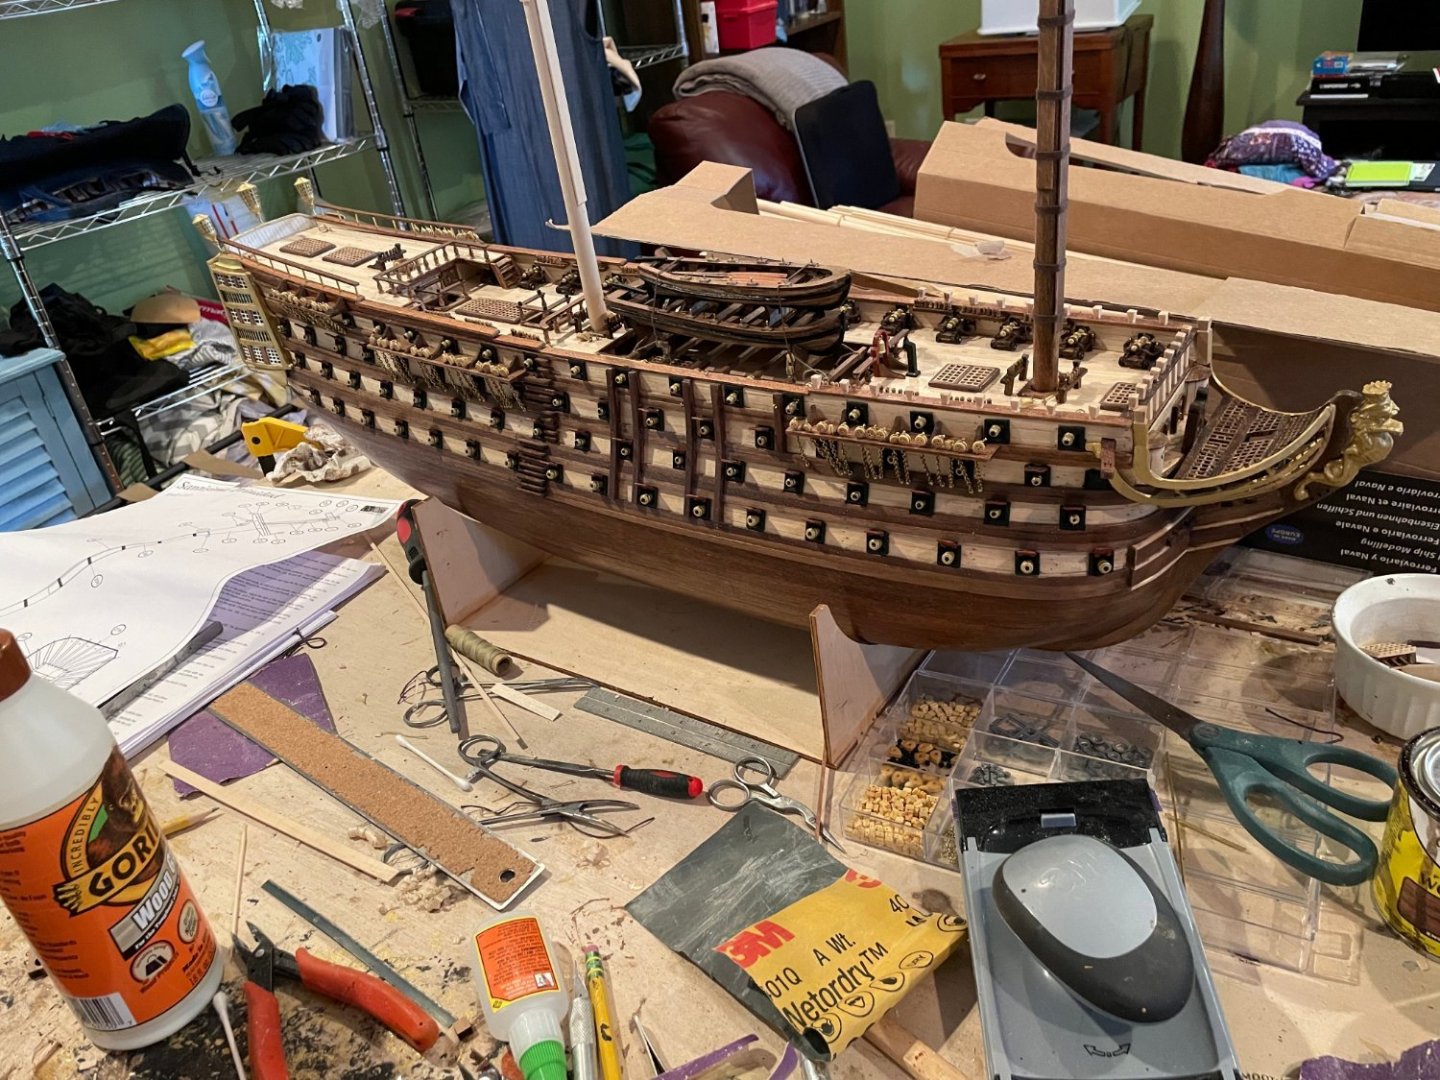
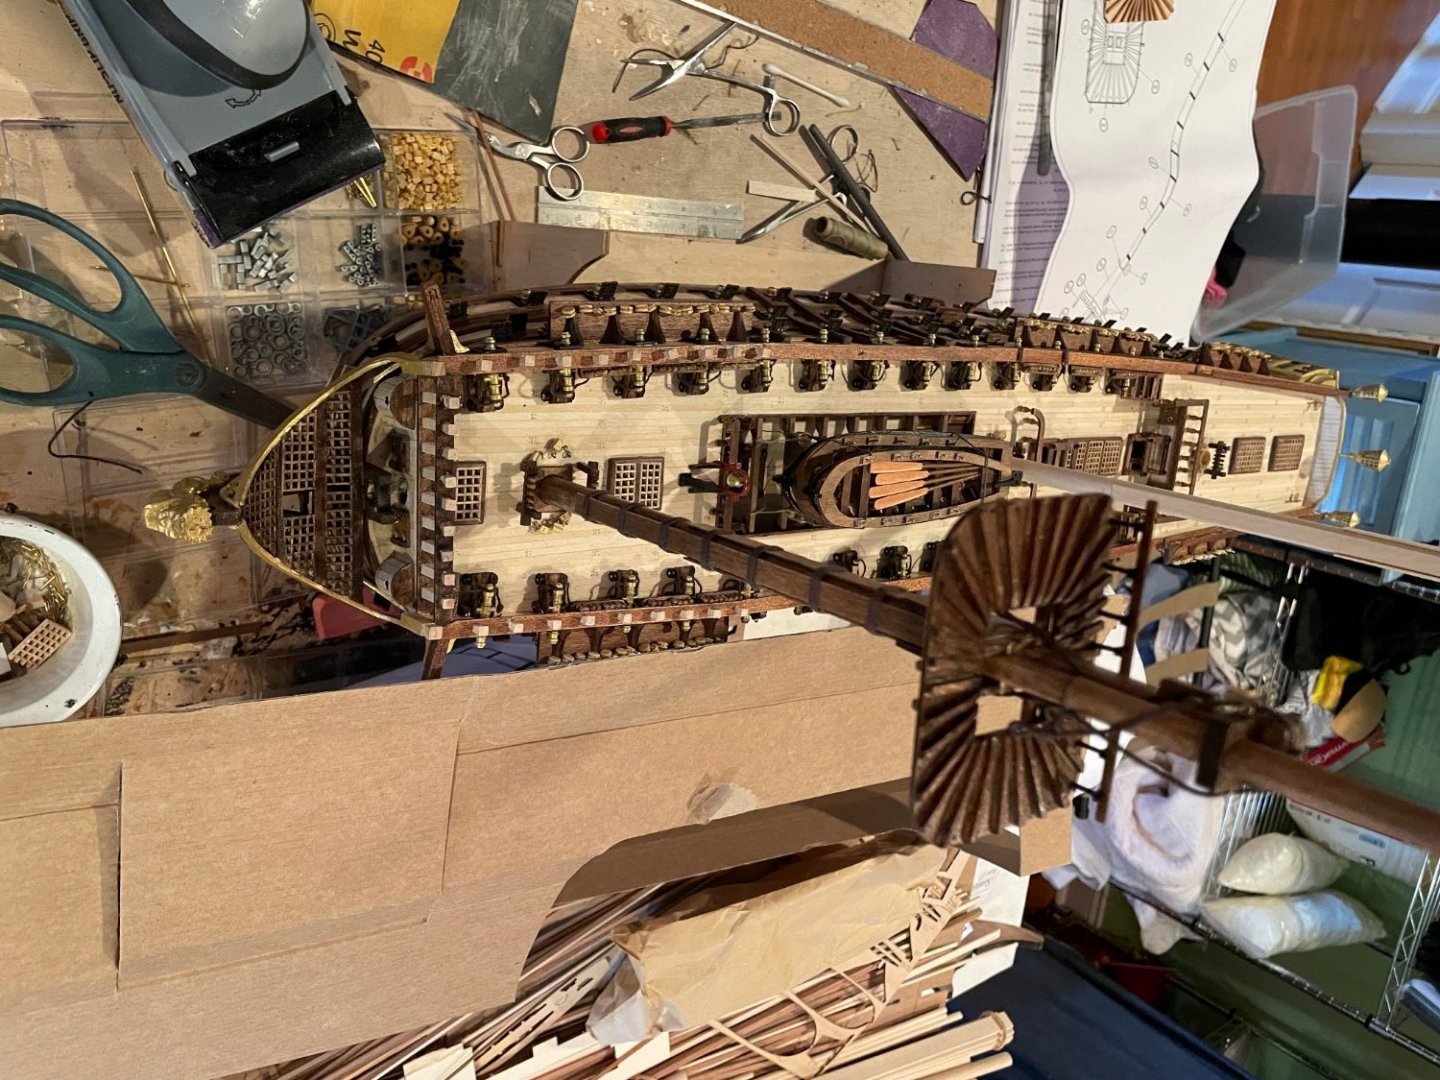
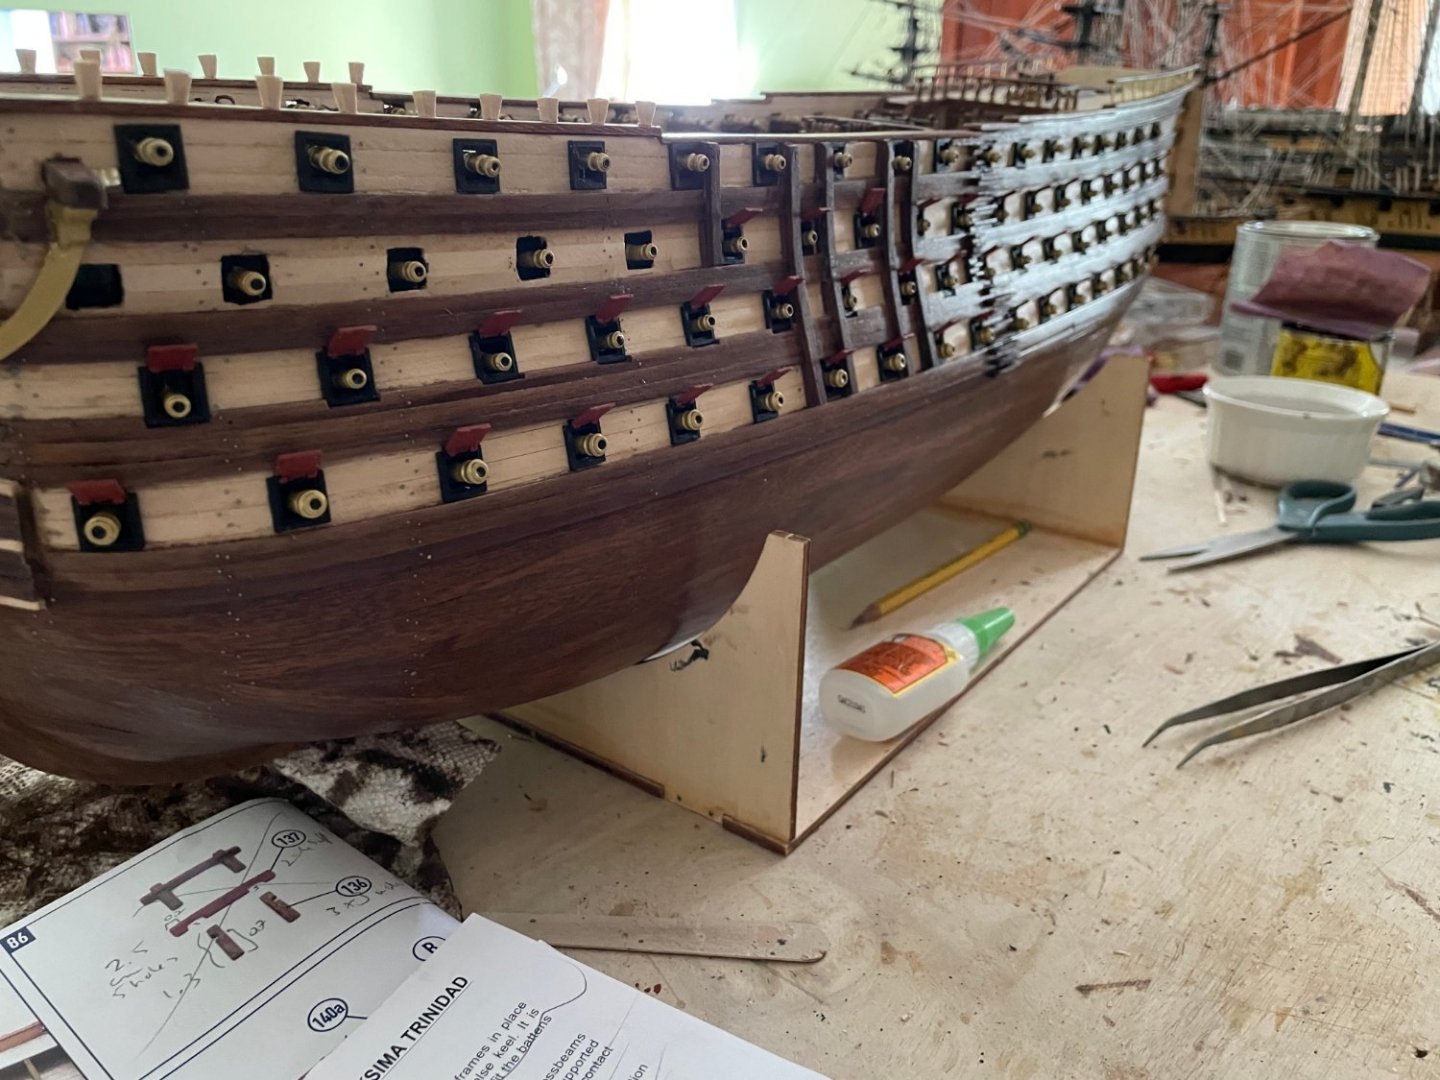
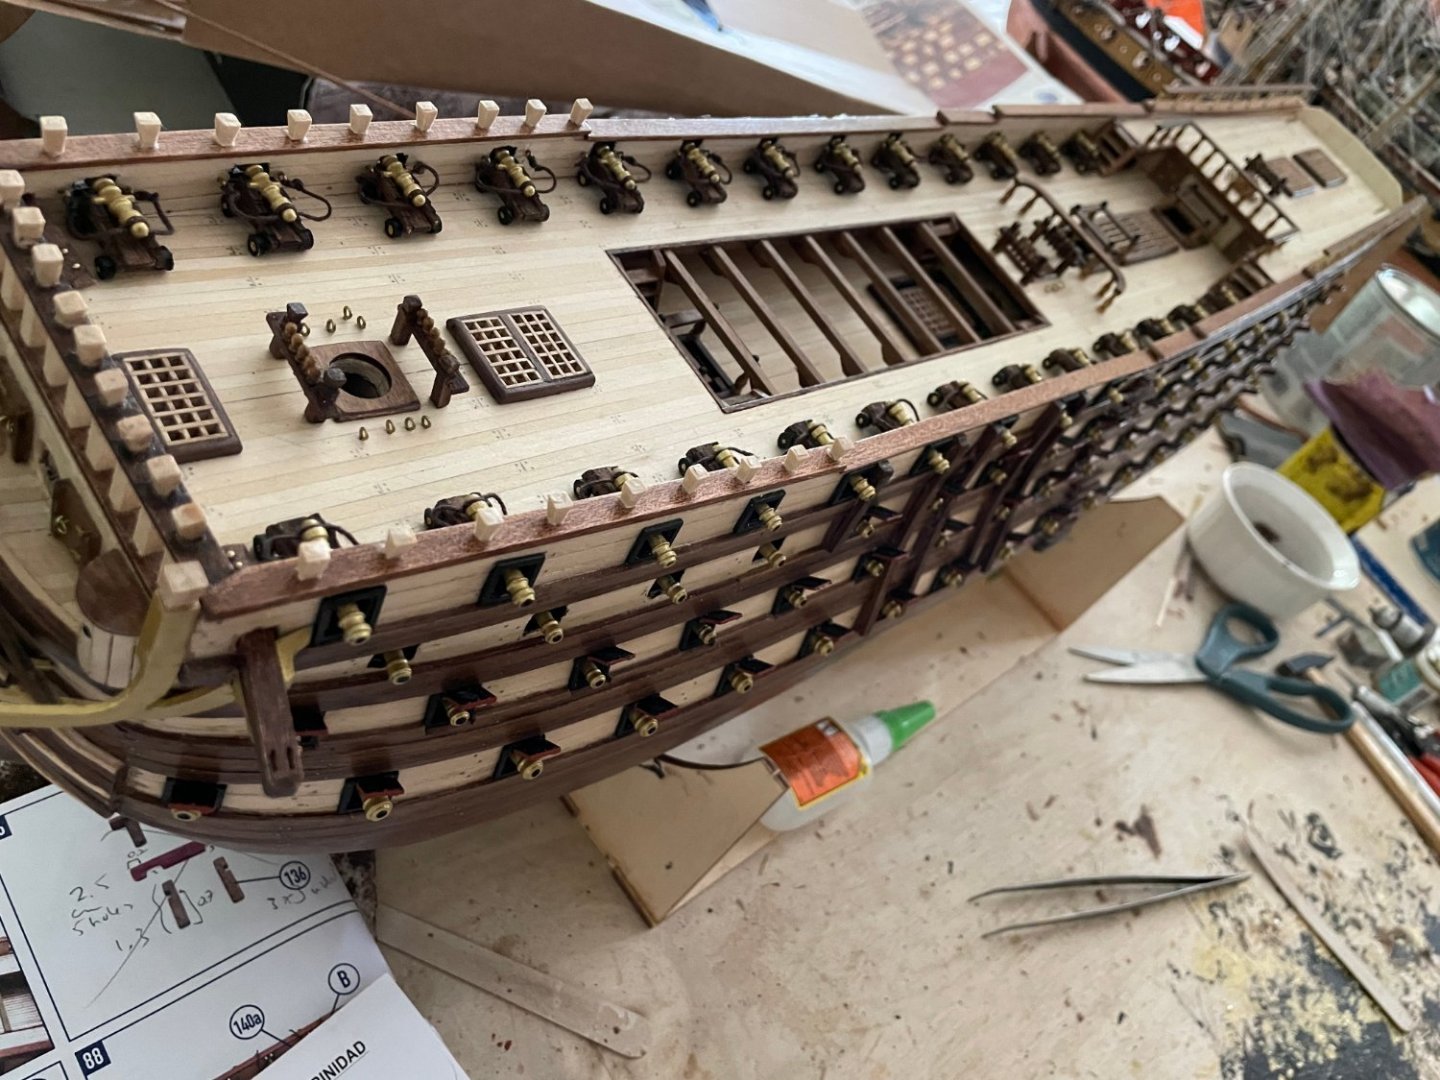
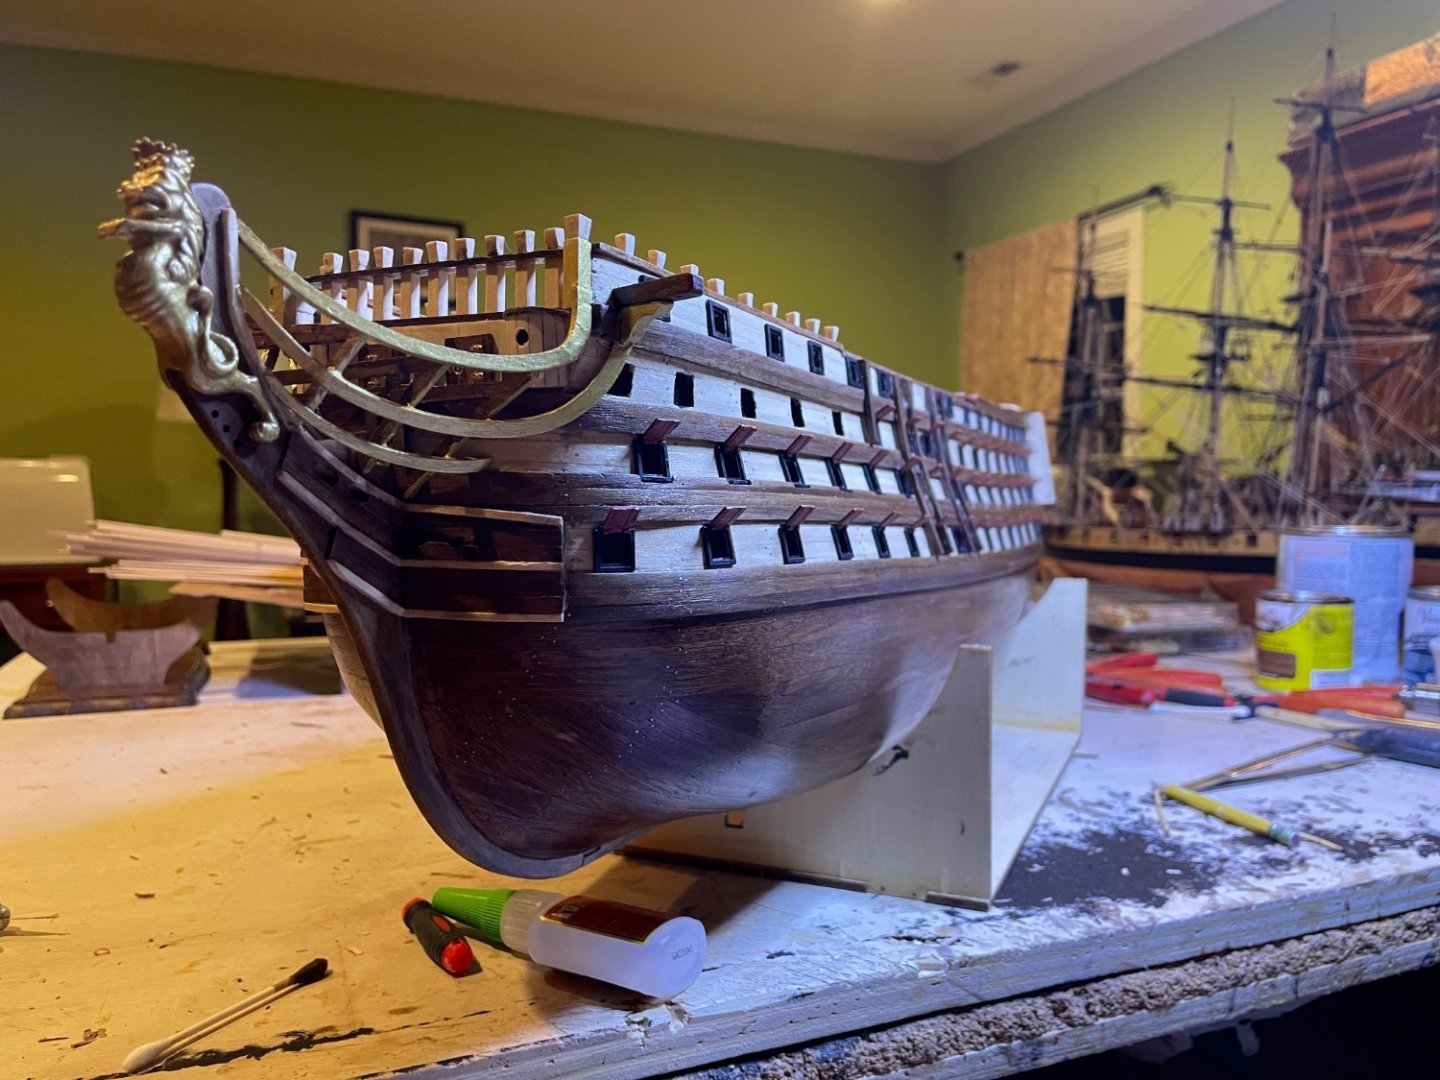
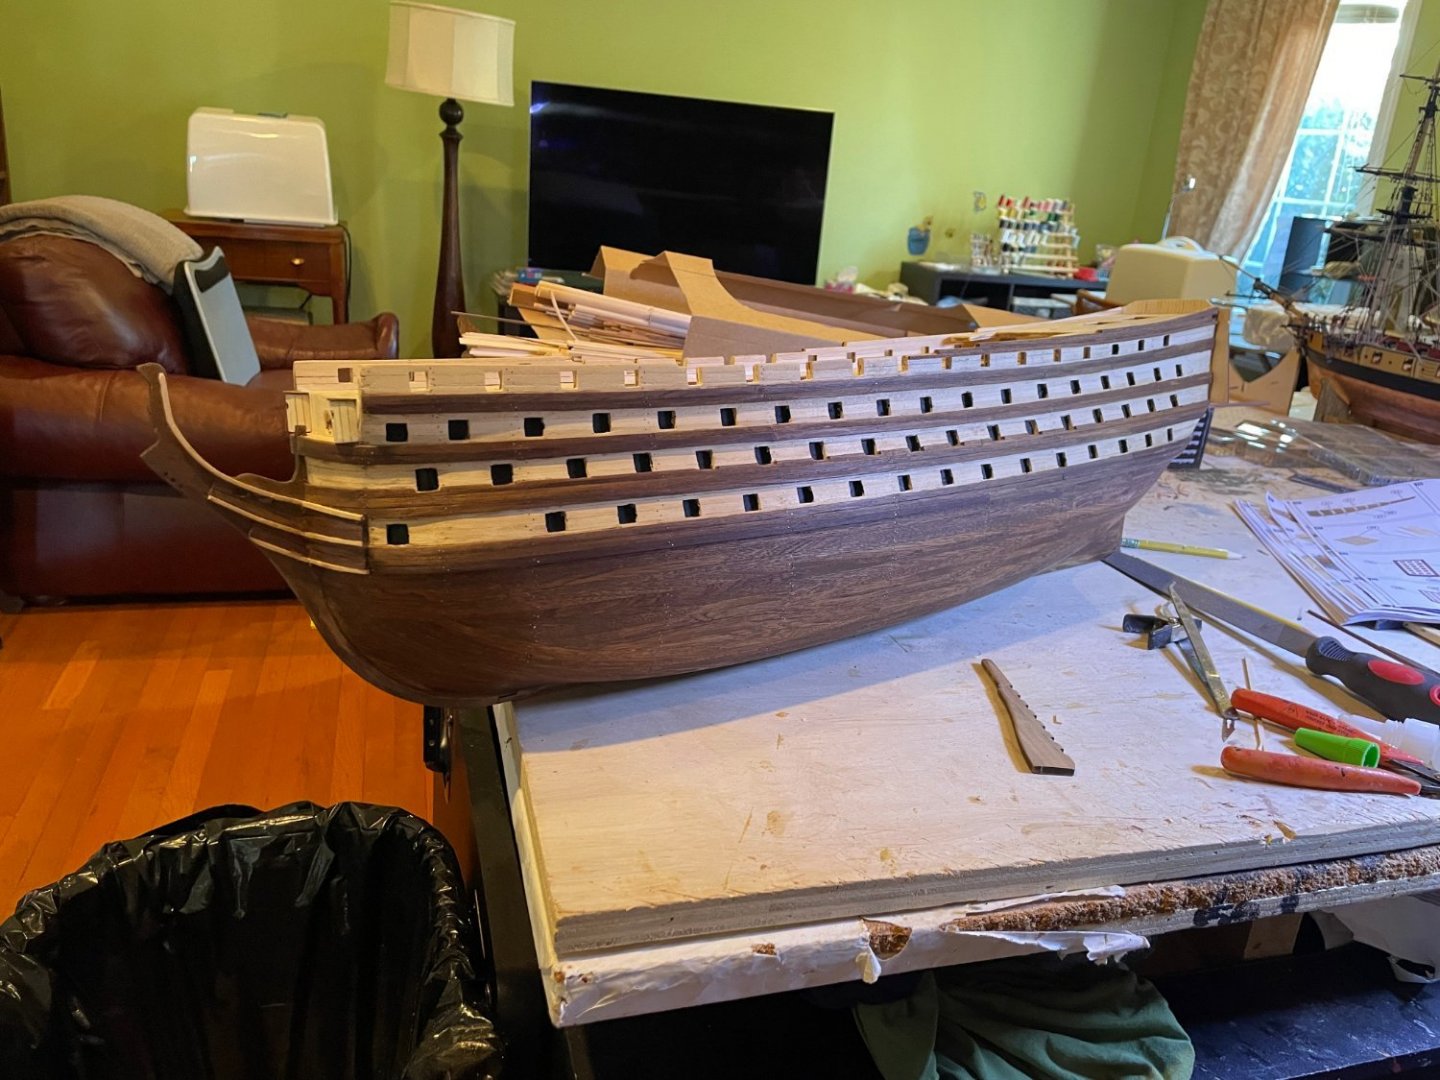
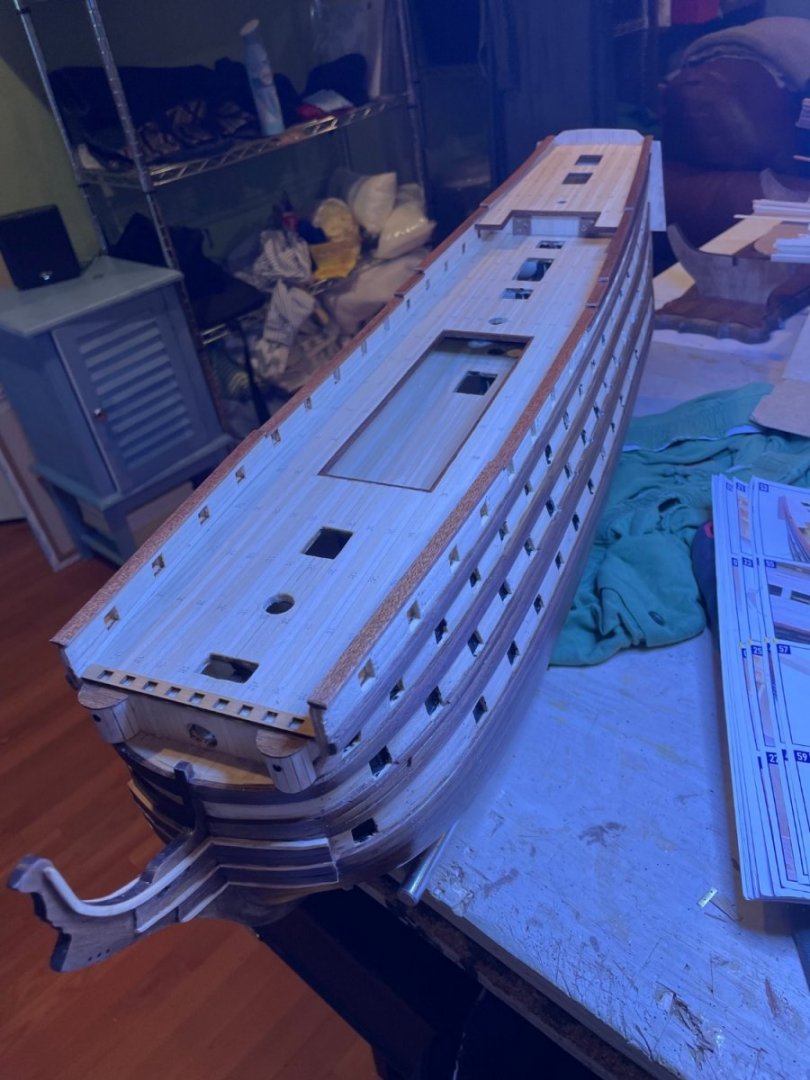
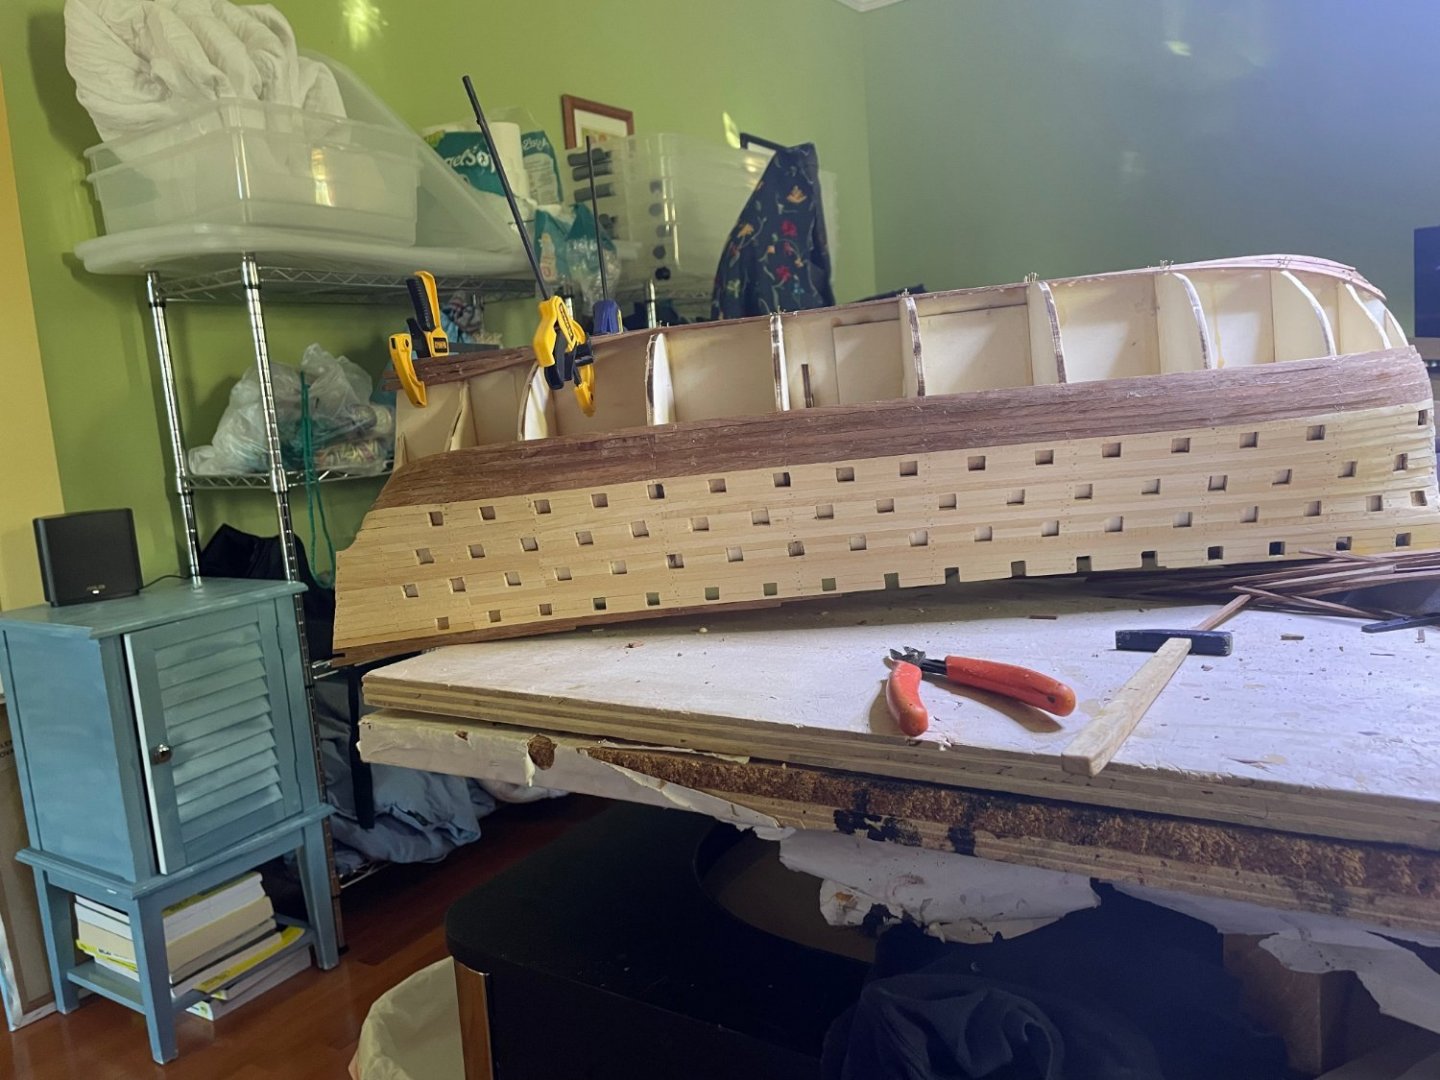
Progress so far. Unfortunately missing 3 gunport frames and 5 lids. Have requested the parts from Occre but only God knows how long it will take to get them. Fortunately they are not critical to continue work.
- 41 replies
-
- 1
-
-
- OcCre
- Santissima Trinidad
- (and 1 more)
-
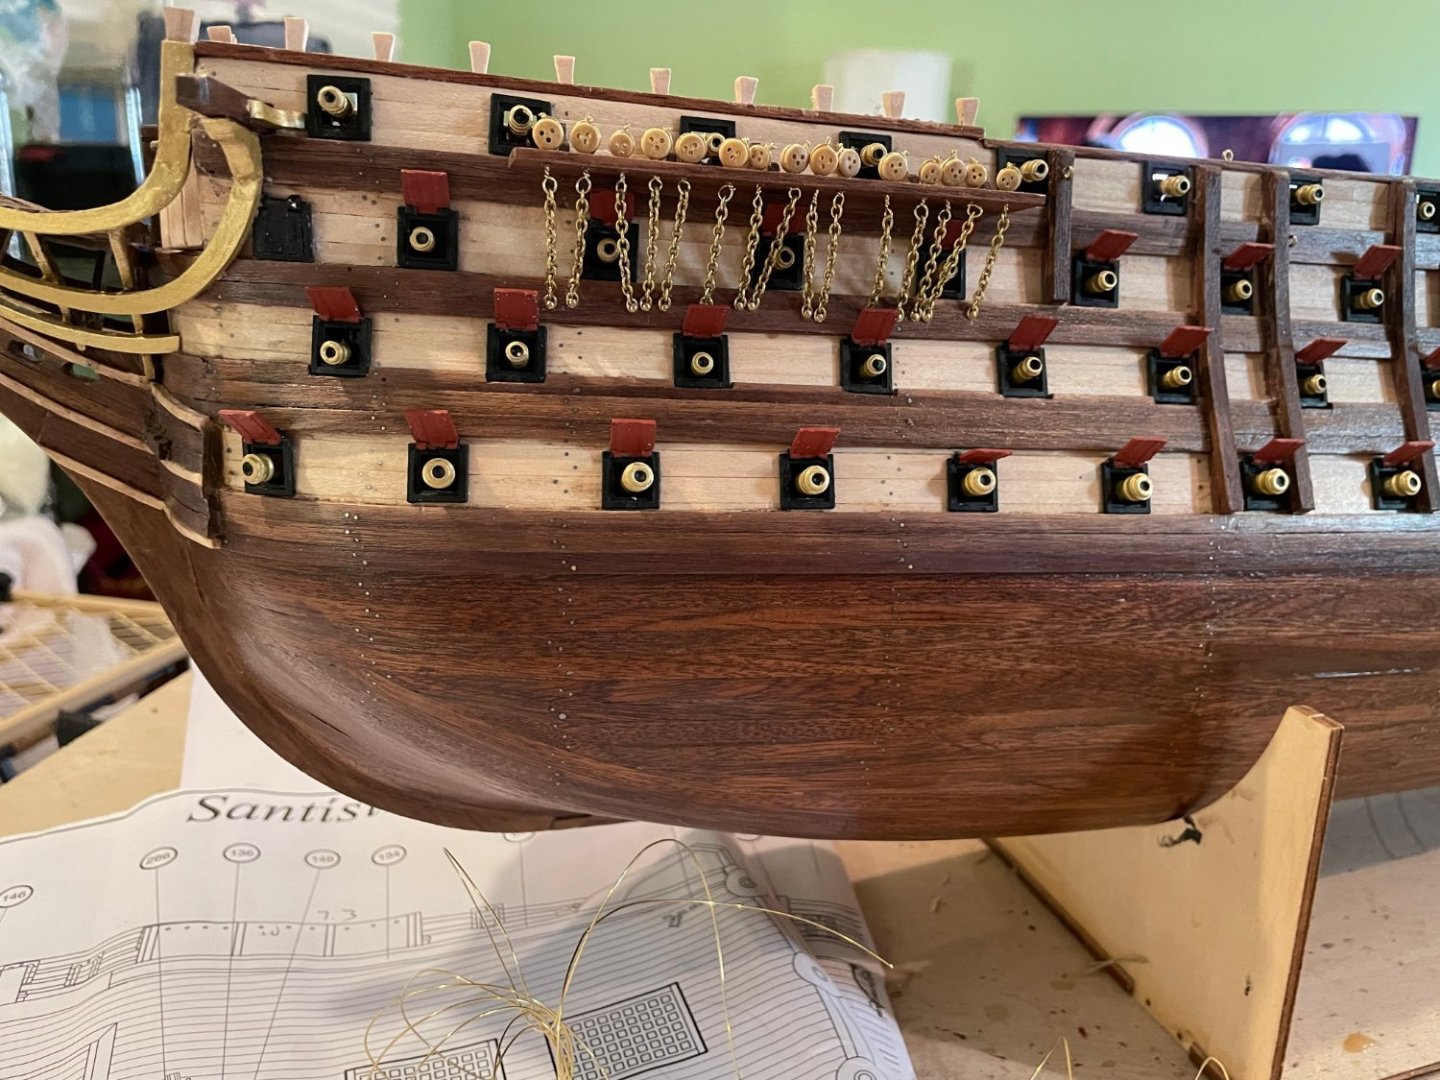
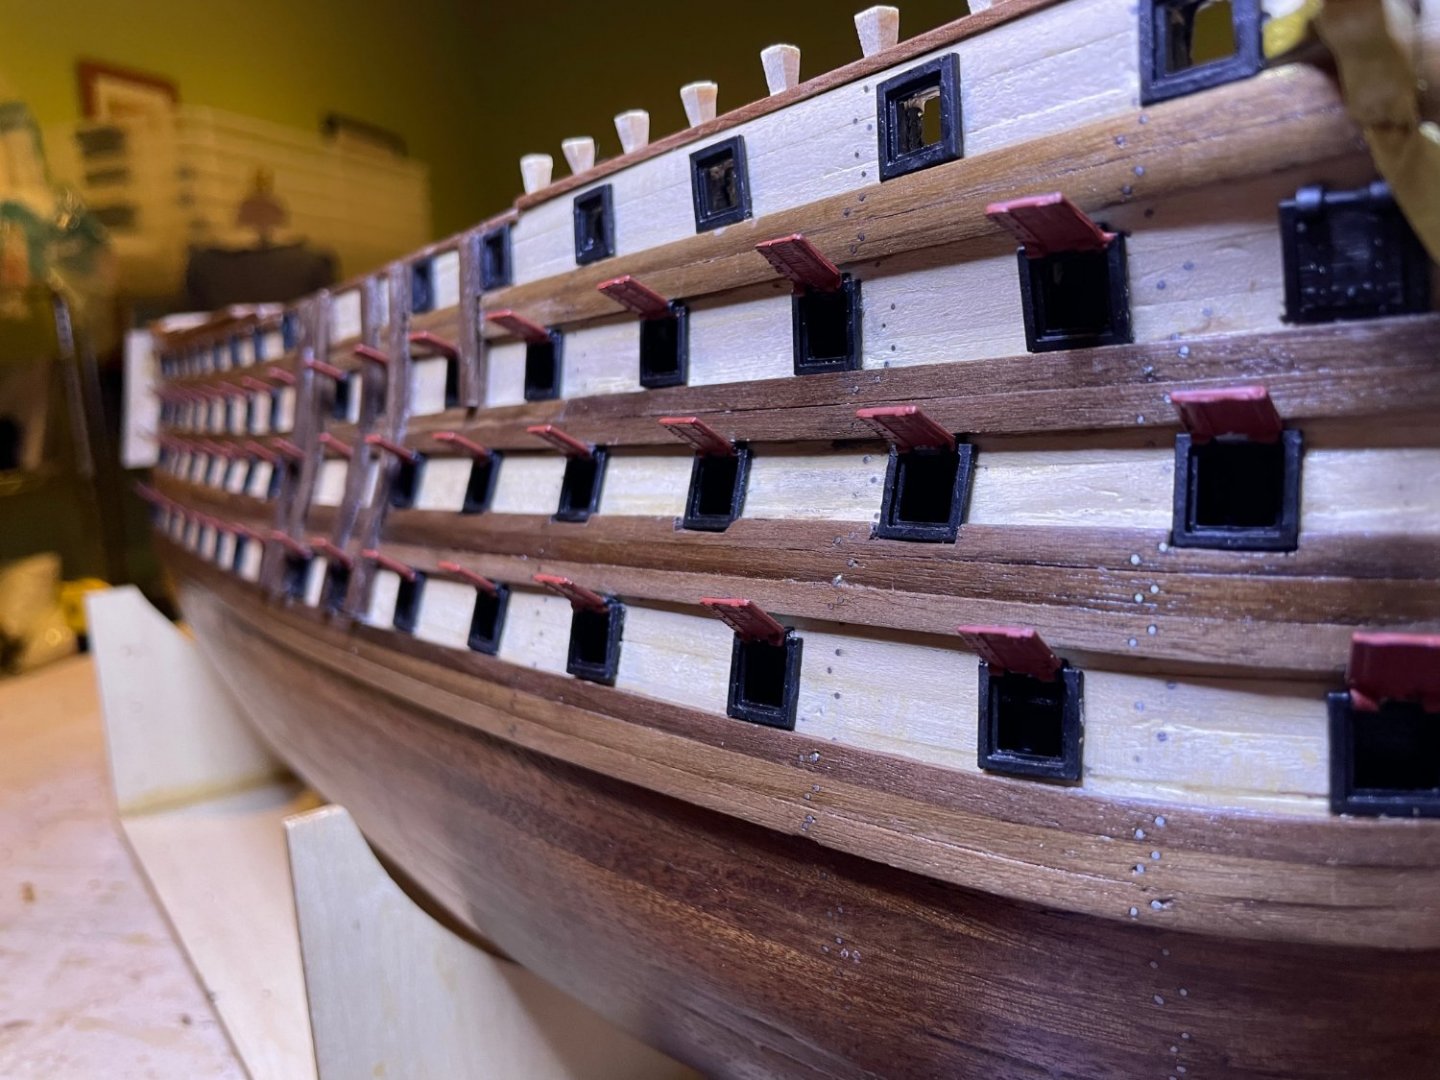
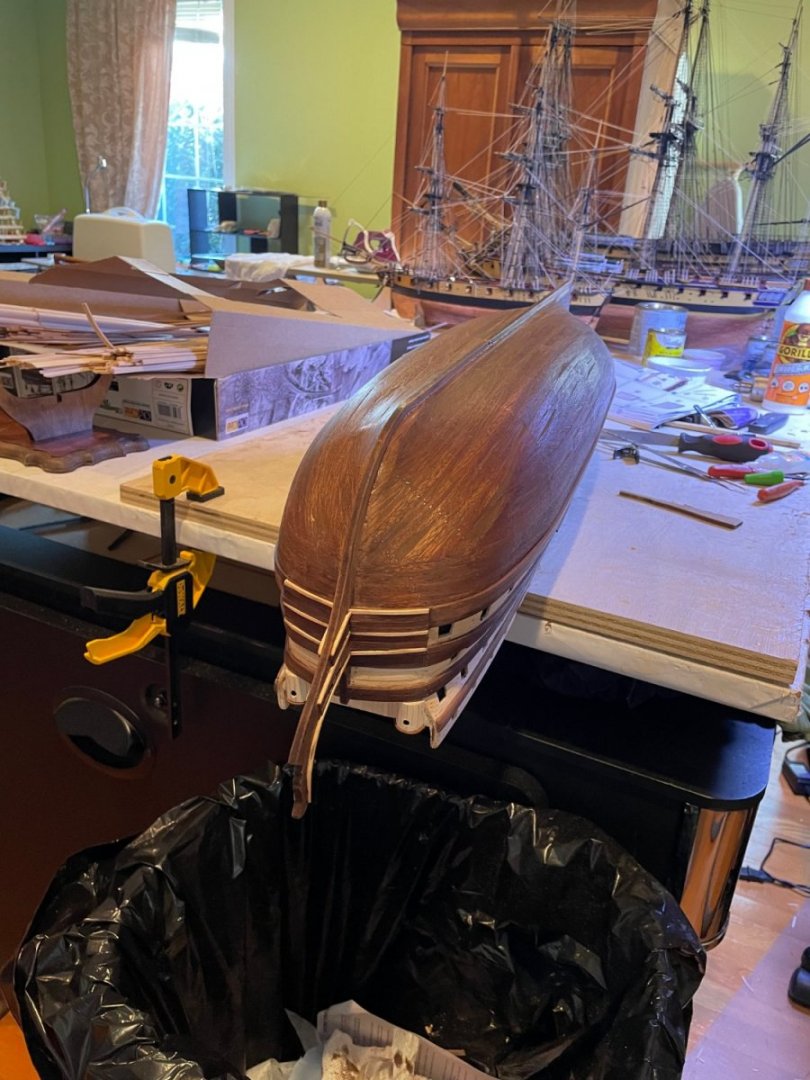
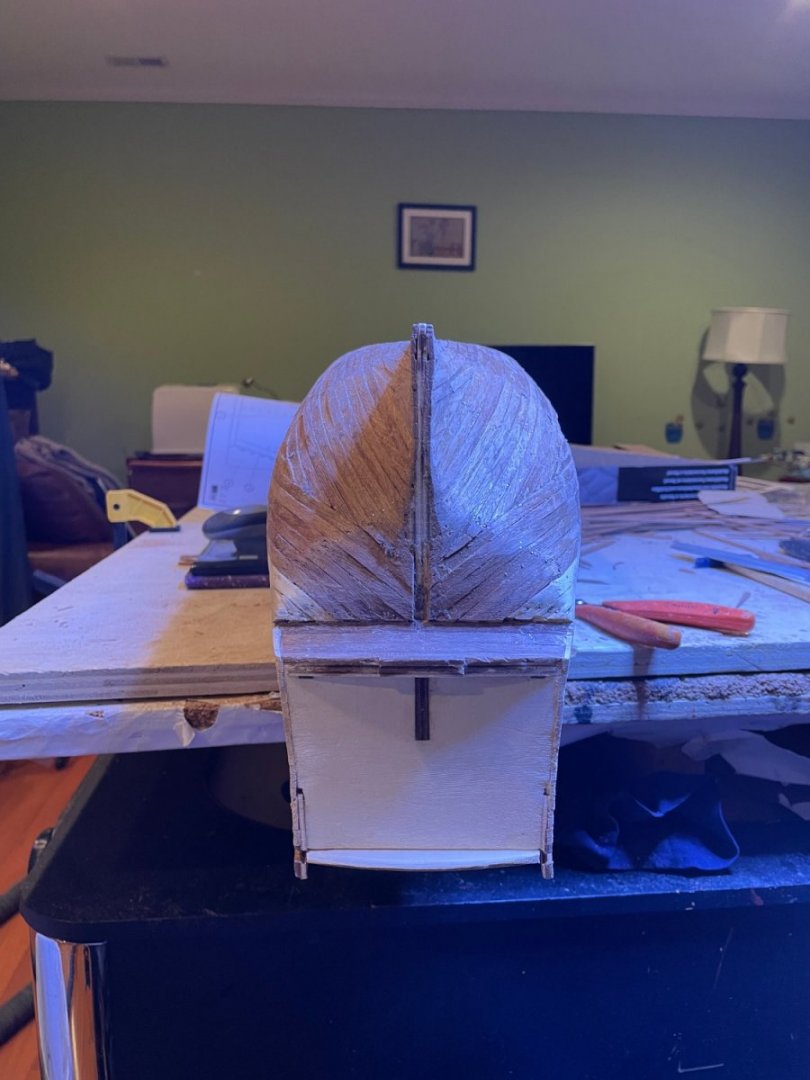
Continued progress. The bow frames were a pain, despite soaking , they always break. Lids on. Painted iron black with red inner lid. Of course missing 3 gunports and 5 lids. Have requested from Occre, will see if they show up in 3-4 weeks.


- 41 replies
-
- 3
-
-
-
- OcCre
- Santissima Trinidad
- (and 1 more)
-
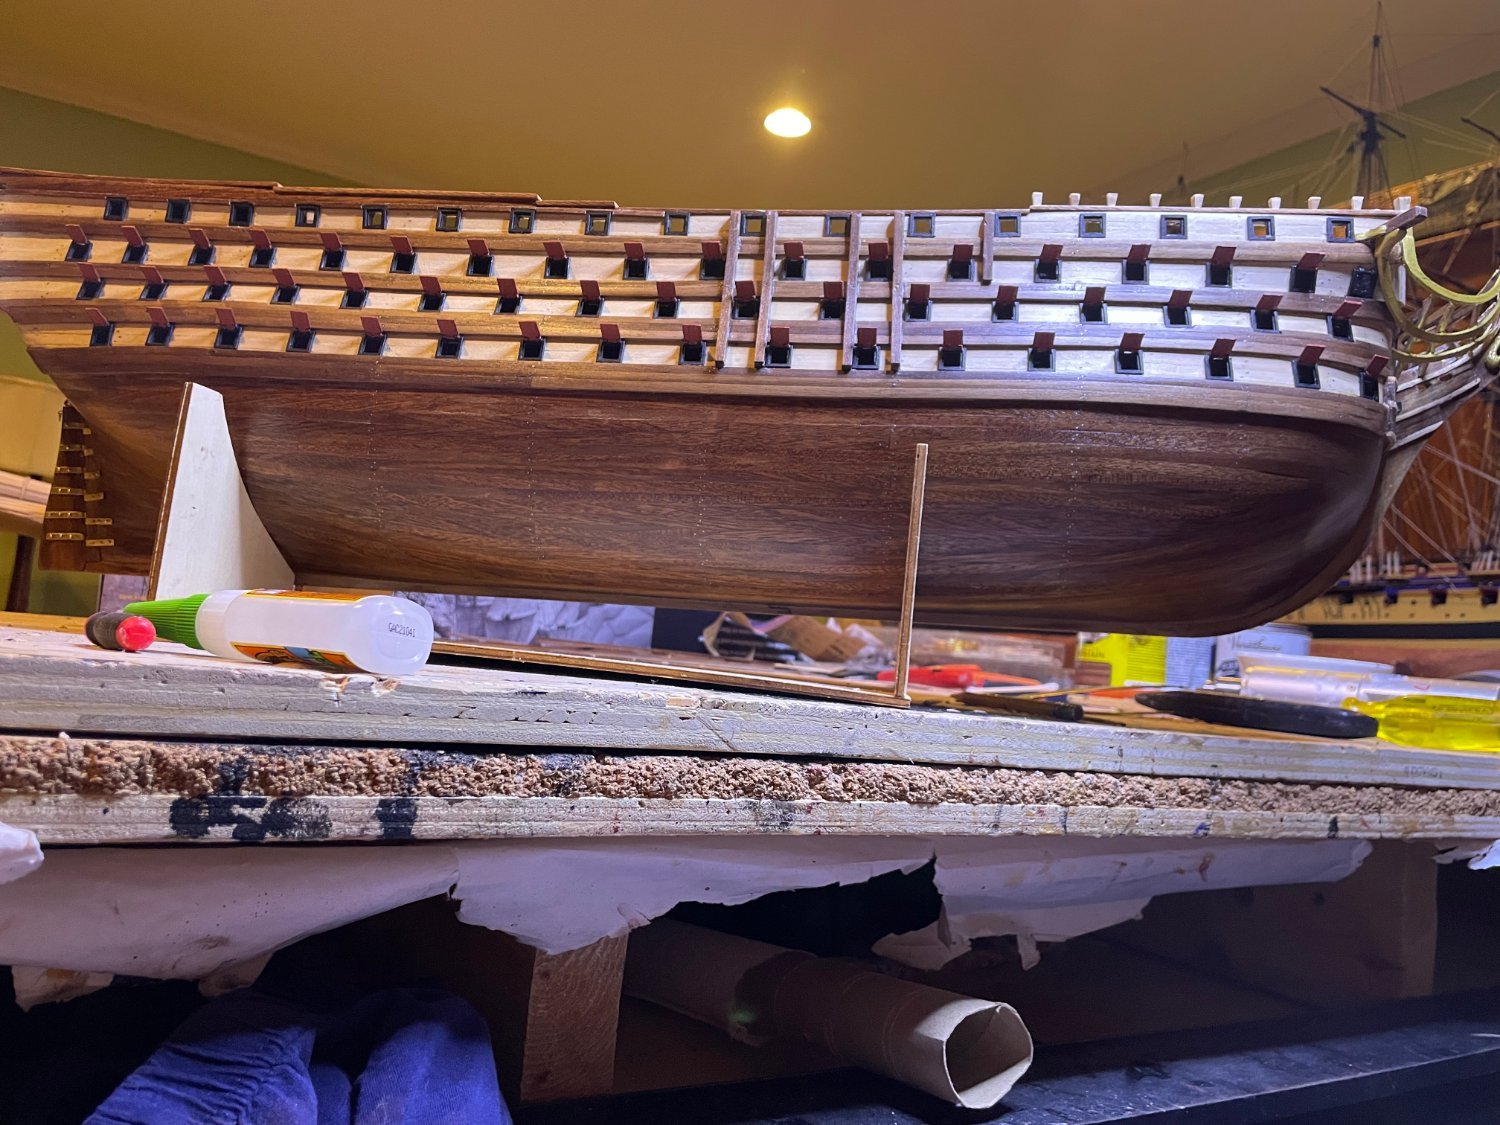
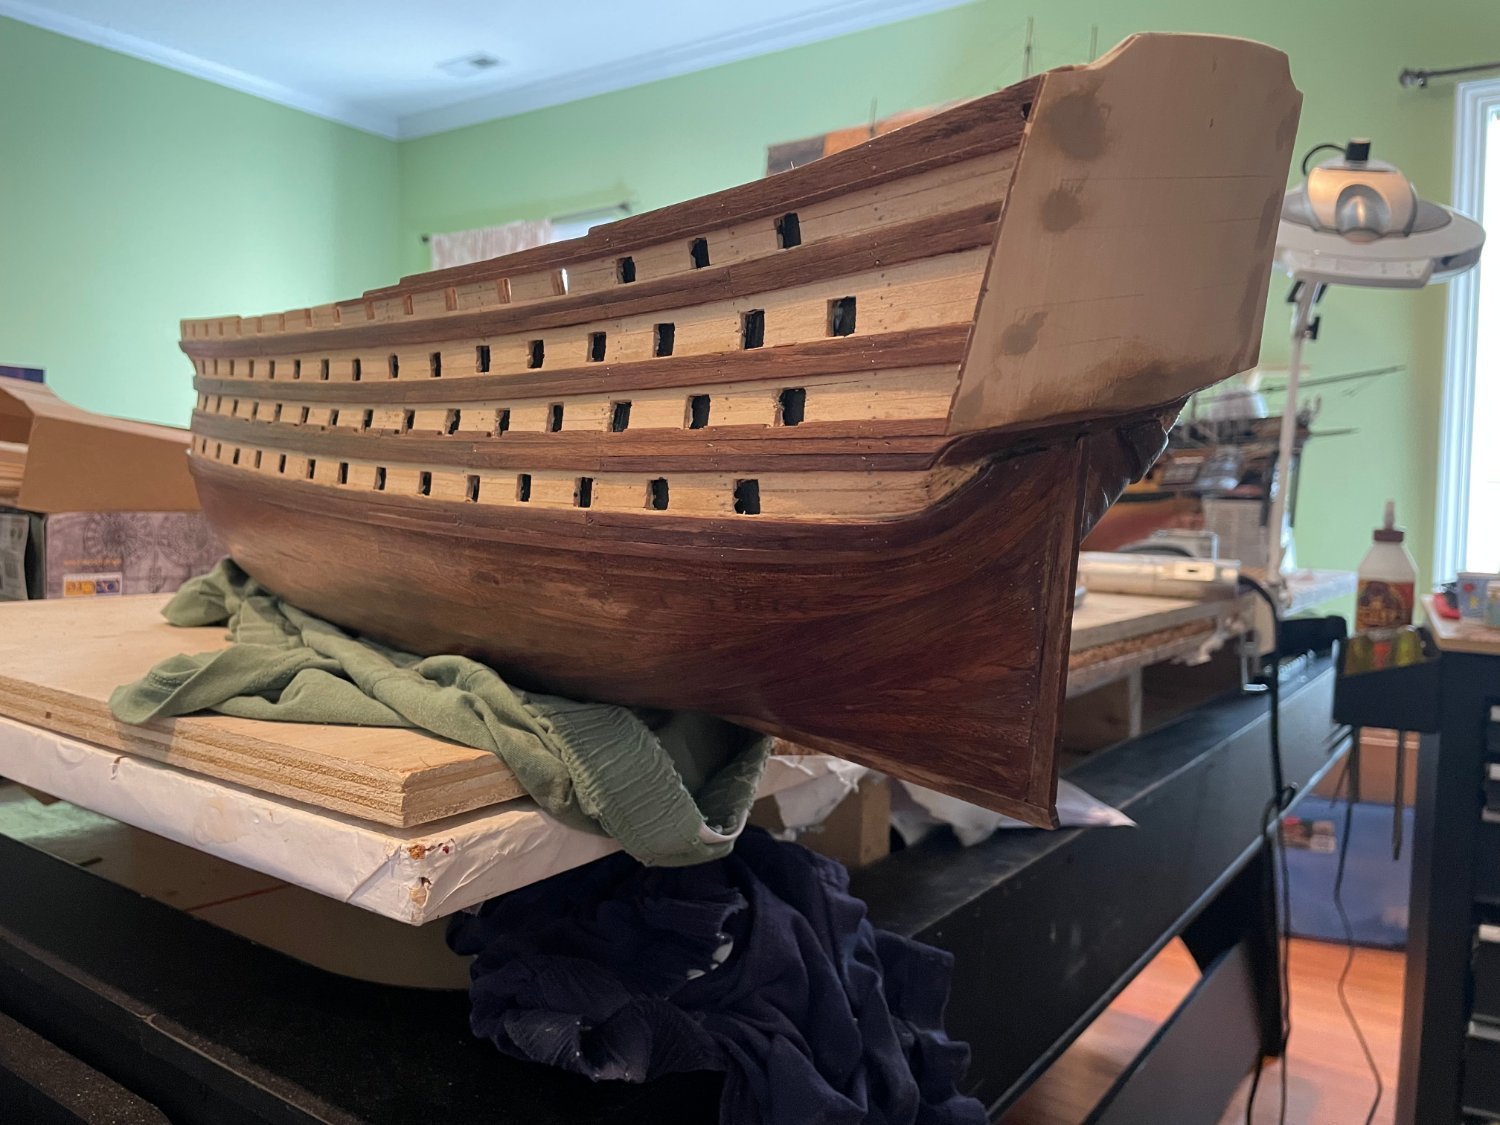
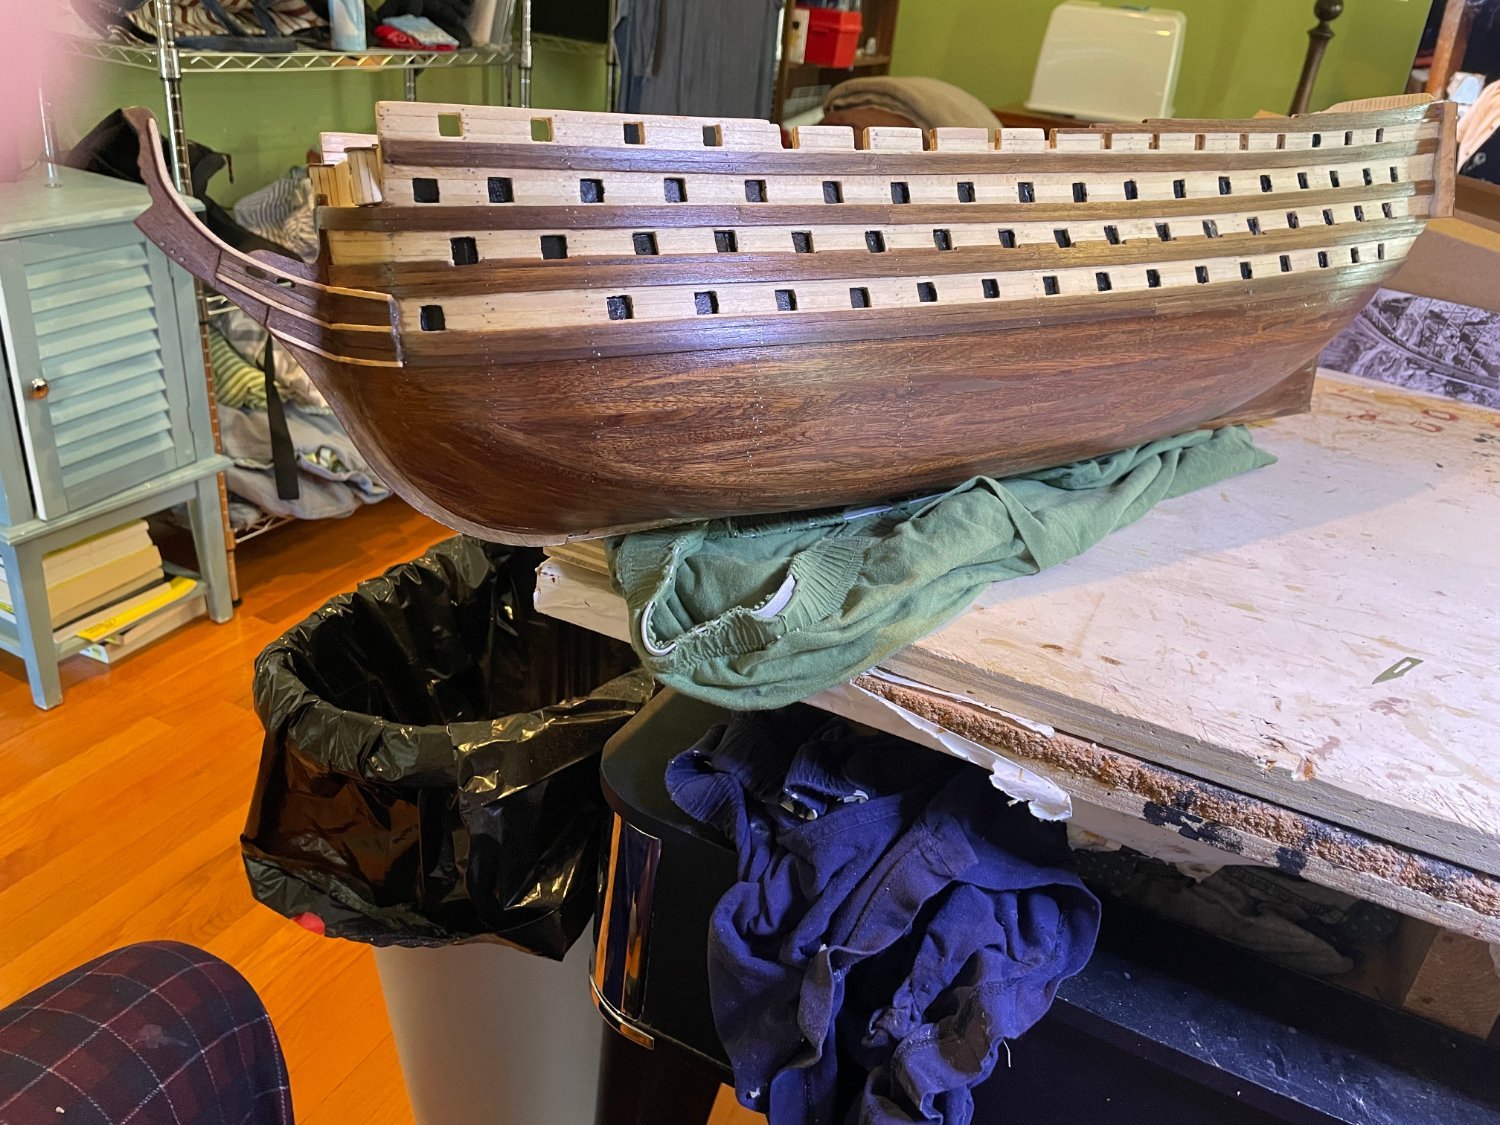
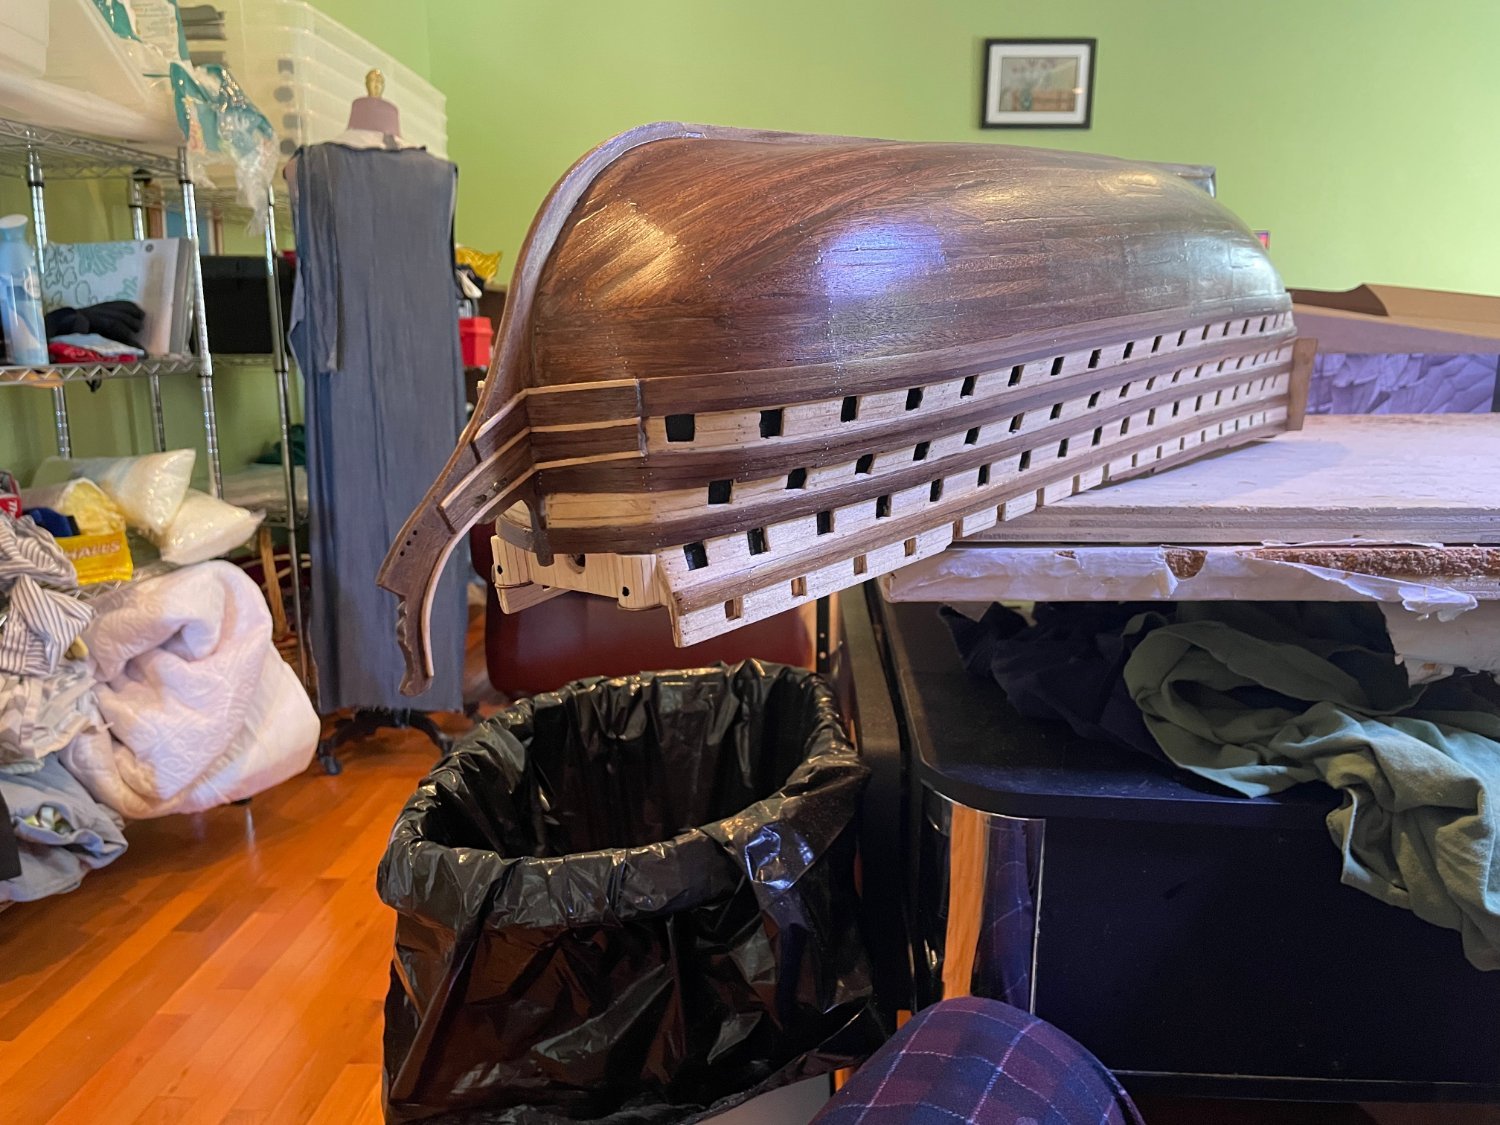
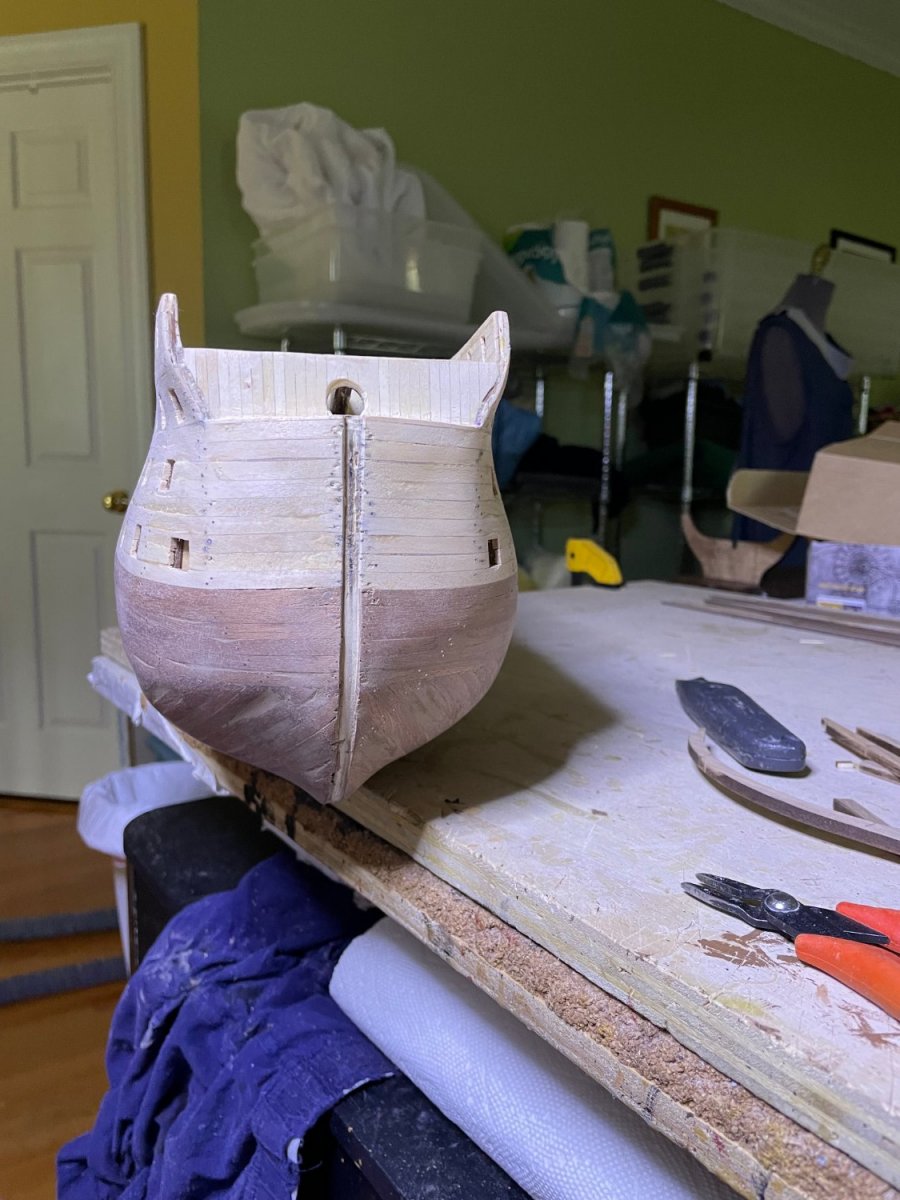
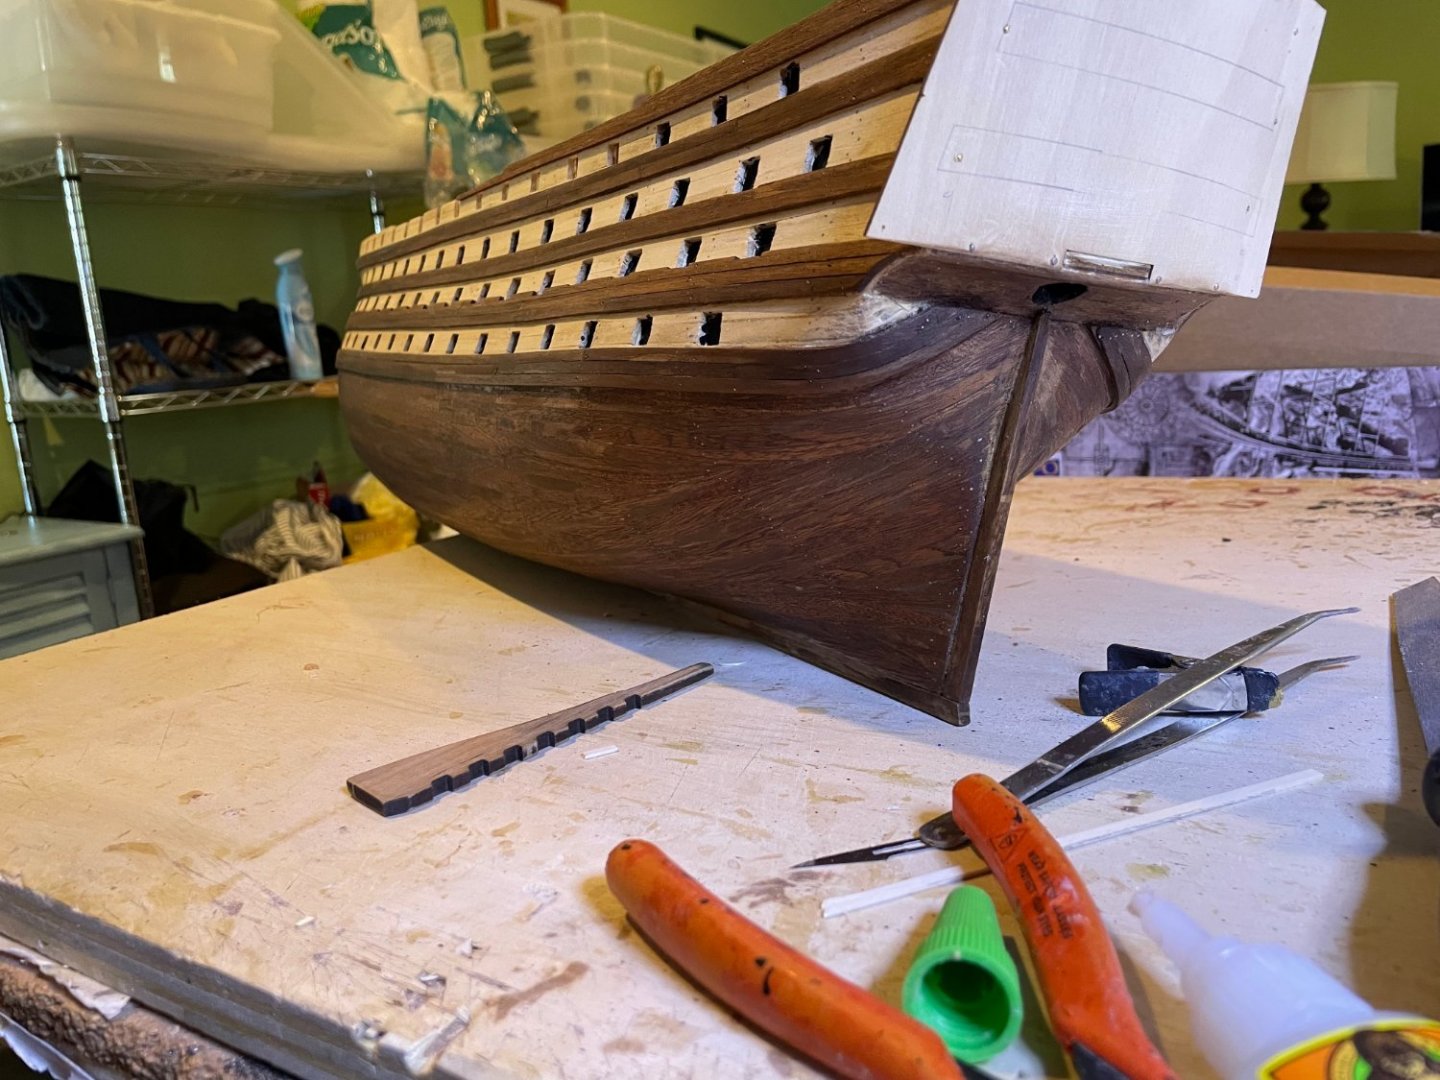
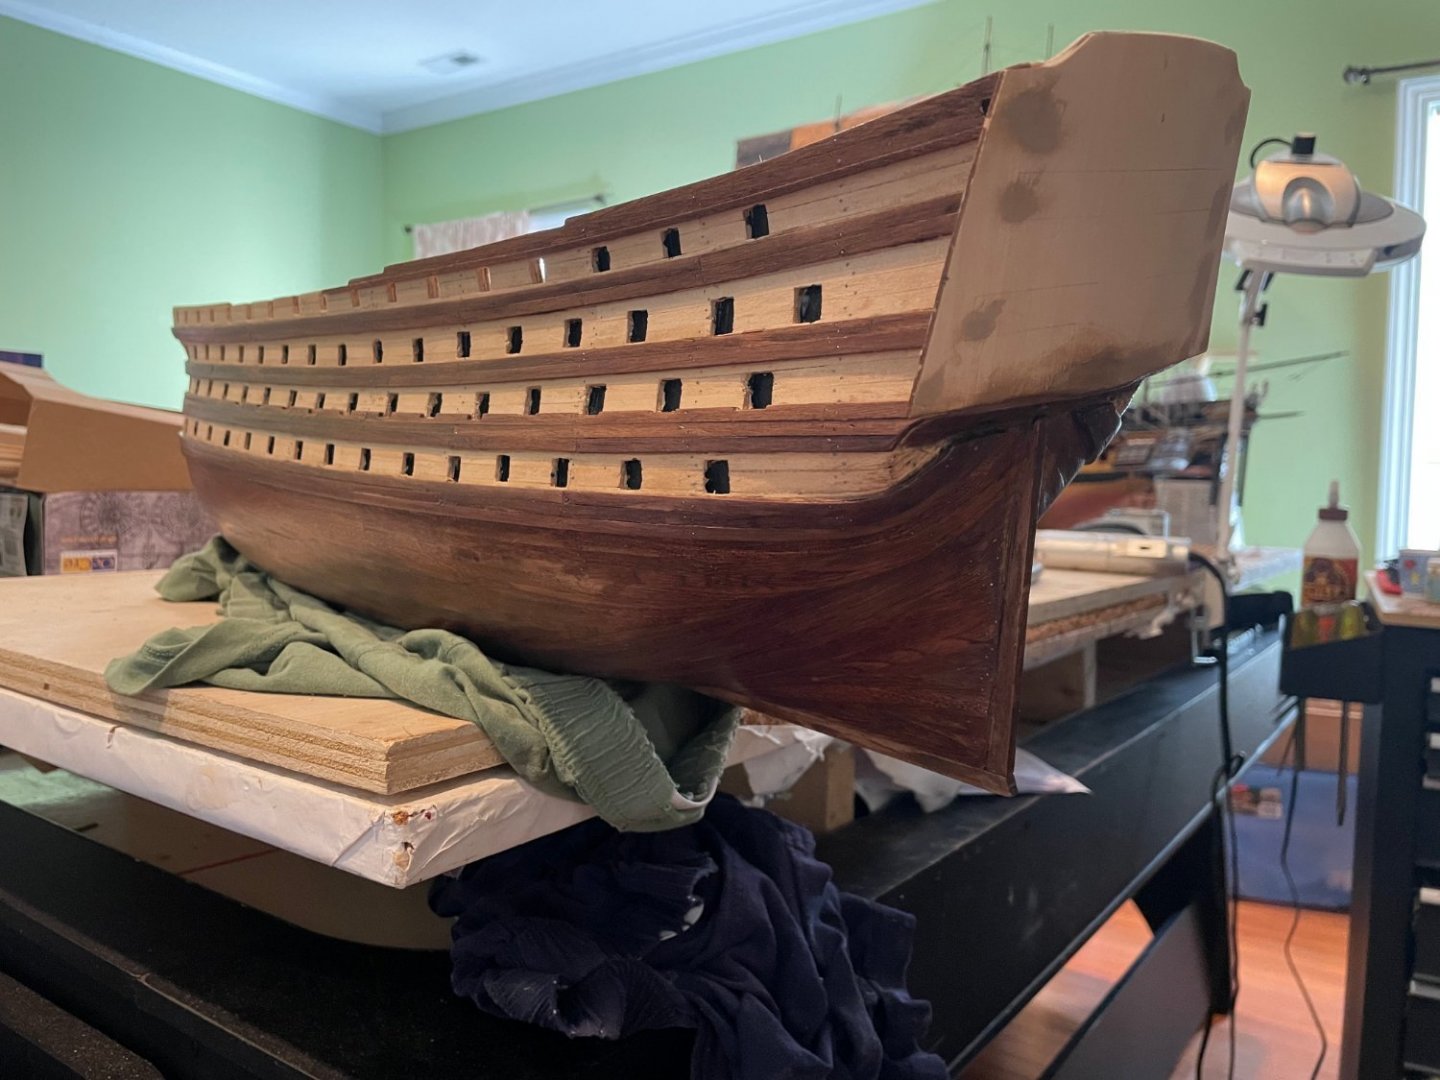
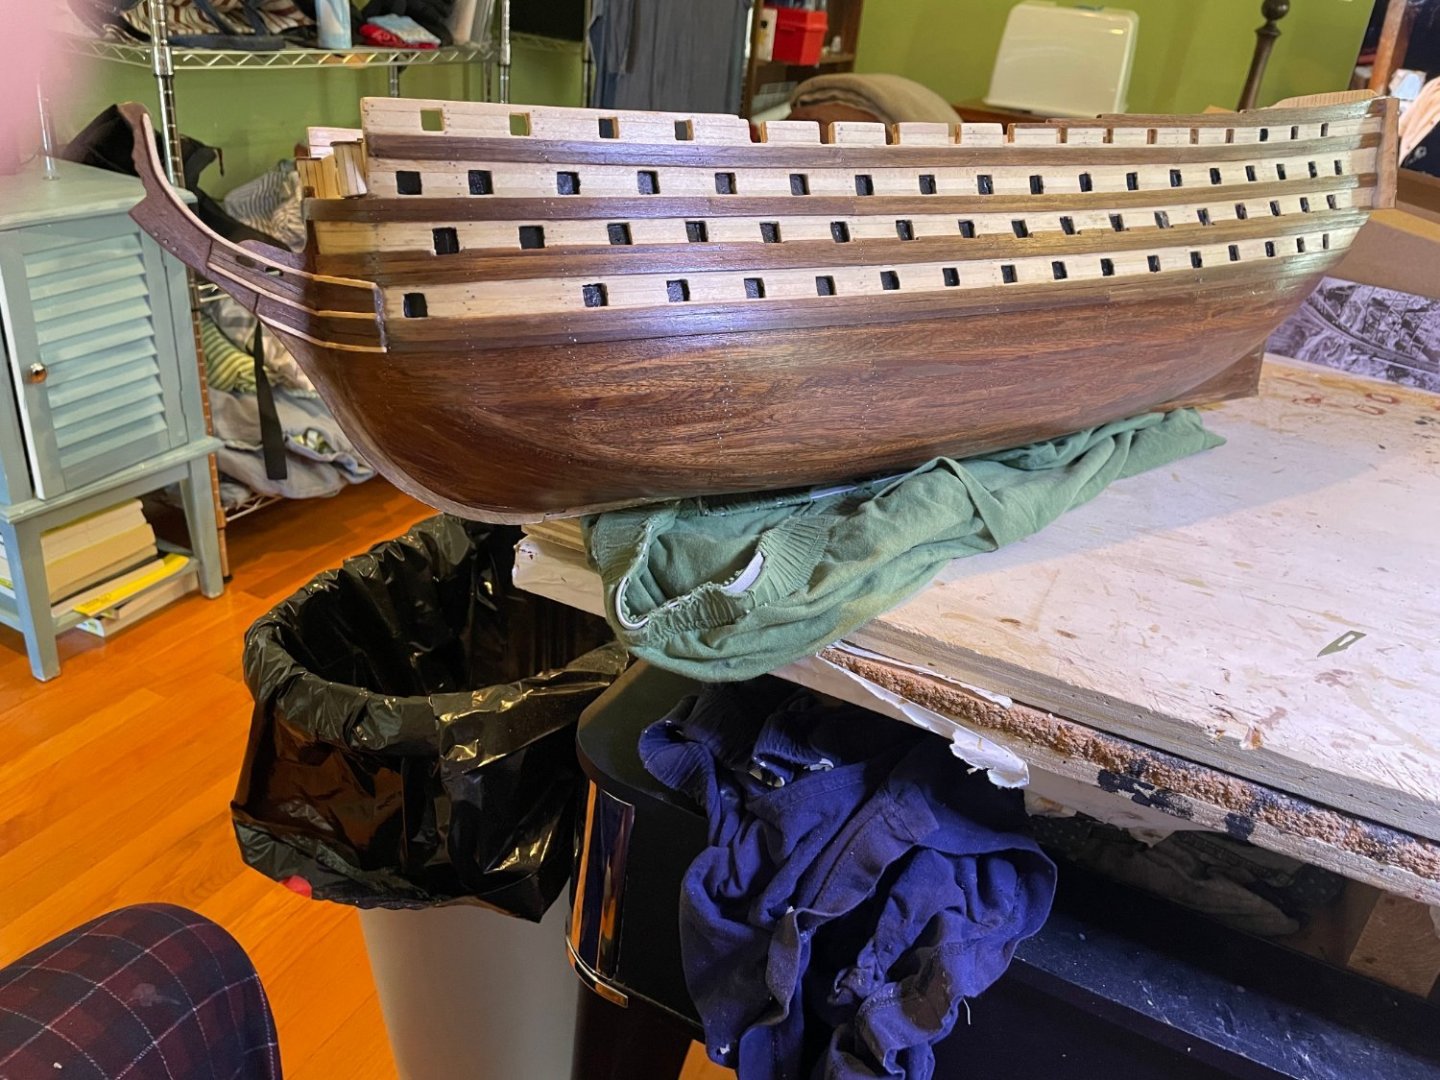
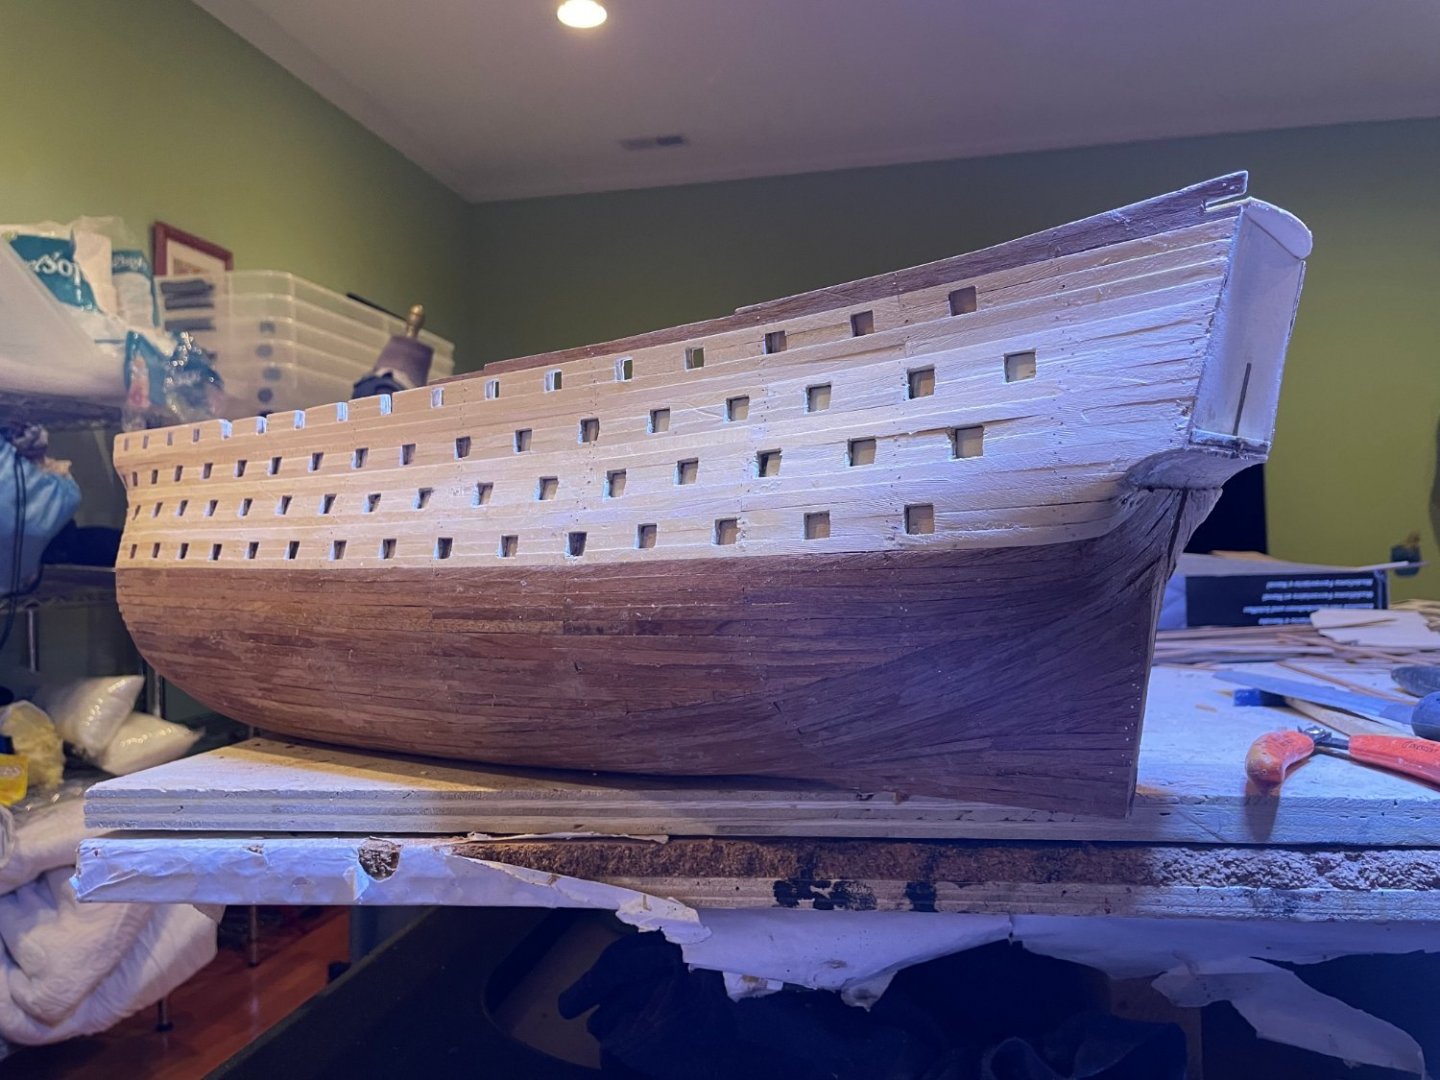
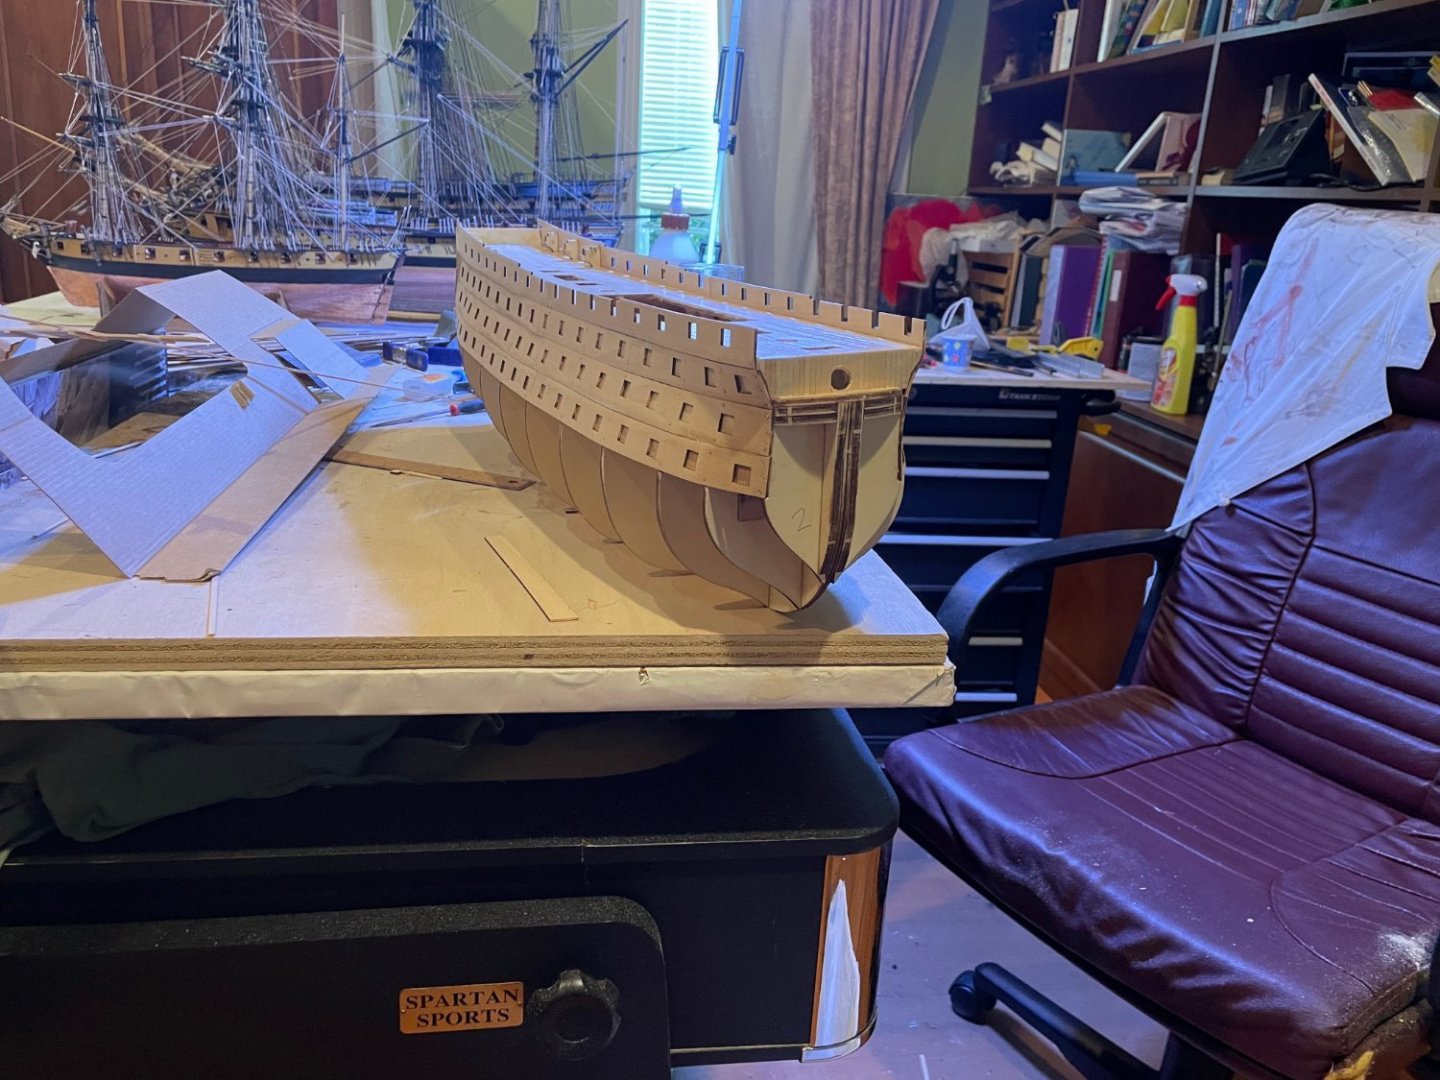
So here is the progress so far. Strakes in with pre and post polyurethane. Also then put in rudder and bulwork caps. I was off 2 mm above and below the second strake so it is 2 not 3 thick but the lines look alright and only the experts here will note the issue.


- 41 replies
-
- 3
-
-
- OcCre
- Santissima Trinidad
- (and 1 more)
-
I prefer to double plan as it is forgiving of errors. In past models that means 2 thinner layers (which are much easier to bend) but the model calls for single planking. I could put on a 0.5 mm veneer on the lower hull but would have to order it. I am going to put on the strakes and stain and see how it looks. Can always add after to lower hull. Upper hull looks fine once the strakes go on.
- 41 replies
-
- 1
-
-
- OcCre
- Santissima Trinidad
- (and 1 more)
-
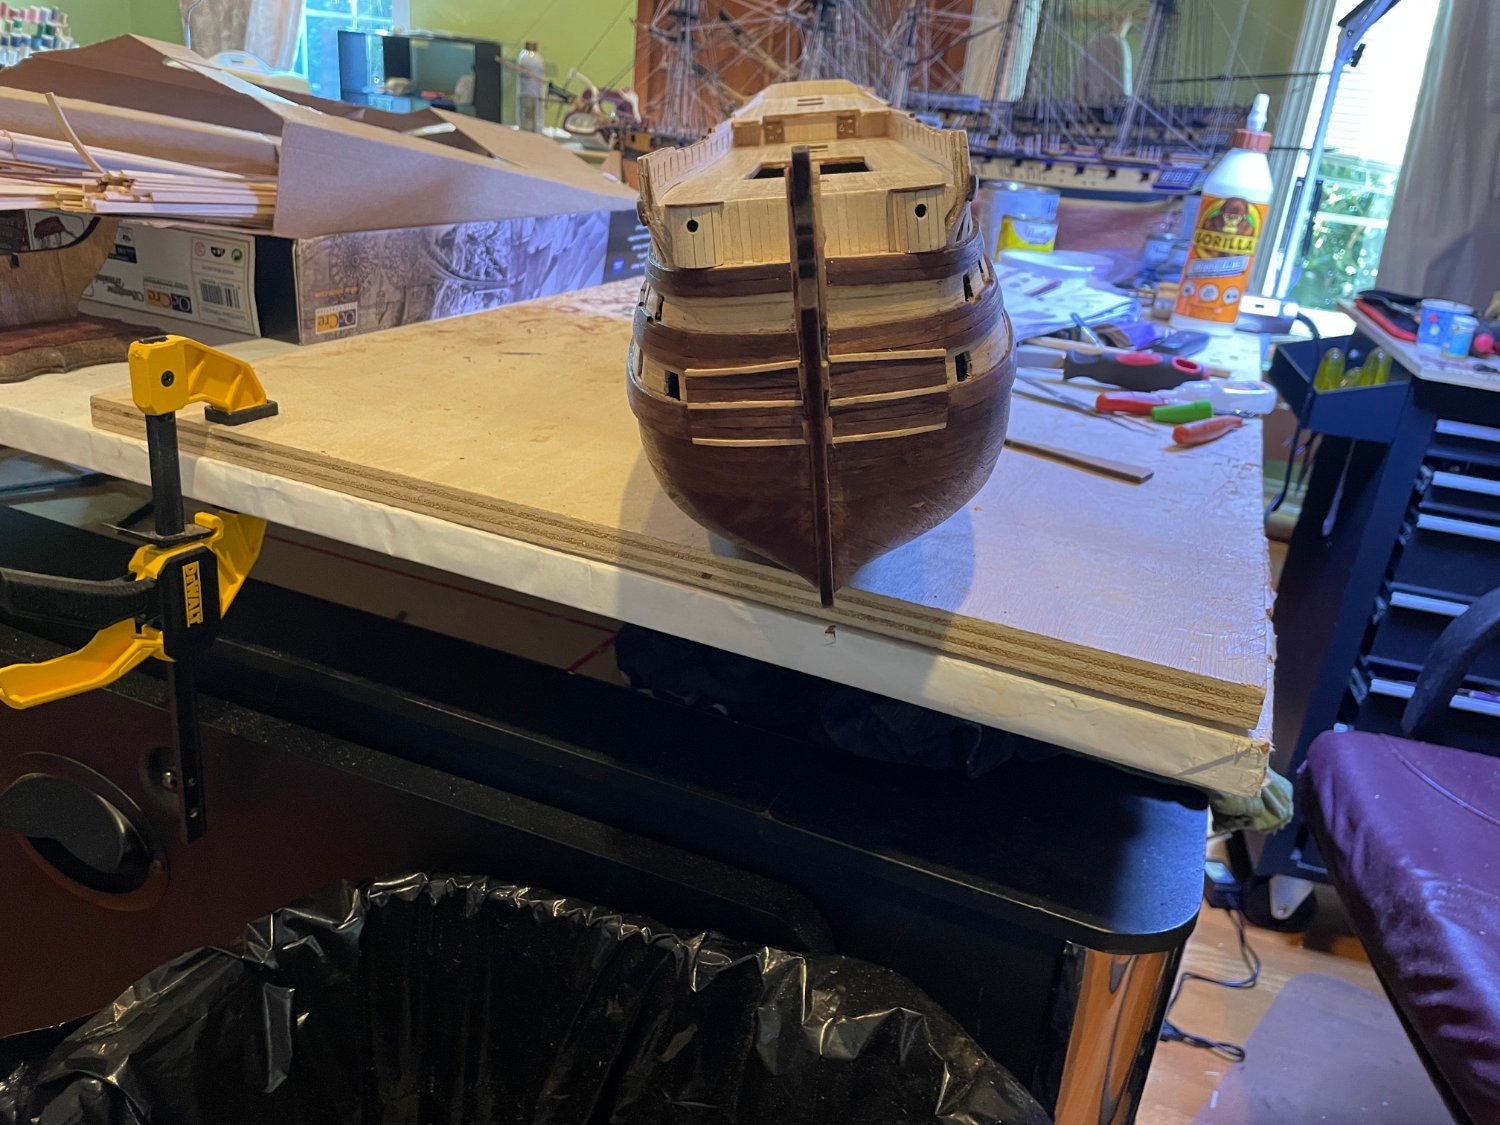
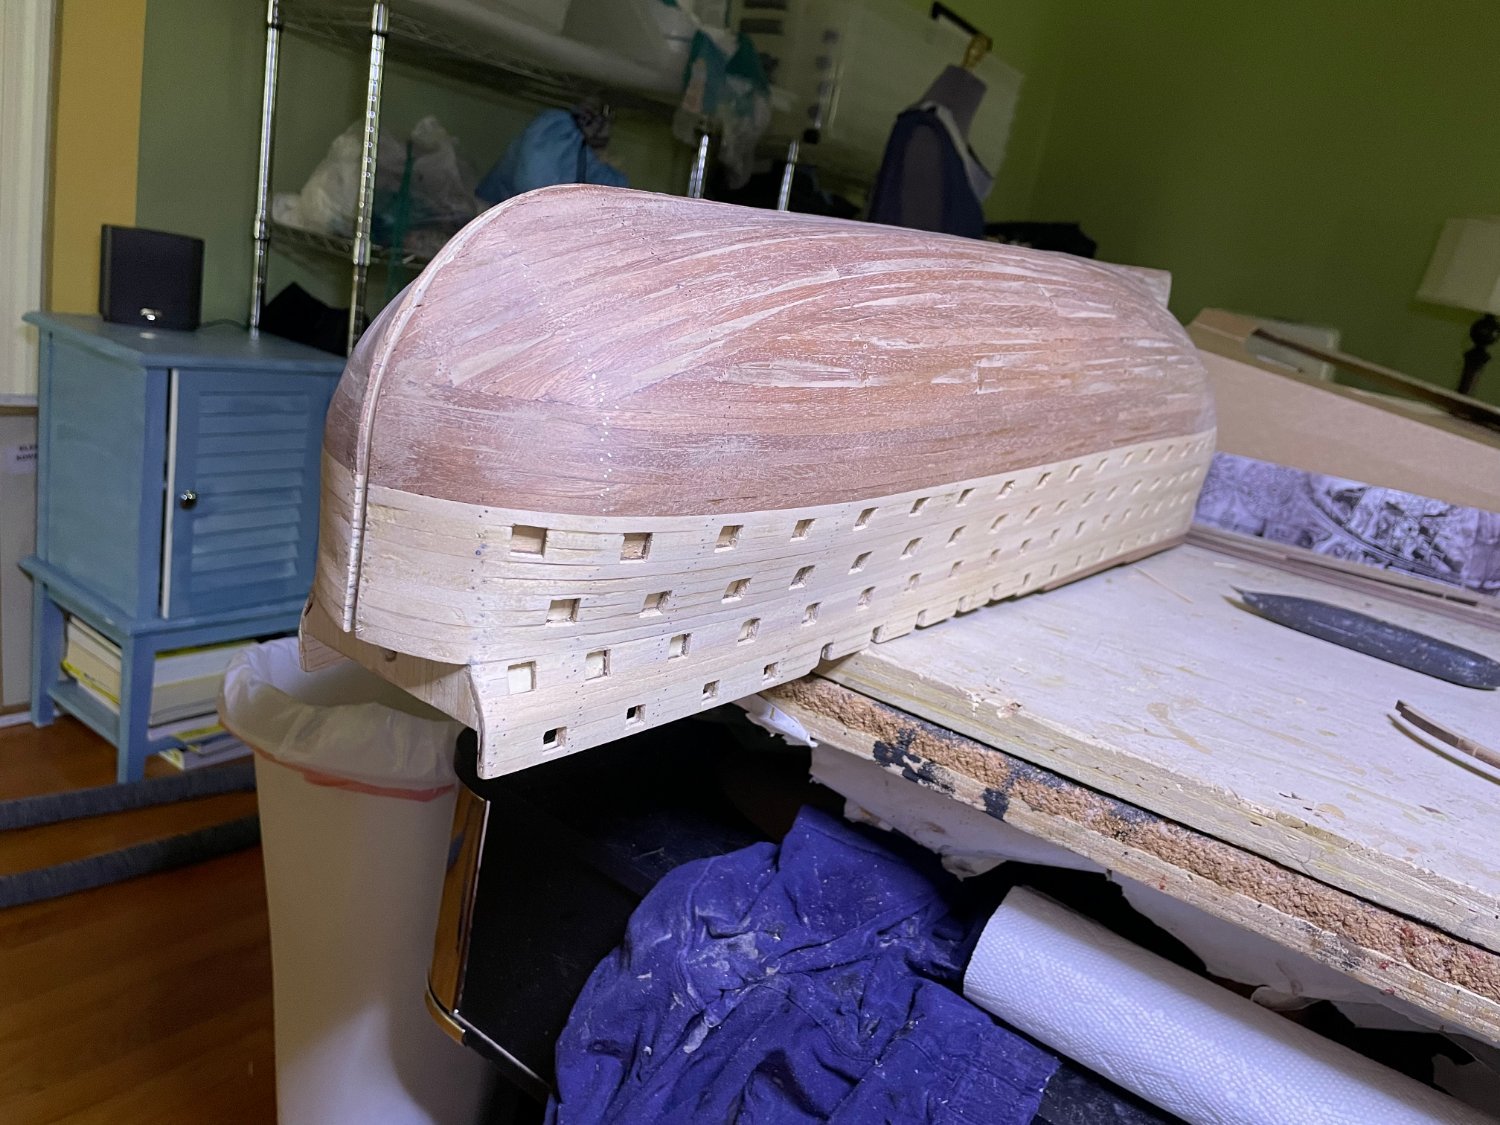
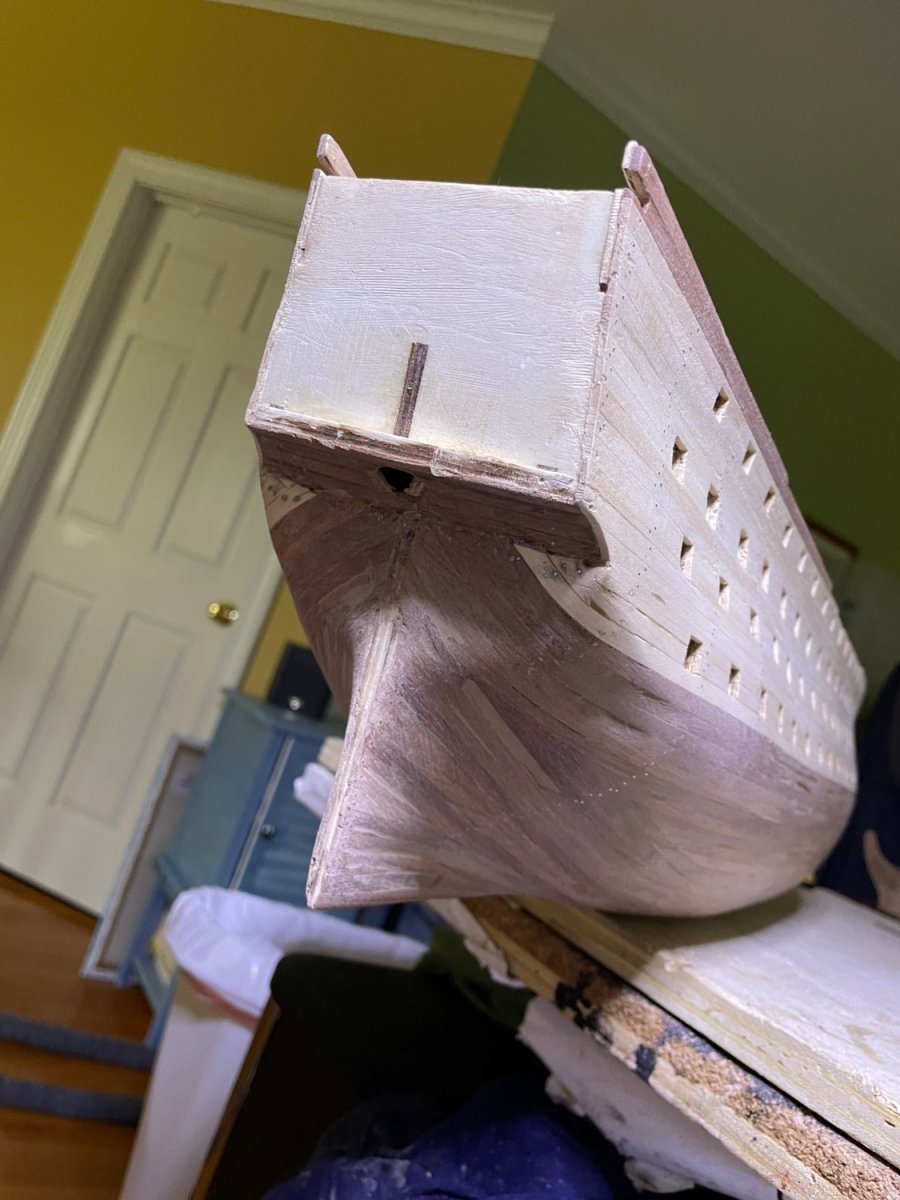
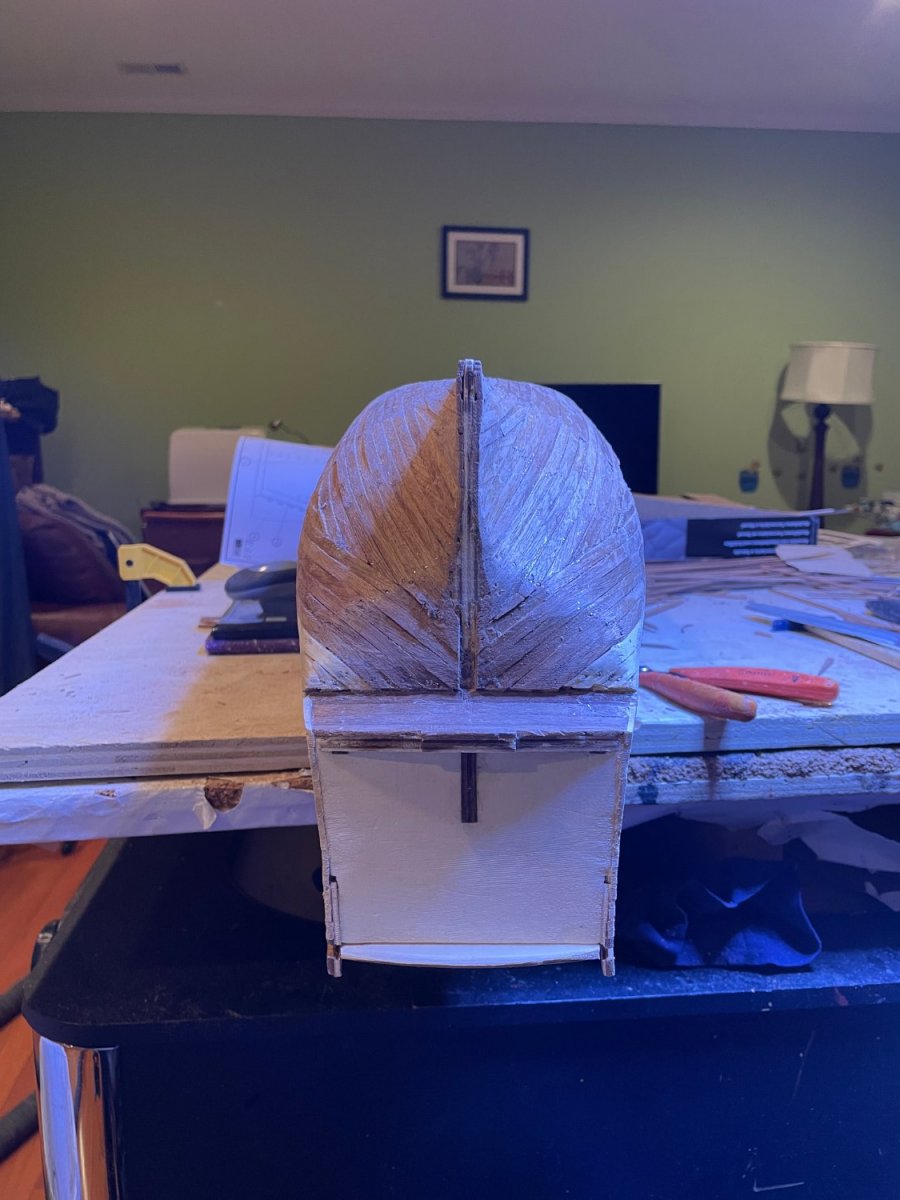
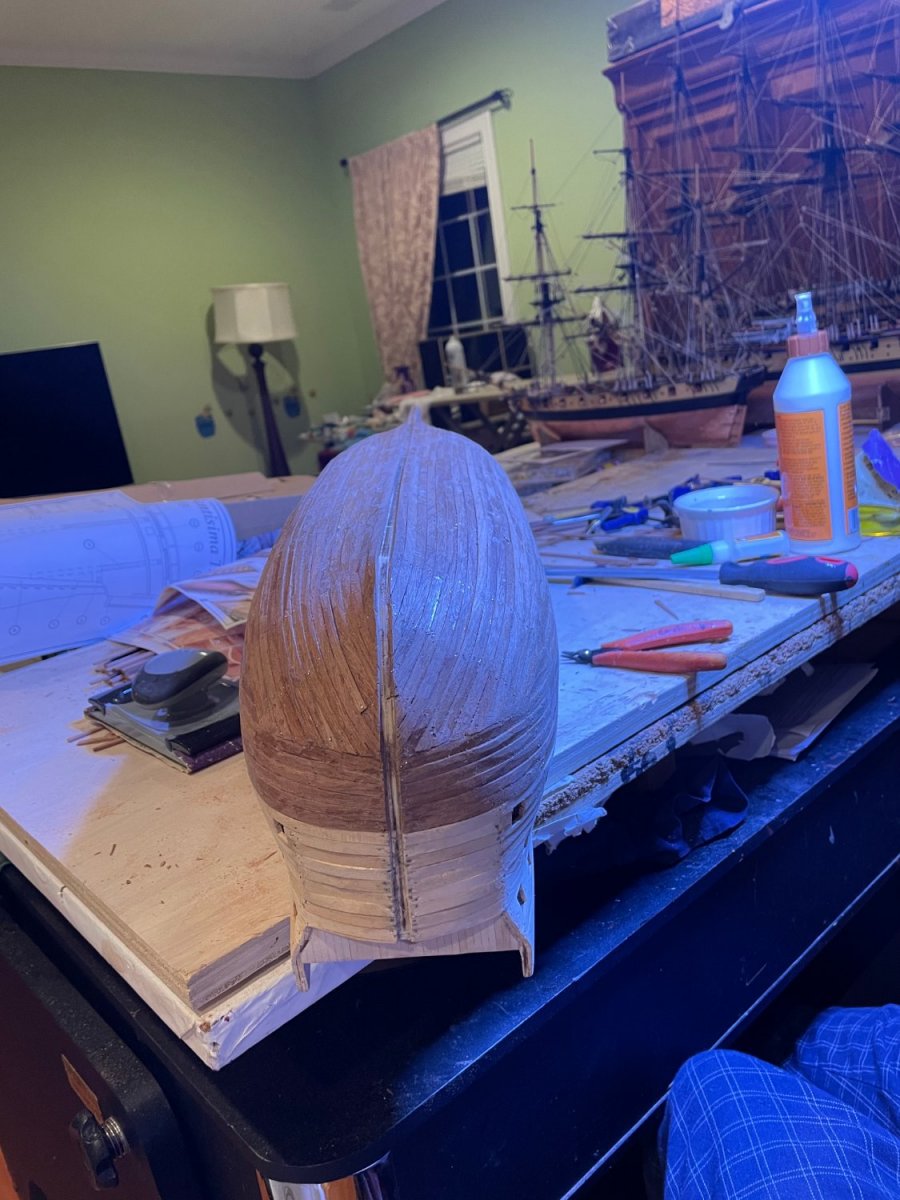
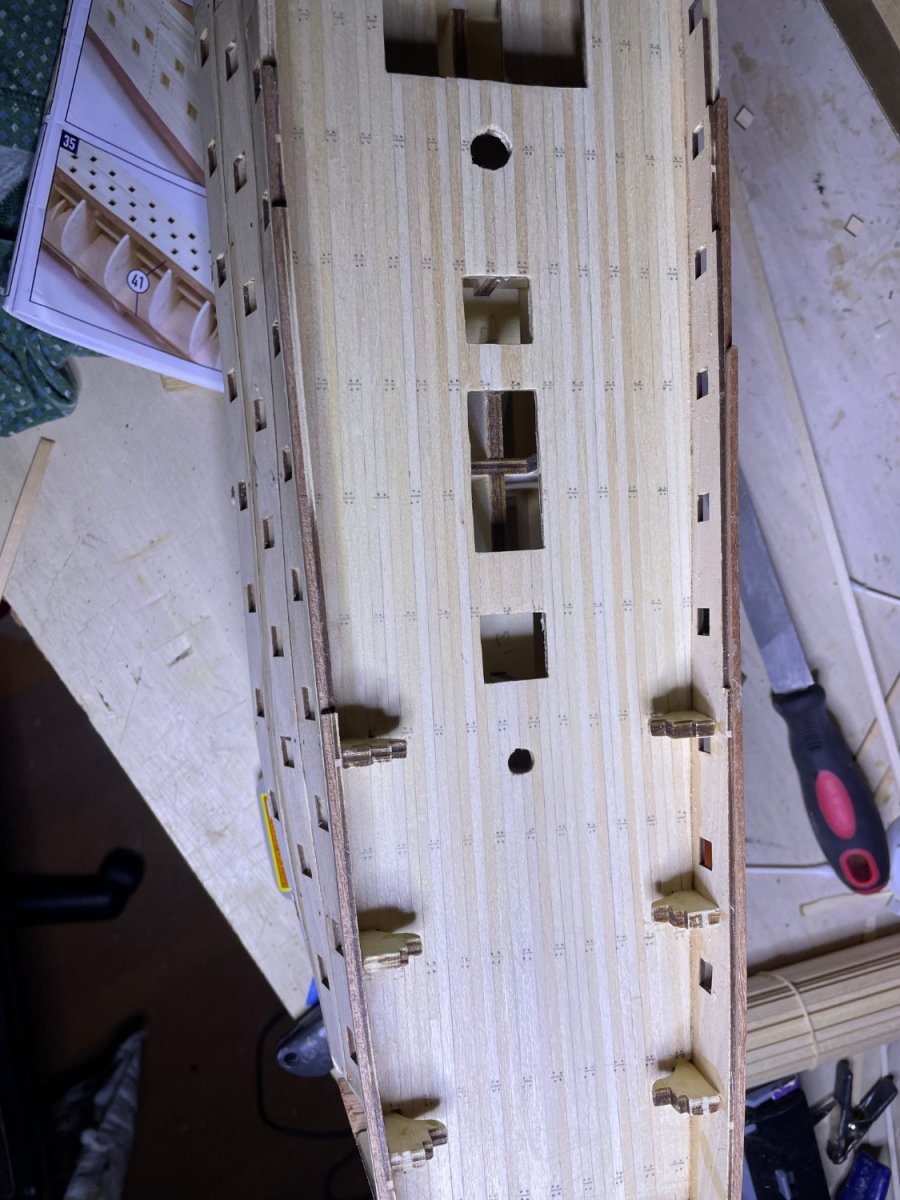
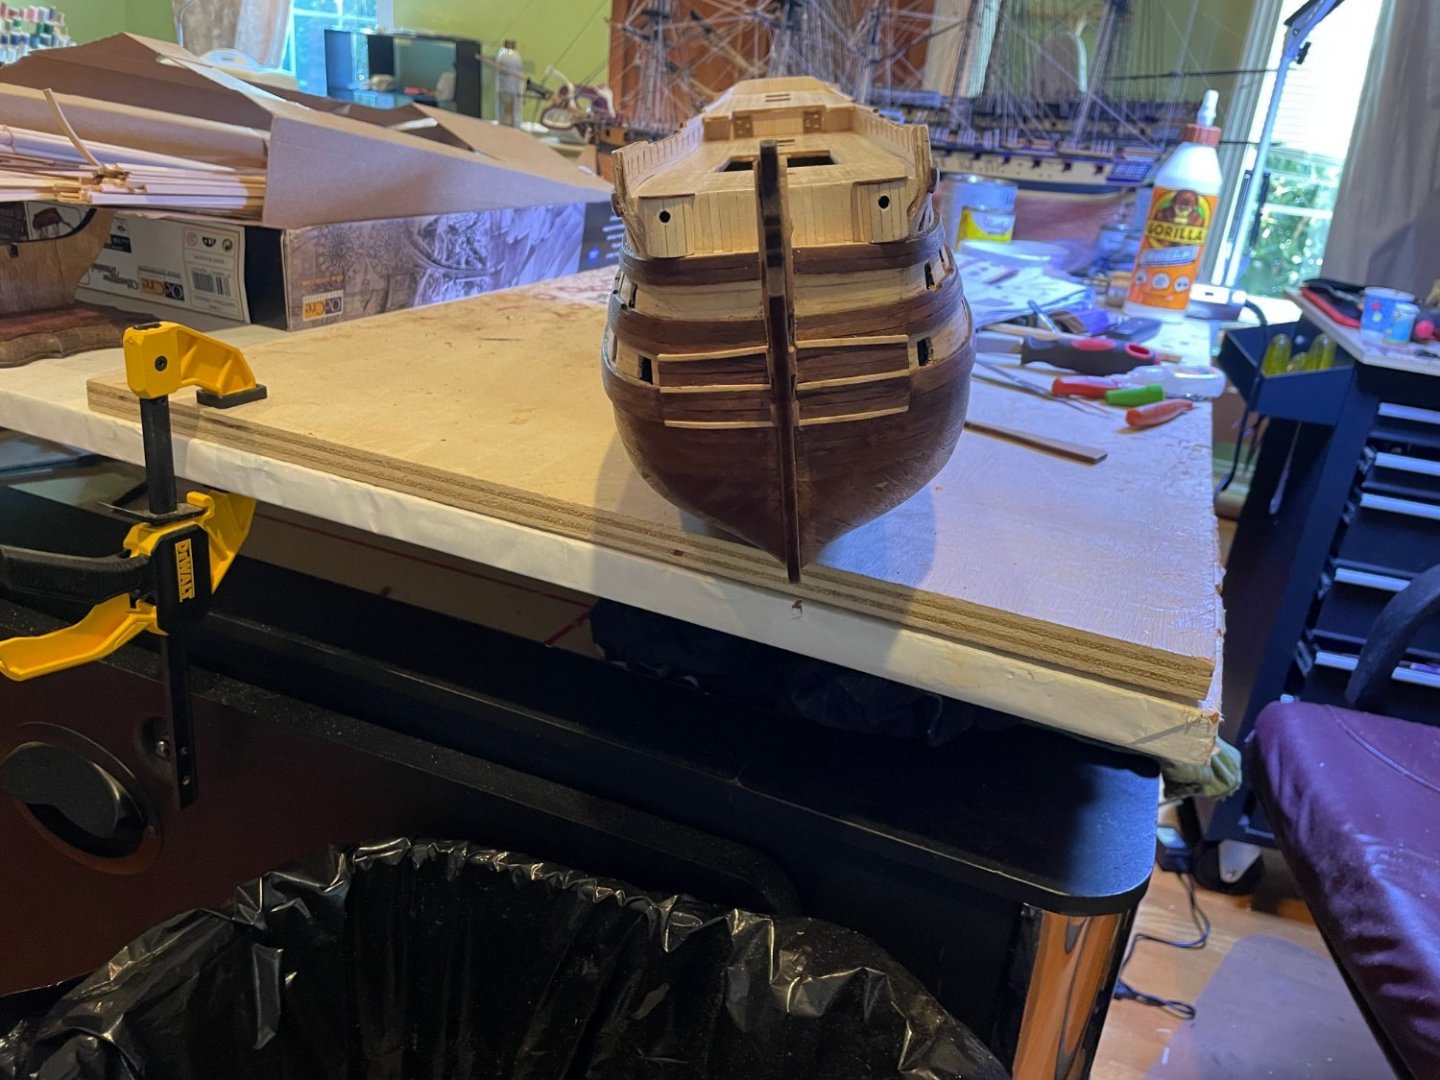
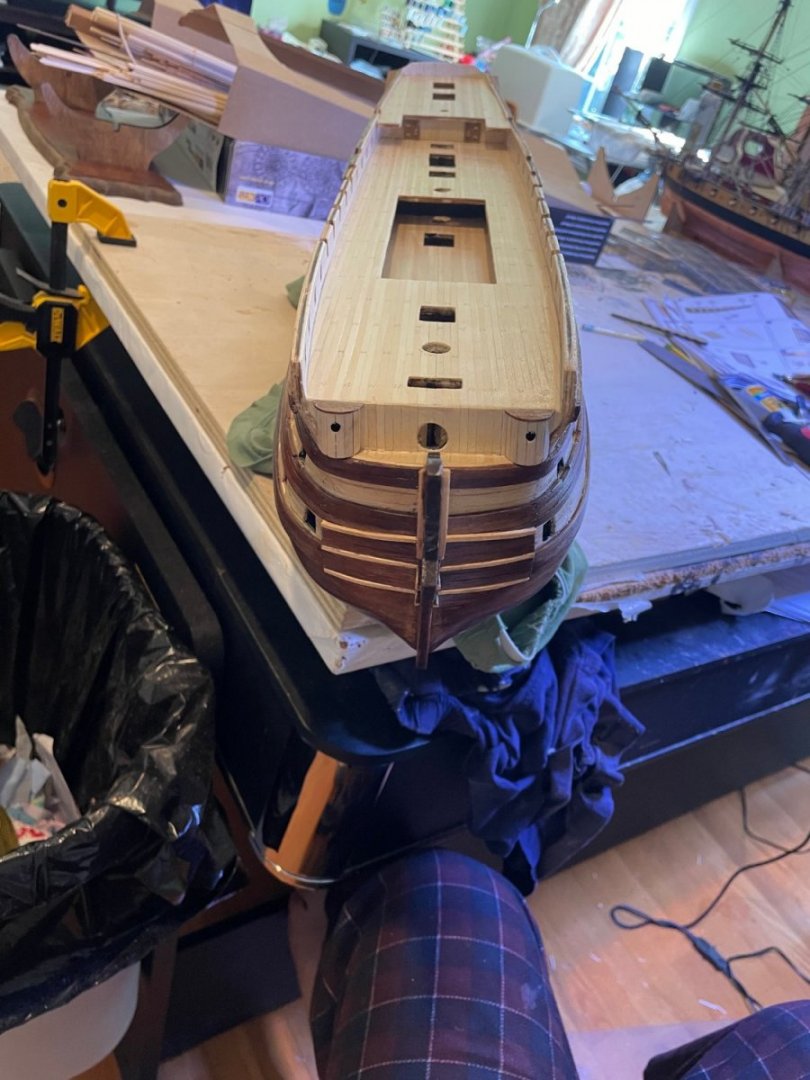
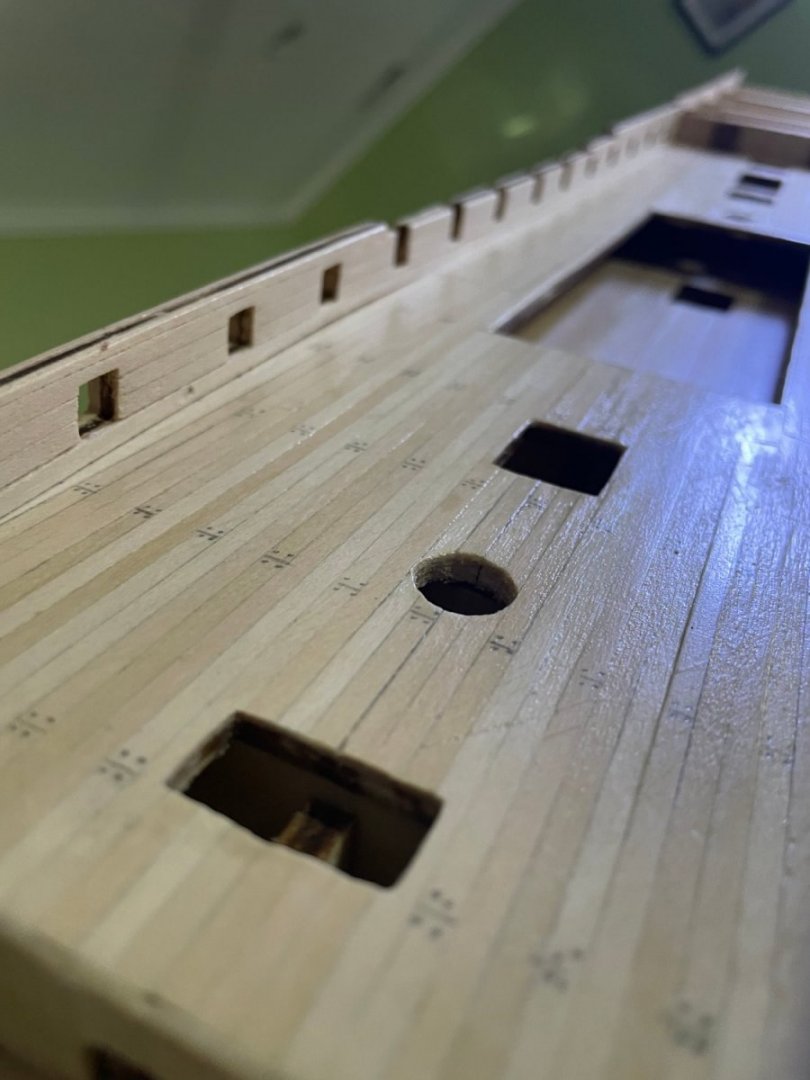
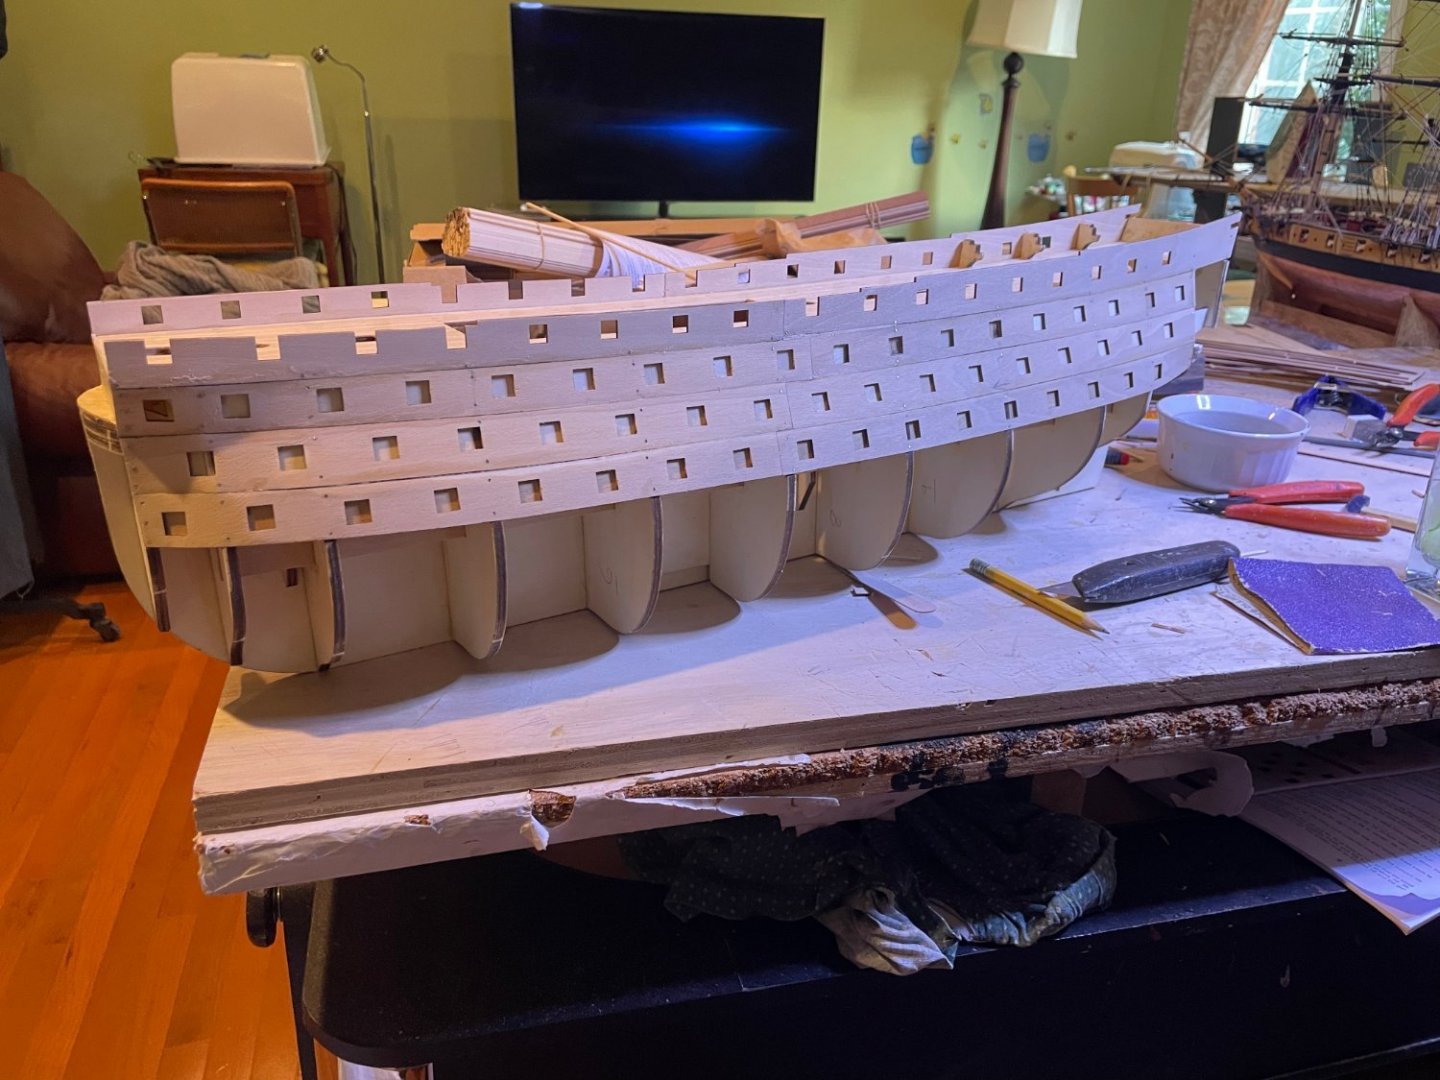
So after a couple of weeks the rough planking is done. Filed out the prow and sternpost slots and filed down the pin heads. Will sand it in the next few days.


- 41 replies
-
- 2
-
-
- OcCre
- Santissima Trinidad
- (and 1 more)
-
My first ship was the DeAgostini Victory. Although big the instructions were so voluminous that learnt a lot for the other ships I have built whose instructions were certainly minimal. I have built DeAgosini's Victory, Soleil, Constitution and my favorite of the group, Surprise. See my Diane build posts where I have pictures of them.
-
Thanks. She is actually smaller than the Caldercraft Diane and Agamemnon length given 1:92 scale although hull is taller. What I am really waiting to do is the Amati 1:64 Victory when it ever gets released.
-
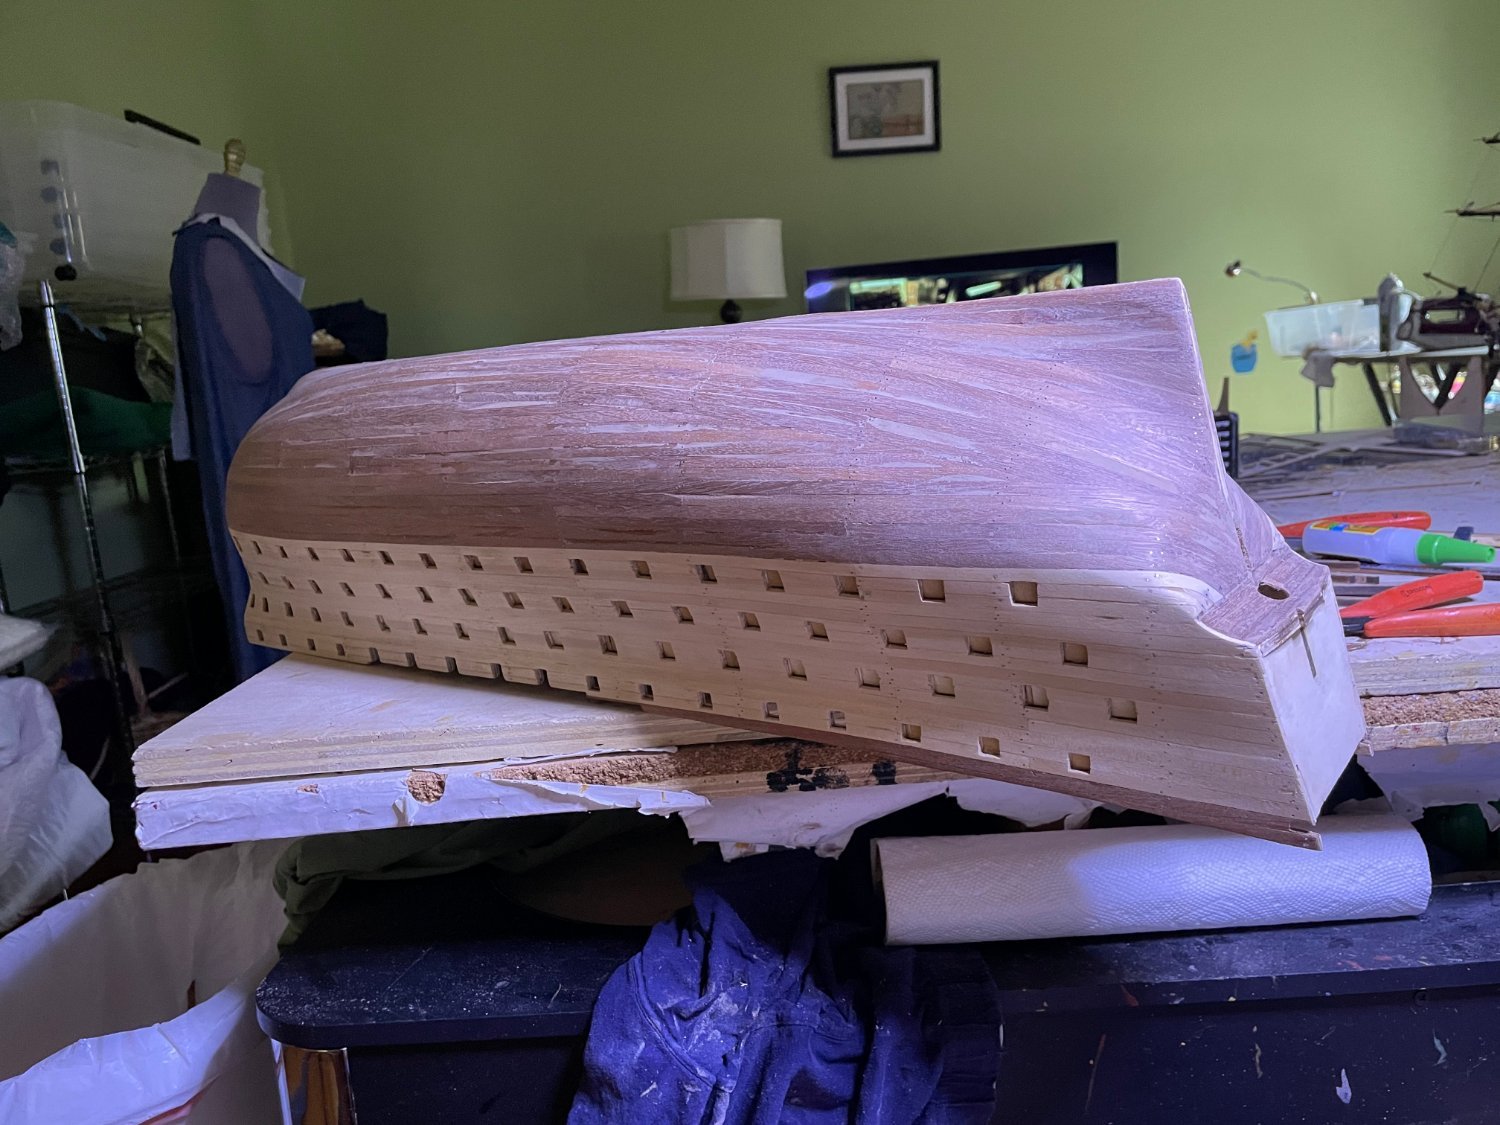
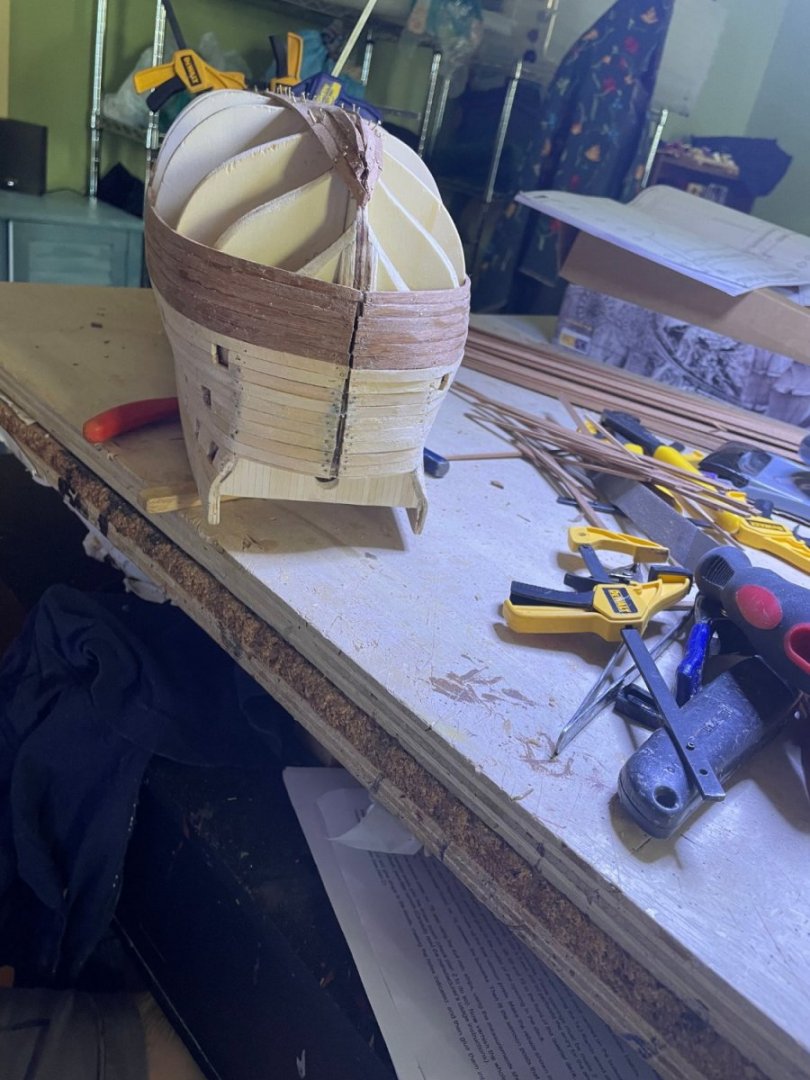
Here is the work to date. Slow going since it is no a double planked hull with thinner wood which is easier to form. The 5mm would dose not bend well and when soaked expands a lot so have to fit it and let dry before gluing and pinning. Will be using a lot of stealers. The hull does not curve well. I file out the false keel and prow spaces later for a tighter fit.
- 41 replies
-
- 2
-
-
- OcCre
- Santissima Trinidad
- (and 1 more)
-
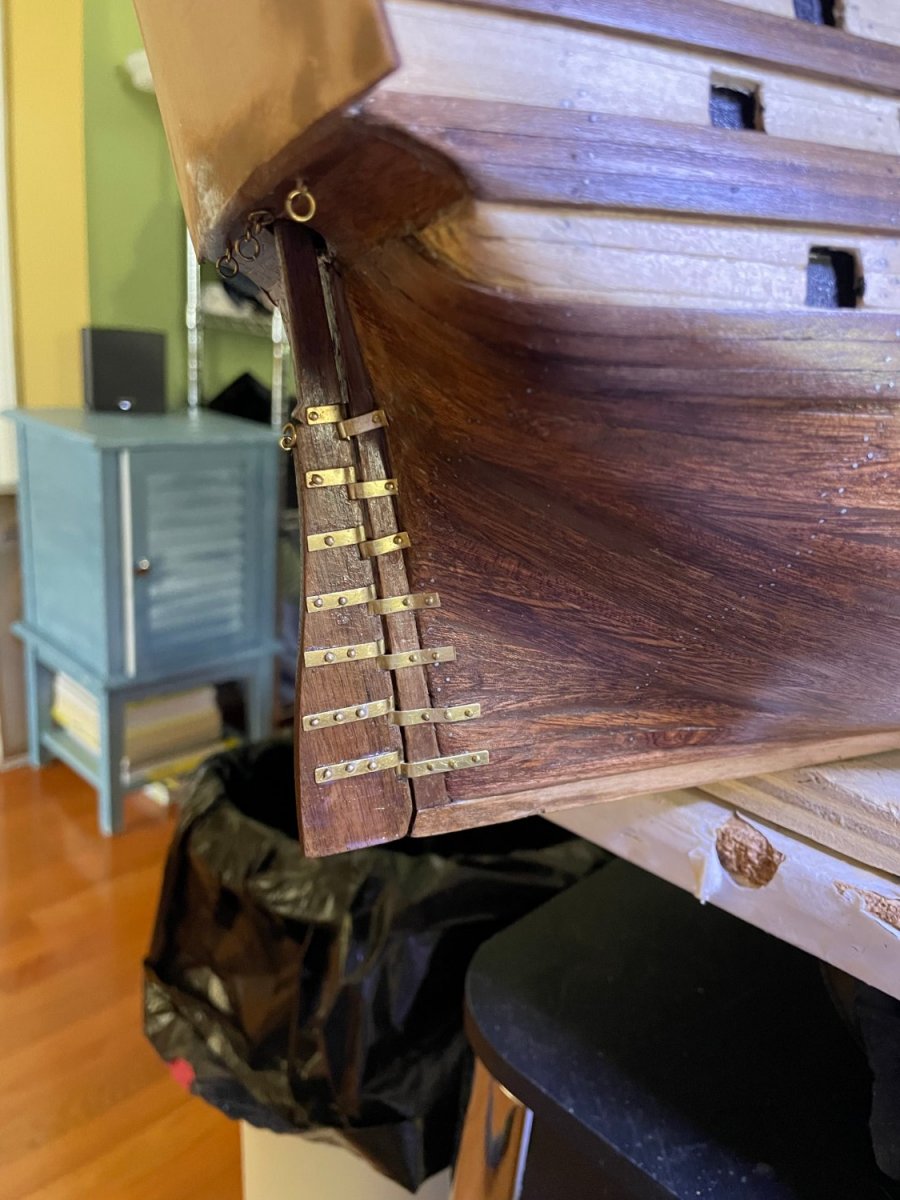
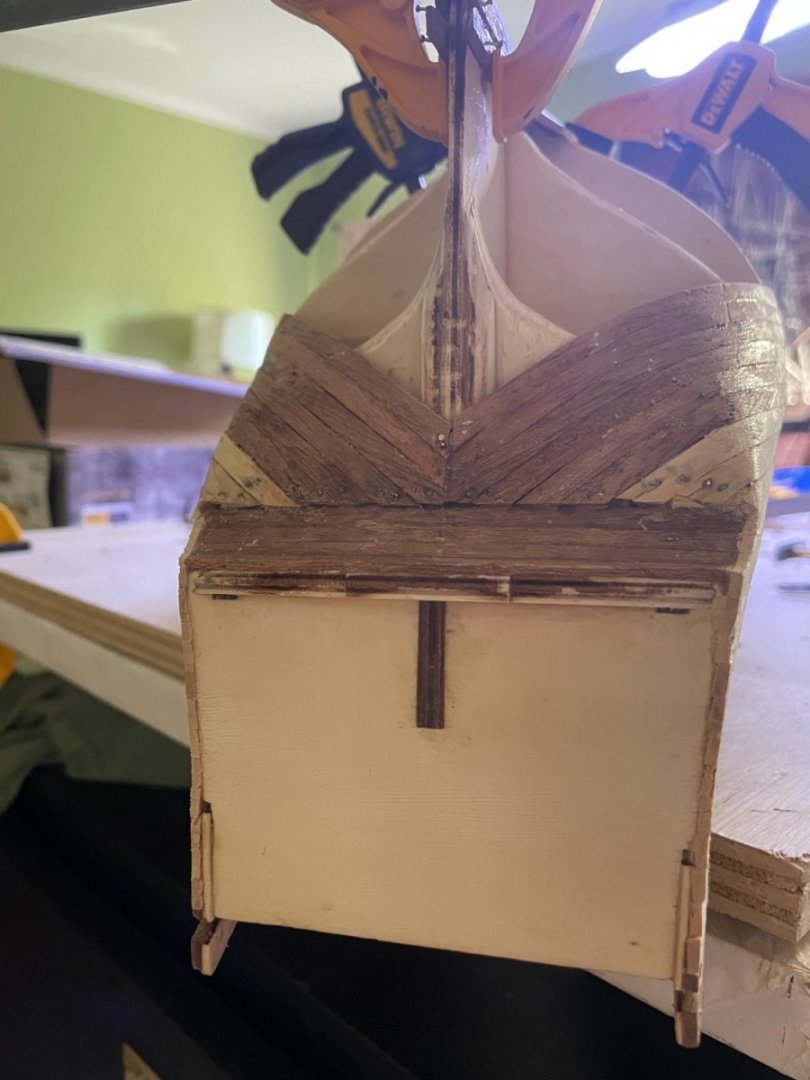
I used pwncil graphite for the edges and marked them in.Here is the stern stained.
- 41 replies
-
- 2
-
-
- OcCre
- Santissima Trinidad
- (and 1 more)
-
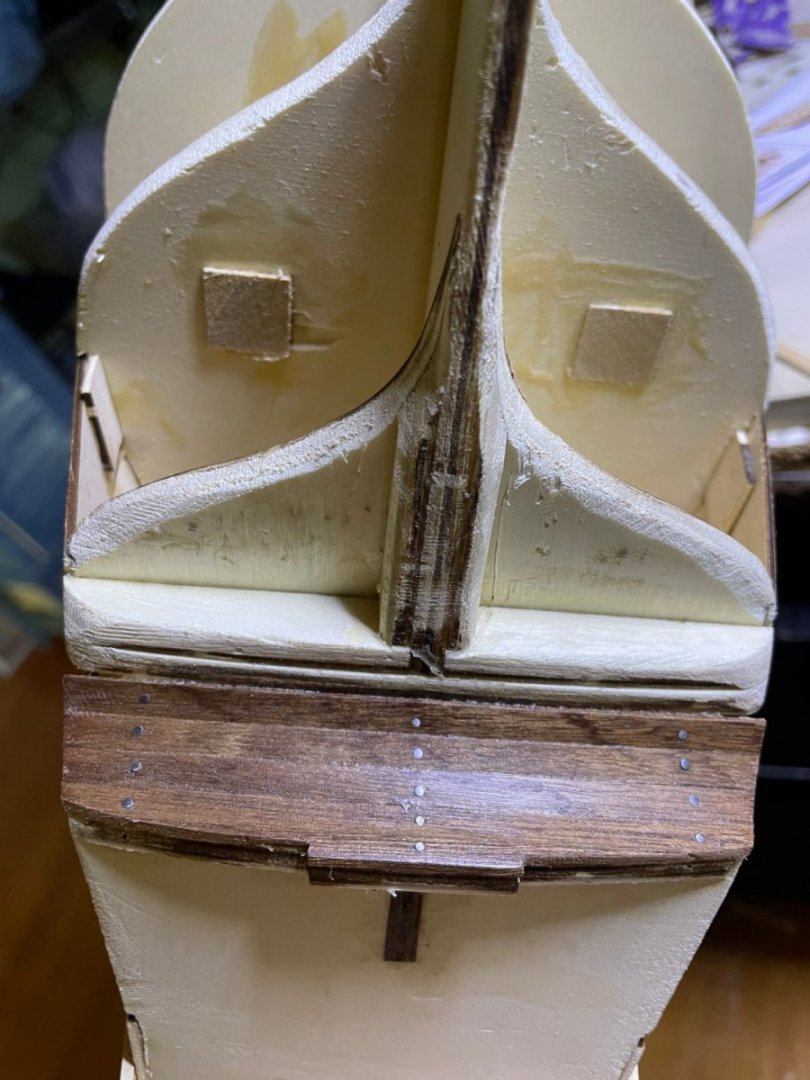
Although it did not call for it , I drew in the end planks and pegs For the dark wood, I am going to stain it as it give a better richer color. But again, issues with up loading the picture even when I took it at the same time and settings as the other. IMG_5061.jpeg.zip

- 41 replies
-
- 1
-
-
- OcCre
- Santissima Trinidad
- (and 1 more)
-
Sorry I am missing the framing pictures but I think there was something in the way they were saved that messed things up. I have been debating on how the put in the planking/ Most other kits have a second layer to hide the pins. Others remove the pins while others still have the pins half in then clipped and filed down. For the above the waterline white wood I will glue them without pins. Will try either superglue or contact to kep gaps tight. For the lower dark wood area I will likely pi then clip and file.

- 41 replies
-
- 2
-
-
- OcCre
- Santissima Trinidad
- (and 1 more)
-
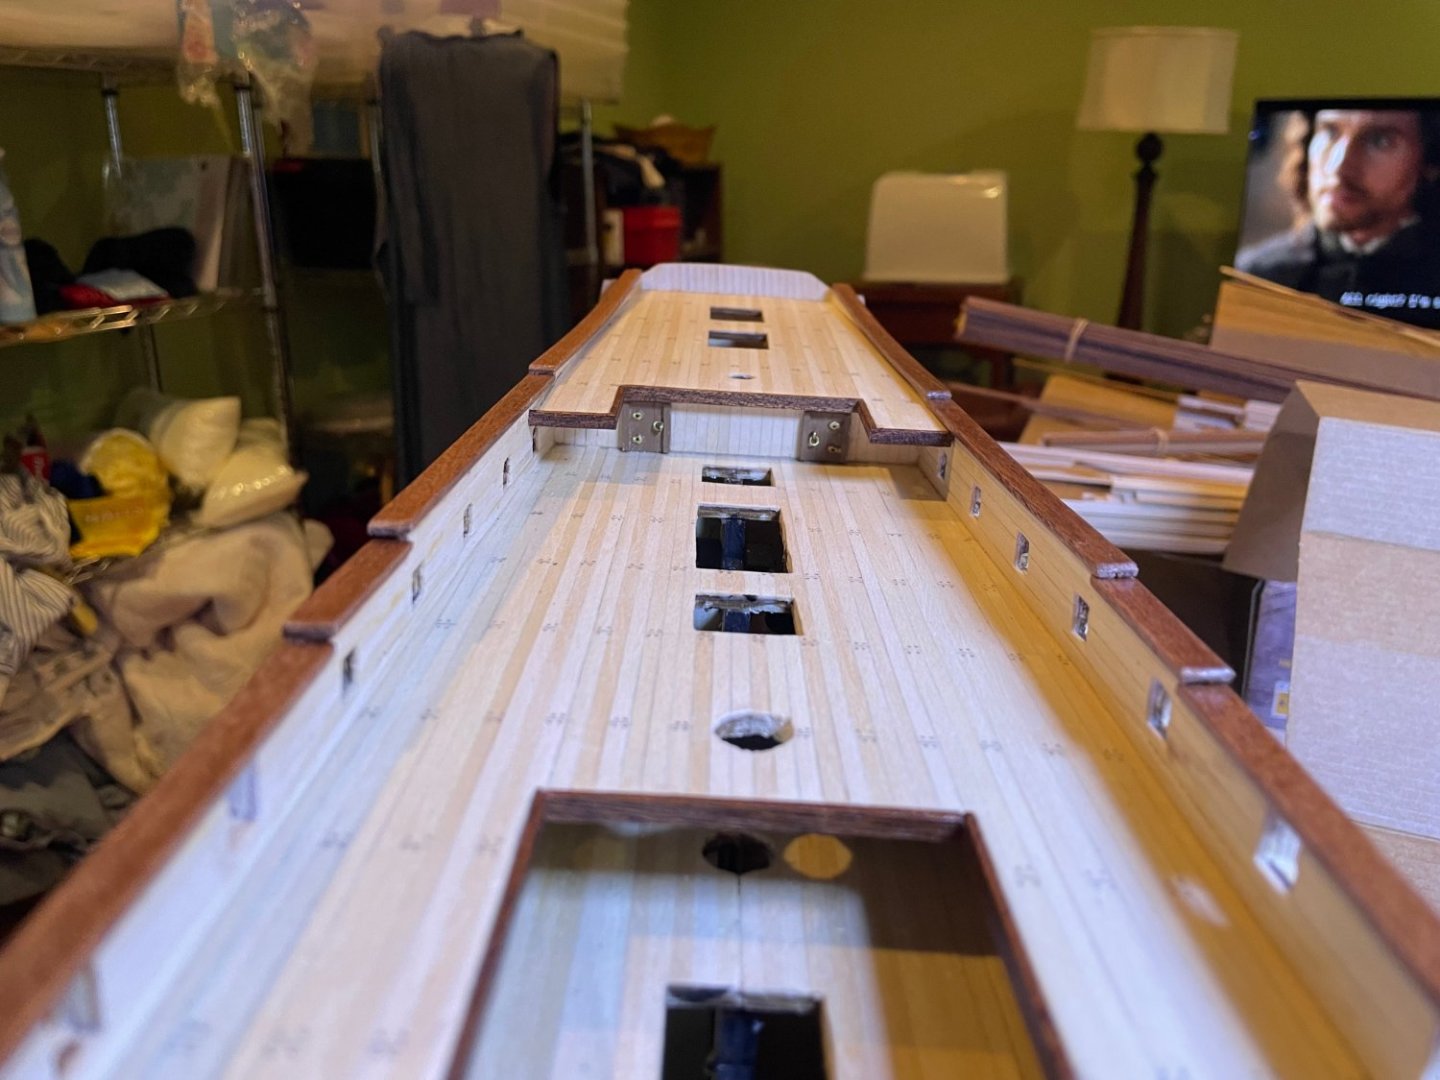
Happy to build along with you. Looks like the picture issue is fixed. Here is how things are going so far. After loading these got an error code again.

- 41 replies
-
- 1
-
-
- OcCre
- Santissima Trinidad
- (and 1 more)