HOLIDAY DONATION DRIVE - SUPPORT MSW - DO YOUR PART TO KEEP THIS GREAT FORUM GOING! (Only 75 donations so far out of 49,000 members - C'mon guys!)
×


ECK
-
Posts
640 -
Joined
-
Last visited
Content Type
Profiles
Forums
Gallery
Events
Everything posted by ECK
-
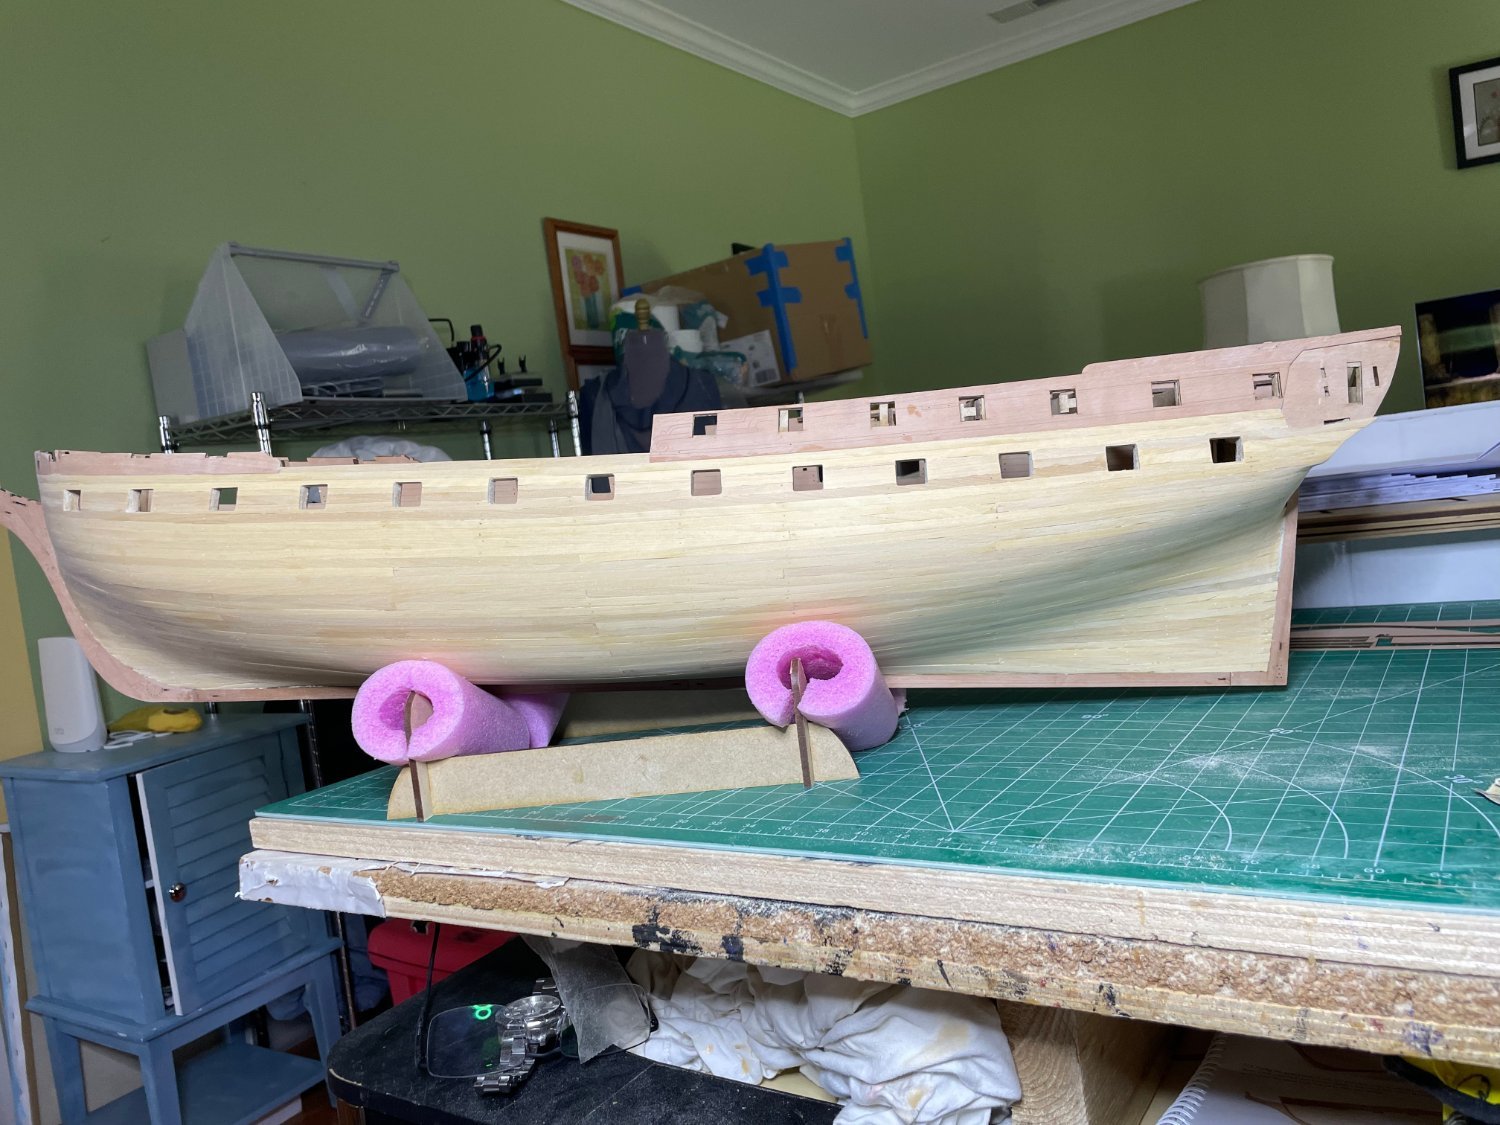
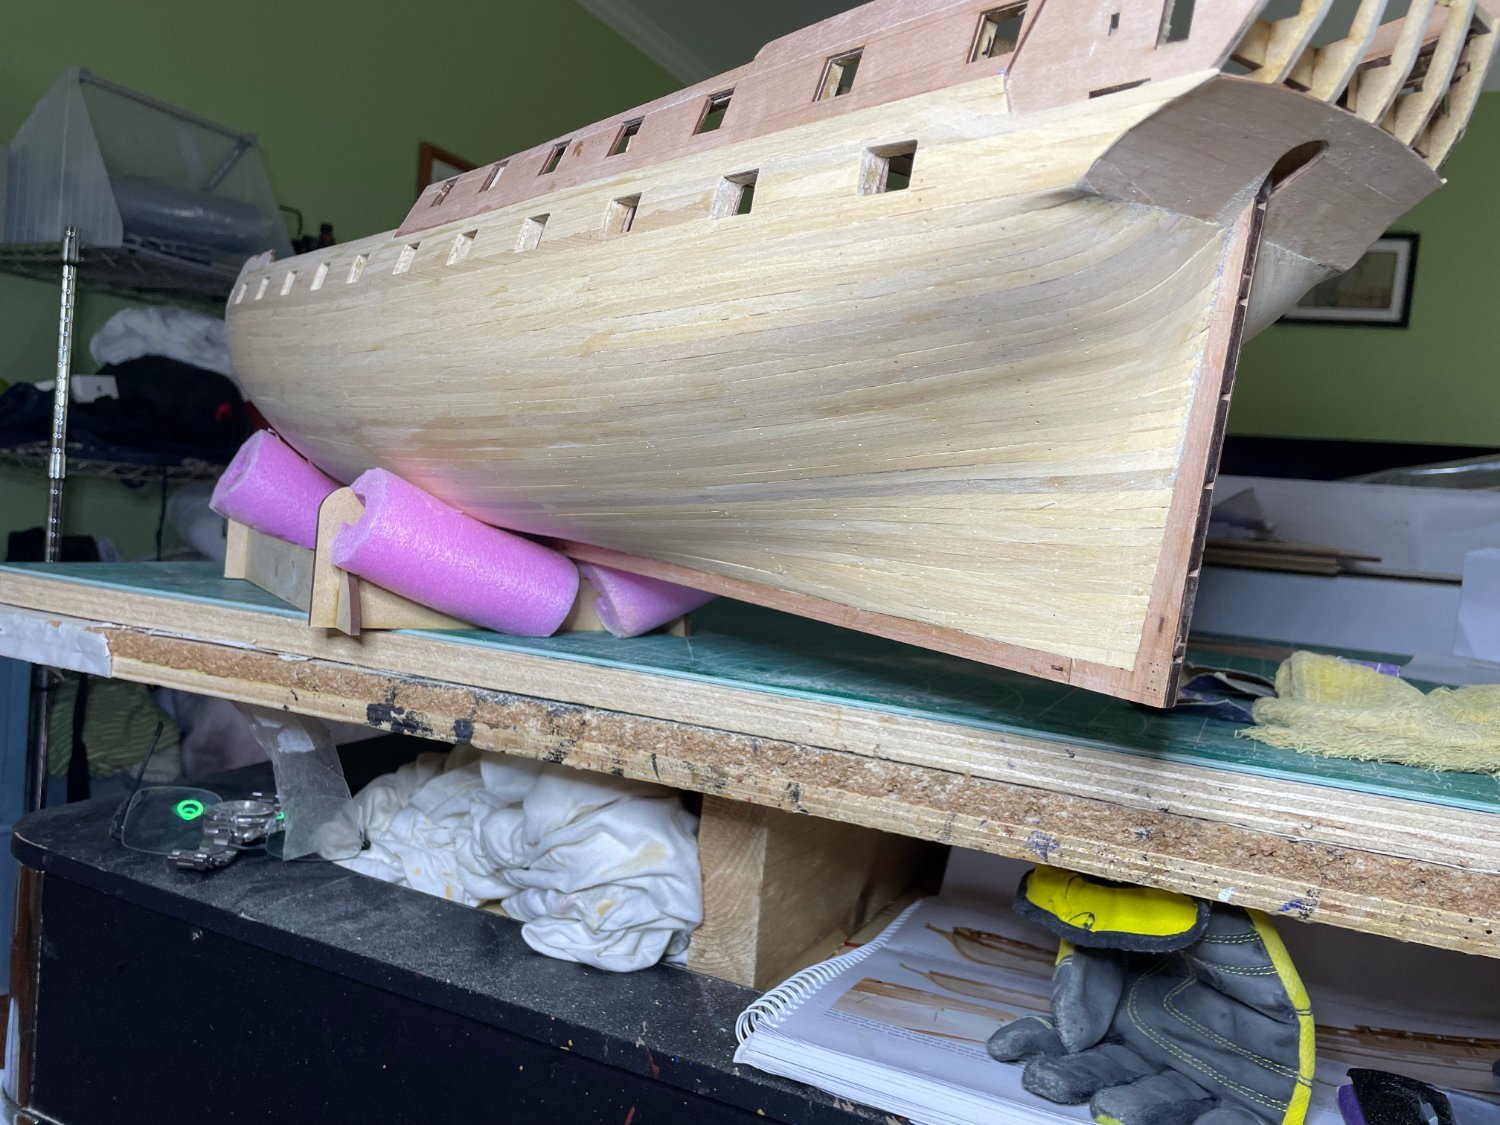
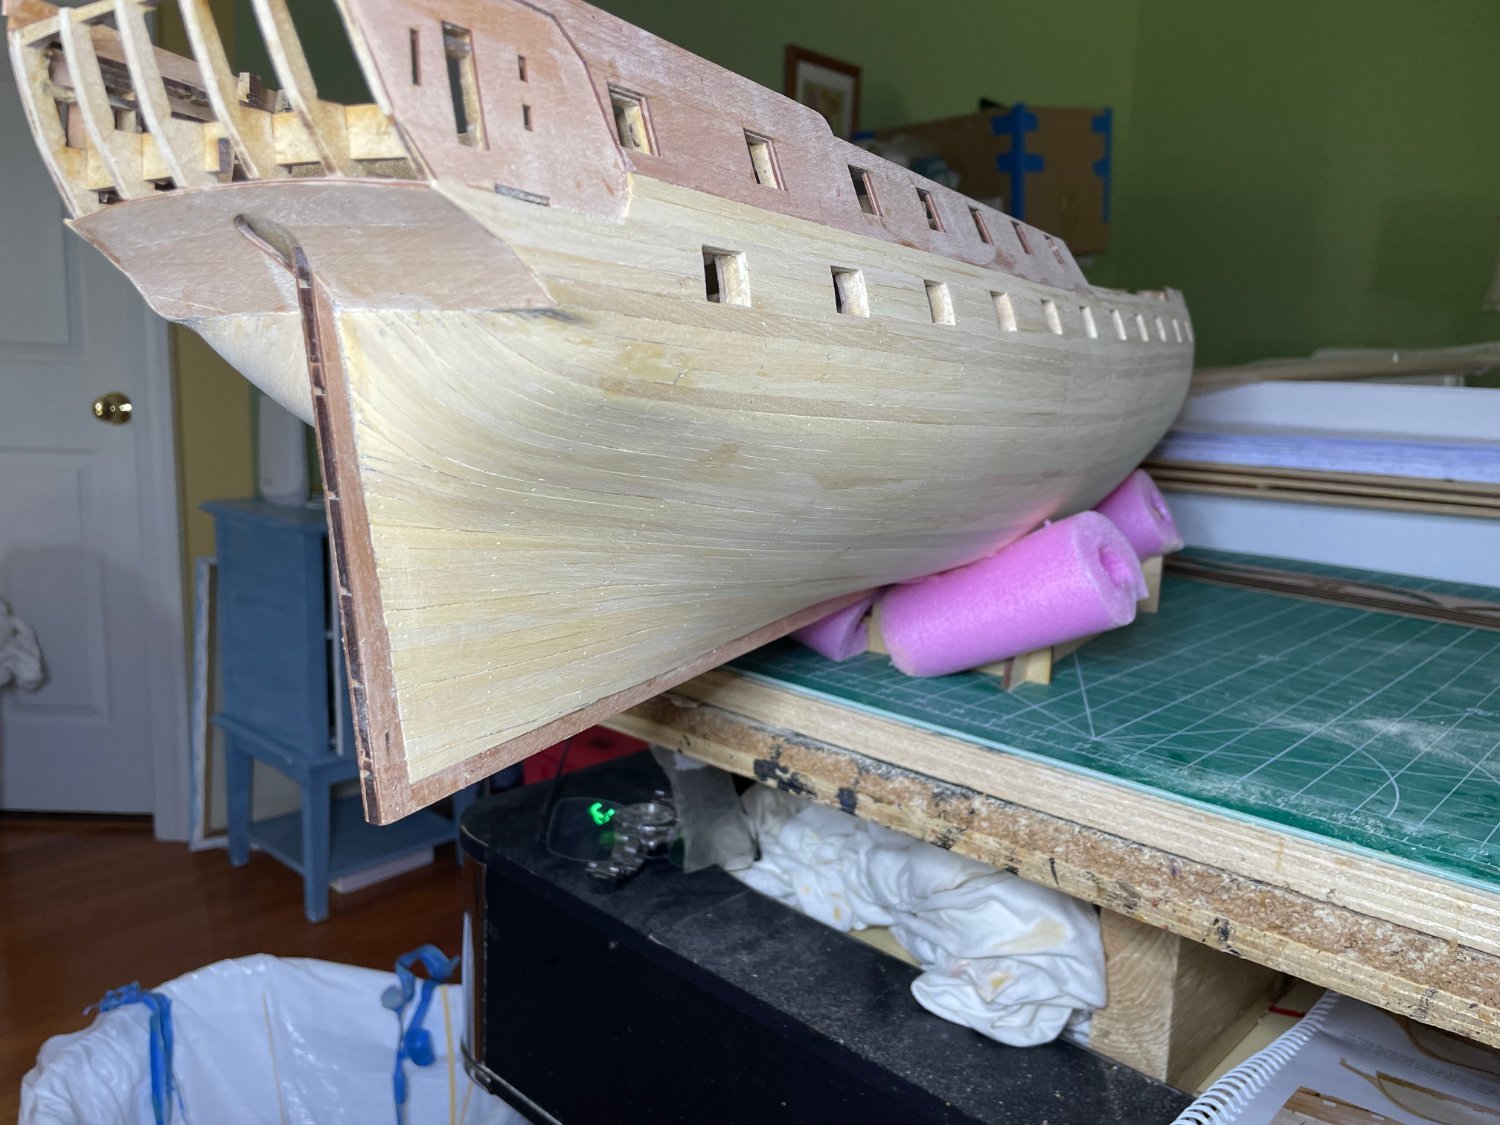
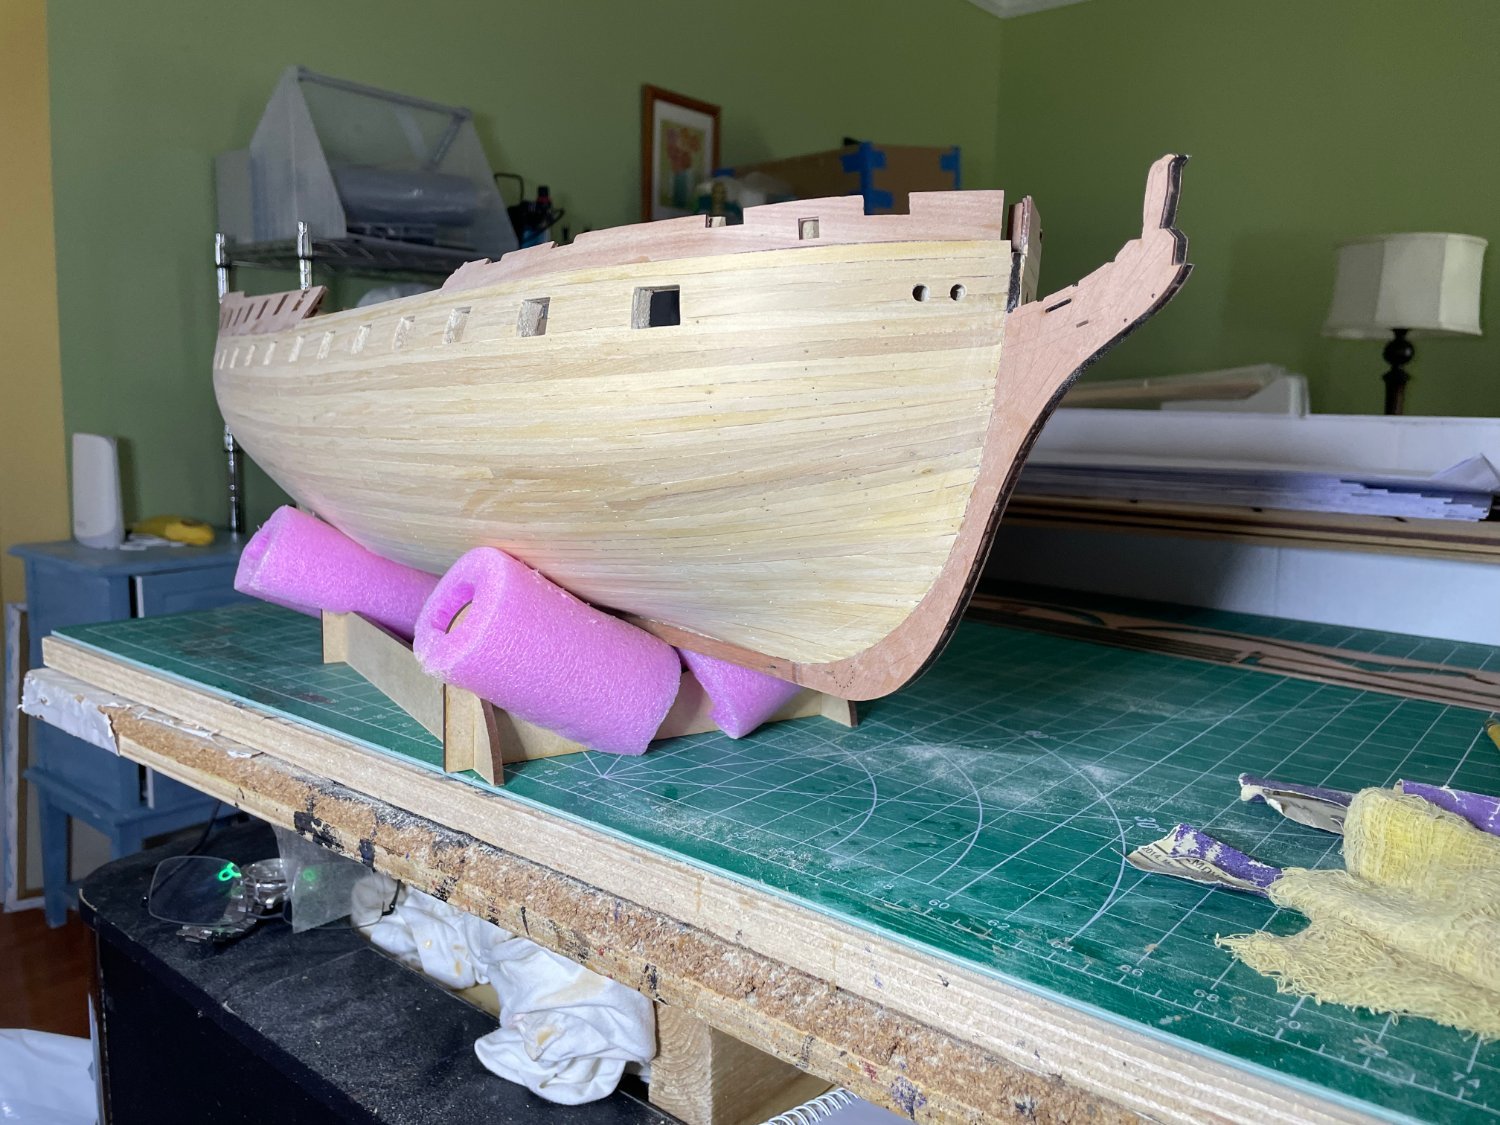
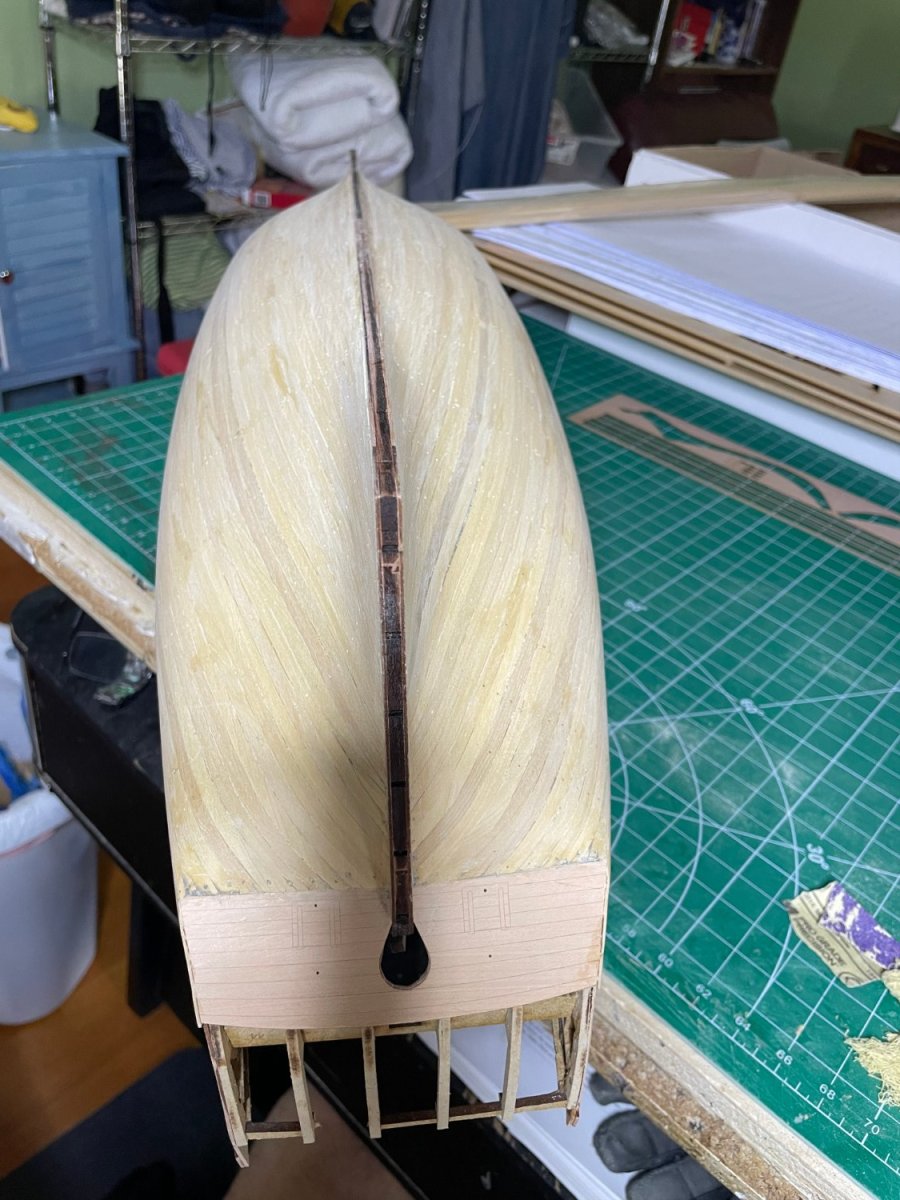
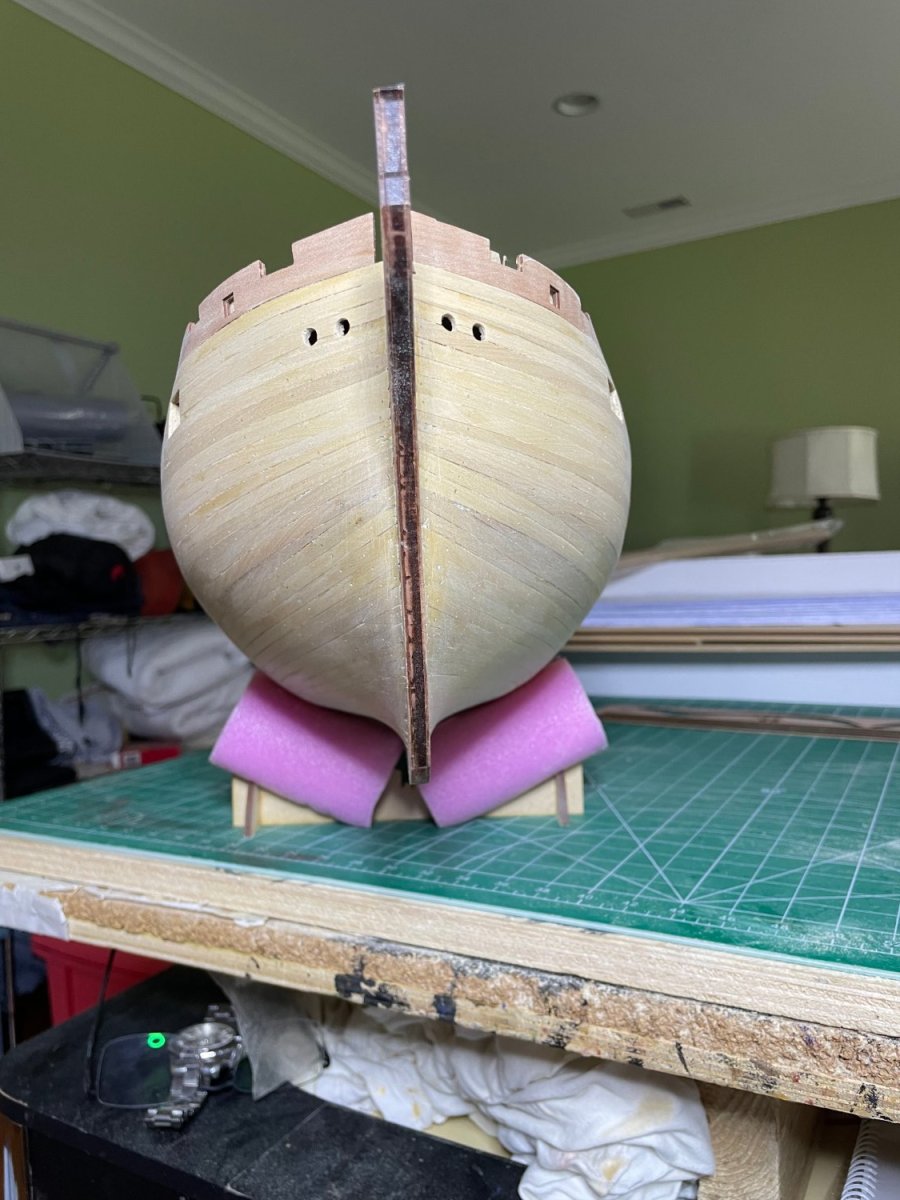
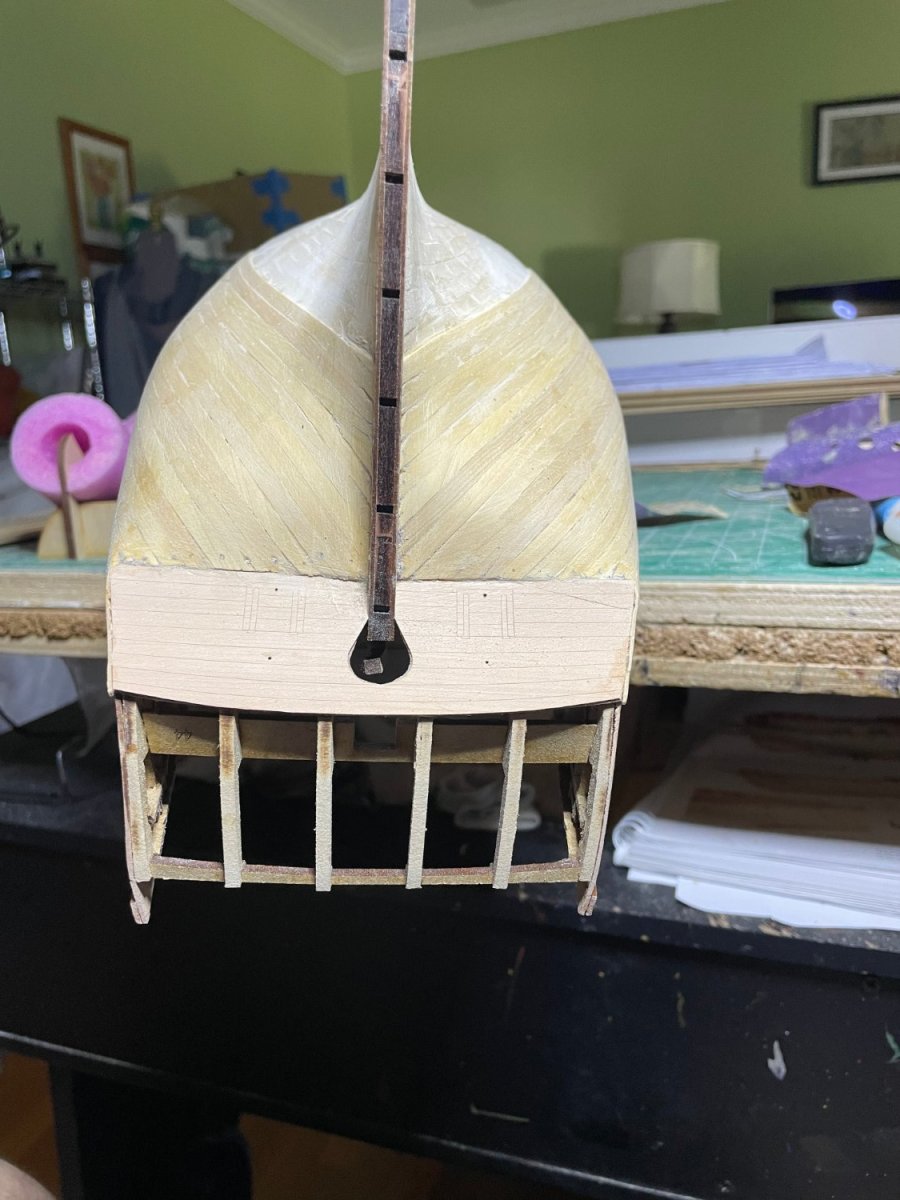
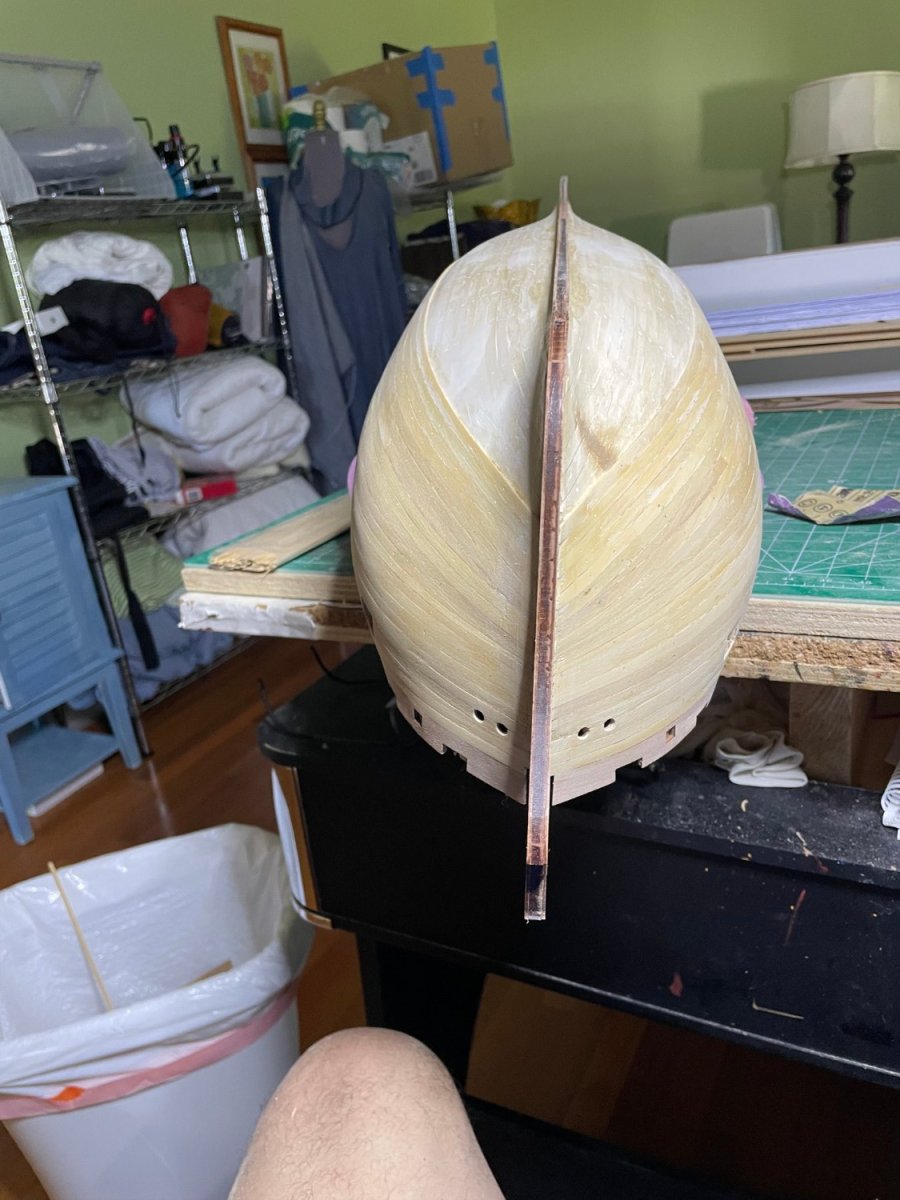
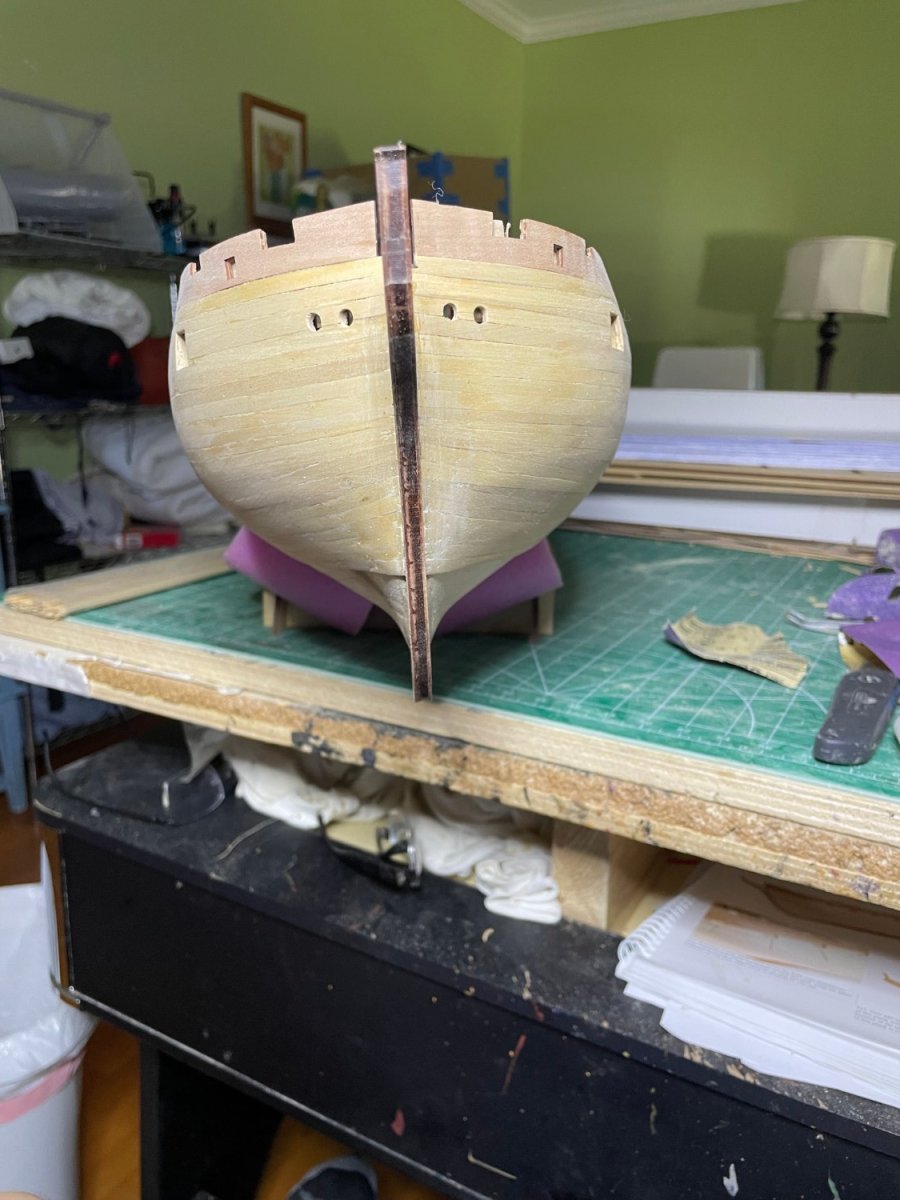
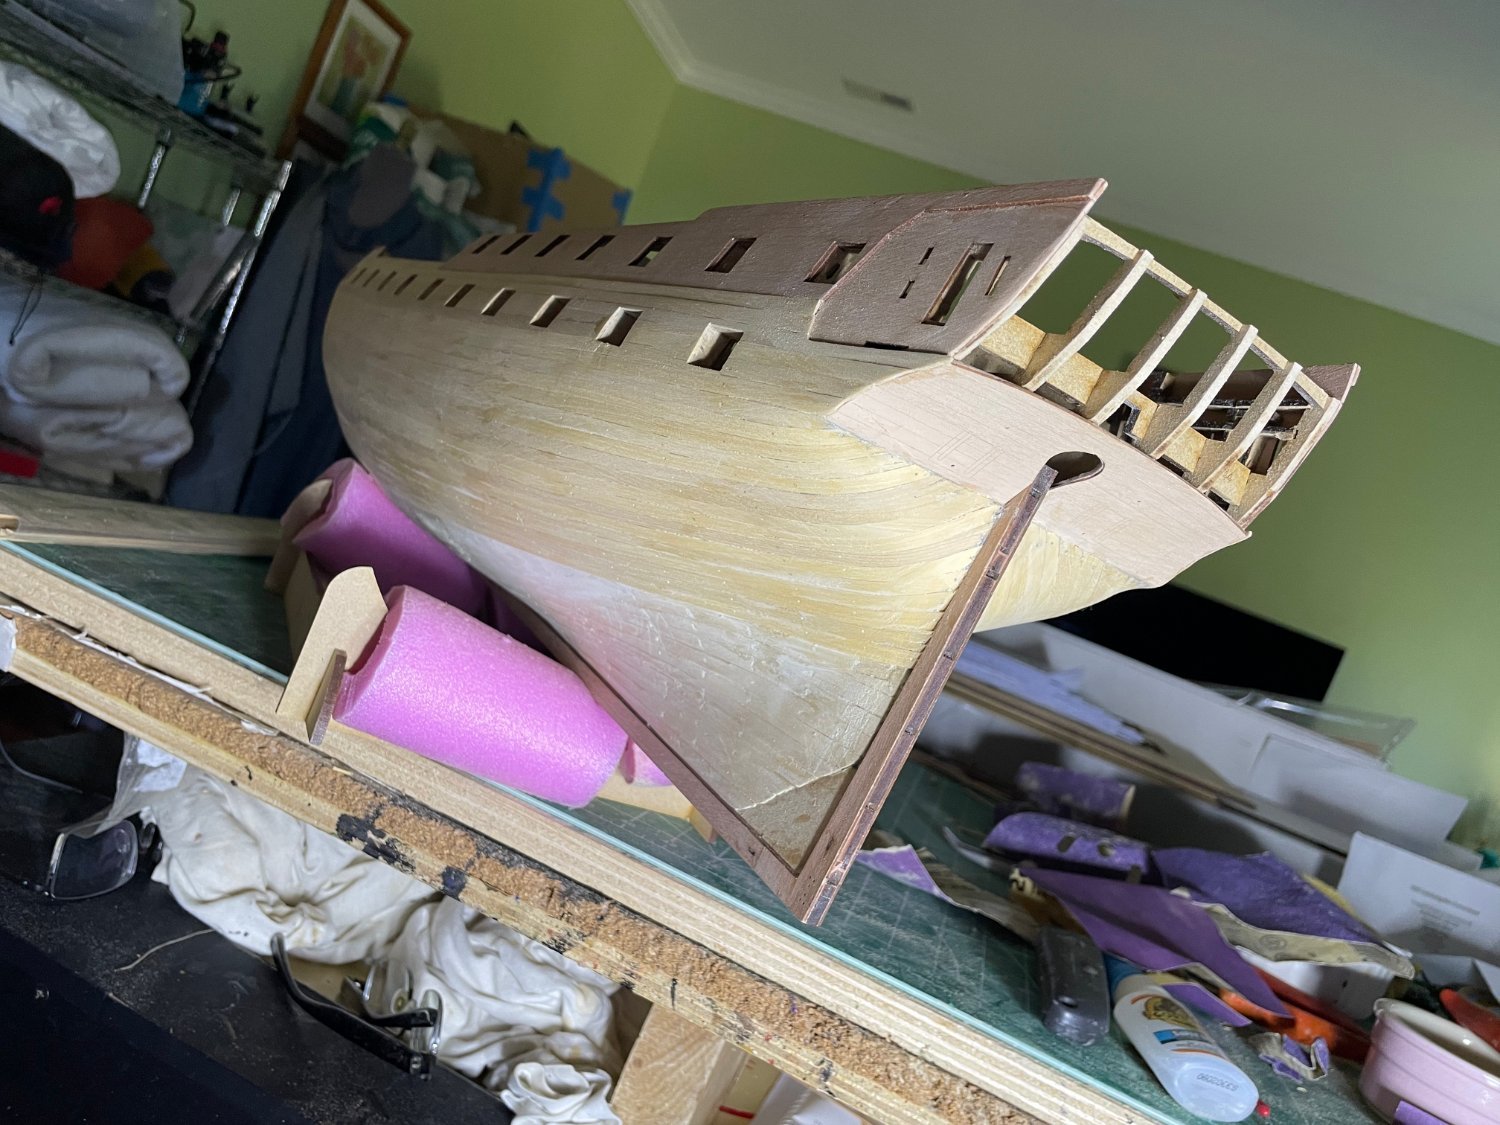
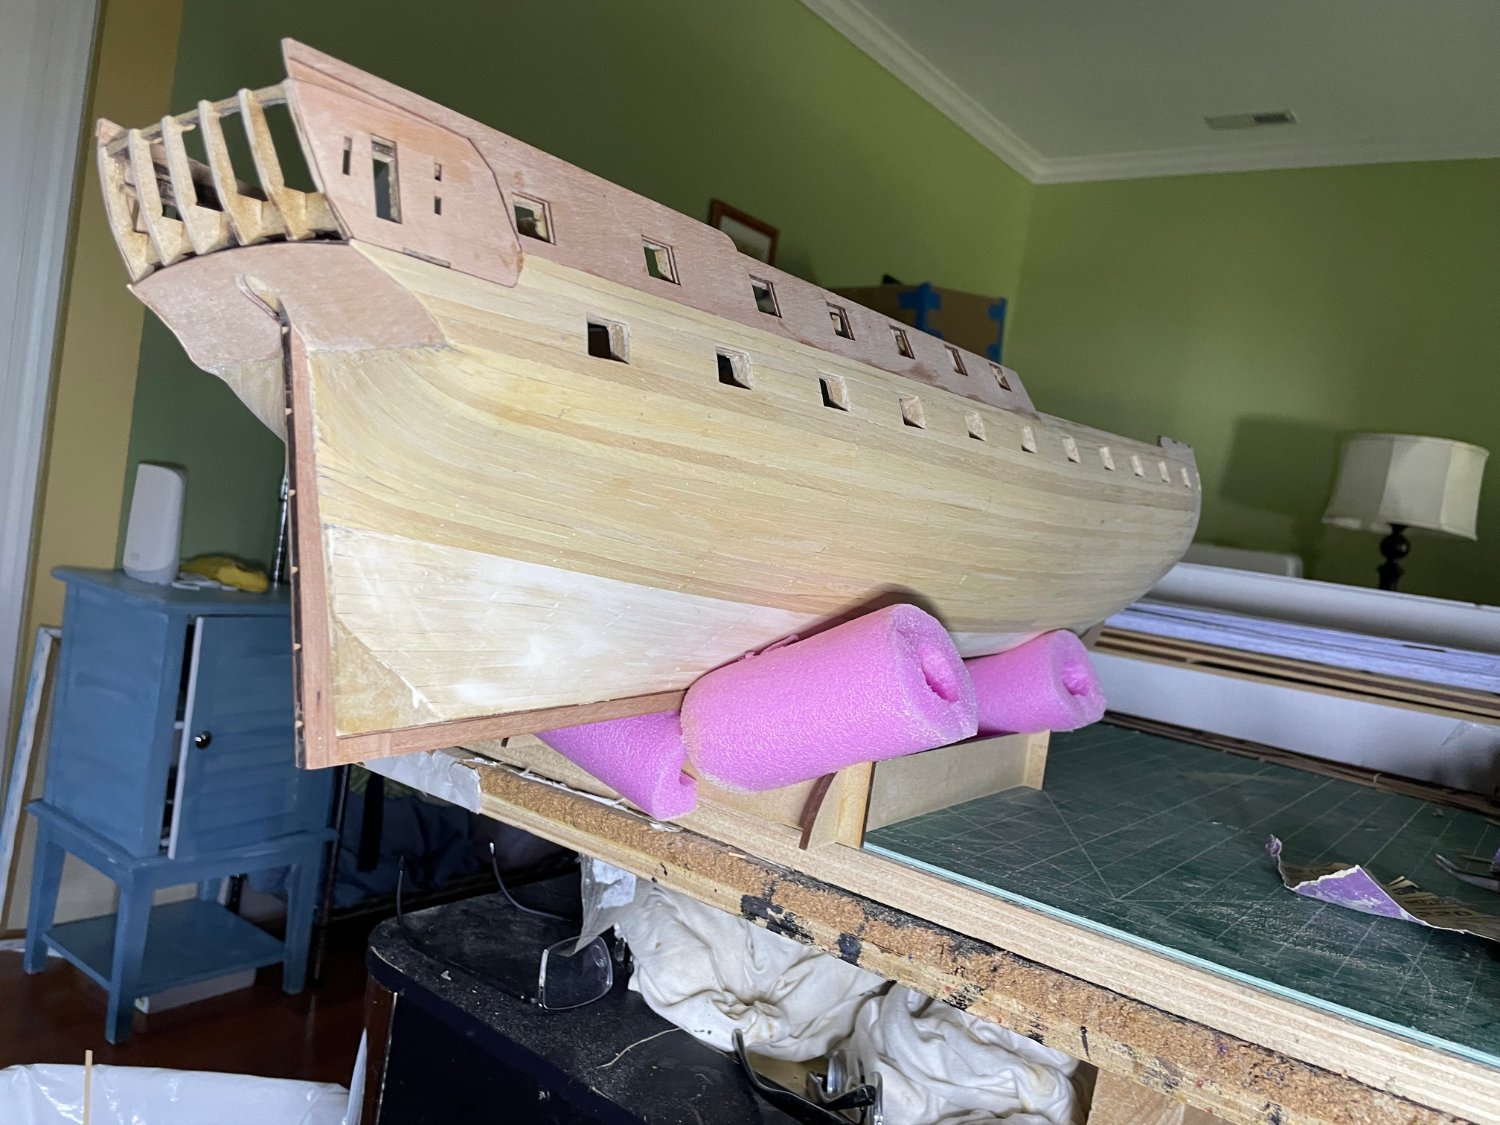
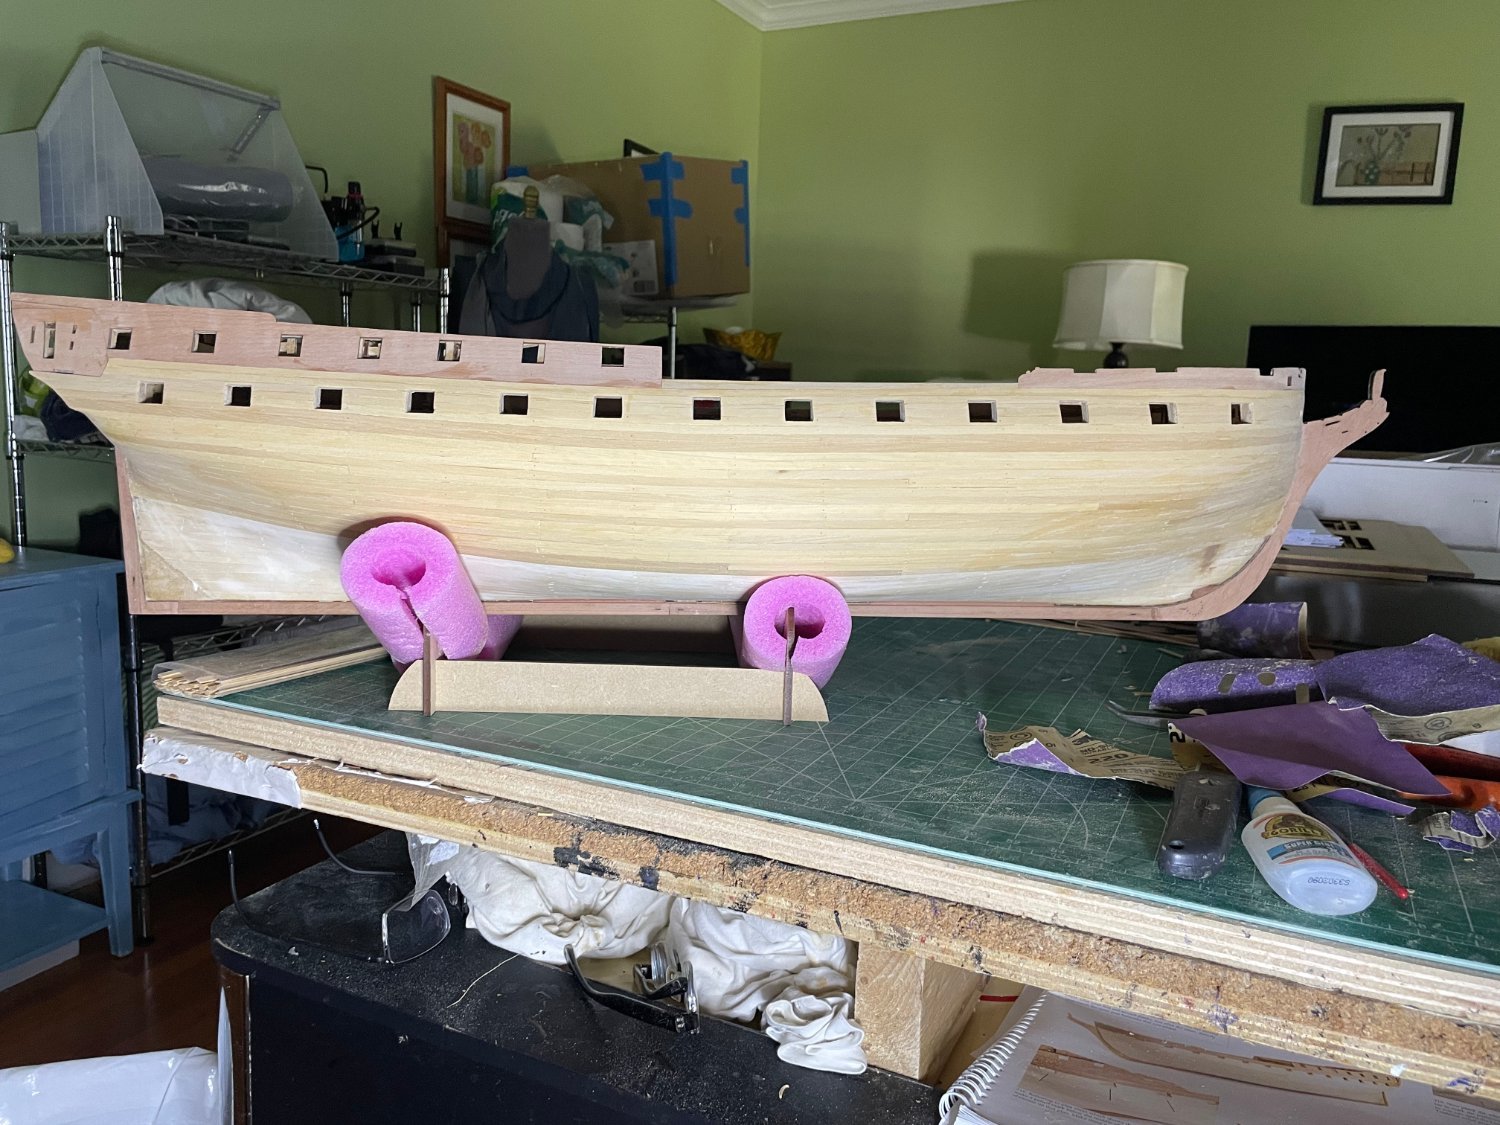
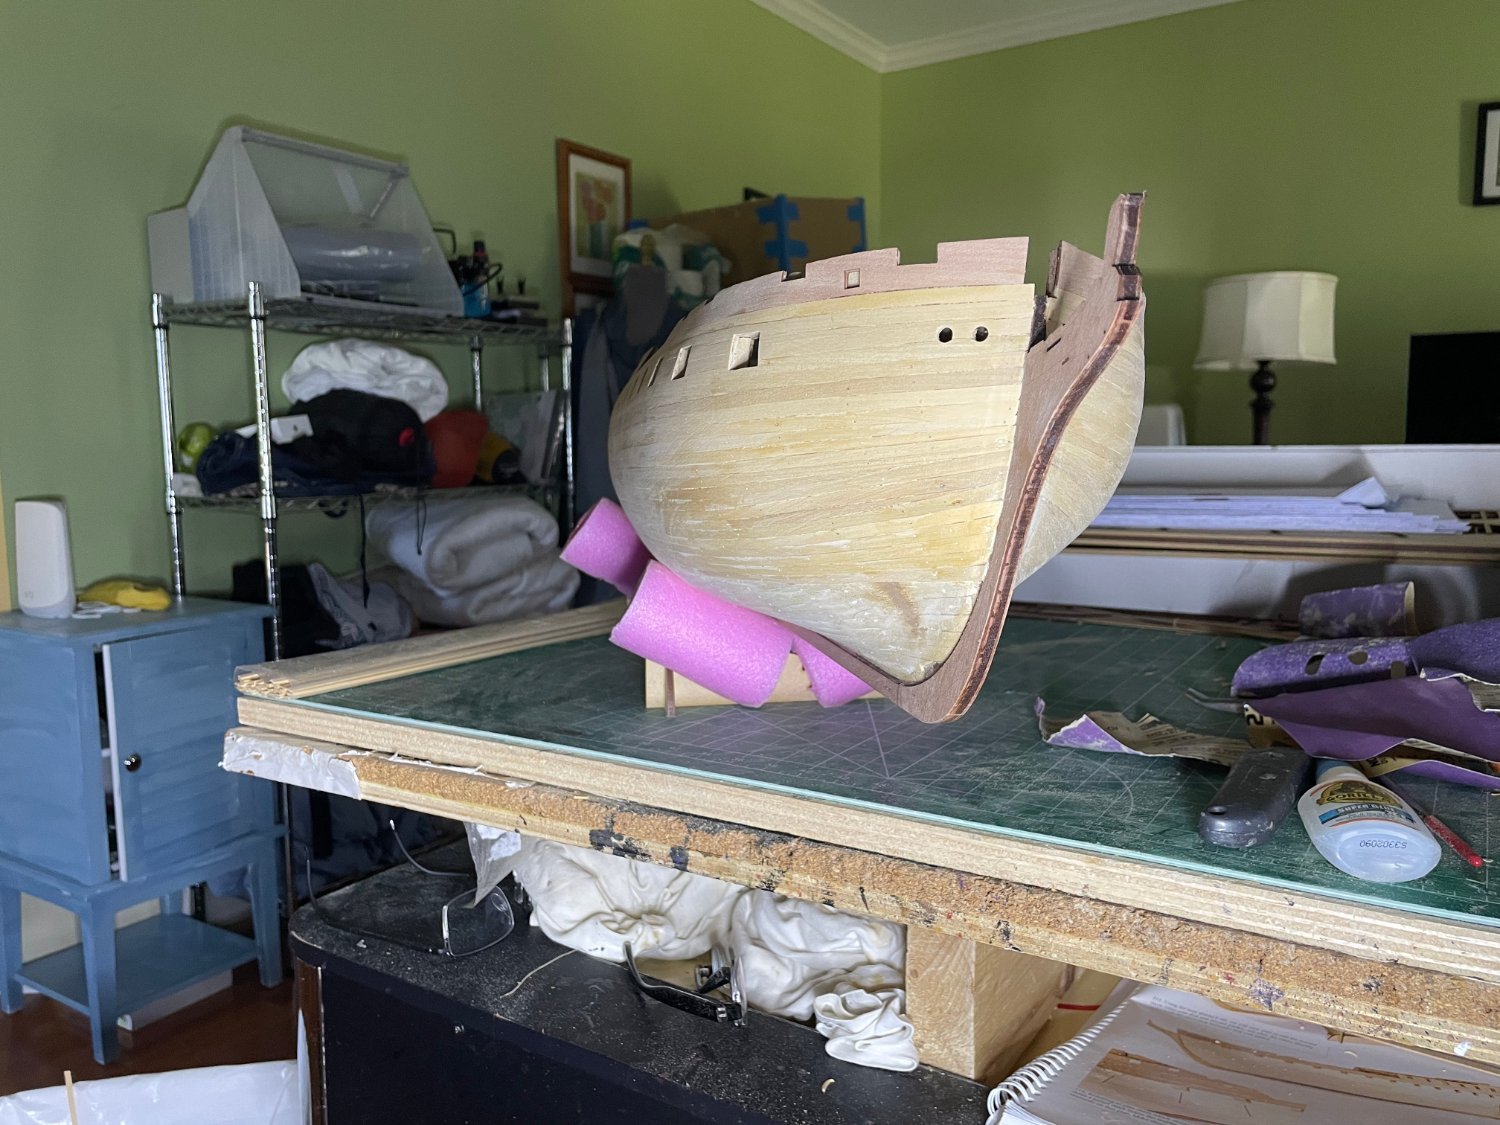
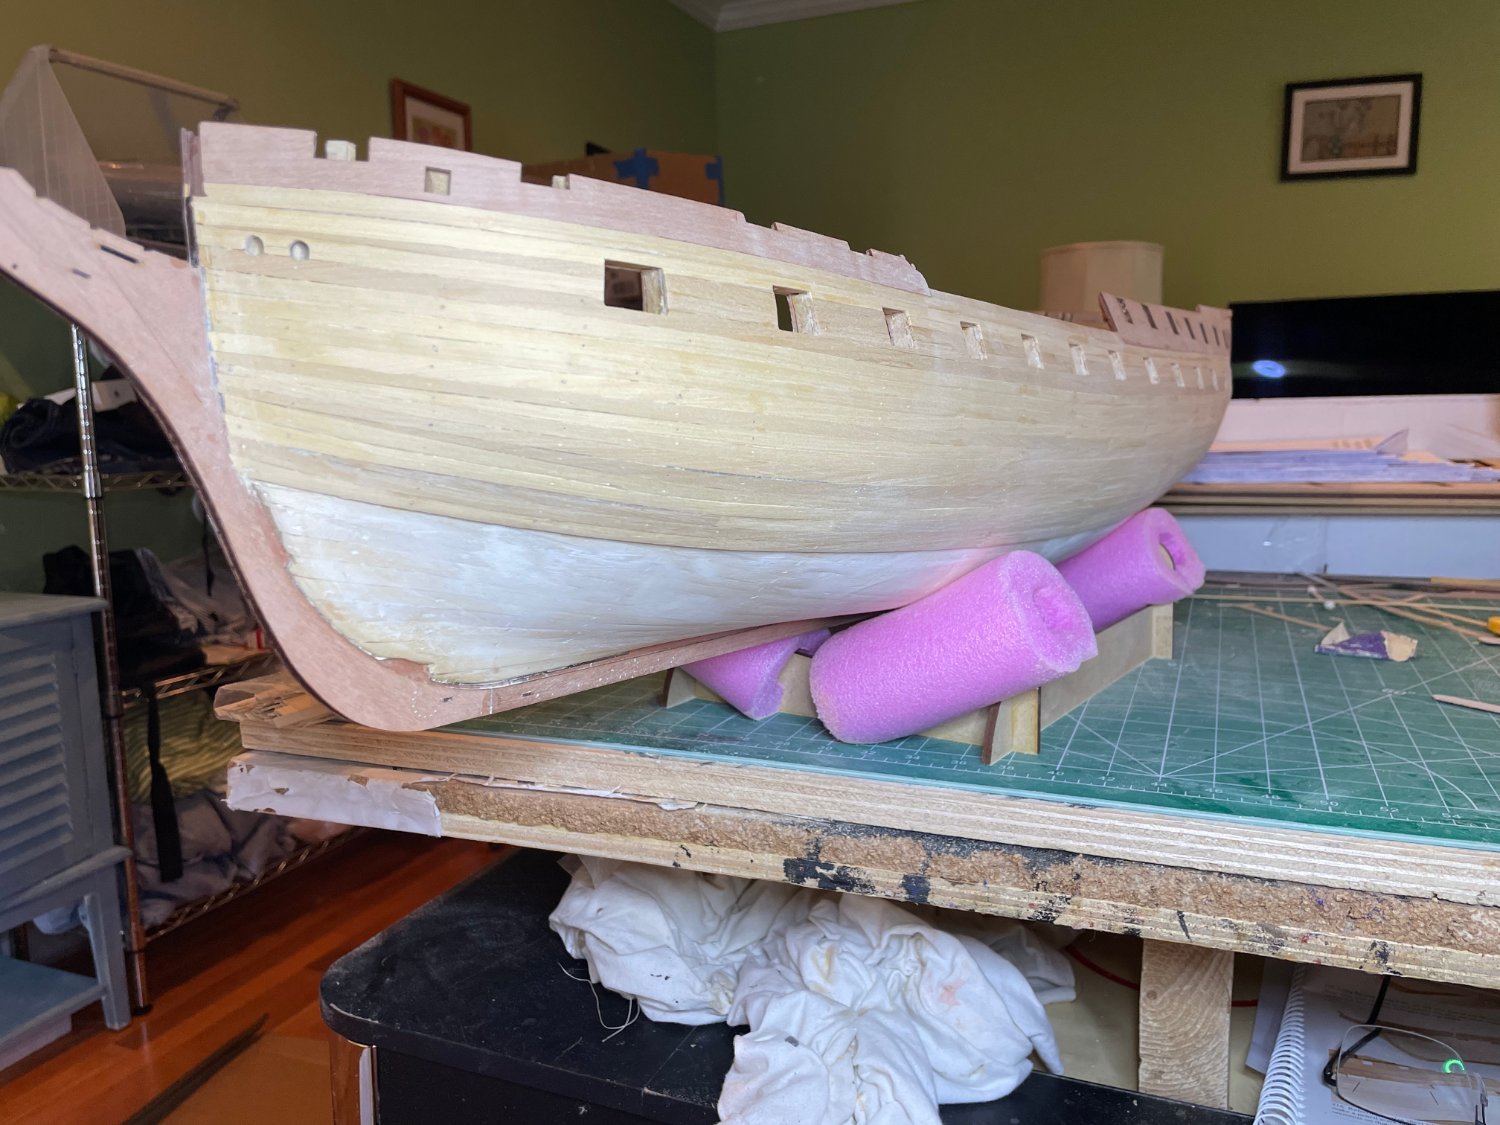
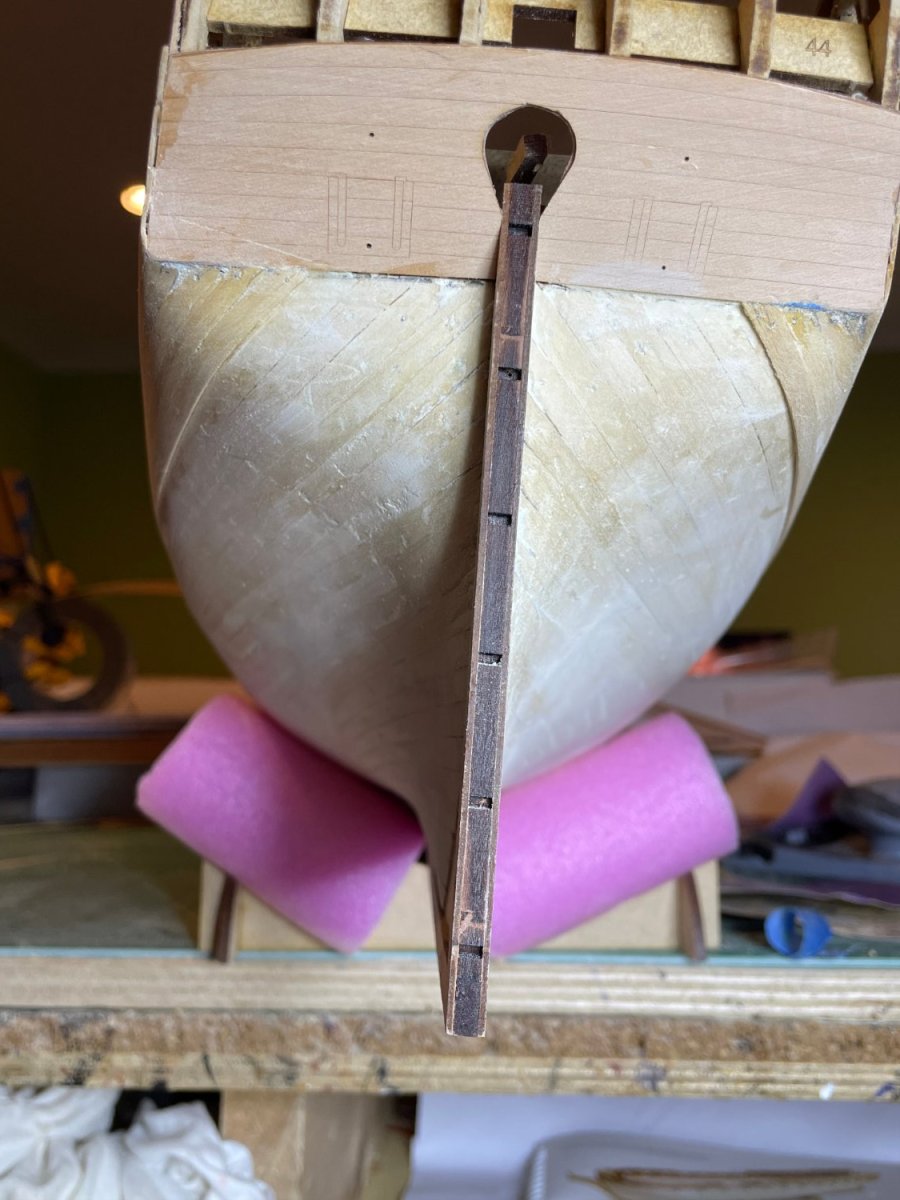
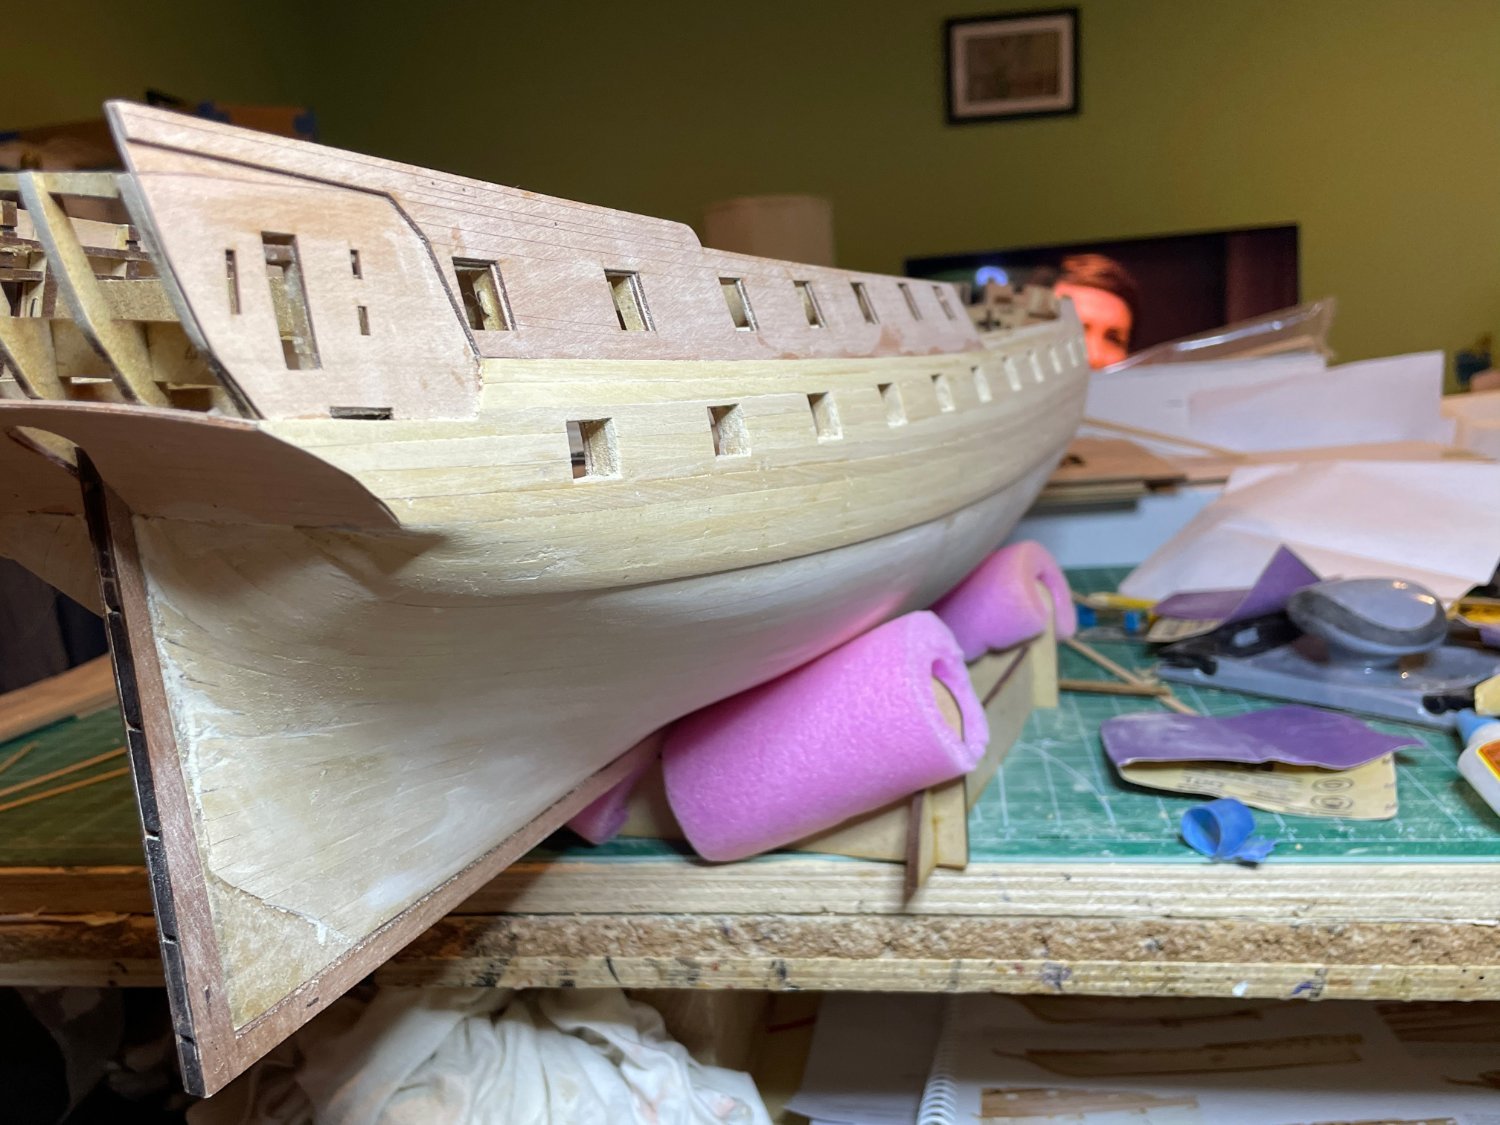
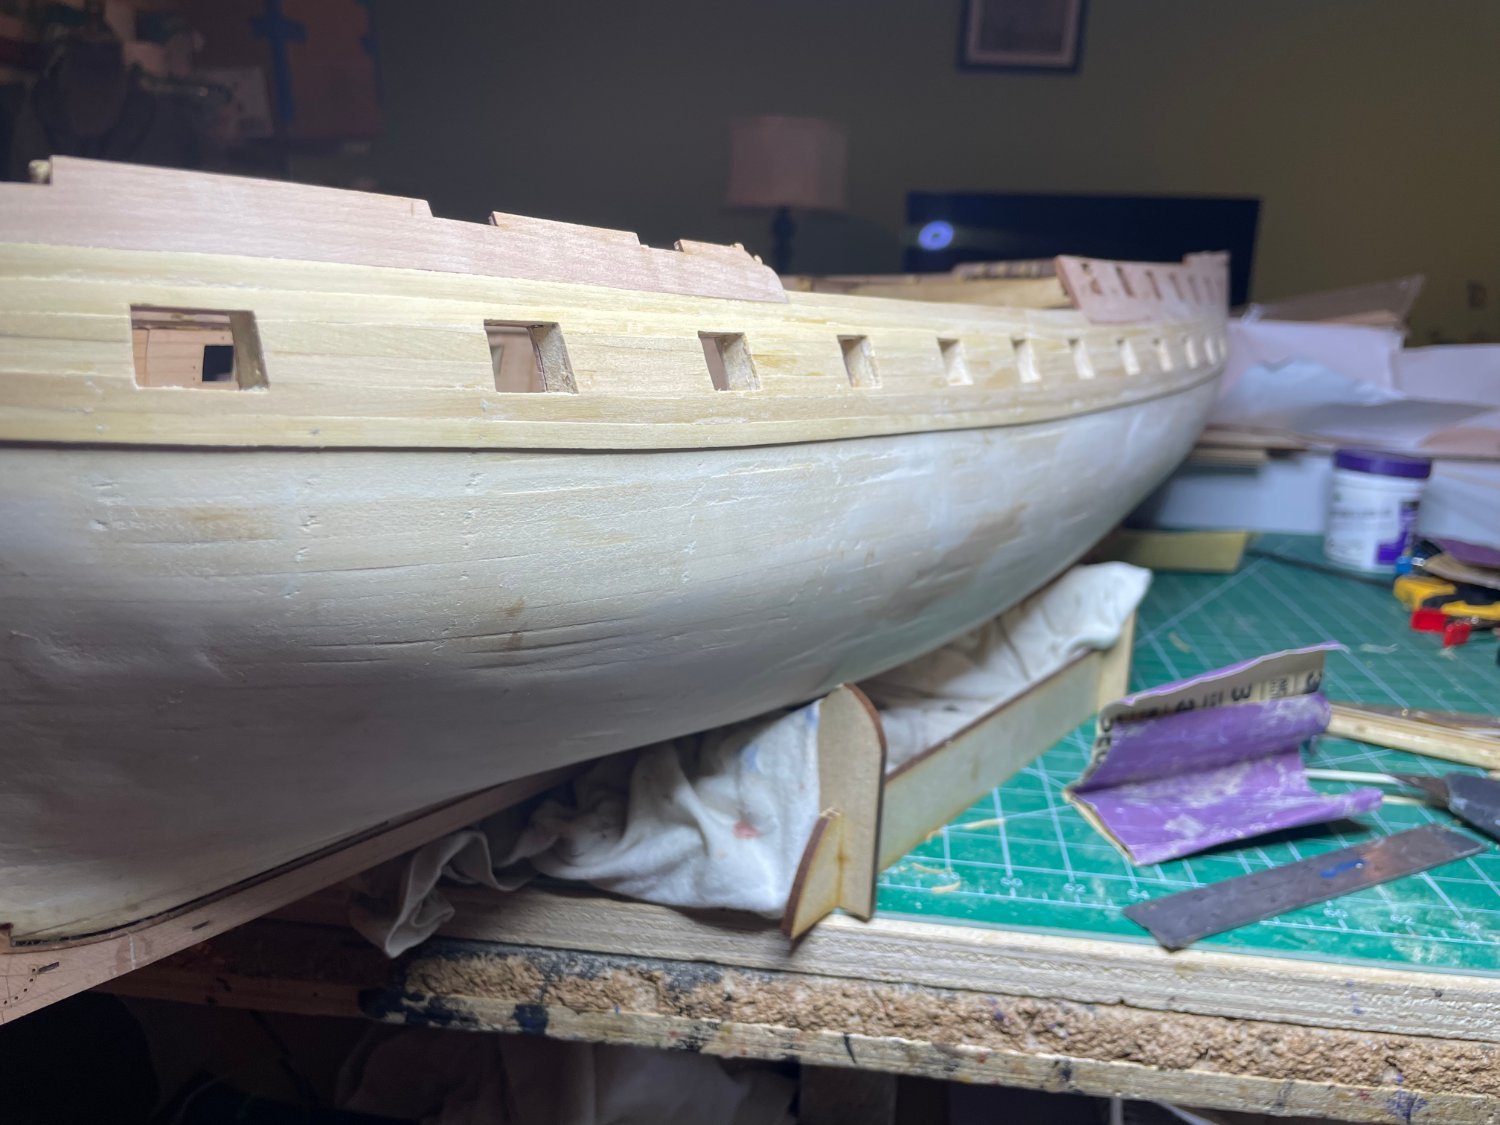
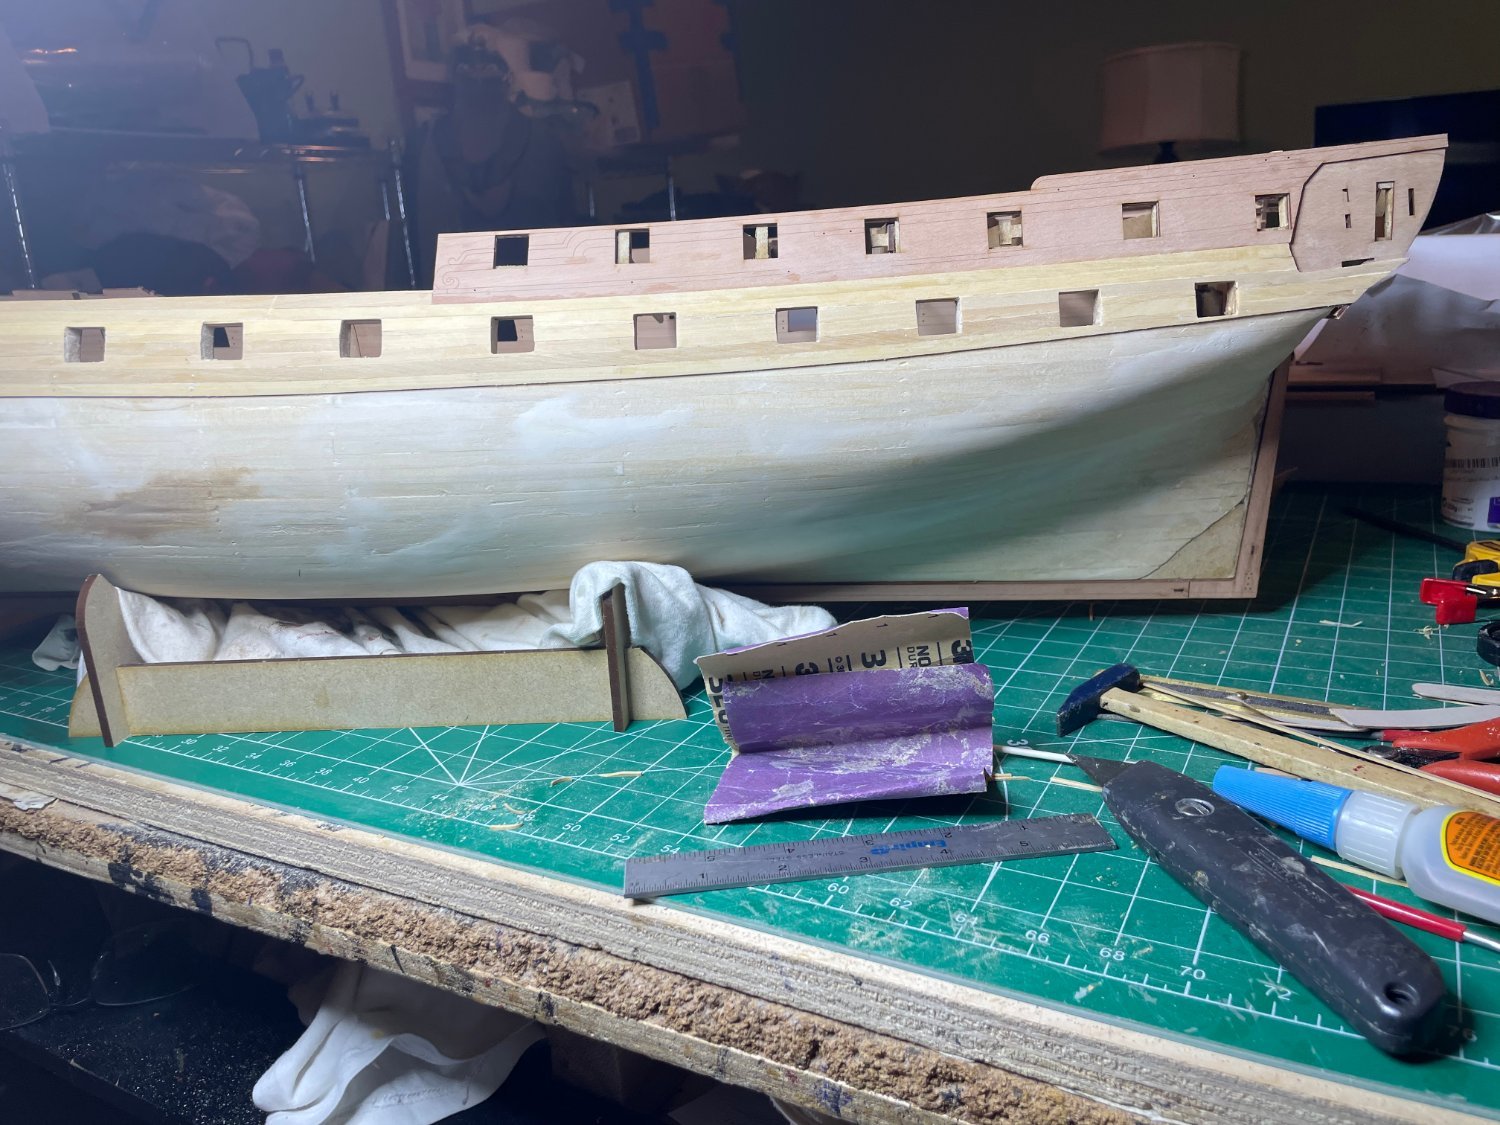
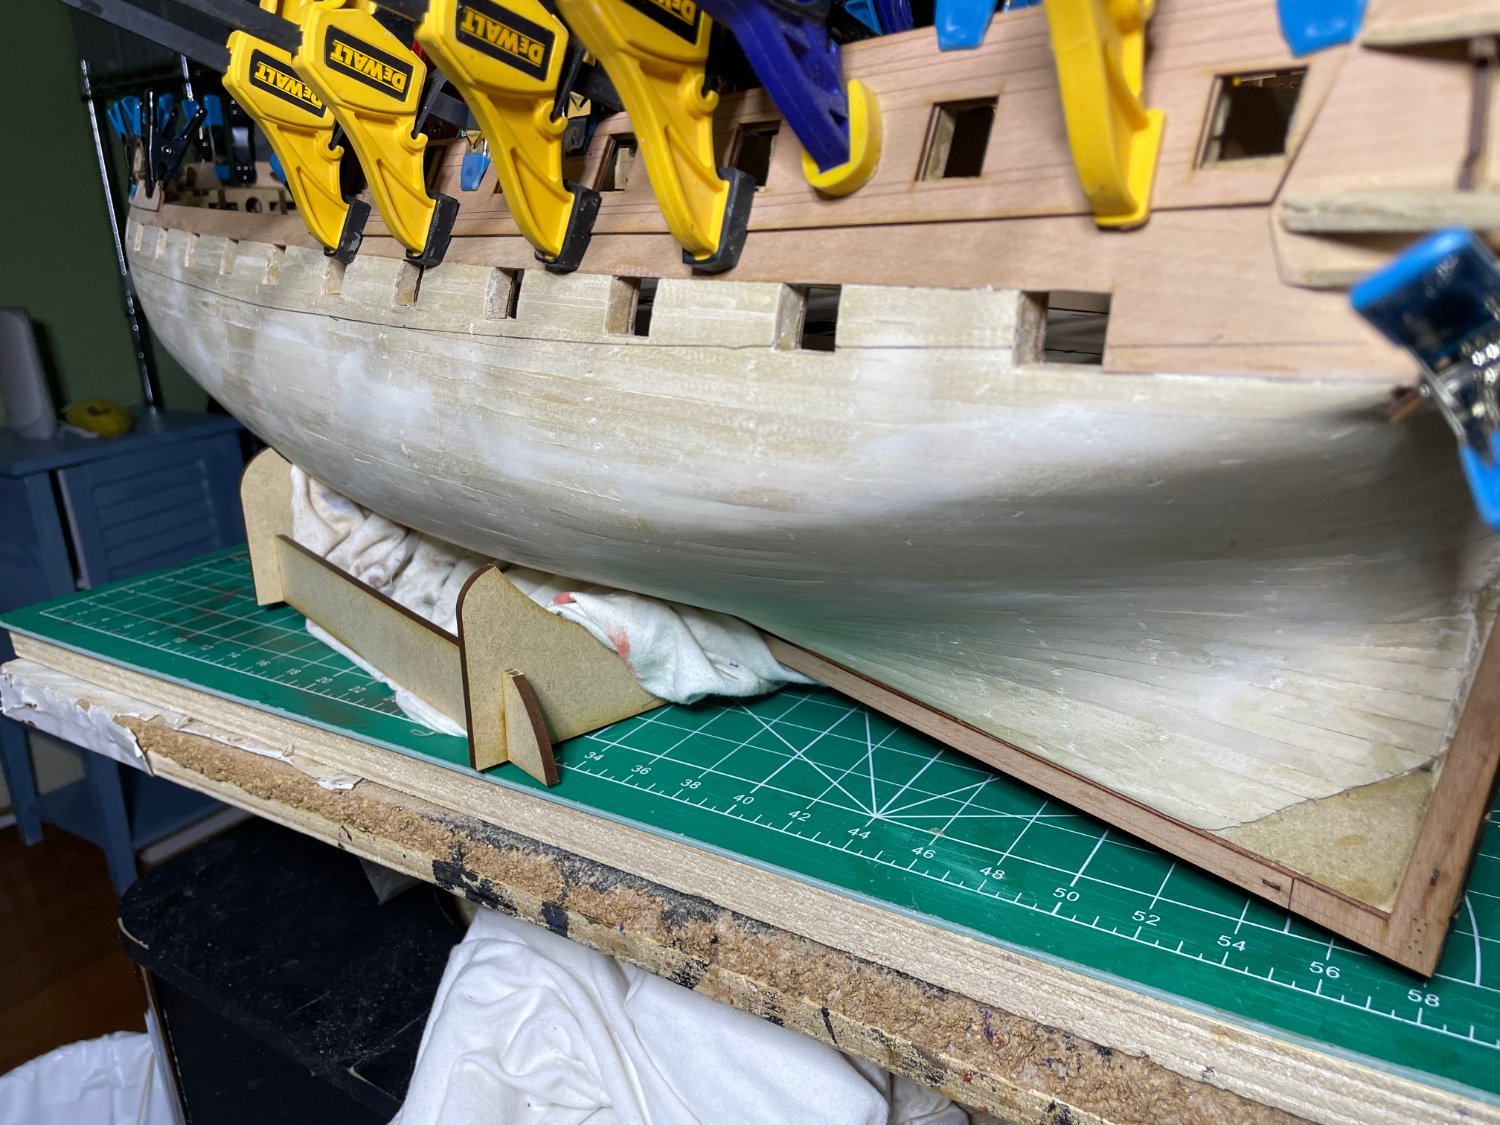
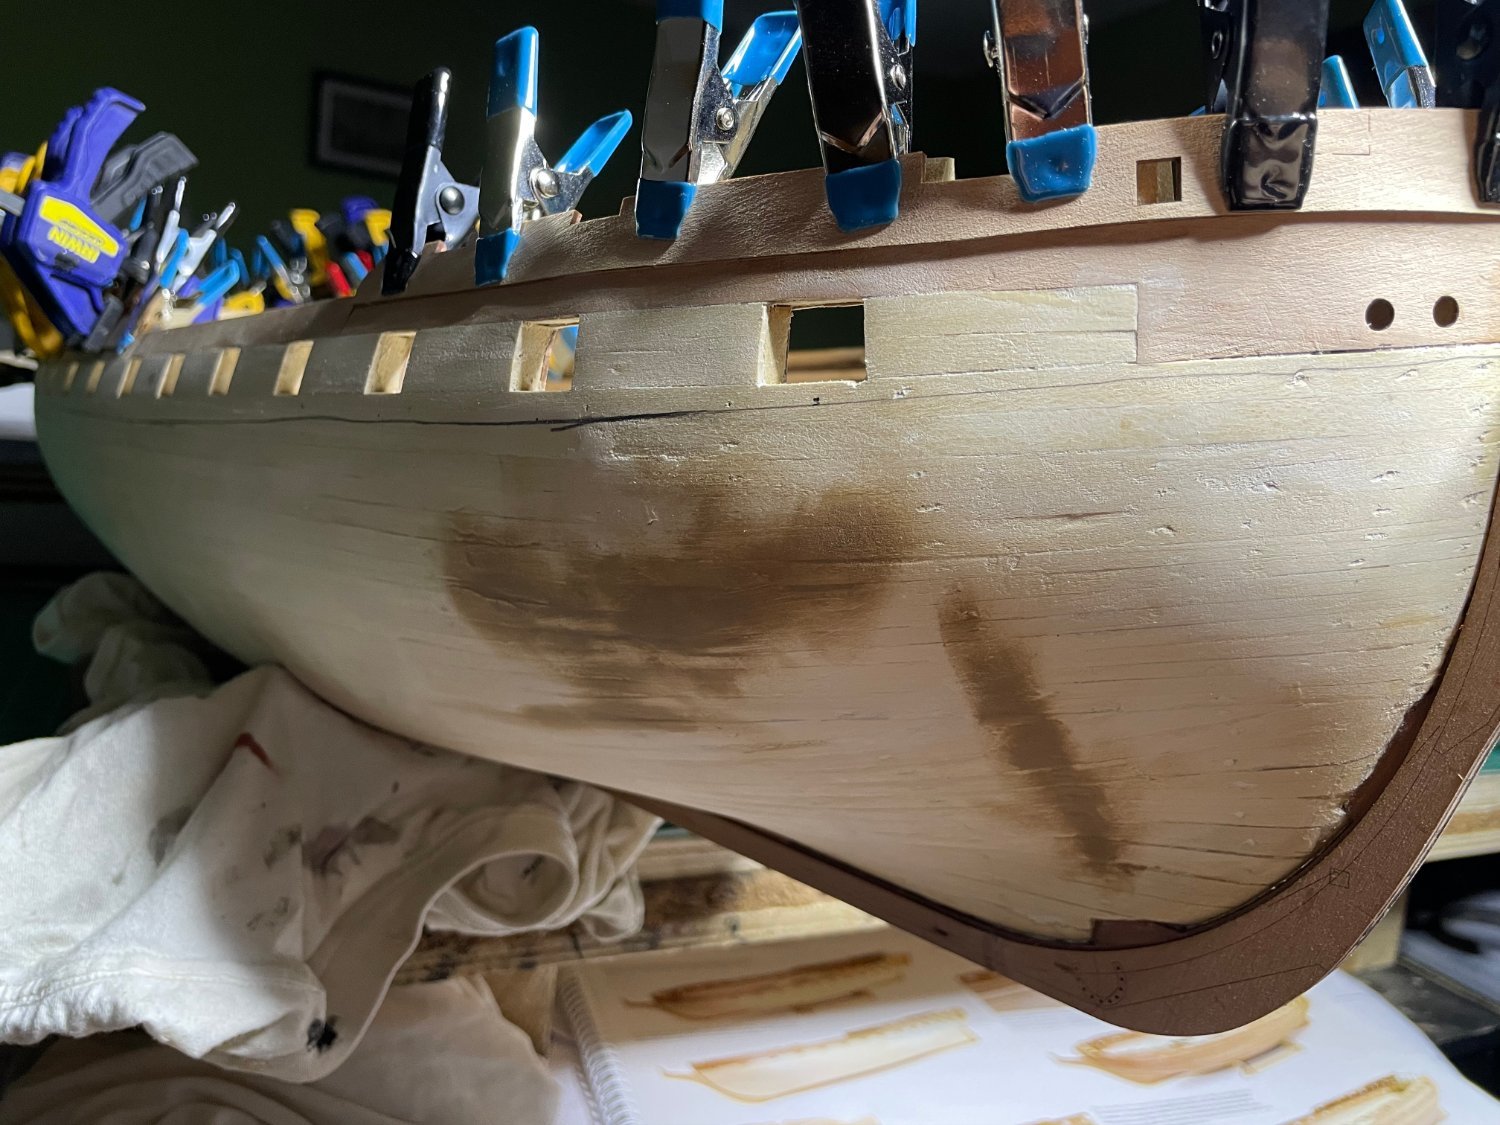
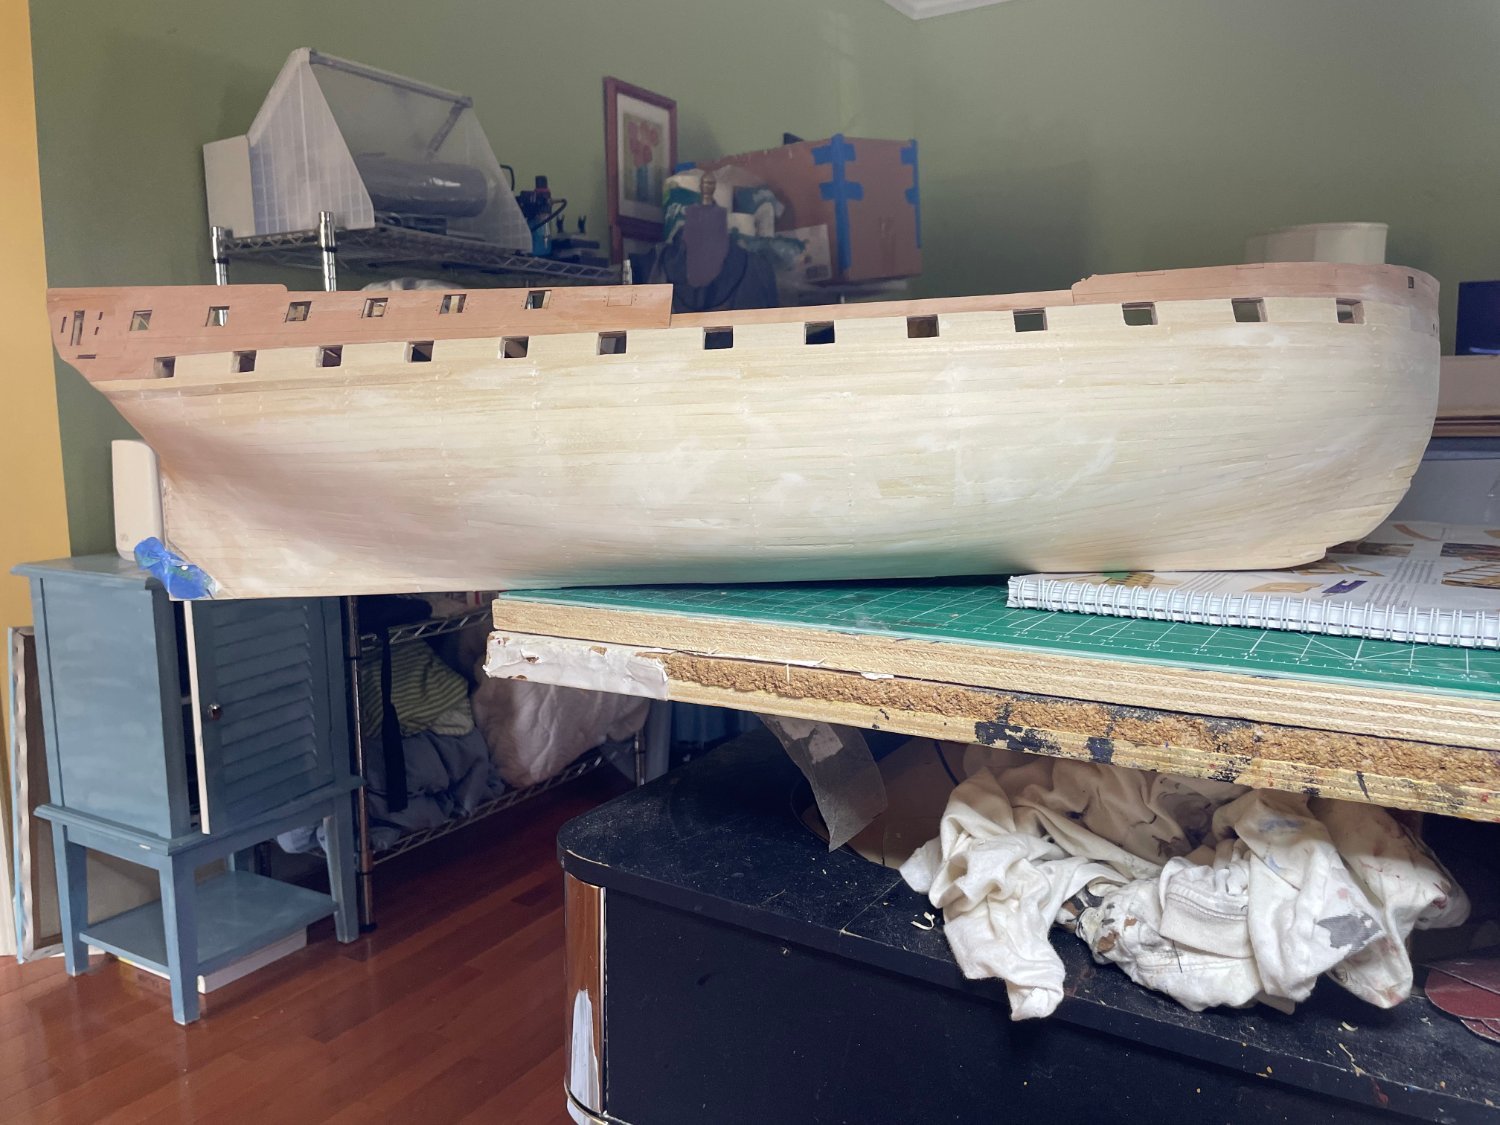
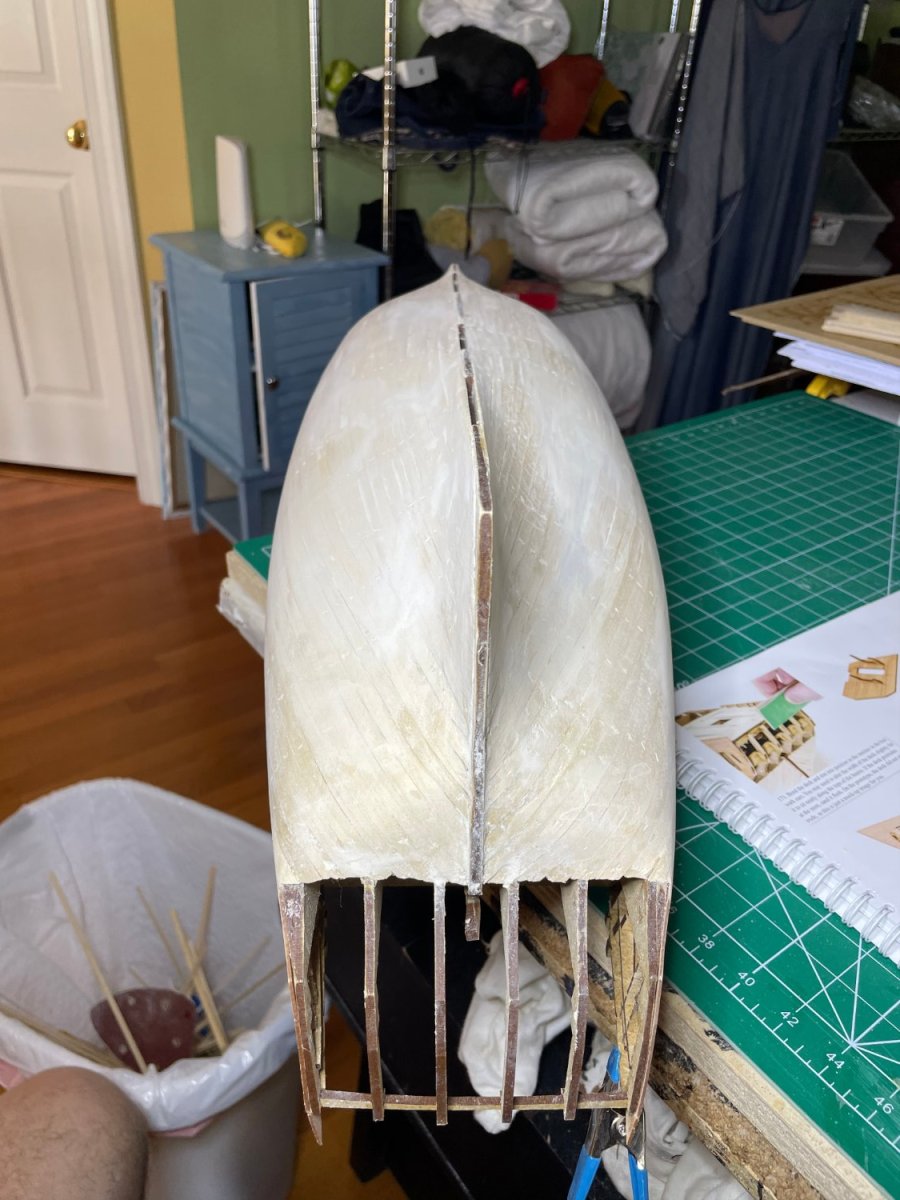
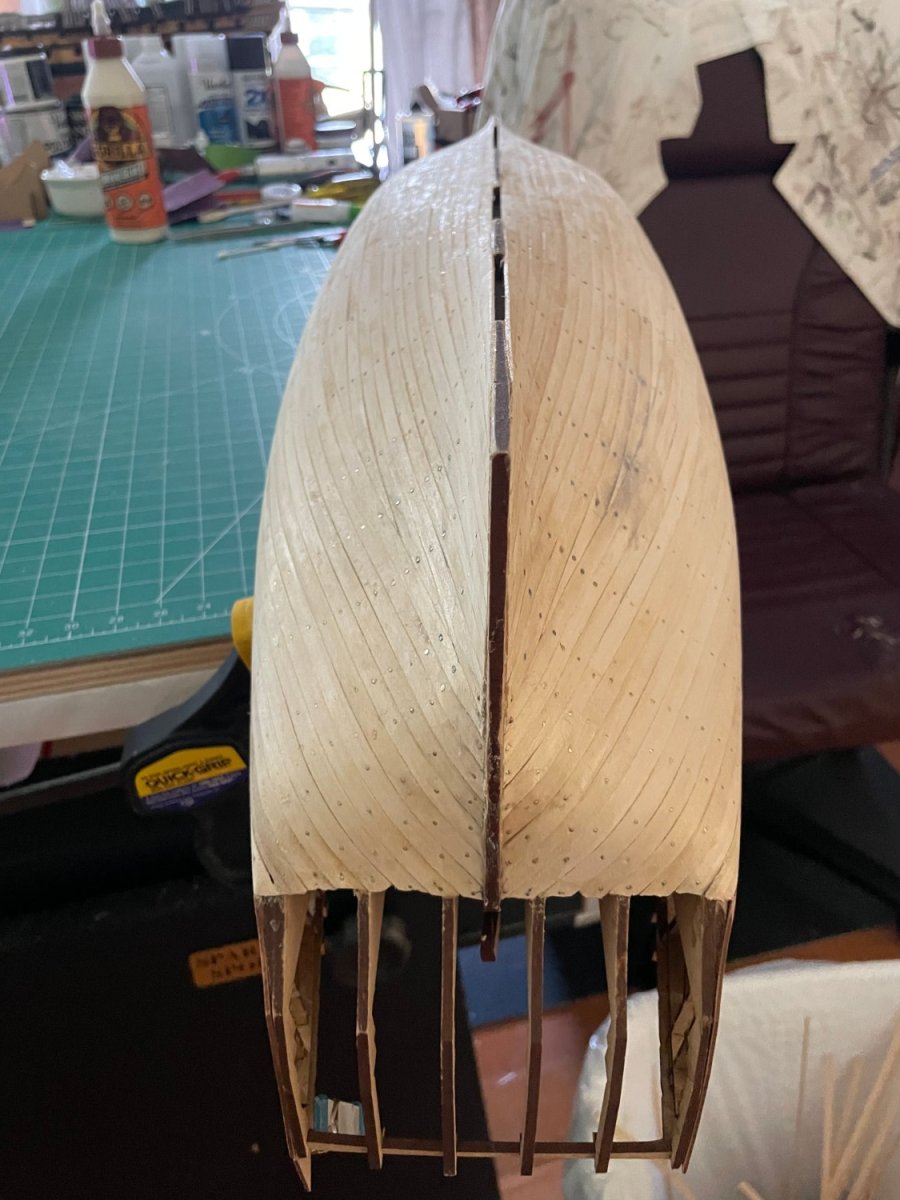
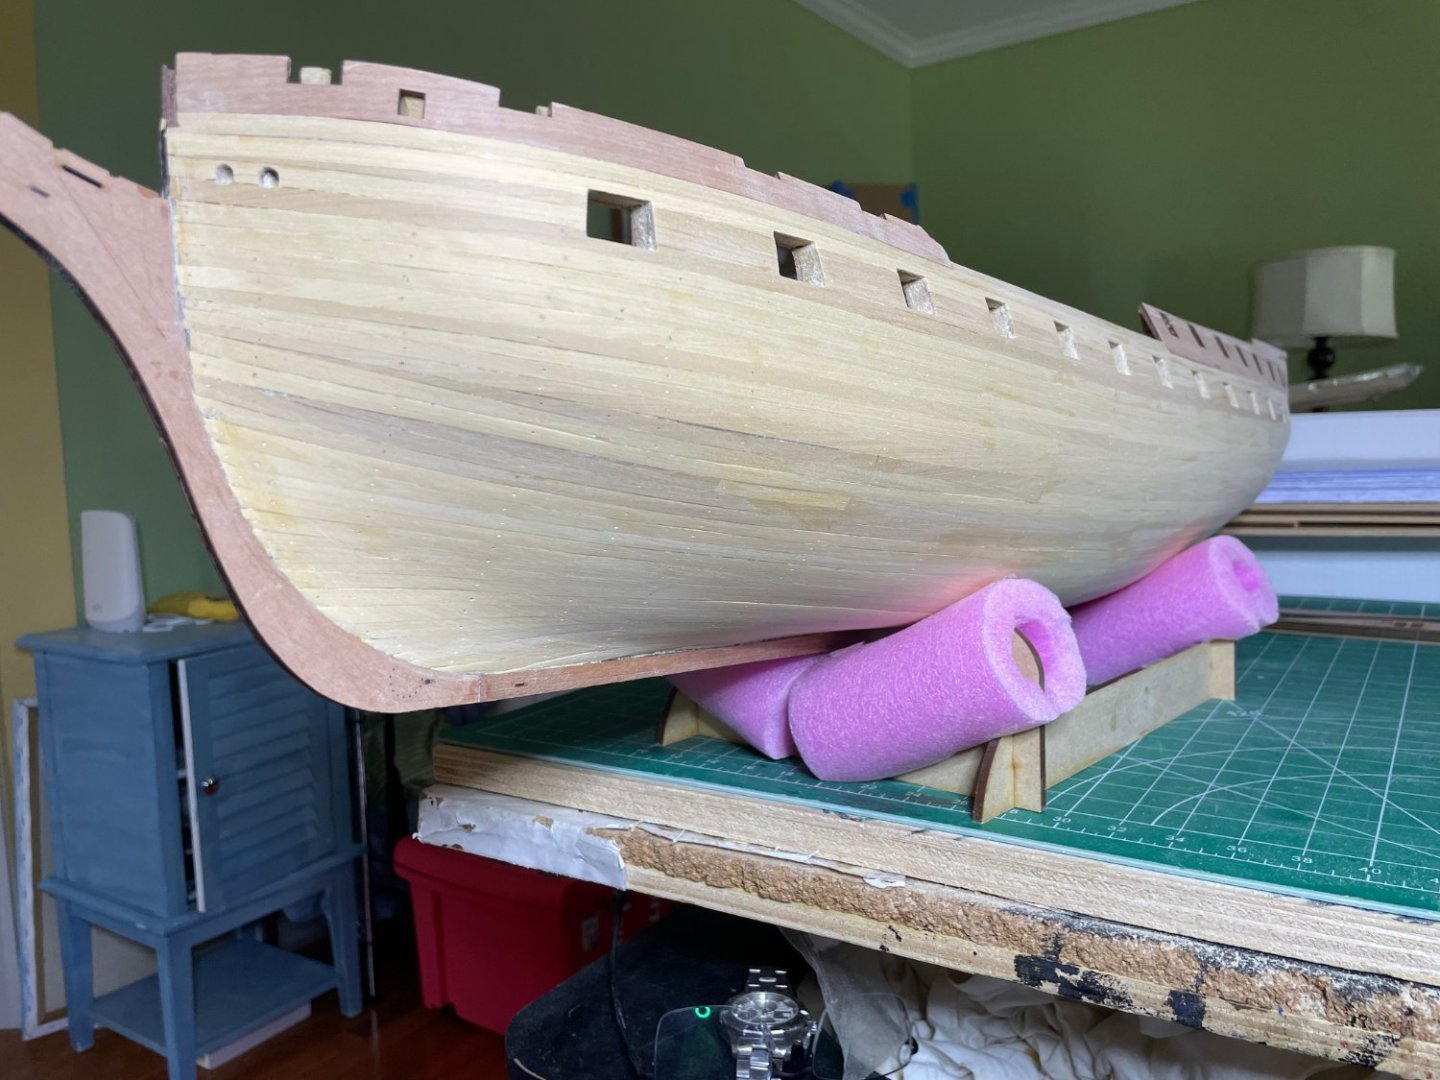
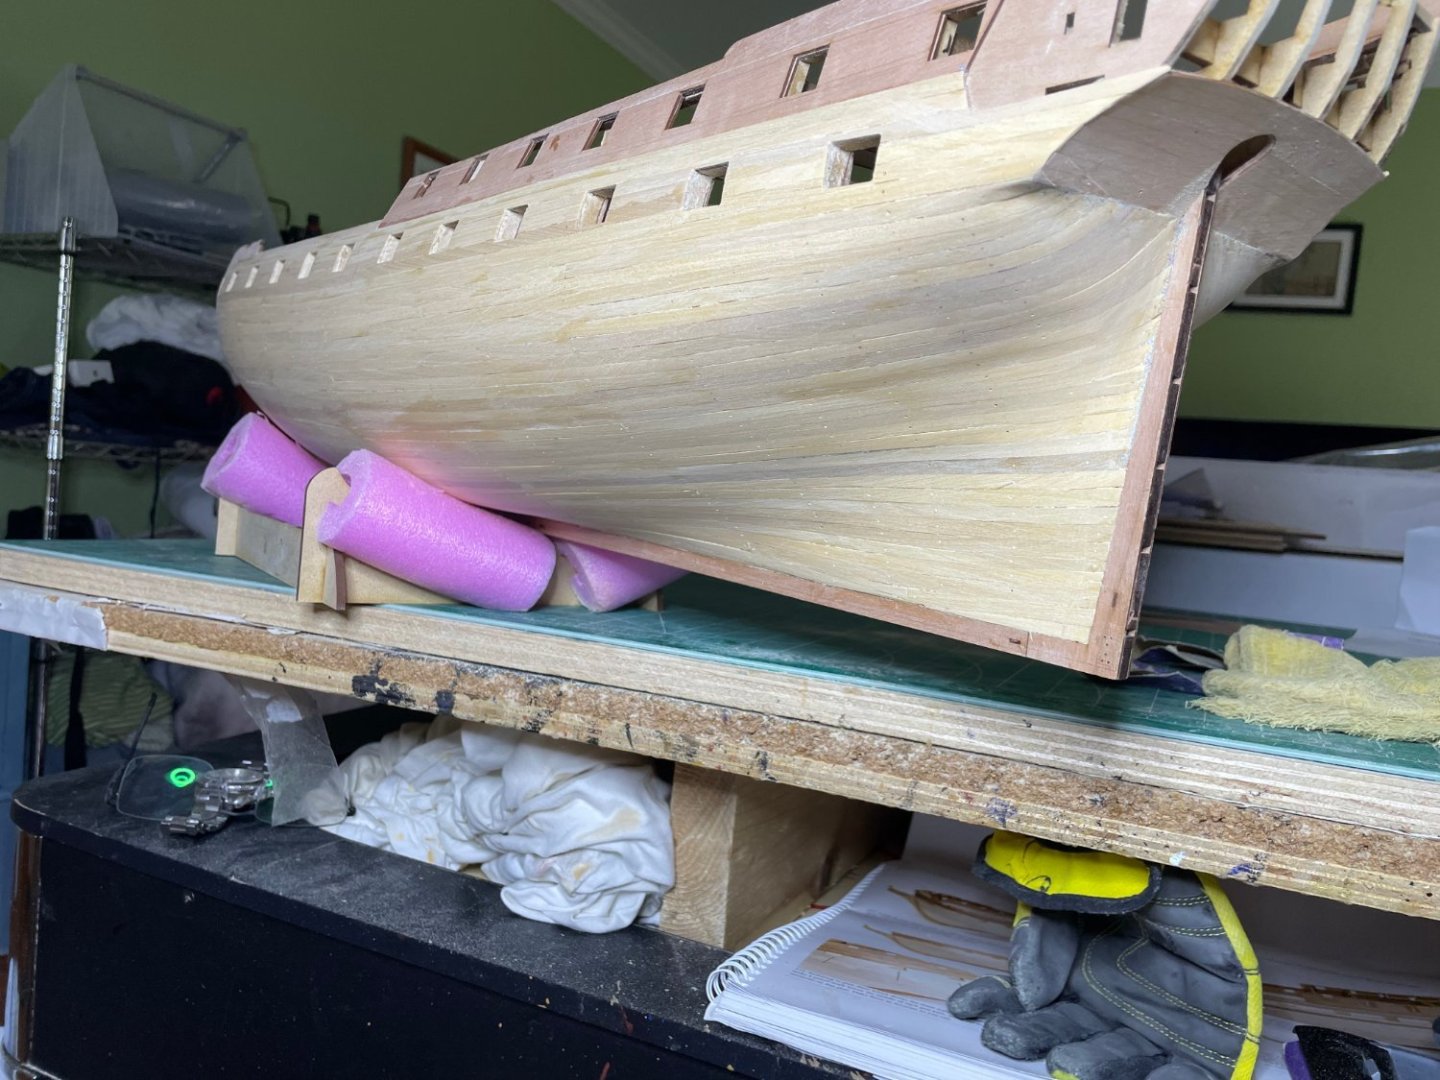
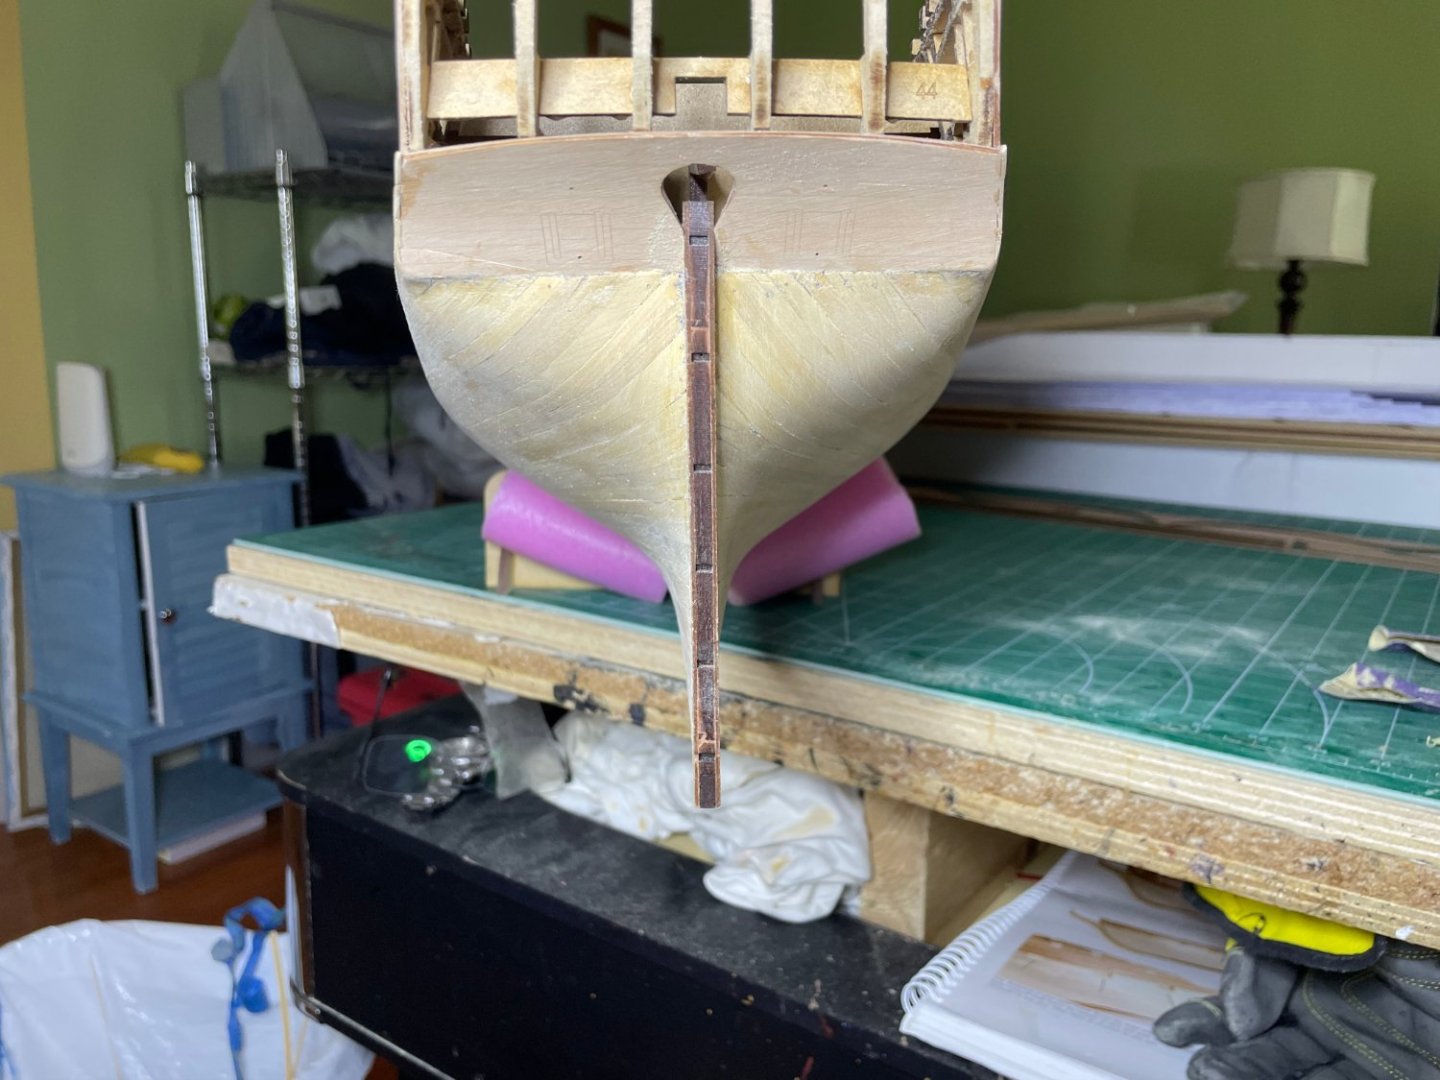
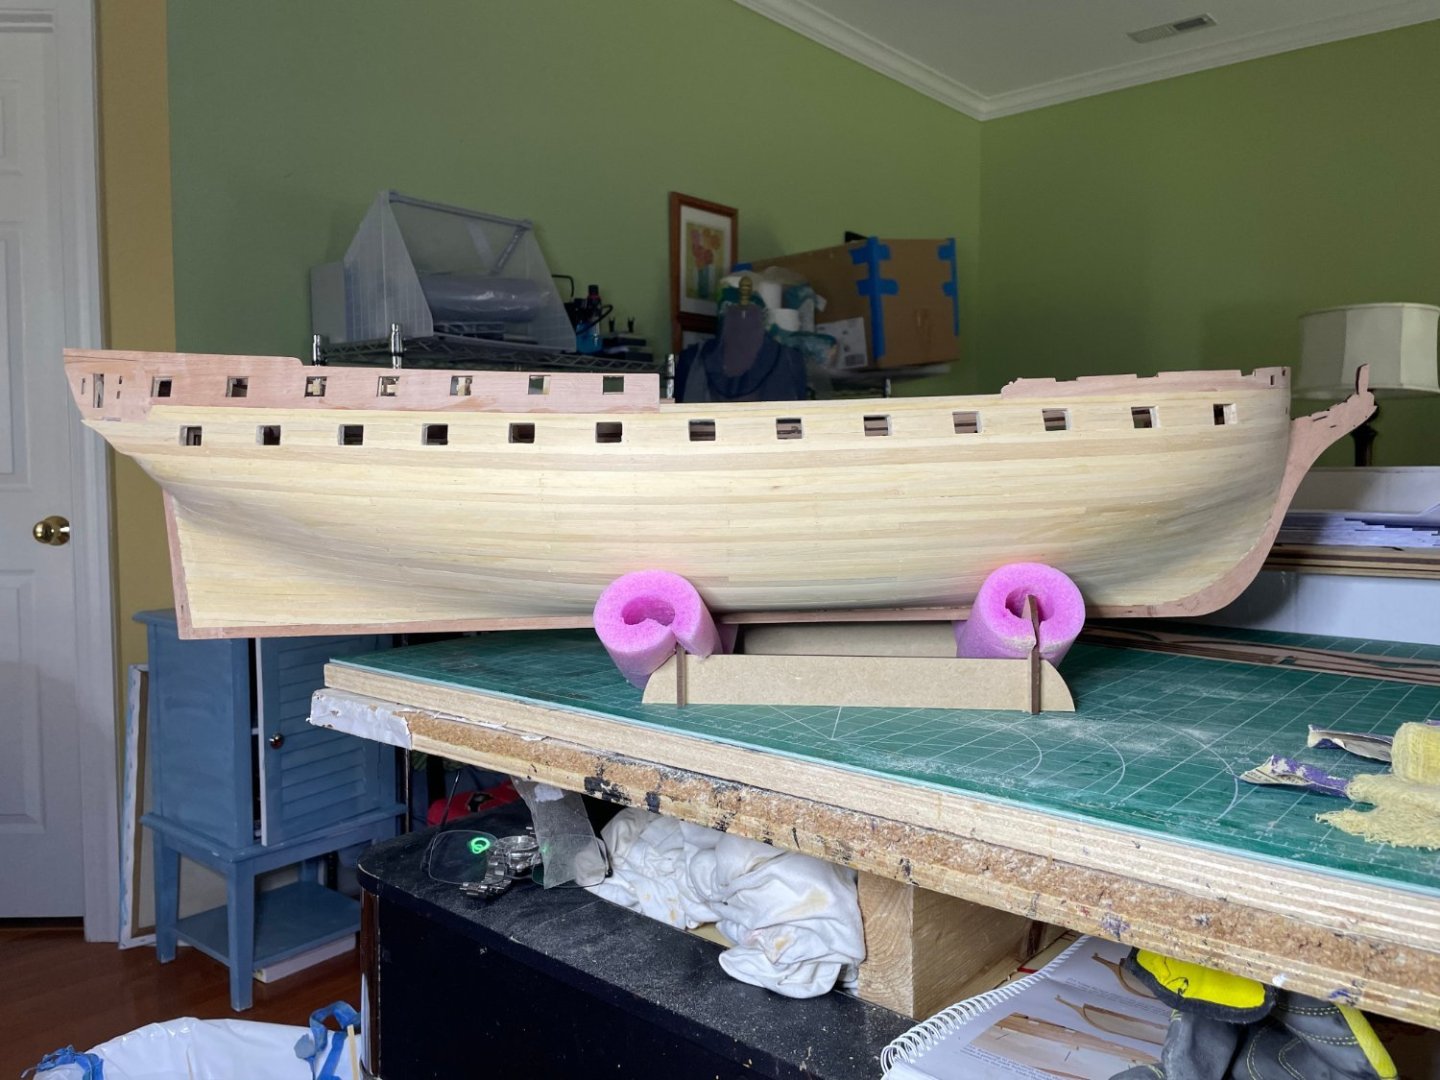
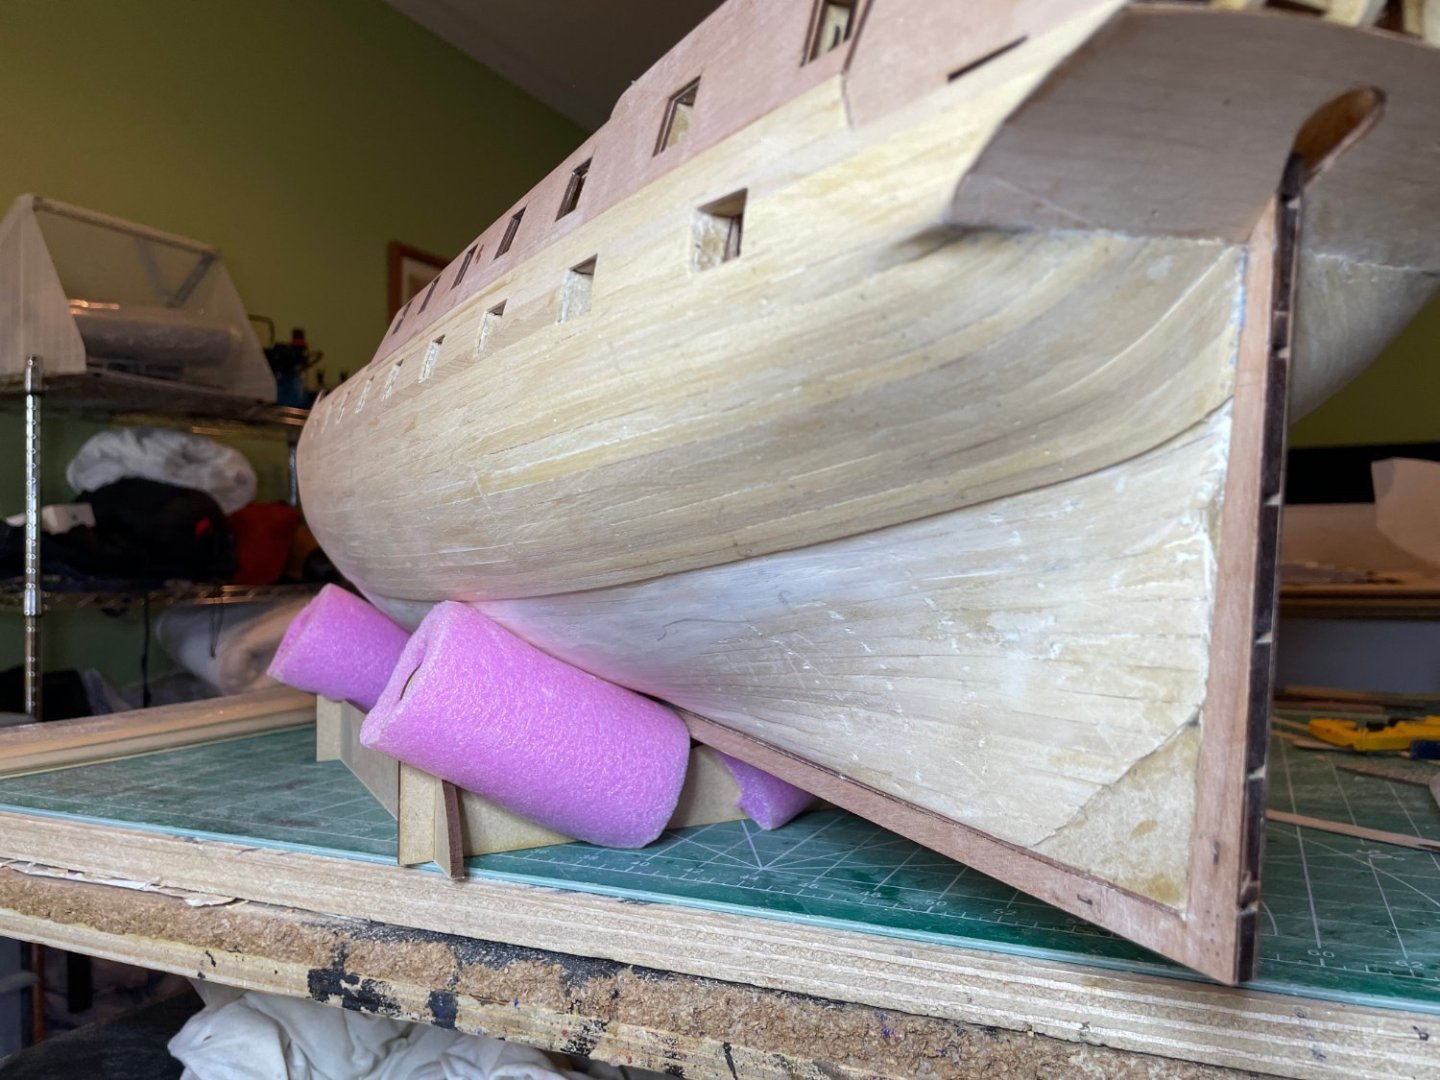
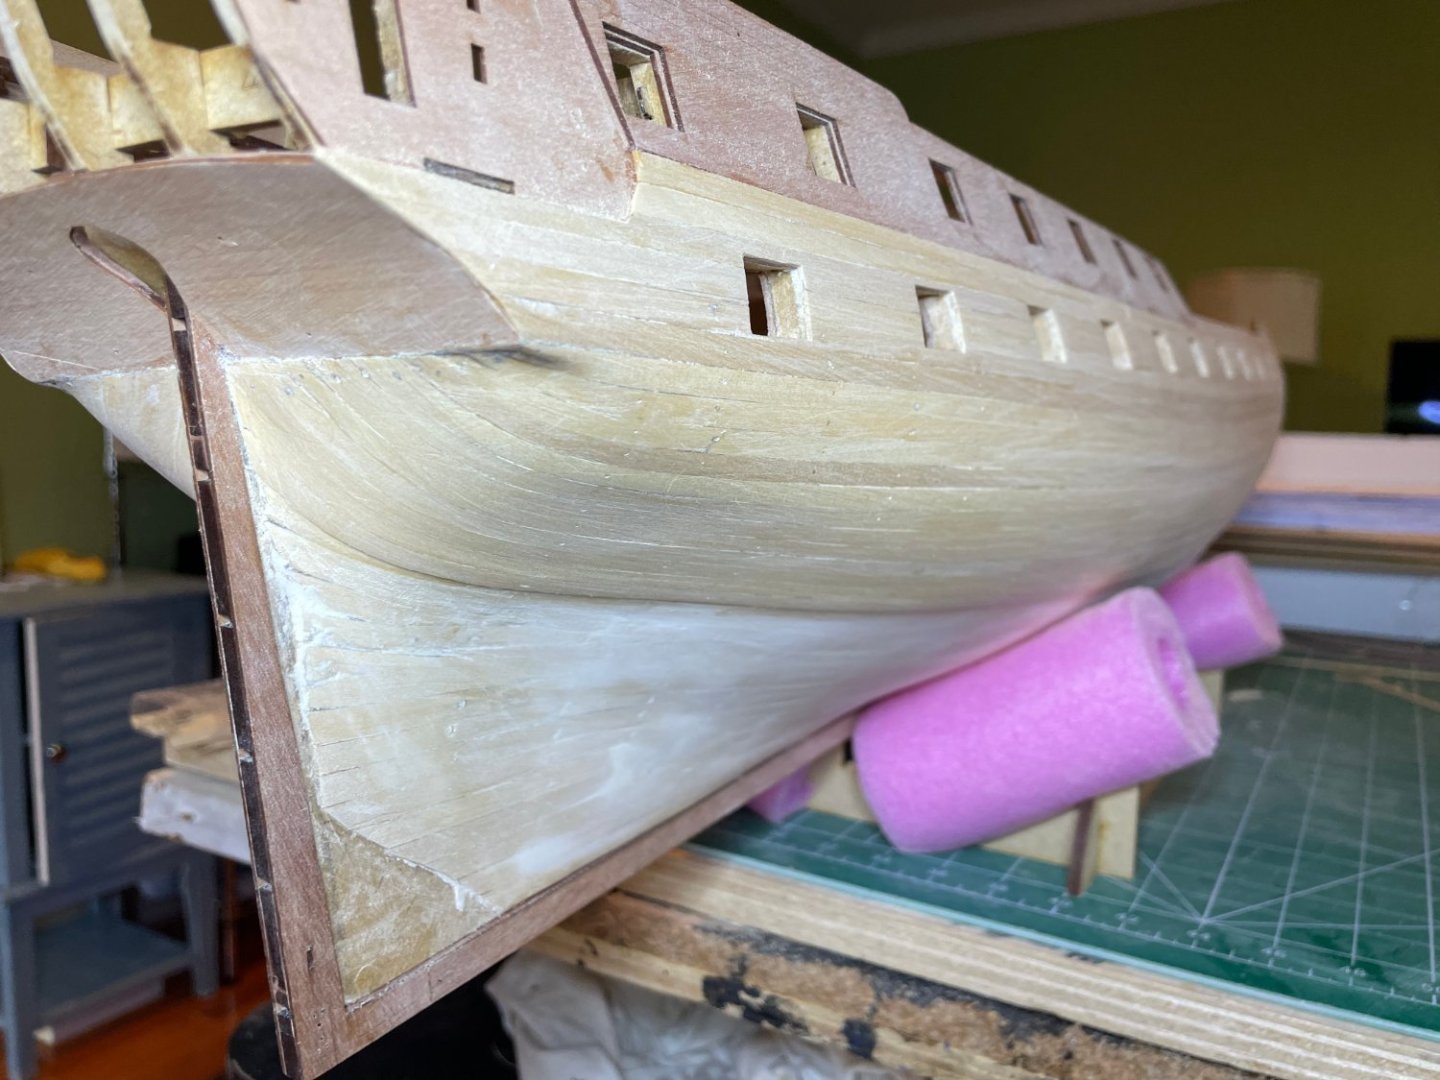
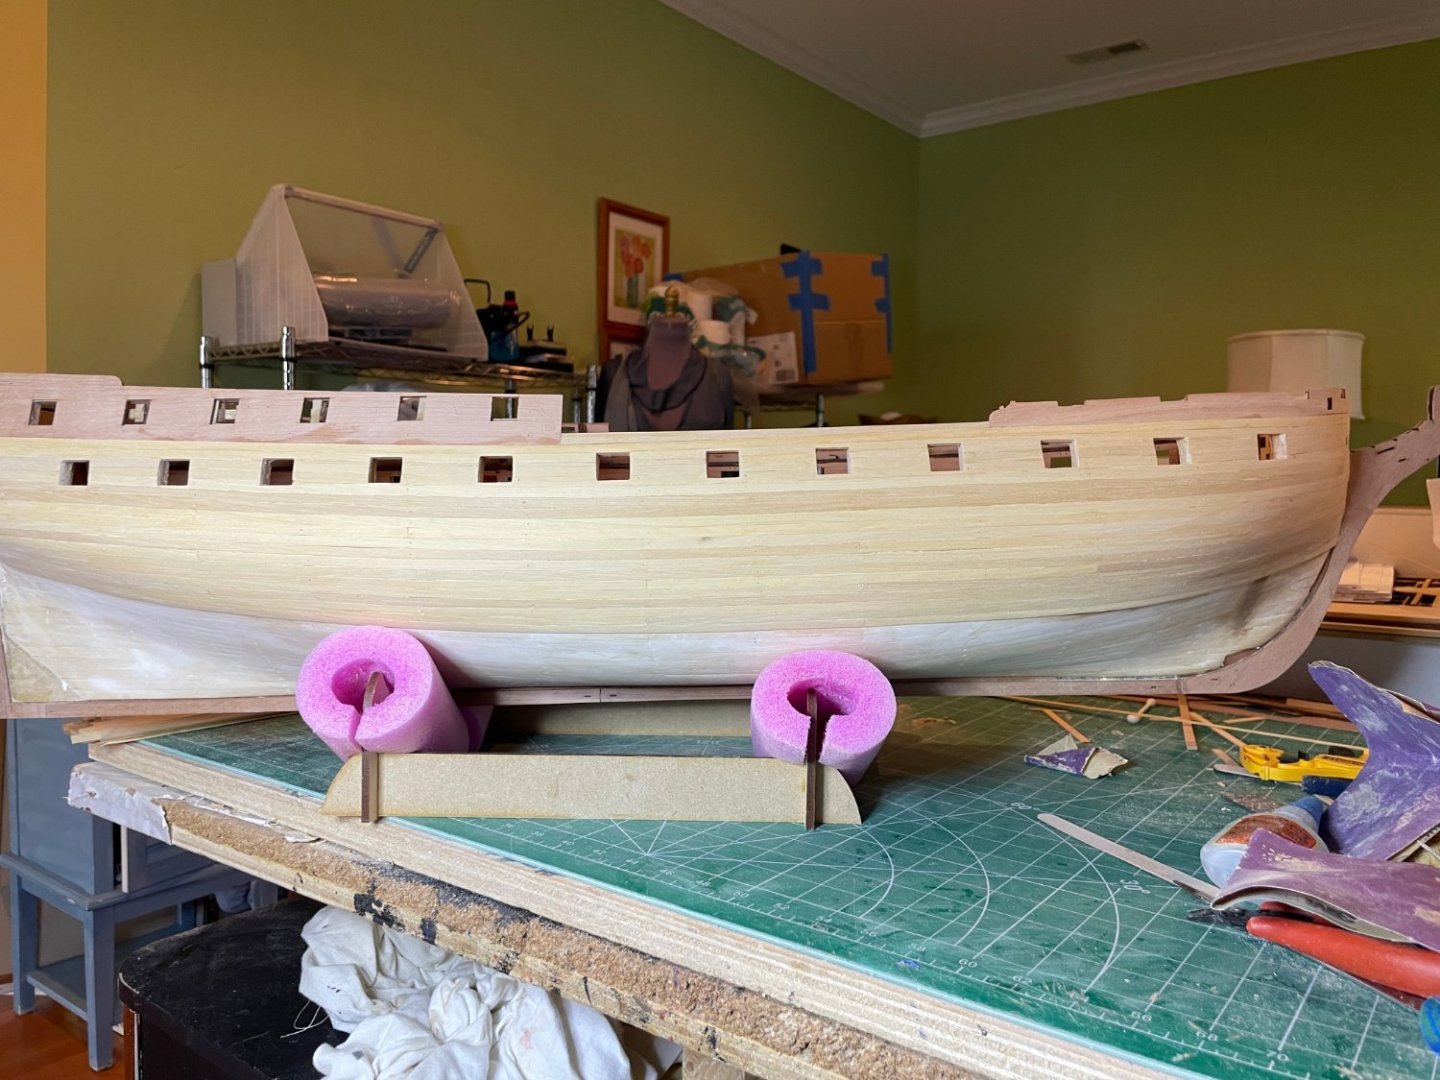
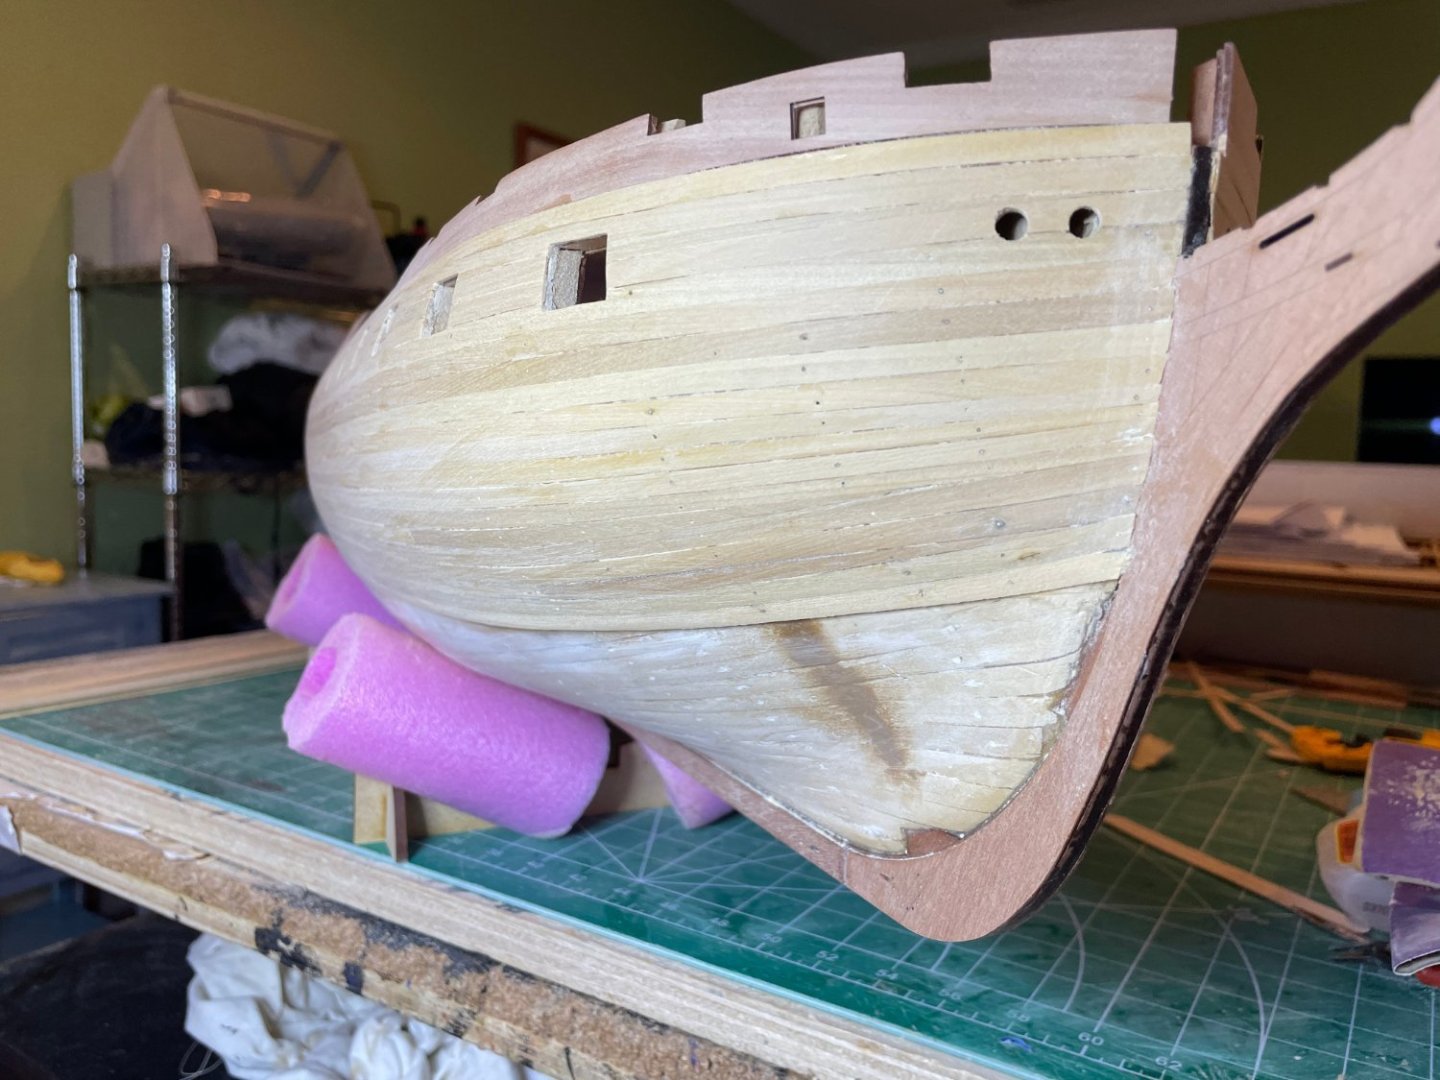
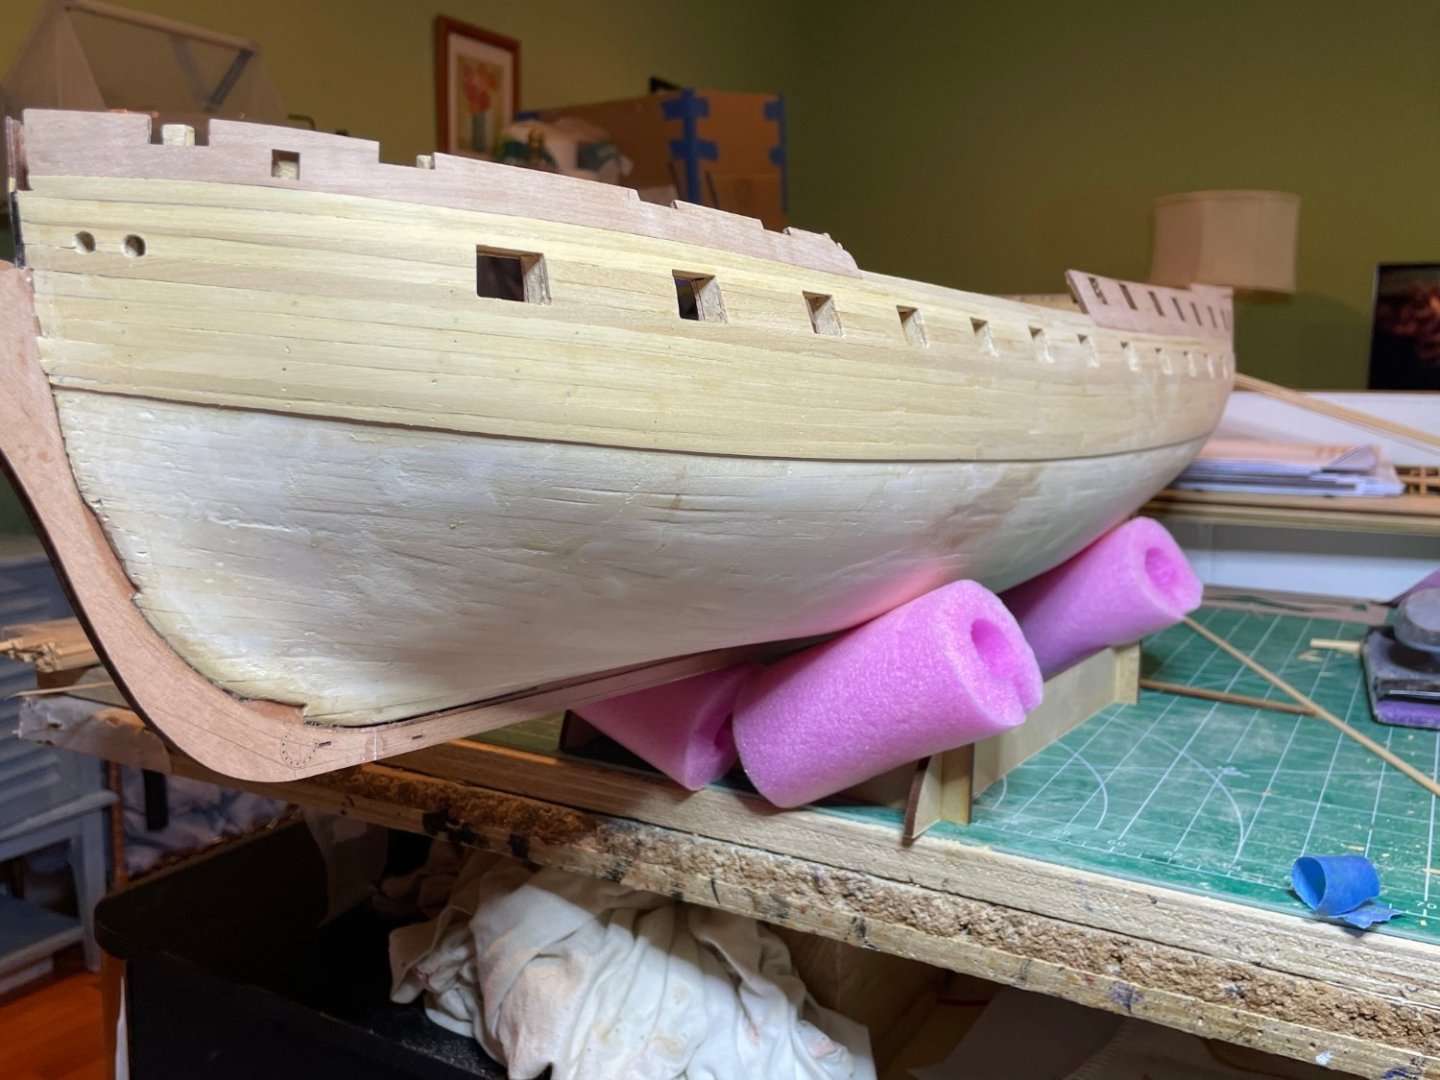
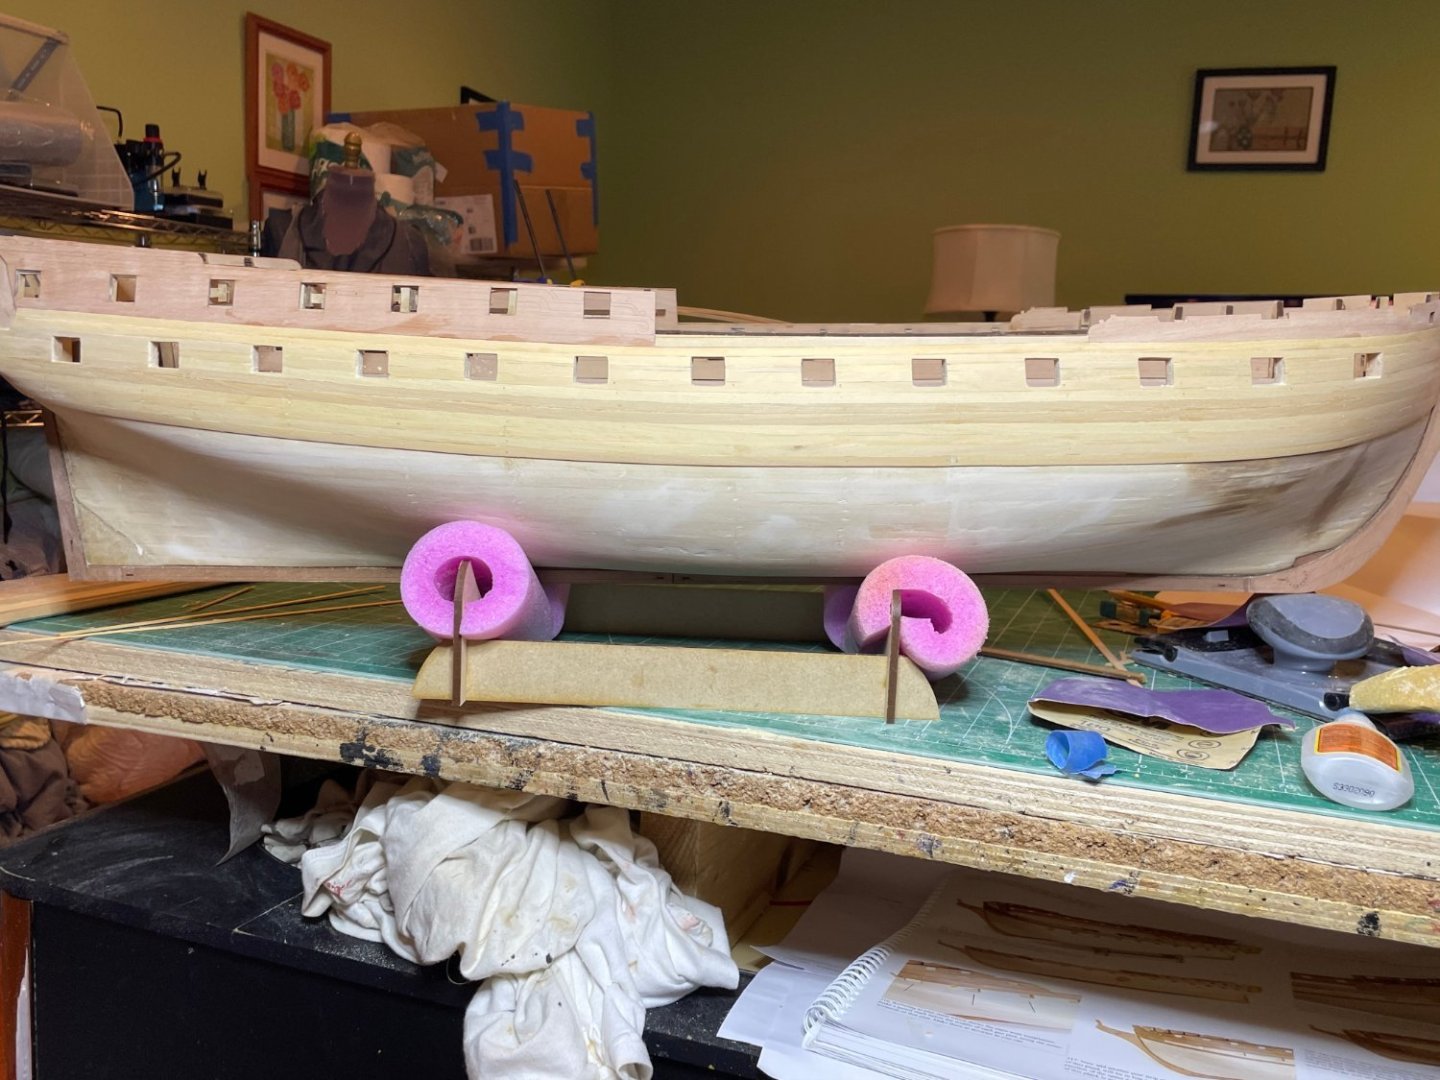
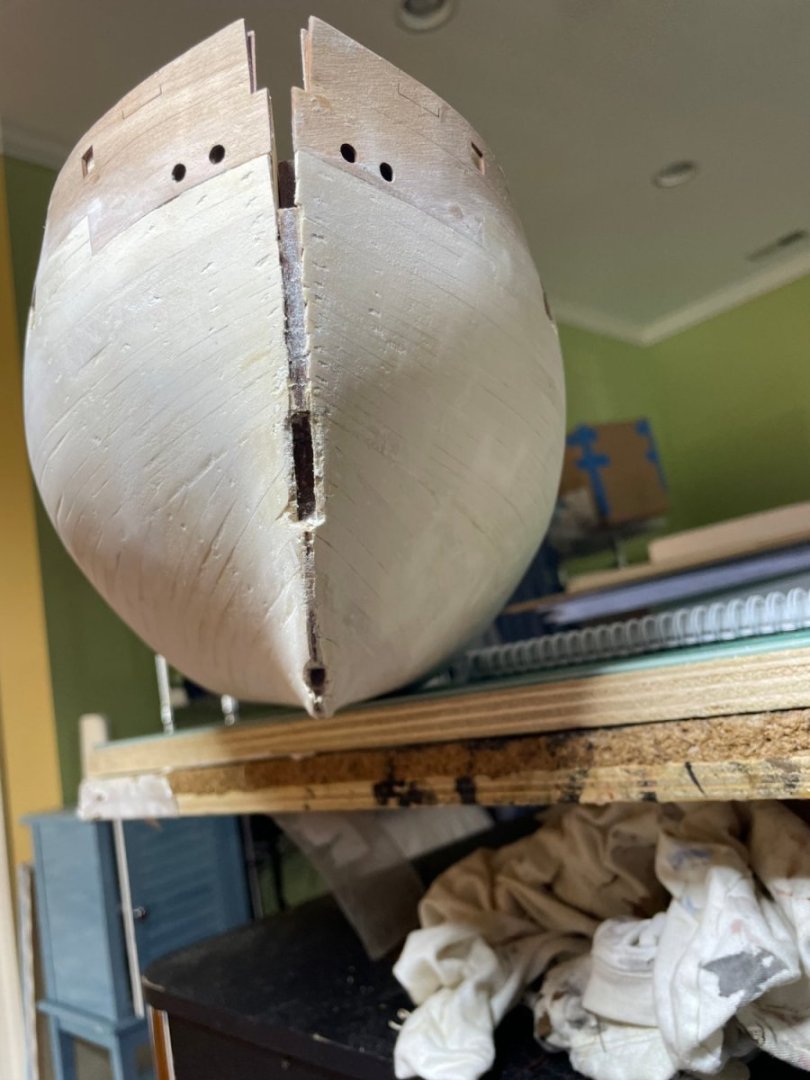
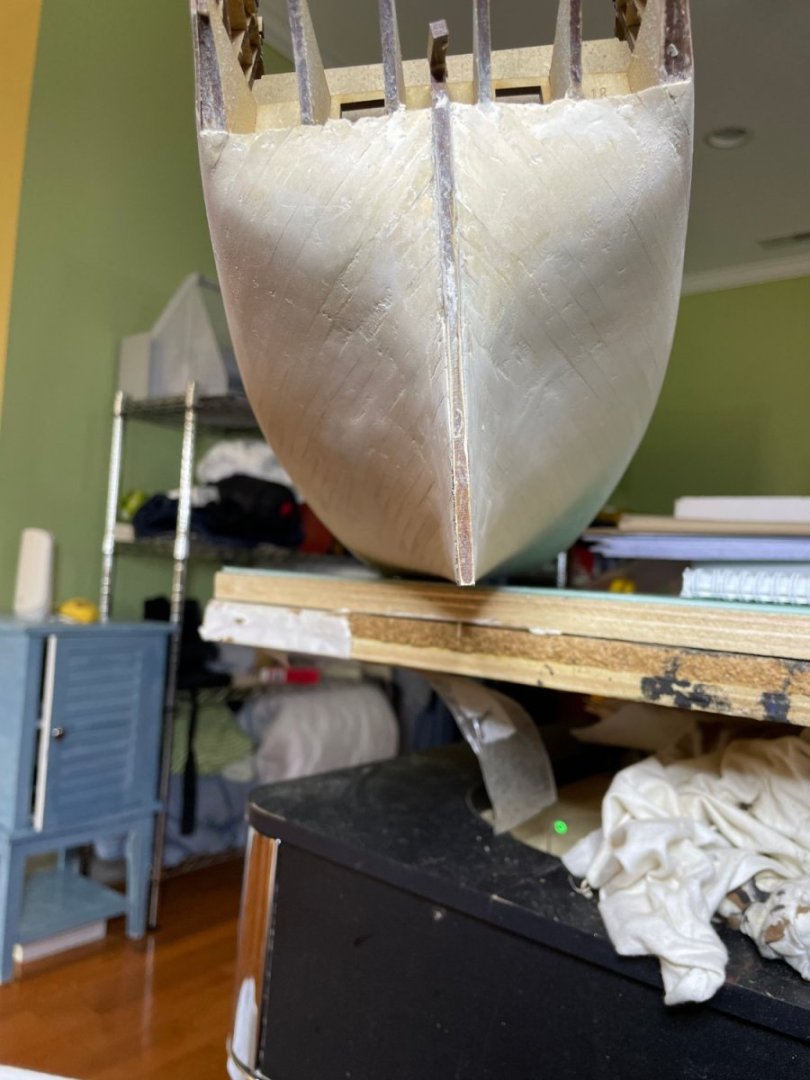
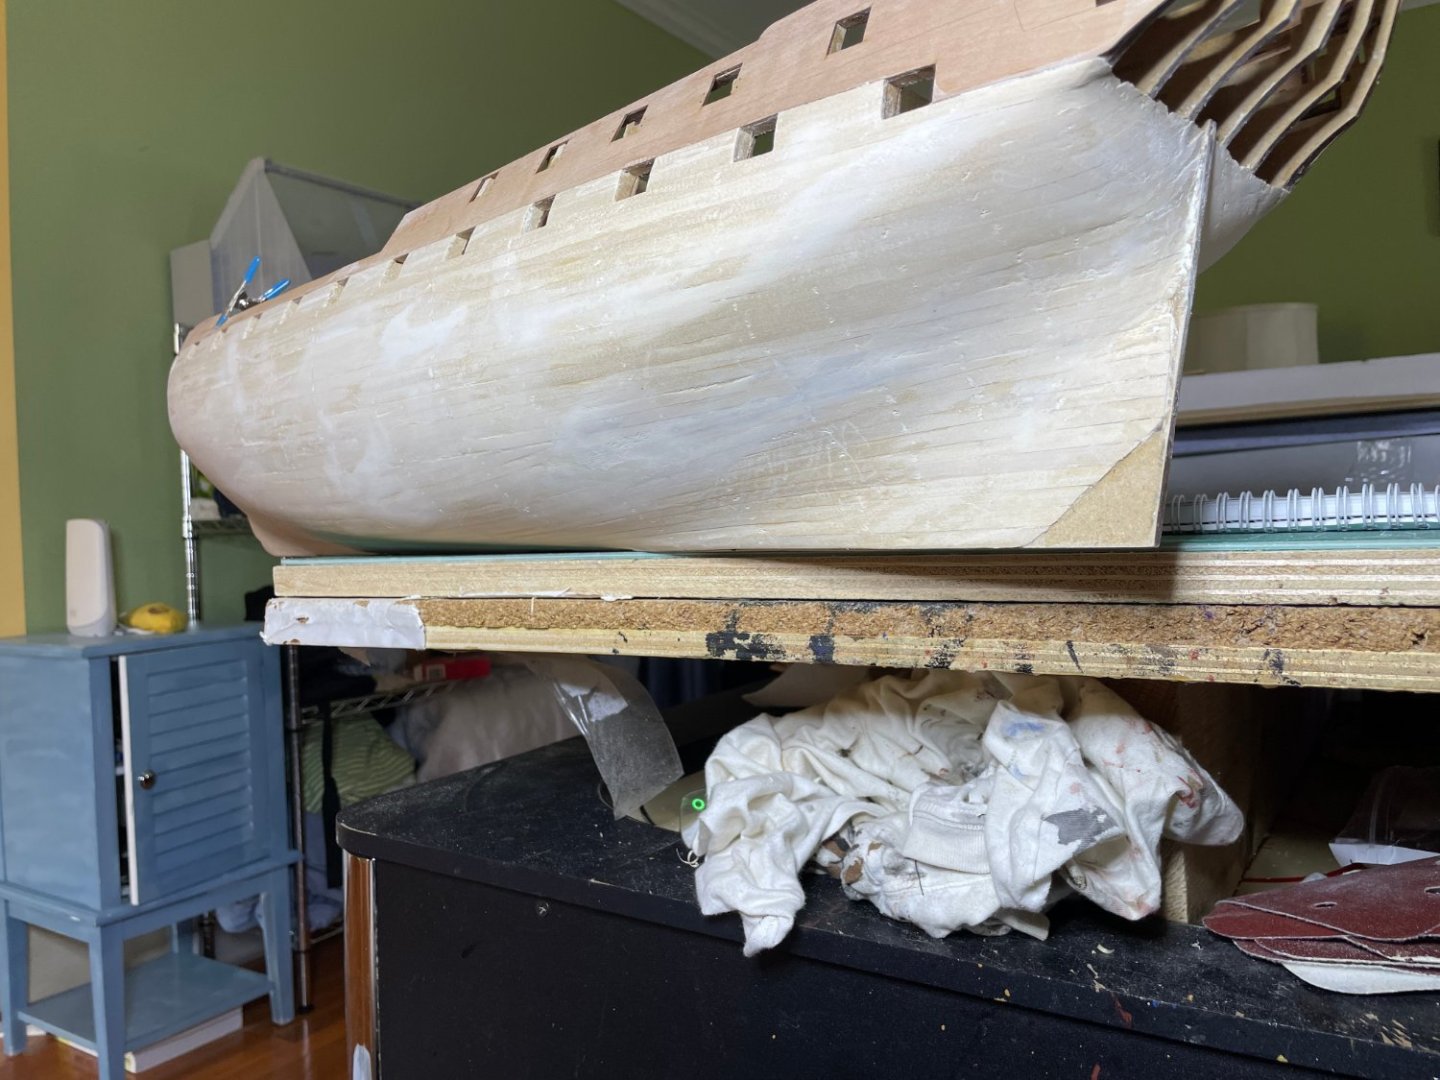
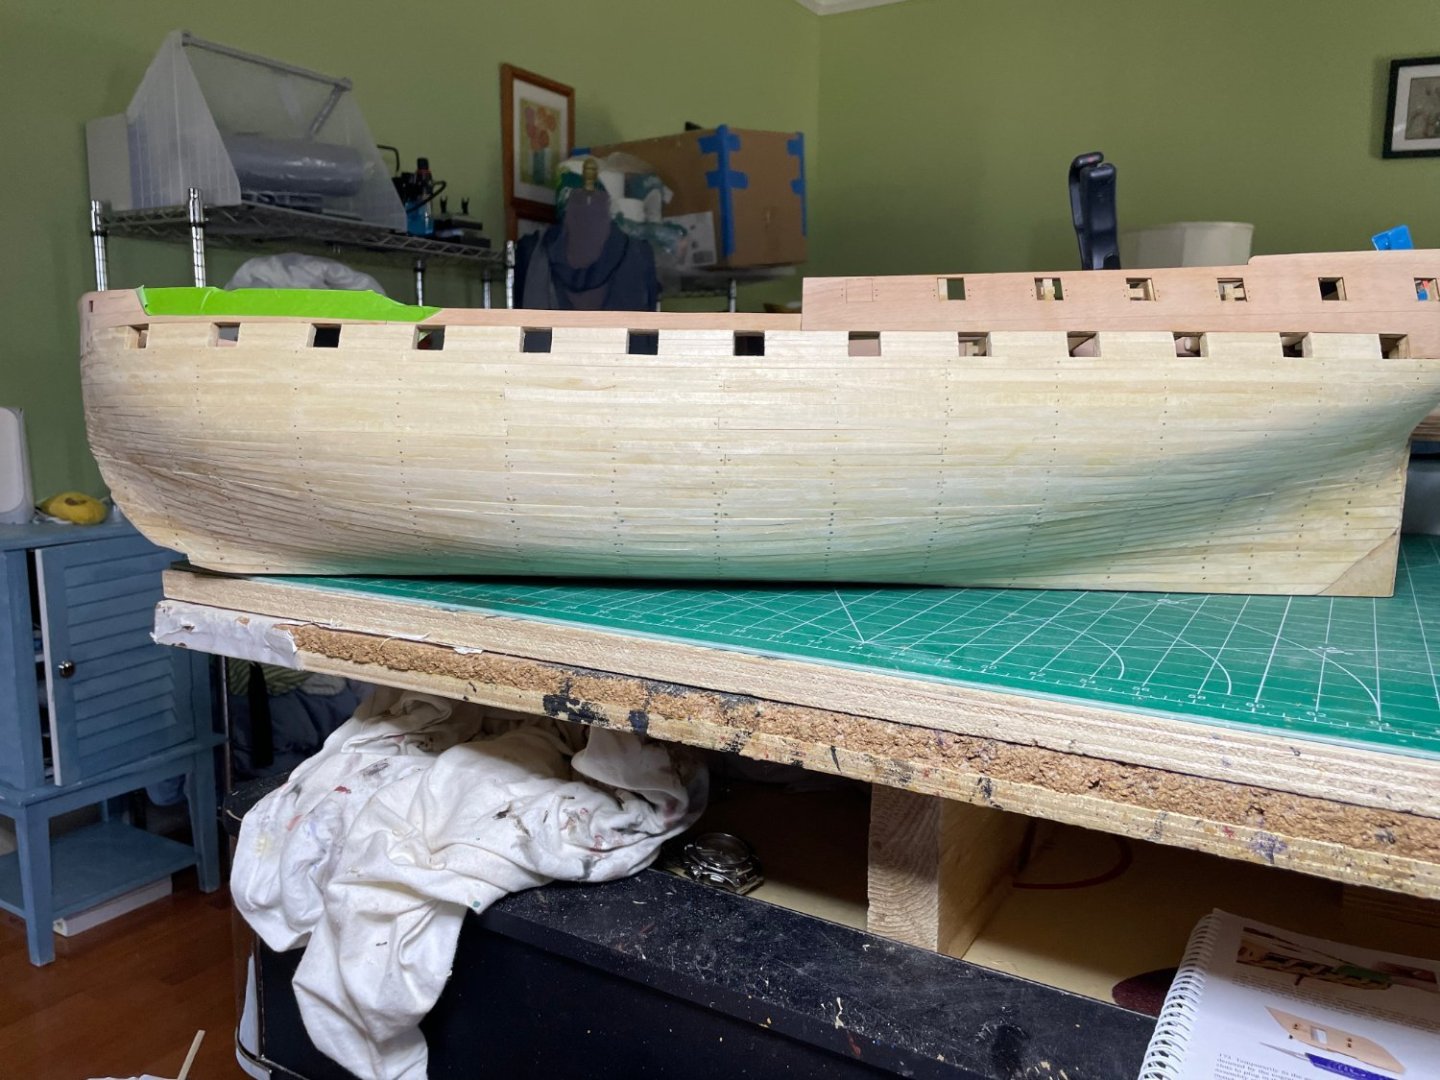
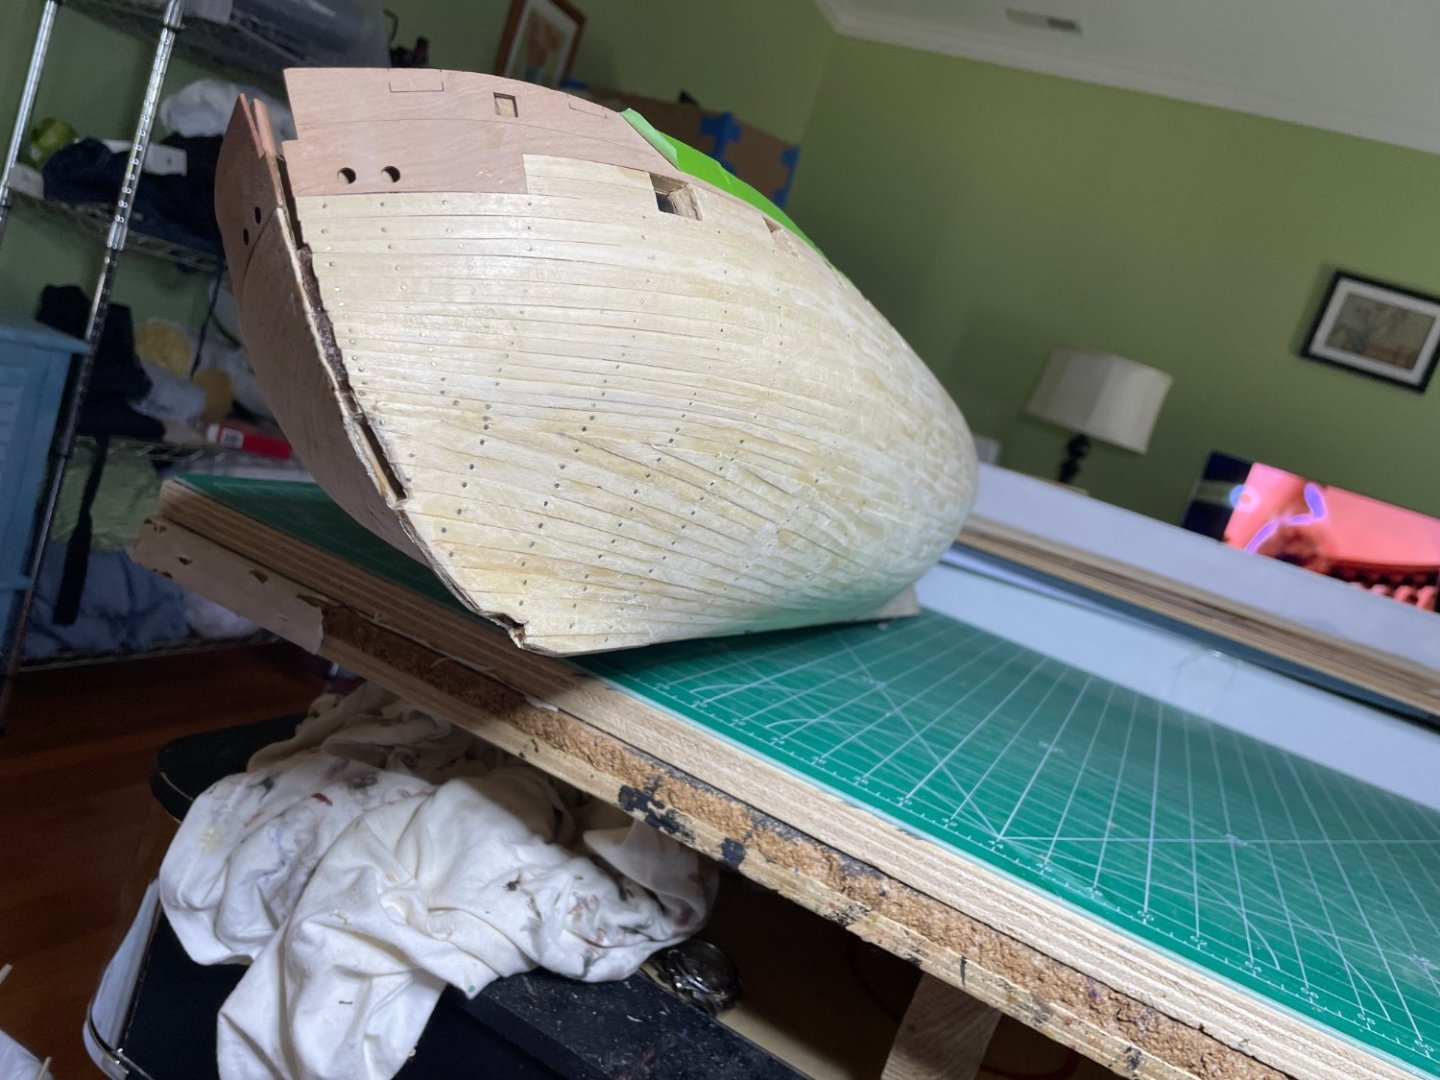
Well, the hull is done and sanded. I will rub a layer of filler later to get any small imperfections and resand but this is the first time a have planked a hull and got most of it done continuously bow to stern. Helpful hints from the community helped.


- 233 replies
-
- 7
-

-

-
- Indefatigable
- Vanguard Models
- (and 1 more)
-
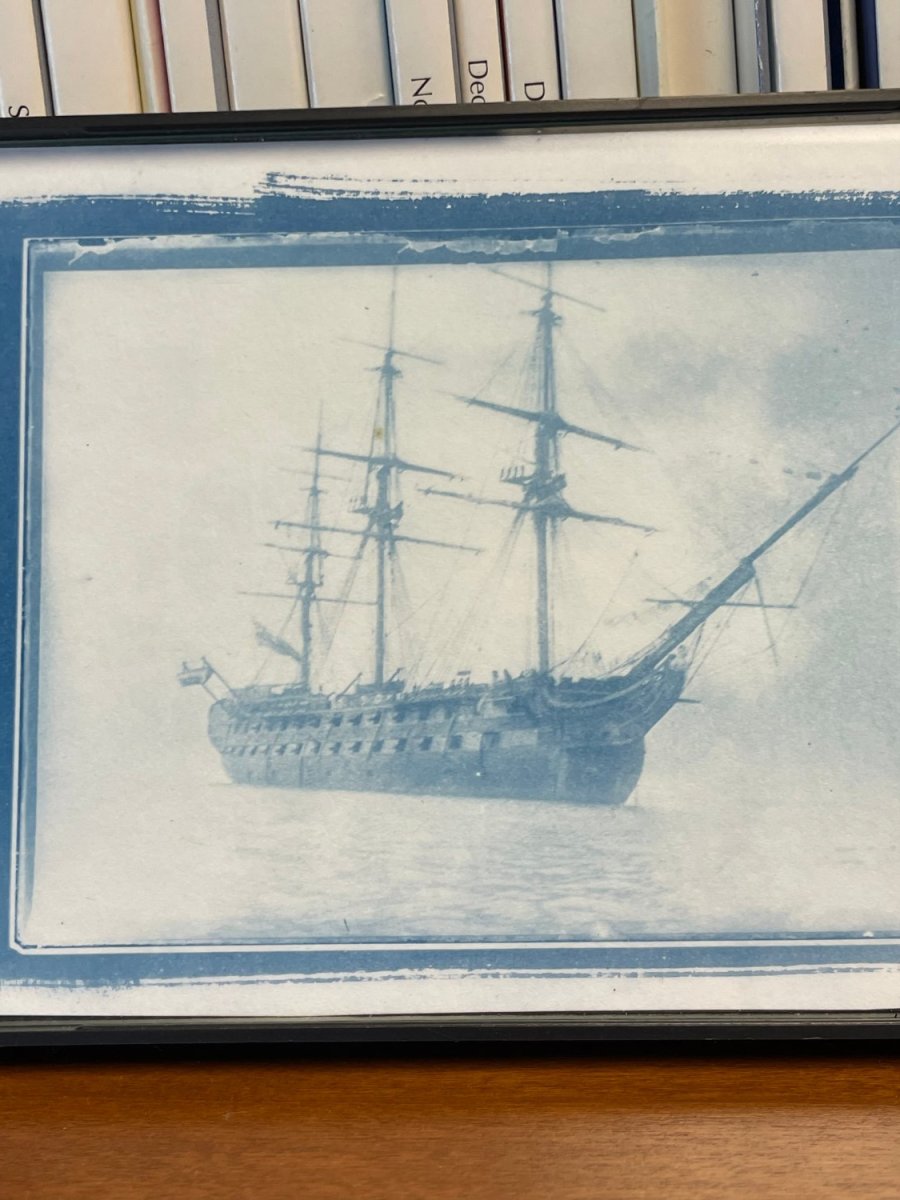
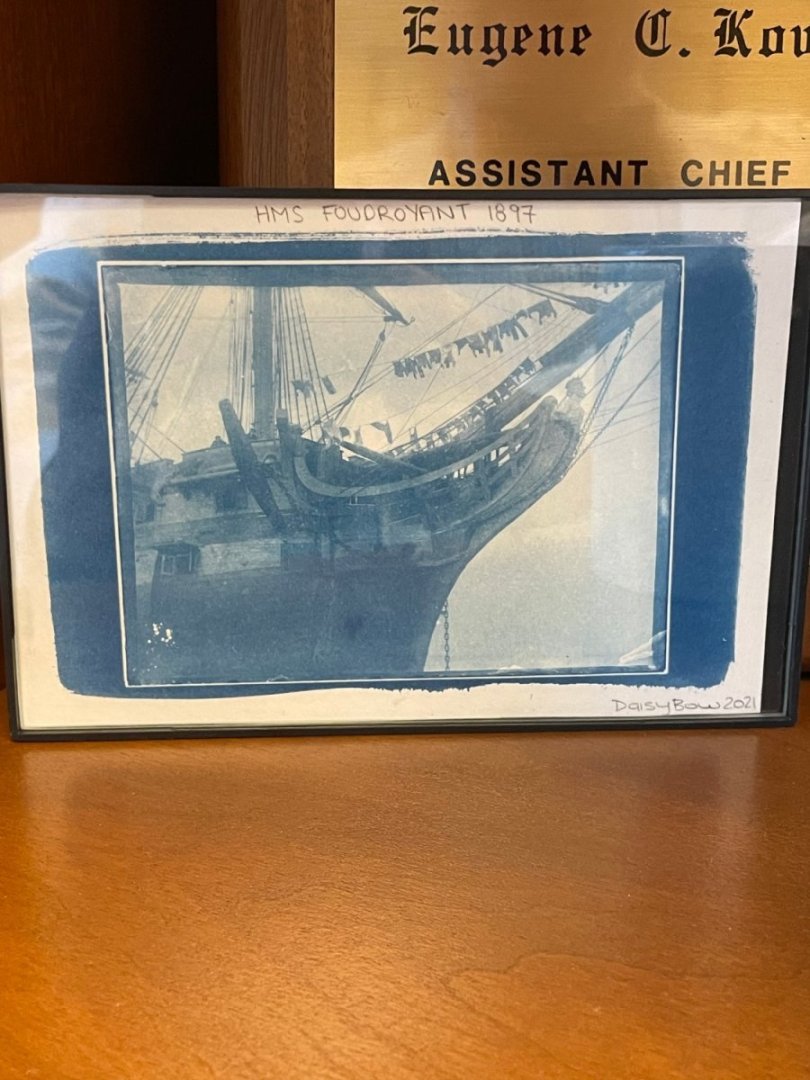
Historical break: My eldest daughter gave me these postcards for my desk. HMS Foudroyant was an 80 gun ship of the line. Interesting write up in Wikipedia. https://en.wikipedia.org/wiki/HMS_Foudroyant_(1798)

- 233 replies
-
- 4
-
-
- Indefatigable
- Vanguard Models
- (and 1 more)
-
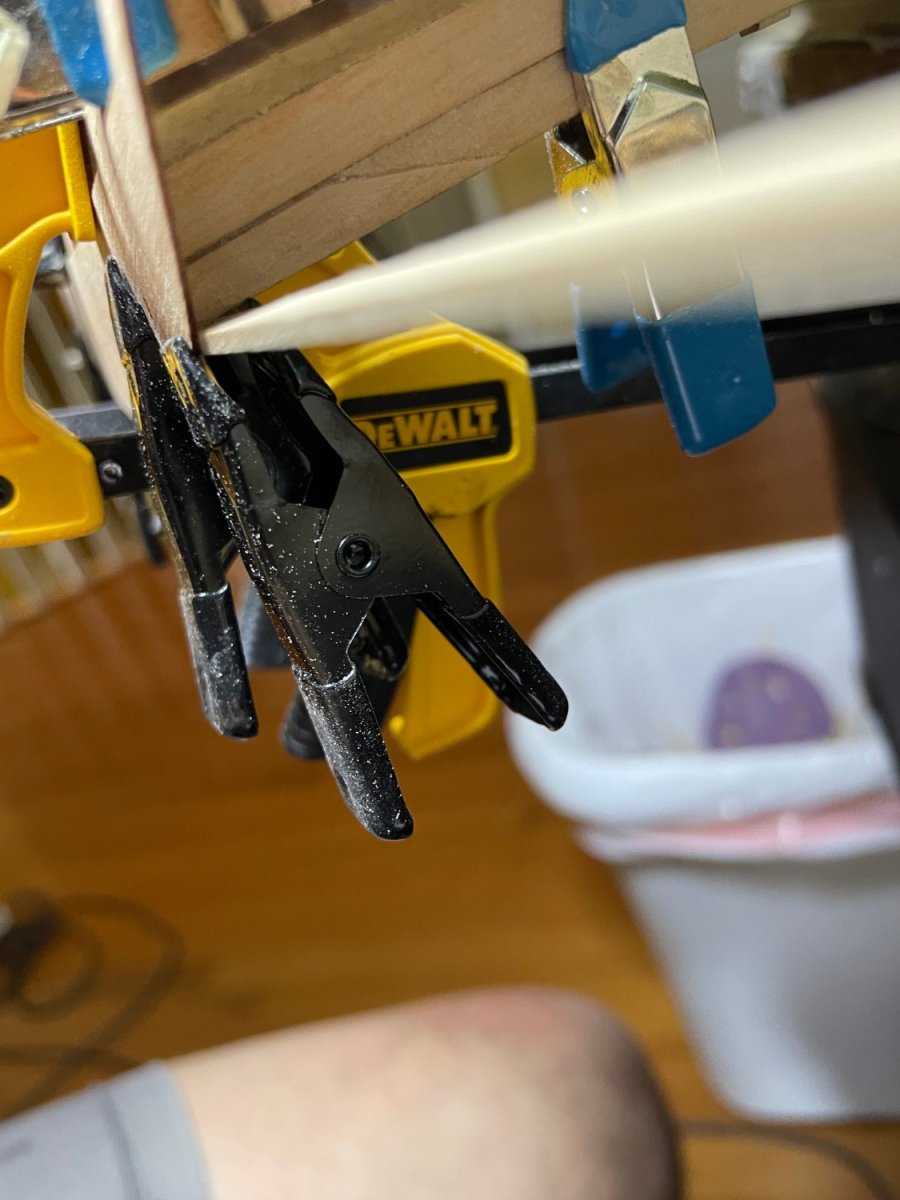
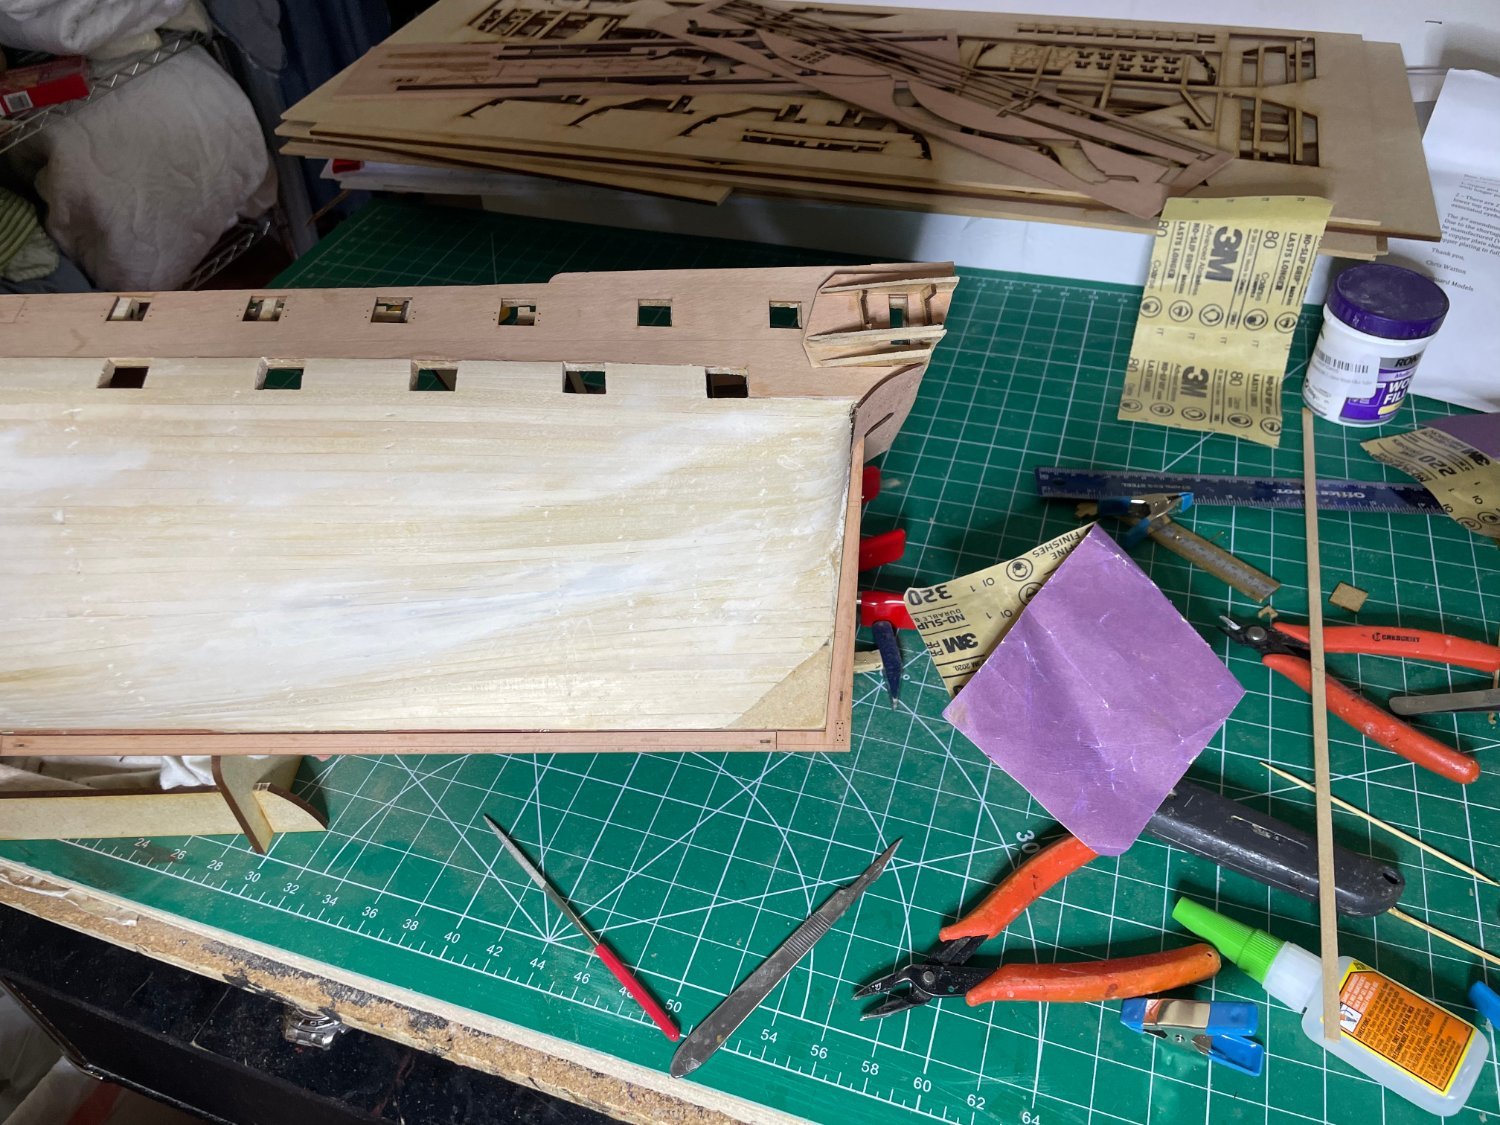
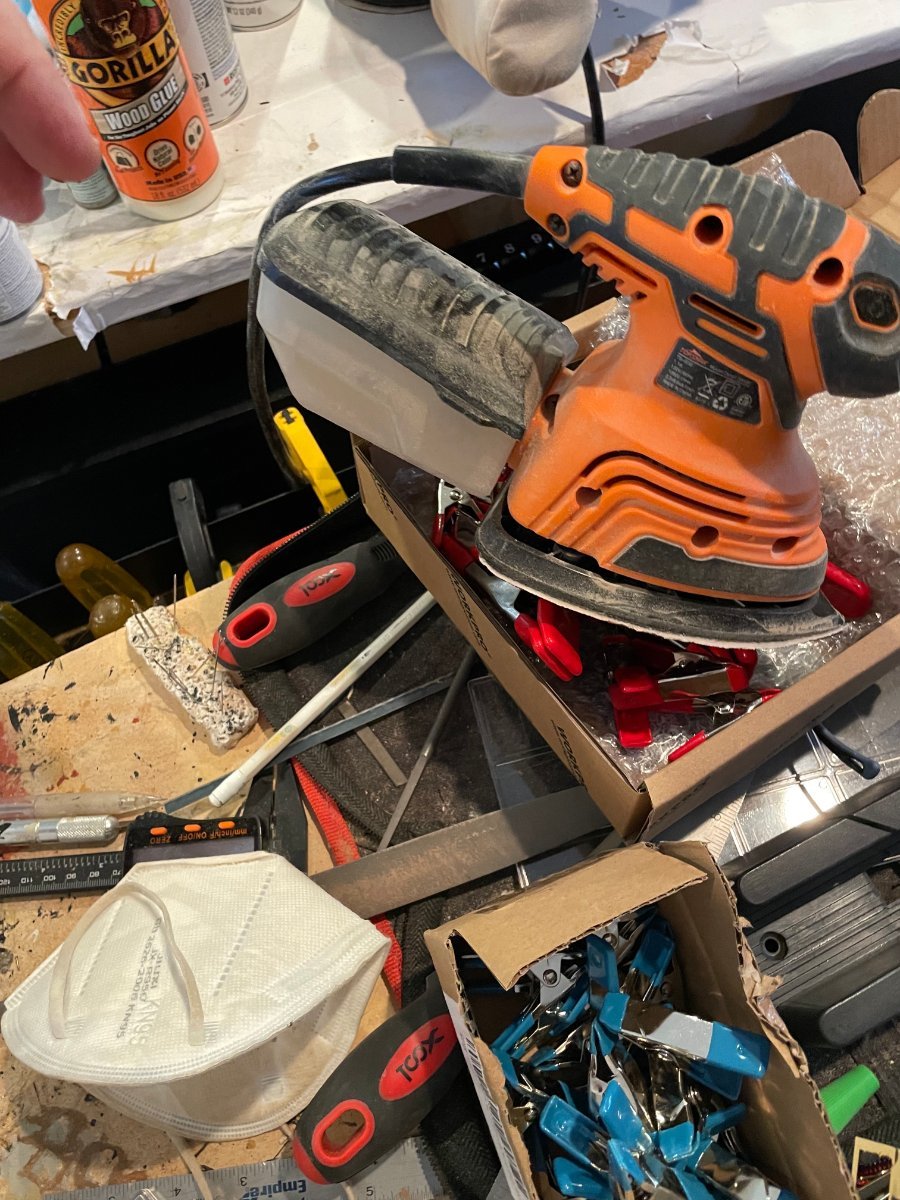
I find the point of the triangular palm sander helps get into the tight spots.
- 233 replies
-
- 1
-
-
- Indefatigable
- Vanguard Models
- (and 1 more)
-
Despite working the weekend, fortunately not to bust, I completed 4 more rows. Needed to put 2 stealers on both side to continue the curve but not easily seen. Sanding as I go first with 60 grit then 240. Once done planking will sand lightly with 120 to 240 to 320. Use some cyano and sand lightly to fill the holes/ gaps for now.


- 233 replies
-
- 10
-
-
- Indefatigable
- Vanguard Models
- (and 1 more)
-
Prebent planks for the stern Inch by inch, row by row, so does my Indy grow... did a bit of sanding to even things out Managed to weather the stern turn pretty well


- 233 replies
-
- 14
-
-
- Indefatigable
- Vanguard Models
- (and 1 more)
-
Thanks. As I am painting I will go for pins and glue. Cyano does not give much time to work
- 233 replies
-
- 2
-
-
- Indefatigable
- Vanguard Models
- (and 1 more)
-
Thanks for all the kind comments. Here is the work of the day.My dilemma is previous models usually use cyano glue at this stage which I did for the few upper planks., I glued and nailed the strake line (as in the manual photo) as it will be covered and makes it easy to identify. The manual states they used wood glue but not sure it will hold without nailing and clamping is impossible for most of this stage. Any thoughts out there?


- 233 replies
-
- 5
-
-
- Indefatigable
- Vanguard Models
- (and 1 more)
-
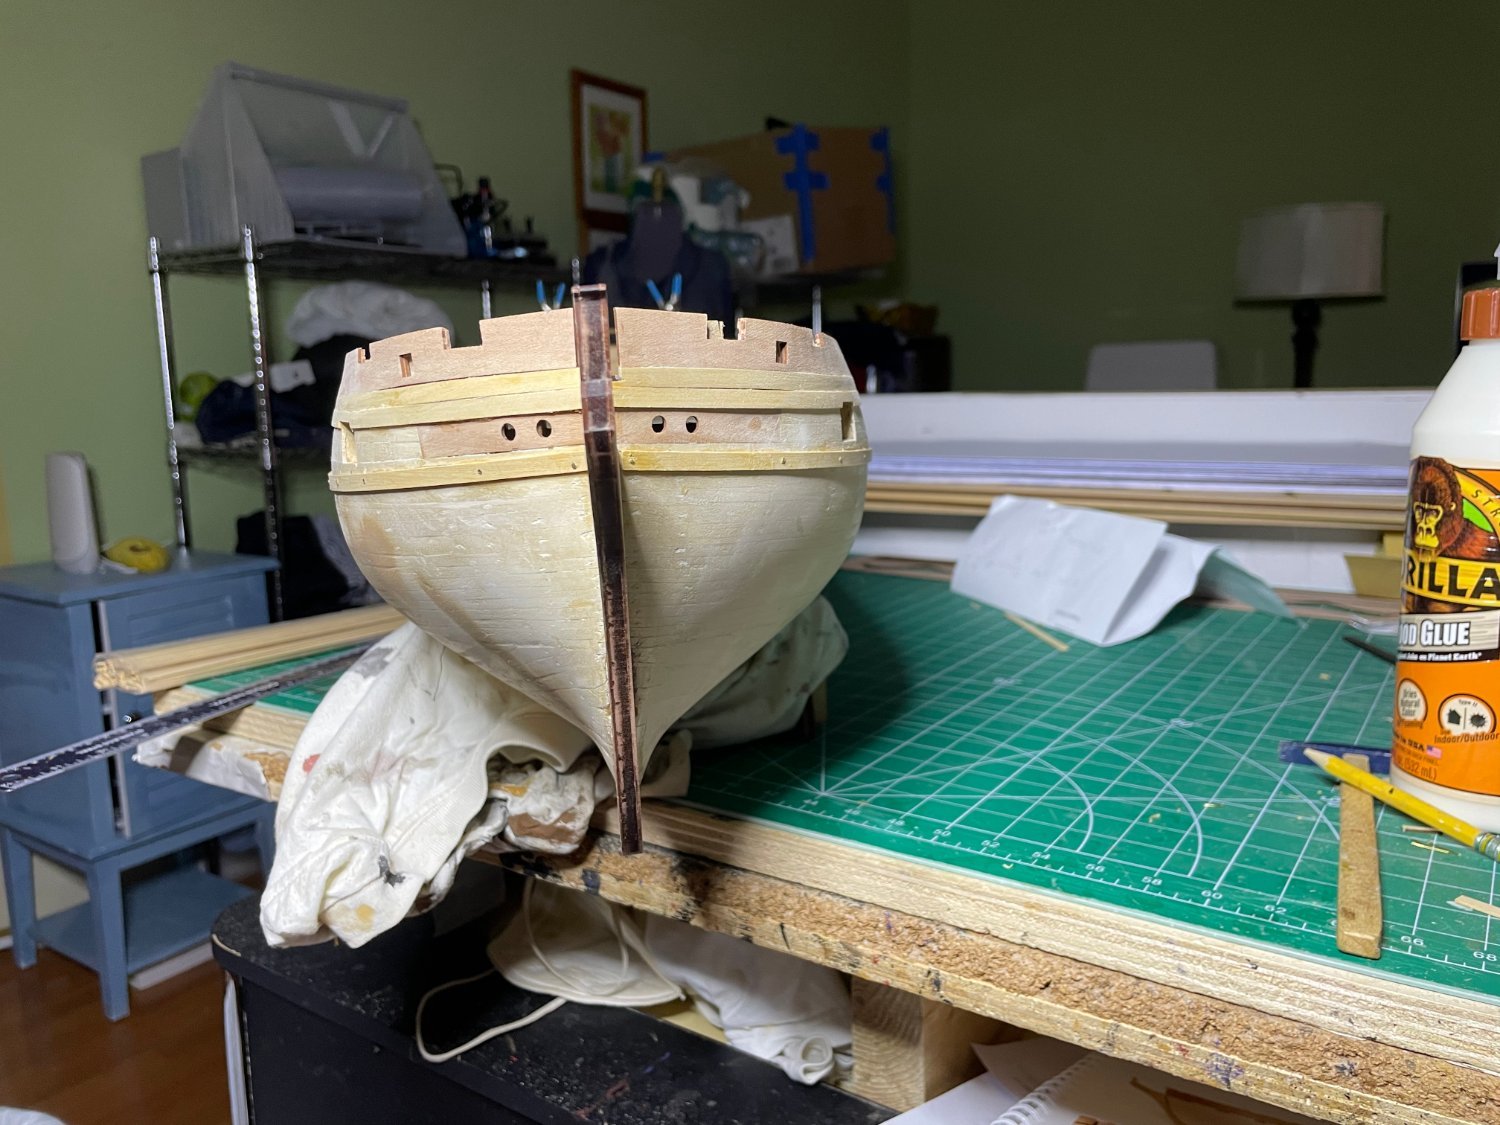
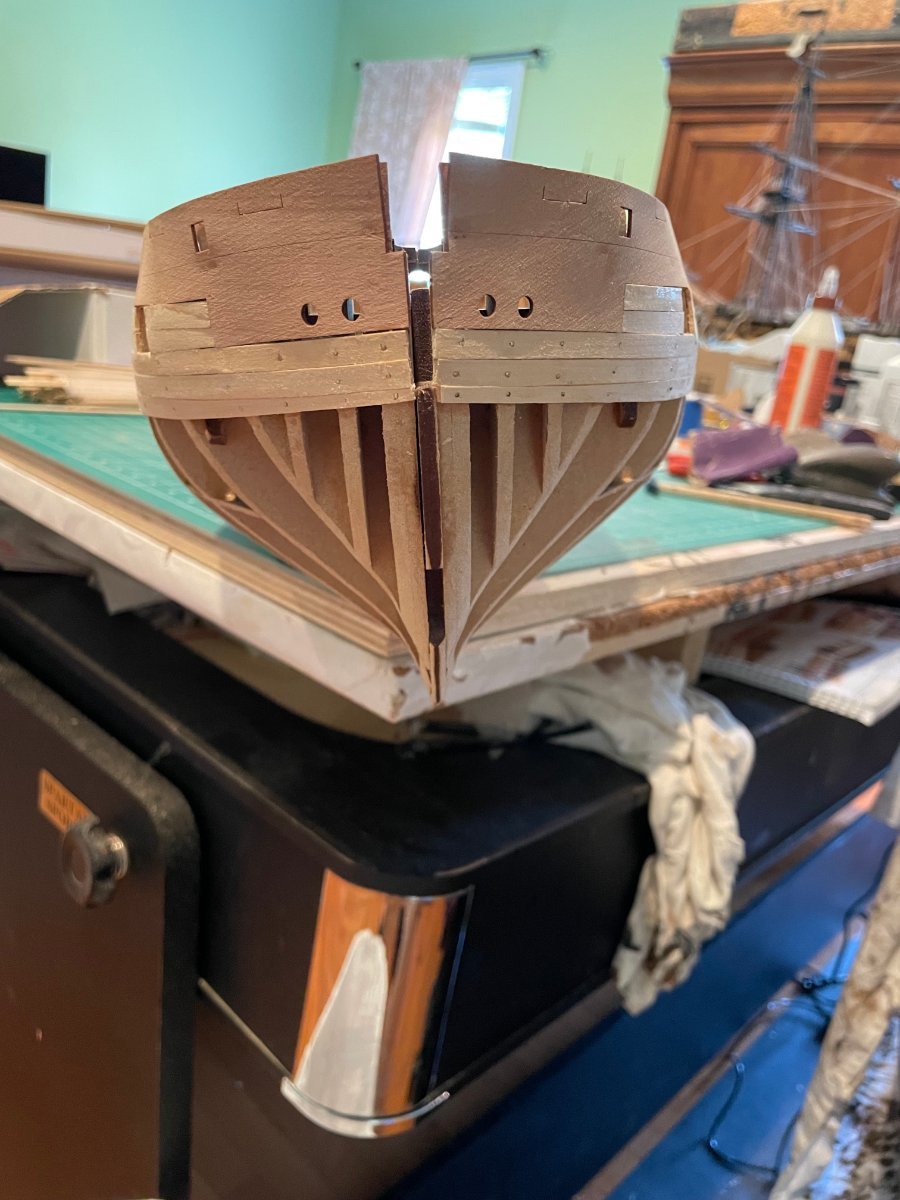
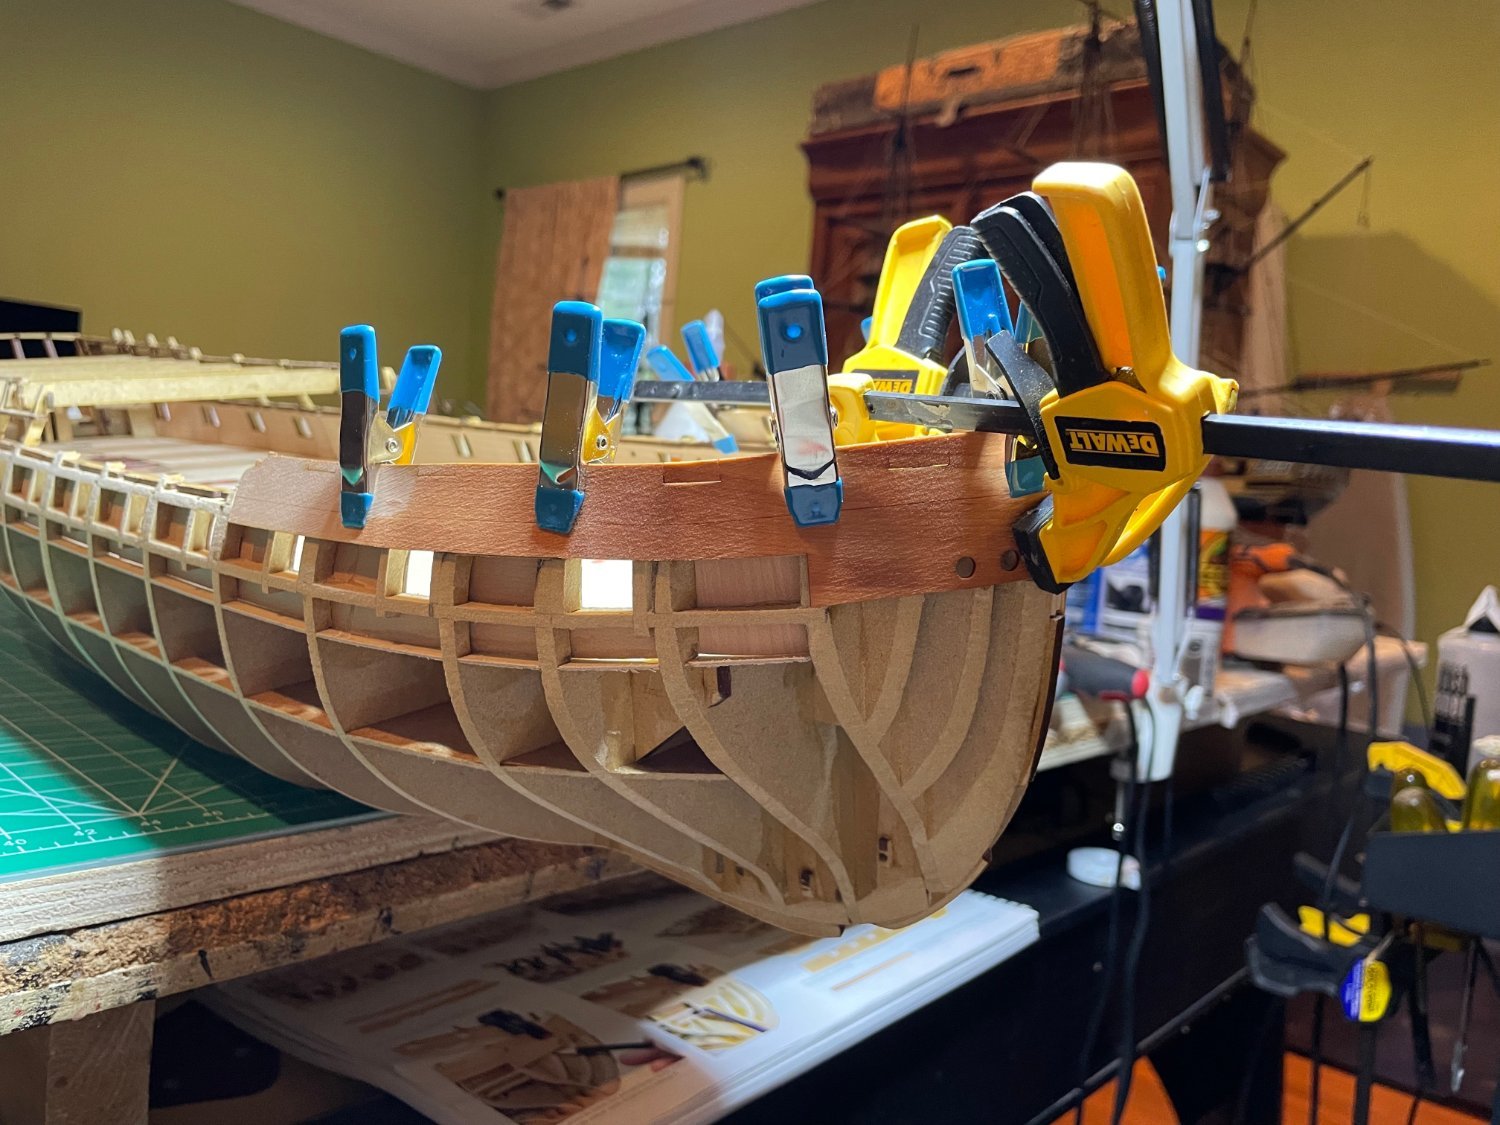
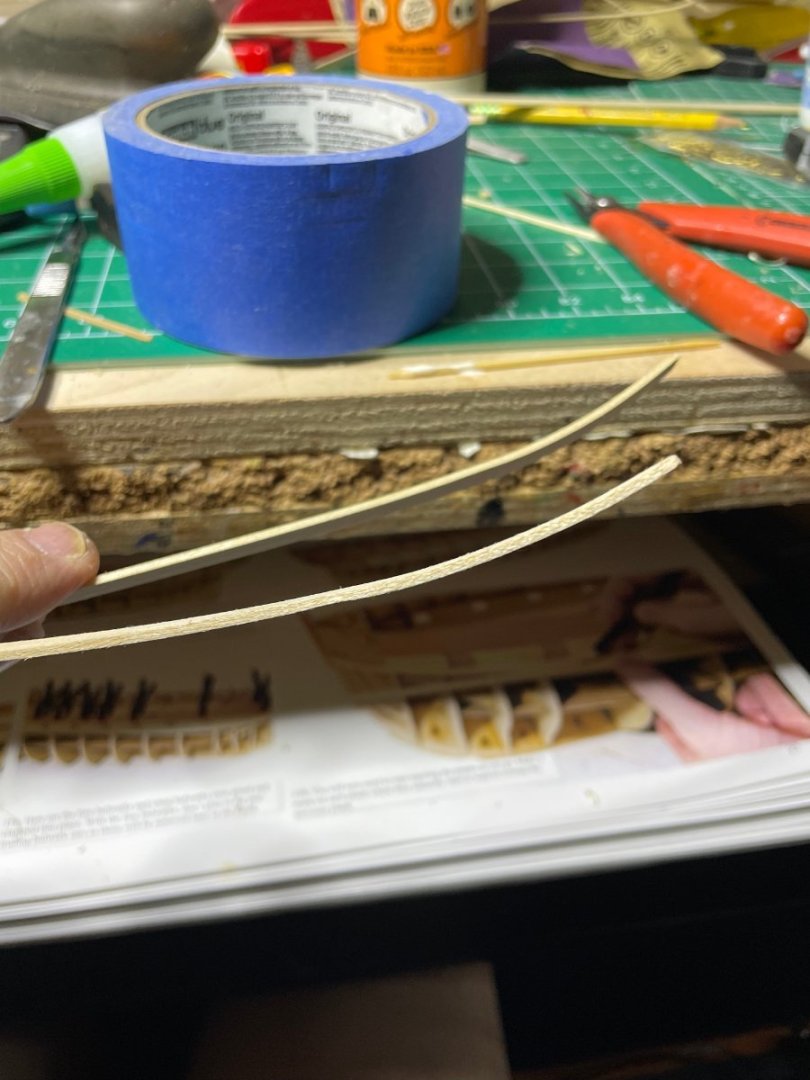
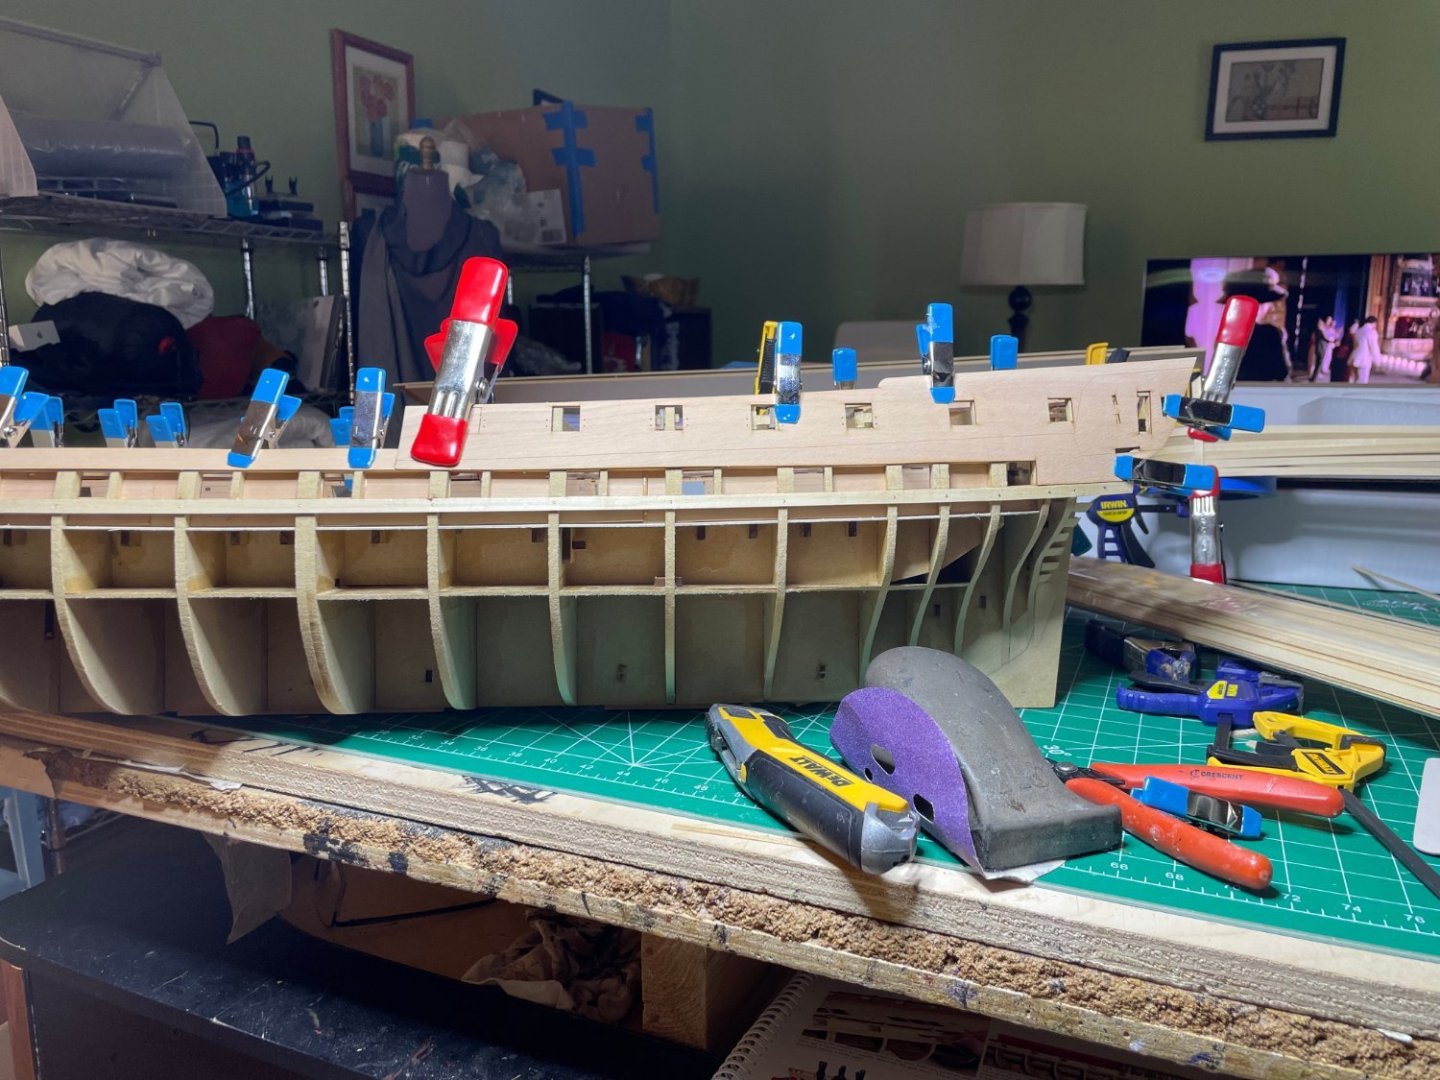
To make sure the stern panel had the 2mm clearance I used a 2x4 mm plank to keep things in line. The outer stern windows do align nicely outer pillars as described in the instructions. Again clamps and more clamps. I measured out the points for the first plank/strake under the gunports then ran a line of tape to make sure looked correct then drew a line under the bottom of the tape to mark the course of the first second planking that also serves as the line for the first plank of the strake. That is it for today as I have to wait overnight for the bow pieces to dry out from being soaked and bent in to shape. Back to work tomorrow so things will be slower this week and I am on call next weekend.


- 233 replies
-
- 6
-
-
- Indefatigable
- Vanguard Models
- (and 1 more)
-
A note. I have found several part misnumberings. On page 29 Step 174 Part # 72 in the text should be Part # 73 as it is labeled on the MDF sheet. On page 32 step 210 Parts # 246 and 250 in the text should be parts 252 and 253 as labeled on the 1mm wood sheet.
- 233 replies
-
- 2
-
-
- Indefatigable
- Vanguard Models
- (and 1 more)
-
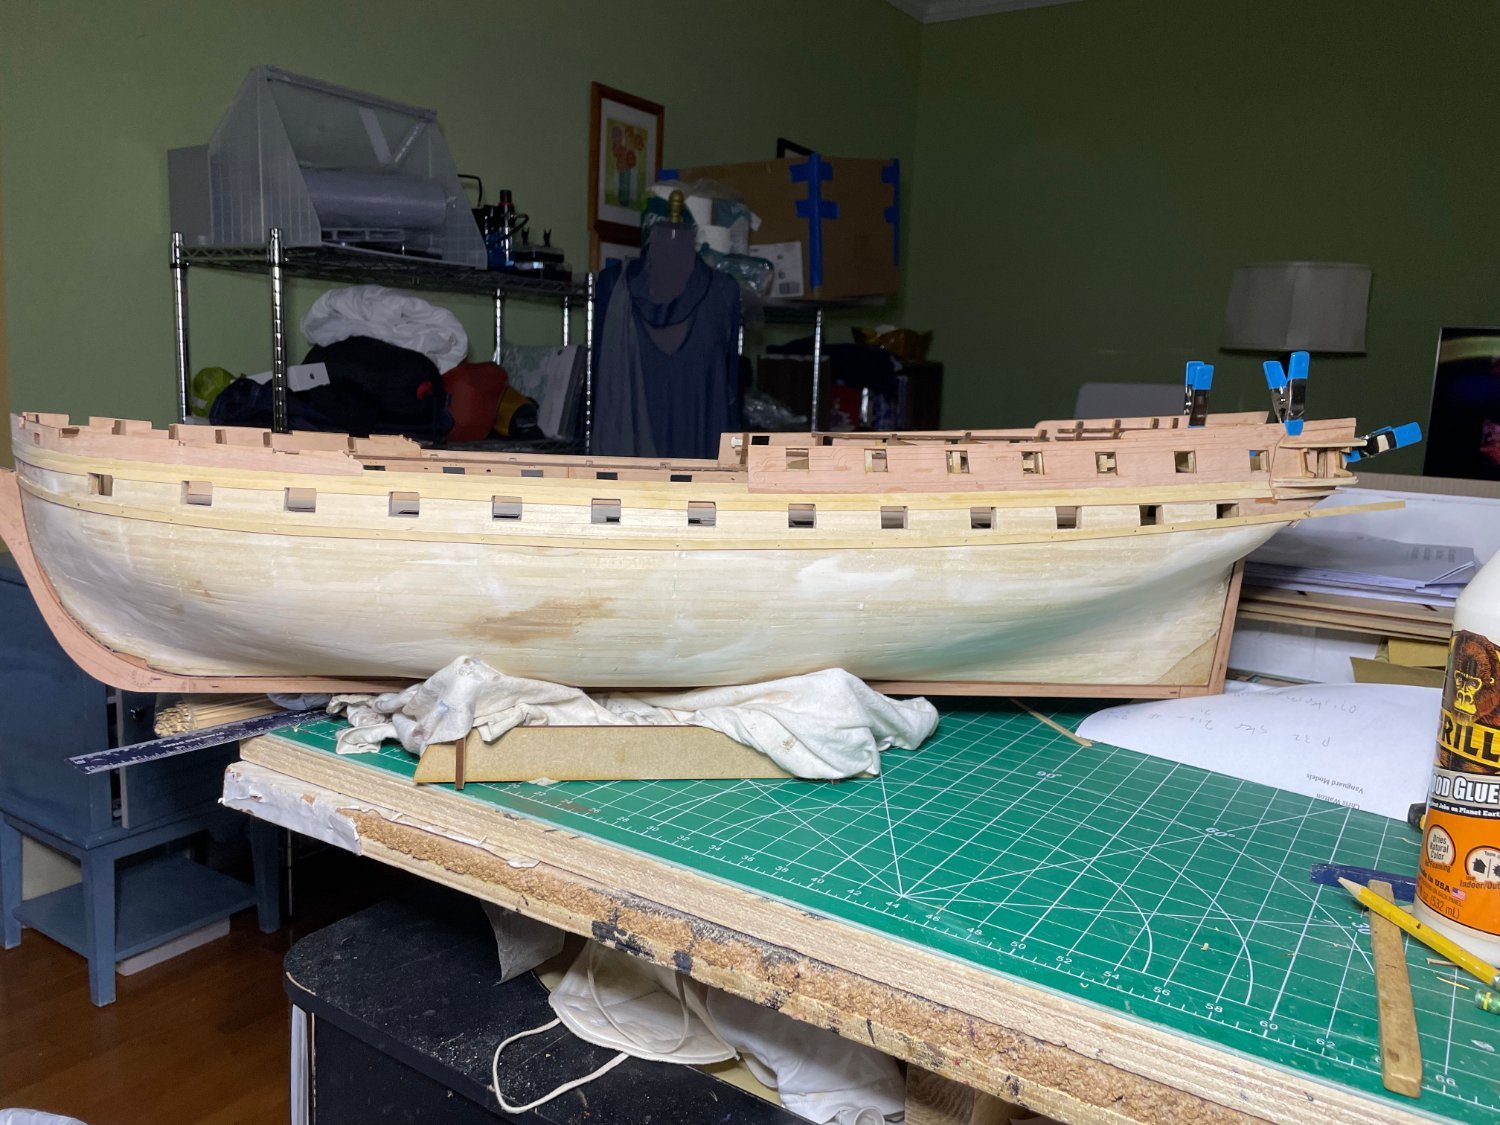
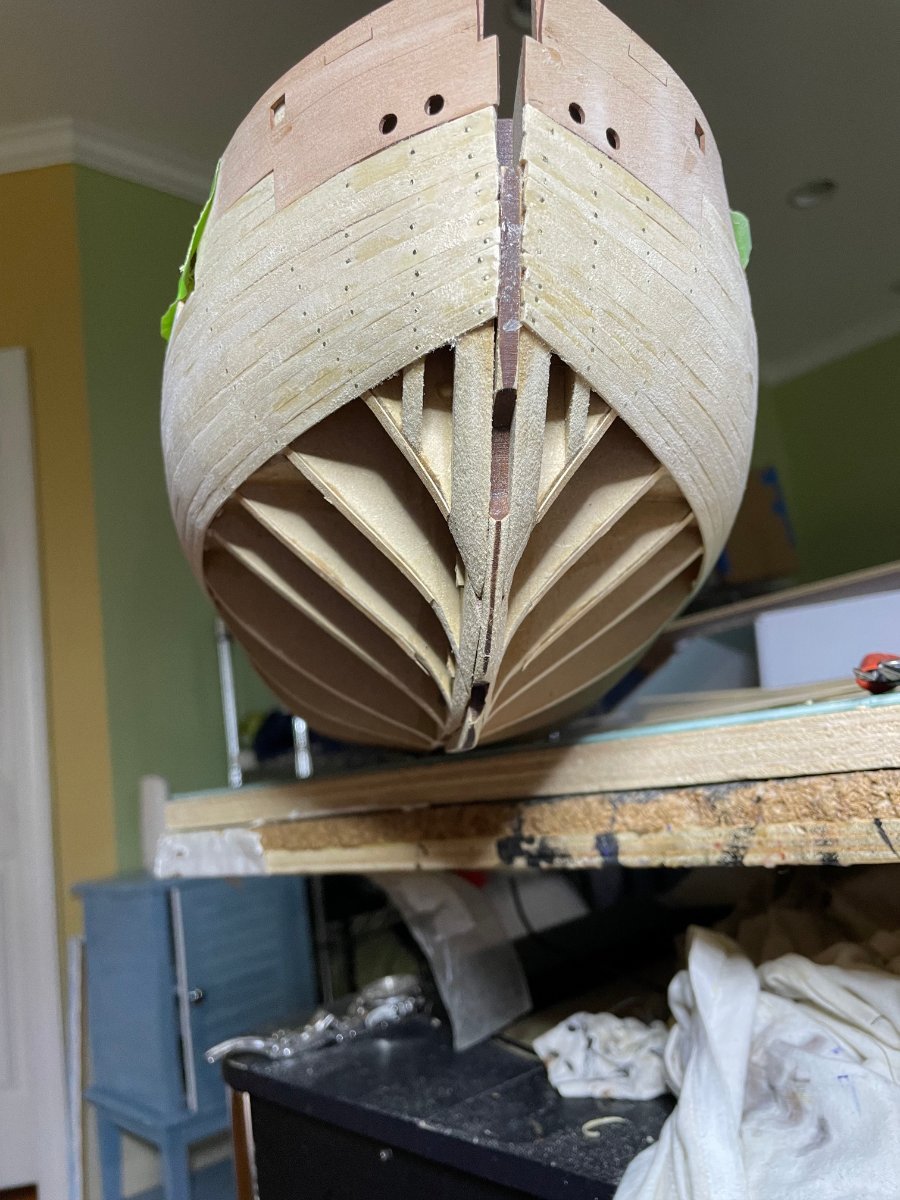
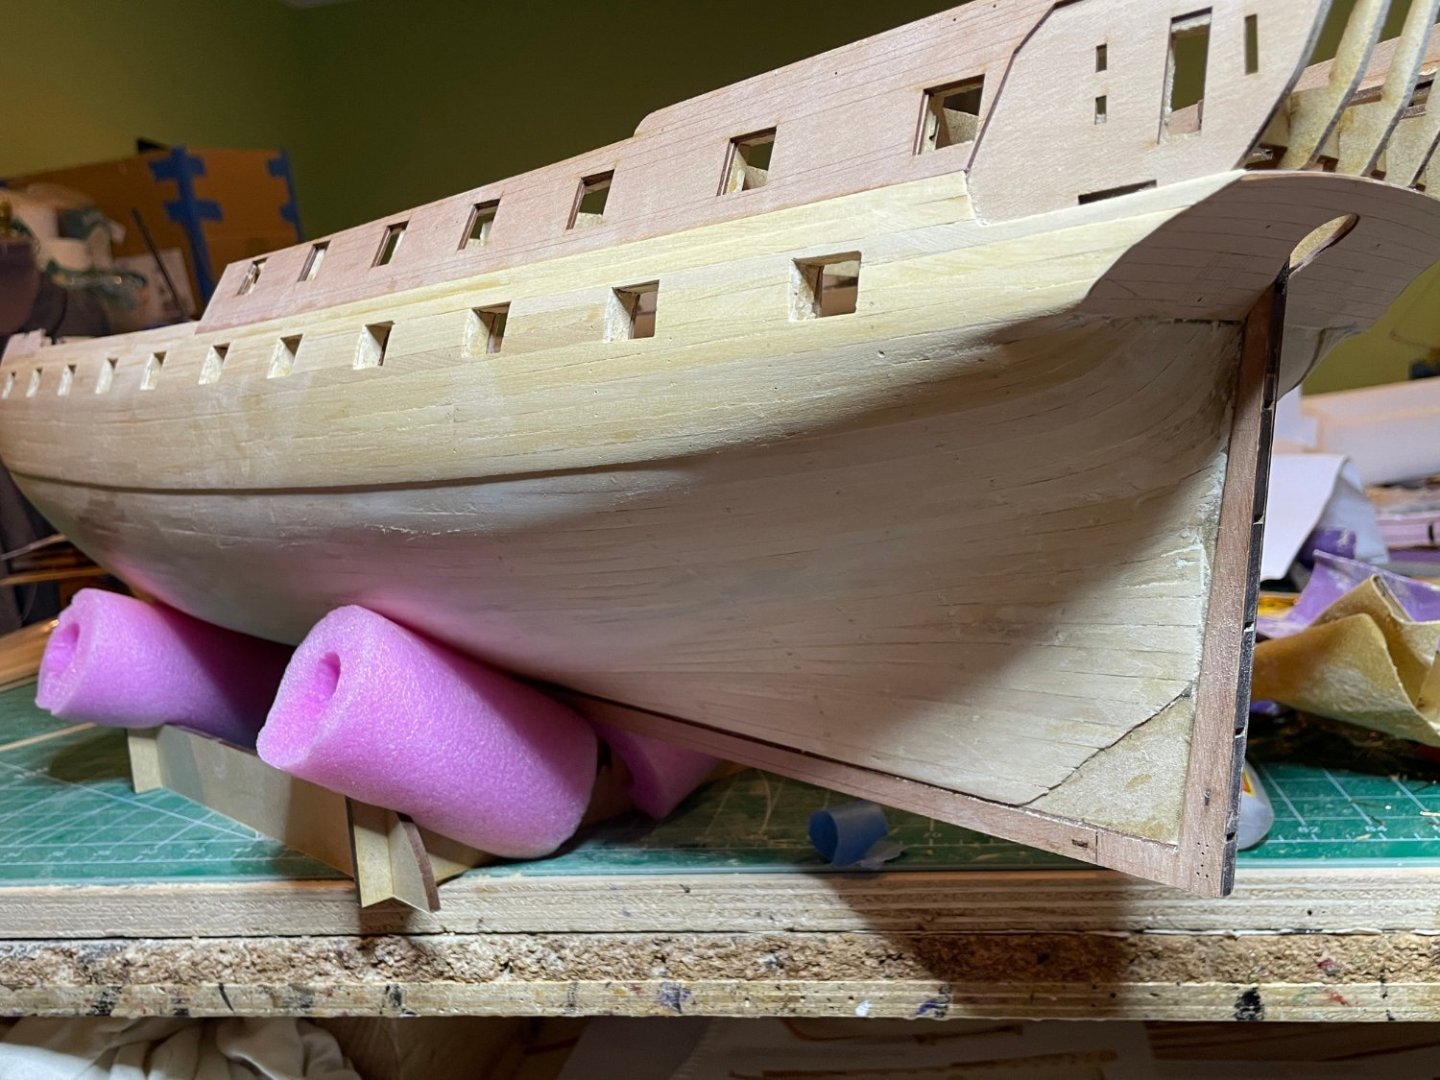
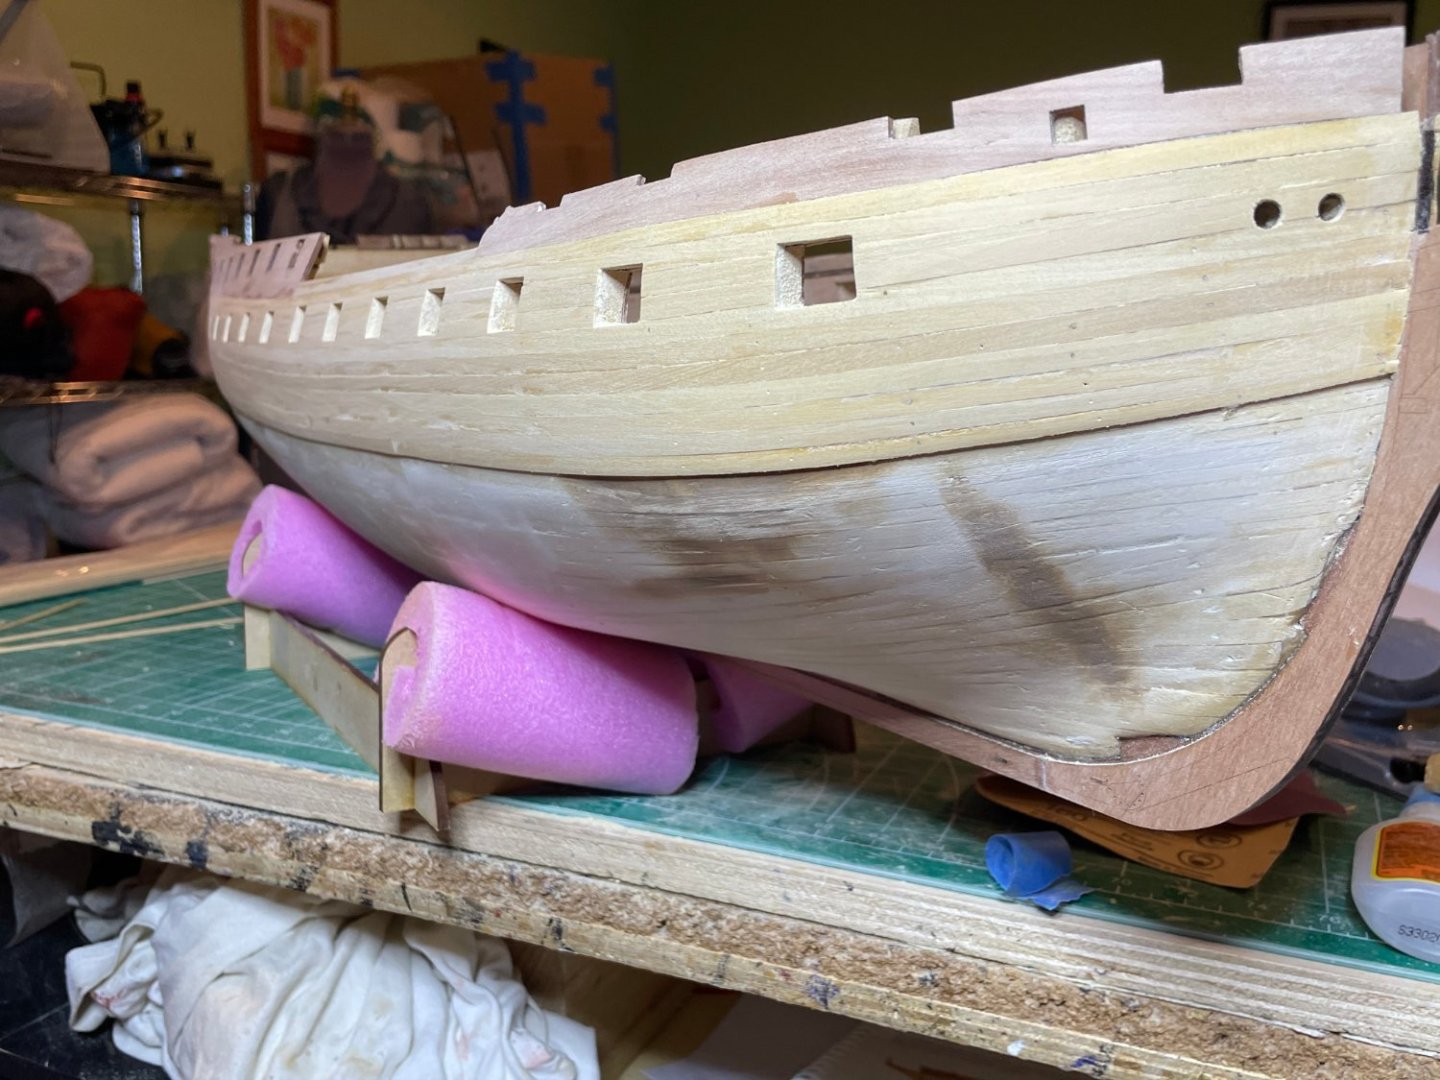
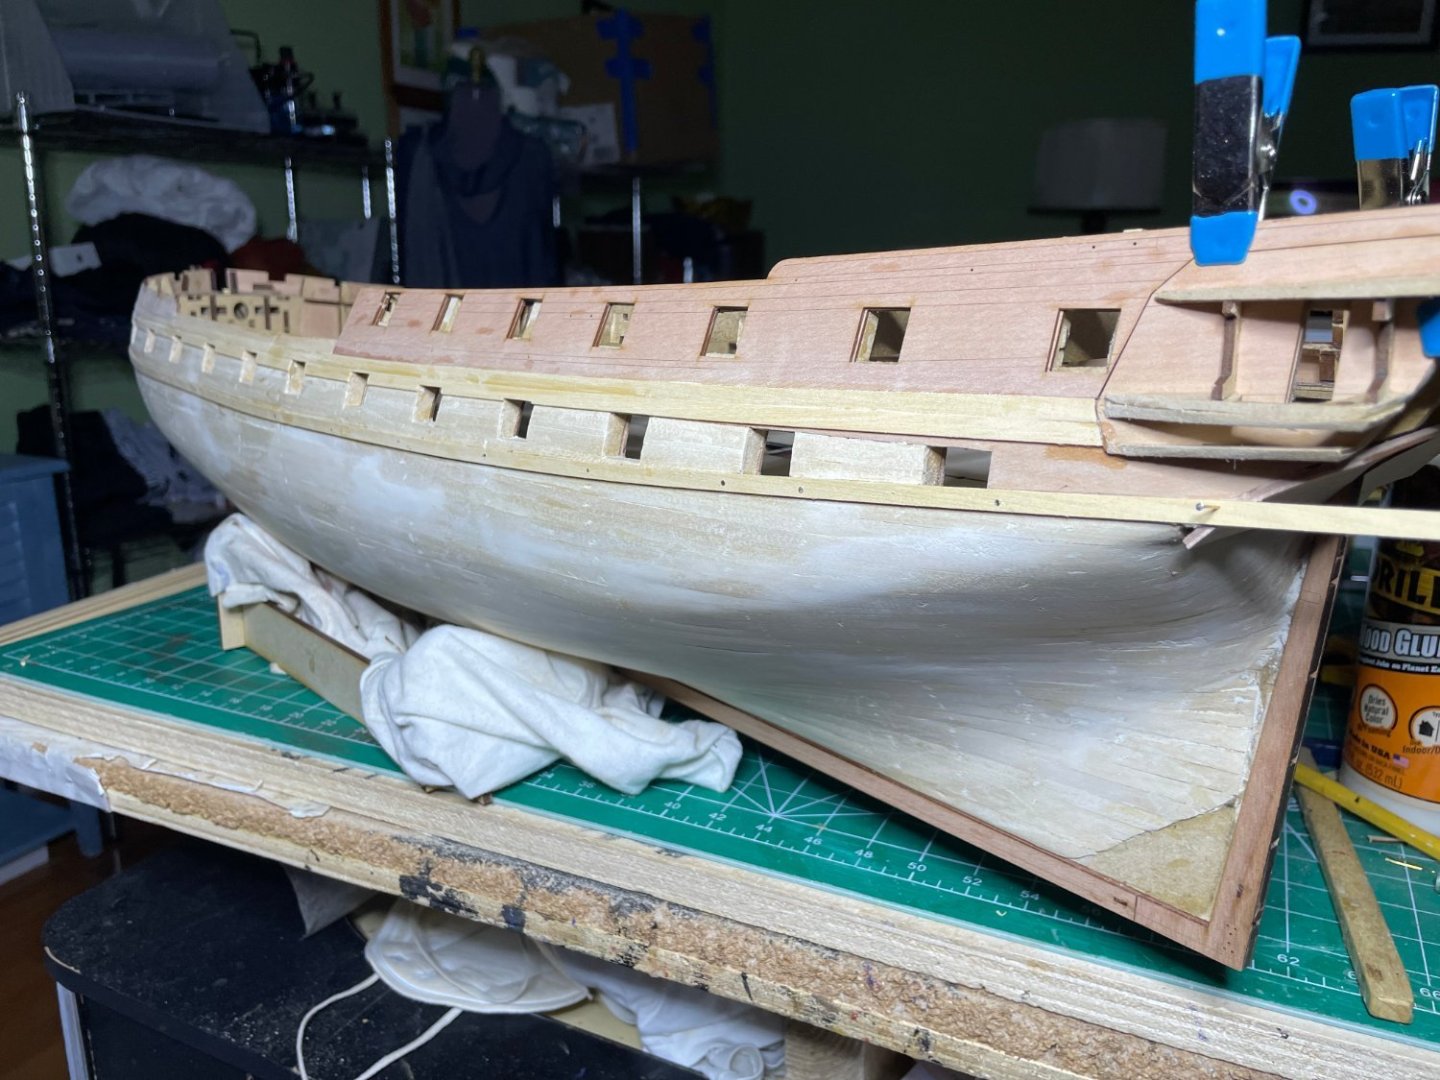
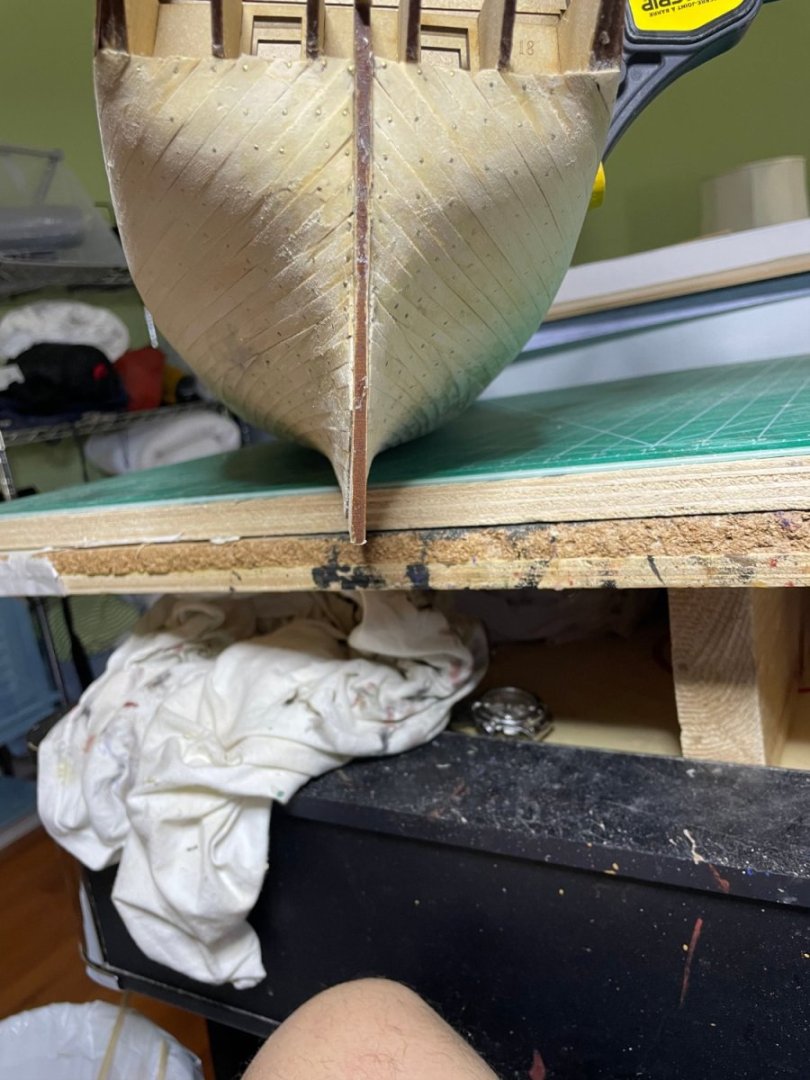
Some sanding and filling, ready for the next round of planking. I think a nice Riesling would help on the promenade deck. I am tempted to paint the lower hull white as it looks good but as I opted for the real copper tiles I will continue with coppering later/


- 233 replies
-
- 11
-
-
- Indefatigable
- Vanguard Models
- (and 1 more)
-
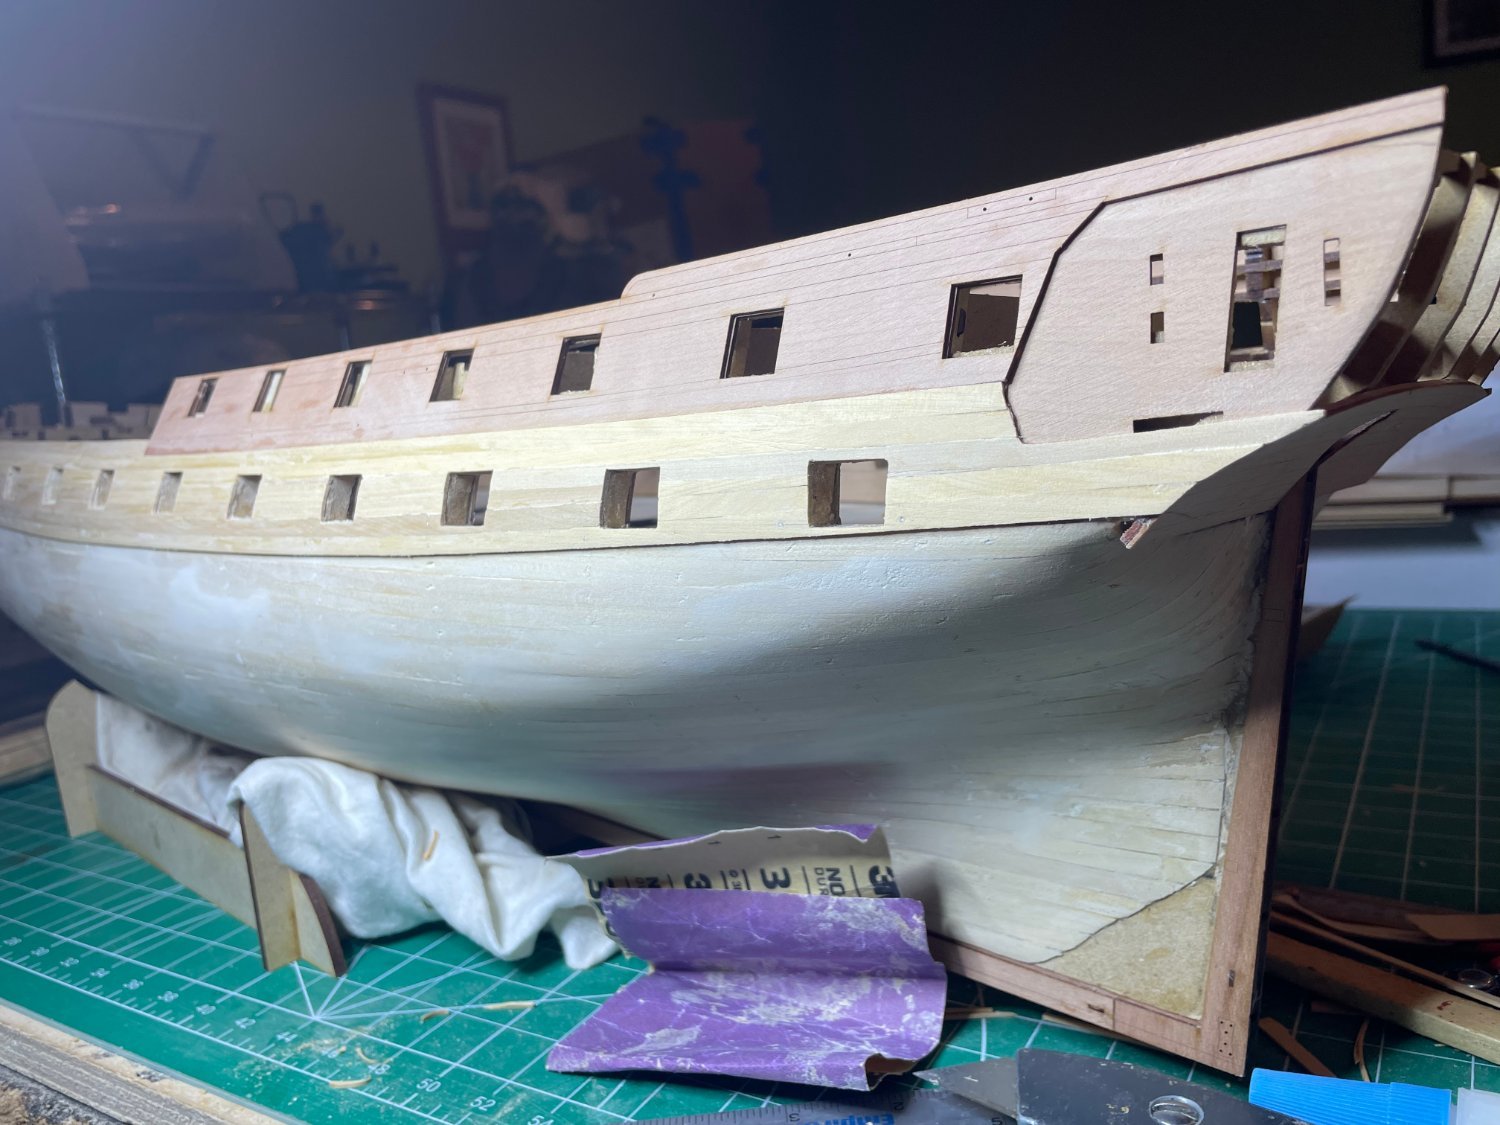
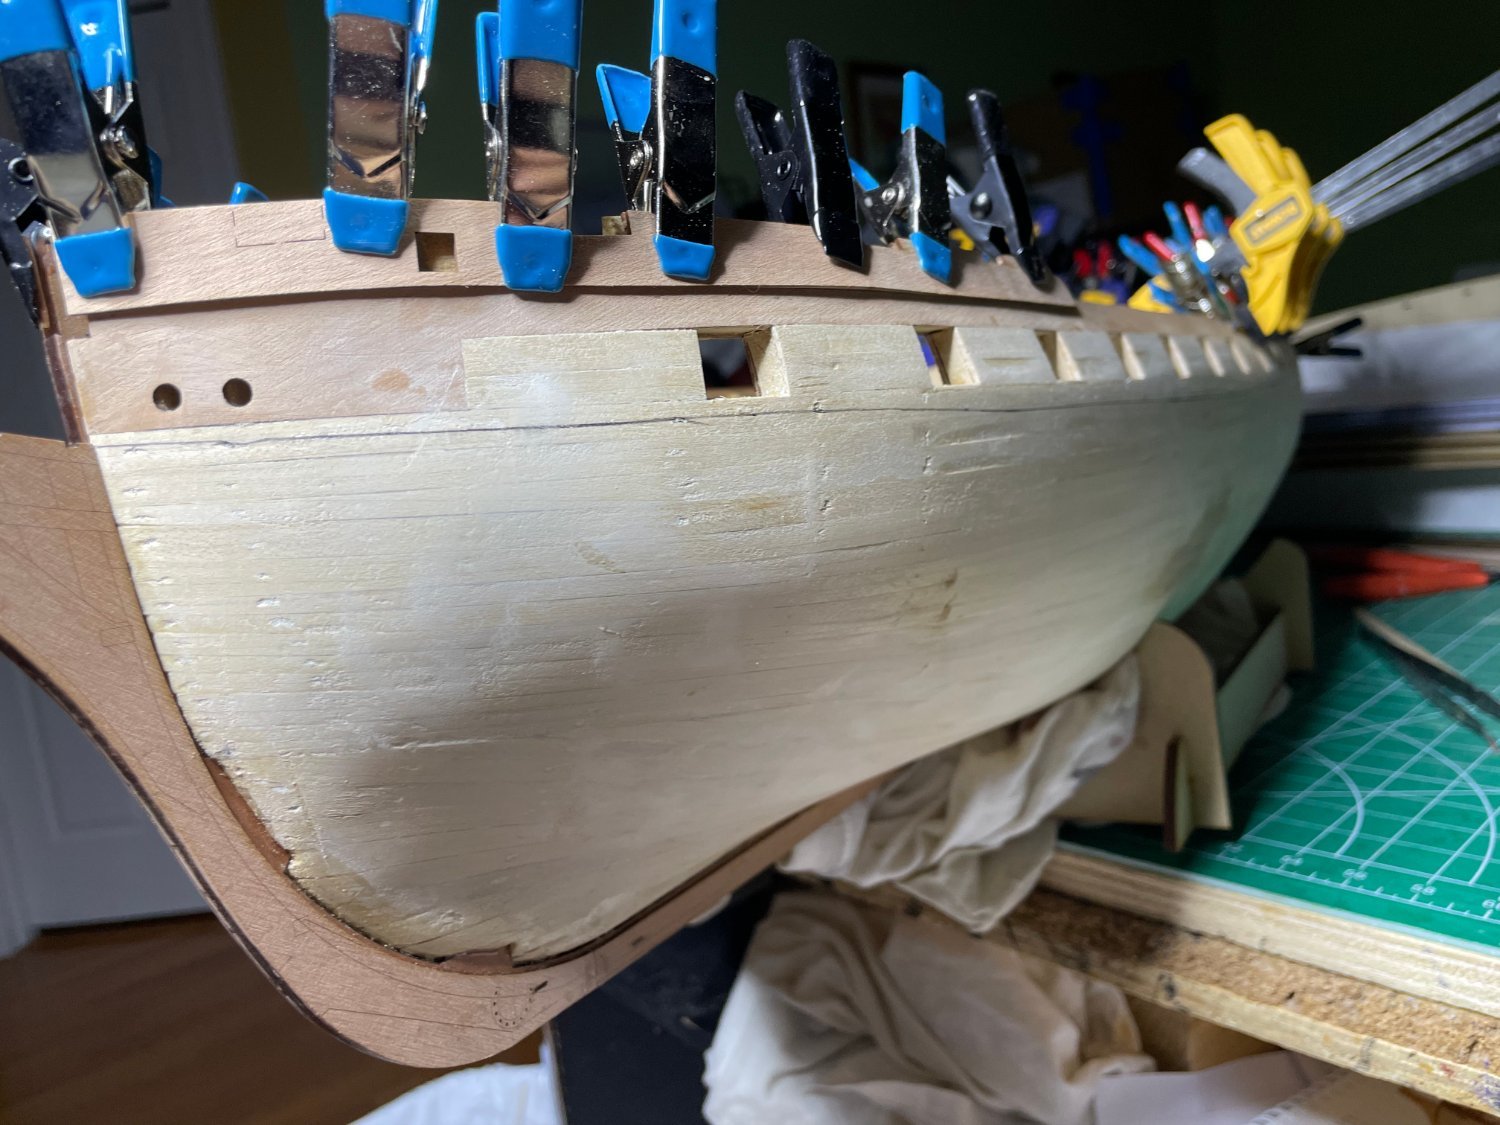
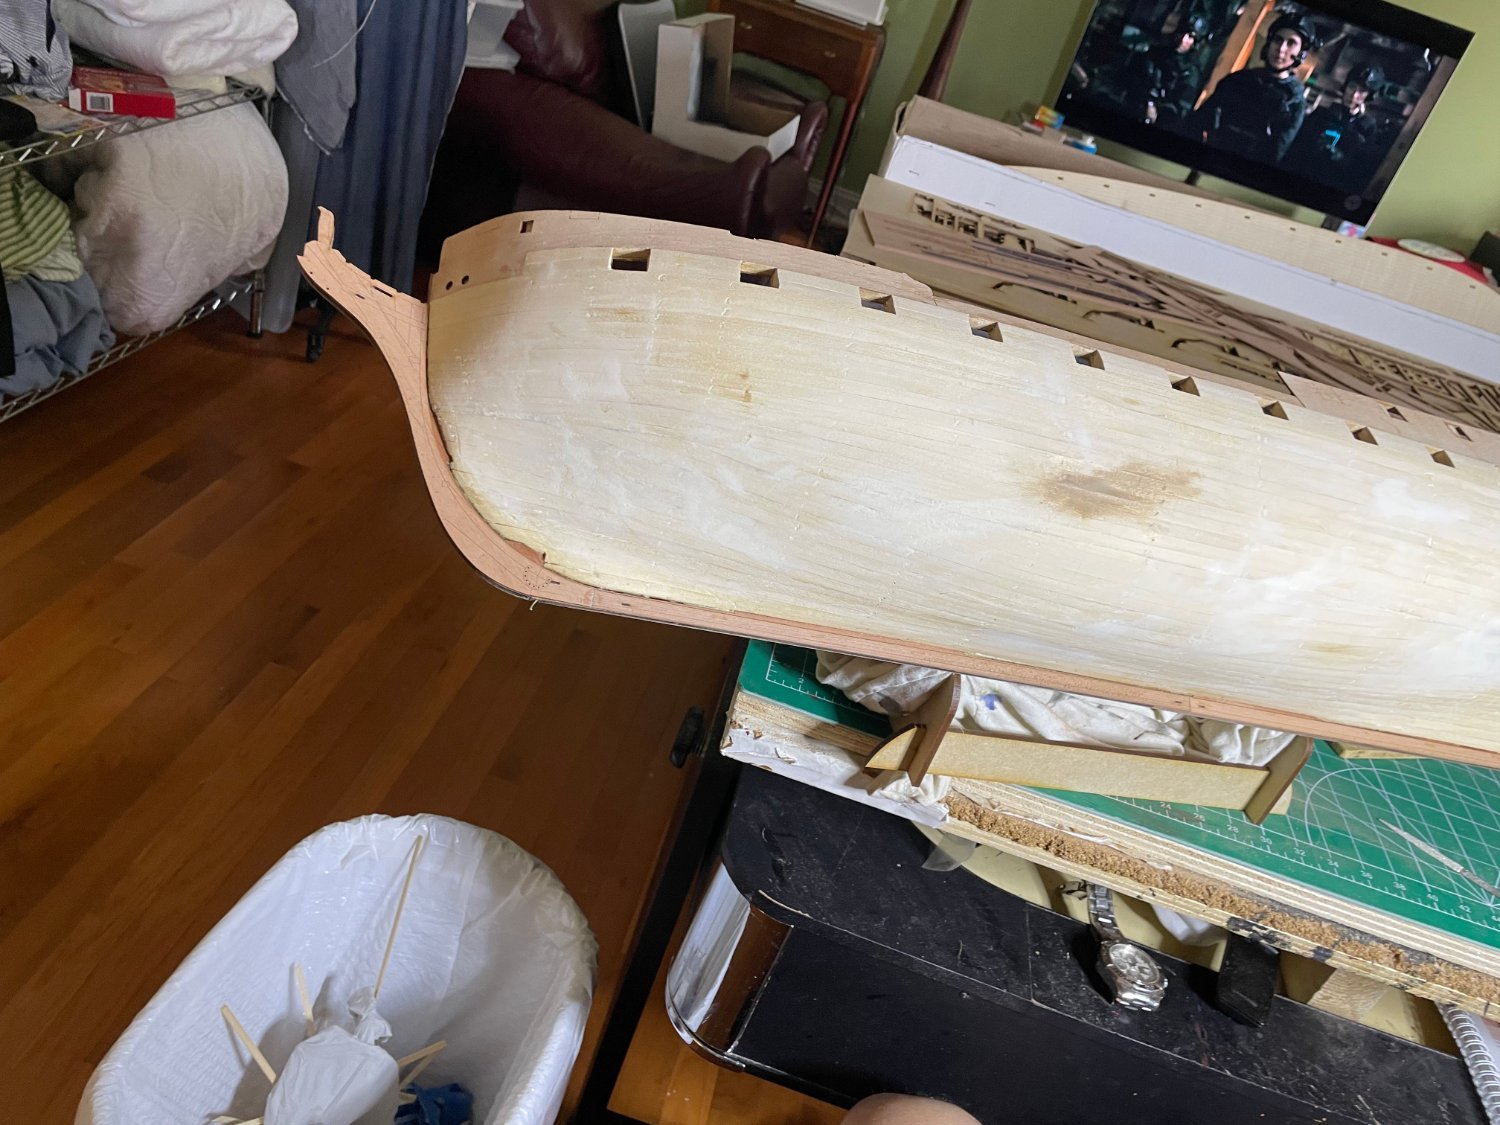
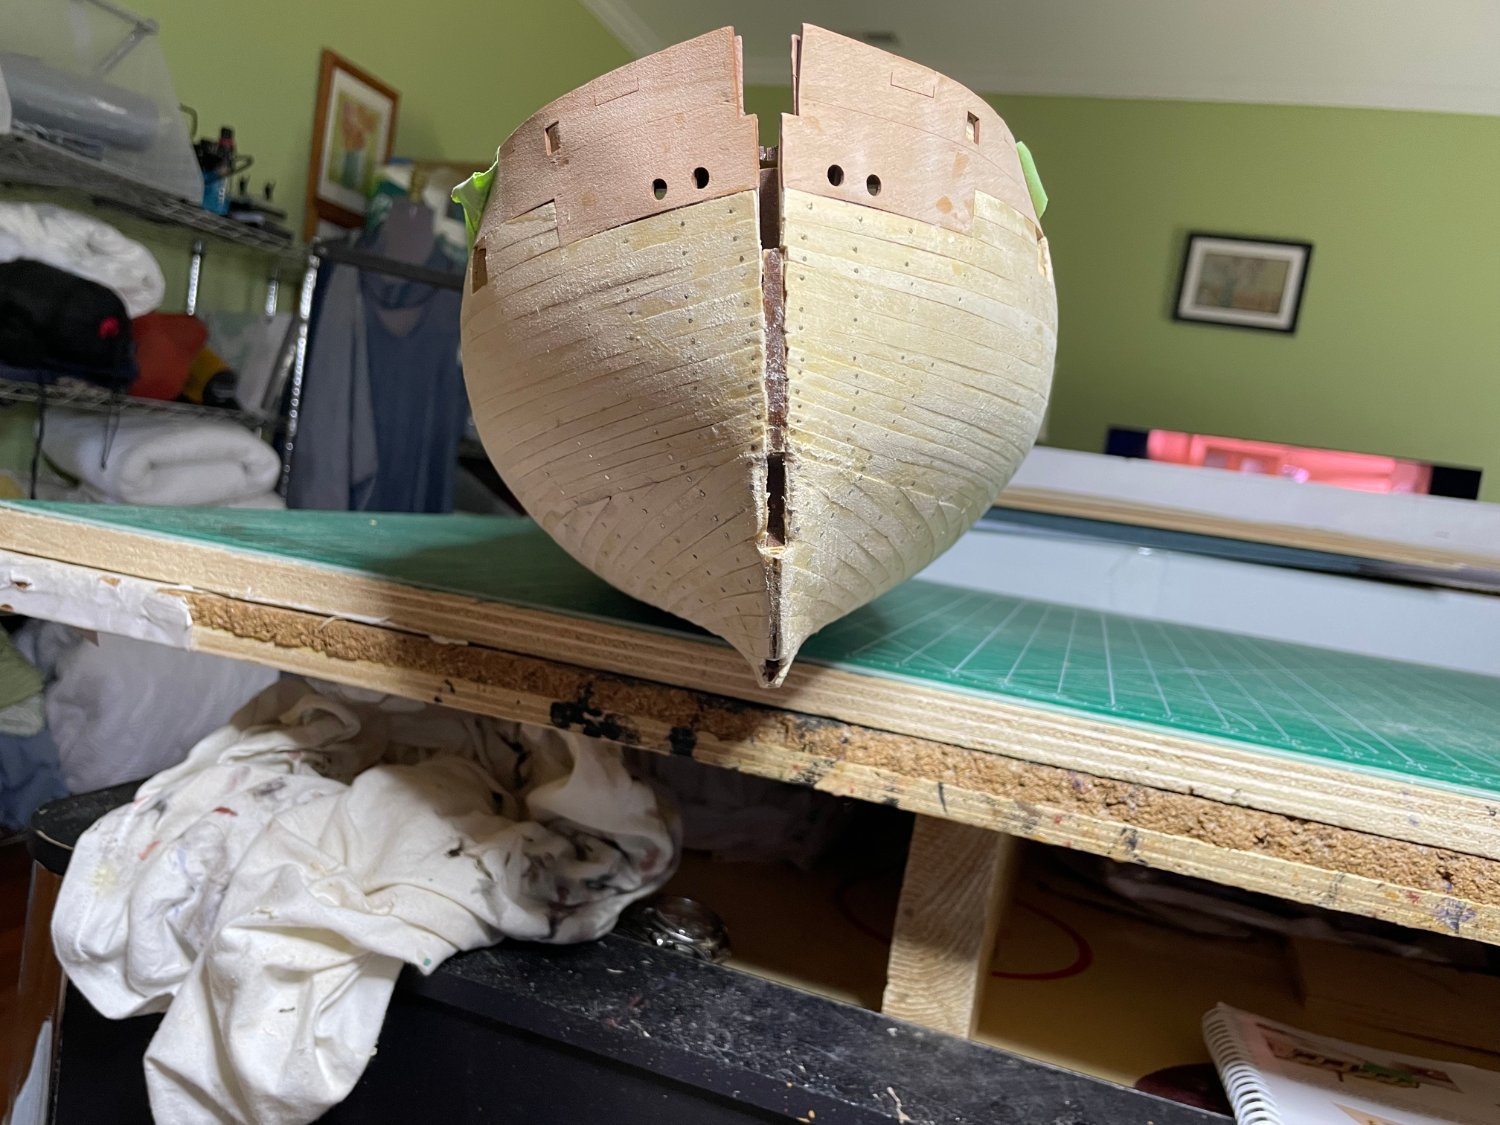
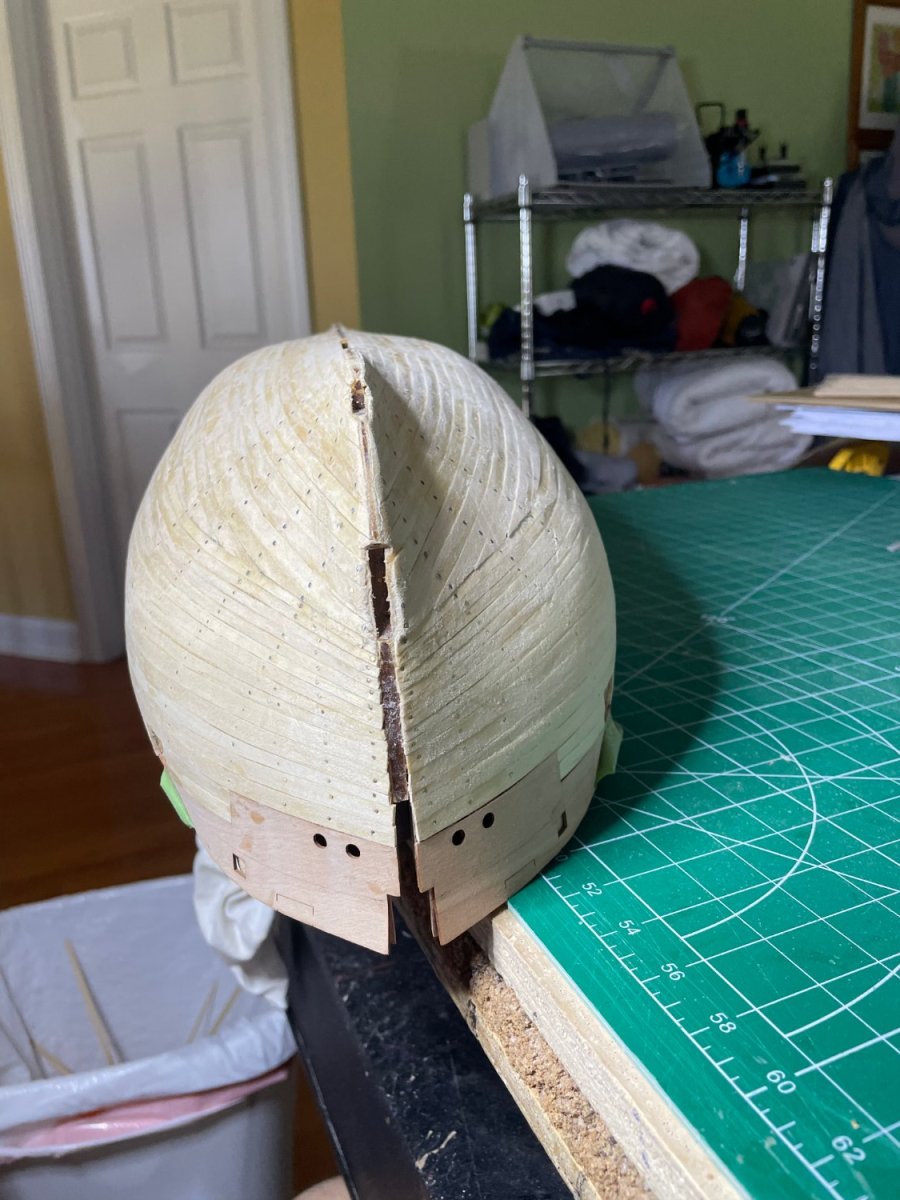
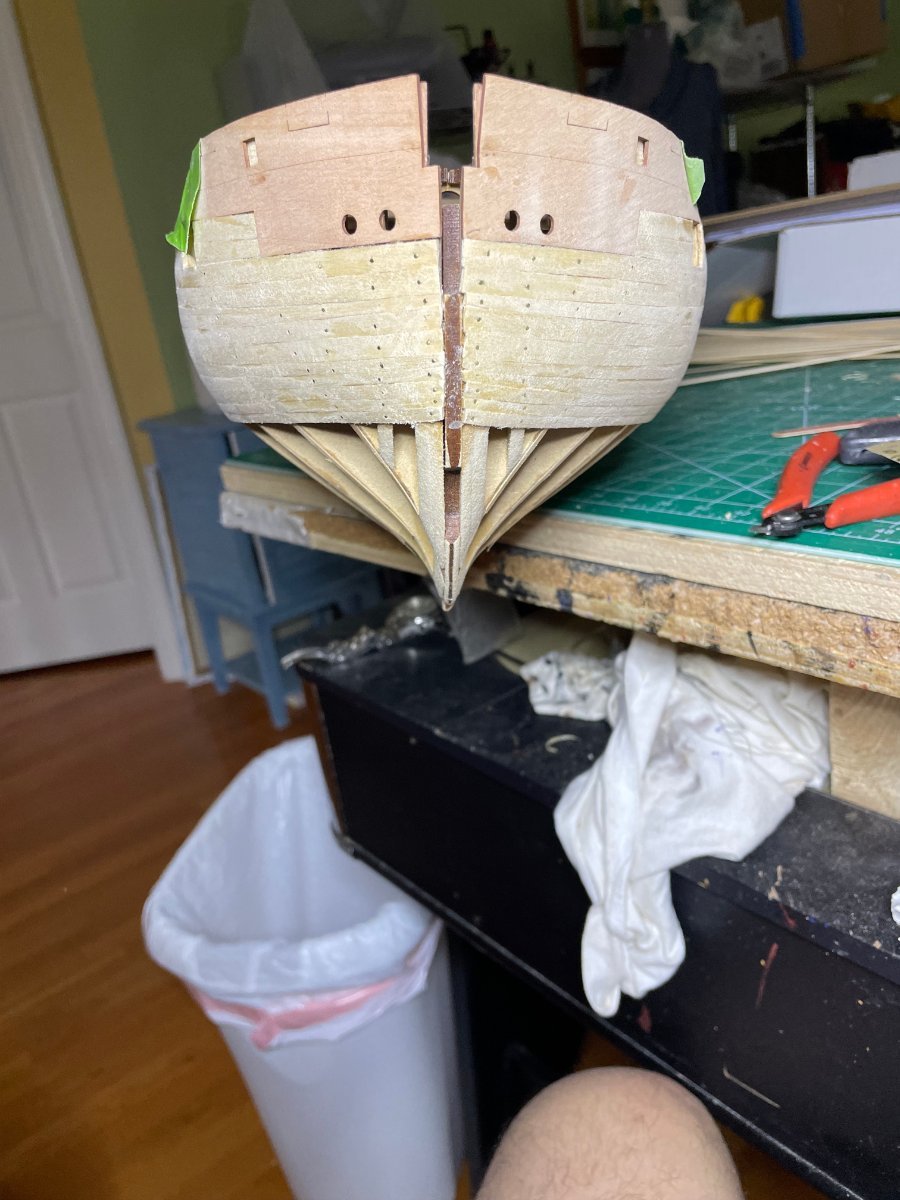
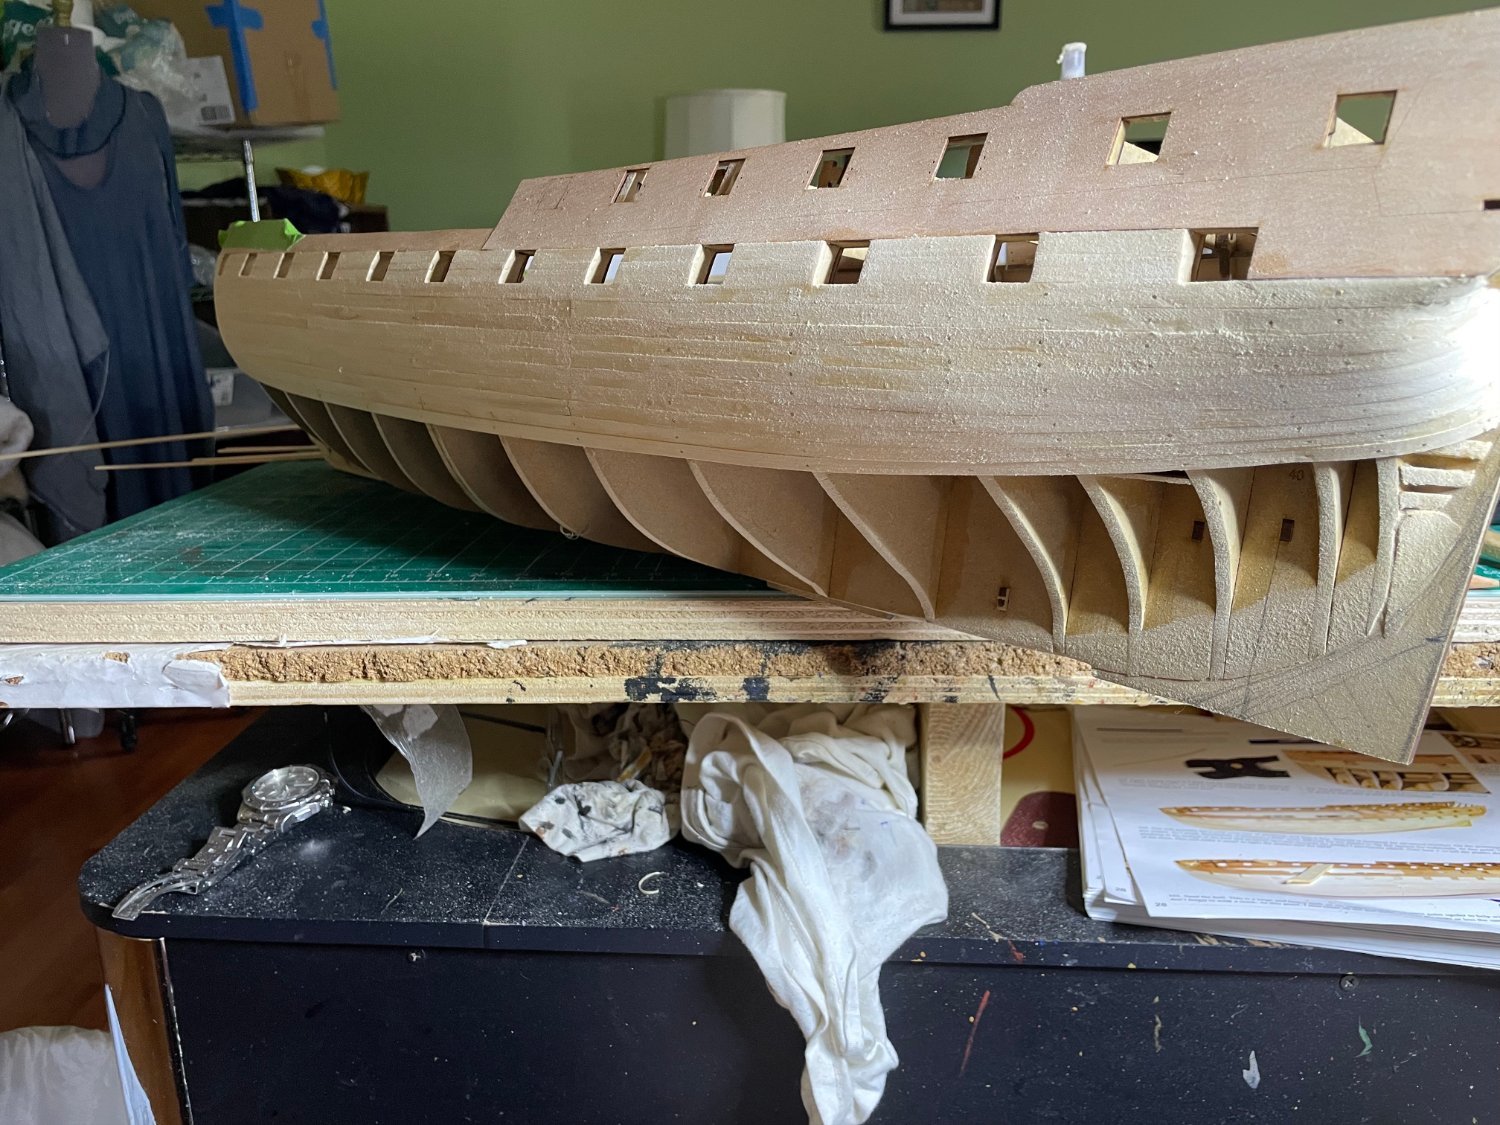
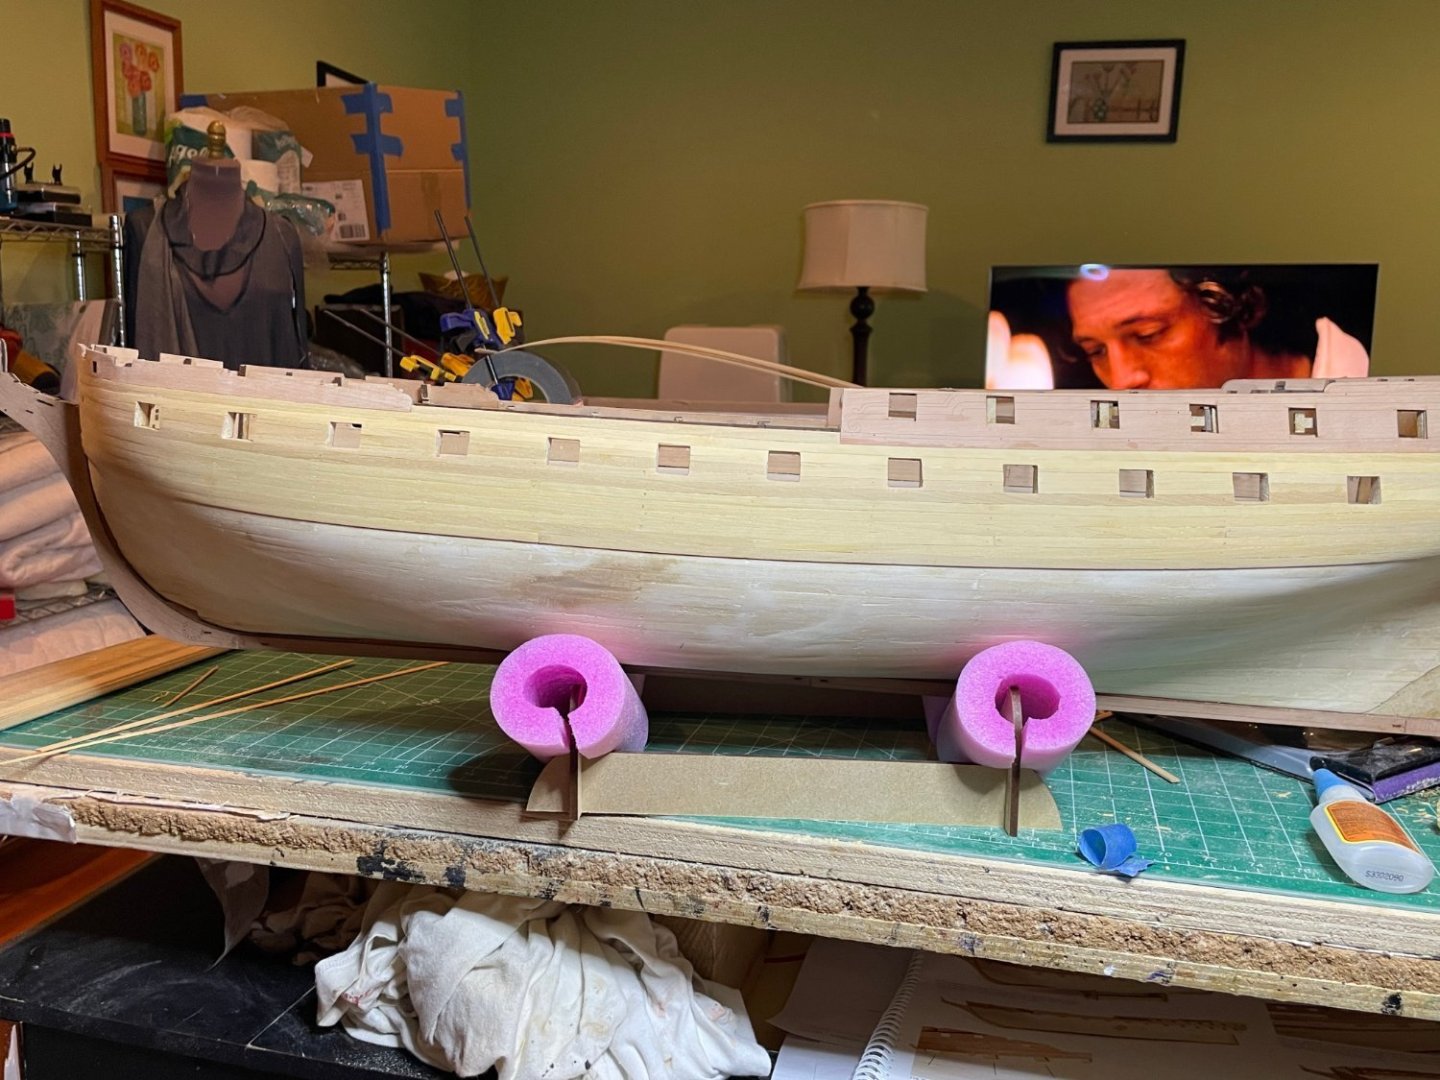
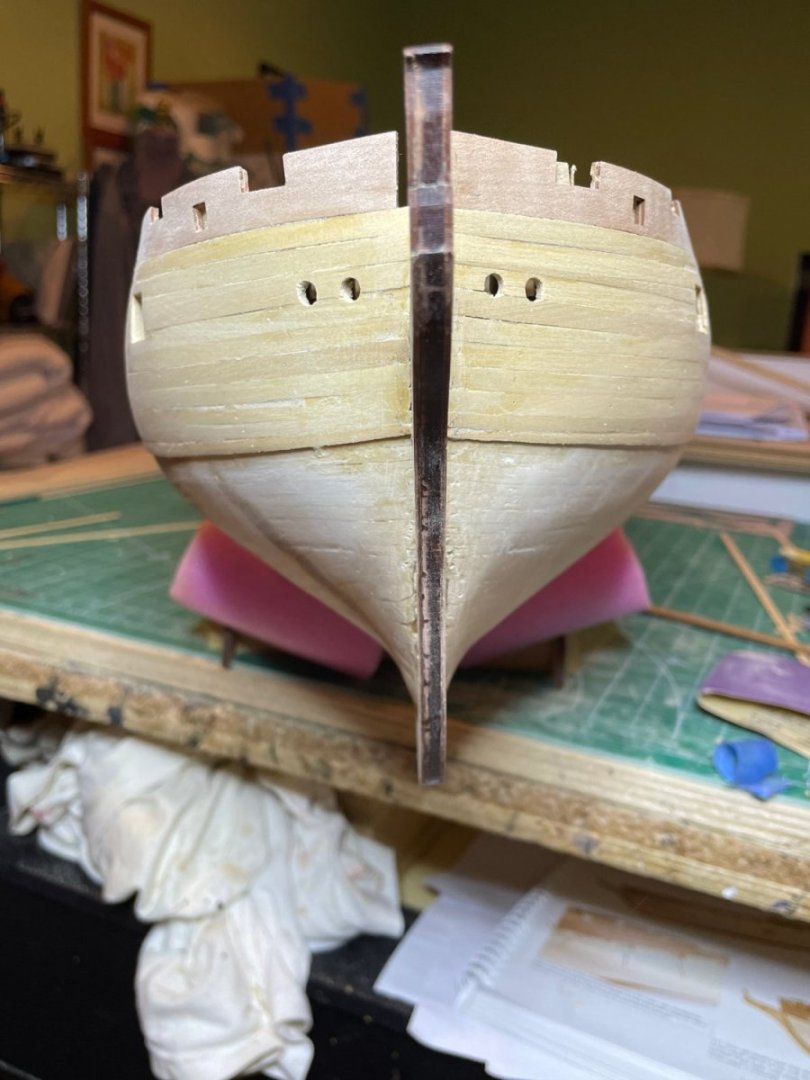
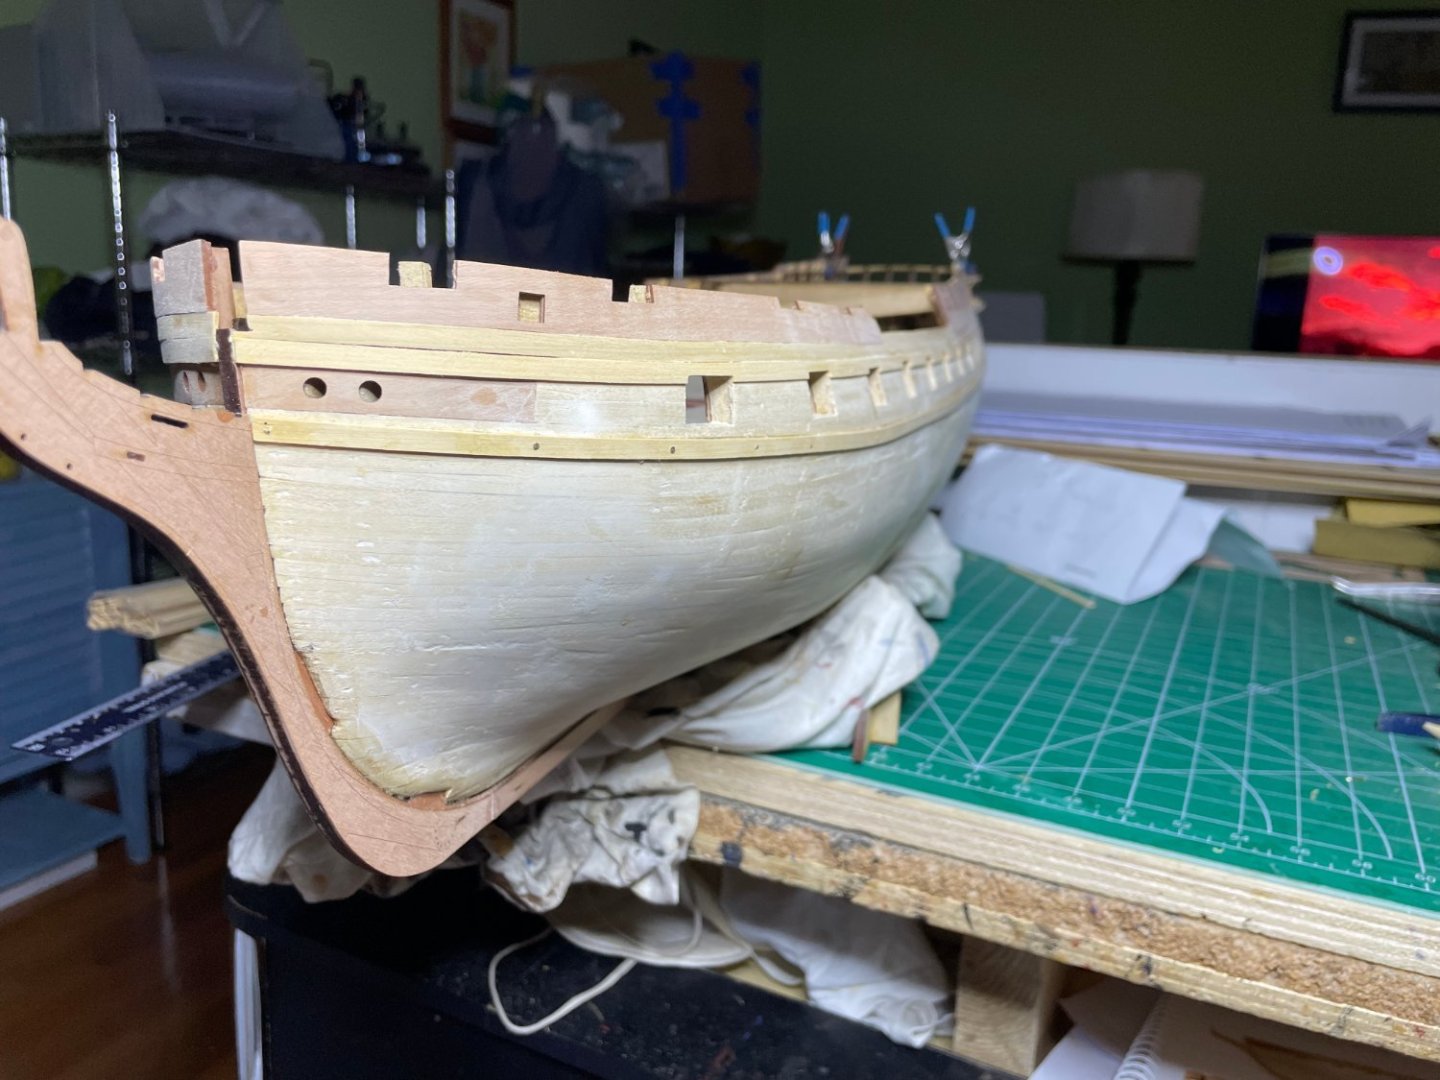
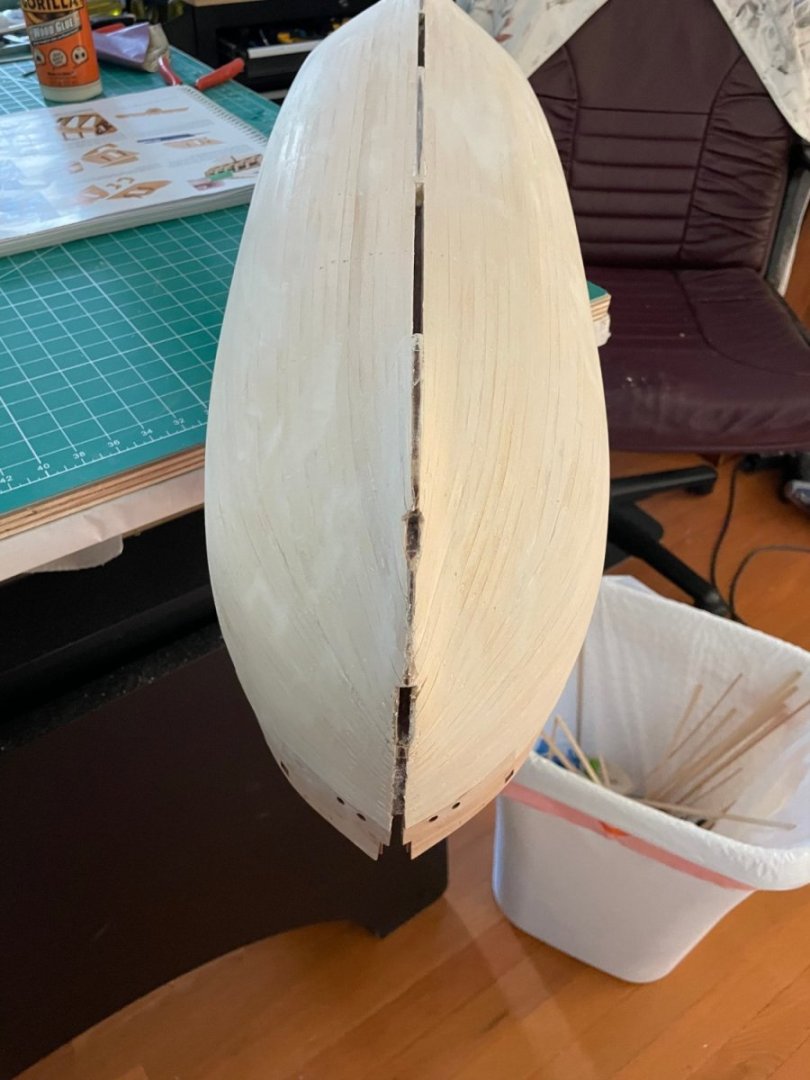
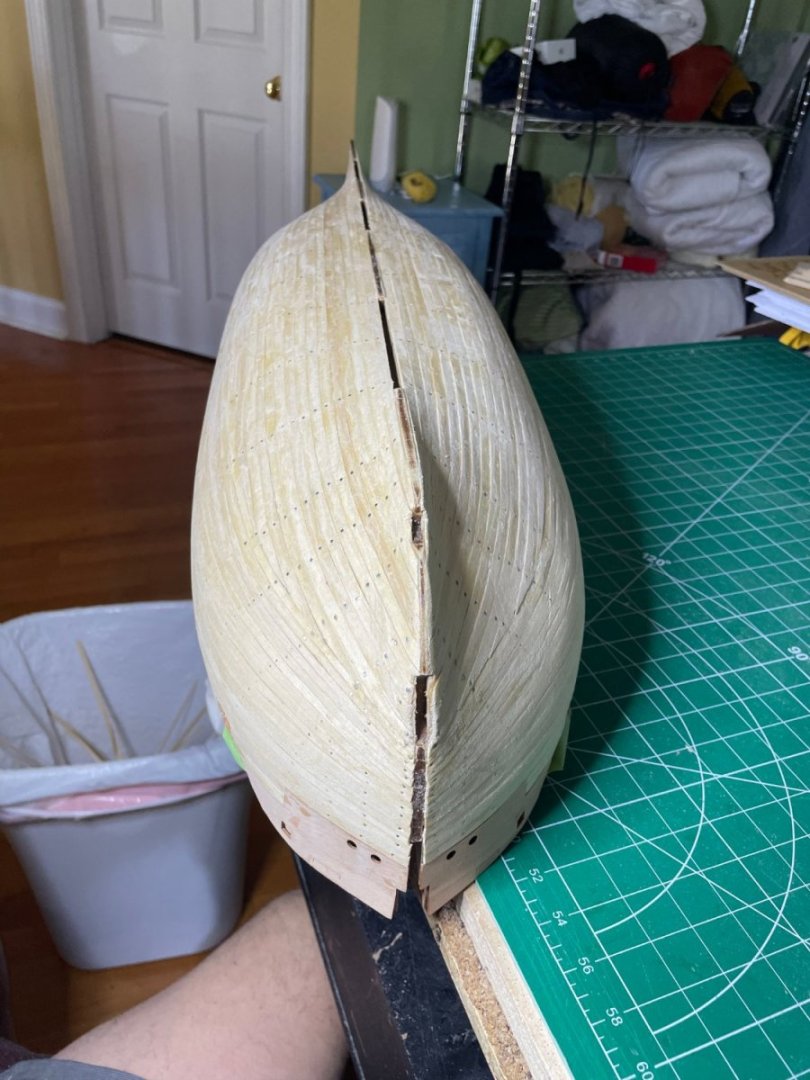
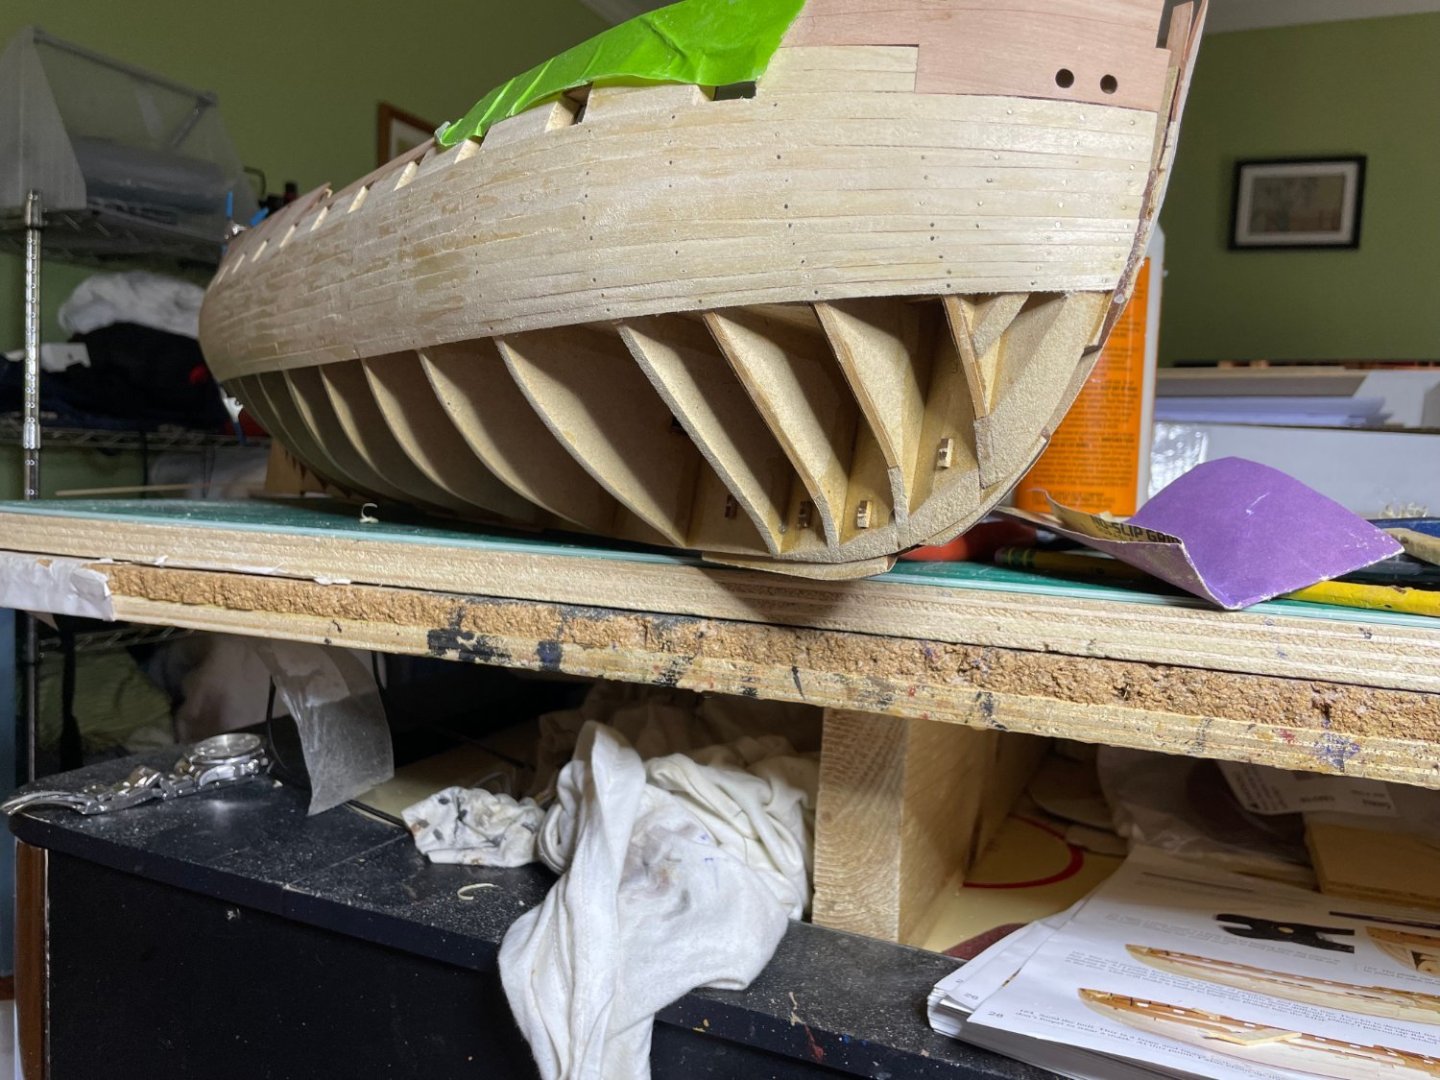
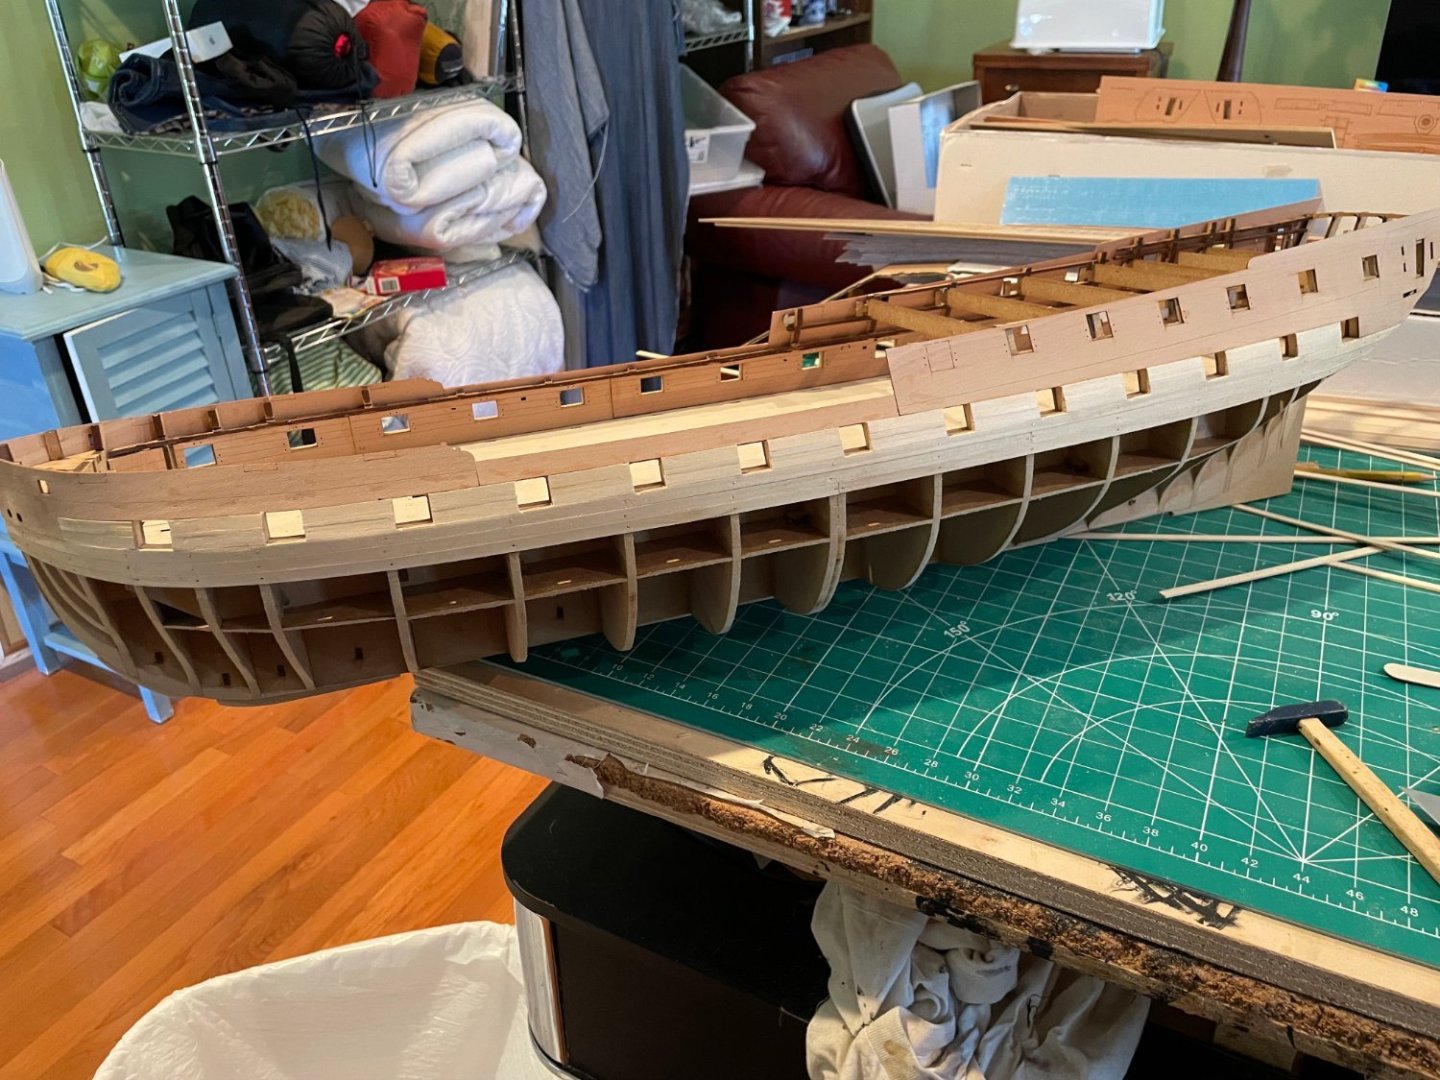
Just finished the firs planking and cleaned up the main deck gun ports. This is the unsanded hull. Not perfect even for the first planking but I plan to copper plate the hull in the end


- 233 replies
-
- 7
-
-
- Indefatigable
- Vanguard Models
- (and 1 more)
-
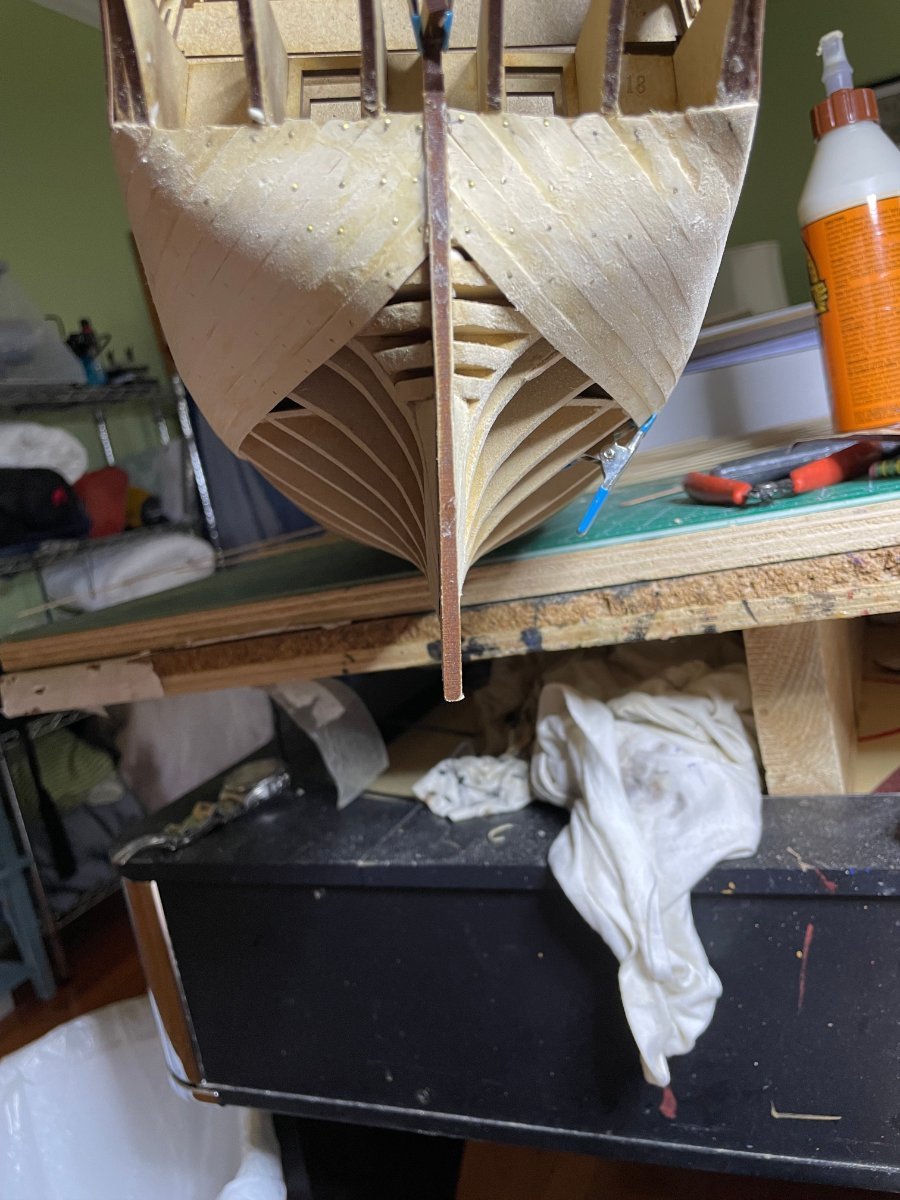
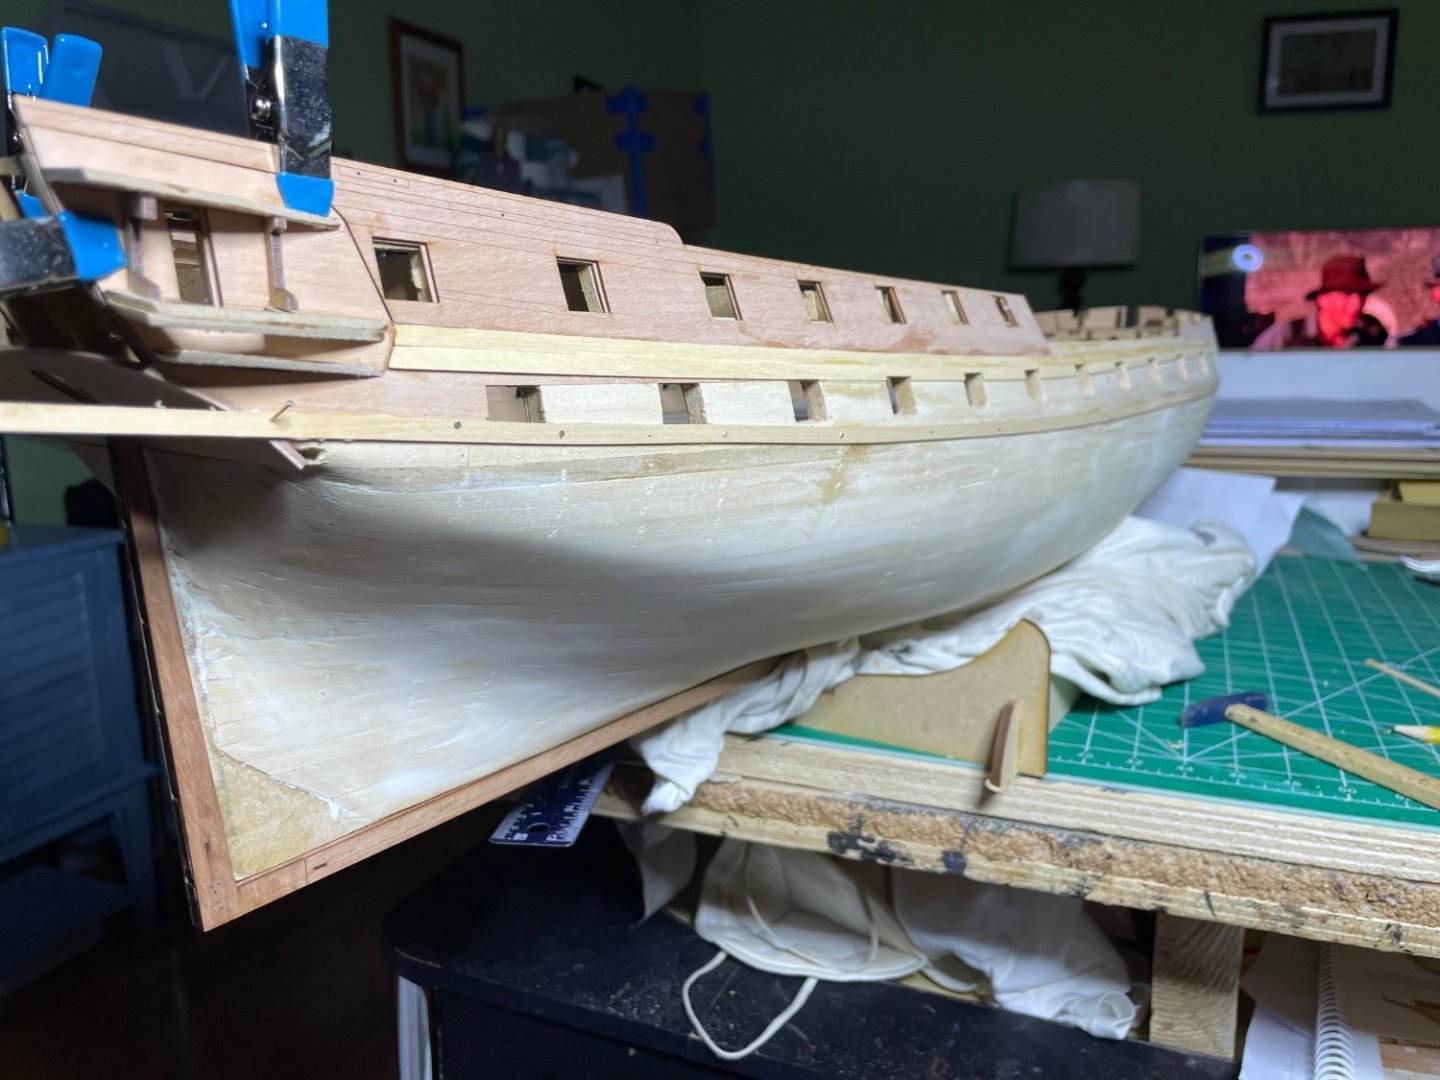
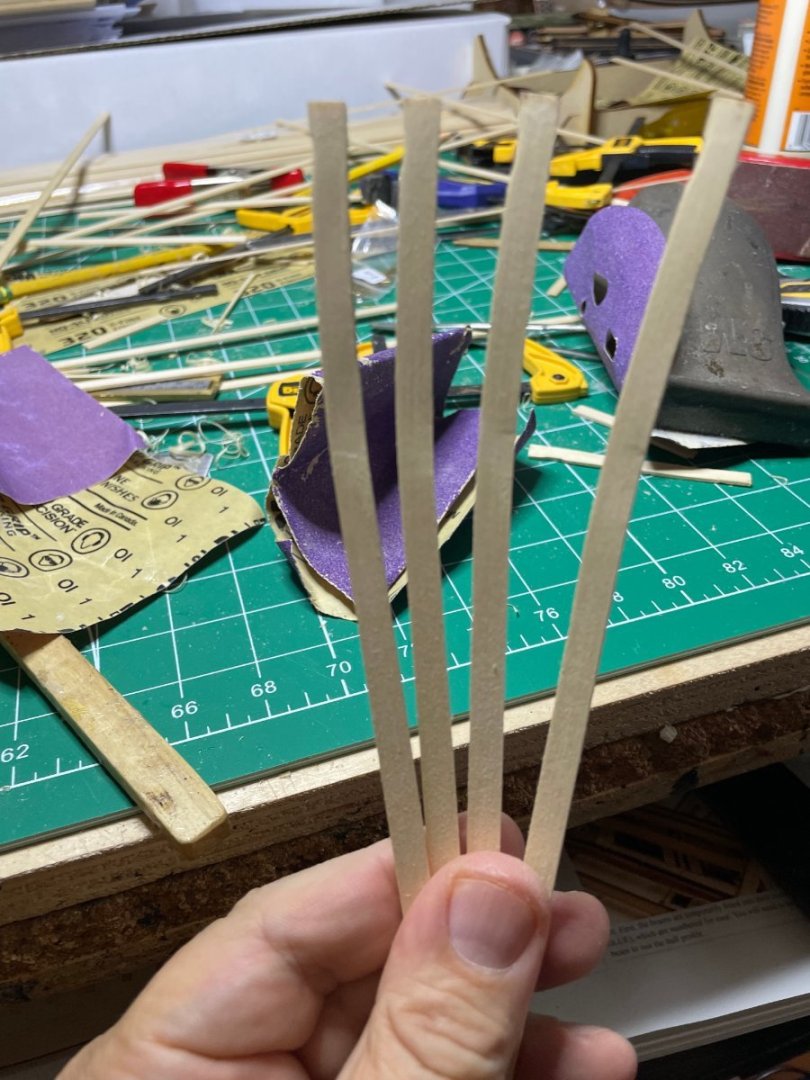
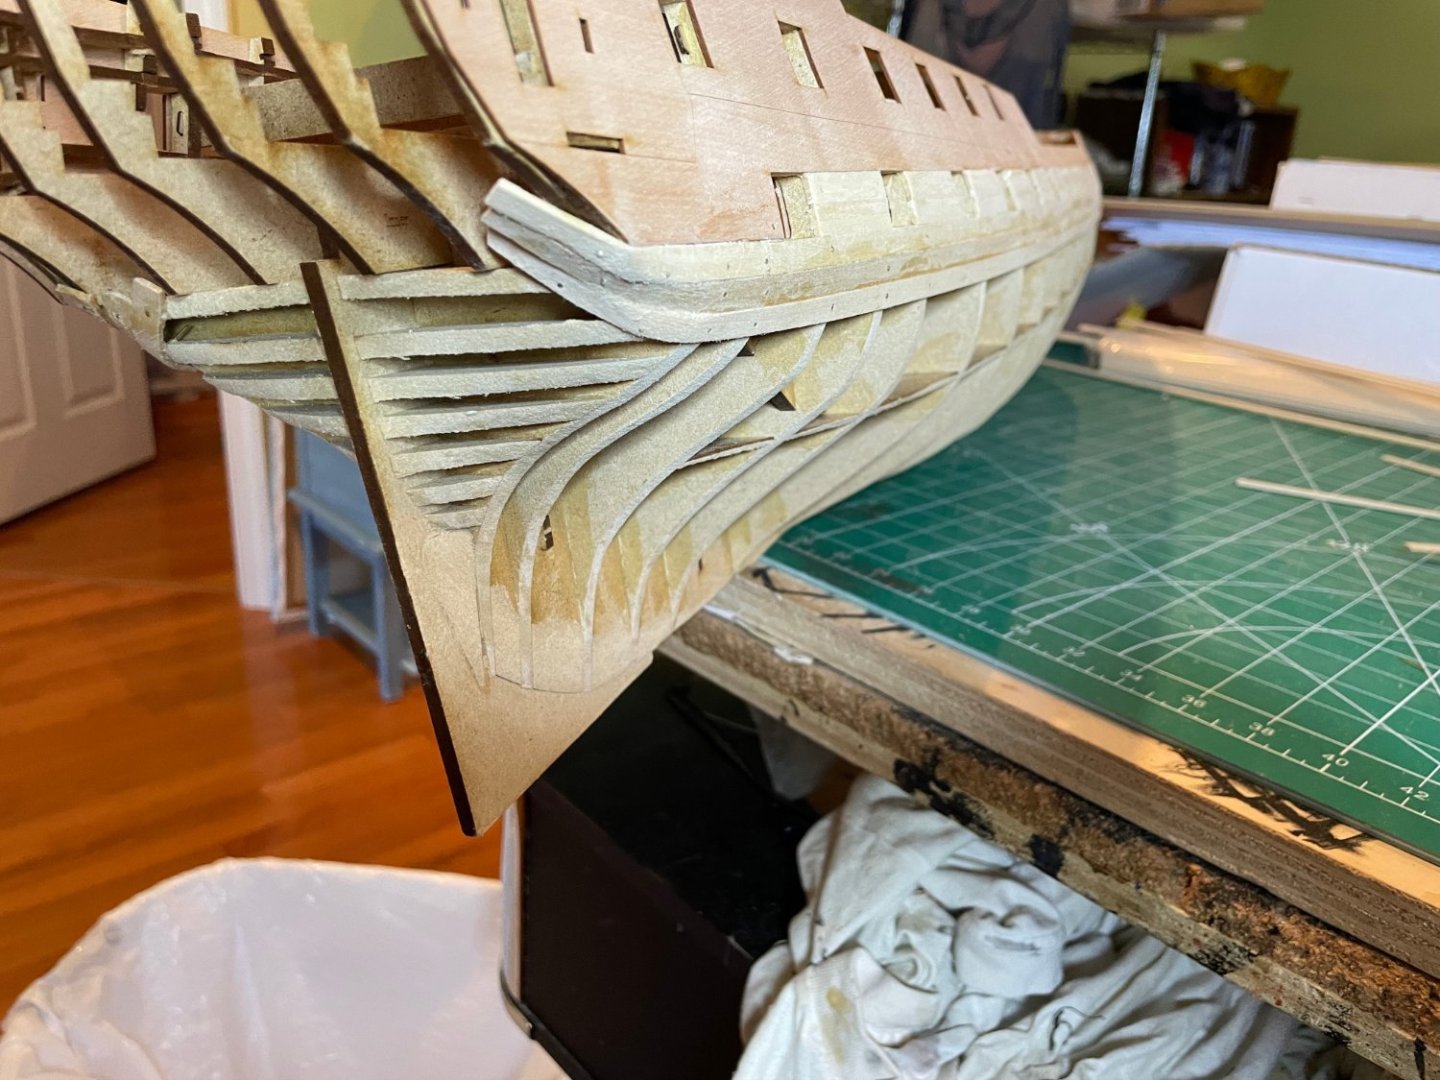
Here is the work of the day. So far not bad. things evened out given the slight variations in widths. I use Glenn's rec of 3m for the taper point and made a few curve pieces. Some shims needed as I faired a bit excessively.


- 233 replies
-
- 10
-
-
- Indefatigable
- Vanguard Models
- (and 1 more)
-
Thanks as I am done for the day I can try tomorrow.
- 233 replies
-
- 1
-
-
- Indefatigable
- Vanguard Models
- (and 1 more)
-
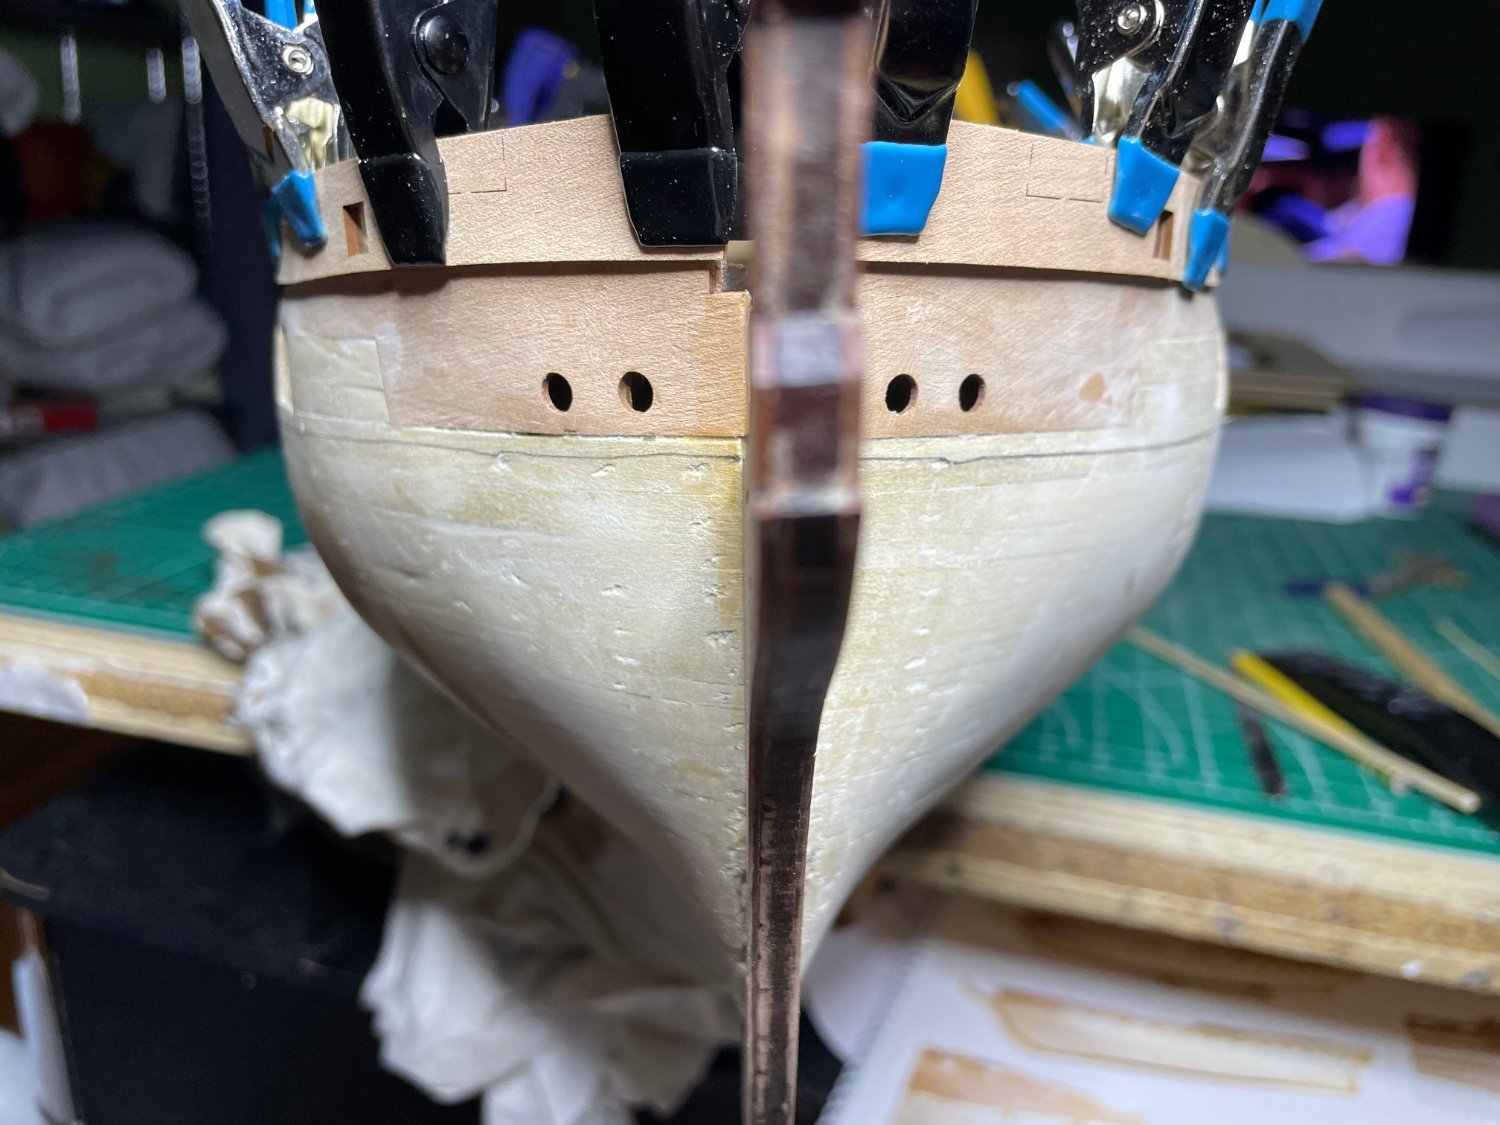
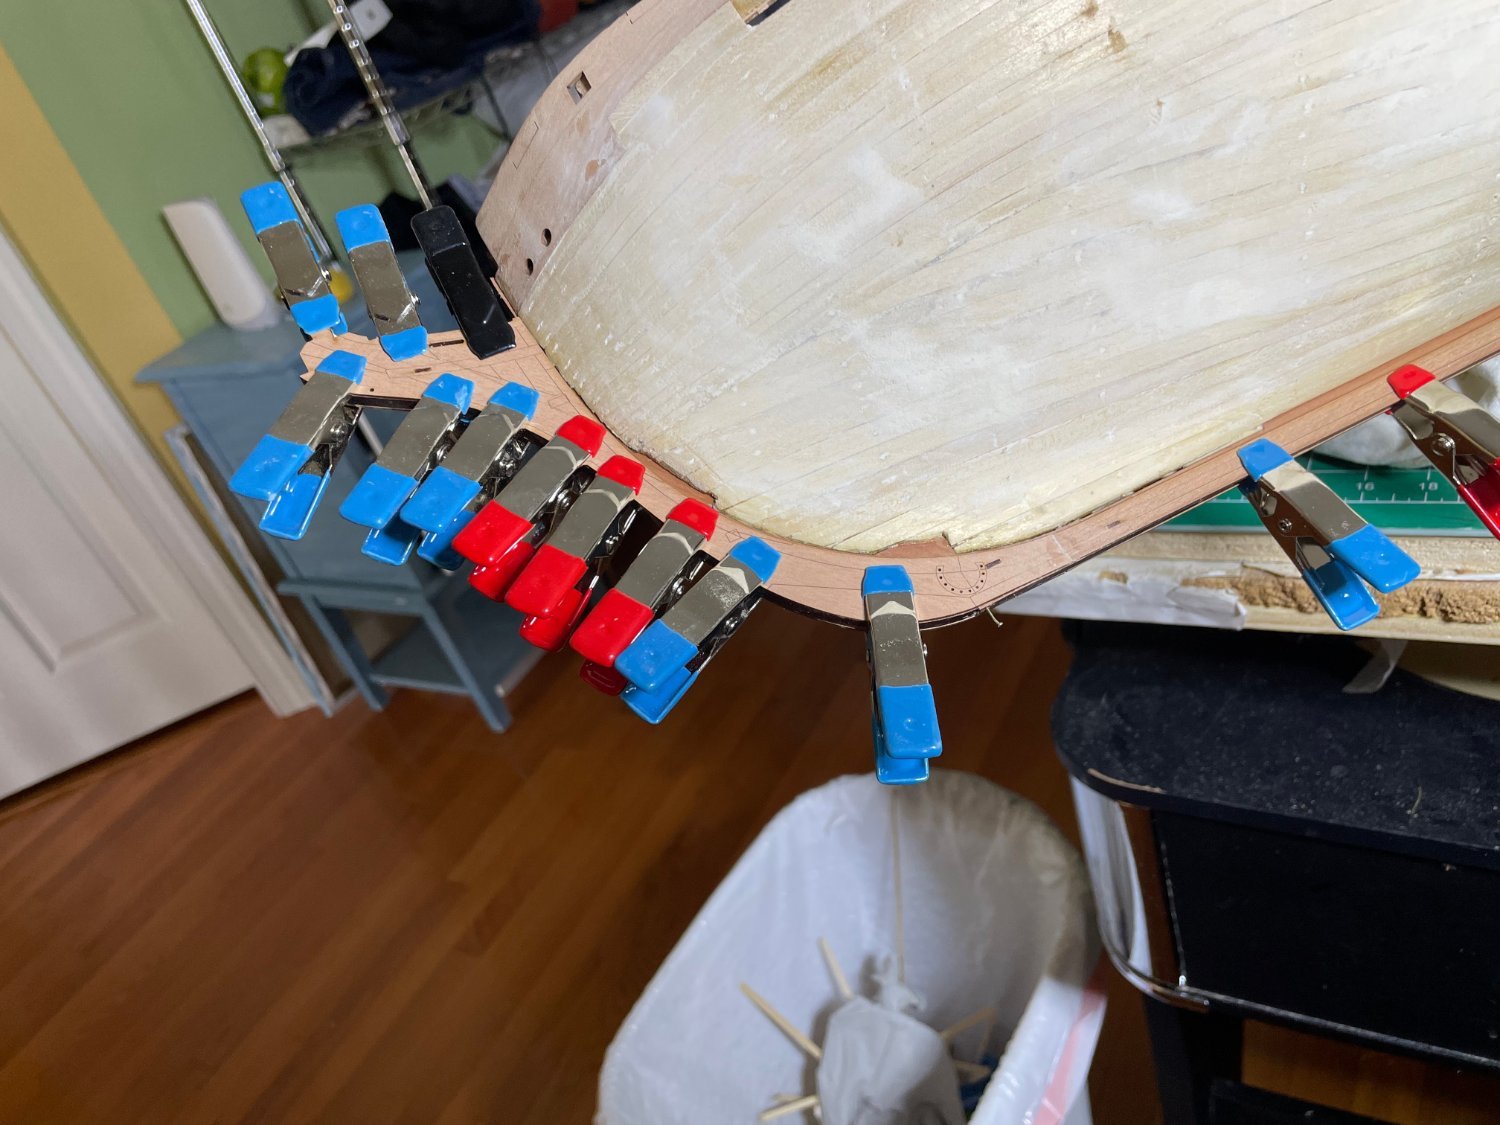
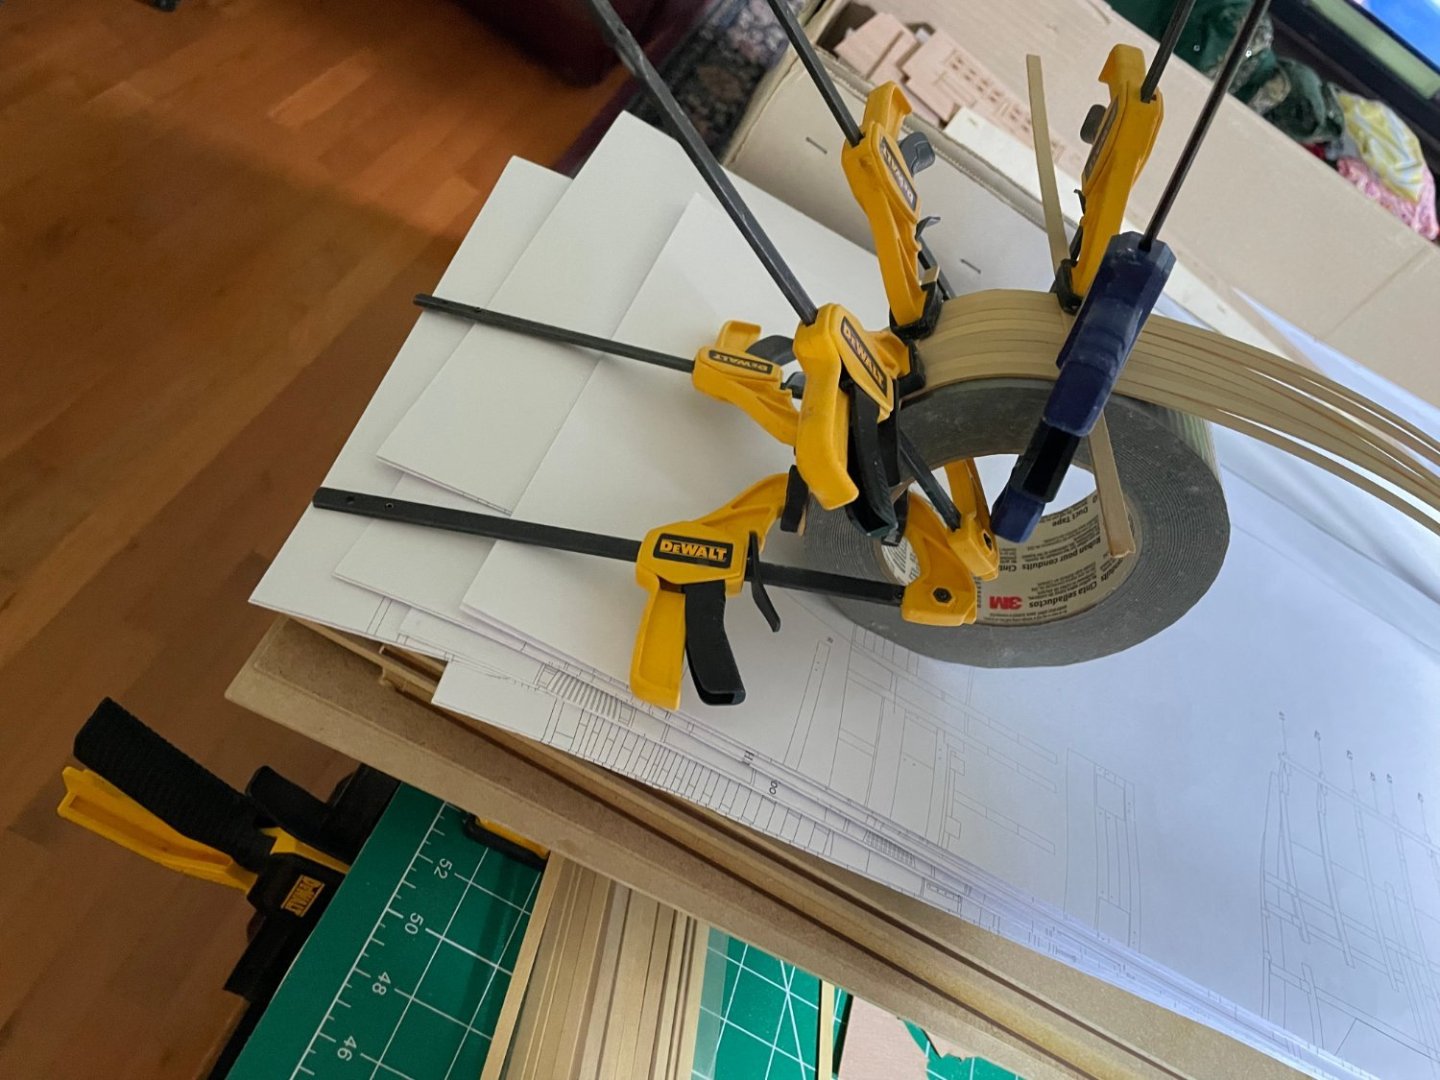
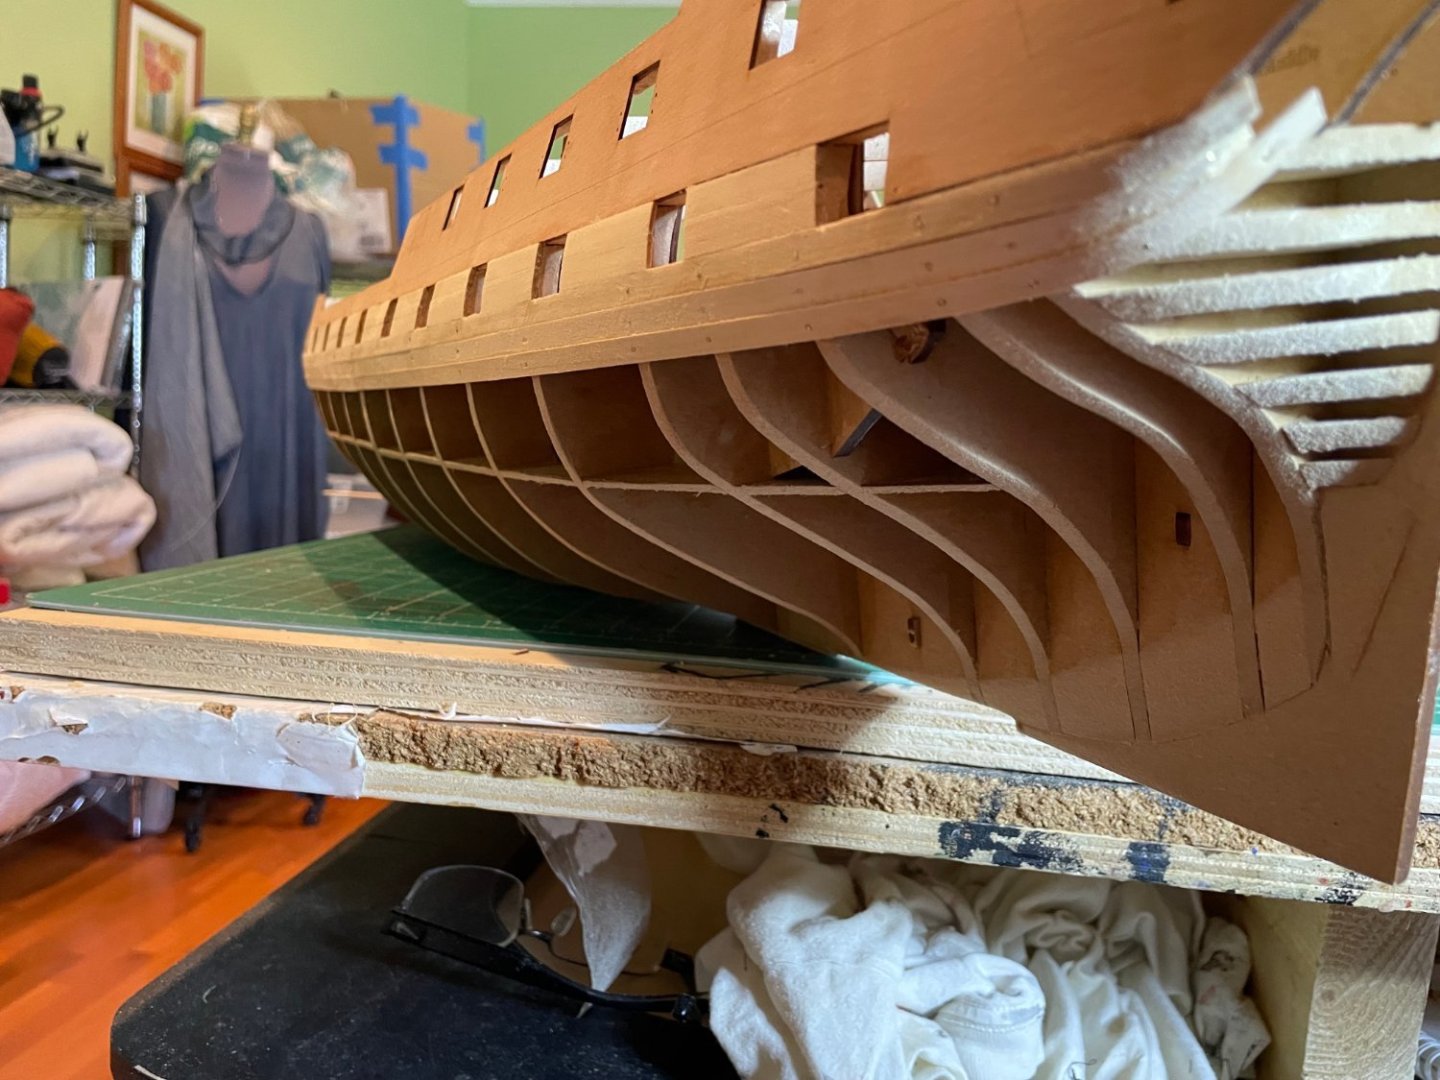
Now a few rows in, mostly ok but slight asymmetry on the stern. Fairing the edges of the planks makes things nice and tight. For the stern I presoaked and bent several pieces around a roll of tape to make it easier on the stern bend.


- 233 replies
-
- 8
-
-
- Indefatigable
- Vanguard Models
- (and 1 more)
-
Thanks but please take care of your back, hope you are improving.
- 233 replies
-
- 3
-

-
-
- Indefatigable
- Vanguard Models
- (and 1 more)
-
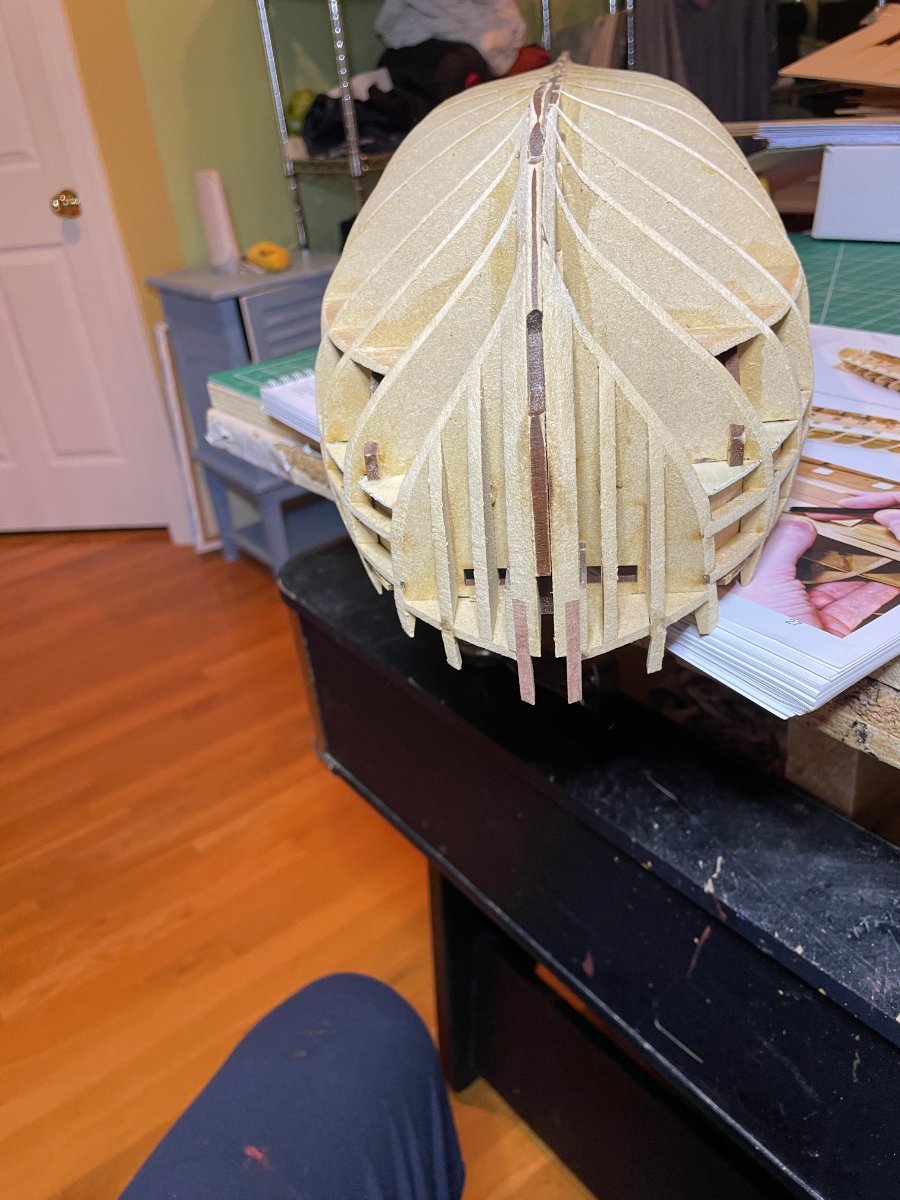
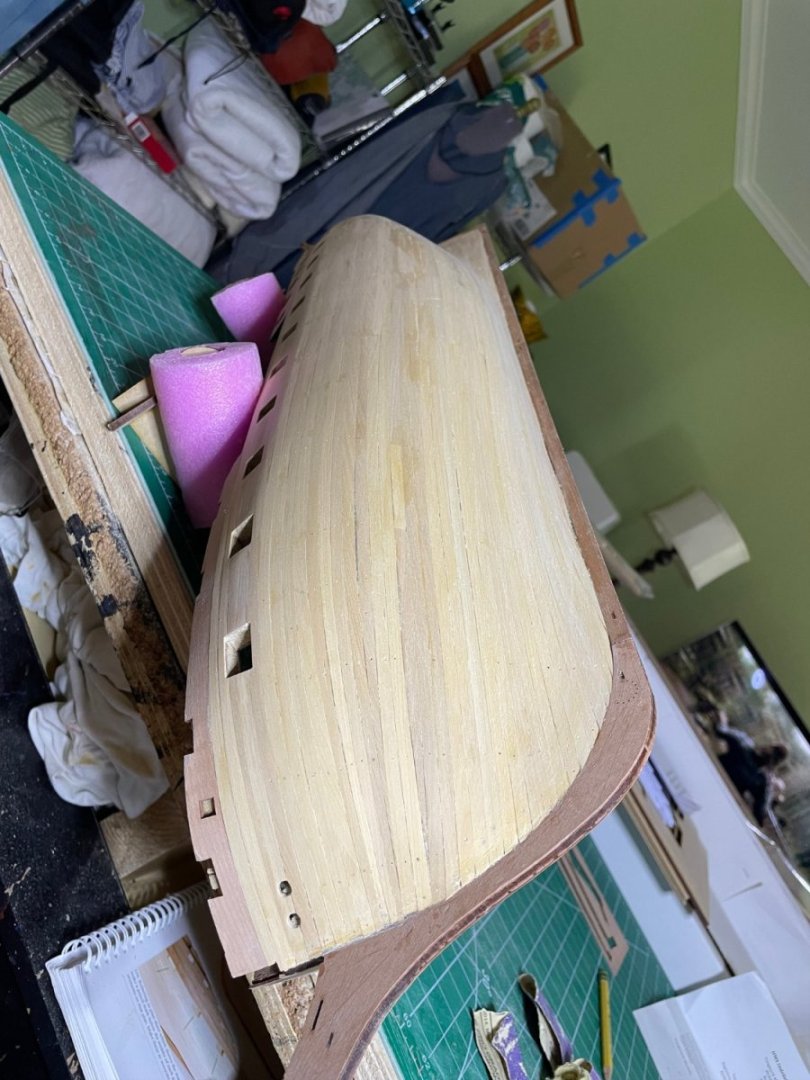
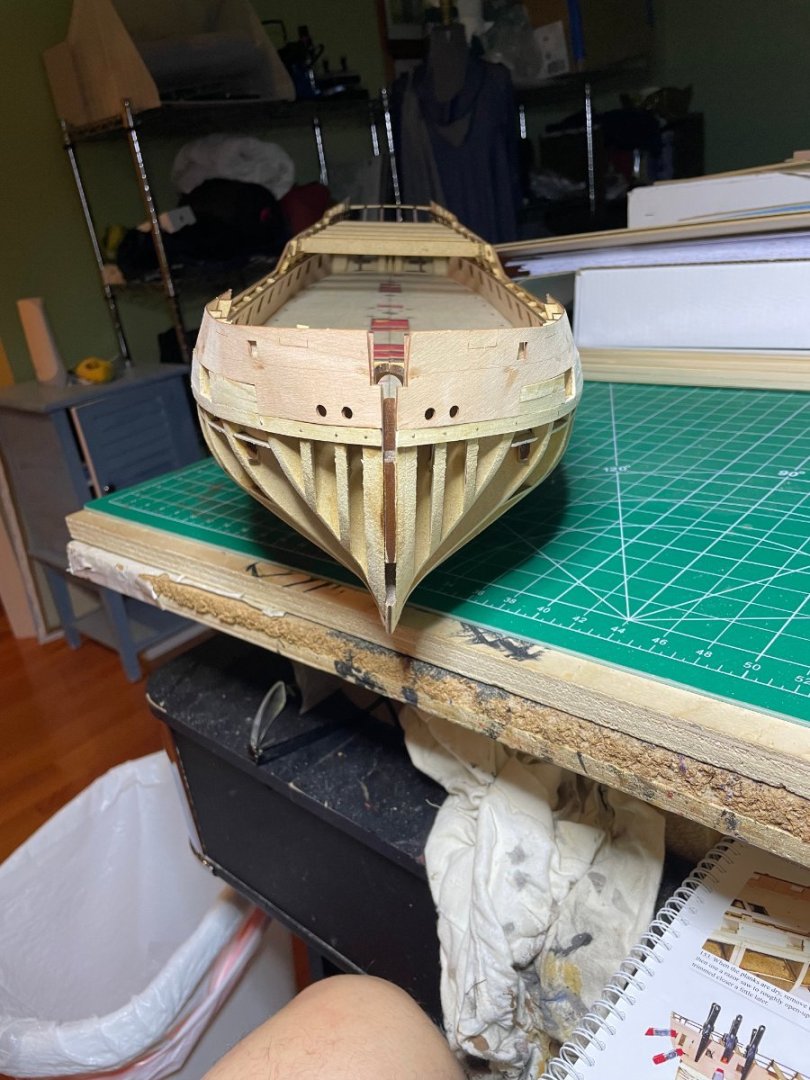
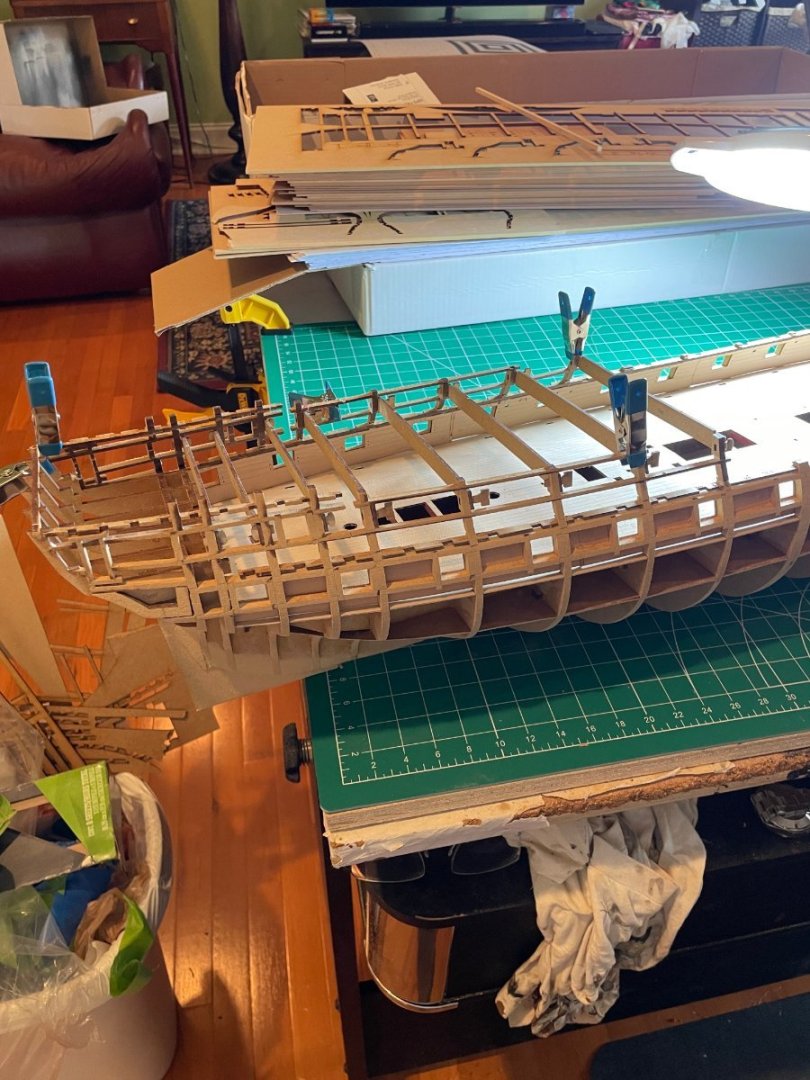
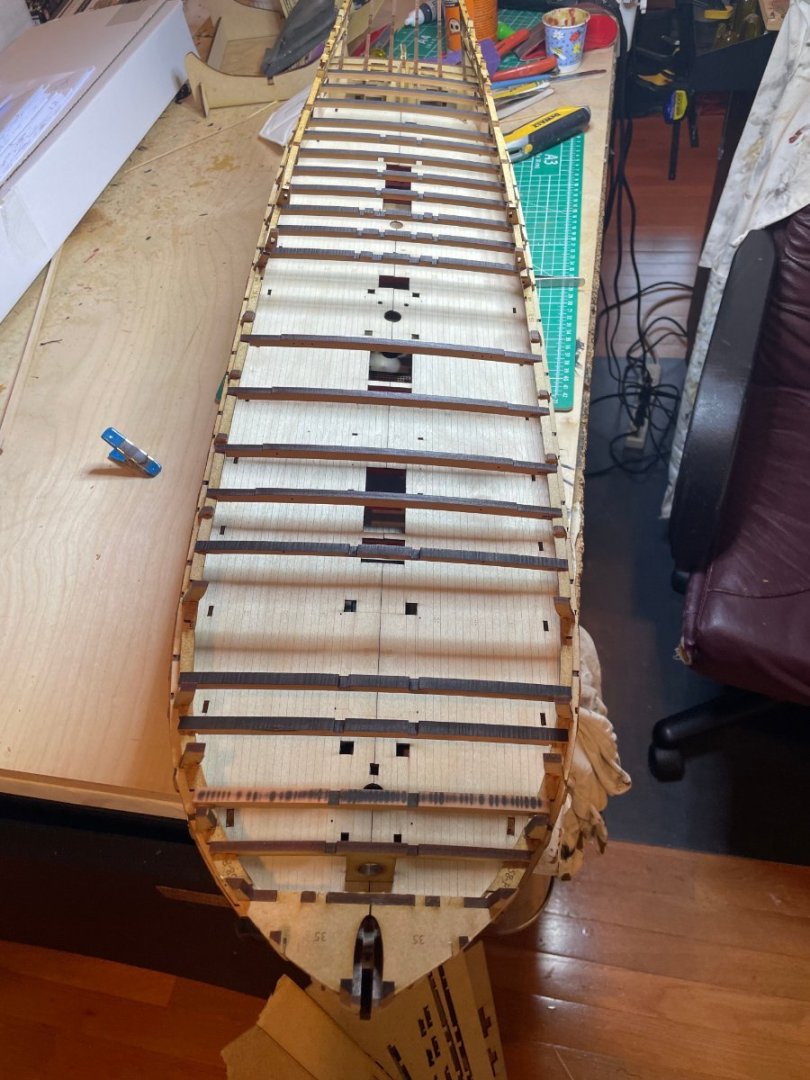
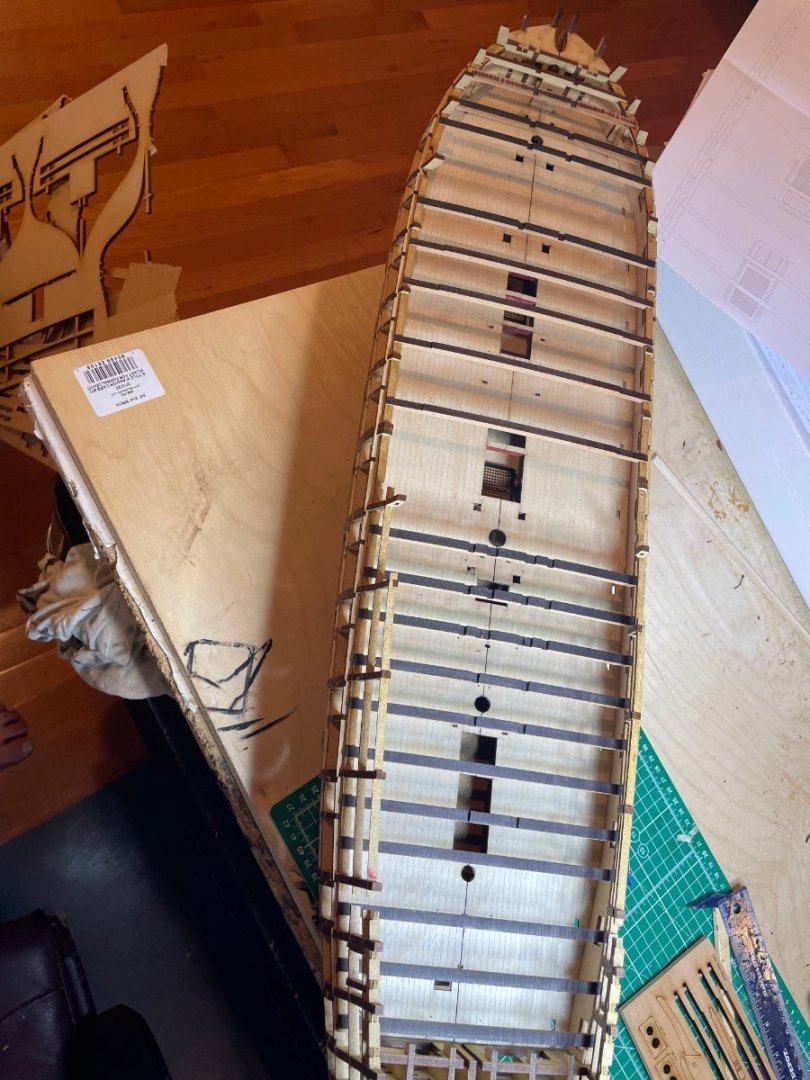
So first part done, now time to plank the main part of the hull. IMG_6736.heic


- 233 replies
-
- 8
-
-
- Indefatigable
- Vanguard Models
- (and 1 more)
-
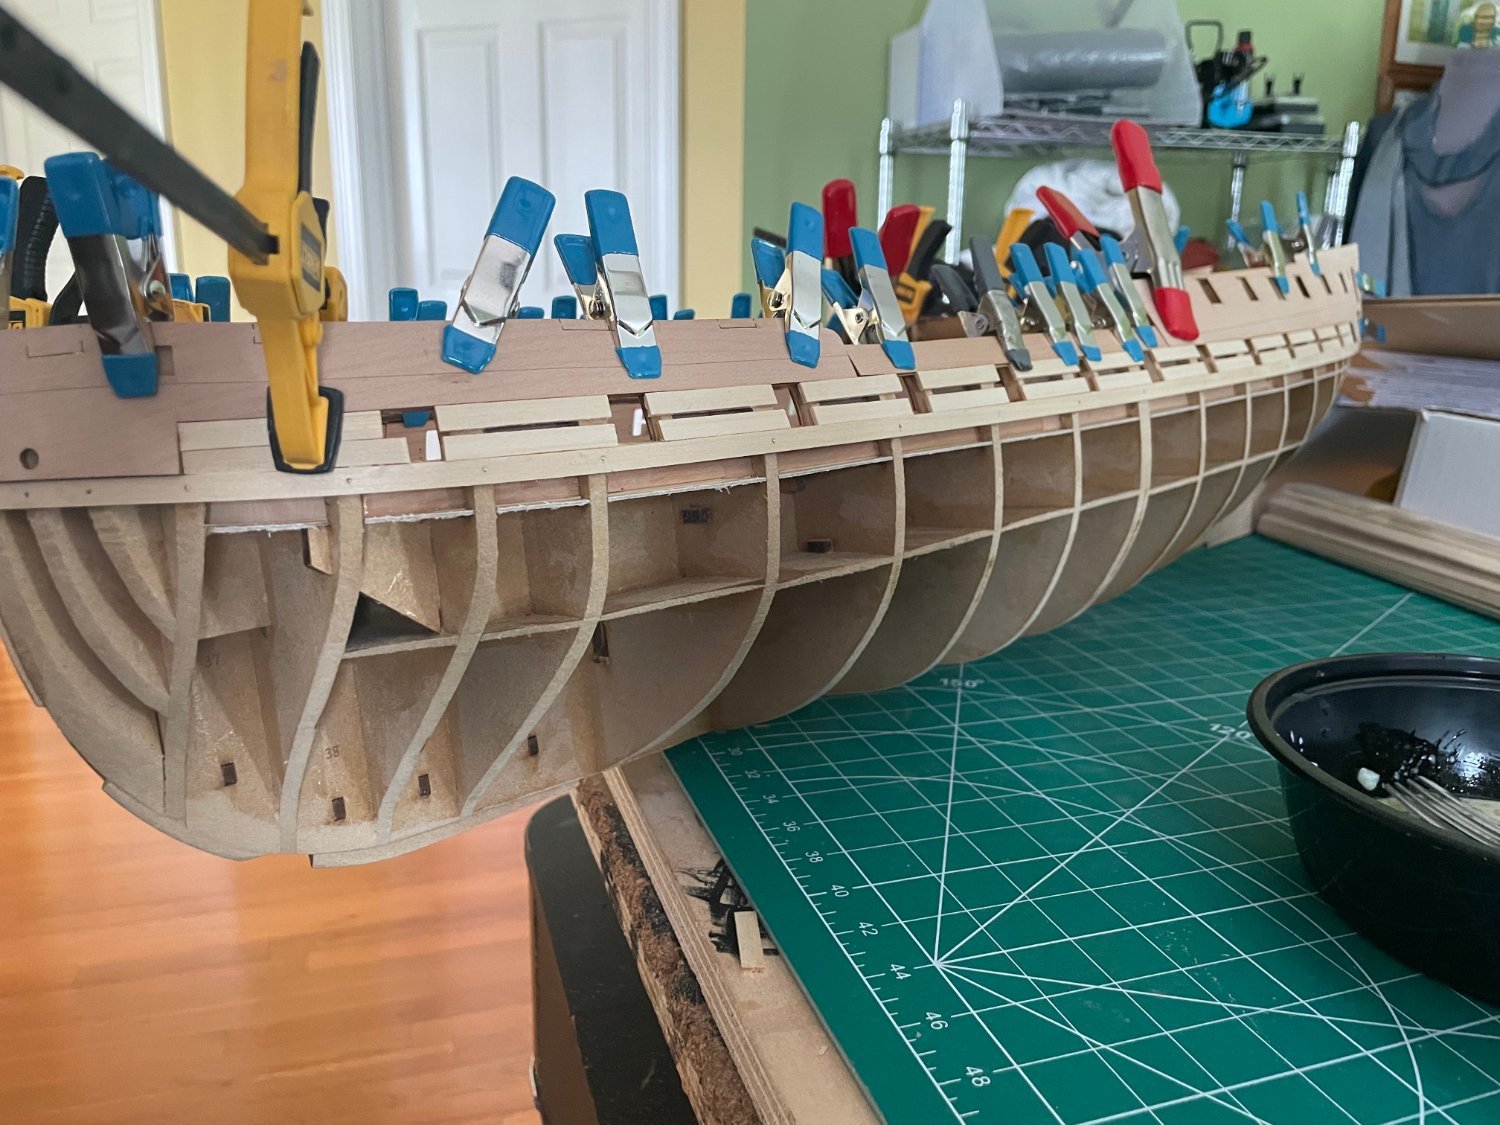
So trying to keep up with Kevin's great work. First plank on, good feeling Took awhile to line things up, again lots of clamps. Sta Starting the in between planks


- 233 replies
-
- 10
-
-
- Indefatigable
- Vanguard Models
- (and 1 more)
-
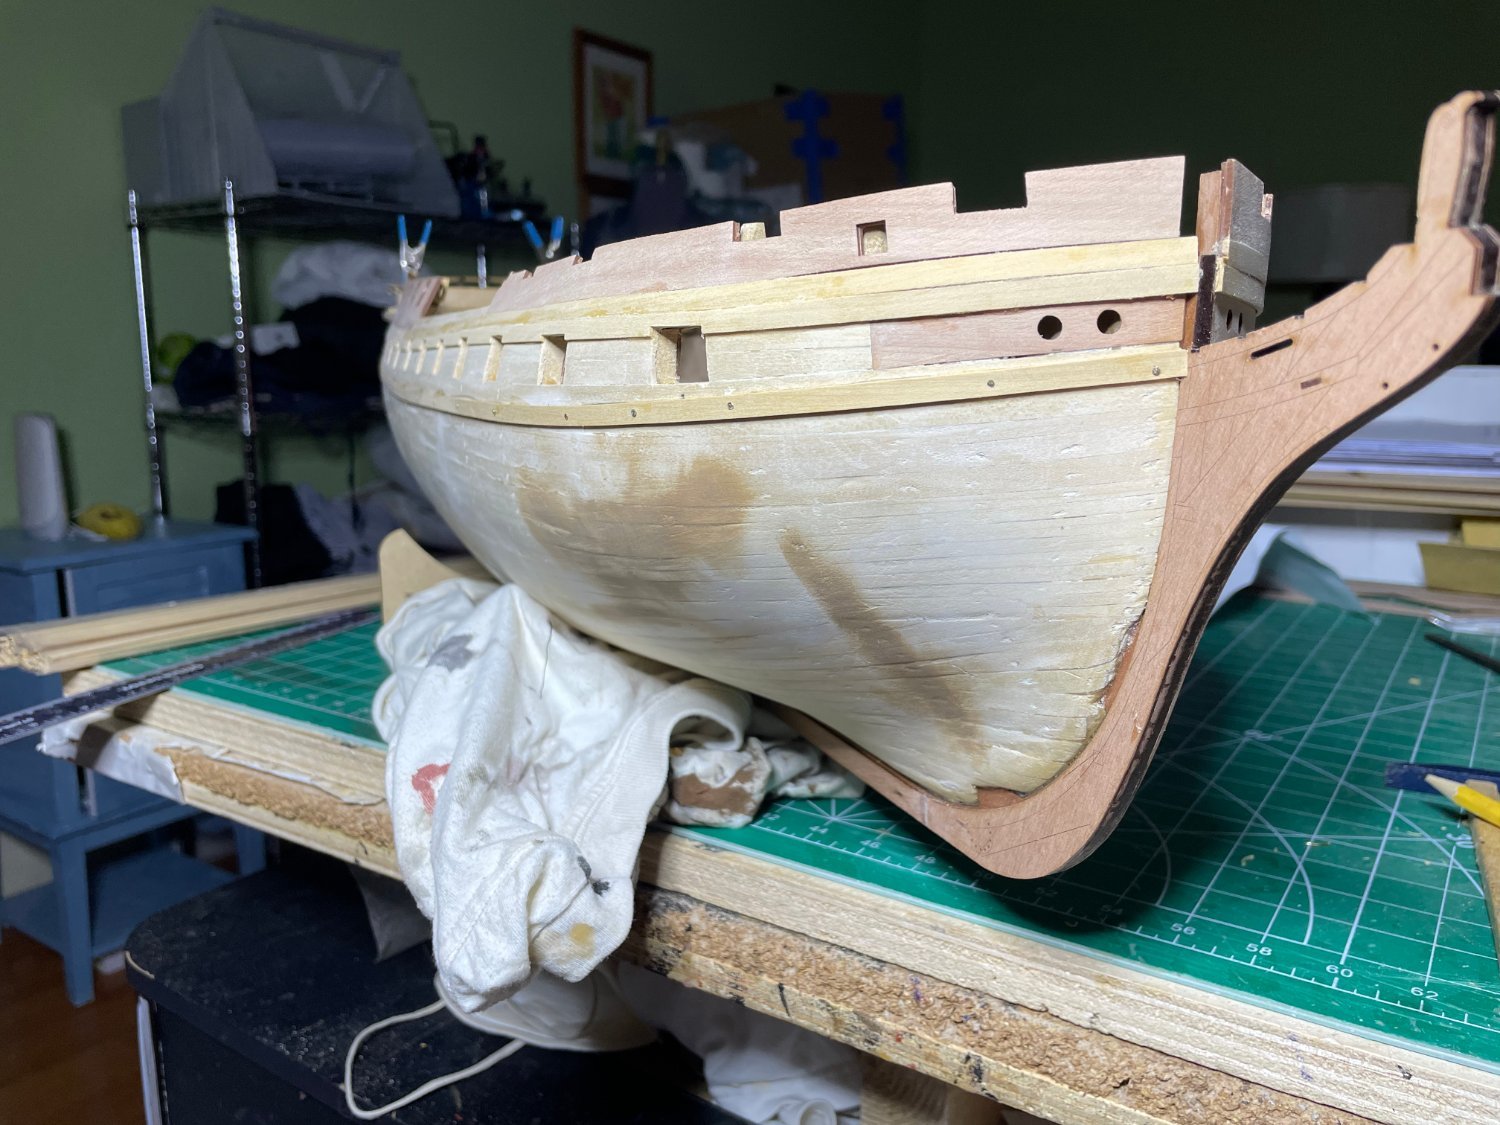
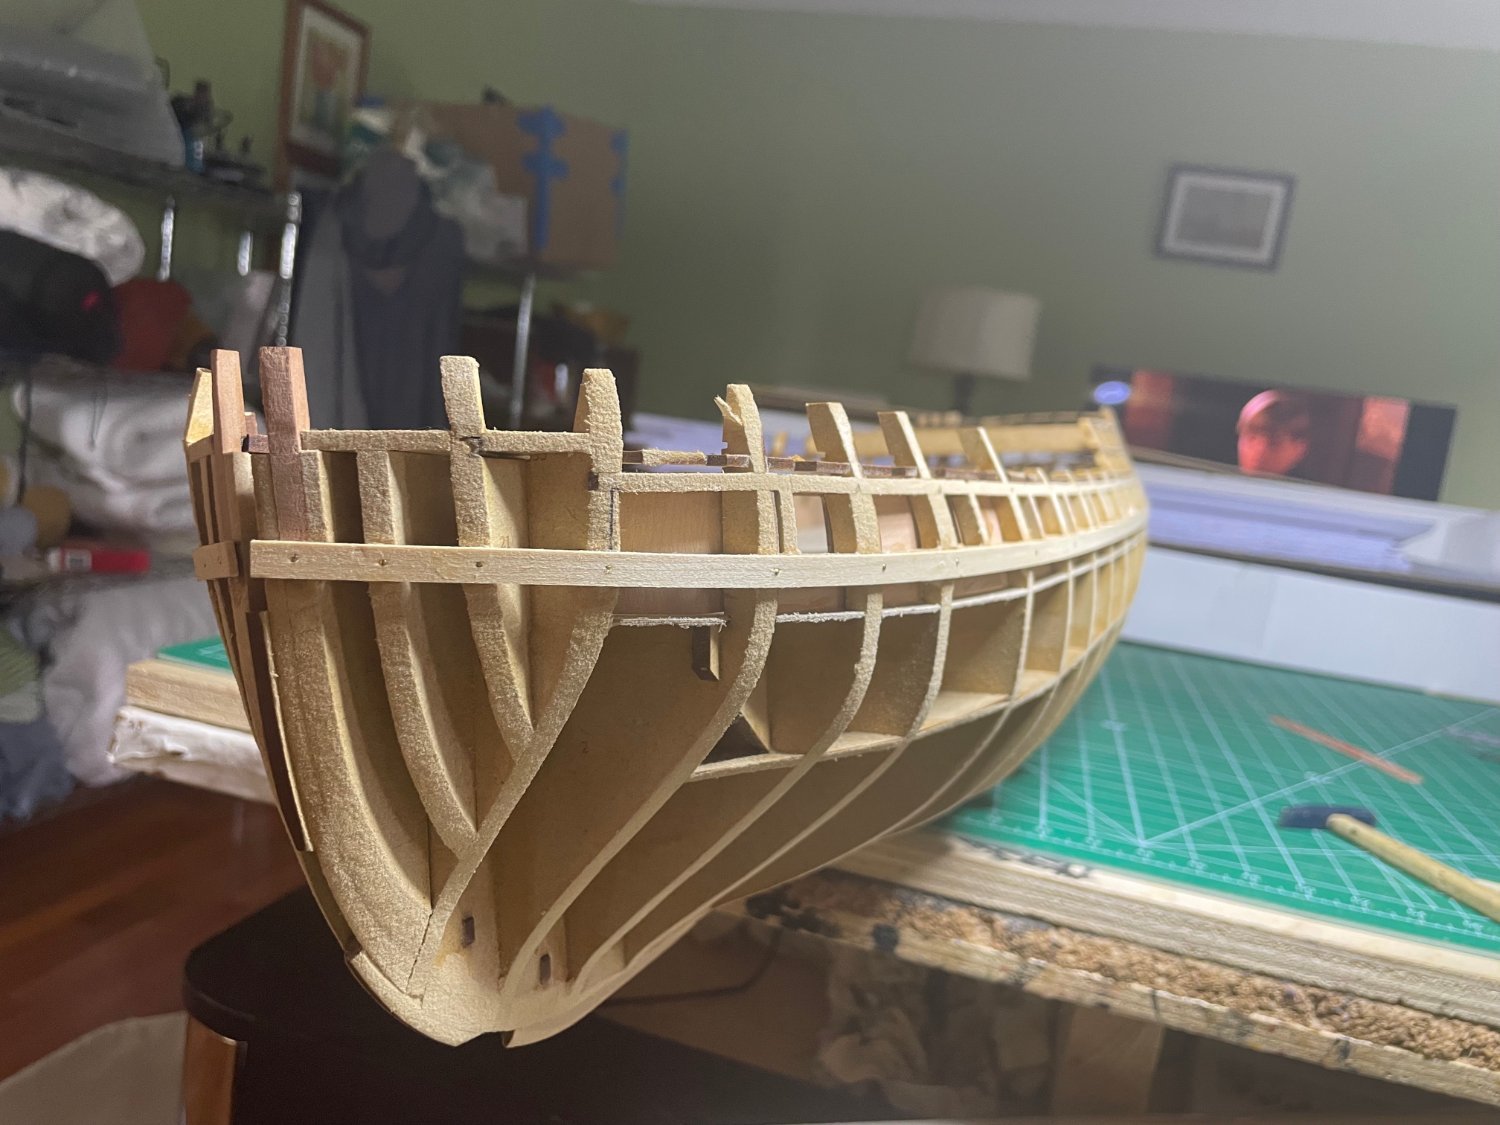
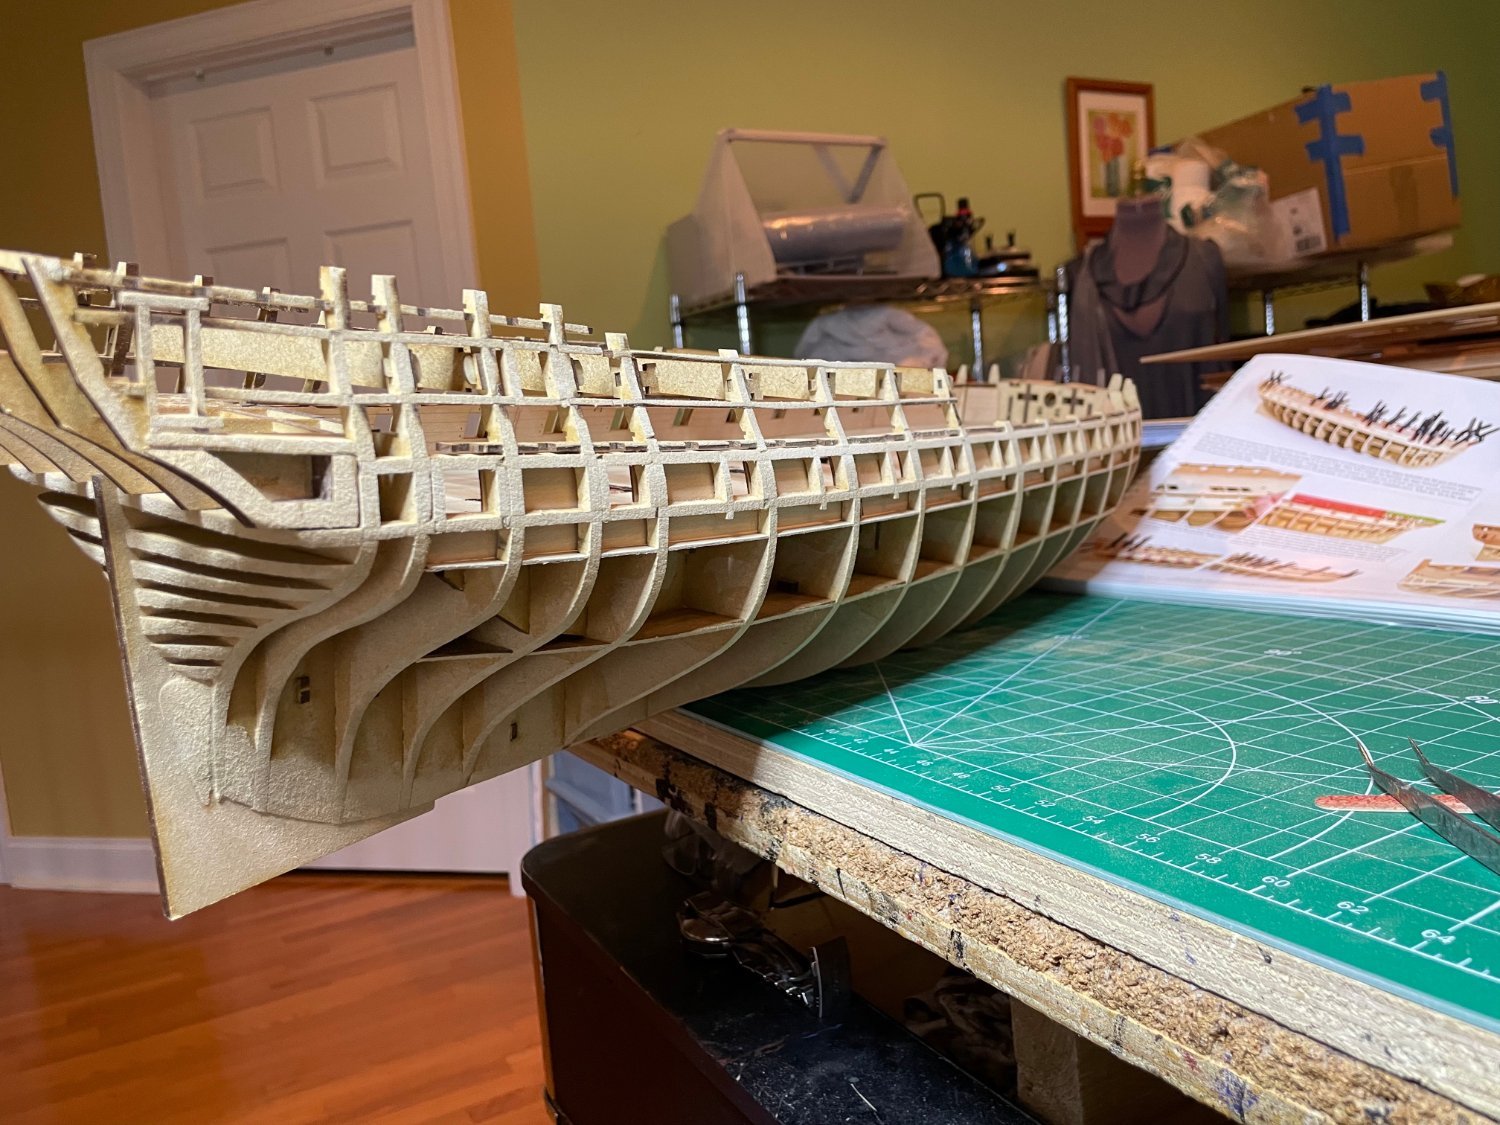
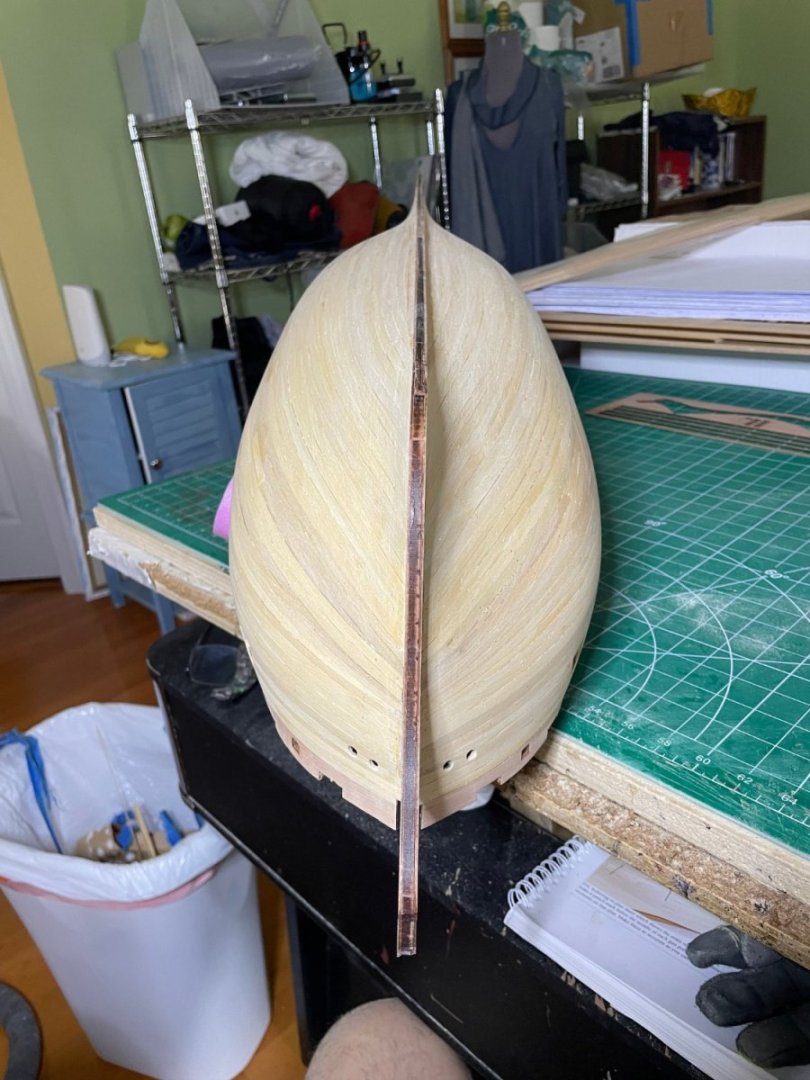
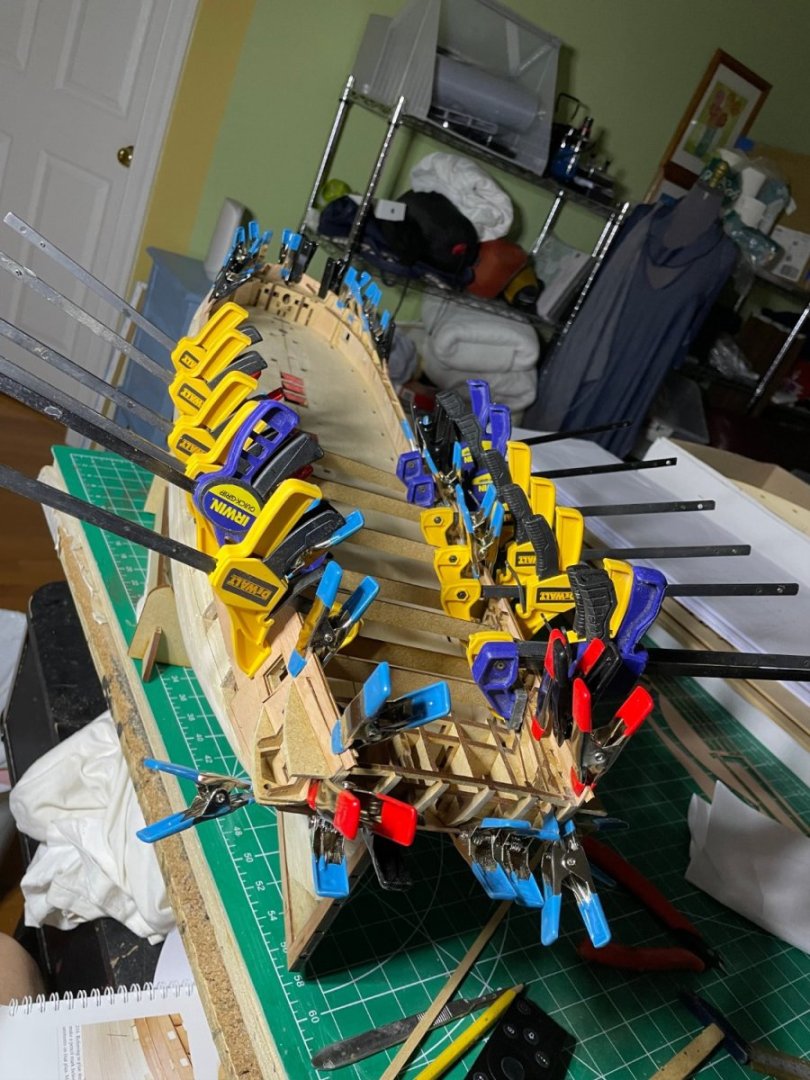
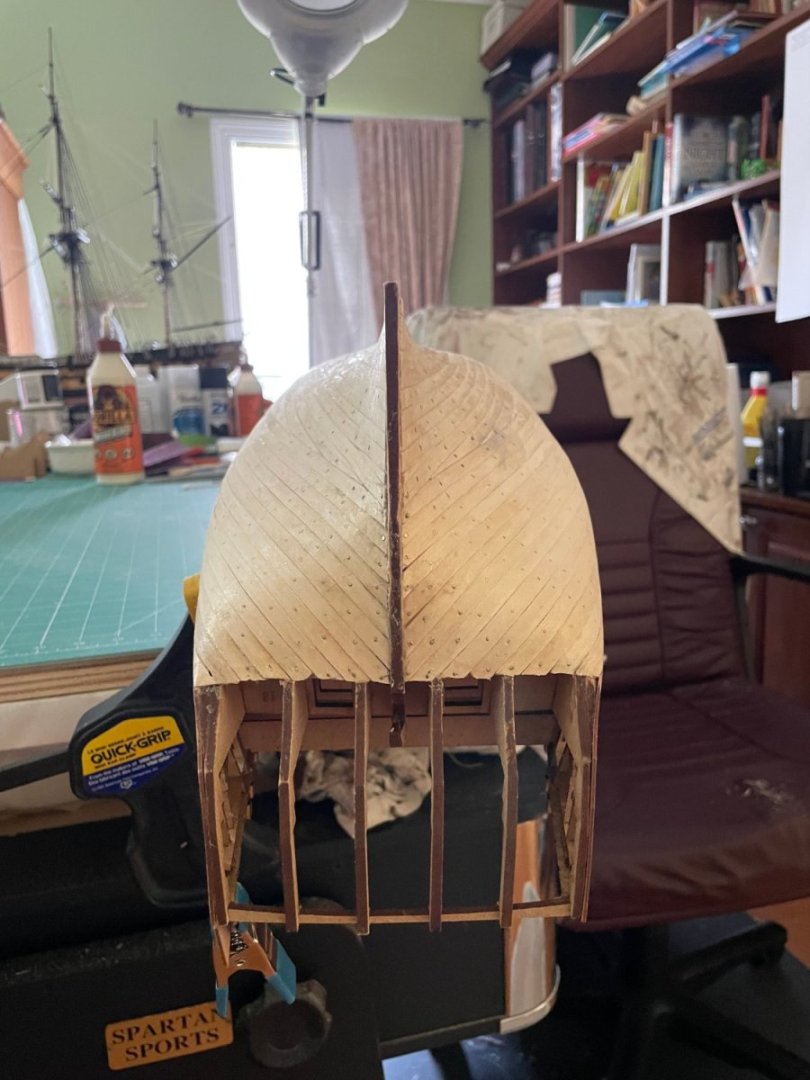
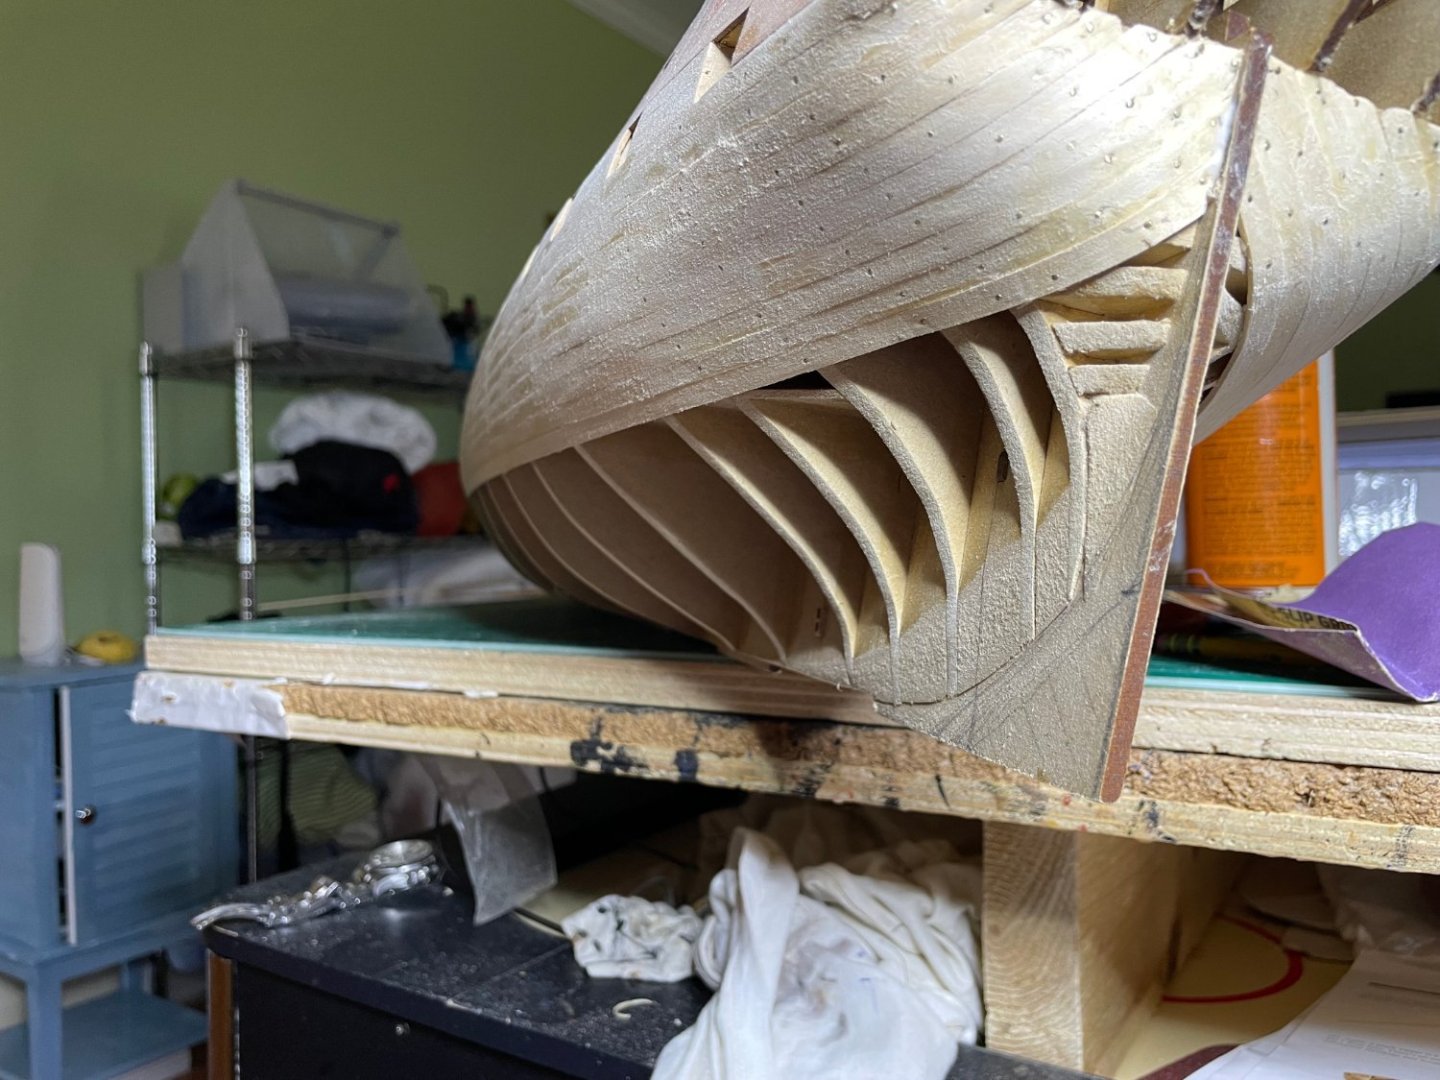
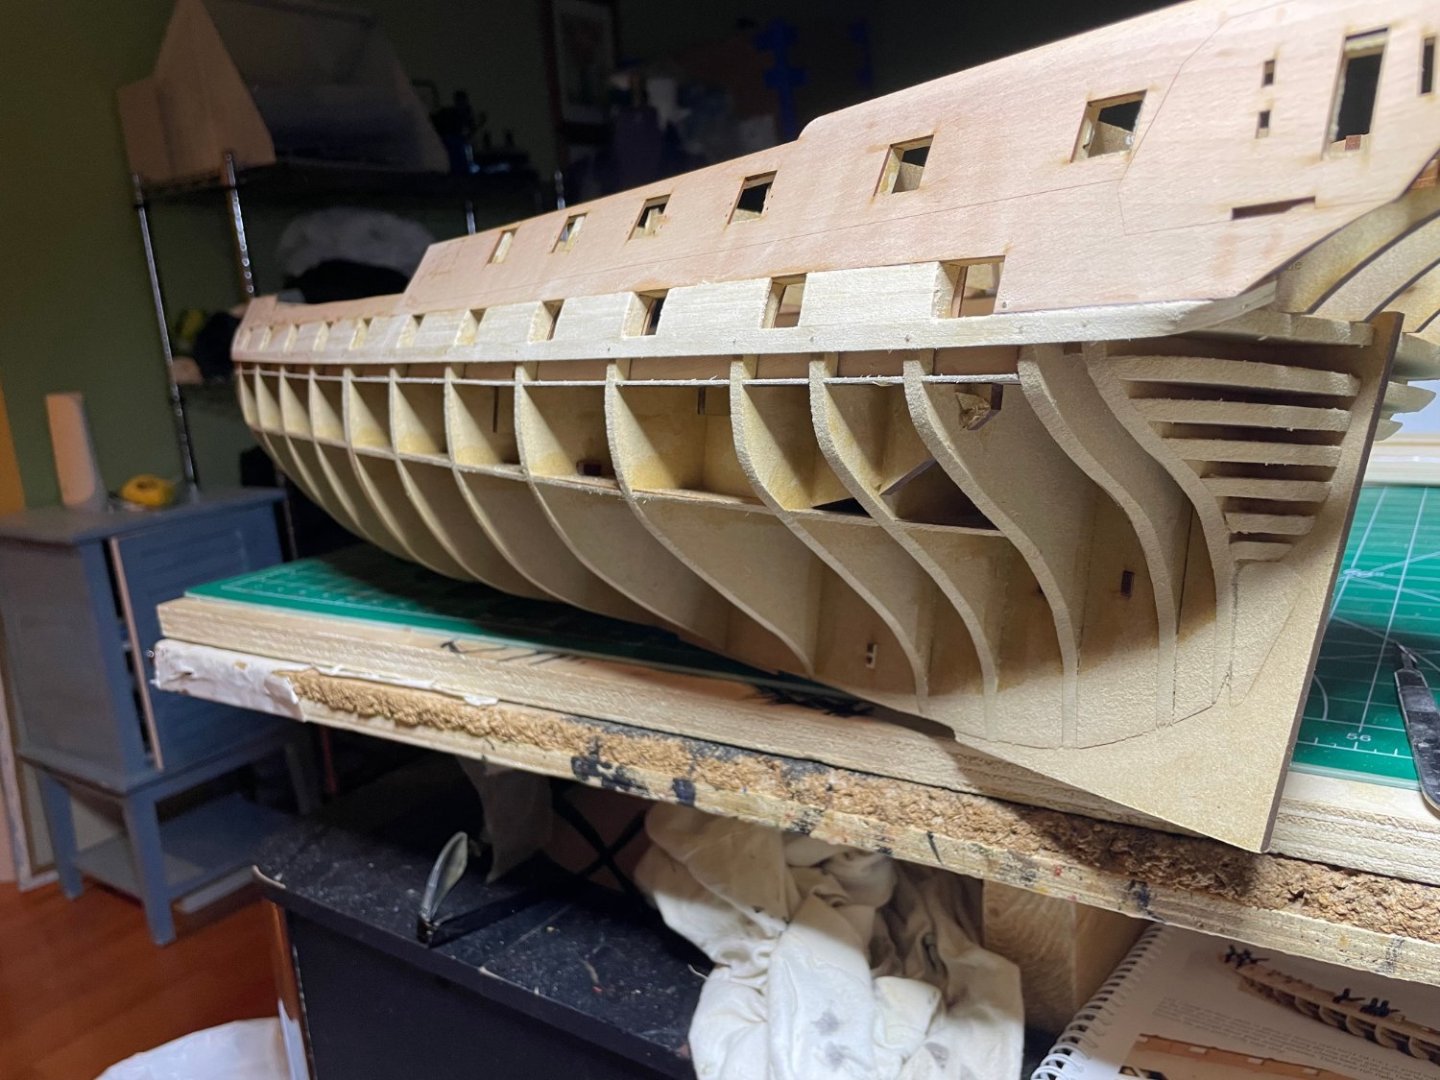
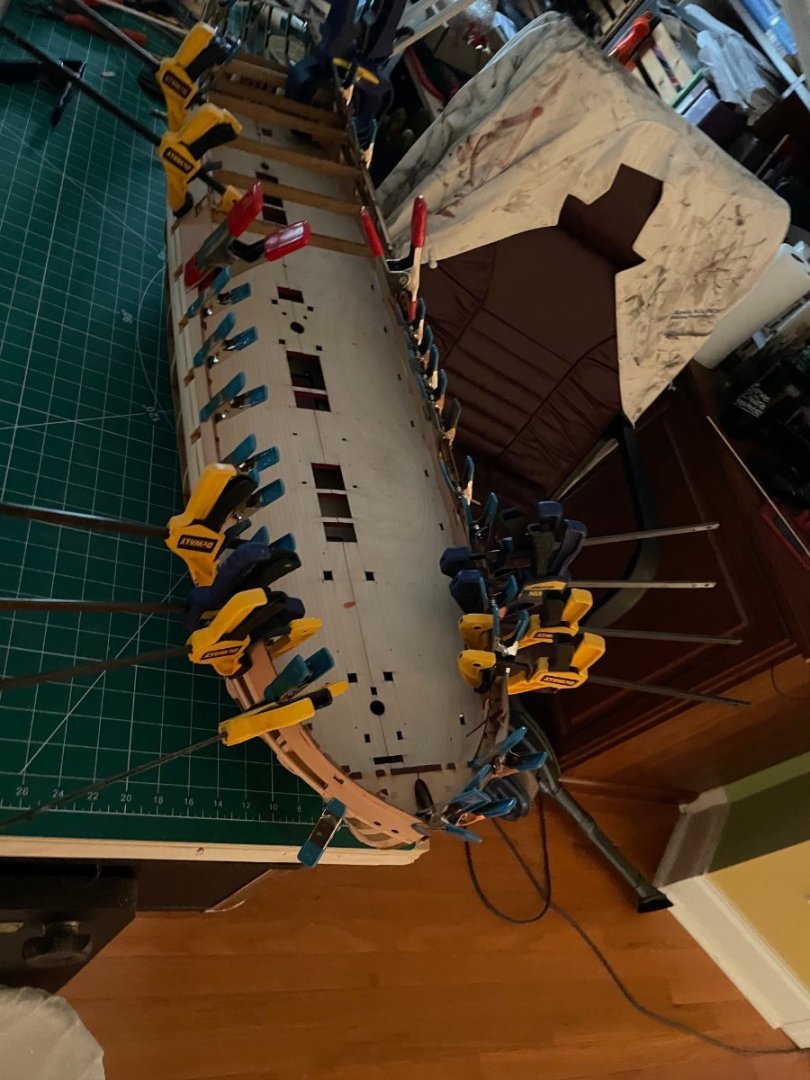
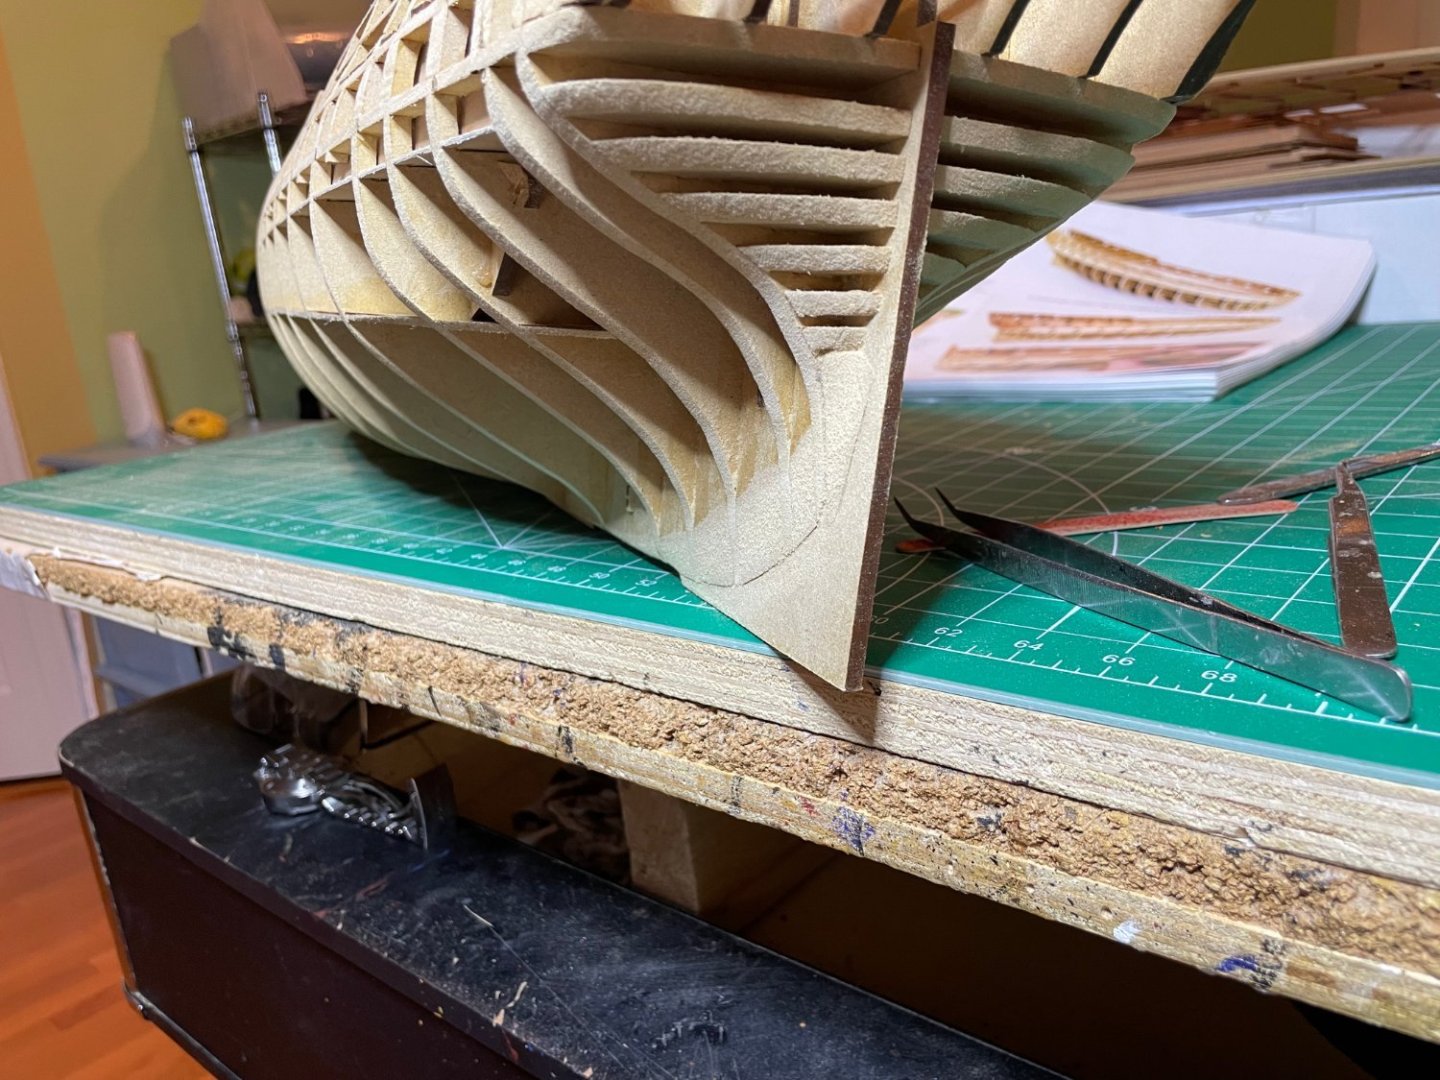
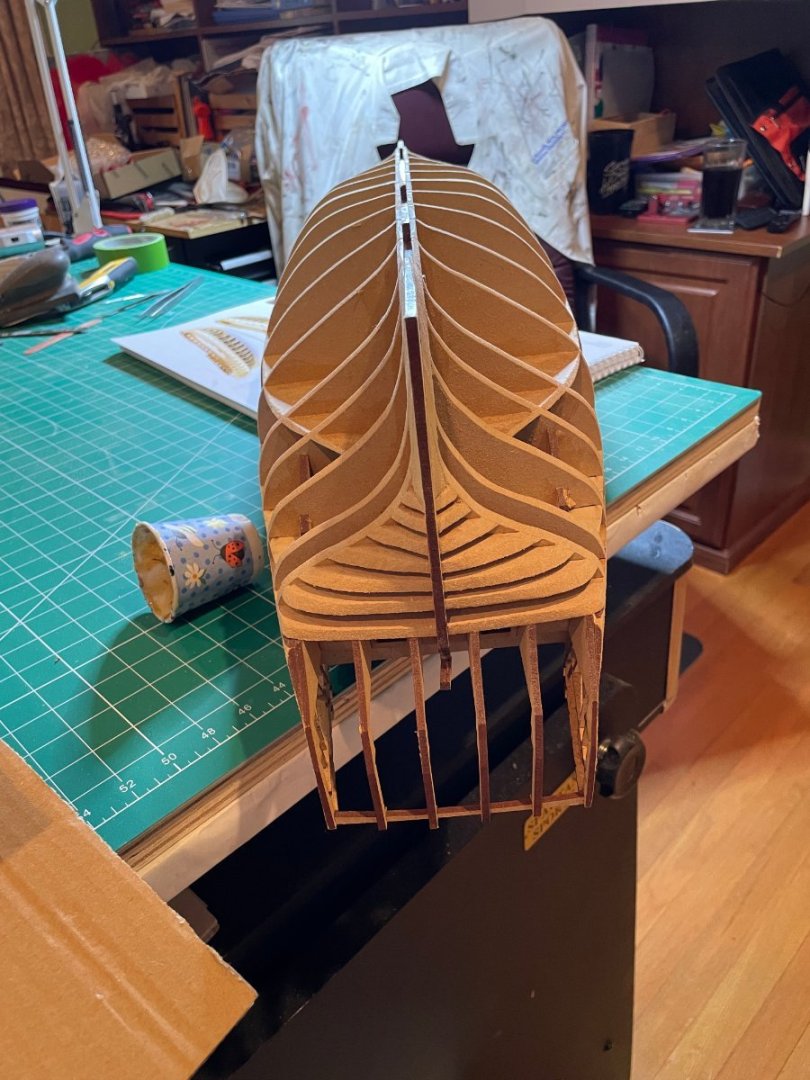
So meet my little friendVer Makes sanding the hull much easier. Took awhile. There was some battle damage but nothing glue and clamps could not fix The finished product. I don't mind comments before I put the first plank, likely tomorrow. Main planking will be over the weekend. la Last thing today is that I soaked the bow pieces and clamped. Once dried tomorrow I will place the appropriate markings. Soaking the pear definitely makes it swell a lot. The change in width between wet and dry part of the straight area was 2mm!


- 233 replies
-
- 8
-
-
- Indefatigable
- Vanguard Models
- (and 1 more)
-
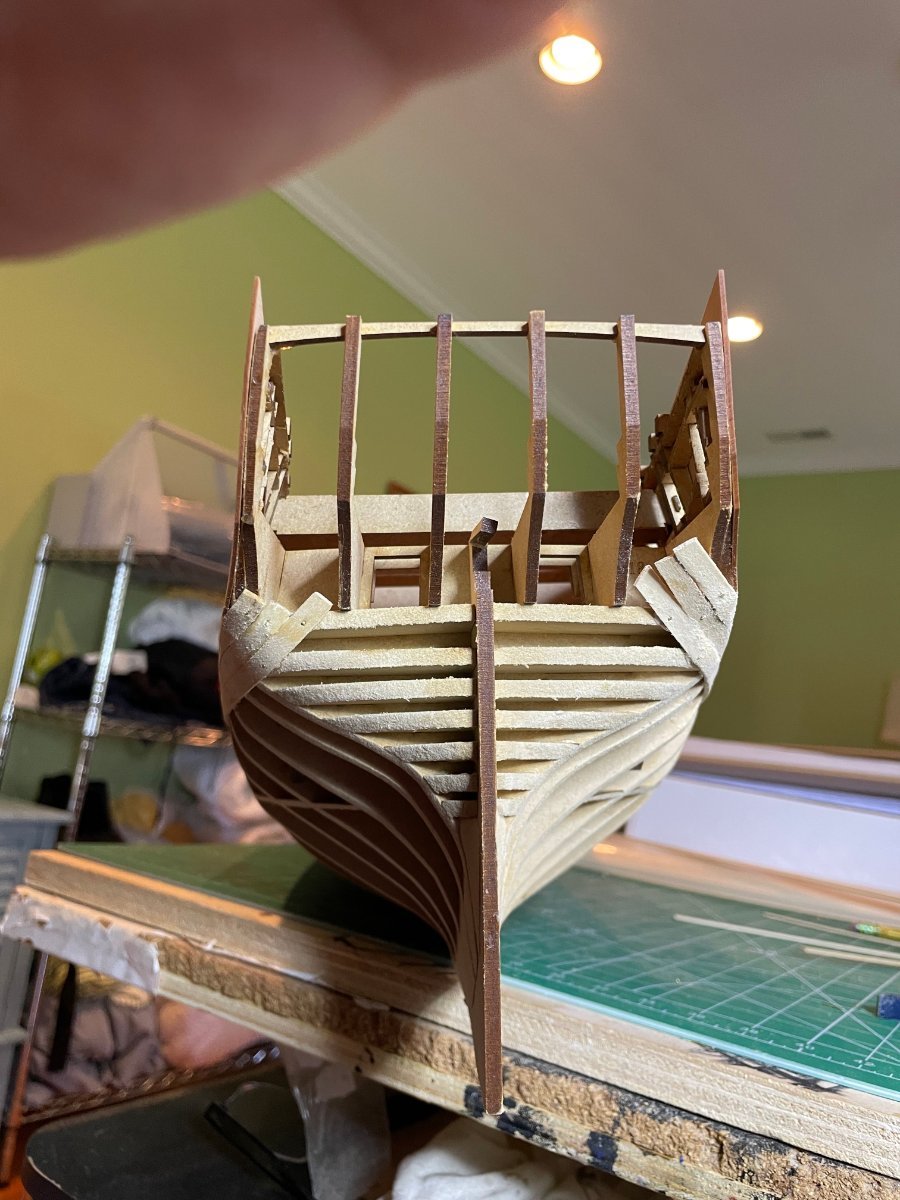
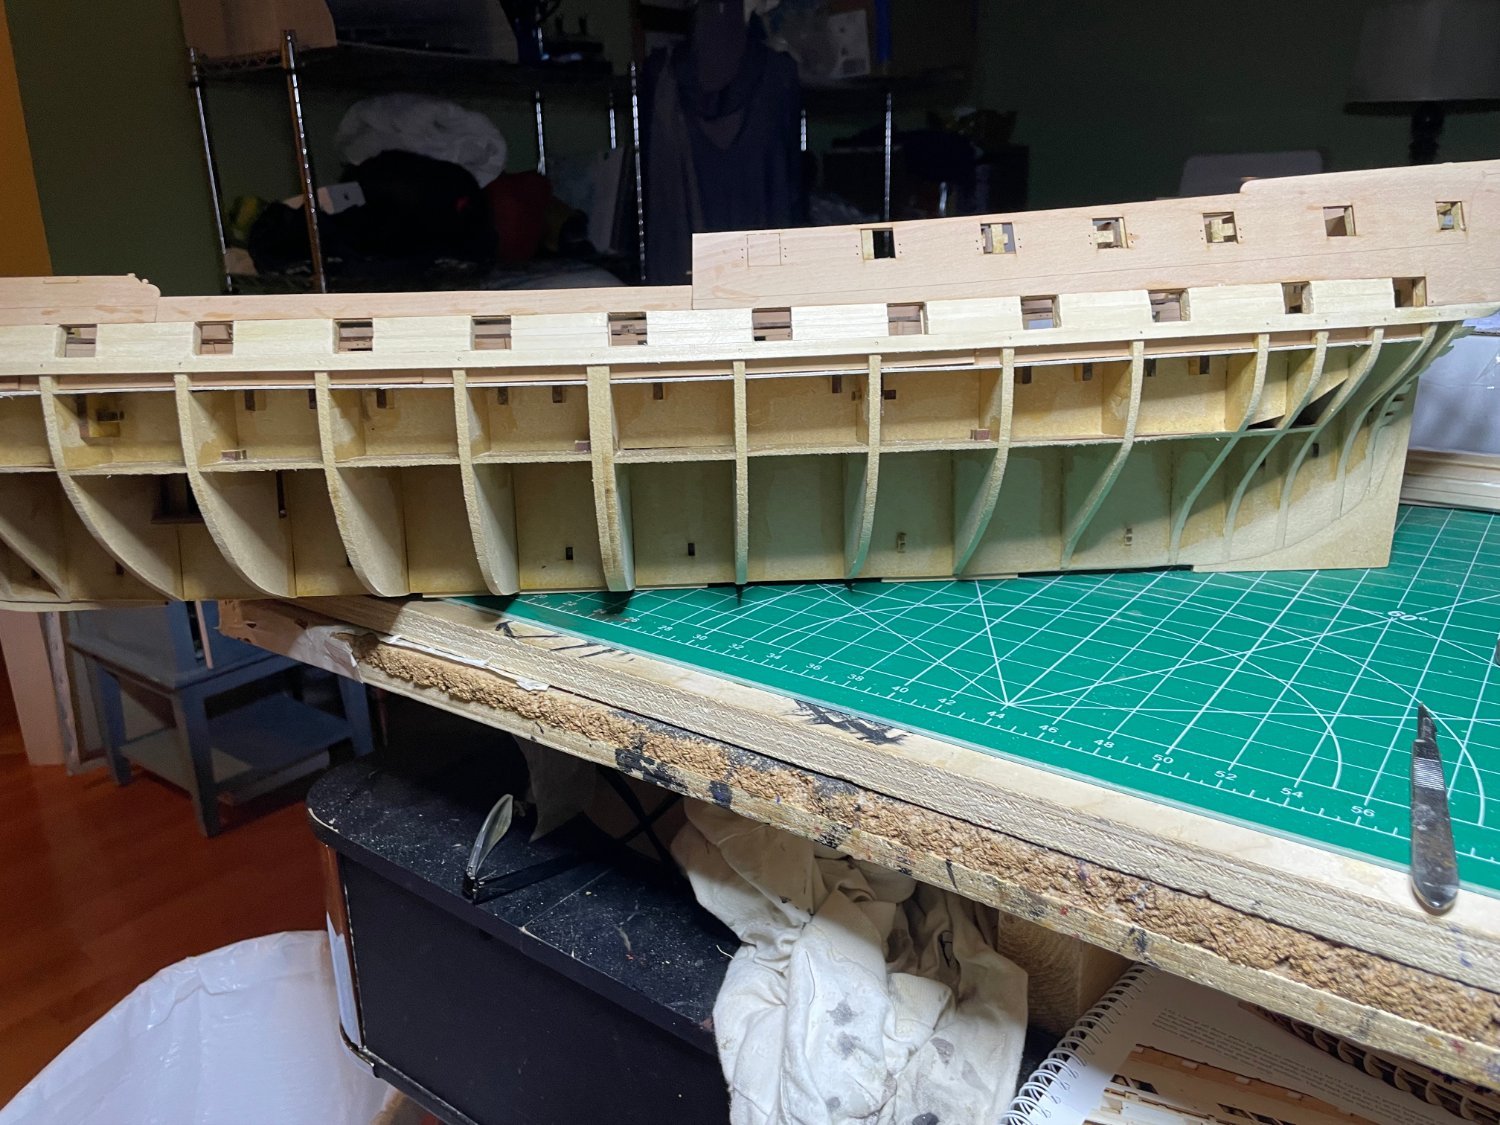
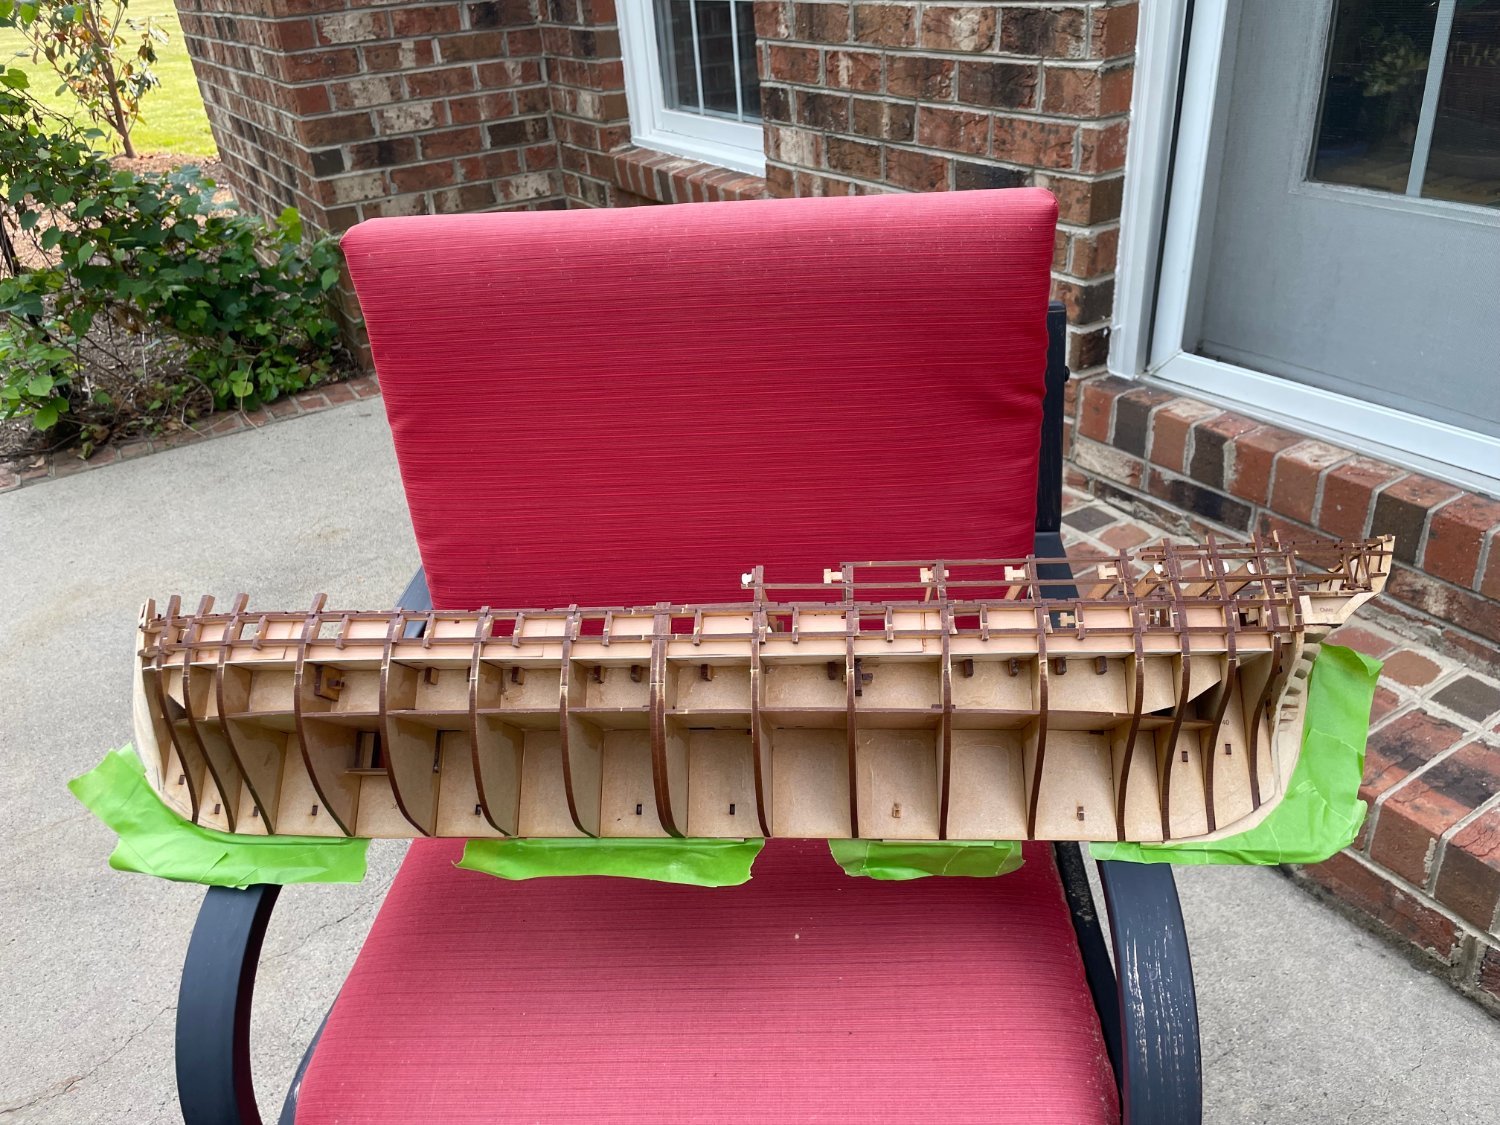
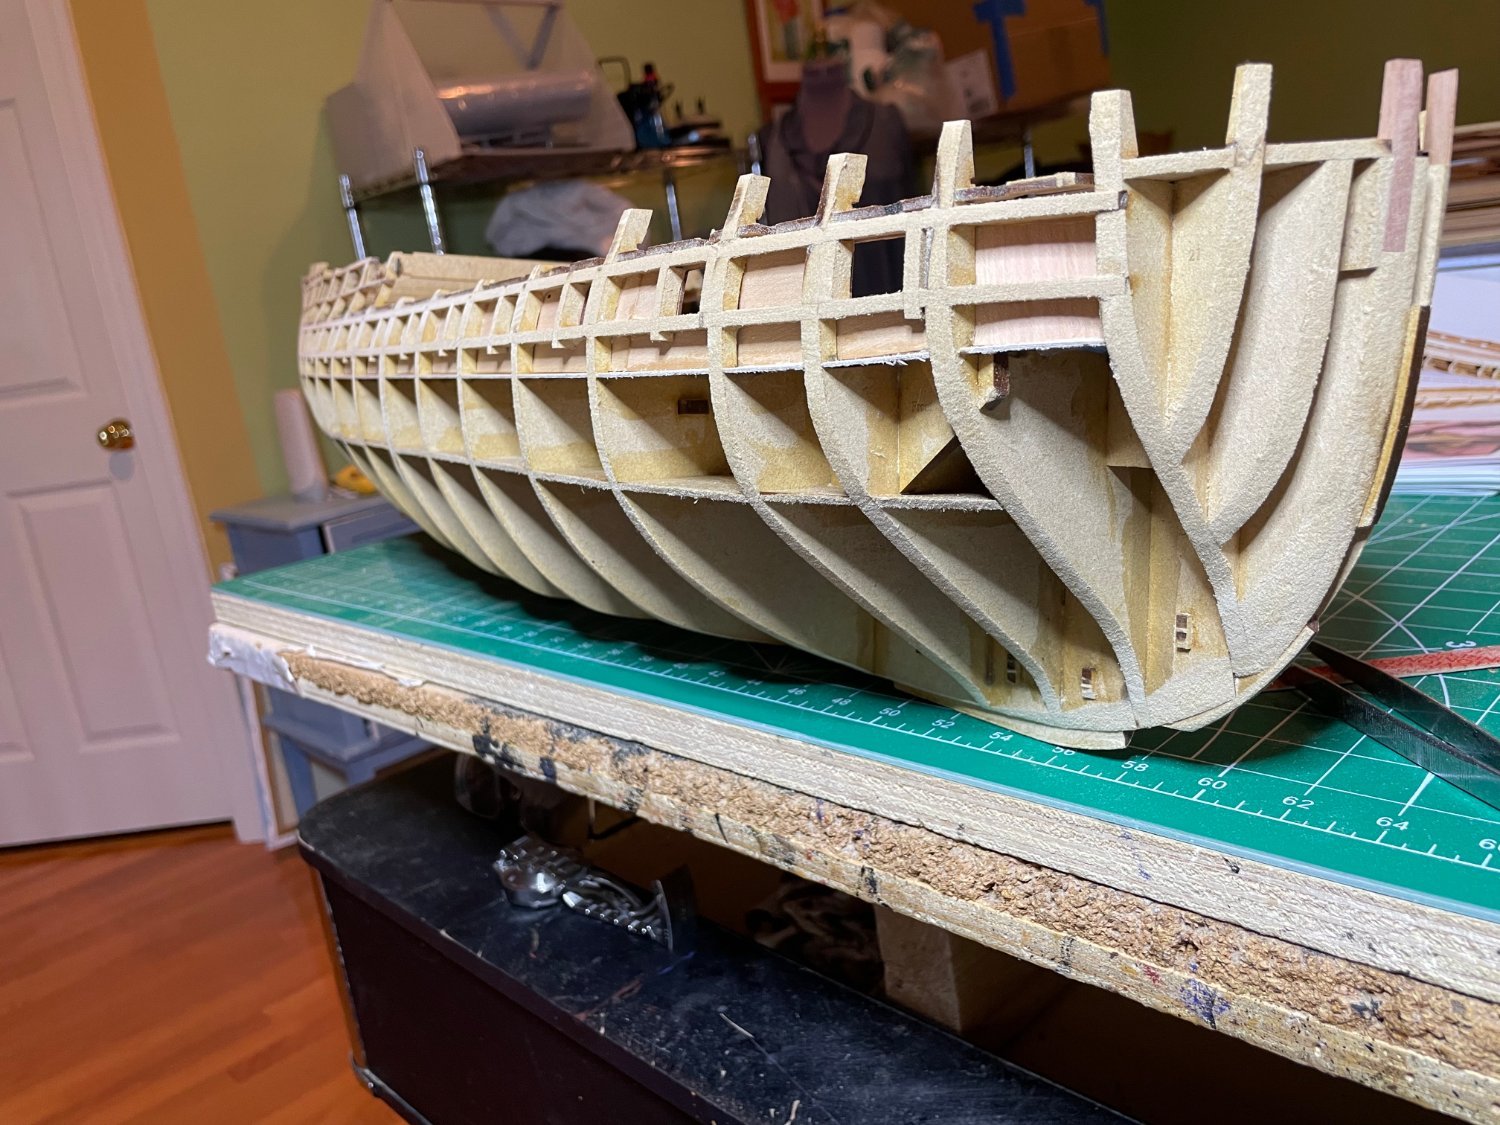
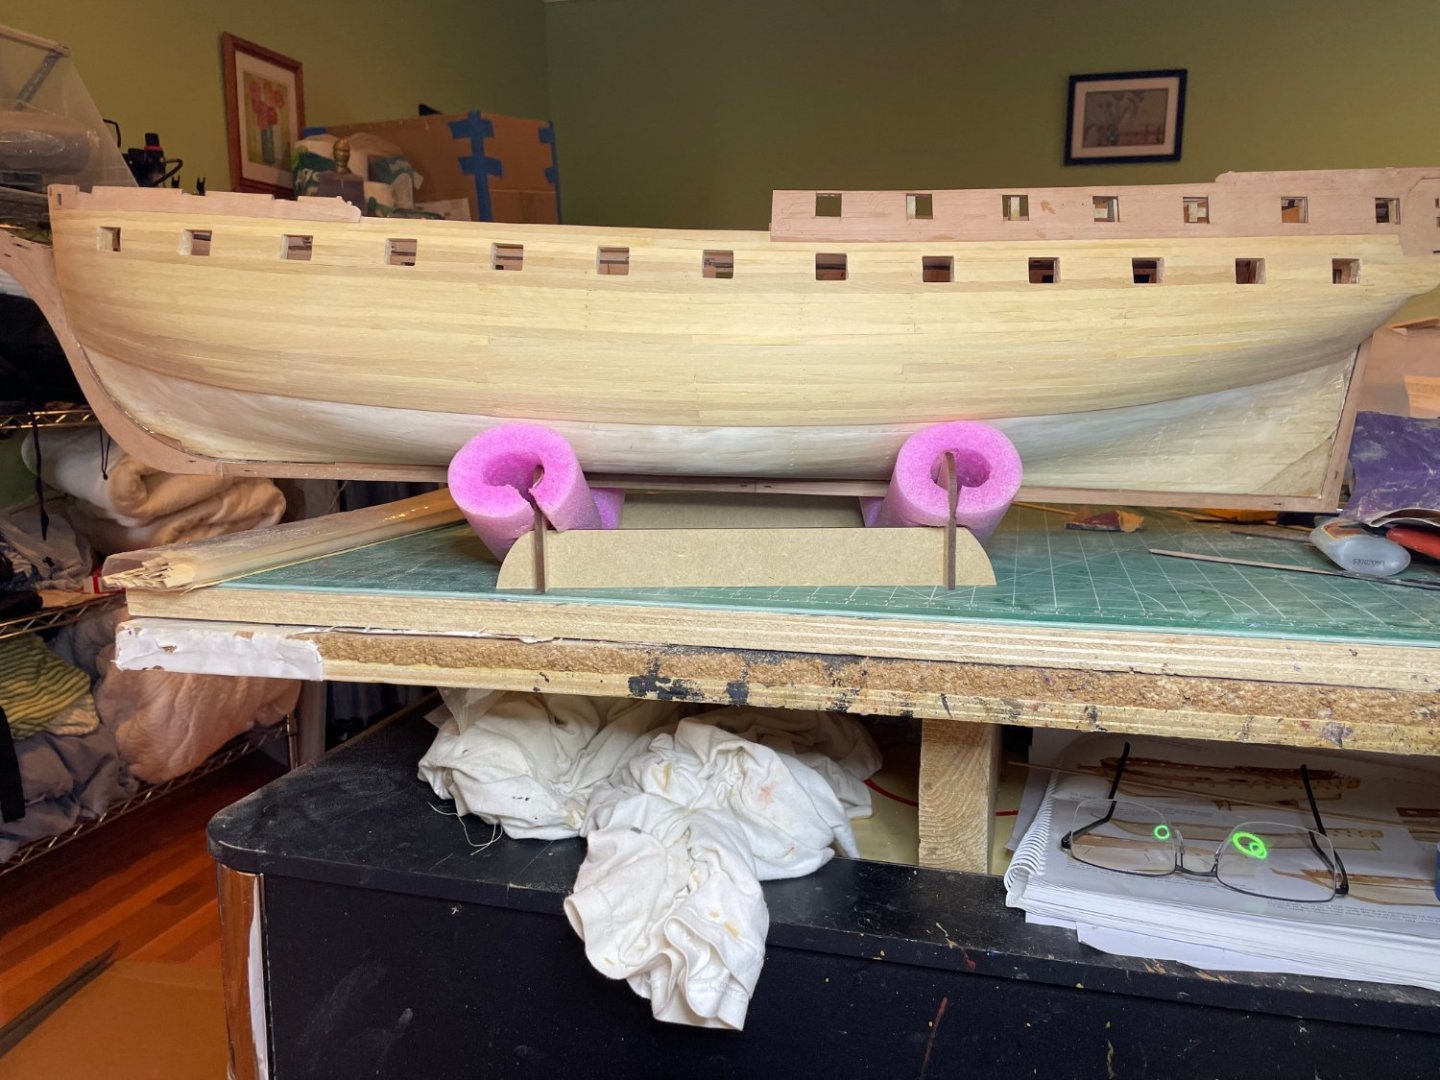
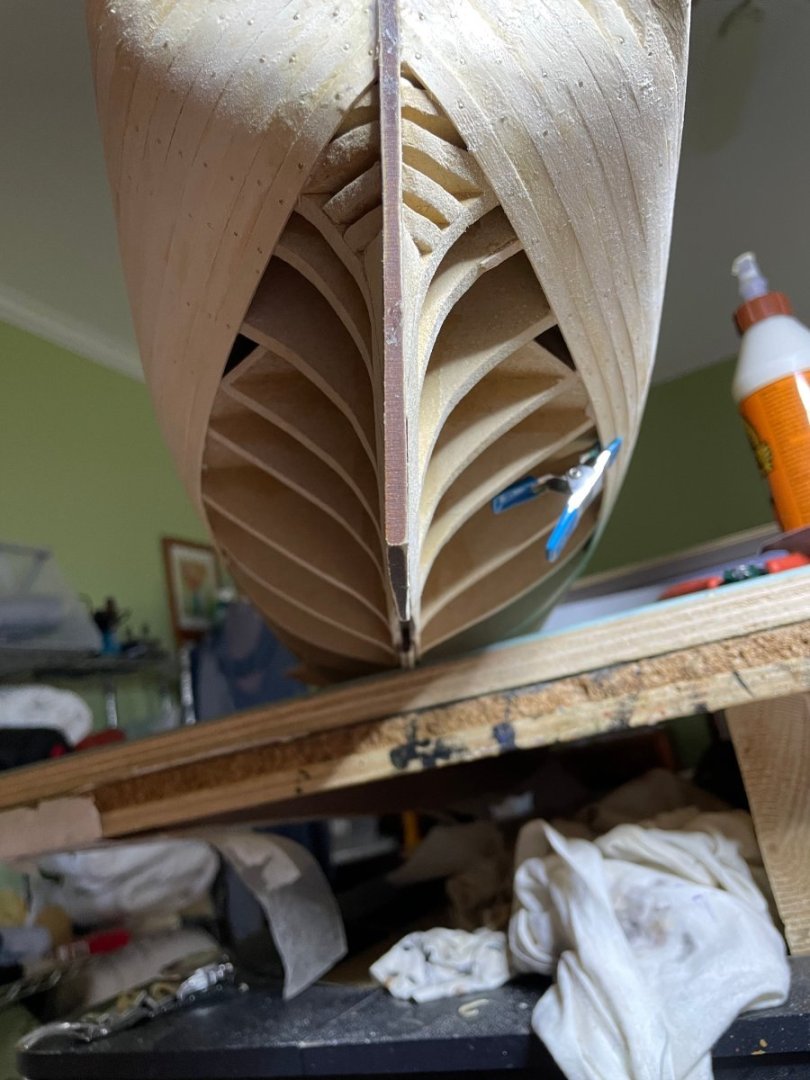
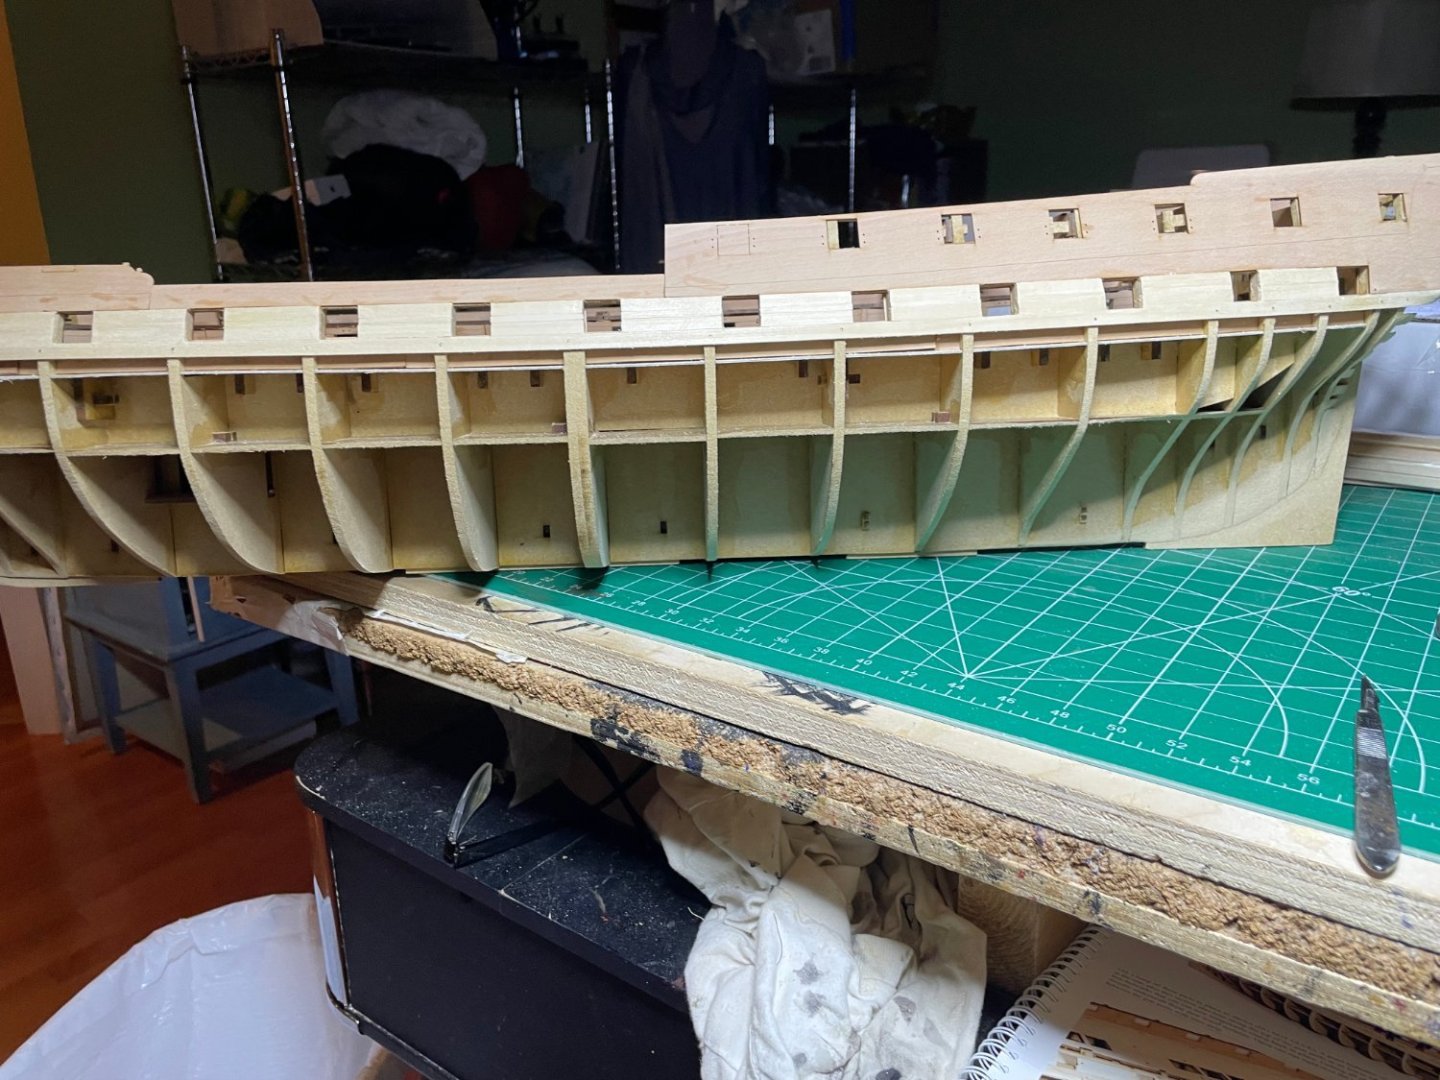
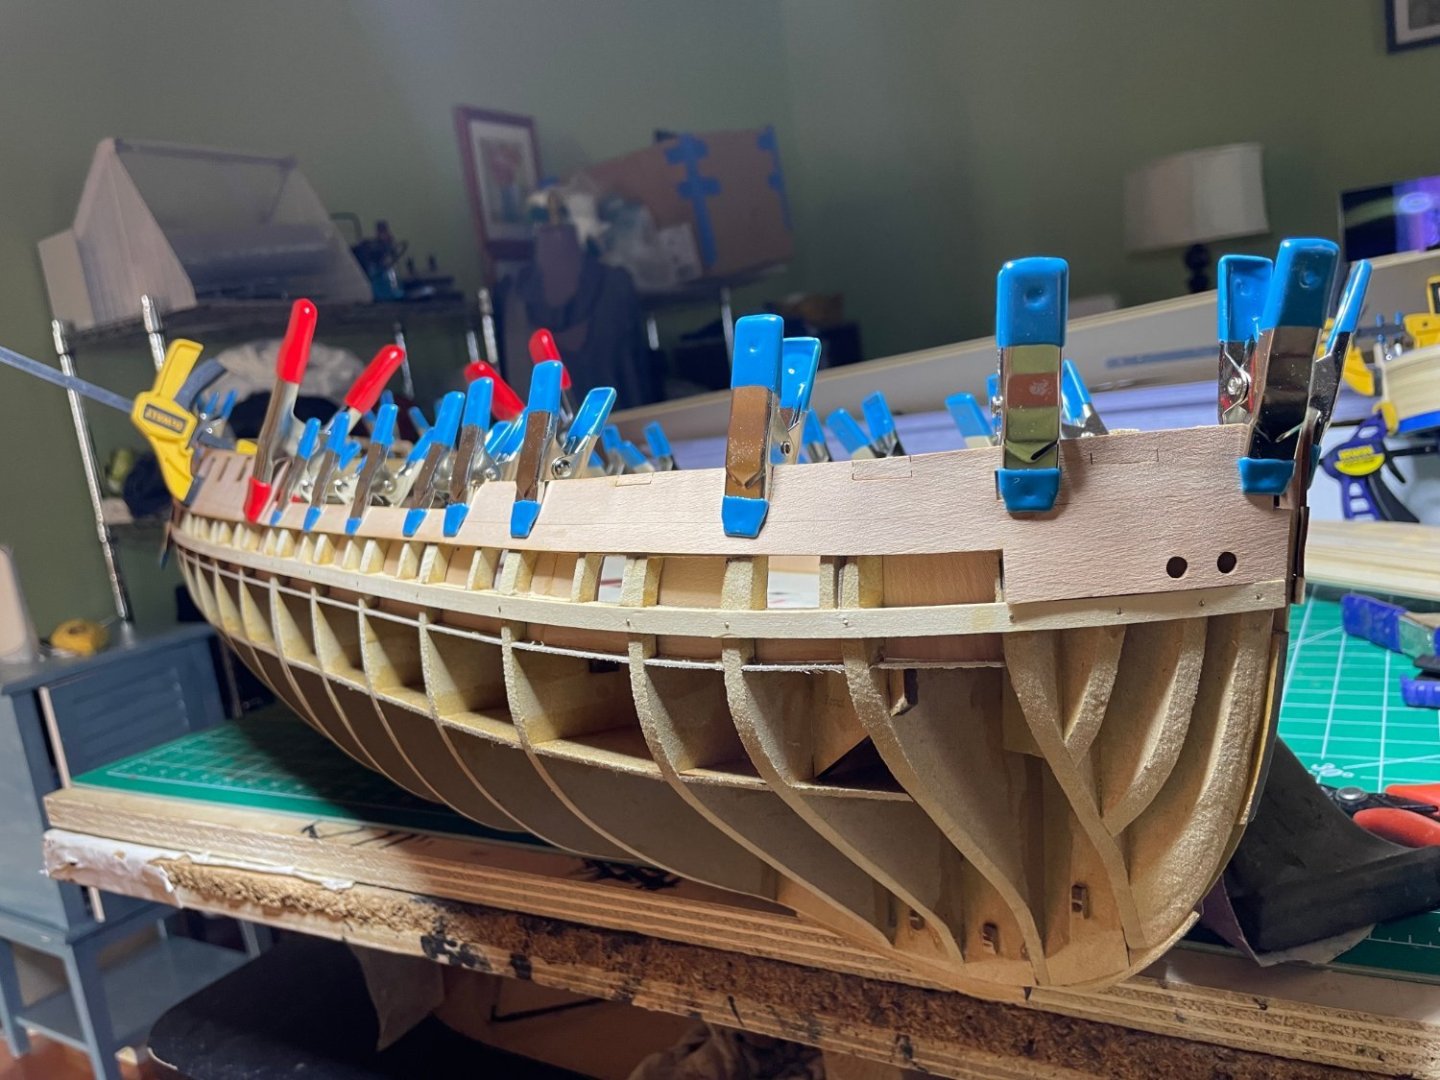
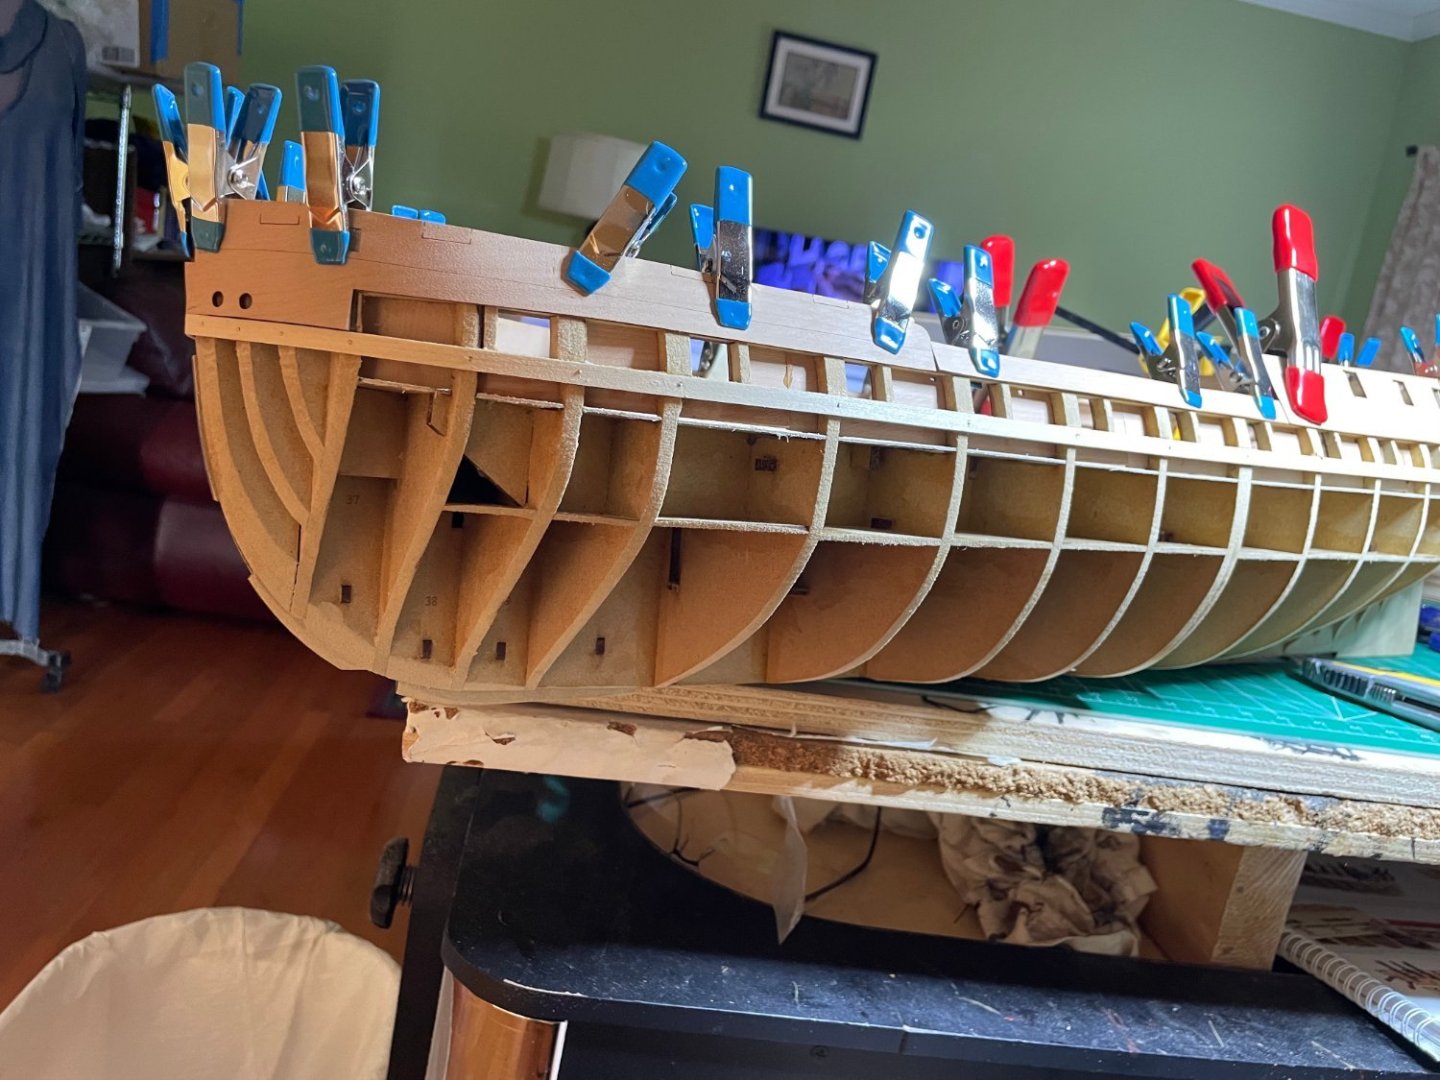
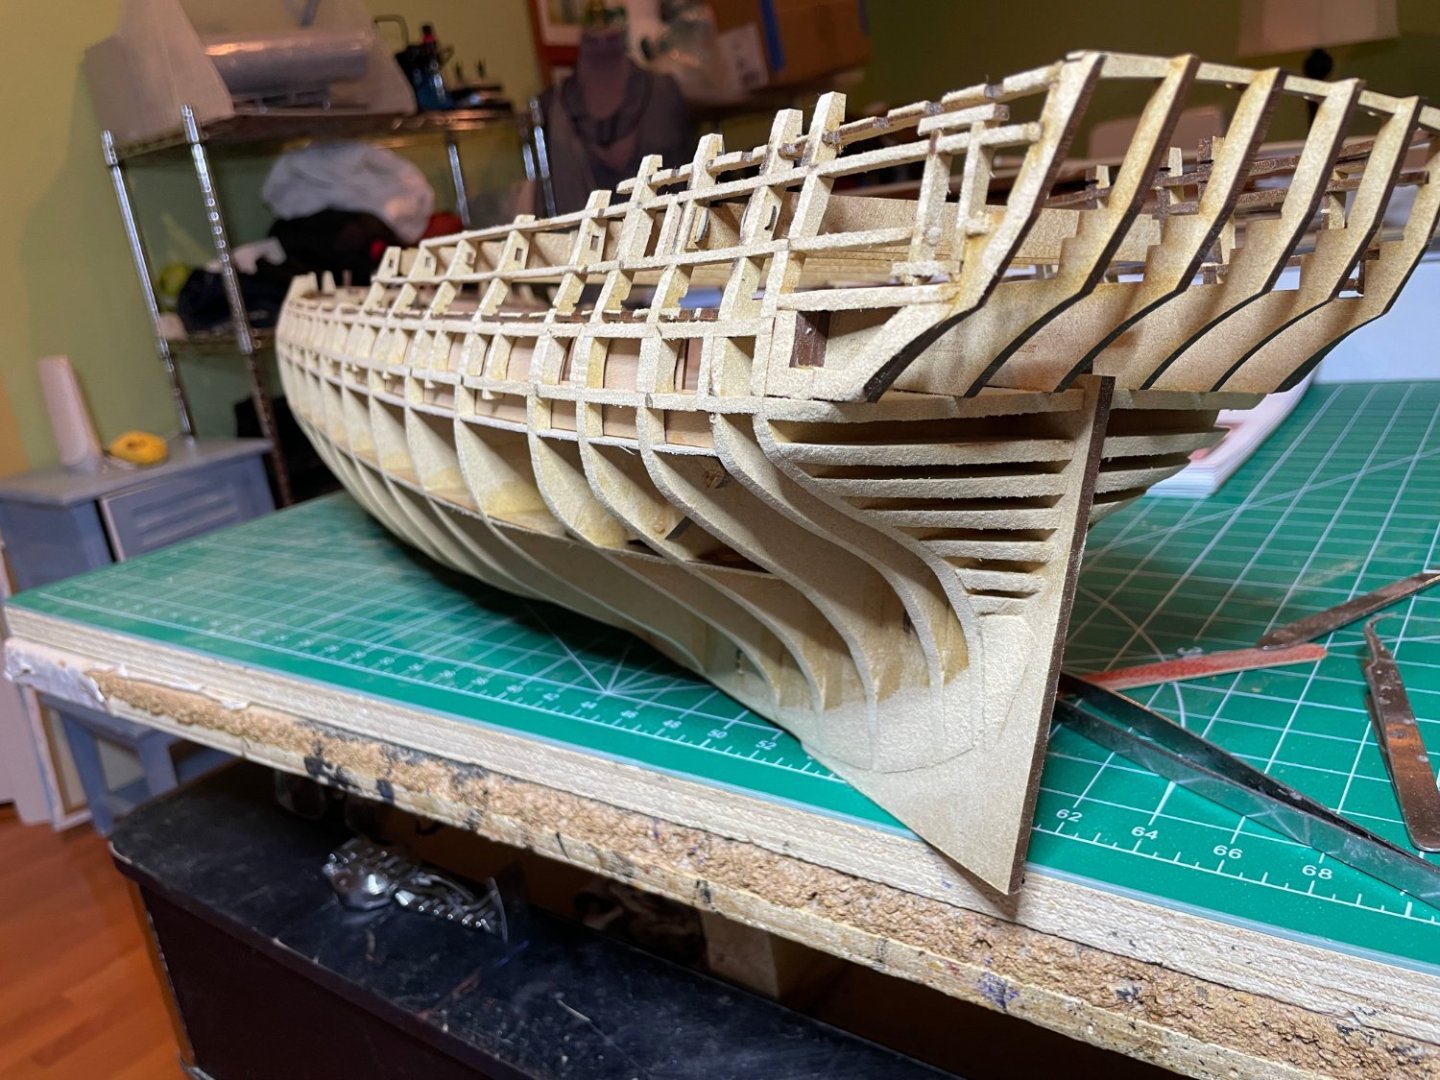
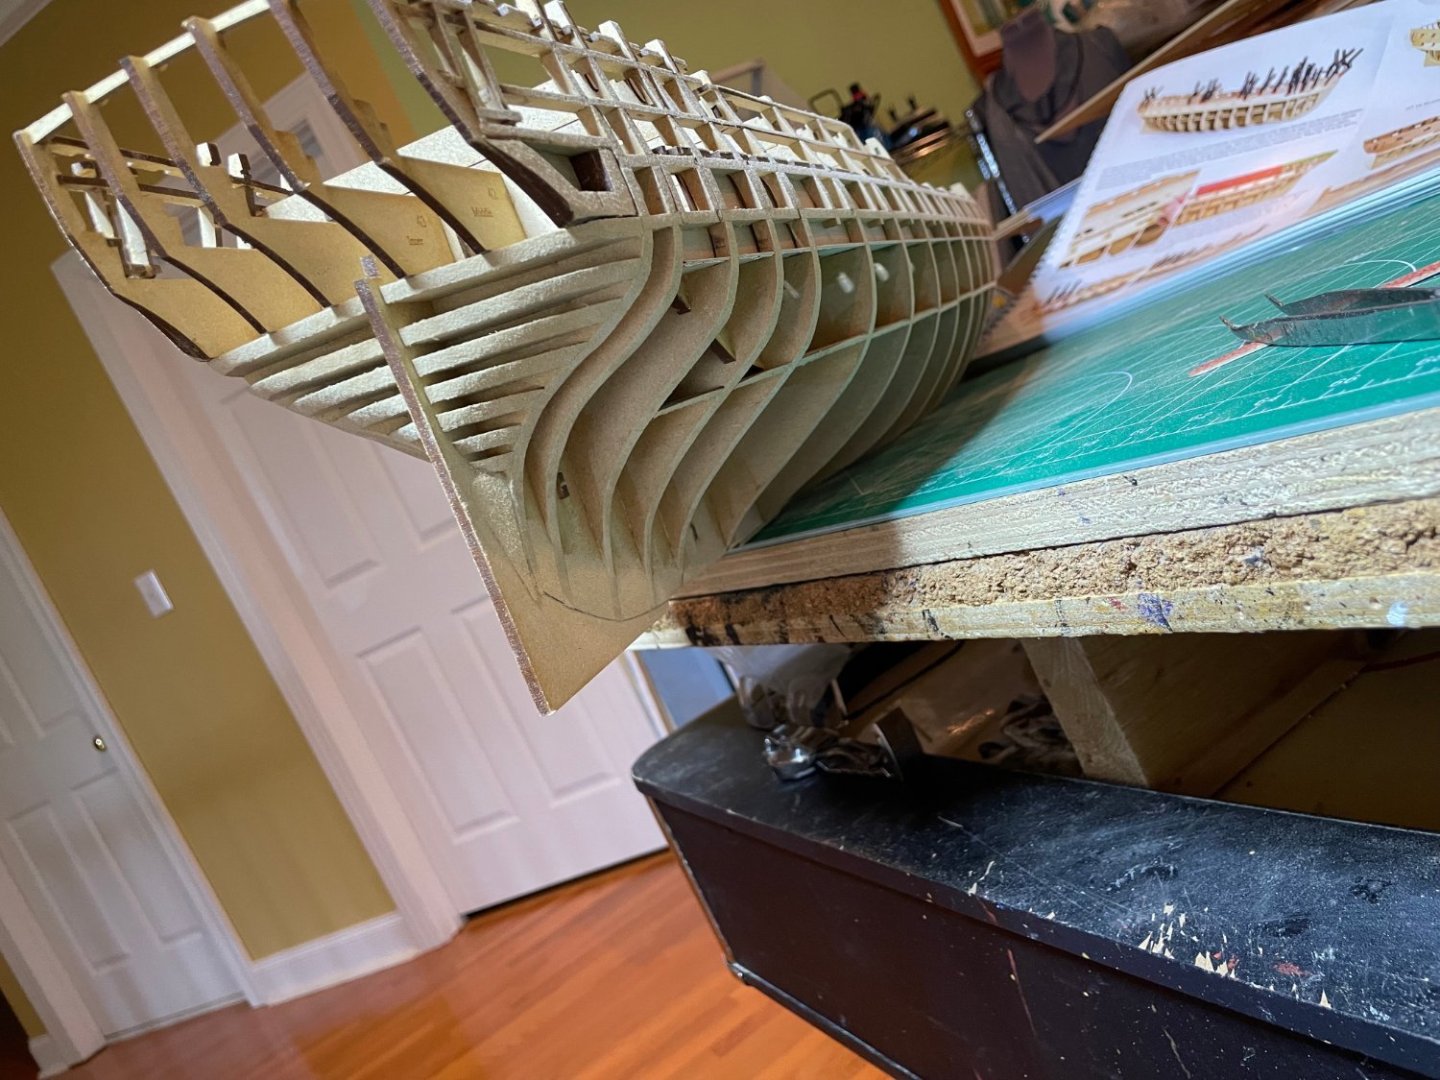
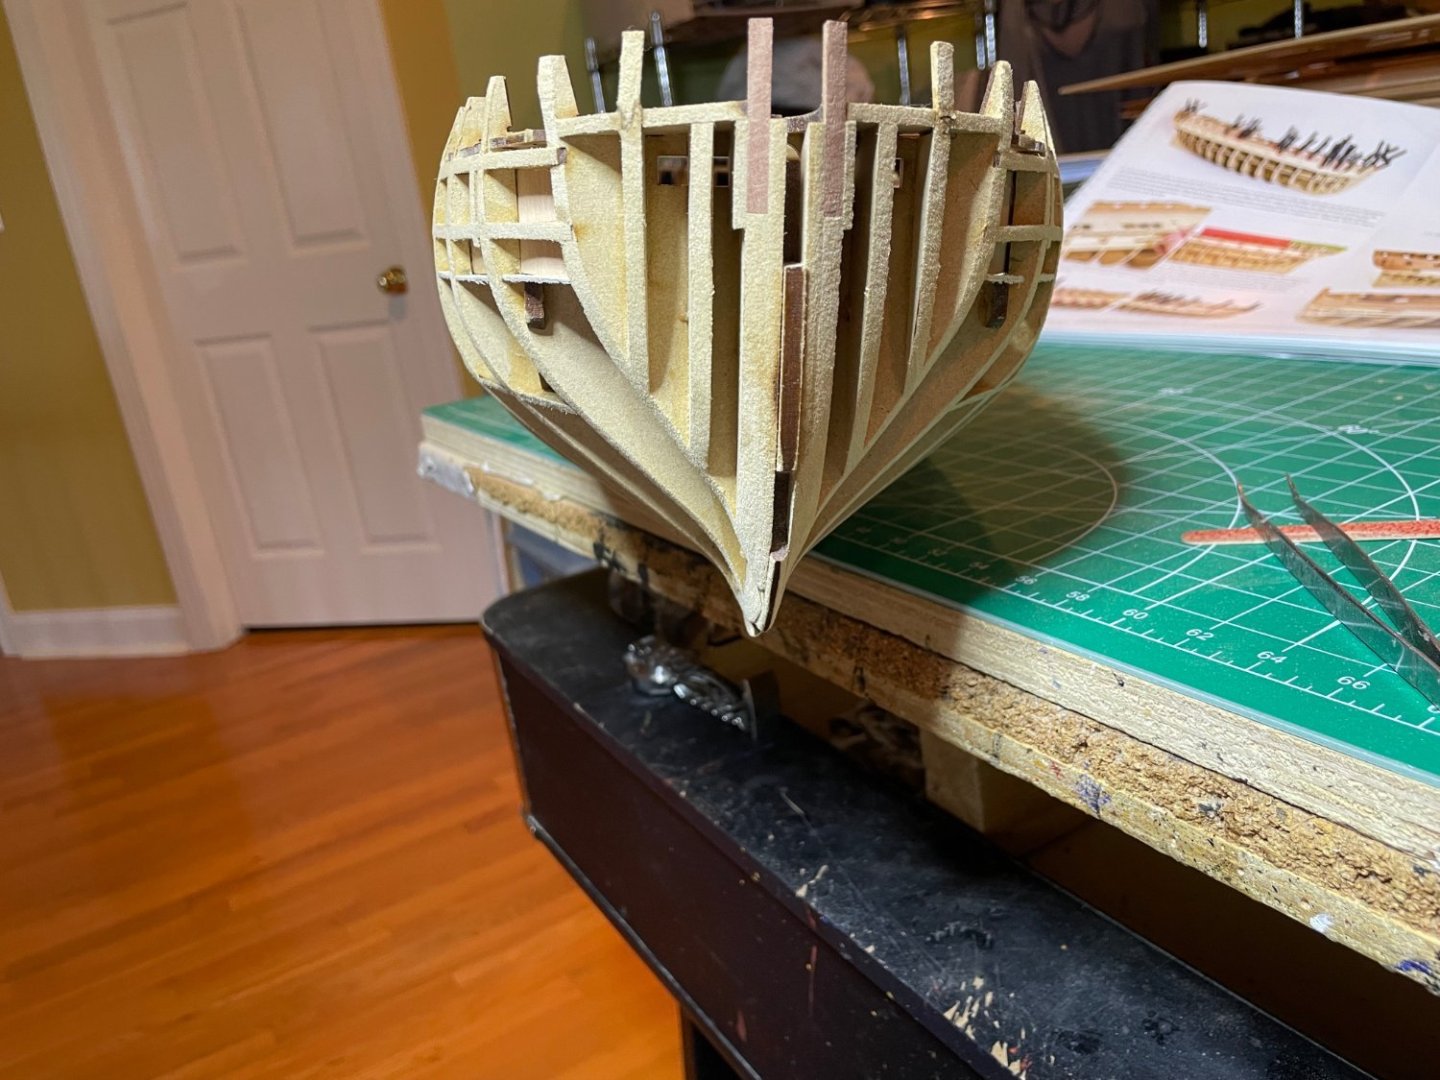
Beams fit perfectly. Once the guides dry, will remove the beams, place the stabilizers then somewhere in the next few days shape the hull, the most nerve racking part of the build.
- 233 replies
-
- 10
-
-
- Indefatigable
- Vanguard Models
- (and 1 more)