ECK
-
Posts
646 -
Joined
-
Last visited
Content Type
Profiles
Forums
Gallery
Events
Everything posted by ECK
-
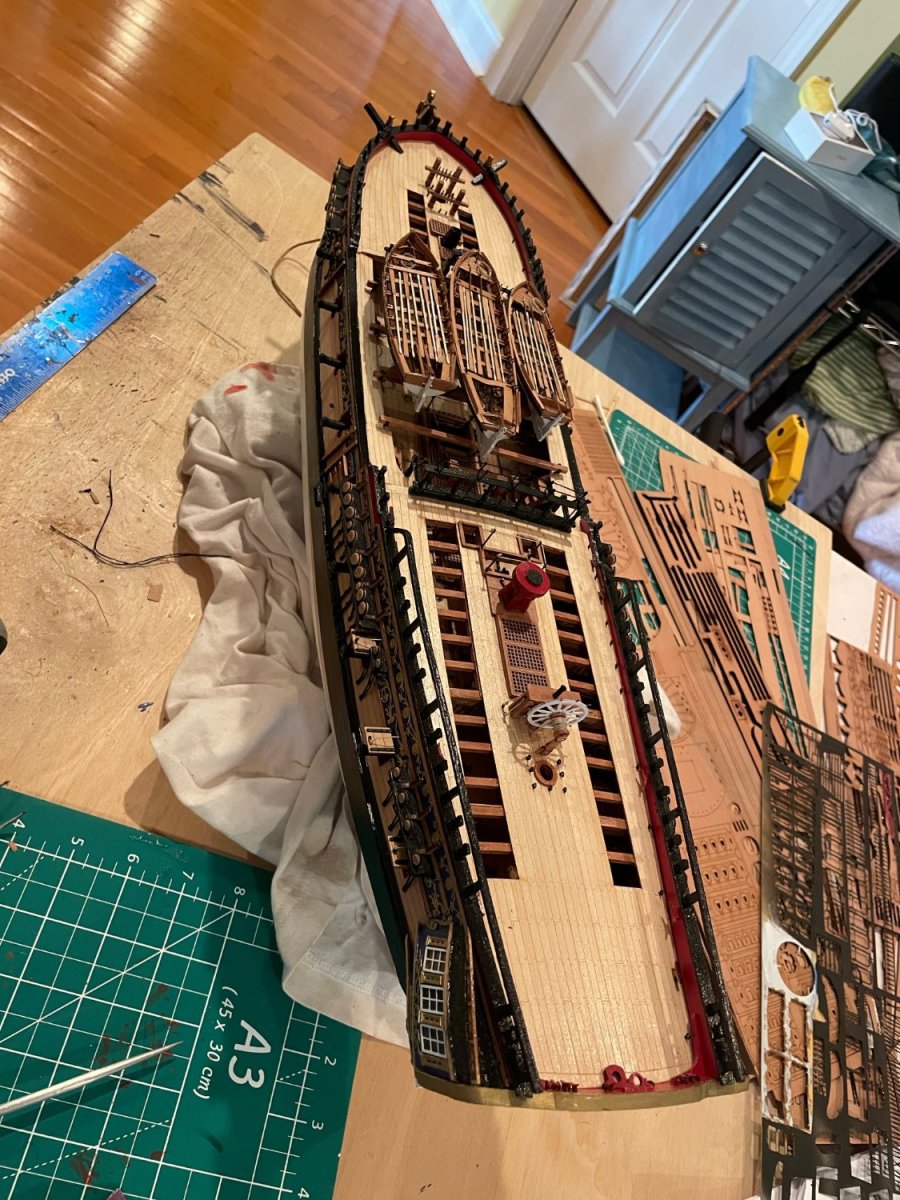
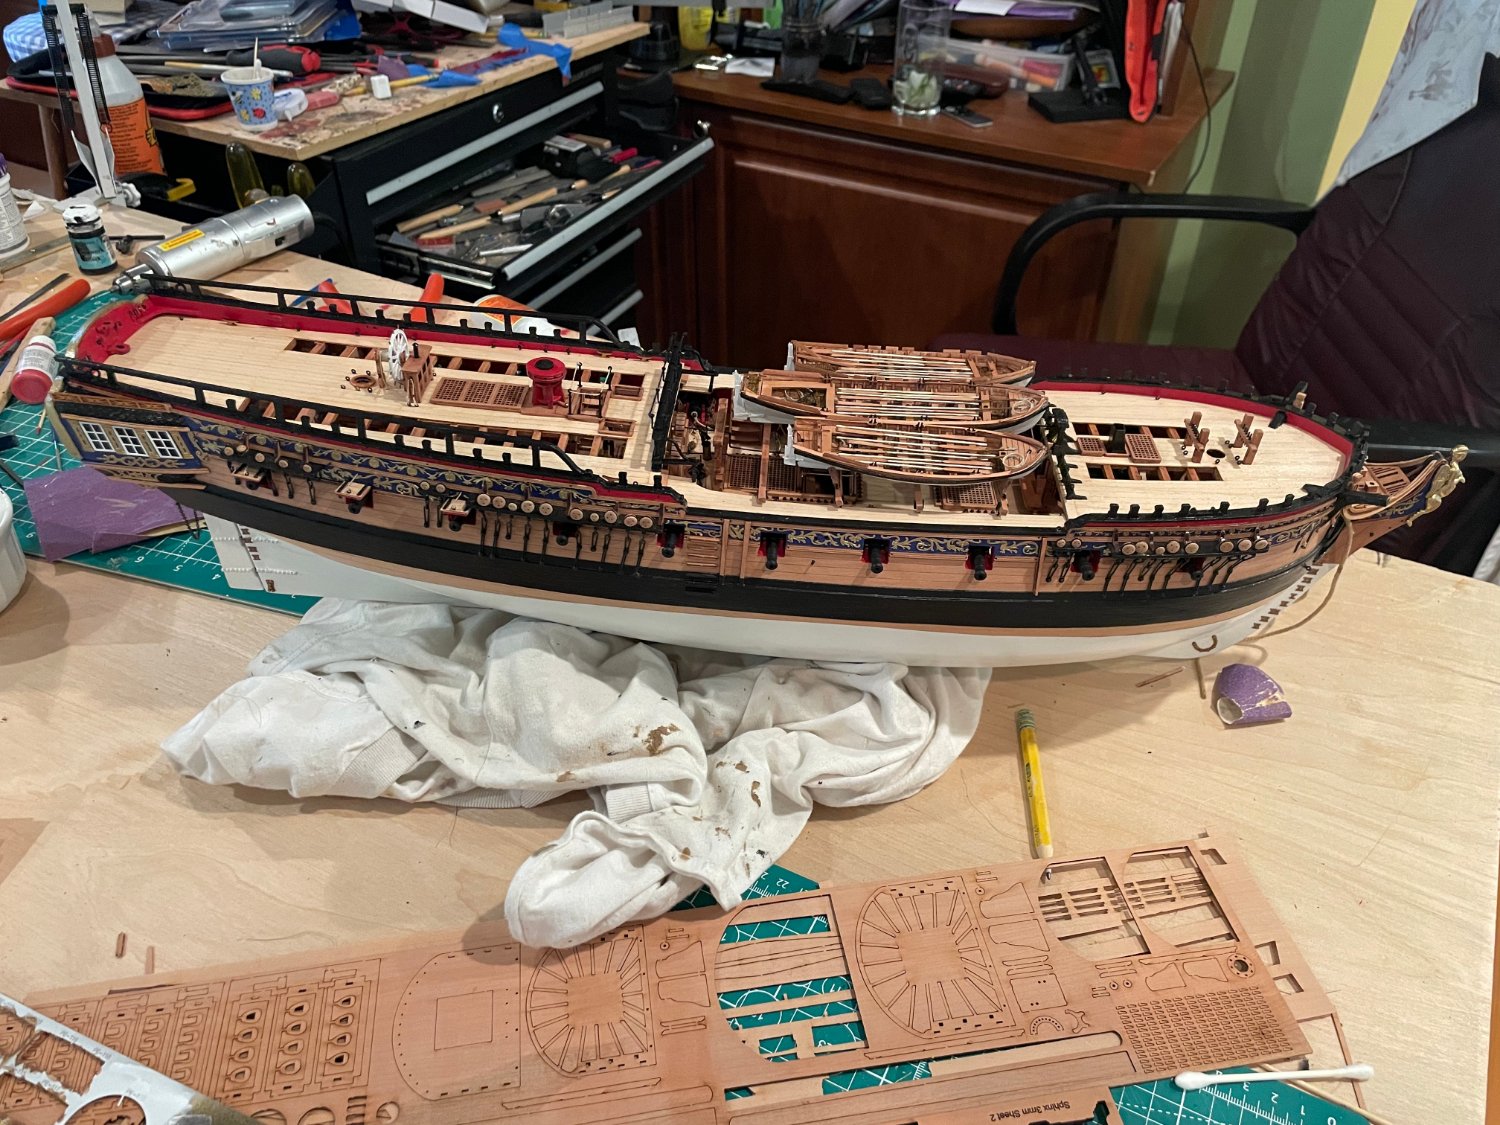
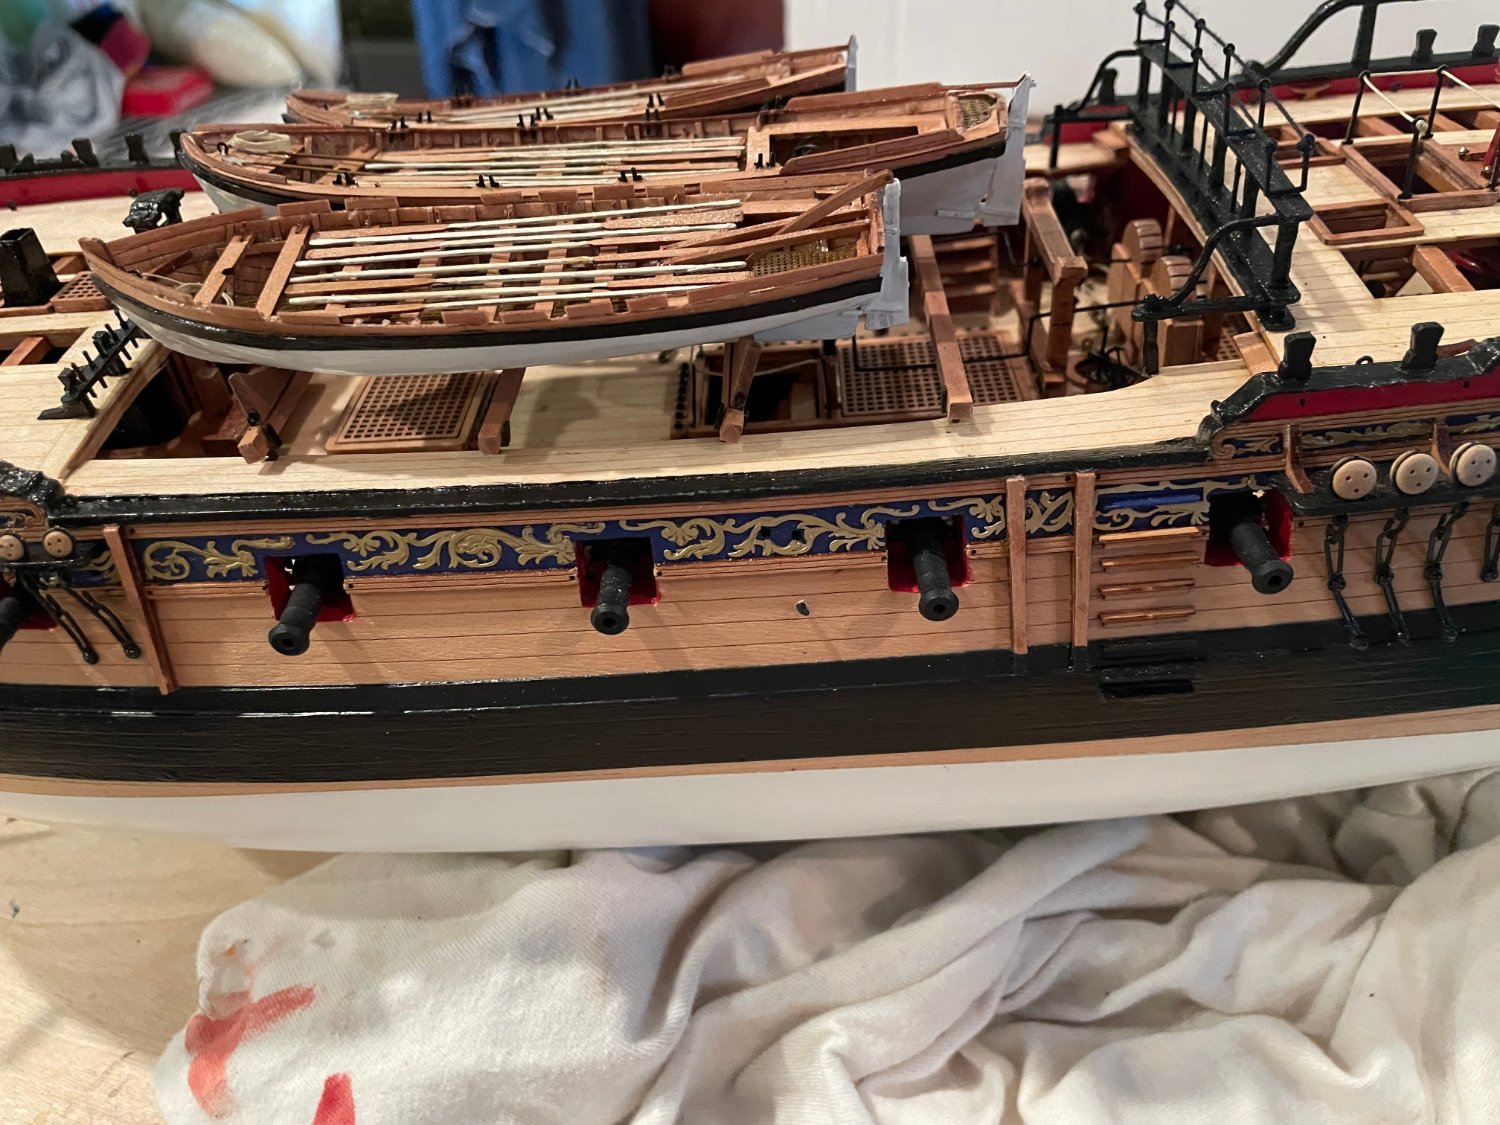
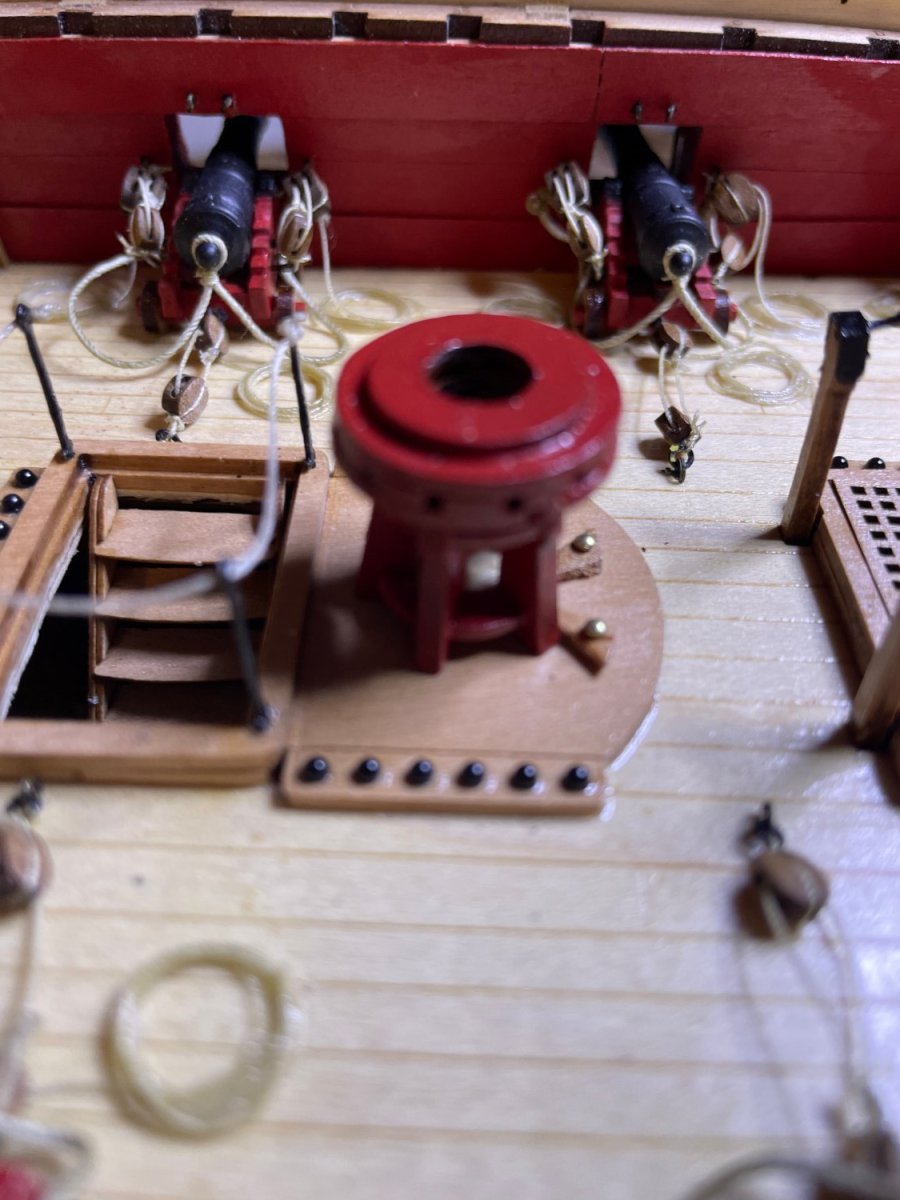
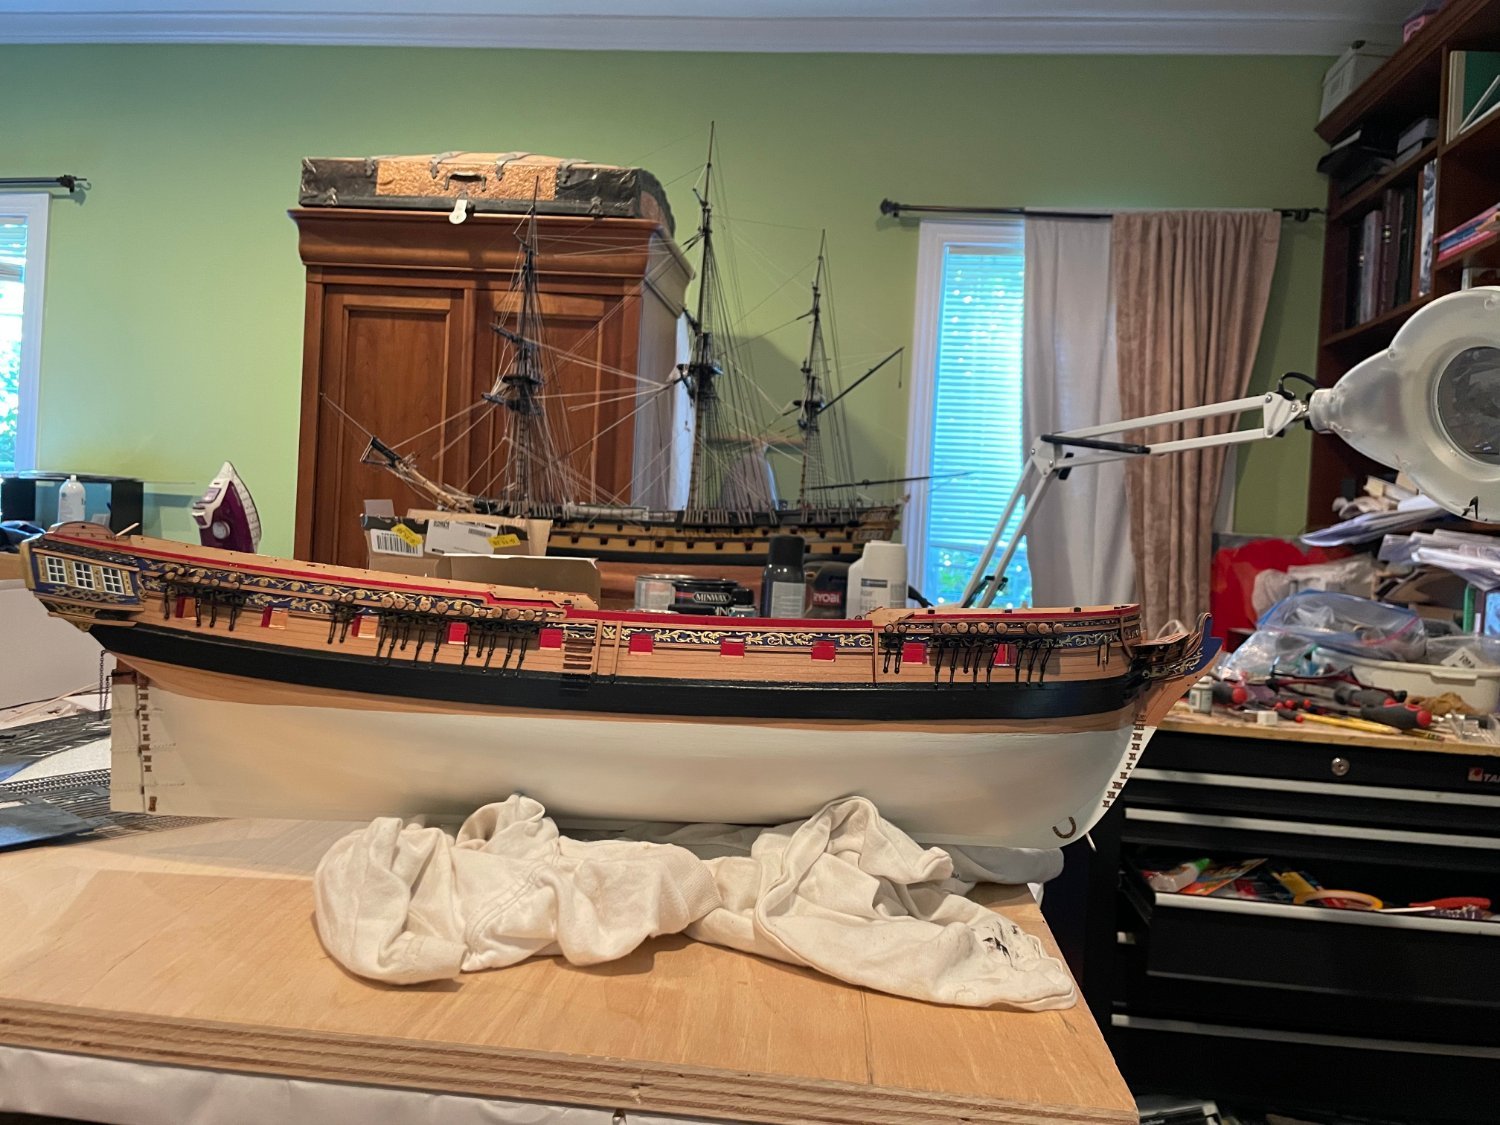
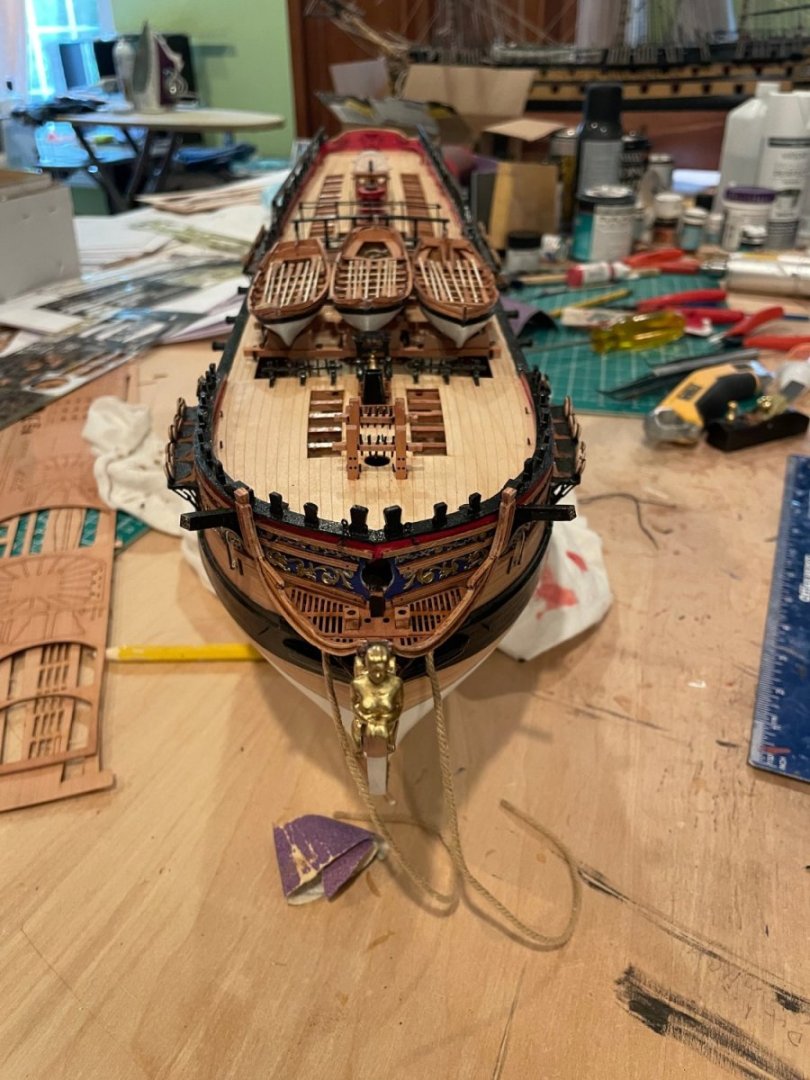
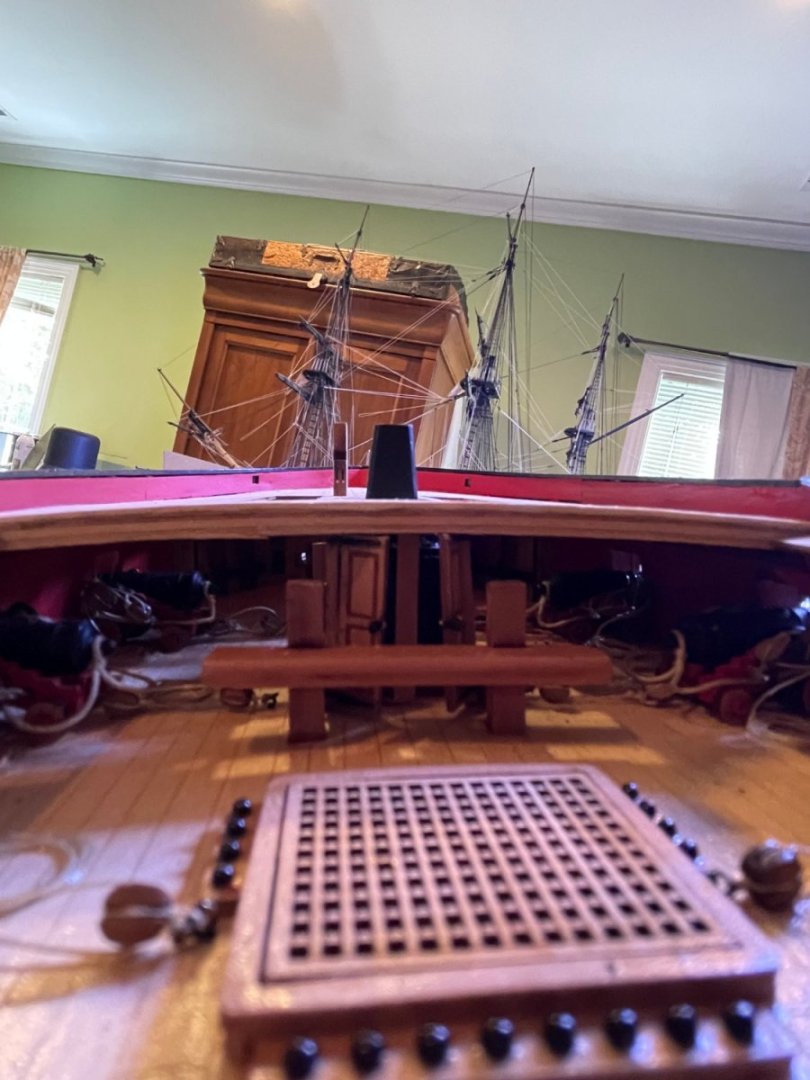
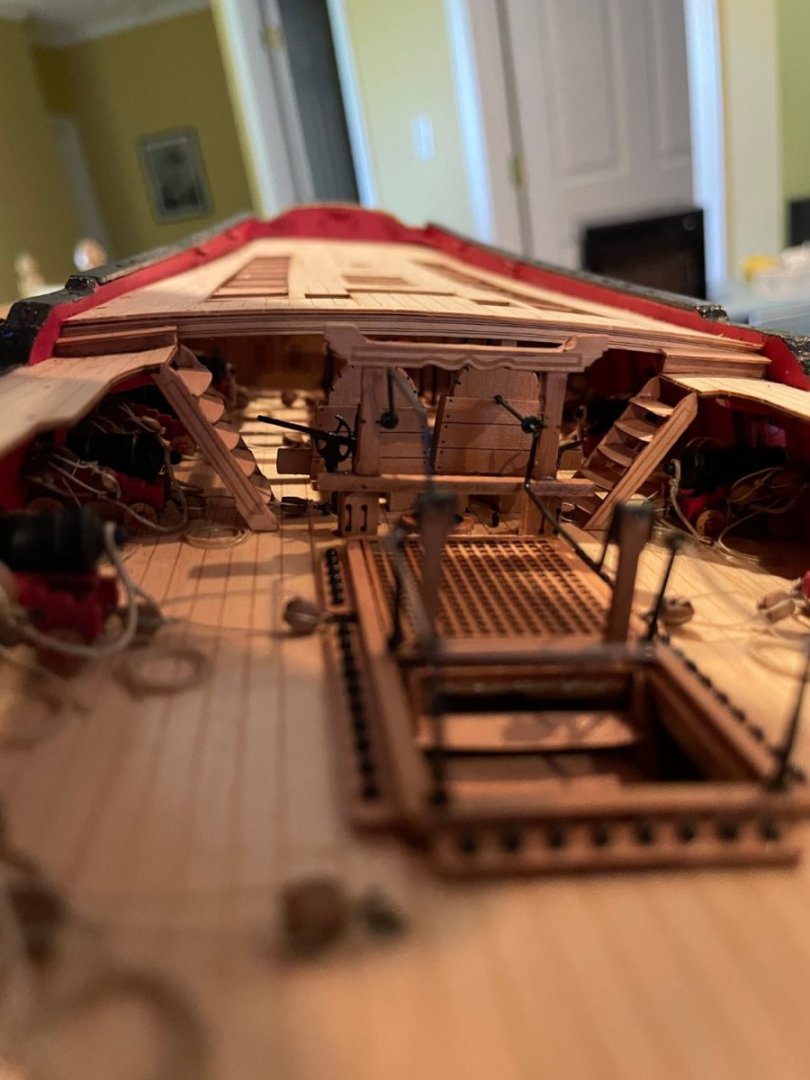
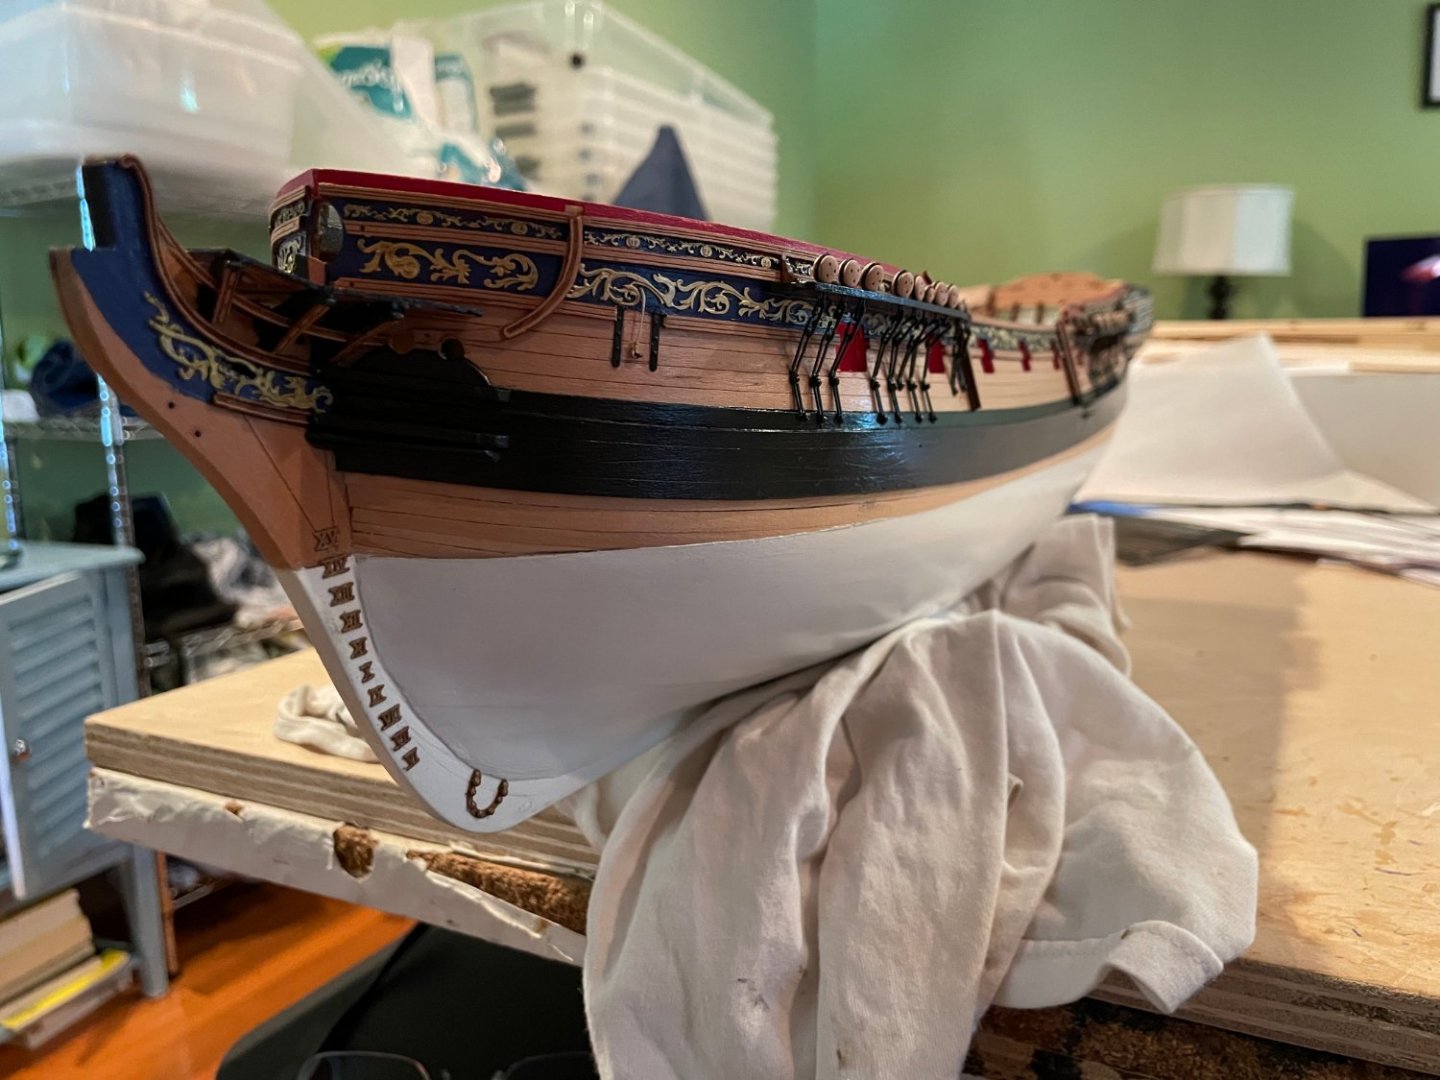
So the hull is pretty much complete. I will add the stanchions later as I always end up bending or breaking them when I am doing the rigging. The ship's boats are temporary and will not fix them in place until the very end.


- 73 replies
-
- 8
-

-

-
- Sphinx
- Vanguard Models
- (and 1 more)
-
Ok, back at it now after a little time at the beach.
- 73 replies
-
- 4
-
-
- Sphinx
- Vanguard Models
- (and 1 more)
-
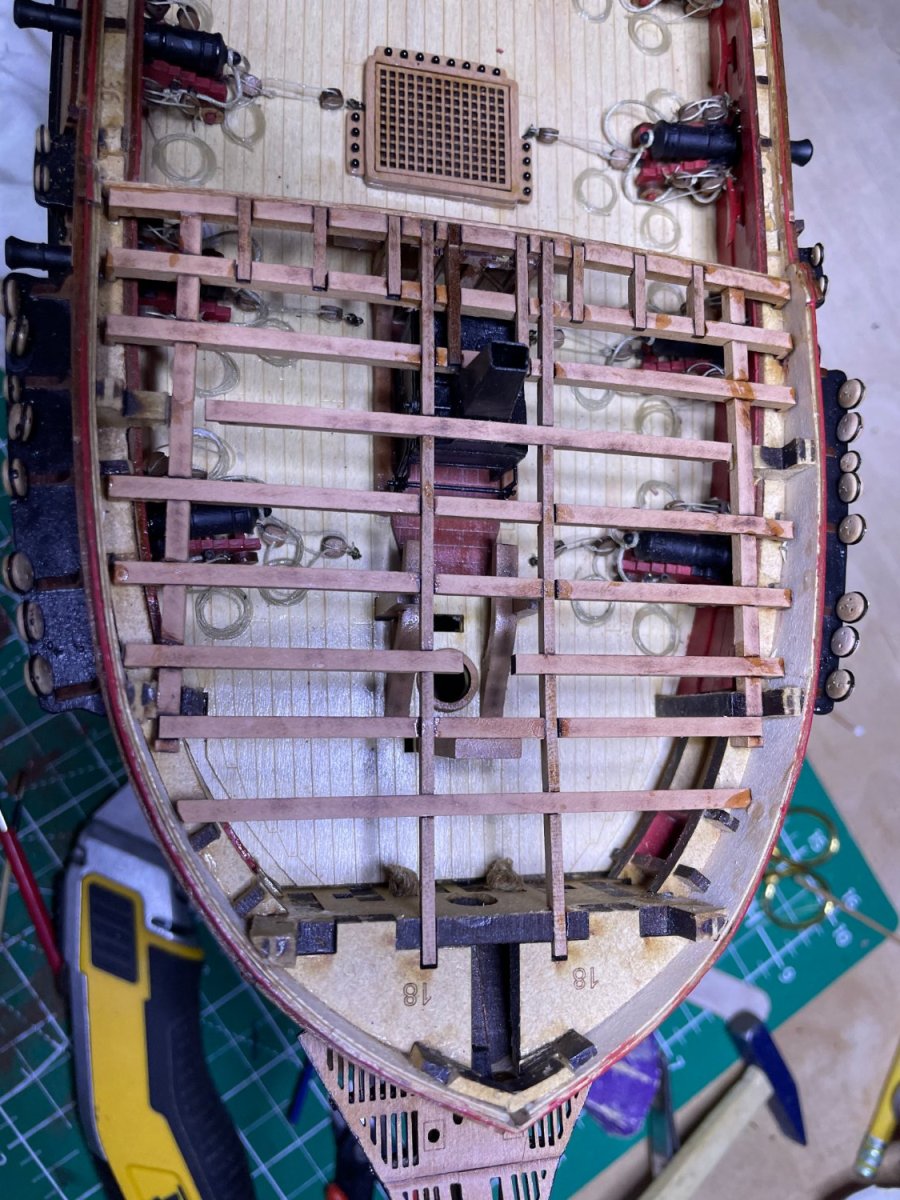
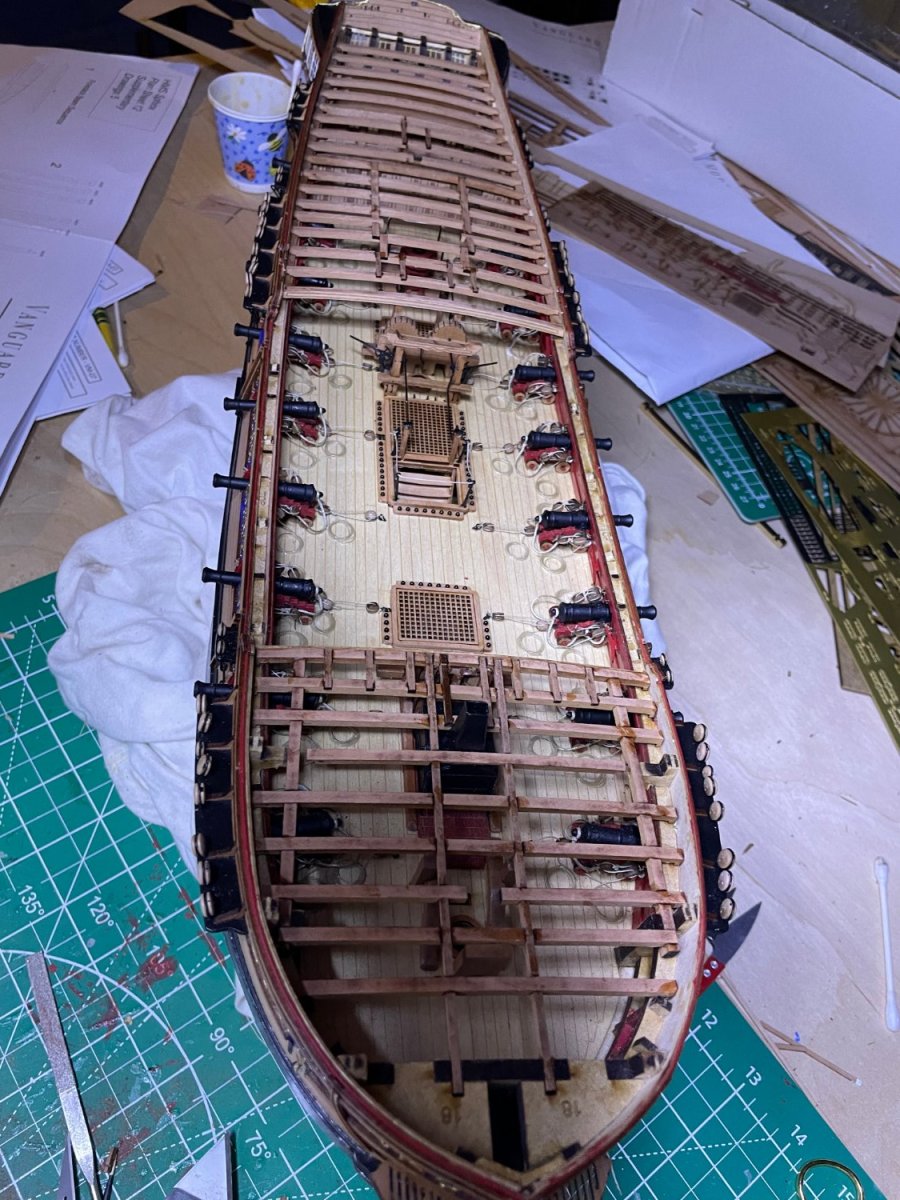
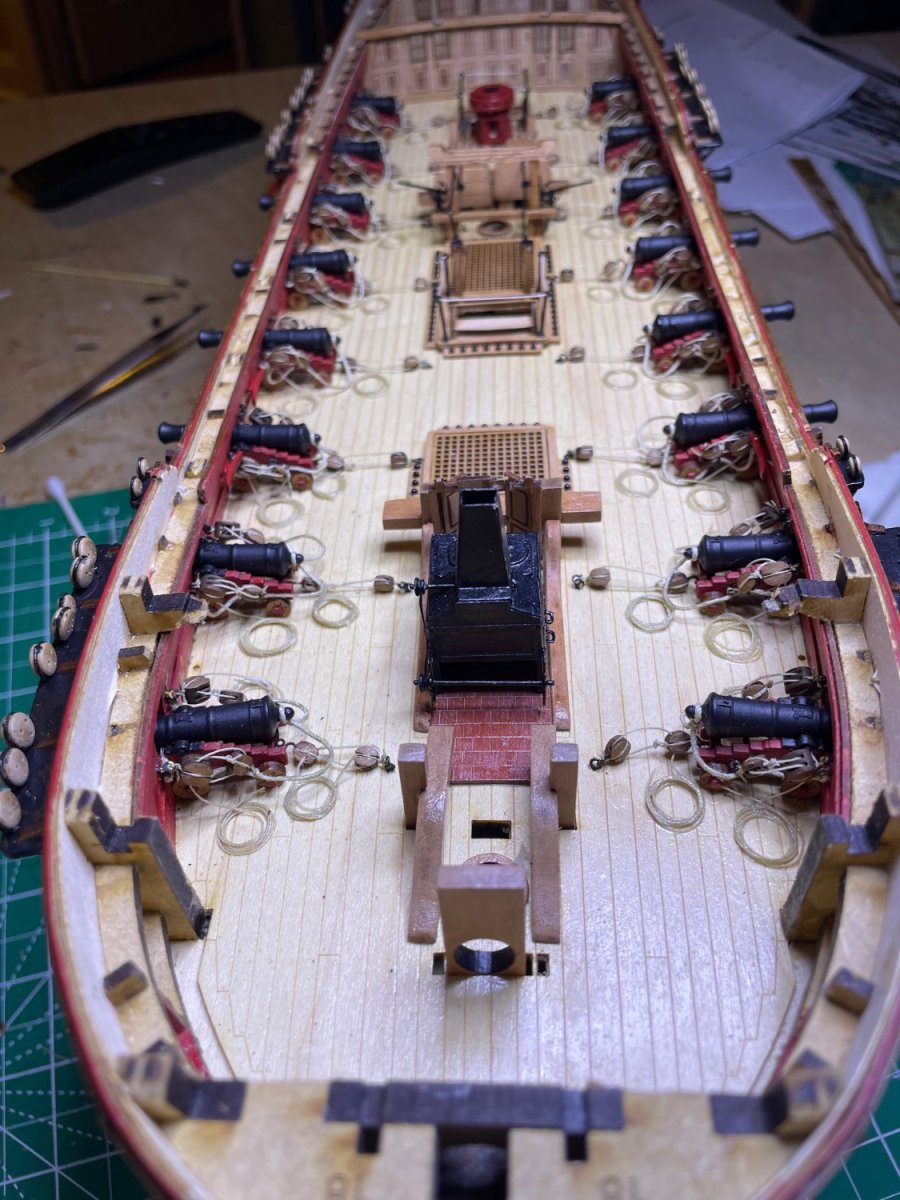
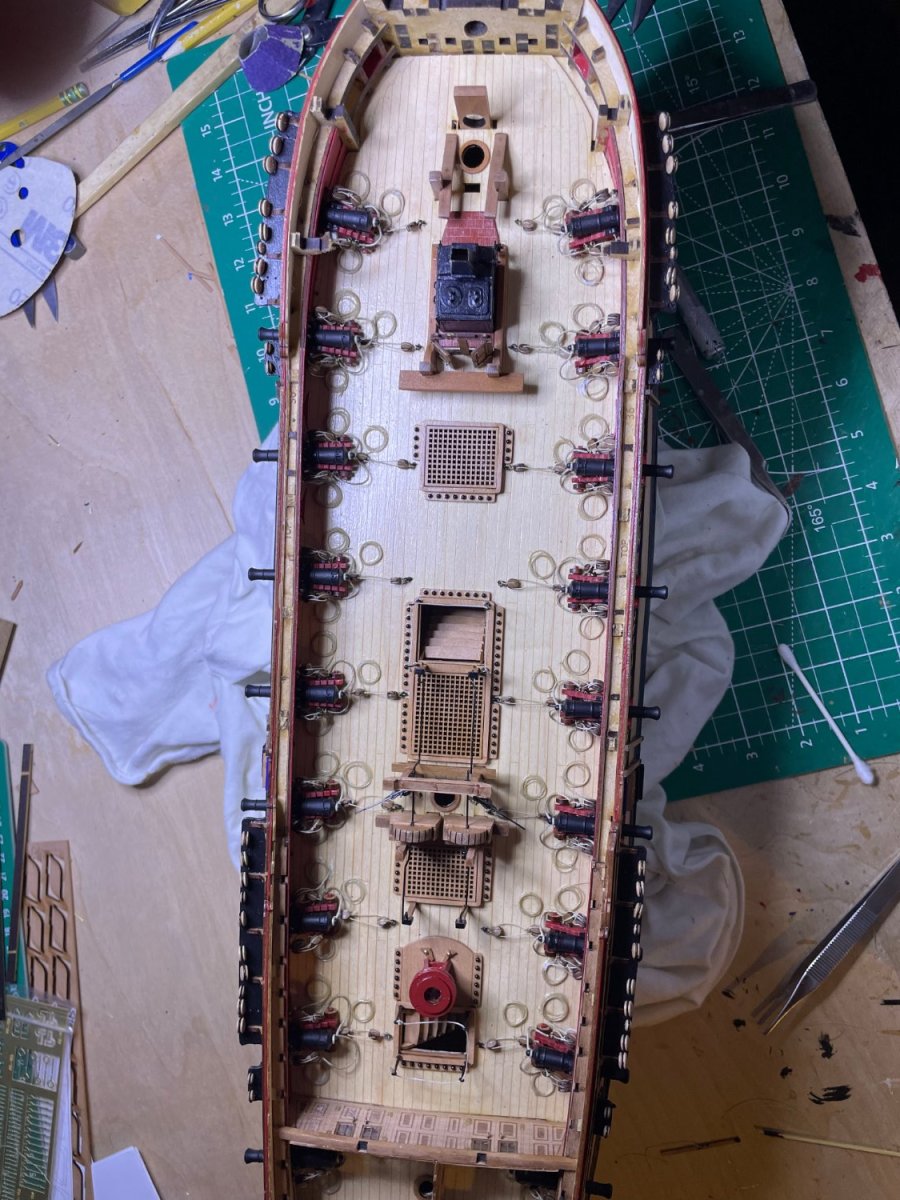
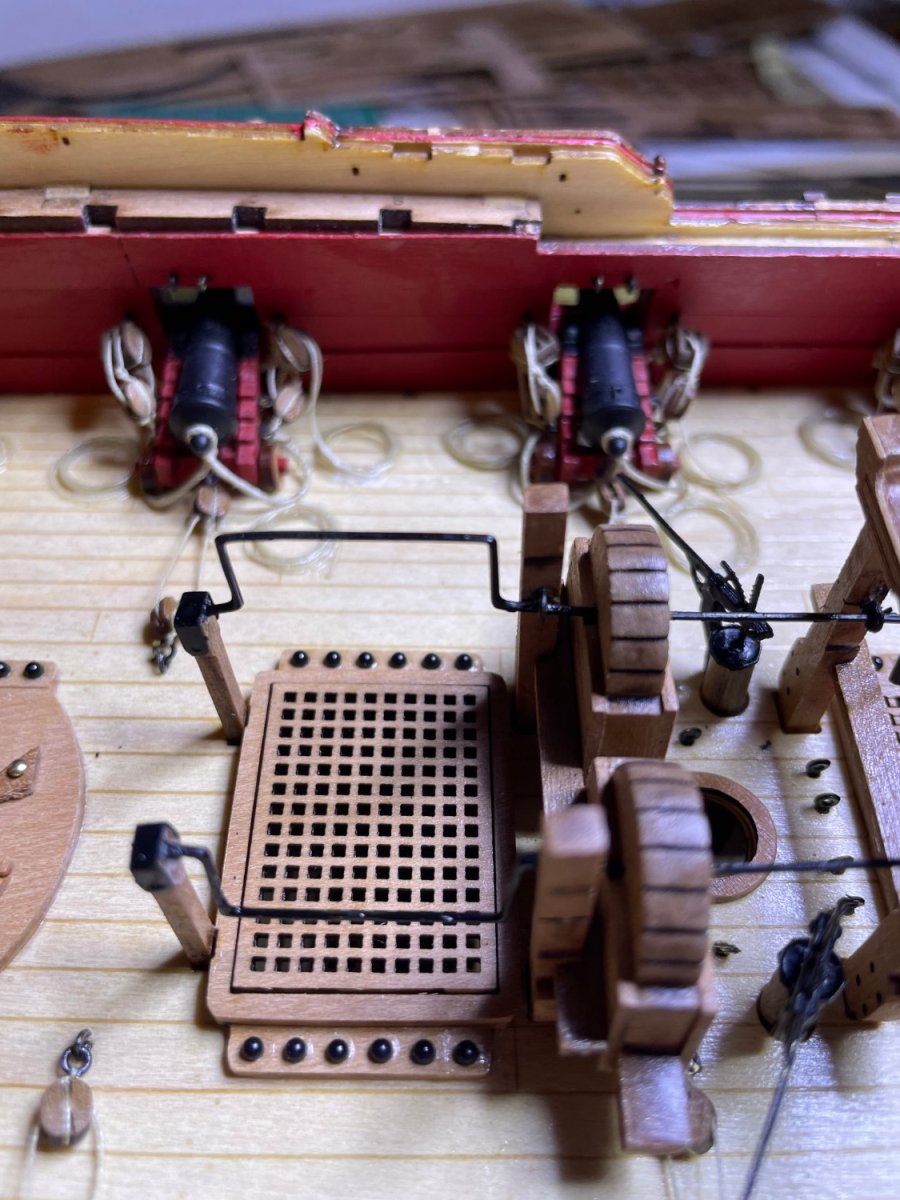
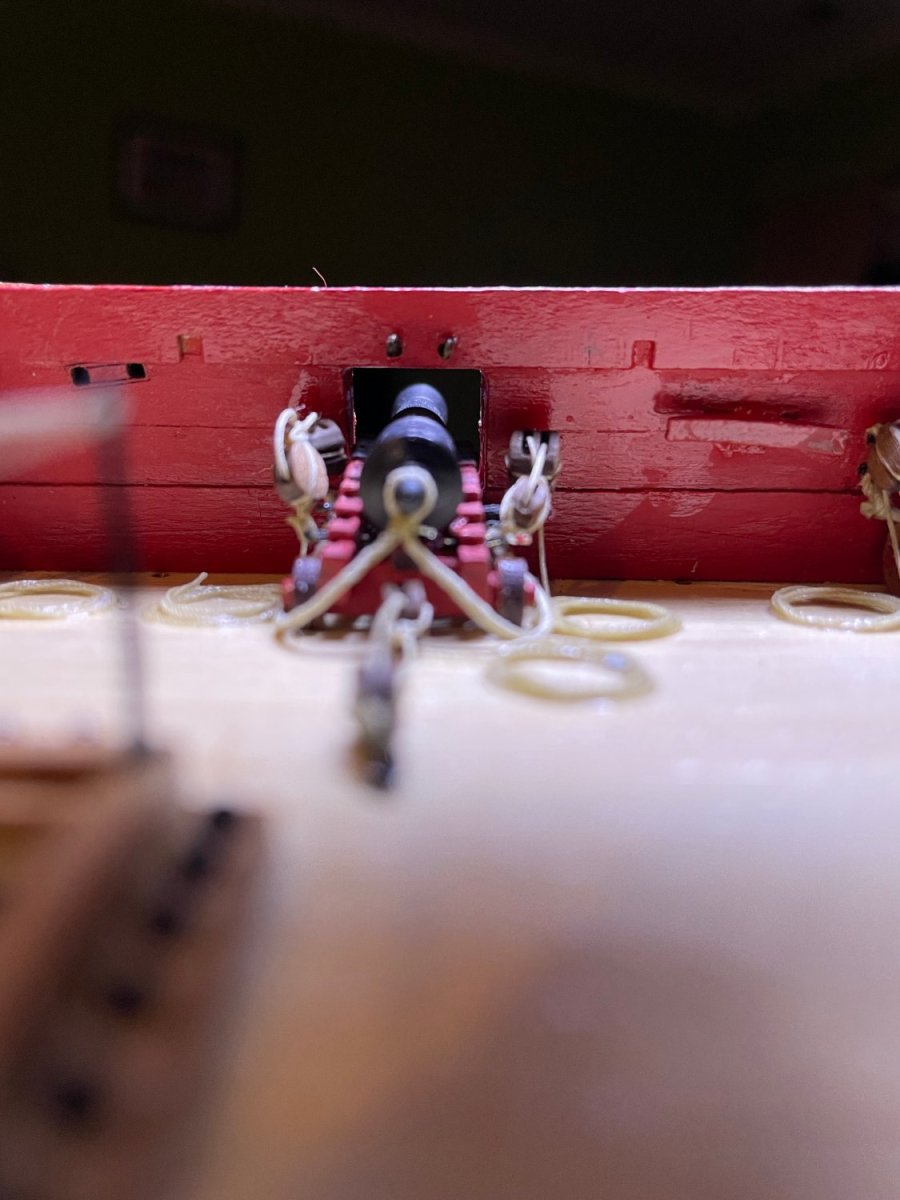
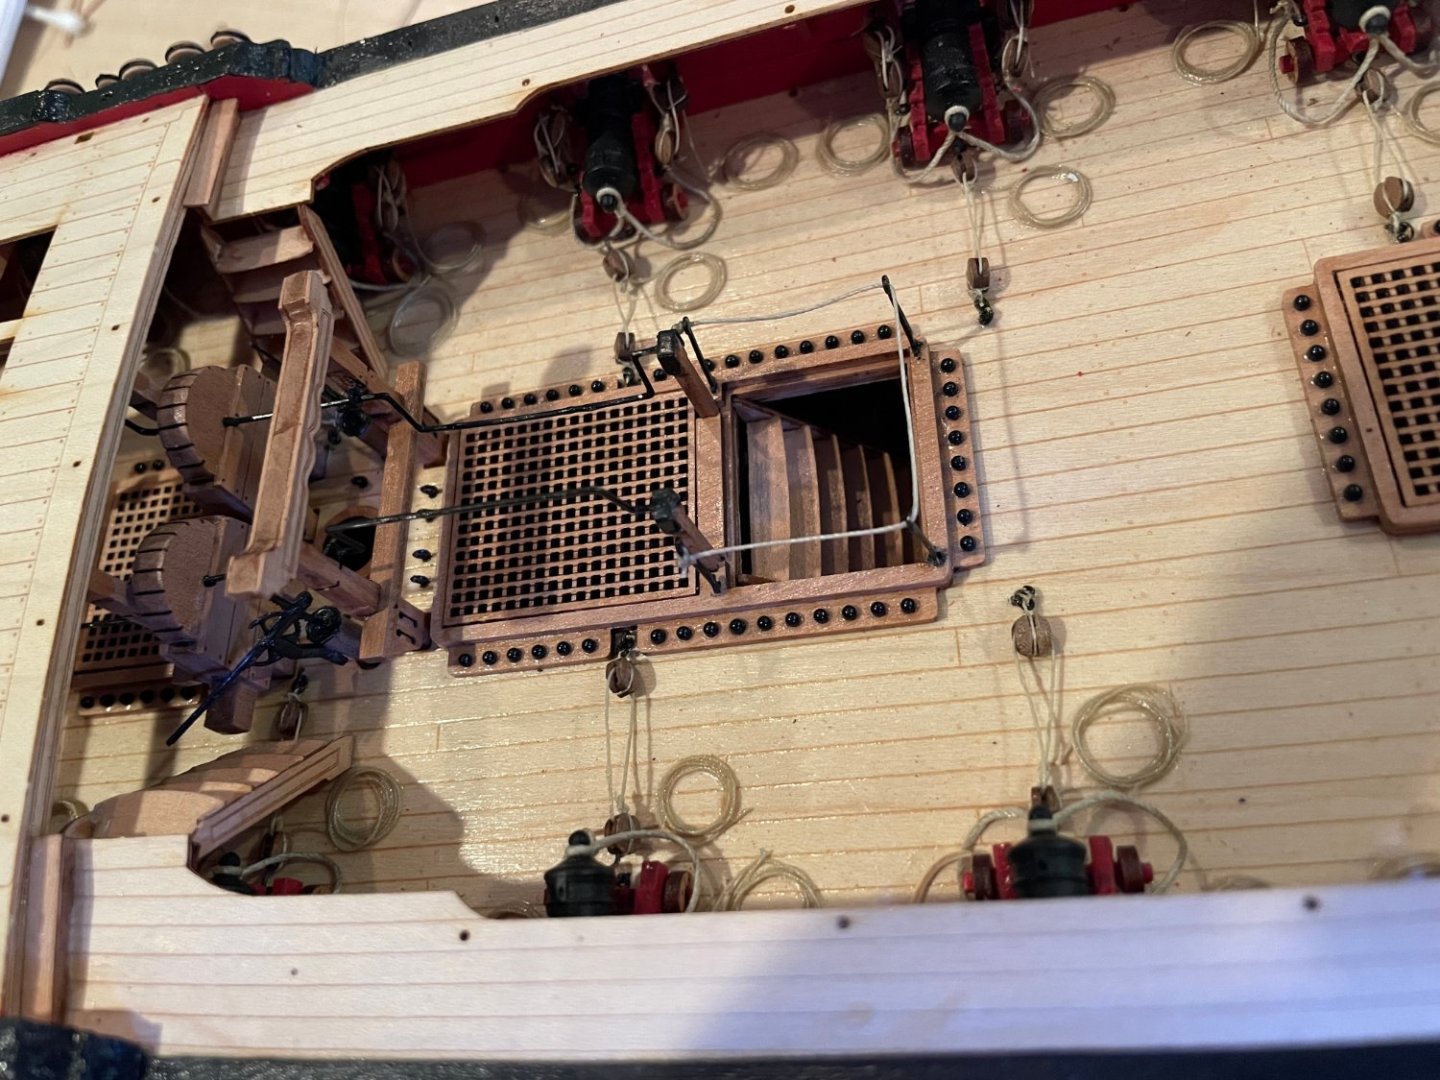
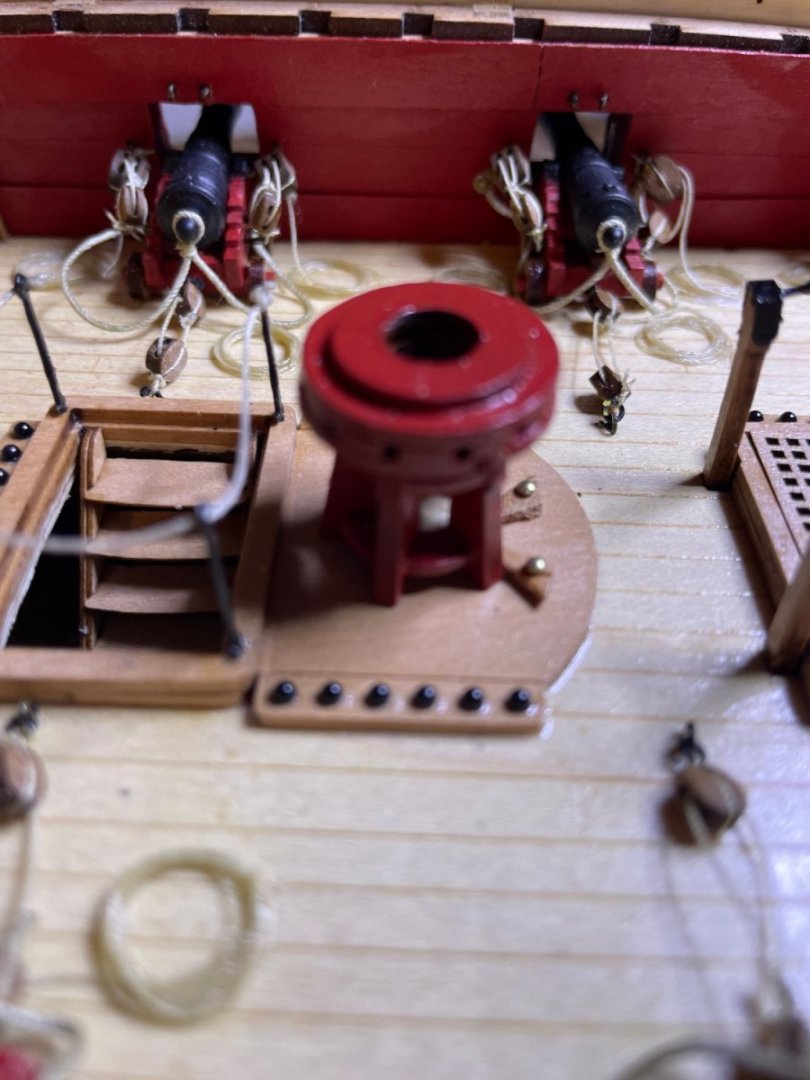
Finished rigging the guns. Used 5 mm double and 4 mm single blocks in the realistic style. I tried the 2 and 2.5 mm ones but they were so small I had difficulty threading them.


- 73 replies
-
- 6
-
-
- Sphinx
- Vanguard Models
- (and 1 more)
-
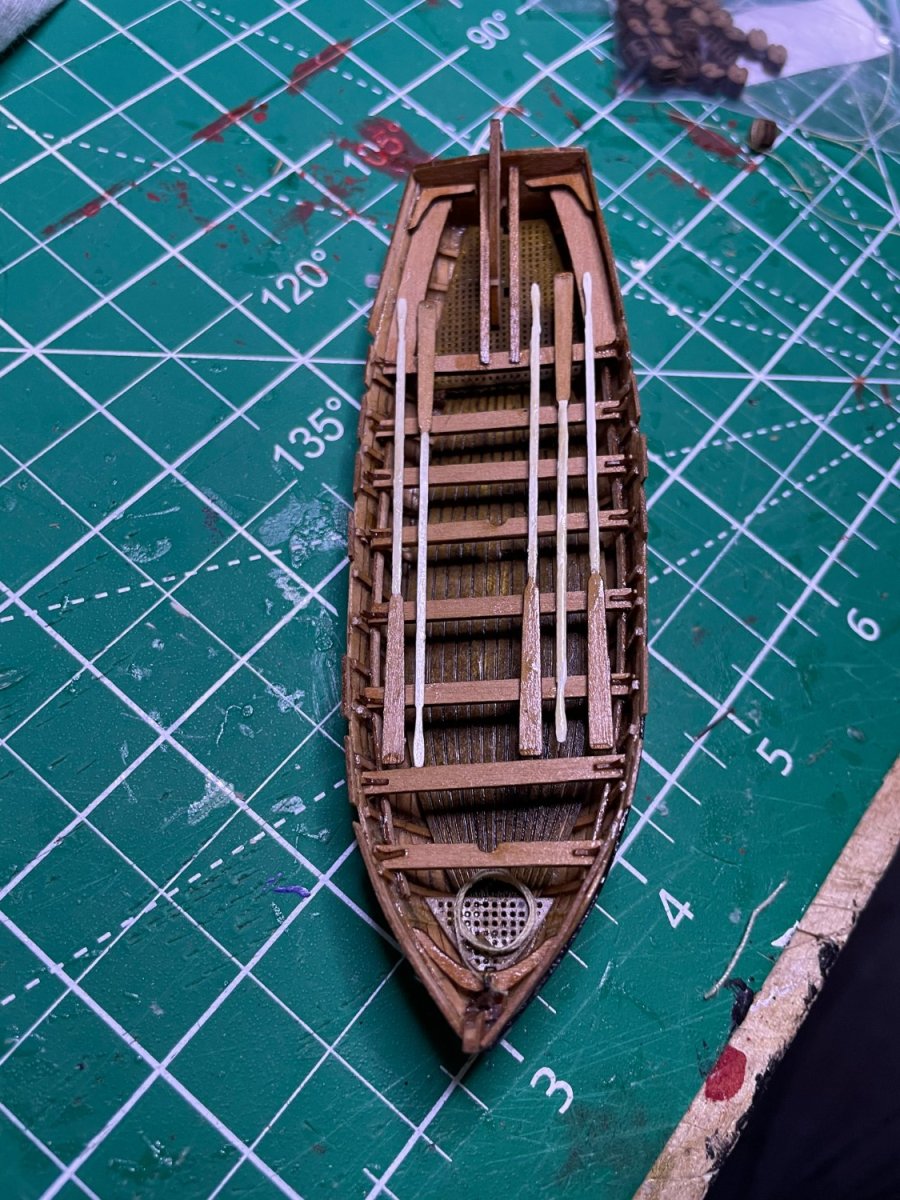
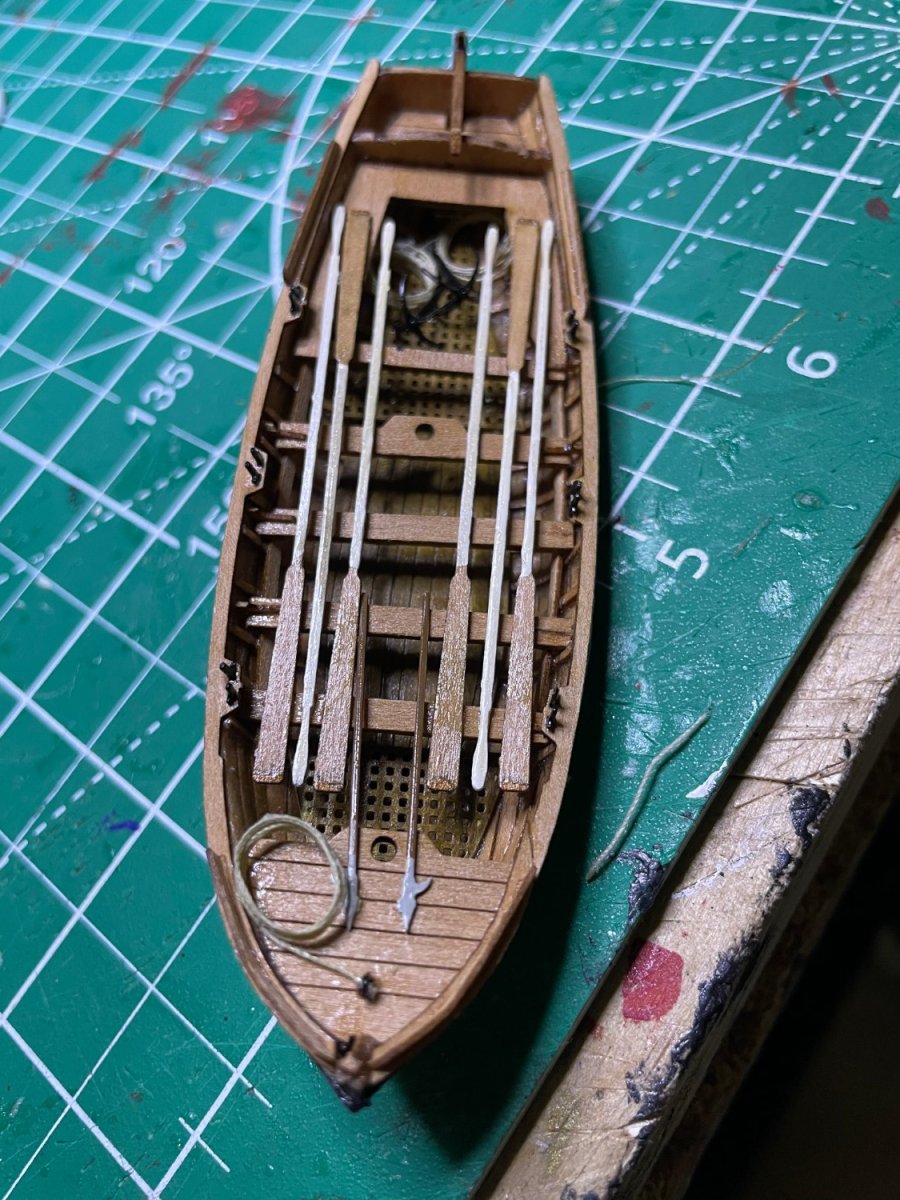
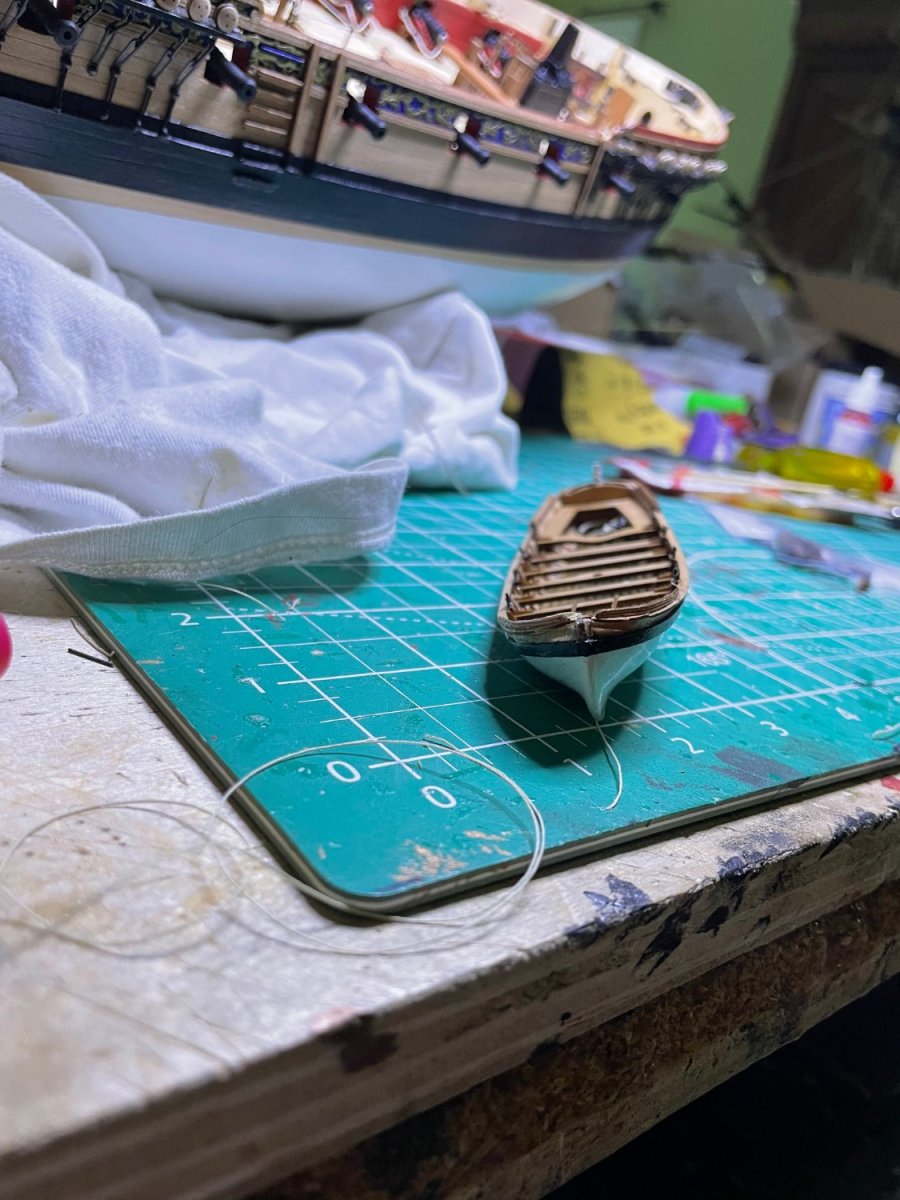
As I was waiting for the blocks I ordered to arrive for the guns, I decided to make the ship's boats. Also got in the letters for the stern. I I did the hulls like the main ship, filler, paint and repeat until it they were smooth.


- 73 replies
-
- 7
-
-
- Sphinx
- Vanguard Models
- (and 1 more)
-
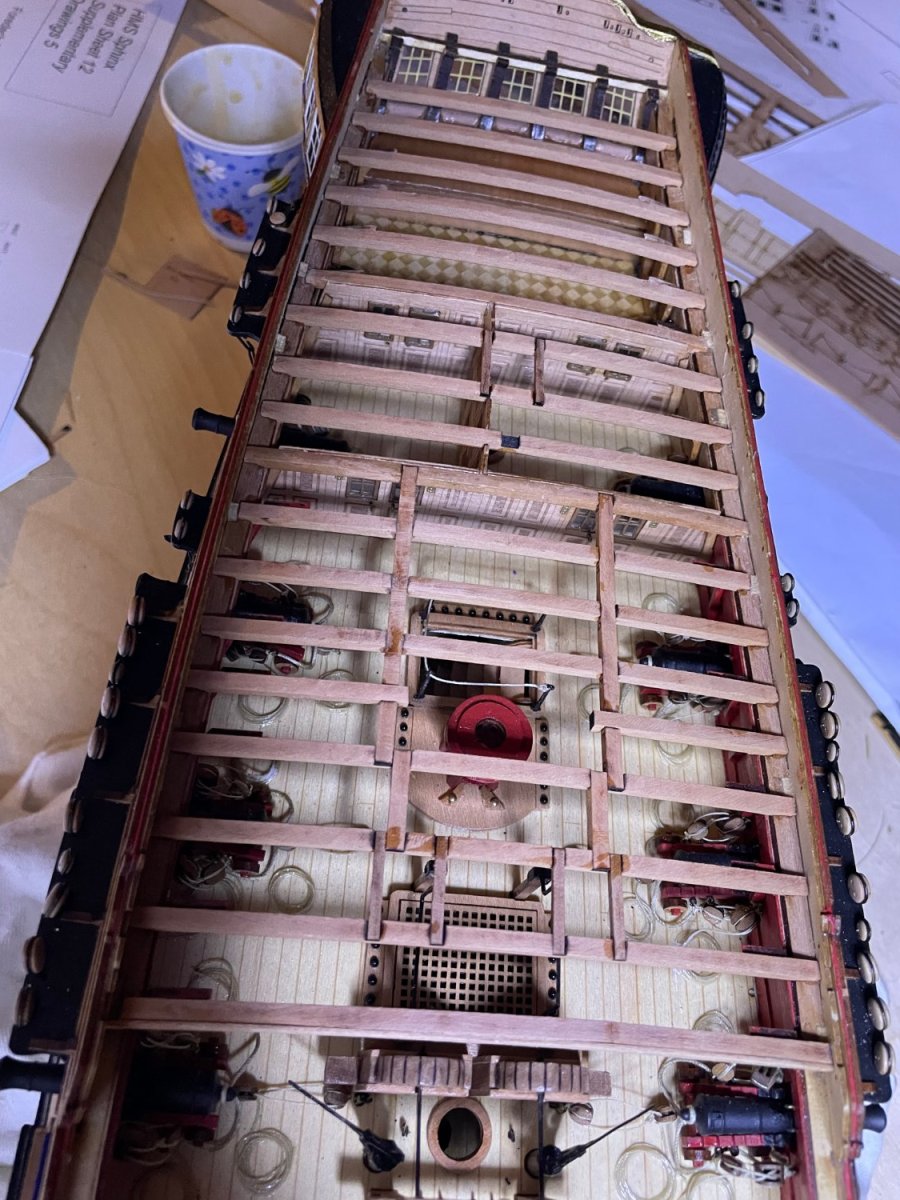
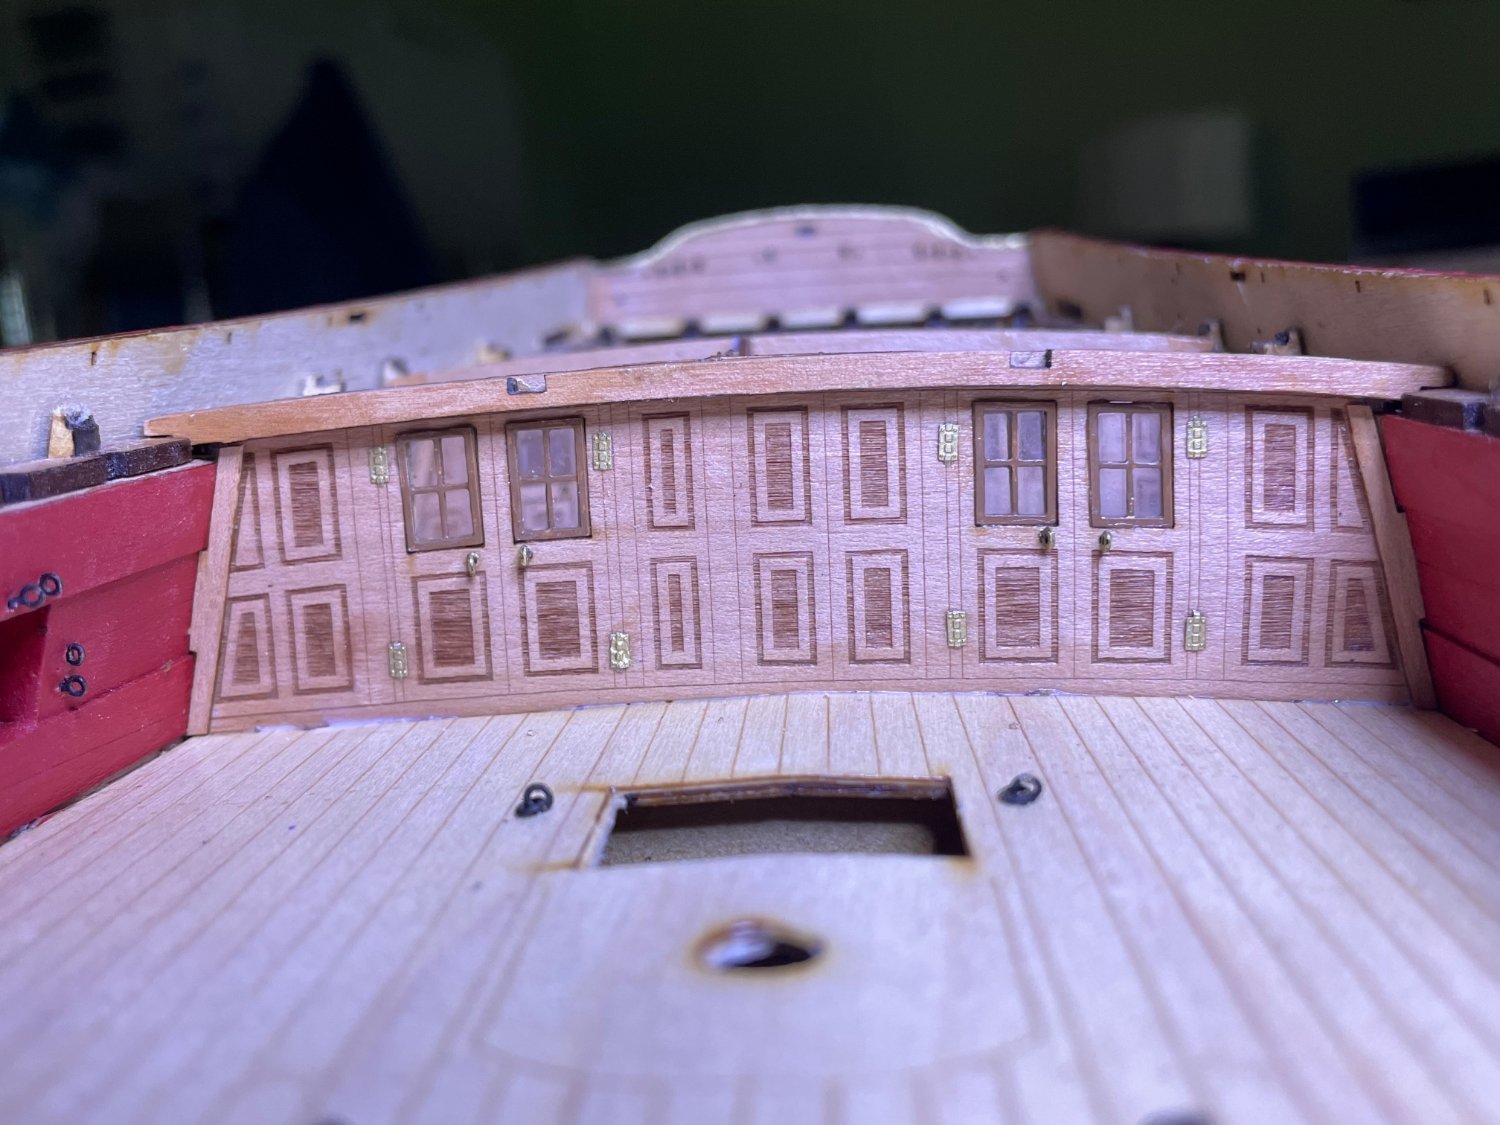
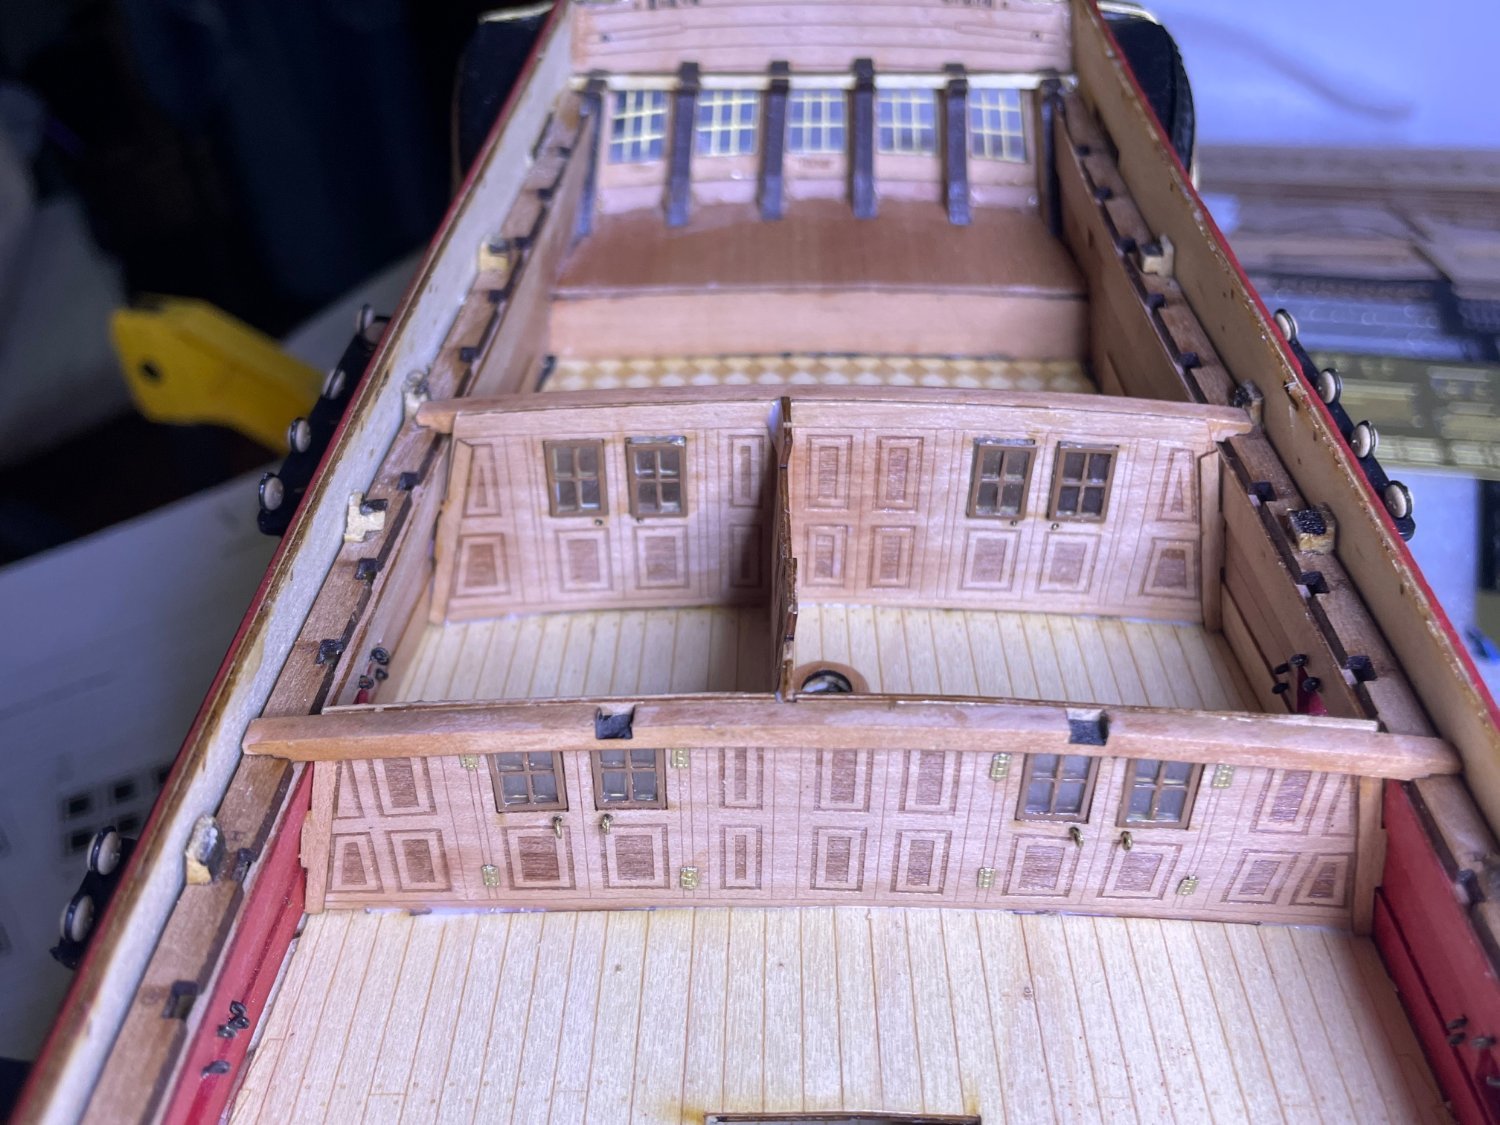
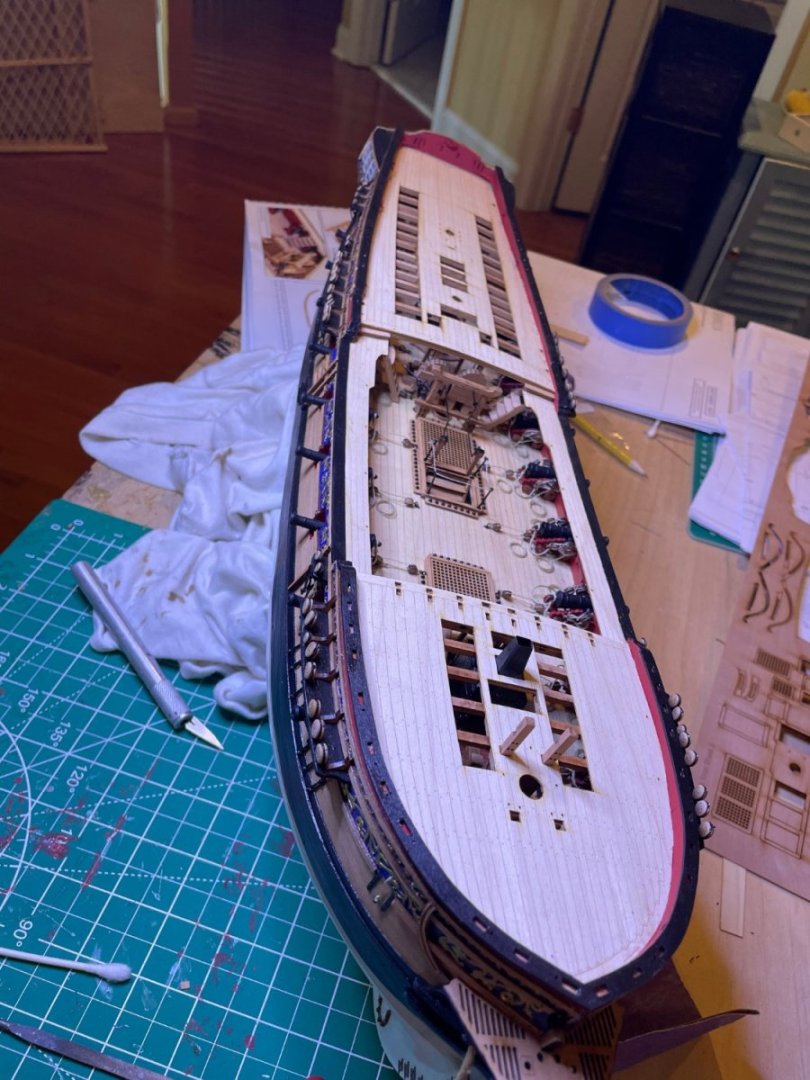
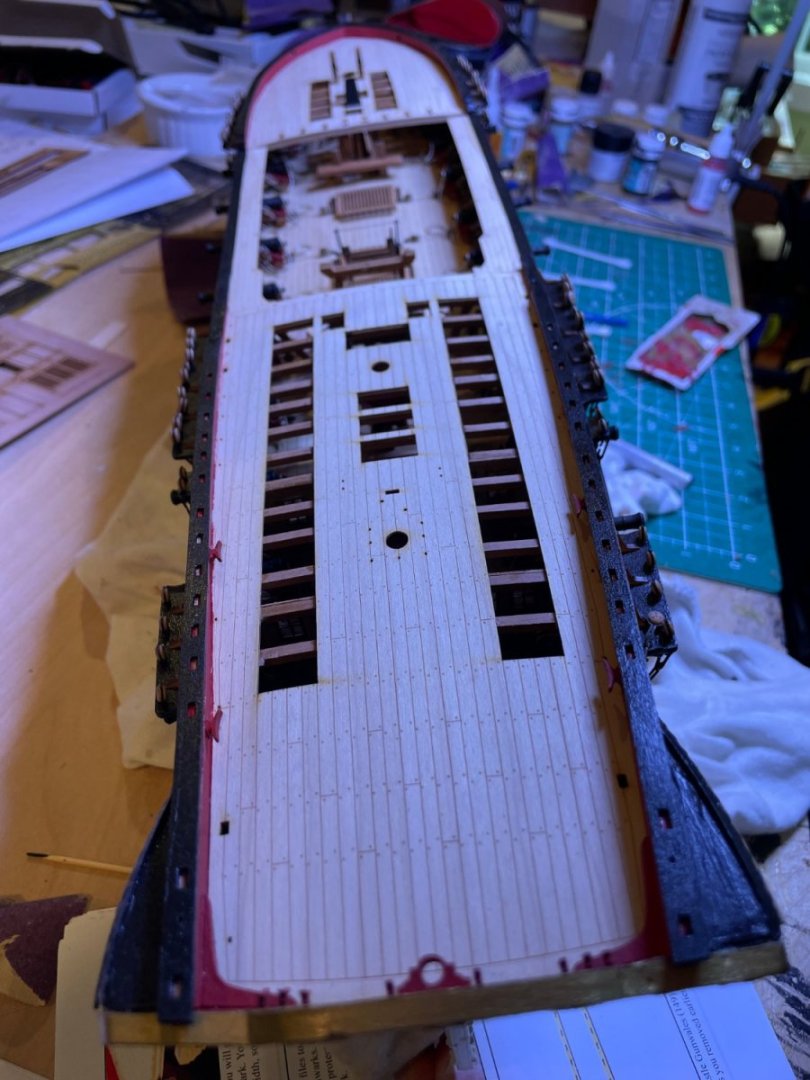
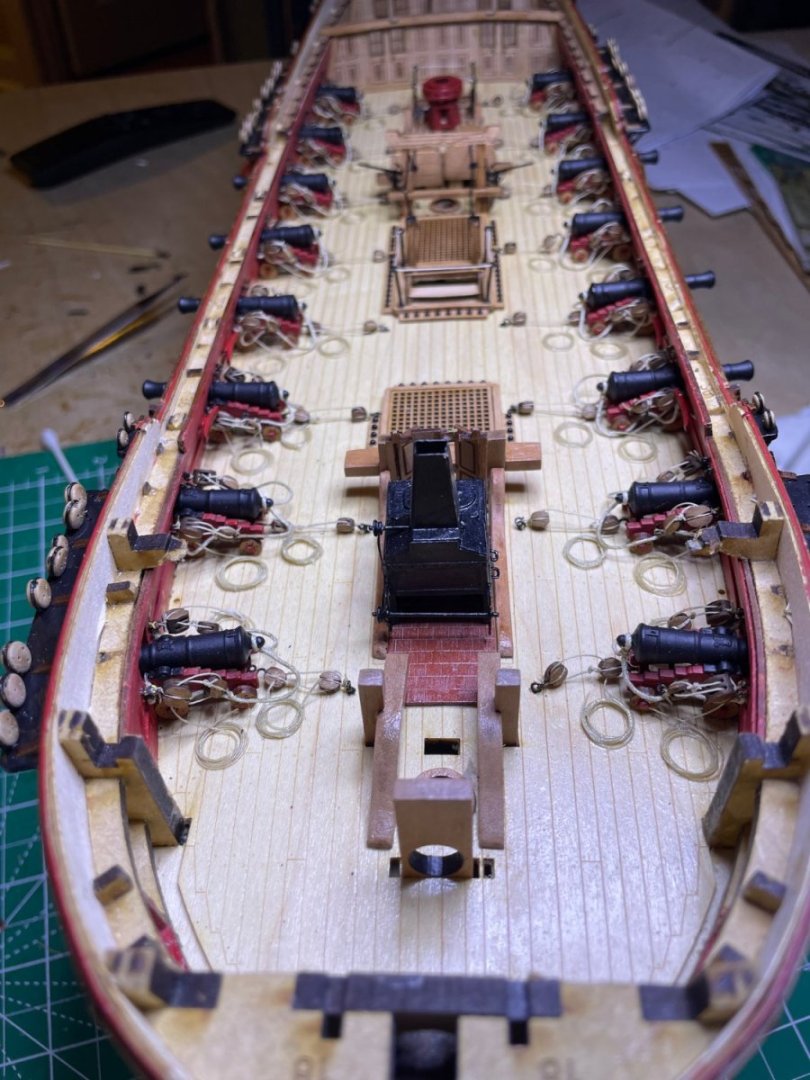
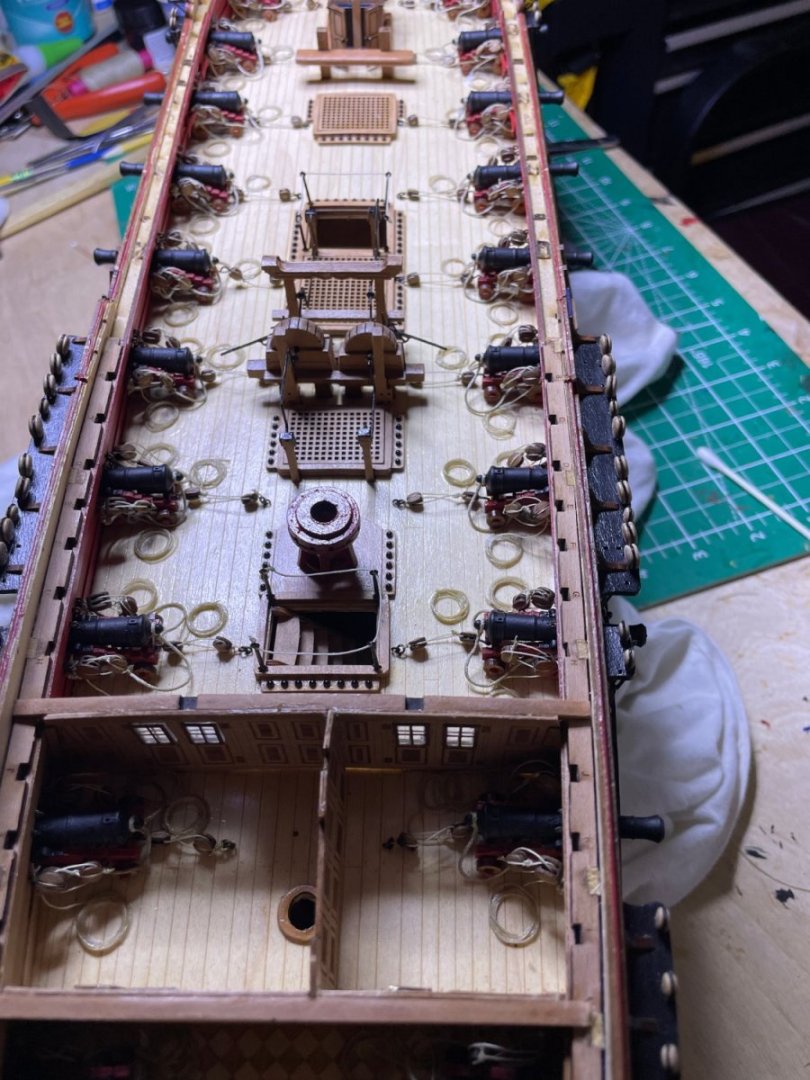
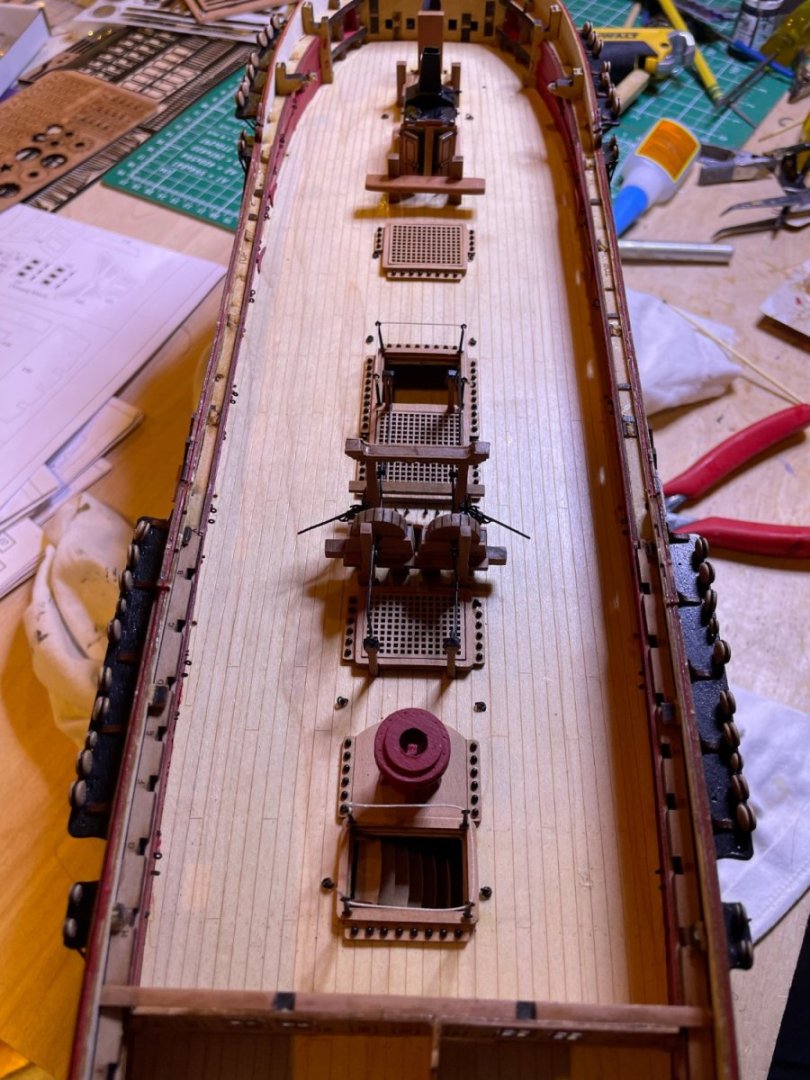
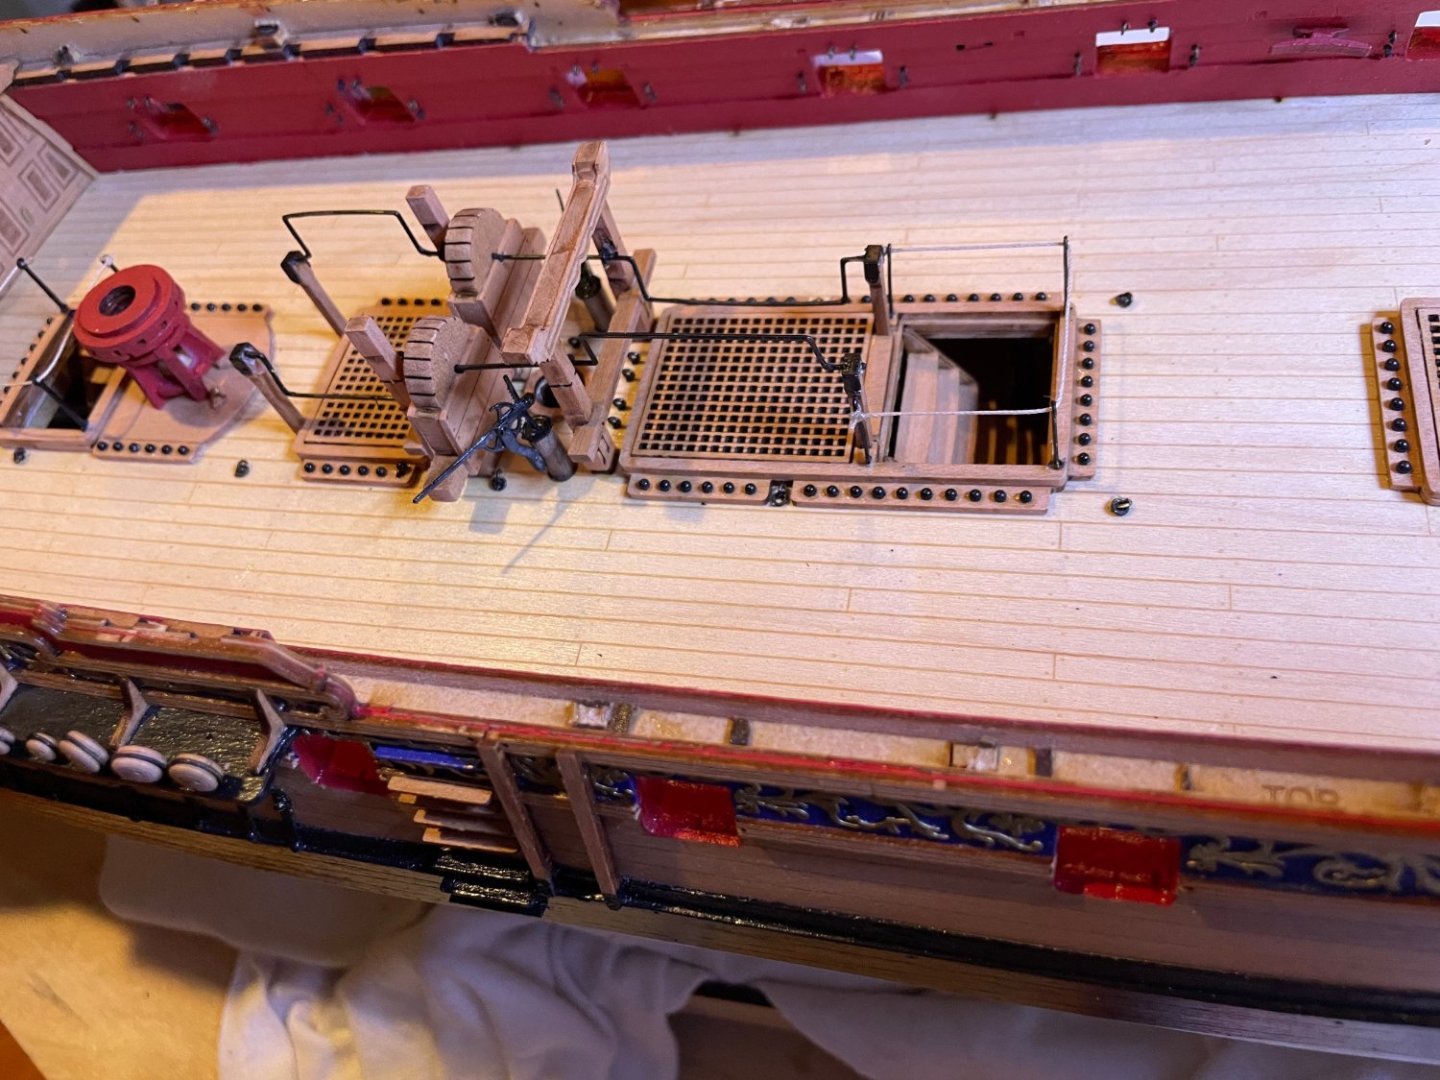
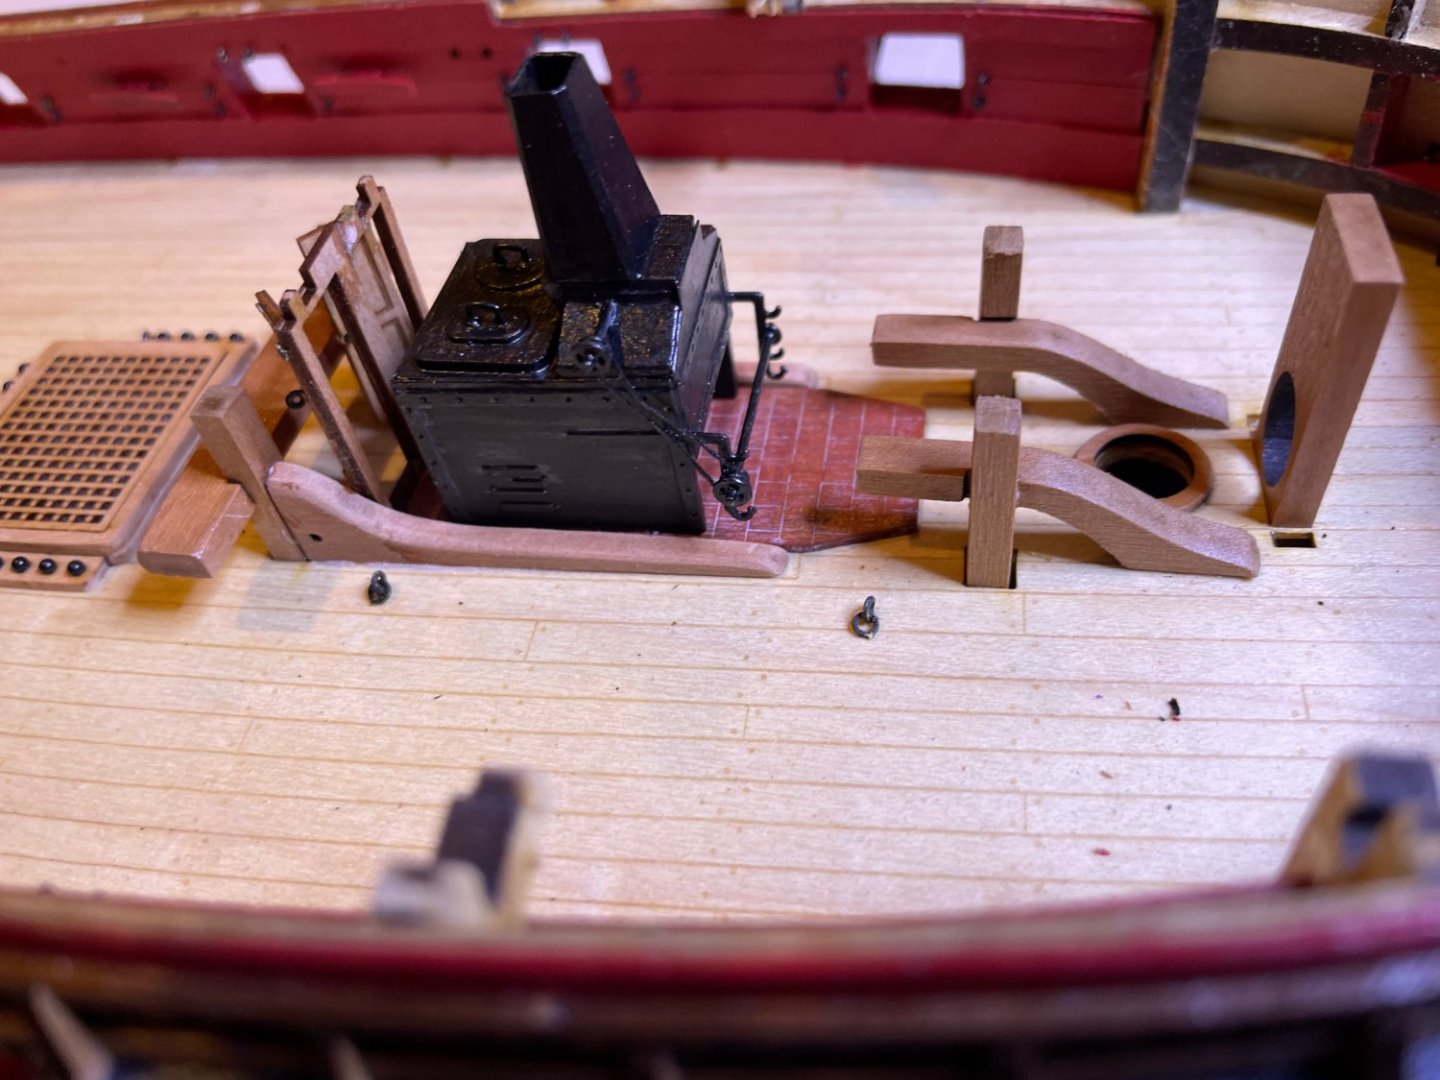
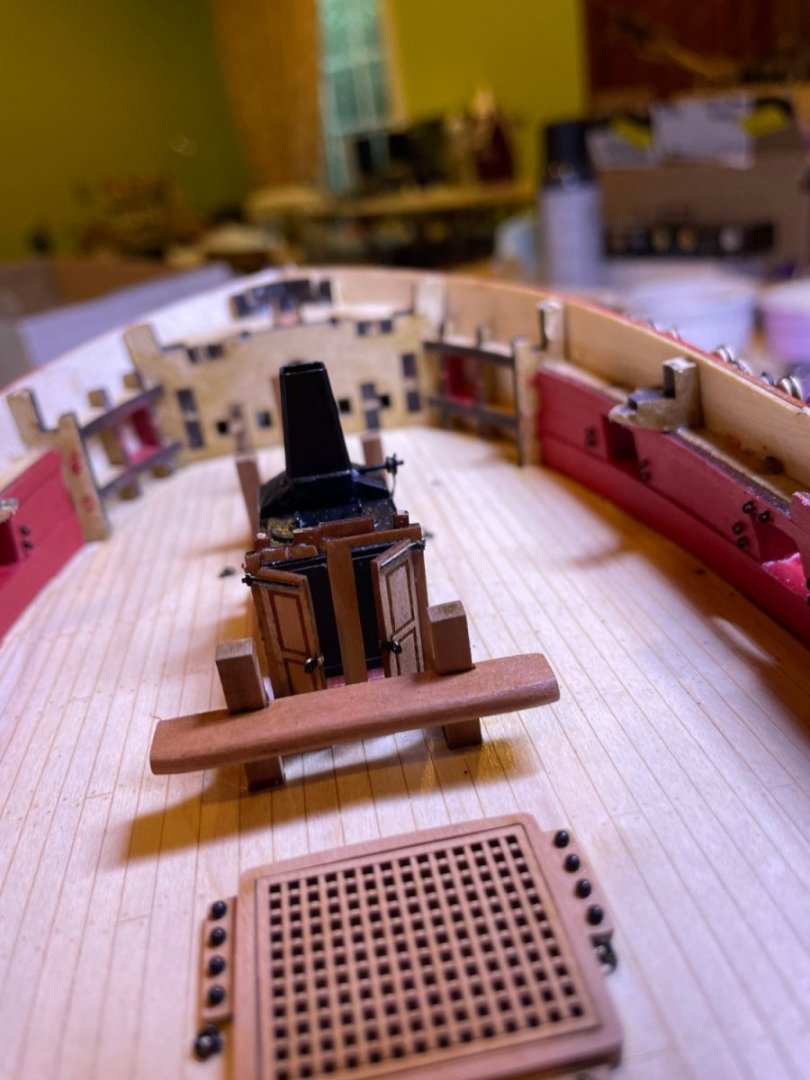
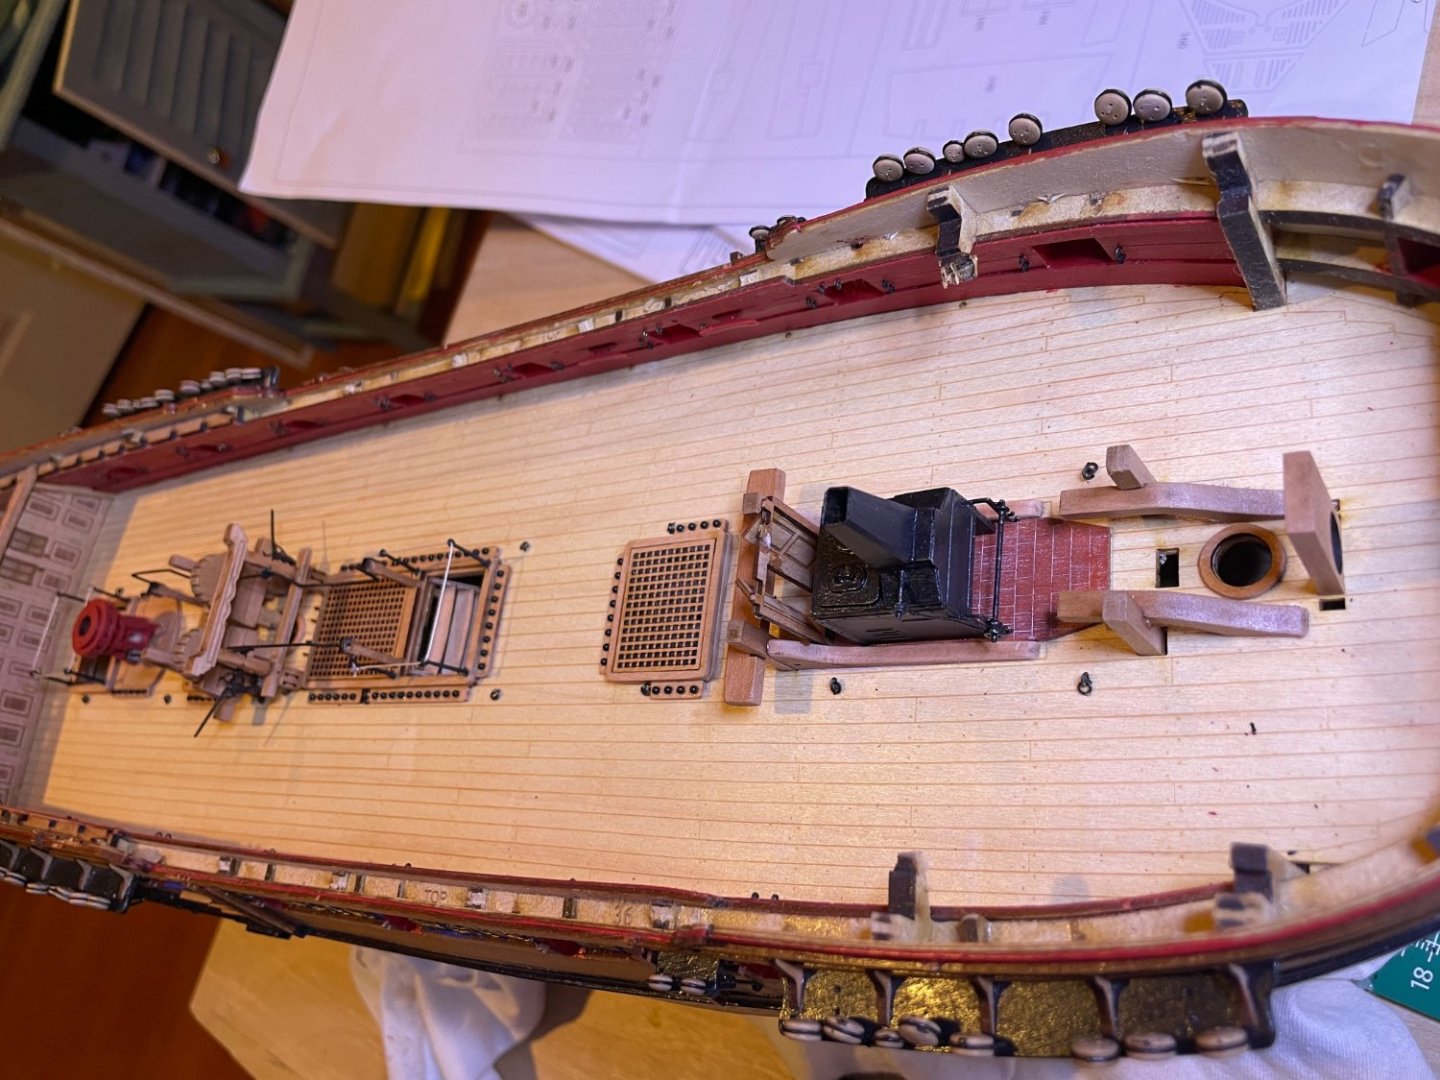
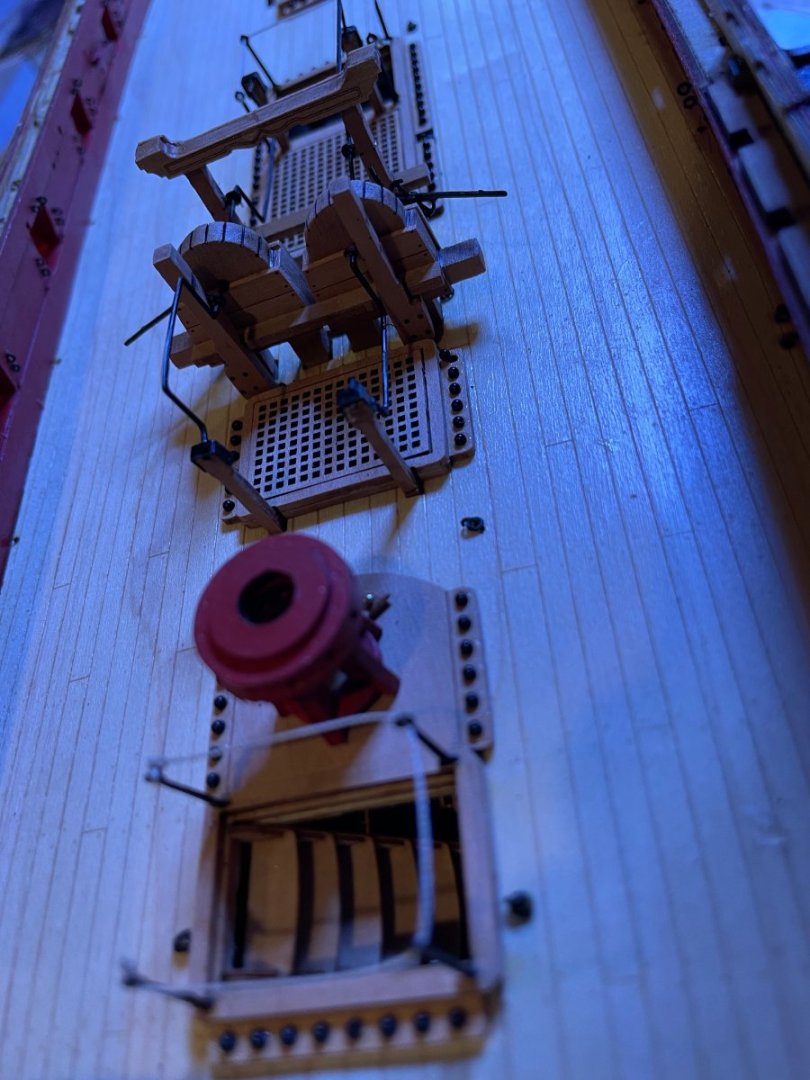
Main gun deck done except for the guns. This will take awhile as I intend to rig them all..
- 73 replies
-
- 8
-
-
- Sphinx
- Vanguard Models
- (and 1 more)
-
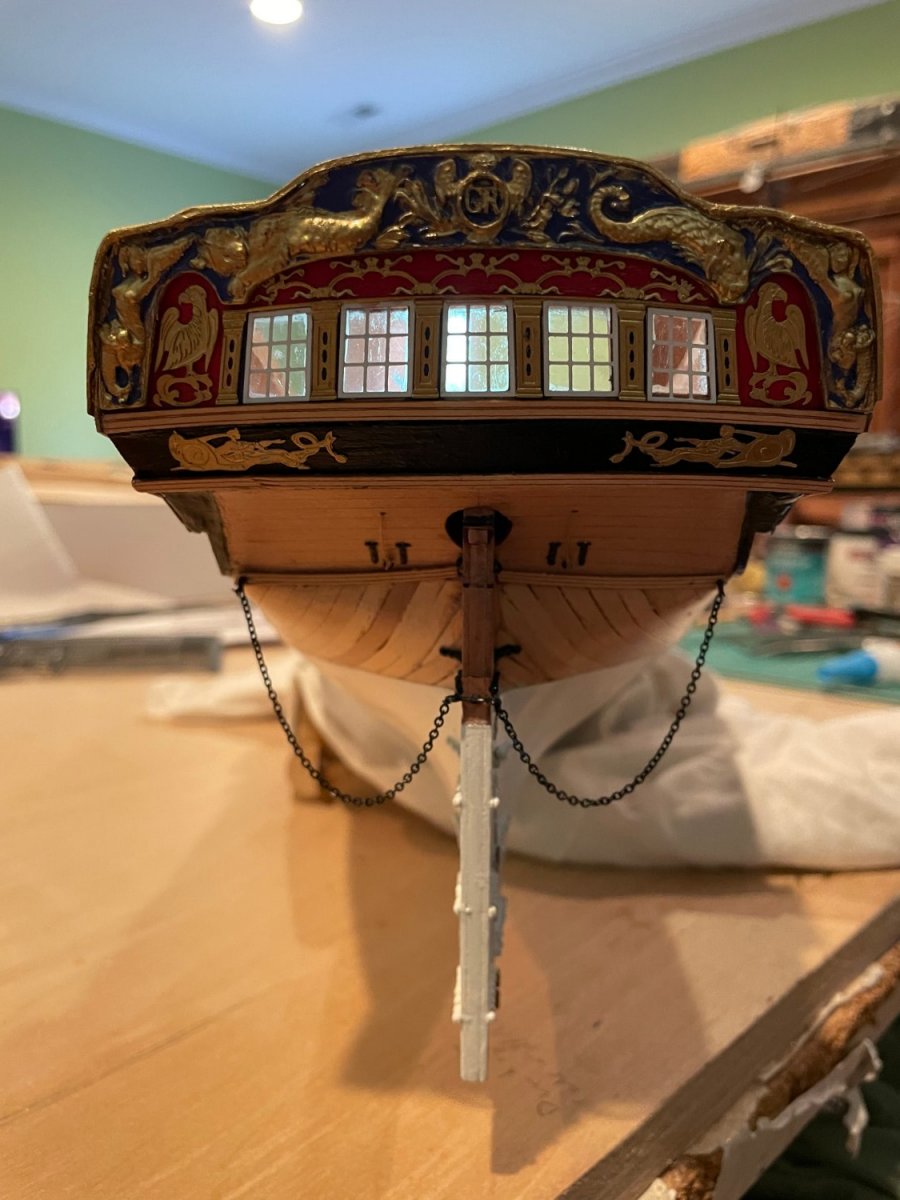
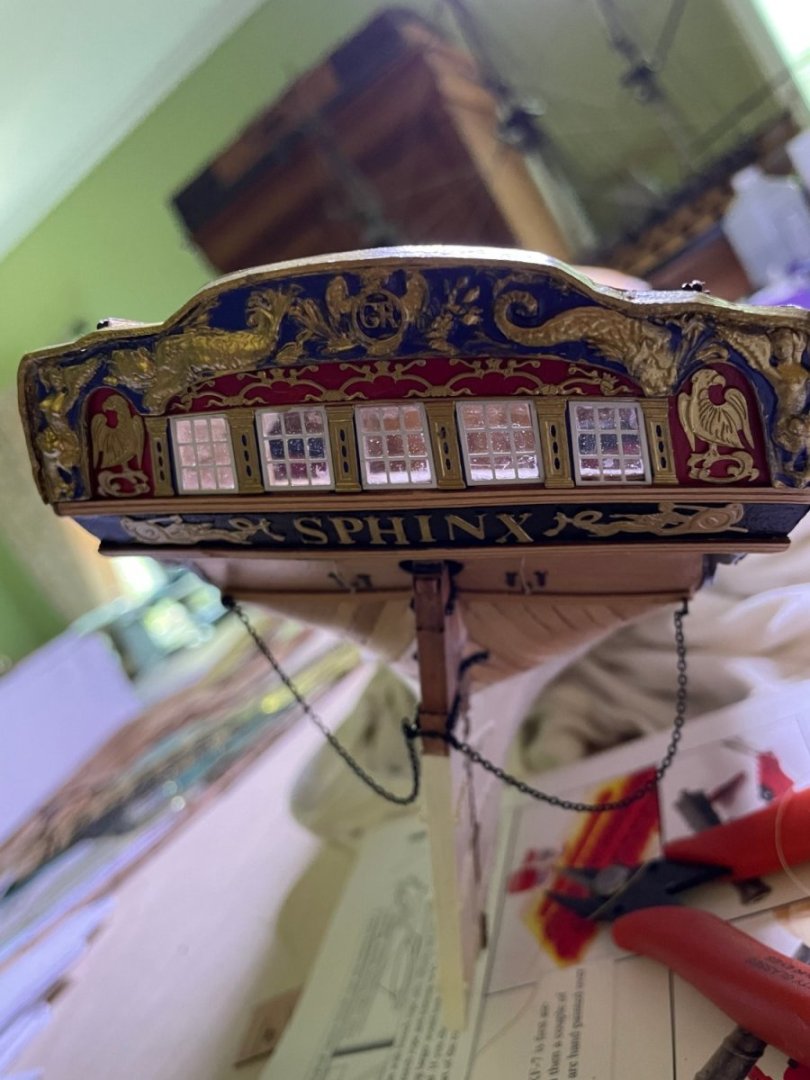
Name is missing as I dropped and lost the letter S. Have ordered new brass letters but will take awhile to come in.
- 73 replies
-
- 1
-
-
- Sphinx
- Vanguard Models
- (and 1 more)
-
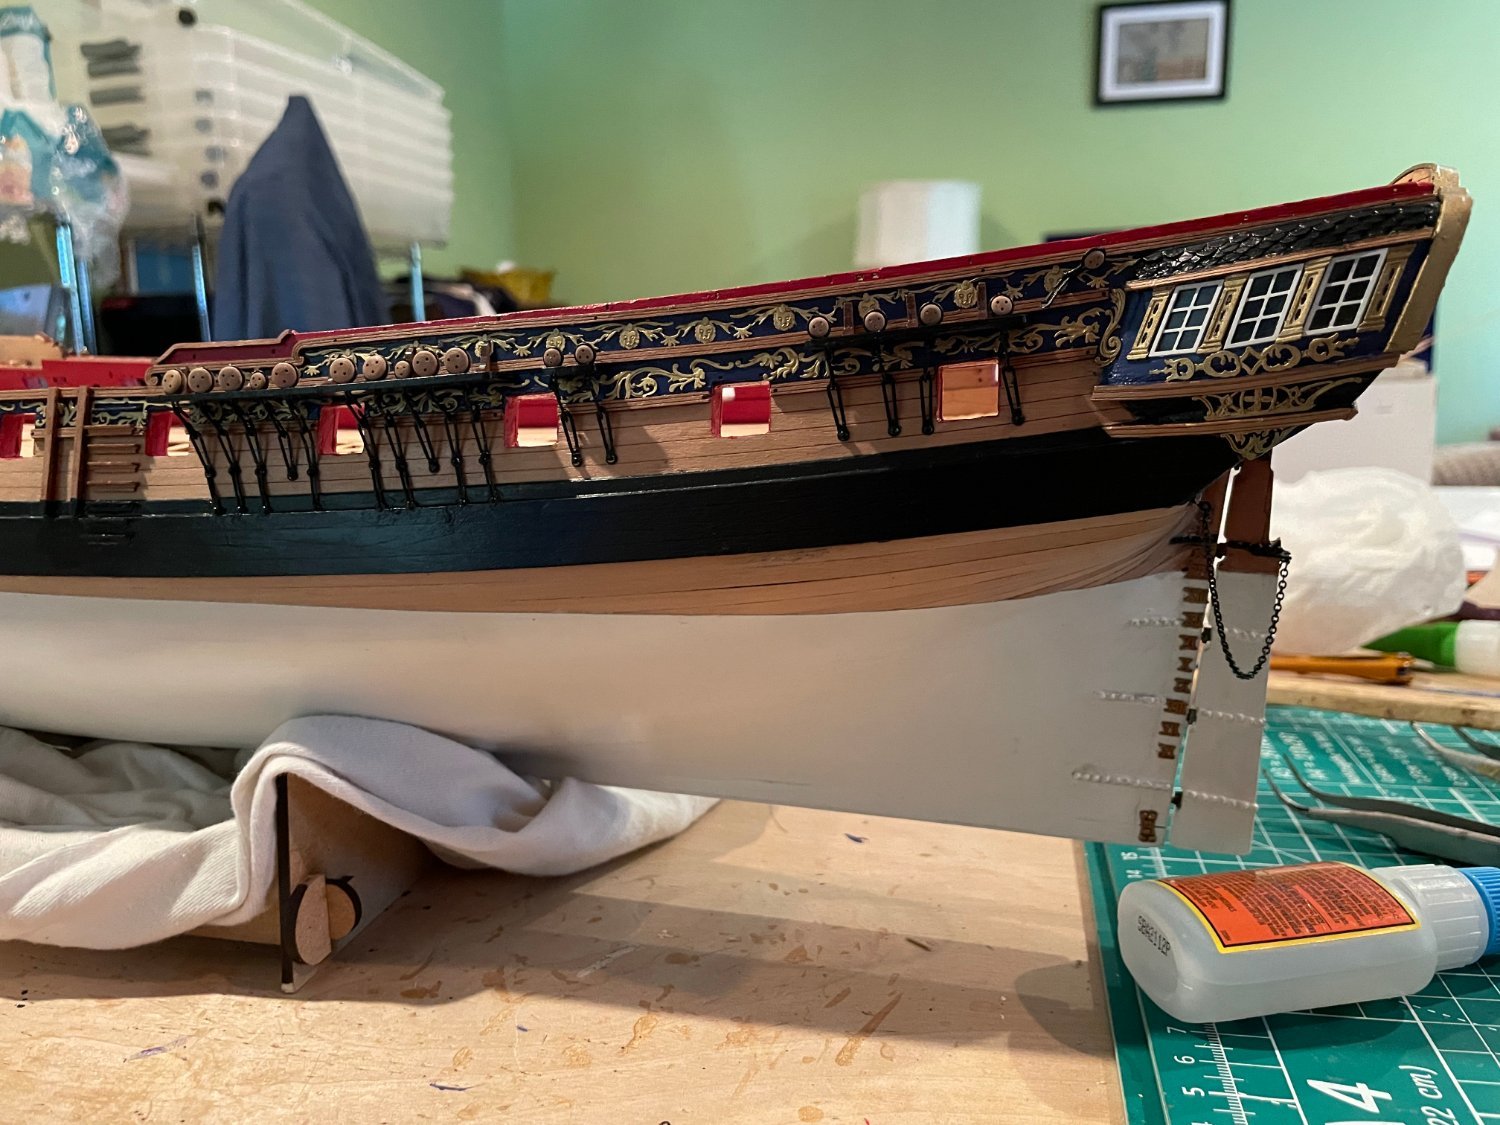
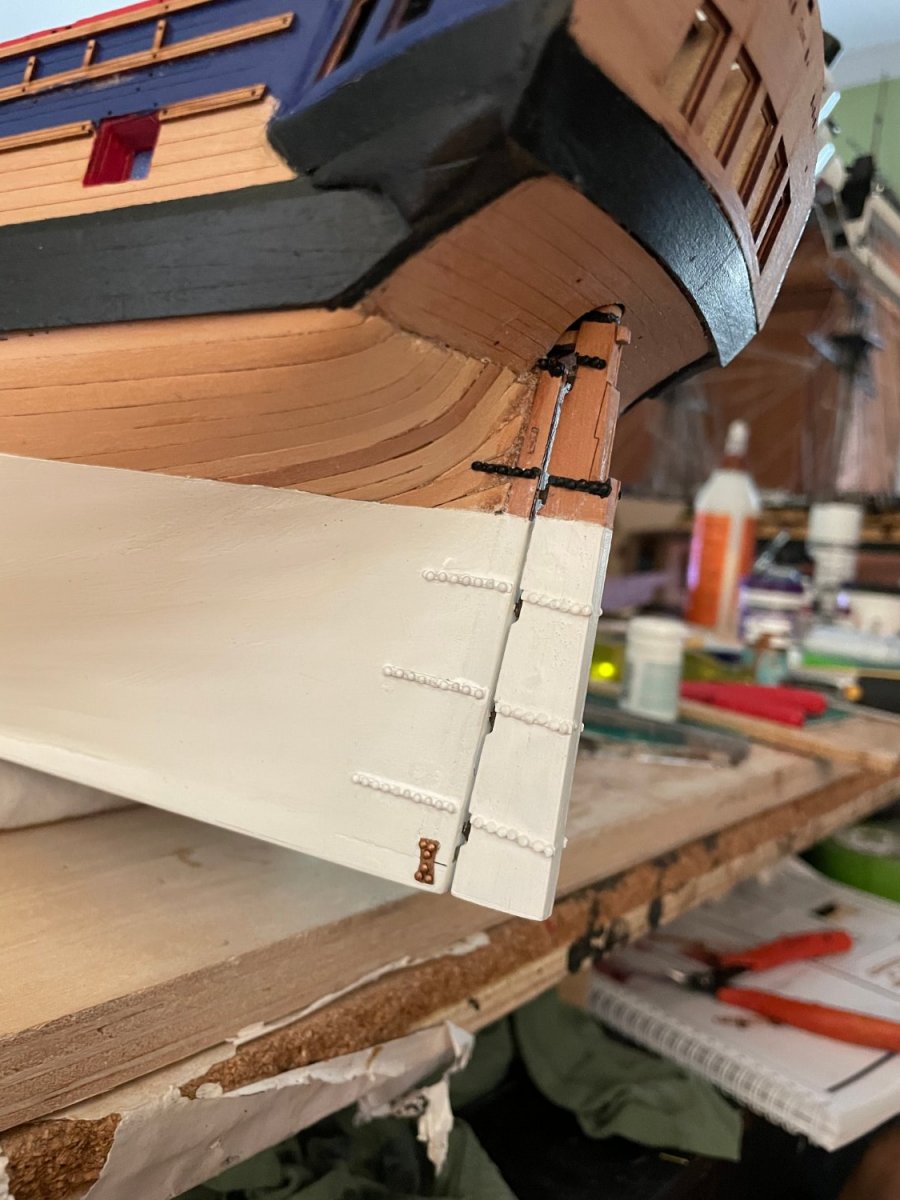
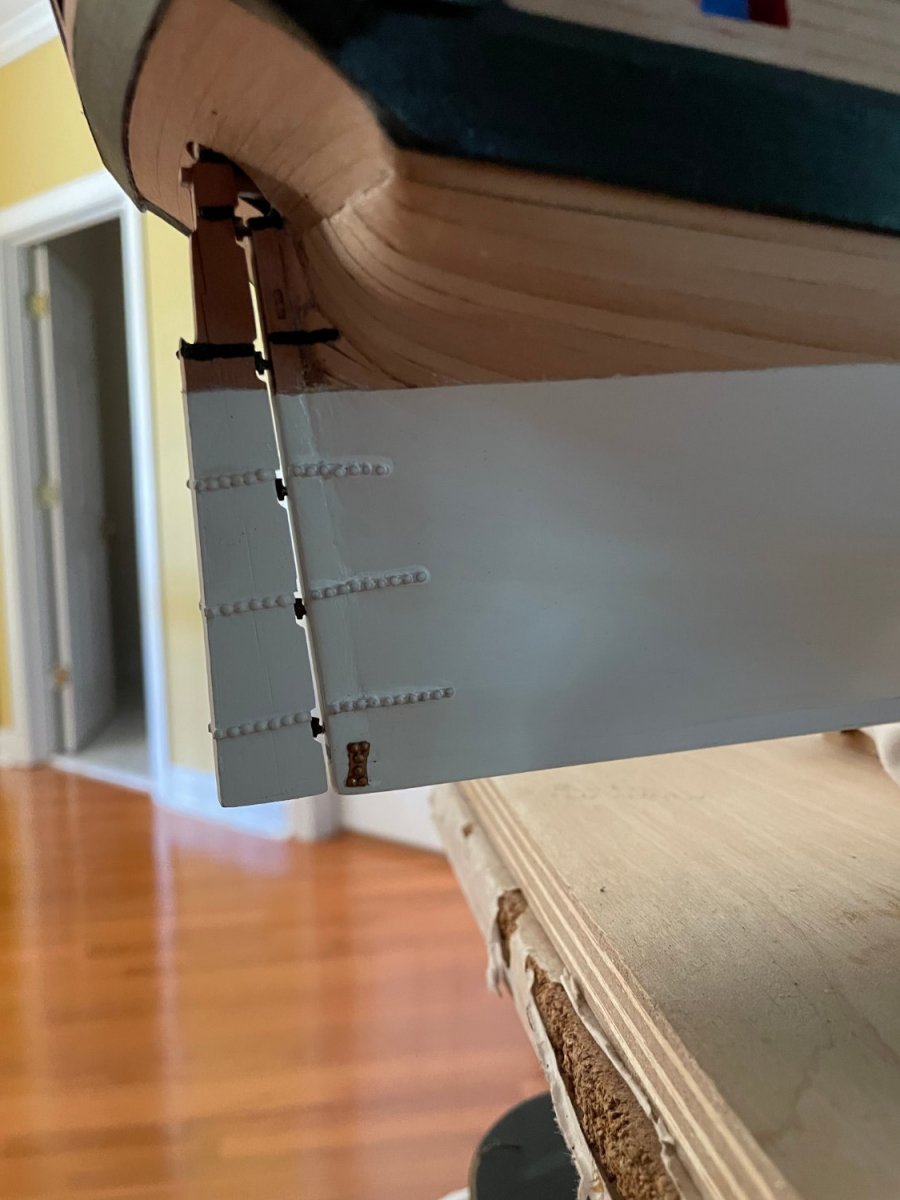
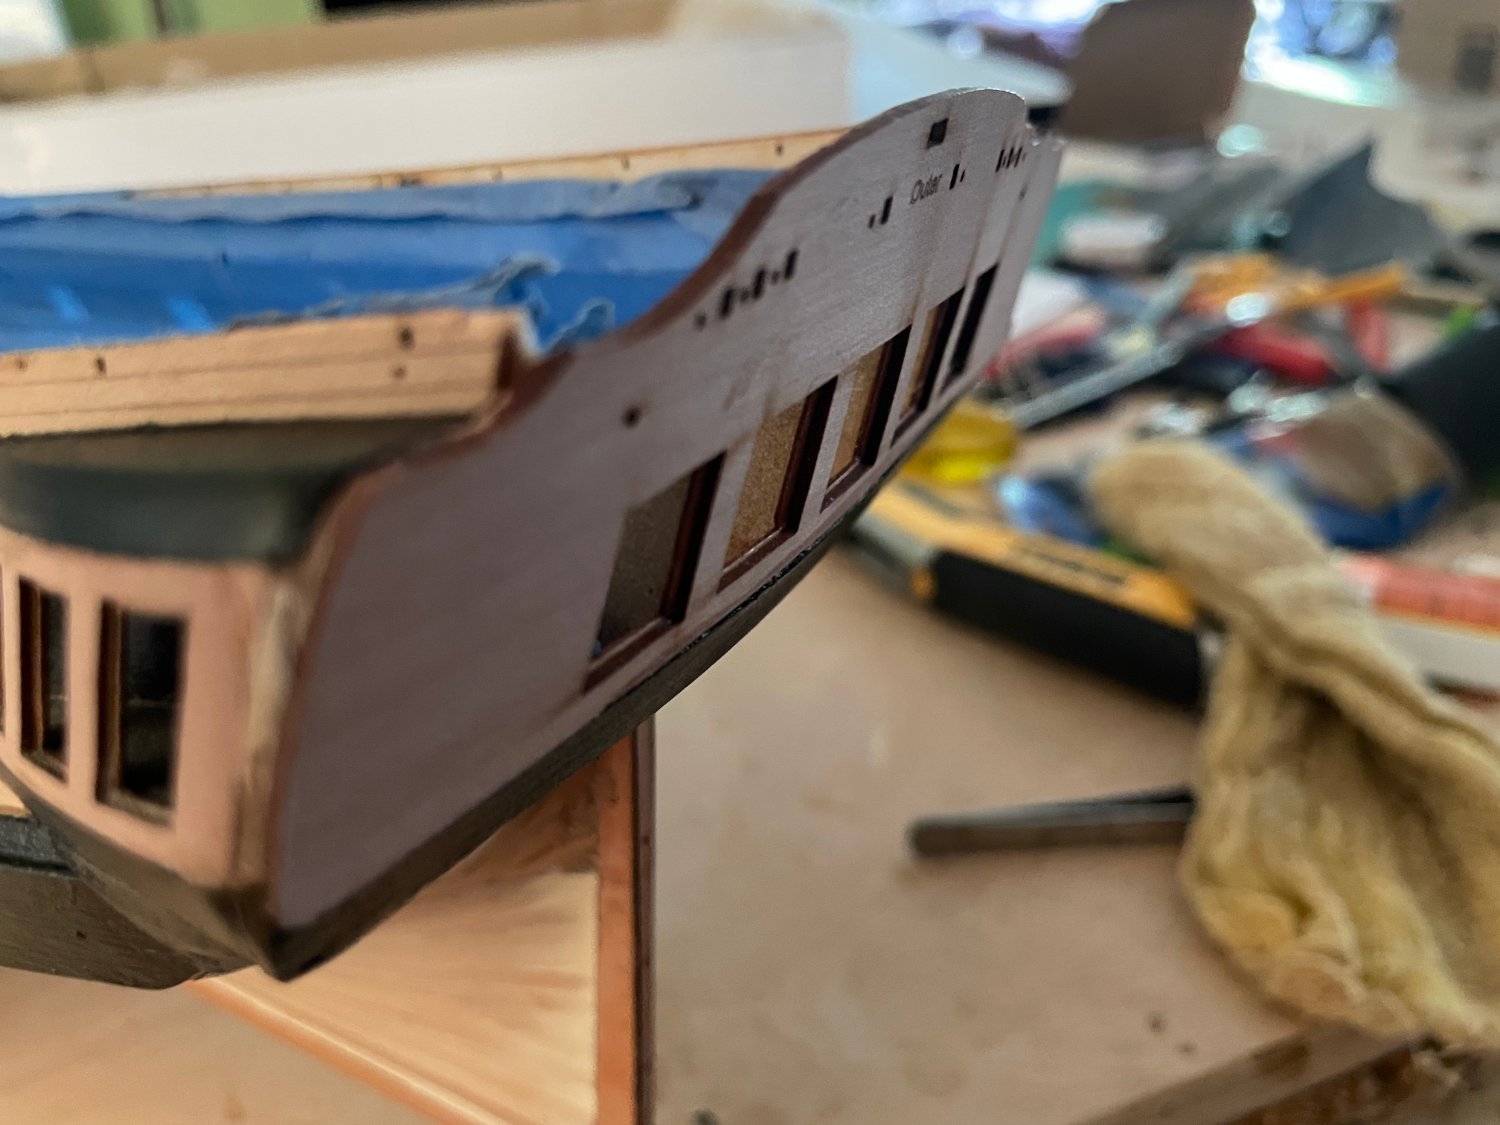
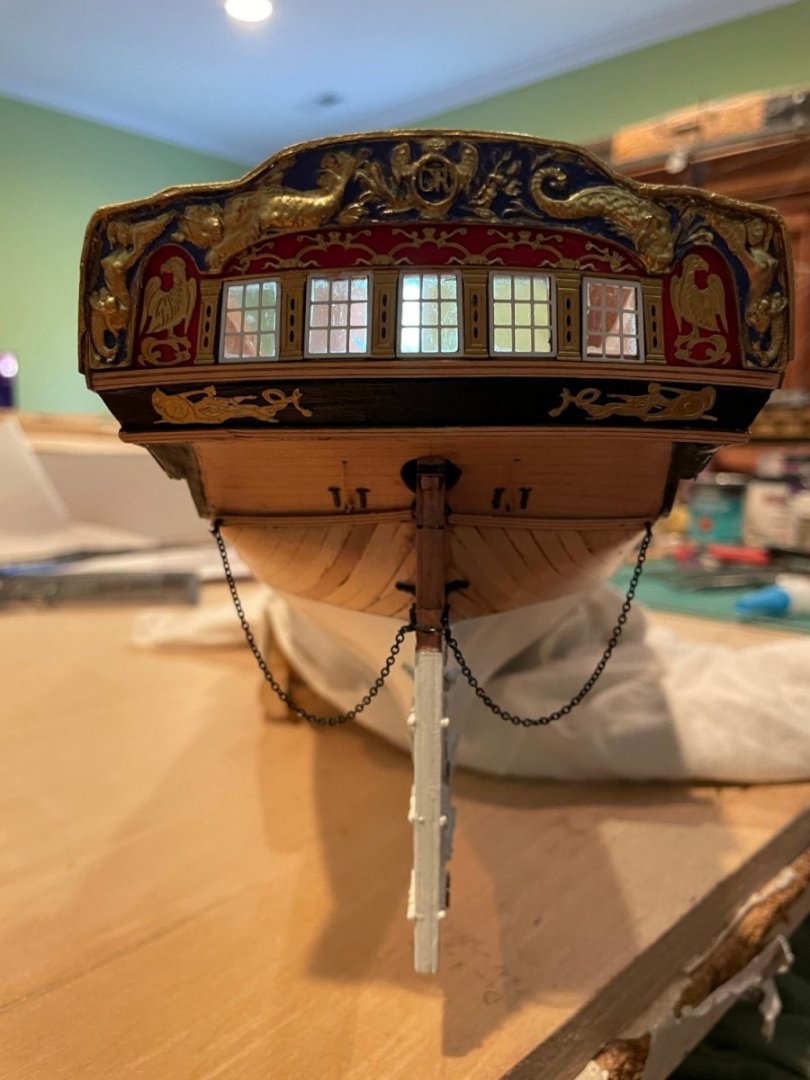
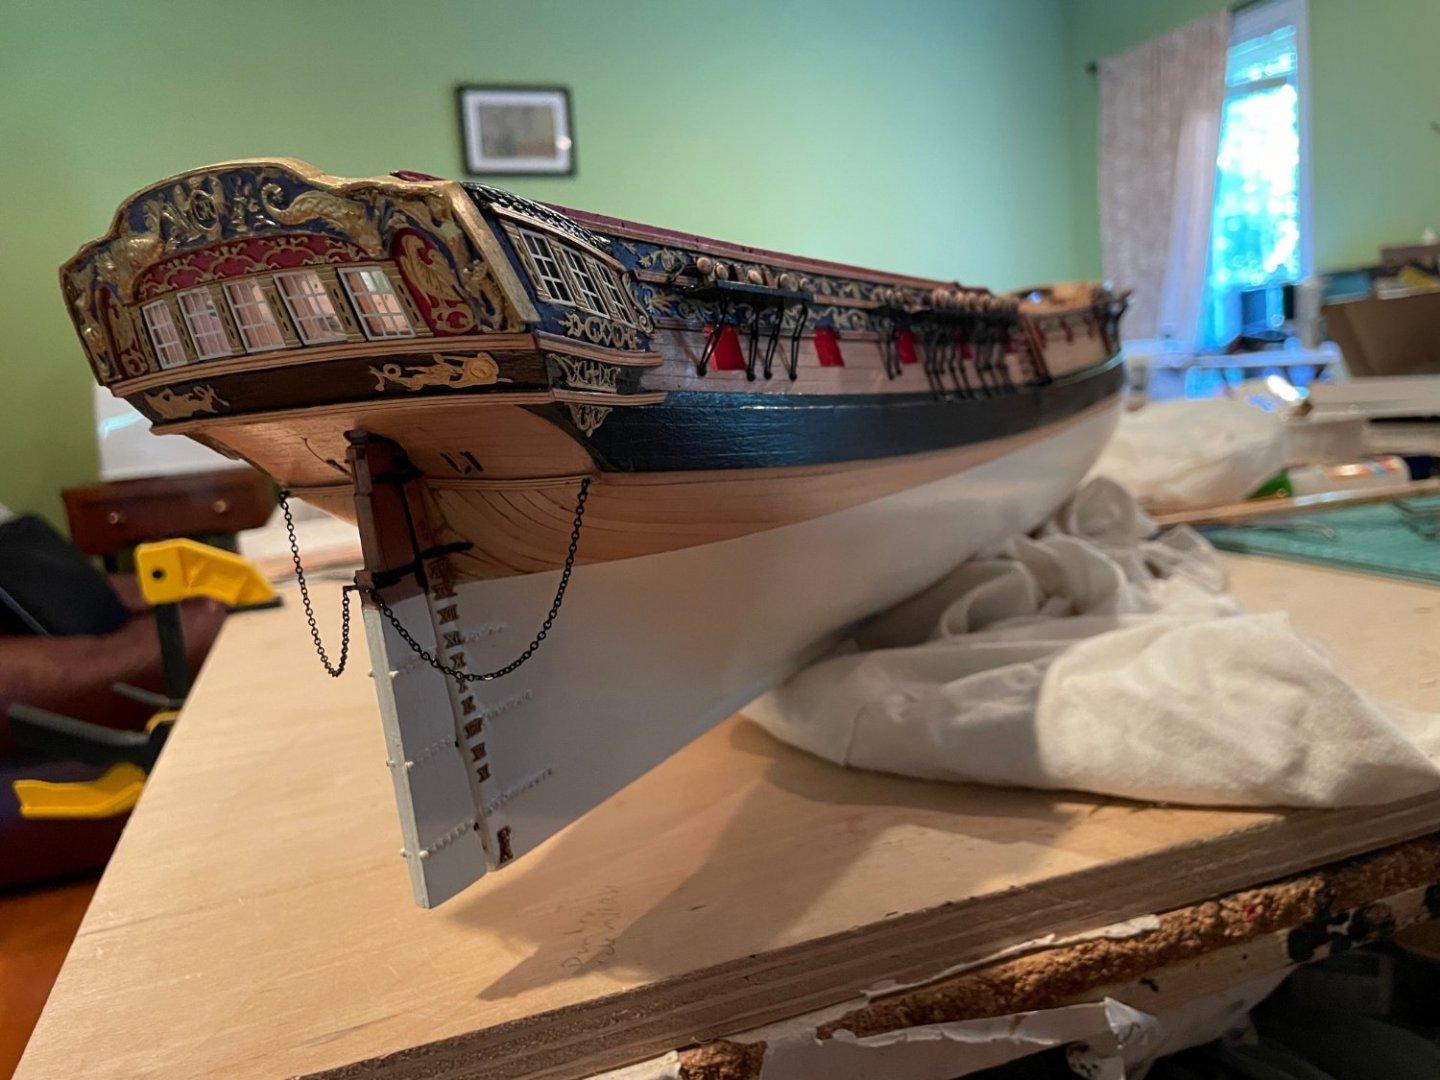
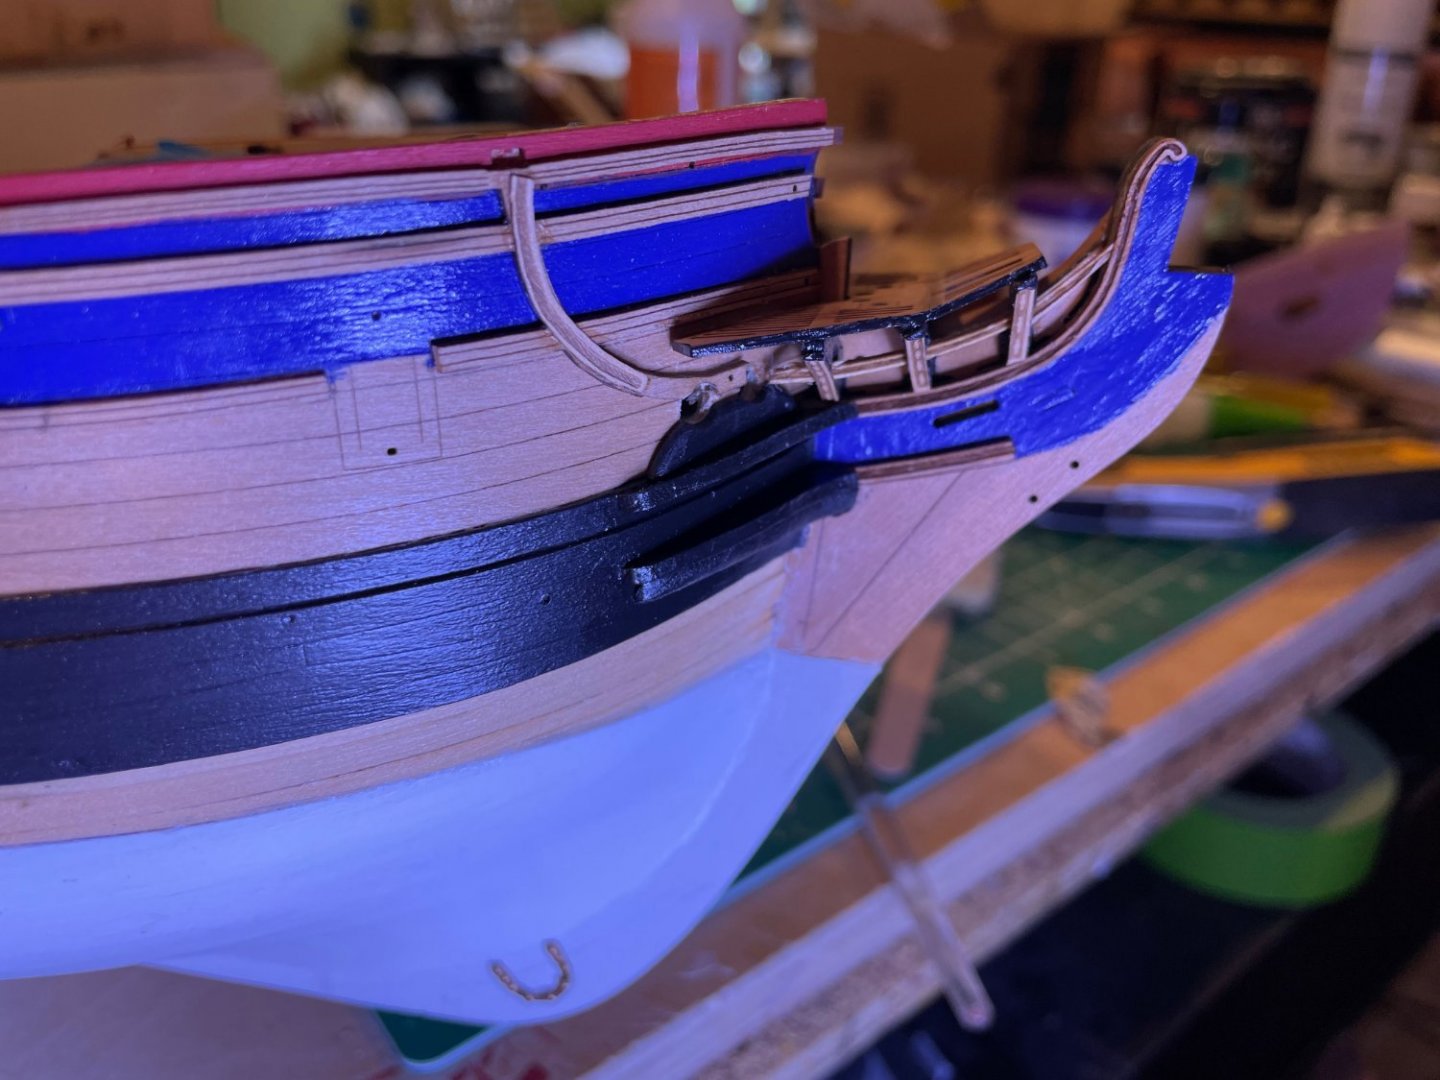
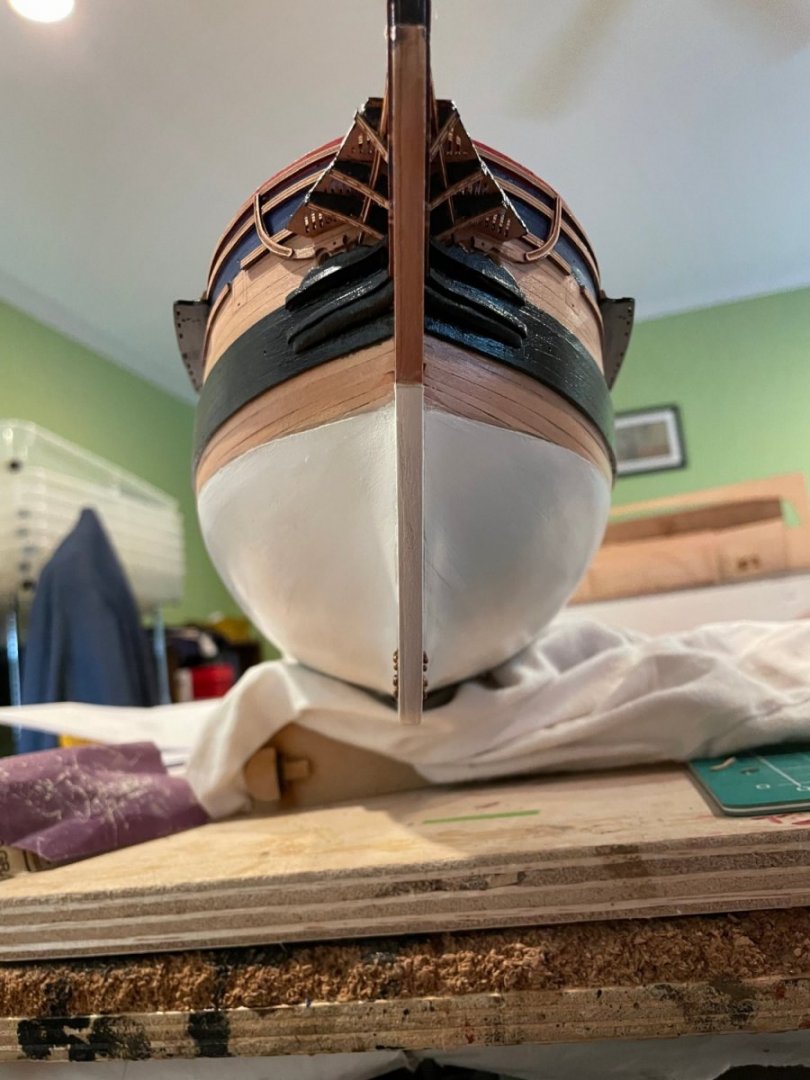
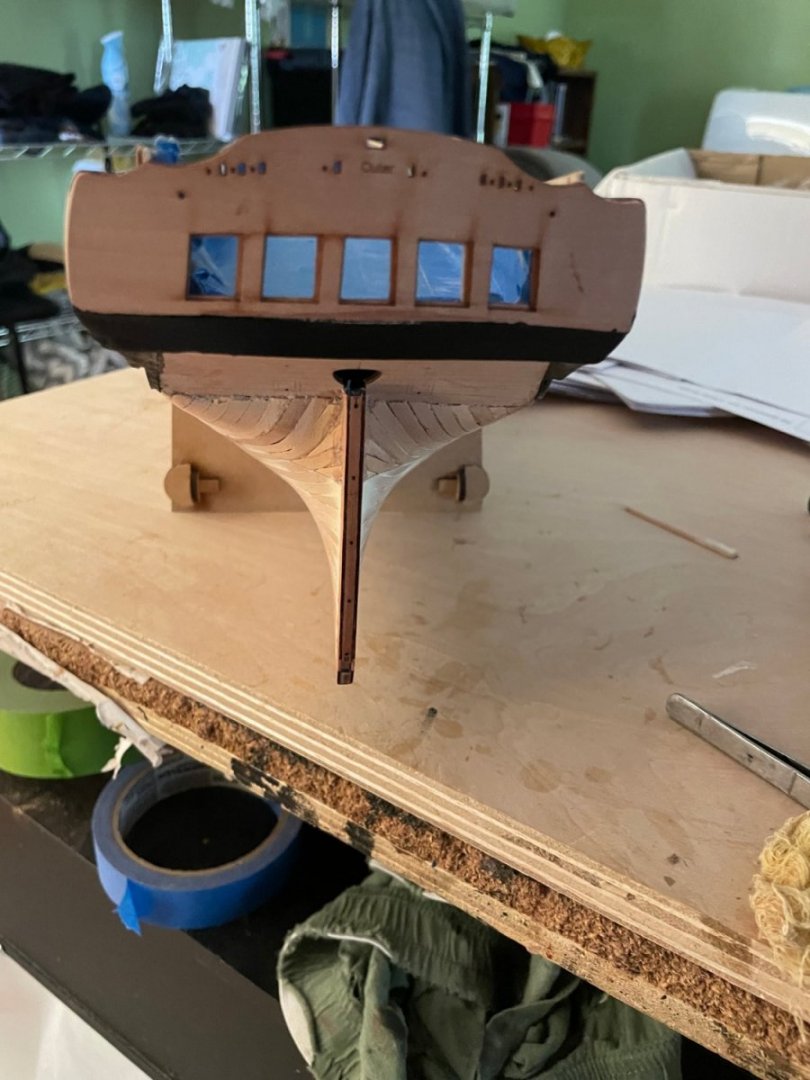
Back from vacation. Finished the hull section. Since I was off on the stern plate by 3 mm or so you will notice lines not exactly as plans but worked out and anybody outside of the forum would not likely notice. Also molded cap to stern fascia to smooth the cure, get rid of the joints and level things off.


- 73 replies
-
- 11
-
-
- Sphinx
- Vanguard Models
- (and 1 more)
-
More progress but will be taking the rest of the week off to go to the beach (in Puerto Rico).

- 73 replies
-
- 9
-
-
- Sphinx
- Vanguard Models
- (and 1 more)
-
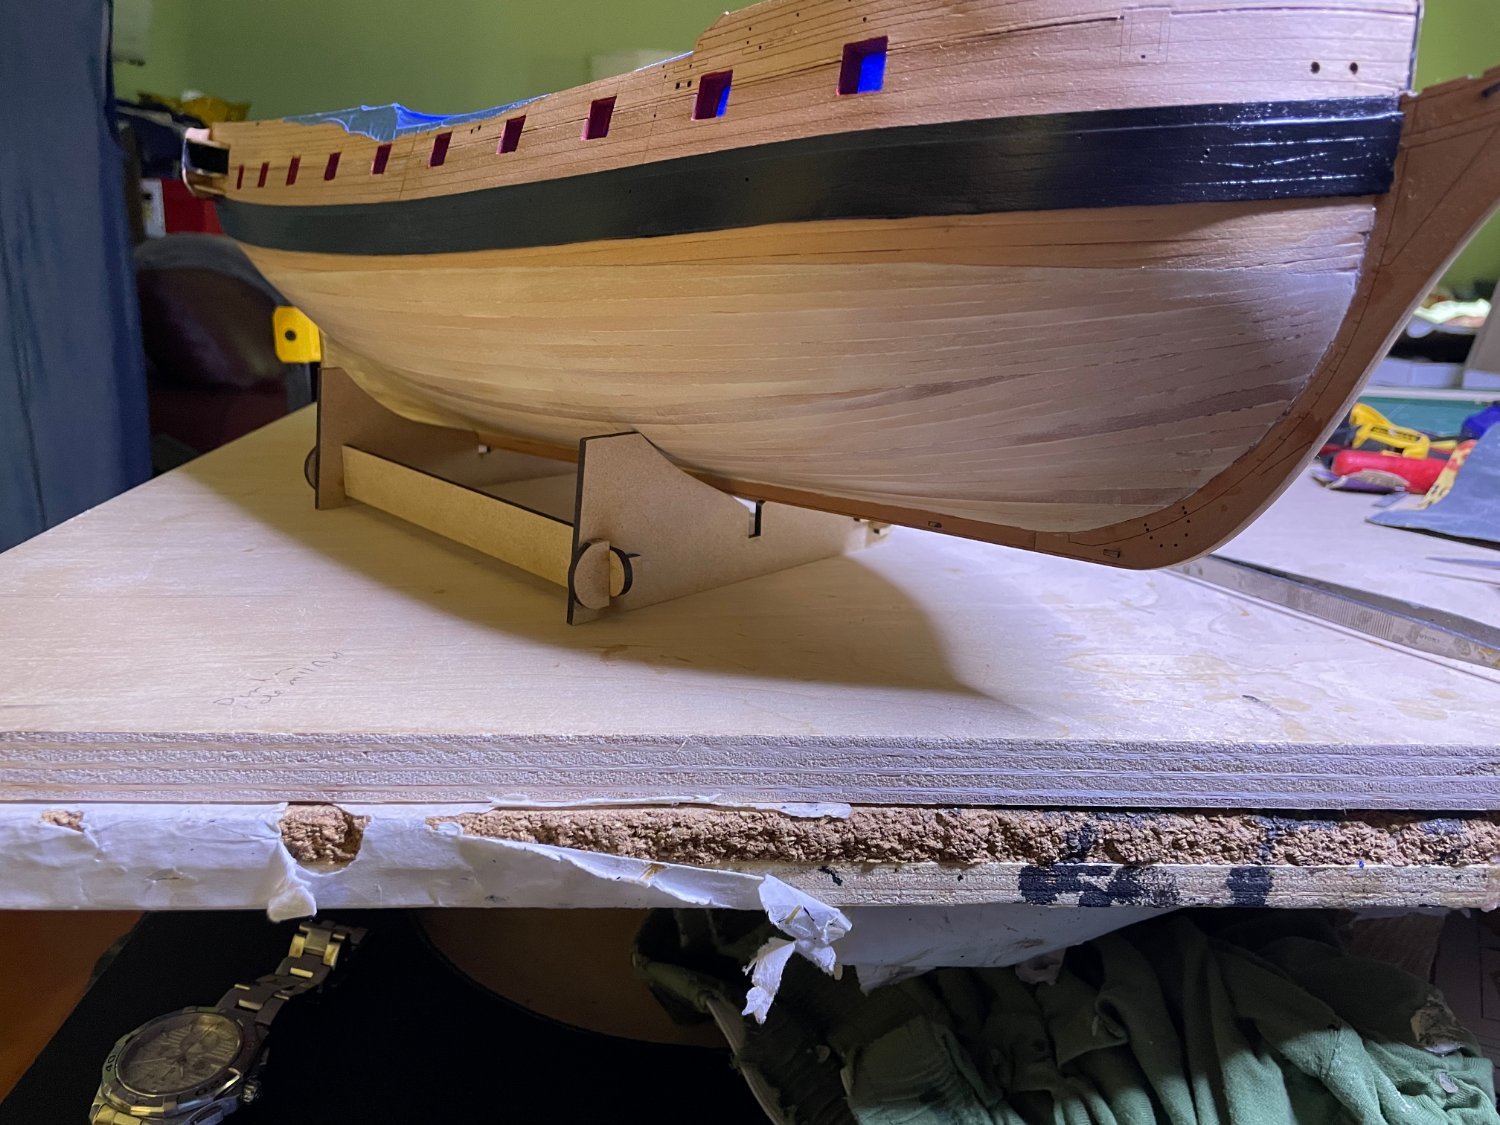
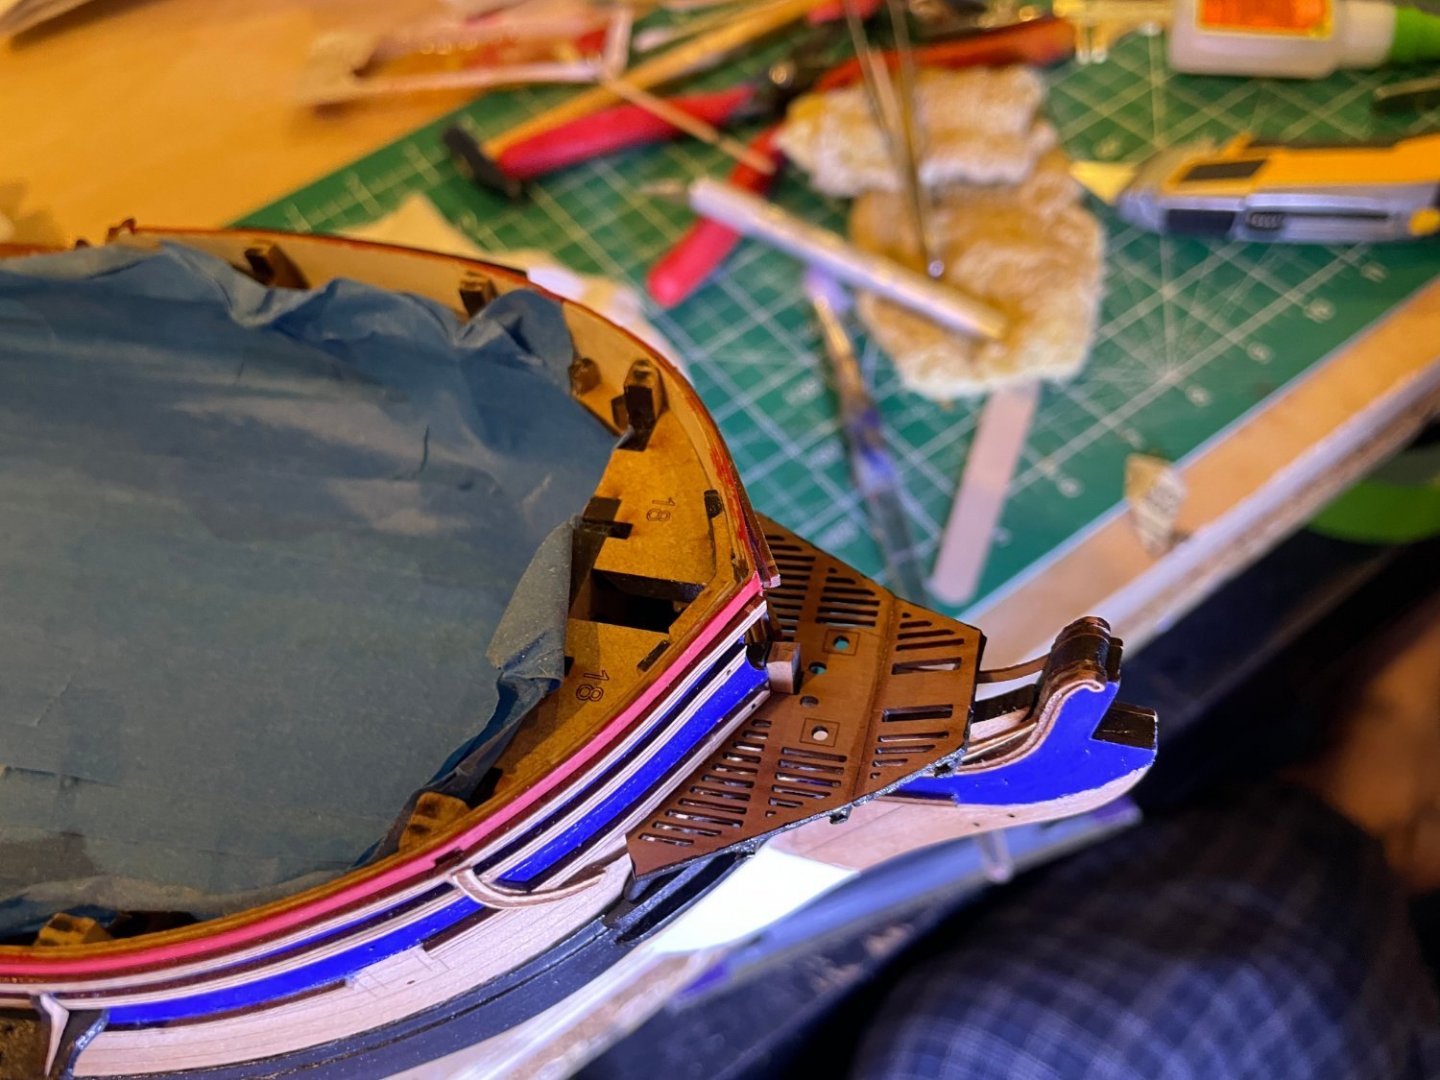
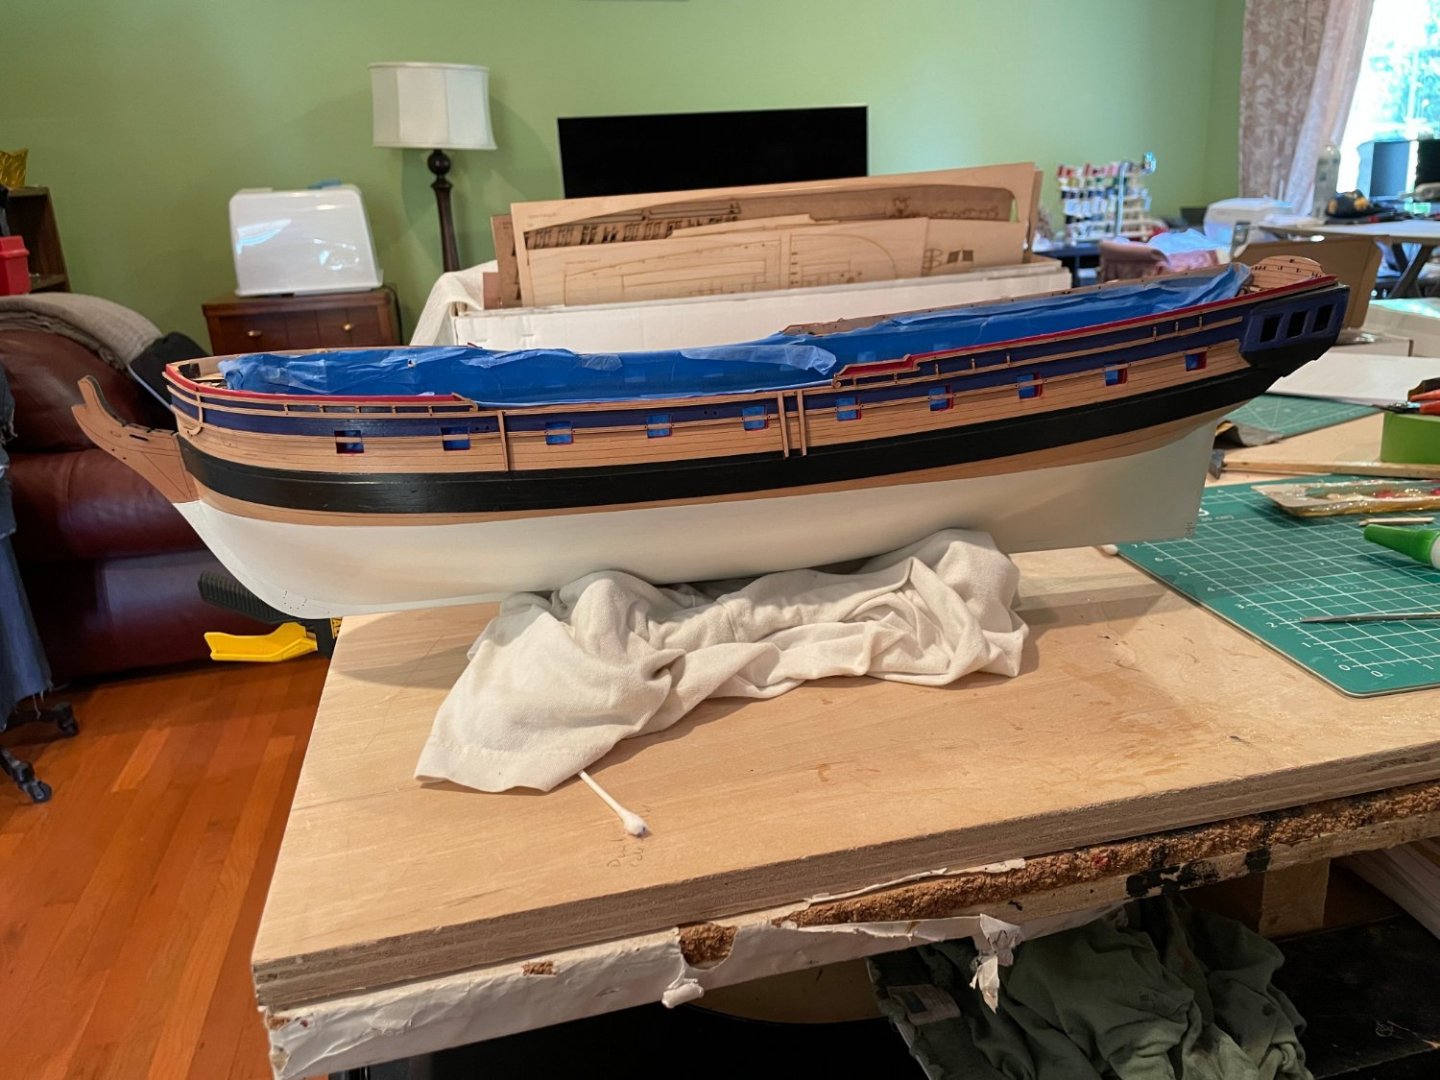
Fret work on and painted. Th elighting makes the blue look a bit on the black side.

- 73 replies
-
- 6
-
-
- Sphinx
- Vanguard Models
- (and 1 more)
-
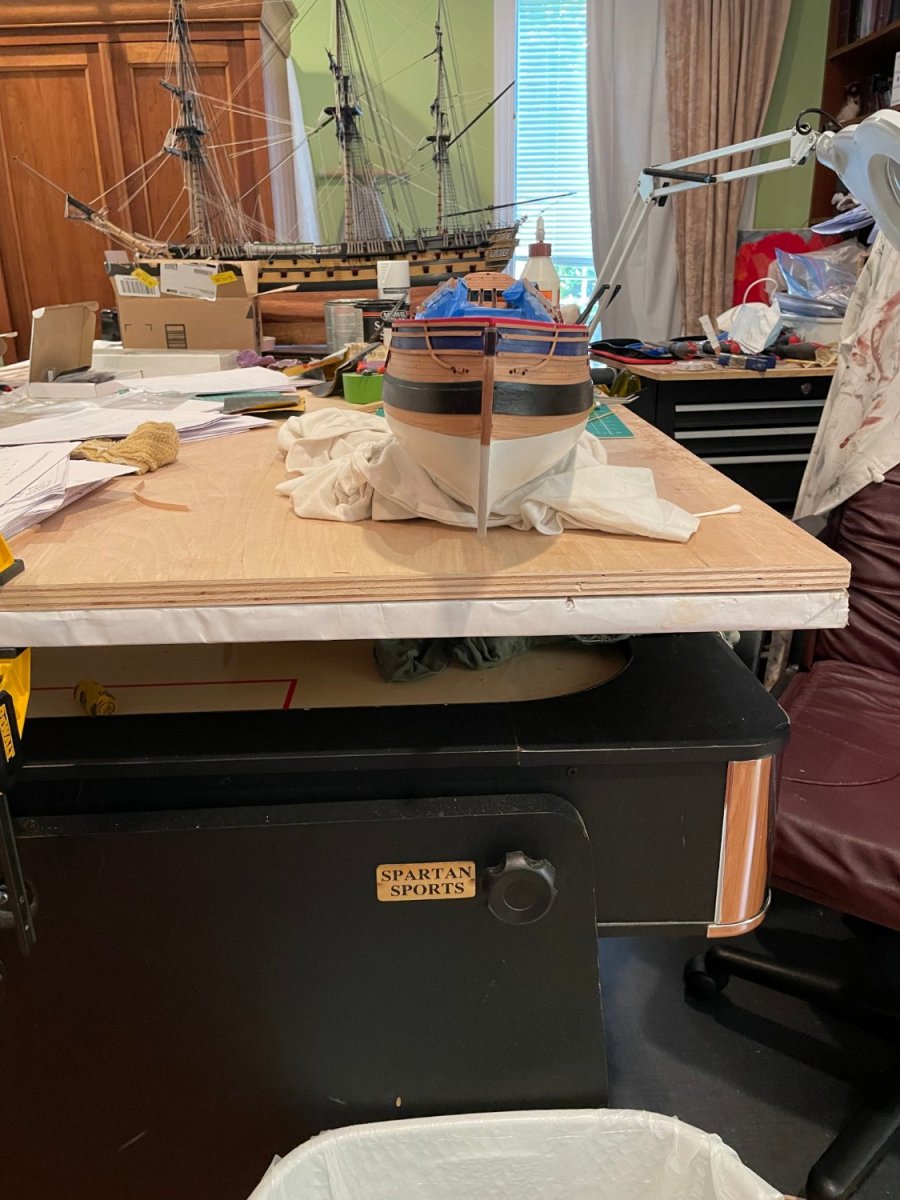
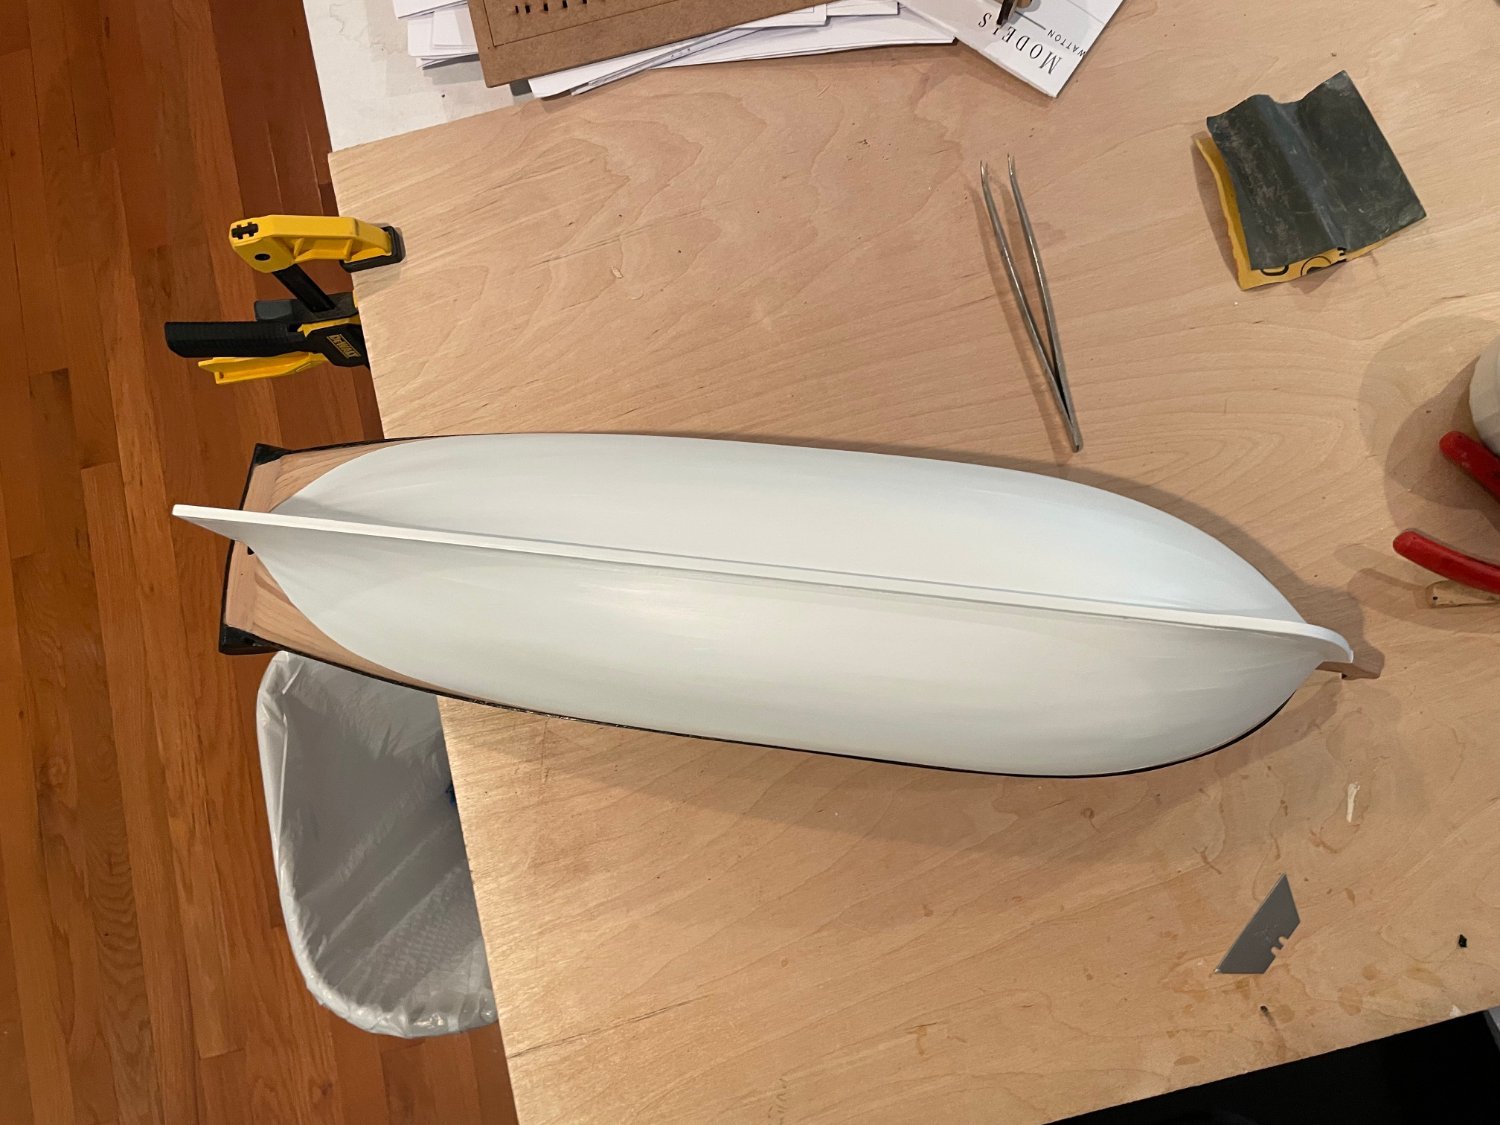
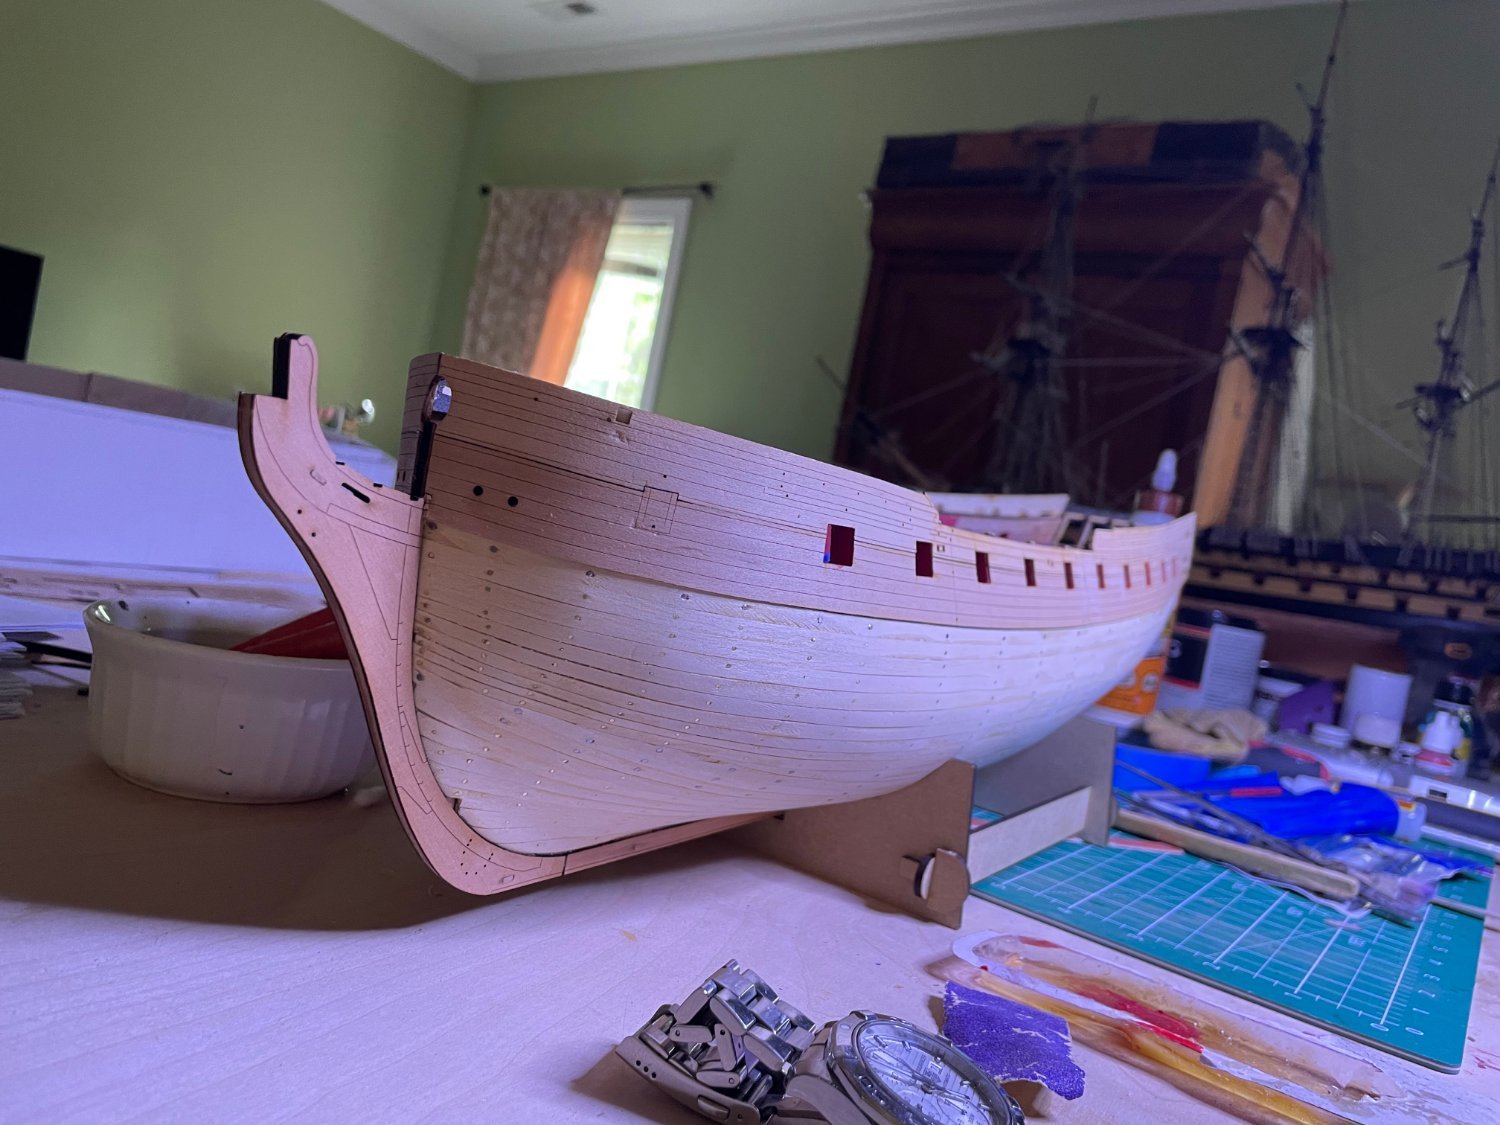
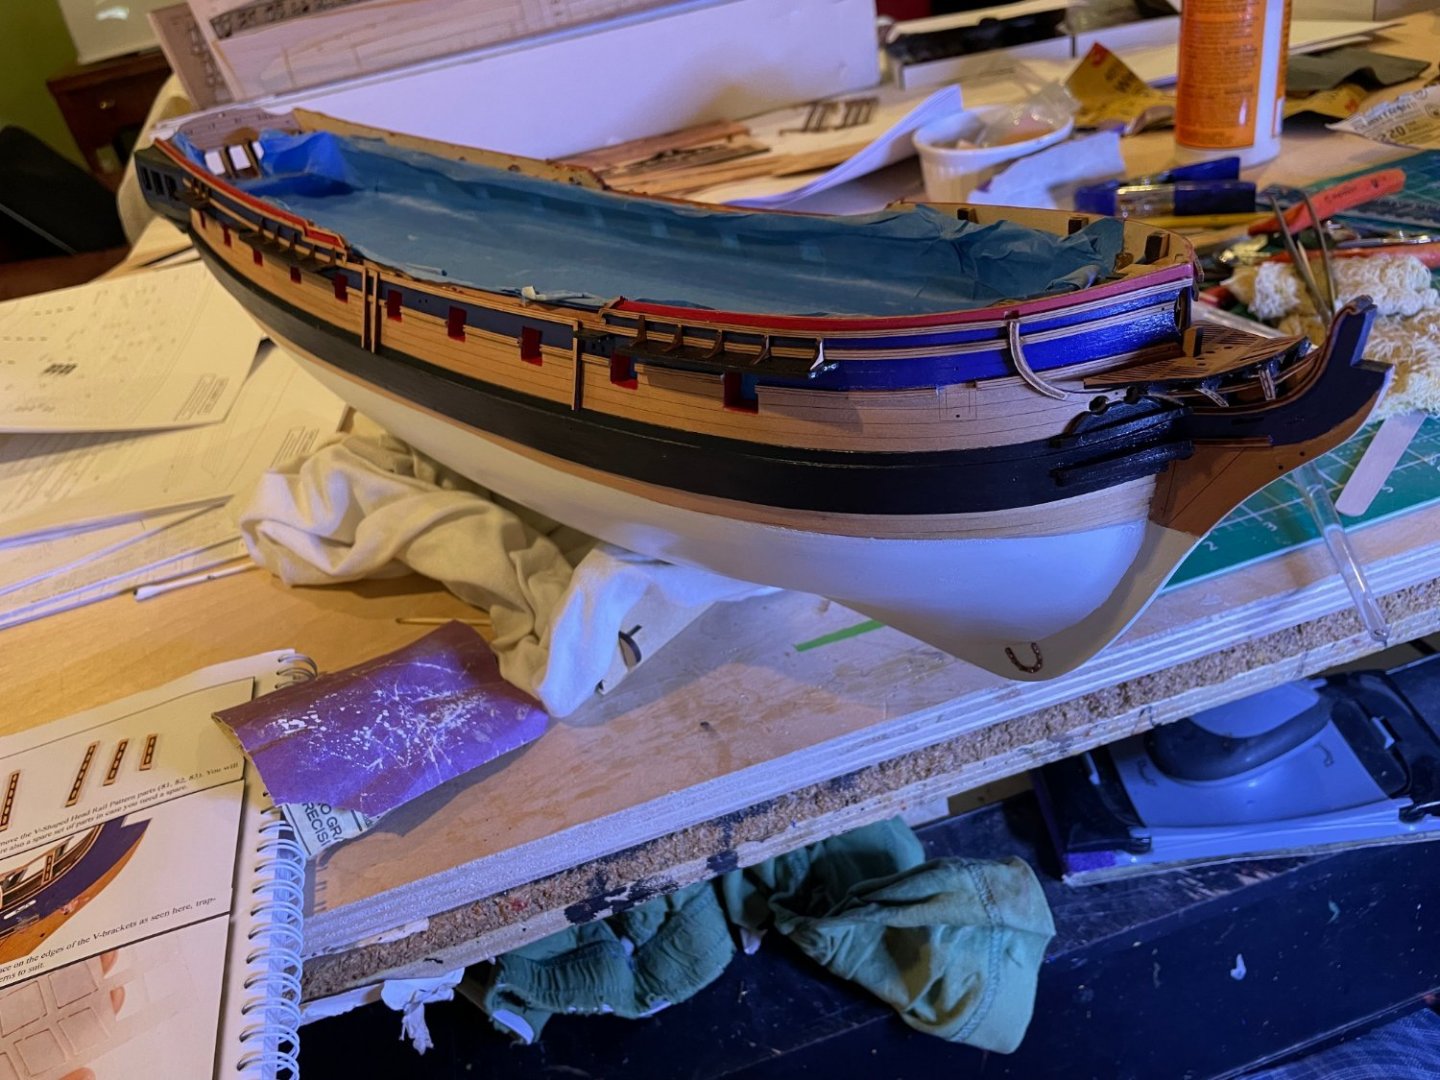
After many priming layers and sanding and finsh paint, hull seems up to snuff now

- 73 replies
-
- 10
-
-
- Sphinx
- Vanguard Models
- (and 1 more)
-
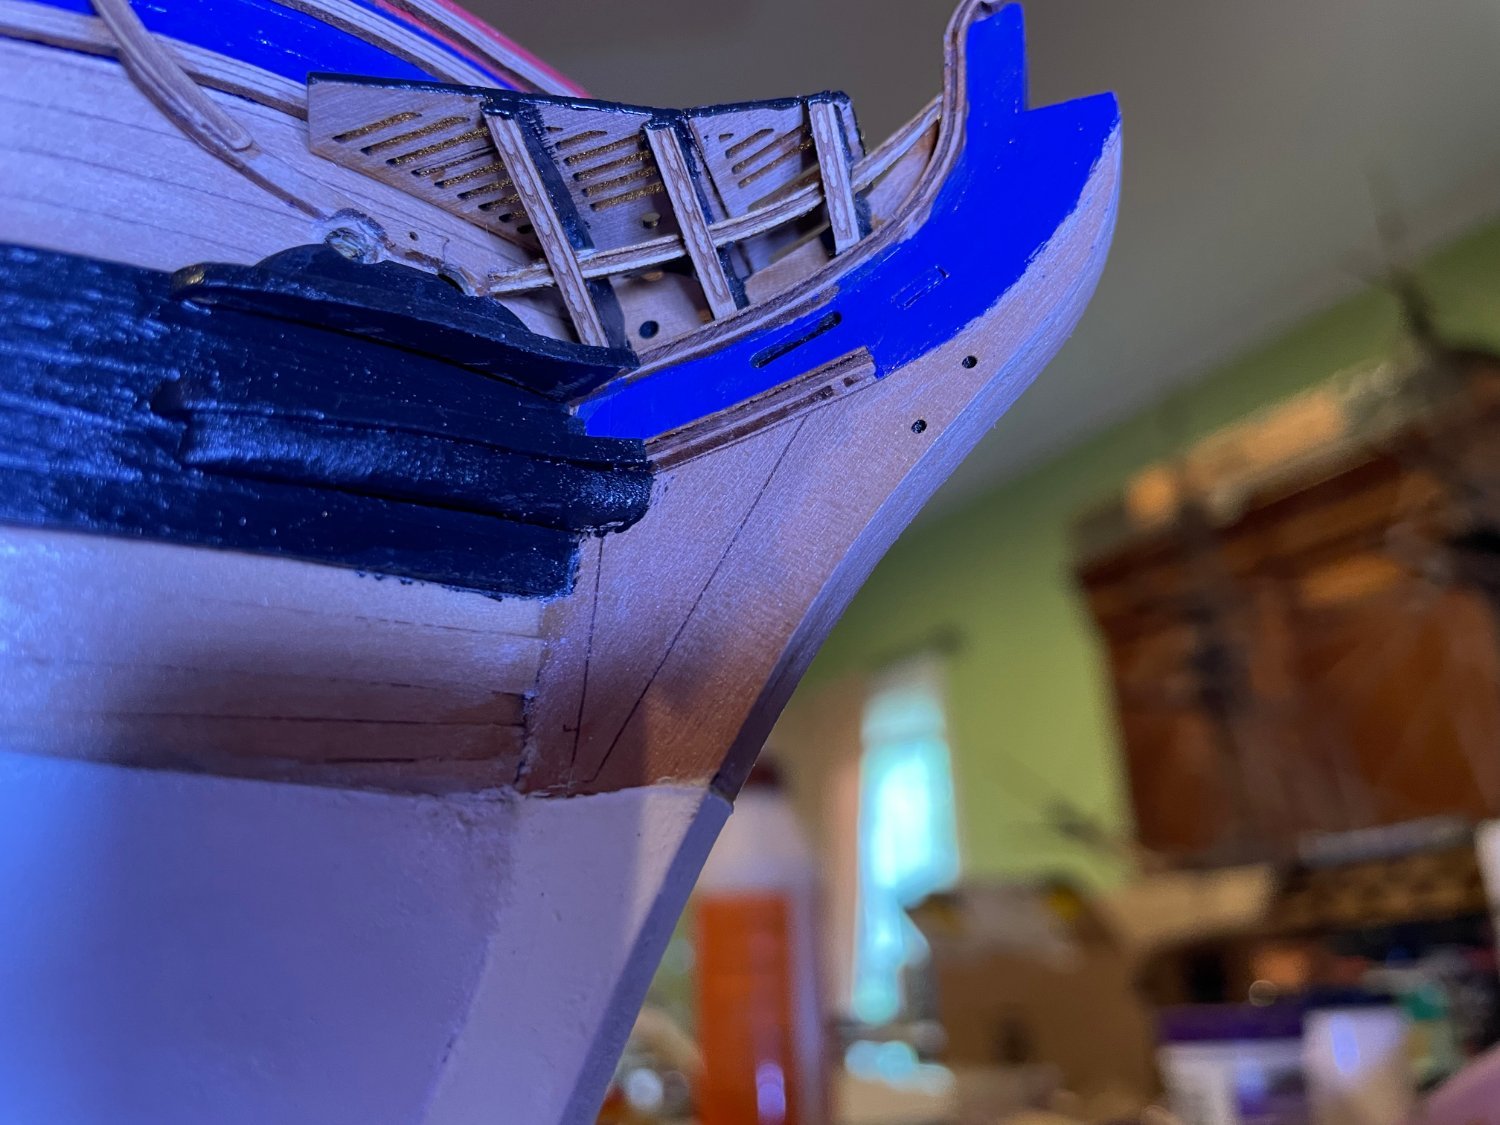
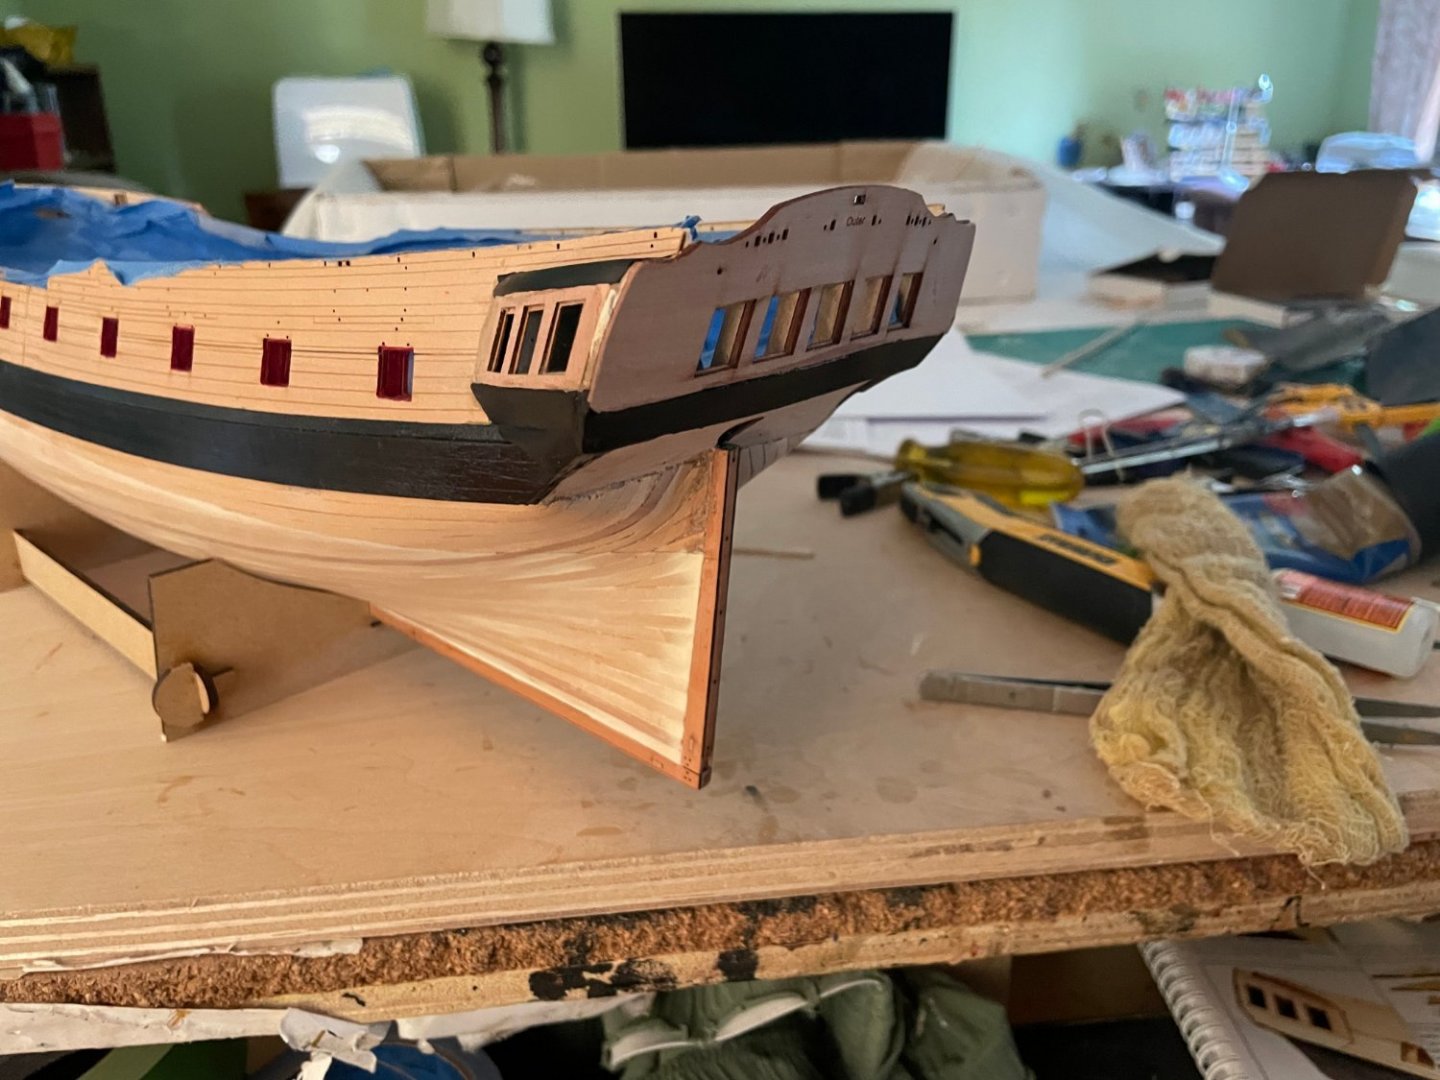
So now I have to fess up on an error. Instructions show stern facia level with sides and instruction note that new level should be 2 mm above. When I had things dine I noticed I was 1-2 2 mm below. Looking back I realized that the first stern facia was likely a bit low although things fit together well and looked like the pictures. I realized that I should have but the upper in first and worked down for the proper gluing of the lower one. It still looks ok and side/stern windows look almost properly aligned for the undecerning eye.

- 73 replies
-
- 7
-
-
- Sphinx
- Vanguard Models
- (and 1 more)
-
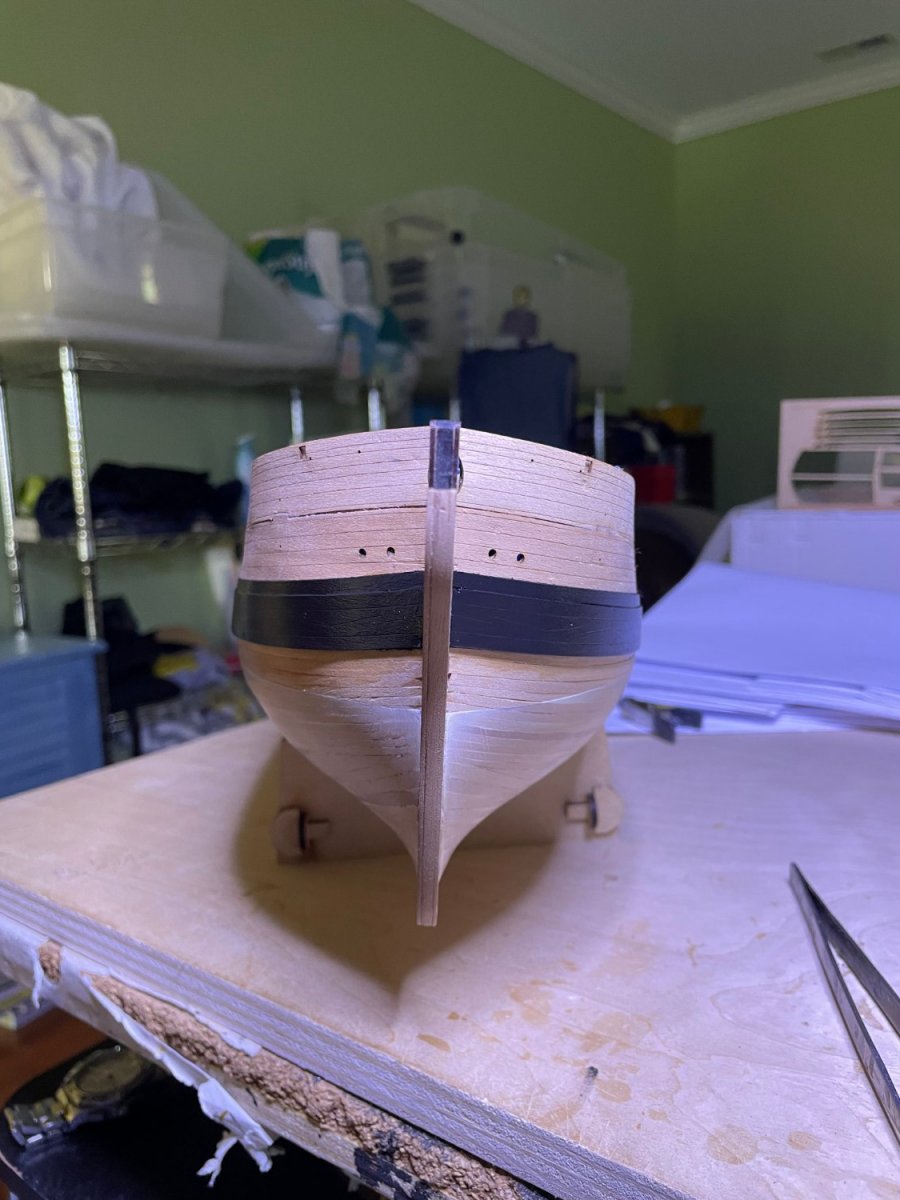
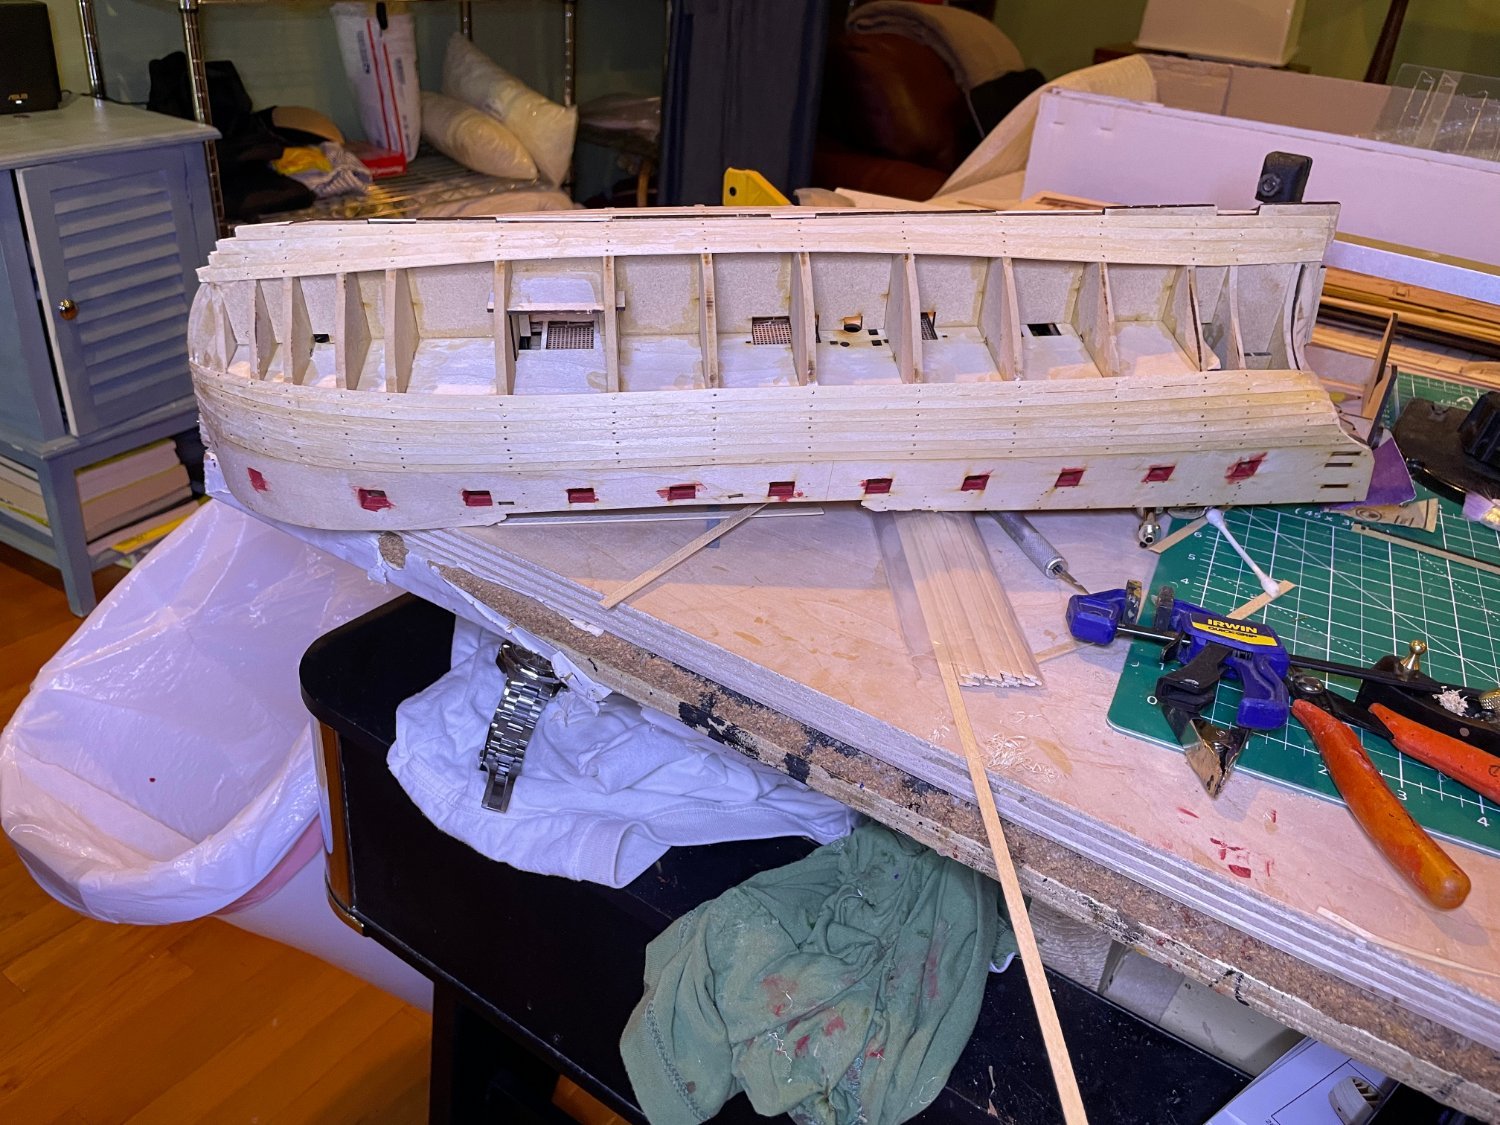
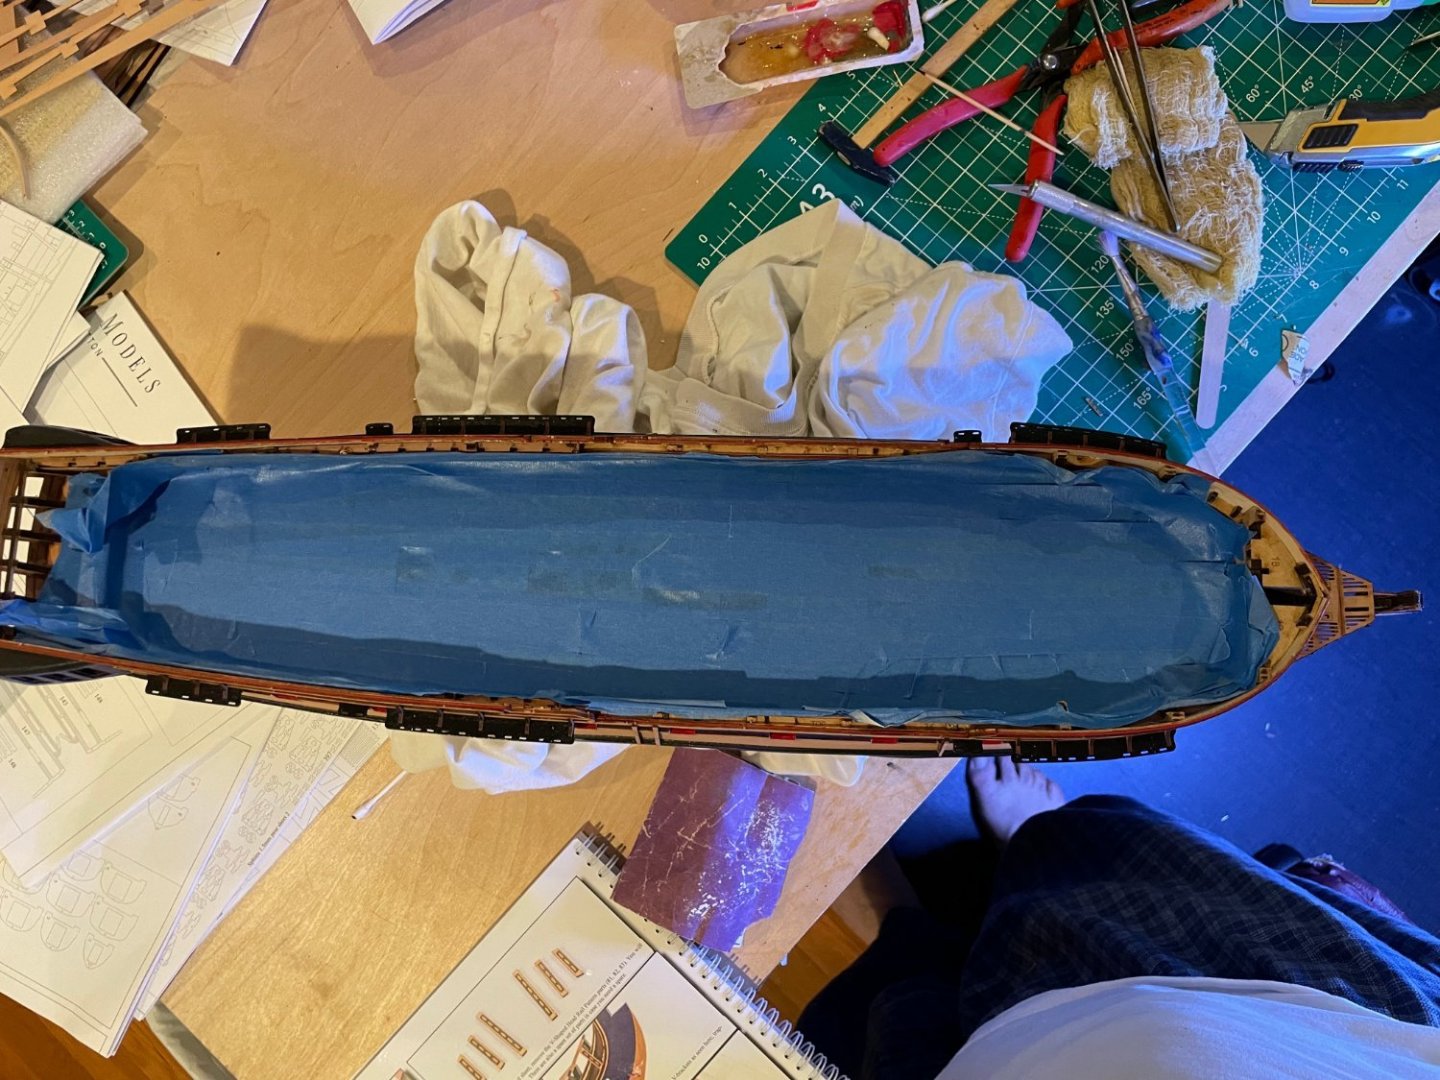
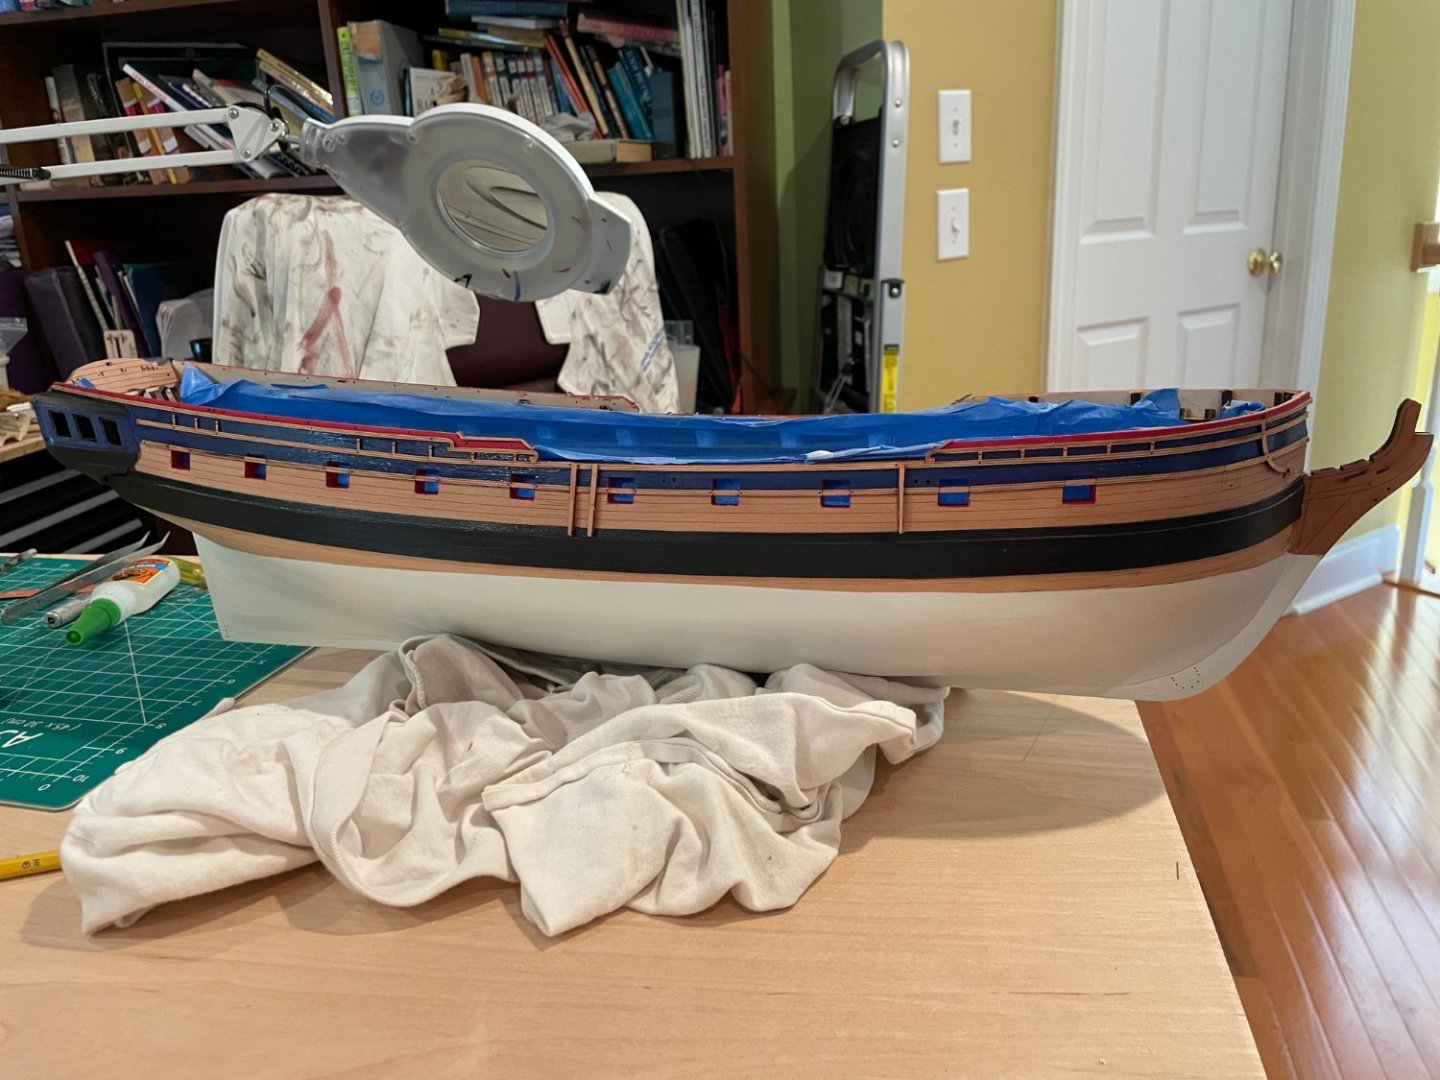
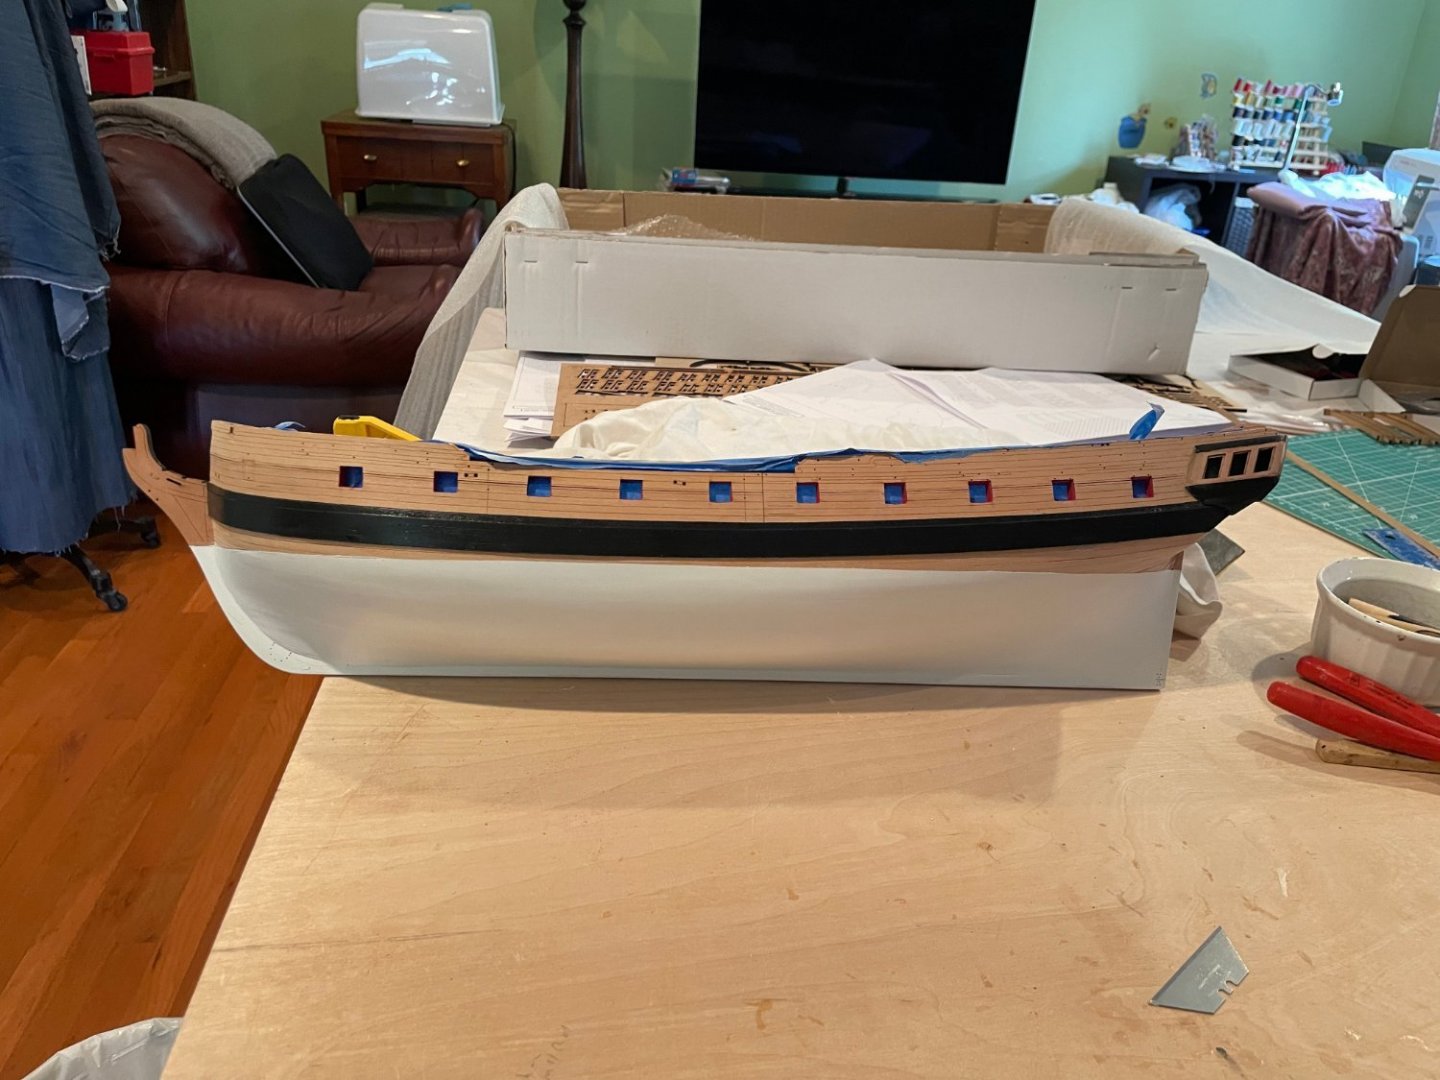
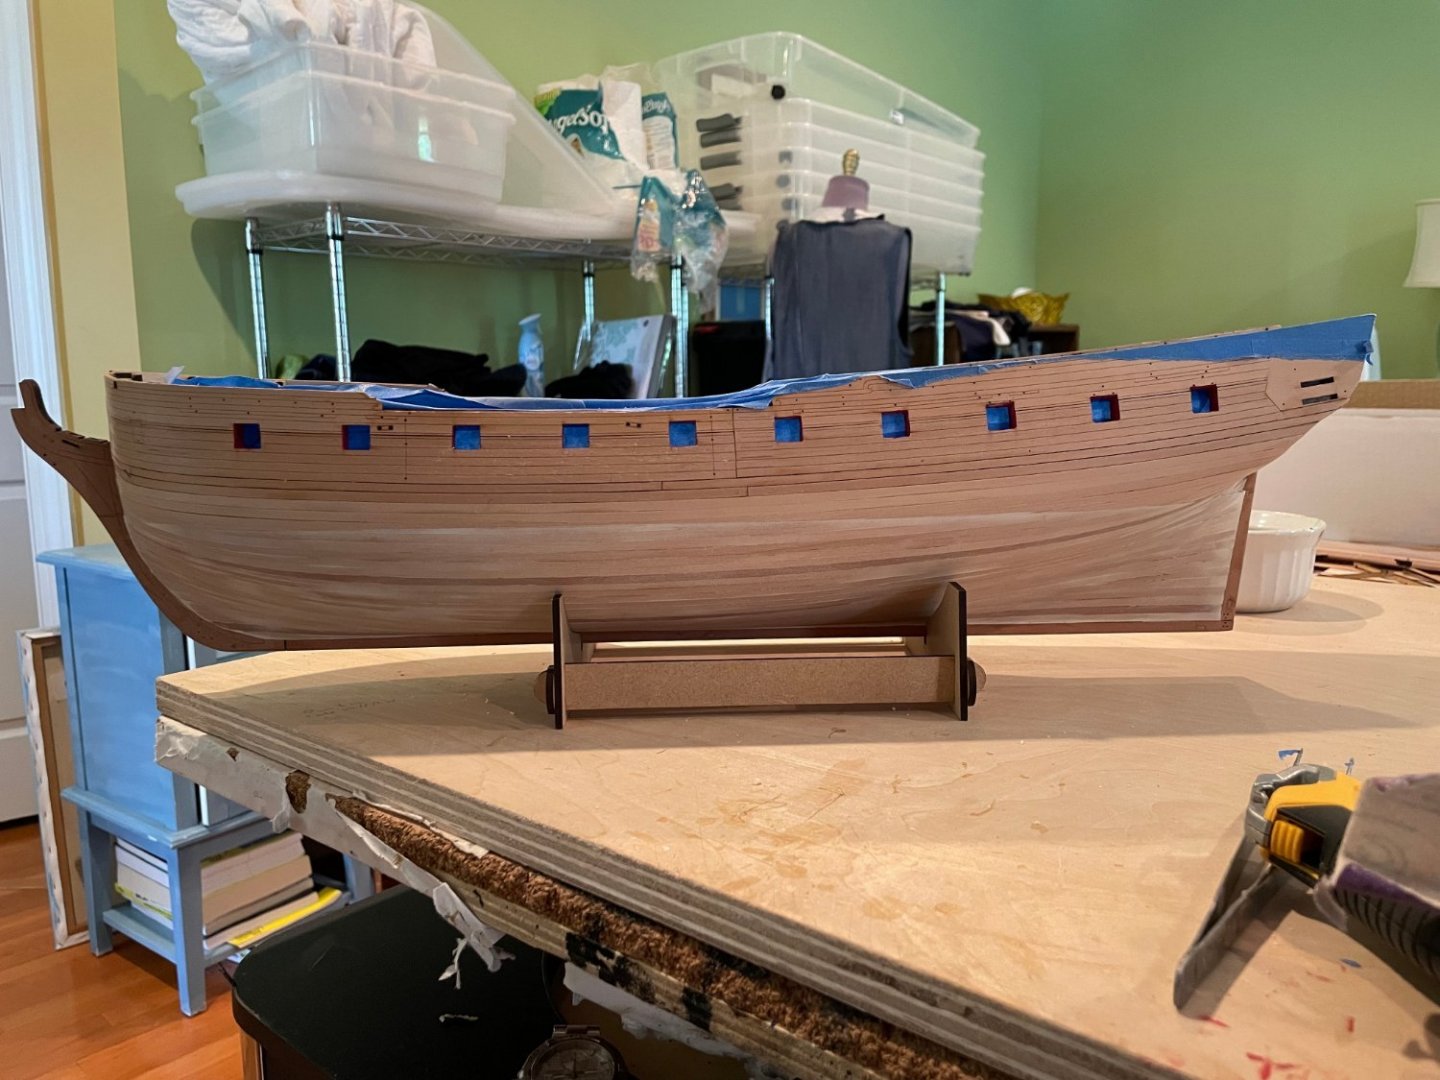
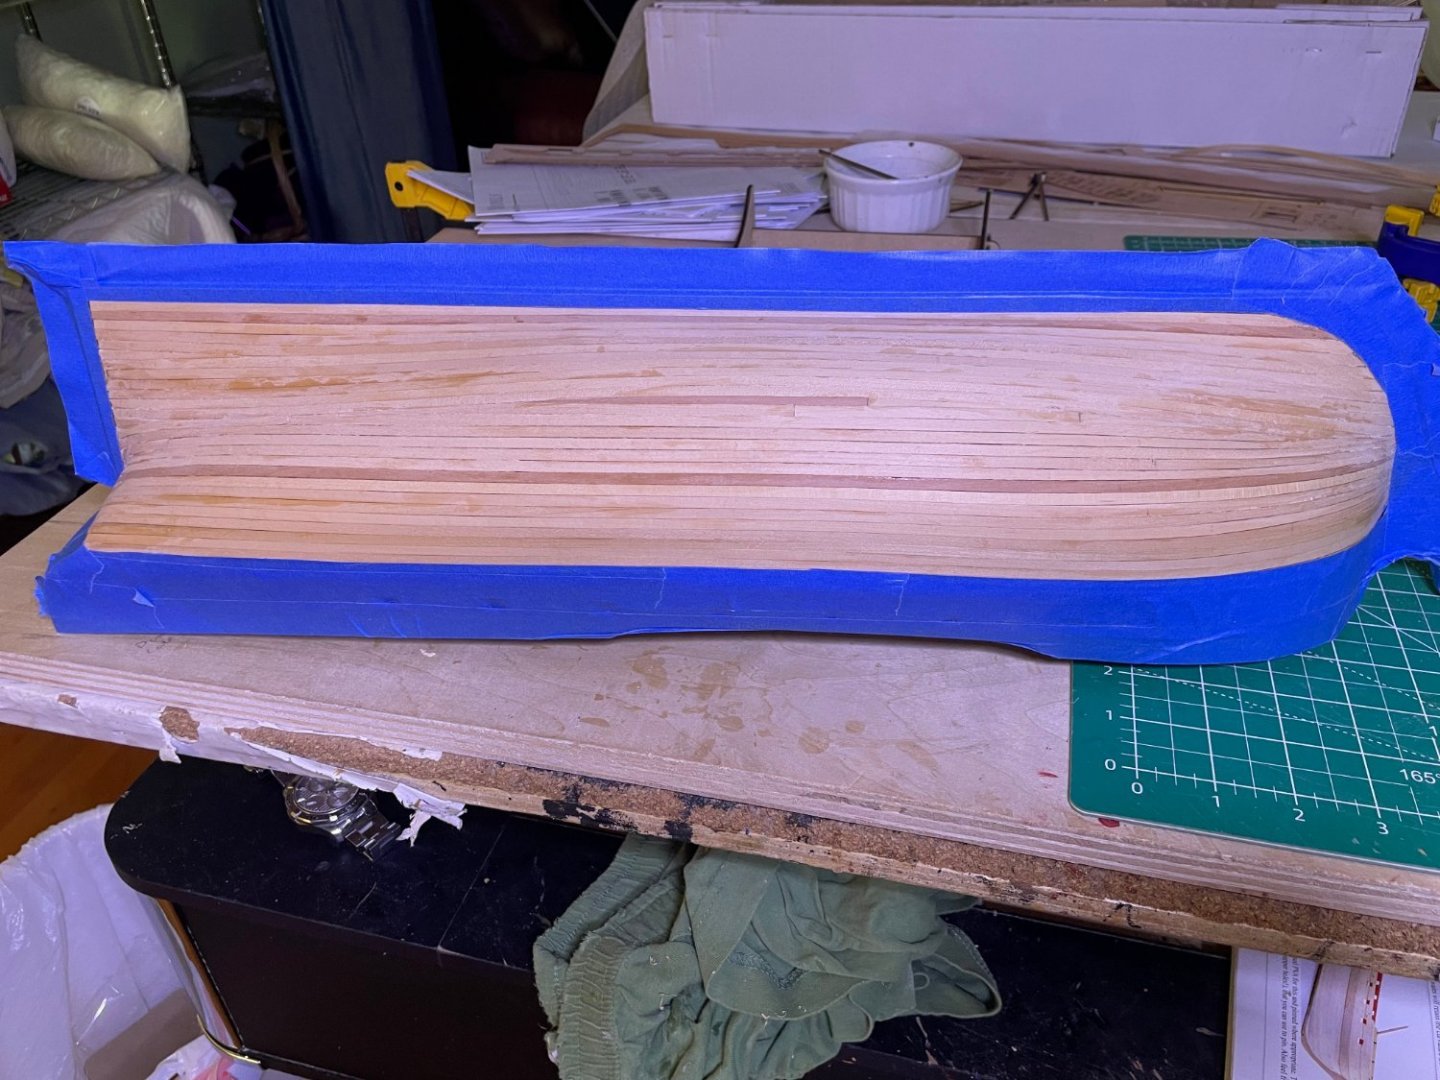
So now sanded, water line drawn in ( I used the drawing tool from Vanguard, much better than the one I previously had). Then filled/sanded 3 times. Now with the tape off looks pretty good.


- 73 replies
-
- 9
-
-
- Sphinx
- Vanguard Models
- (and 1 more)
-
Thanks. My bad, forgot to check the sheet. Up to now the manual has been so good.
- 73 replies
-
- 1
-
-
- Sphinx
- Vanguard Models
- (and 1 more)
-
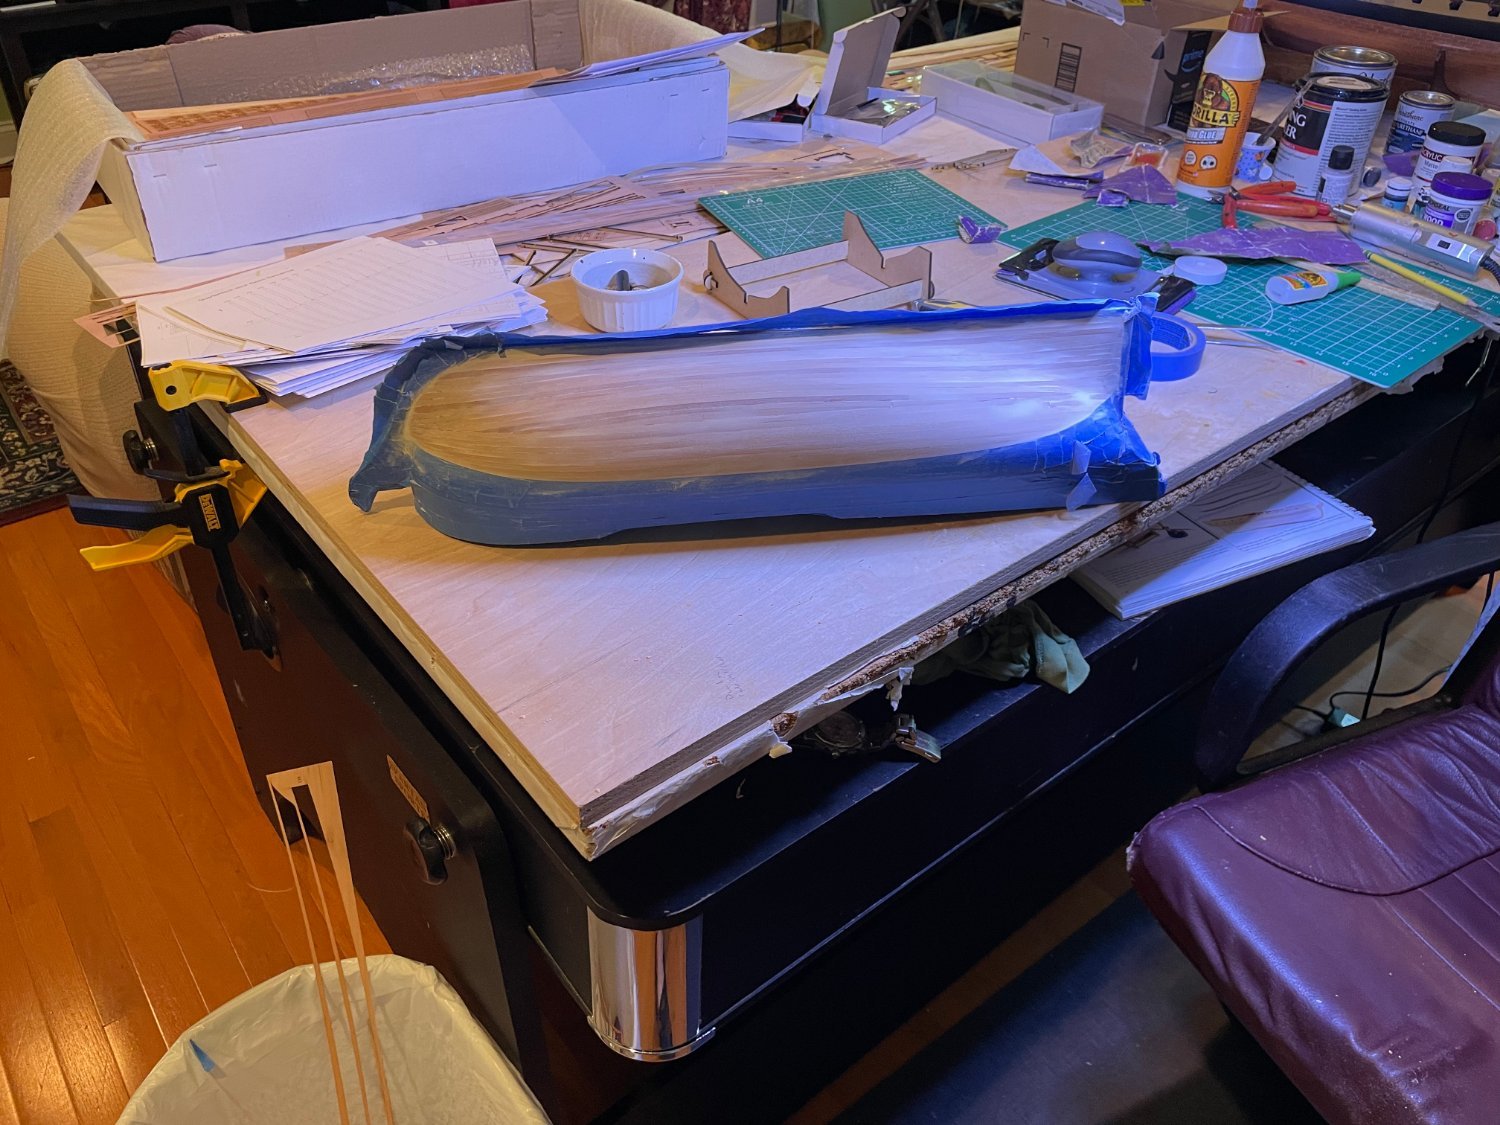
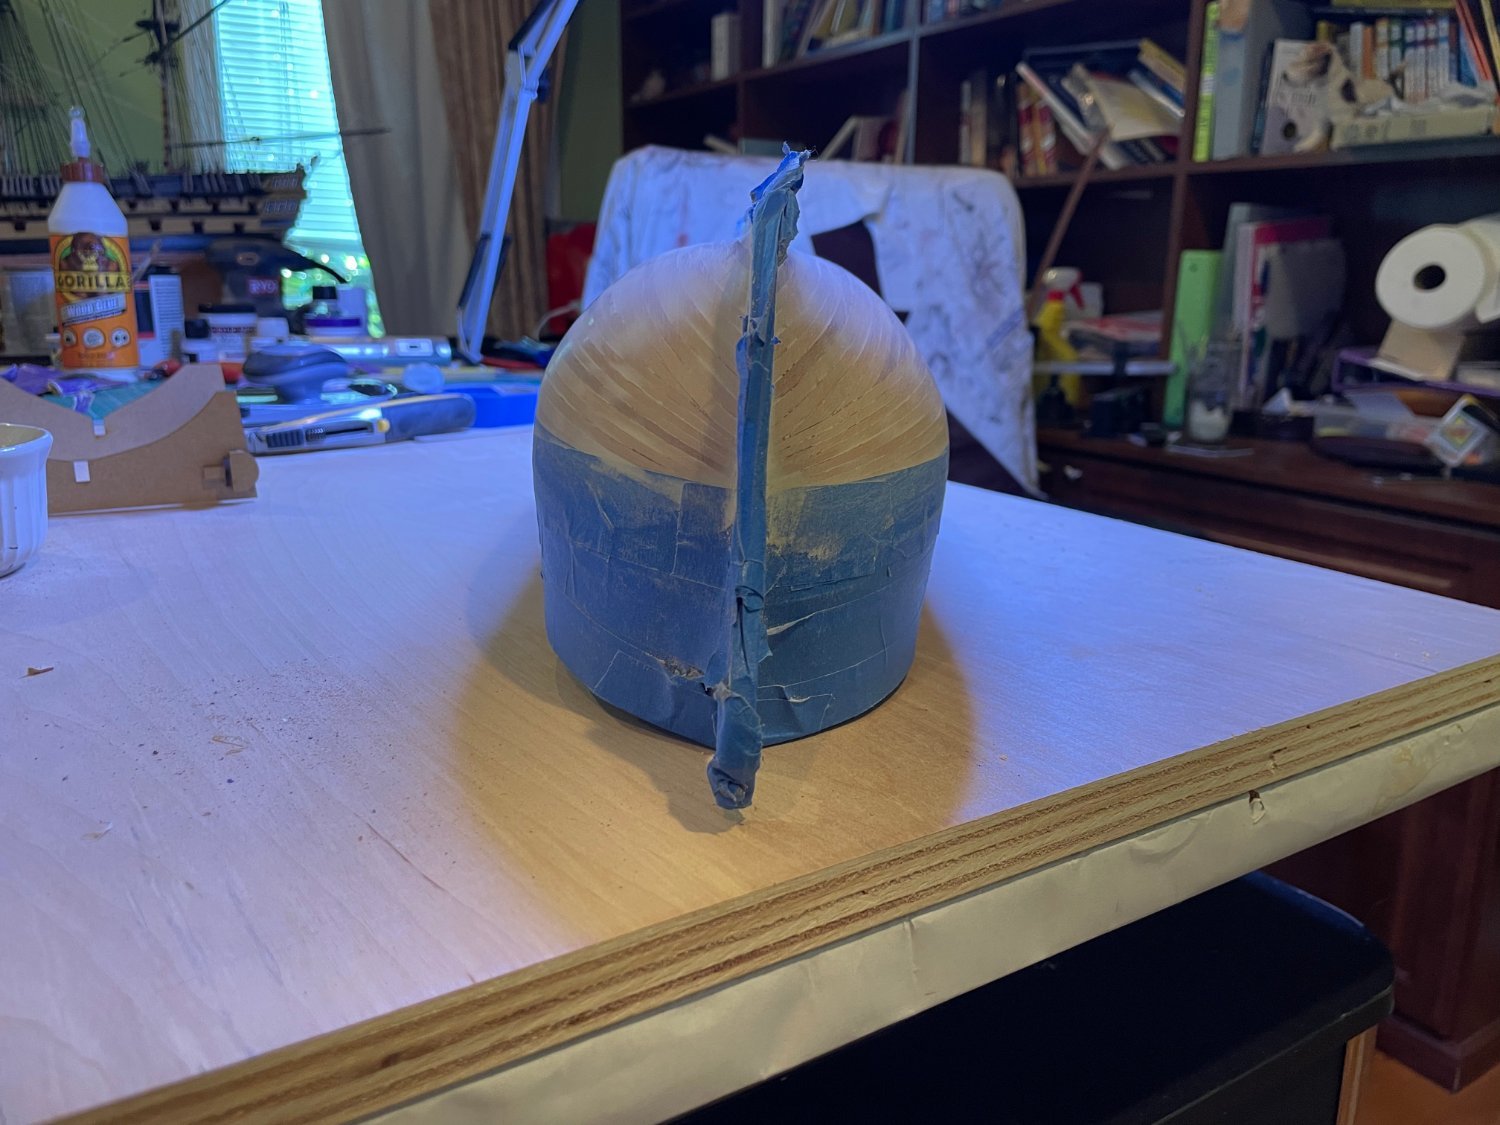
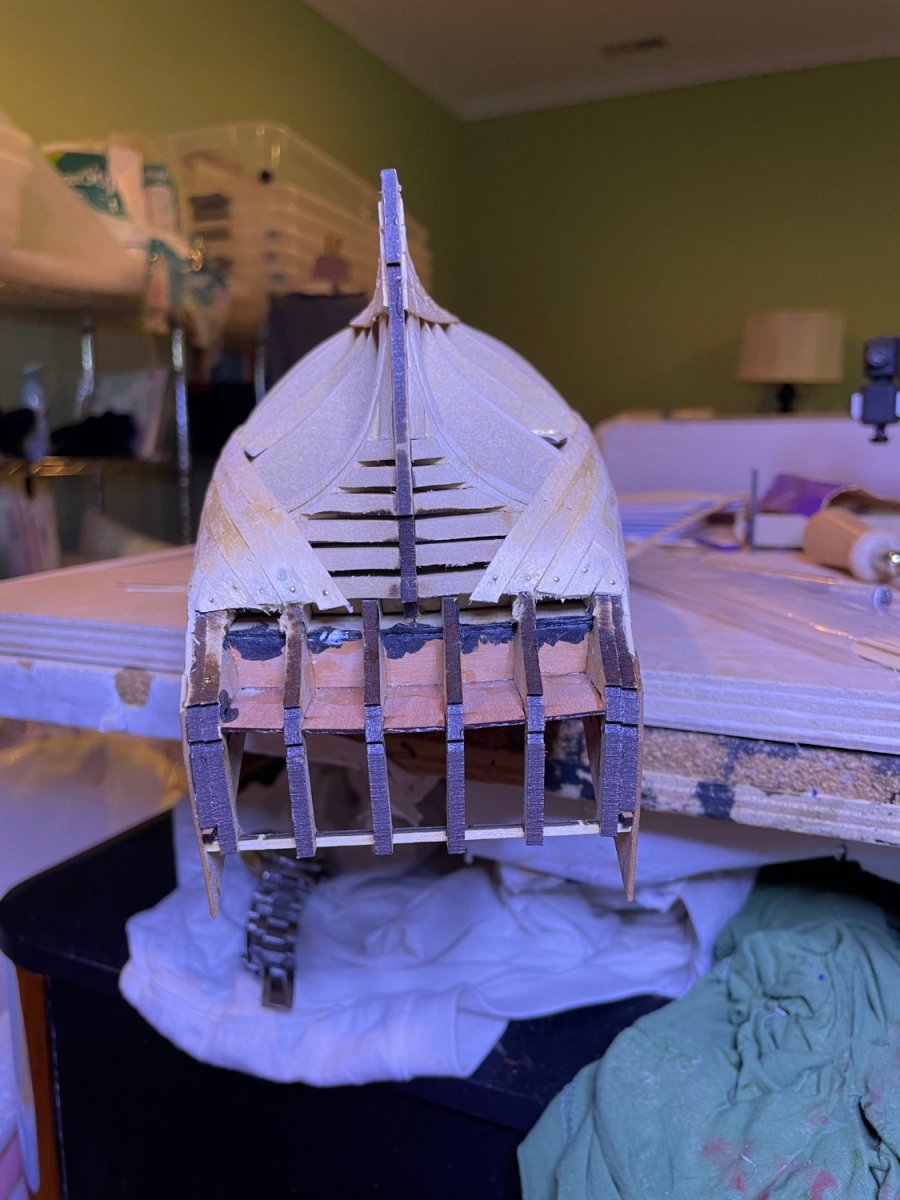
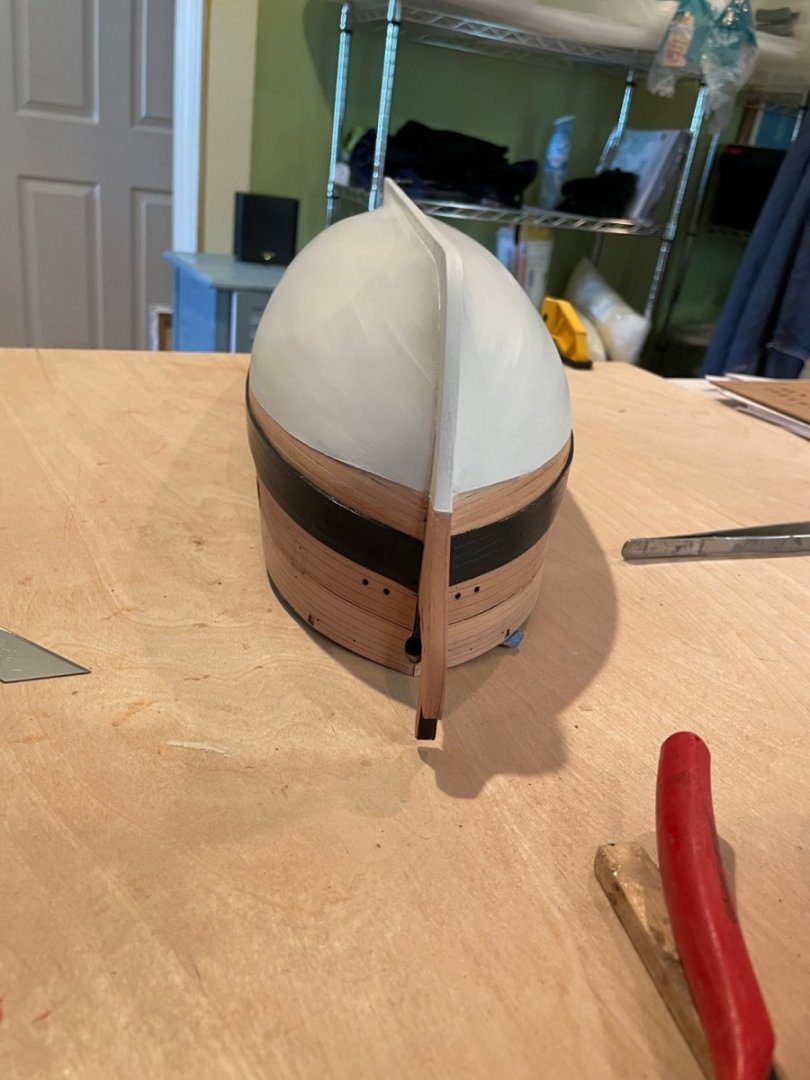
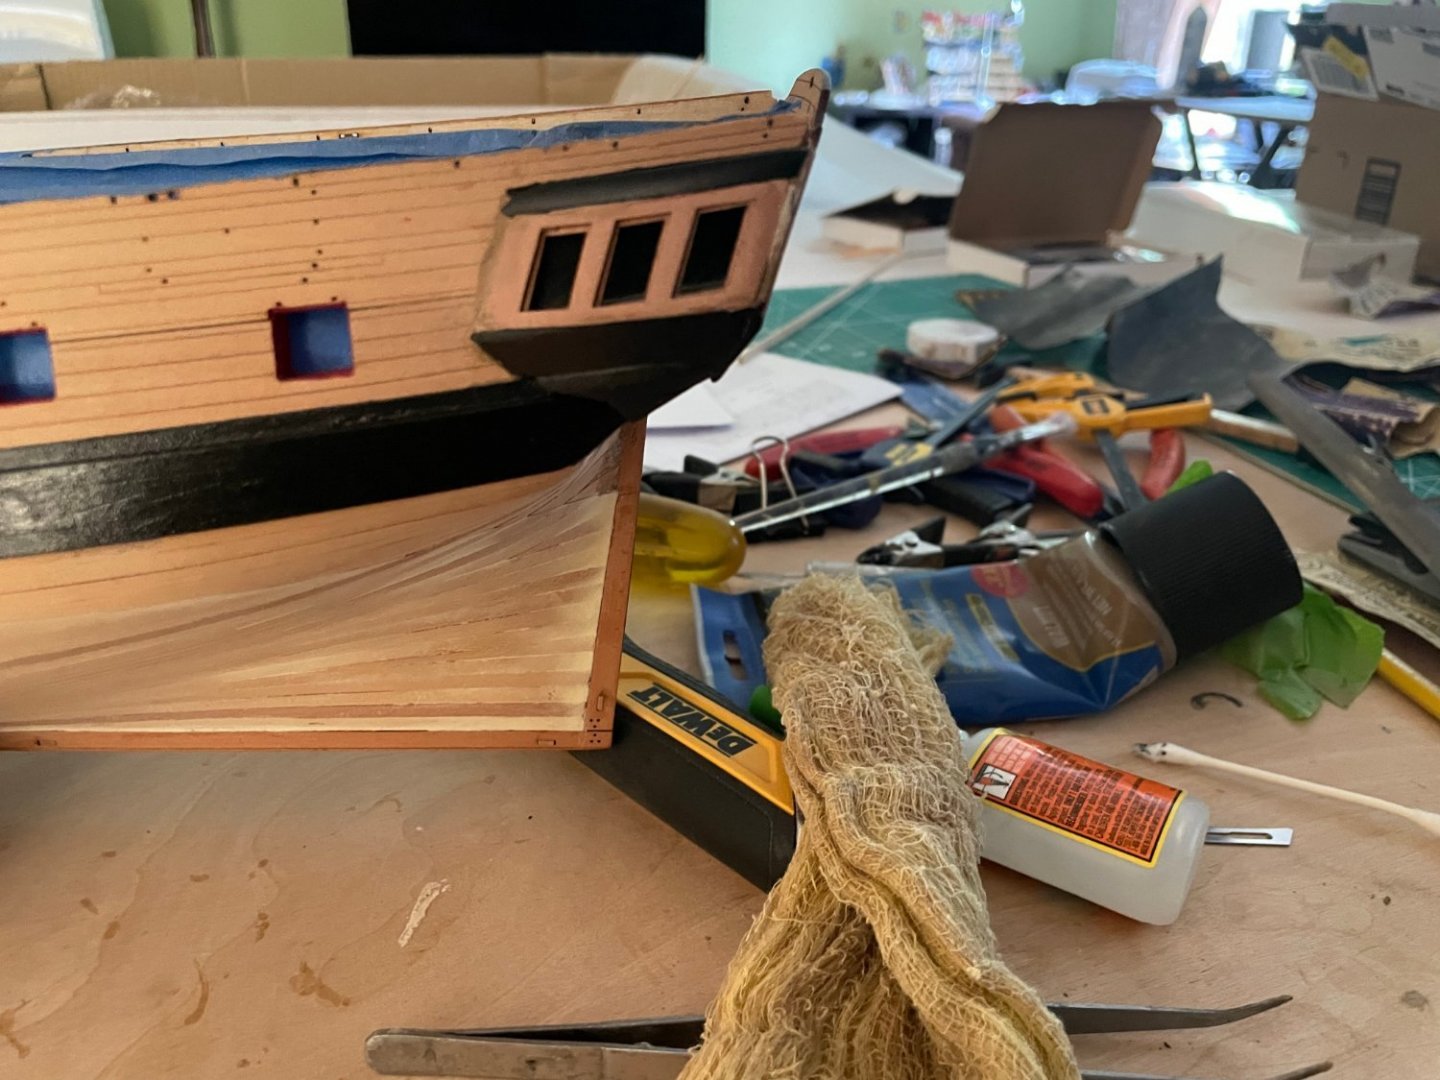
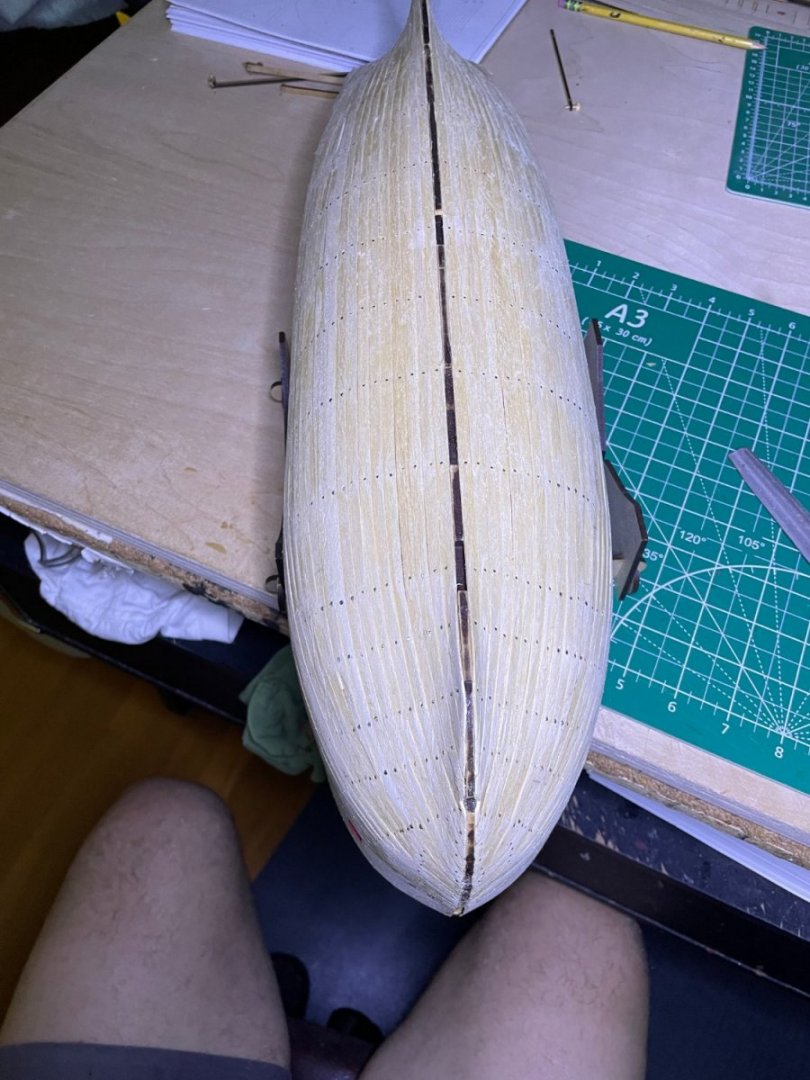
Second planking done.Using crazy glue leaves a lot of skin to be sanded off the hull. One thing in the instructions is , although it says to draw the waterline, there is no mention of where it should go, what height from the table in the cradle.


- 73 replies
-
- 6
-
-
- Sphinx
- Vanguard Models
- (and 1 more)
-
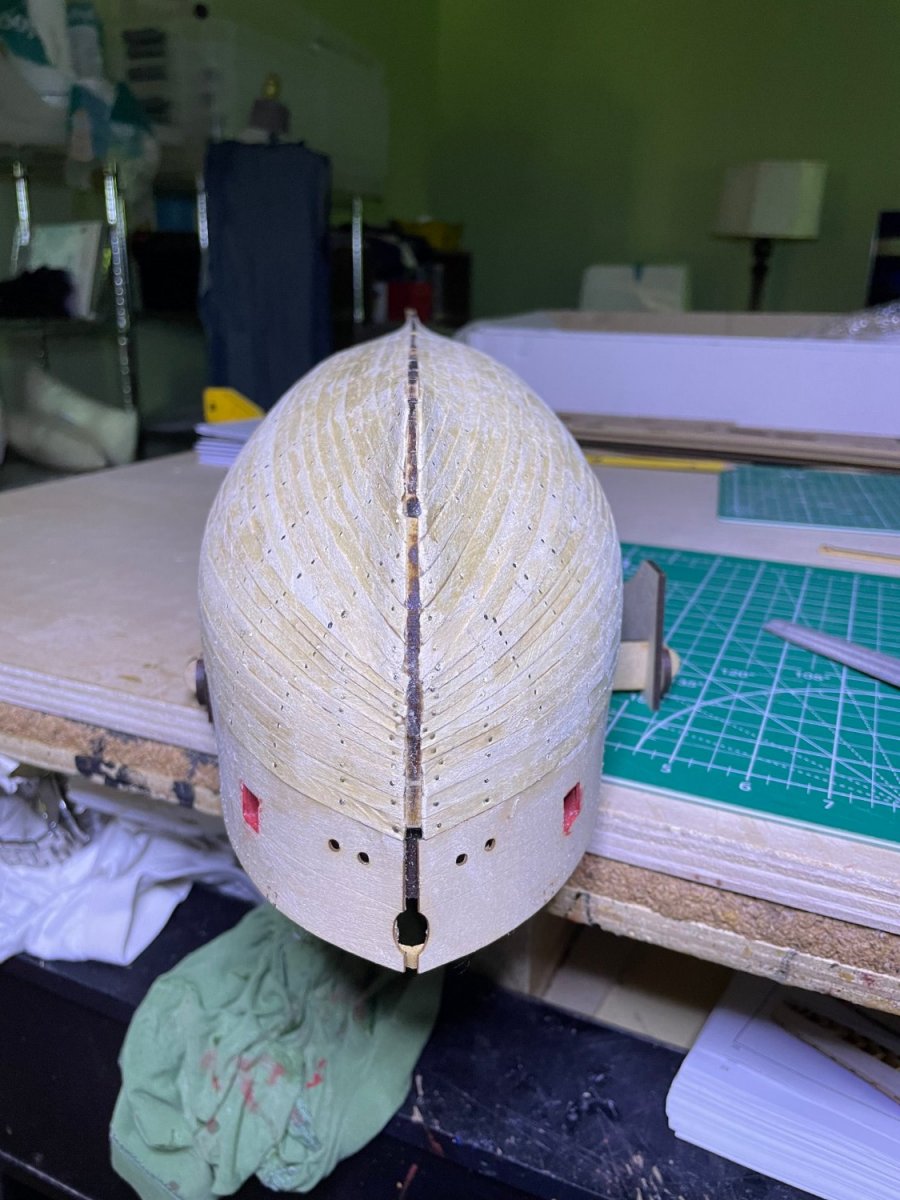
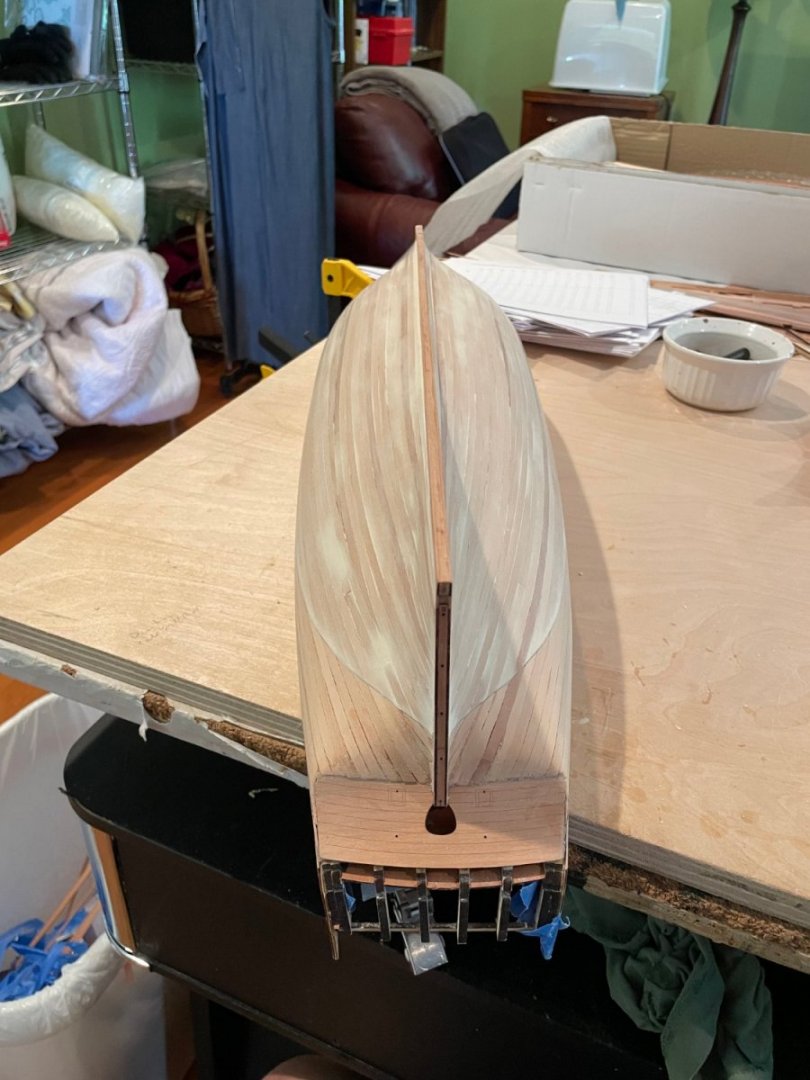
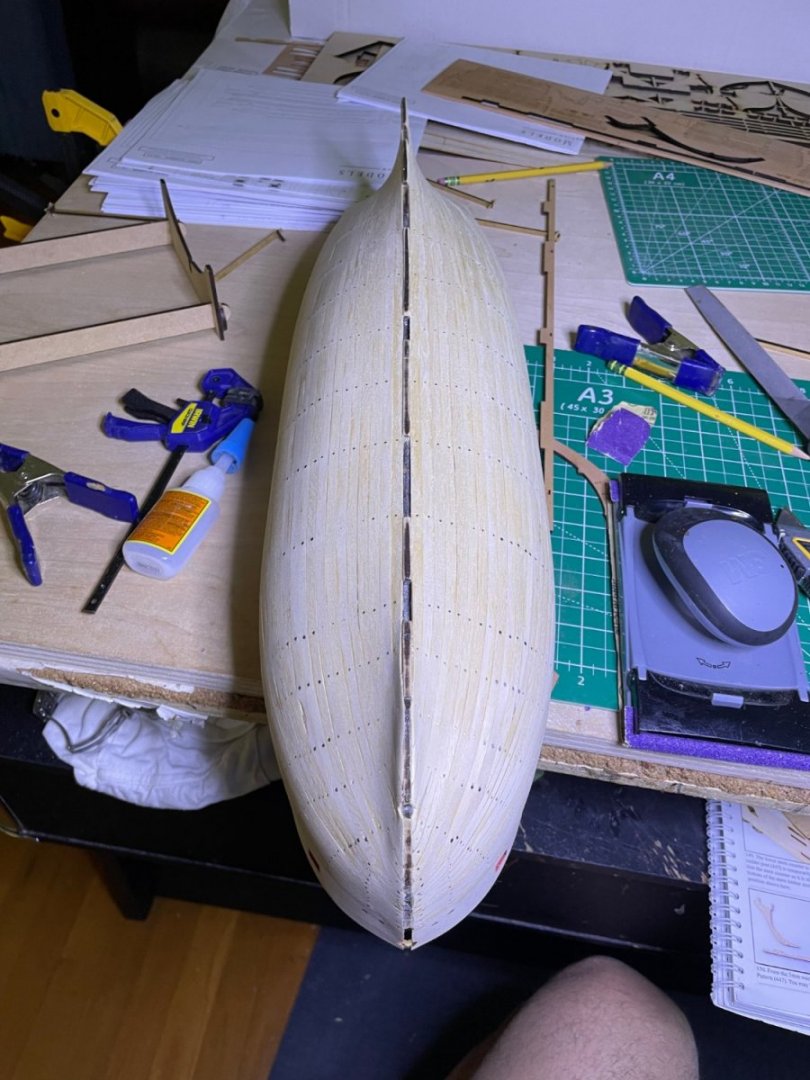
Post sanding. A few problematic spots , thank goodness for second layer.

- 73 replies
-
- 10
-
-
- Sphinx
- Vanguard Models
- (and 1 more)
-
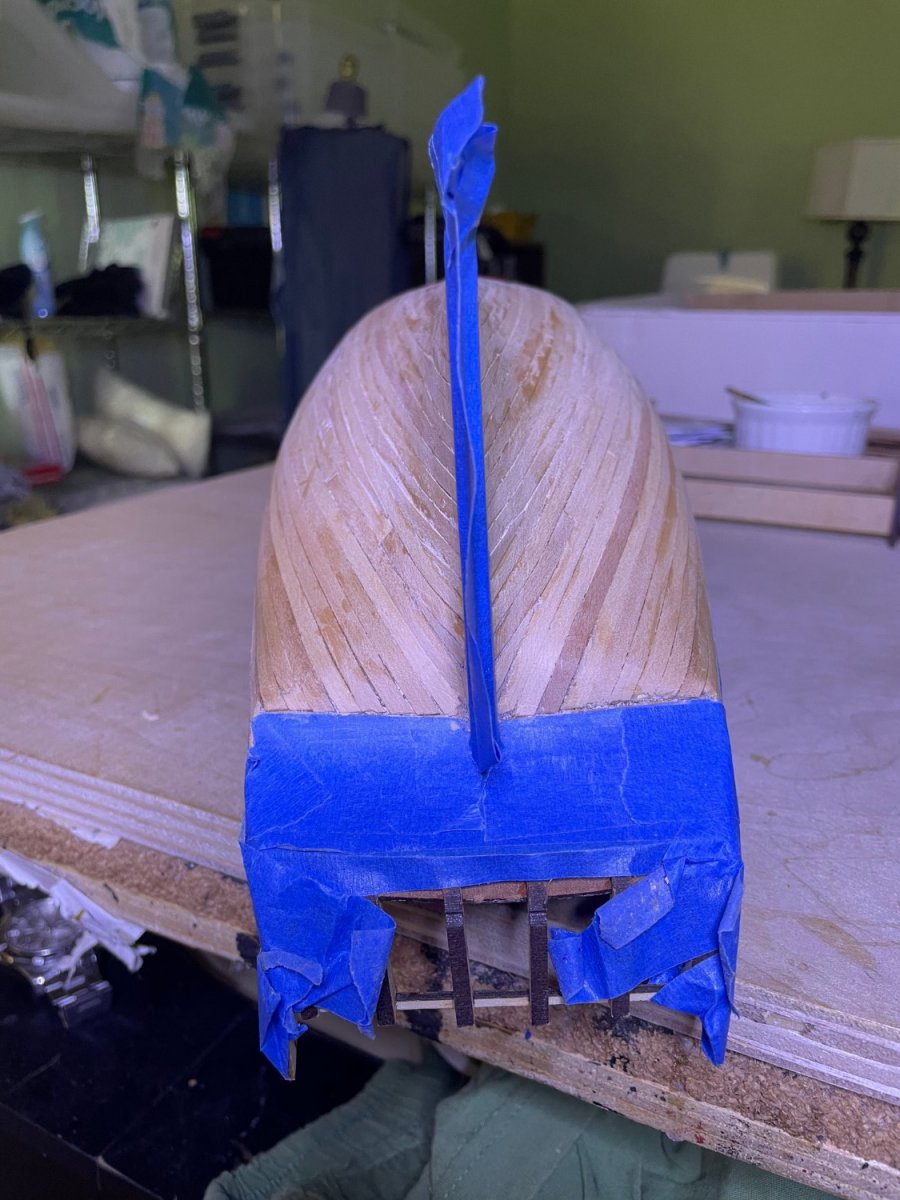
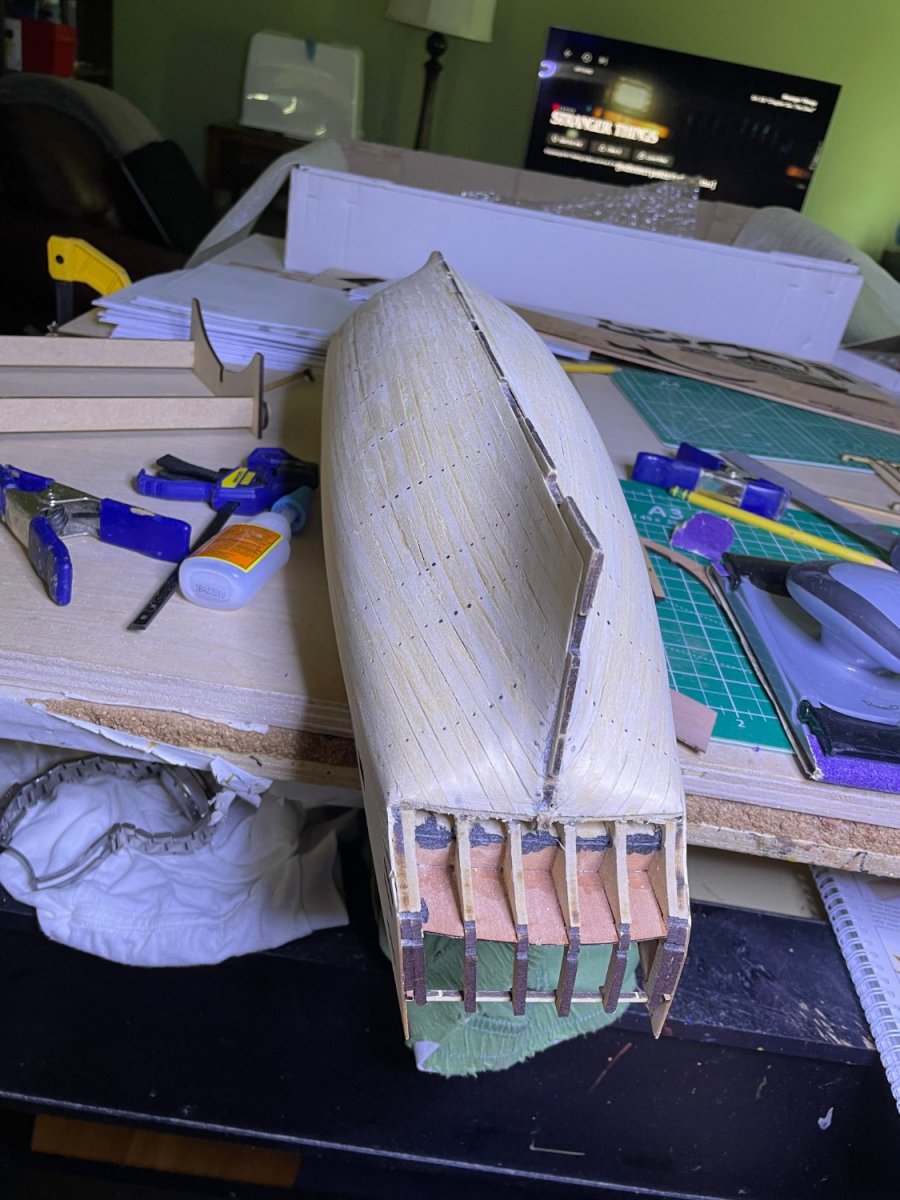
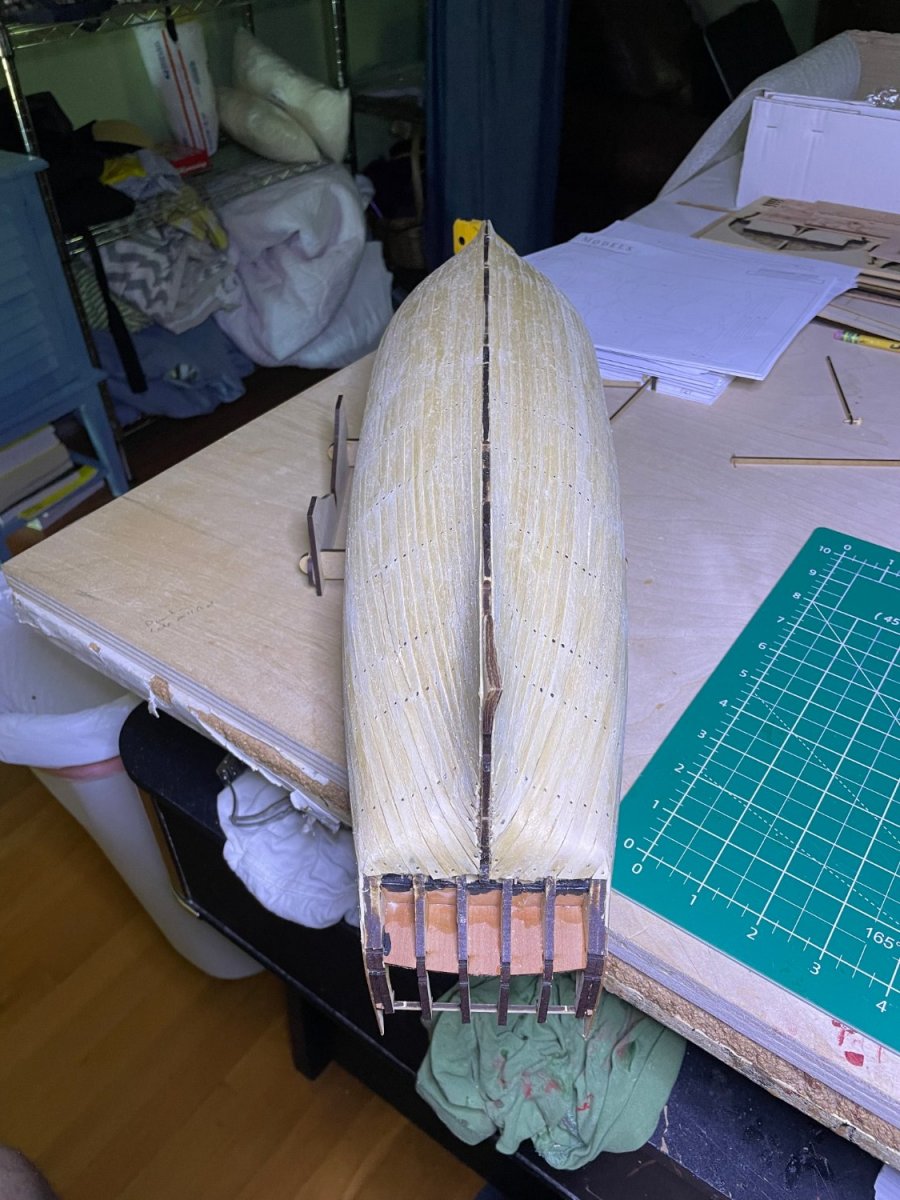
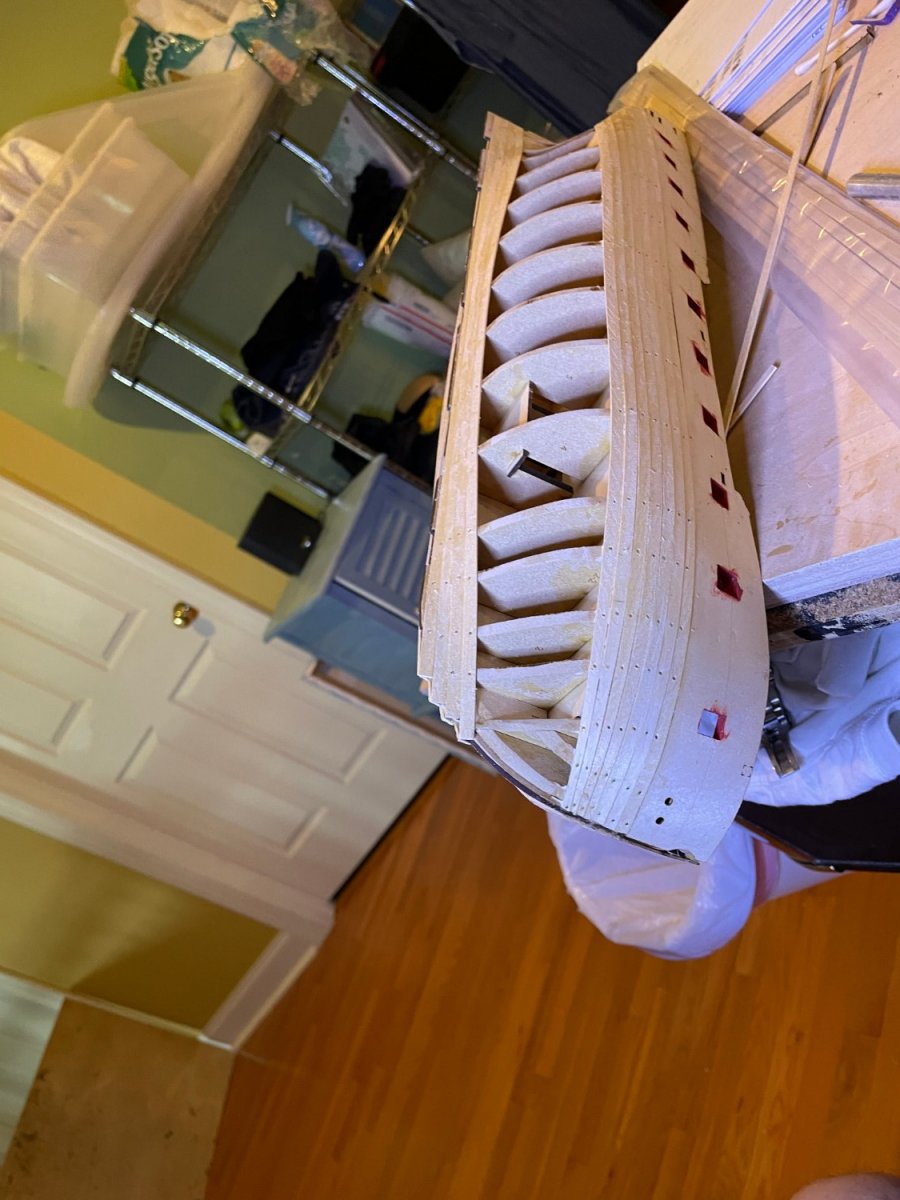
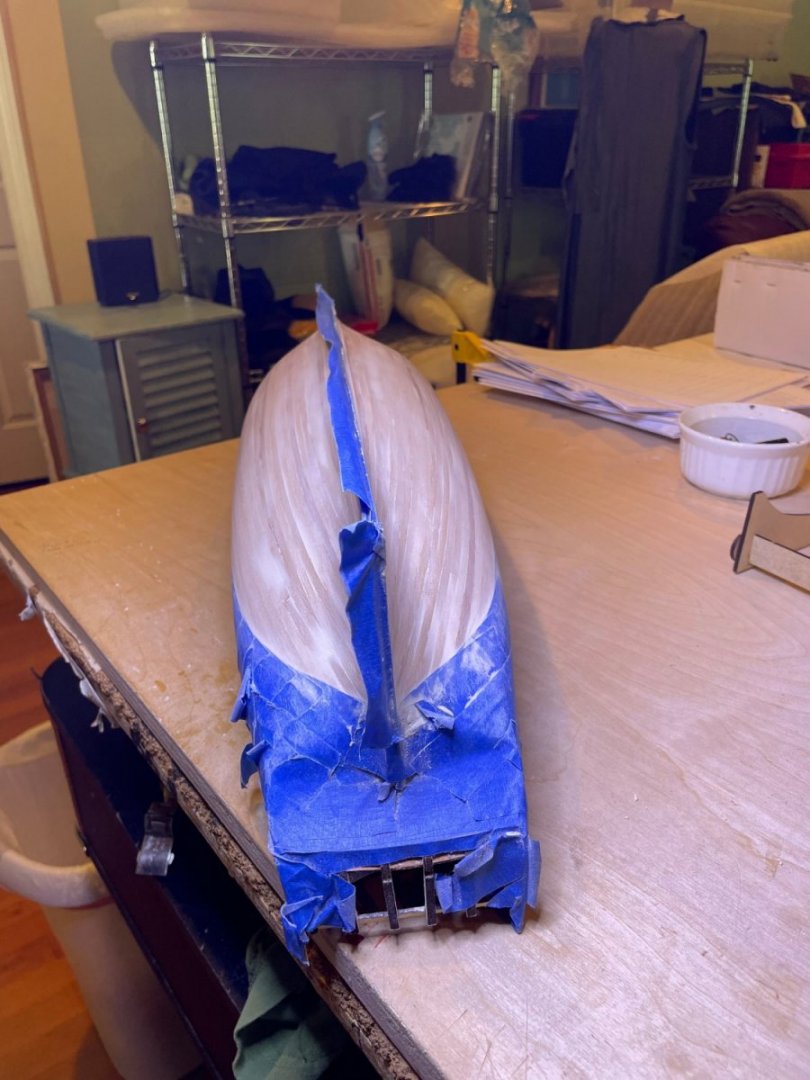
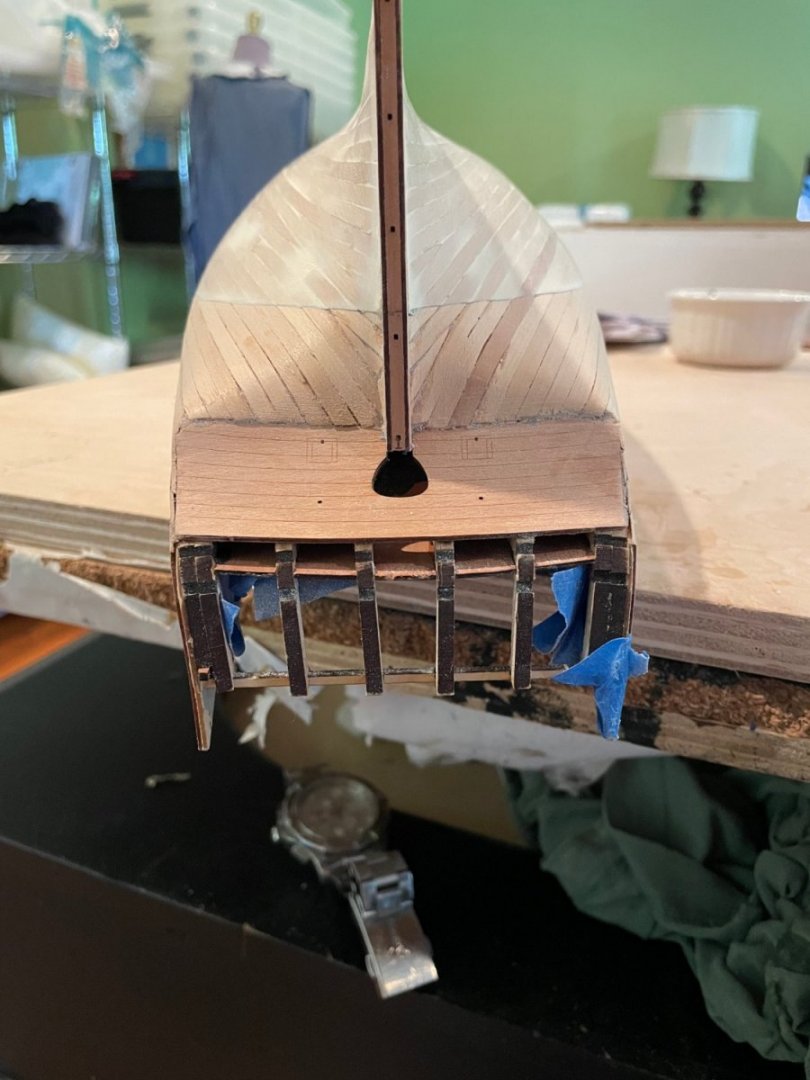
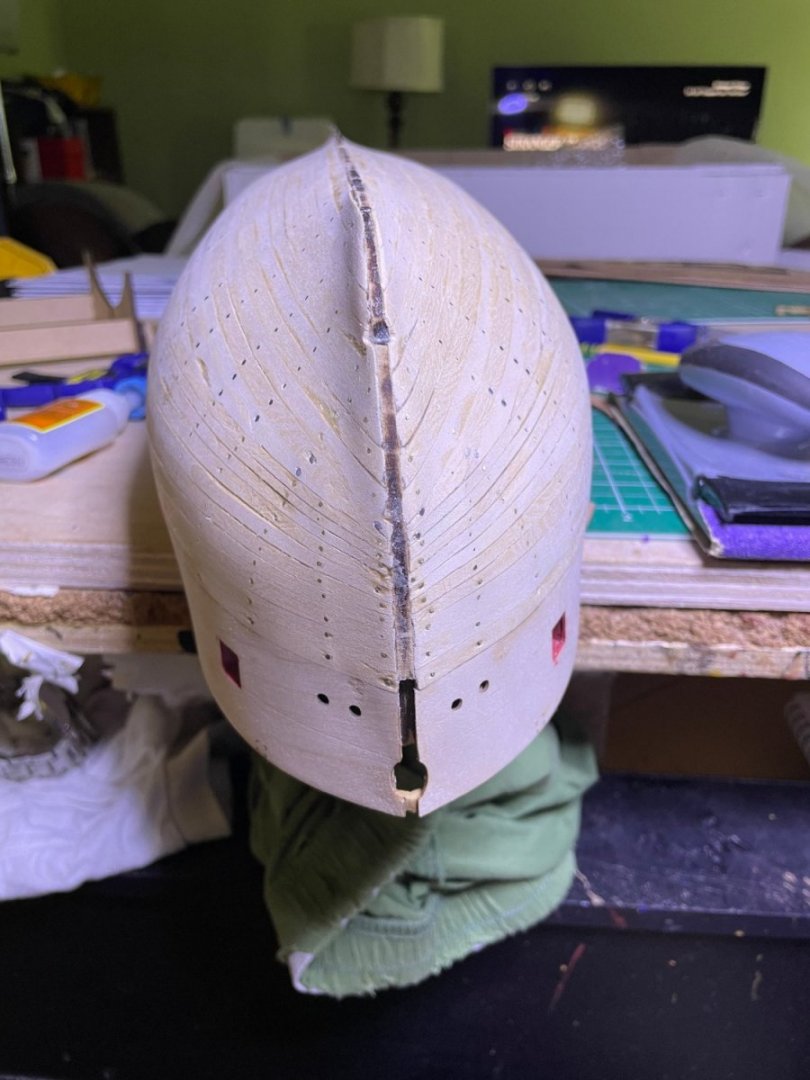
Rough planking done. Pre-sanding look. Of note, I ran out of pins with about 10 planks left to do but fortunately had left overs from previous projects.


- 73 replies
-
- 5
-
-
- Sphinx
- Vanguard Models
- (and 1 more)