HOLIDAY DONATION DRIVE - SUPPORT MSW - DO YOUR PART TO KEEP THIS GREAT FORUM GOING! (Only 75 donations so far out of 49,000 members - C'mon guys!)
×


ECK
-
Posts
640 -
Joined
-
Last visited
Content Type
Profiles
Forums
Gallery
Events
Everything posted by ECK
-
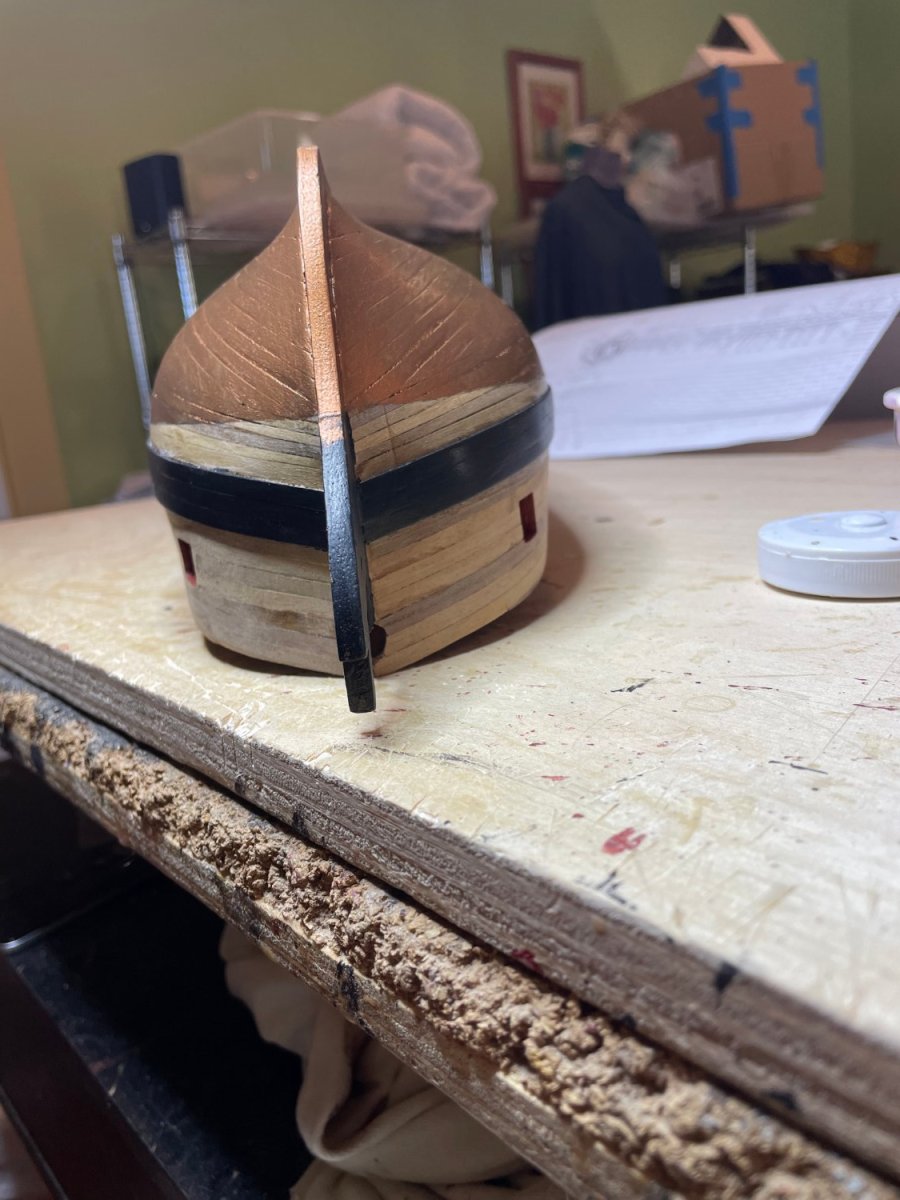
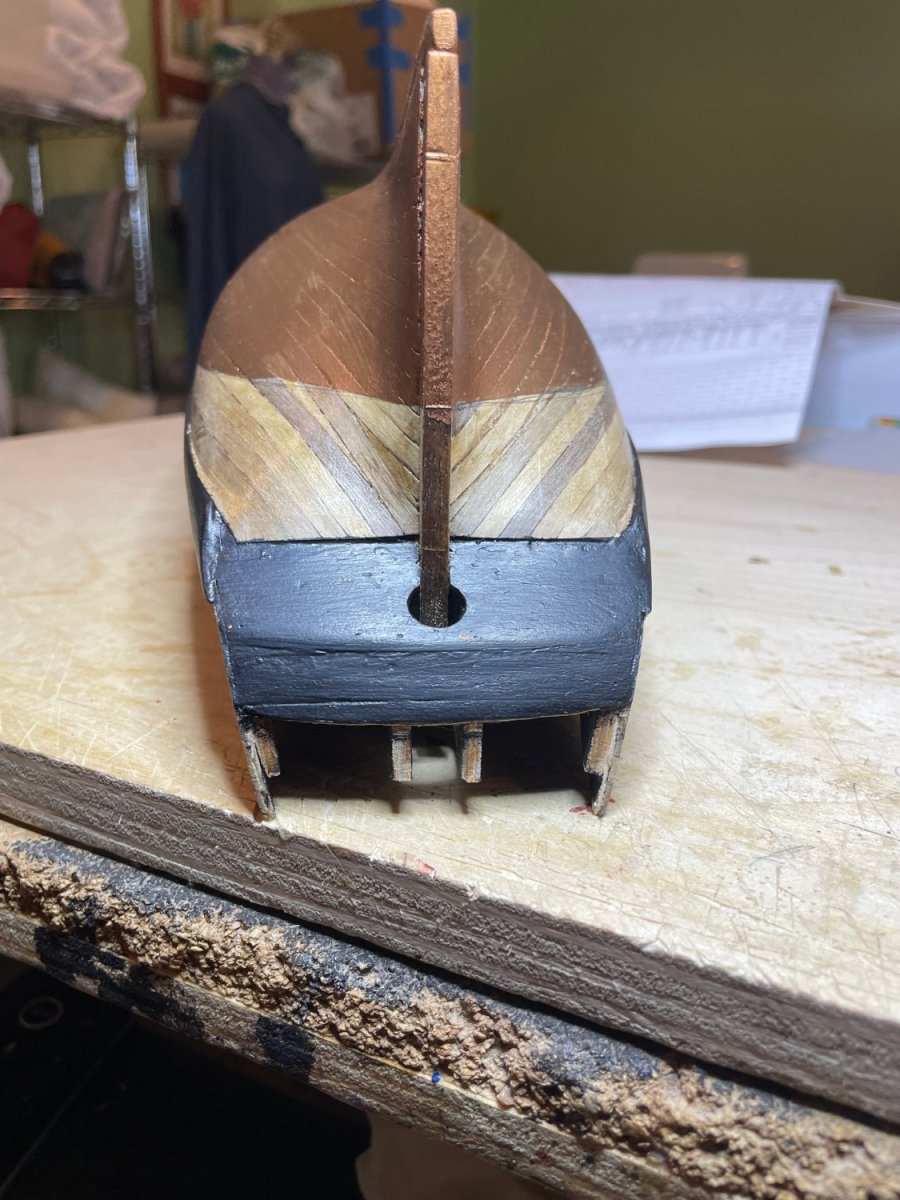
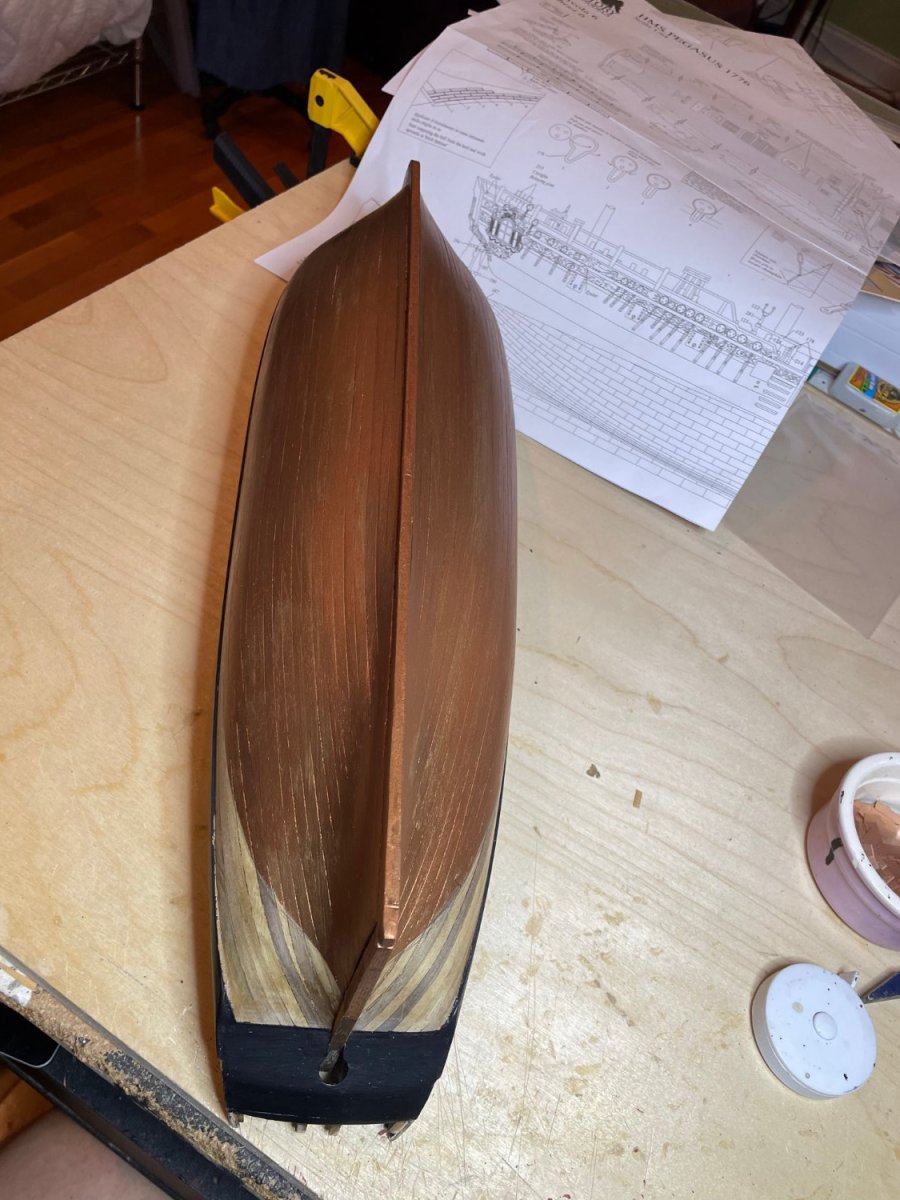
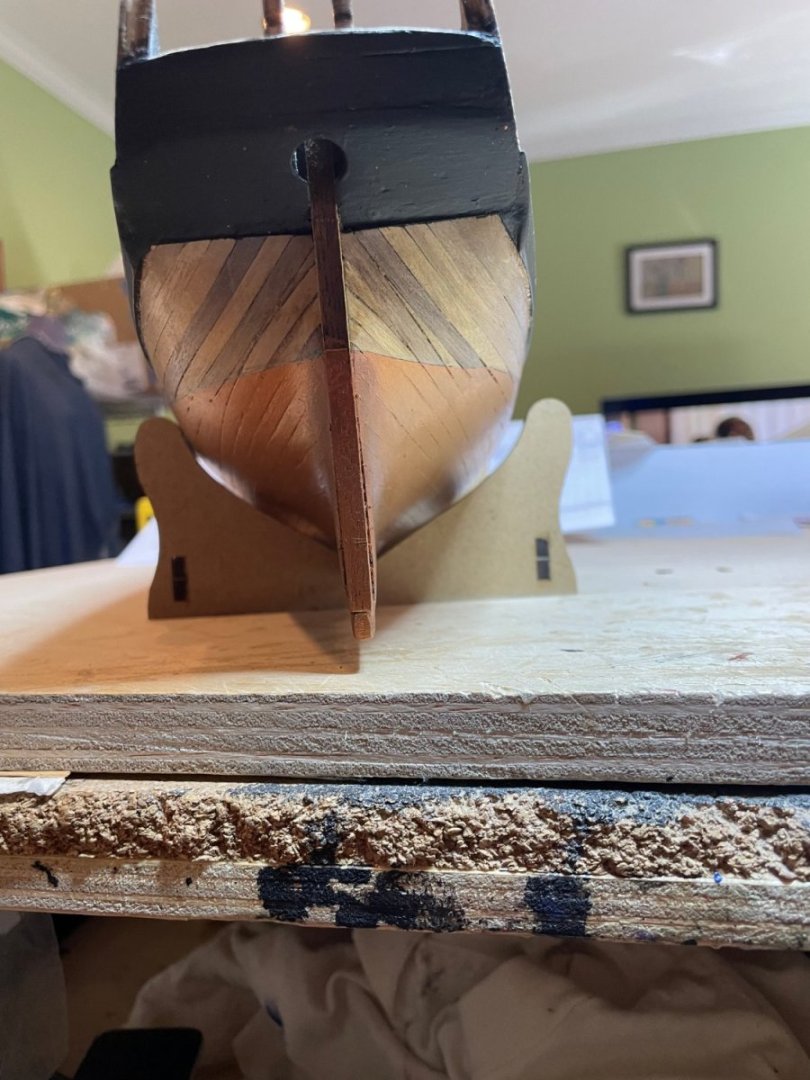
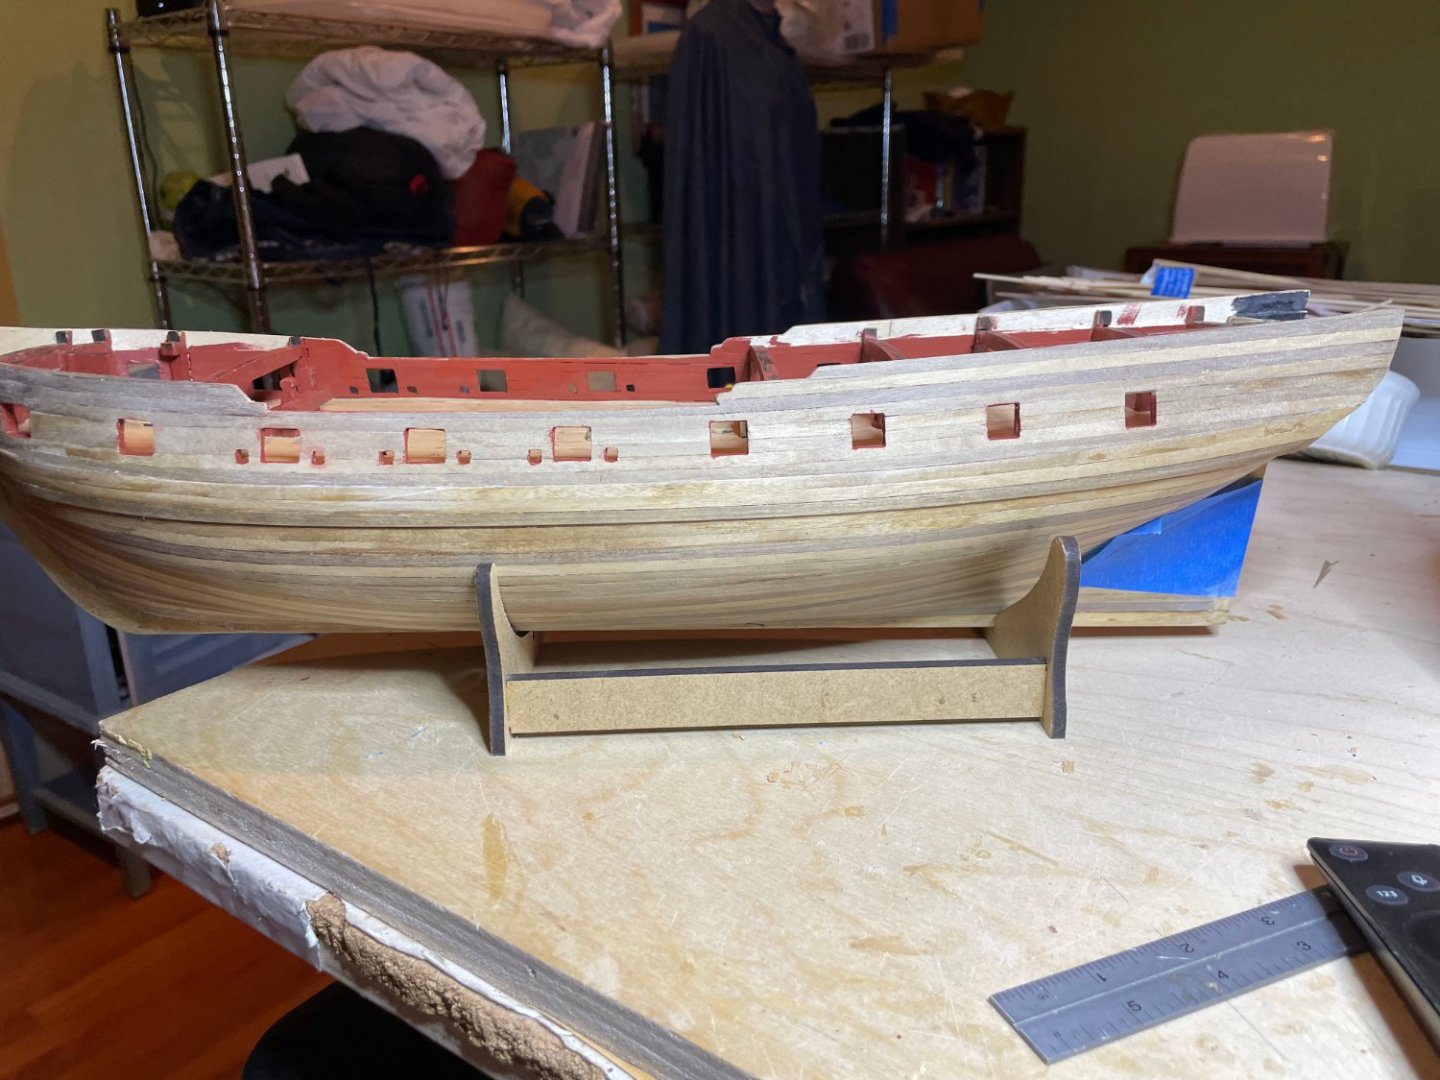
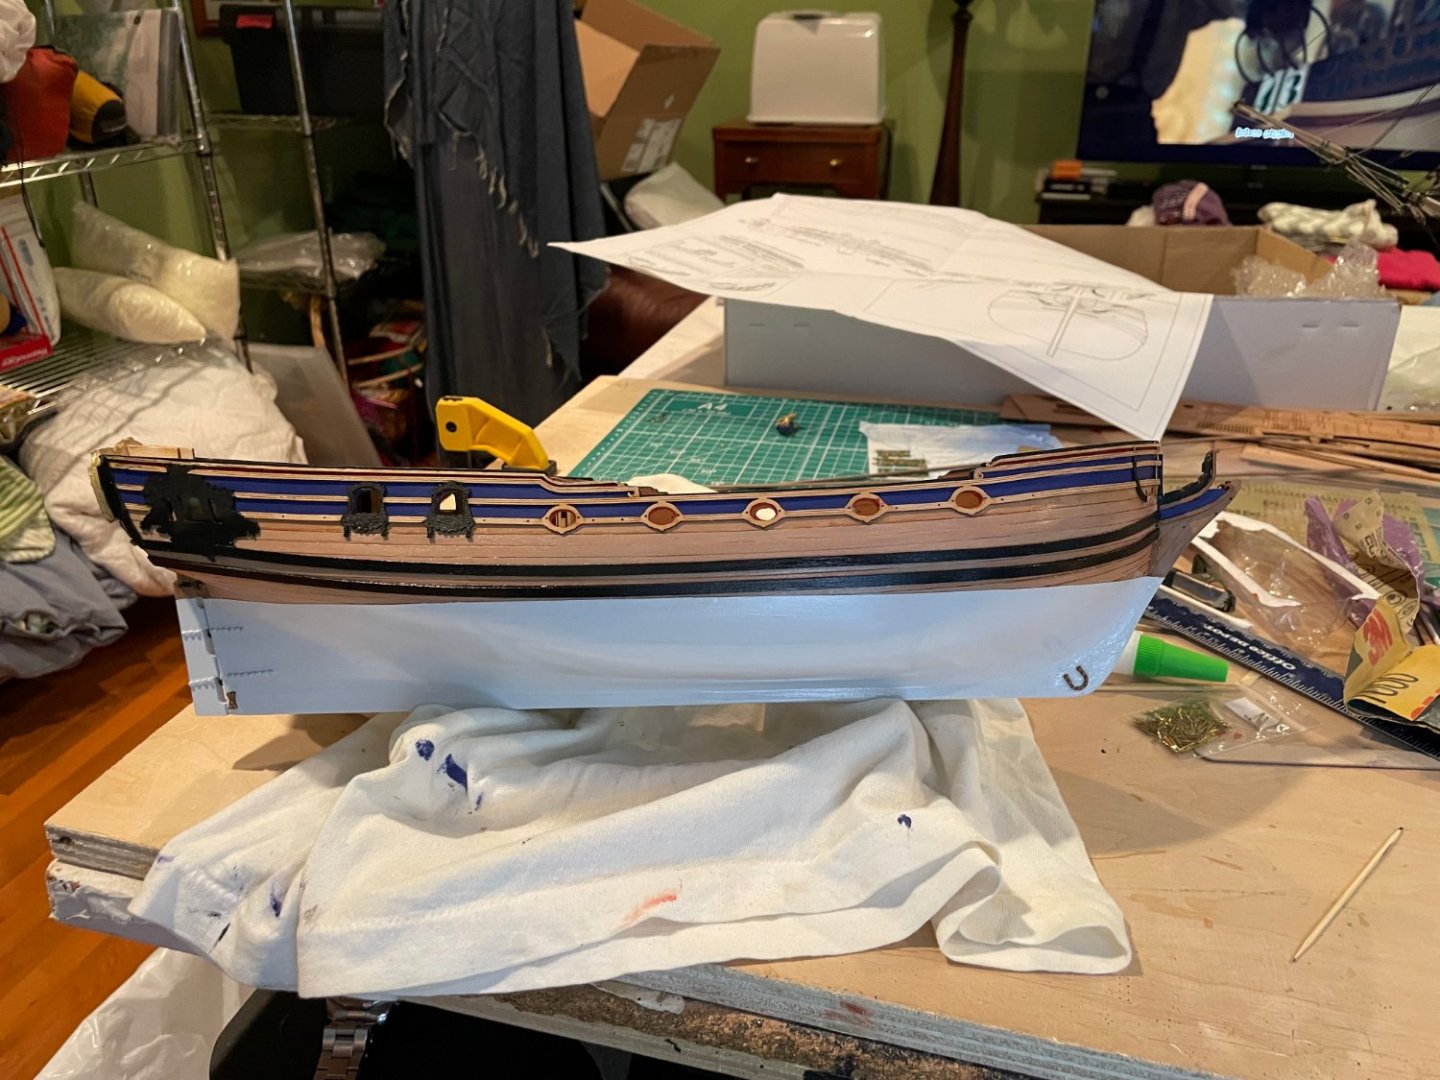
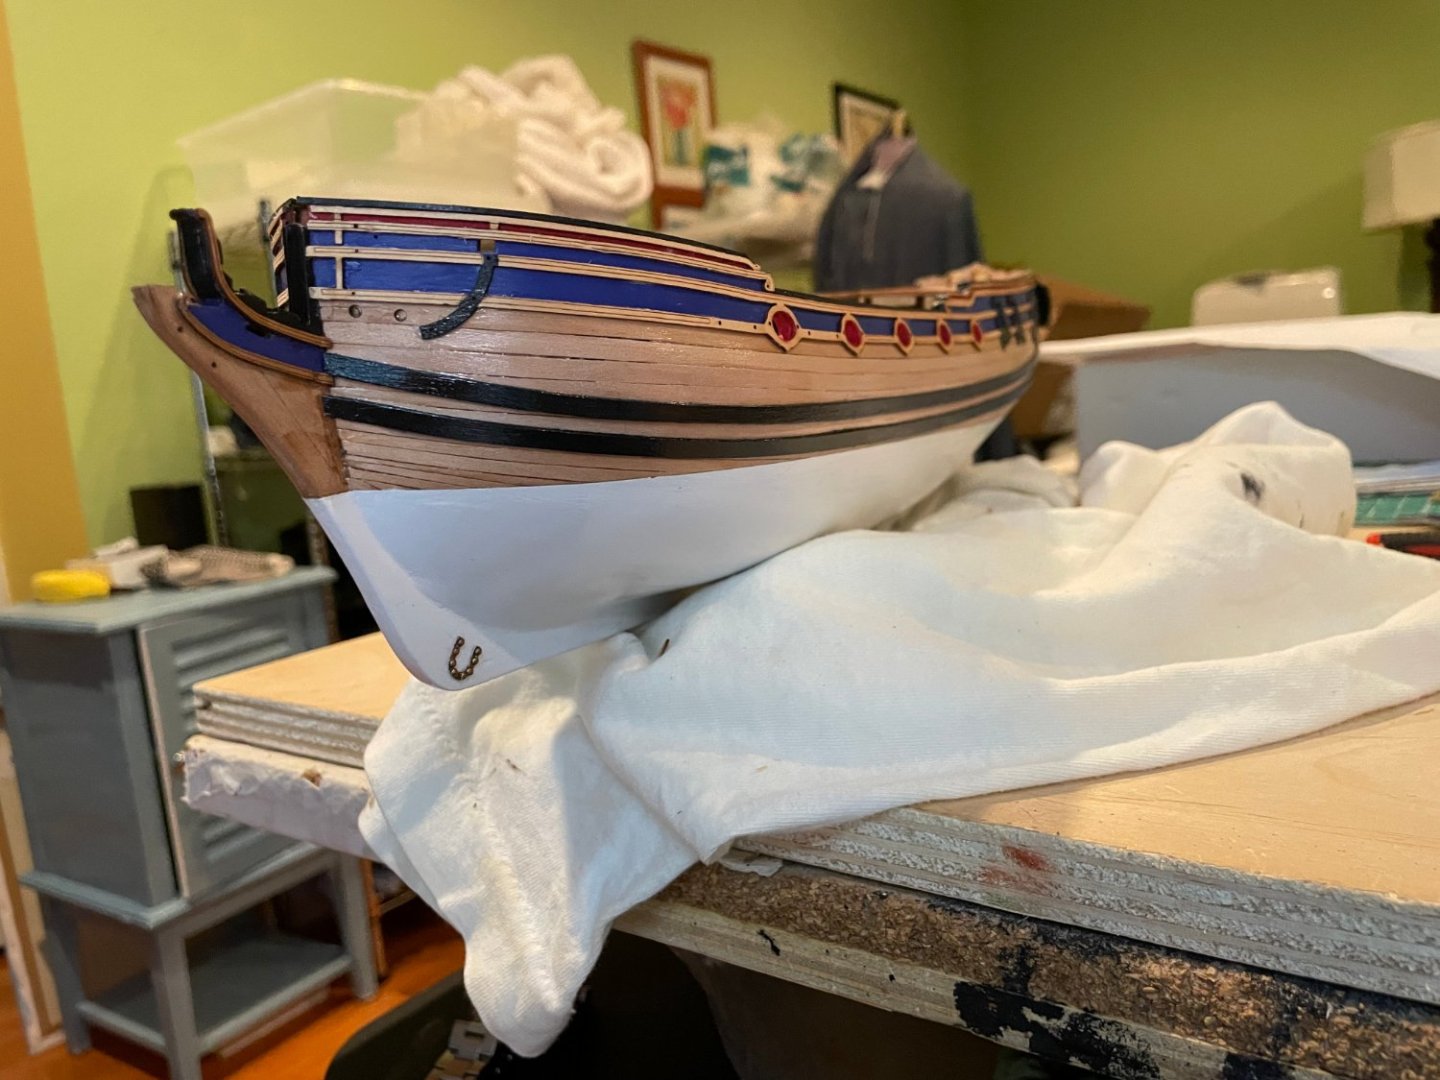
Wale painted , waterline in and painted copper for background. Will start the long process of coppering.


-
I agree with all of the above.Given the paint and copper to follow, I think that the offending areas will be covered and the exposed wood will be ok. A lot is self satisfaction of knowing what lies beneath. I take comfort that when I look at the pictures in the build manual for the Indefatigable, similar issues can be seen.
-
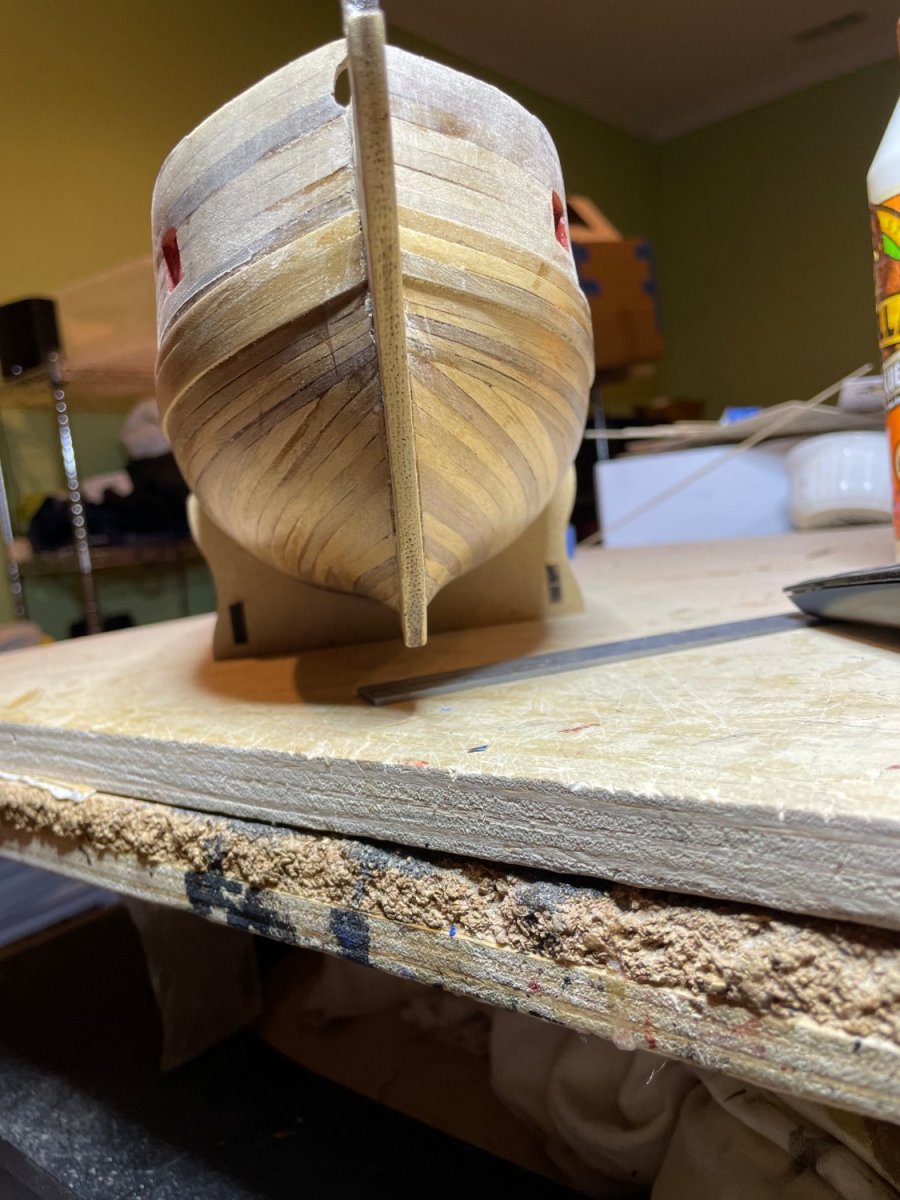
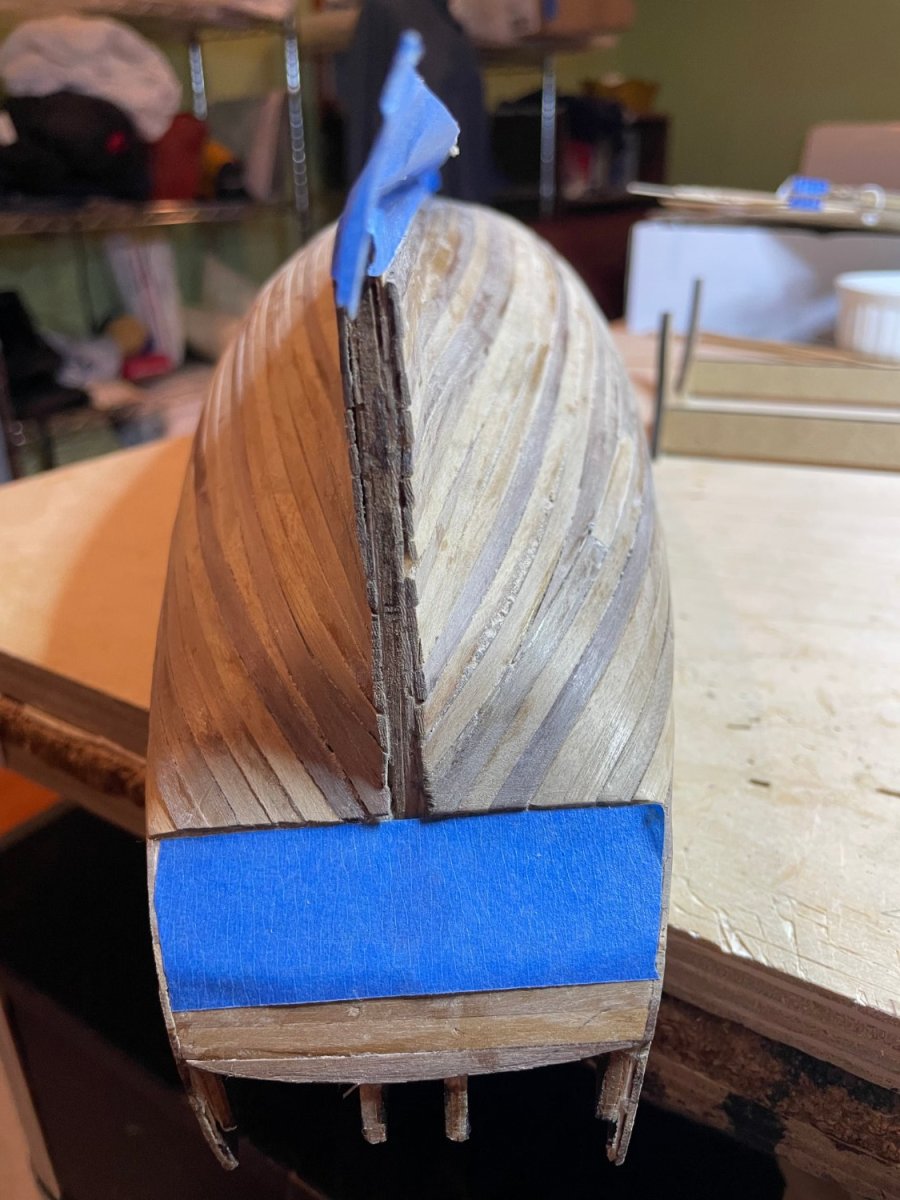
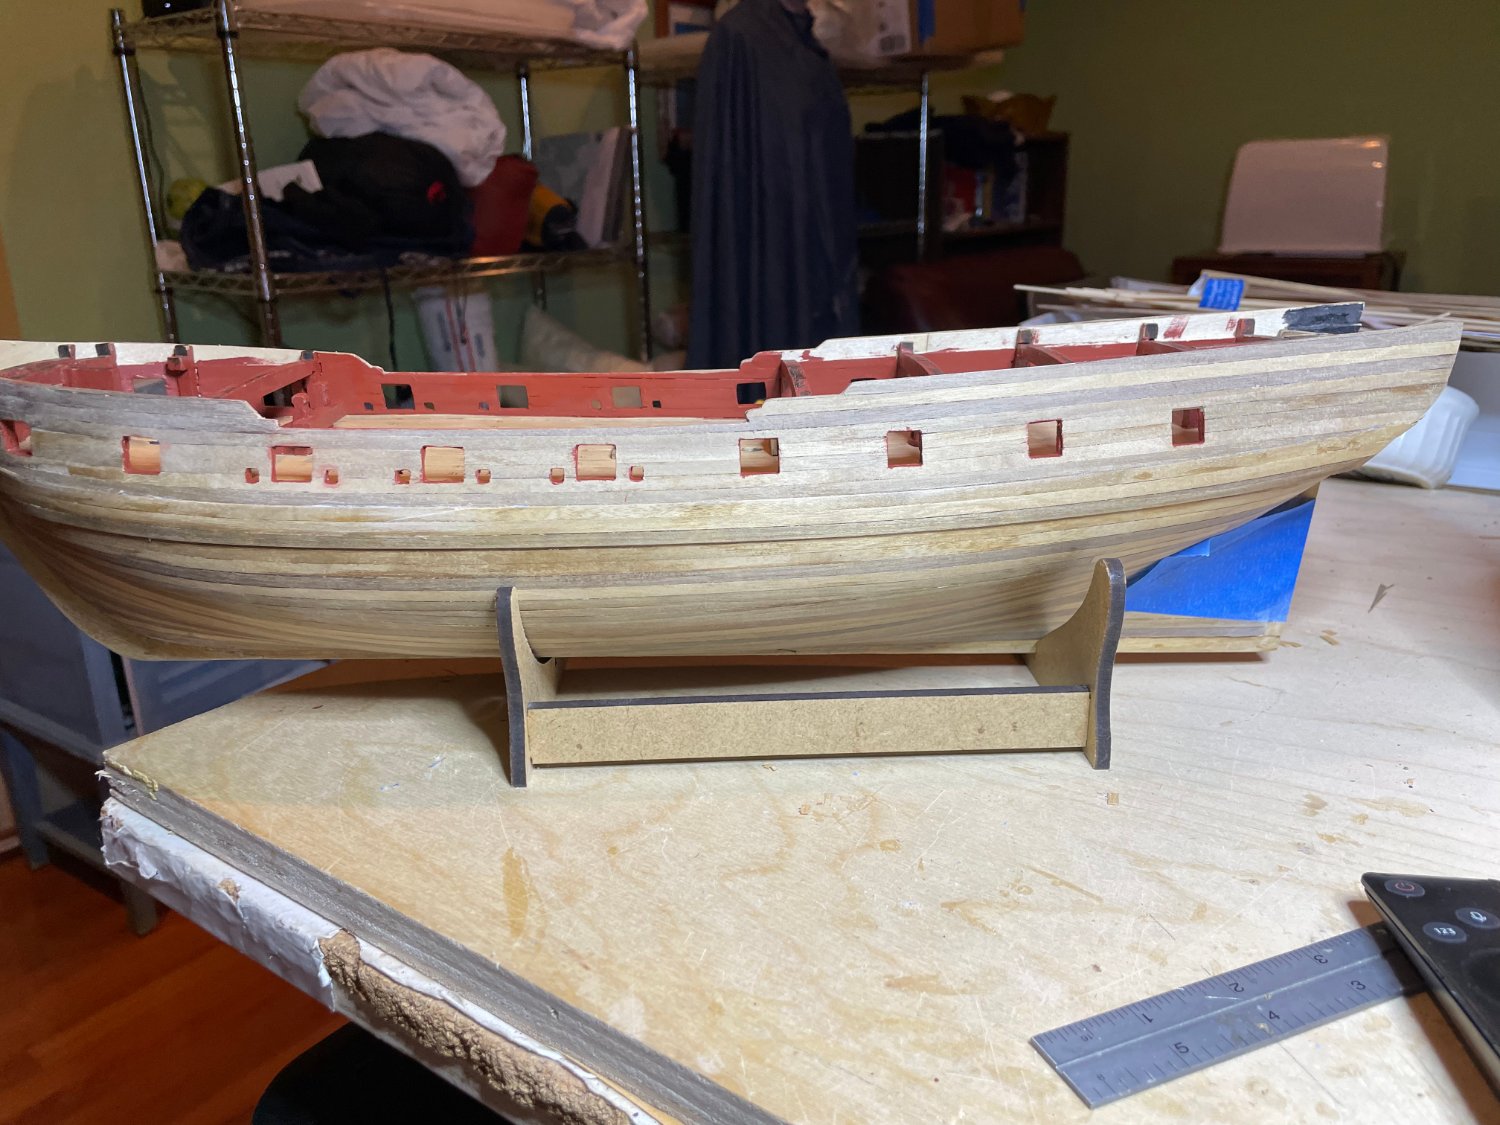
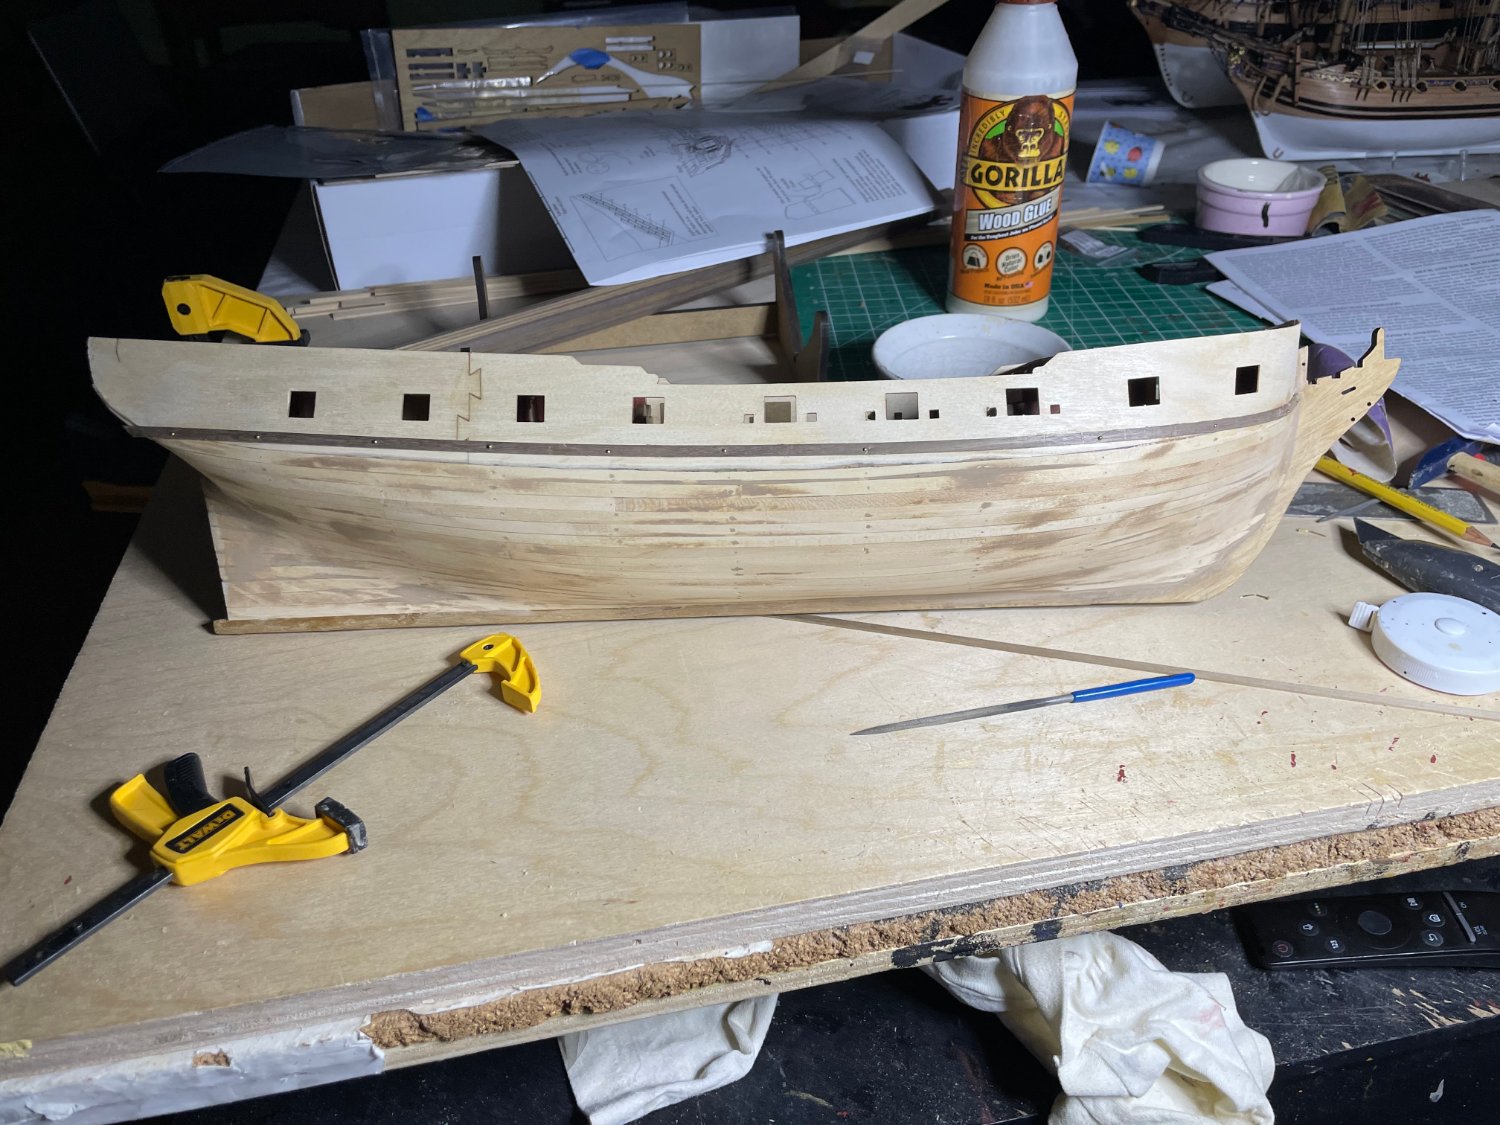
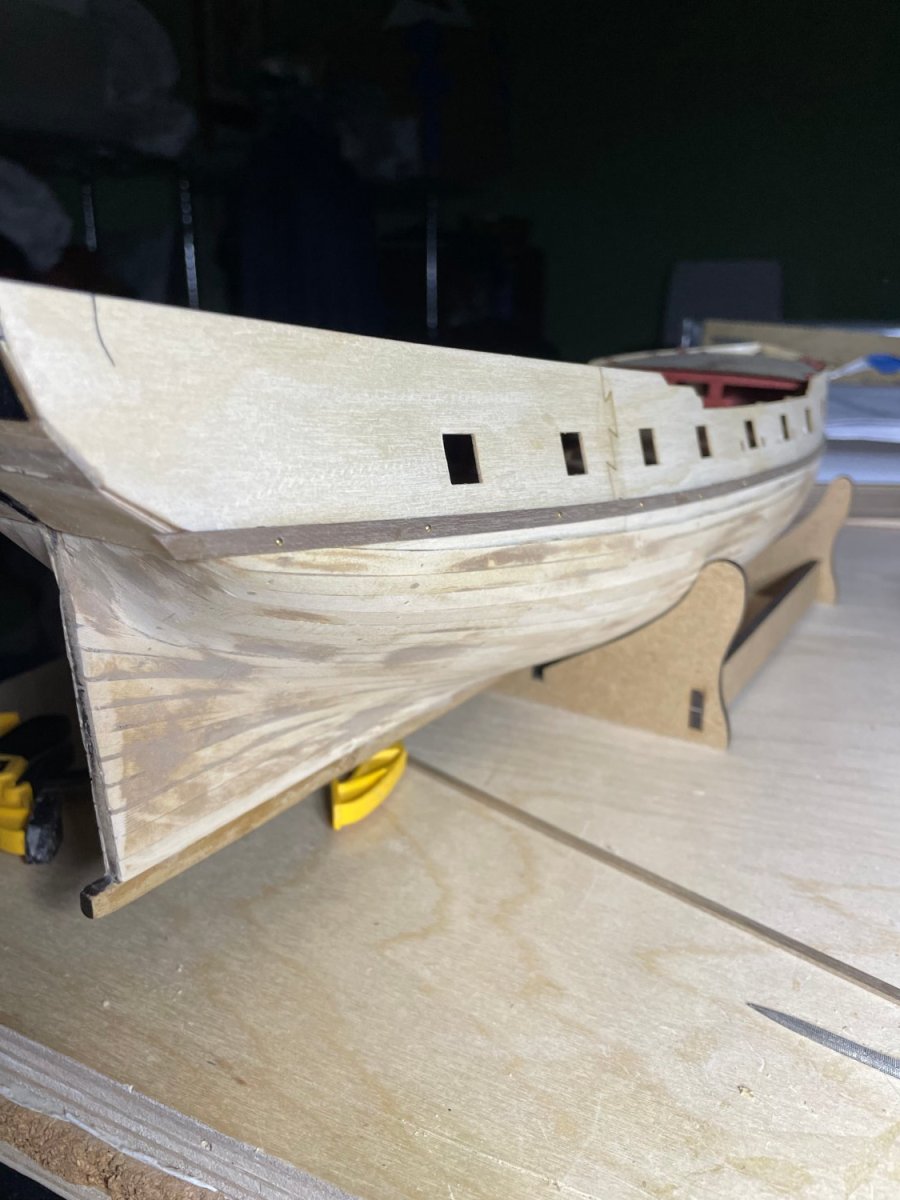
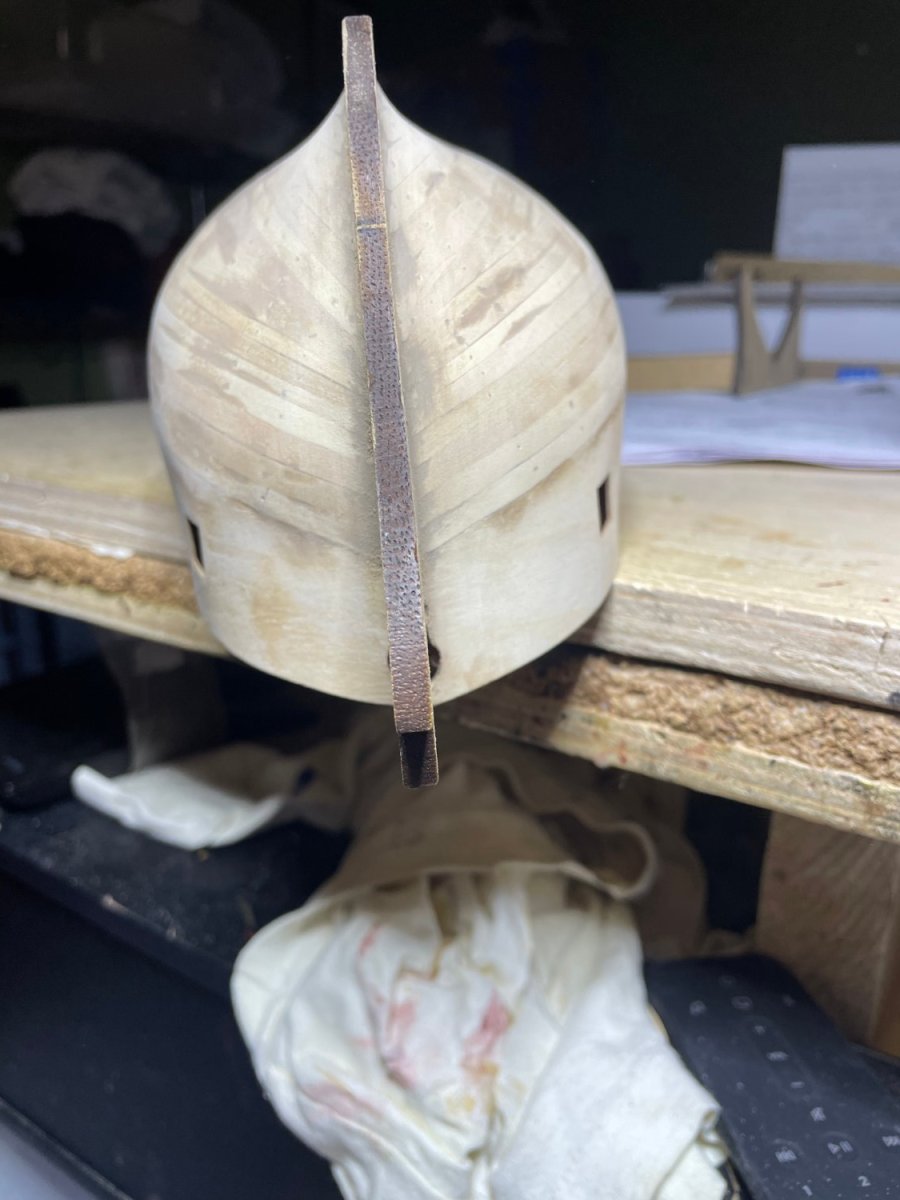
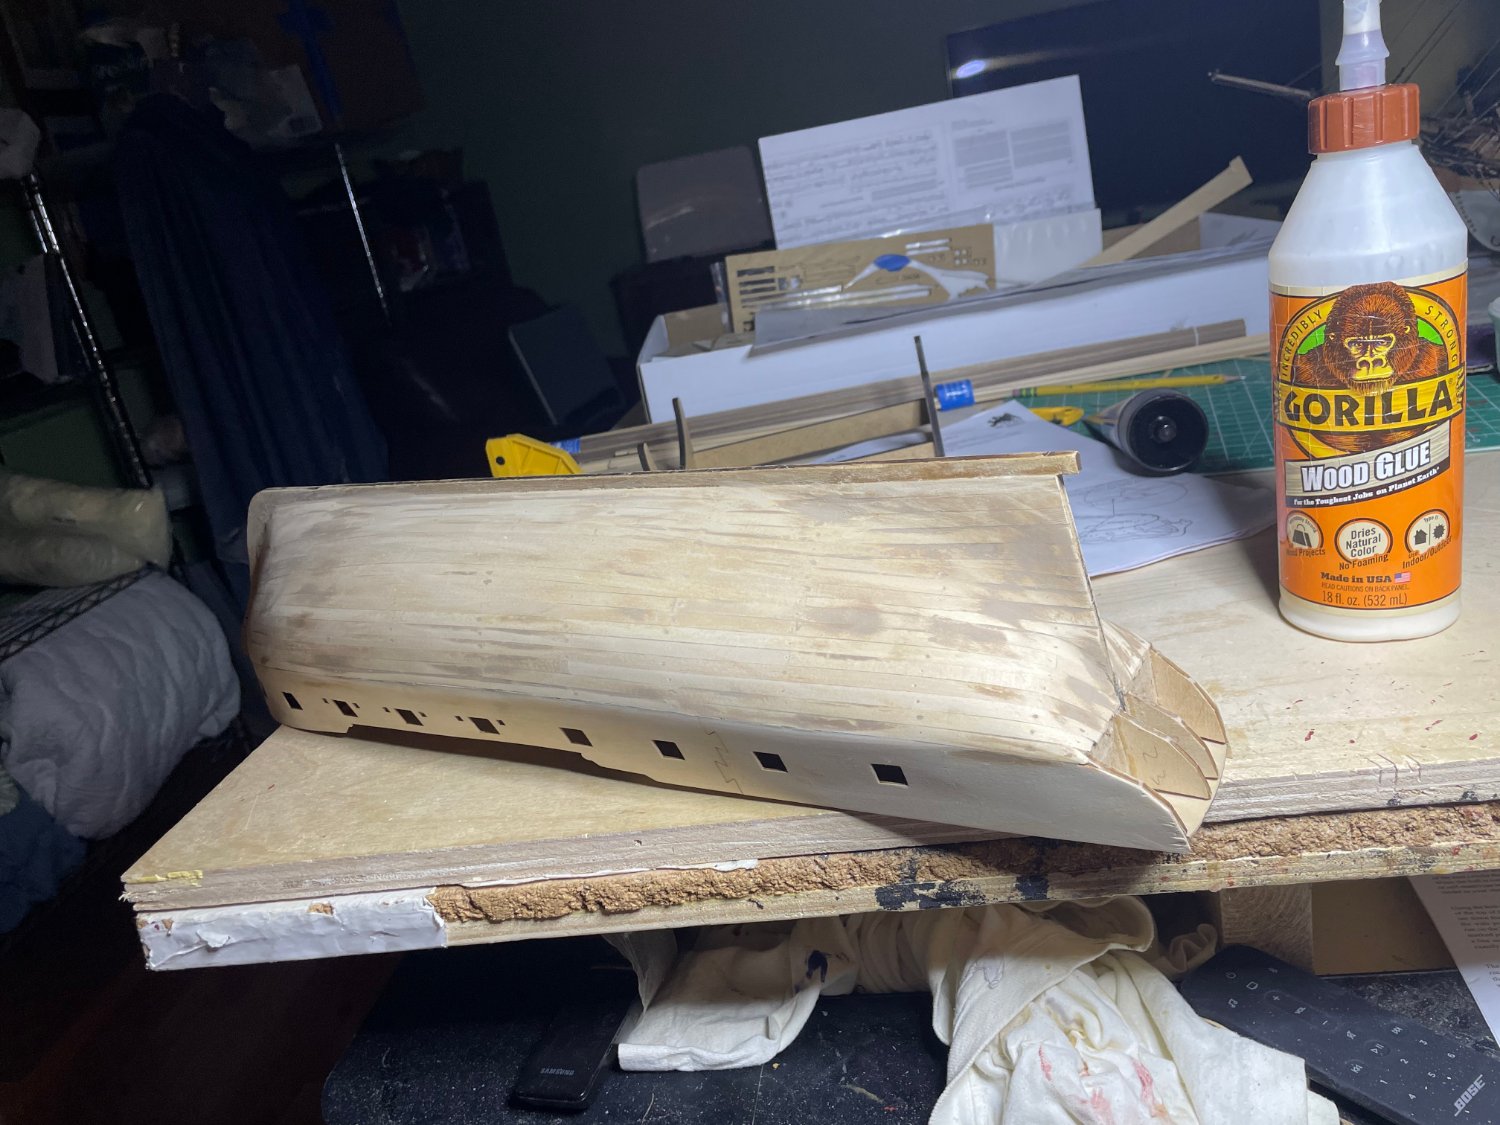
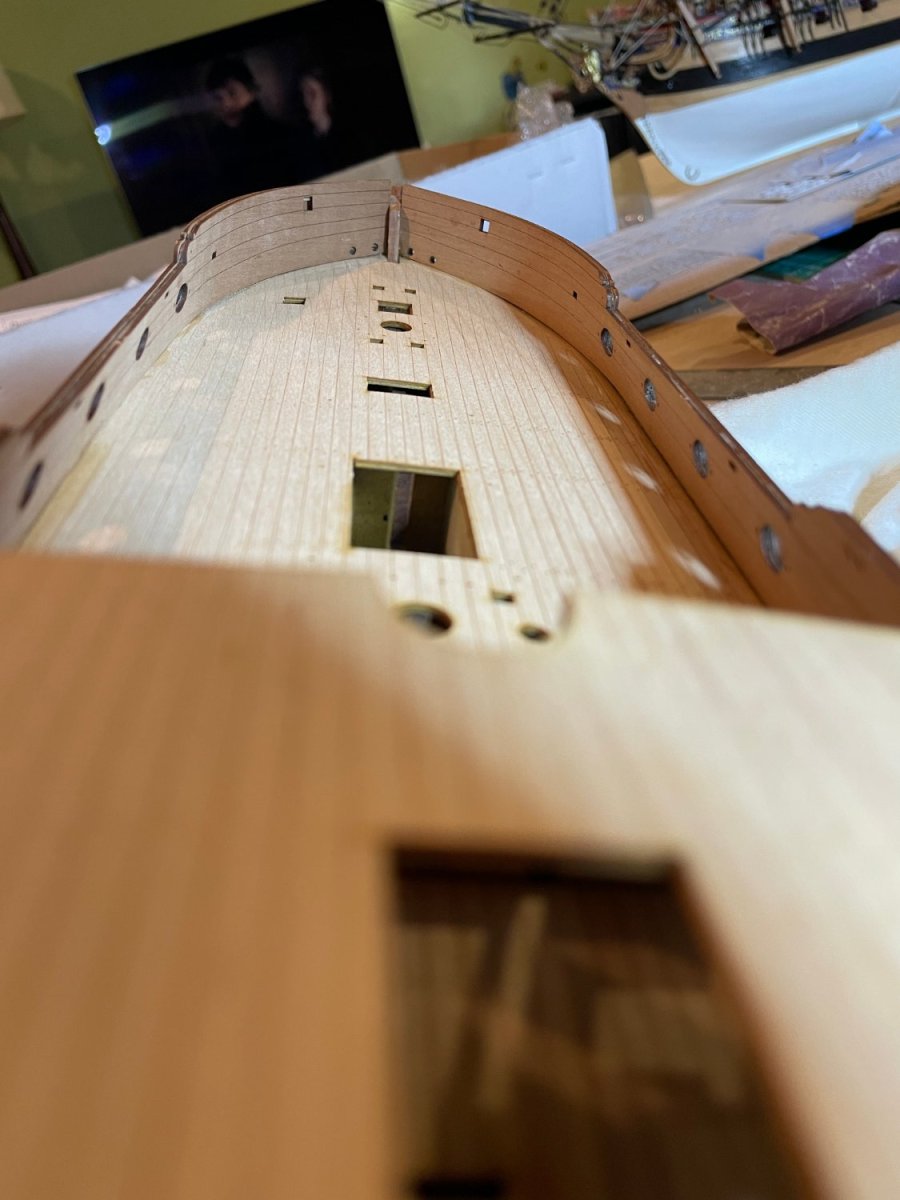
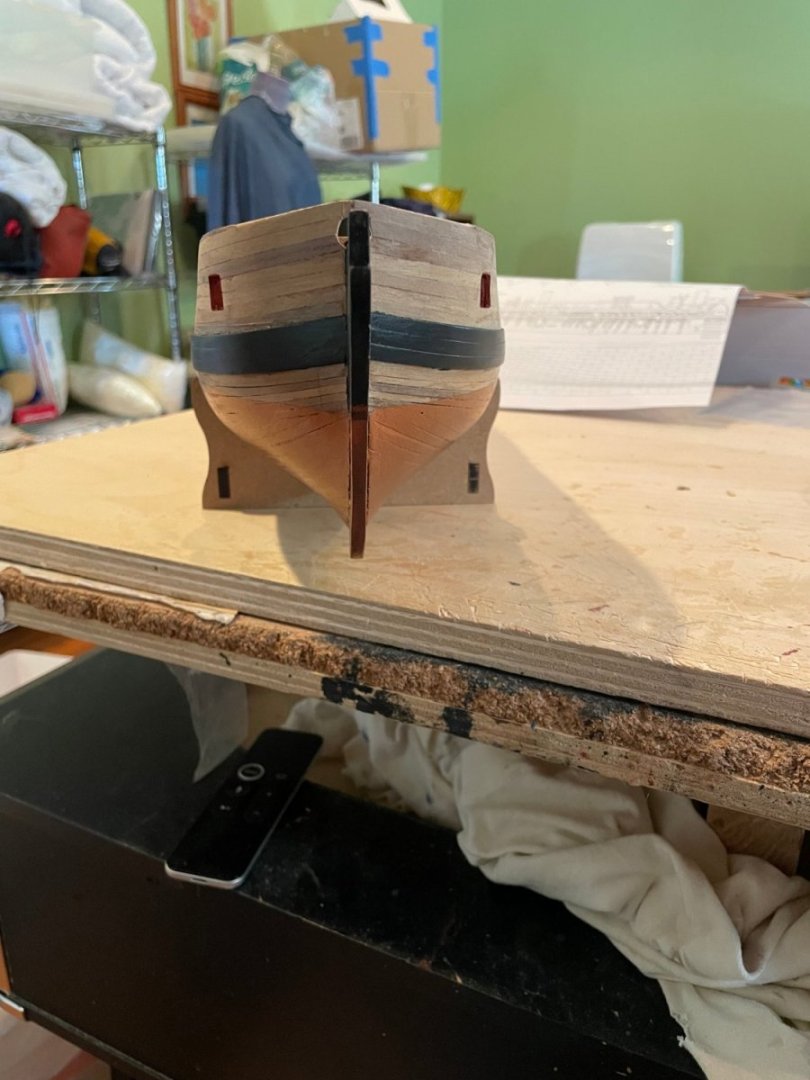
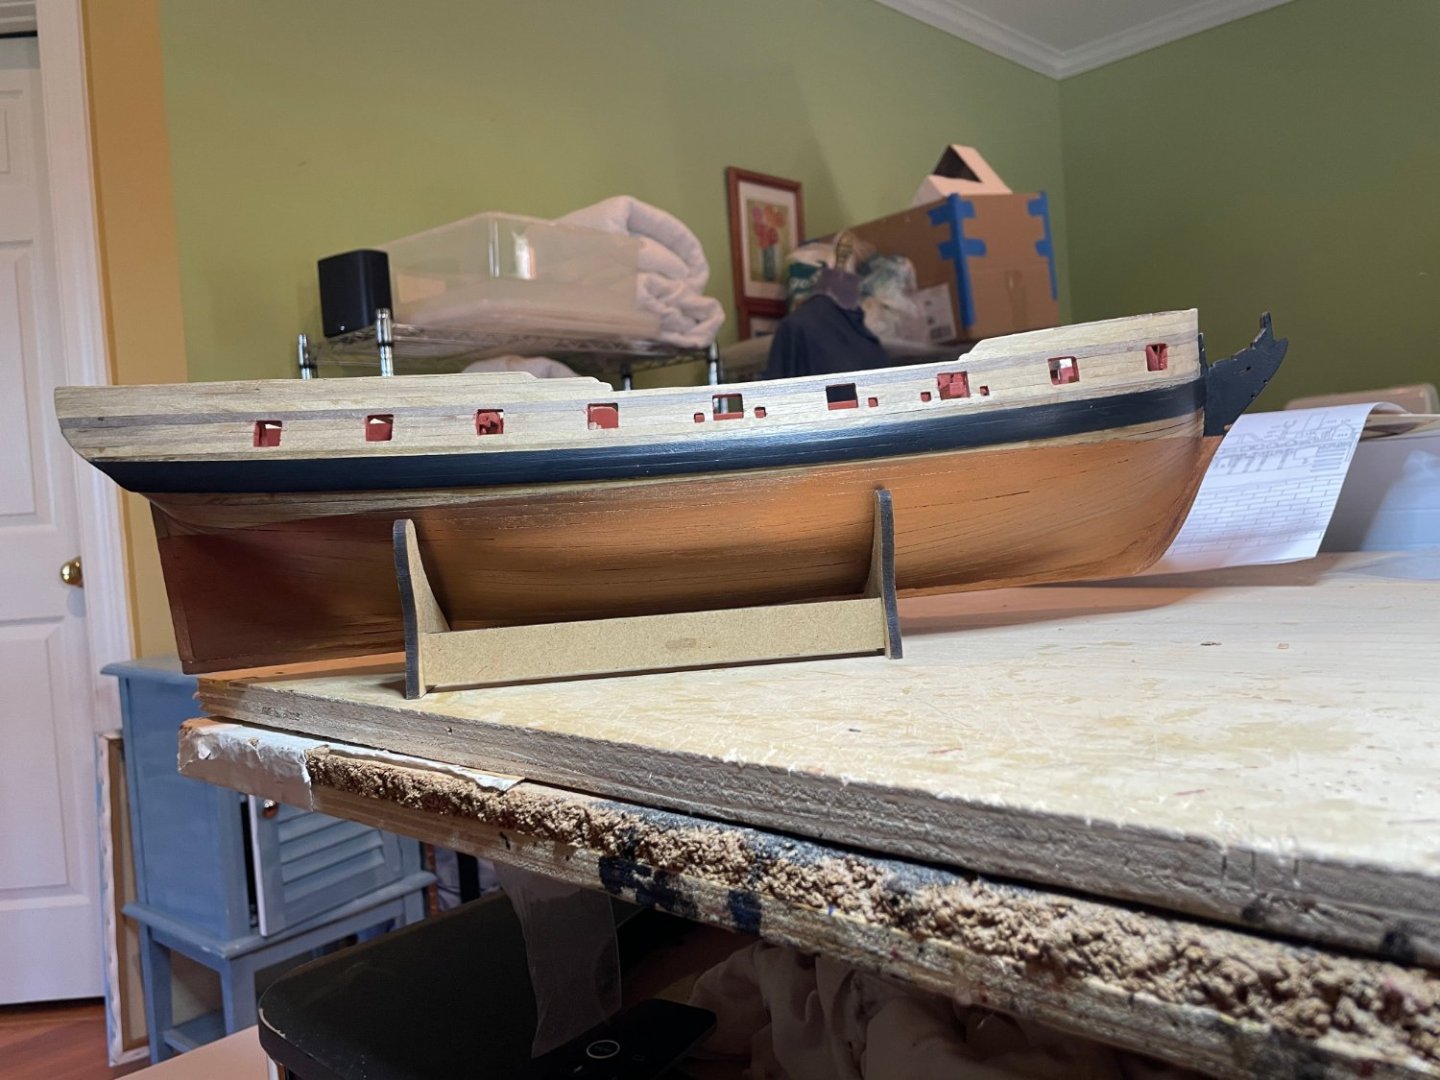
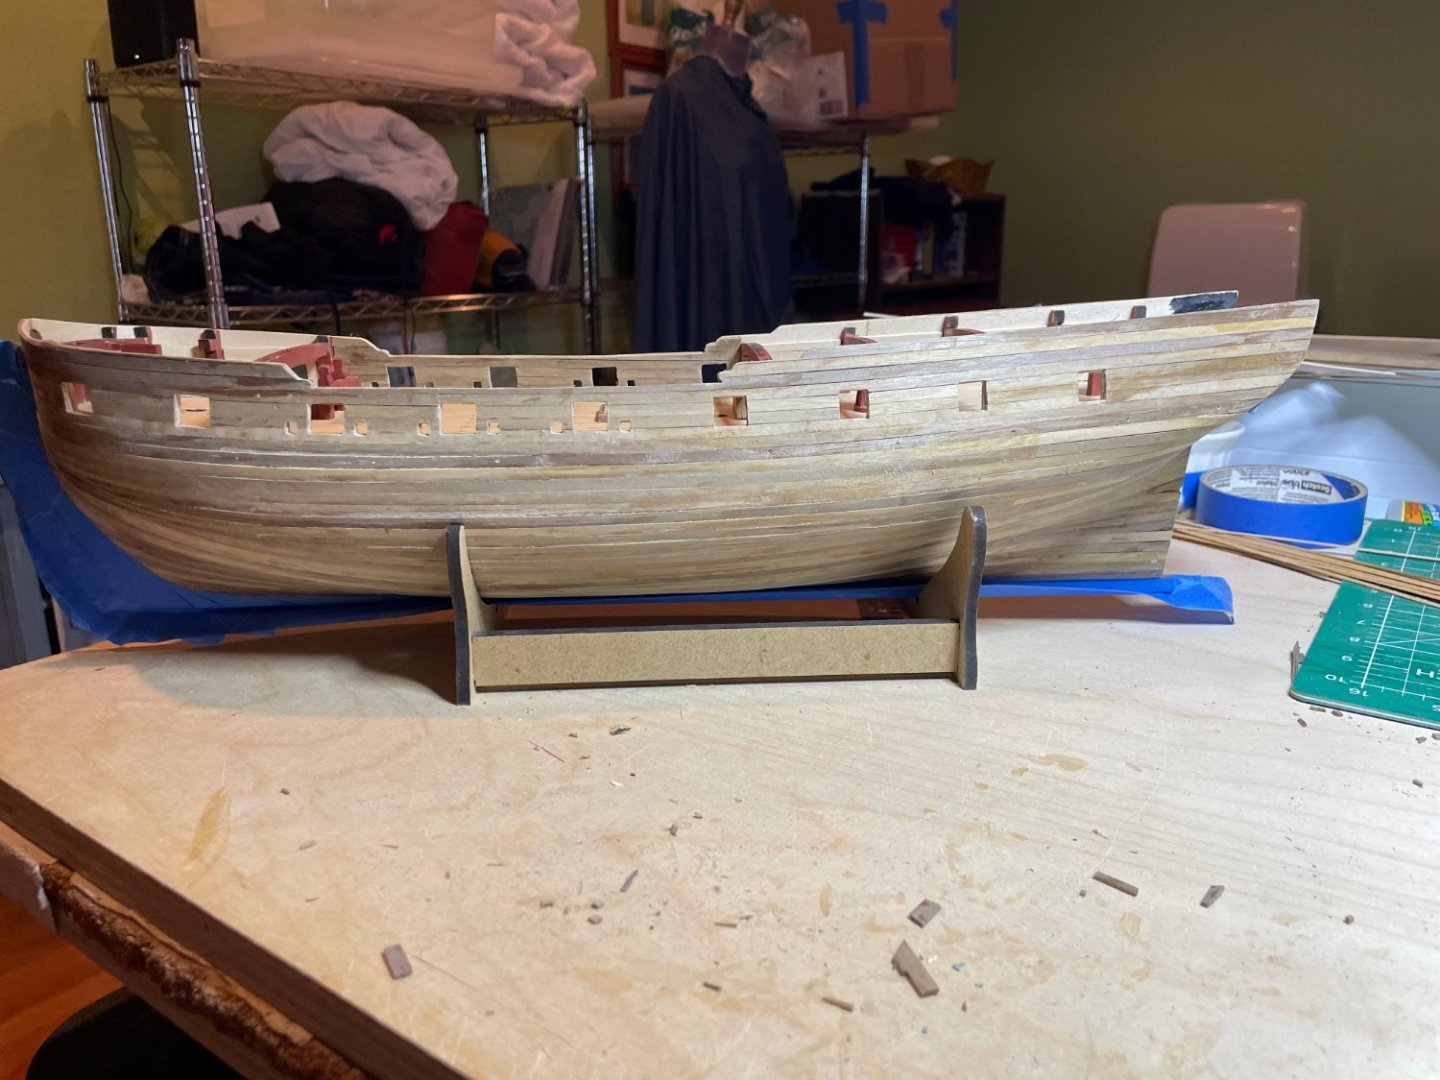
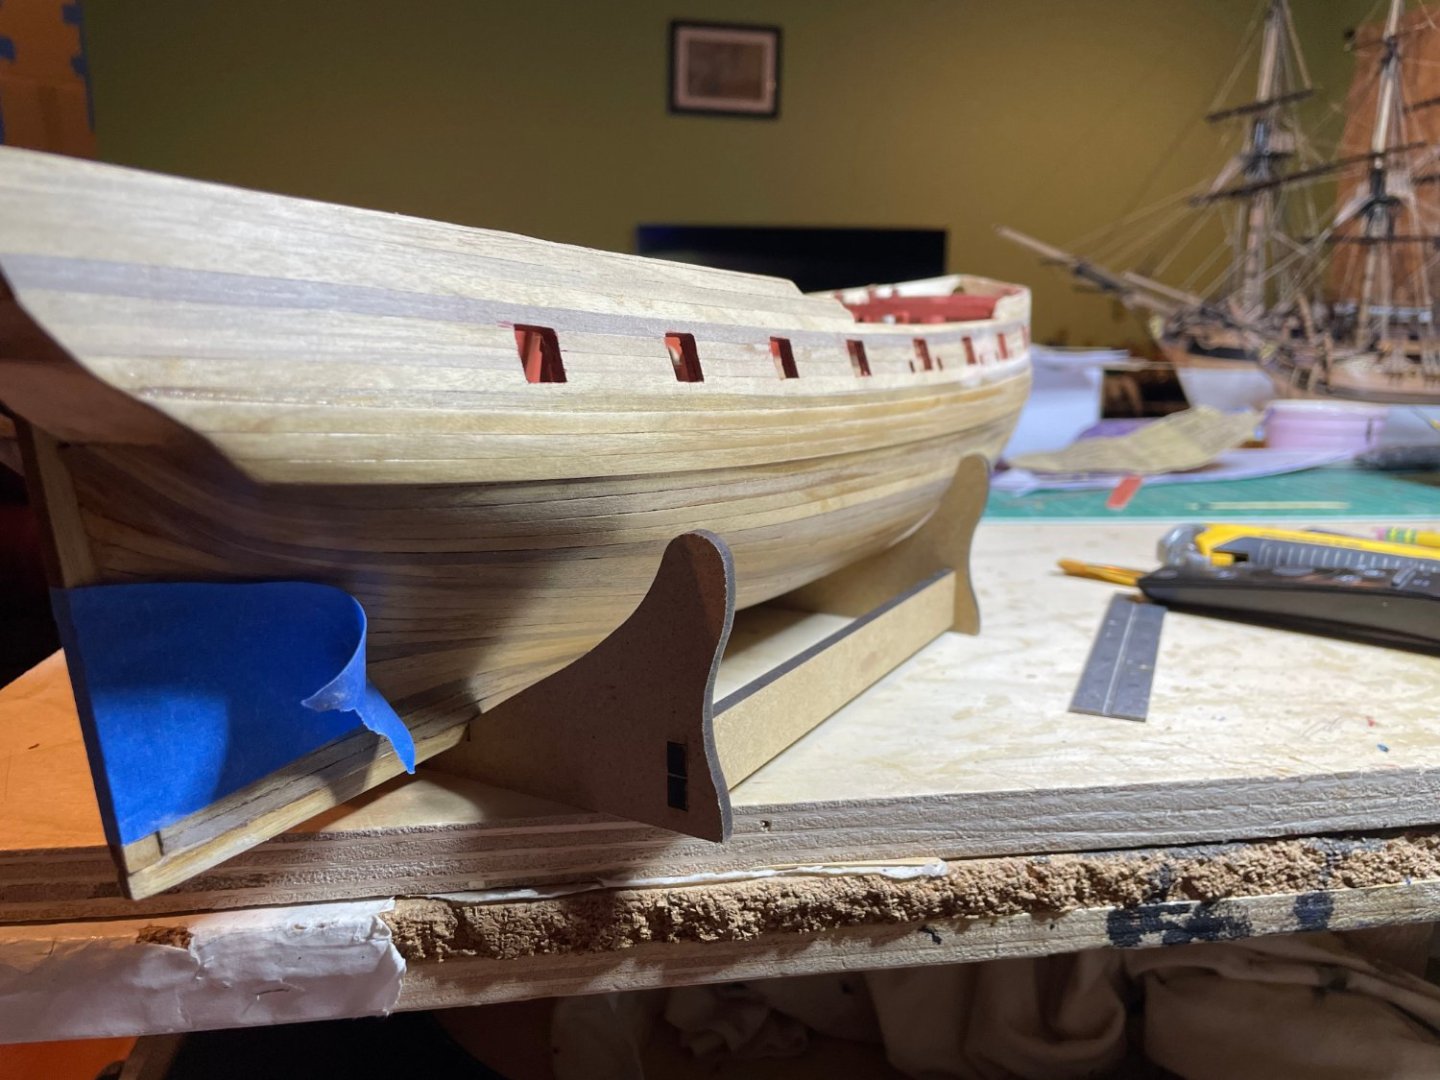
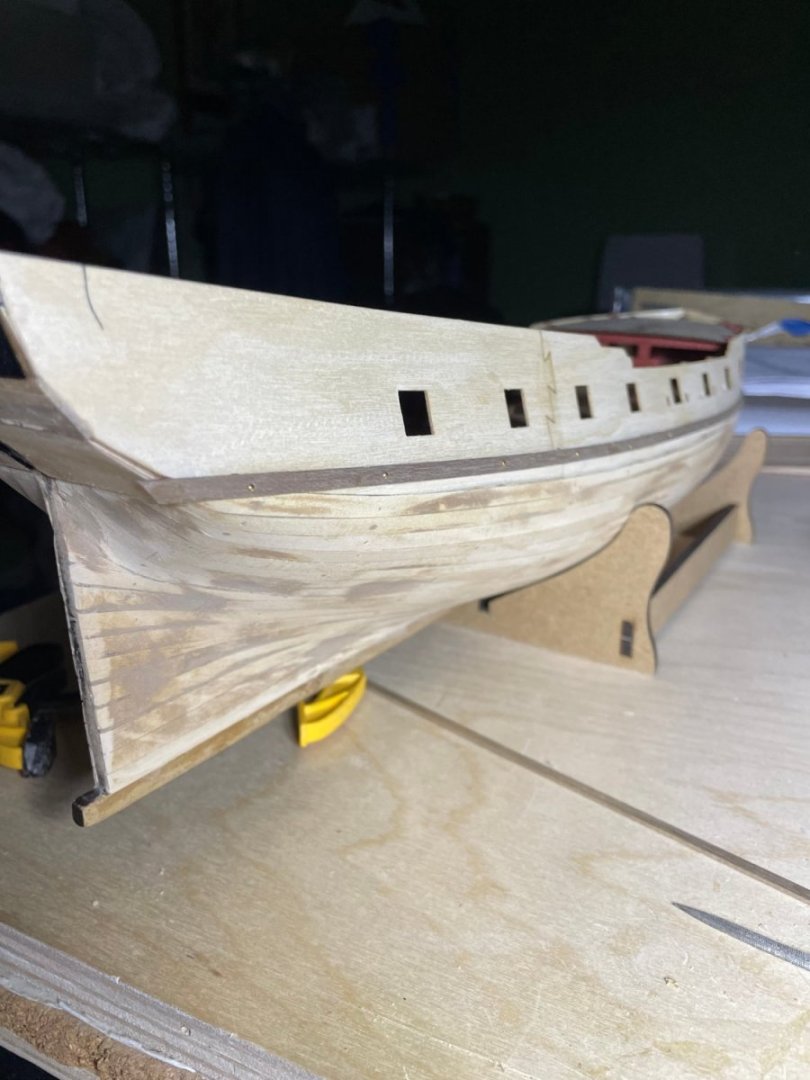
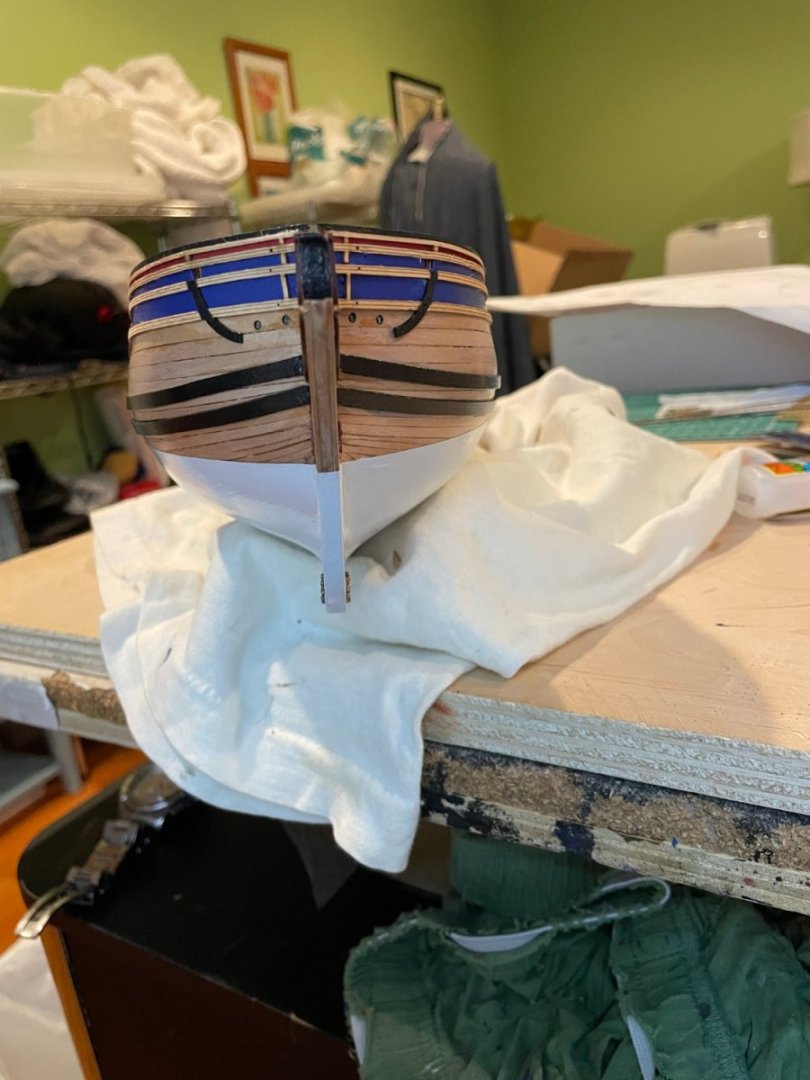
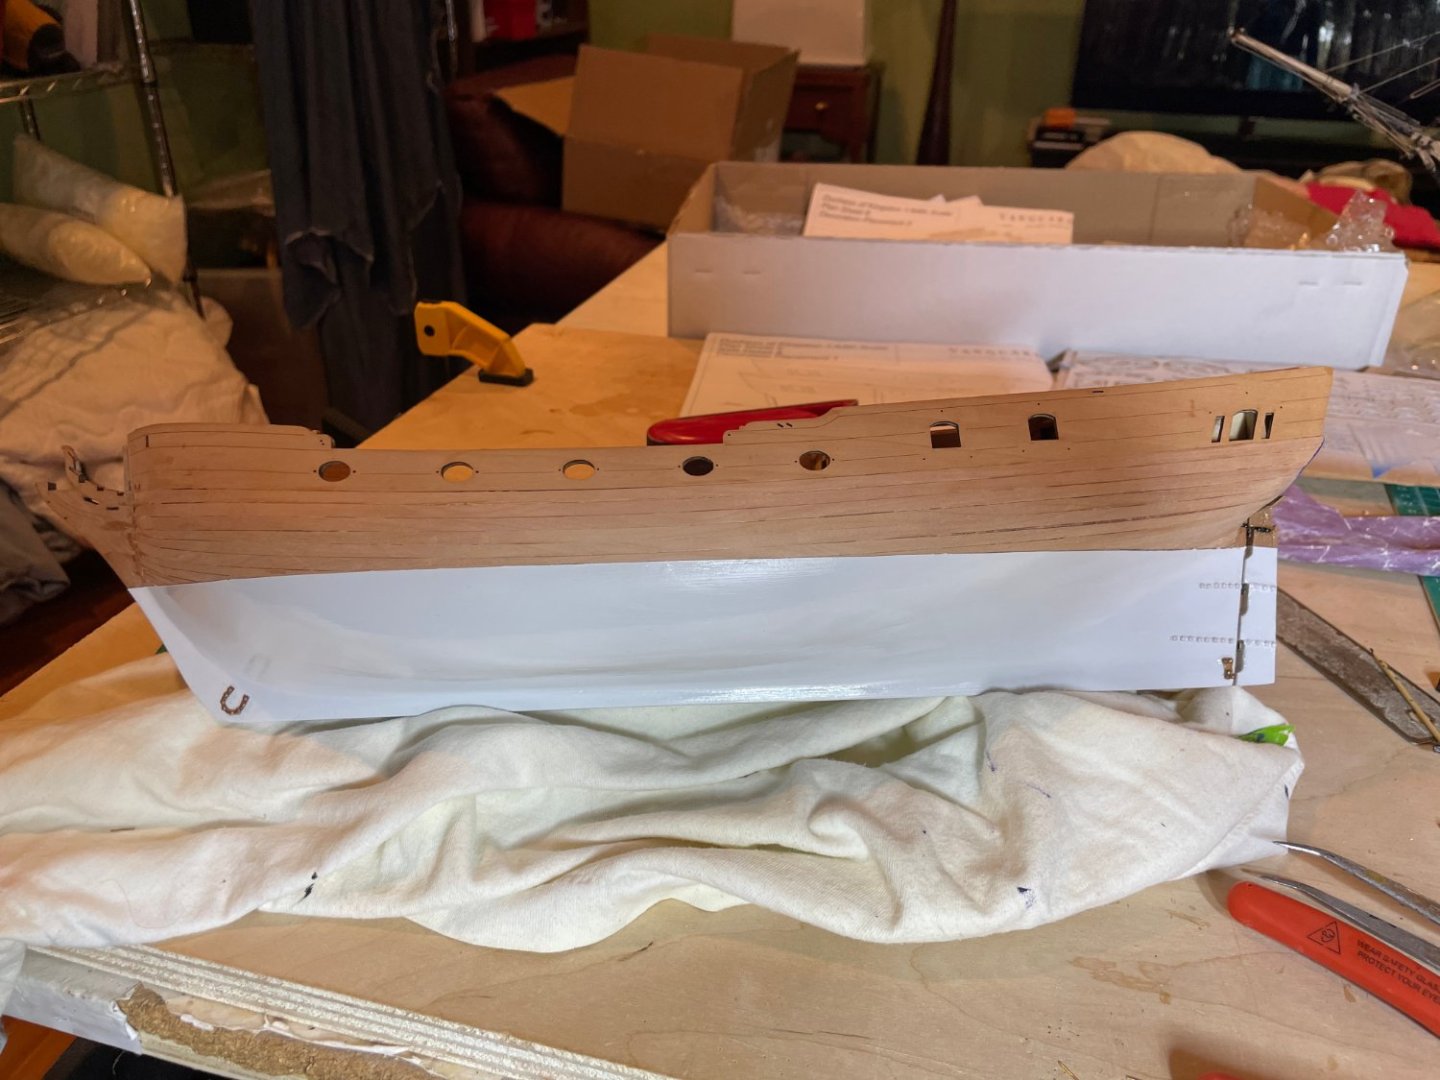
Second planking done, pre and post sanding pictures, inner bulwarks done and painted and wale in place


-
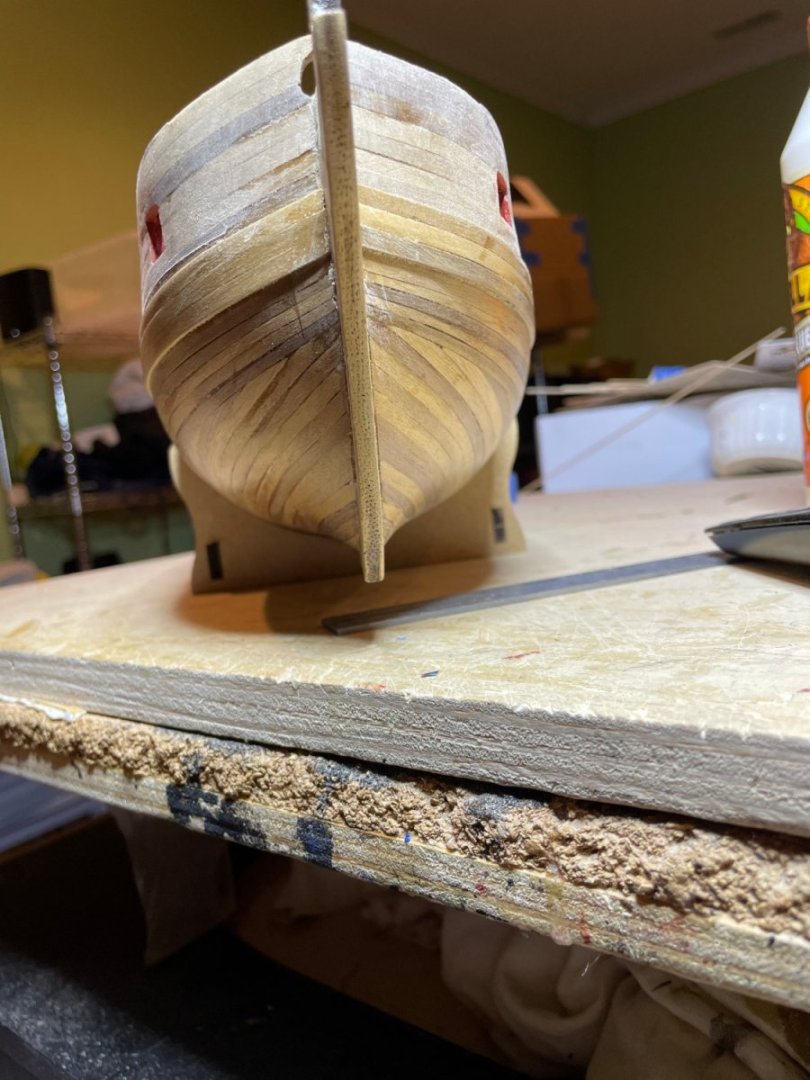
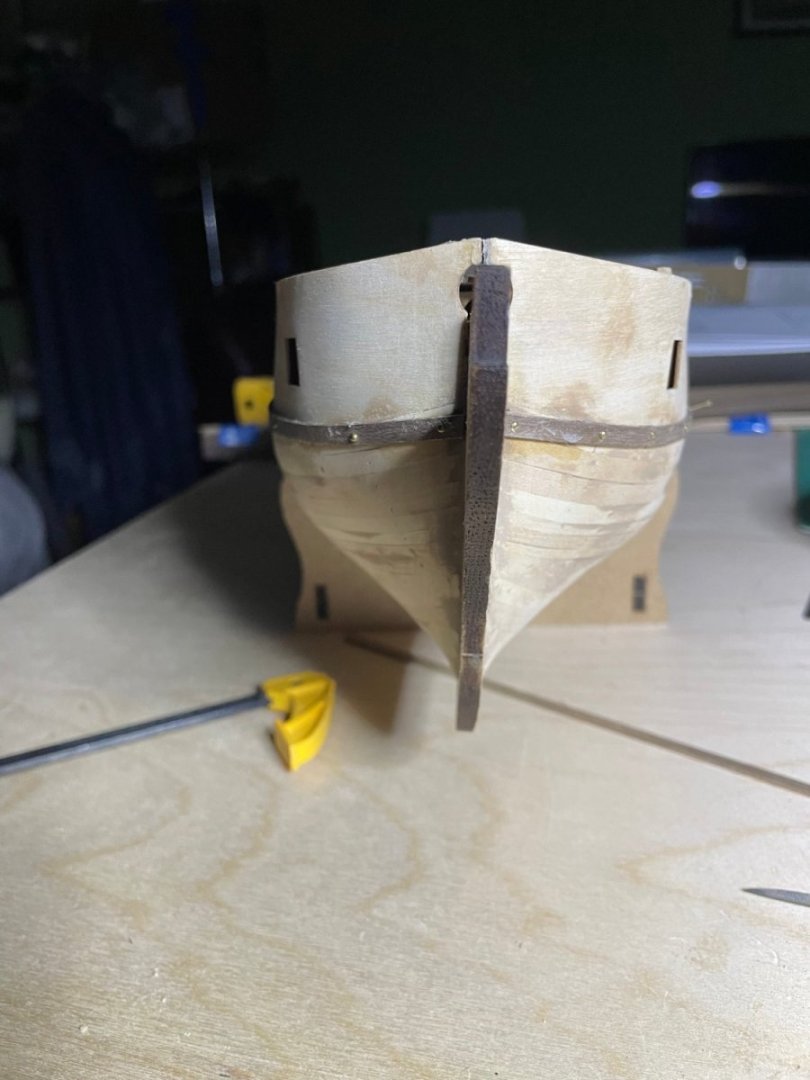
Lined up first row of second planking with line of first whale position. I used carpenter's glue and pins to give me time to position it properly (as the pins will be covered by the whale holes not an issue). Now I can start planking using cyano glue.

-
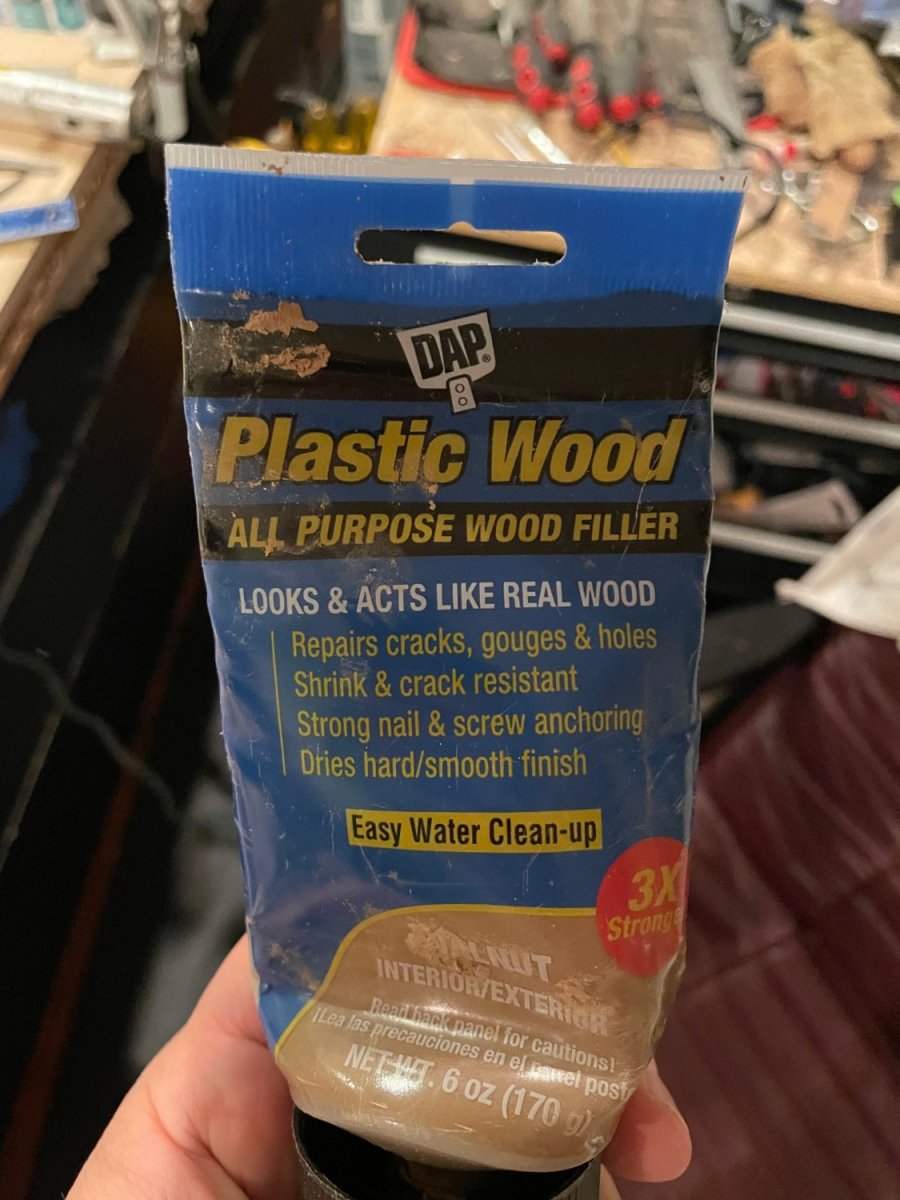
I used this stuff. Comes out as a nice creamy paste so can spread it all over then sand it down. Comes in several colors as well.

-
Thanks, hopefully the second plank goes smoothly. First I have to mark the whales for the first row. Will do it that way (I believe it is what Chris Watton recommended as the "designer" mentioned in the instructions) rather than at the gun ports. Then the whale should be easy to place.
-
Thanks for the tips. There are definitely little things that require executive decisions.
-
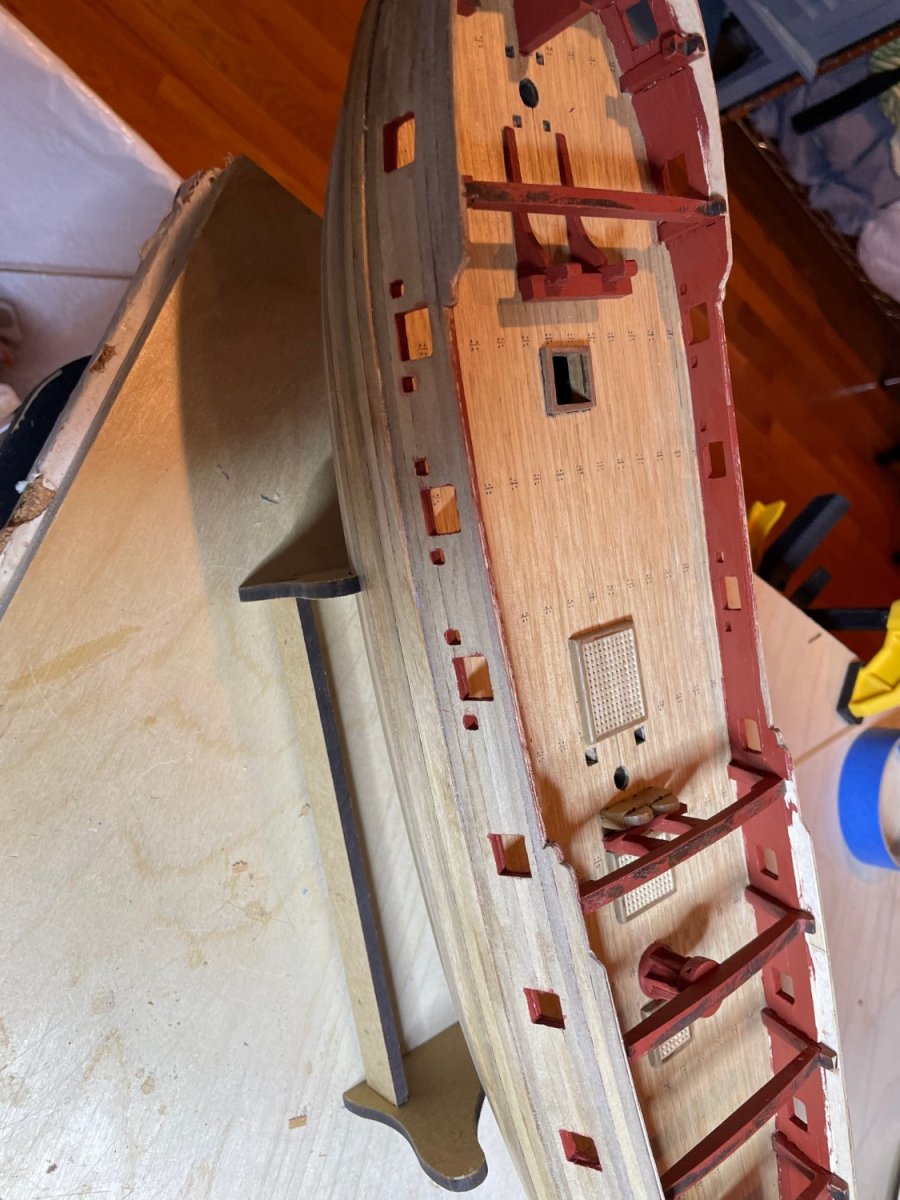
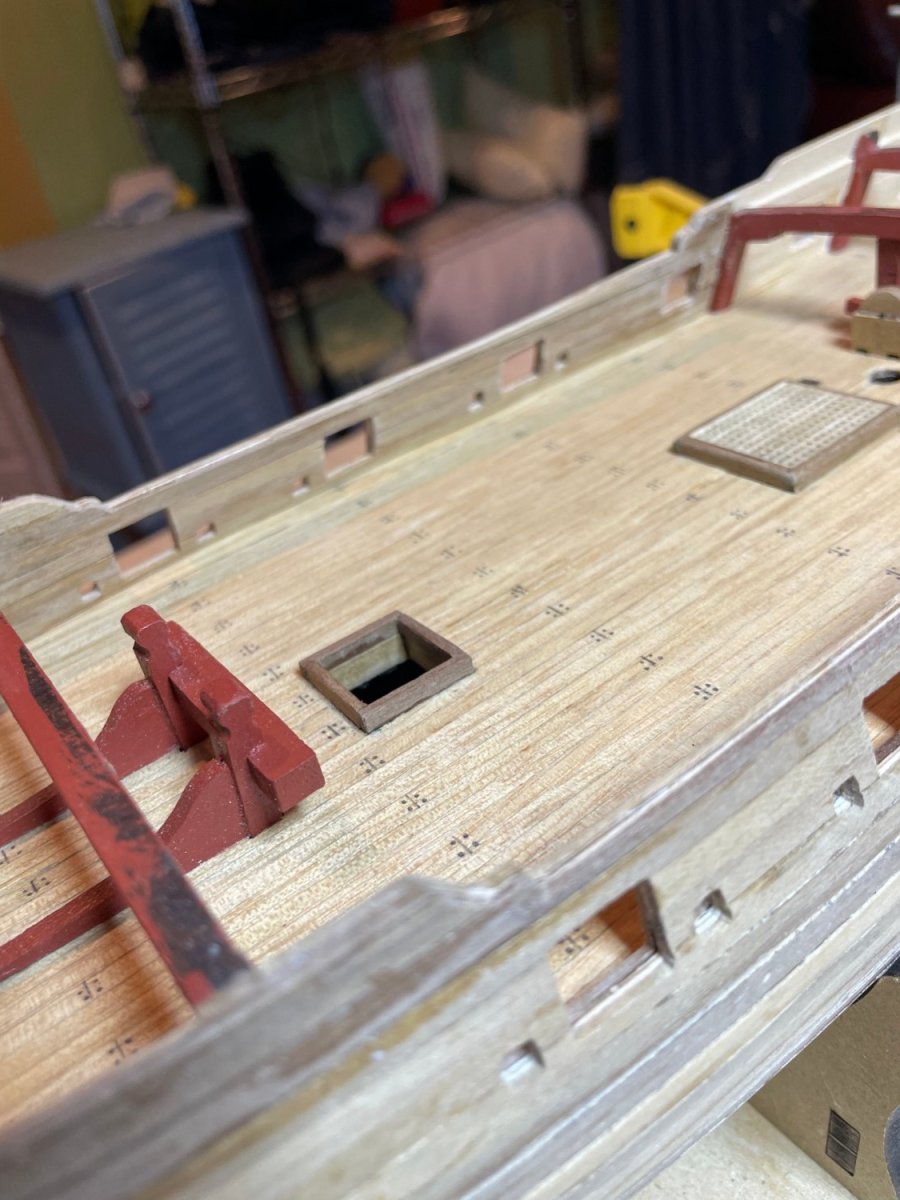
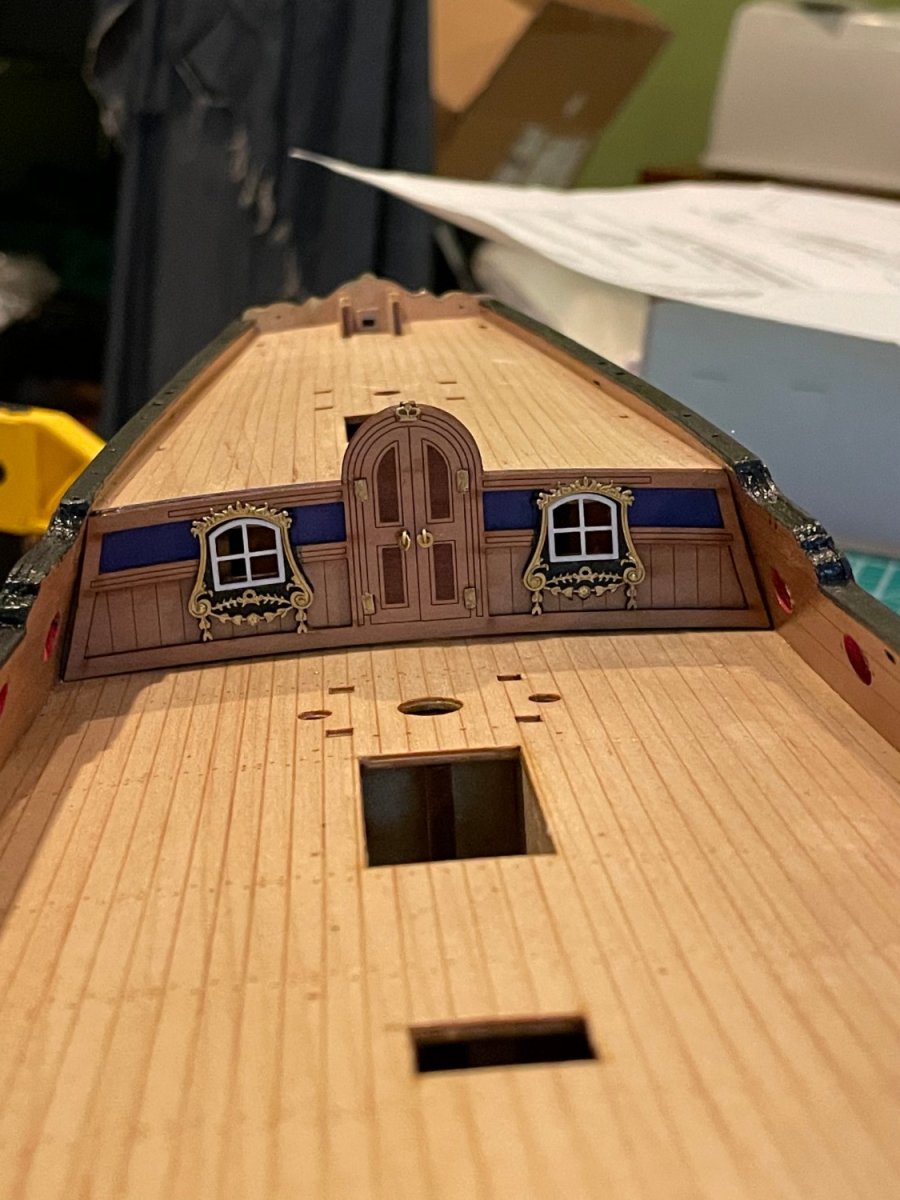
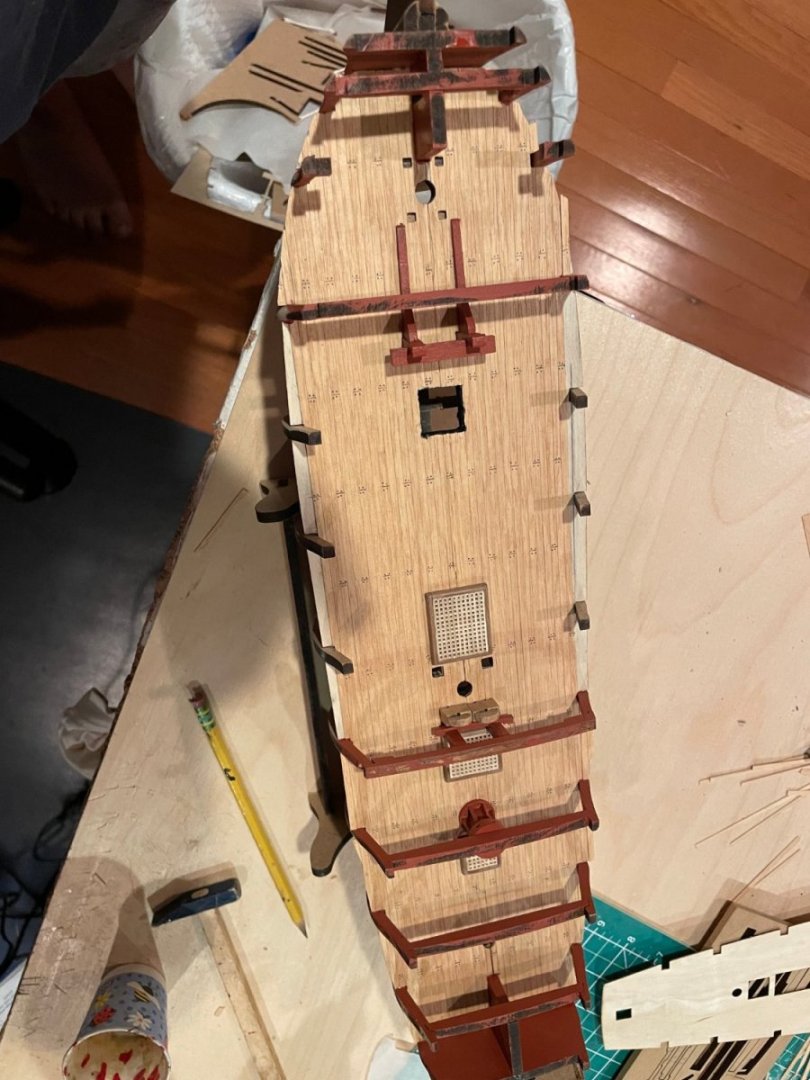
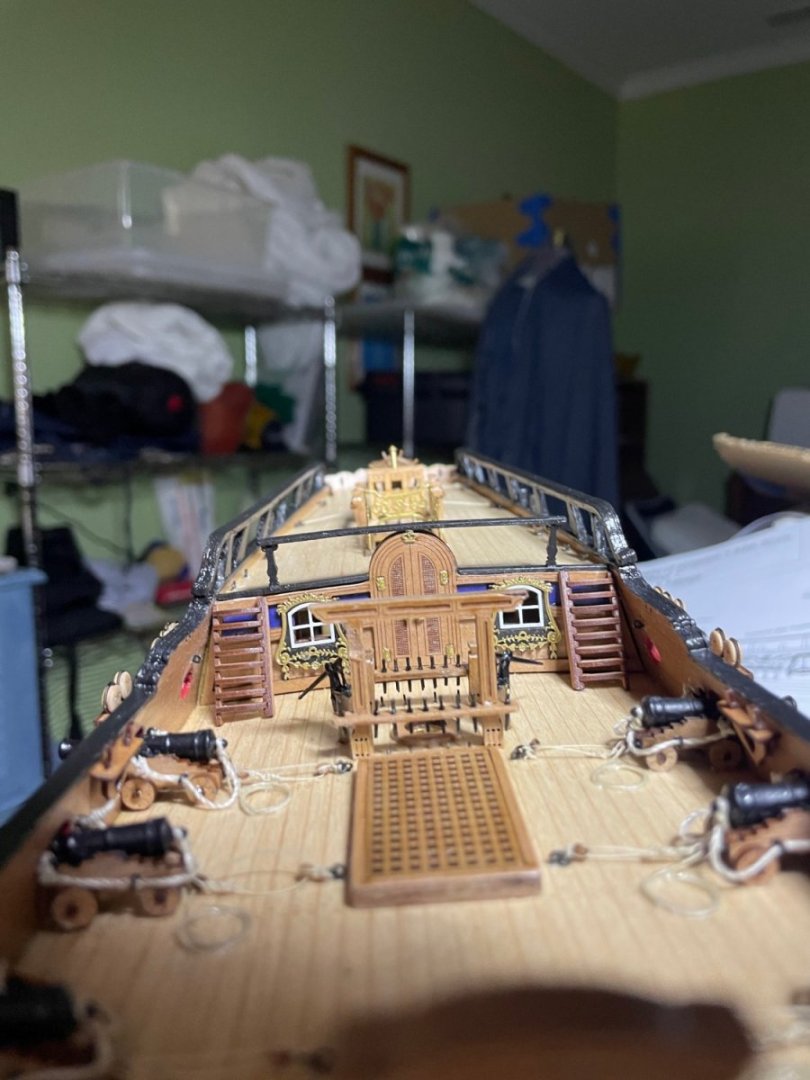
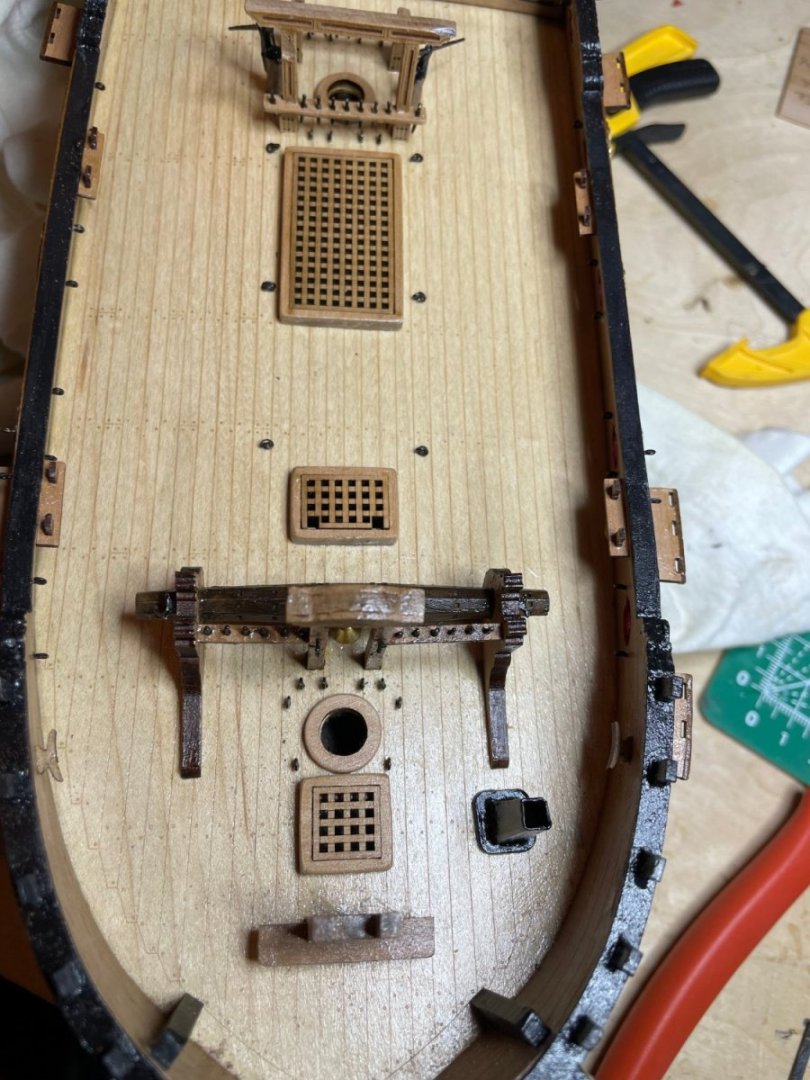
So going onward. I noticed they did not make the opening for the hatch leading to the lower deck so I opened it . The plans also did not plank the central section until later which ruins the flow. I do not think I can be as creative as the Blue ensign build.


-
Sorry, my bad, a typo. Thanks for correcting
-
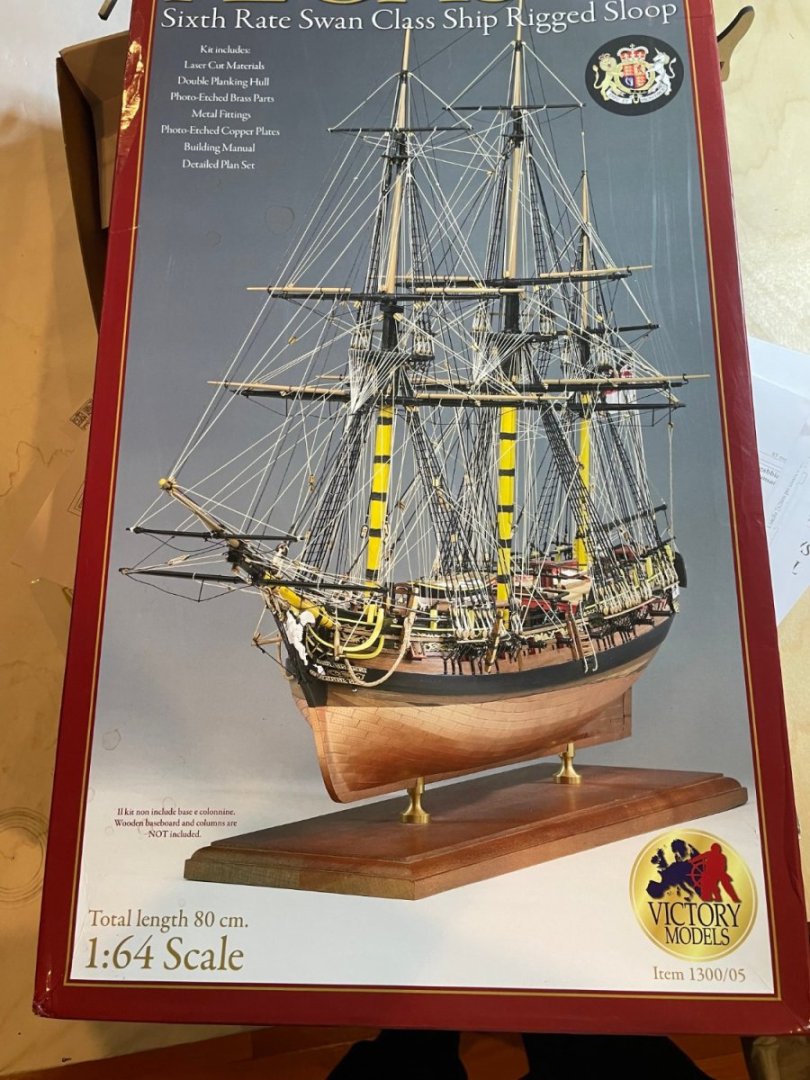
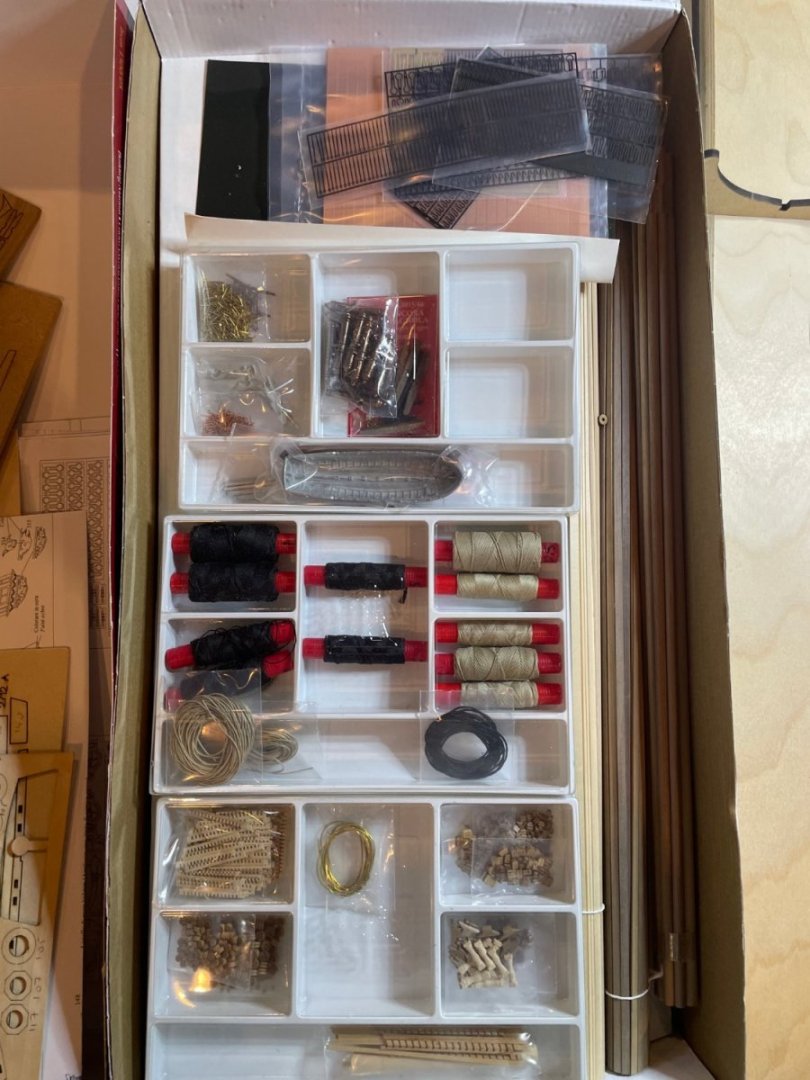
Having just finished the Duchess of Kingston and waiting for my HMS Indefatigable to ship, i figured I have 6 weeks or s so I decided to start HMS Swan that I bought for Christmas as it was on sale. Could not help myself and got to work. I can see Chris Watton all over this design and how he incorporated things into Vanguard but definitely improved by providing better instructions and excellent pictures on his Vanguard models


-
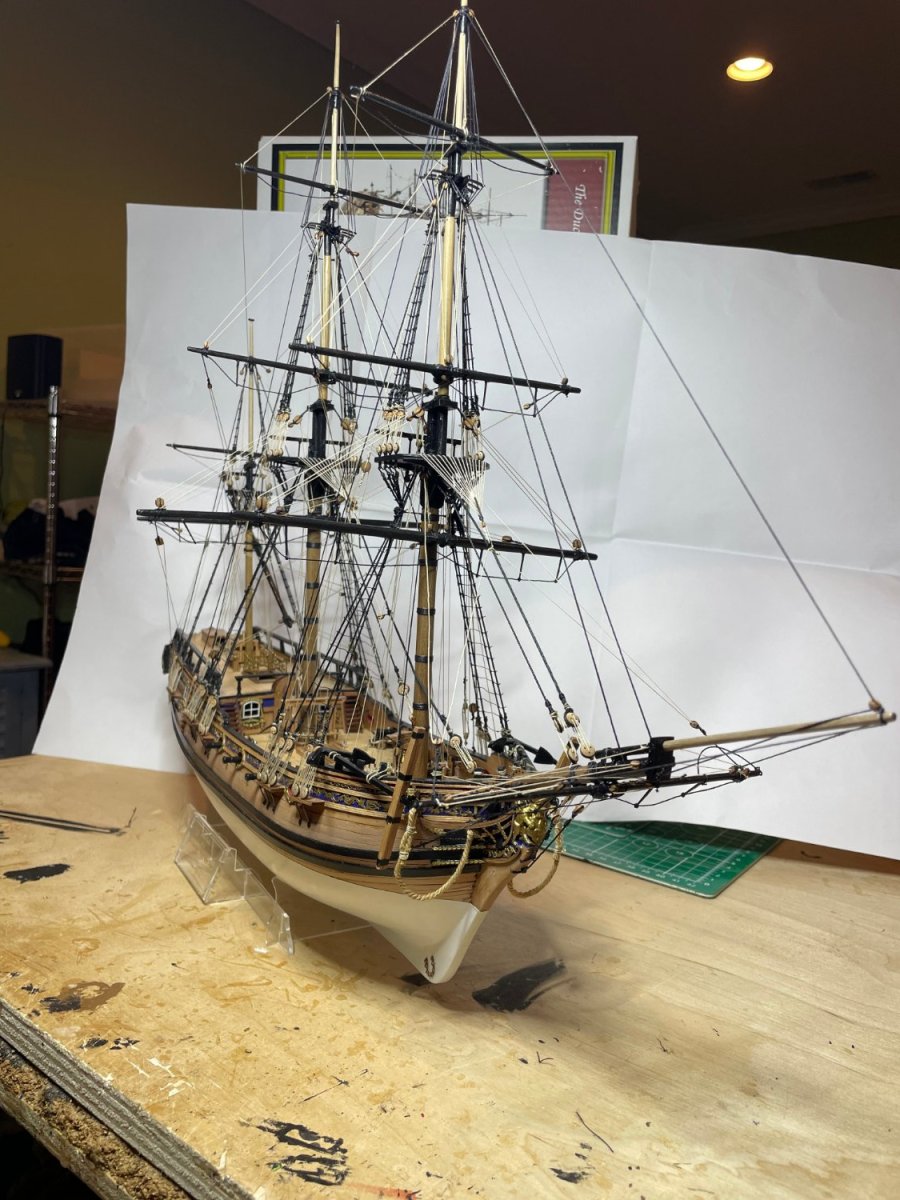
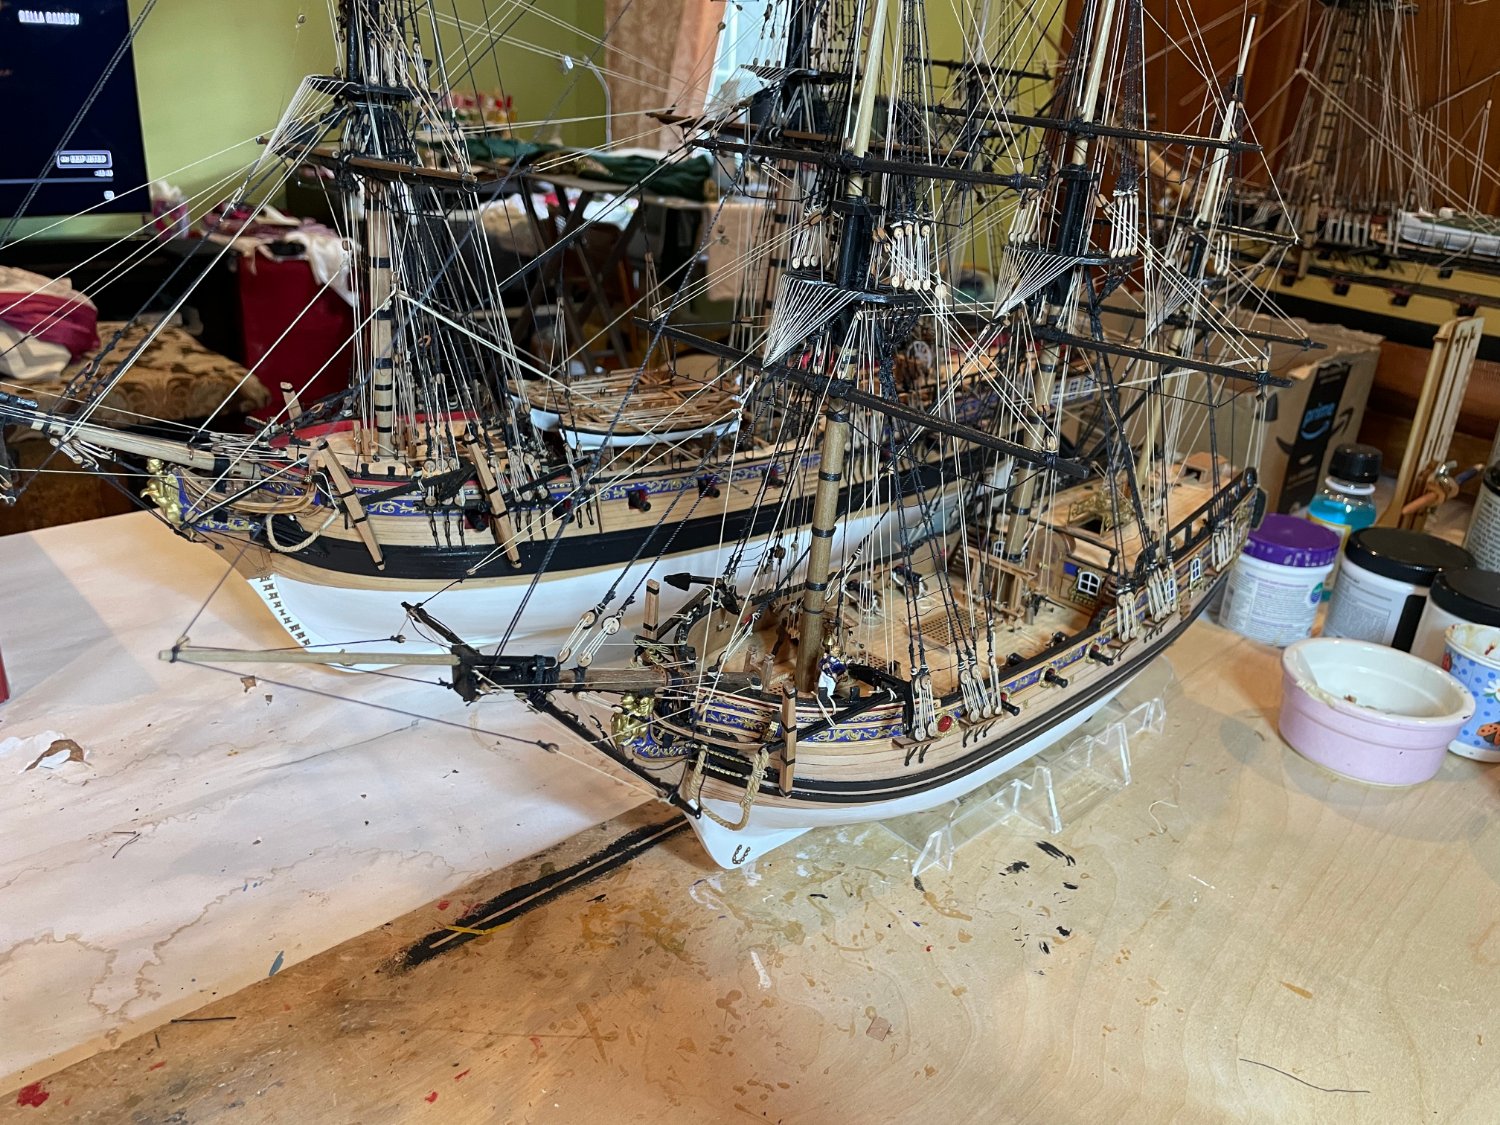
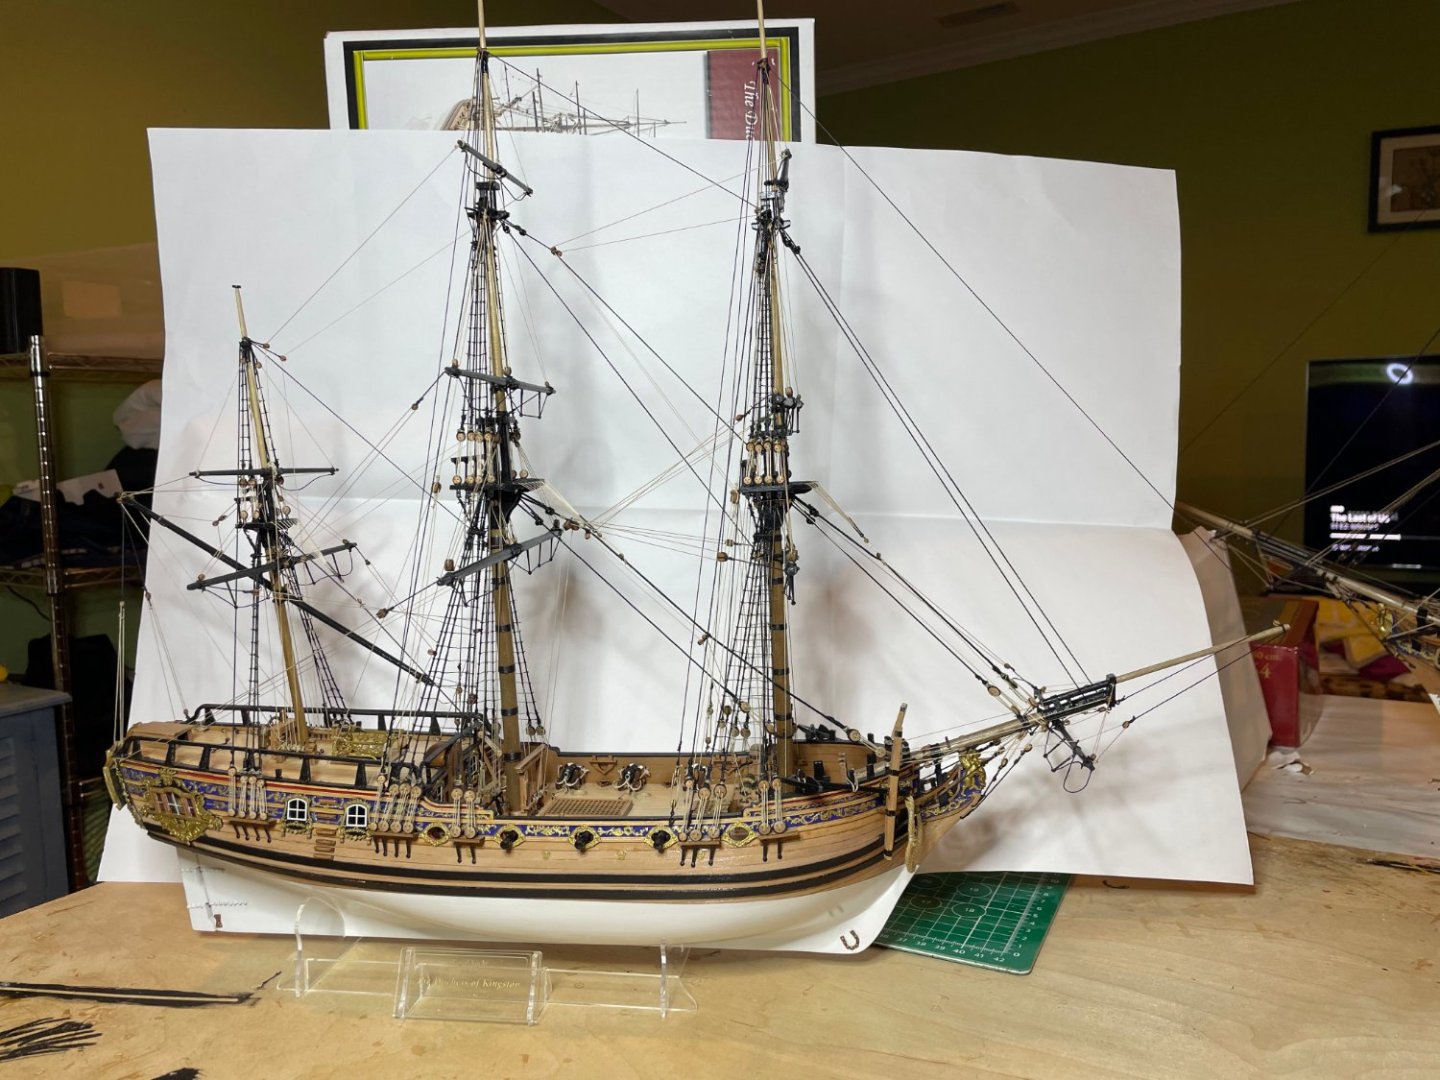
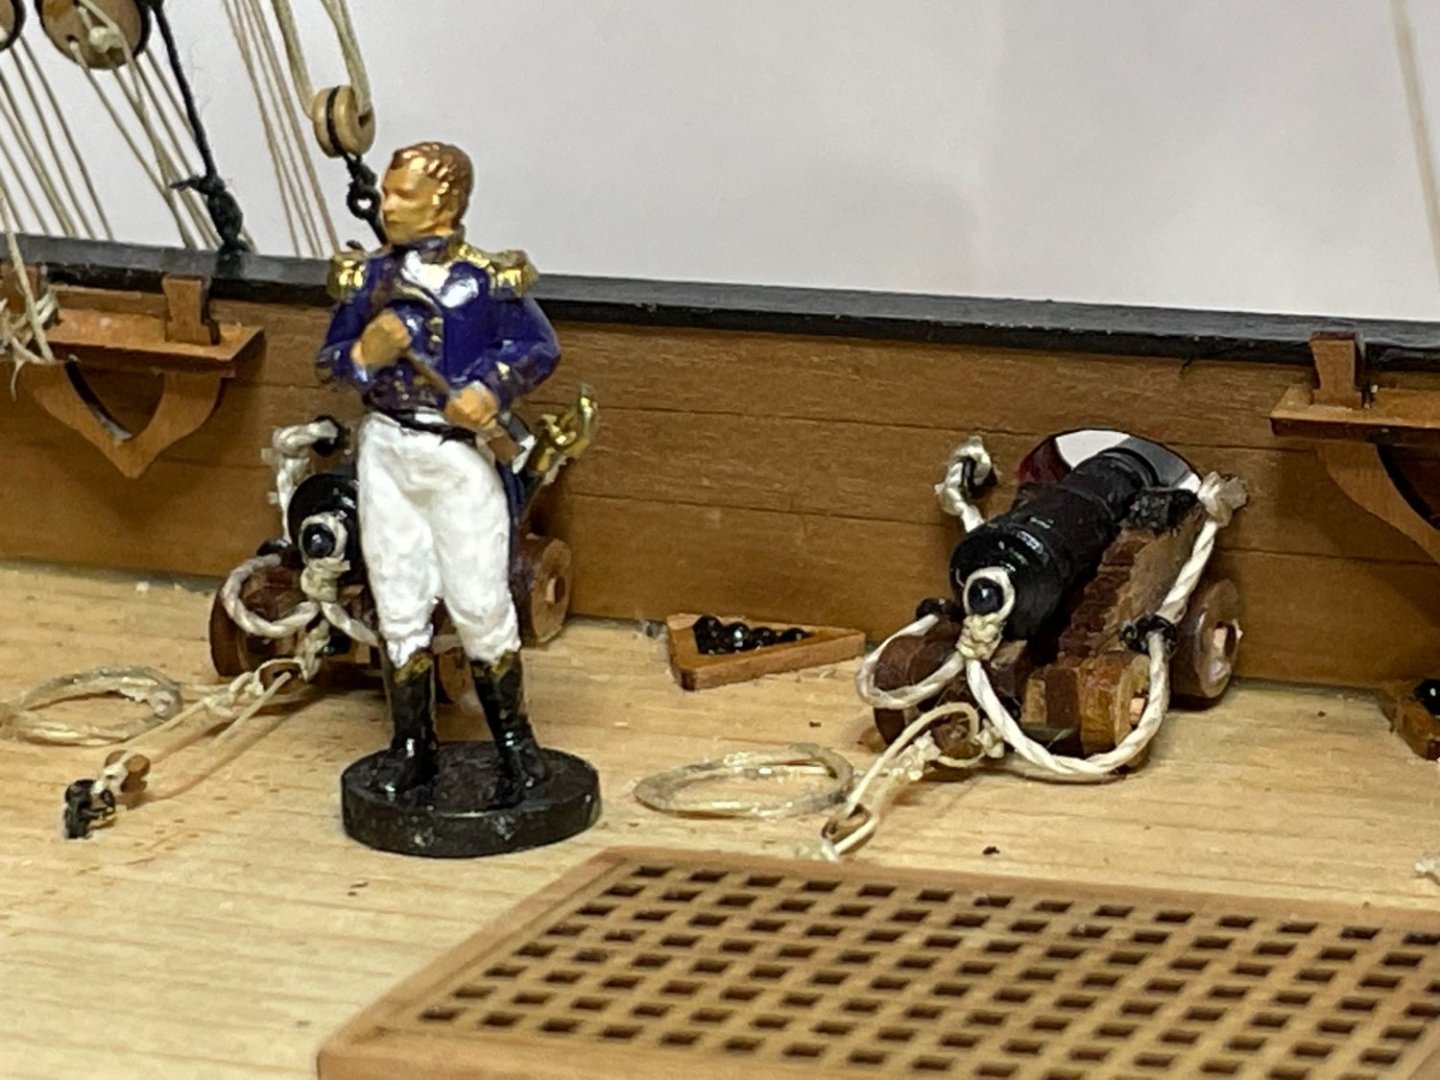
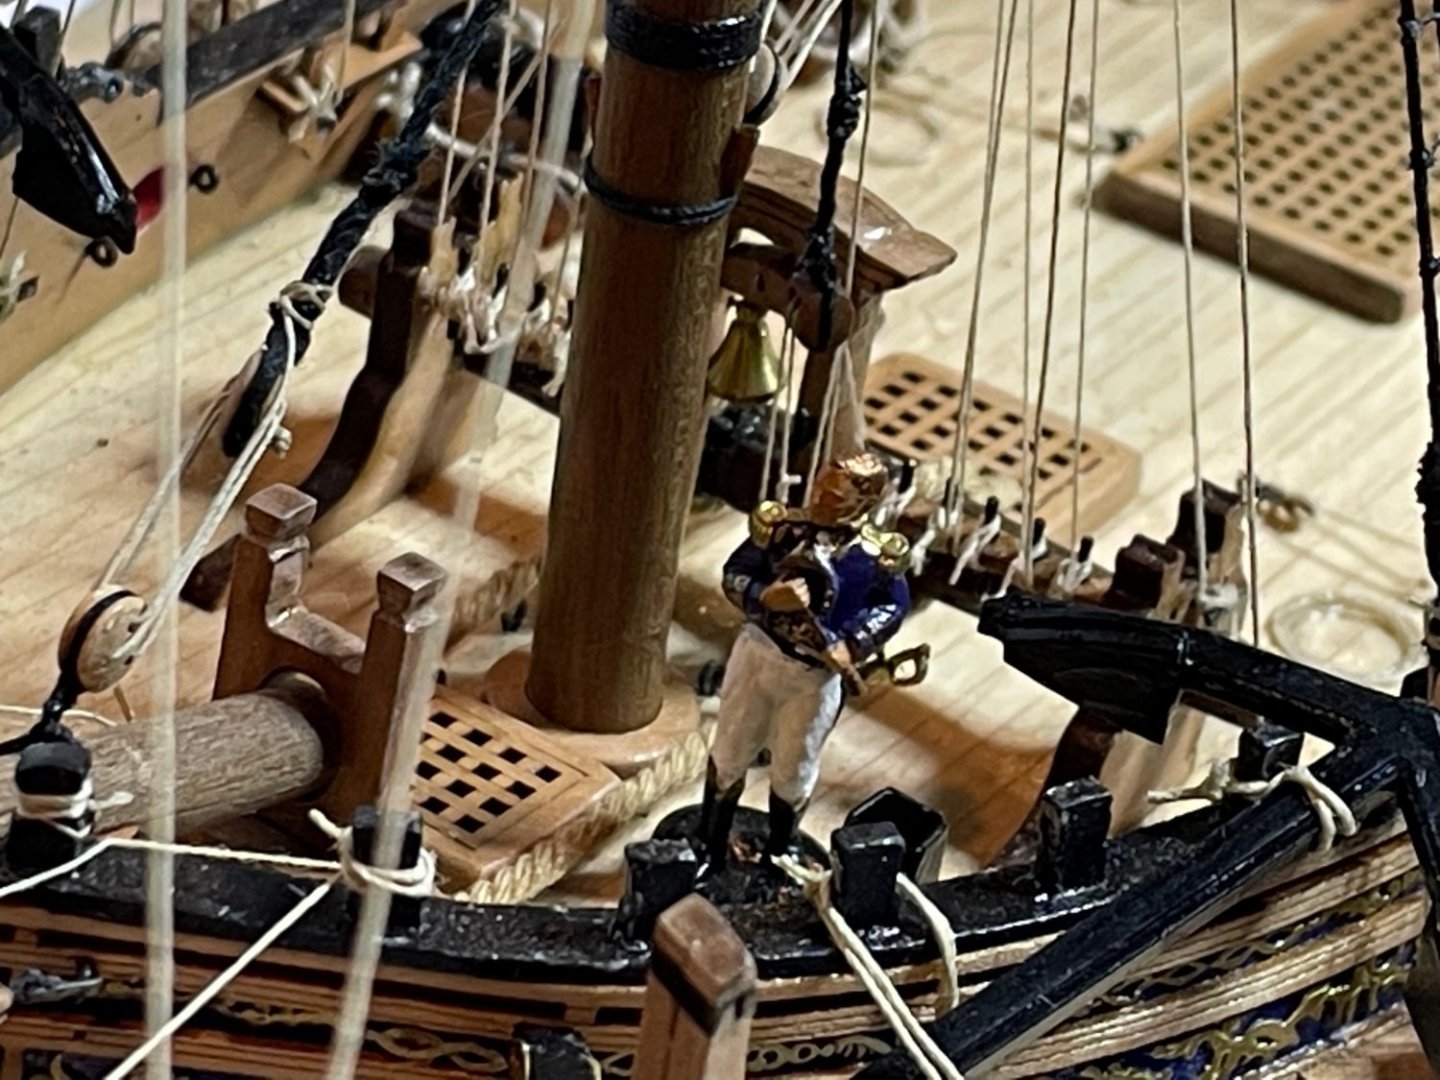
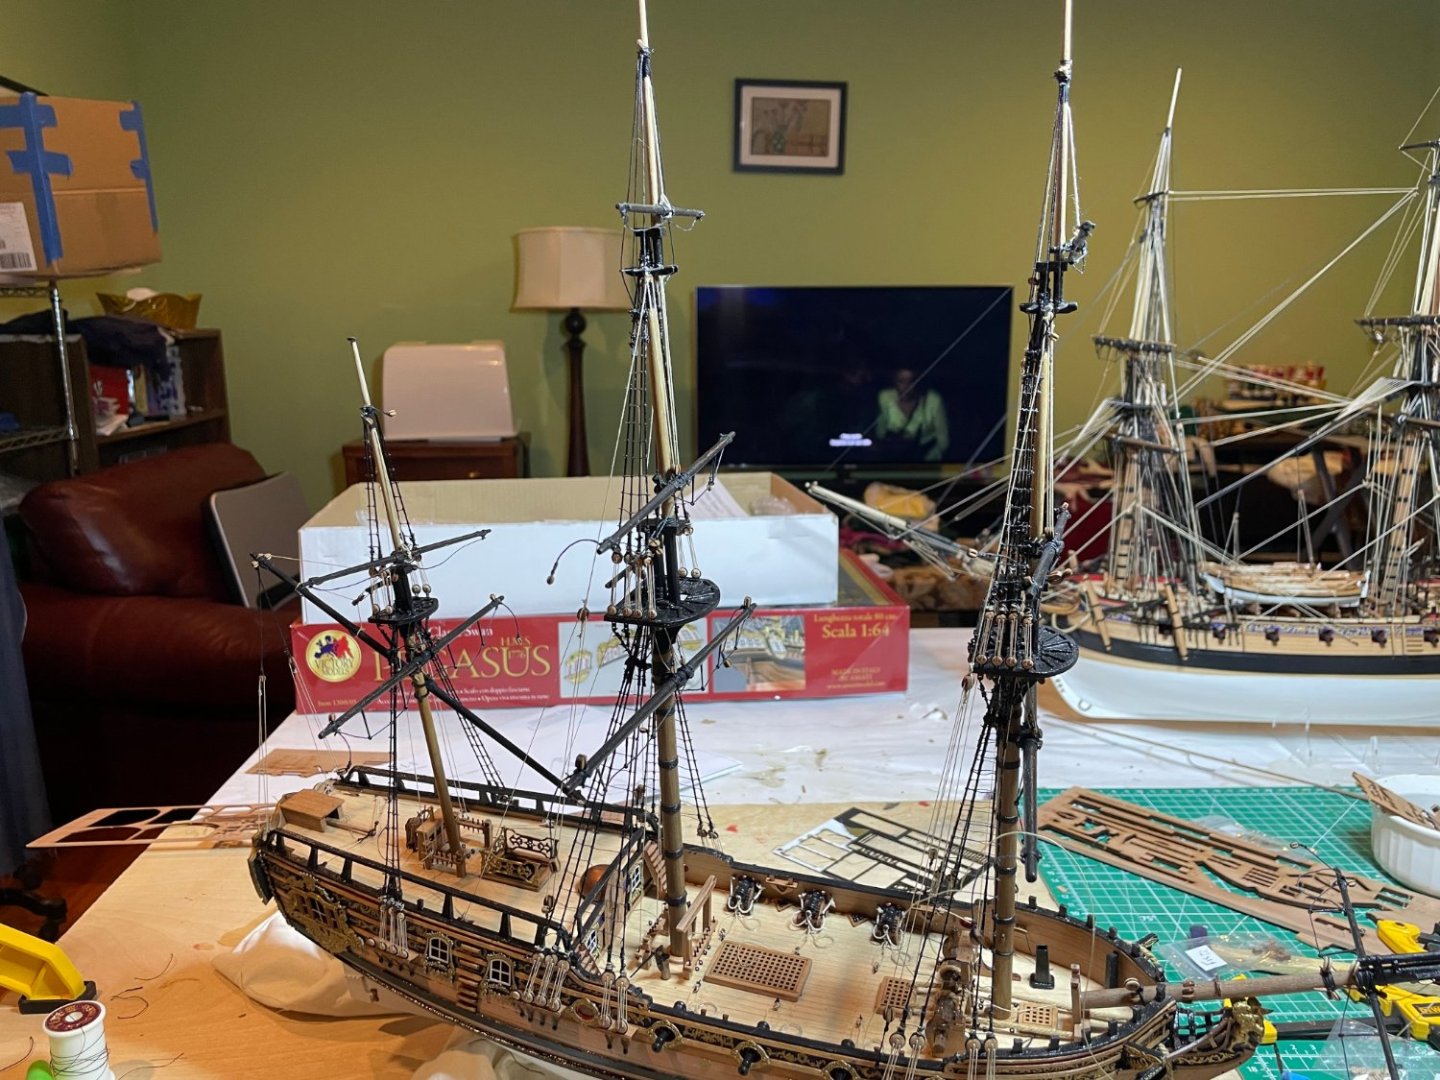
Well, finally finished her. Nice little project. Don't know what to do until I get my Indy . I have HMS Swan you can see in the background but hate to start because I would have to put her aside when Indy arrives. Few shots Of Admiral Cochrane visiting for scale Anchored next to HMS Sphinx, HMS Agamemnon in backgrond


- 22 replies
-
- 7
-

-
- Duchess of Kingston
- Vanguard Models
- (and 1 more)
-
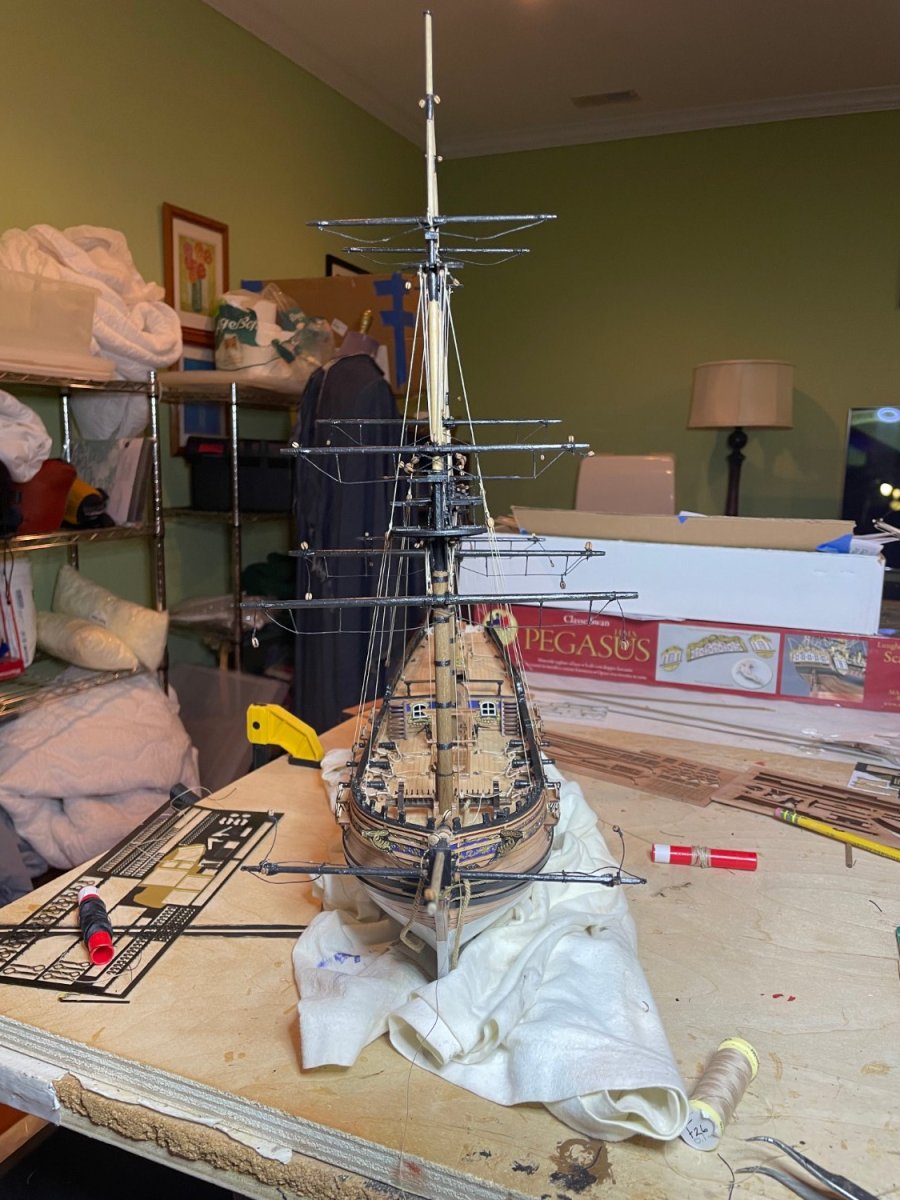
I usually spend a couple of hours on week days and 4-5 on weekend days. As we have an empty nest it gives me something to do after walking the dog. I find it very stress relieving after work to decompress although occasional profanity when something messes up during the build. For example, I accidentally used 0.25 mm thread on the upper shrouds instead of 0.1 so had to redo although easy as the ratlines were already in and glued. The kit instructions are also very well easy to follow especially after doing some others which were not
-
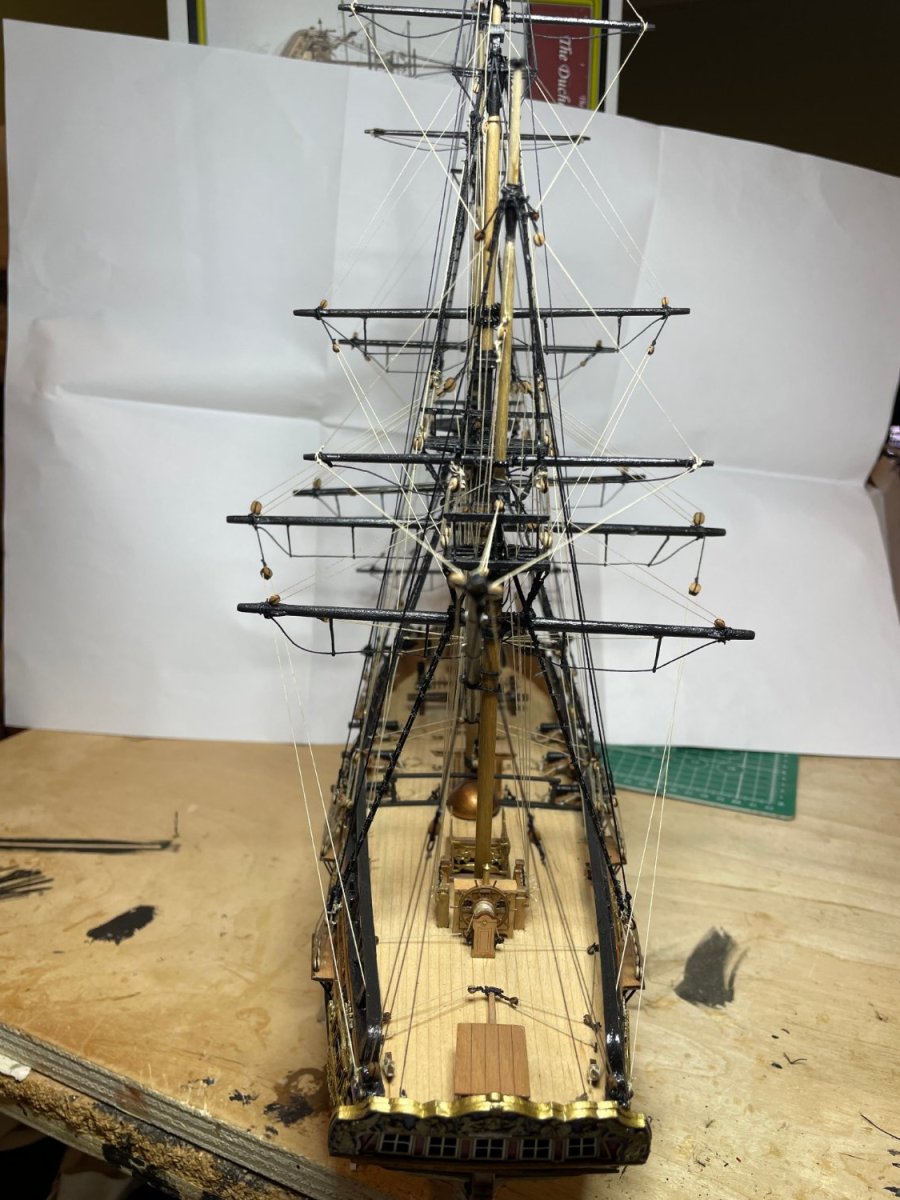
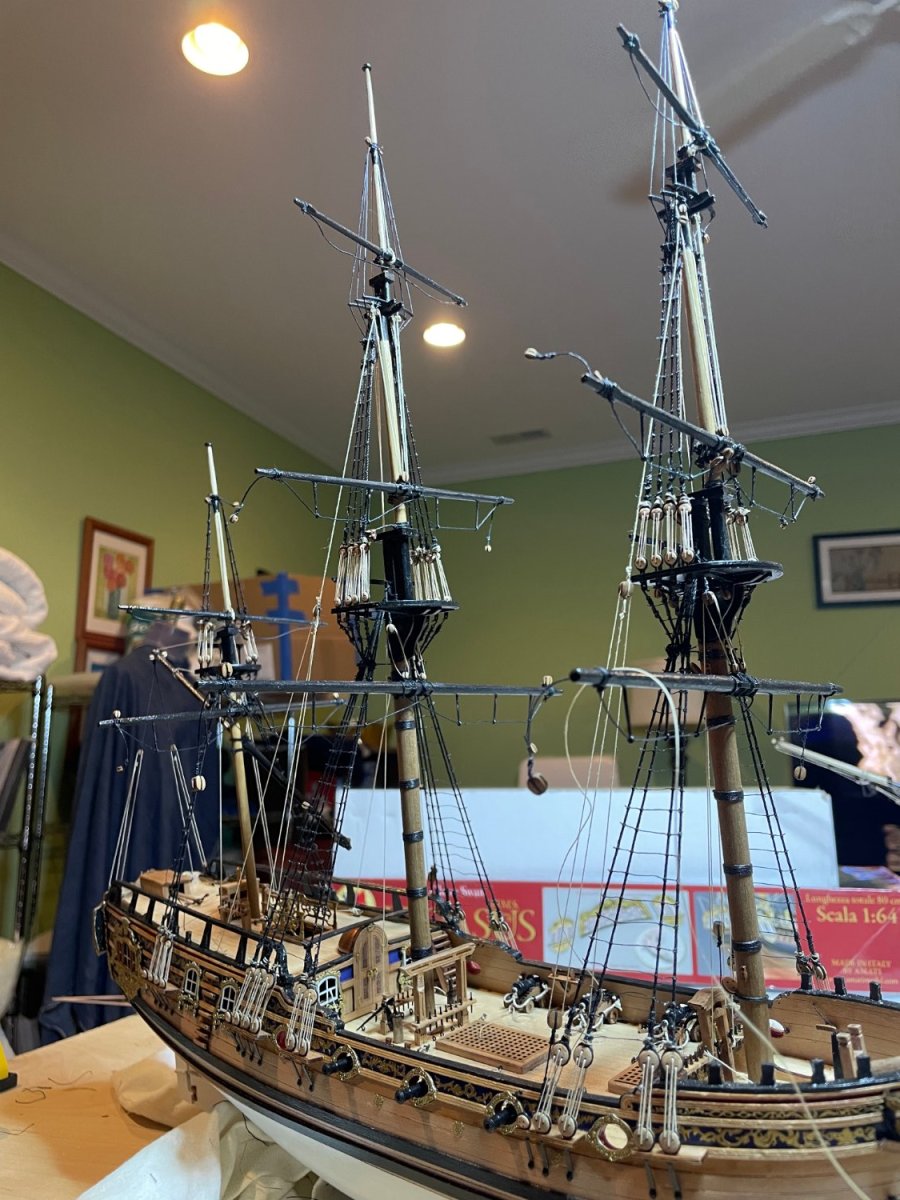
Shrouds all done. Will be doing stays but order will be a bit off as I ran out of 0.75 mm black thread and am awaiting an order I placed to come in so will be doing rigging with the other sizes in the mean time.

- 22 replies
-
- 1
-
-
- Duchess of Kingston
- Vanguard Models
- (and 1 more)
-
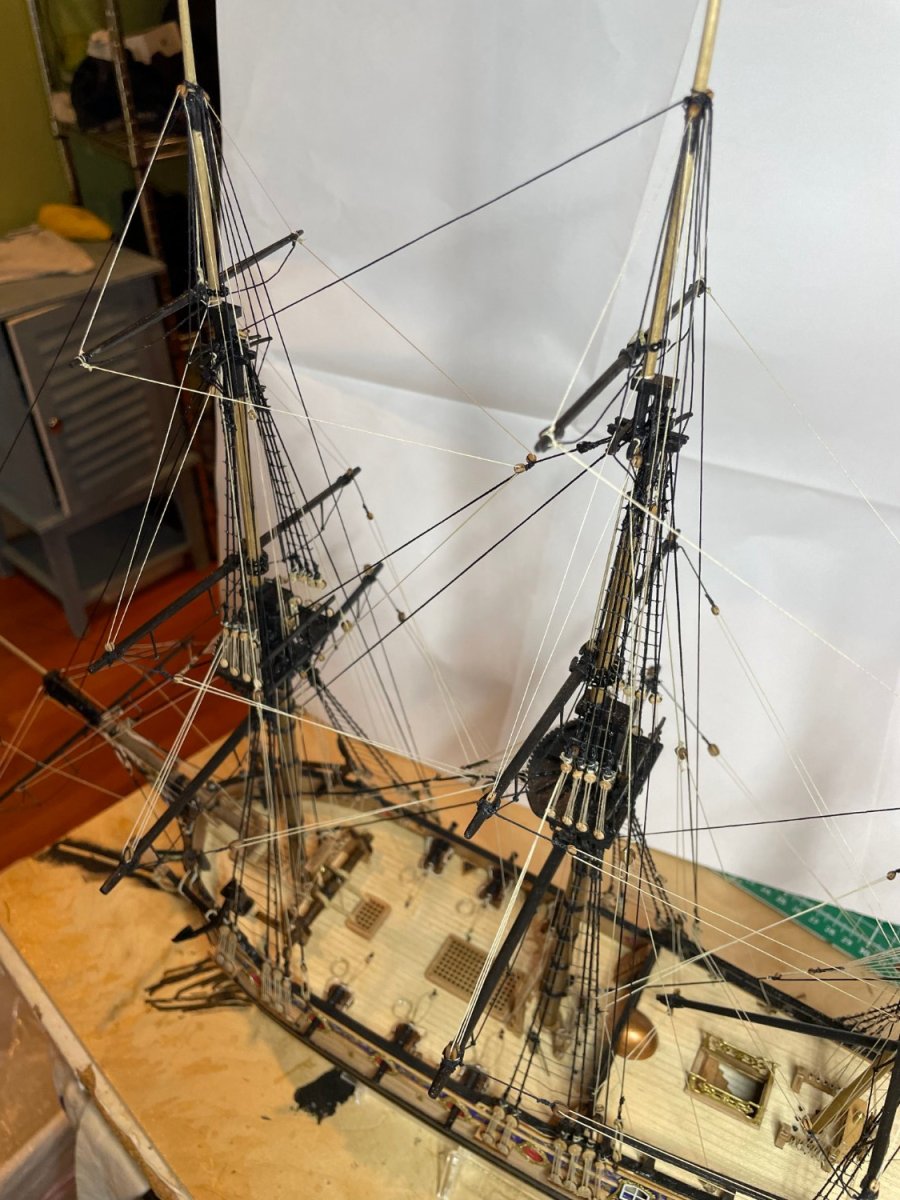
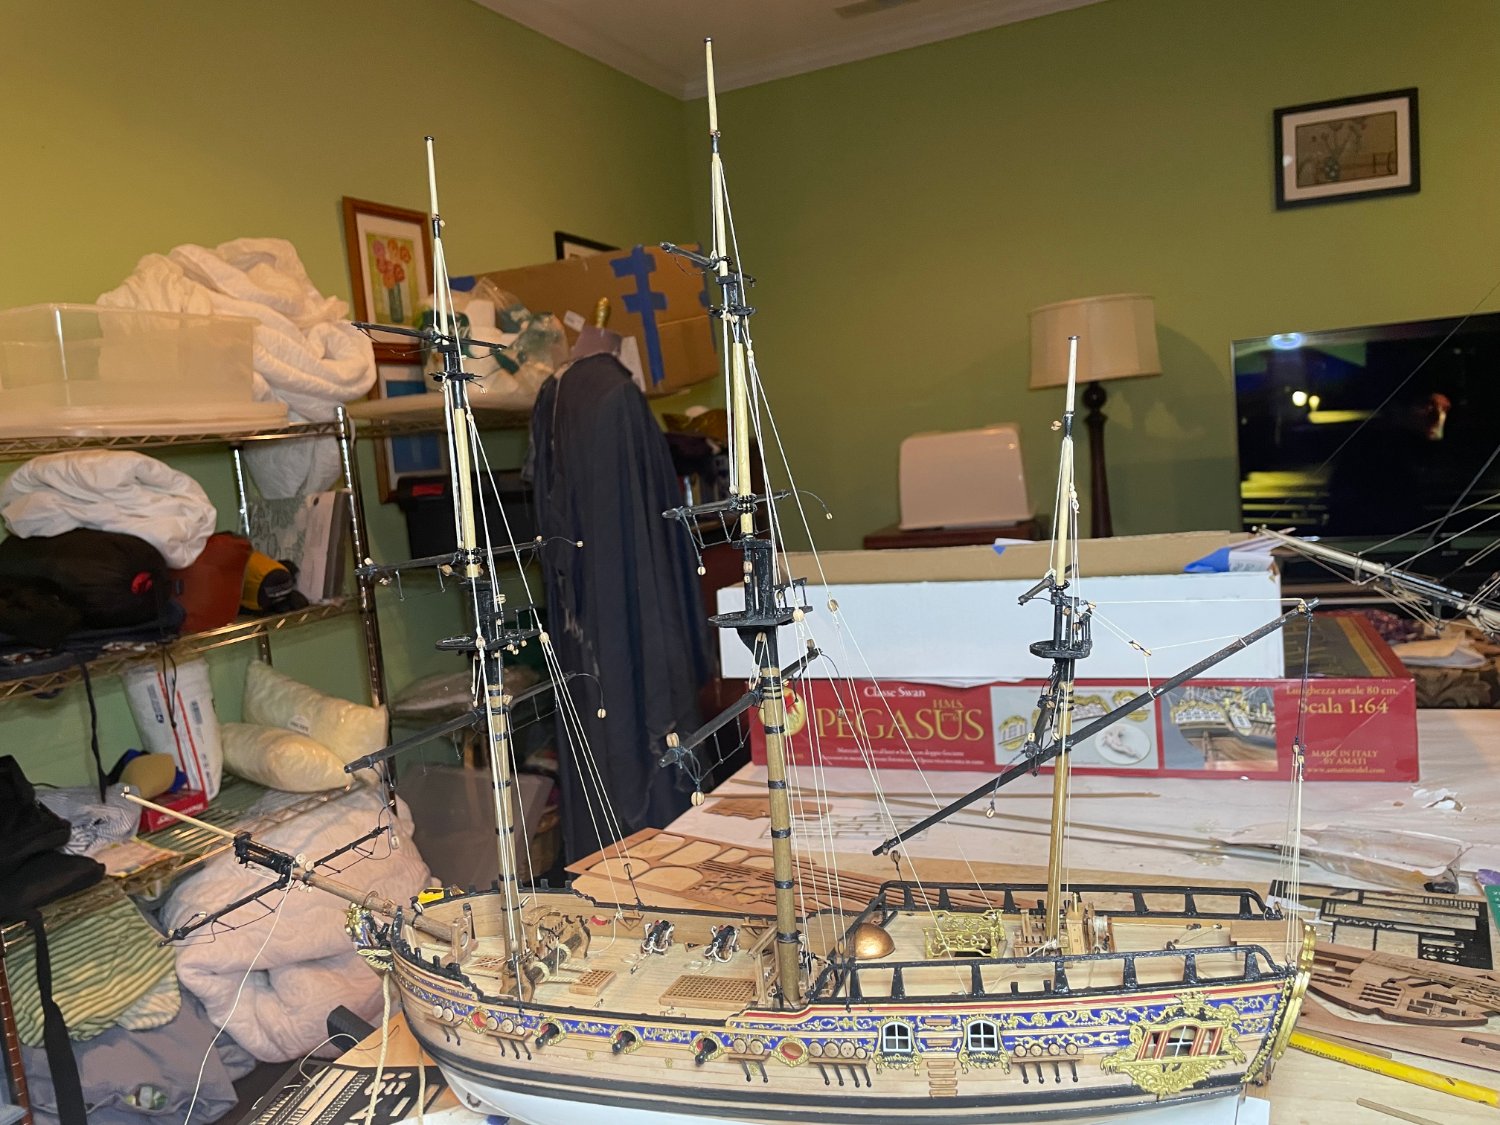
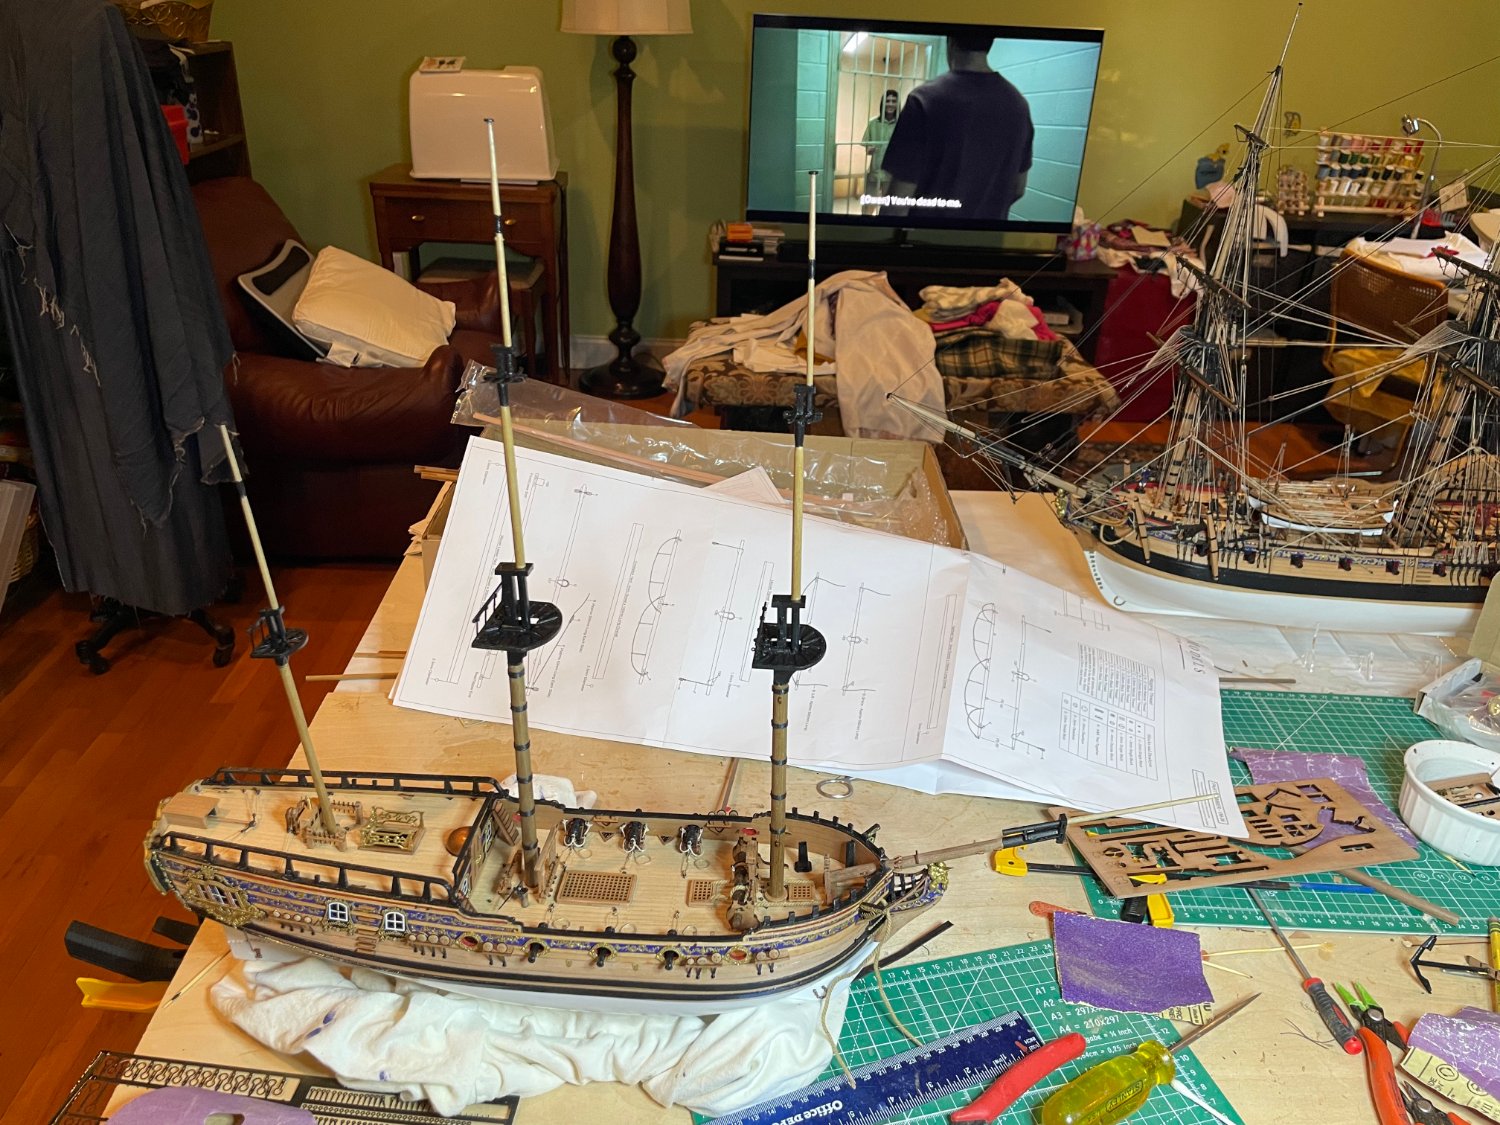
Yards done and mounted. I prefer doing some of their rigging now for easier access. Next will start the shrouds this weekend. In the background you can see a future product, another Chris Watton project designed in an earlier life. Likely will do the Indy first as I ordered it immediately when it became available.


- 22 replies
-
- 4
-
-

-
- Duchess of Kingston
- Vanguard Models
- (and 1 more)
-
Happily just pre-ordered last night for a great albeit late Christmas present.
- 488 replies
-
- 6
-
-
- Indefatigable
- Vanguard Models
- (and 1 more)
-
Will the furniture also be a separate order?
- 488 replies
-
- 4
-
-
- Indefatigable
- Vanguard Models
- (and 1 more)
-
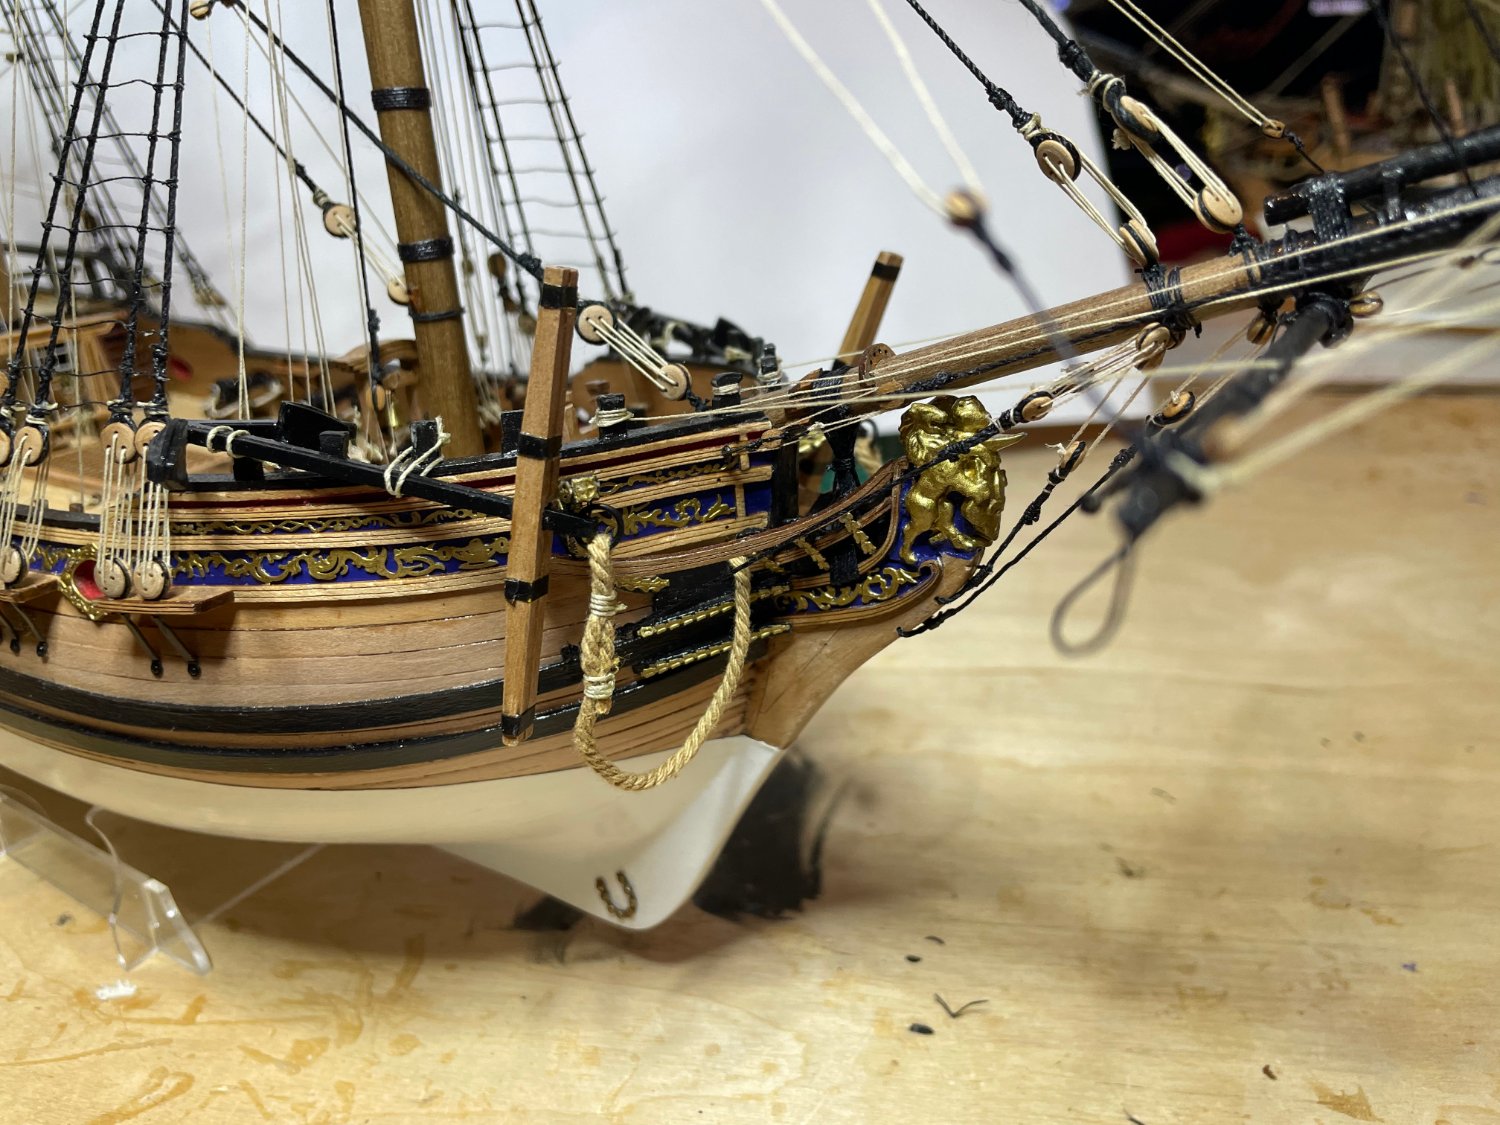
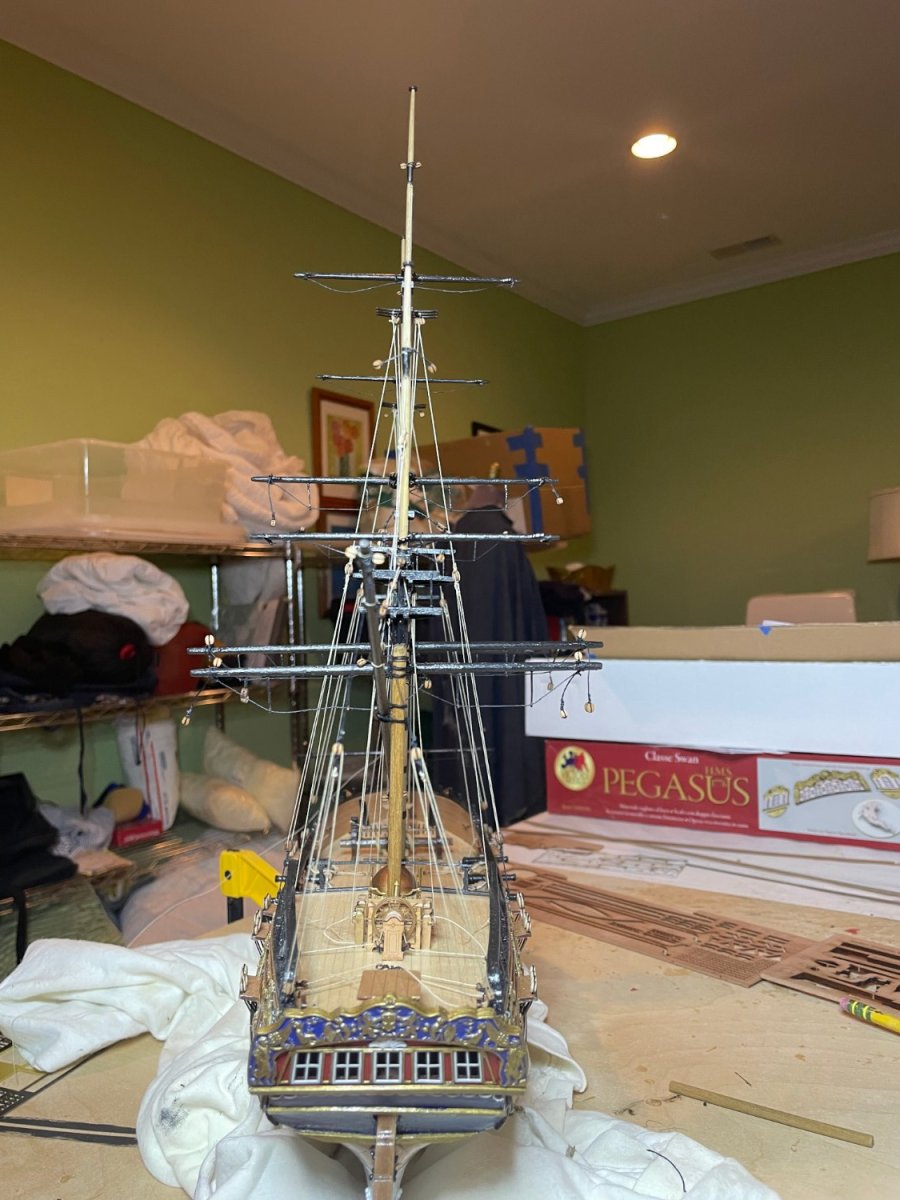
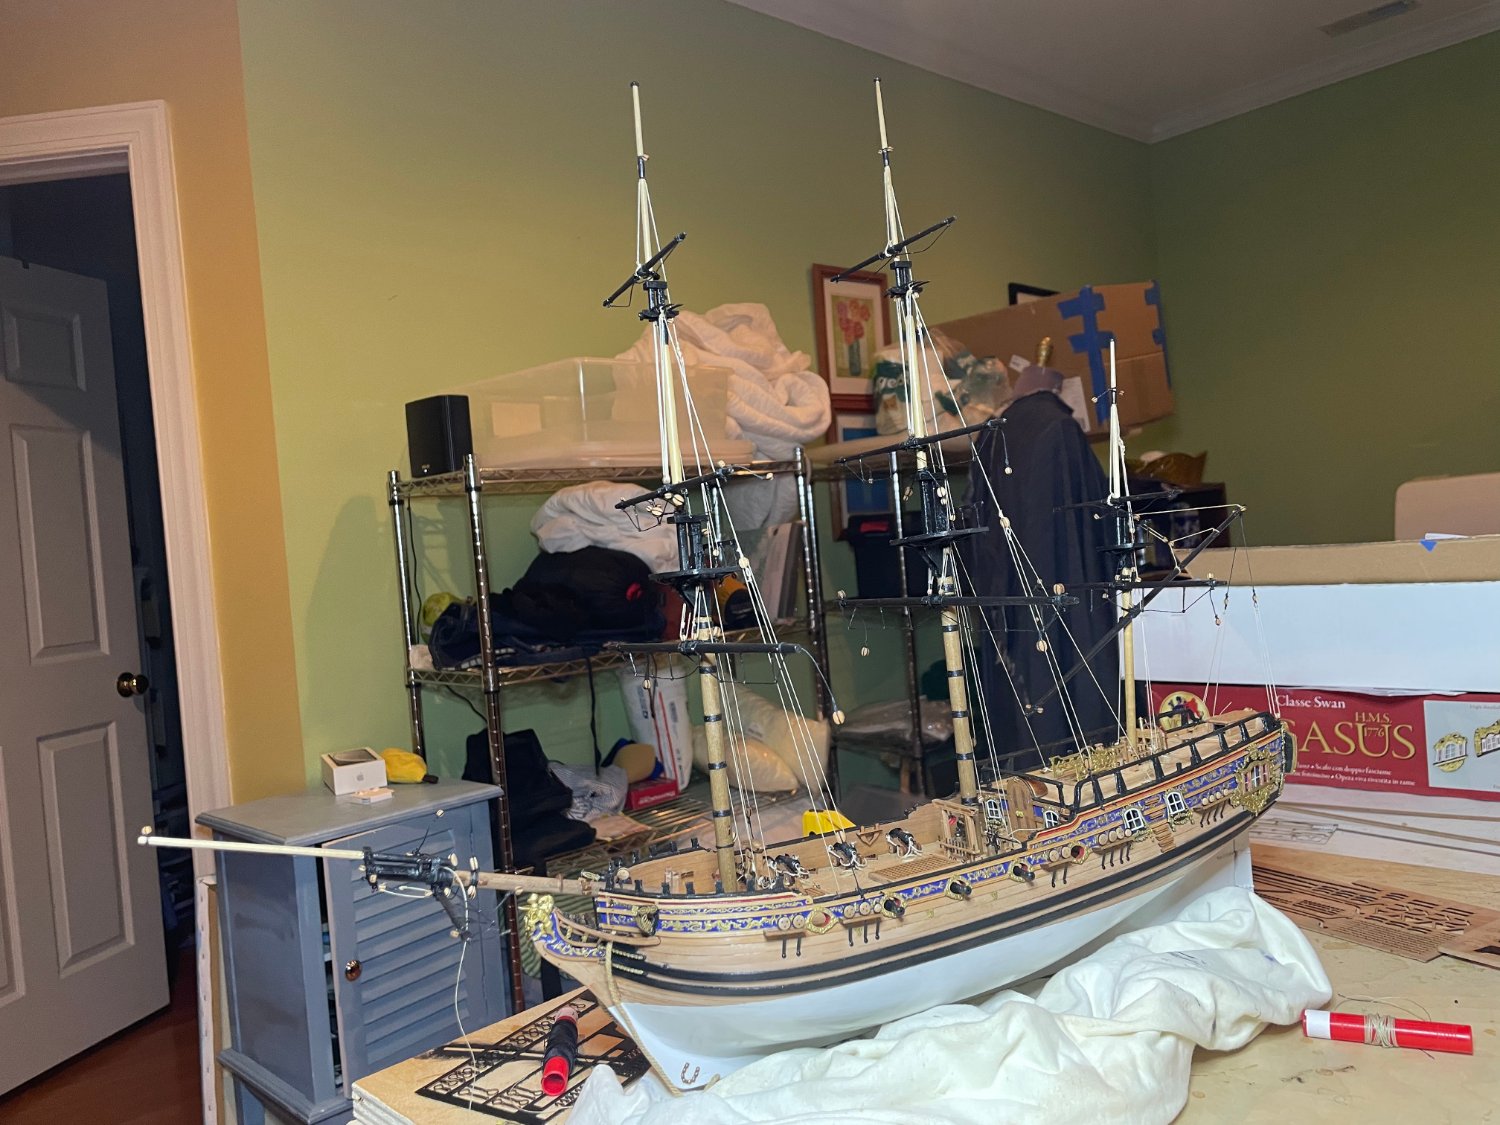
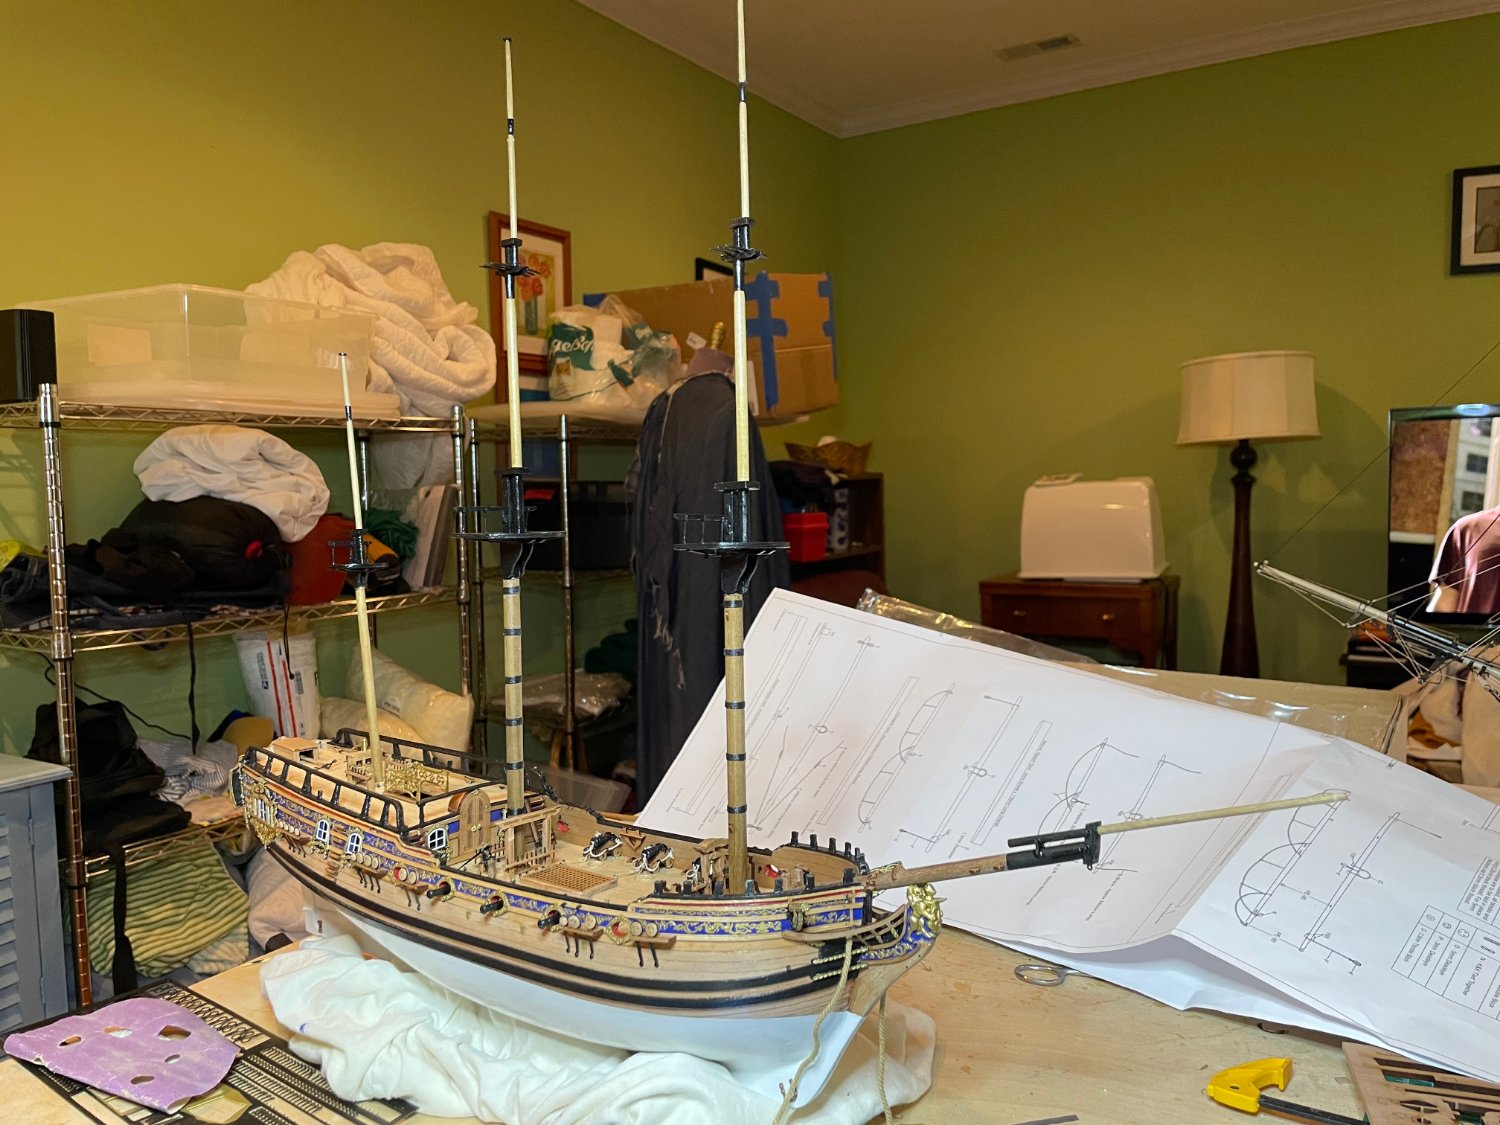
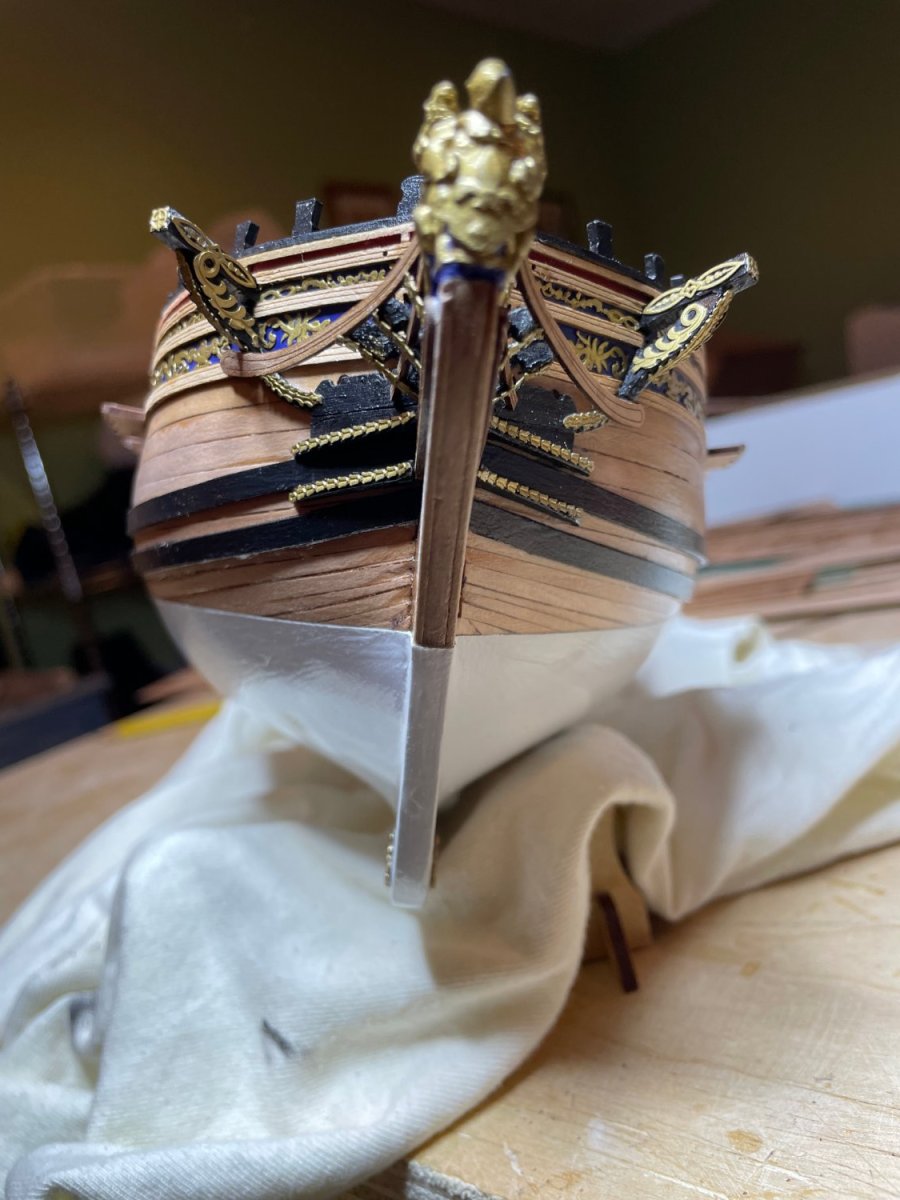
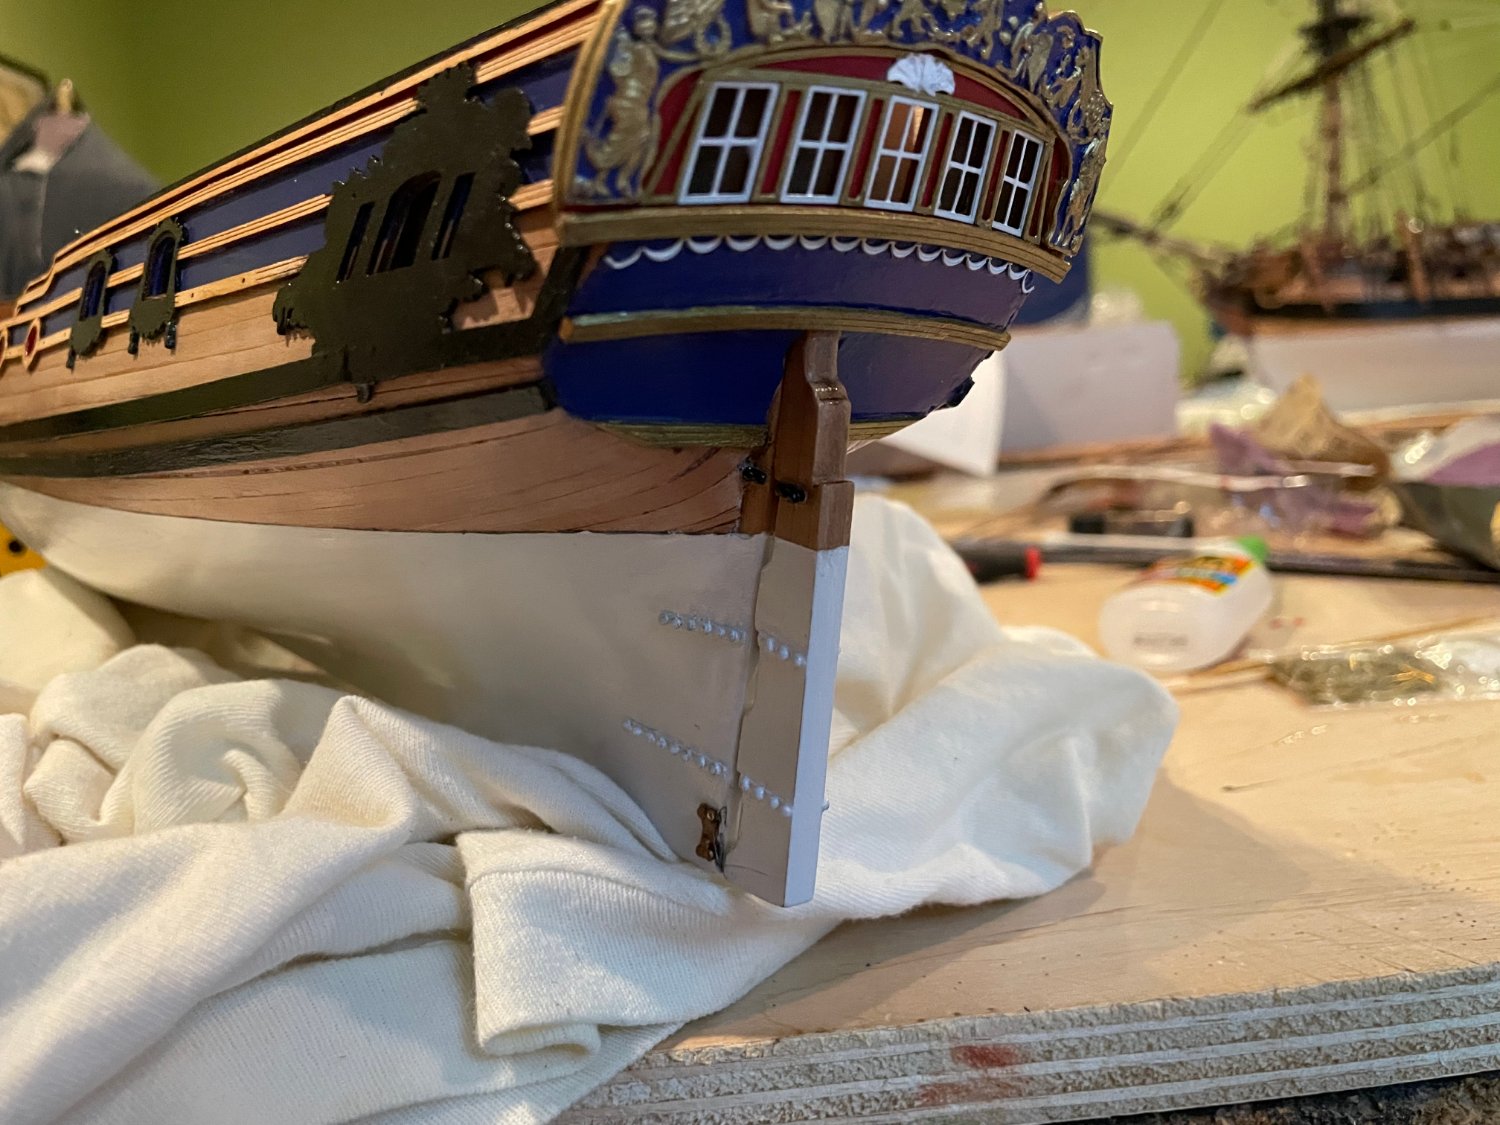
Hull finally finished except for the anchors. Masts start tomorrow.


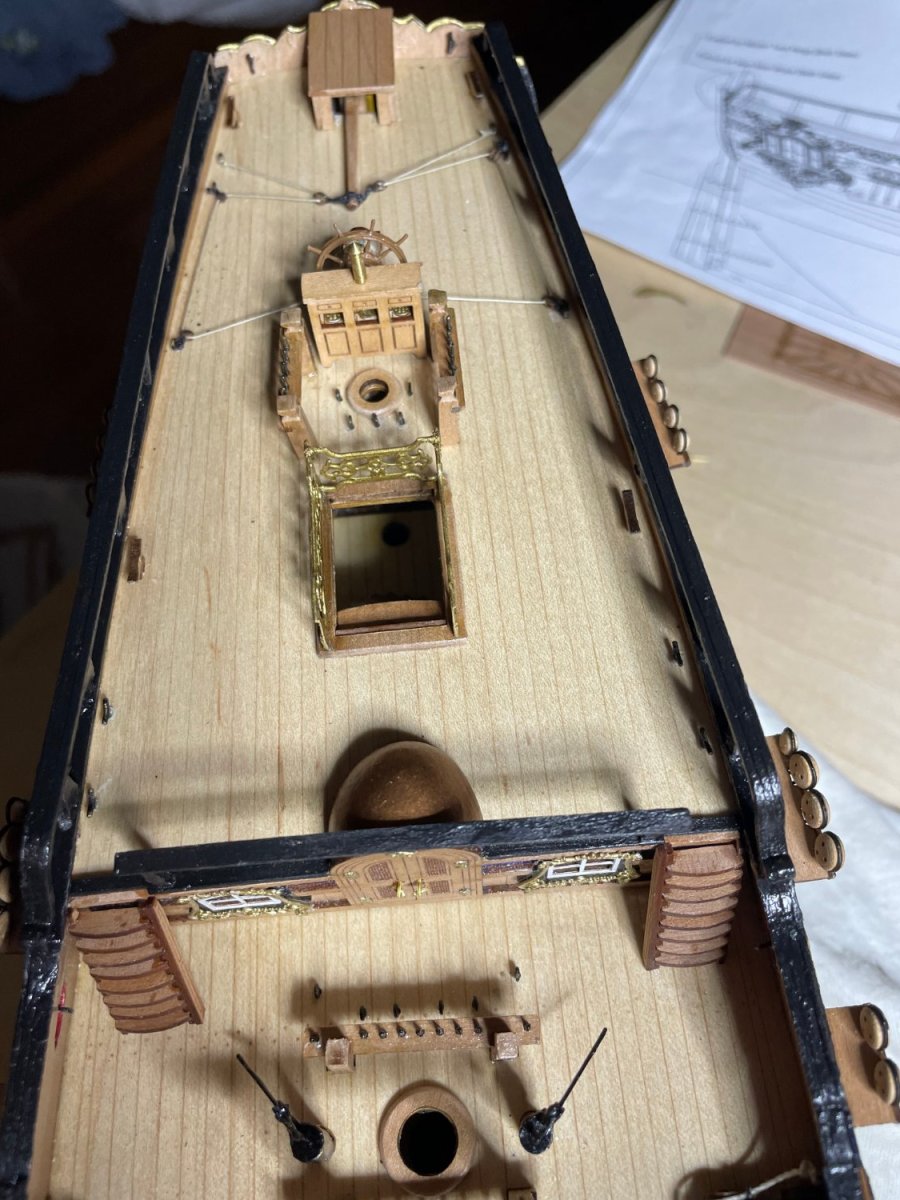
-
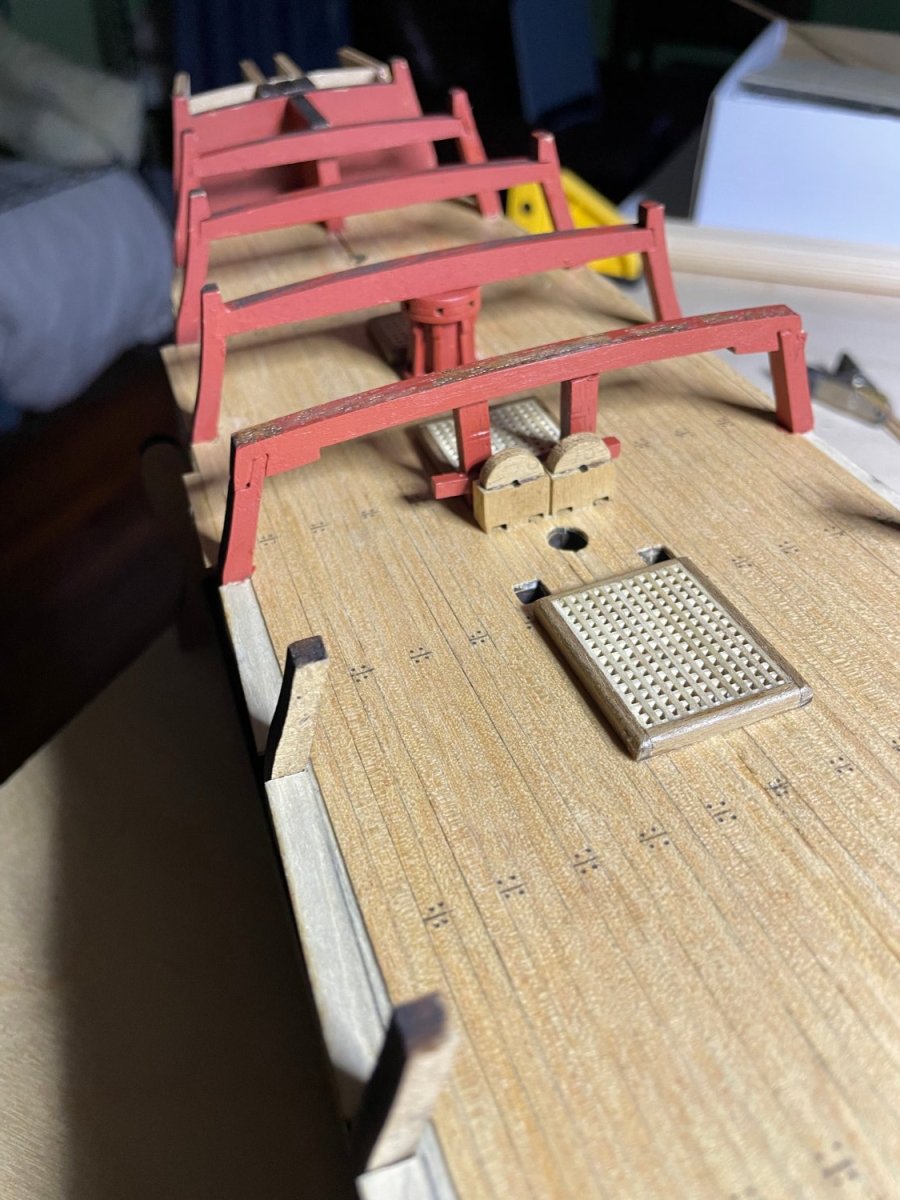
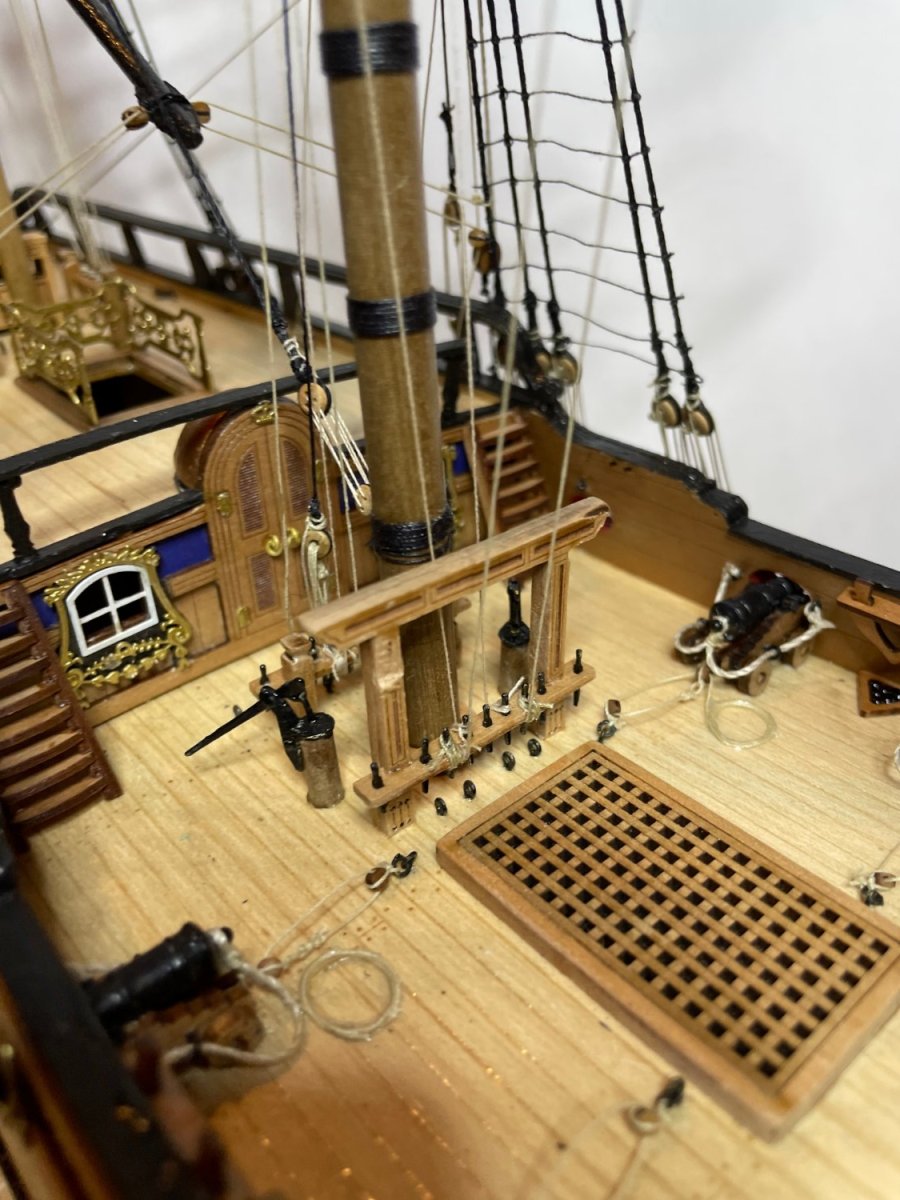
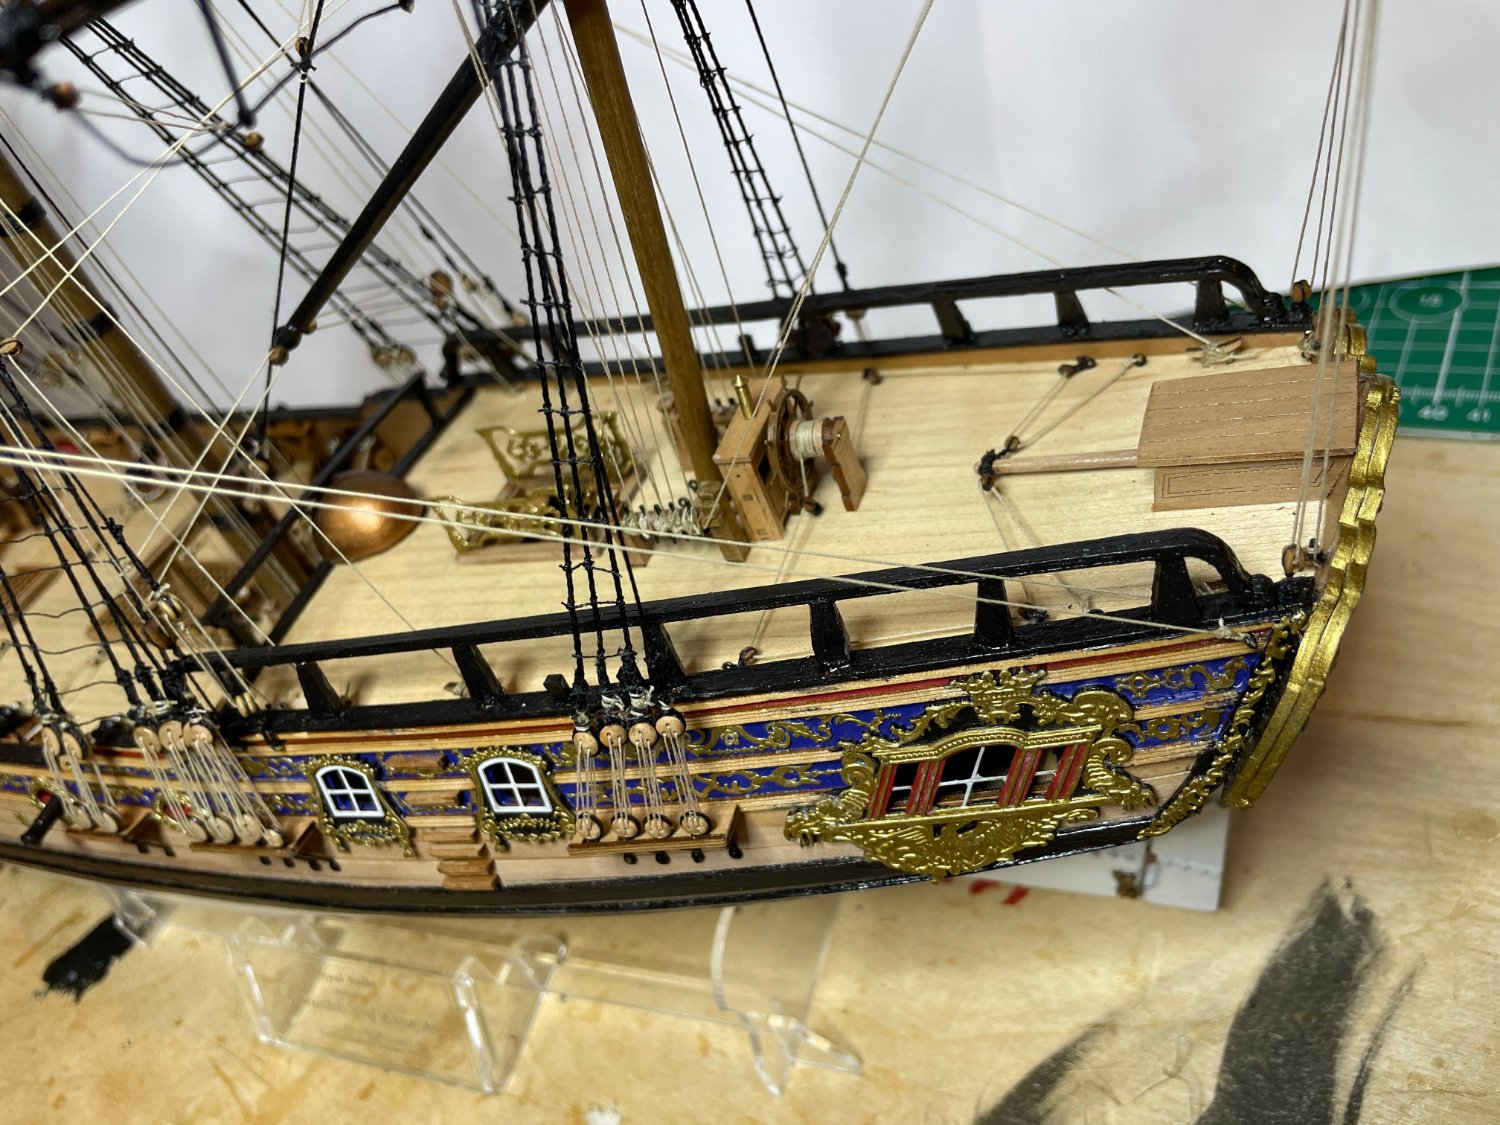
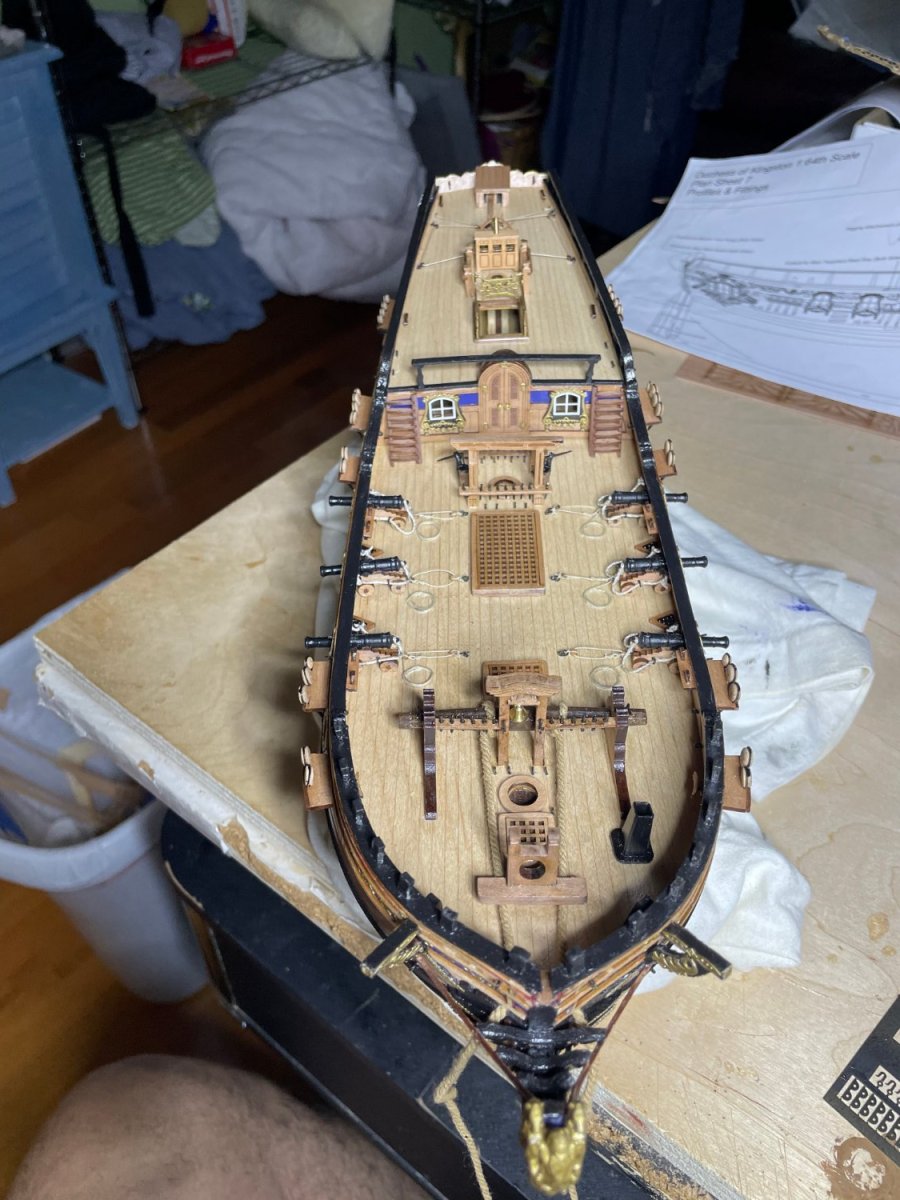
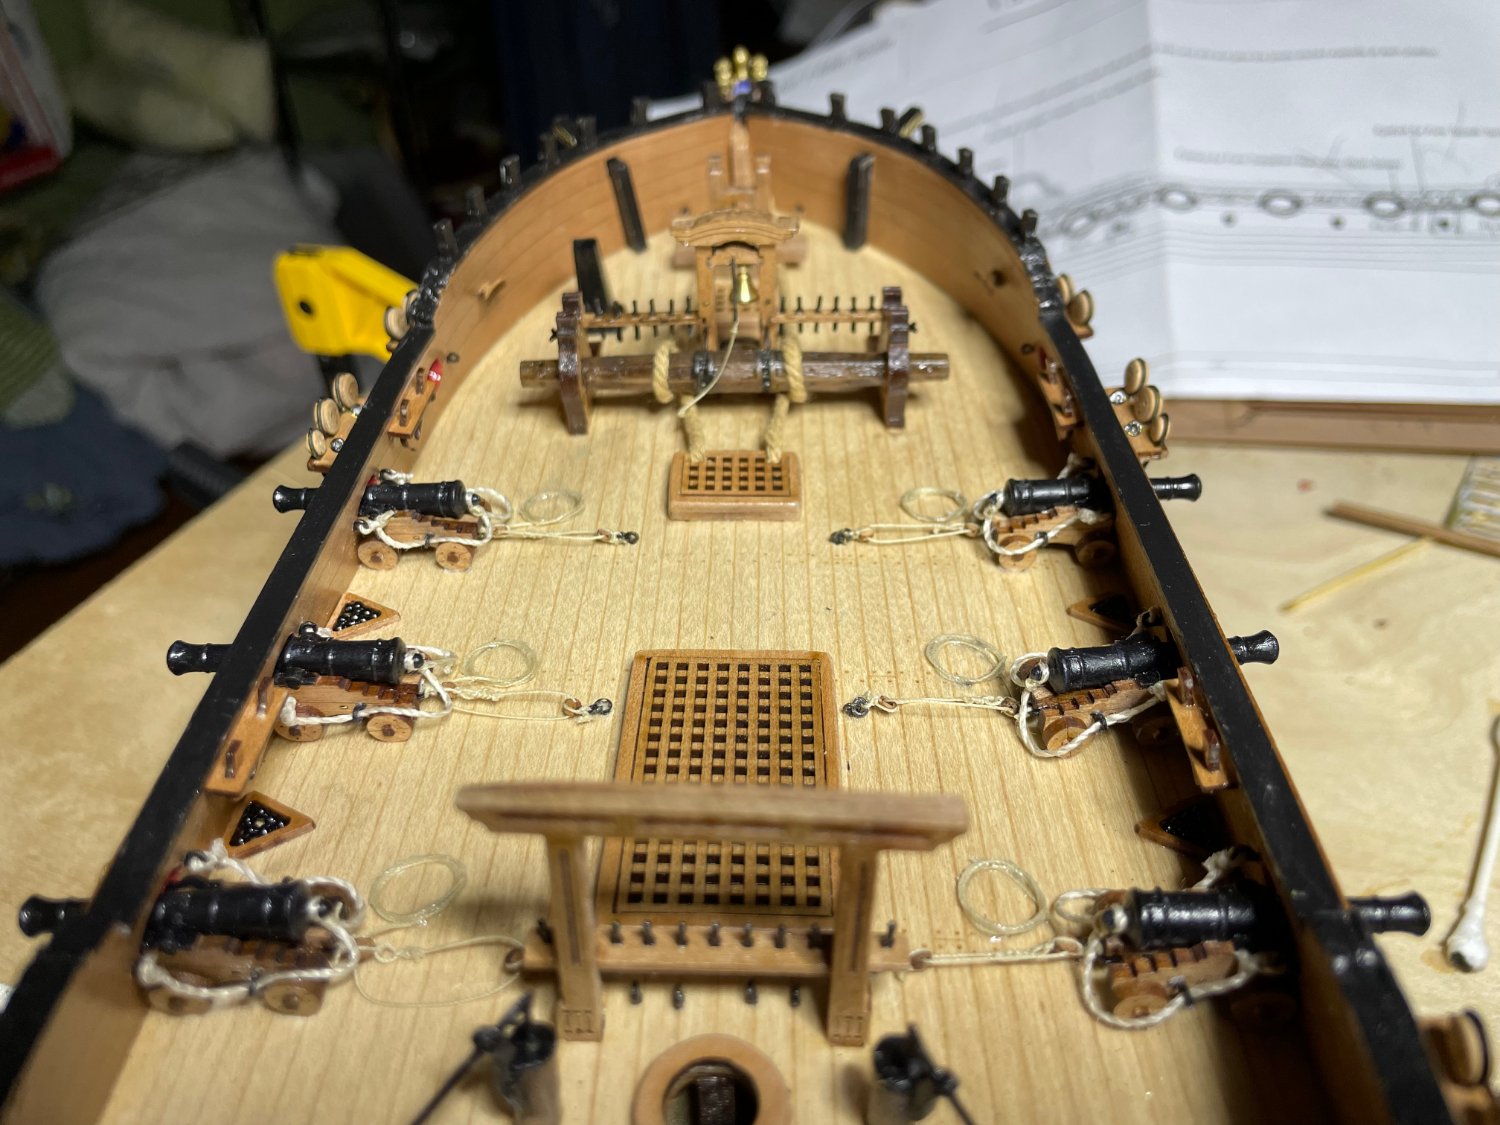
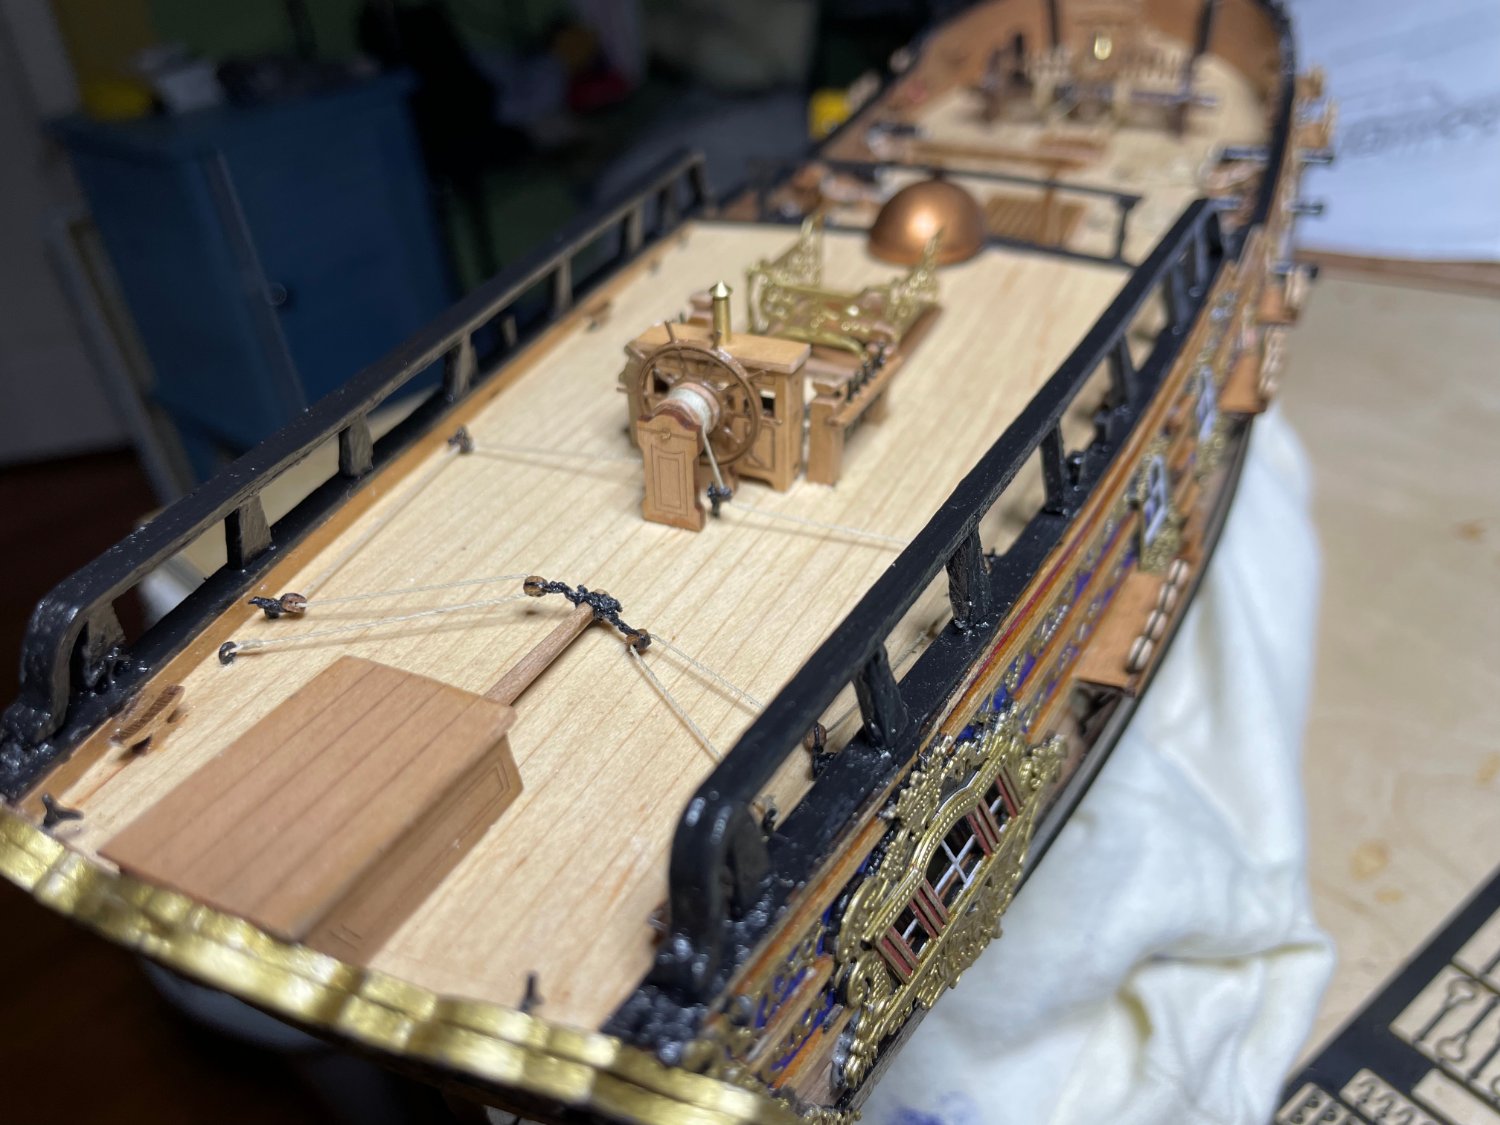
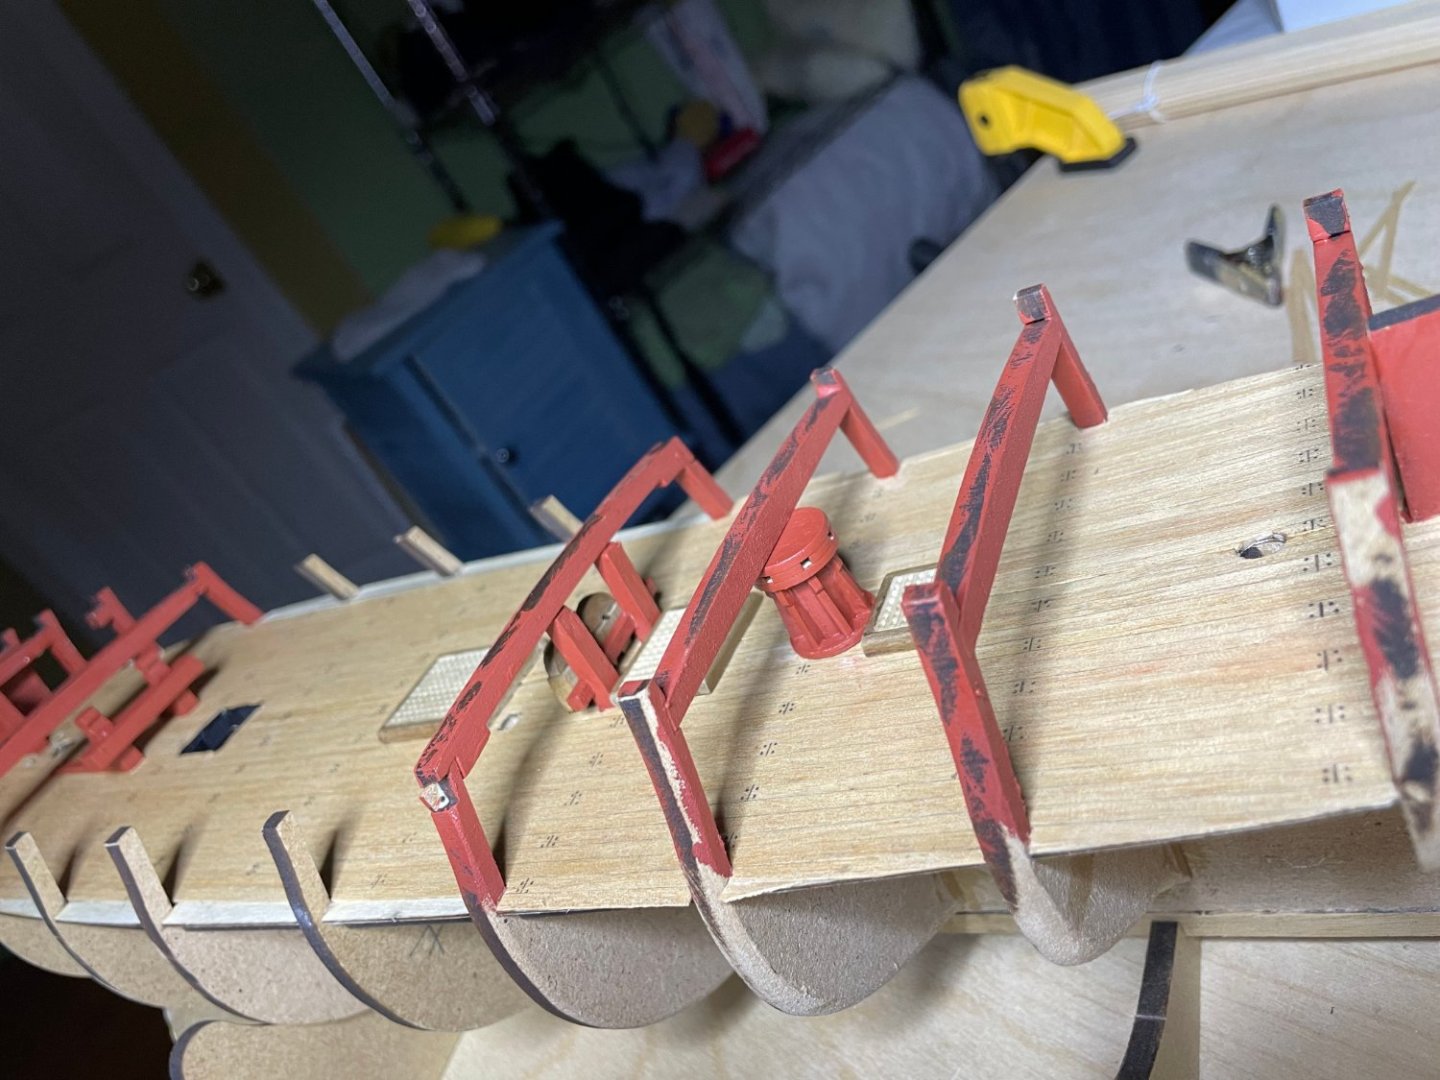
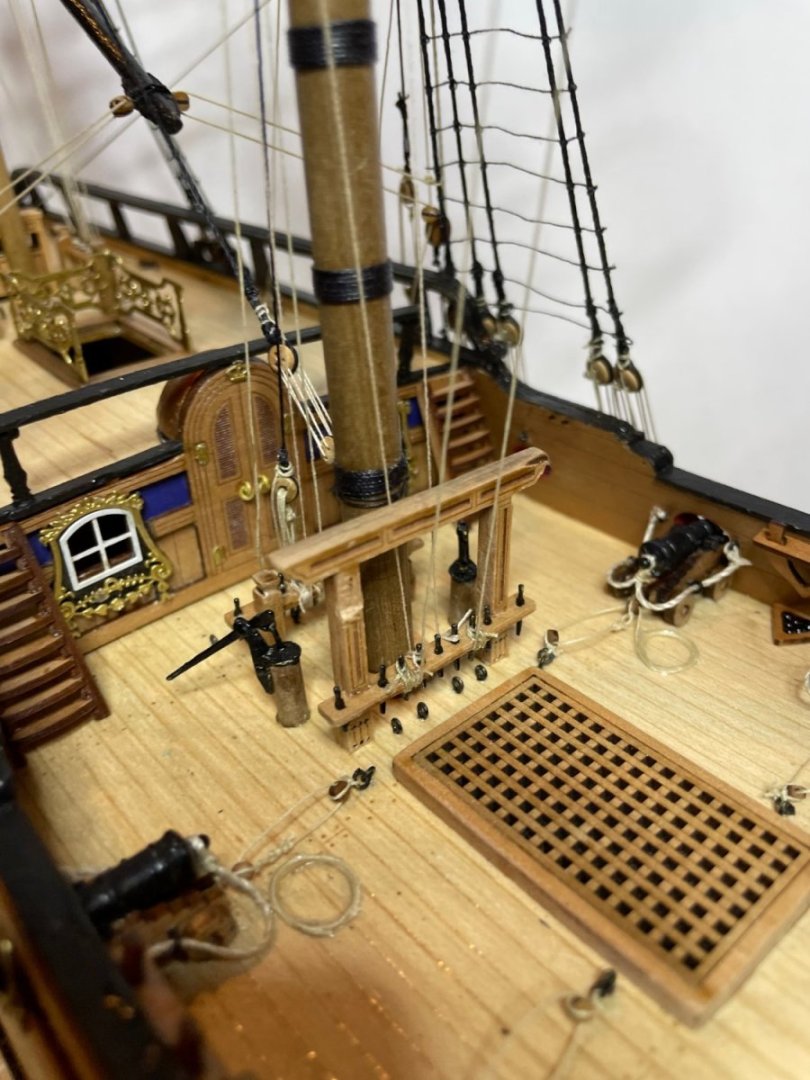
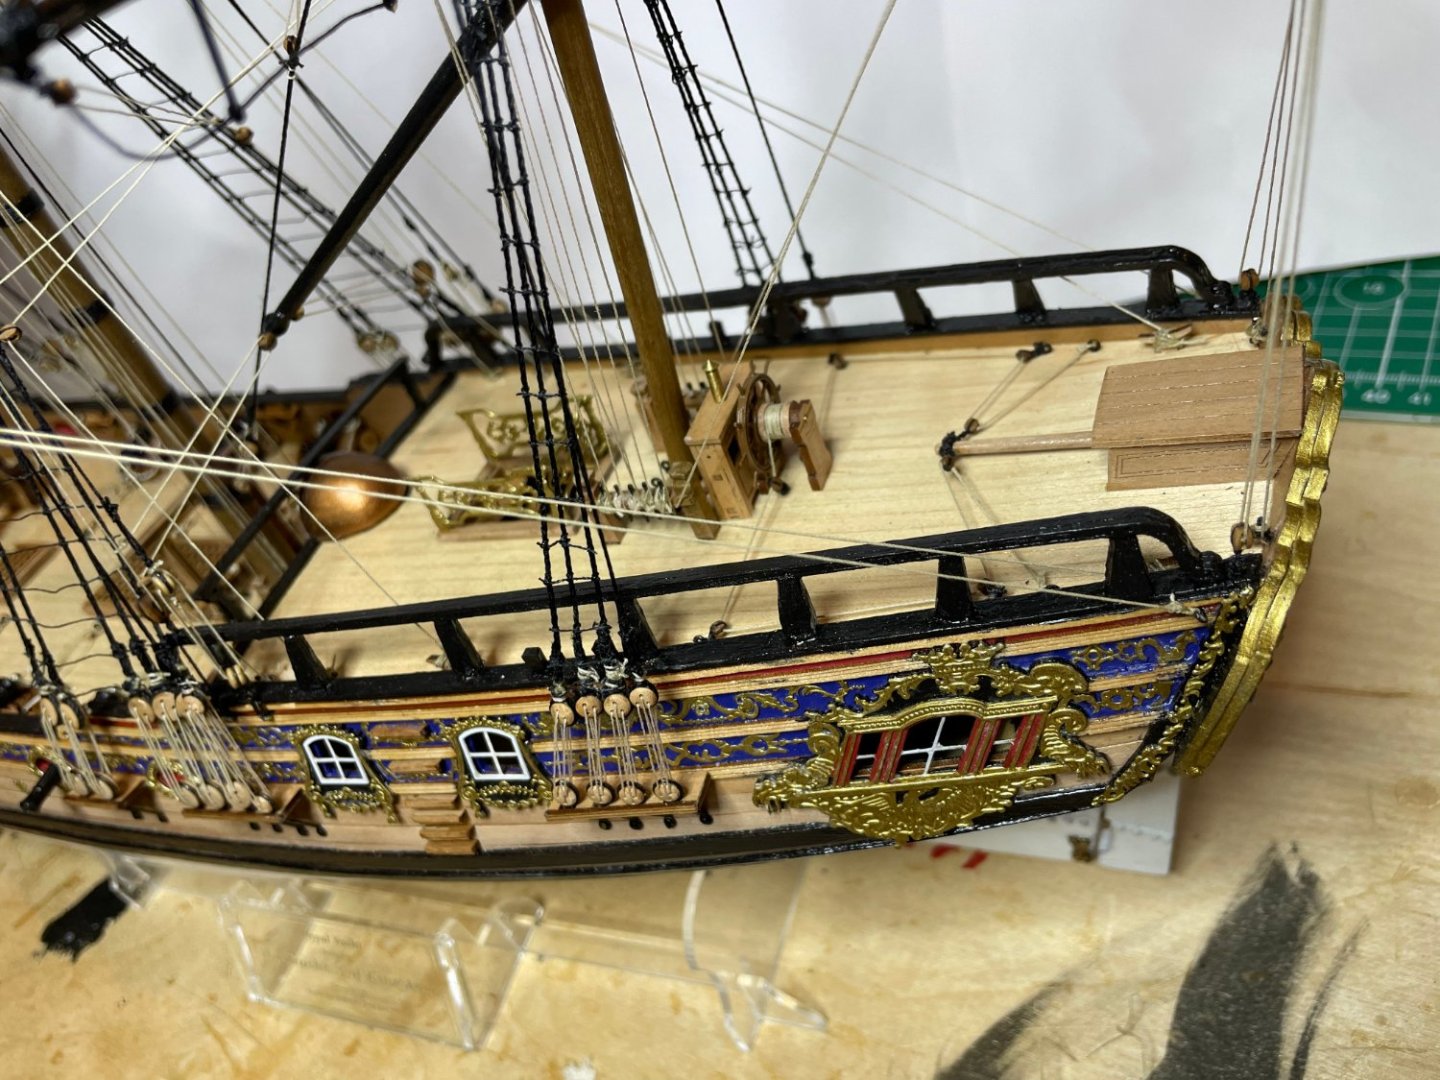
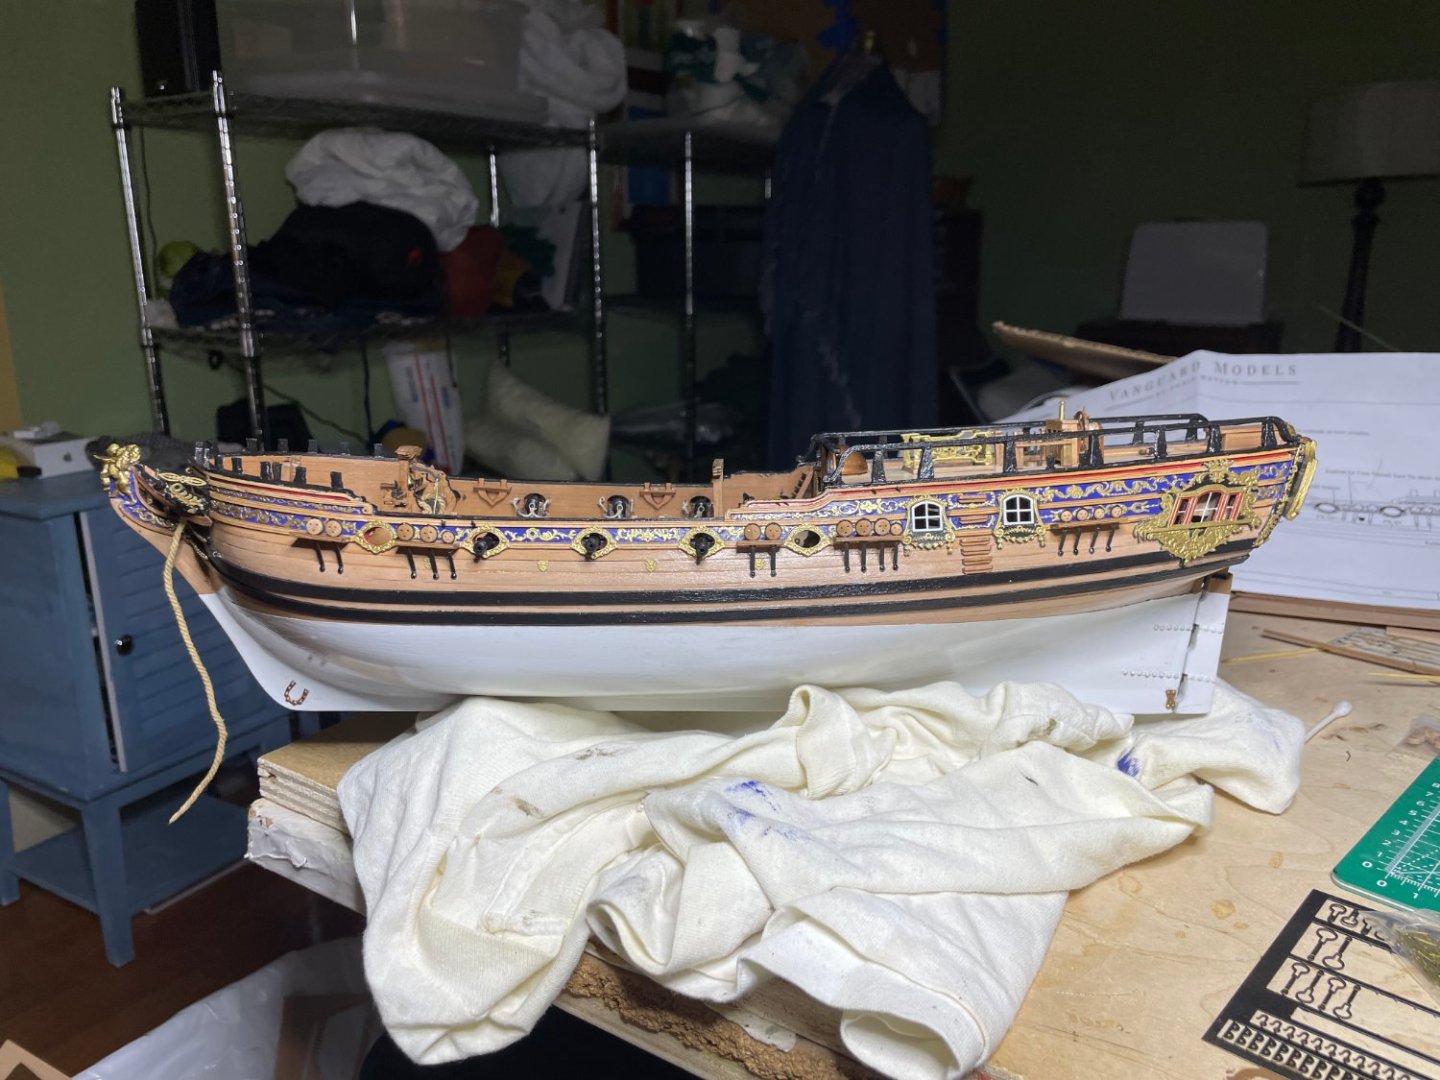
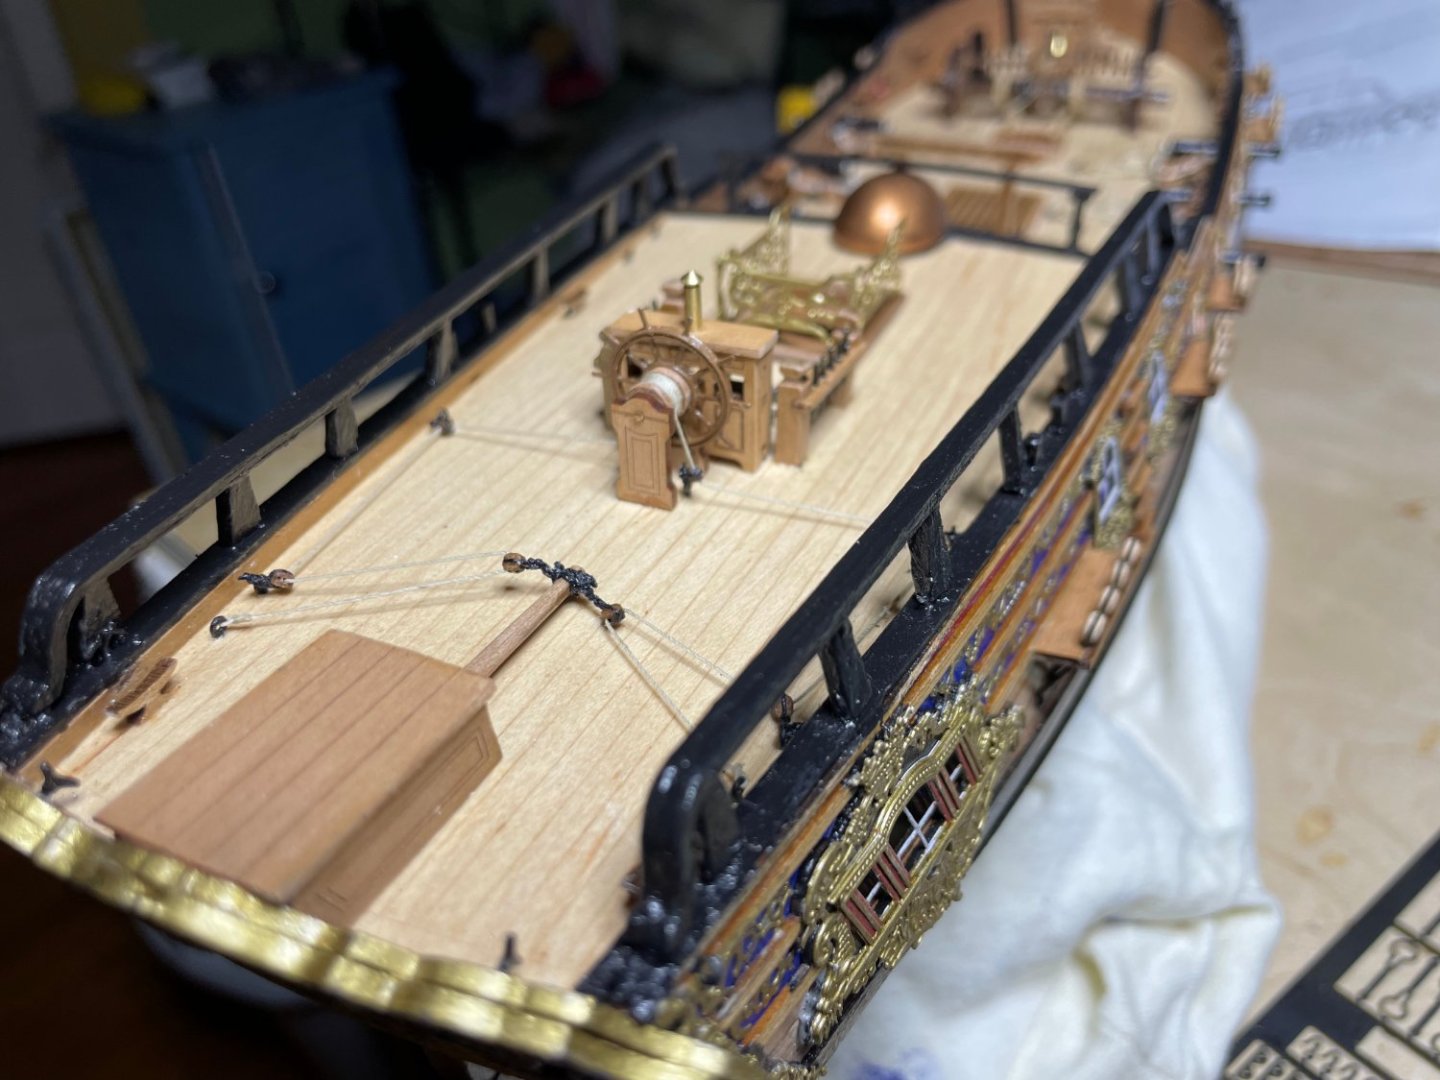
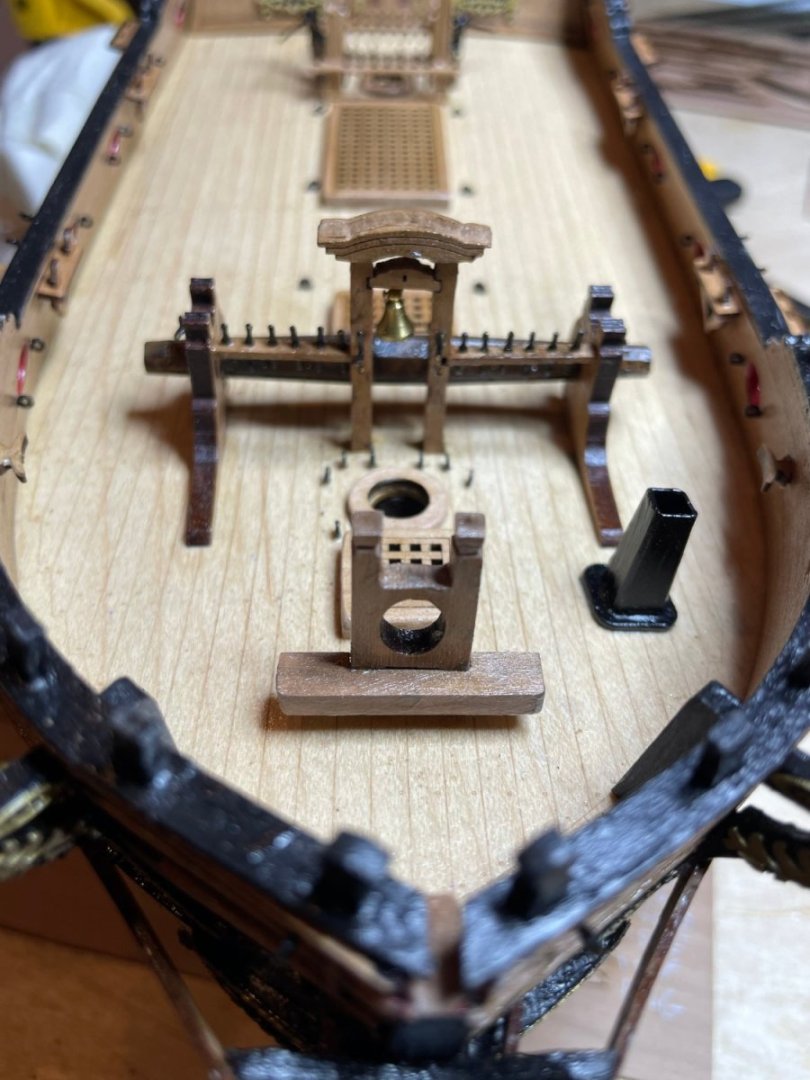
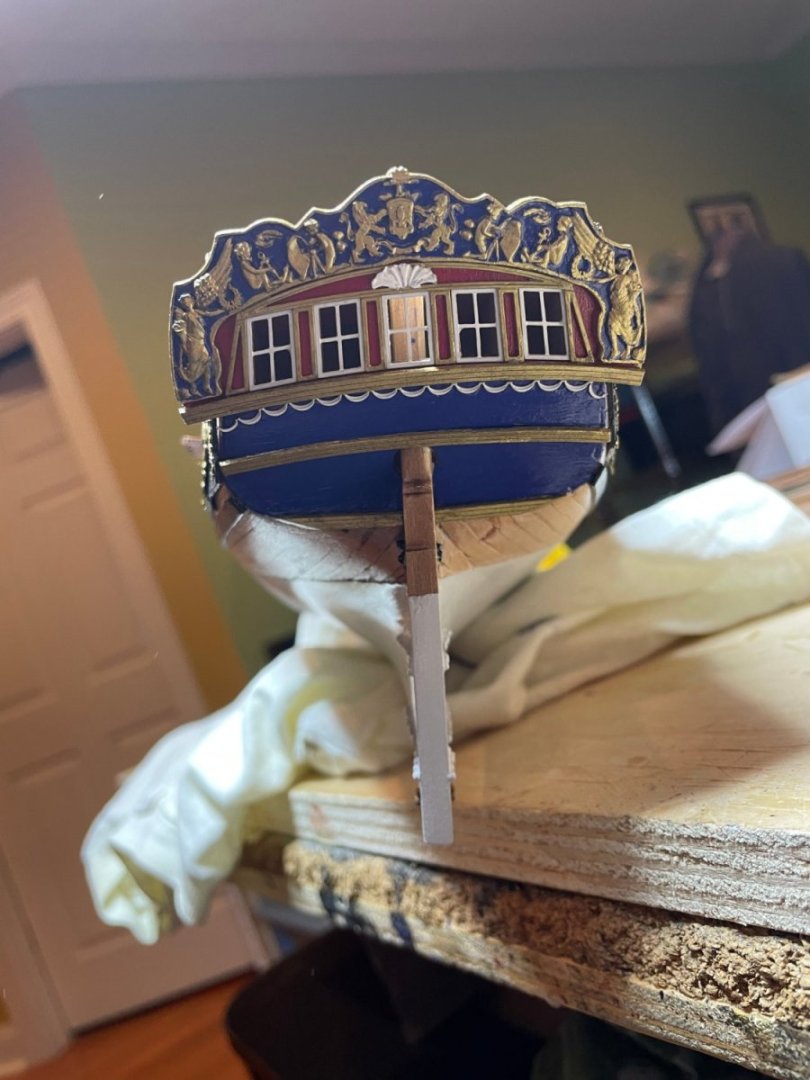
Most of deck done. Now for the problem that vexed me . The stern rails pillars are extremely fragile. The are much smaller than on the Sphinx. The grain also goes across so easily brocken, which of course I did. Multiple times and as a result I had to remove them all and fashion new ones from 3x2 mahogany strip. I drilled holes on top and bottom to pin them in. With paint and all worked ok. Not perfect and clean as the original but much sturdier. Otherwise I would have to have an entire sheet sent from across the pond. Unless you are very close, I think it looks ok. I think the rails and pillars would be best 3-D printed. Another issue is that the pictured cannon assembly in the manual is not the same as the parts with the kit in that the the holders of the cannan are integral to the piece and not something you add later. Assembly is as seen in the HMS Sphinx instructions.


-
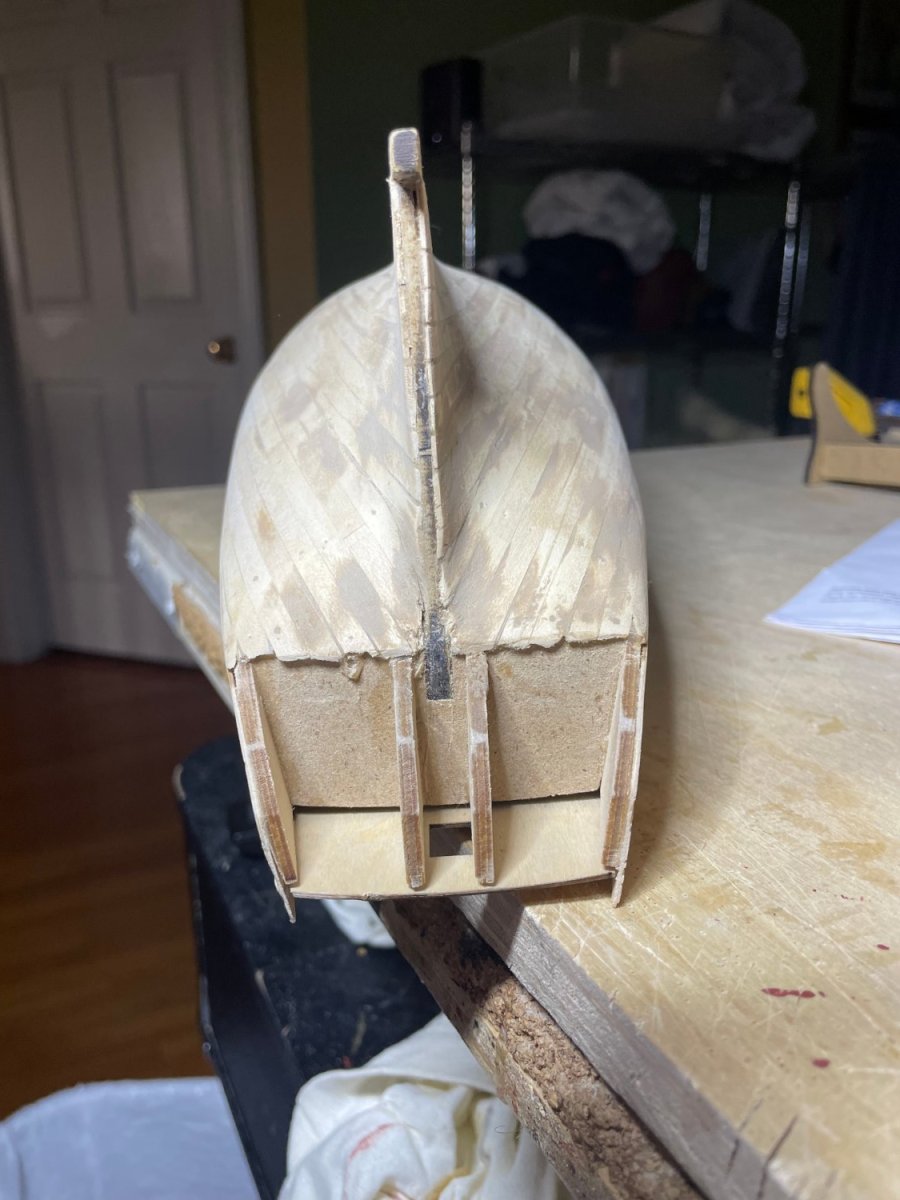
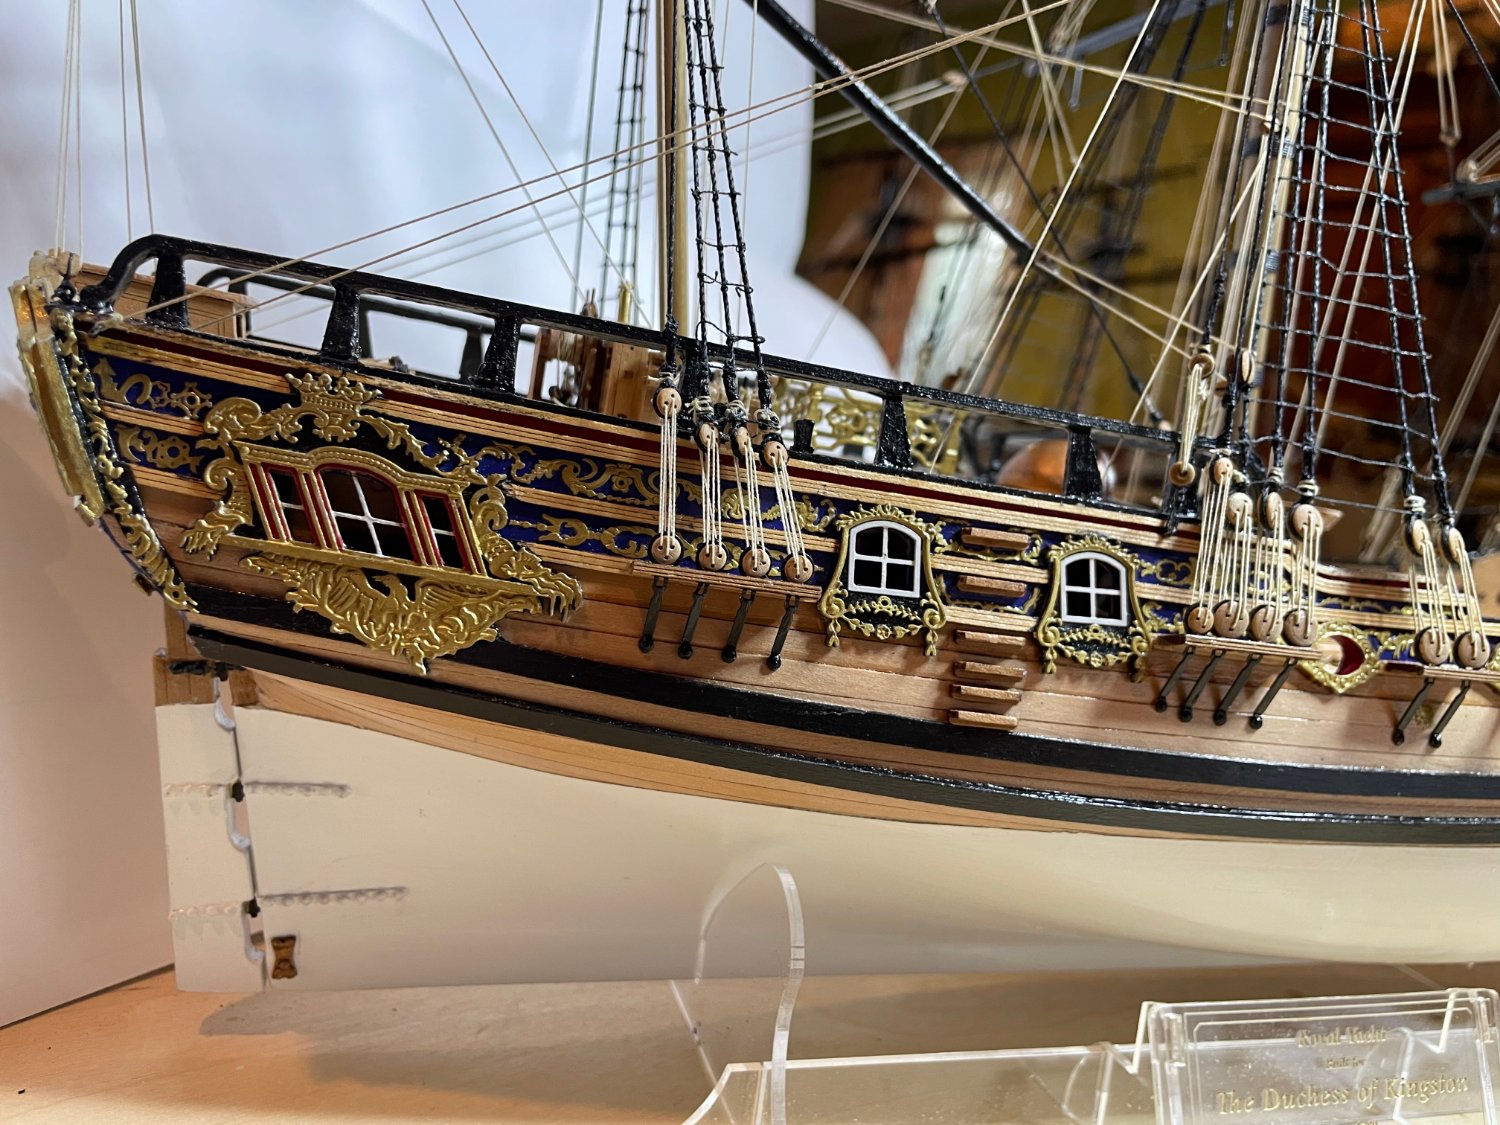
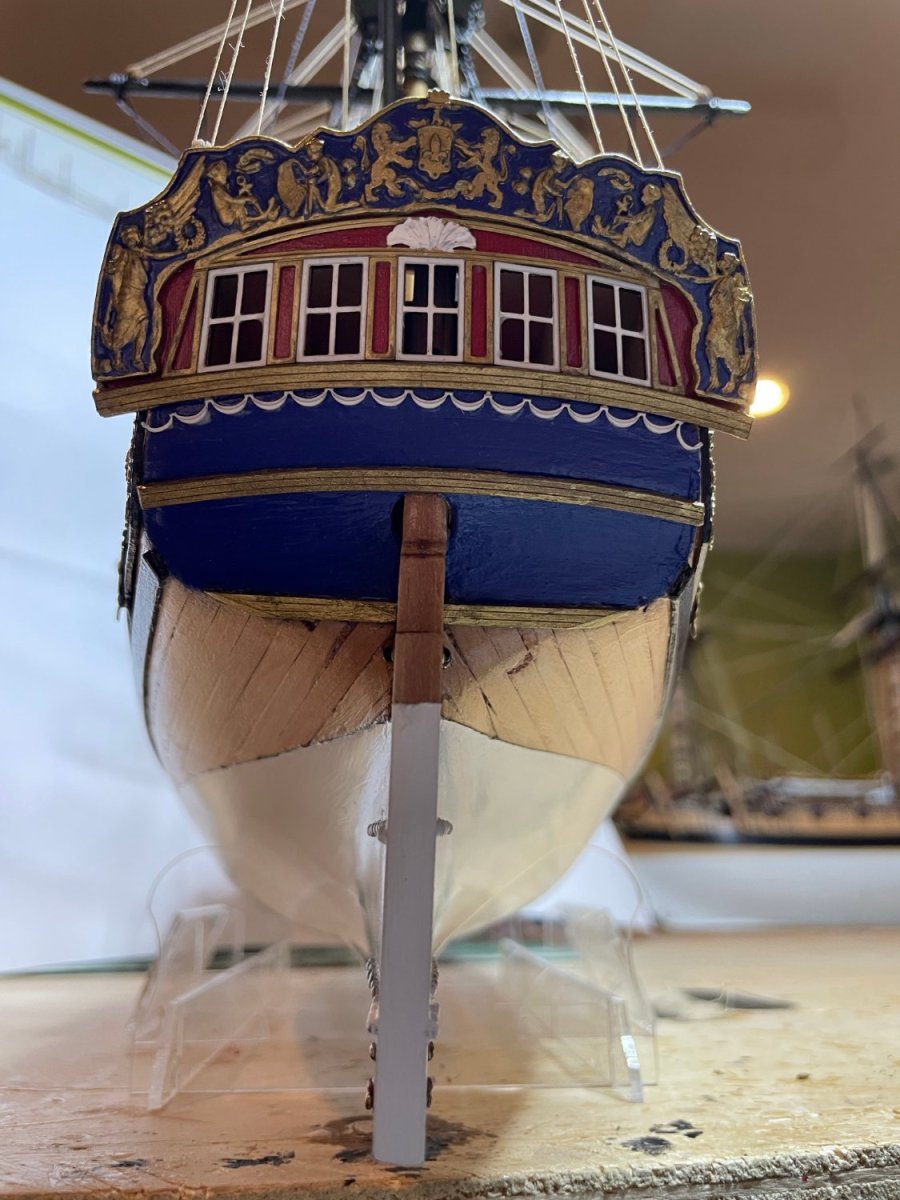
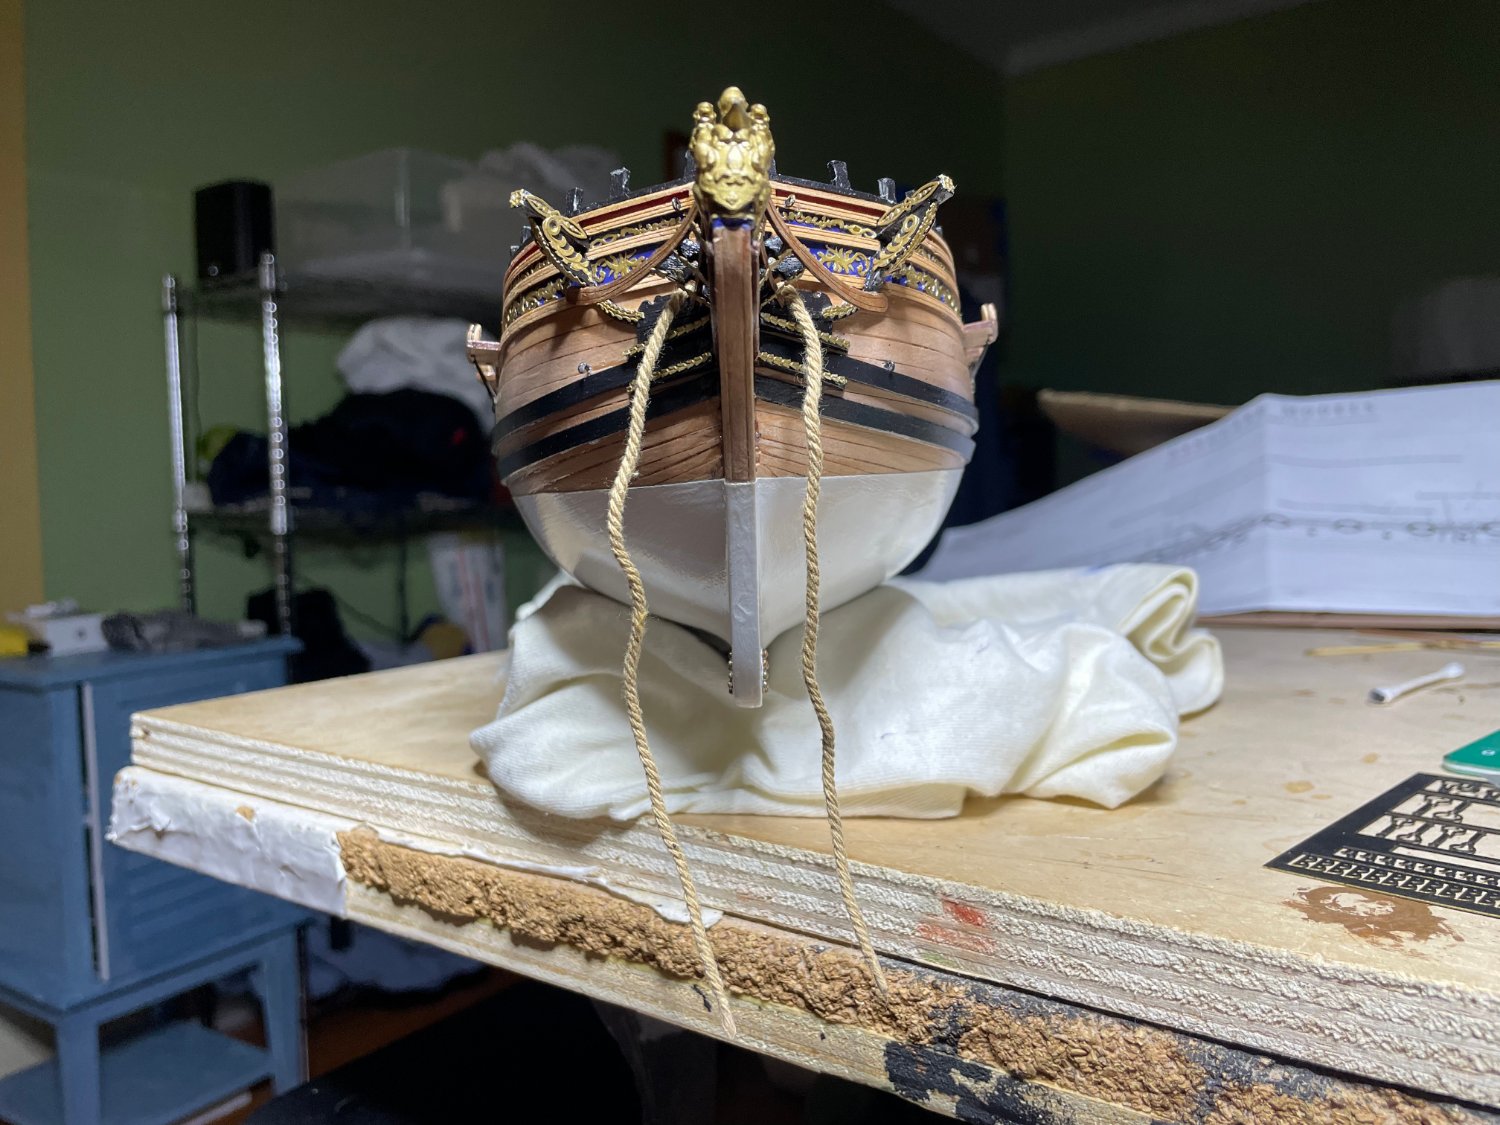
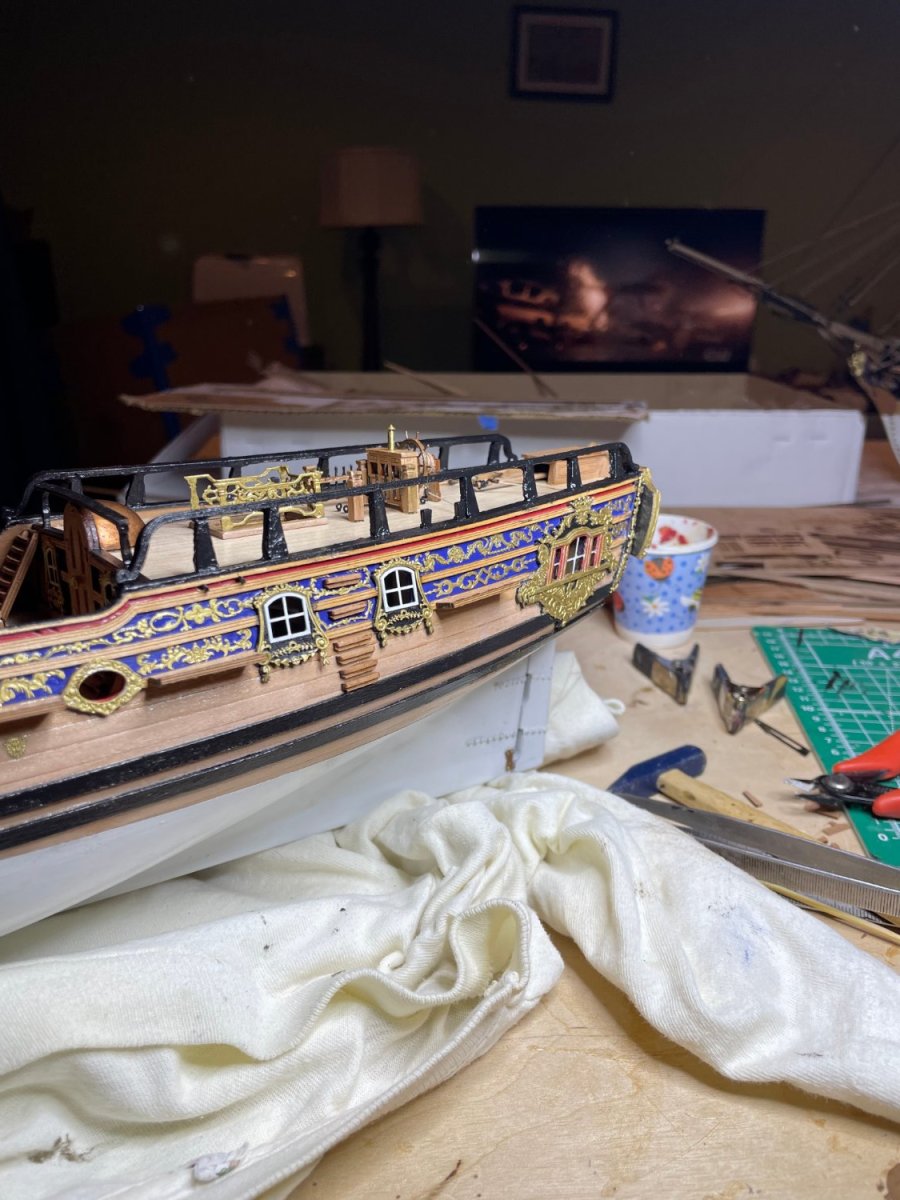
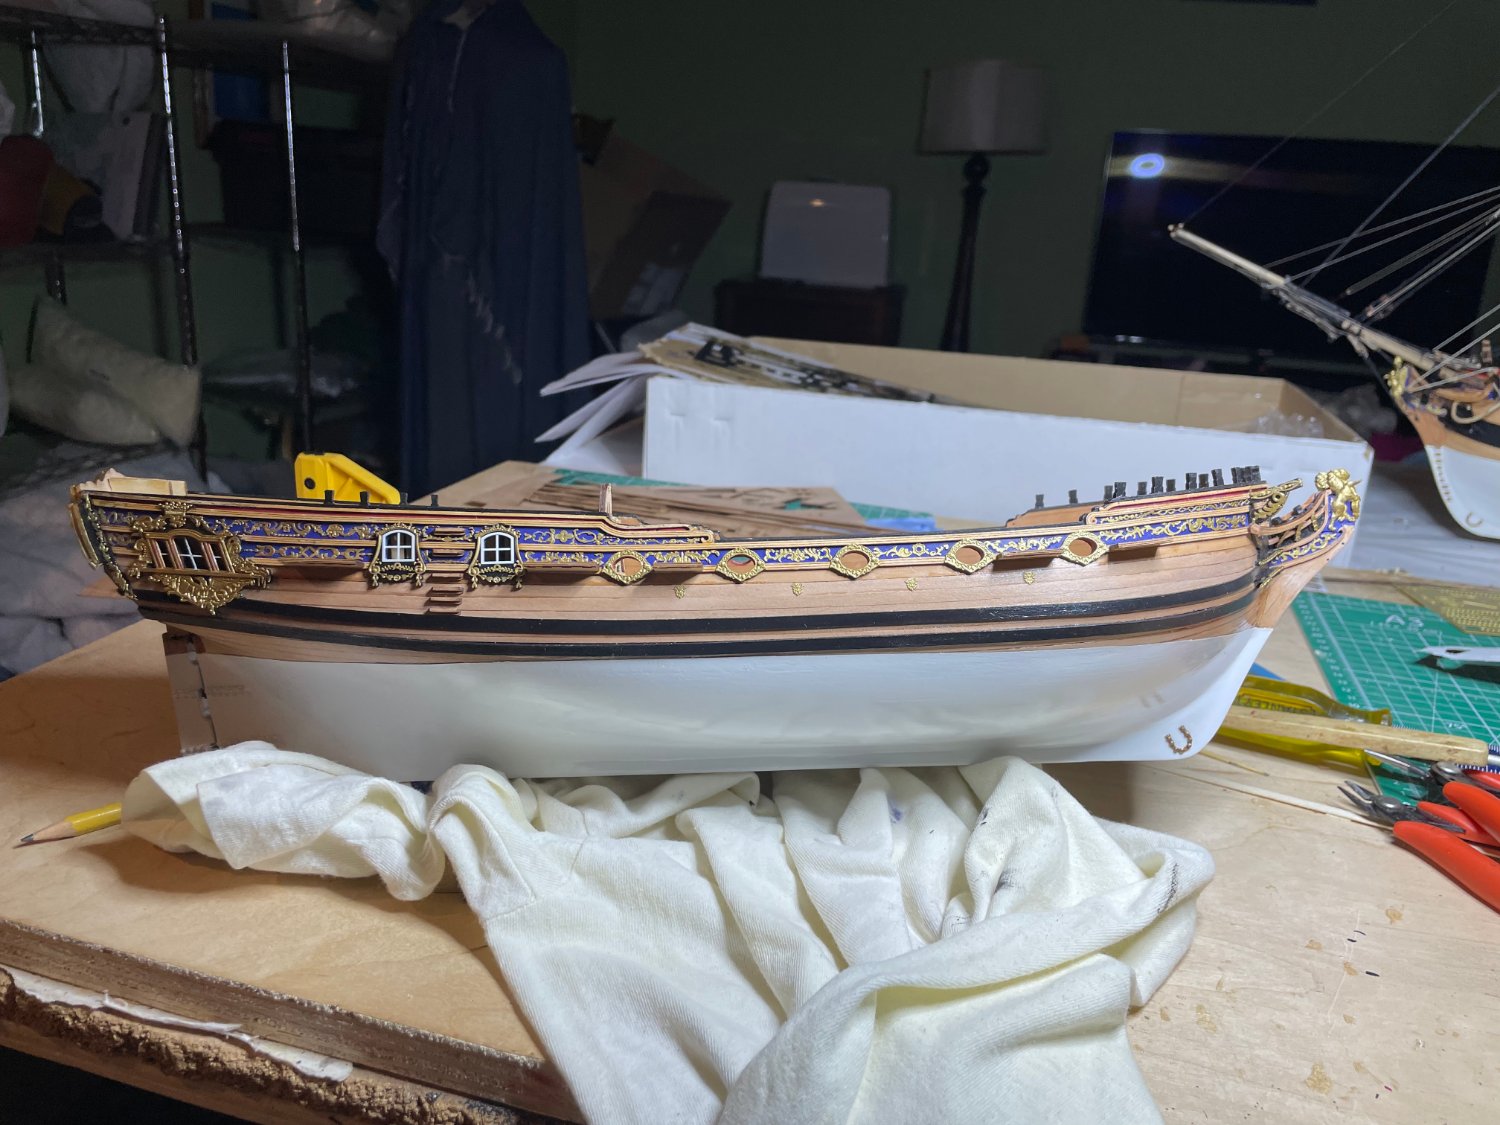
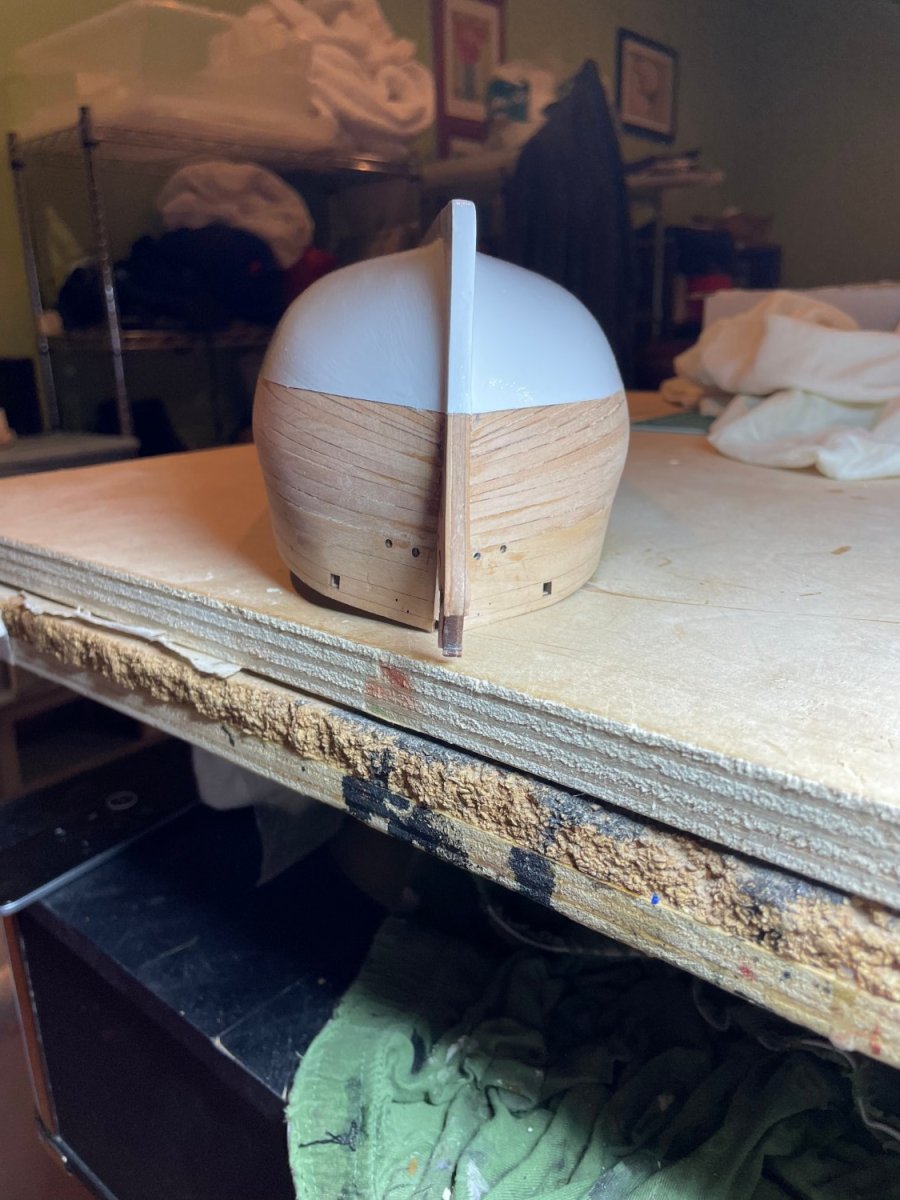
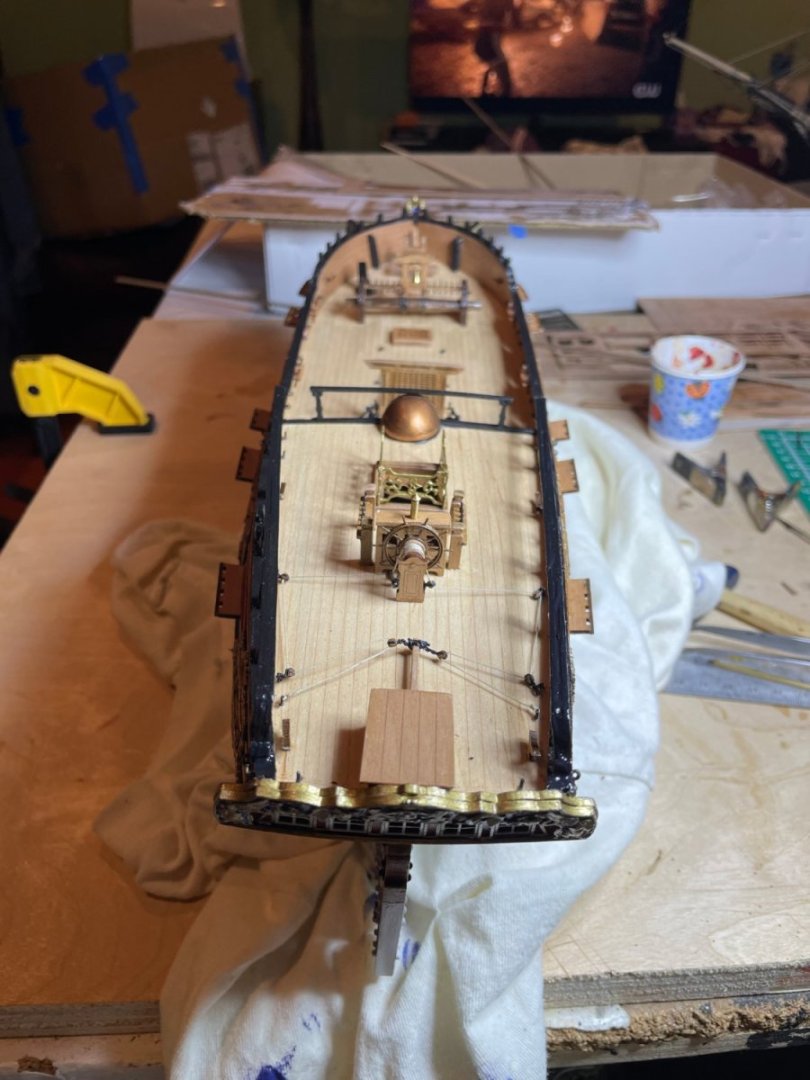
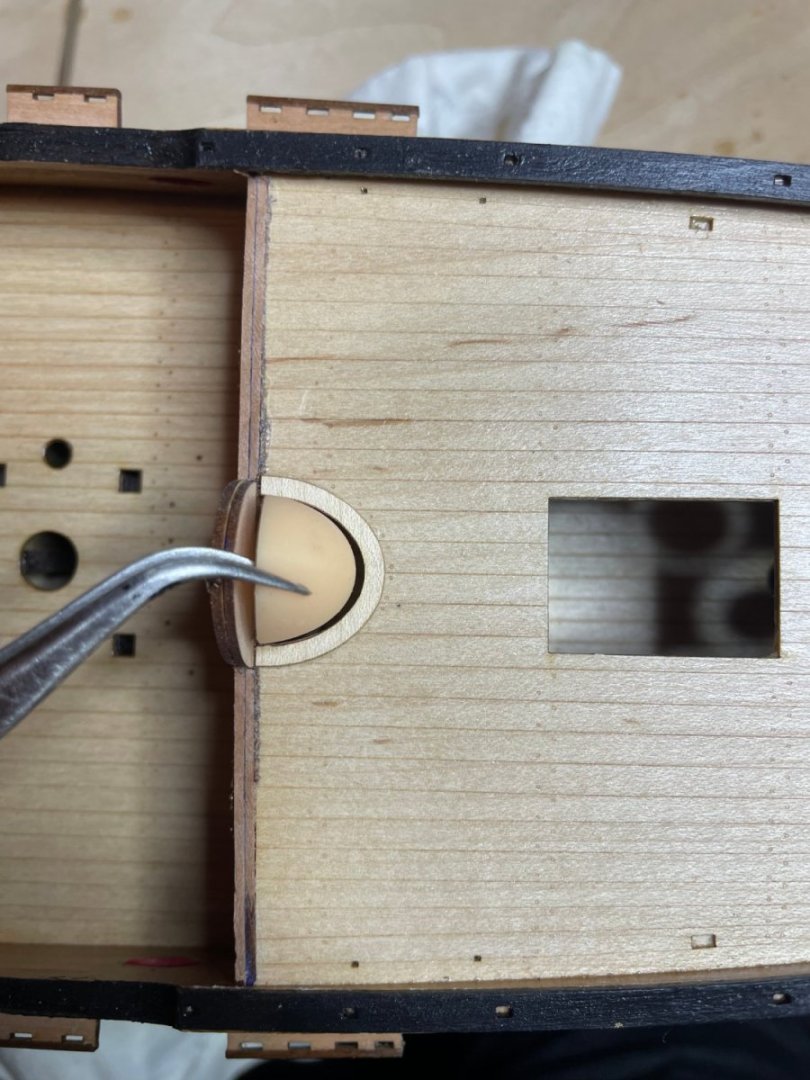
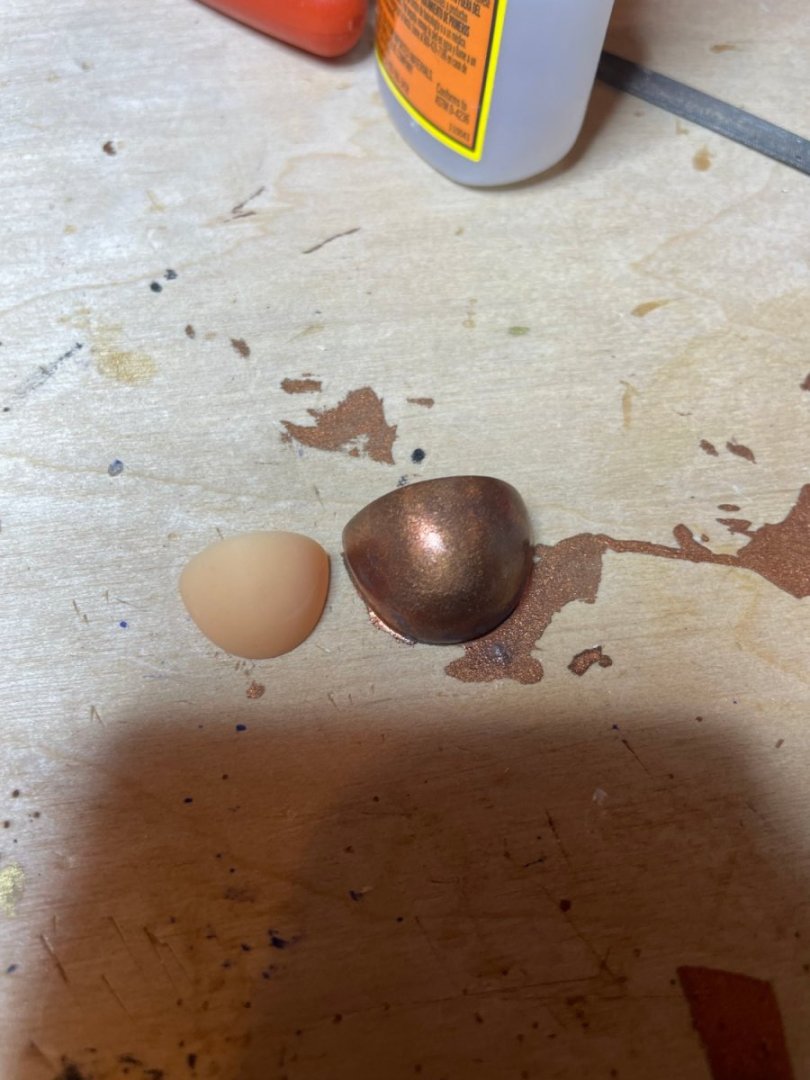
Outer hull done. Next will be the deck fittings. One issue that came up is that the 3D printed dome for the main entry to the stern cabins was way to small for the hole it had to cover so I had to make one out of balsa wood. You can see the side by side size difference.


-
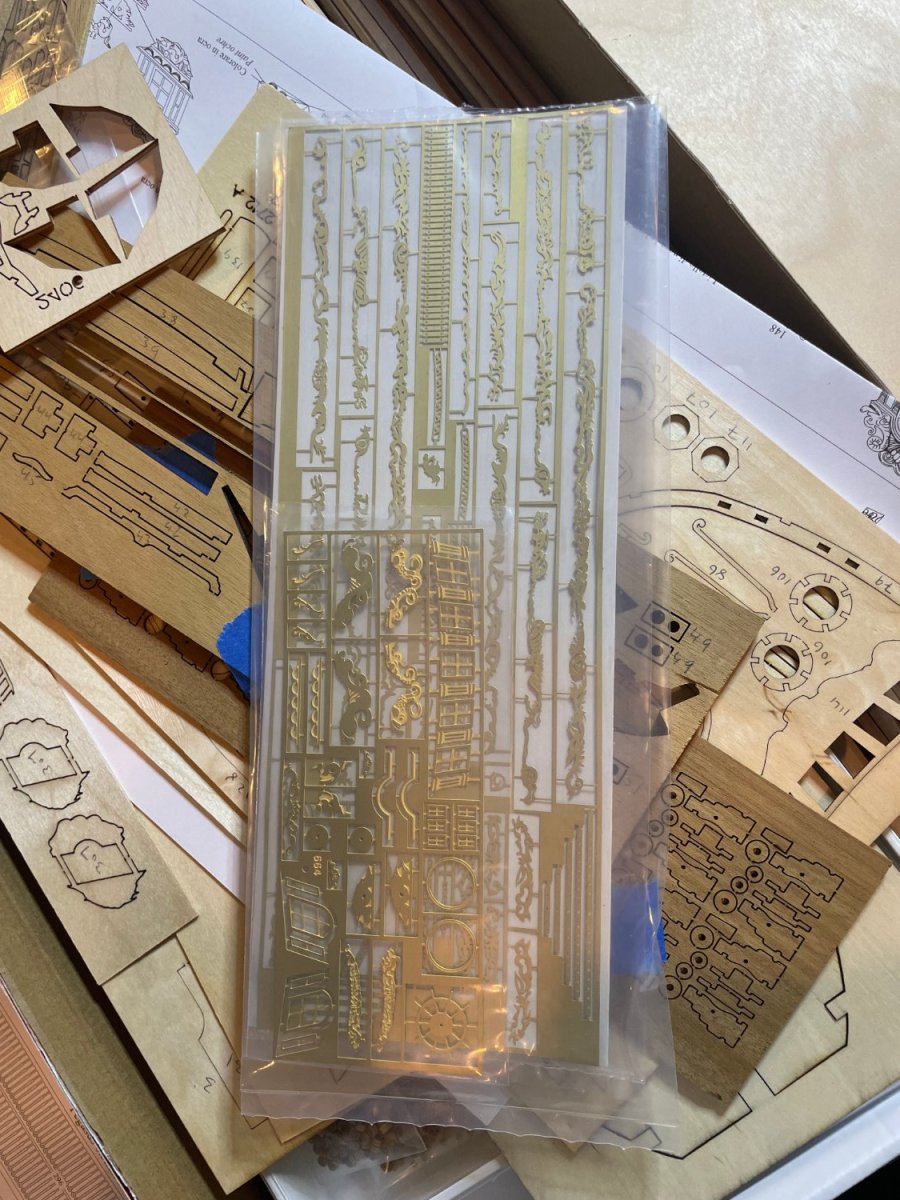
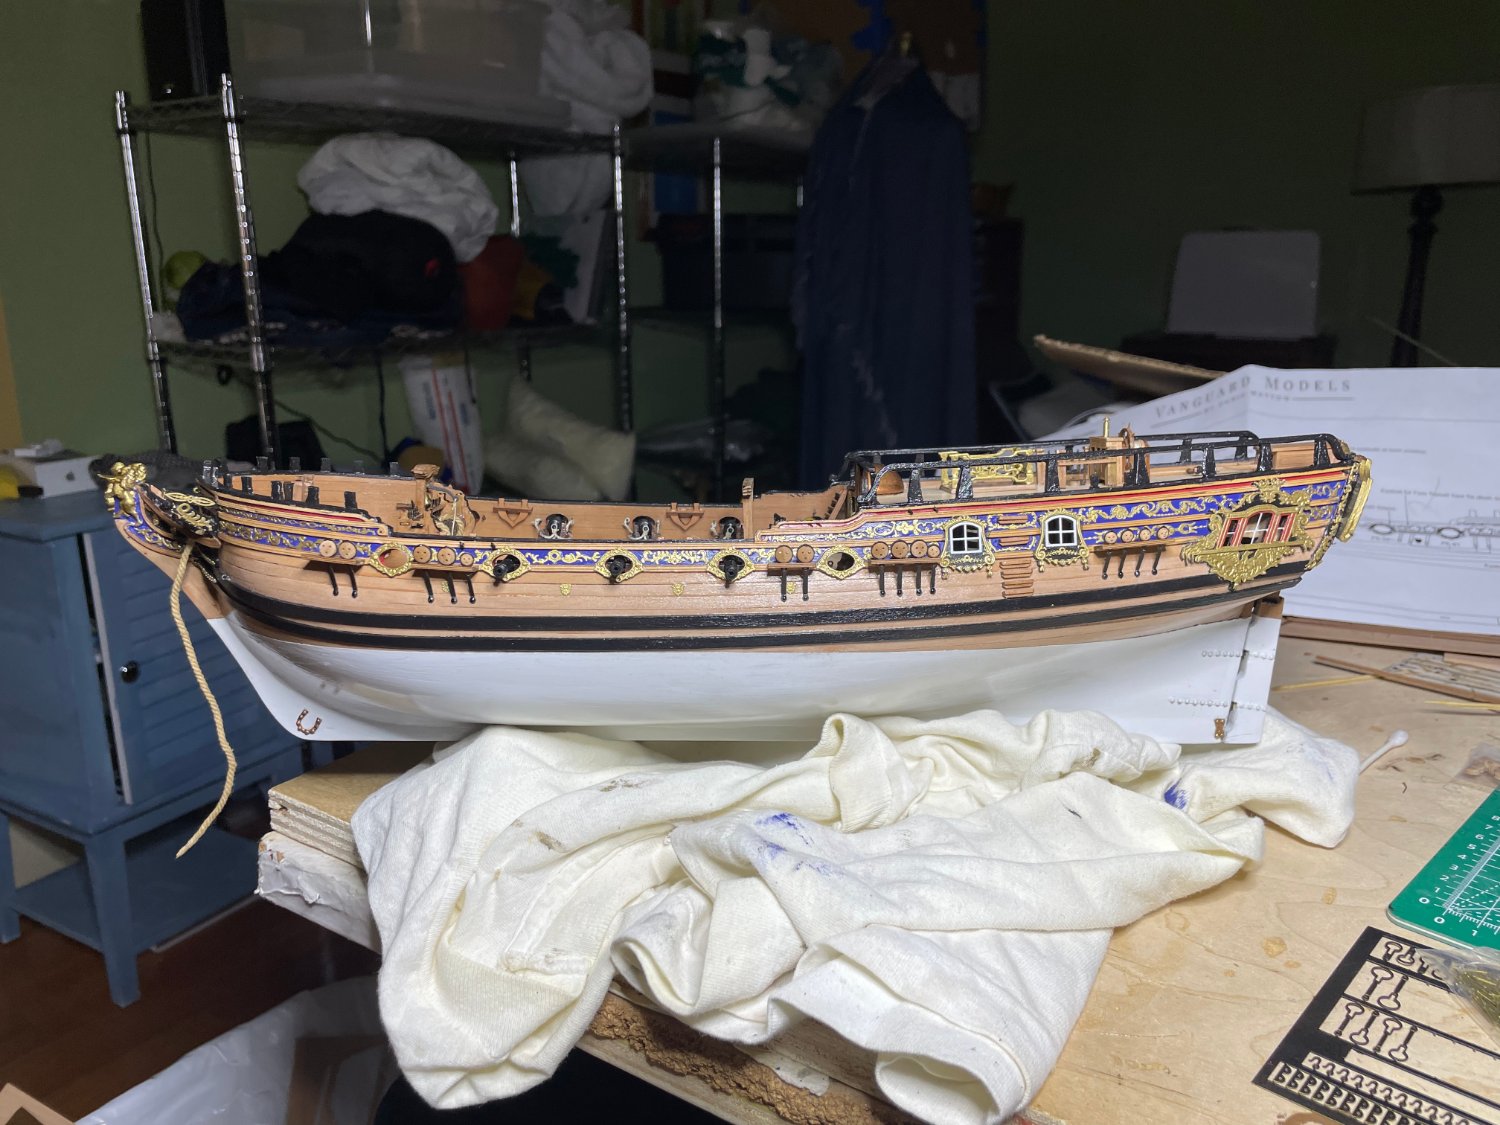
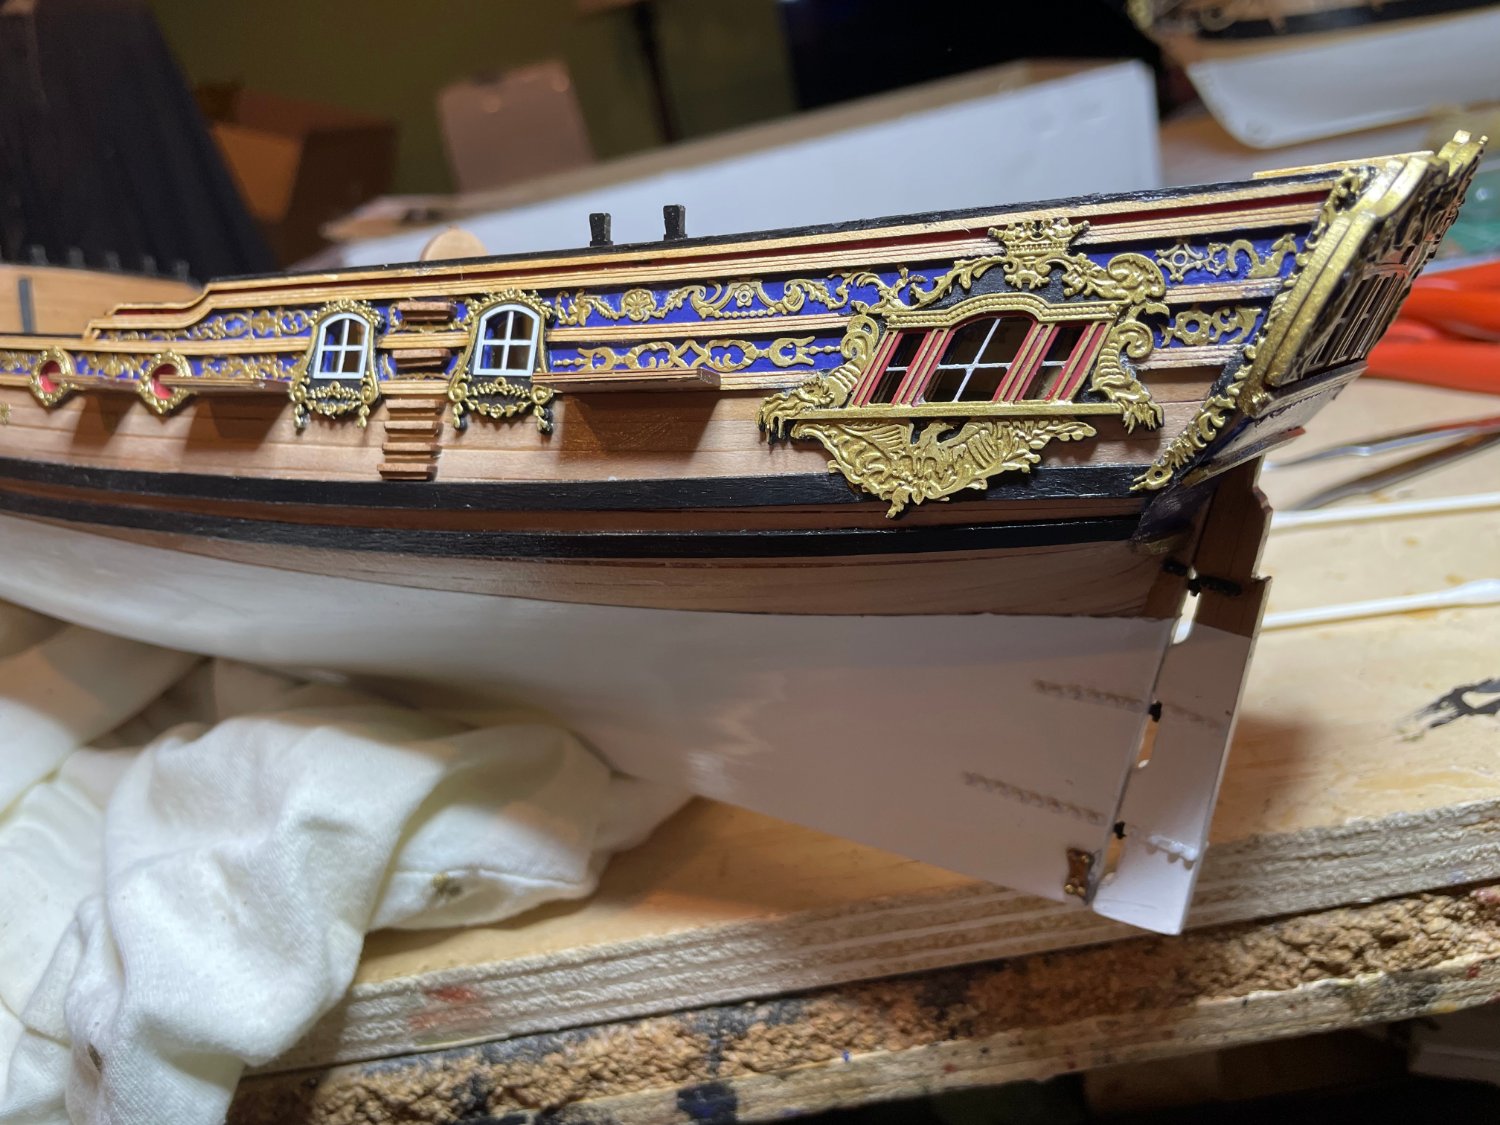
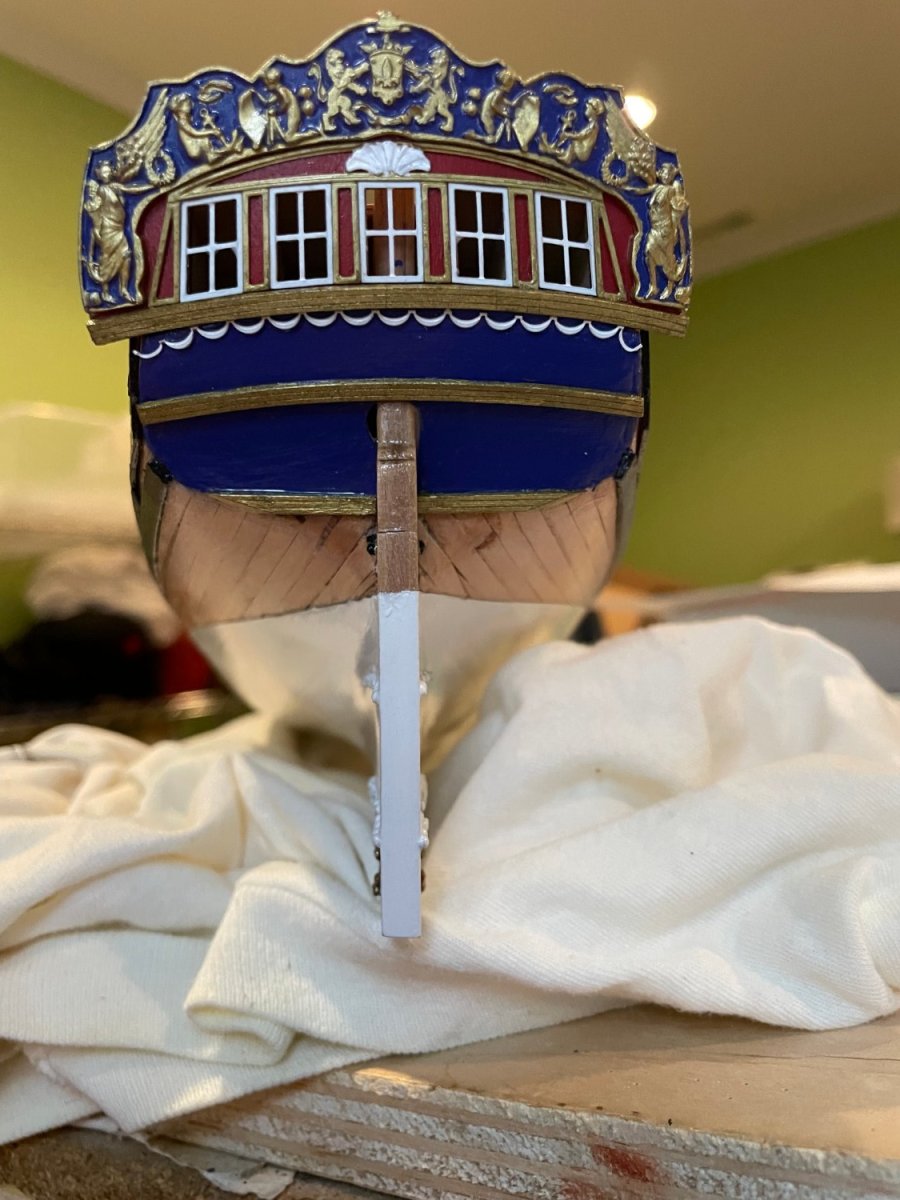
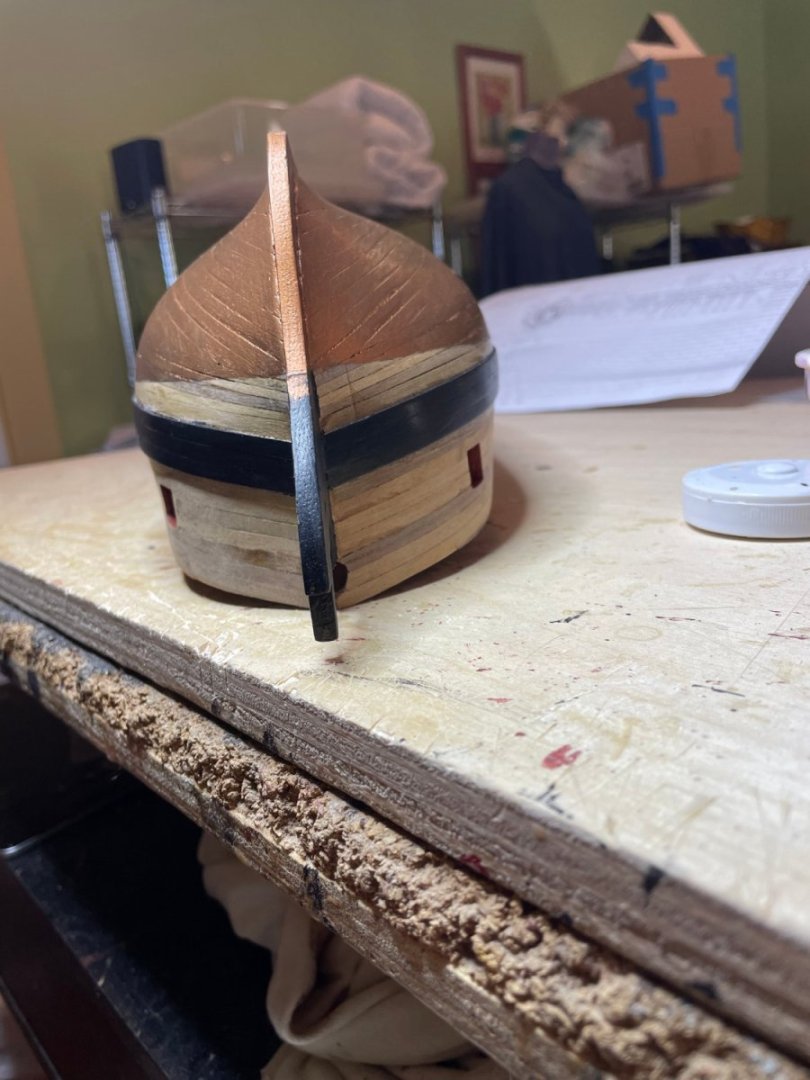
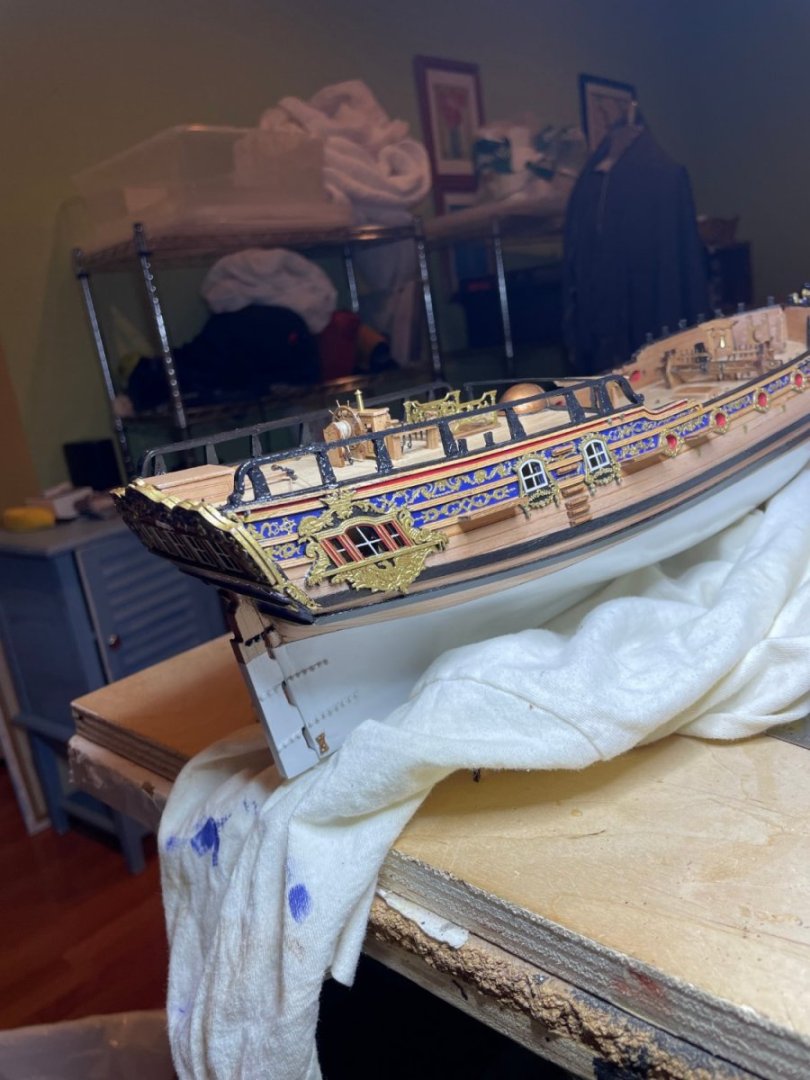
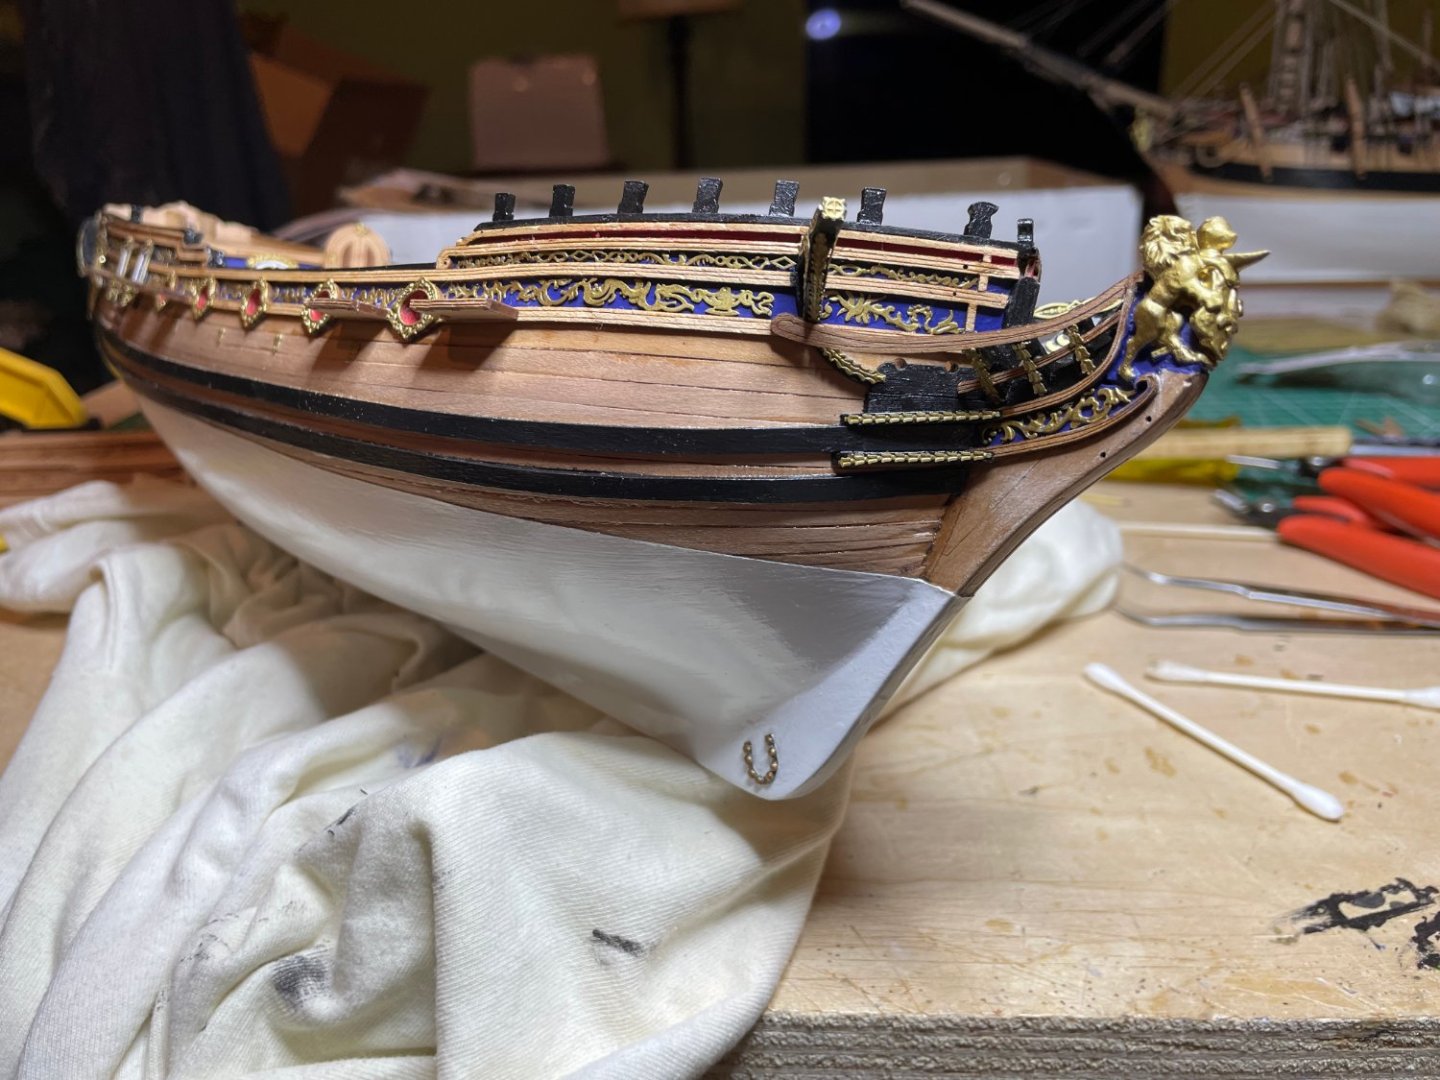
Time to add some bling to the ship!


-
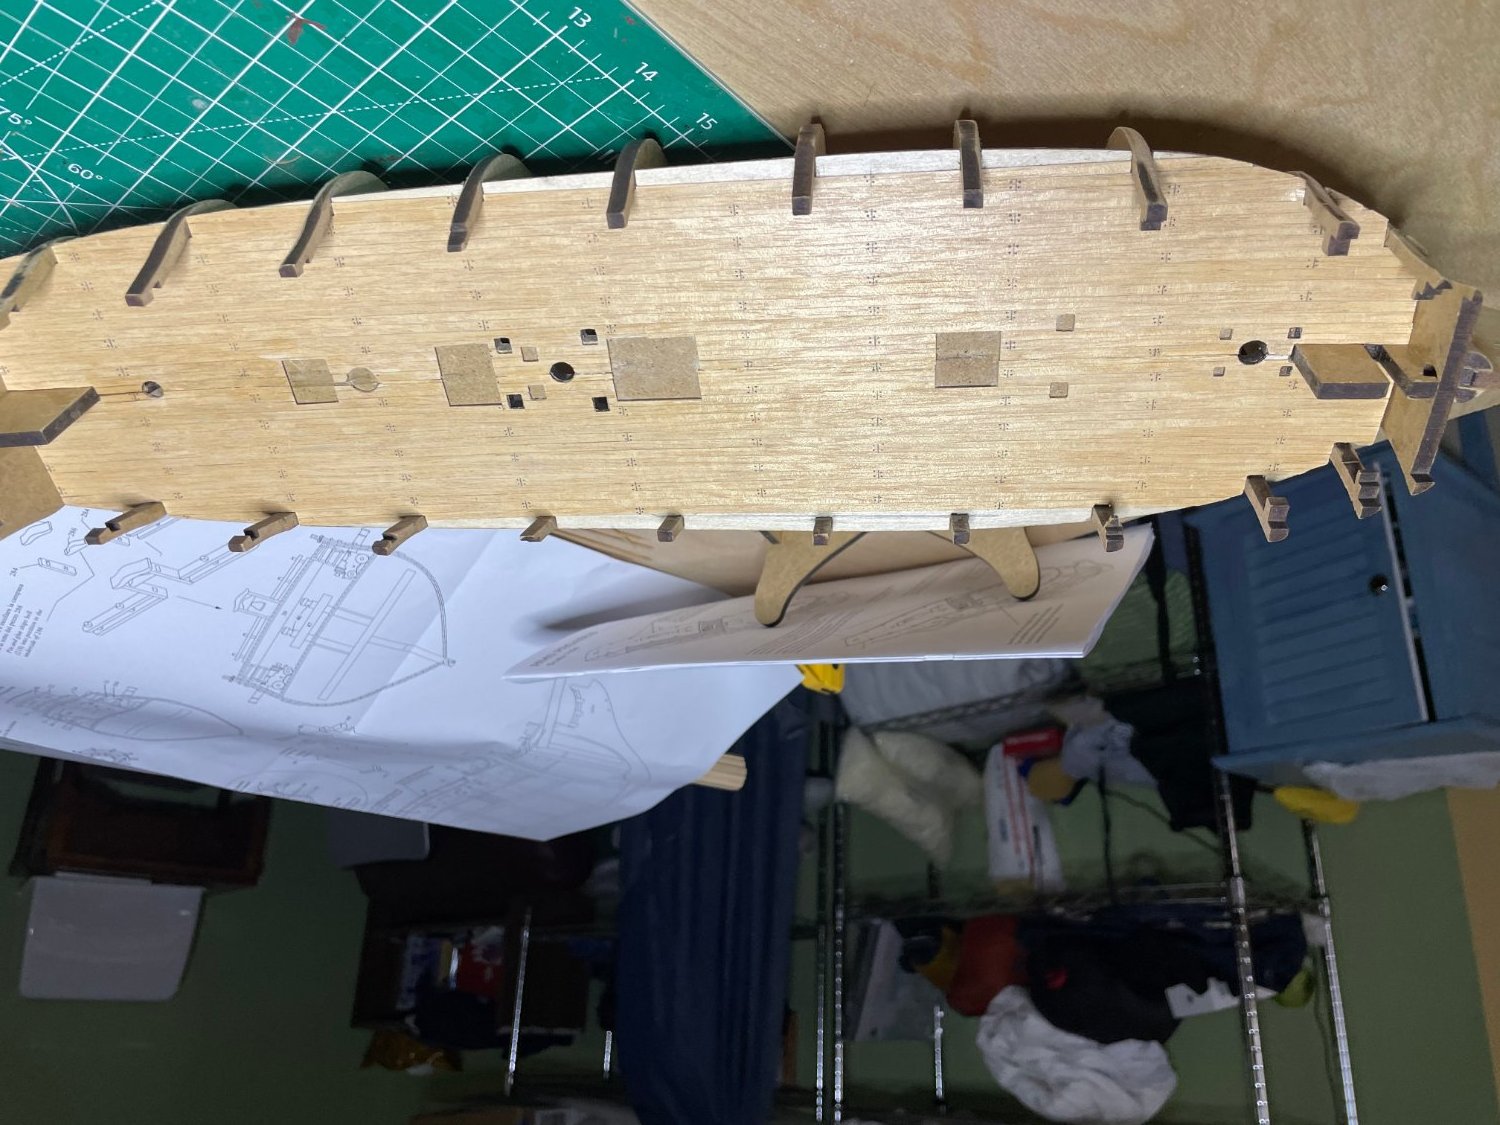
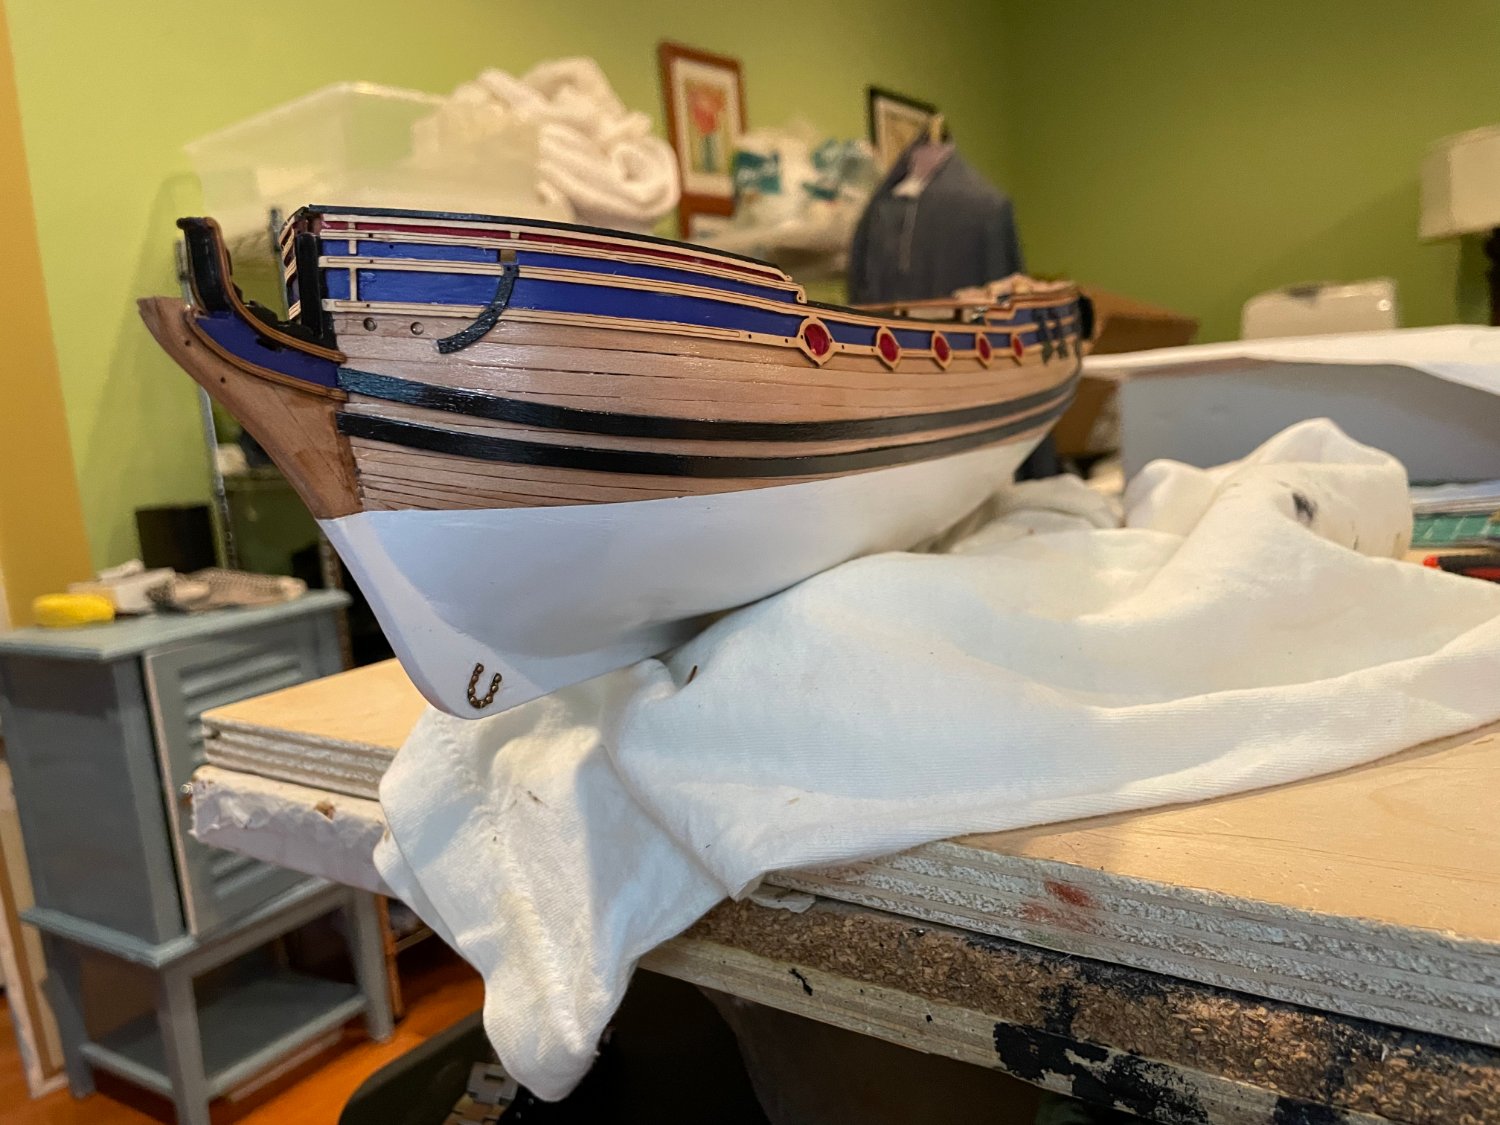
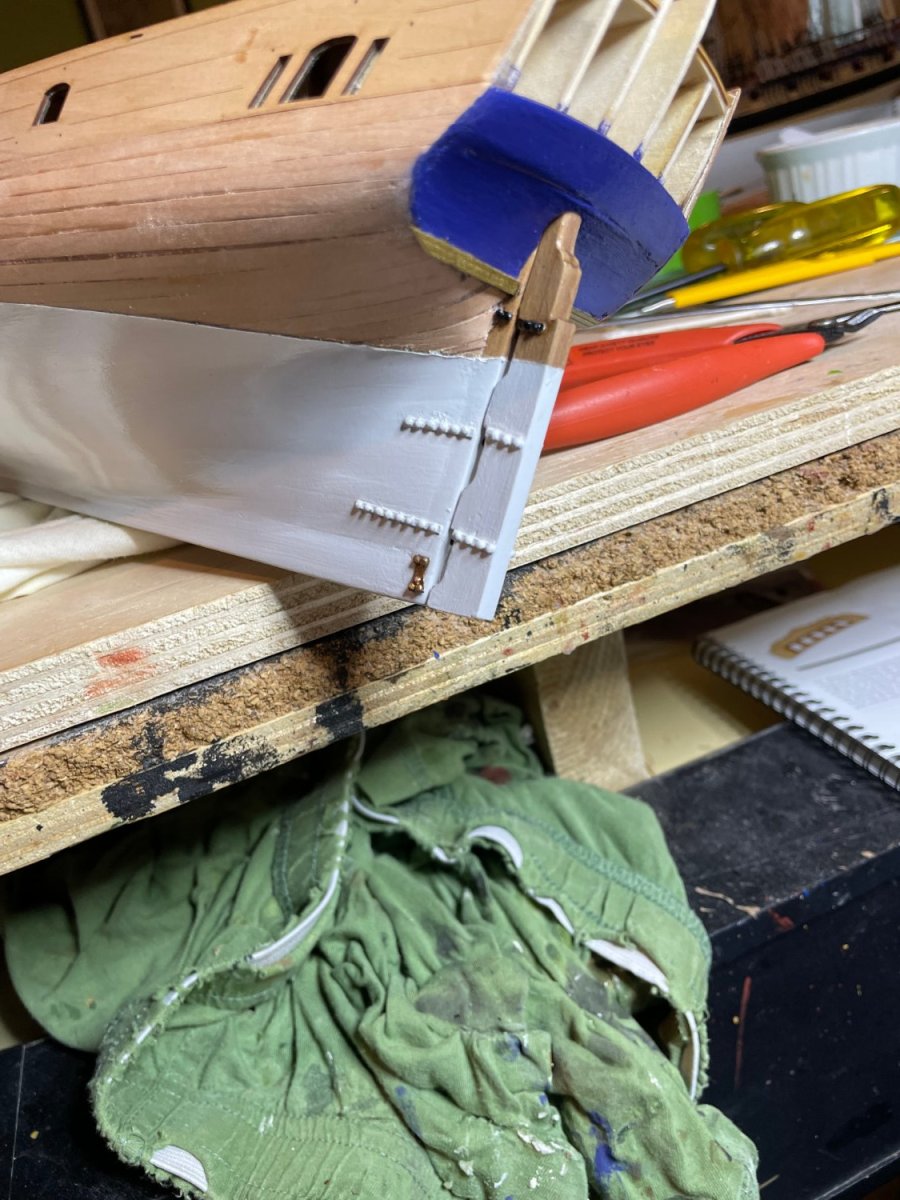
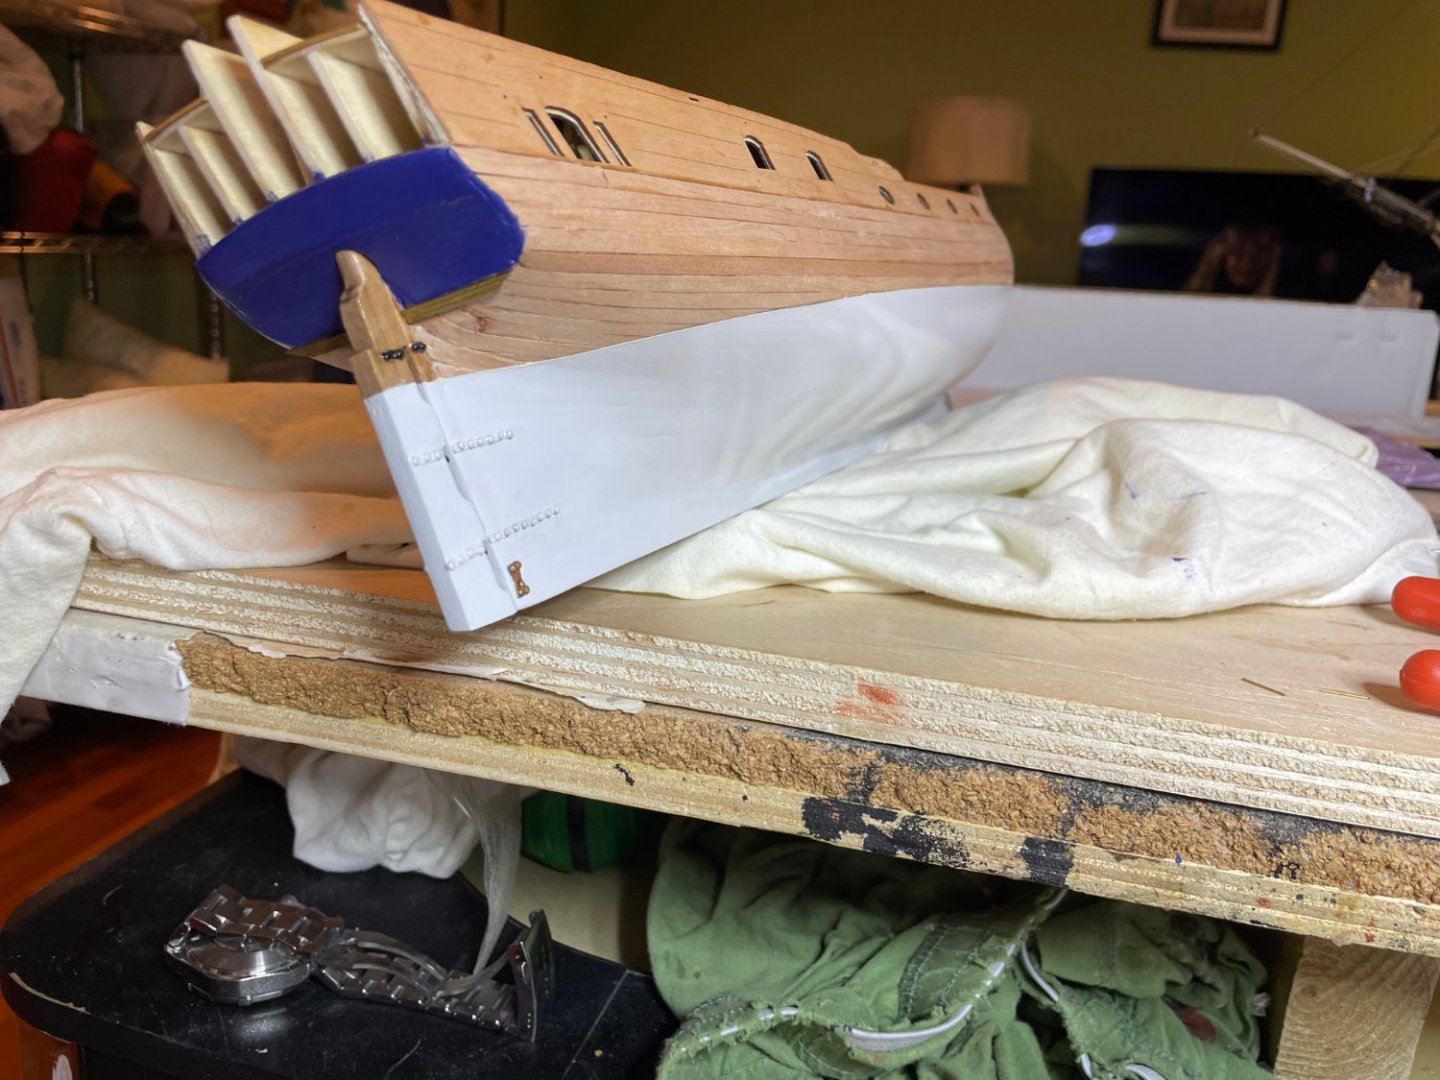
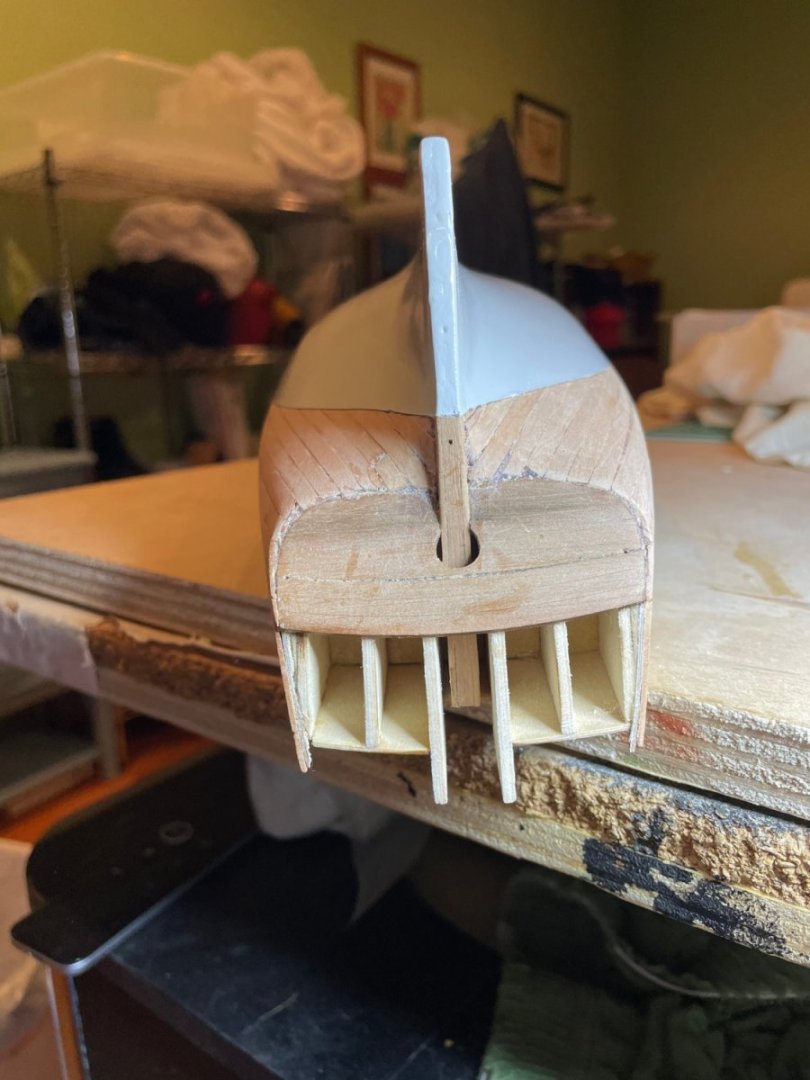
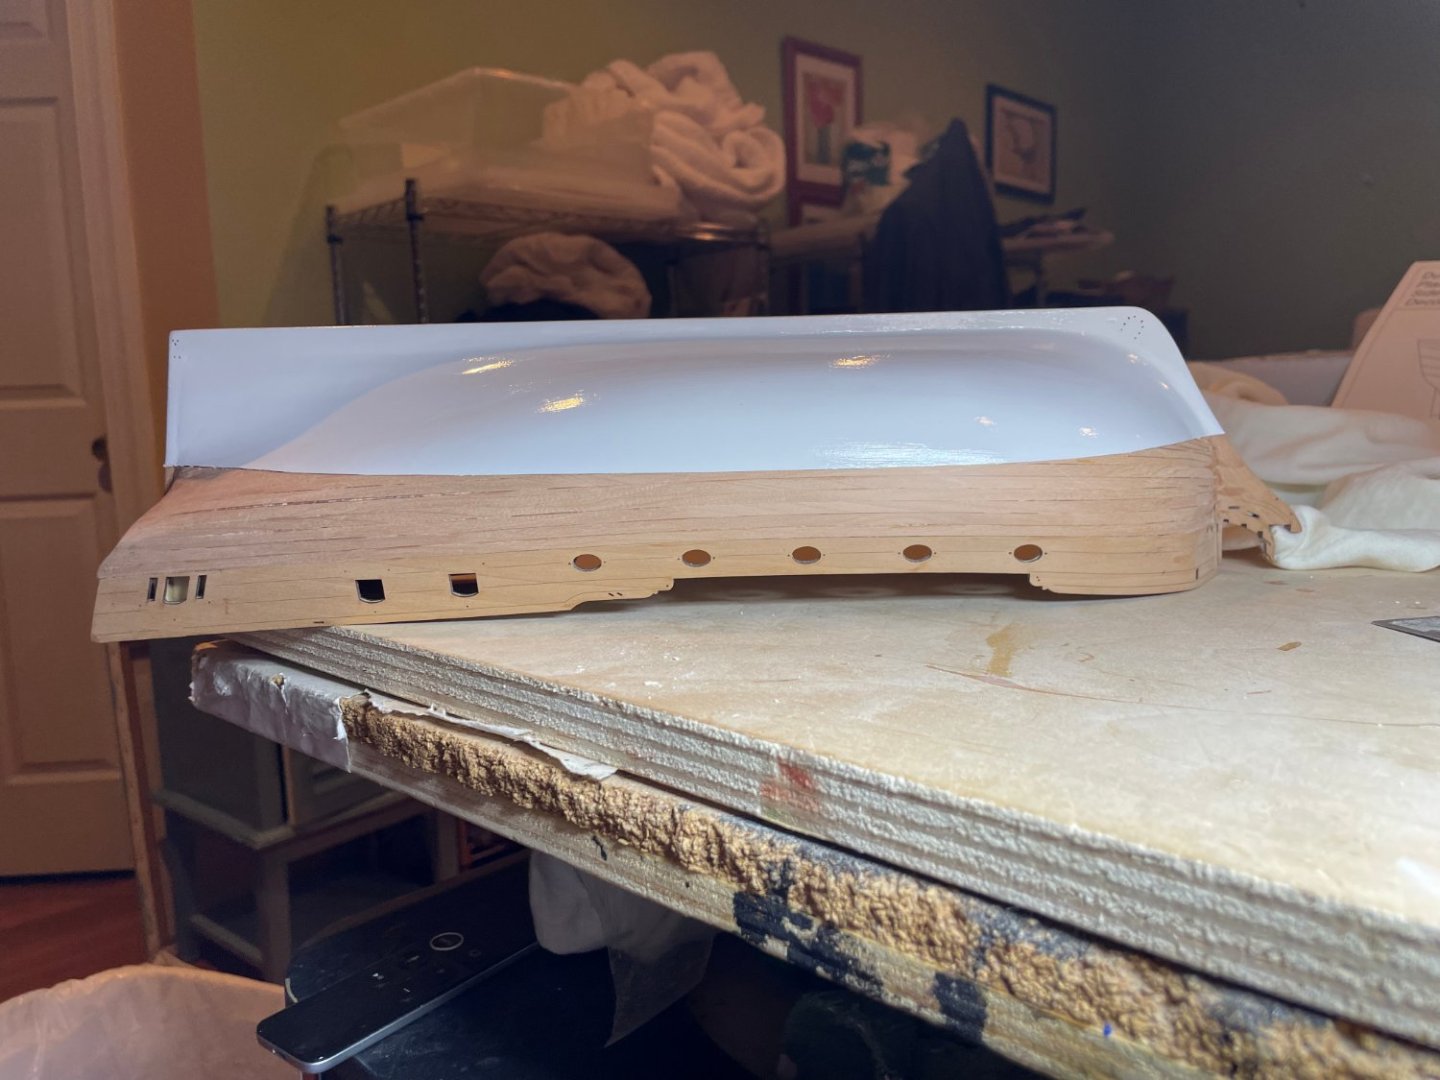
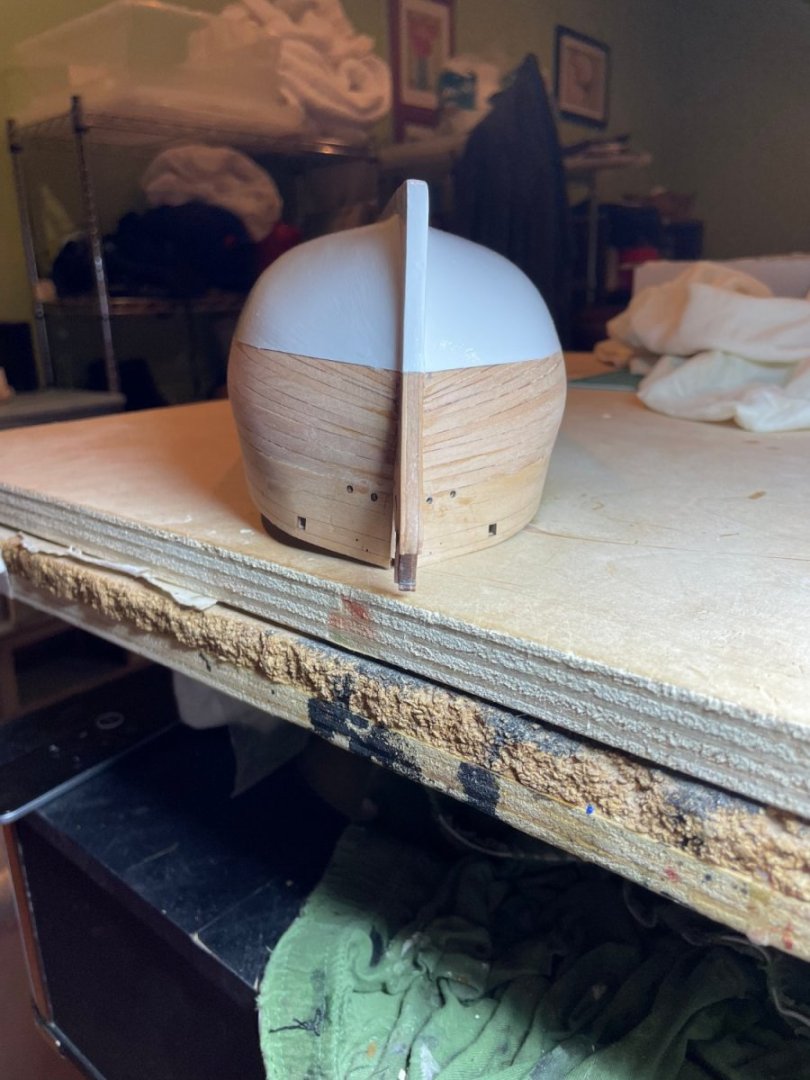
Decided to finish the bottom of the ship first so I don't have to turn it over anymore.


- 22 replies
-
- 1
-
-
- Duchess of Kingston
- Vanguard Models
- (and 1 more)
-
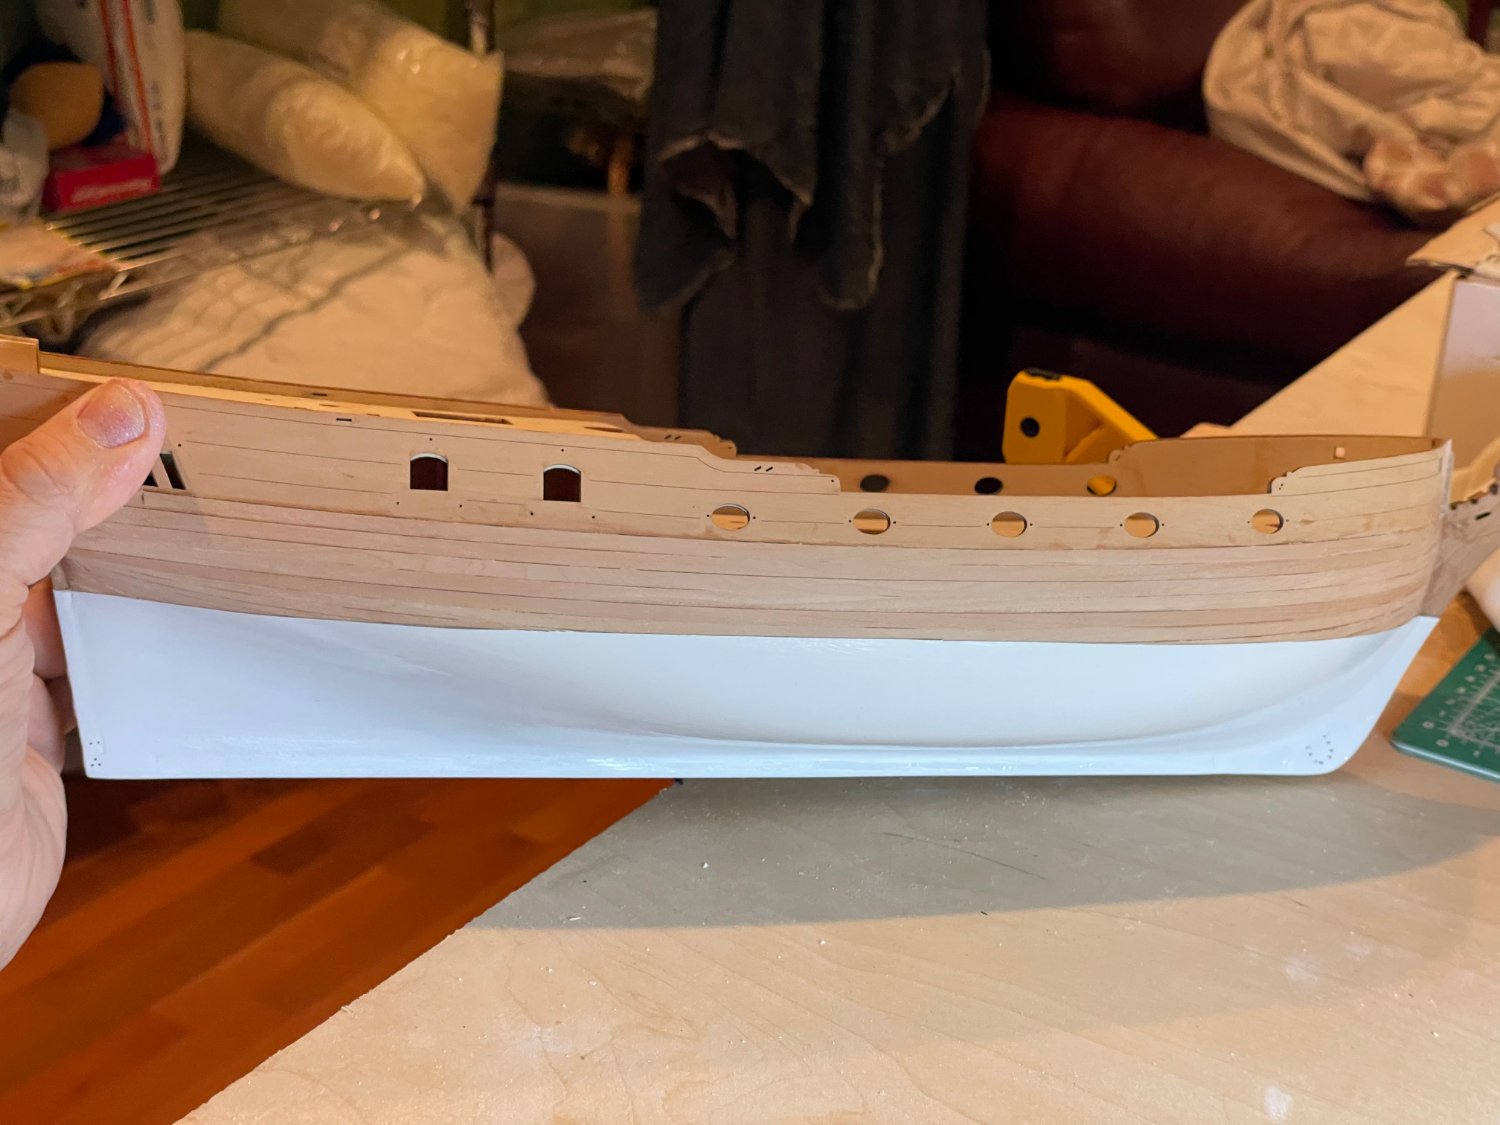
I painted the hull early as I like to not tape and turn things over when other things attached that might pull off.
- 22 replies
-
- 2
-
-
- Duchess of Kingston
- Vanguard Models
- (and 1 more)