HOLIDAY DONATION DRIVE - SUPPORT MSW - DO YOUR PART TO KEEP THIS GREAT FORUM GOING! (Only 75 donations so far out of 49,000 members - C'mon guys!)
×


ECK
-
Posts
640 -
Joined
-
Last visited
Content Type
Profiles
Forums
Gallery
Events
Everything posted by ECK
-
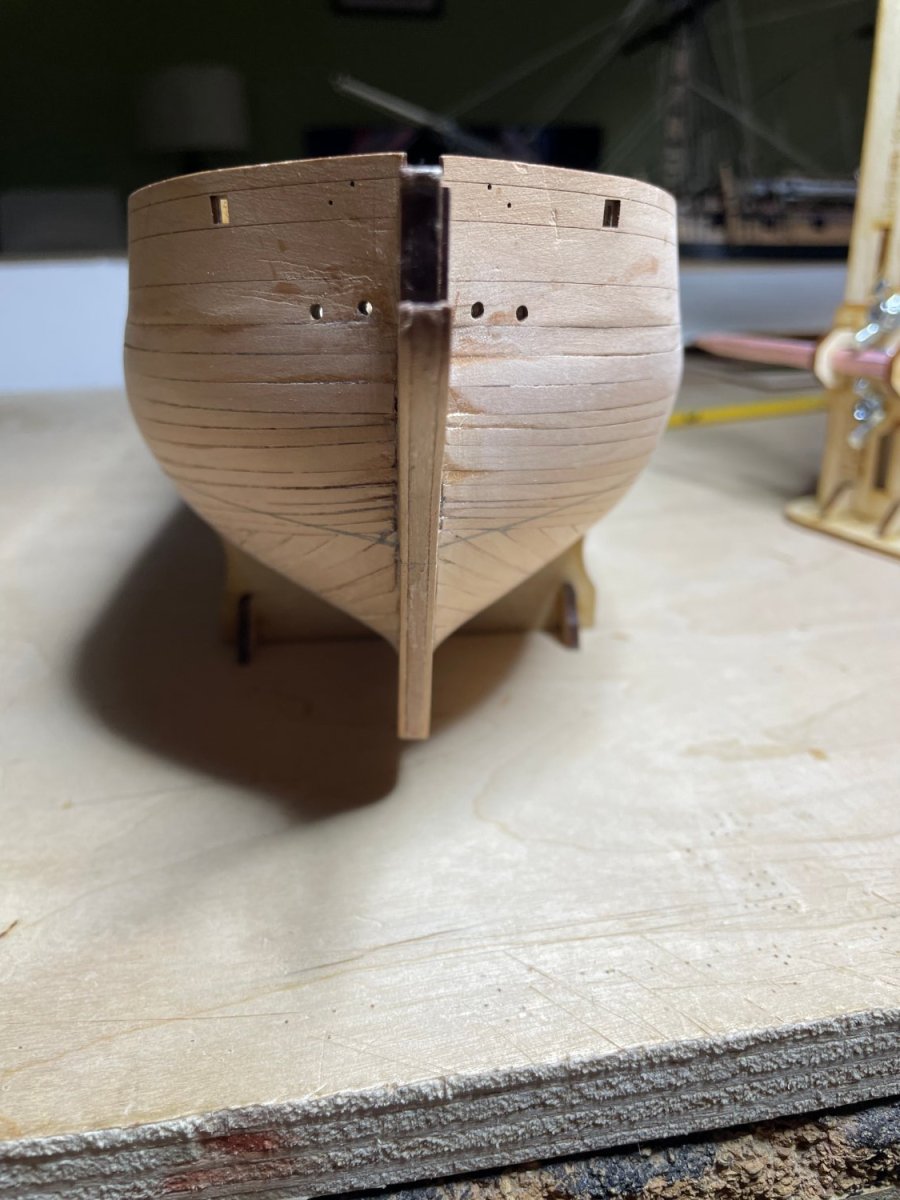
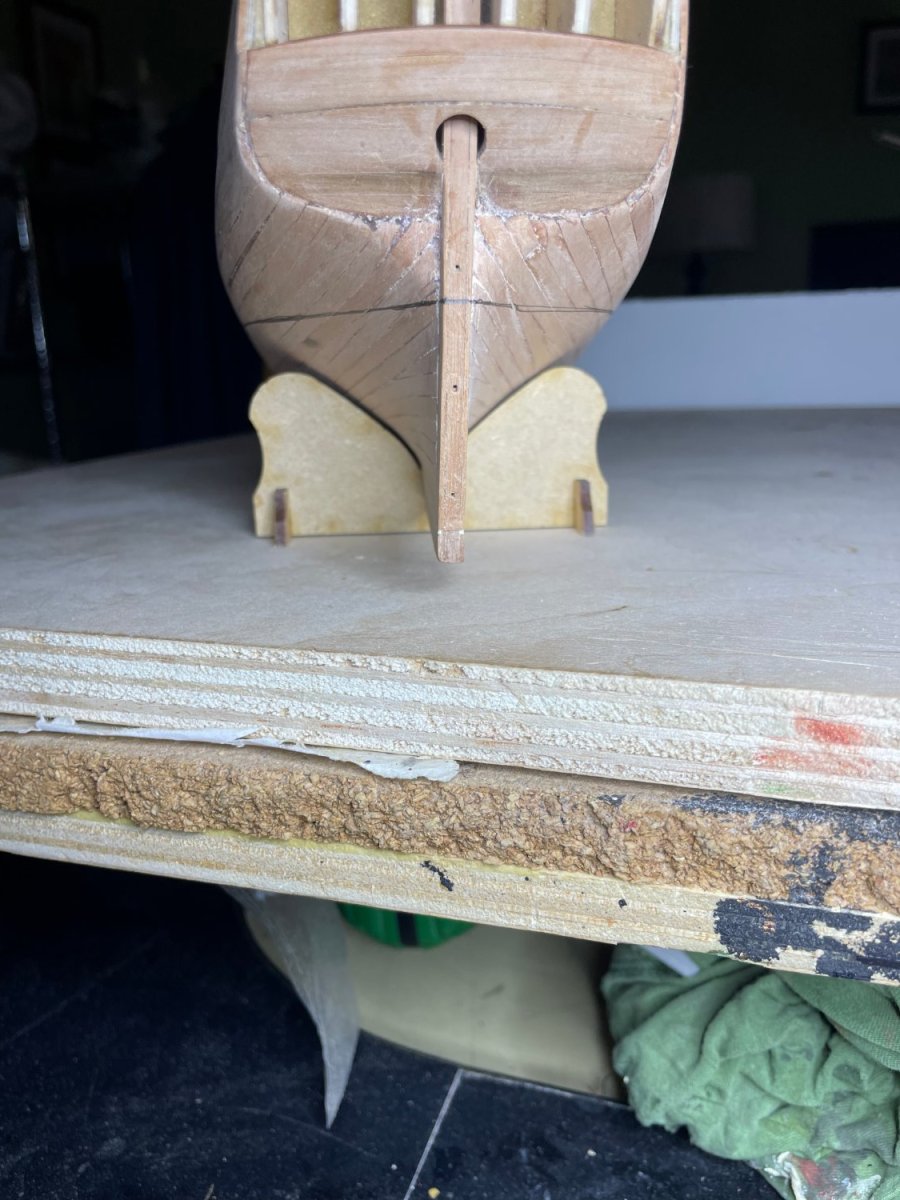
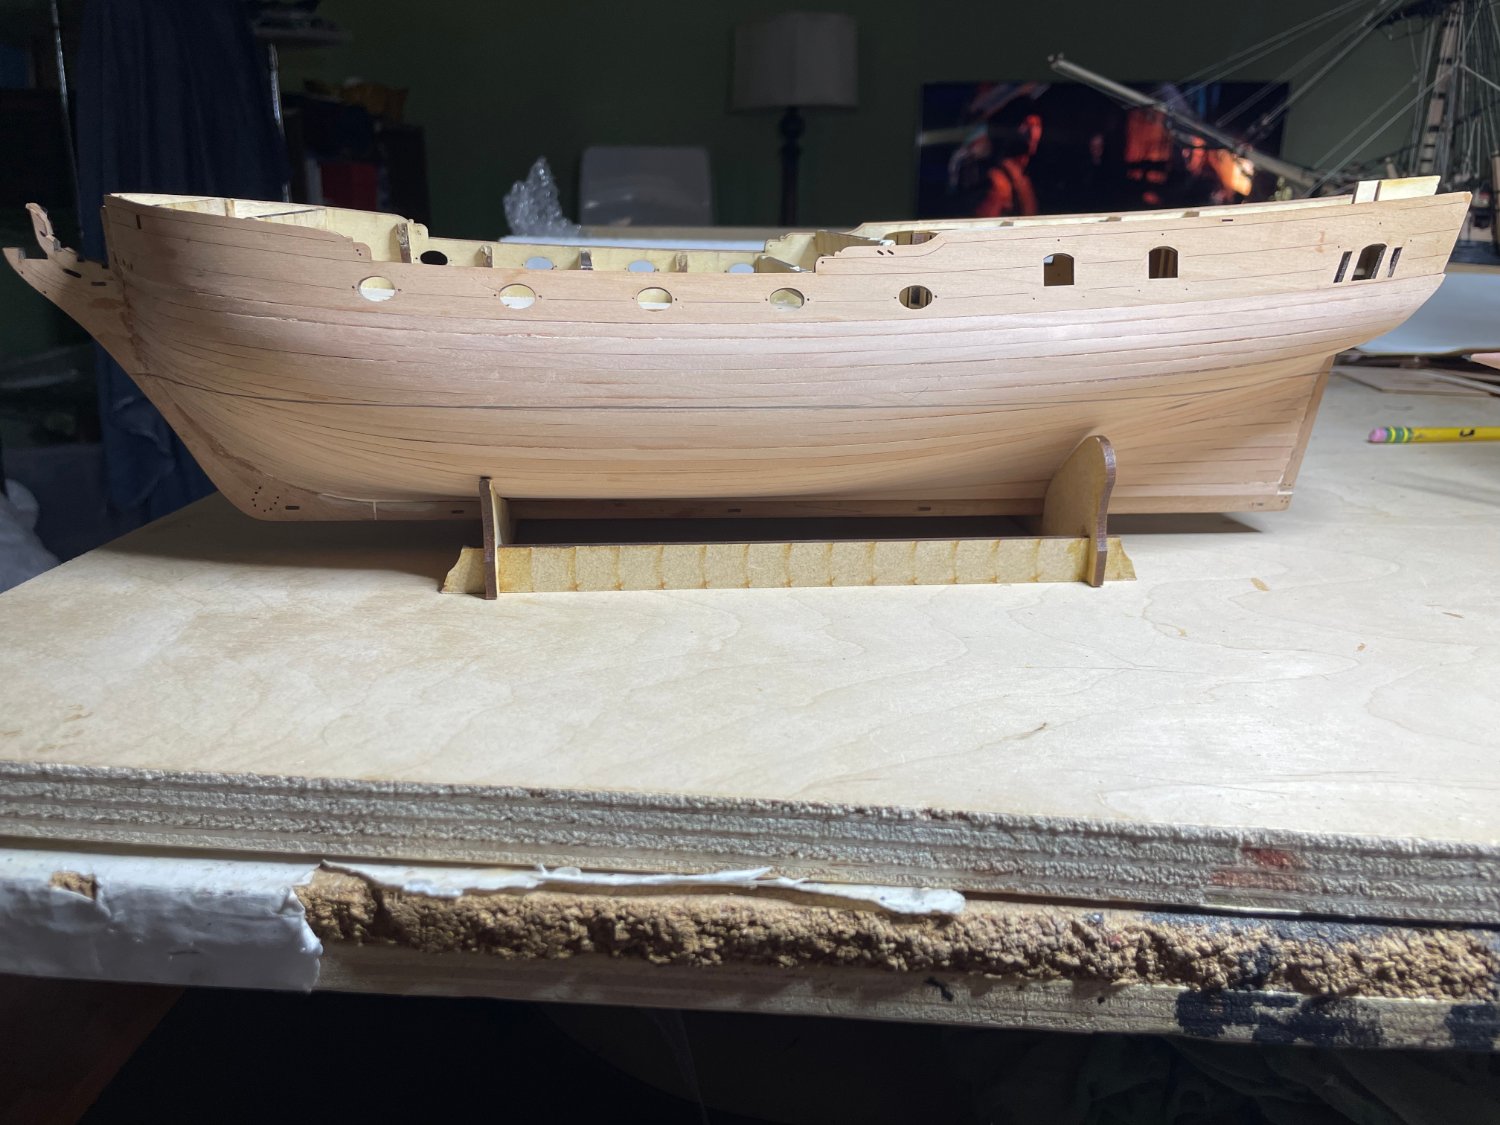
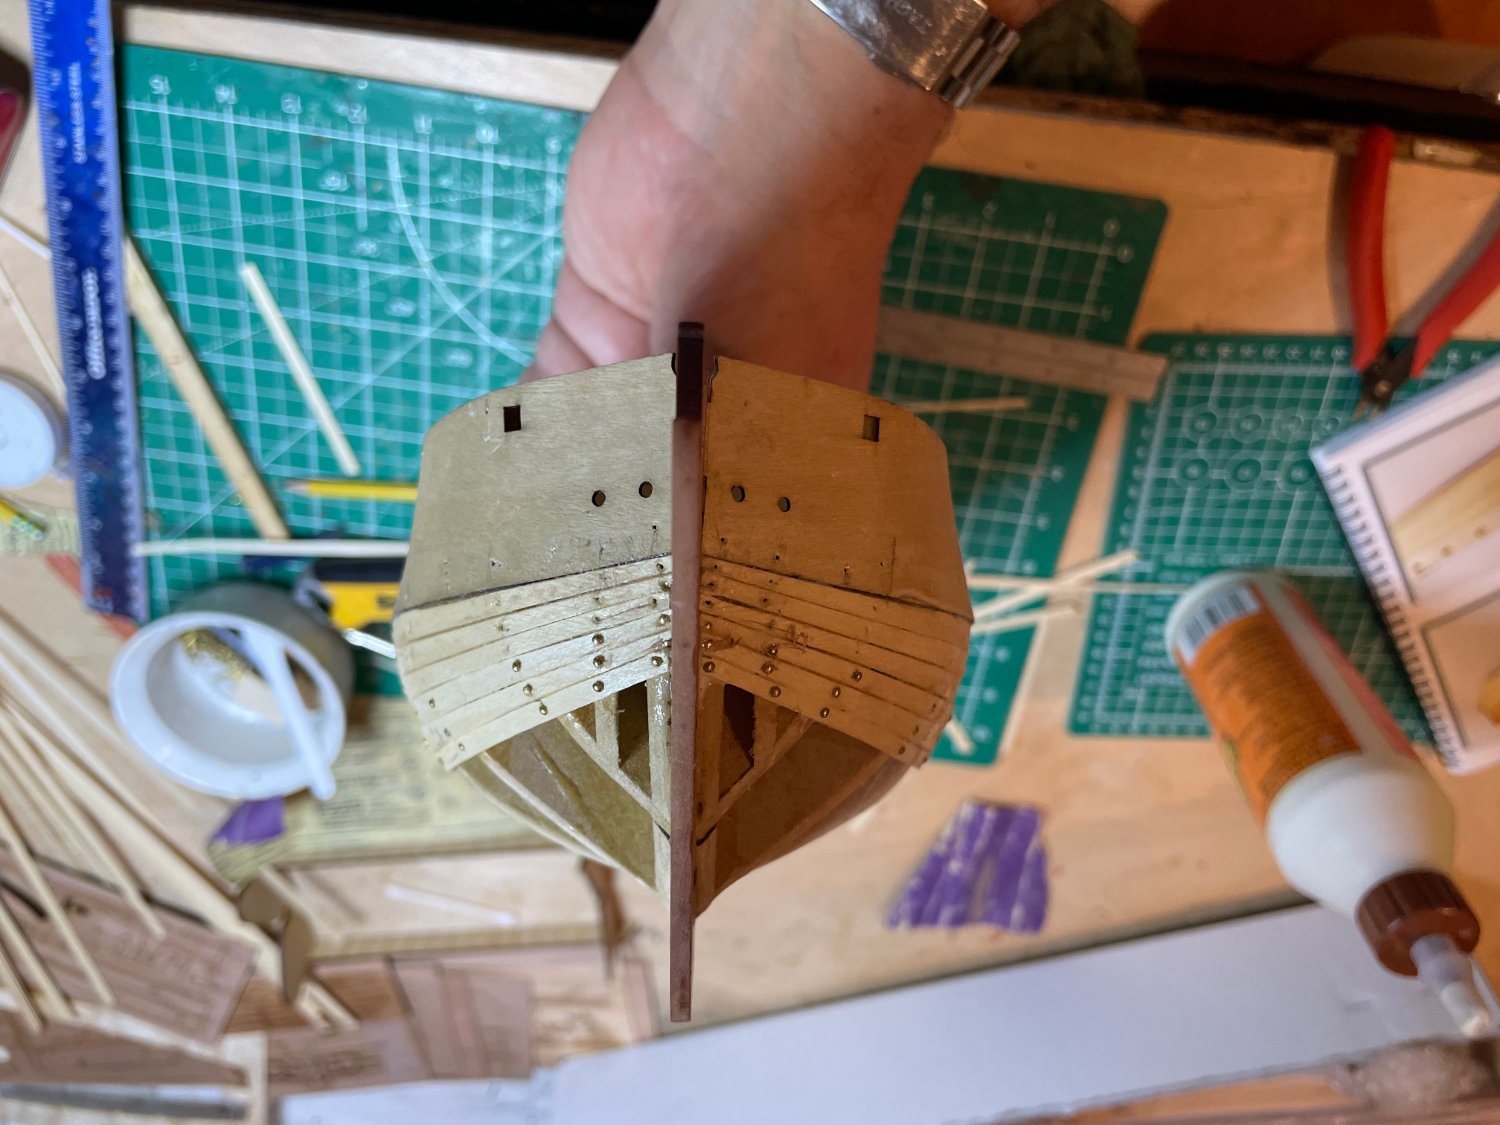
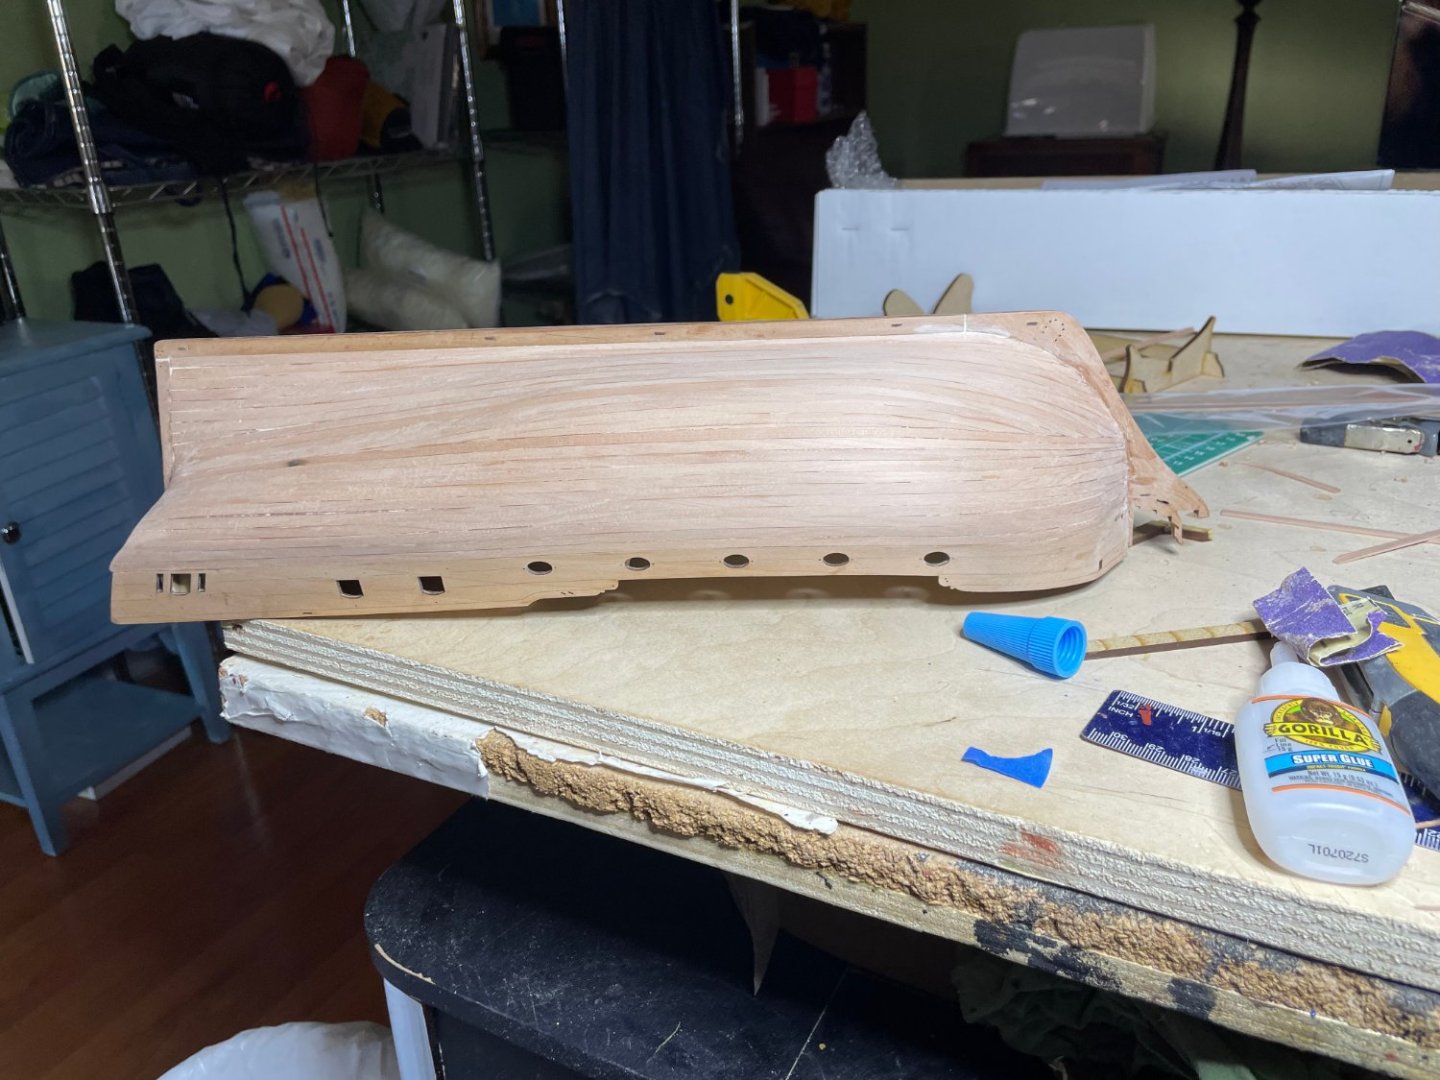
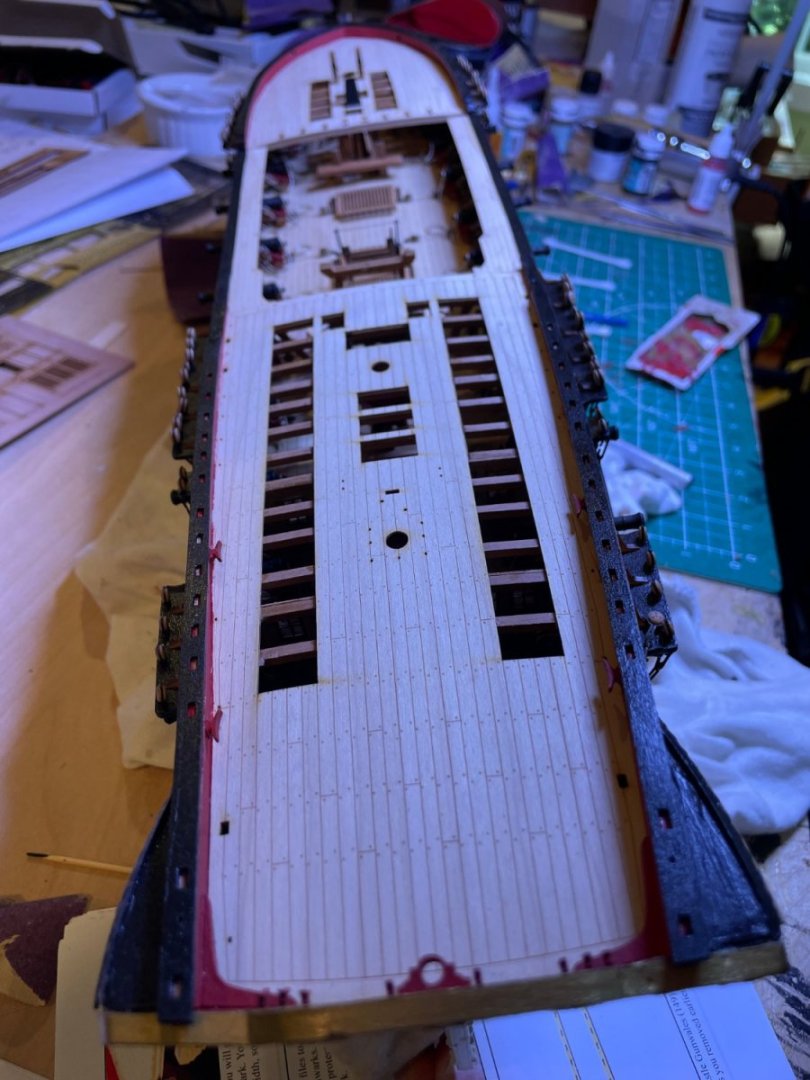
Second planking done and sanded. With water line drawn in


- 22 replies
-
- 2
-

-
- Duchess of Kingston
- Vanguard Models
- (and 1 more)
-
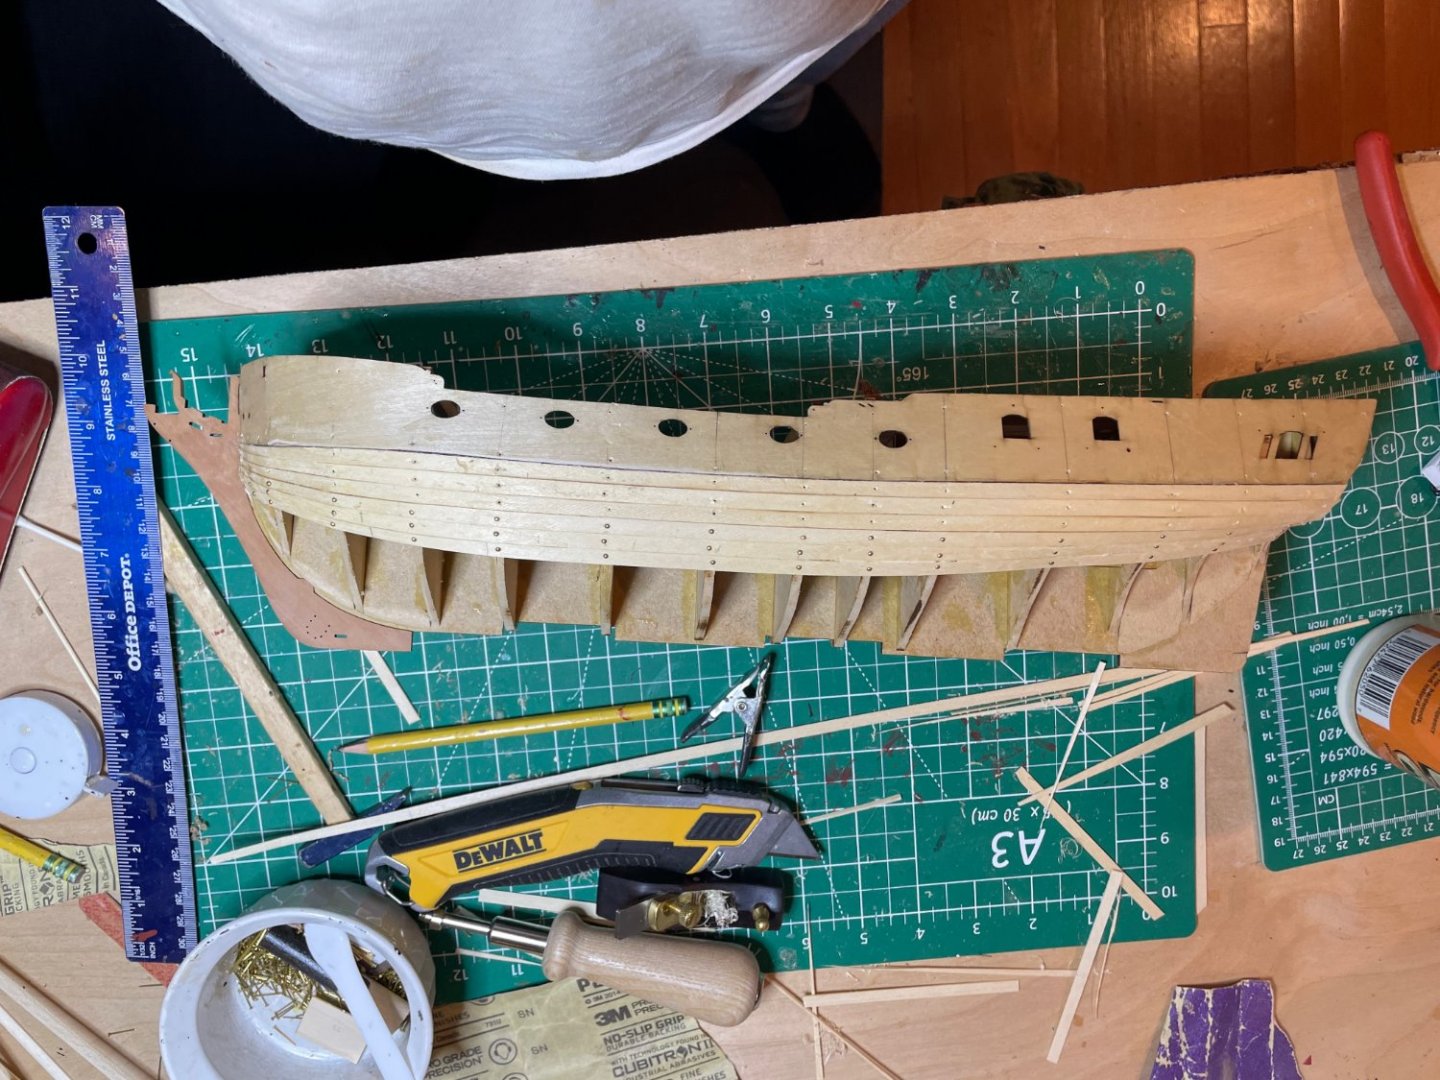
Planking continues With your support, we stay on course: your donations to MSW for 2022 are fully tax-deductible


- 22 replies
-
- 1
-
-
- Duchess of Kingston
- Vanguard Models
- (and 1 more)
-
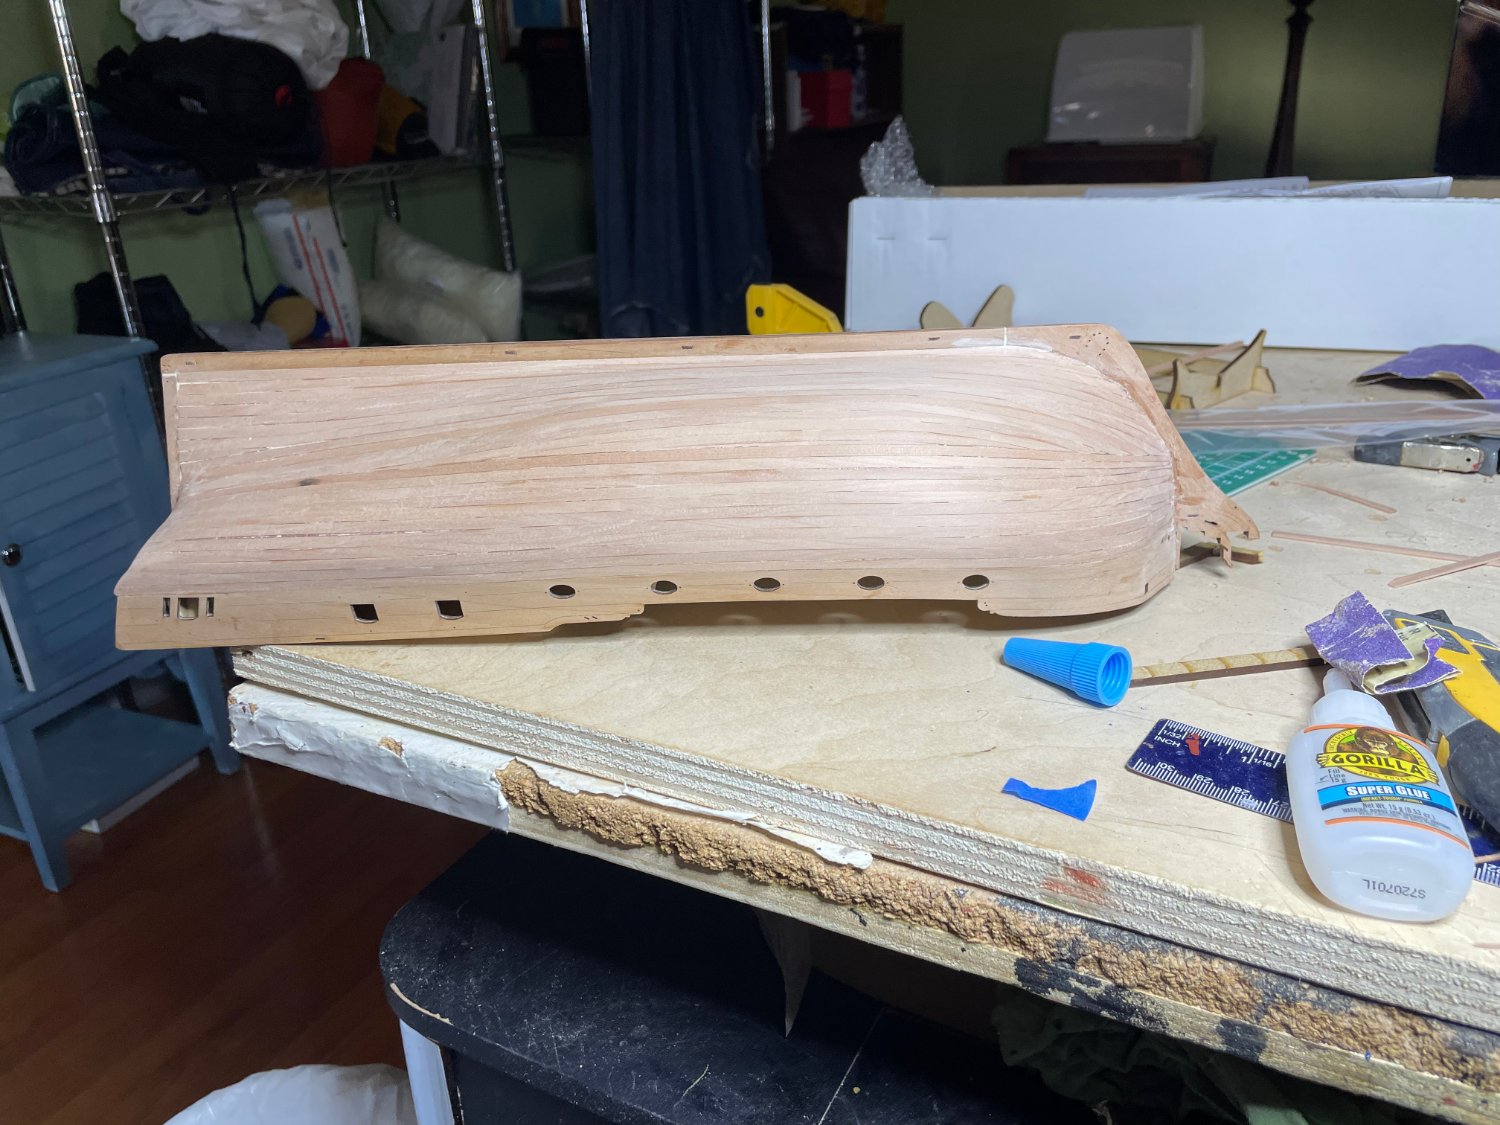
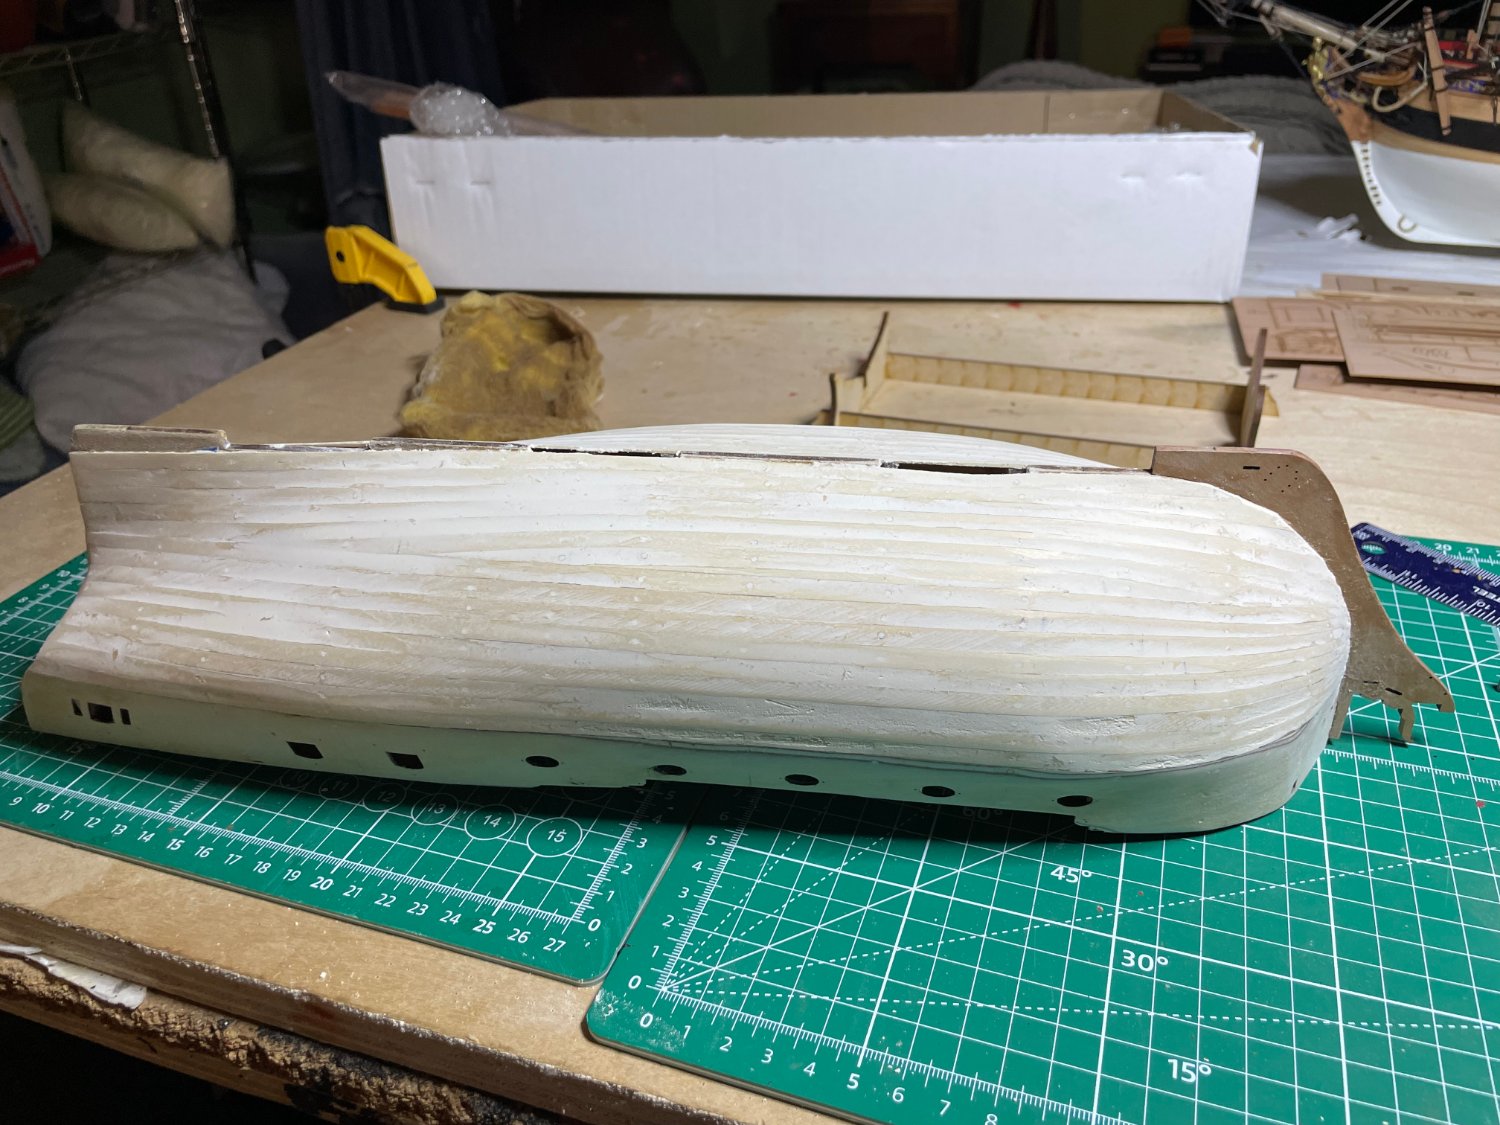
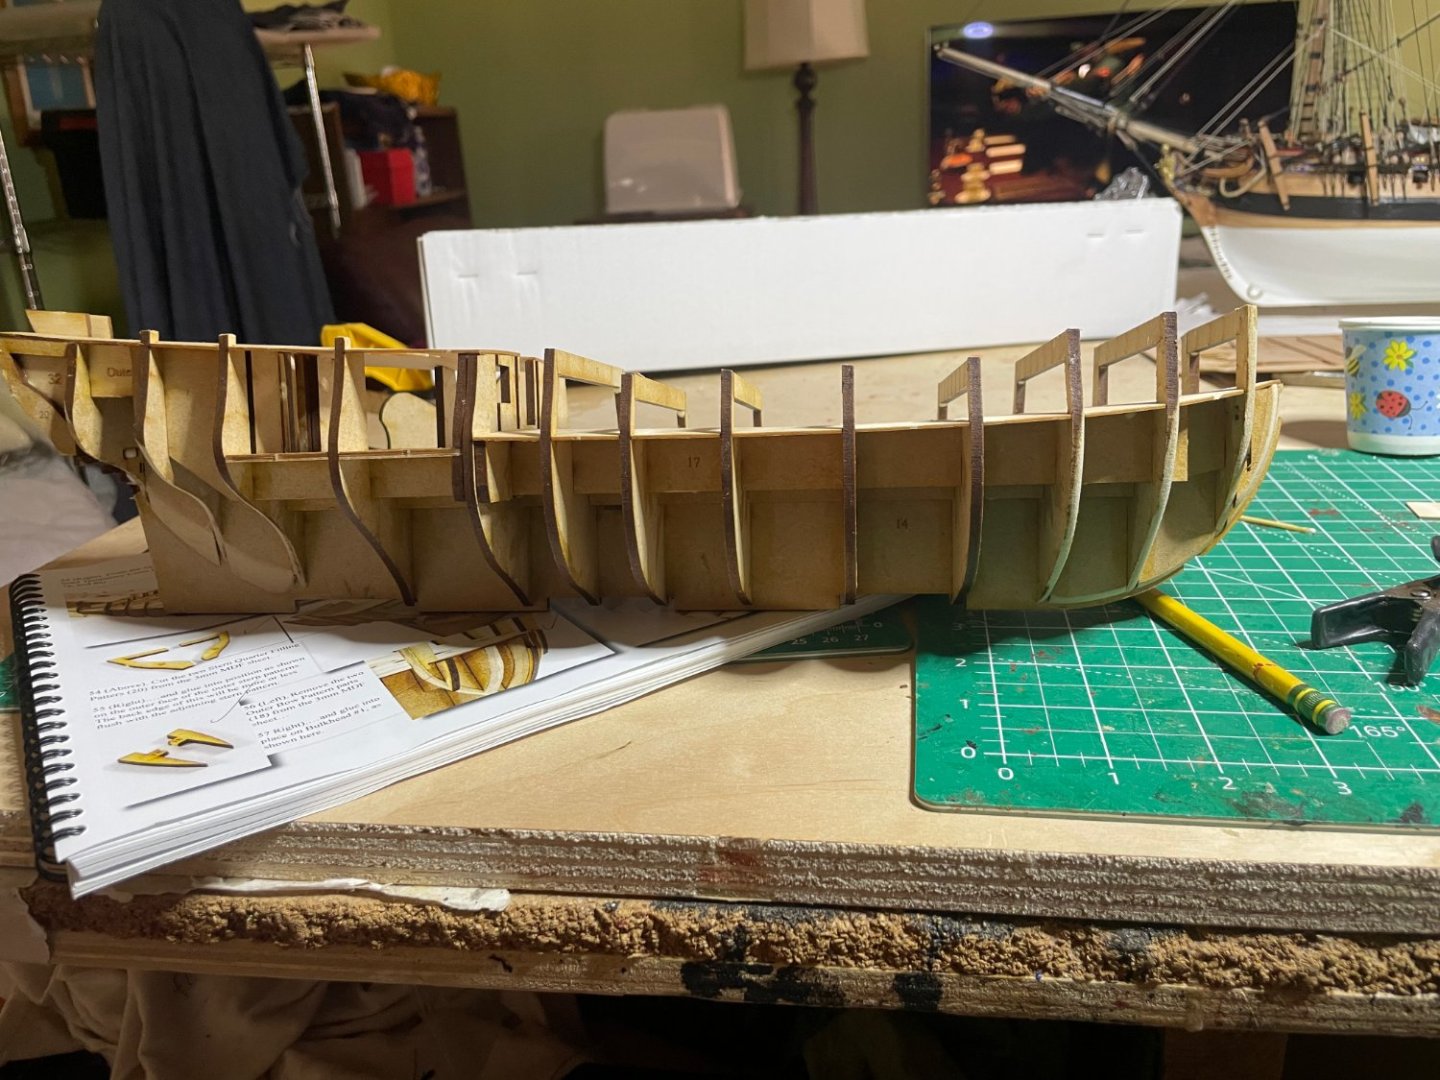
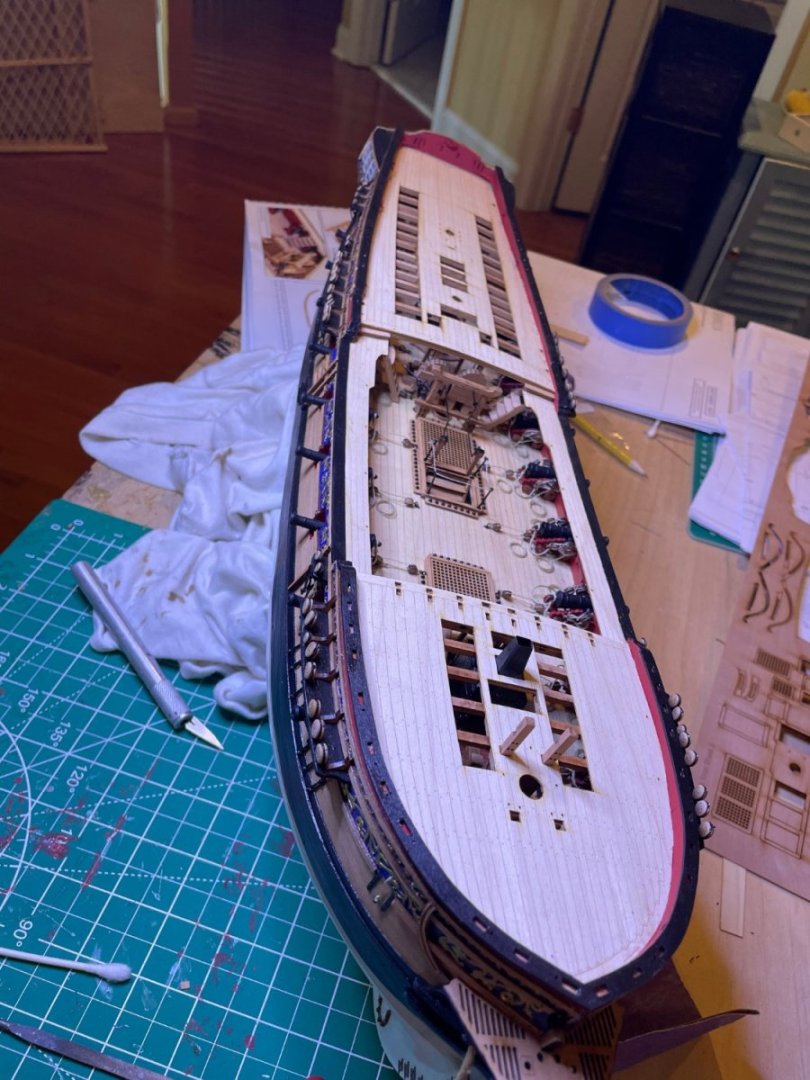
Sanded with a small triangular orbital sander and some hand finishing, looks about right. Plank fits well.
- 22 replies
-
- 3
-
-
- Duchess of Kingston
- Vanguard Models
- (and 1 more)
-
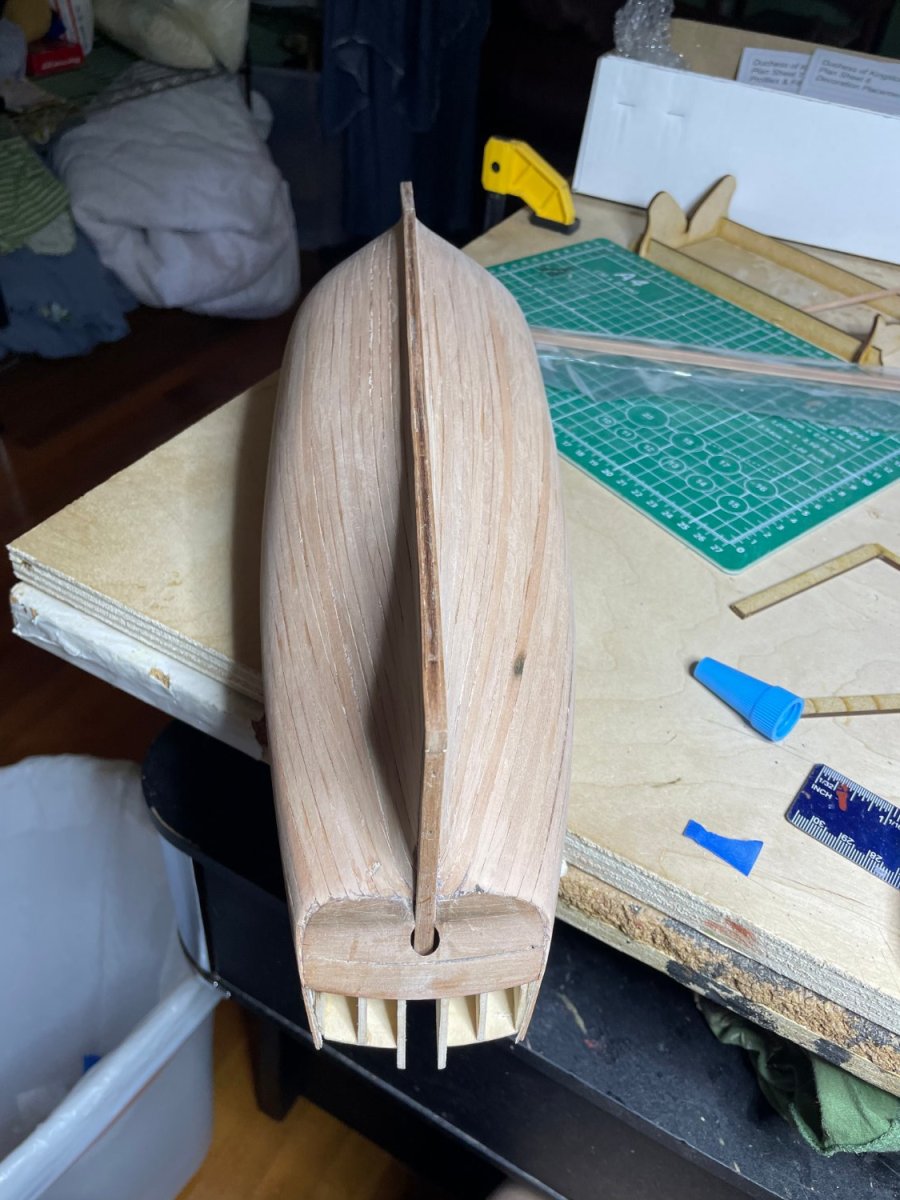
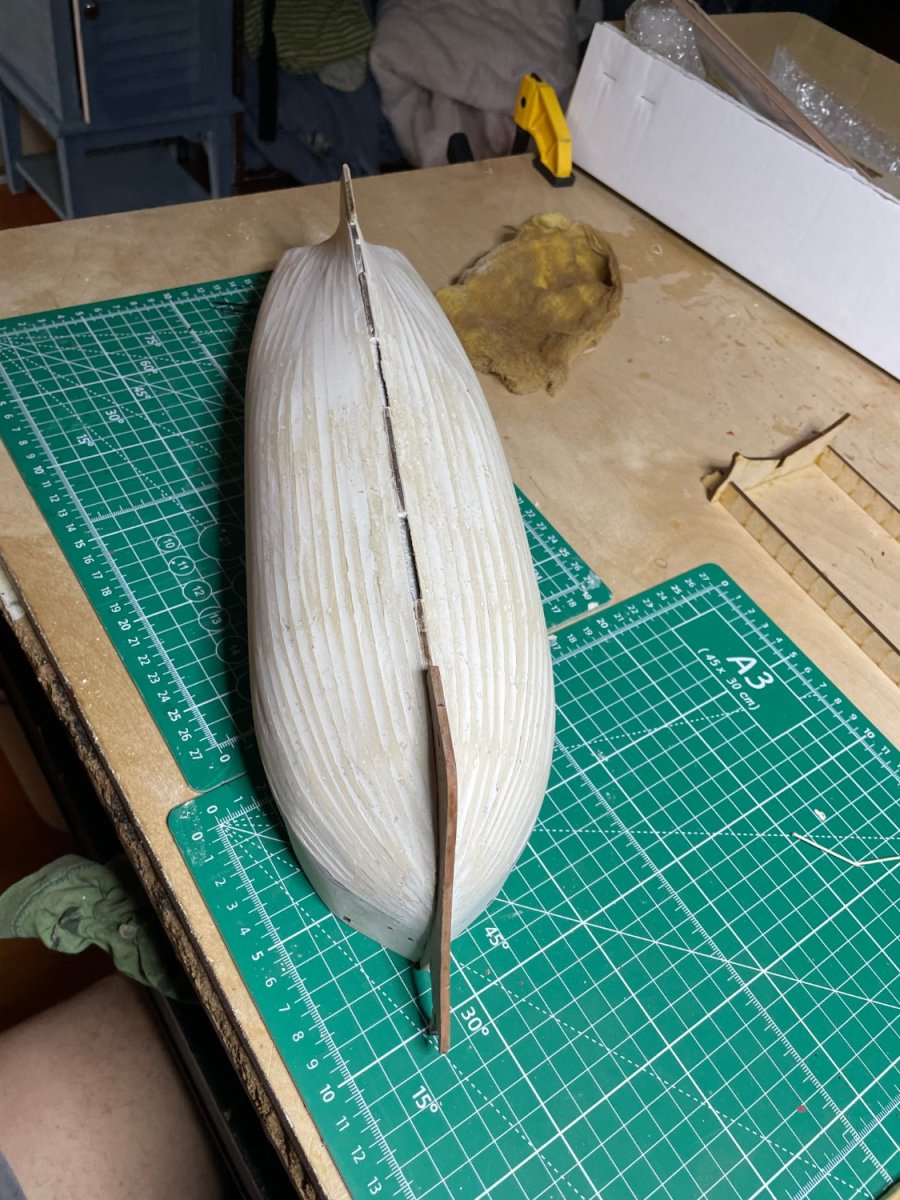
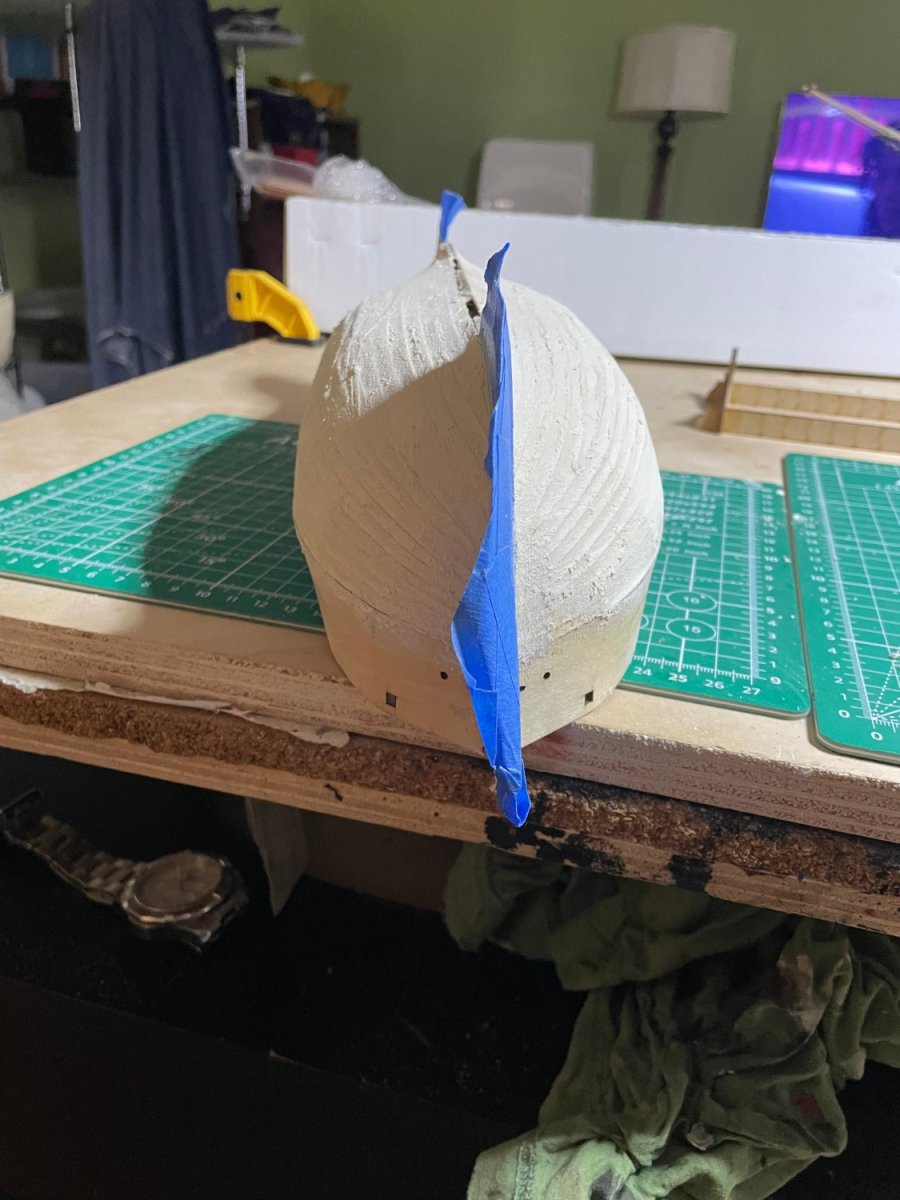
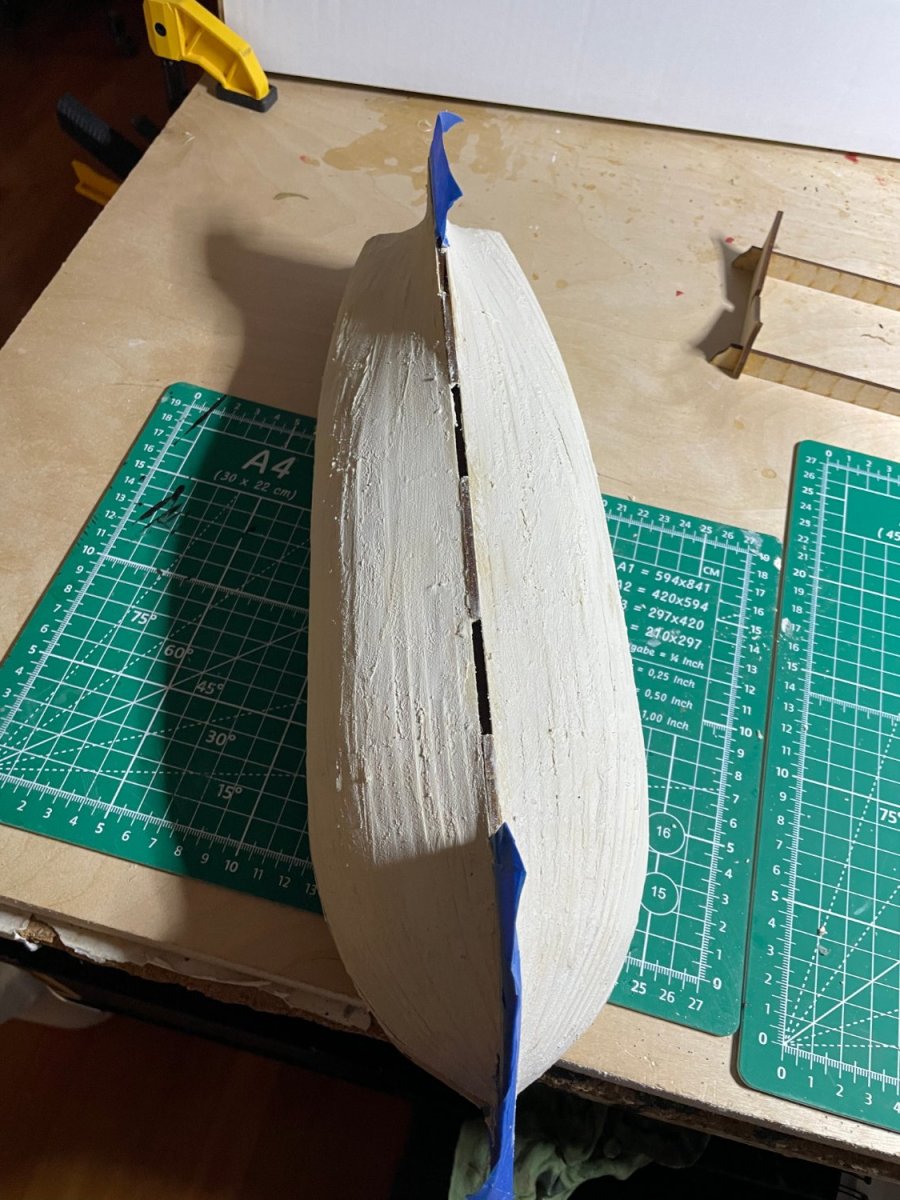
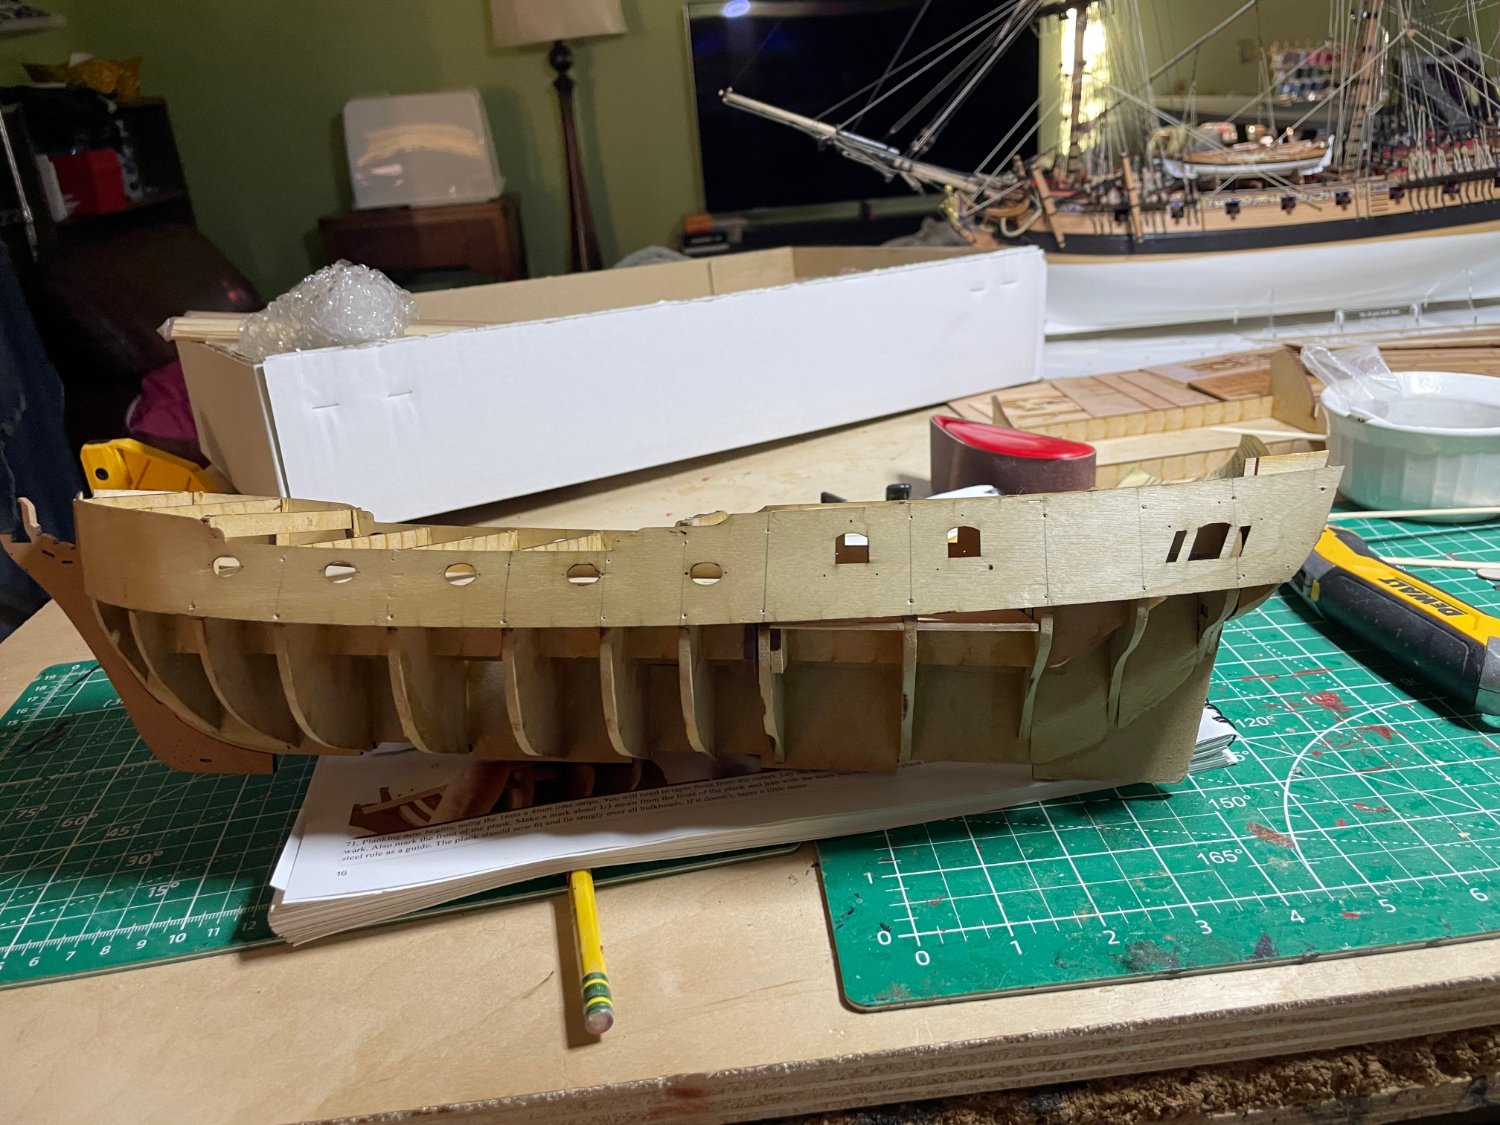
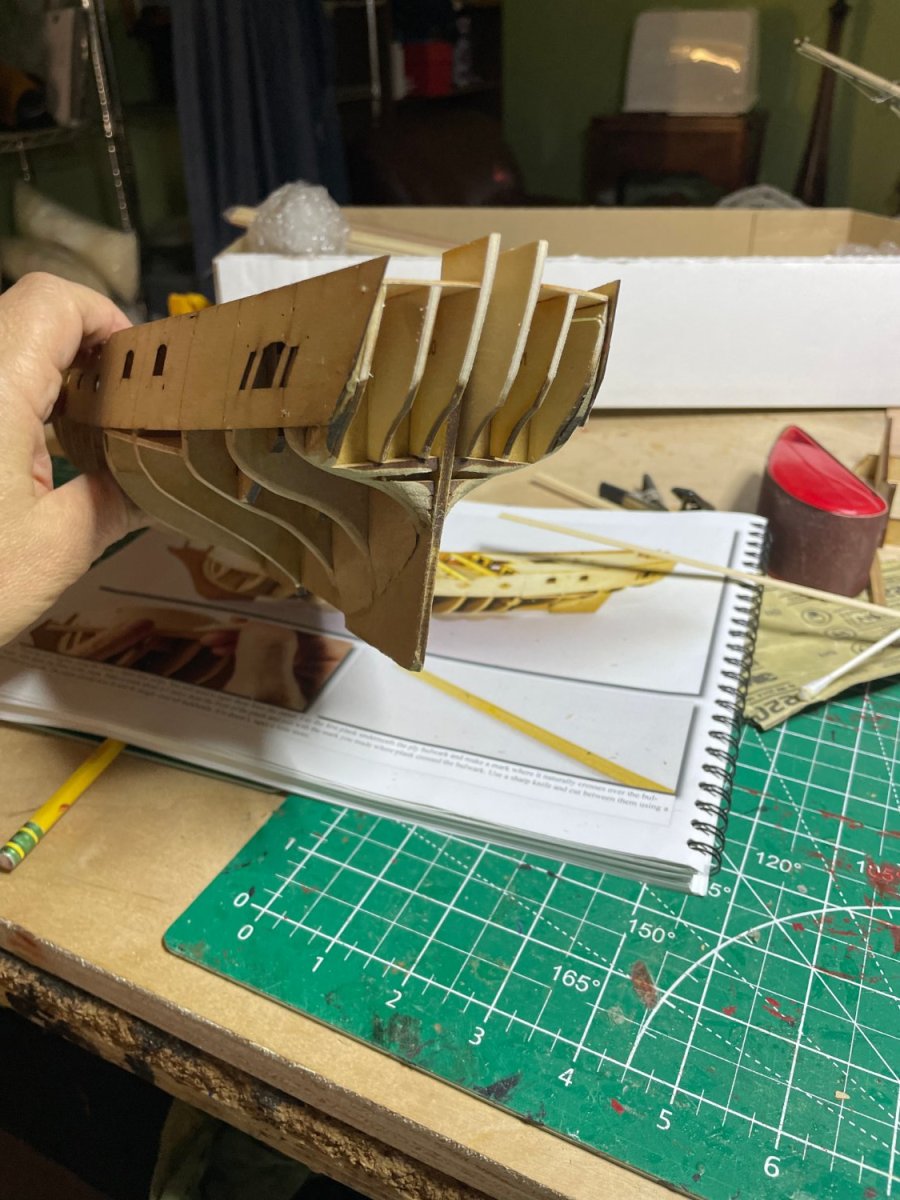
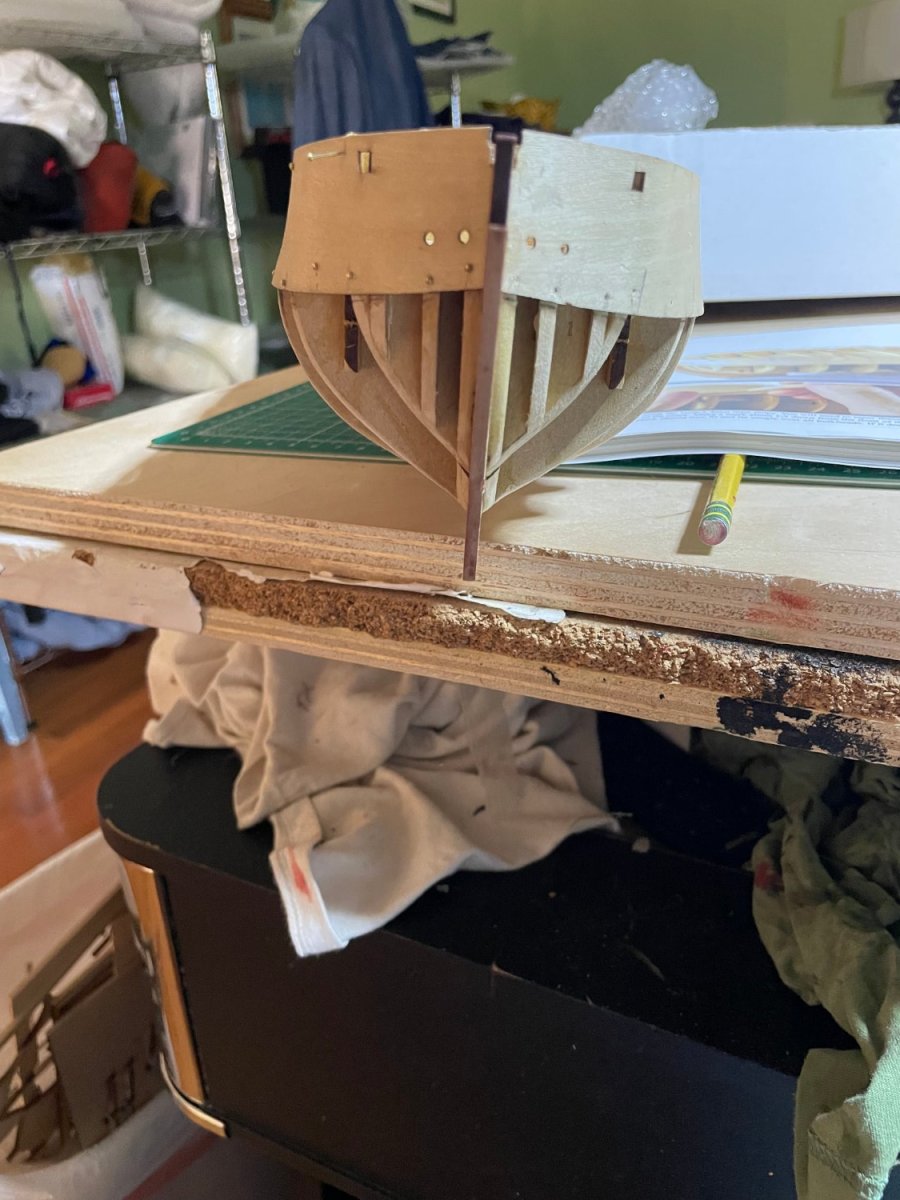
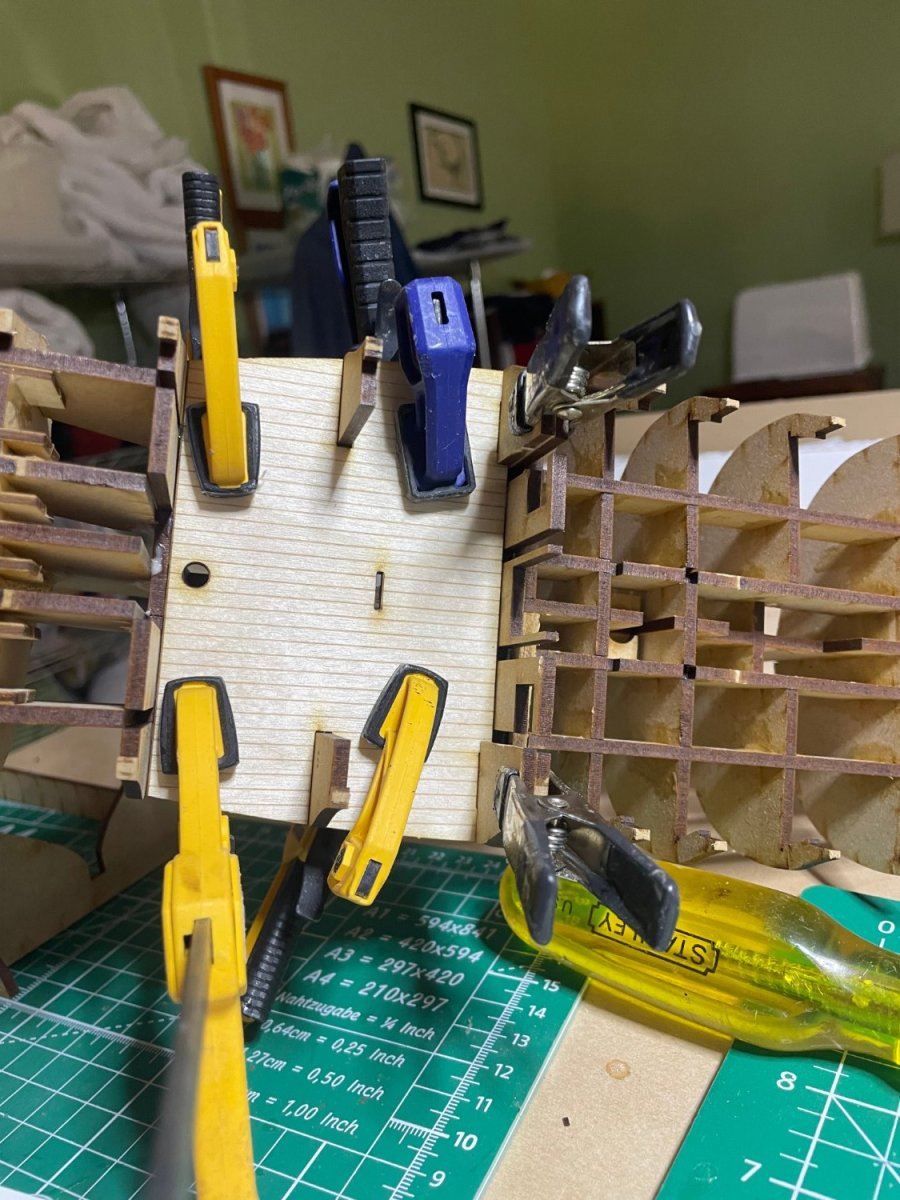
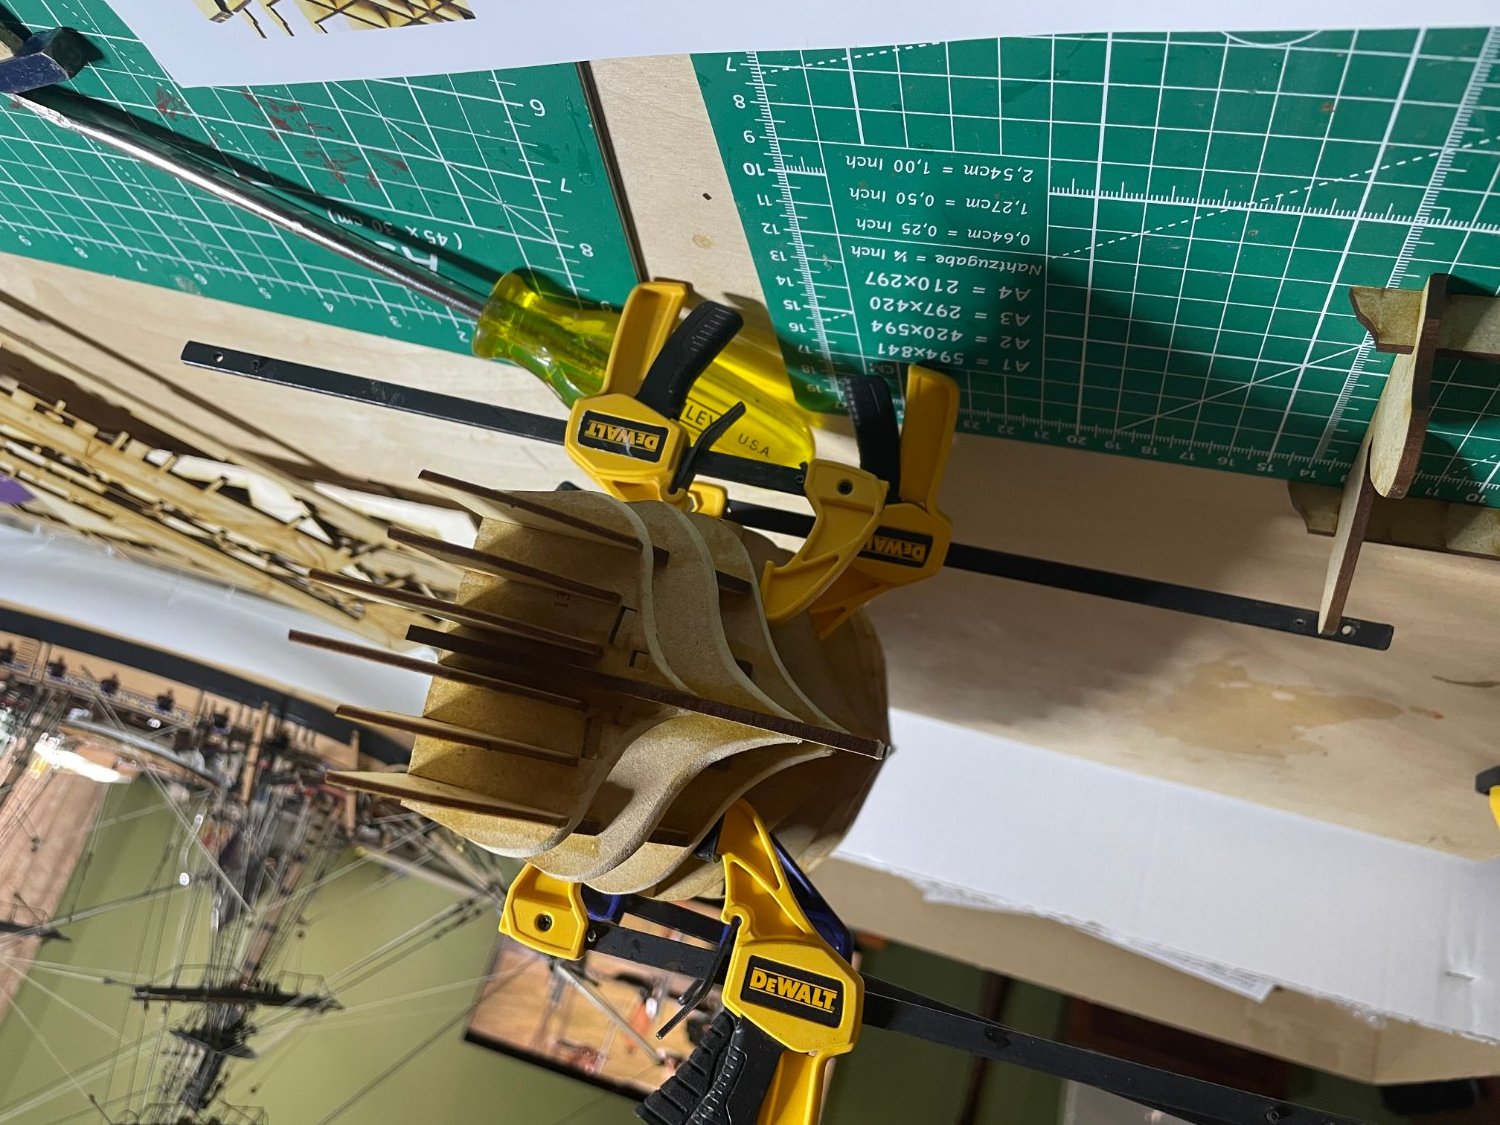
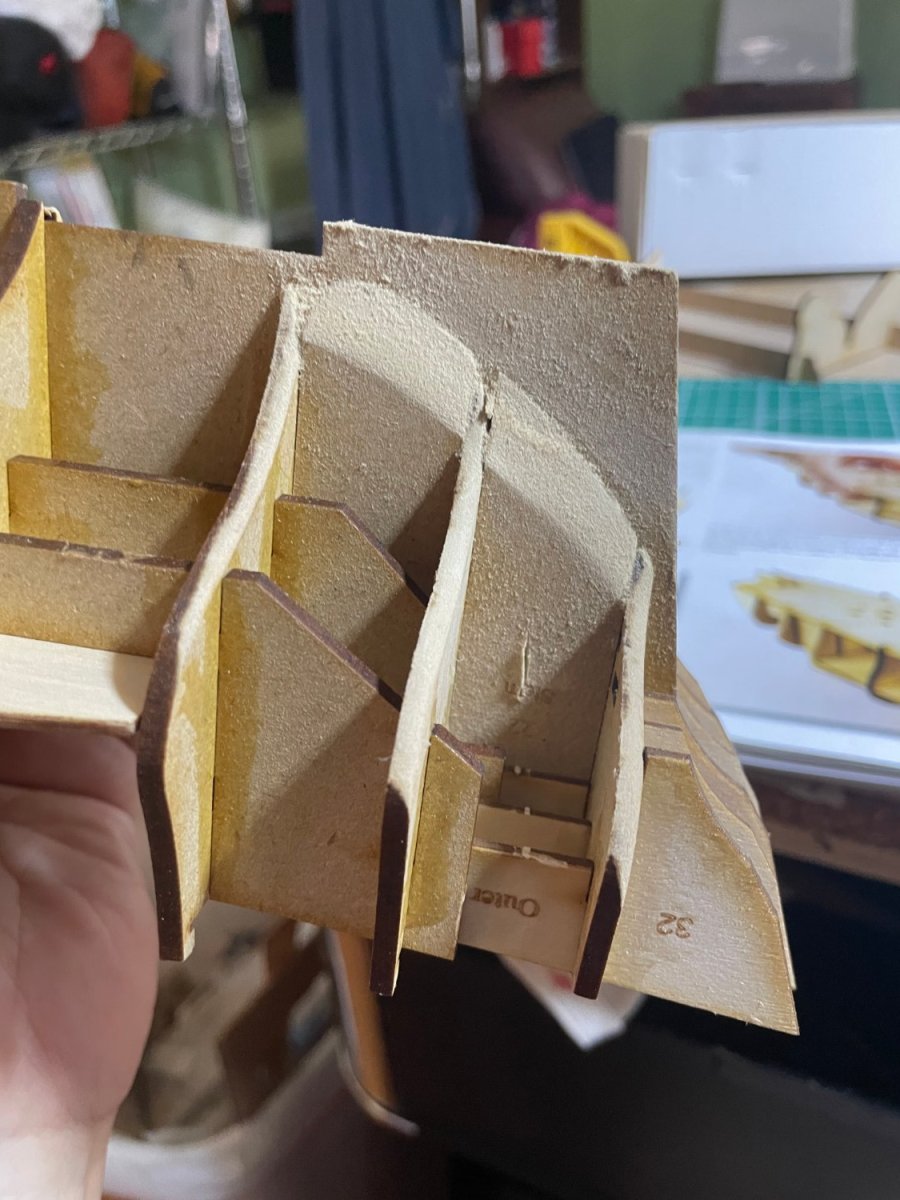
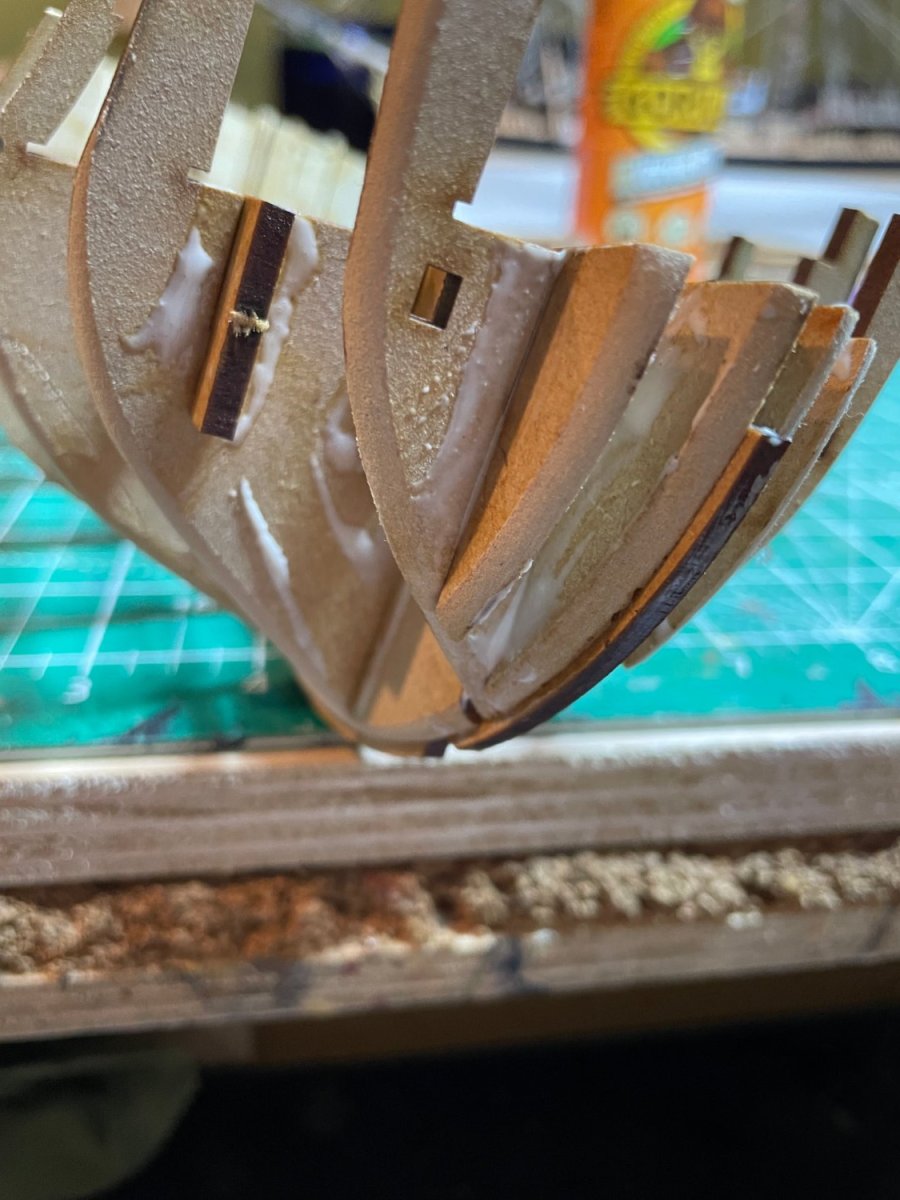
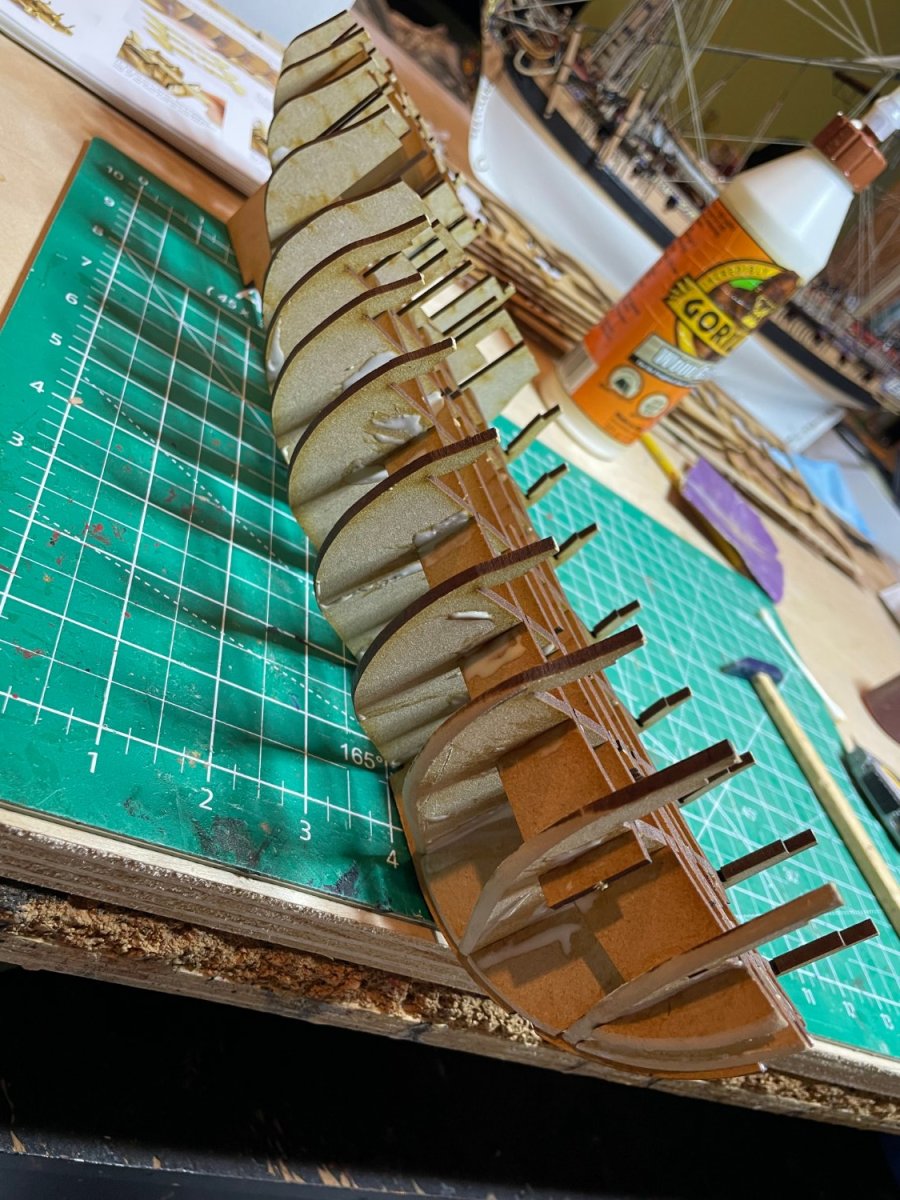
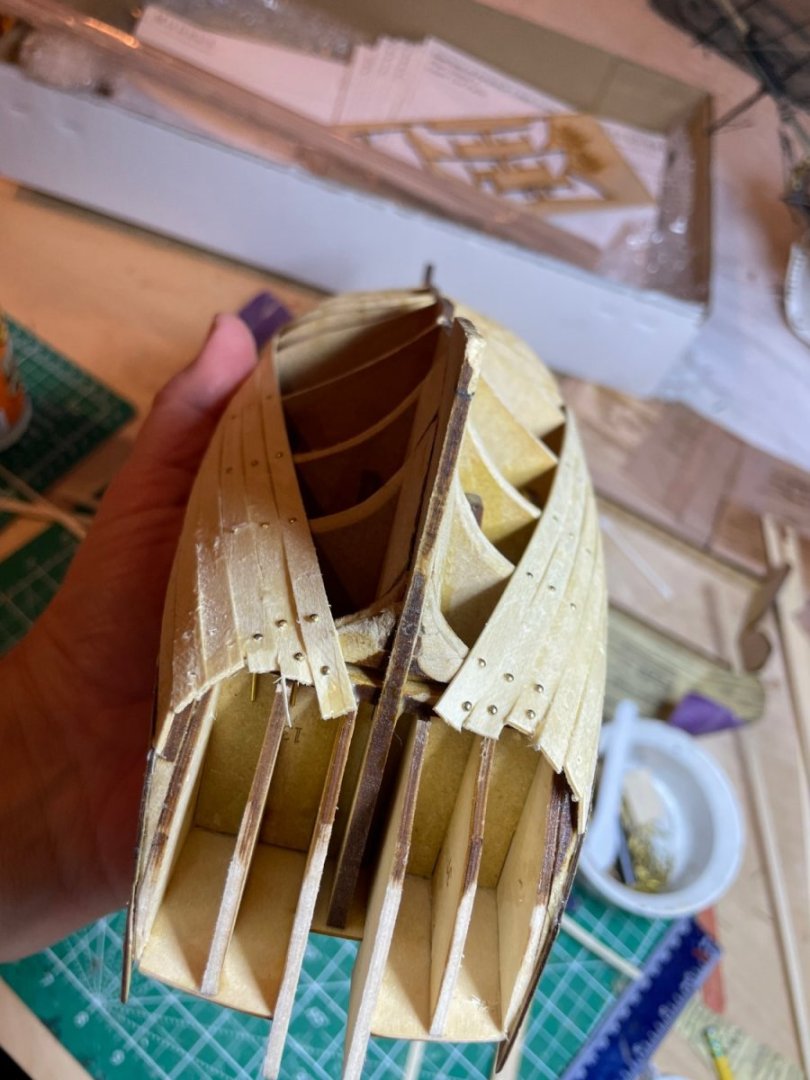
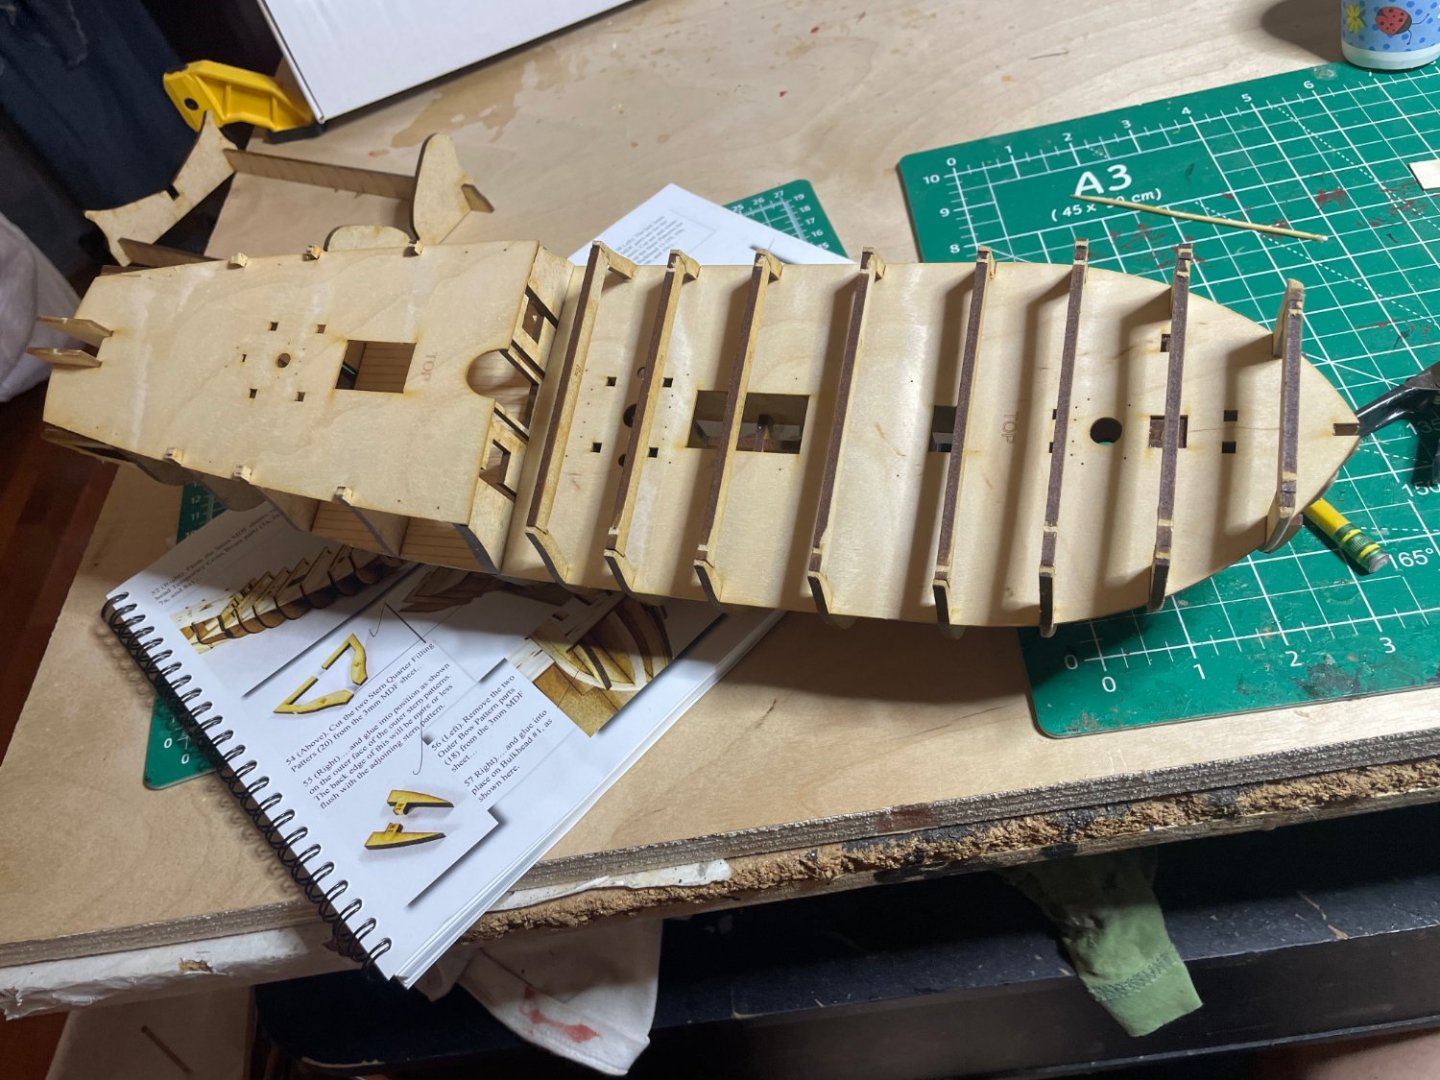
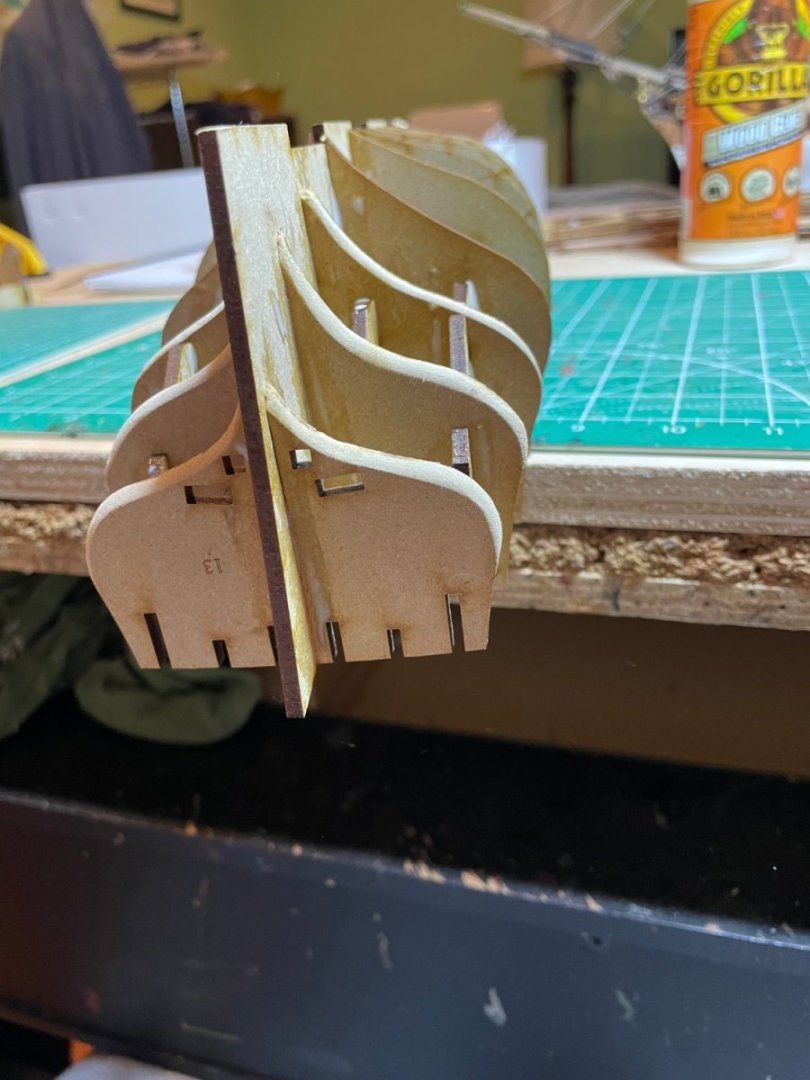
Have completed the jigsaw puzzle of the hull. A few spots needed thinning to fit (in the stern). Now letting glue dry and will start sanding tomorrow.


- 22 replies
-
- 4
-
-
- Duchess of Kingston
- Vanguard Models
- (and 1 more)
-
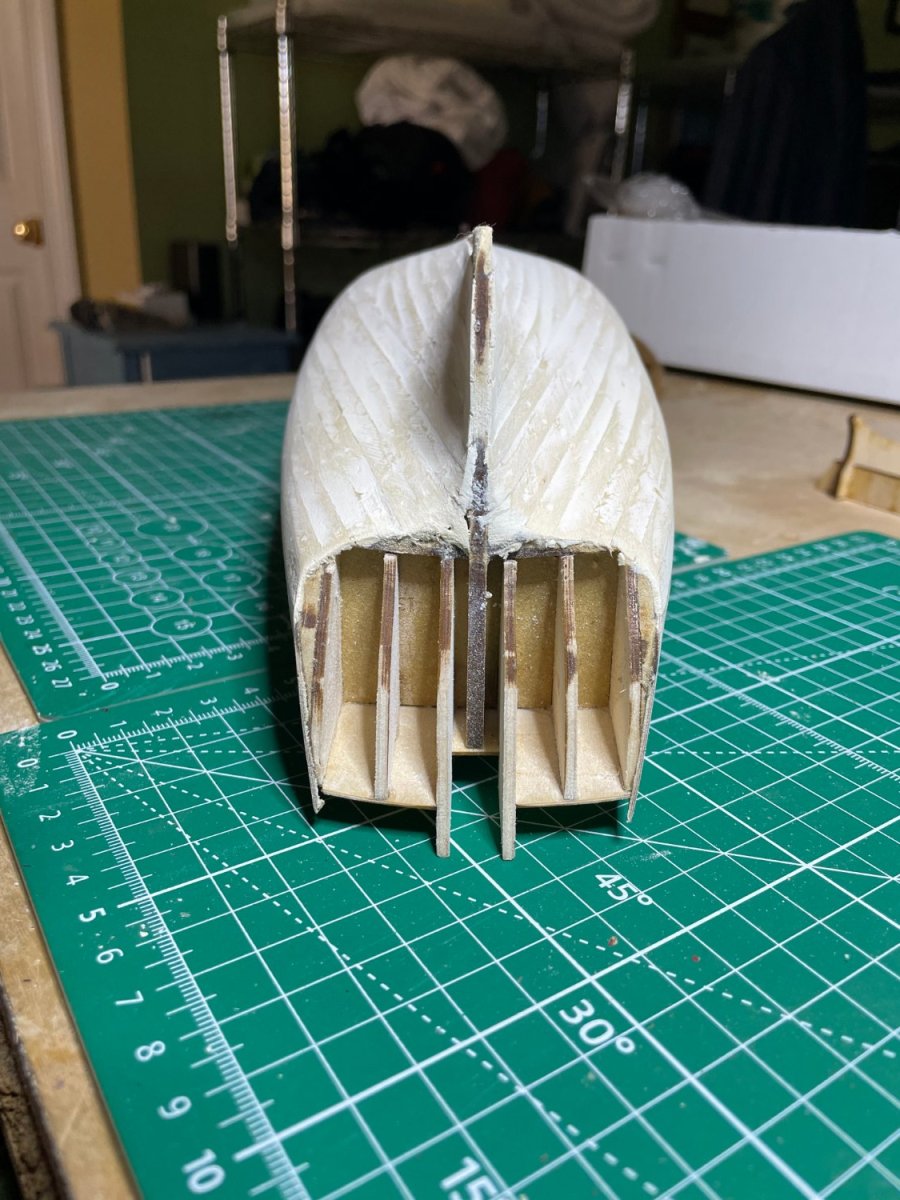
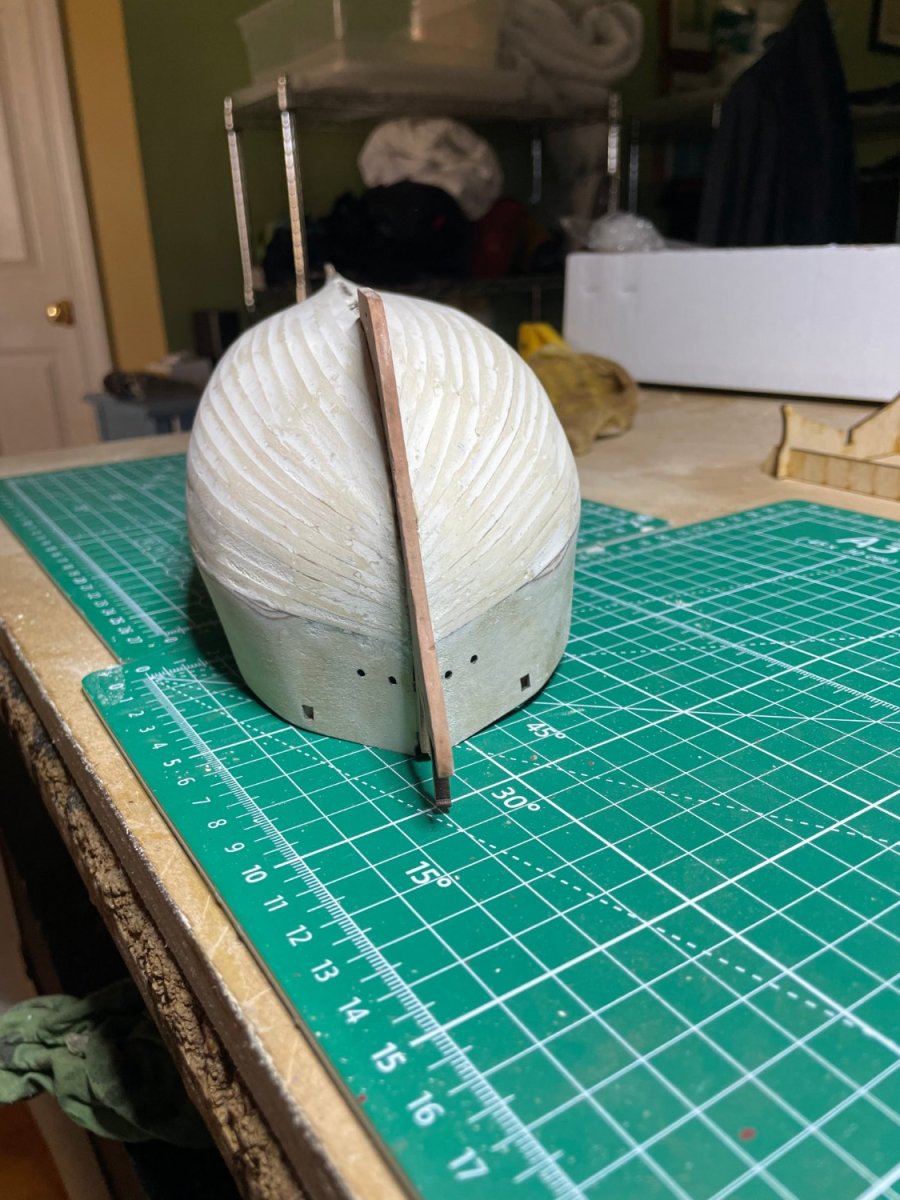
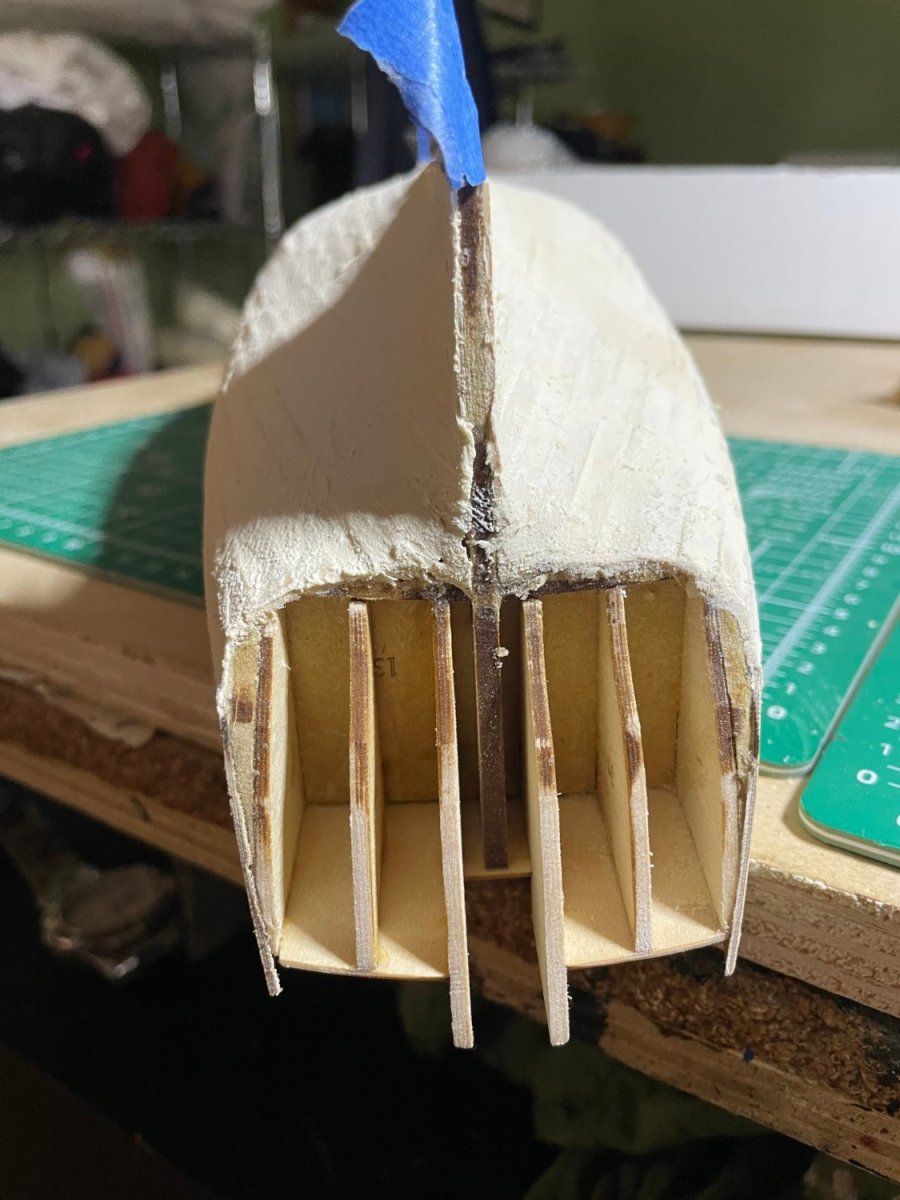
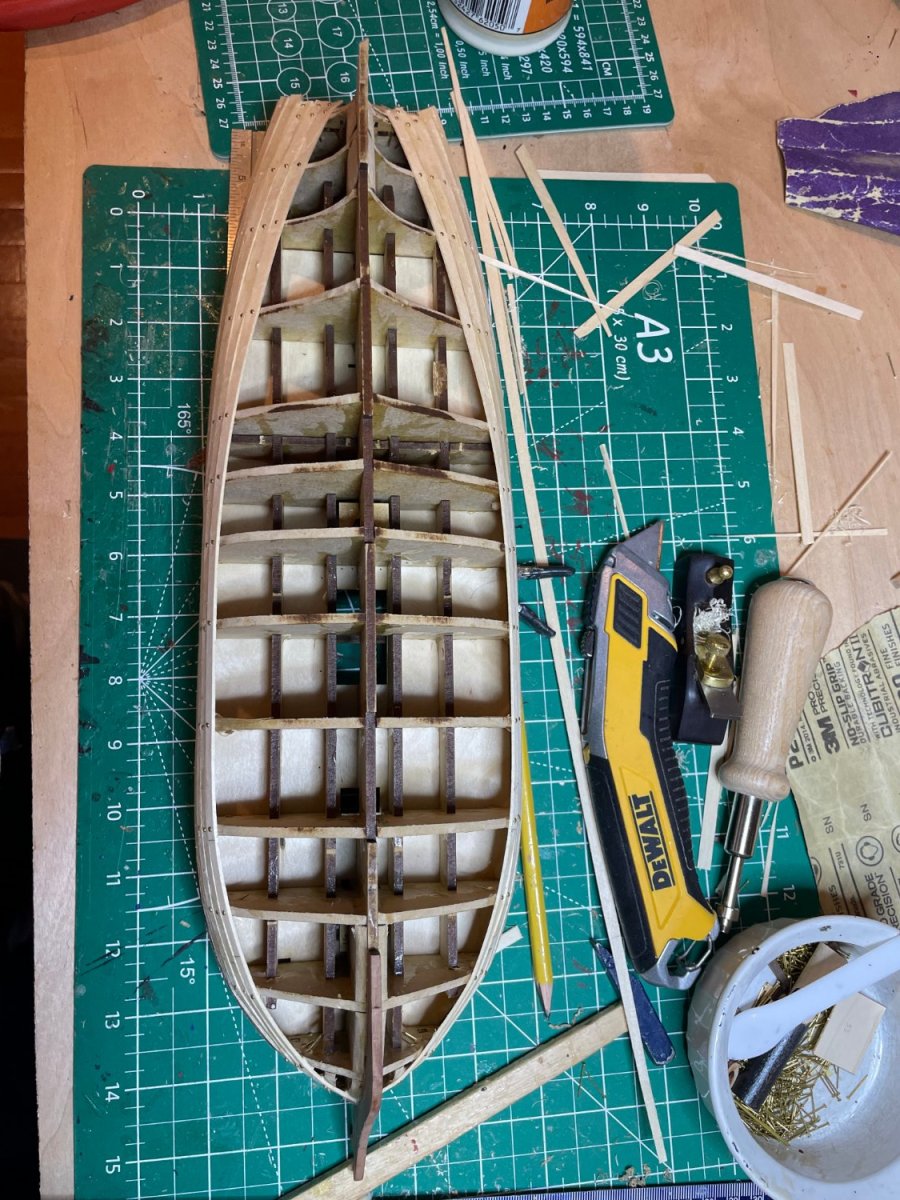
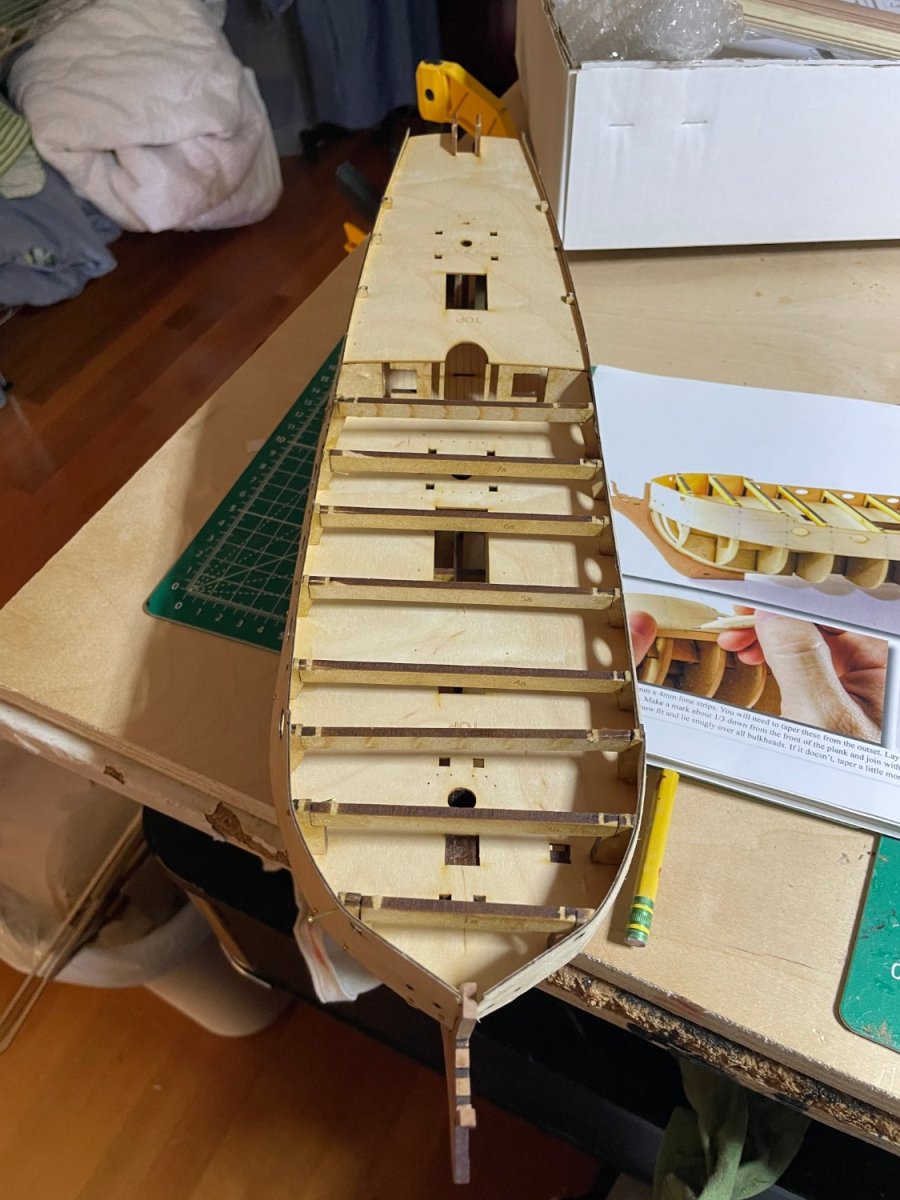
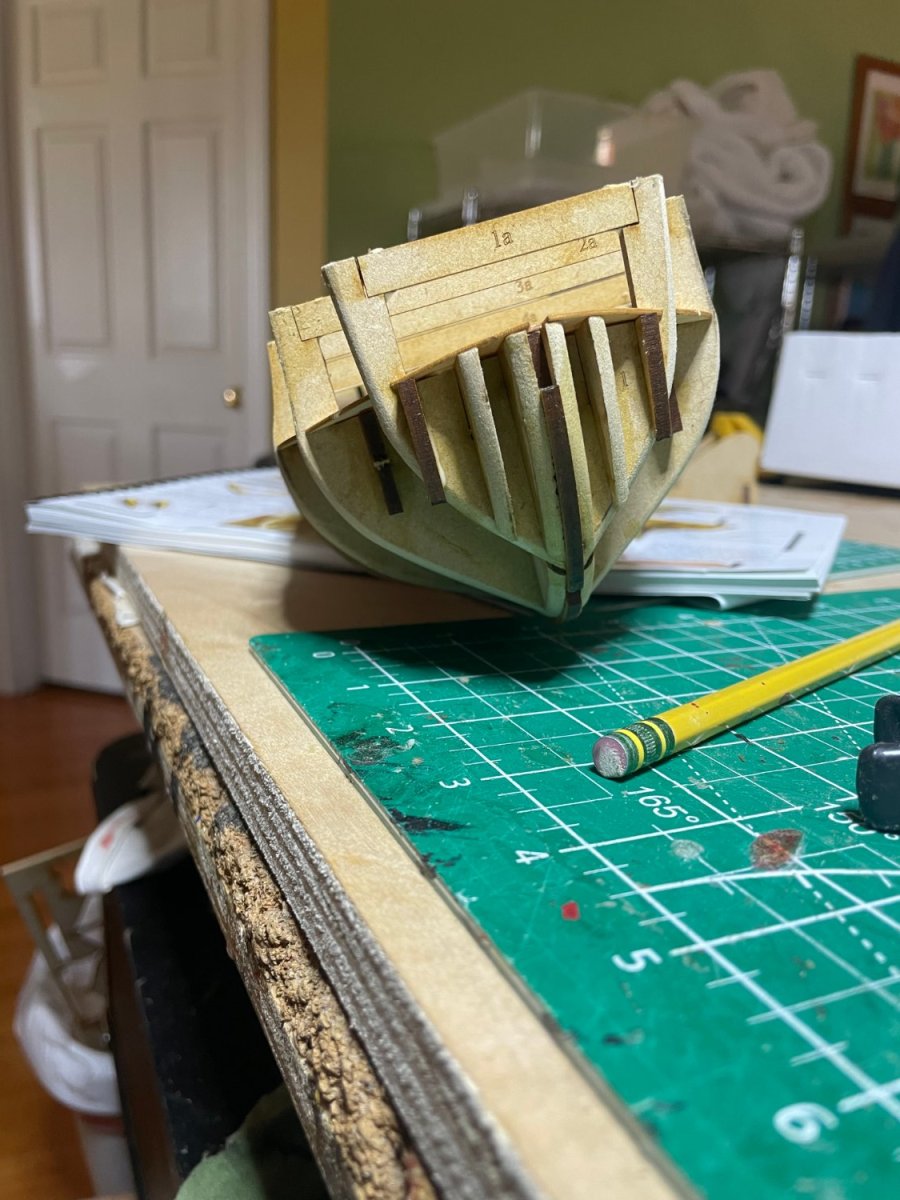
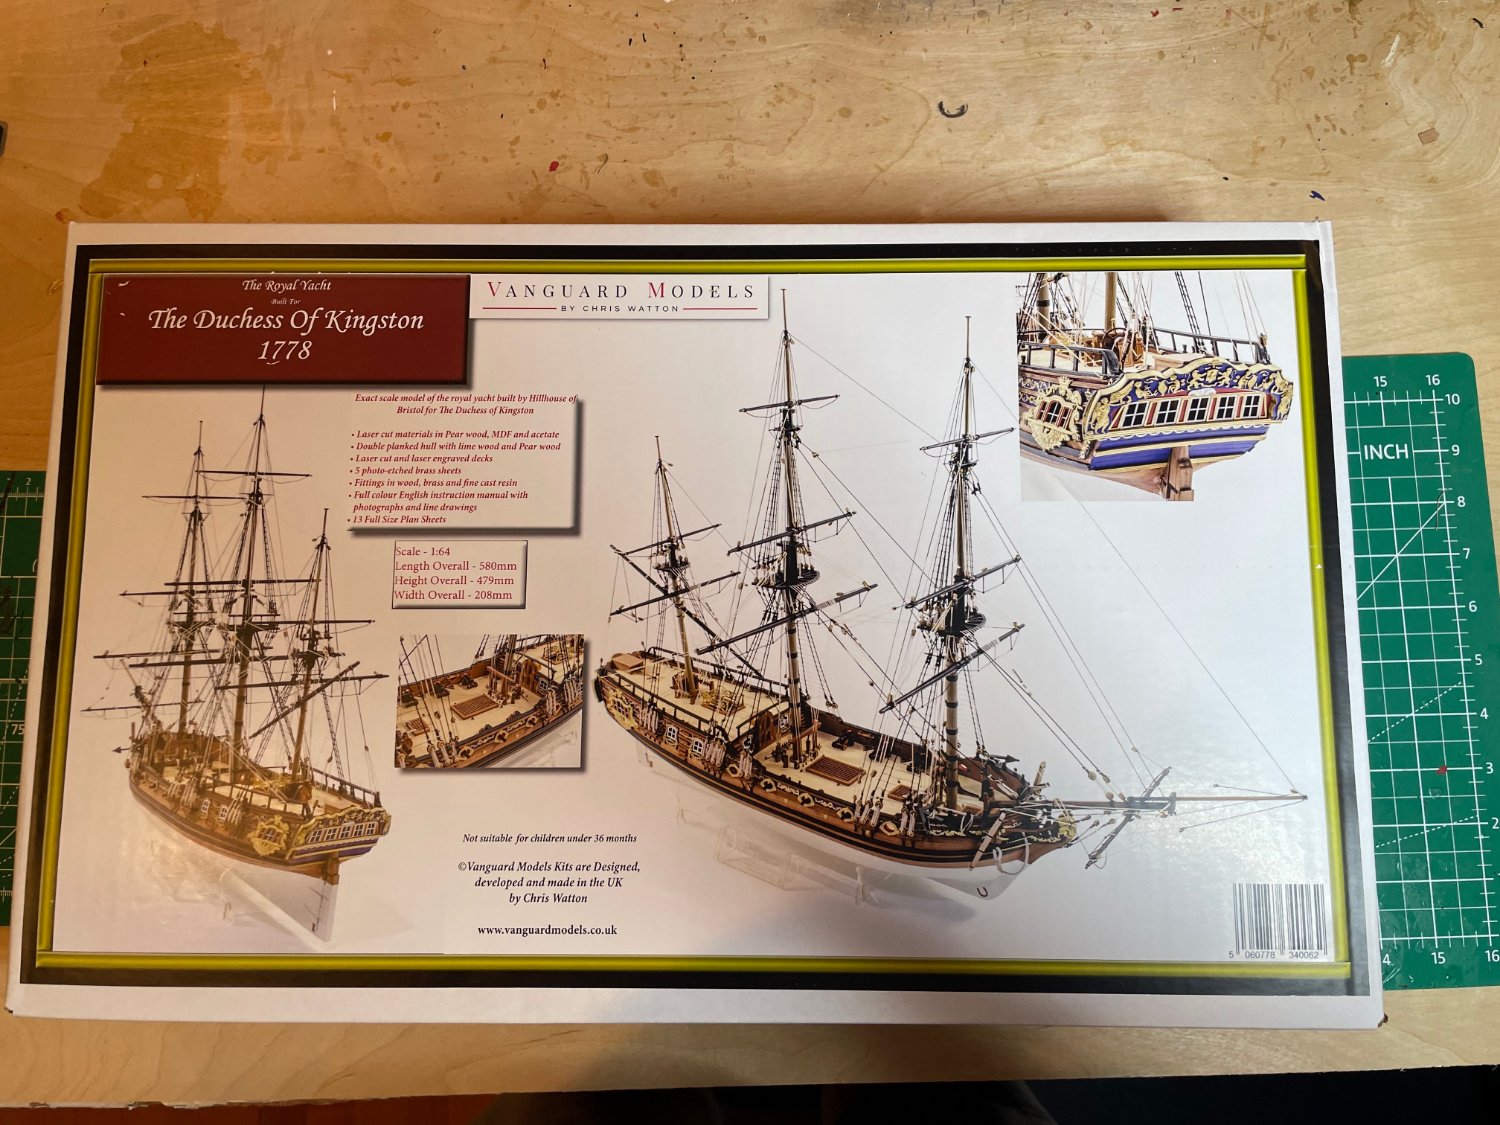
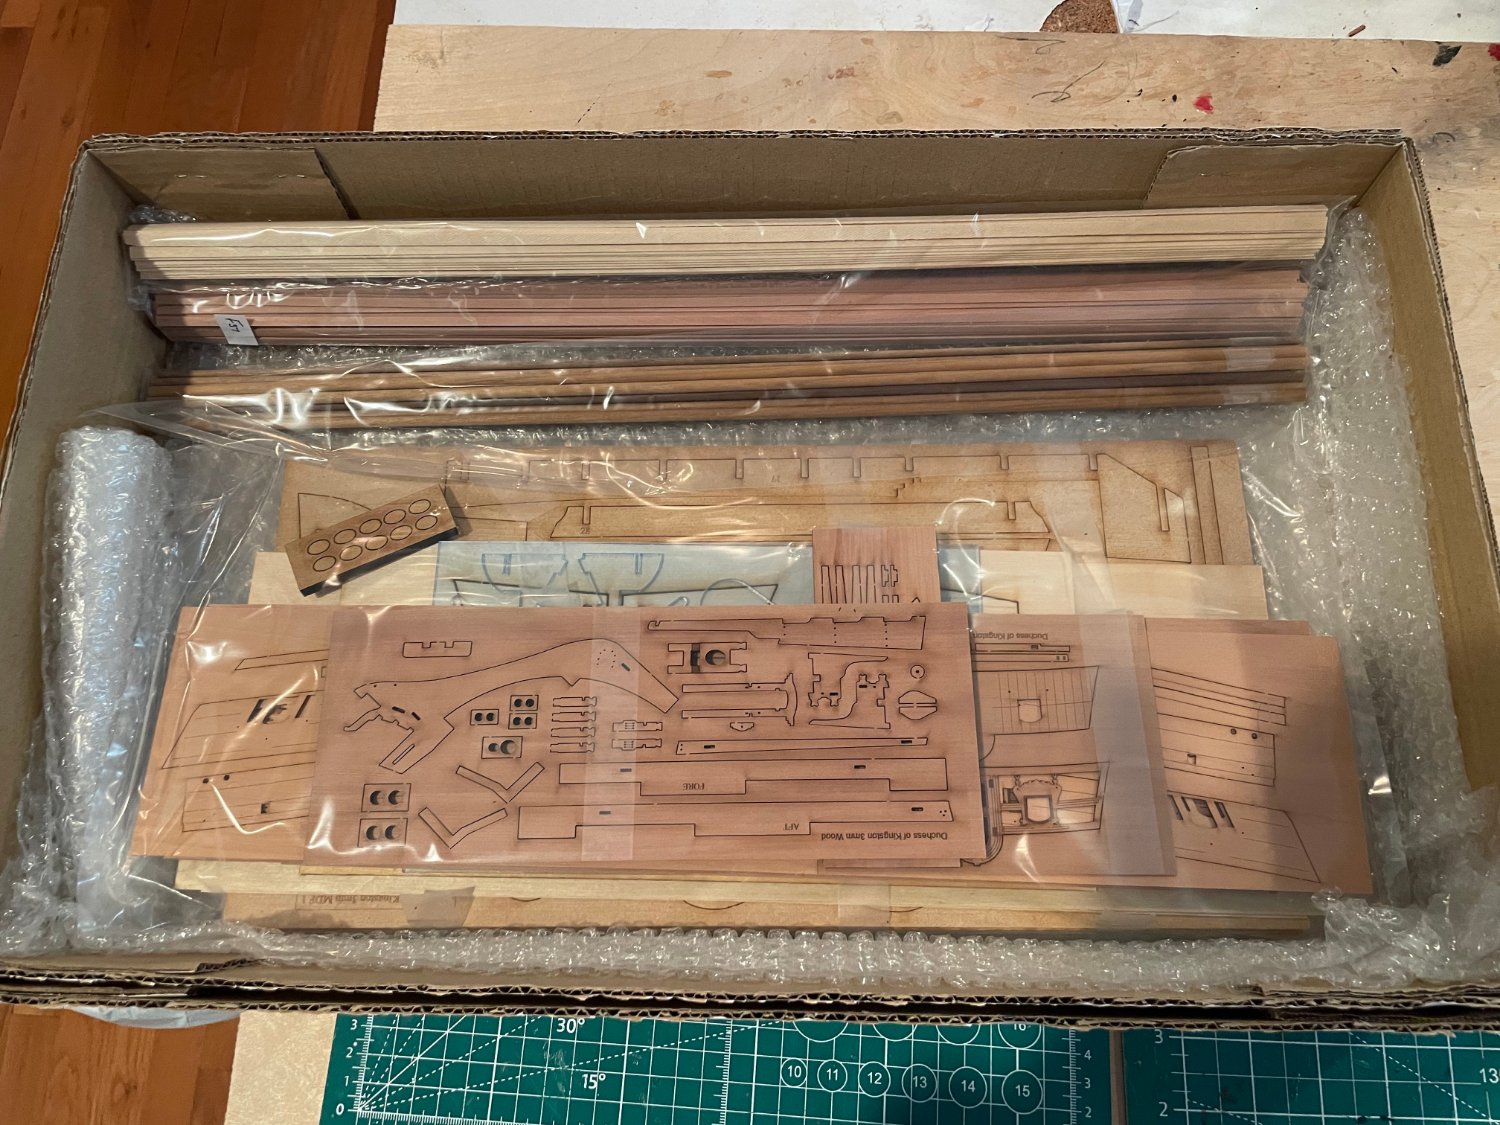
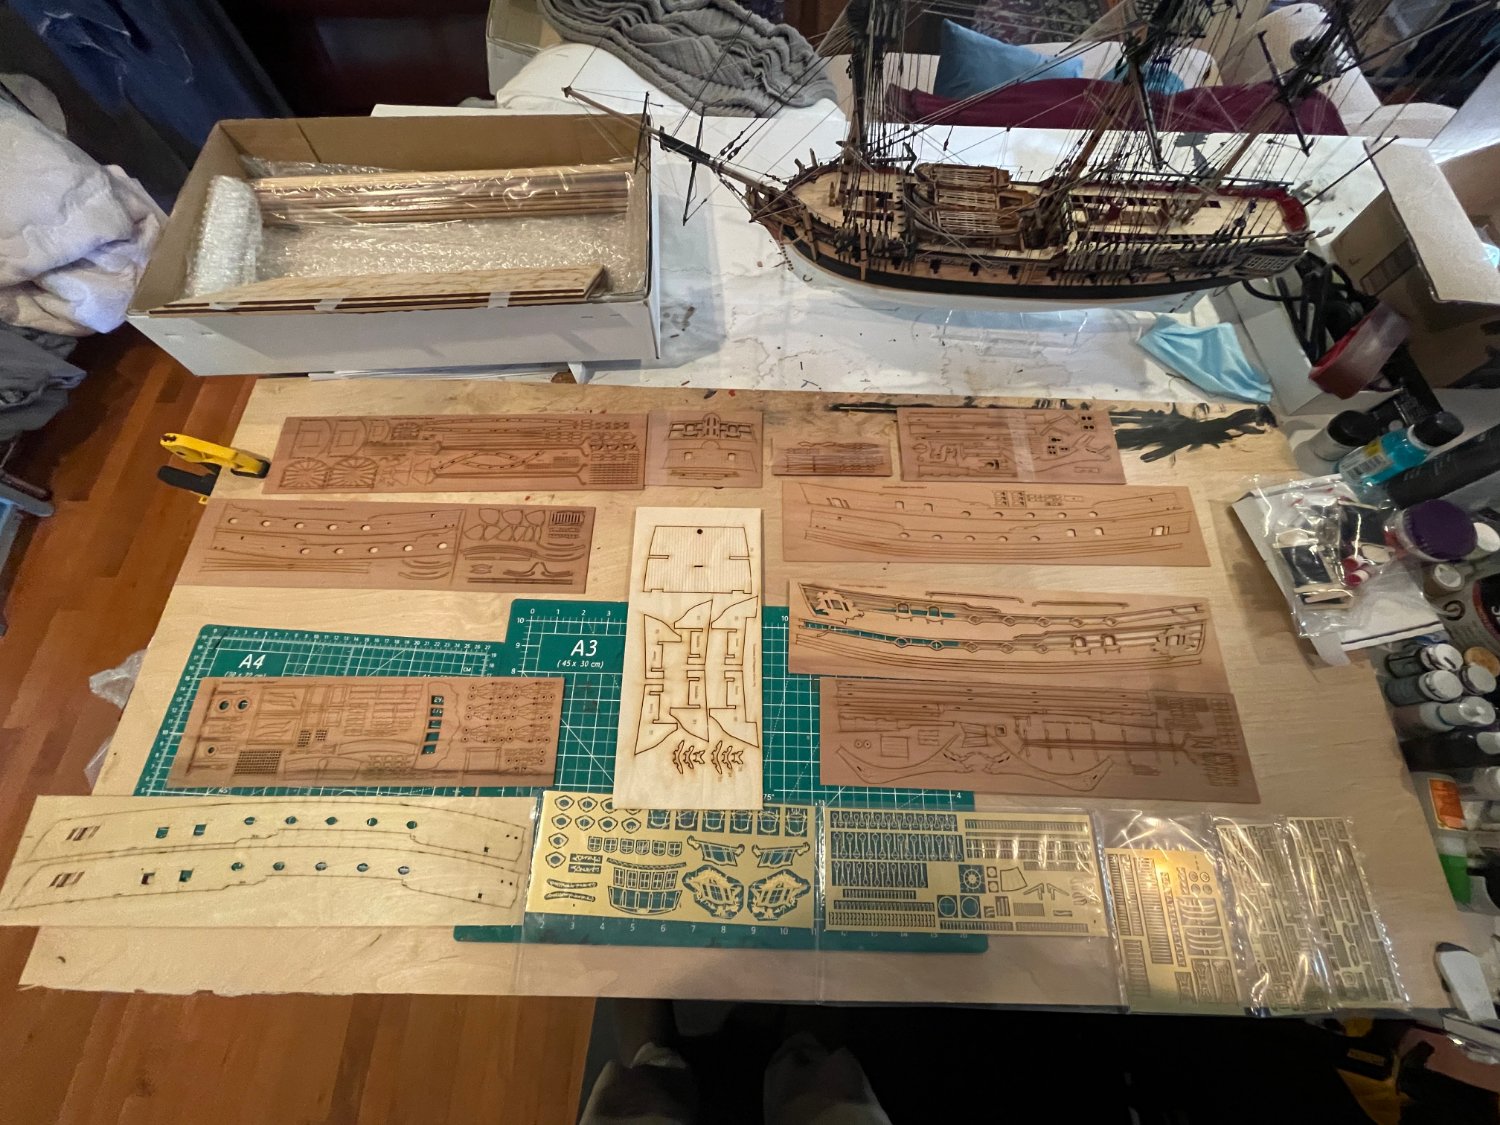
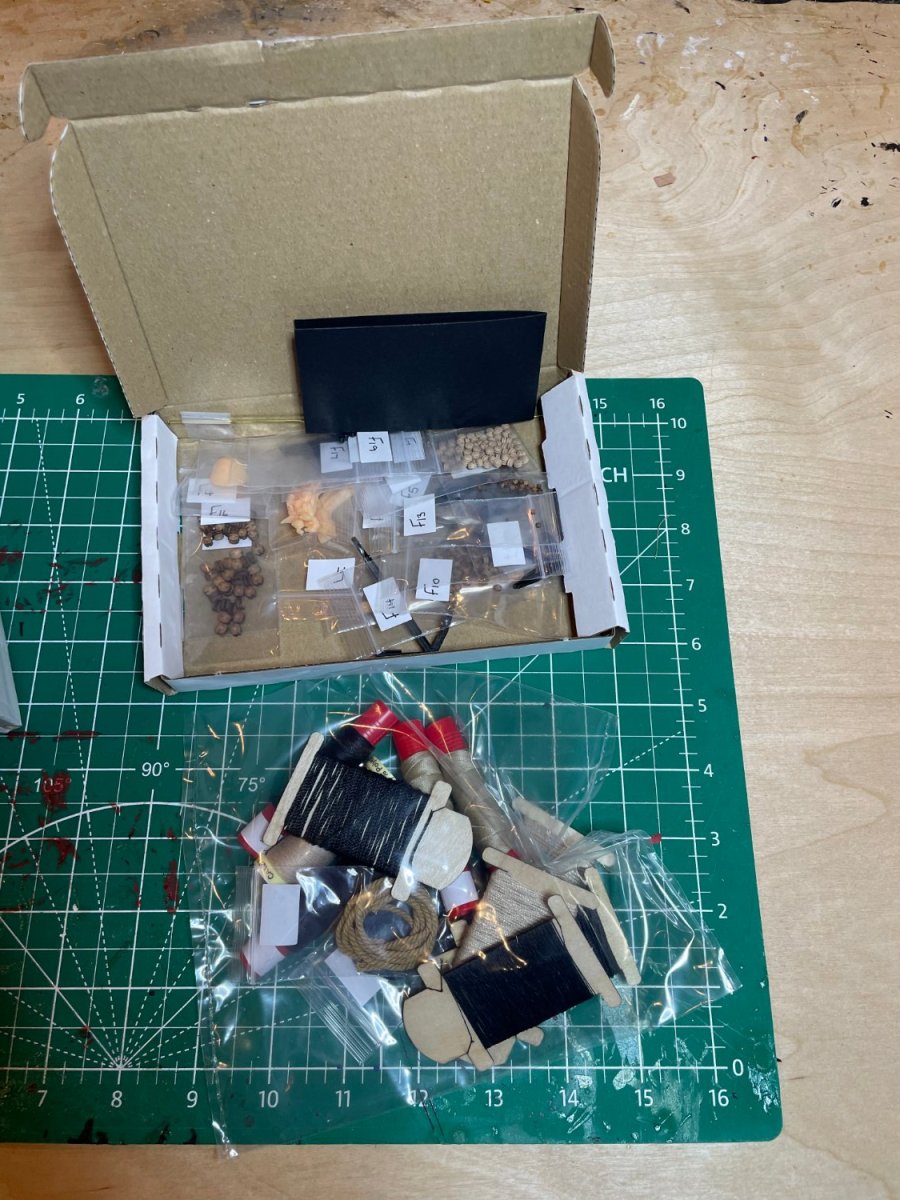
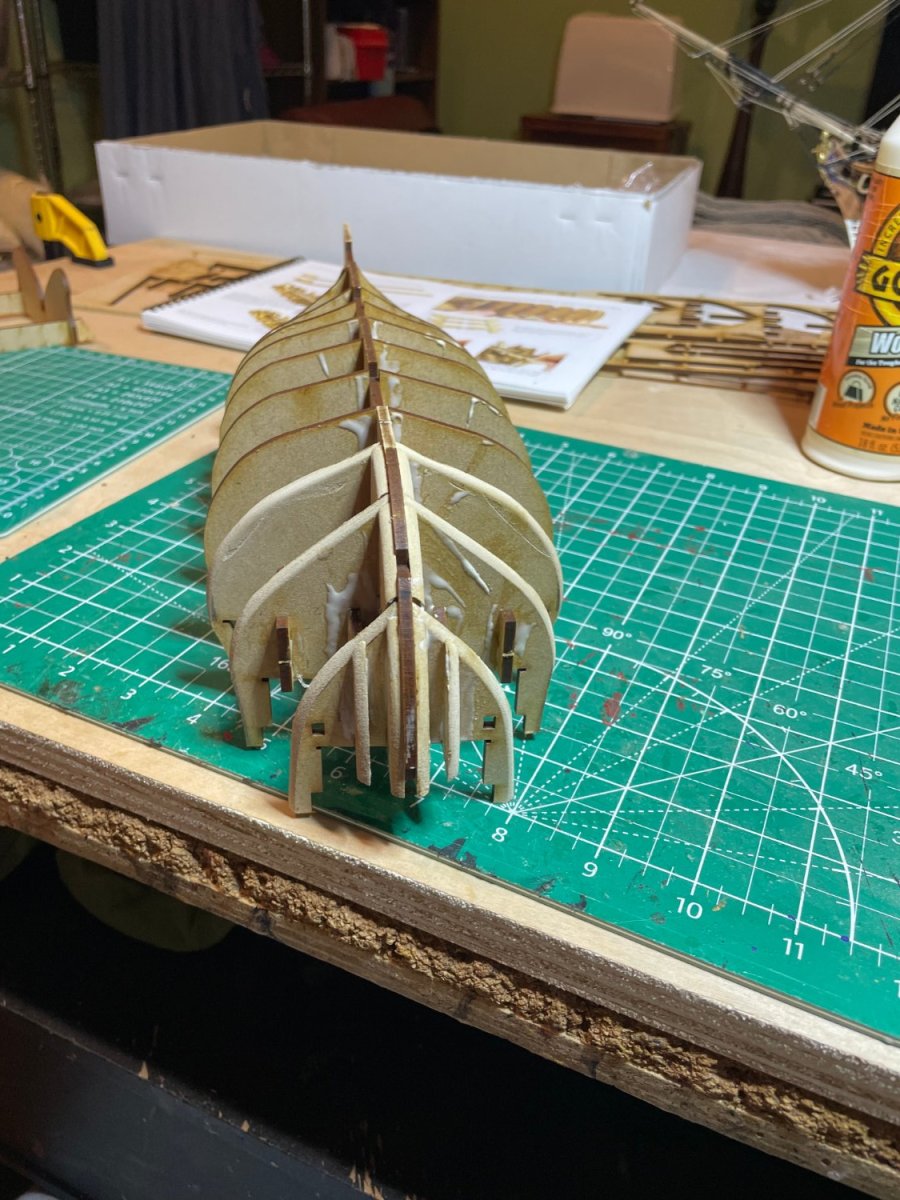
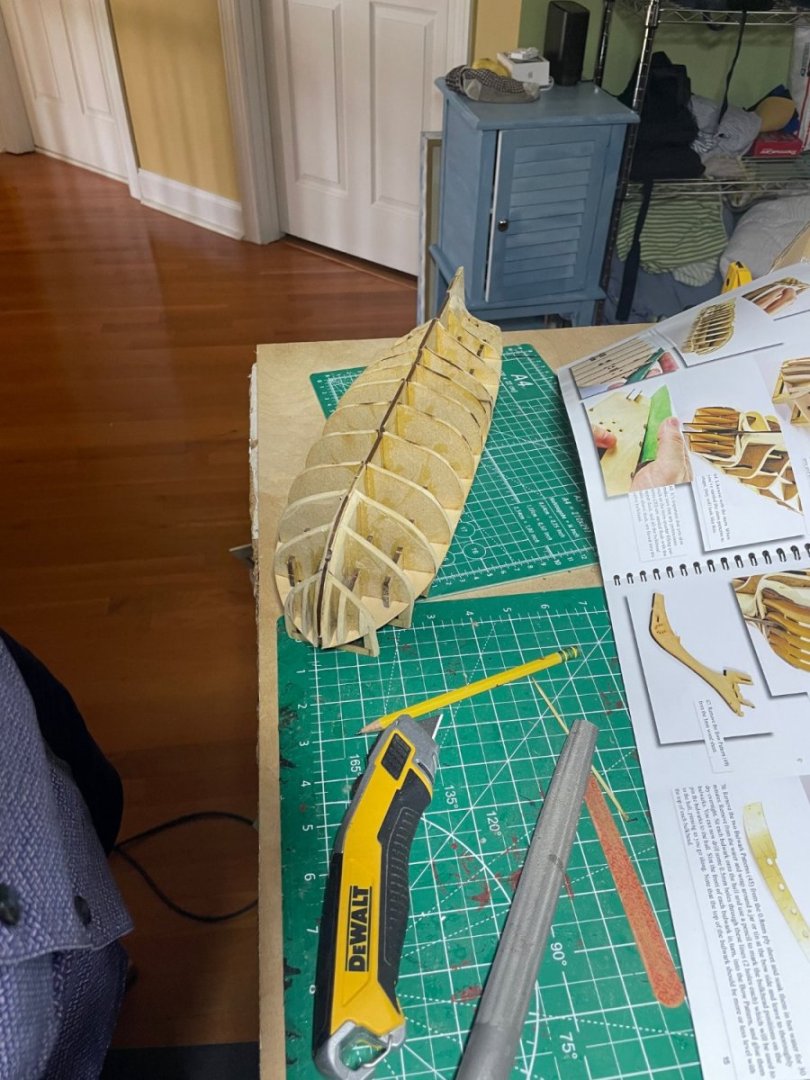
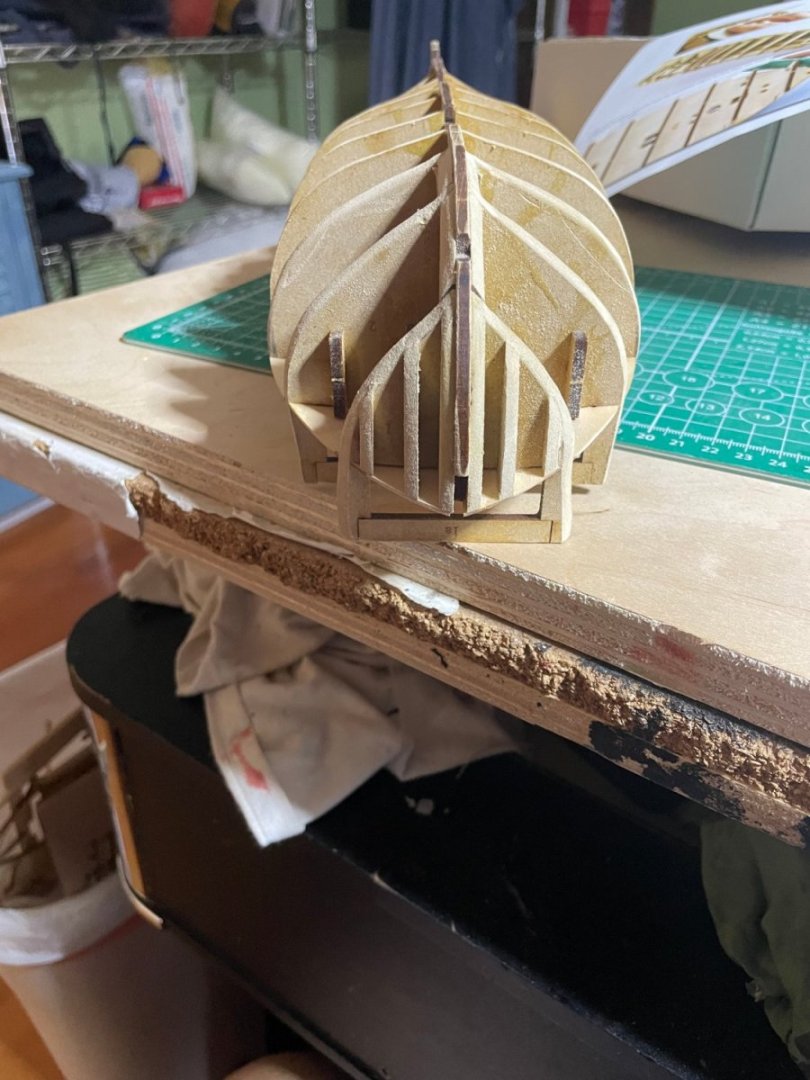
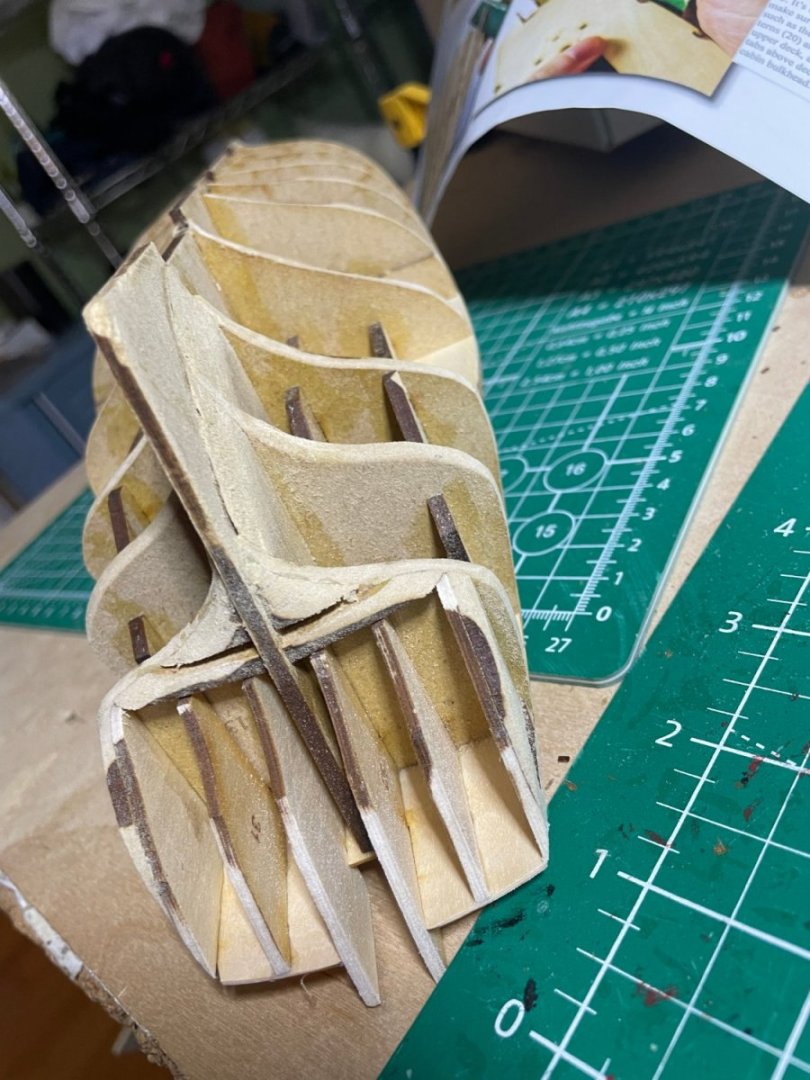
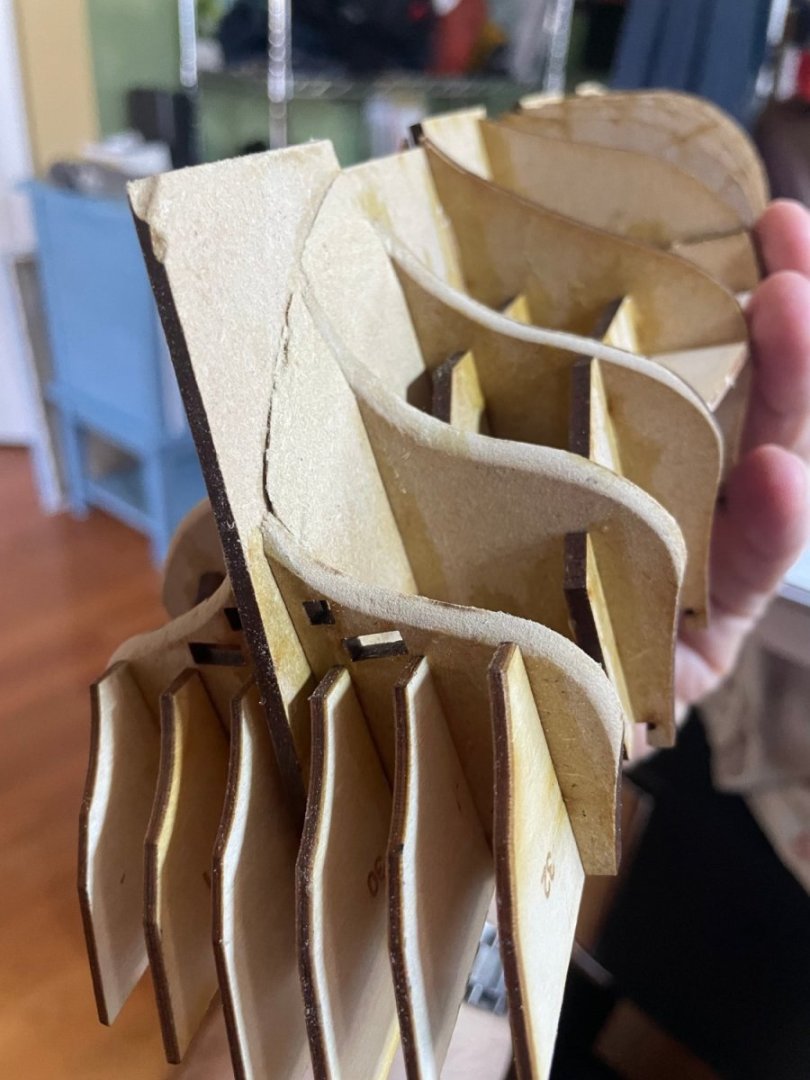
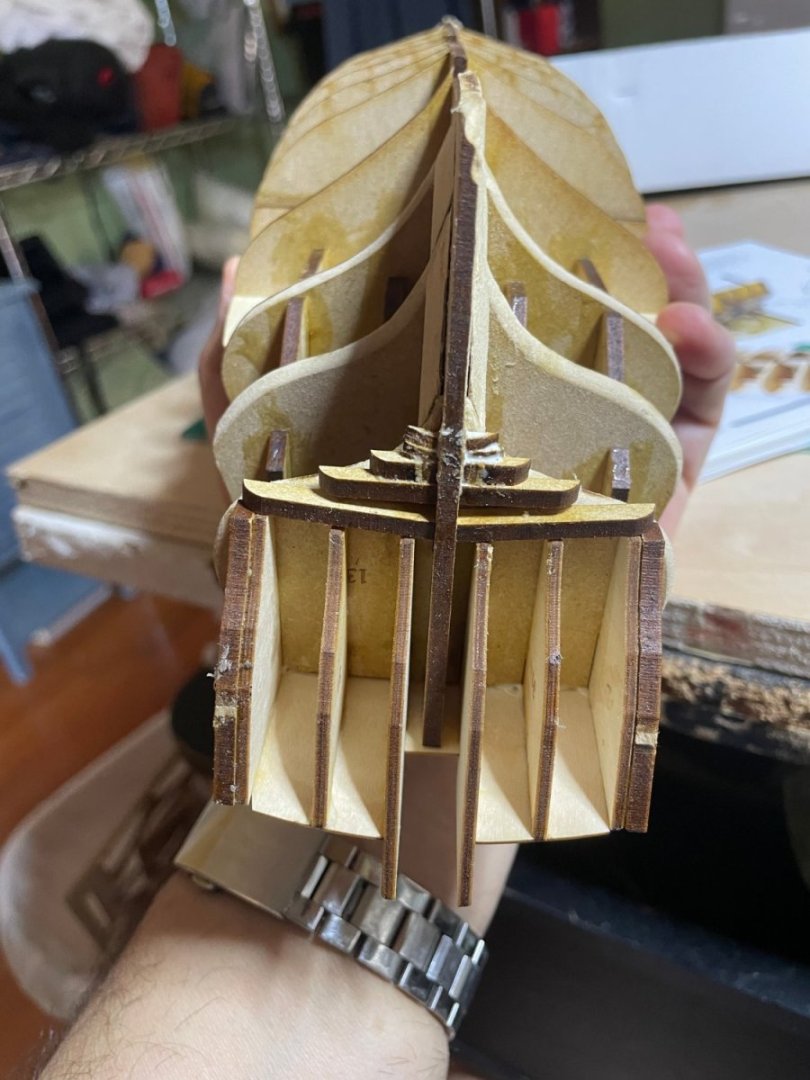
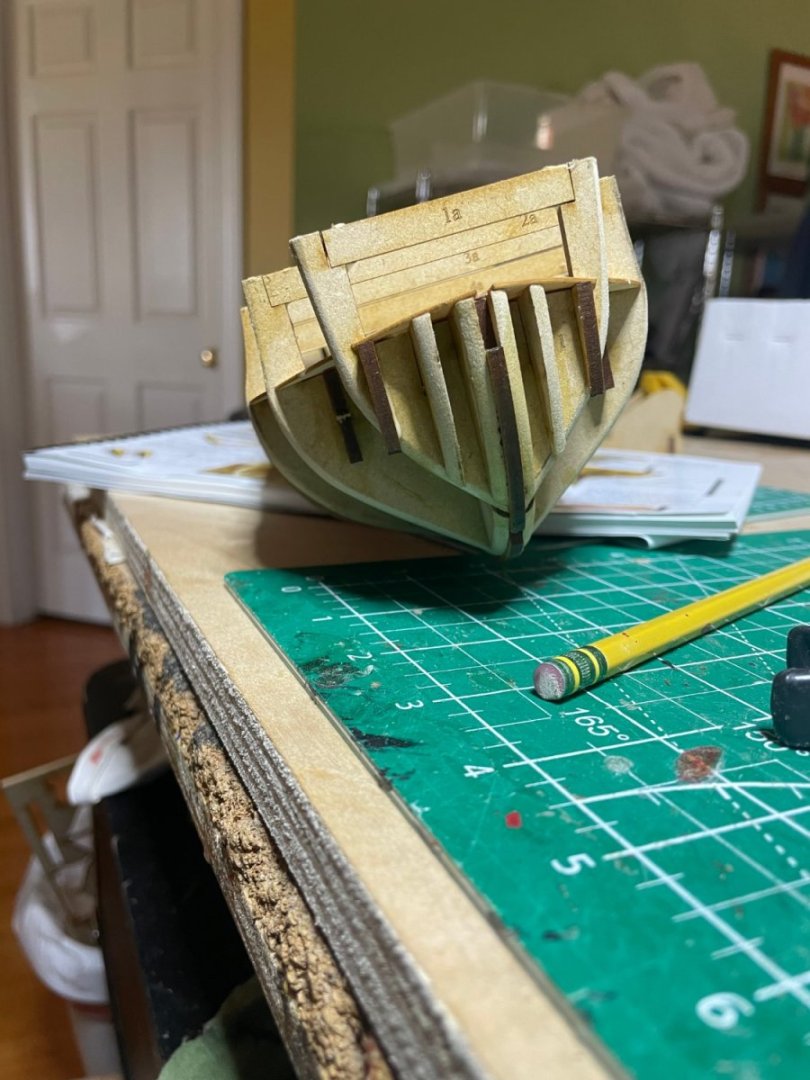
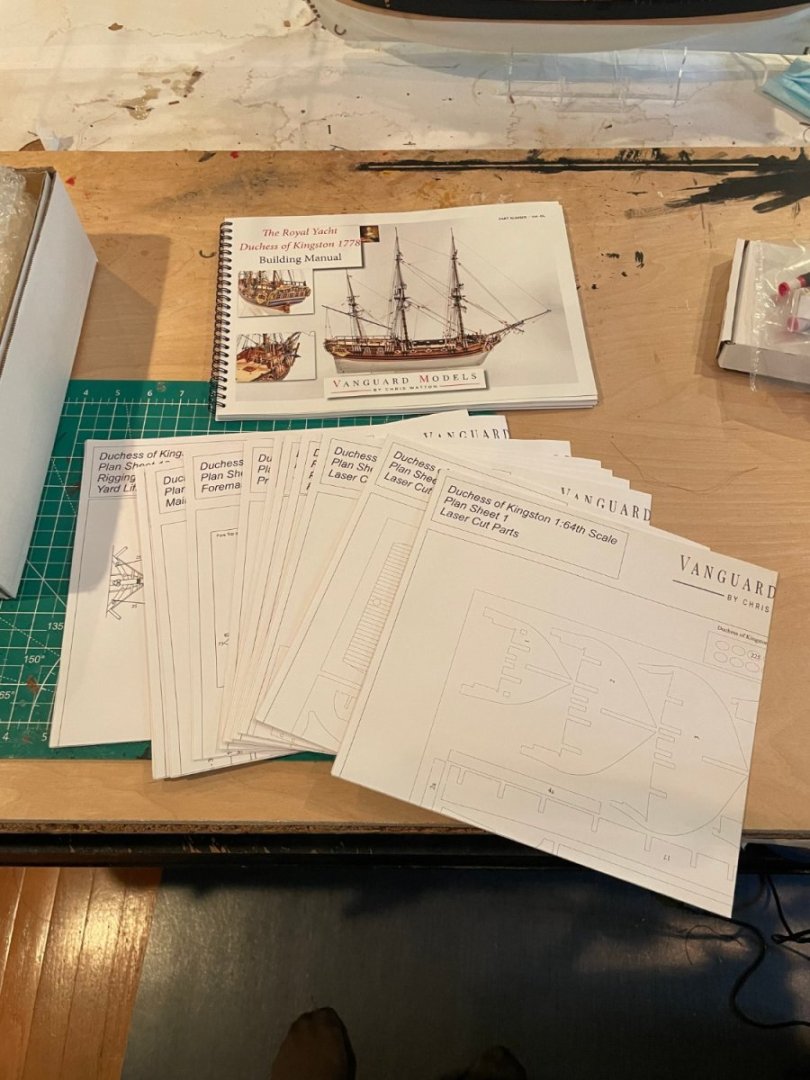
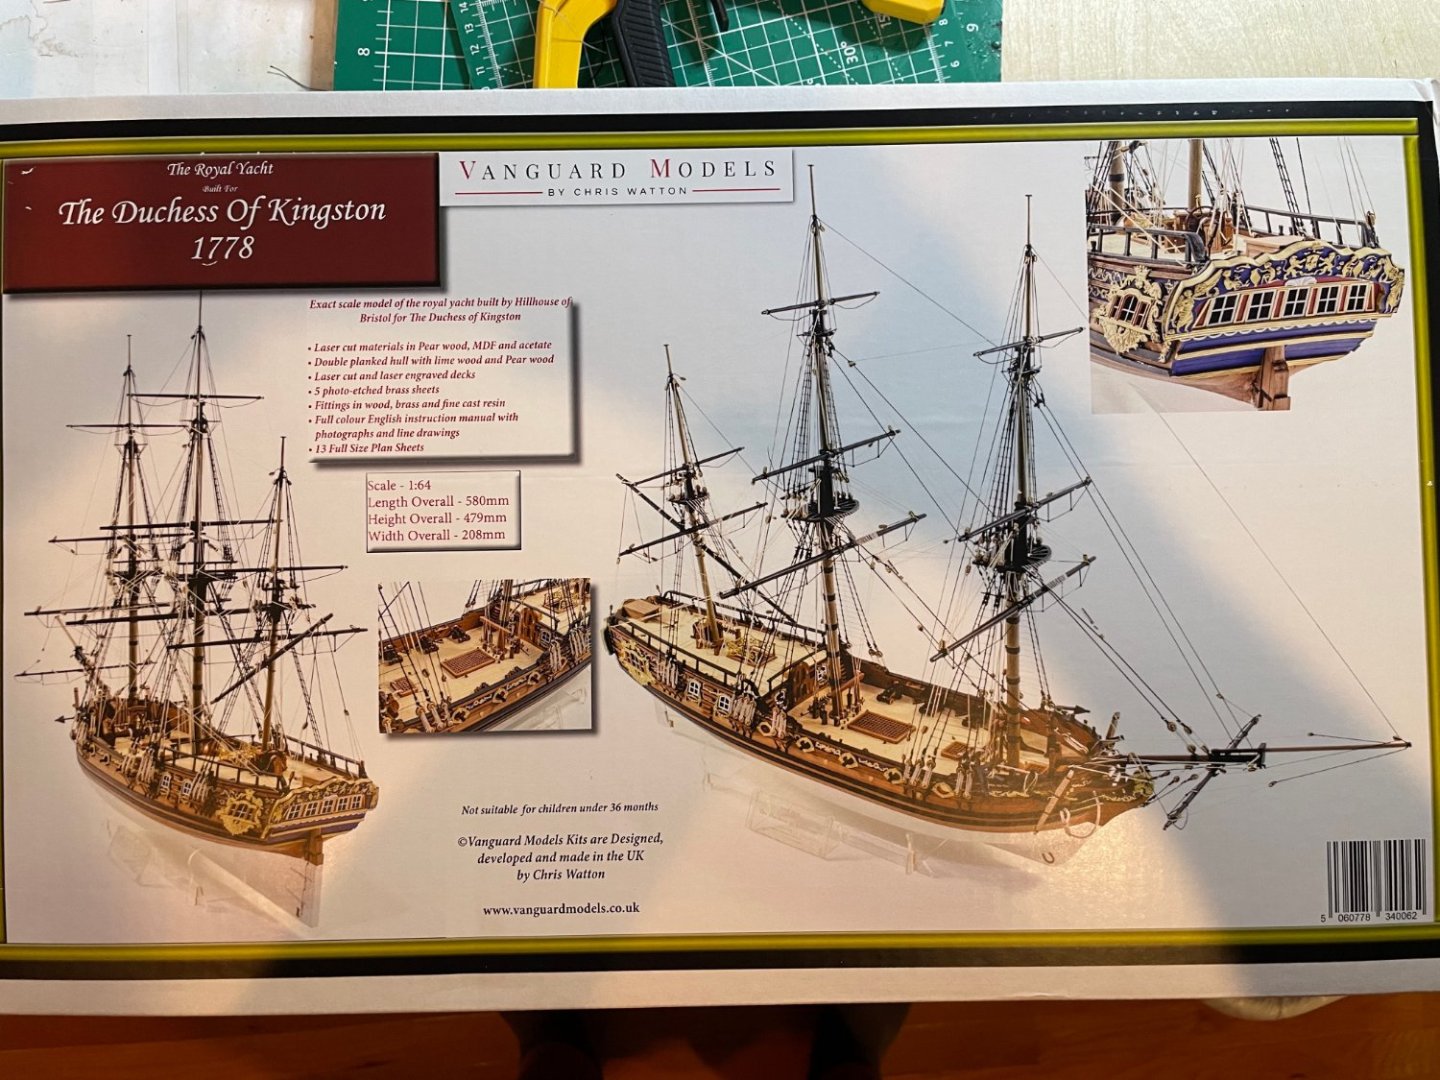
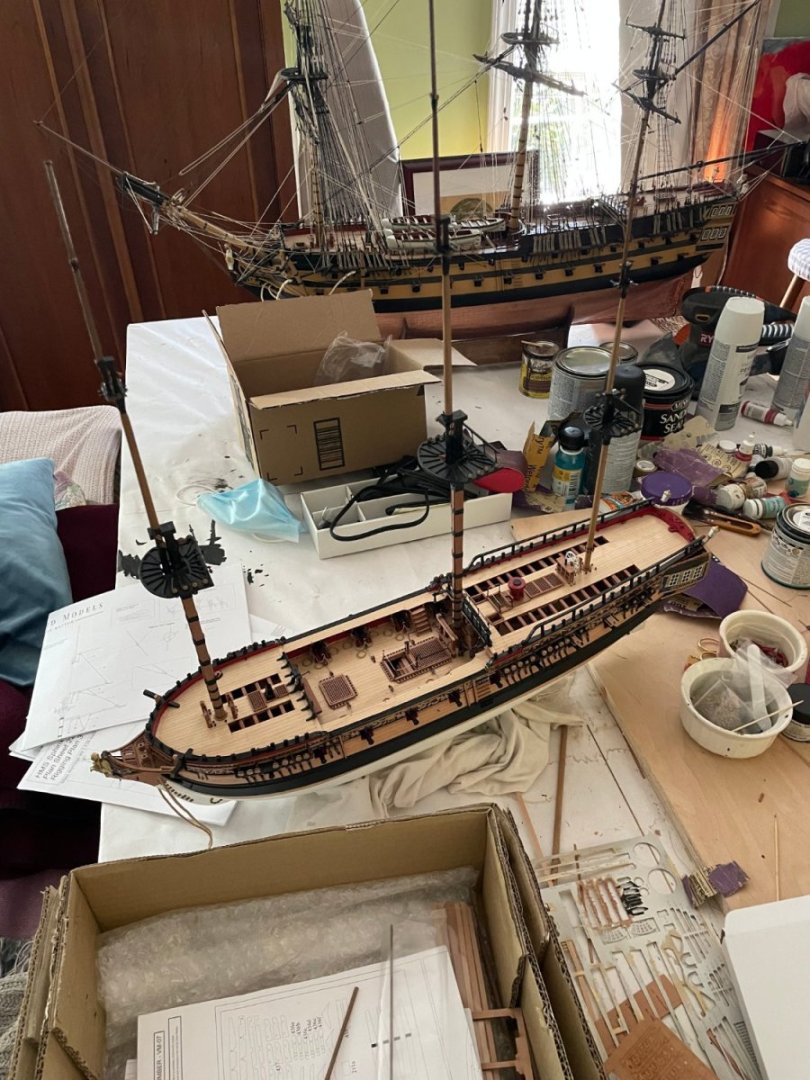
So after 3 days, could not wait anymore and started my next project, the Duchess of Kingston. Quite a bit smaller than HMS Sphinx. The parts fit perfectly, tight, square and feels solid.


- 22 replies
-
- 6
-
-
- Duchess of Kingston
- Vanguard Models
- (and 1 more)
-
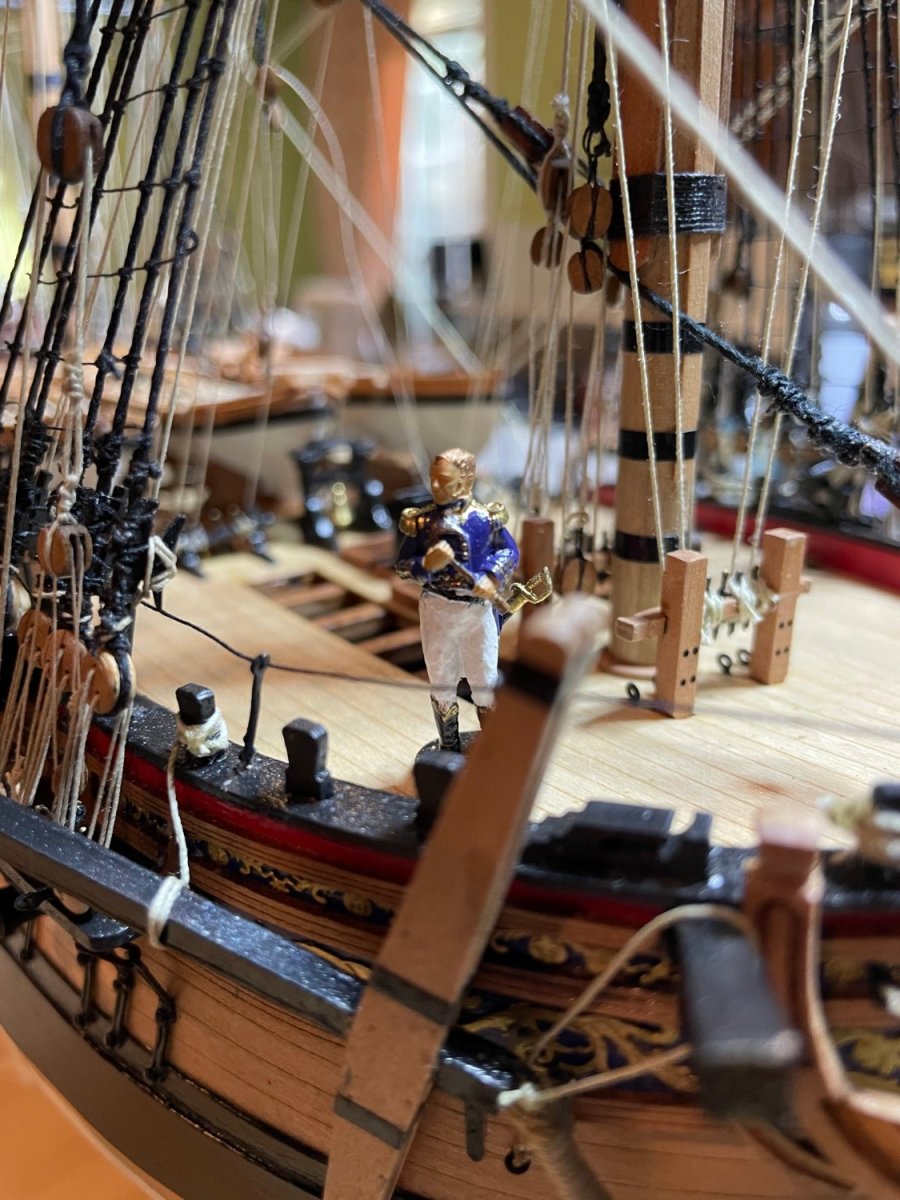
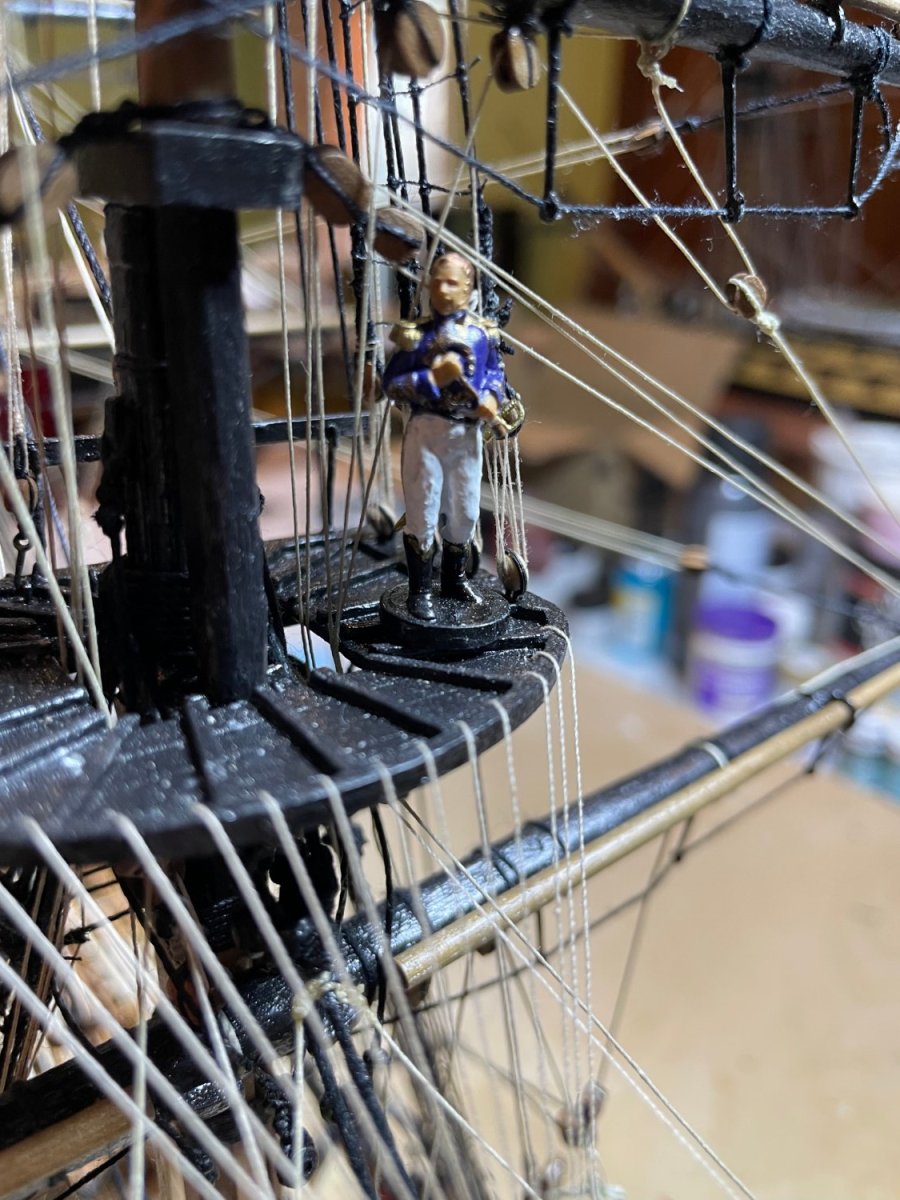
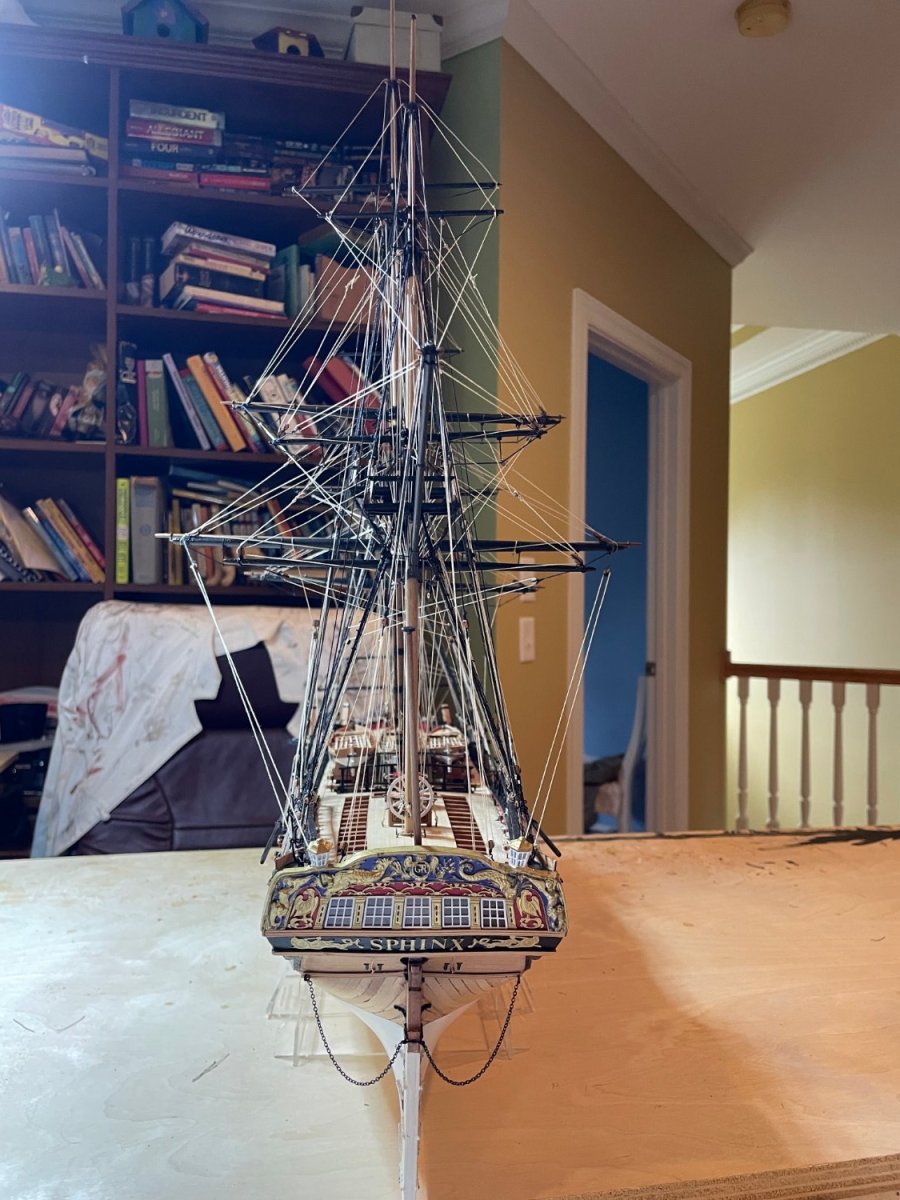
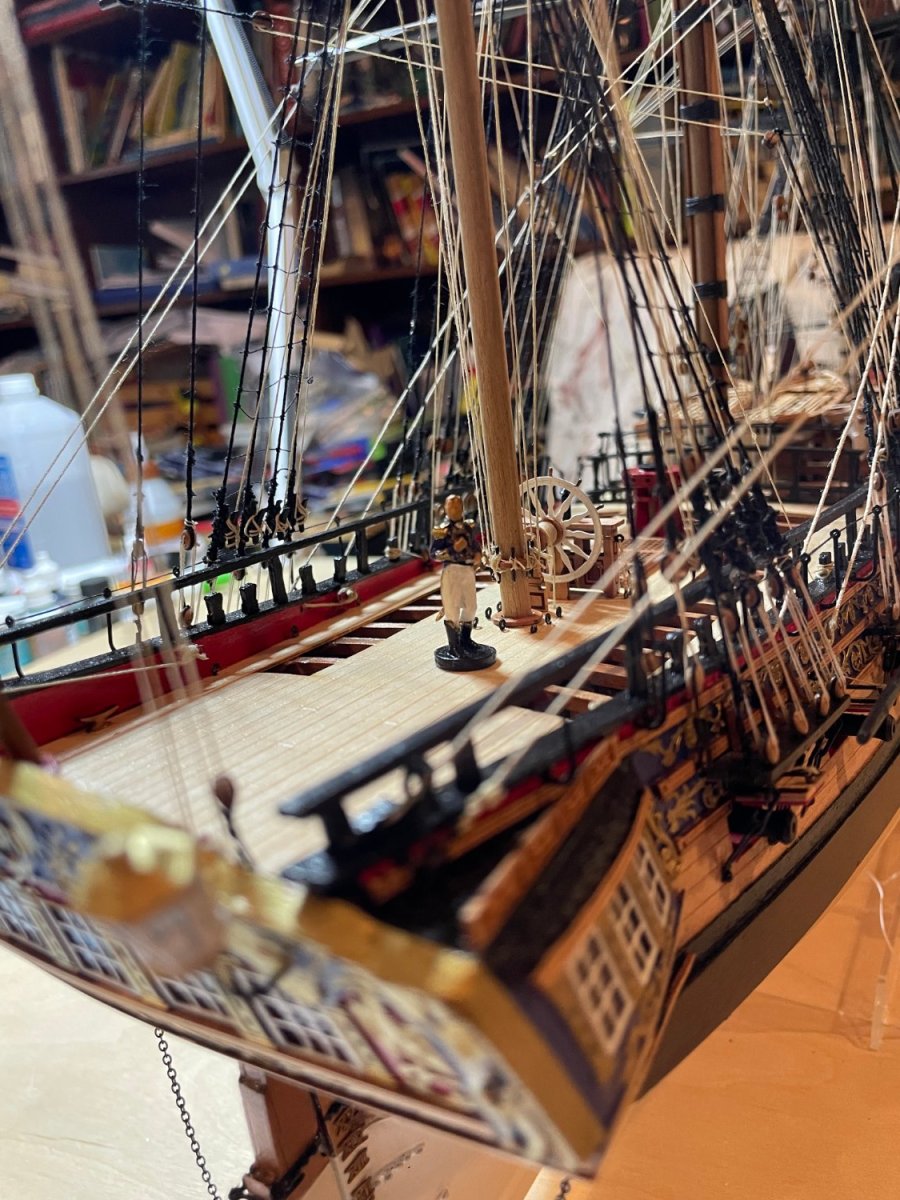
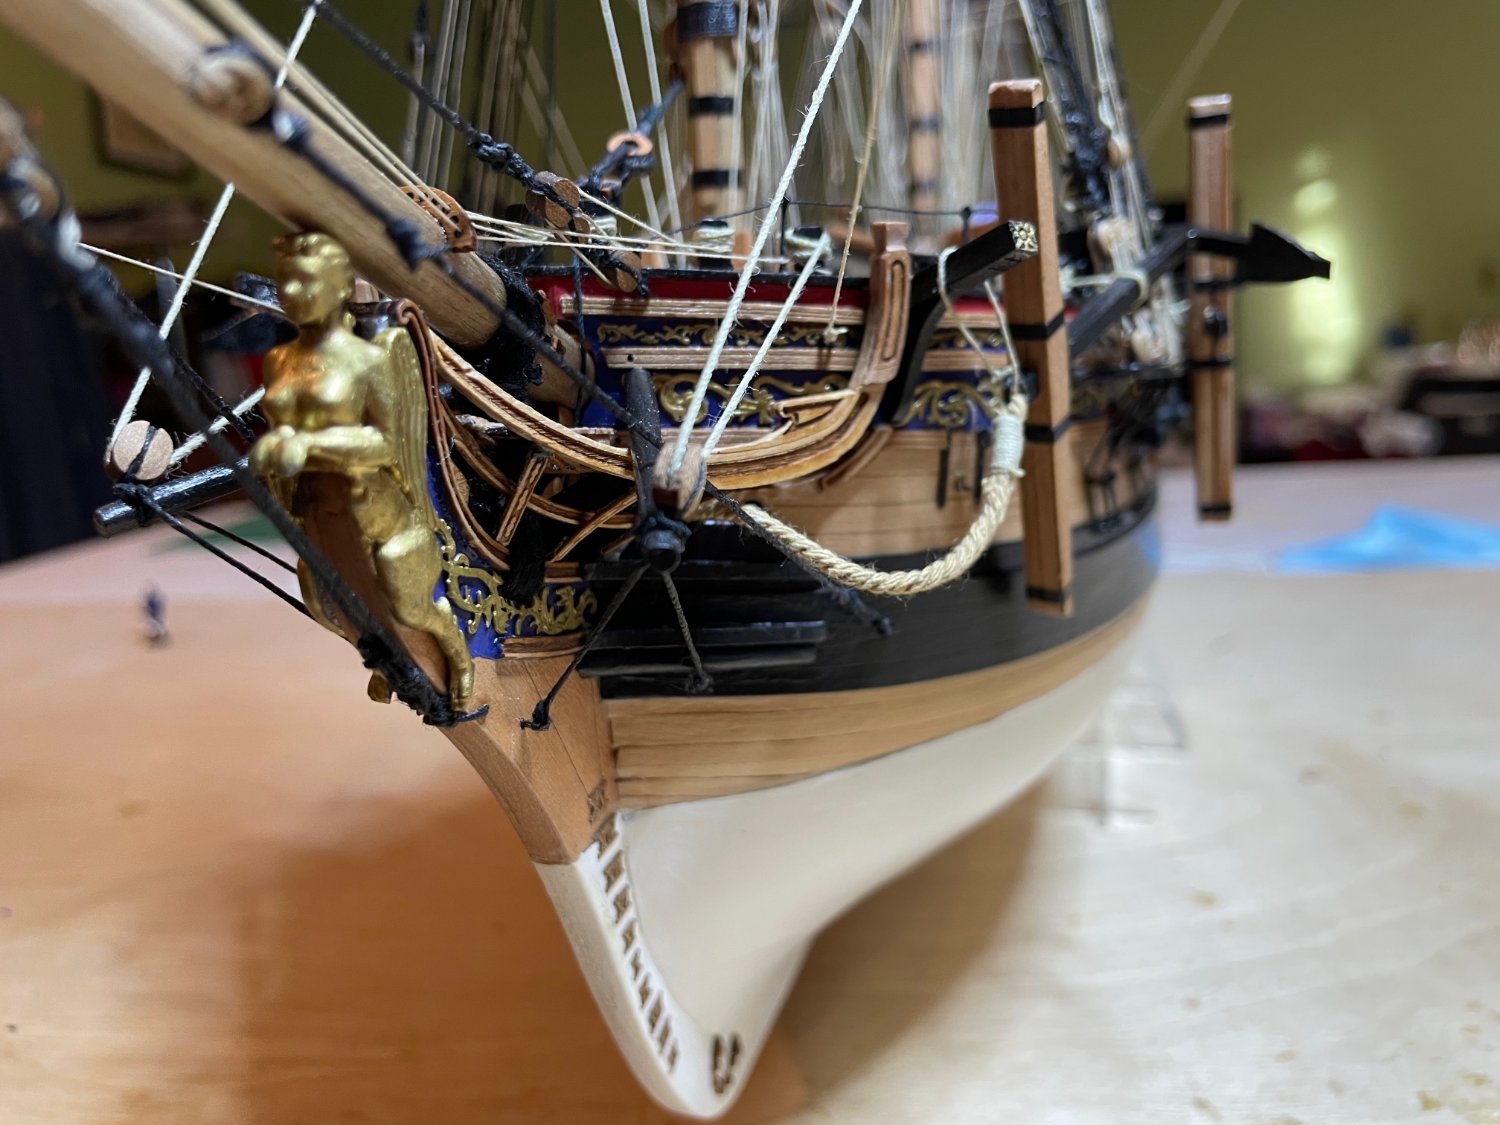
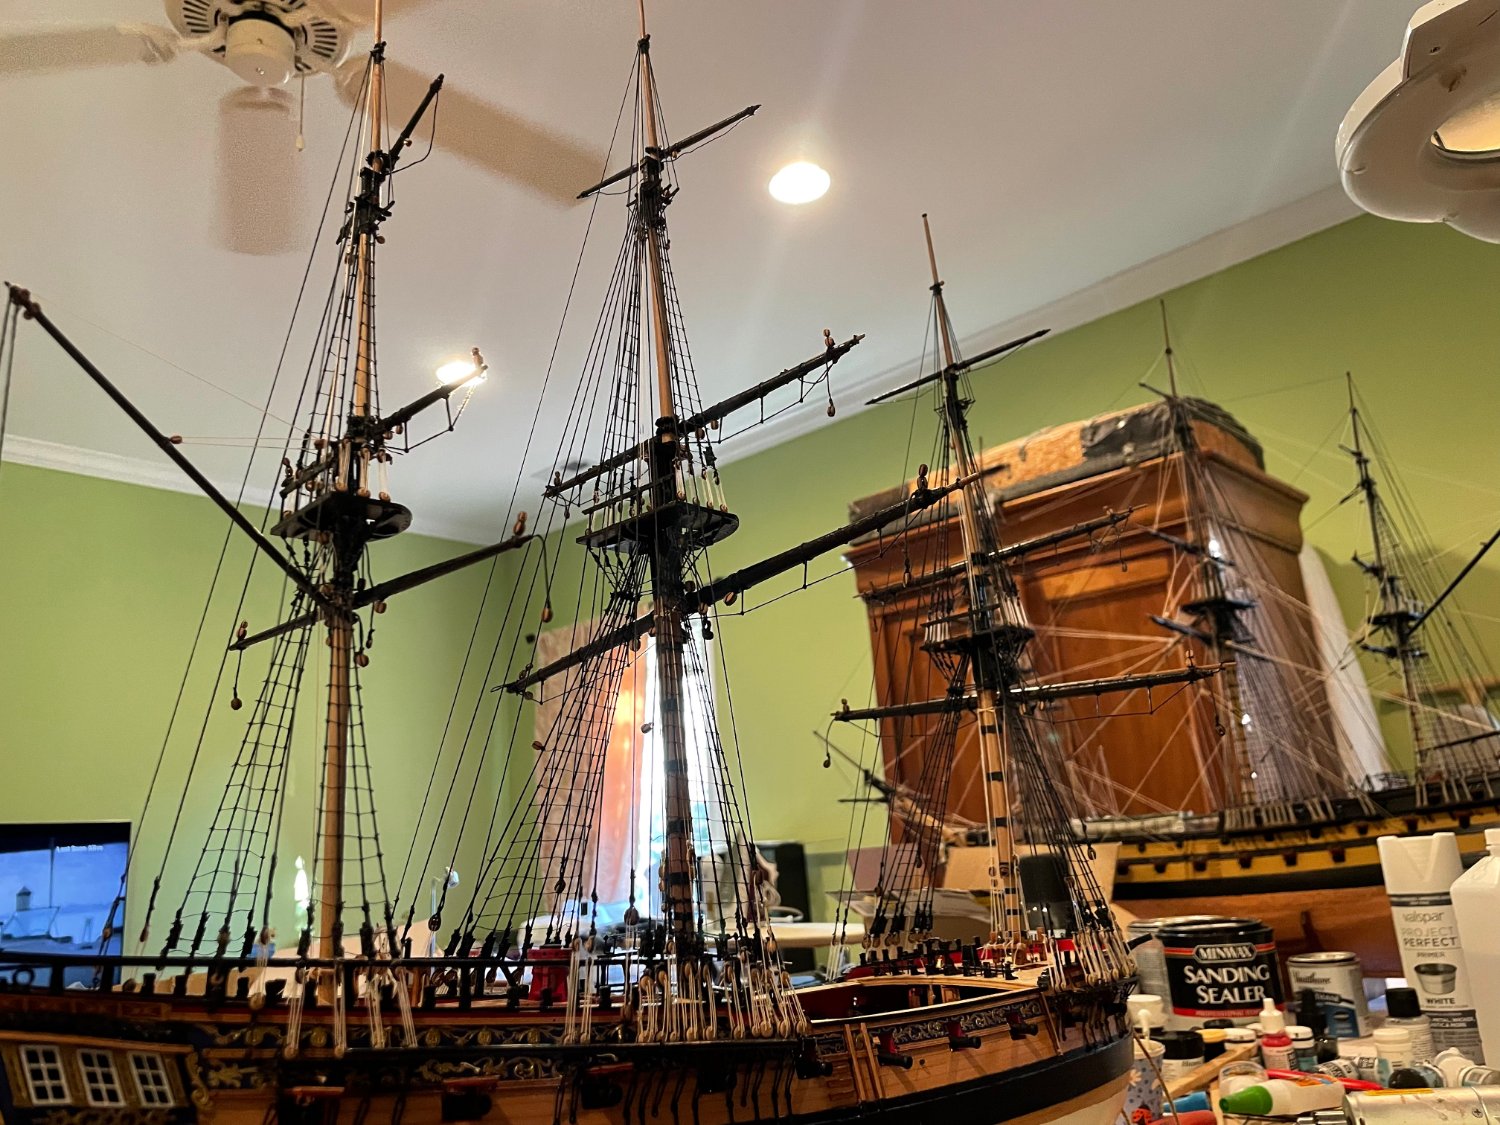
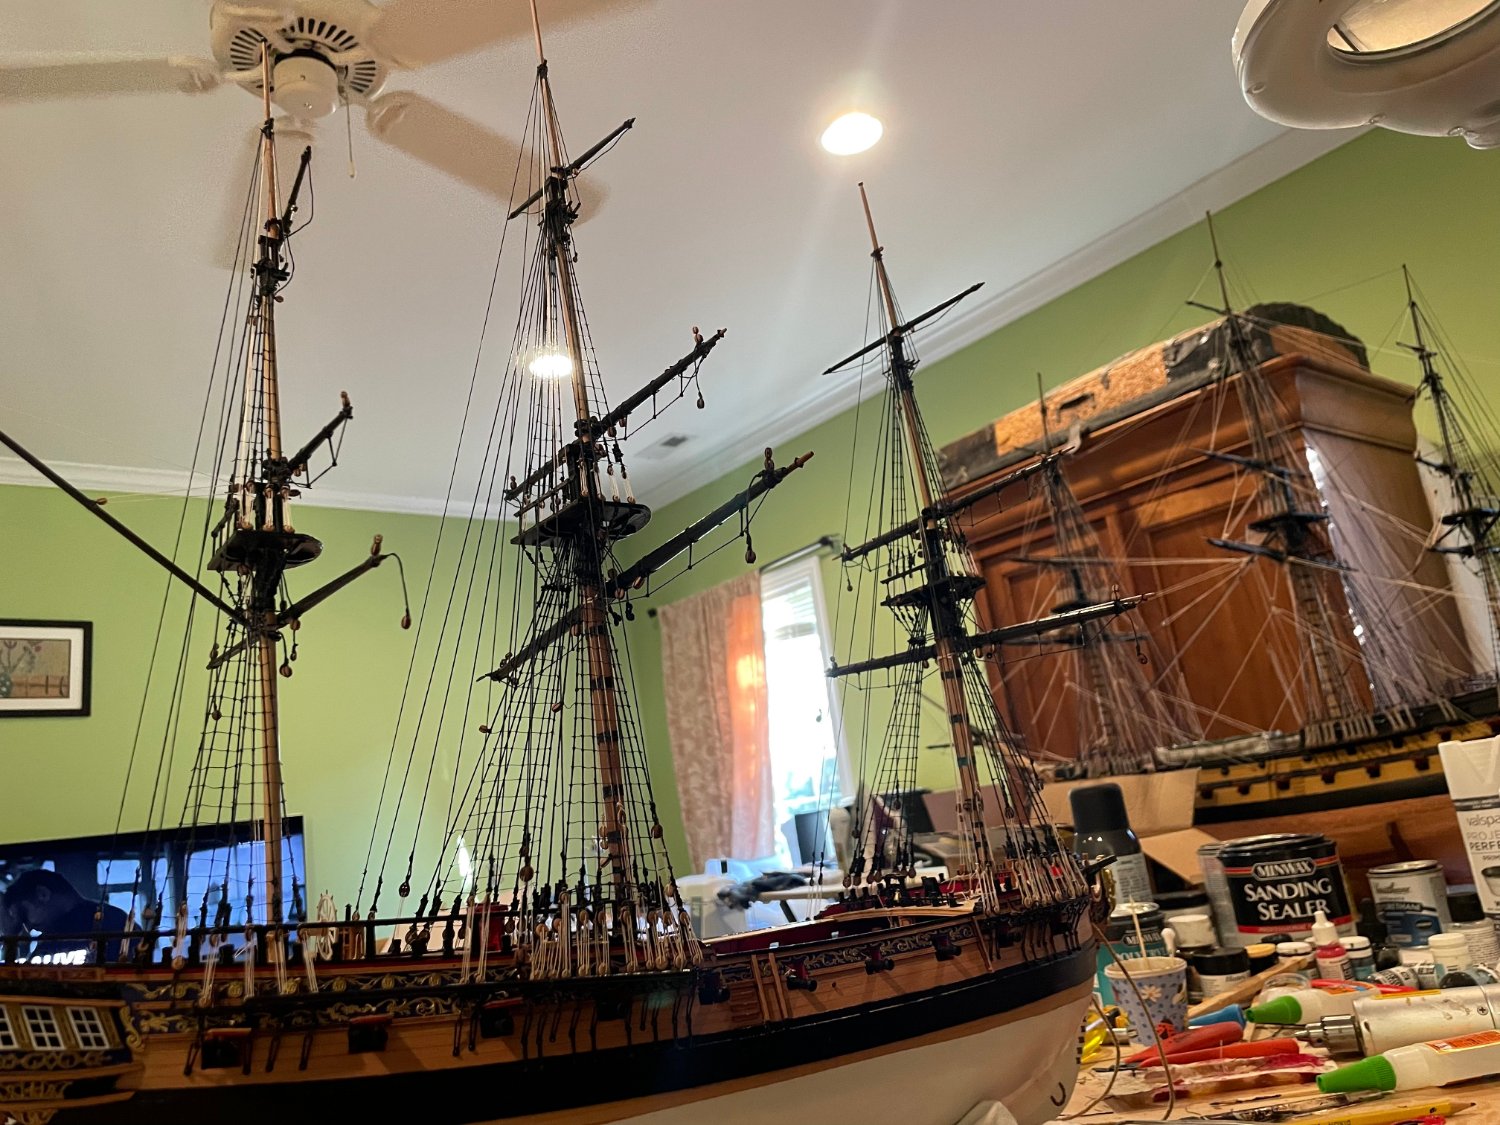
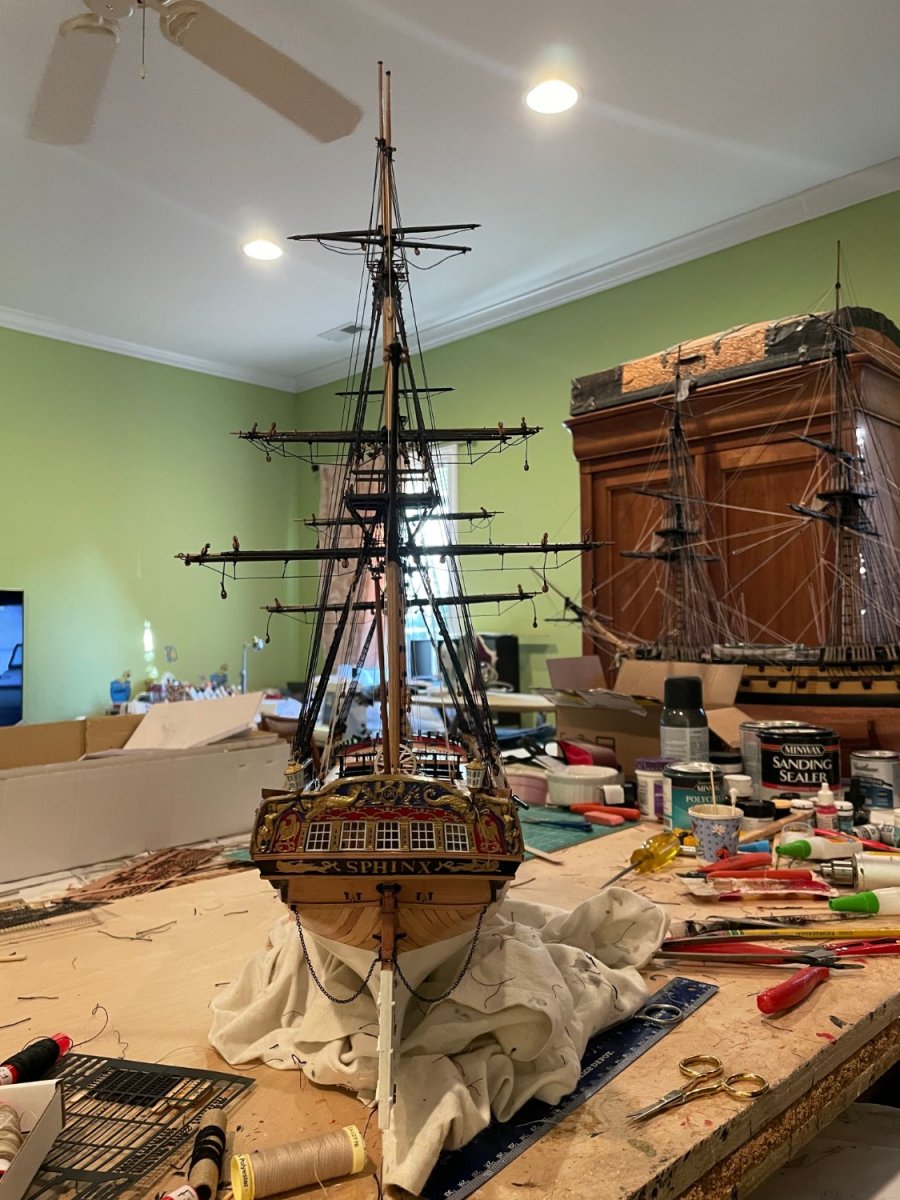
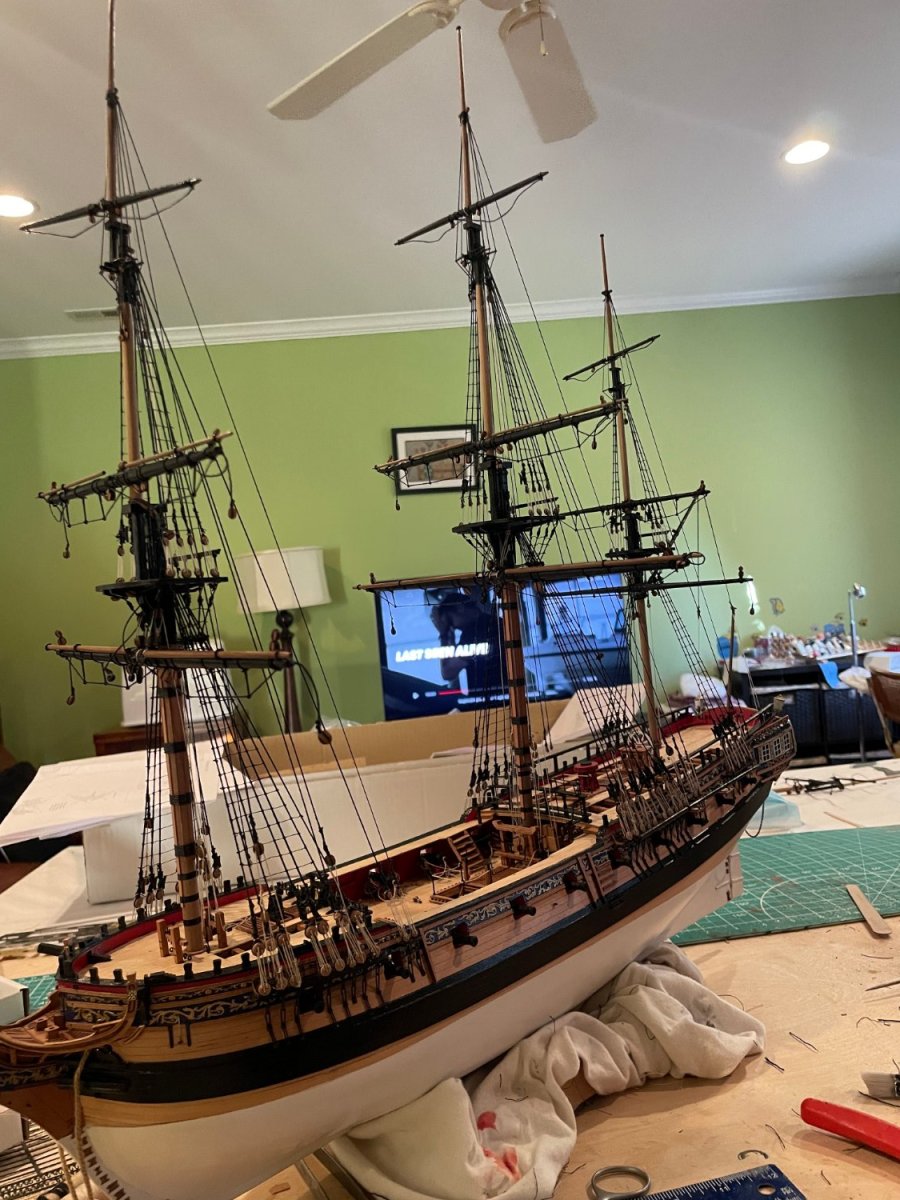
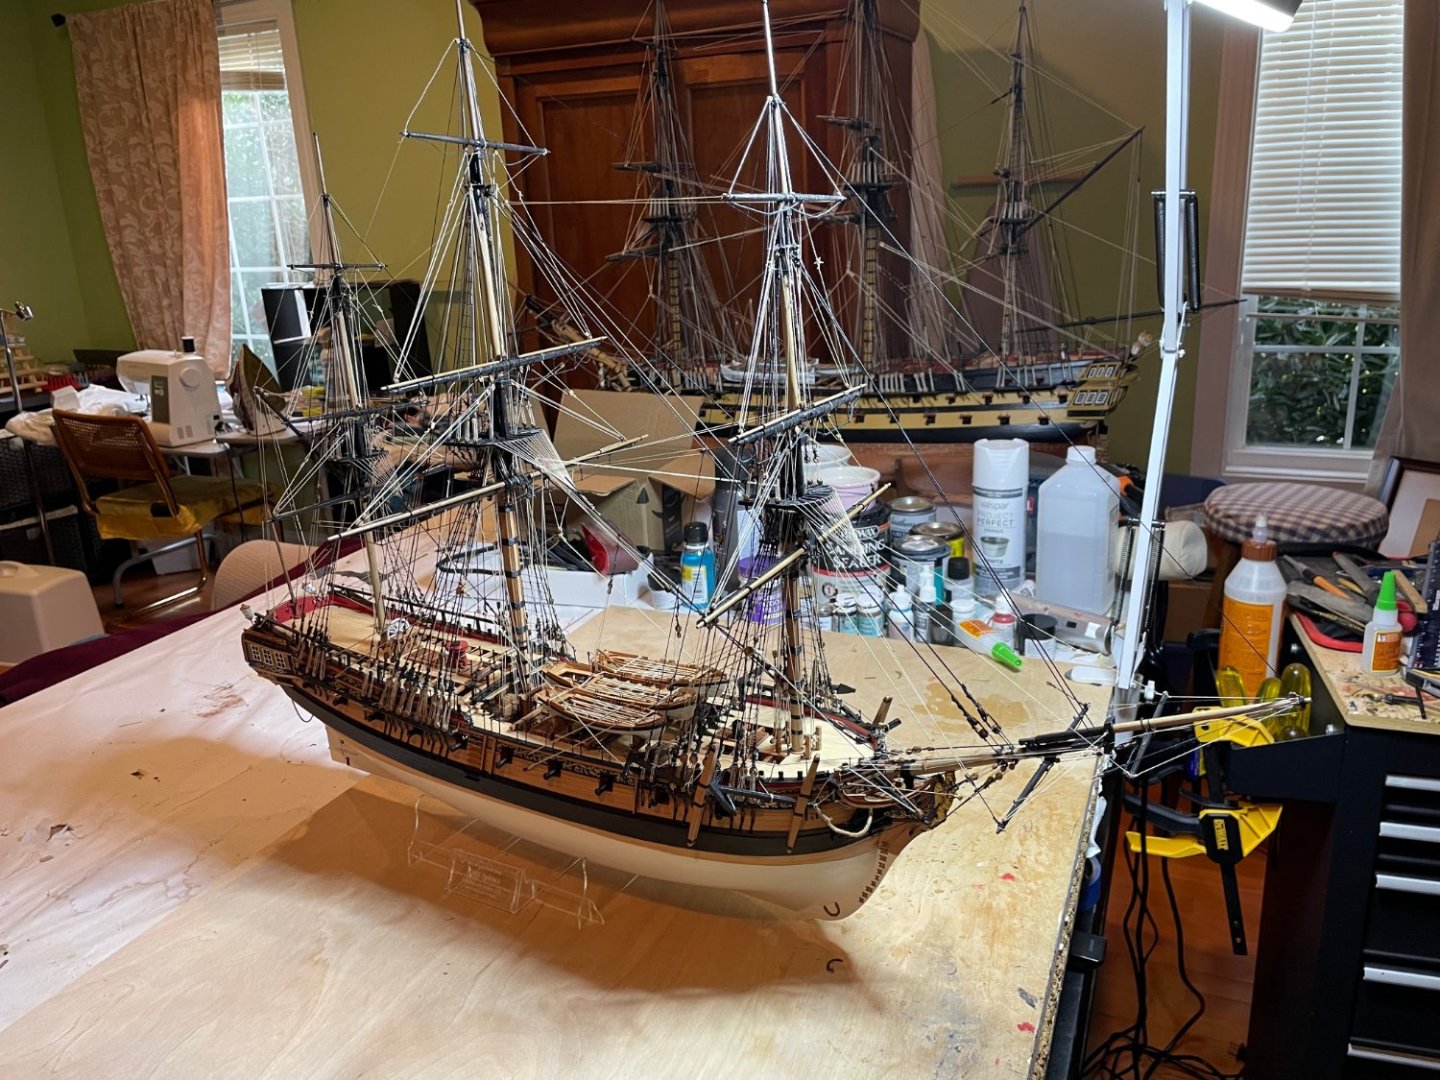
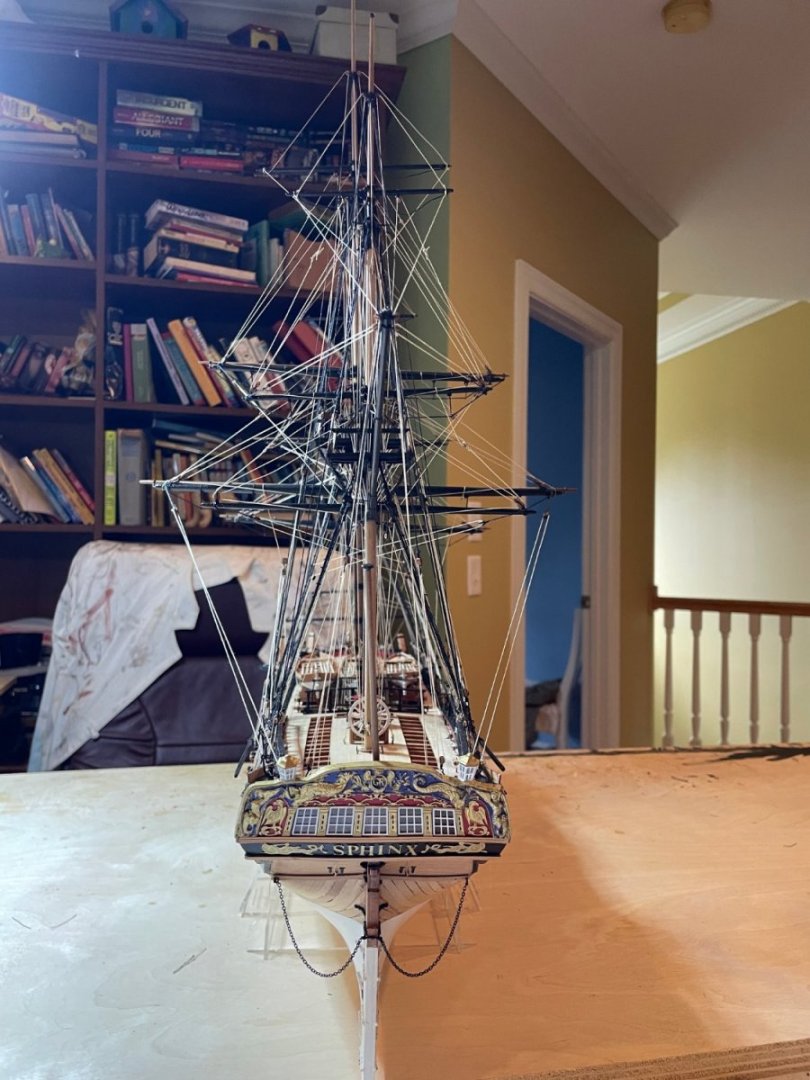
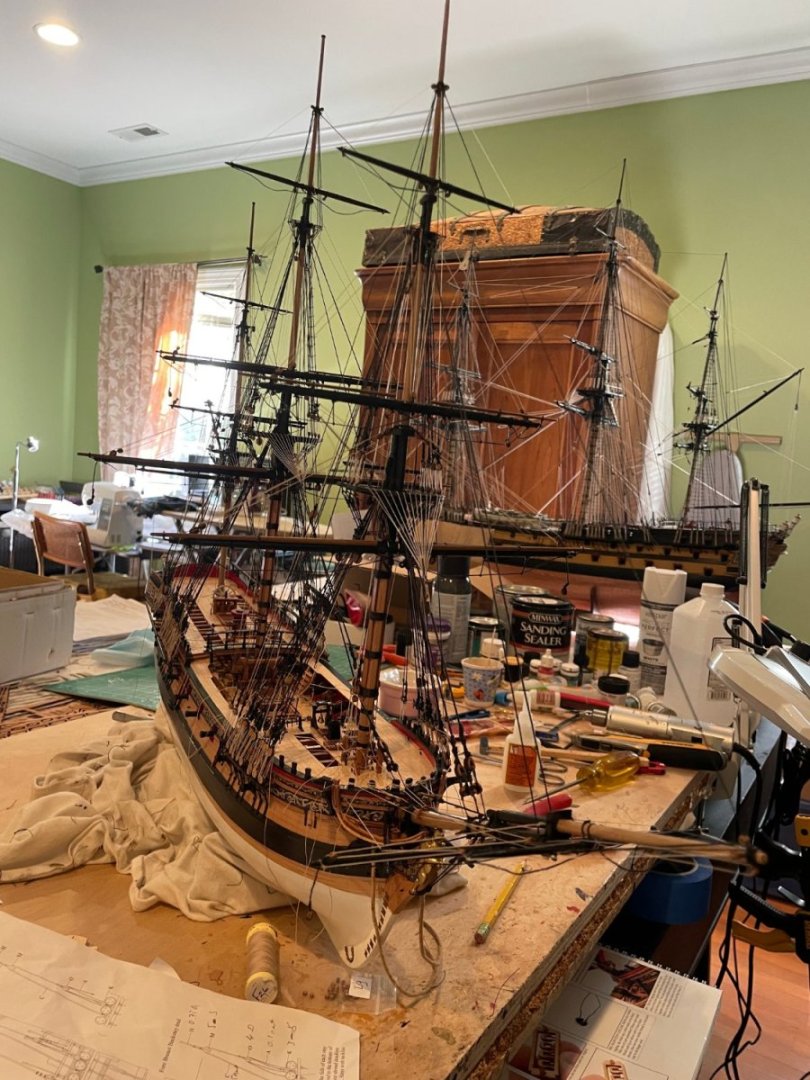
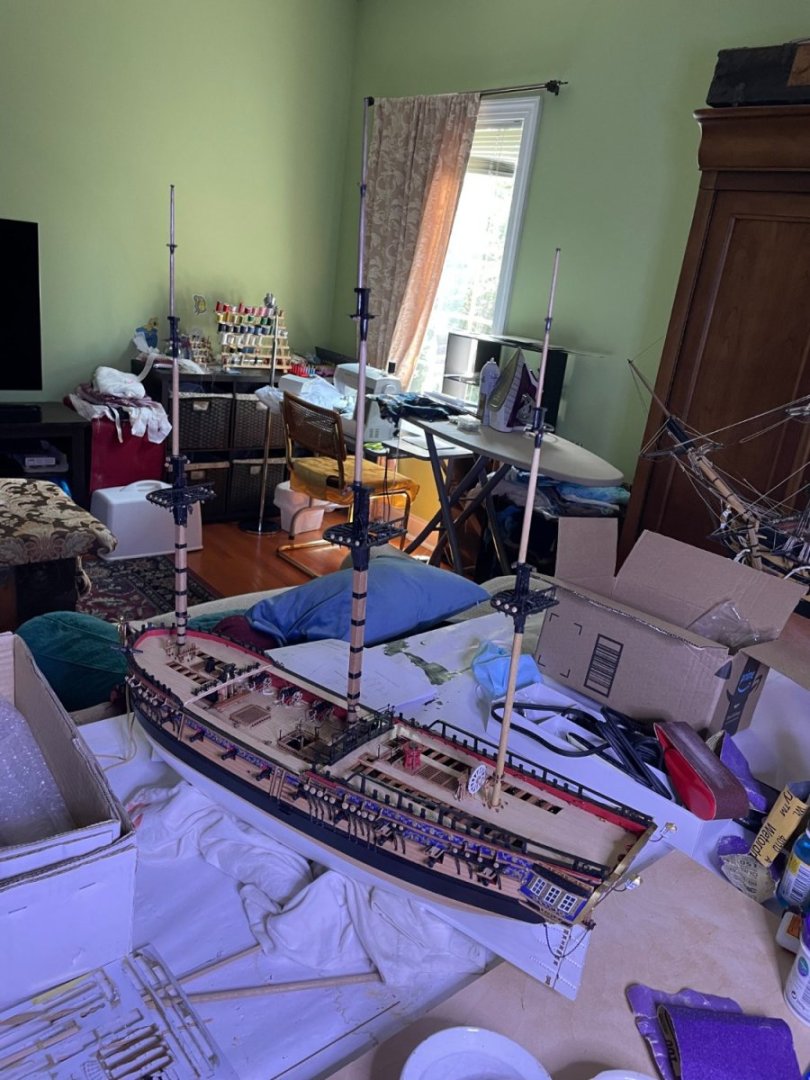
So now the HMS Sphinx is complete. Admiral Cochrane can be seen inspecting it to gie a sense of the 1:64 scale. Until the Indy is ready for purchase, I will keep myself busy with the Duchess


- 73 replies
-
- 14
-

-
-
- Sphinx
- Vanguard Models
- (and 1 more)
-
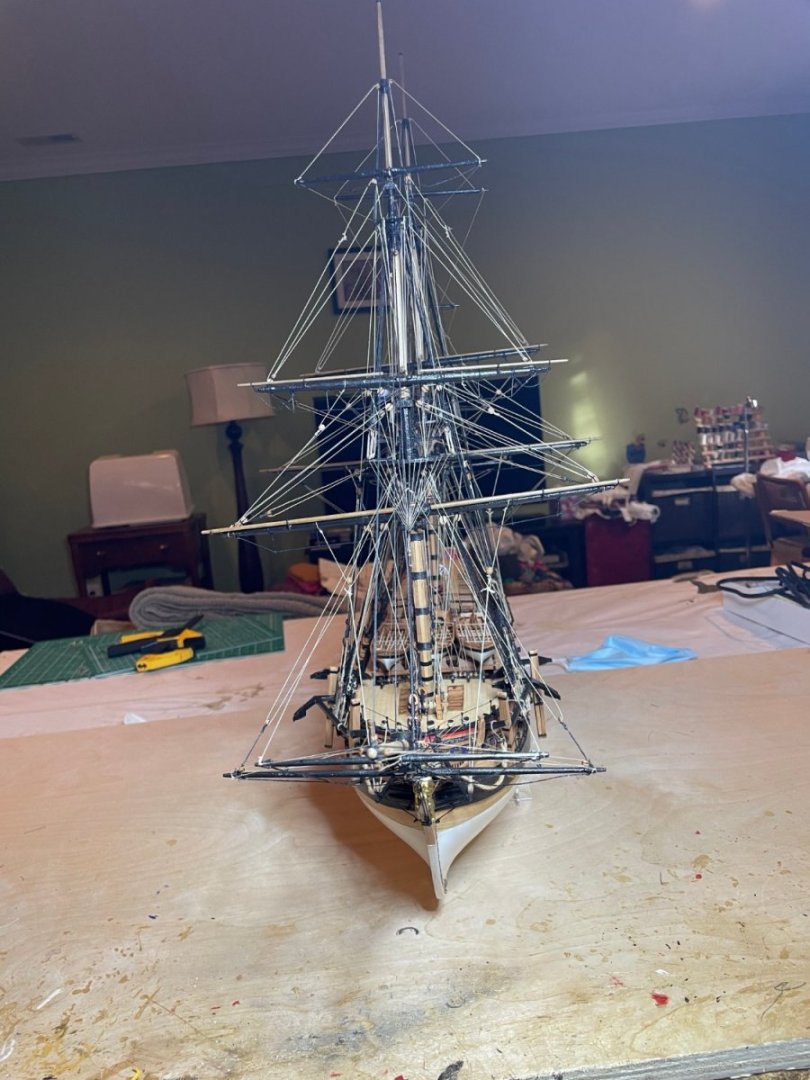
Finally, almost there. Only have, sheets, braces, anchors, mount ships boats and railing left to do.
- 73 replies
-
- 8
-
-
-
- Sphinx
- Vanguard Models
- (and 1 more)
-
Thanks, that is actually an interesting design point which I have not seen on other ships
-
Sorry, I meant Driver , for the spanker. Anyway, I do see the directions for all the other yards but the lower ones but have done several in past and have the drawings from Diane so not a major problem.
- 73 replies
-
- 1
-
-
- Sphinx
- Vanguard Models
- (and 1 more)
-
So have some questions. I am about to attach the yards. Interestingly there is drover on this model, on the plans or the finished picture. Not sure why. Also, although I can see lower yard trusses in the finished pictures, there are no instructions about them. I can make them from previous model instructions (ie Diane and Agamemnon) but am I missing something ?
- 73 replies
-
- 1
-
-
- Sphinx
- Vanguard Models
- (and 1 more)
-
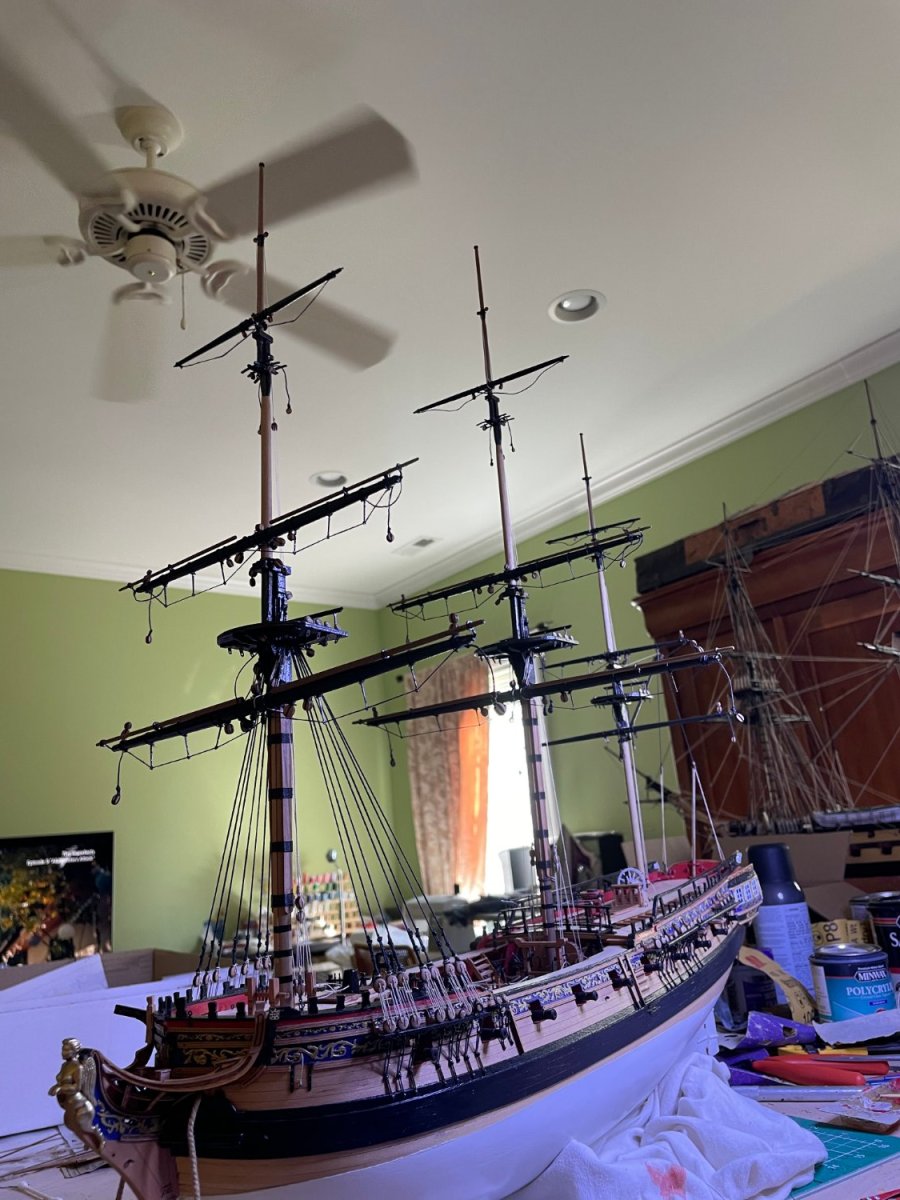
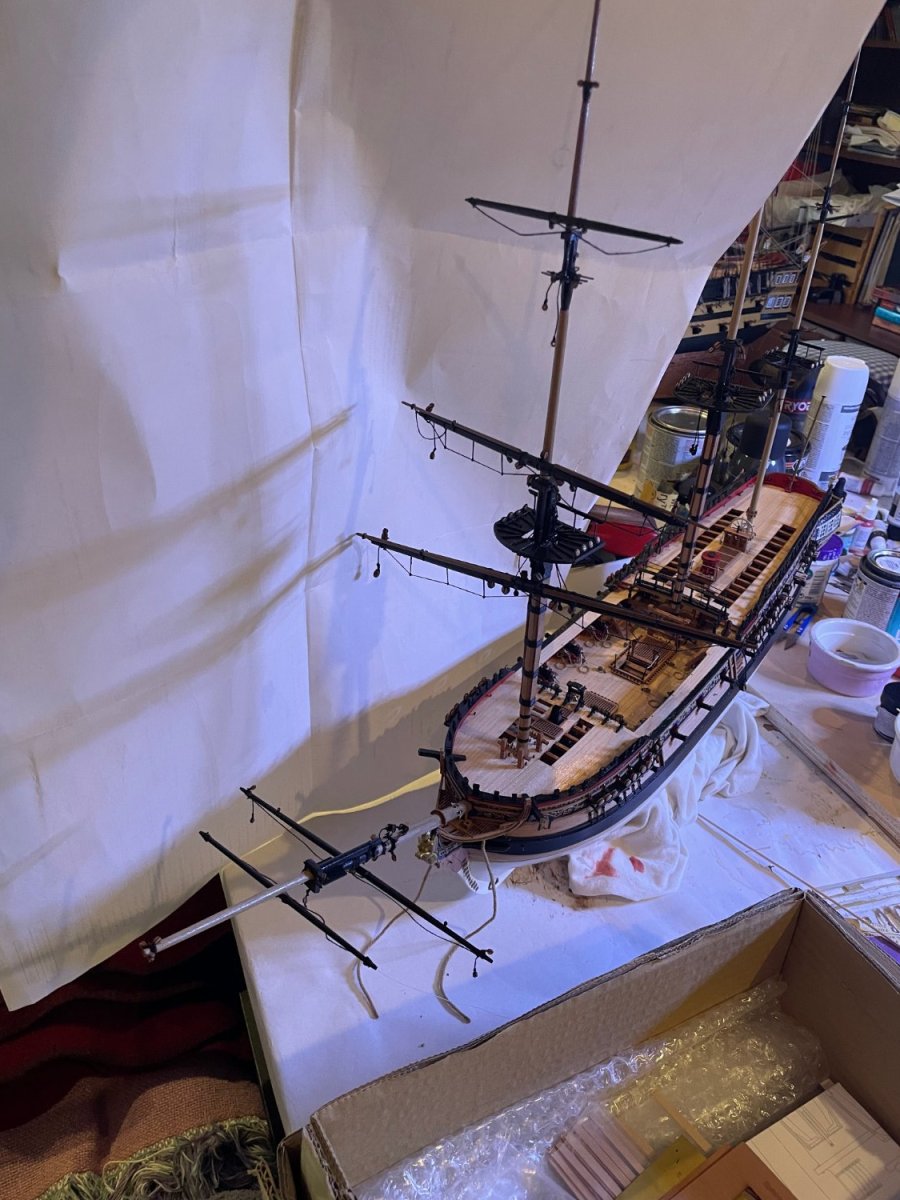
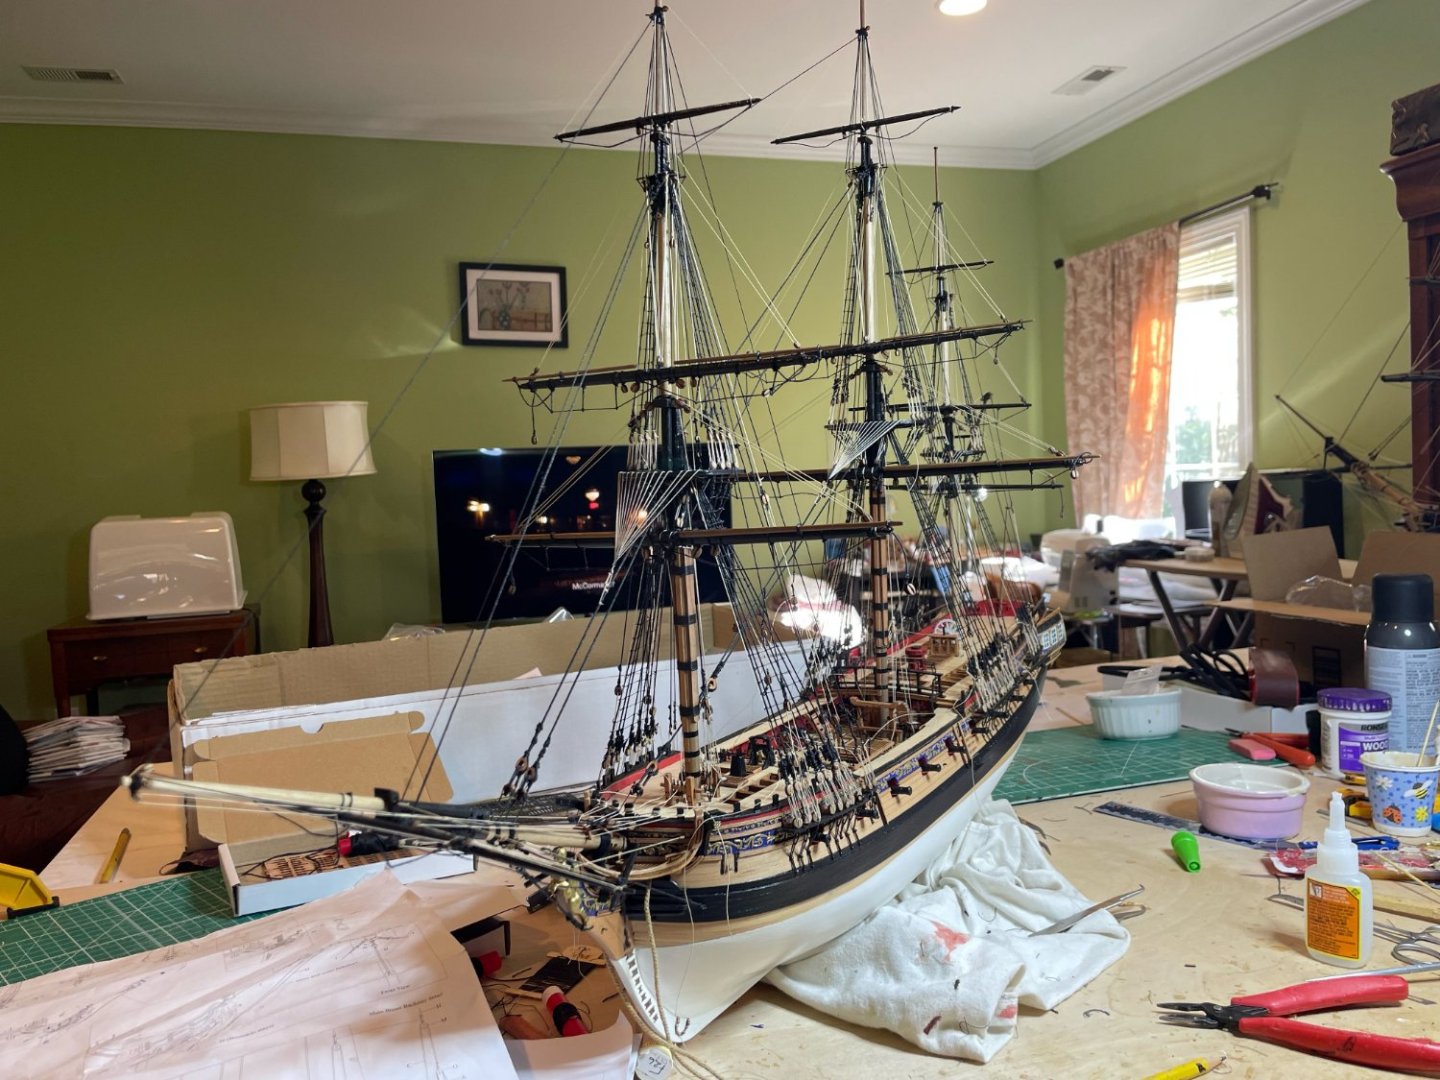
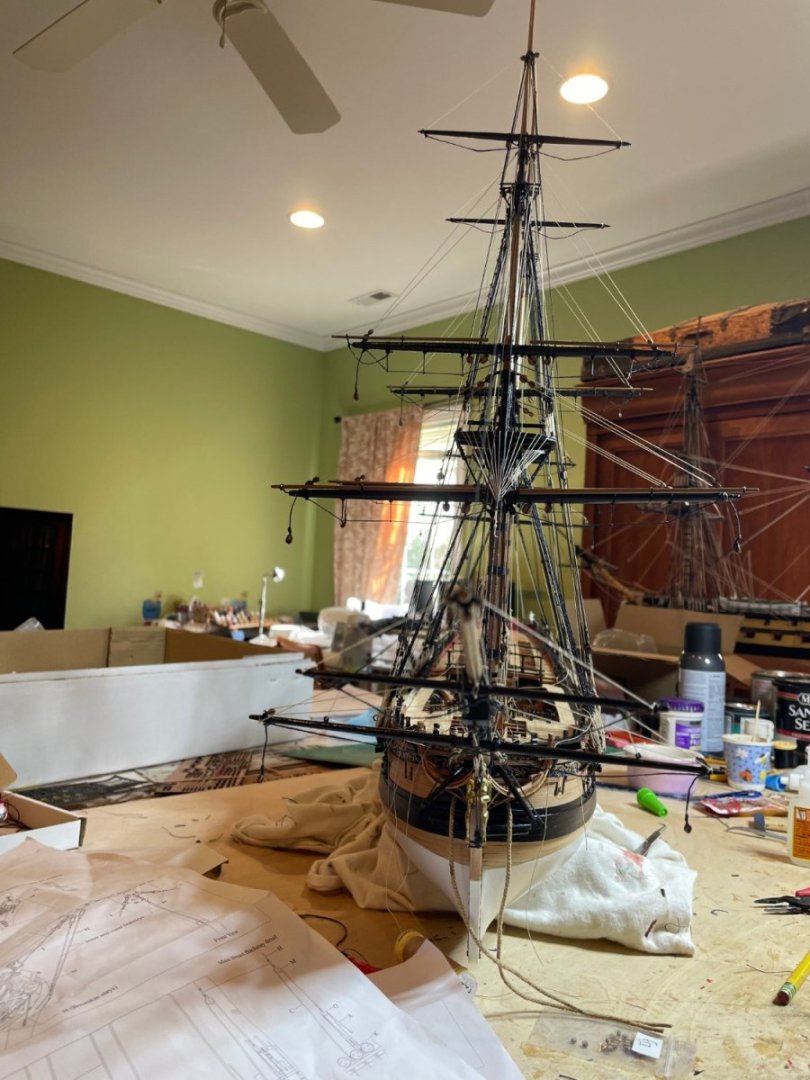
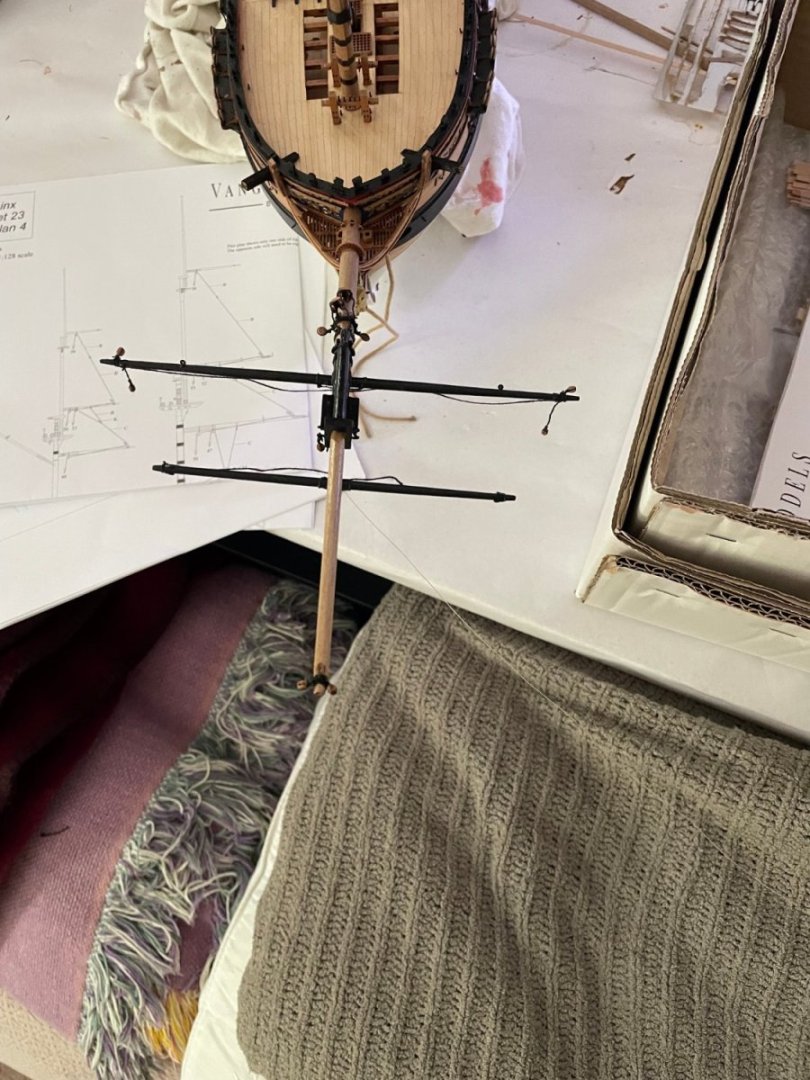
Bowsprit and foremast yards done and temporarily fitted.

- 73 replies
-
- 7
-
-
- Sphinx
- Vanguard Models
- (and 1 more)
-
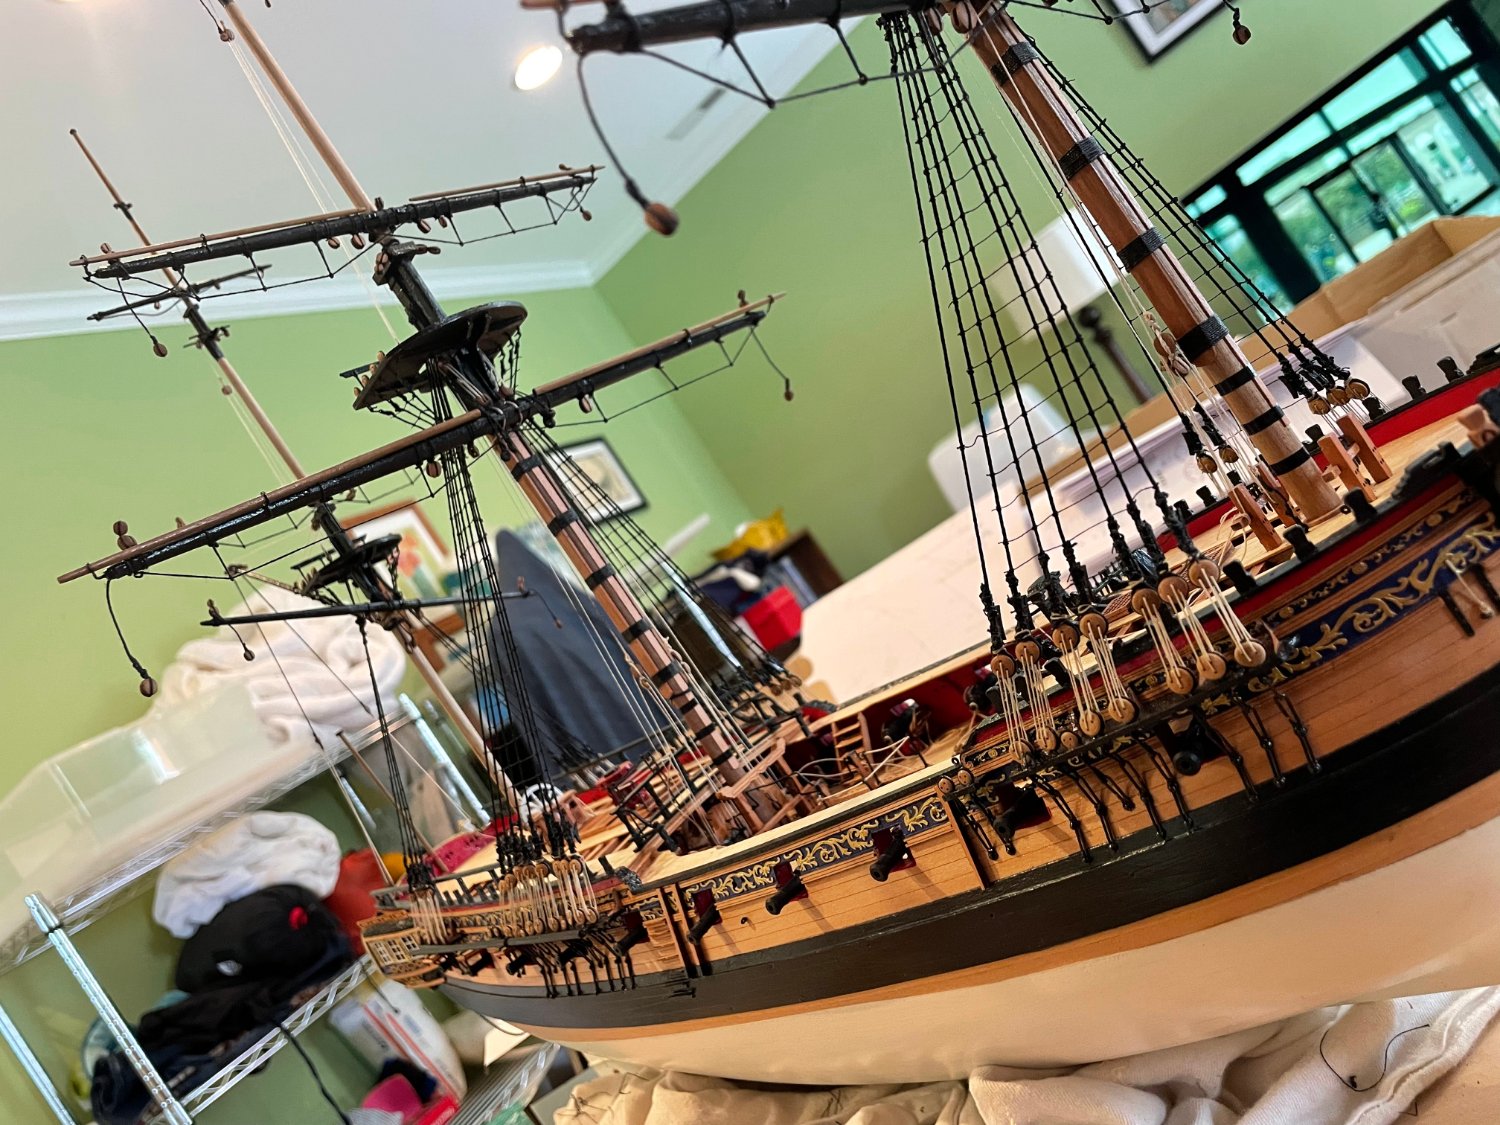
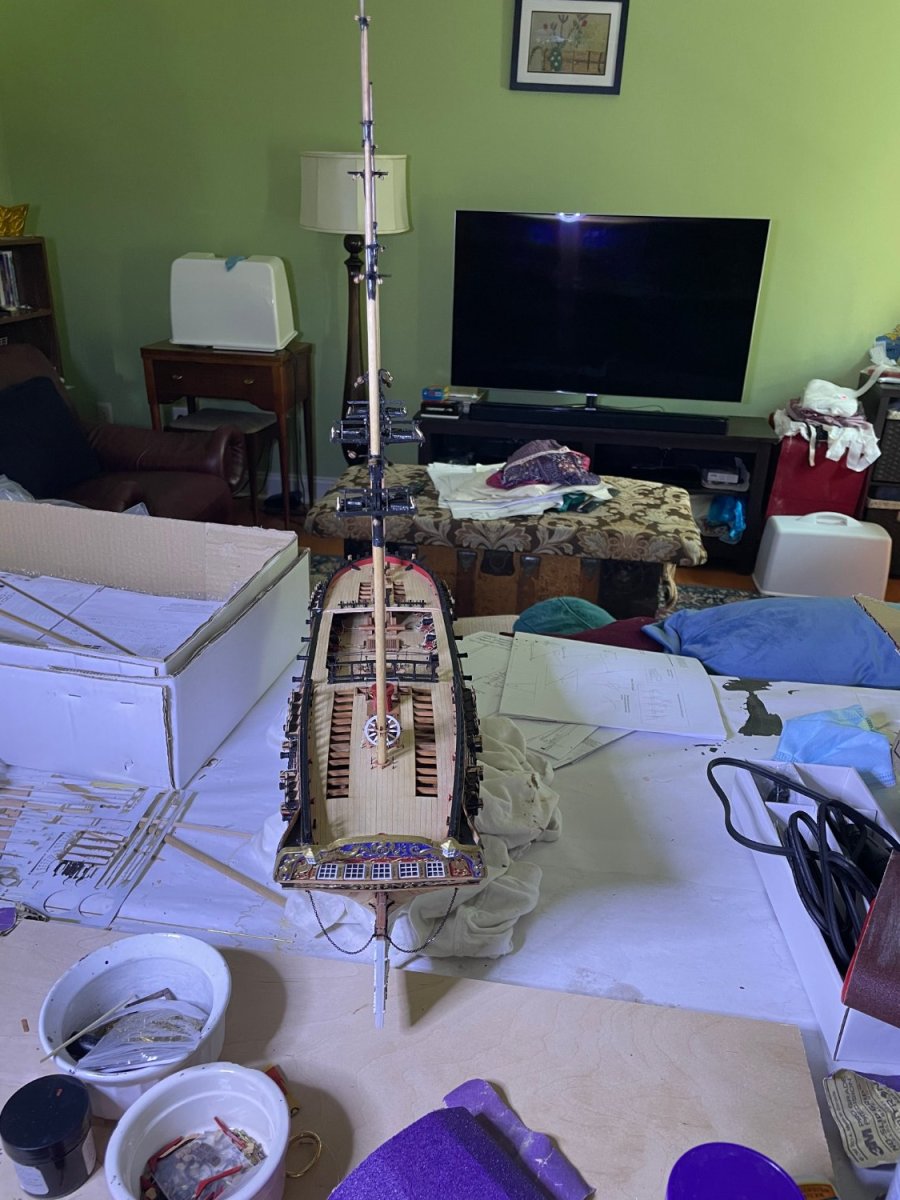
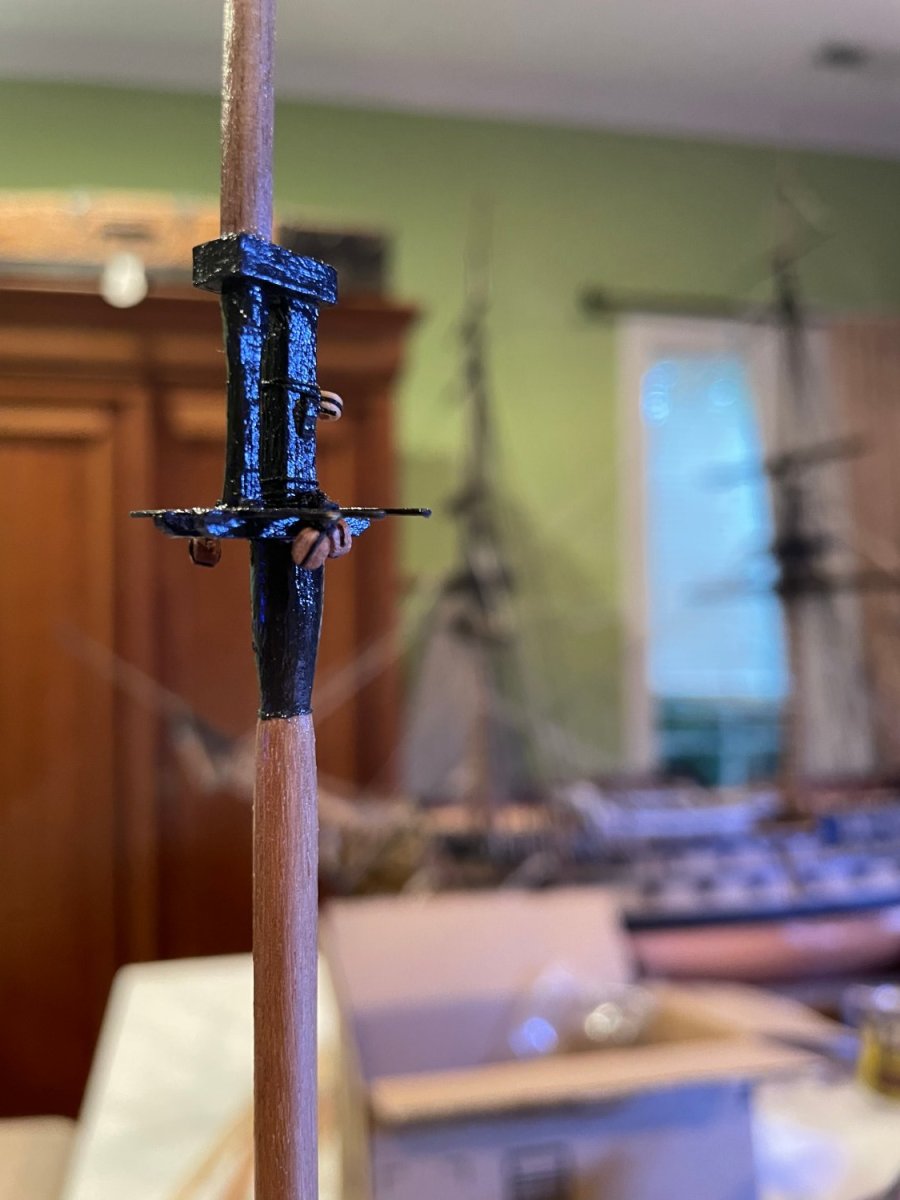
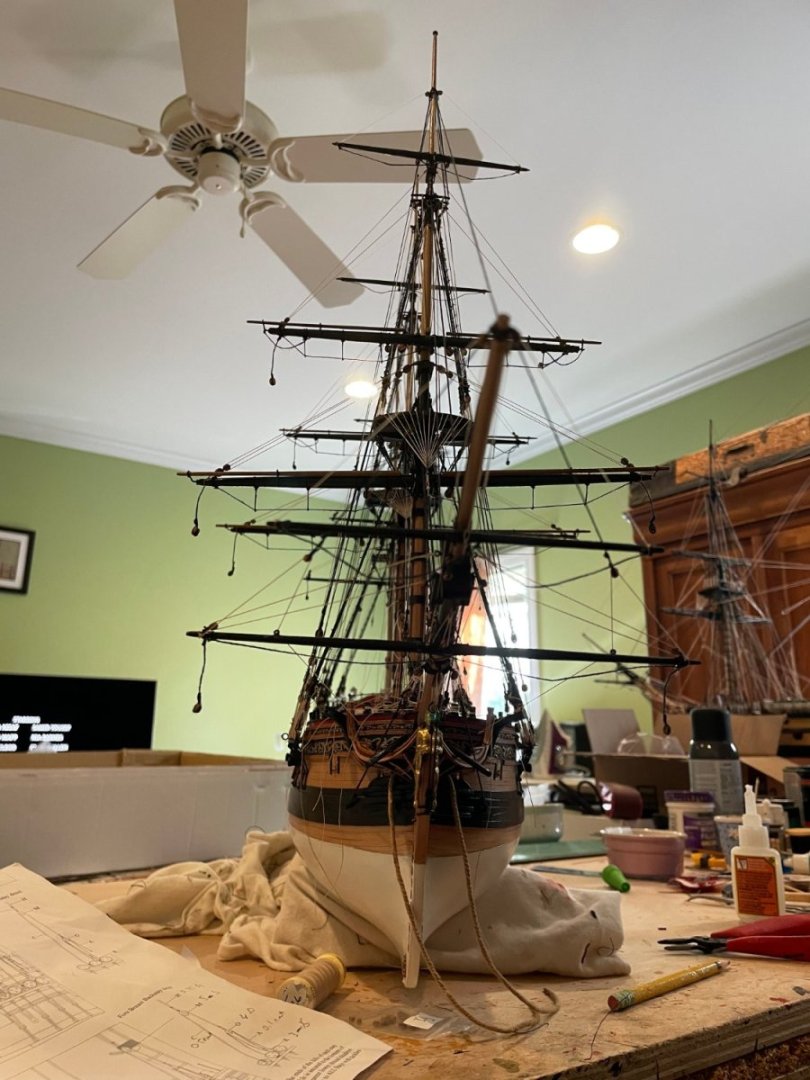
Masts done and line up nicely but will not set them until yards on with pins. Next is the bowsprit but I usually actually attach it after the shrouds done as I learned in the past my arm catches the tip and breaks it at some point.


- 73 replies
-
- 6
-
-
- Sphinx
- Vanguard Models
- (and 1 more)
-
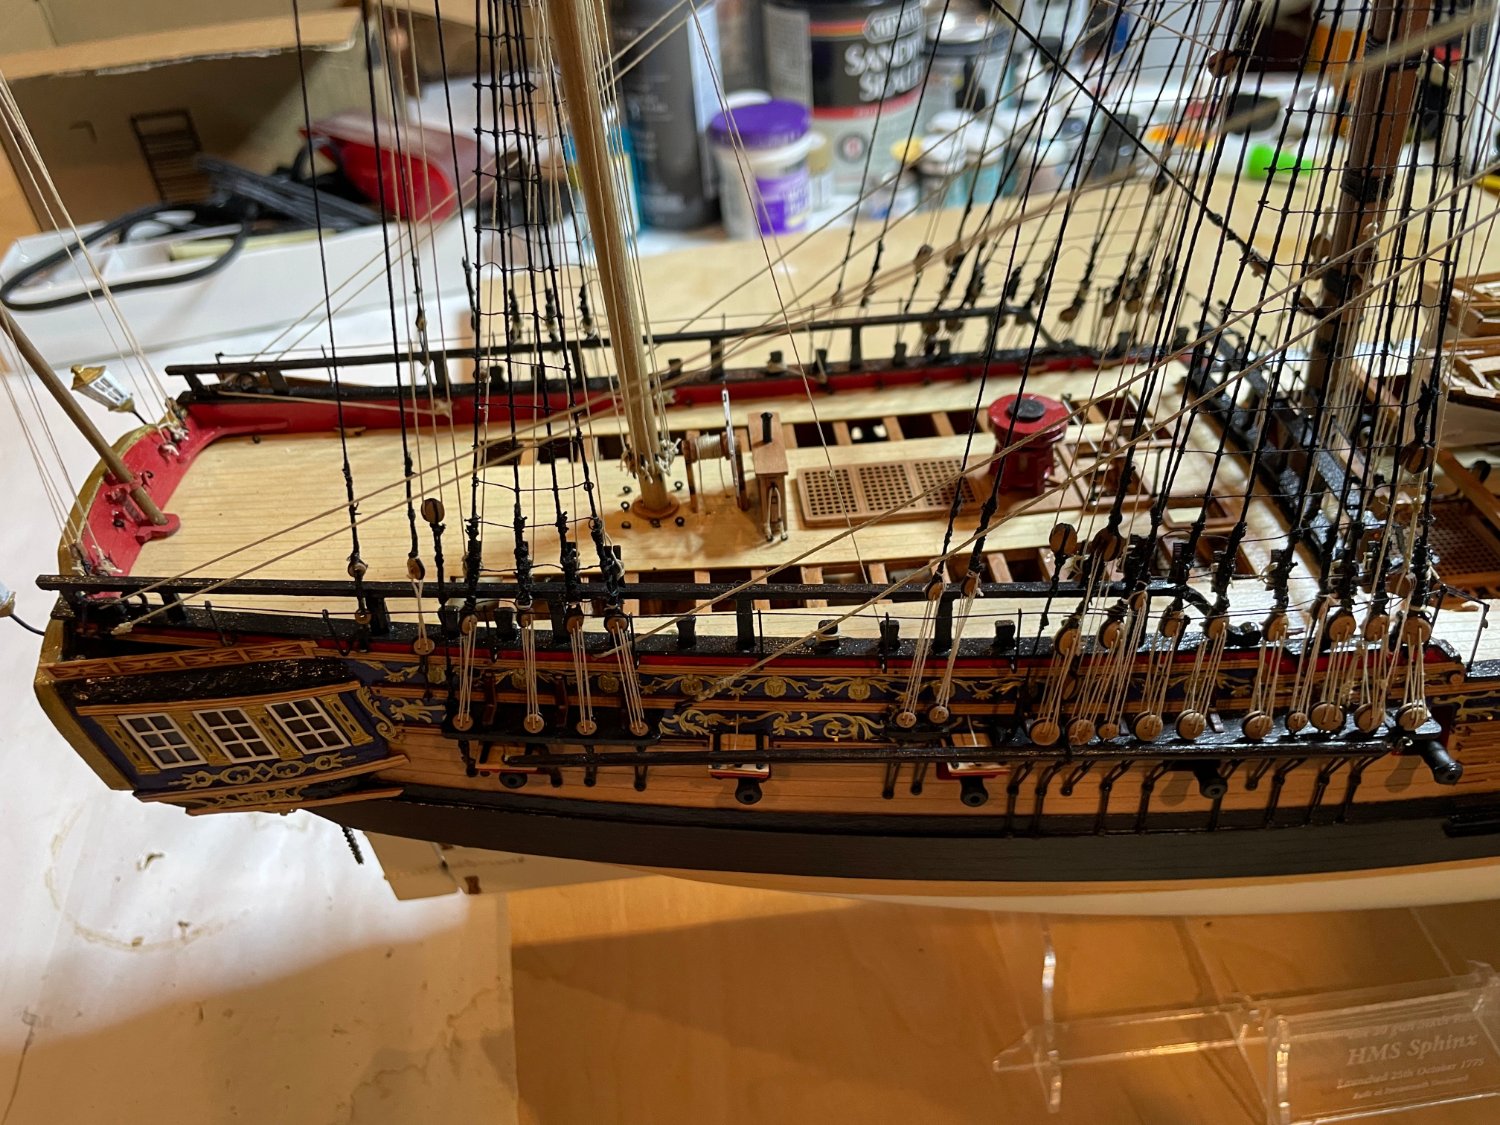
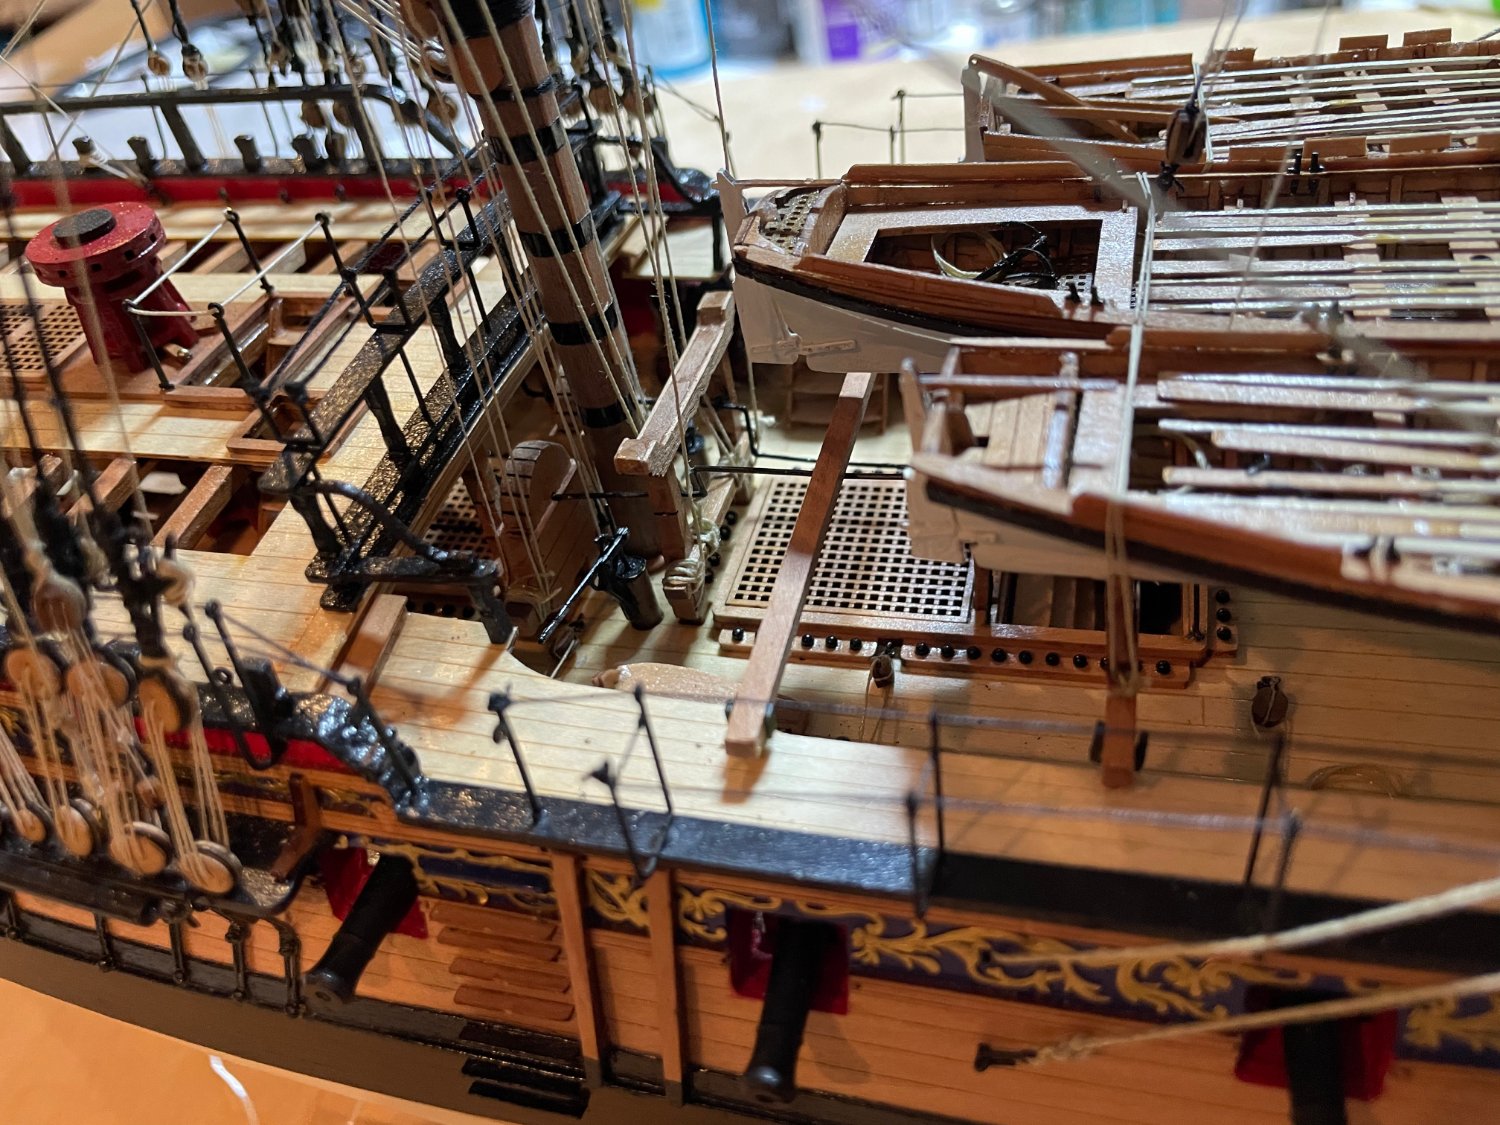
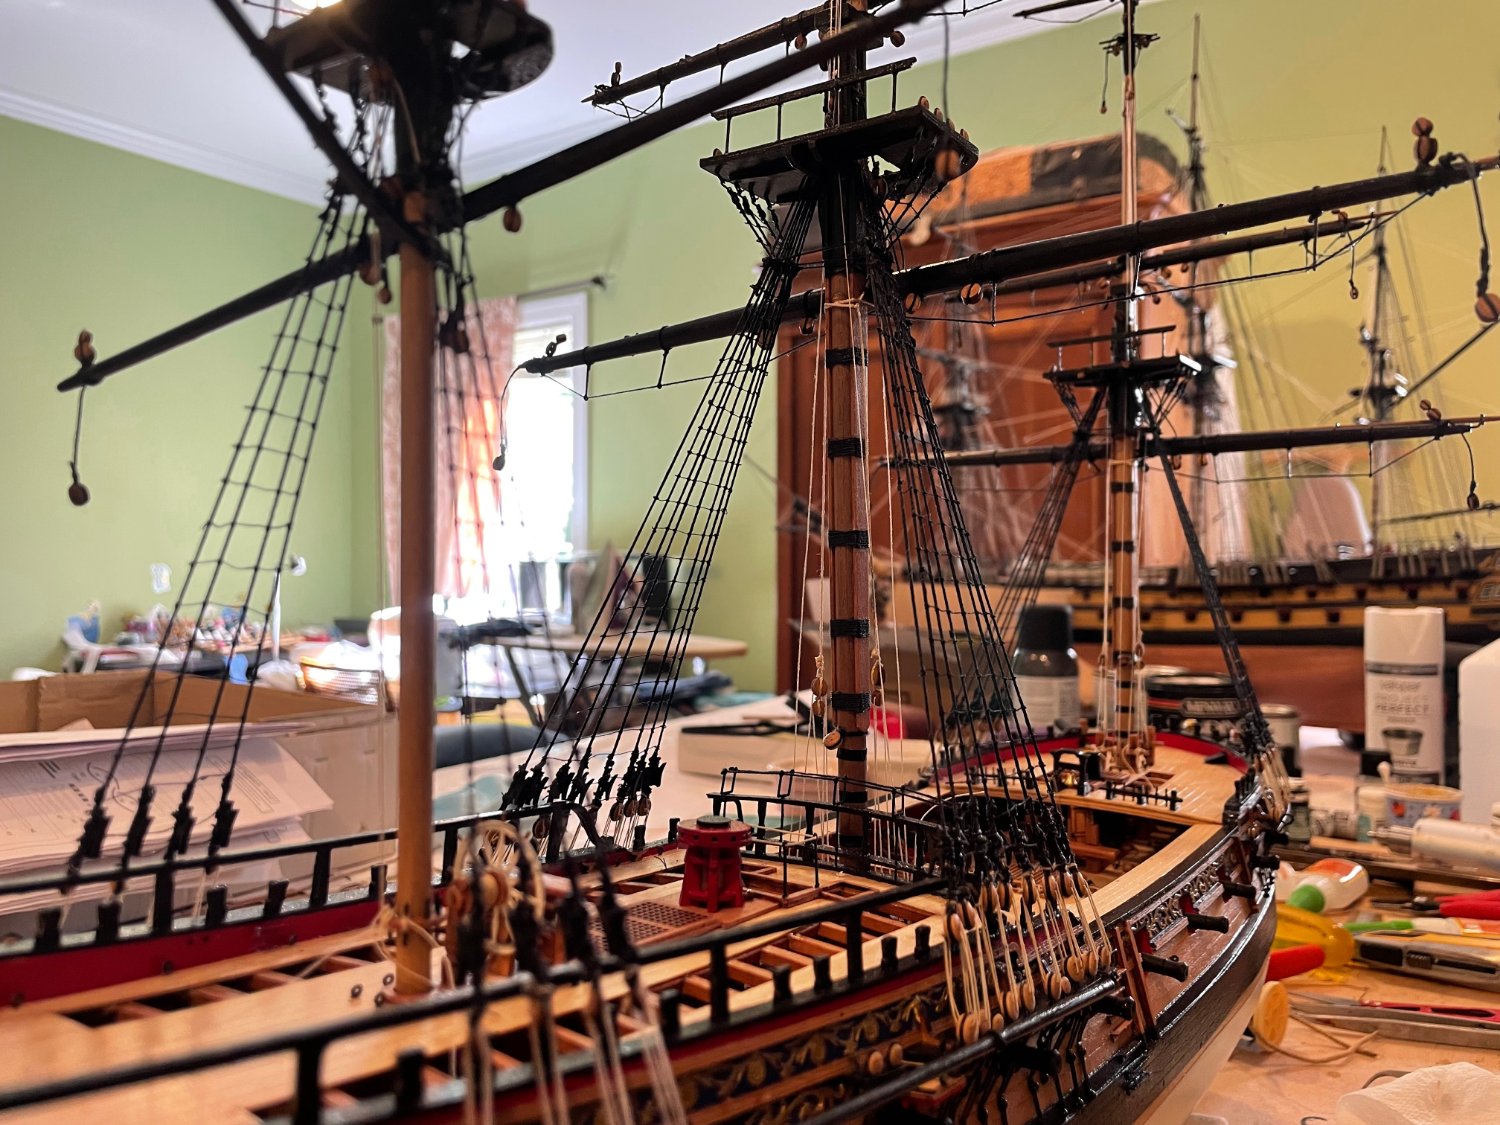
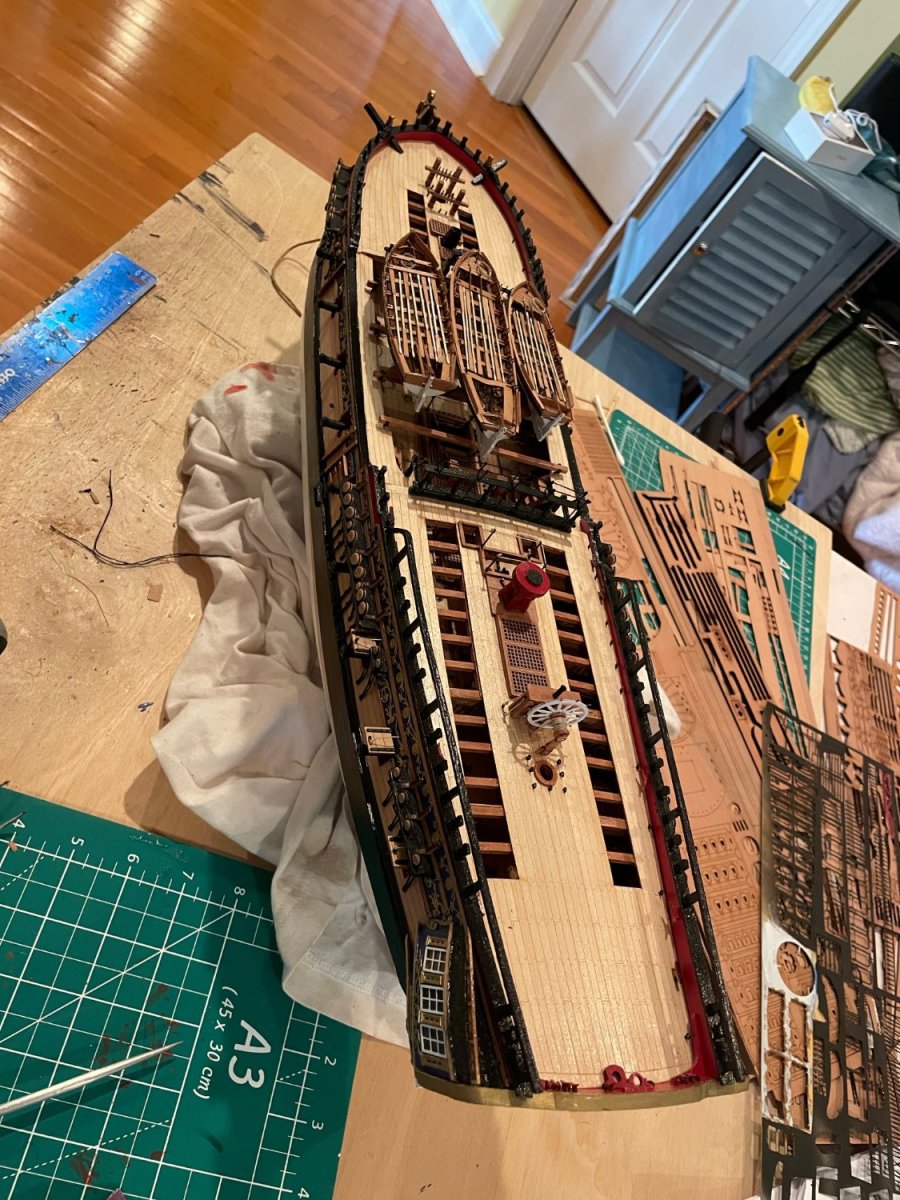
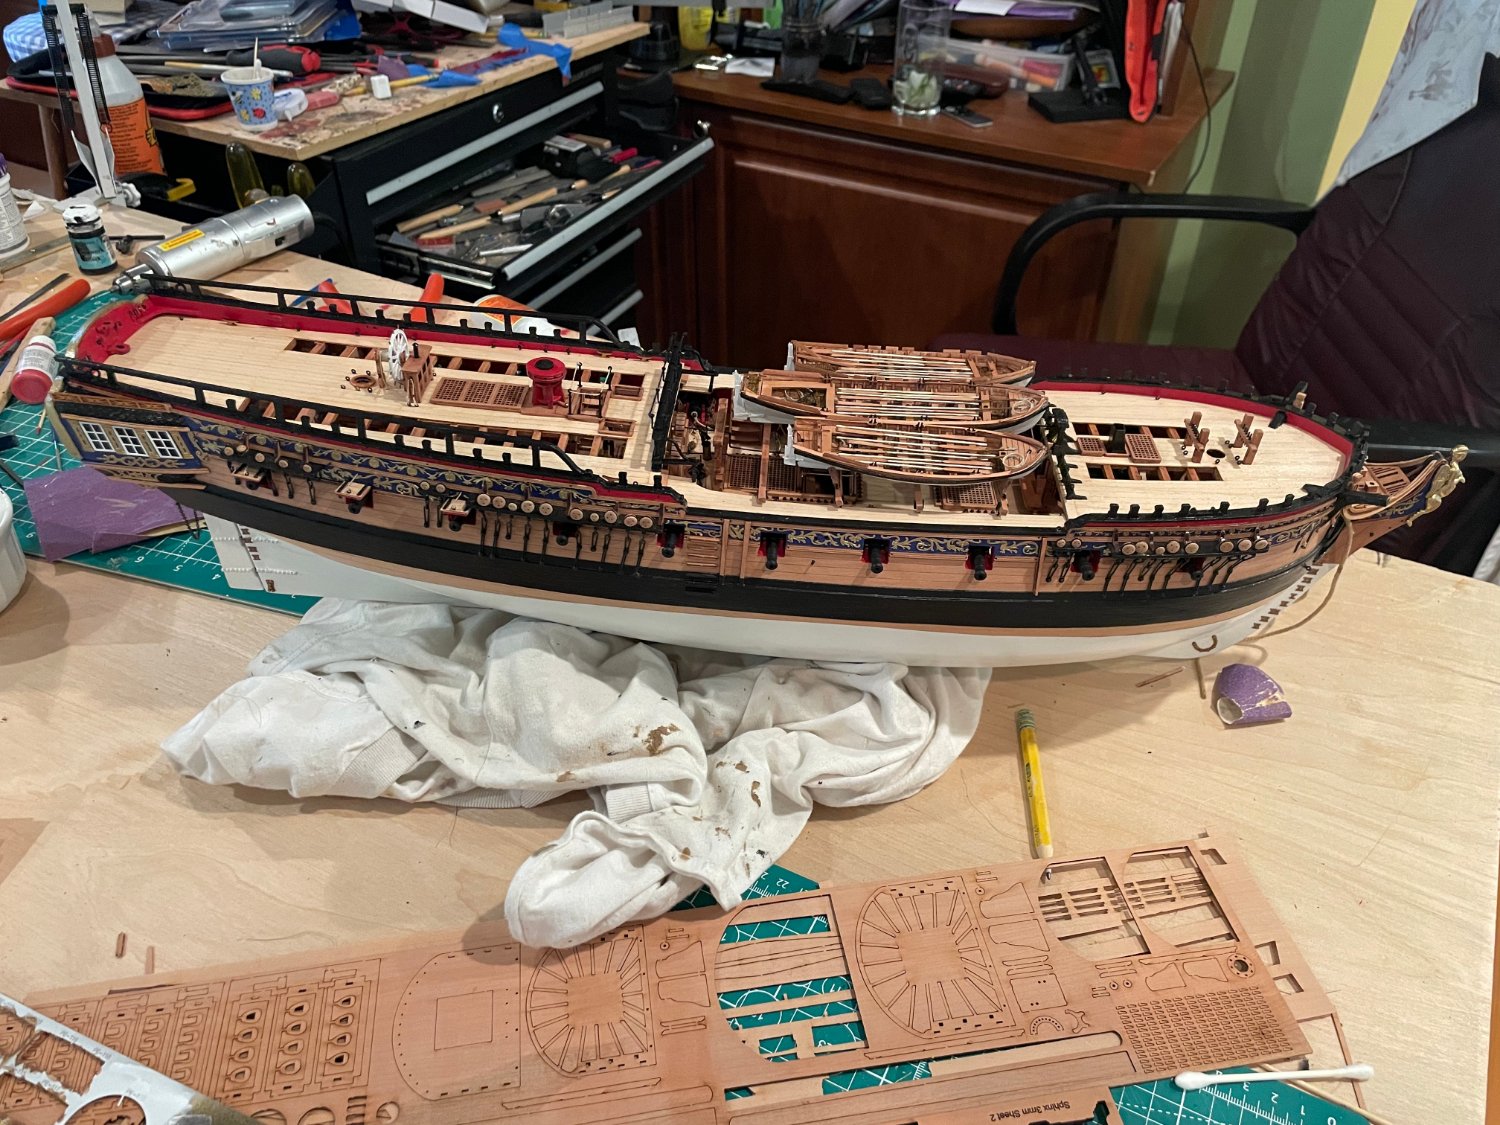
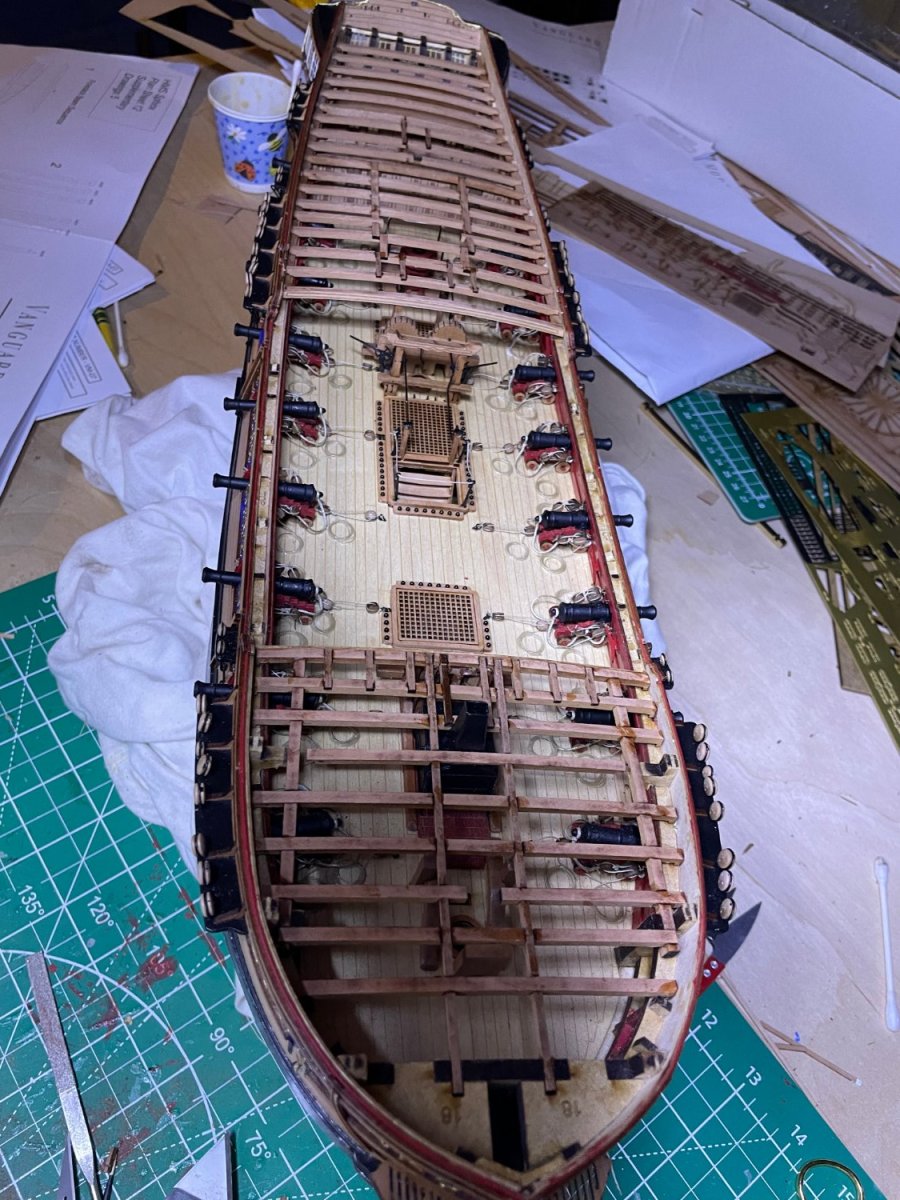
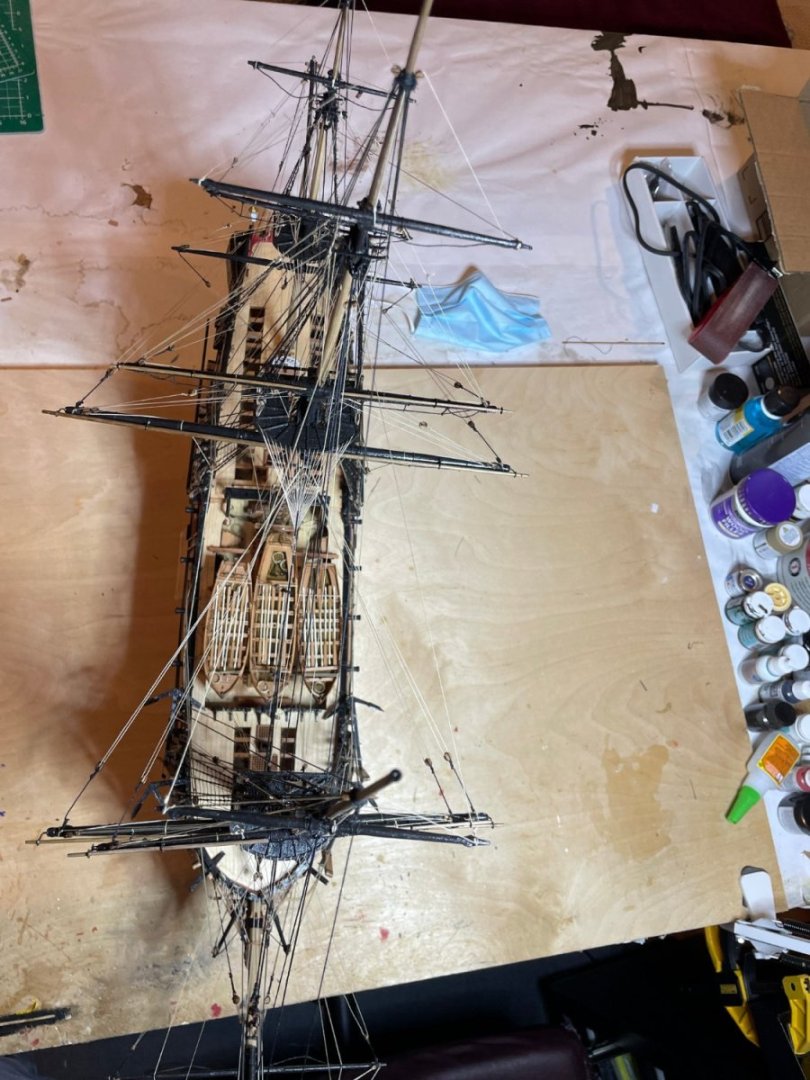
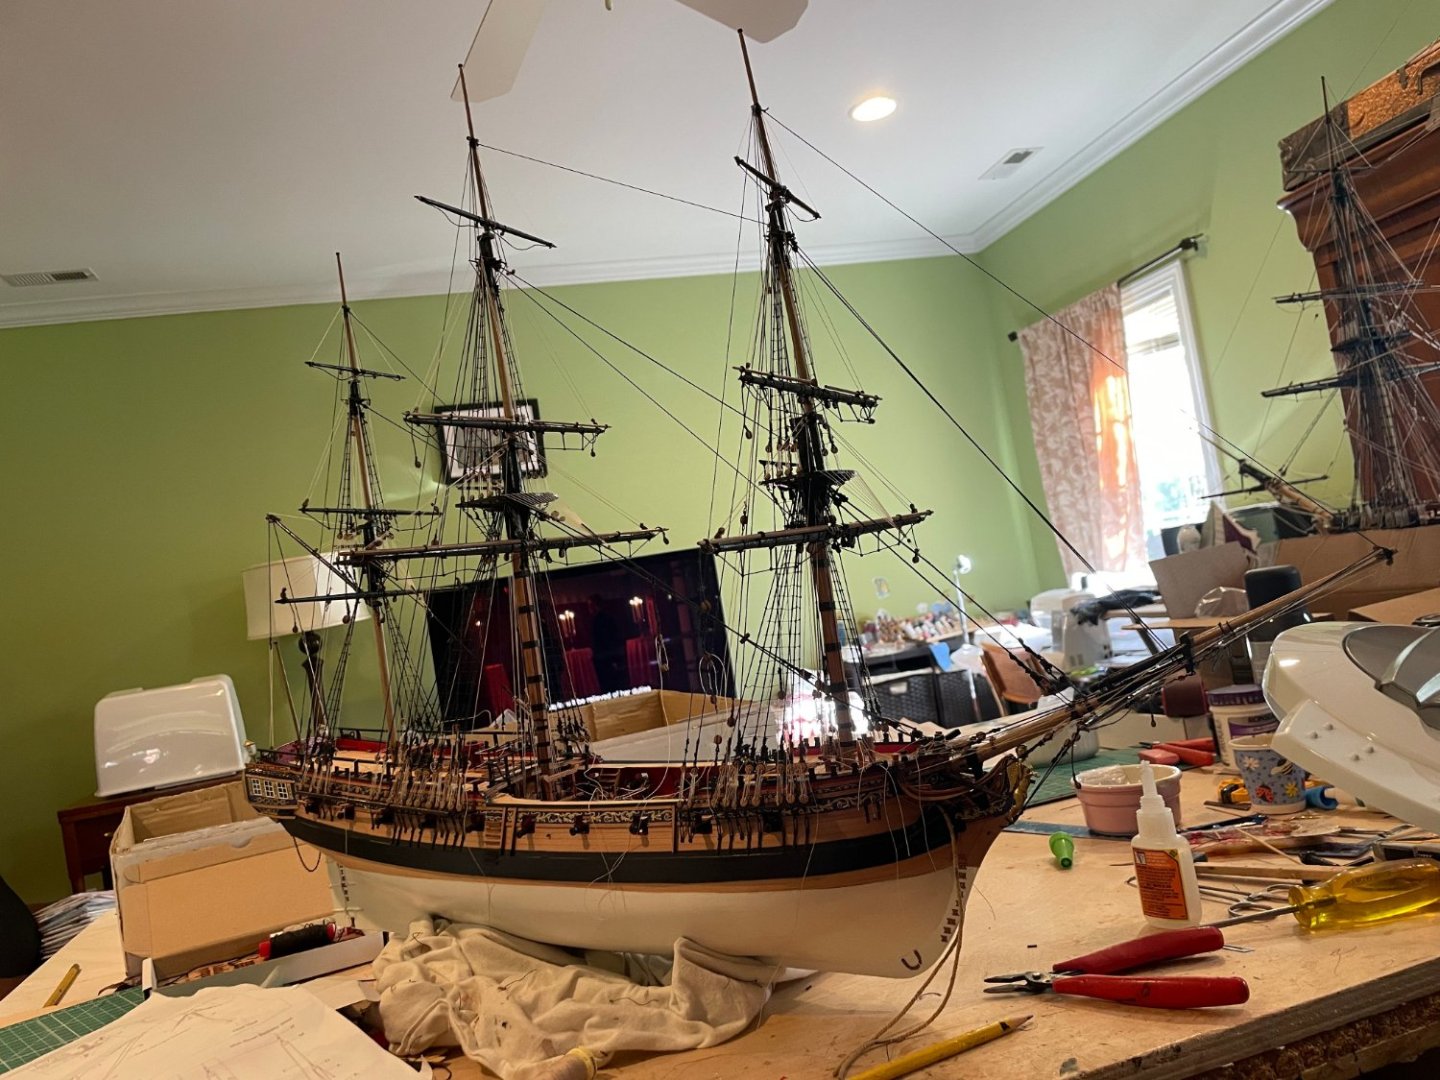
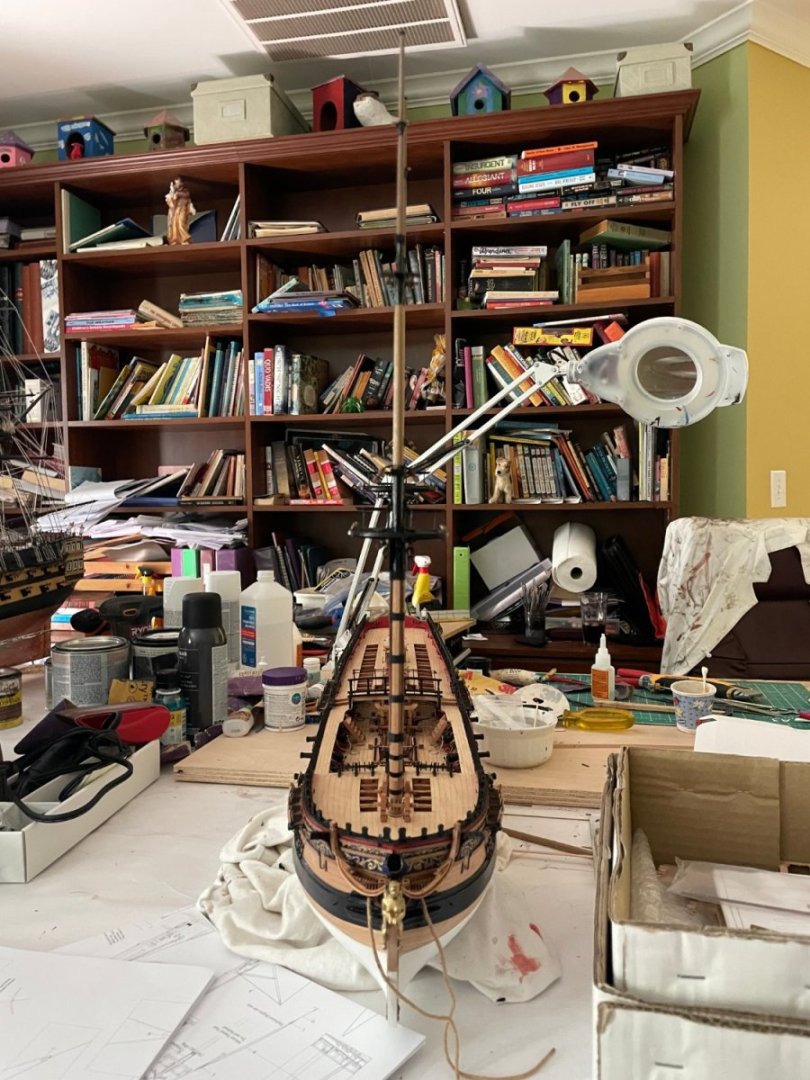
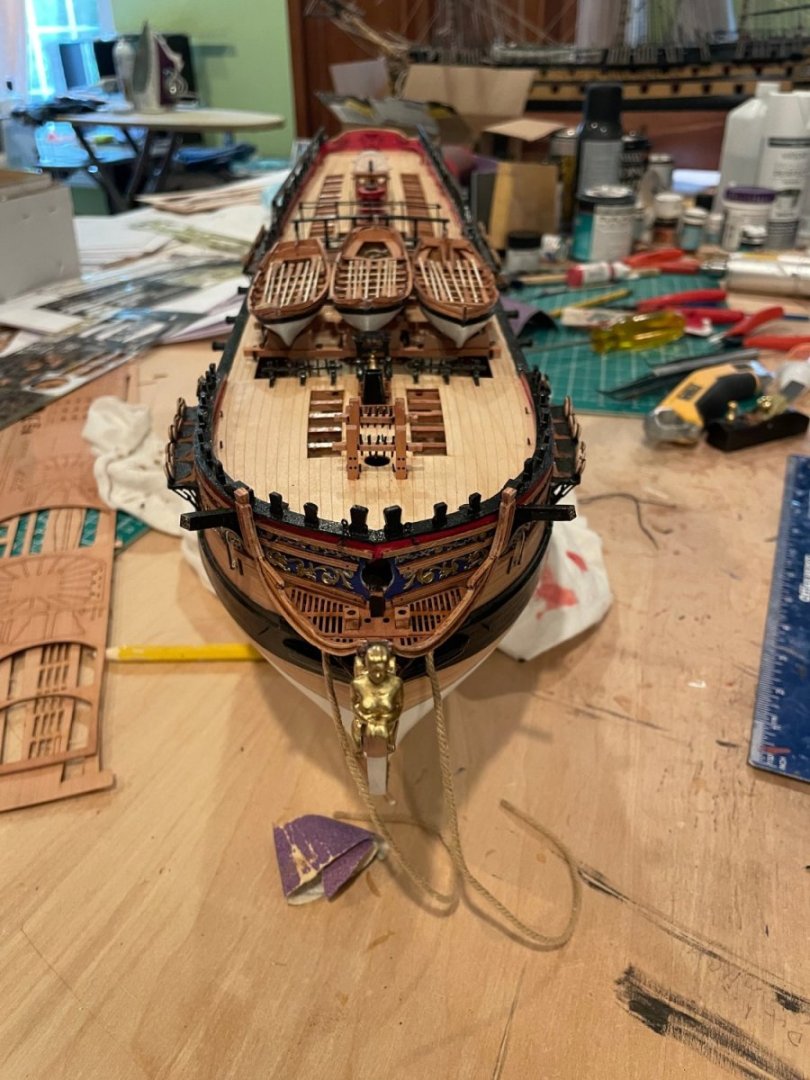
So the hull is pretty much complete. I will add the stanchions later as I always end up bending or breaking them when I am doing the rigging. The ship's boats are temporary and will not fix them in place until the very end.


- 73 replies
-
- 8
-
-
-
- Sphinx
- Vanguard Models
- (and 1 more)
-
Ok, back at it now after a little time at the beach.
- 73 replies
-
- 4
-
-
- Sphinx
- Vanguard Models
- (and 1 more)
-
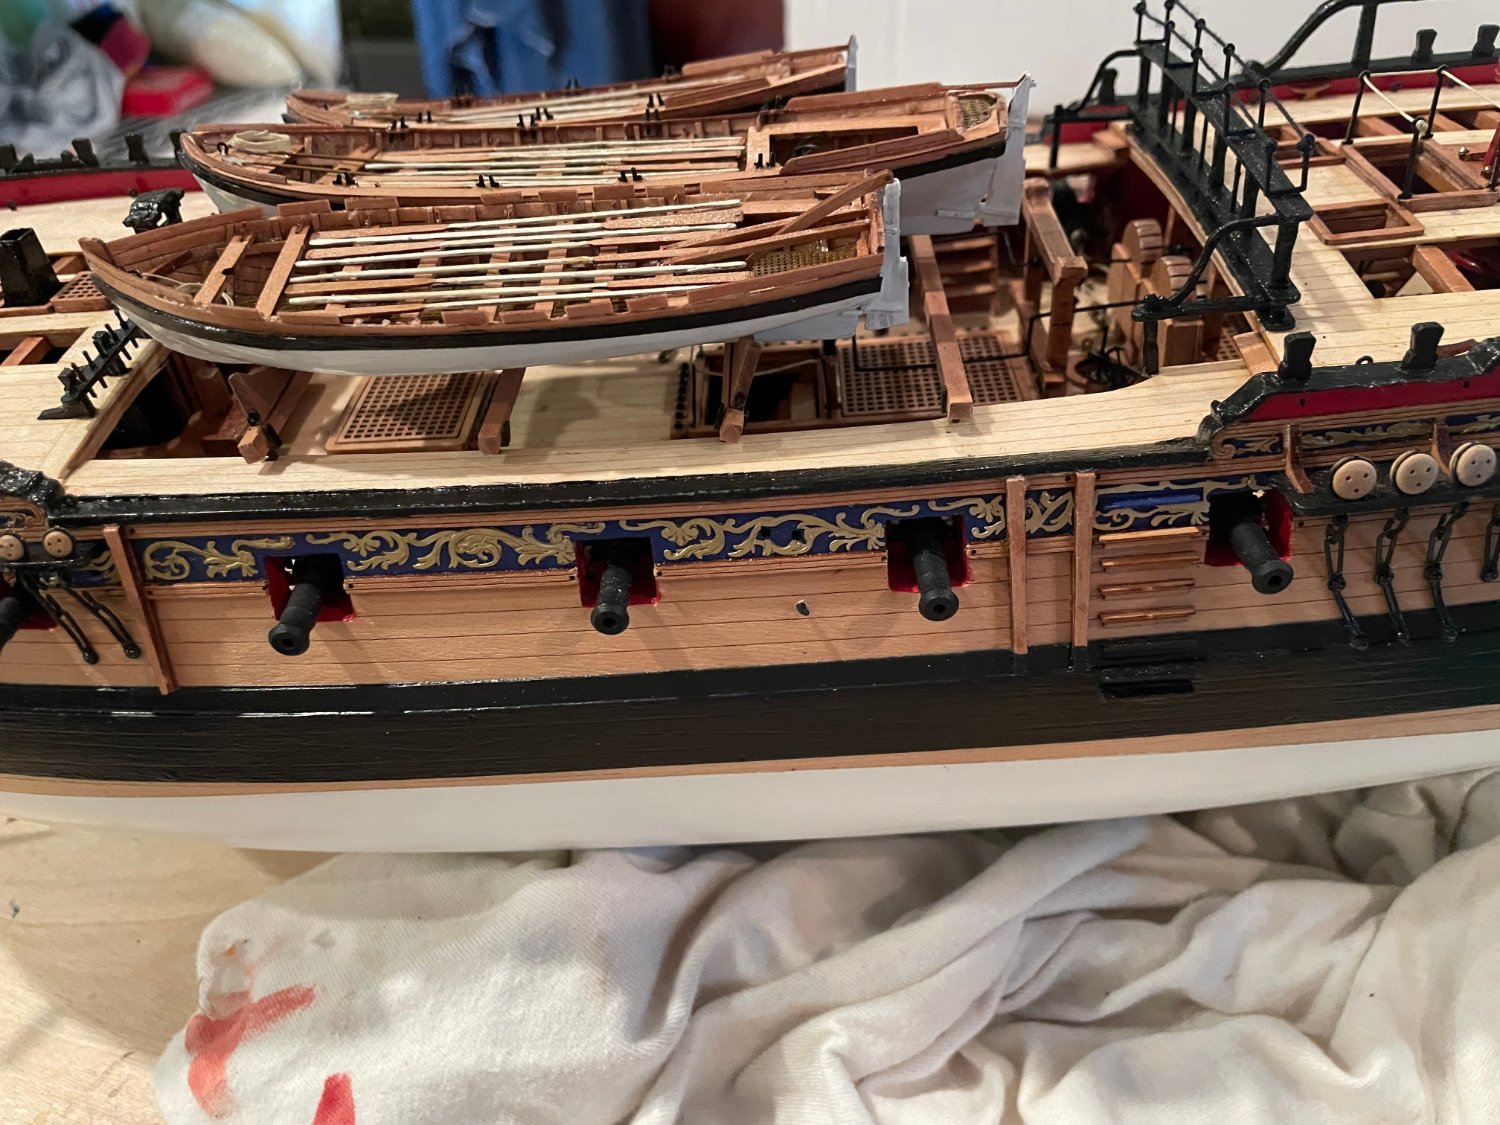
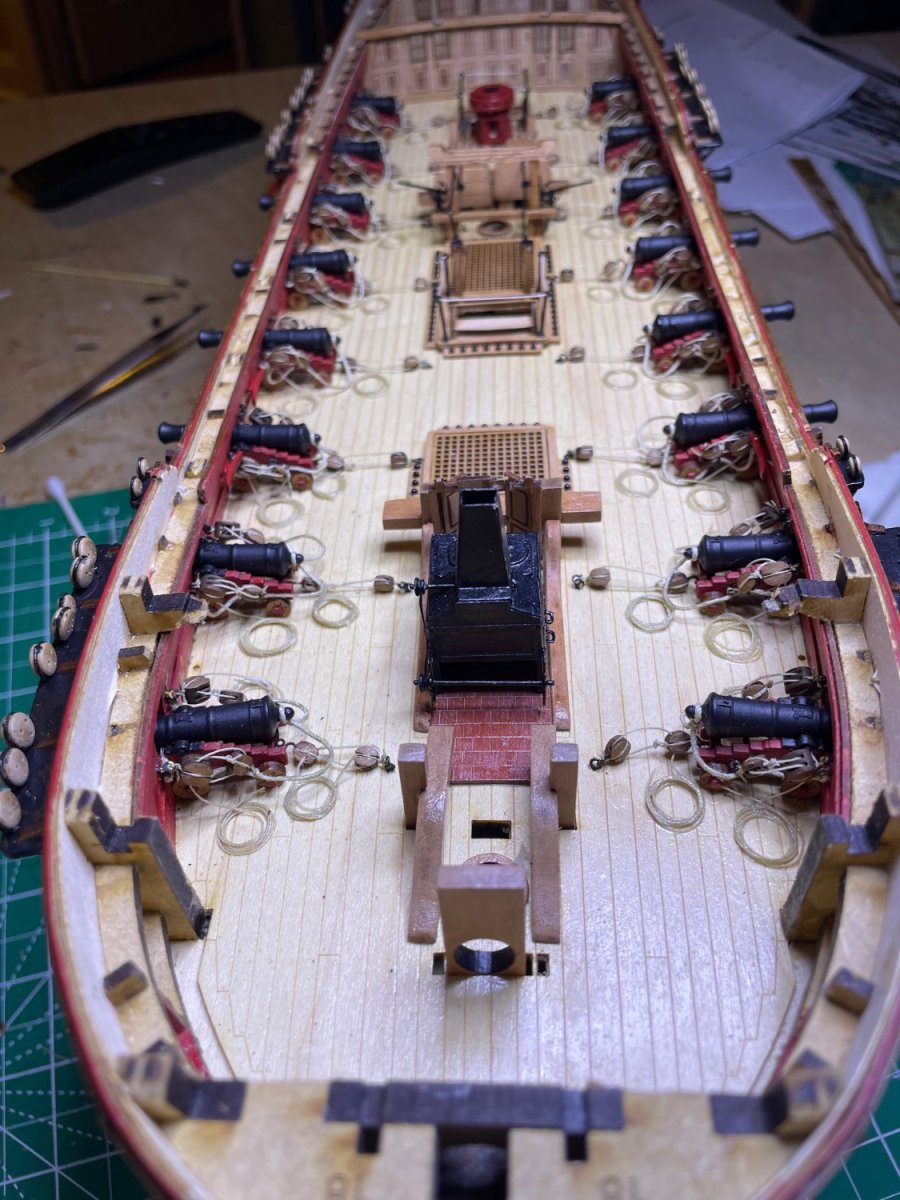
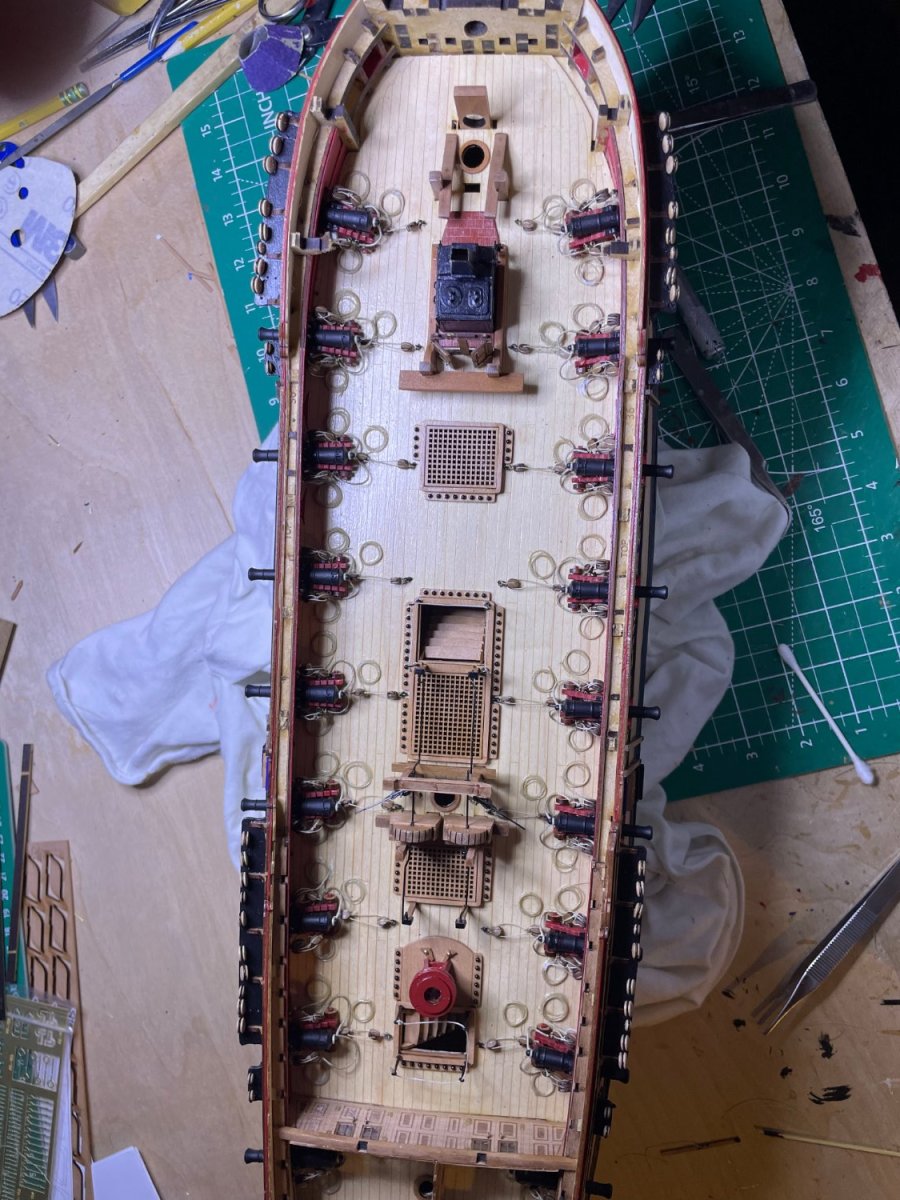
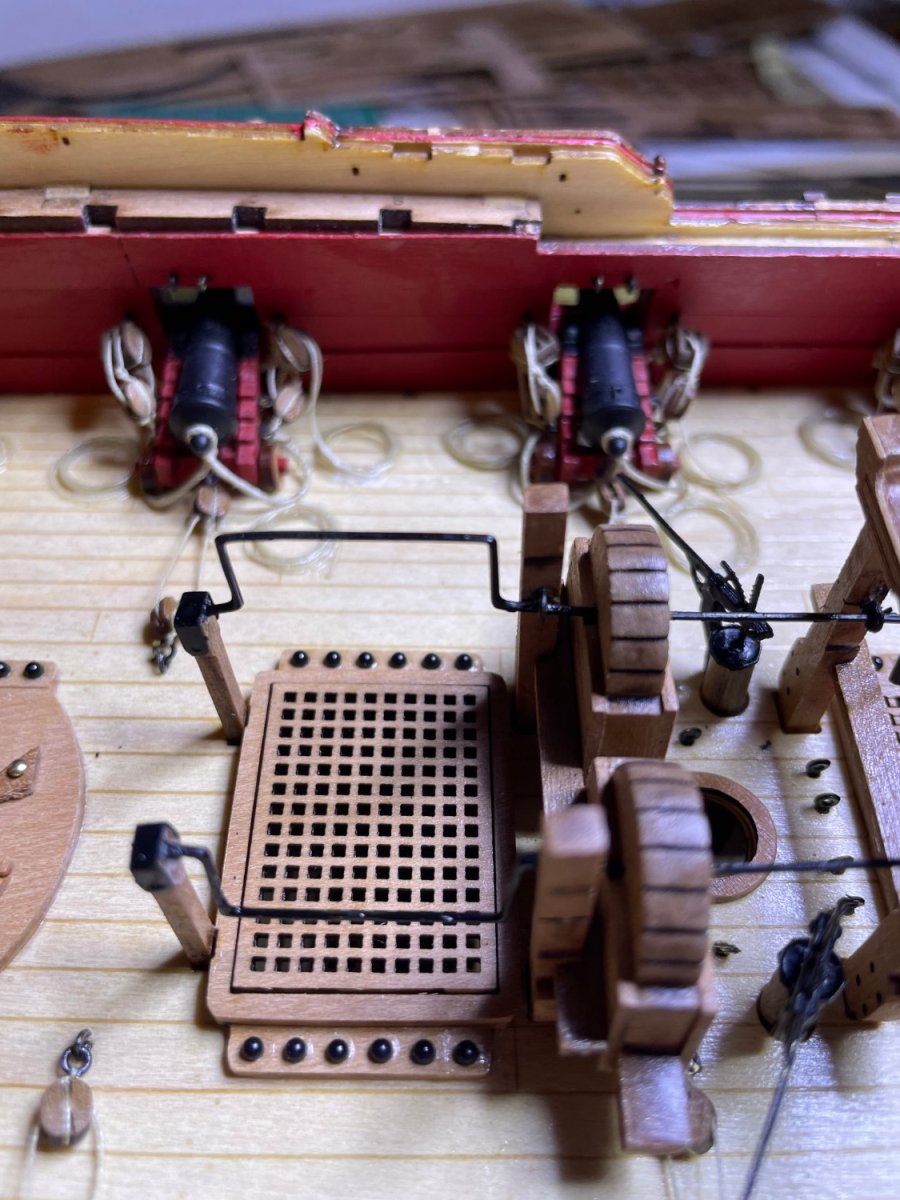
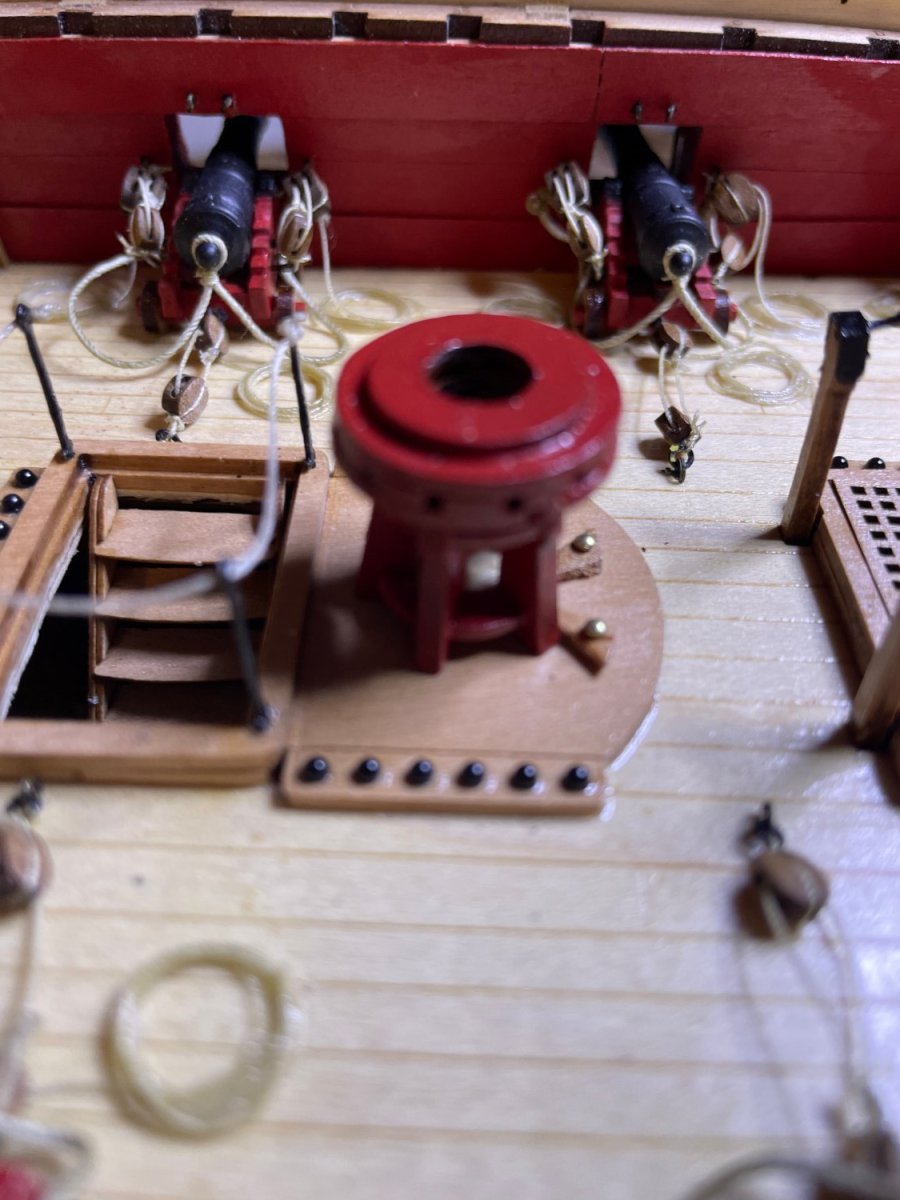
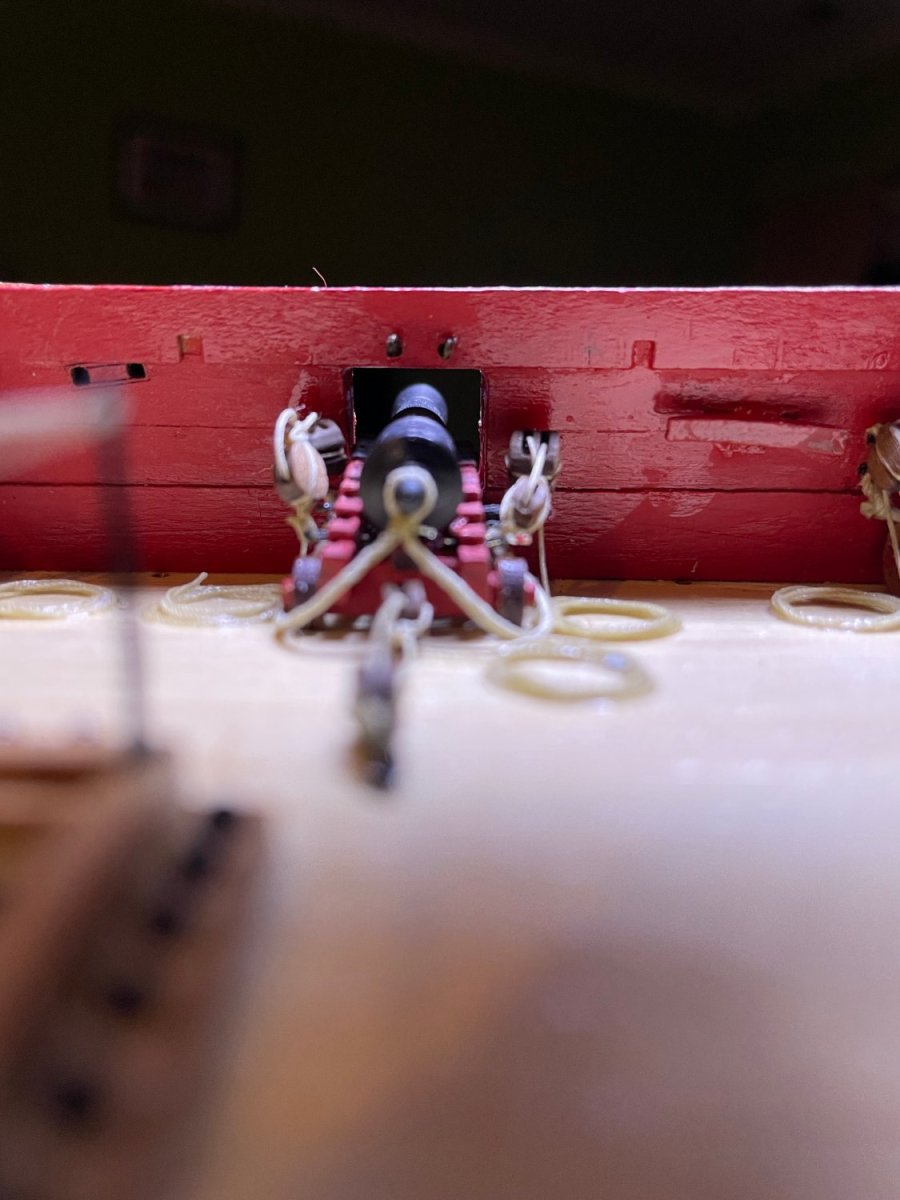
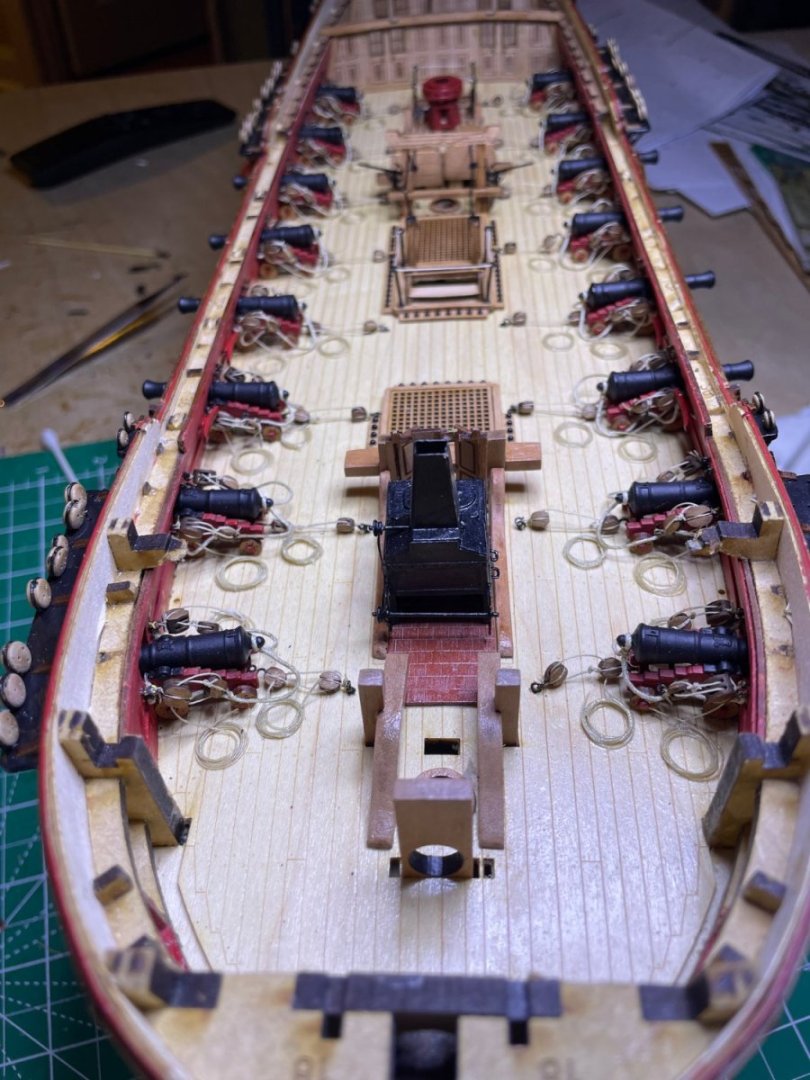
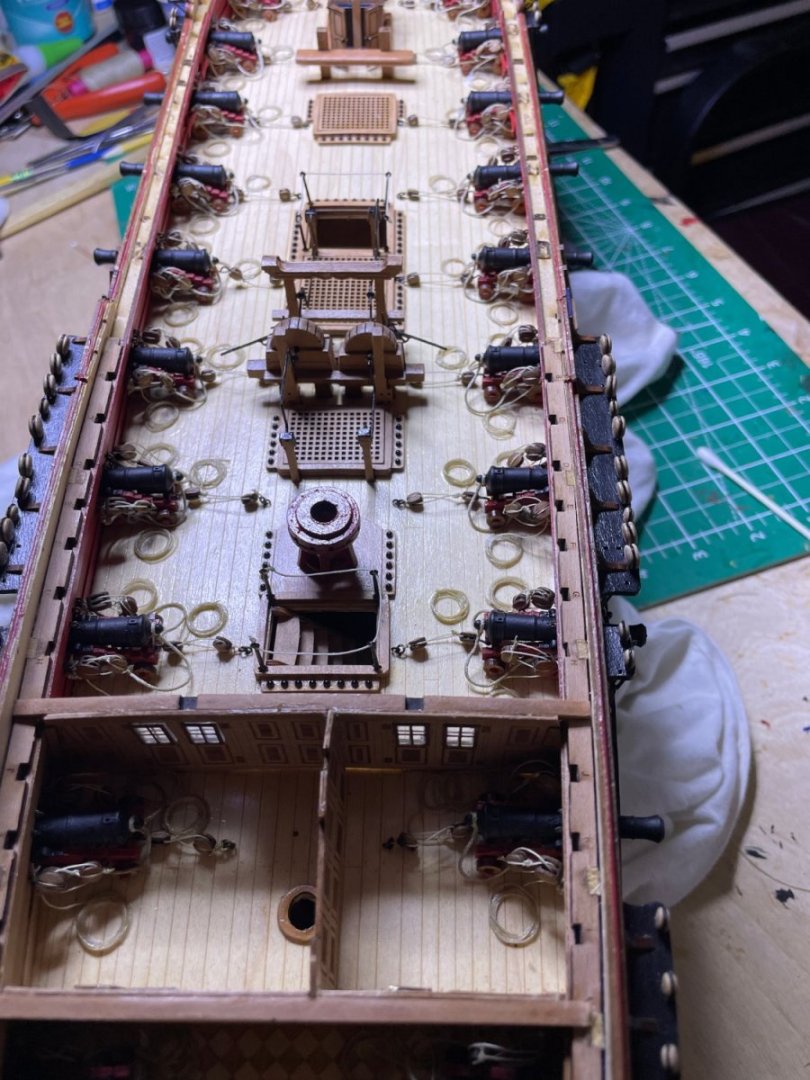
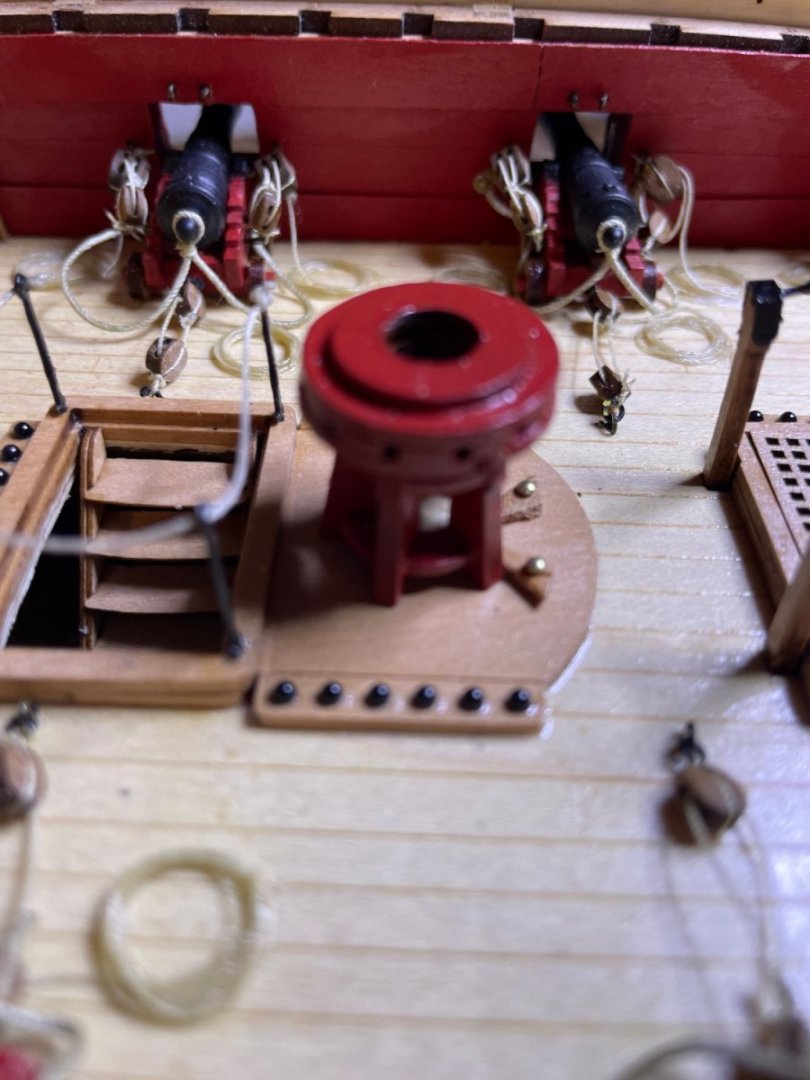
Finished rigging the guns. Used 5 mm double and 4 mm single blocks in the realistic style. I tried the 2 and 2.5 mm ones but they were so small I had difficulty threading them.


- 73 replies
-
- 6
-
-
- Sphinx
- Vanguard Models
- (and 1 more)
-
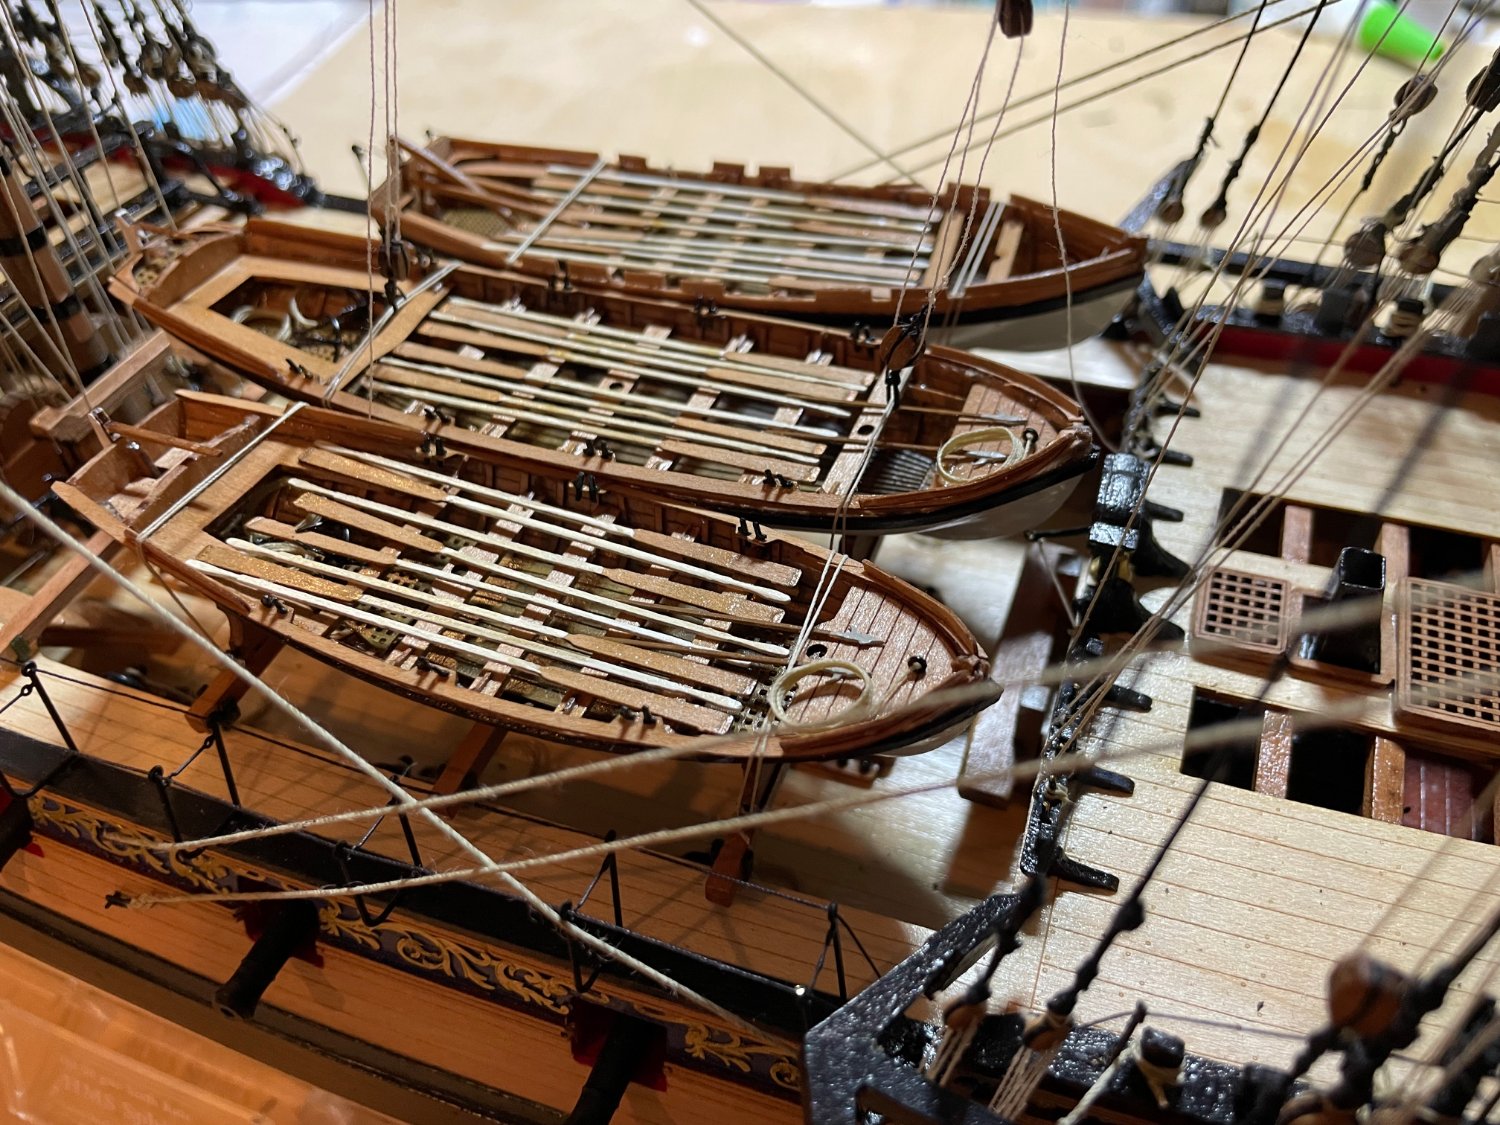
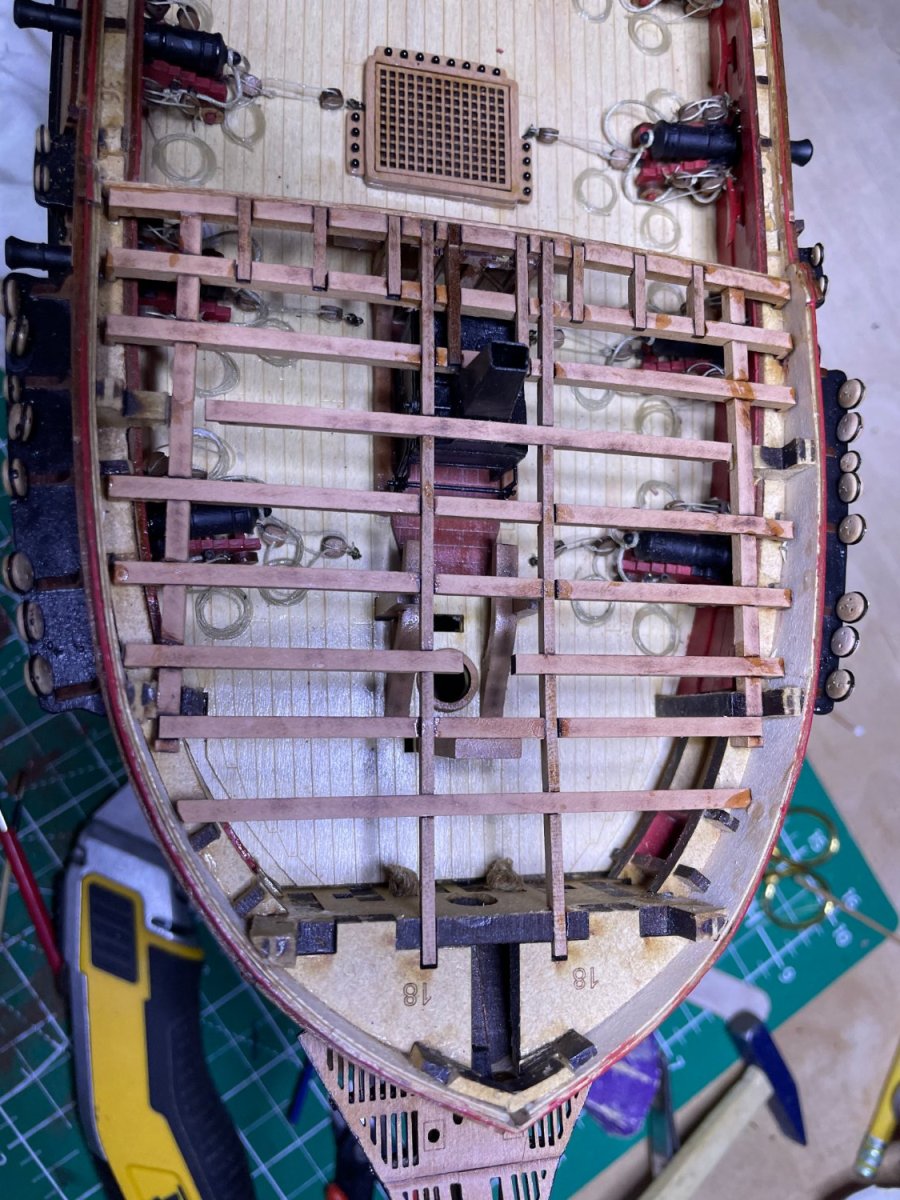
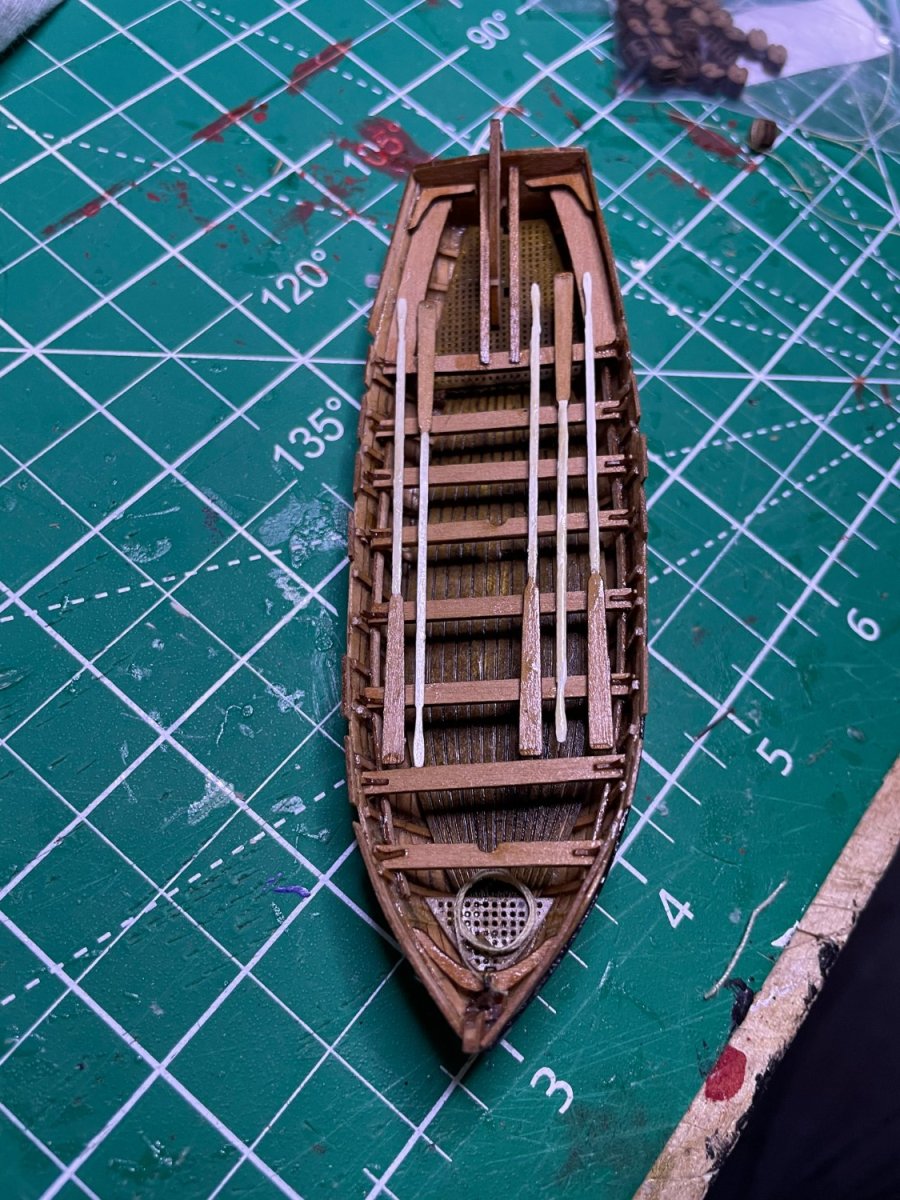
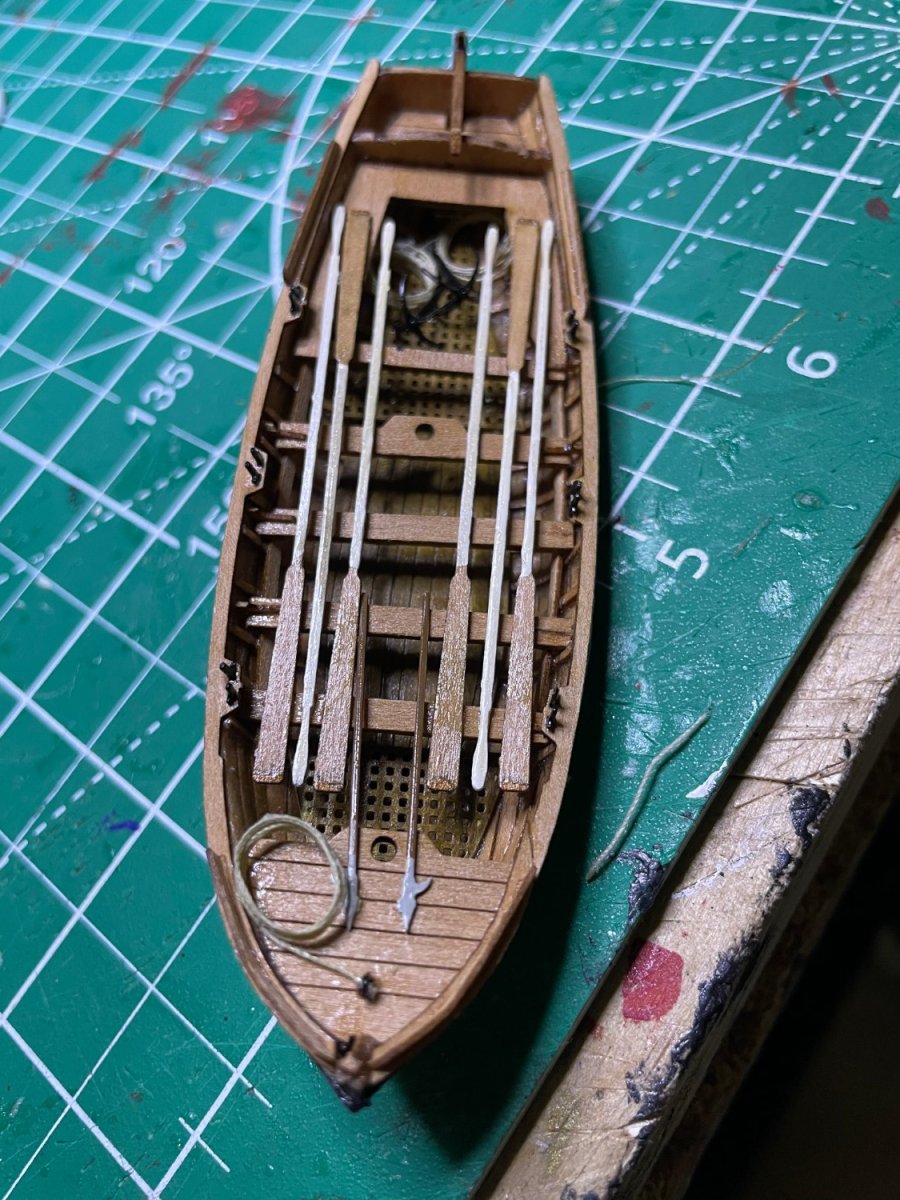
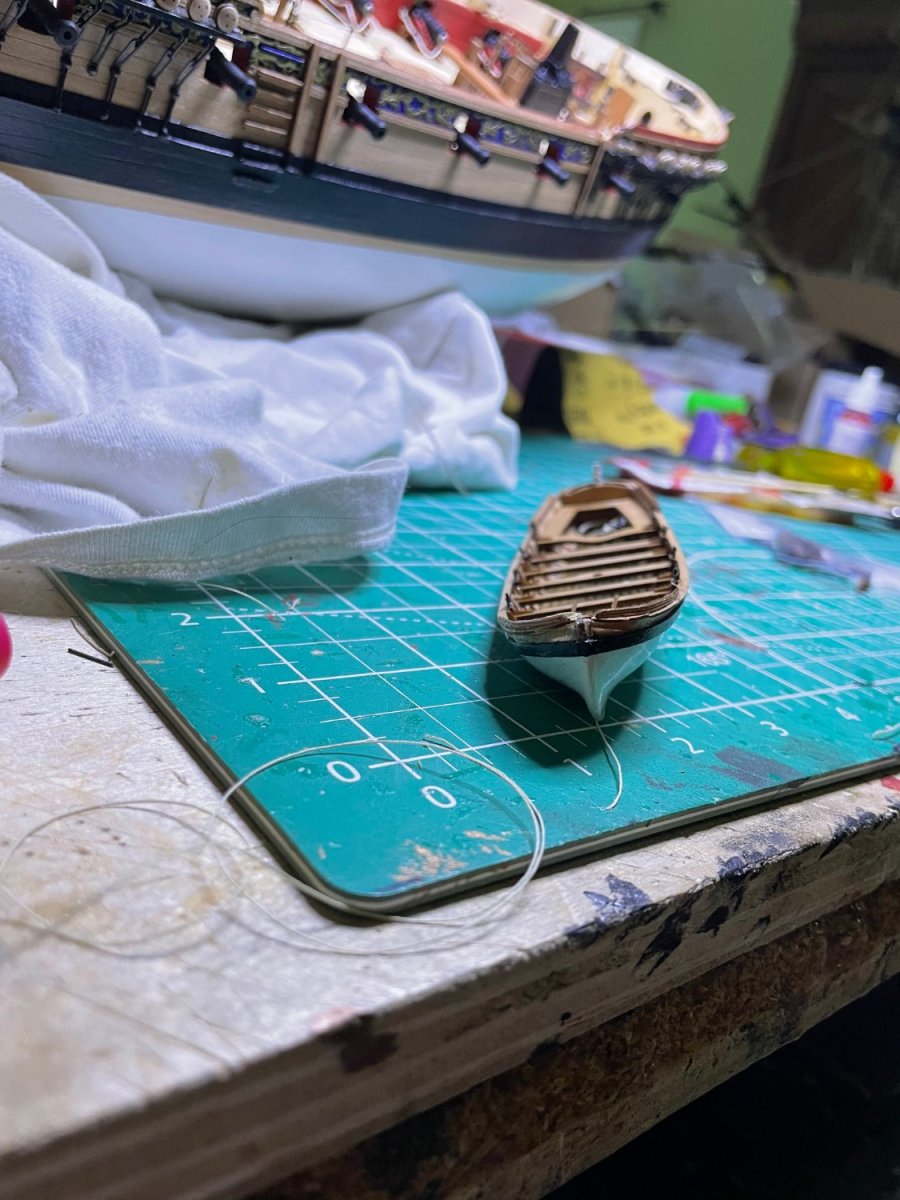
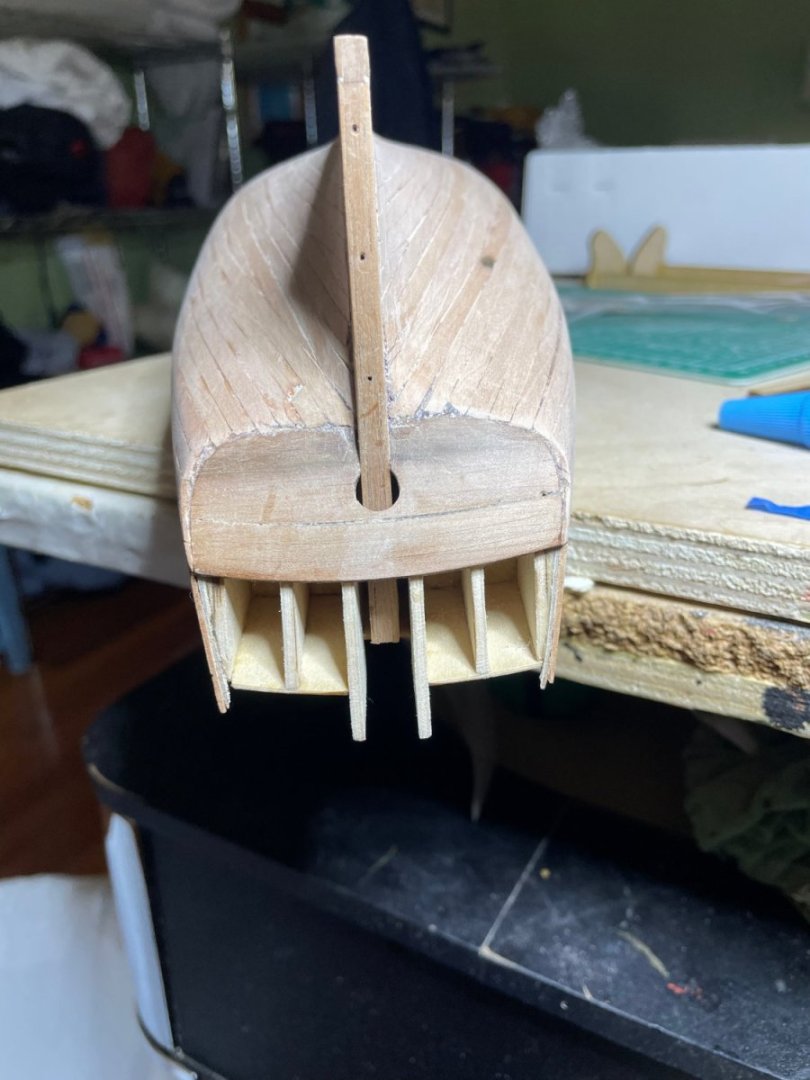
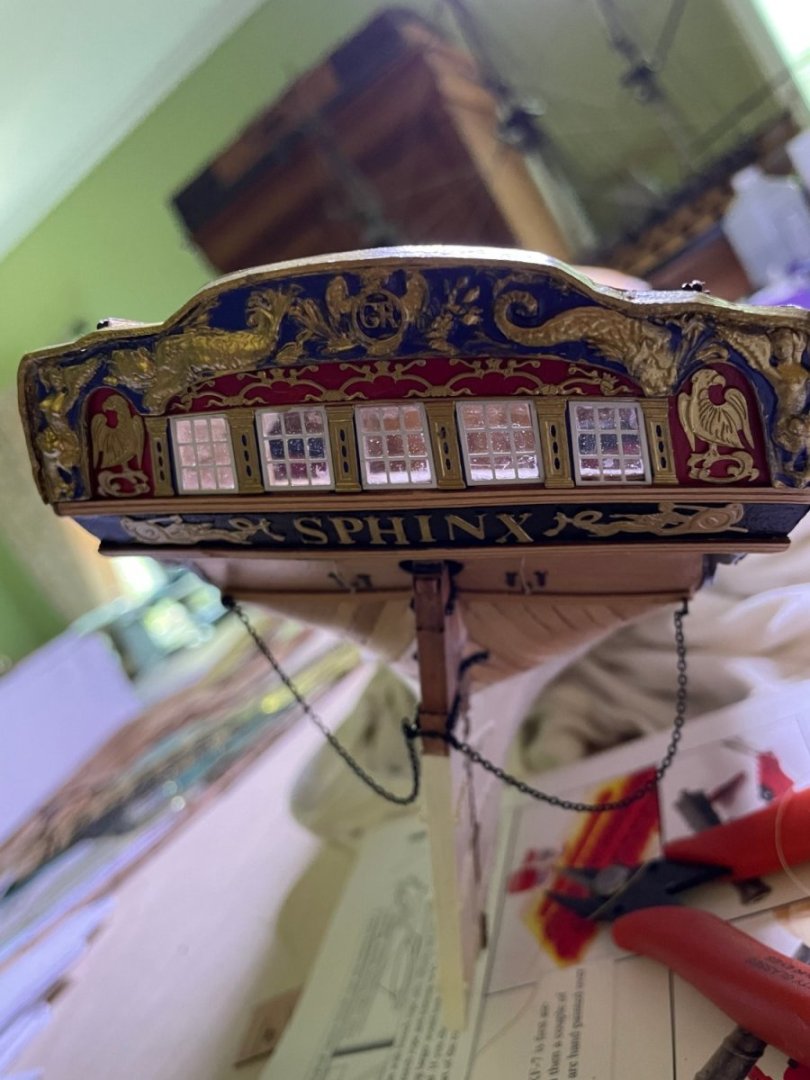
As I was waiting for the blocks I ordered to arrive for the guns, I decided to make the ship's boats. Also got in the letters for the stern. I I did the hulls like the main ship, filler, paint and repeat until it they were smooth.


- 73 replies
-
- 7
-
-
- Sphinx
- Vanguard Models
- (and 1 more)