-
Posts
65 -
Joined
-
Last visited
Content Type
Profiles
Forums
Gallery
Events
Everything posted by tlee01
-
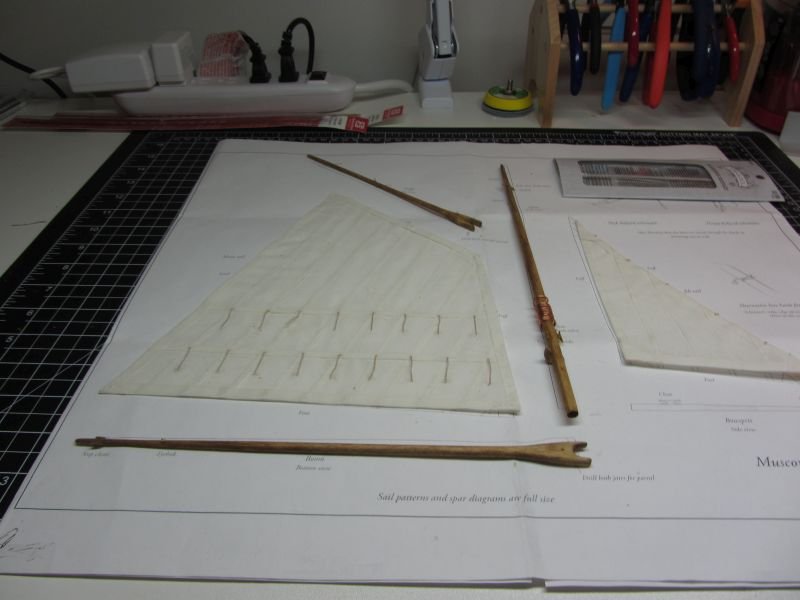
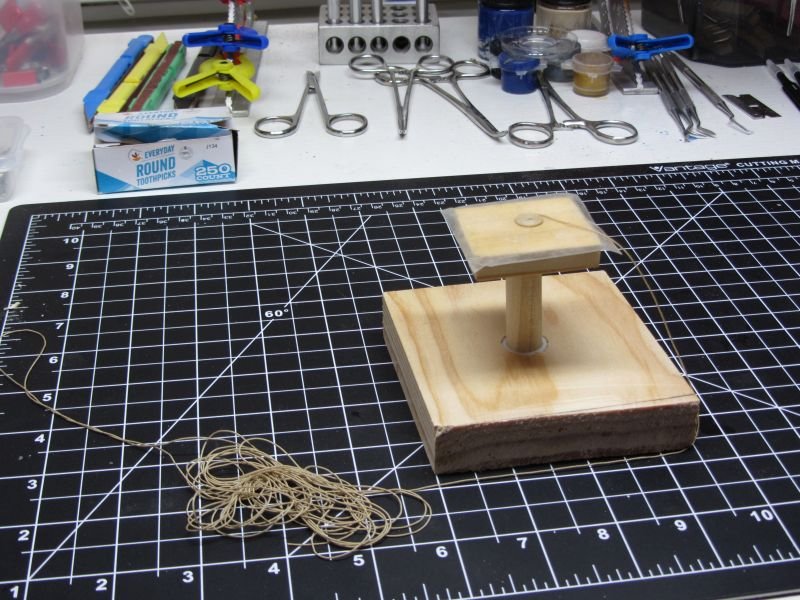
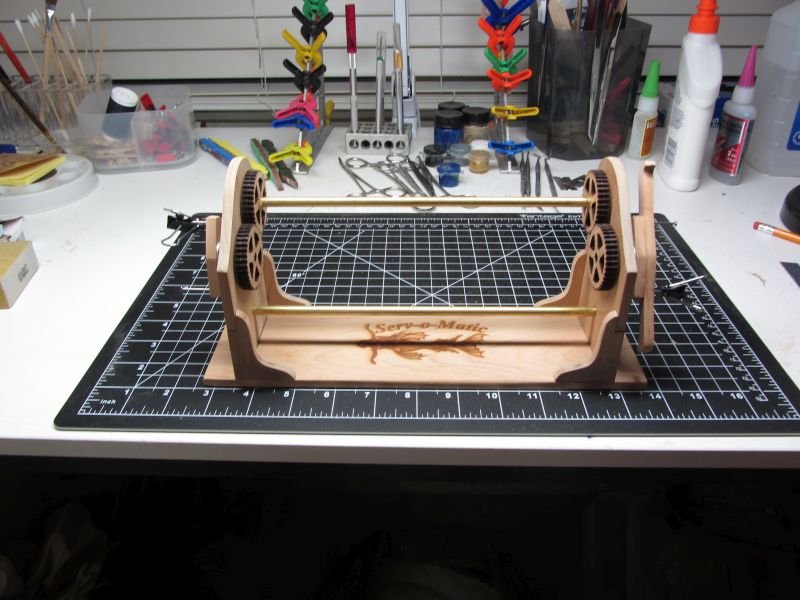
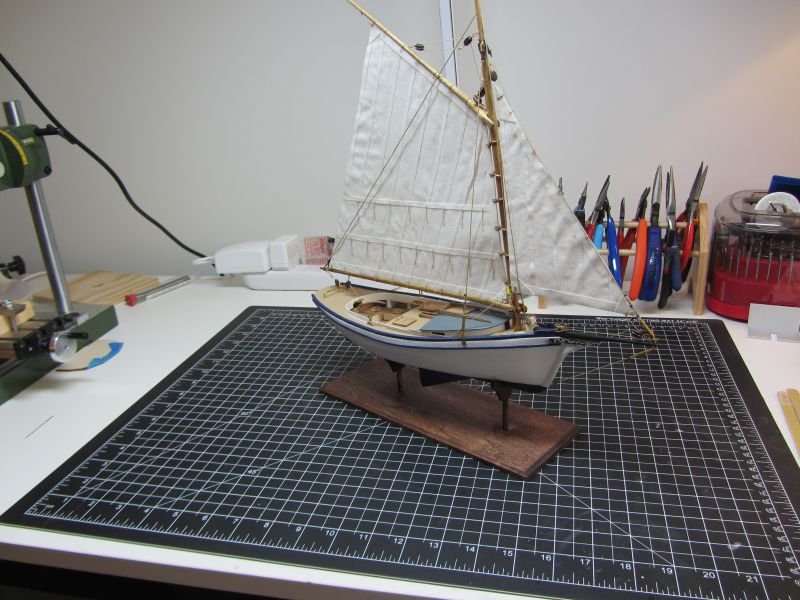
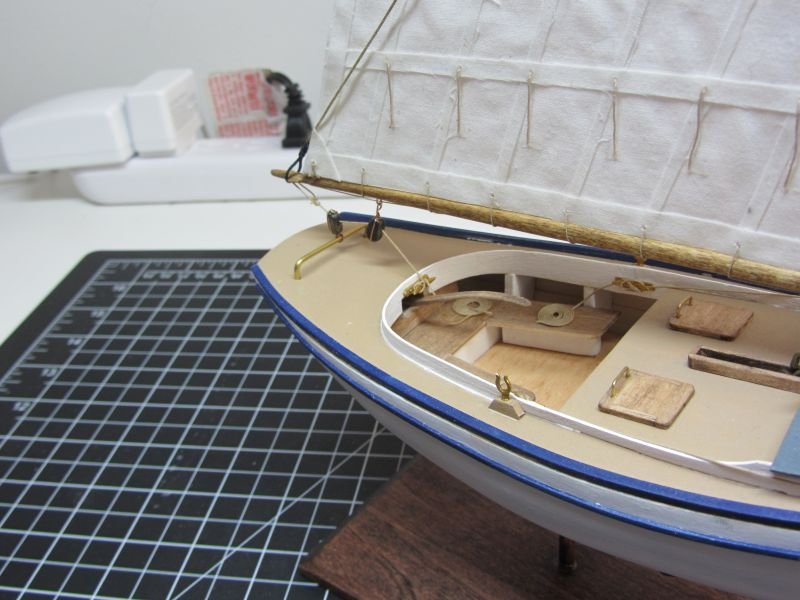
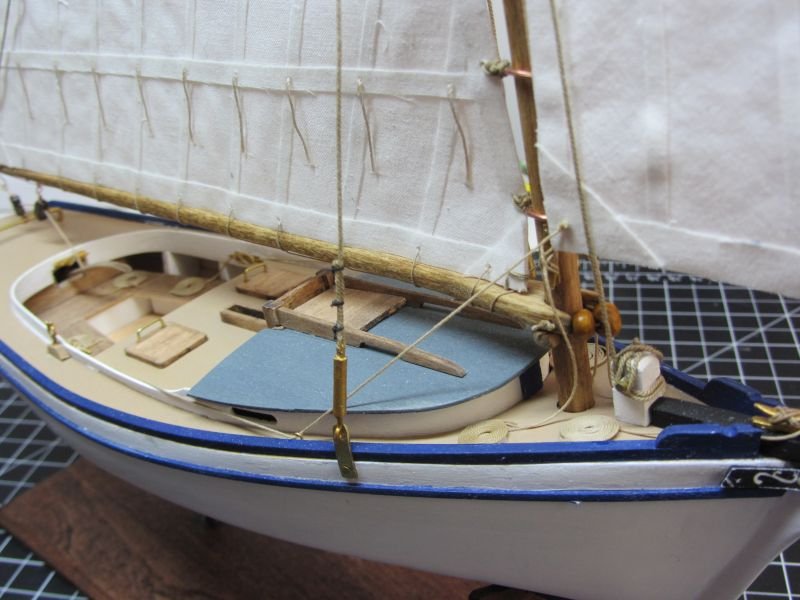
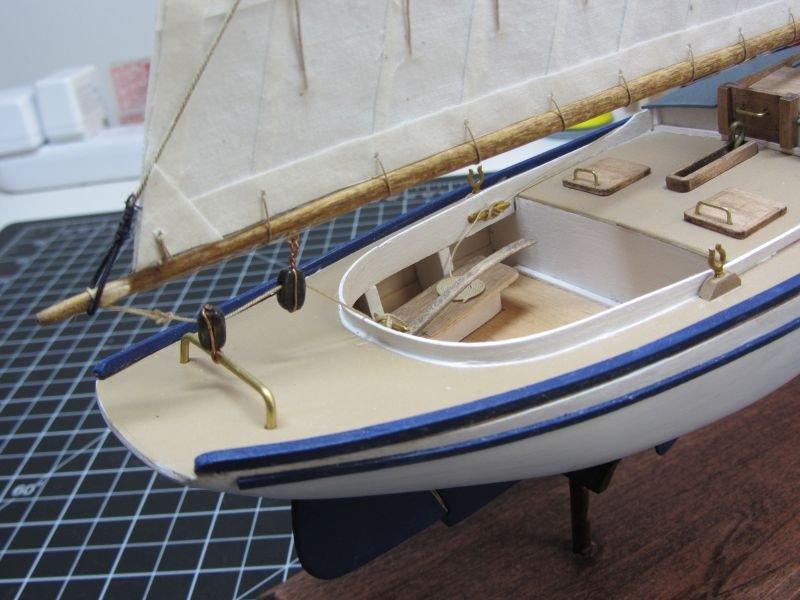
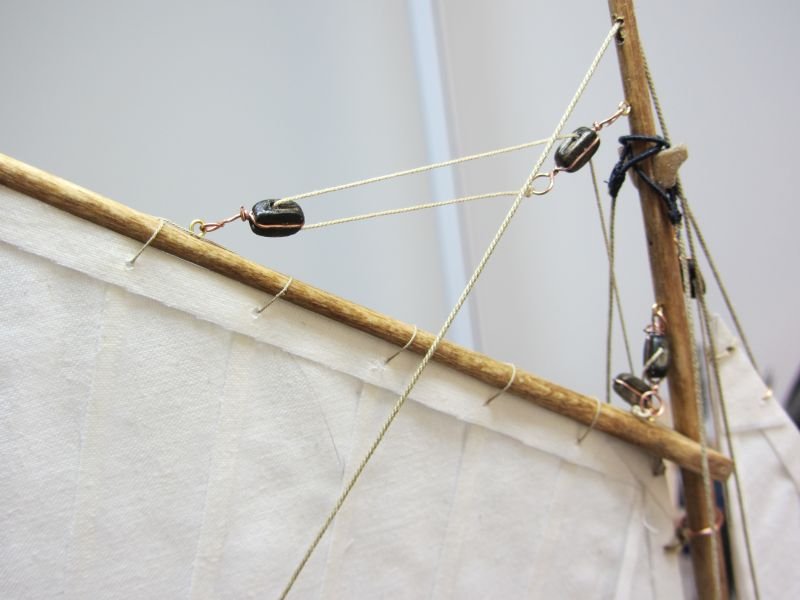
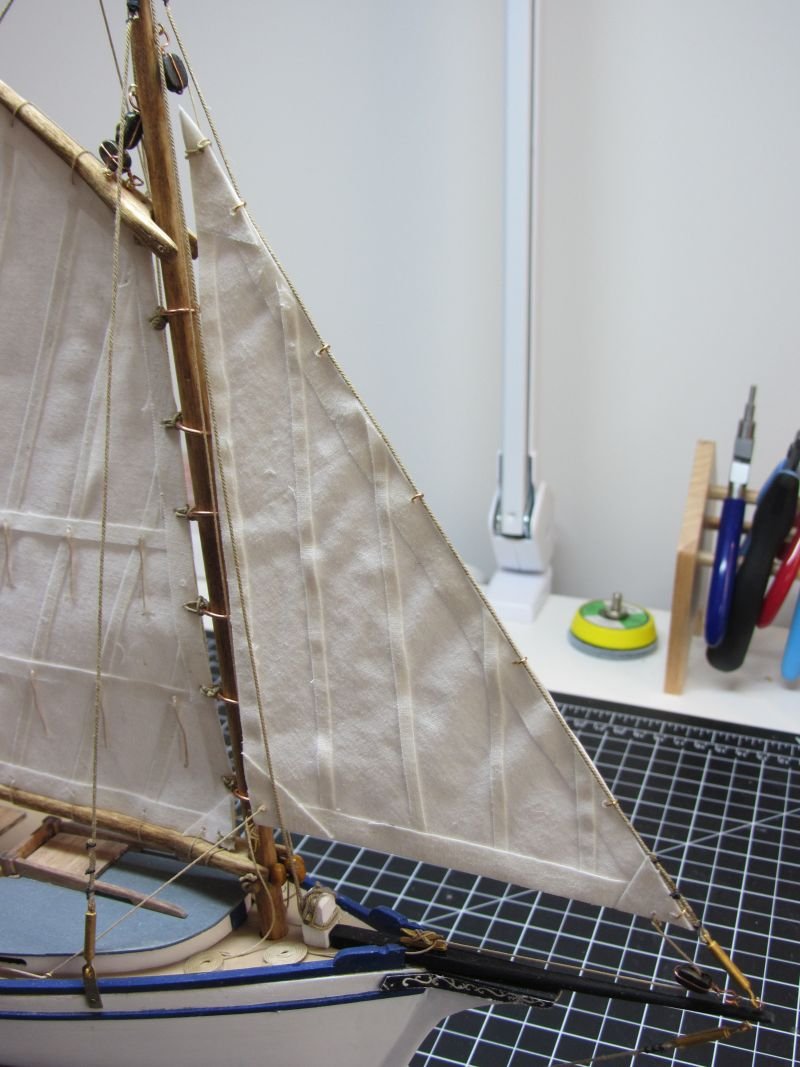
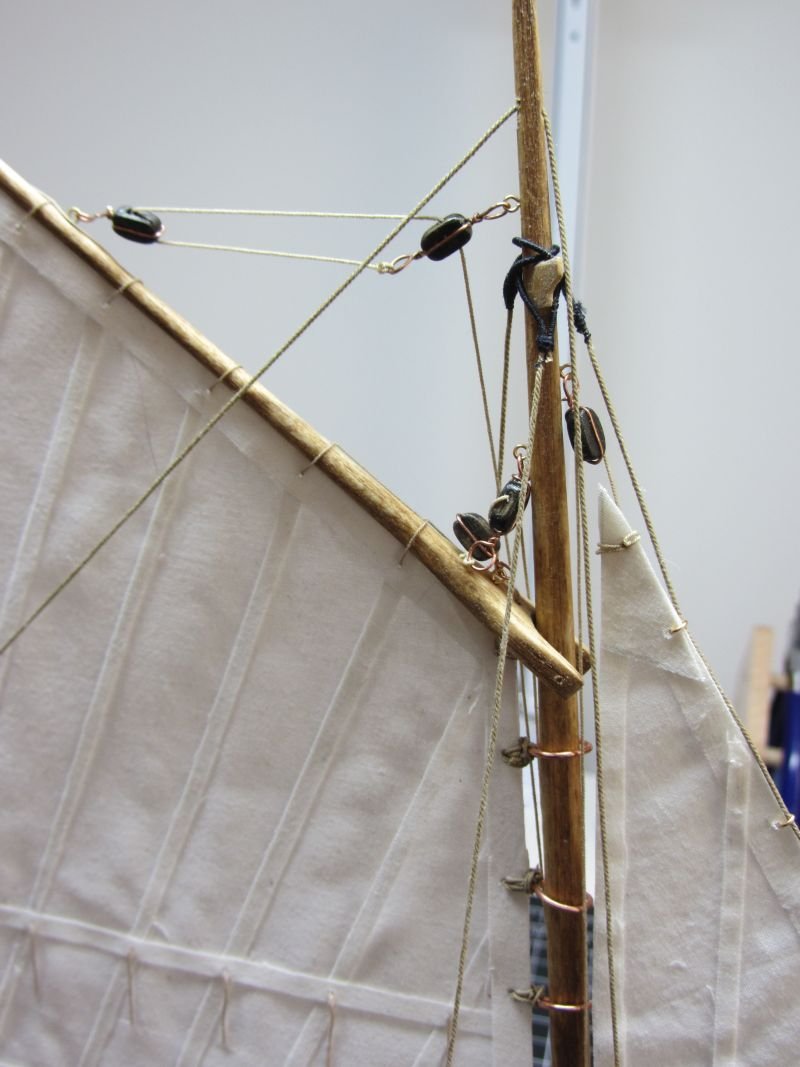
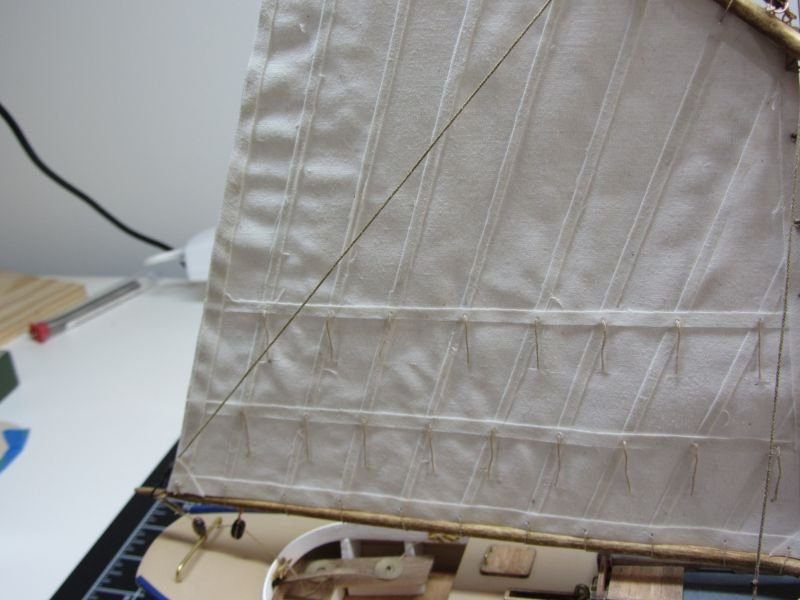
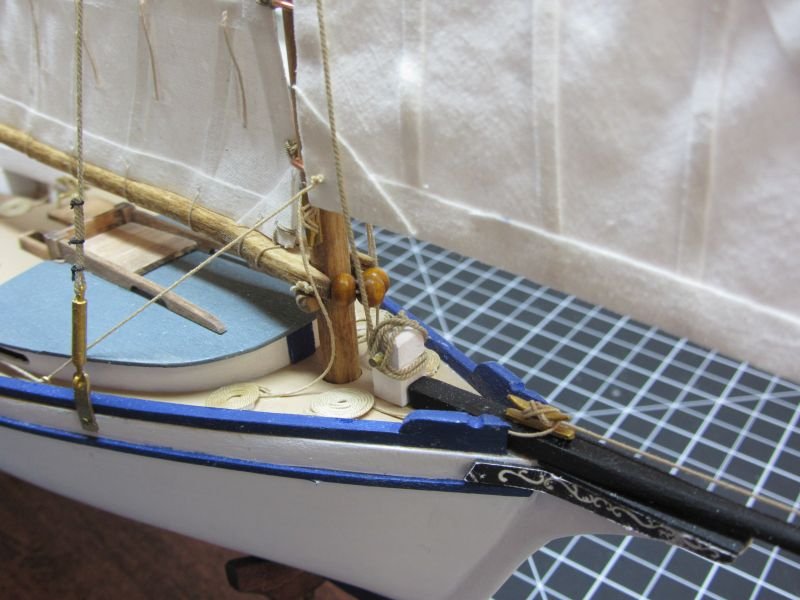
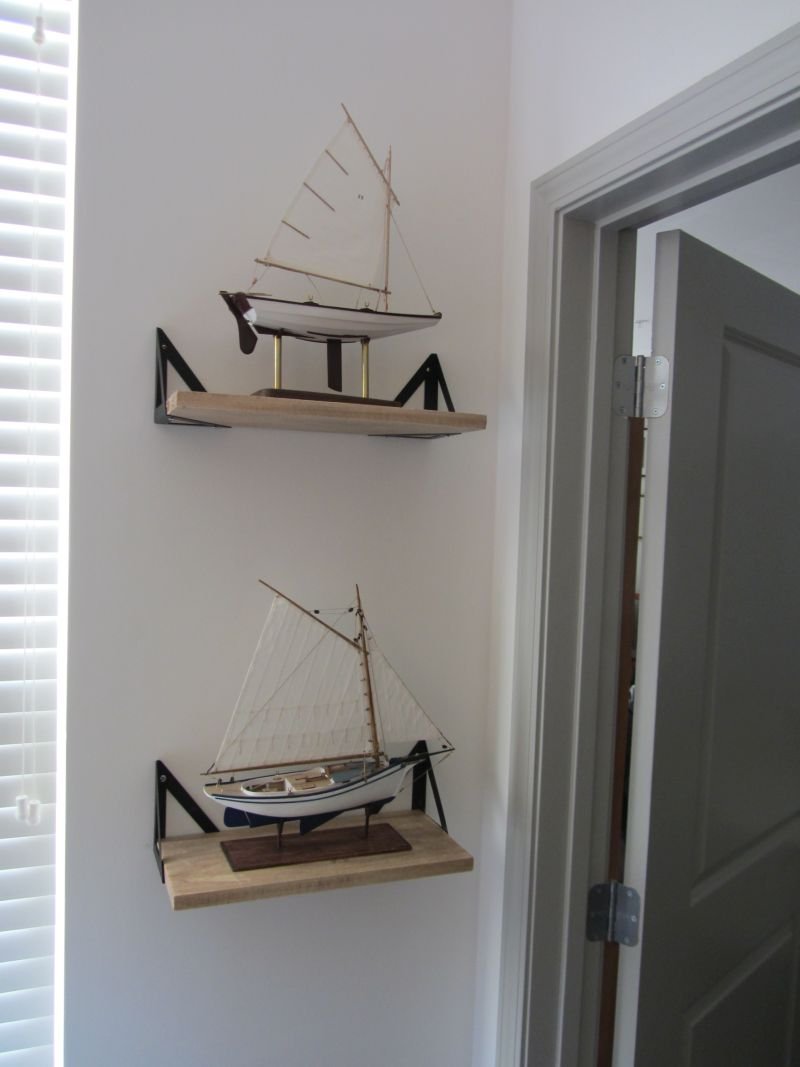
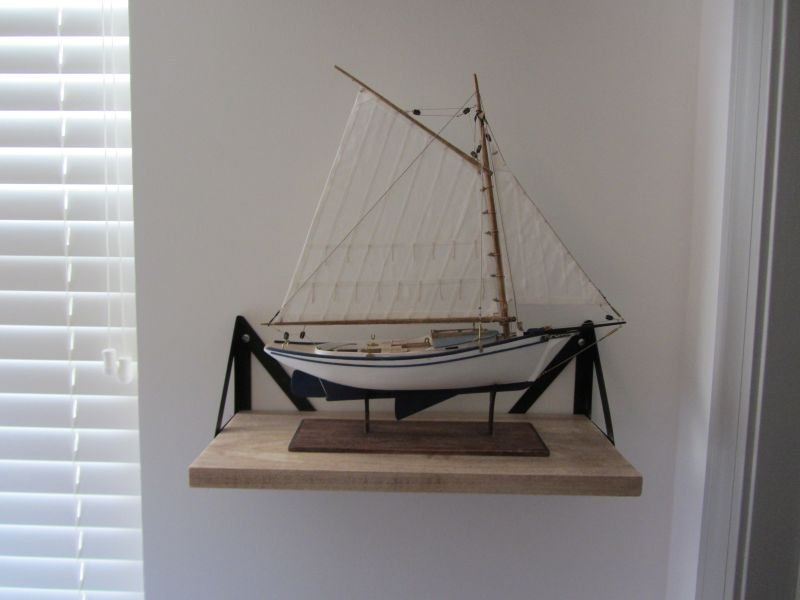
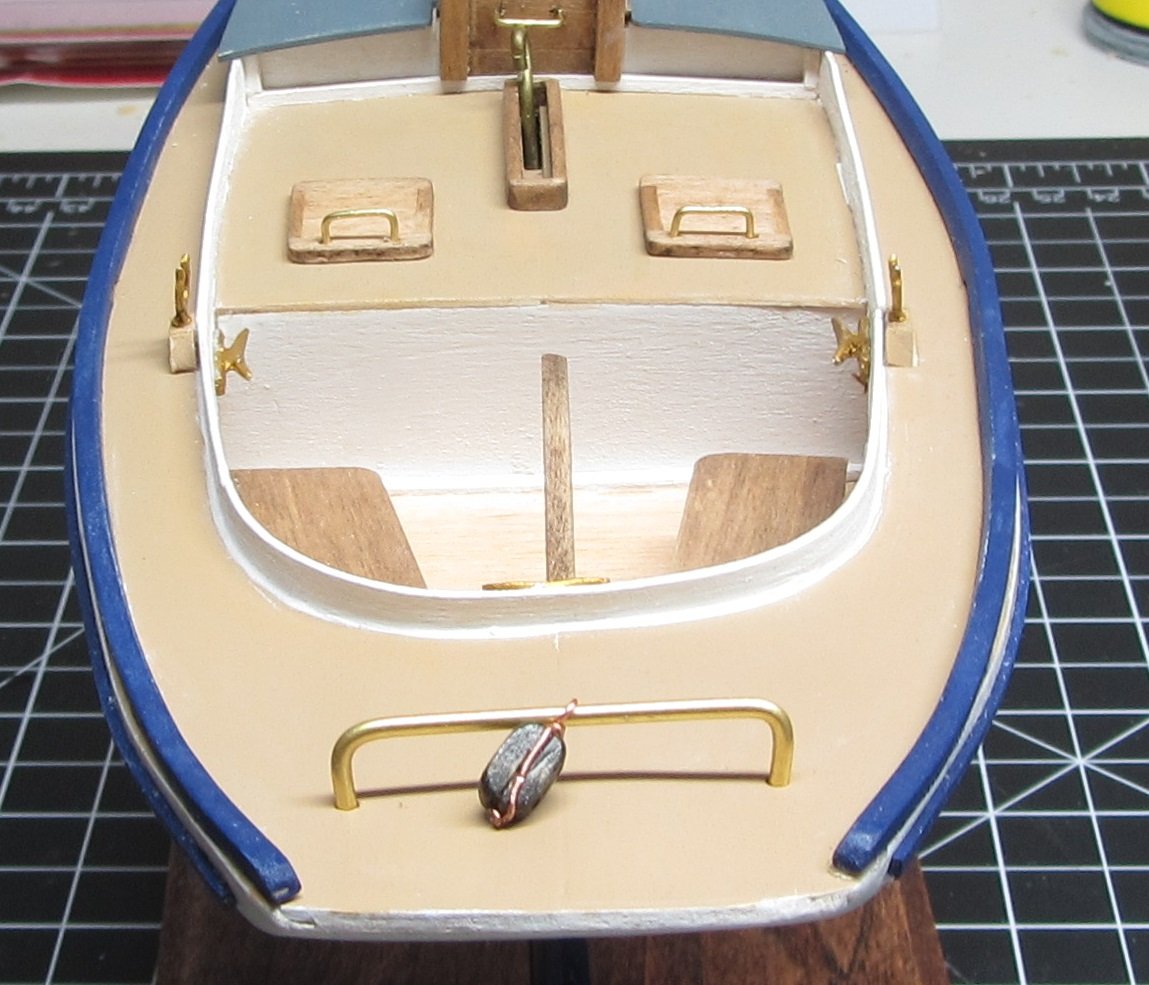
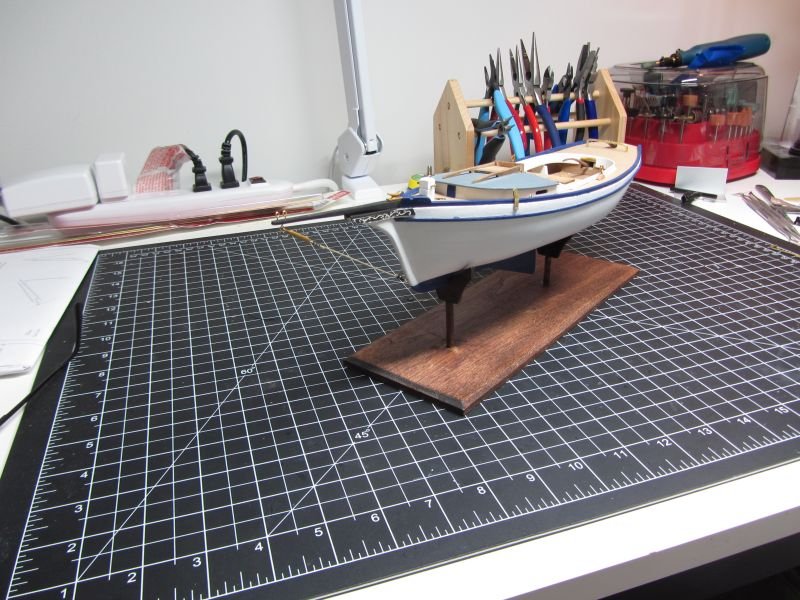
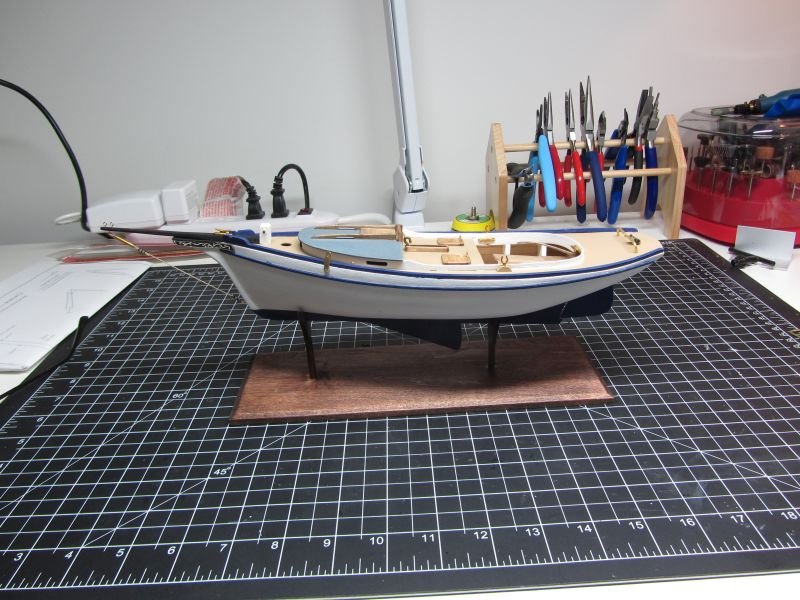
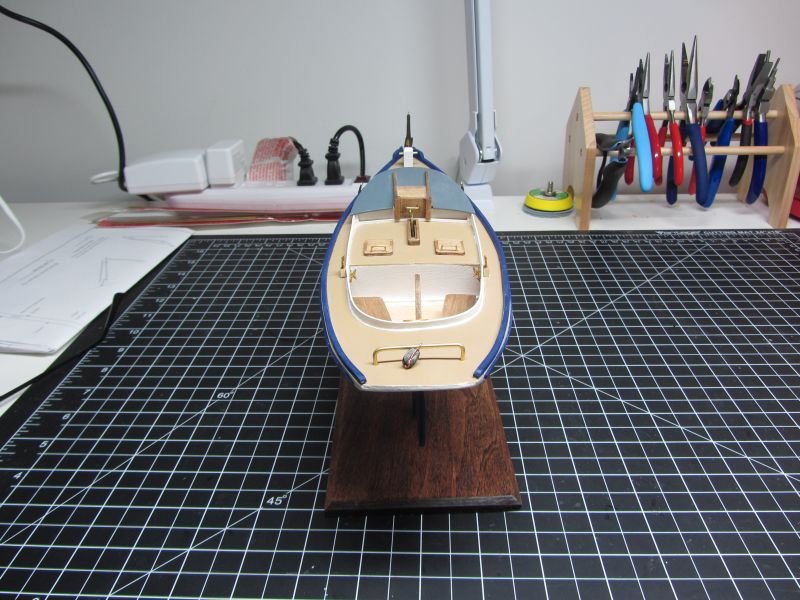
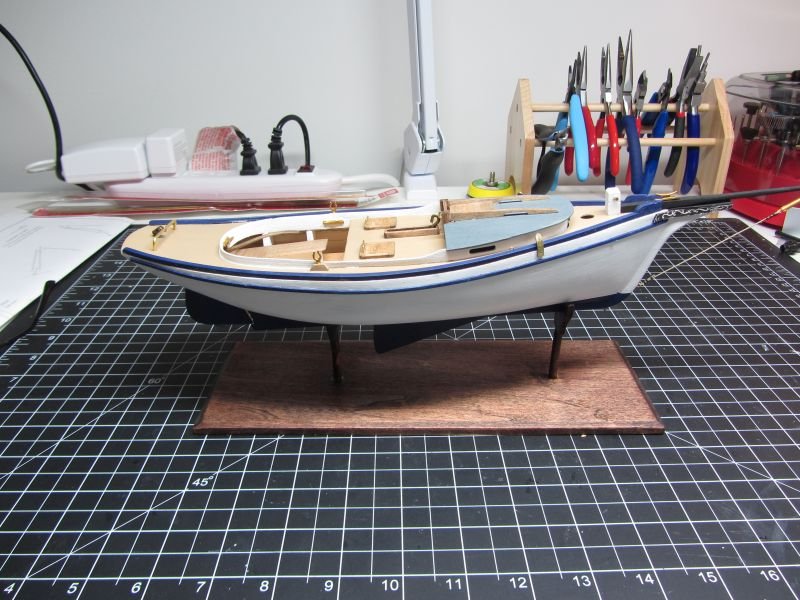
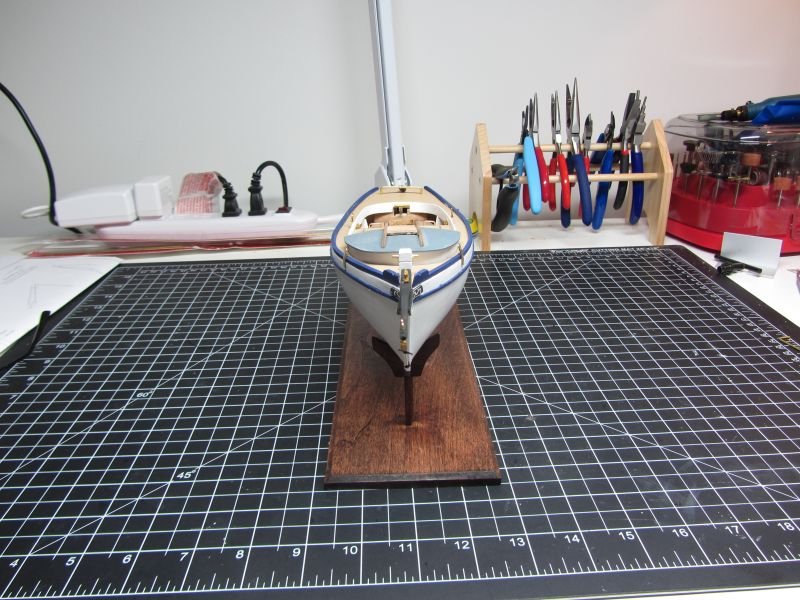
Been a while, but I finally finished the smack. I got really frustrated with the sails, started out well but then the battens started separating and the more I tried to correct it the worst I got. I finally finished with CA which held but I have “shiny areas” where the CA is. I really like the rigging portion of the build and look forward do doing more, I went with rope from Syren Ship Model, Chuck makes great rope and his delivery time is really good. (might be I live in PA and he is in NJ). I also purchased his serving machine and did a little serving on the ends of the stays. I went with a tan rope and served the ends with black. After a few tries I got the hang of it. Overall I learned a lot from this build. First and foremost read the guide and research about the build. I was really unclear about how portions of the rigging went. It took reading numerous logs and even readings from the library about how boats were rigged. Also I would have spaced the upper block of the throat halyard, higher. I don’t know if it was my stropping the blocks and having a larger hook and hoop but looking at the geometry, it does not work right. I assumed that the spacing was right, which it could have been and I screwed up, but it showed me that I should always look at the big picture, when also detailing with the small. The kit bashing was fun and it makes learn new skills, which is why I continue on with the builds. So what's the next build. I purchase both the Armed Longboat and USN Picket Boat, both for different reasons. On the longboat I want to work my planking and rigging and on the Picket I **** to work on my detail work, all before I start the Cheerful. I flipped a coin and it looks like the longboat. Photo 1 - Sails laid out ready to start rigging Photo 2 - Serving Machine up and running Photo 3 - Making rope coils Photo 4 - She done Picture 5 - Cockpit Picture 6 - Cockpit Photo 7 - Upper Rigging Photo 8 - Upper Rigging Photo 9 - Mast area Photo 10 - Jib Photo 11 - Main Sail Photo 12 - Final Berth w/ Pram Photo 13 - On to the next build.
- 26 replies
-
- muscongus bay lobster smack
- Model Shipways
-
(and 1 more)
Tagged with:
-
Bob Great Job, really clean. Just finished my rigging last night, now time to decide on the next one. Time to go Christmas shopping. Gary
- 111 replies
-
- Nonsuch 30
- Model Shipways
-
(and 1 more)
Tagged with:
-
I really like the look of this boat Bob. Really great job.
- 111 replies
-
- Nonsuch 30
- Model Shipways
-
(and 1 more)
Tagged with:
-
I need to try this, I am just finishing the Smack and I am really disappointed with my sails.. Bob, the boat looks really great.
- 111 replies
-
- Nonsuch 30
- Model Shipways
-
(and 1 more)
Tagged with:
-
Bob, Looks good, can't wait to see the railing and the new skill. Gary
- 111 replies
-
- Nonsuch 30
- Model Shipways
-
(and 1 more)
Tagged with:
-
Bob Looks great. I totally understand questioning every detail and how I should approach some of the remedies to minor problems. That's the problem with 40 years of engineering, but I can't change my nature now, so I sweat the details. Gary
- 111 replies
-
- Nonsuch 30
- Model Shipways
-
(and 1 more)
Tagged with:
-
Kevin Just finished watching your treenail video, excellent video and thanks for all your video. Your hull looks great and i look forward to watching you more. Gary
- 976 replies
-
Got a seat and ready for the new log
- 111 replies
-
- Nonsuch 30
- Model Shipways
-
(and 1 more)
Tagged with:
-
Bob Well done, it looks great and I really enjoyed the log. Gary
- 146 replies
-
- Harriet Lane
- Model Shipways
-
(and 1 more)
Tagged with:
-
Finally, back in the model room after a long summer, knee replacement, family issues, etc. I have realize having something to take you mind off things really helps and work on my boats puts me in a great frame of mine. So, a couple of things: I got my Proxxon drill press setup and man does this help. I have added a sanding spindle which have made things so much better. Using the drill press make for much more actuate work. Making the chainplates were really easy with the press. I cleaned them up then lacquered each to keep them looking clean. Now time to make the nails. The hatches I felt needed a handle so I made some from some 28-gauge wire. Found out when you have a drop of blue paint on white, do not use alcohol. This set me back awhile, but that what the beginners’ models are for. I took a look at the blocks that were supplied and they needed really needed help, I thought there might be easier way. So, I did some research and saw a sanding tumbler made by Olha Batchvarov on YouTube that required the use of drill in a type of lined can. I then thought about maybe using a rock tumbler, I could line the inside of the tumbler with sand paper and just let it run in the background. Amazon is my friend and I found a cheap rock tumbler ($49.99), lined the tumbler with 120 grit sand paper using 3M Feathering Disc Adhesive and I now had a cheap sander. Now its not whisper quite but it is tolerable. I have taken the rollers apart greased what I could, it has cheap bearing from China and I could spend some money and make it better, great another project. Two days in the tumbler on level two and they came out well, the grooves needed to be deepened and I used a thinned ebony stain which turned out well. Even after the stained dried it did come off on my fingers when I was forming the copper around the block. A quick layer of lacquer to solve the problem. I used the Proxxon with a router bit on the base and like how that turned out. Did have a “glue area” show up around the posts after staining. Sanding and reapplying the satin worked, although my feathering in needs to be worked on. Time for the mast. Jib and sails then running the lines.
- 26 replies
-
- muscongus bay lobster smack
- Model Shipways
-
(and 1 more)
Tagged with:
-
Bob Great work, I am impressed with how this is turning out and have it on my list of builds to do. I have thought about a scratch build, but I think I need so more kit bashing before I take on that. Gary
- 146 replies
-
- Harriet Lane
- Model Shipways
-
(and 1 more)
Tagged with:
-
Bob, very impressive. Now that my new knee is feeling better, and I am off medication, its time to get back in the shop.
- 146 replies
-
- Harriet Lane
- Model Shipways
-
(and 1 more)
Tagged with:
-
Great job Bob, I hope I can do as good as you when I start this ship
- 146 replies
-
- Harriet Lane
- Model Shipways
-
(and 1 more)
Tagged with:
-

Work Table Recommendations ?
tlee01 replied to DanB's topic in Modeling tools and Workshop Equipment
I have two computer desks 60x30 and a small table between in a L-shape, Easy to sit at and have plenty of room under for plastic storage containers -
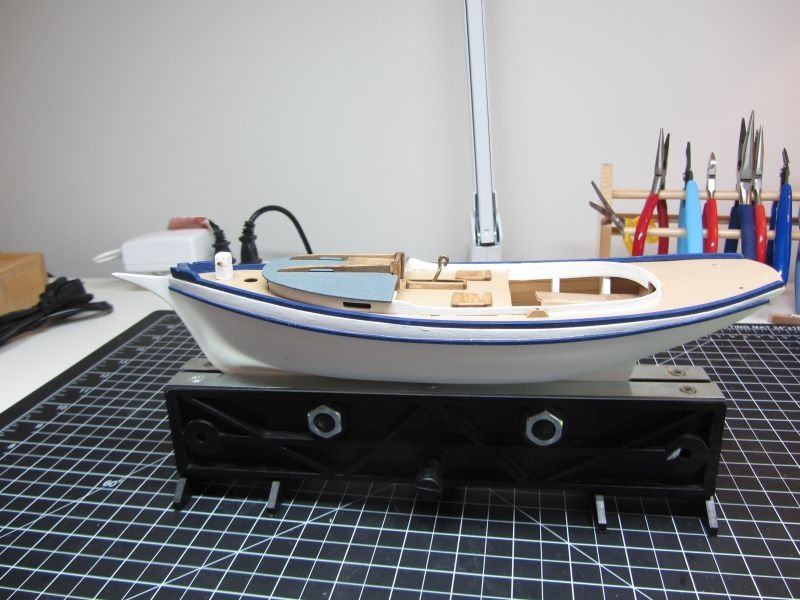
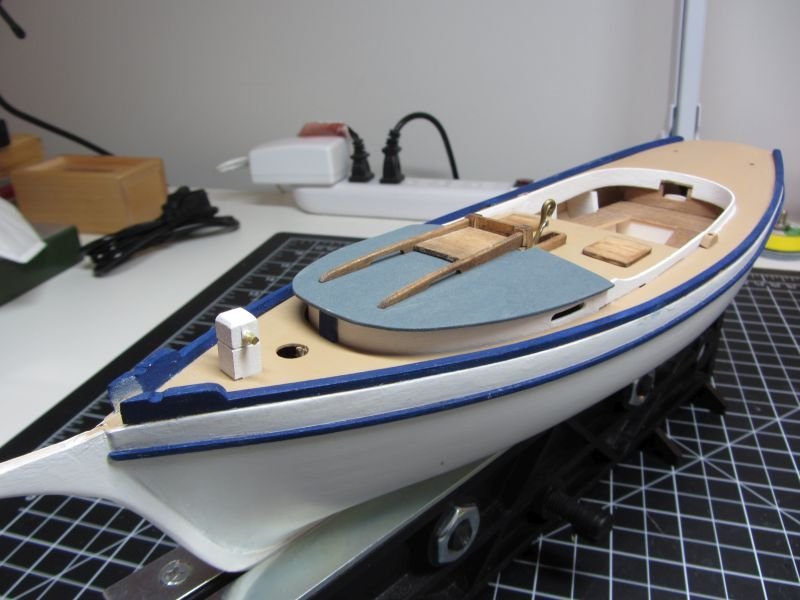
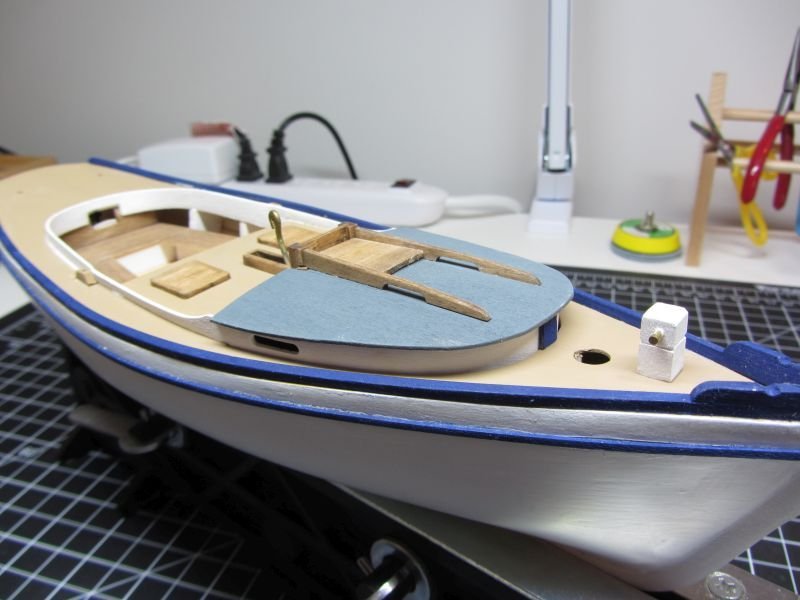
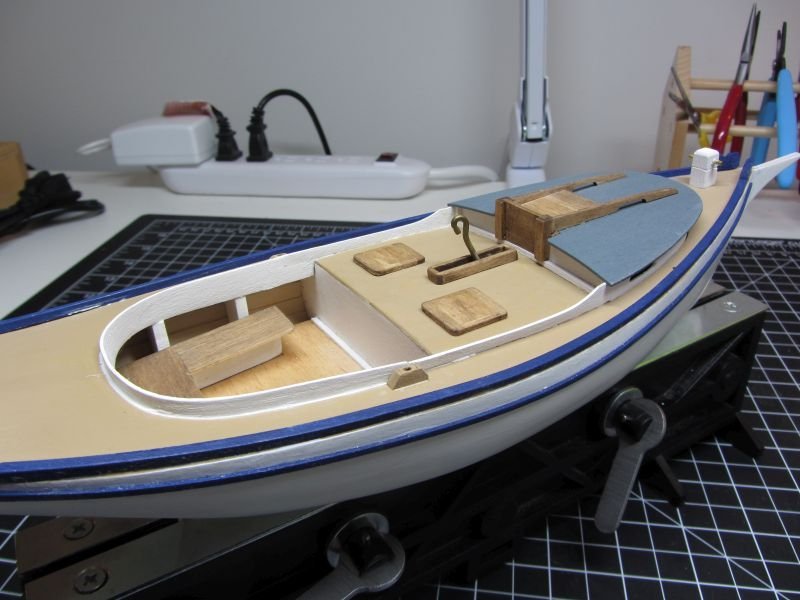
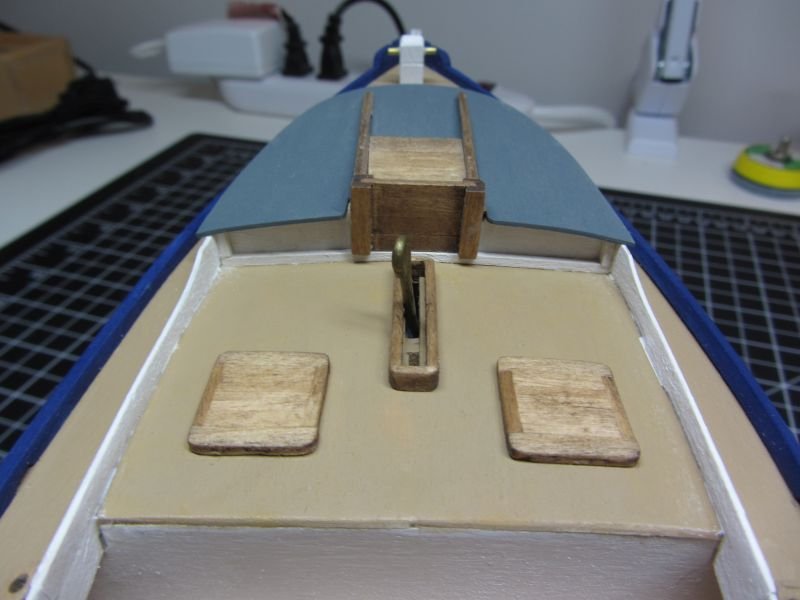
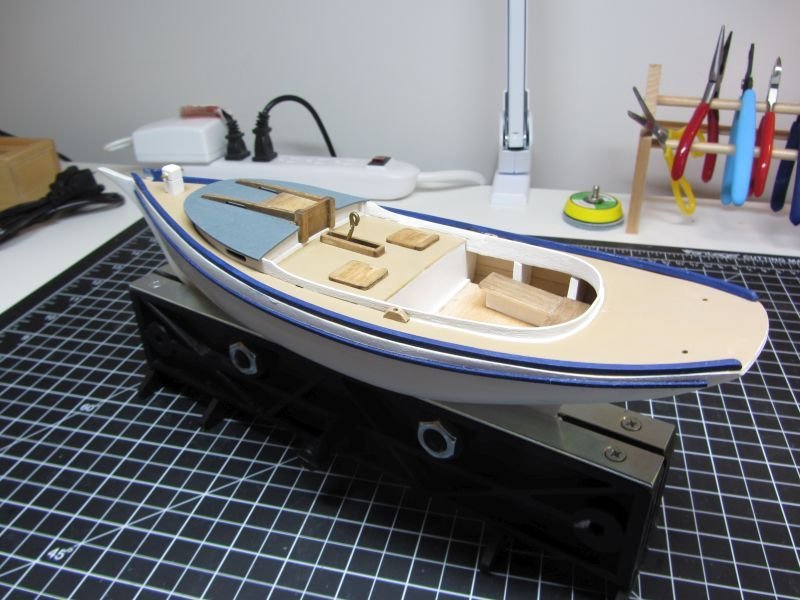
Work continues on the smack. I went off script and decided to do some kit bashing. I was at my local hobby lobby (I am spending to much time there) and picked up some basswood strips to make the hatches and miscellaneous things. The two small hatches were built with a 1/8 x 1/16 frame with 1/16 slats. I round the corners and had two hatches. The frame around the center board I used the 1/8 x 1/16 and framed out the slots. The hatch area was a little more difficult. I used false front and built a slide frame for the hatch. When I installed the false front, I had to add some trim strips, I still need work on making sure the frame is straight and square. When dry fitting the hatch and false front I did not like how things were mating up, so I trimmed the top of the false front and made a filler piece to fit the frame and all went well. The cabin roof was painted and installed it on the boat. I notice the front looked a little bare so I made a blue accent strip and installed it on the front cabin wall. I installed the two top rails and top hatch. The rails were angled slightly so some sanding on the sides and it turned out well. I really liked this kit bashing it brings uniqueness to the model I am building. But it does take longer and sometimes more frustrating. Next up are the Trail boards, bowsprit and rudder.
- 26 replies
-
- muscongus bay lobster smack
- Model Shipways
-
(and 1 more)
Tagged with:
-
Bob You have not deterred me in any way. Its on my list to due and following log has been helpful, I was going back and forth and thought I let MS take care of some of their problems. I have found dealing with them is really great, and when I find parts missing they get them to me quickly. I am hoping to have the smack done by my knee replacement in June. Then during my recovery (when I am off pain meds) start the pricket. I hope my skills come up to your level, I am kit bashing parts of the smack and really enjoy the challenges that come with that. Thanks and I will keep watching. Gary
- 146 replies
-
- Harriet Lane
- Model Shipways
-
(and 1 more)
Tagged with:
-
Bob Your work looks great, I am going to wait to your done to see what more hassles you have with parts missing. I ordered the Picket Boat as my next one. Maybe the Harriet-Lane will be my number 5 build. Gary
- 146 replies
-
- Harriet Lane
- Model Shipways
-
(and 1 more)
Tagged with:
About us
Modelshipworld - Advancing Ship Modeling through Research
SSL Secured
Your security is important for us so this Website is SSL-Secured
NRG Mailing Address
Nautical Research Guild
237 South Lincoln Street
Westmont IL, 60559-1917
Model Ship World ® and the MSW logo are Registered Trademarks, and belong to the Nautical Research Guild (United States Patent and Trademark Office: No. 6,929,264 & No. 6,929,274, registered Dec. 20, 2022)
Helpful Links
About the NRG
If you enjoy building ship models that are historically accurate as well as beautiful, then The Nautical Research Guild (NRG) is just right for you.
The Guild is a non-profit educational organization whose mission is to “Advance Ship Modeling Through Research”. We provide support to our members in their efforts to raise the quality of their model ships.
The Nautical Research Guild has published our world-renowned quarterly magazine, The Nautical Research Journal, since 1955. The pages of the Journal are full of articles by accomplished ship modelers who show you how they create those exquisite details on their models, and by maritime historians who show you the correct details to build. The Journal is available in both print and digital editions. Go to the NRG web site (www.thenrg.org) to download a complimentary digital copy of the Journal. The NRG also publishes plan sets, books and compilations of back issues of the Journal and the former Ships in Scale and Model Ship Builder magazines.


