Paul Le Wol
-
Posts
1,062 -
Joined
-
Last visited
4 Followers


About Paul Le Wol

-
 Paul Le Wol reacted to a post in a topic:
Billy 1938 by Keith Black - FINISHED - 1:120 Scale - Homemade Sternwheeler
Paul Le Wol reacted to a post in a topic:
Billy 1938 by Keith Black - FINISHED - 1:120 Scale - Homemade Sternwheeler
-
Paul Le Wol reacted to a post in a topic:
Billy 1938 by Keith Black - FINISHED - 1:120 Scale - Homemade Sternwheeler
-
Paul Le Wol reacted to a post in a topic:
Billy 1938 by Keith Black - FINISHED - 1:120 Scale - Homemade Sternwheeler
-
Paul Le Wol reacted to a post in a topic:
Billy 1938 by Keith Black - FINISHED - 1:120 Scale - Homemade Sternwheeler
-
Paul Le Wol reacted to a post in a topic:
Billy 1938 by Keith Black - FINISHED - 1:120 Scale - Homemade Sternwheeler
-
 Paul Le Wol reacted to a post in a topic:
USS Tennessee 1869 by Keith Black - scale 1:120 - Wood Hull Screw Frigate - ex Madawaska 1865
Paul Le Wol reacted to a post in a topic:
USS Tennessee 1869 by Keith Black - scale 1:120 - Wood Hull Screw Frigate - ex Madawaska 1865
-
Paul Le Wol reacted to a post in a topic:
USS Tennessee 1869 by Keith Black - scale 1:120 - Wood Hull Screw Frigate - ex Madawaska 1865
-
Paul Le Wol reacted to a post in a topic:
USS Tennessee 1869 by Keith Black - scale 1:120 - Wood Hull Screw Frigate - ex Madawaska 1865
-
Paul Le Wol reacted to a post in a topic:
USS Tennessee 1869 by Keith Black - scale 1:120 - Wood Hull Screw Frigate - ex Madawaska 1865
-
Paul Le Wol reacted to a post in a topic:
Columbia 1835 by Glen McGuire - 1/400 - BOTTLE - Steam Packet
-
Canute reacted to a post in a topic:
Billy 1938 by Keith Black - FINISHED - 1:120 Scale - Homemade Sternwheeler
-
thibaultron reacted to a post in a topic:
Billy 1938 by Keith Black - FINISHED - 1:120 Scale - Homemade Sternwheeler
-
 Keith Black reacted to a post in a topic:
Billy 1938 by Keith Black - FINISHED - 1:120 Scale - Homemade Sternwheeler
Keith Black reacted to a post in a topic:
Billy 1938 by Keith Black - FINISHED - 1:120 Scale - Homemade Sternwheeler
-
John Ruy reacted to a post in a topic:
Billy 1938 by Keith Black - FINISHED - 1:120 Scale - Homemade Sternwheeler
-
Keith, congratulations on completing Billy! Amazing detail on this little guy.
- 401 replies
-
- 4
-
-
-
- Billy
- sternwheeler
- (and 1 more)
-
Keith Black reacted to a post in a topic:
Gjøa 1872 by Harvey Golden - Roald Amundsen's Cutter built at Rosedahl, Norway
-
JacquesCousteau reacted to a post in a topic:
Gjøa 1872 by Harvey Golden - Roald Amundsen's Cutter built at Rosedahl, Norway
-
Harvey Golden reacted to a post in a topic:
Gjøa 1872 by Harvey Golden - Roald Amundsen's Cutter built at Rosedahl, Norway
-
Harvey, your photos are exceptional! Beautiful work.
-
lawrence101 reacted to a post in a topic:
North Carolina Oyster Sharpie by Paul Le Wol - FINISHED - 1/24 - from plans drawn by Thomas Pratt
-
lawrence101 reacted to a post in a topic:
Muscongus Bay Lobster Smack by JacquesCousteau - Model Shipways - 1:32 - Rescaled and Modified
-
lawrence101 reacted to a post in a topic:
Muscongus Bay Lobster Smack by JacquesCousteau - Model Shipways - 1:32 - Rescaled and Modified
-
Super impressive workmanship Jacques!
-
Hahaha! They look so good.
-
Hi Glen. Thank you so much!
-
Beautiful work Glen! I couldn’t find if you mentioned it but what did you use for the lettering on the wheel covers?
-
Hi John, thank you very much!
-
Great looking planking John. Have fun at your reunion!
- 53 replies
-
- 2
-
-
- William Atkin
- Sloop
- (and 1 more)
-
Great work on the hoops Lawrence!
-
Keith, Steve, and Jacques, thank you. I appreciate your comments very much!
-
Jacques, the planking is phenomenal inside and out!
-
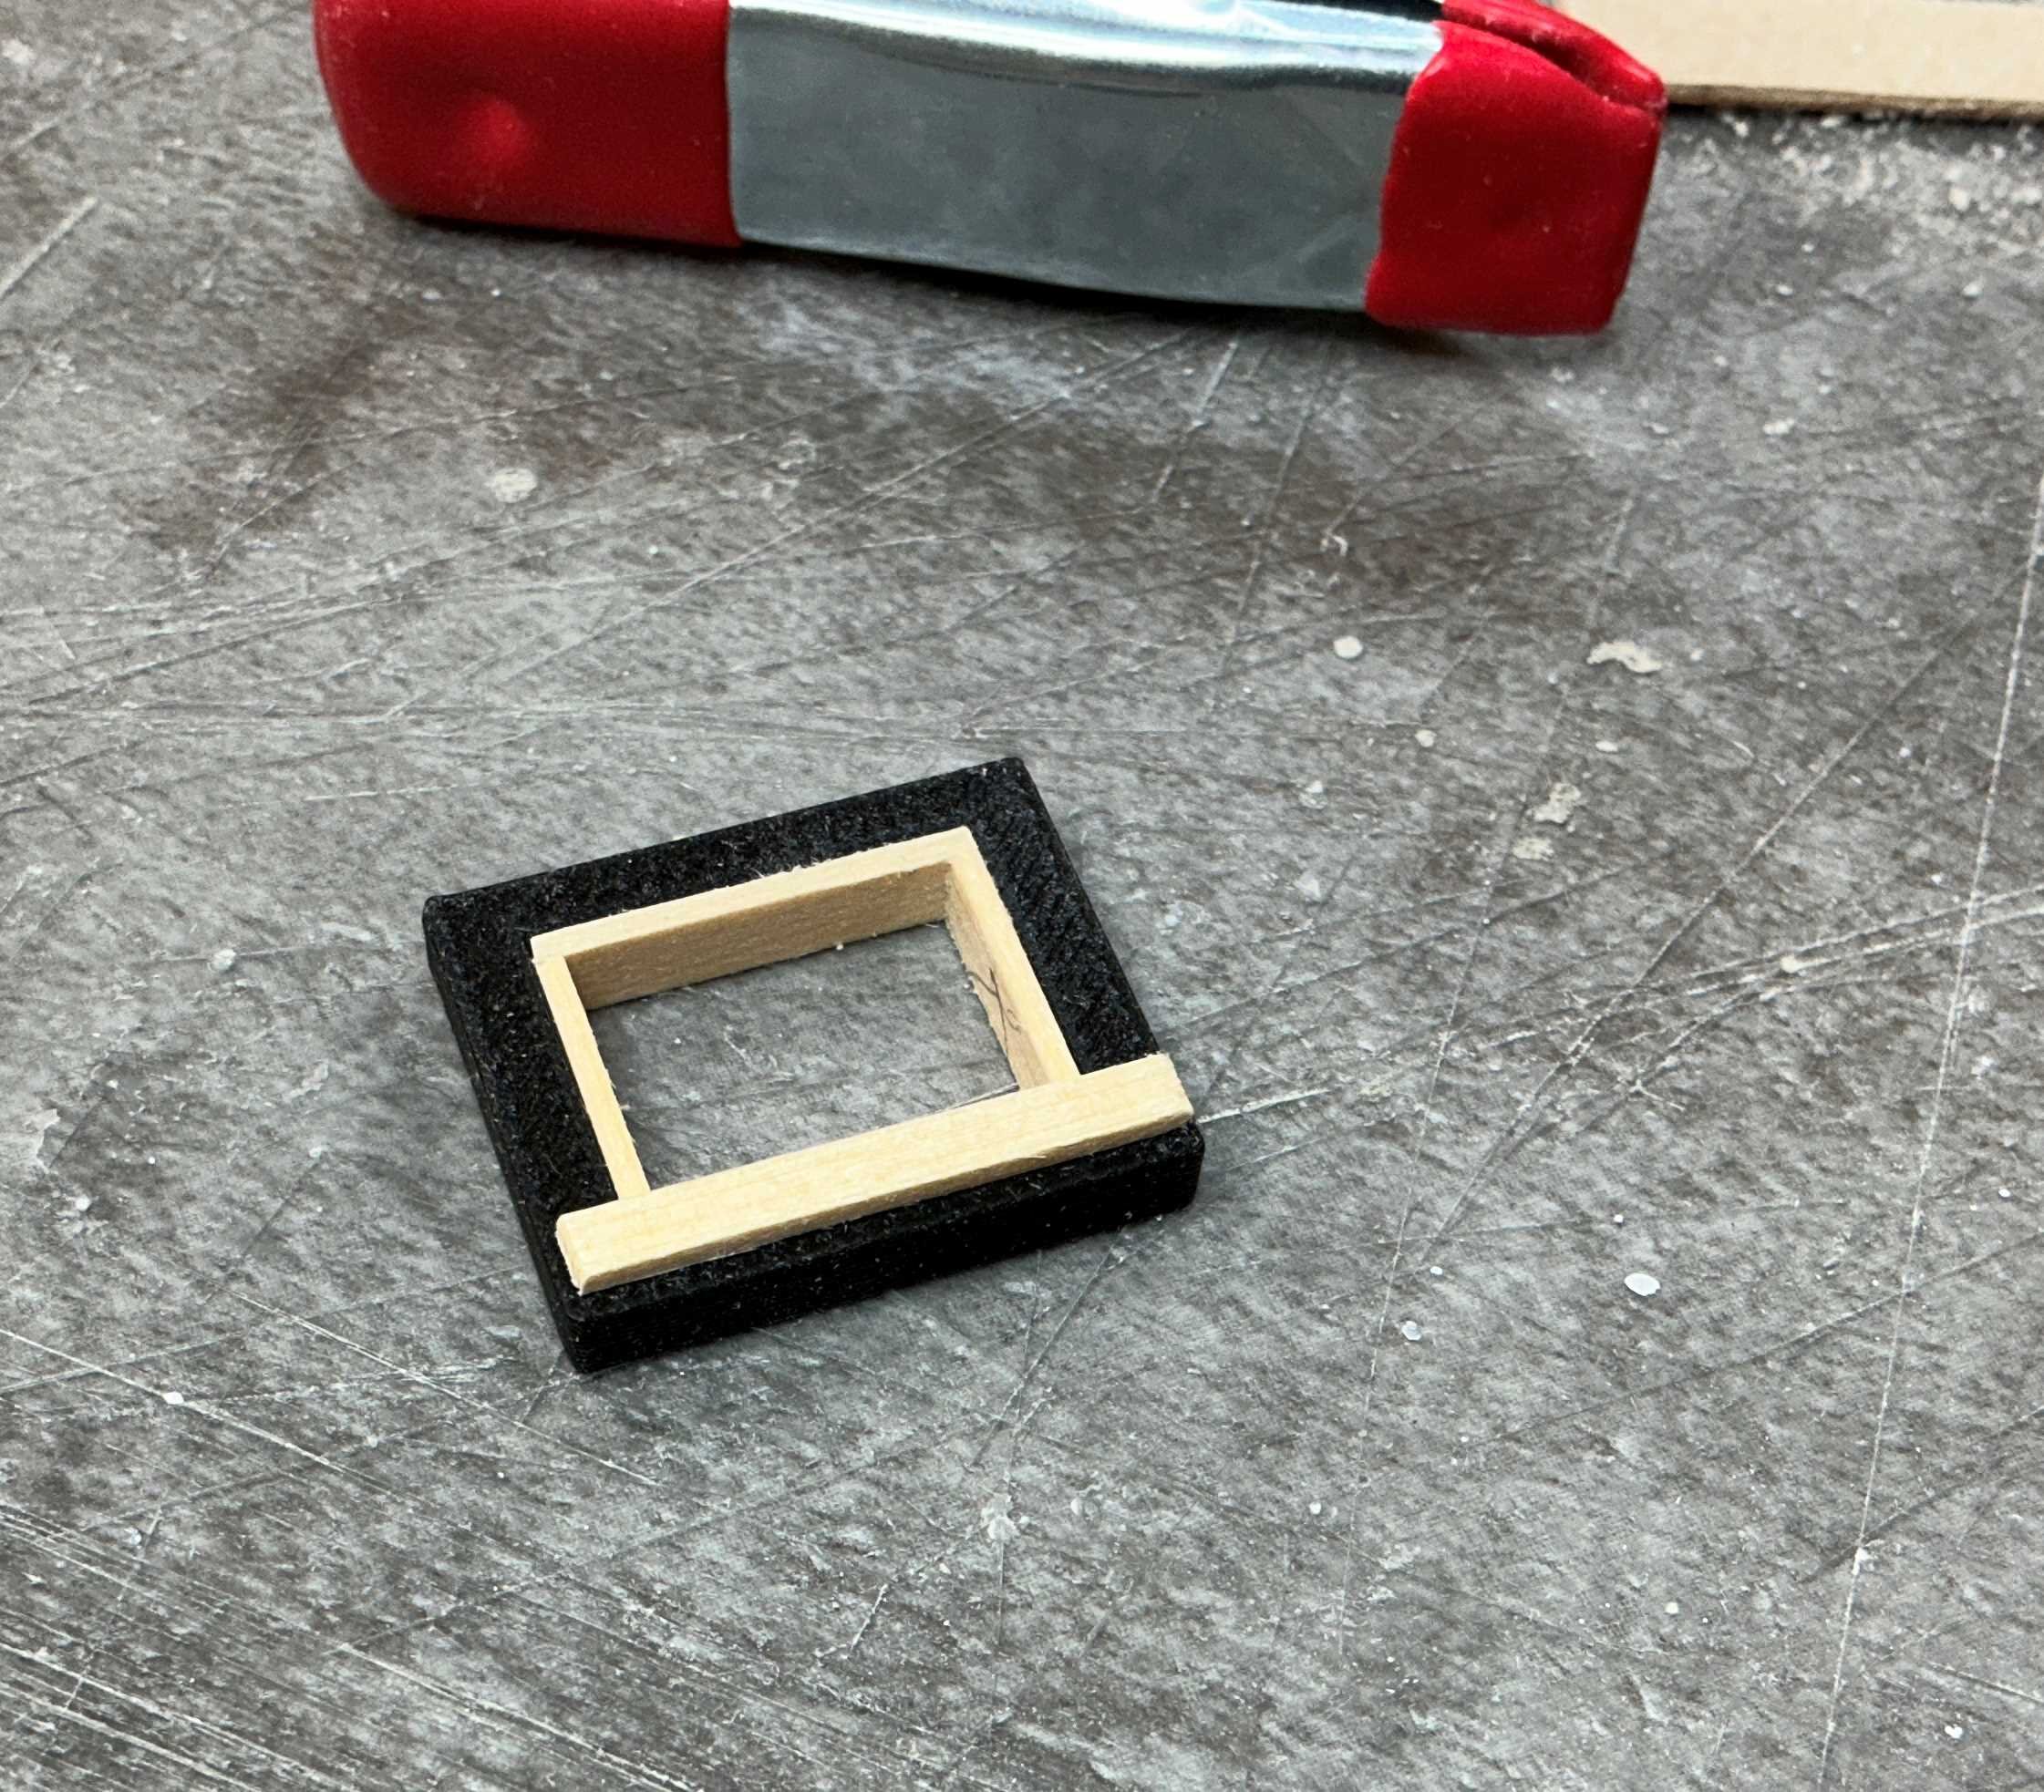
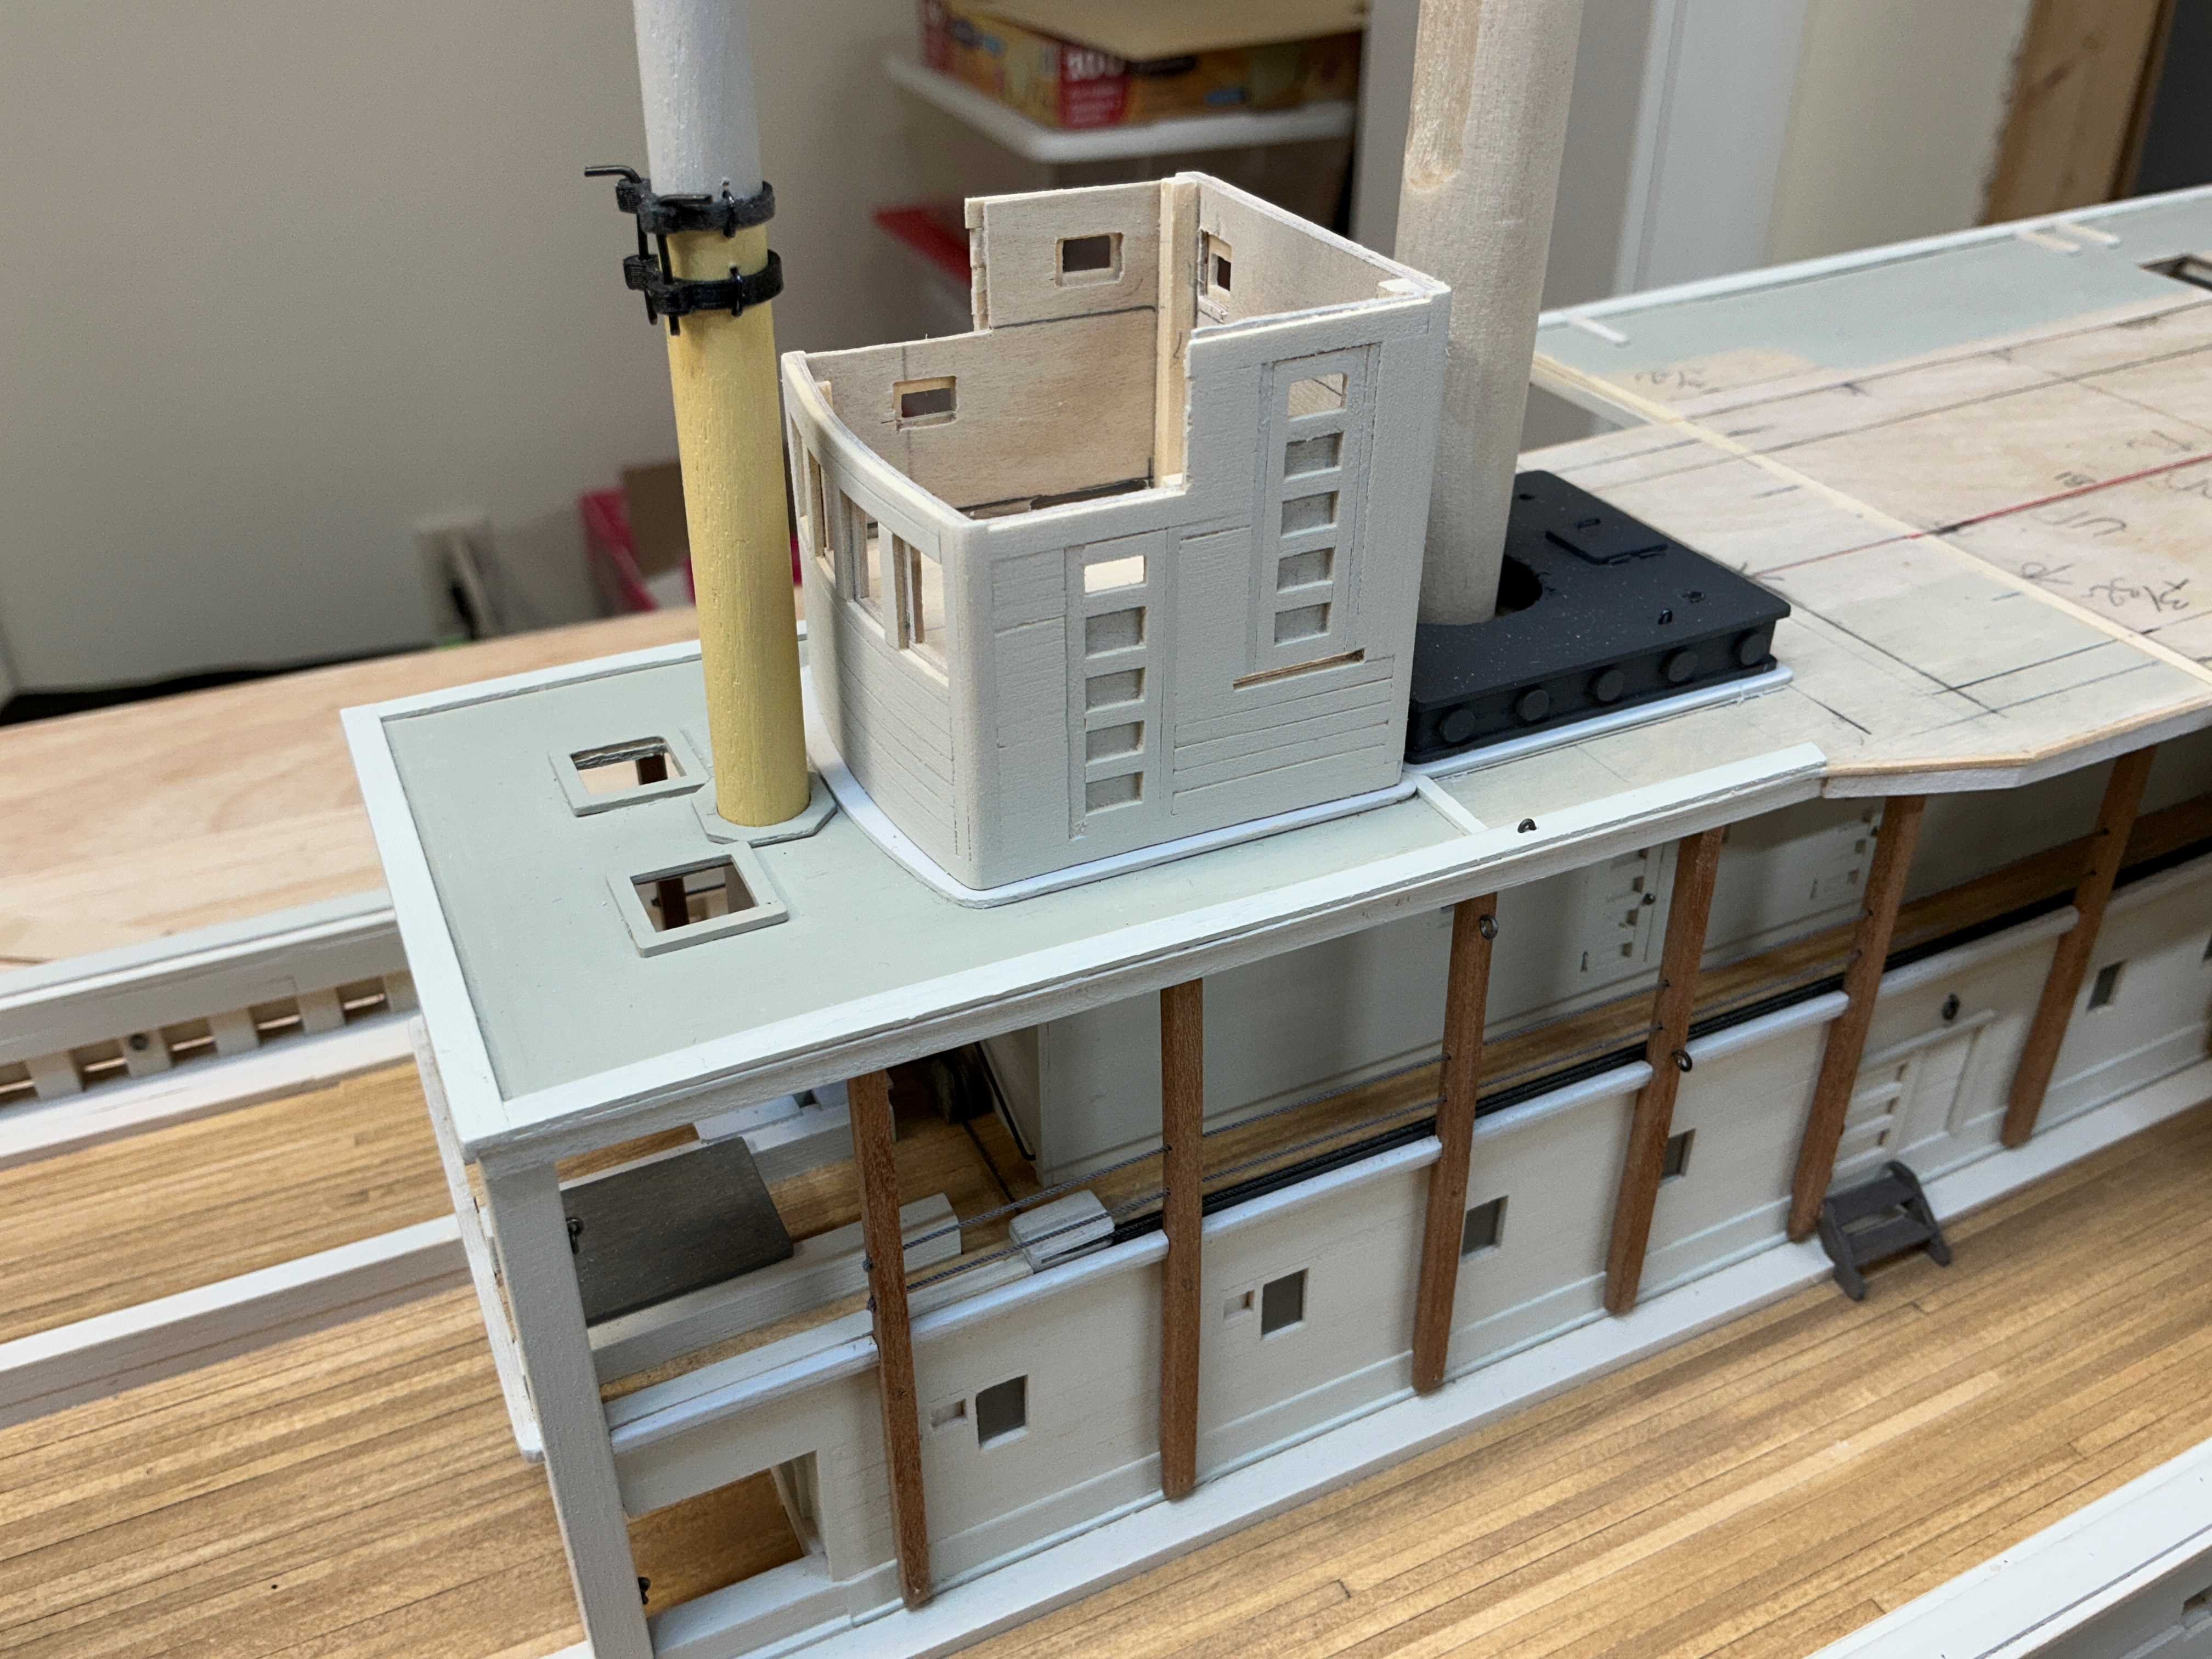
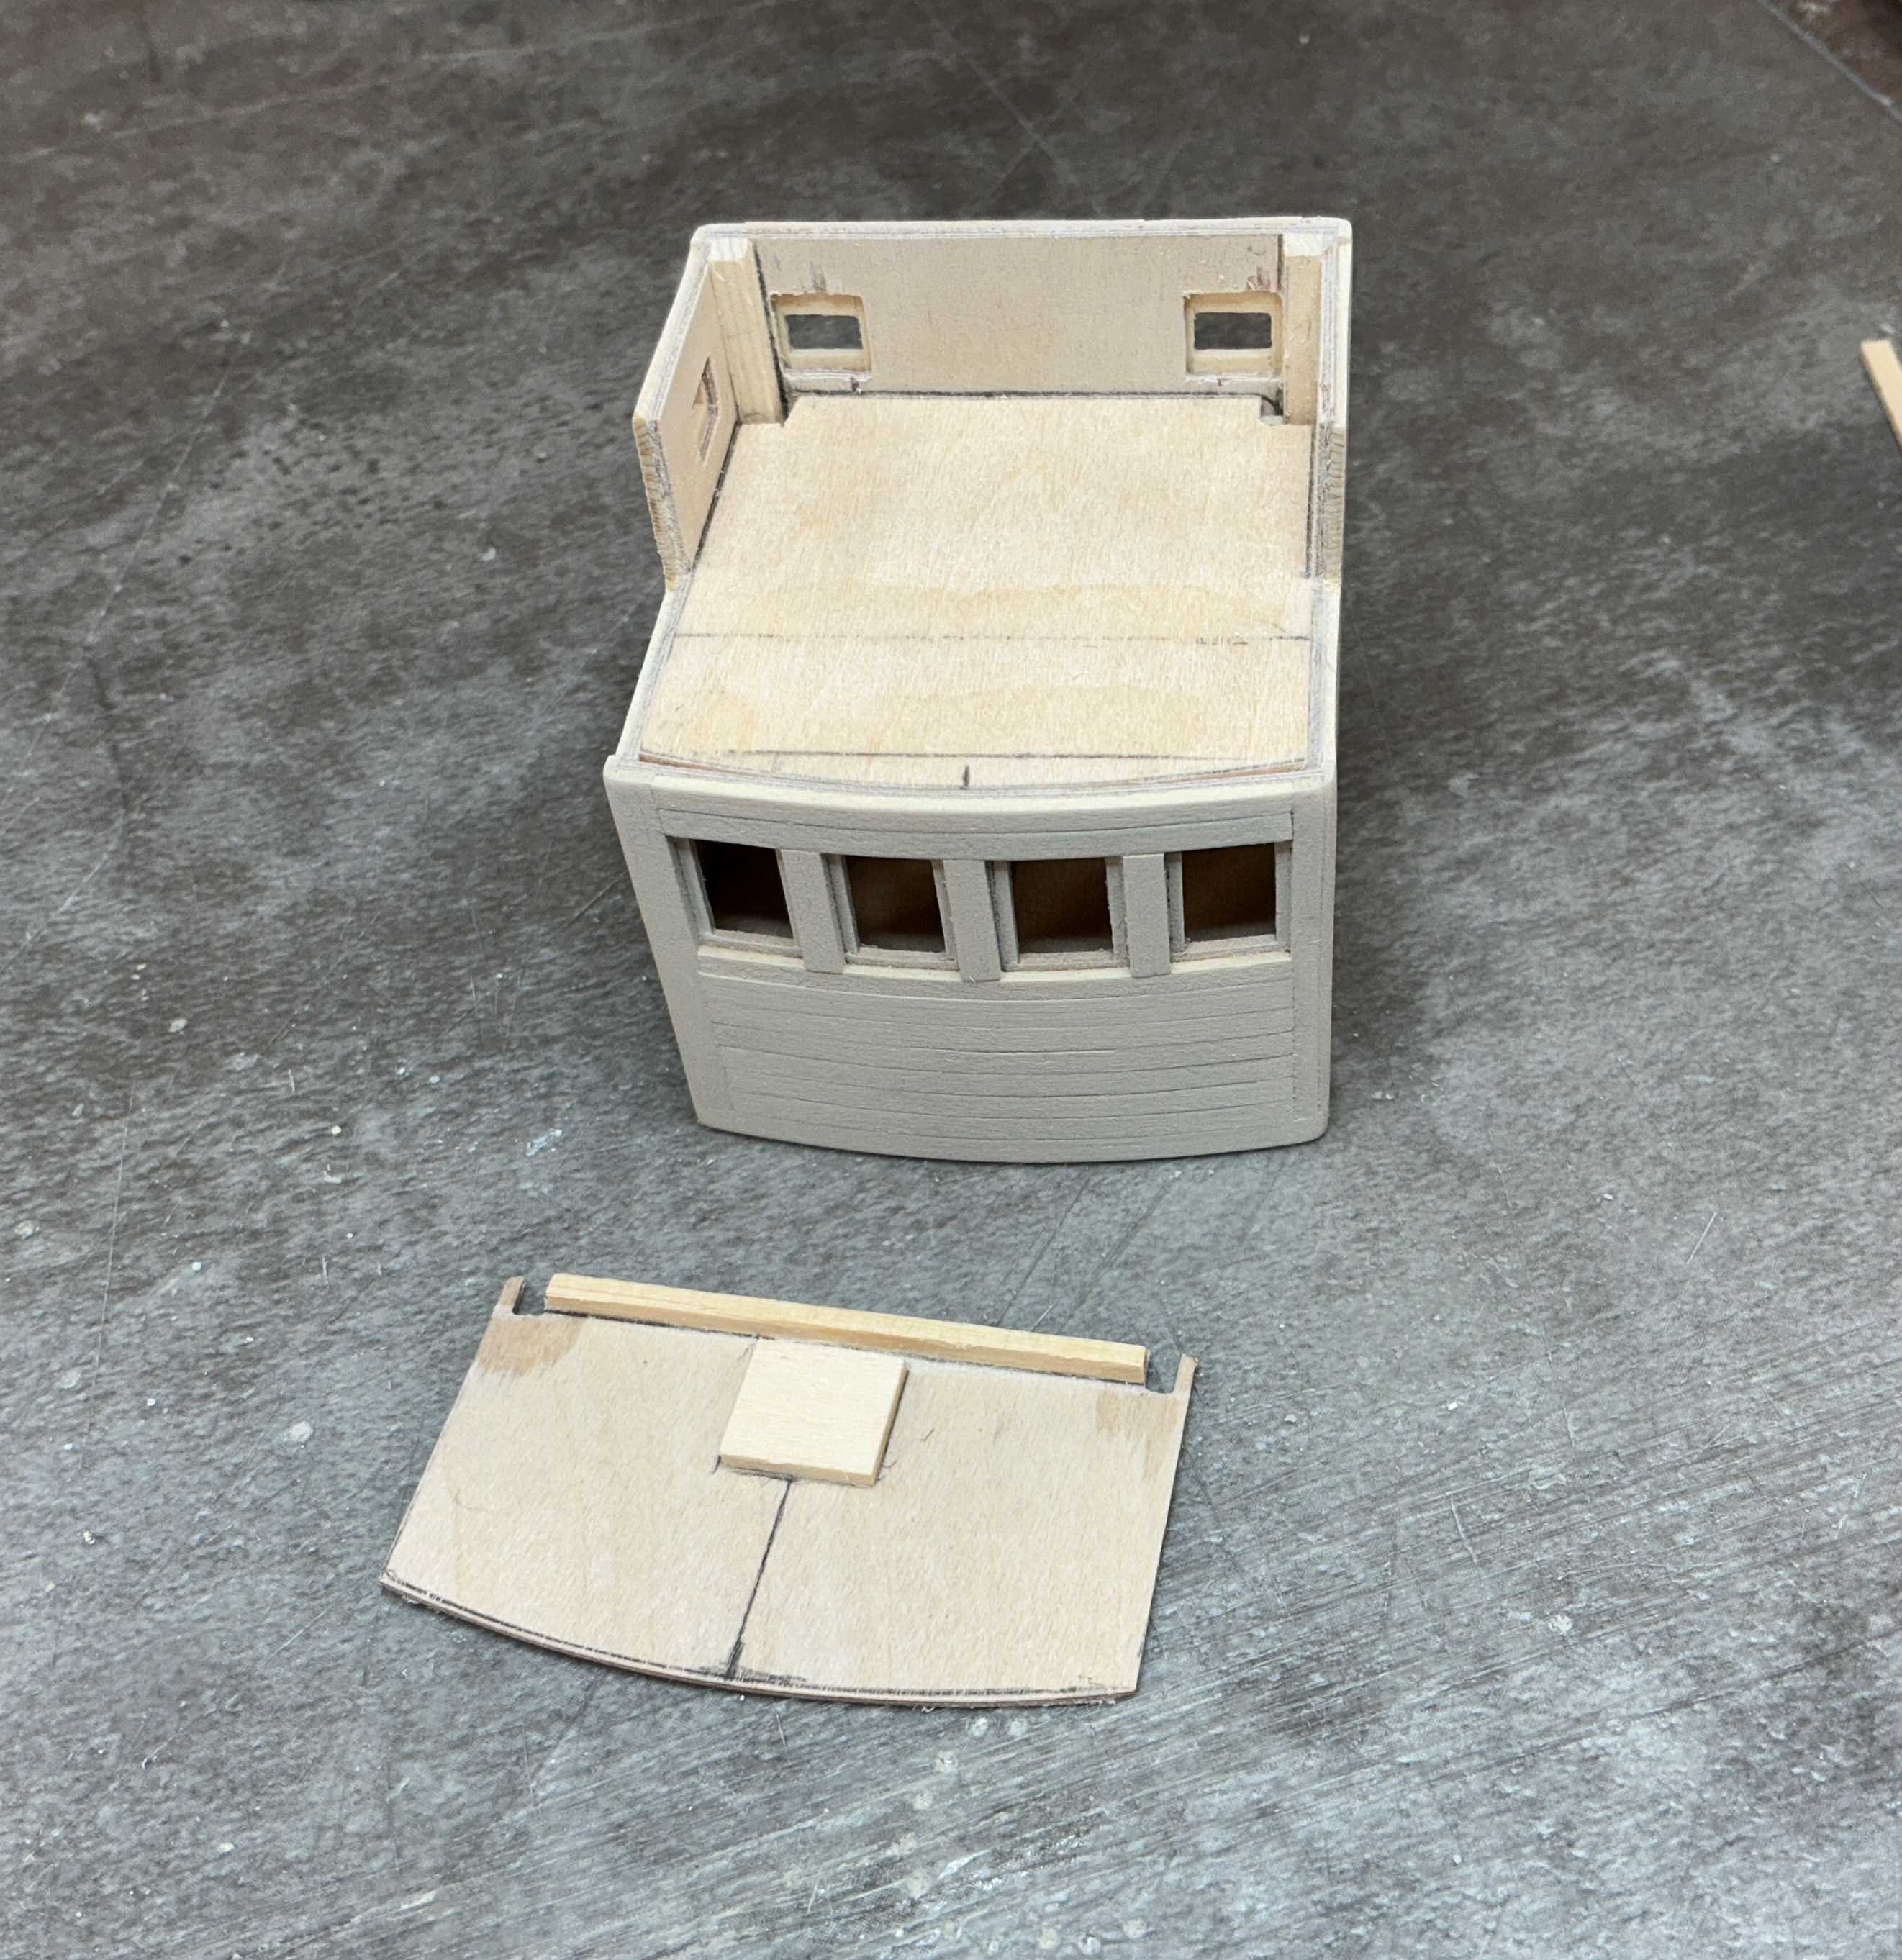
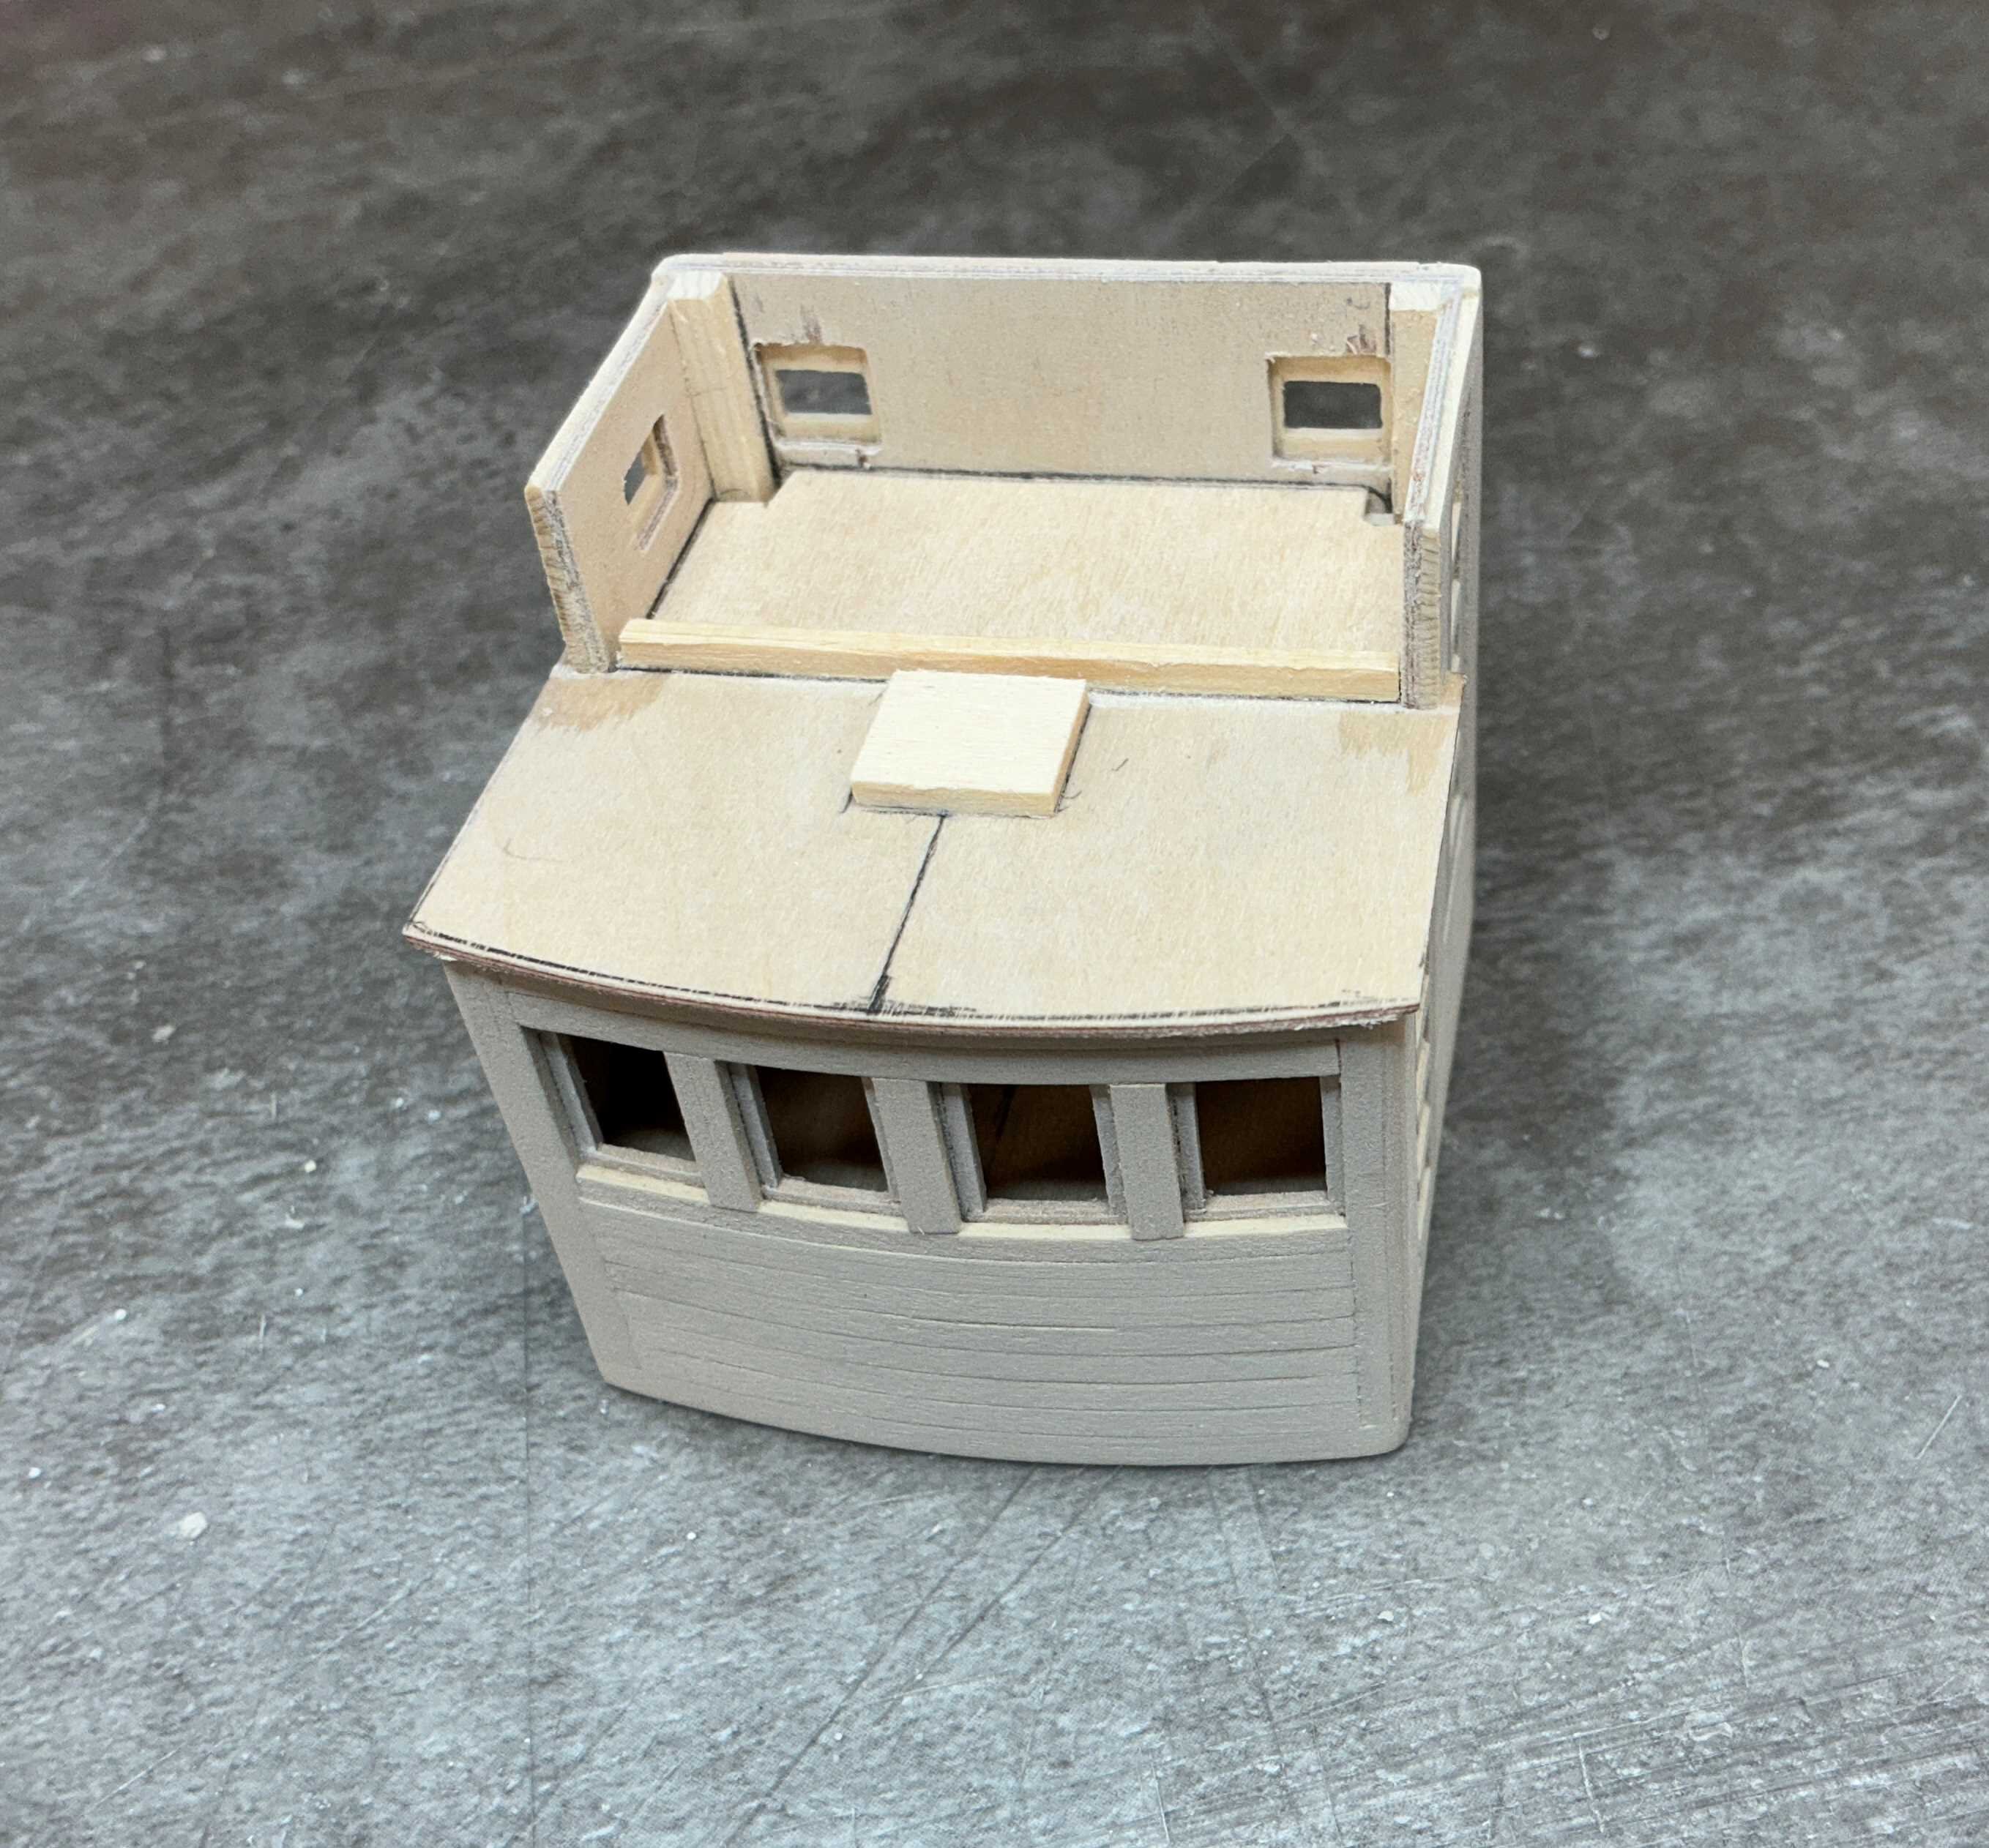
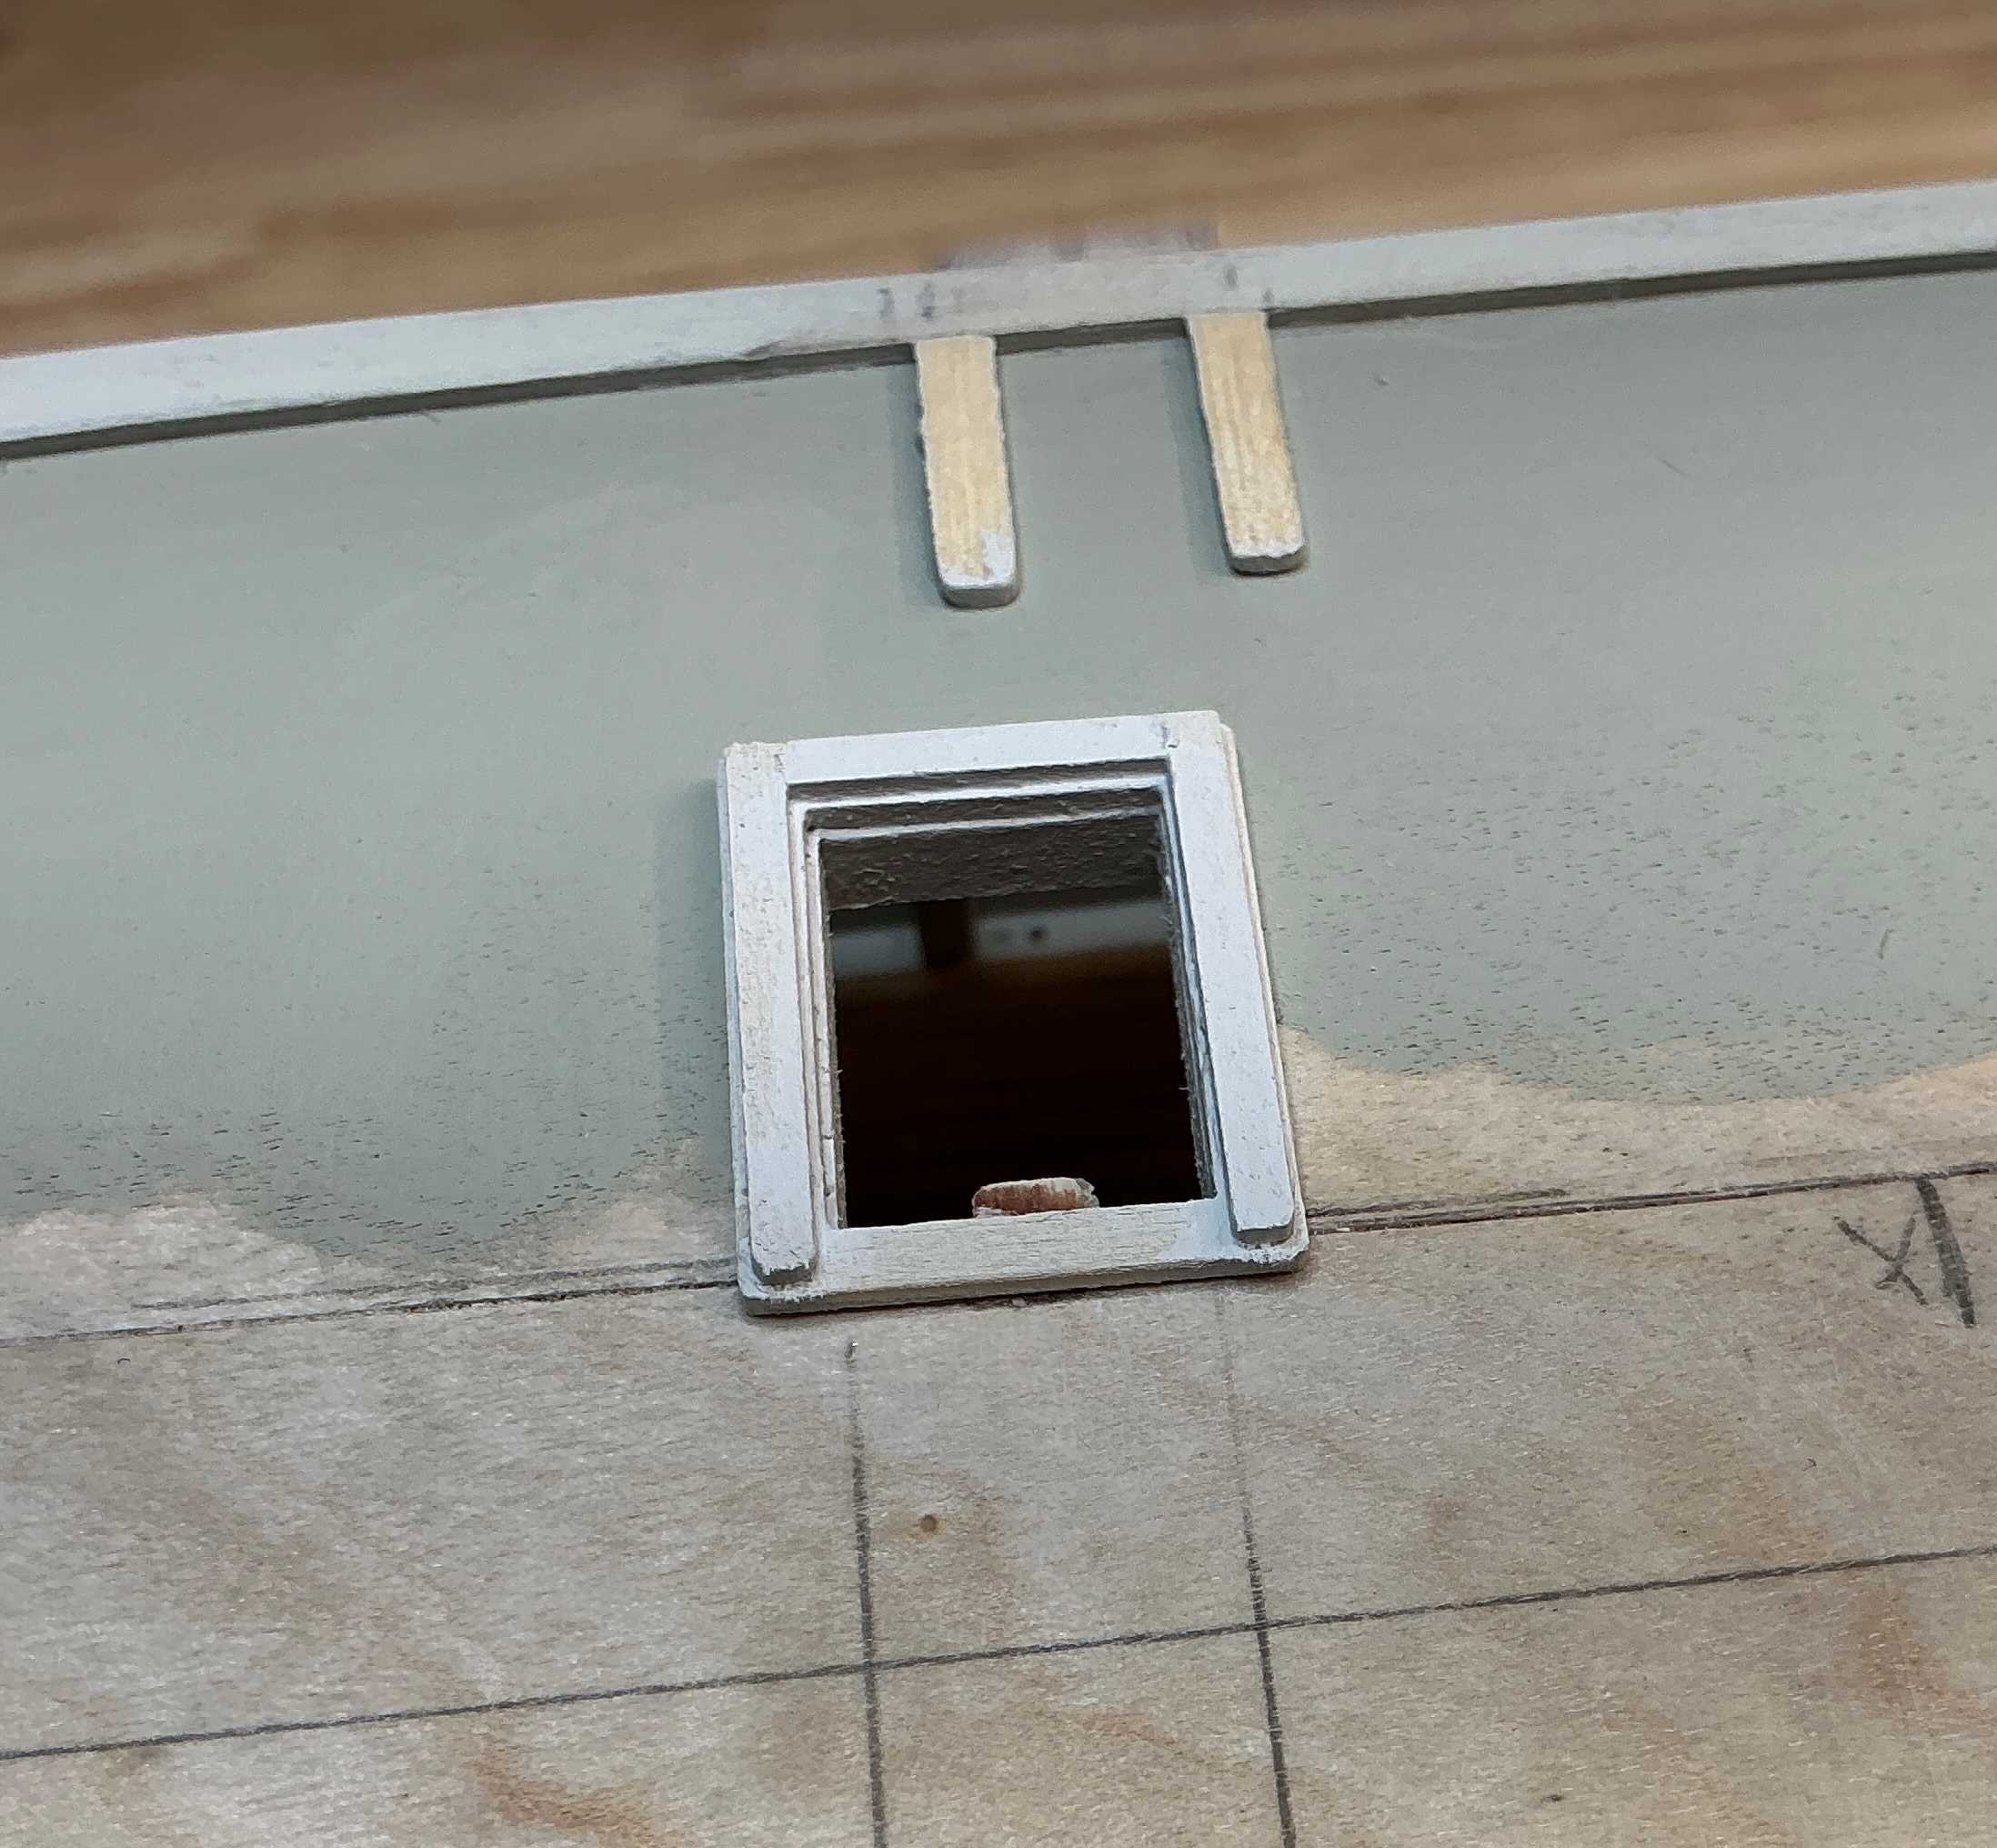
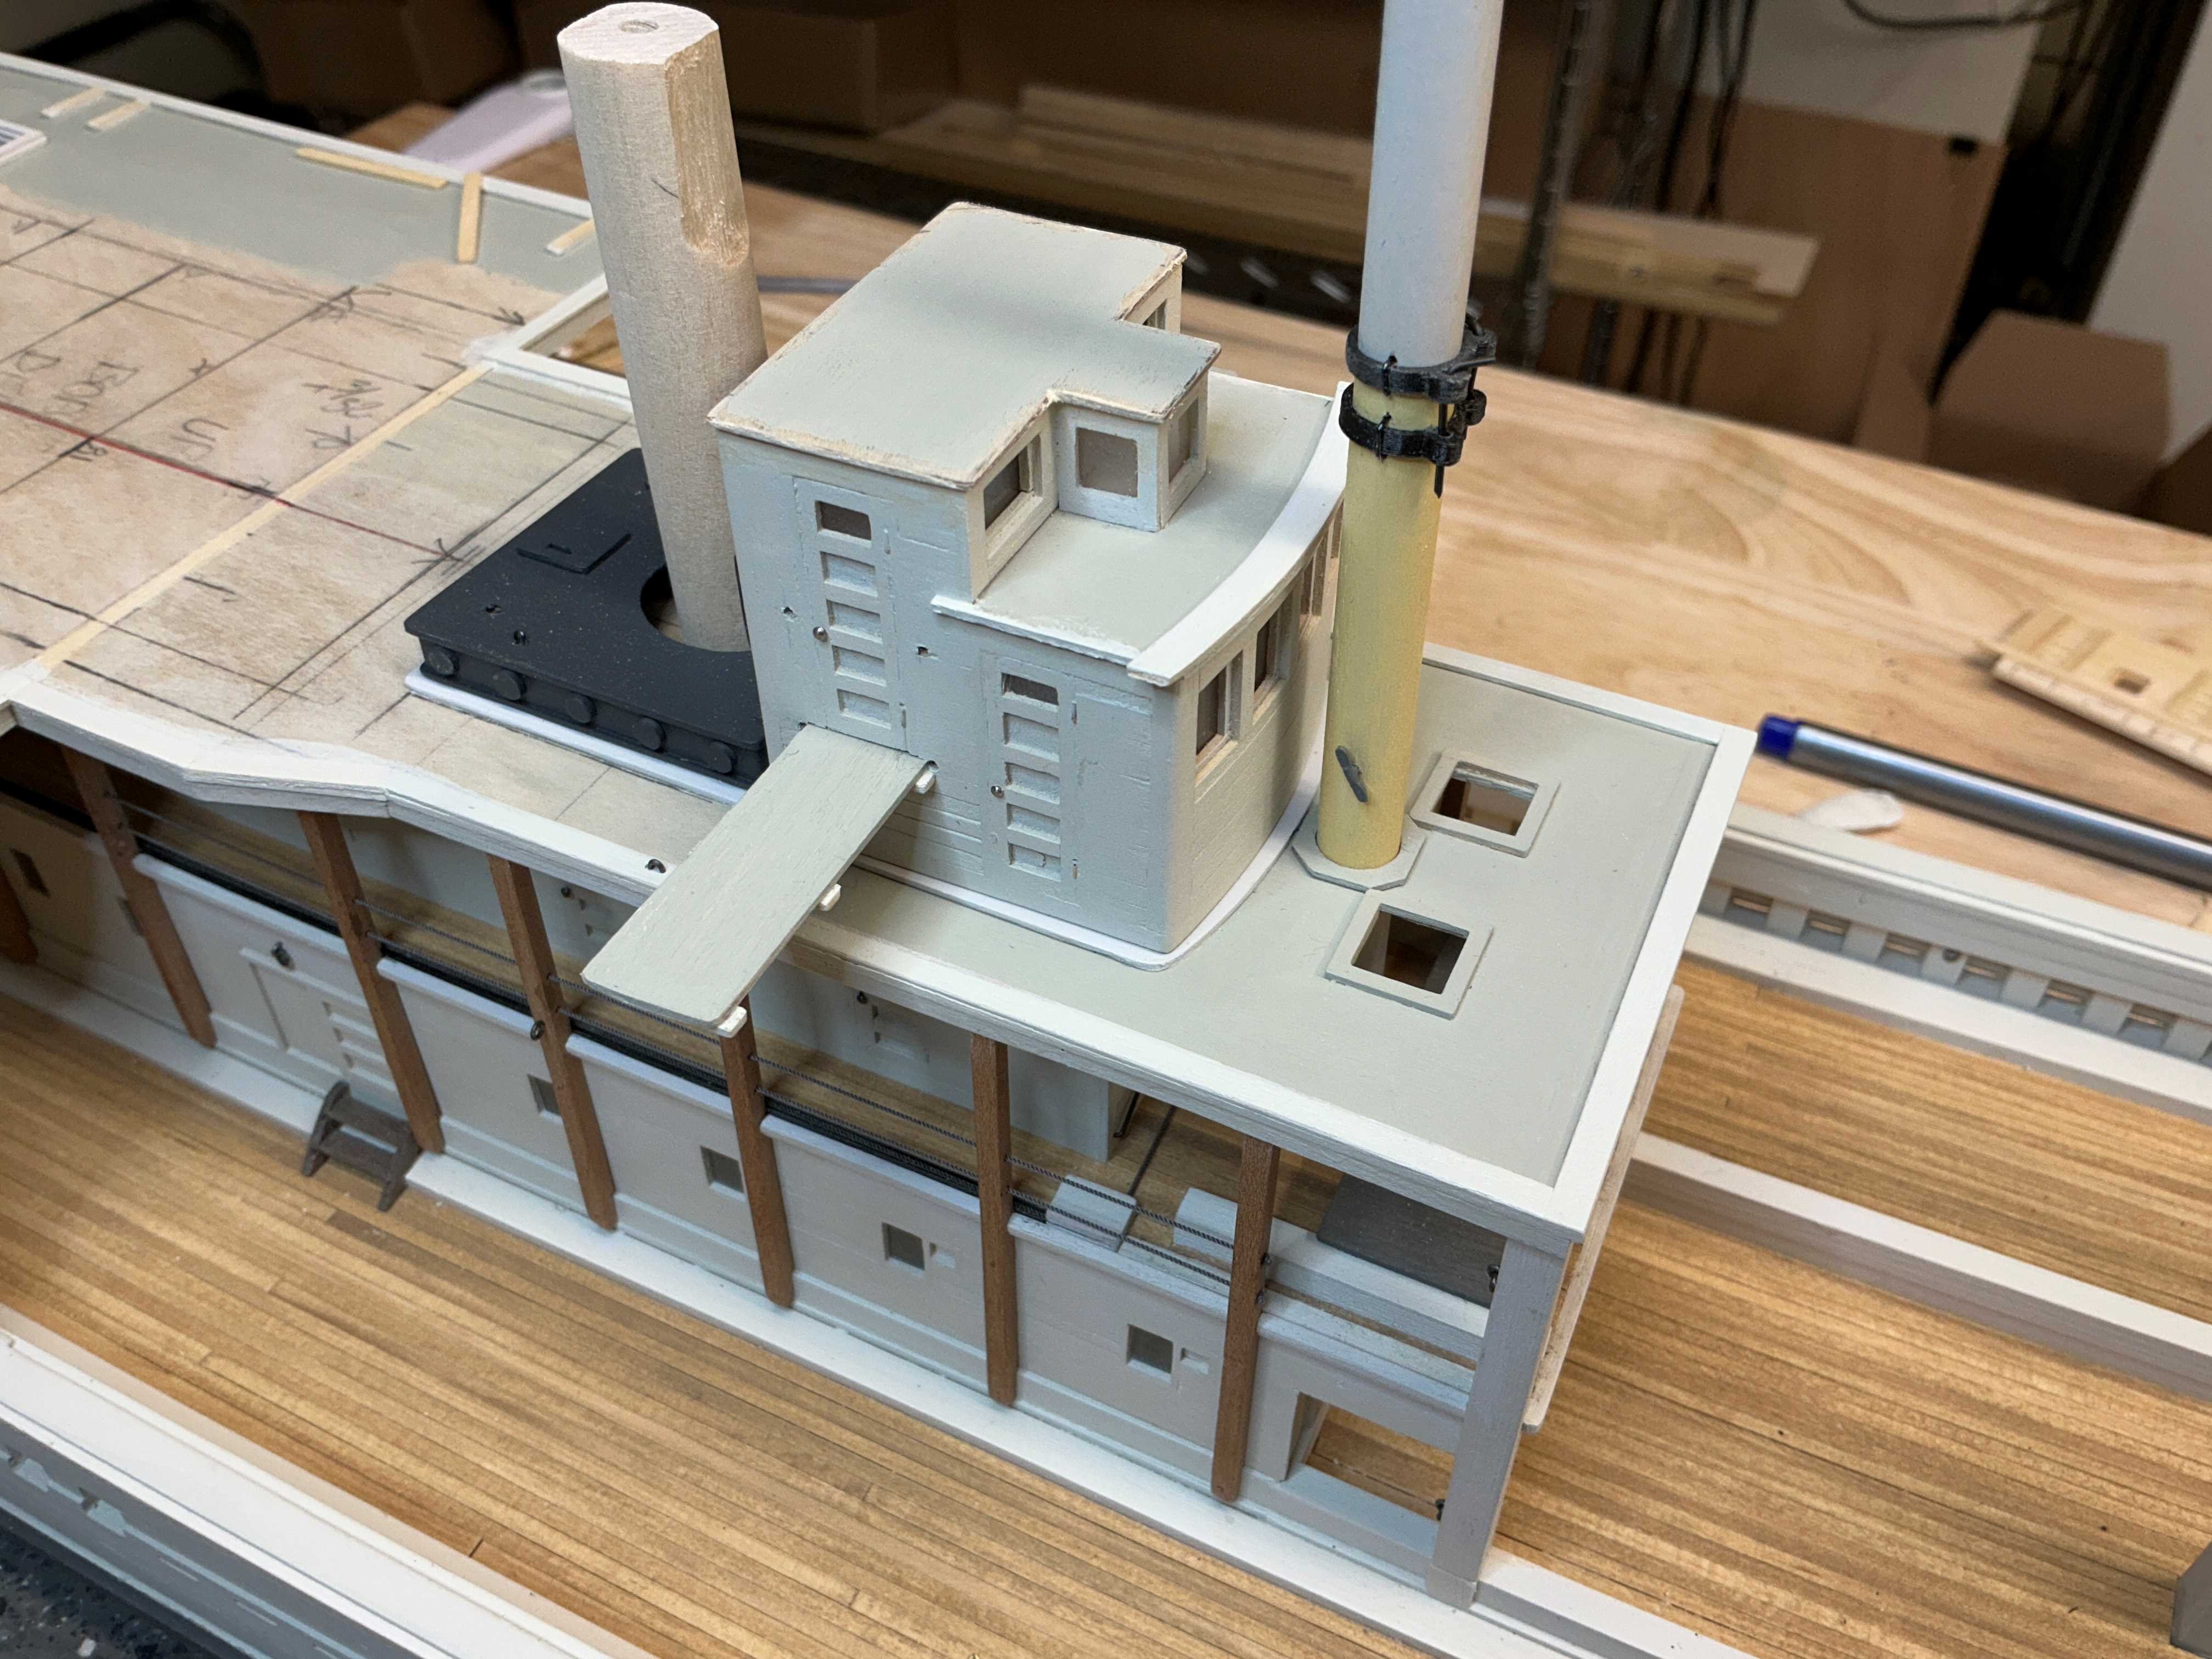
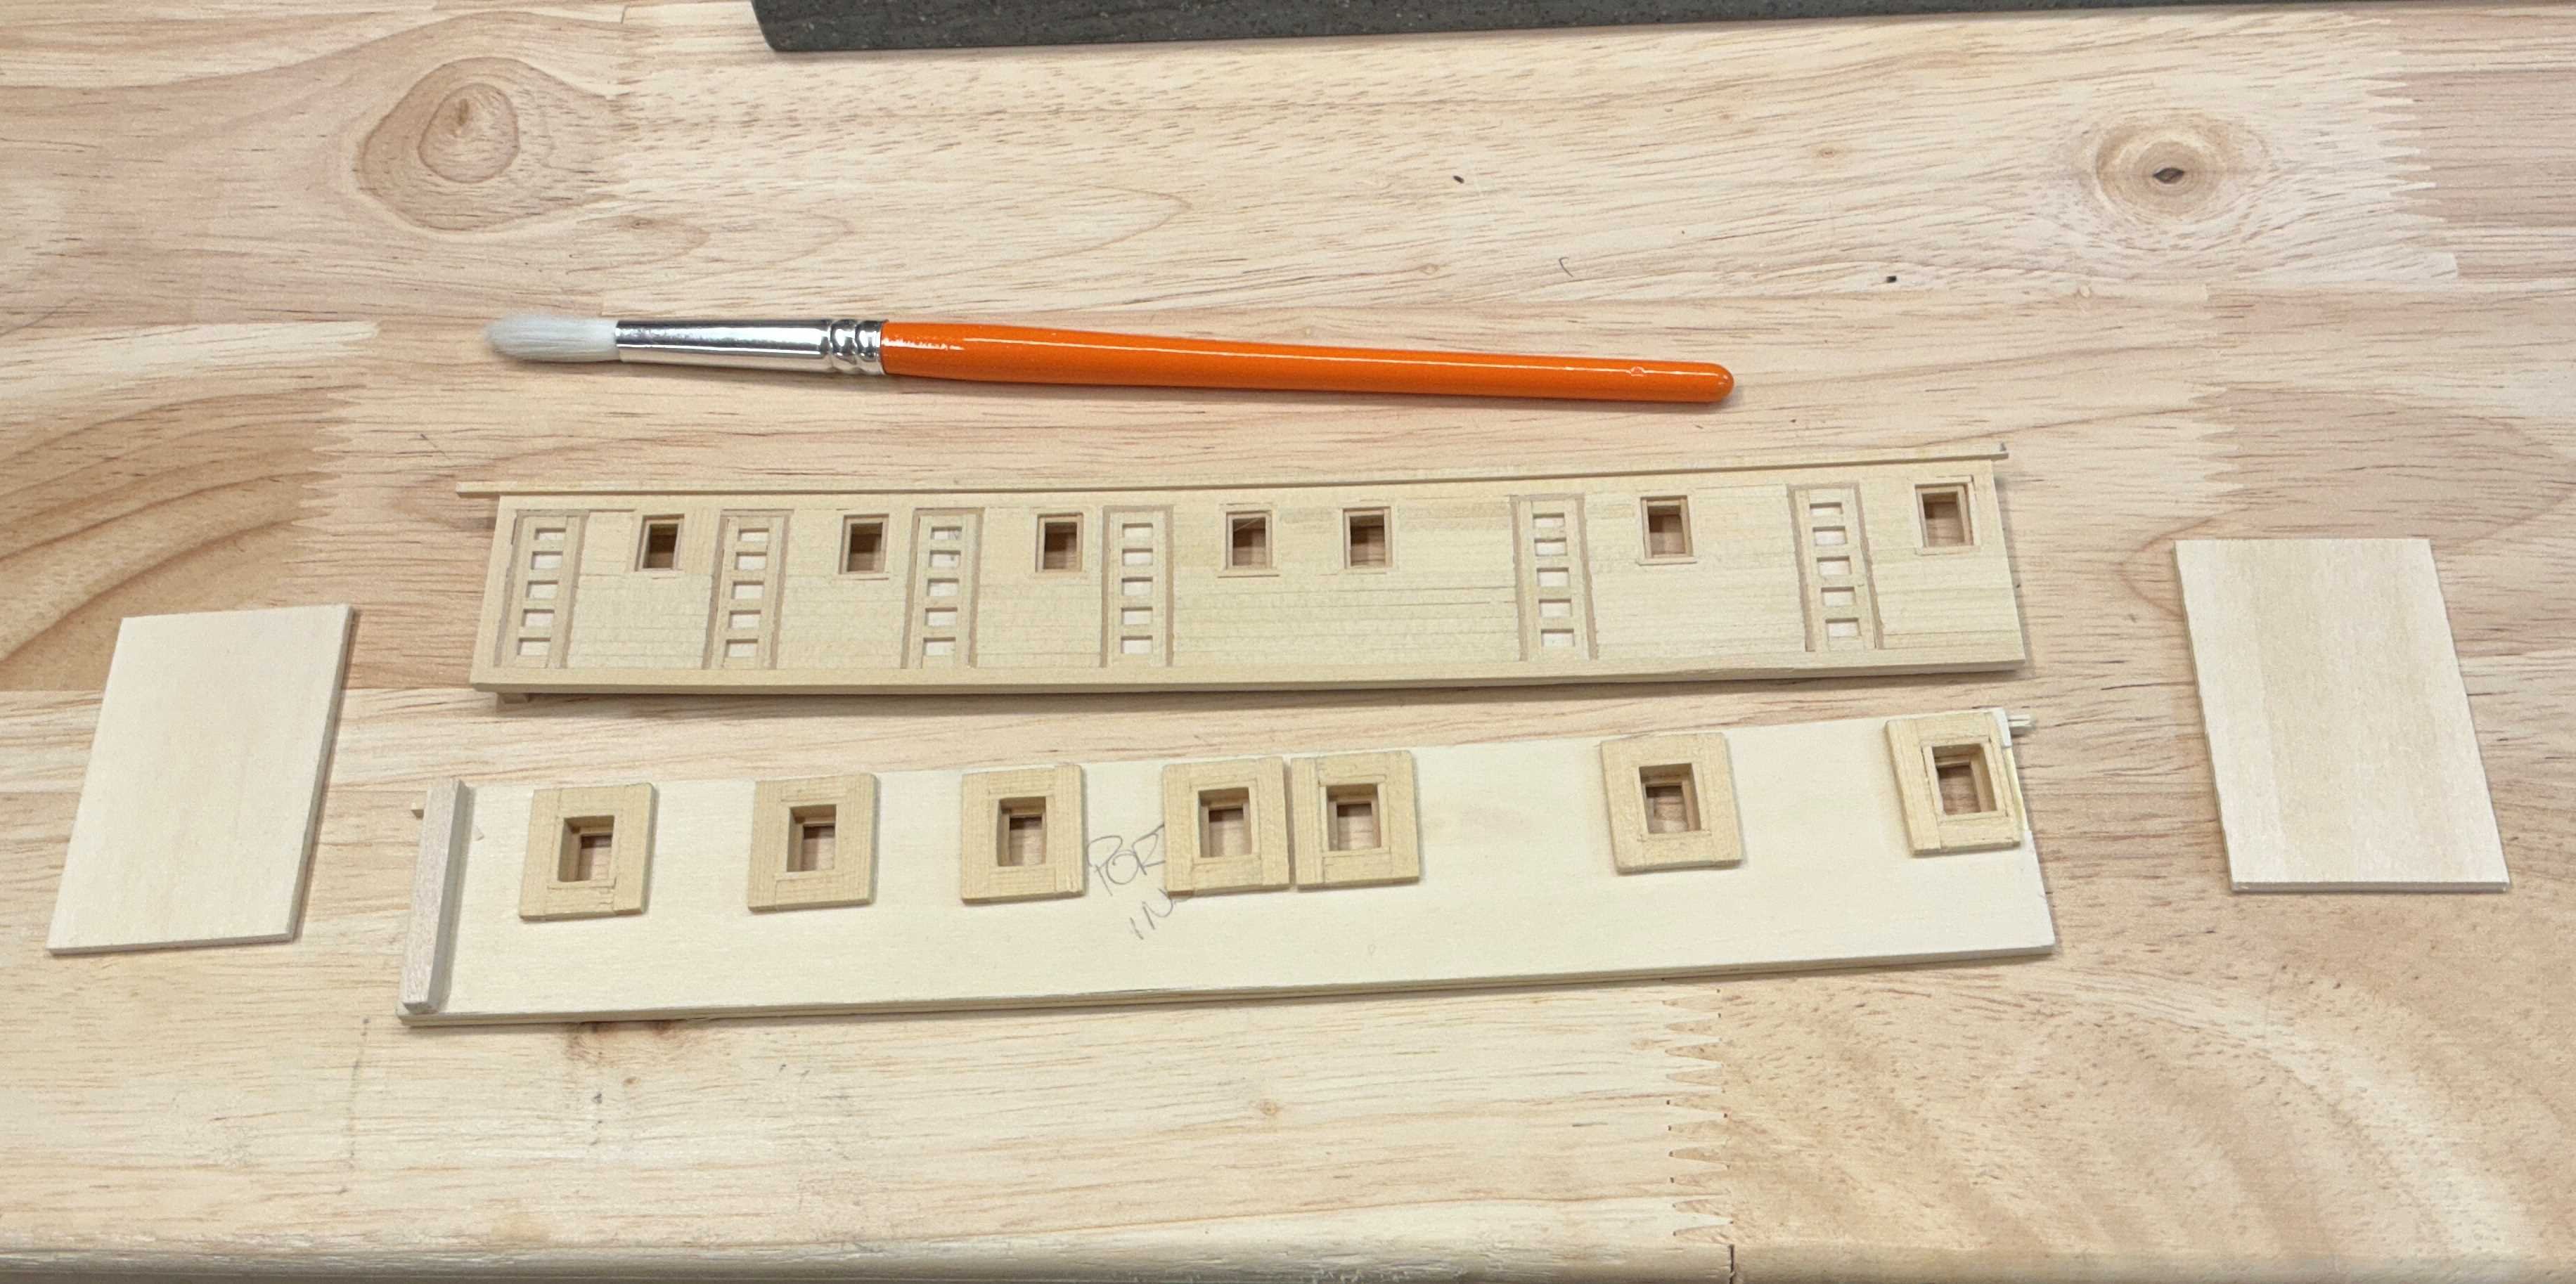
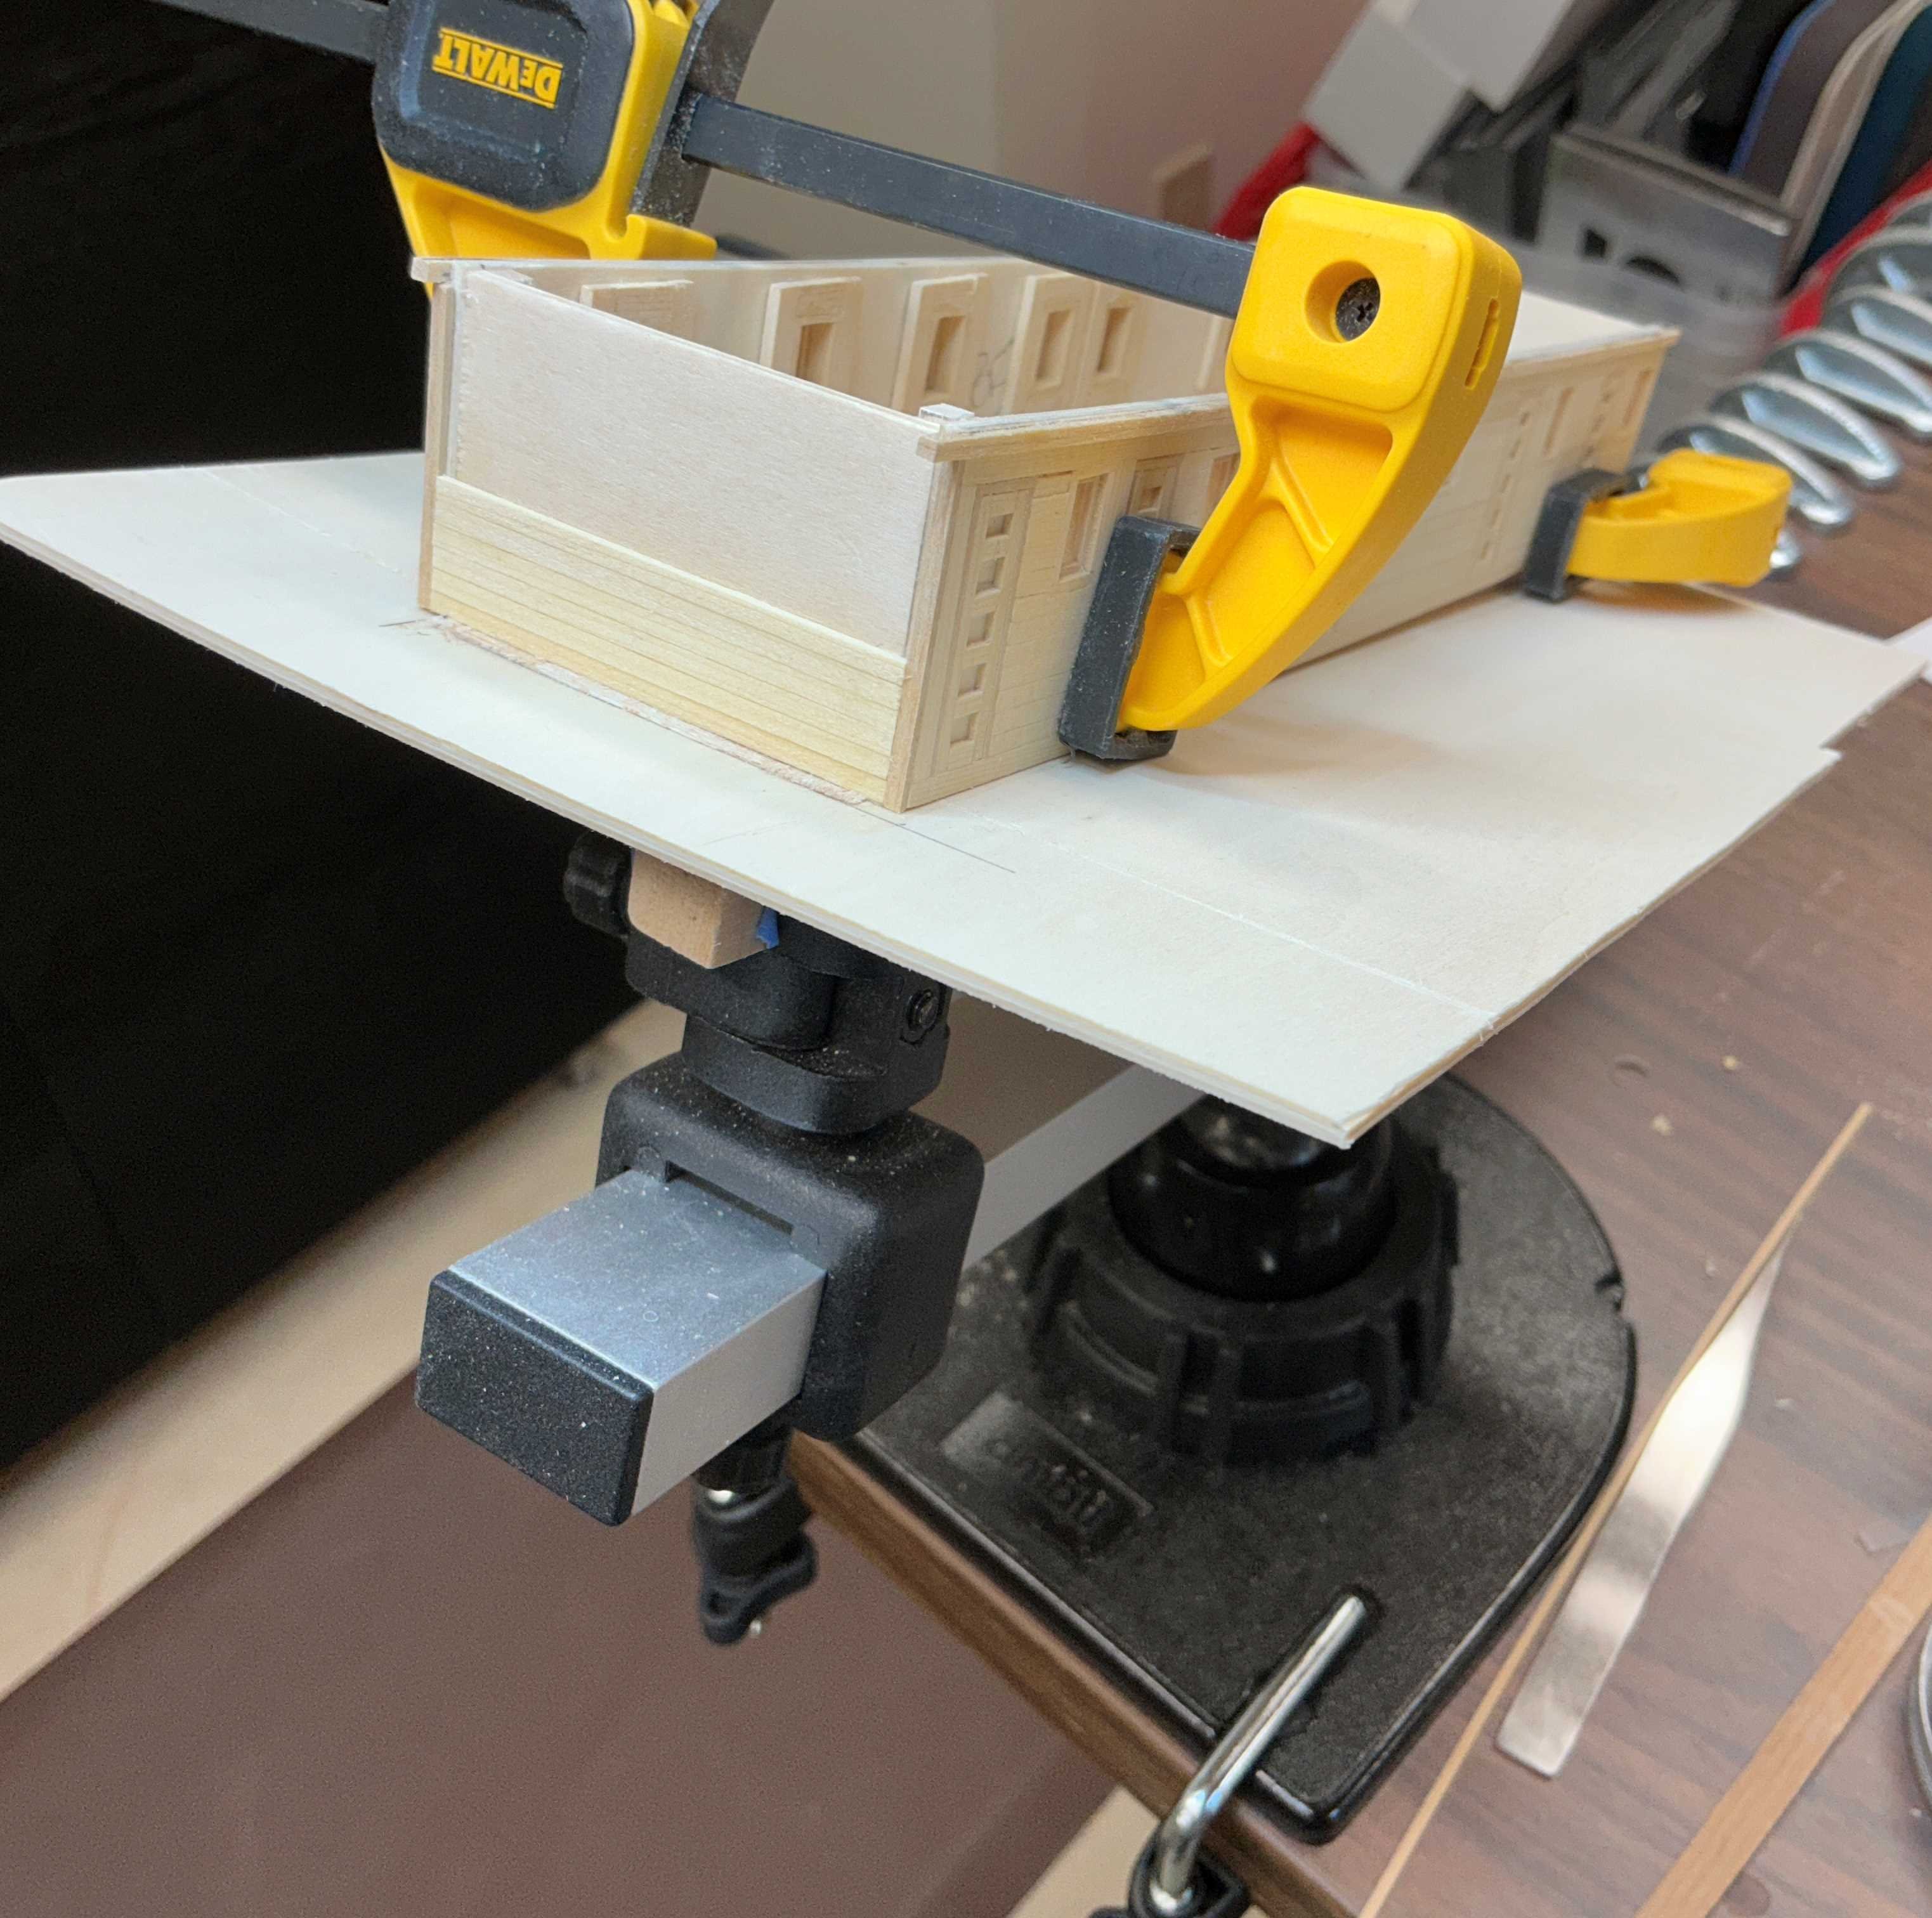
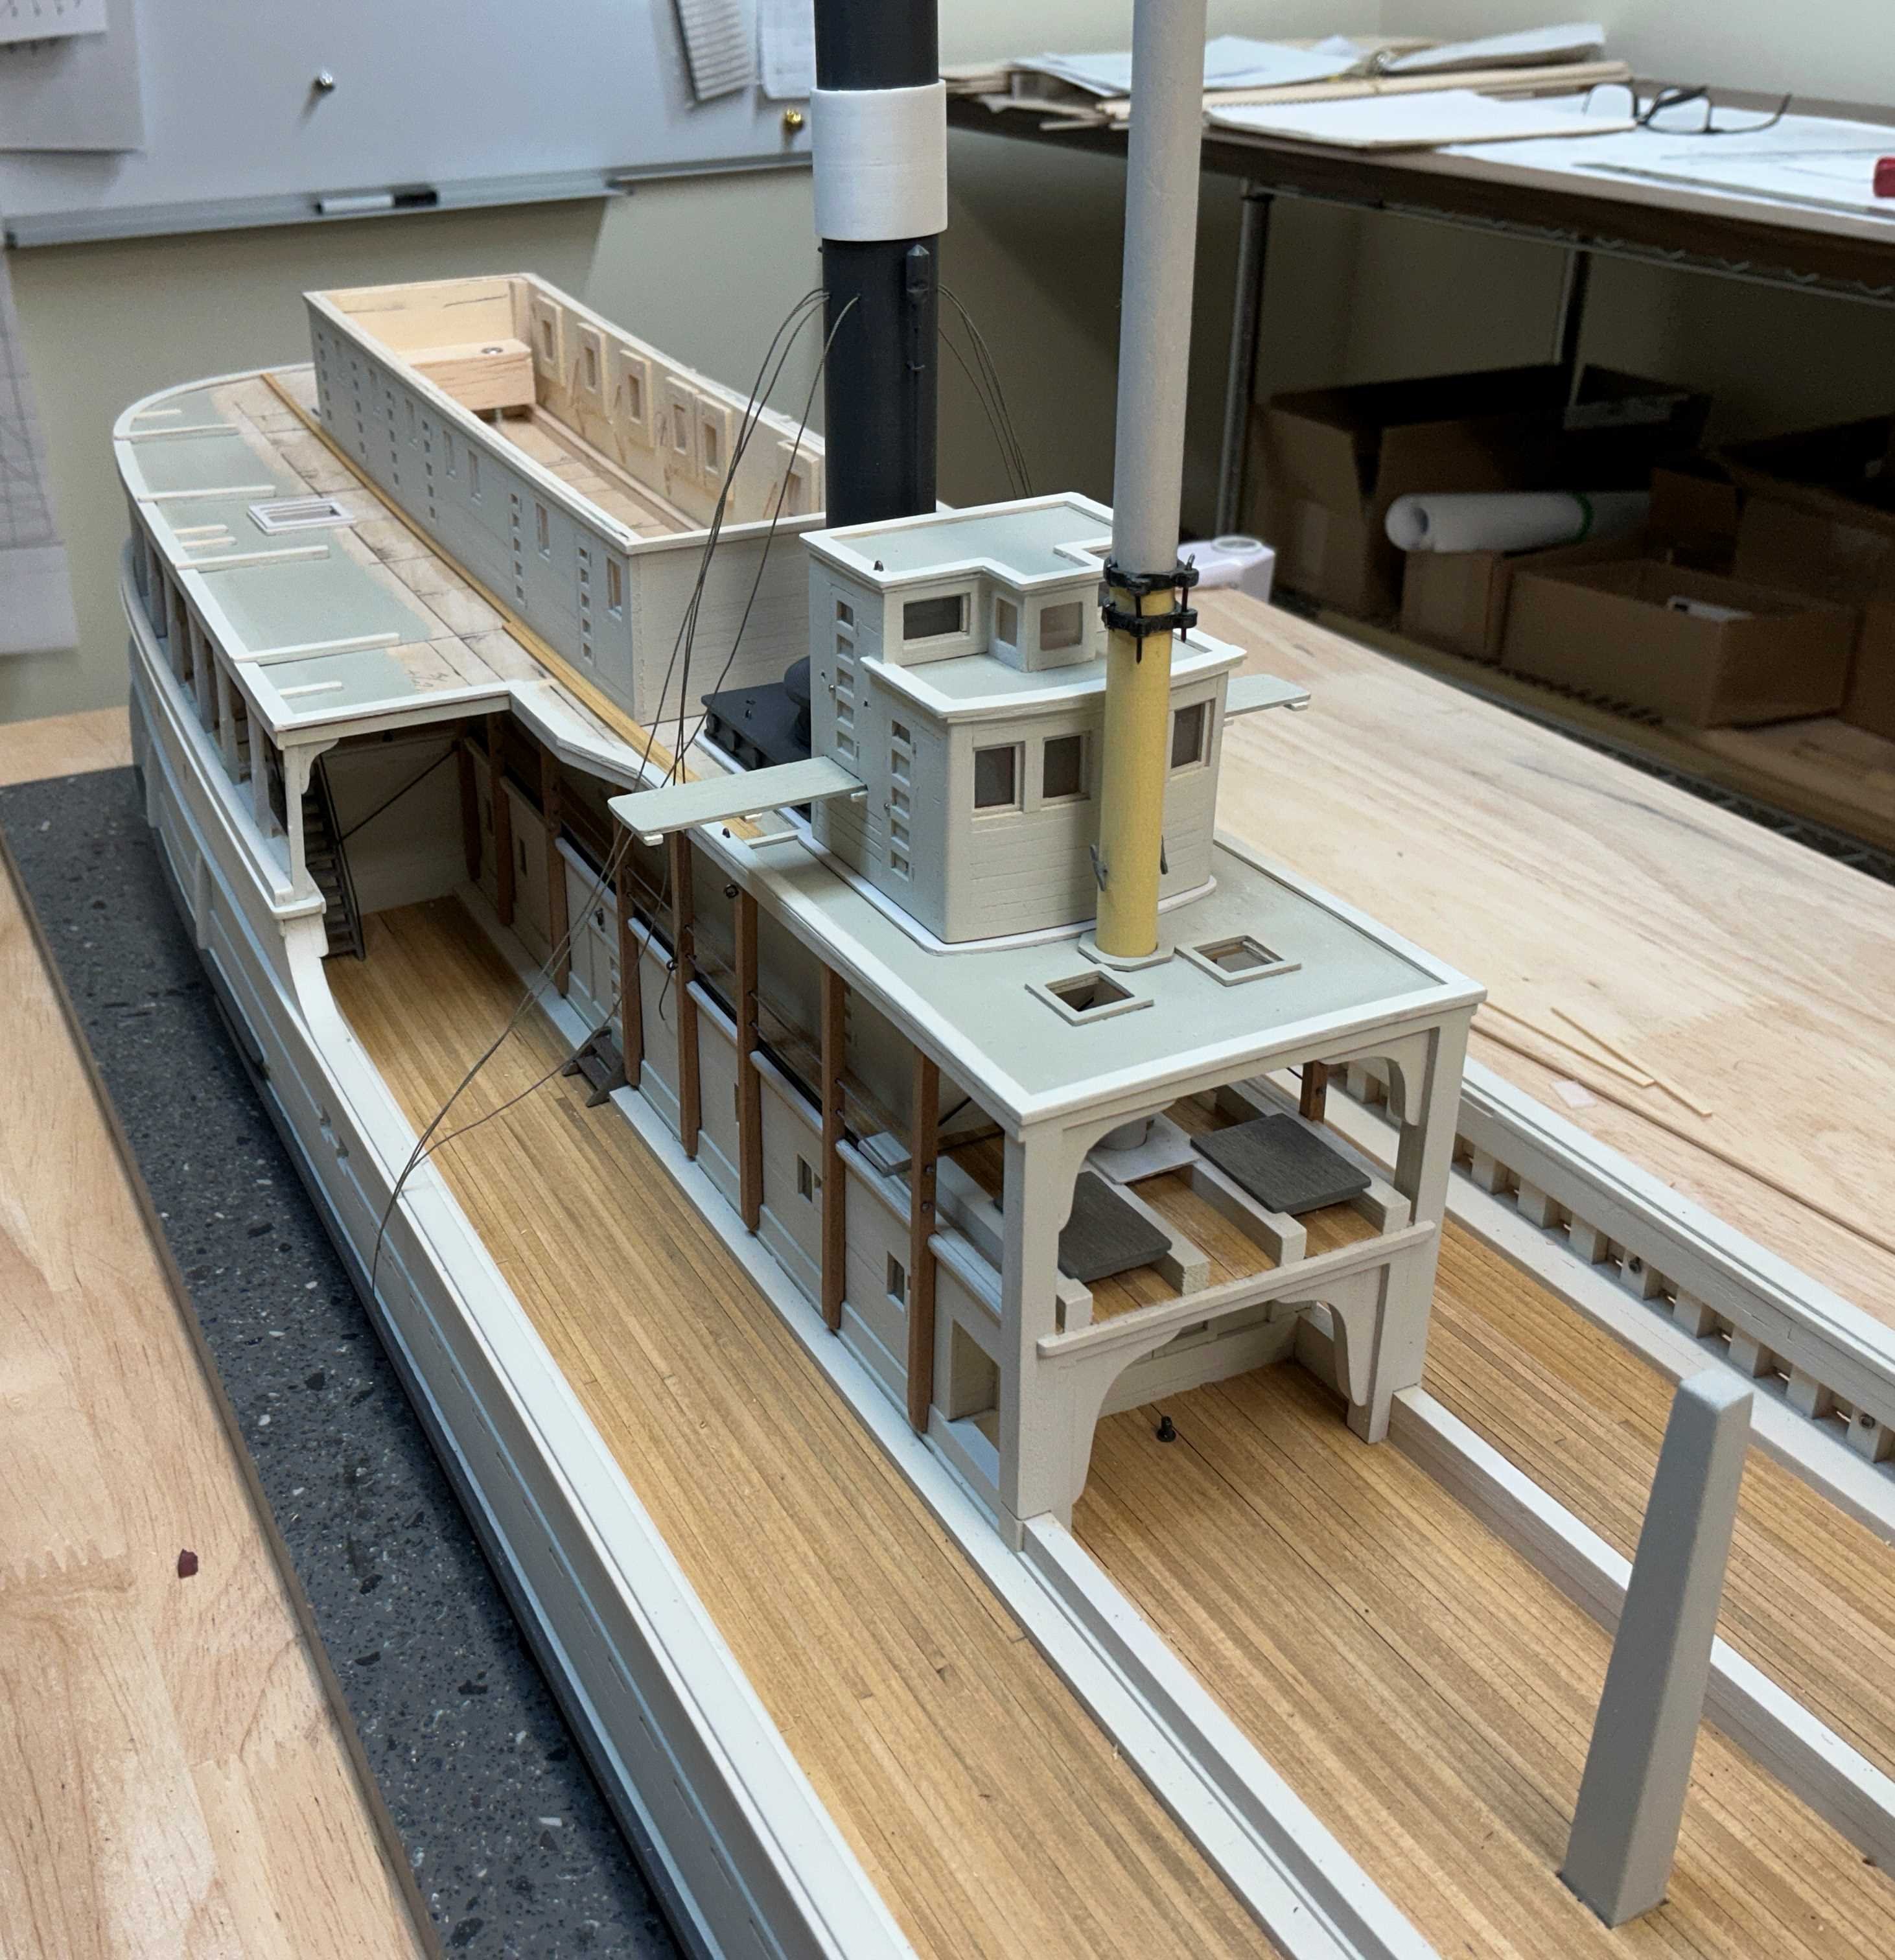
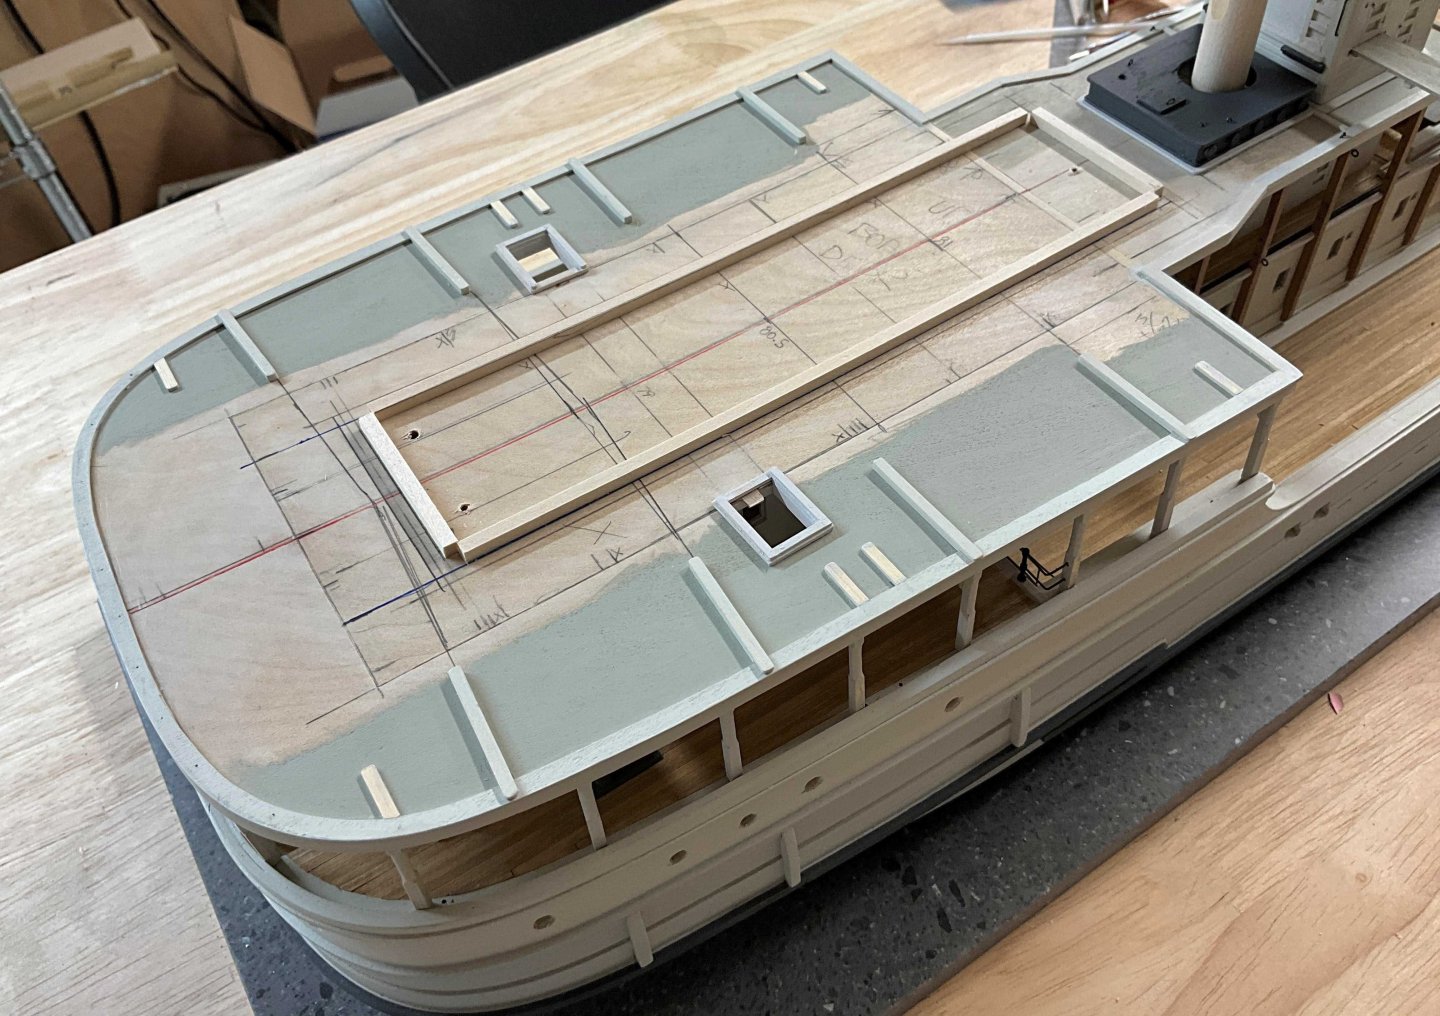
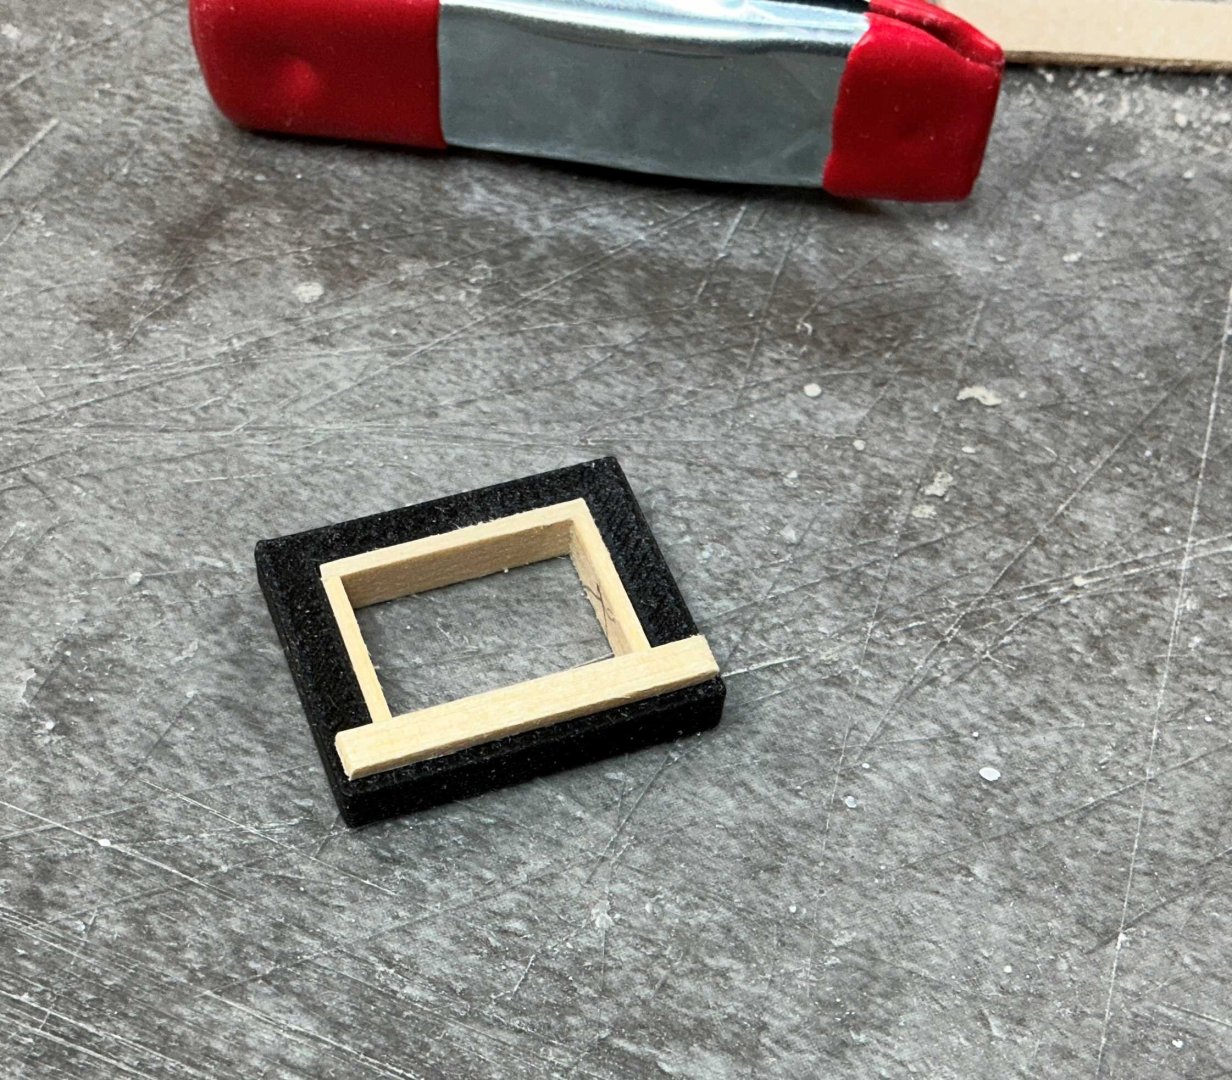
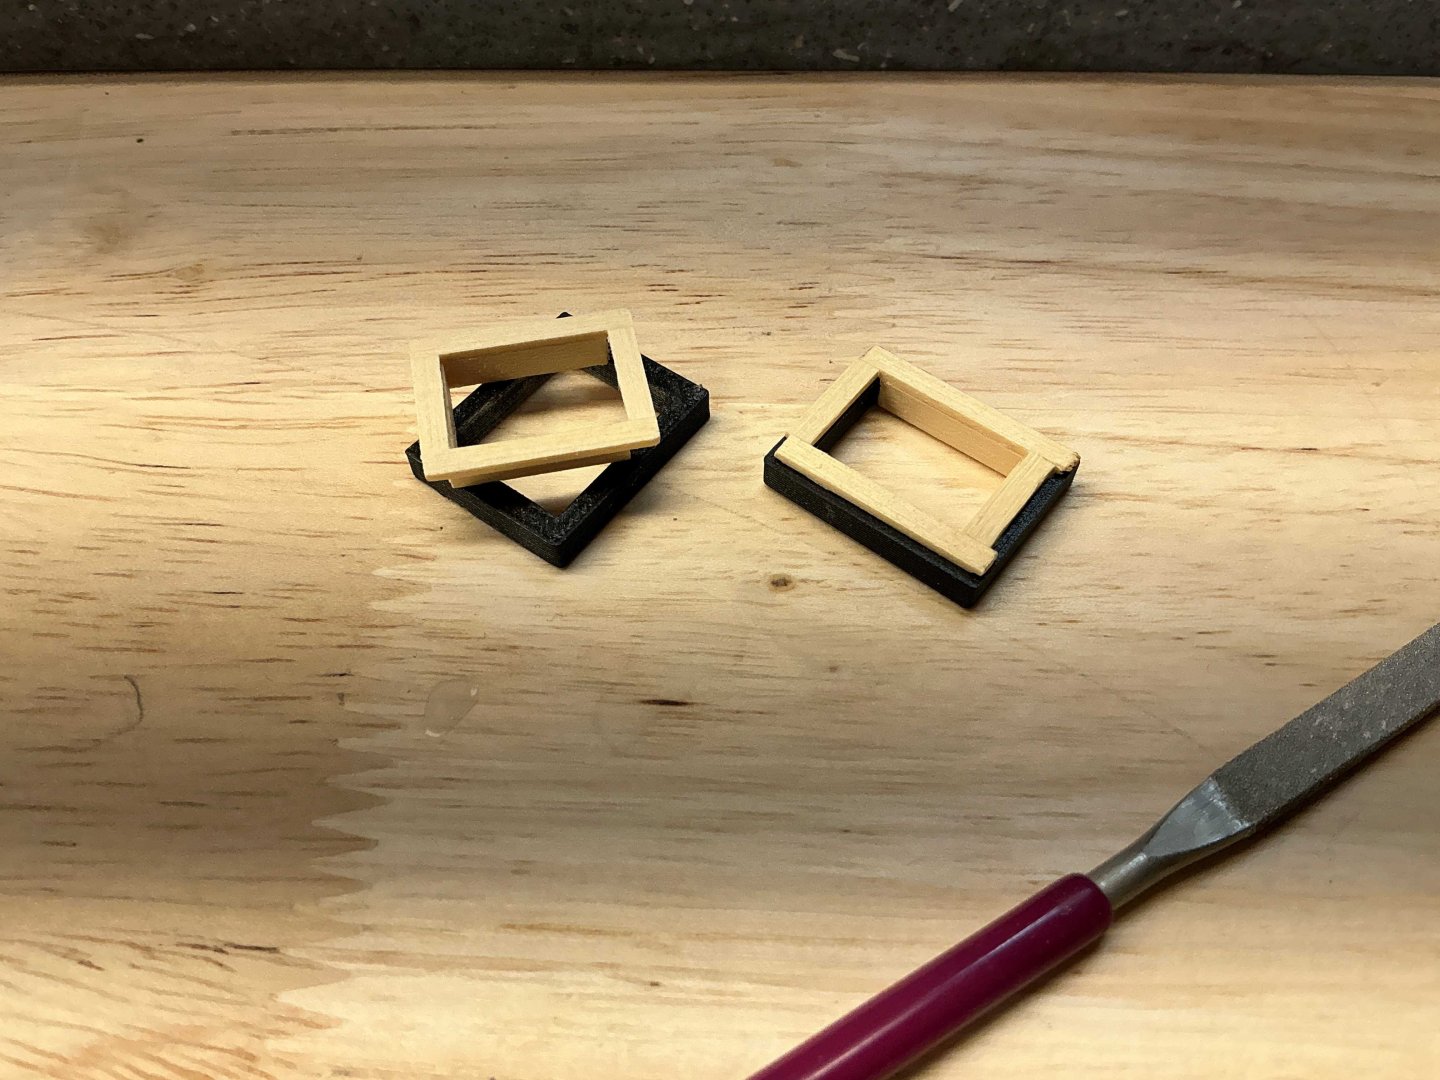
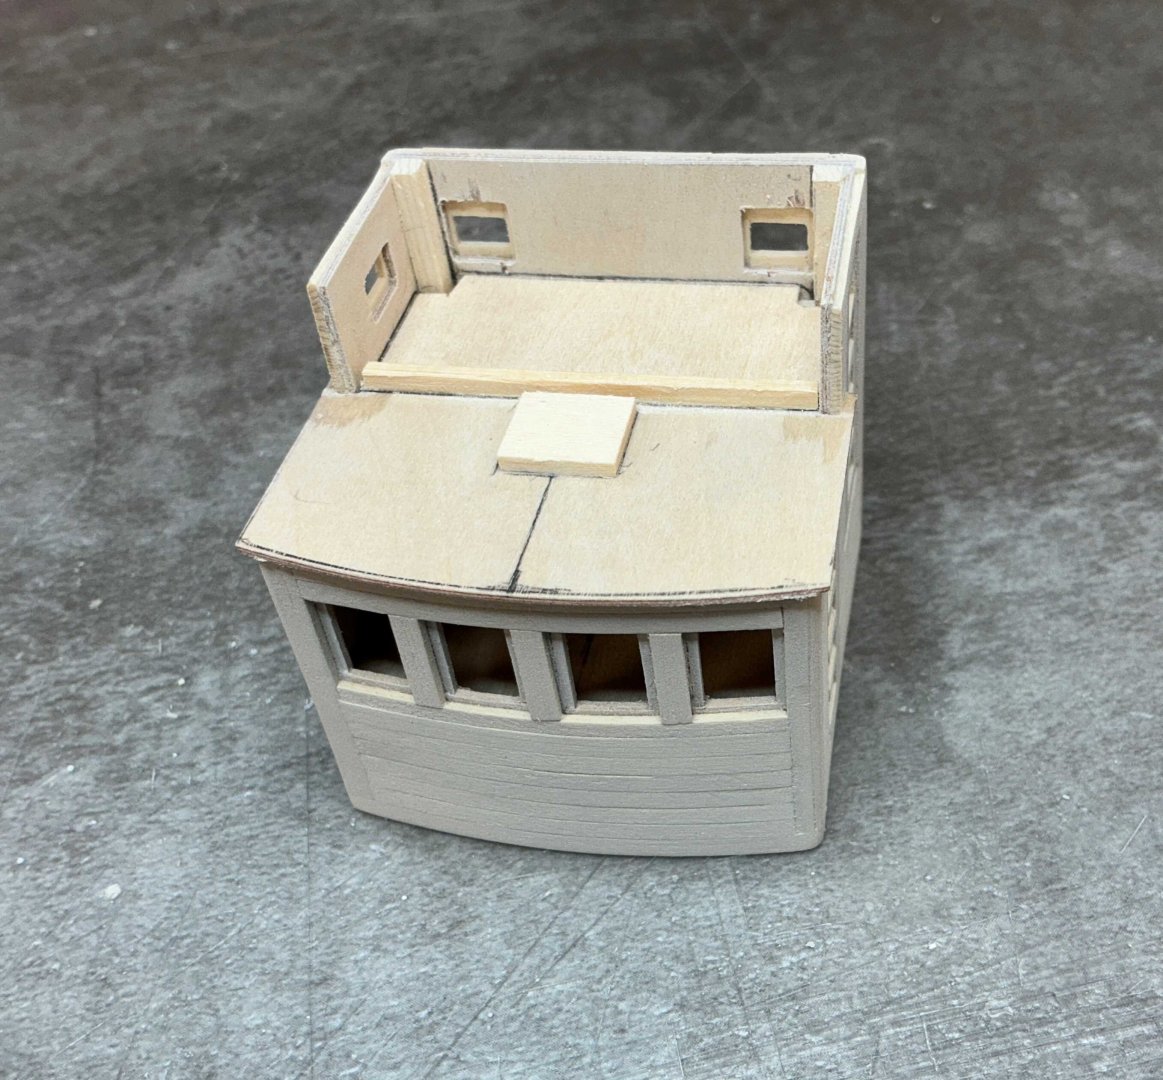
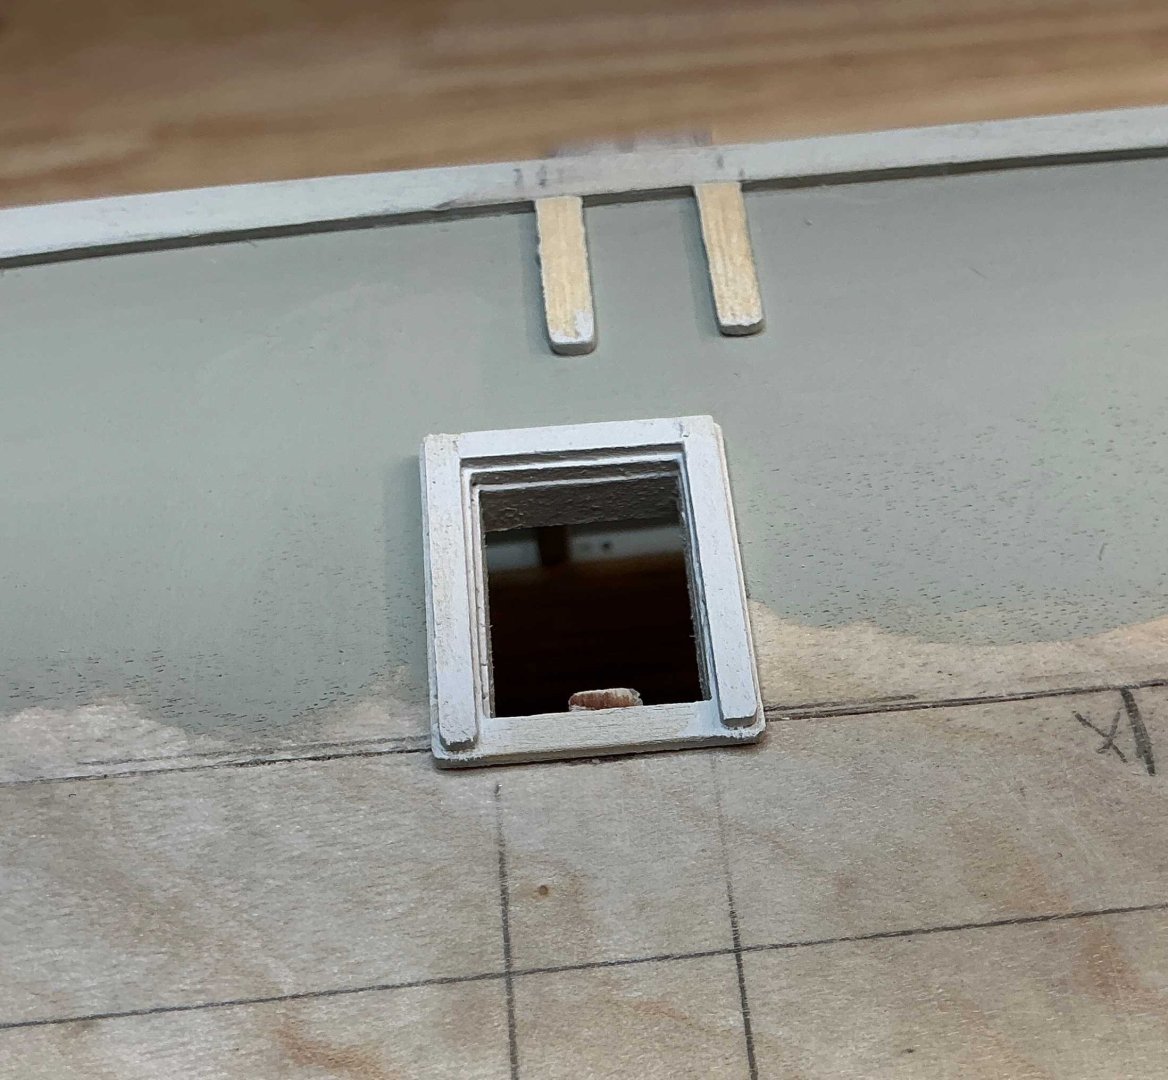
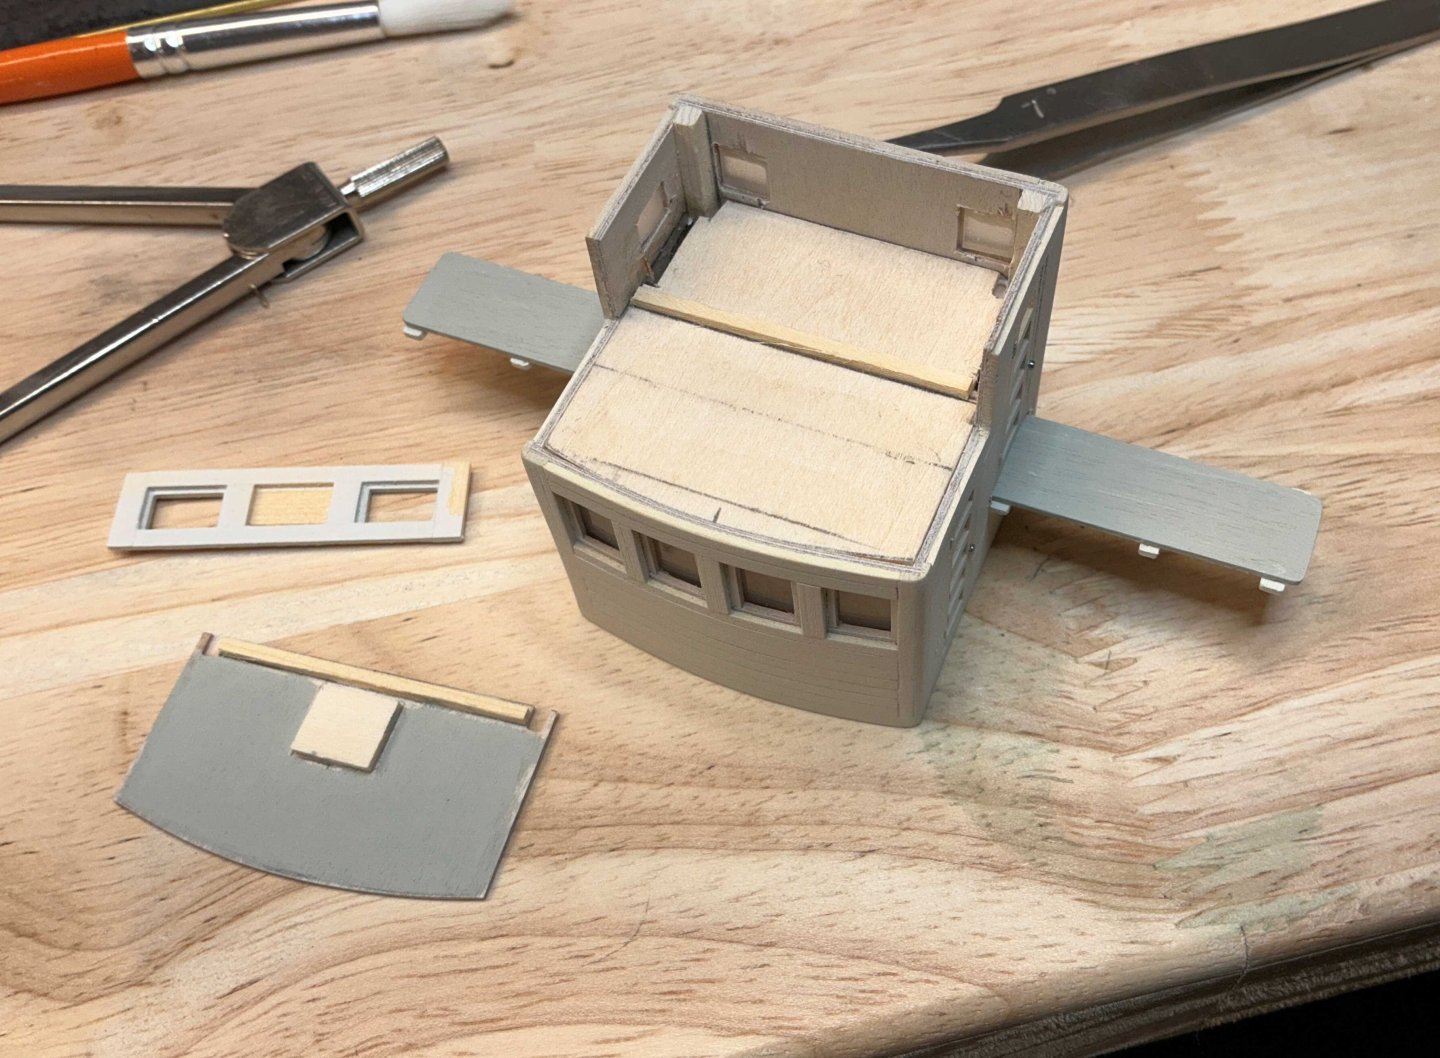
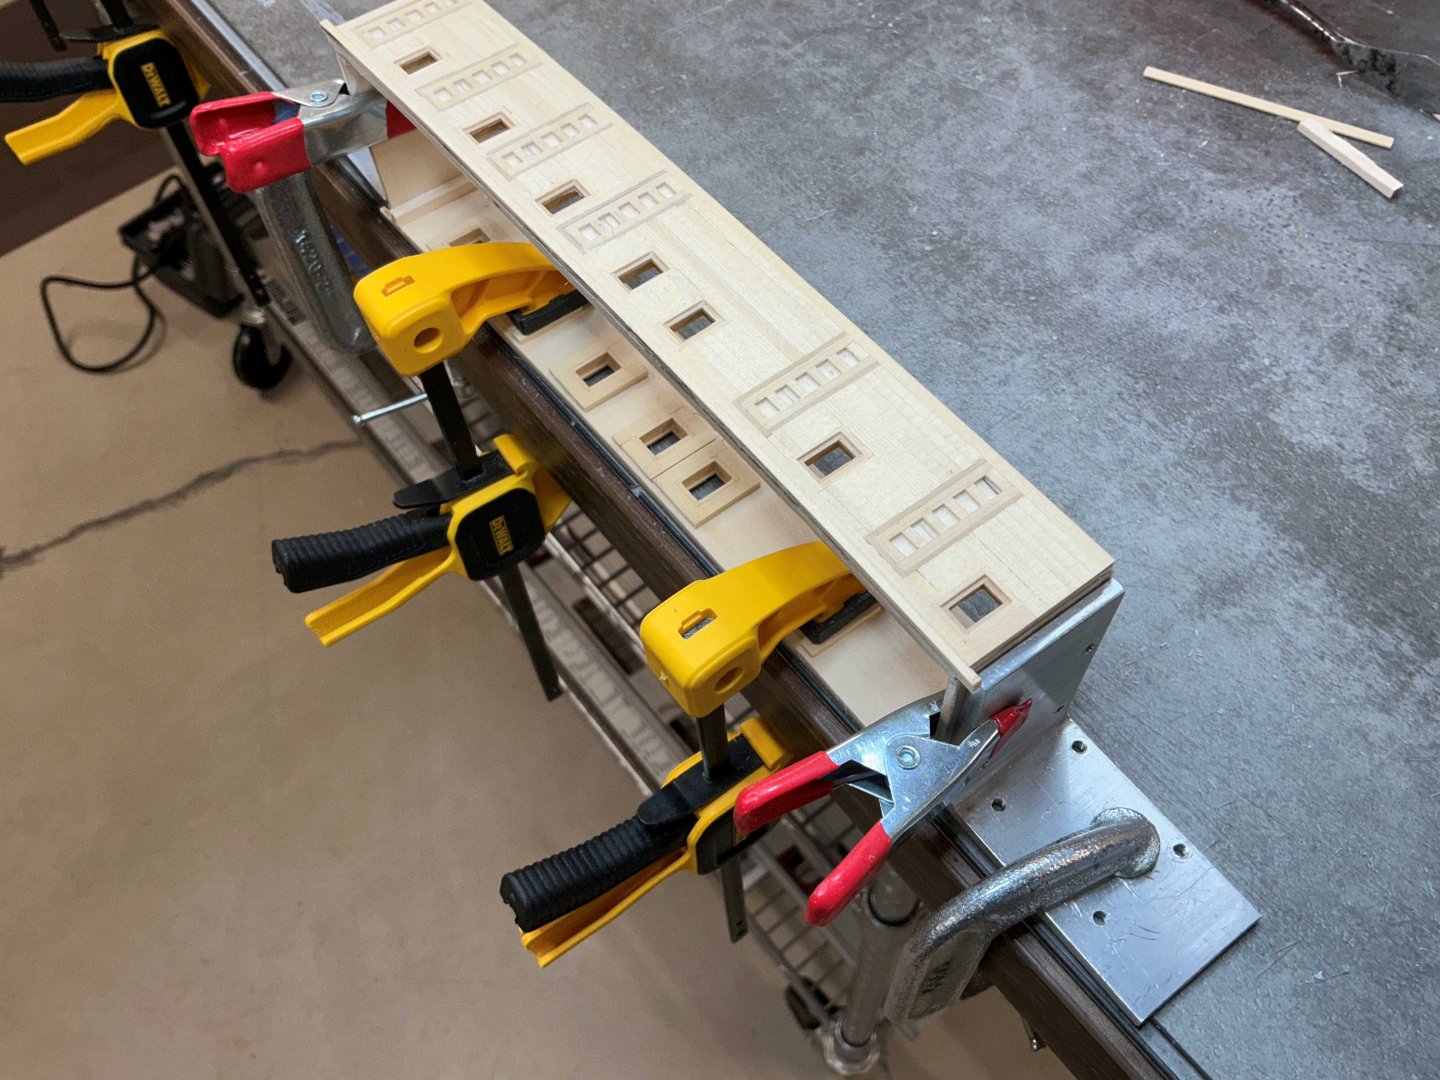
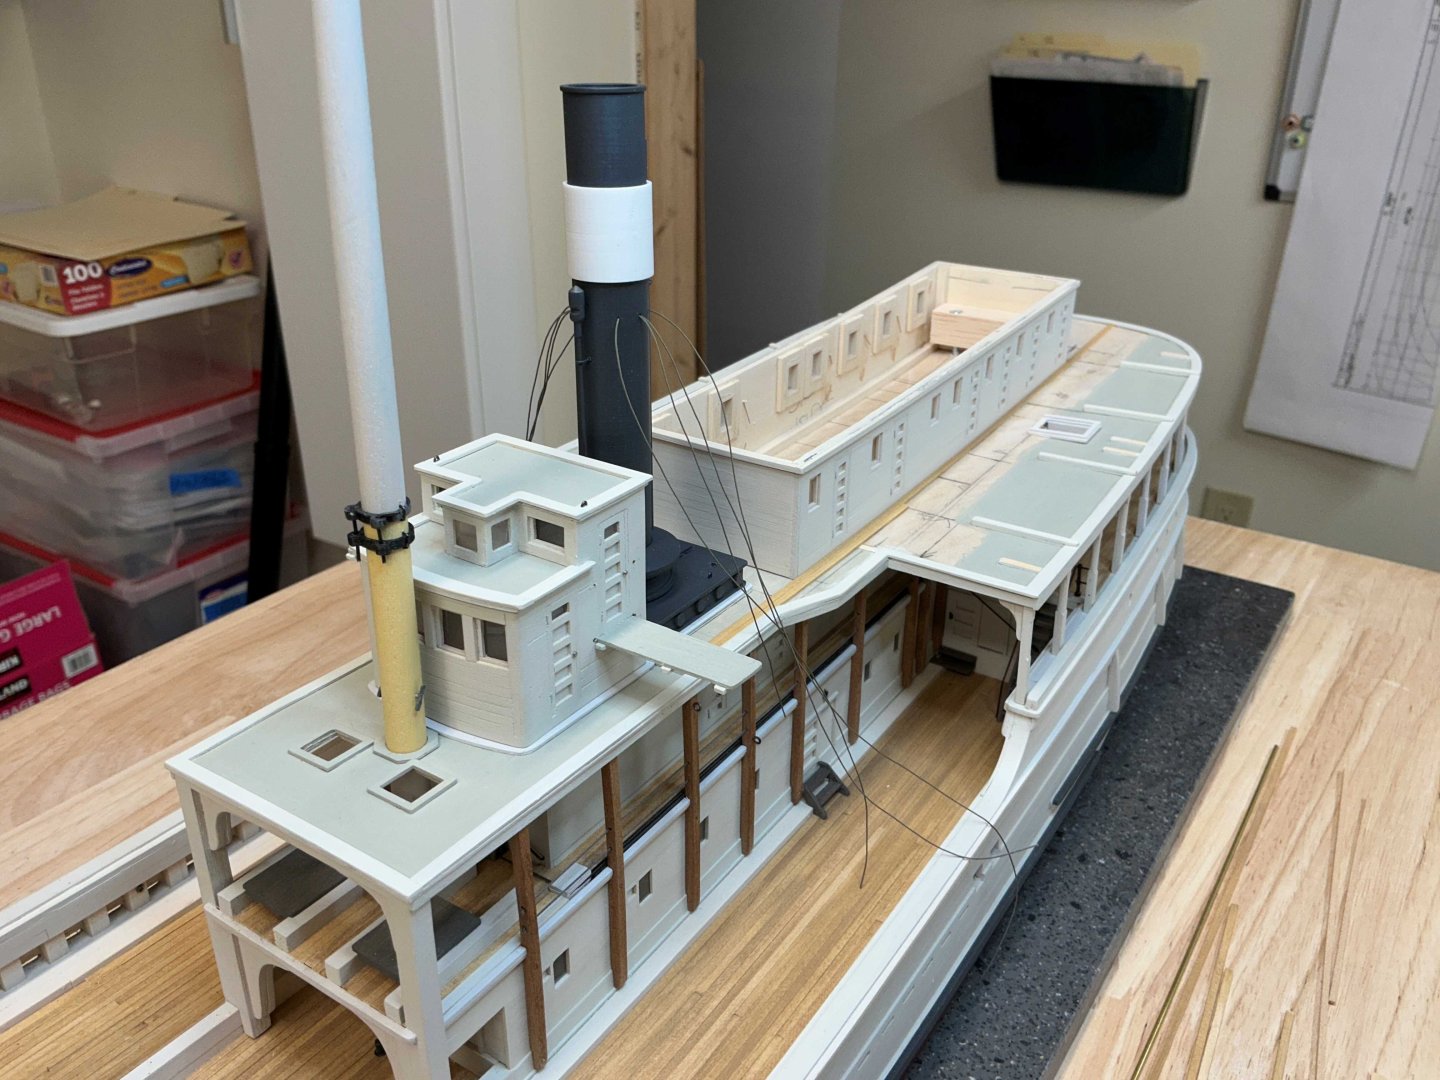
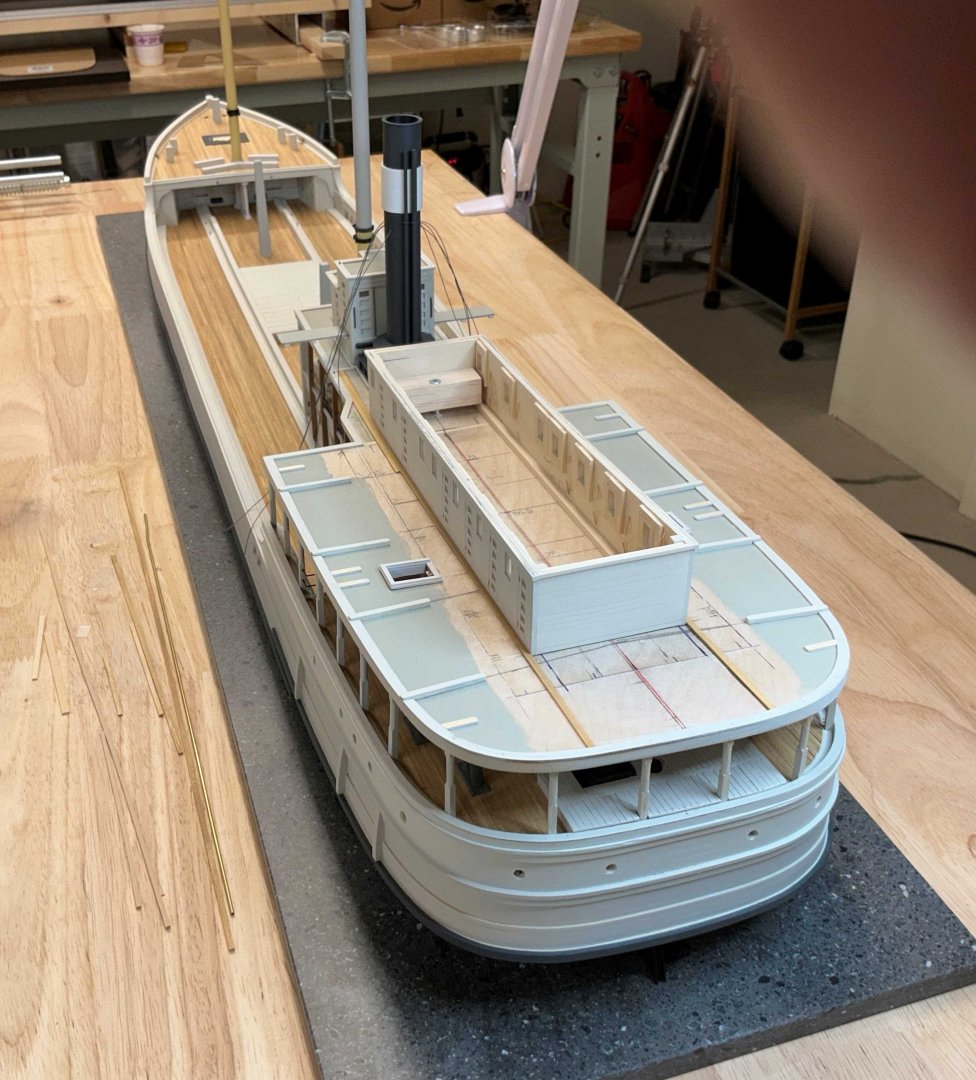
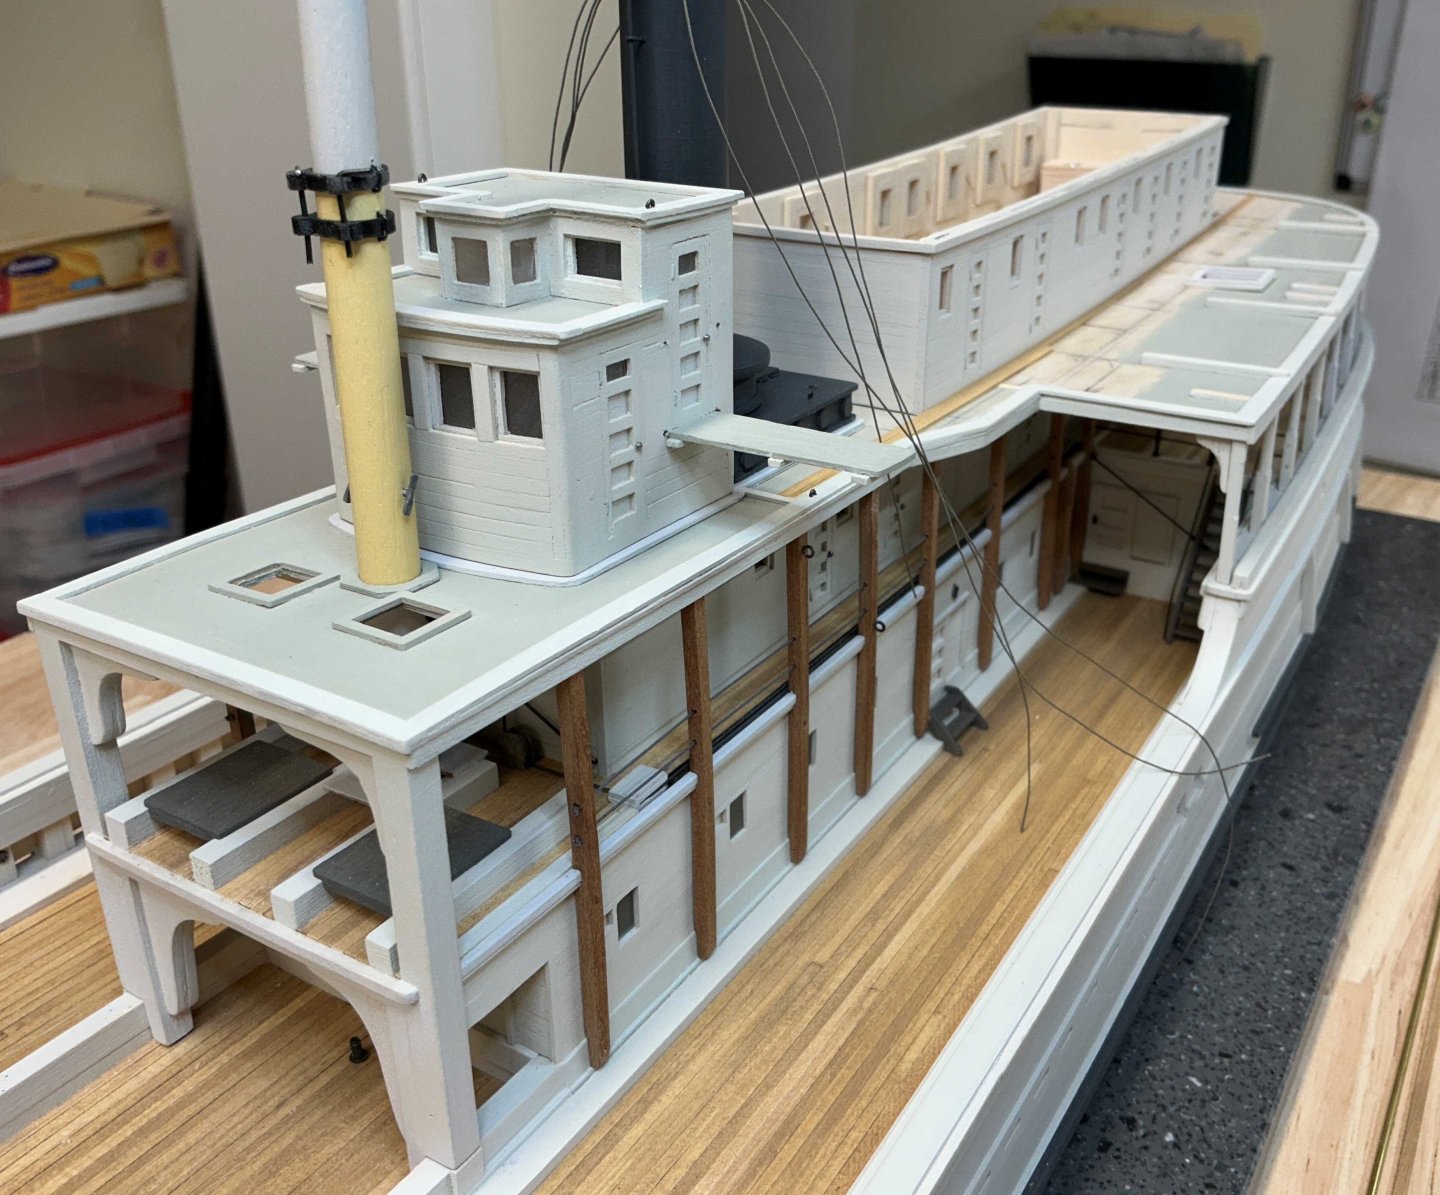
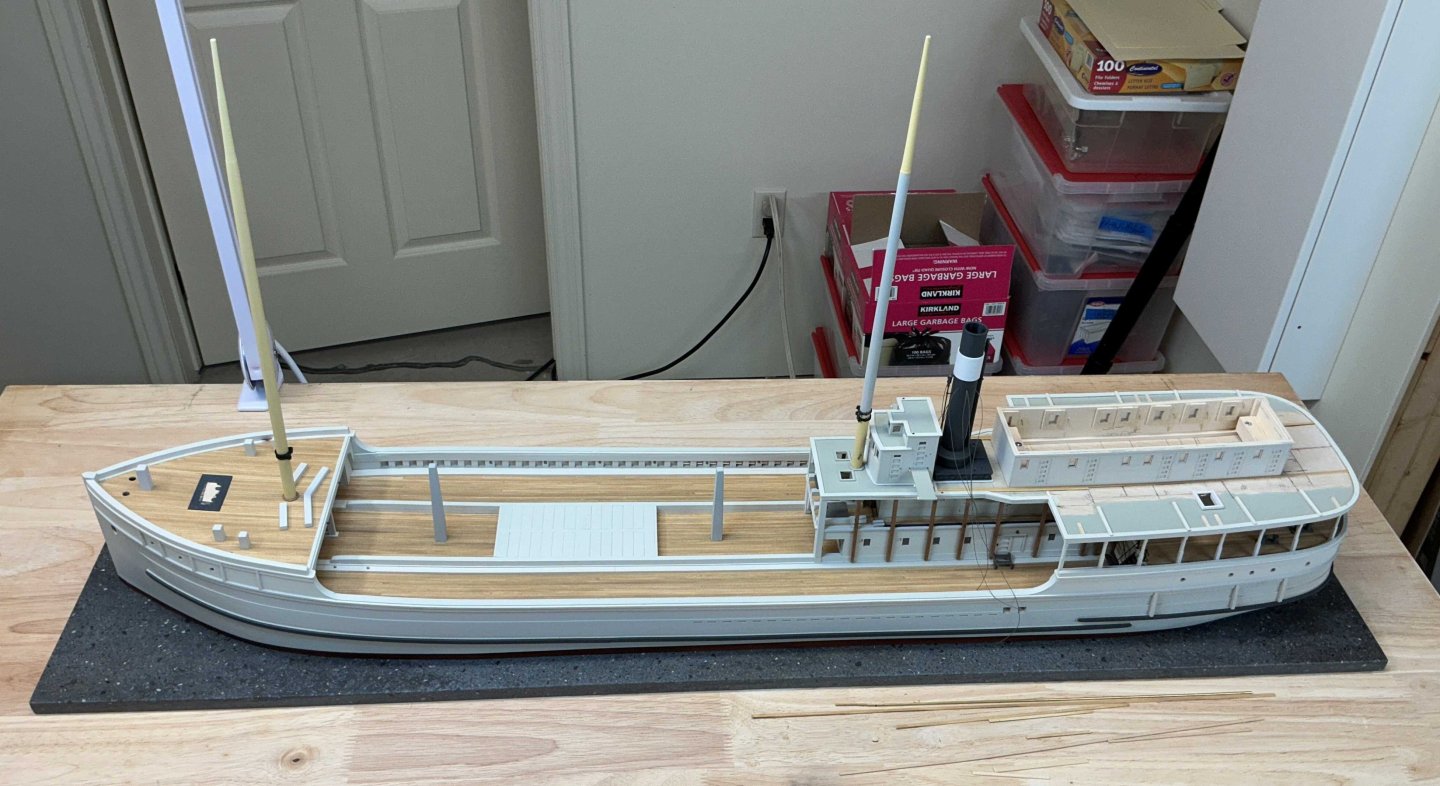
Hey Everyone, I hope you all managed to stay safe in this weather. Luckily only had a 6 to 8 inch dusting of fluffy snow here. I have a Creality K1C 3d printer all fired up here so I made a couple of jigs to help build the coamings at the top of the ladder way on the boat deck. They are dry fitted until the railings can be attached. The Wheelhouse/ Pilot House was given a coat of paint and the windows were glazed. A 1/16" piece of plywood was used to support the roof of the wheelhouse and to keep the structure square. A 1/32" piece of plywood sits on top of it. Before they can be attached the bridge wing(s) have to be glued into place. The pilot house windows were framed, painted, and glazed. Then the roof of the pilot house was installed. While this was going on I sided the cabins and assembled the parts. After the fore and aft bulkheads were sided it was painted and the windows were glazed. Strips of 1/8" square basswood were glued to the subdeck to keep the structure in place while gluing. Pieces of 3/4" square balsa wood were glued to the inside of the end bulkheads with holes drilled in them to accept #4 wood screws. The wood screws were screwed into the subdeck to hold down the cabins while the glue dried. I apologize for the finger in front of the lens And of course I had to throw on all the parts on it that were laying around to make it feel like there is progress. Now it is time to finish planking the boat deck. Hope to see you soon!


-
Scott, congratulations on completing your Norden. Beautifully done!
-
That is a swell looking pump Jacques!
-
Nils, thank you very much!