PilotNL
-
Posts
13 -
Joined
-
Last visited
Recent Profile Visitors
270 profile views


-
 PilotNL reacted to a post in a topic:
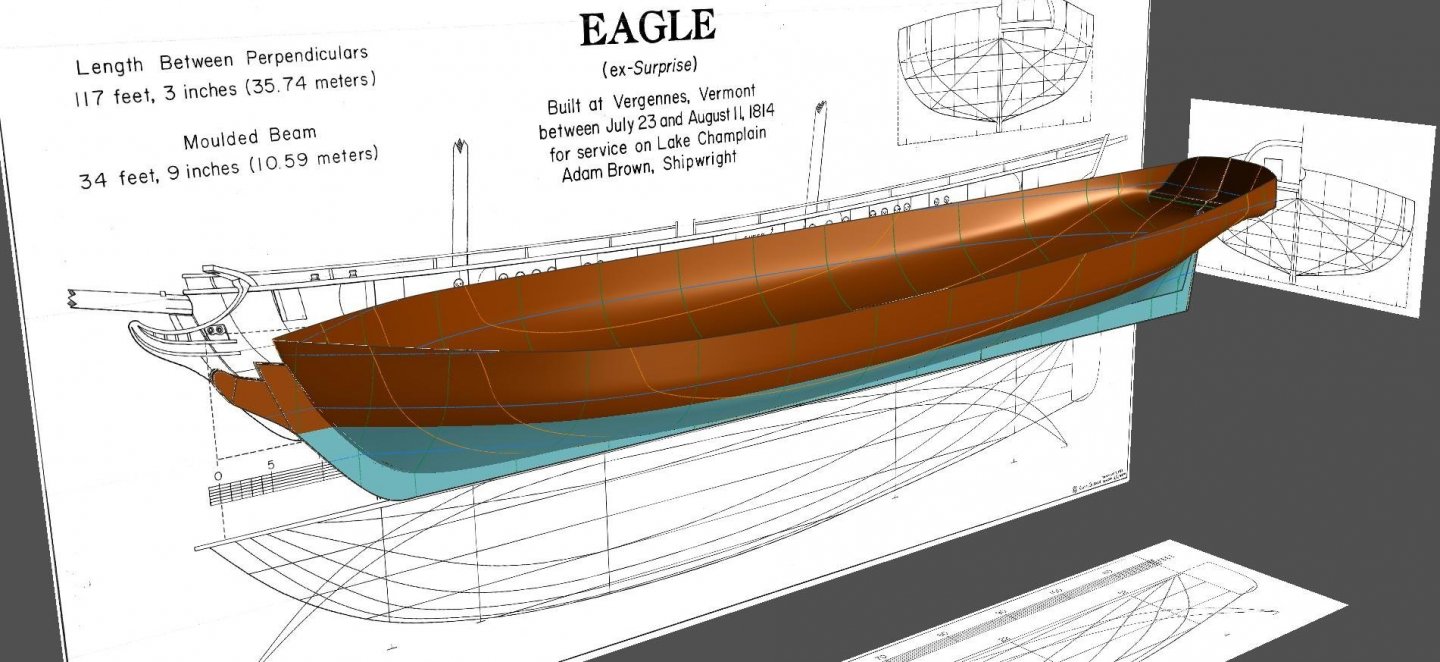
Brig Eagle 1814 by bdgiantman2 - 1/48
PilotNL reacted to a post in a topic:
Brig Eagle 1814 by bdgiantman2 - 1/48
-
PilotNL reacted to a post in a topic:
Brig Eagle 1814 by bdgiantman2 - 1/48
-
Egilman reacted to a post in a topic:
Free hull form creation training workshop
-
mtaylor reacted to a post in a topic:
Free hull form creation training workshop
-
 Oh man, I missed it! I had set it for tonight in my calendar, the 23rd, but early morning 23rd down under is obviously evening of the 22nd here in Europe :’( Looking forward to the recording.
 -
dvm27 reacted to a post in a topic:
Zr.Ms. Adviesbrik Snelheid by PilotNL - FINISHED - Small - Desktop model by Rico van Dijk
-
Egilman reacted to a post in a topic:
Free hull form creation training workshop
-
PilotNL reacted to a post in a topic:
Norwegian Sailing Pram by DanB - FINISHED - Model Shipways - 1:12
-
PilotNL reacted to a post in a topic:
Ships Wheel Project by usedtosail - FINISHED - 1:16
-
the longboat example had only a positive curve, larger ships have a negative curve near the stern, like an S-spant here the lines become really confusing
-
Egilman reacted to a post in a topic:
Free hull form creation training workshop
-
PilotNL reacted to a post in a topic:
Zr.Ms. Adviesbrik Snelheid by PilotNL - FINISHED - Small - Desktop model by Rico van Dijk
-
PilotNL reacted to a post in a topic:
Zr.Ms. Adviesbrik Snelheid by PilotNL - FINISHED - Small - Desktop model by Rico van Dijk
-
GrandpaPhil reacted to a post in a topic:
Zr.Ms. Adviesbrik Snelheid by PilotNL - FINISHED - Small - Desktop model by Rico van Dijk
-
GrandpaPhil reacted to a post in a topic:
Zr.Ms. Adviesbrik Snelheid by PilotNL - FINISHED - Small - Desktop model by Rico van Dijk
-
GrandpaPhil reacted to a post in a topic:
Zr.Ms. Adviesbrik Snelheid by PilotNL - FINISHED - Small - Desktop model by Rico van Dijk
-
mtaylor reacted to a post in a topic:
Zr.Ms. Adviesbrik Snelheid by PilotNL - FINISHED - Small - Desktop model by Rico van Dijk
-
mtaylor reacted to a post in a topic:
Free hull form creation training workshop
-
Build complete


-
If requests are allowed, I seem to struggle with the complex shape where the sternpost meets a flat transom under a negative curved hull. also the transition from the positive curved hull in the body, to the negative curve at the stern. Looking forward to the meeting! Rico.
-
PilotNL reacted to a post in a topic:
Free hull form creation training workshop
-
Thanks Terry!! That program is fantastic! it's a bit tedious to connect all the dots, but this is a great way to create accurate frames in metric format from hand-drawn sketches and imperial measurements. Here's my first attempt at it. Cheers! Rico
-
PilotNL reacted to a post in a topic:
Hi Rico here
-
PilotNL reacted to a post in a topic:
Hi Rico here
-
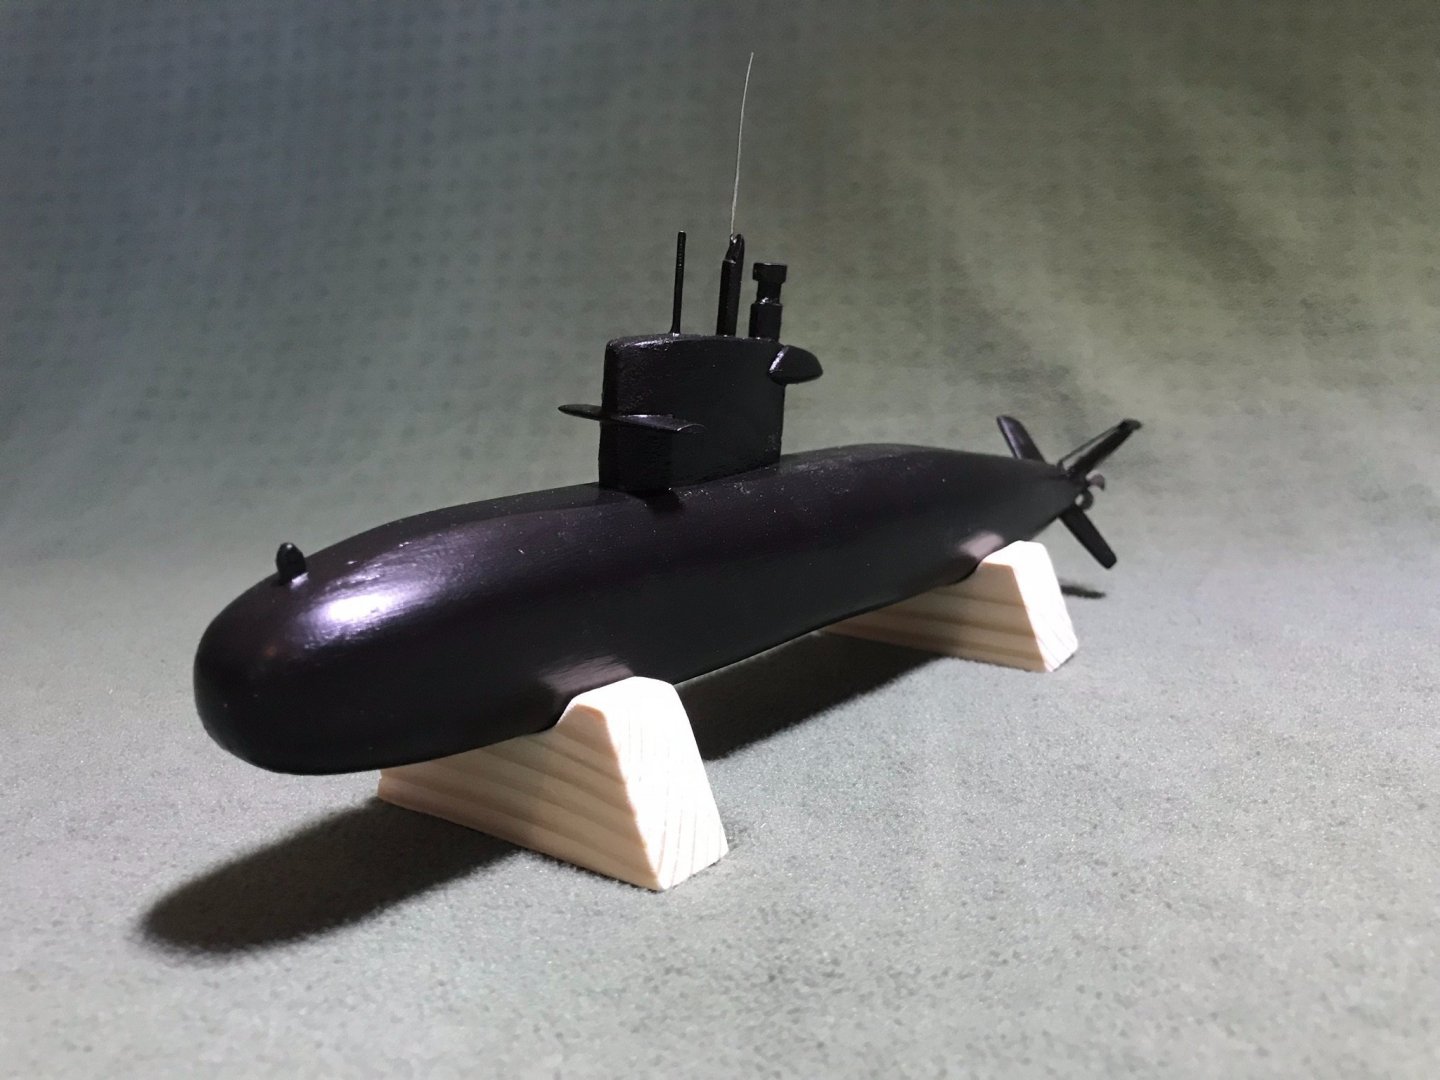
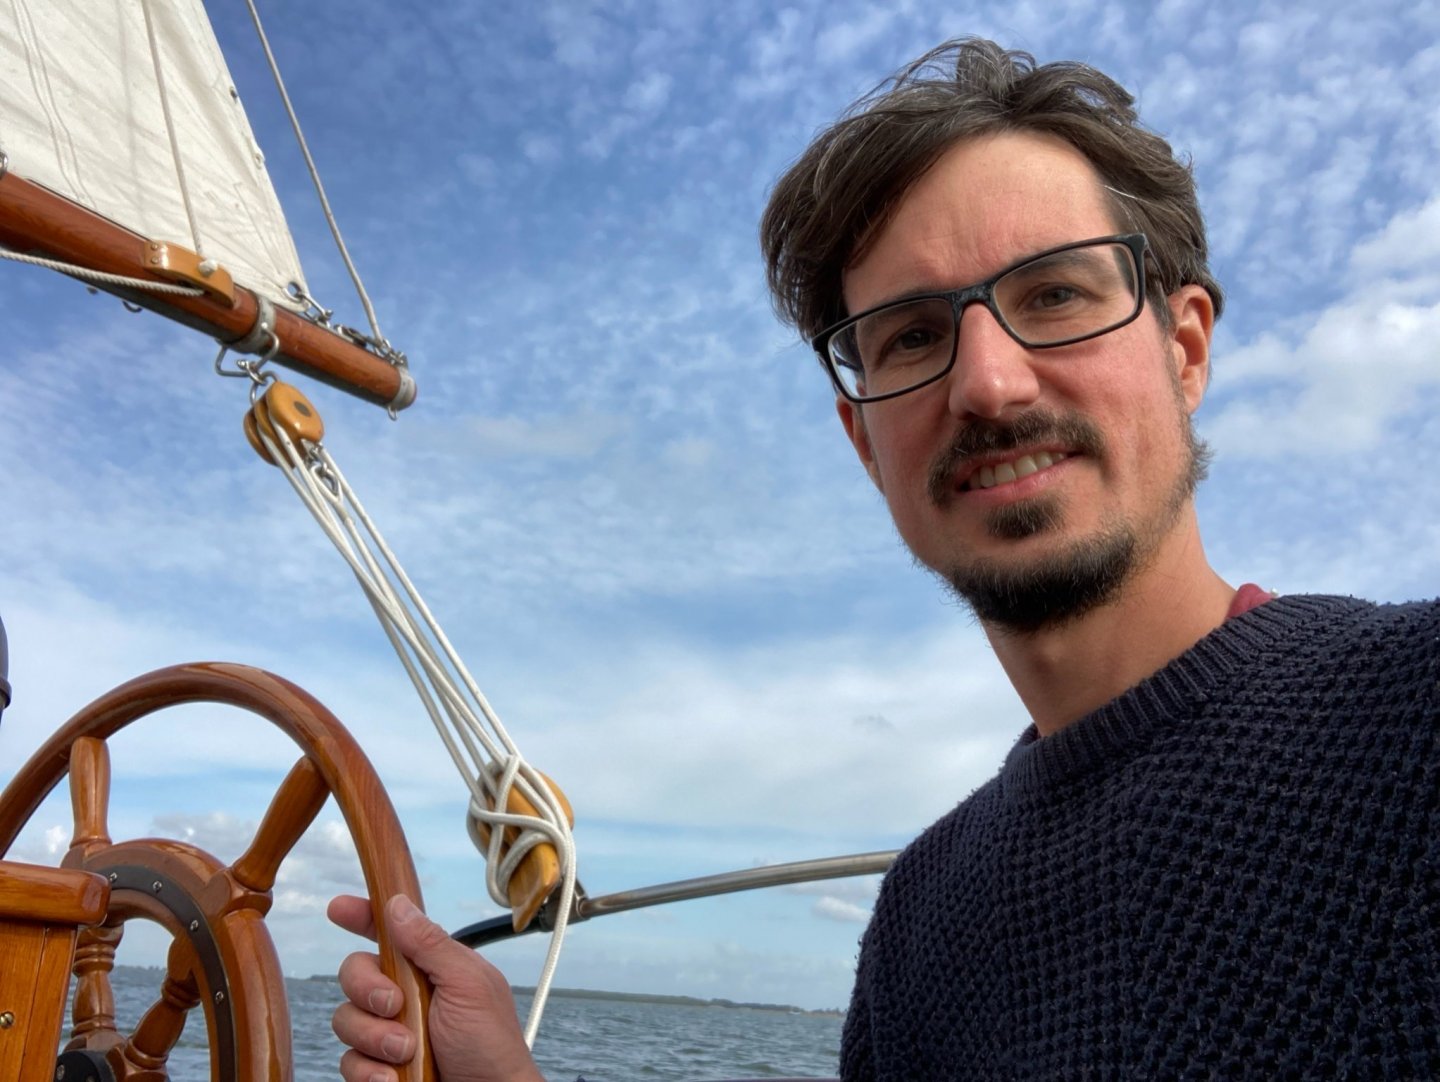
Hi all! New since a few days so I might as well introduce myself, I've been a sailor all my life, as a kid with small wooden traditional boats (Brandsma Schouw) on the Dutch lakes, later as sailing instructor, then for a living as submariner. After leaving the service I have thrown myself into aviation; my other passion, which has consumed over a decade to achieve my goals. Now that I've the luxury again to have a hobby next to work and family life, I have decided to pick-up my old affection for sailing ships. In the summer I work as mate, and aspiring skipper on traditional sailing ships, sailing with passengers on the only sailing scheduled service in the Netherlands, and with groups of adults or children on charter trips. All this is seasonal so for the long dark winter months I thought to start building model ships. My building experience is limited, I have once carved a submarine out of wood and I've managed to scratch build a remote controlled schooner. Currently I am learning the whole process of lofting a 3d hull from lines plans and we'll see where it goes from there. Thank you all for sharing your building progress in so much detail, it's a goldmine for the novice builder for sure. All the best! Rico

-
Beautiful project!
-
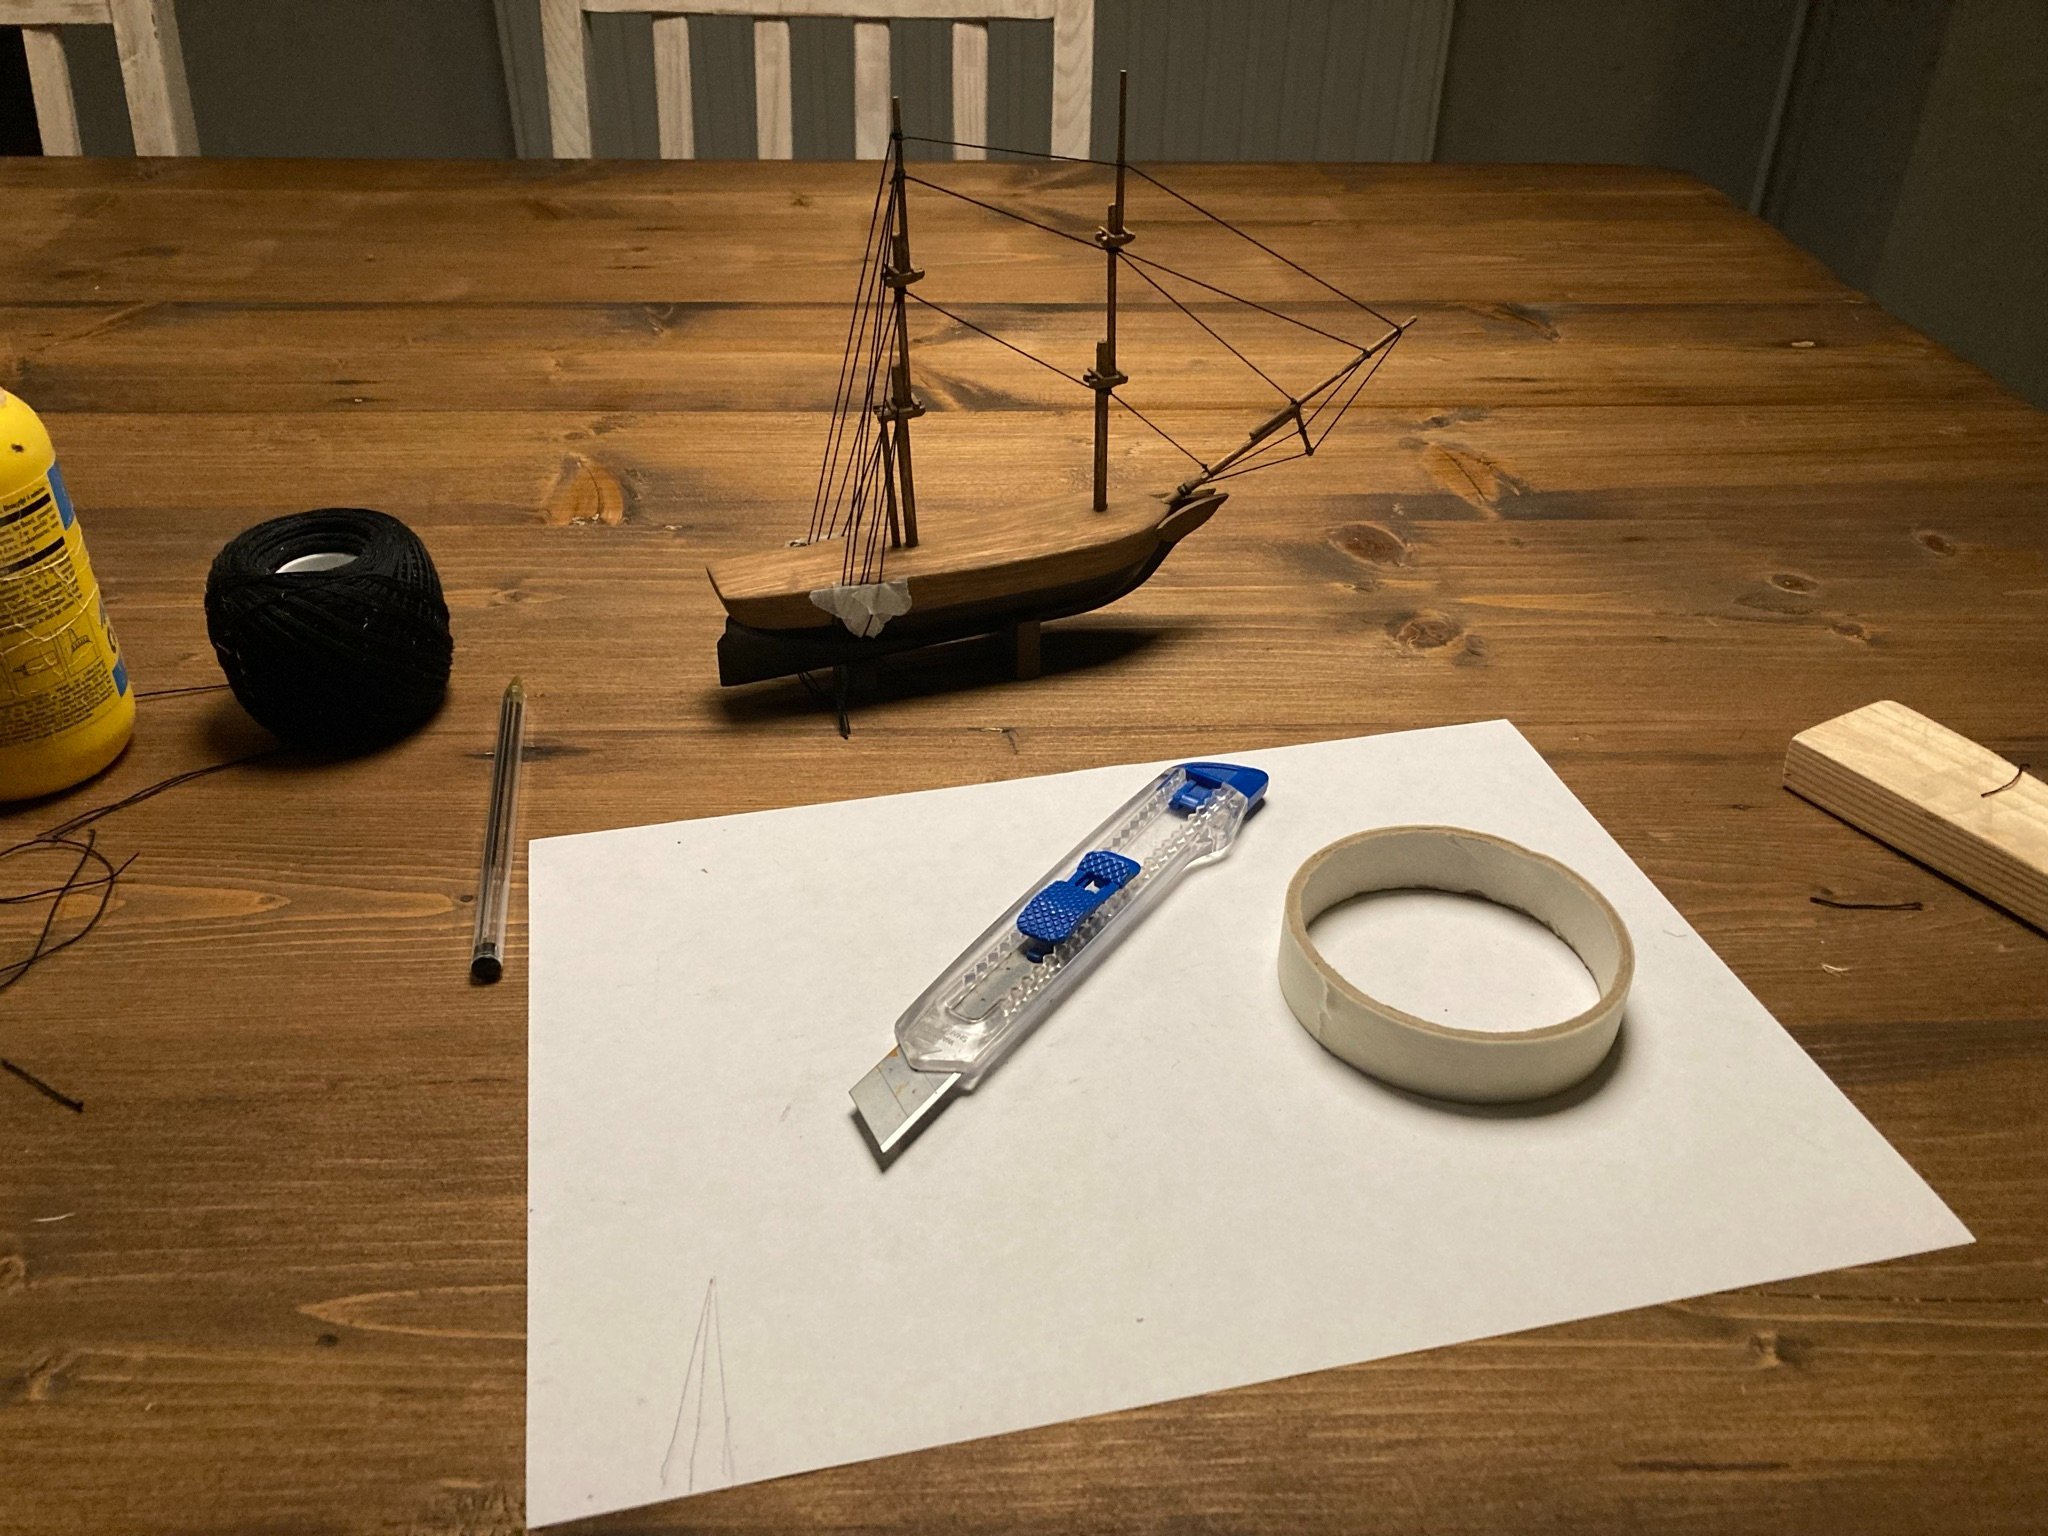
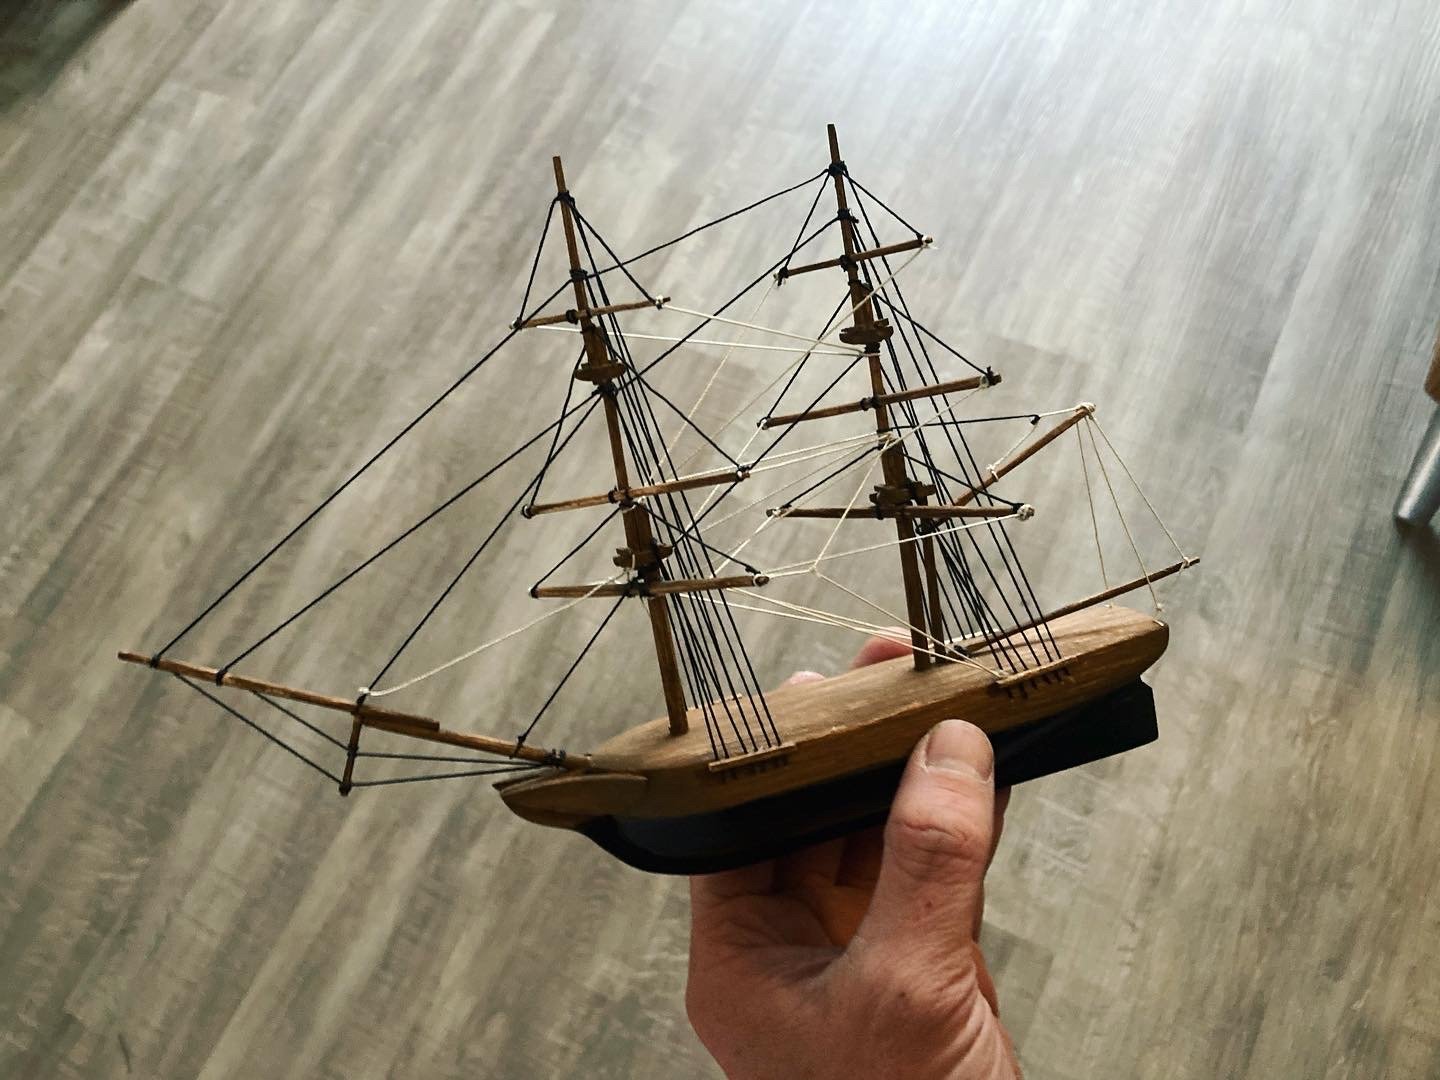
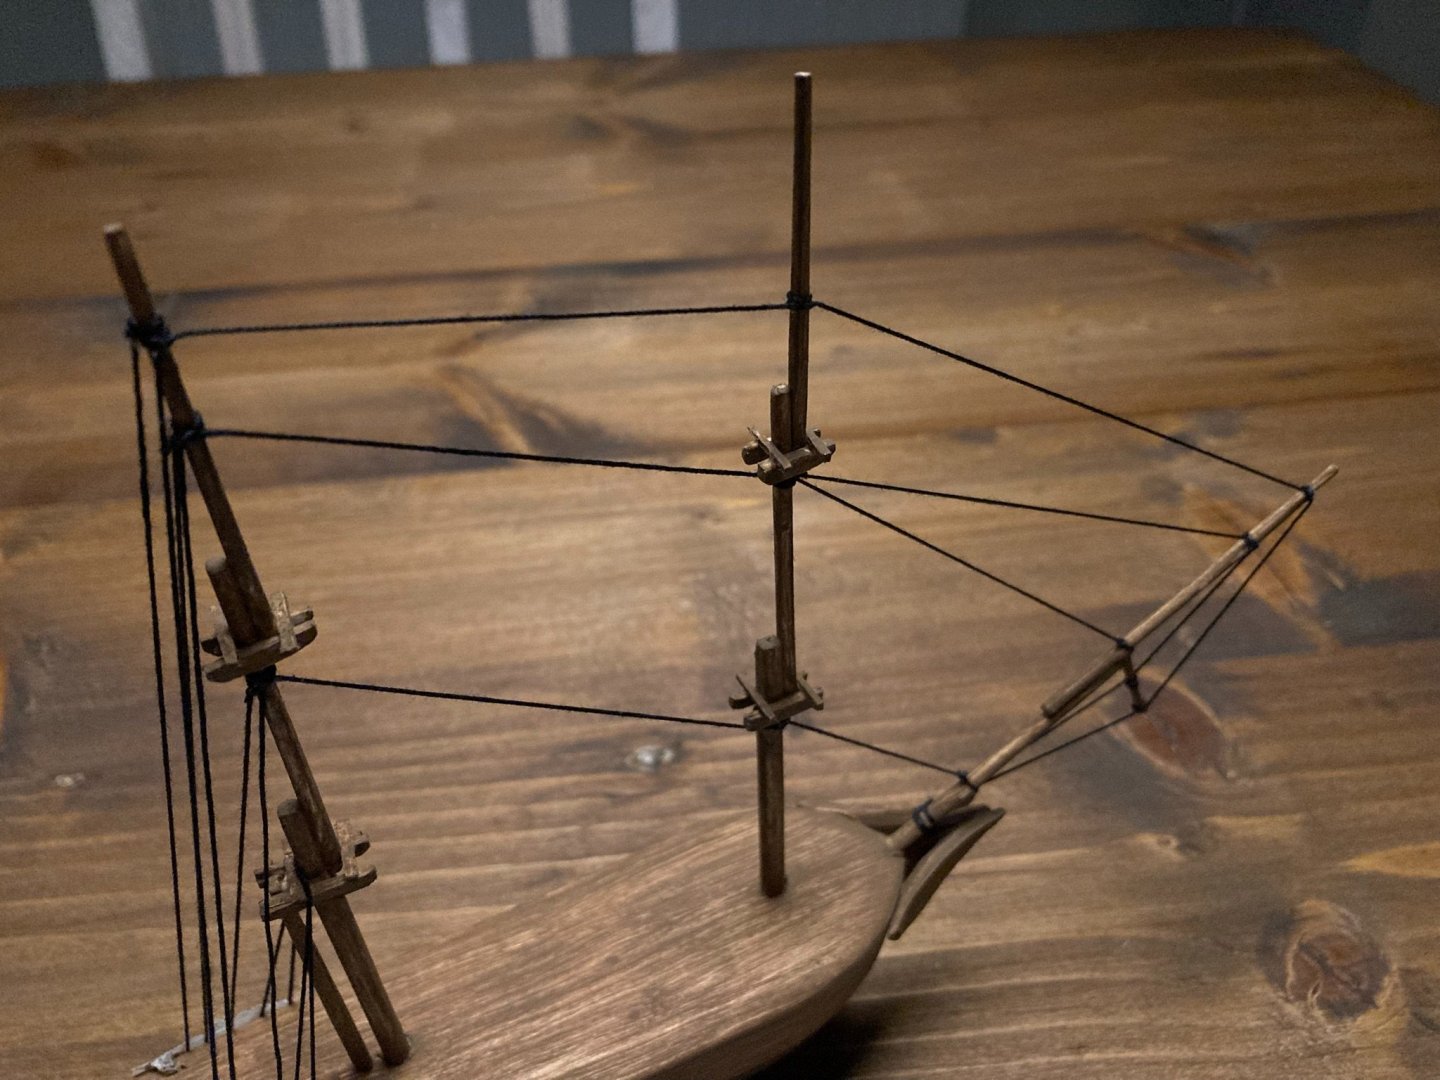
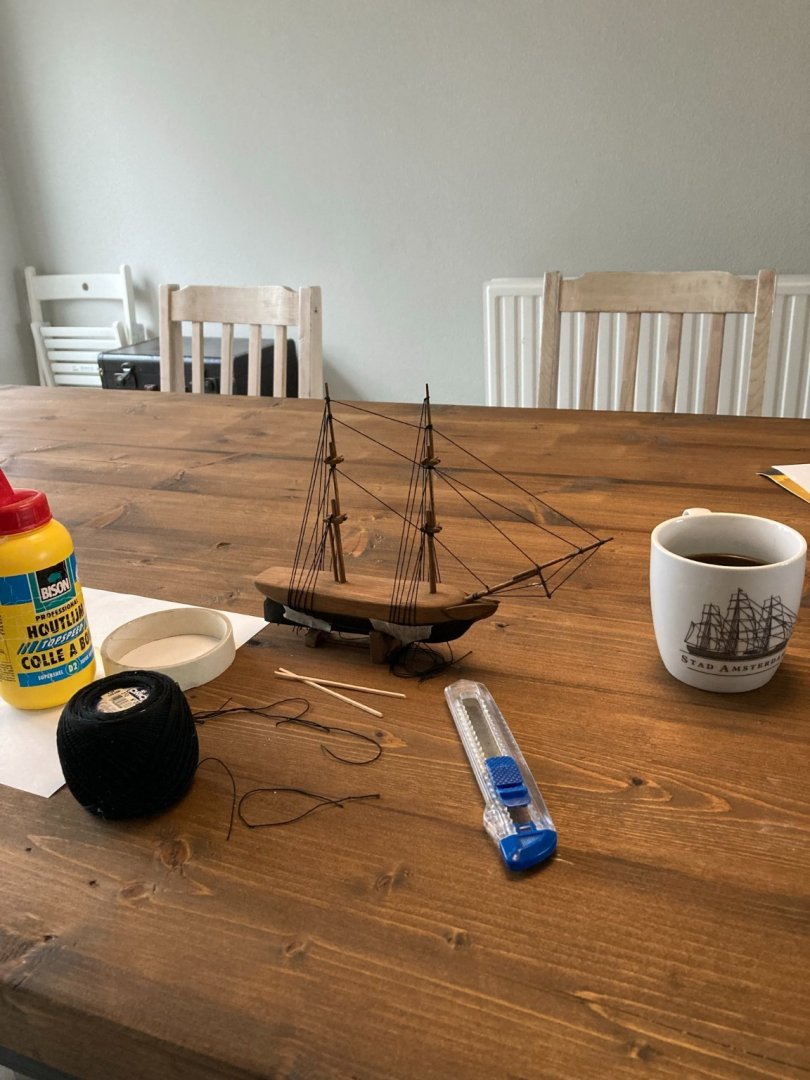
After the bottom paint was dry, I painted the rest with a brown varnish, which dried quickly, allowing me to start working on the rigging. To me this is the best part of building the model, I also recognise that his scale is a bit too small for my taste as I would love to add more detail into the work, but at such a small scale that's not practical. To get the wire under tension I started on one side with a slipknot, and any subsequent knot on the same wire with a clove hitch and a pinpoint of white glue. The attachment on the hull is temporary with some masking tape, for I will glue these all together at once later on.

-
Hi all, I would also like to join the zoom meeting, The time (23rd, 21:00 Amsterdam) is great! Cheers! Rico
-
PilotNL changed their profile photo
-
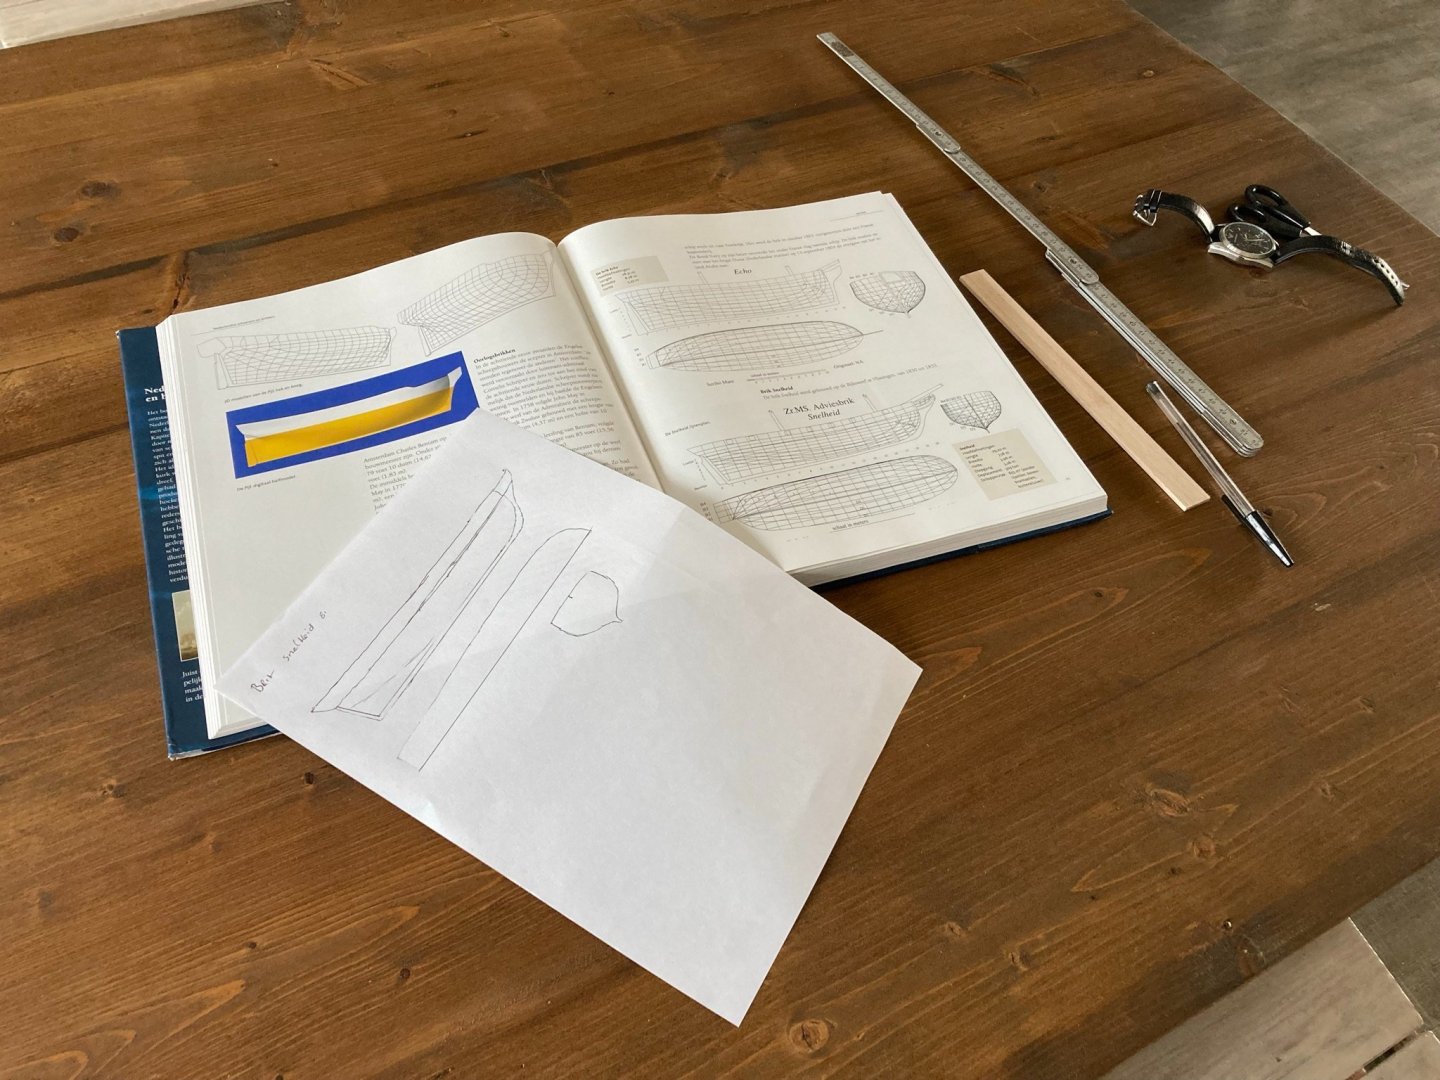
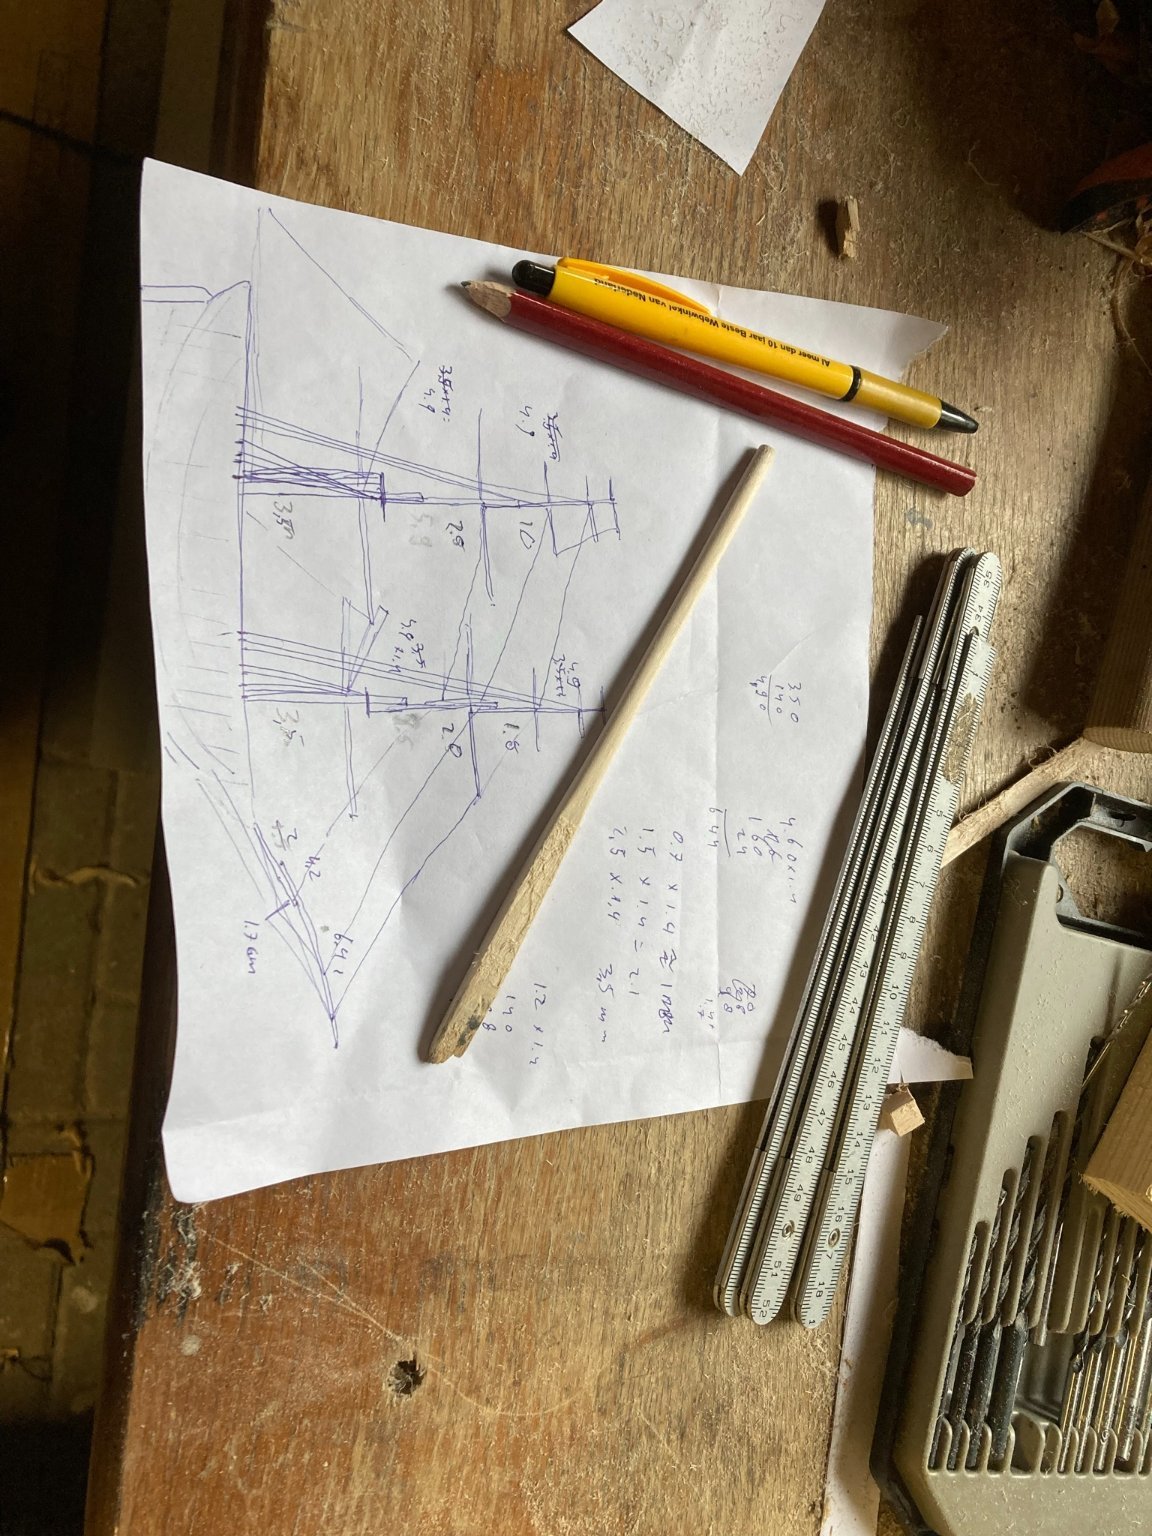
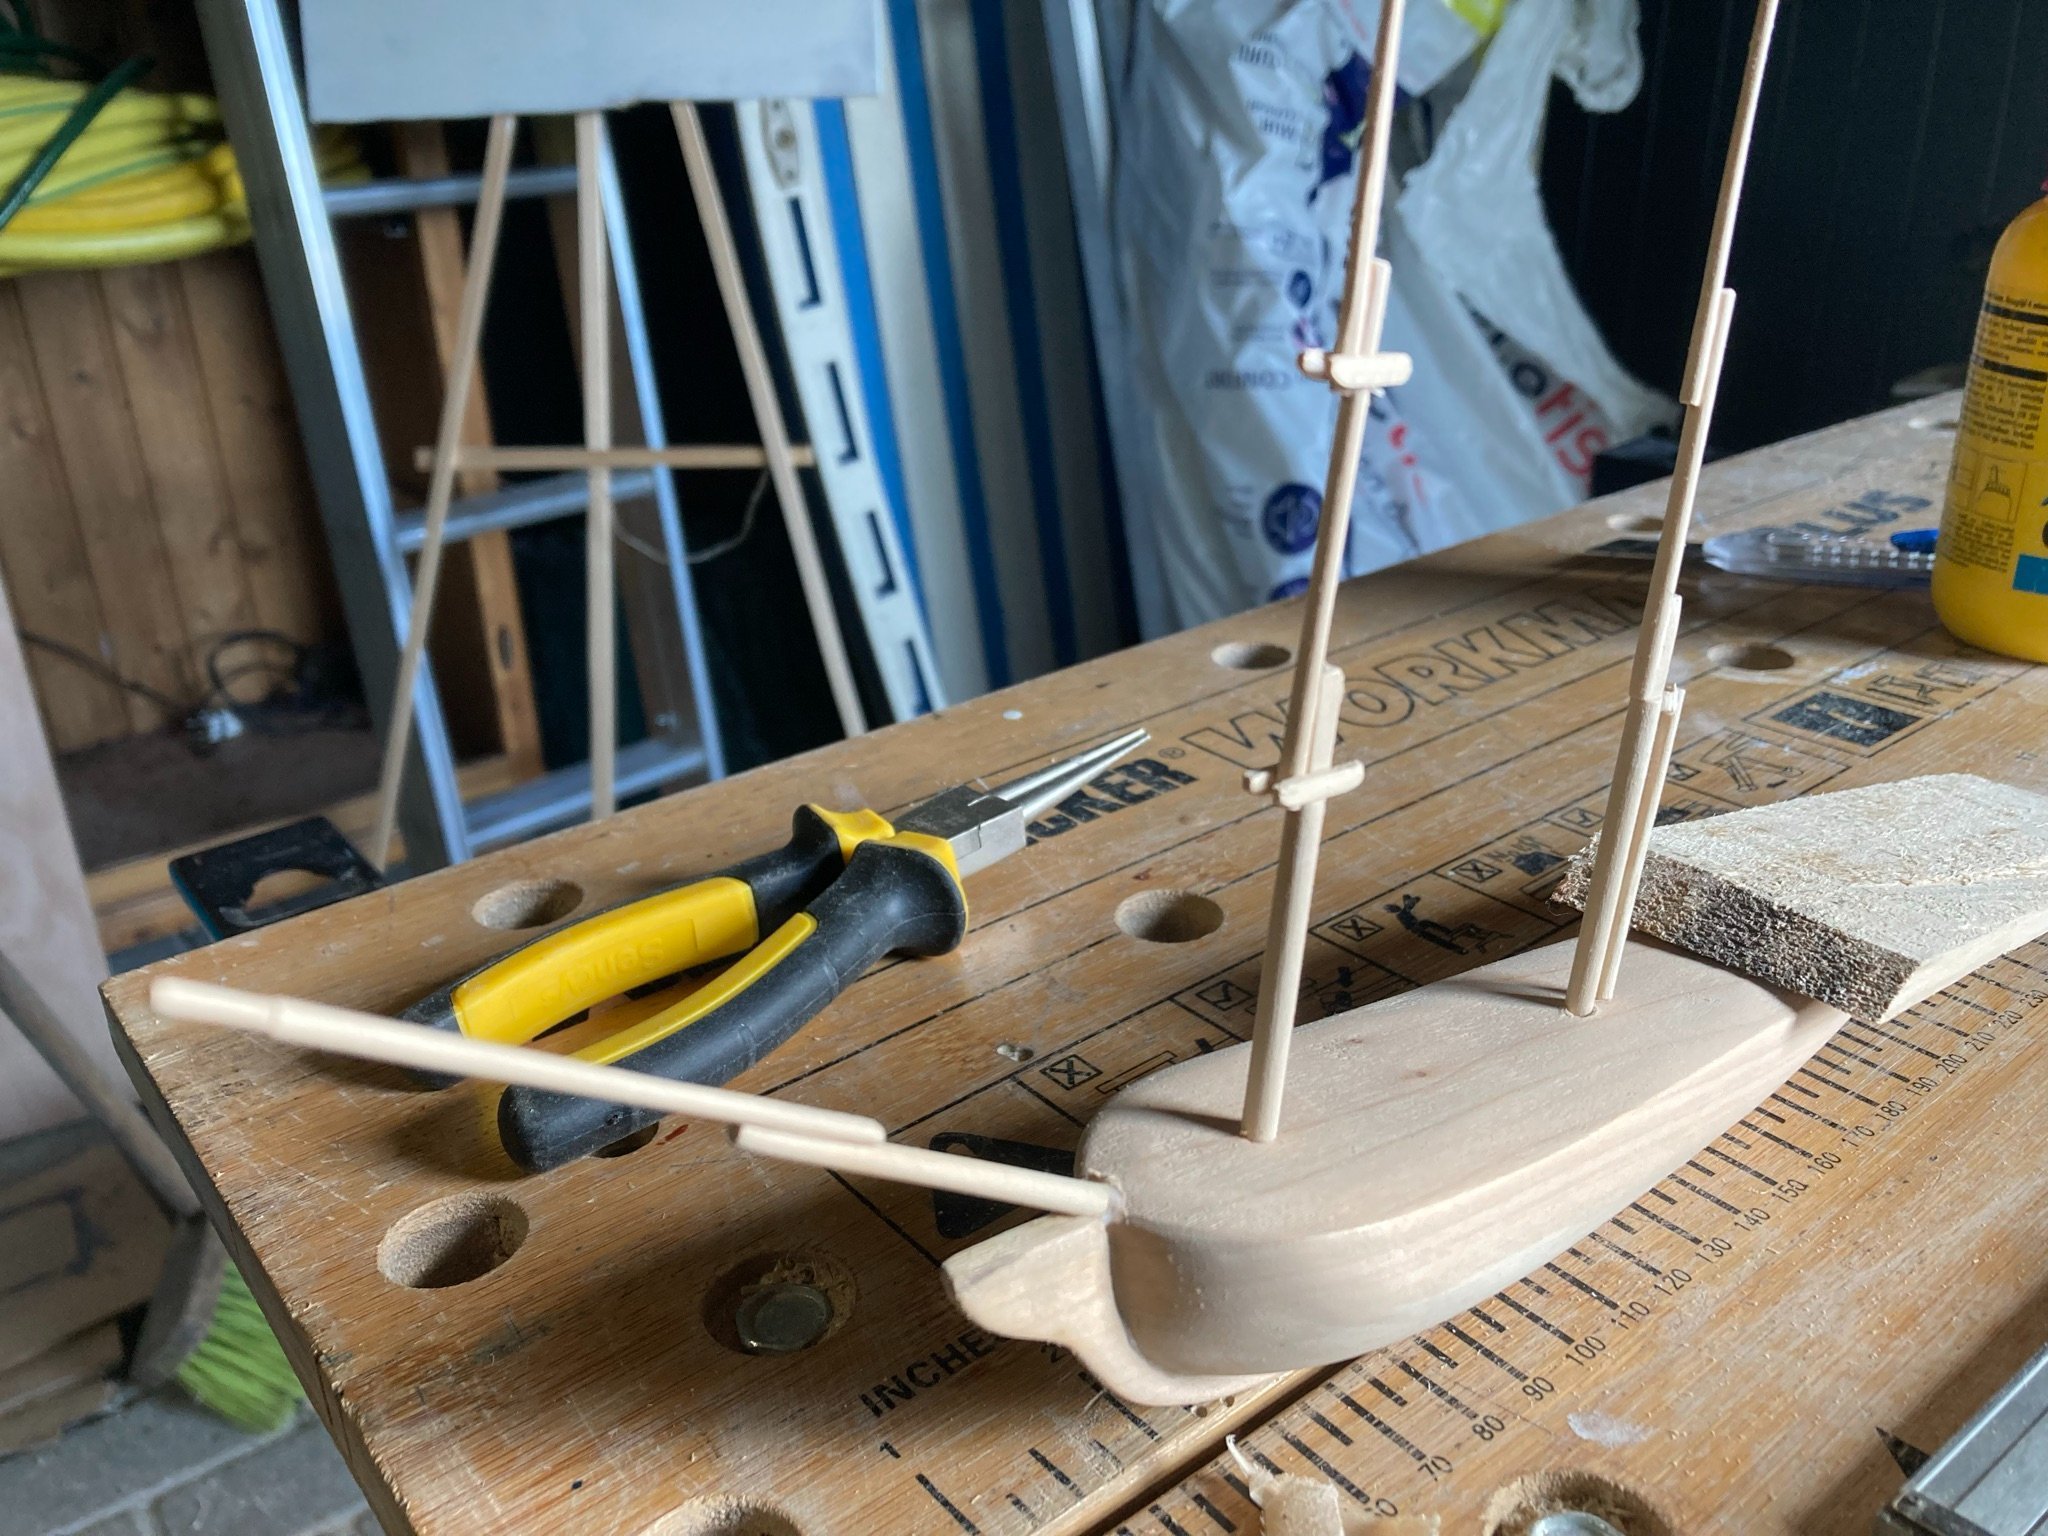
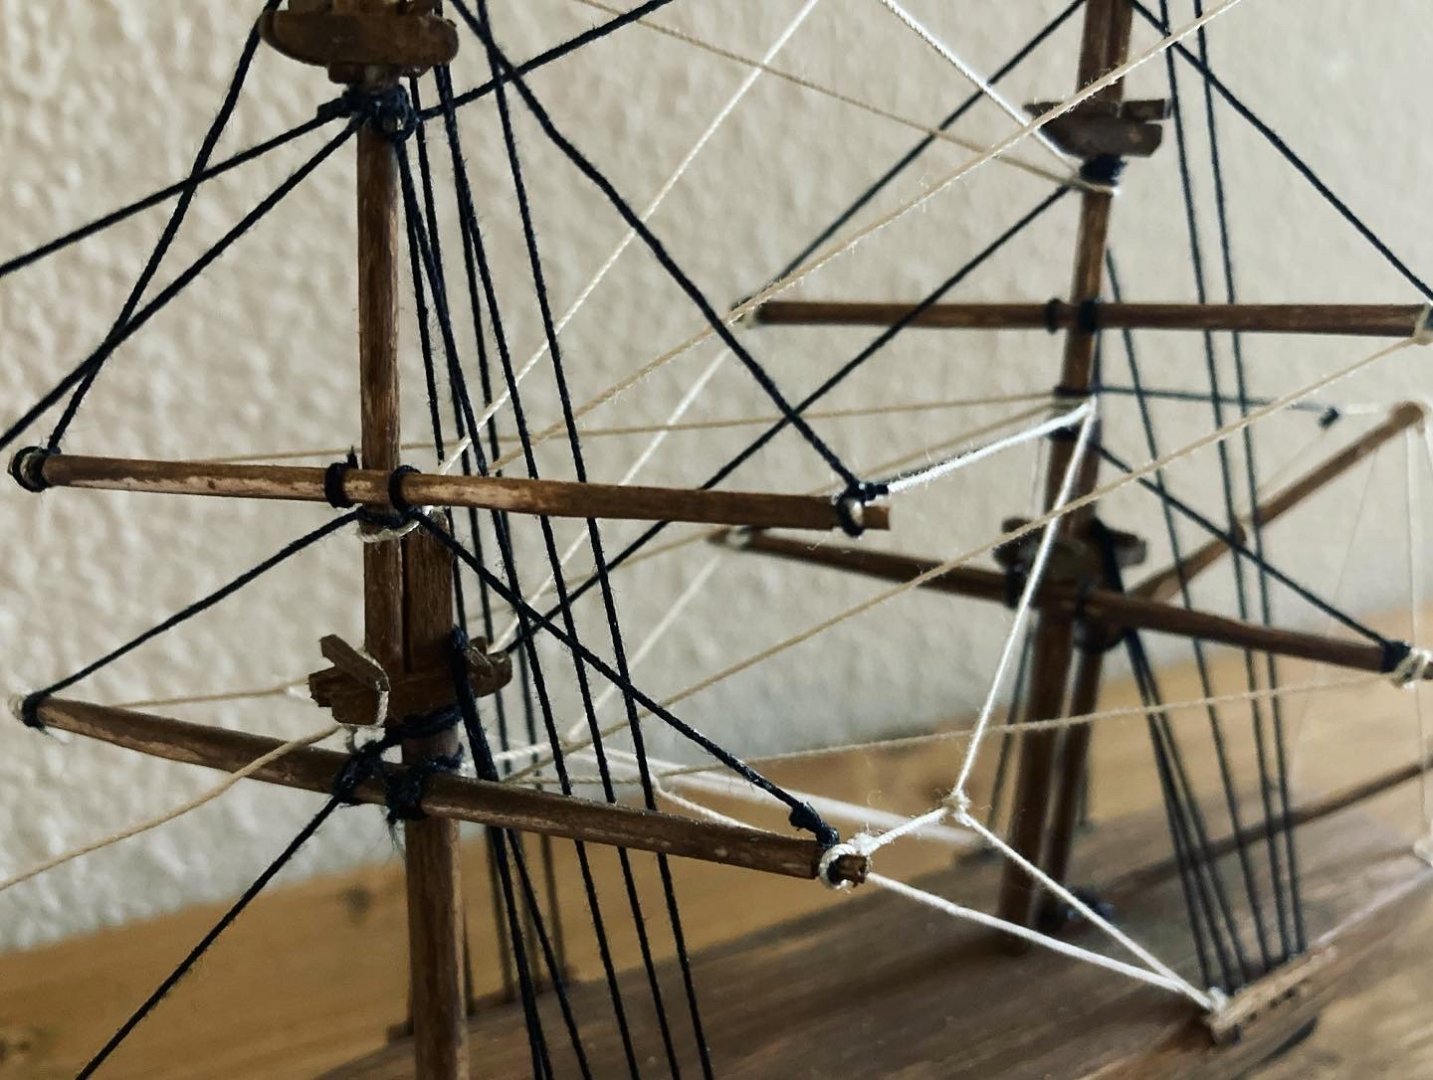
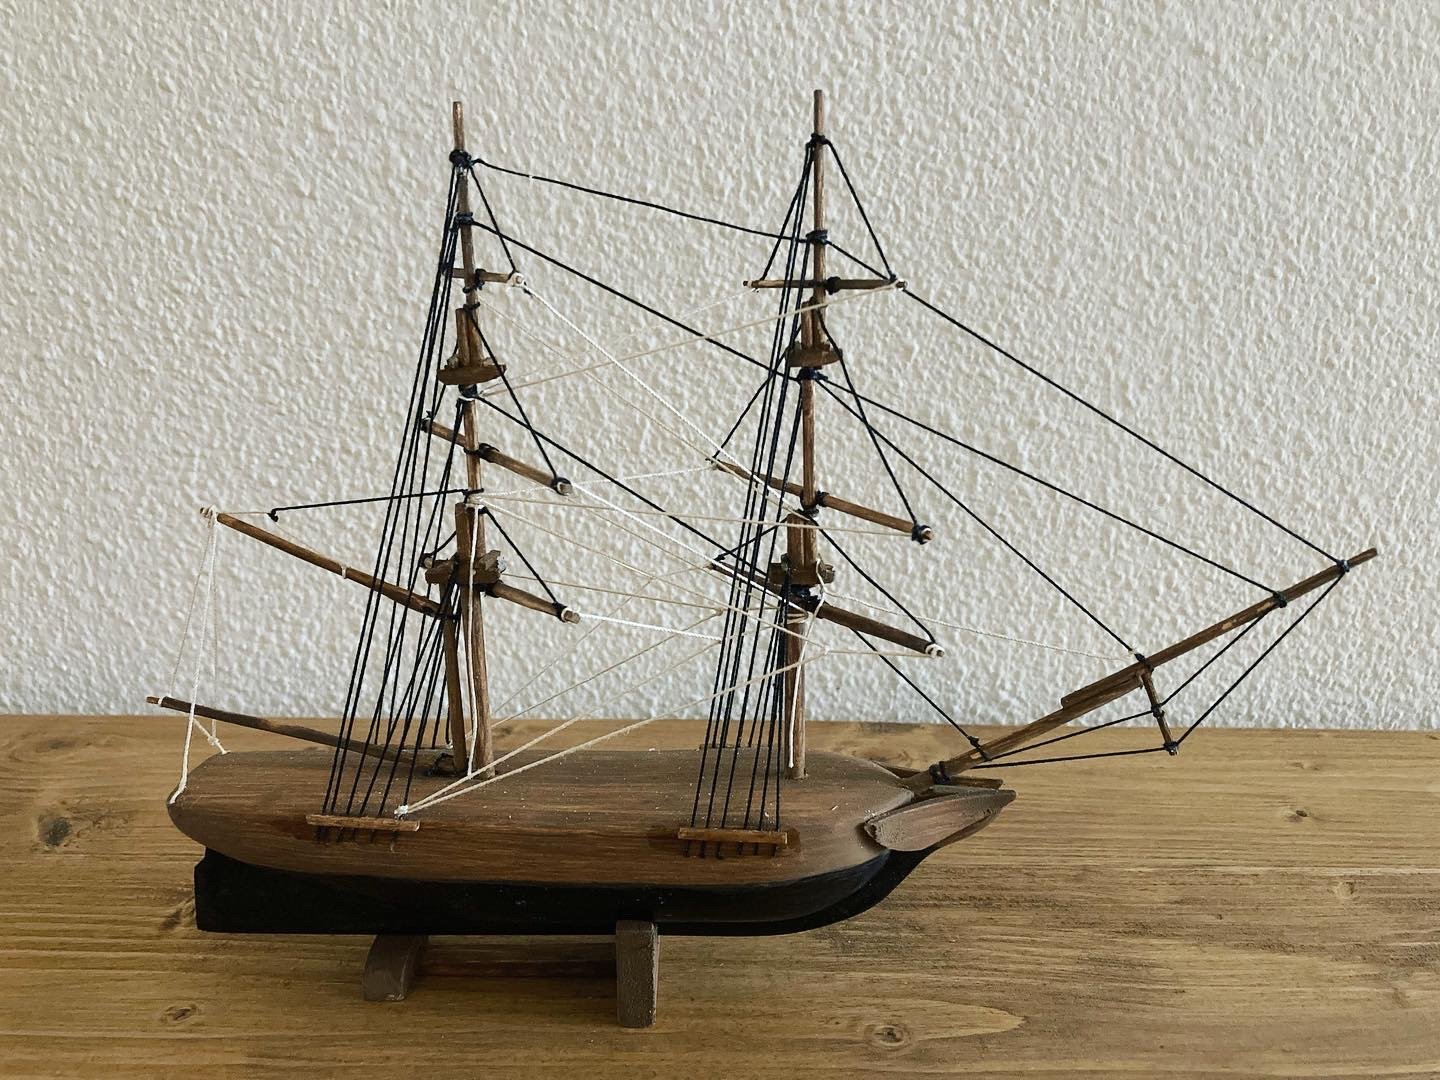
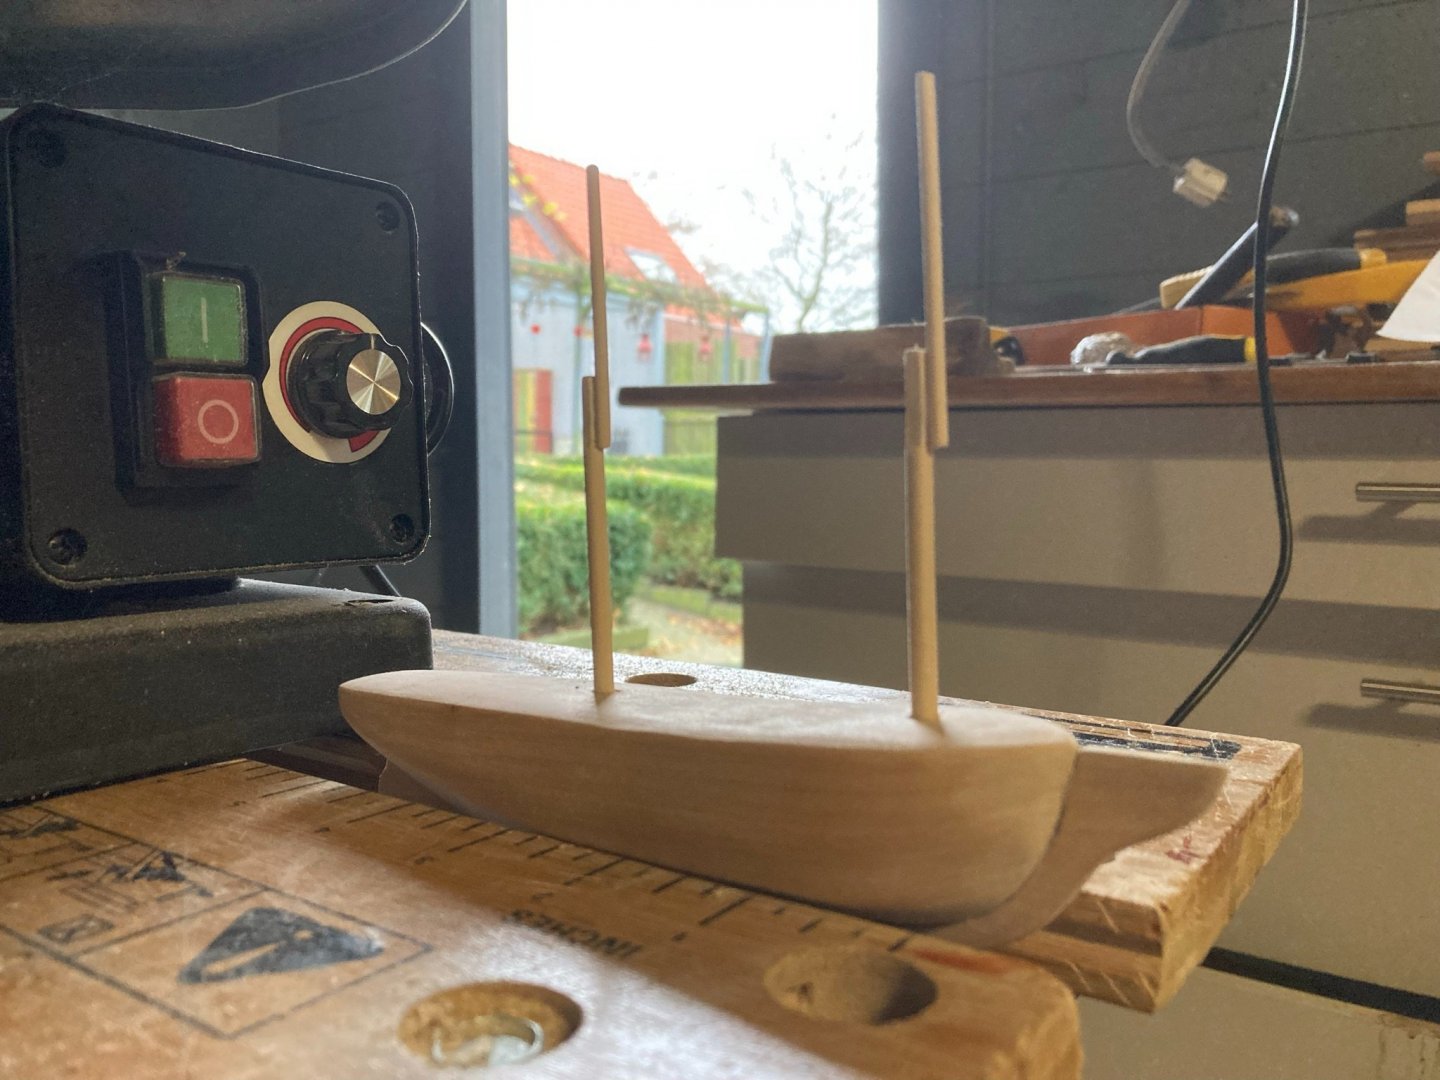
For the spars I tried to turn round poles in the dril, but found it easier to make a square pole, then sand it down to 8 sides and then round. I measured the thinkess of the spars and calculated the scale thikness but that would be too thin to be practical, so I took the liberty to make the topmast and topgallant a fraction thicker, rounded up to the nearest milimeter. The smallest detail of the and crosstrees are 1/2 x 3 milimeters. Without a drill press (I have one ordered wher I can mount my hand drill into but it's not in yet). I found it difficult to drill the holes for the masts exactly at the correct rake and in line, but I managed it with a lot of caution and patience. The bow sprit hole is not exactly where it was supposed to be, but with a little bit of wood glue and sawdust for filler, it's hardly visible. I had some black paint which I used for the bottom. In the book the underwater side of the hull is yellow. Being a navy vessel it's not unthinkable that the bottom may have been copper plated, but it's more likely that it was just tarred black. More importantly, black looks better on my desk than copper or yellow.


-
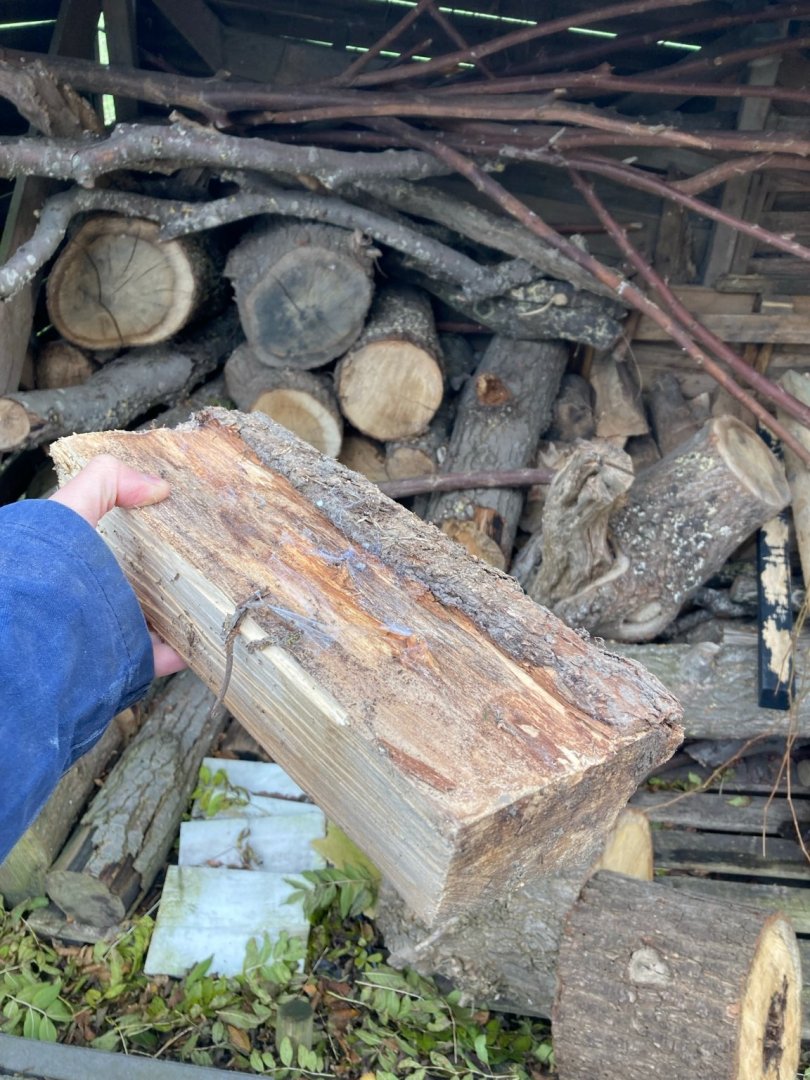
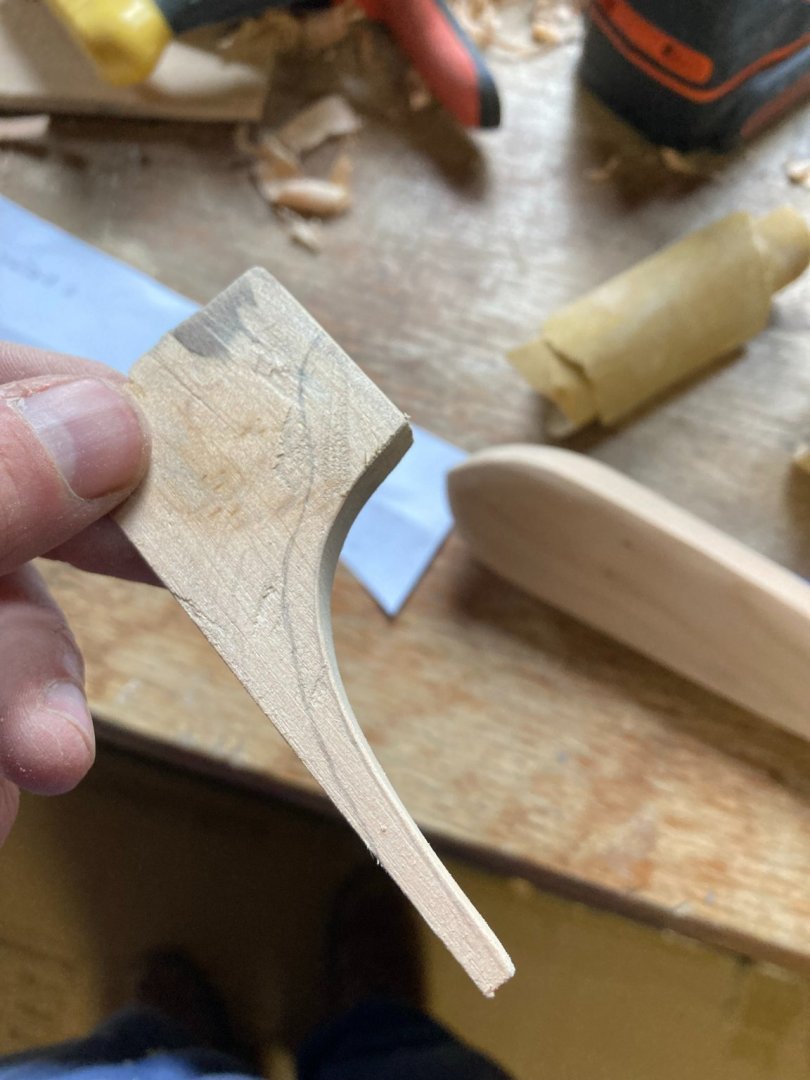
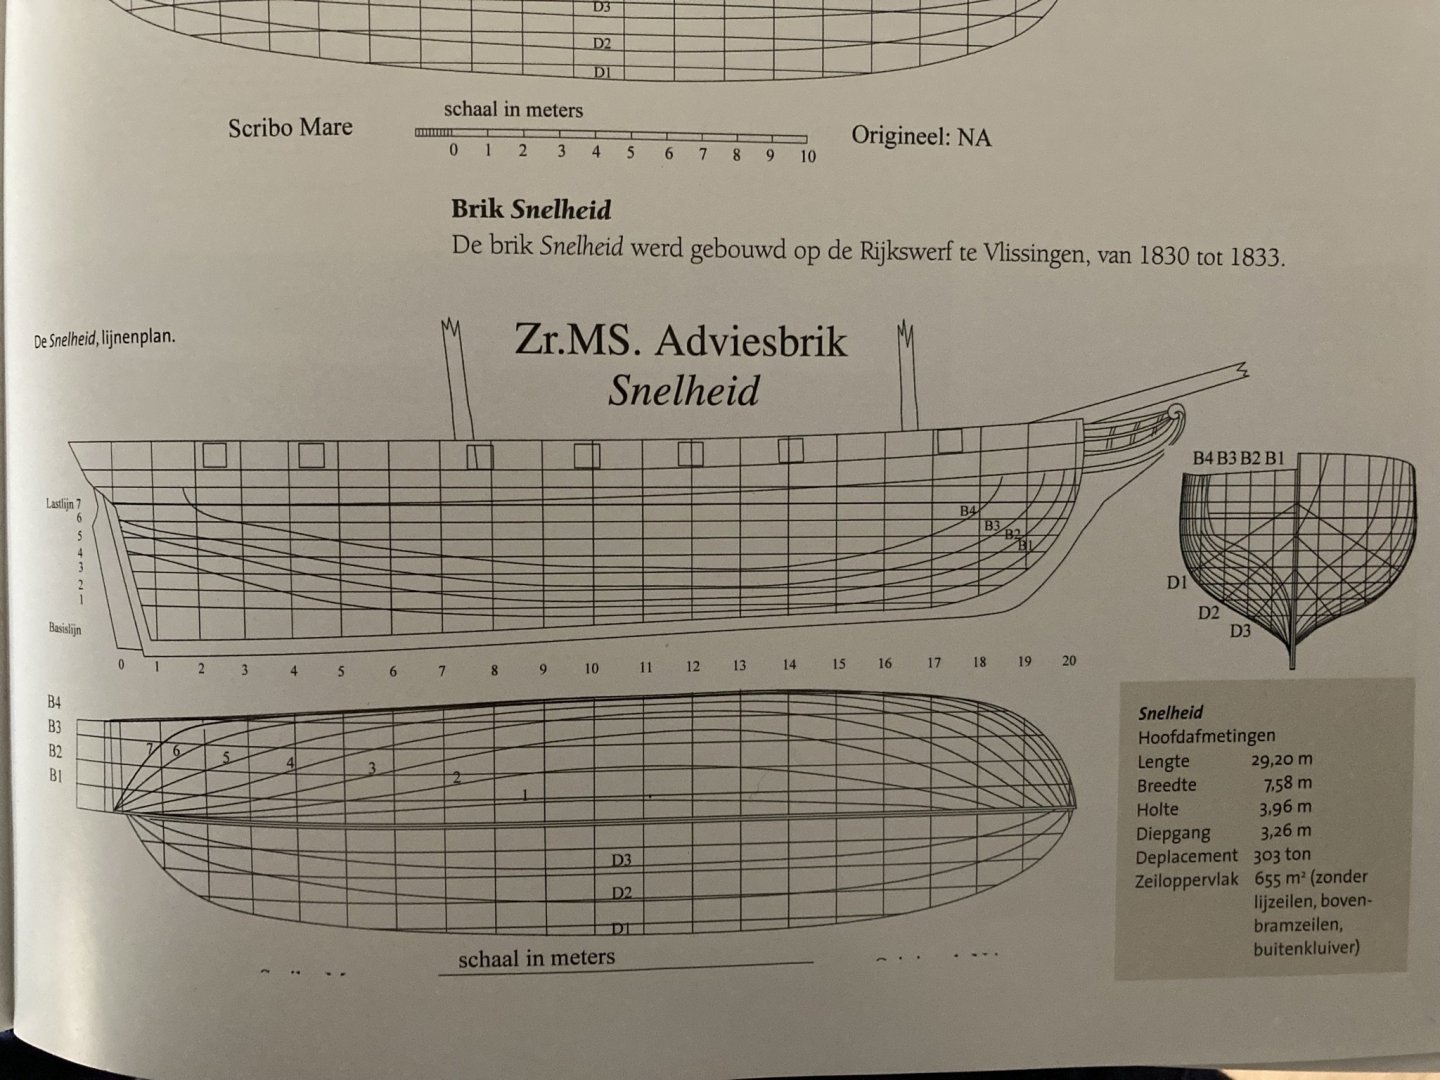
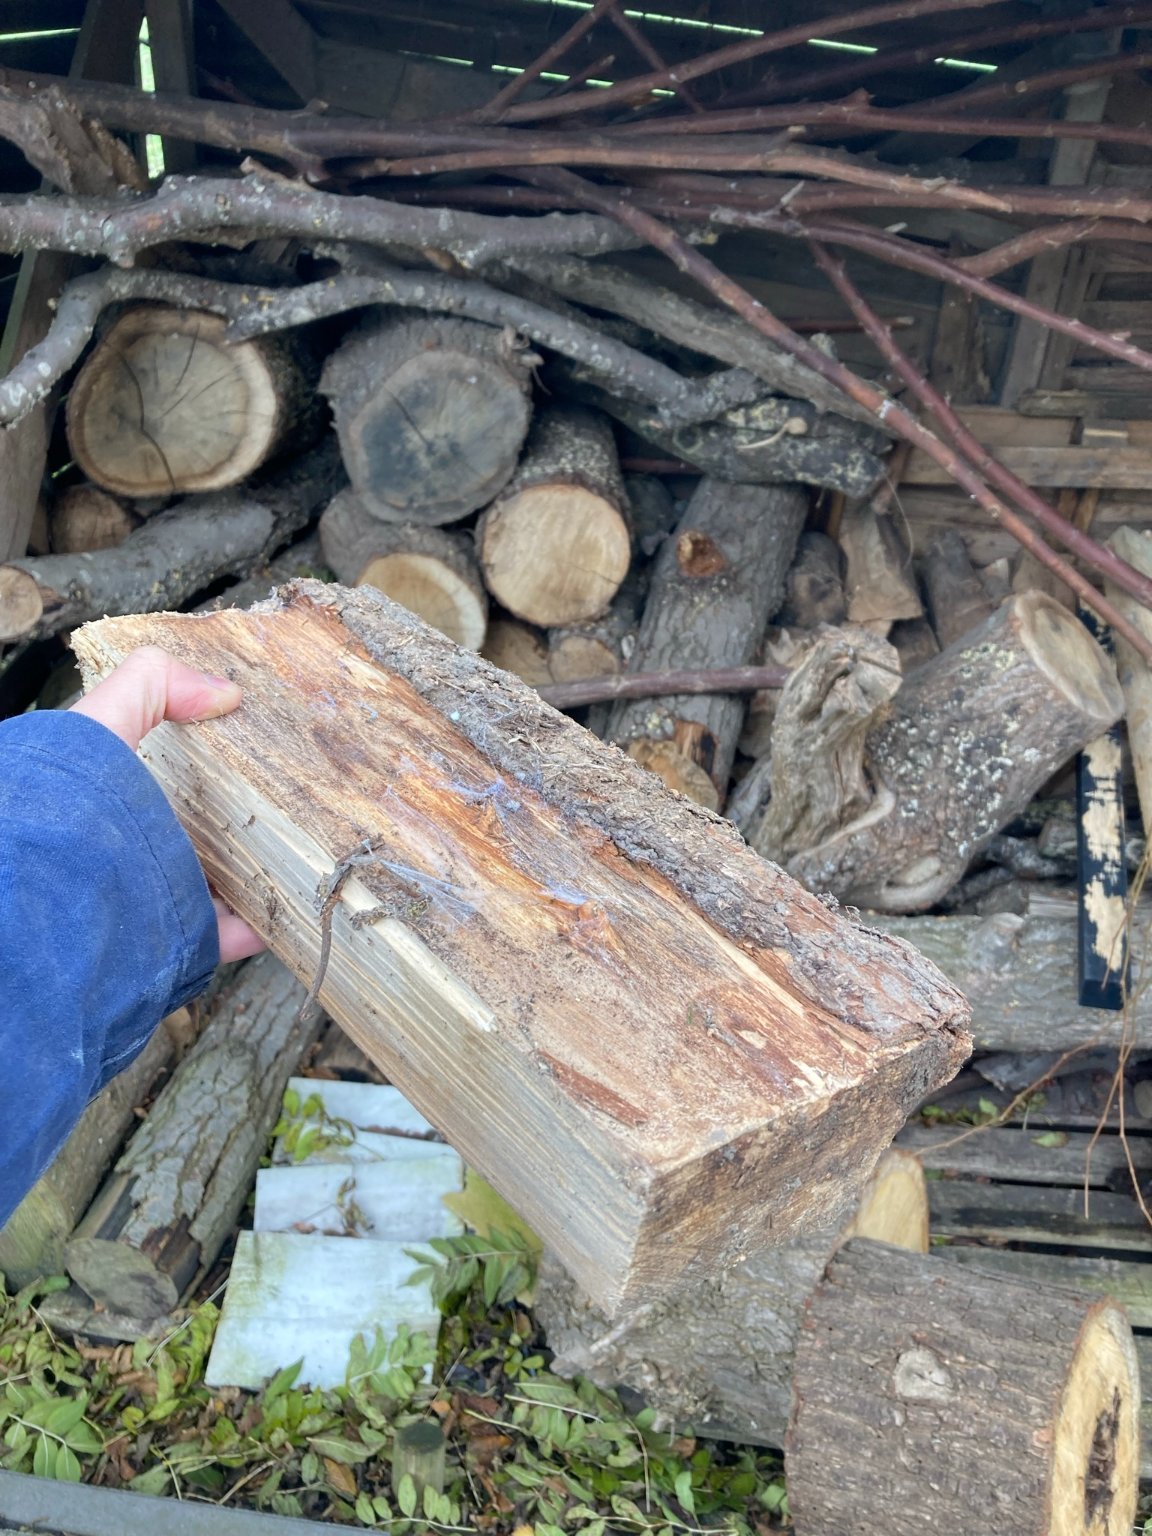
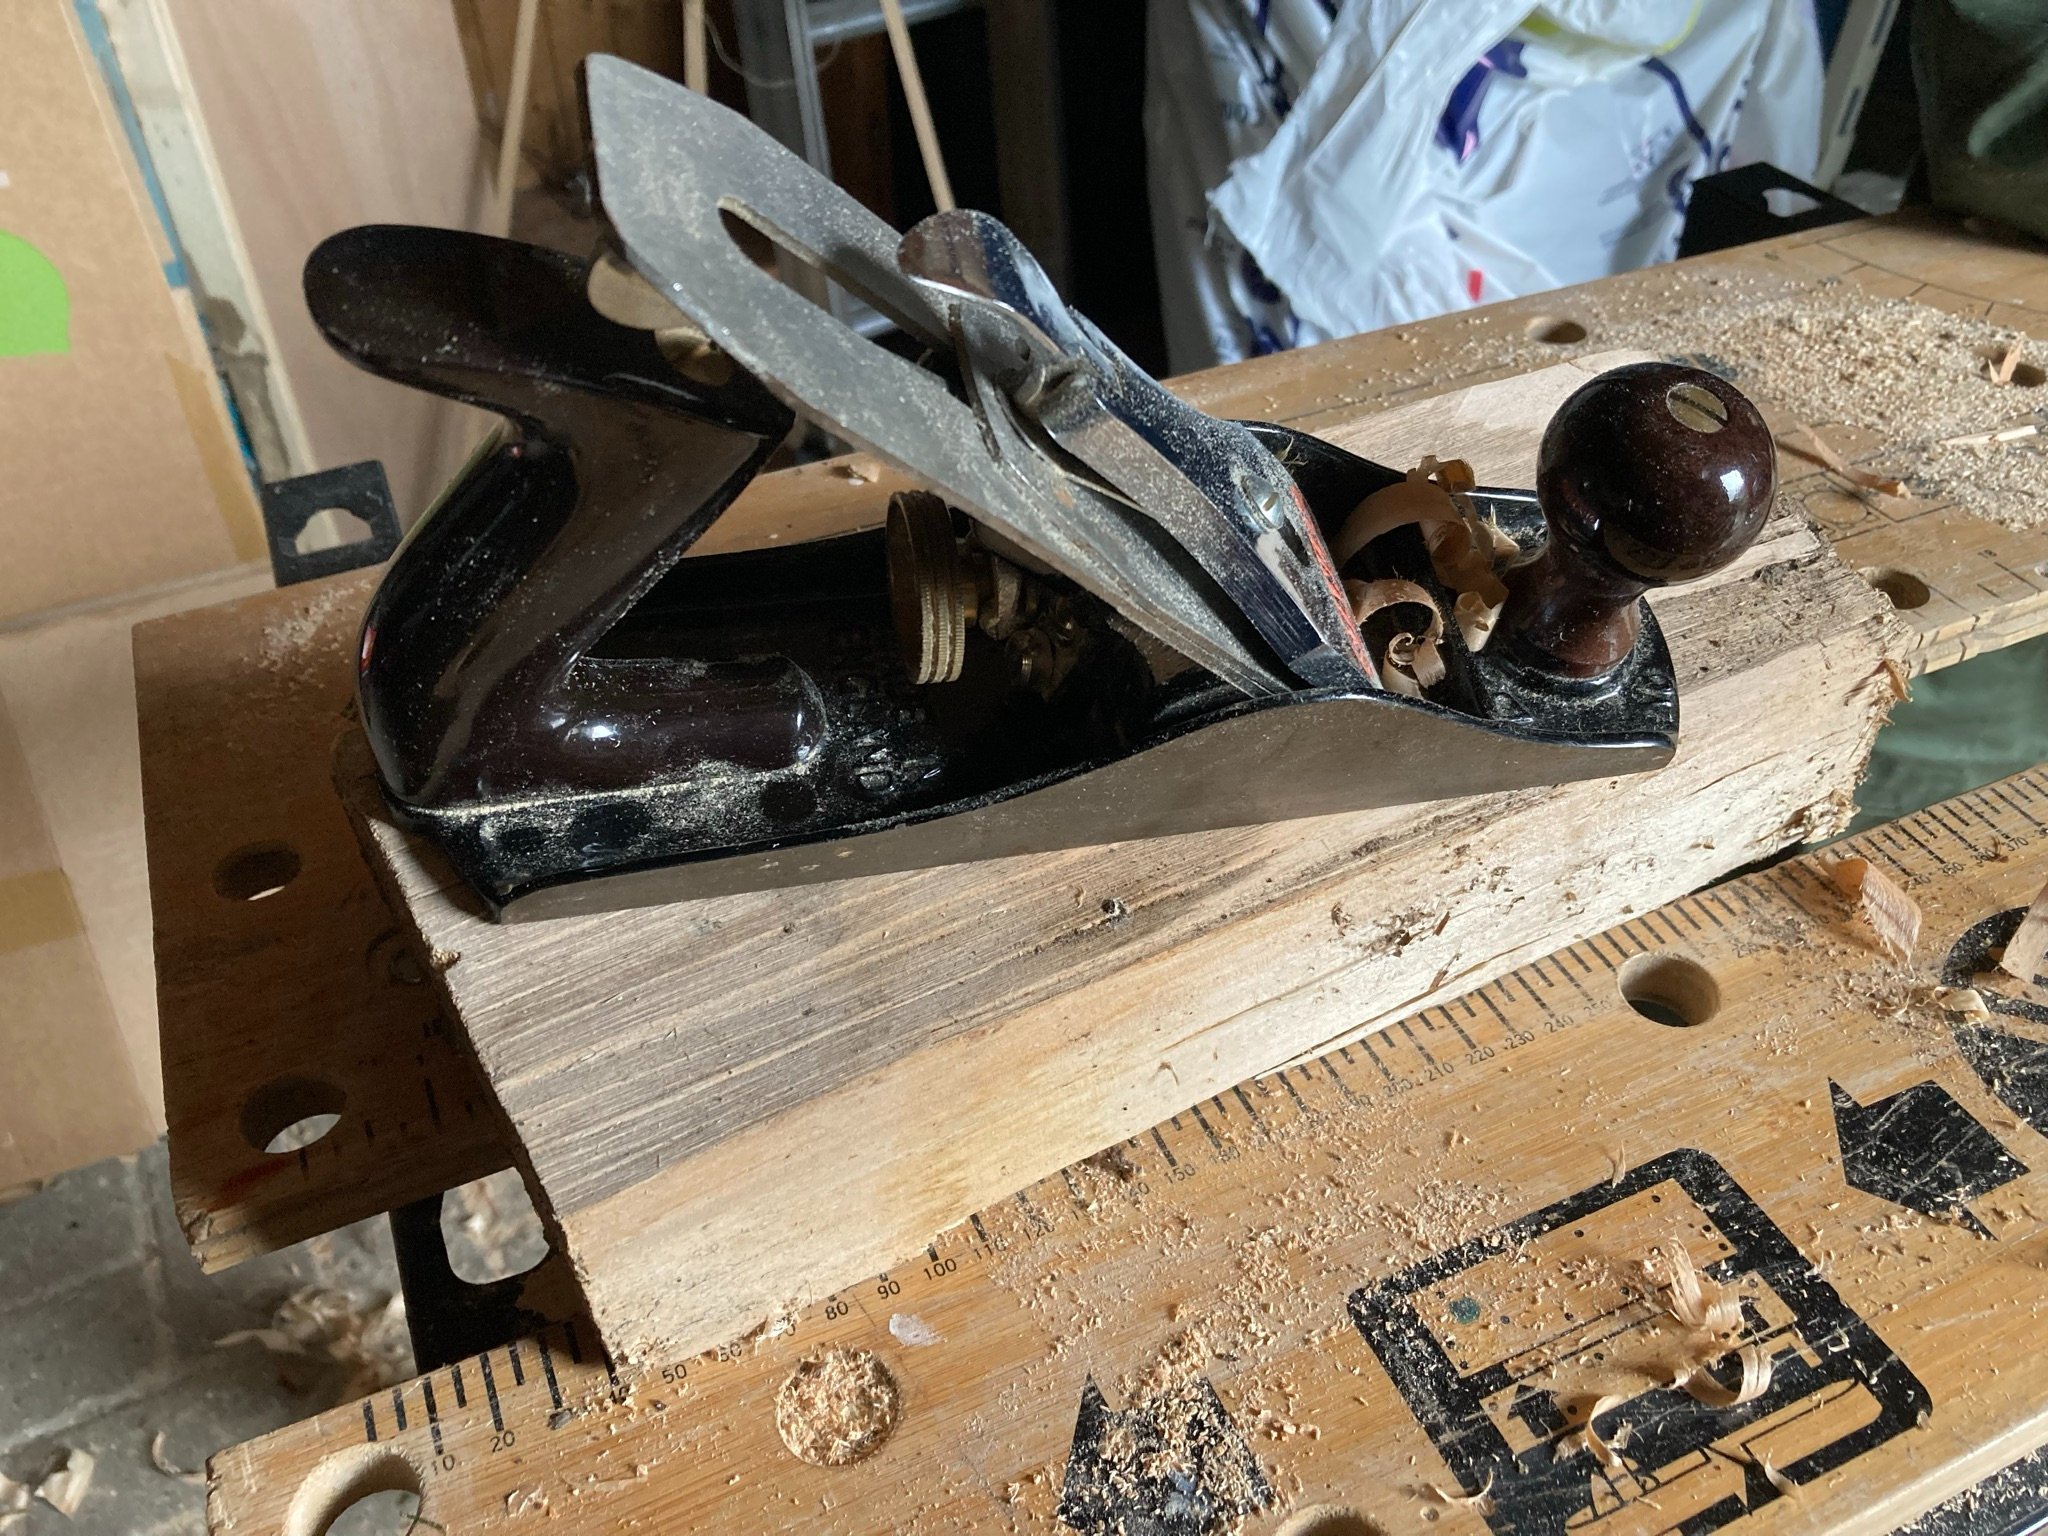
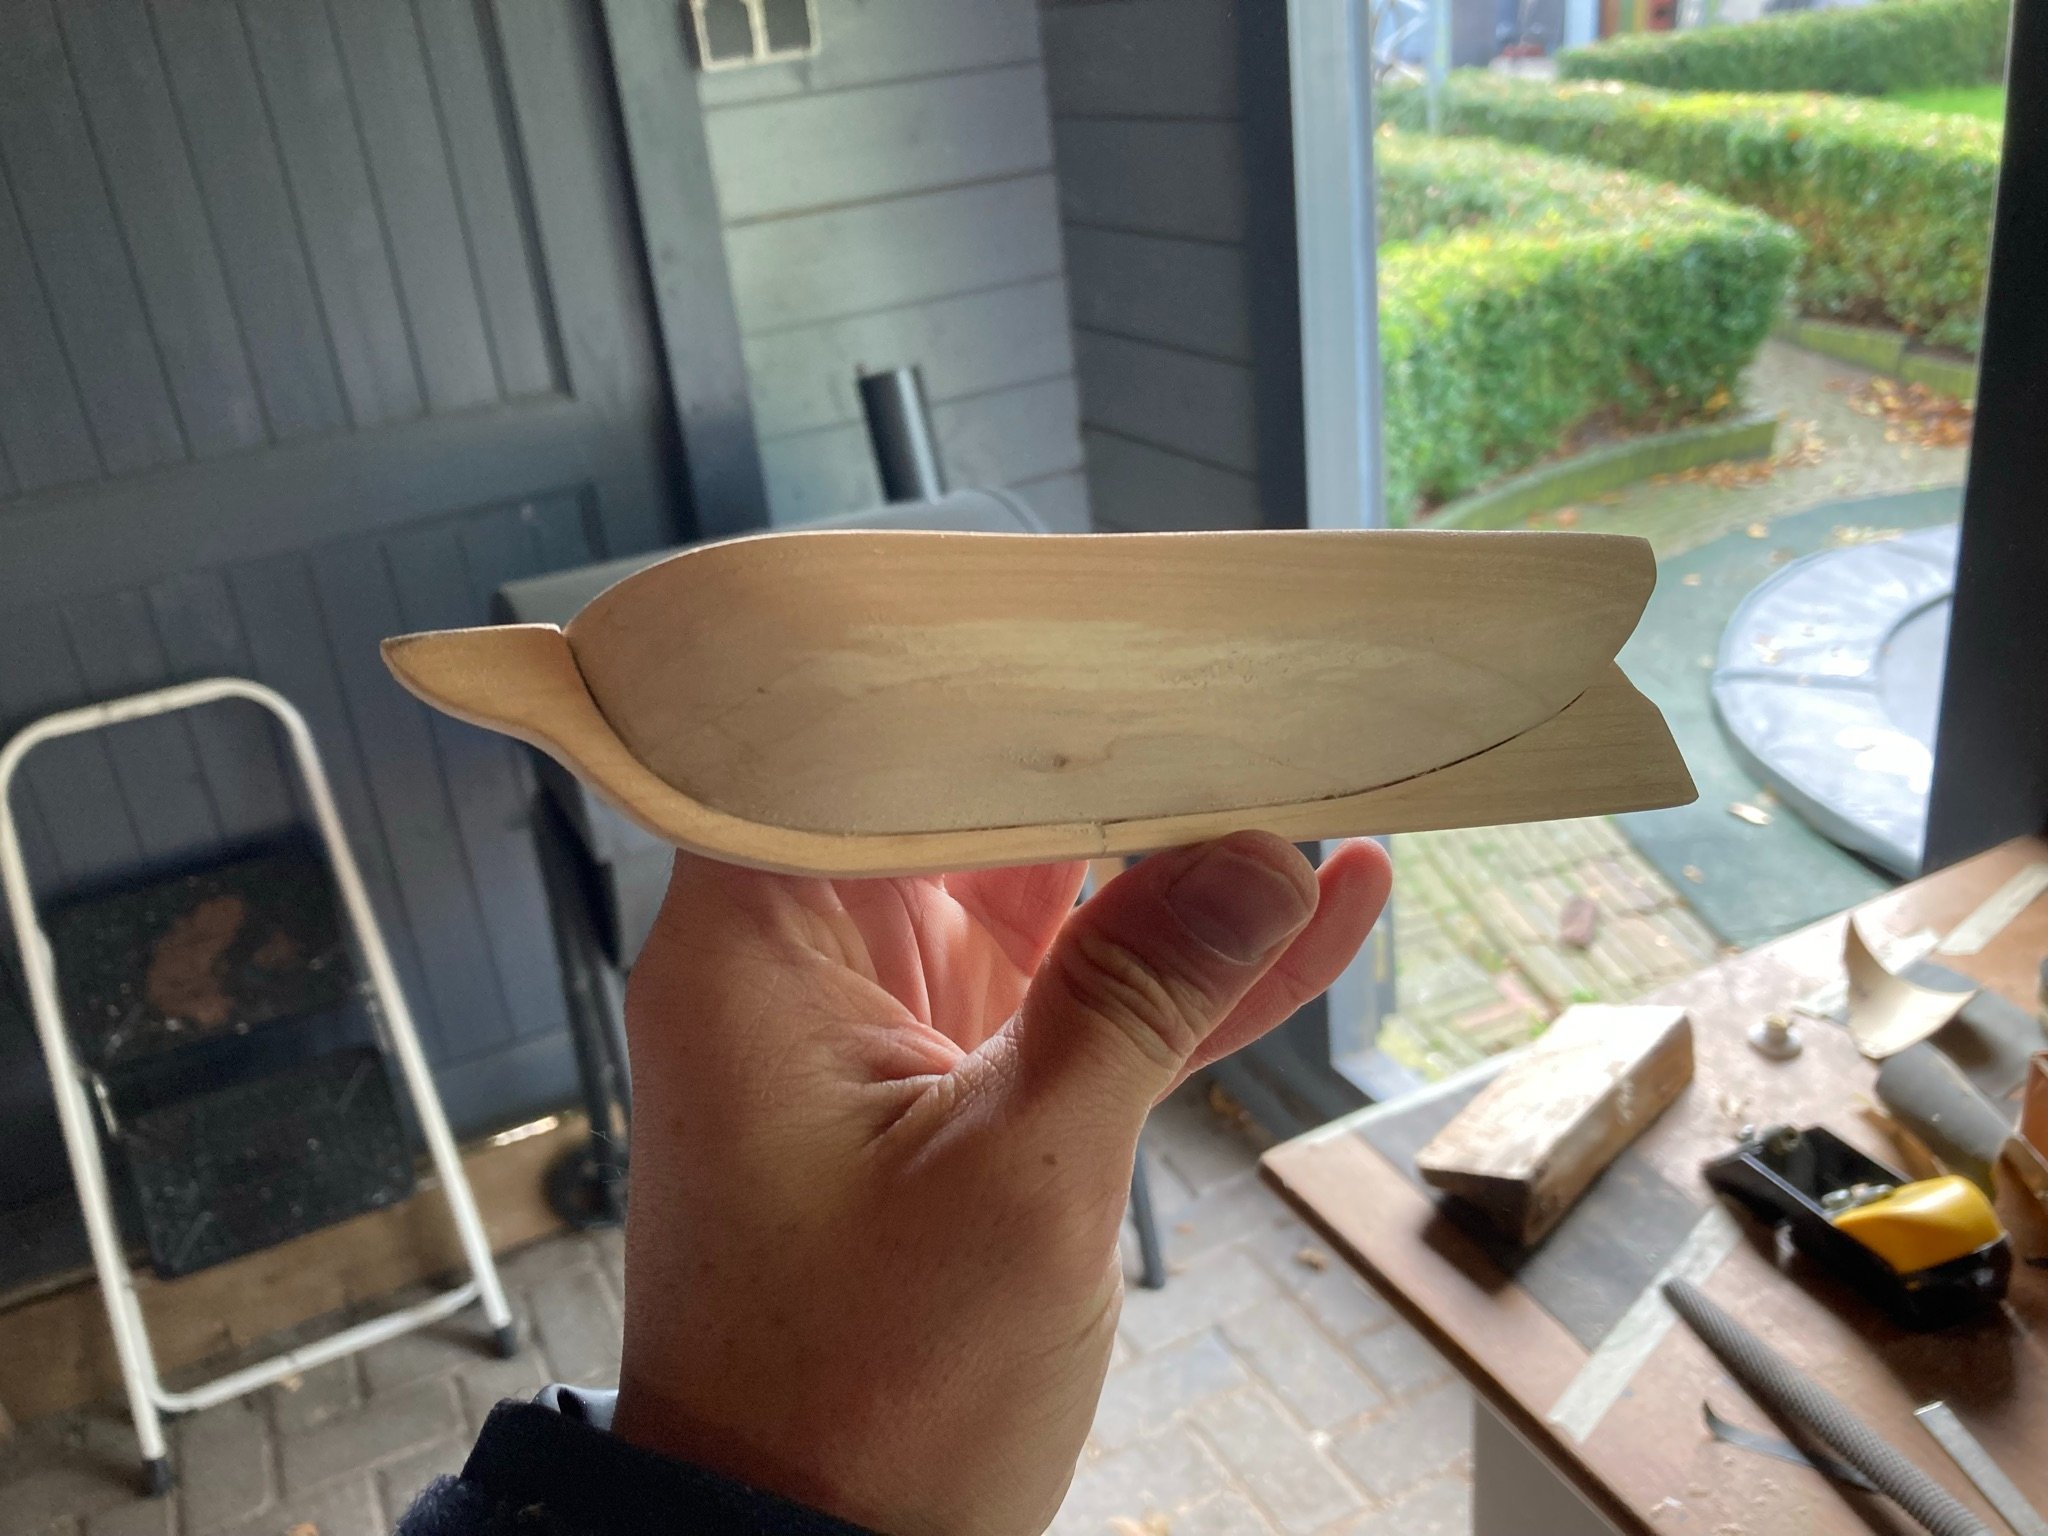
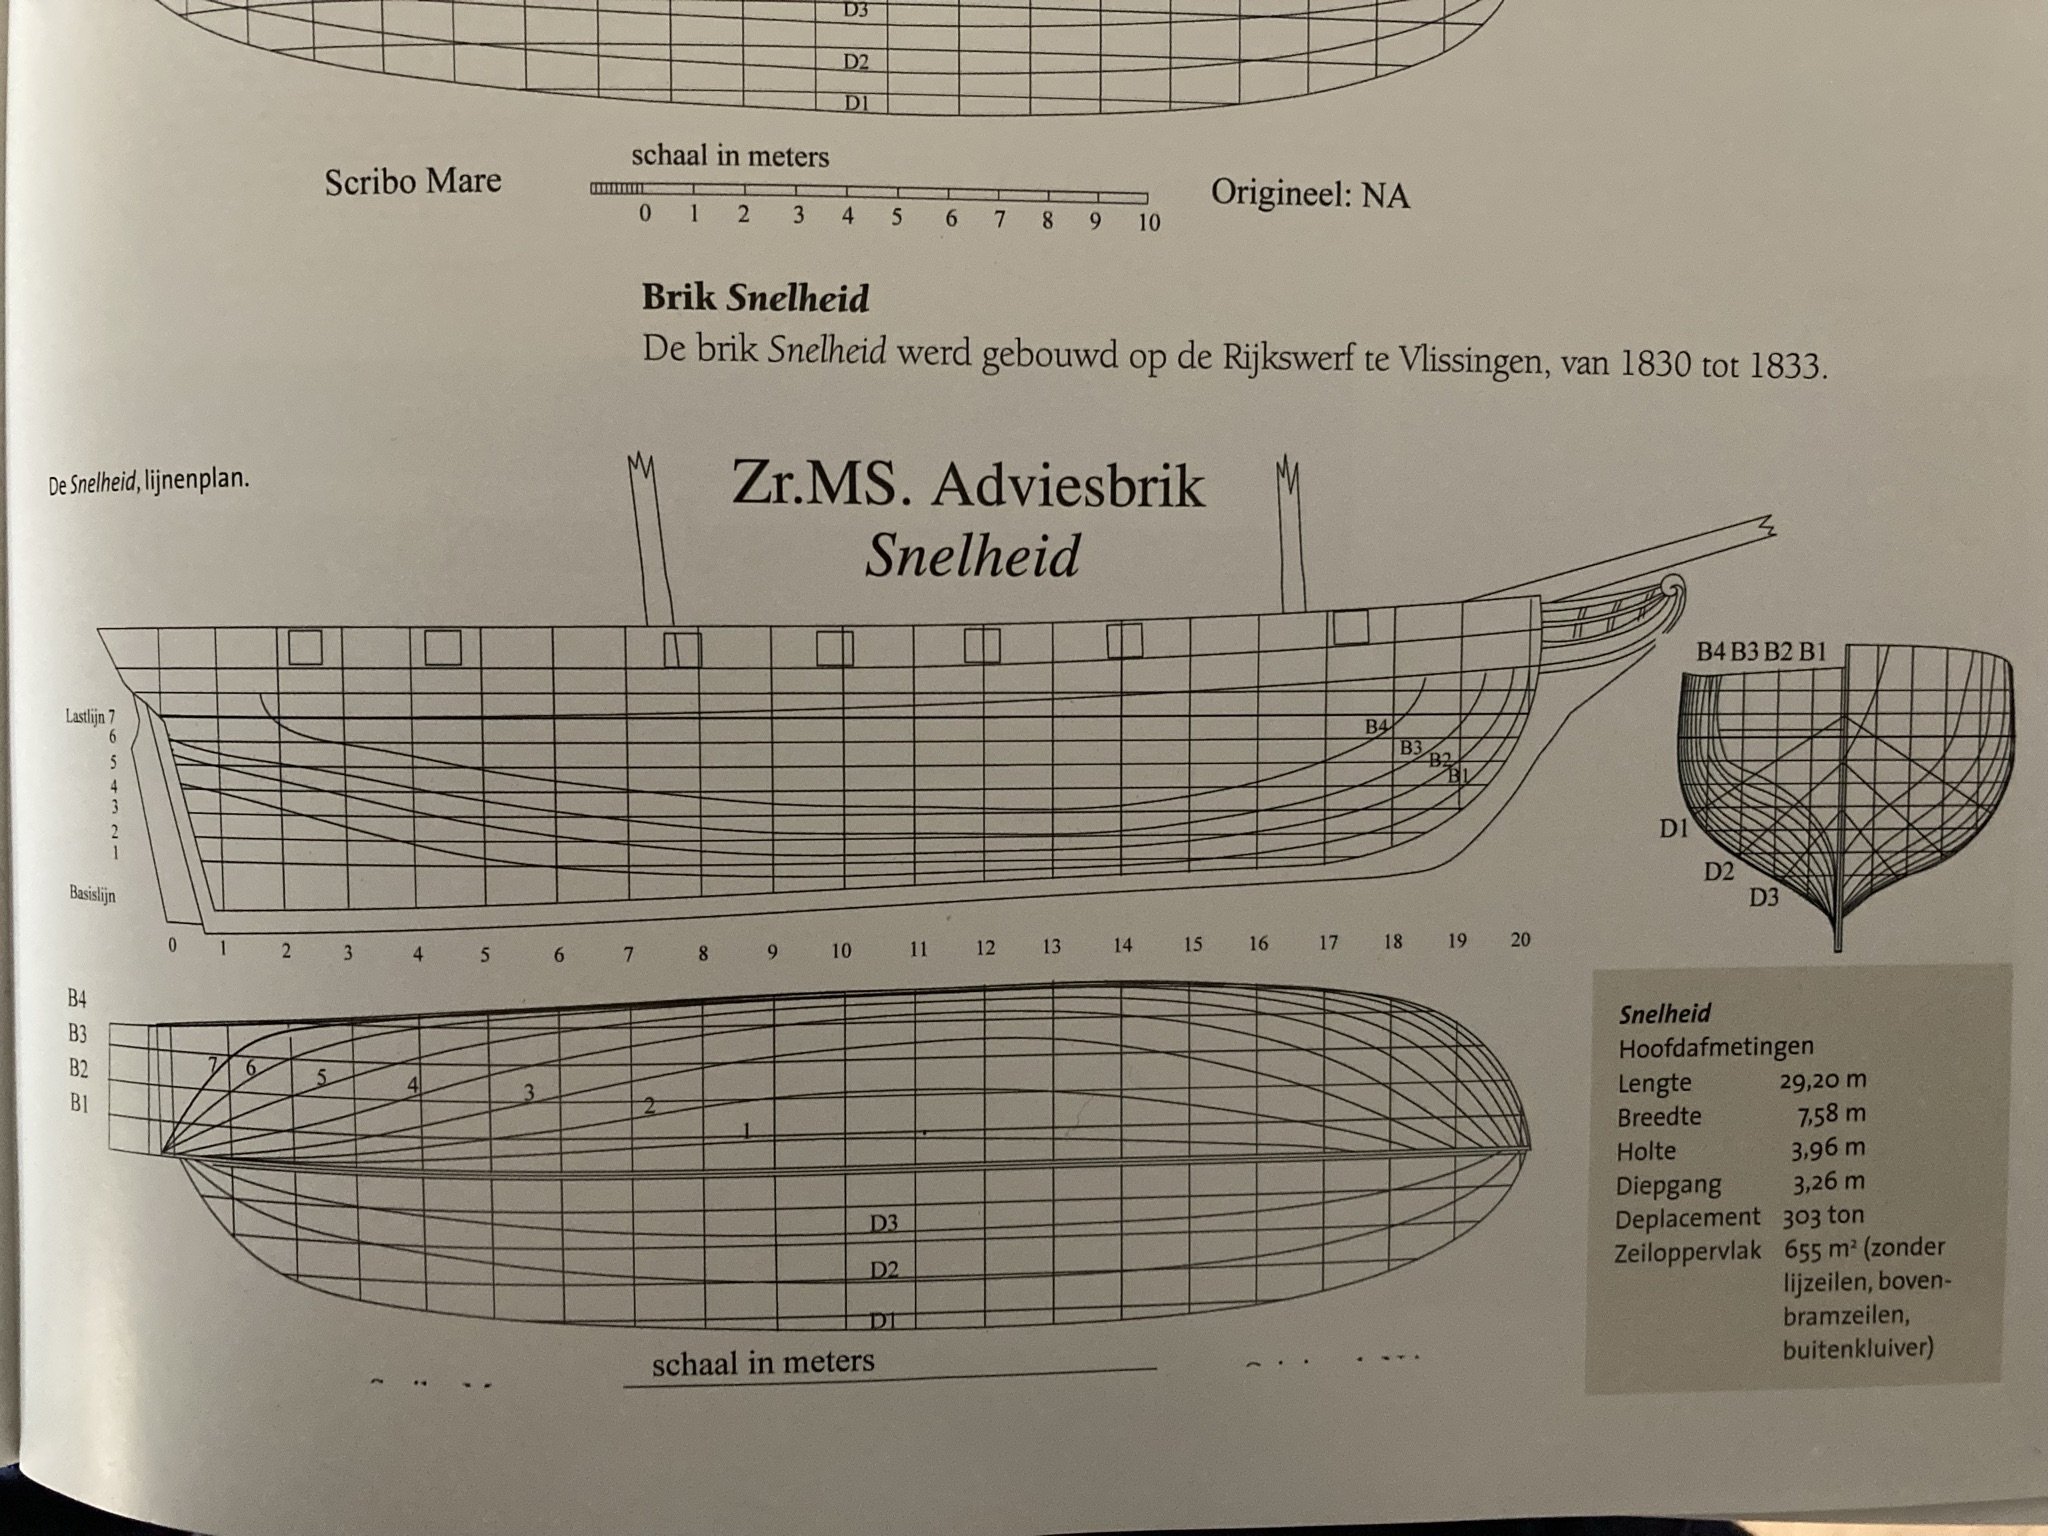
Hi all! This is my first build, so I decided to go with something small to get into practice. I found a subject in a book with Dutch sailing ships: "Nederlandse schoeners & Brikken by Vos, Ron de " The schip features about one page with a brief description, line plans and a basic rigging plan. Zr.Ms. Adviesbrik Snelheid was built in 1830 For materials I took a block of firewood and some string, glue and paint from the shed. total cost: zero. With a handsaw, and a plane I created two flat surfaces on the block with a 90 degree angle between. I carefully copied the sheerplan and symetric halfbreath plan to the block with pensel. Using a handsaw I roughly cut the shapes out, with some chisels and sandpaper I completed the shape of the hull, excluding the keel. From remaining material of the wooden block I cut a thin plan and cut out the keel with a jigsaw. I intended to make it out of one piece, however I mis measured the length of the ship and the easiest method to correct my mistake was to cut the keel in half, right where the stand would be. The keel is glued to the hull with white wood glue.