HOLIDAY DONATION DRIVE - SUPPORT MSW - DO YOUR PART TO KEEP THIS GREAT FORUM GOING! (Only 13 donations so far - C'mon guys!)
×


DanB
-
Posts
163 -
Joined
-
Last visited
Content Type
Profiles
Forums
Gallery
Events
Everything posted by DanB
-
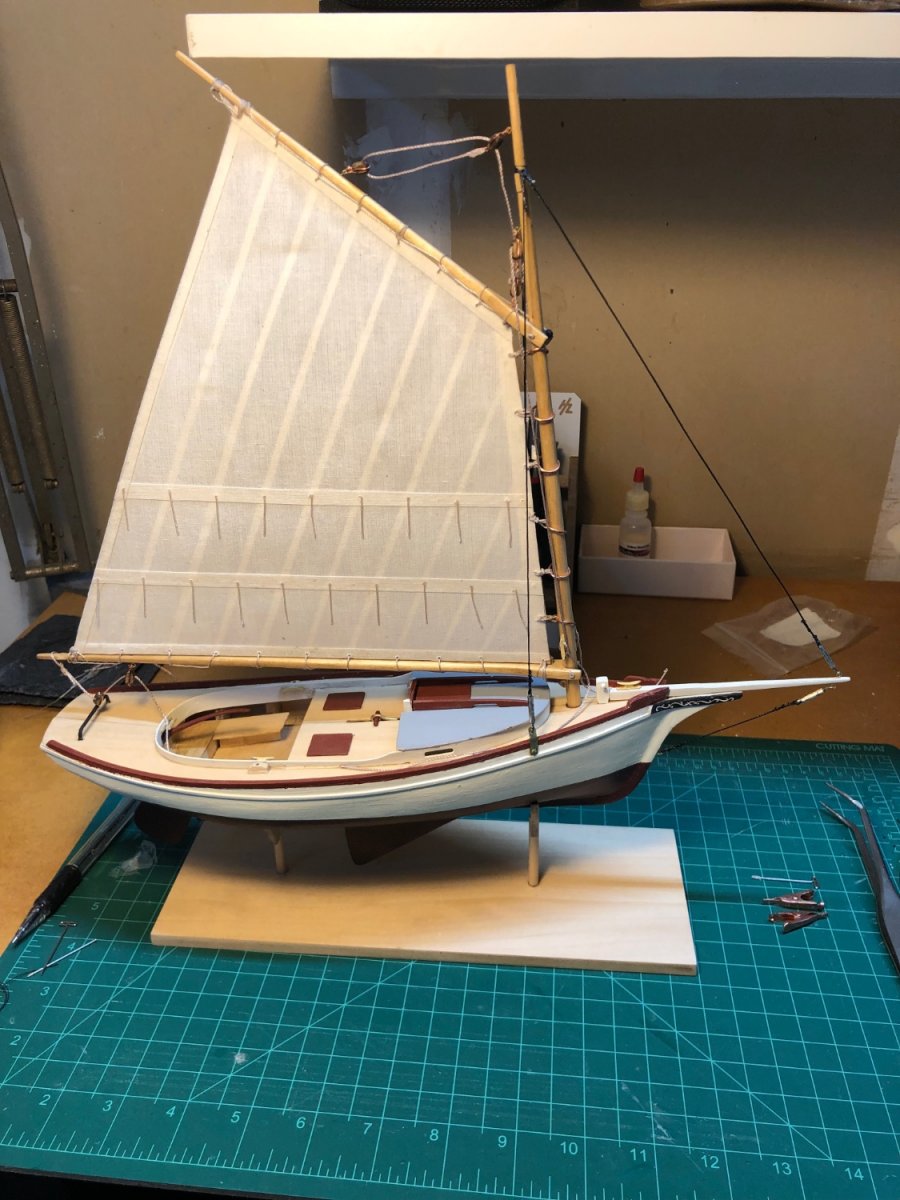
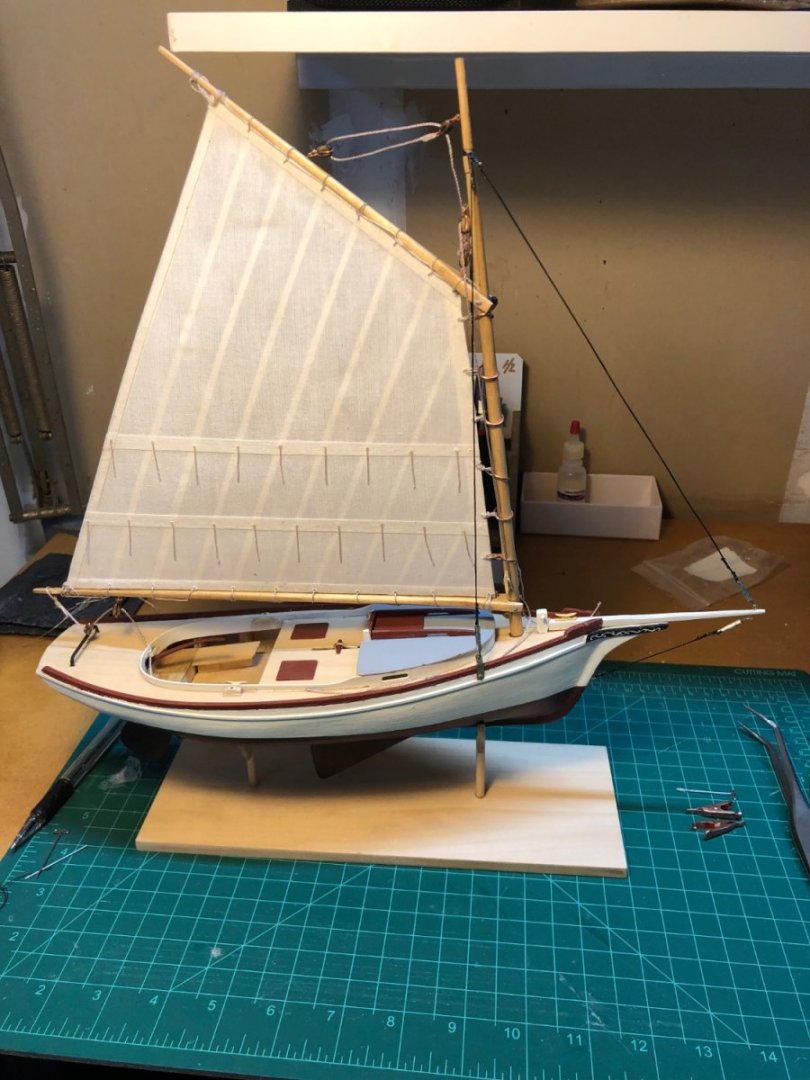
Standing Rigging This was harder than I thought it would be. As per the instructions, I did not glue in the mast. Using small alligator clips on the lines, I think I was able to get the tension on the back stays balanced so the mast was vertical. I bought 0.55 mm black line which fit the supplied turnbuckles much better. It would have been a bit easier to attach the turnbuckles if had made the holes in the chainplates closer to the edge as the hooks on the turnbuckles are very small. I had to use epoxy on one to get it into position. On to the jib sail.
- 90 replies
-
- 11
-

-
- Model Shipways
- muscongus bay lobster smack
- (and 1 more)
-
Your Dory is looking good!. If you are missing the wood for the gunwale, there is a form on the Model expo site to contact them for replacement parts. The other thing I found was that the rope they supplied was way too big. It was 2mm line and would not fit thorough the holes at the stern and bow. Even if you enlarge them, I think it still looks too big. I wound up buying some 1 mm line but even that may have been too big as I still had to enlarge the holes. Get an N95 dust mask at a hardware store (it can be the kind with a valve in it). I have had to make myself remember put it on when I start sanding, but it is important. I try to keep it somewhere in sight on my bench. The sanding will stir up dust you can not see and it will wind up in your lungs. It is even more important if you have asthma. Dan
- 34 replies
-
- 3
-
-
- first build
- Model Shipways
- (and 2 more)
-
Throat halyard, peak halyard and main sheet Instructions were pretty clear, but I should have looked ahead and figured out where these blocks with the eyes go first and it would have saved me some extra work. Lines are not in permanently yet so I can tighten the and adjust them. Instructions say not to glue in the mast and use the stays to hold it in position, but I am not sure how well that is going to work. Stays The turnbuckles that are supplied have holes that are too small for the 0.7 mm line and the hooks on the opposite ends are also pretty small. I tried widening the hole in one with a broach but it was too delicate after I widened the hole and it broke. Tied using a loop of 0.4mm to connect them to the loop on the larger line (not very ship shape I think) but it was difficult to get the jib stay tight that way. I think I will try it again.
- 90 replies
-
- 7
-
-
- Model Shipways
- muscongus bay lobster smack
- (and 1 more)
-
You may be able to fix the dent by using some water to wet the wood. It will make it swell a bit and fix the dent. You can sand it a bit once it dries, If not ,you will be able to use wood filler if you paint the dory. Good luck with your build Dan
- 34 replies
-
- 3
-
-
- first build
- Model Shipways
- (and 2 more)
-
Attaching the sail to the mast, gaff and boom. This is just like the Pram, but I forgot how to do it and had to read the instructions in the manual several times, look at the instructions in the back of the manual , and look at the Pram instructions. I still managed to mess it up a few times I used up the 0.4 mm line, but I think the rest of the rigging is 0.7mm. I am sure that Model Expo thought they supplied enough line, but it would have been helpful to include a bit more to account for mistakes. I added the beads for each parral that holds the mast and Gaff. The manual says to use seed beads but does not say what size and they come in a lot of different sizes . The first ones that I ordered were too small. The ones I finally used are size 8/0 and seem to be about right and look similar to the picture in the manual. I now have a lifetime supply of these beads unless I decide to give up on ship models and make jewelry instead😃. I had a better picture but the file will not upload and I just get Error 200 message . Onward to attaching blocks Dan
- 90 replies
-
- 6
-
-
- Model Shipways
- muscongus bay lobster smack
- (and 1 more)
-
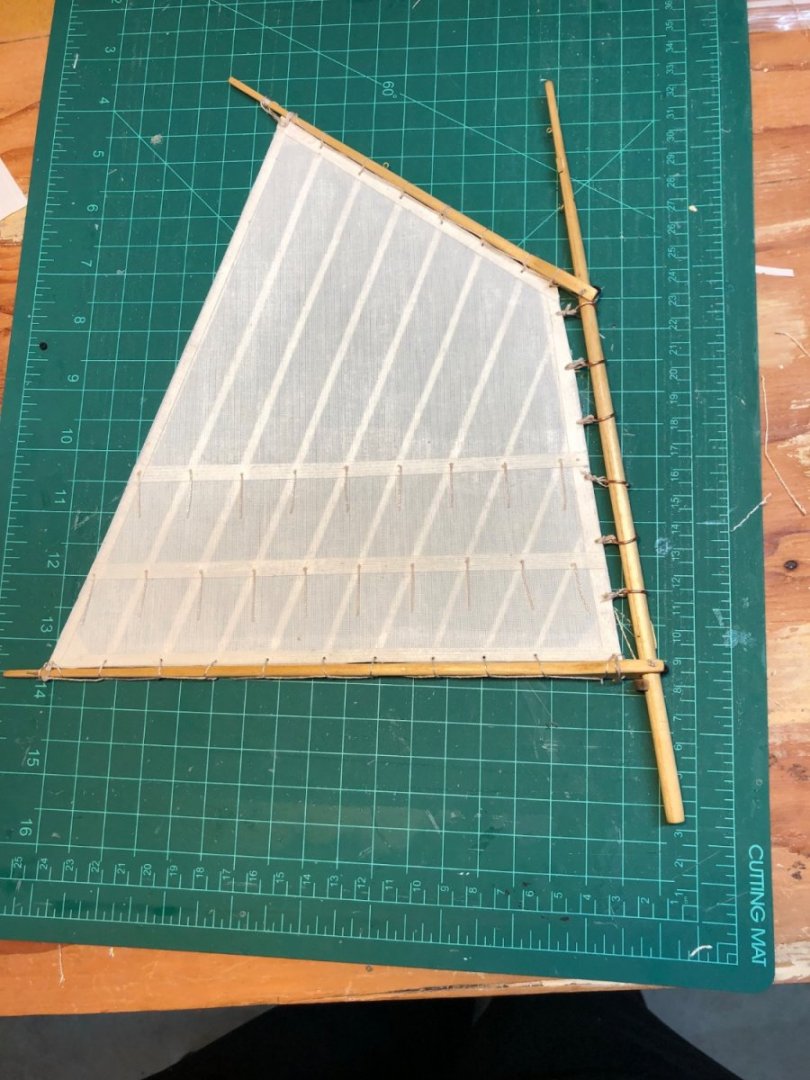
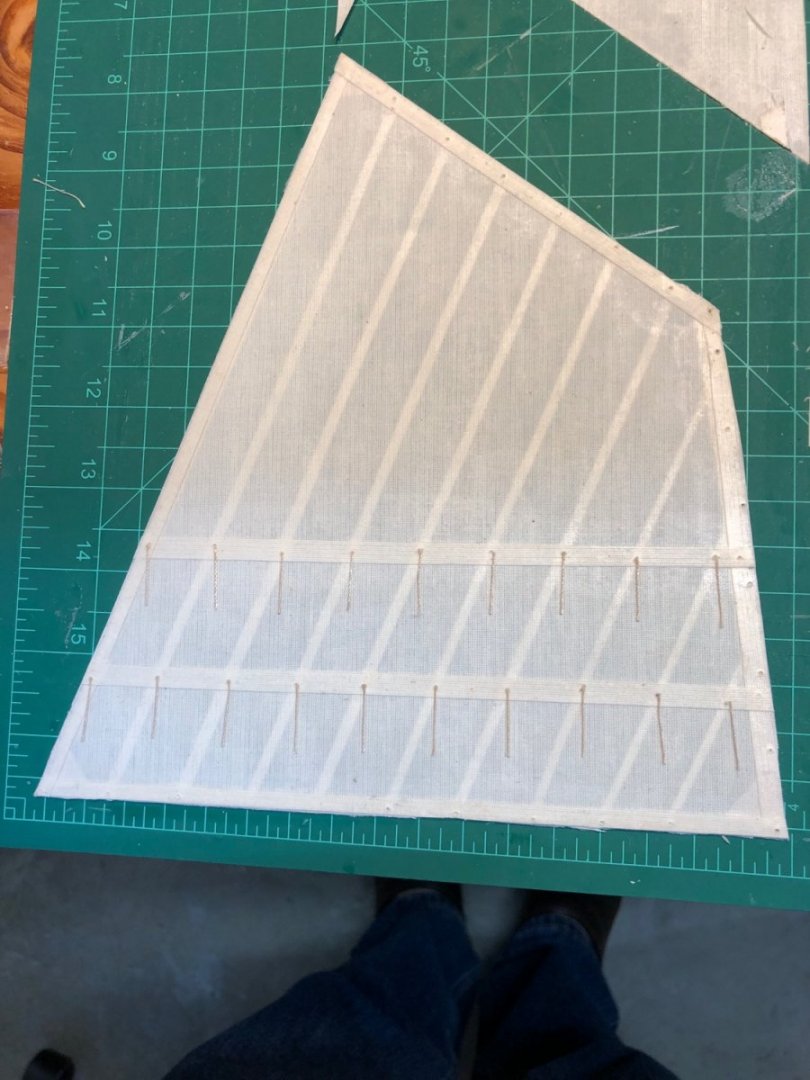
The instructions did say they are usually knotted on each side of the sail, but they recommended gluing them on each side of the sail. Drill a hole with a #55 bit at each point Then use 0.3 mm line that has been stretched so there are no kinks. I found stretching it and using dilute white glue worked well Then cut to 1 inch lengths and glue at each hole on both sides so they appear to hang vertically Then trim to 3/4 inch on each side to get them about even . It is described much better in the instructions for this kit, and they can be downloaded as a pdf from the Model Expo website on the page for the kit.
- 90 replies
-
- 3
-

-
-
- Model Shipways
- muscongus bay lobster smack
- (and 1 more)
-
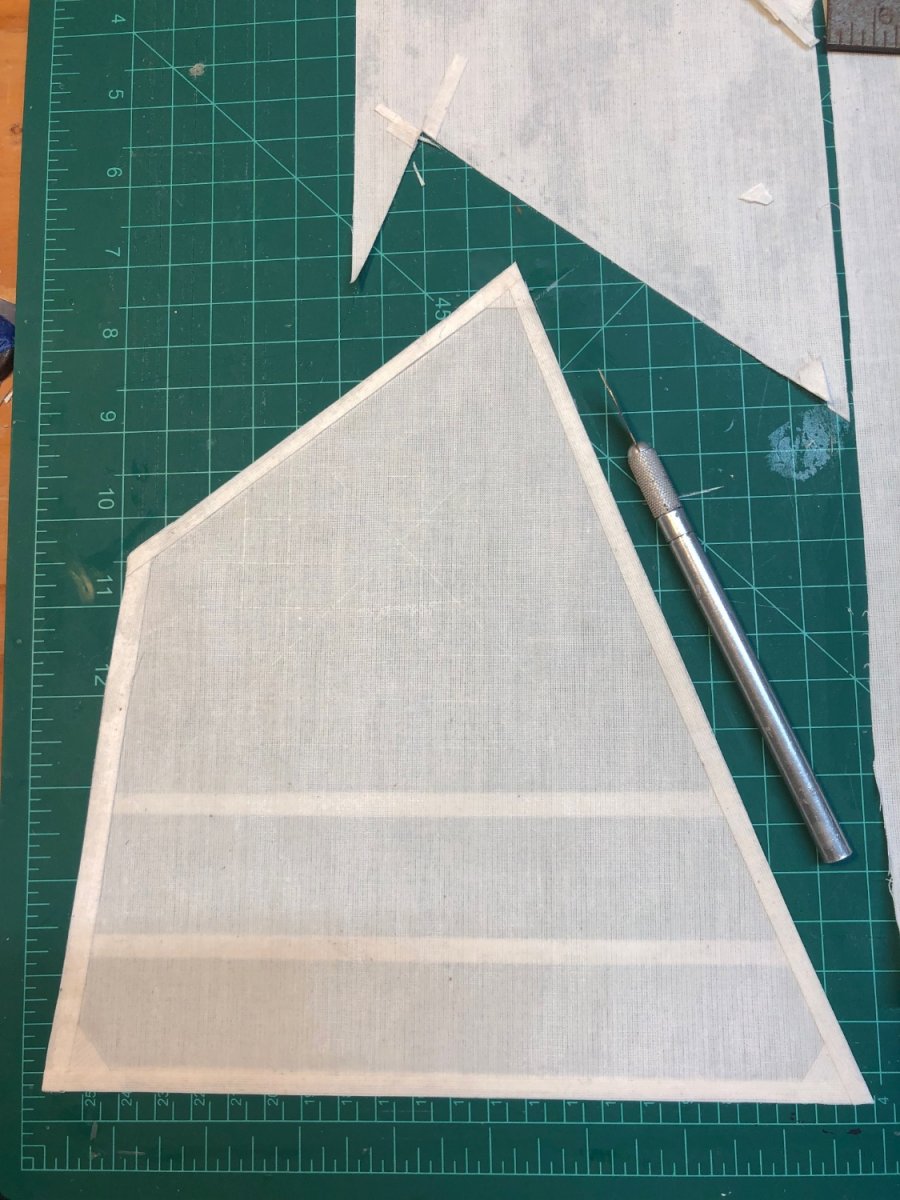
Yes, the sail material is stretched first by taping it to a flat surface. (I found I also need to iron out the folds) Then paint diluted white glue on the sail and allow it to dry. Then mark out the sail and add reinforcing strips by gluing them with more diluted glue. It seems to work well, and after doing it a few times I think I could now do this for a model that did not have sails supplied.
- 90 replies
-
- 5
-
-
- Model Shipways
- muscongus bay lobster smack
- (and 1 more)
-
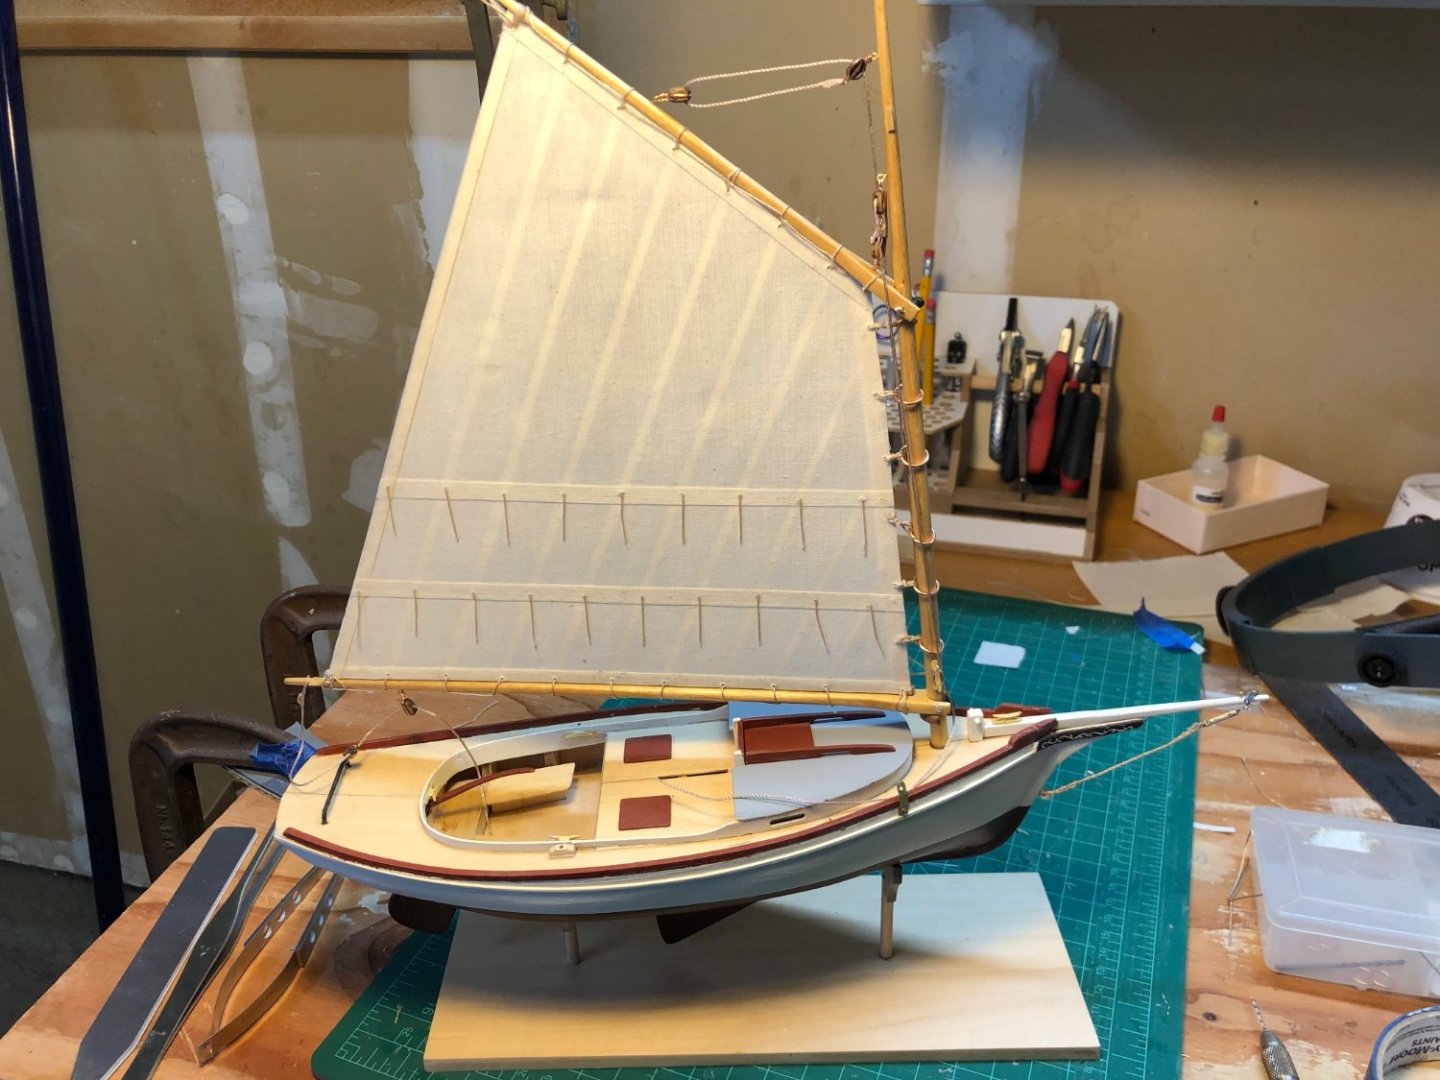
Finished the mainsail. Now working on attaching it to the mast and gaff.
- 90 replies
-
- 10
-
-
- Model Shipways
- muscongus bay lobster smack
- (and 1 more)
-
Working on the main sail. The measurements for the reinforcing strips given in the instructions differ from what is on the full size plans for the sails. I decided to go with the plans. My pencil marks to lay out the sail were too dark and showed on the other side after I had added the strips along the edges, so I added strips on both sides to cover up the marks . I will remember this for next time-- minimal or no pencil marks. It has been a lot of fun so far; moving along slowly.

- 90 replies
-
- 8
-
-
- Model Shipways
- muscongus bay lobster smack
- (and 1 more)
-
Thanks for your comments Don Quixote. Good luck with the Pram!
-
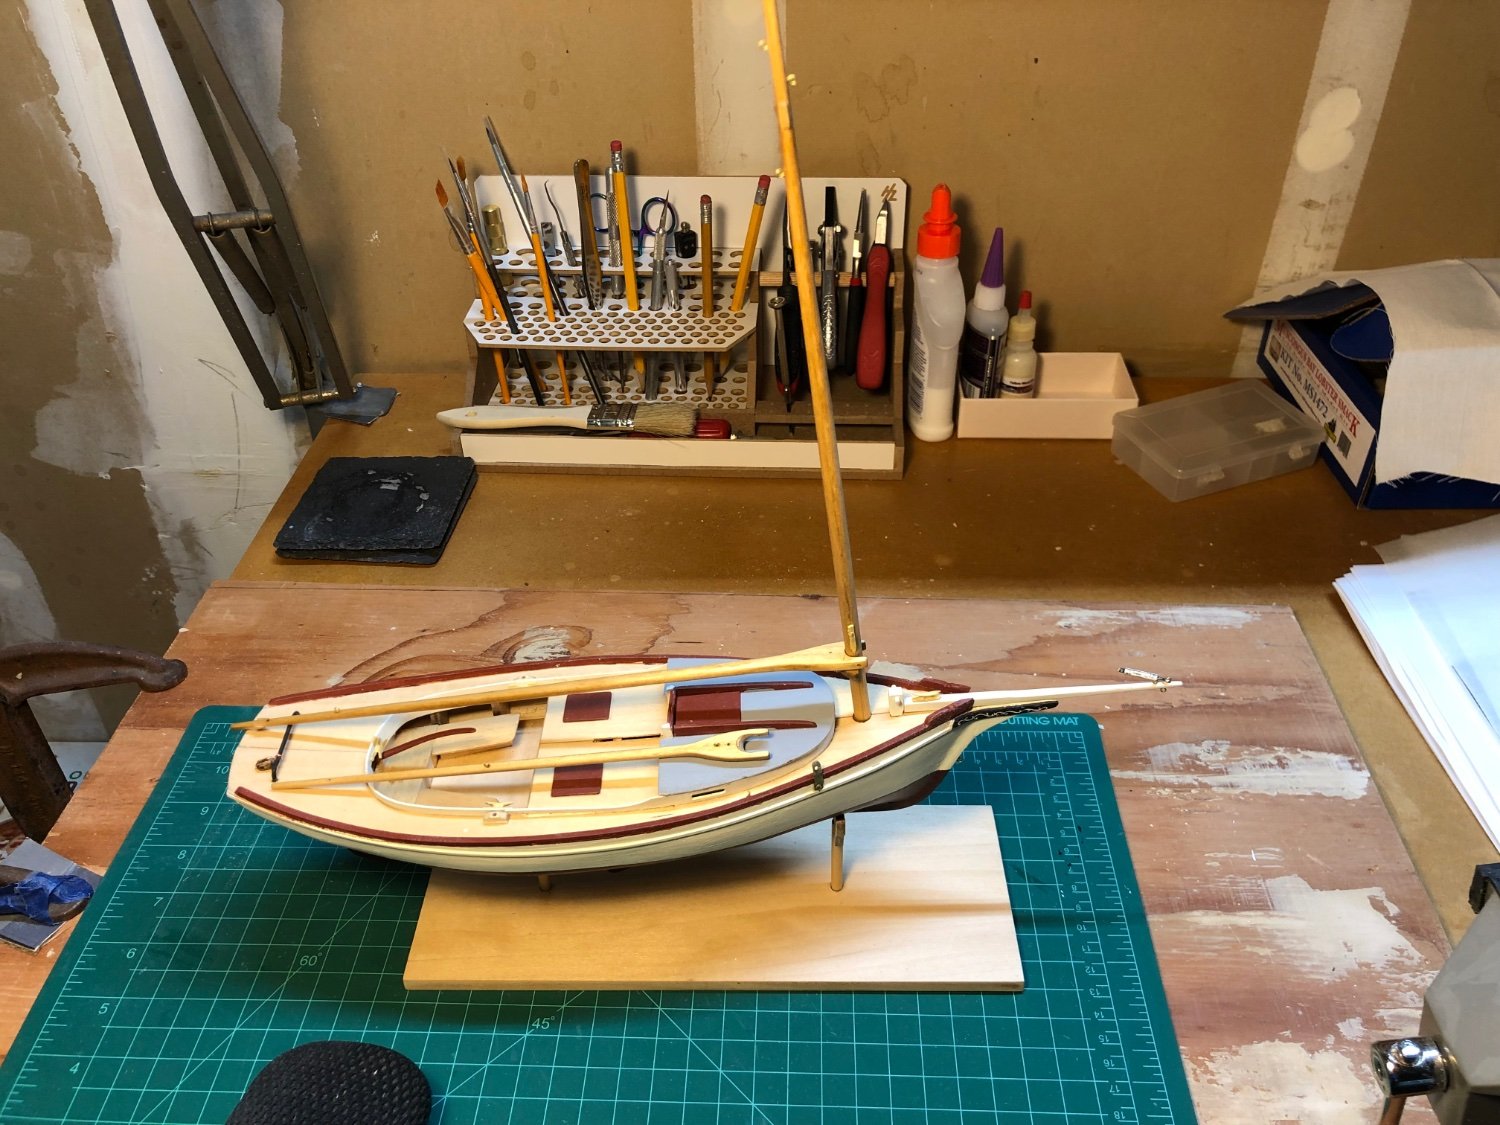
Mast, boom and gaff are finished. Next step is to make the sails. I had a lot of fun with the sail on the last model, but these look a lot more complicated than the sail on the Pram!. It will probably be next week though as I will be busy playing with visiting grandchildren this week.

- 90 replies
-
- 7
-
-
- Model Shipways
- muscongus bay lobster smack
- (and 1 more)
-
I finished the chain plates and have been working on the mast and boom. They are coming out much closer to round than on the Pram. I mostly used sanding sticks to get the four square and 8 square. I tired the little plane I bought for the Pram but it was very difficult to get the balde set well and I was worried I would take off too much. It took quite a while, even starting with 80 or 100 grit standing sticks. On to the Gaff next and then plan to stain them and add the eye bolts.
- 90 replies
-
- 3
-
-
- Model Shipways
- muscongus bay lobster smack
- (and 1 more)
-
Oh absolutely. I would not pass up a chance to play with fire😀
- 90 replies
-
- 3
-
-
- Model Shipways
- muscongus bay lobster smack
- (and 1 more)
-
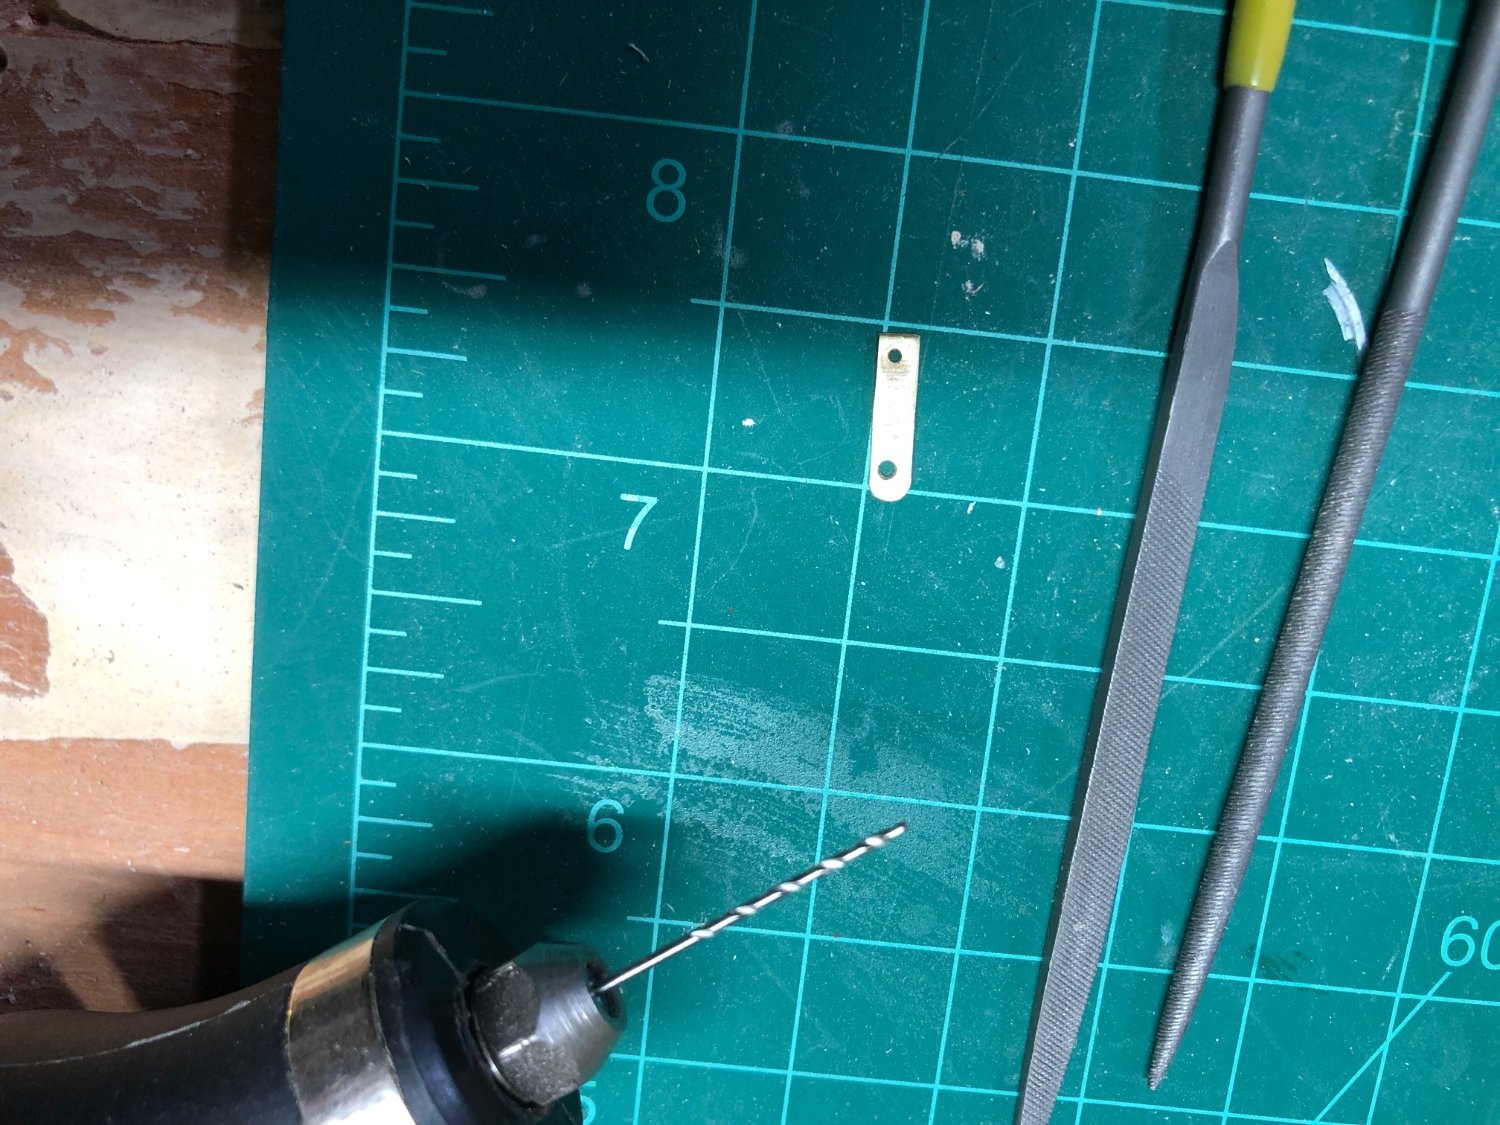
Chain plates for backstays I worked with the photo etch brass in the Pram, but the brass strip here was thicker, and my crummy pin vise was no match for it. I had to get new collets for my ancient craftsman rotary tool so I could hold the drill bits in it. After a few tries to figure out how to use the center punch that they suggest that you get in the instructions, I was able to get the holes sort of centered and then drill them out. This was loads fun! One down, one to go.

- 90 replies
-
- 4
-
-
- Model Shipways
- muscongus bay lobster smack
- (and 1 more)
-
Dental floss is an interesting idea. Most of my ungluing ( I am becoming quite an expert at it) seemed to need repeated applications over a few minutes for the PVA to soften. Gentle but persistent wiggling of the part also seemed to help. I don't think calling it bad names helps much, but I seem to try that also. Hang in there, it is worth it to get it right.
- 83 replies
-
- 1
-

-
- Lady Nelson
- Amati
- (and 2 more)
-
Thanks Gregg. I looked at your build ( and a bunch of others). I think I will use your suggestion of white on the bowsprit and stain the mast, gaff and boom.
- 90 replies
-
- 1
-
-
- Model Shipways
- muscongus bay lobster smack
- (and 1 more)
-
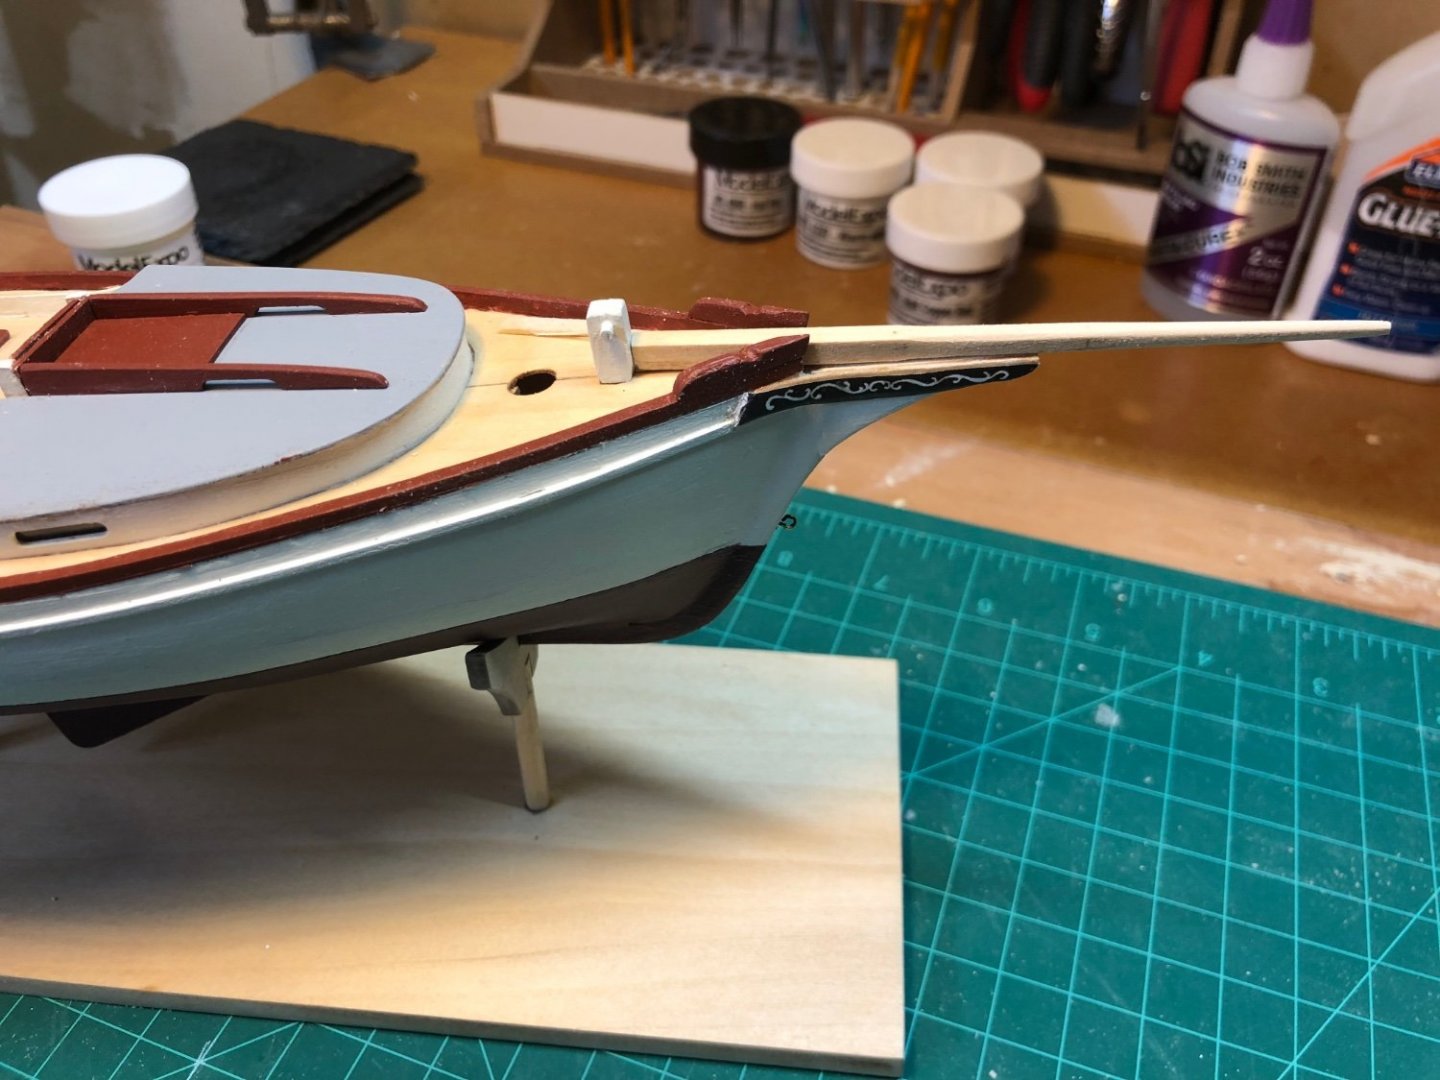
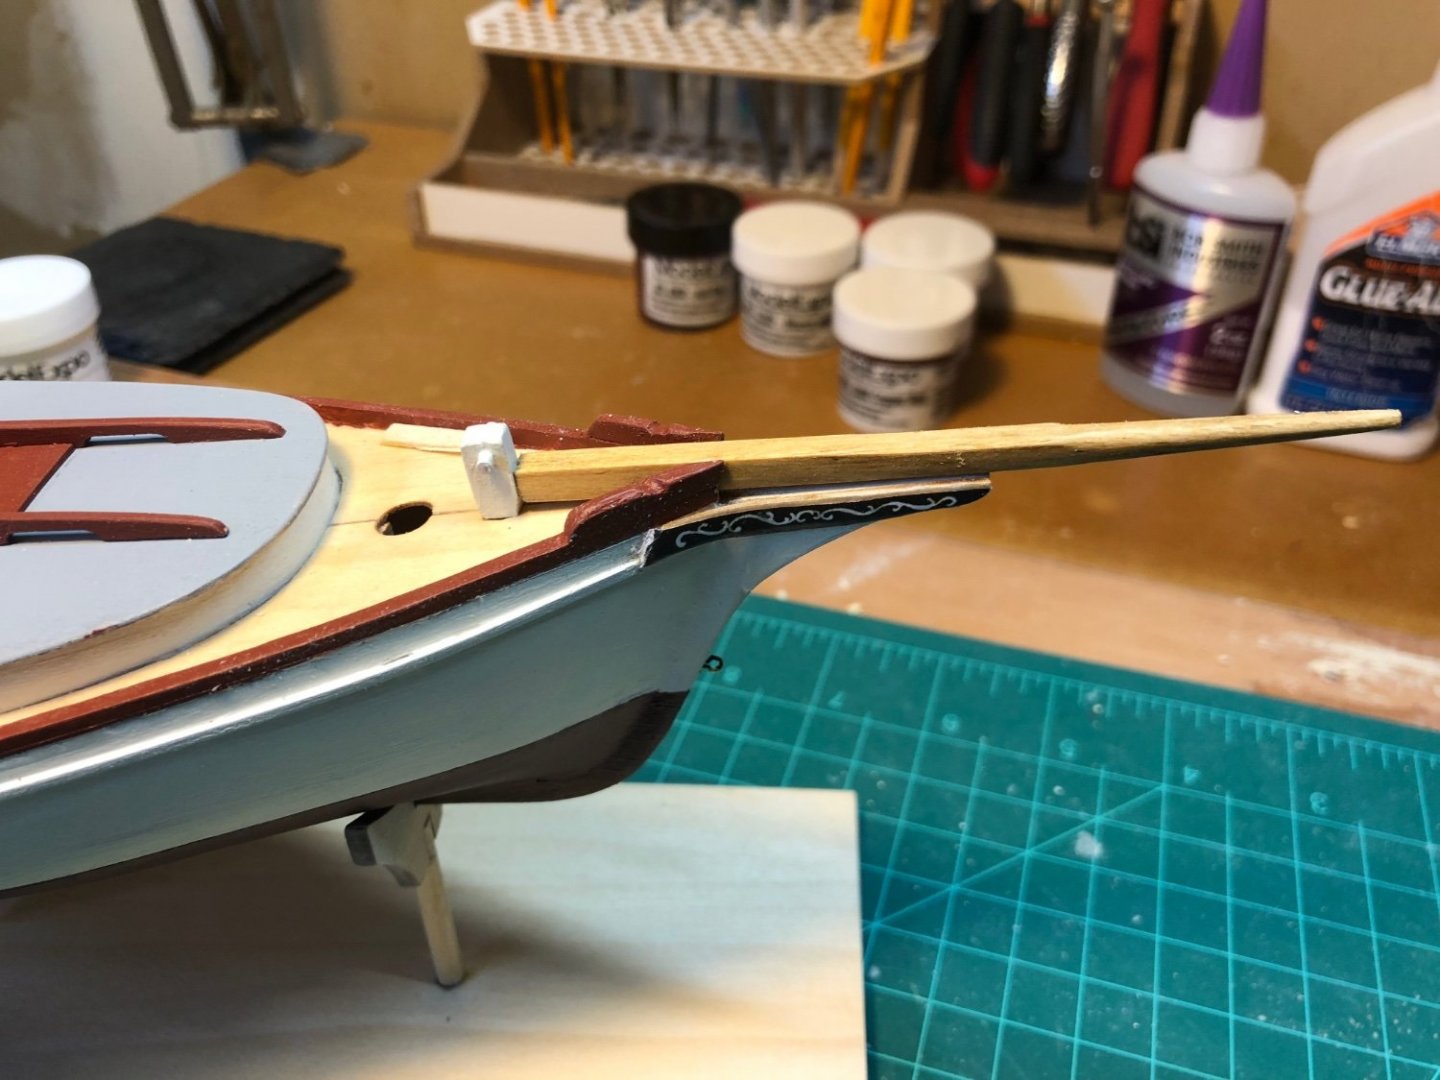
Bowsprit Number 2 This one came out better and not crooked at the end. It took a while working slowly in stages with sanding sticks. I have a bit more confidence to shape the mast now. Tried out some golden oak stain on bowsprit number one , but still trying to decide weather to use stain on the spars or just leave them all natural with some wipe on poly .
- 90 replies
-
- 7
-
-
- Model Shipways
- muscongus bay lobster smack
- (and 1 more)
-
It is a bit difficult to see in the pictures, but it does not look so bad to me. I bet sanding filler and paint are going to fix it up just fine.
-
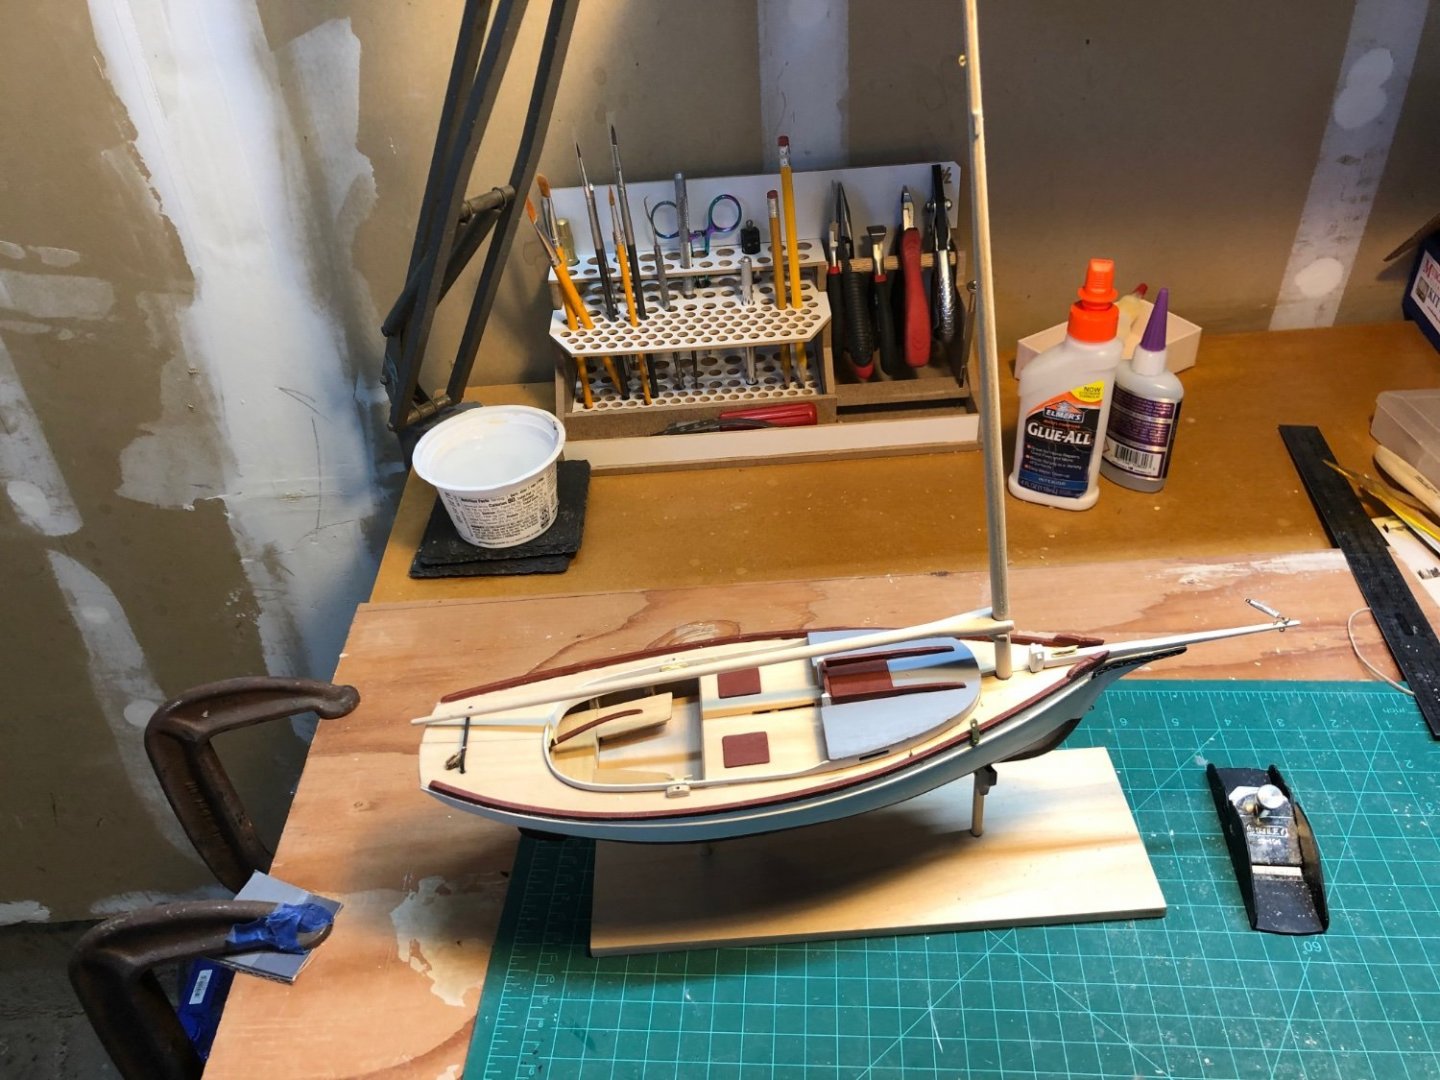
Traveller, Tiller, Trail boards and starting bowsprit. This was all a lot of fun and not too difficult except for the bowsprit. I had a lot of difficulty shaping the mast and spars or the Norwegian Pram. The instructions here were better, and after reading the instructions a few more times, I figured out how to use the octagonal scale in the manual. I also finally understood that the first step is to sand the rectangular shape of the part into a square. I think that is where I went wrong on the pram. I was still nervous so made a copy of the bowsprit blank and used that to practice on. The written instructions are not clear about when the spar goes from four square to octagonal. I figured it out after I looked at the plans a few more times. but had already tapered the final 1.5 inches of the bowsprit. I think I will be able to do it much better with another try tomorrow . I am going to make another copy of the bowsprit blank--- just incase😃.
- 90 replies
-
- 7
-
-
- Model Shipways
- muscongus bay lobster smack
- (and 1 more)
-
Masking and painting for the past few days. I need more masking practice.
- 90 replies
-
- 7
-
-
- Model Shipways
- muscongus bay lobster smack
- (and 1 more)
-
Thanks @druxey! I did as you suggested and have started painting it
- 90 replies
-
- 1
-
-
- Model Shipways
- muscongus bay lobster smack
- (and 1 more)
-
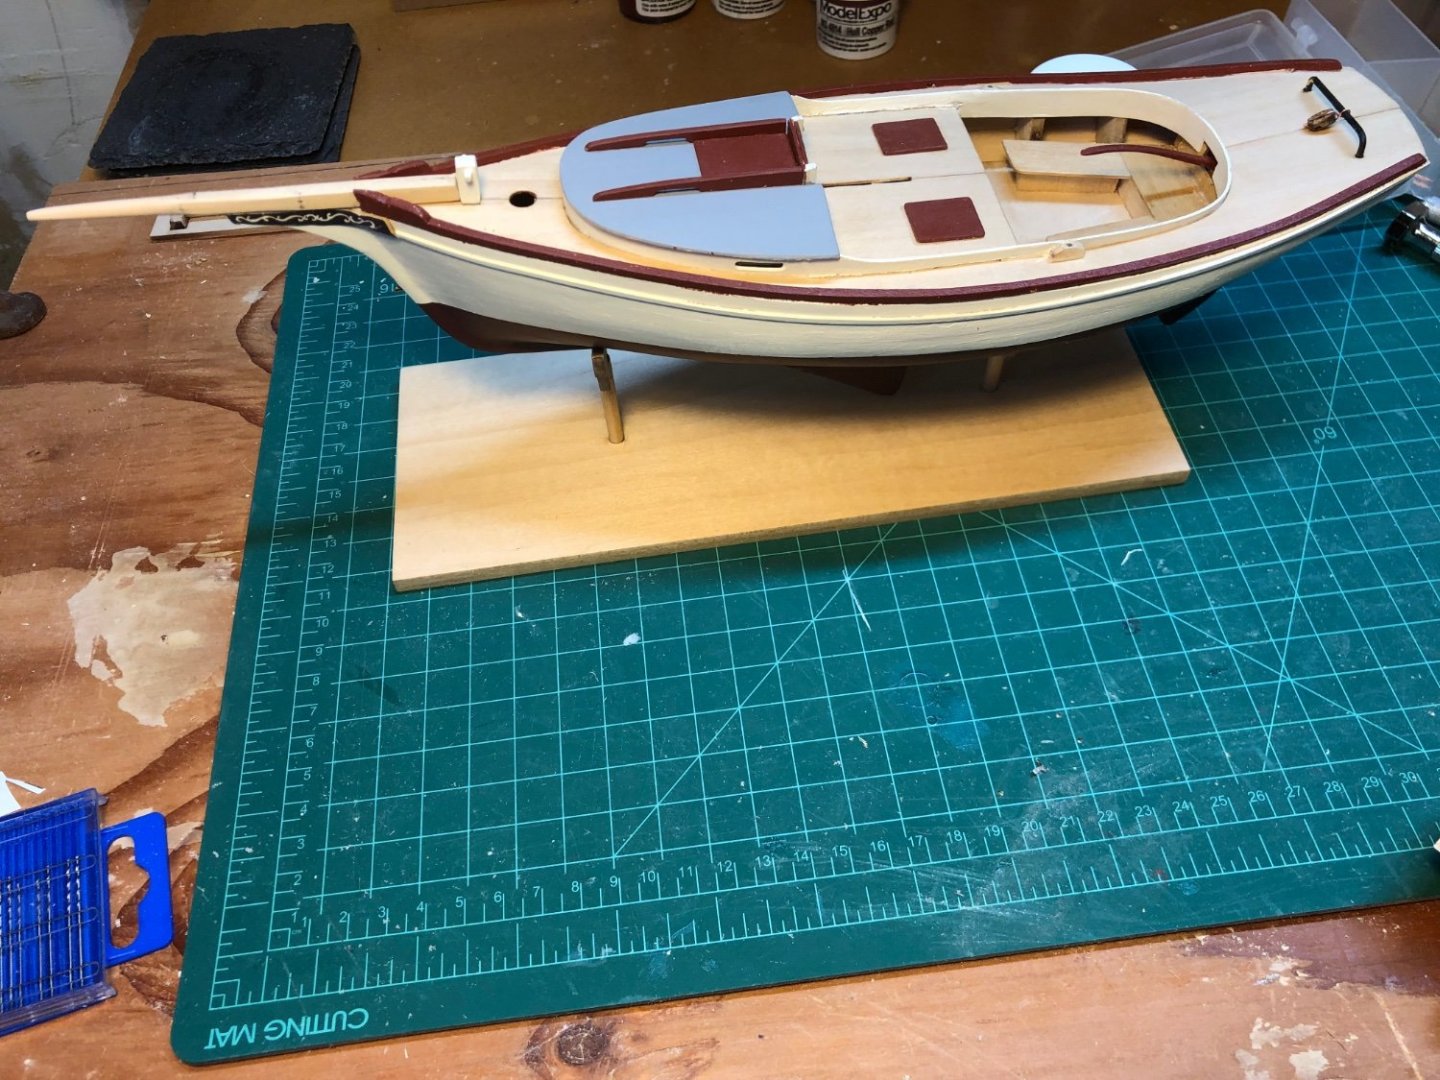
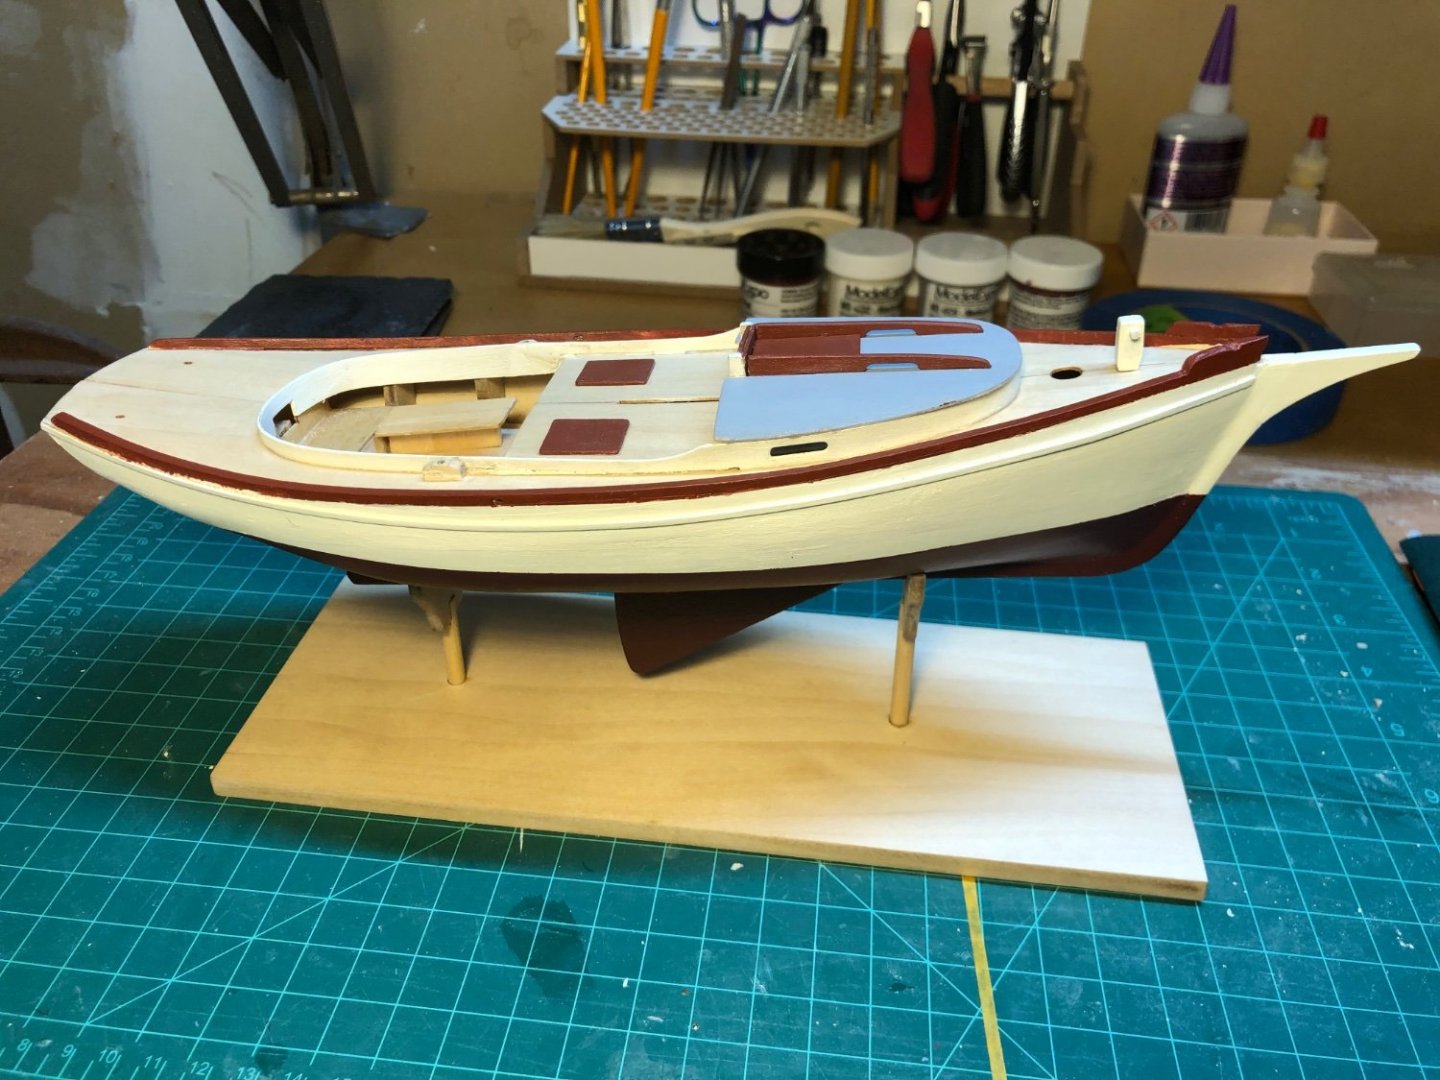
Marking the Waterline??? The instructions suggest putting the boat in its stand and then using a gig supplied in the kit that holds a pencil at what I think is supposed to be the correct height. It does not seem to work well. The boat does not sit level in the stand ( think that is correct, mine looks like the manual) . A lot of the examples of how to do this on this site suggest that the boat should be level. After several attempts, using the the procedure in the instructions, I think I was able to get close to what it looks like in the manual except at the stern where the pencil does not really touch it correctly because of the angle. Not sure what I am doing wrong. I may have to just try to get it close to what looks right. It is unclear form the pictures in the manual, but it looks like the water line is a bit below the stern transom.
- 90 replies
-
- 1
-
-
- Model Shipways
- muscongus bay lobster smack
- (and 1 more)
-
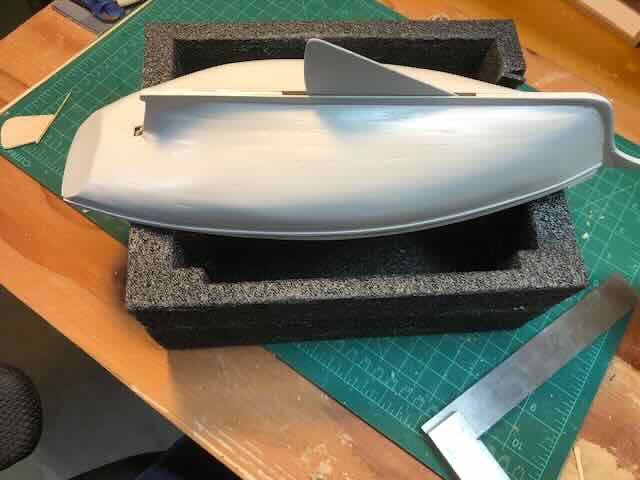
Lots of sanding, filling and priming to get ready to paint the hull. I have done multiple rounds of filling and sanding, and then more priming, filling and sanding . I feel like I am at the point of diminishing returns. I still found a few more places to fill though.
- 90 replies
-
- 3
-
-
- Model Shipways
- muscongus bay lobster smack
- (and 1 more)