Fubarelf
-
Posts
115 -
Joined
-
Last visited
Content Type
Profiles
Forums
Gallery
Events
Everything posted by Fubarelf
-
 Thank you, David! My work bench is currently empty and you have inspired me to give the dories another go. Tim
 -
Thank you so much, Ed!!
-
Thank you, Bob!
-
Thank you, Chris!
-
Thank you, Gregg!! Have appreciated all the comment and encouragement!
-
Thank you very much, @CPDDET!!
-
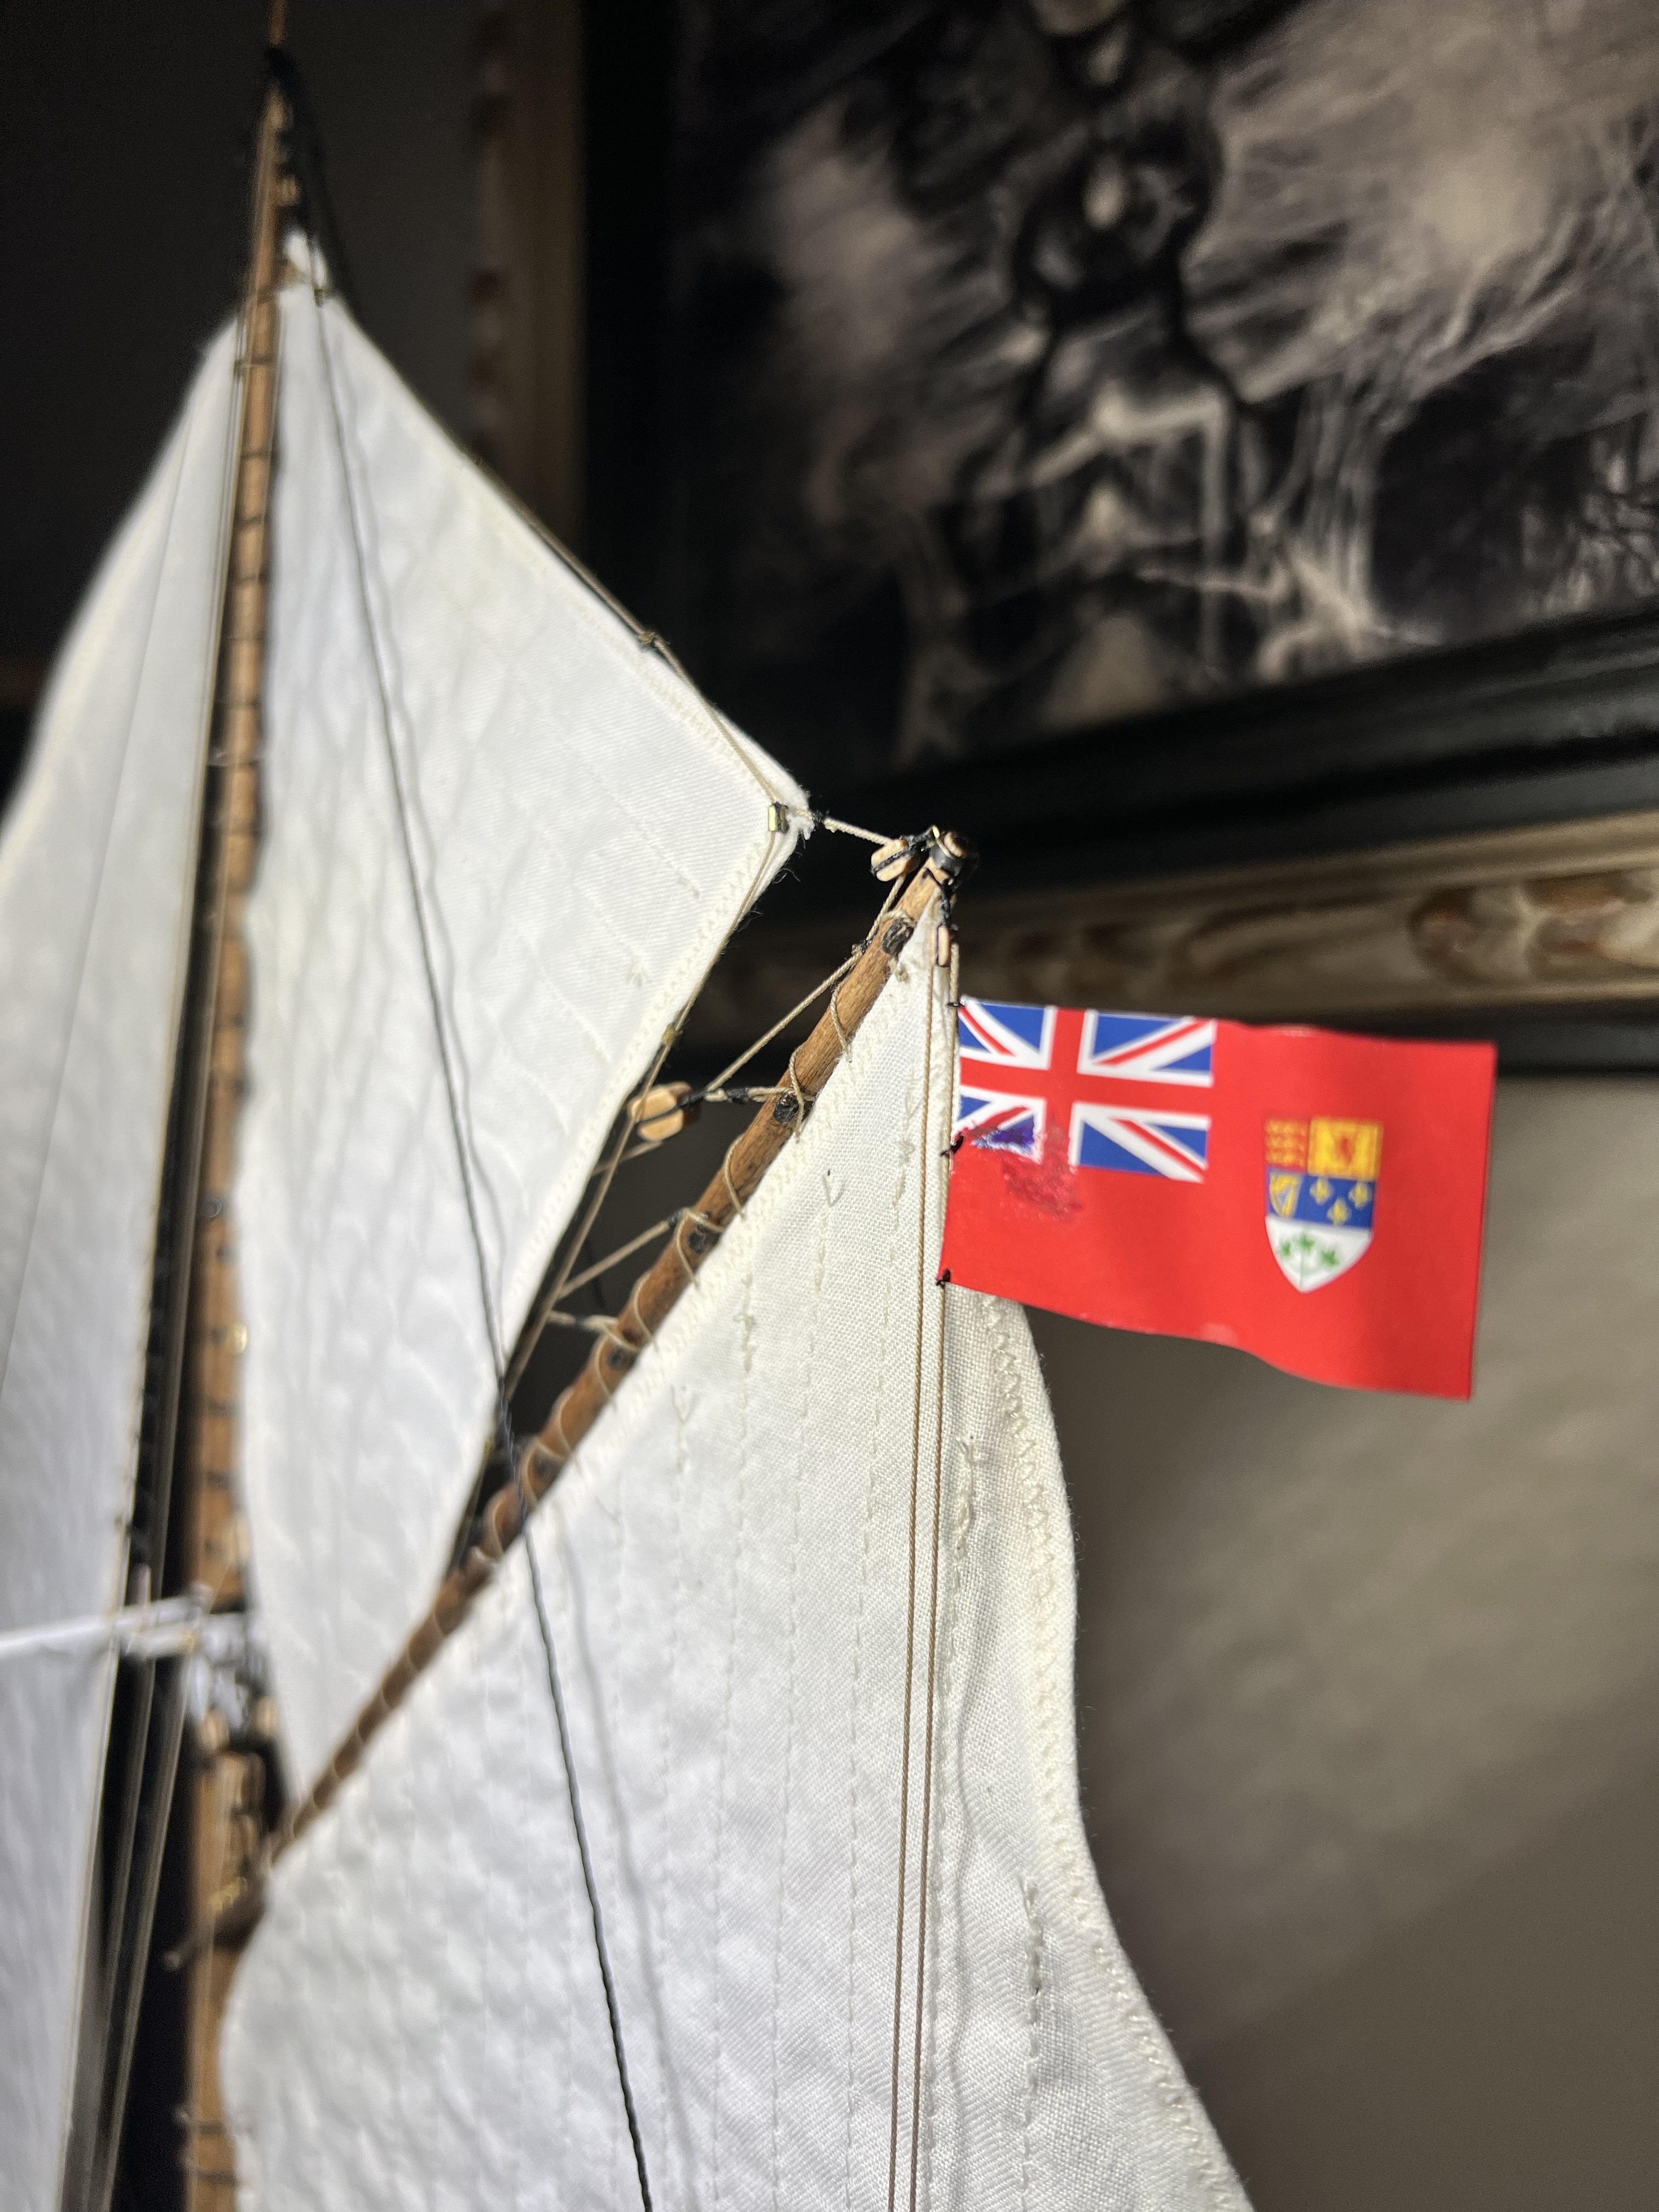
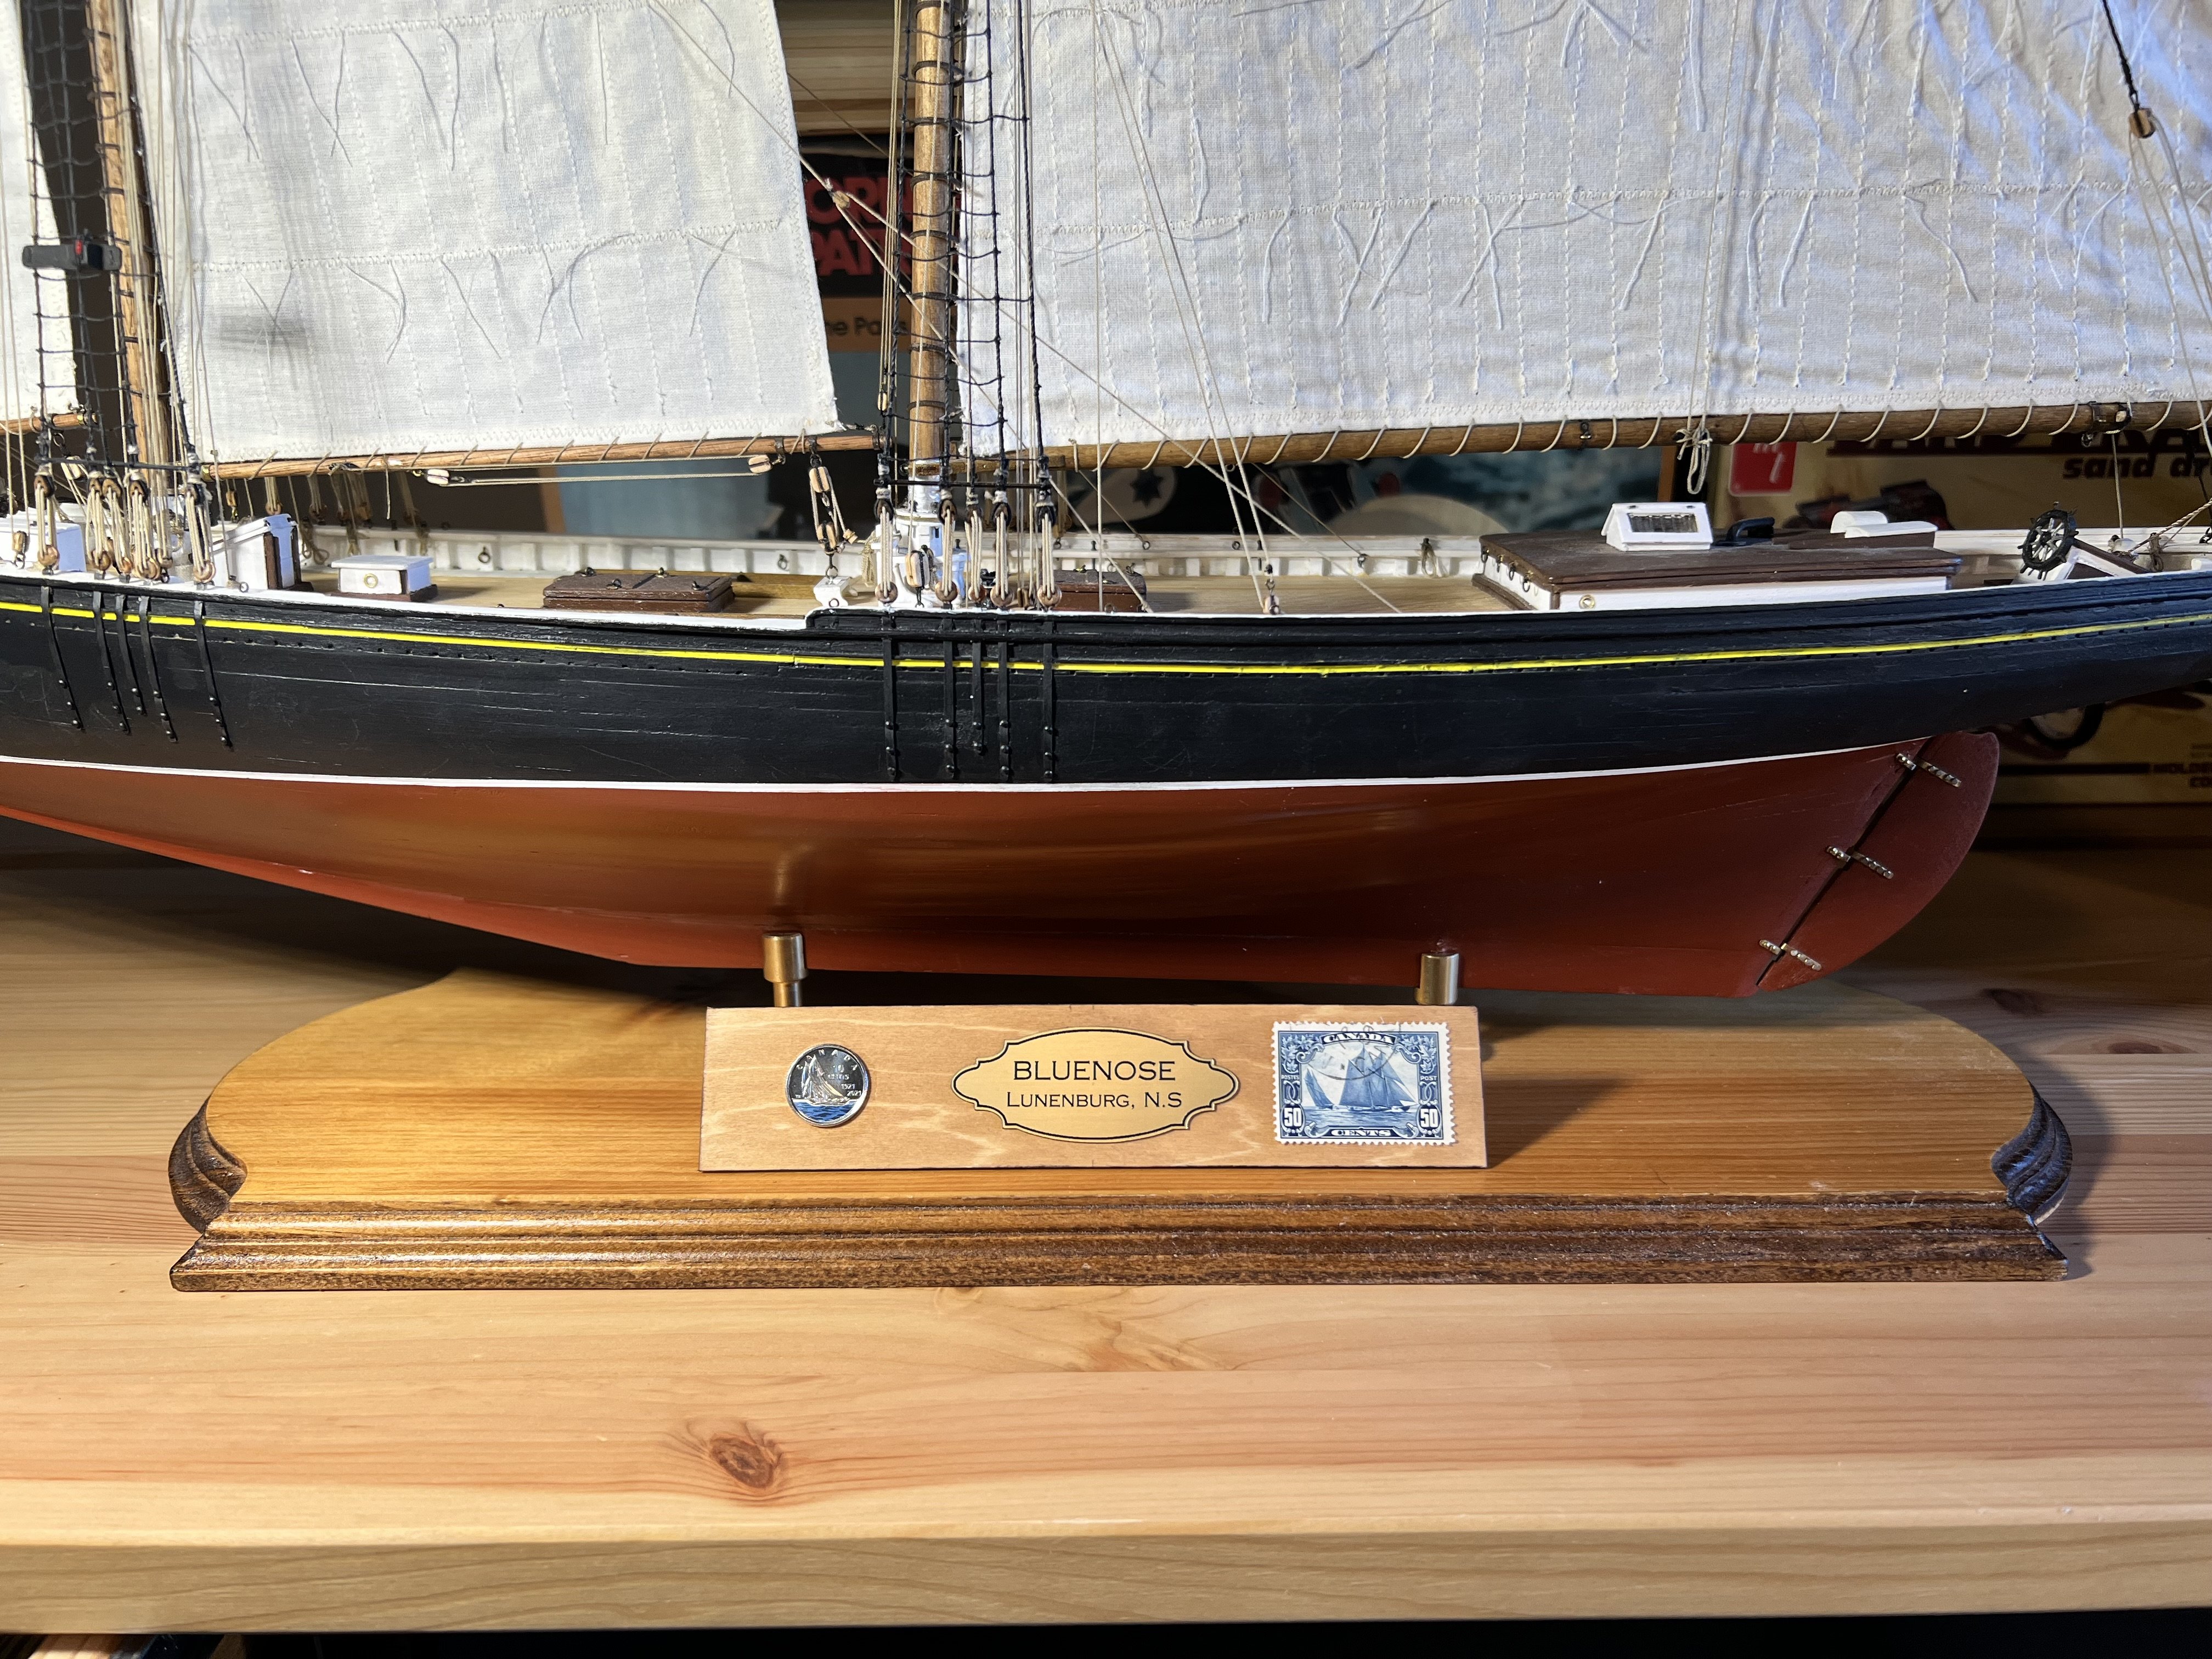
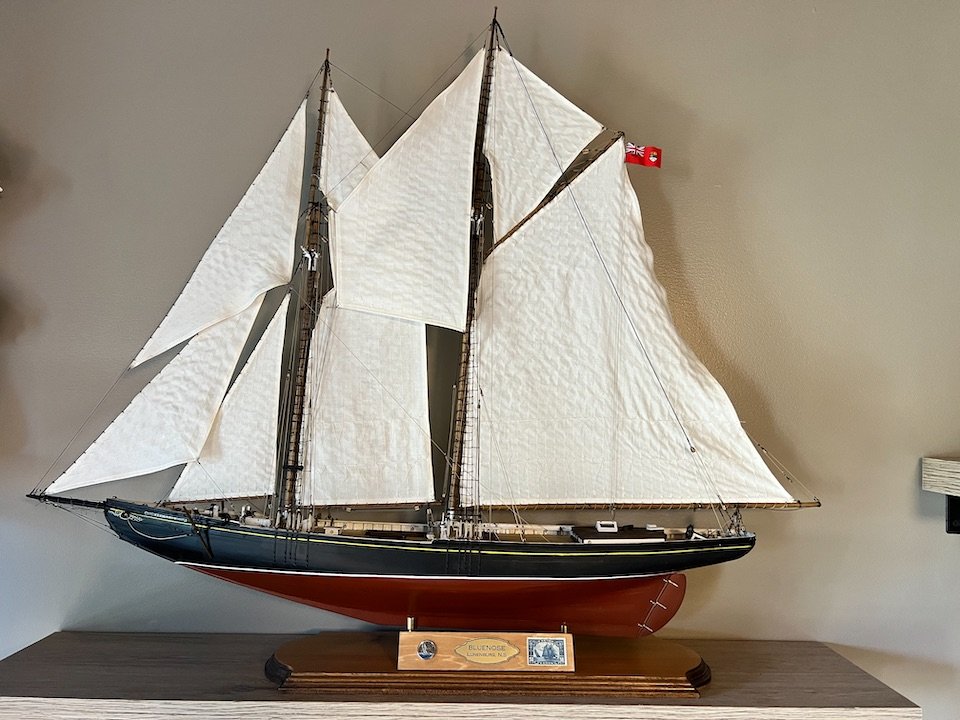
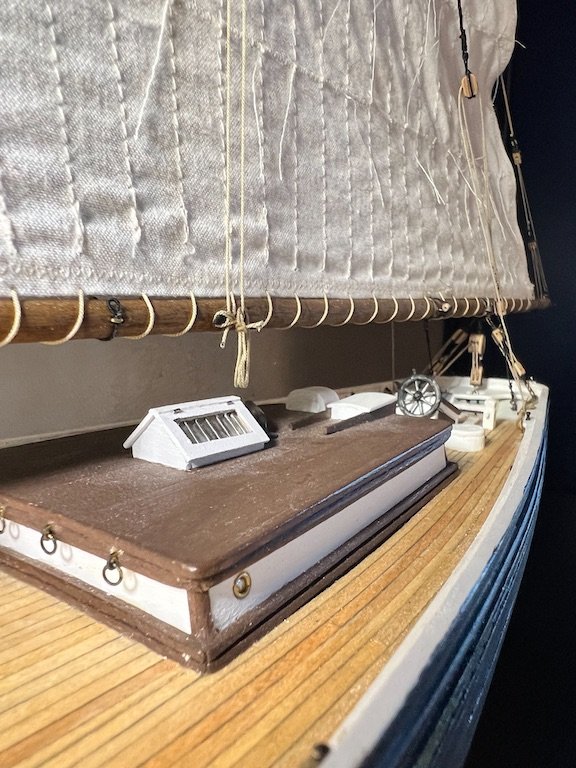
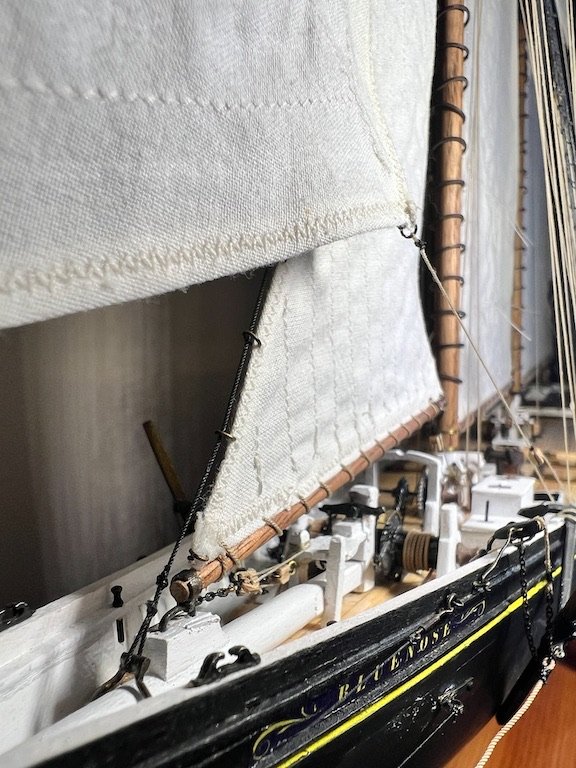
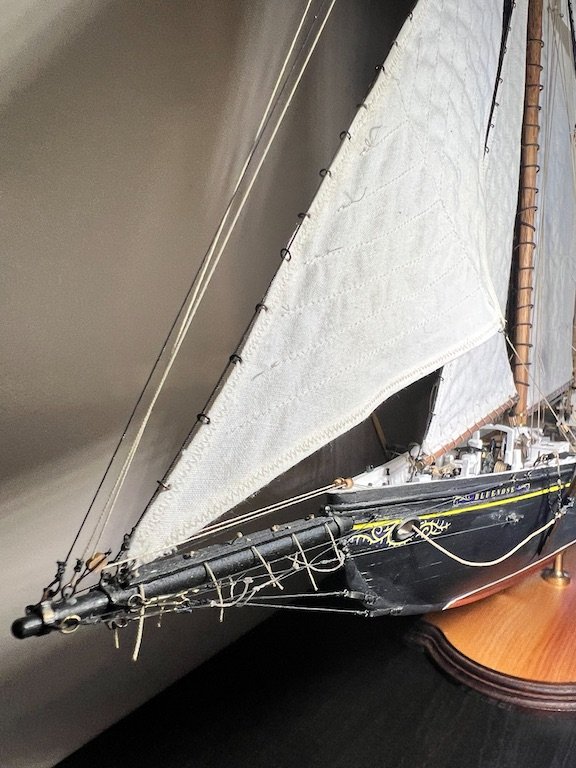
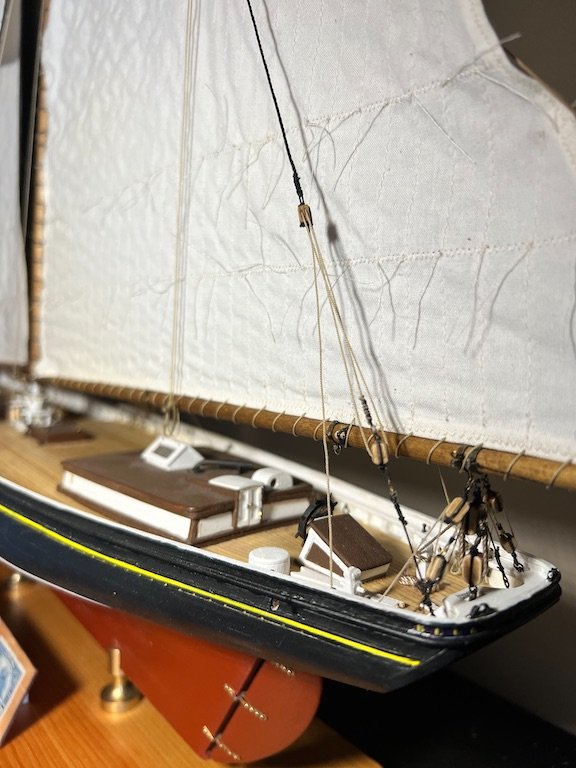
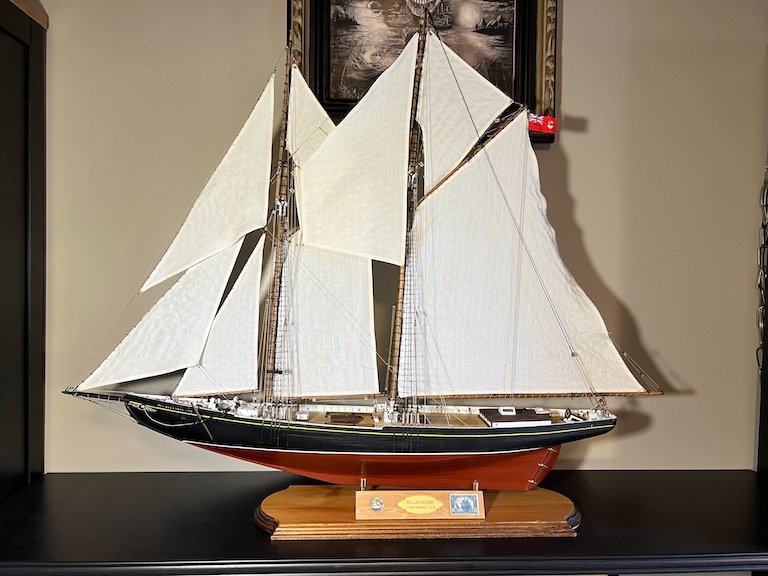
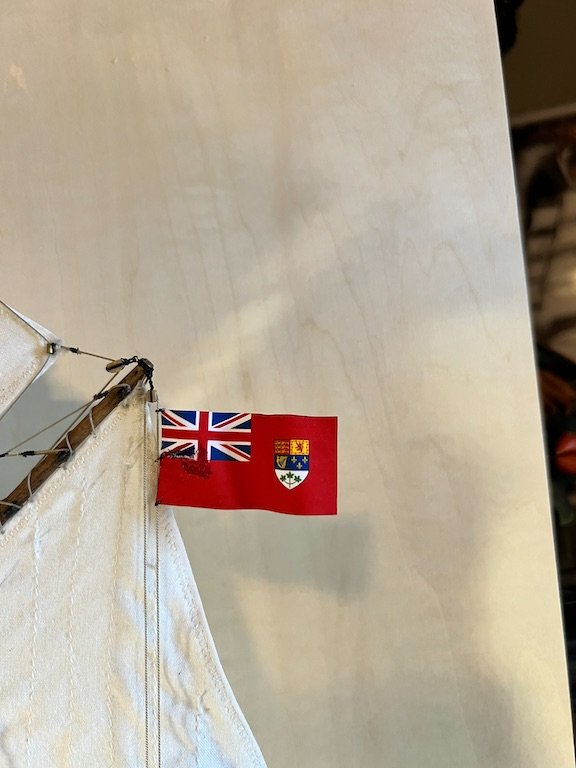
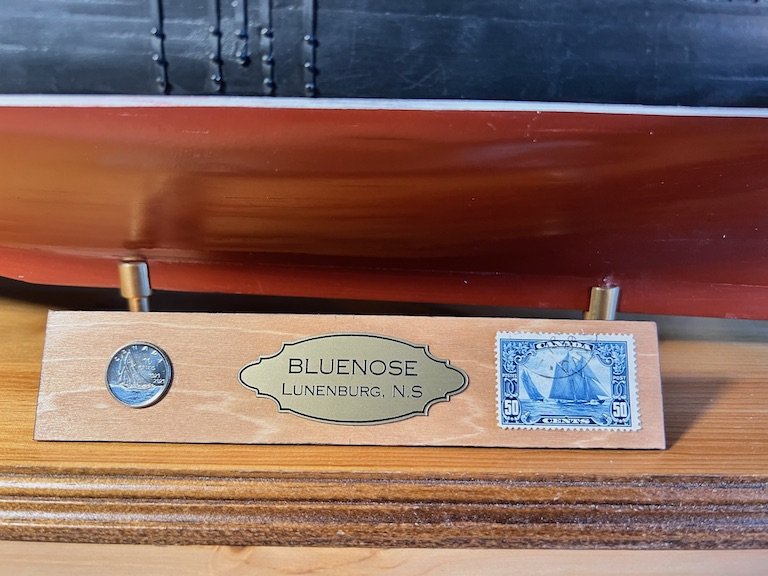
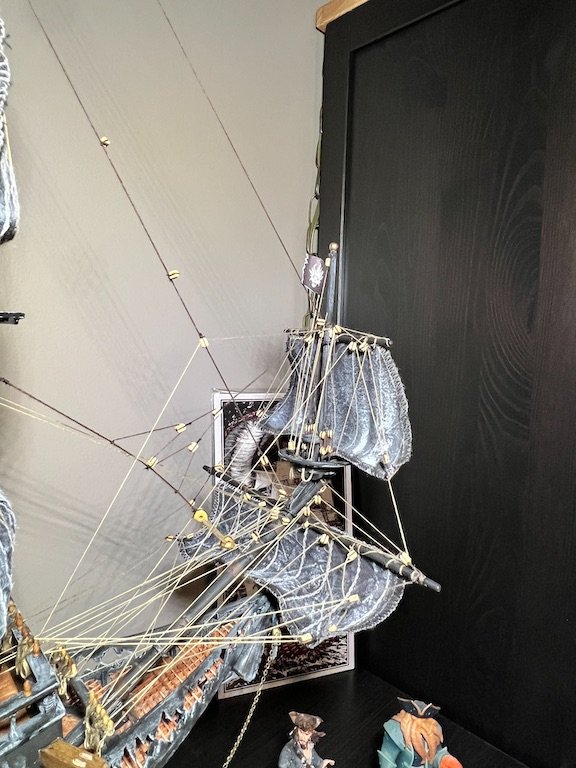
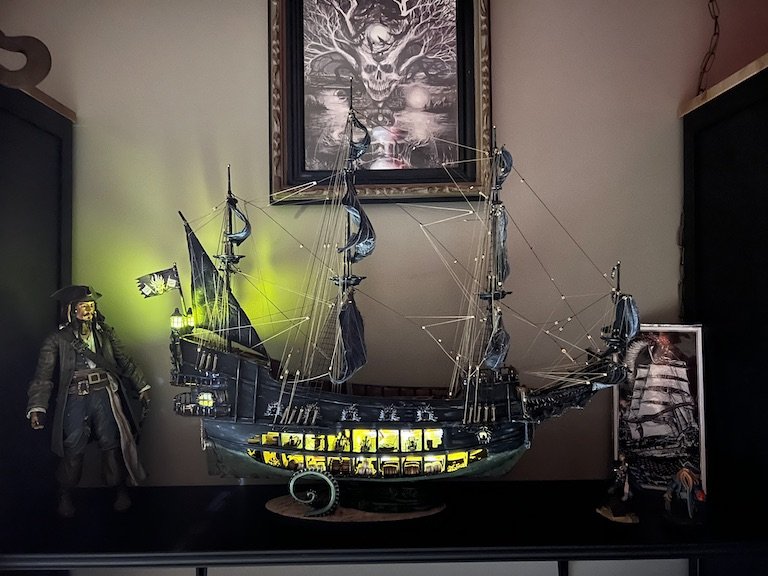
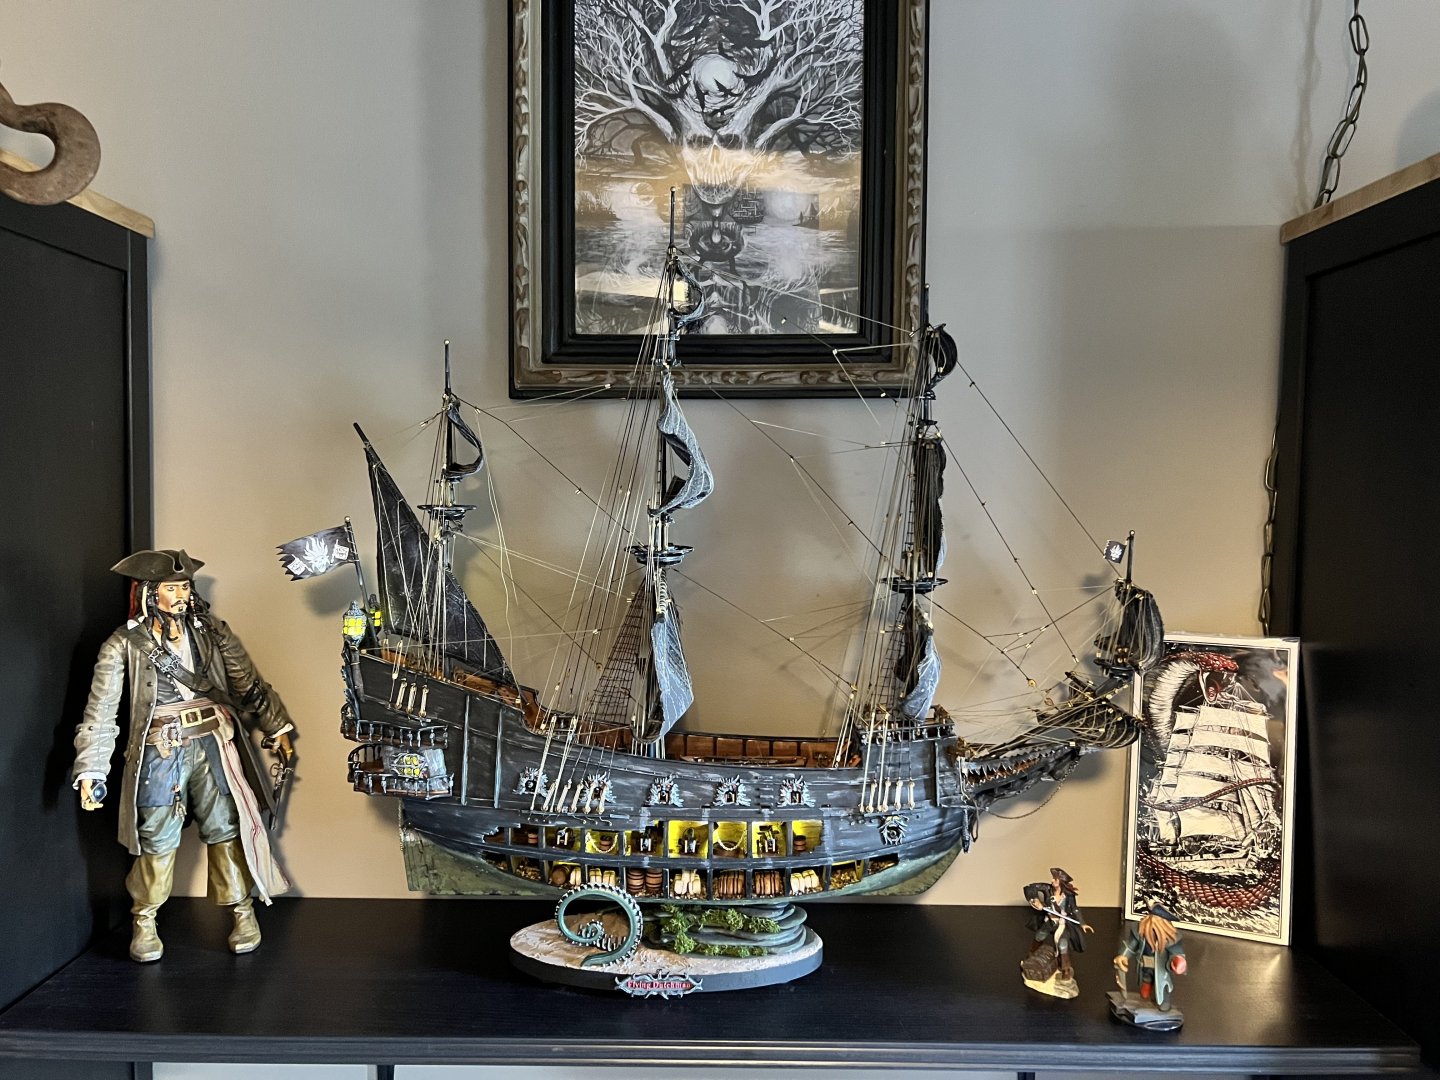
I have finally completed the Bluenose!! I actually completed all the sails and final odds and ends a couple of months ago, but needed to add the flag and figure out what to do about a name plate for the base. While it sat on the shelf, I completed the Flying Dutchman. I found a Red Ensign flag online from www.Duplicataproductions.com. They can in a sheet with several different sizes. Unfortunately, while gluing the two sides together, I smudged part of one side of the flag. Also unfortunate, the size I wanted to use was one of the few that did not have duplicates on the sheet. I tried to fix as best I could. Hard to tell from normal viewing distance, so ok with it for now. May order another set at some point in the future. For the name plate, I ordered a custom printed brass plate from Etsy. I also found a commemorative stamp and dime on eBay. I made a simple plaque with a sheet of basswood and stained before adding the nameplate, stamp and dime. For my first build, this one was challenging but a lot of fun. I have always wanted to build this model, so I can now check this one off. I may come back at some point and add the dories if I find a more suitable option than the kit supplied boats. May just be me, but I did not like the way they went together and thought they would detract from the rest of the model with the way they were turning out. Have several models waiting in the shipyard (Midwest Canadian Canoe, Billings Oseberg, MS Constitution). Will probably build the canoe next, just for a break from the more complicated builds (and rigging!). Happy New Year! Tim


- 145 replies
-
- 8
-

-

-
- Bluenose
- Model Shipways
- (and 1 more)
-
Thank you, Chris!
-
Thank you, Bob!
-
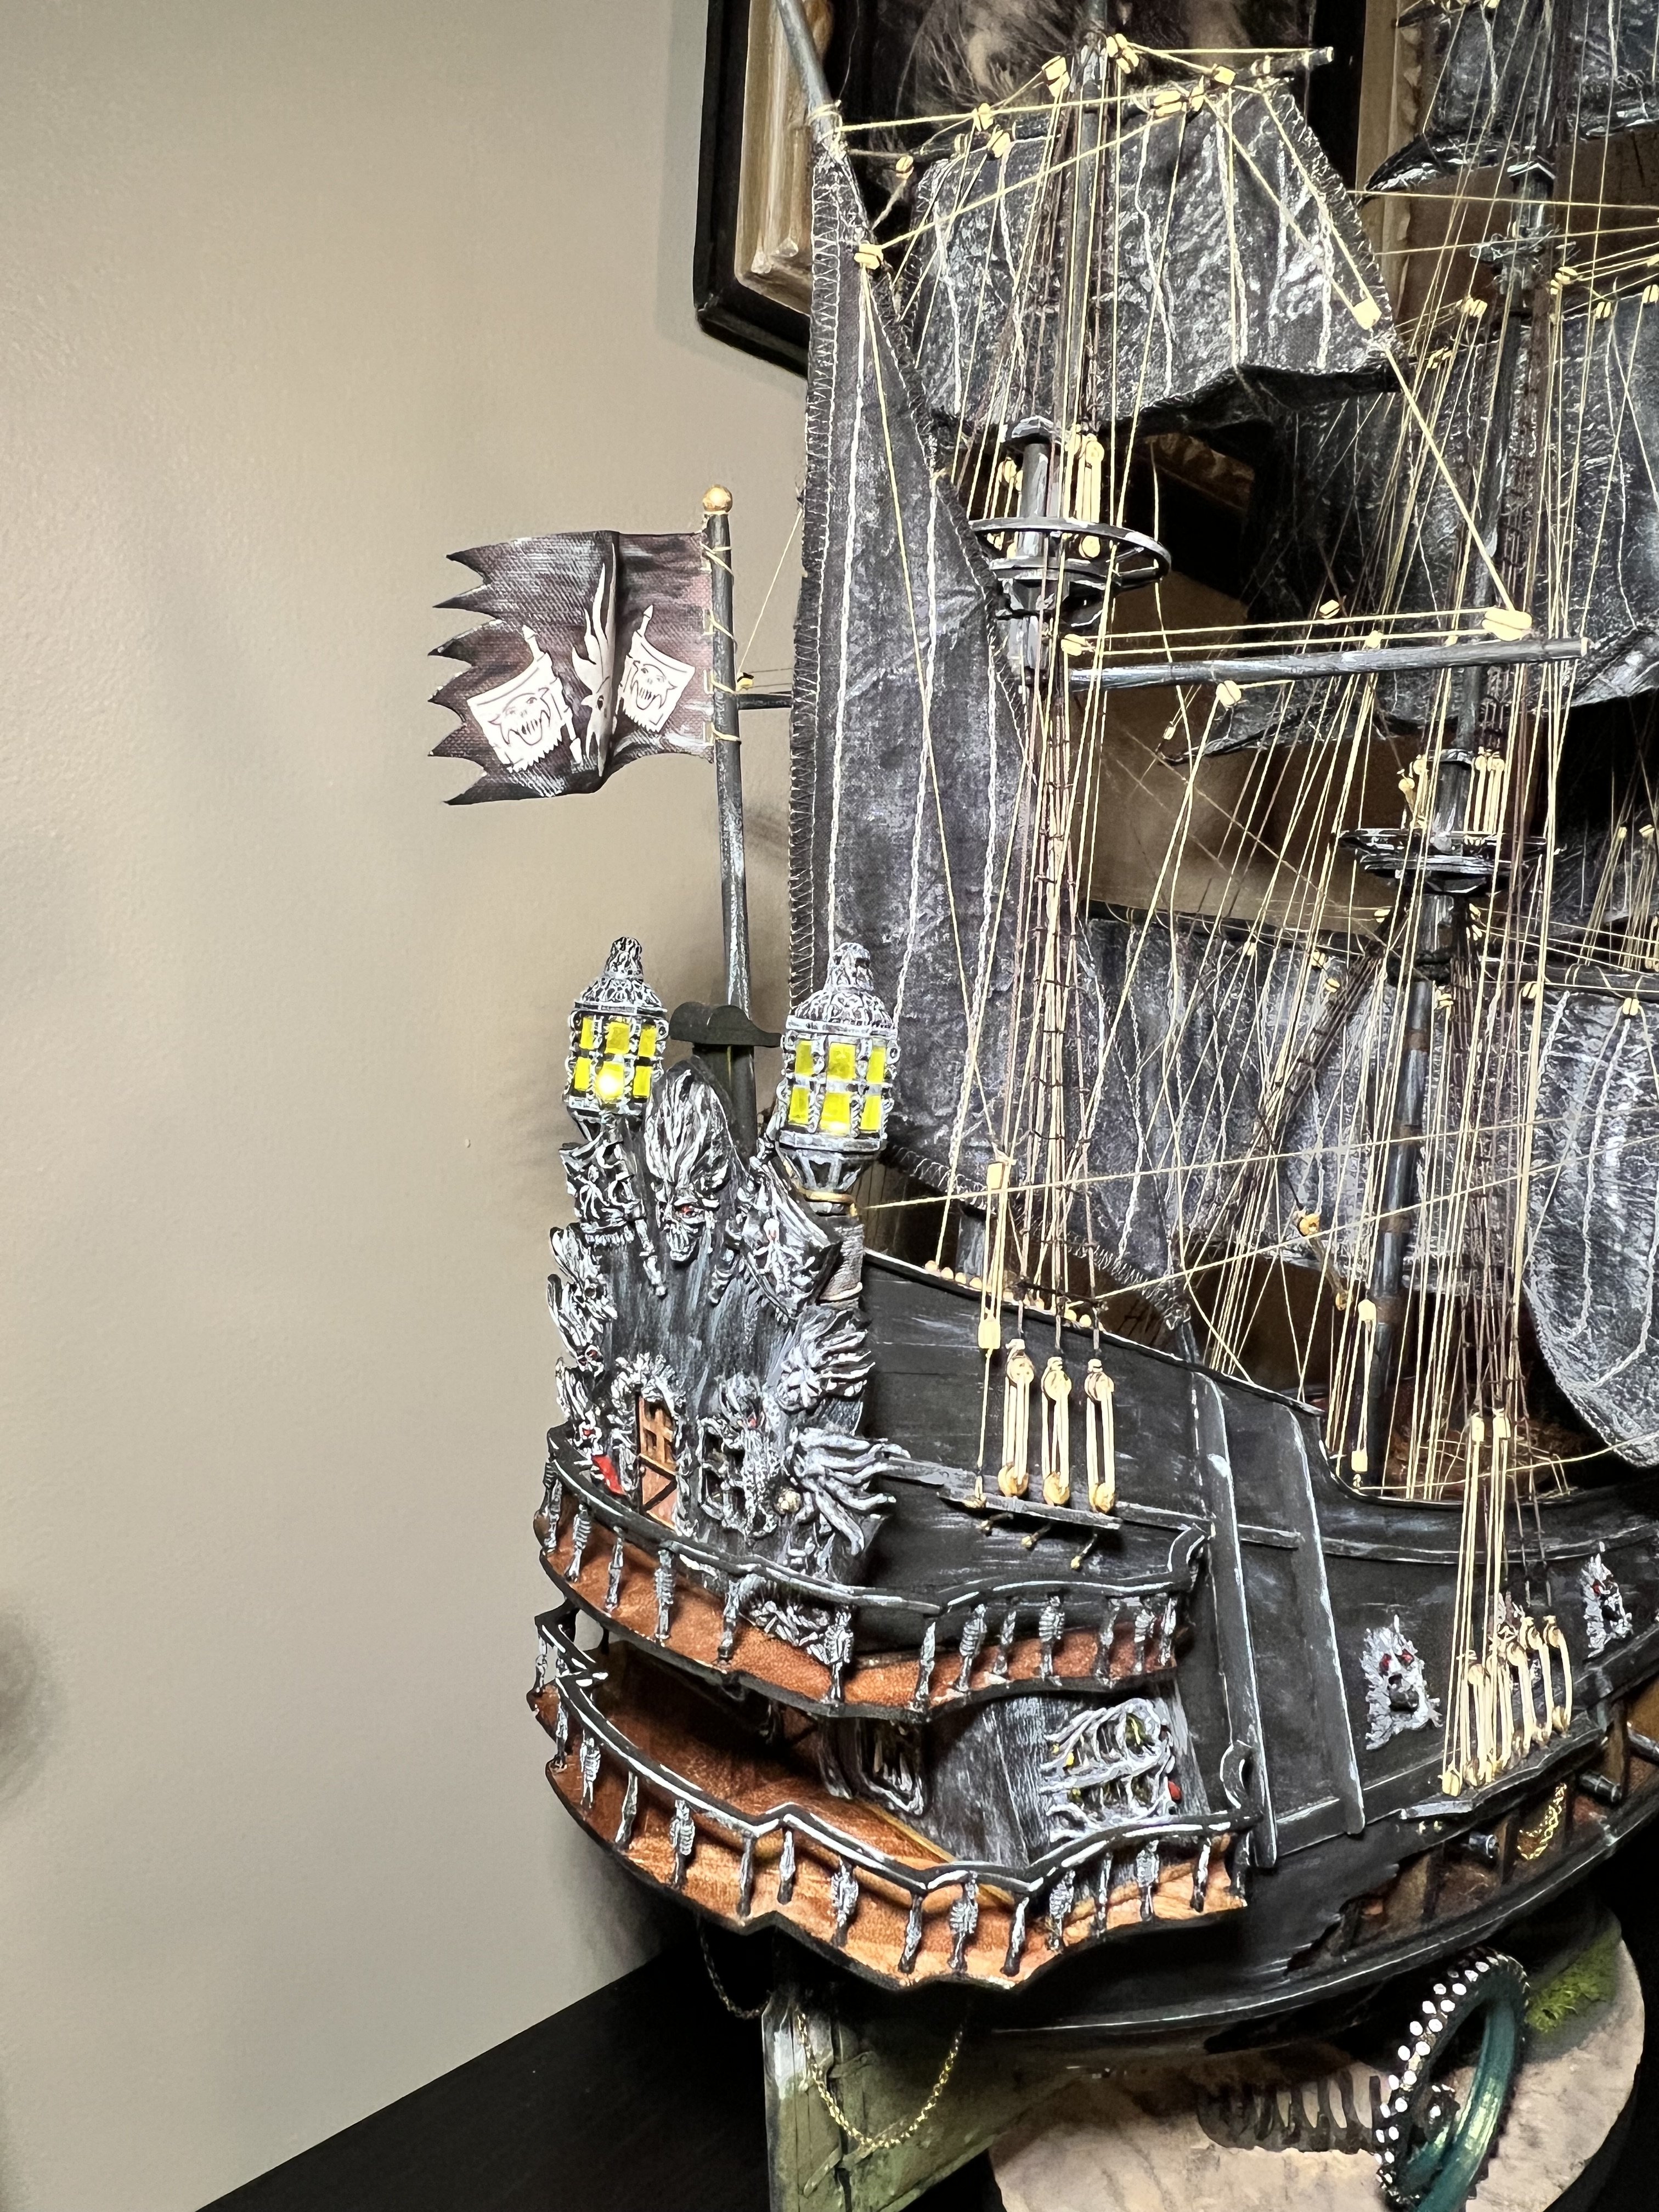
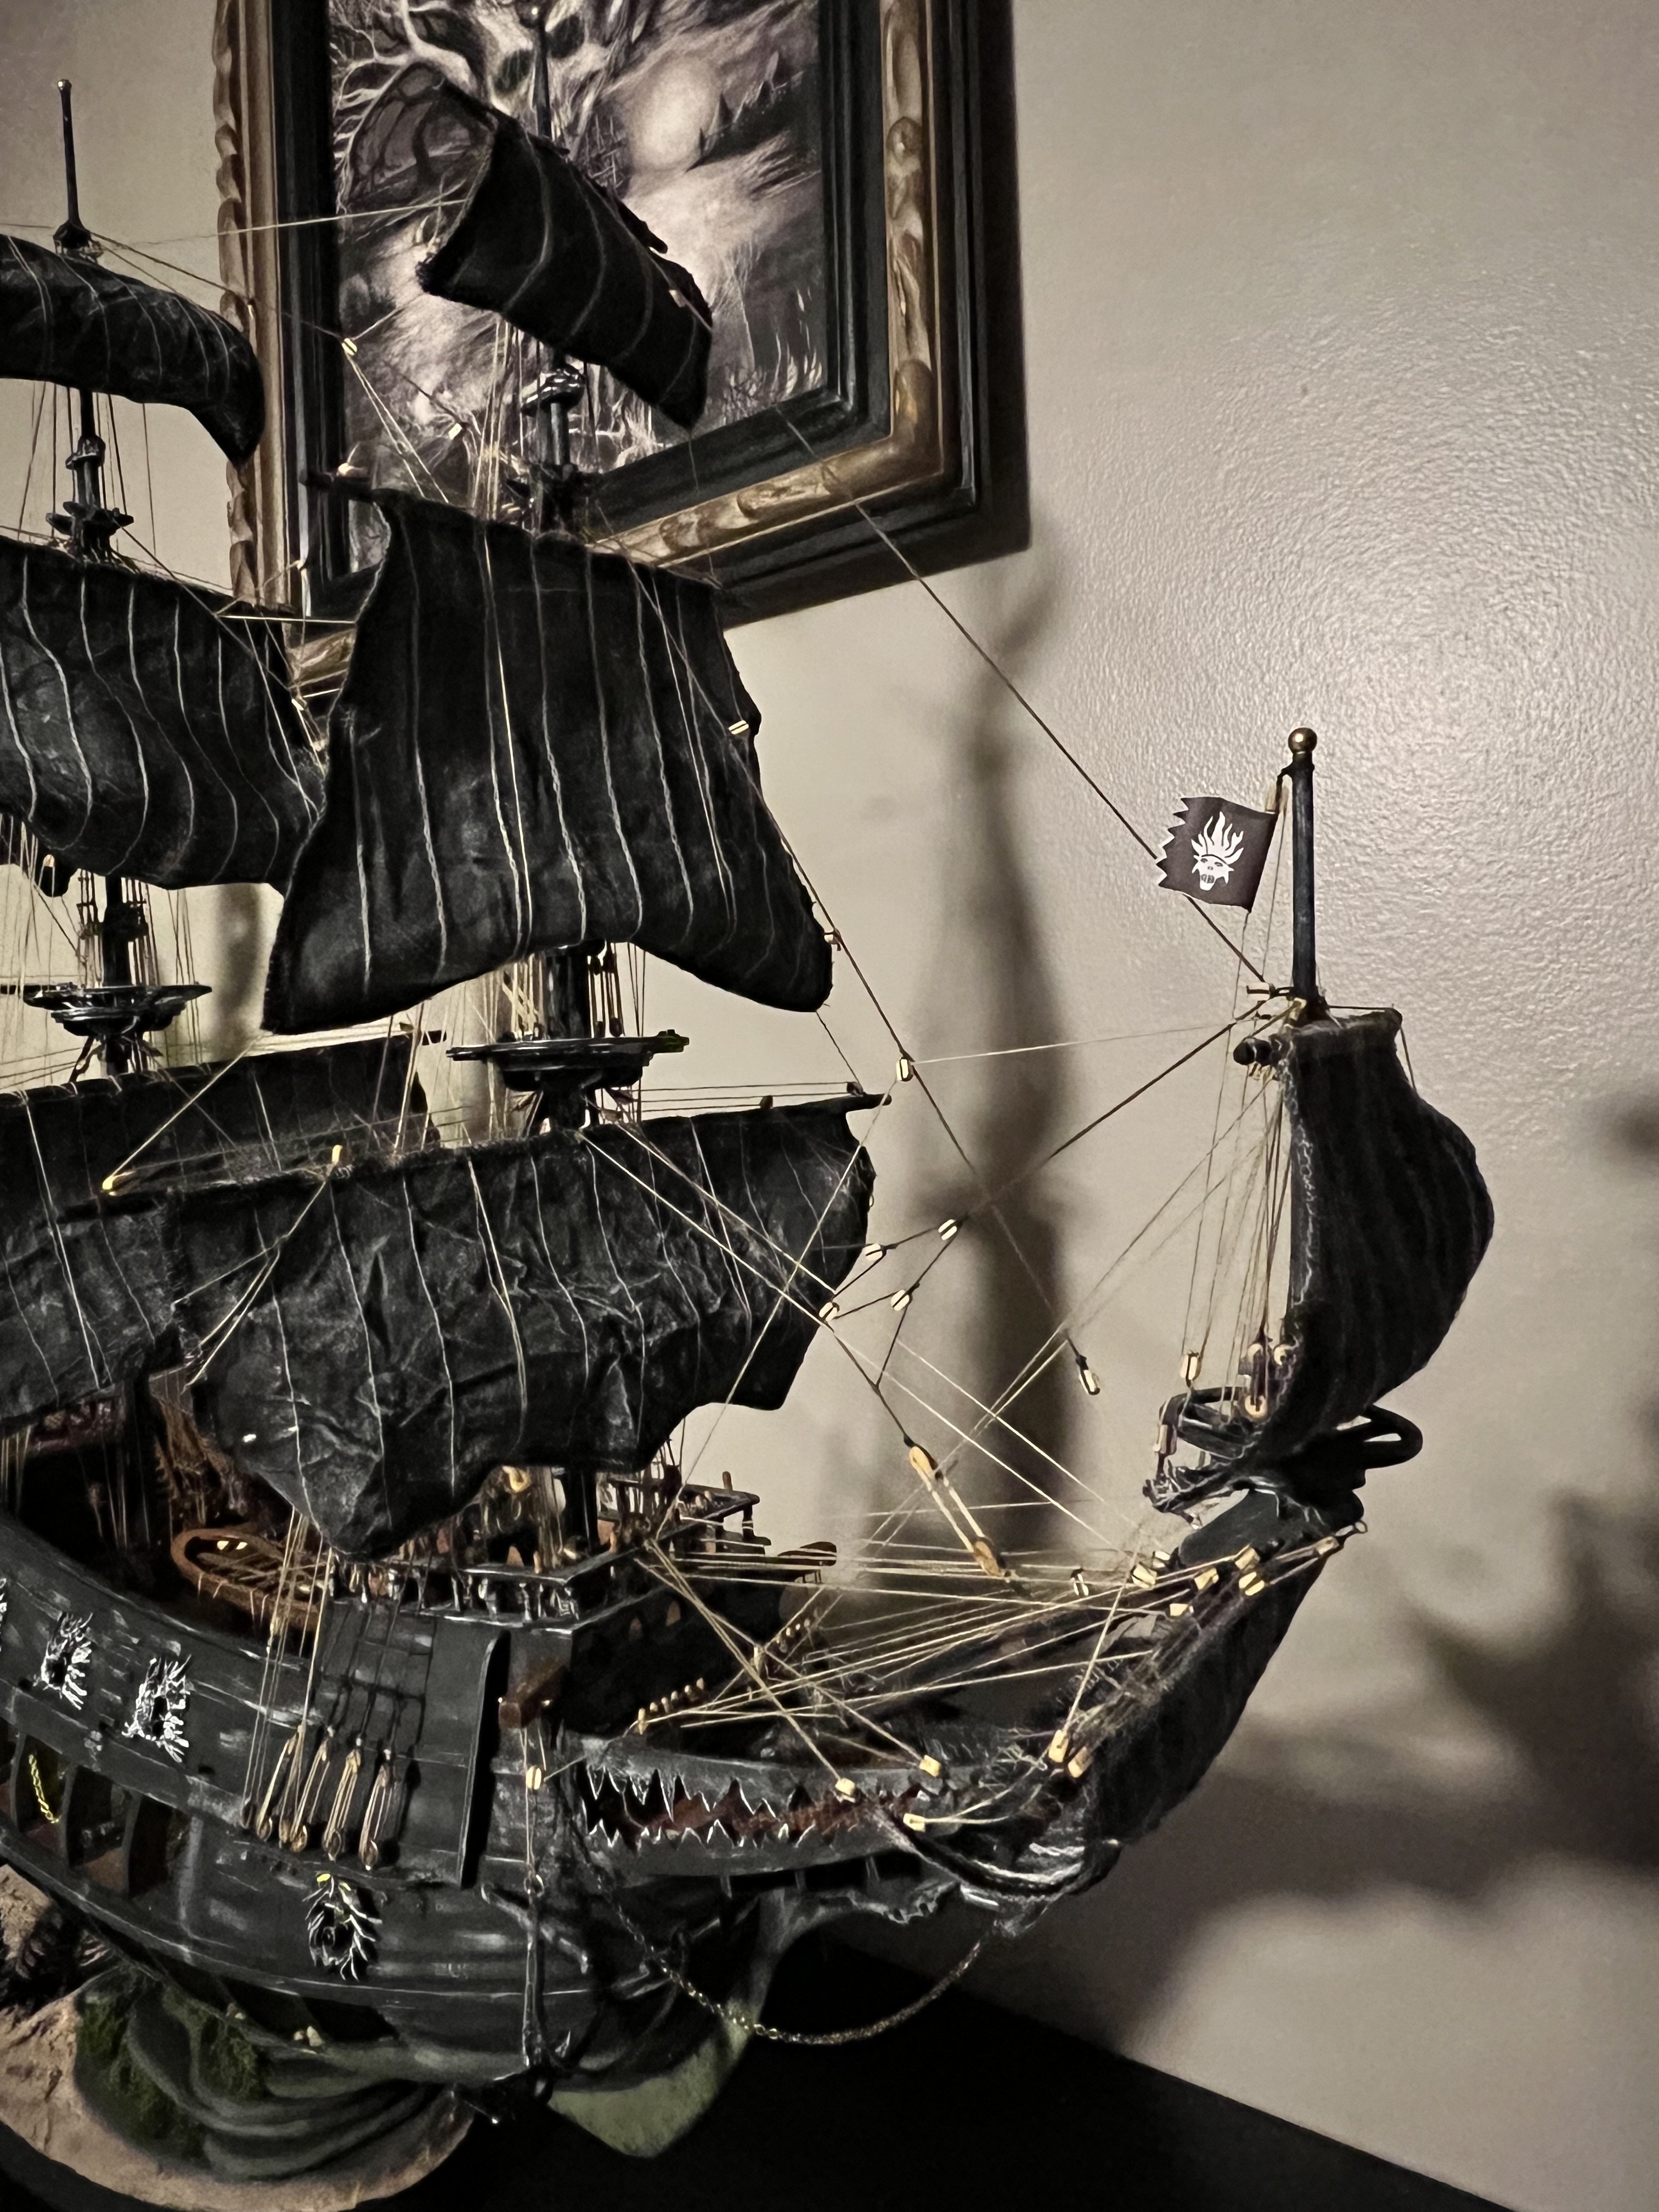
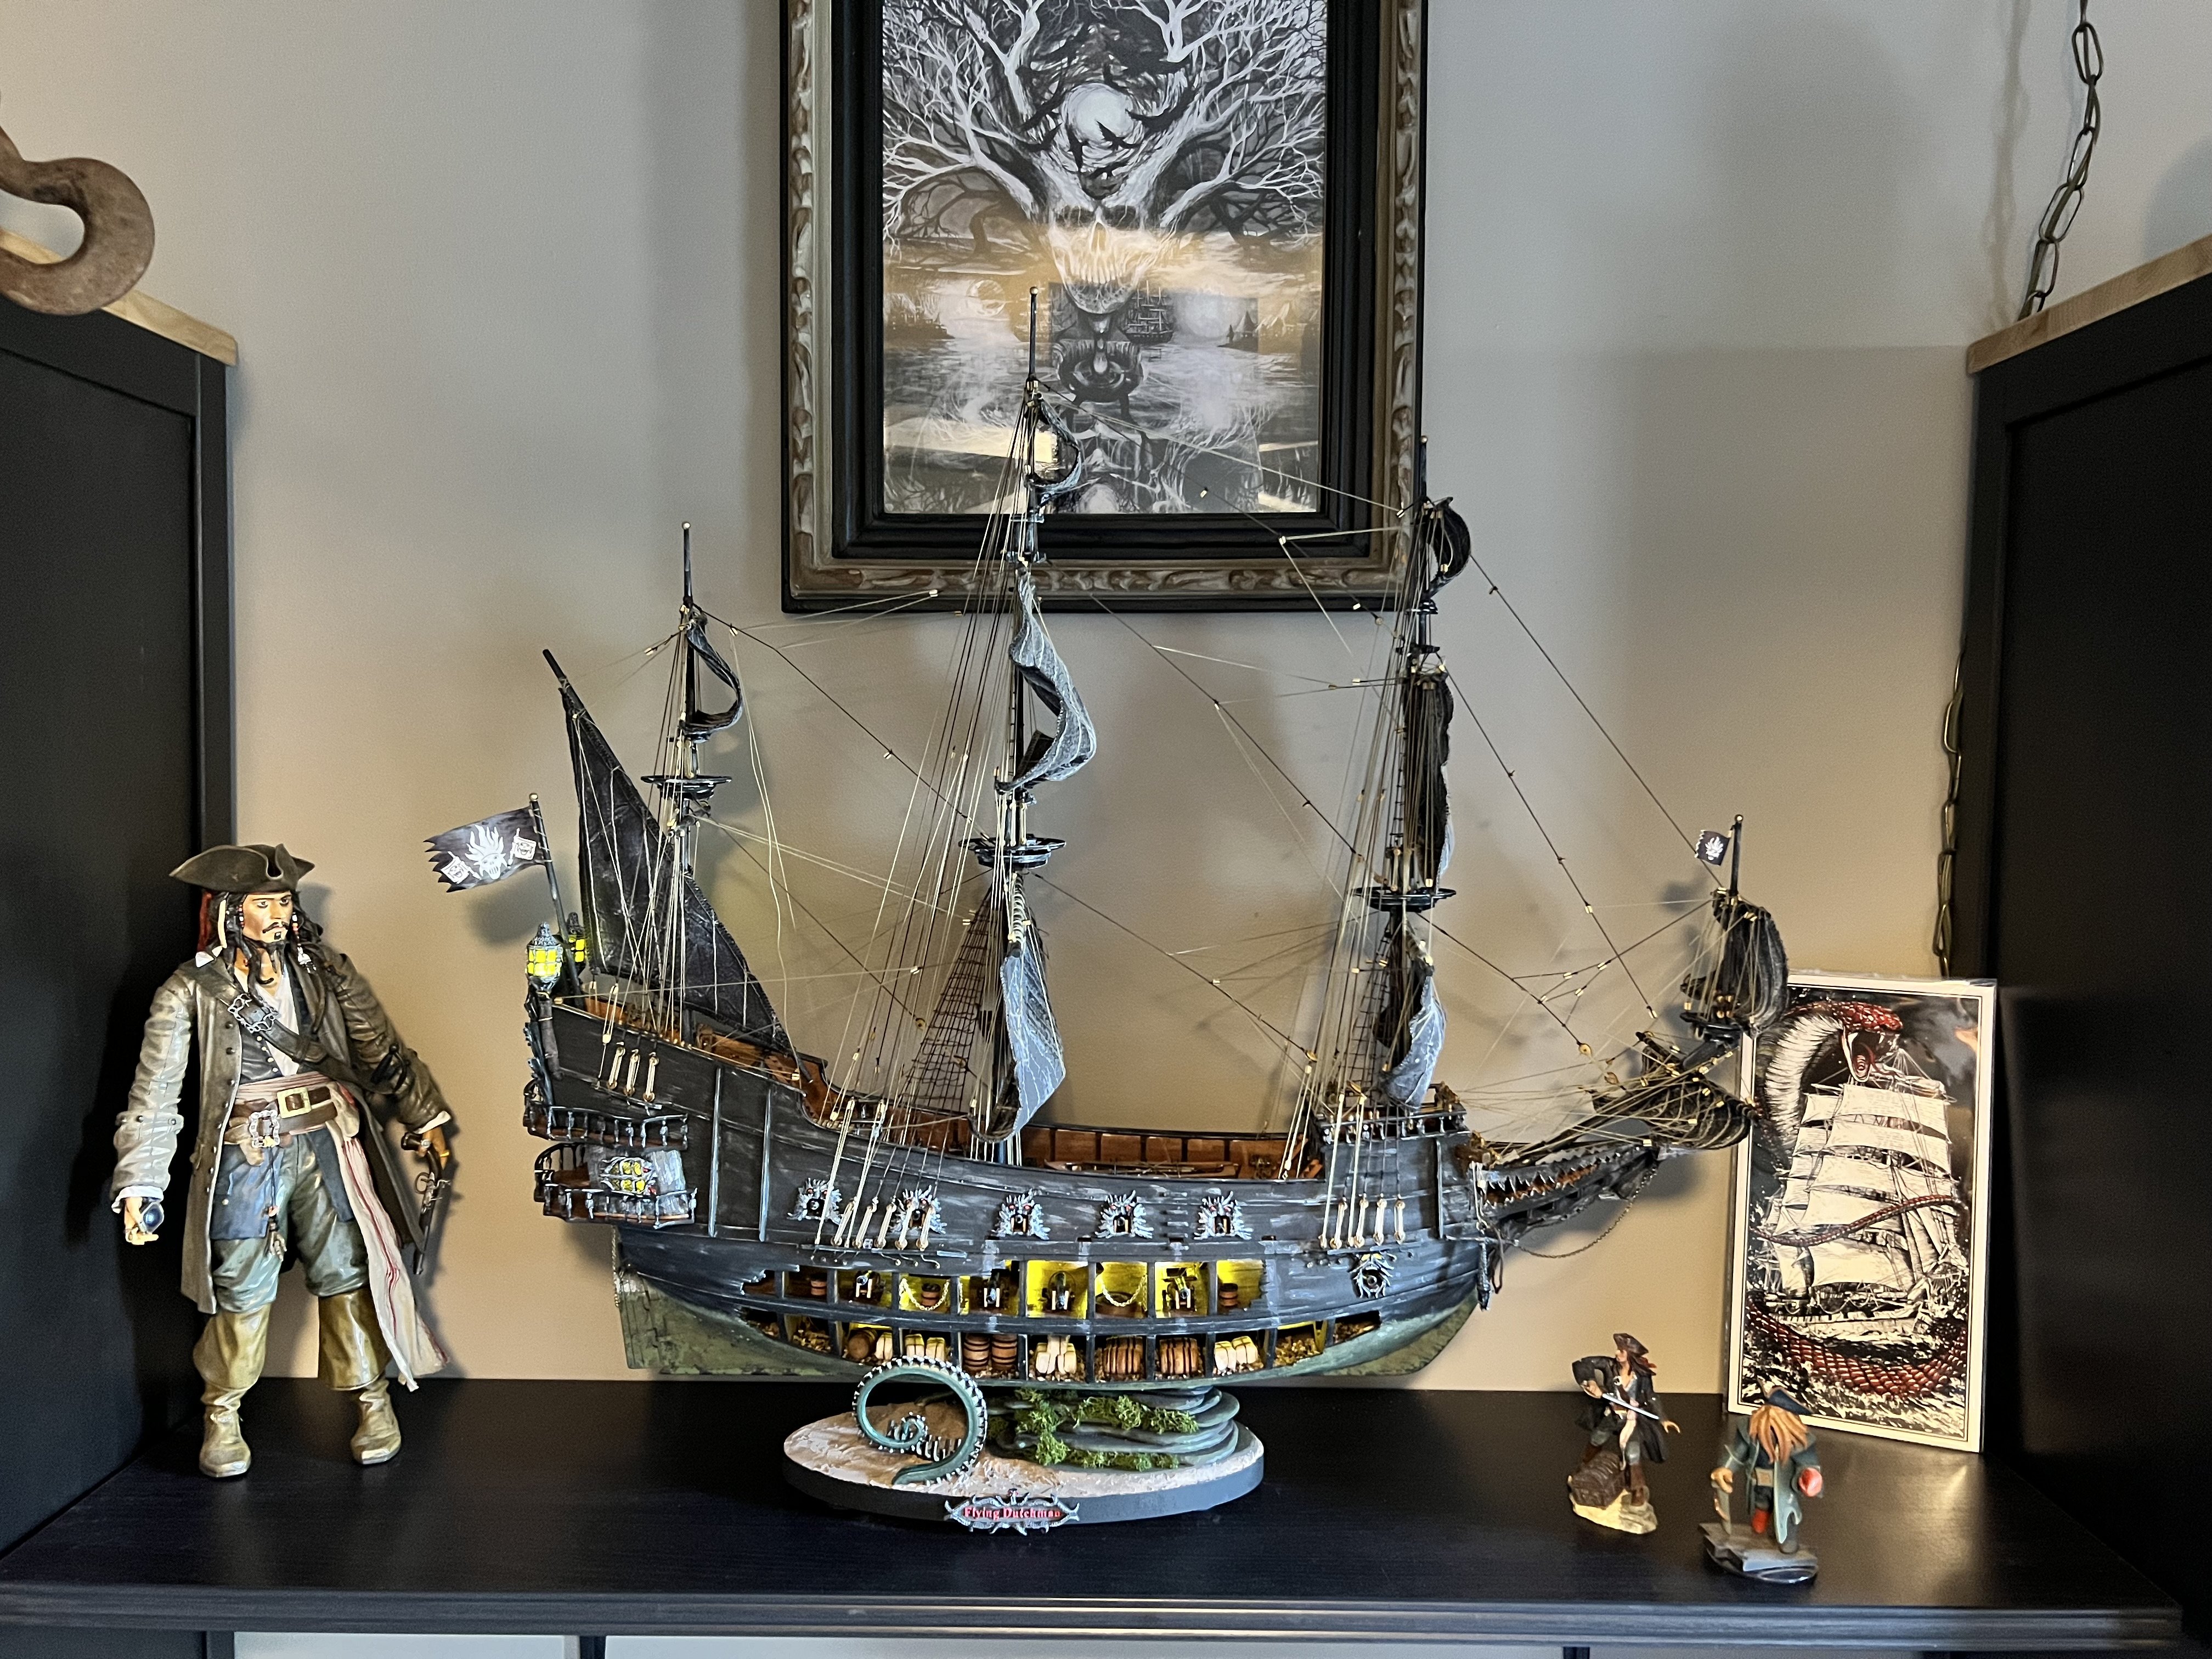
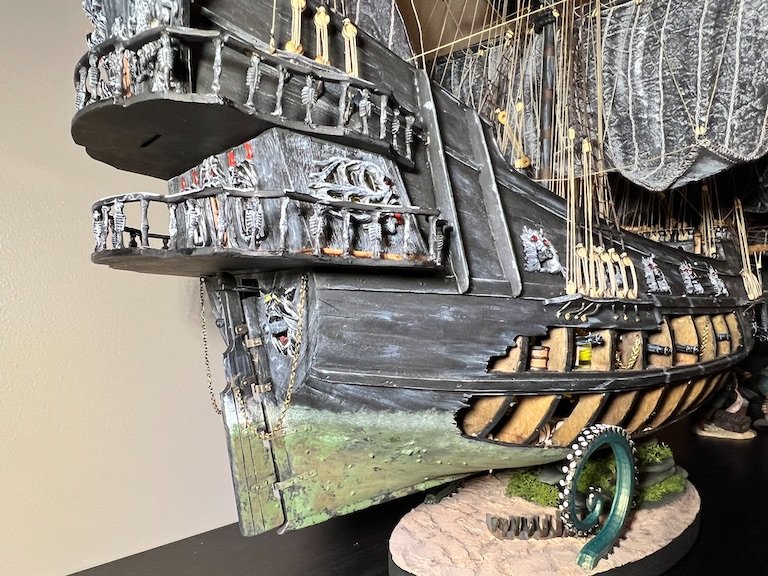
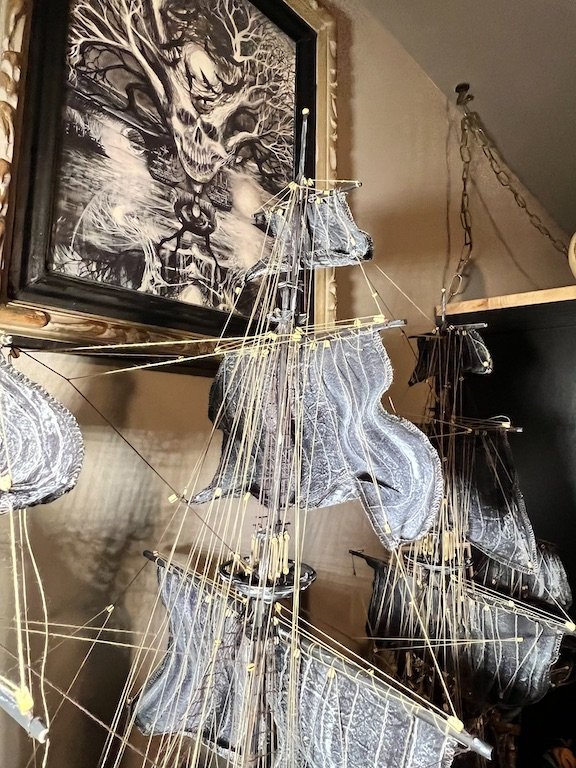
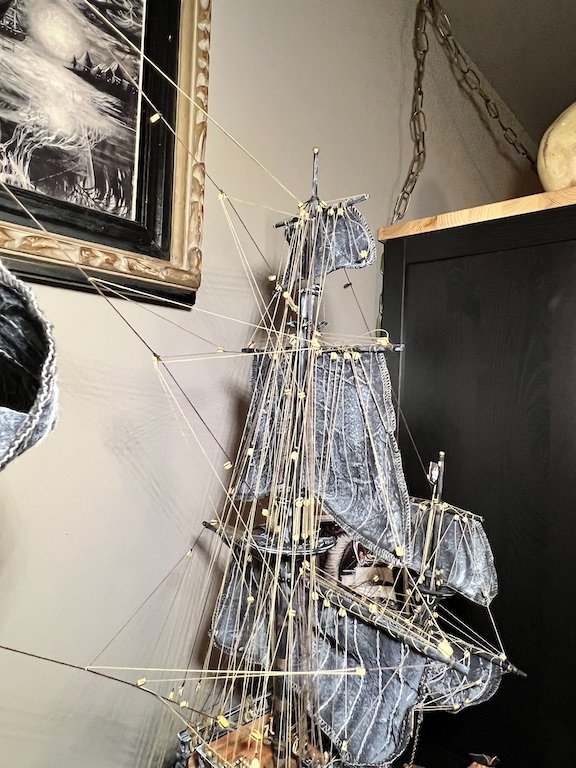
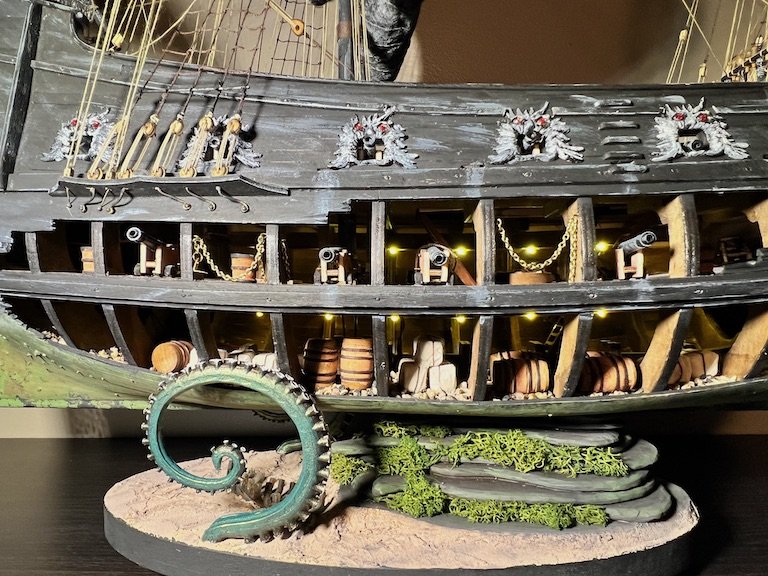
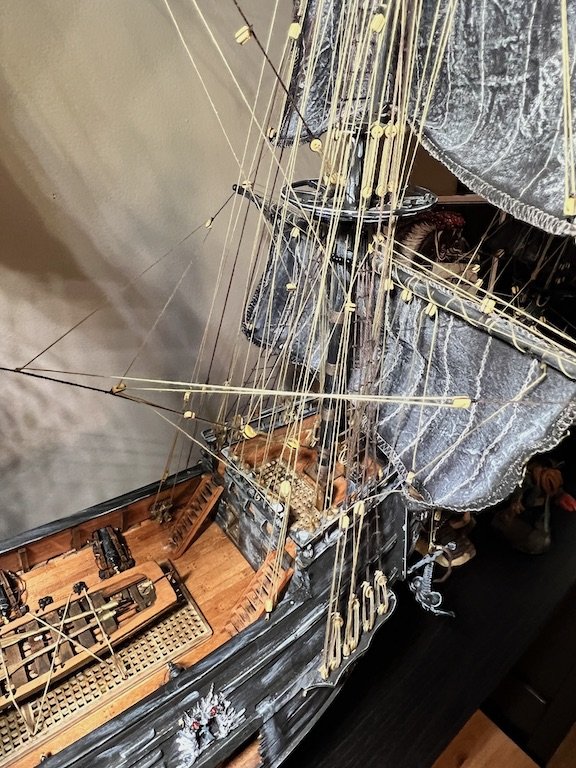
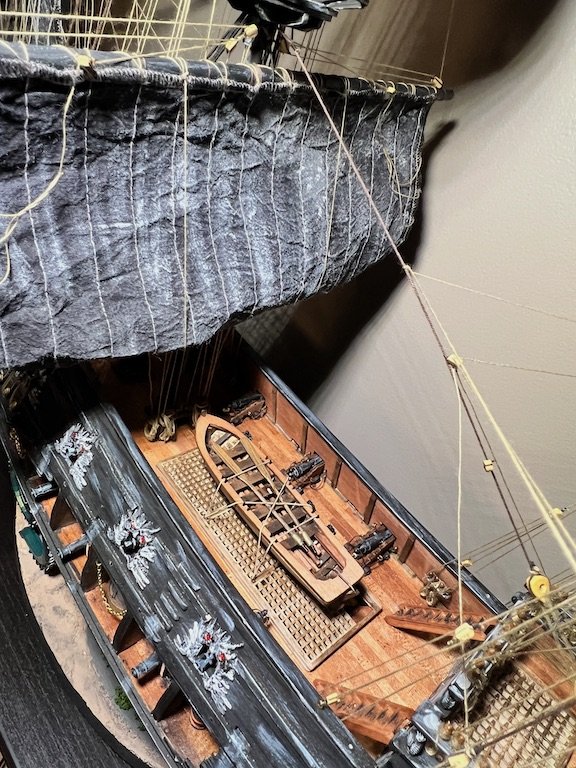
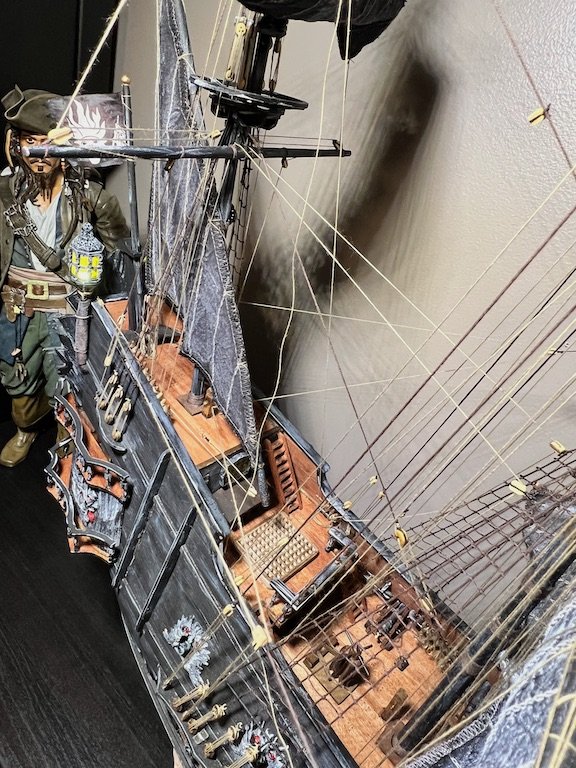
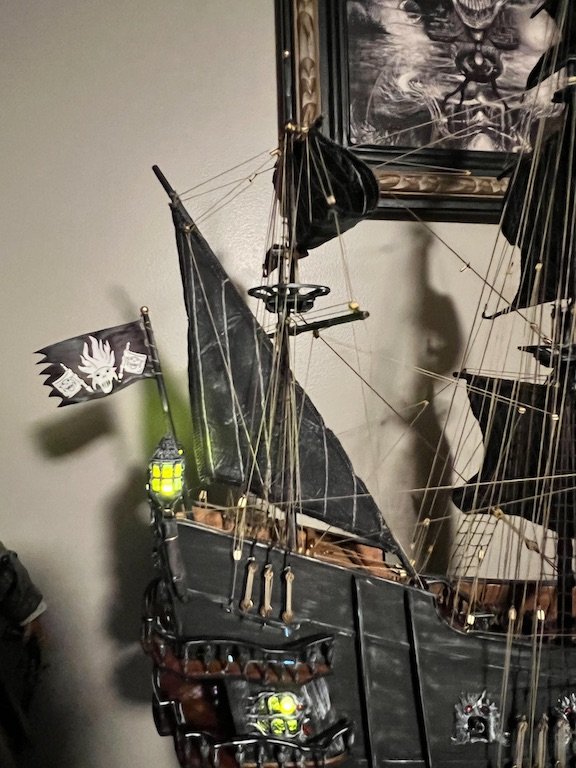
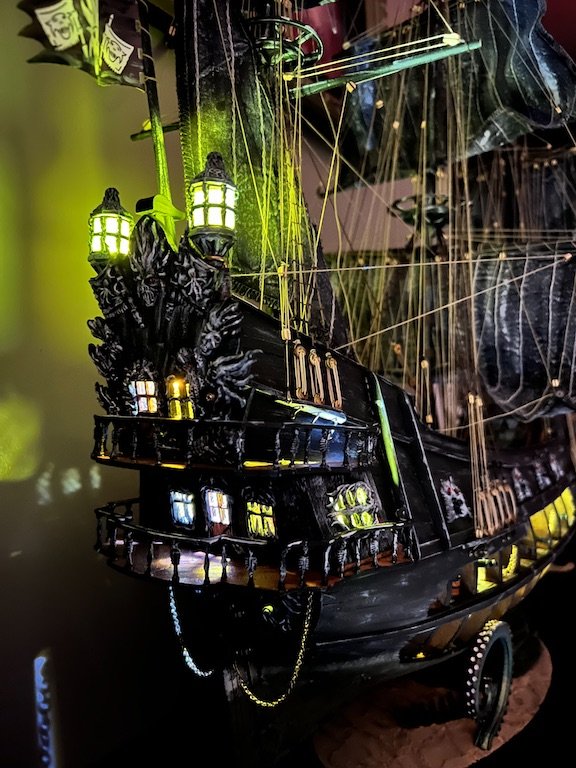
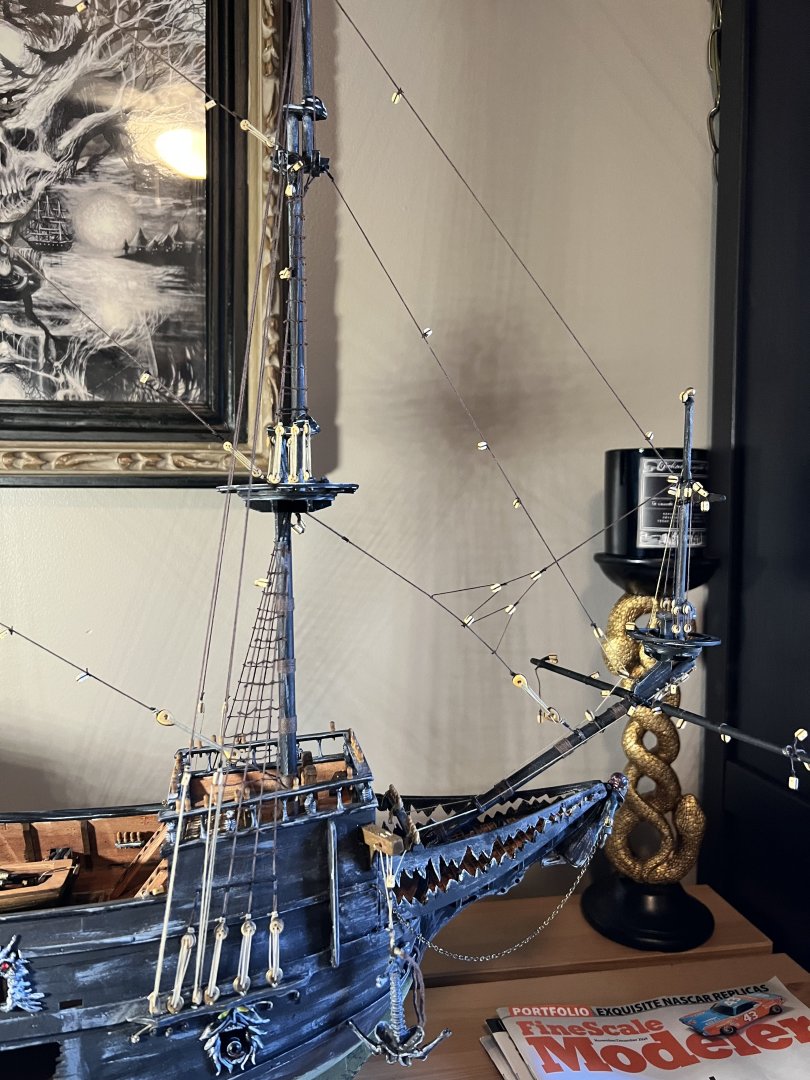
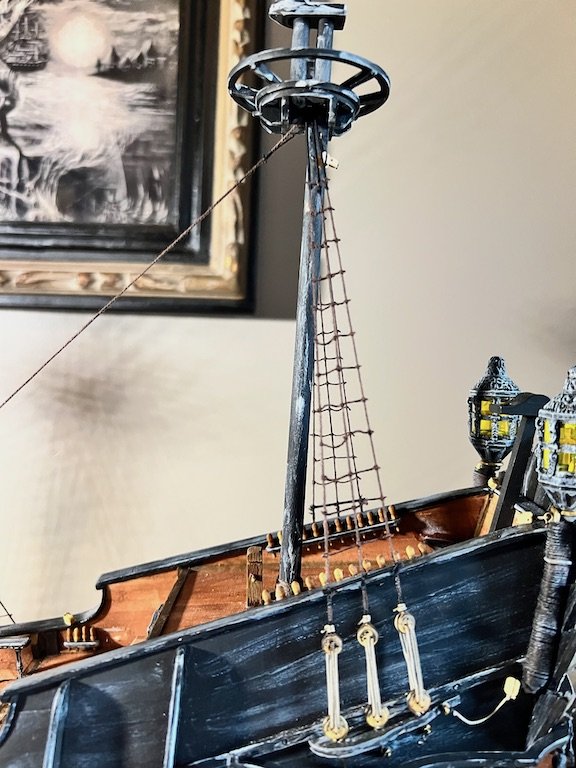
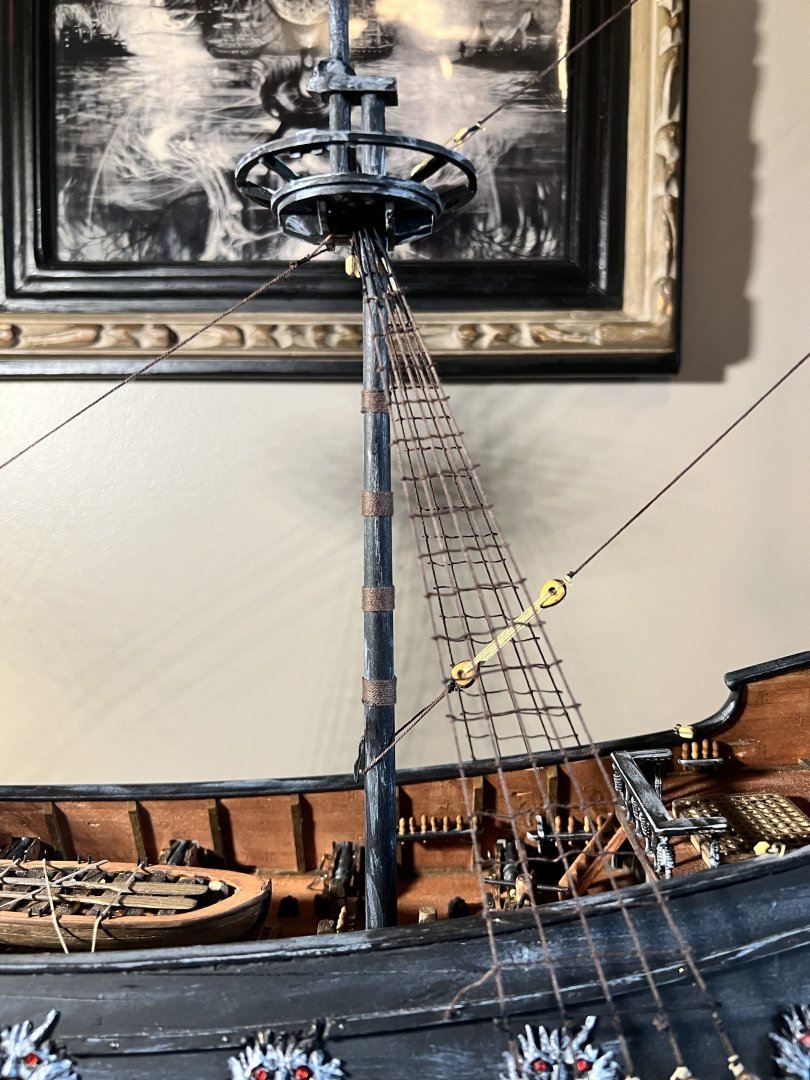
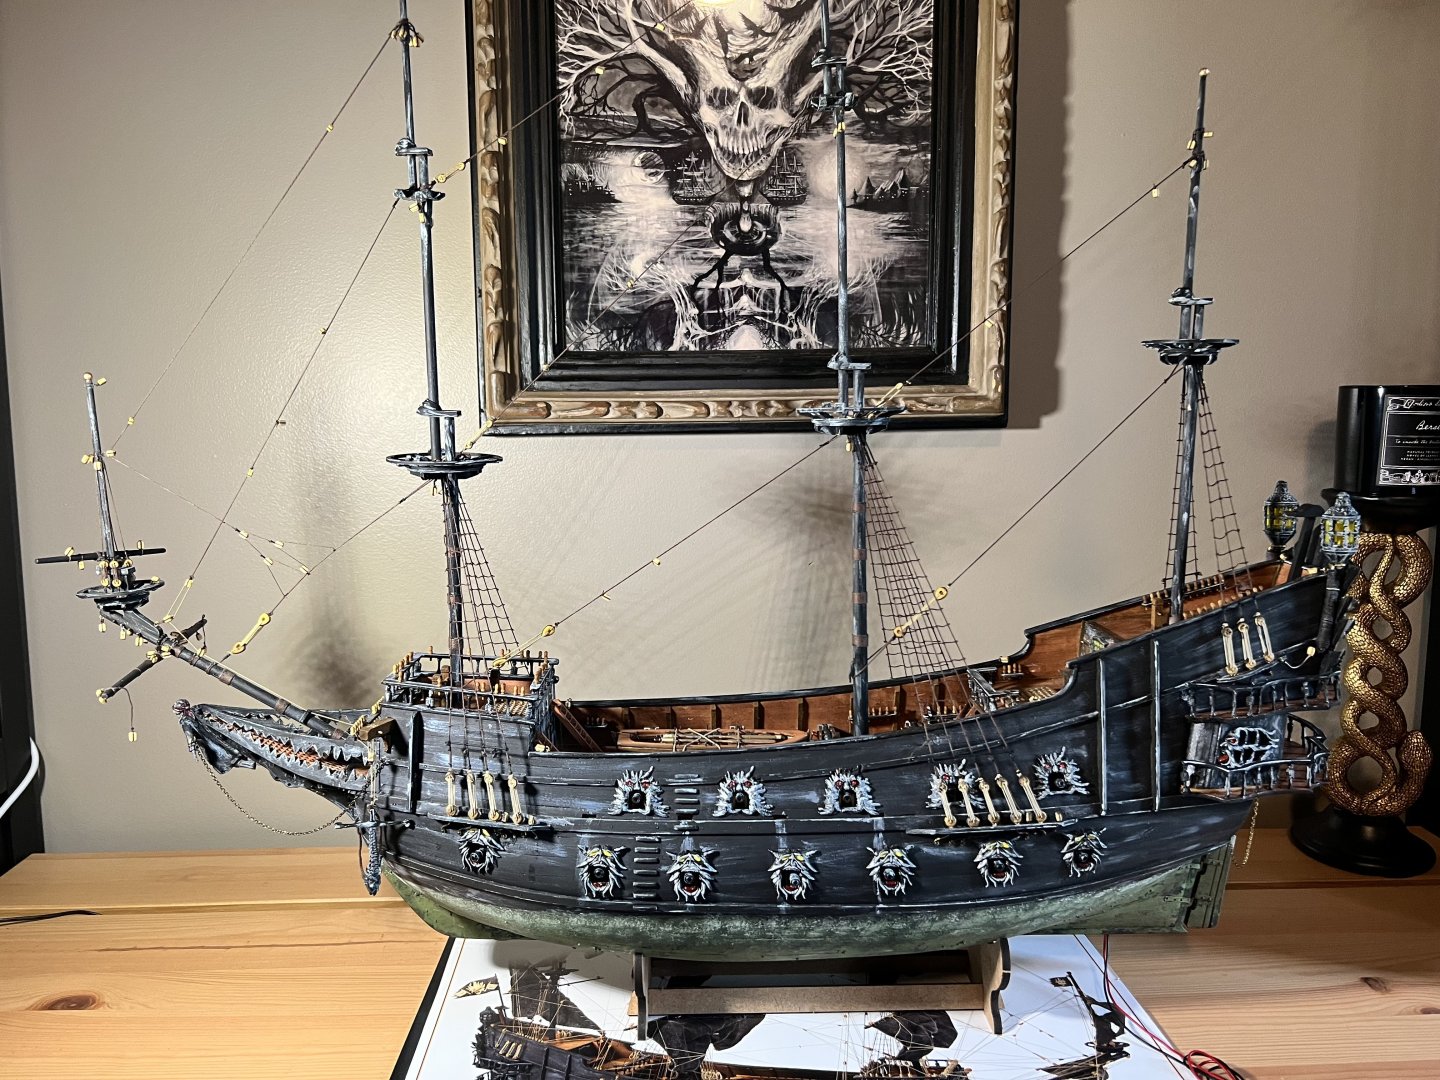
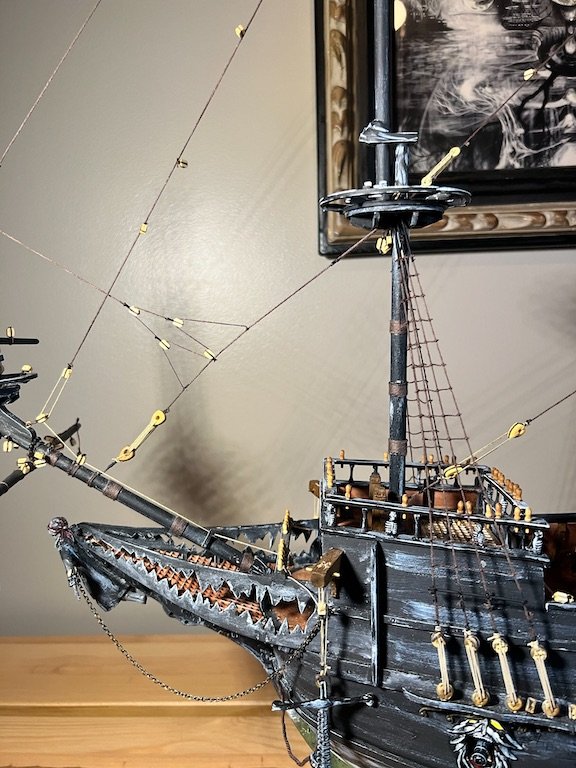
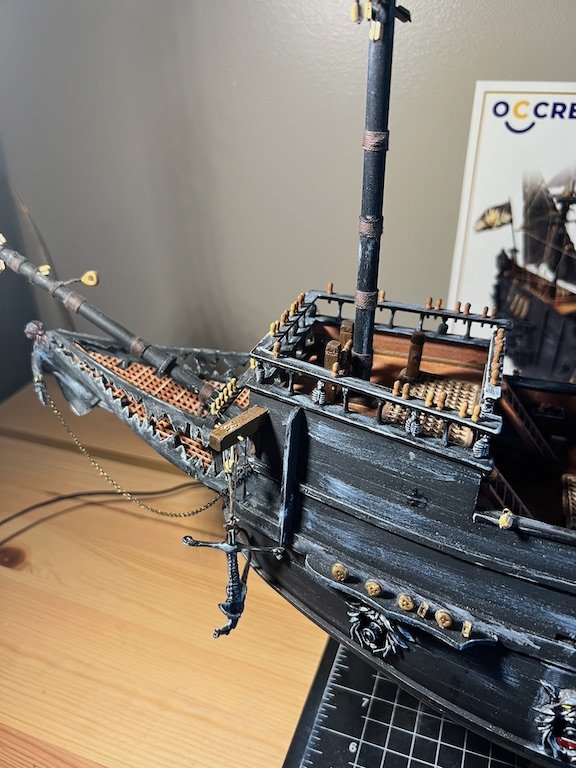
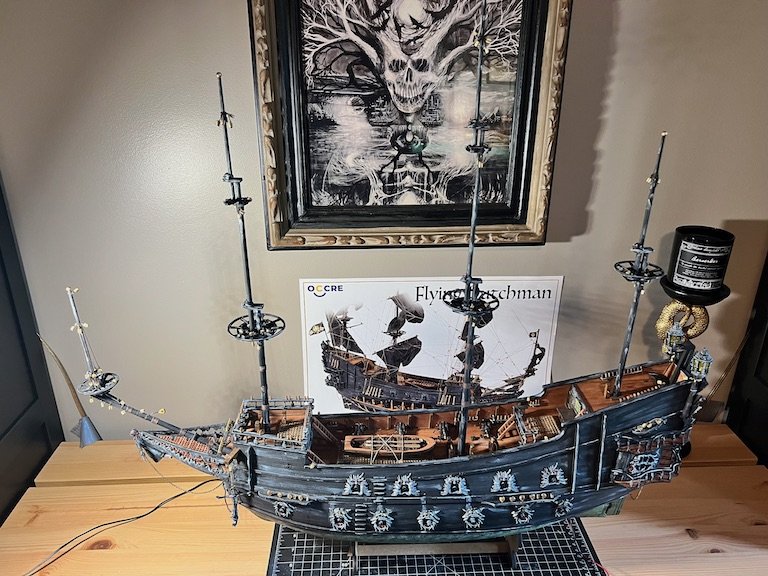
I have completed the Flying Dutchman!! Rigging the sails was challenging, given the lack of a plan view of the rigging. The directions that are provided left a lot to interpretation and the directions did not match the picture of the completed ship provided with the kit. I made a few incorrect assumptions and had to circle back to correct so as not to get lines crossed up or to make room to tie off to the pin rails. I continue to learn more with each build (especially what not to do )and the Dutchman provided a great platform for learning and opportunity to improvise without negatively affecting the finished product model. It all worked out and I am happy with the result! On to the next project!


- 30 replies
-
- 7
-
-
- Flying Dutchman
- OcCre
- (and 1 more)
-
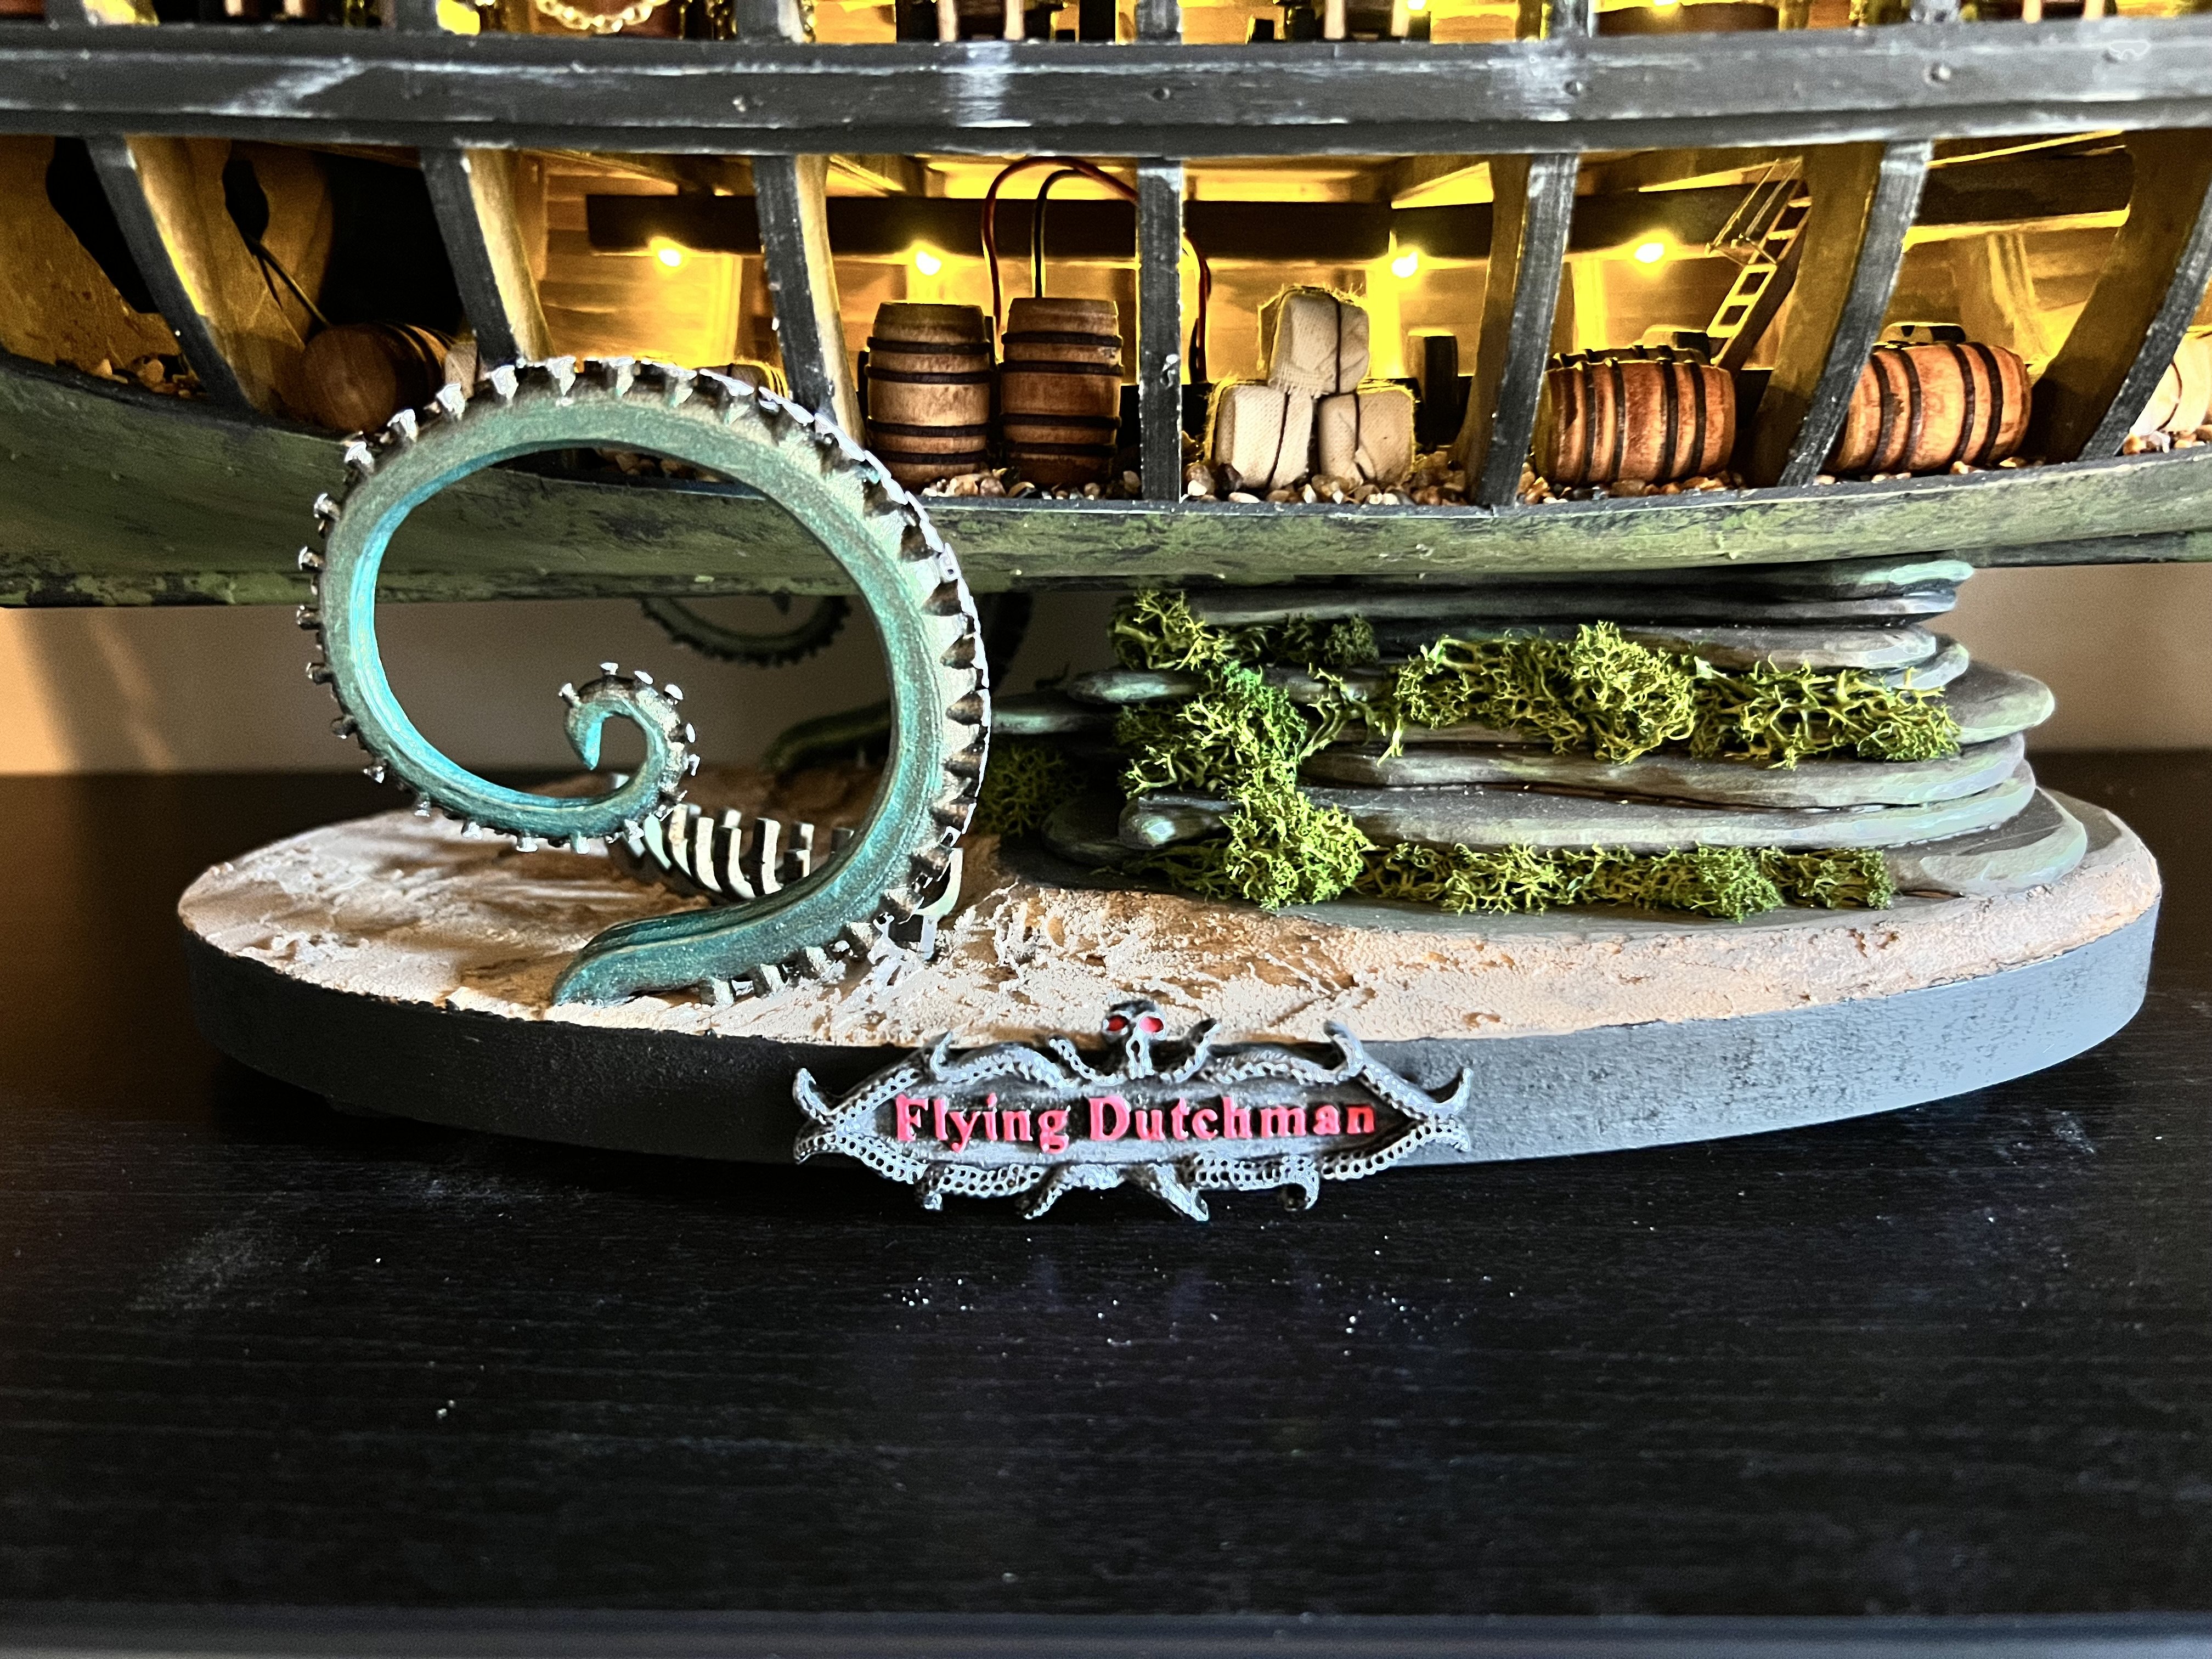
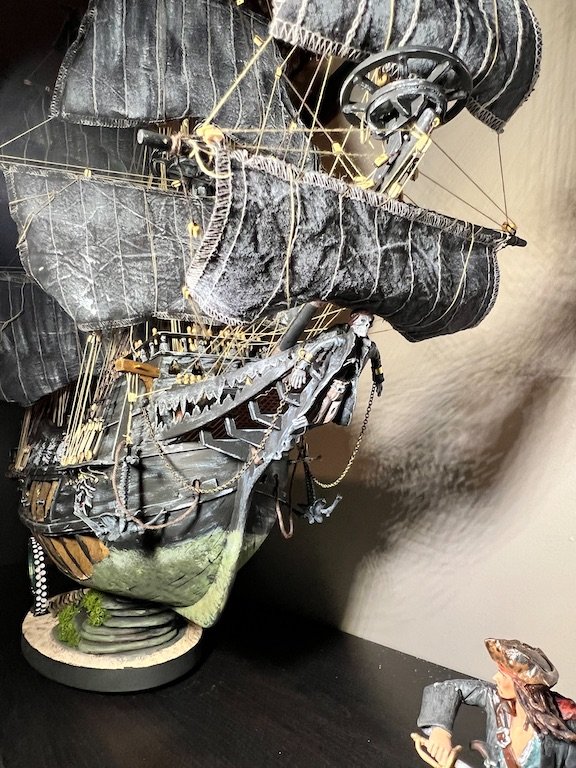
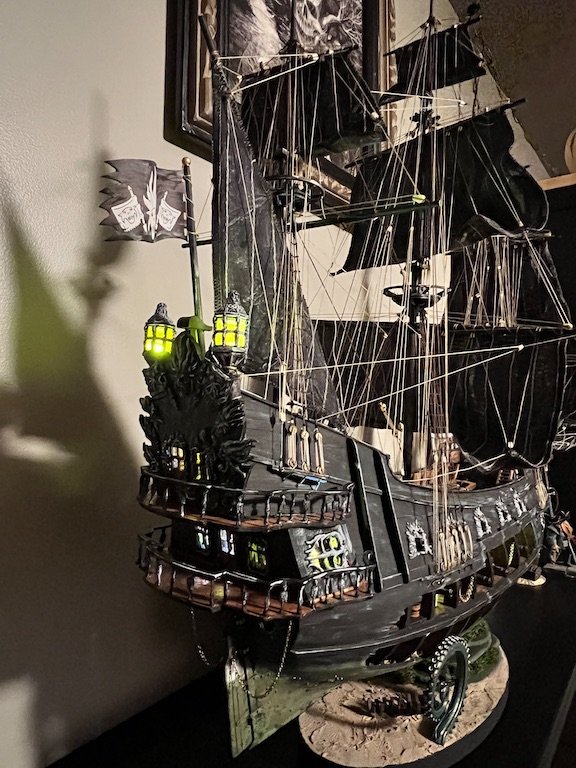
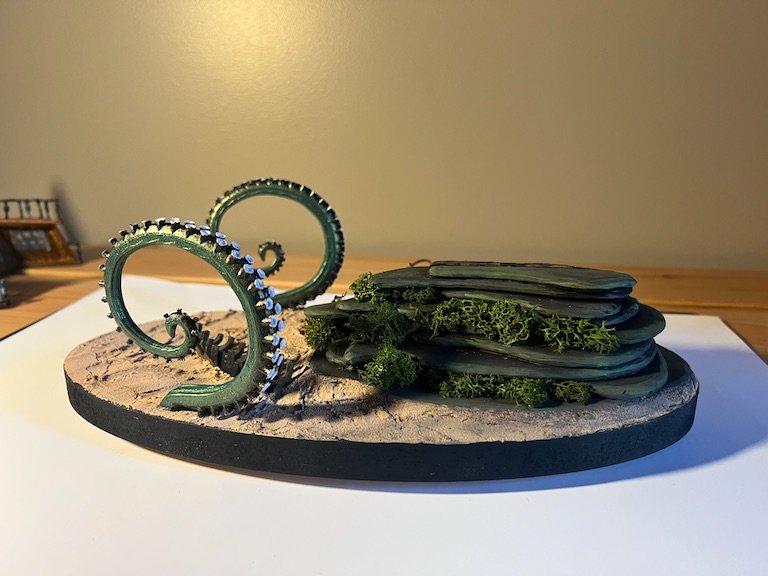
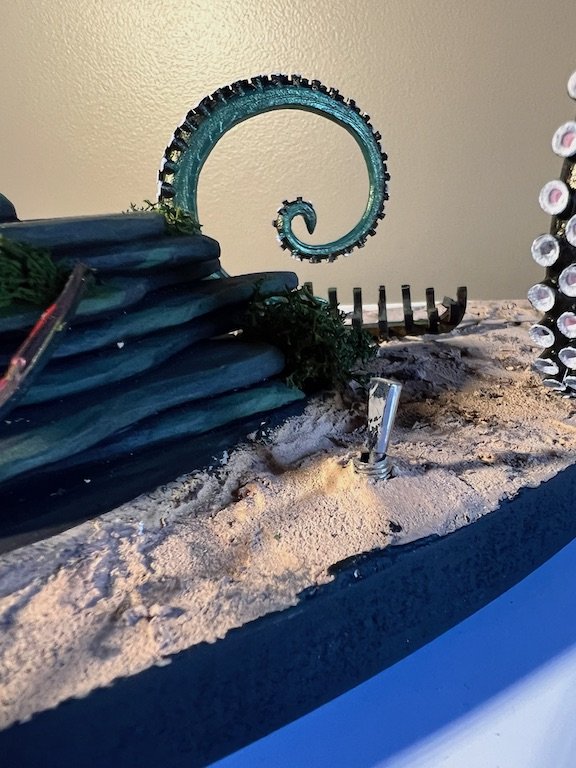
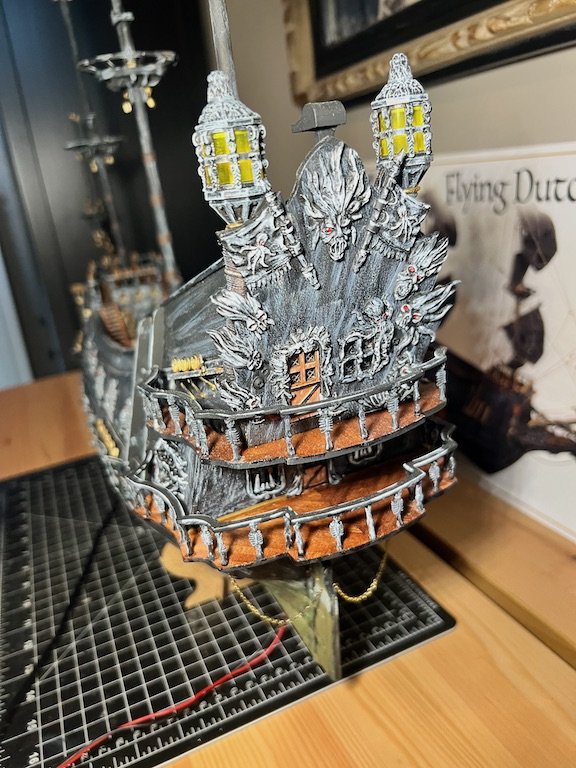
@MBerg Thank you! The stand was fun to work on and a nice break from the rigging. Lots of opportunity on the Dutchman to get creative! Tim
- 30 replies
-
- 1
-
-
- Flying Dutchman
- OcCre
- (and 1 more)
-
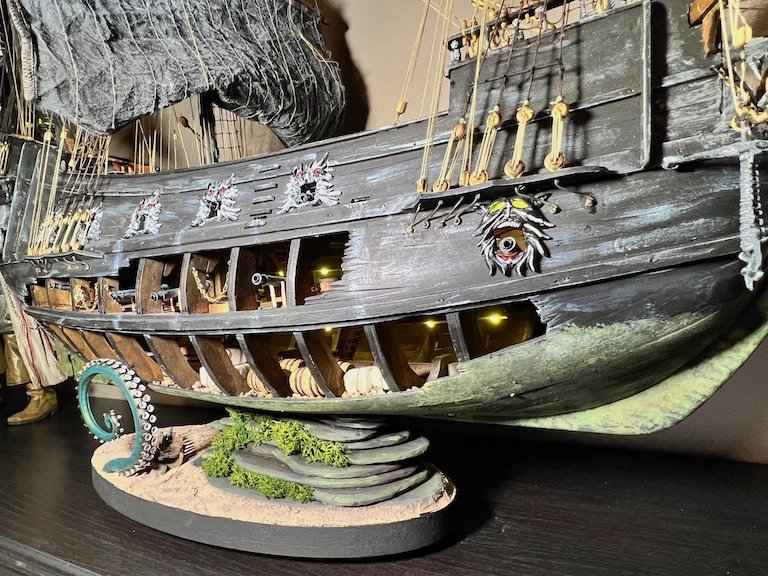
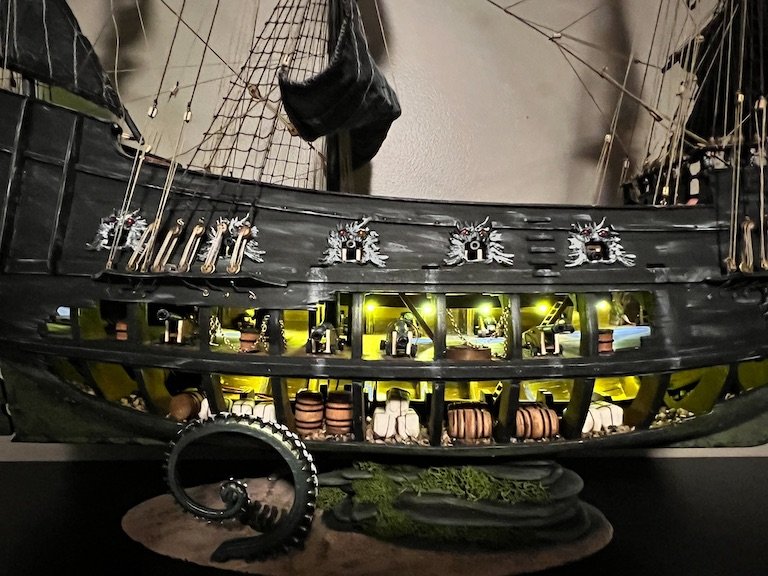
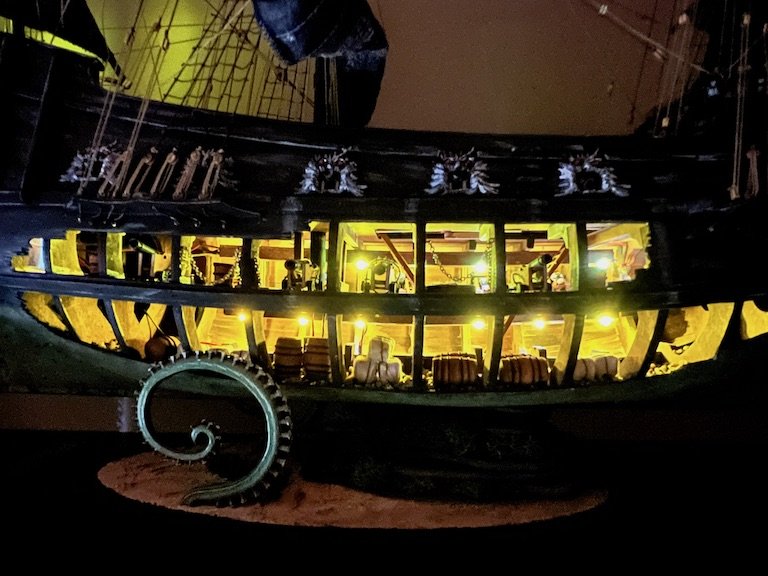
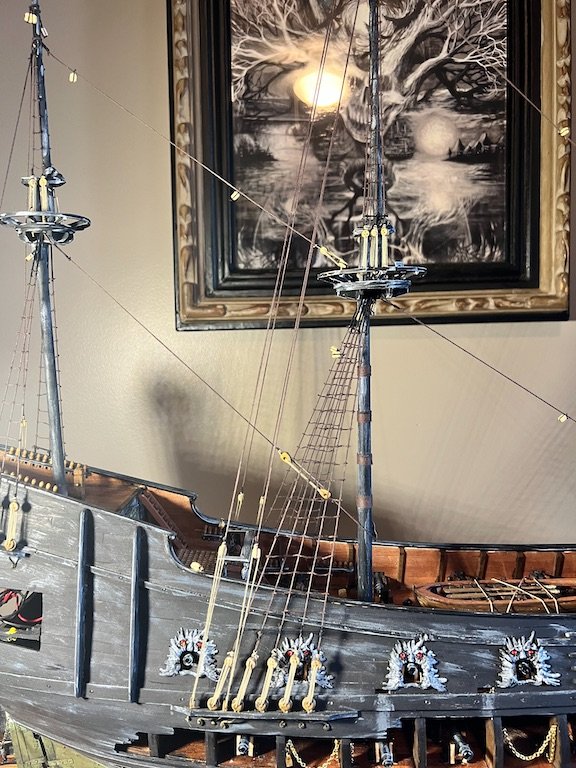
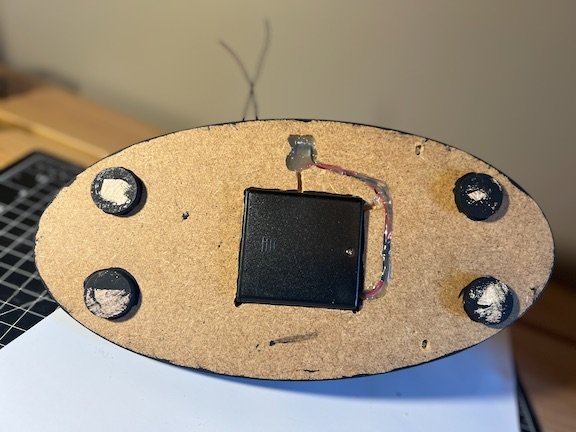
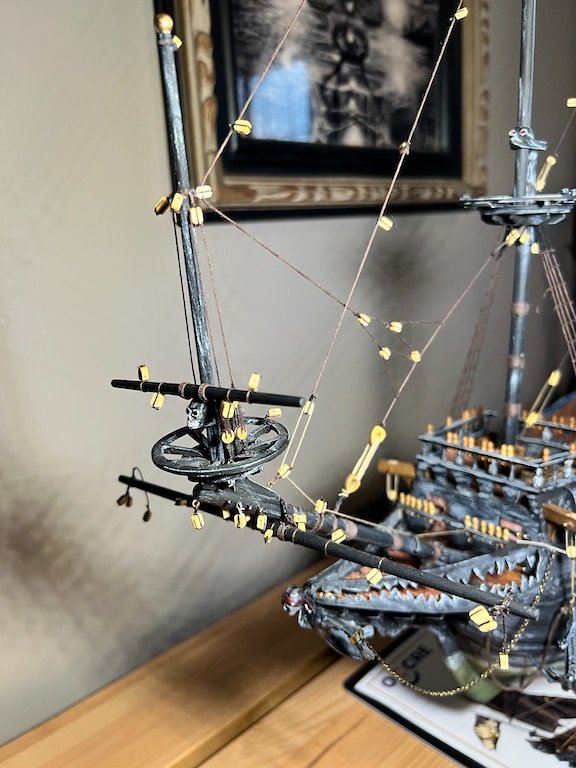
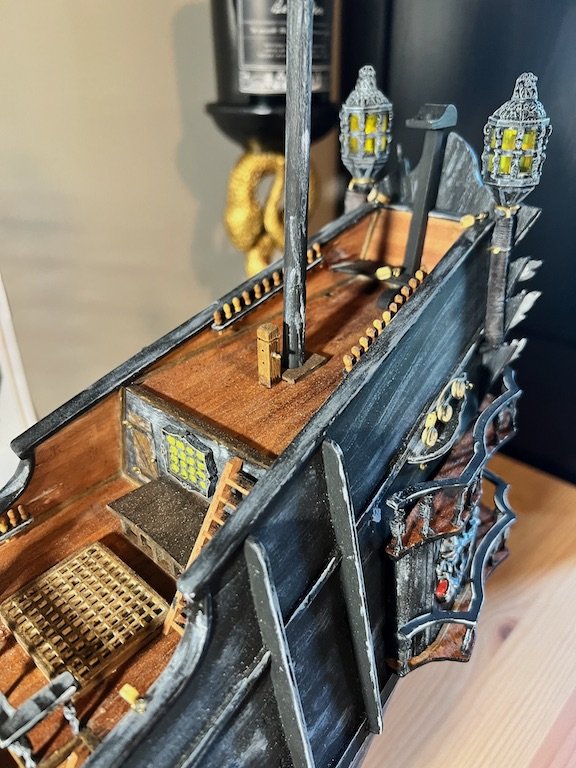
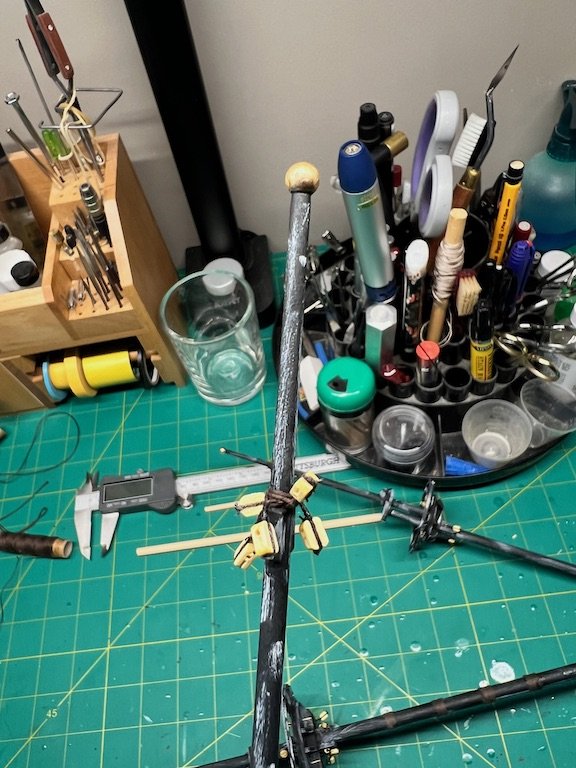
The standing rigging is completed. The rigging diagrams leave a bit to interpretation. Not completely clear how some of the lines should be terminated, so some improvisation was needed. I am sure having more familiarity with rigging would make things clearer, but would also guess that some license was taken given this is a fictional subject. Also completed the riding on all of the yards. Took a break from tying knots to build the base and detail. I cut out a space in the bottom of the base to hold the battery pack for lighting aboard the ship. So I don't have to use the on/off switch on the pack, I installed a toggle switch on the side opposite from where the open areas of the ship will be on display when the ship is on the base. On to the attaching the yards, running rigging and sails... Tim
- 30 replies
-
- 2
-
-
- Flying Dutchman
- OcCre
- (and 1 more)
-
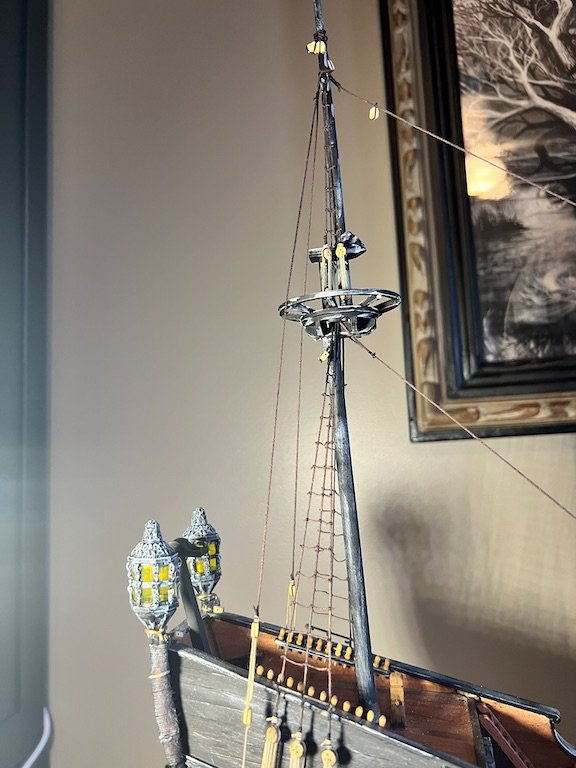
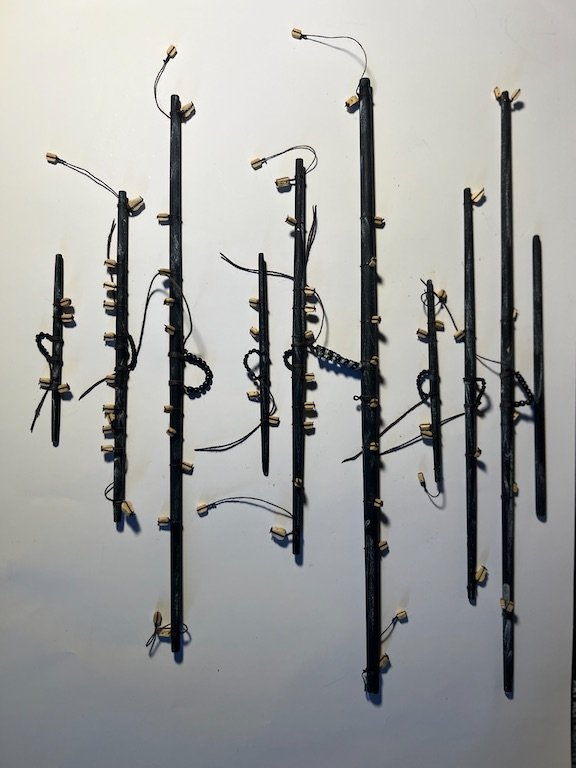
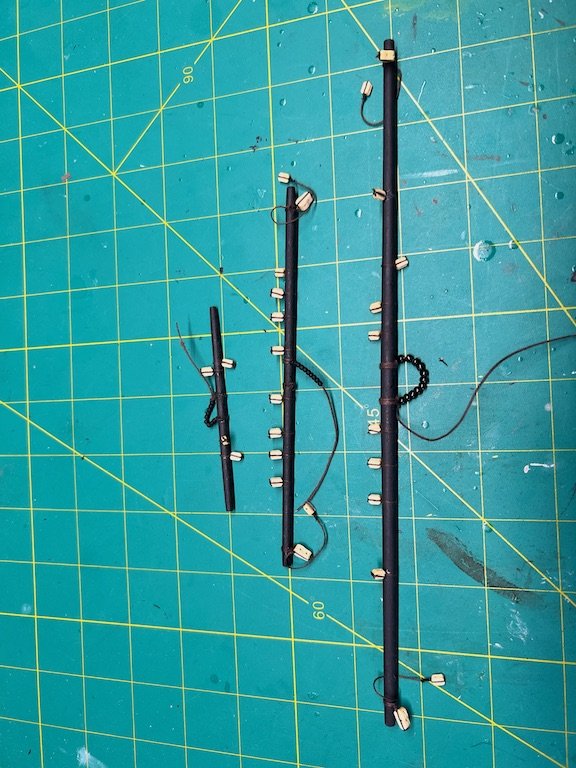
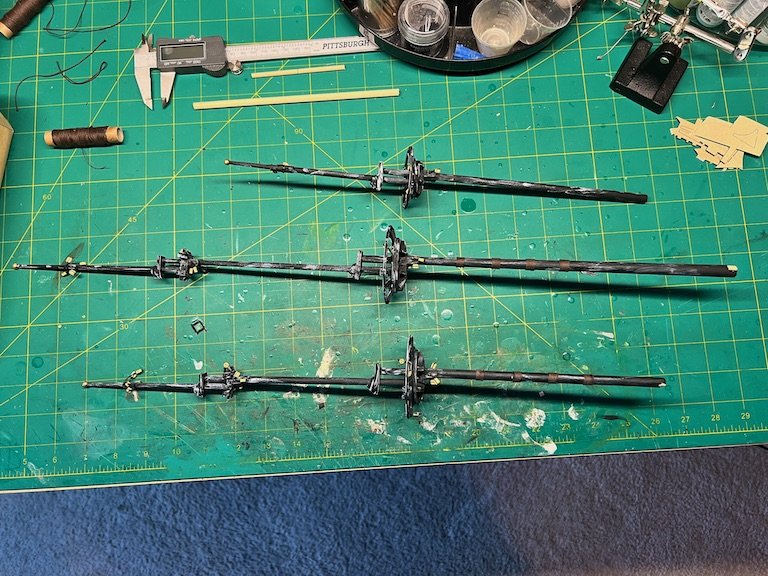
Work on the Dutchman continues. Set the masts and began the standing rigging. Have learned to be very carful with applying CA to the rigging line provided with the kit. too much and it burns right through it or leaves it very weak. Have had to replace several blocks on the masts that have fallen off due to the rope being weakened by CA. Switched to diluted white glue for the mast rigging, shrouds and ratlines. Completed and added the spas to the bowsprit and completed the yards for the foremast. Going to complete the standing rigging before completing and adding the yards to the main and mizzen masts. Tim
- 30 replies
-
- 5
-
-
- Flying Dutchman
- OcCre
- (and 1 more)
-
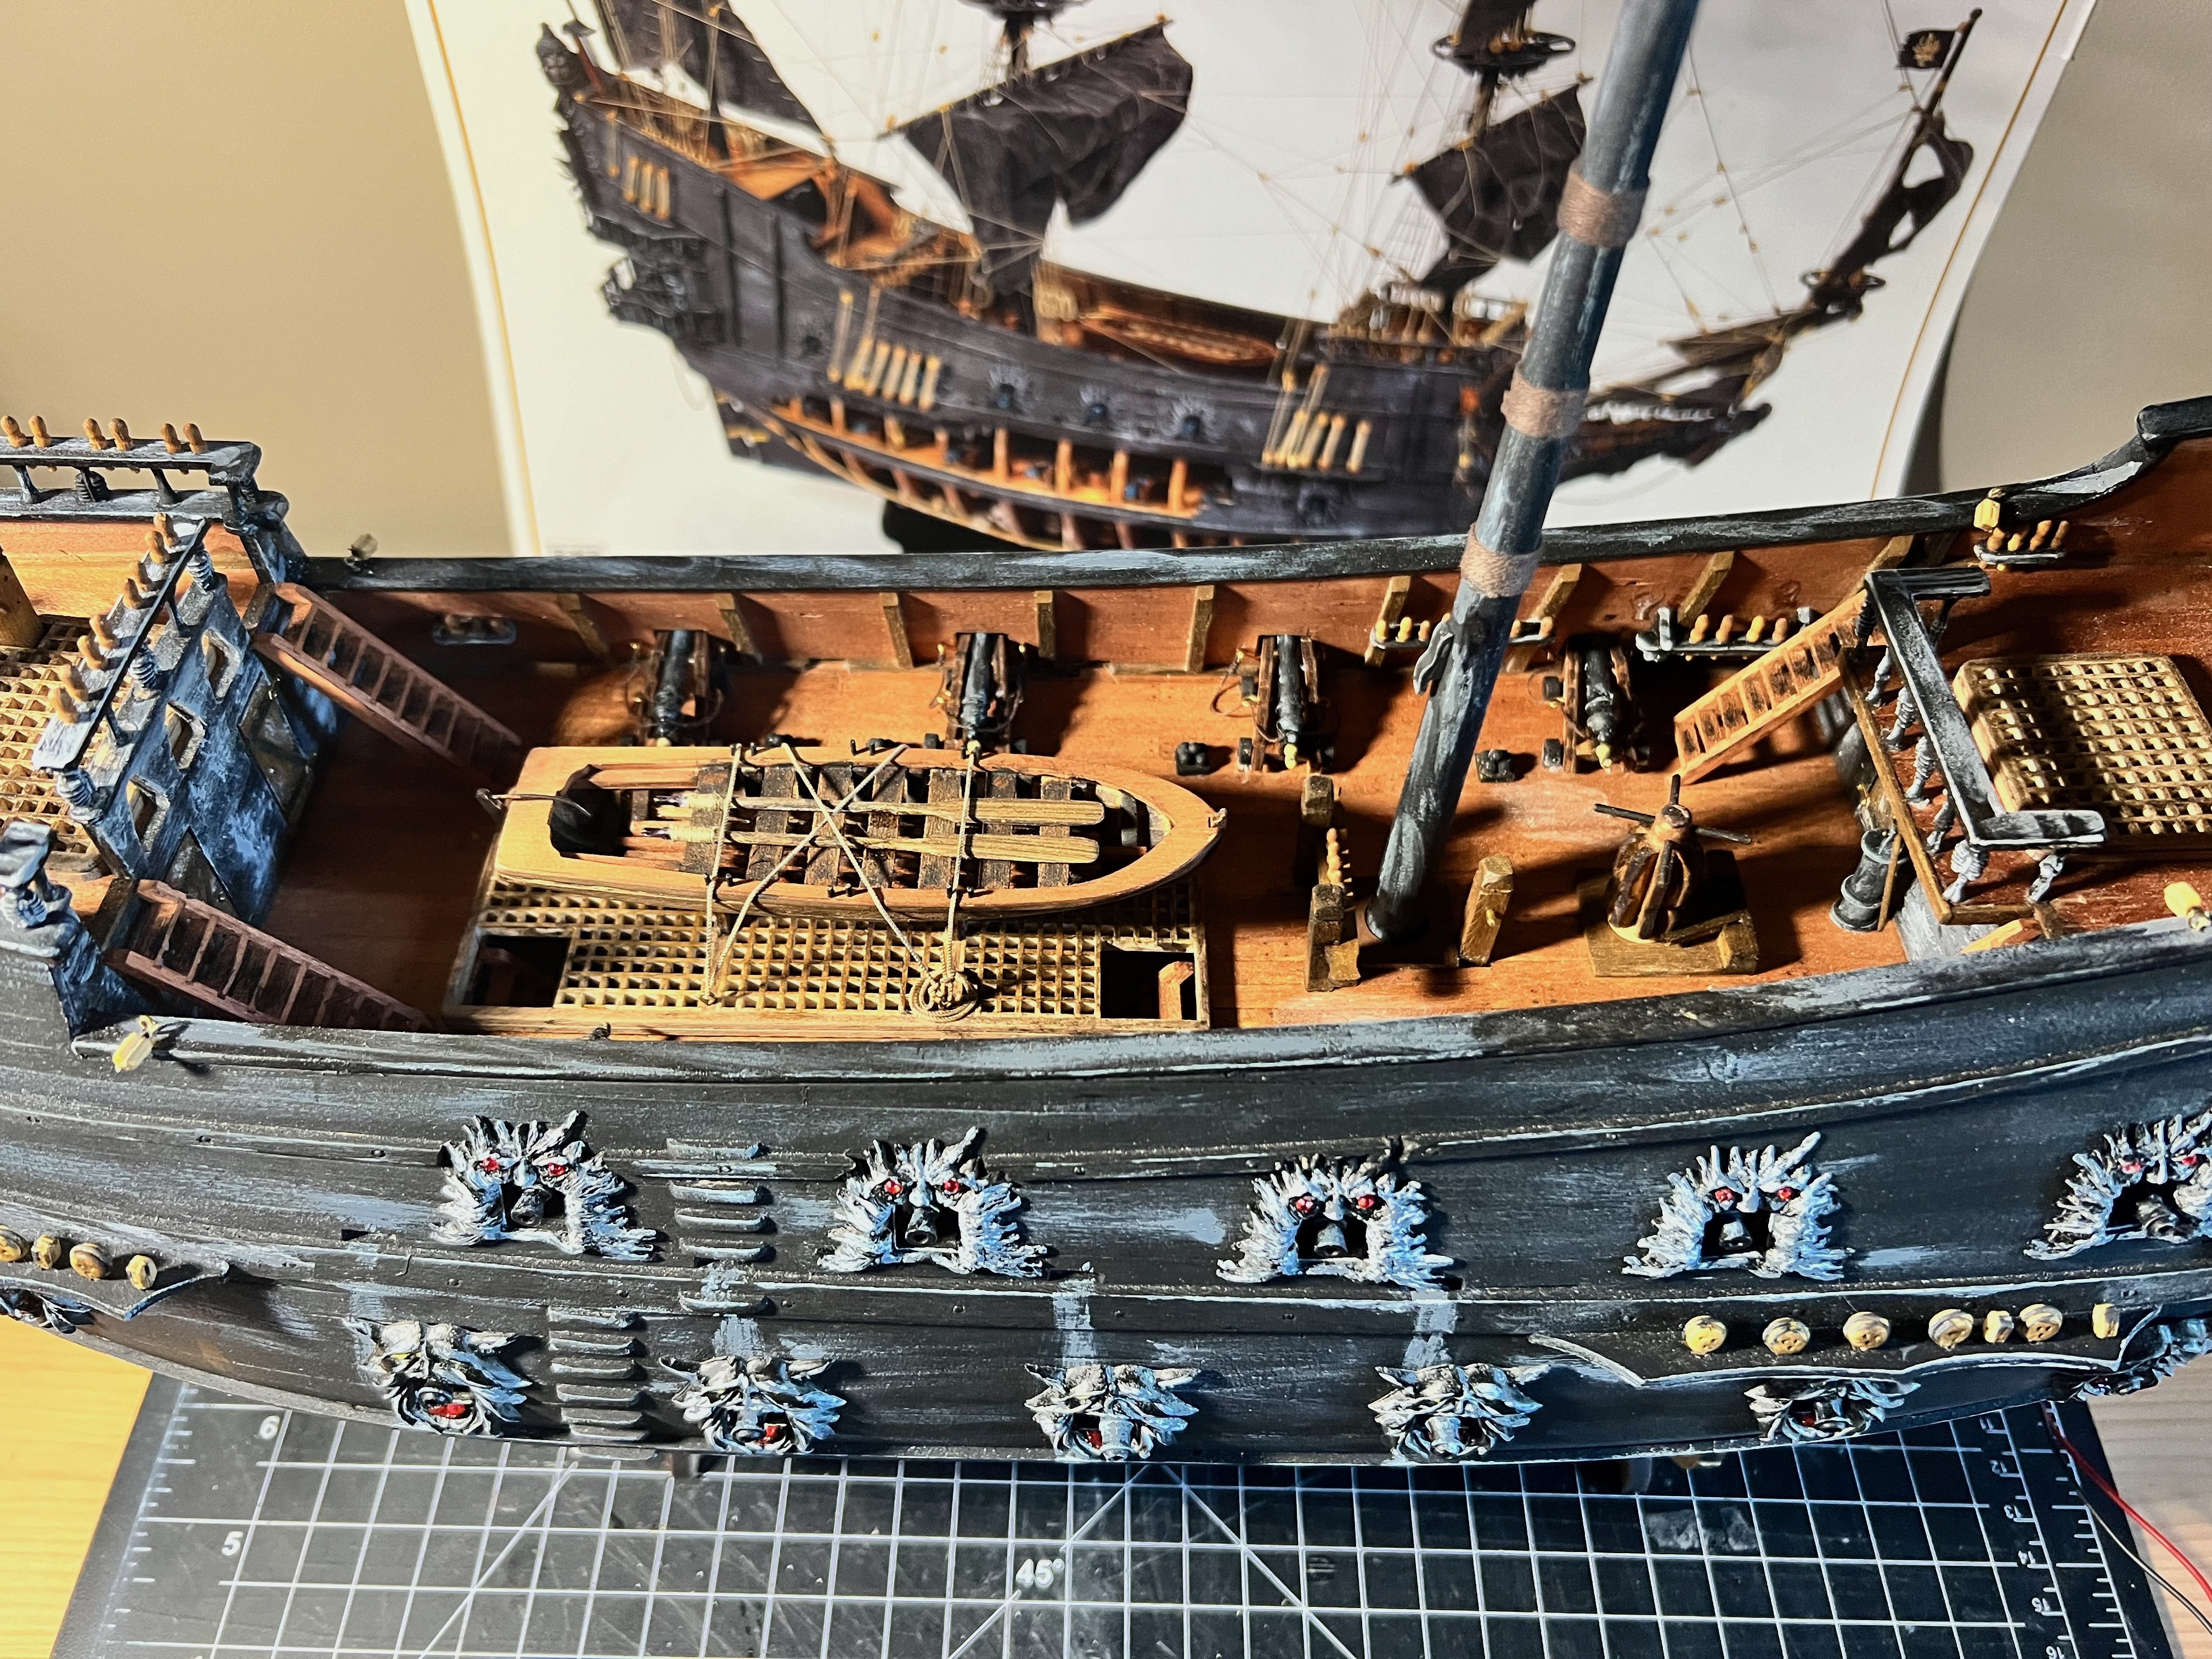
Slow going on any ship building this summer. Lot's of other things keeping me busy and out of the shipyard, but have made some progress on the Dutchman. Finished up the railings, the stern balconies and several other details on the main deck. . All of the masts have been completed. Just temporarily fitted for now, as I think it will be much easier to add the spars off the ship. Will start with the bowsprit and see how it goes. Have a few finishing touches left on my Bluenose and hope to have both finished soon, so I can get started on one of several other ships I have in waiting. Tim


- 30 replies
-
- 3
-
-
- Flying Dutchman
- OcCre
- (and 1 more)
-
Congratulations! You've built a beautiful model to add to your very impressive collection! Tim
- 282 replies
-
- 2
-
-

-
- Bluenose
- Model Shipways
- (and 1 more)
-
Thank you! I pulled everything out of the shipyard, reorganized and added some book cases. Had the models-in-progress stashed away in a spare bedroom to keep the cats away while the shipyard was out of commission. All done now and looking forward to finishing the Bluenose. Tim
- 145 replies
-
- 3
-
-
- Bluenose
- Model Shipways
- (and 1 more)
-
Thank you, Gregg! Was a lot of steps to create the sails (and redo some), tie all the blocks, run all of the rigging lines (and redo some!). Very satisfying though once the work is done. . Still have to go back and finish the boats, deal with the anchors and a few other minor details, but I think I can see the finish line. Tim
- 145 replies
-
- 2
-
-
- Bluenose
- Model Shipways
- (and 1 more)
-
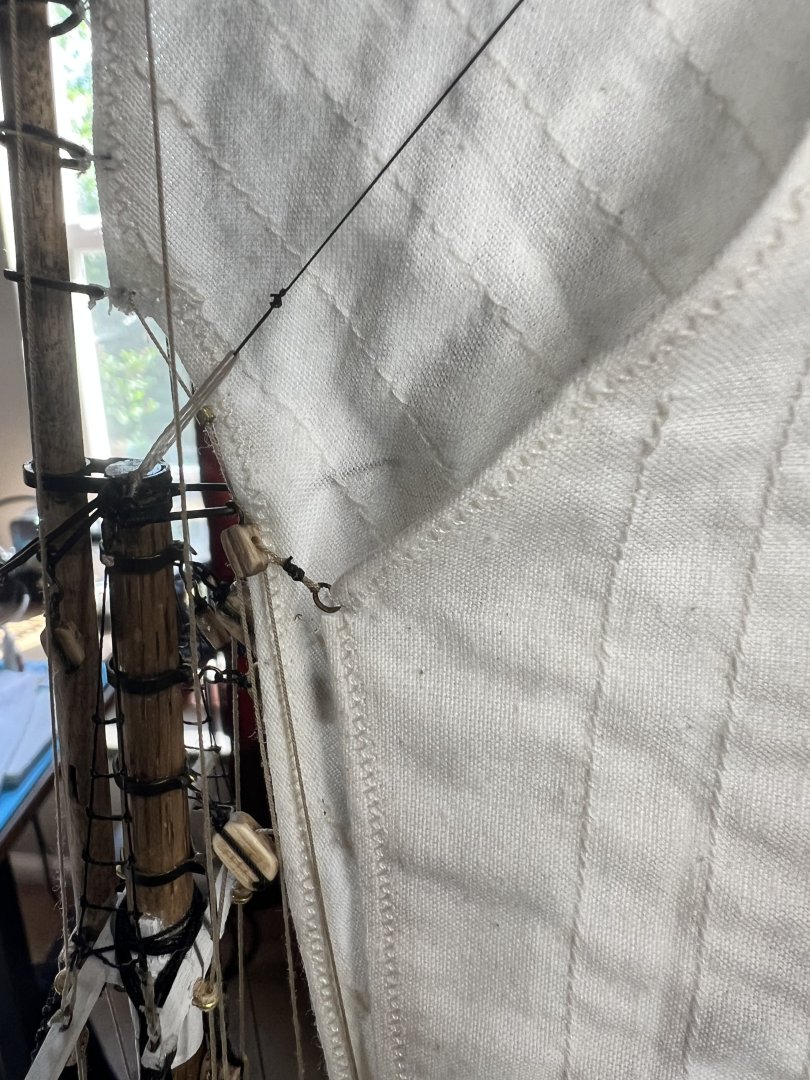
Sails and rigging looks great, John! Love the authentic stitching around the eye at the top corner of the main sail. Tim
- 282 replies
-
- 2
-
-
-
- Bluenose
- Model Shipways
- (and 1 more)
-
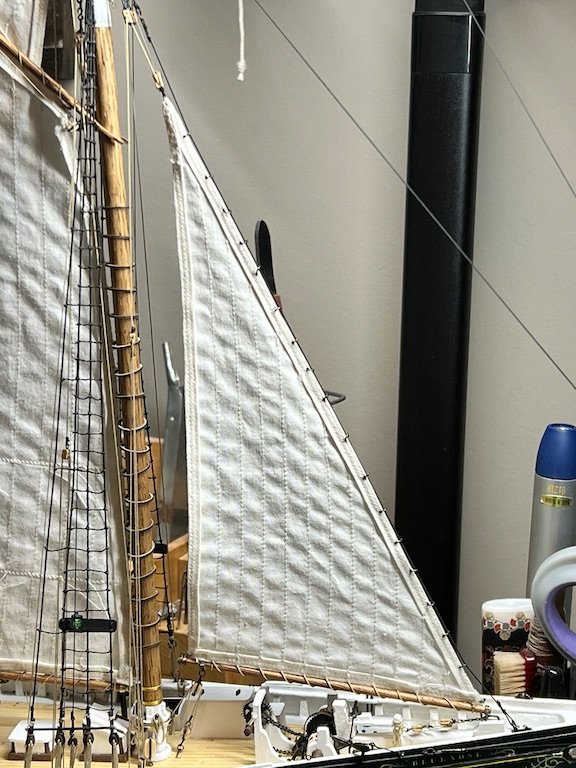
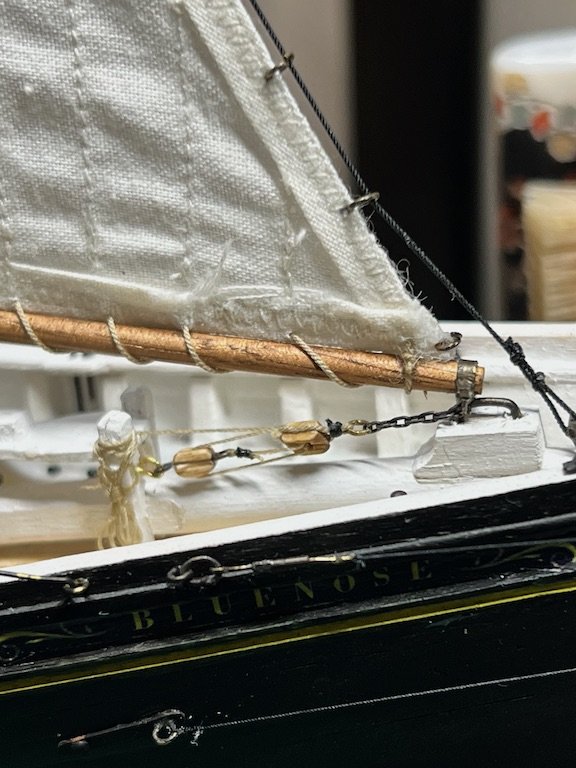
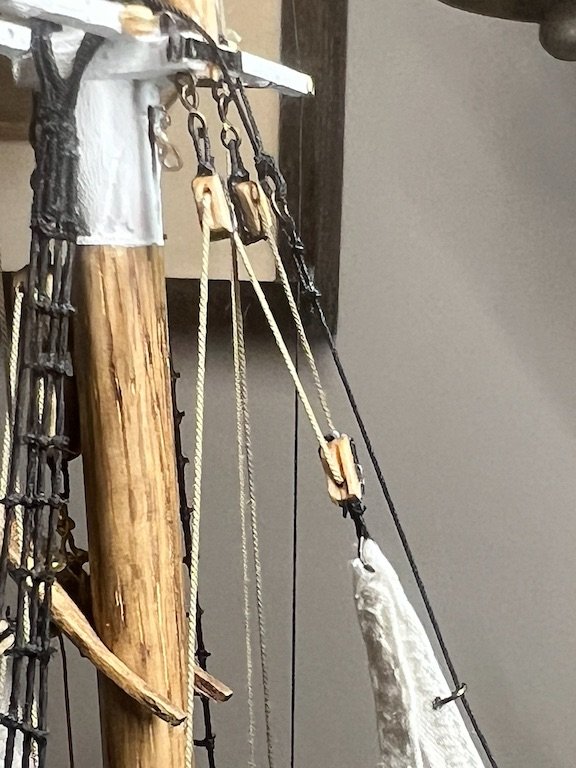
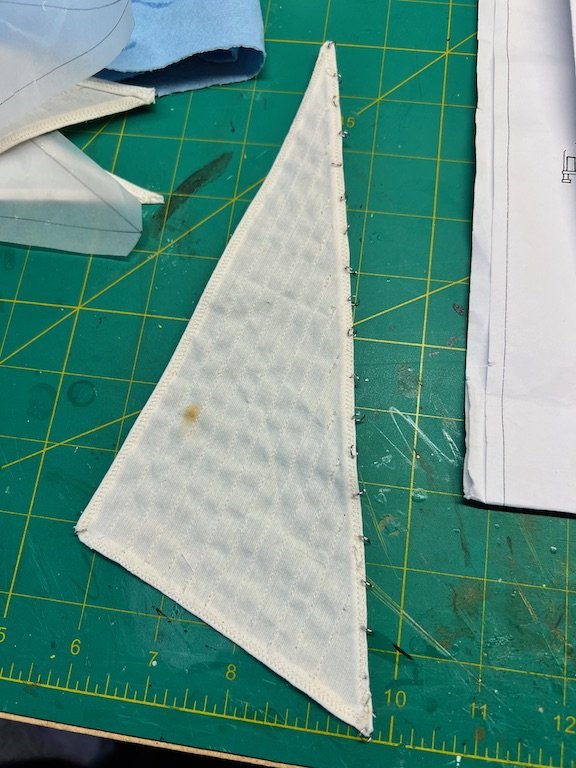
Getting closer to completion, but it has been slow going. Summer, work on the house and the yard, and other various obligations have not left much time for working on the Bluenose. Finished the Stay Sail and Jumbo Jib, only two more sales to go!! I used rings for the hanks on the Jumbo Jib. I had originally used silver rings I had in my supply, but felt like they looked too big once on the sail and I could not blacken them. I ordered smaller brass rings from Model Expo, blackened them and attached to the sail. When I went to start rigging the sail, I realized that I had sewn the hem around the edge of the sail on the wrong side . It was backward from all the other sails on the ship, so I remade the sail. I also had managed to get a stain on the original sail, so this solved that problem as well. Just realized I never added the parrels to the main gaff...Always more to do... Tim

- 145 replies
-
- 4
-
-
- Bluenose
- Model Shipways
- (and 1 more)
-
Sails look great, John! I’m working on the jib sails now. Was planning to use some split rings I bought locally for attachment of the sails to the stays, but they were stainless and couldn’t be blackened. Waiting on some brass rings from Model Expo. Tim
- 282 replies
-
- 2
-
-
-
- Bluenose
- Model Shipways
- (and 1 more)
-
Thank you, Nirvana! I considered that, but really like the look of the bluenose in full sail. It is a lot of rigging, but I am enjoying the process and learning a ton to apply to future builds. Tim
-
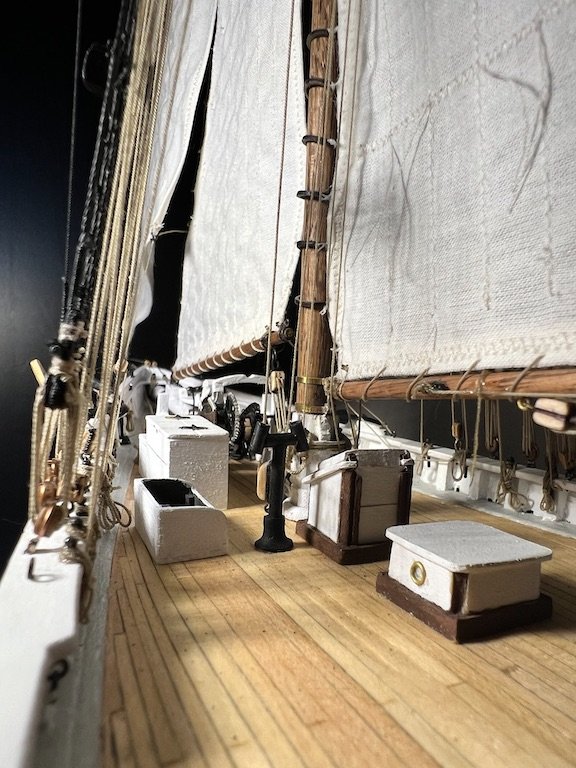
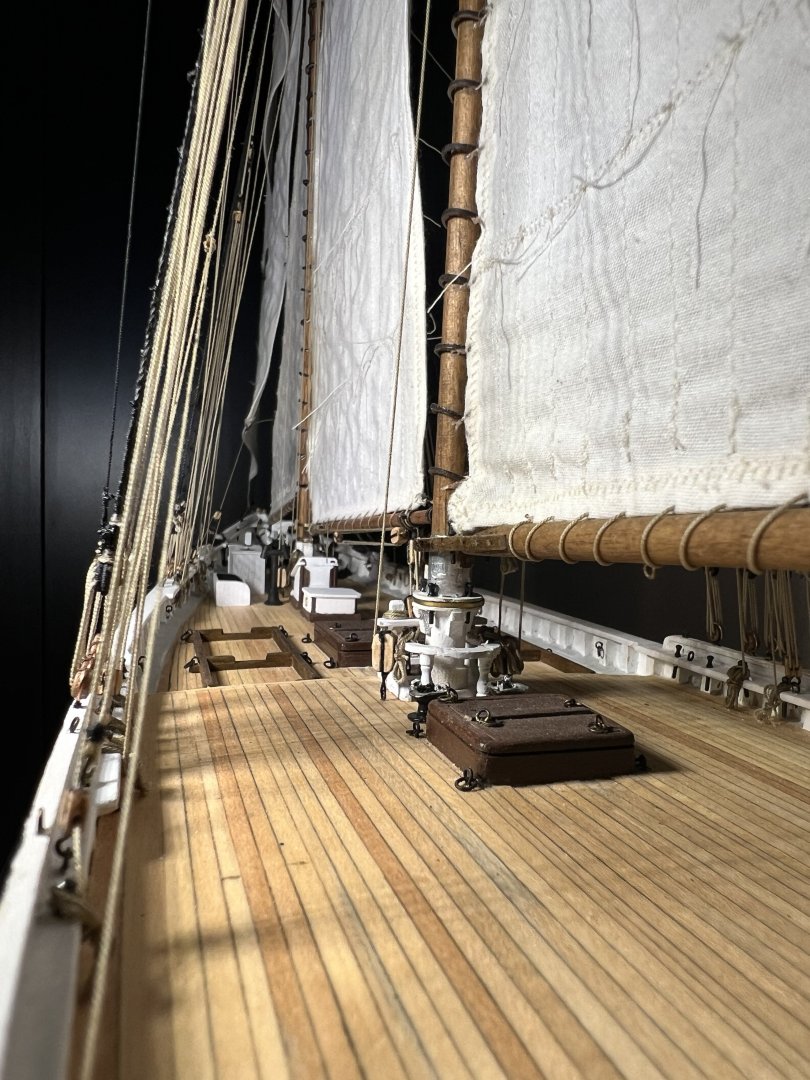
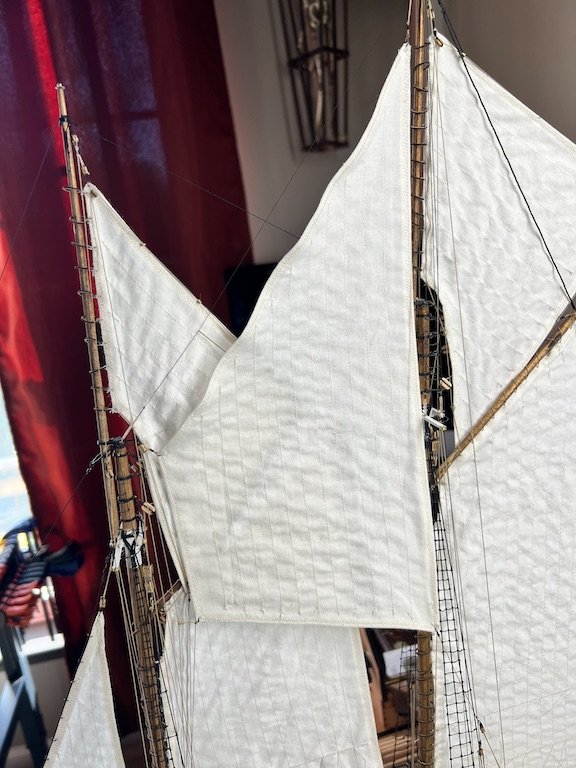
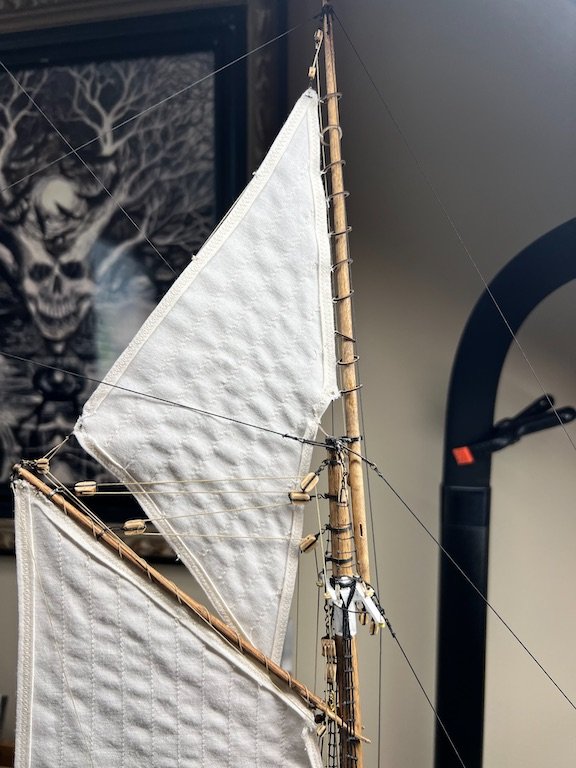
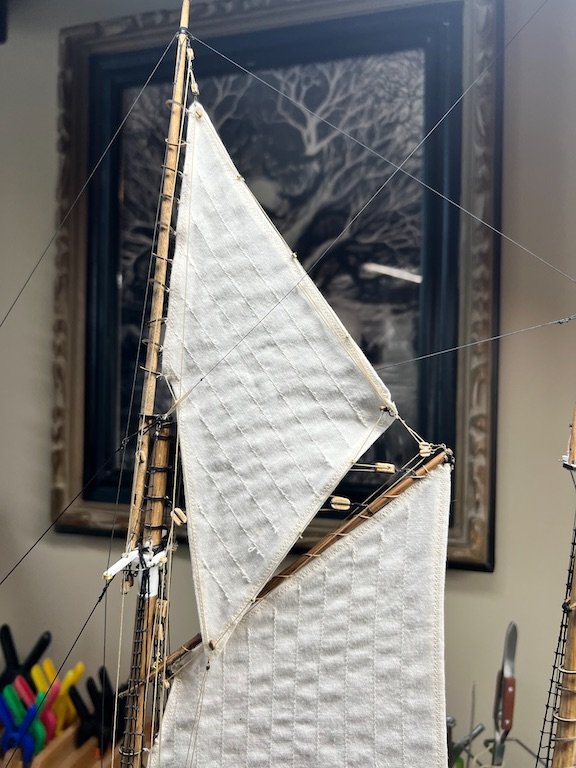
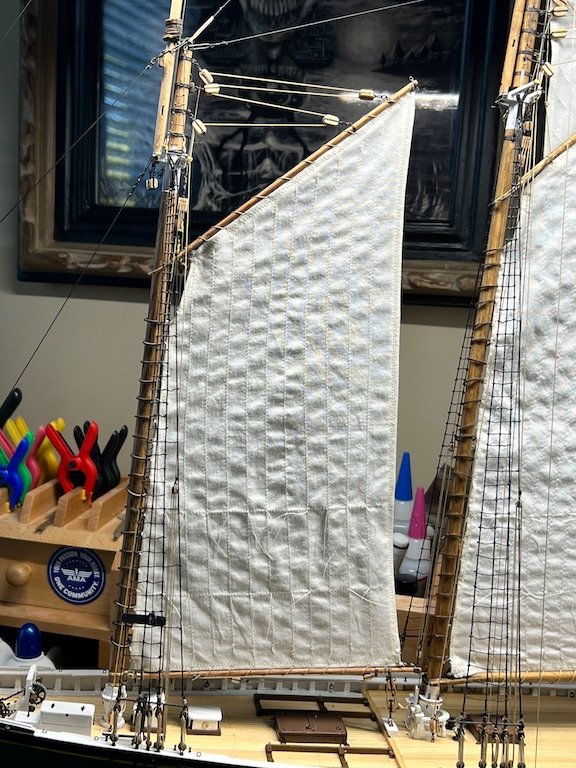
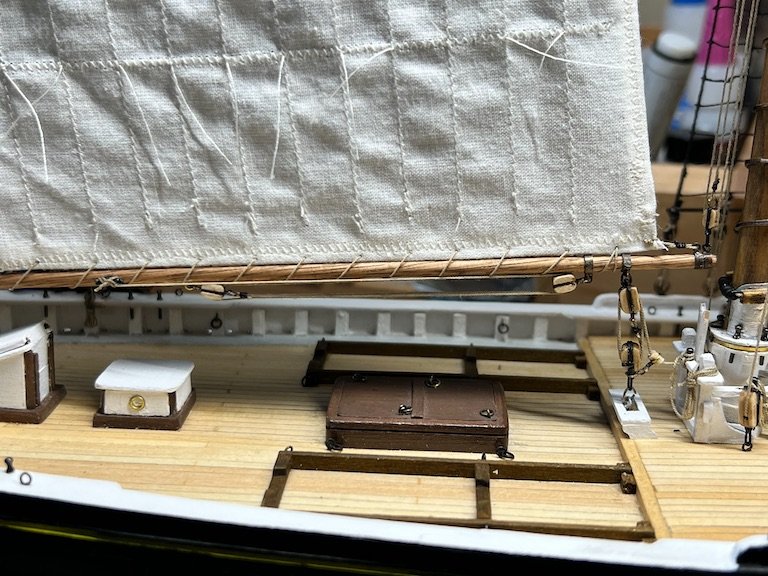
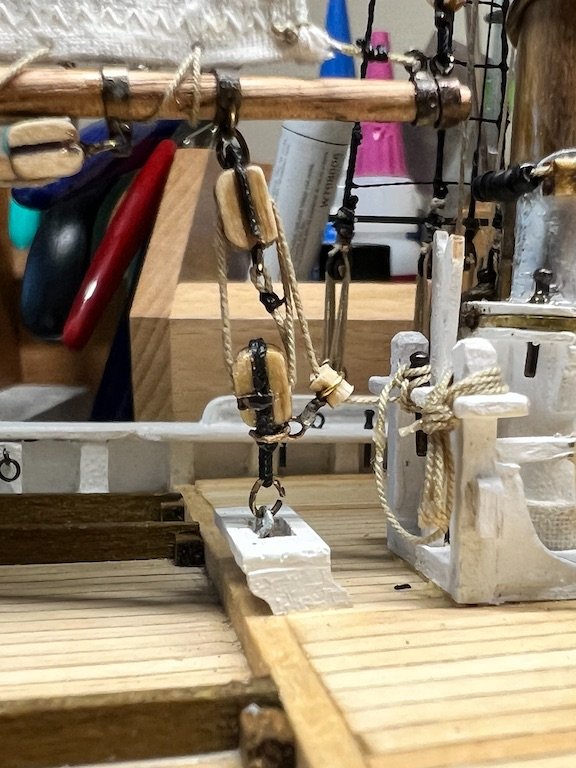
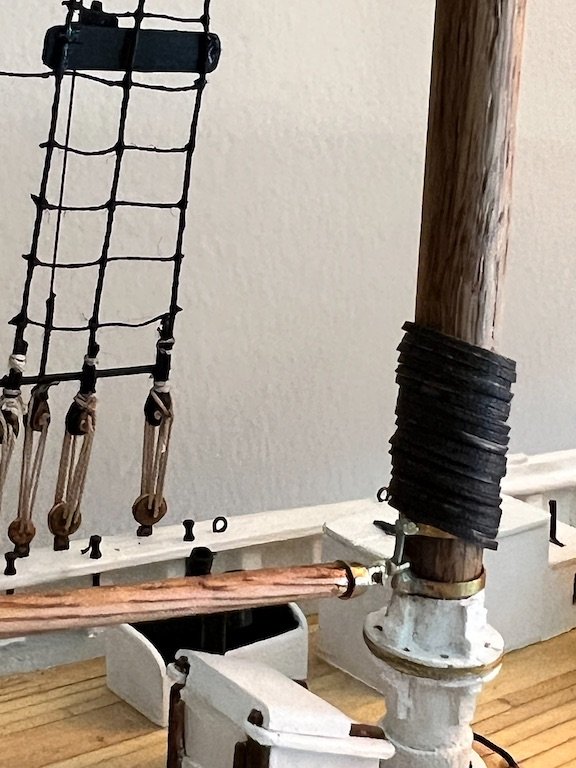
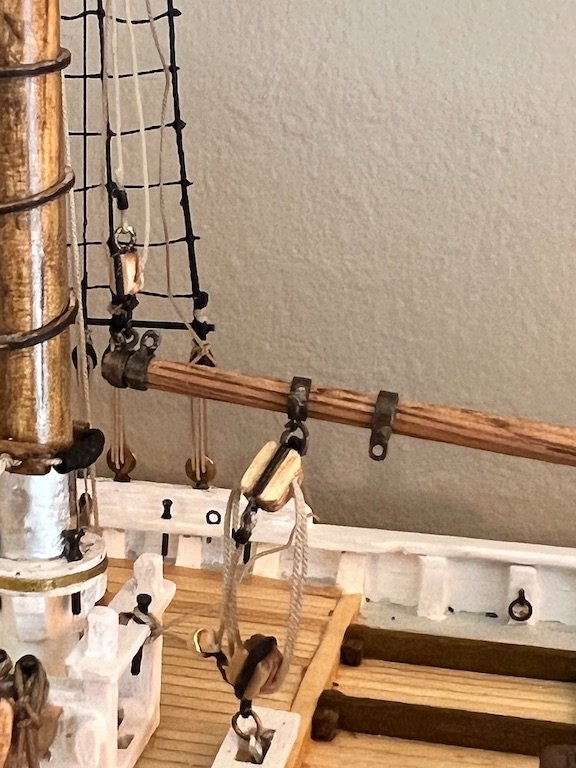
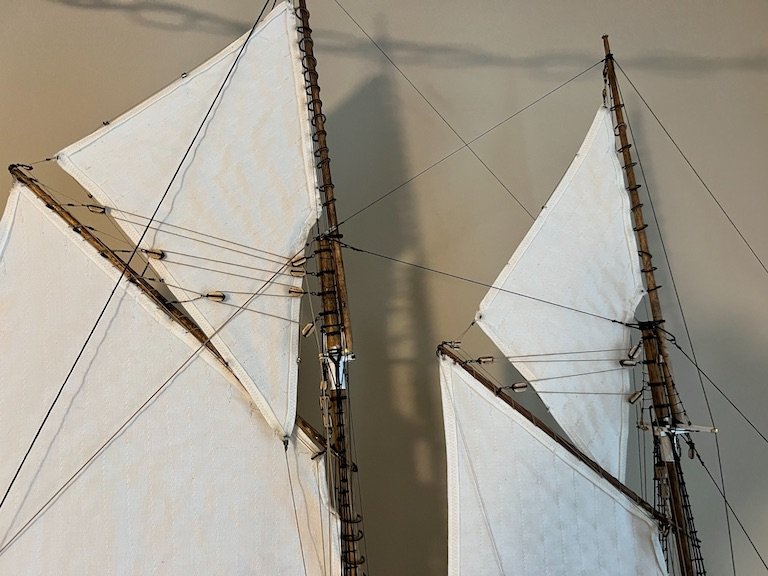
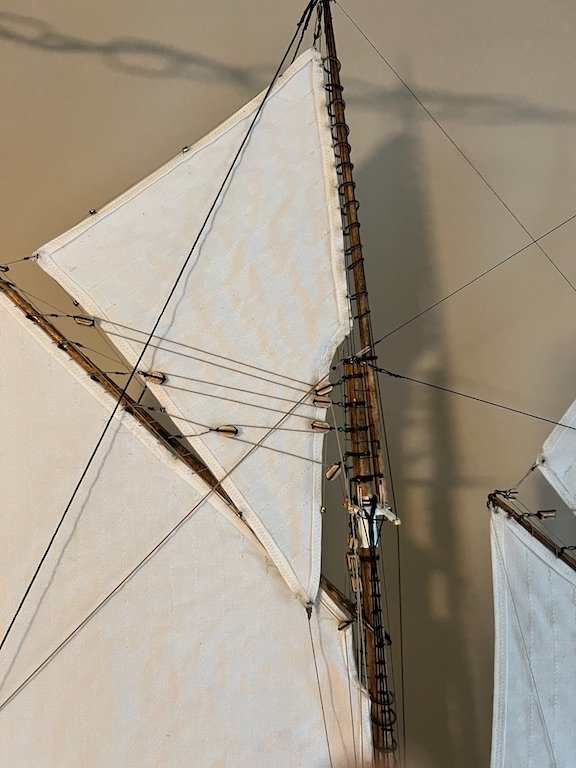
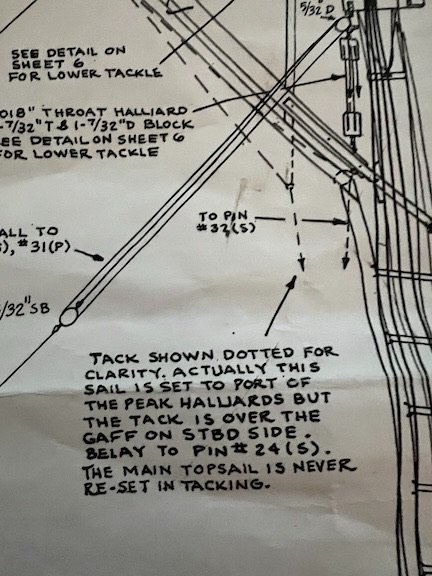
Continuing on with the sail rigging...Fore sail and fore top sail next, starting from the bottom with the fore sail. There are a lot of blocks and a fair amount of rigging required for the peak and throat halliards. Need to pay close attention to the rigging plan on sheet 6 to make sure all the lines run to the correct pins. I attached the fore boom and loosely rigged the sheet and topping lift so that they could be tightened up as needed once the sail was rigged and attached. Once the boom was in place I added all of the ties for the mast hoops to the fore sail and lashed the top of the sail to the fore gaff. I thought I had taken pictures of the completed peak halliard before I added the fore top sail but, did not have any when I went to edit the pics for posting. Once I had the gaff rigged, I lashed the bottom of the sail to the boom and then snugged all of the lines up. The fore top sail was next. I learned from the main top sail to attach all of the clew line fairleads and blocks, the rigging line and block and the mast hoop ties BEFORE attaching the sail to the mast. So much easier to work with the sail off of the ship, duh! Unfortunately, I forgot to take pictures of this interim step and only have a photo of the sail fully rigged. Once again, very important to study the rigging plan, check and double check all the lines to make sure they are all routed appropriately and tied off to the correct pin prior to any permanant attachment. I finished off all of the tie offs with rope coils. While I was looking things over, I noticed that my main top sail and fore top sail were rigged on opposite sides of their associated peak halliards. What I discovered is that I had placed the main top sail on the wrong side. Both sails are set to the port side, but the bottom corner of the main top sail and tack line goes over the main gaff to the starboard side. This is noted on the plans. On to the stay sail...4 more to go! Tim

- 145 replies
-
- 2
-
-
- Bluenose
- Model Shipways
- (and 1 more)