
HOLIDAY DONATION DRIVE - SUPPORT MSW - DO YOUR PART TO KEEP THIS GREAT FORUM GOING!
×

Fubarelf
-
Posts
115 -
Joined
-
Last visited
Content Type
Profiles
Forums
Gallery
Events
Everything posted by Fubarelf
-
 Thank you, Nirvana!
 -
Thank you!. Yes, making good use of tweezers!
-
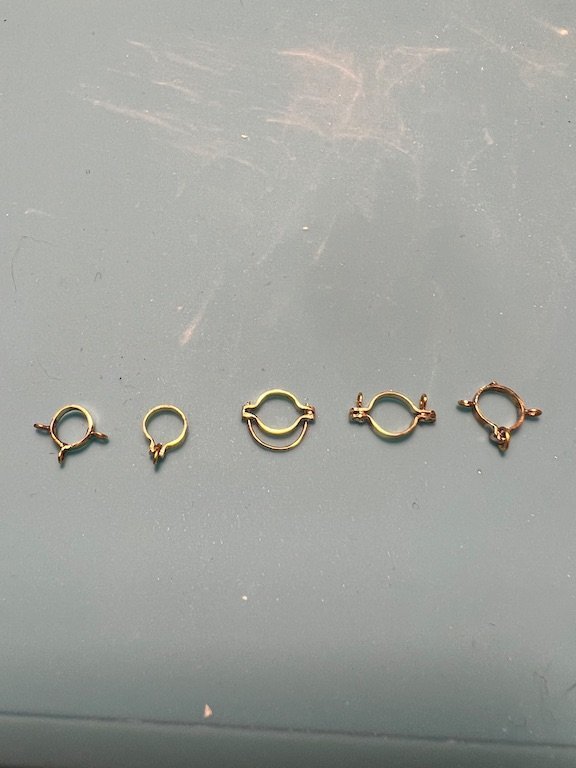
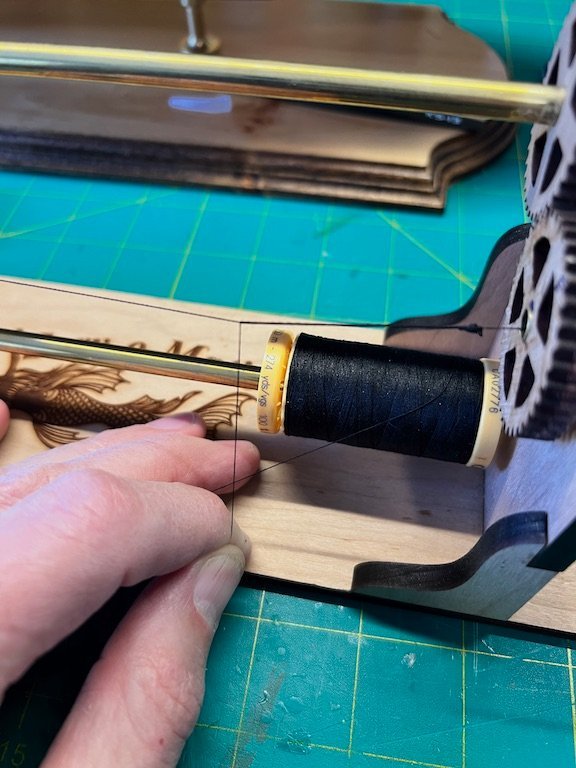
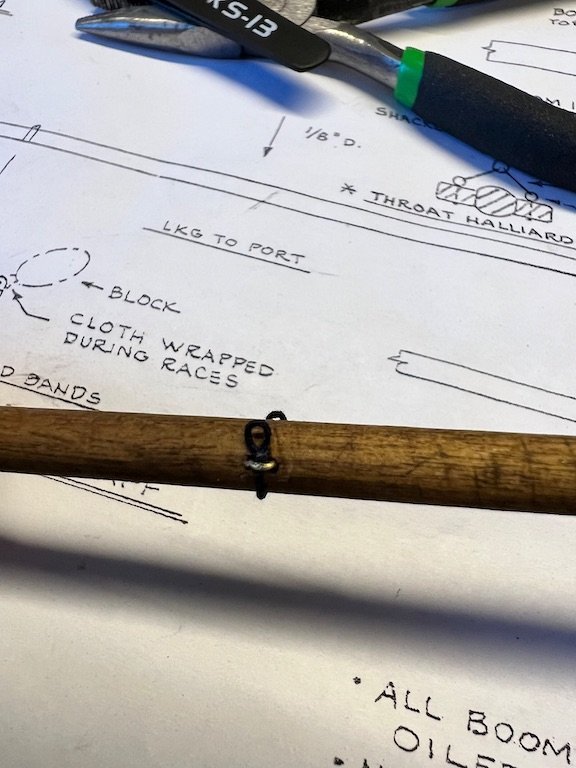
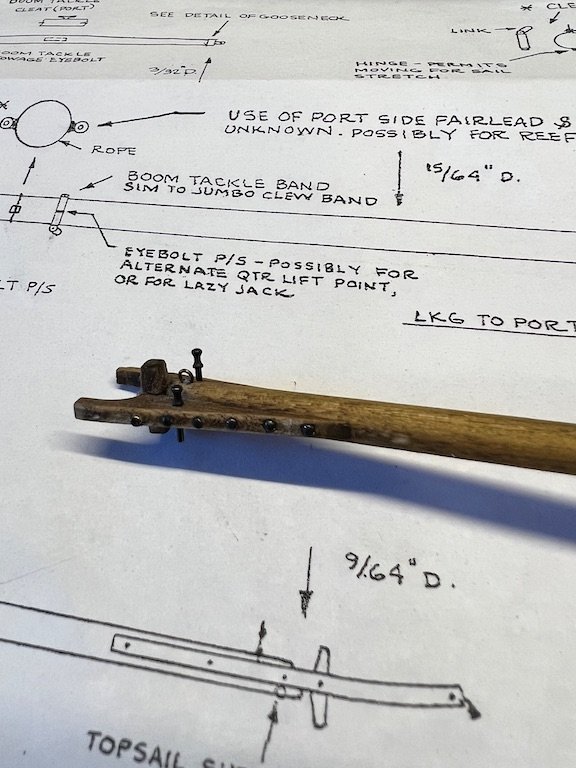
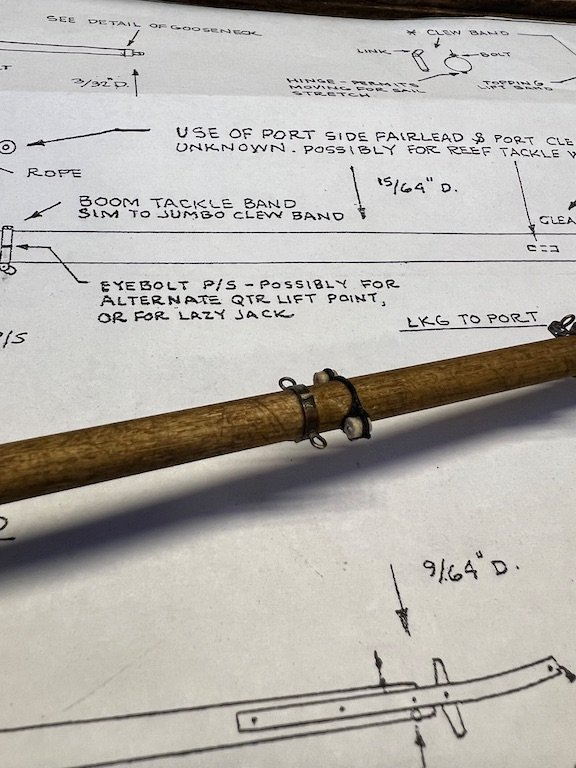
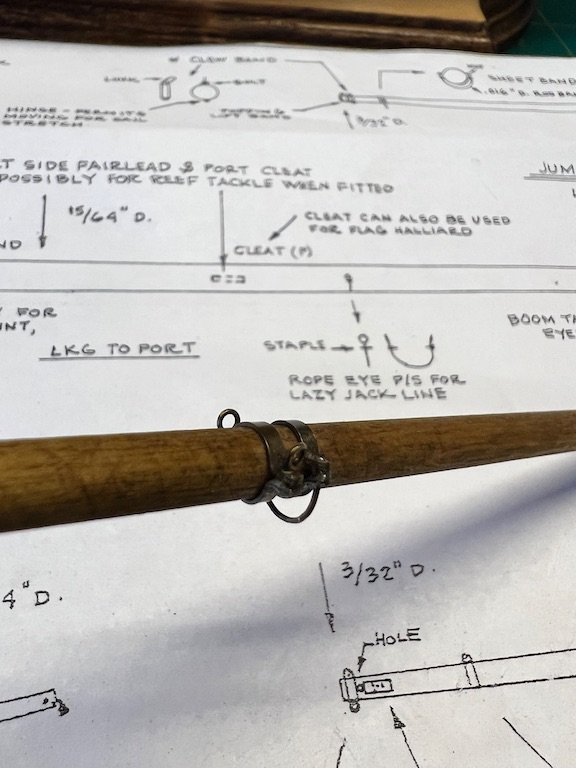
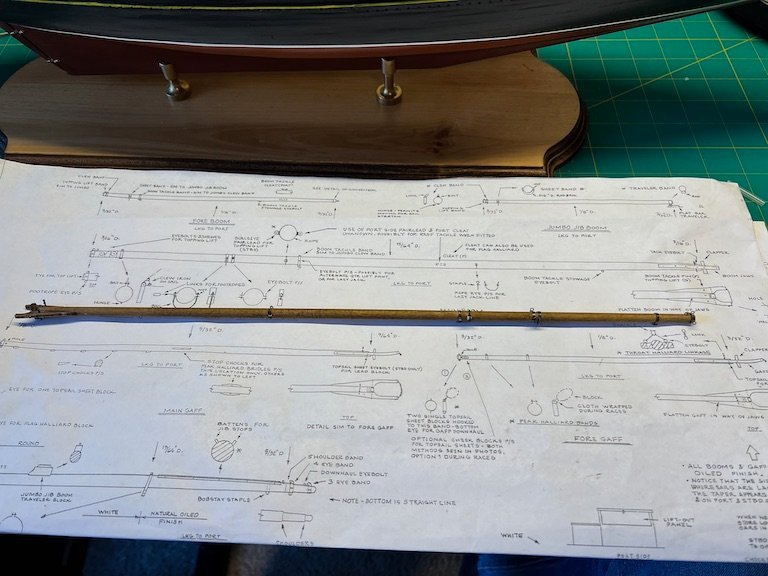
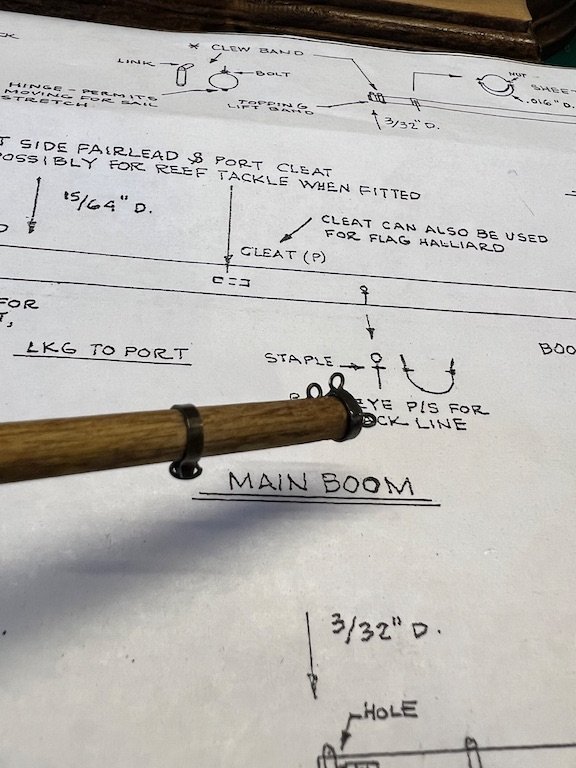
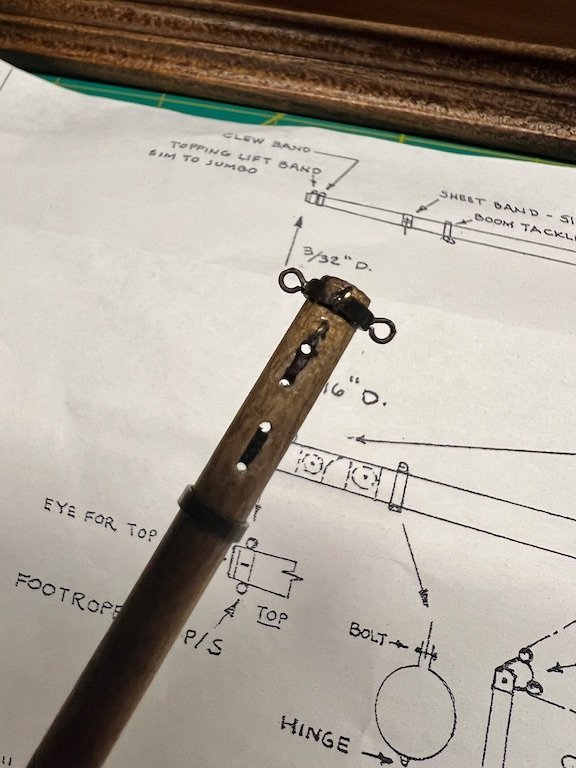
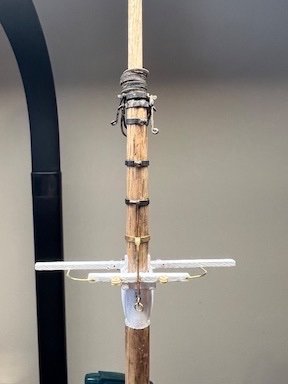
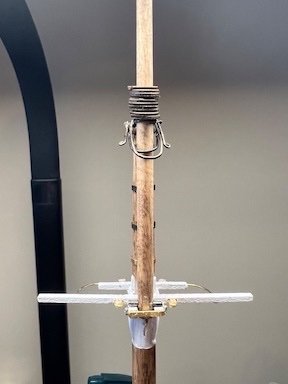
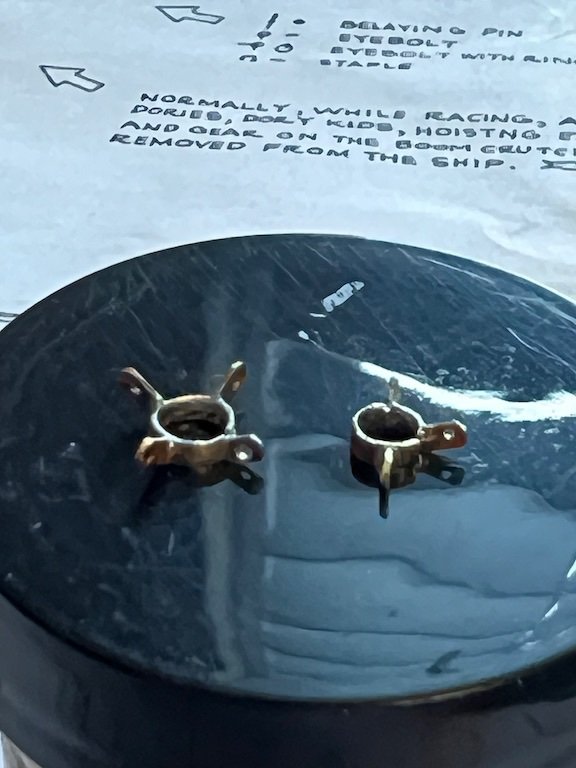
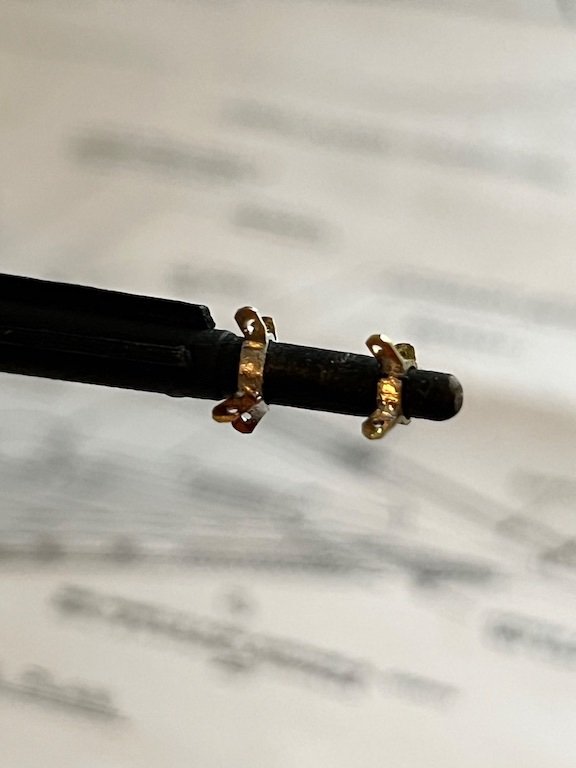
I have finished up the main boom. This one has 5 different bands and the first use of rope. I cleaned up and attached the boom jaws and then shaped and attached the clapper. I pre-drilled holes along the length of the jaws and inserted small nails. The nail heads are a bit big but I like the look. Last, I added the eyebolt on top and belaying pins. Shaped and soldered up the 5 bands. I then blackened them and installed on the boom. The last two features involved rope. I made the fairleads the same way I did for the ones attached to the mast spreaders. I applied some thin CA to the toothpick this time, which made the piece easier to cut to size without breaking it. After I seized the smallest diameter of the kit supplied rope, I wrapped it around the fairleads and seized. It took some trial and error to get the fairleads spaced appropriately to each side of the boom. I created the lazy jack line much the same way, except it only has to go around the bottom of the boom and is attached with staples. I added the two eyebolts, one on the bottom of the boom and one on top, just behind the tip band. Finished up by drilling and cutting in the sheaves. Tim
- 145 replies
-
- 5
-

-
- Bluenose
- Model Shipways
- (and 1 more)
-
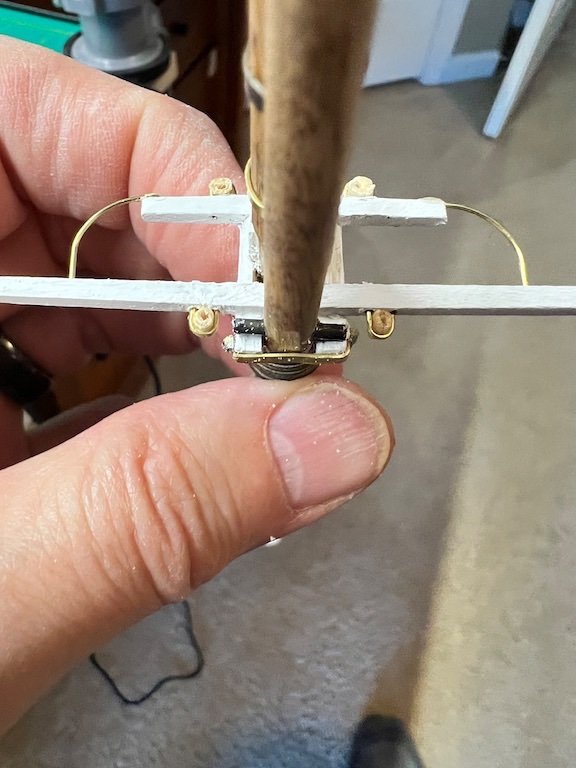
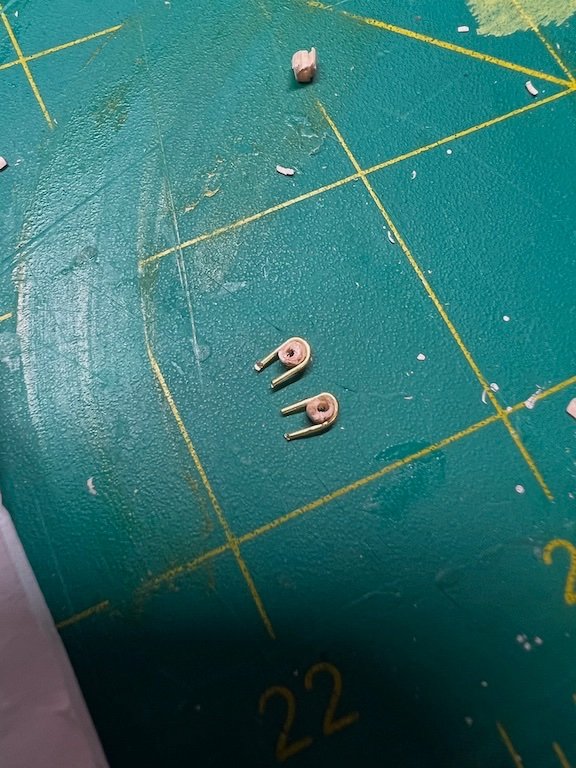
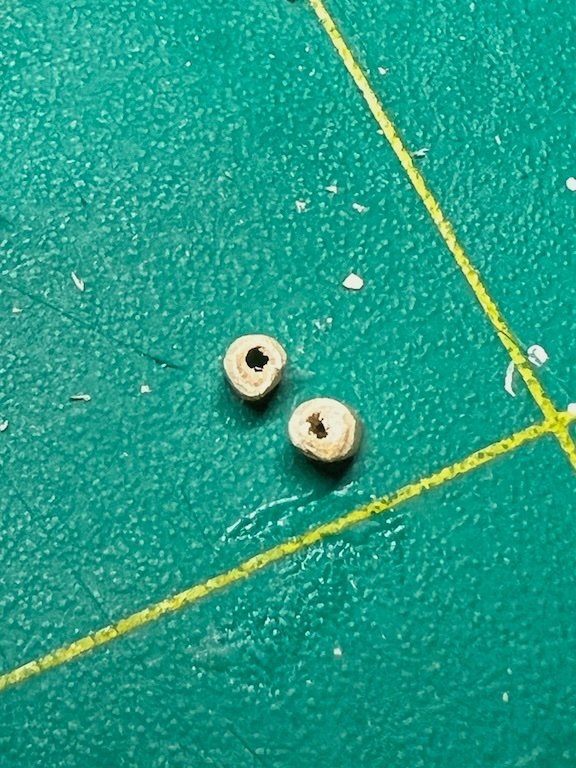
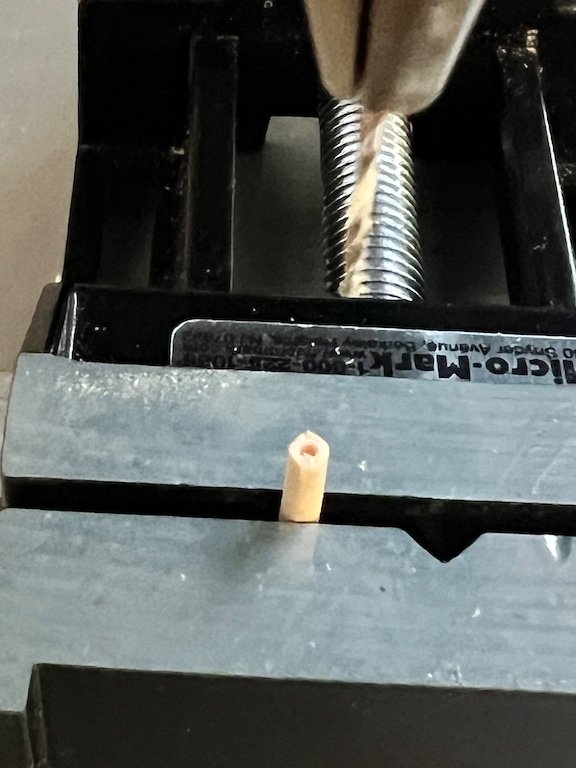
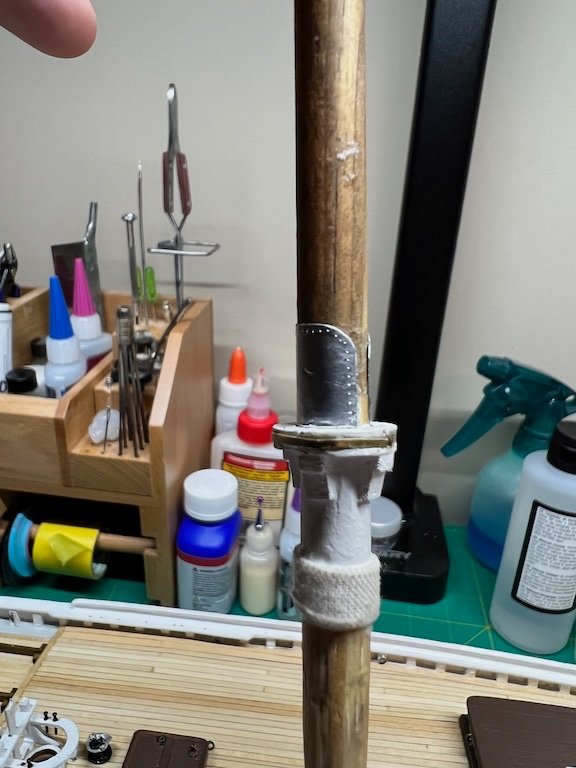
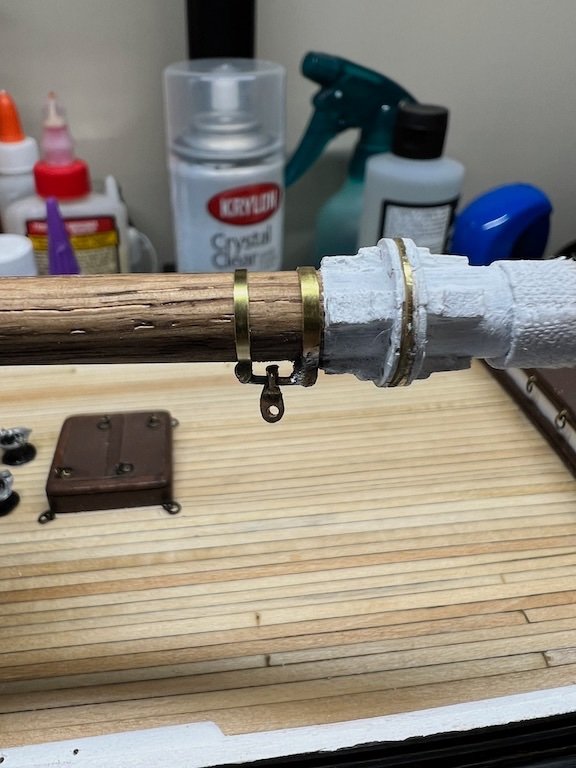
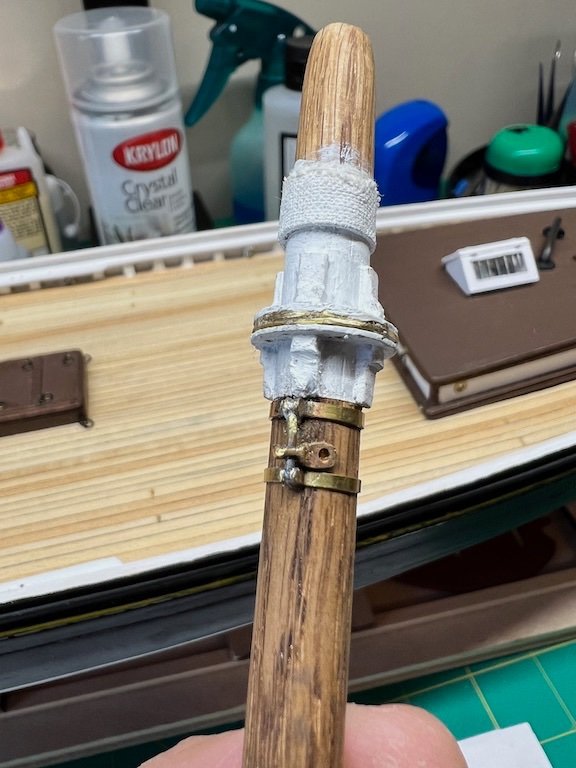
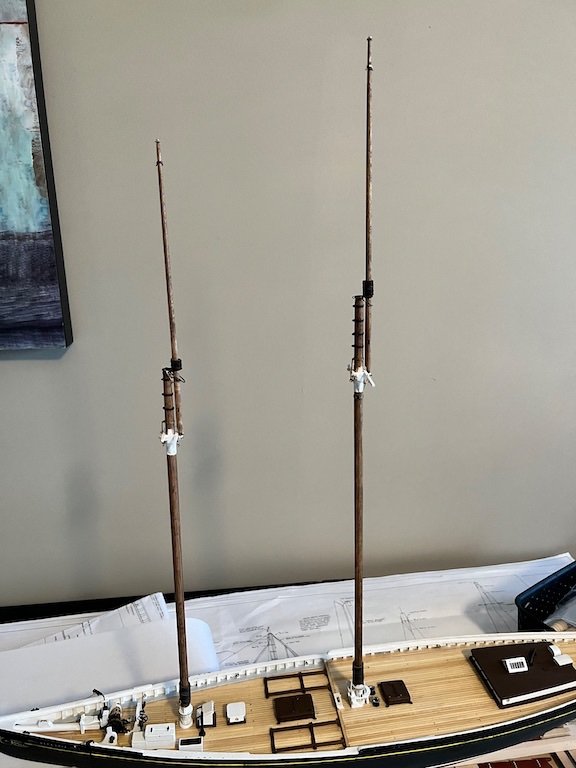
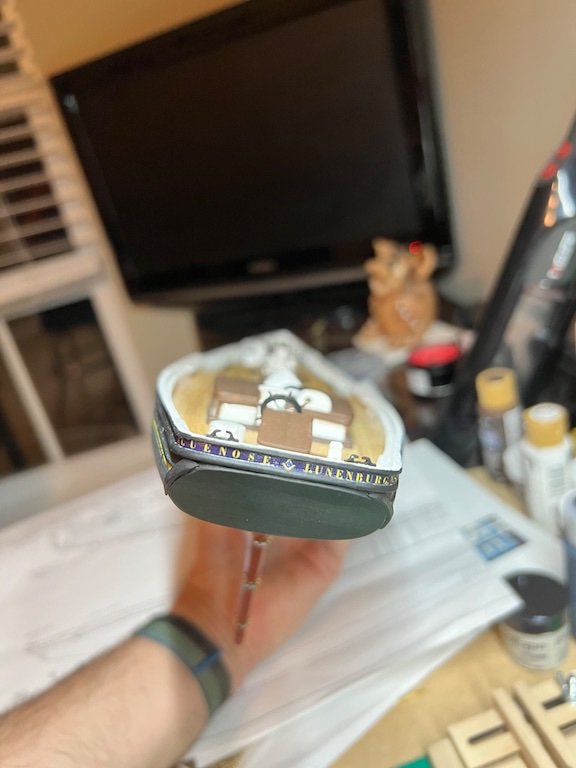
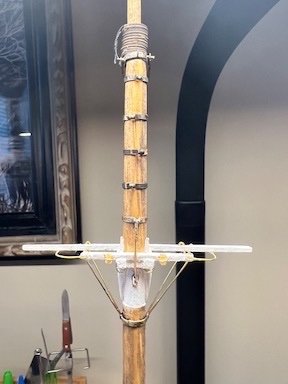
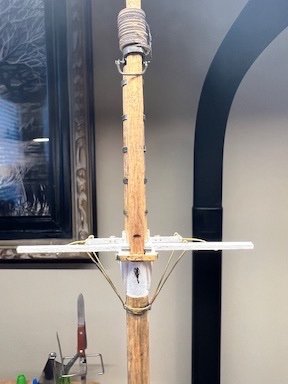
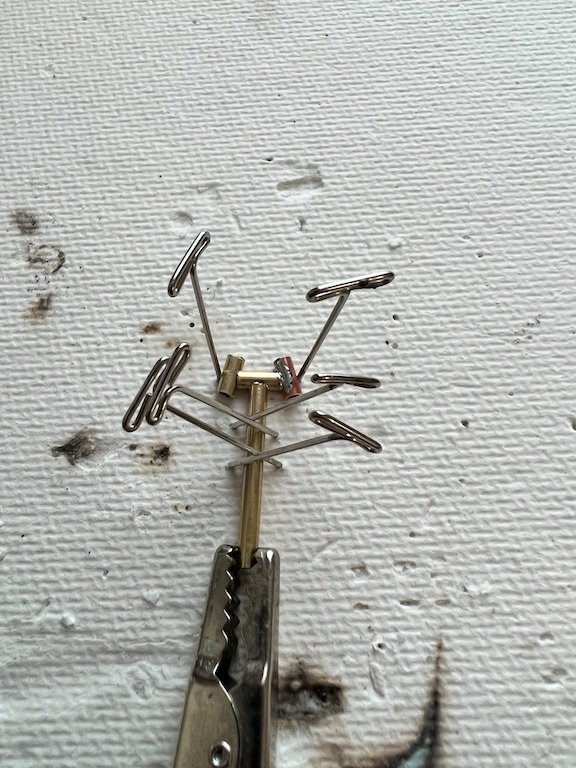
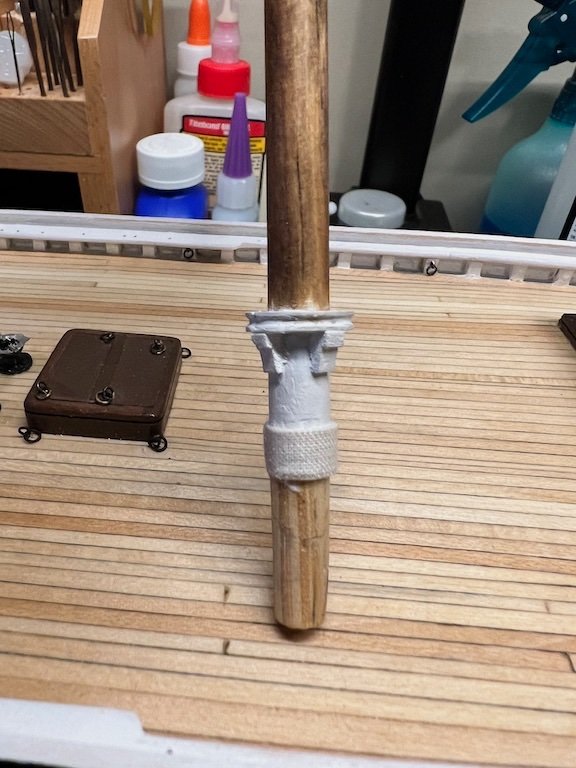
Work on the masts continued... A lot of detail to work out and has been a great opportunity to practice metal cutting, bending and soldering. The cap band of the foremast was more complicated that the main, with the addition of two long links on the sides and an additional band just below with another bail. The halliard bands and trestle trees were similar for both masts, although no futtock shrouds on the foremast and the foremast called for fairleads. Mainmast Foremast I created the fairleads by drilling out a section of a round toothpick and the wrapping a wire around to insert into the spreaders. The masts also differed above the pin saddle, with a chafing piece on the mainmast and a gooseneck on the foremast. I created the chafing piece by folding a piece of tin foil several times with glue in-between the layers, cutting to shape, and then used a pin to mark the nails around the edges. I folded the tin foil so the dull side was showing, as it better represented galvanized metal. The gooseneck was quite a challenge to get everything soldered up with the link on so it would move freely. Completed masts. Not squared up and glued in yet, as I still need to finish up a few things on the deck and hull that will be easier with the masts out. One of the things I have be struggling with is how to create and apply the lettering and scroll work. I started with trying to use dry transfer, but that was impossible to keep lined up and did not solve for the scroll work. I moved to decal paper which created a couple of challenges, designing the artwork and getting it to print such that it would look good when applied. I tried to design the graphics in Powerpoint first. That was easy for the lettering, but not-so-much when it cam to the scrollwork. All the images I found had white backgrounds that I could not remove with PP. I ended up downloading Photoshop, and through trial and error was able to create graphics that I could add into Powerpoint. I printed out the design on the graphic paper I had. It looked great, until I pulled the decal off of the backing paper and applied to the model. The decal material was clear, so the yellow was translucent and didi not stand out on the black of the model. I read another post that called out using white decal paper. That did the trick! After the decal were applied I sprayed the hull with a coat to matte clear to seal everything in. Getting down to the final build details! Working on the booms and gaffs now. Tim


- 145 replies
-
- 3
-
-
- Bluenose
- Model Shipways
- (and 1 more)
-
Looks great Gregg! The small bits take a lot of time and make it seem like little progress is being made. I’ve been working on the main mast for over a week. Lots of details!
- 184 replies
-
- 1
-
-
- Bluenose
- Model Shipways
- (and 1 more)
-
Thank you, Allan!
-
Thank you Gregg!
-
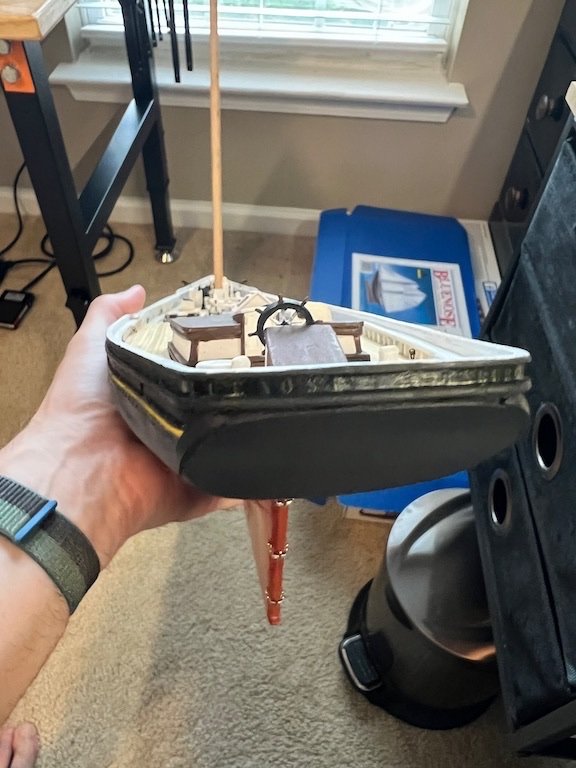
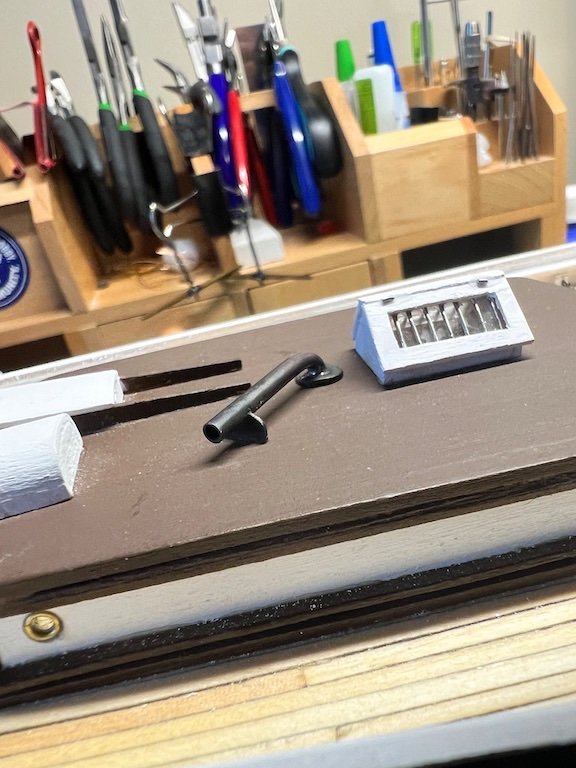
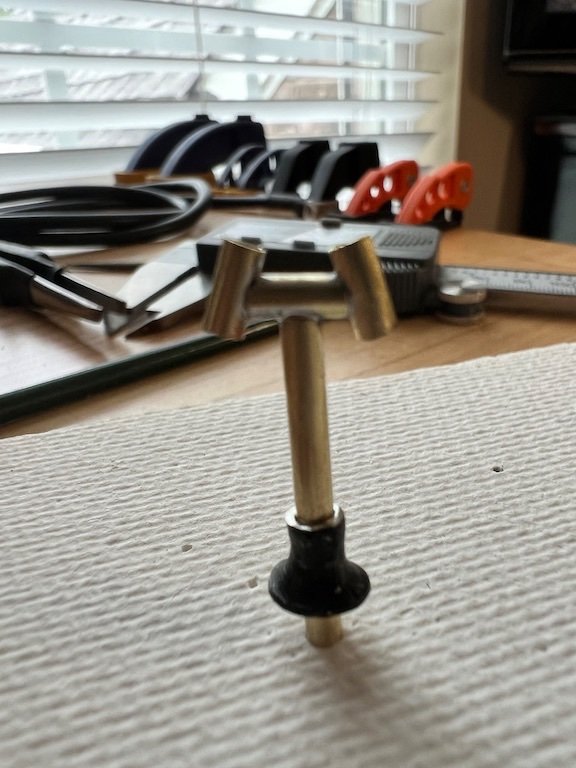
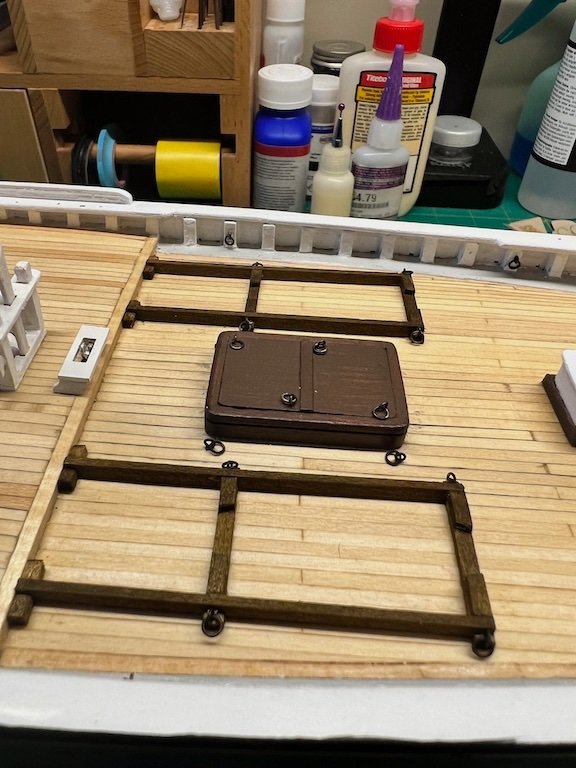
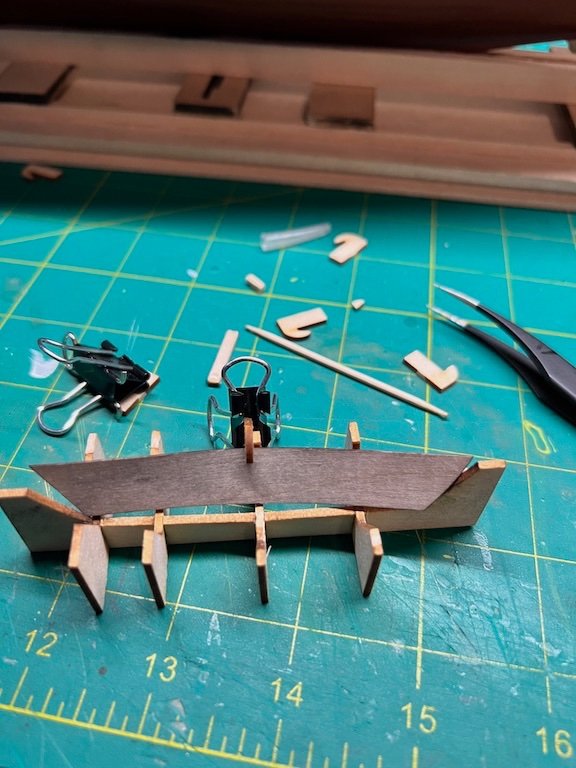
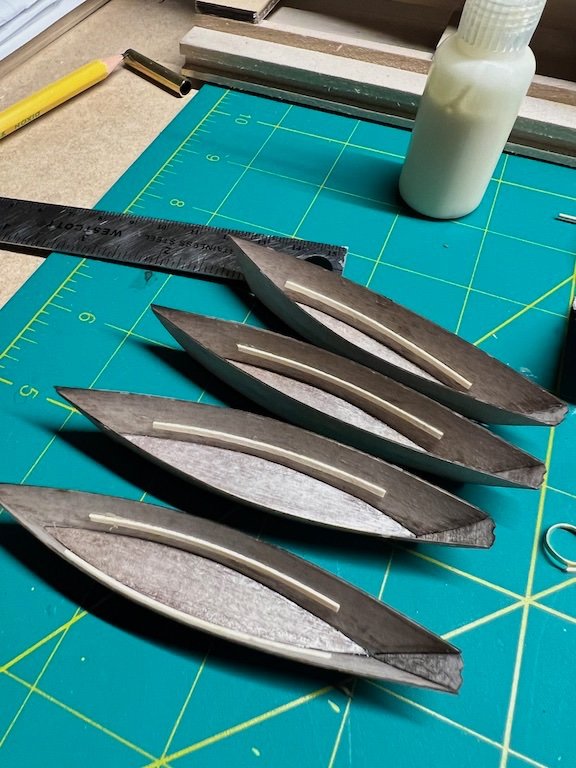
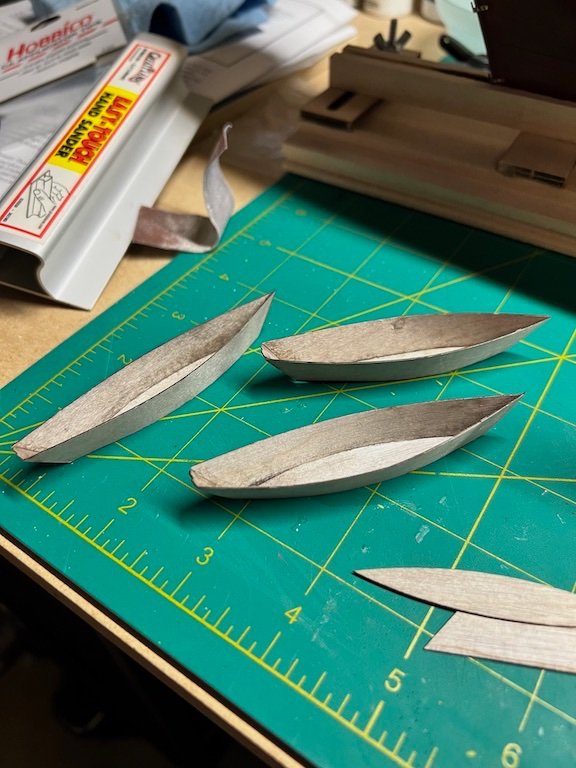
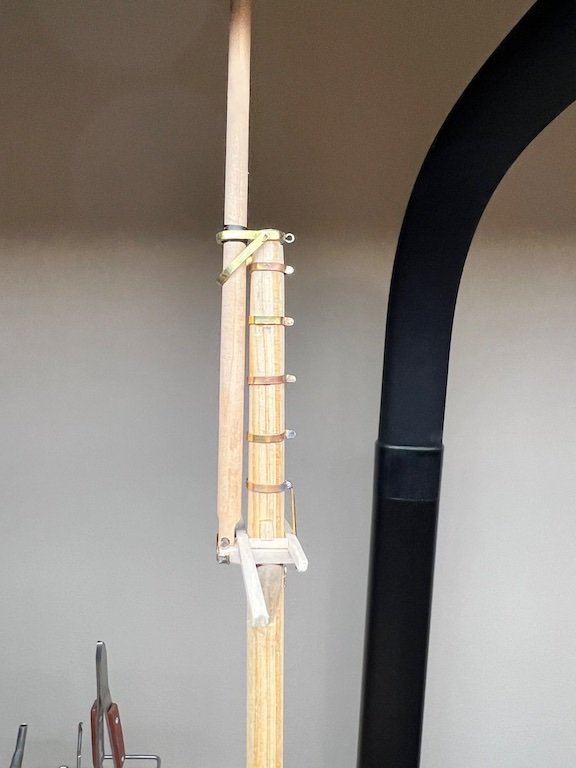
Continuing to work on the details and starting work on the masts. Soldered up the stove pipe for the top of the cabin, and while I was at it, decided to make the other stack from scratch to try and improve on the cast piece. I kept the base of the cast piece and drilled it out to insert the new brass pipe. Added the dory racks to the deck and started work on the dories. The boats are a bit of a challenge to get all the parts lined up and locked into the jig for gluing. I got 4 put together and set everything off to the side to tackle later, as I was not happy with how things were turning out in the one boat I started to finish out. On to the masts. One note....Need to make sure you add the mast hoops BEFORE adding the spreaders and pin saddle!! Learning that the hard way and now need to figure out how to add them to the main mast without damaging anything. The laser cut pin saddle halves are larger in diameter than the mast. Added wood strips to the inside after soaking and bending to fill the gap. A few more details to add to the main mast and then on to the fore mast. Tim


- 145 replies
-
- 3
-
-
- Bluenose
- Model Shipways
- (and 1 more)
-
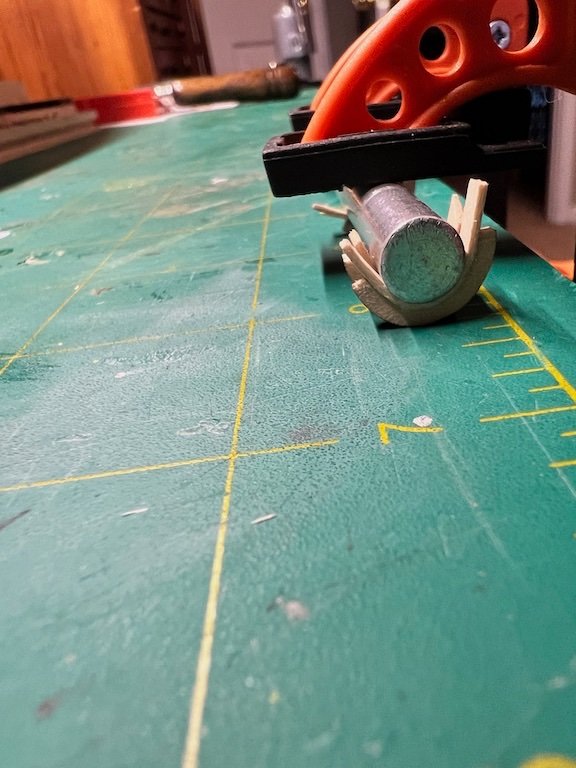
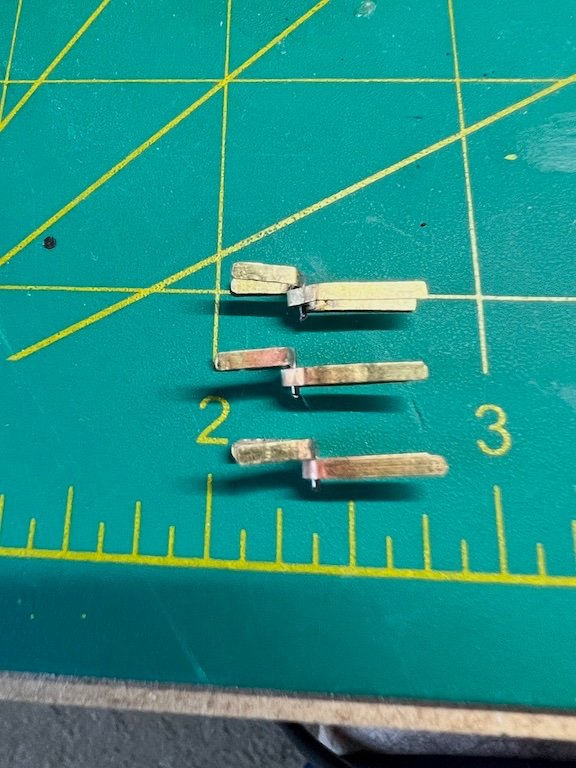
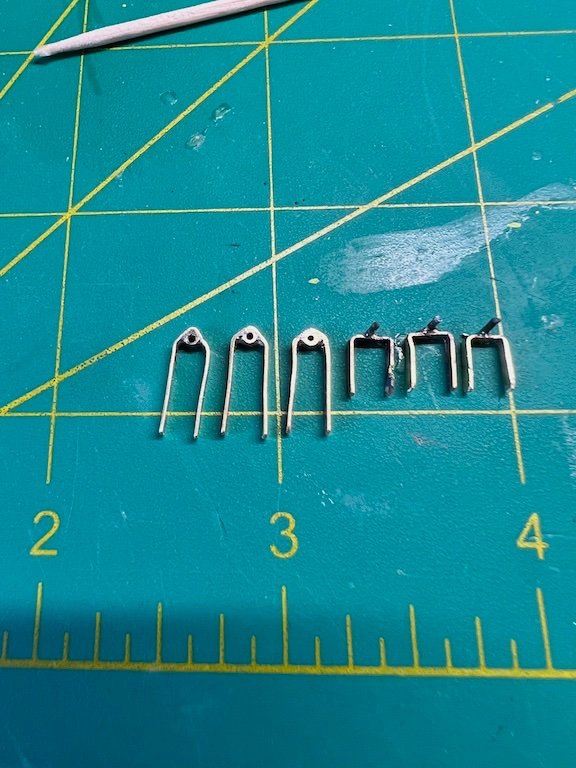
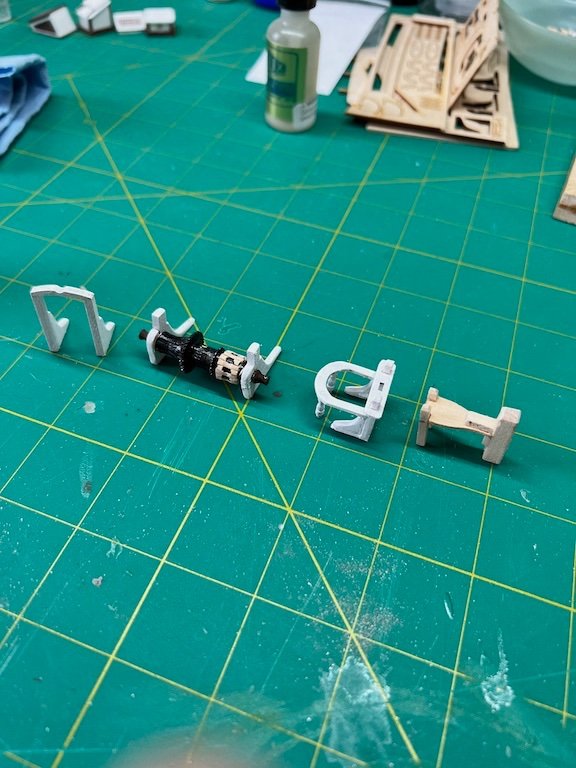
After a couple of frustrating attempts to make the catheads out of brass (and several broken drill bits!!), I switched to wood. it took me about a tenth of the time to make these as I spent on the earlier brass attempts and they turned out so much better. Tim
- 145 replies
-
- 3
-
-
- Bluenose
- Model Shipways
- (and 1 more)
-
Gregg Looking good! Had the same thing happen to me with the vertical piece. Snapped in two just cutting it from the laser sheet. I think this is unavoidable given how the grain runs through the piece when it is cut out. I glued it back together (multiple times) and once it was glued to the monkey board it stayed in one piece. I guess it wouldn’t be much of a challenge if everything went together without issue. Tim
- 184 replies
-
- 1
-
-
- Bluenose
- Model Shipways
- (and 1 more)
-
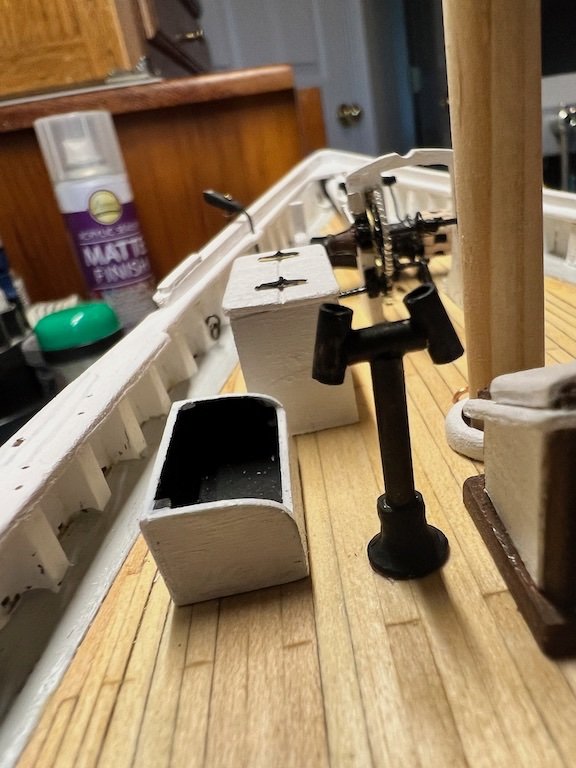
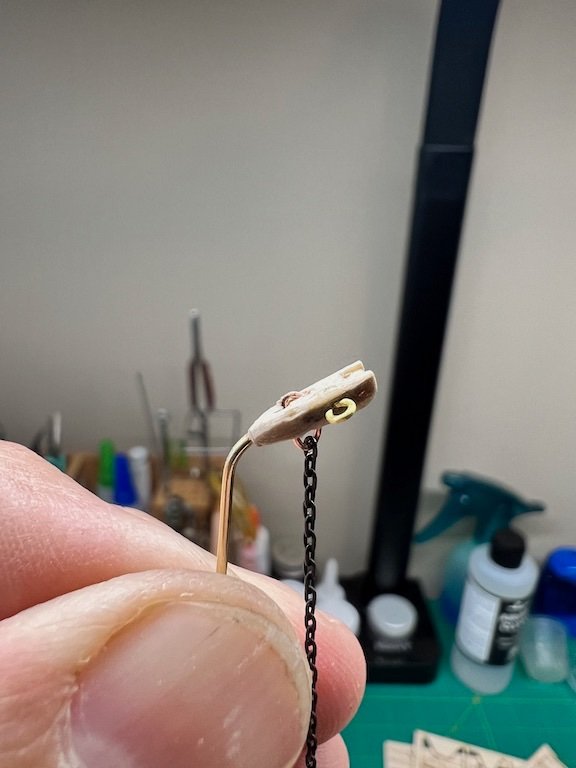
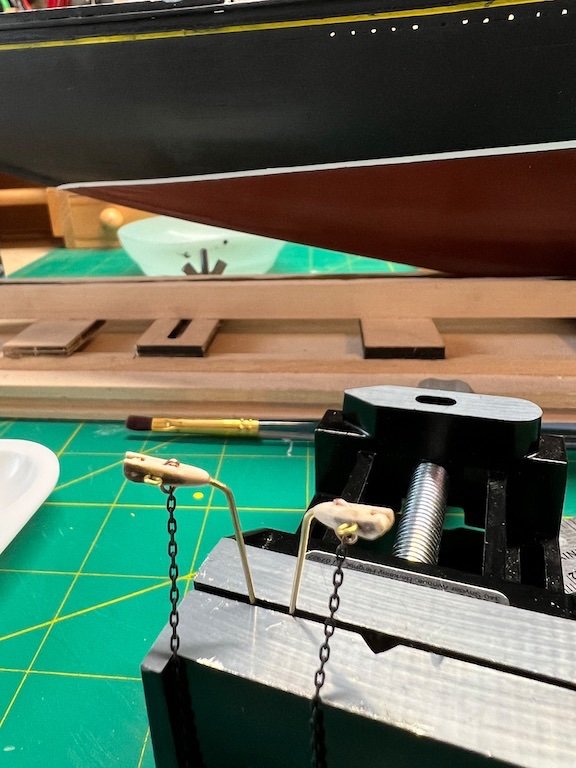
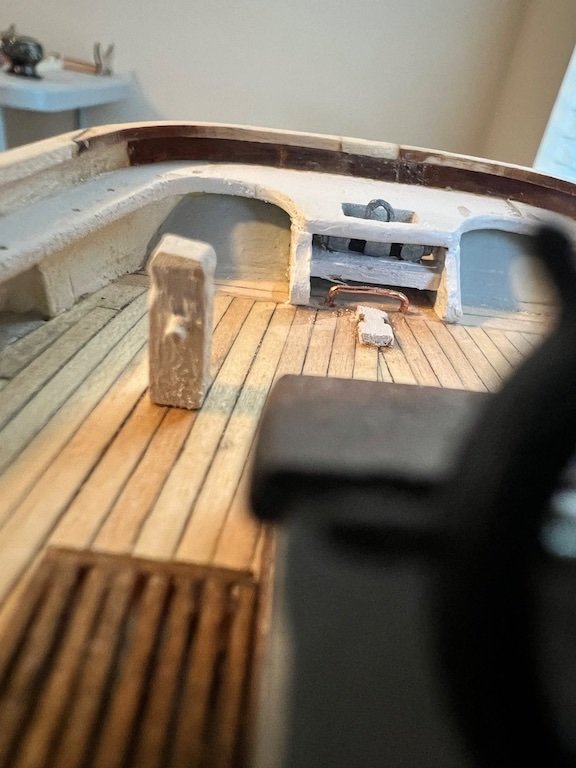
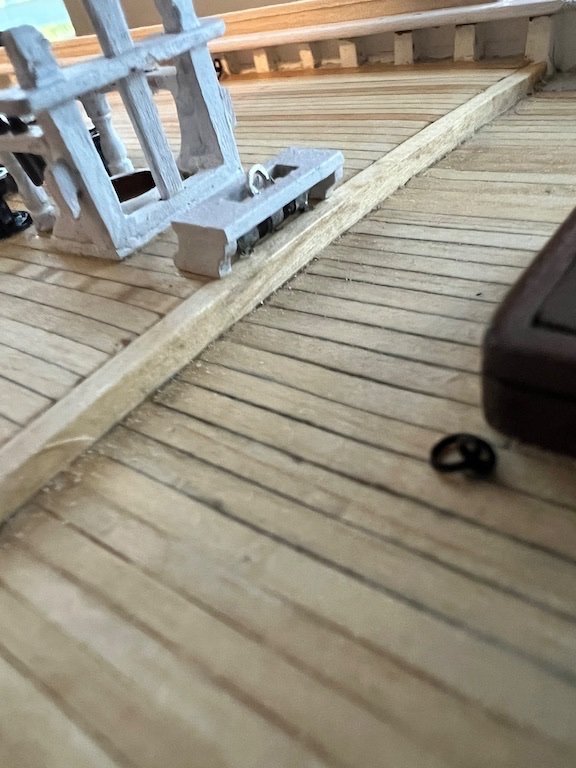
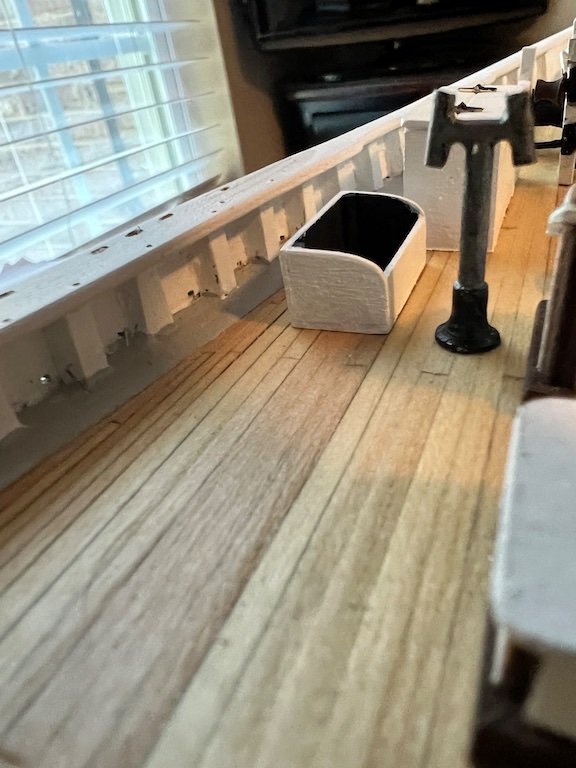
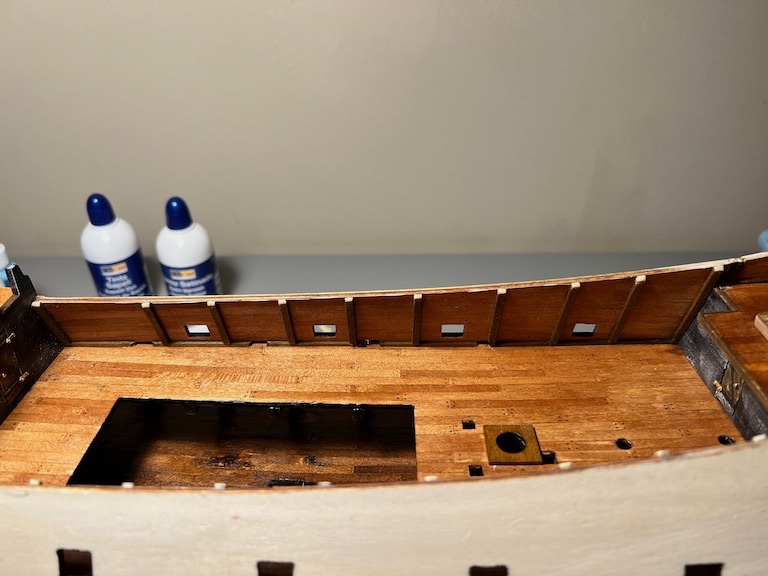
Work continues, one mini project at a time. I finally installed the main rail. Unfortunately I forgot to take pictures along the way. Prior to adding the main rail, I reworked the stern seat supports and added the shelf to accommodate the boom sheet buffer. I had installed the supports too close together for the boom sheet buffer to fit in between. Whoops. Think ahead, measure twice, glue once! Also added the fore boom sheet buffer and the chain box. The last add was the monkey rail and buffalo rail. A little more cleanup to do and then I will paint everything. I need to figure out how to deal with the catheads next. Not to be negative, but the pieces supplied in the kit are useless. I have seen several great examples of scratch built catheads and will relay on these to create my own. We'll see how it goes.... Tim
- 145 replies
-
- 3
-
-
- Bluenose
- Model Shipways
- (and 1 more)
-
Thank you Dave!
-
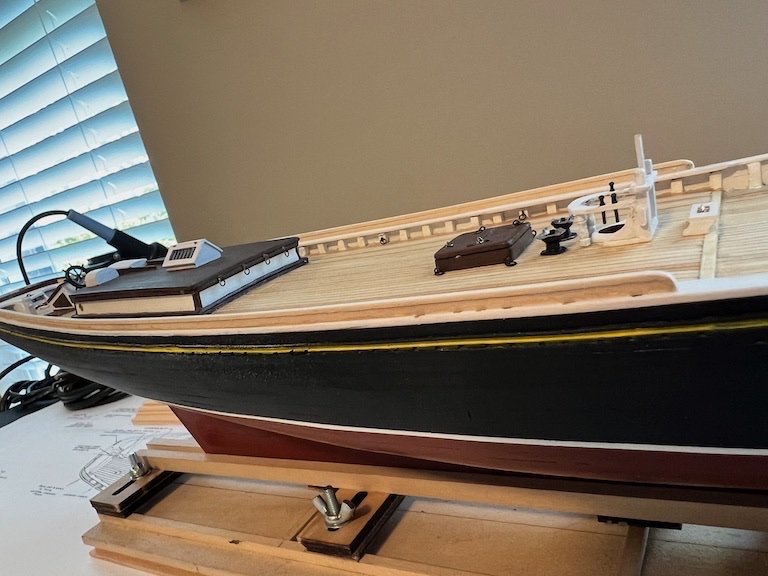
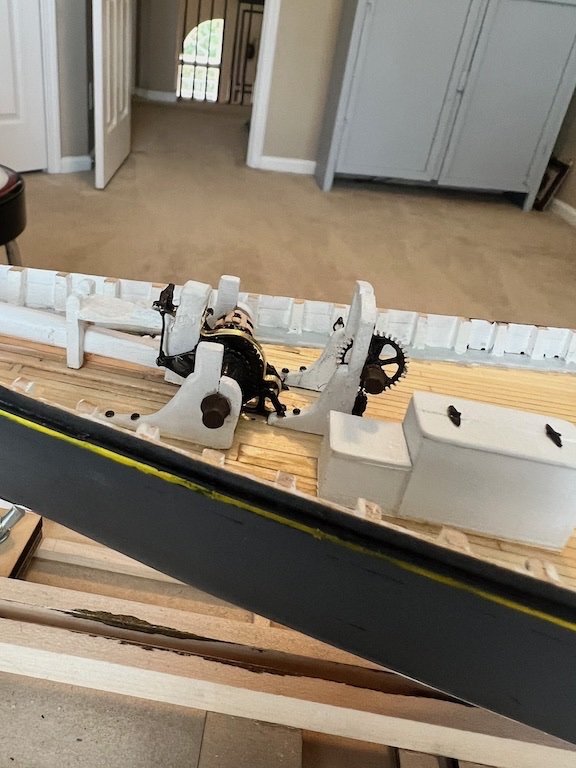
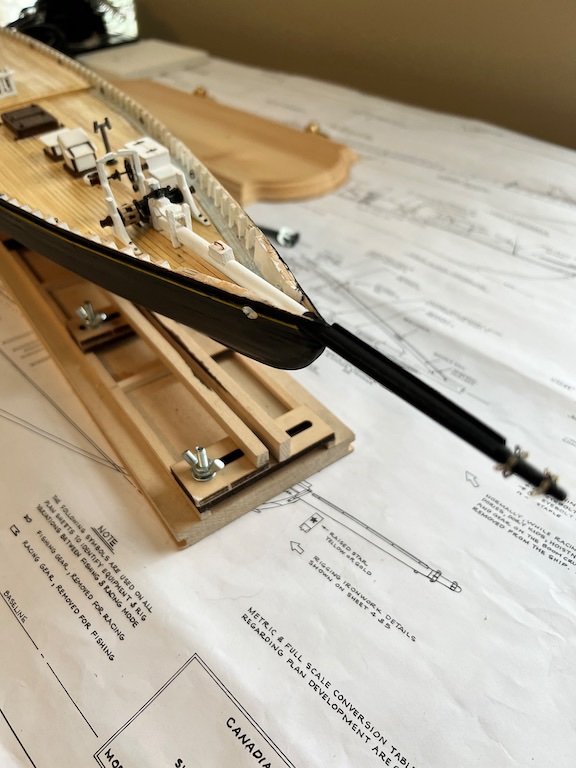
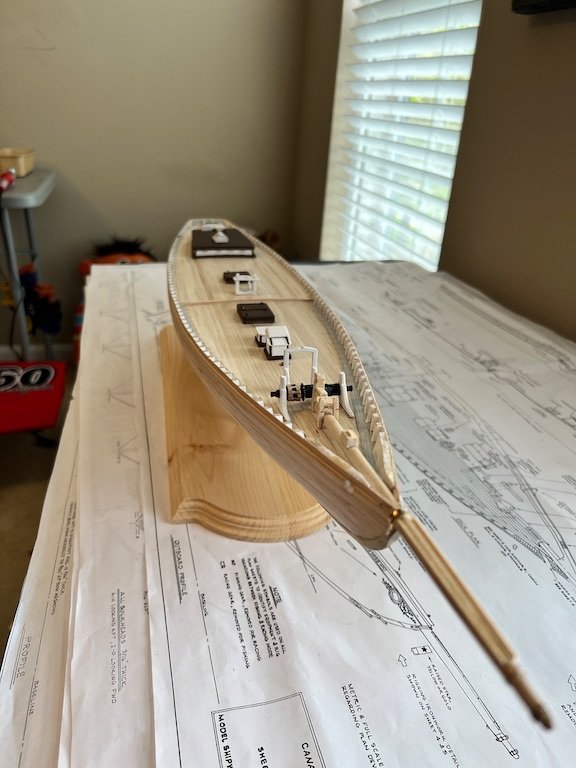
Work continues...I bought the MicroMark resistance soldering unit and it makes soldering these tiny pieces, with multiple attachments so much easier that a soldering iron. On the bowsprit pieces, I was able to attach each of the "arms" separately, without risk of the other coming loose from heating the ring. I painted the yellow stripe in the cove using a syringe with a tip that fit inside. Had to take it slow to make sure I didn't dispense too much paint but, this was so much easier that thing to get a brush inside the cove. I installed the bowsprit and added a few more details to the deck. Tim
- 145 replies
-
- 6
-
-
- Bluenose
- Model Shipways
- (and 1 more)
-
Paint turned out great Gregg! Fine line between too thick (clogs the airbrush) and too thin (runs and makes a mess). I usually err to the thick side and add water until I get a test spray on paper that flows nice. I am planning on a coat of matte clear acrylic when I am happy with the final paint, scroll work and lettering. I am going to try to print the scrolls and lettering on decal paper once I find images that I can edit, color and size appropriately. Tim
-
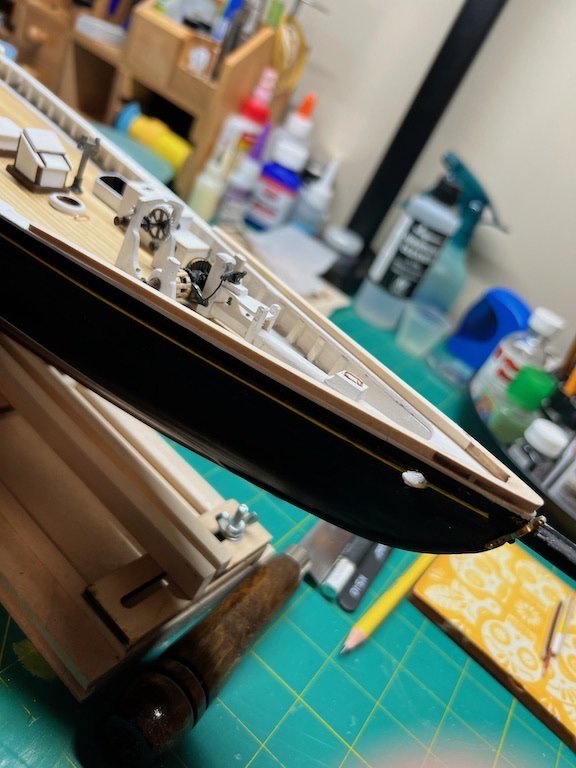
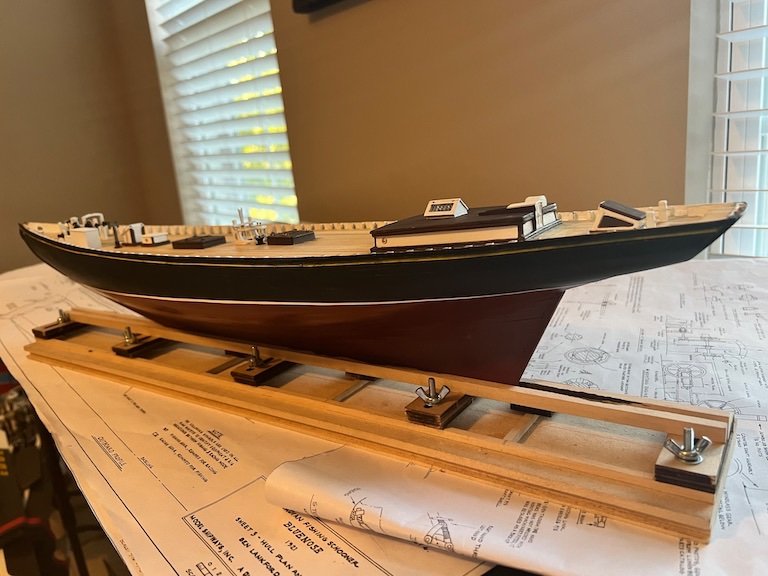
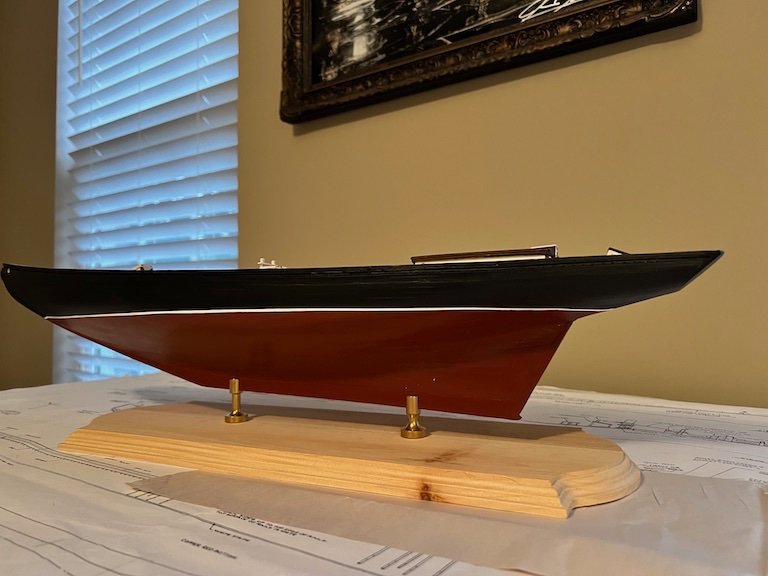
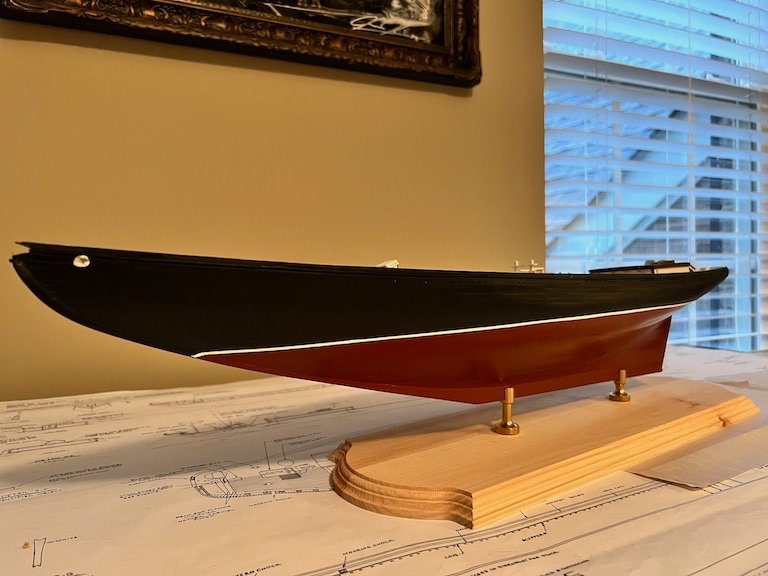
Made some significant progress on getting the hull painted. This is another one of those tasks that I was dreading, as once you start spraying it's hard to turn back. I spent the most time on the lower, red section of the hull. This involved a process of fill, sand, paint, repeat to get to where I was happy with the finished product. It's not perfect, but I am happy with the result. Once the red was completed, I masked off for the upper black section. This went faster, as I did not need to do as much sand and fill between coats. Before I removed the masking for the black section, I added parallel masking to create the white stripe. I will likely add a clear coat to protect paint the finish as the last step. Tim
- 145 replies
-
- 6
-
-
- Bluenose
- Model Shipways
- (and 1 more)
-
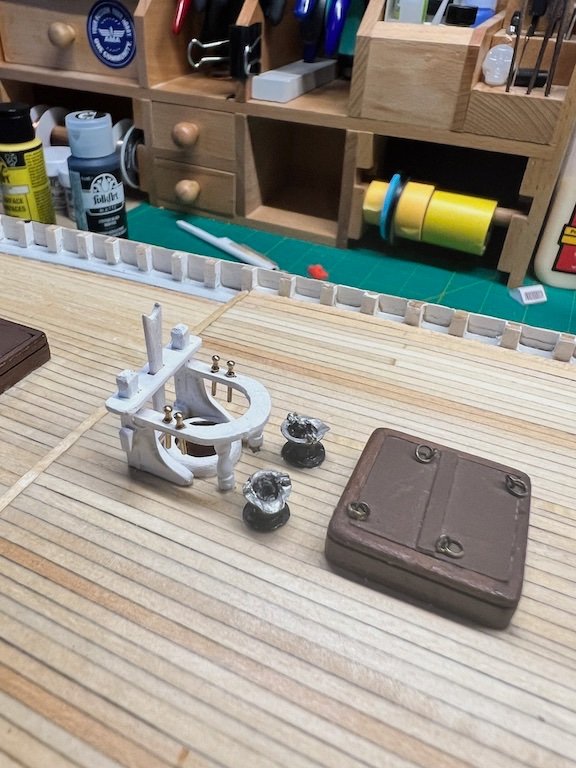
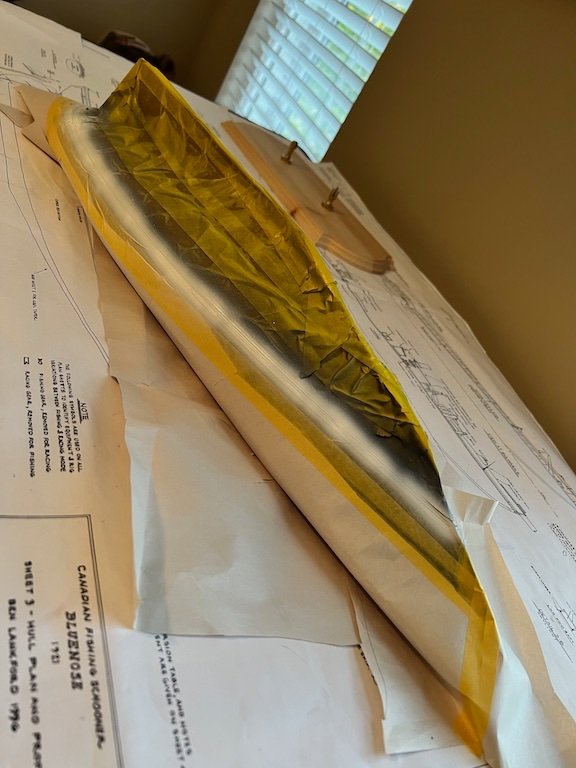
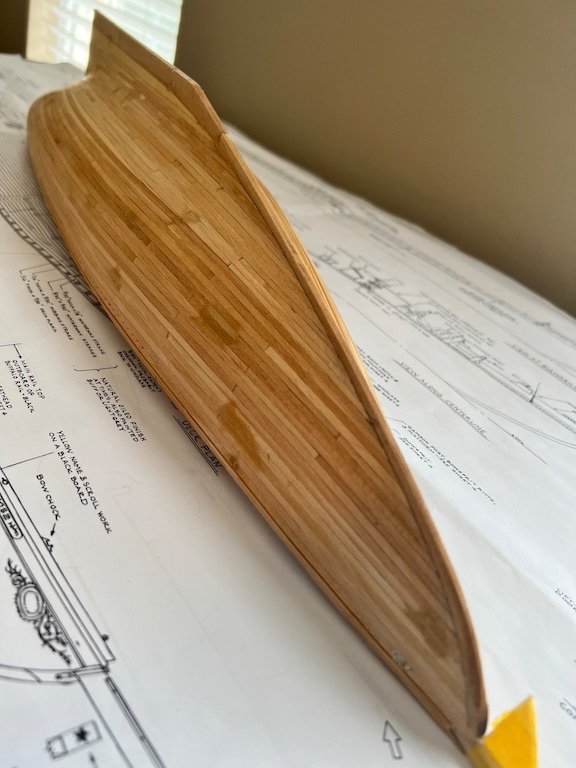
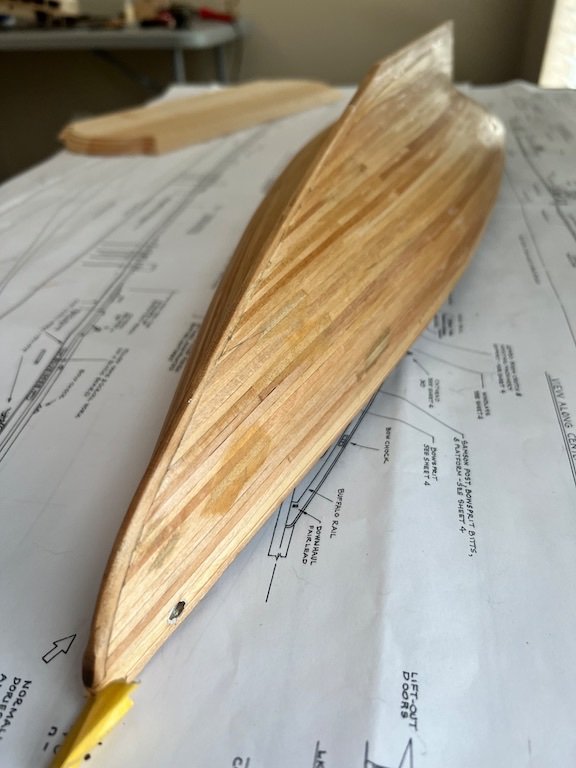
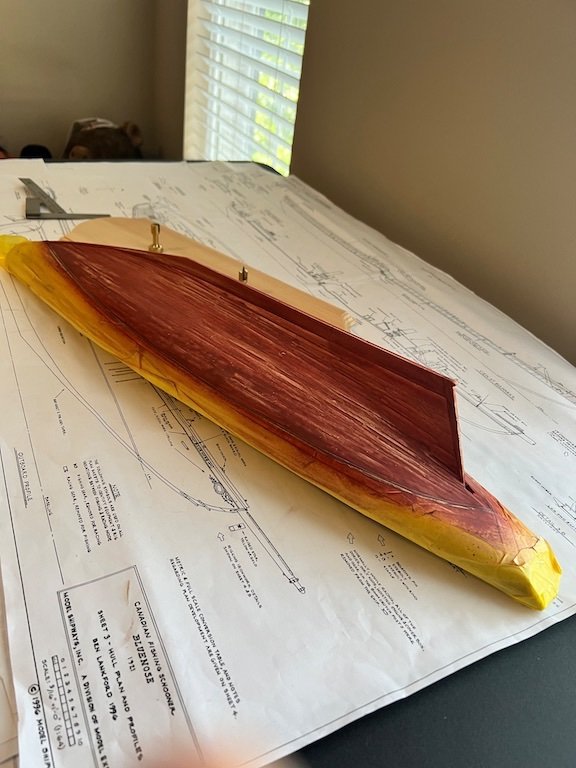
I am still making progress on the Bluenose, although opportunities to work on the model have been scarce the last several months. I managed to complete a good portion of the deck furniture and shaped the bowsprit and added some detail. Still more work to be done on the bowsprit and I have been putting off getting to the detail on the windlass and winch. Lots going on there!! I have also been working on sanding the hull and prepping it for painting. I filled in several low planks to even things out. I really wanted to avoid wood filler as much as possible but, as this is my first attempt at planking a full hull, it had some areas that needed to be addressed. Got everything pretty smooth and added one coat of wipe-on poly. I sanded again and then taped off for the red on the lower half. I have one coat on with a light sanding once that was dry. Will be slow going until we get through the summer. Tim

- 145 replies
-
- 2
-
-
- Bluenose
- Model Shipways
- (and 1 more)
-
Coming along nicely Gregg! Quite a task to start from scratch with ALL of the stations, but they came out great. The transom gave me fits as well. Took two tries to get it to where I was happy with how it looked. Tim
- 184 replies
-
- 1
-
-
- Bluenose
- Model Shipways
- (and 1 more)
-
Thank you Gregg. Happy to have the hull and decking complete, but so much left to do!! Enjoying work on the smaller details.
-
Thank you Dave!
-
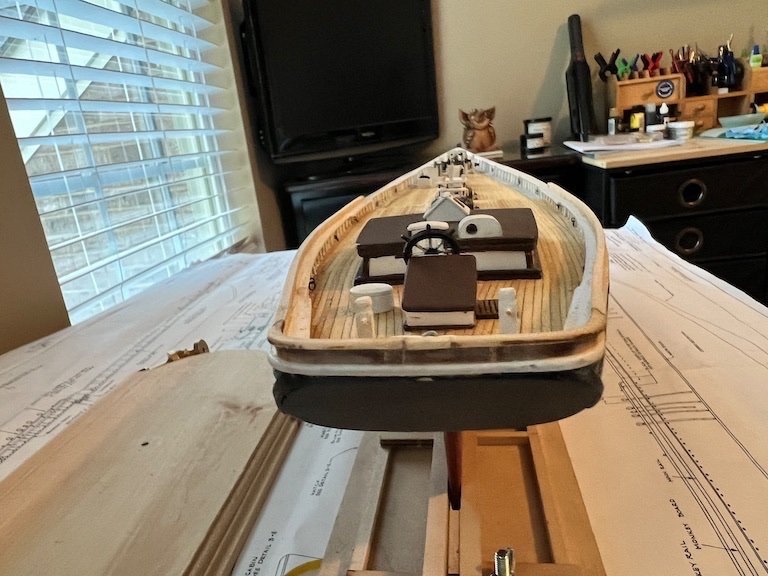
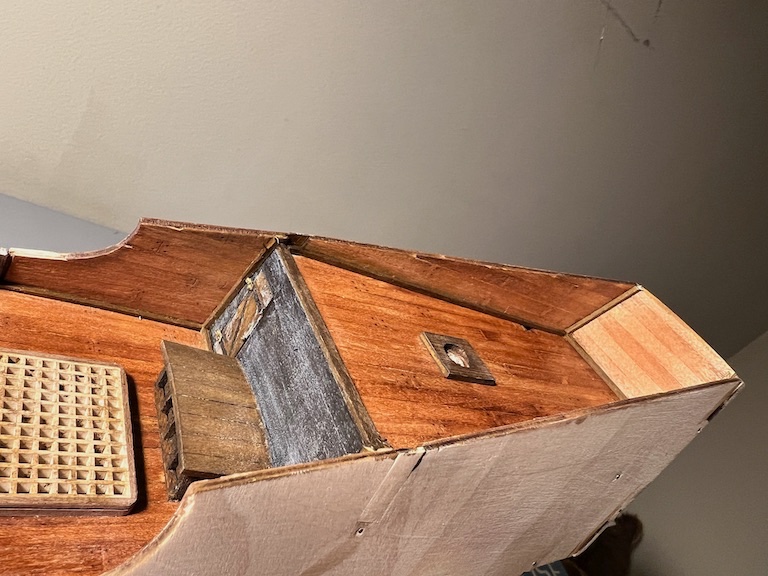
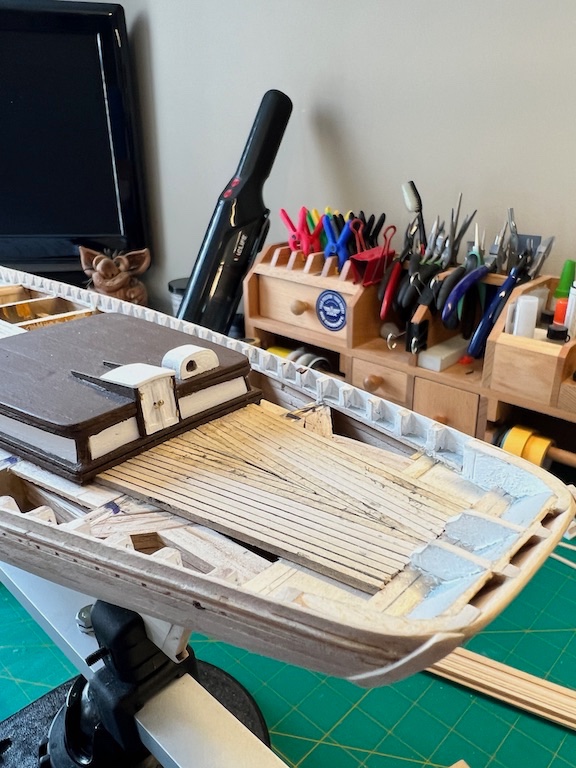
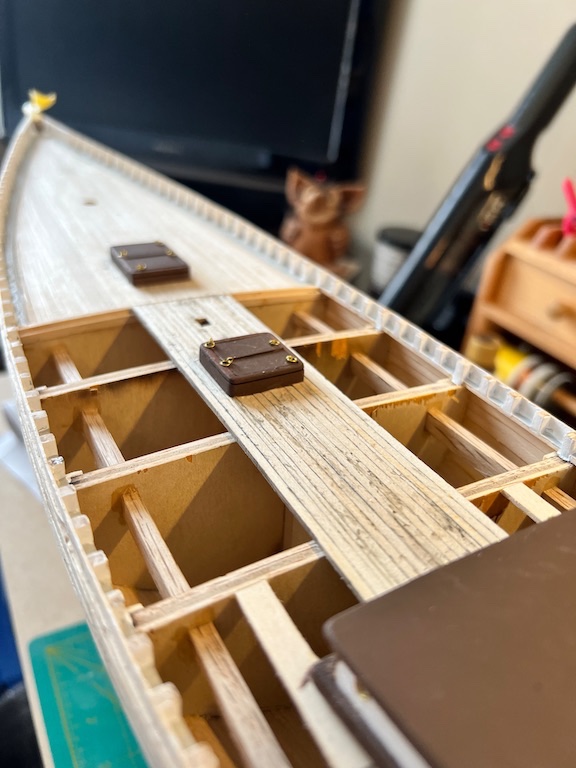
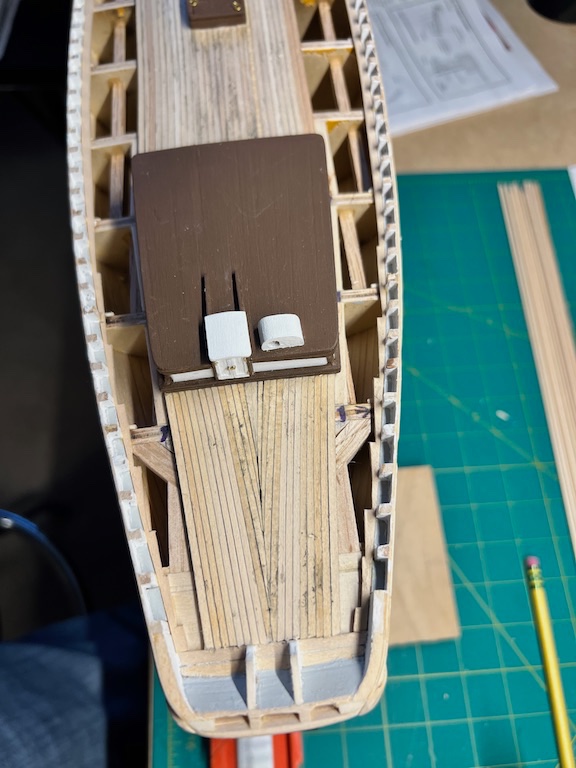
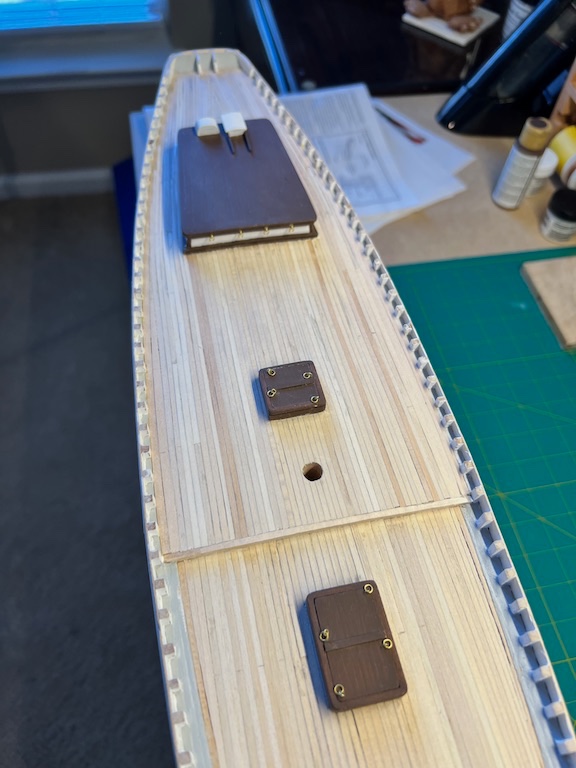
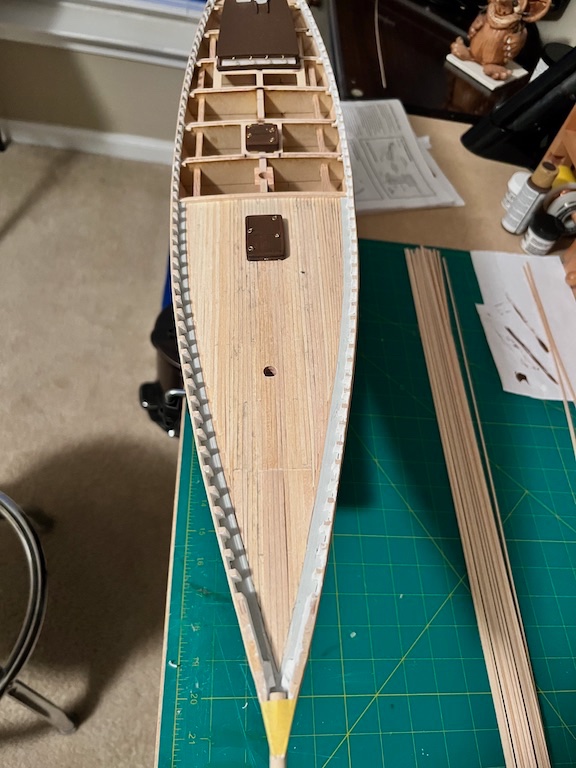
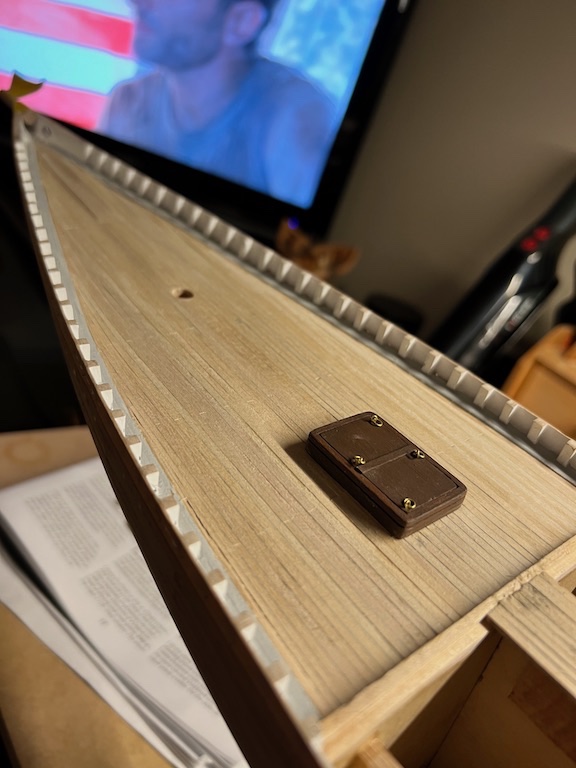
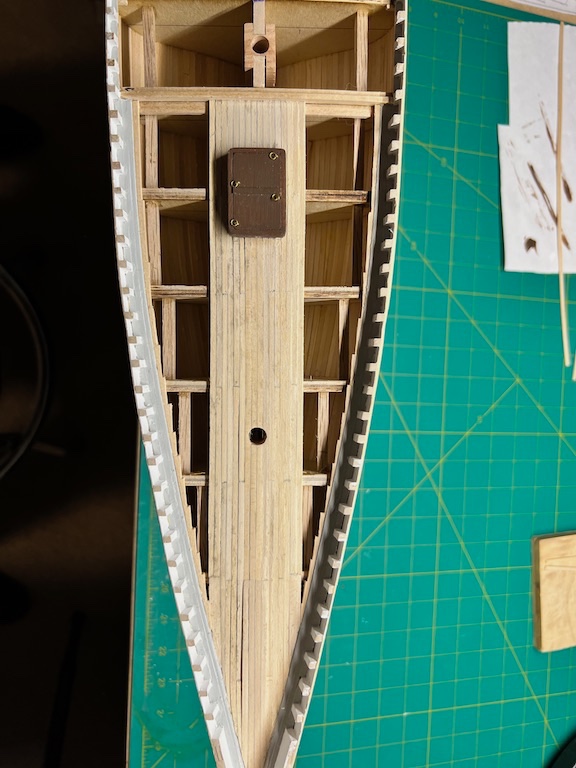
Have been focusing my available building time on the Bluenose. Finished the hull planking and deck planking on that ship and needed a break before tackling the hull on the Dutchman. In the interim, I have added some additional detail to the interior of the gunwales. I wanted to cover up the gaps along the corners between the decking and gunwales and the vertical seams between the cabin walls and gunwales. Probably not how a full size ship was done, but the full size ships have much tighter construction than what this model has. Tim
- 30 replies
-
- 6
-
-
- Flying Dutchman
- OcCre
- (and 1 more)
-
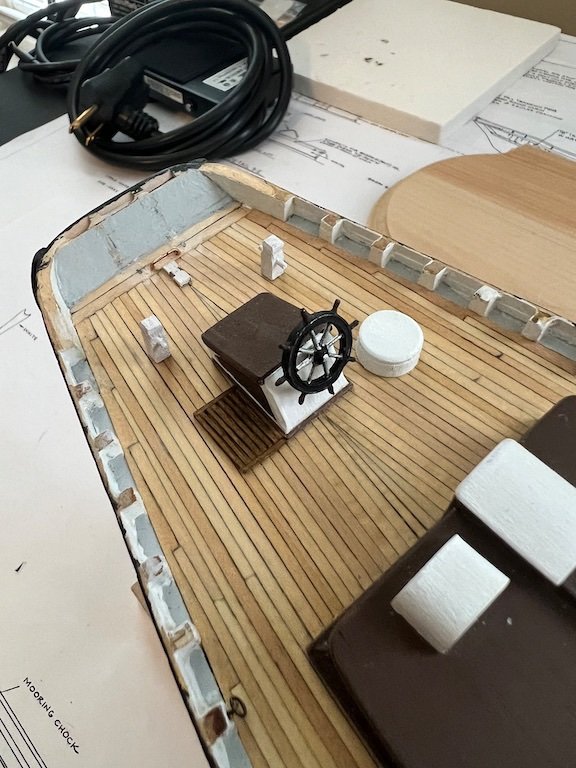
I have finished the aft deck!! The nibbing strakes went much better this time around vs the fore deck. Still some opportunities, but much less modification needed to make everything fall into place. Work in process... Finished decks... Still some final sanding to do and touch up paint on the waterways. Moving on to building all of the rest of the deck furniture. Tim
- 145 replies
-
- 6
-
-

-
- Bluenose
- Model Shipways
- (and 1 more)
-
Thank you Gregg! Happy with how it turned out, but hopefully the Aft Deck will go a little smoother.
- 145 replies
-
- 1
-
-
- Bluenose
- Model Shipways
- (and 1 more)
-
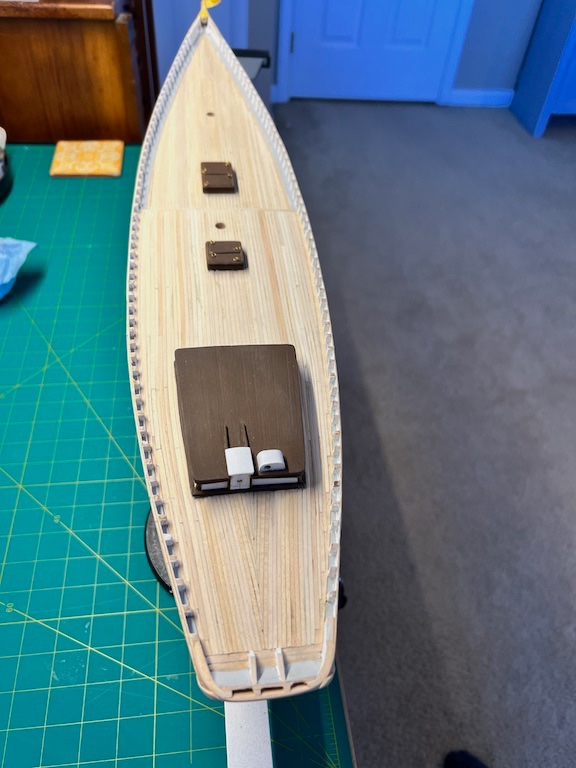
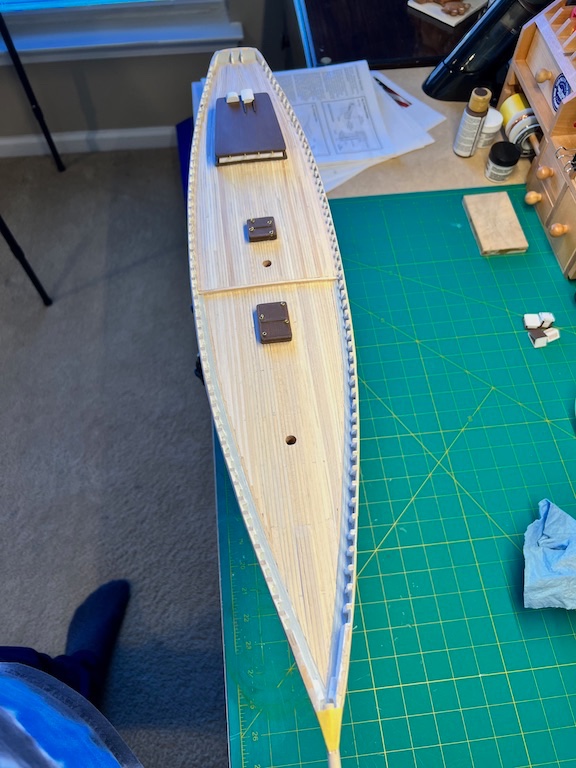
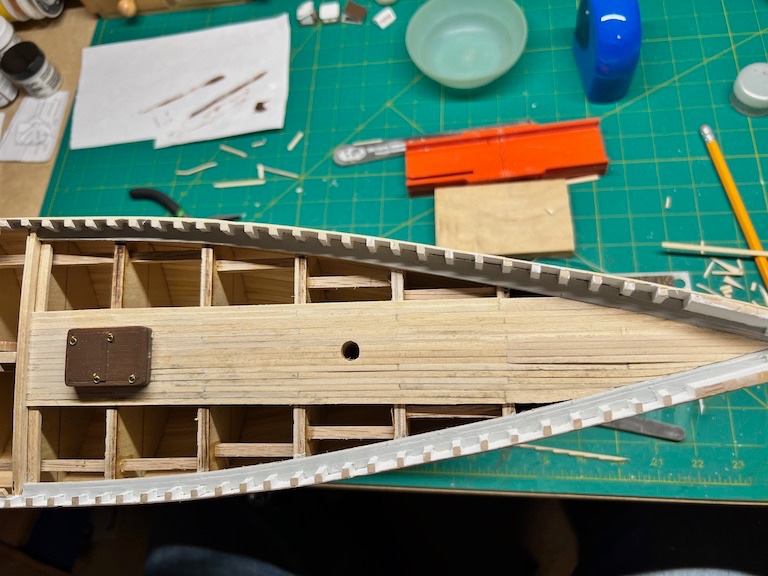
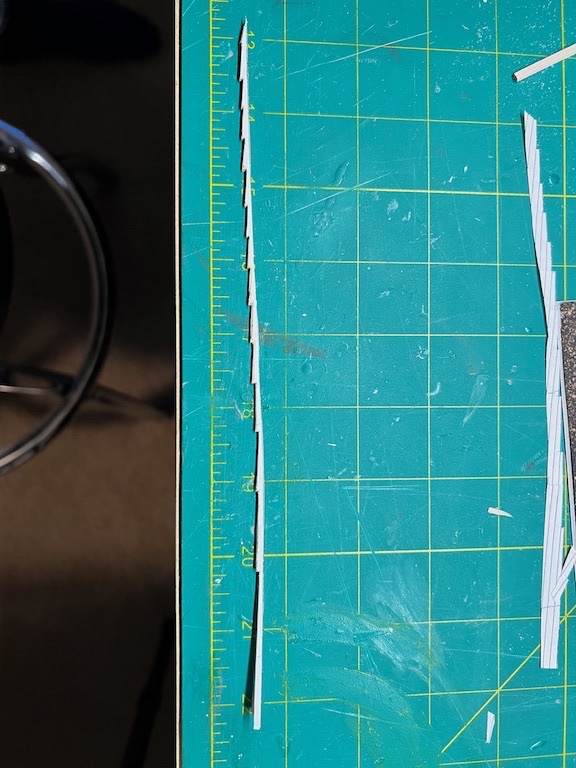
Fore deck planking is complete. I started by planking down the center, which was all uniform width planks. I took this out to the point where the wider planks sit for the windlass. Per the plans, I used 4 planks of 3/32 planking under the bowsprit, from where the windlass will sit to the point of the bow. I cut out the nibbing strake from the plans, used a glue stick to attach to a plank and tried to carefully cut them out. Installed both. I had to make some minor adjustments to the nibbing strake toward the back of the foredeck to get everything to line up and fit nicely. Finished up with a first sanding before moving on to the aft deck. Tim
- 145 replies
-
- 4
-
-
- Bluenose
- Model Shipways
- (and 1 more)