


moreplovac
-
Posts
689 -
Joined
-
Last visited
Content Type
Profiles
Forums
Gallery
Events
Posts posted by moreplovac
-
-
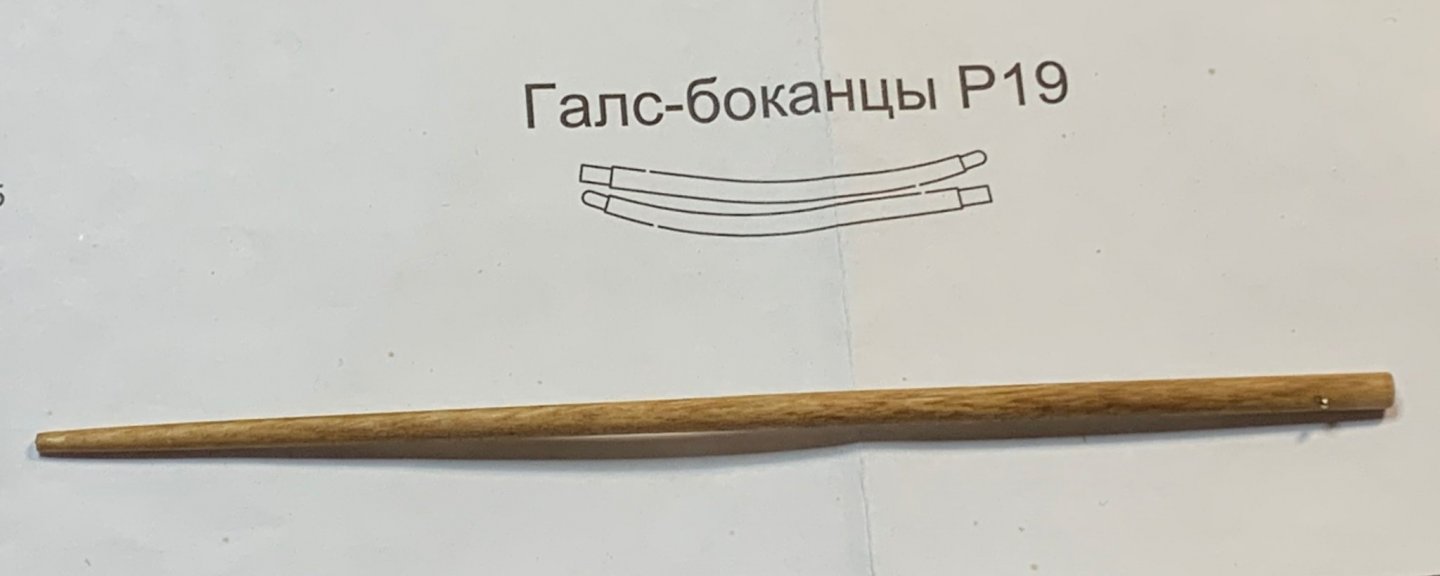
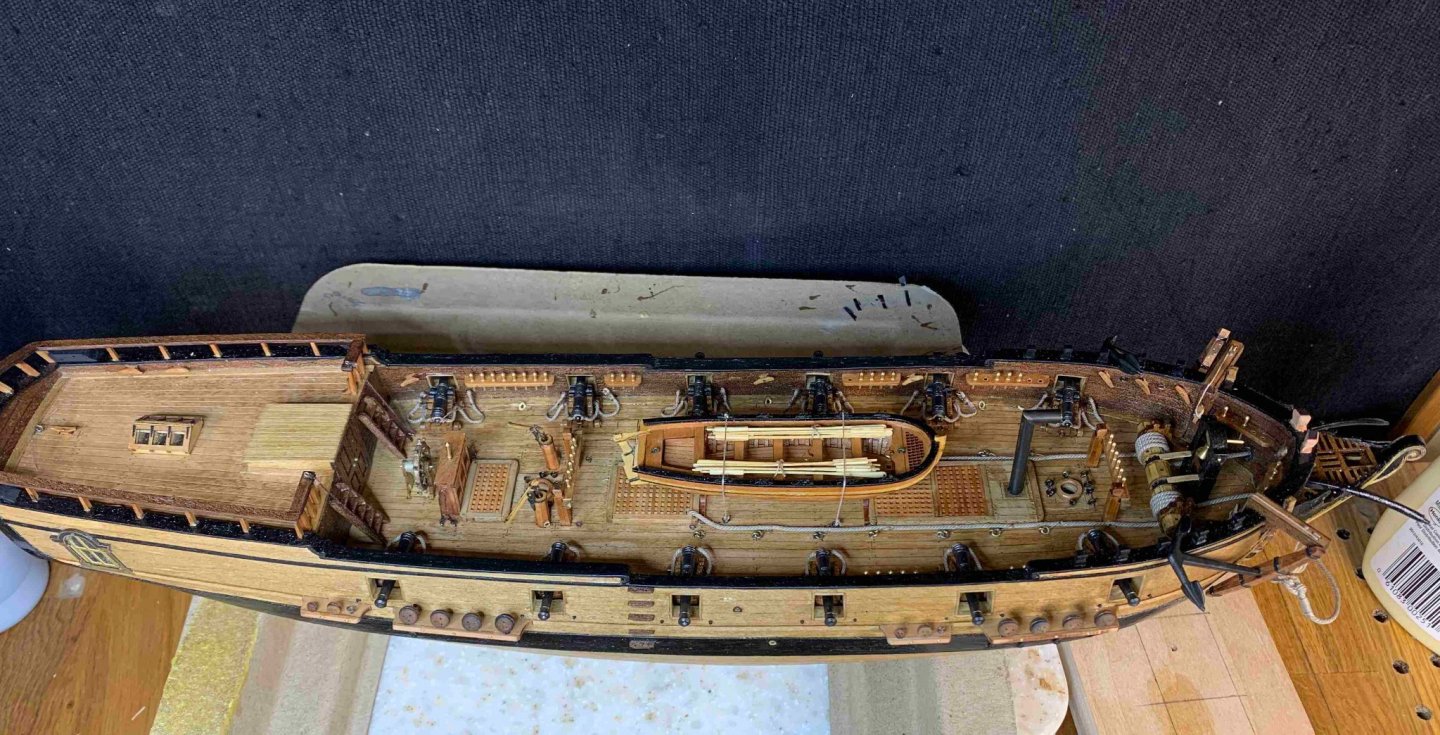
Rigging has started. Woohoo....
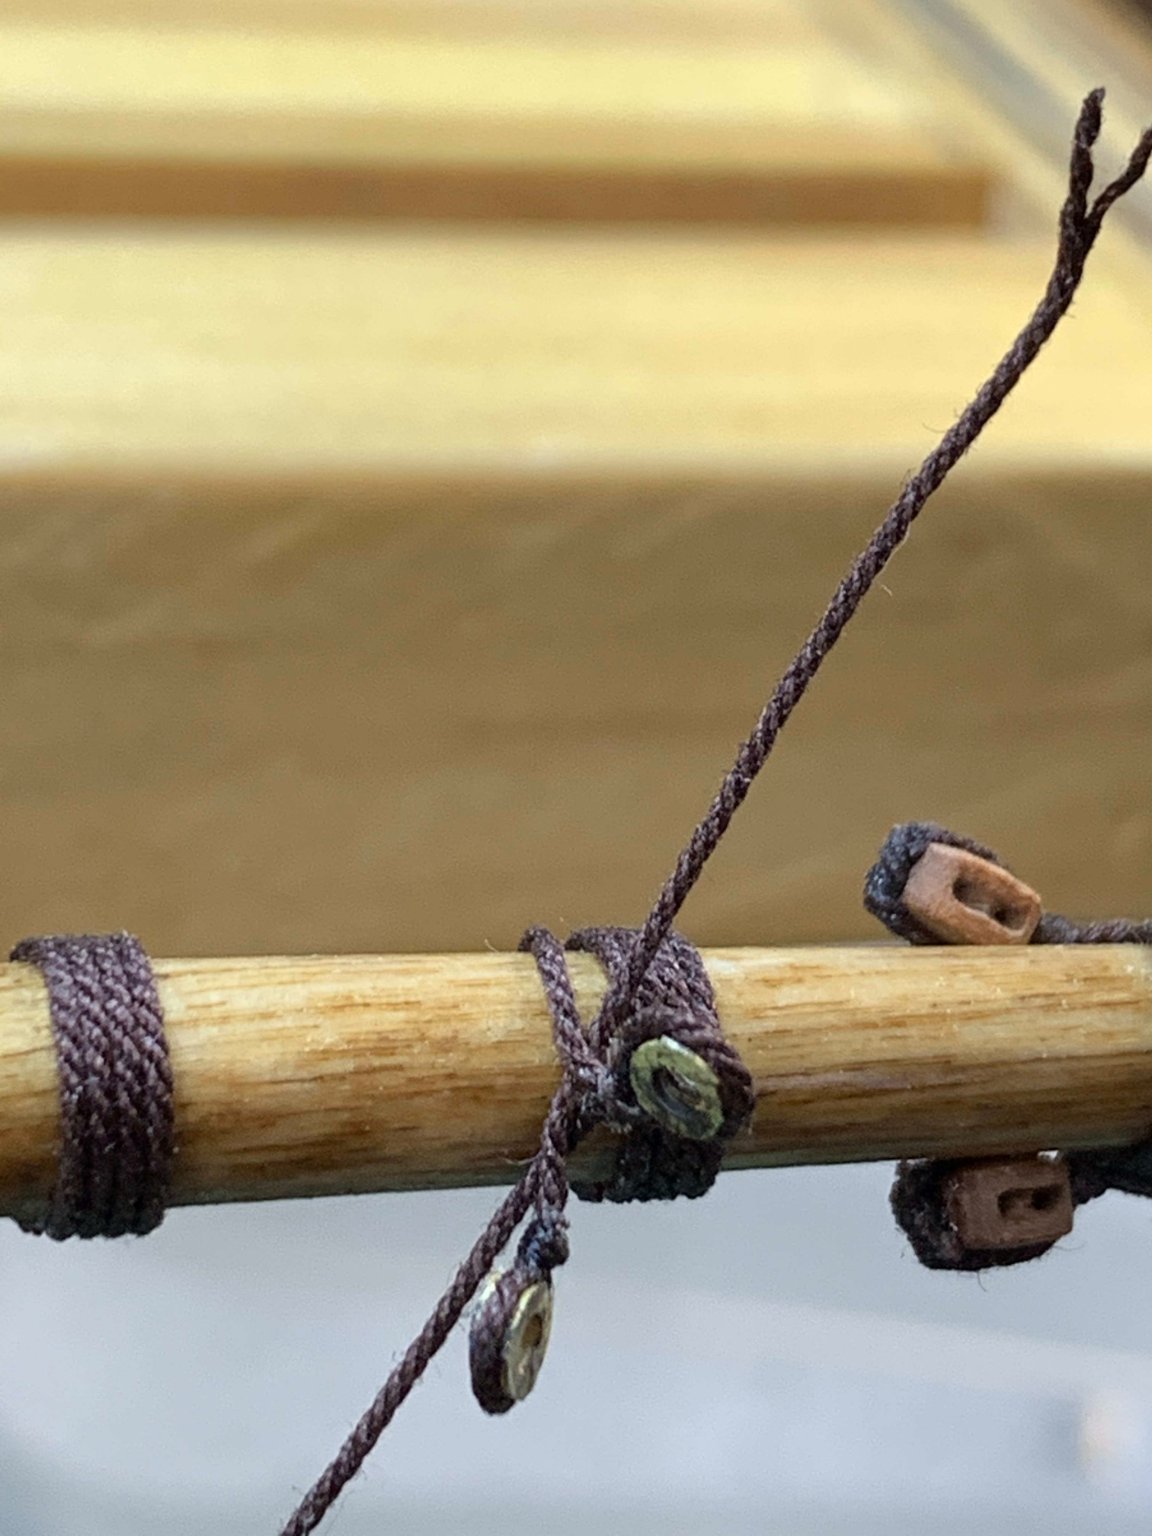
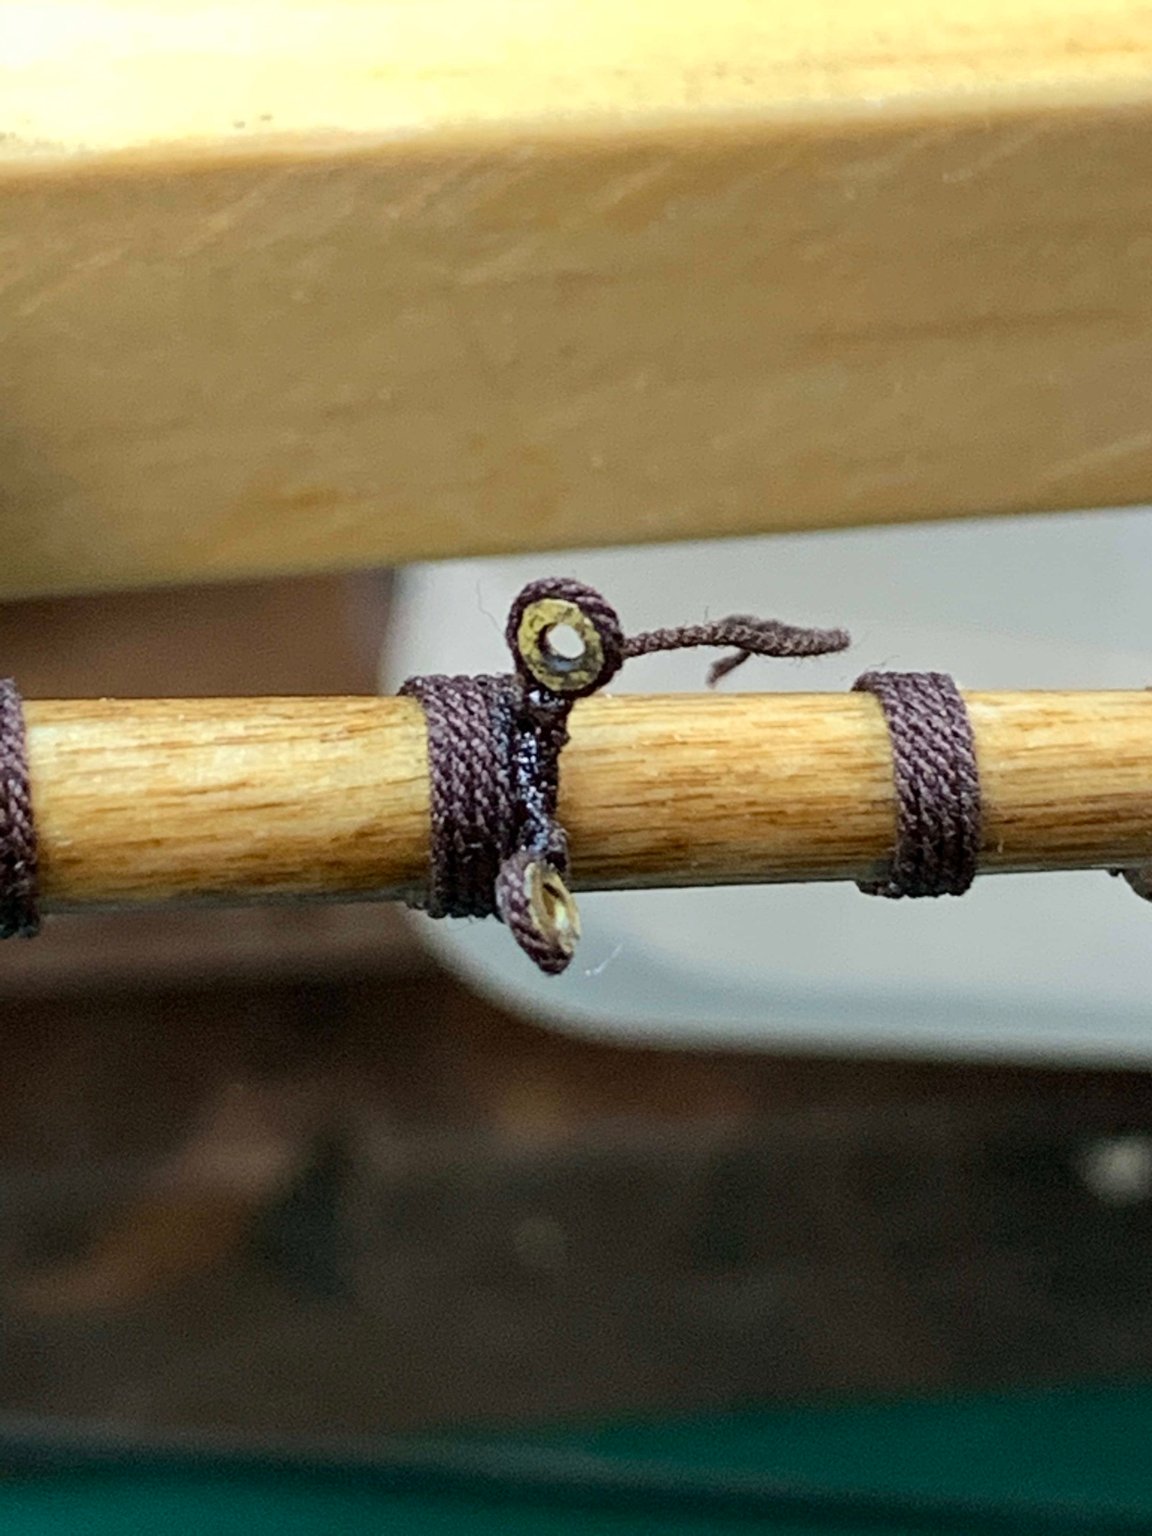
First, will rig the bowsprit with blocks... by tying the blocks through fore bowlines...

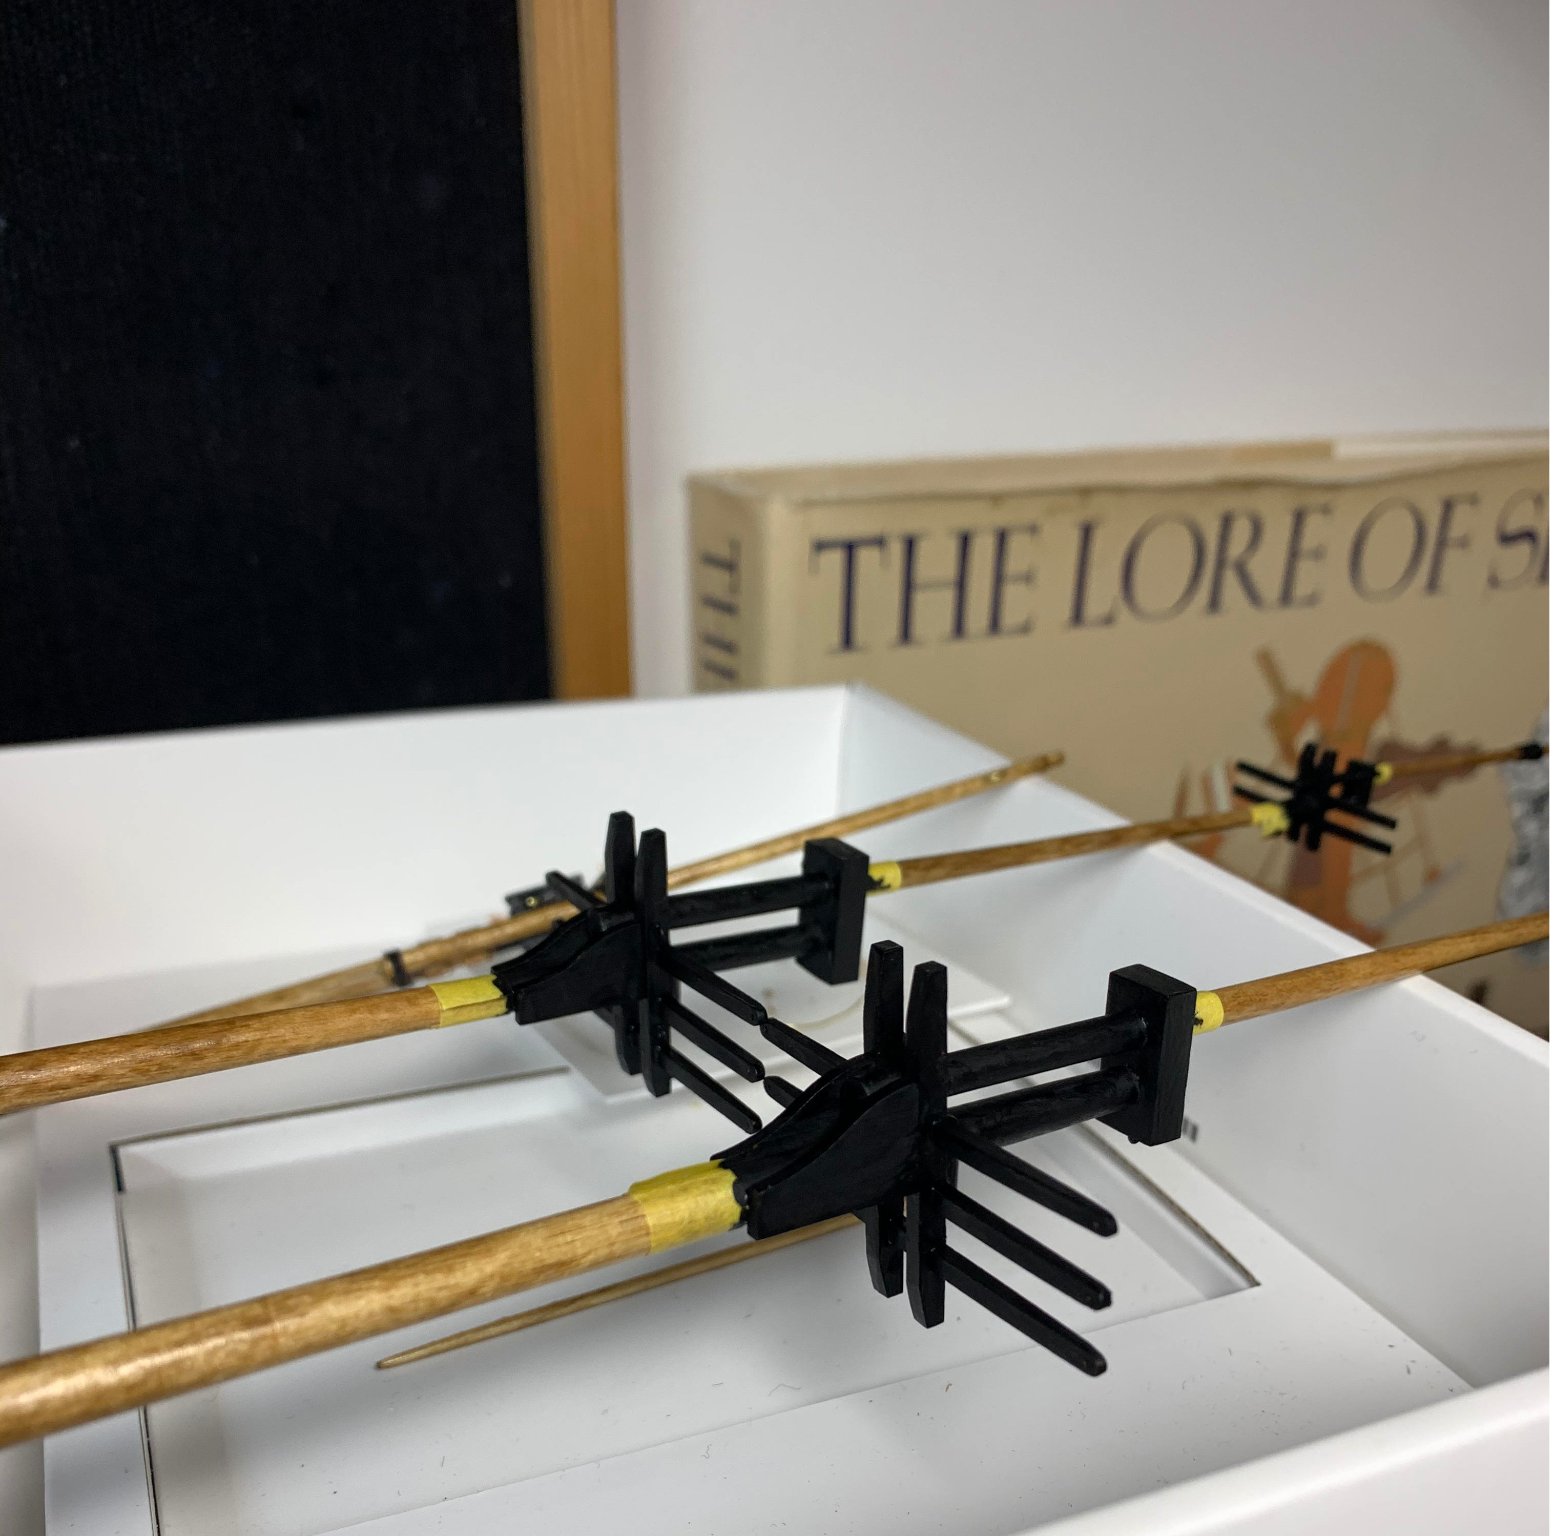
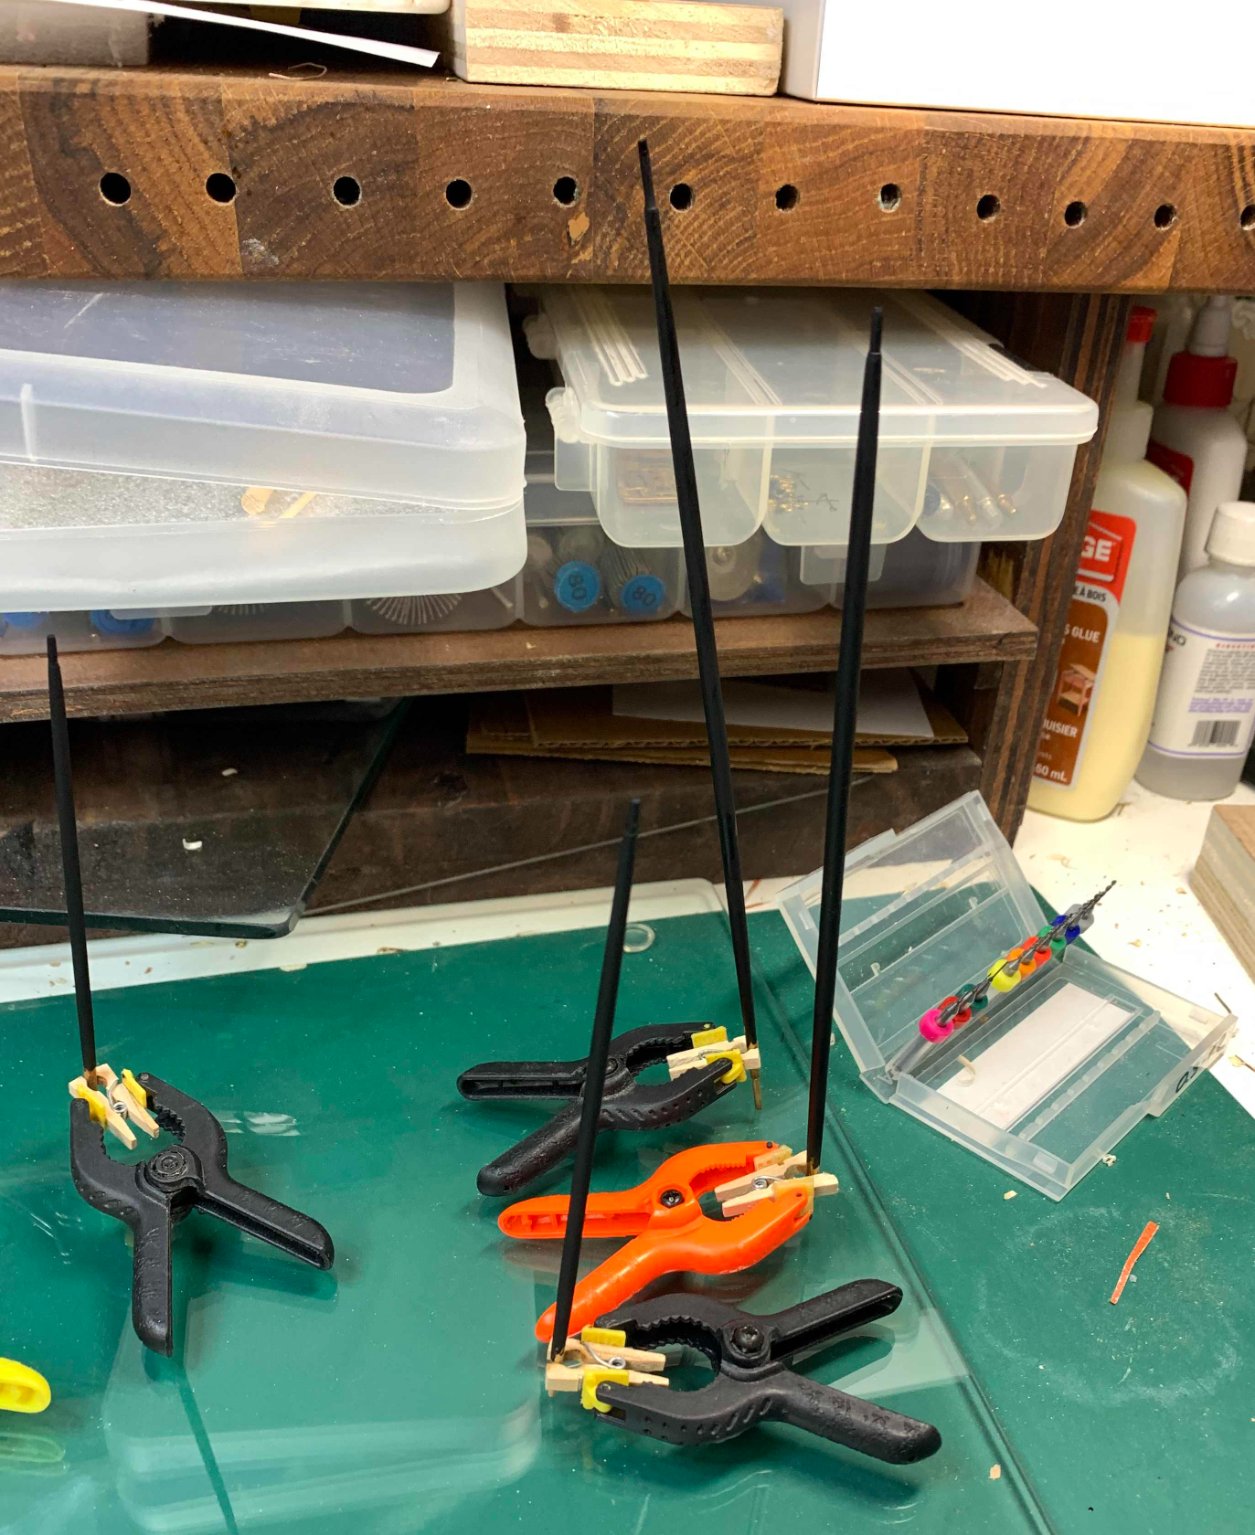
My fancy rigging assistants..

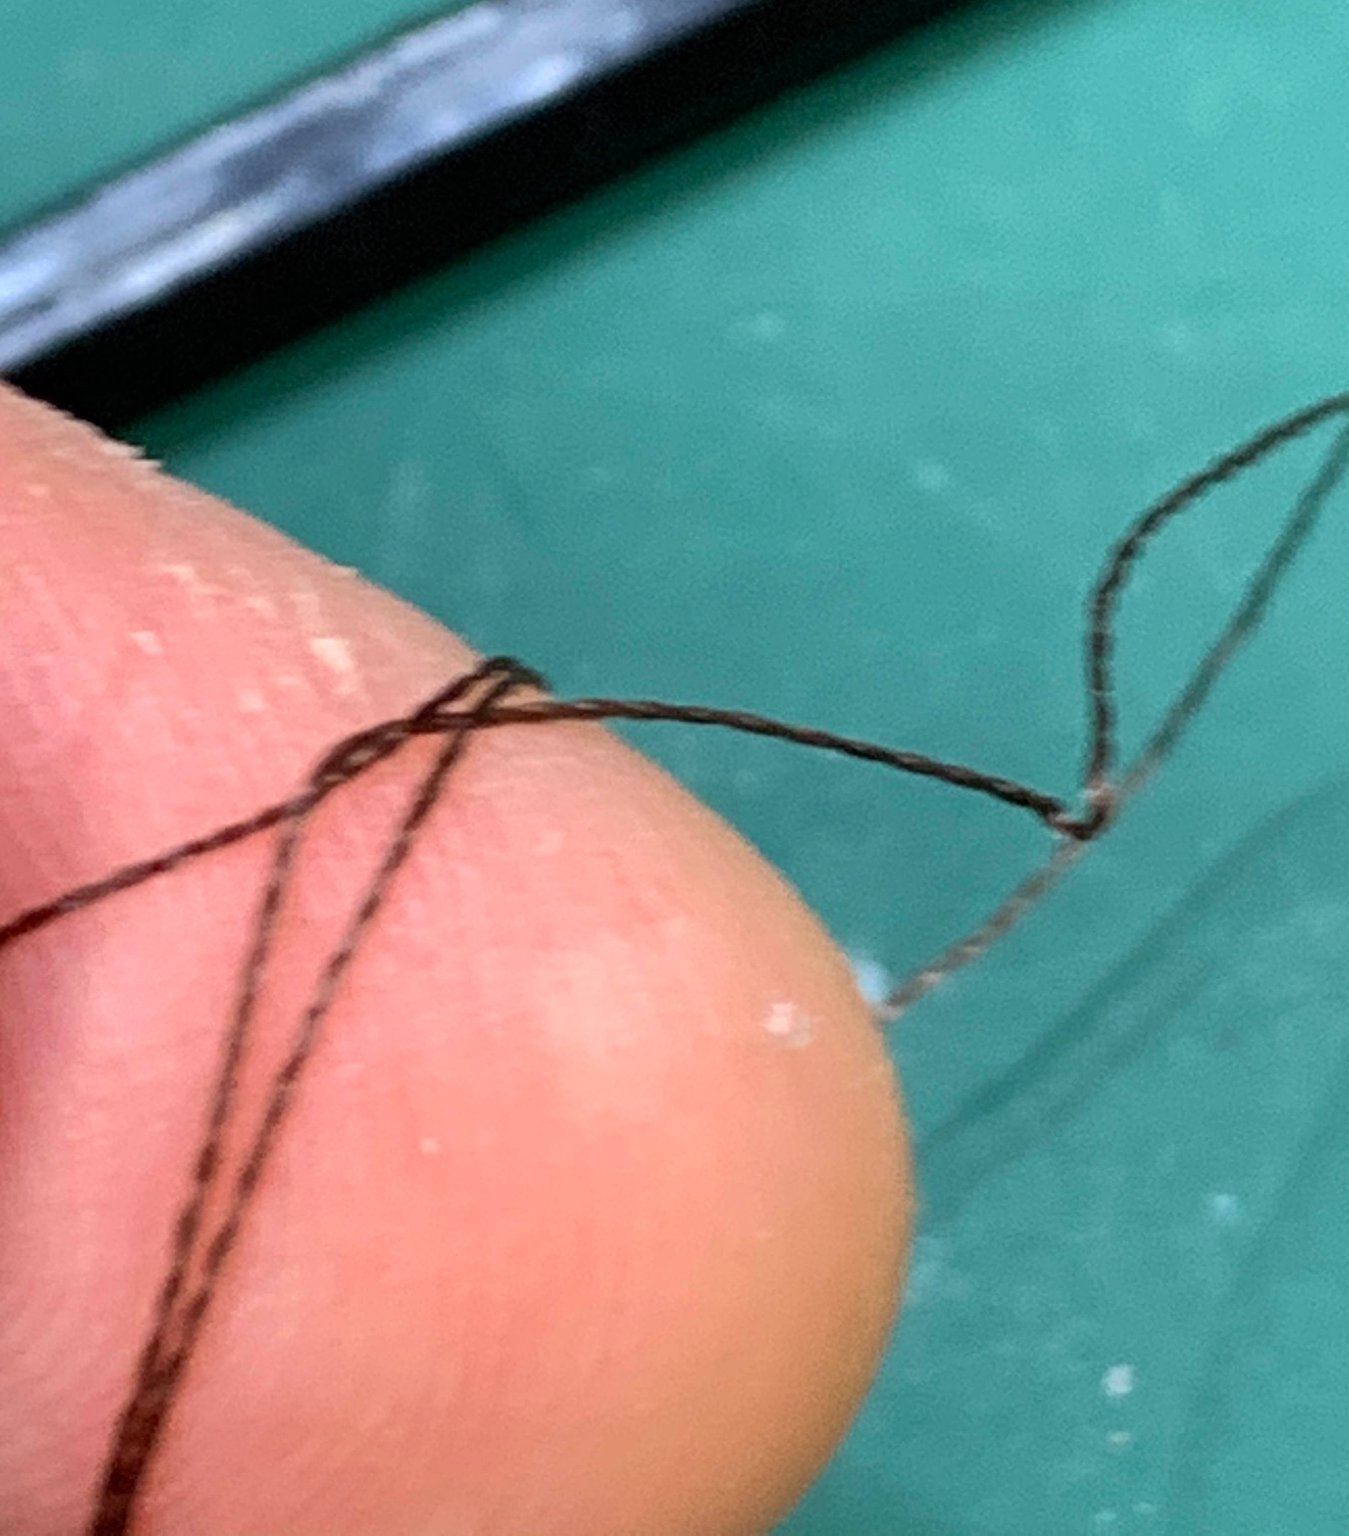
All seizing will be done with strangle knot...

For this i am using jewelry nylon line, 0.2mm in size. This line is nice to work with but it will not stay out, once the knot is tighten; it will attempt to loosen its knot so the drop if a glue is required.
Few days ago i received 500 pieces of tiny glue applicator extensions (on Amazon, for $12 CAD). The diameter of the applicator is 0.3 and sometimes it is not small enough for those tiny drops of glue that are needed. Yesterday i accidentally discovered the way to shrink it: small amount of glue was left on the top of the applicator, i wanted to remove it, grab and pull it up. Managed to remove the dried glue but at the same time stretched up the applicator to the diameter that was just perfect, 0.1mm (or even smaller). So, here it is, when you need tinier opening, just stretch the applicator' end..
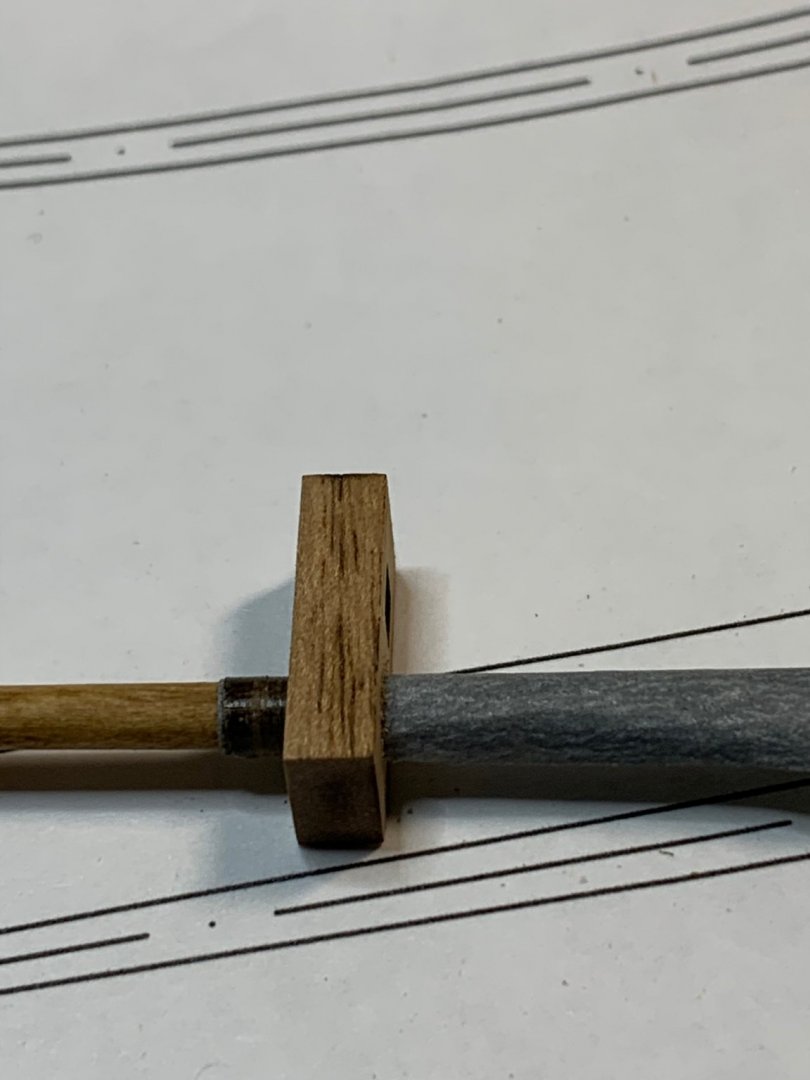
Block is added next.

Finished with few drops of glue...


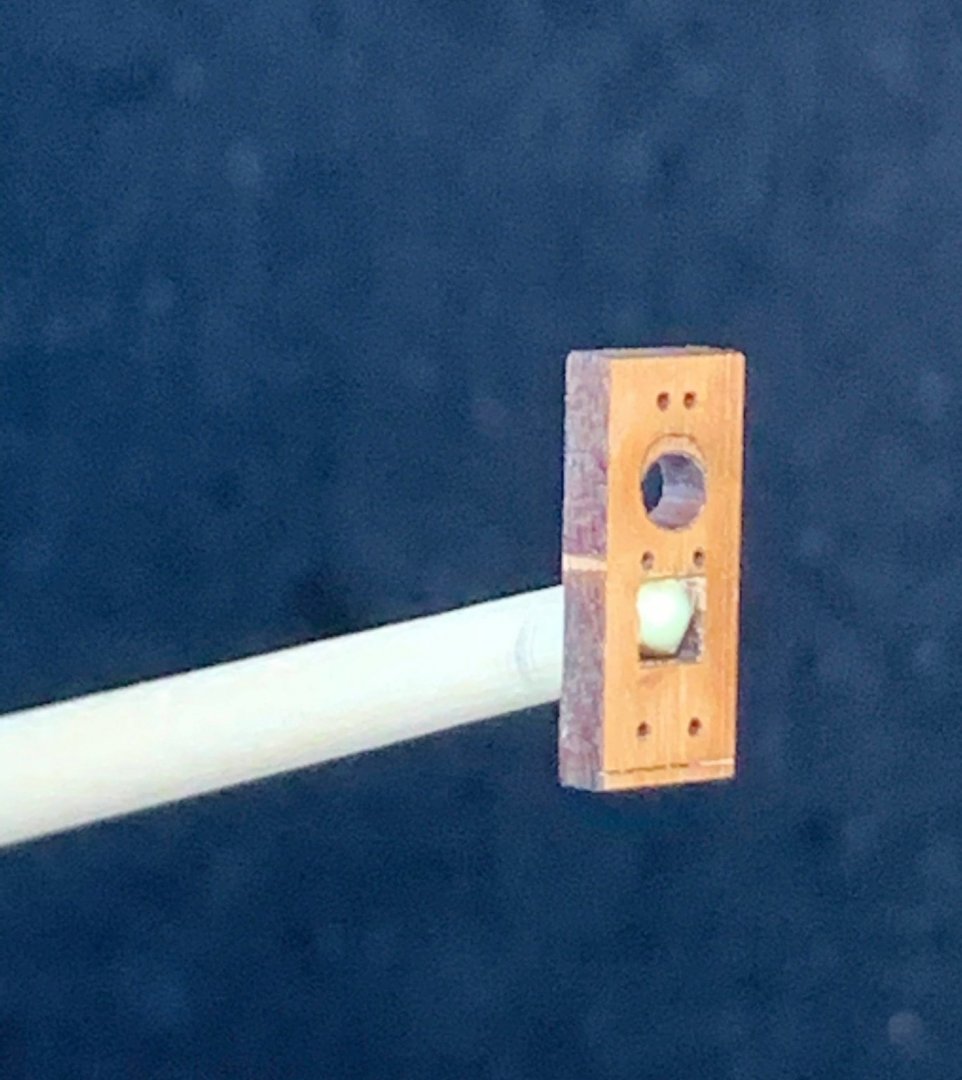
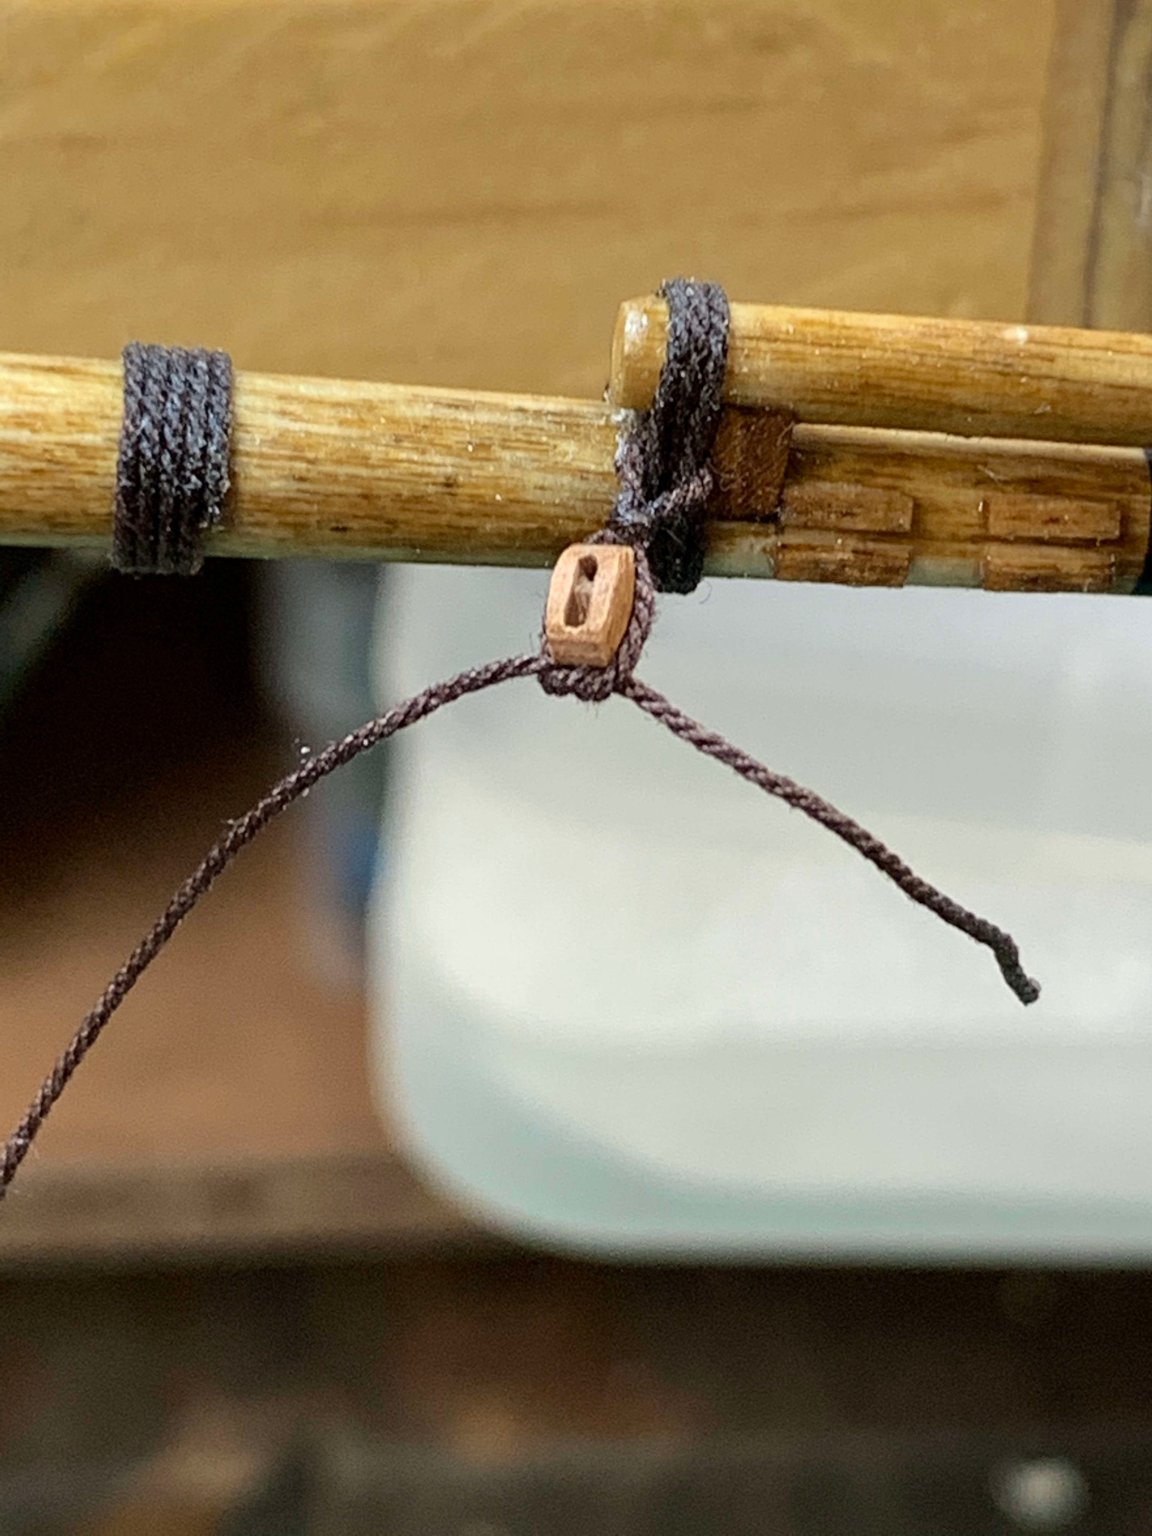
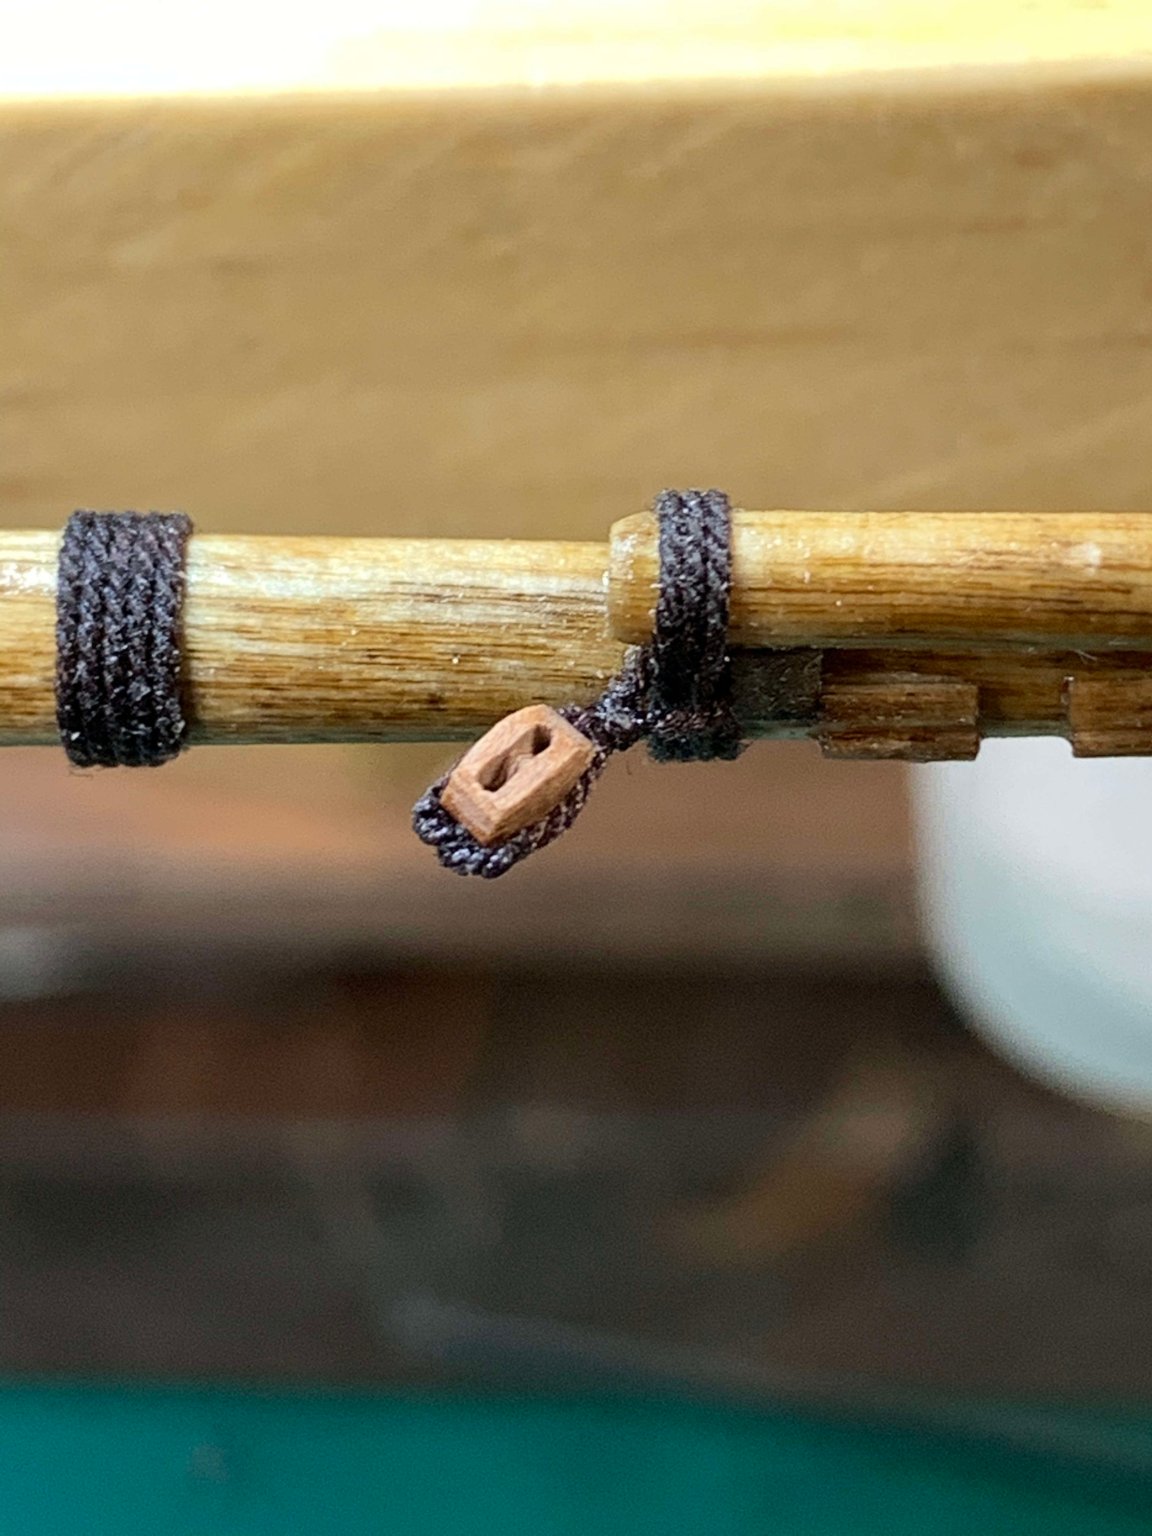
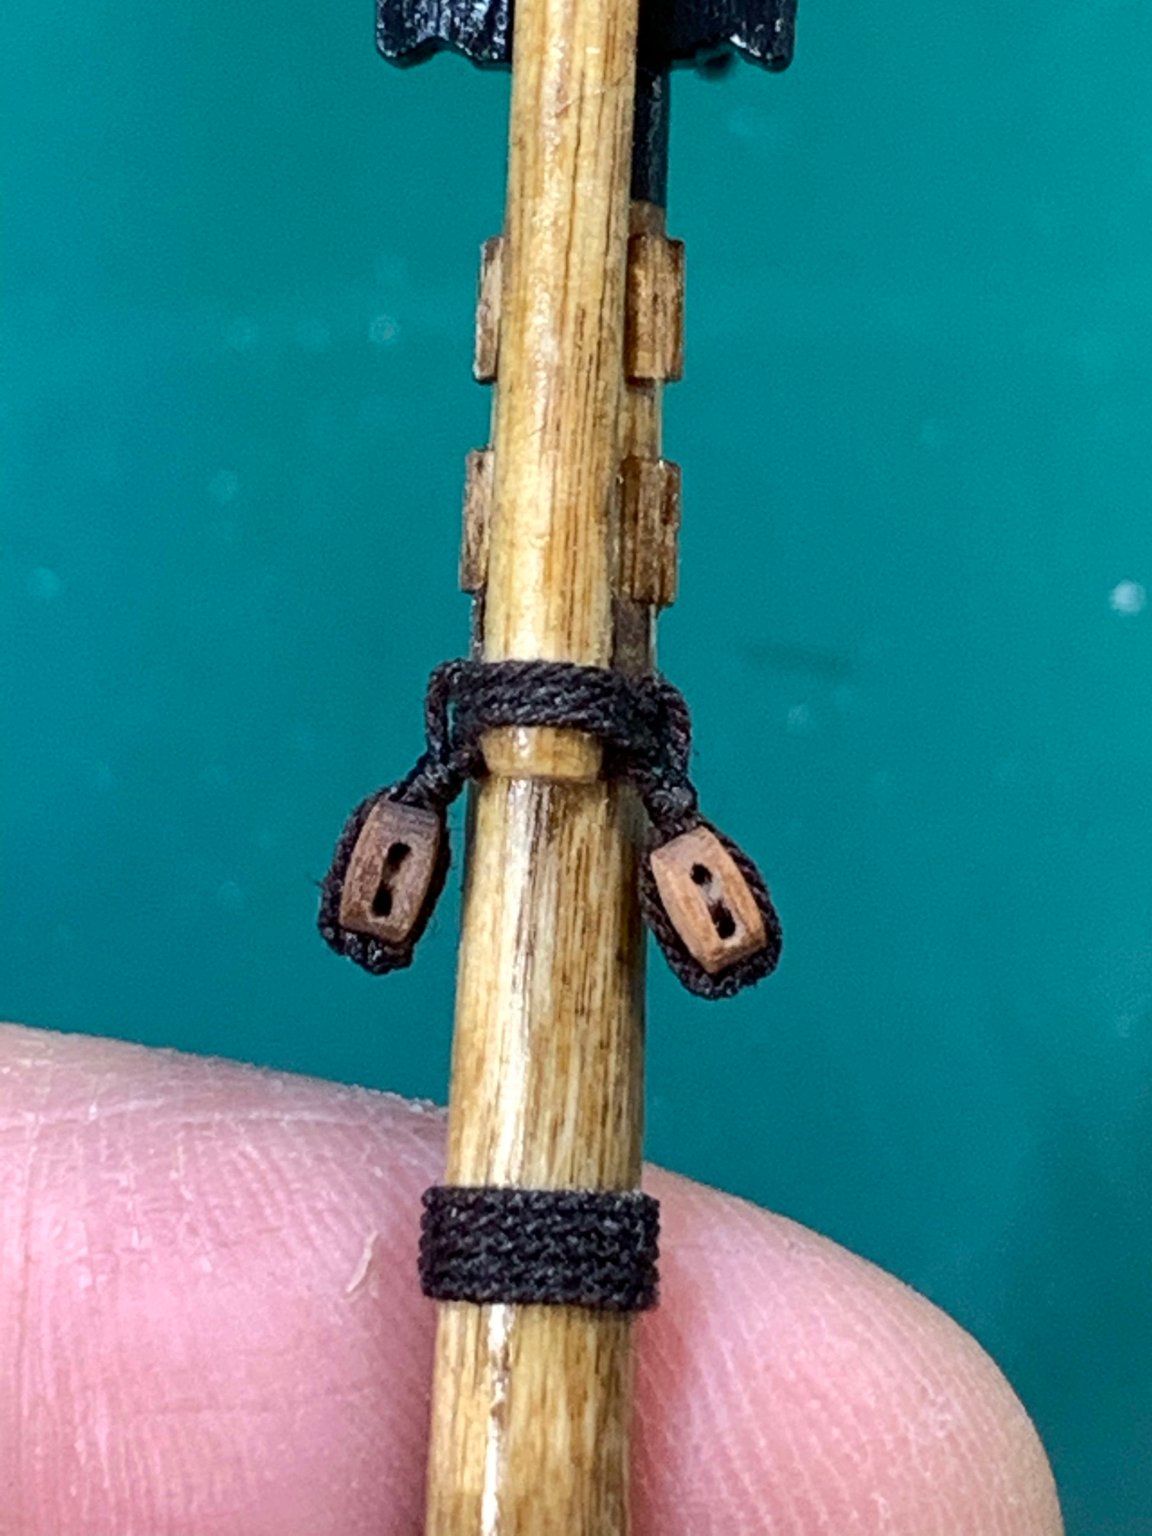
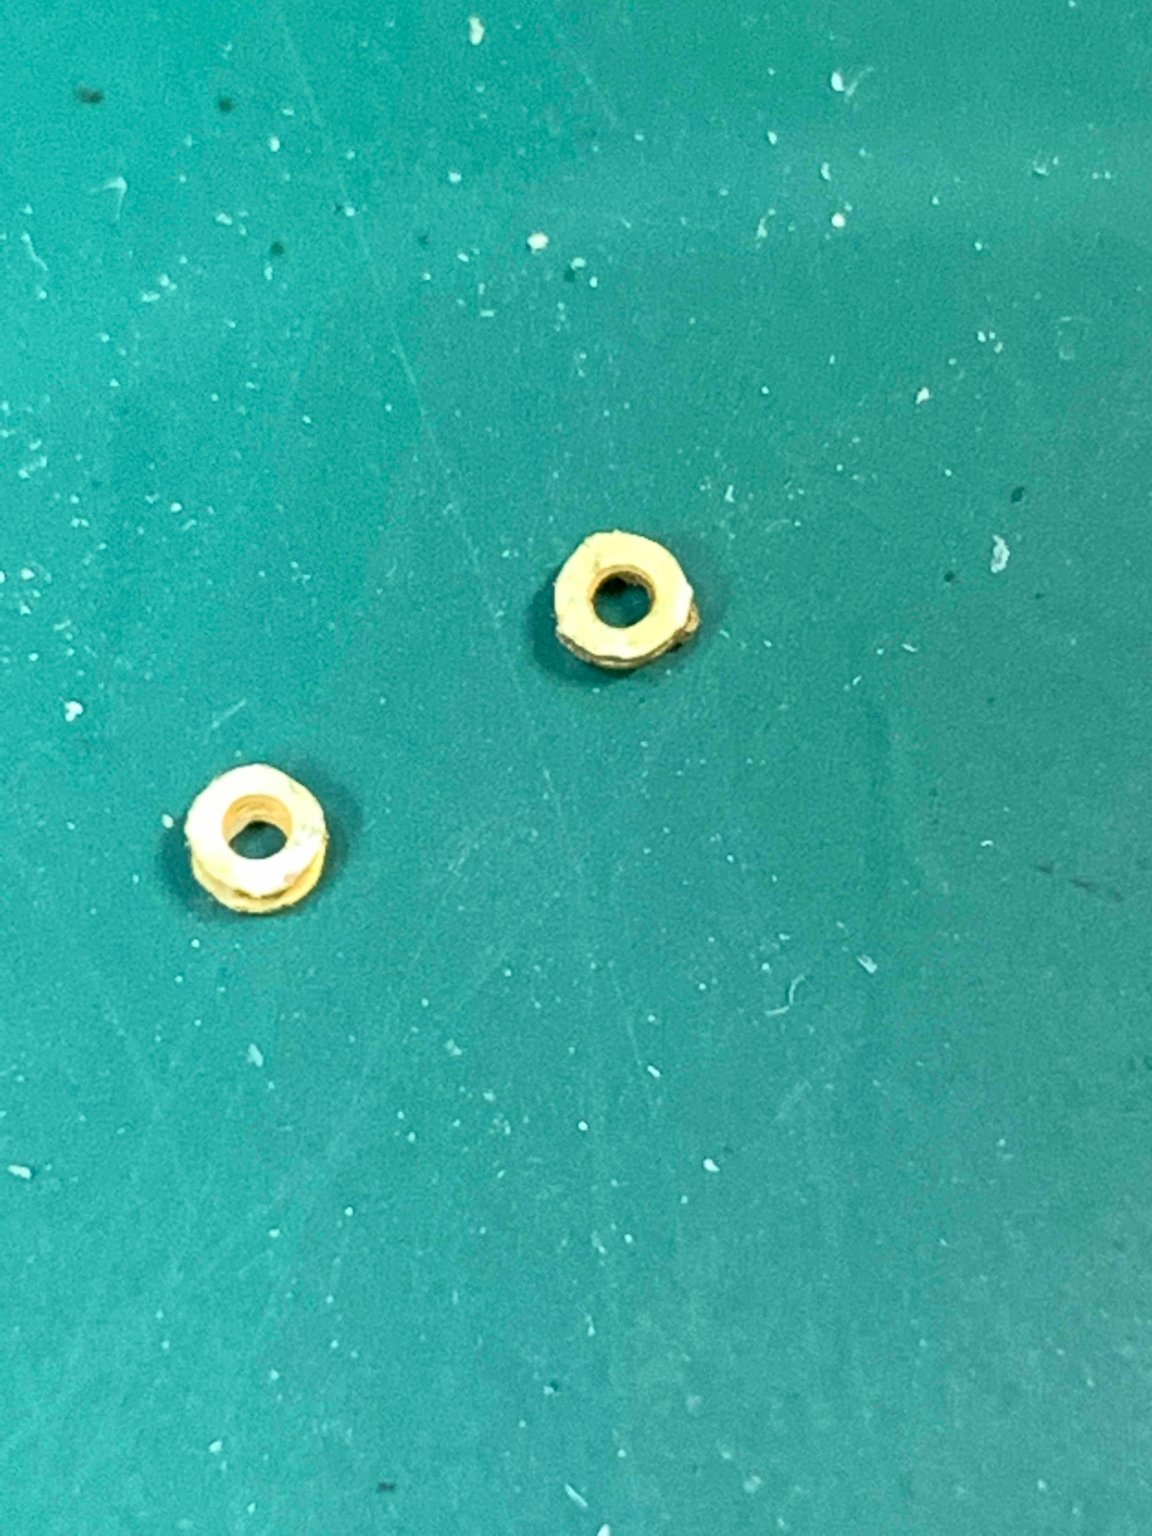
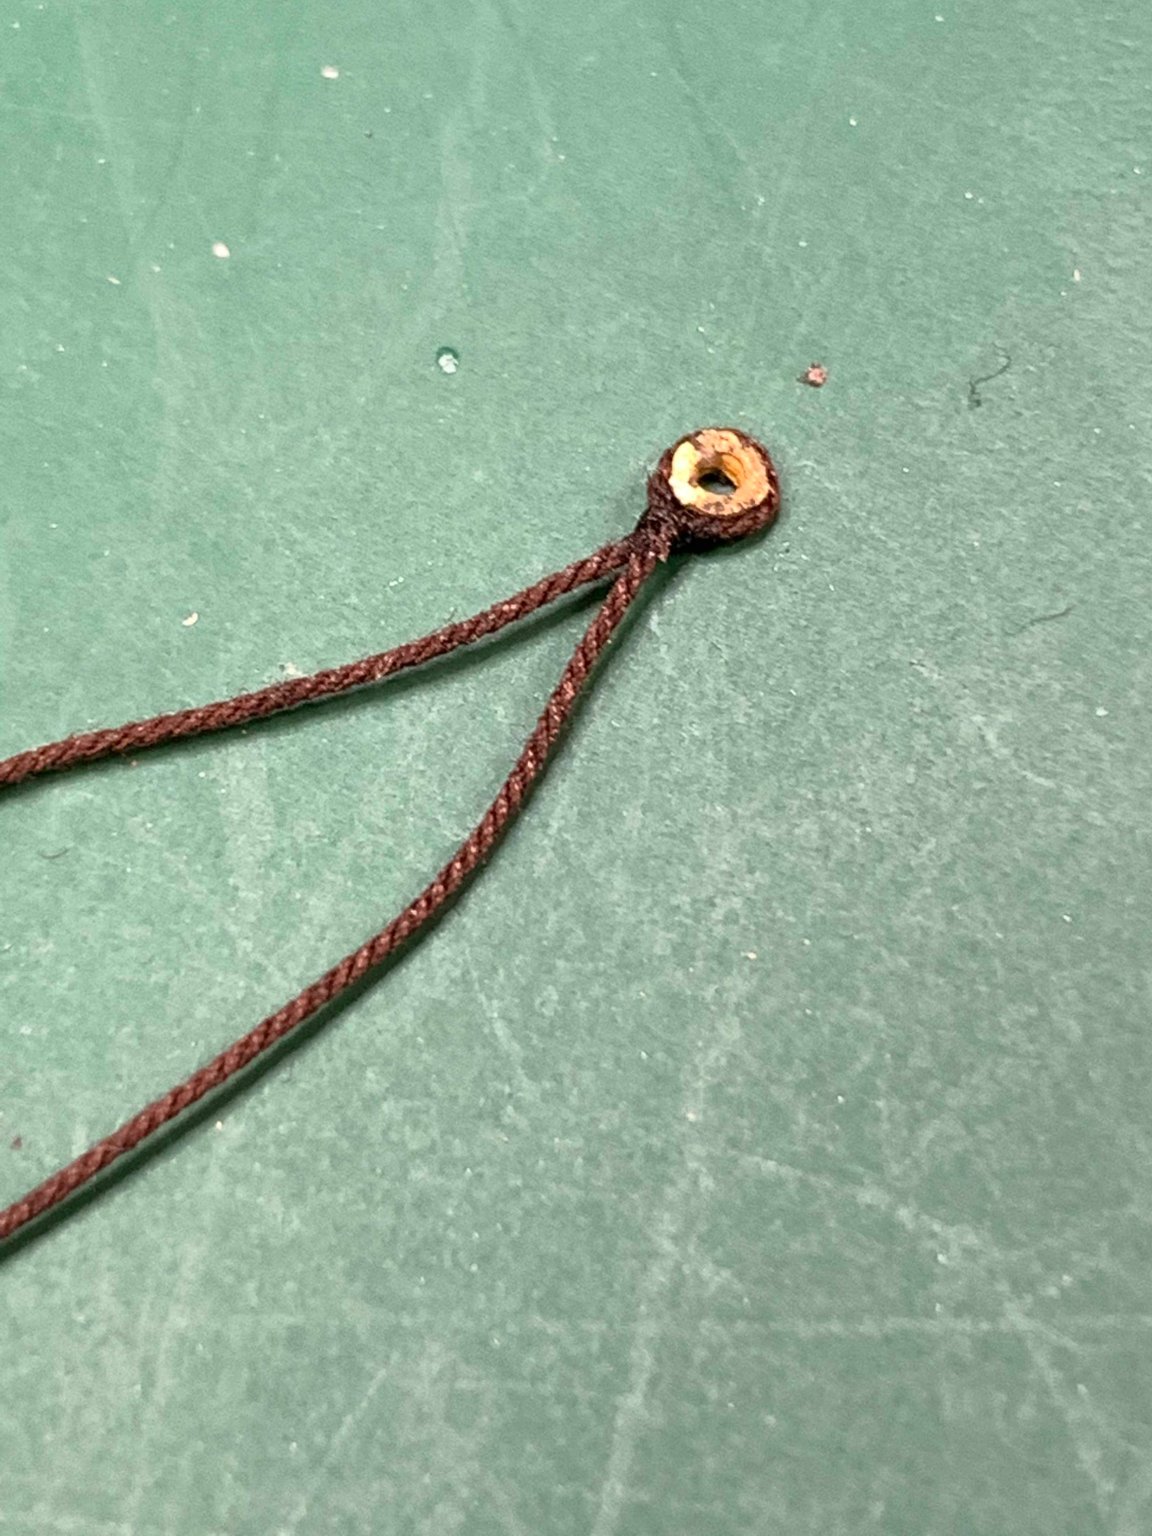
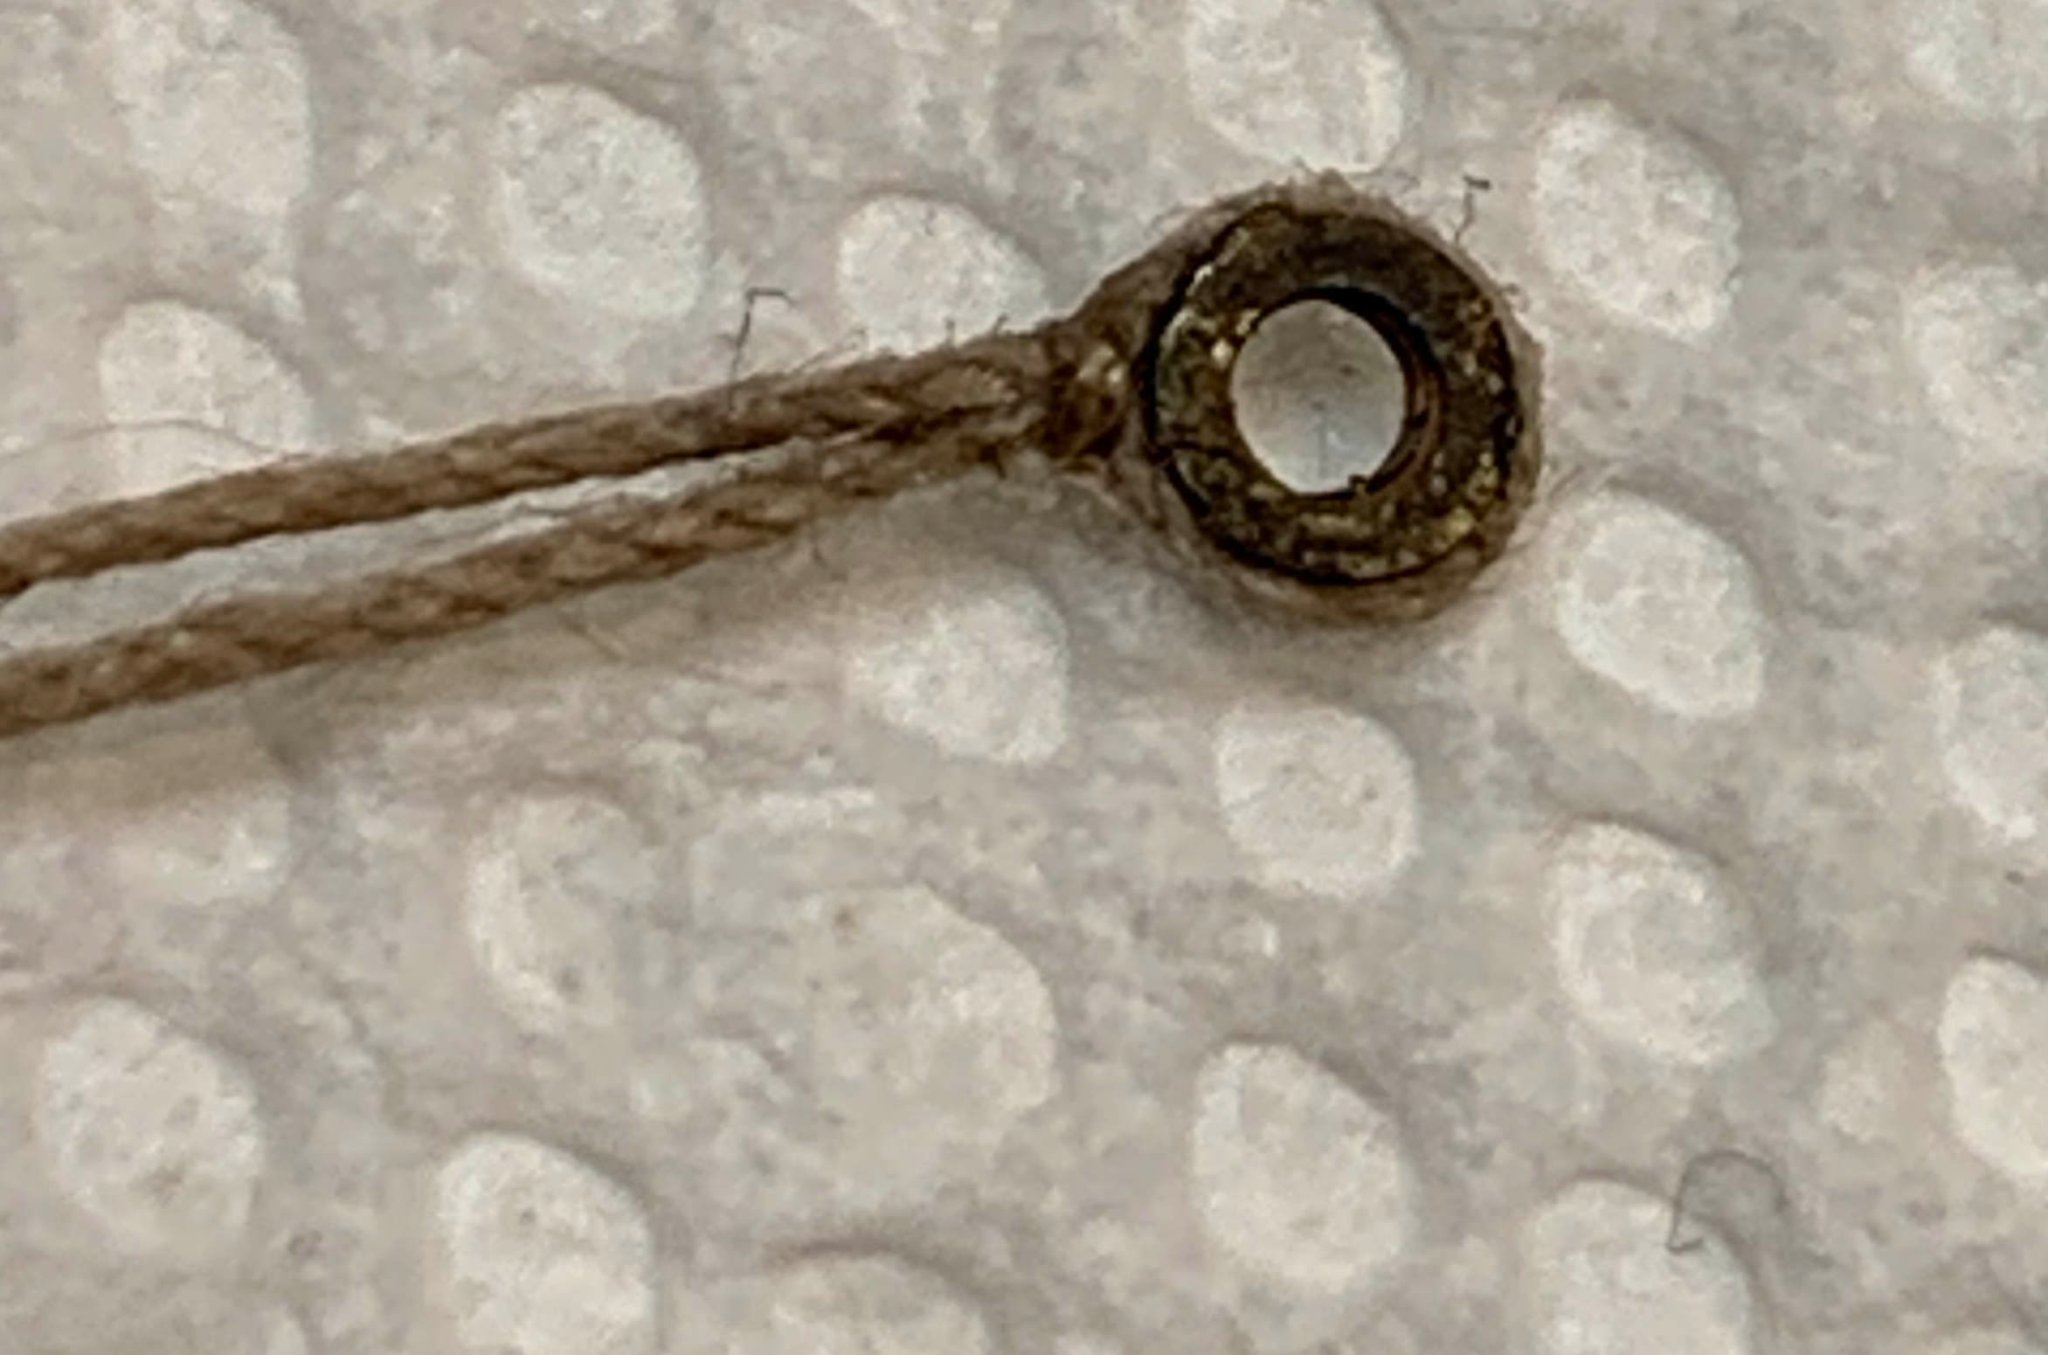
Next are the thimbles for the fore topgallant stays and the gunter iron gantline.

They have to be removed from the frame and glued together. Dont quite like them but until i get some mini metal lathe (and make a new one) i have to adjust them to the best possible look.. Some sanding is needed...
And completed..
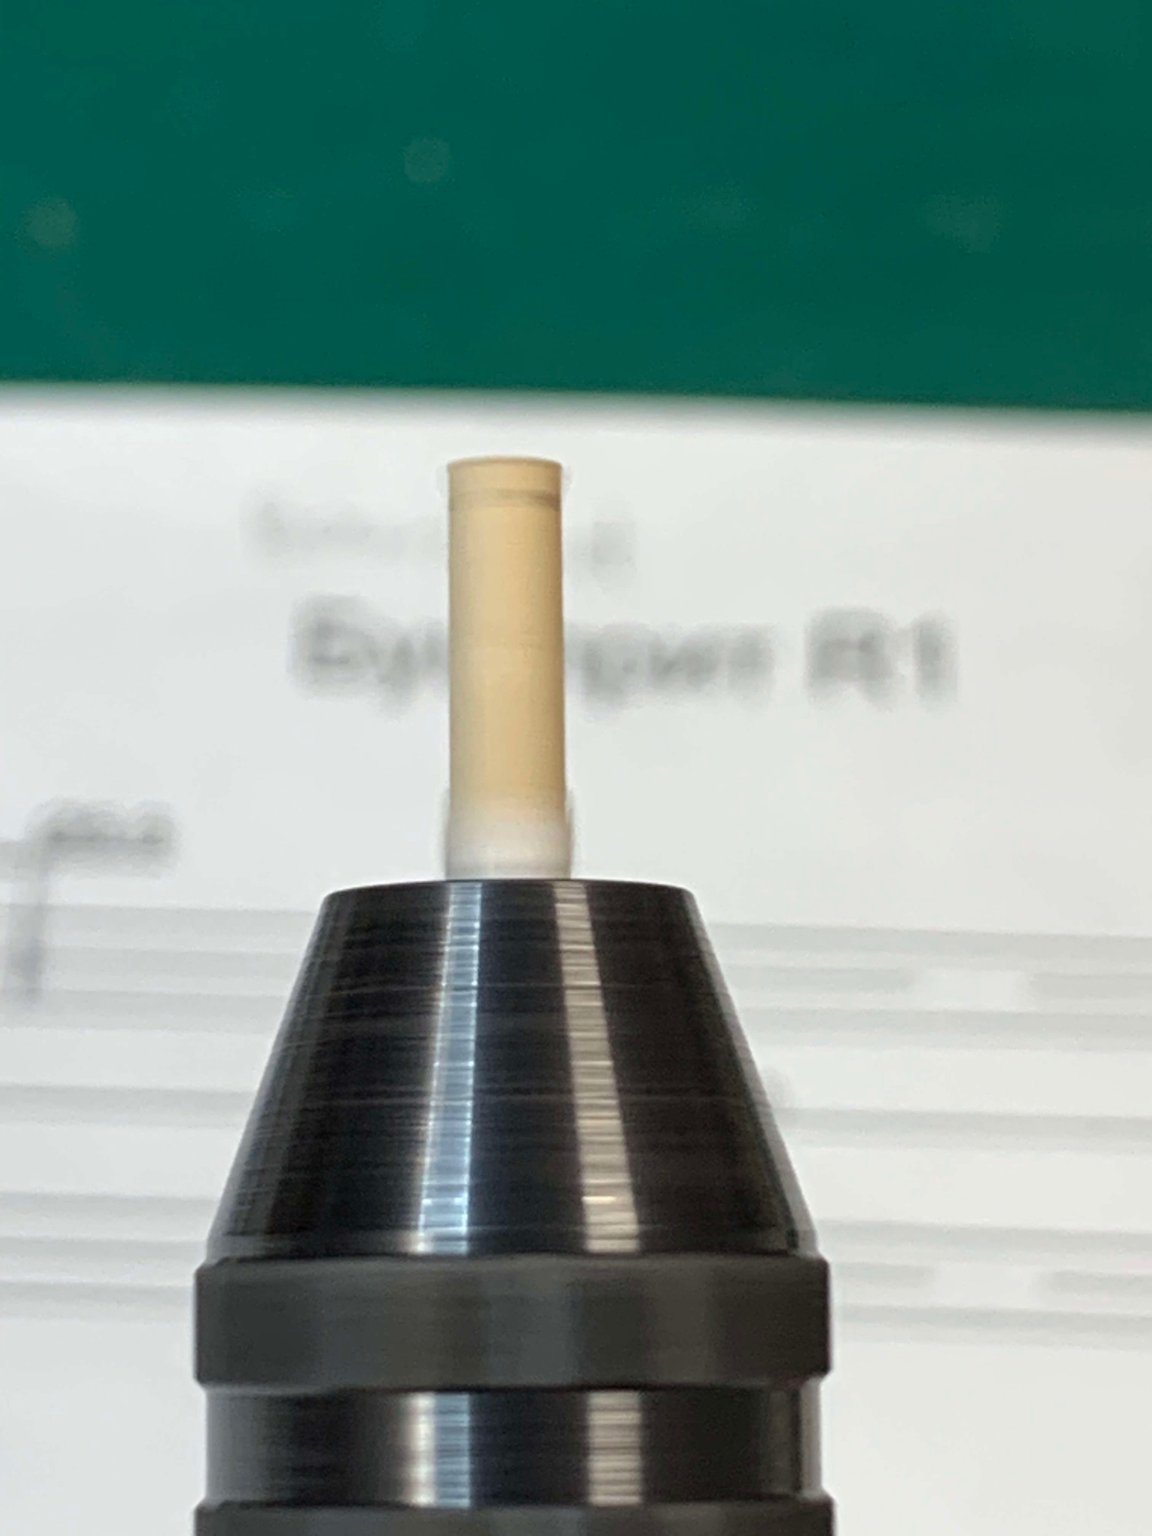
Mounting on the bowsprit...


And done... just need to paint them in black...

Happy modelling... -
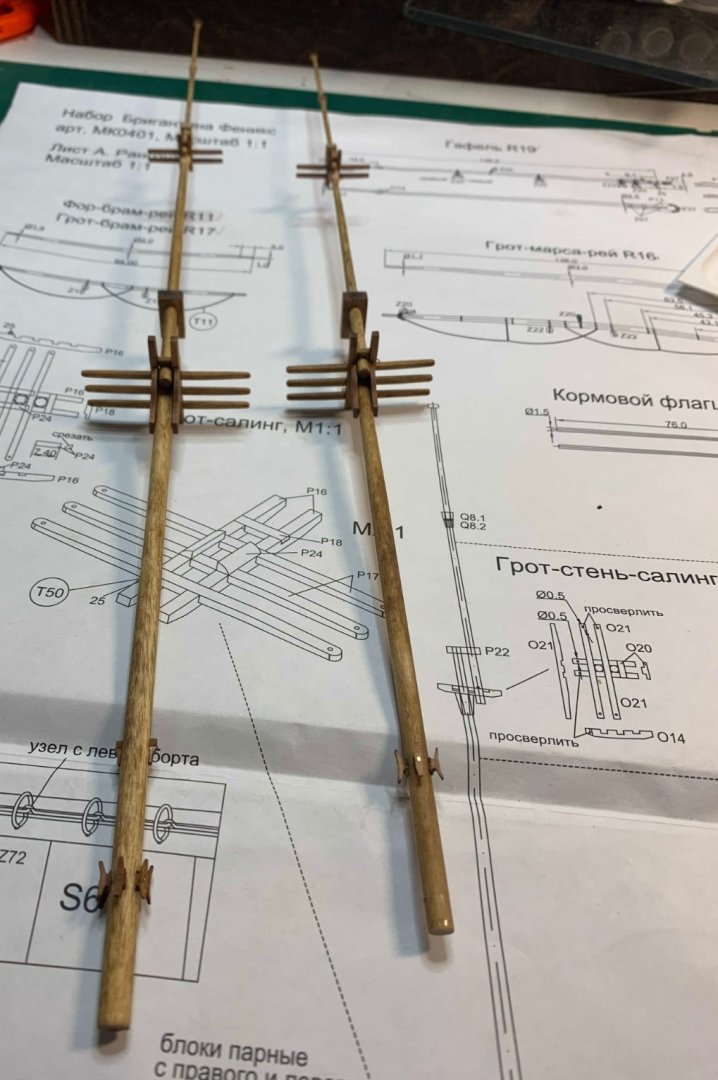
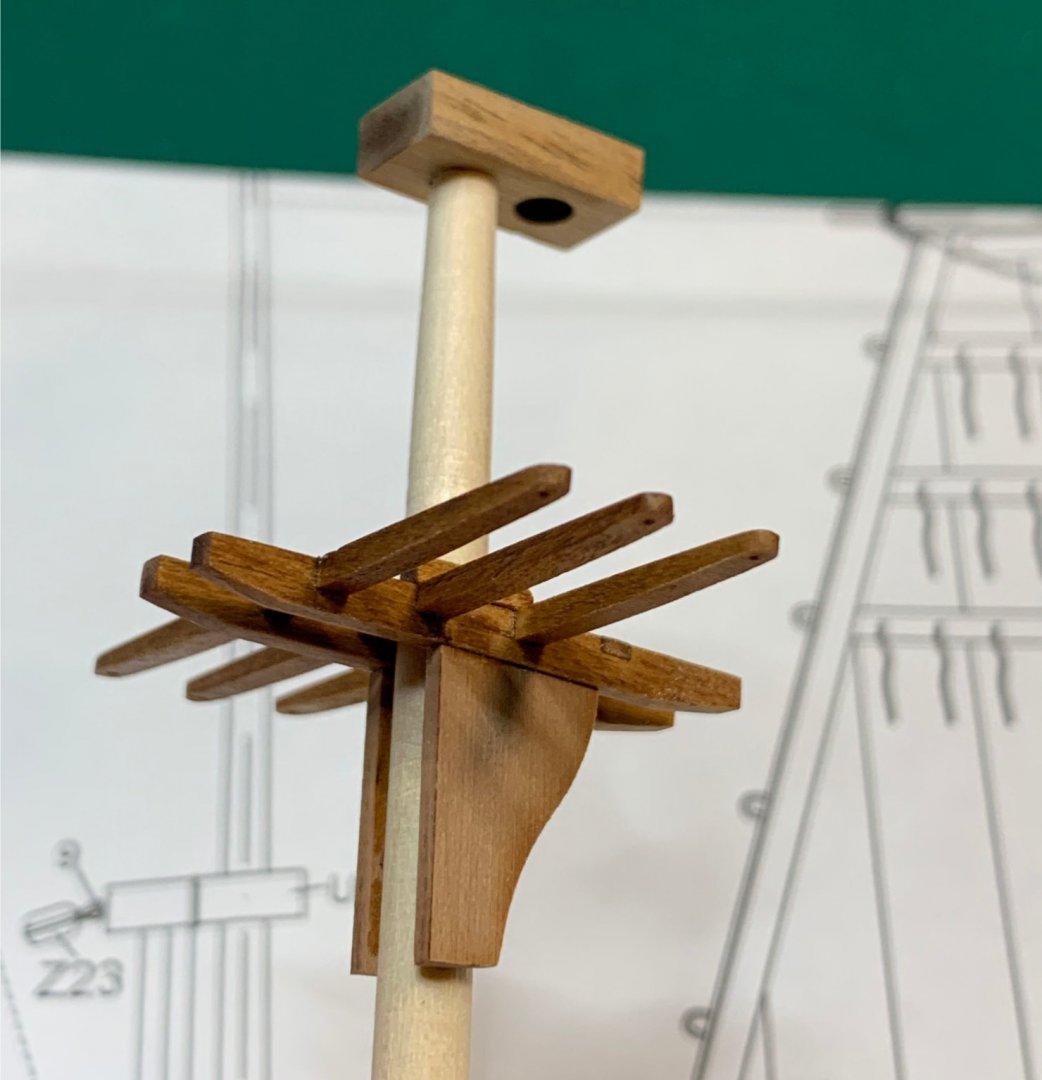
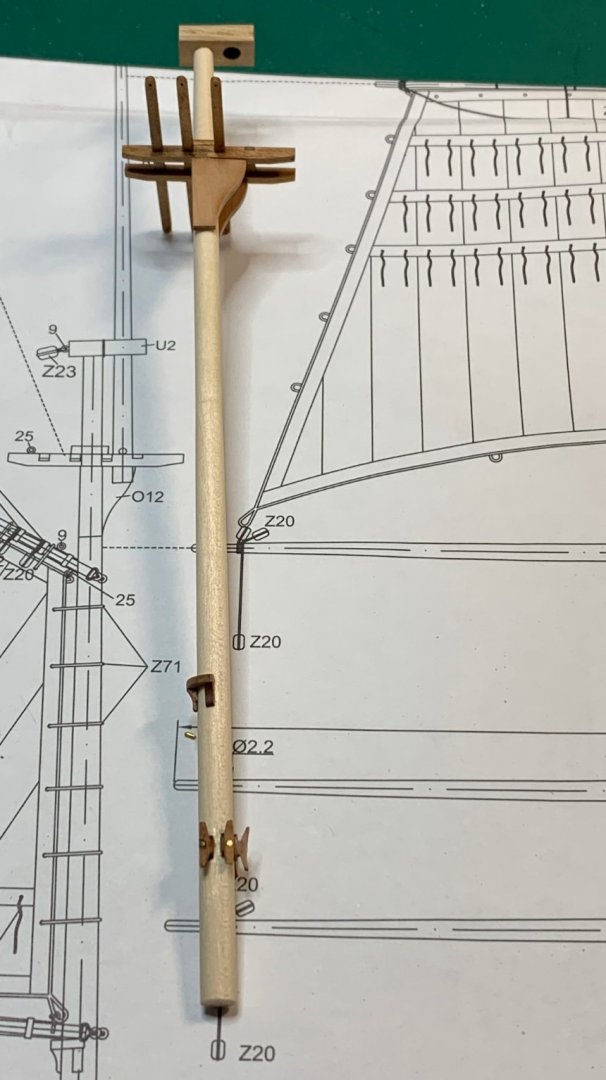
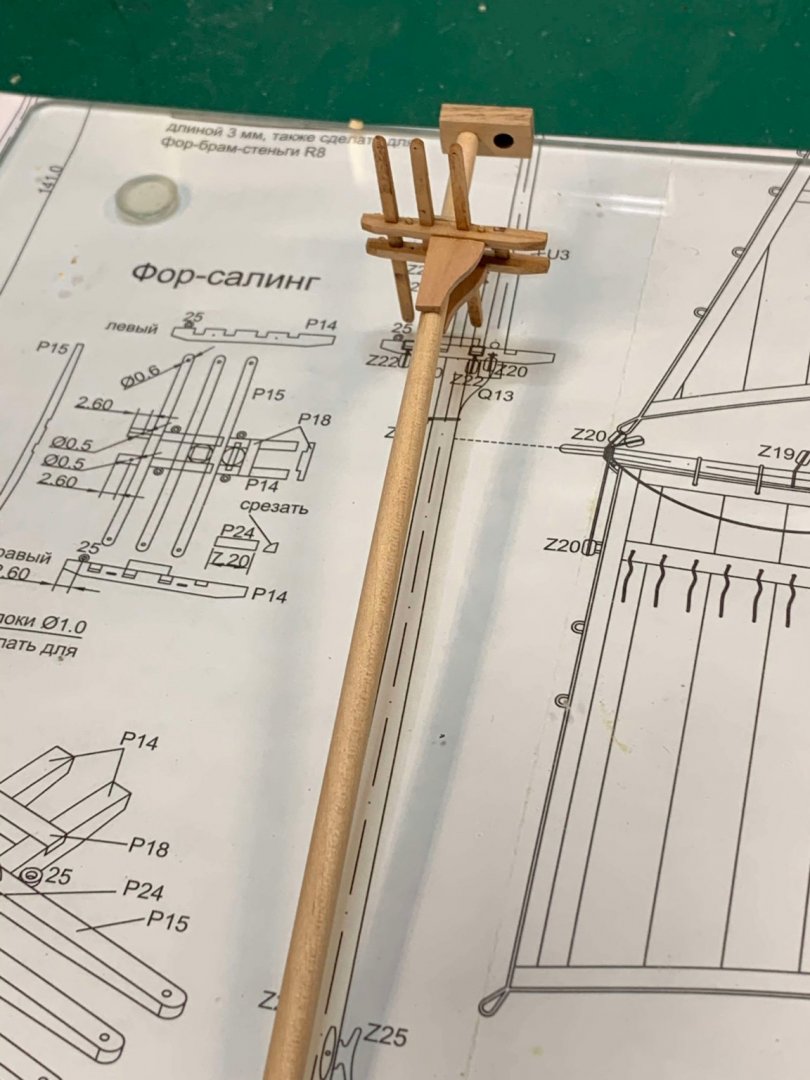
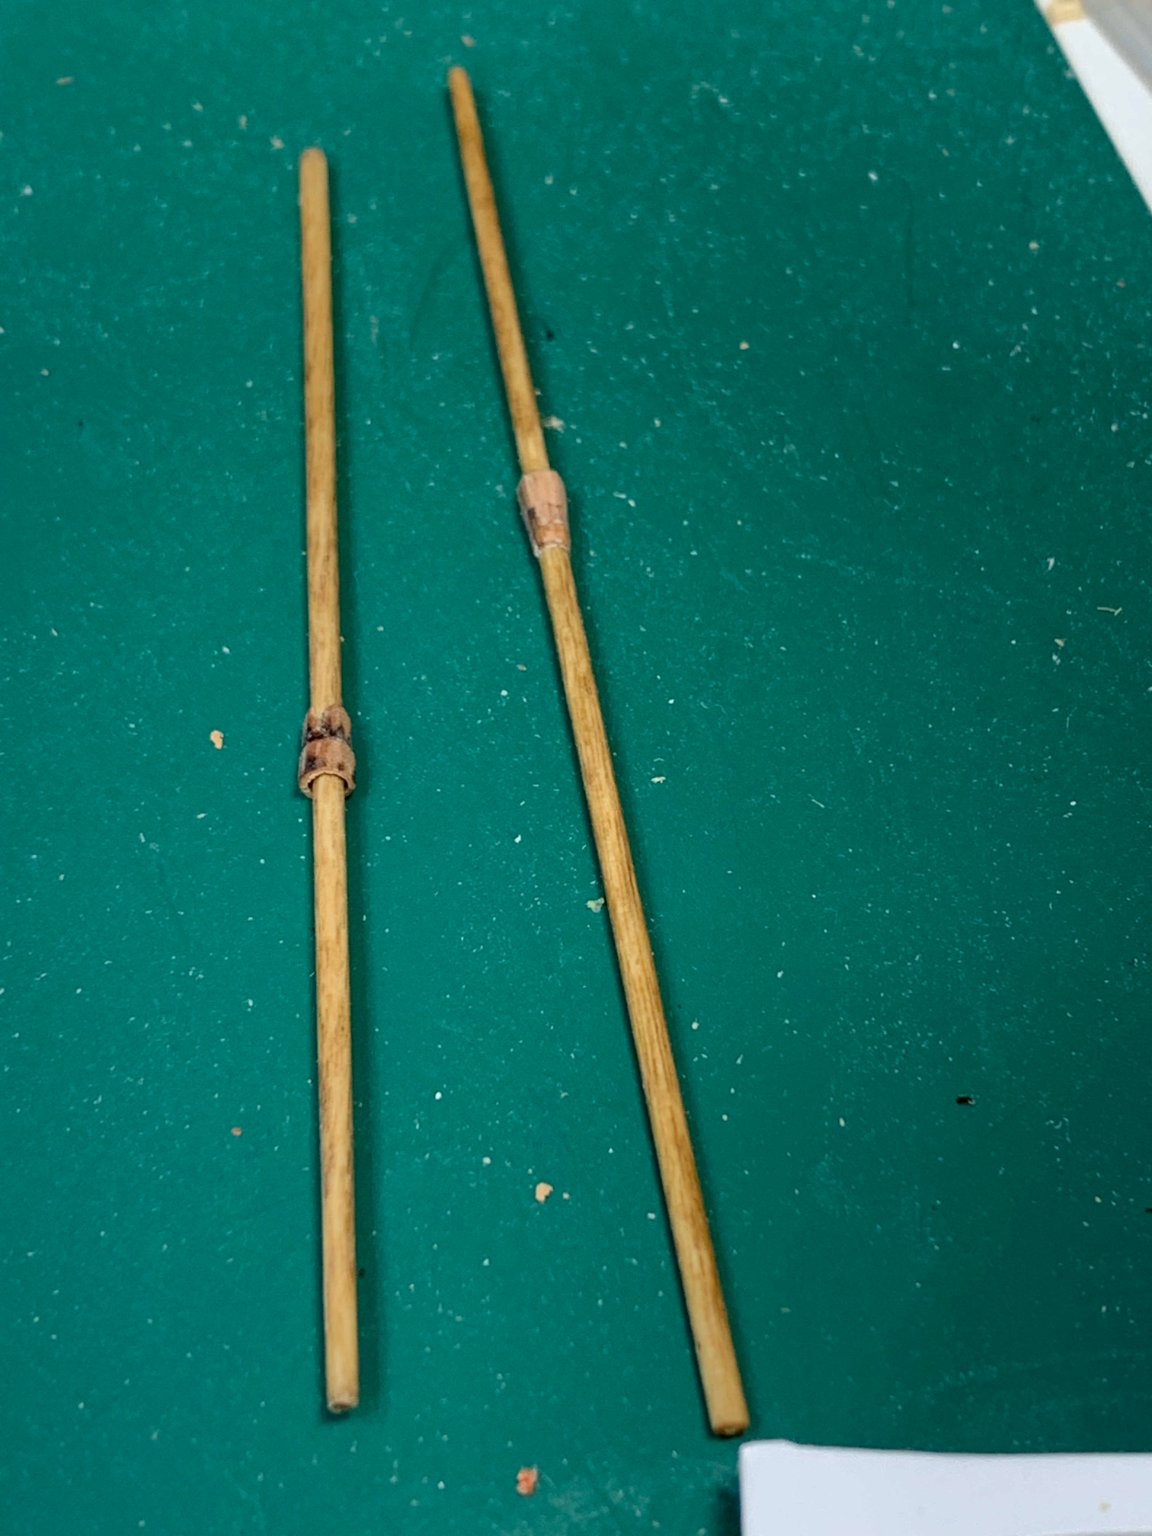
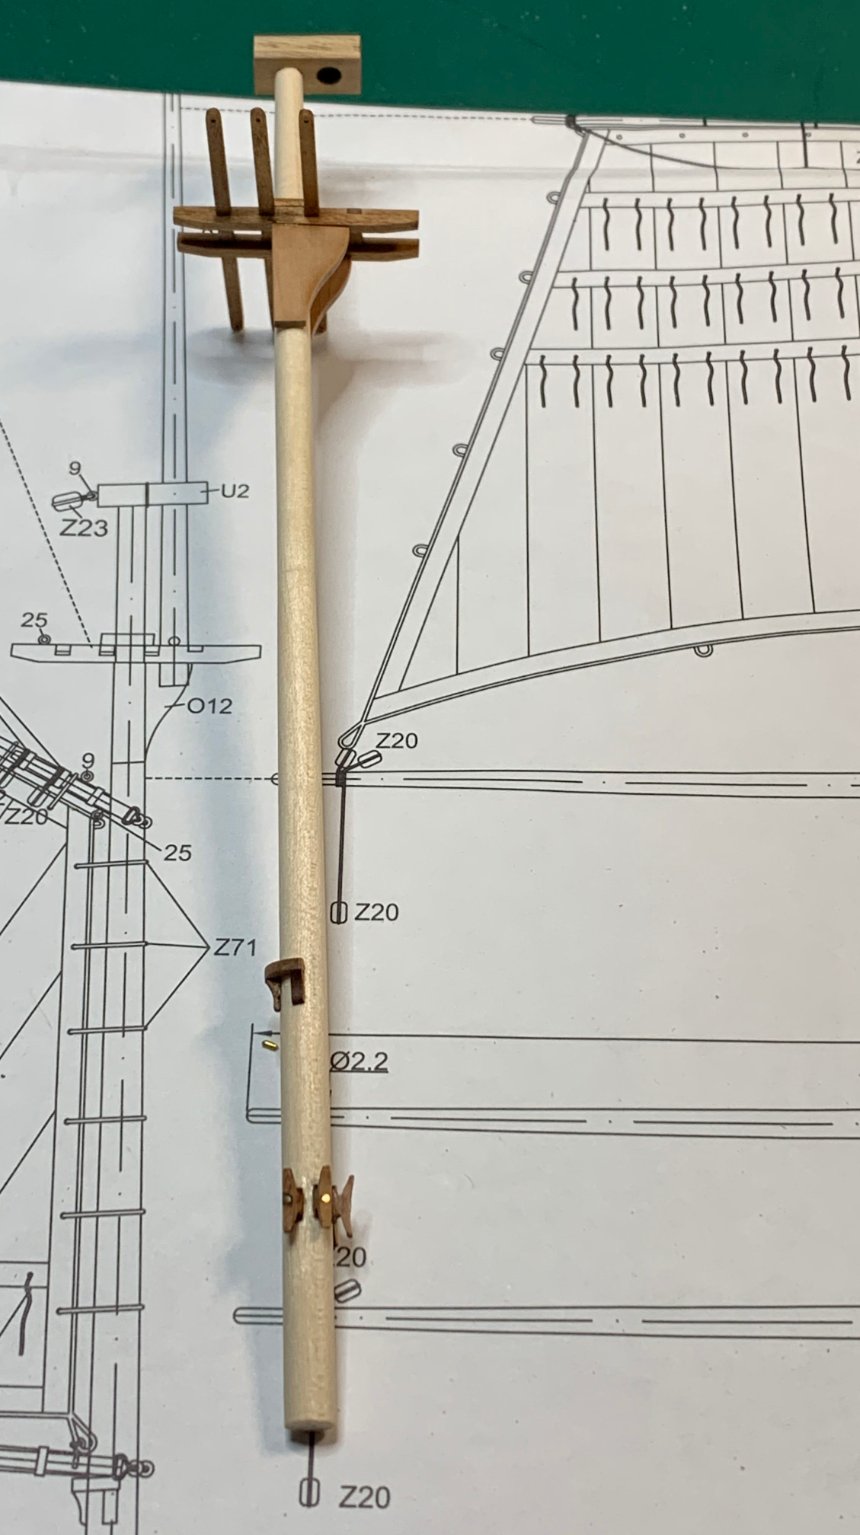
Few more details added to mastheads...

Happy modelling.. -
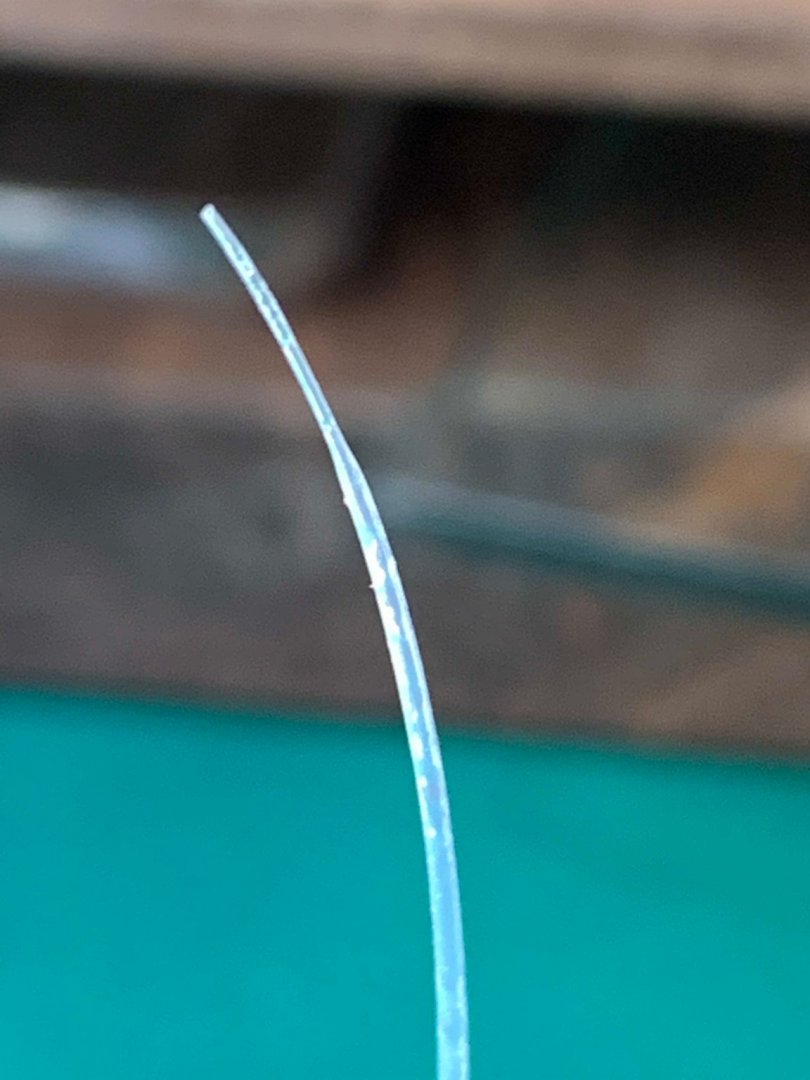
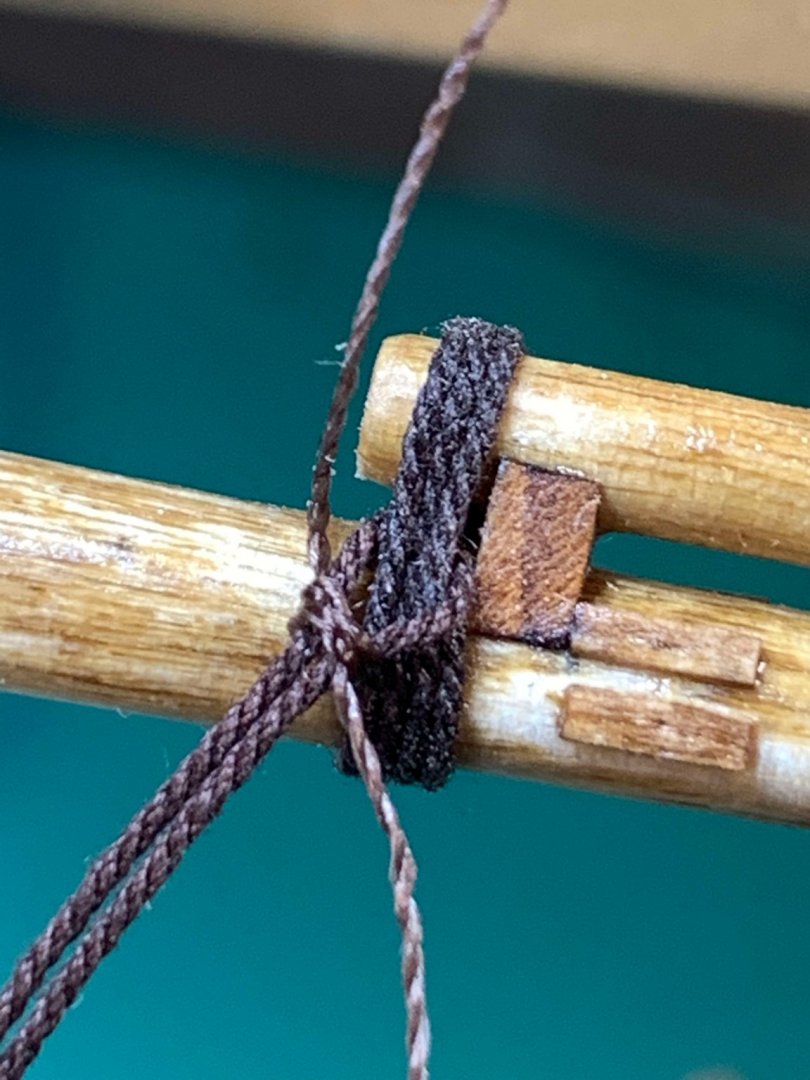
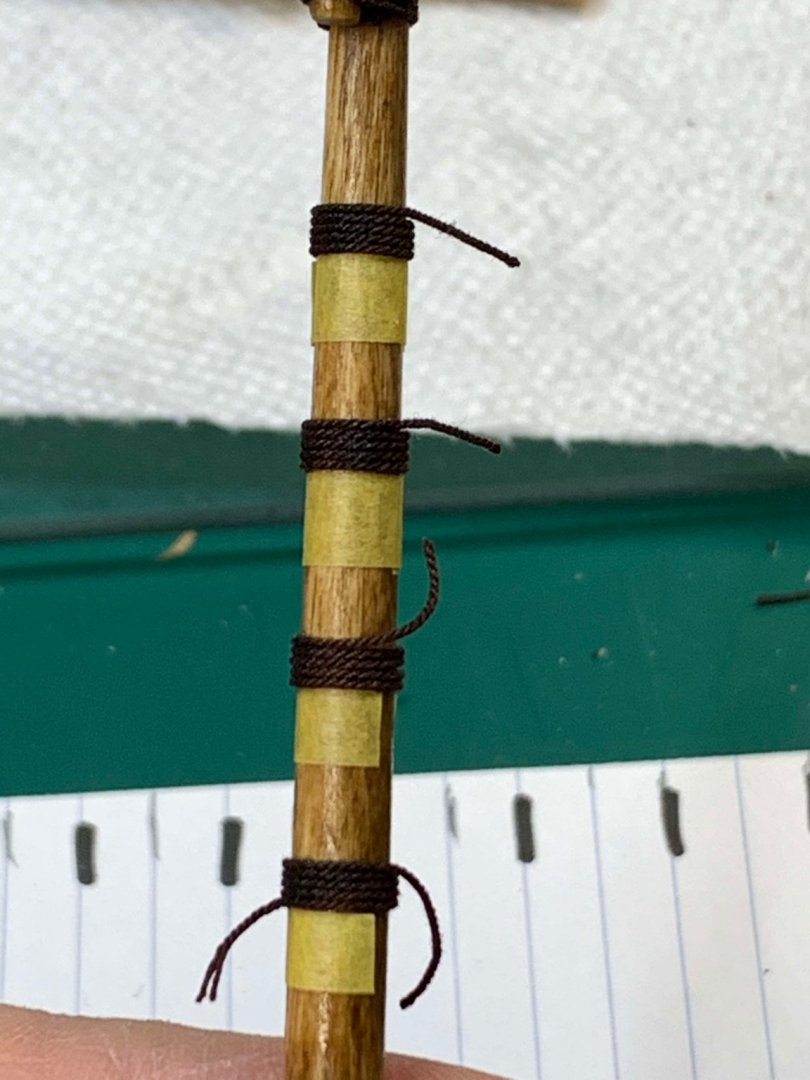
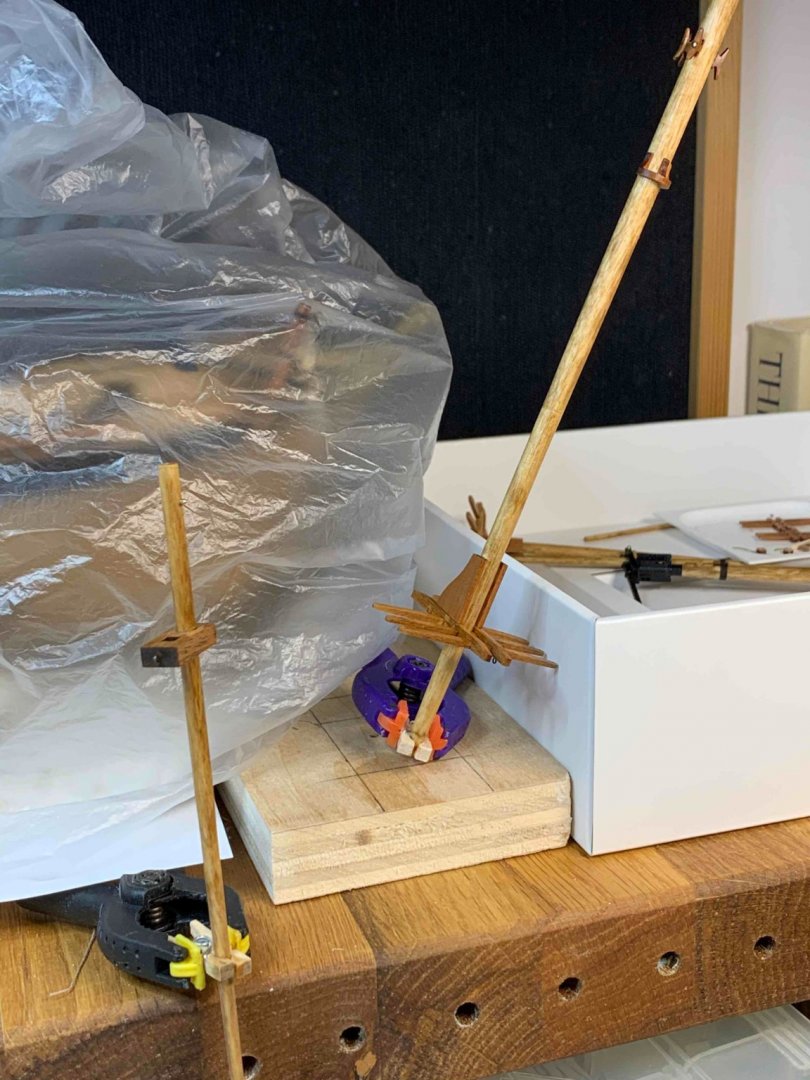
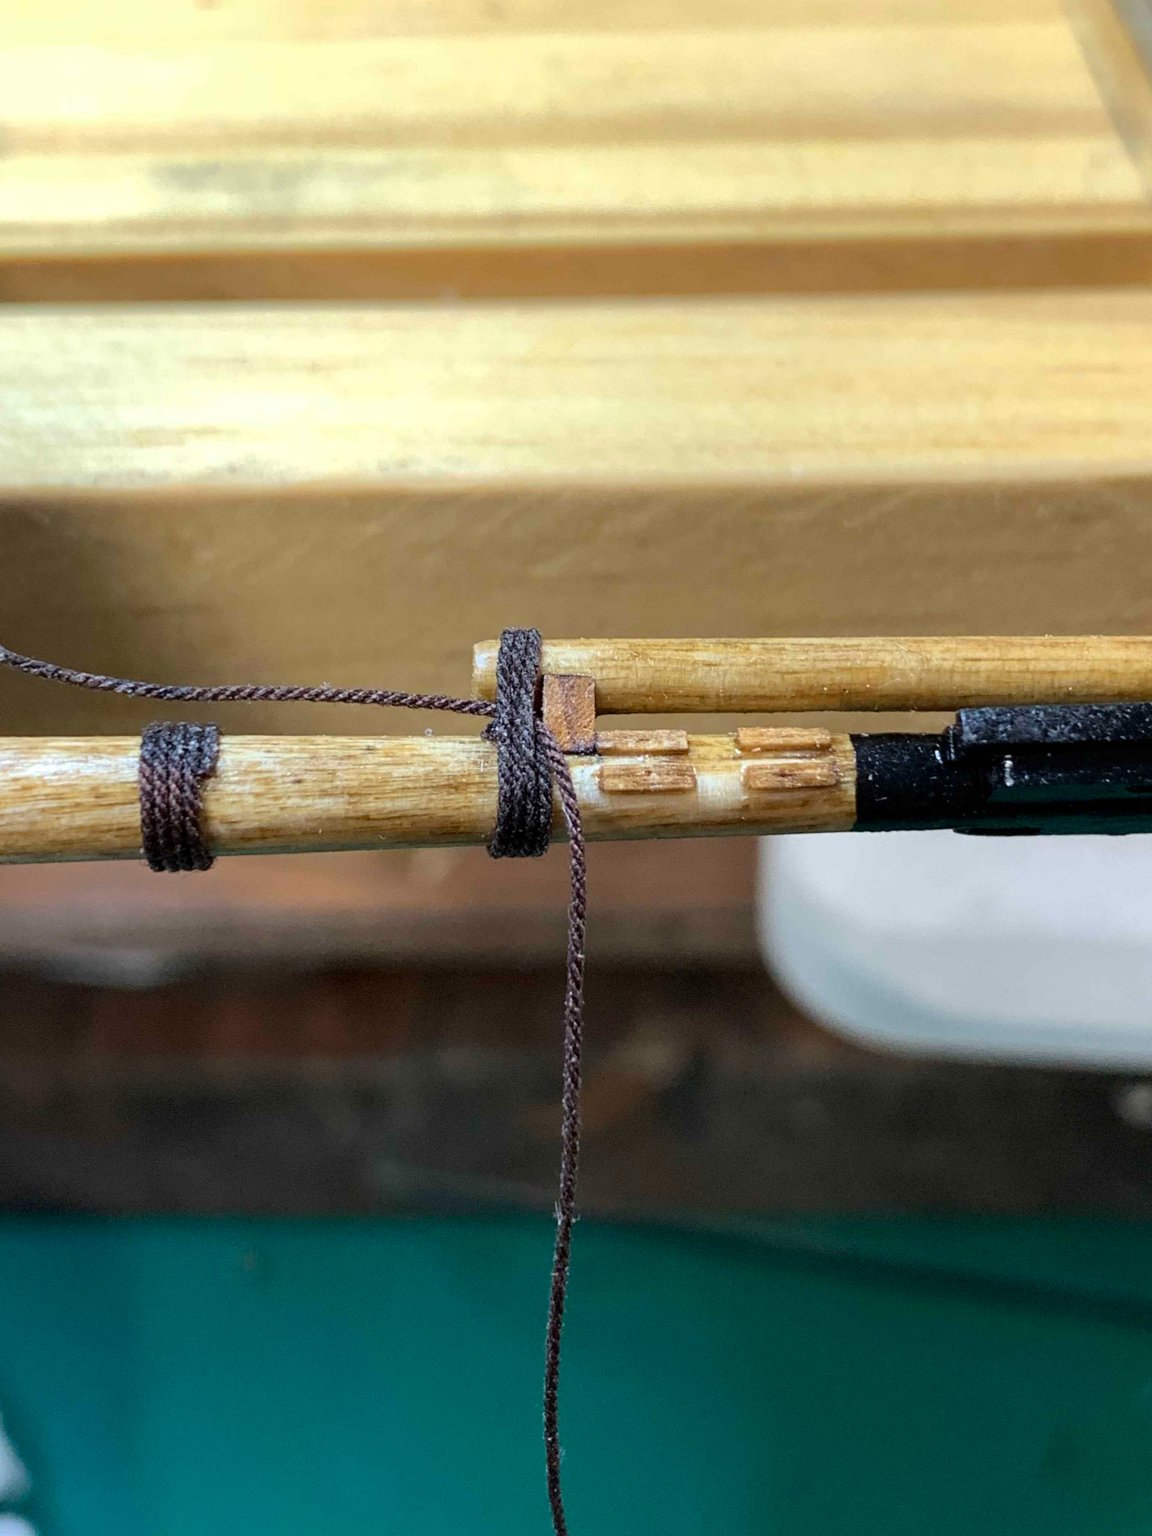
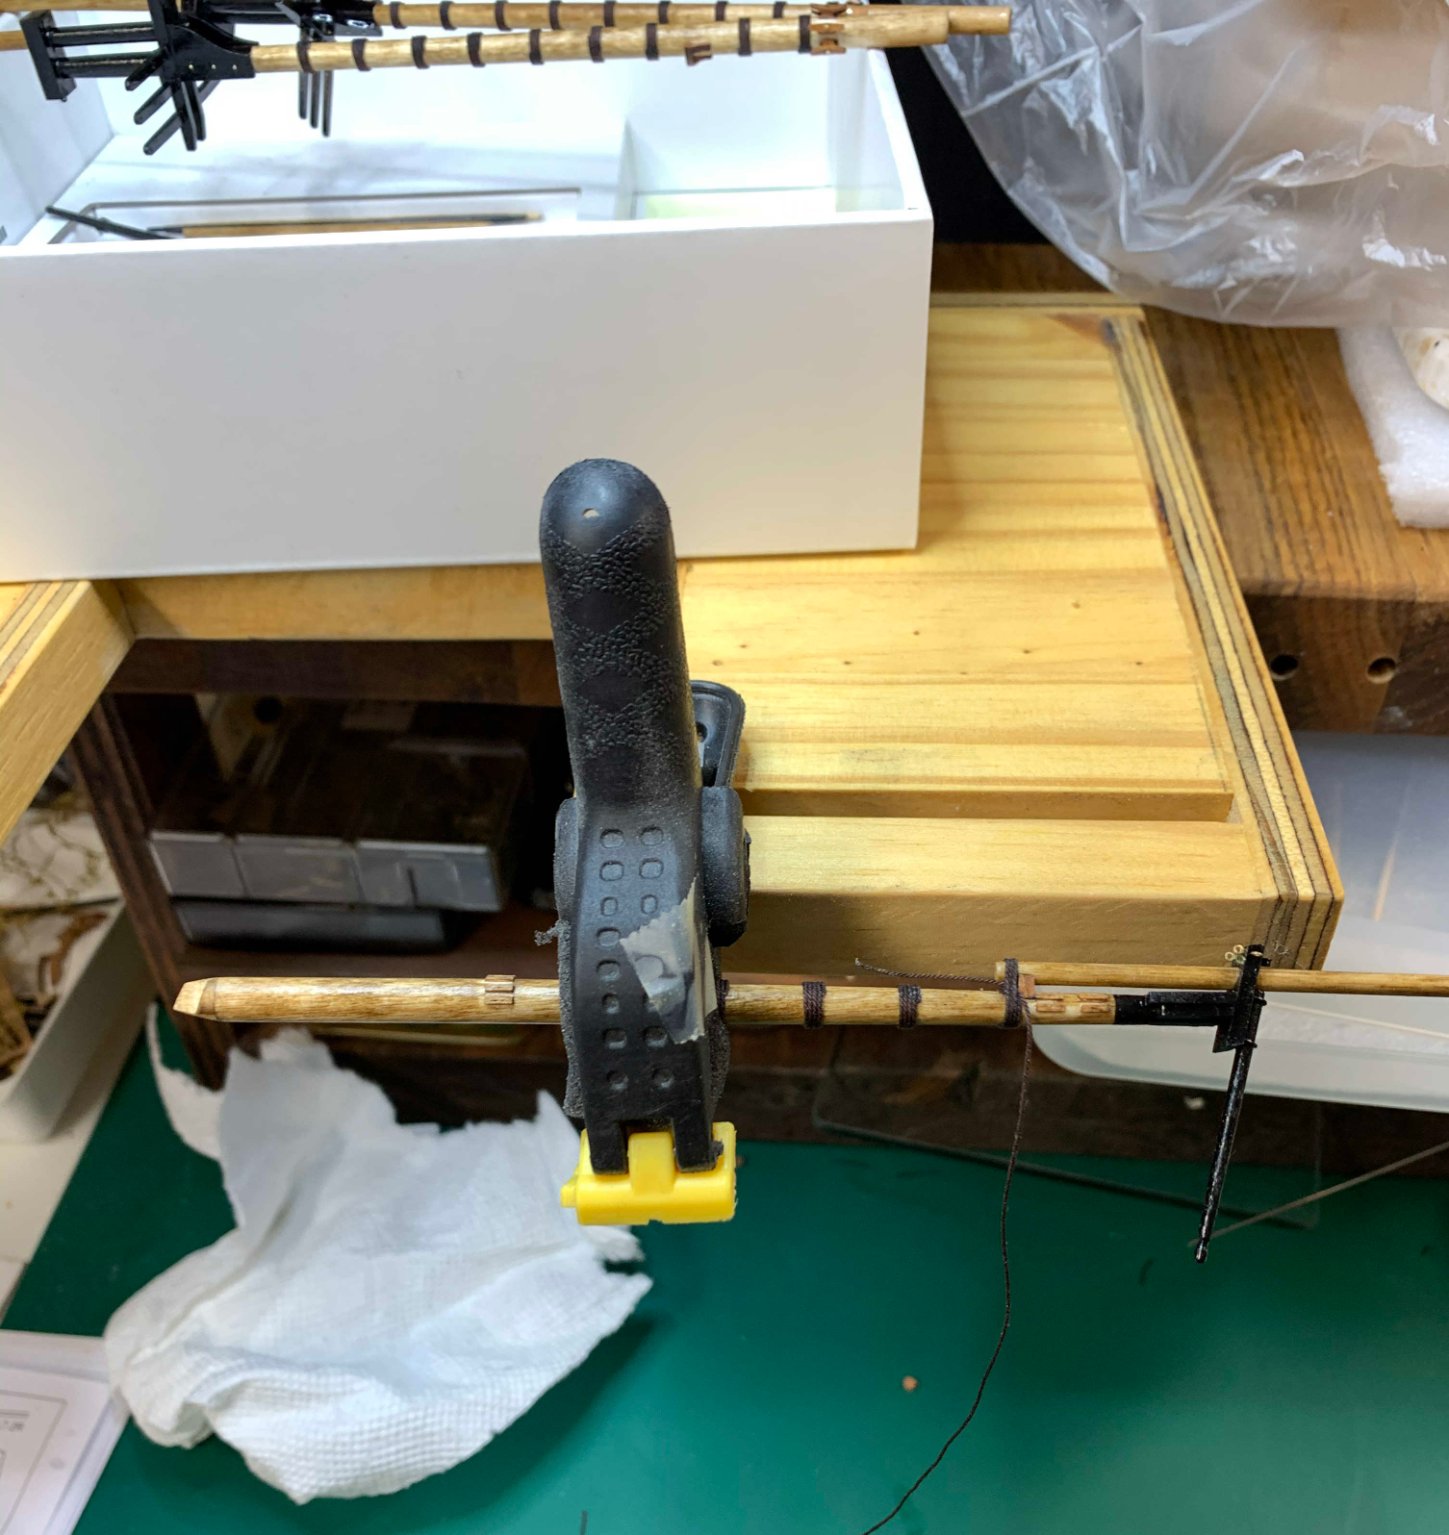
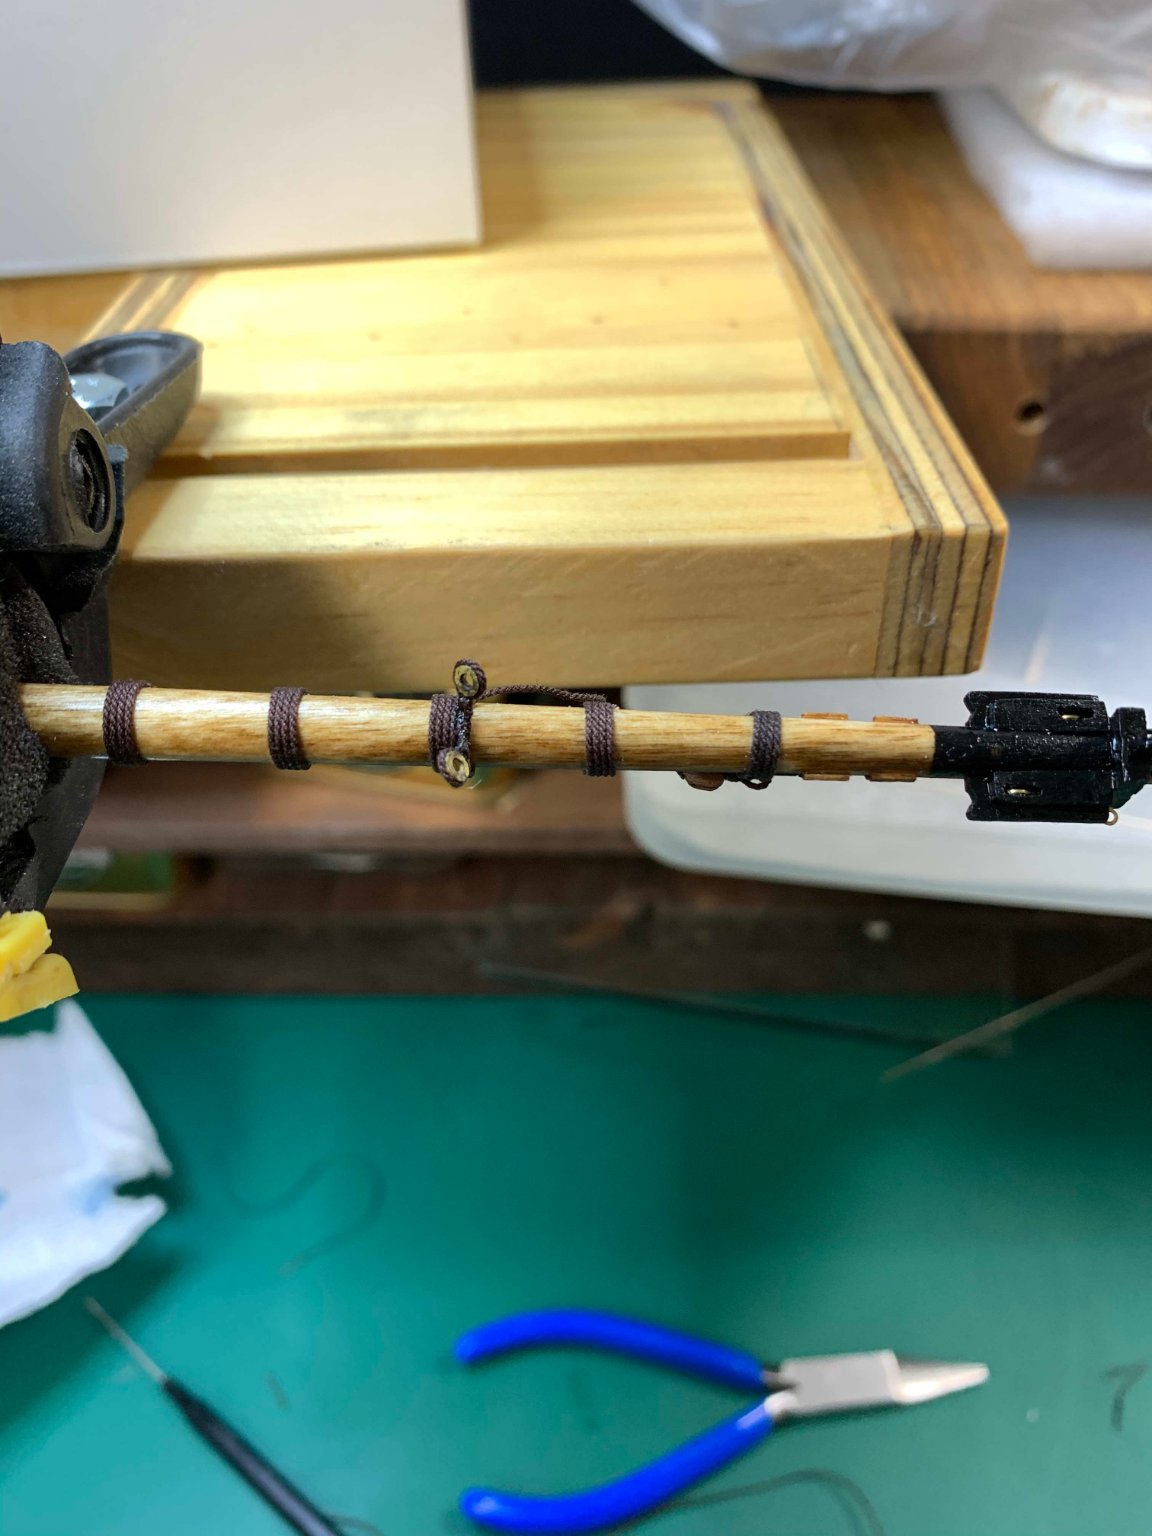
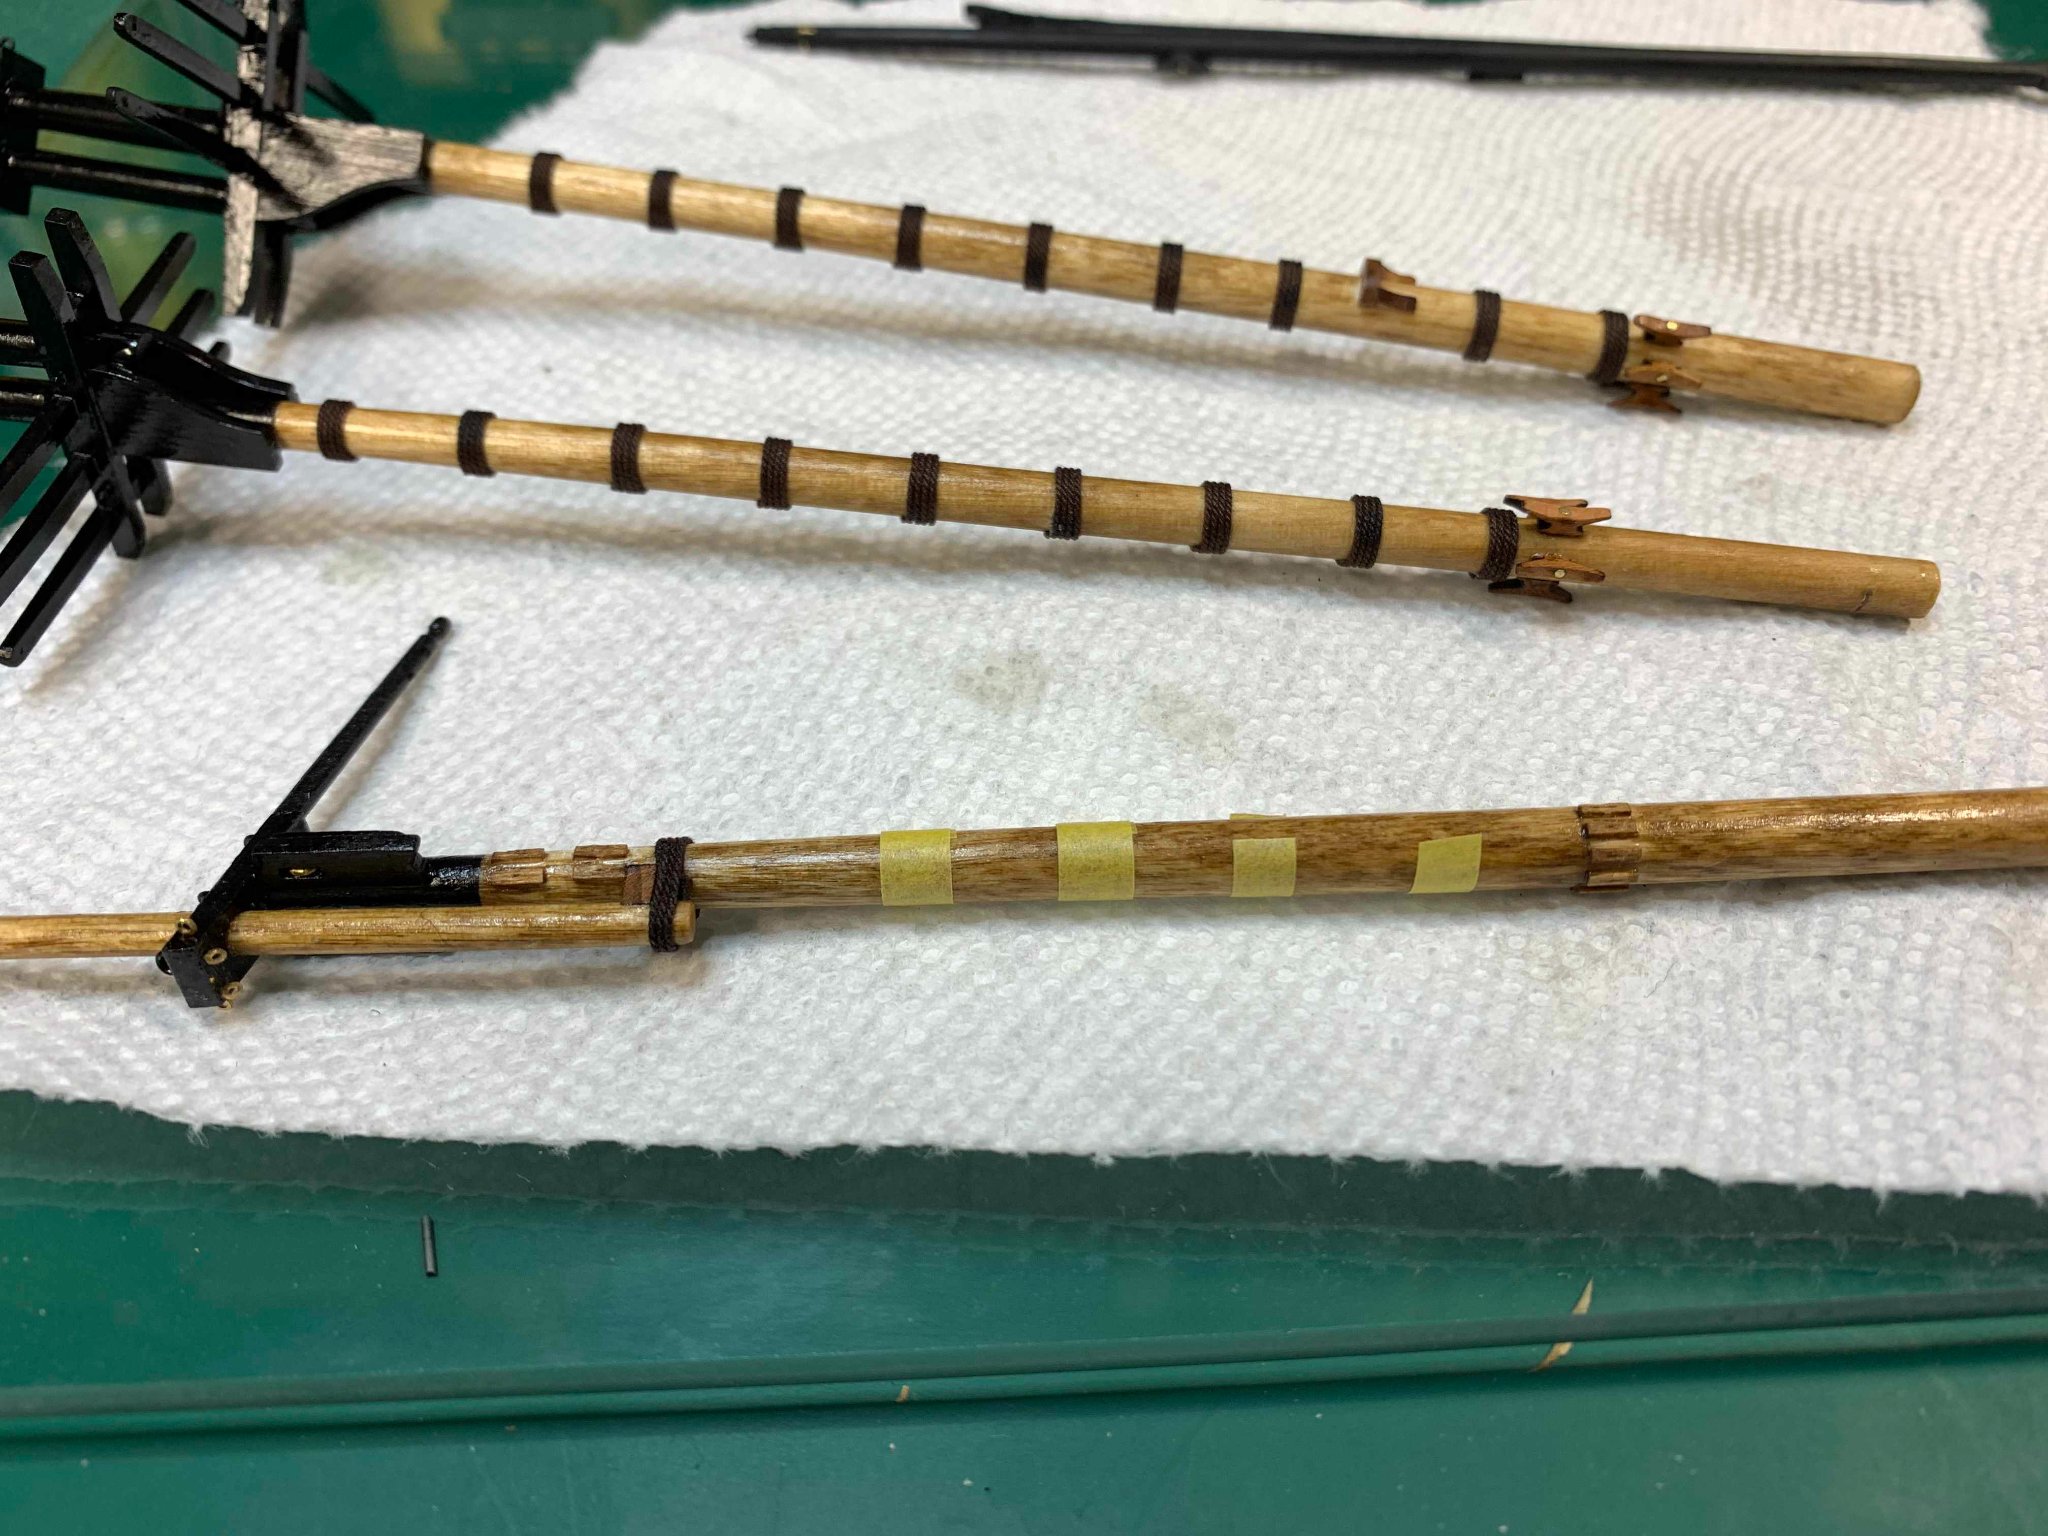
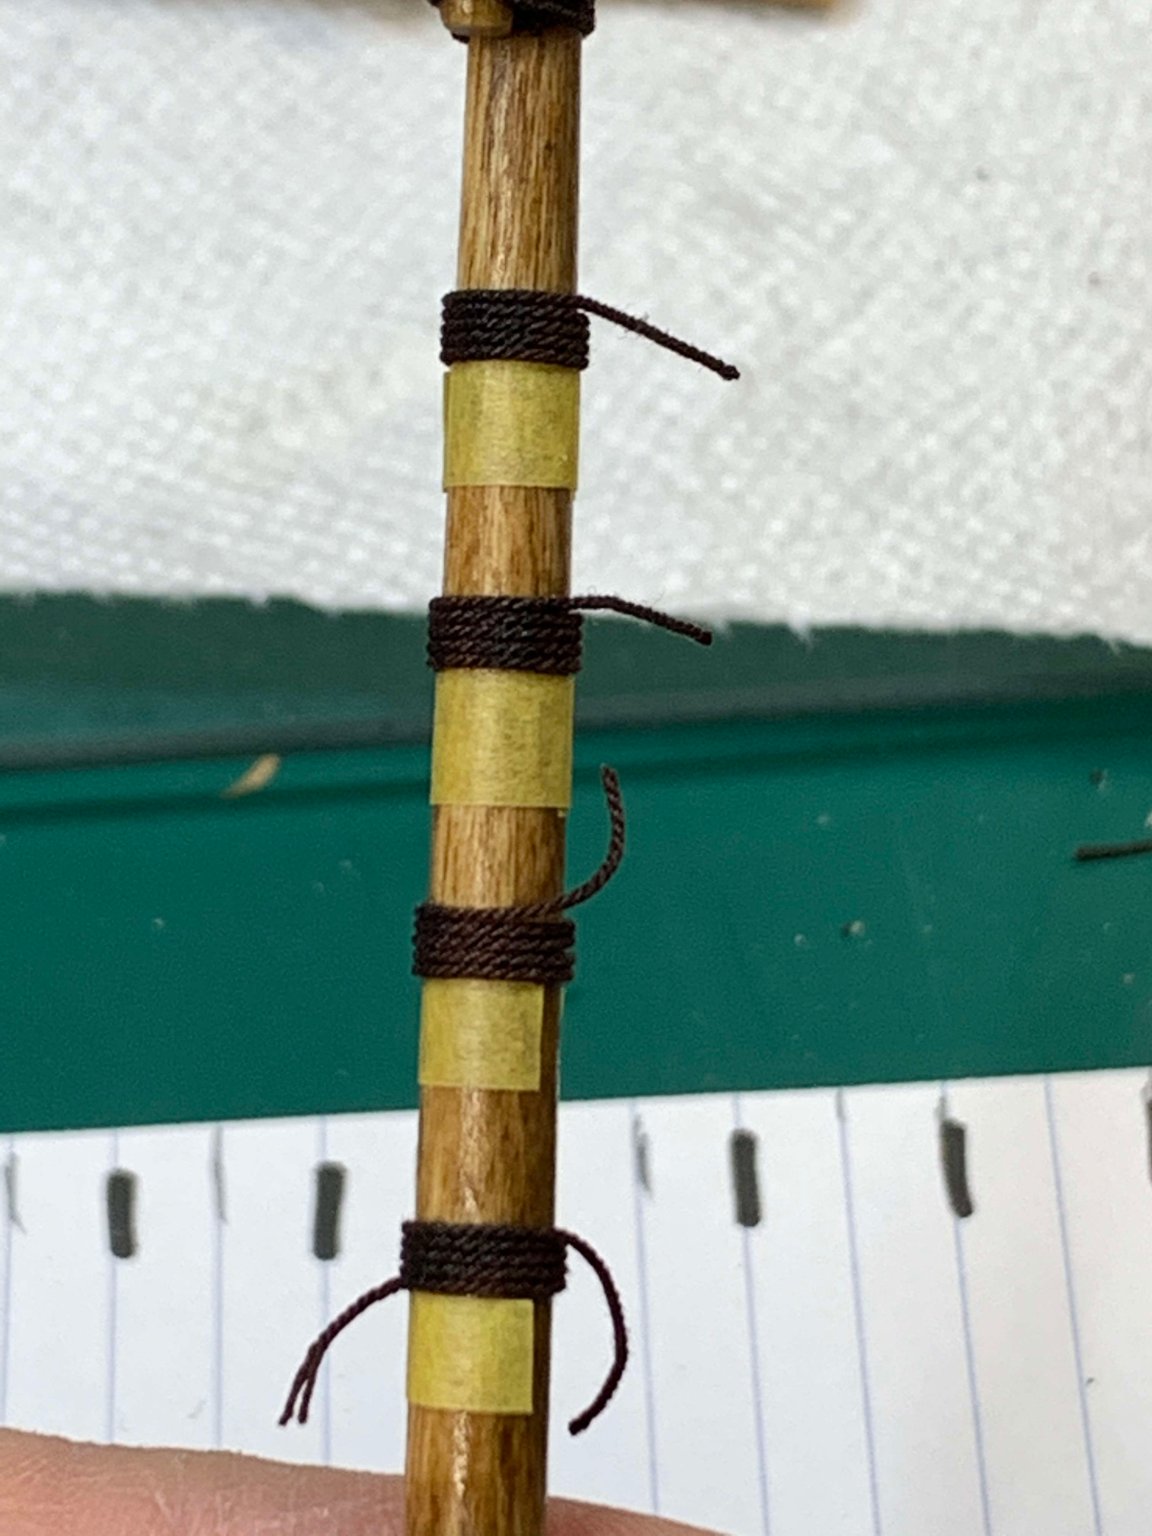
I will be putting a few wooldings, 7-8 on each masts, 4 wraps each, with 0.4mm rope diameter.
I marked the distance with a masking tape..

I dropped a small amount of the glue on the starting point, hold the rope few seconds and then start wrapping.
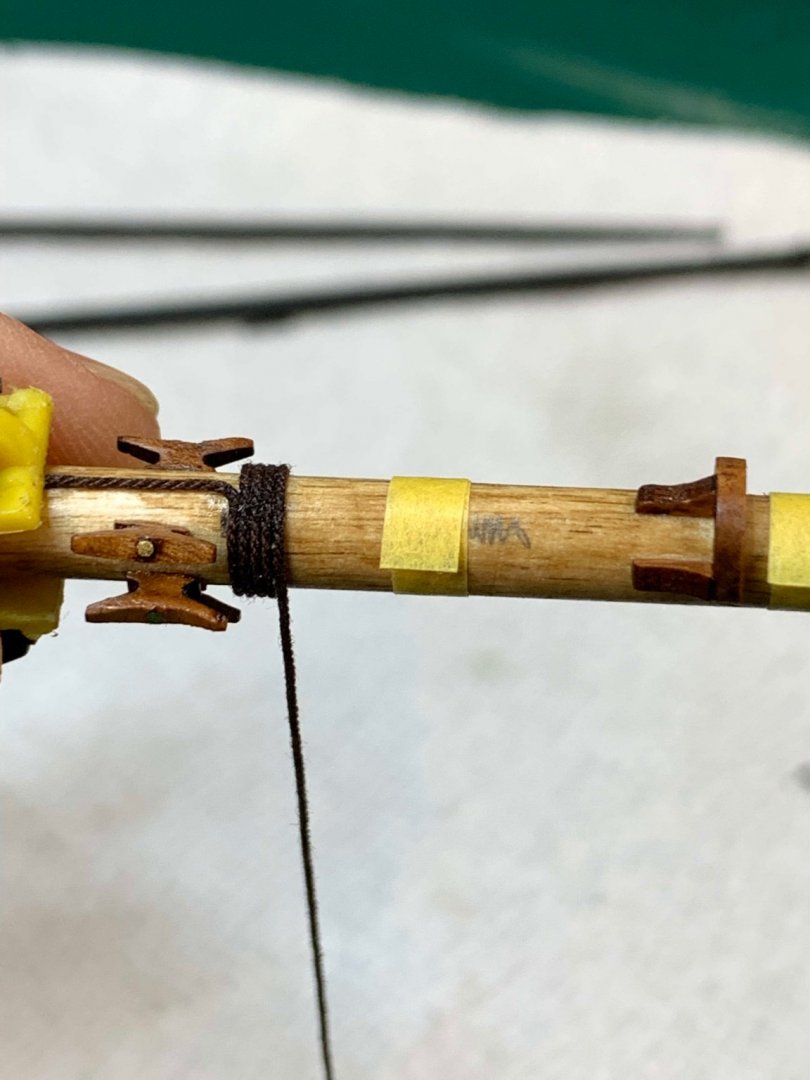
For wrapping purpose i put a small weight on the opposite end of the rope and start twisting the mast. The weight will keep the rope straight and twisting the mast controls the position of the wrapped rope...

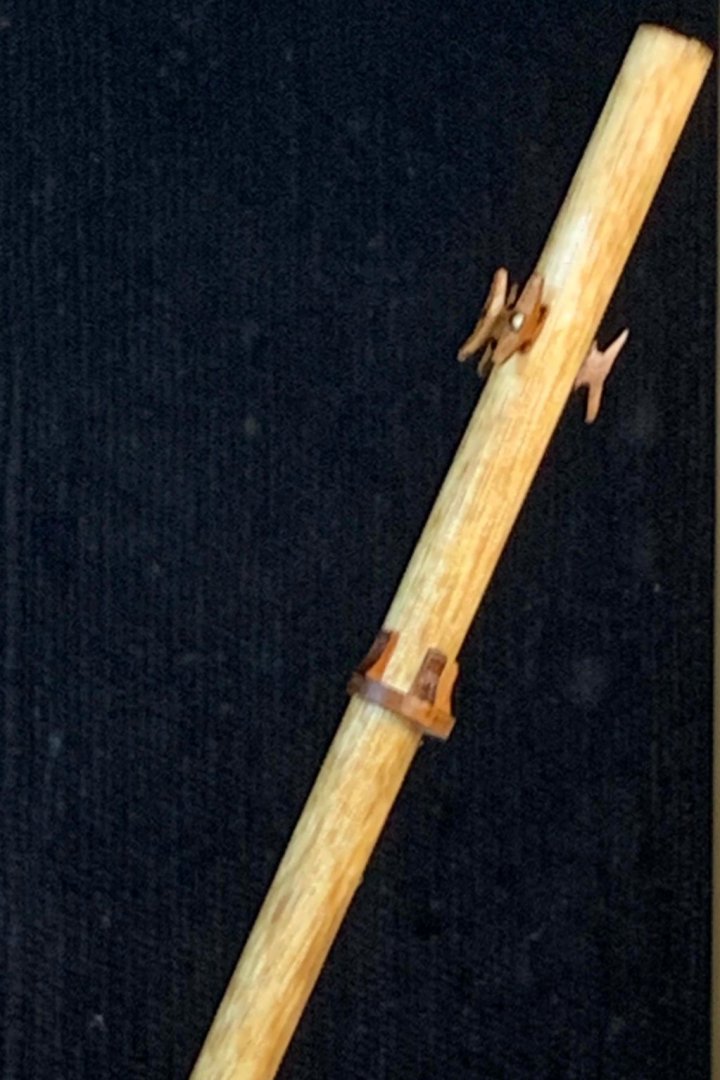
The end result...

The rope ends can be cut in an angle or not, depending on preference..
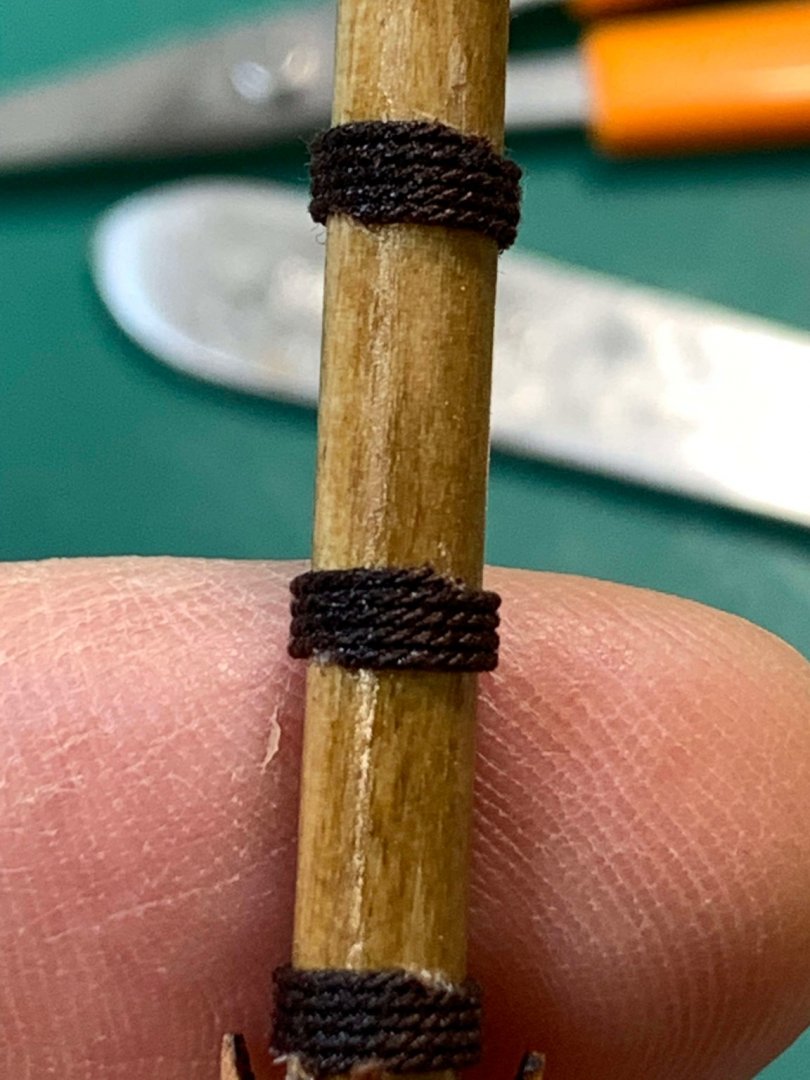

Bowsprit also received few wraps..

Happy modelling... -
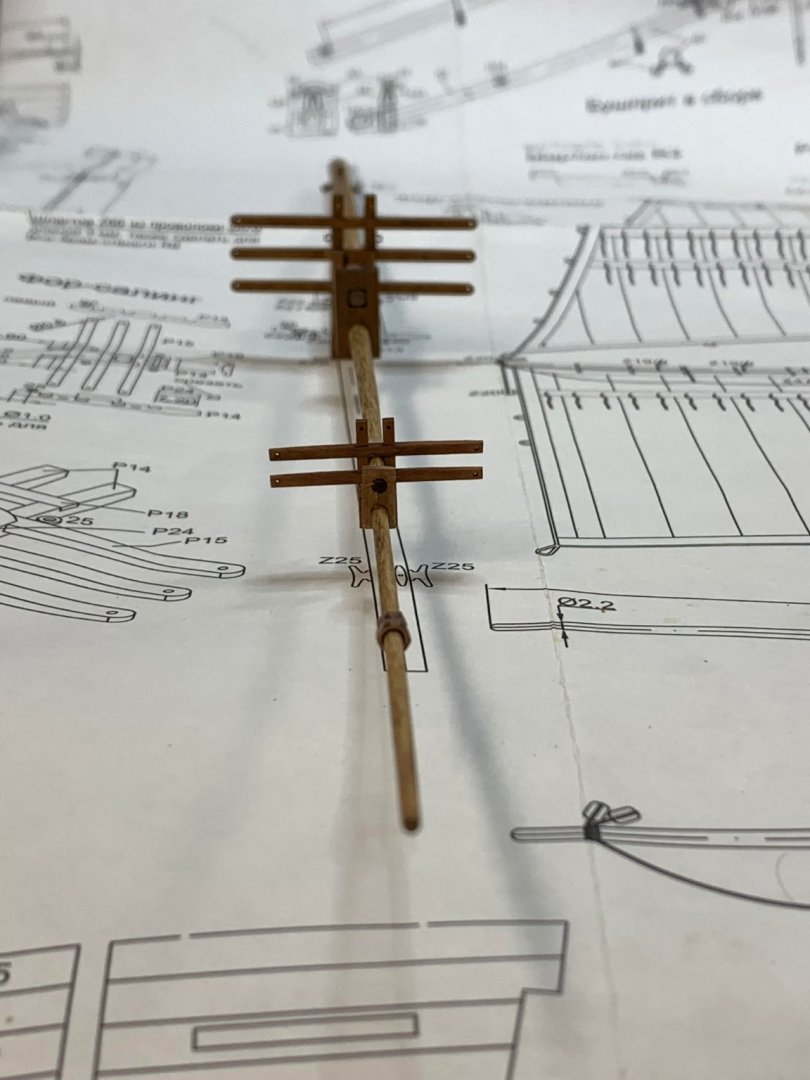
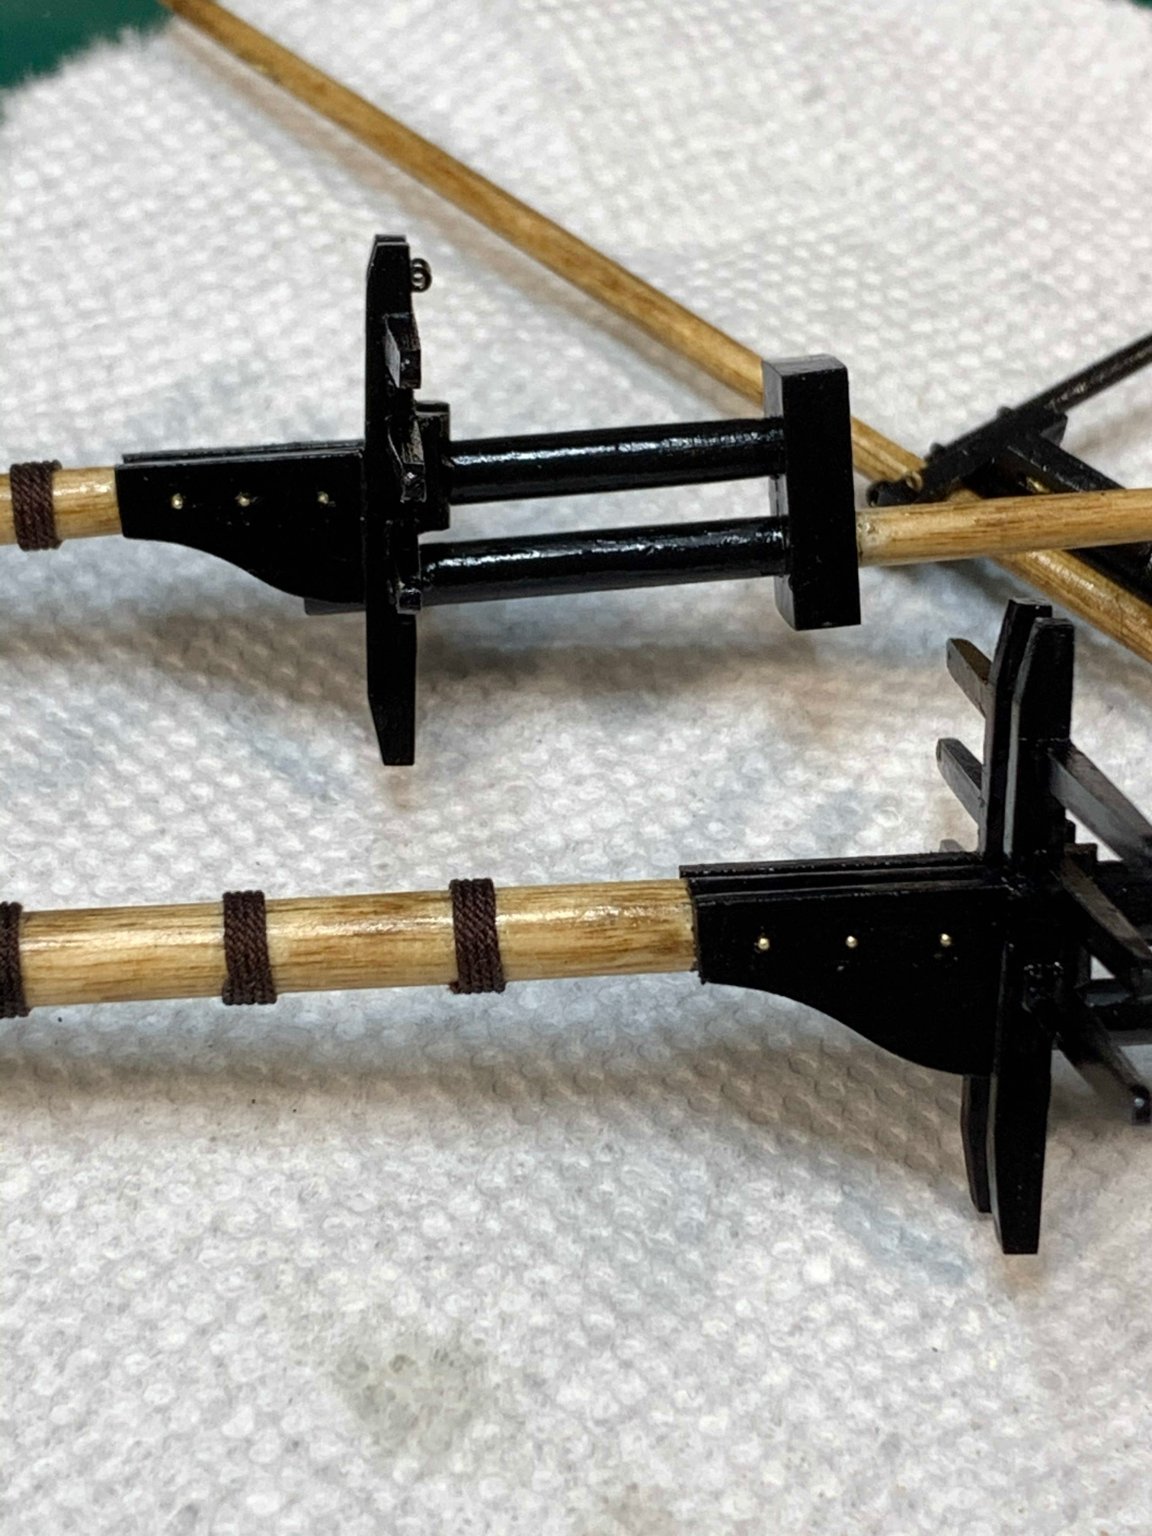
The yards, crosstrees and mastcaps are painted in black... i did not have to pay too much attention to crosstrees (and that area) if they will get a black colour but it is a good exercise to make sure all details are taken care off.. and if i changed my mind regarding colour, it is ready for further steps..
Happy modelling... -
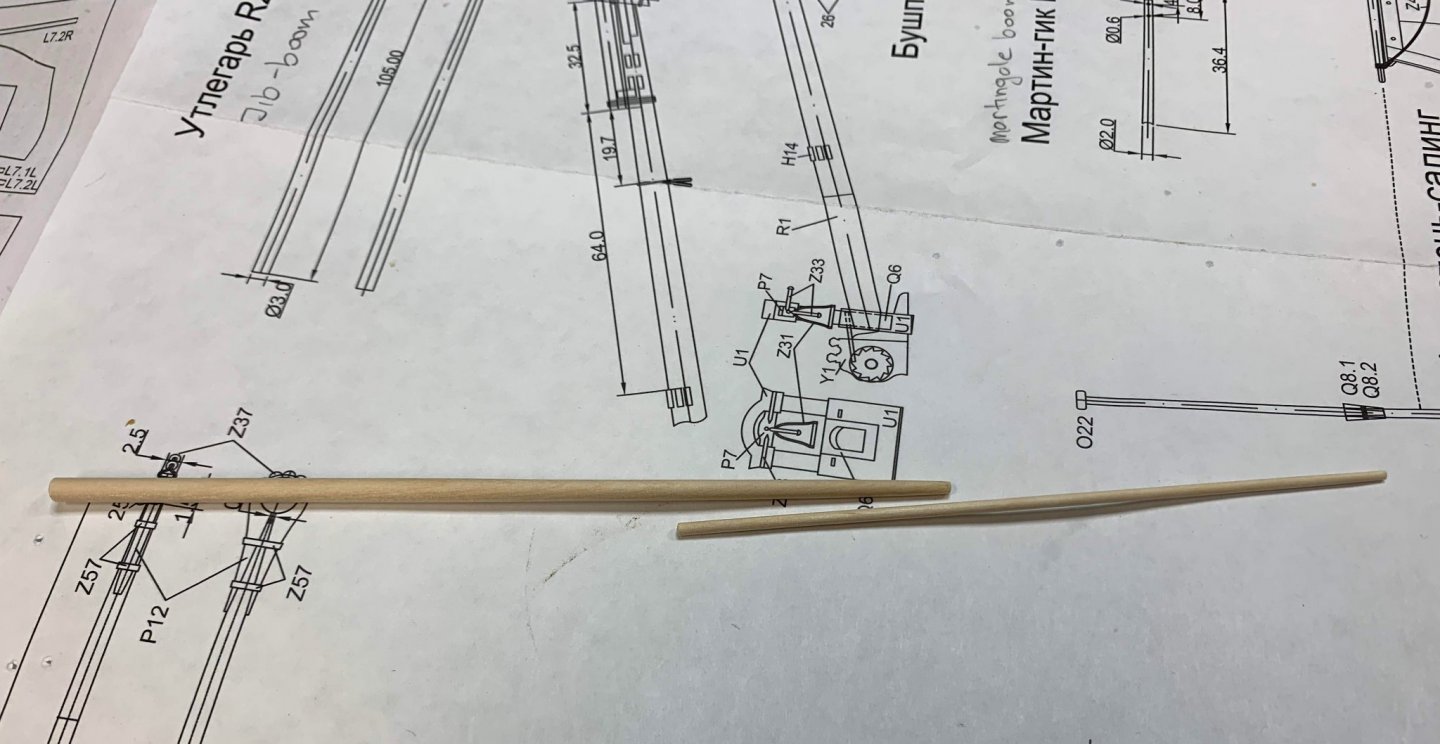
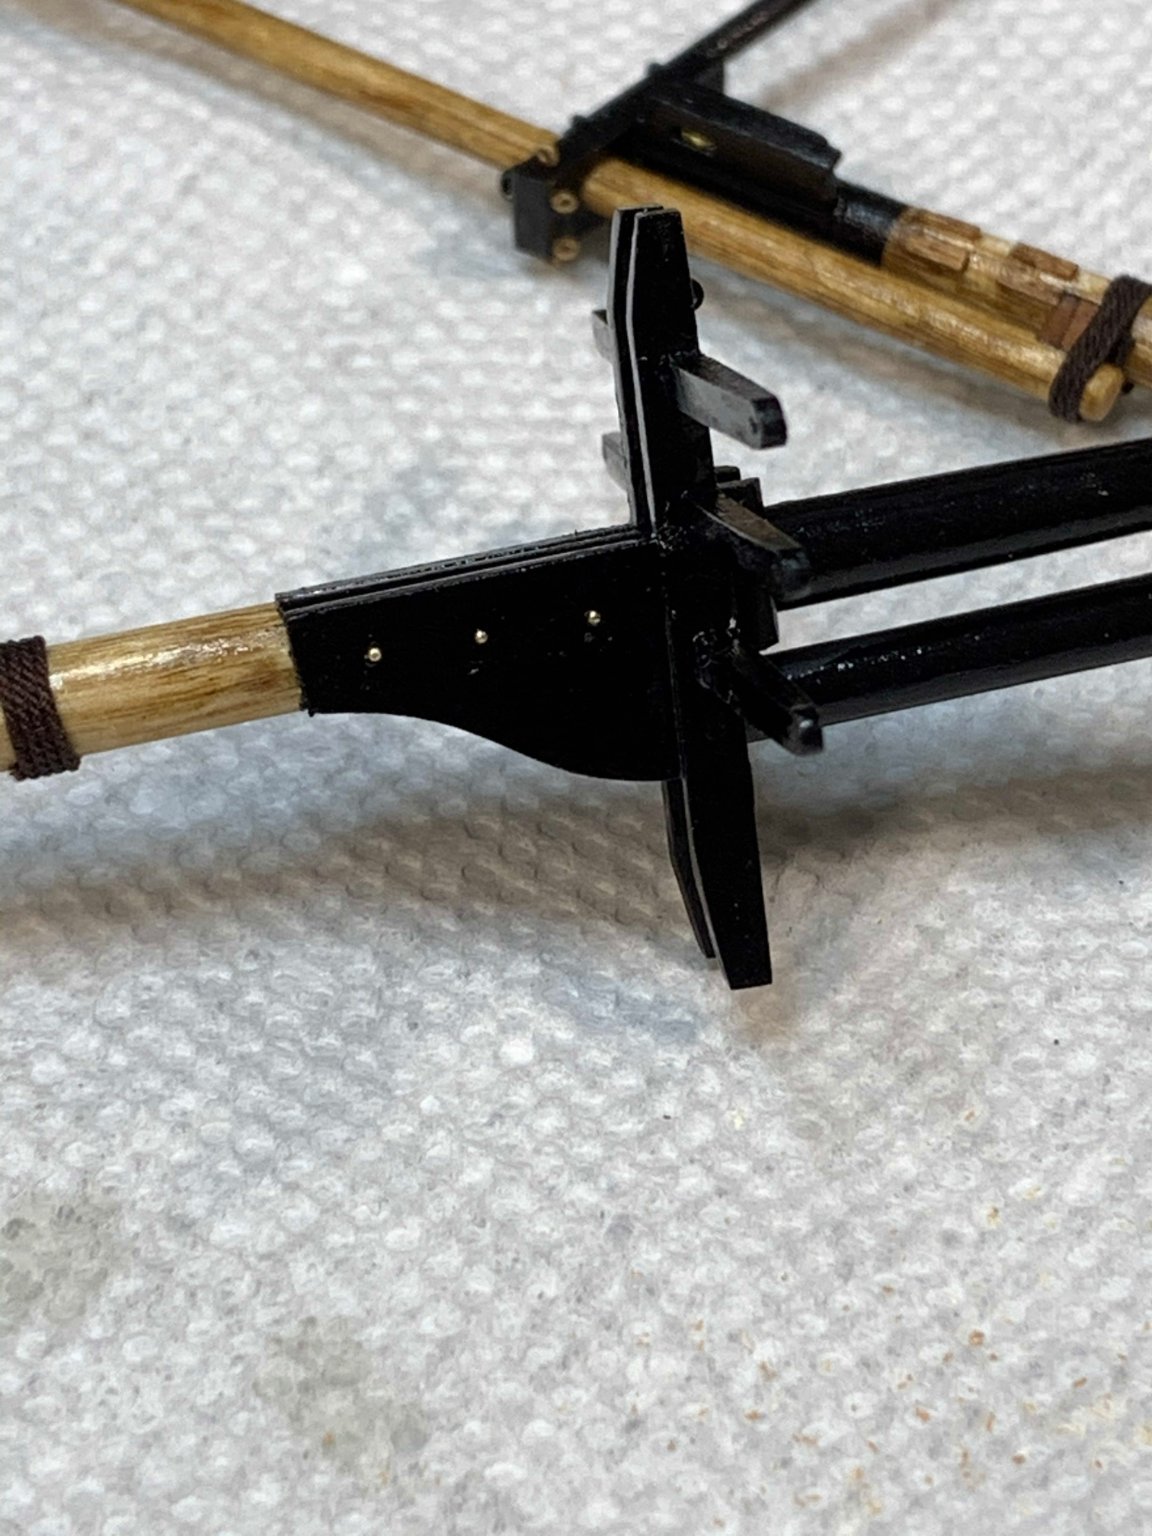
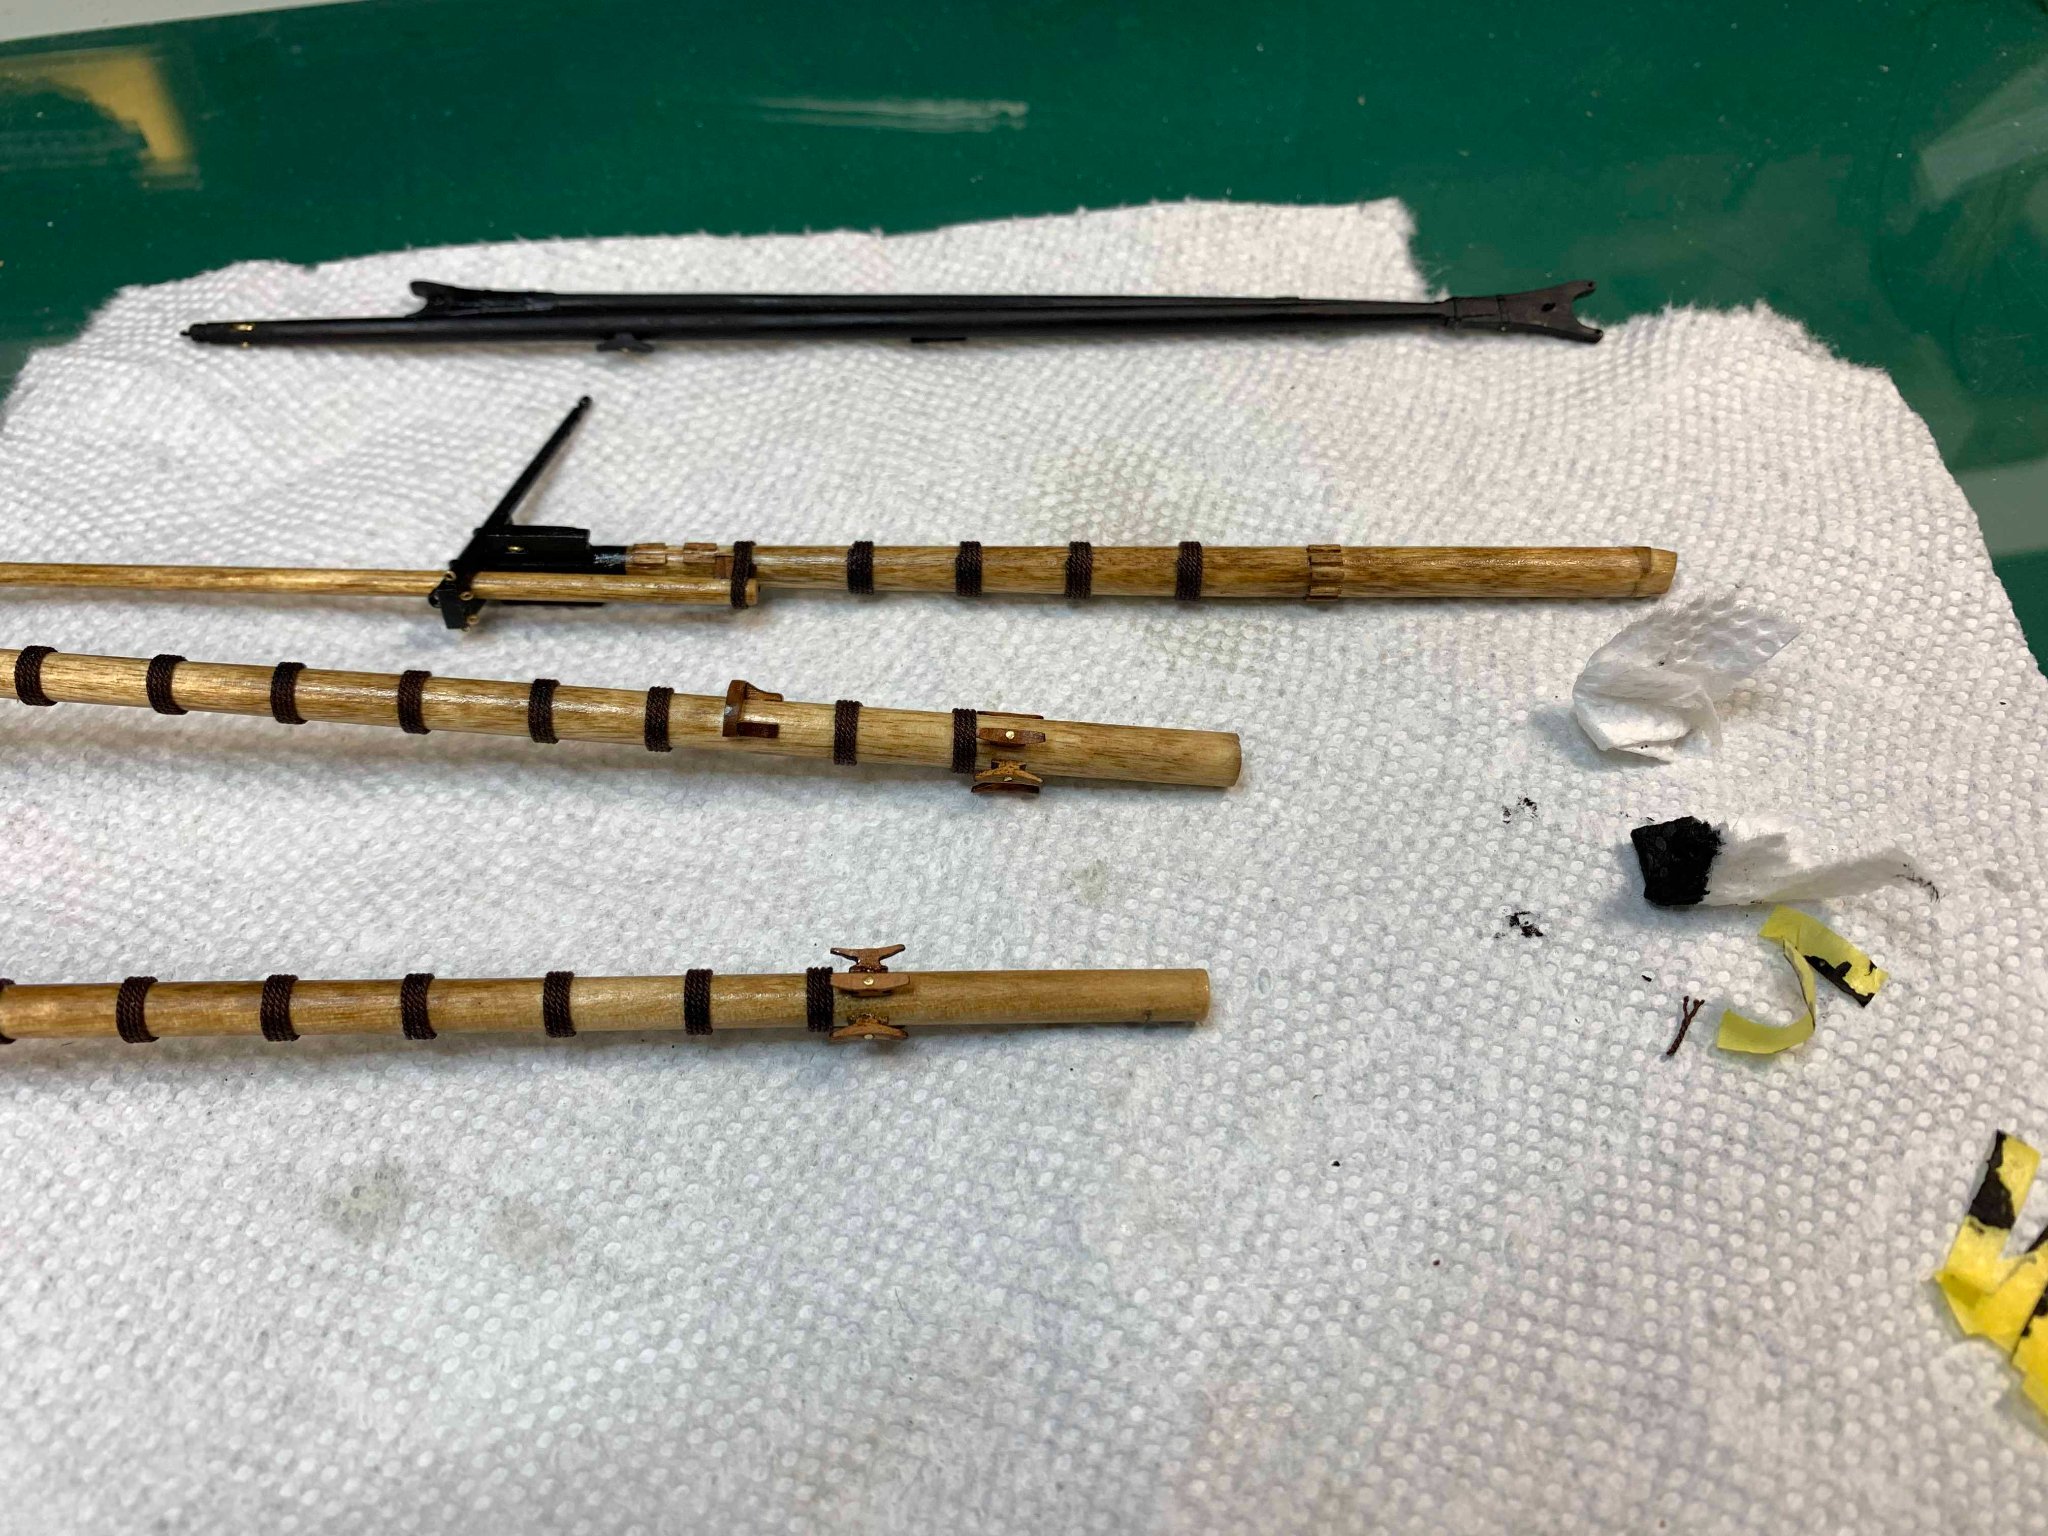
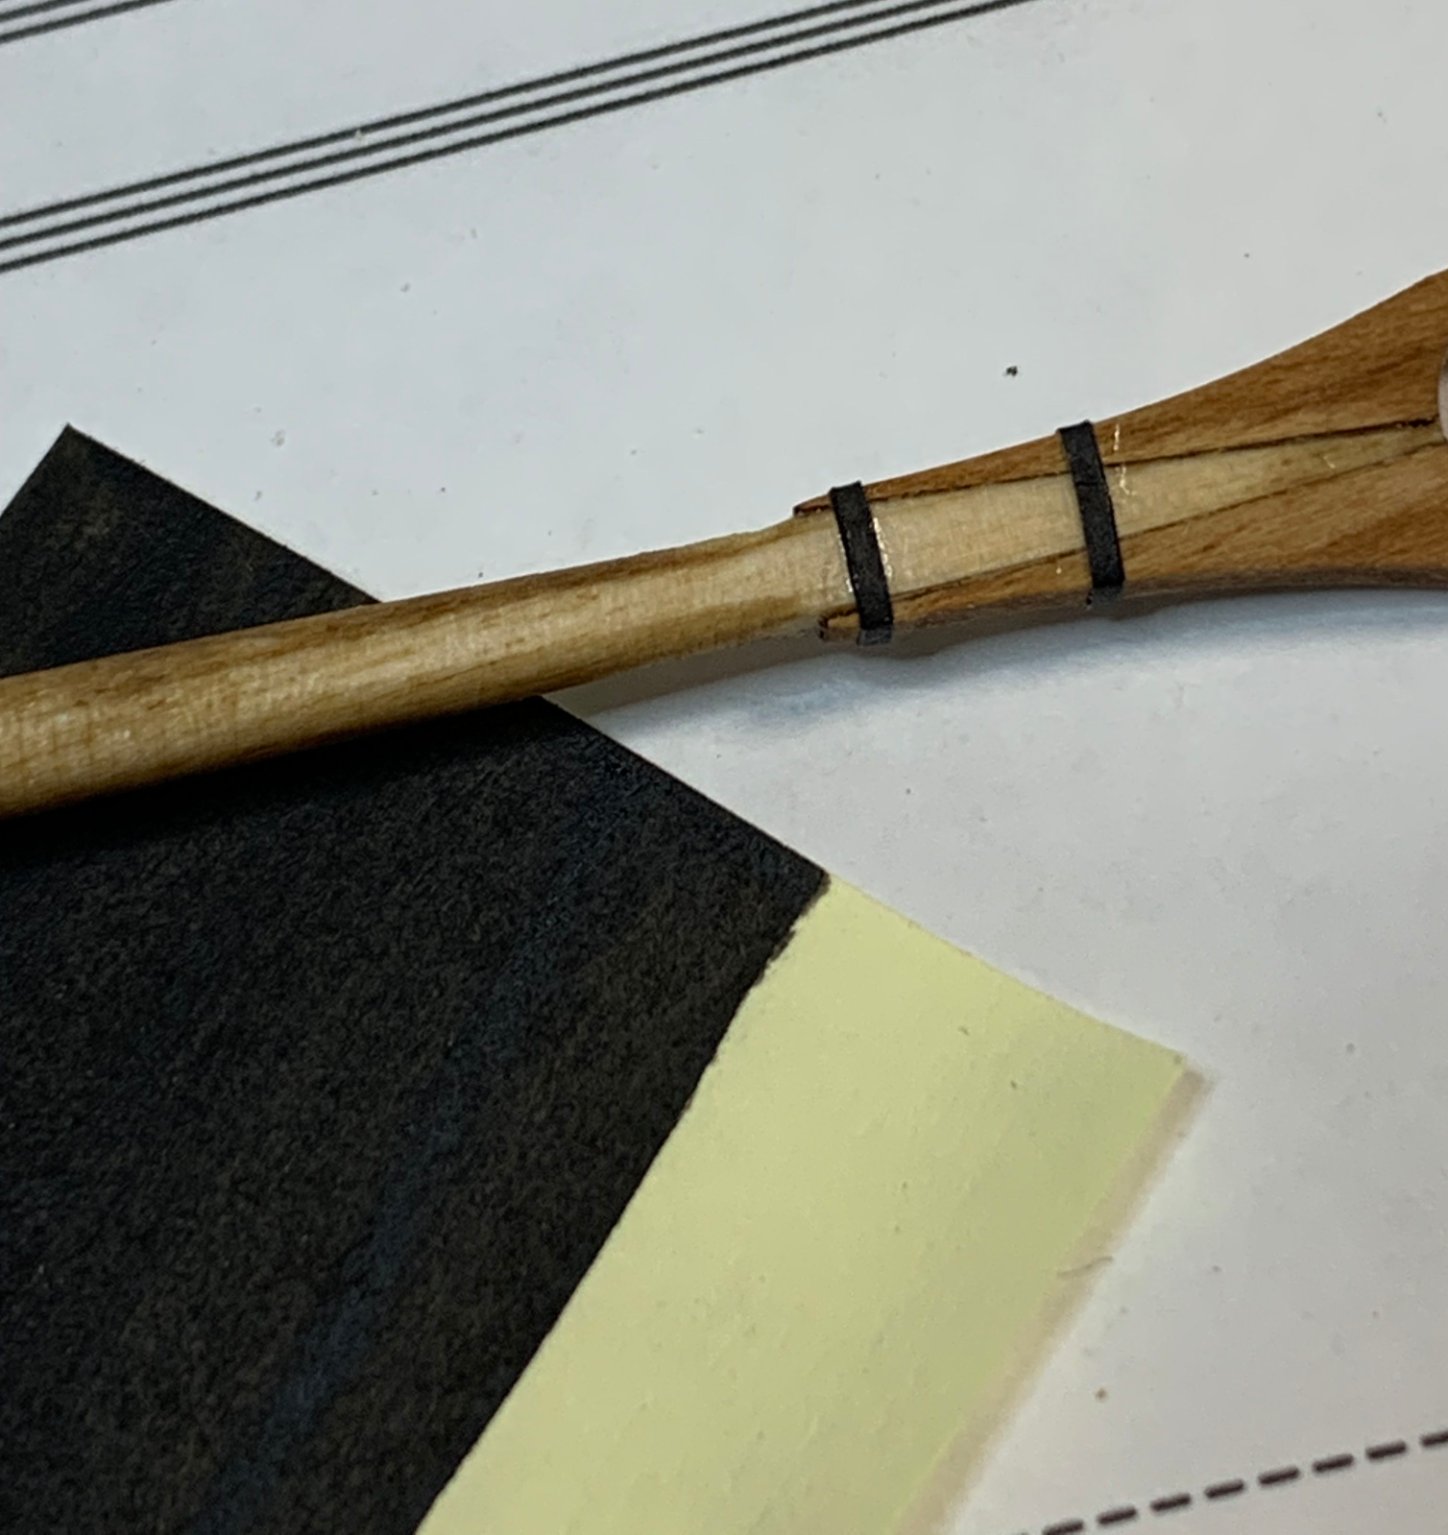
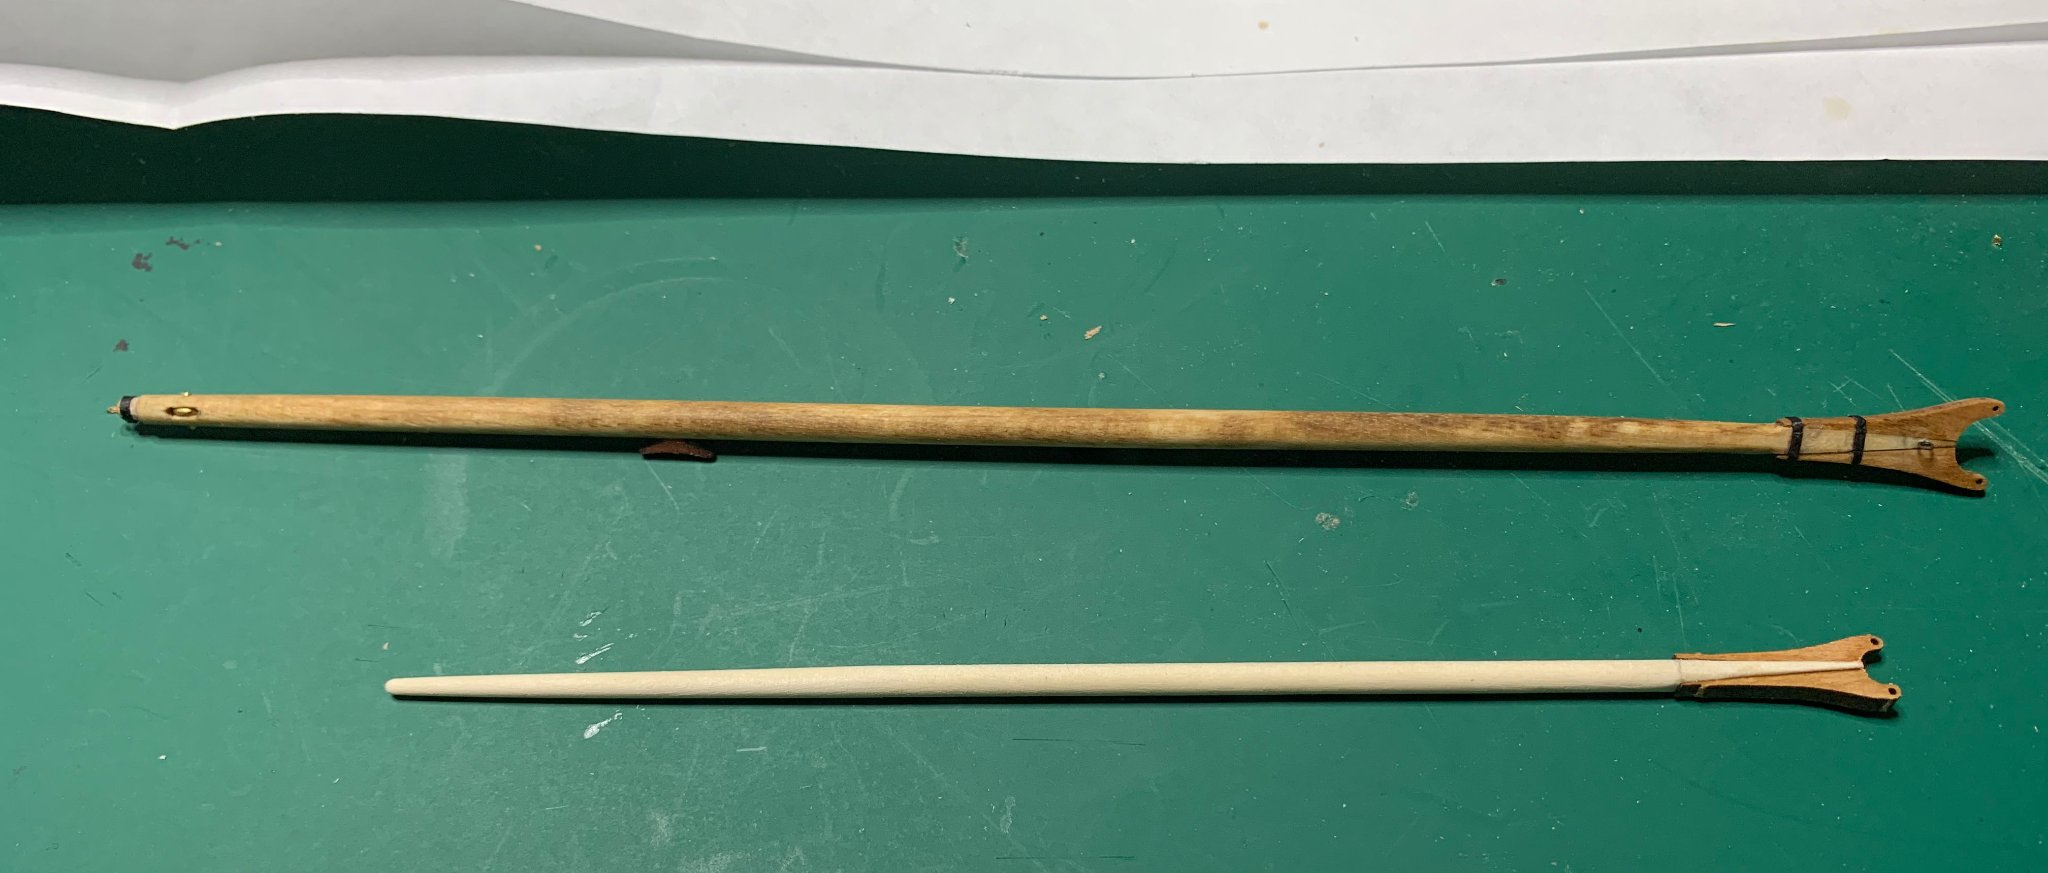
The boom has been completed. Here is the process..


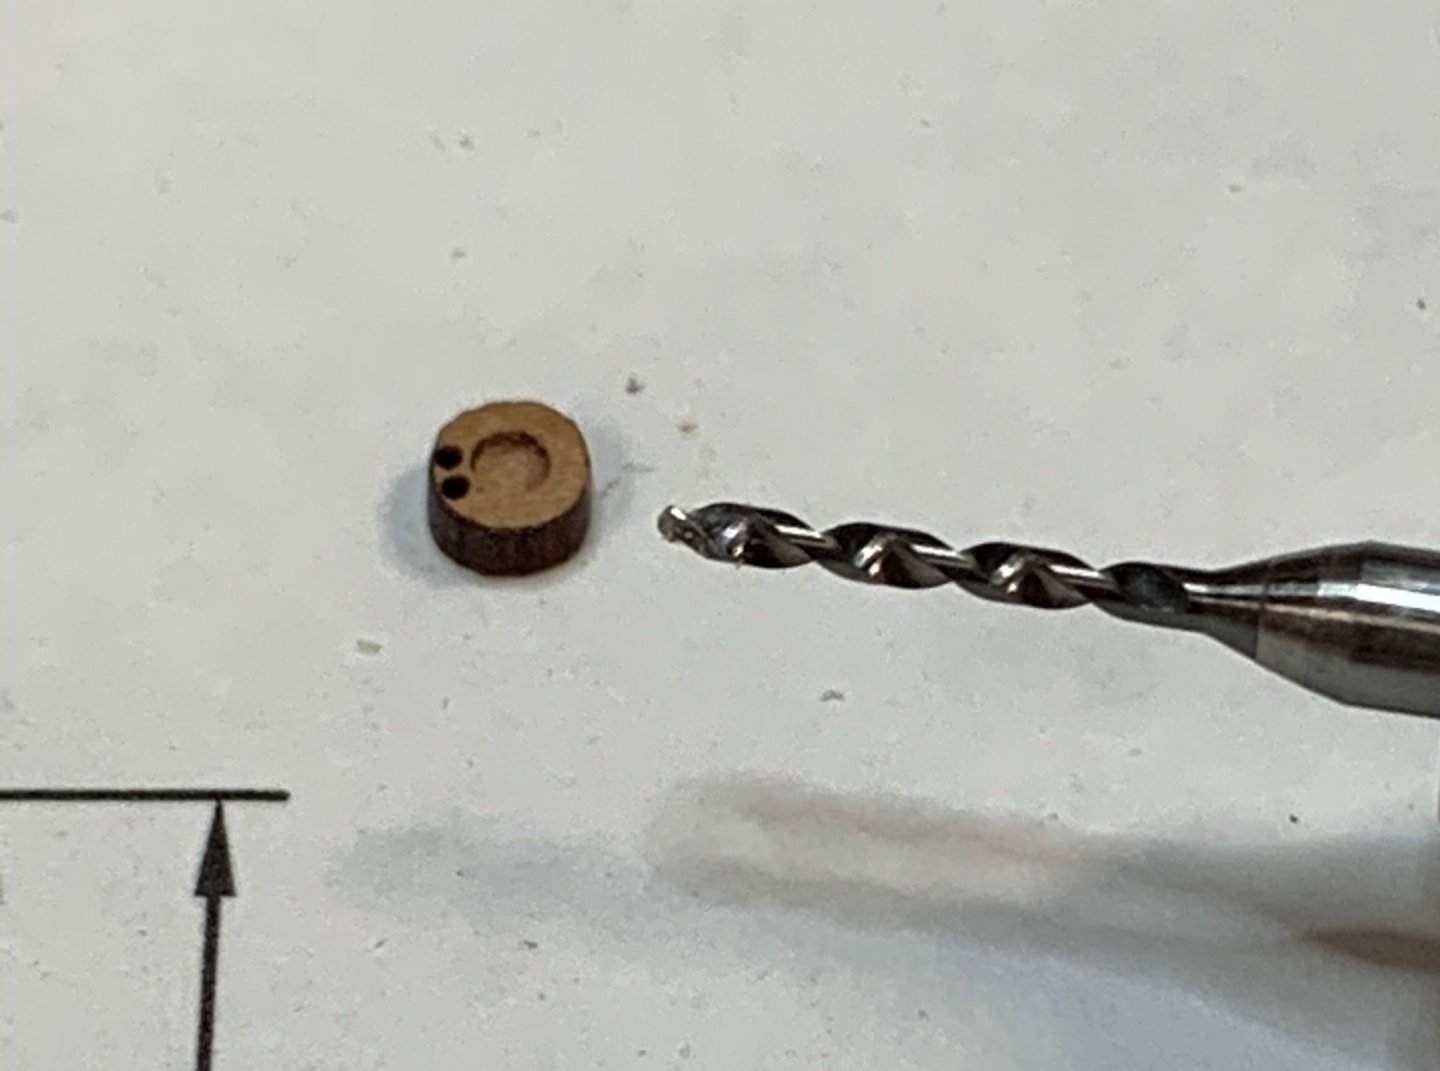
Faking the sheave again... must be very good for the whole year so Santa can bring me a mini metal lathe...
Metal bands are simulated with a paper coloured in black and sliced in tiny strips. Then wrapped around the area and glued.. Appears to be very effective at the end..

Happy modelling.. -
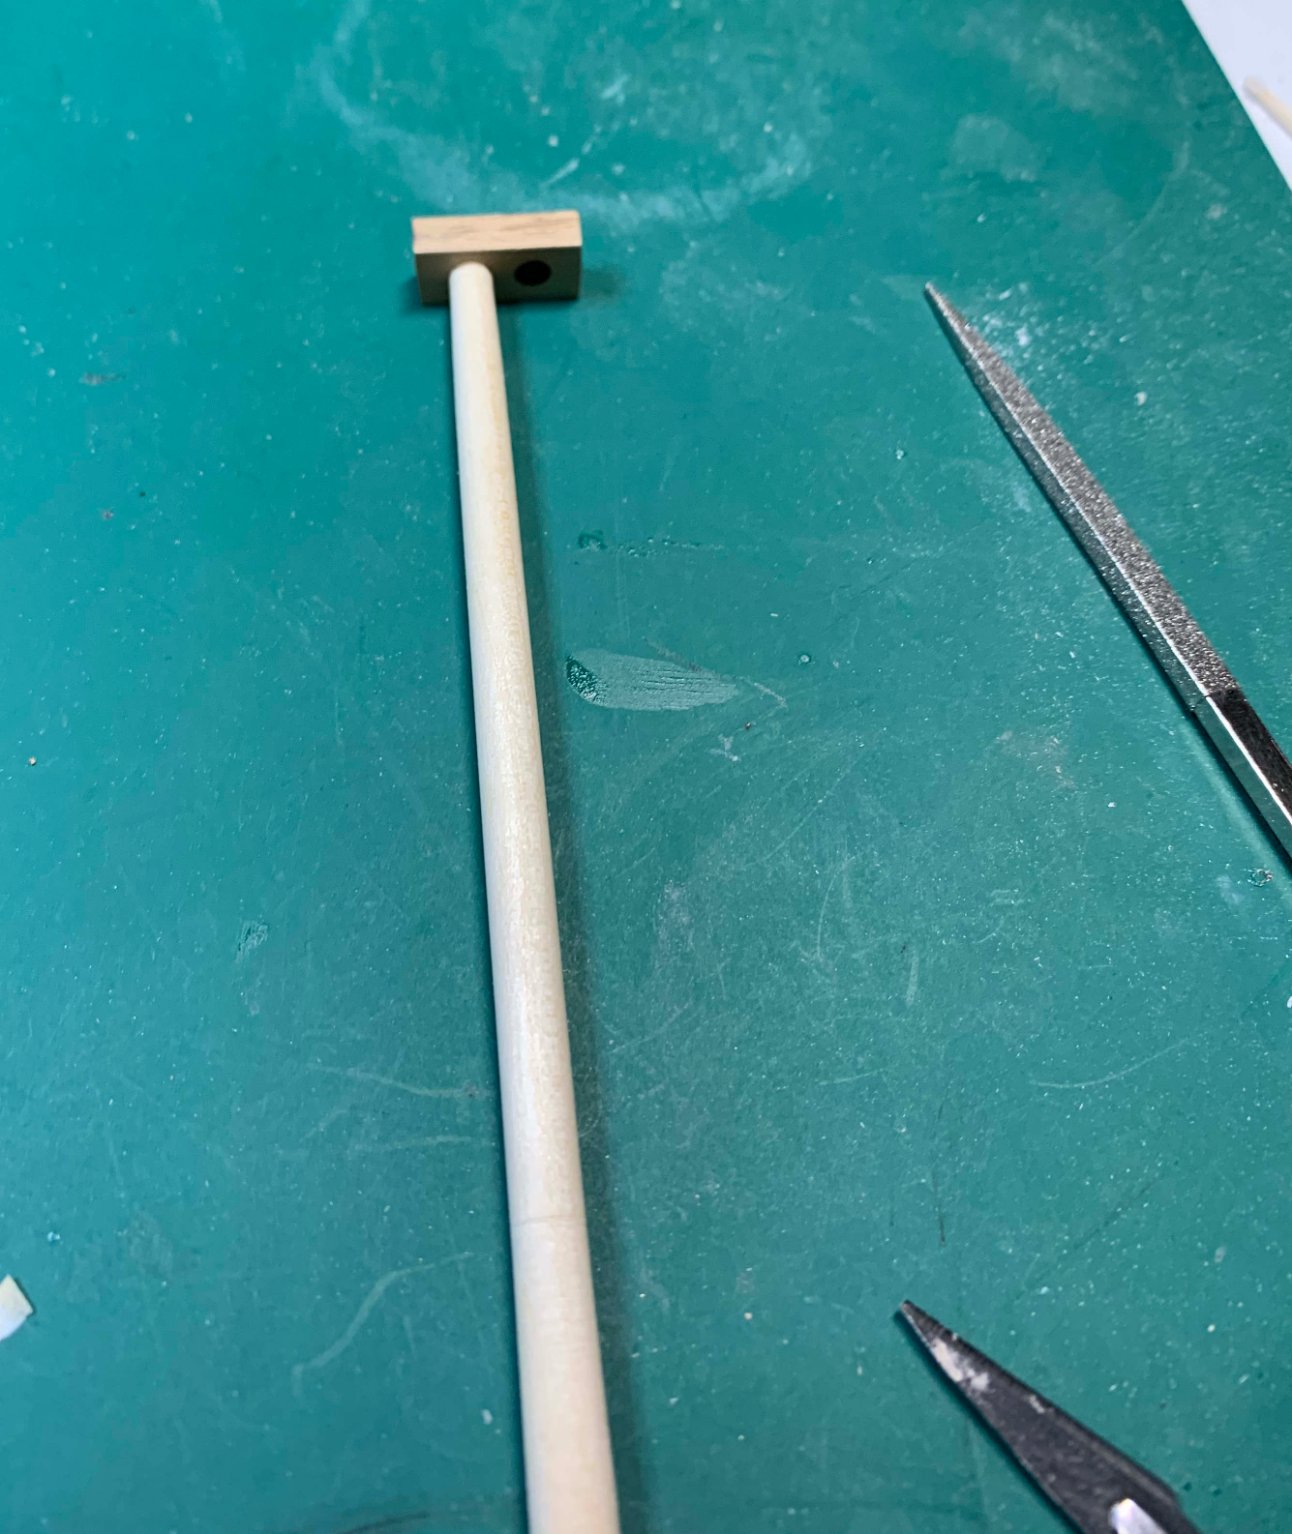
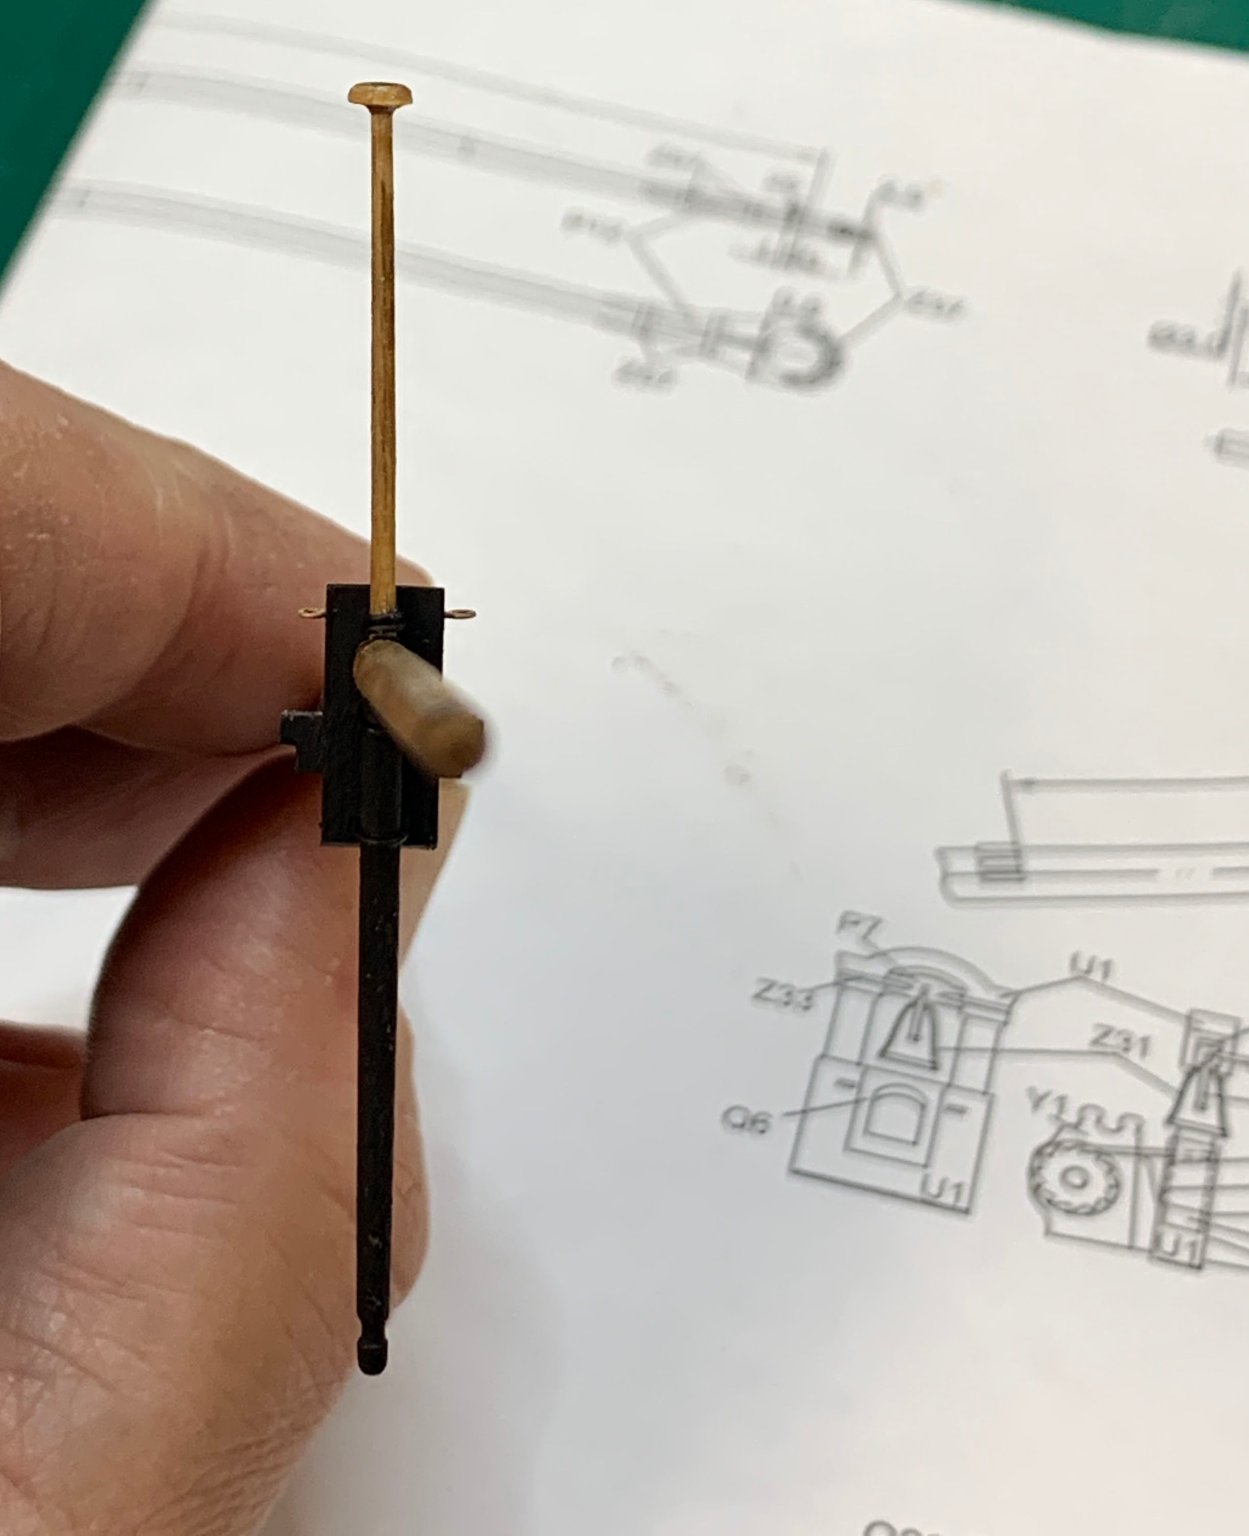
Started the work on the boom.. by shaping it to the correct width and shape...
Still a bit more work but very close to the end result...

The boom' jaws were assembled after the correct boom end was shaped with sand paper. I used carpenter's glue for this process just to make sure any hole between boom and jaw were filled.
Happy modelling..
-
Masts have been assembled in full... Lots of sanding, testing, i also had to make a new cap as i damaged the original one... Now, another layer of danish oil and it is ready for next steps...
Happy modelling...
-
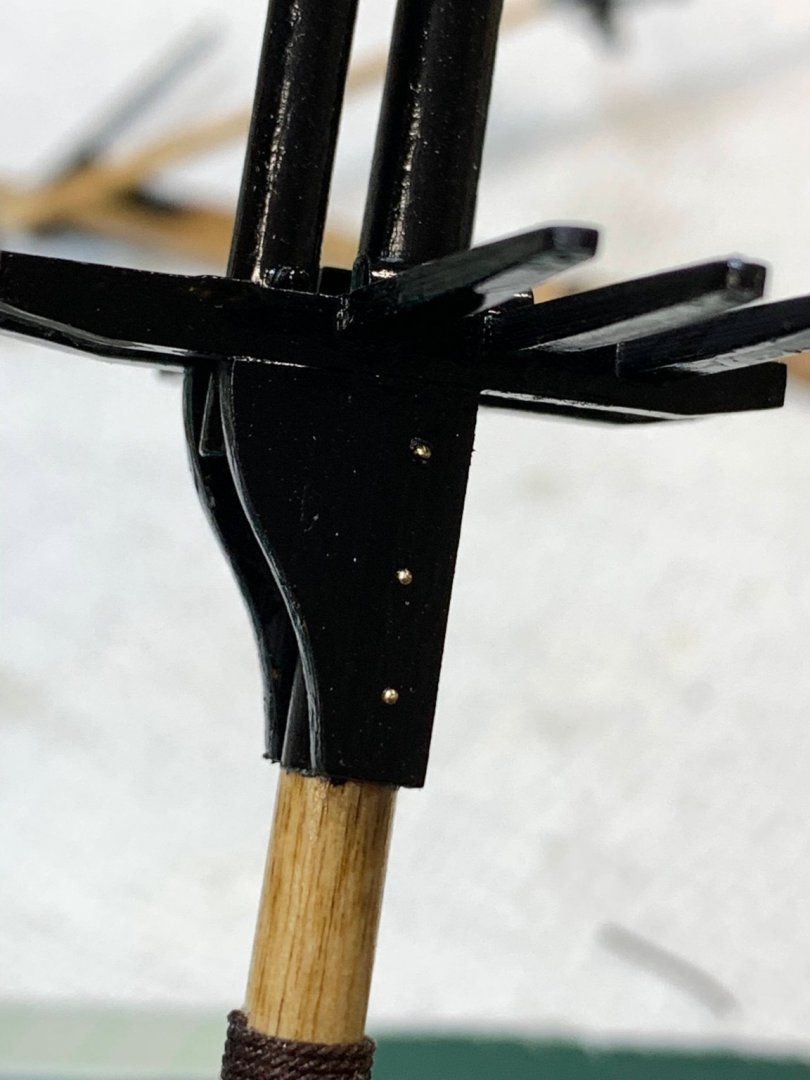
Achtkants were shaped and mounted on the topgallants and topmasts. This work took a while since the inside opening has to be carefully widened so it still has a bit of a wood left and at the same time, the hole is wide enough so it can slide down fairly easily, without breakage. Easily said then done, one of the achtkants broke and i had to fix it on the topgallant. You can see the small chip missing on the left one.

Then i start assembling the foremast...


and completed.. ready for a layer of danish oil.
Happy modelling... -
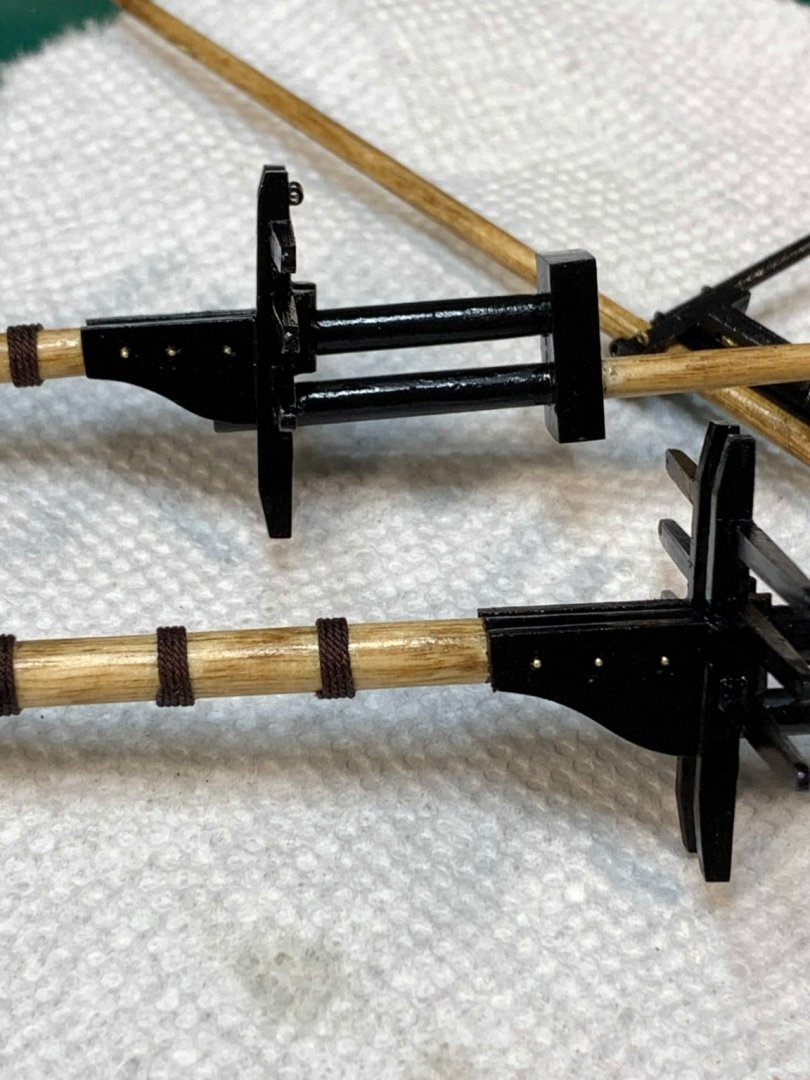
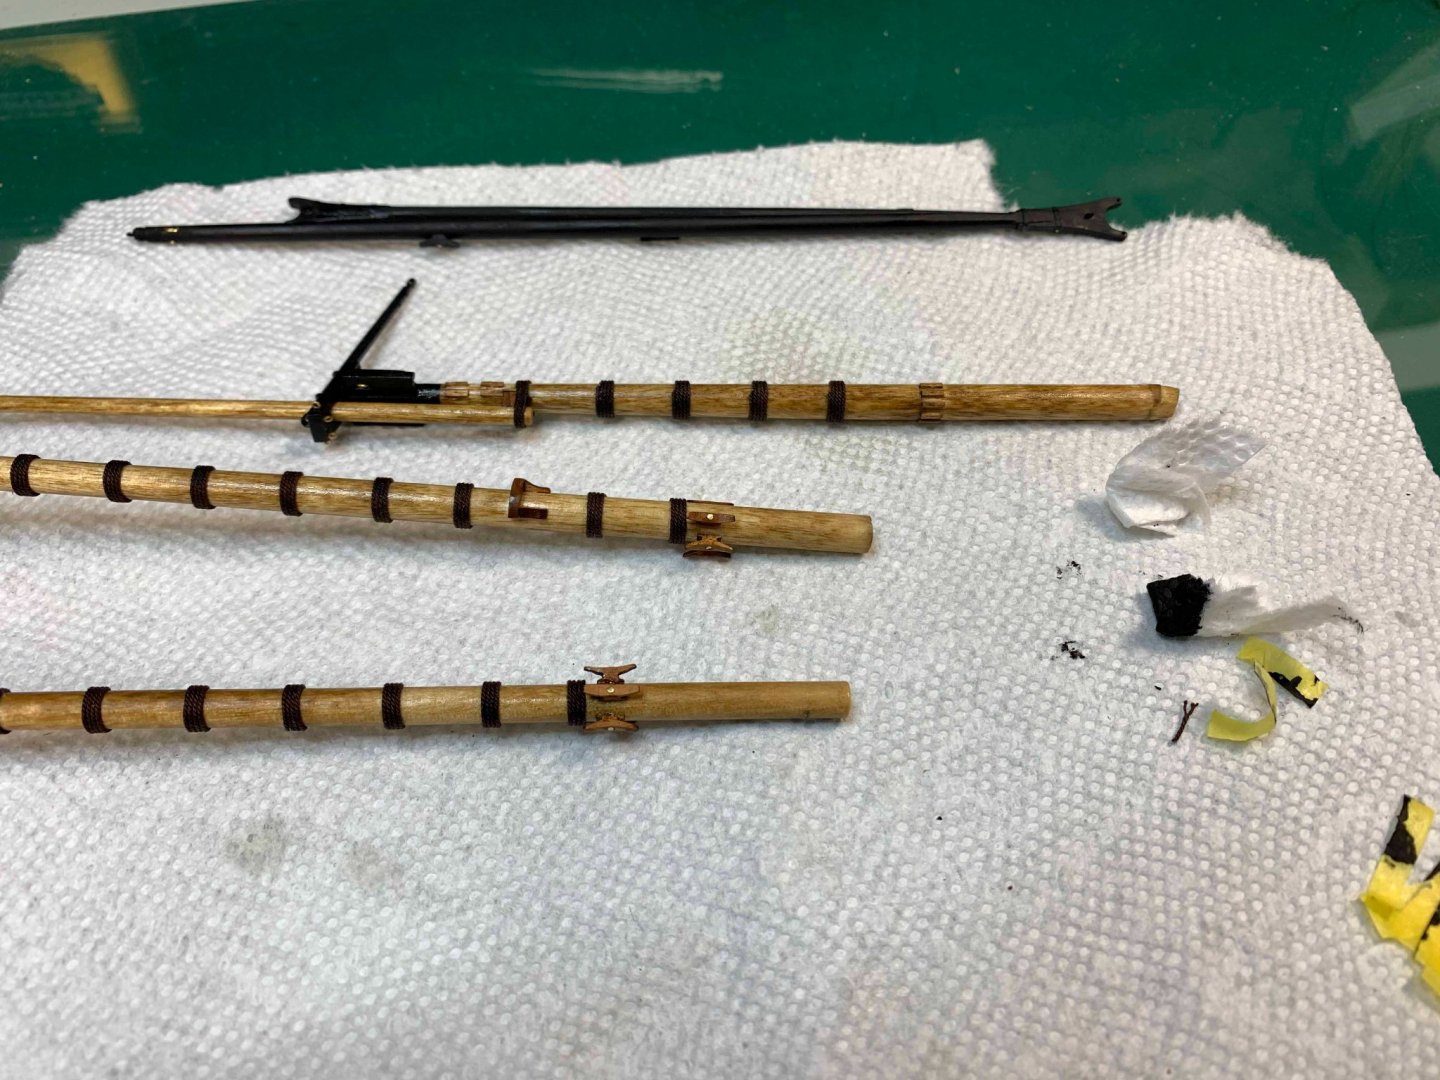
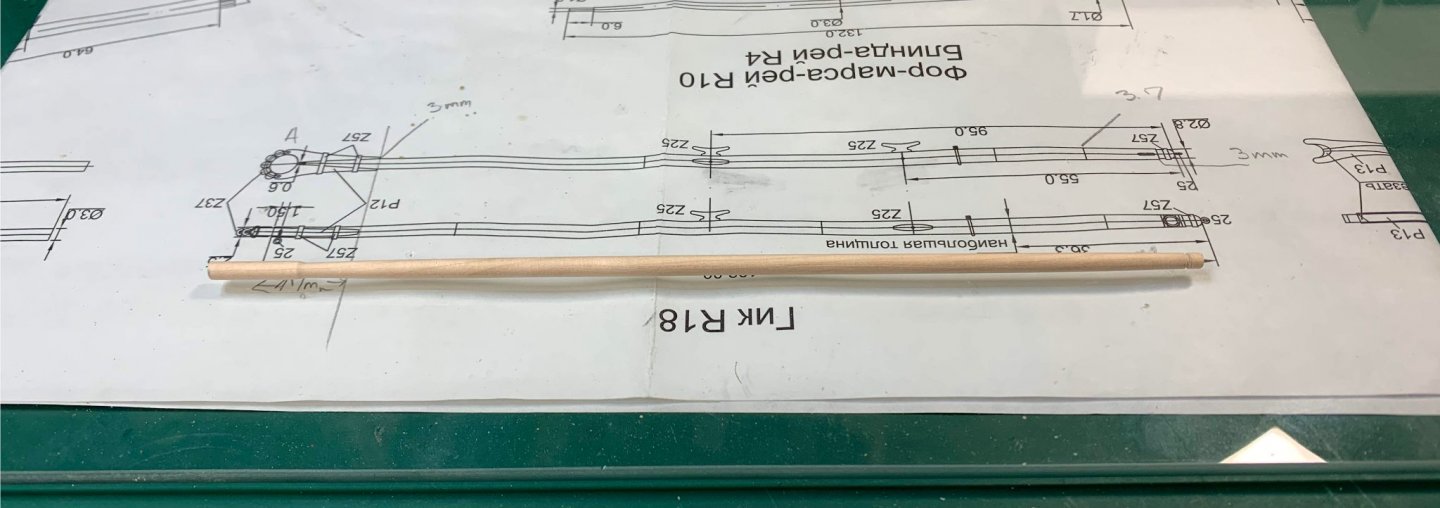
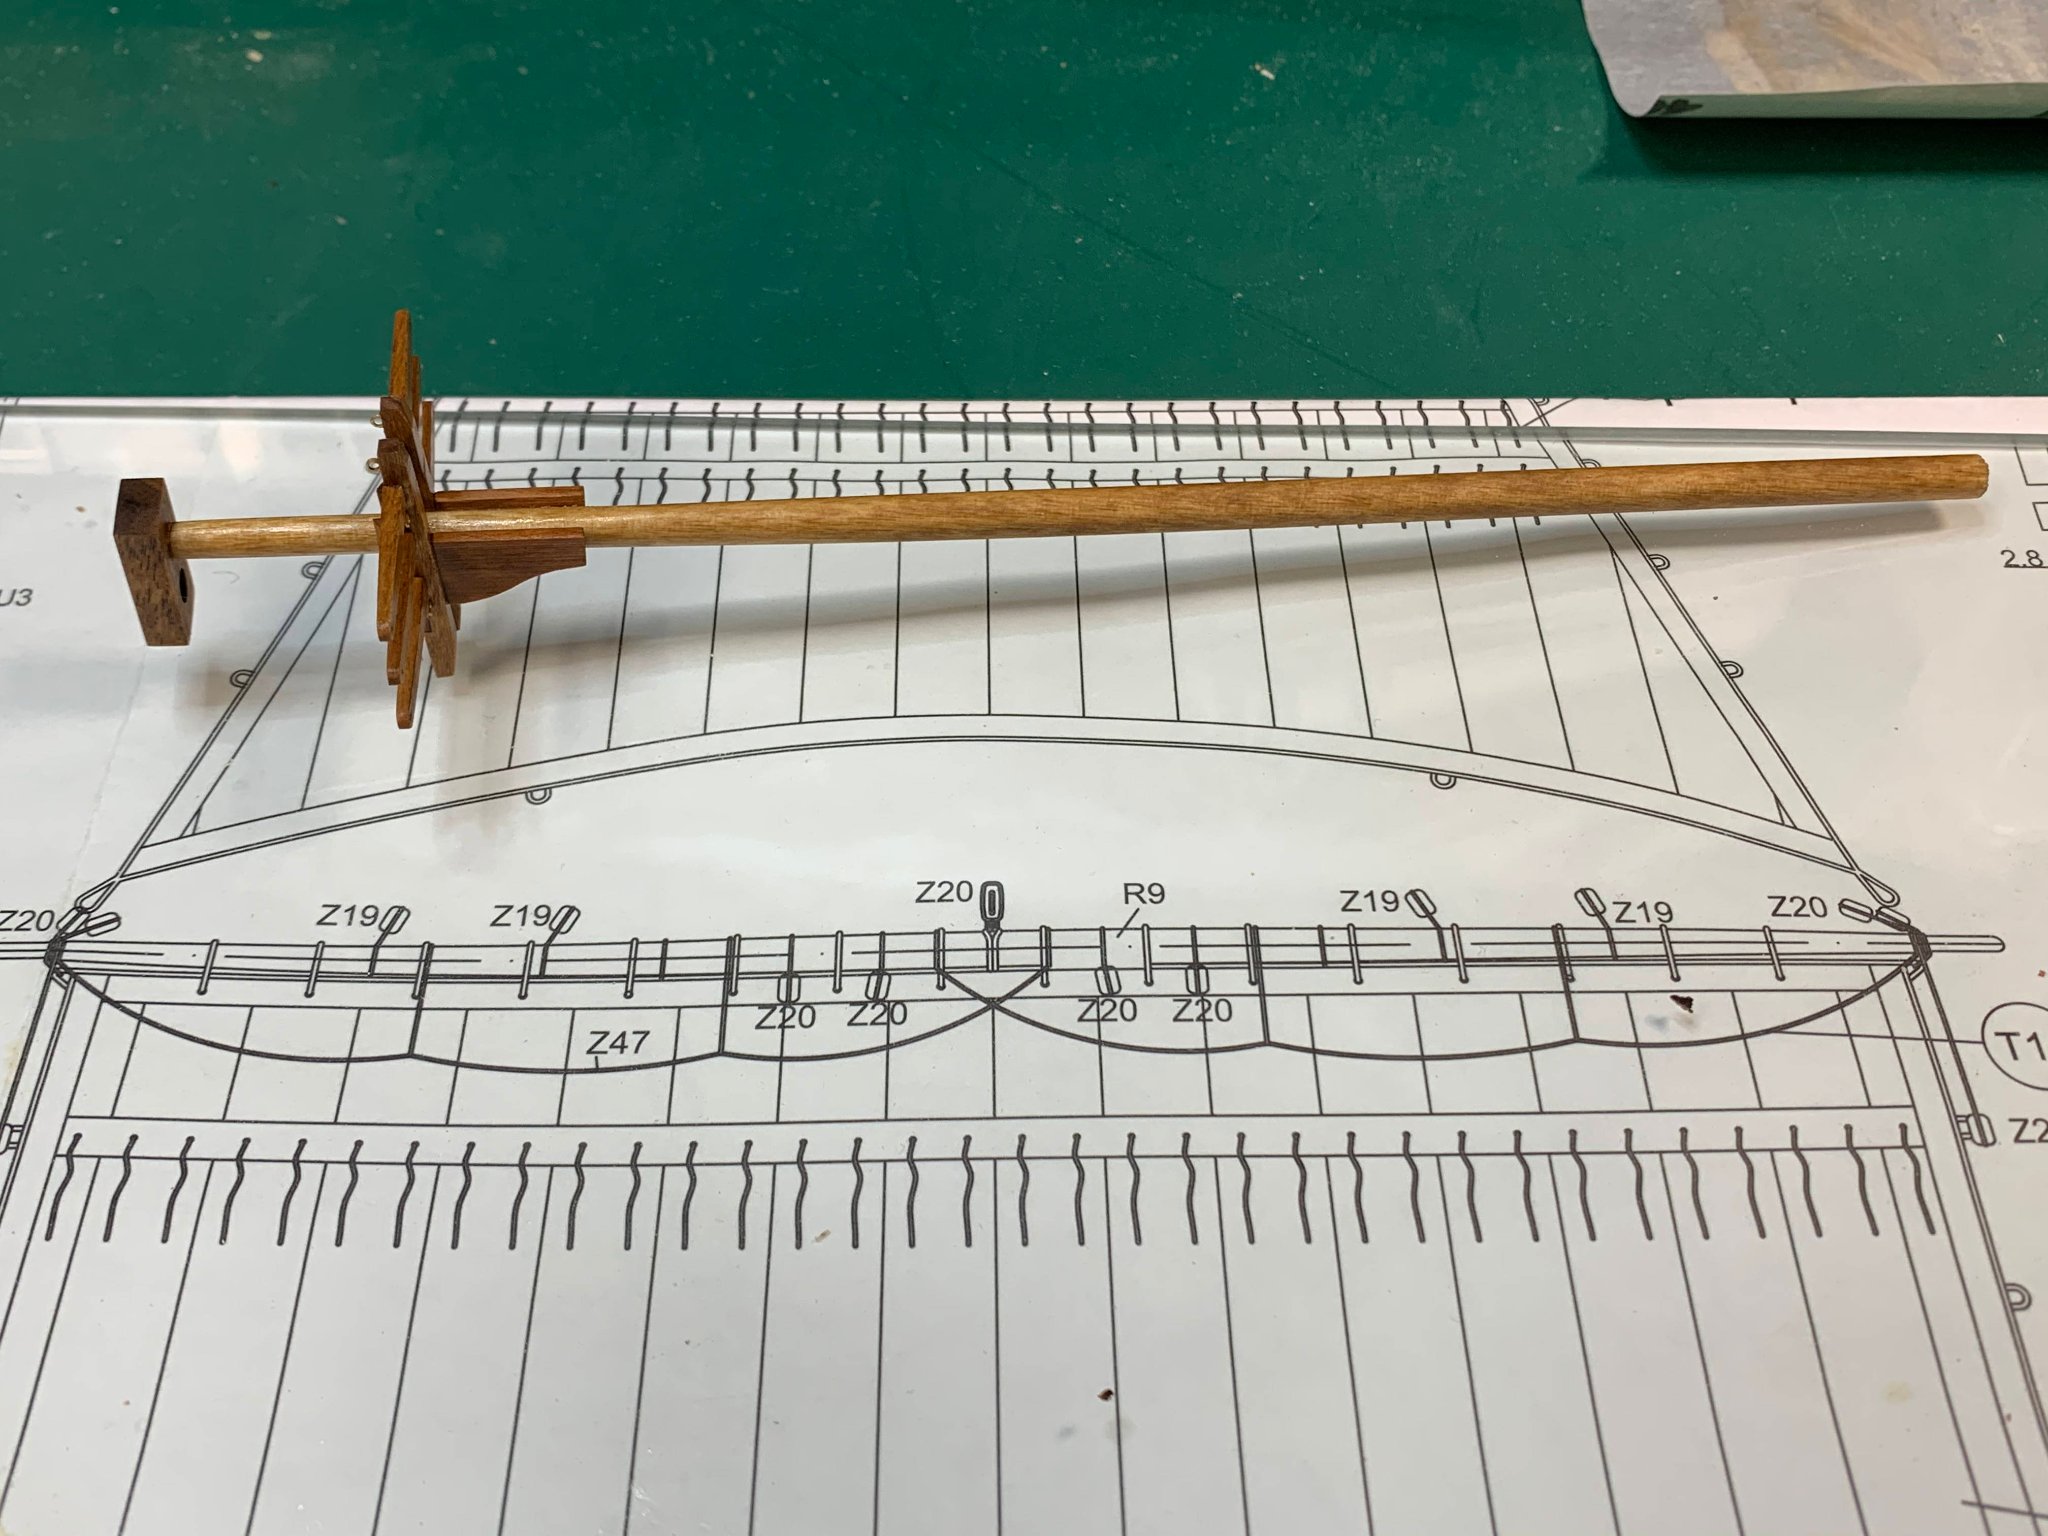
Fore/main topmast and fore/main topgallant are tapered on the mini wood lathe..
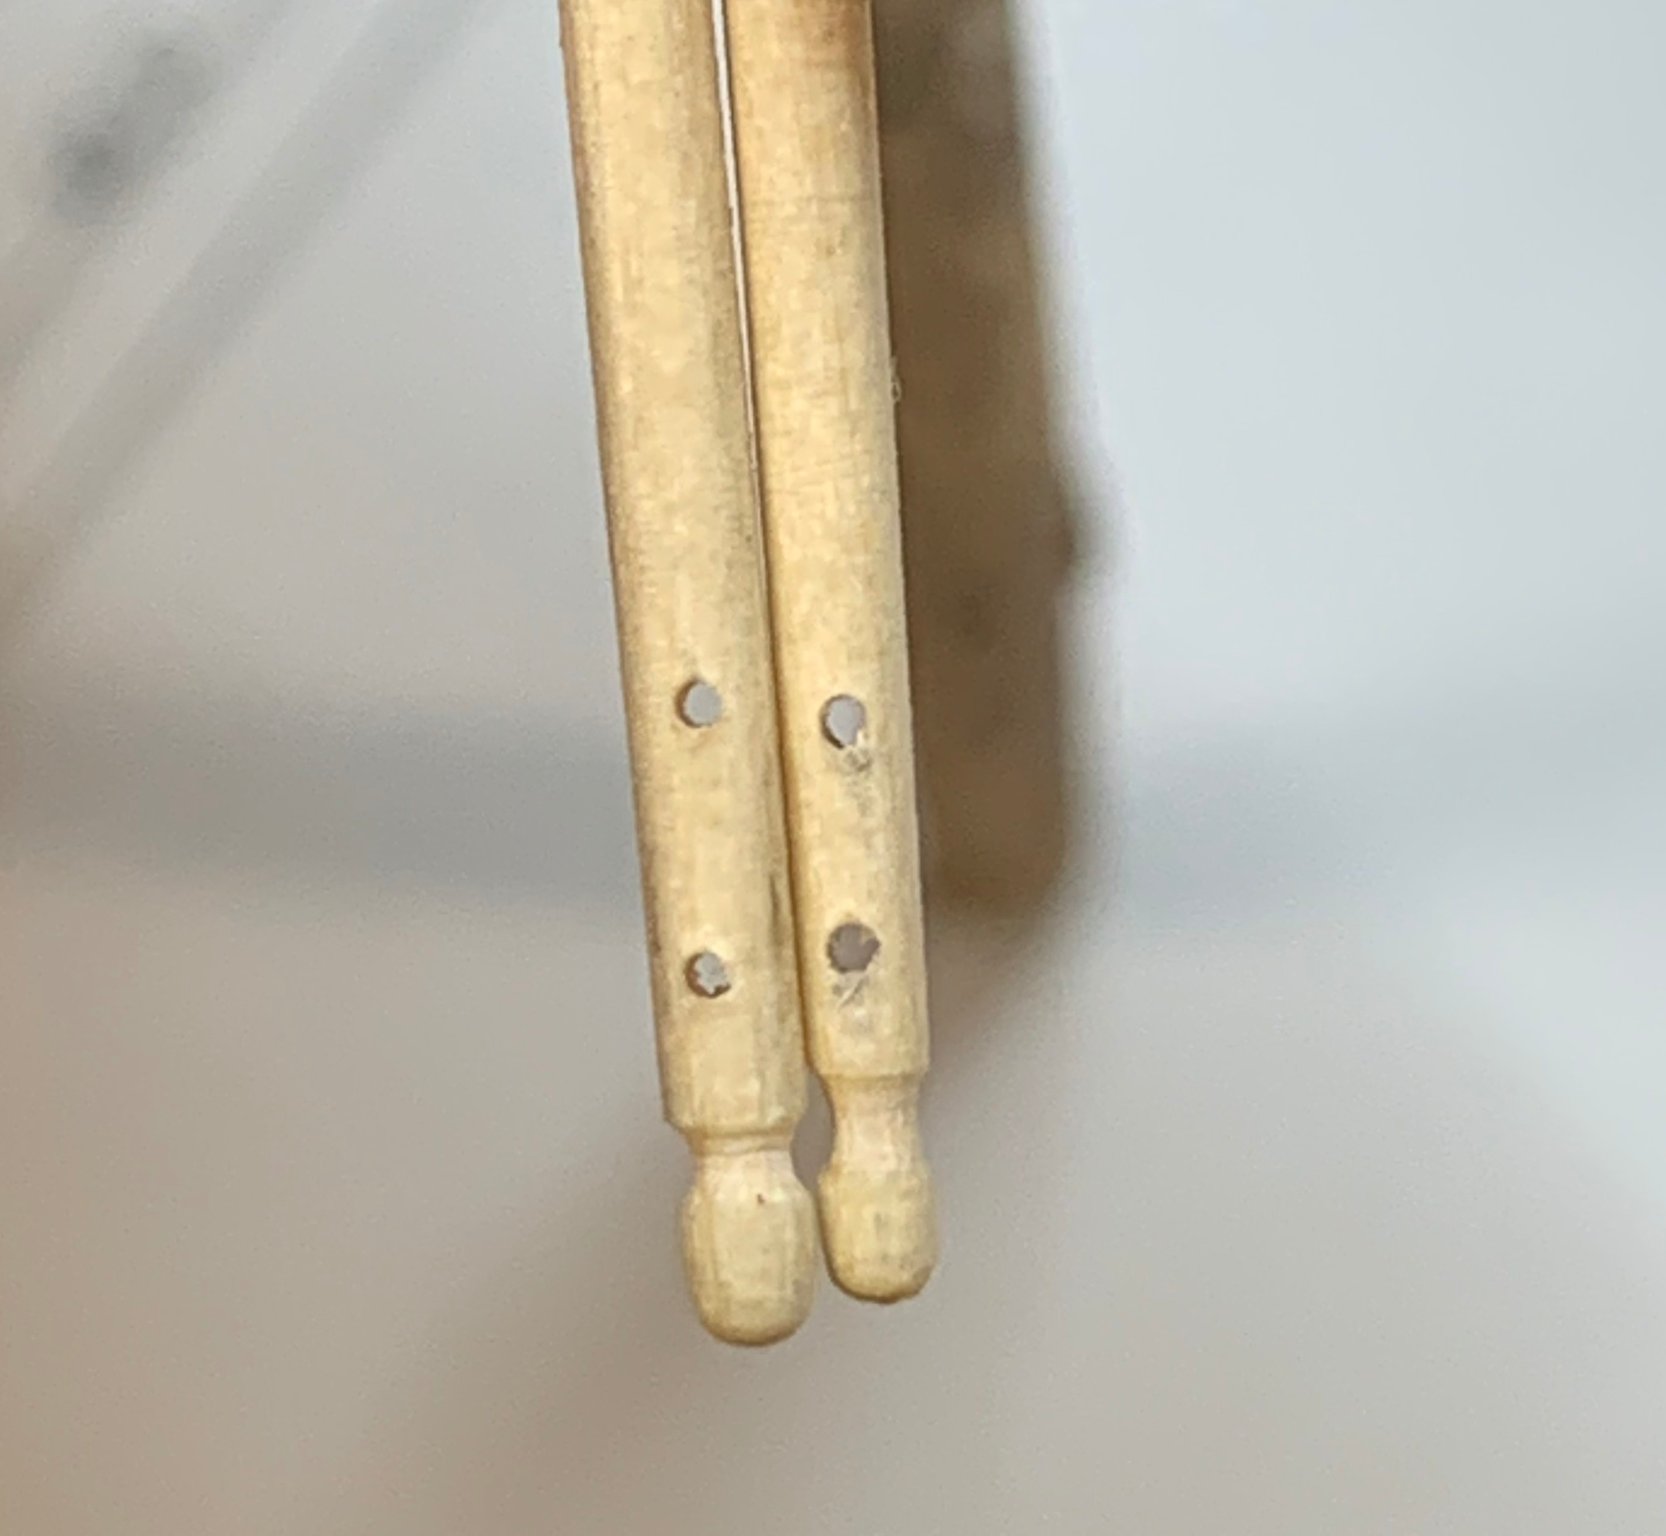
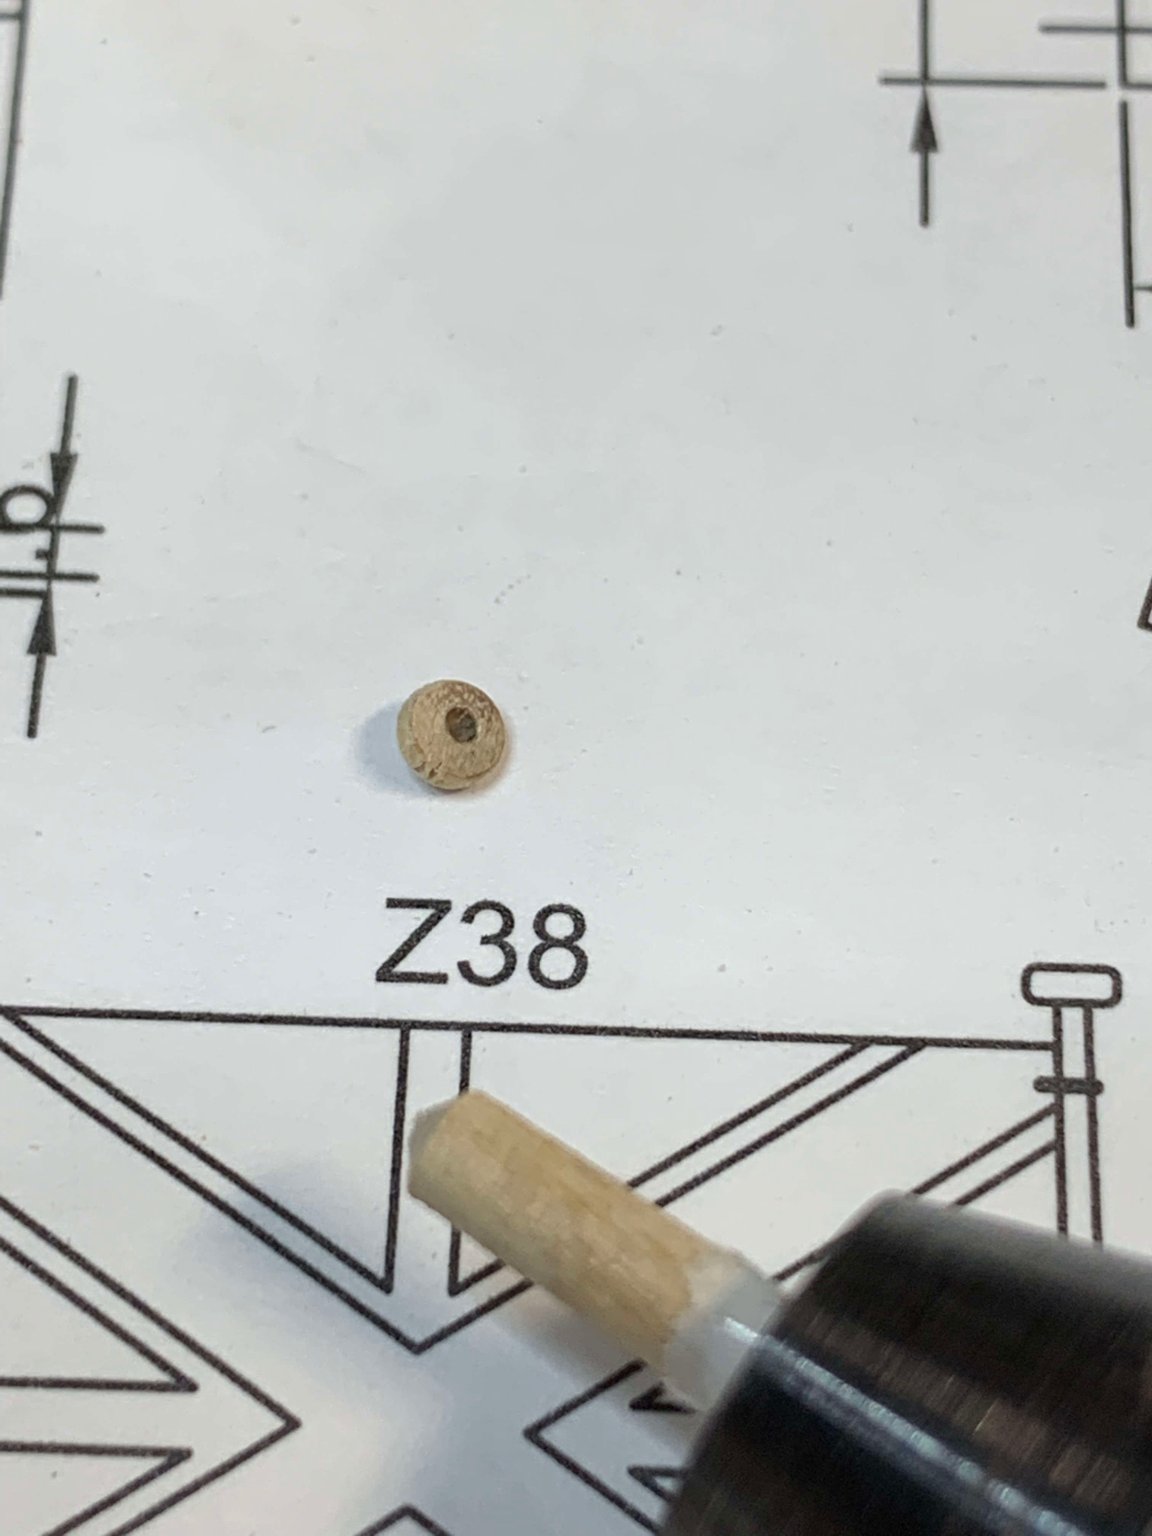
Acorns for topgallant were prepared next; it just need a hole to be widened a bit.
Main mast was tapered to required shape as well.. The top part was cut in square shape and tested with cap..

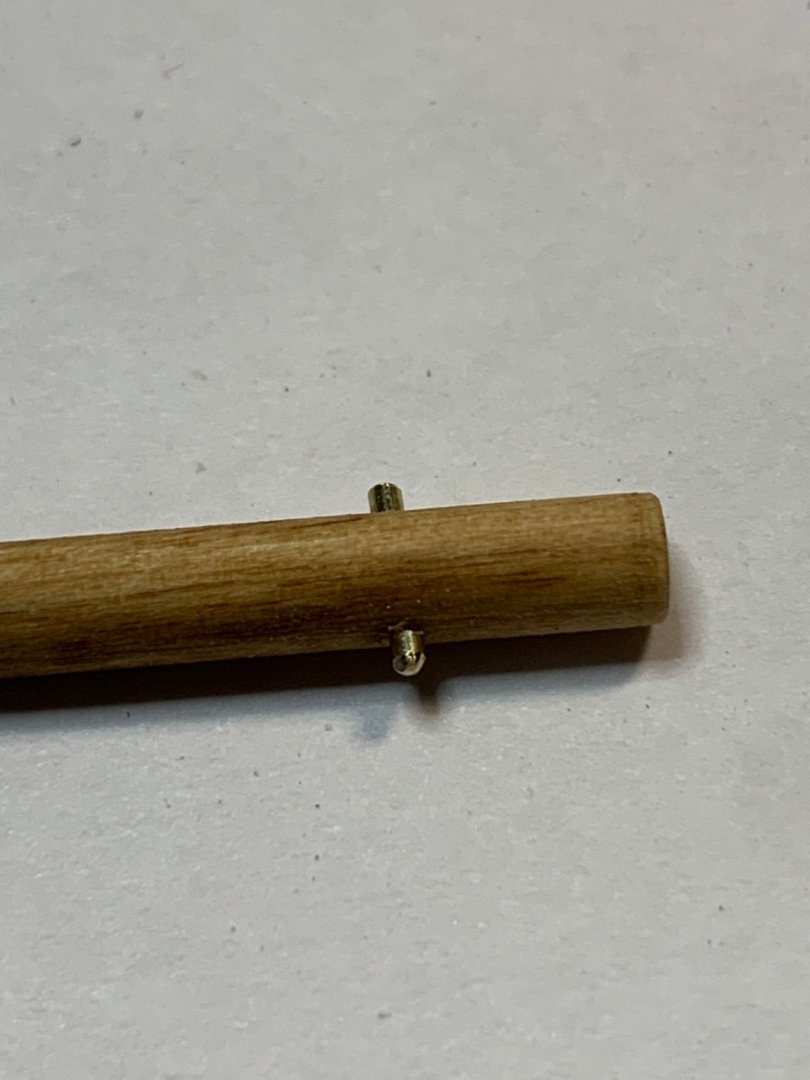
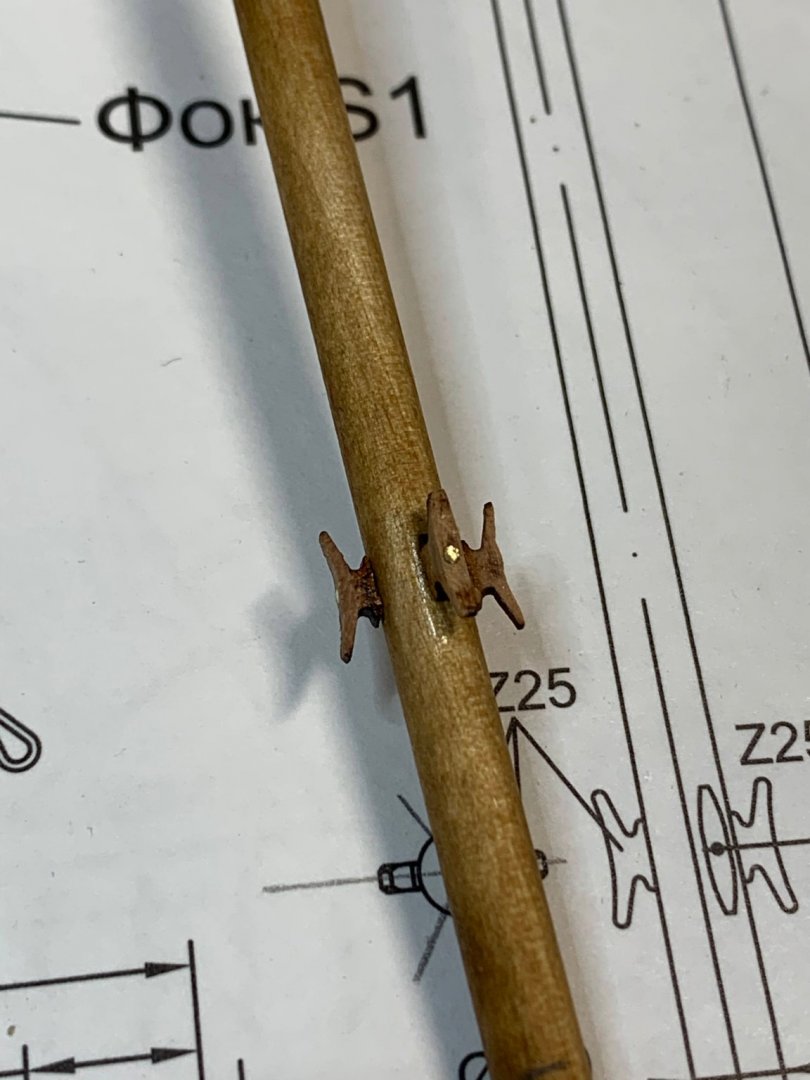
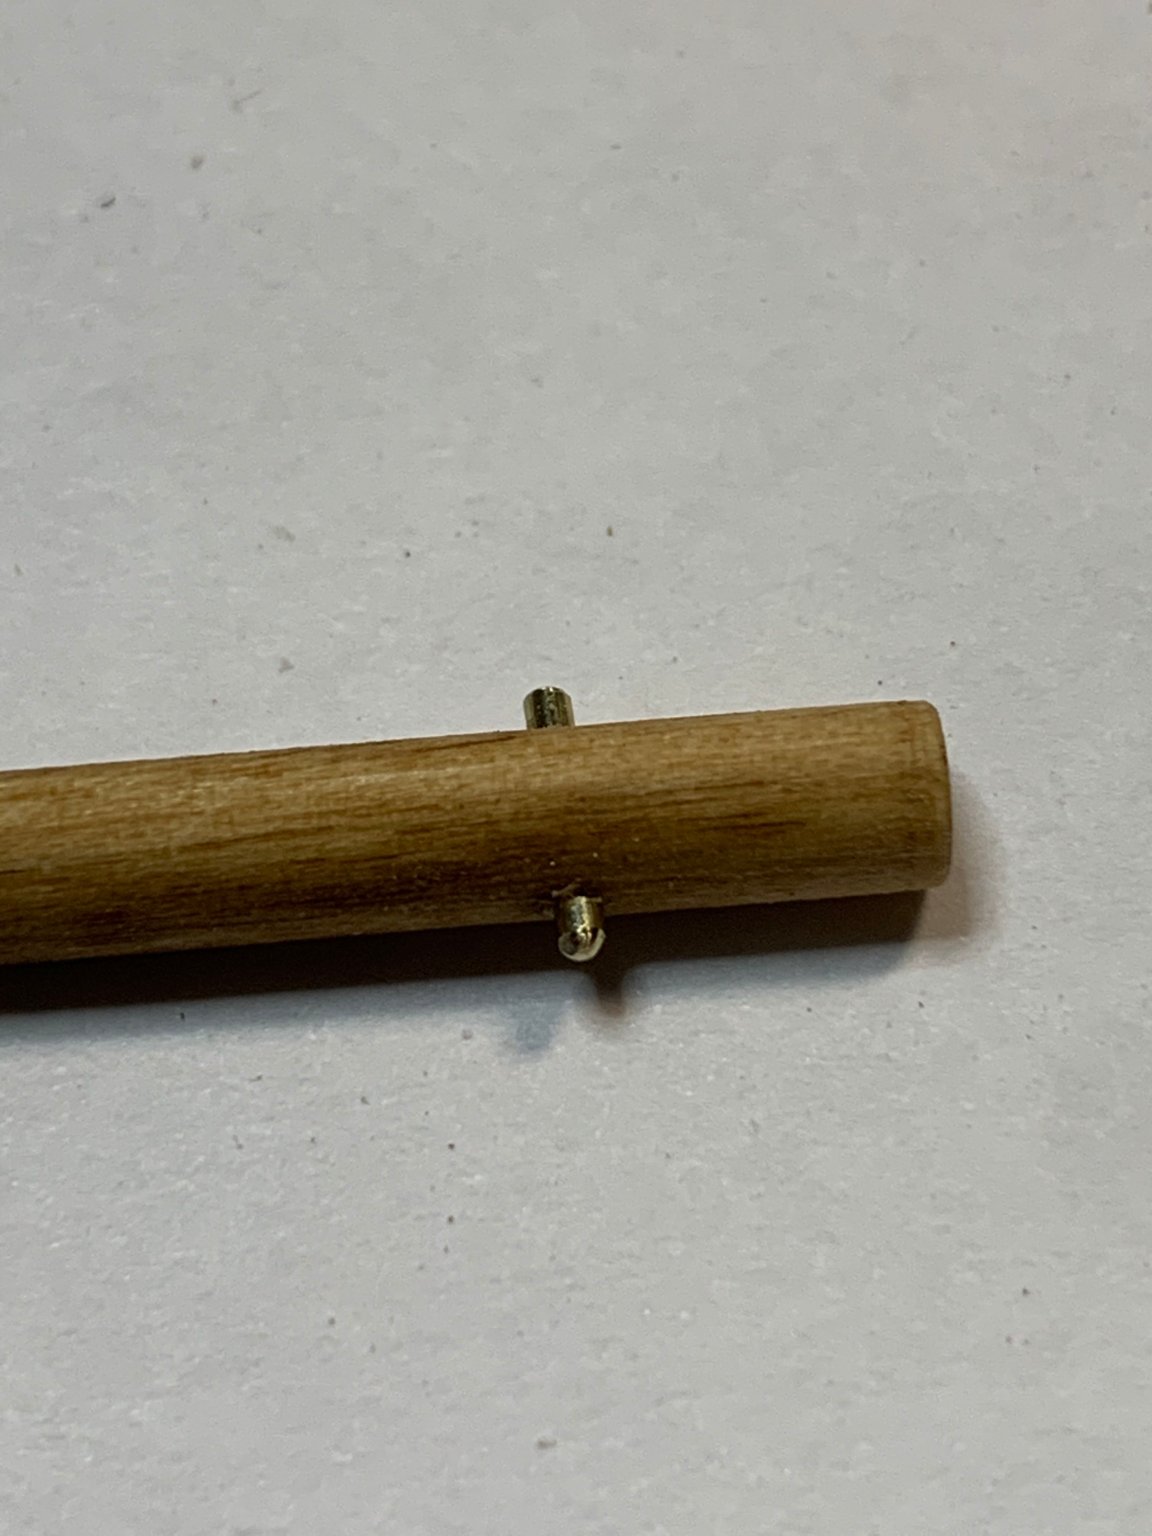
Then i was installing mast cleats. It is a bit challenging to get them in correct position...

... but managed to get it correct. Holes were drilled and cleat with a piece of wire inserted into mast.. a bit of a glue was dropped to fill the gaps between cleats and mast...
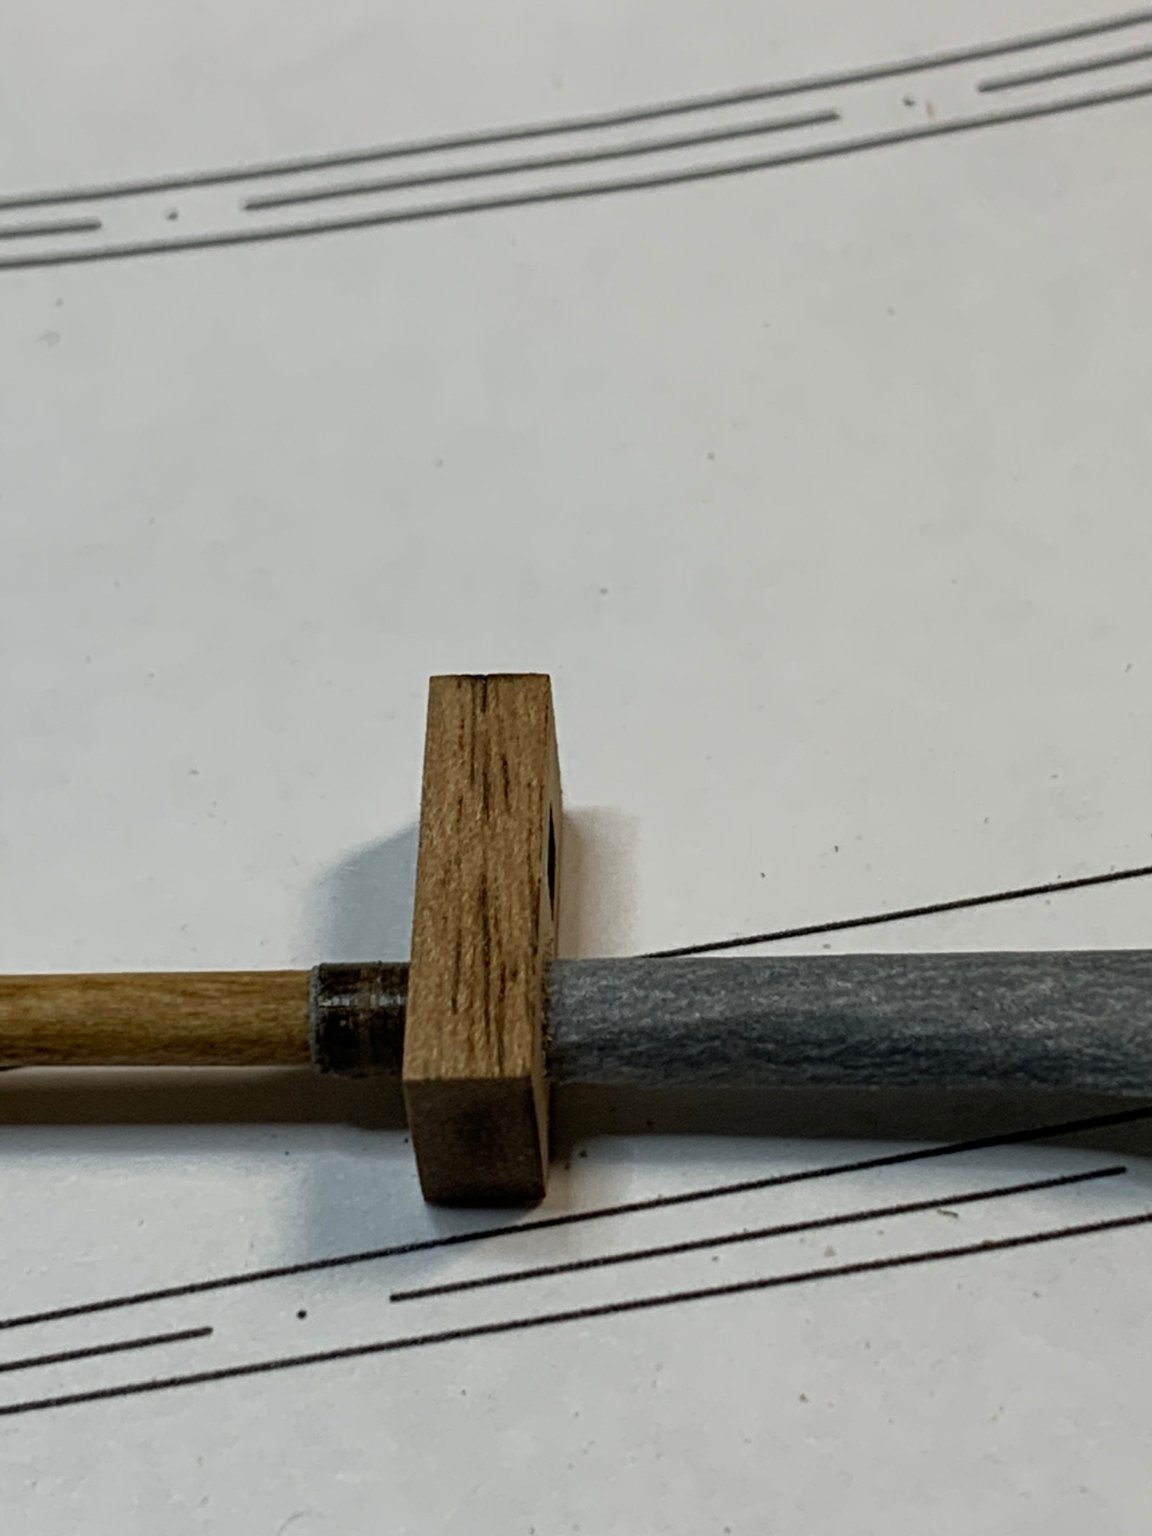
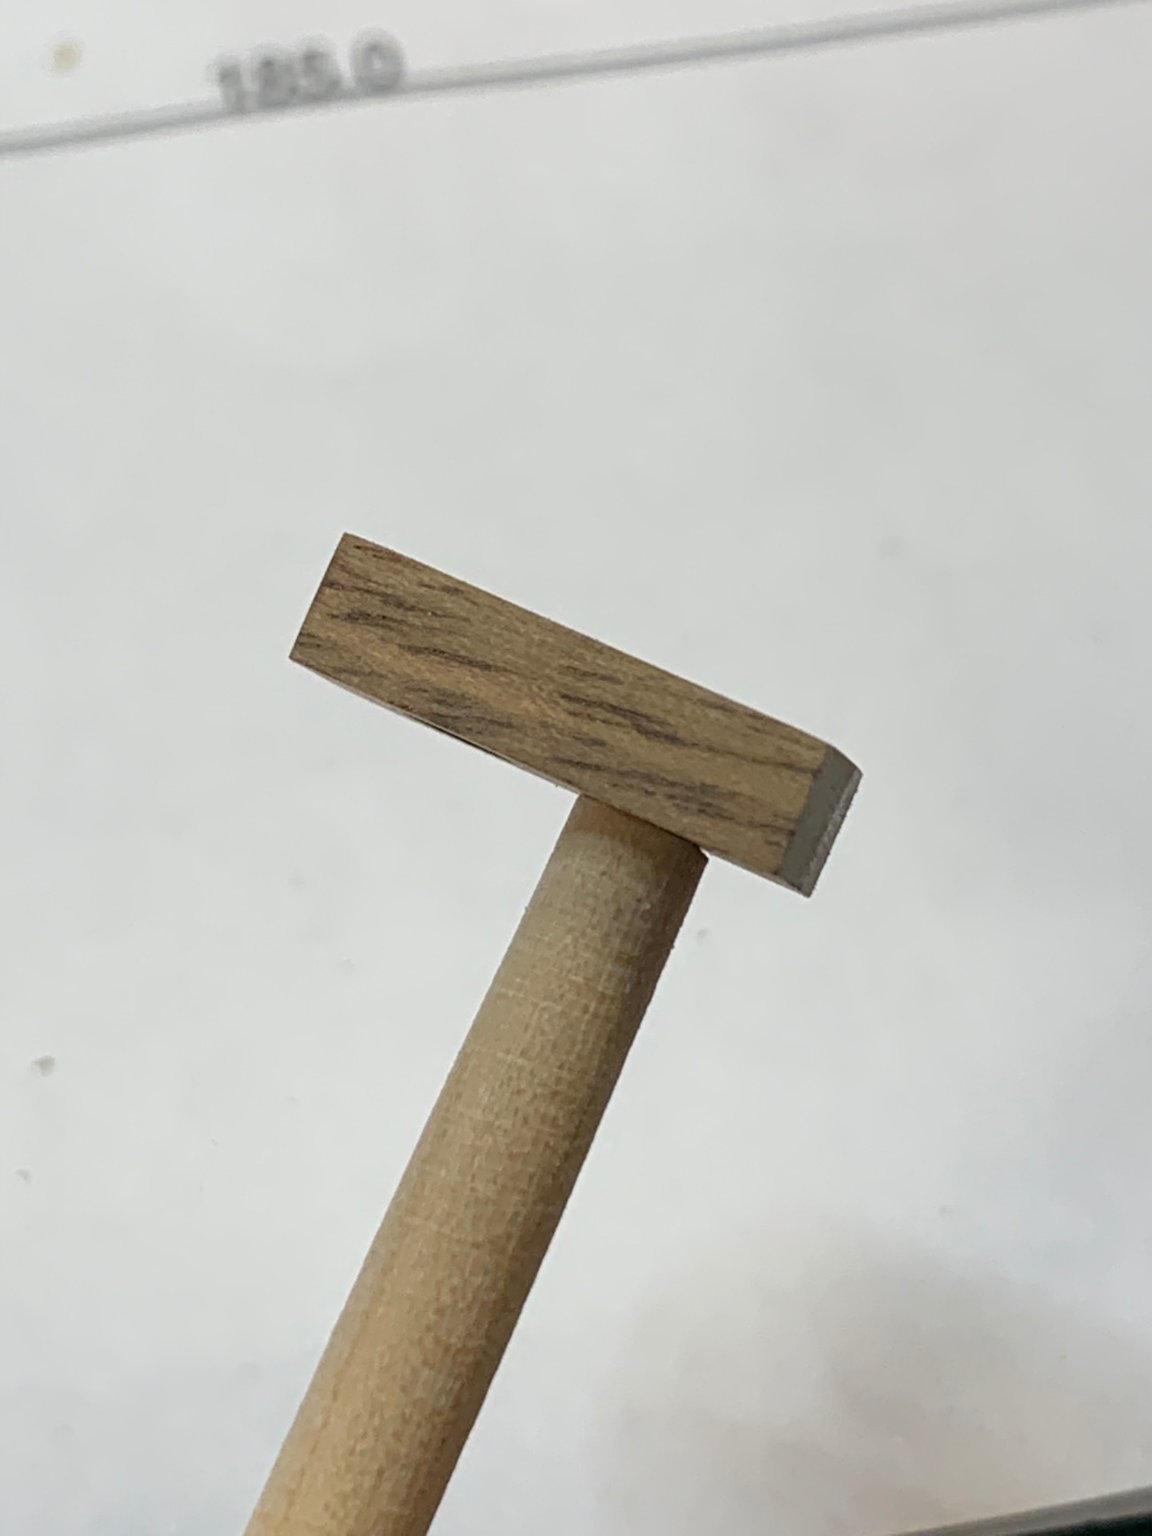
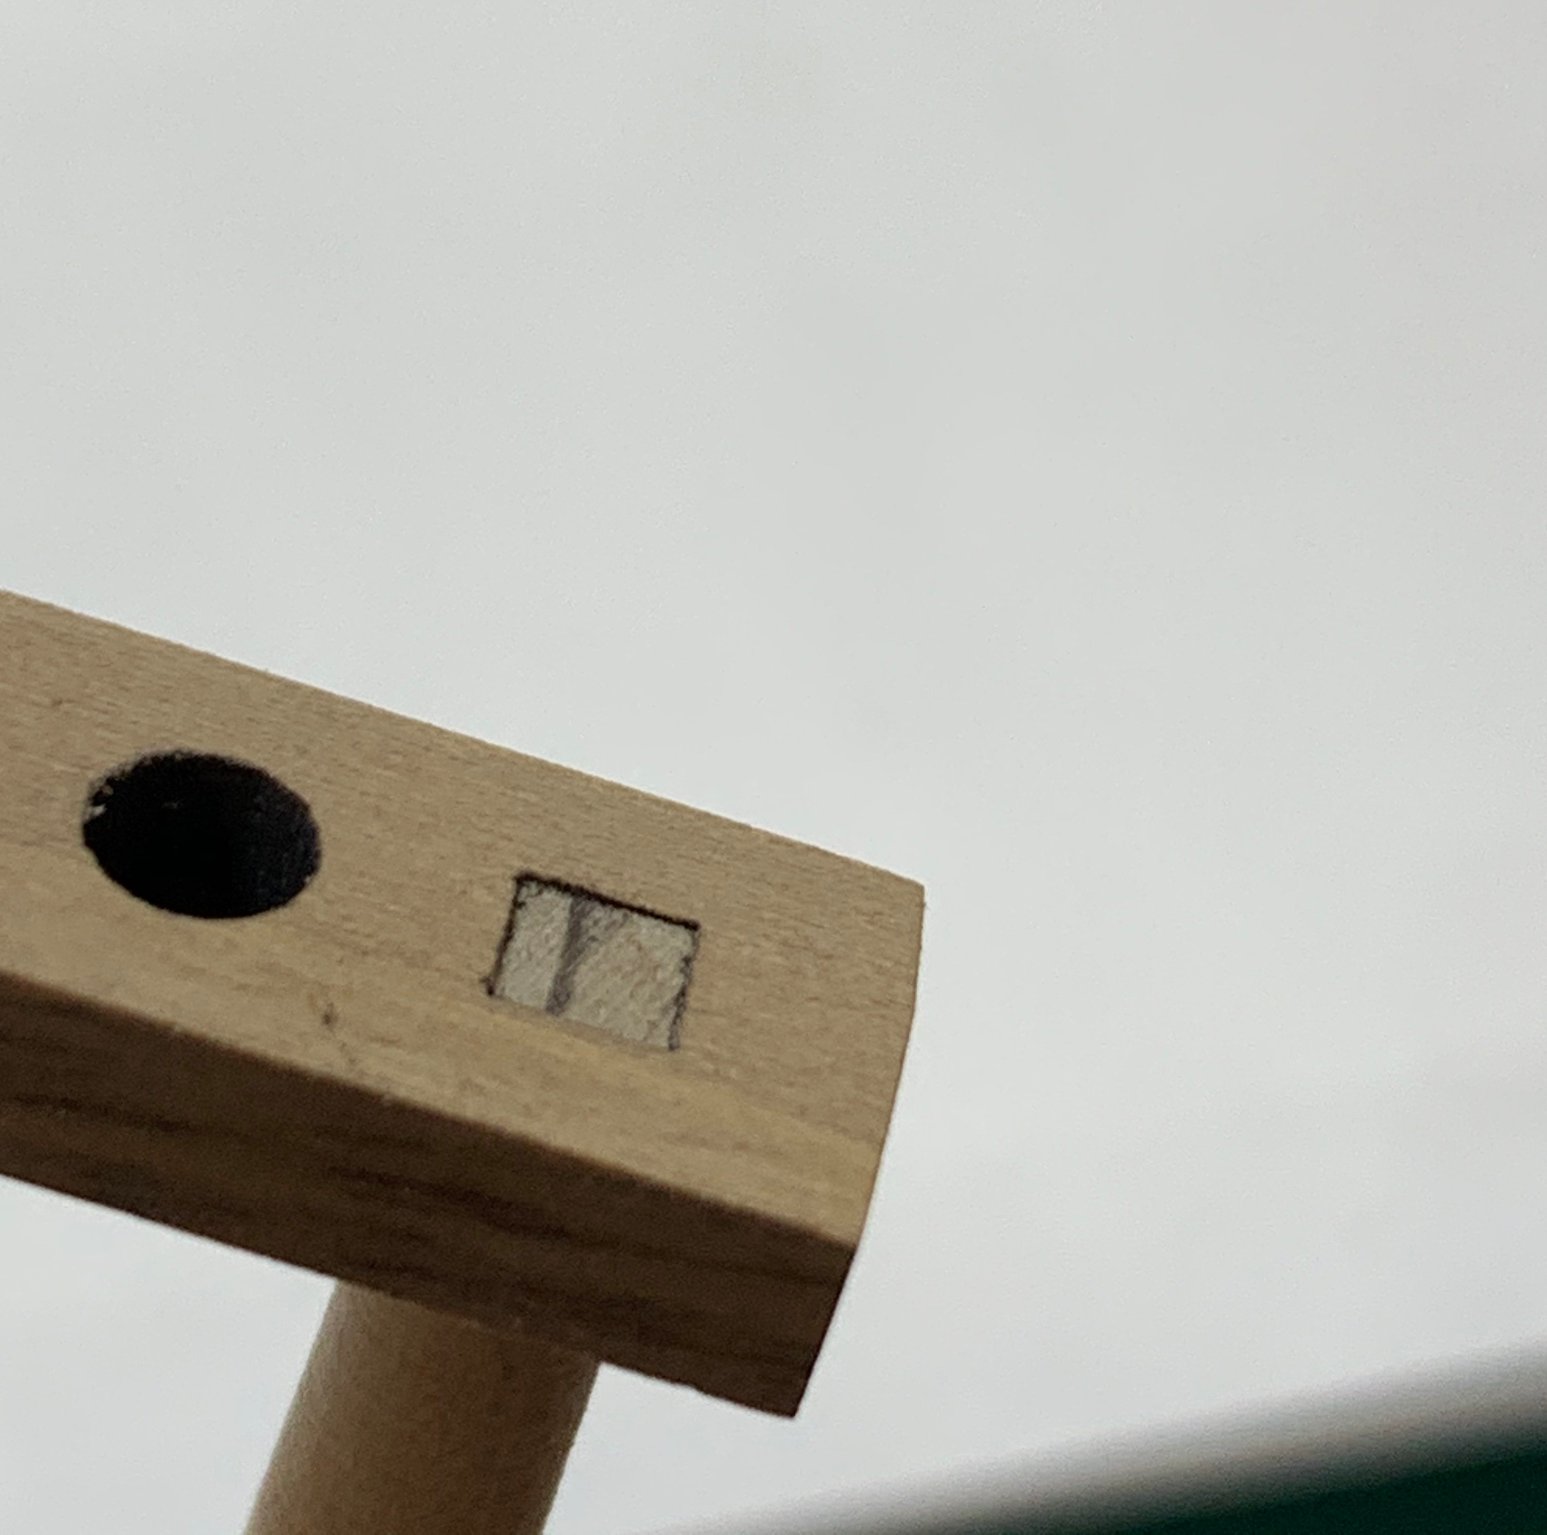
Boom pads knees and pad was installed next.

Then i widened the opening for a mast... it is a bit scary to use a rasp but rasp provided the easiest control of the depth..

All parts were mounted on the mast with superglue....
A bit of a work on topmast...
Removed laser burns from topmast cap...
A nice layer of stain was applied...
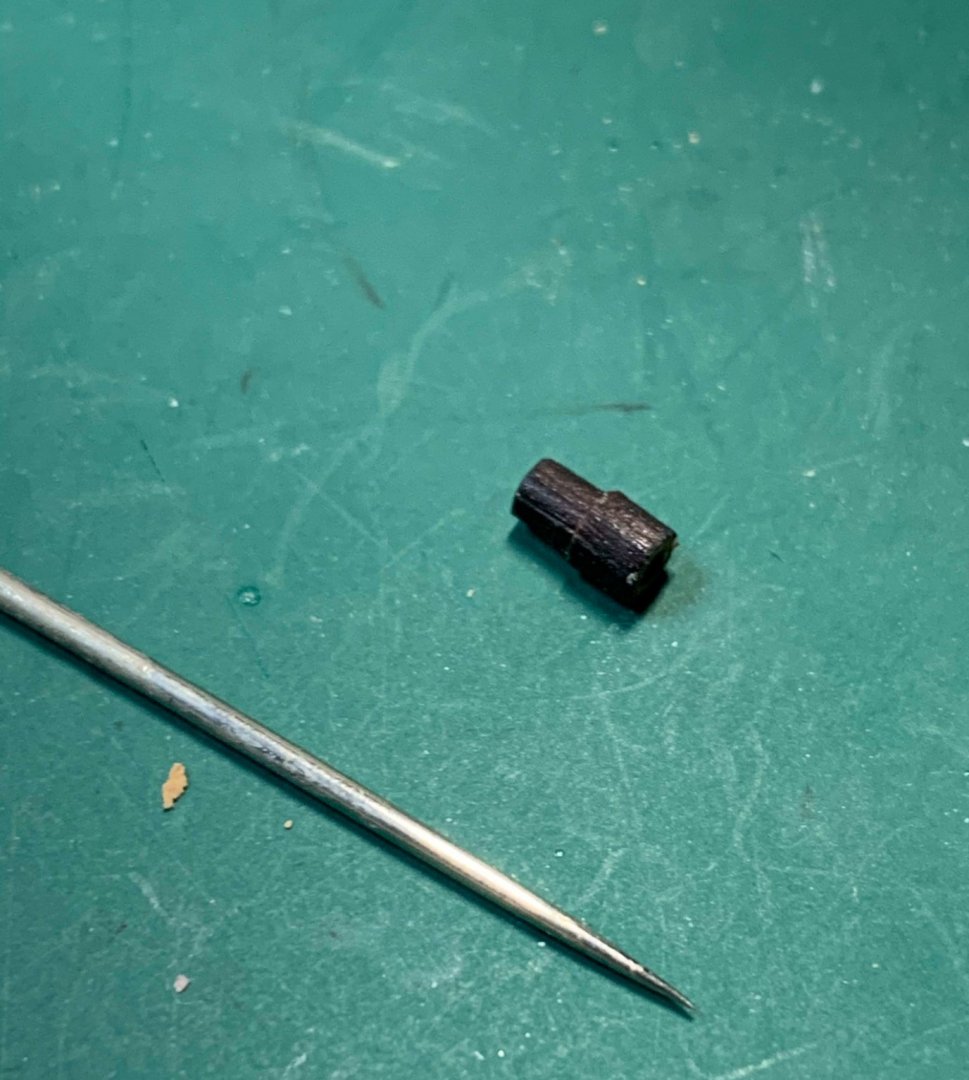
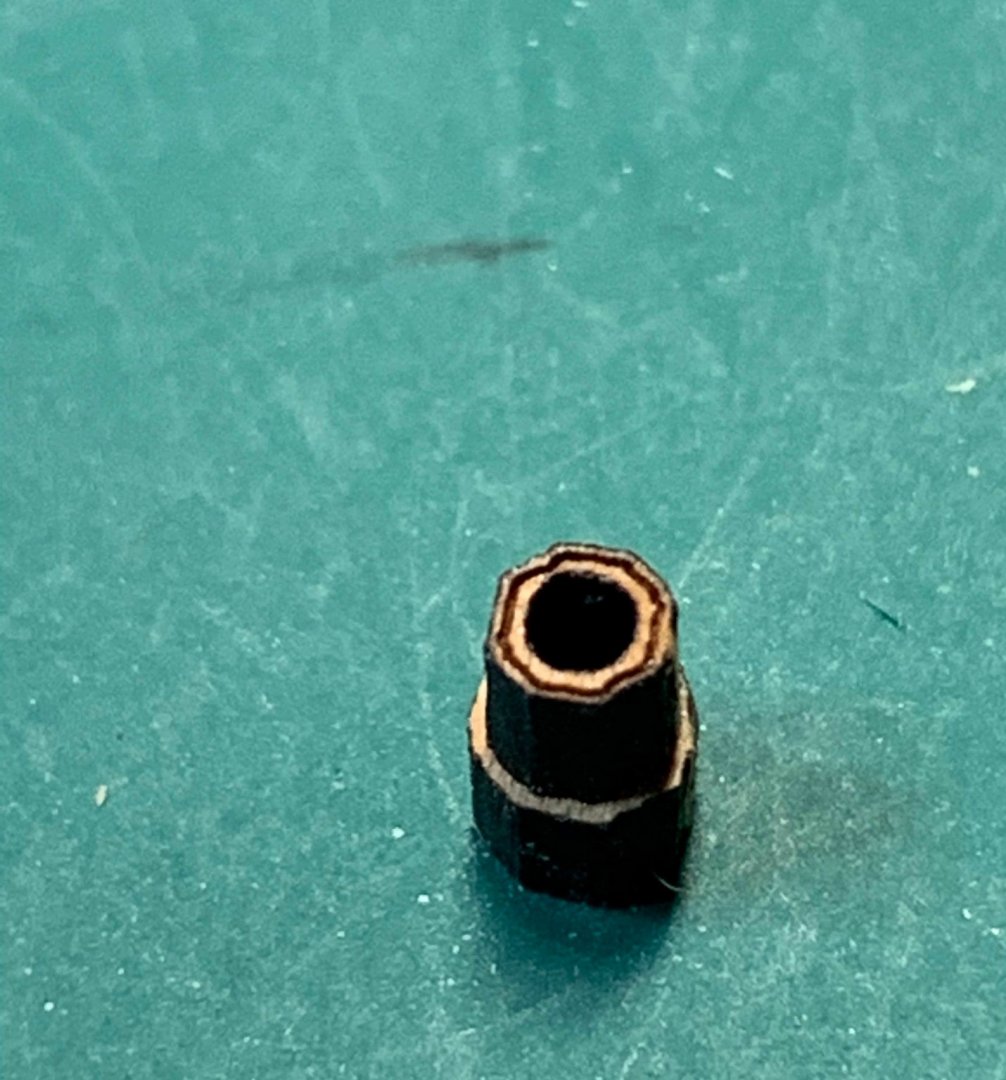
Topgallant/topmast achtkants were next. I used a needle covered with little wax to hold the parts while glue them together.
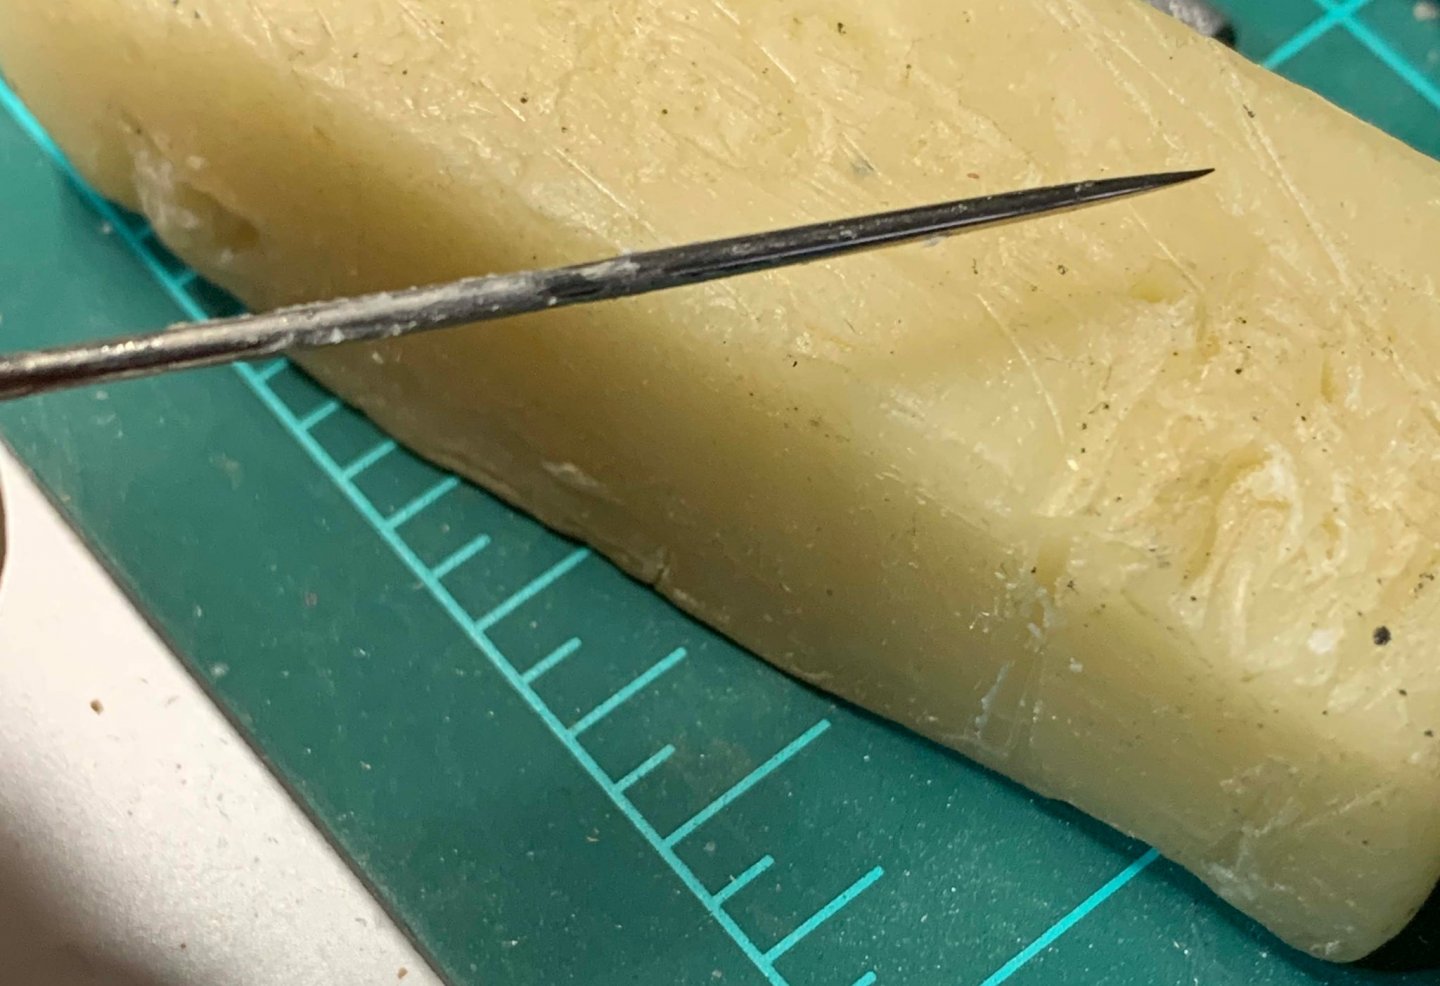
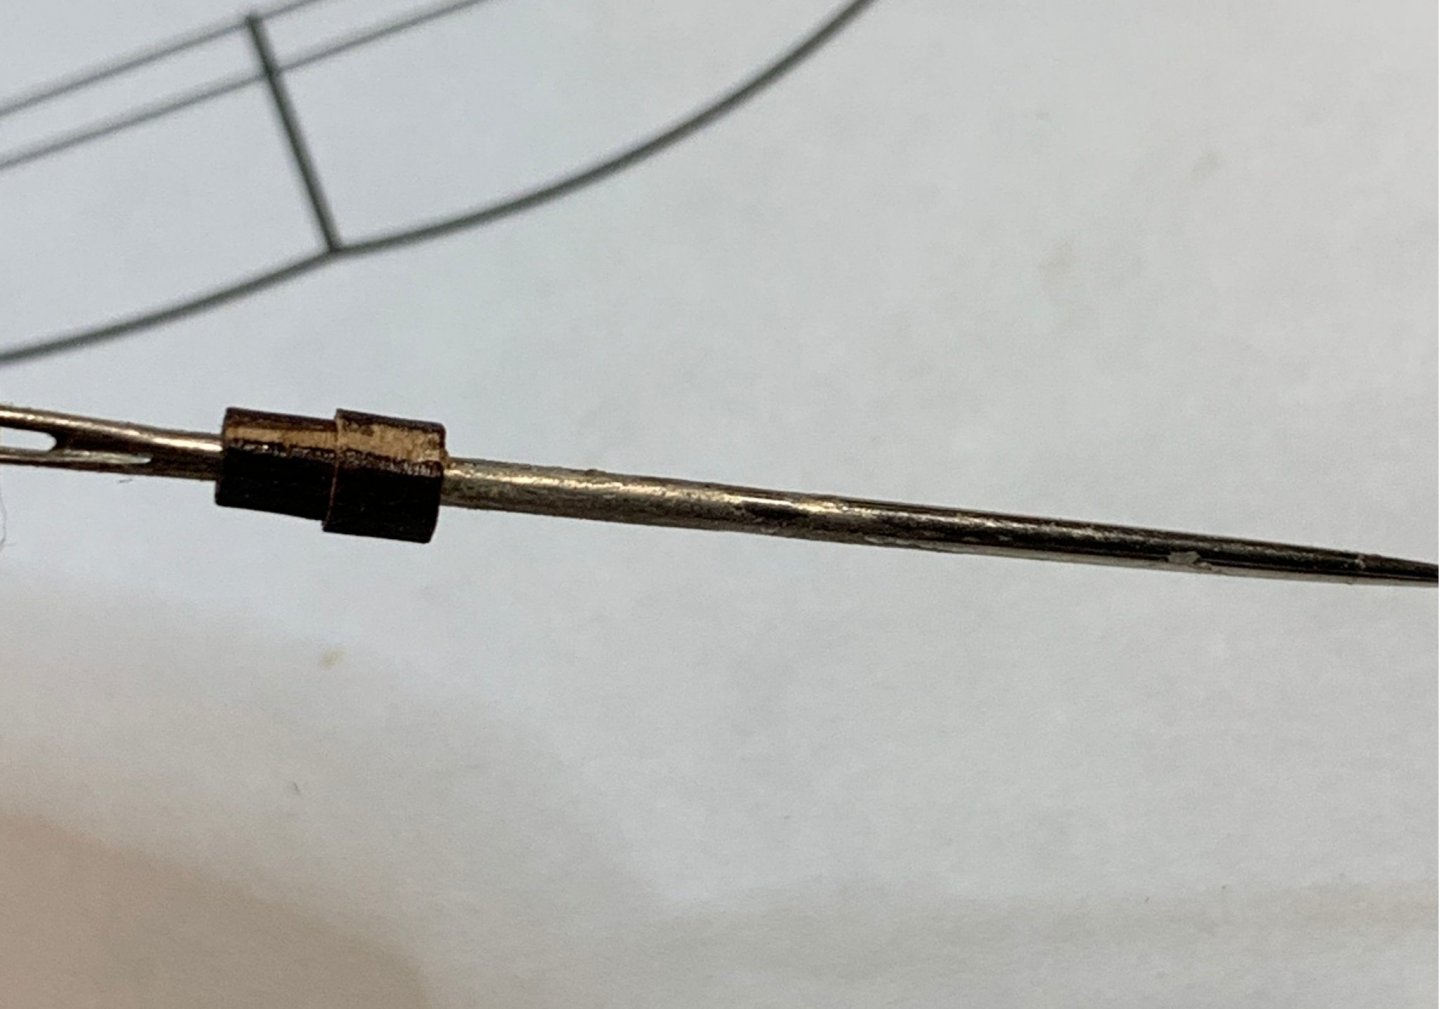
They slide off easily with almost no wax residue on them..
Happy modelling.. -
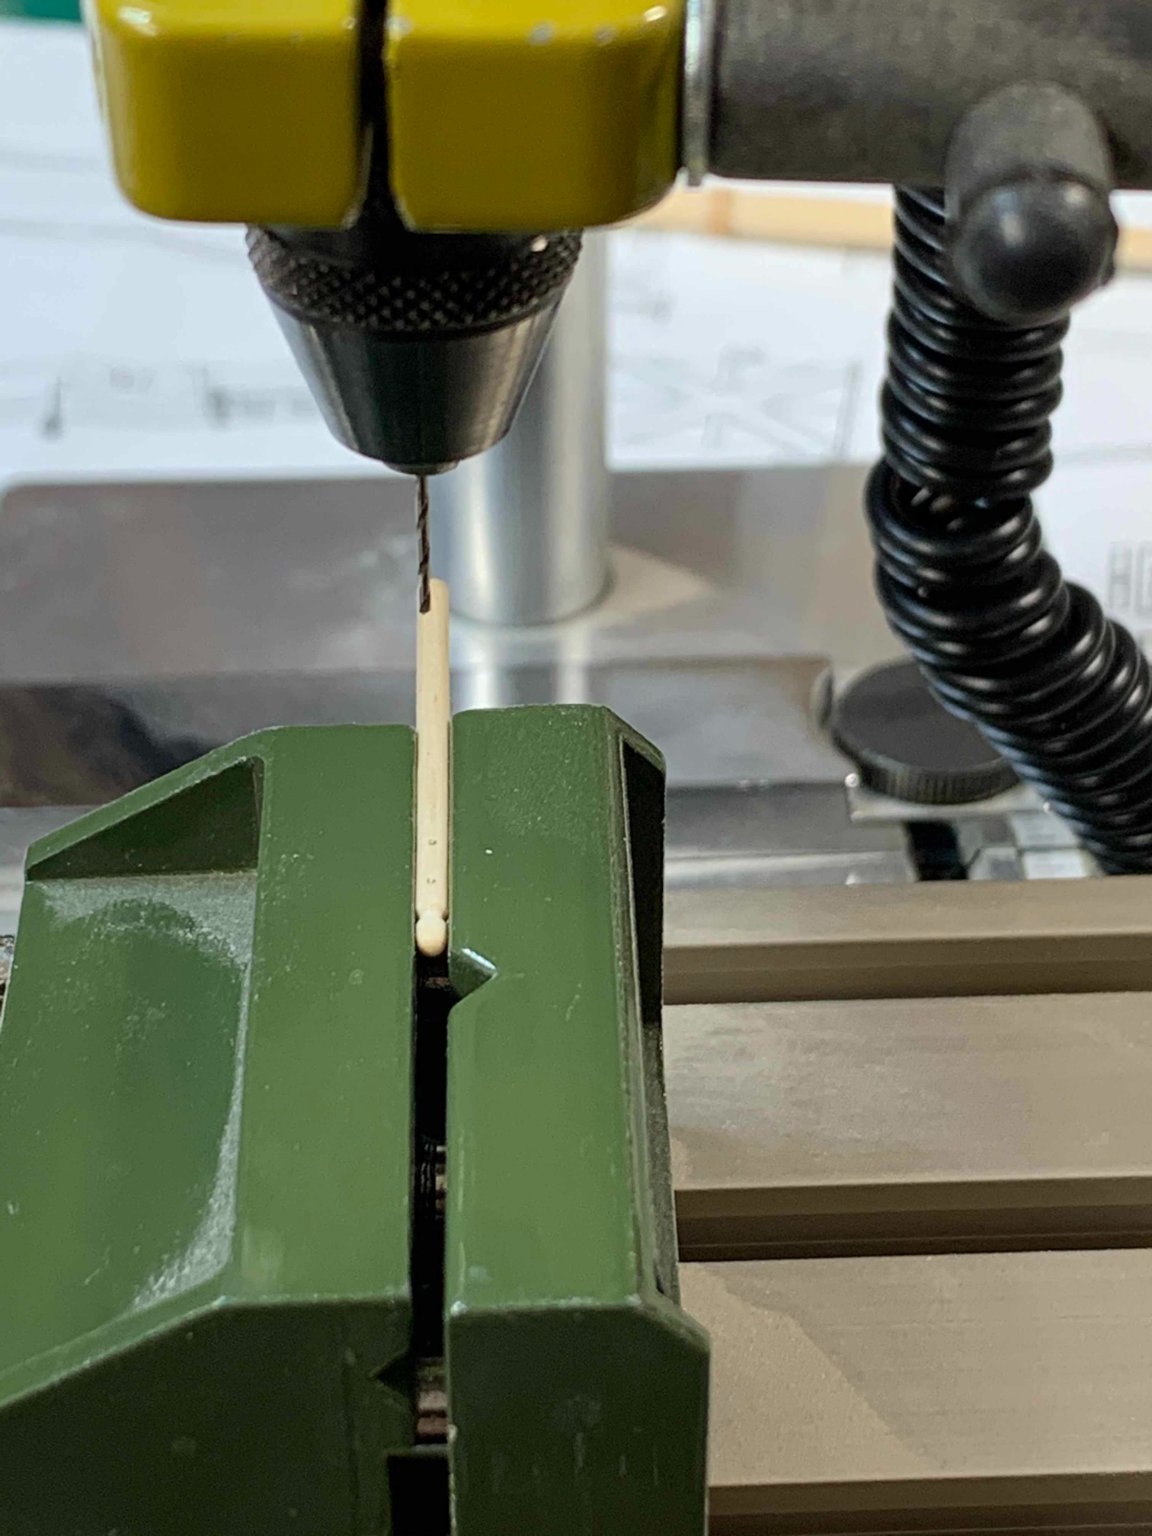
Work on topmasts (and parts of it) continues, drilling the hole for a fid and inserting it in..


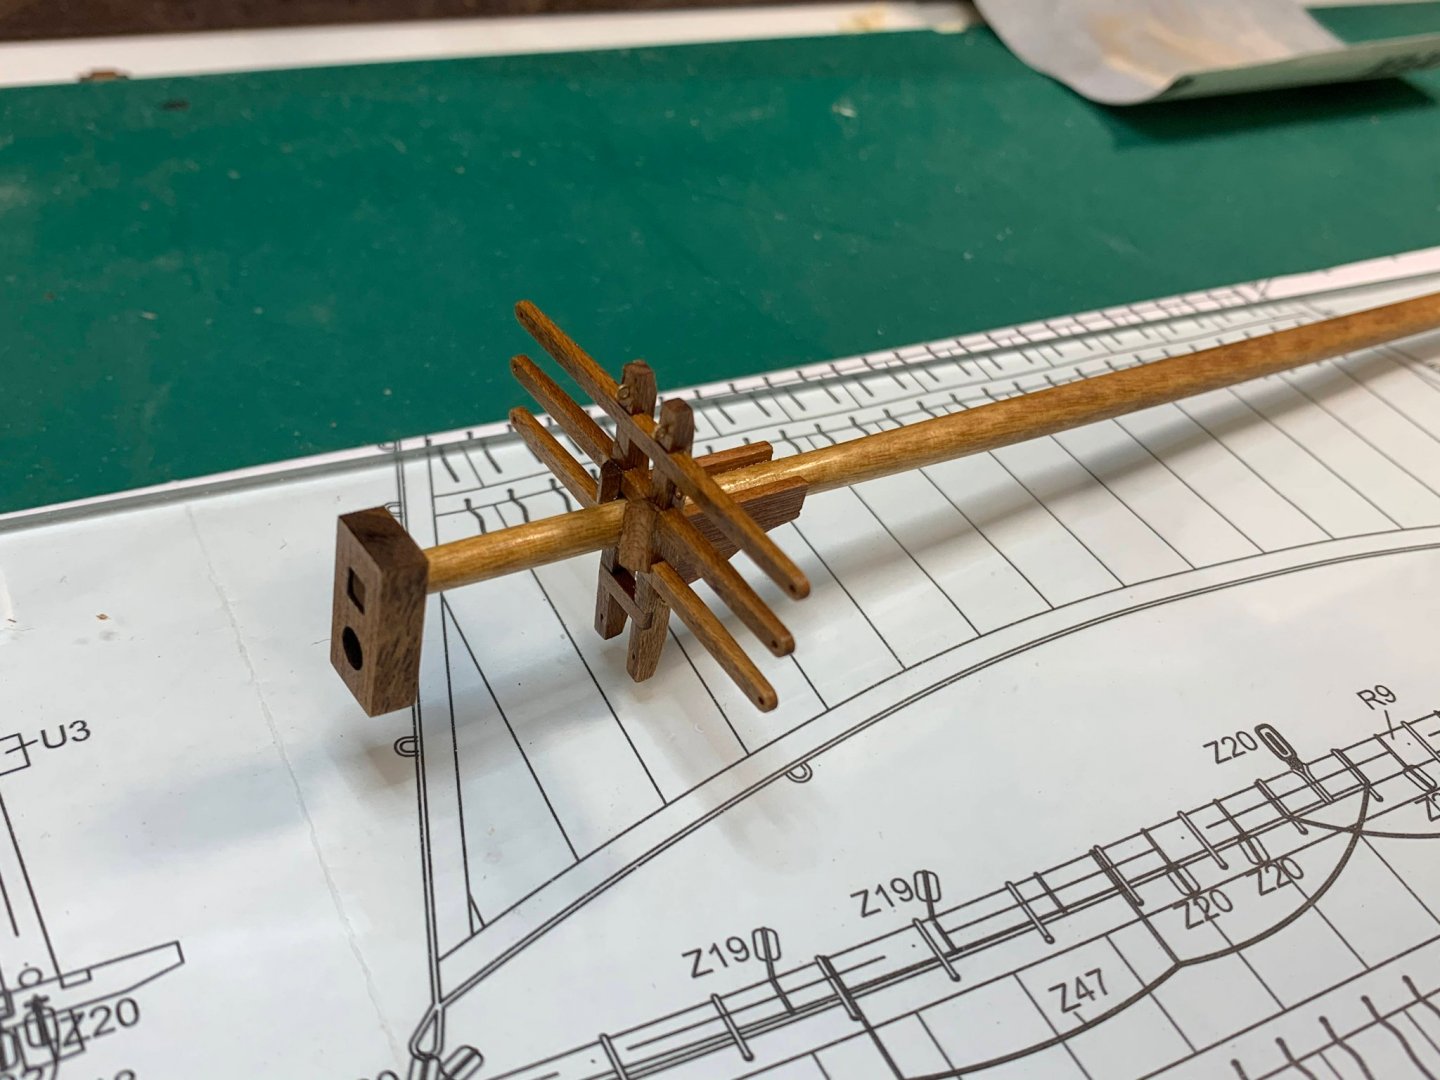
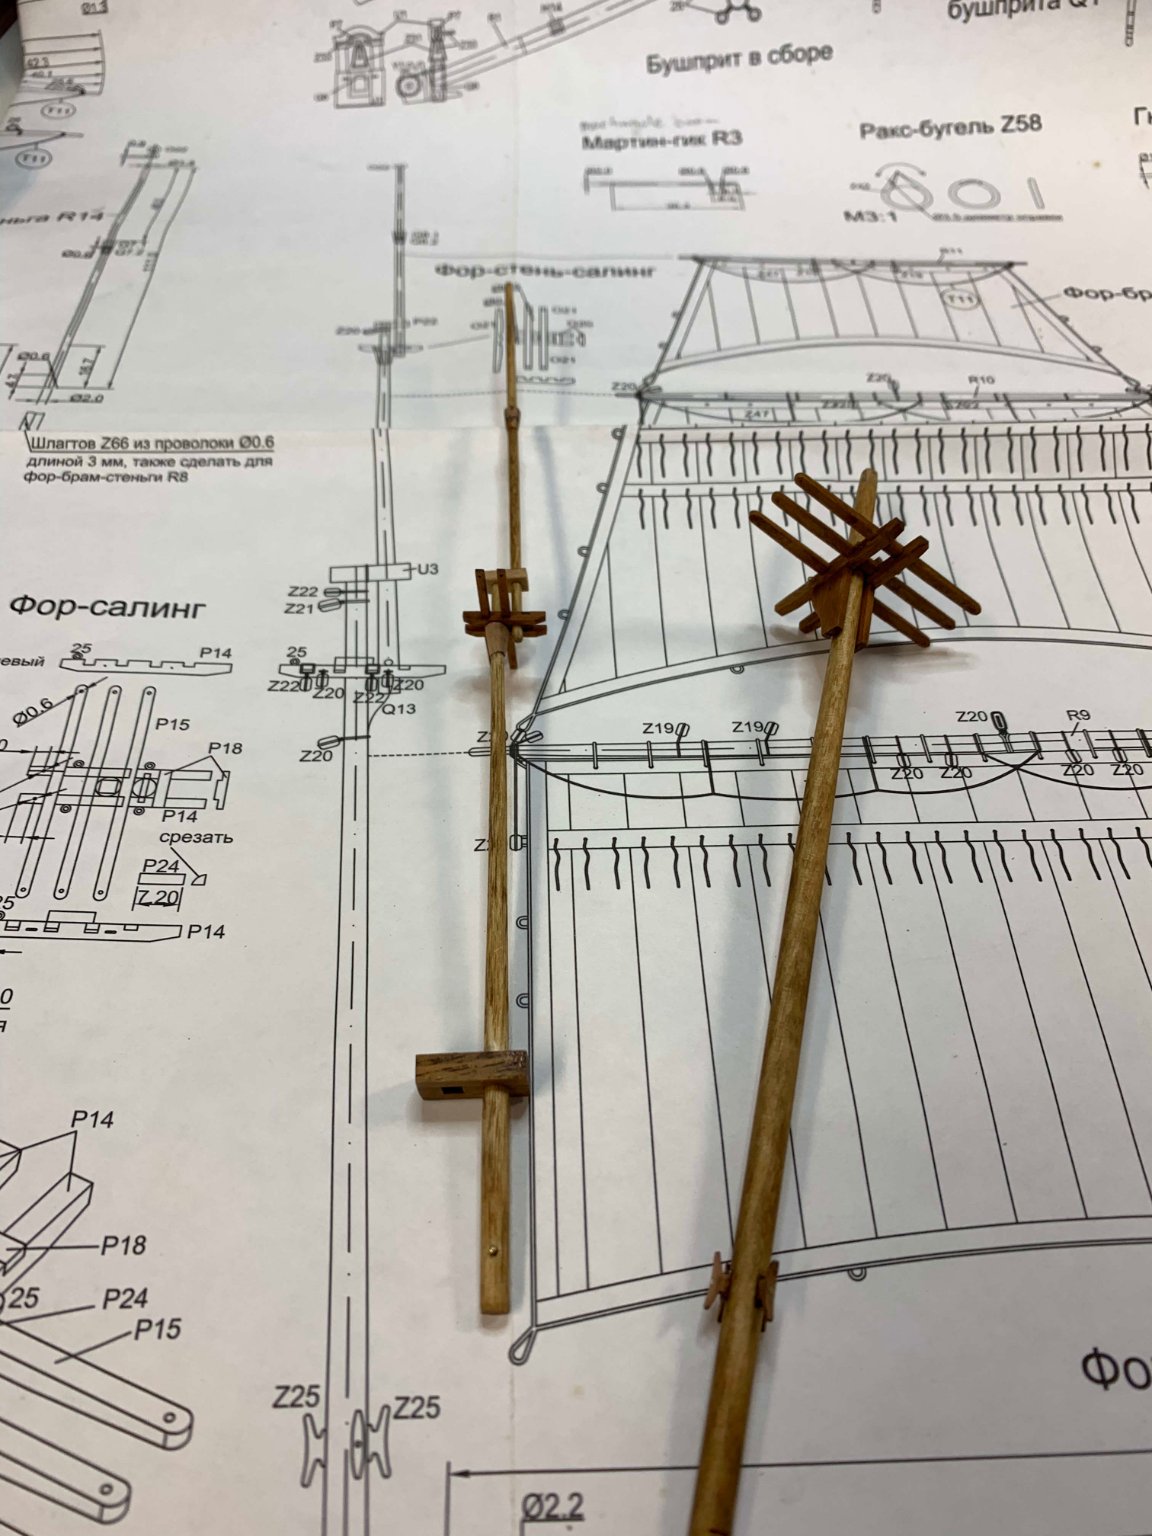
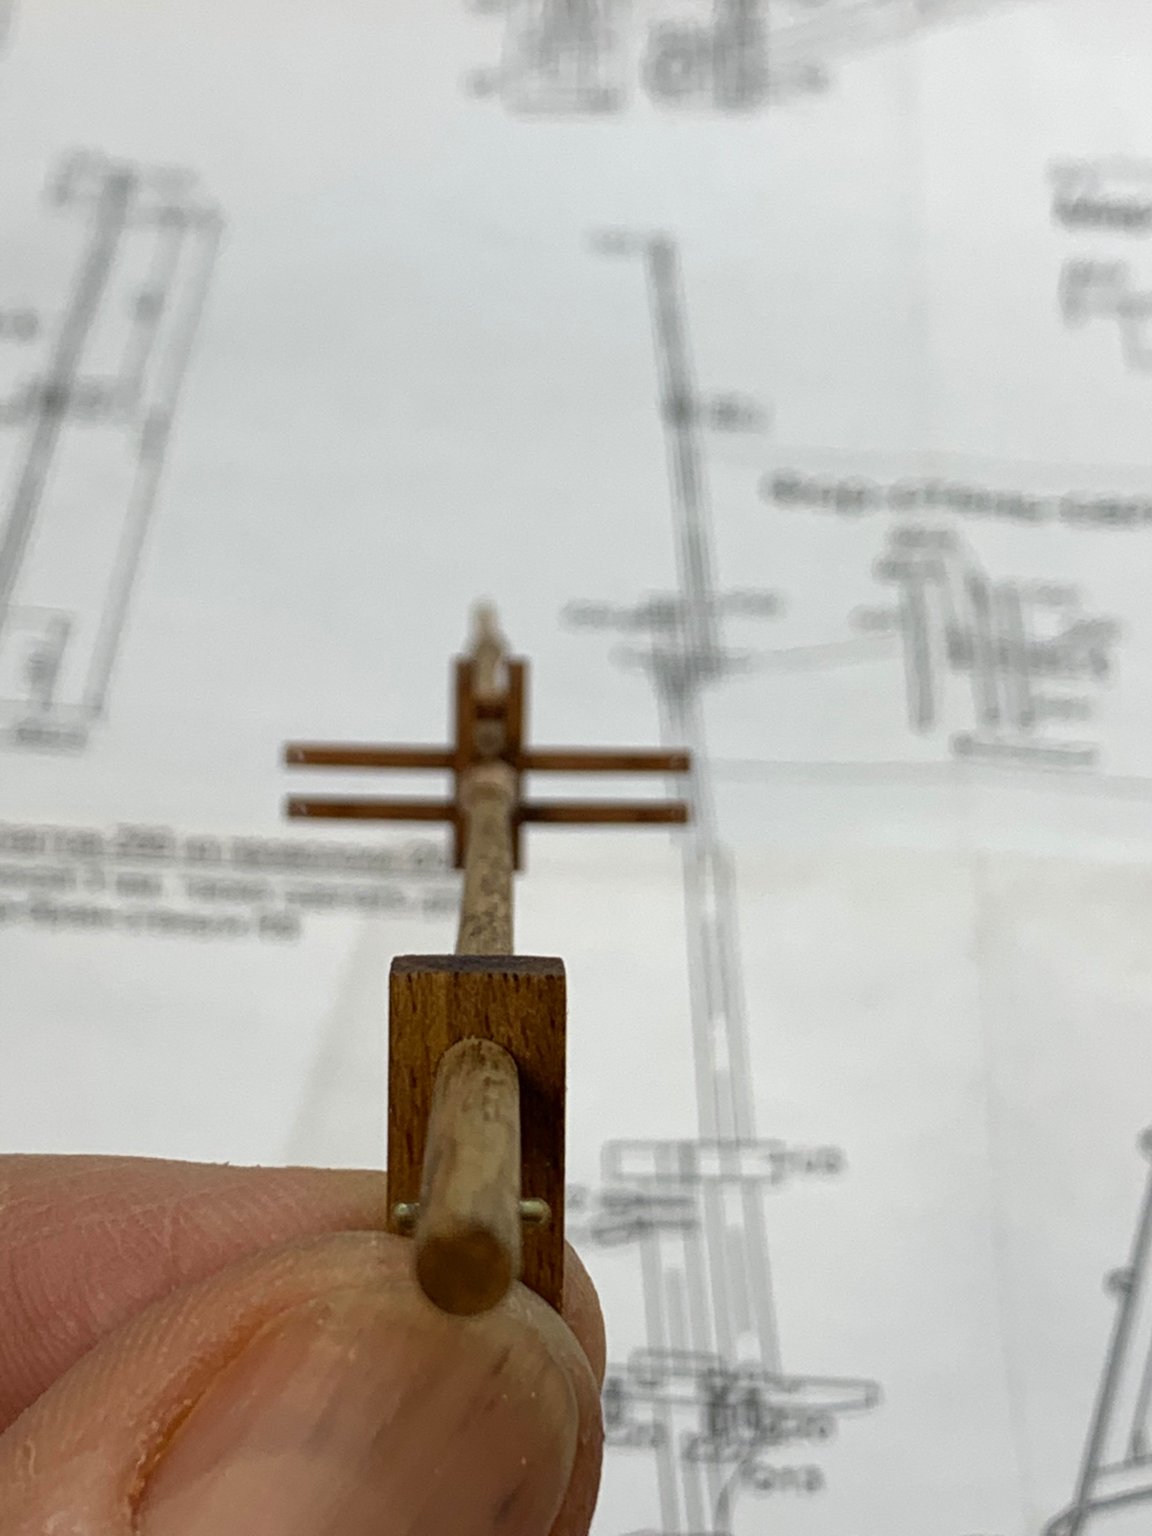
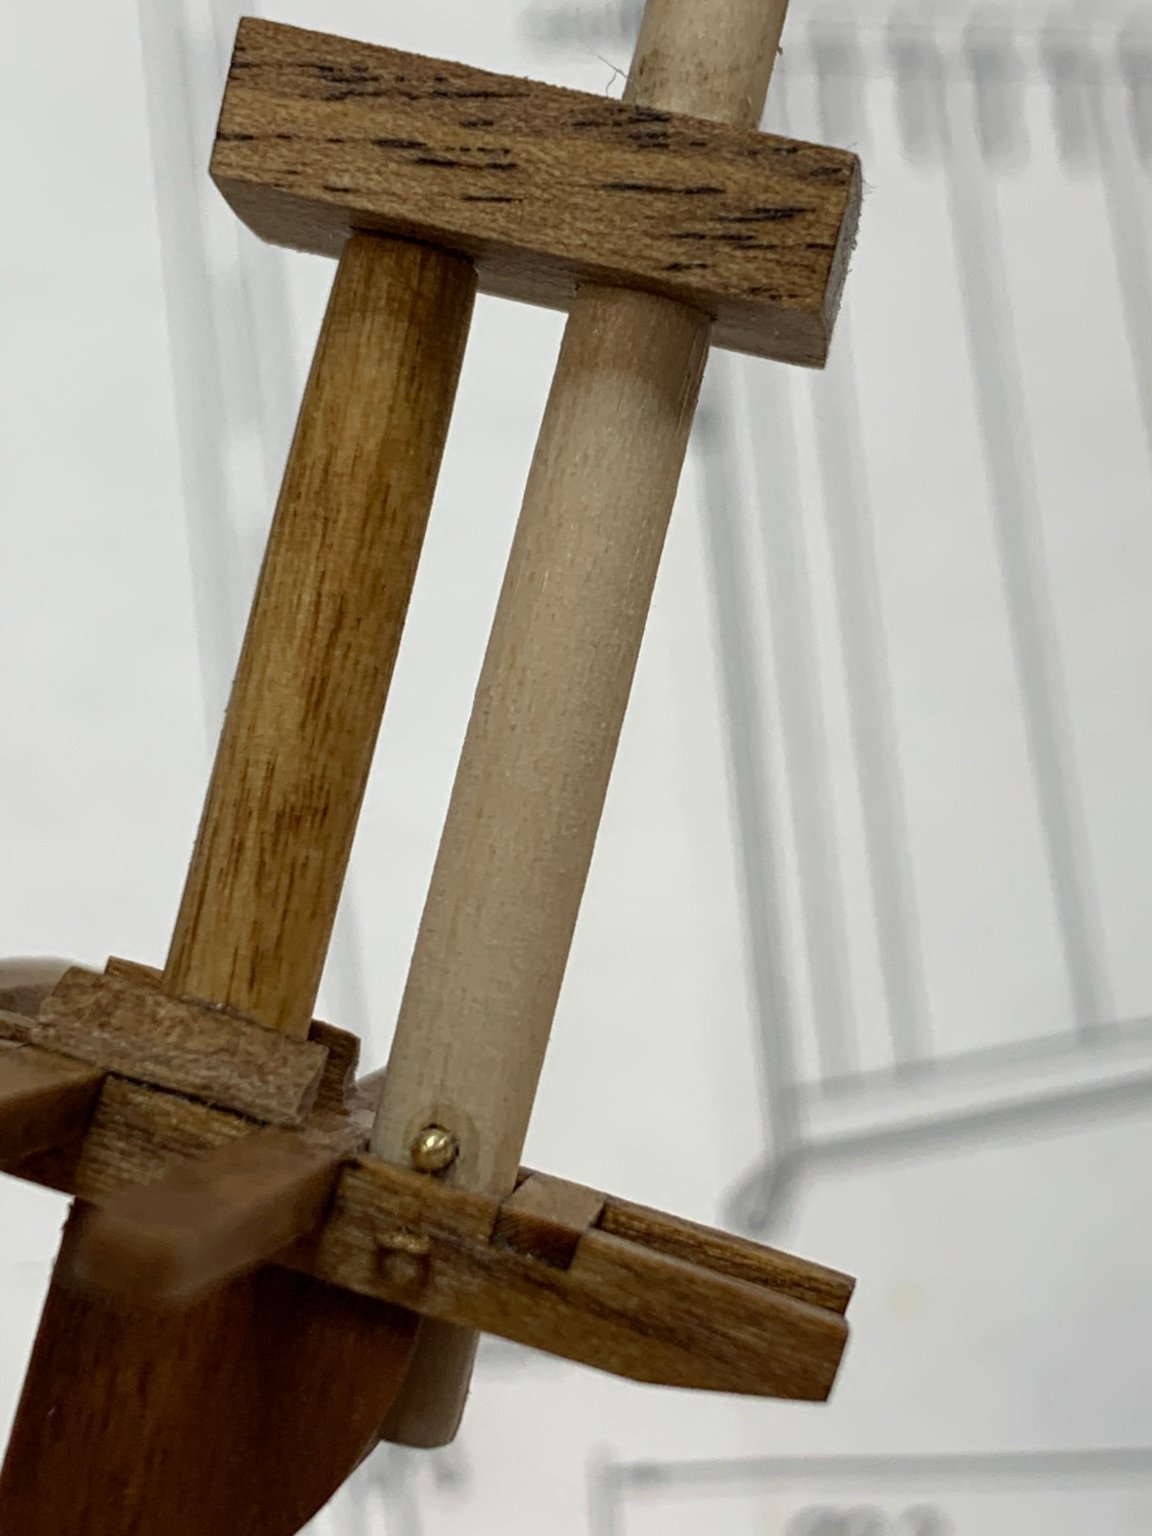
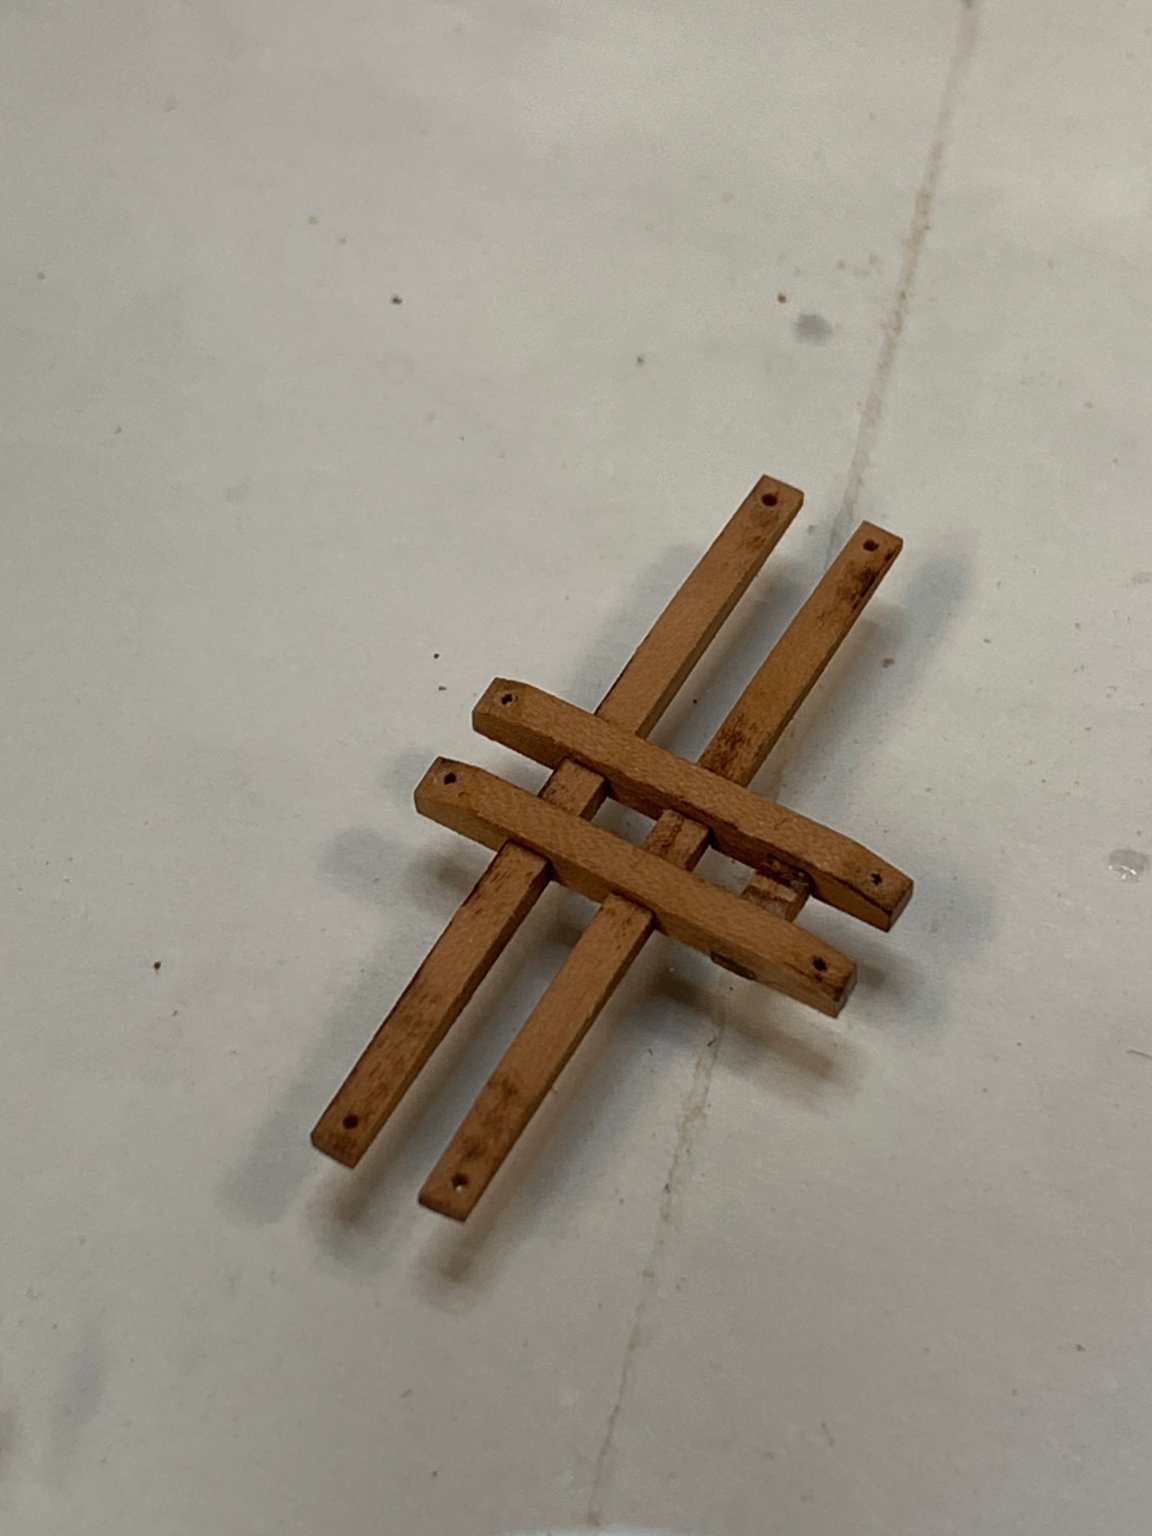
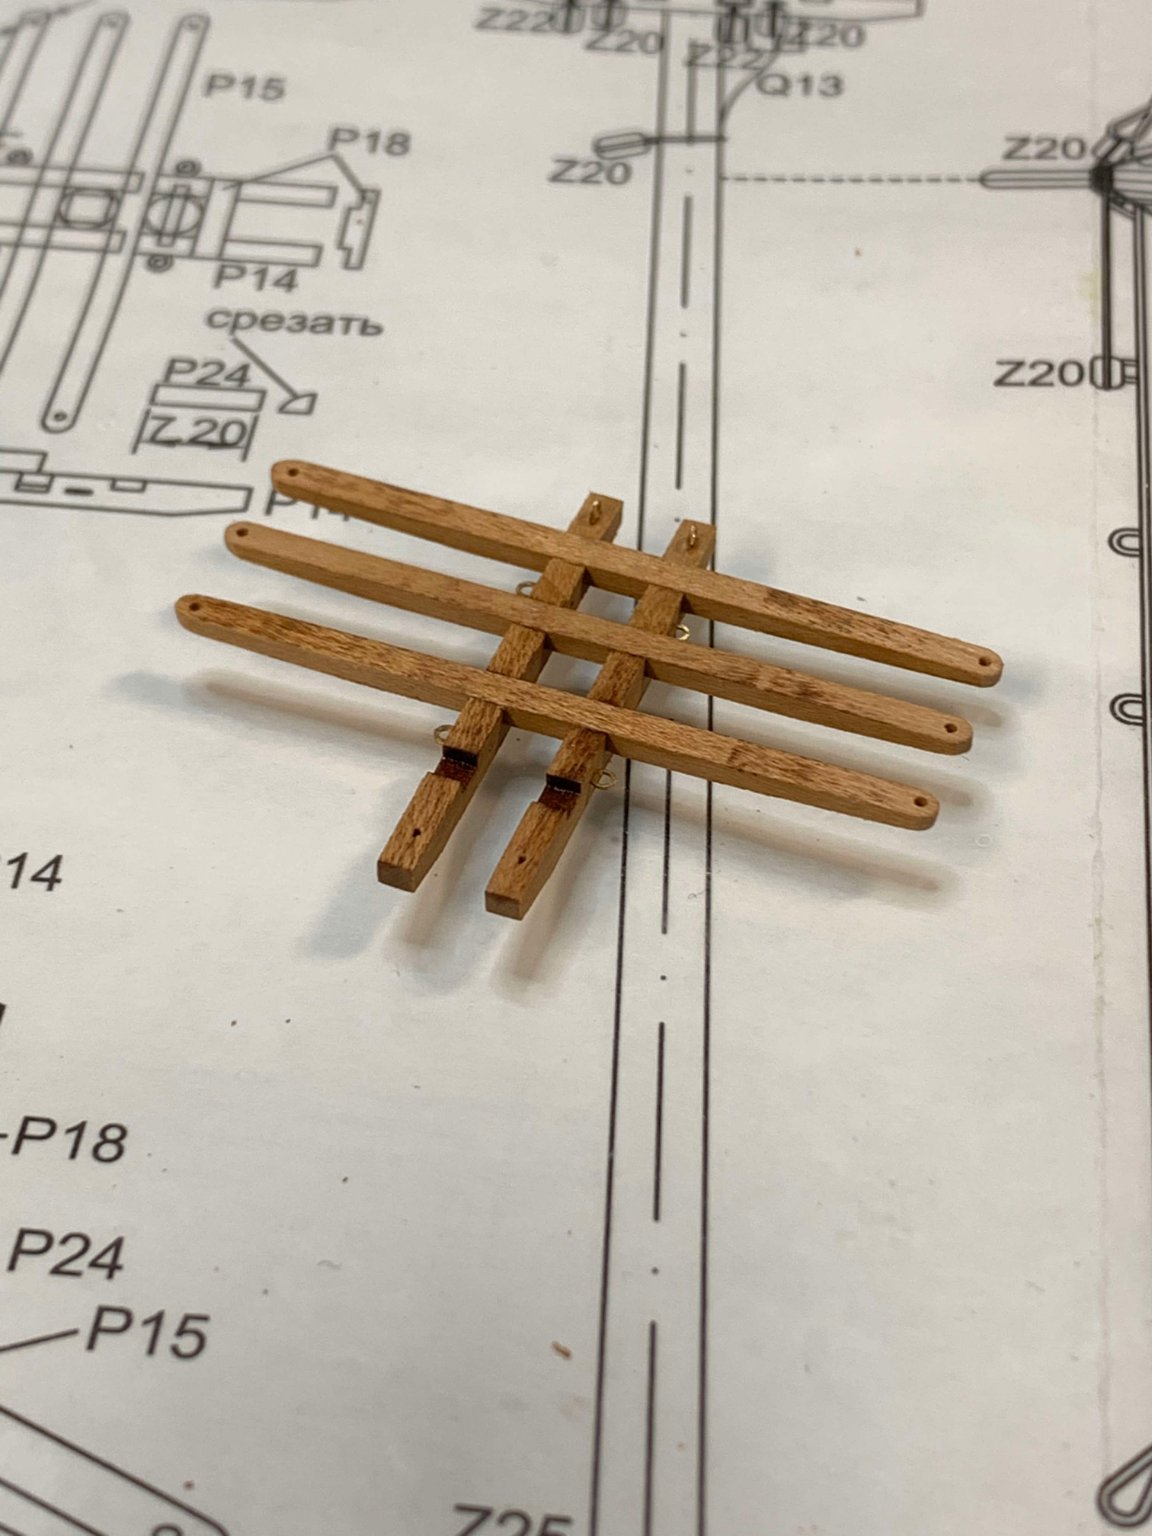
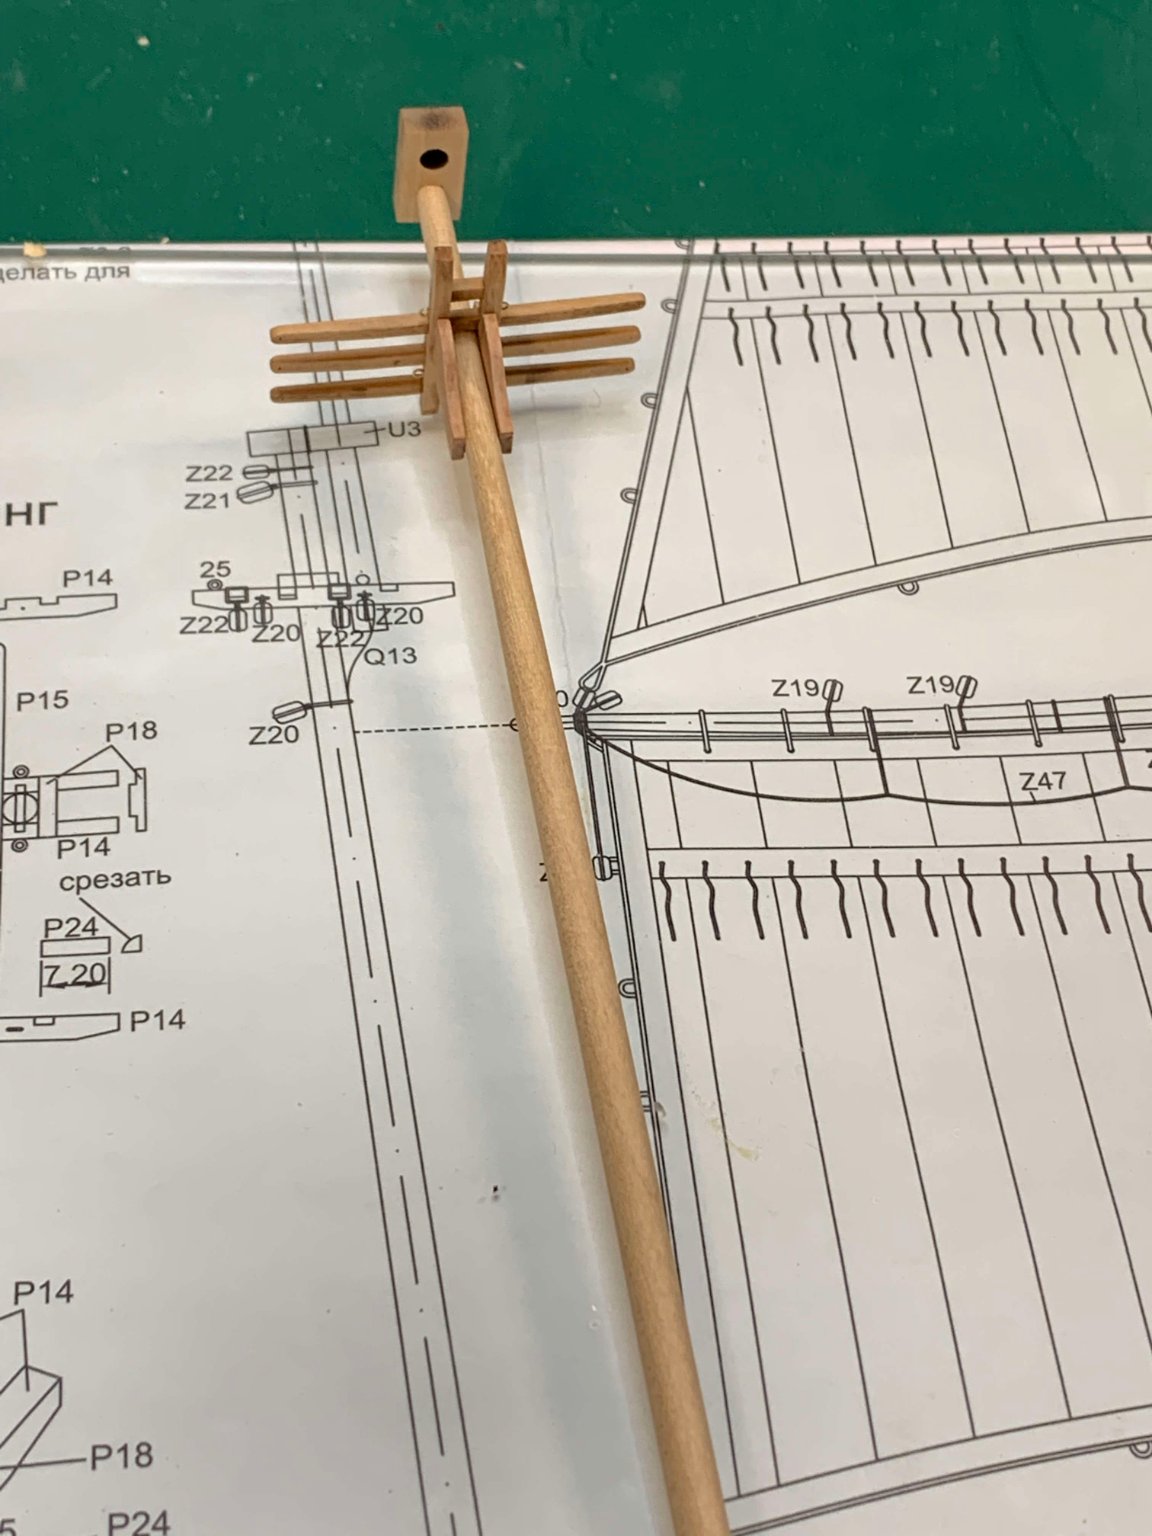
The crosstrees are build next. I decided to do the work of building the other topmast parts, getting them ready for assembly.
I made two extra holes on trestle-trees (towards the back) that will be filled..


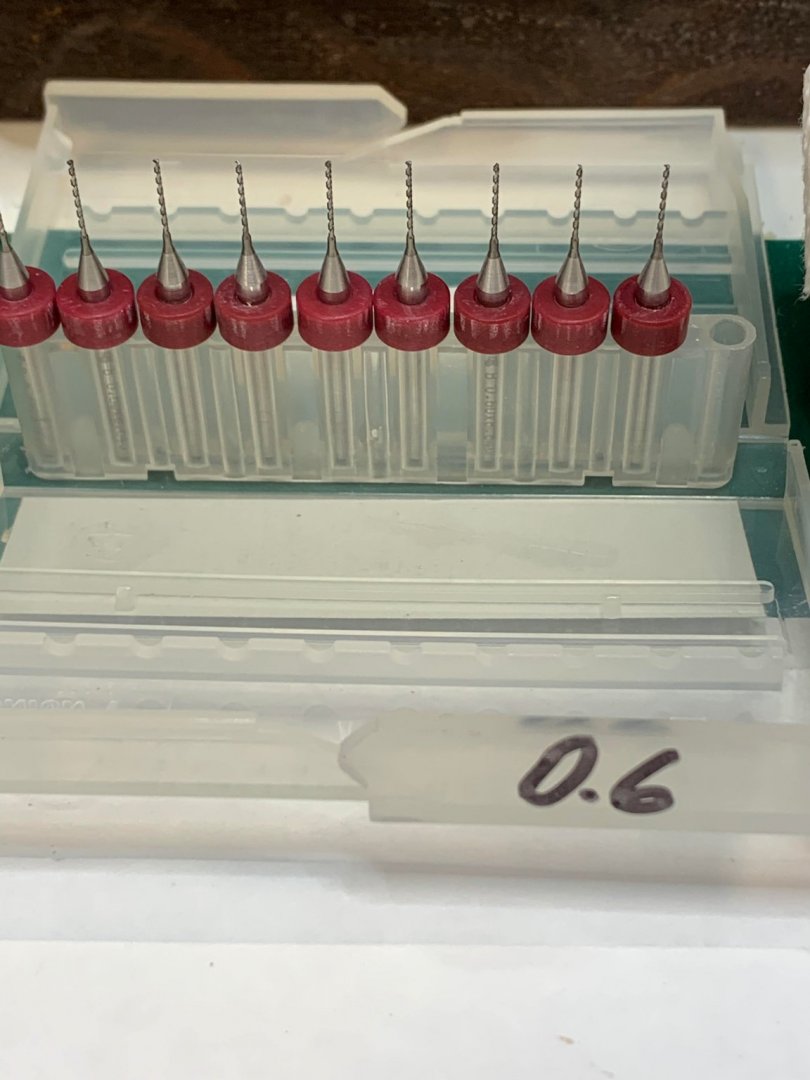
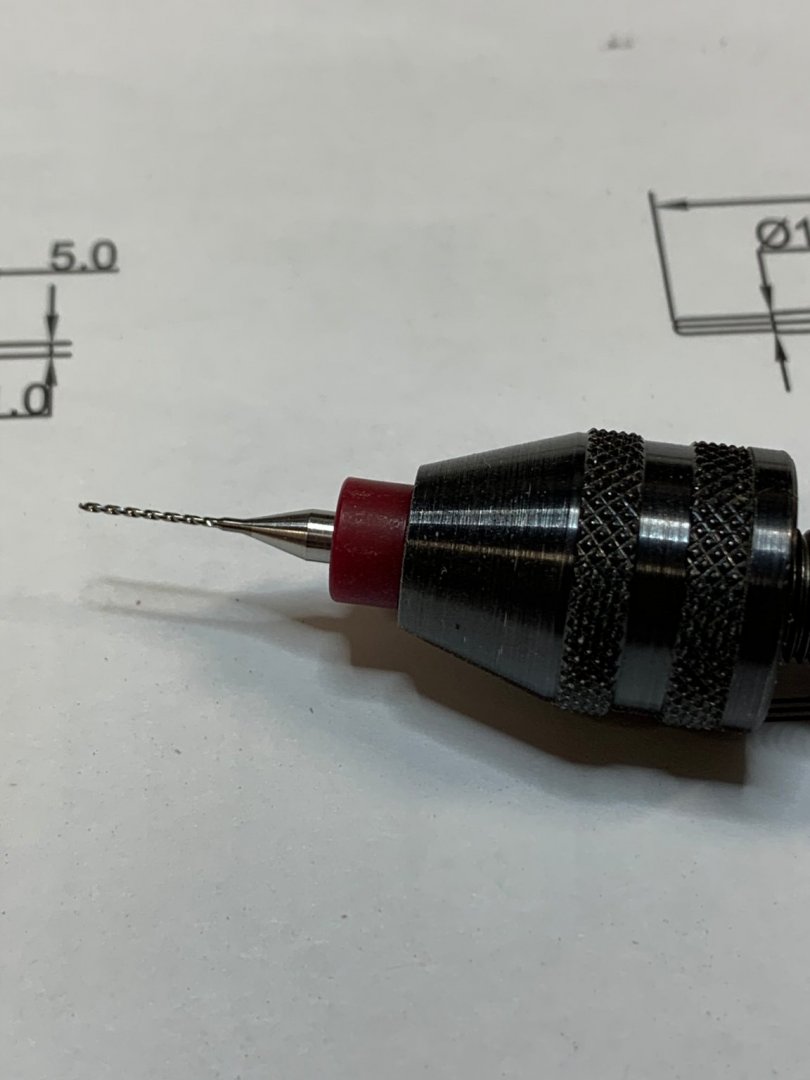
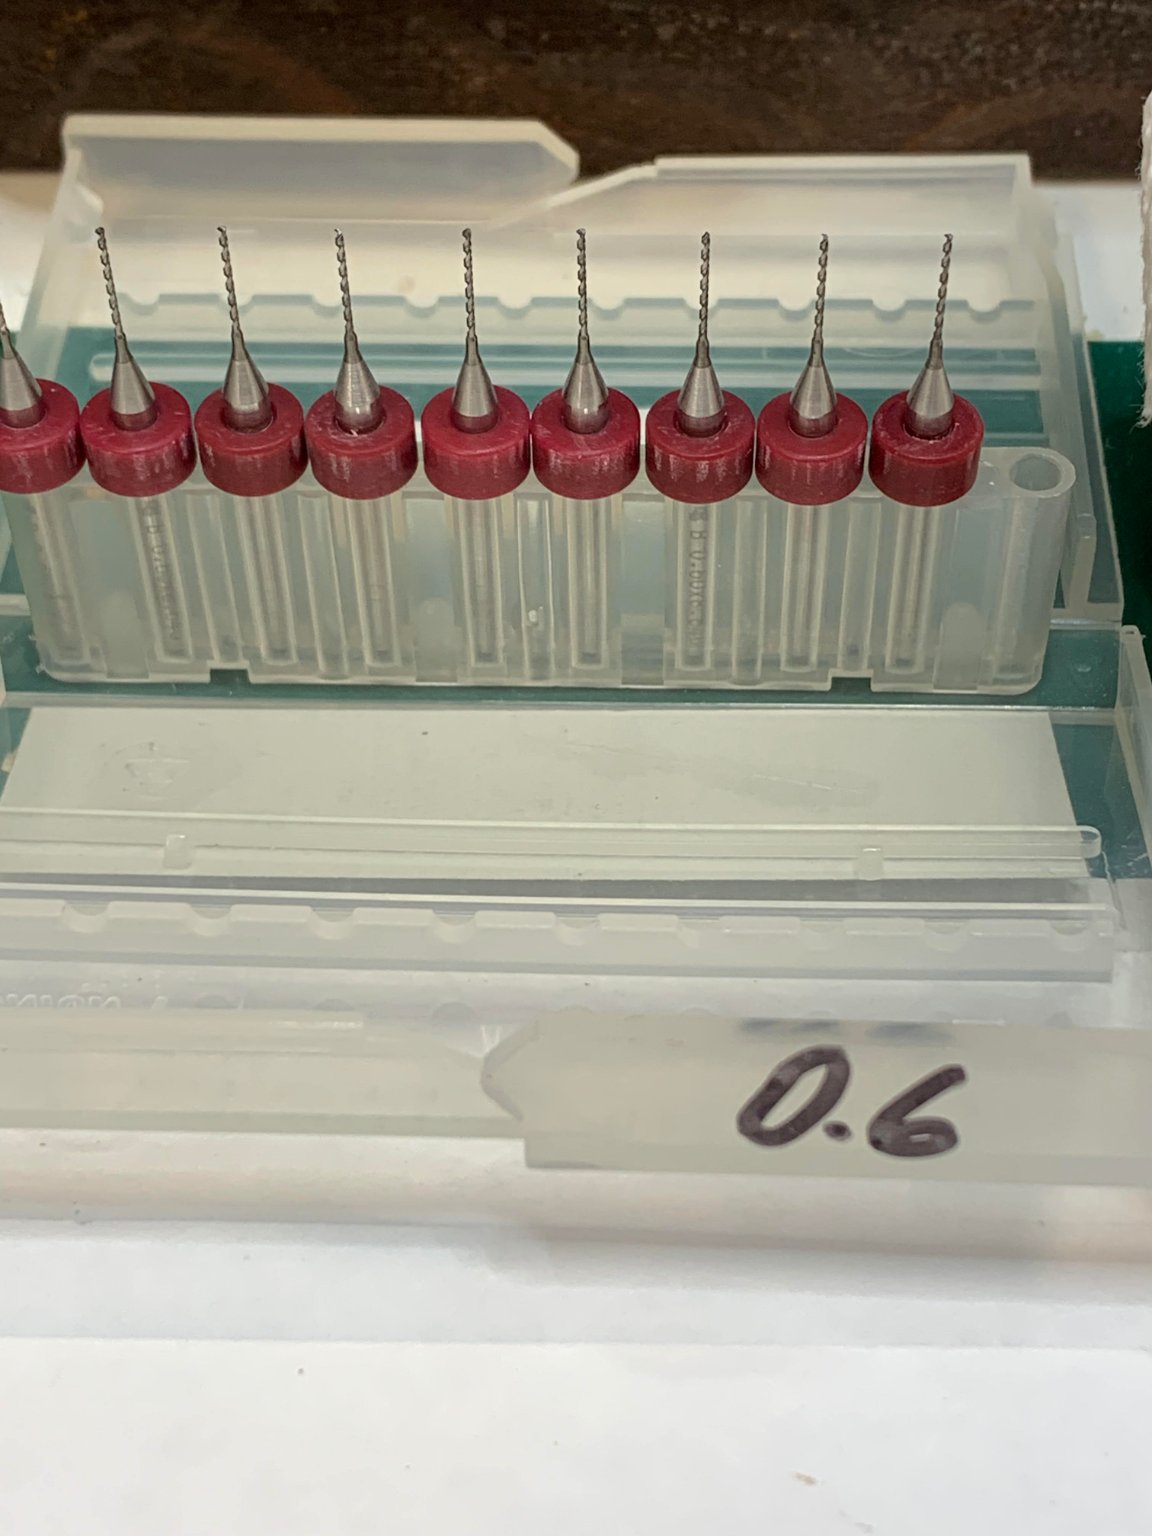
For drilling the hole, in this case 0.6mm, i used a new set of bits that Santa brought to me..
Happy modelling... -
Lets put some cleats on mast...
Piece of scotch tape was used to mark the location of cleats, easier to remove it after and dont have to worry about cleaning the marks afterwards...

The wire in the cleats have to be shortened a bit since wires might be preventing each other from penetrating the wood, as they supposed to be the the same line.. a bit of a glue in a drilled hole and slight push works well...
Then i started to work on topmasts... shaping with a sandpaper and using my wood lathe..
Dry fit testing...

Extra wood will be removed...
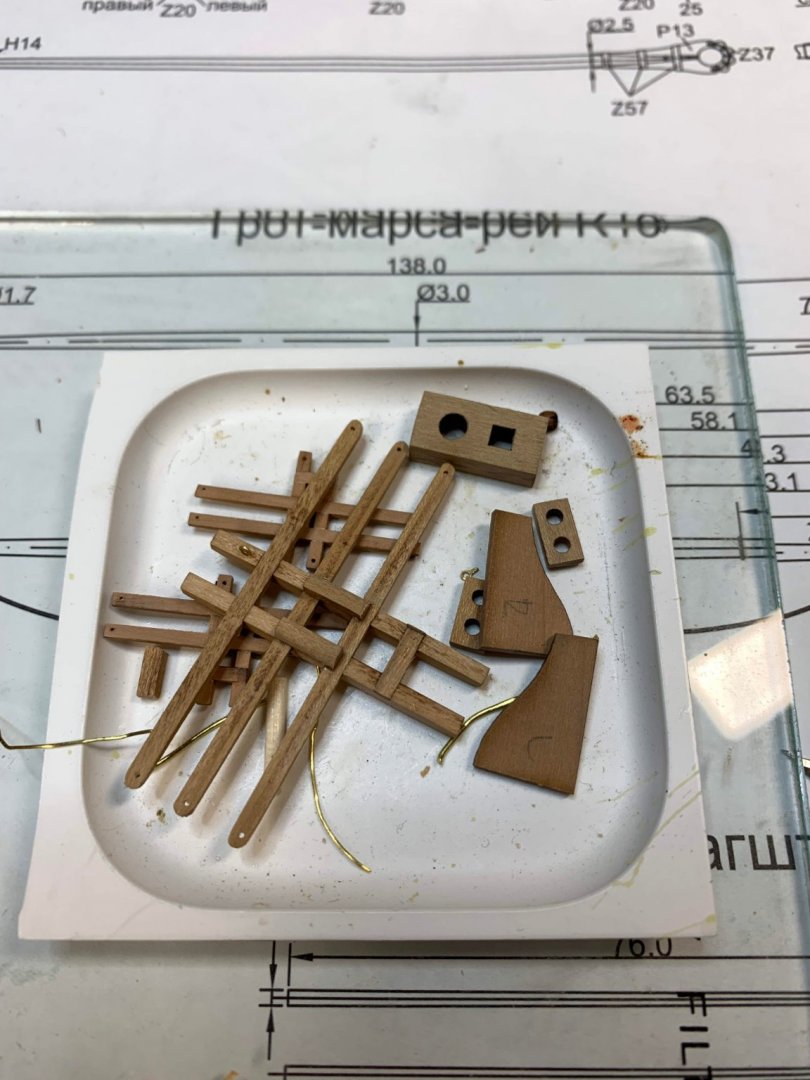
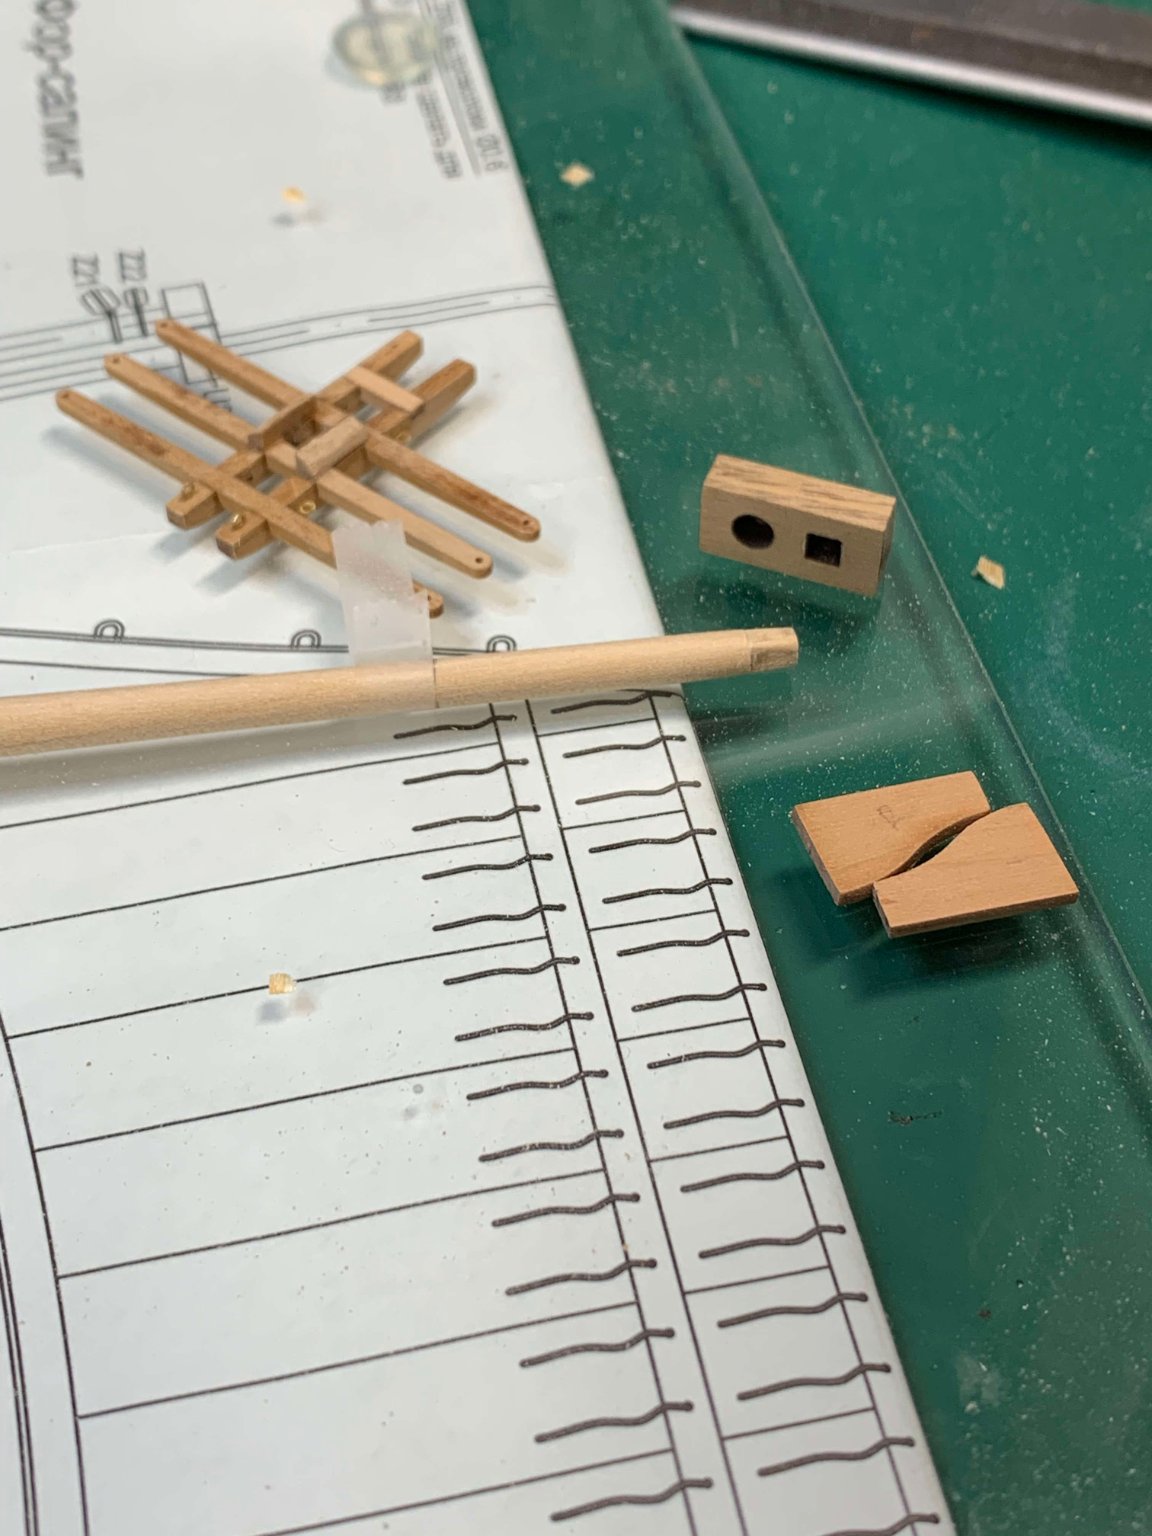
The work on topmasts will continue later. Was feeling like working on cheers now so making a cheers was a next step. The plan and real parts are not matching in my kit so a bit of double-checking was done prior to removing all needed parts...

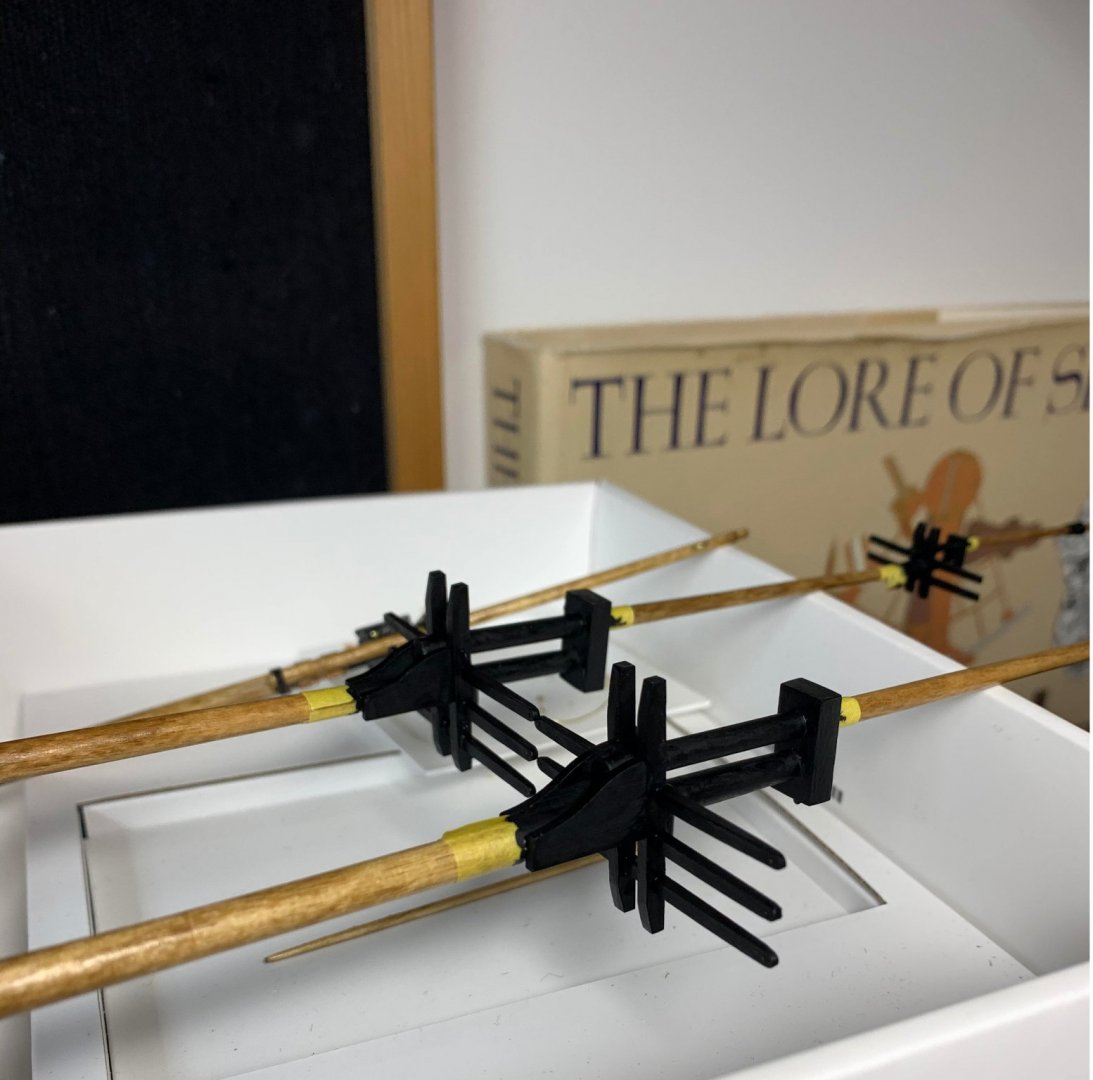
Cheers are put on a toothpick that was widened with a few layers of scotch tape so parts can fit in and hold in place while working on them. You can use a drill bit covered with wax or some other parts, whatever works...
Happy modelling.. -
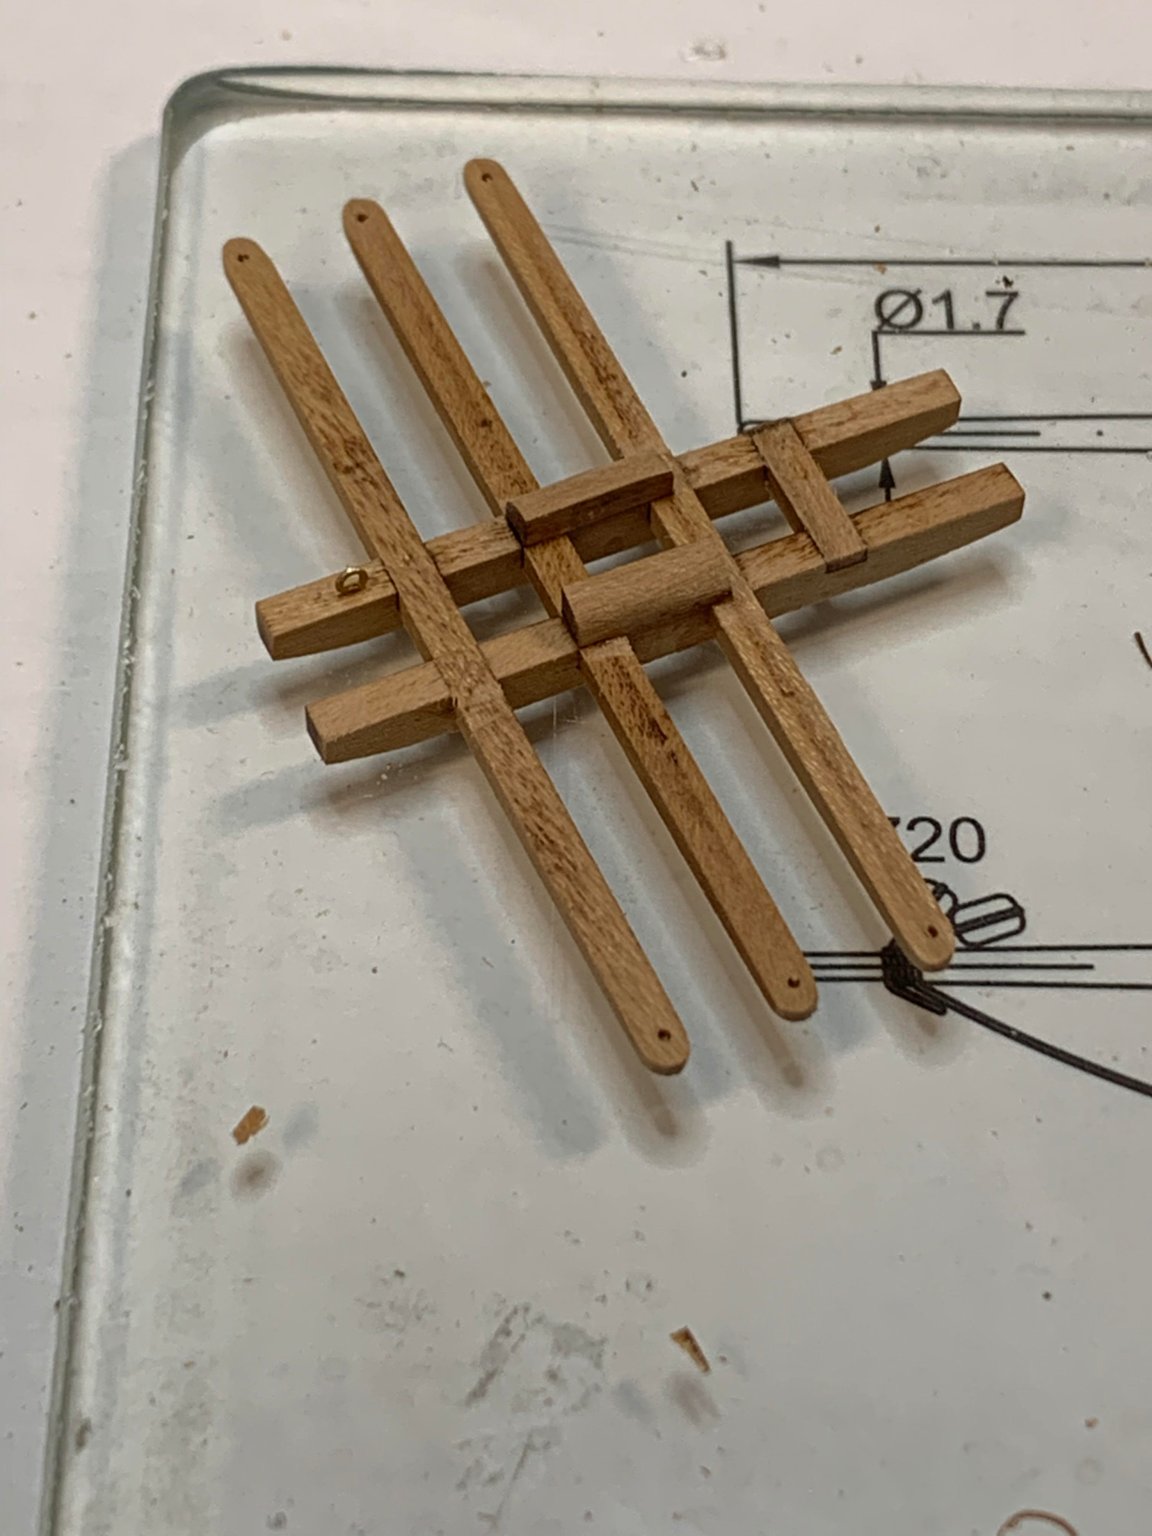
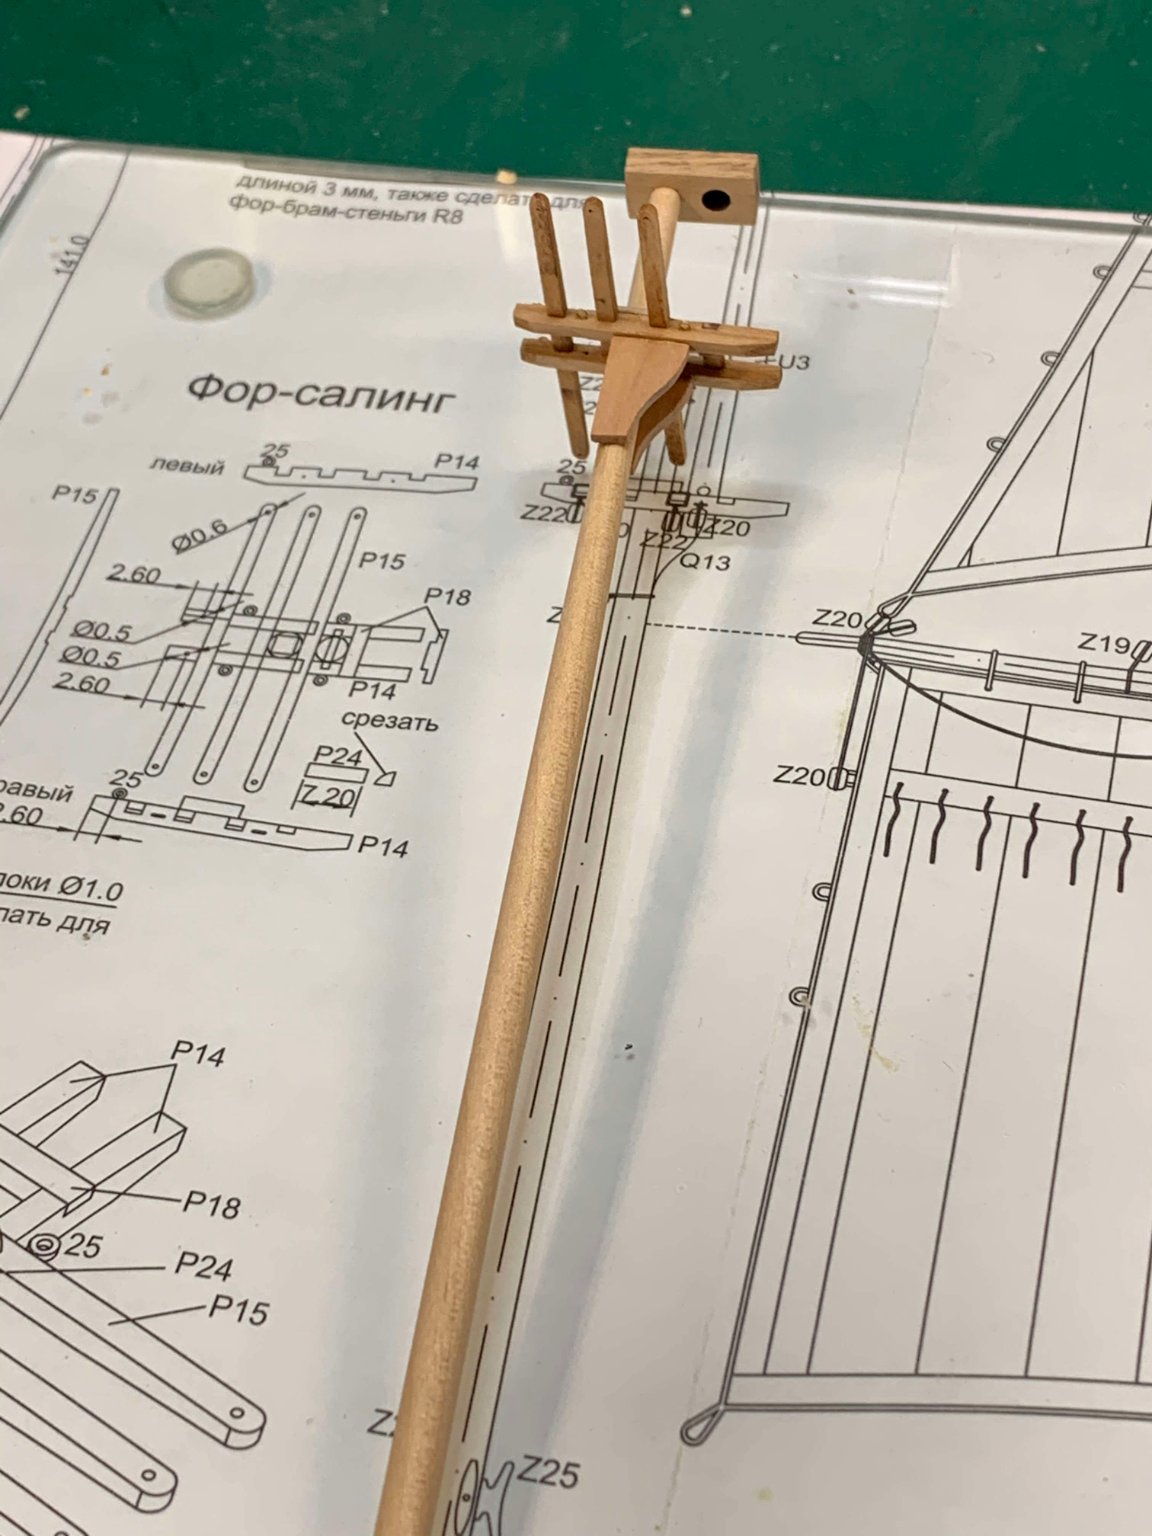
All parts are lightly sanded and ends were rounded, required holes are drilled with 0.6mm bit... I also inserted all eyebolts. In this case i used eyebolts provided with the kit. At this size they will not be that visible, particularly once blackened and hidden by other mast parts. You can insert them before or after you glue all parts but it is easier while all parts are easy to reach...
Cross-trees are glued inside with a CA glue.

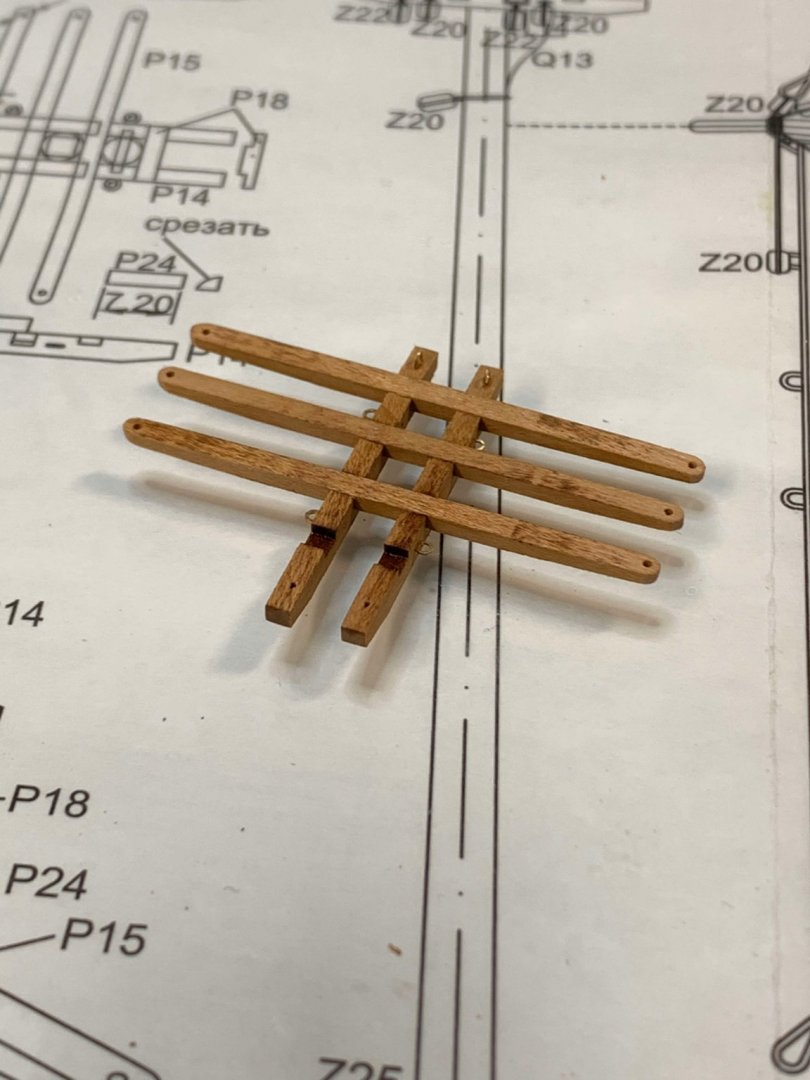
Shroud supports are glued and sanded to correct shape.
Then i started to tapper mast with just a sandpaper.. The top has to be made a square to fit a mastcap.

 All parts are ready for assembly..

Just make sure you follow correct angle at which the cross-trees seats on the mast.


And the mast was stained in golden oak..

Happy modelling.... -
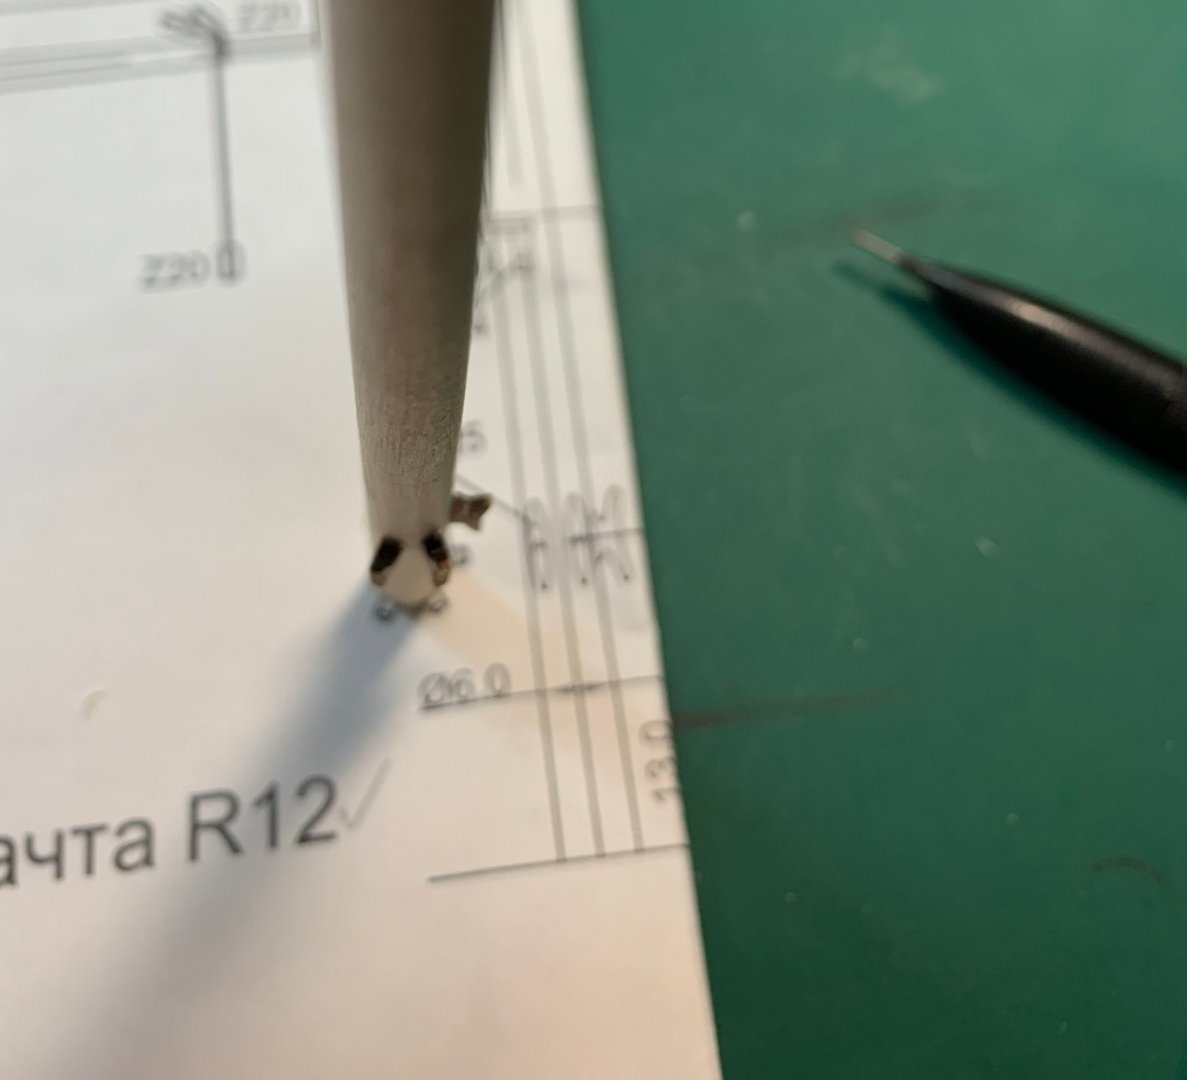
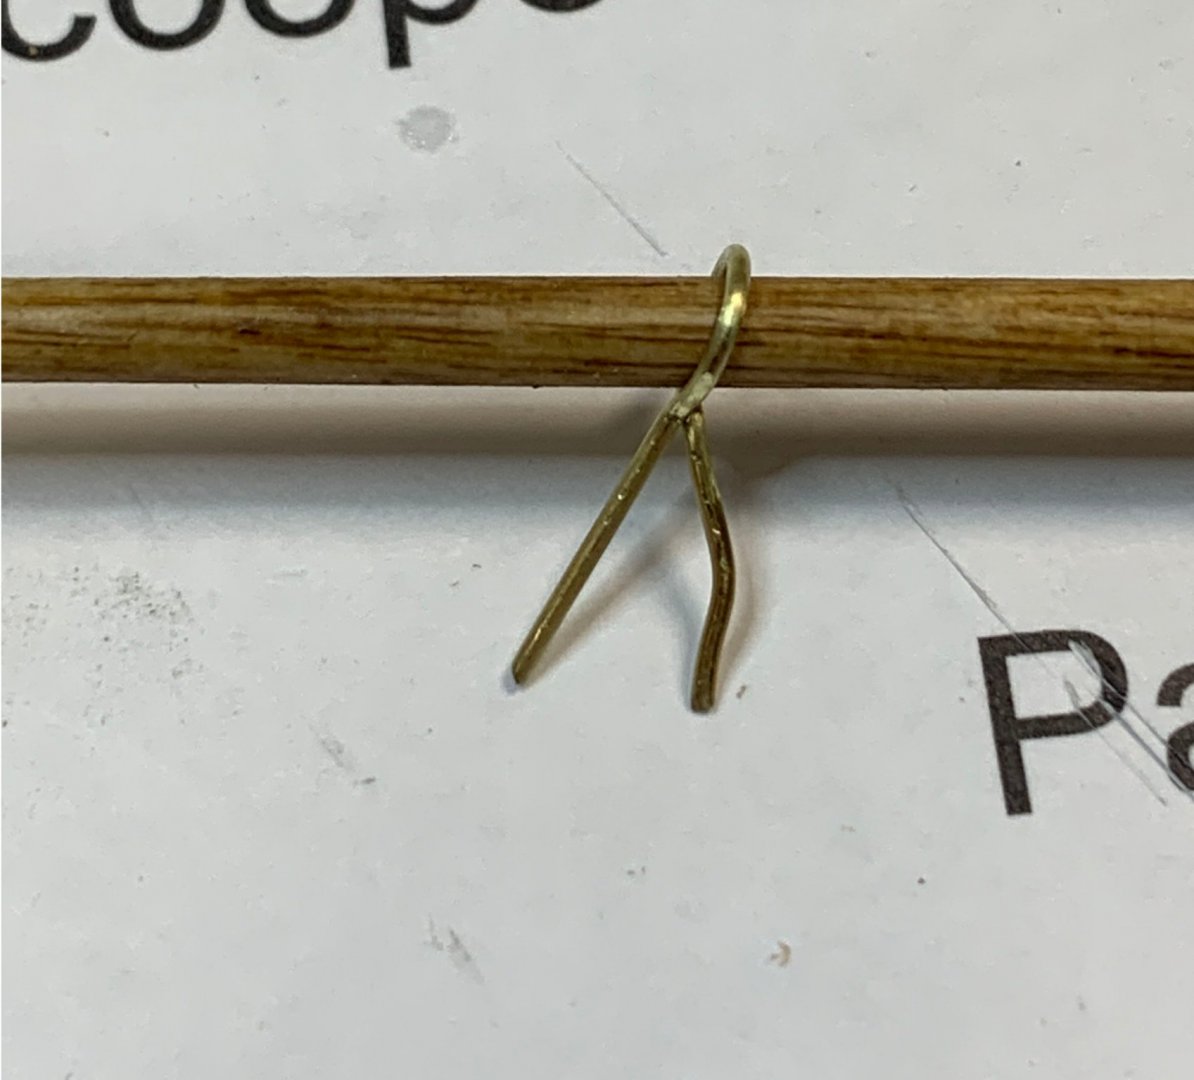
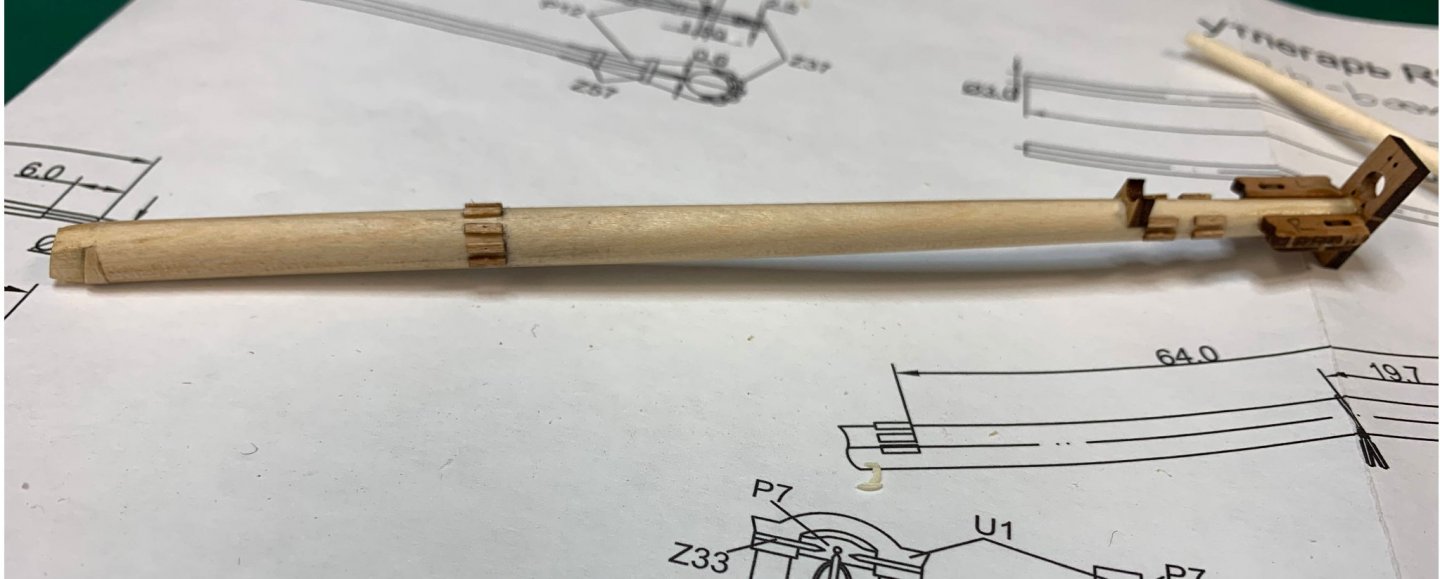
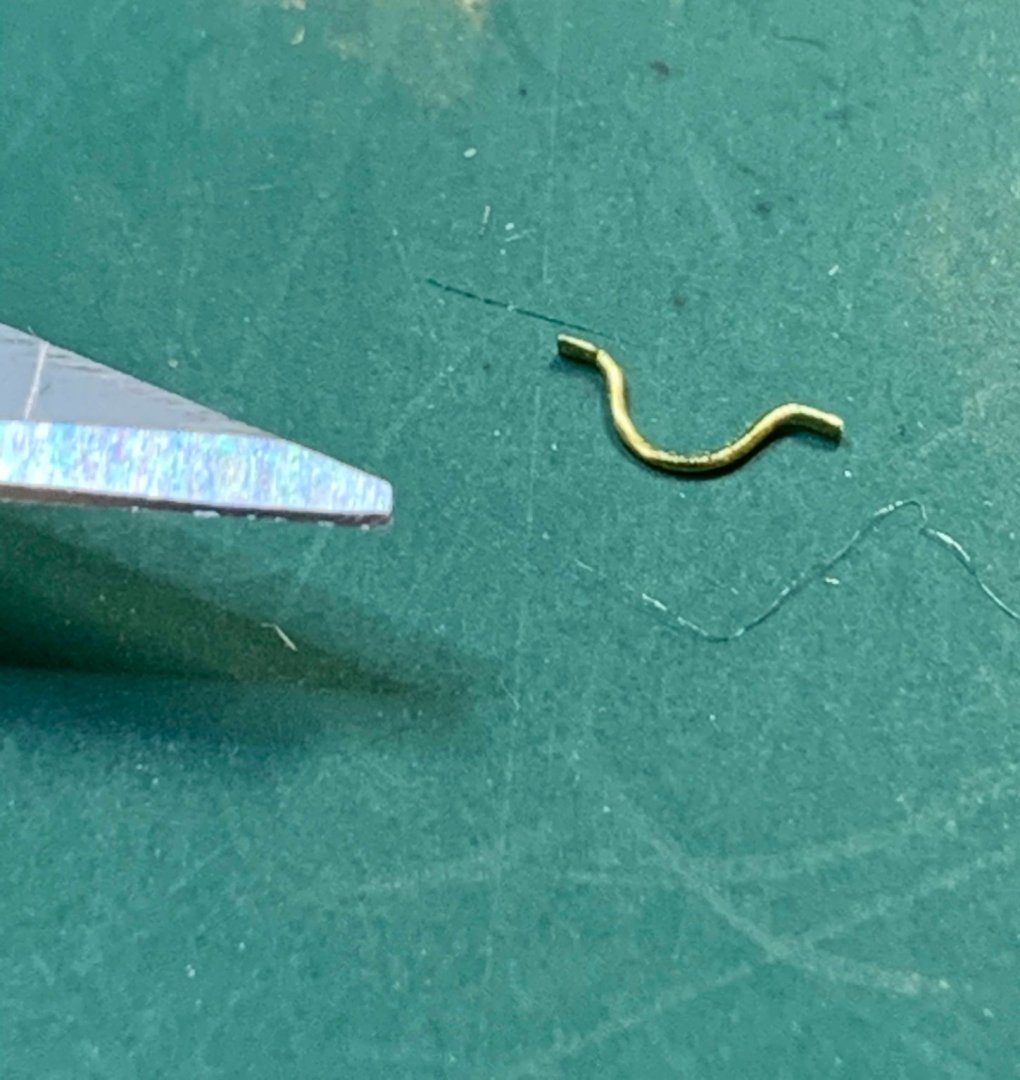
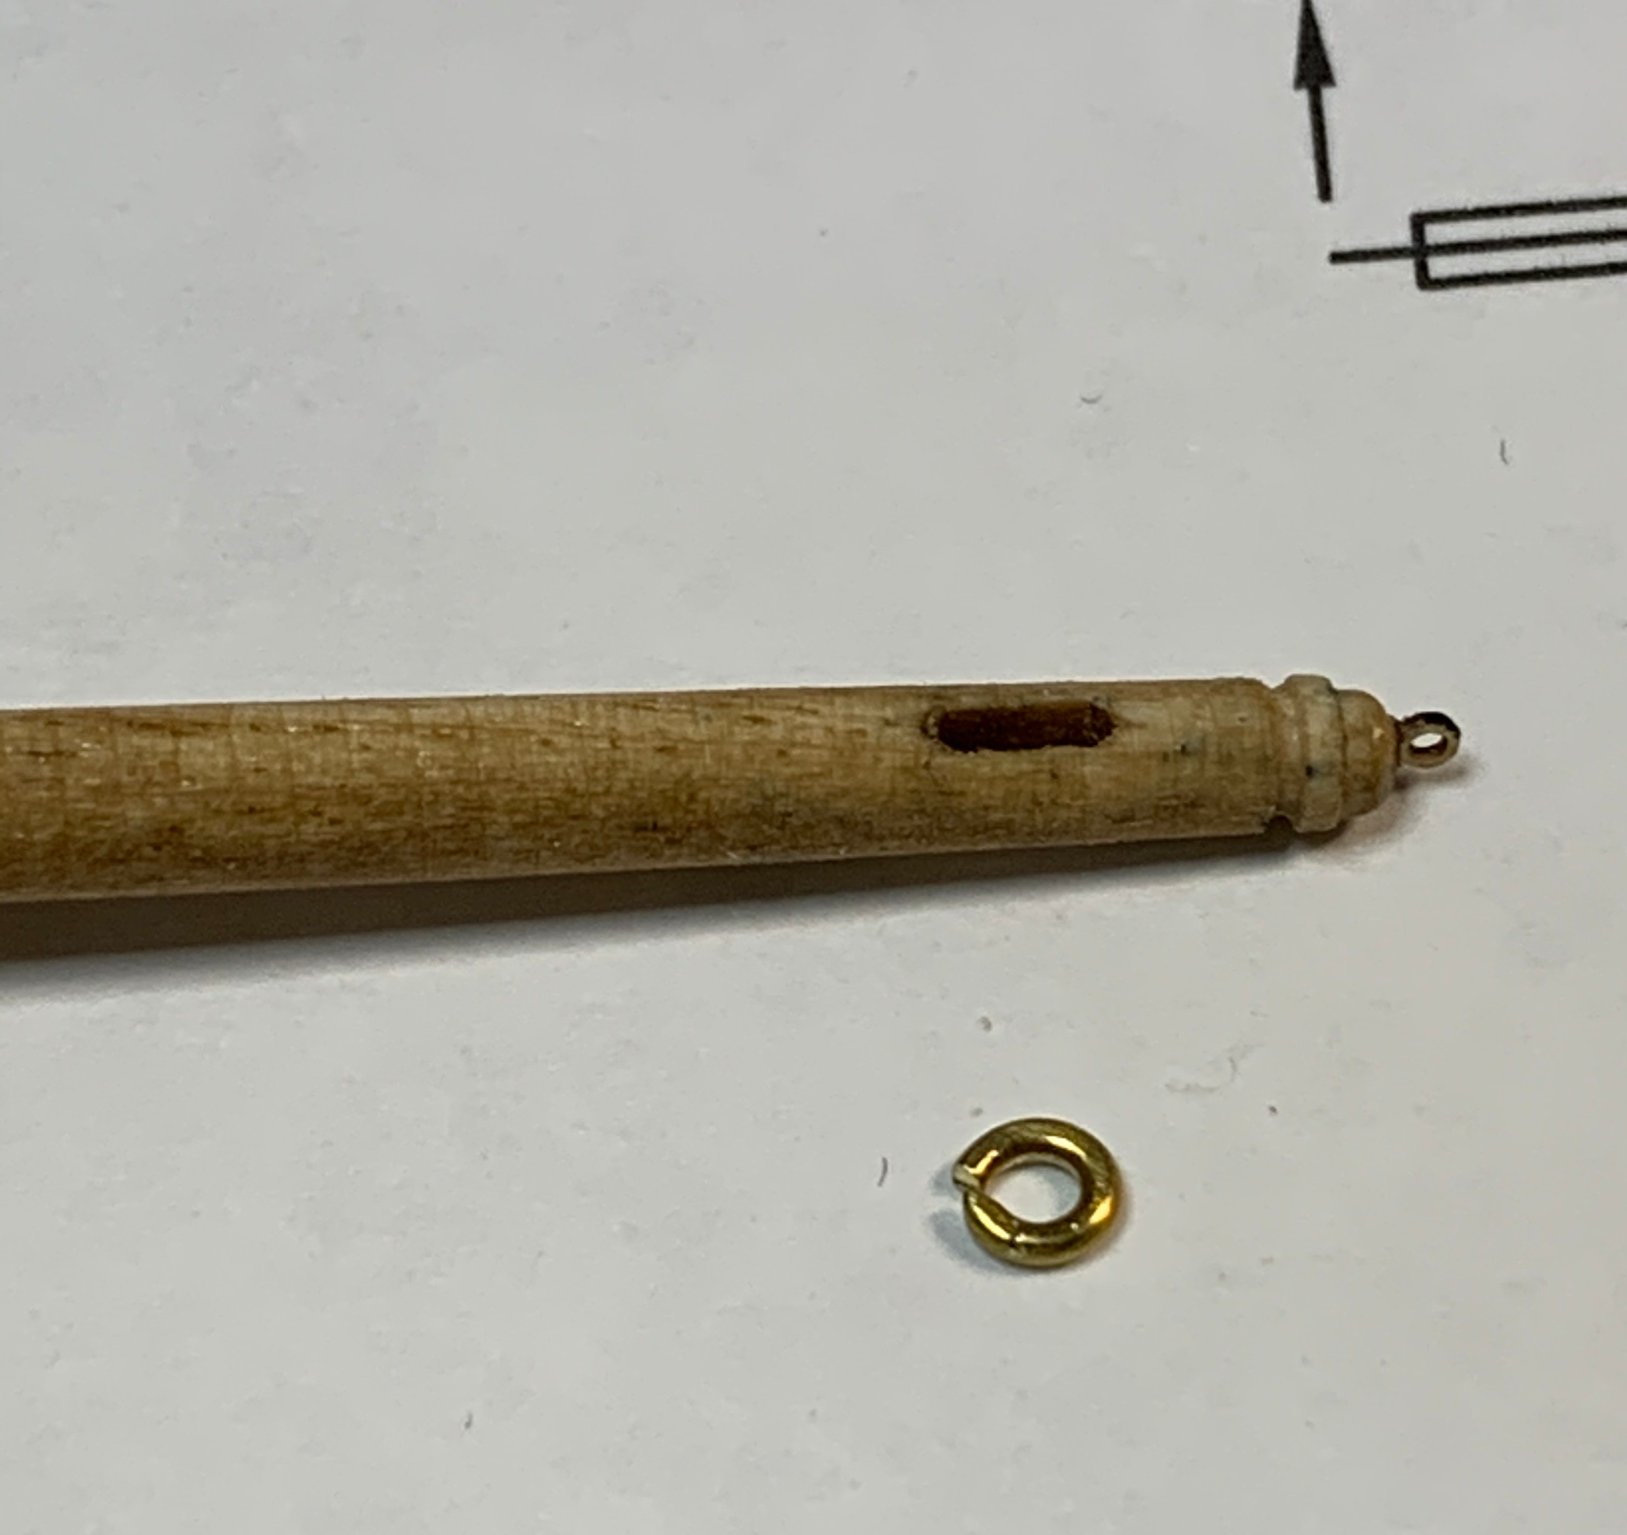
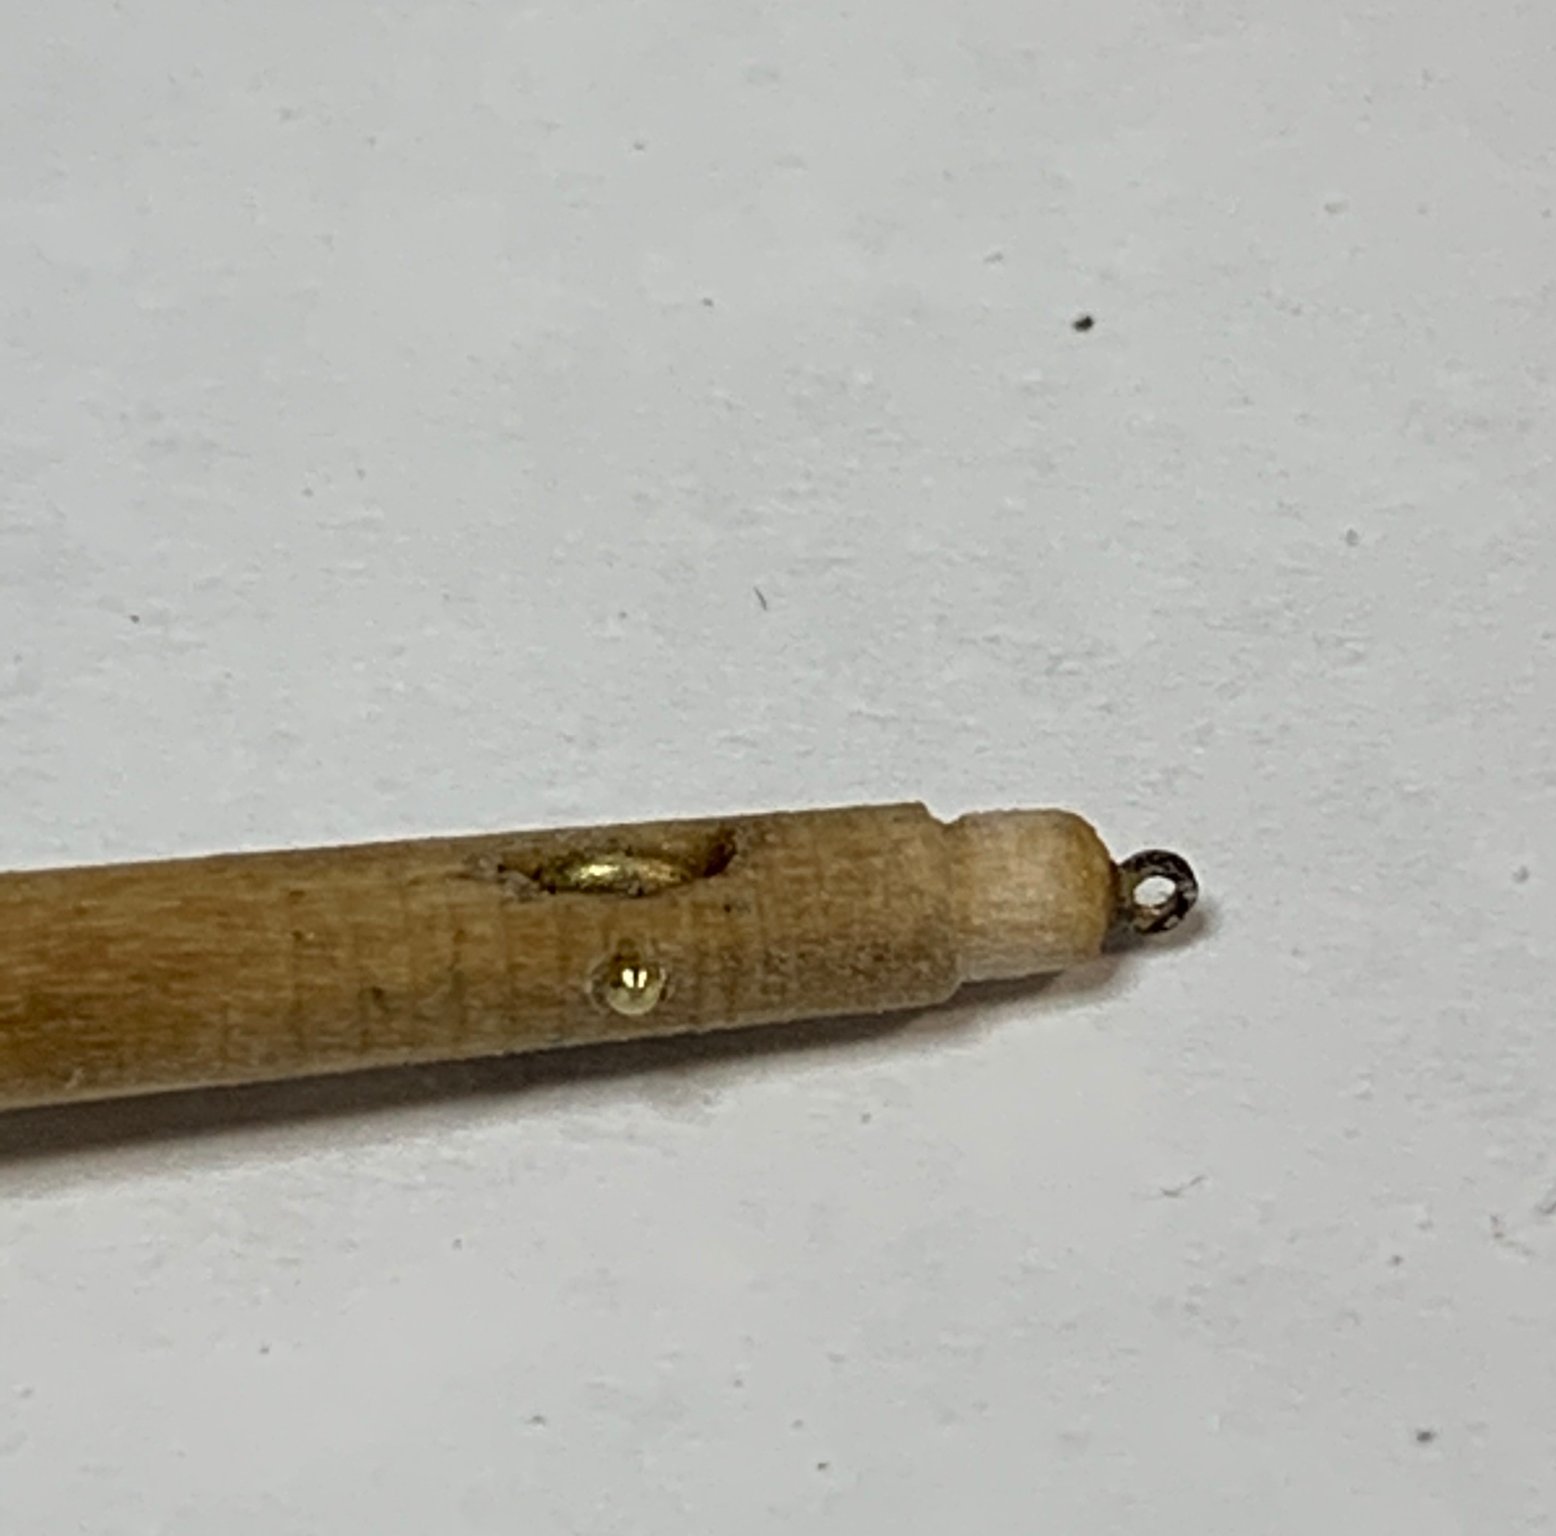
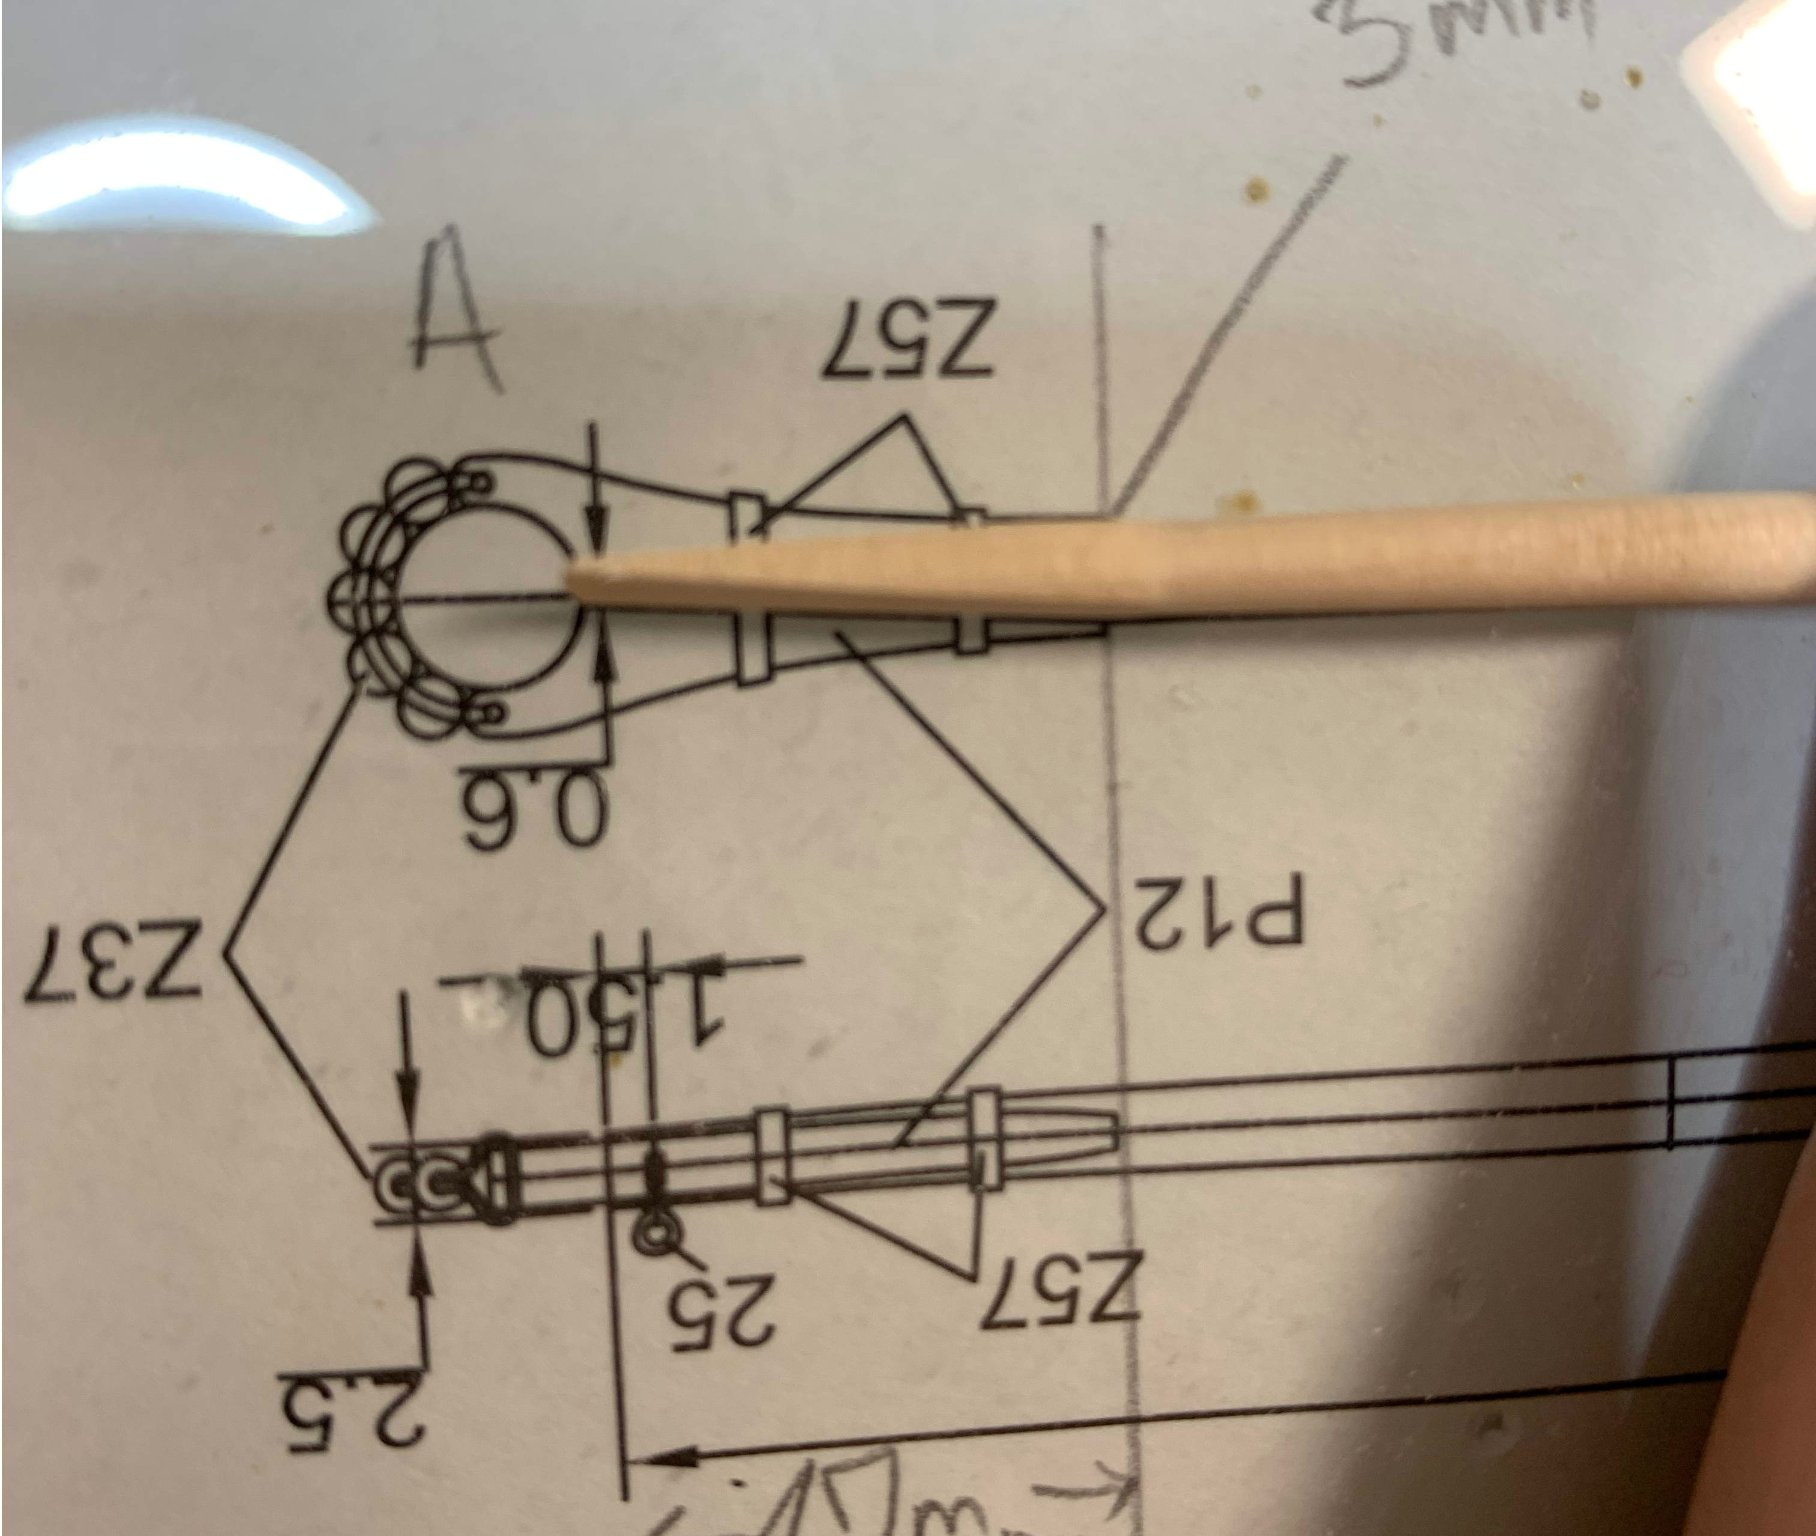
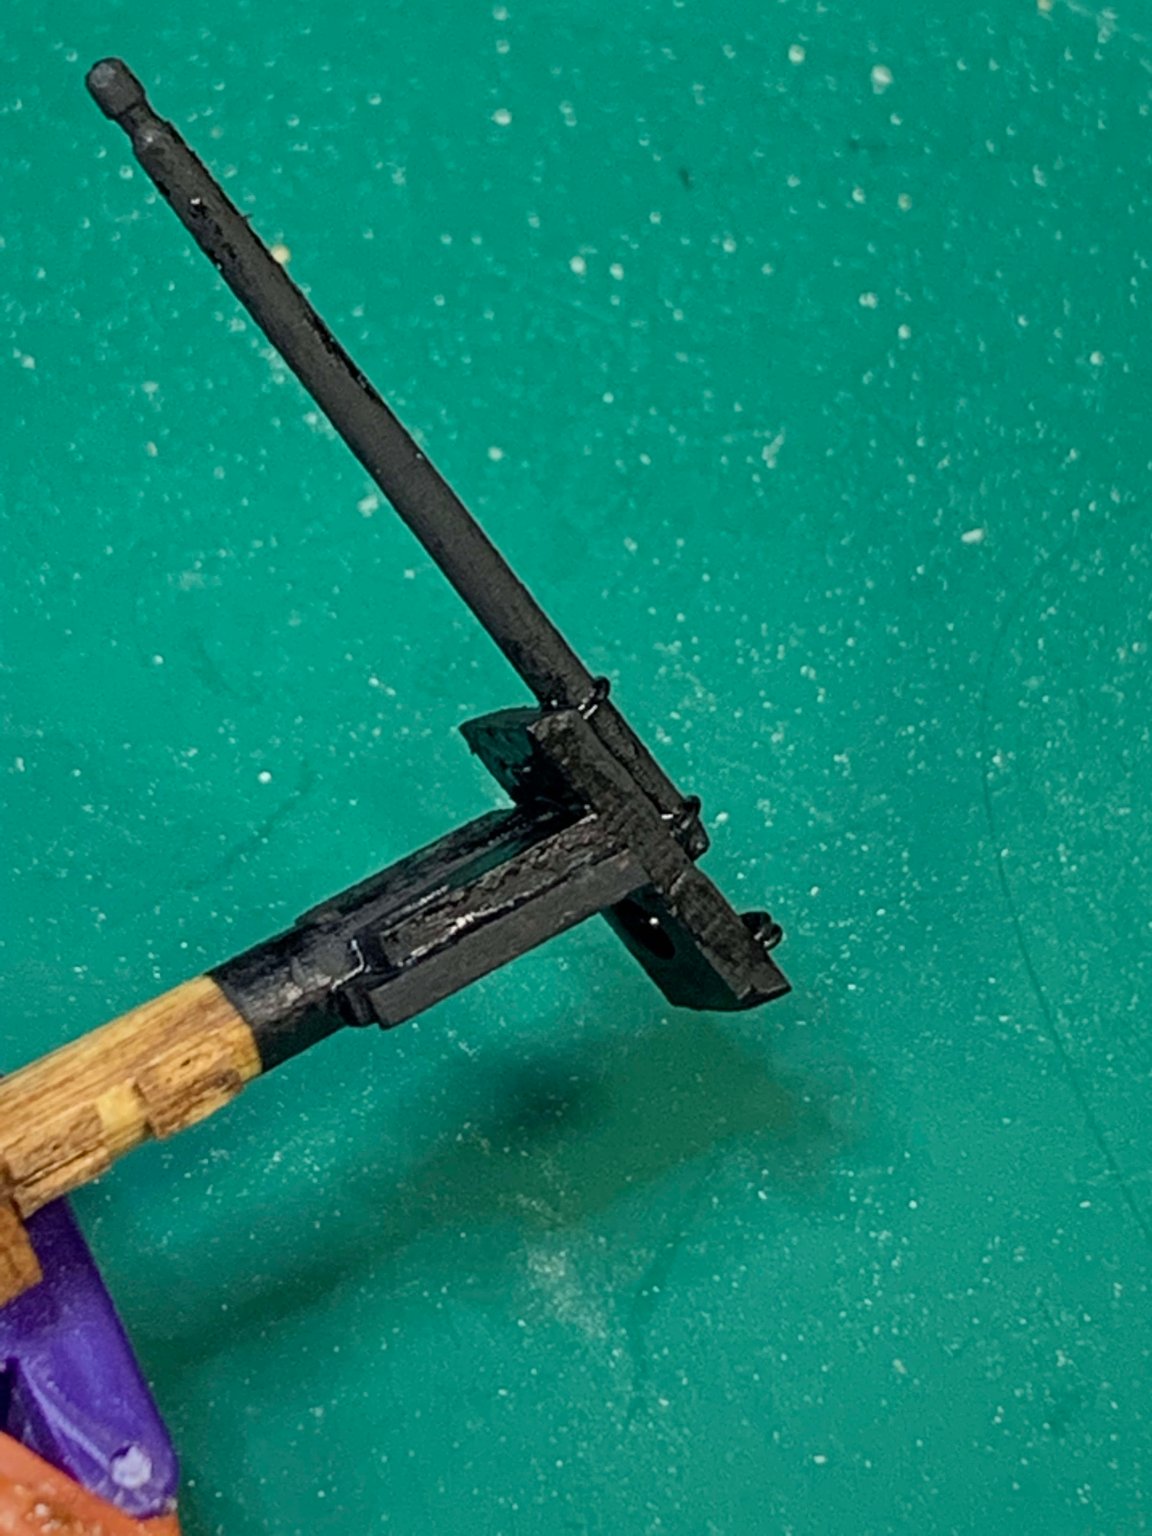
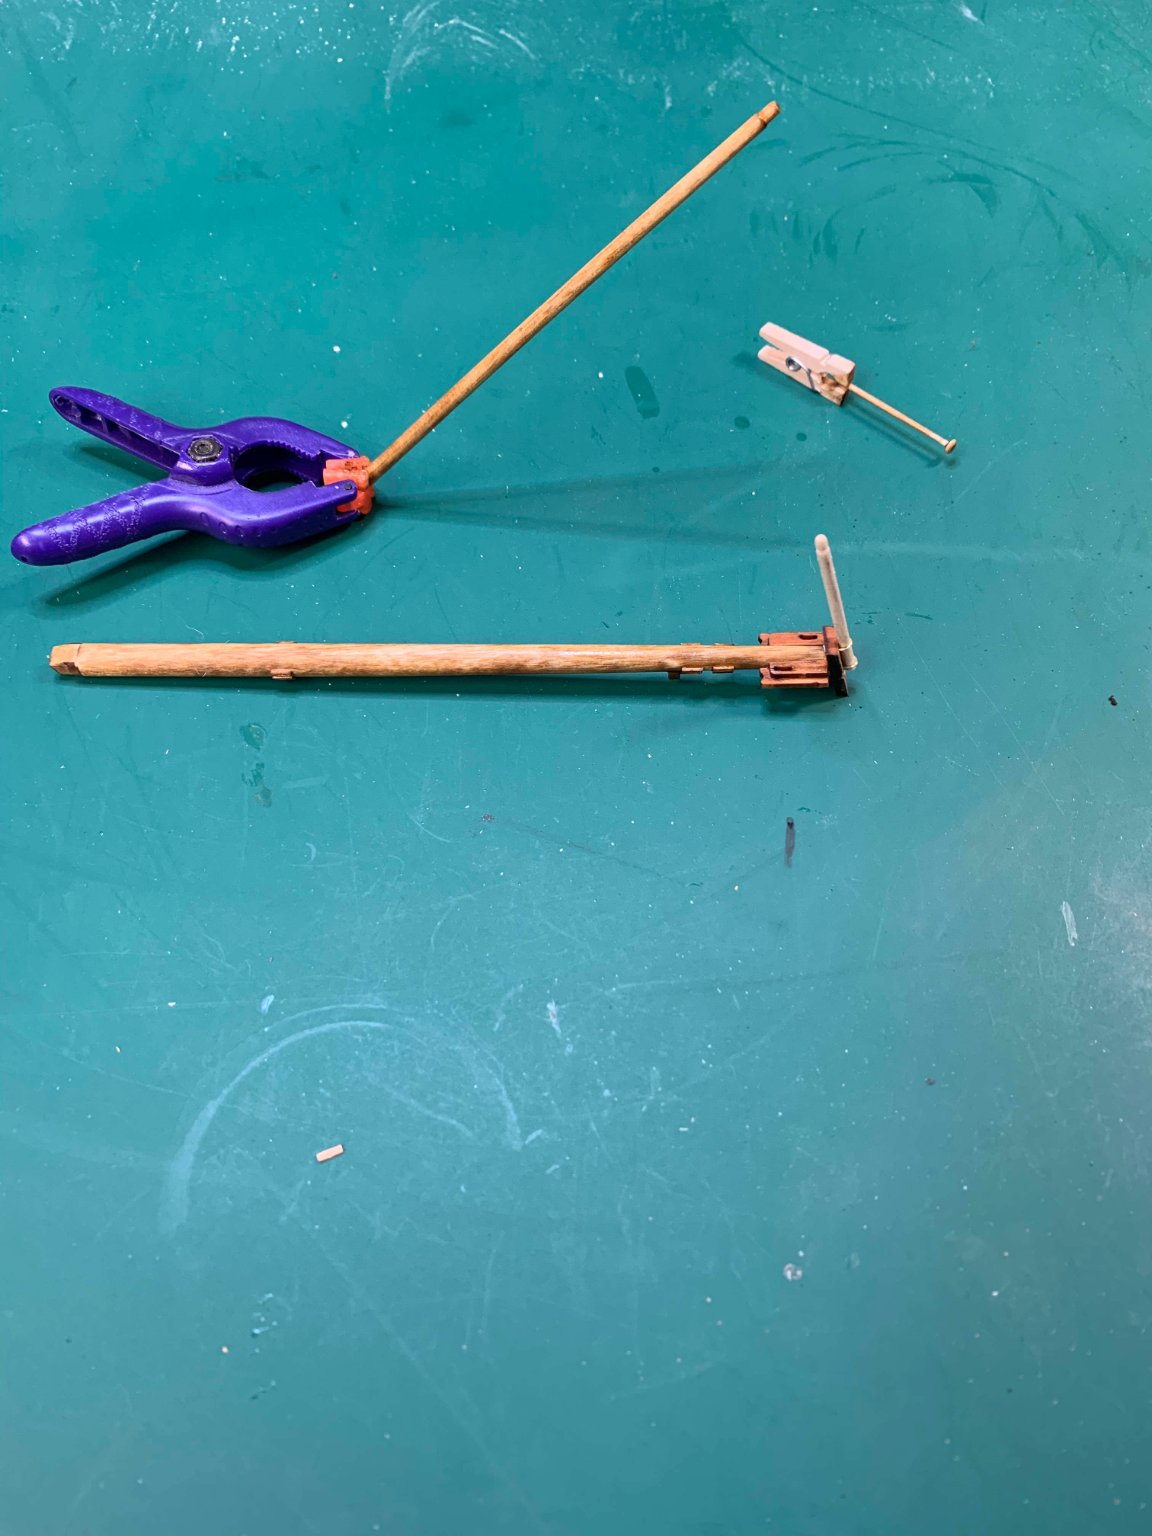
The jib traveller was made out of a piece of wire, 0.6mm in diameter. Twist, cut, solder, blackening and done.

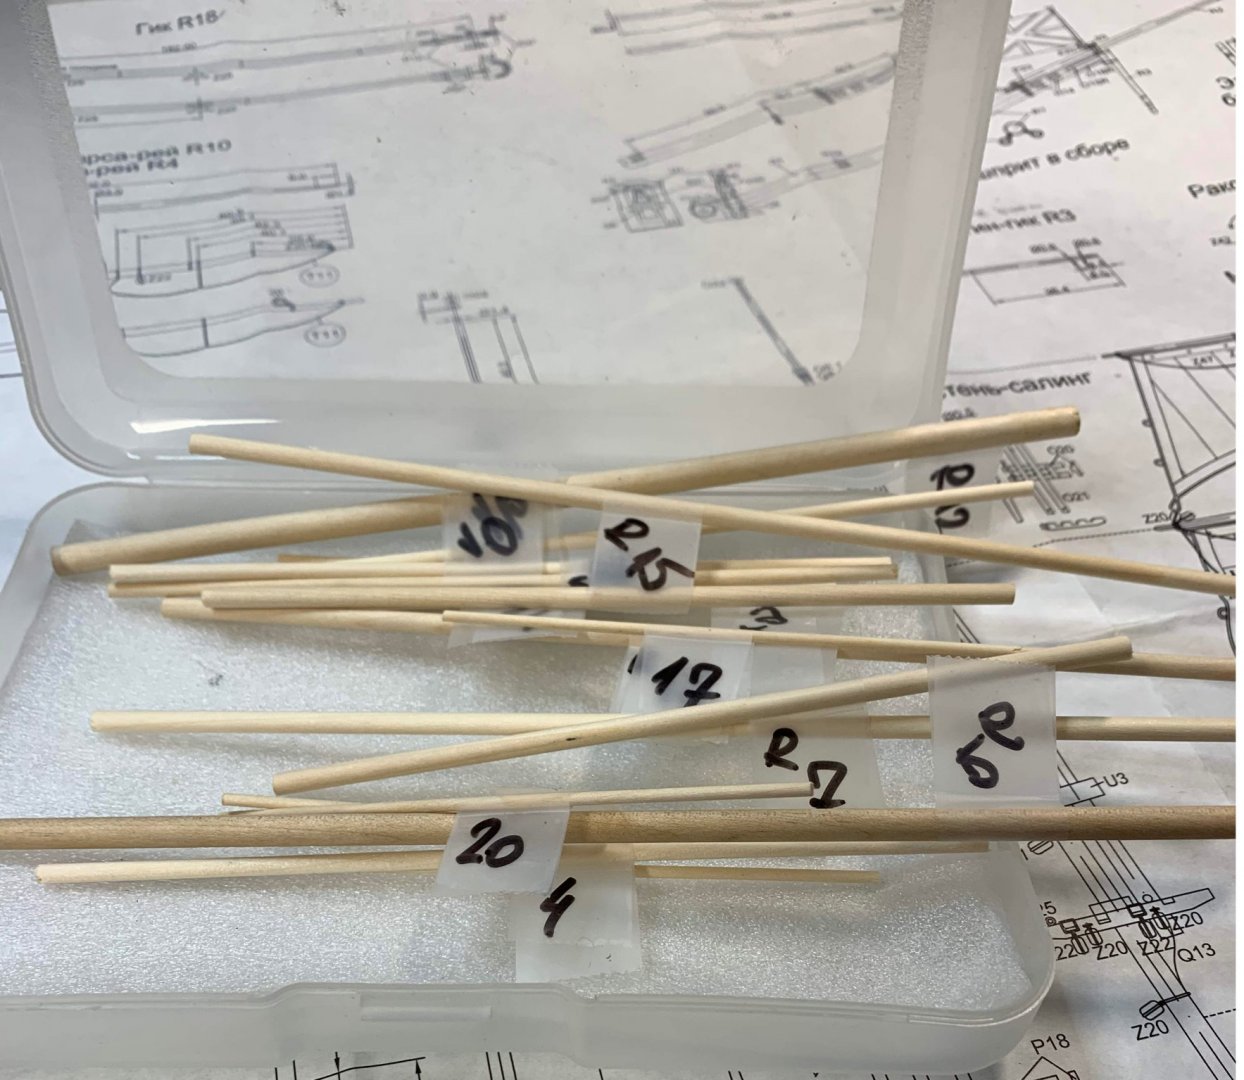
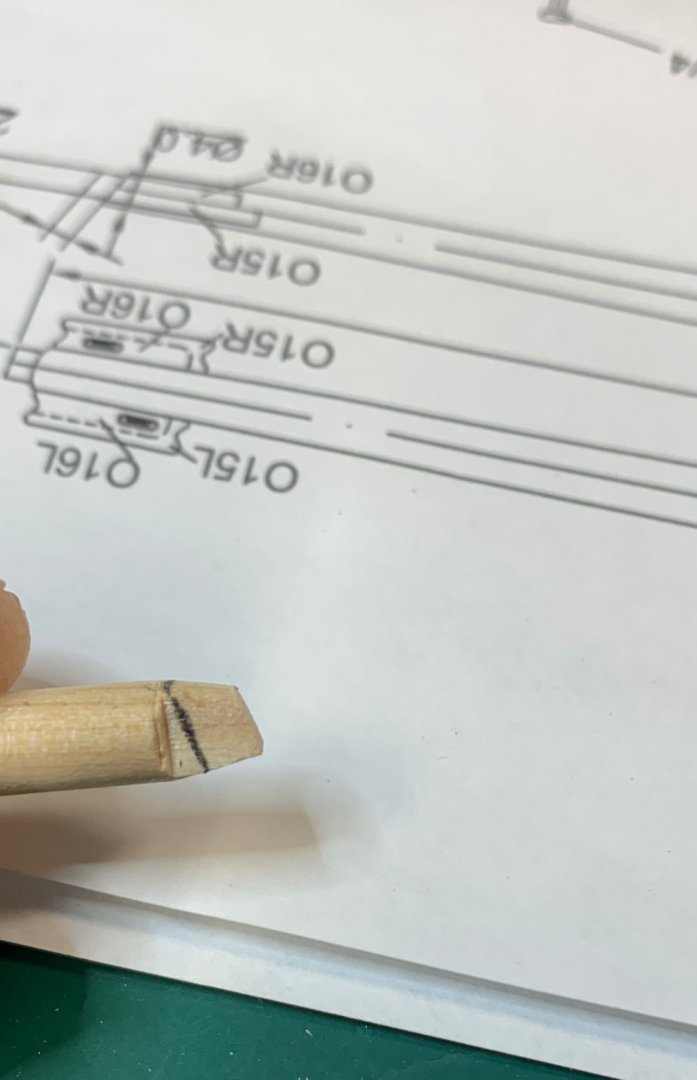
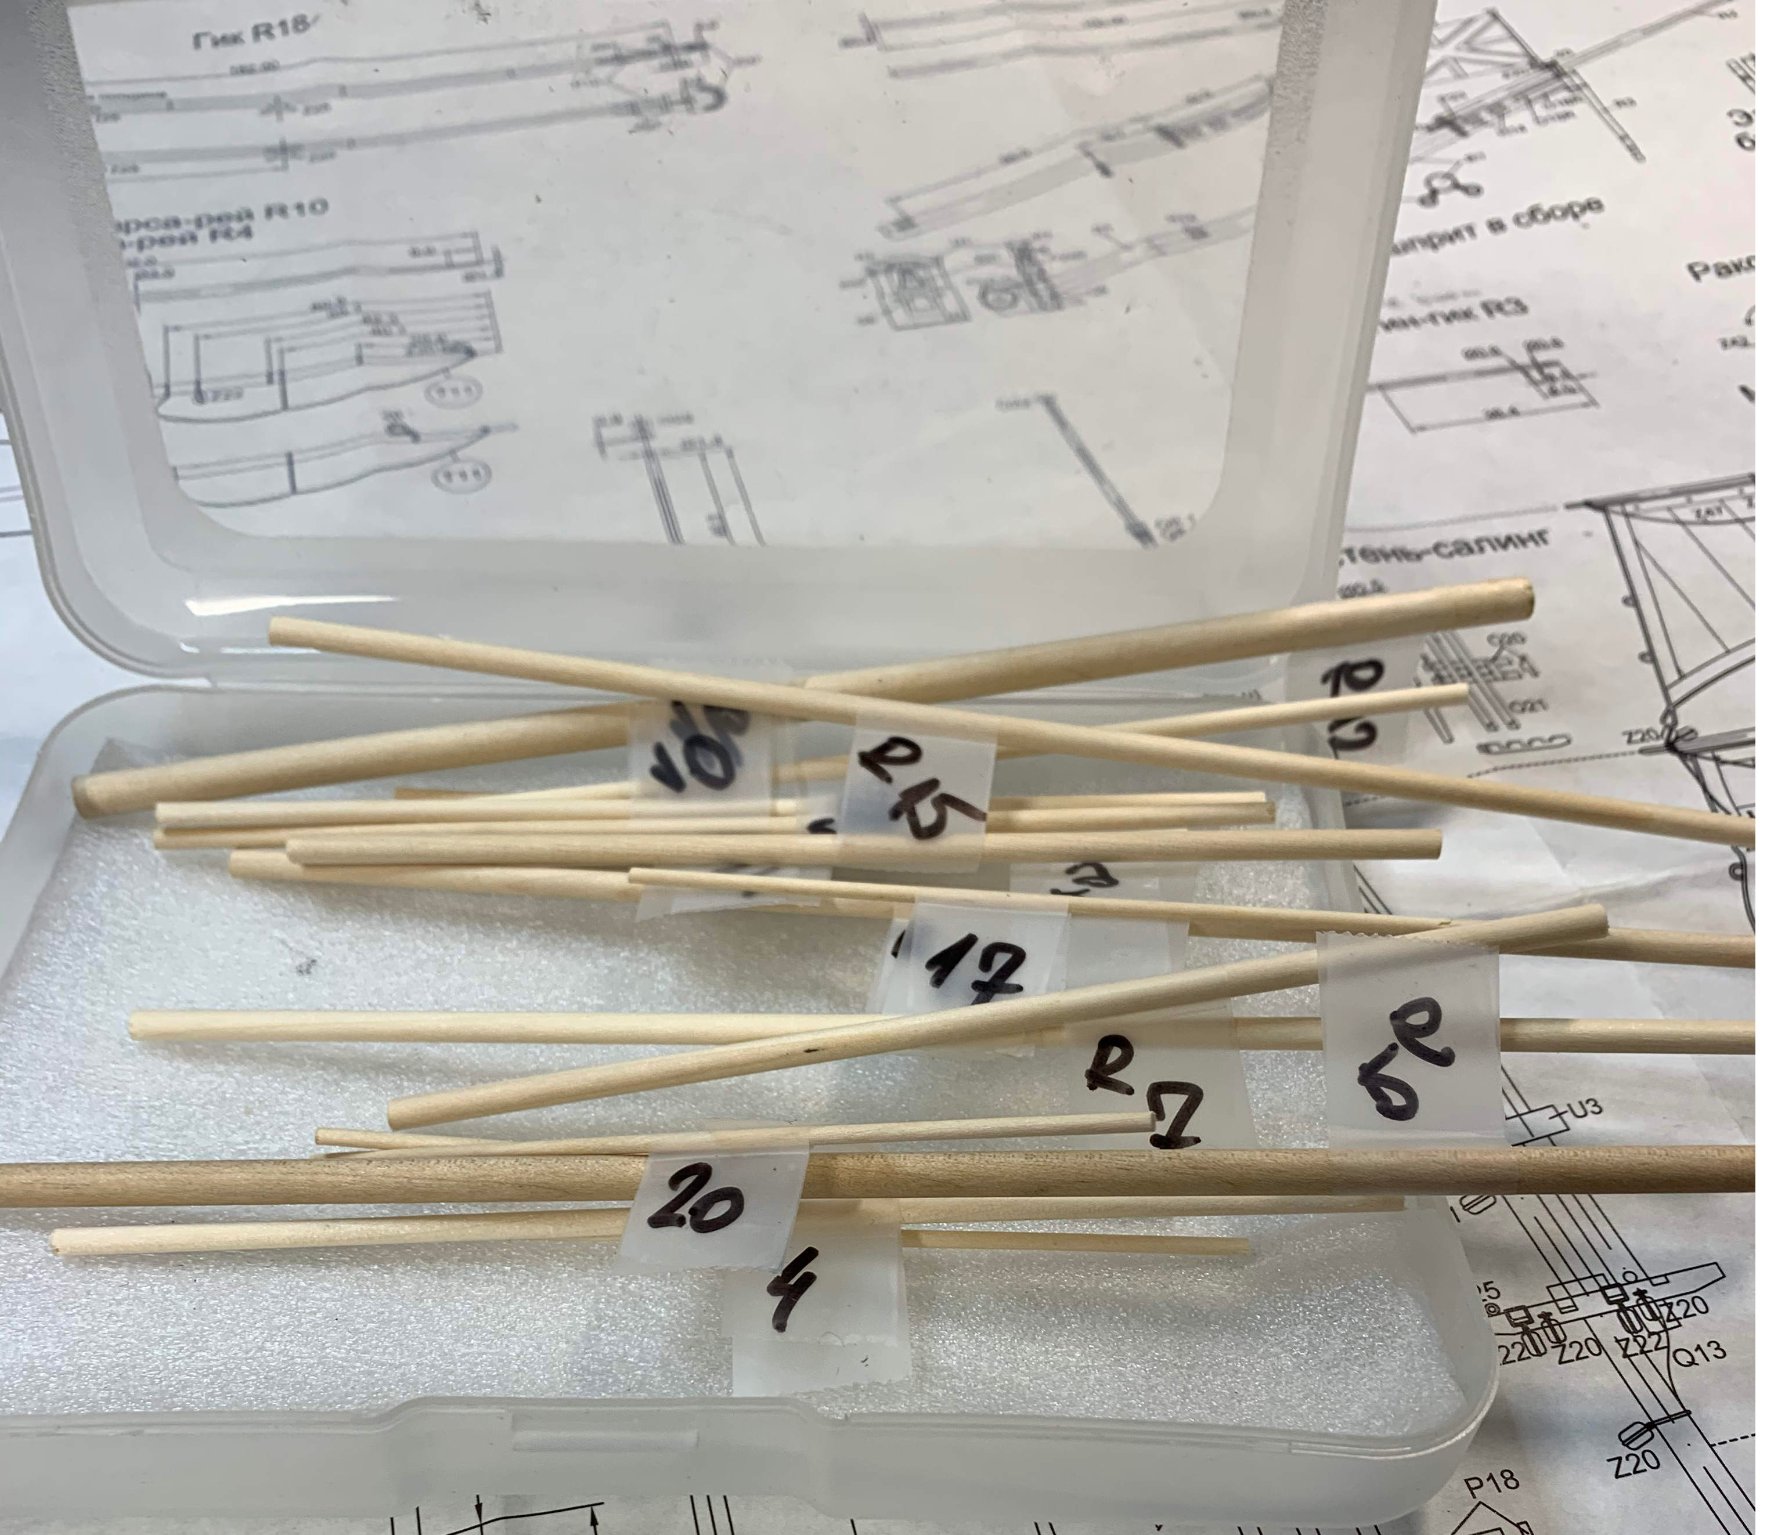
Then i marked all masts and yards as per plan.
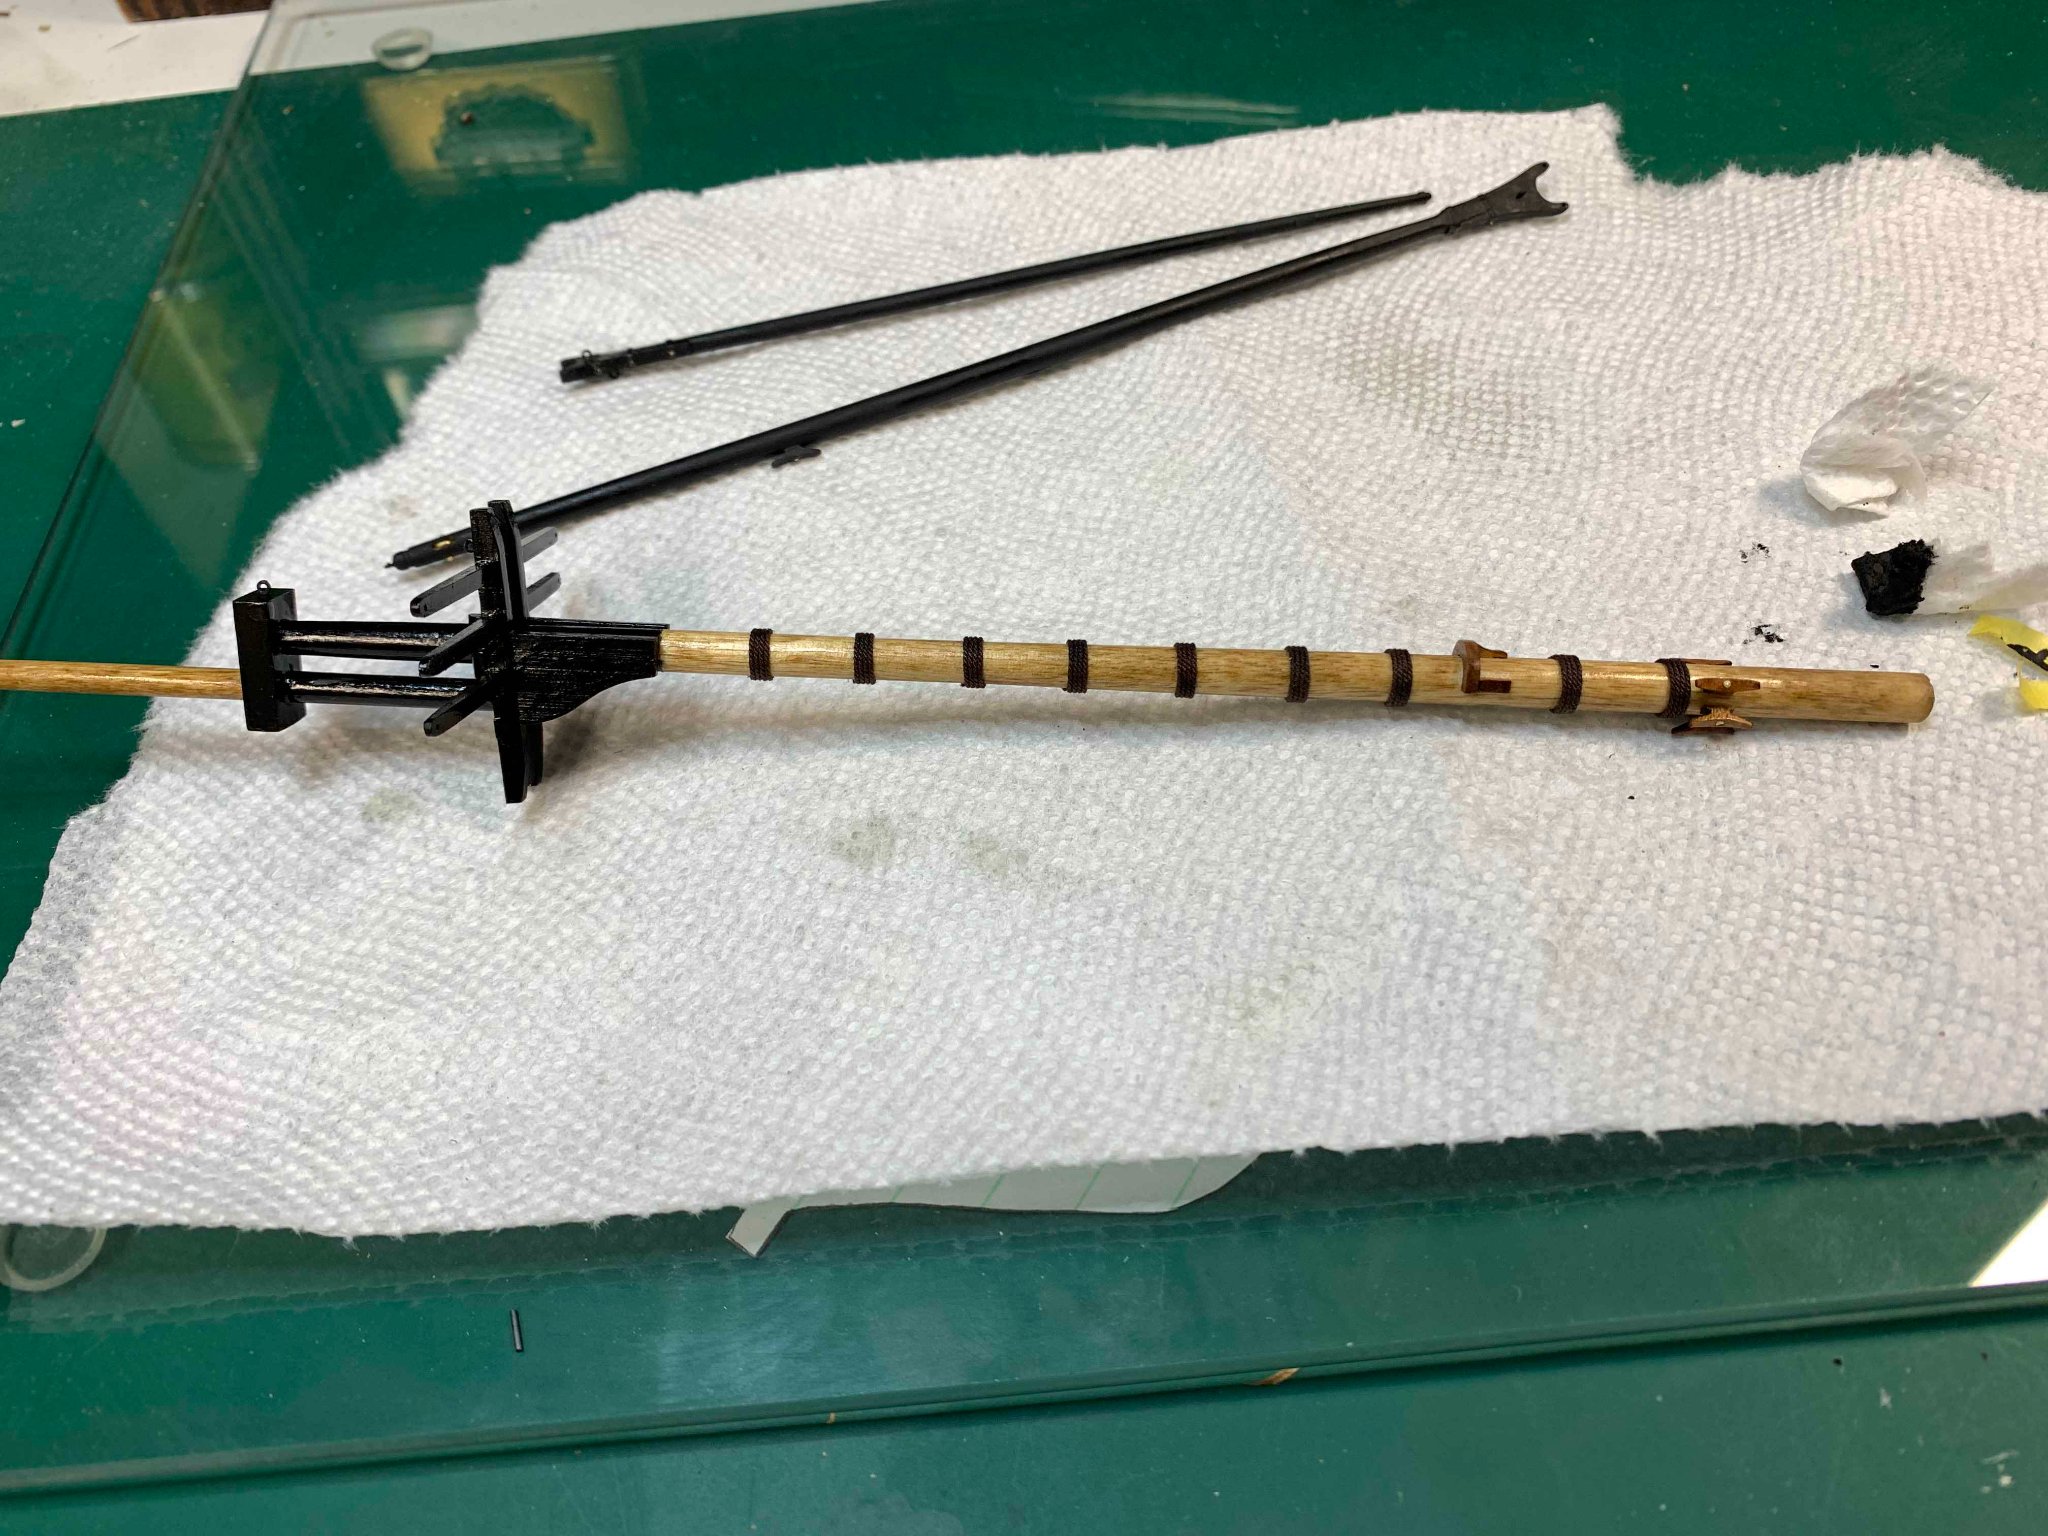
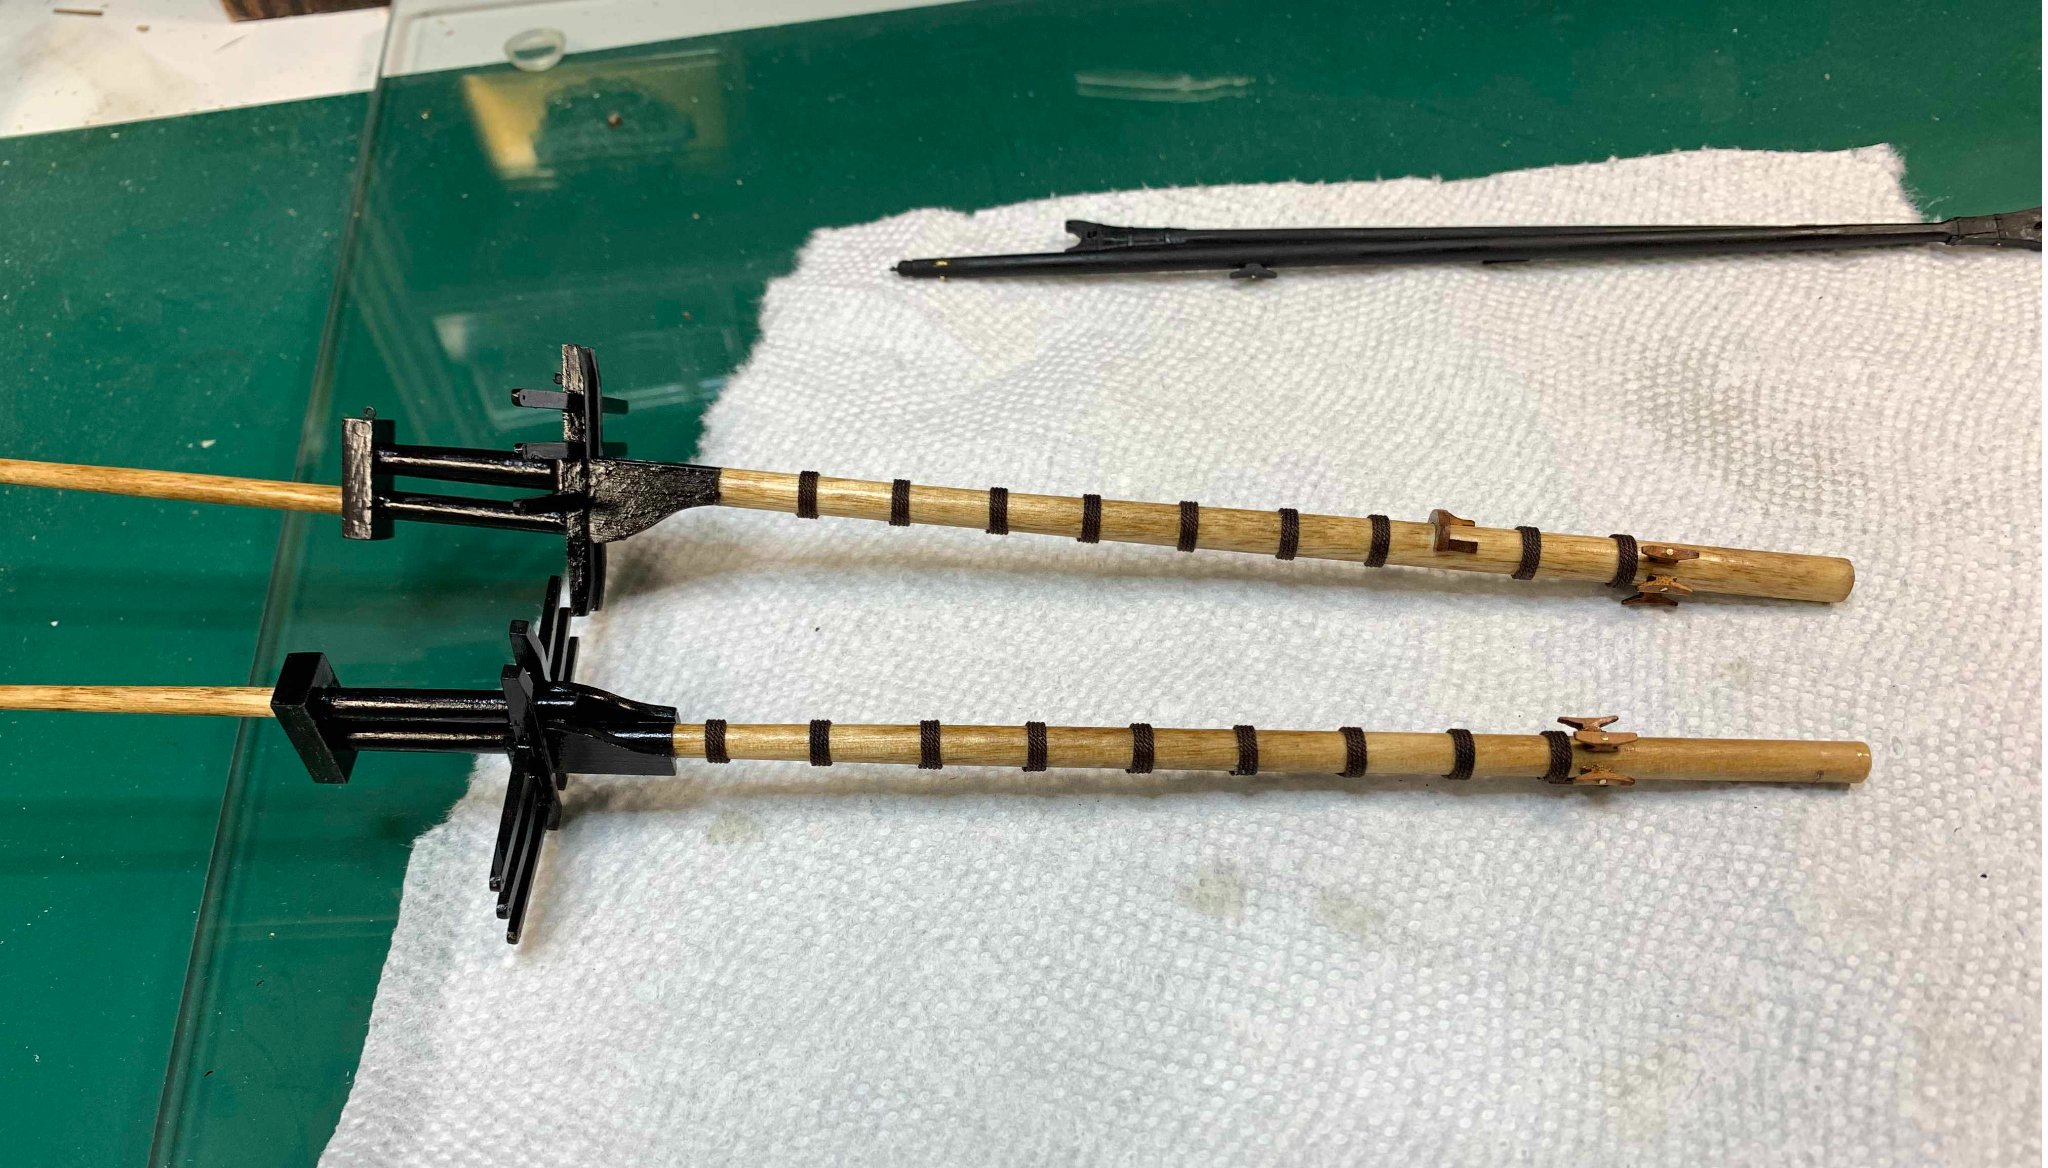
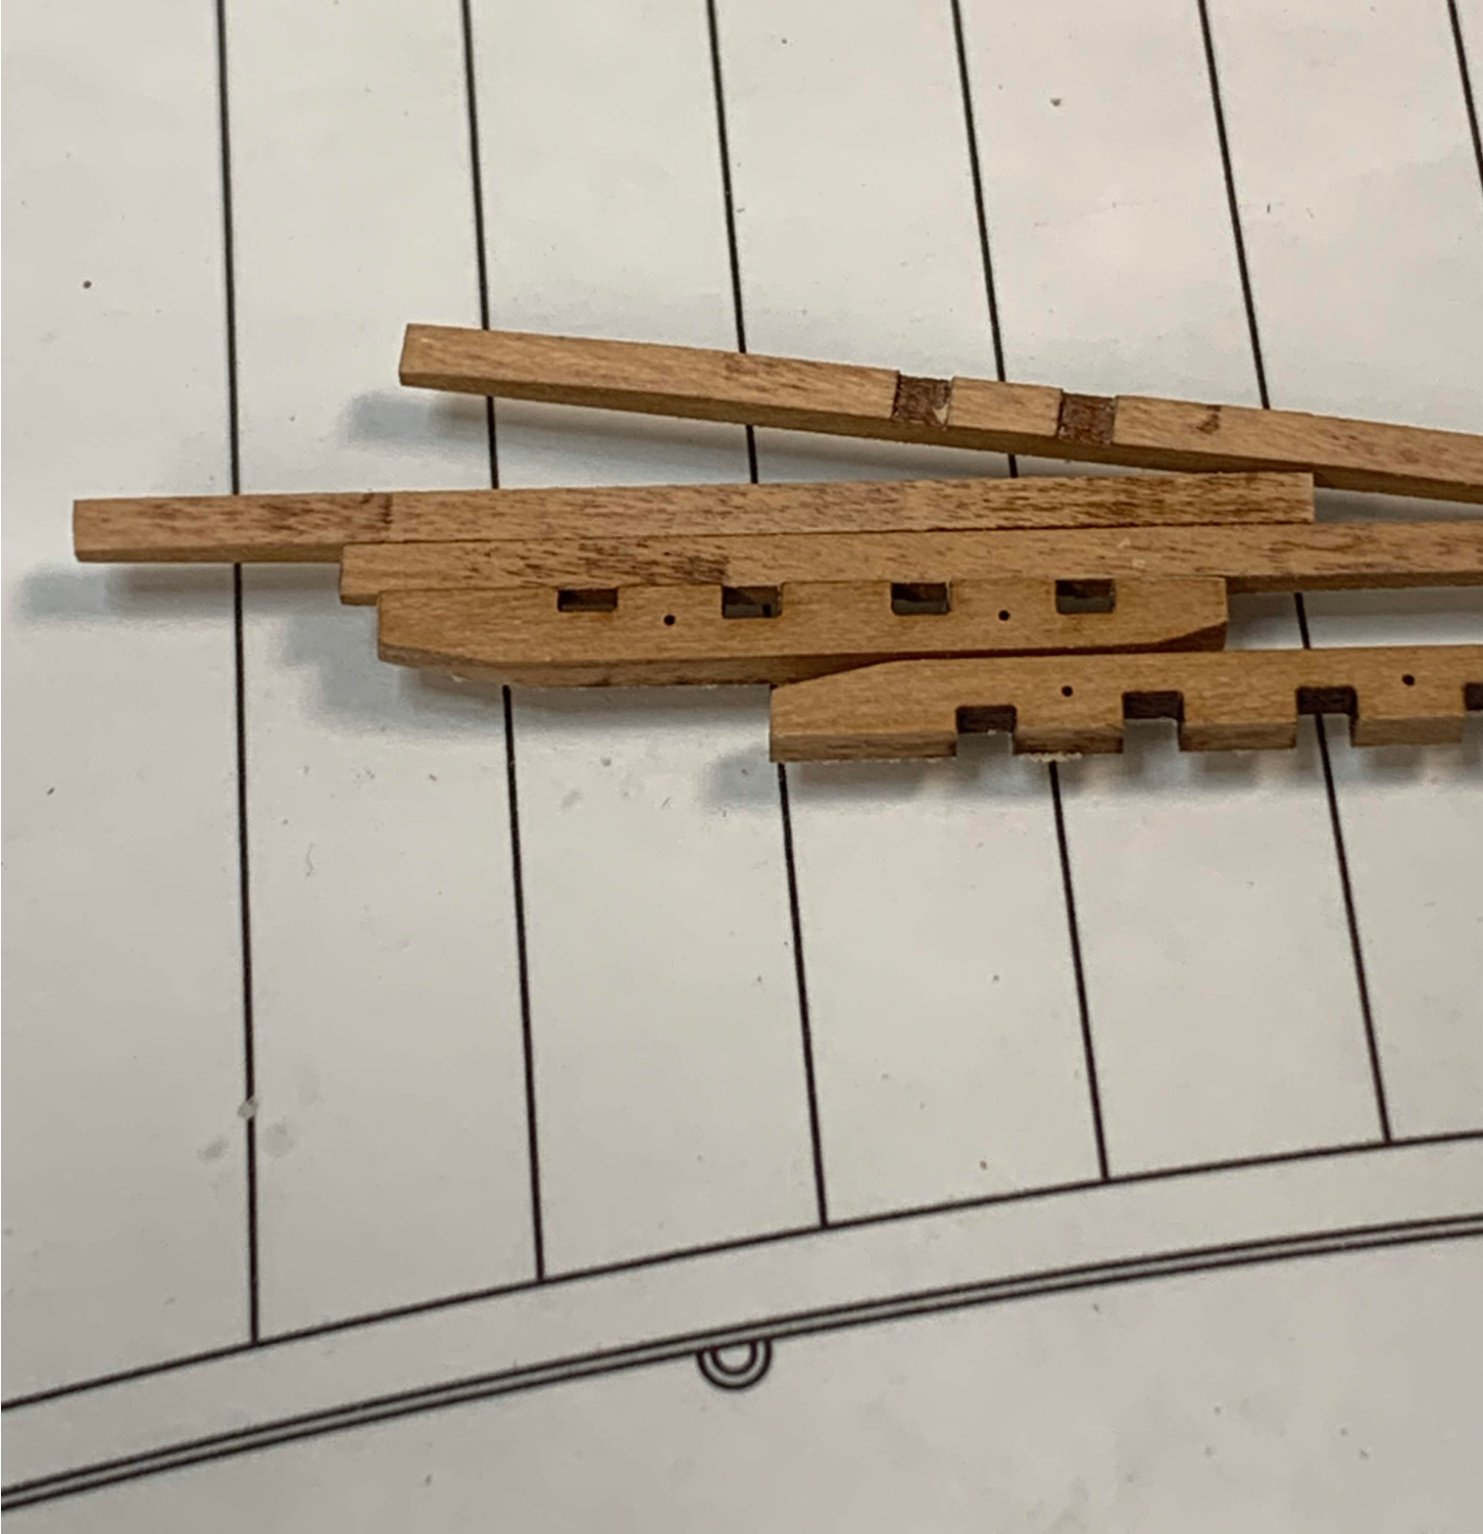
Started to build the trestle-tree, first by removing laser burns...
Now it is time to start preparing for a New Year...
Wish you all the best in the New Year with hopes we can go back travelling in a big way.
Cheers and take care...
See you in 2021.. -
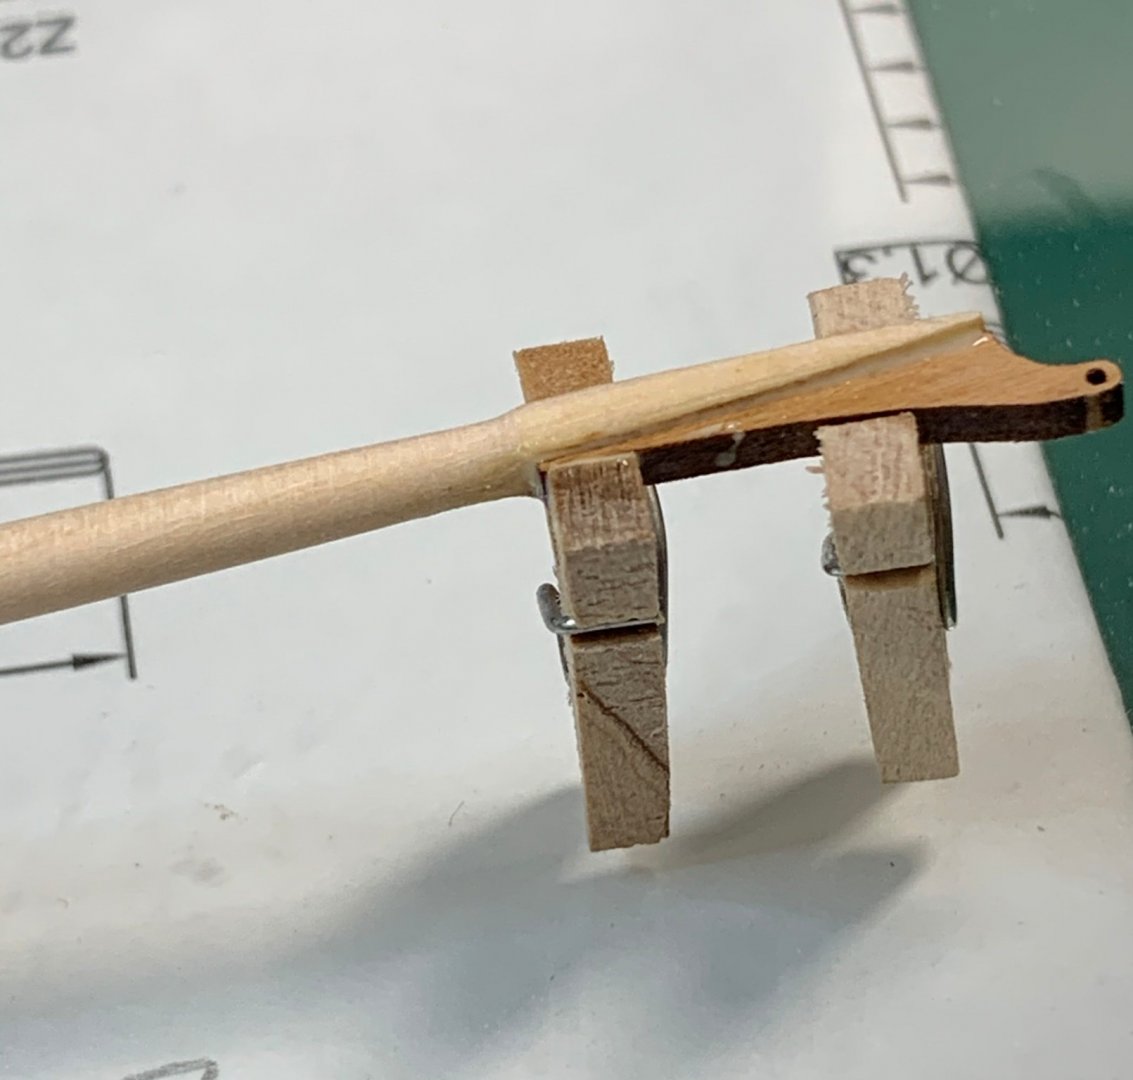
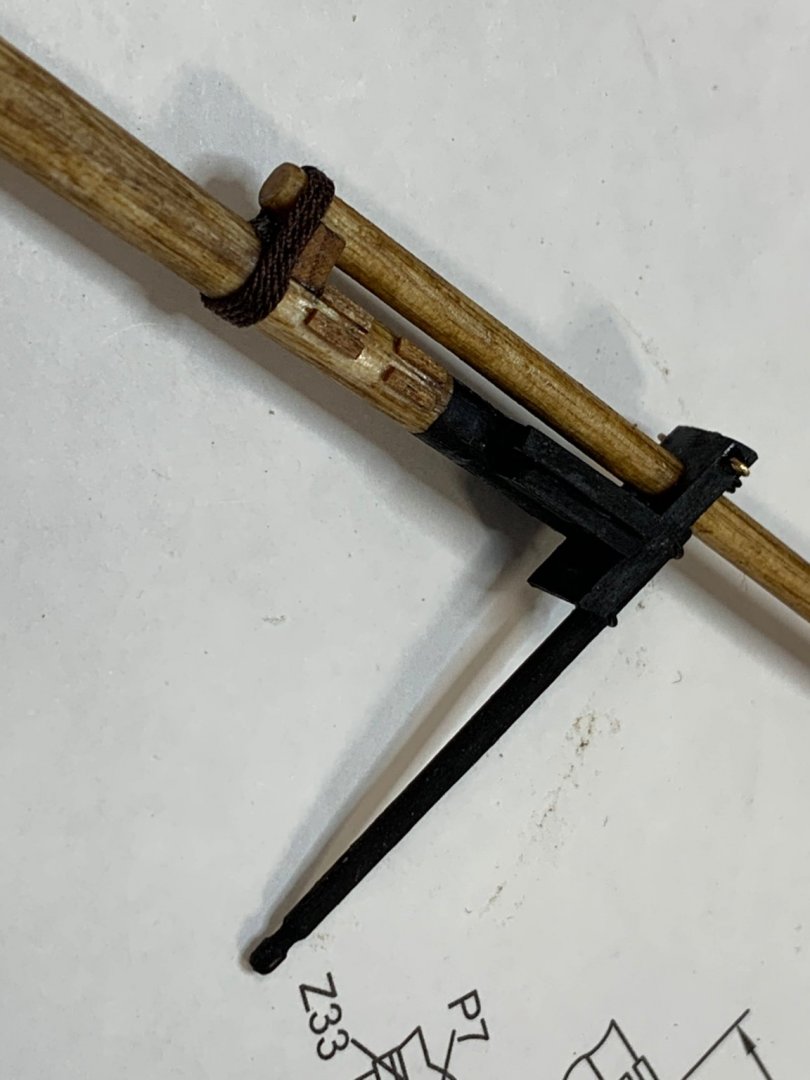
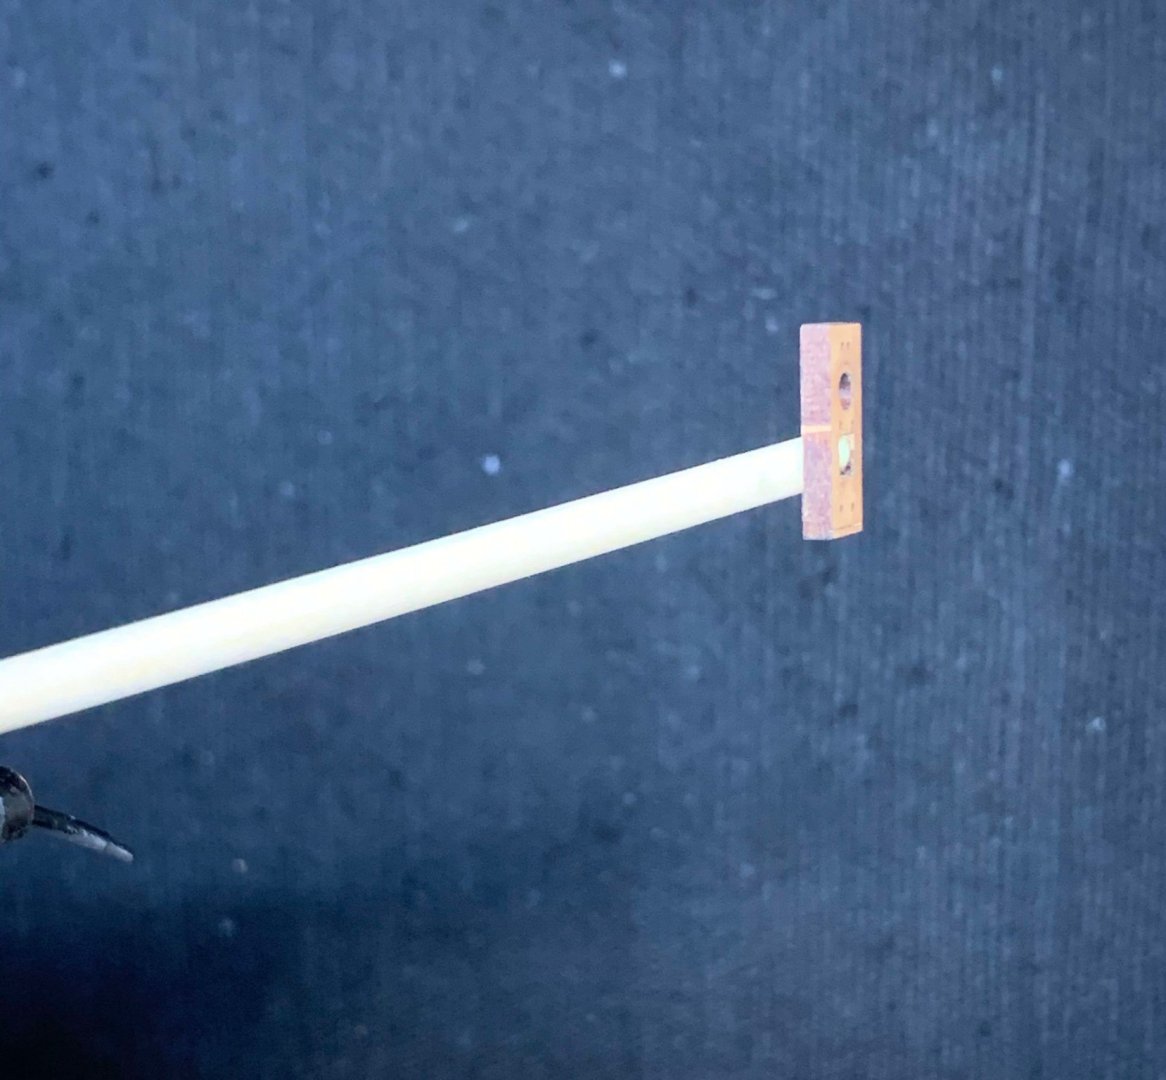
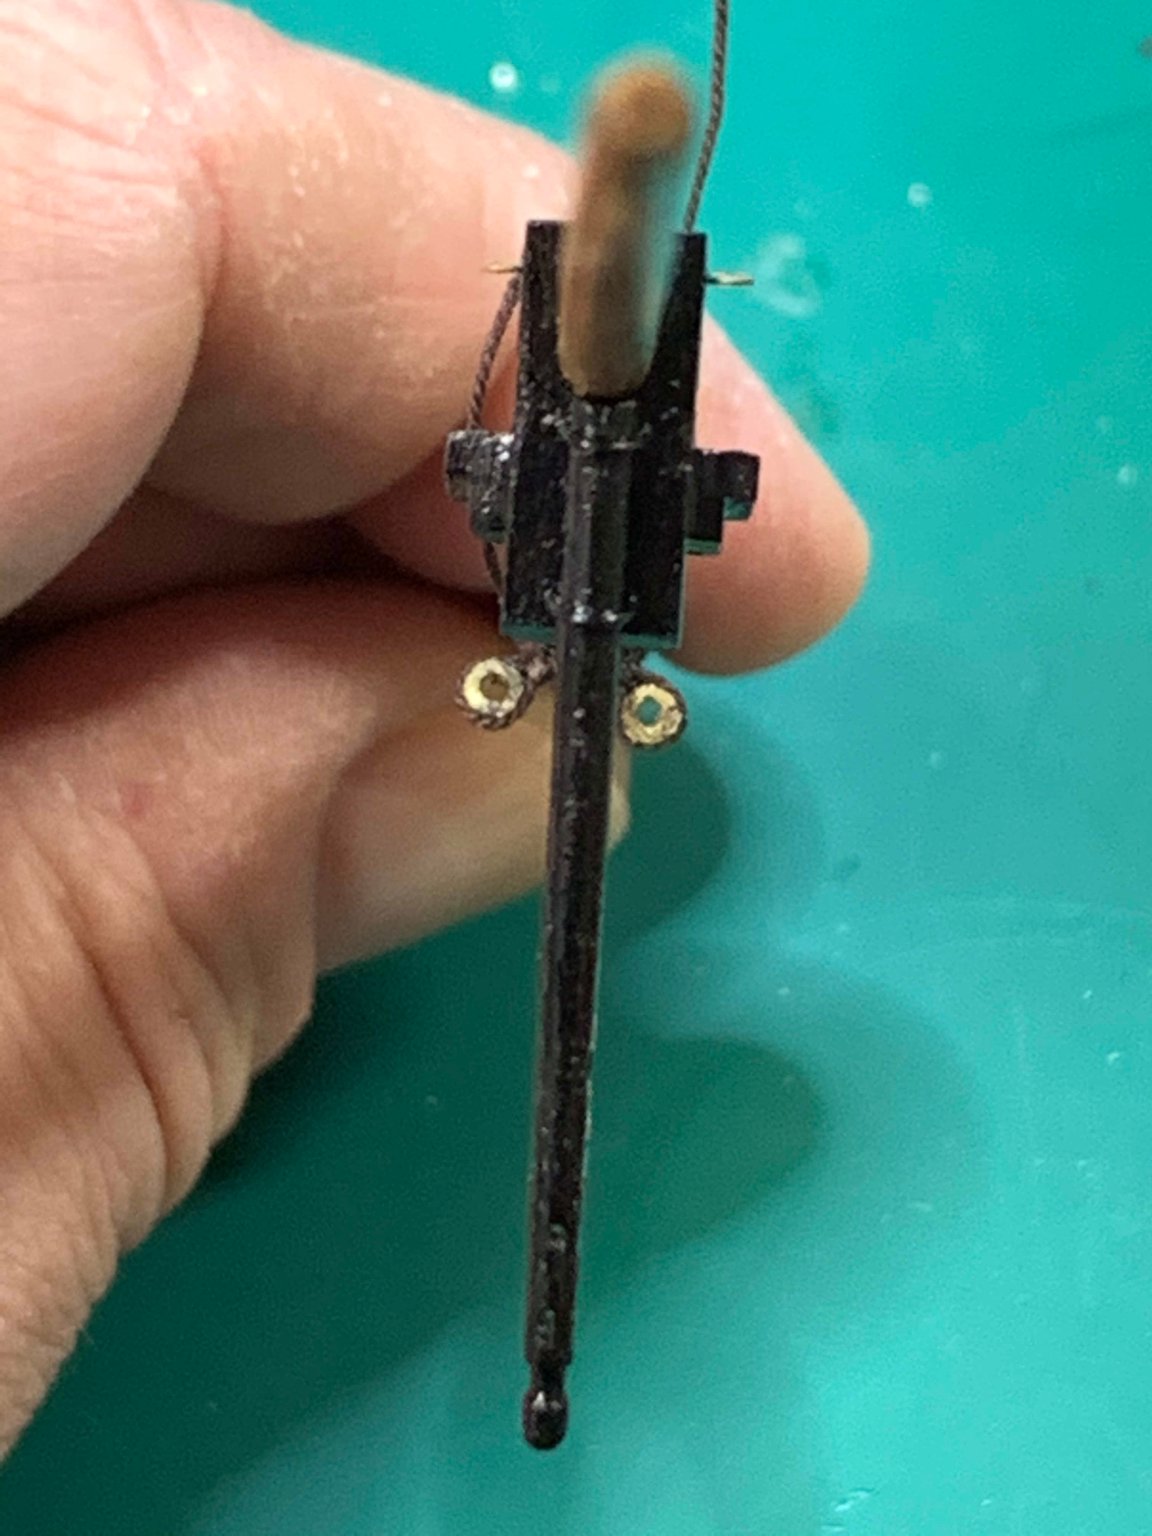
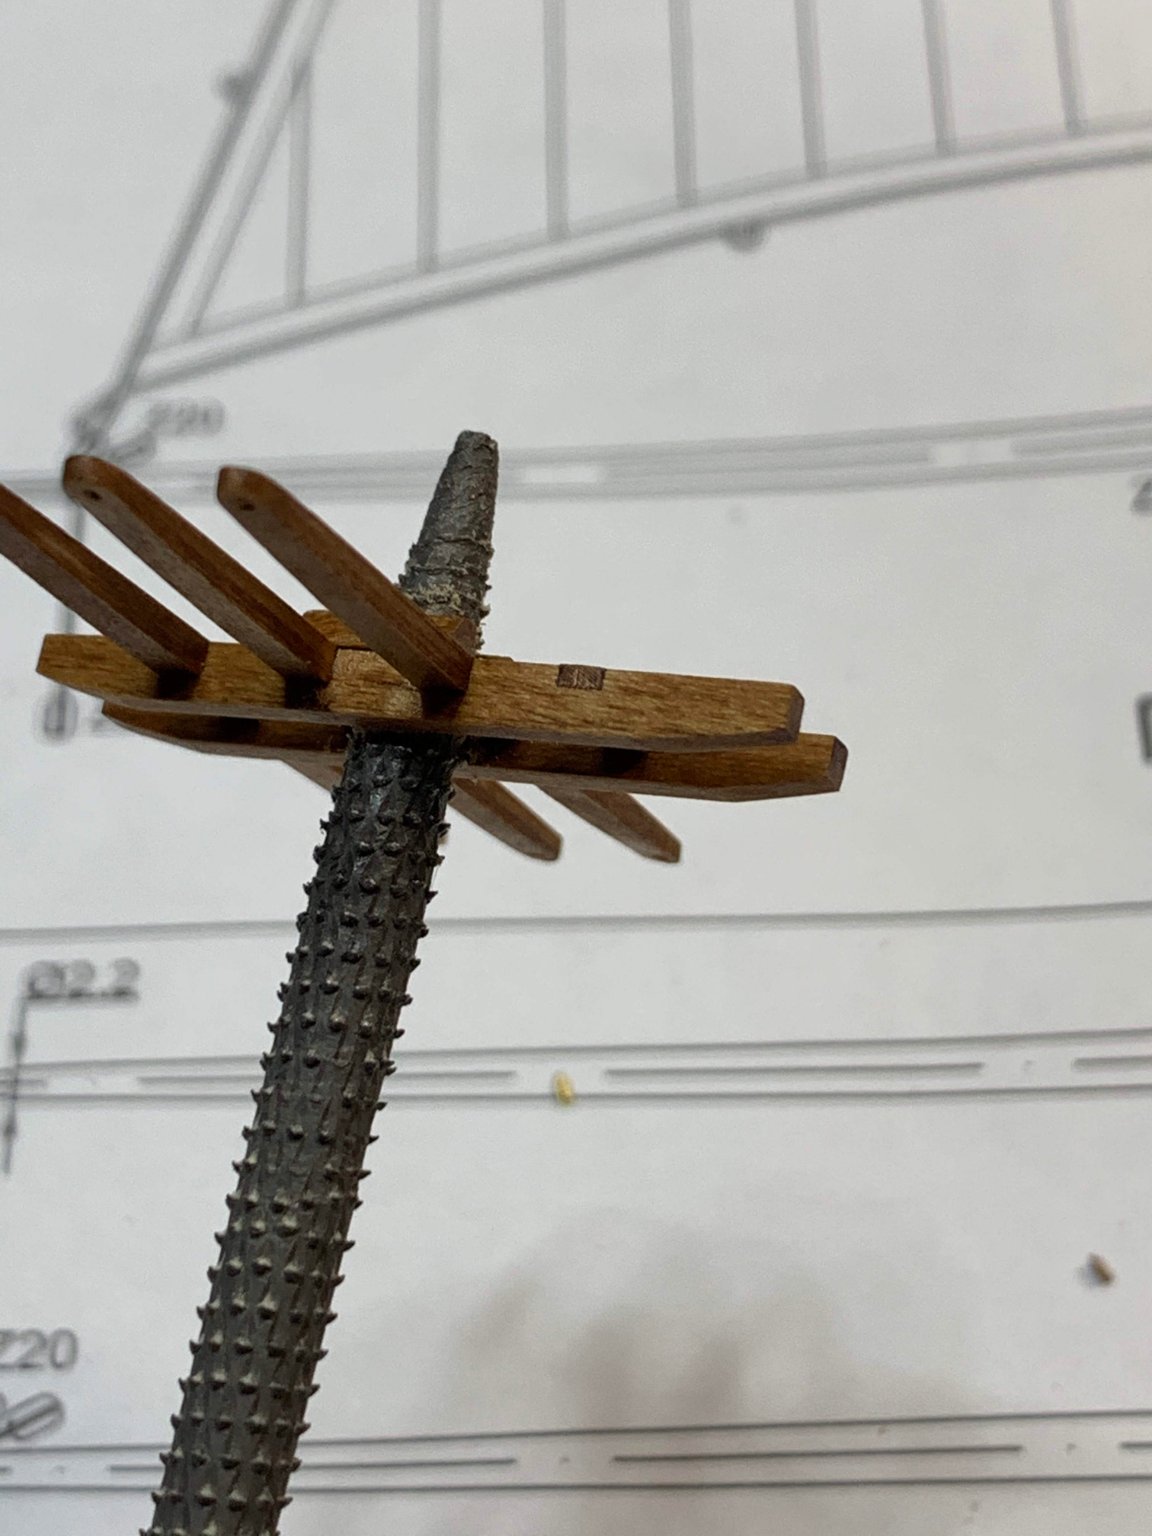
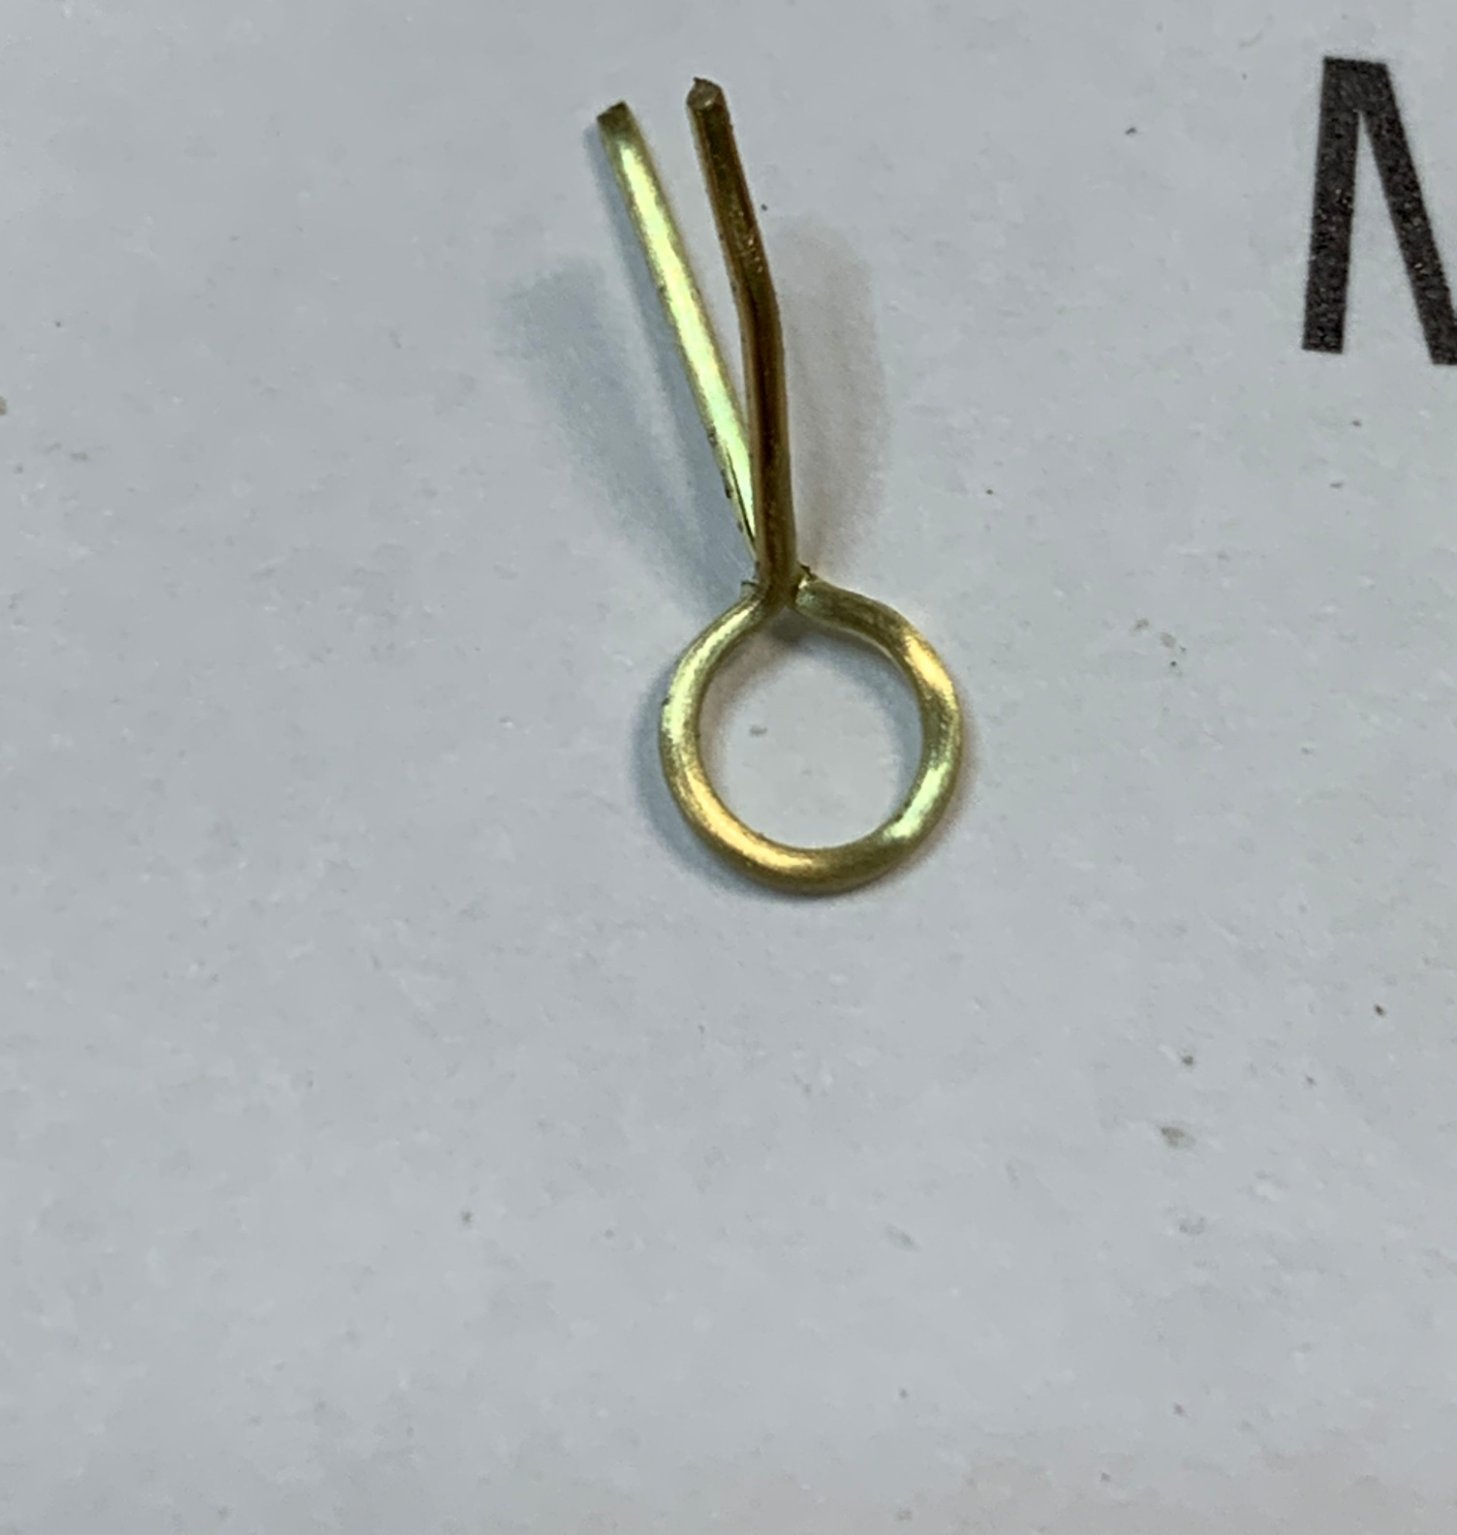
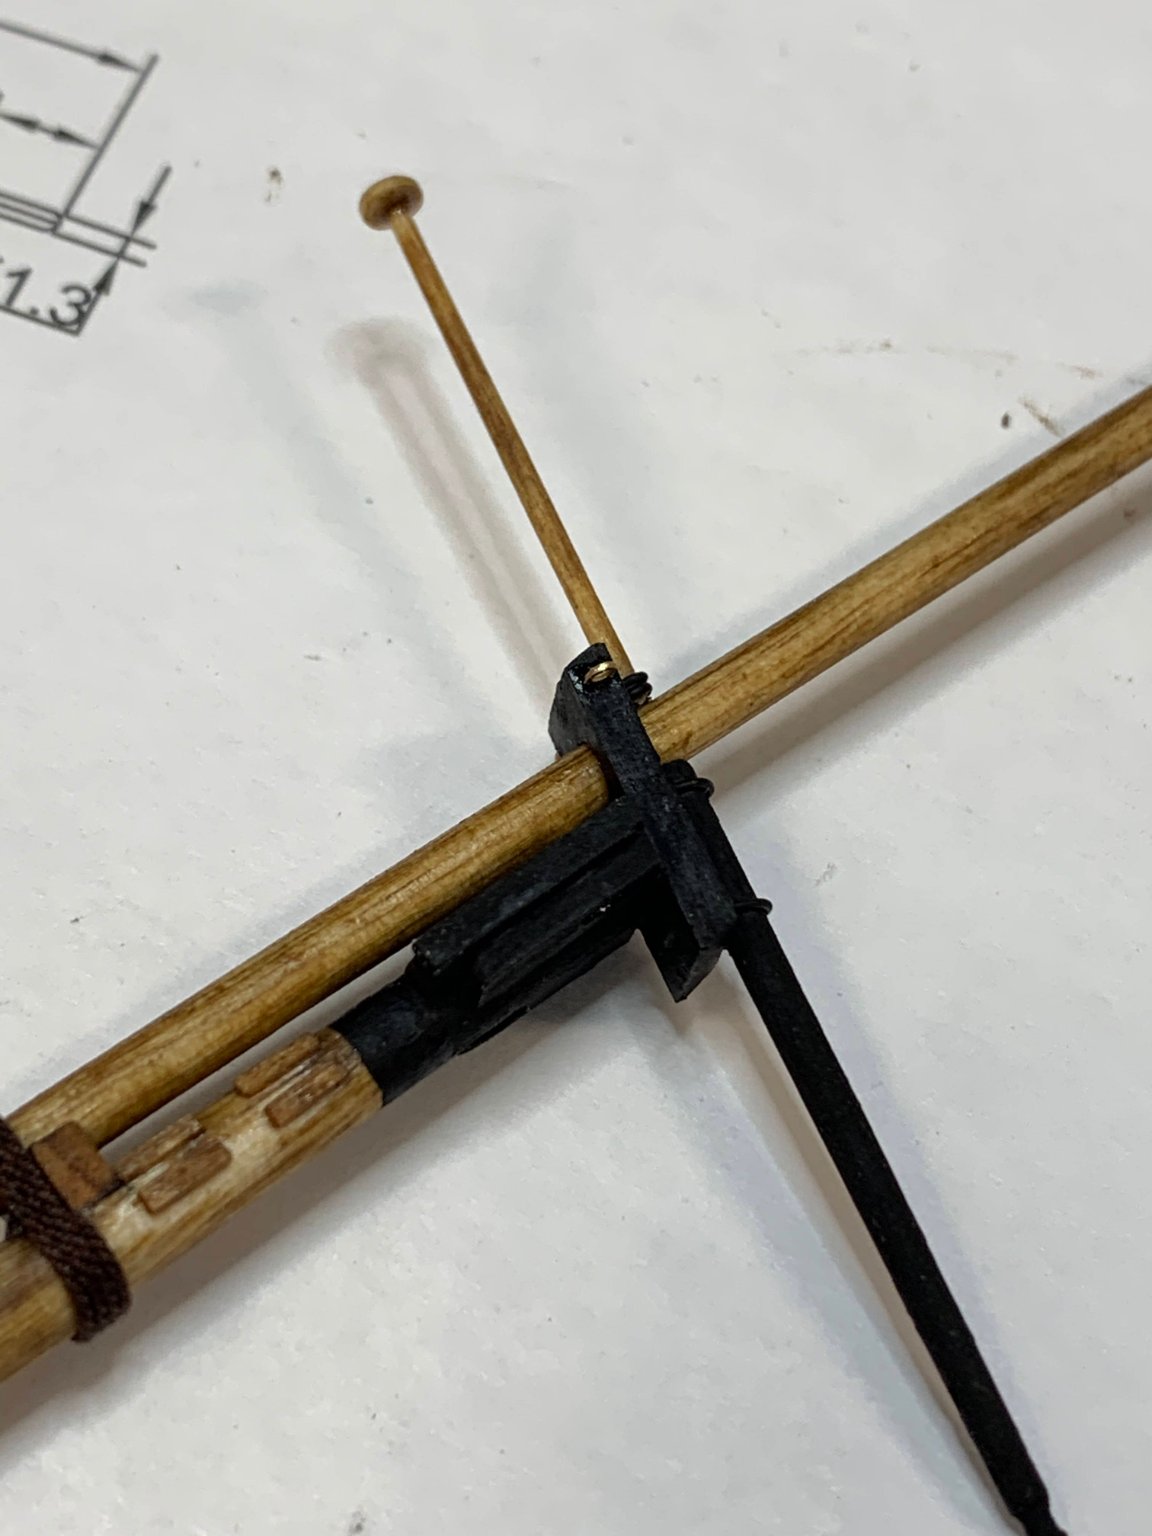
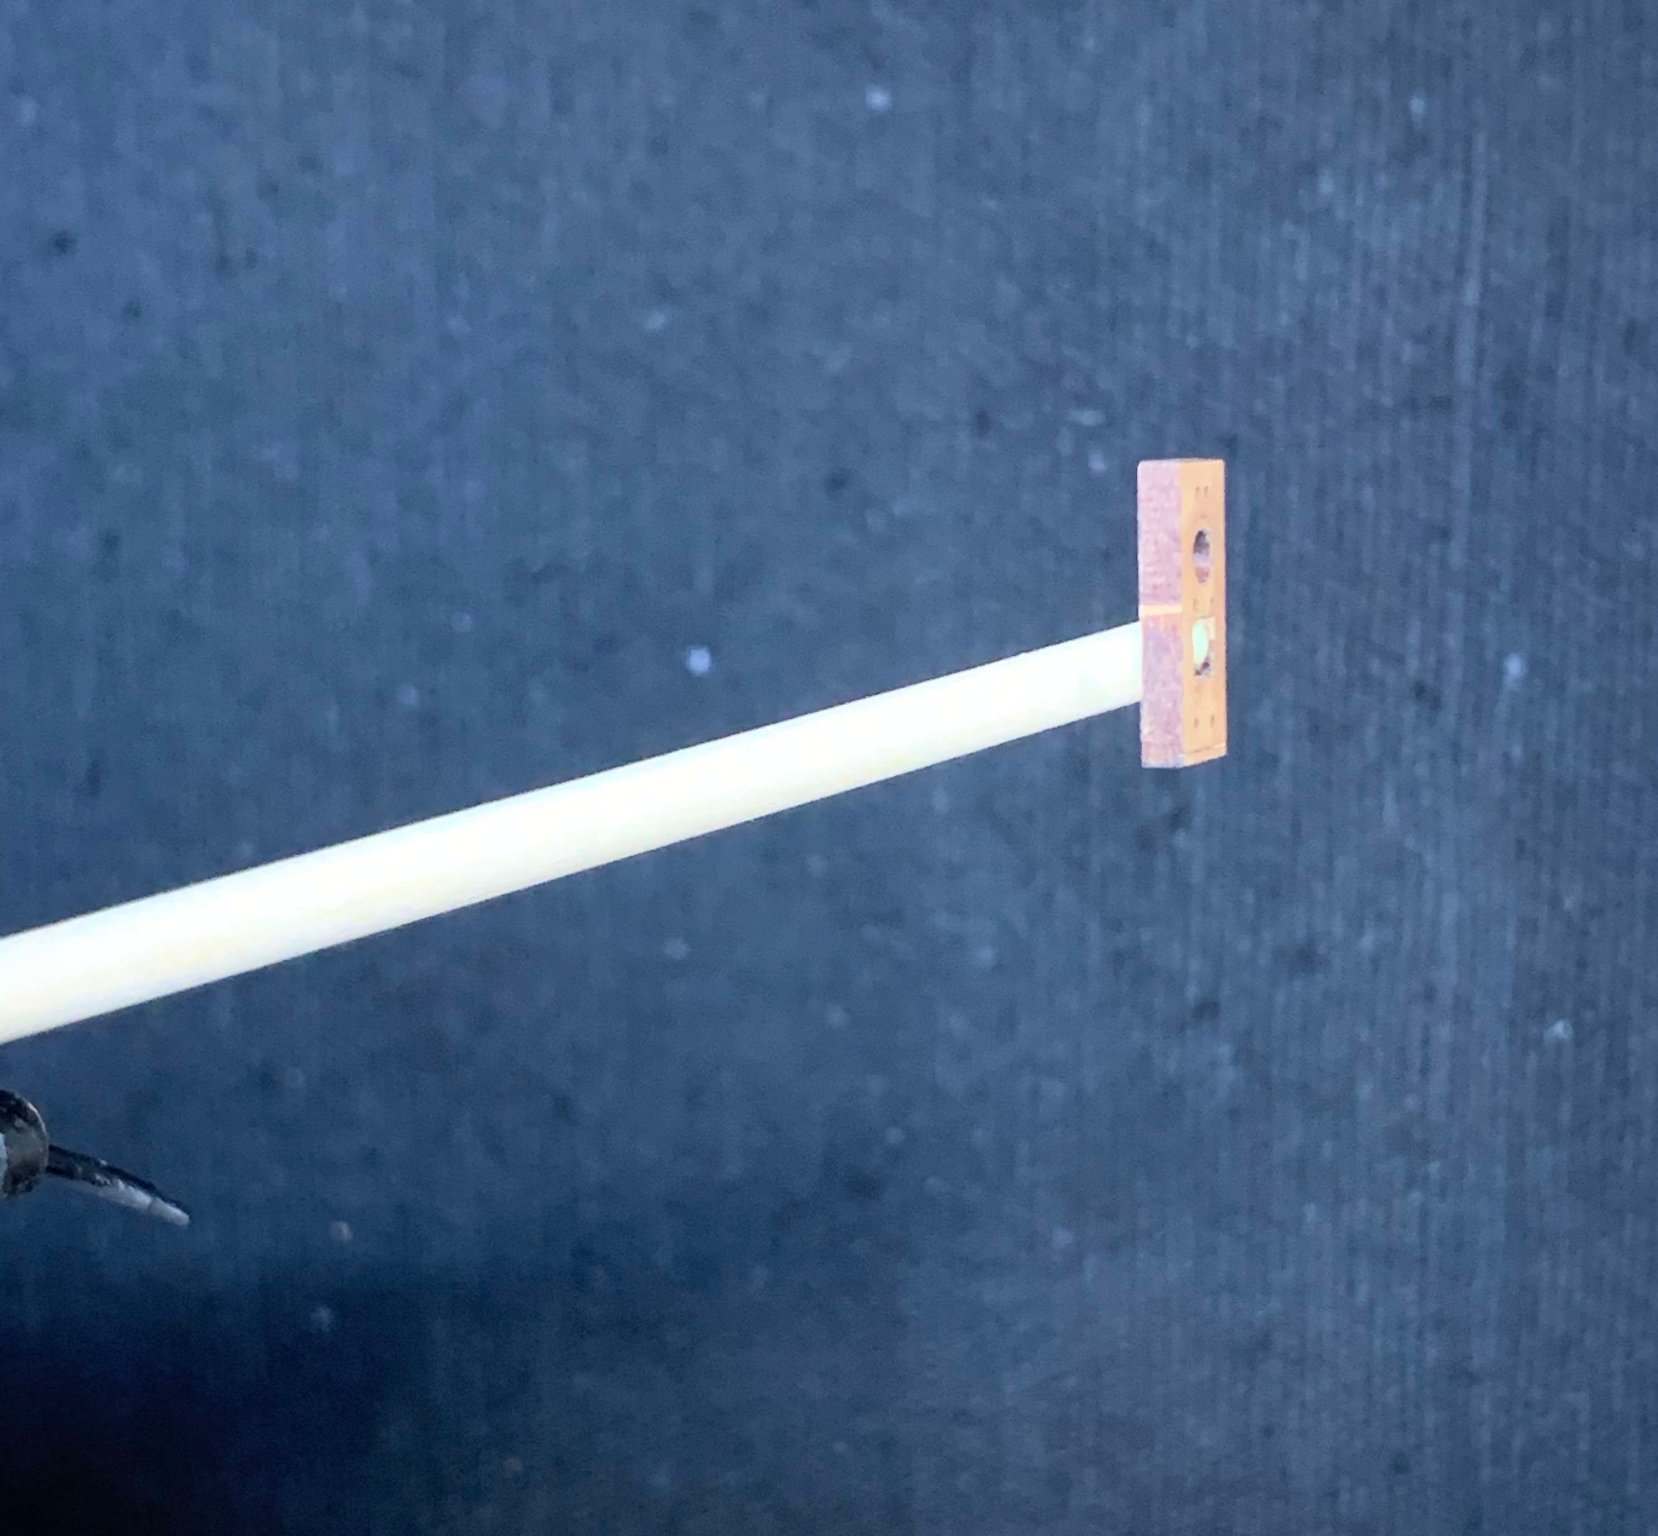
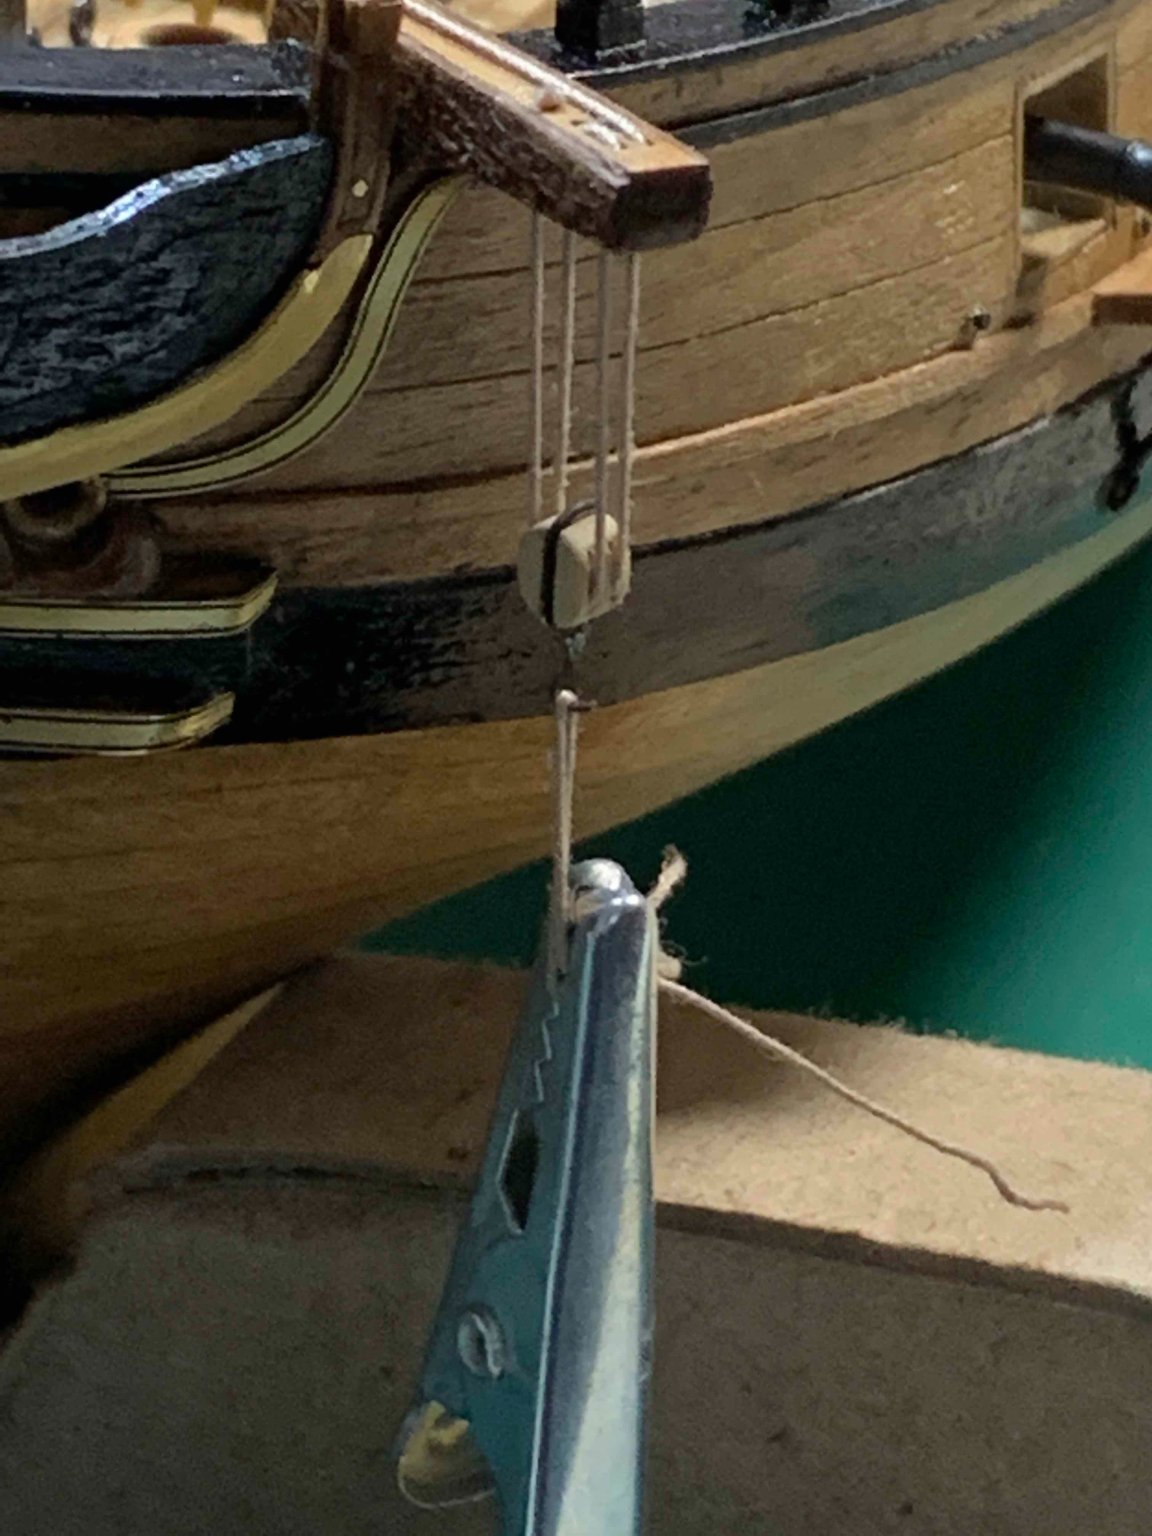
The fake shives are in place, made of wire piece, twisted around the template and glued in place..

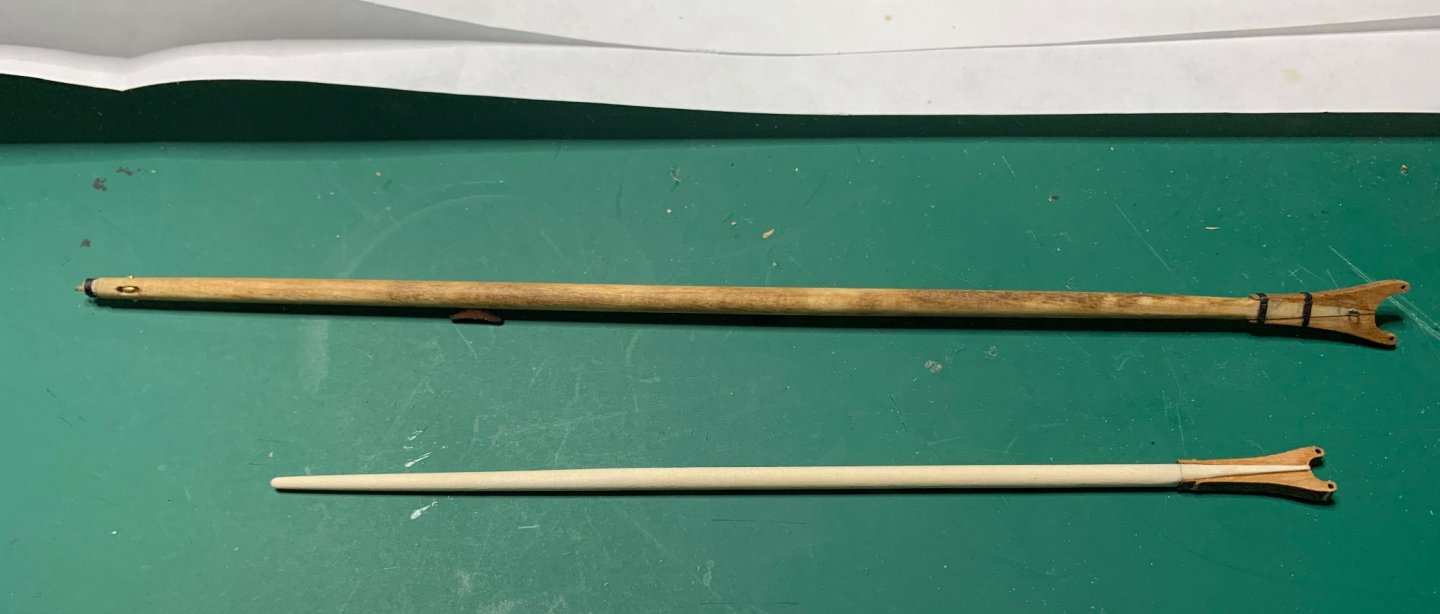
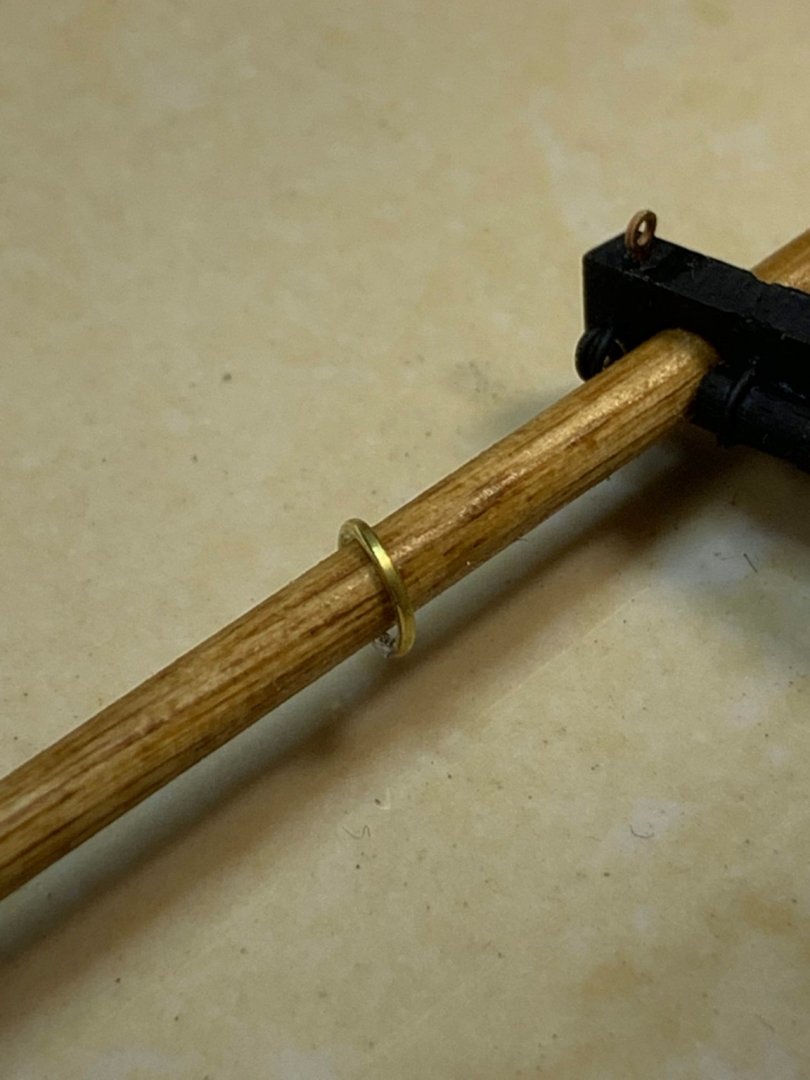
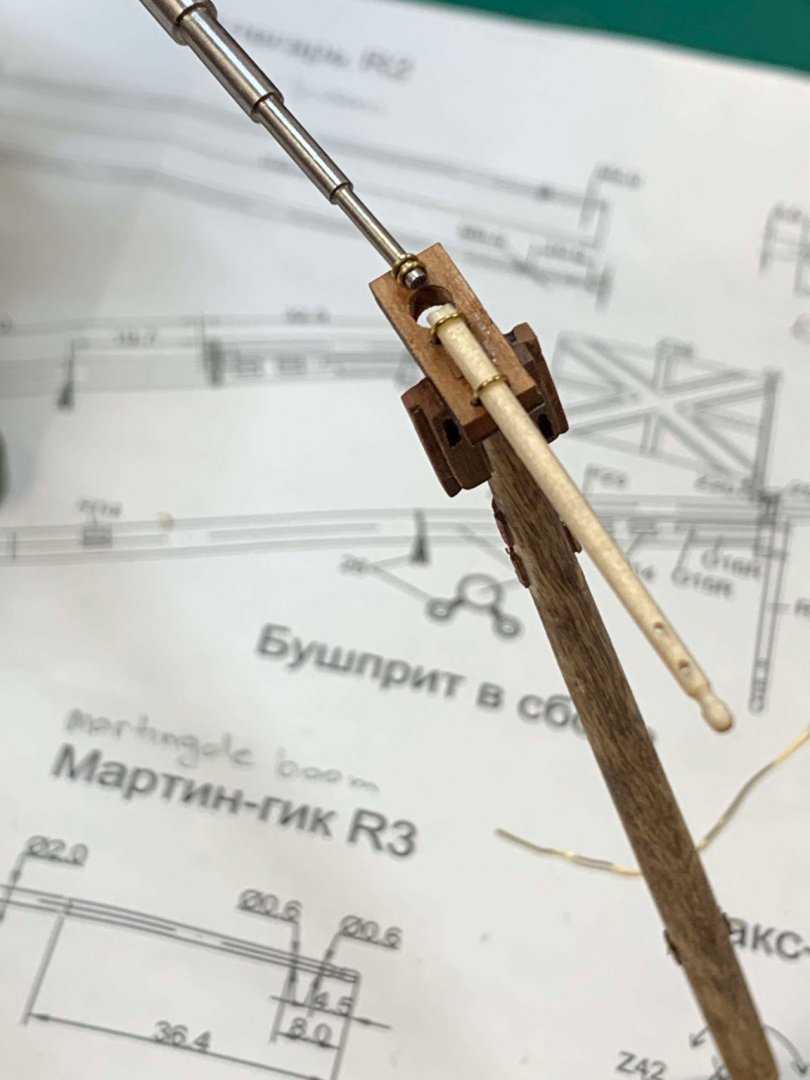
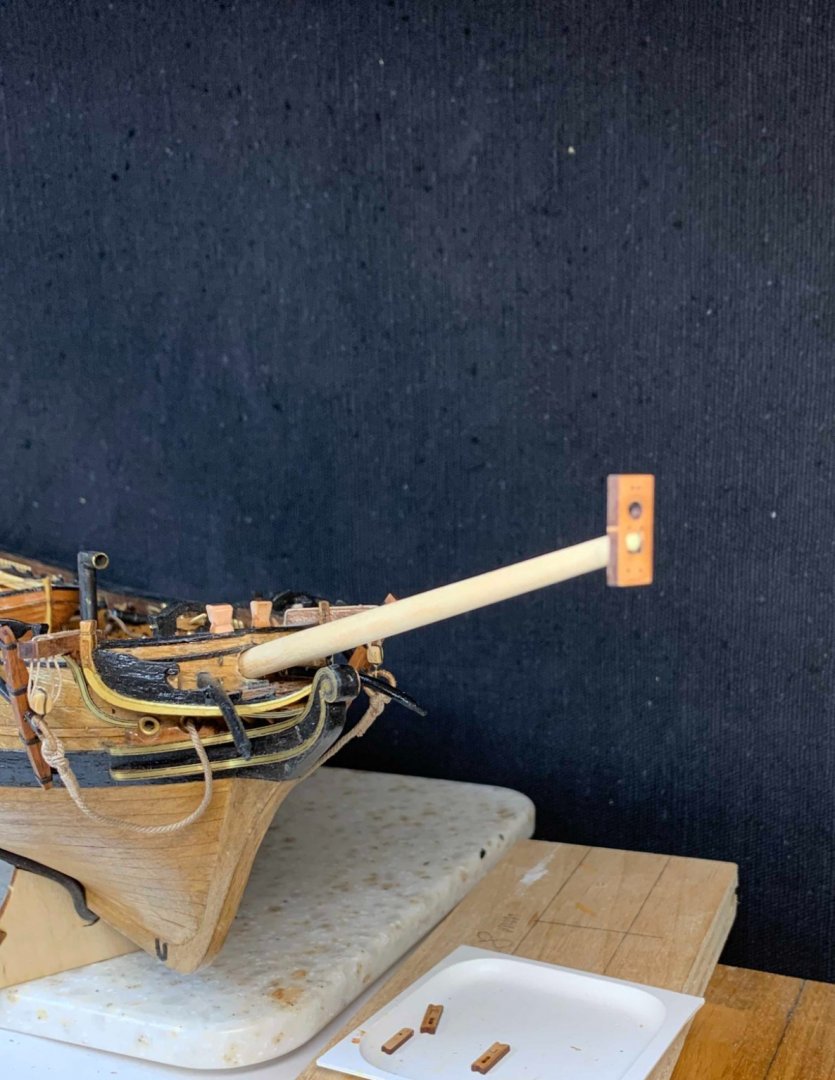
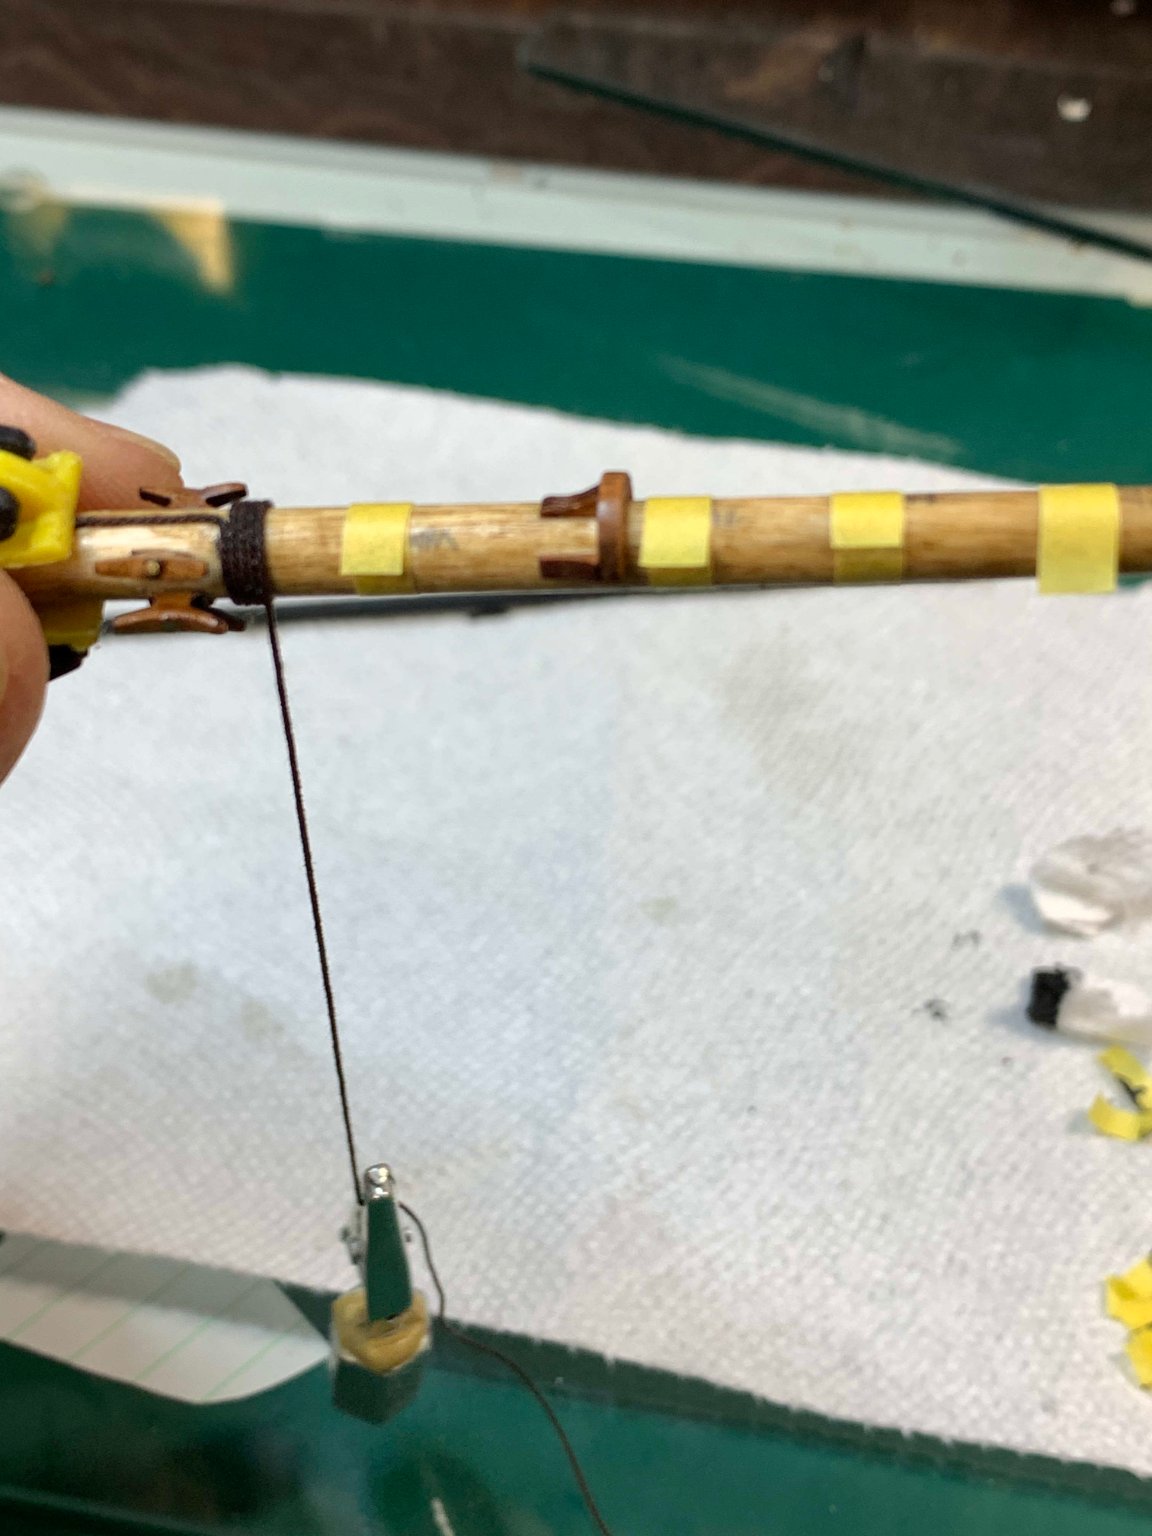
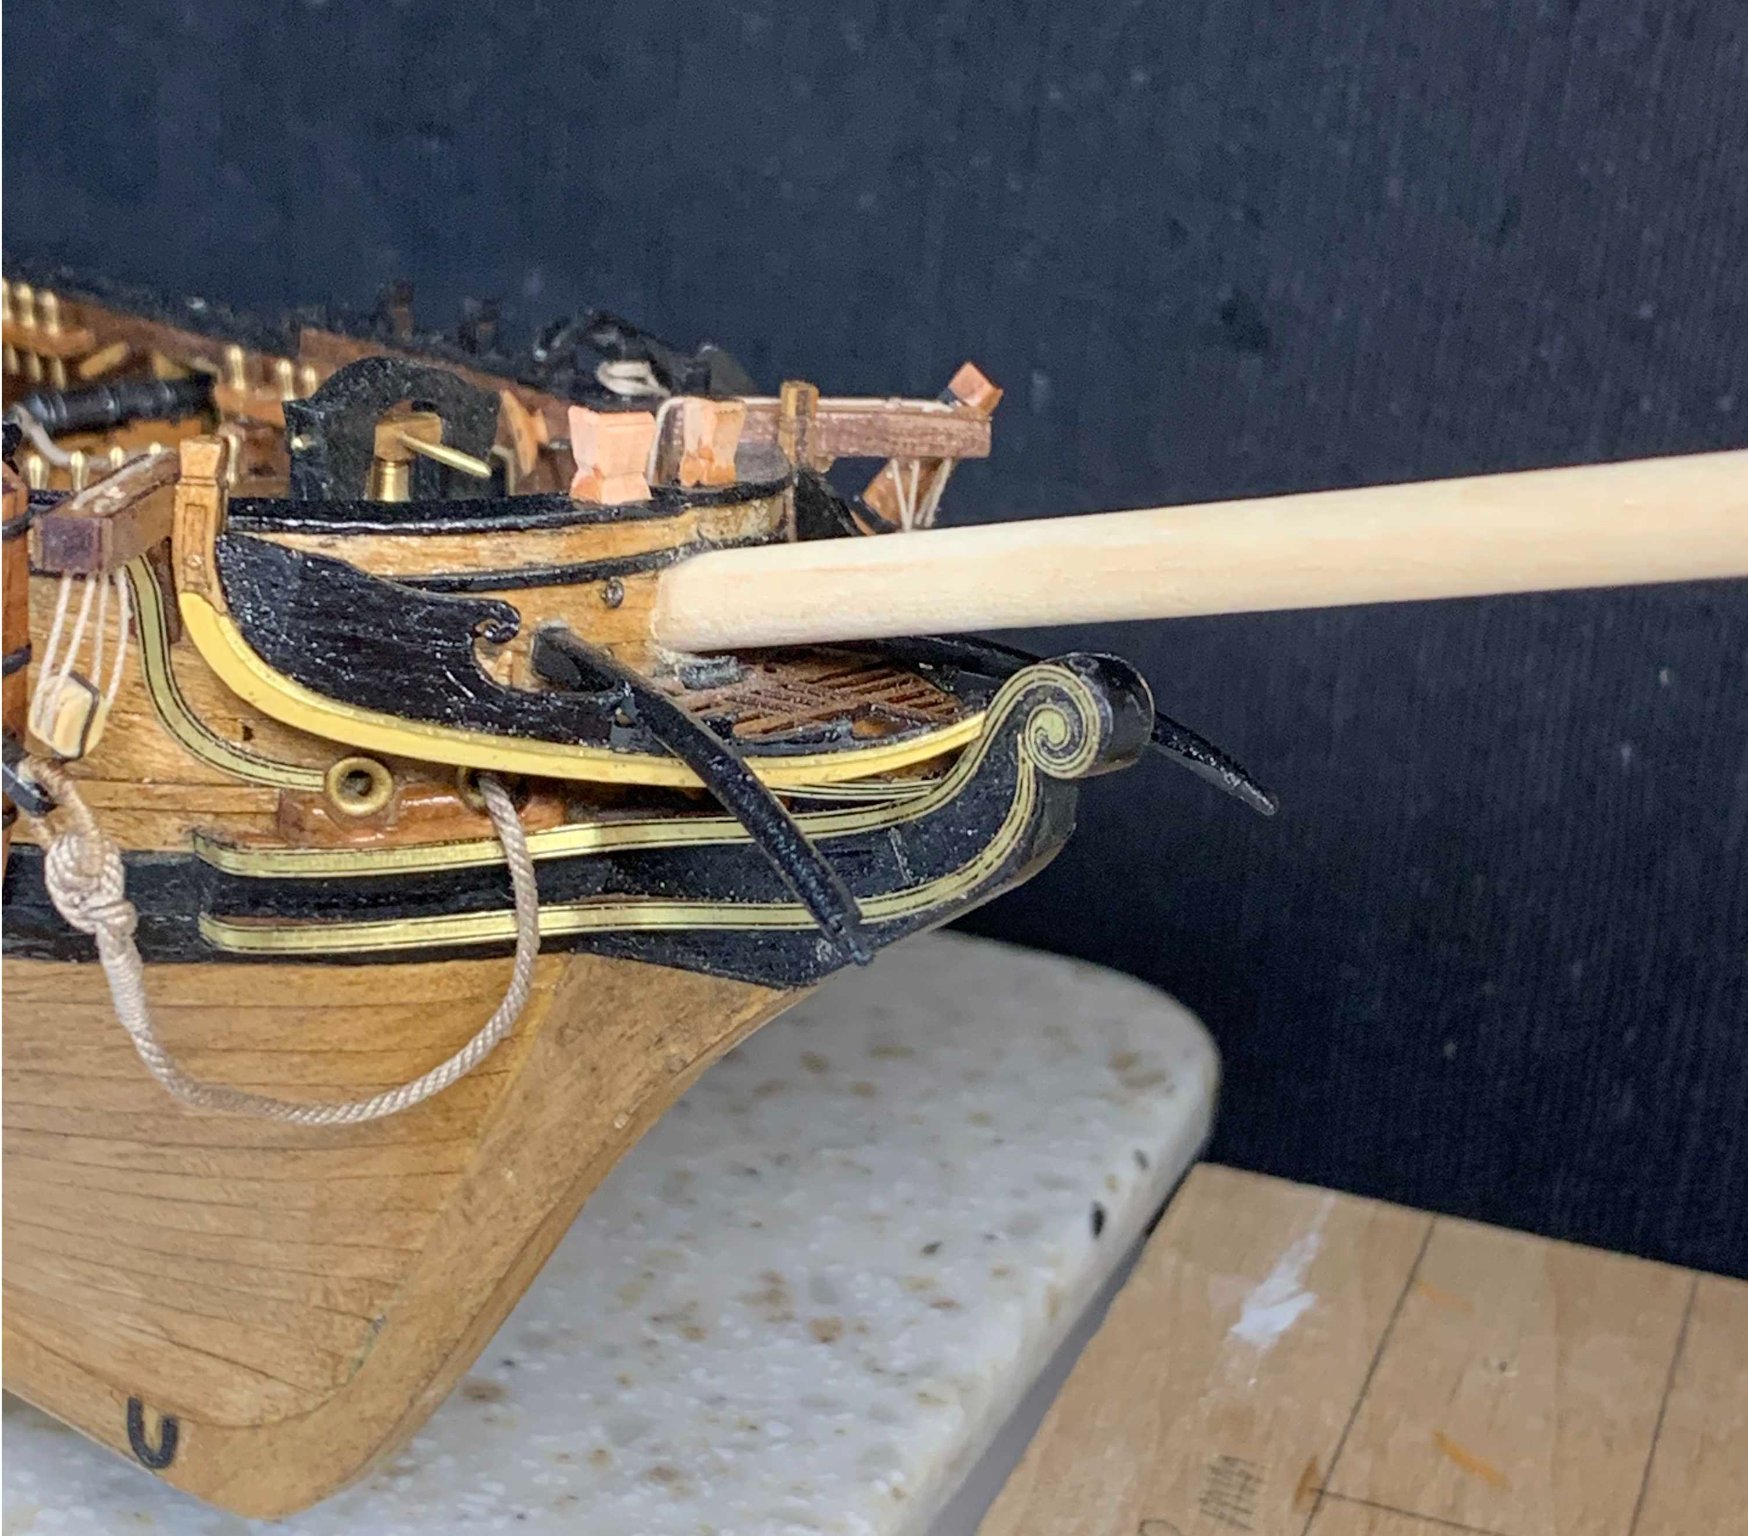
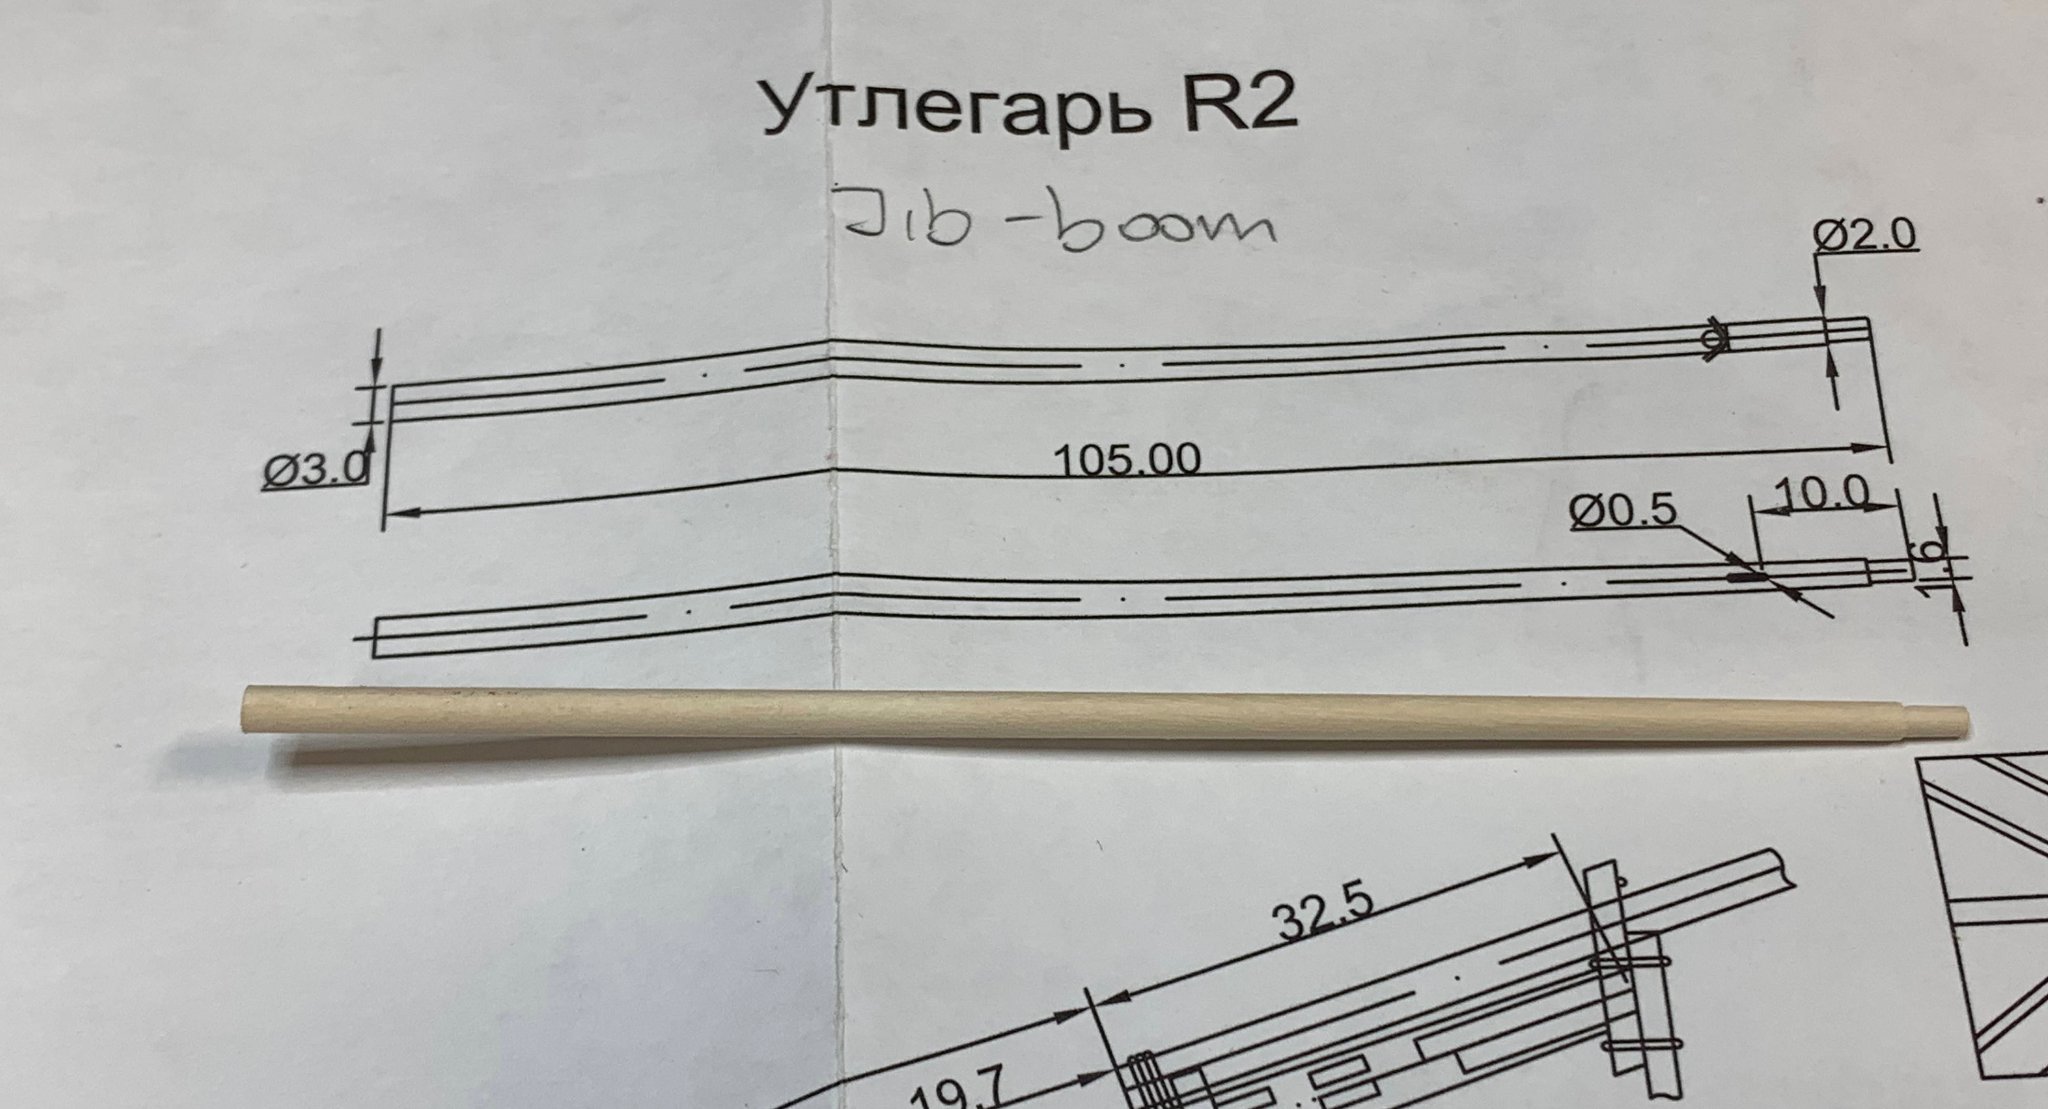
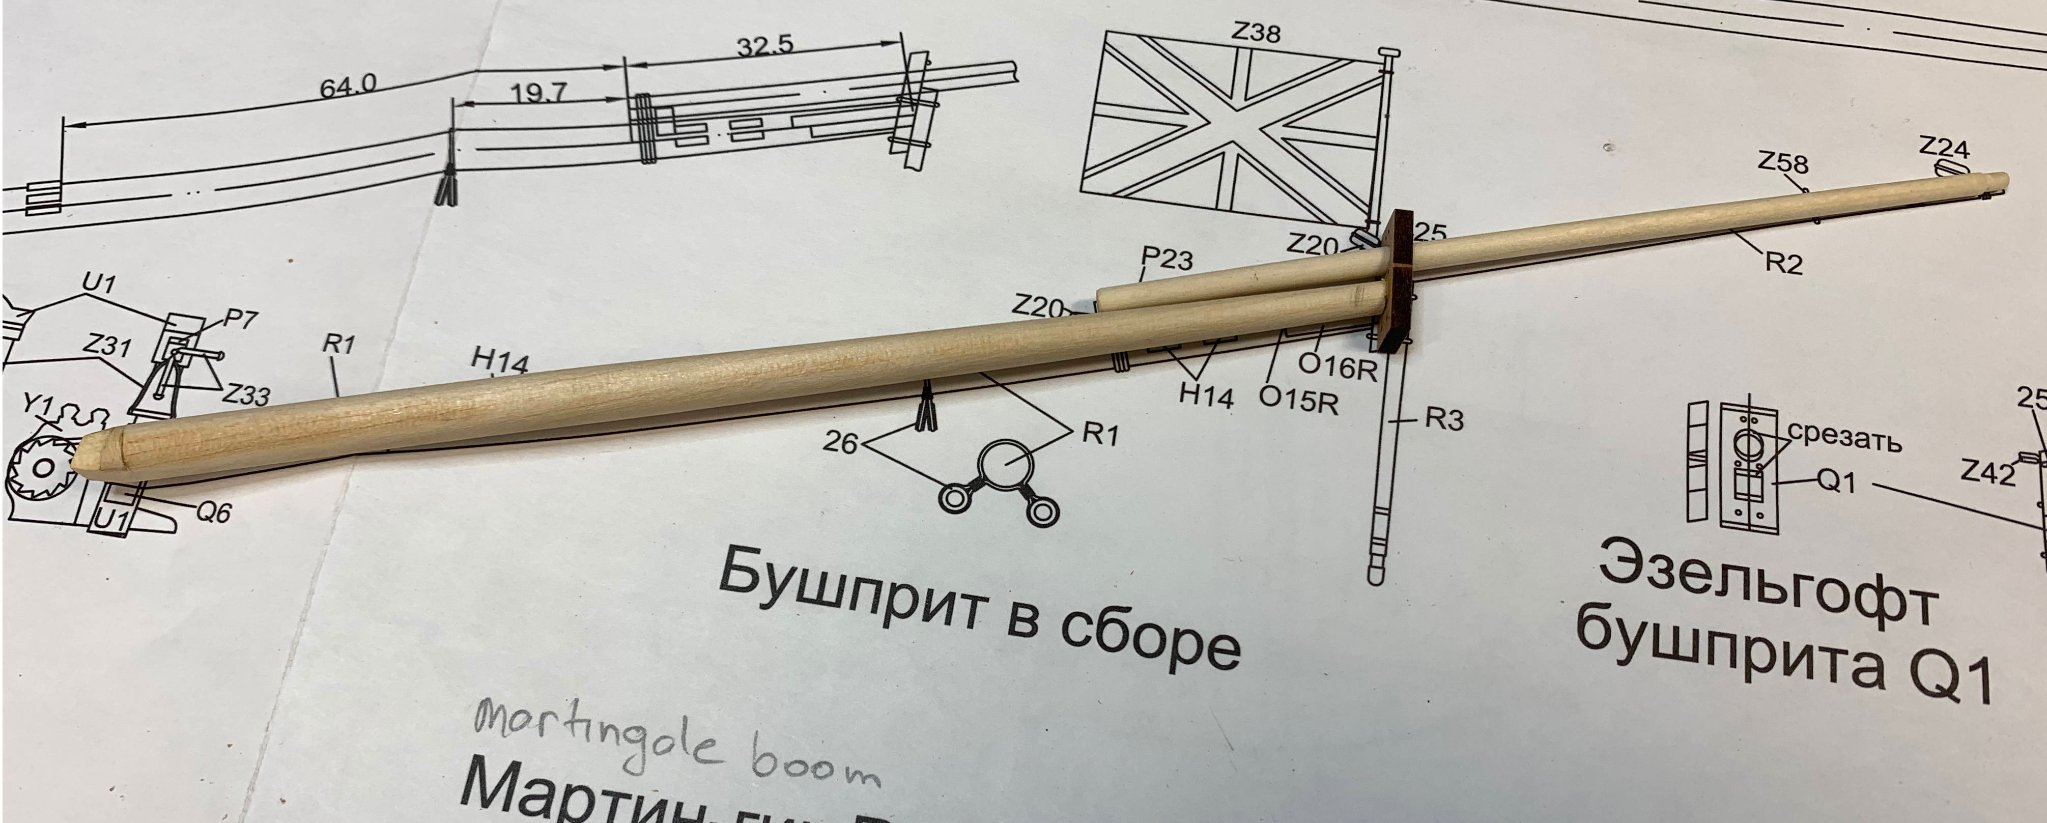
Jib boom was glued to the bowsprit and 4mm rope was used to fasten the jib boom' heel...
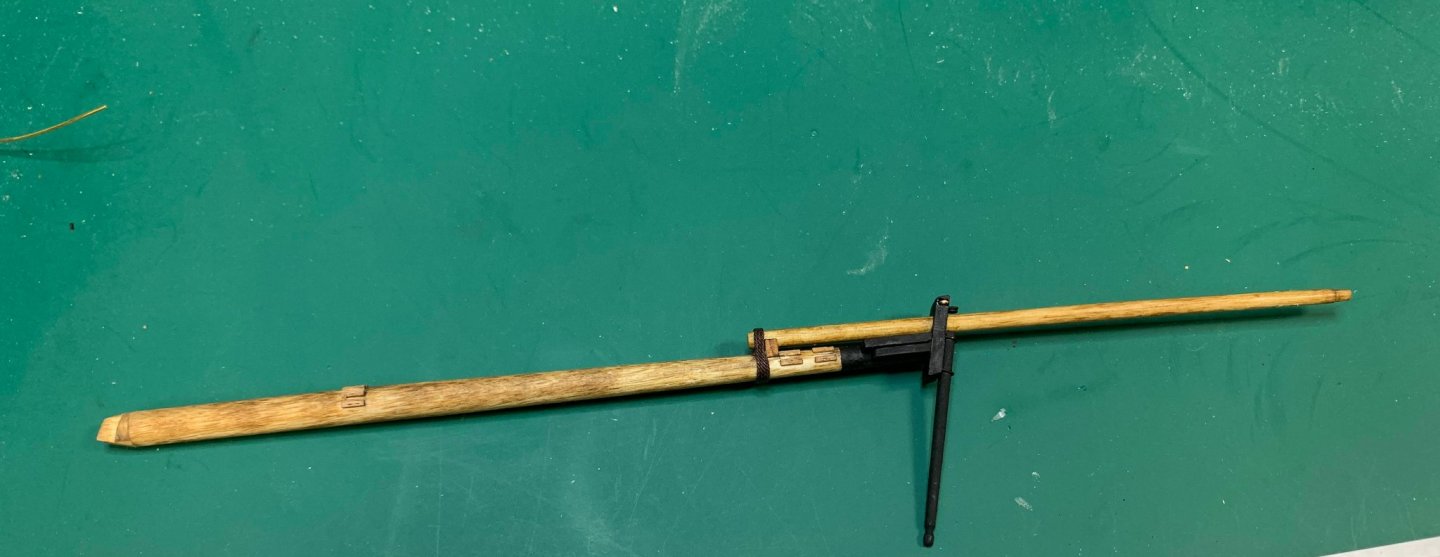

Blocks and thimbles will be installed later..The masts are next... woohoo
Happy modelling...- Jimnclare and Overworked724
-
 2
2
-
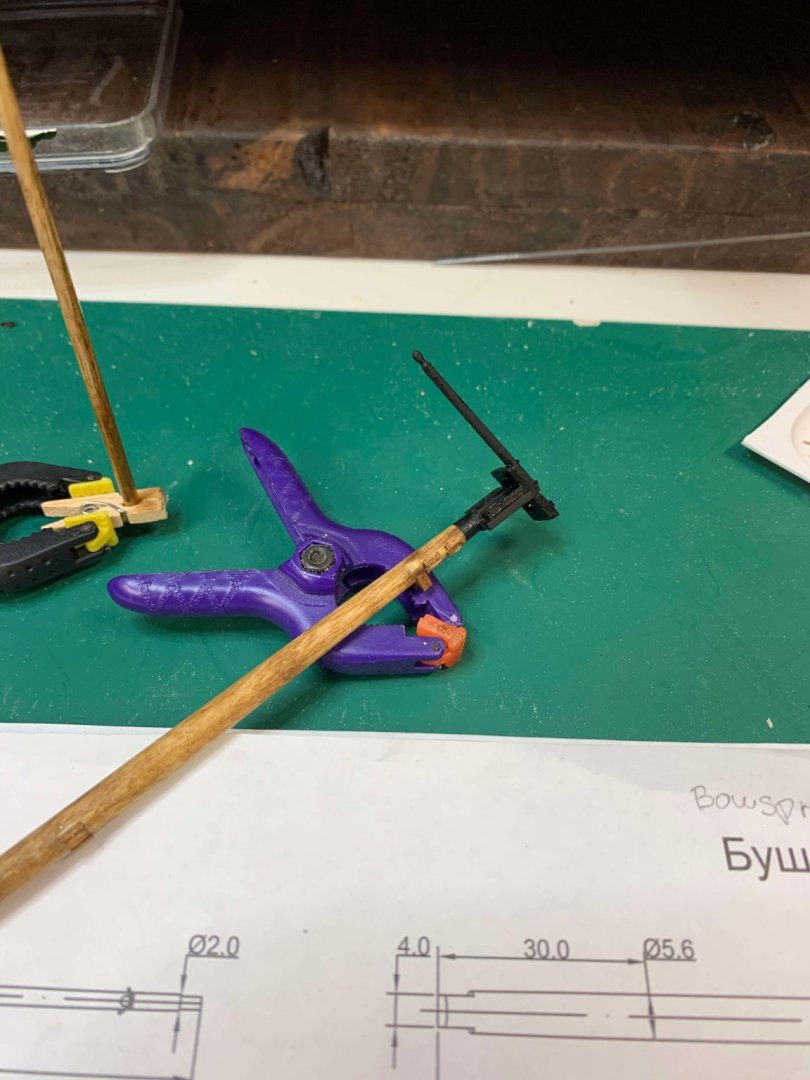
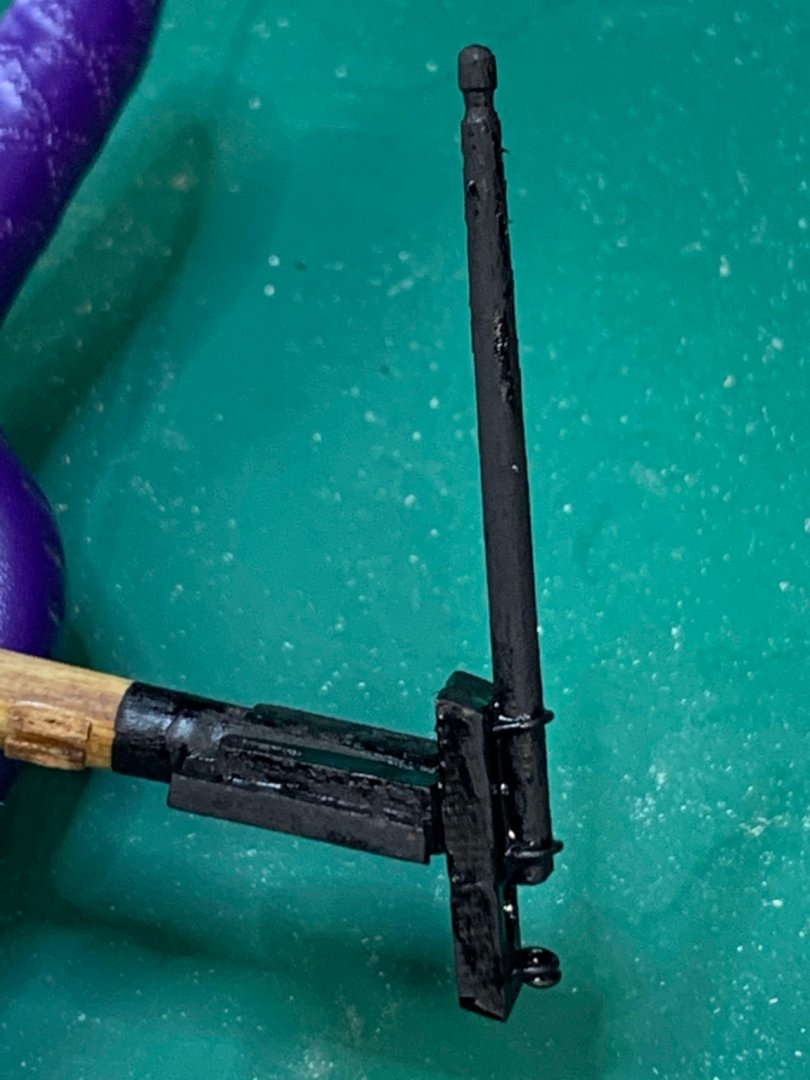
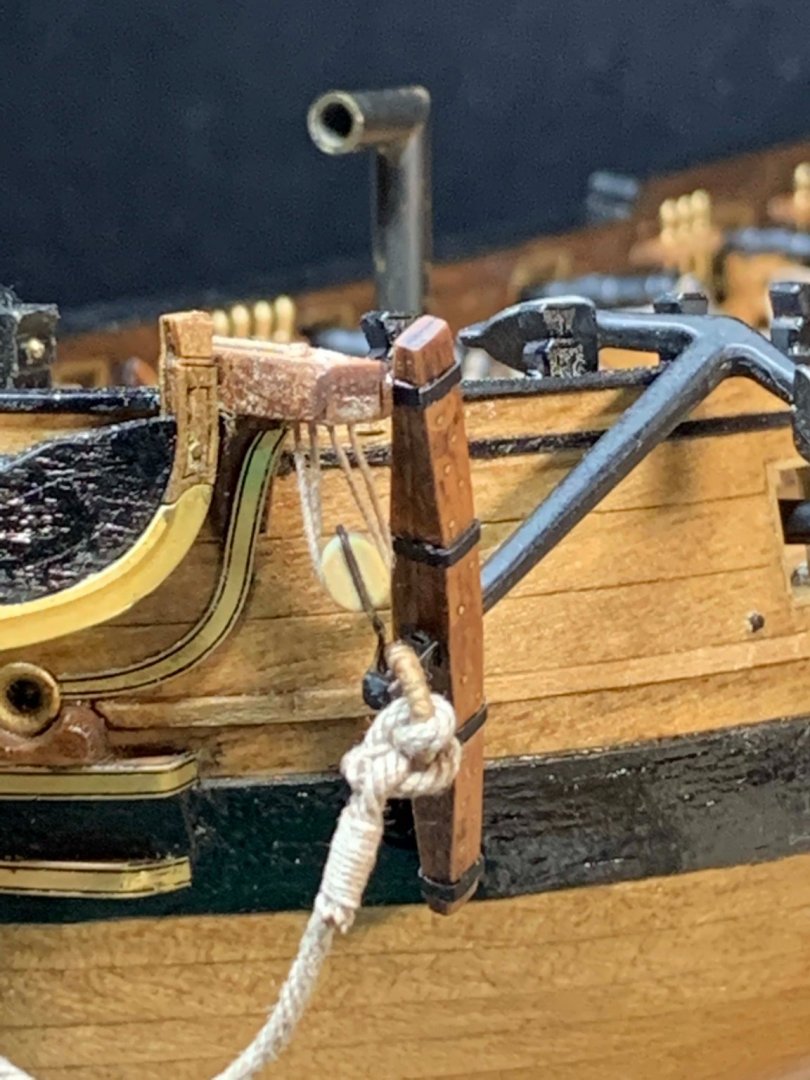
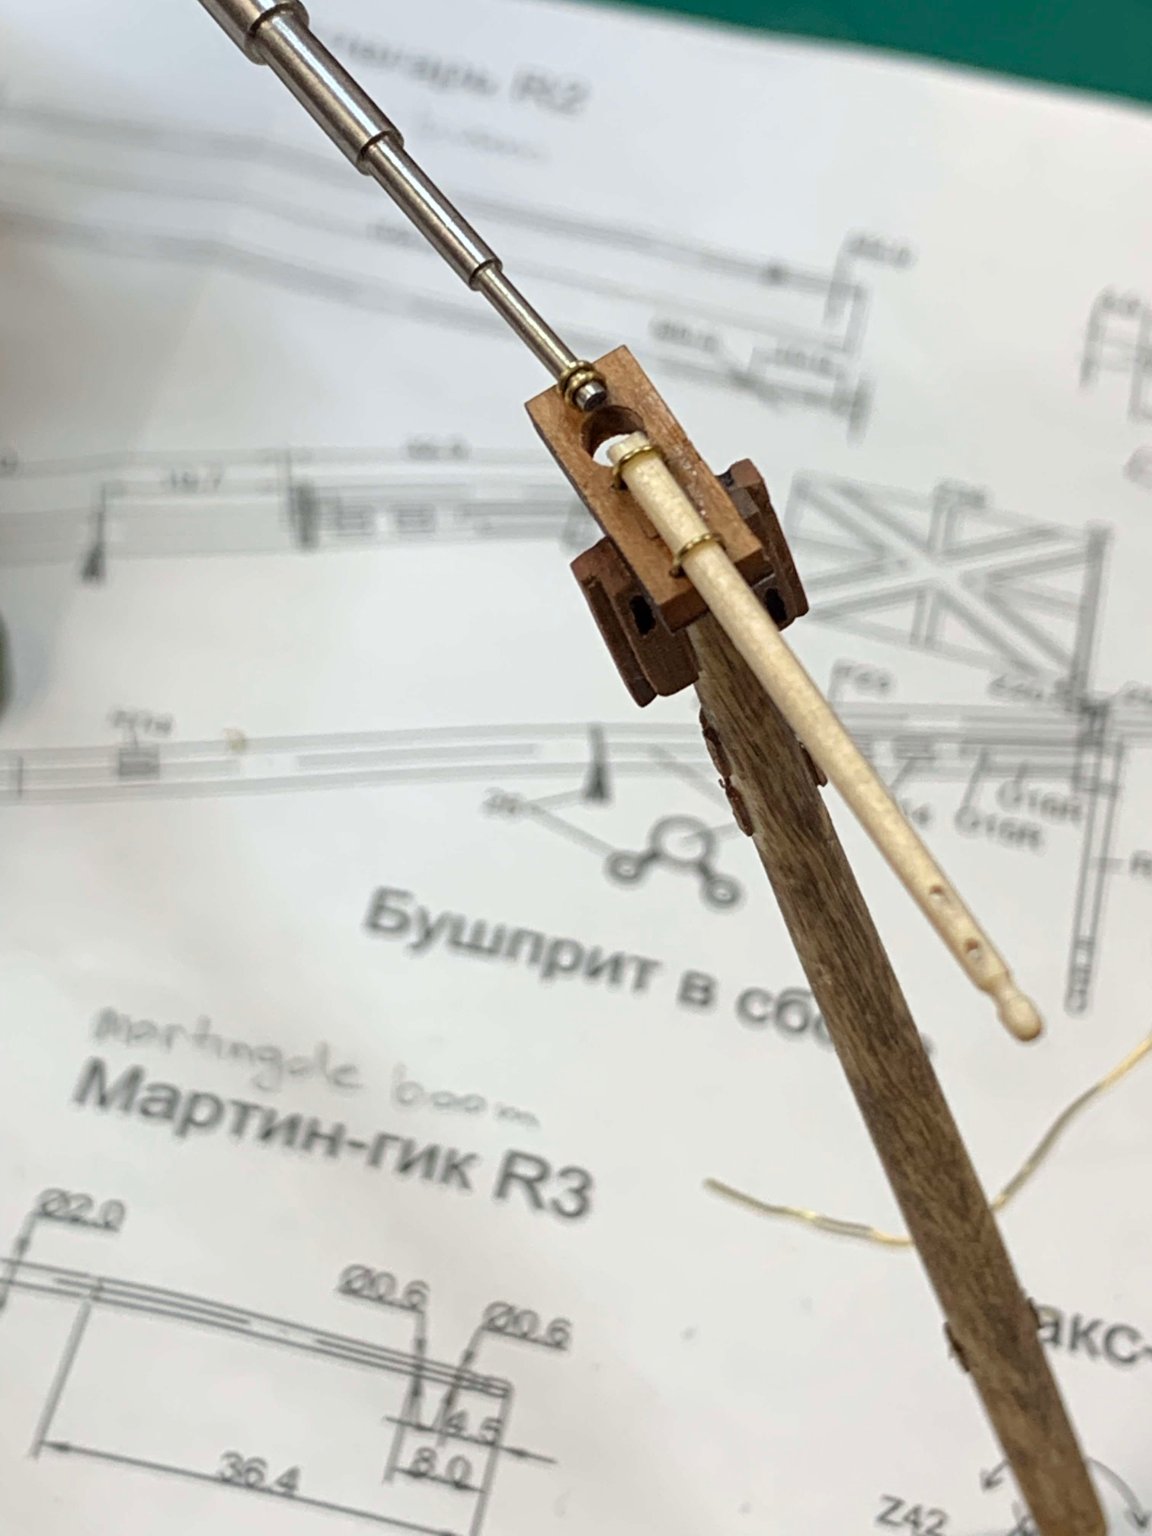
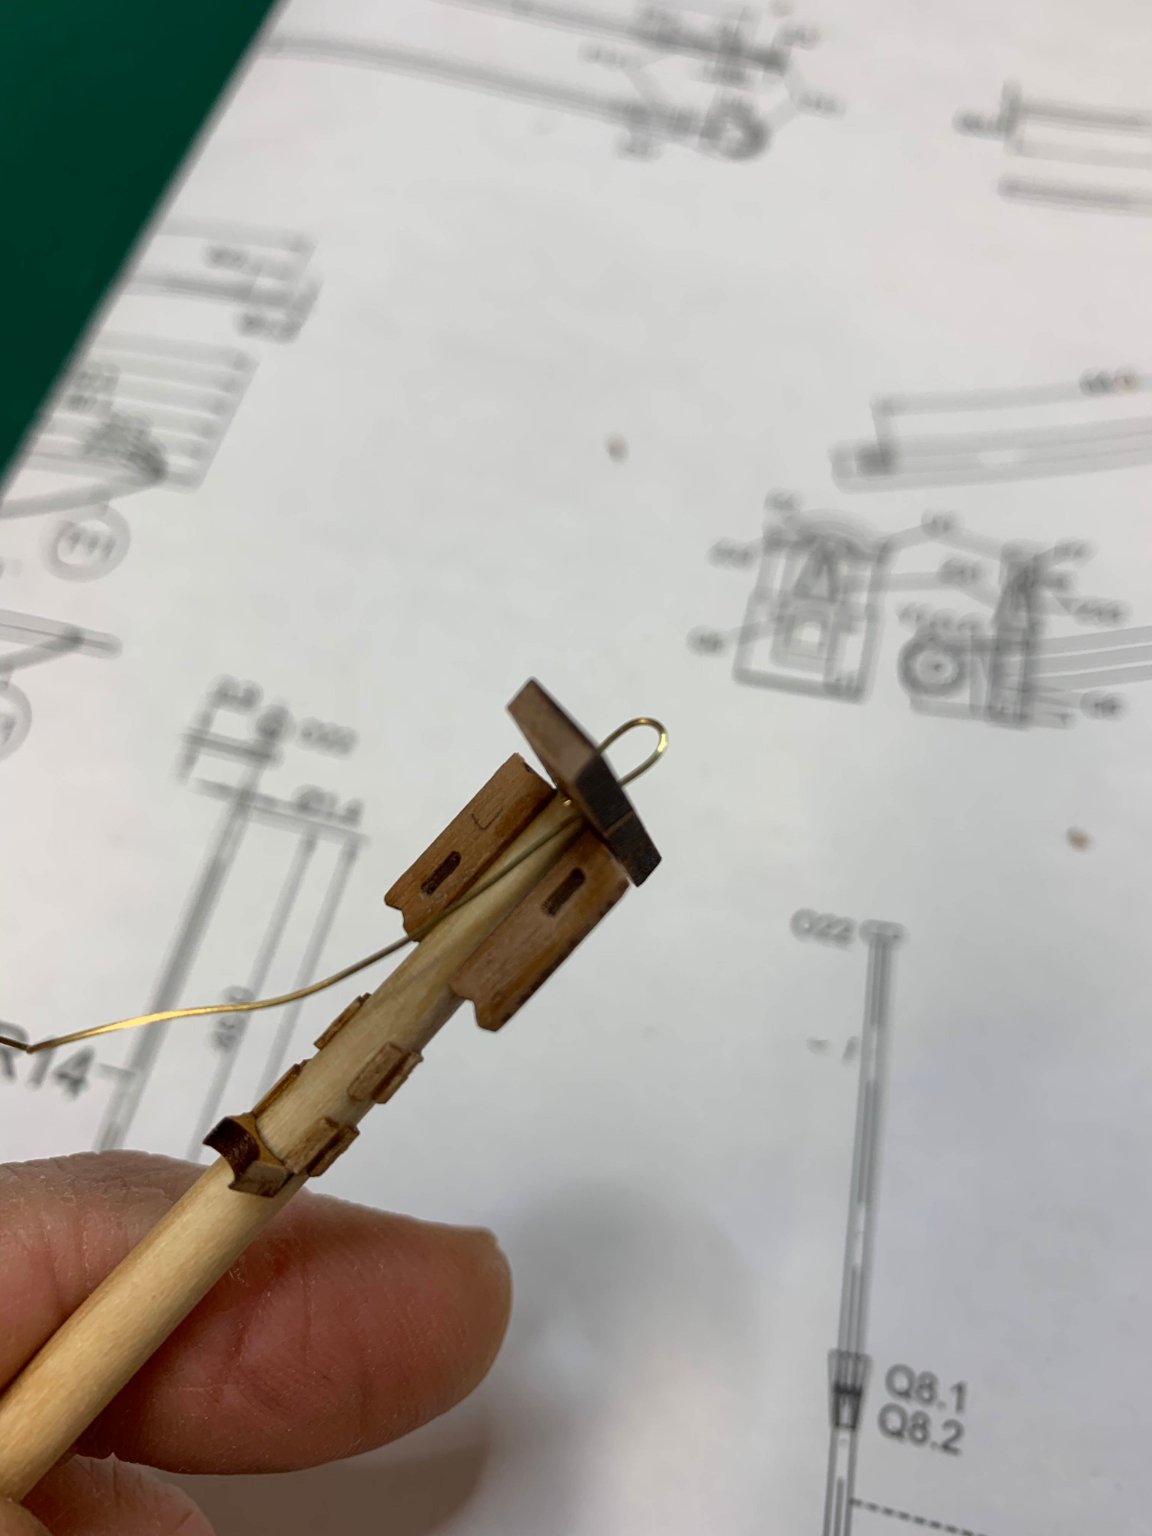
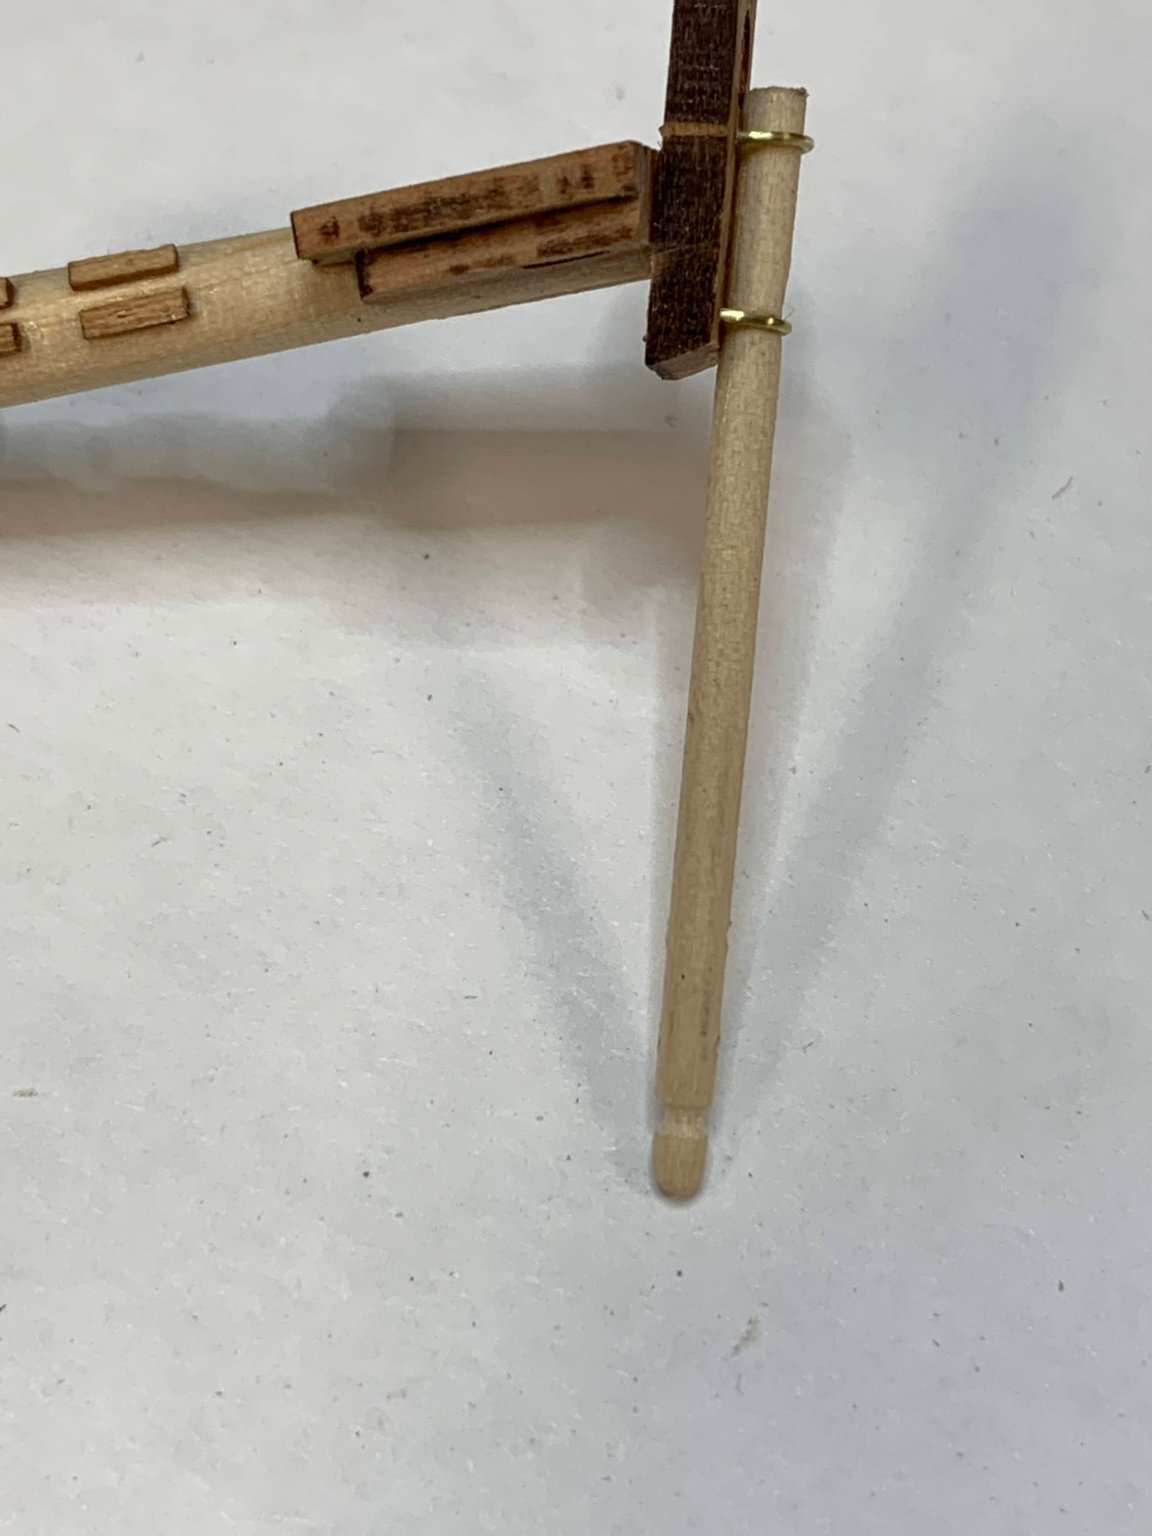
I have decided to replace the martingale boom with a new one. The holes were not at the right distance... Same process, shaping it, drill the hole, etc...

Mounted on the boom and started to make the holds for jack staff.. Kind of a double wire hooks, interesting.. Here i am using a template to wrap the wire around..

Then just a layer of mat black colour...

Happy modelling.. -
Getting ready to drill two holes in martingale boom.....

4mm wire was used to hold it in place...

I drop a bit of a glue on the boom to keep it in place while tightening the wire..

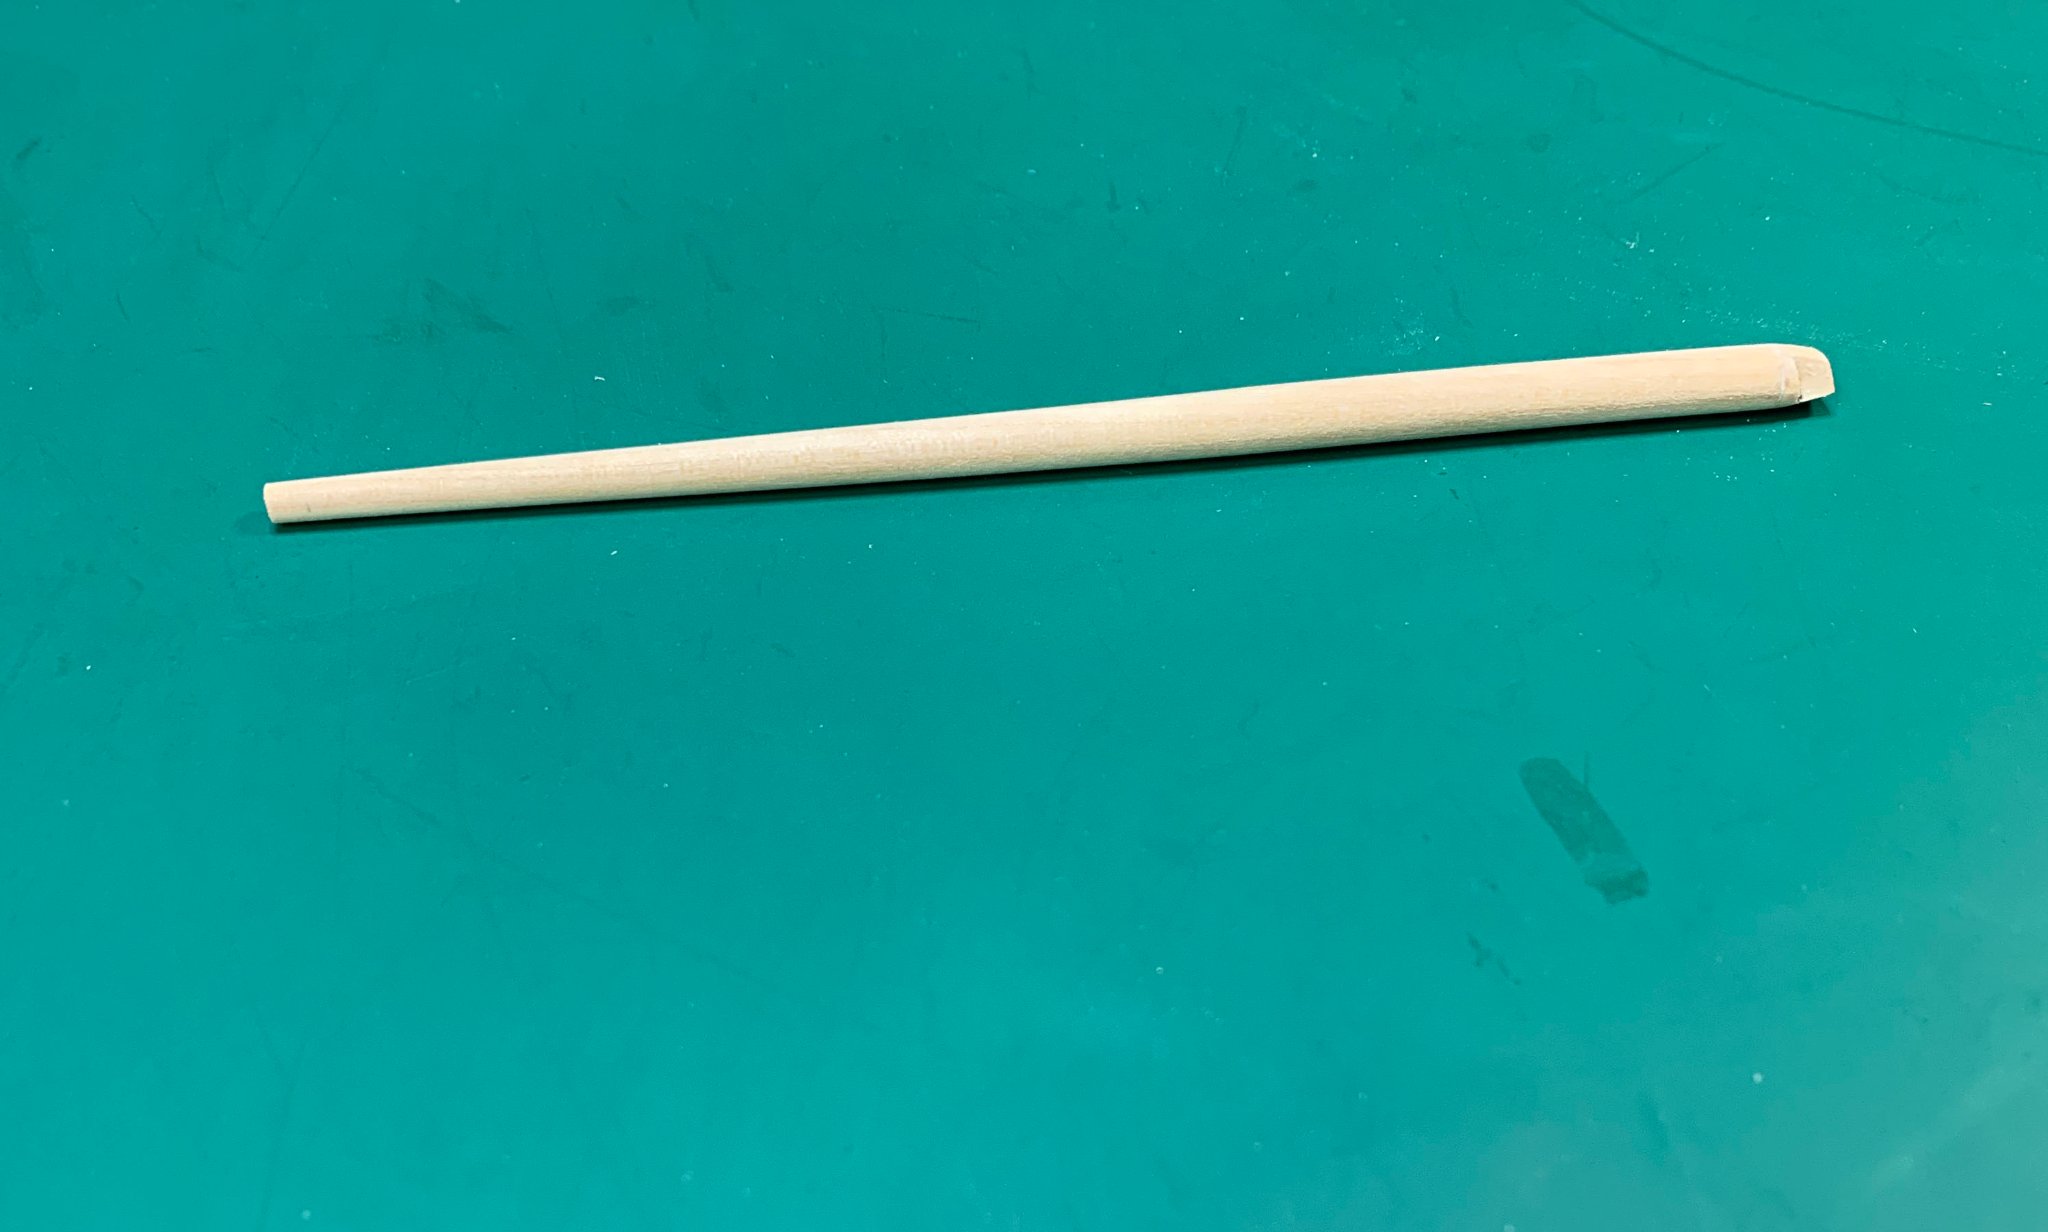
The jack staff was made out of a toothpick..
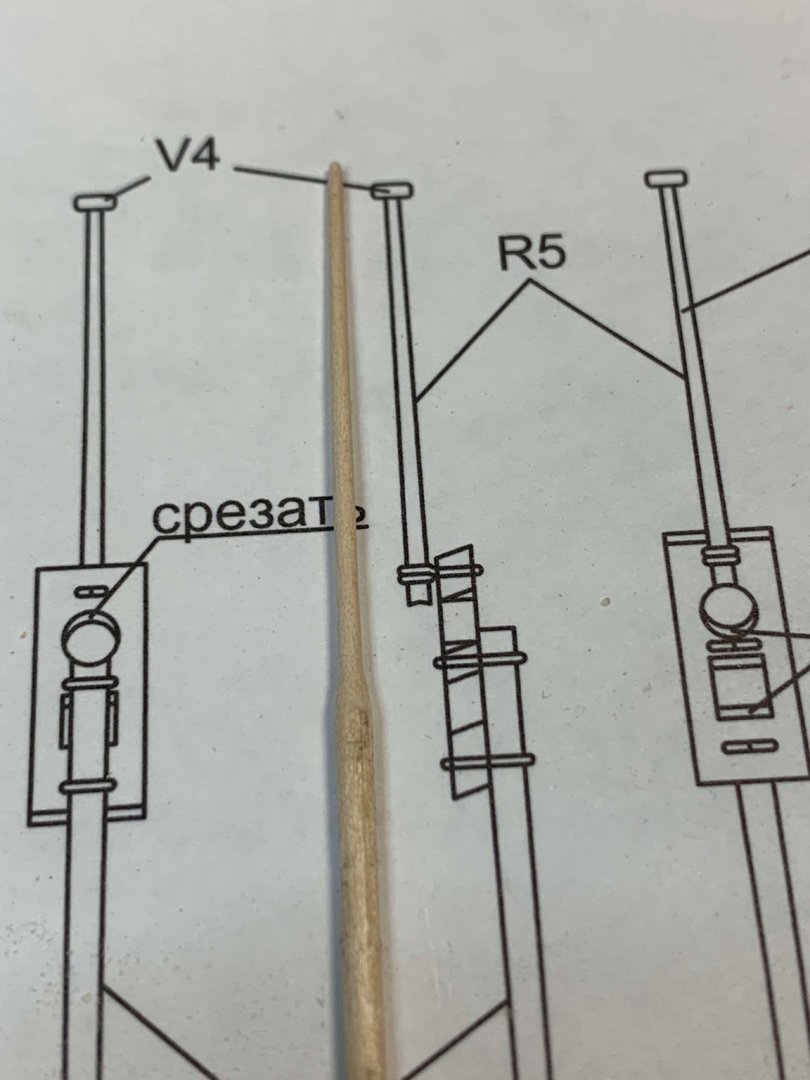
The top part (here marked as V4) was made using a piece of wood, shaping it while in rotary tool (poor-man lathe). The part originally in the kit, was lost...


All parts are stained...

Happy modelling... -
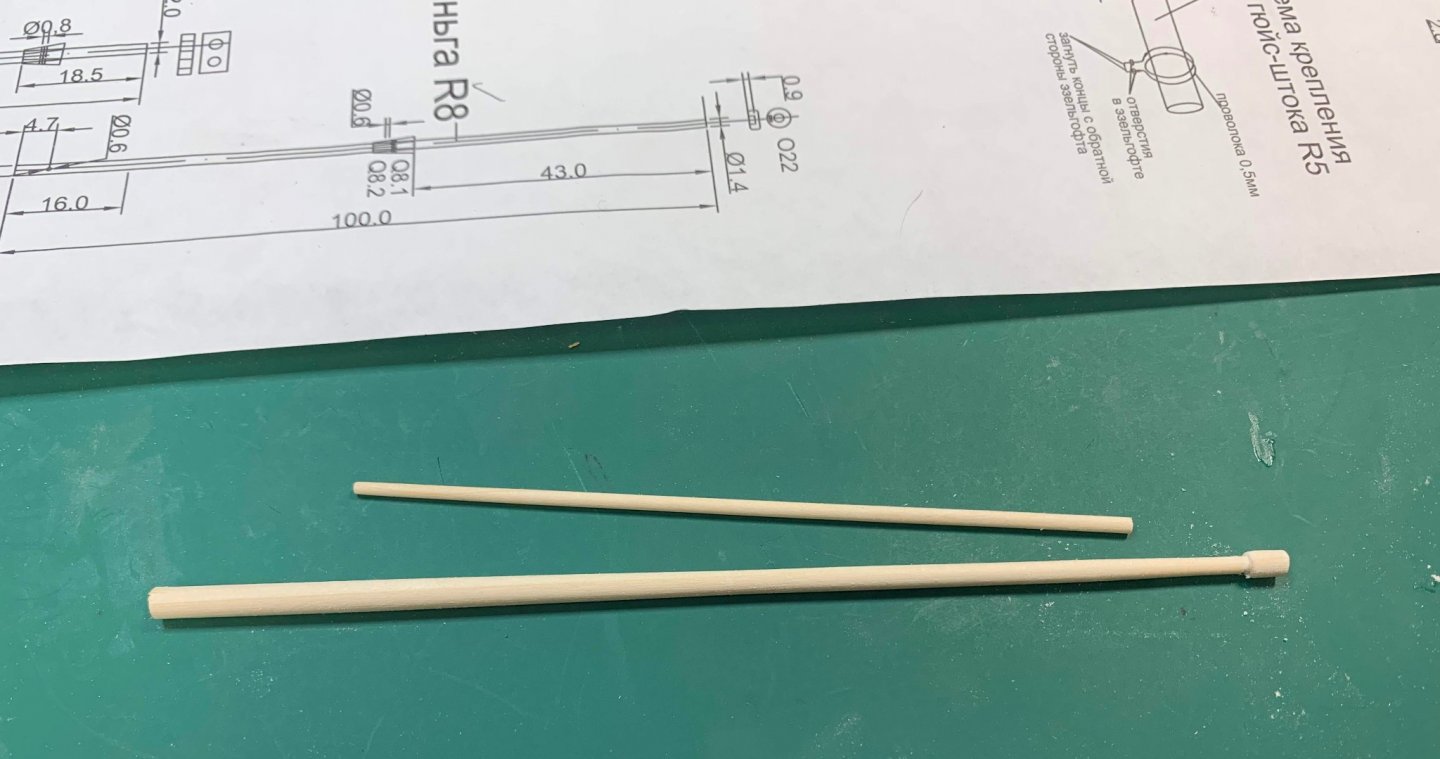
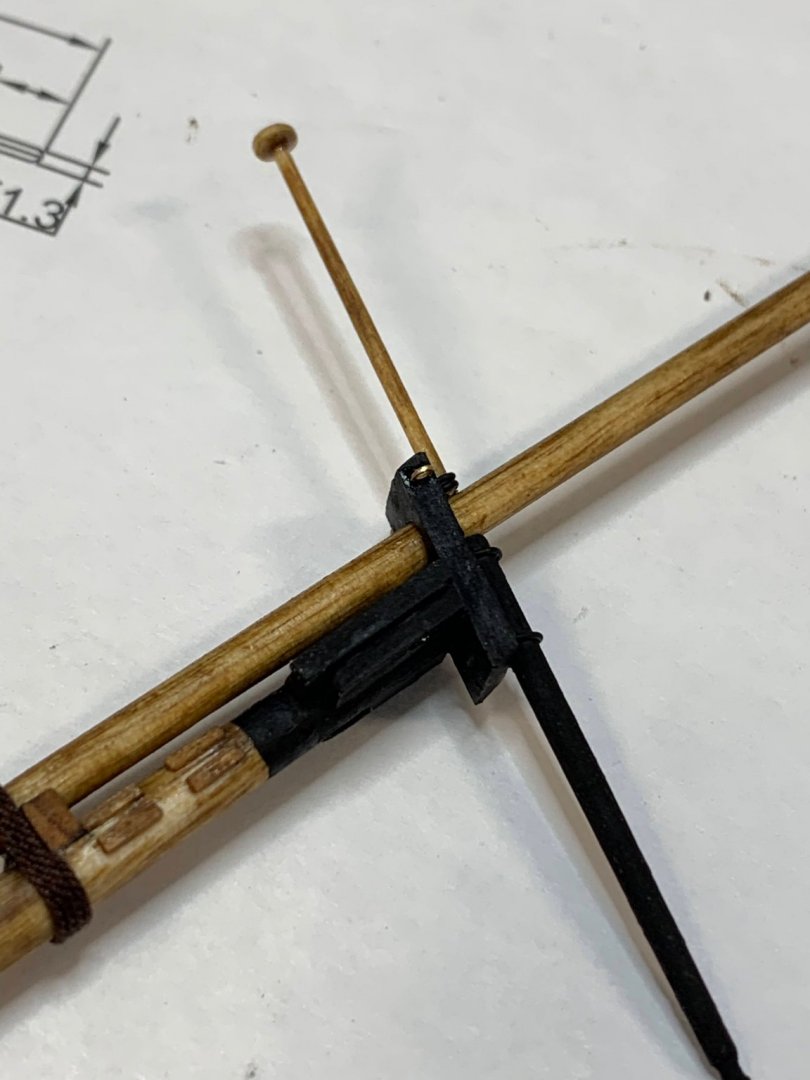
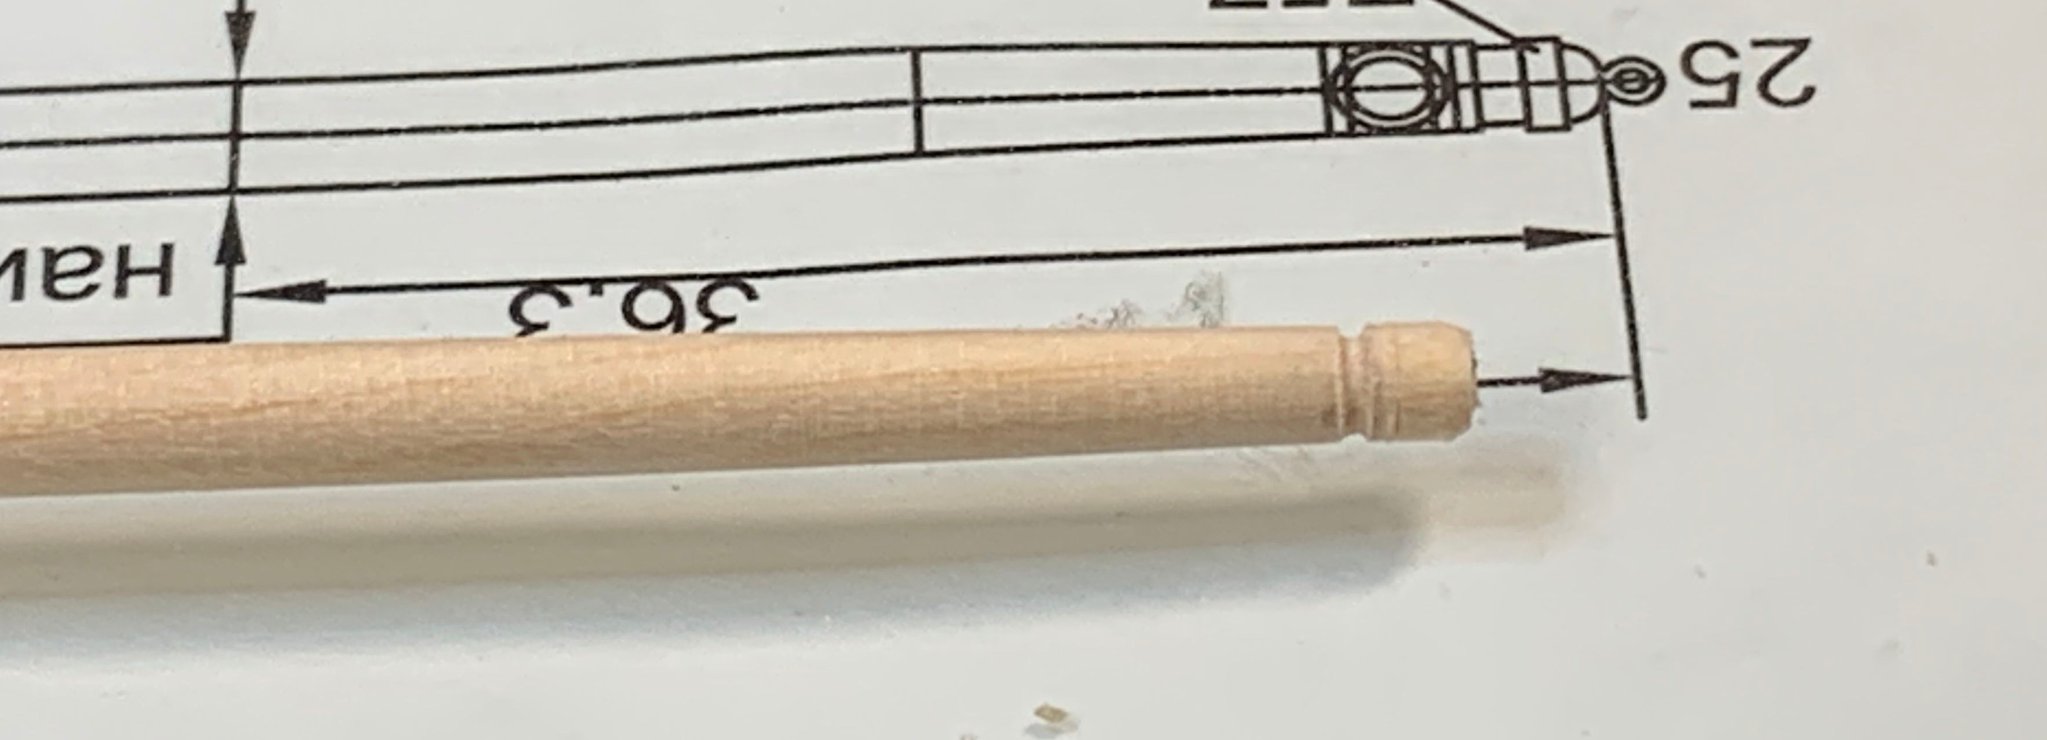
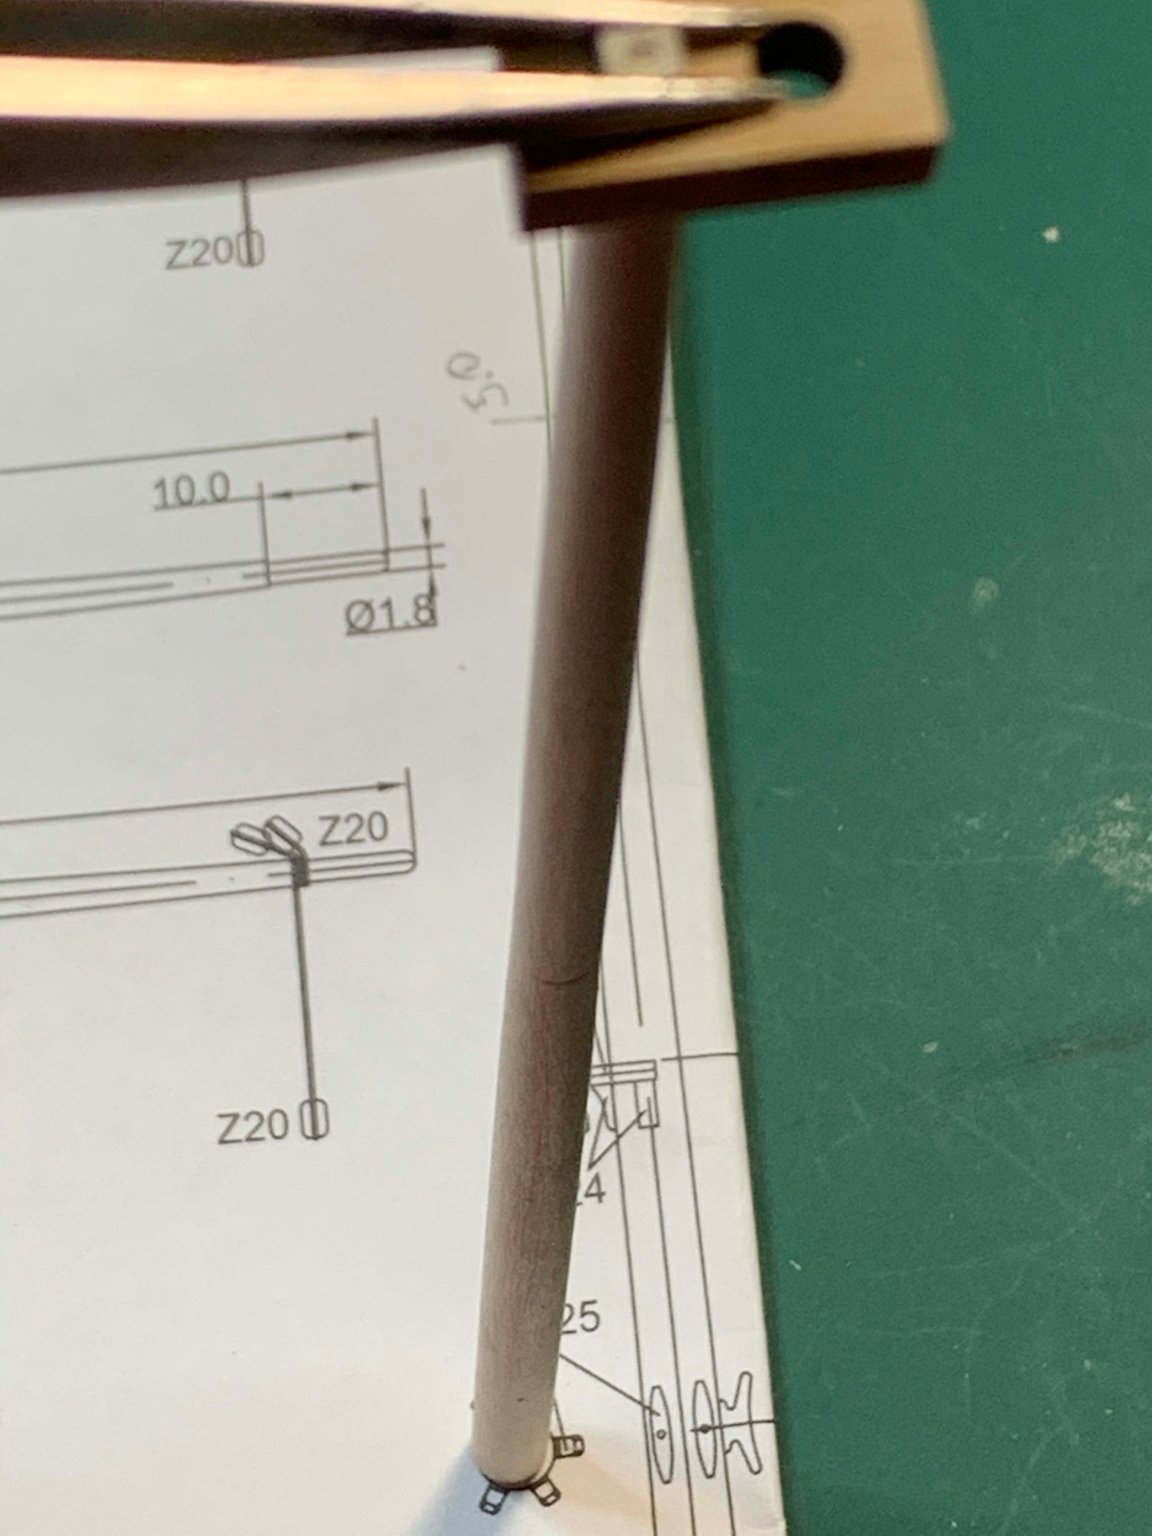
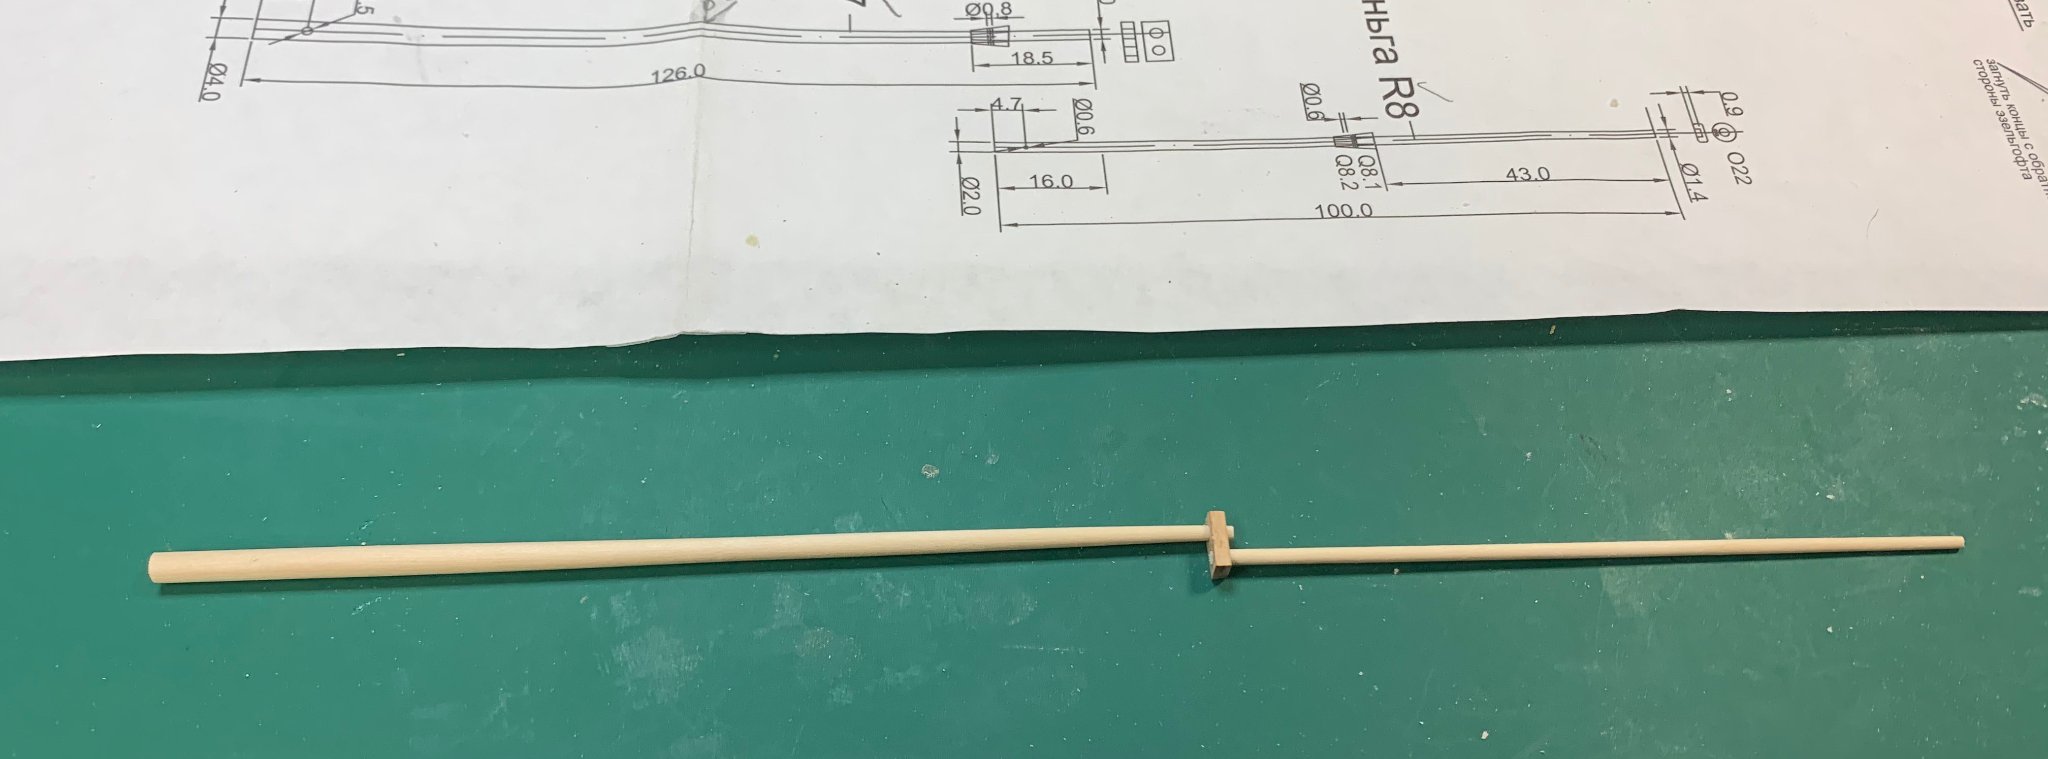
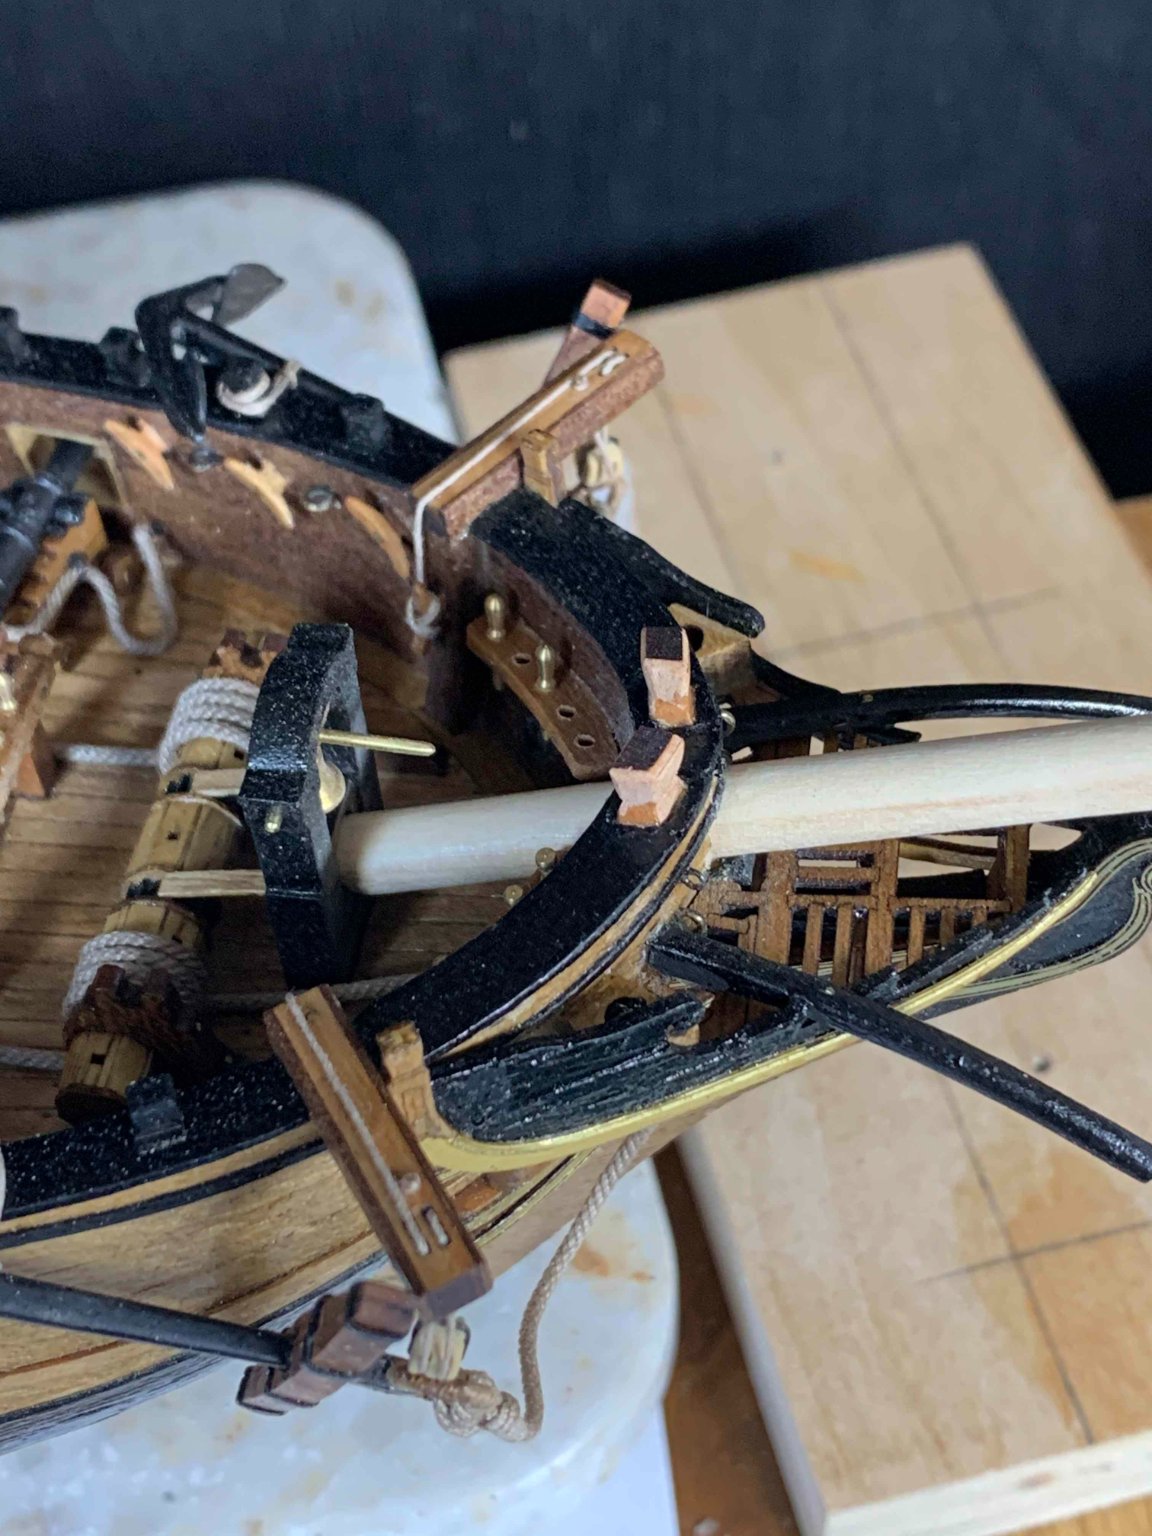
Started to work on bowsprit... The work starting by widening the deck opening for a bowsprit. Always a scary part, rotation tool in the use on the fragile wooden construction.. but managed to widen the opening without any damage, except the dust. Mental note for a future, always do this part as earliest as possible in the building process...
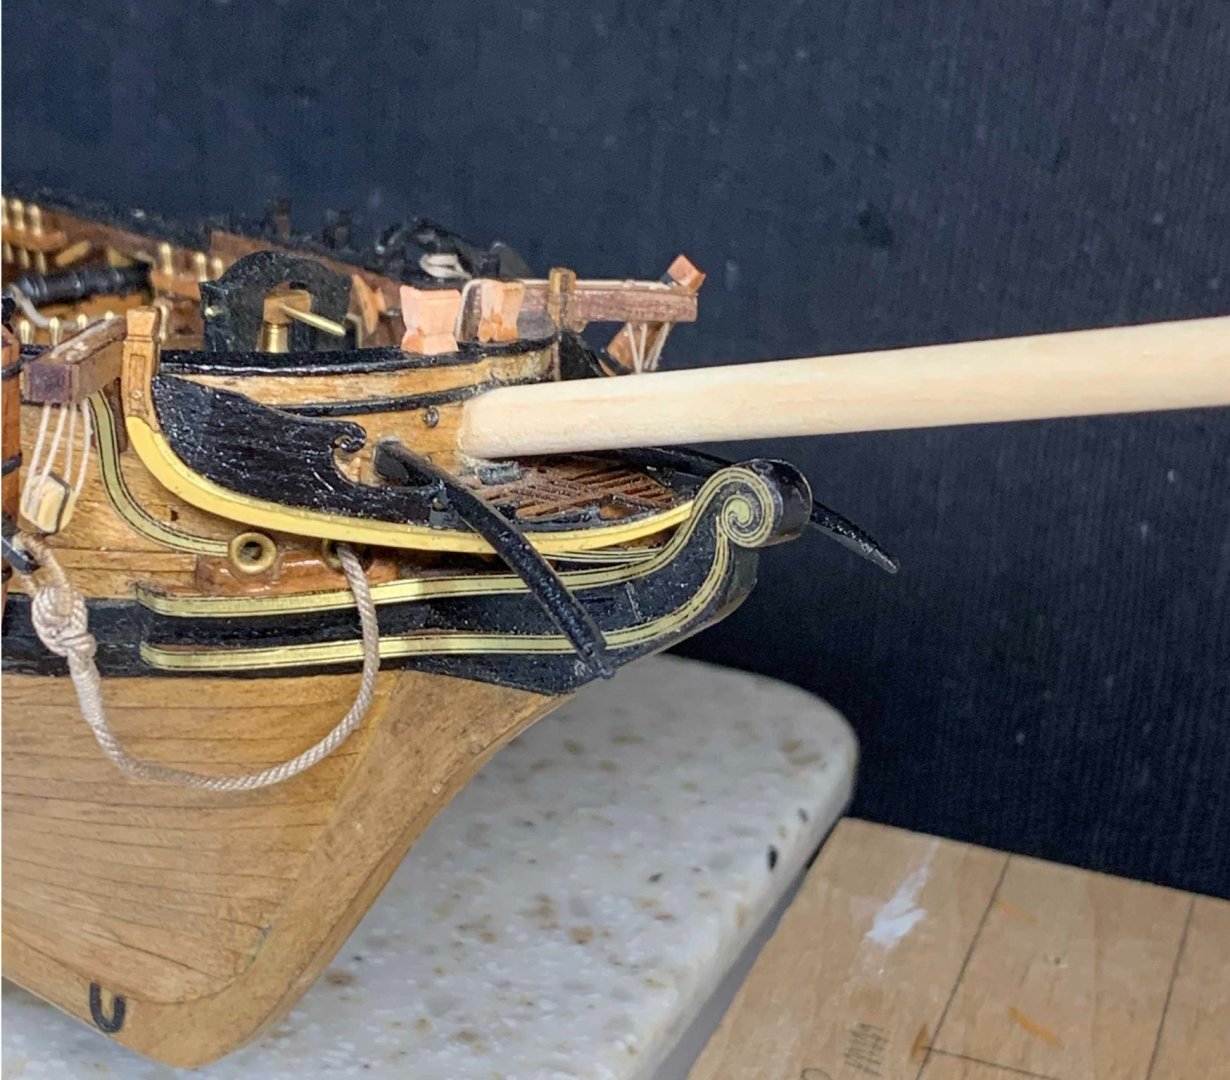

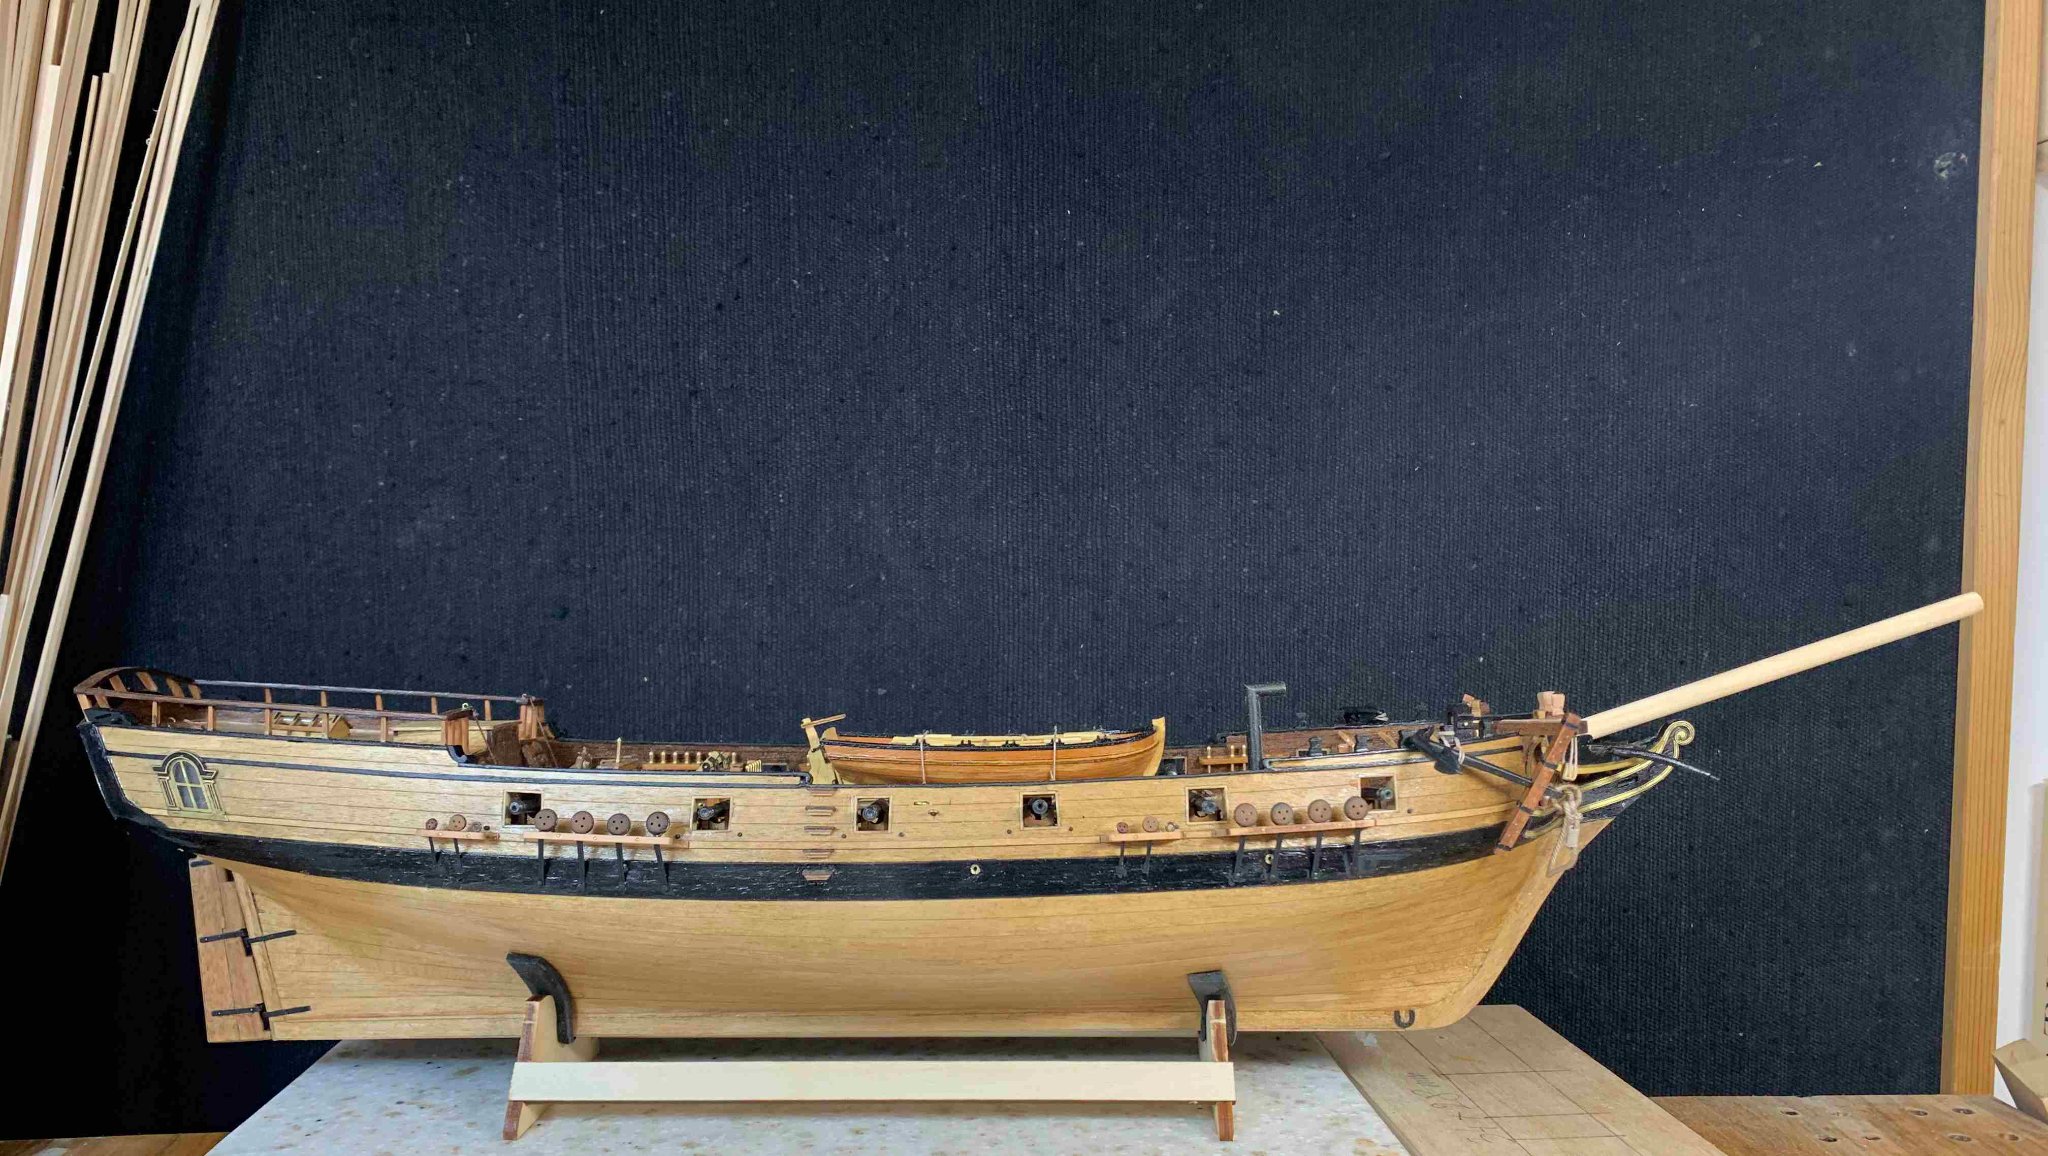
Getting to look like a real ship...

Some shaping work is required... to have bowsprit' heel fitting properly.. Here is a place where i made some mistake, cutting a bit more wood that needed. Down the building i corrected this by inserting a small piece of wood...
The bowsprit is narrowed down on one end and i used combination of mini plane, sanding paper and small woodworking lathe.. Comparing to the plan it is very easy process..

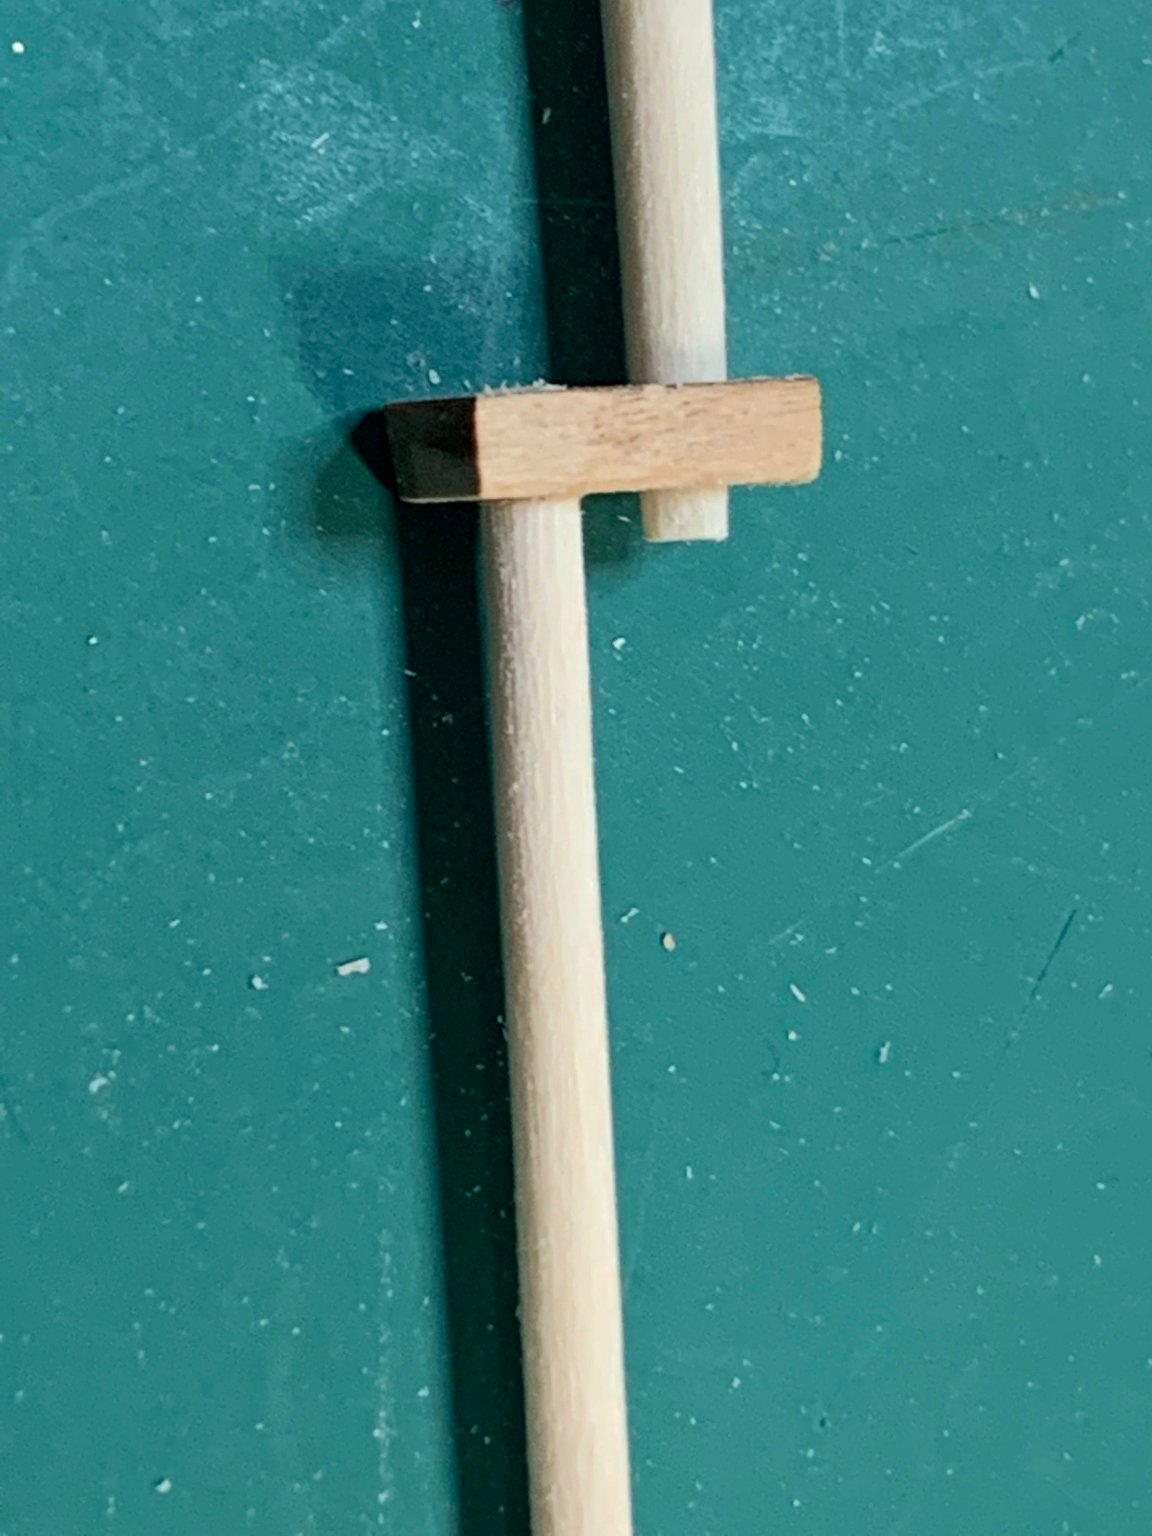
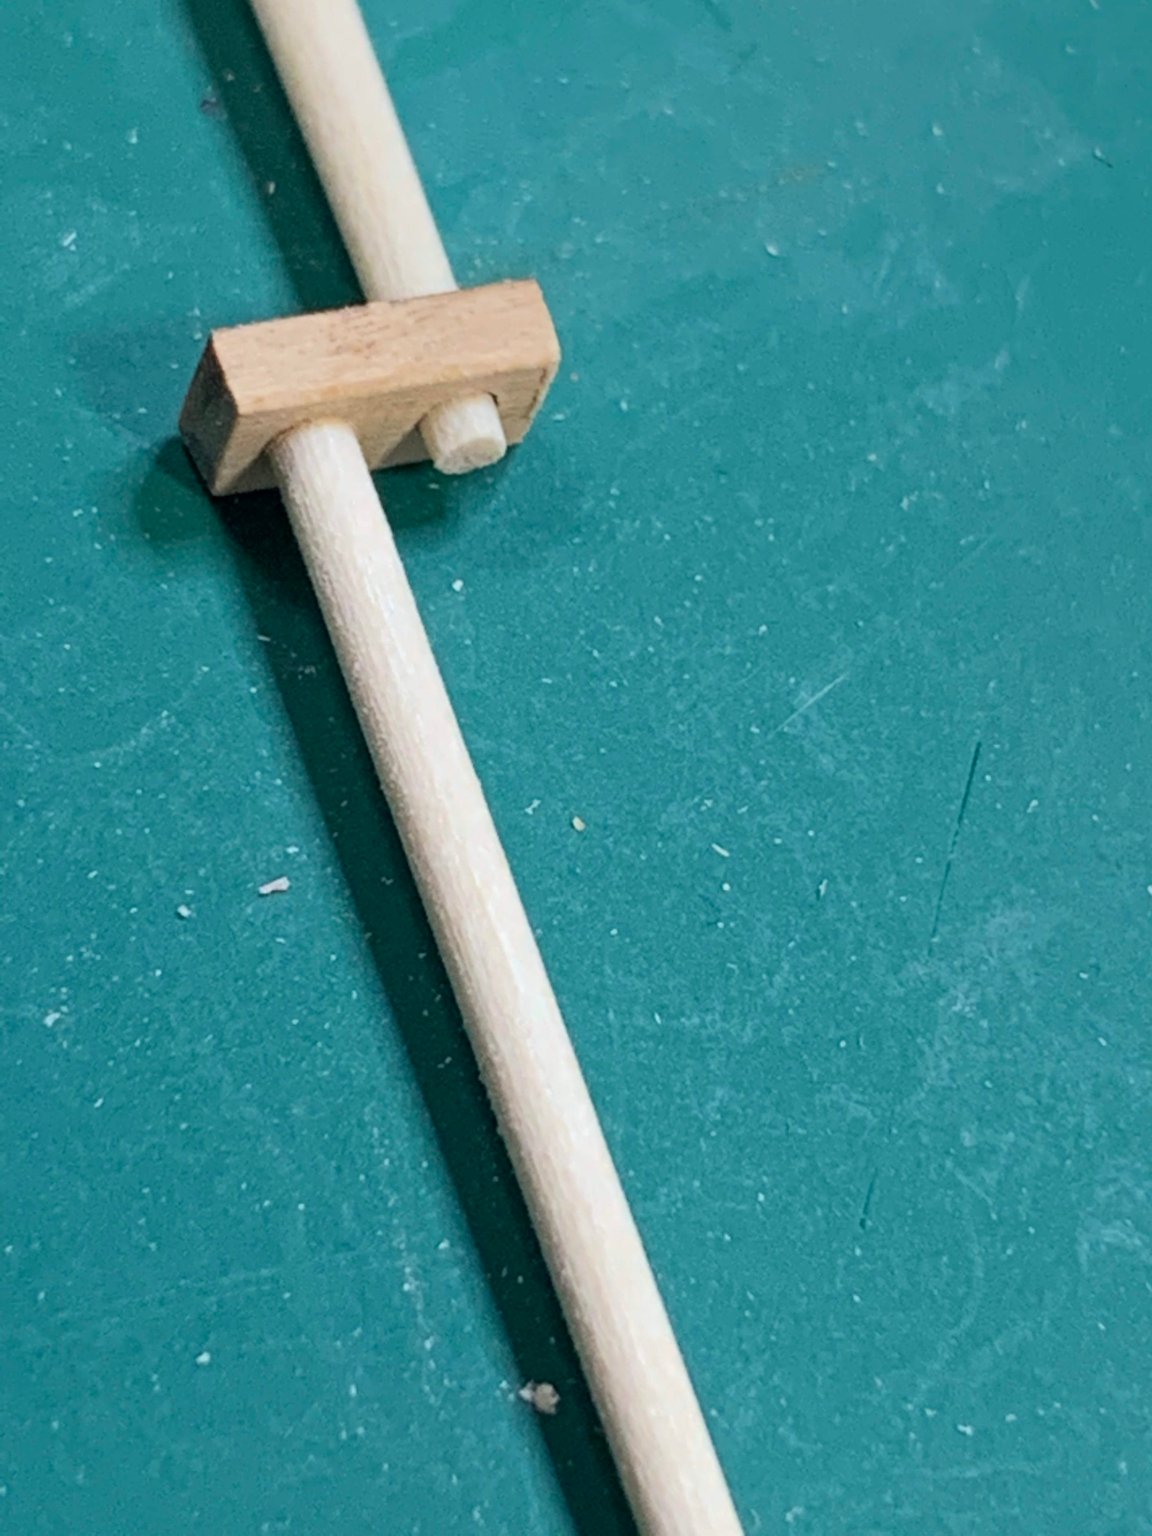
The opposite end of the heel has to be vertical so bowsprit need to be in inserted int he ship for this... This end will be shaped square and inserted in a cap. Cap has to be narrowed to fit the plan correctly..
The marking lines on the cap showing how much shaping is needed; the shaping is done until lines are not visible...
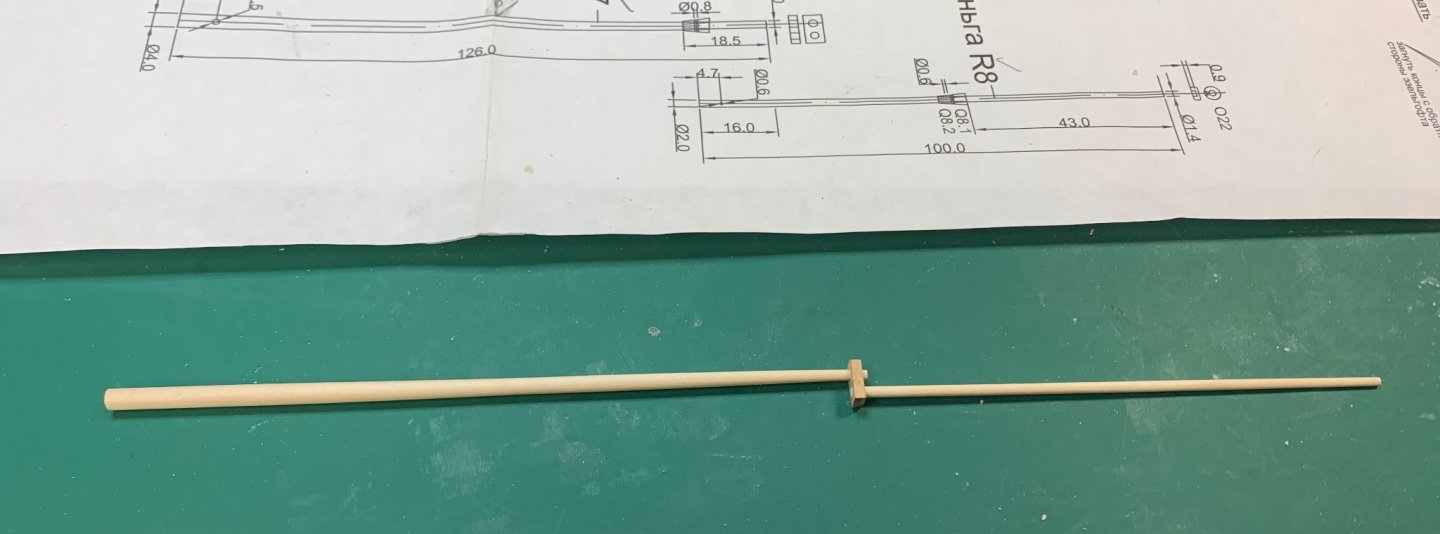
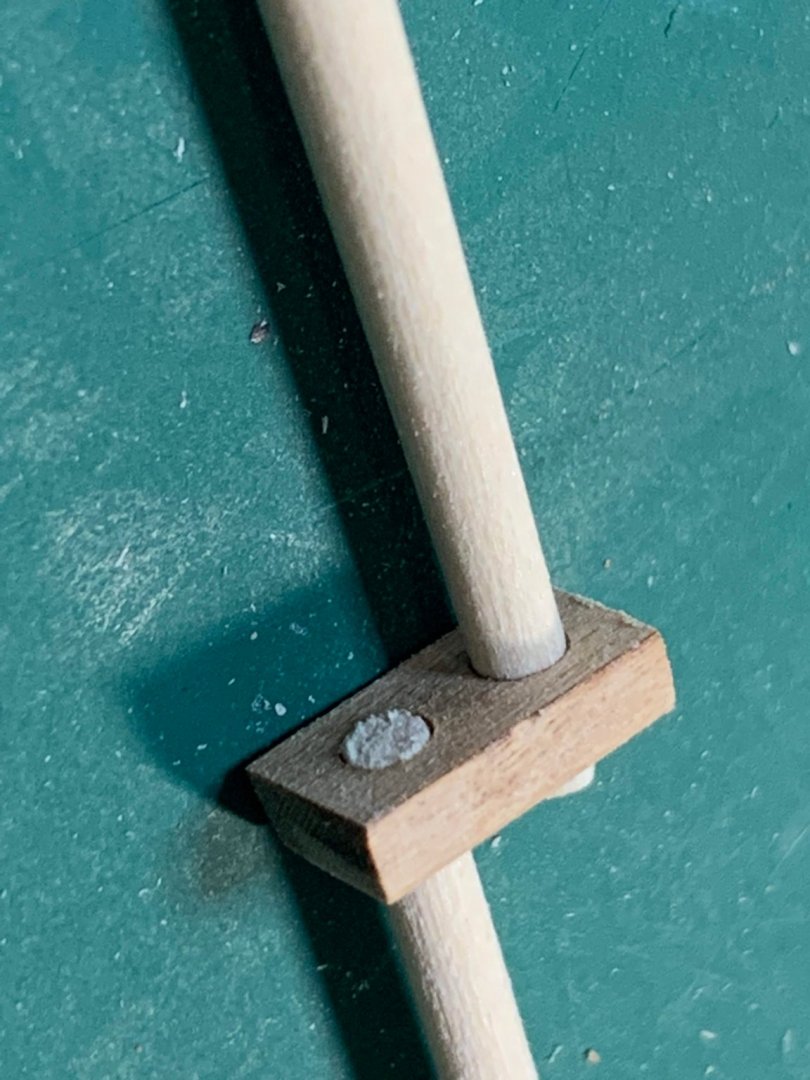
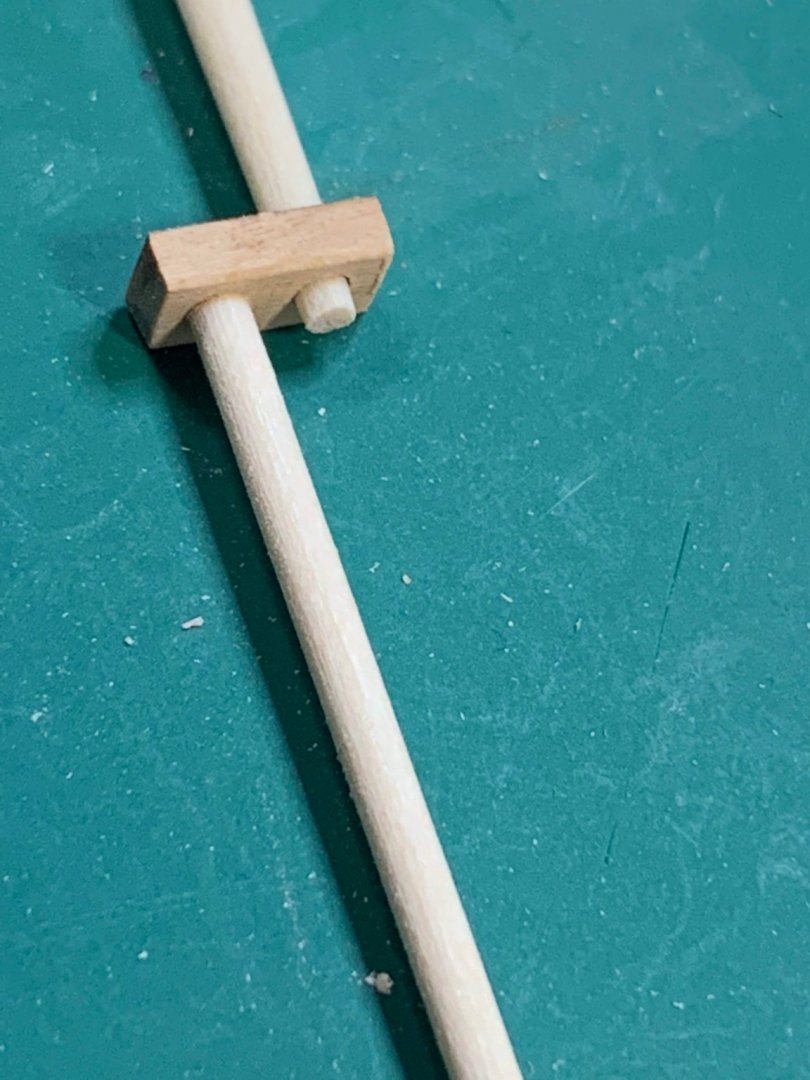
The similar shaping process takes place while making a jib-boom and shaping the hole where jib-boom will be inserted in the cap.

Testing it out a bit..

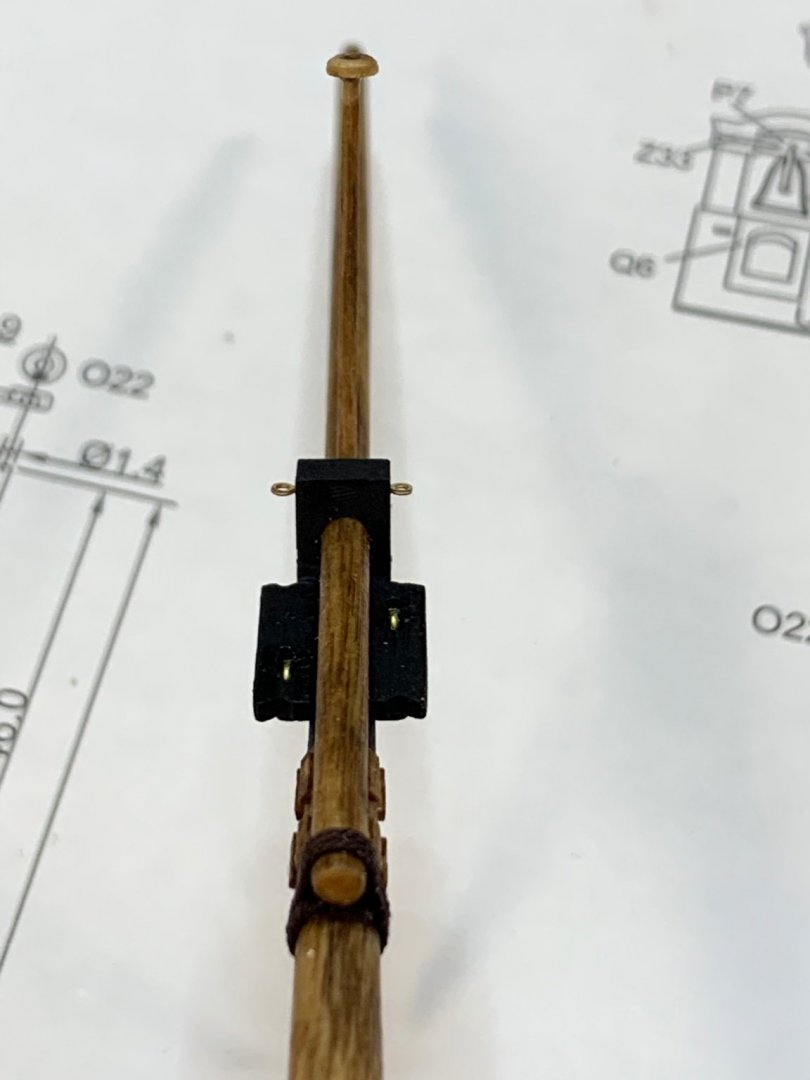
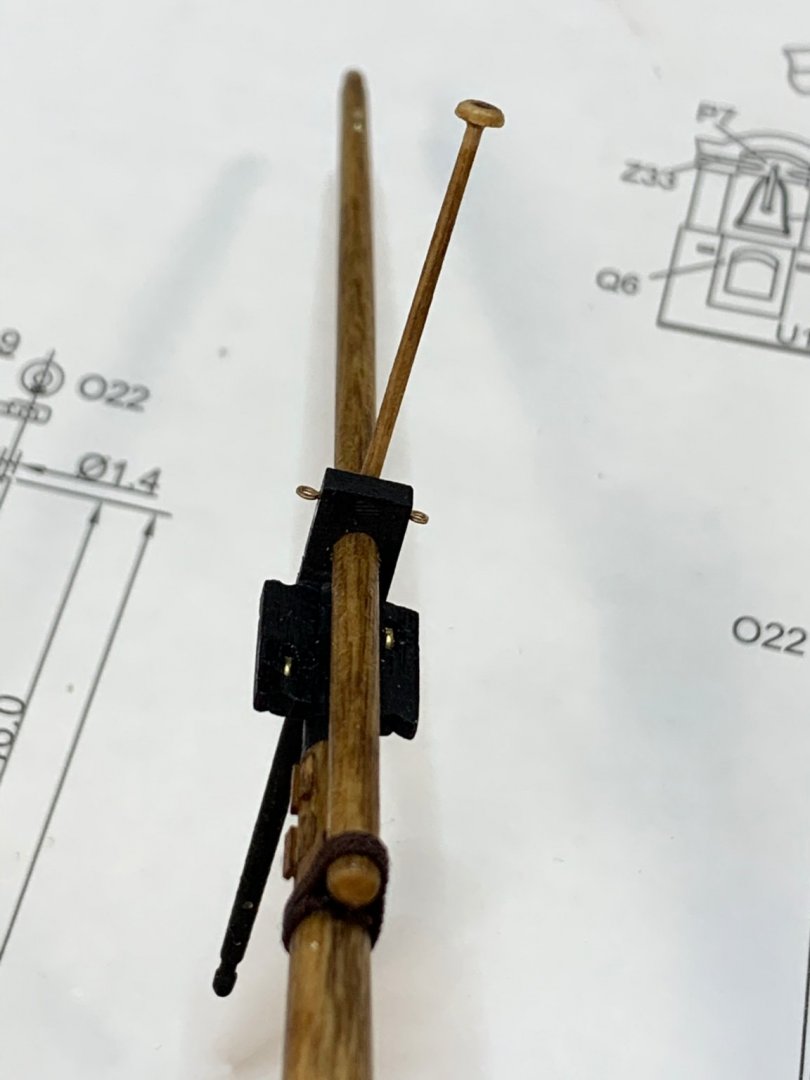
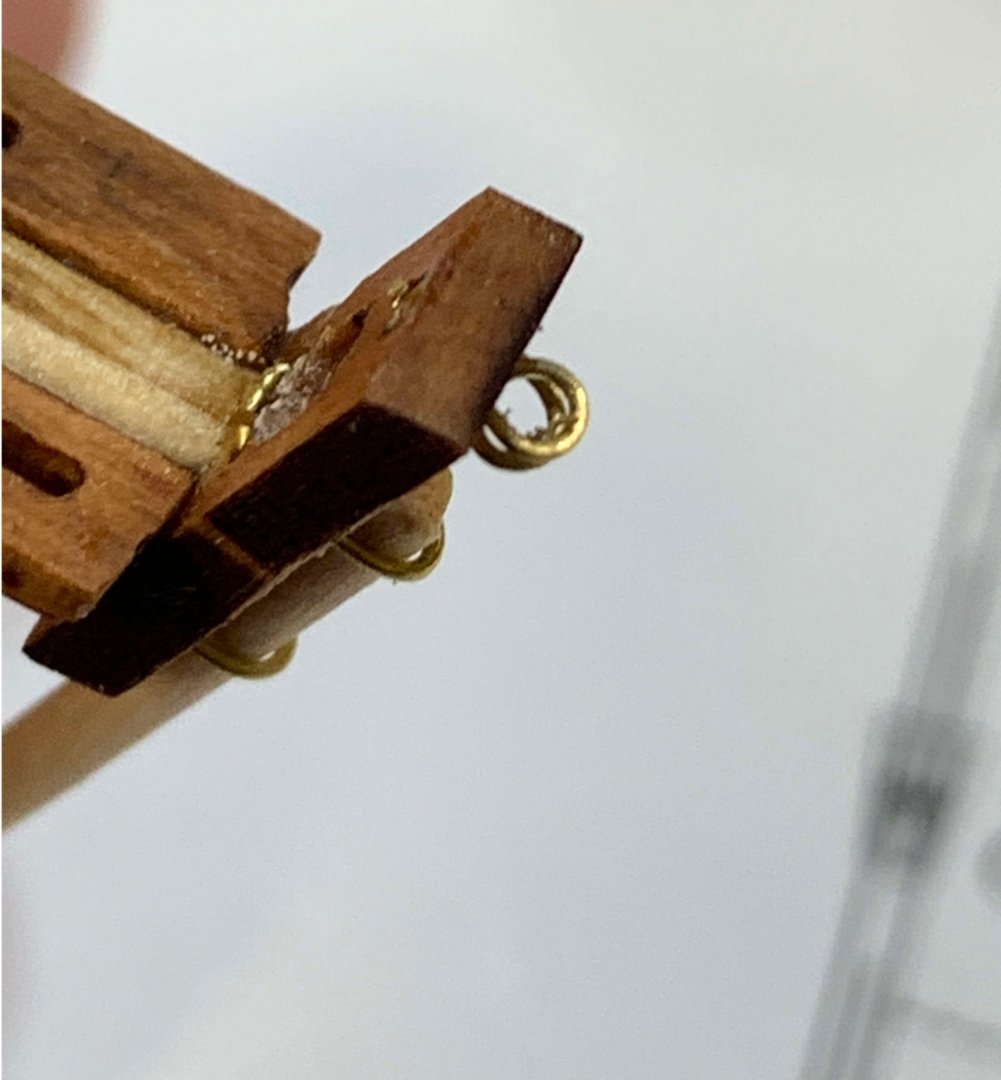
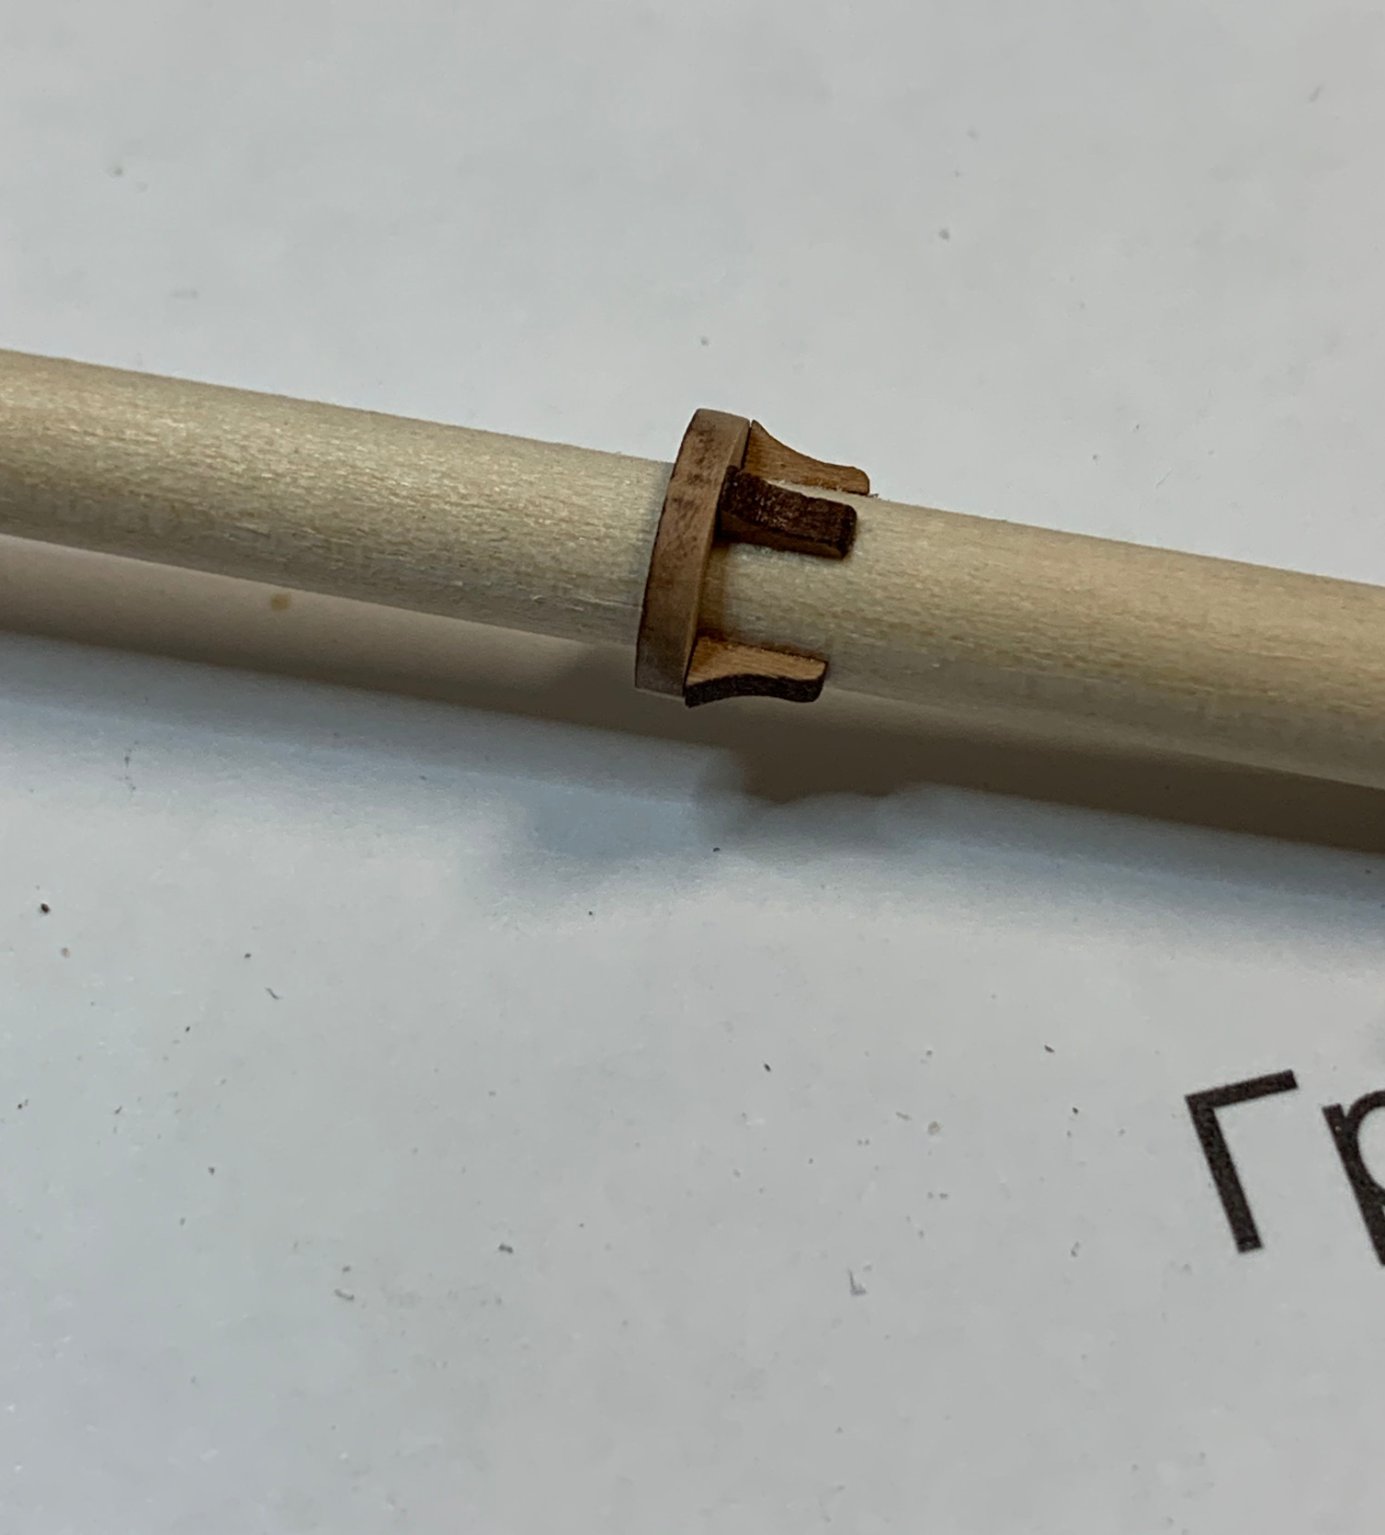
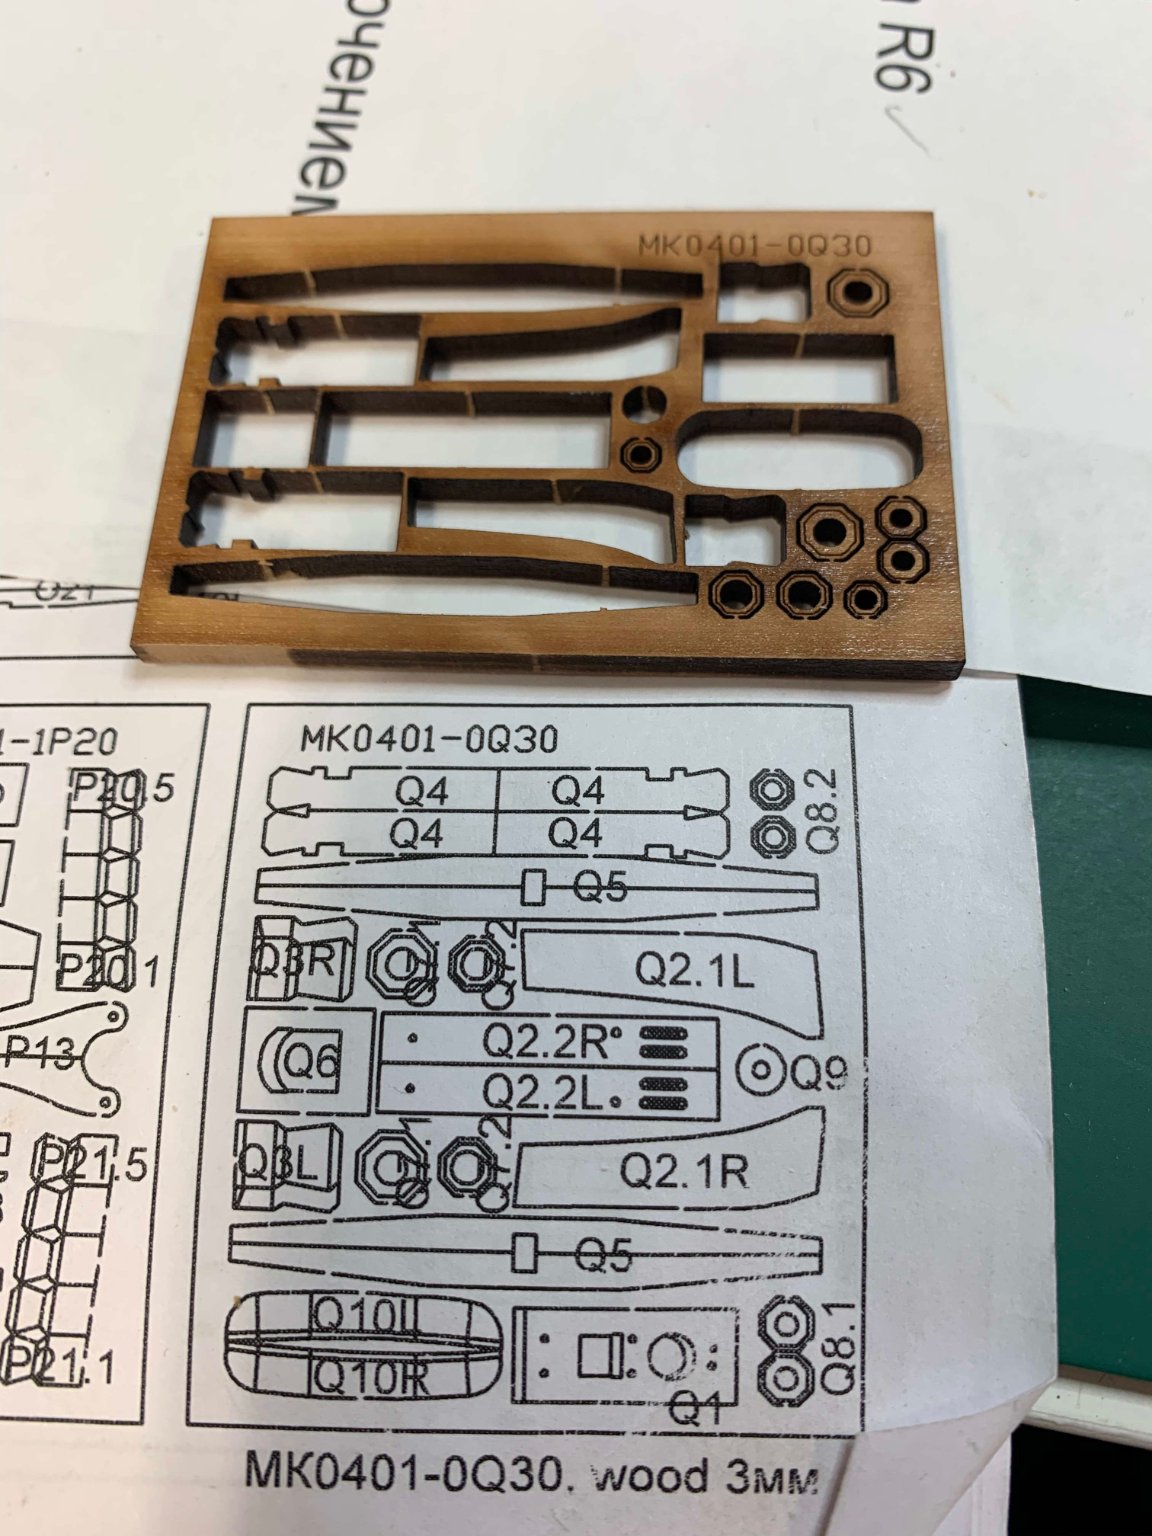
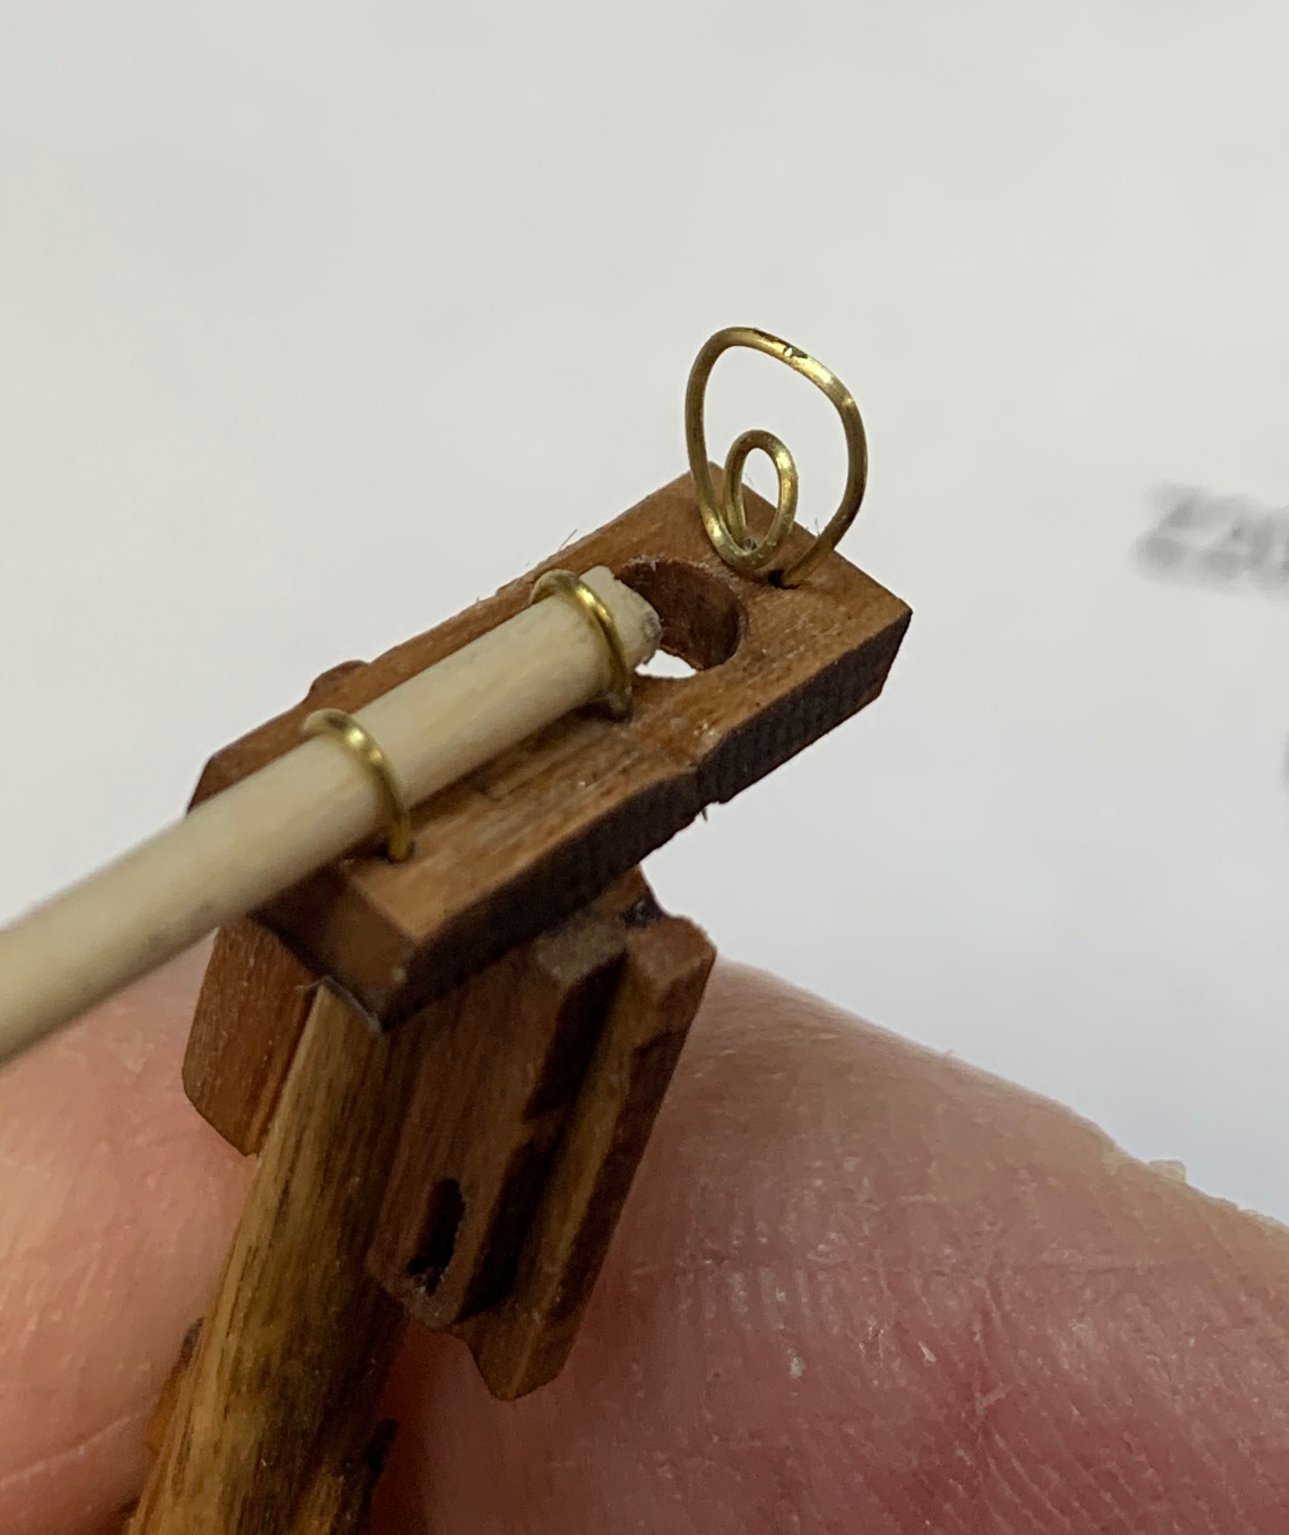
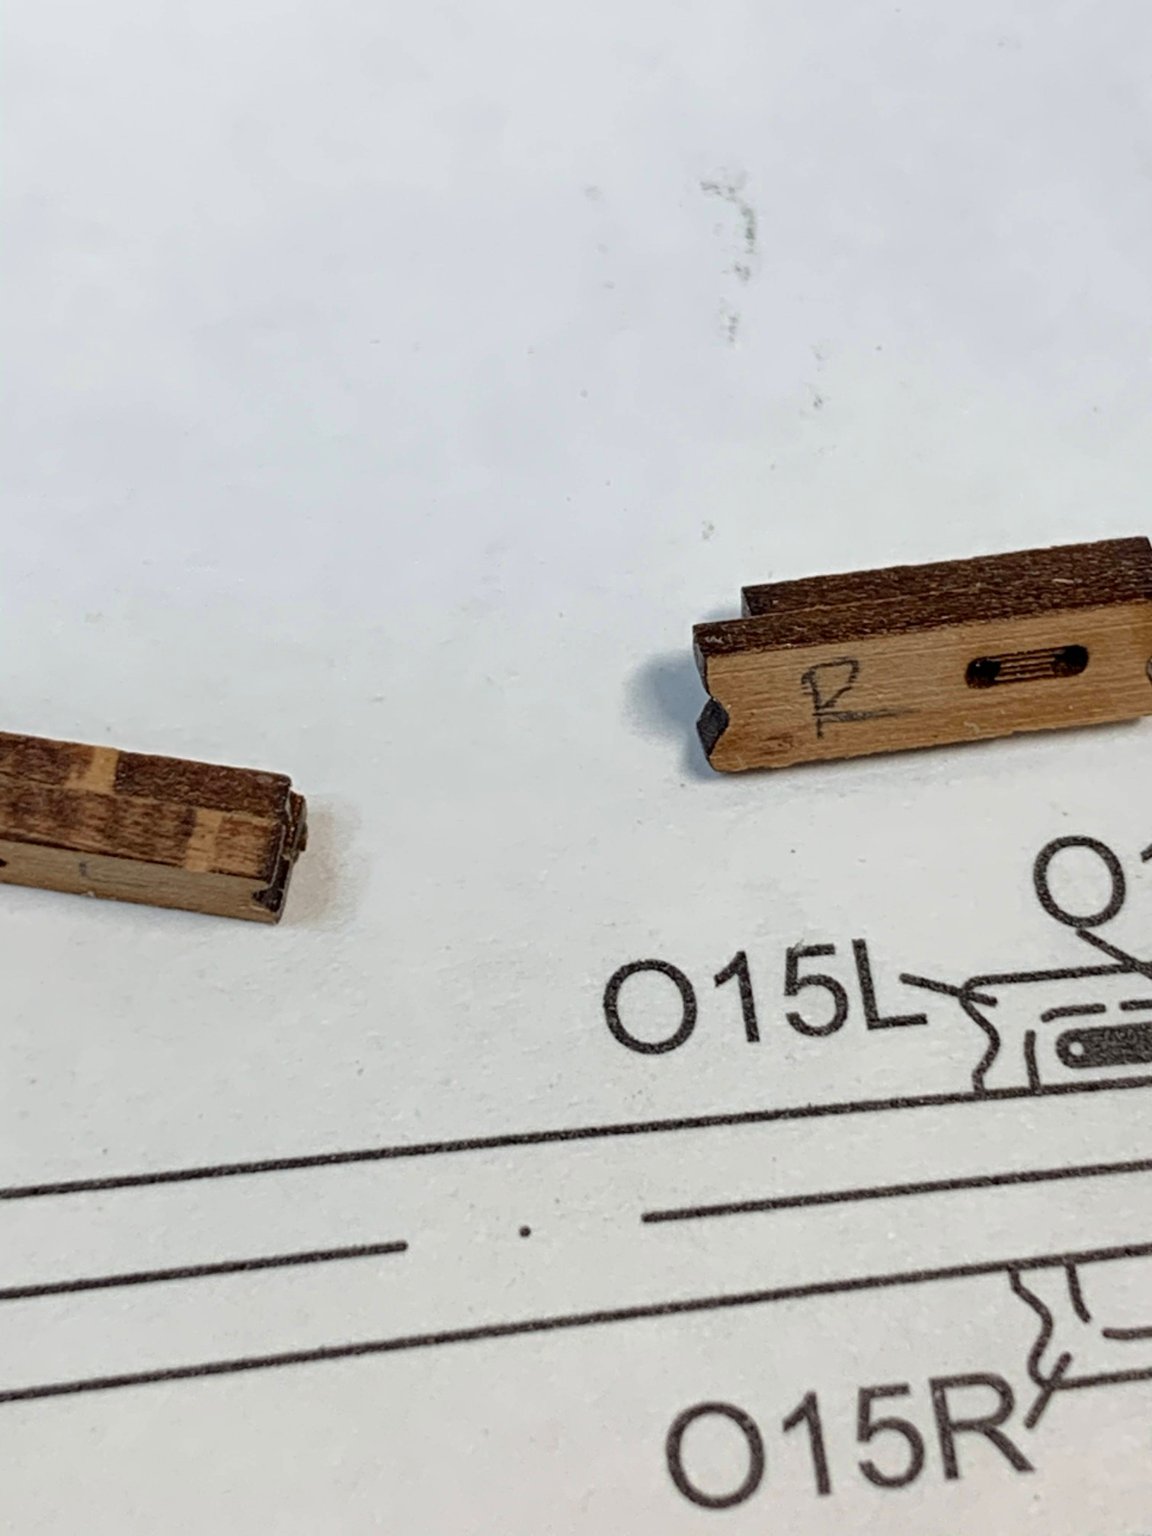
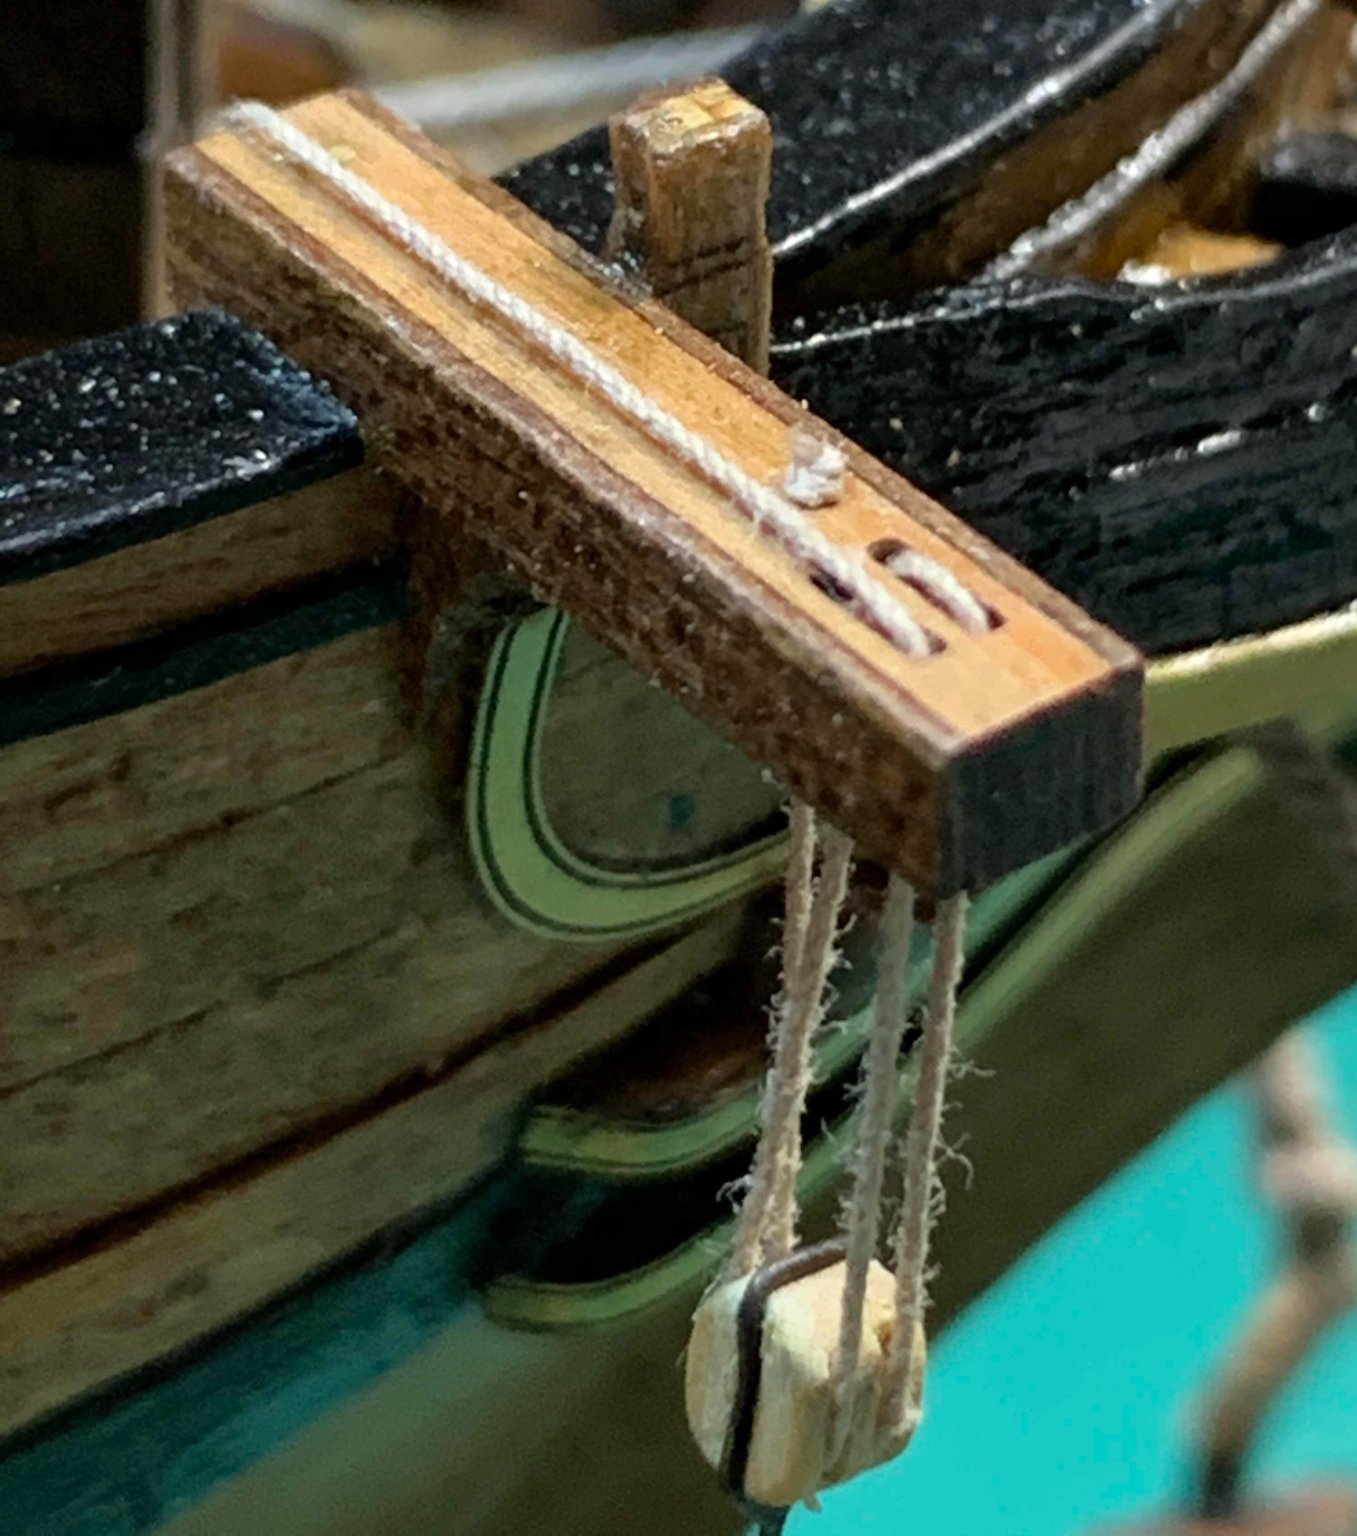
Assembling the bowsprit's bee blocks is next by making sure holes in both parts are aligned correctly.


The weird look thru the cap...

Here you can see i have to use a bit of wood filler which will not be visible at the end..
Some other parts are also glued...

Happy modelling.. -
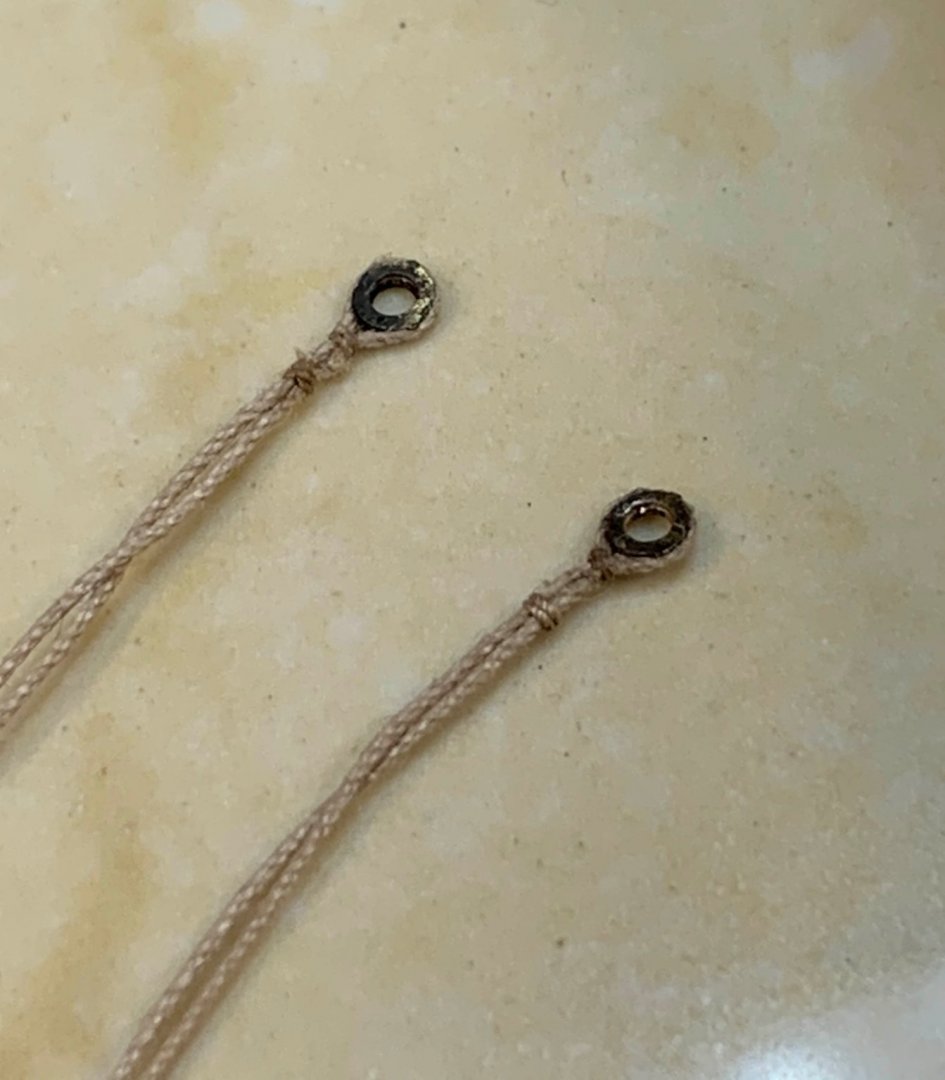
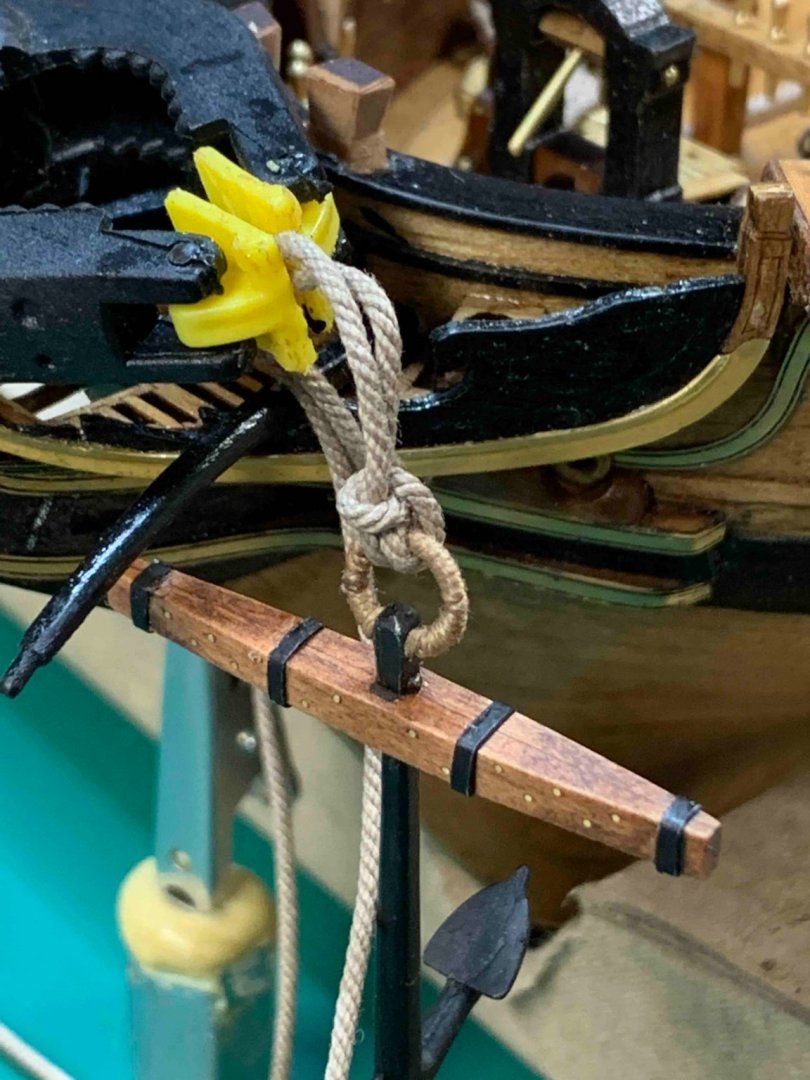
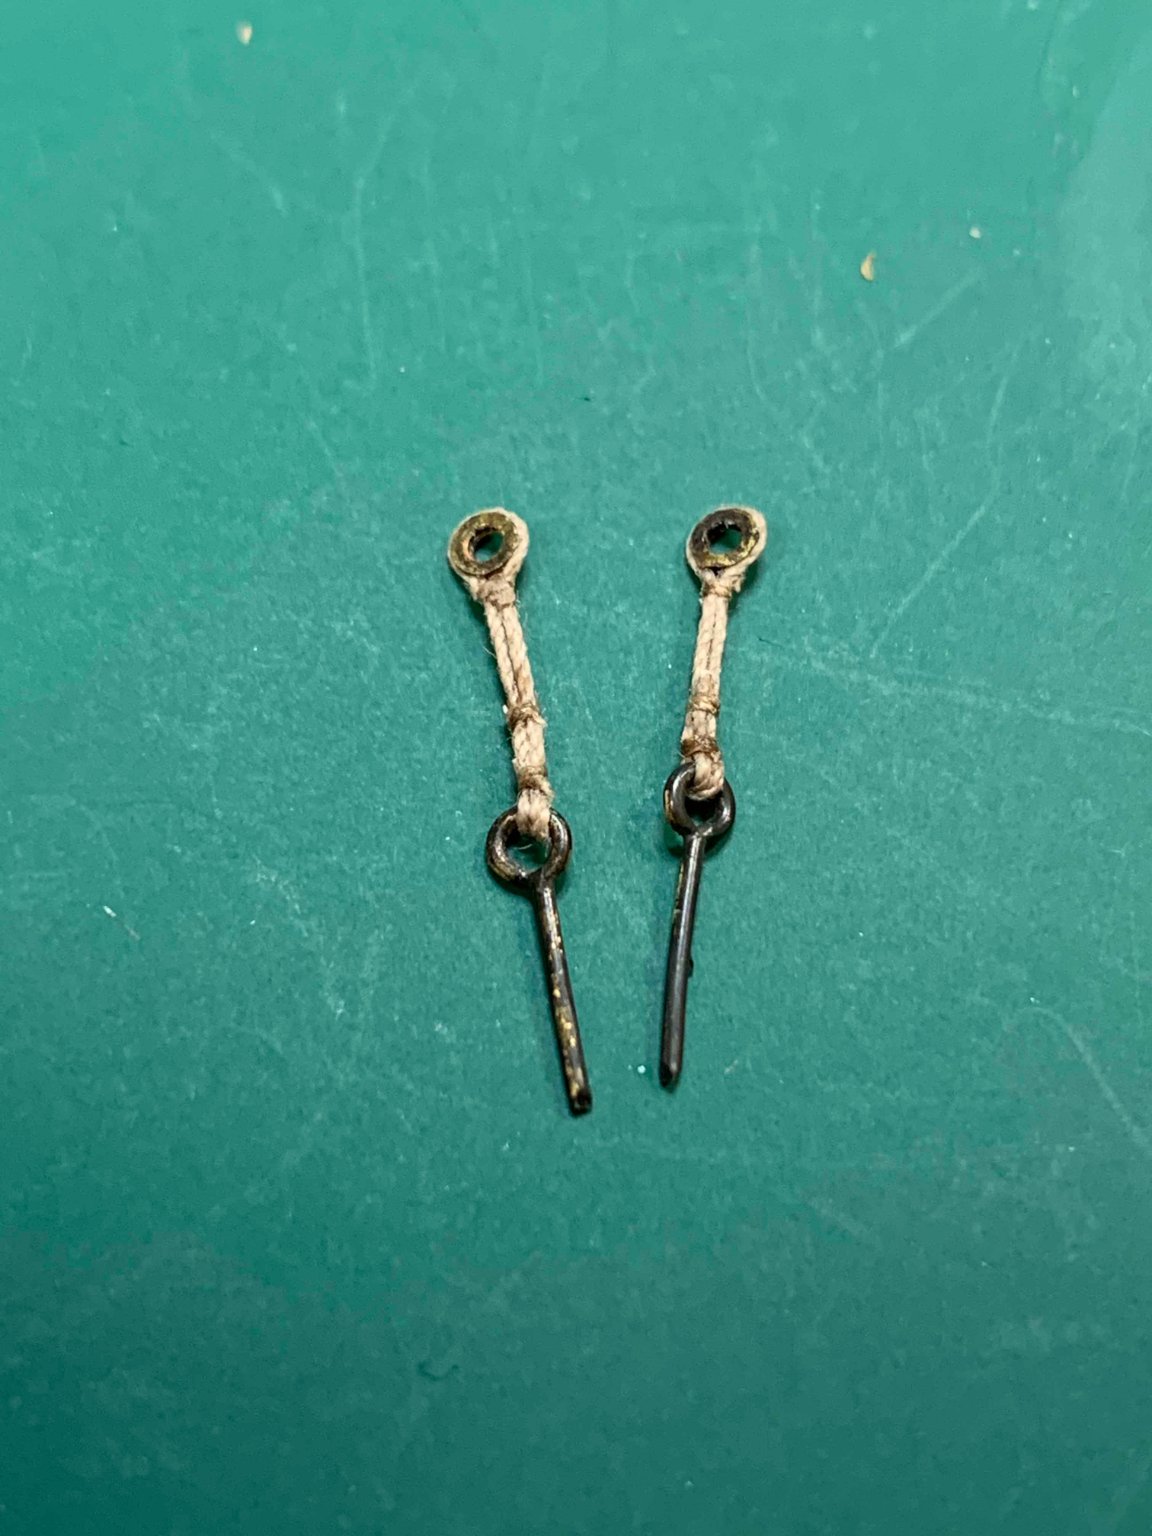
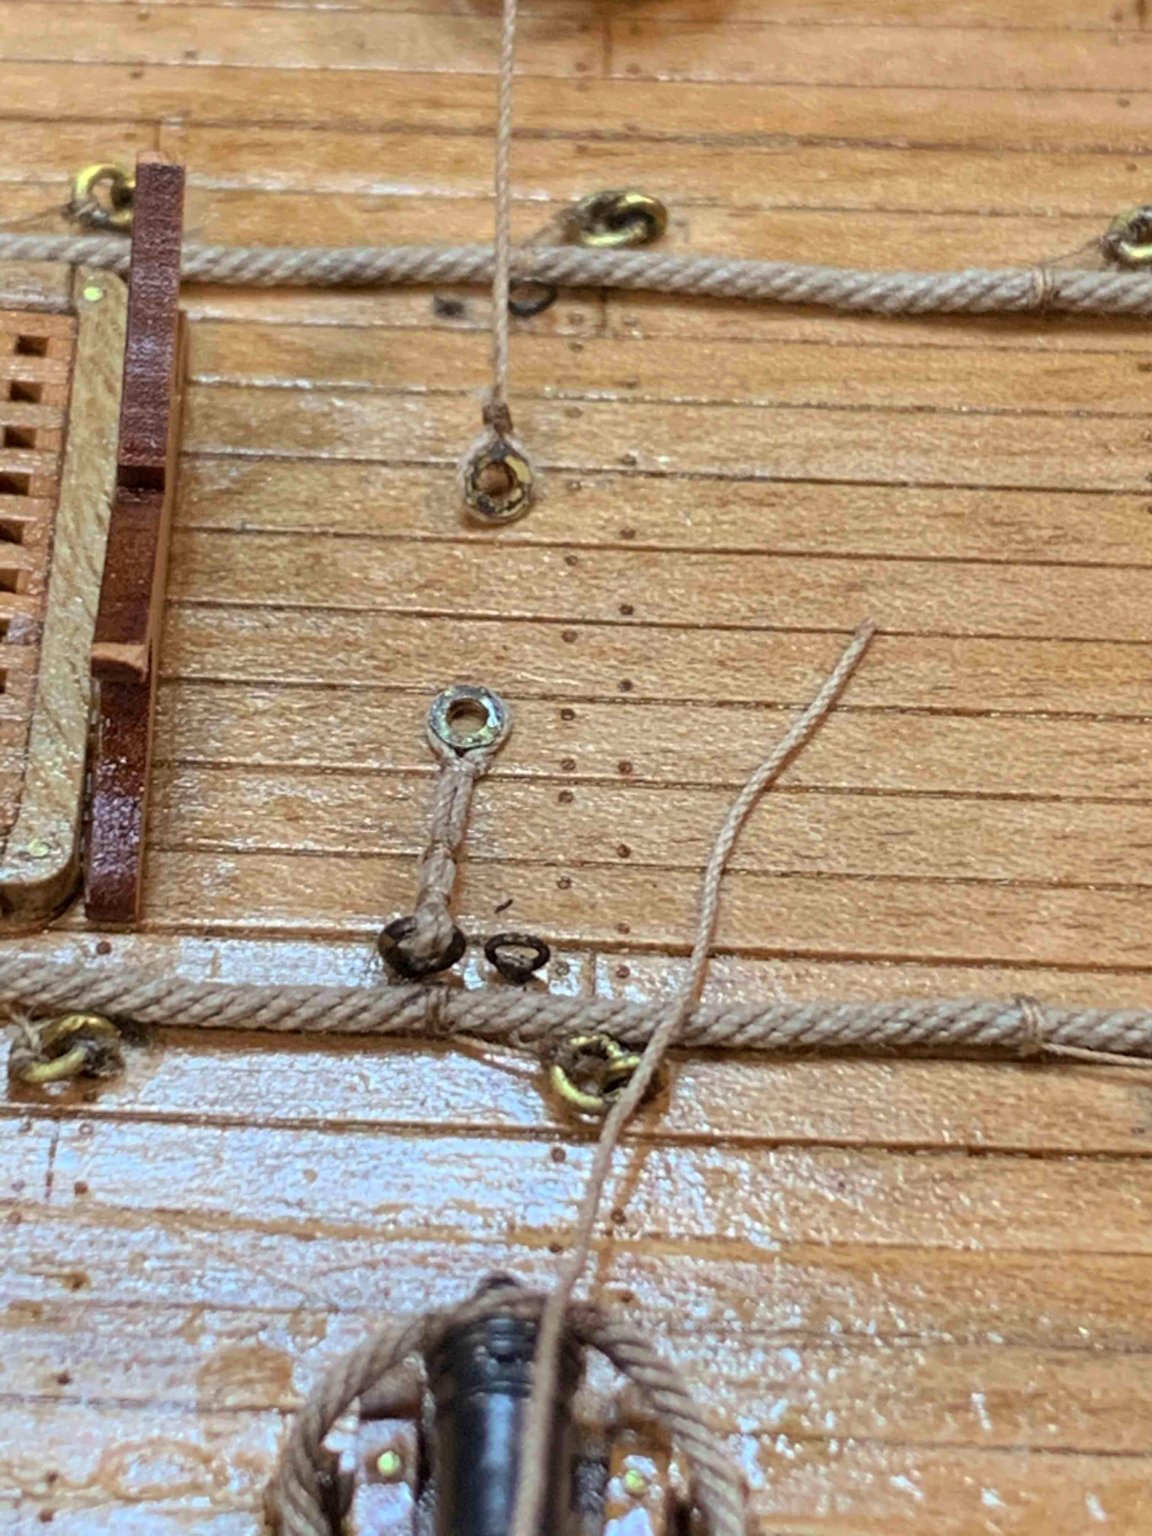
Hooks have been made and installed on the lanyard...
While on the other side i am working hooking up hooks, the simple wire is making sure the distance will stay approximately the same for both ropes...
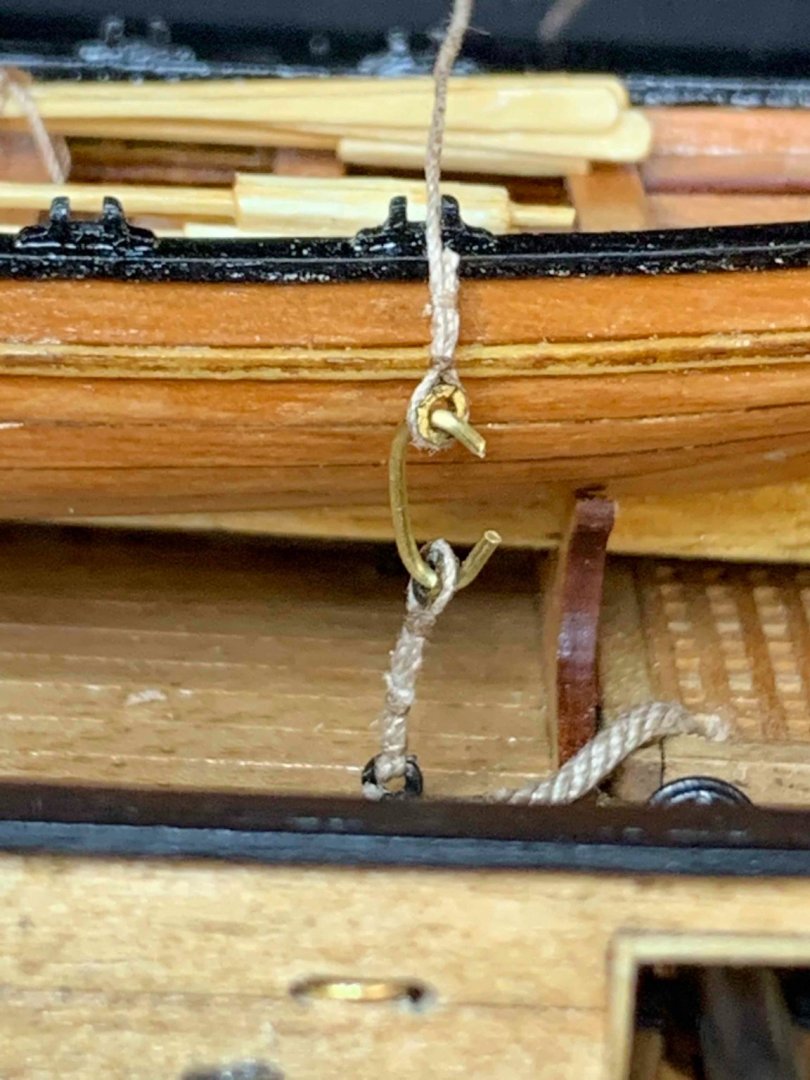
In the process of seizing..
It took me about one hour to have hooks built and attached...


Happy modelling... -
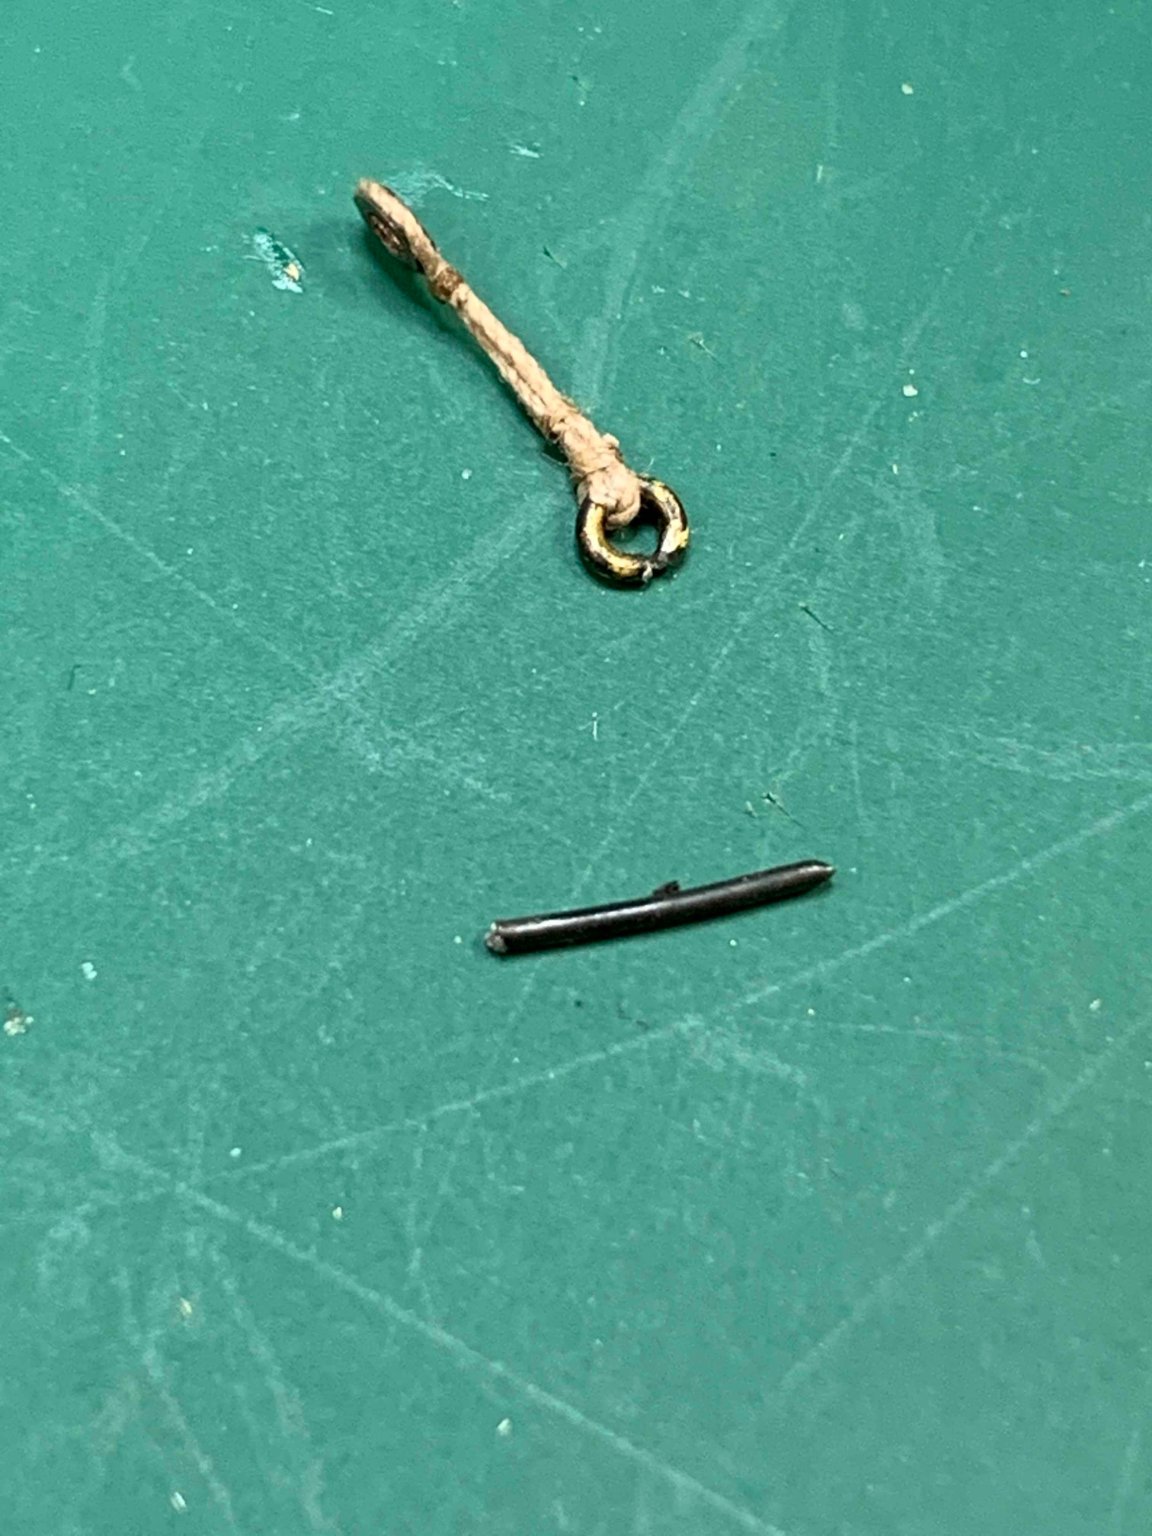
Darn.
For some weird reason i did not use hooks for a lanyard rope... Well, back to the shipping yard to fix it...
-

And completed...


Happy modelling...- ccoyle and Overworked724
-
2
-
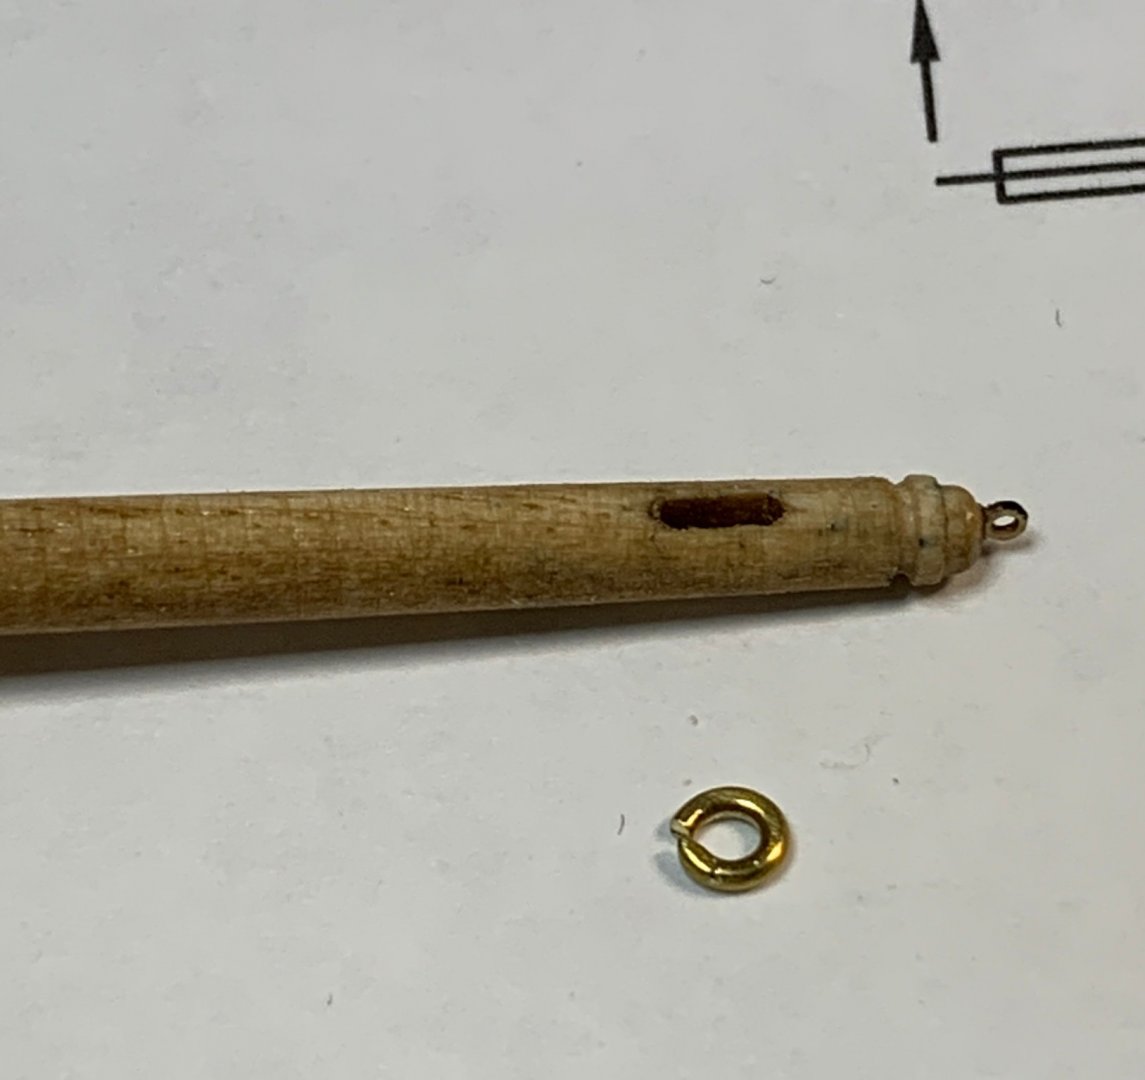
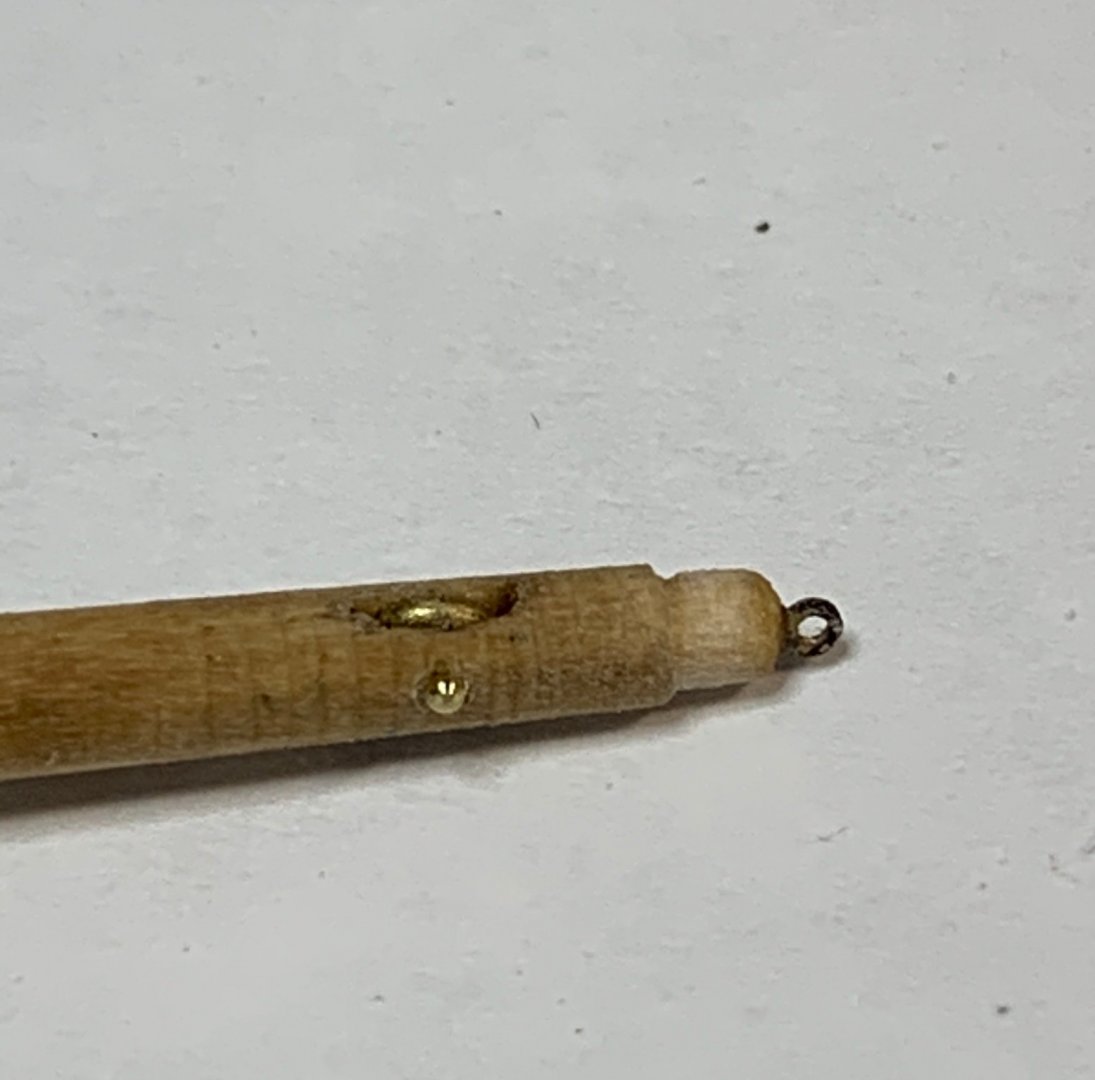
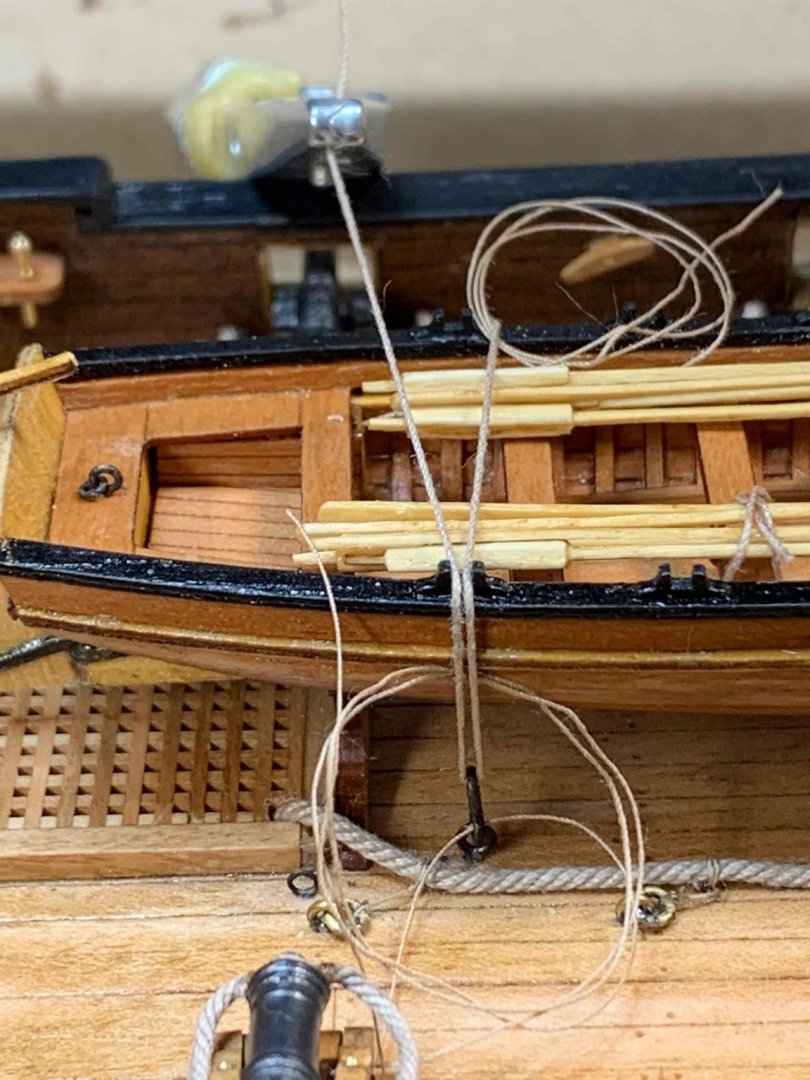
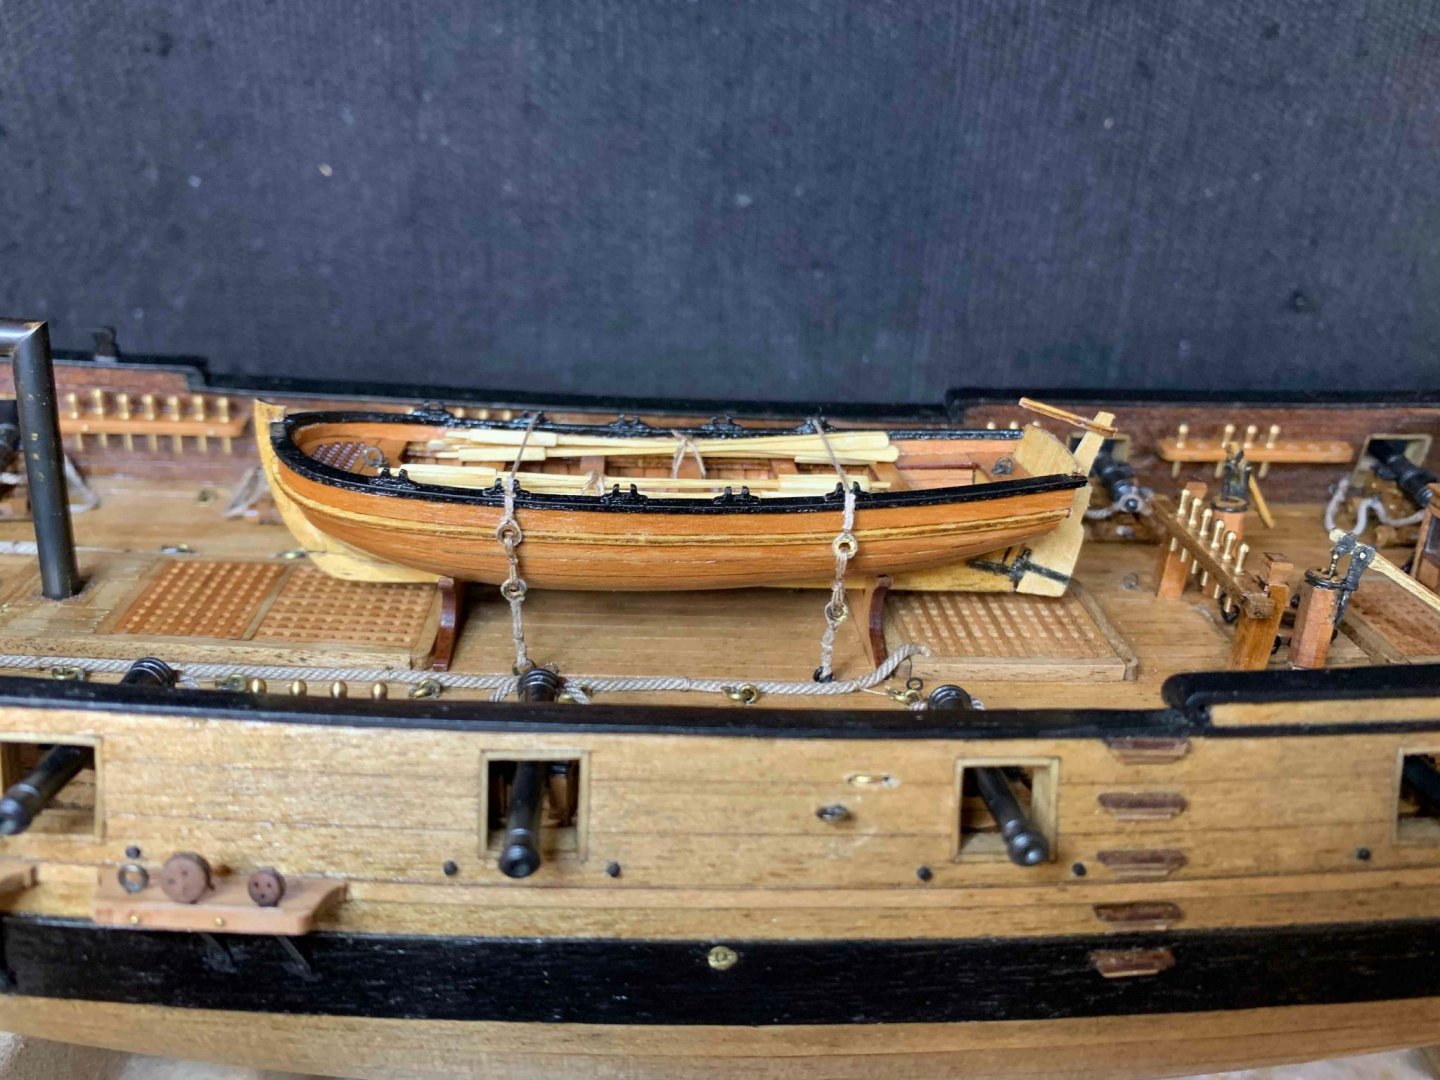
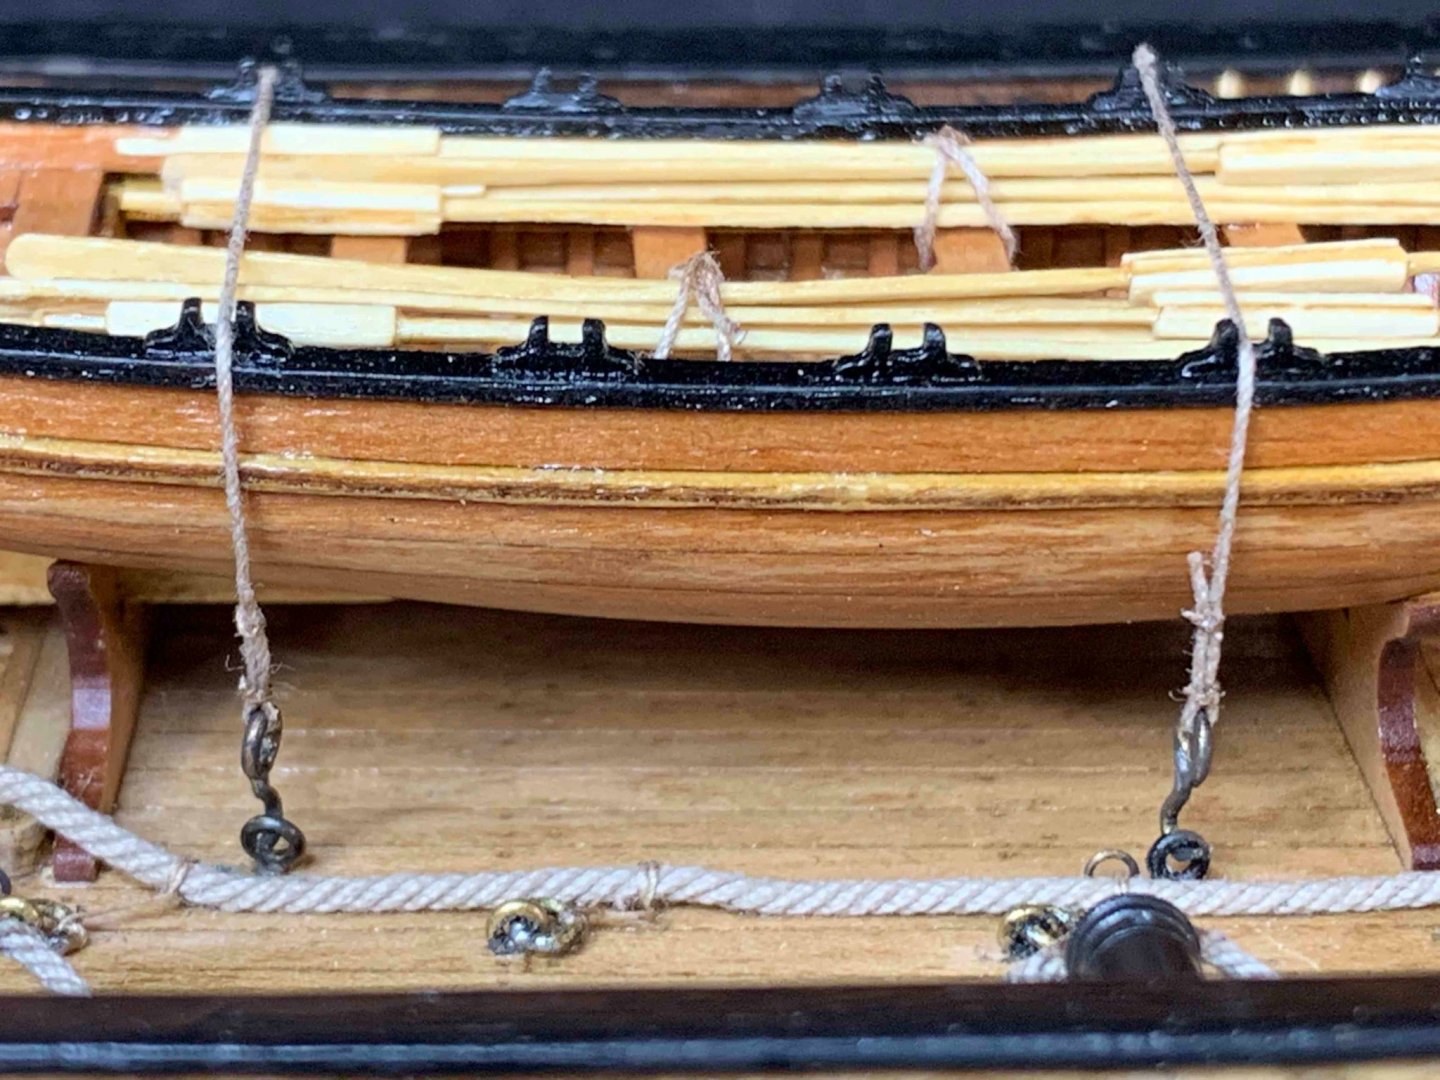
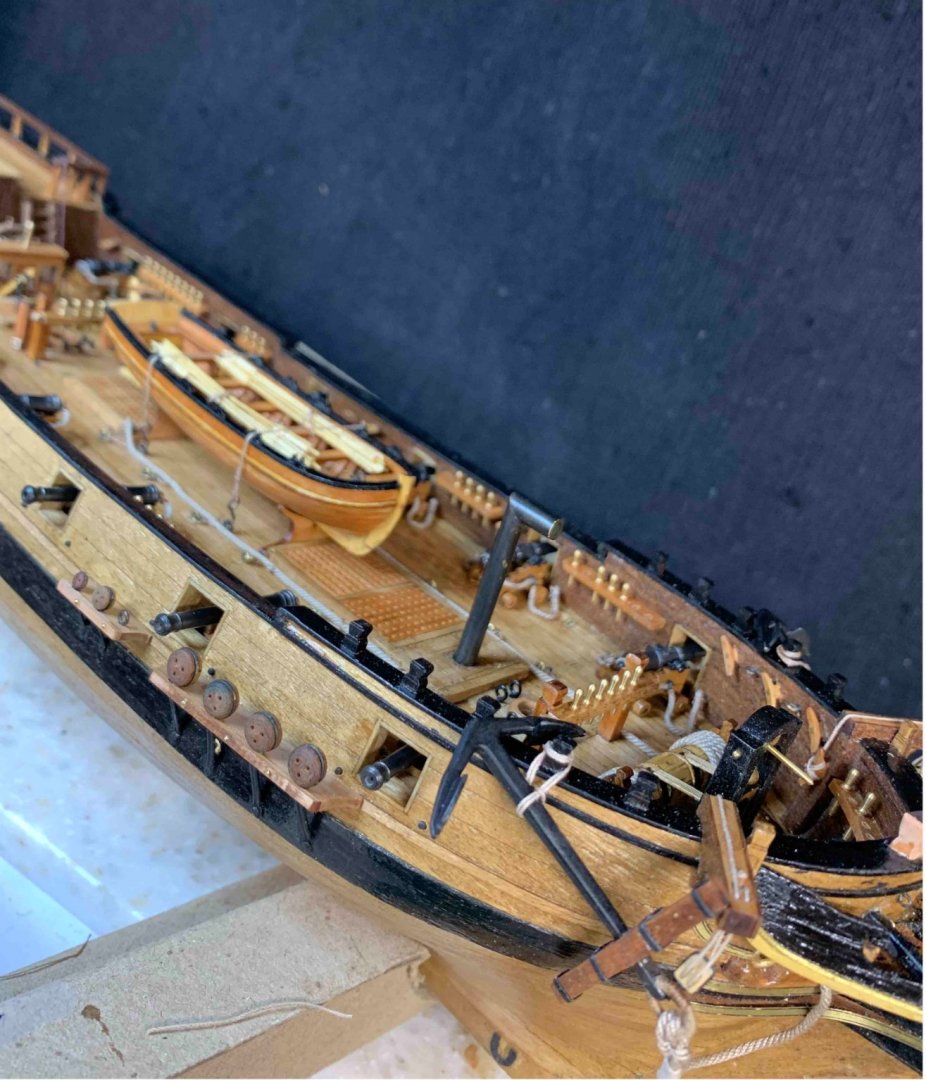
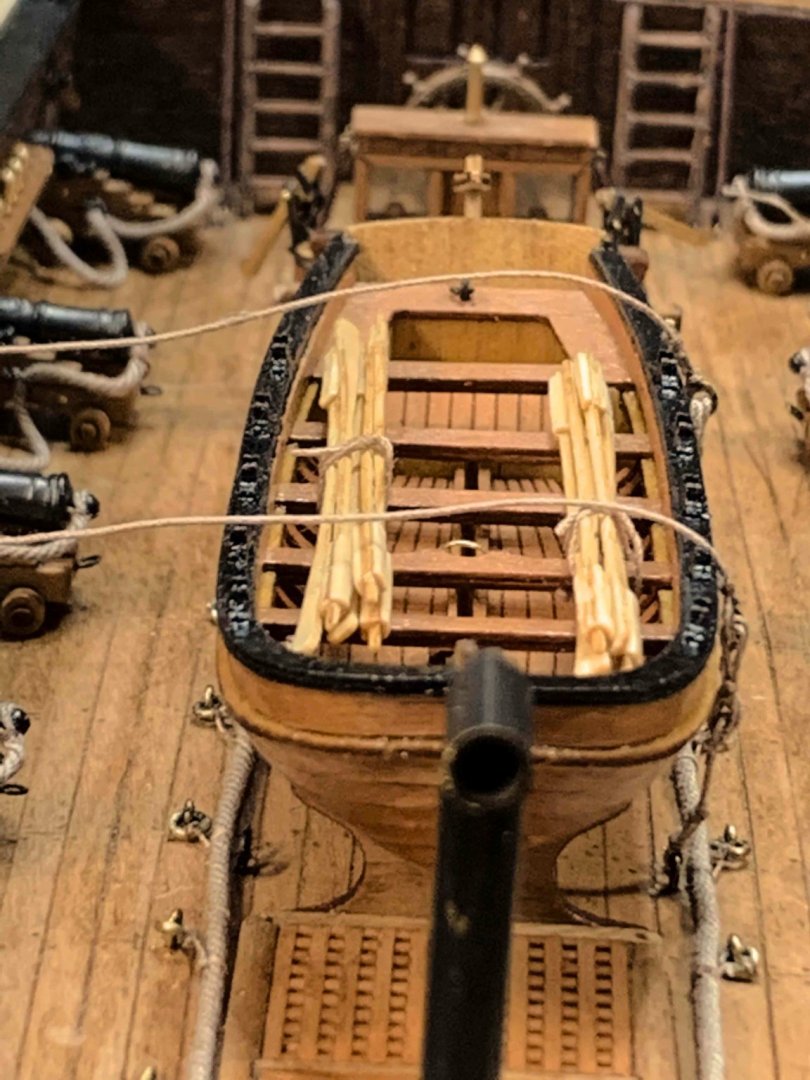
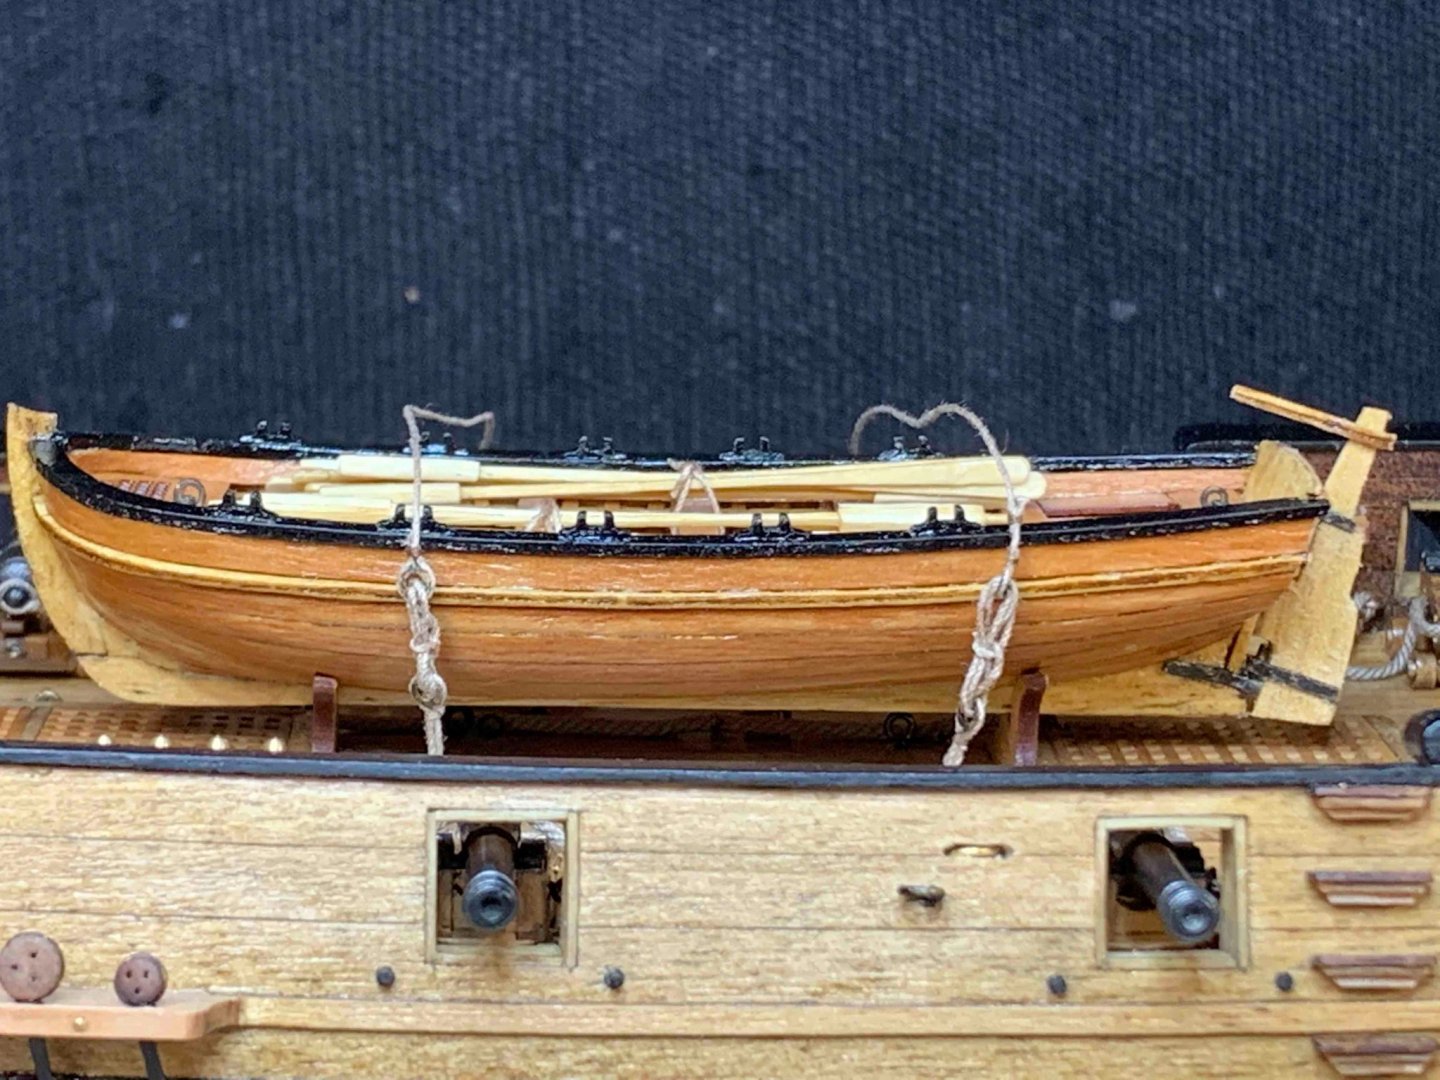
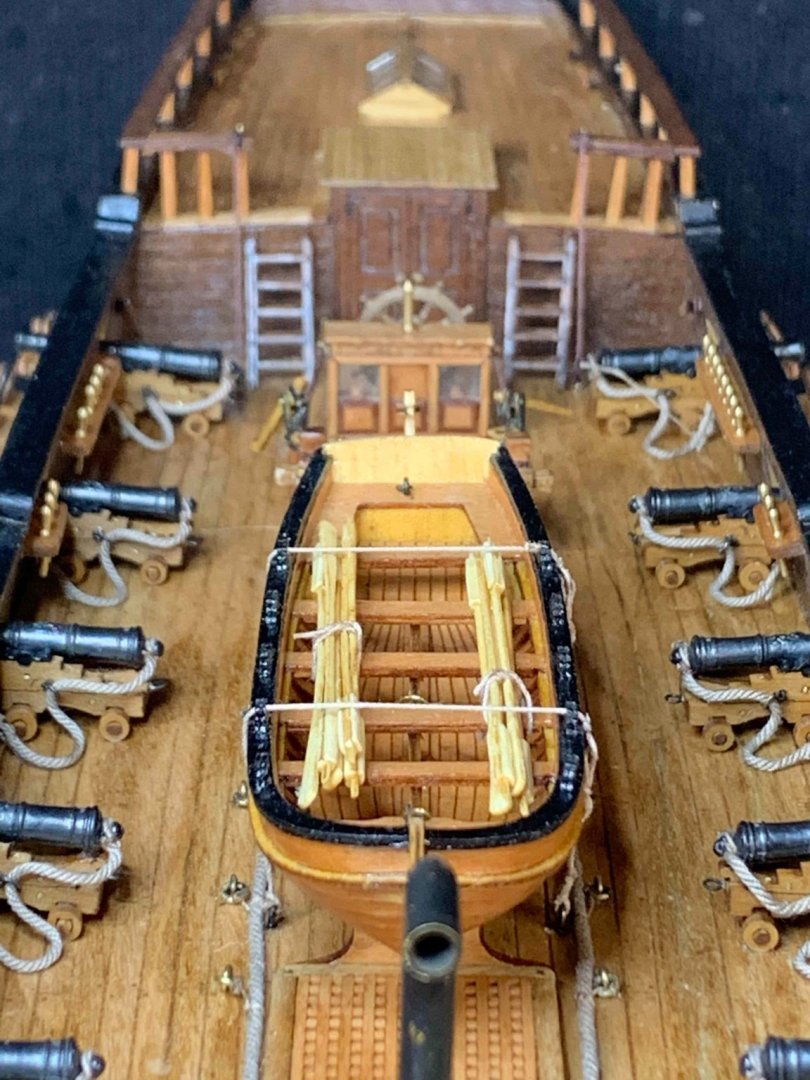
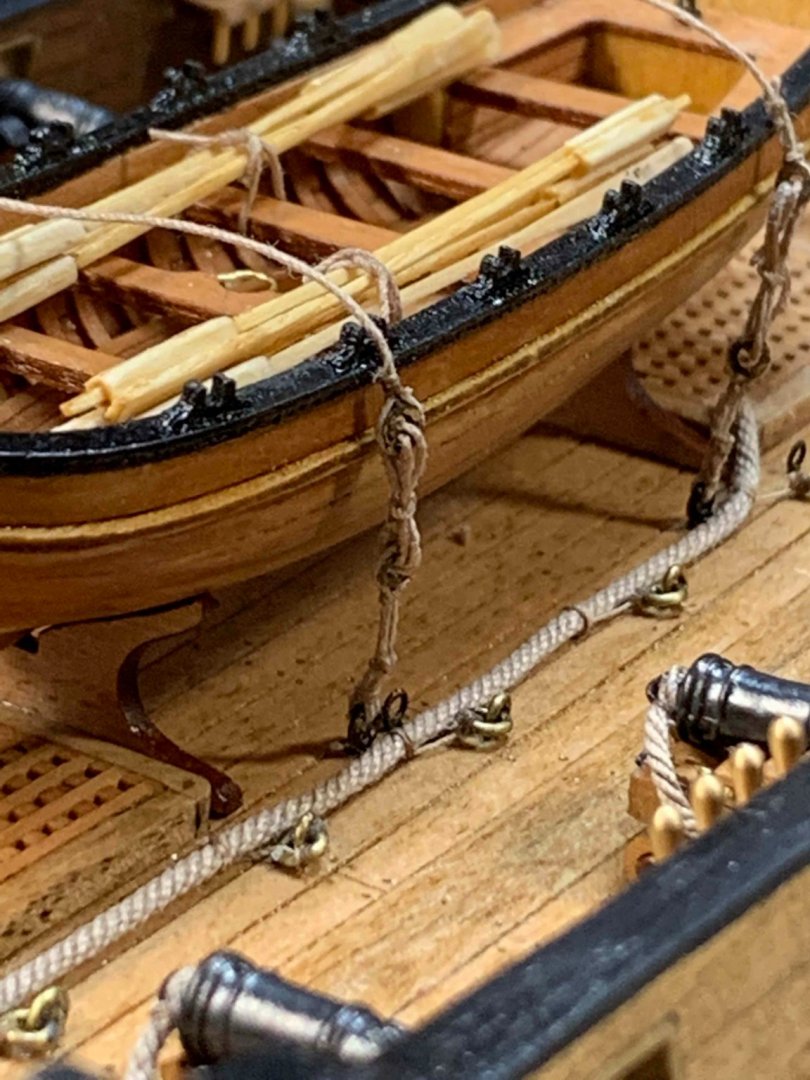
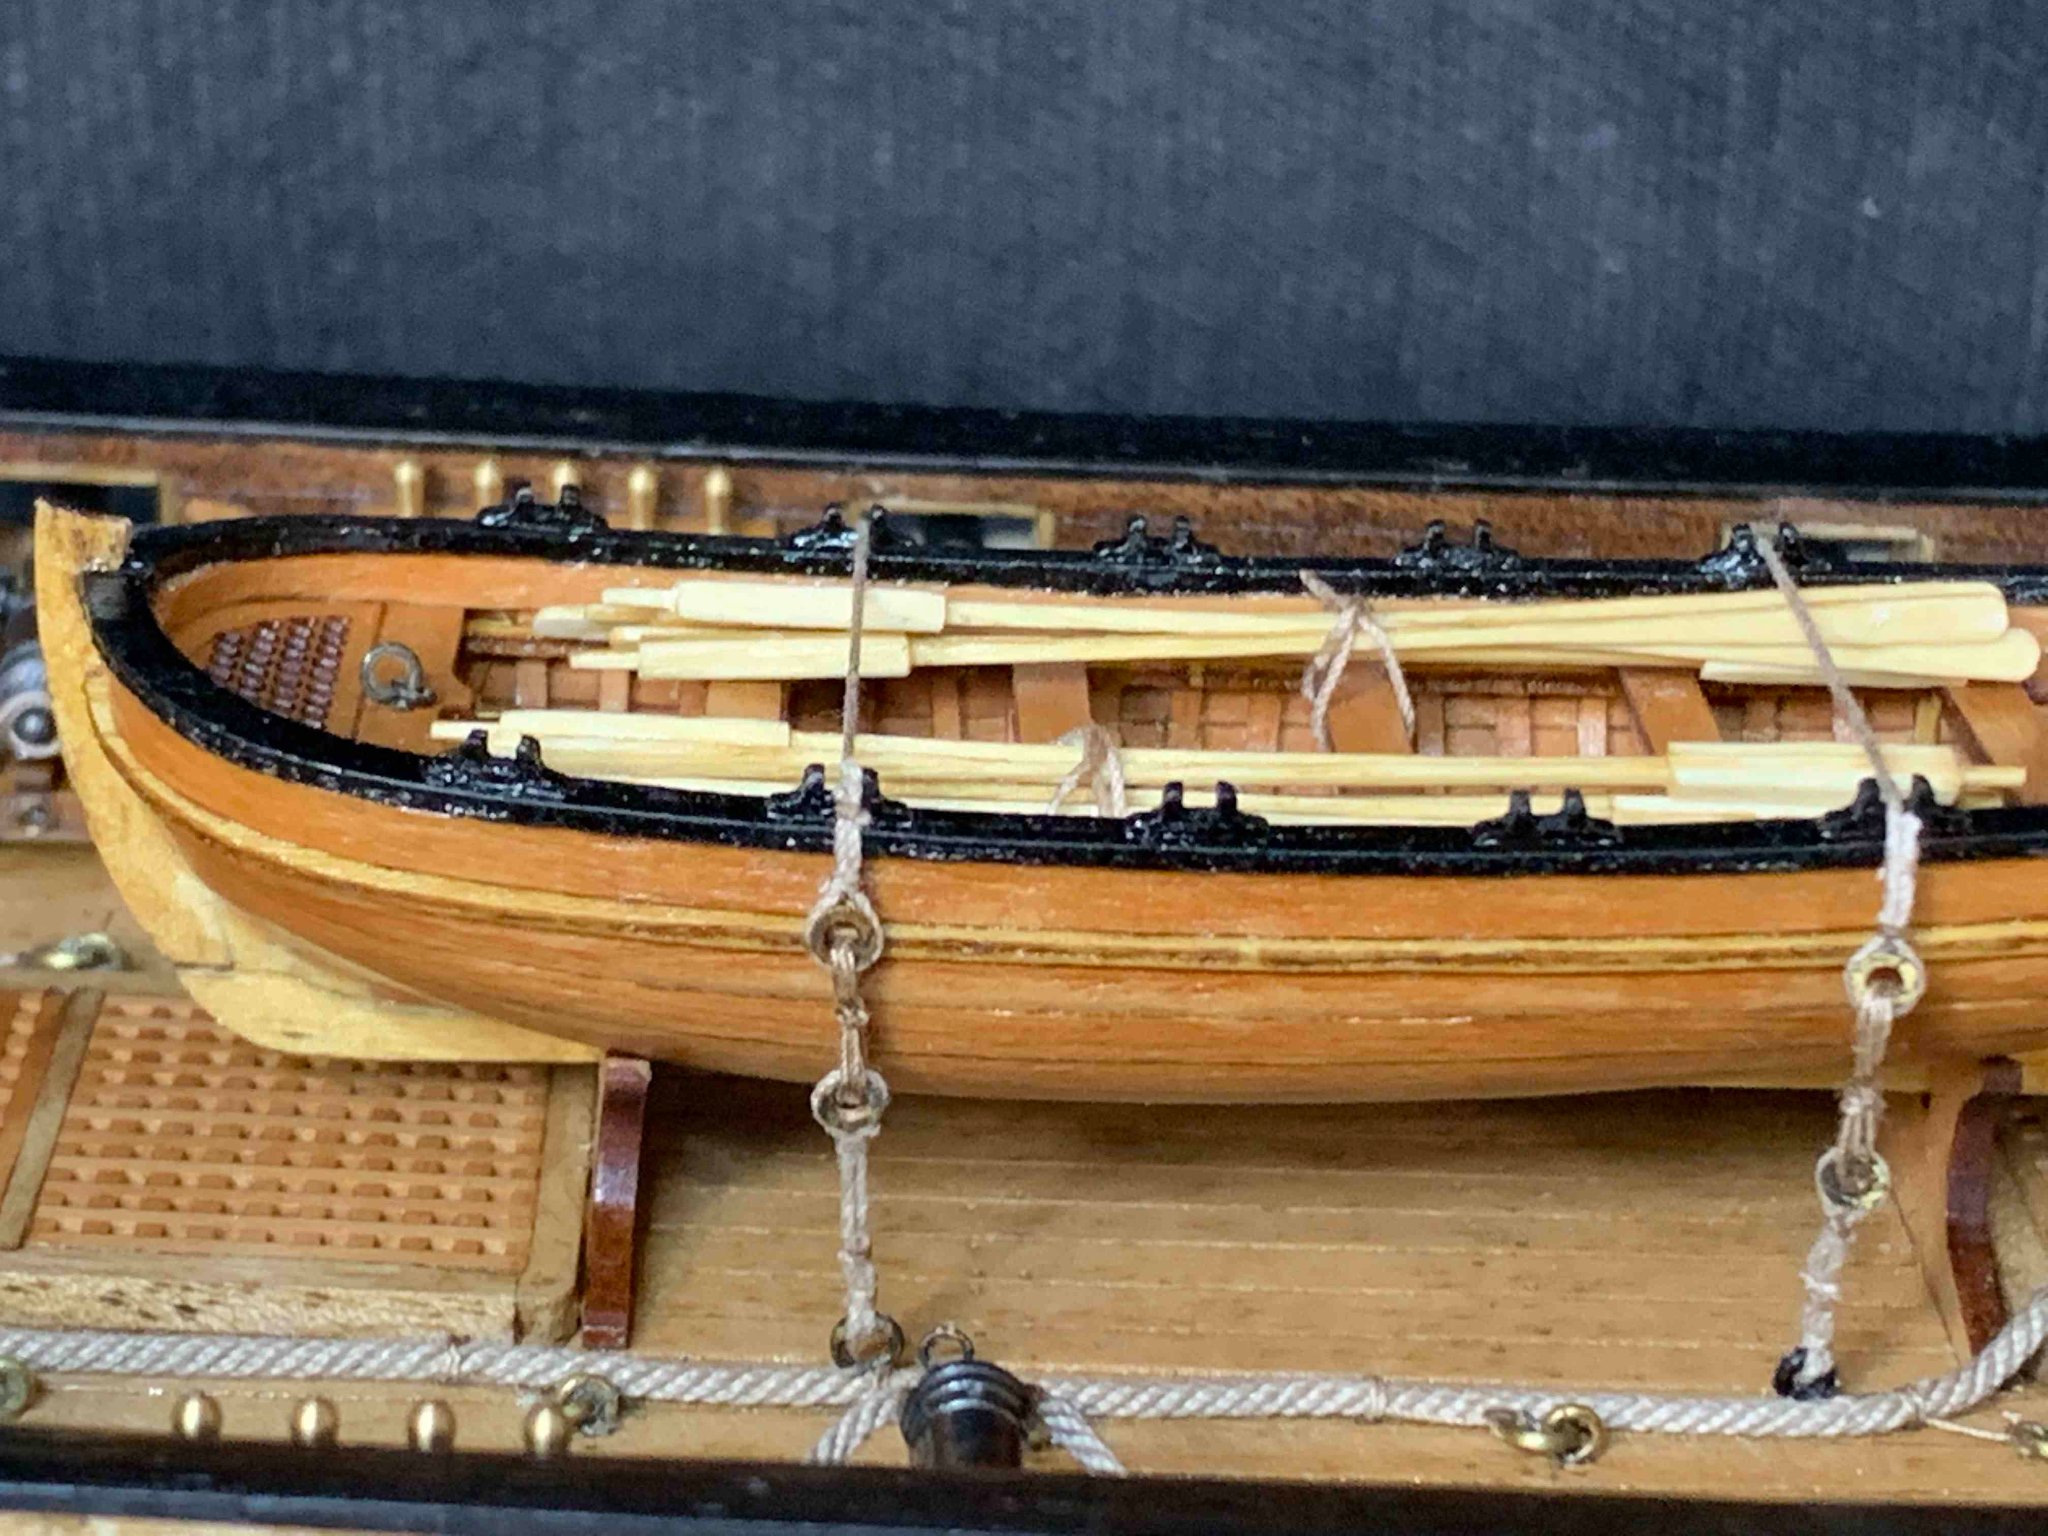
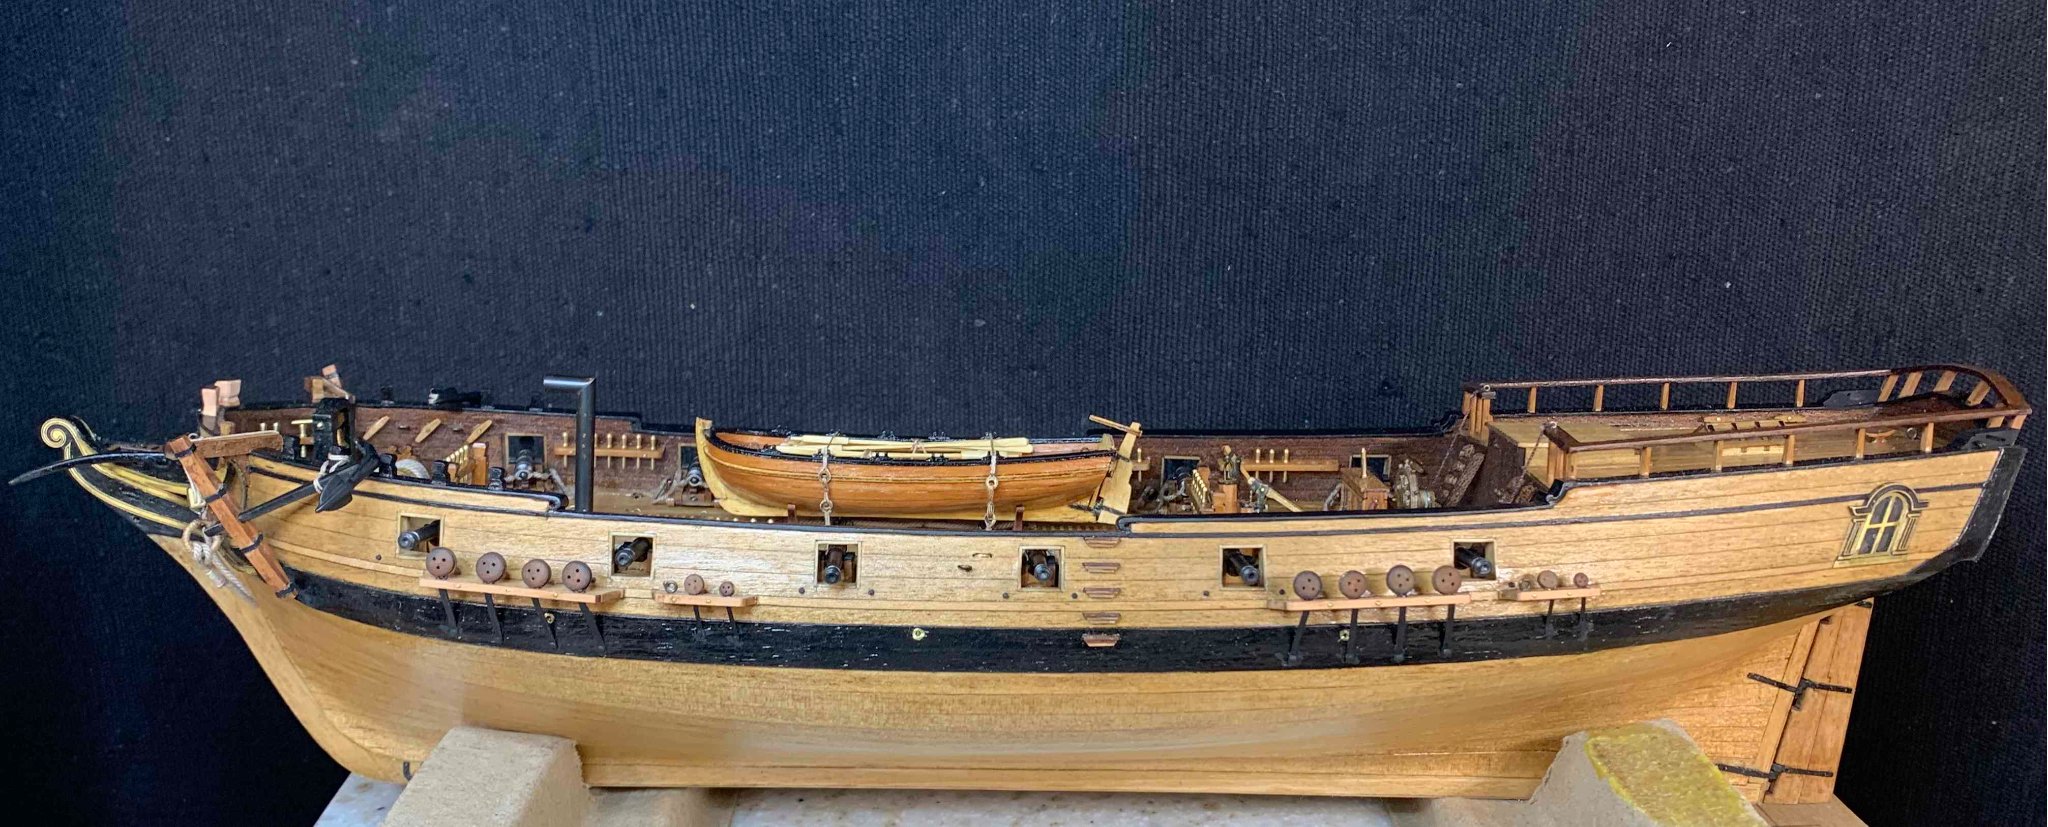
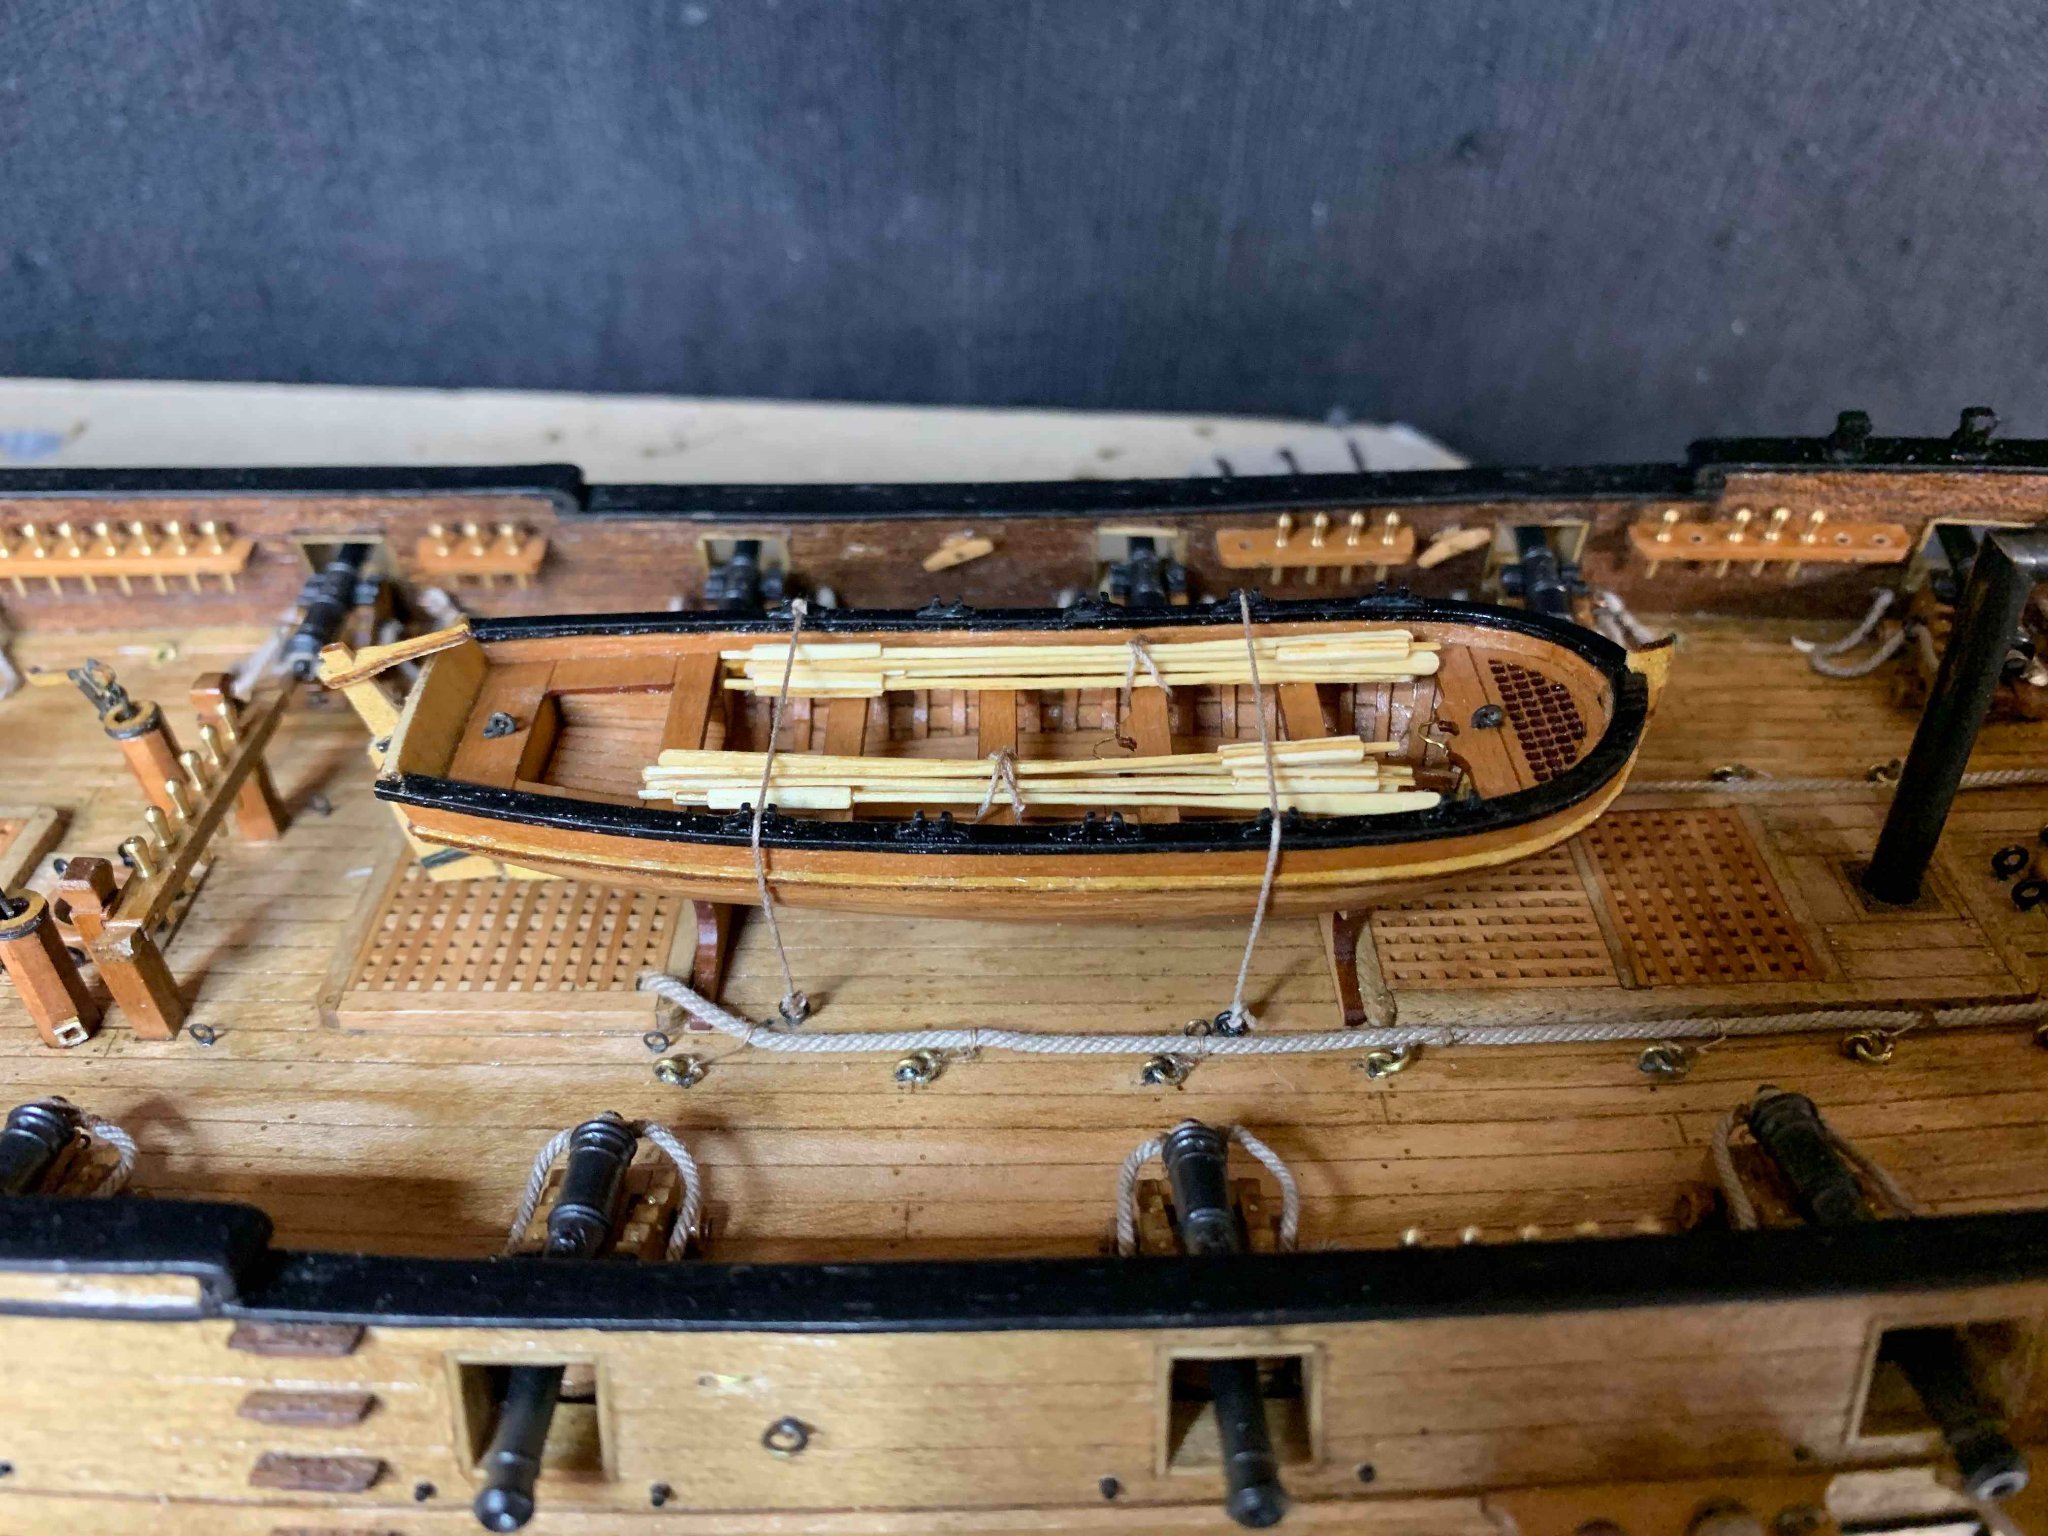
Installing the ship boat is a next task. First, i made a lanyard for a boat's line... As i dont have an adequate lathe, i used parts provided in the kit. Cut them of the frame, filed the ends and glue them together so they can hold while i drop small amount of solder in between ends...


I decided to add two more details on the ship boat, not quite sure what is the correct term but these should hold the launch's masts..
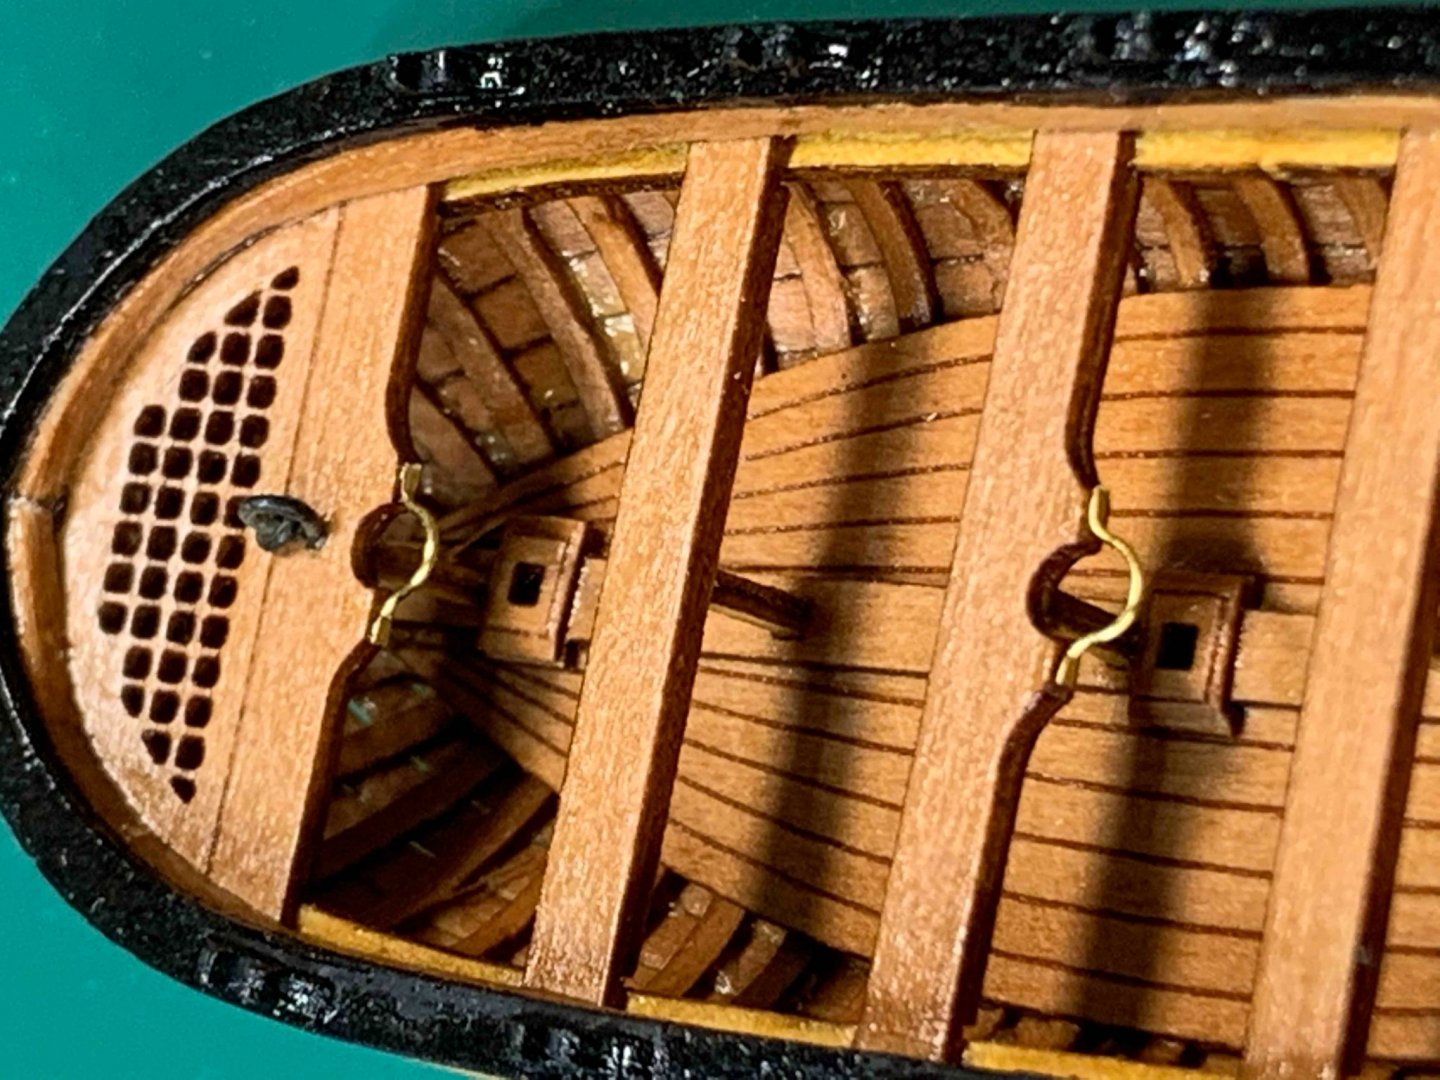
Back to lanyards...
Installed a pair but i was not quite happy with appearing so i decided to make a new pair.

During installation one hook snapped so i have to replace that as well..
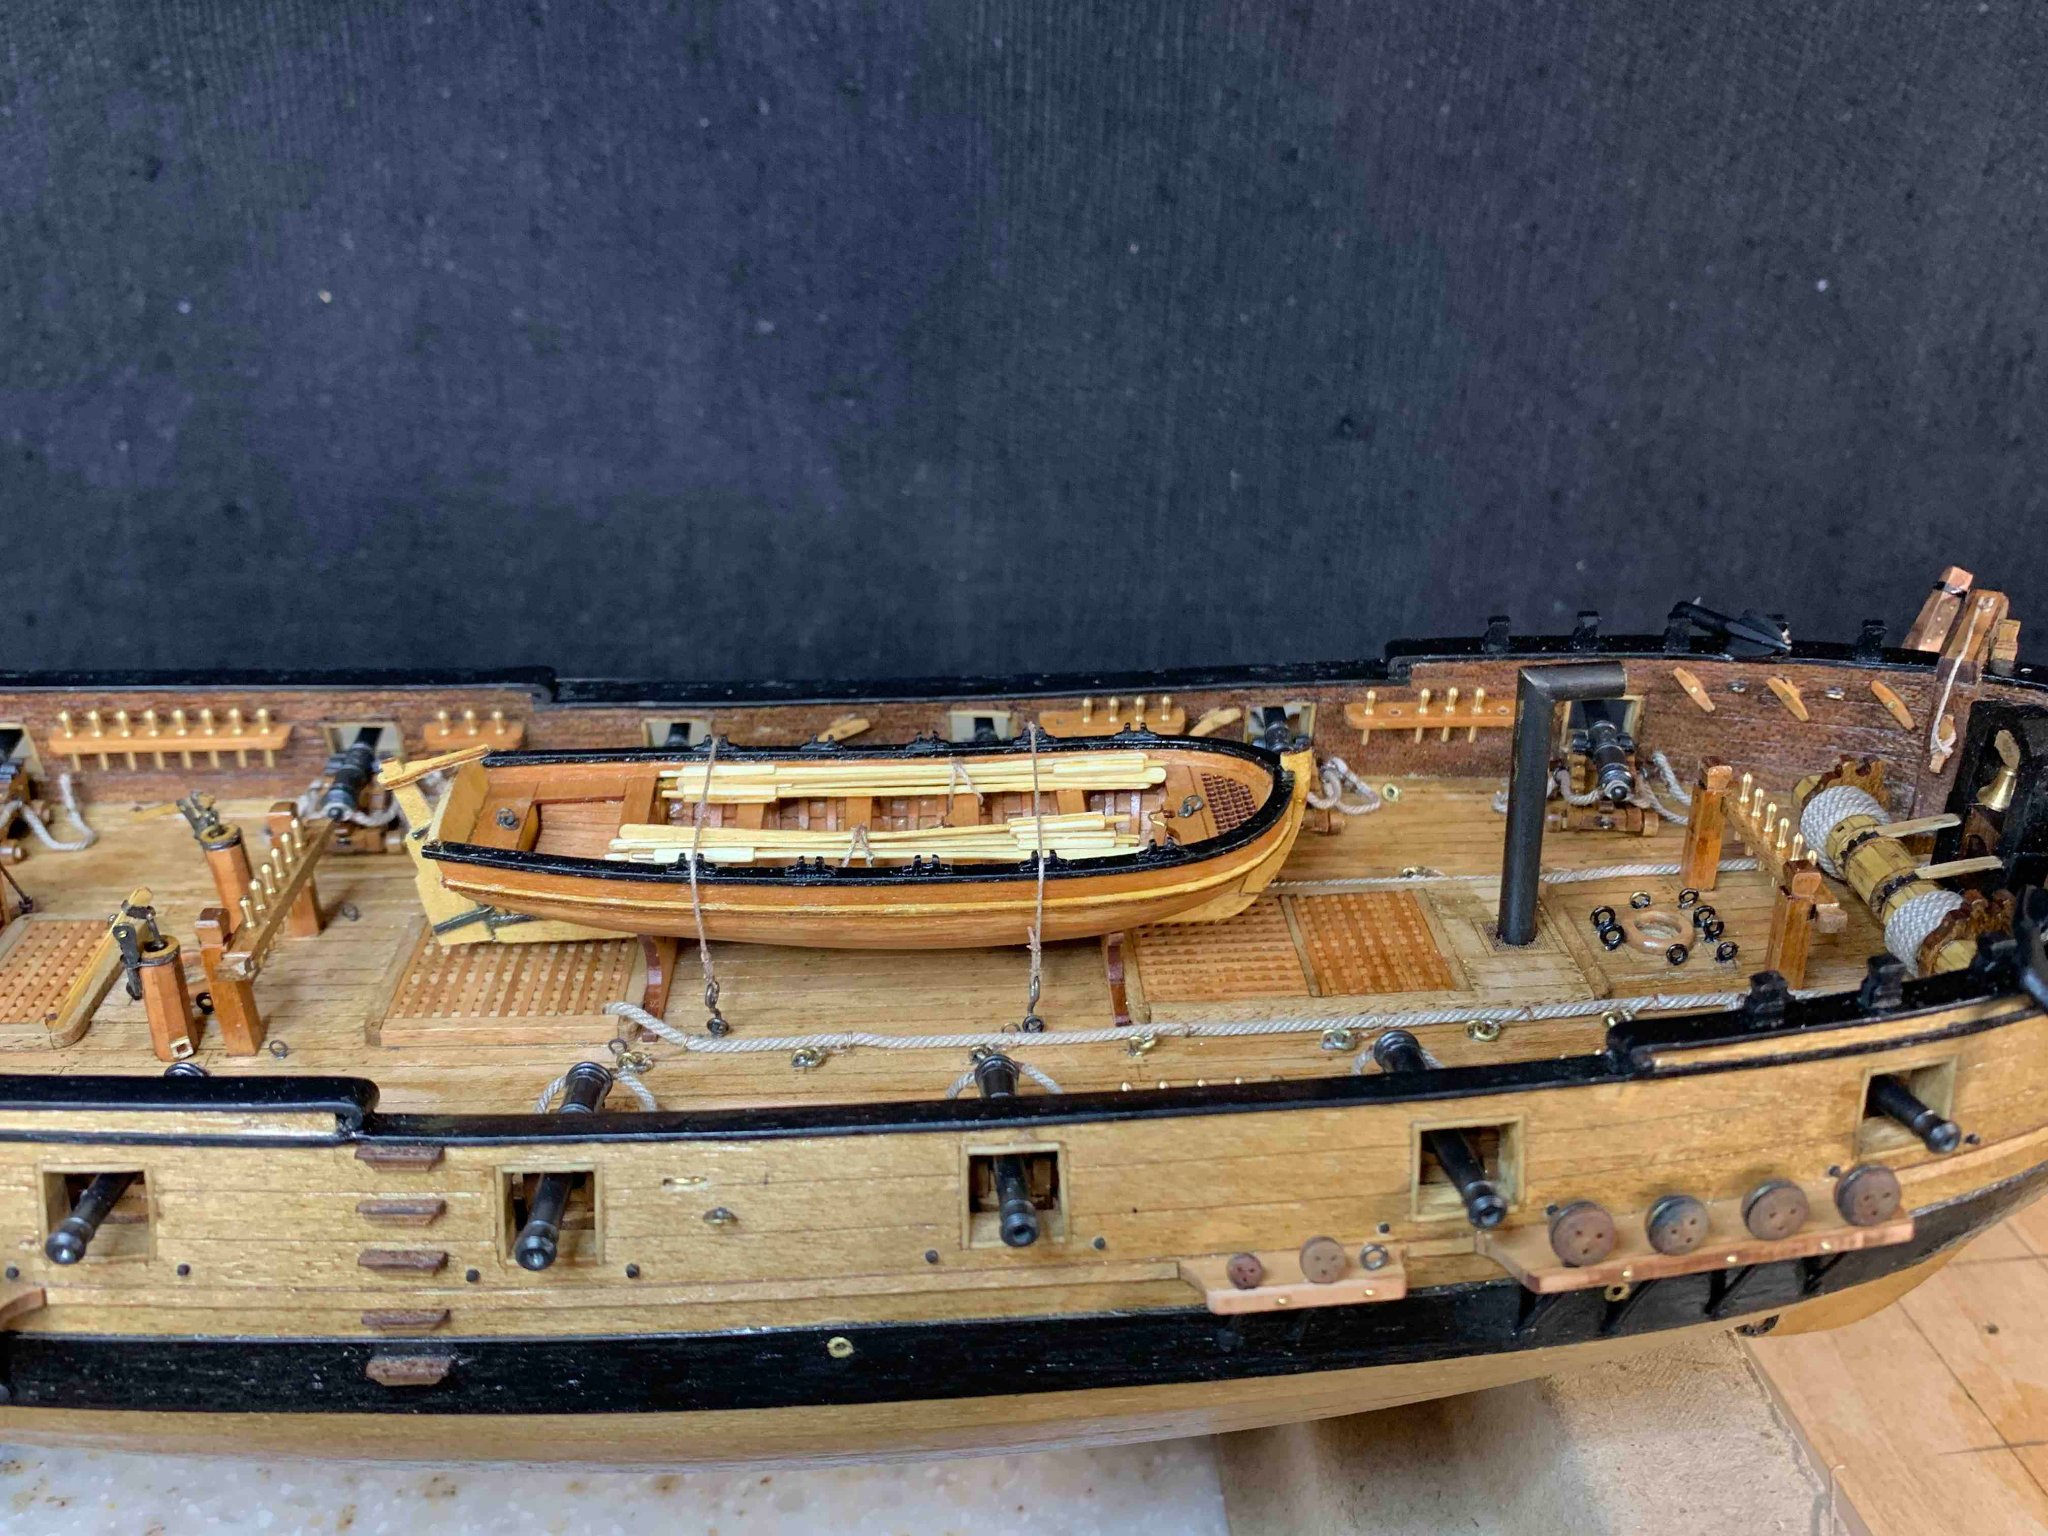
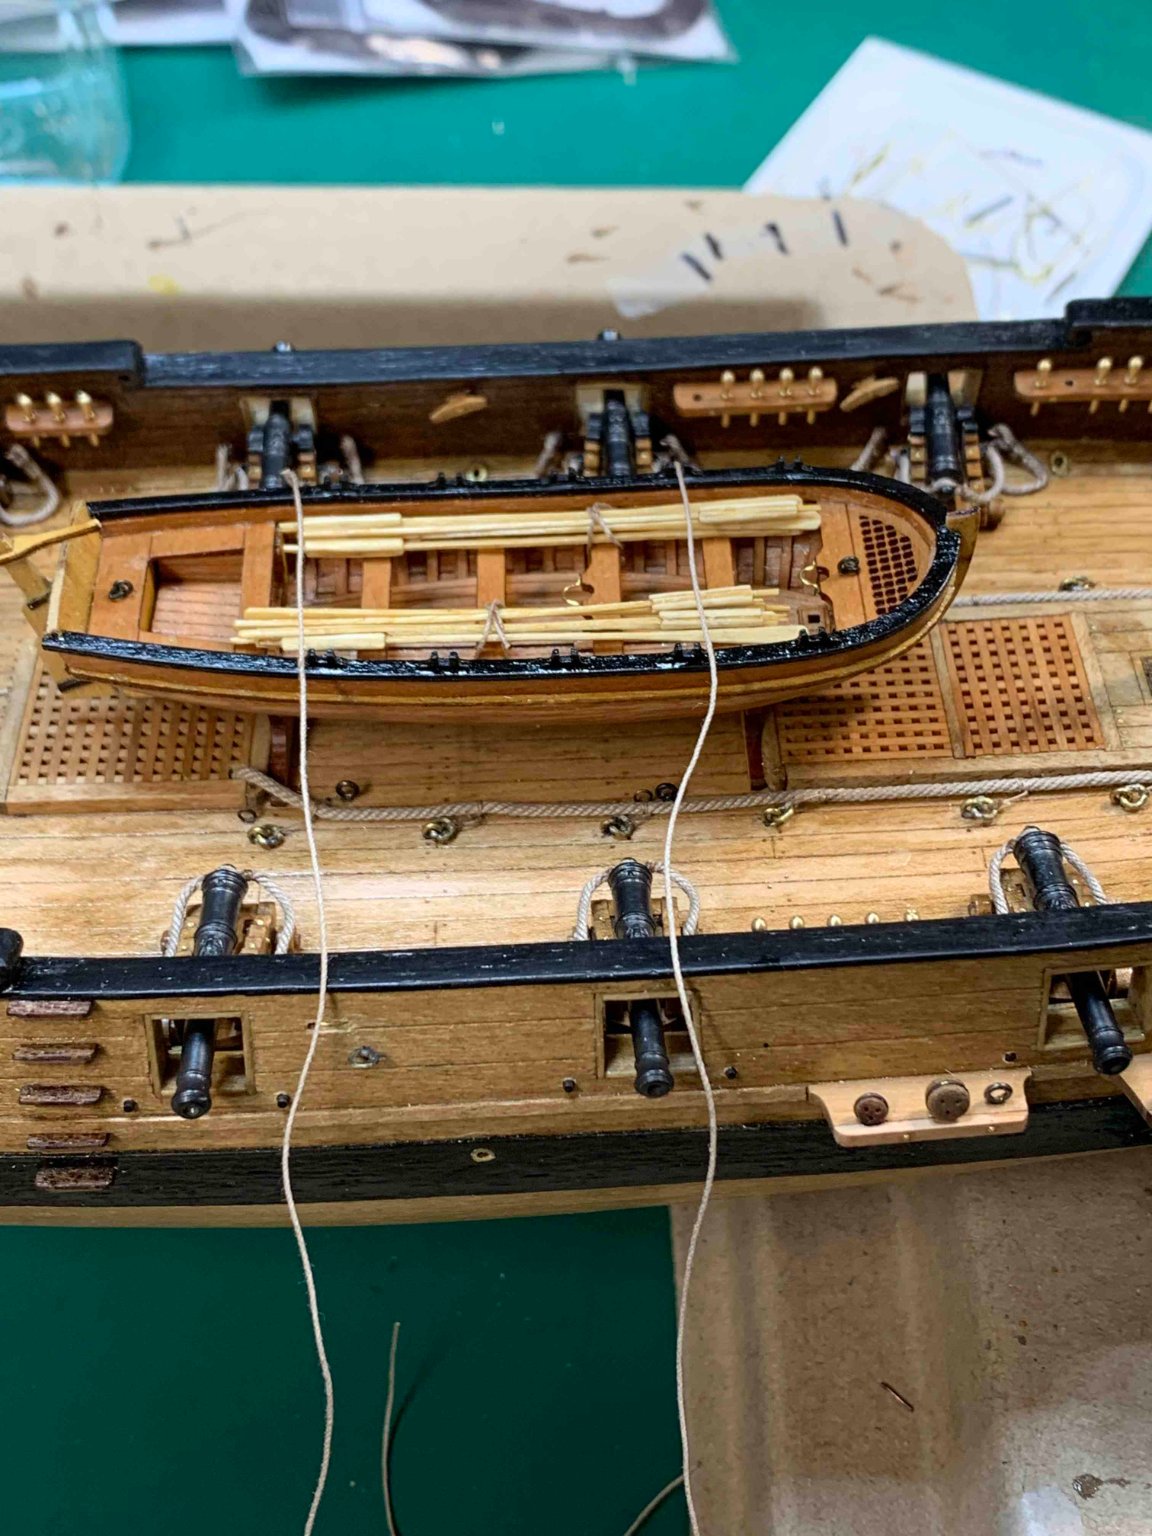
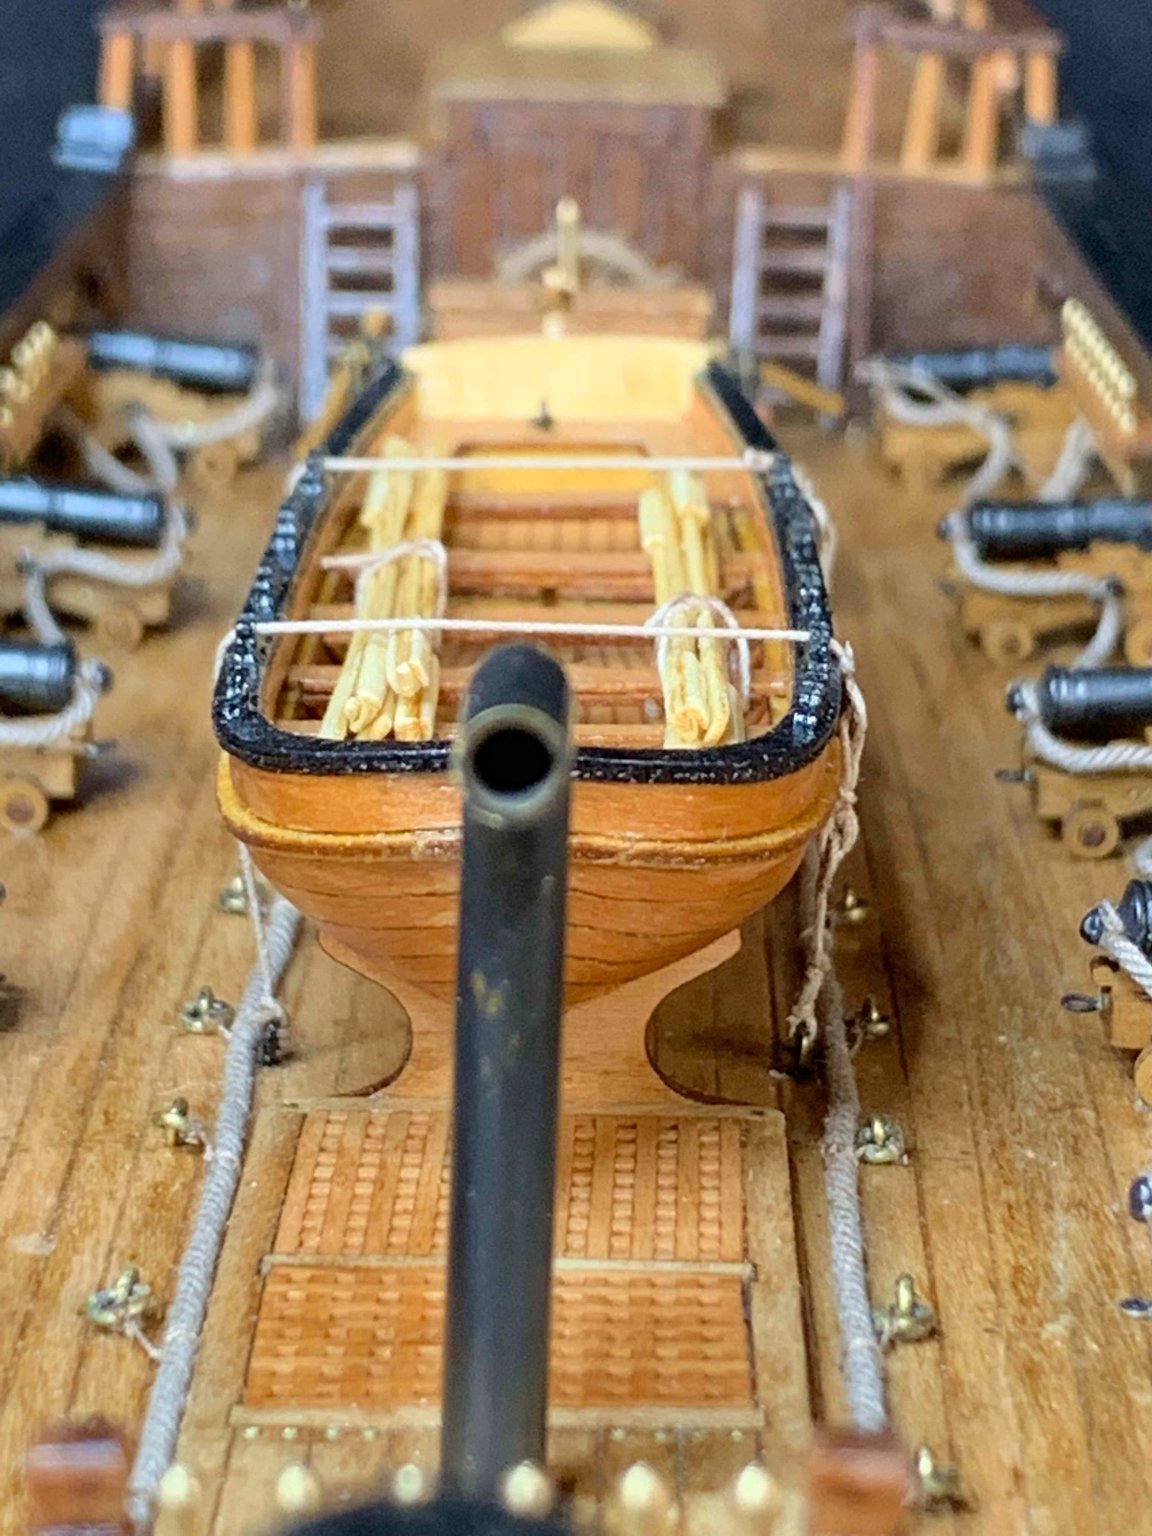
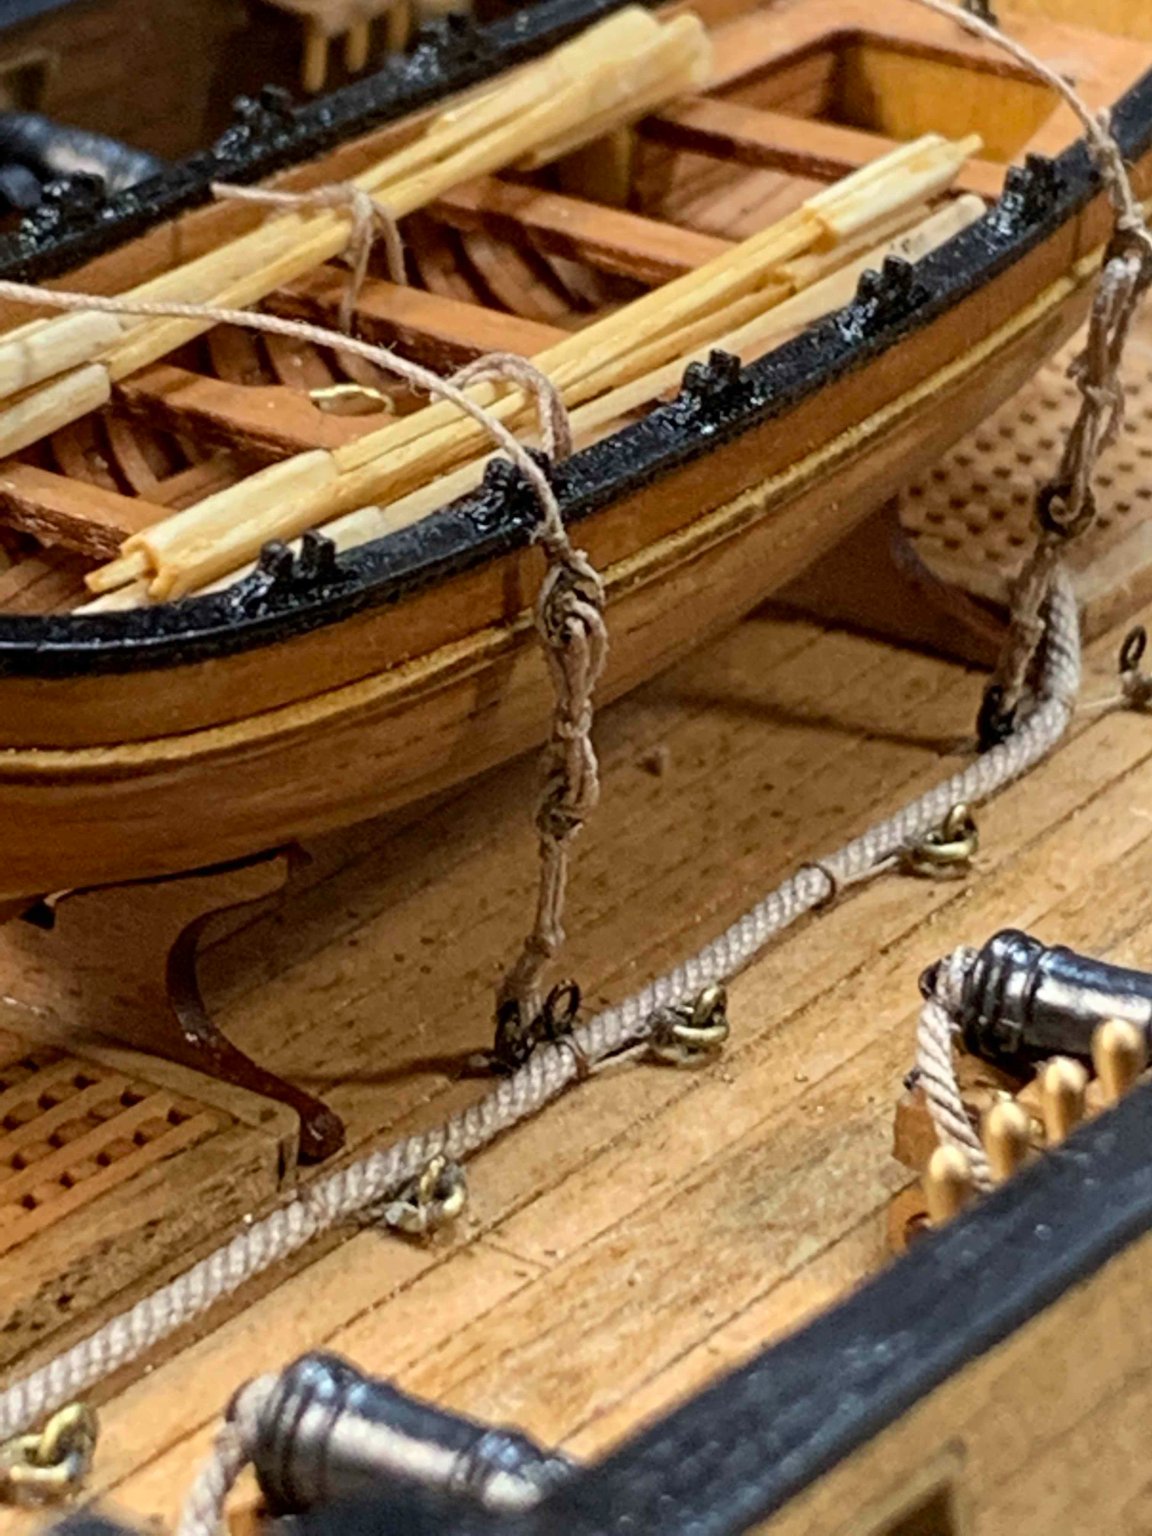
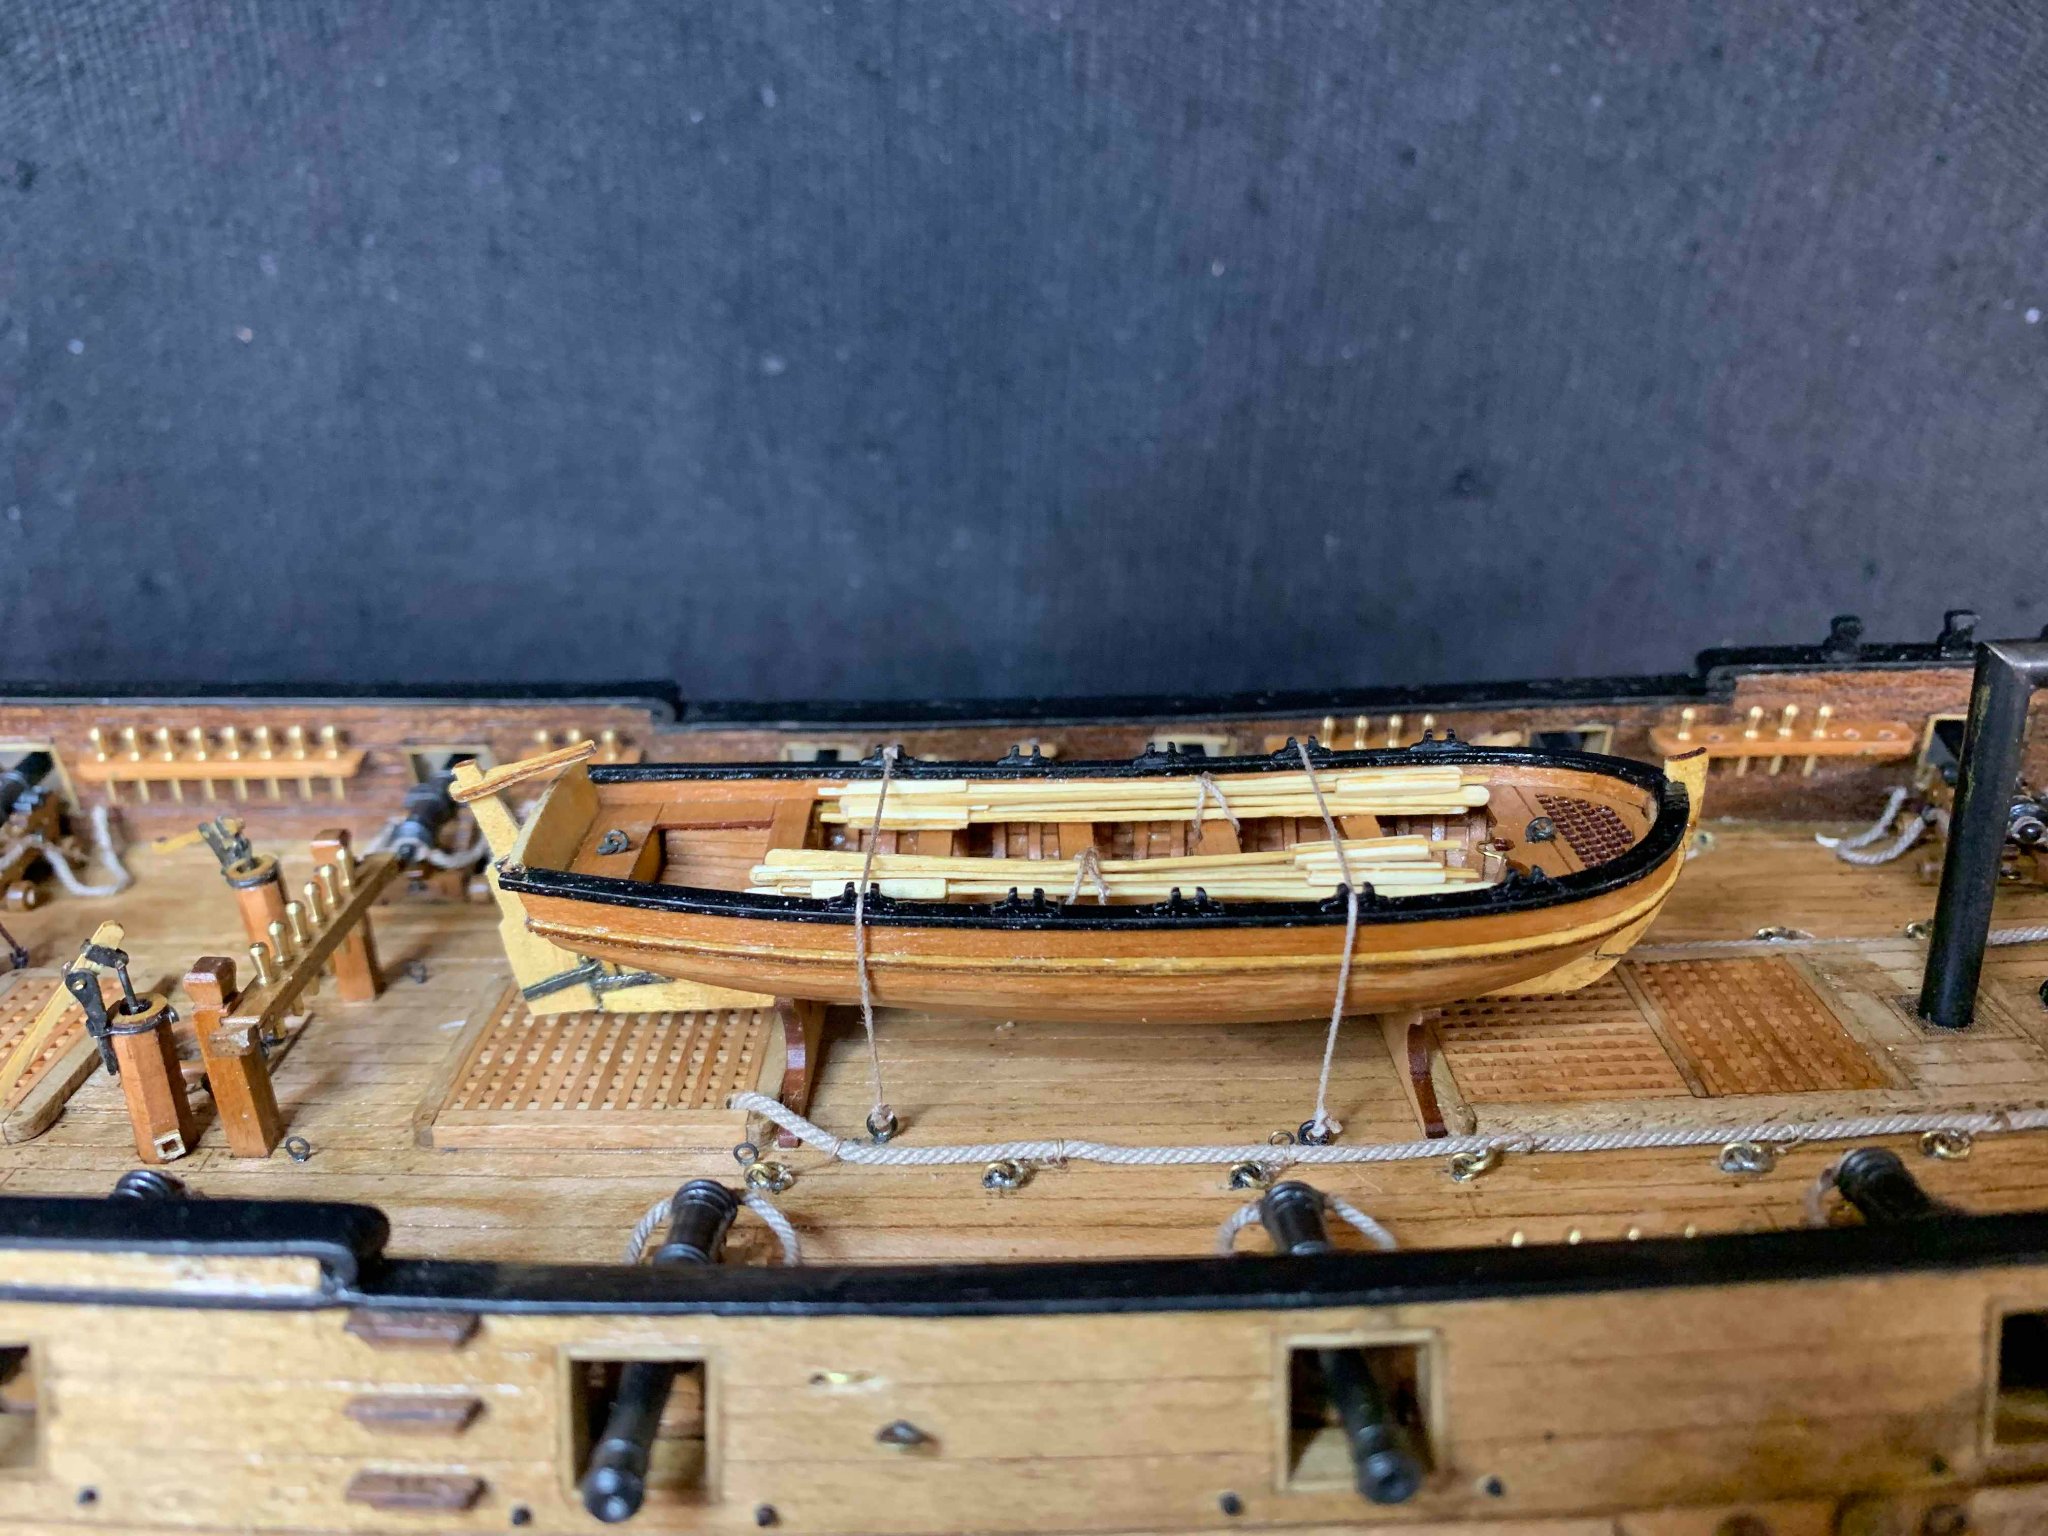
Finally, all in place ready for a boat.
-
As much as this virus thingy is weird and put some limitations, for me working from home has some benefits: when tired, just turn around and start building the ship...
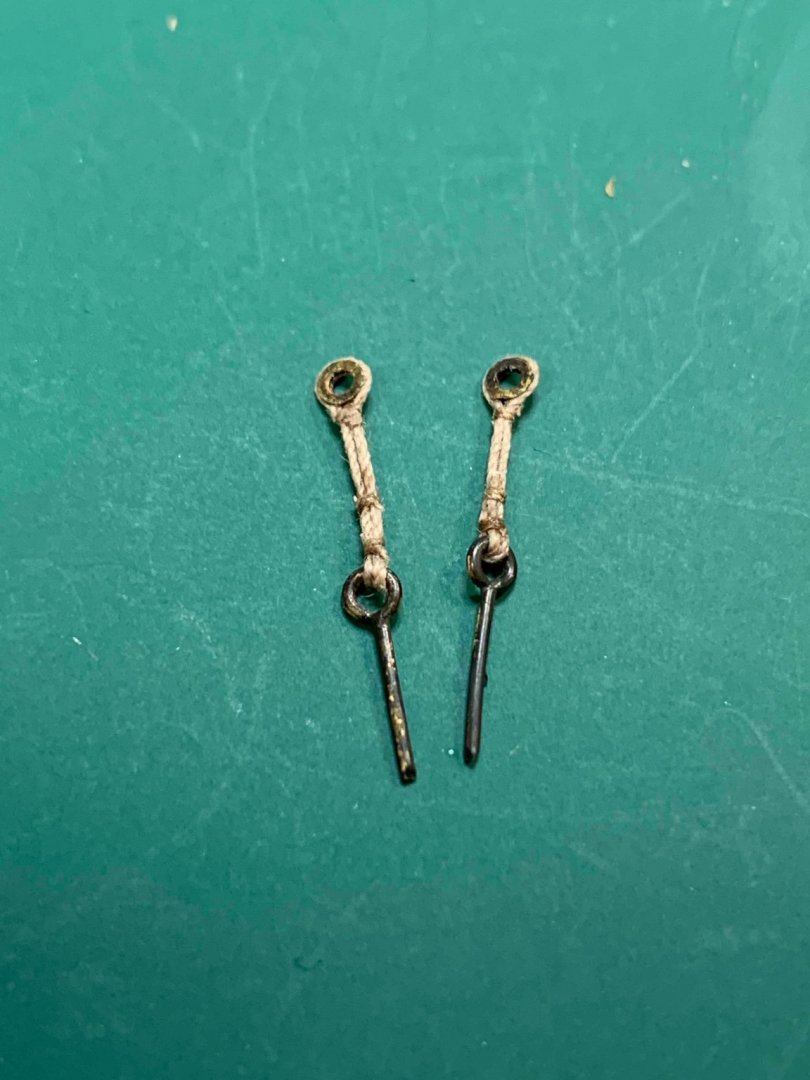
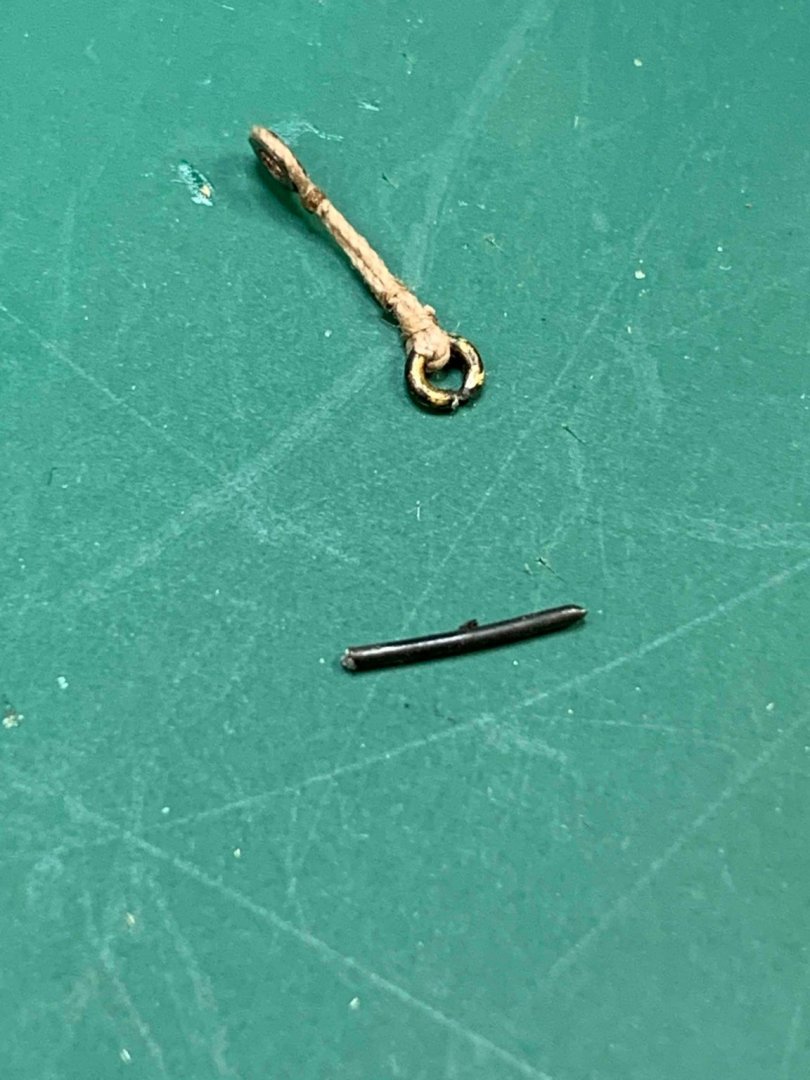
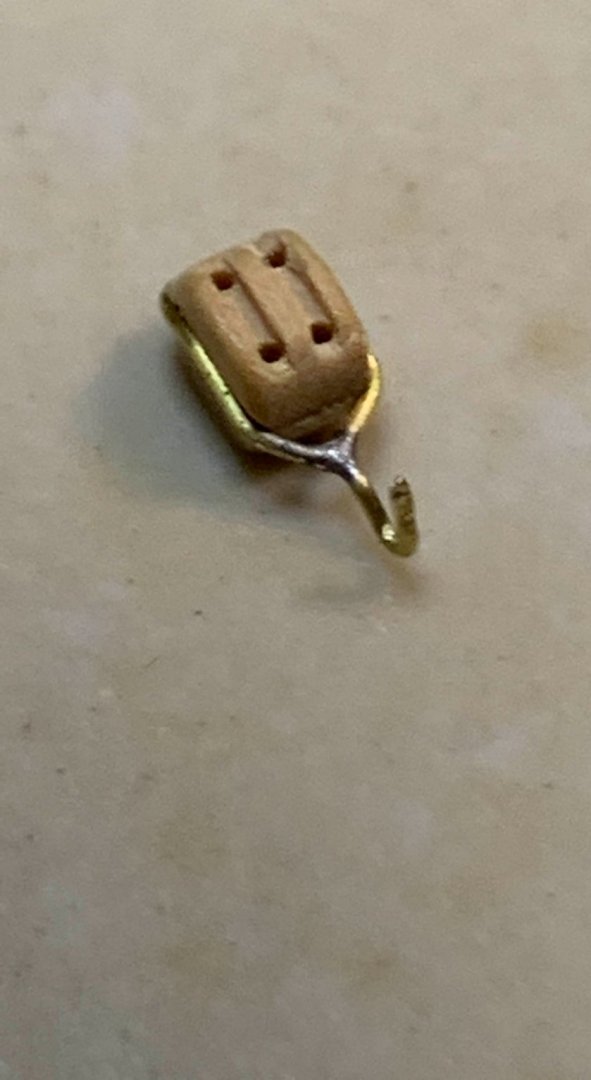
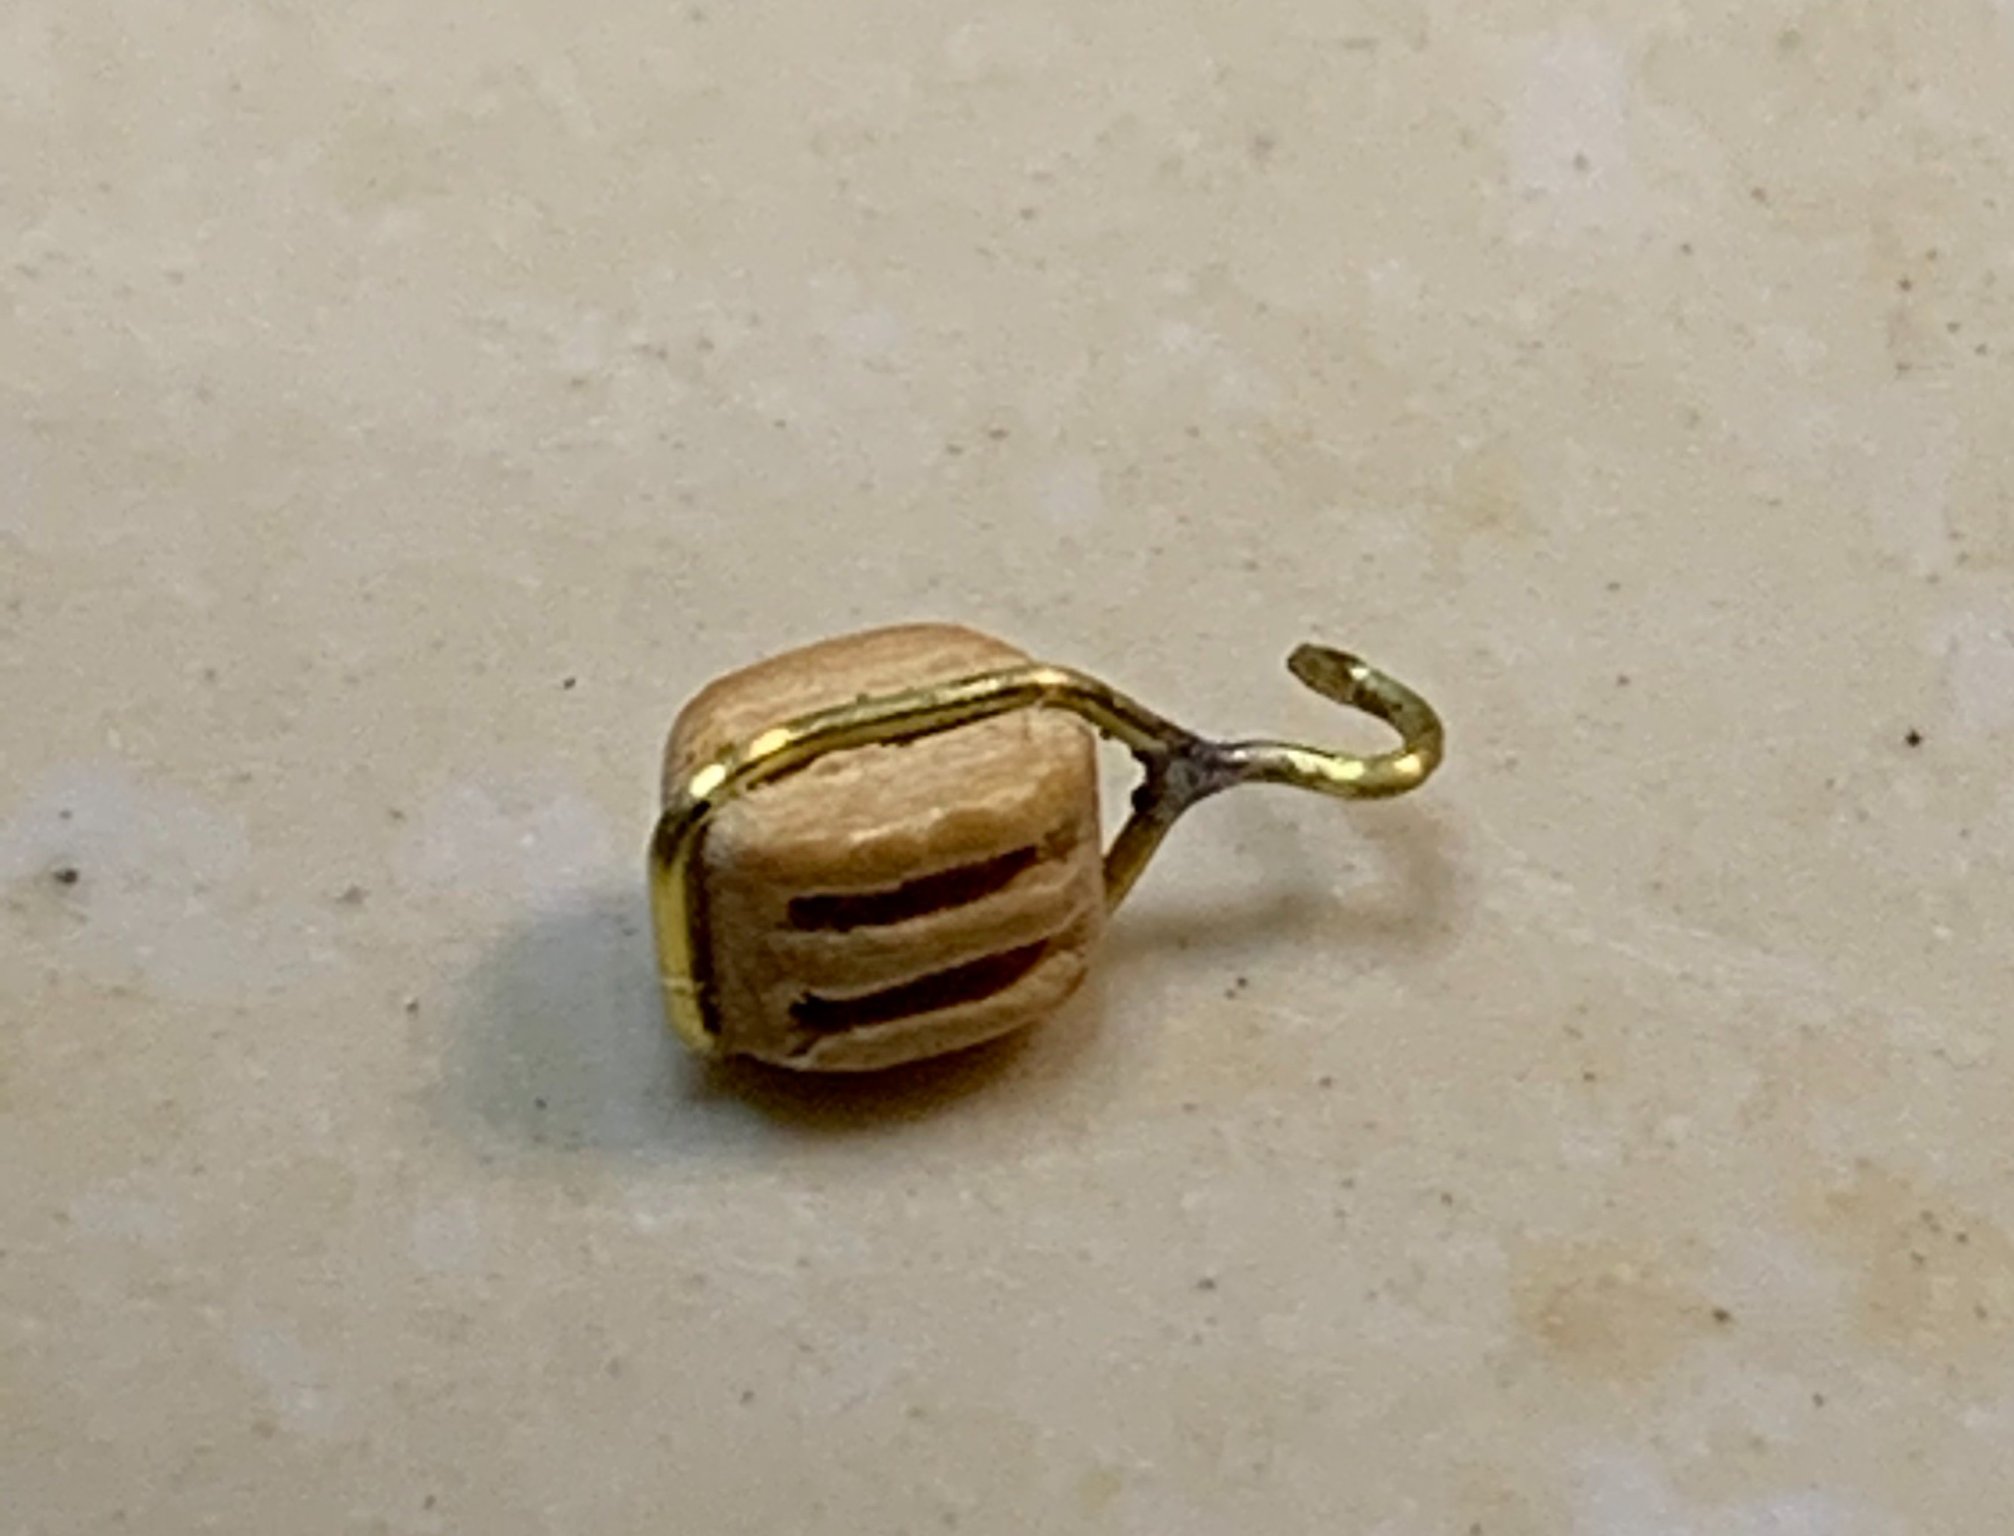
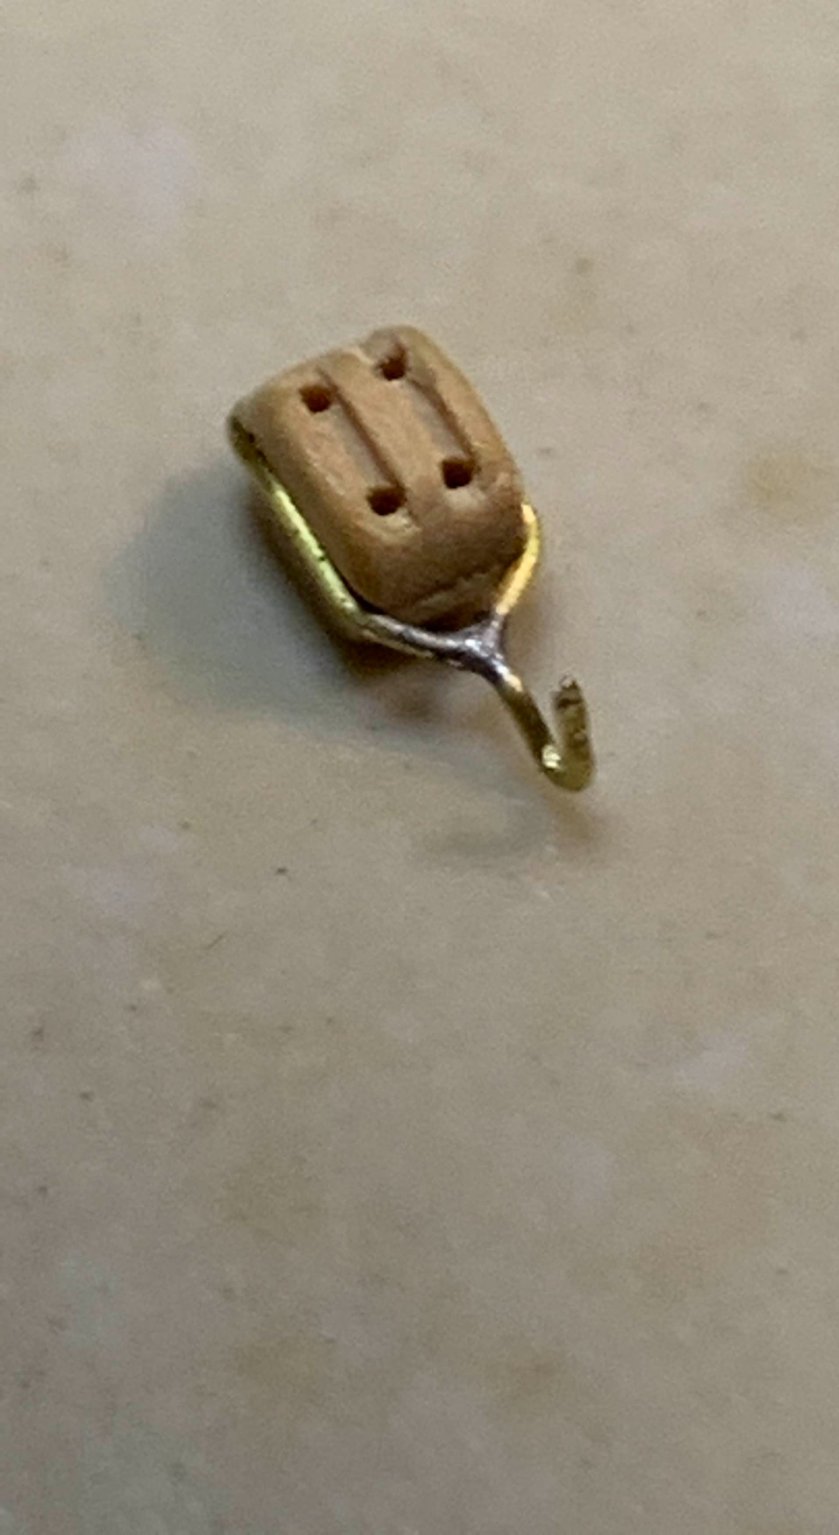
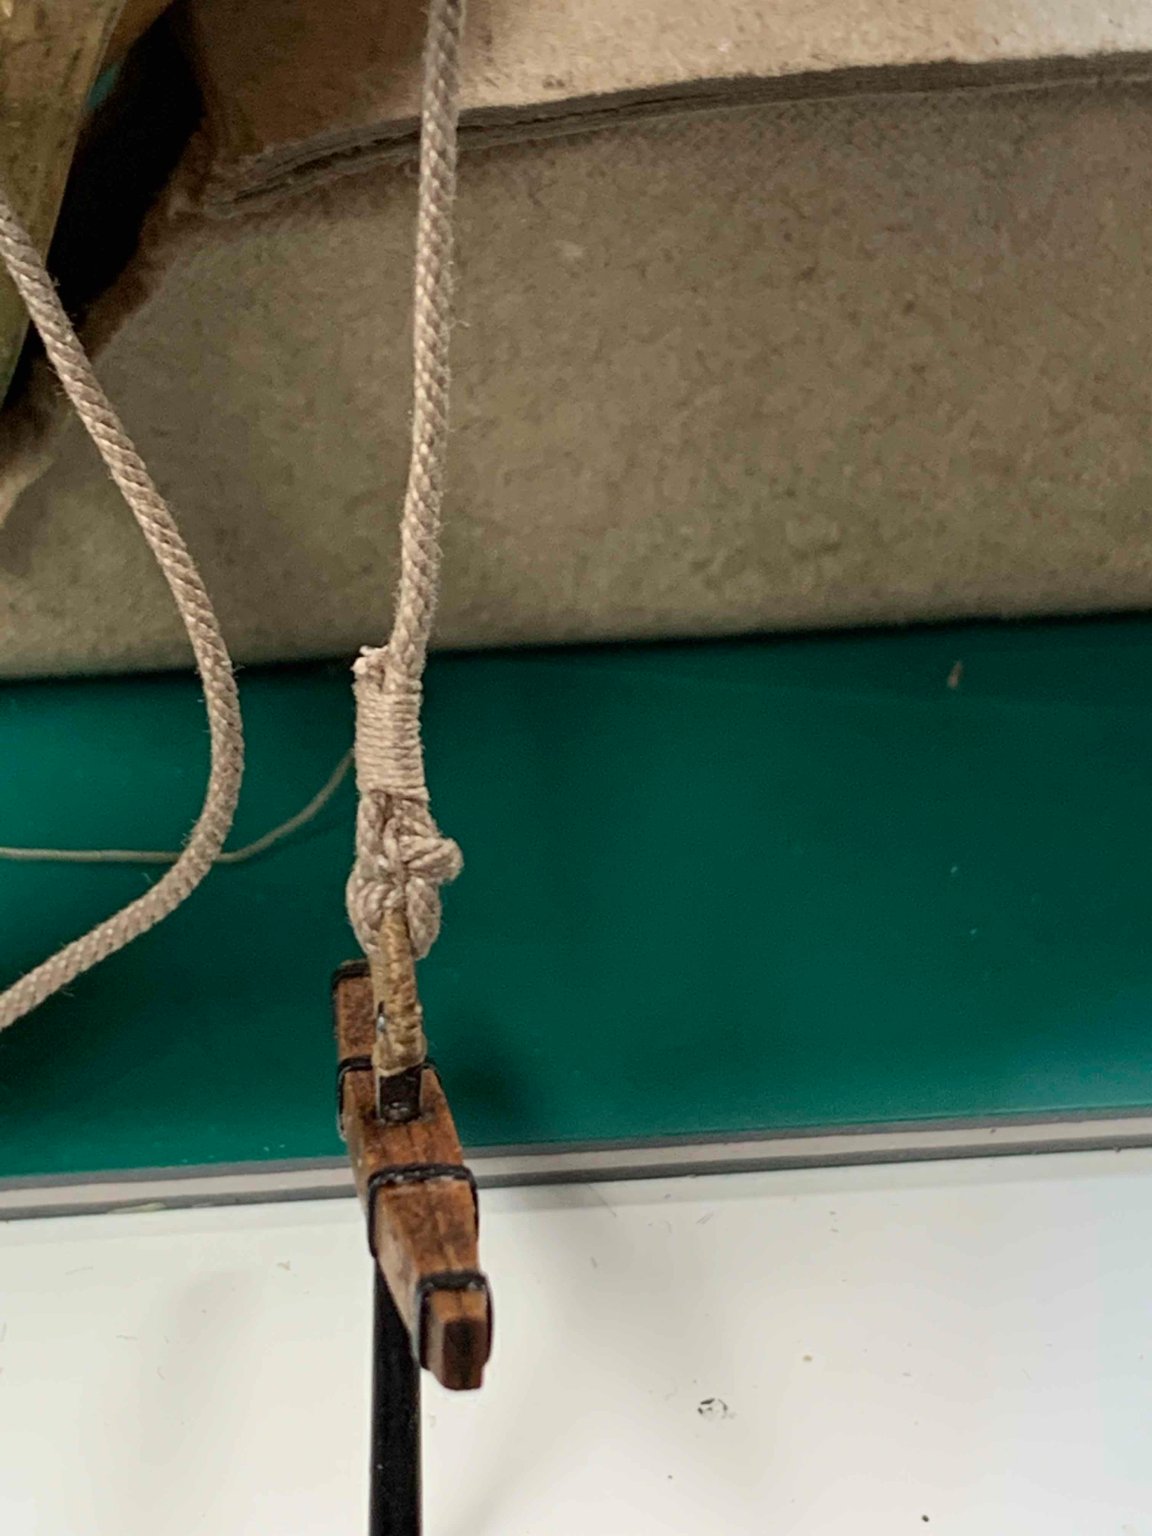
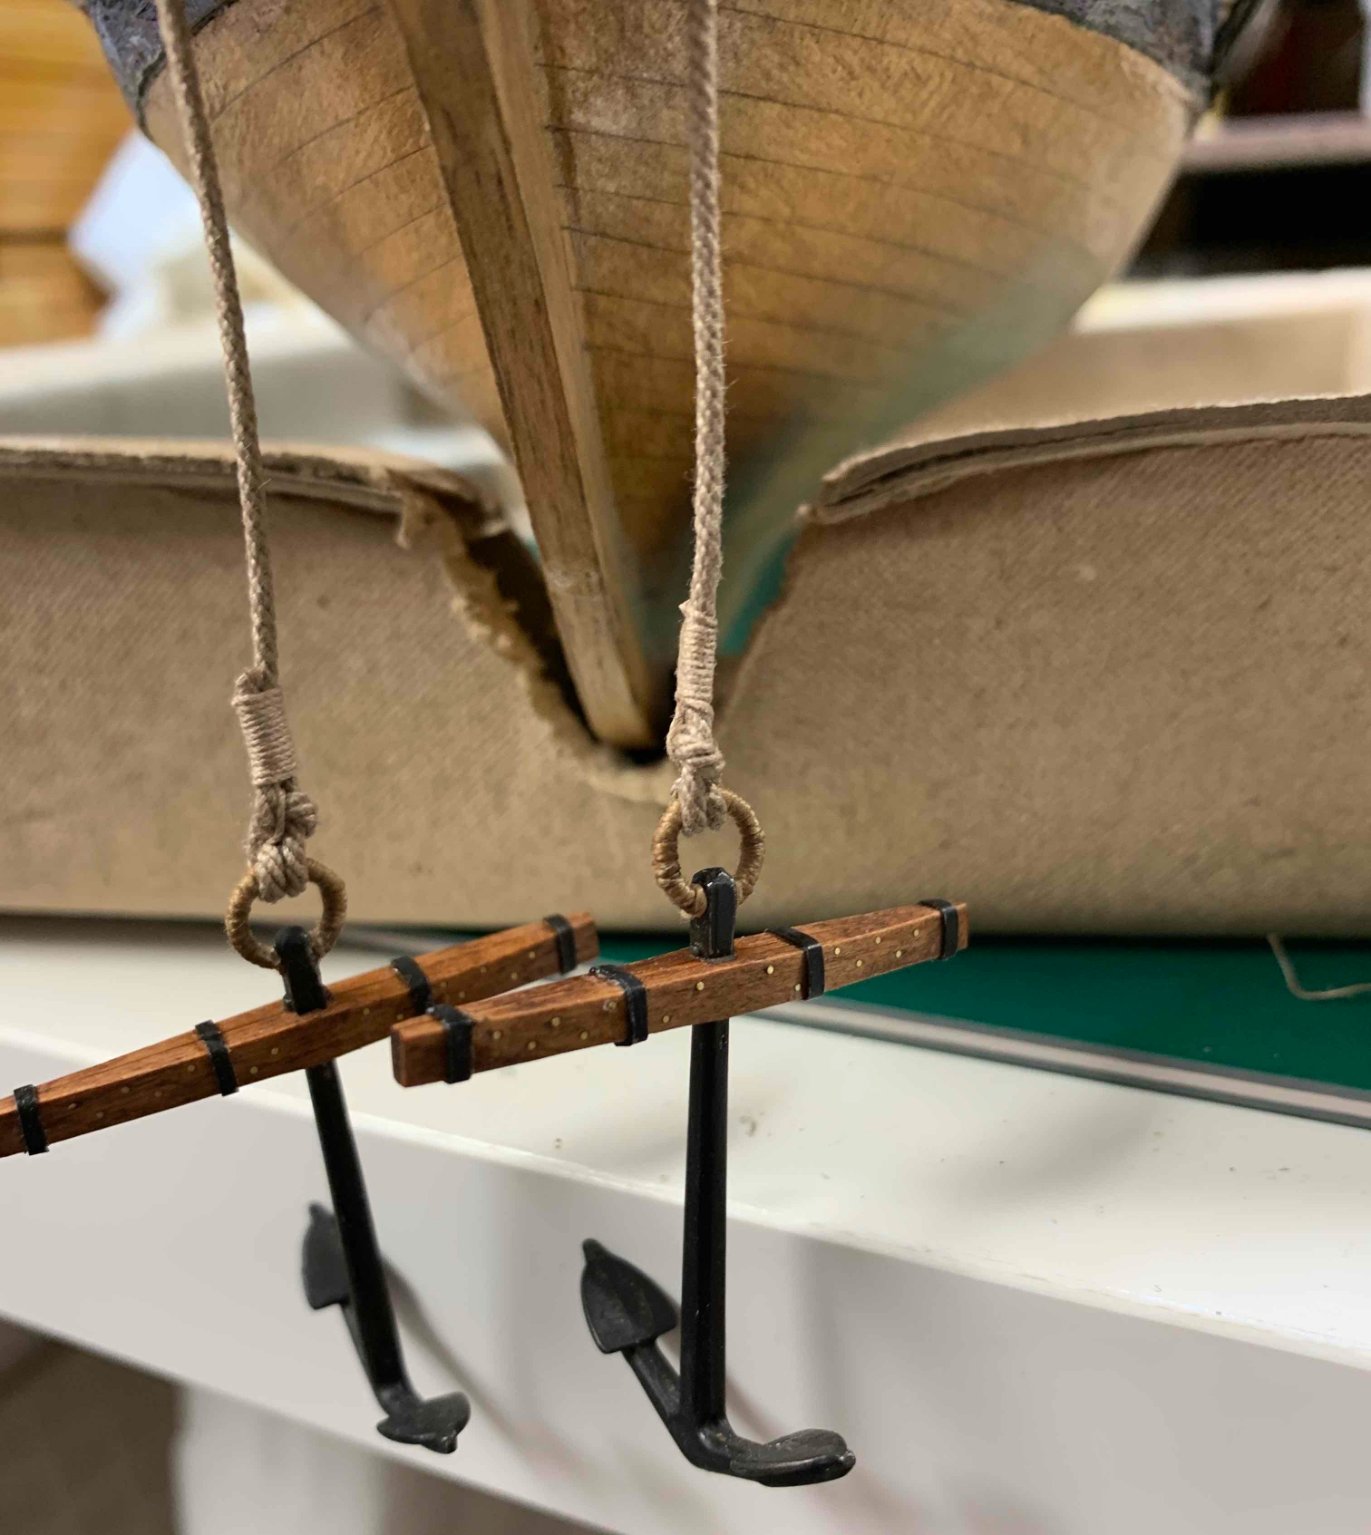
So, double-blocks for 'anchors are next to be worked on. The piece of wire was wrapped around the block, twisted lightly on one end, cut and removed from the block. Then the wire was soldered and block was inserted again back. This process is a bit tight making sure not to damage the block as well as newly made hook. The hook was completed after the block had the wire around itself. Then it was dipped into blackening solvent for a few seconds, washed and dried on paper.
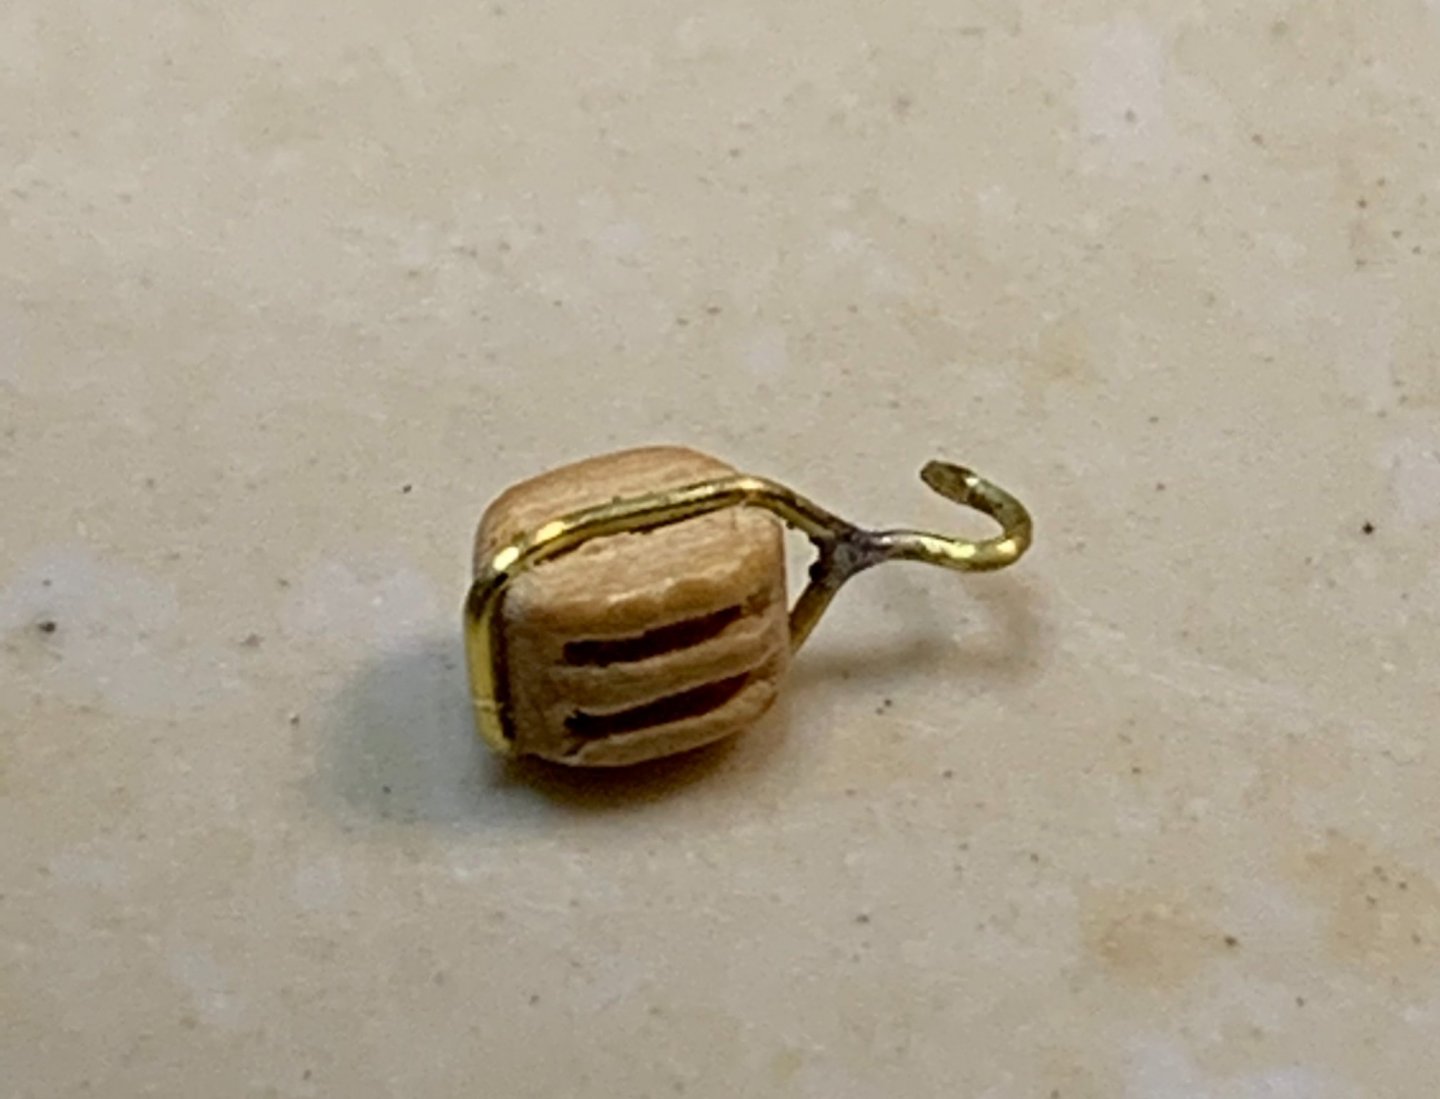
Friends together...
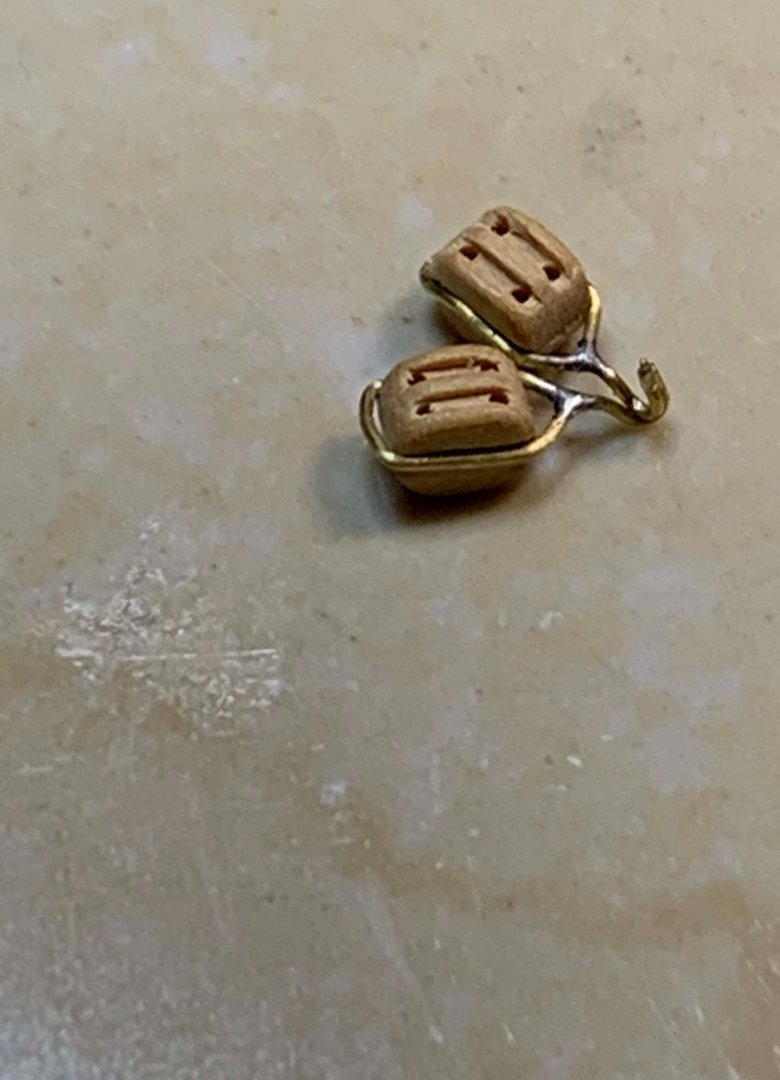
You might notice that i used different blocks than the one coming with the kit. The reason is that during the process of making the wire/hook i broken two blocks, too fragile. I glued them together so i might be using them again later...
Assembly process...


Happy modelling.. -
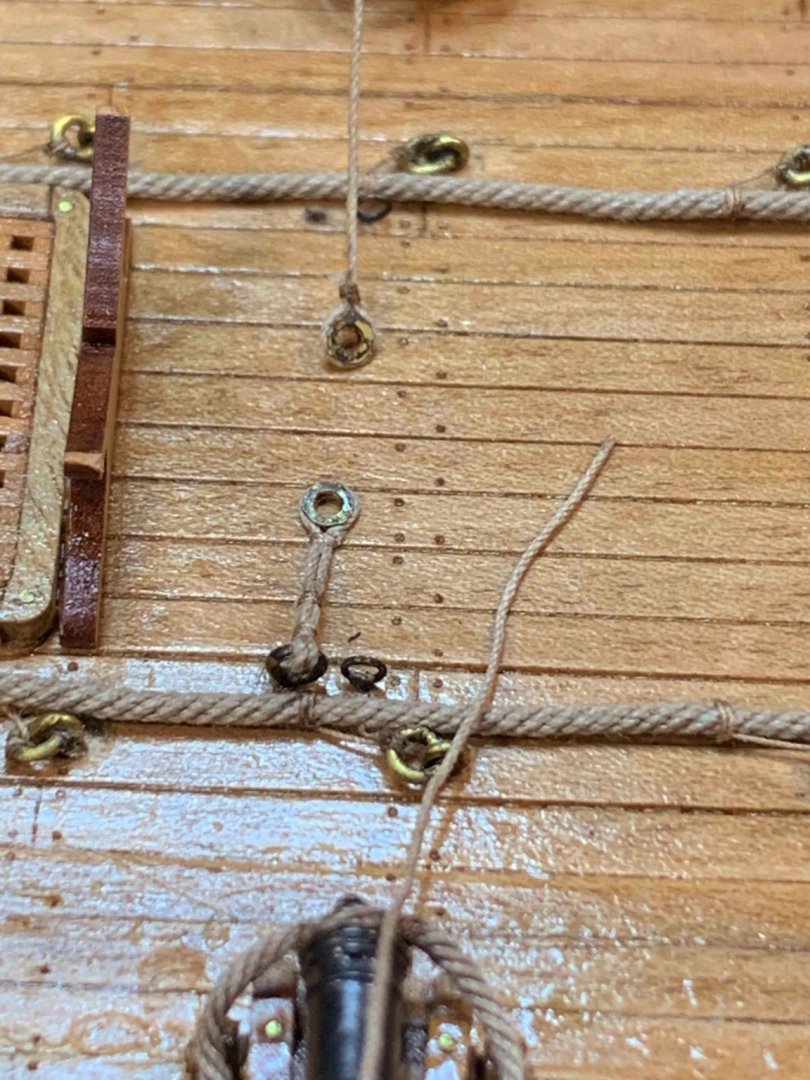
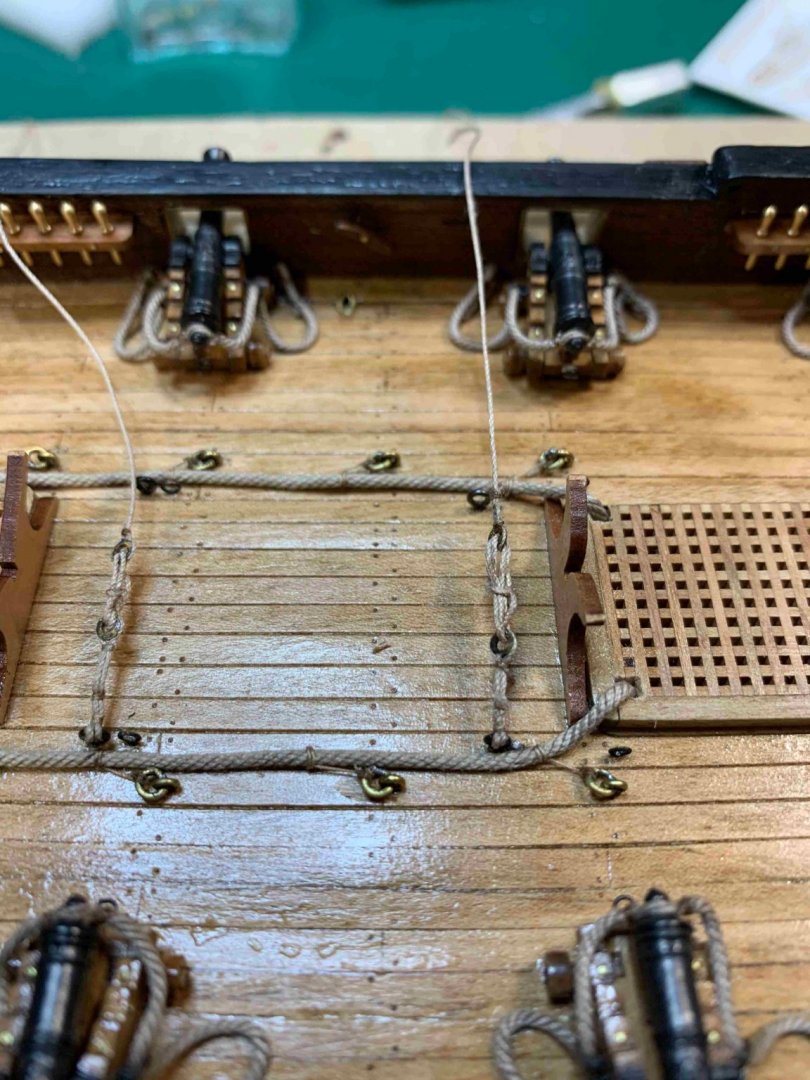
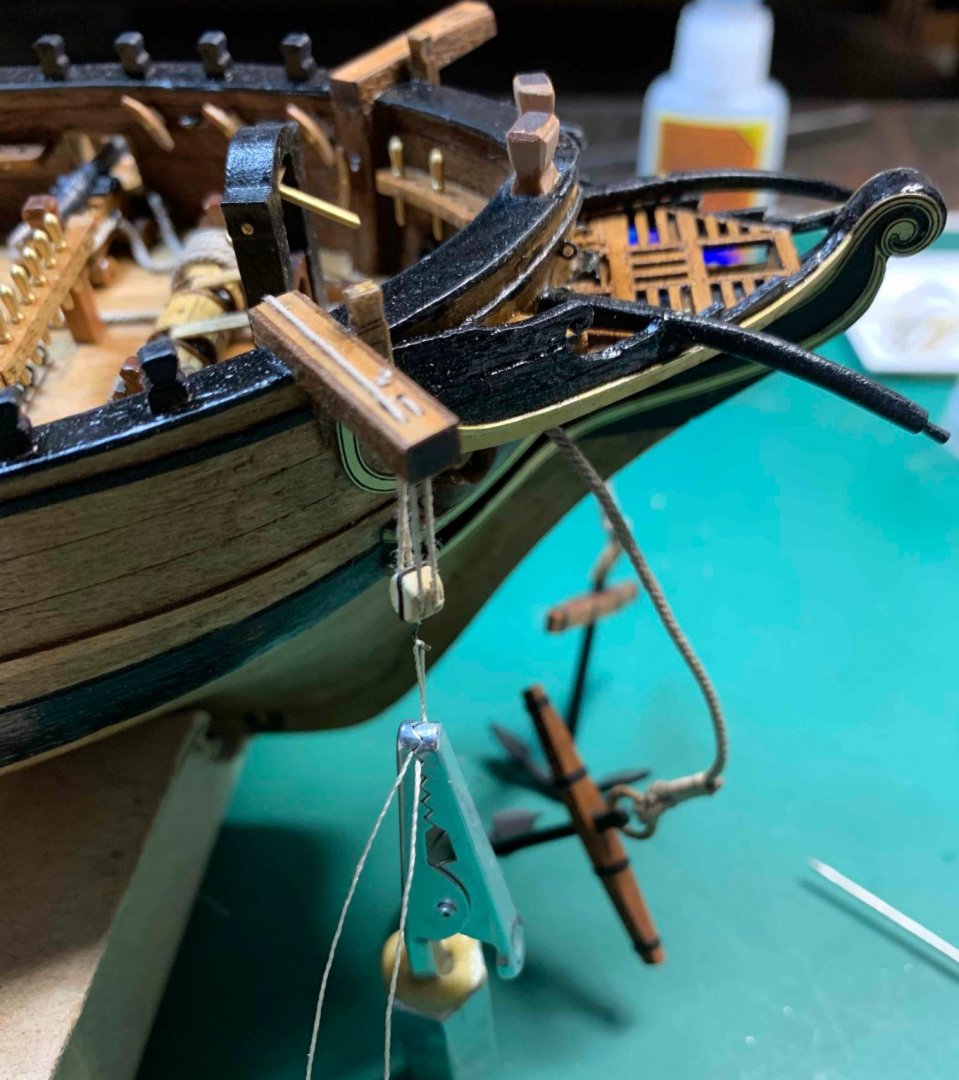
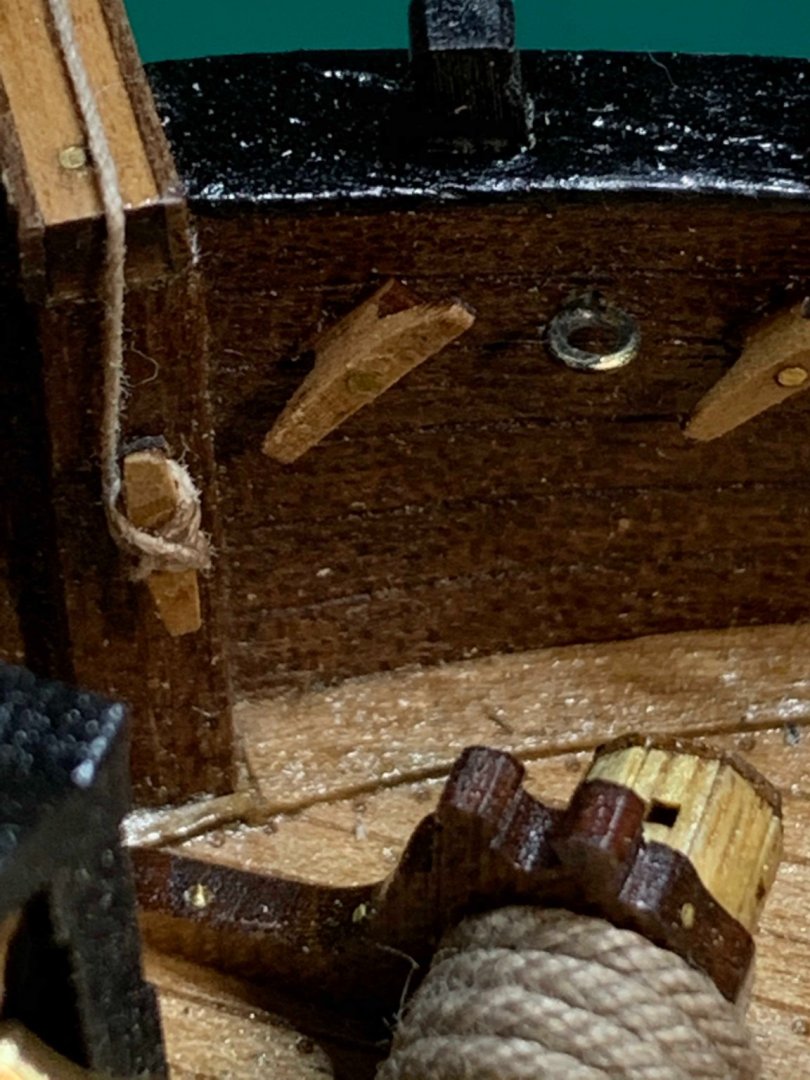
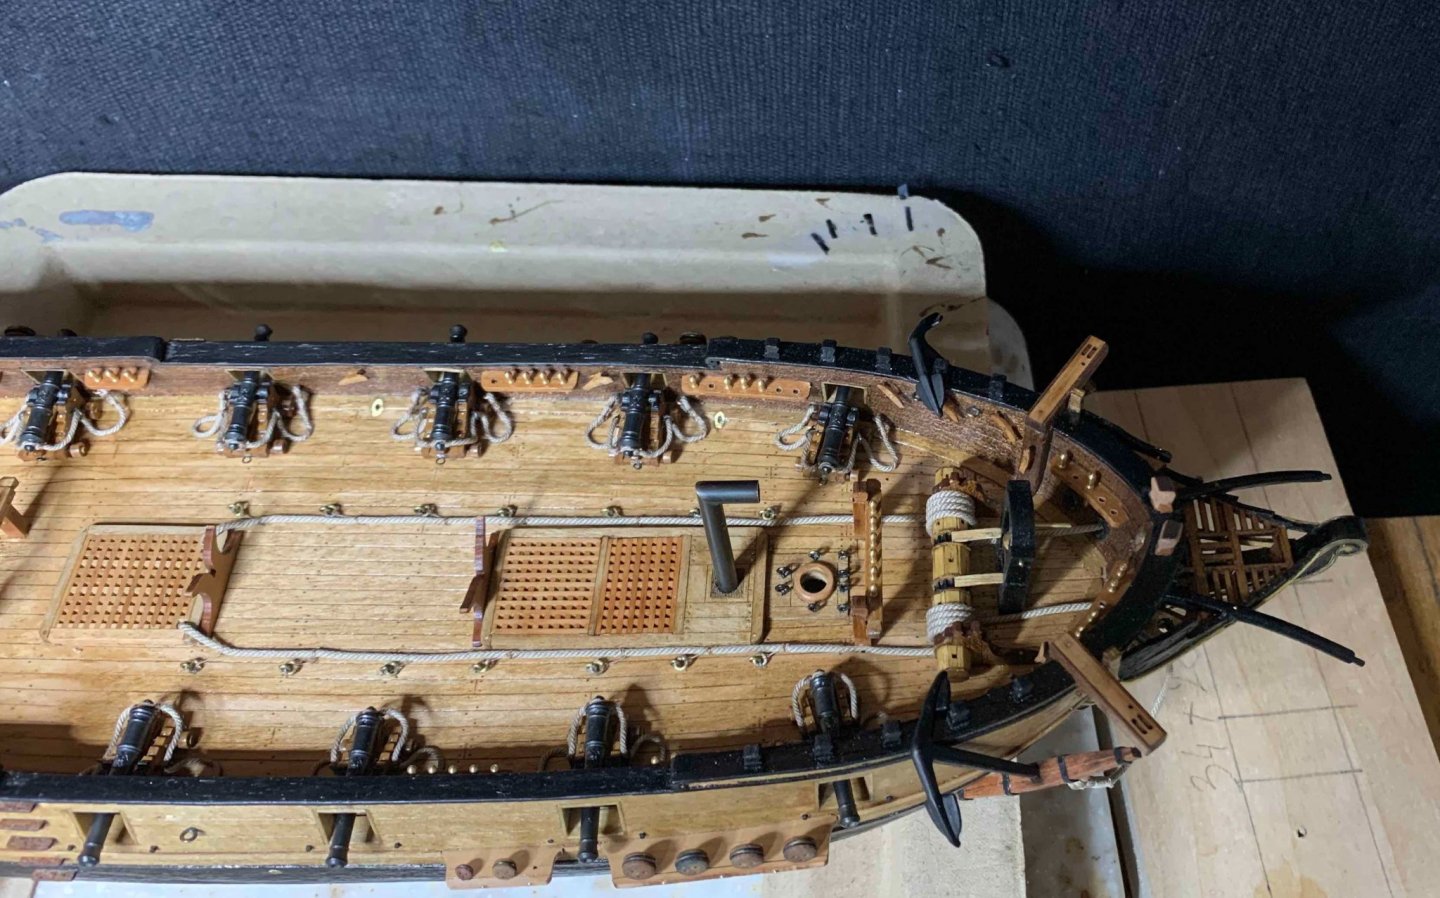
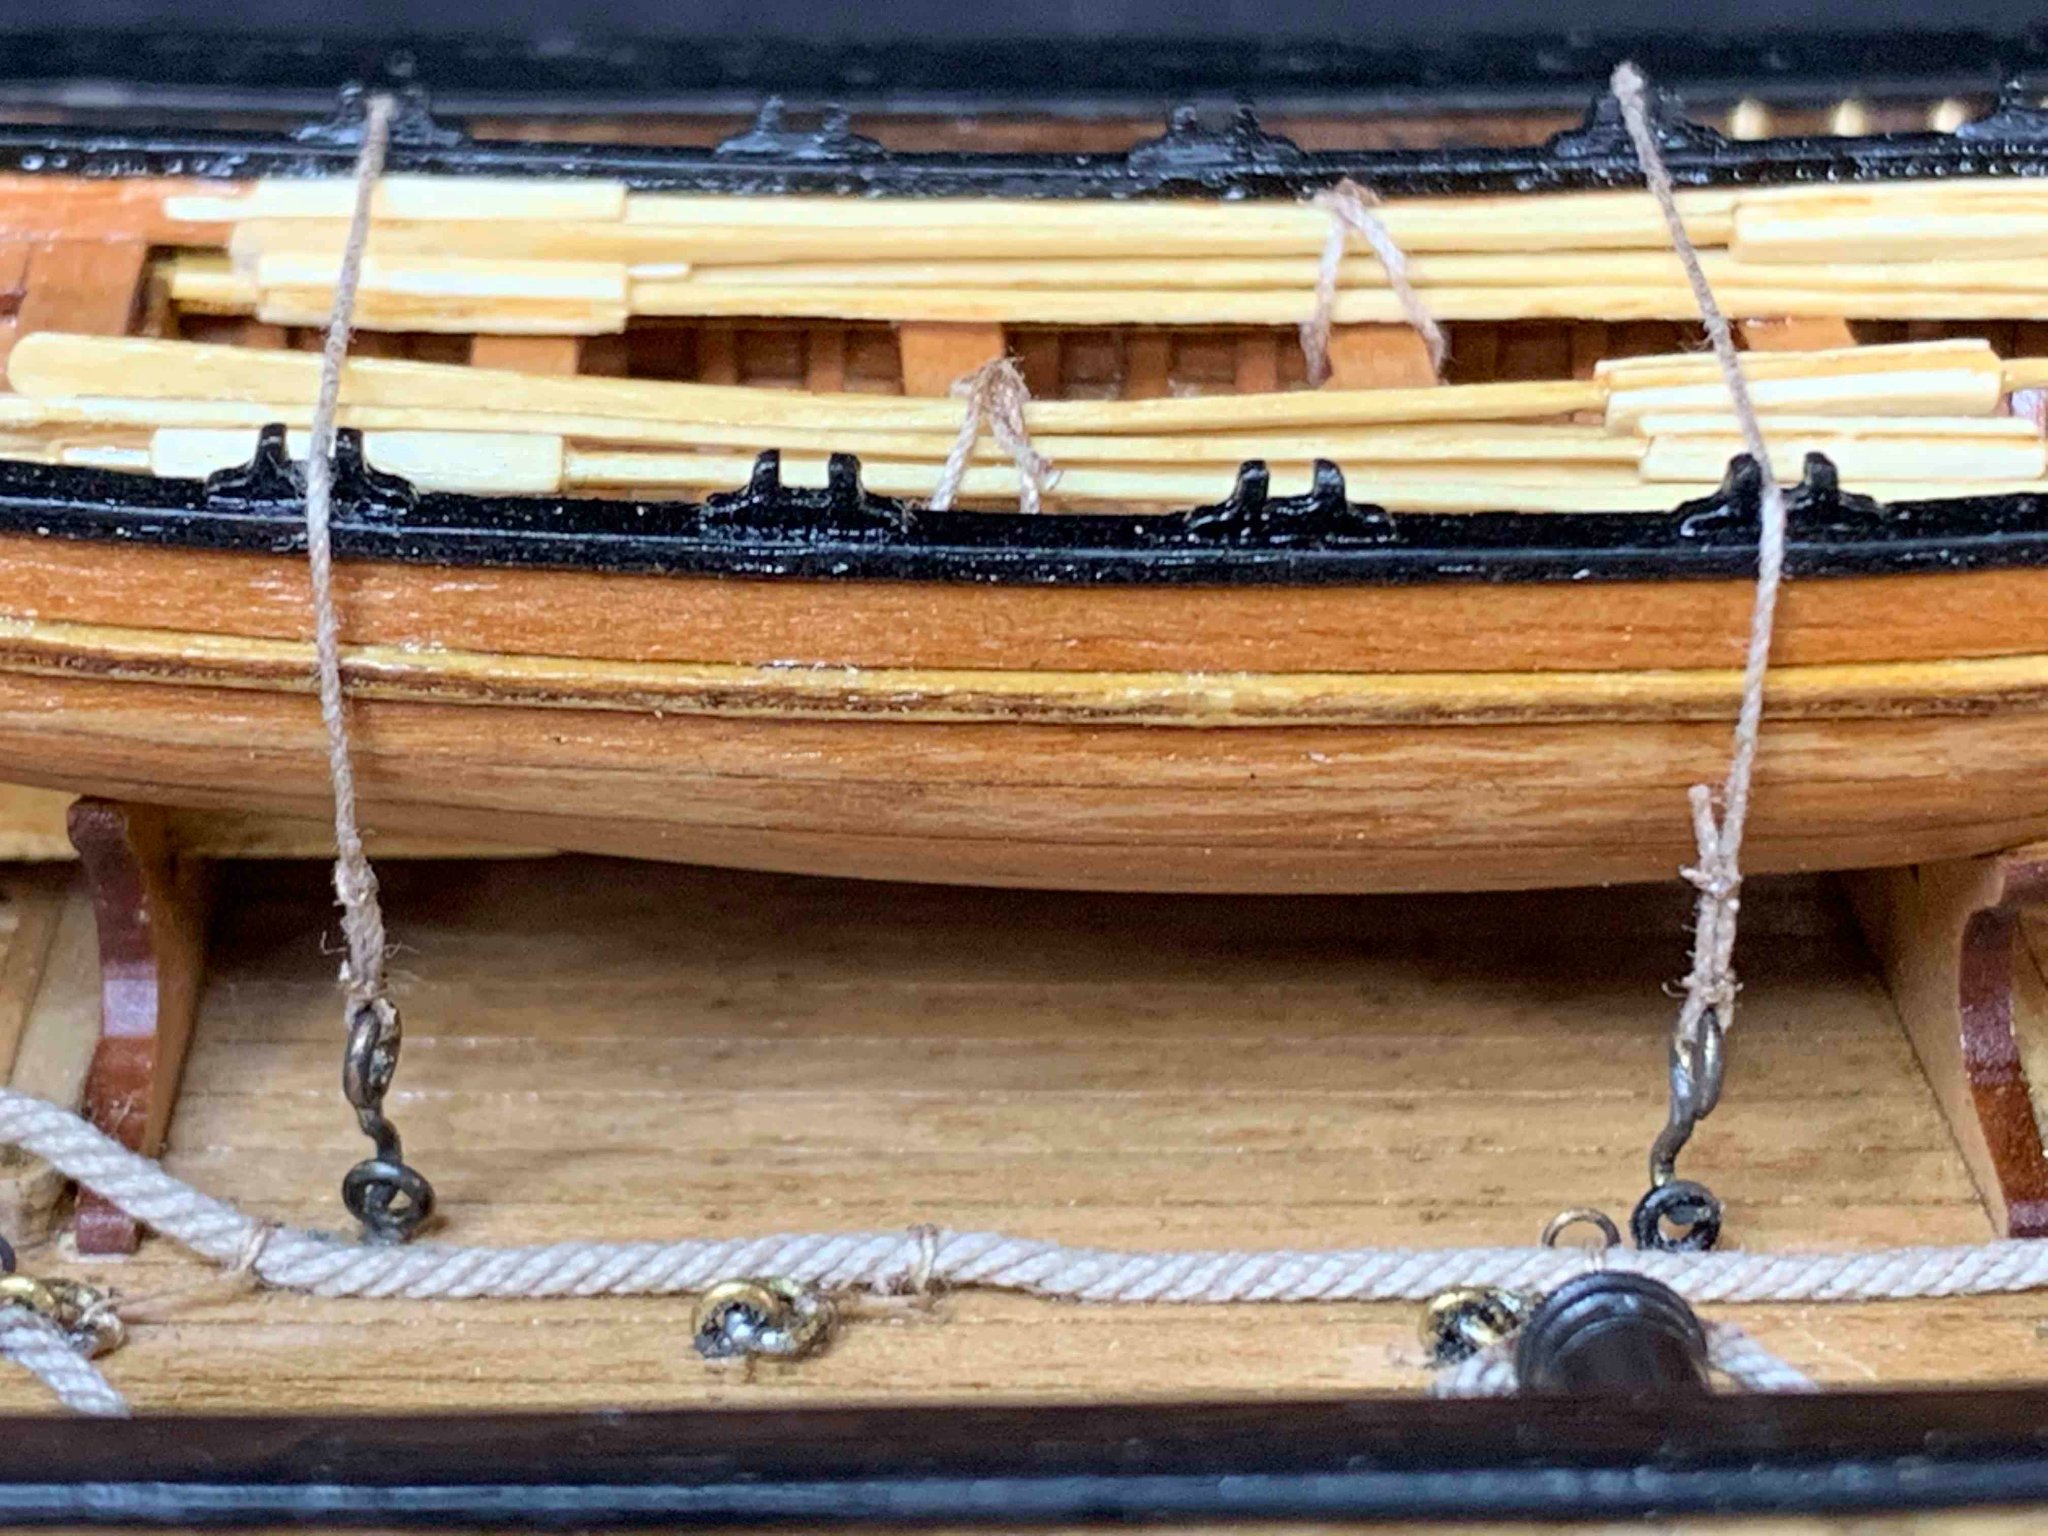
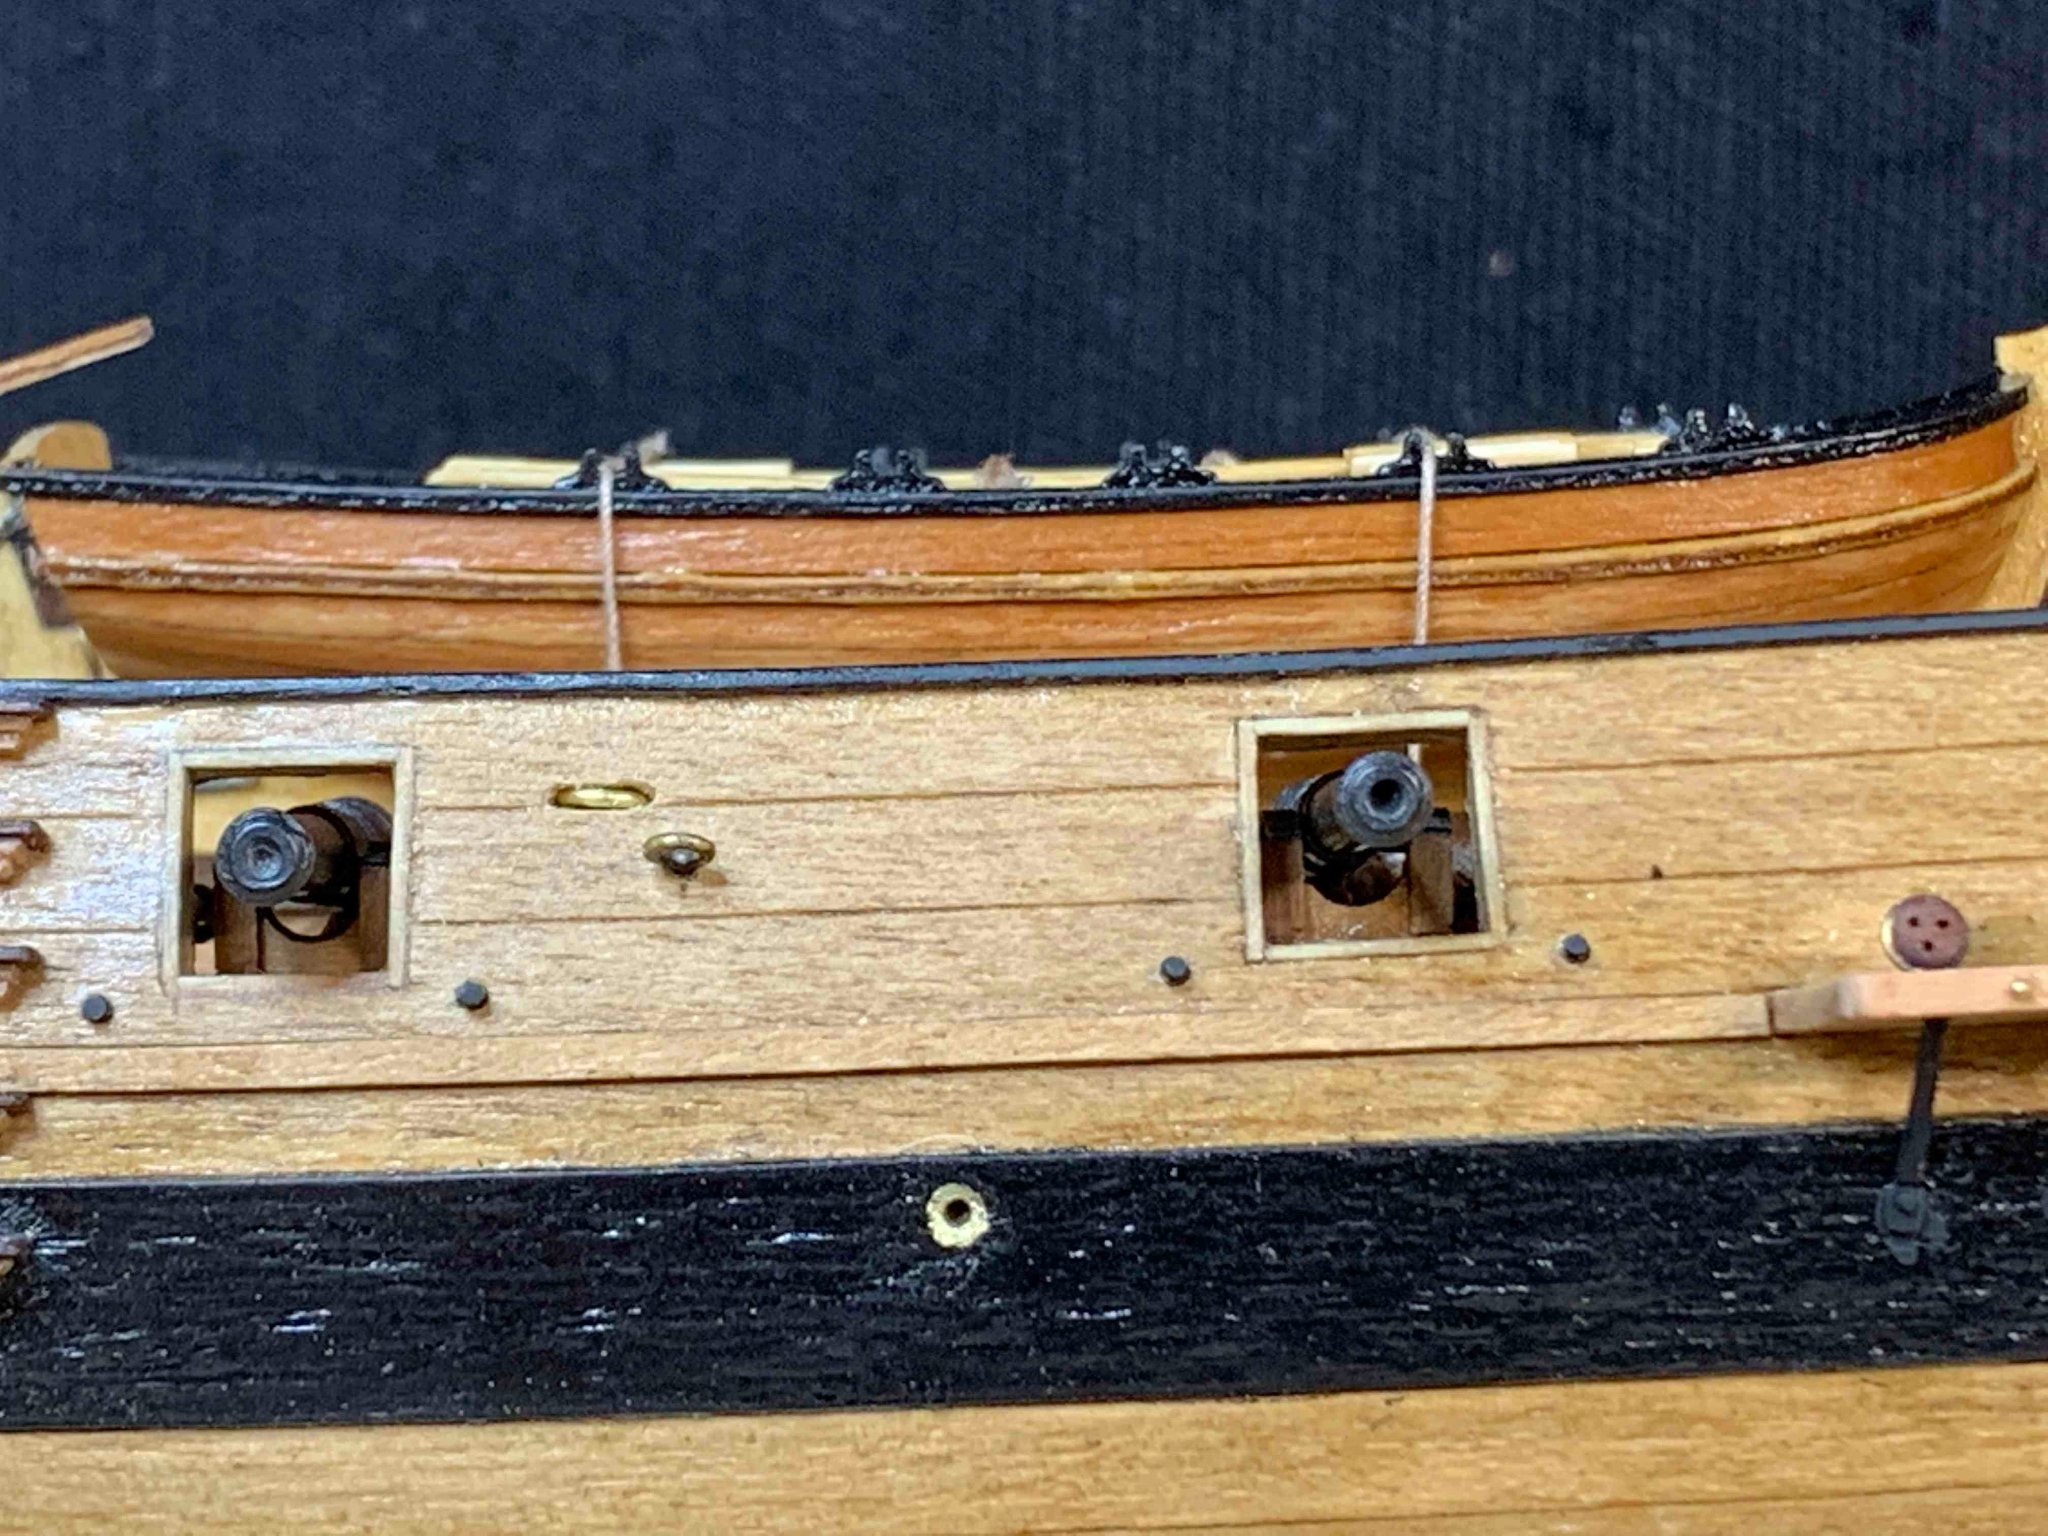
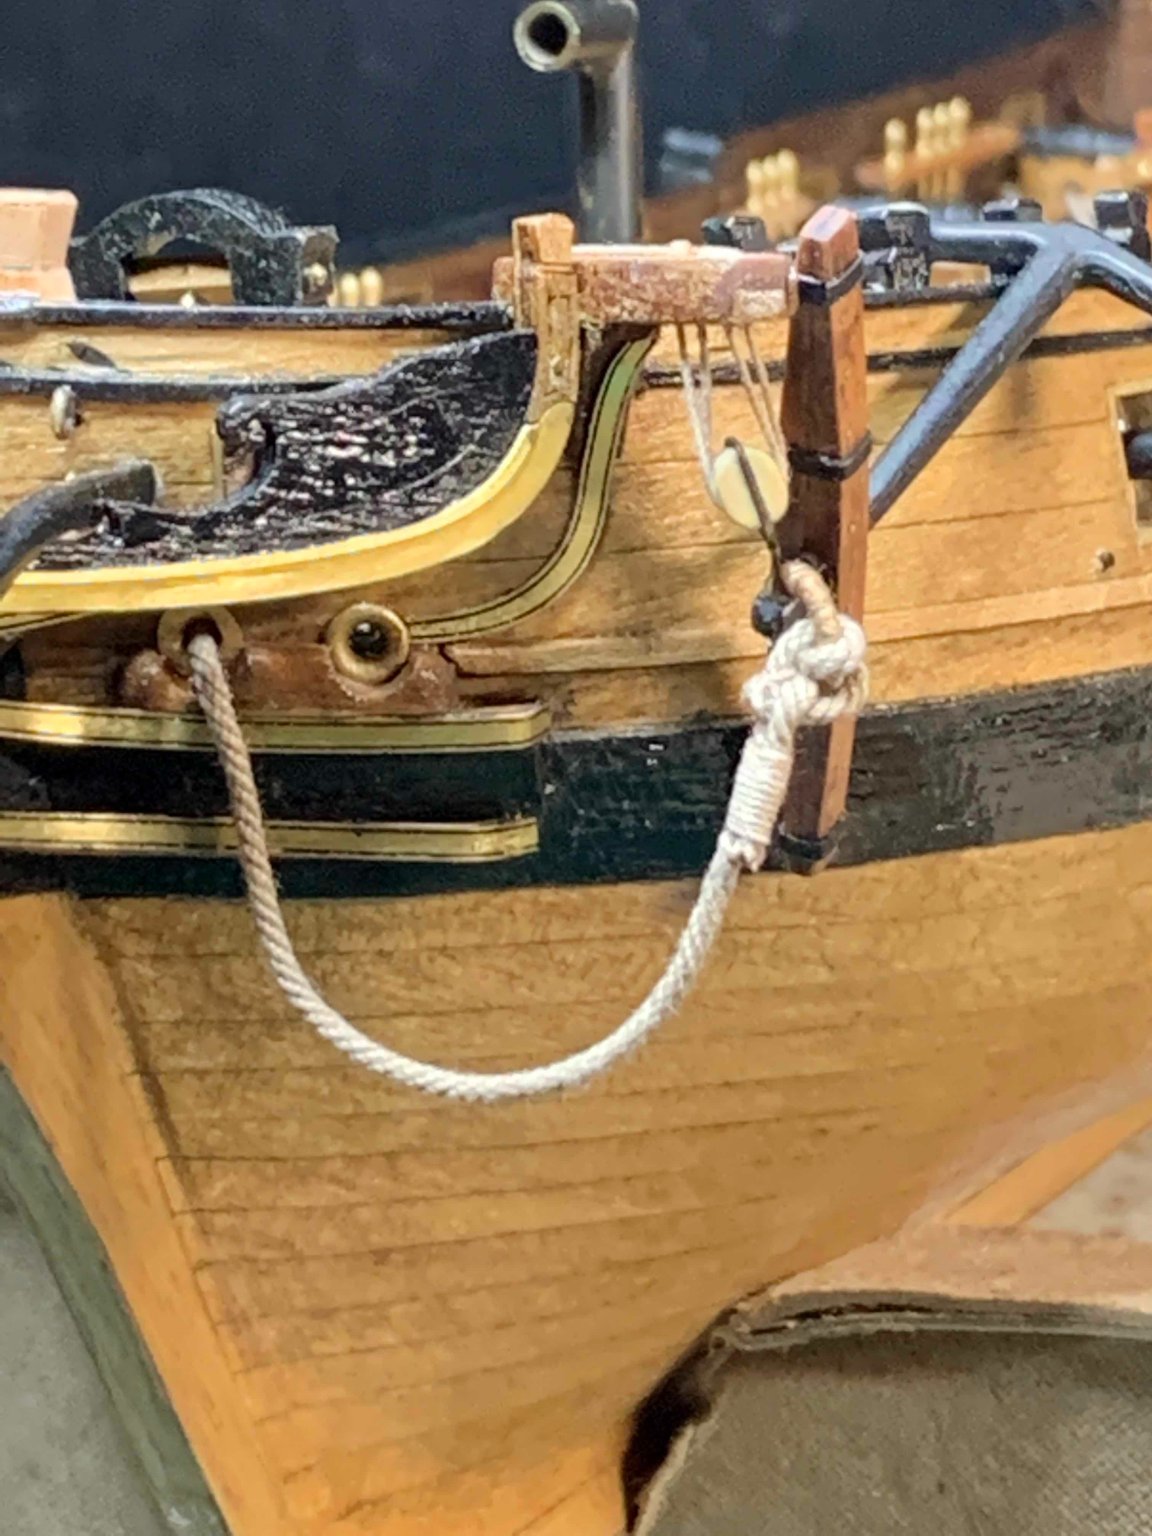
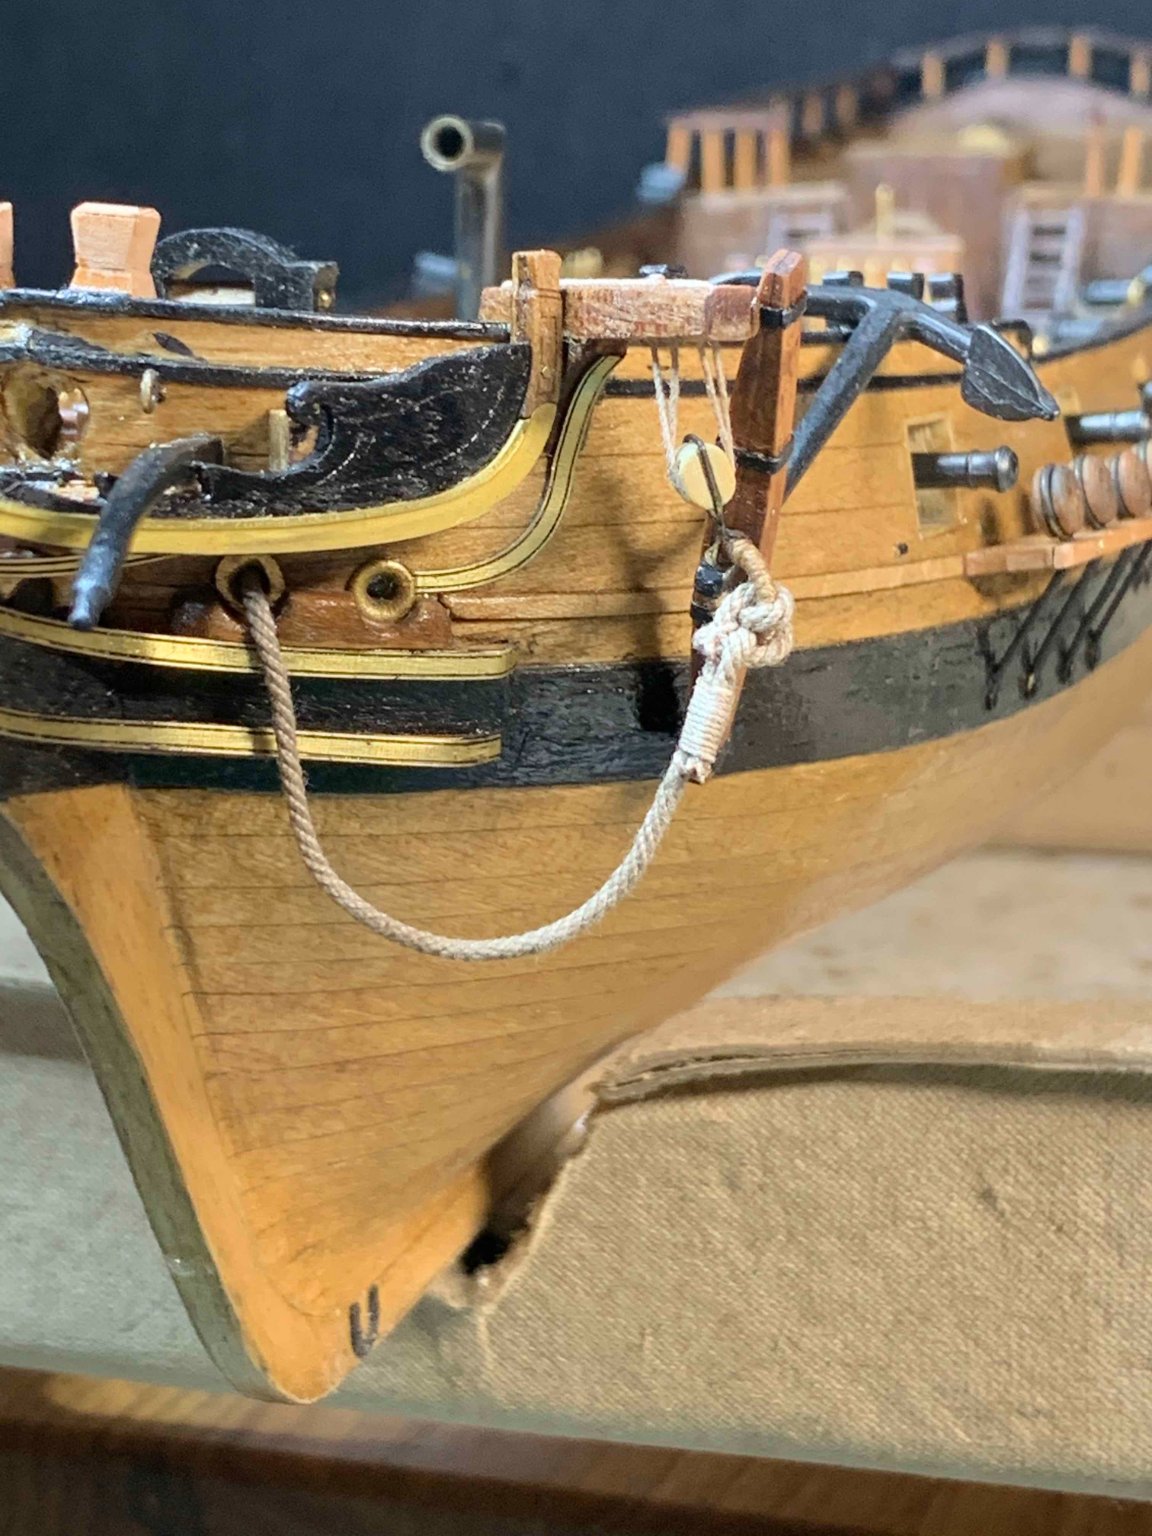
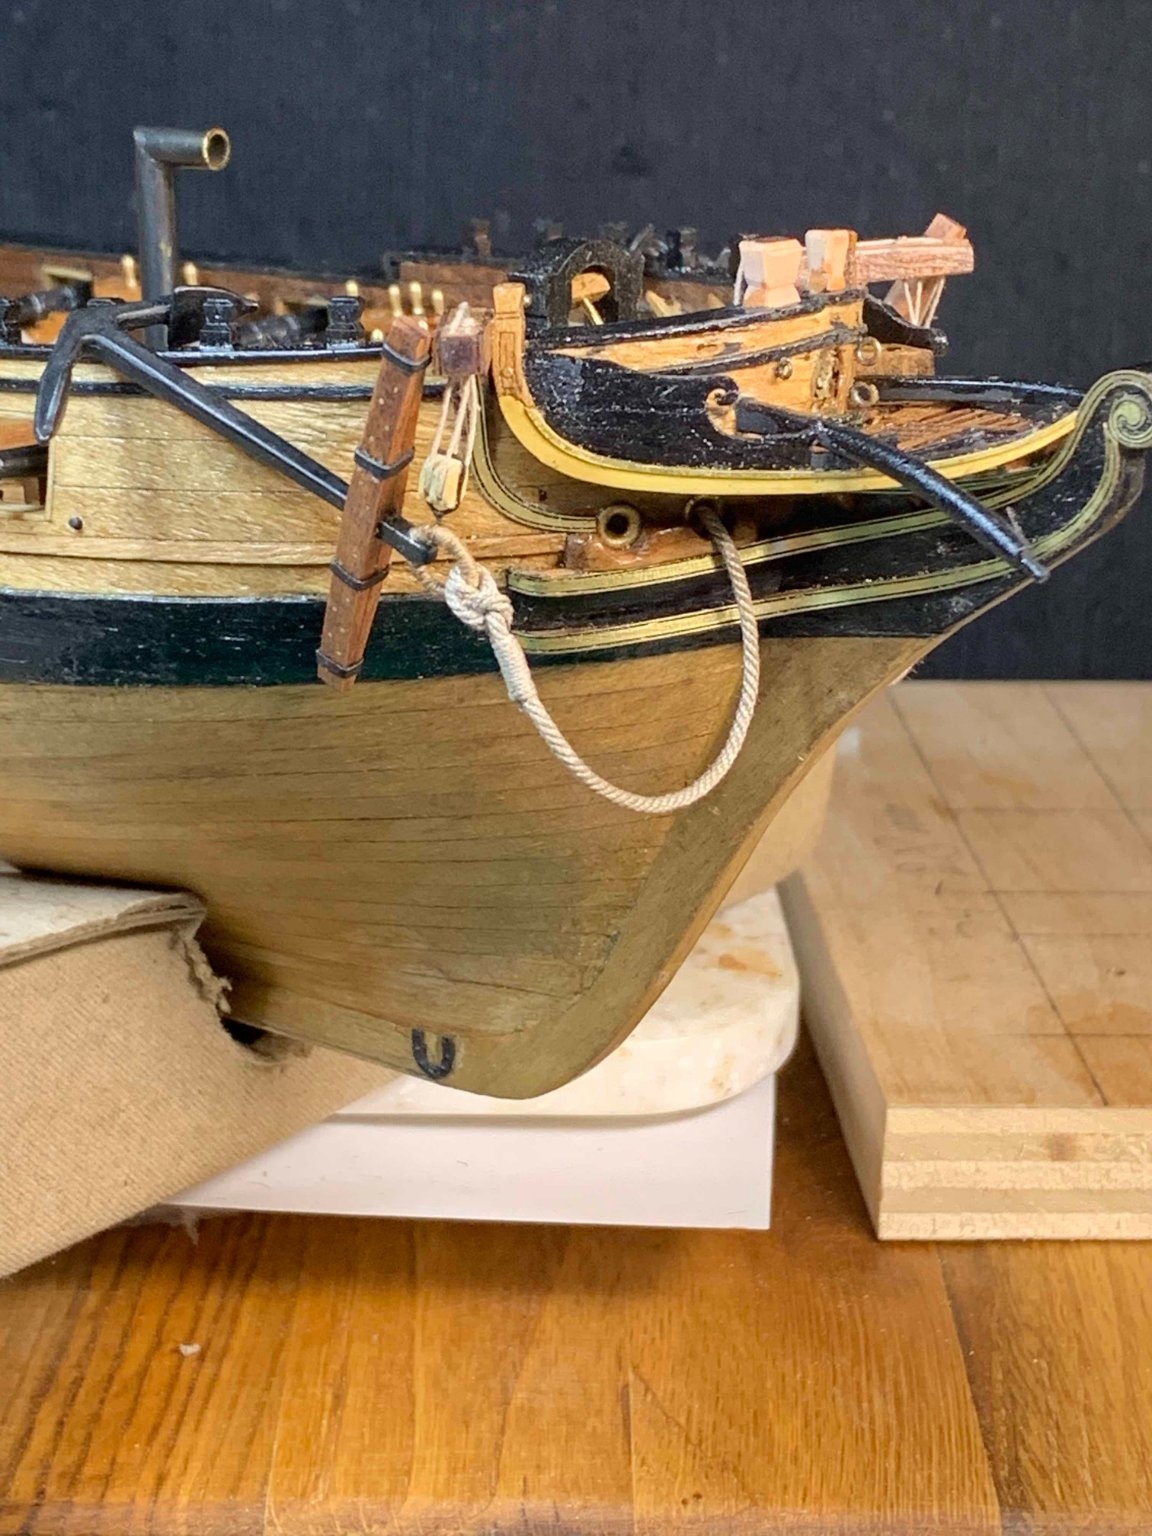
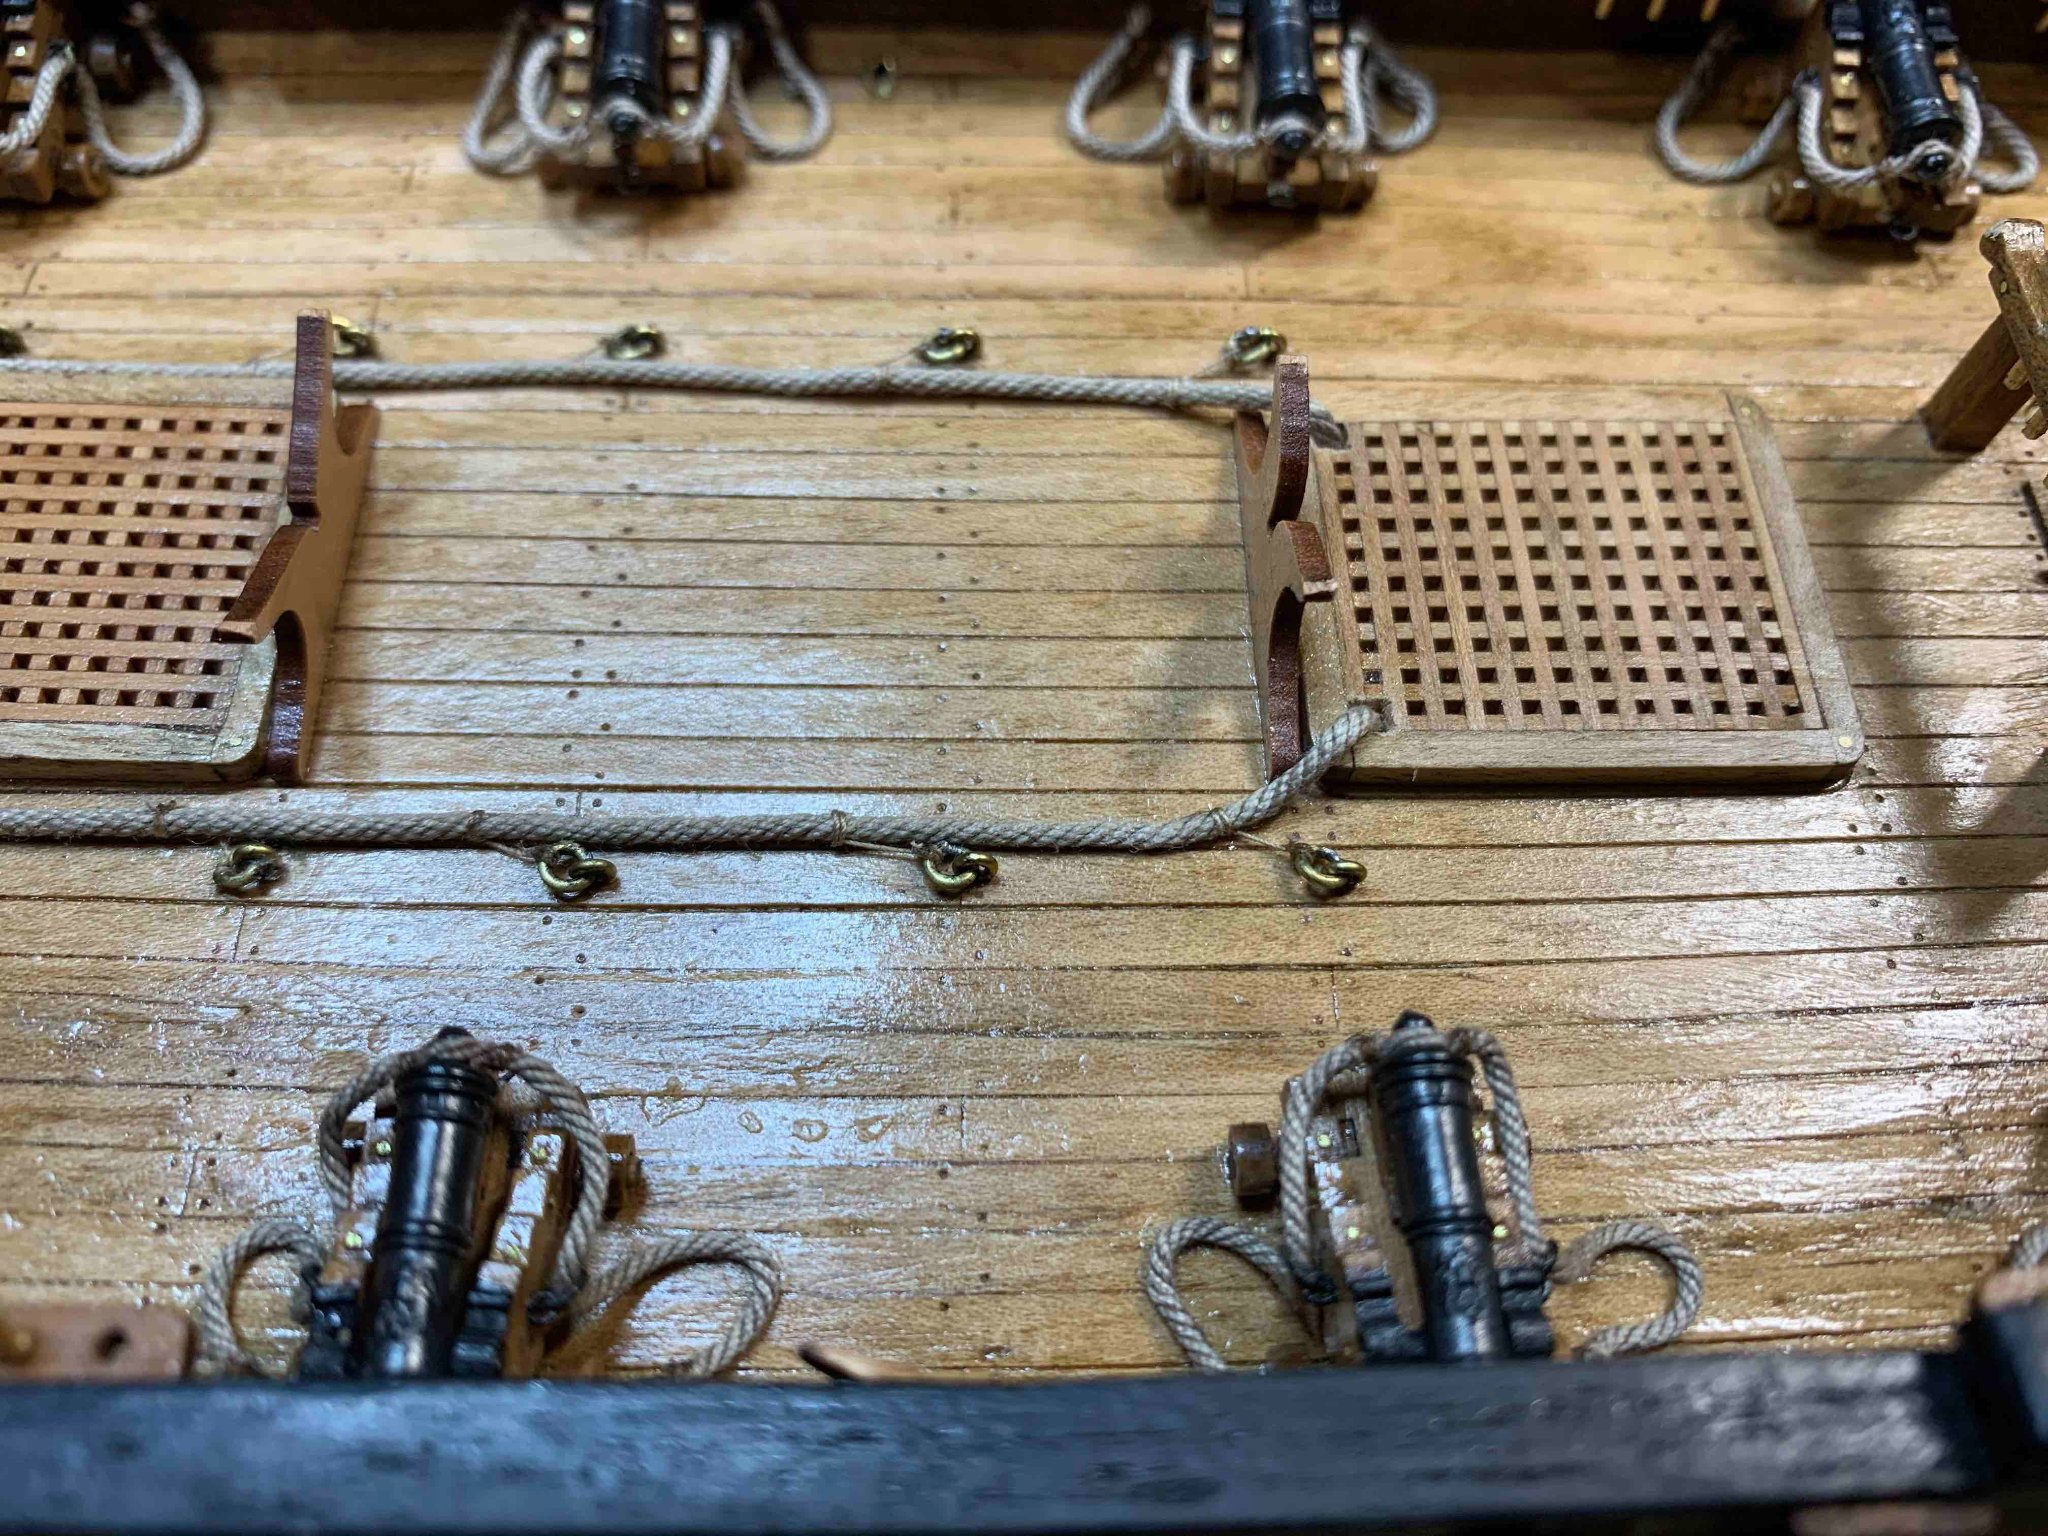
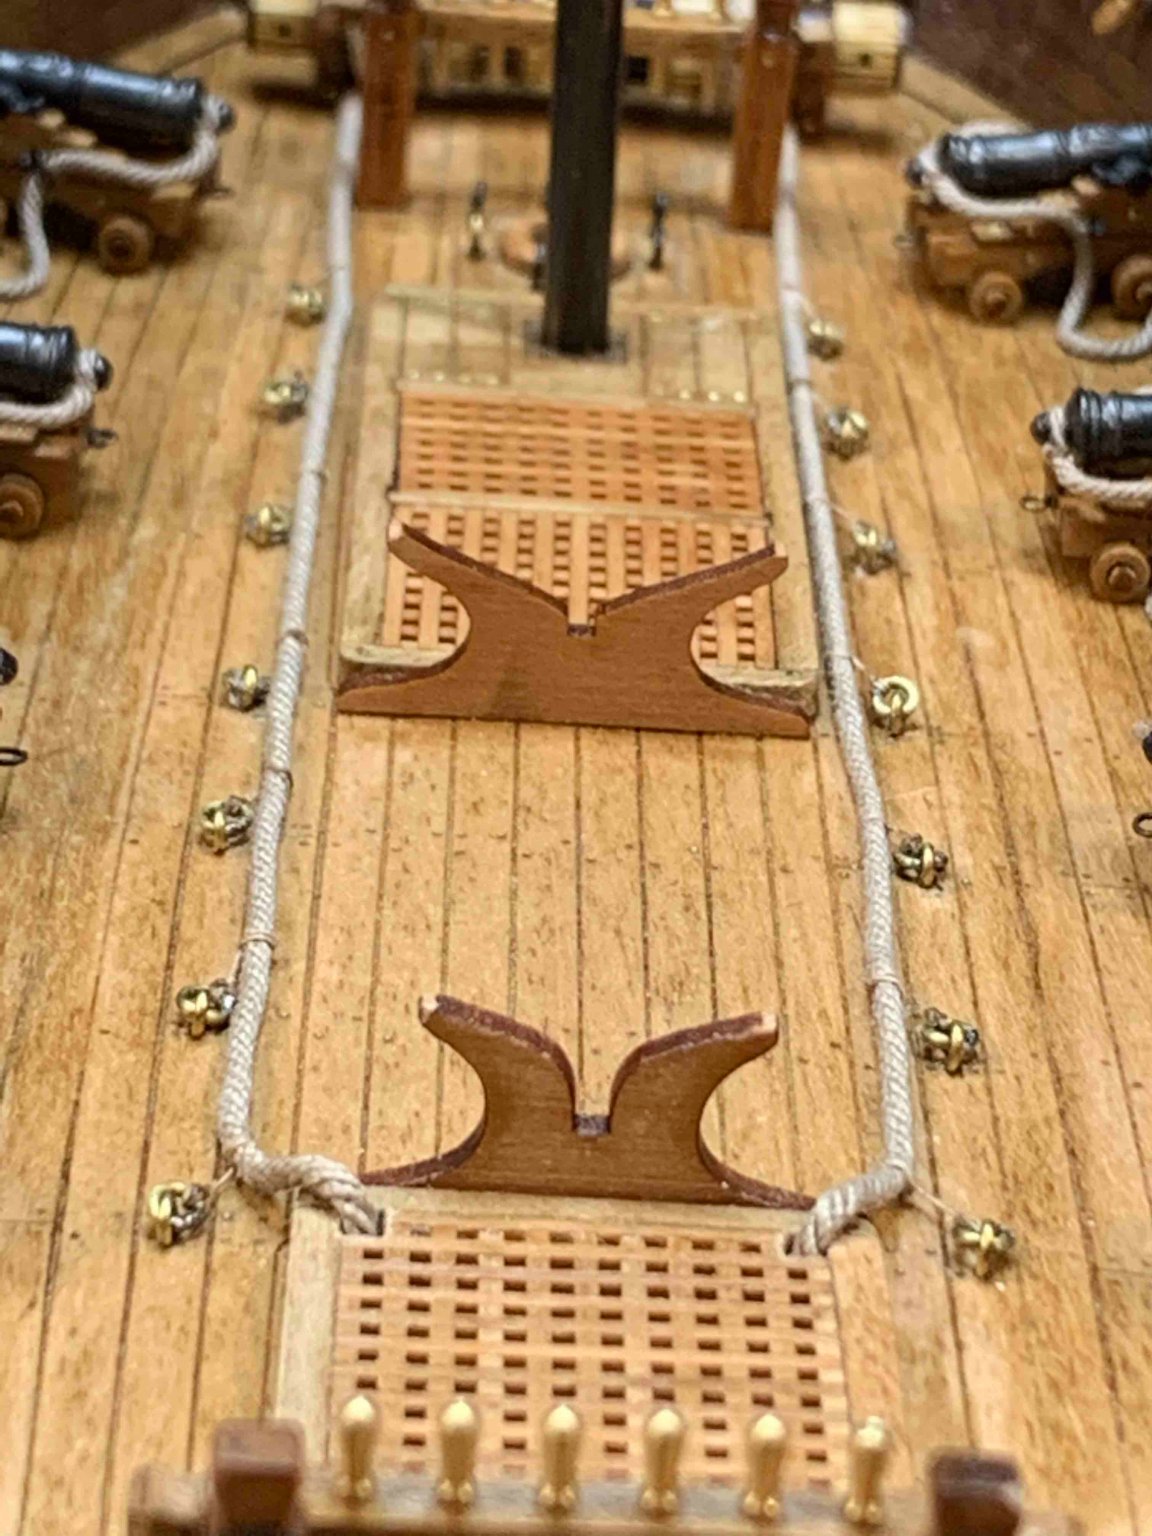
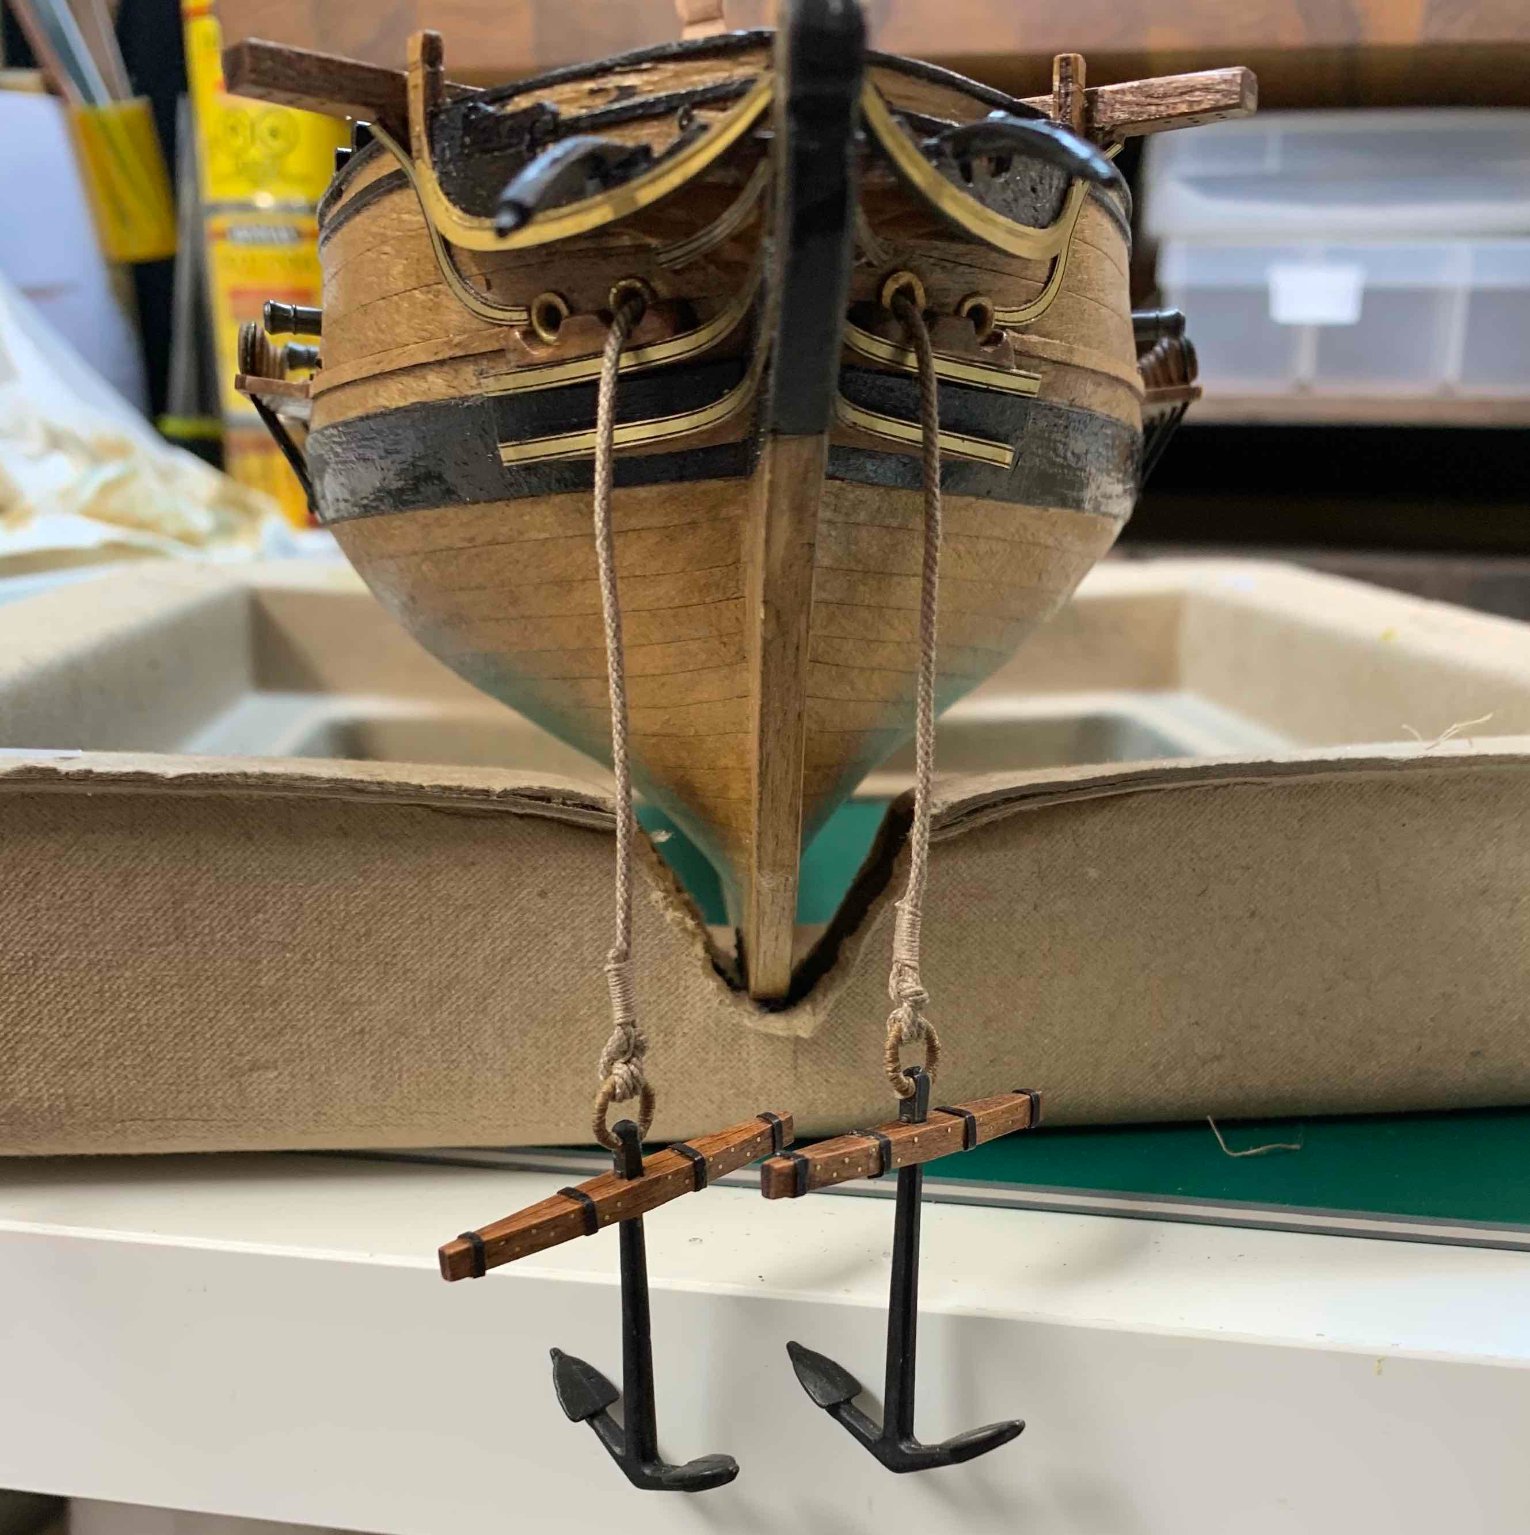
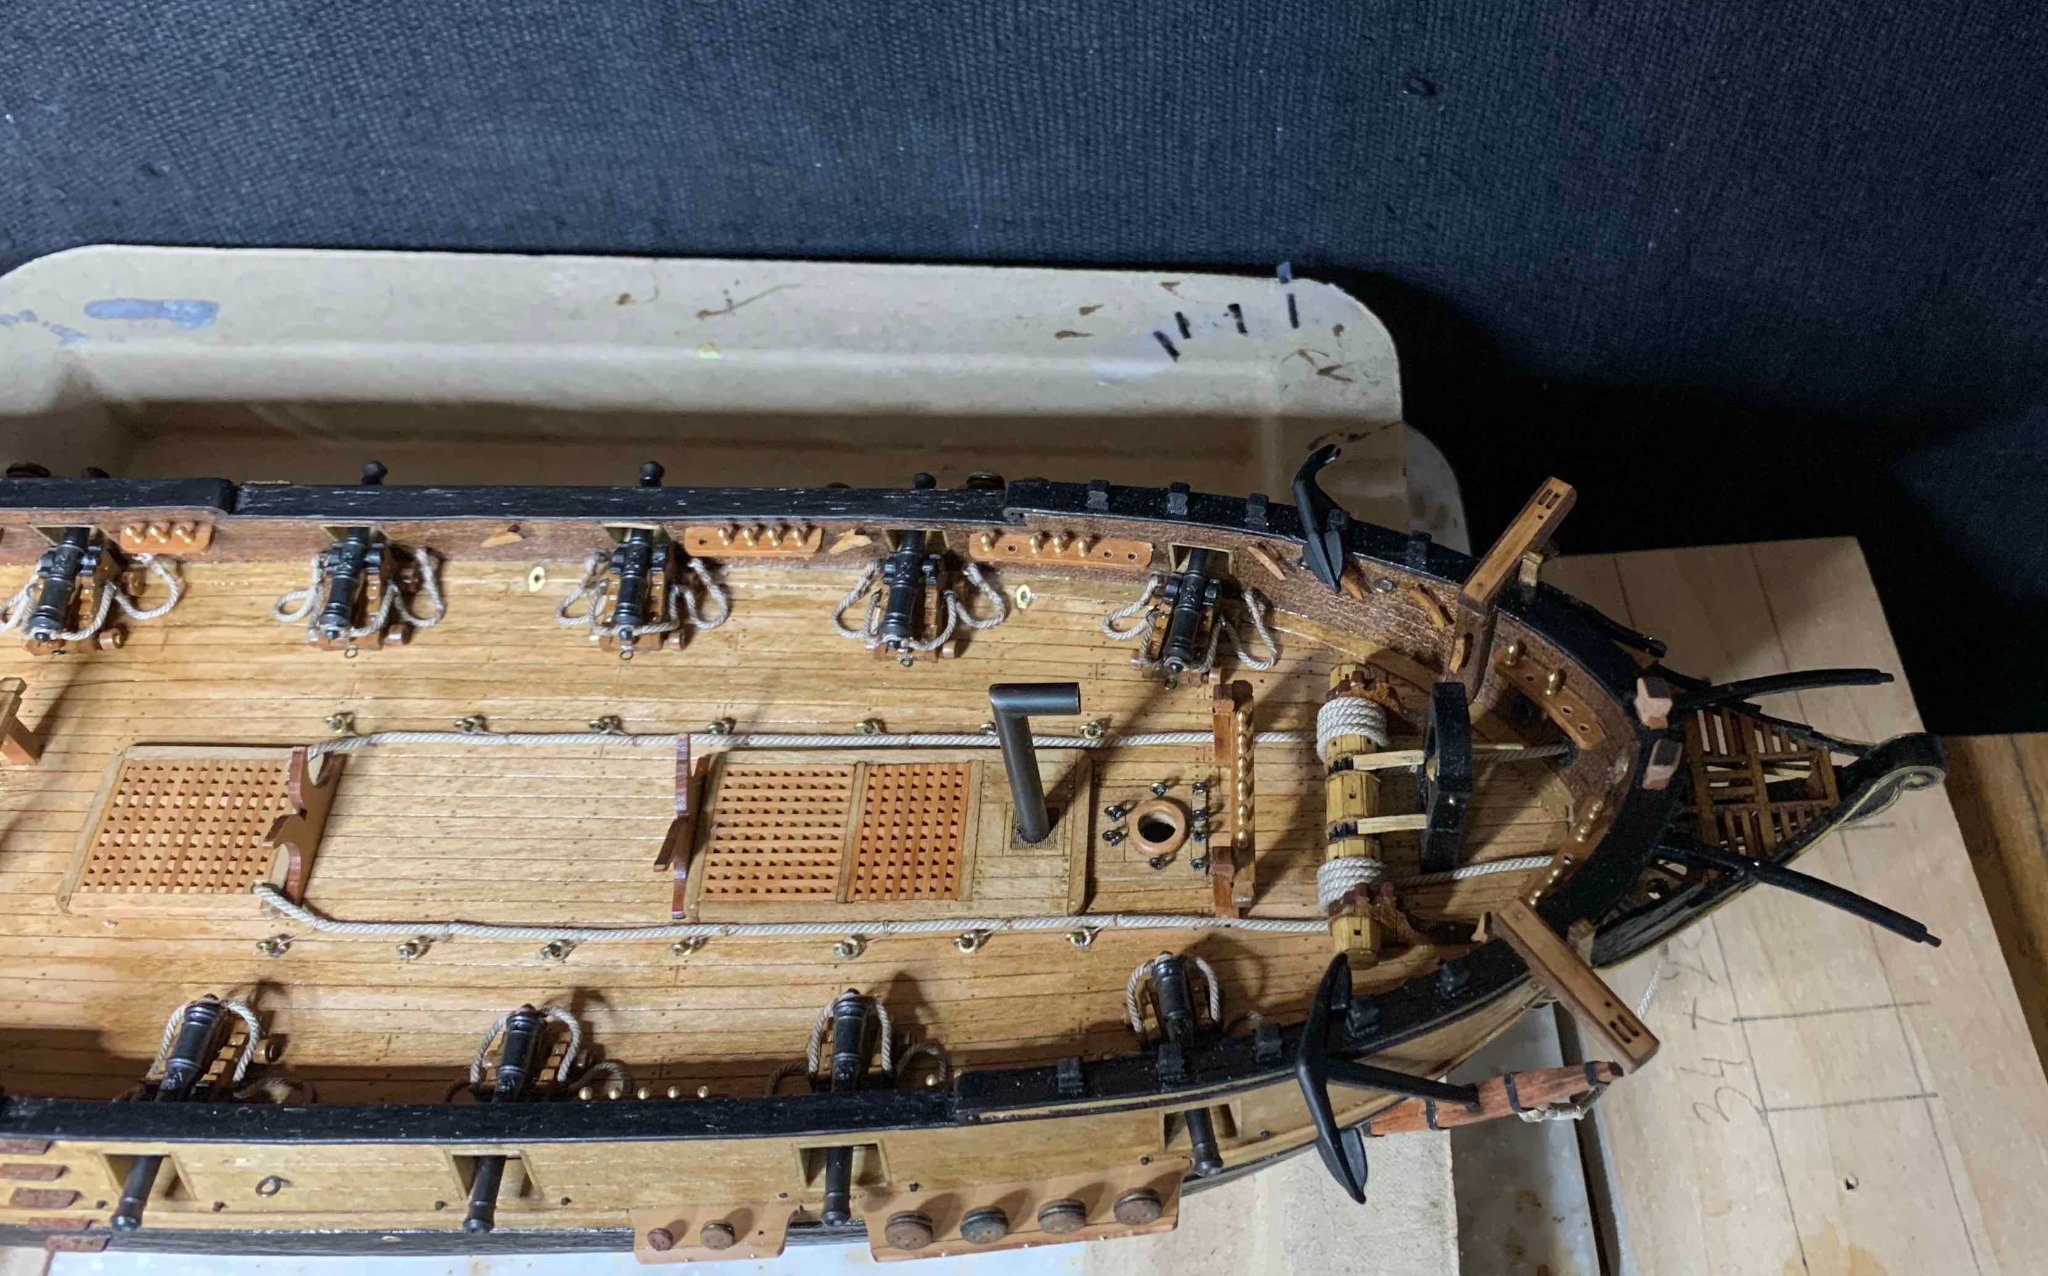
Next, i was installing the anchor cable... the cable was wrapped around the windlass few times and fixed with a small amount of a glue. The cable was tied to the eyebolts installed on the deck. After that, the cable was fixed to the deck with a glue...
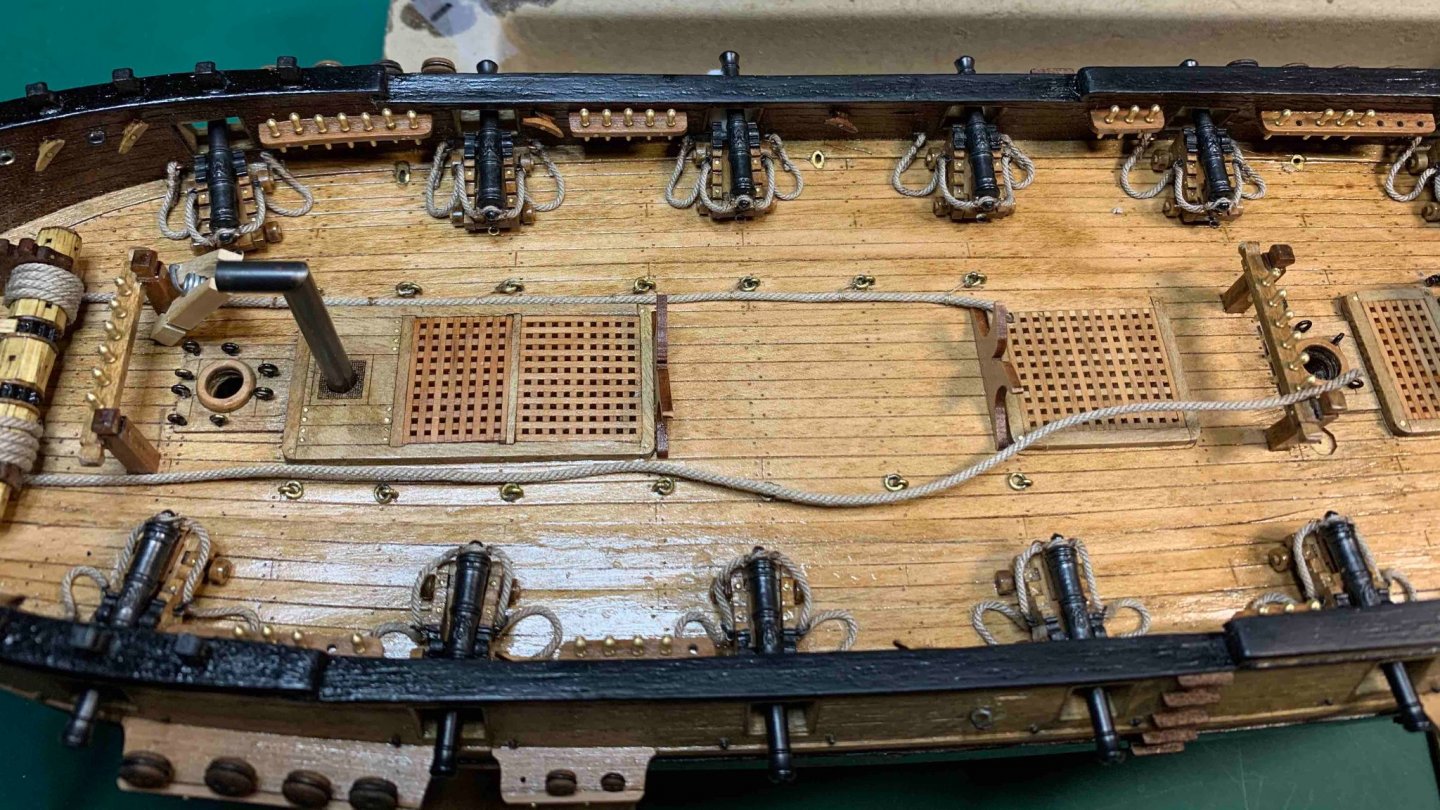


The anchors were tied to the cable....


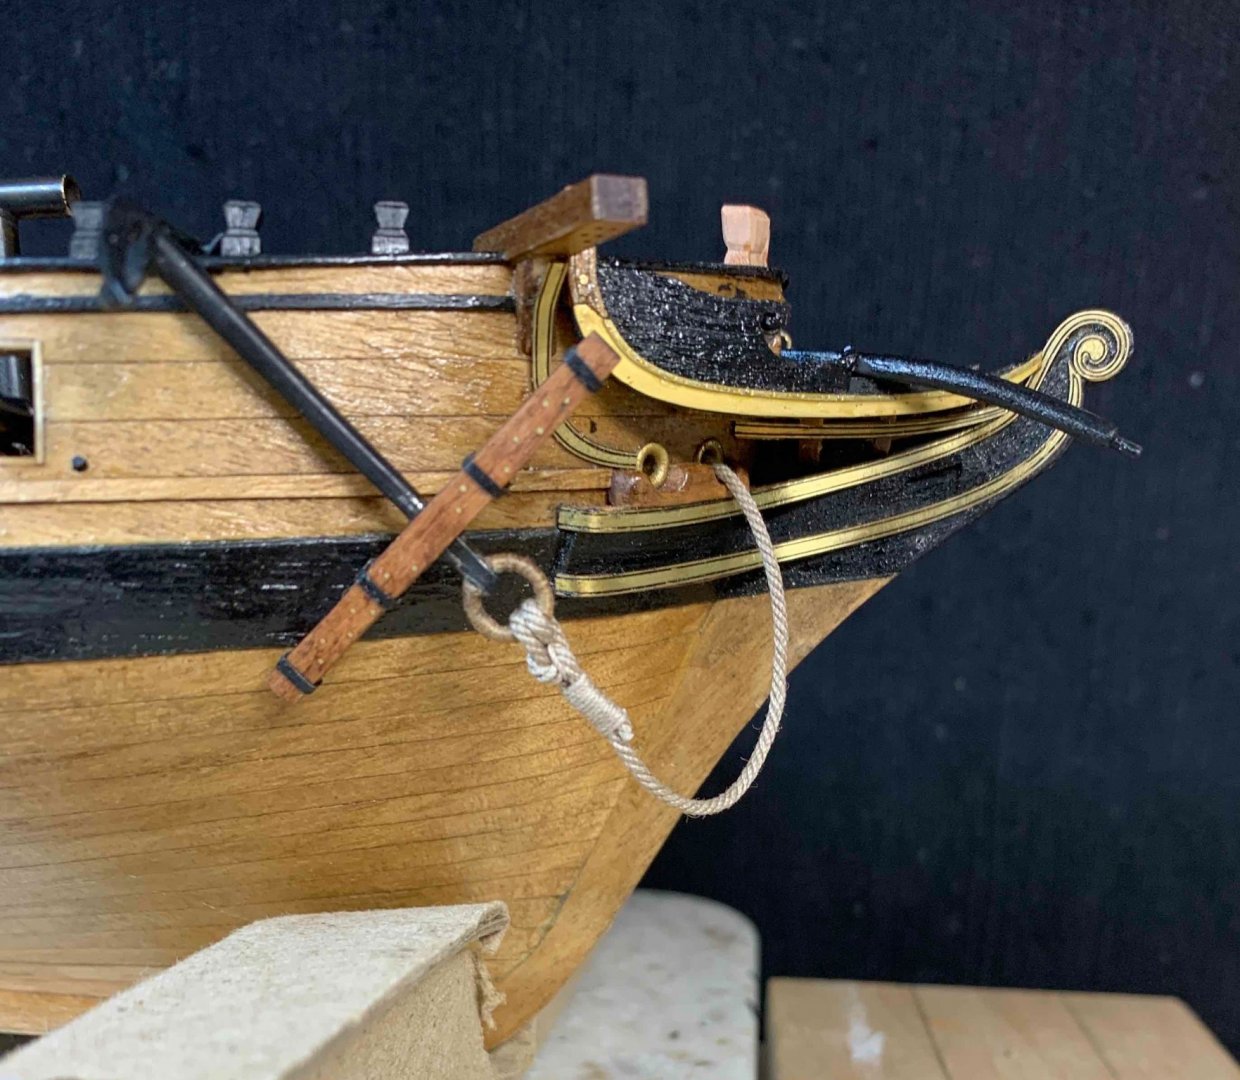
Overall view of the installed anchor cables..
Happy modelling... -
5 hours ago, Commander Bond, RNSVR said:
The more I look at the build logs on this site, the more impressed I become with the impressive craftsmanship that is so common among the contributing artists. You have a lovely work in progress! My compliments 🍻
Thanks, i must admit that the kit itself is also of very good quality..
Cheers


Phoenix by Moreplovac - FINISHED - Master Korabel - 1/72 - Russian Brigantine
in - Kit build logs for subjects built from 1751 - 1800
Posted
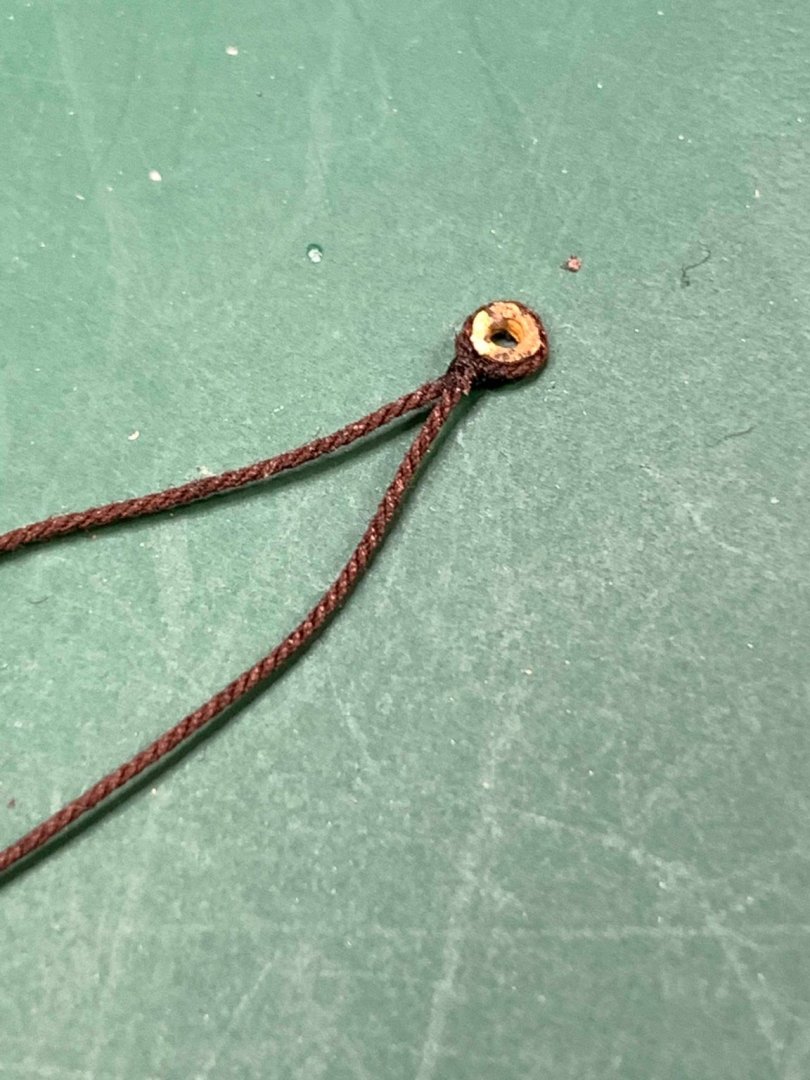
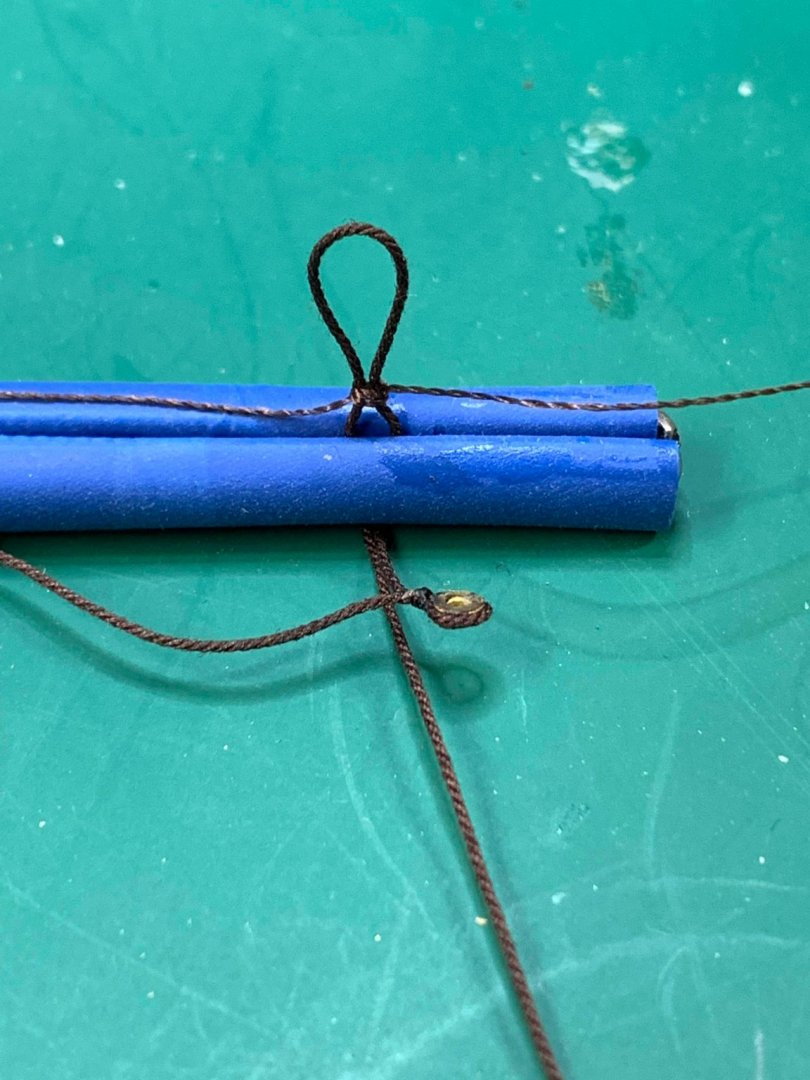
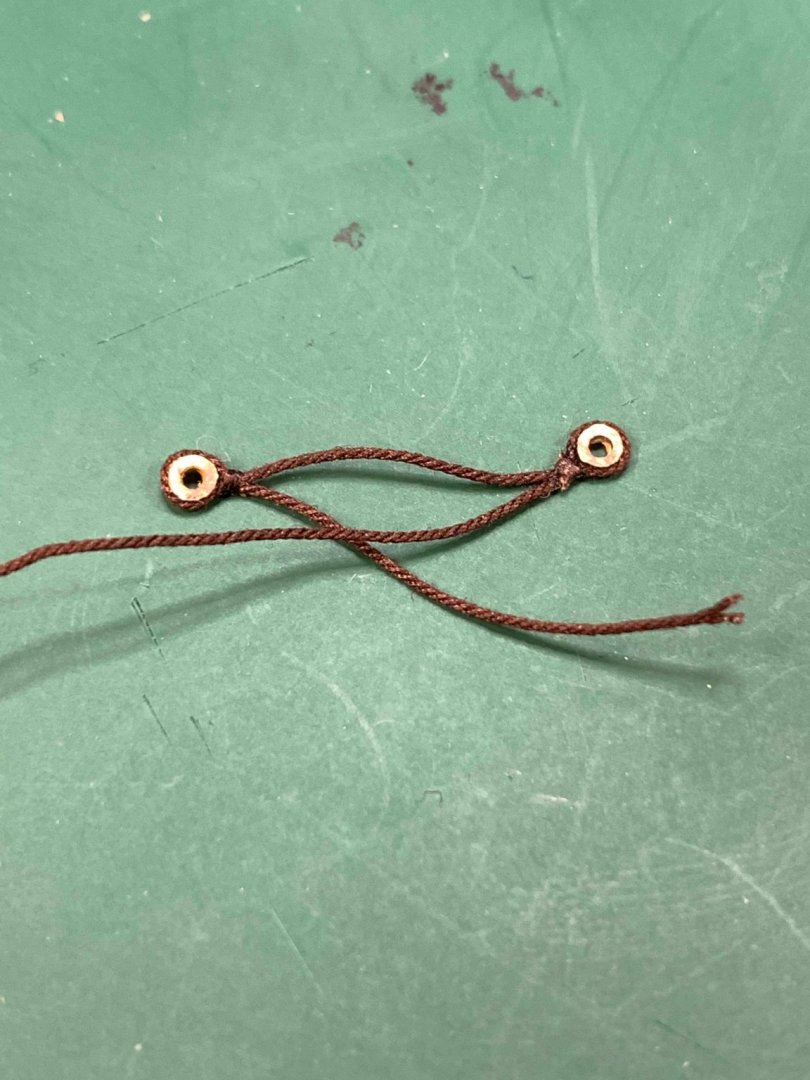
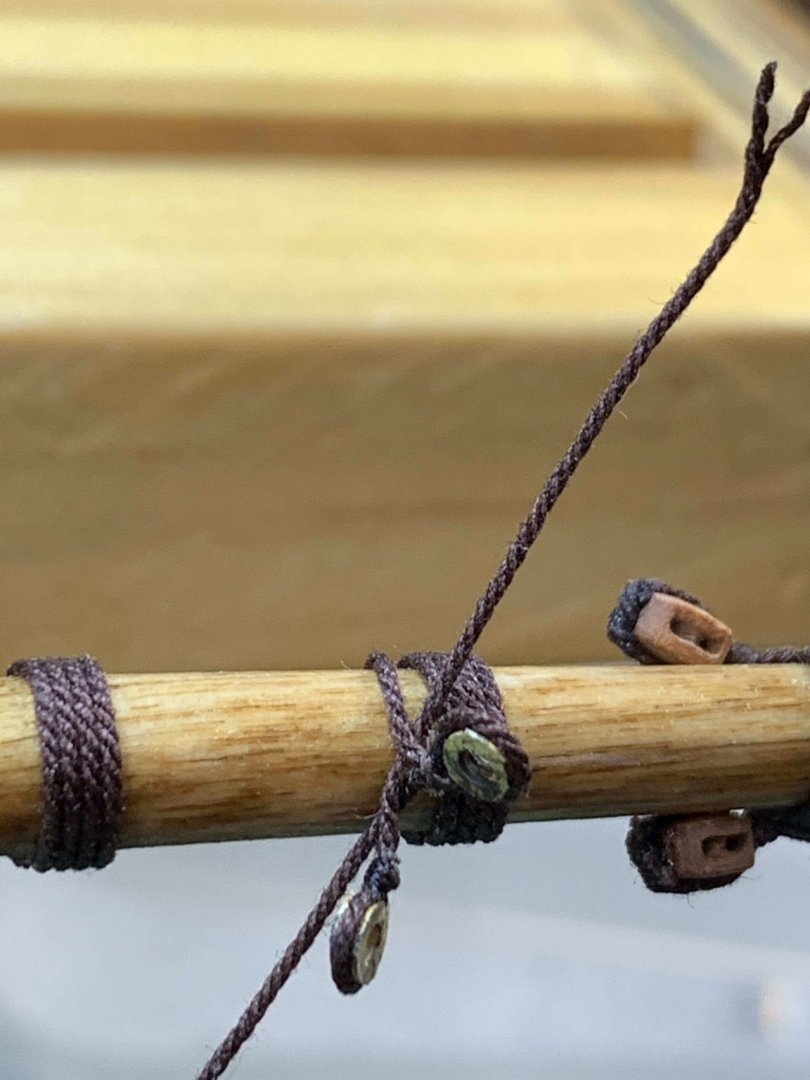
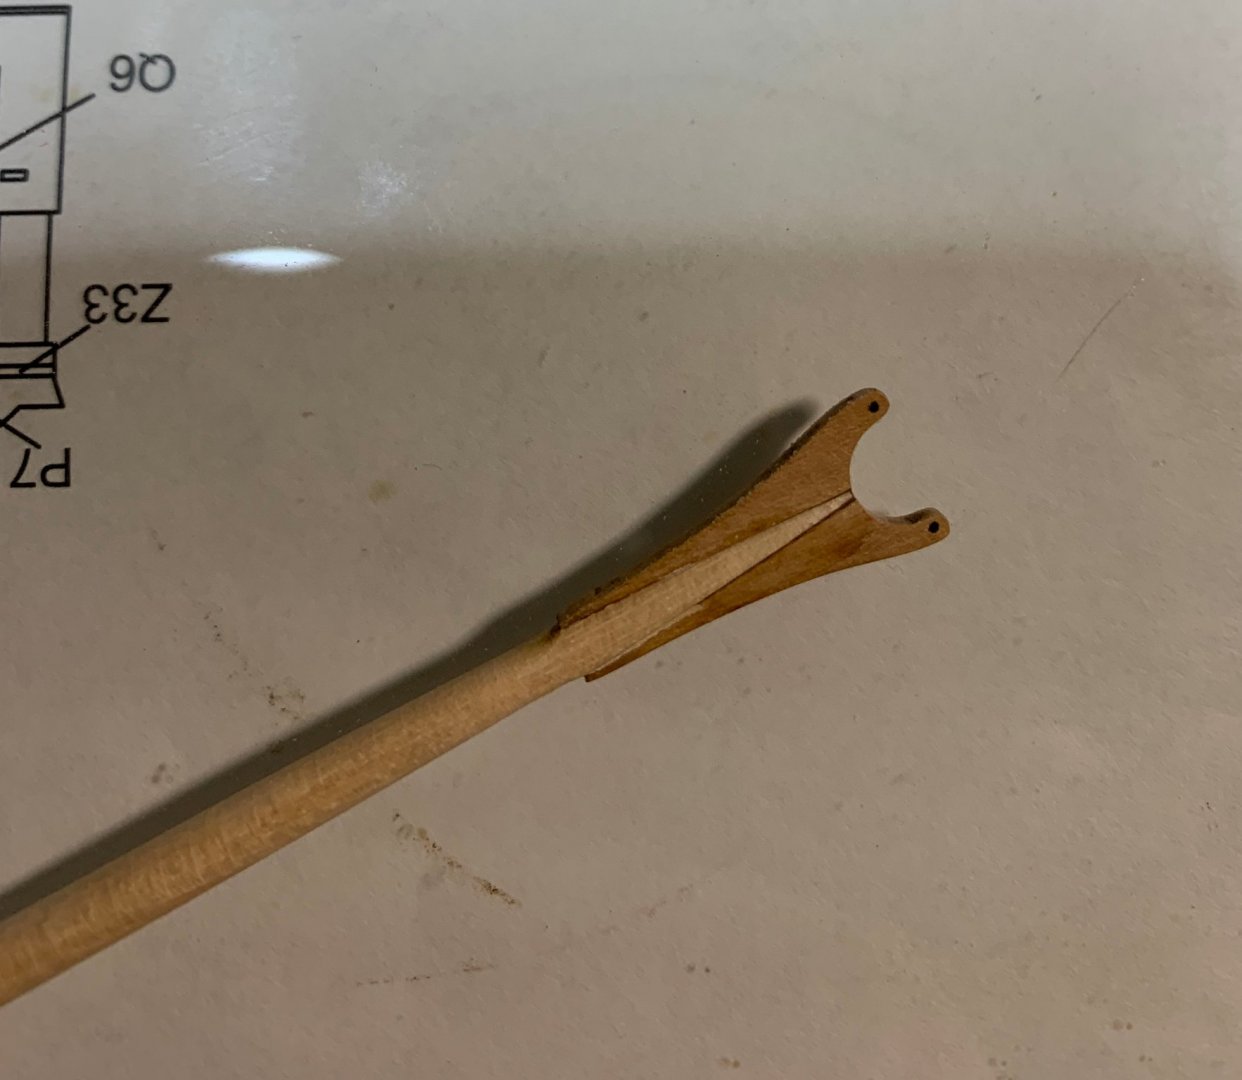
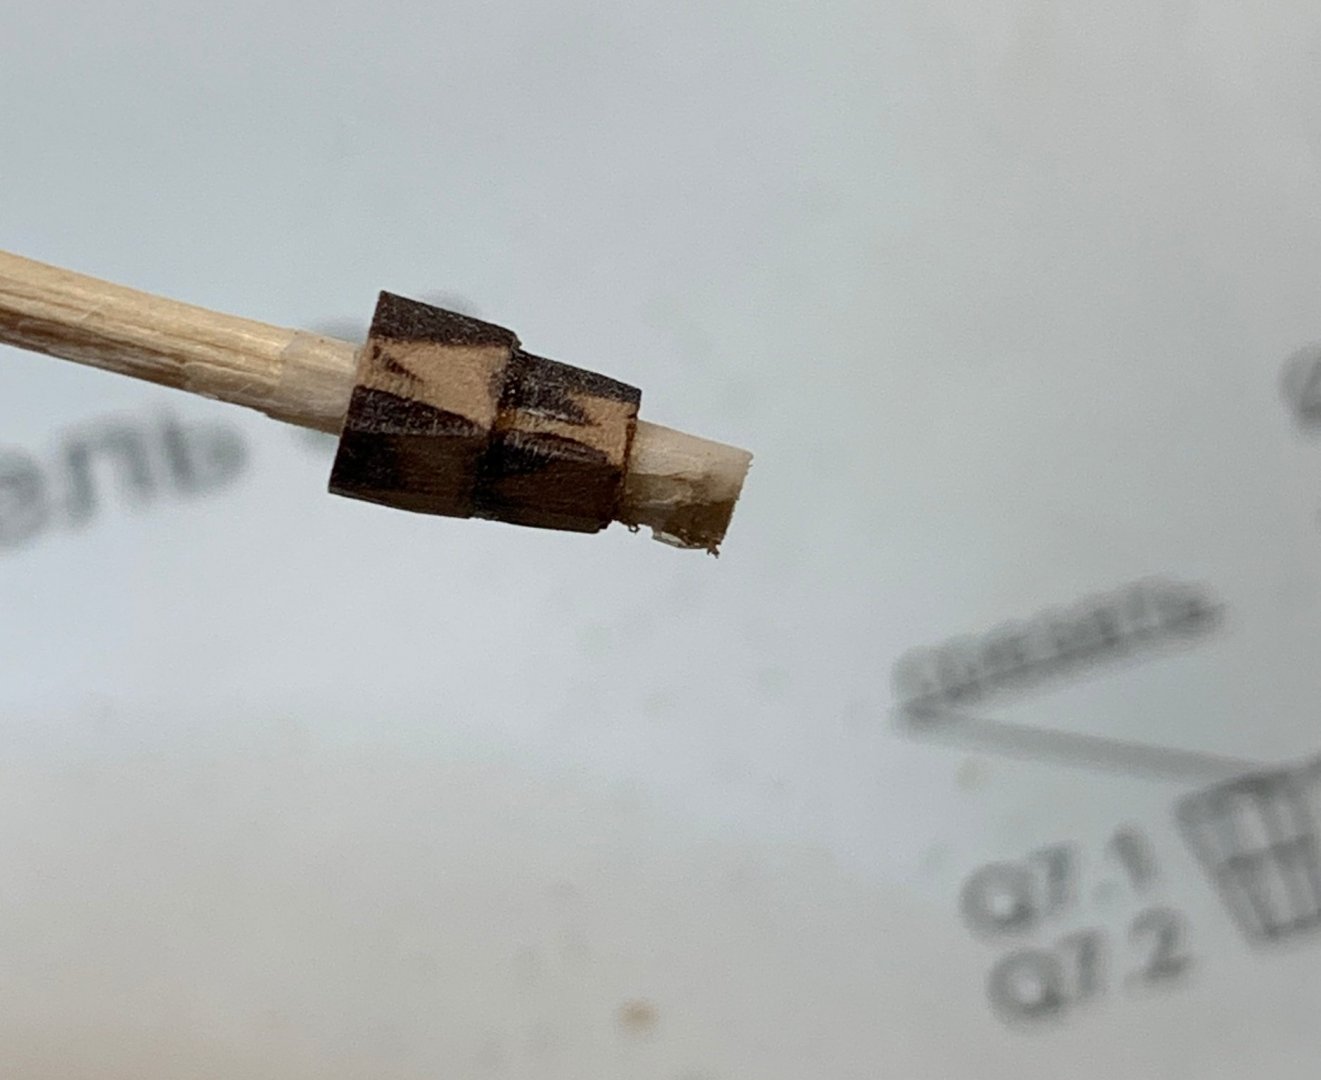
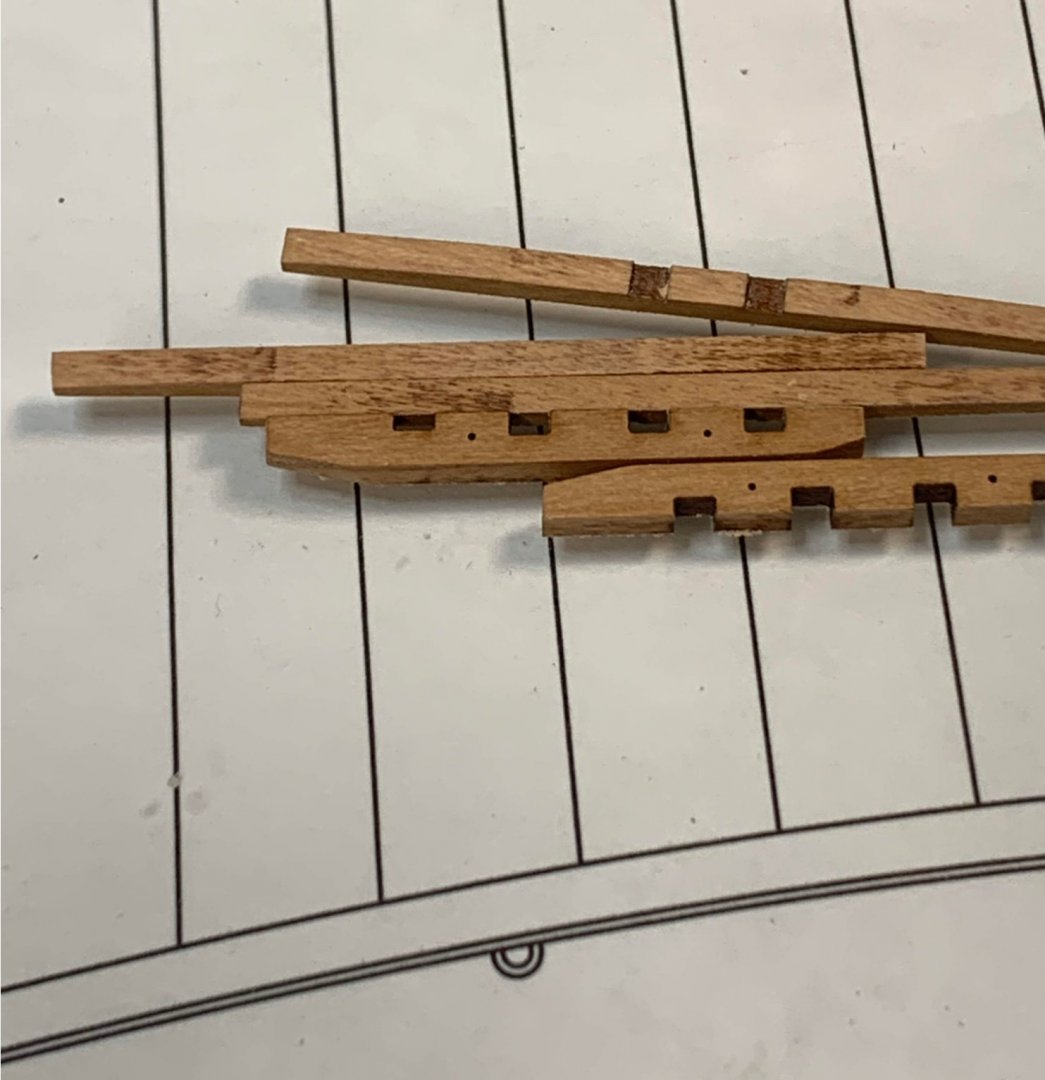
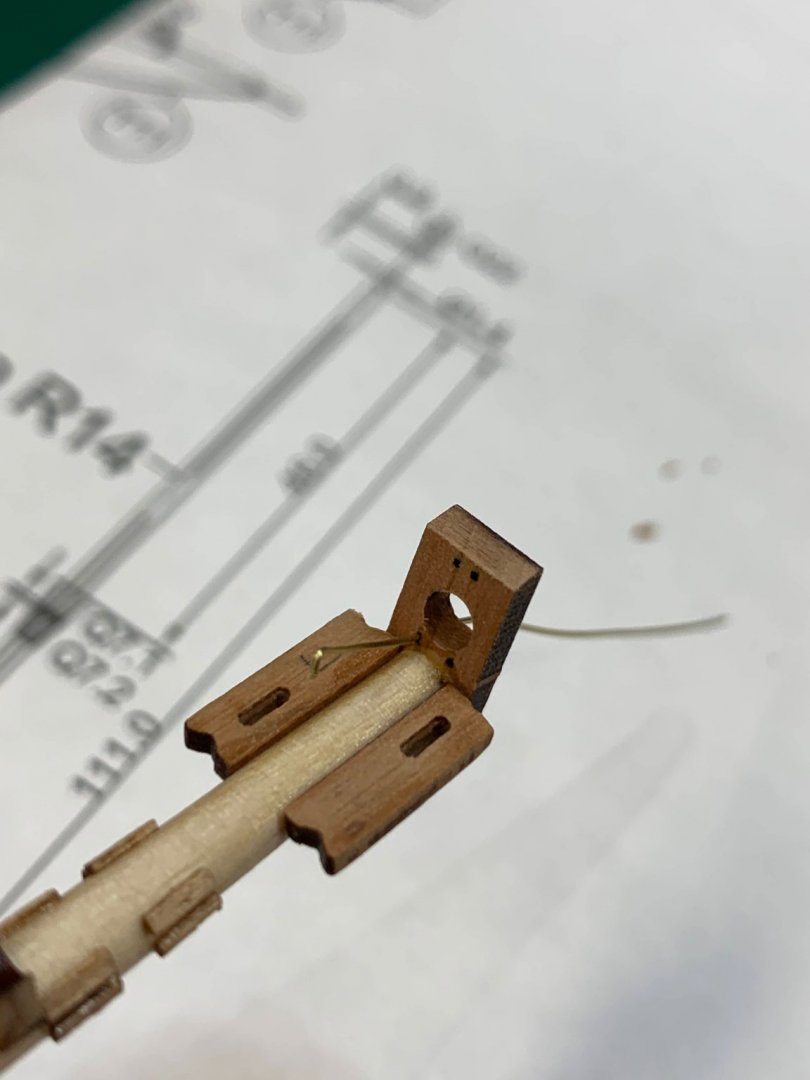
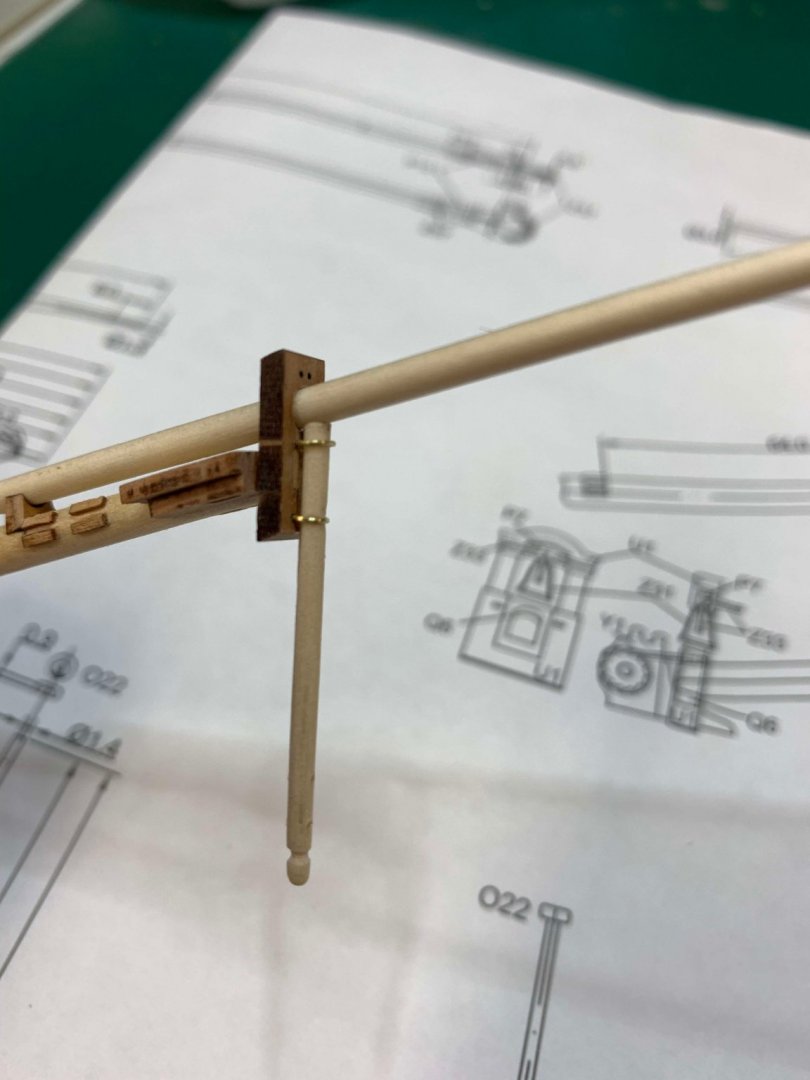
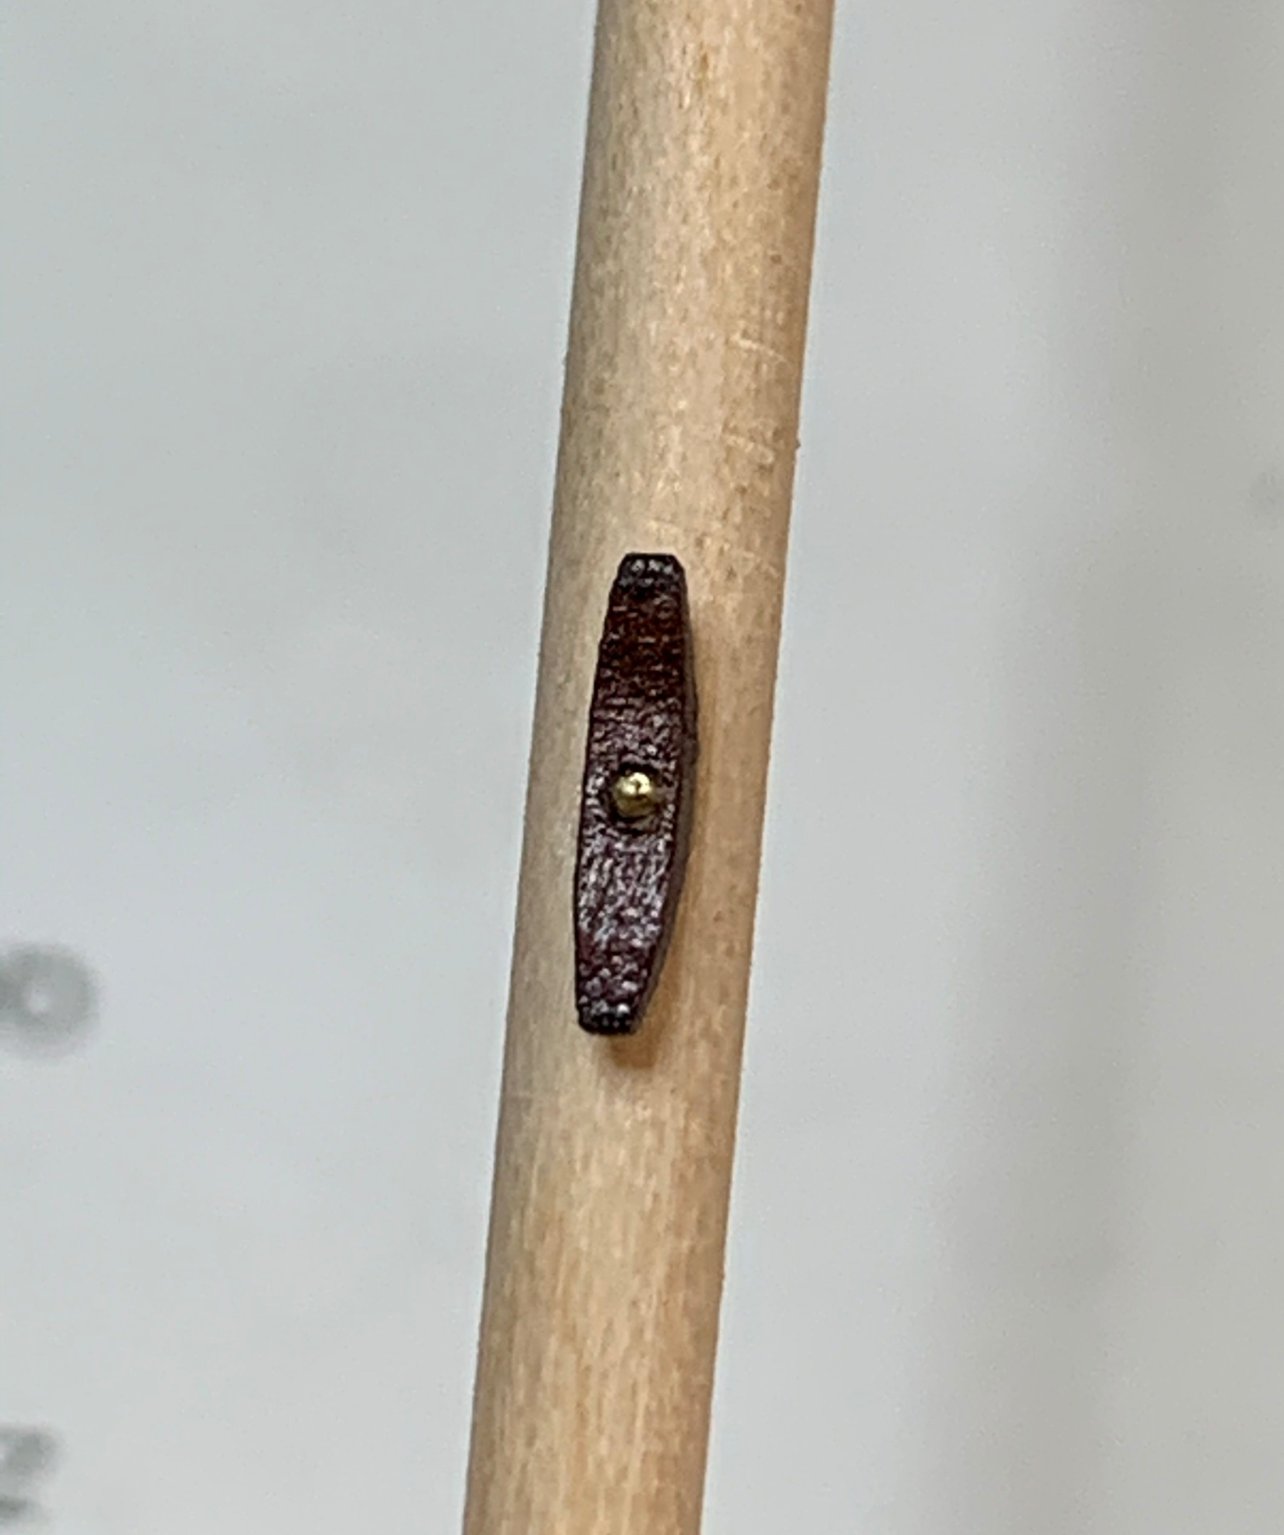
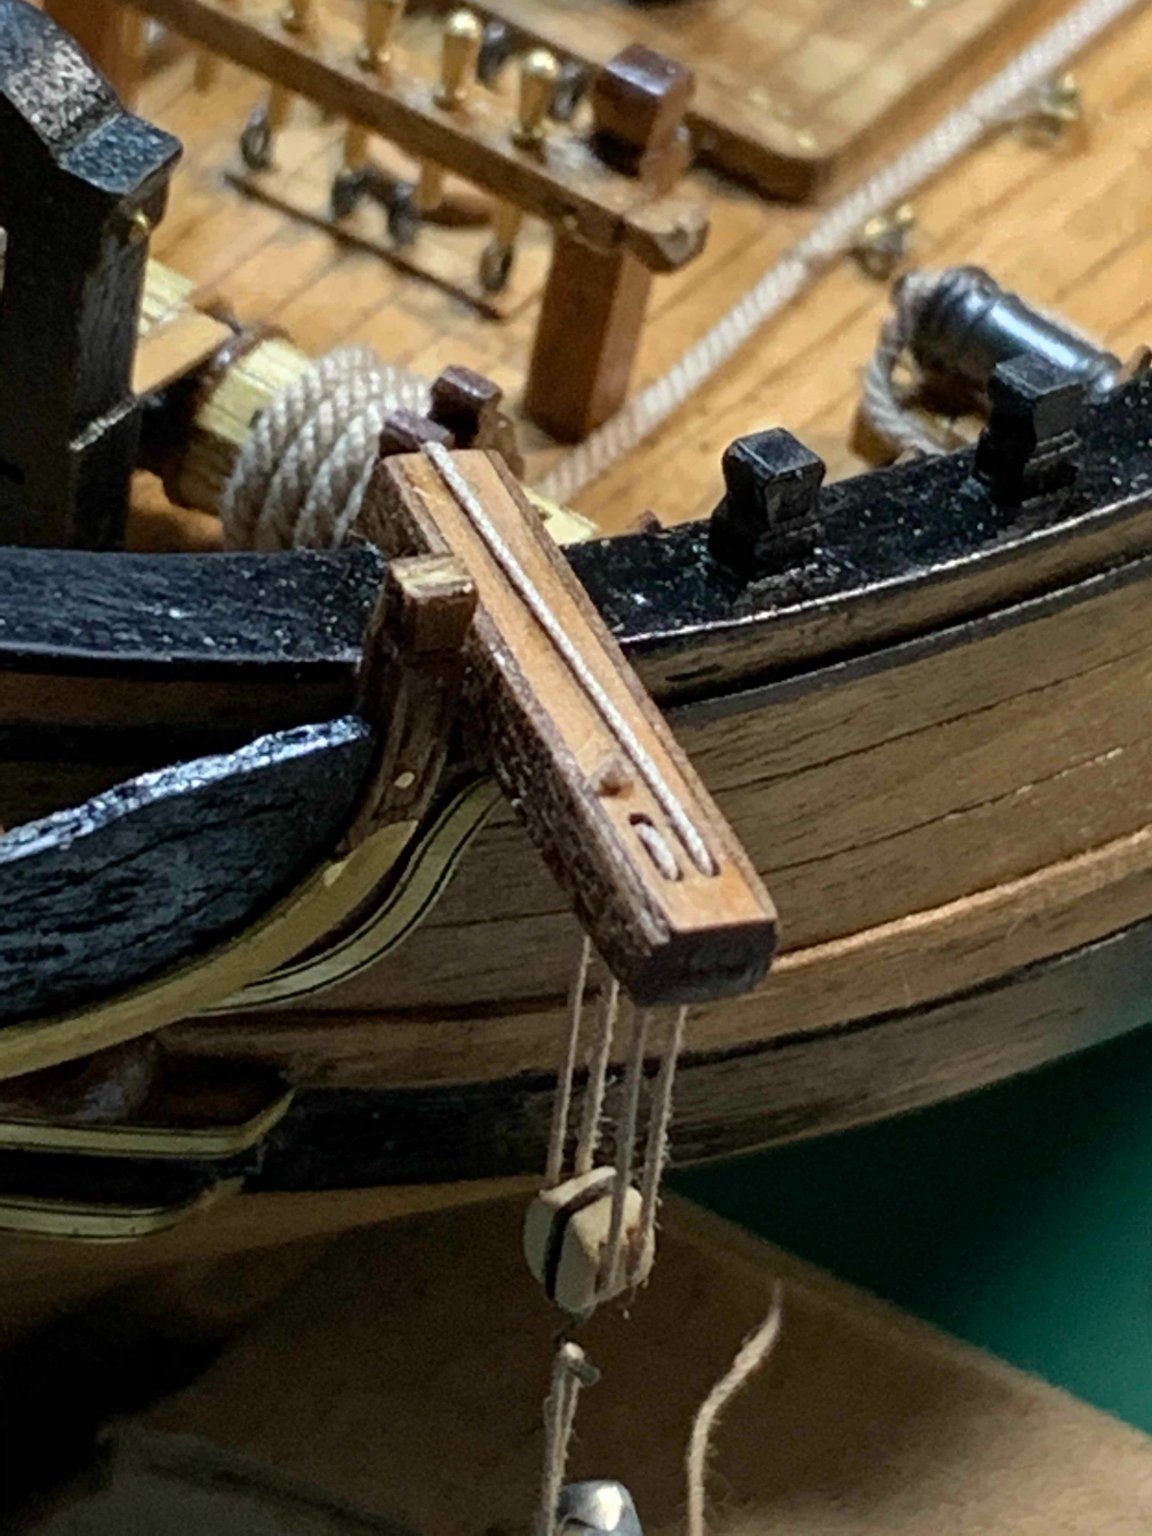
It is time to work on the forestay collar and the fore-strut-stay collar. Forestay collar will be installed on the starboard side and the fore-strut-stay collar on the port side..
First, remove all laser cut burns...
Then, you need to cut scores in stay blocks... and installation can start..
Happy modelling..