


moreplovac
-
Posts
693 -
Joined
-
Last visited
Content Type
Profiles
Forums
Gallery
Events
Posts posted by moreplovac
-
-
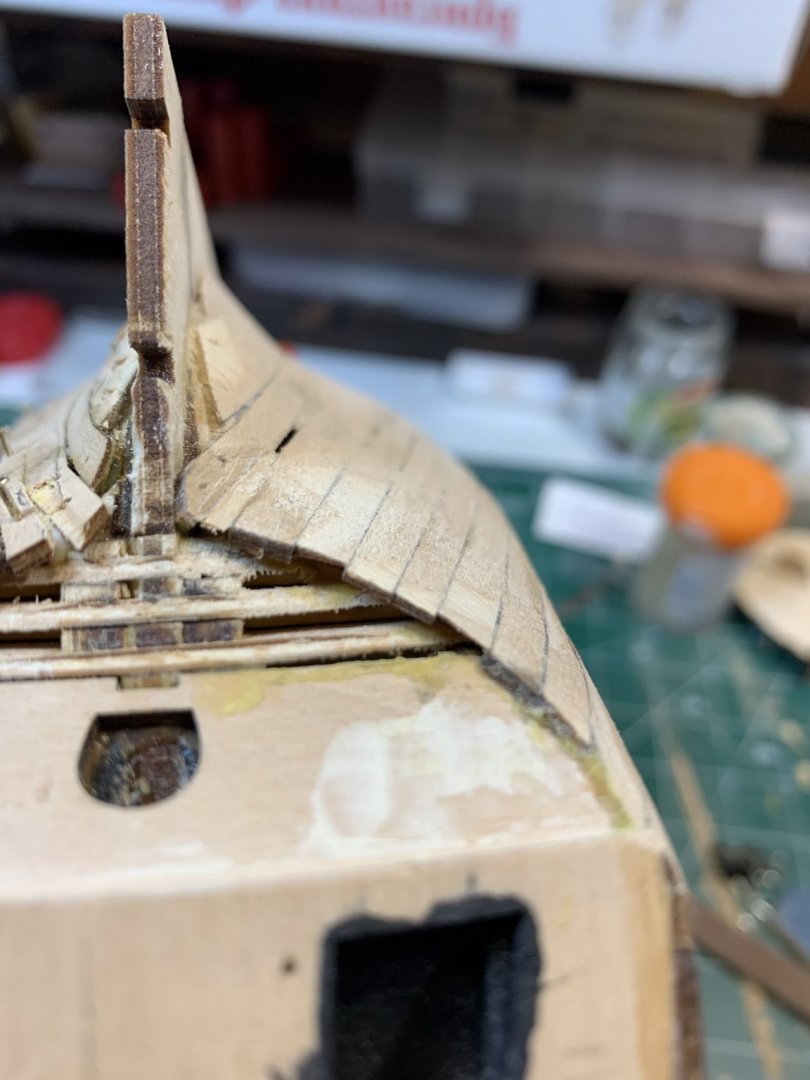
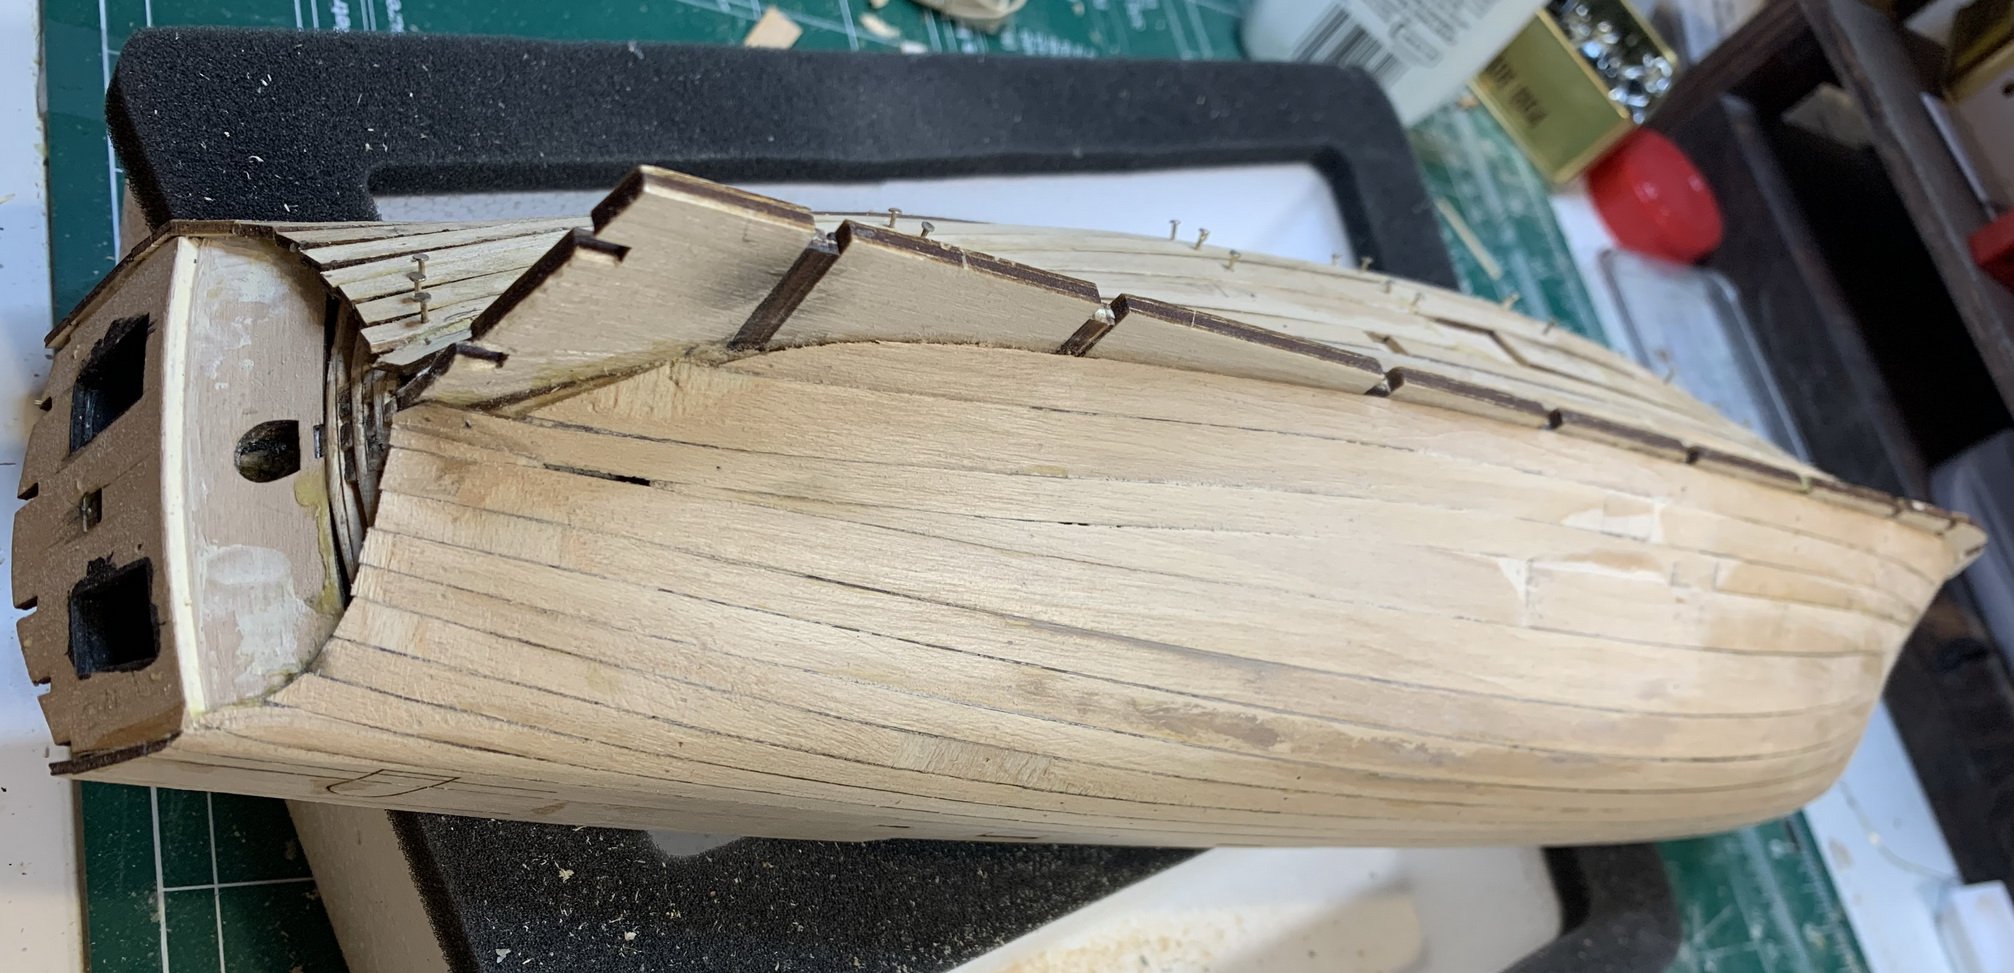
Planking process continues.. this time plank was cut in half on purpose since some shaping, sanding, test fitting, sanding, etc will be needed on both ends.

It does not follow the proper planking techniques but since it is a first layer i think i can get away with it..

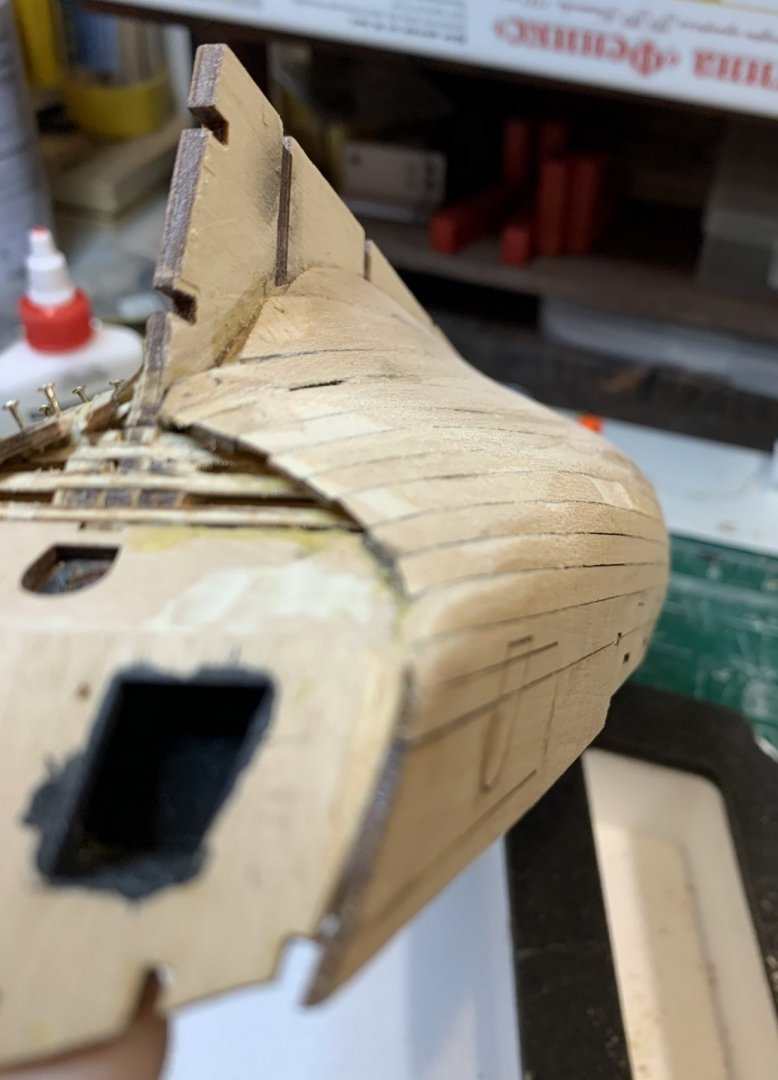
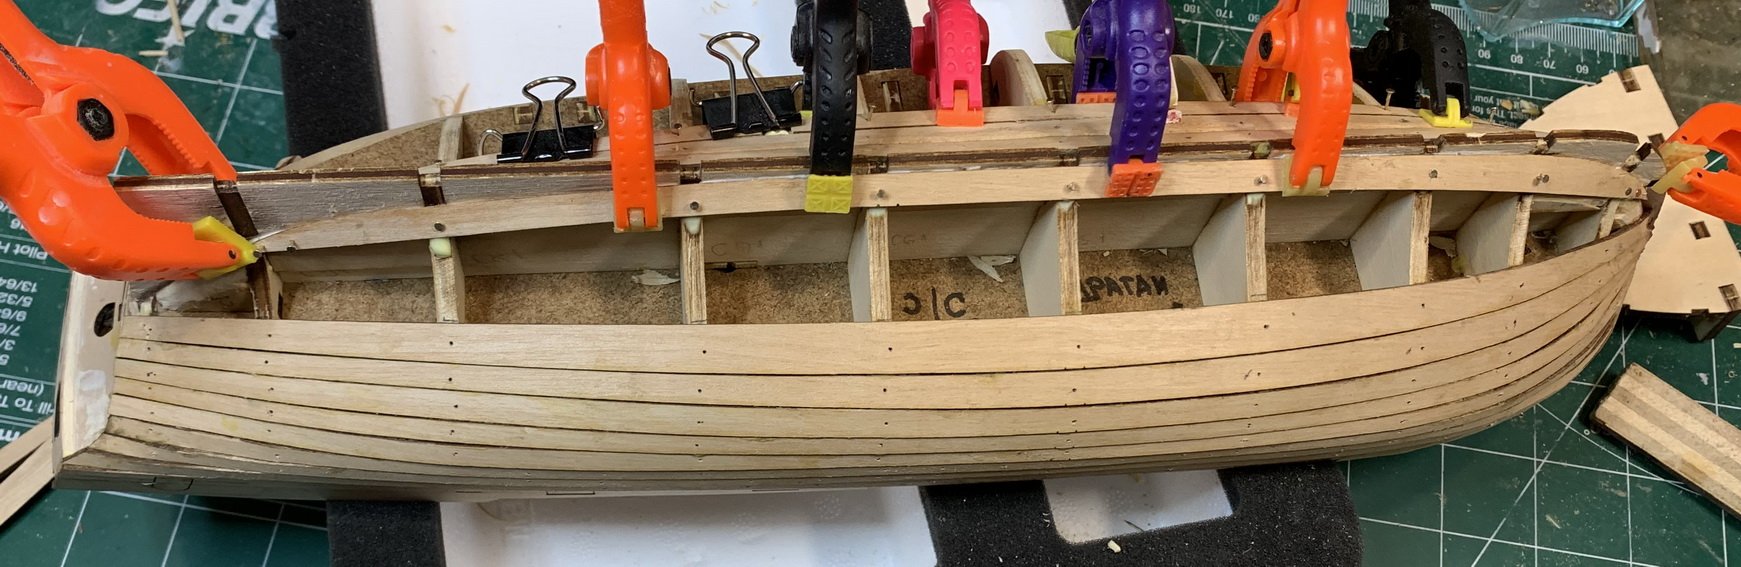
First plank layer has been completed; now the fun part begins...
A bit of a scraping..
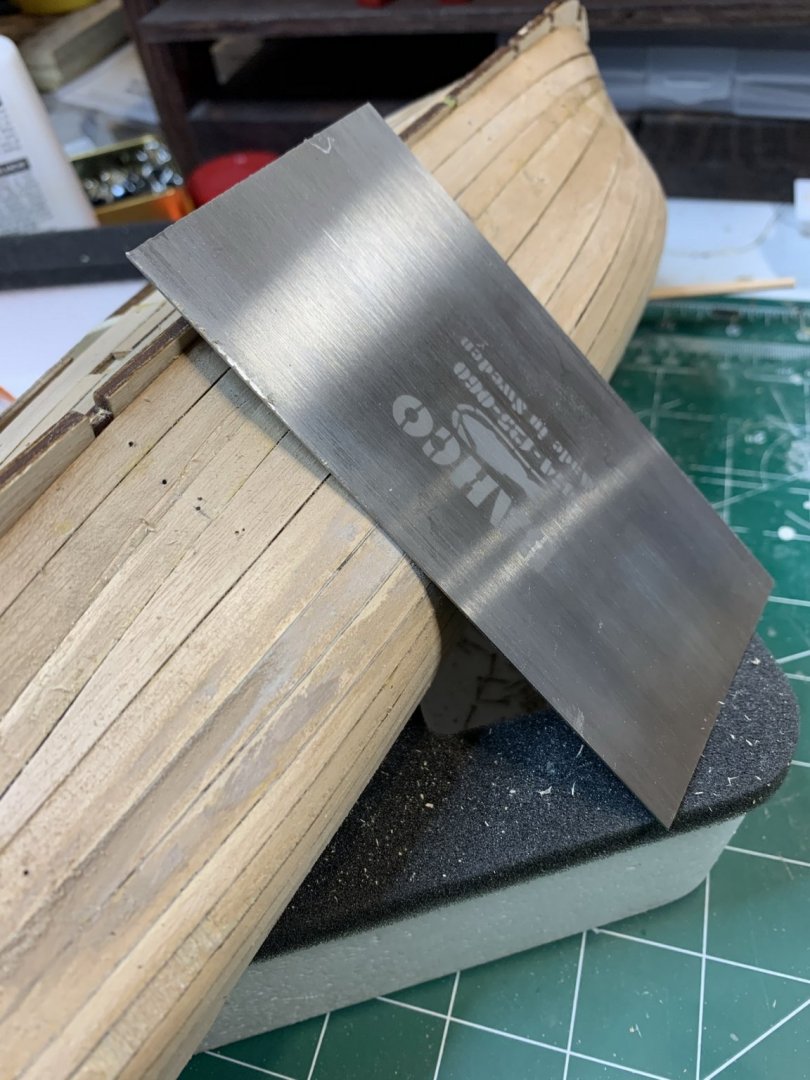
Then lots of sanding with different grit number..


Now i need to fill up those holes and spaces with wood filler to make it as smooth as possible for second planking layer..
Happy modelling.
-
A little bit of a planking work has been done;

Then a little bit of a planking challenges experienced when i accidentally broke few planks..
Very happy this is just a first plank layer 🙂 and some patching was called in to help.

Today i should be done with planking; rough shaping, filling up with putty and sanding will be next.
Could not wait so did a little bit of those activities just to see how it will goes..

Happy modelling.
- american, Edwardkenway and GrandpaPhil
-
 3
3
-
4 hours ago, captain_hook said:
A beautiful ship, well done.
Thank you, much appreciated.
-
5 hours ago, ccoyle said:
Sorry to admit it, but I missed the finish on this one. Congratulations are in order -- very nicely done, and a great set of photos, too!
Thank you, much appreciated.
-
11 hours ago, Sea Hoss said:
Just looked this build over again (I'm getting ready to dig into my little USS Essex solid hull version with determination!) this model came out great! There's so much detail! My model is ancient...boxed in 1957! got it on ebay for $15. I know by looking over yours that I'm missing a lot of parts and pieces. It's going to be a sort of 3/5 ths hull mounted on a backboard of some type. just to hang on a wall. So I wont get crazy withit, just for fun till I pick up a kit that will take some real time and attention to detail (and probably more tools!). Great job though!
Thank you.
I replaced tons of stuff in this model, was not fully satisfied with quality of some parts. Must admin that practicum was very useful and helped a lot particularly in adding some details that were not in the kit.
Cheers
-
On 3/25/2020 at 4:11 PM, Overworked724 said:
Outstanding! Long journey but well worth the wait! Great job!
Thanks, i must admit i used plenty of photos from your build as a reference.
Cheers
-
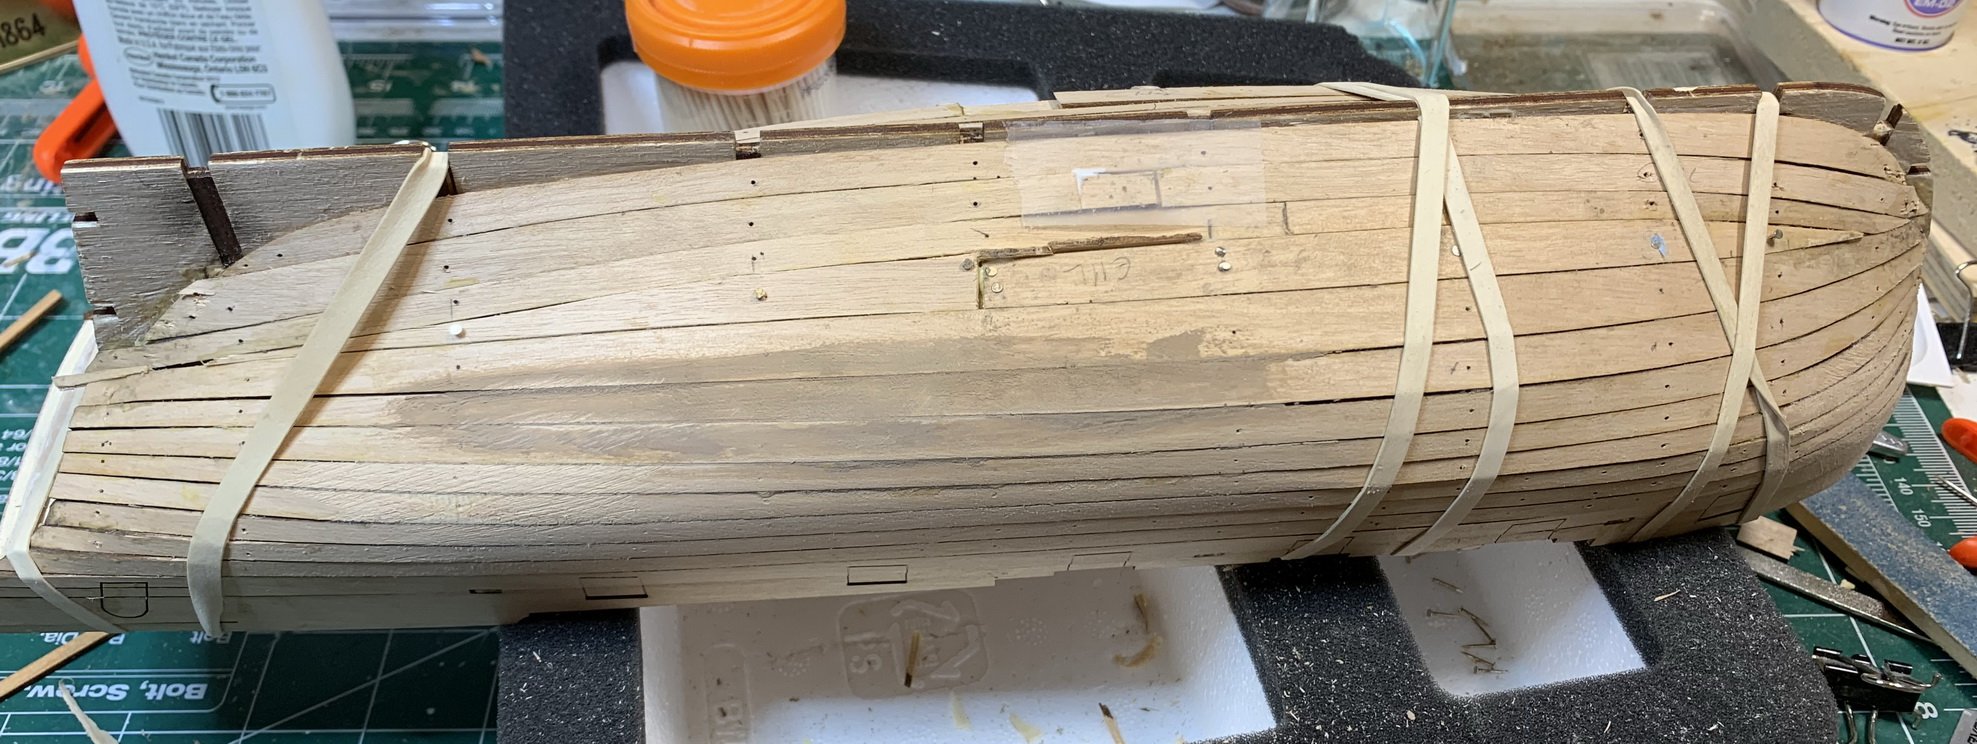
First layer of planking continues preparing two top planks by soaking them into water and twisted around jar lid and a glass.


During mounting process one of the bulkheads snapped on me...
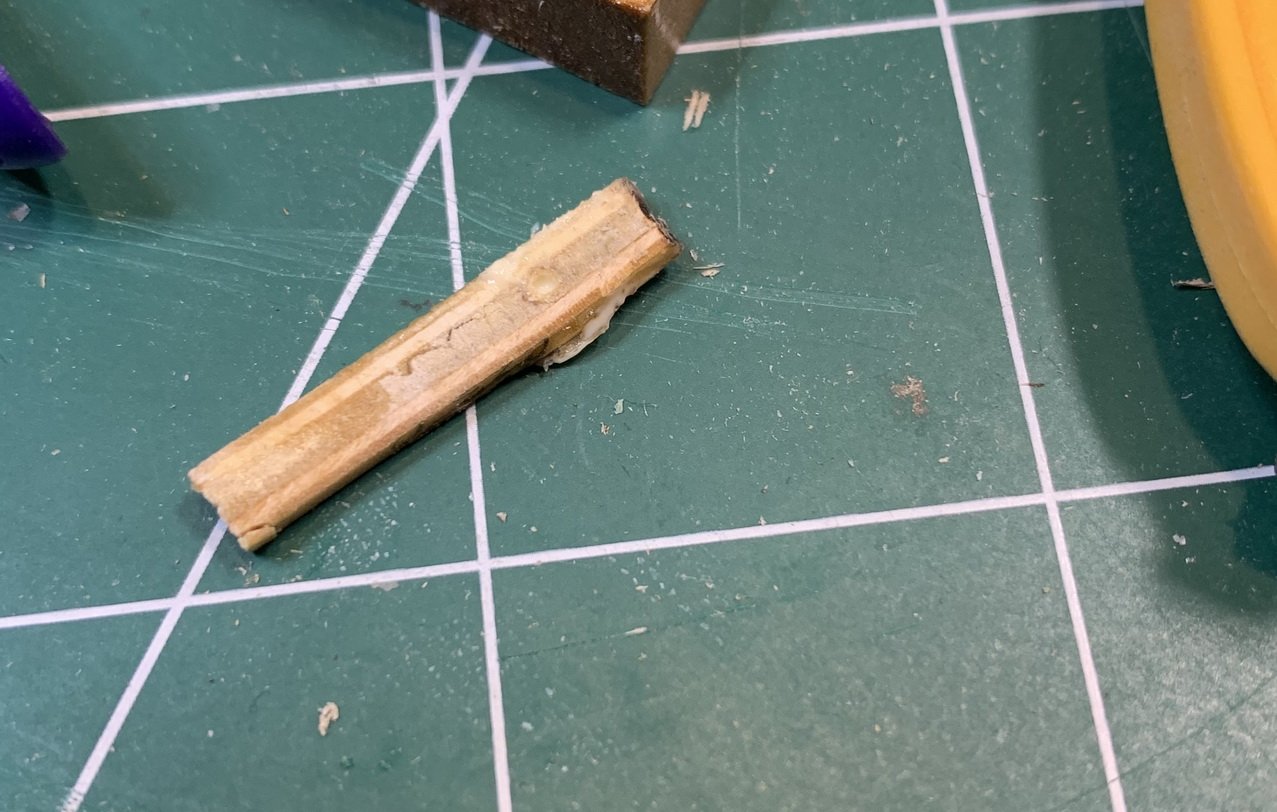
.. so now it will be time to replace it with some spare parts.. Found one small piece of poplar from my Sultana build, shaped it roughly and installed on the ship.

Planking process continues with that new bulkhead sticking out weirdly.
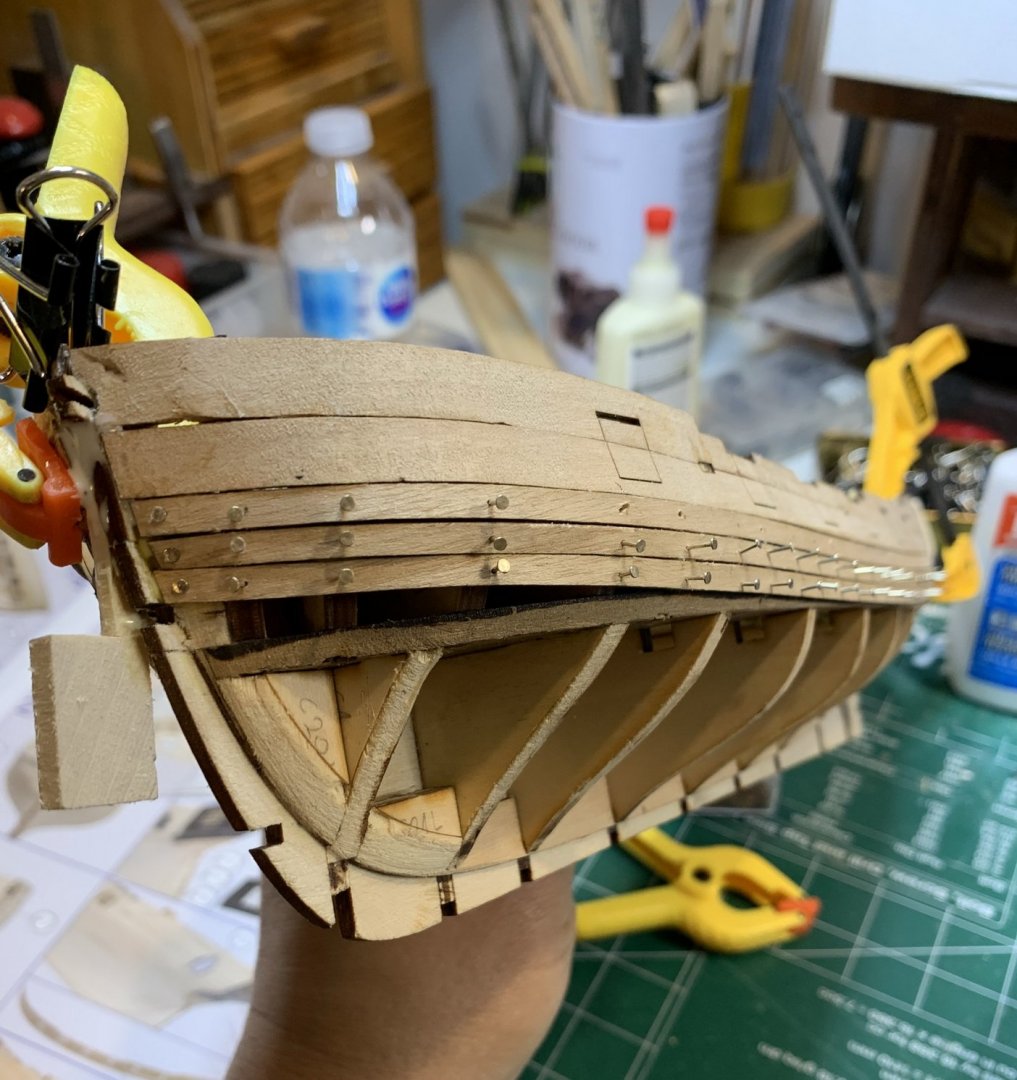
Good thing this is just first planking layer...


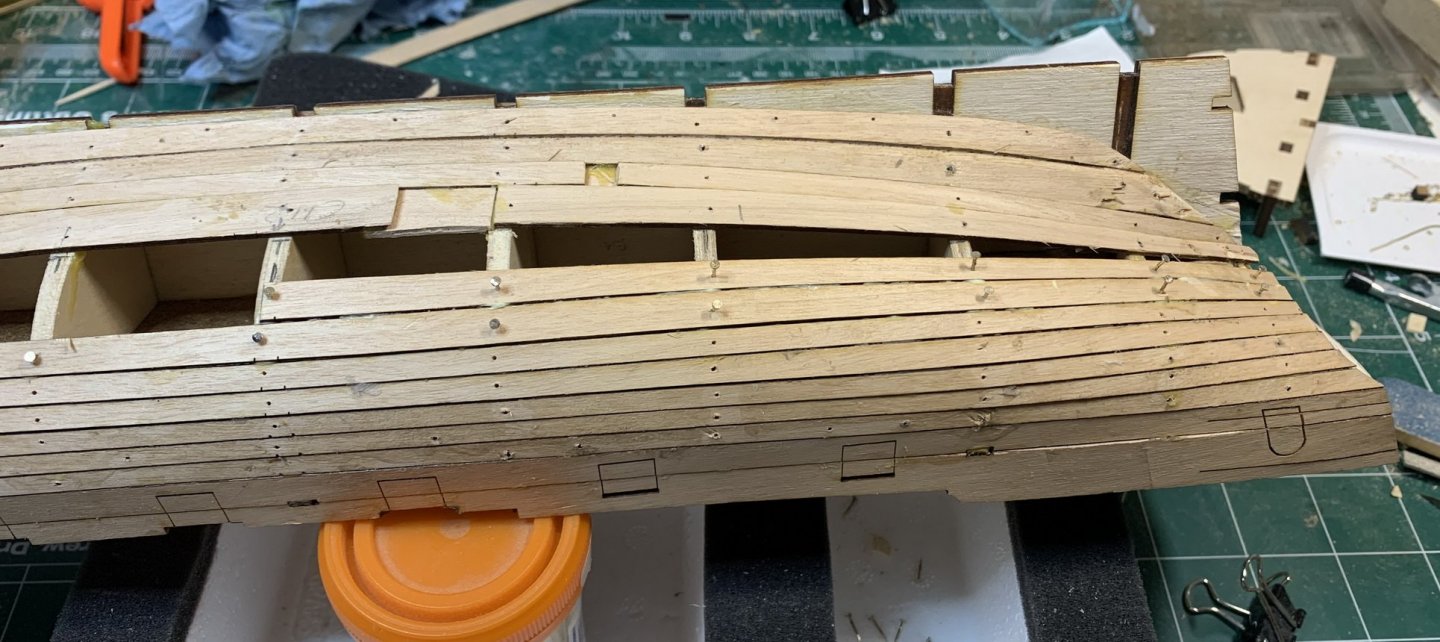
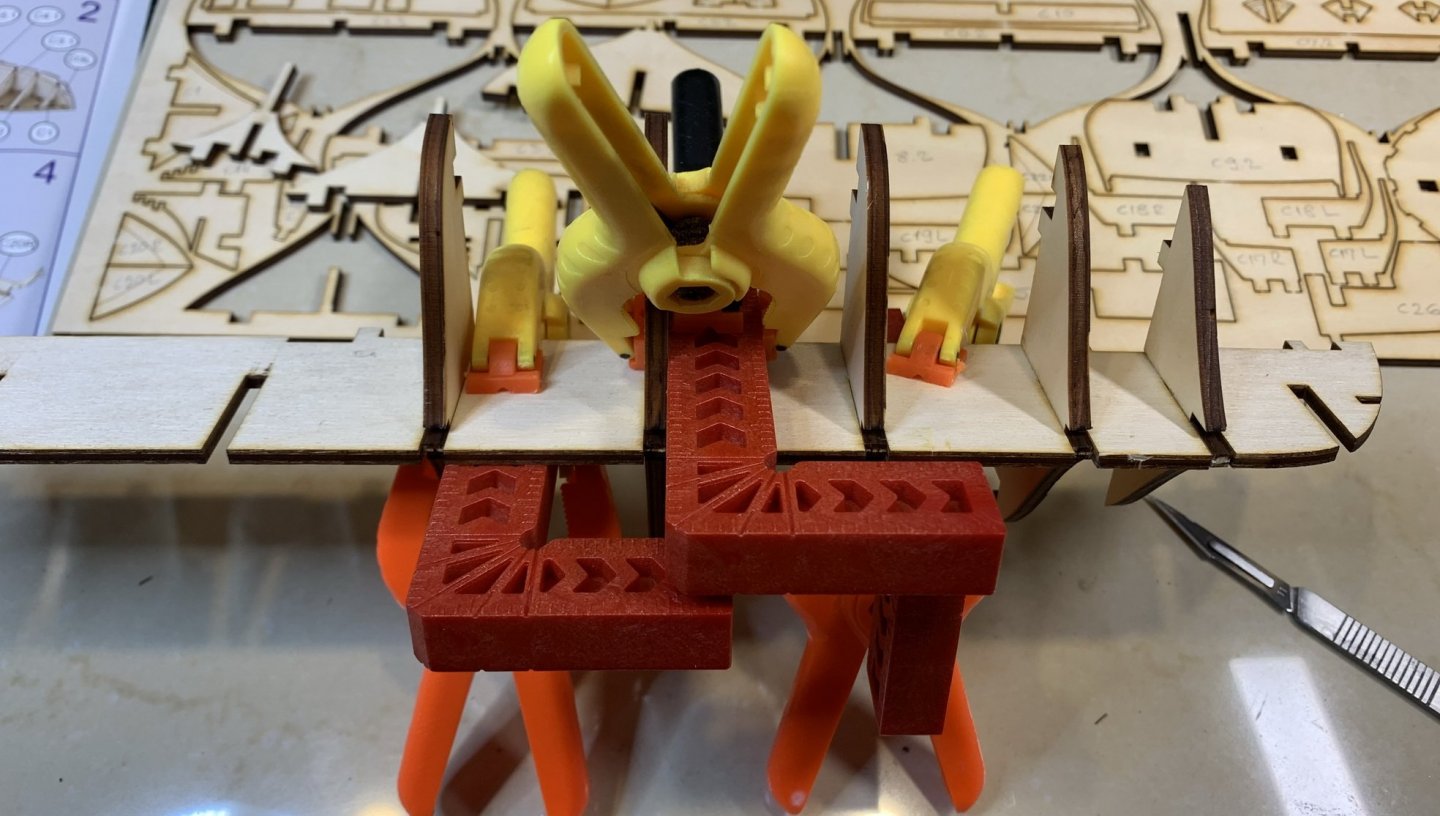
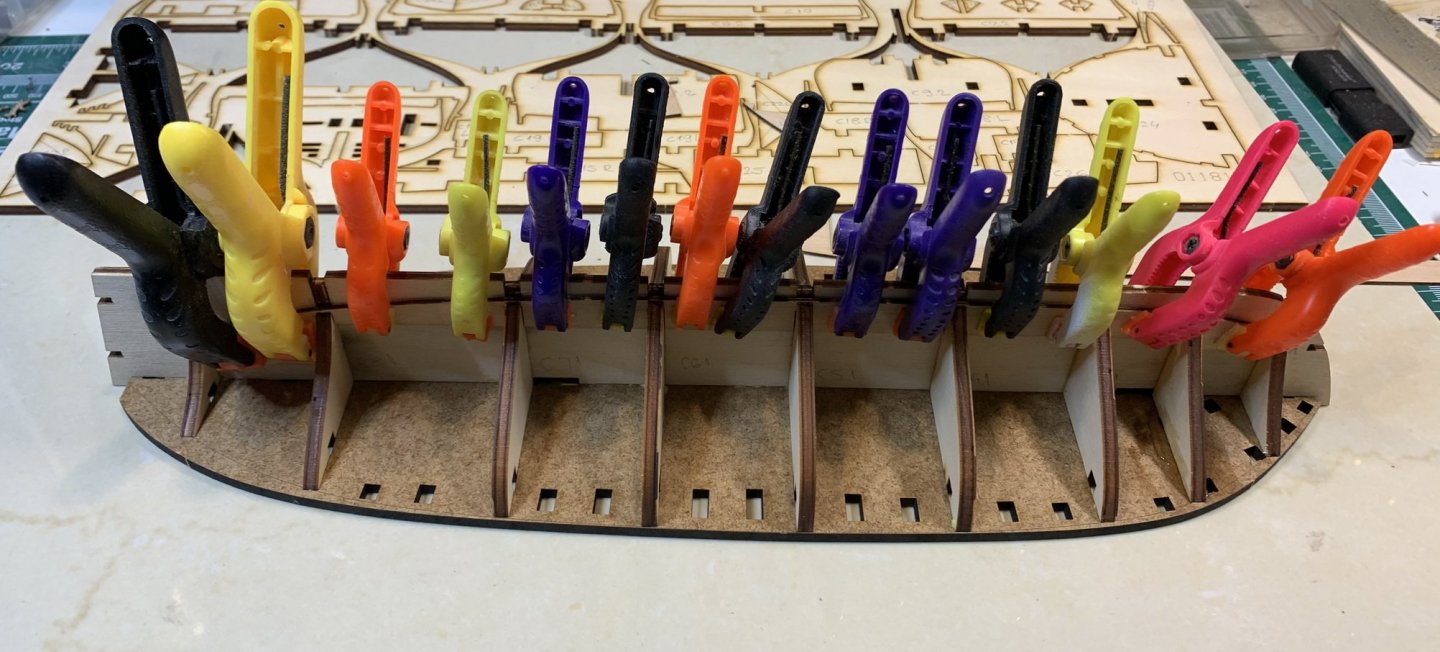
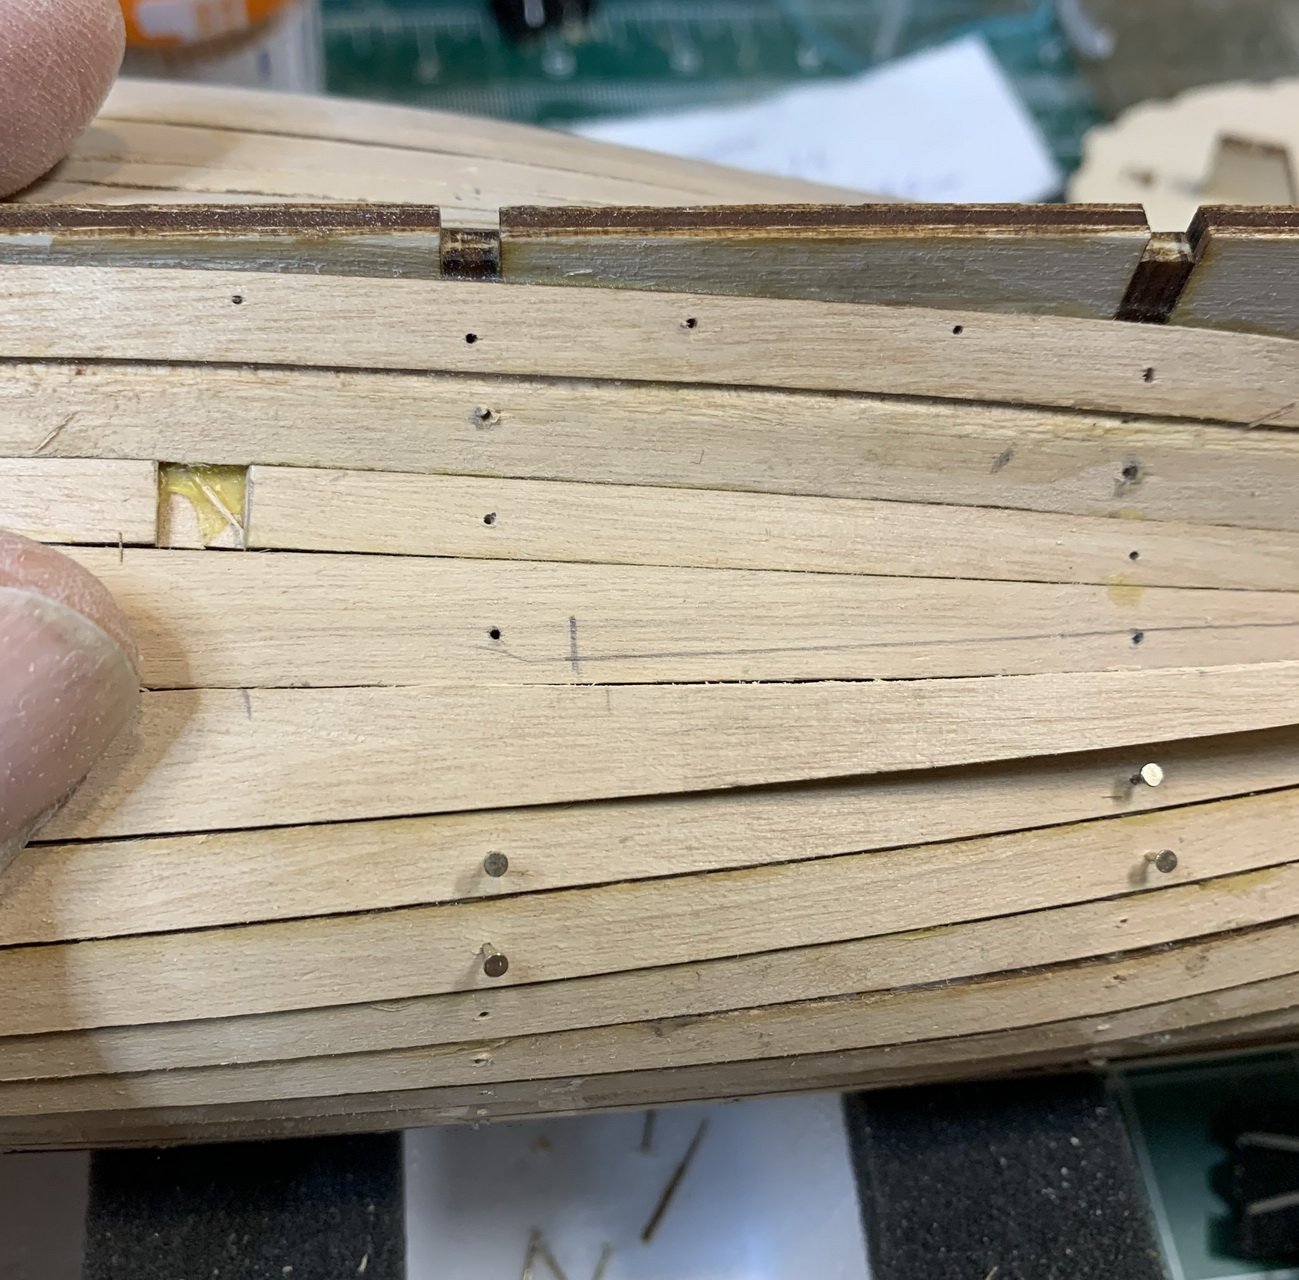
This kit has plenty of pins/nails that are very useful in planking process. I always used just simple nails or other pins but these nails has longer sharper top, so just small length of nail needs to go thru to keep a plank in place..

That is for today... there will be tons of shaping, scraping and usage of wood filler to make this hull as smooth as possible for second plank layer.
Happy modelling.
- GrandpaPhil, ccoyle, CiscoH and 2 others
-
5
-
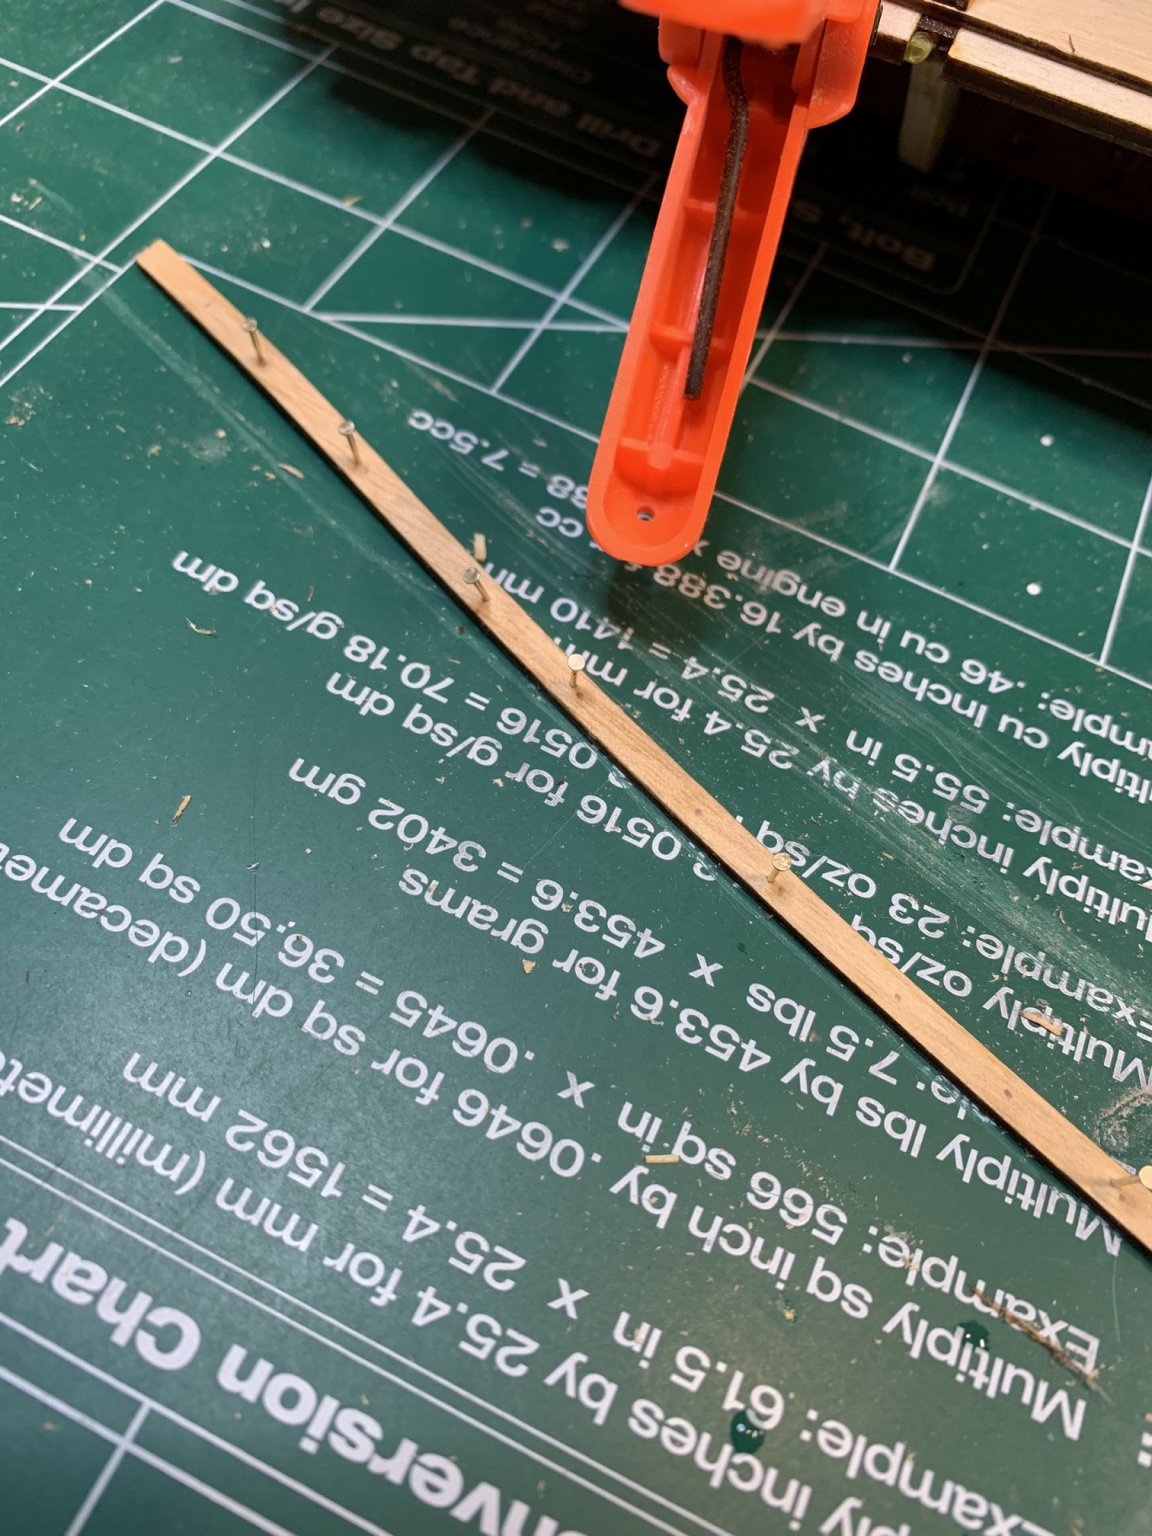
Had a bit of a challenge assembling the first plank; the wood is fairly tick and even after some time dipped in the water, the twisting was a bit of a challenge.
After some time and few extra helping hands was able to install it and leave it to dry. Hopefully it will not be causing issues in the future.

Happy modelling.
- american, GrandpaPhil, Edwardkenway and 1 other
-
4
-
-
This work from home thing is actually good when it comes to ship building.. My space to WFH is one desk and my shipyard is second desk with a common chair between... so it is just matter of turning around and work or work in shipyard....
Some parts needed a bit of shaping..
Glued...
All bulwarks have been installed.. they fit perfectly with little or no sanding of laser burns.
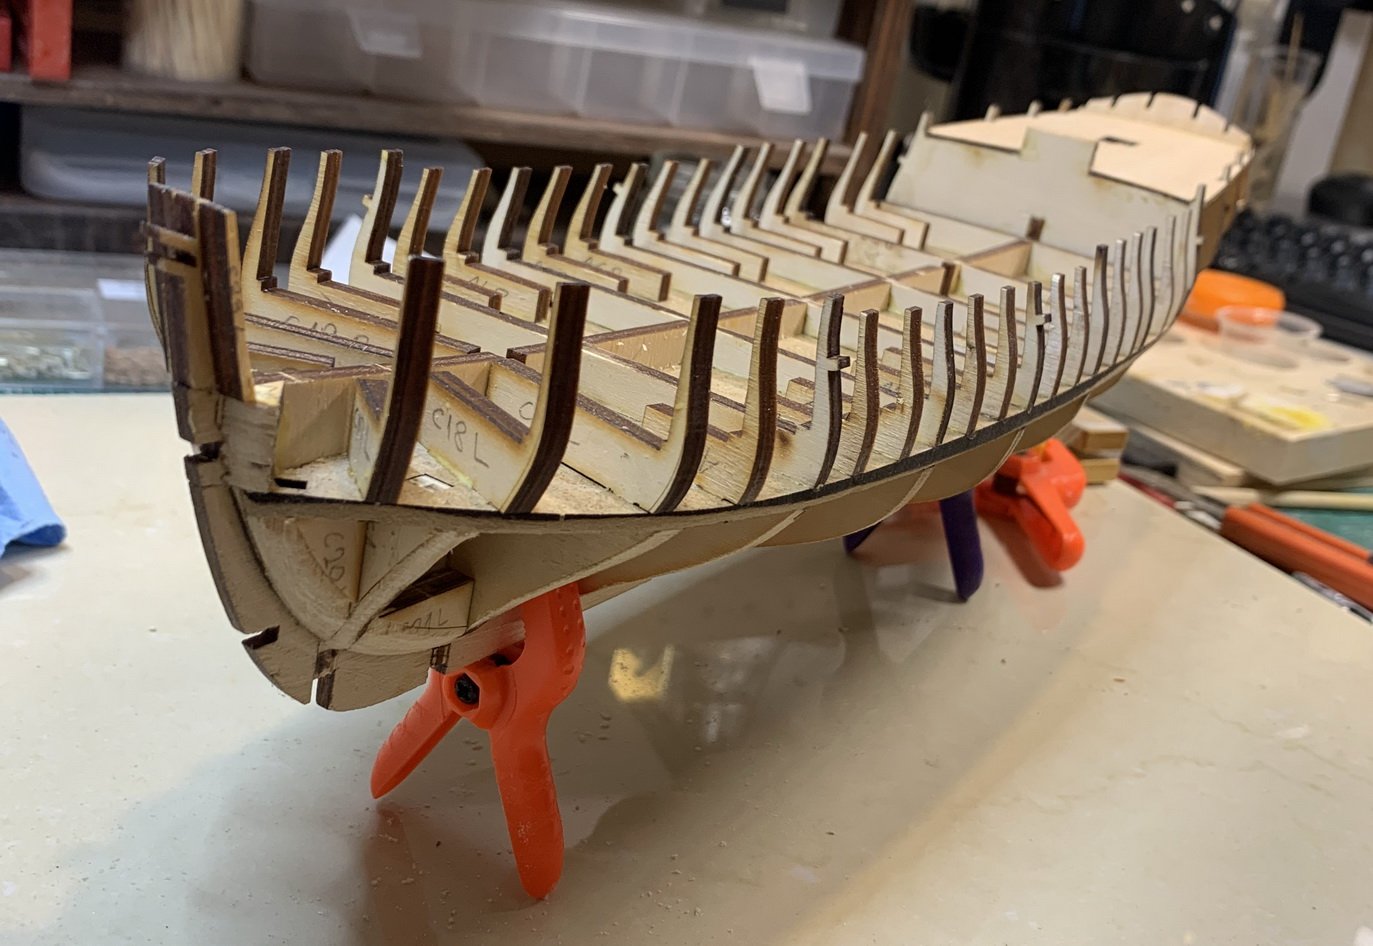

Making sure bulwarks are lined up correctly...


Happy modelling and WFH...
- GrandpaPhil, american, Edwardkenway and 1 other
-
4
-
-
3 hours ago, DPK said:
Just a note: if you use PVA glue, it is much easier to use a hairdryer to melt the glue to remove the parts, instead of the acetone.
I usually use carpenter' glue but will definitely try PVA..
Cheers
-
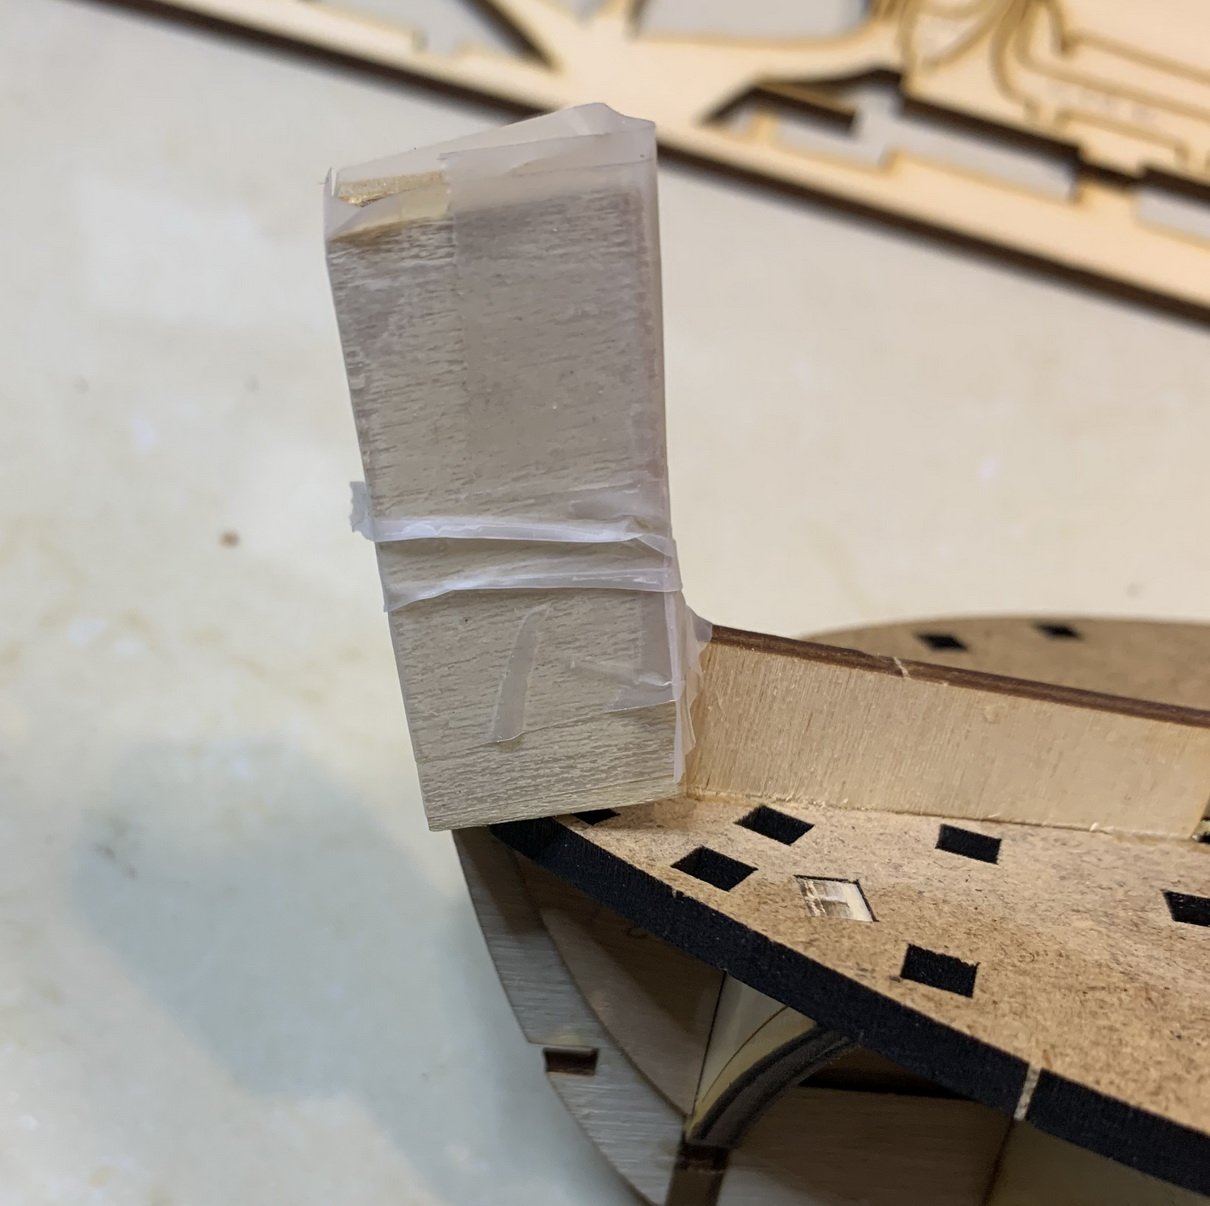
Not sure about you, but i have a tendency to break tiny parts very easily, during work on other ship parts.
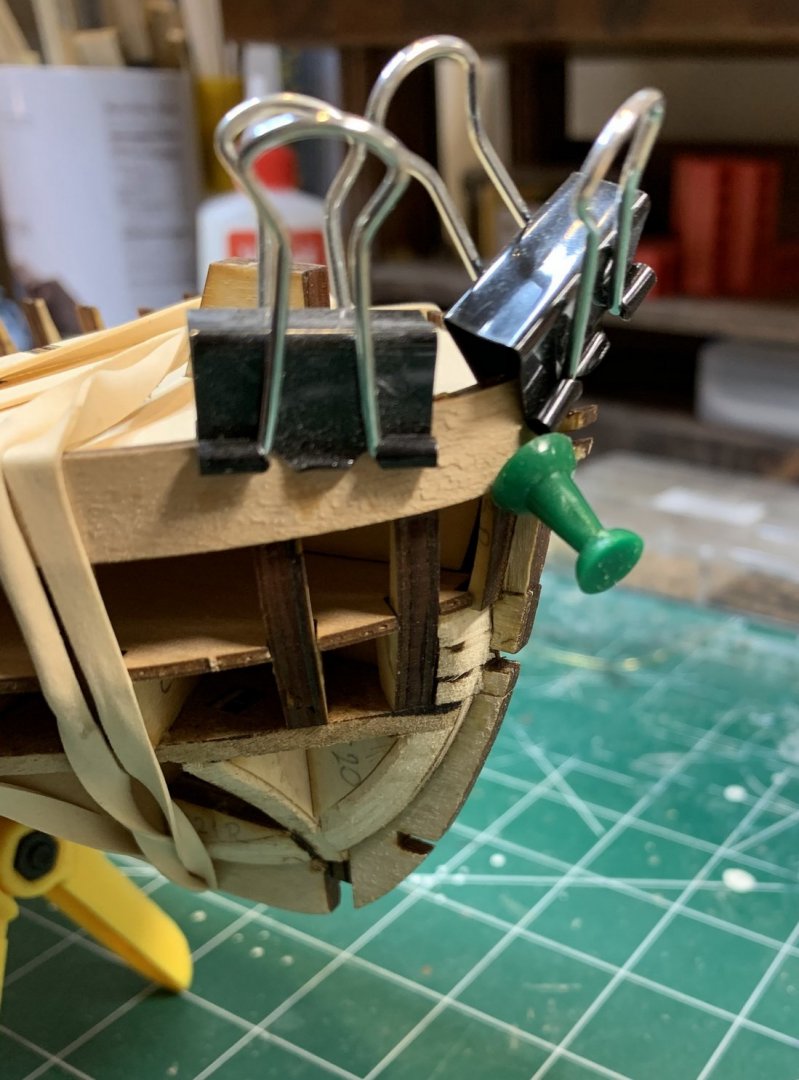
This happened to me while working on my Sultana. Not sure how many years of bad luck breaking some ship parts will bring you (like breaking a mirror) but not being in the mood to challenge it, i decided to protect a bow from being damaged.. two spare wood parts and a bit of scotch tape will do the trick.
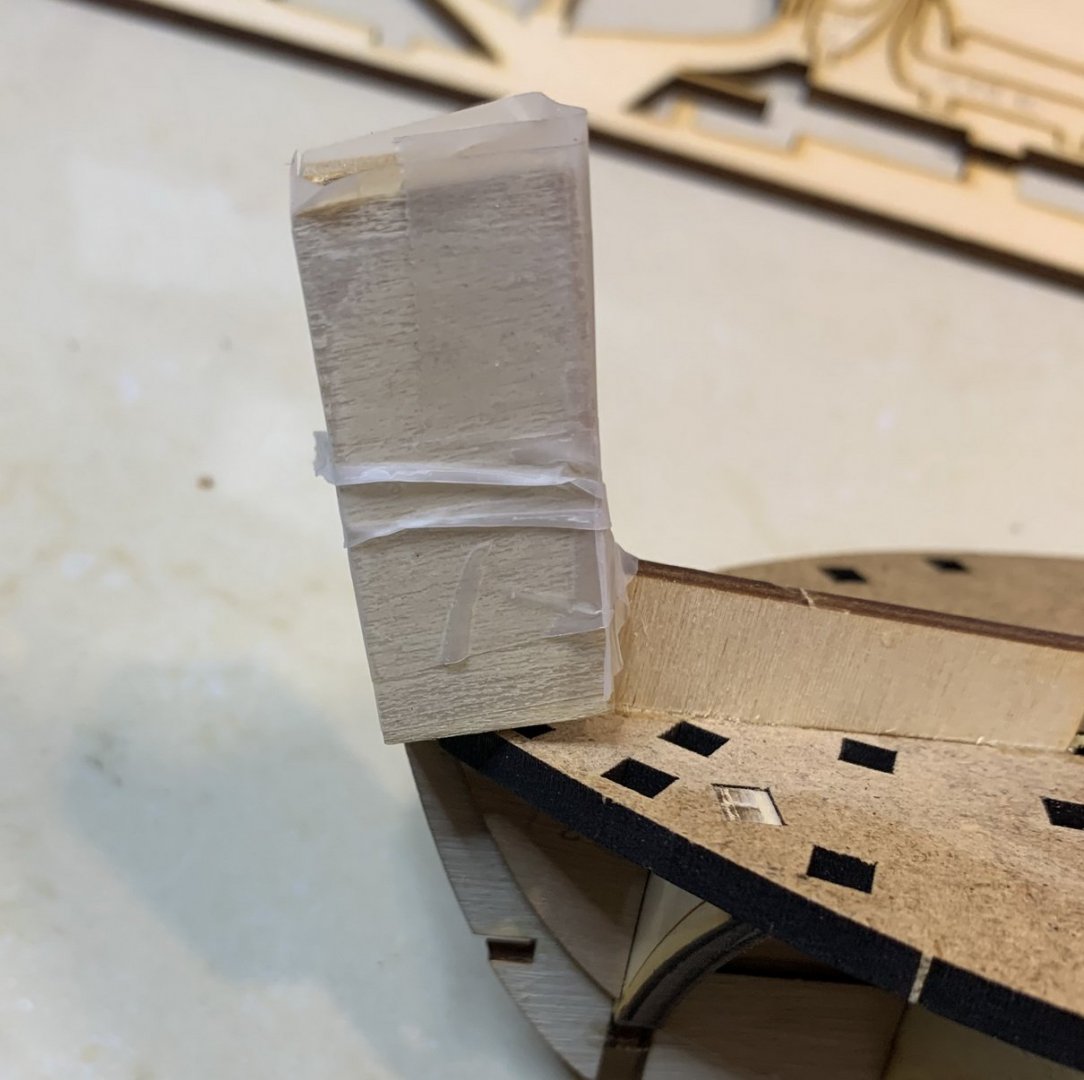
Waiting for further work..

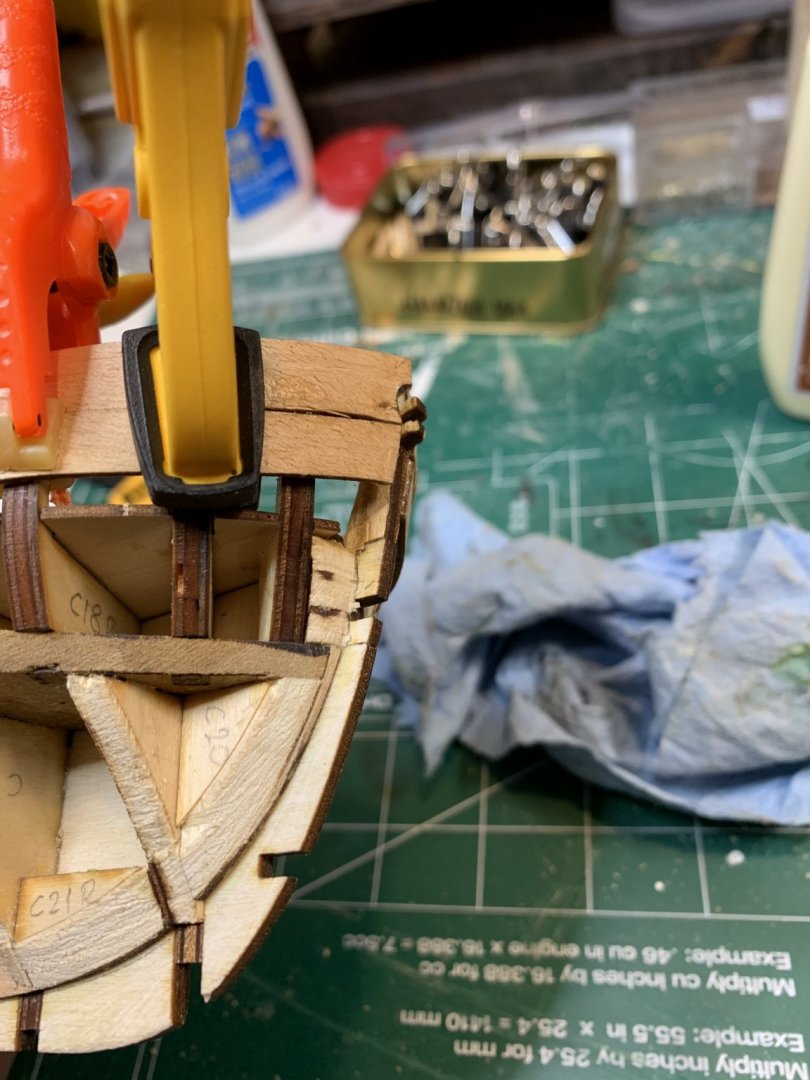
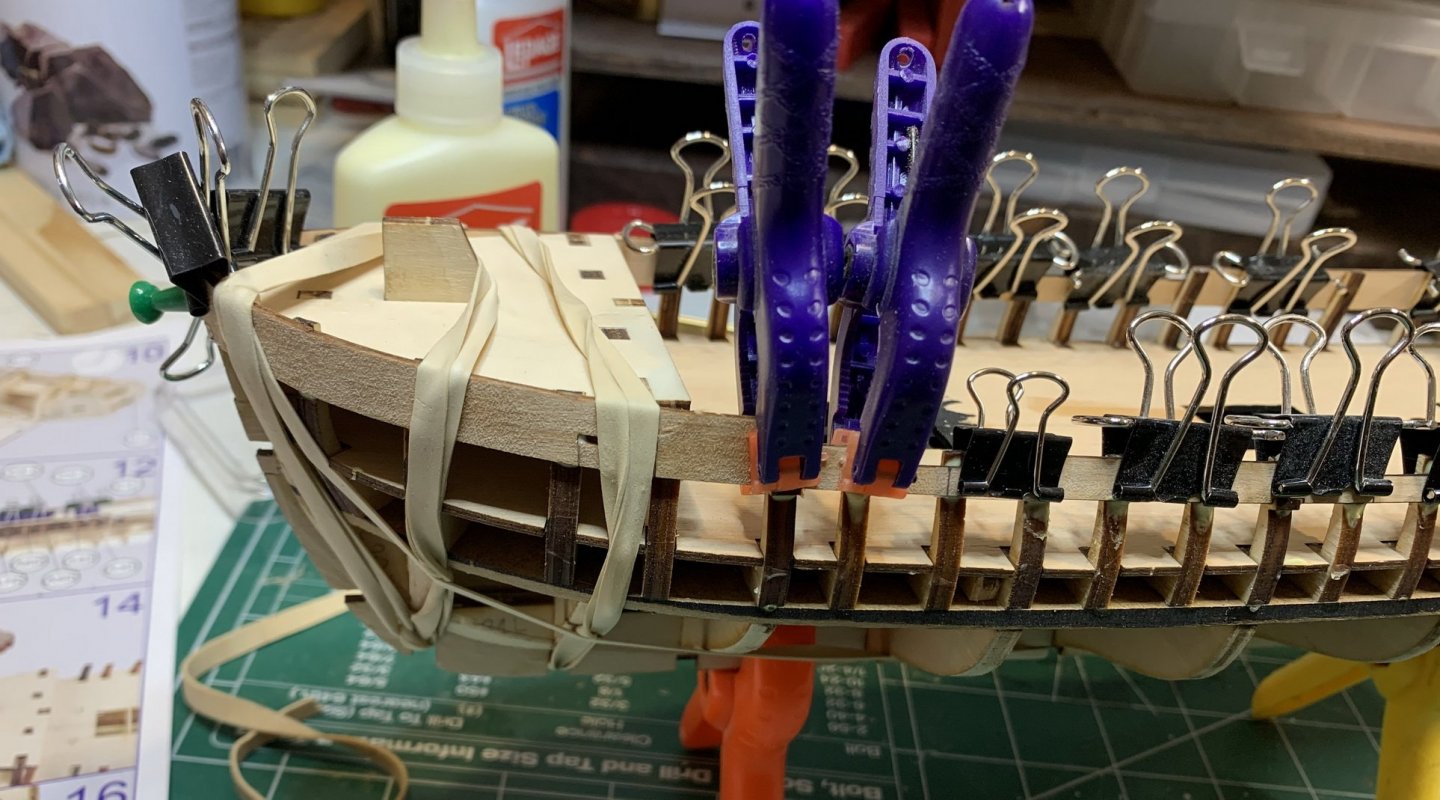
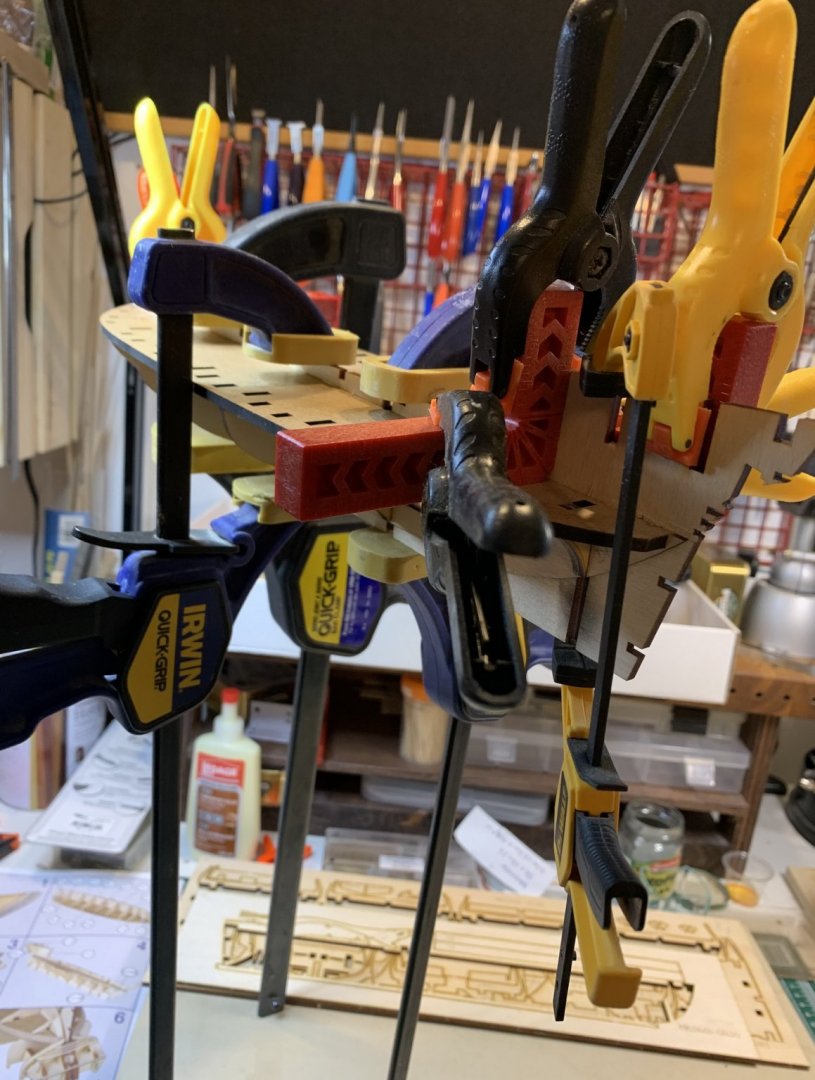
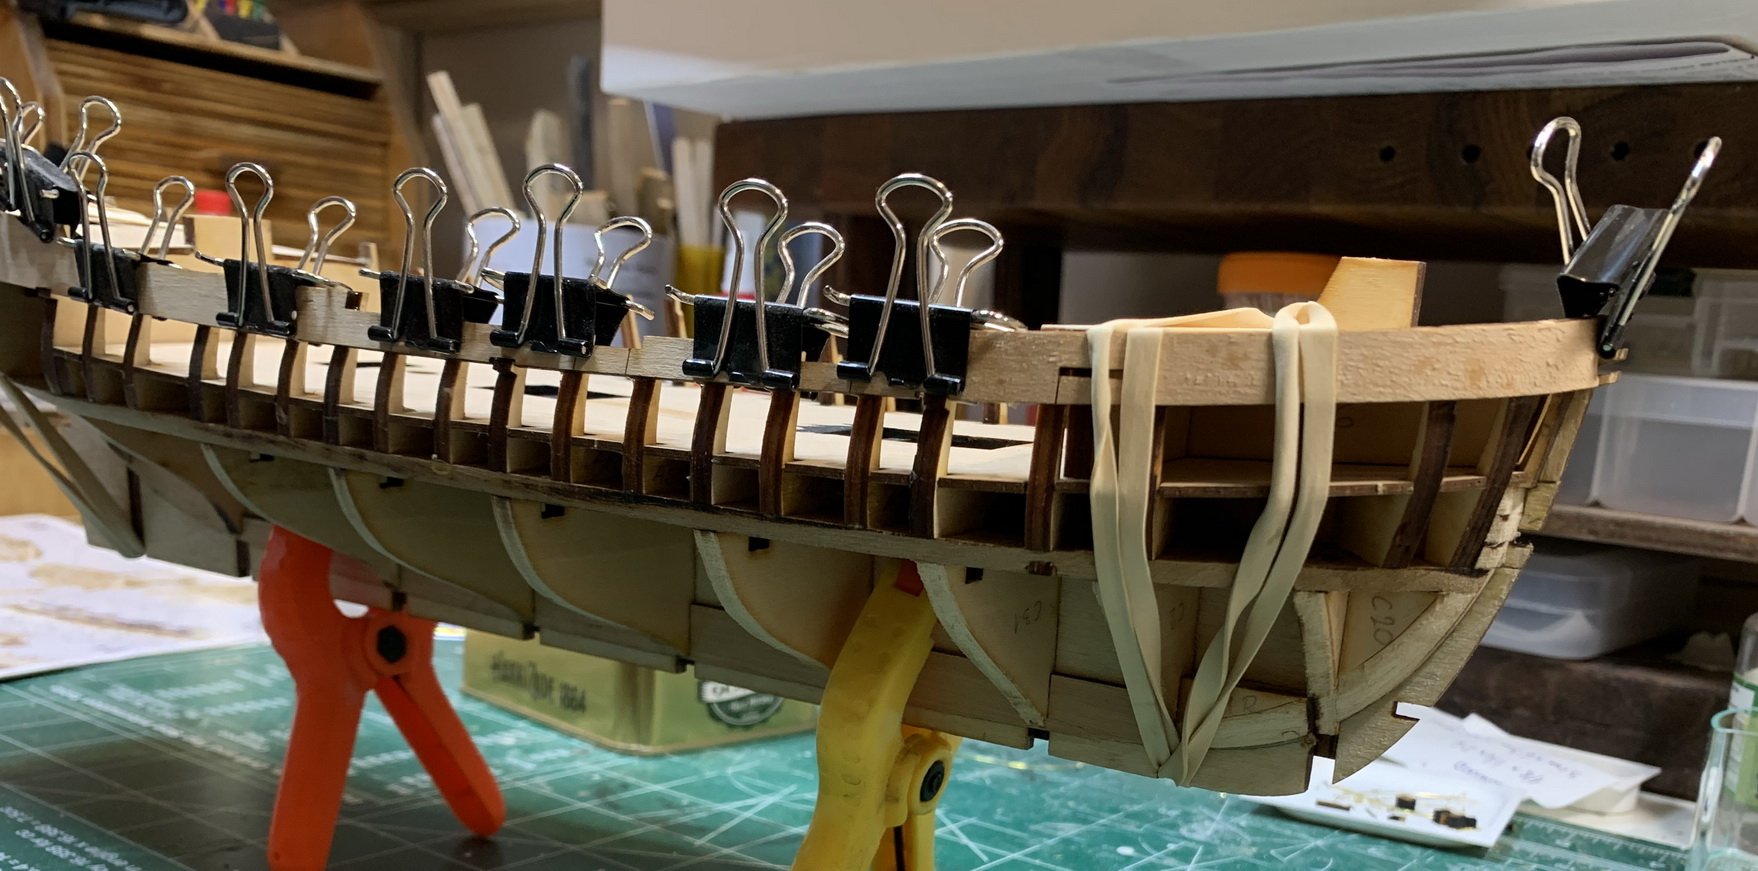
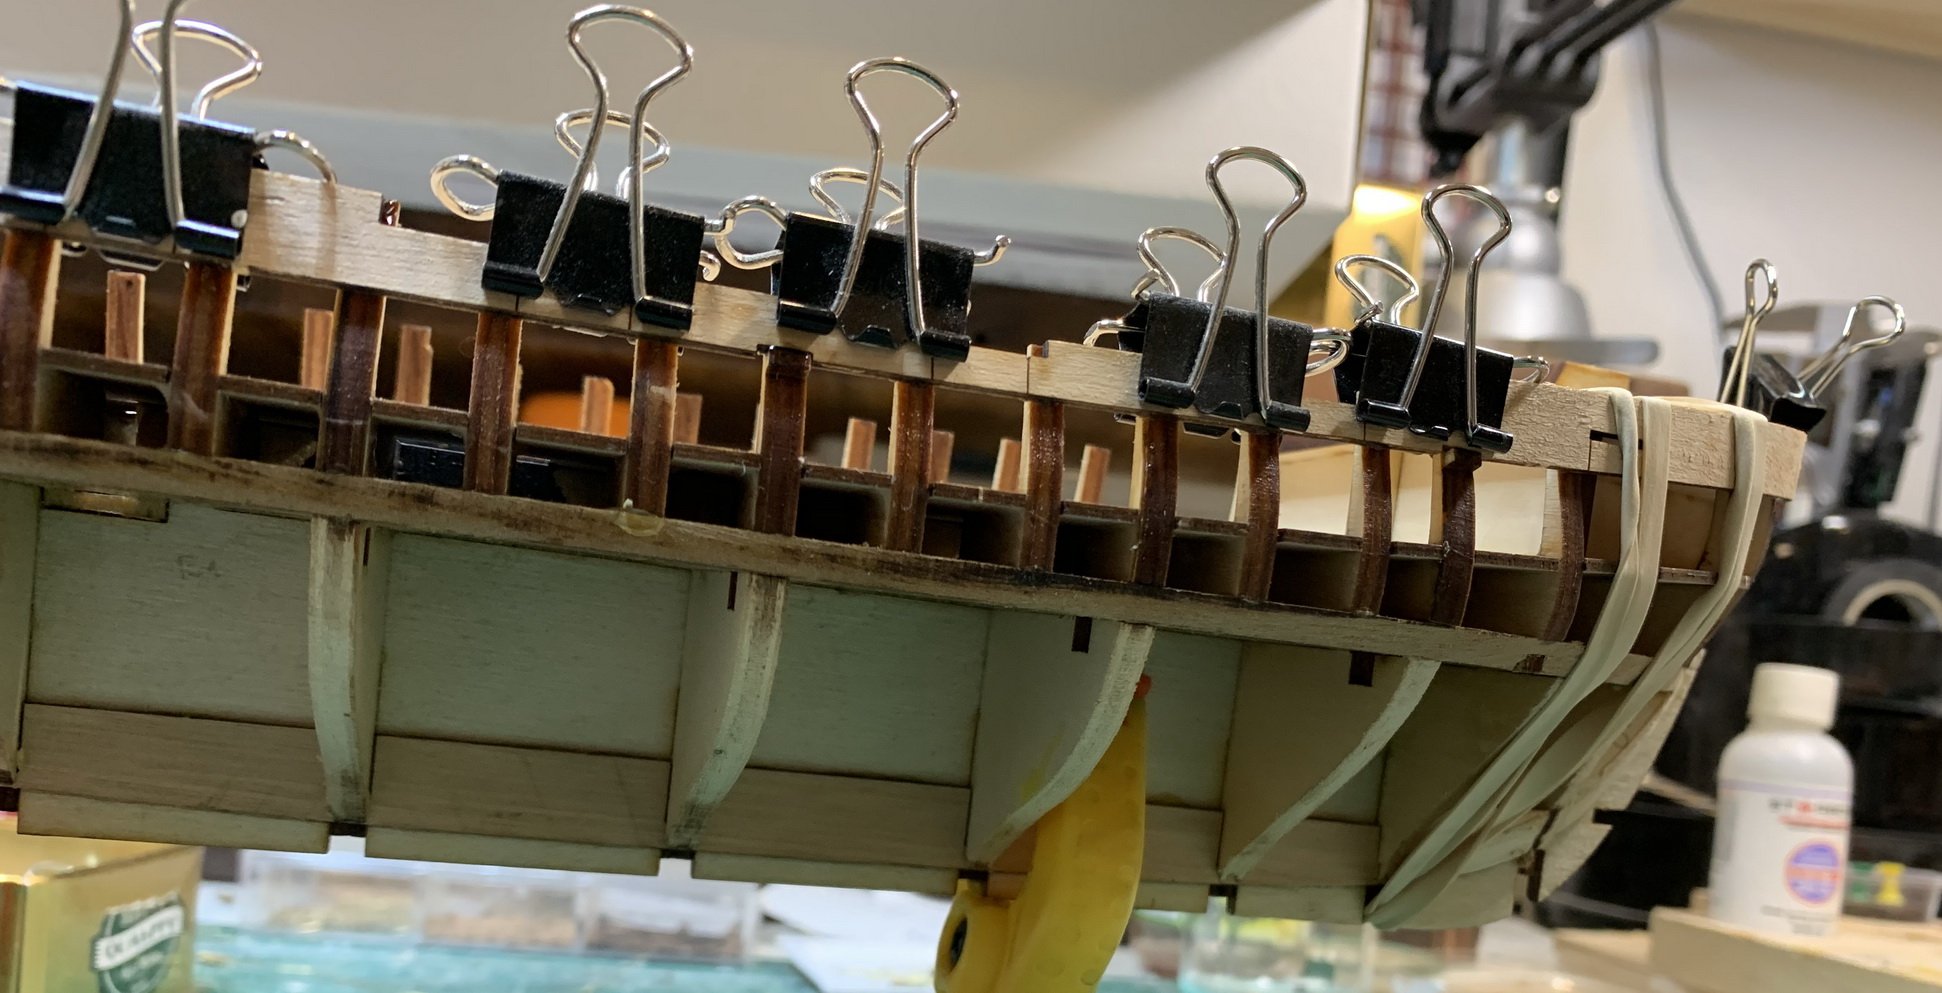
The hull fairing was next.. hopefully i will not fairing more than needed. Some of the building logs suggesting that bulkheads should be sanded appr 1.5 mm so hull planks will not ended up short at the stern area.. I will get one or two planks and test fitting...
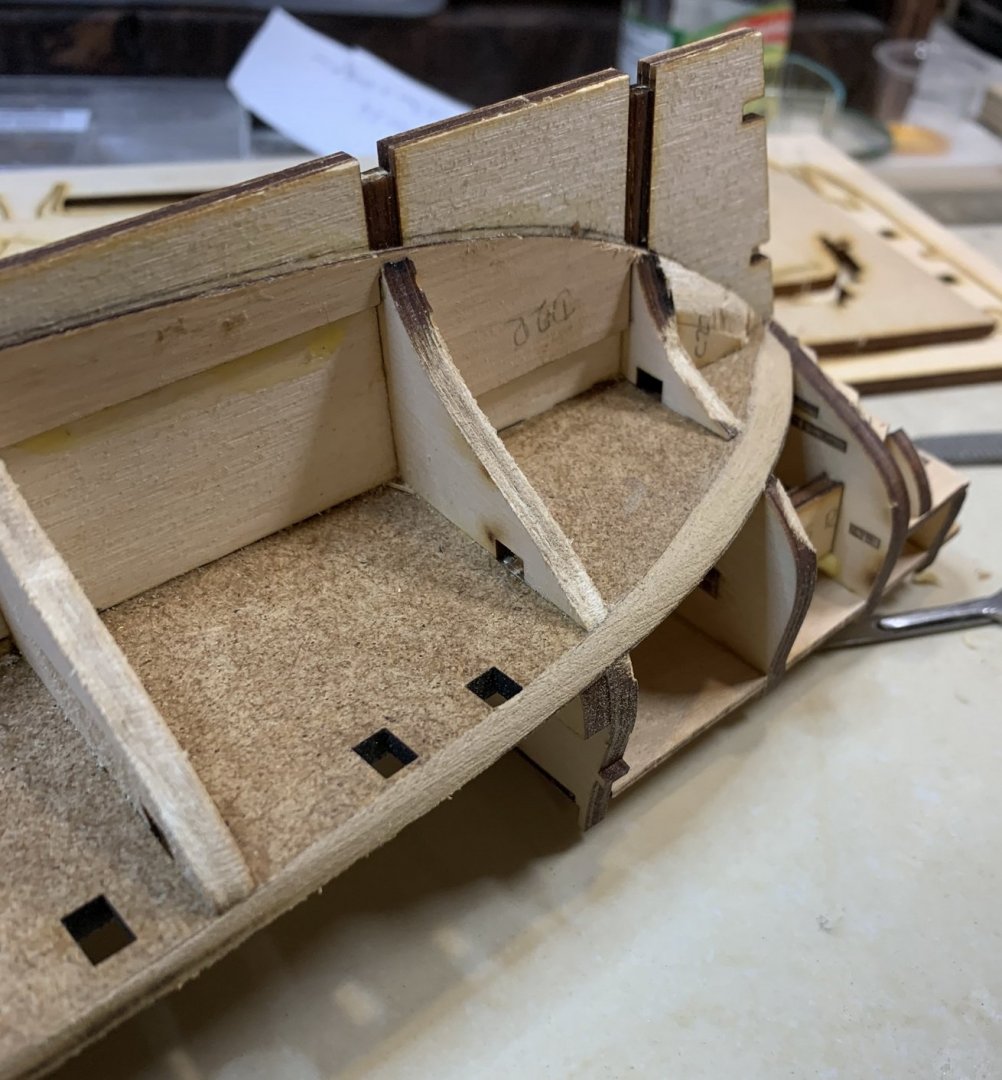
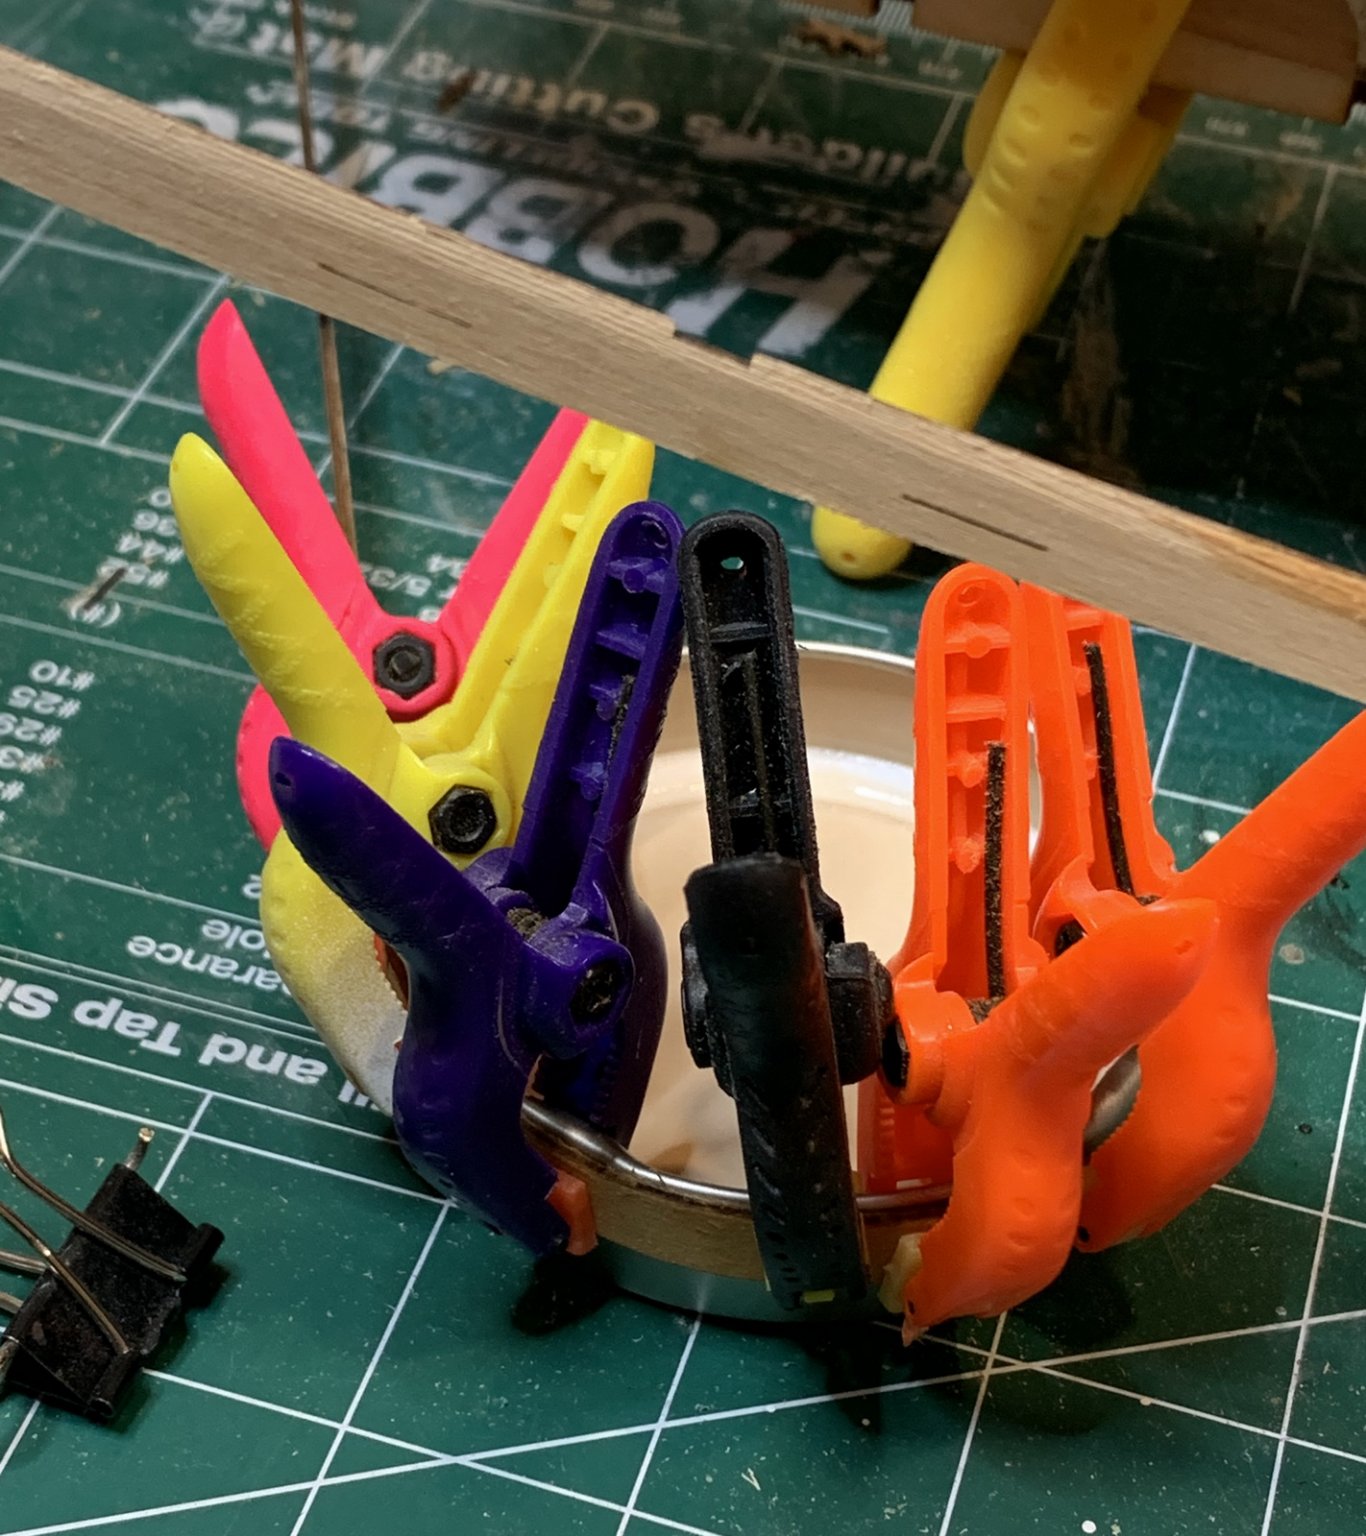
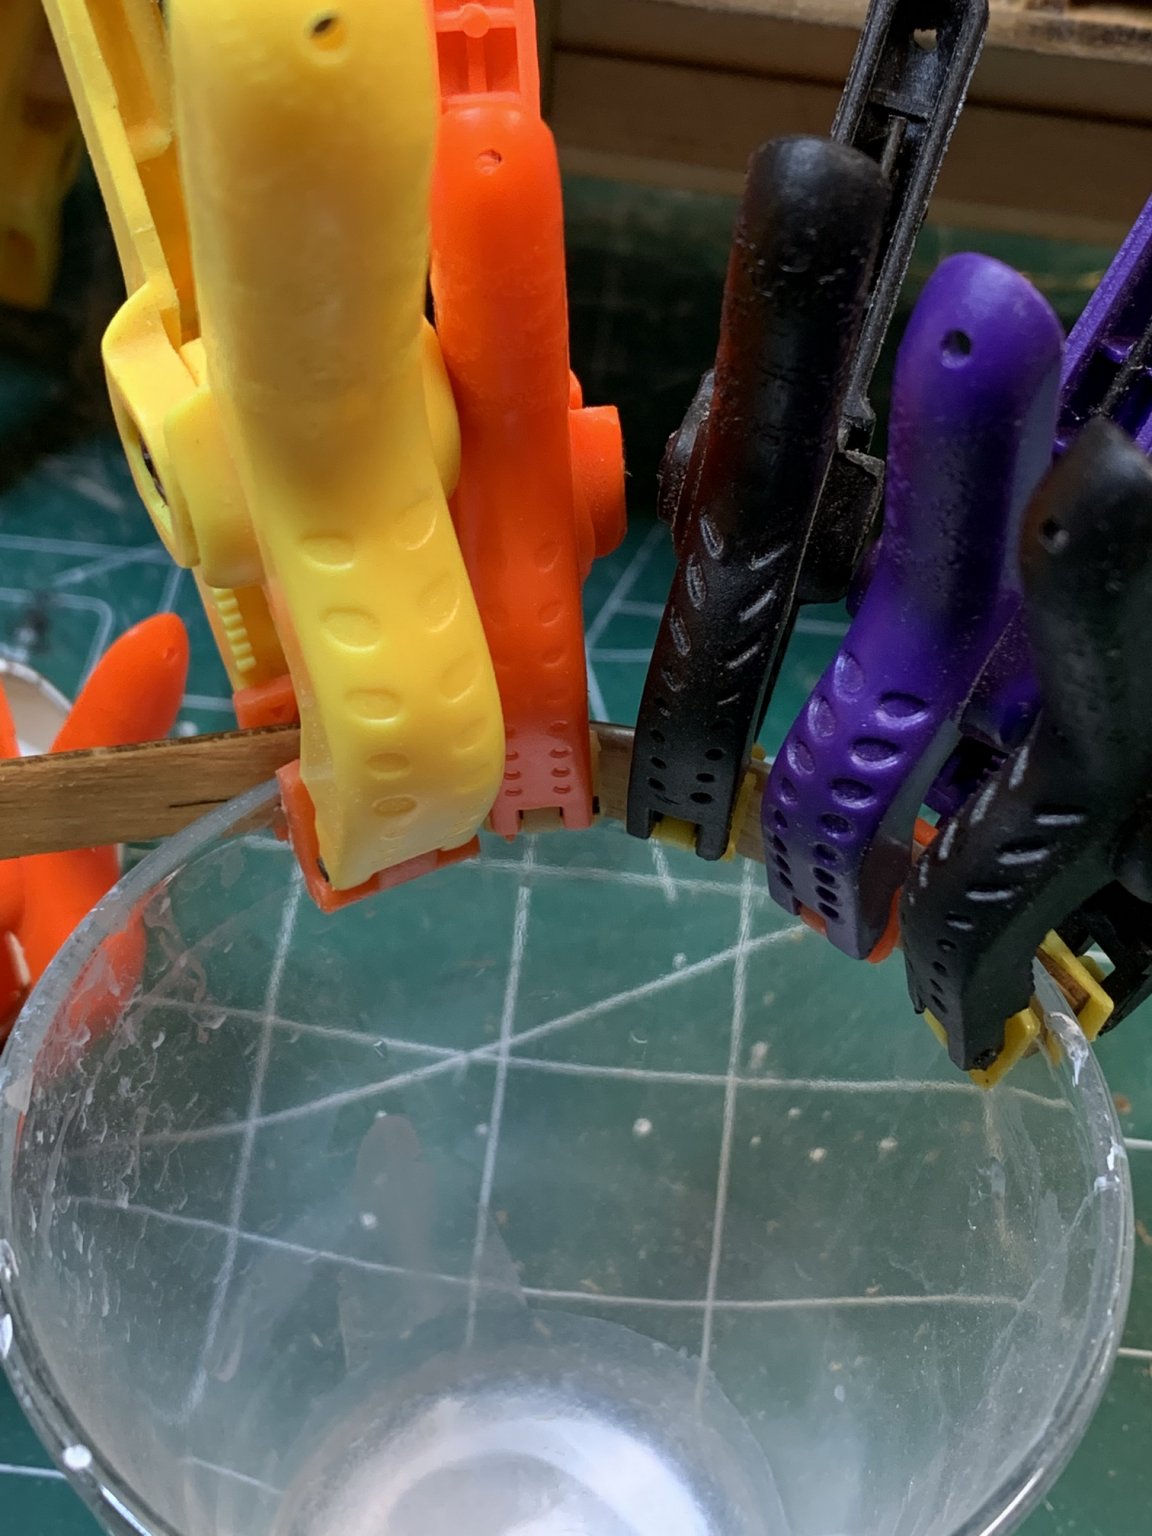
Then, following instruction i glued part of the deck at the stern area.. Unfortunately some of the clamps used in process were clamping stronger causing deck to ended up bended in some area.. so the correction had to be made. With a help of acetone, i was able to remove deck from the hull..

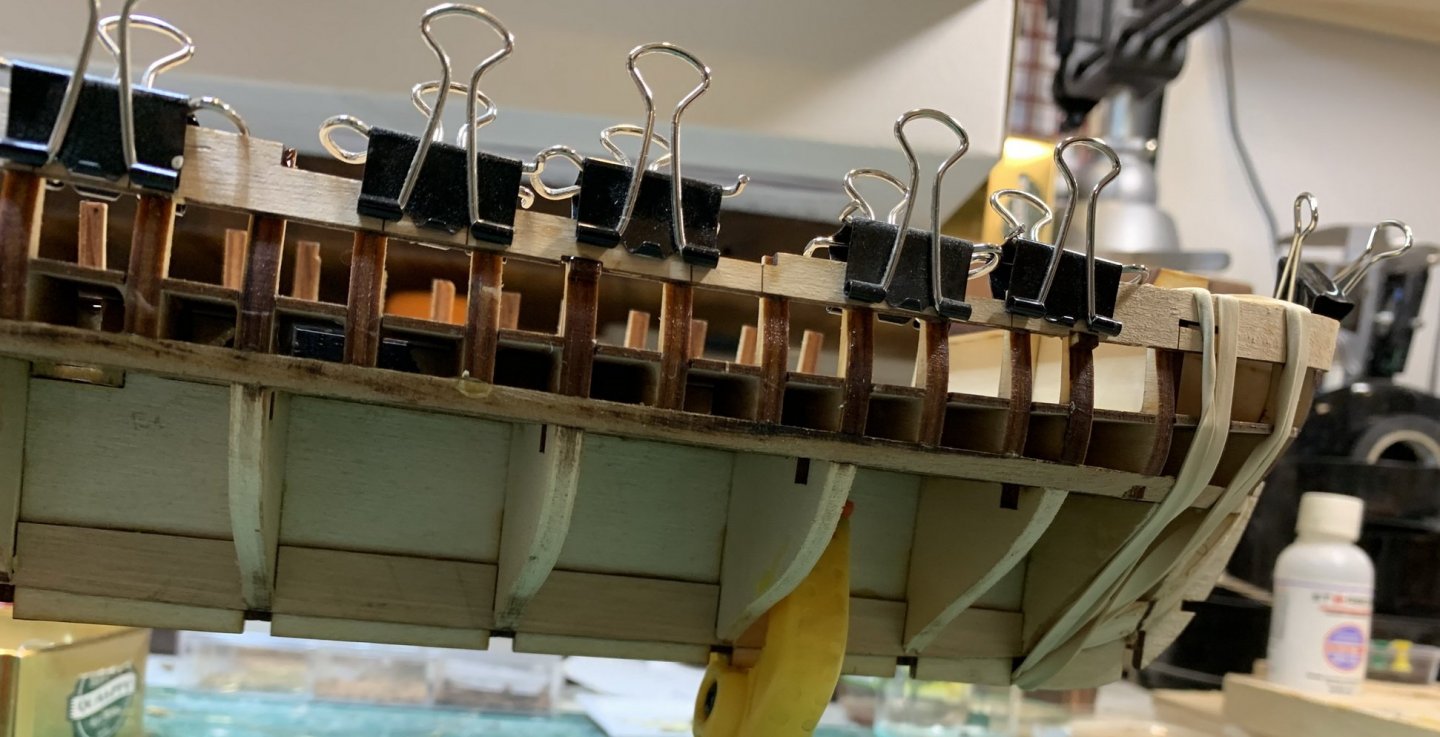
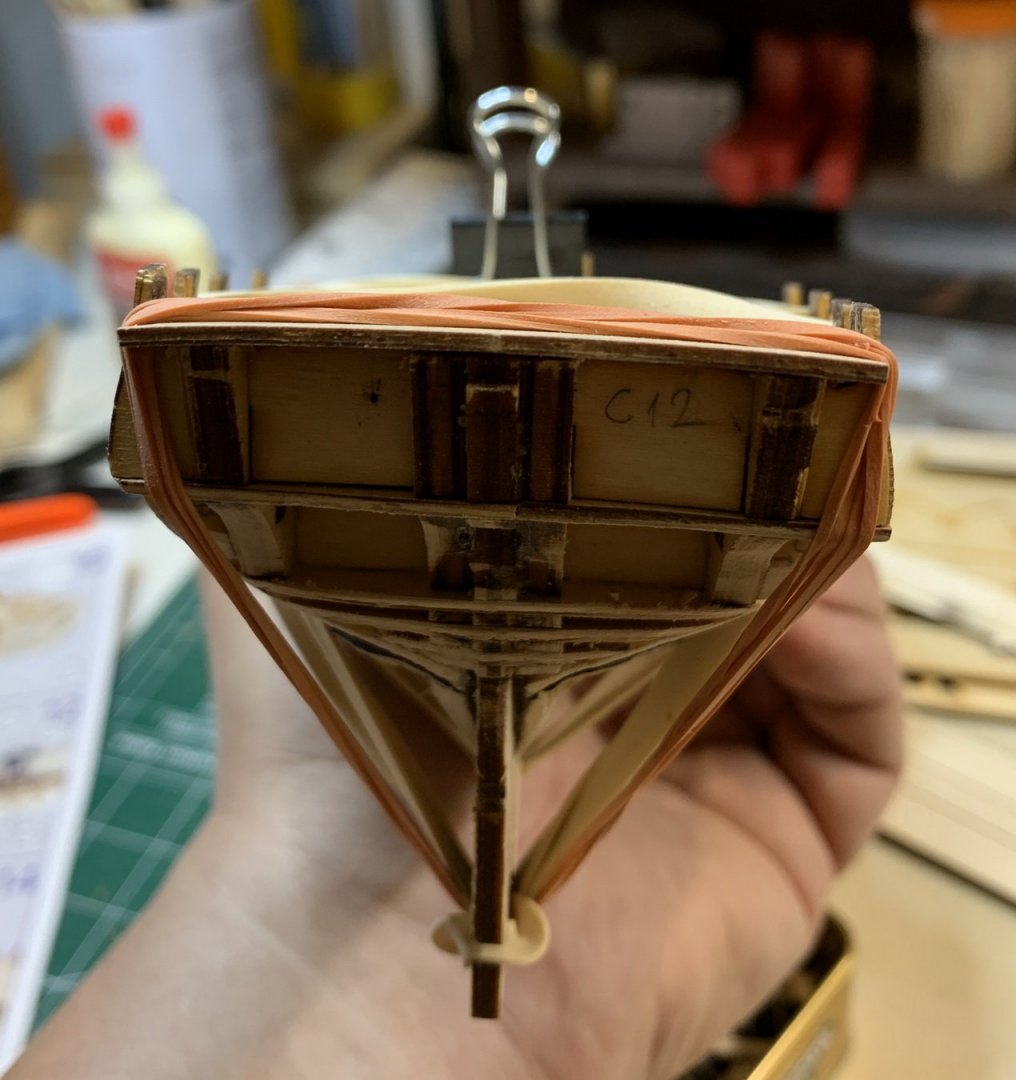
Hull and deck have been cleaned, sanded and new assembly attempt was made... this time using rubber bands instead...
Happy modelling.
- Edwardkenway, GrandpaPhil and american
-
3
-
-
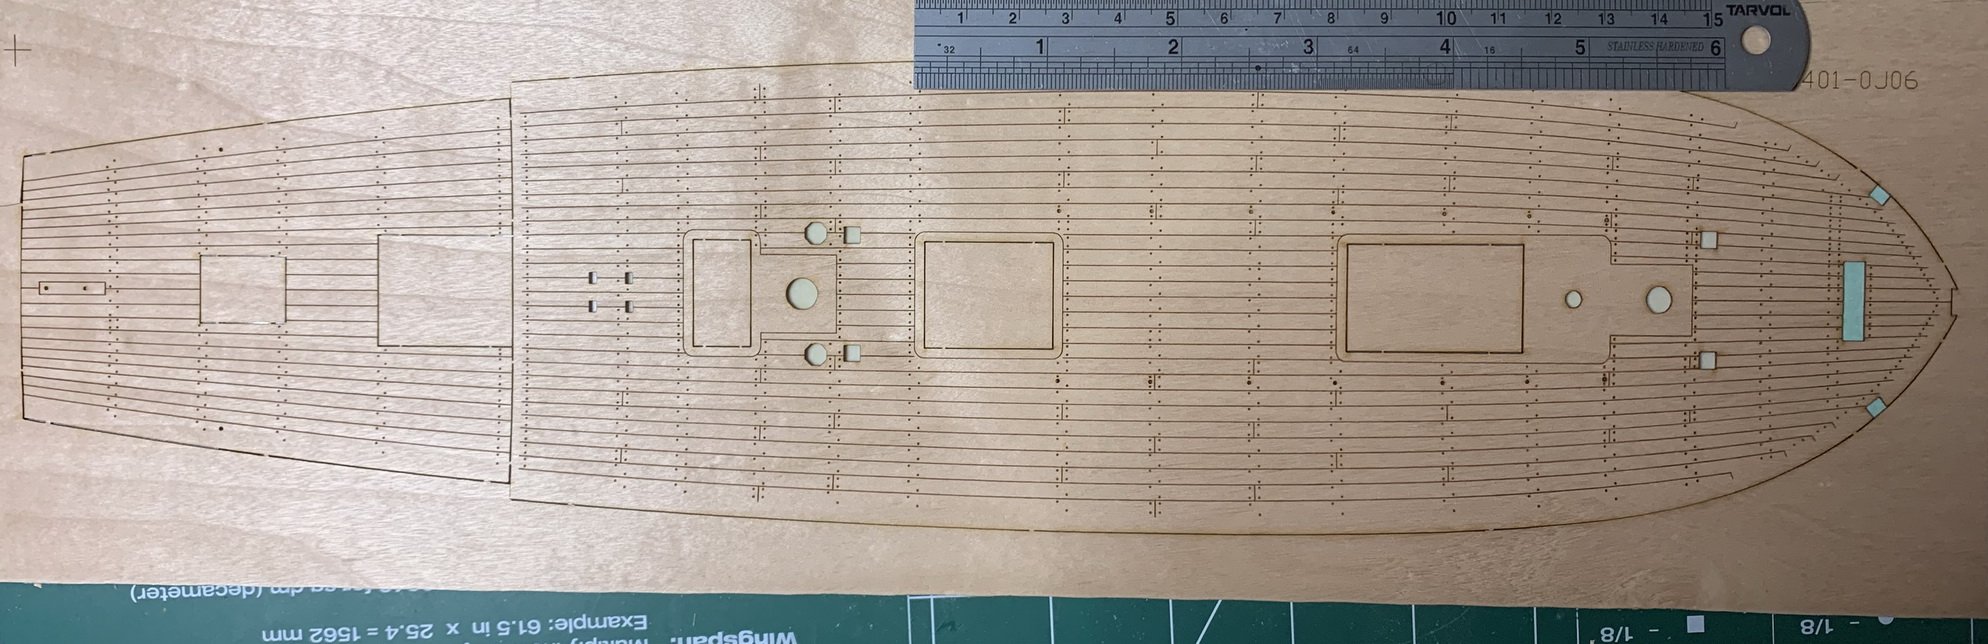
Friends, your opinions will be appreciated.
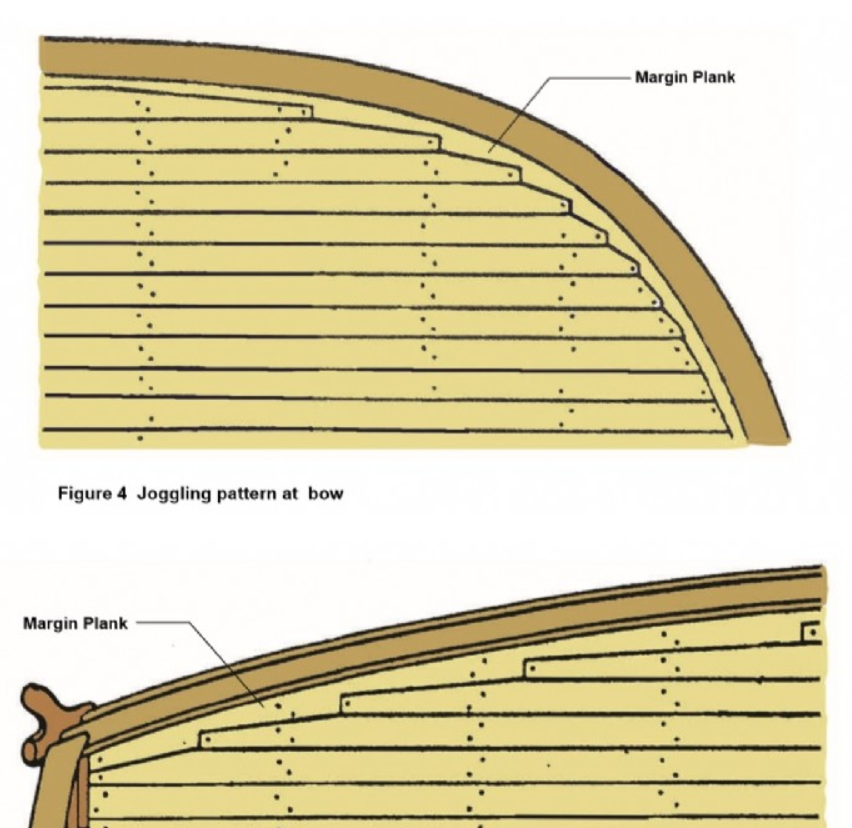
This great kit contains a piece of decorative plywood simulating deck planking, ready to be assembled on the ship.
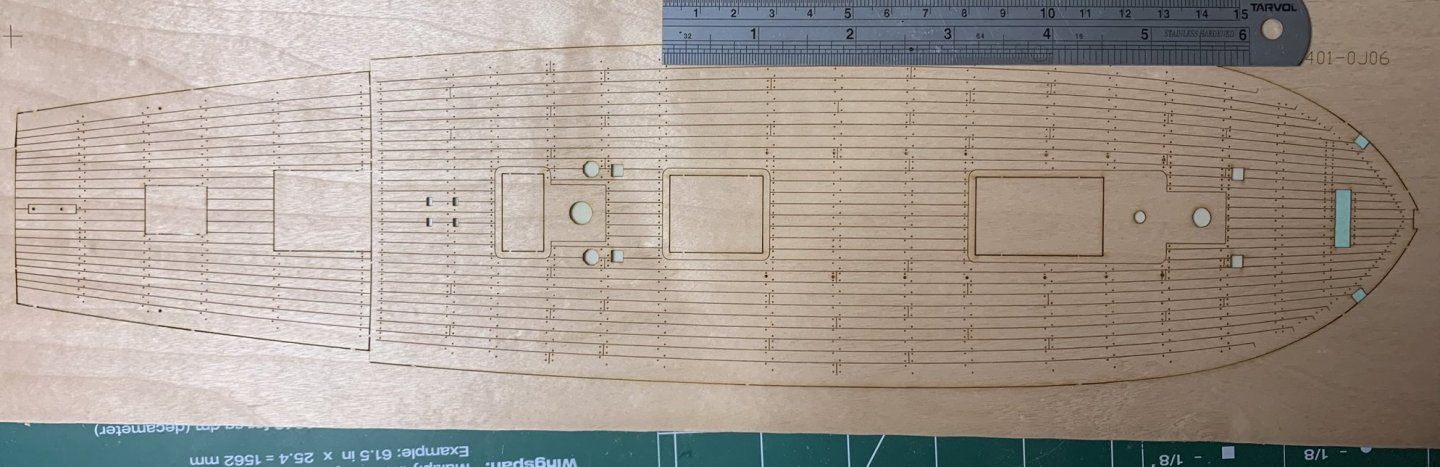
I am kind of used to that all deck planking are made of straight planks, not as curved as on this sample. I am not familiar with bending methods during days when this real ship was built that will allow plank bending in the way they have represented here..
I am leaning towards more classical deck planking method where planks are all running straight (like in my Sultana model)....
..and where joggling the deck planking when they meet the margine planks...
What is your opinion?
-
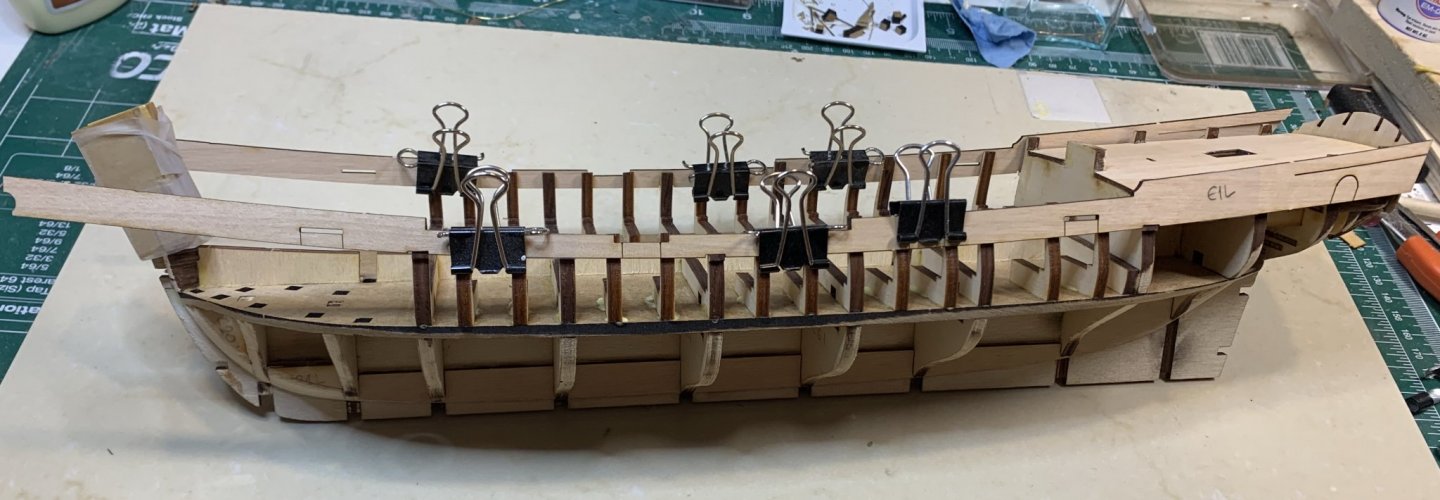
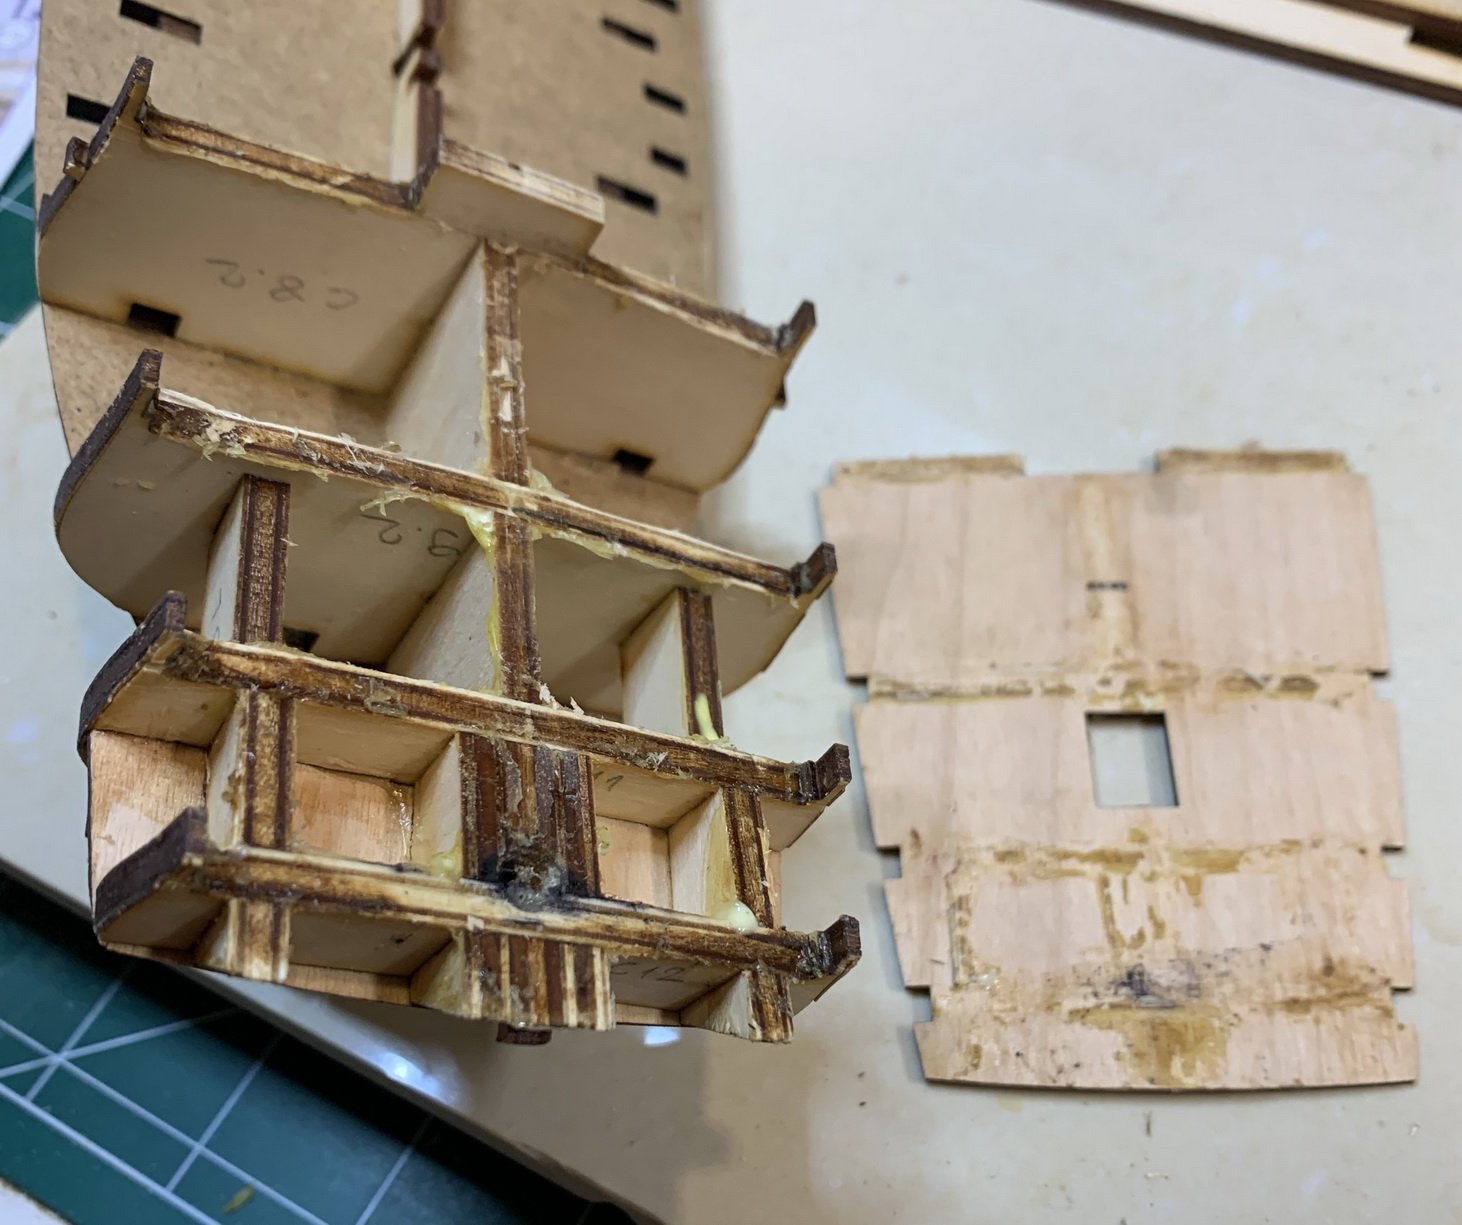
Nothing much to update.. keep gluing... the parts are very precise and easy to assembly... minor sanding is required..


Sometimes big guns are needed...

Happy modeling.
- Edwardkenway, GrandpaPhil, american and 1 other
-
4
-
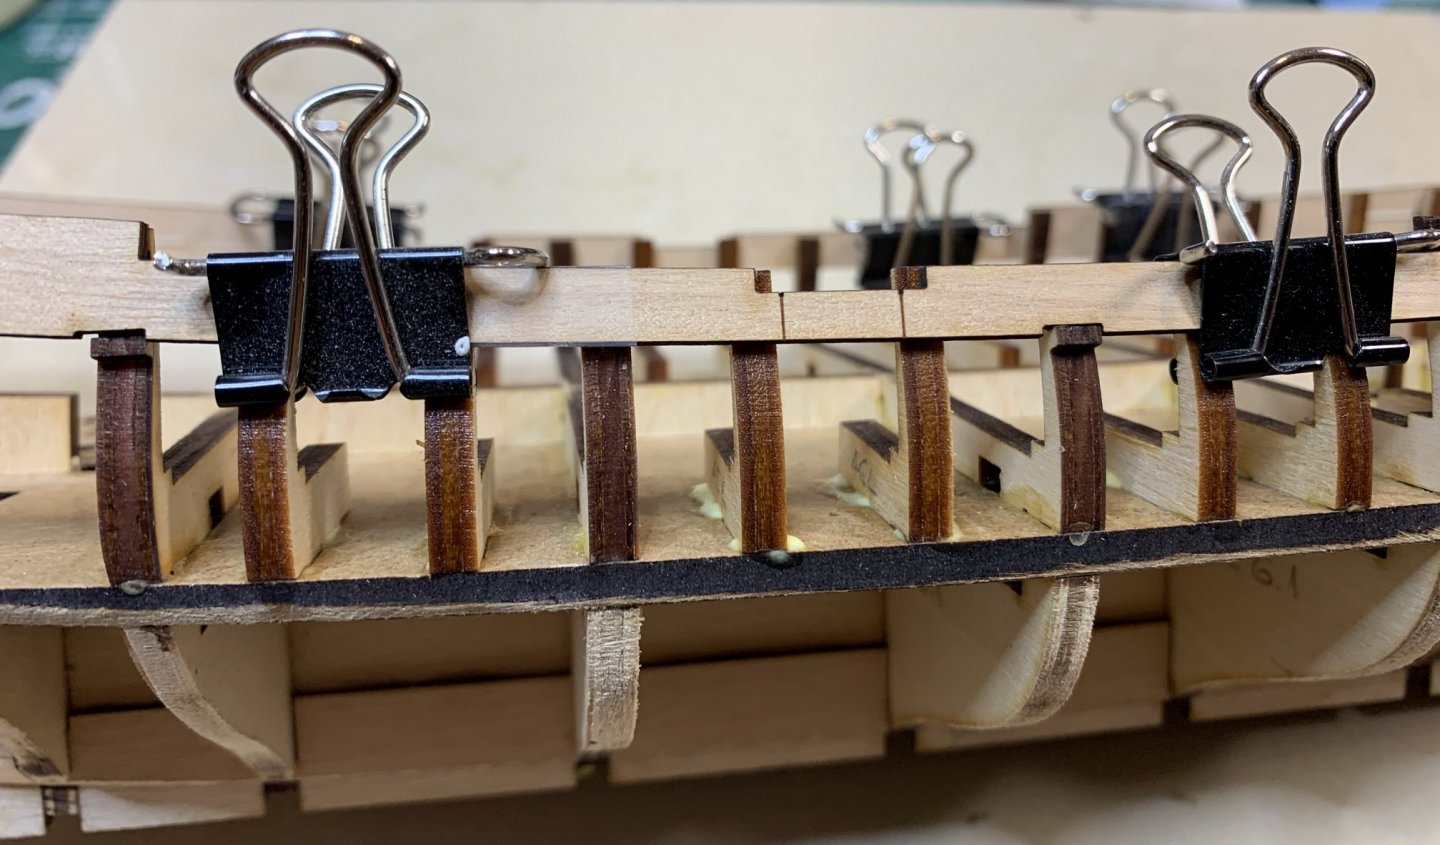
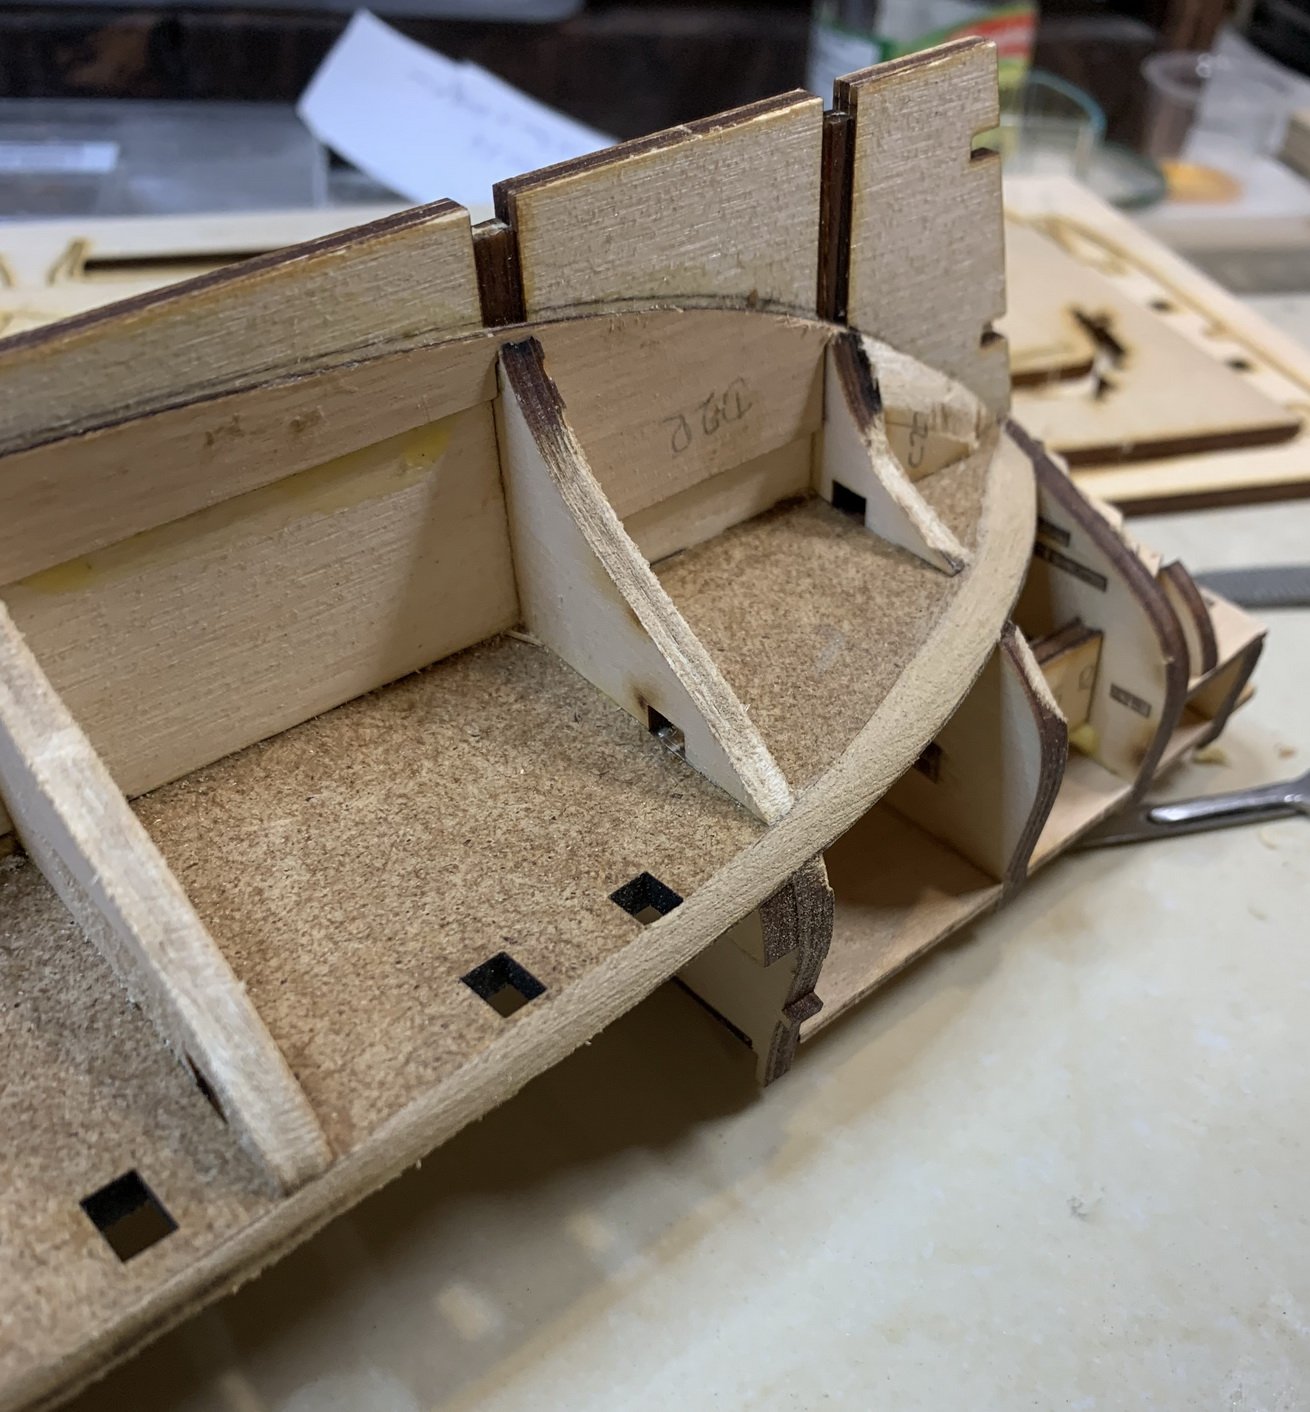
Continue with bulkhead assembly..
Not sure how this part is called but D1L is going on 🙂, dry fit..

And gluing it all ...
And yes, my ropes finally showed up with some on back-order as well....
Happy modeling..
- Edwardkenway, GrandpaPhil and american
-
3
-
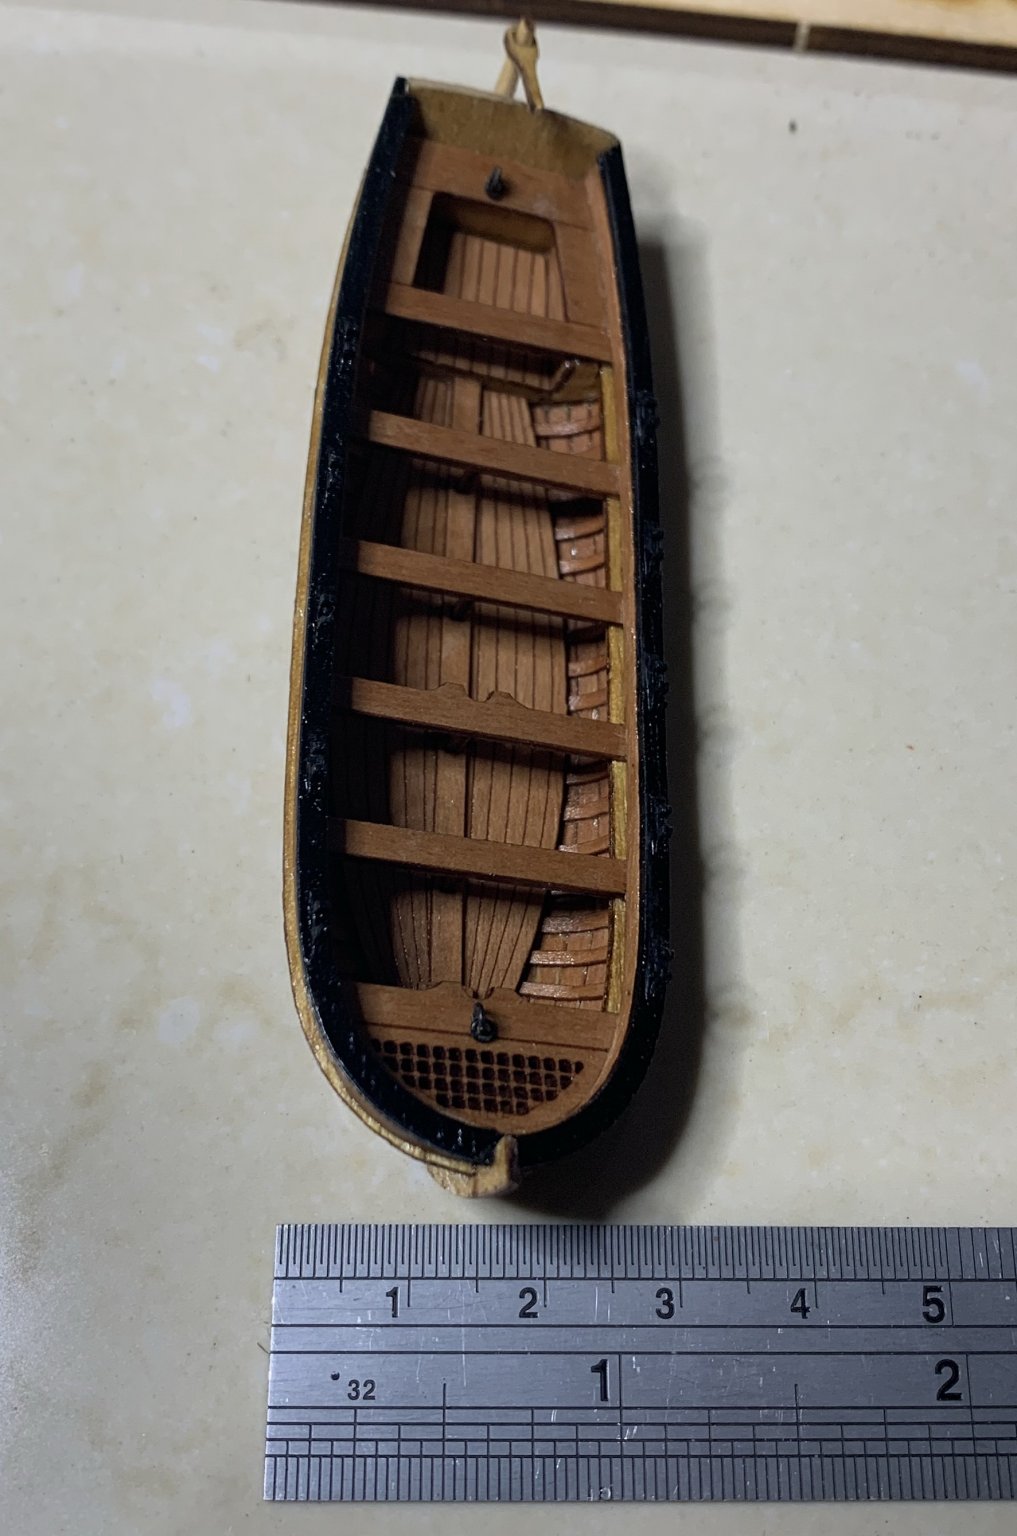
15 minutes ago, Gregory said:
Very nice work.
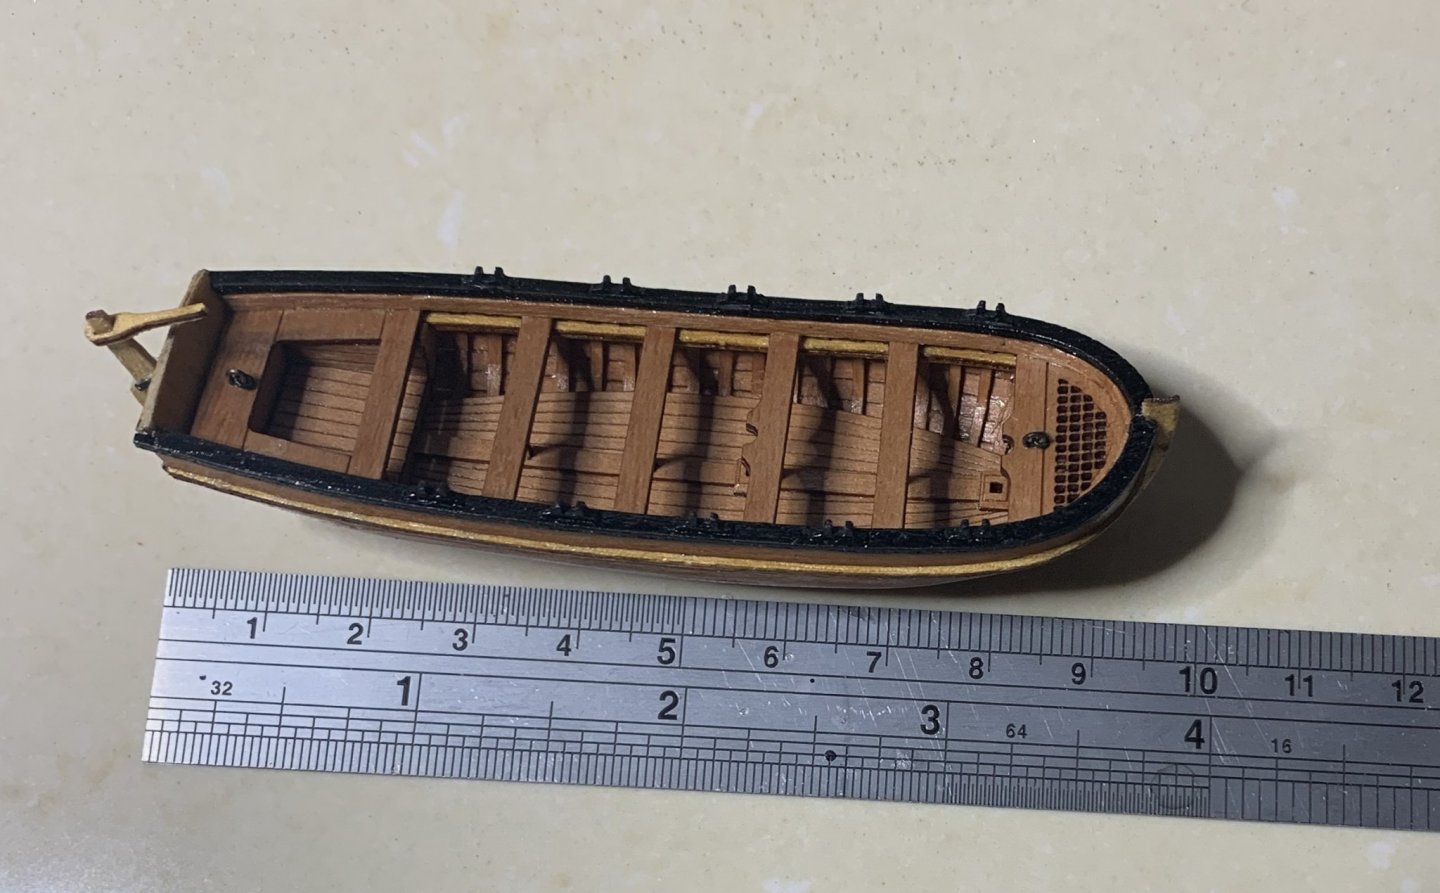
If I may ask, what is the actual length of the little ship's boat?
Thanks..
certainly.. it is a 9.5cm in length and 2.5cm width..

Cheers
- GrandpaPhil, Edwardkenway, american and 1 other
-
4
-
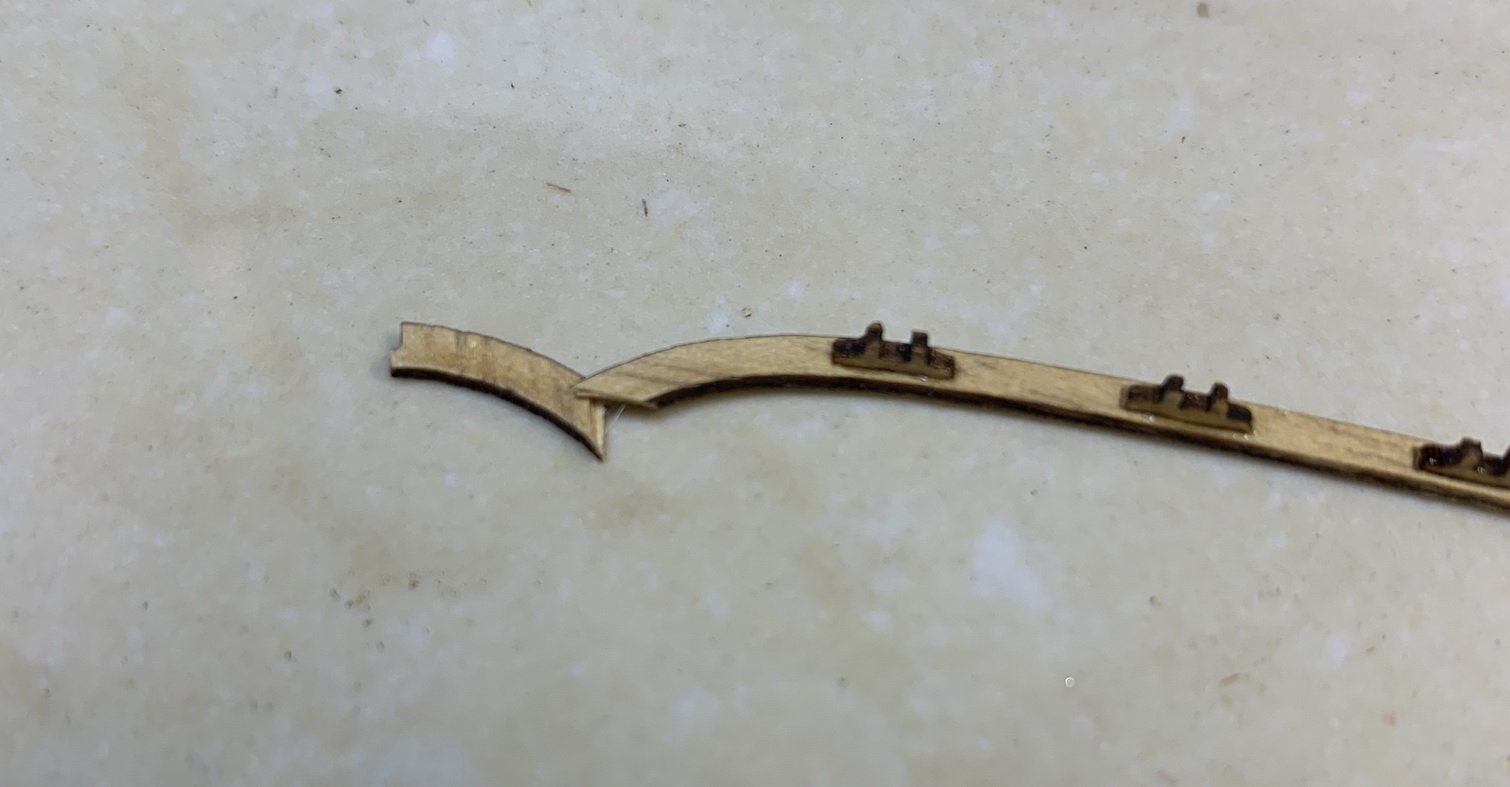
The rudder has been replaced.. the challenge was that there is no rudder schema available so i had to do a bit of research to come up with one that is close to the original as possible.
I have used some left over wood and transfer rudder on it..
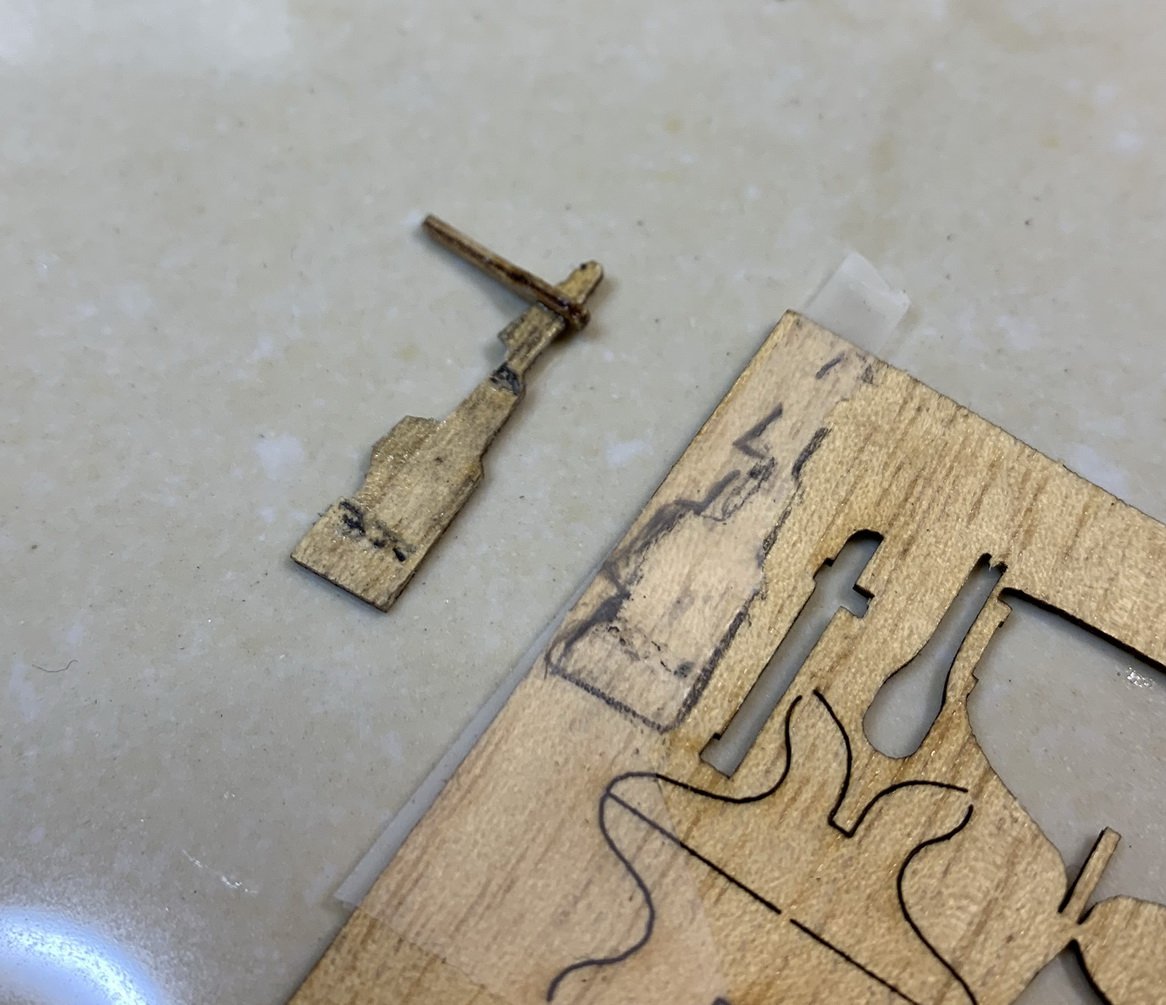
Rudder was cut and shaped and installed on the boat. I am not fully satisfied with its look but will leave it as is for now. Rudder was not glued, just slide in..
During process of mounting a new rudder, gudgeon snapped and replaced..
10 rows were also completed...
Since i am still waiting for a ropes to arrive, i put all completed parts aside.
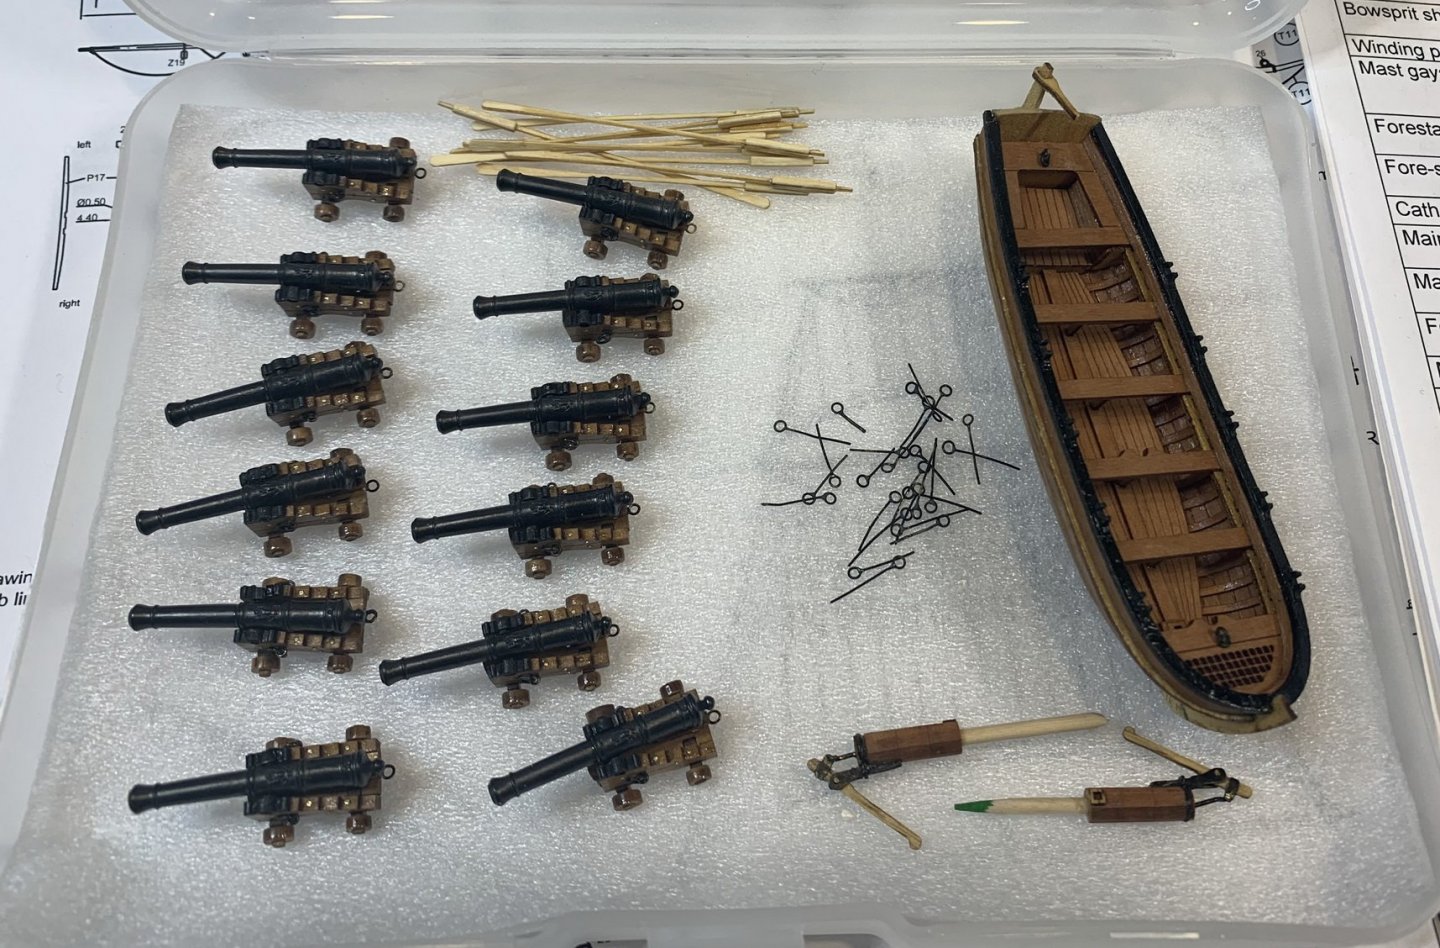
And the fun part started..
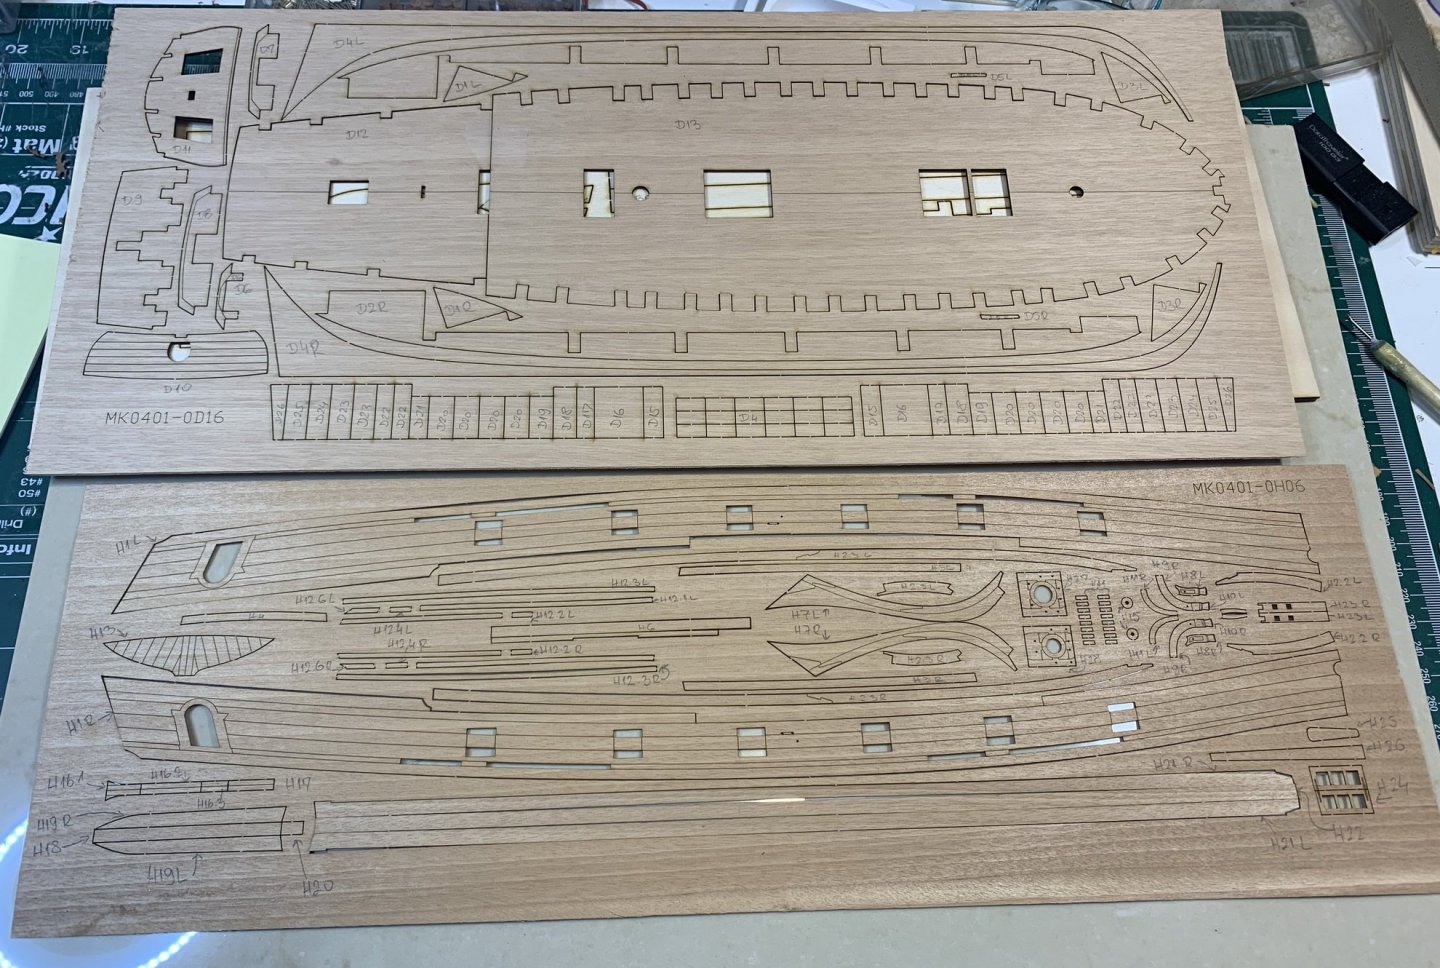
First i marked all parts based on kit diagram.
I have used a HB pencil in case some of those marks needs to be erased later.
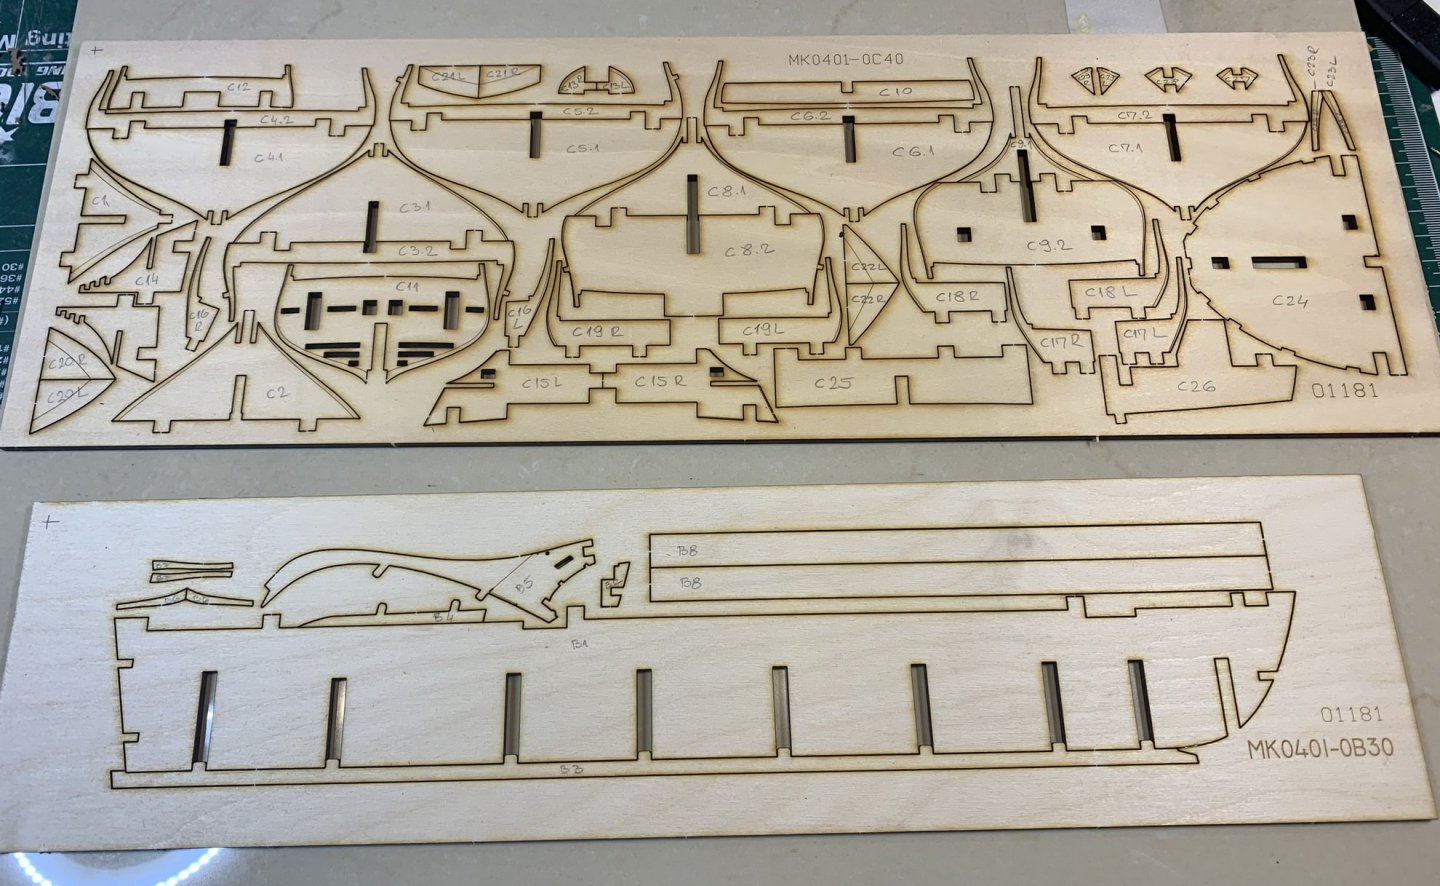
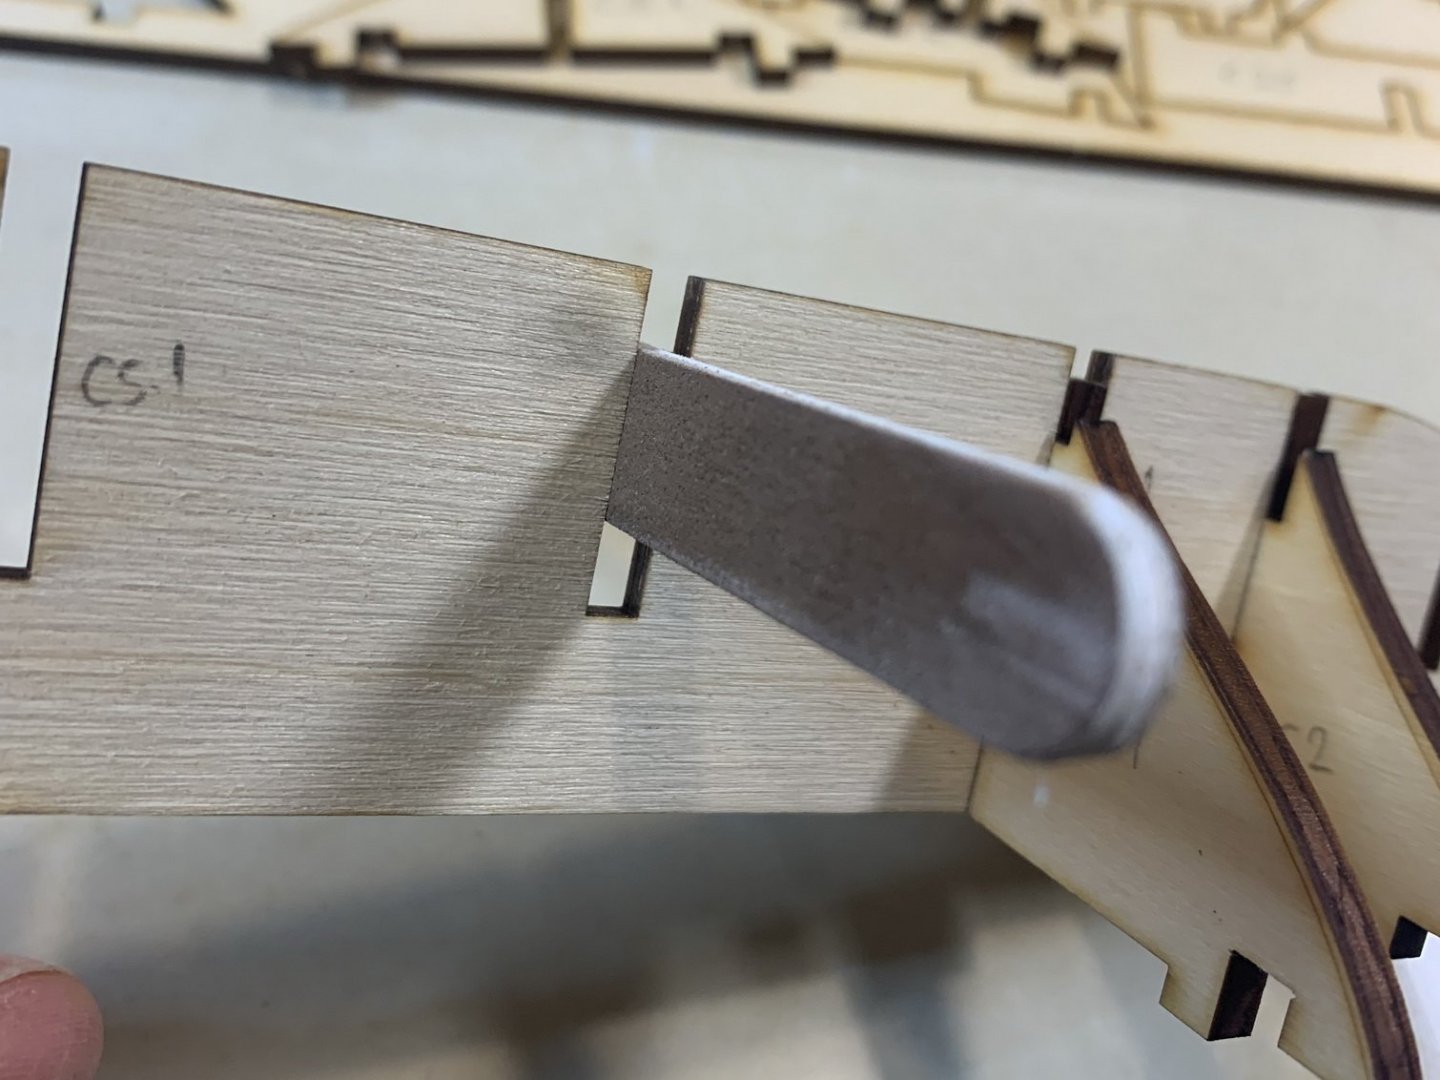
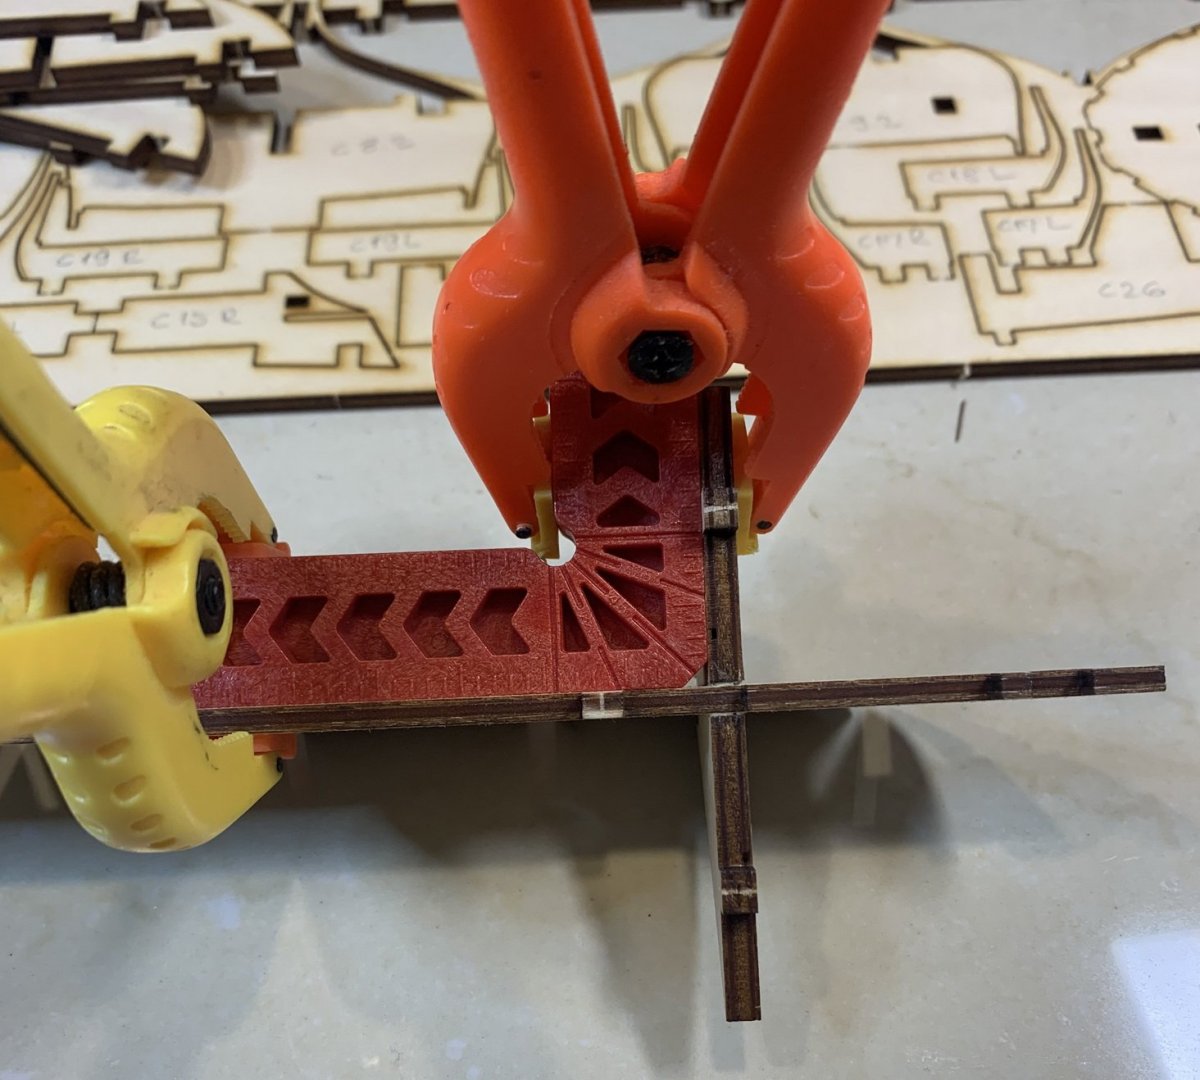
Started with bulkhead, by removing them from the frame. The frame is strong so few different knifes are required to remove parts.
Dry fit without any sanding shows that parts are very precise cut and easy to assemble...
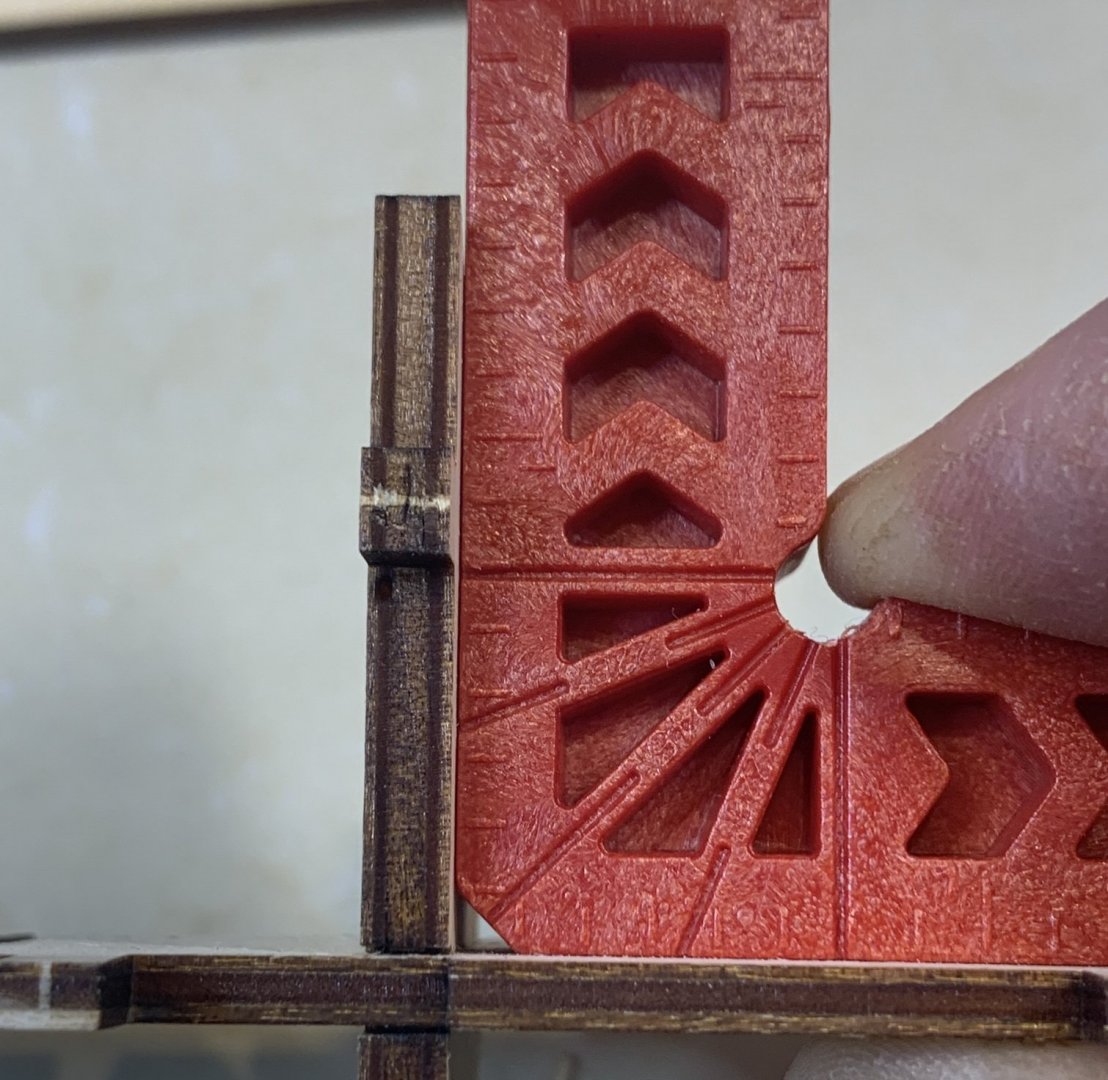
Sanding was applied to keel and all bulkheads just enough to remove excess laser cut burns..
All bulkheads were removed, sanded and dry fit...
And the first bulkhead glued..
More to come..
Happy modeling.
- Edwardkenway, Gregory, ccoyle and 2 others
-
5
-
Looking into rudder, it does look a bit weird; the gap appears to be too big between rudder and a boat.. Need to redo it a bit..
Unfortunately i was not able to locate any info about the rudder on kit plan..
-
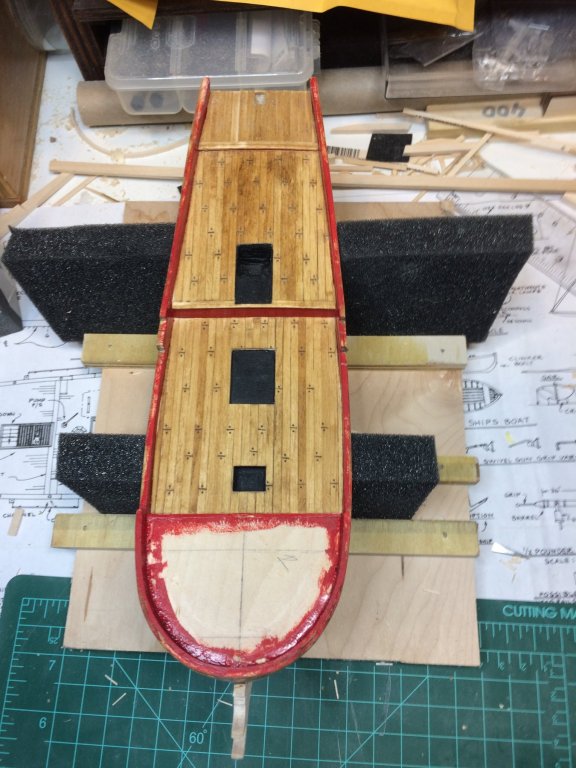
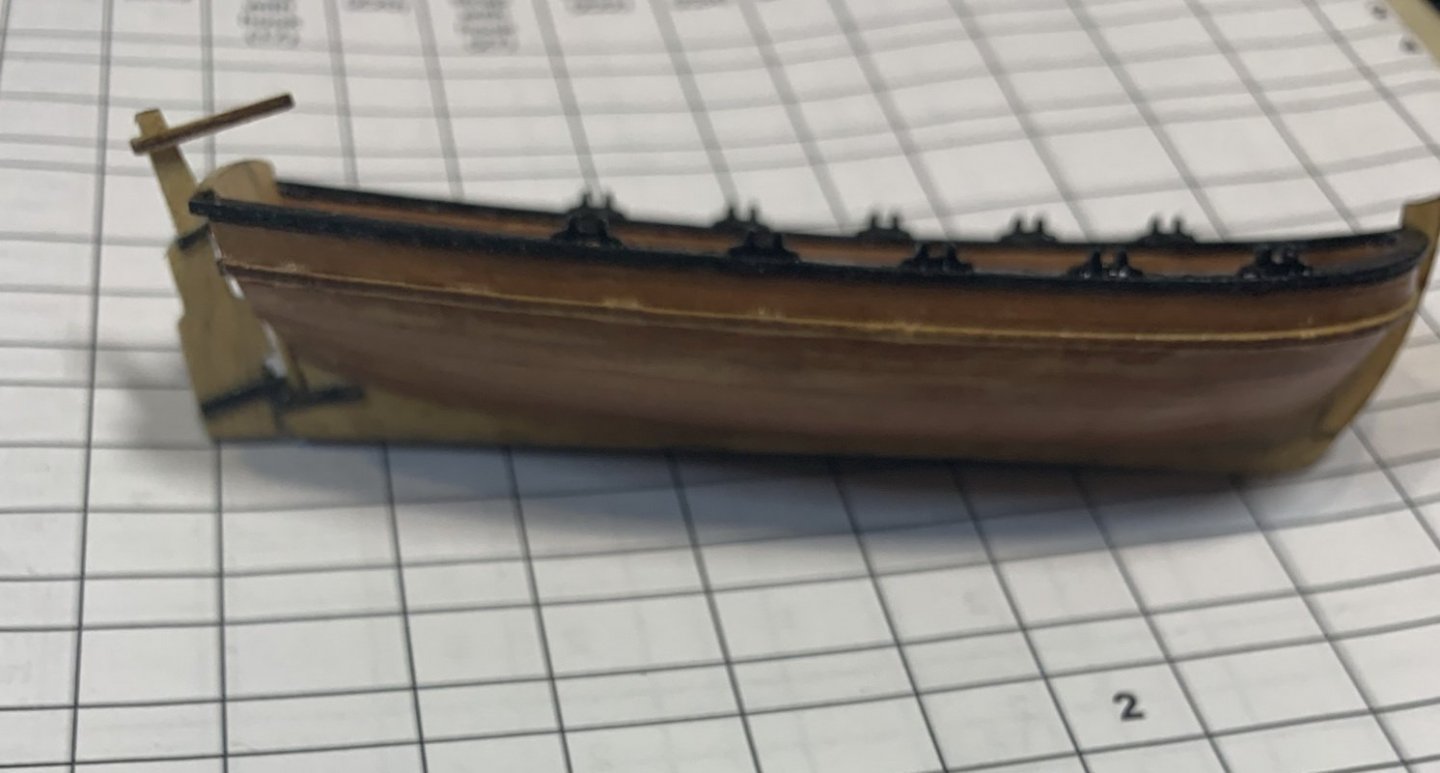
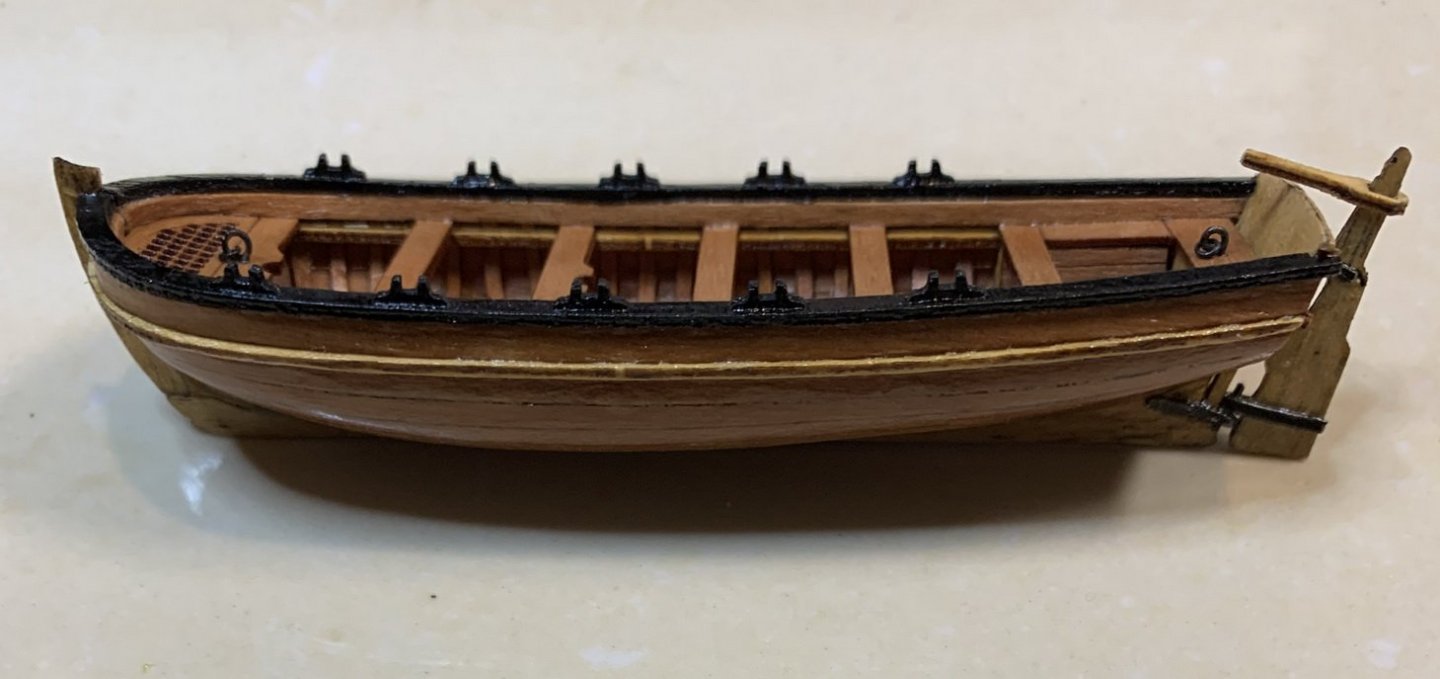
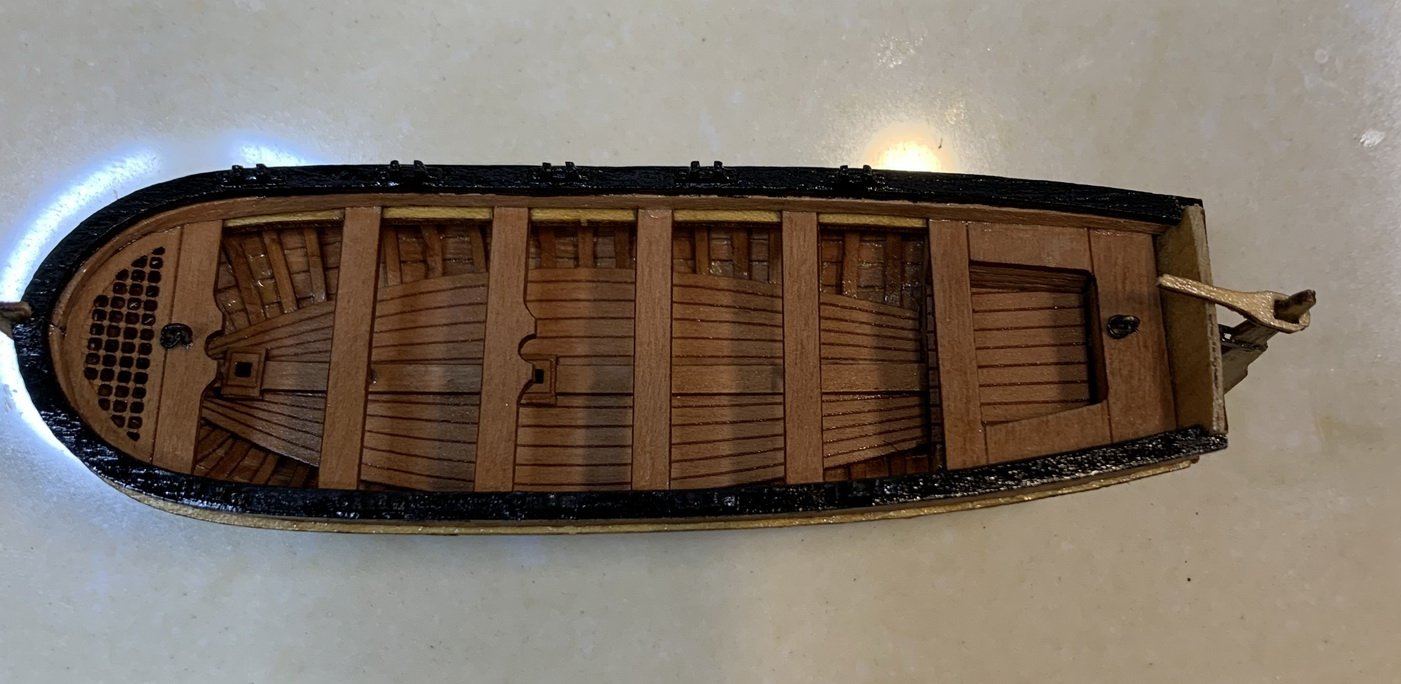
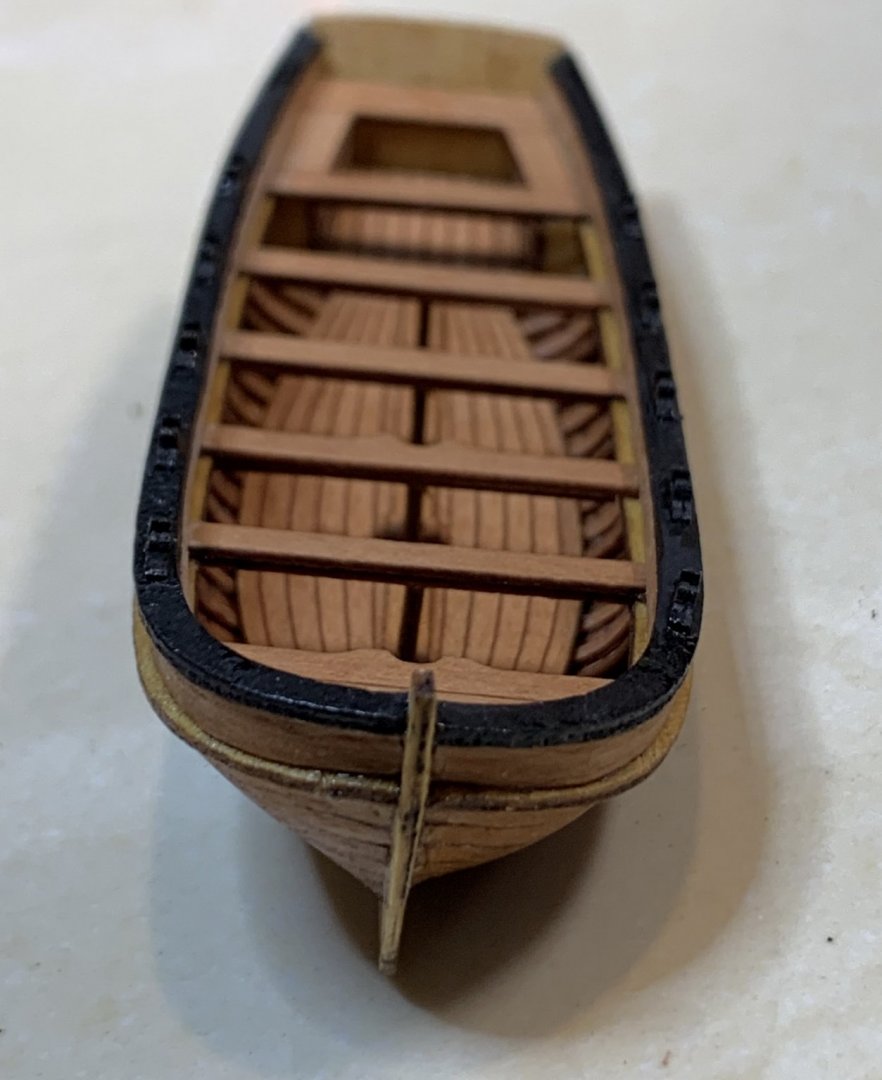
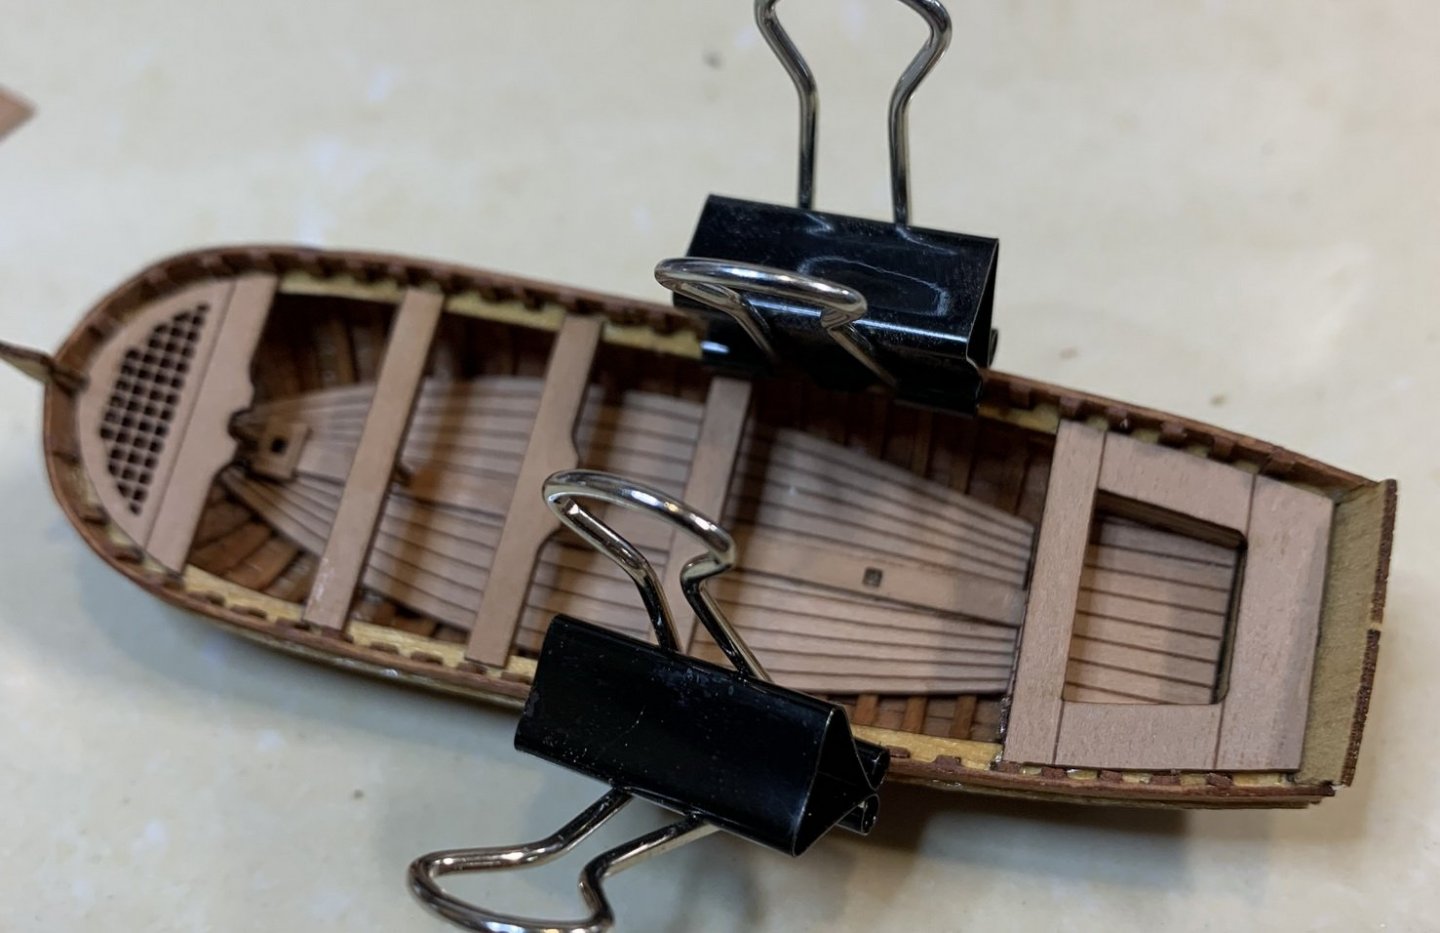
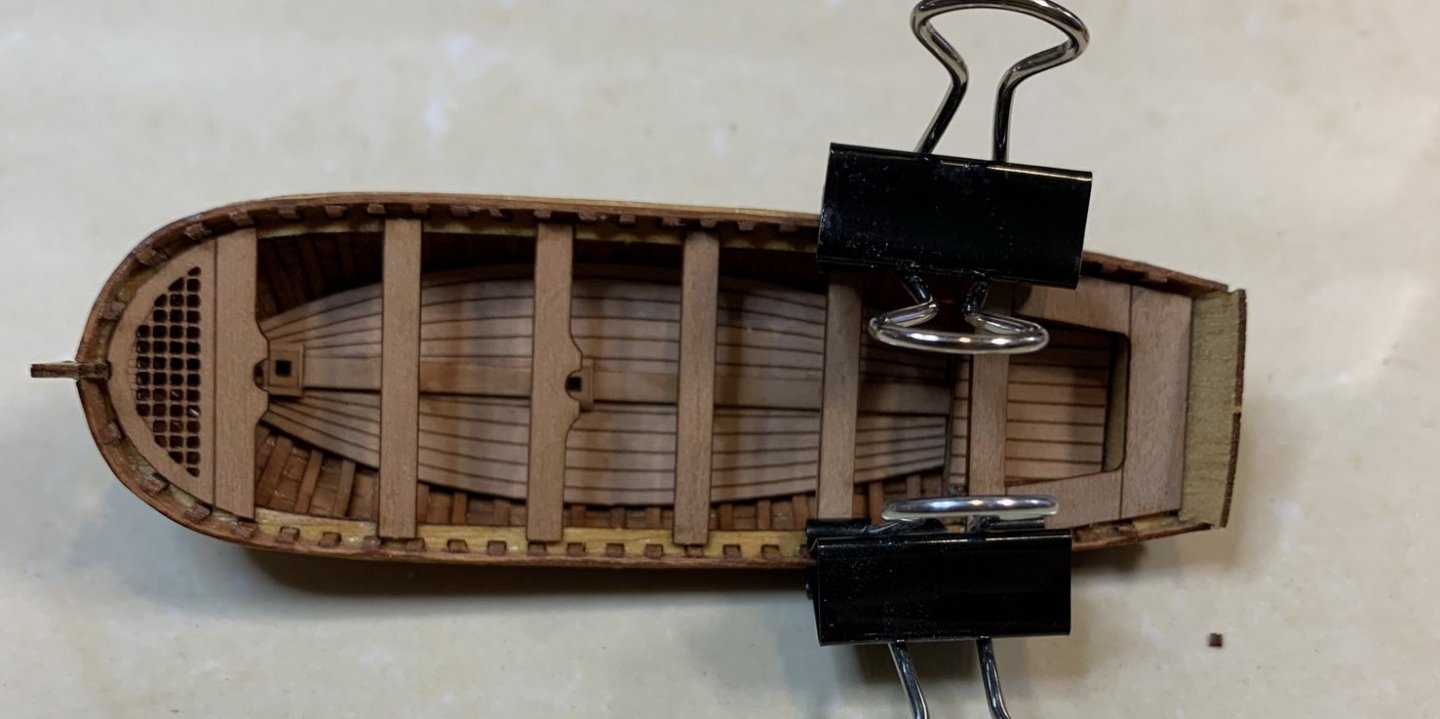
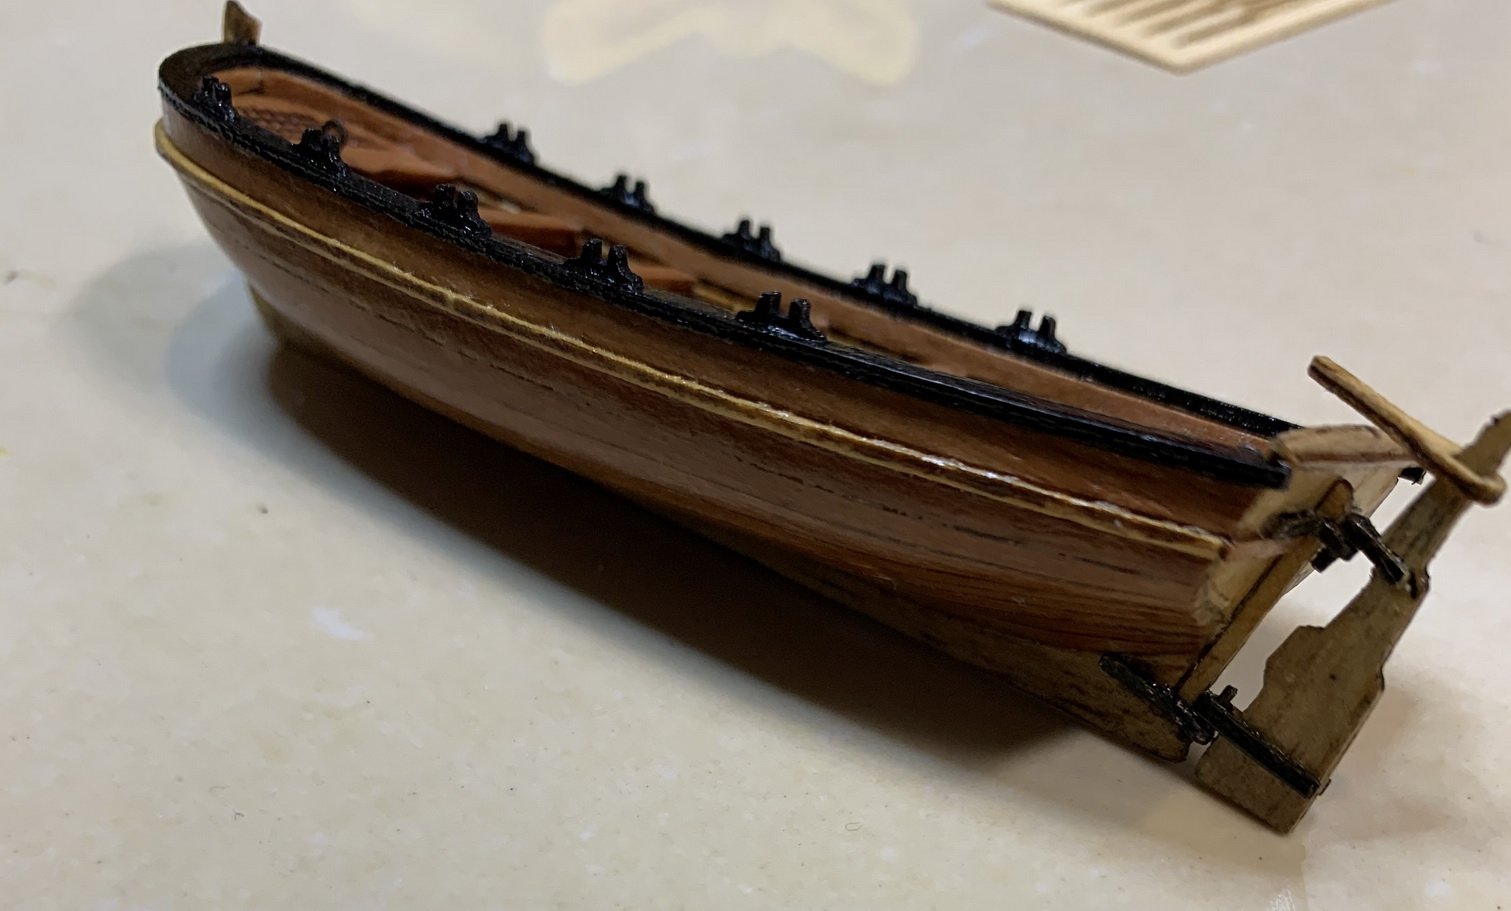
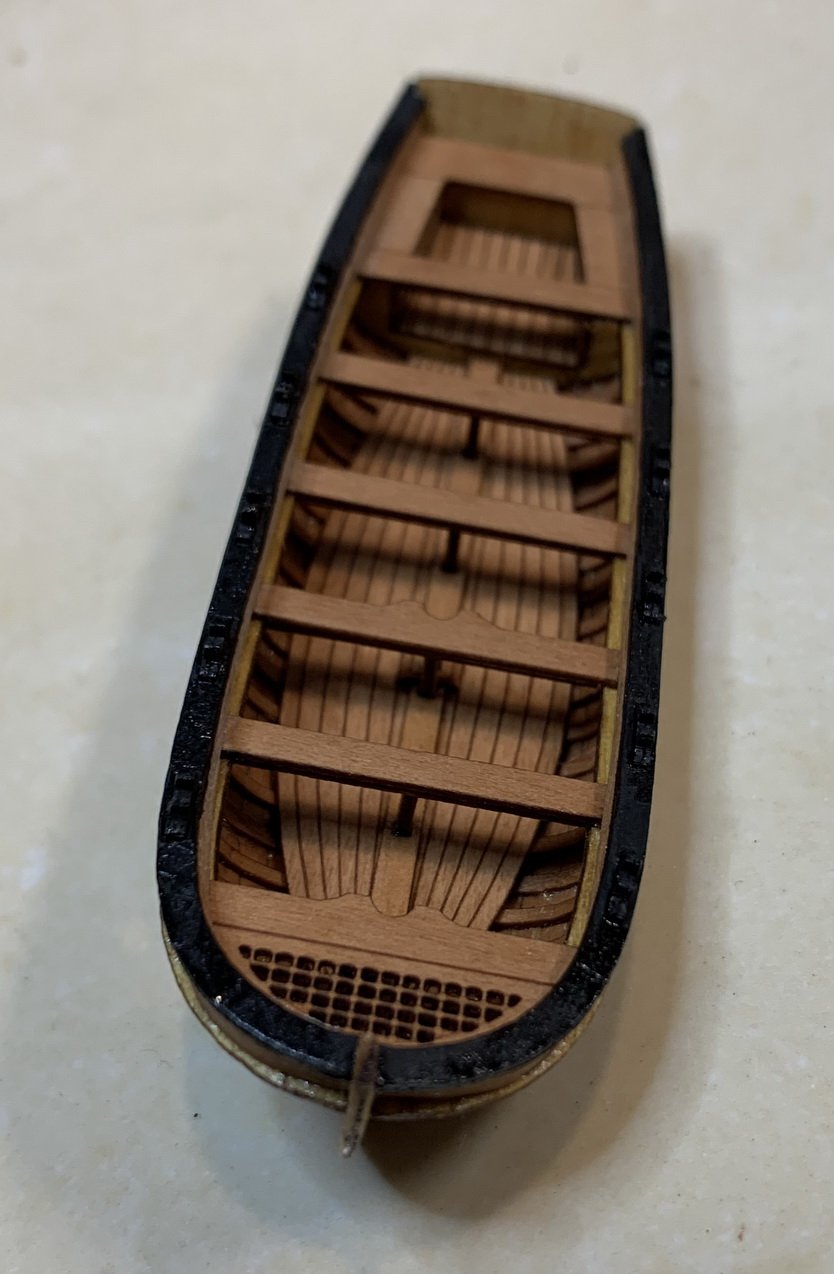
The boat has been completed. Overall it is very nice product, easy to put together, the quality of parts are very good, the wood is also of a good quality. But, the parts are very fragile and prone to breakage.
The keel and stern, rudder and some other parts are made of different wood type than rest of the boat. Did not pay to much attention at the beginning to paint those parts in matching color. This way the keel and stern are in different color. I dont like it and i might ended up making another one. Will see but the mental note will be: paint the wood in the color that will cover the laser burns because it is very difficult to remove those burns without breaking the part... Or paint the boat in some other color schema that might not be accurate representation of the period.
.thumb.jpg.9252f04c671186b86ebb02fdfdaf4d11.jpg)
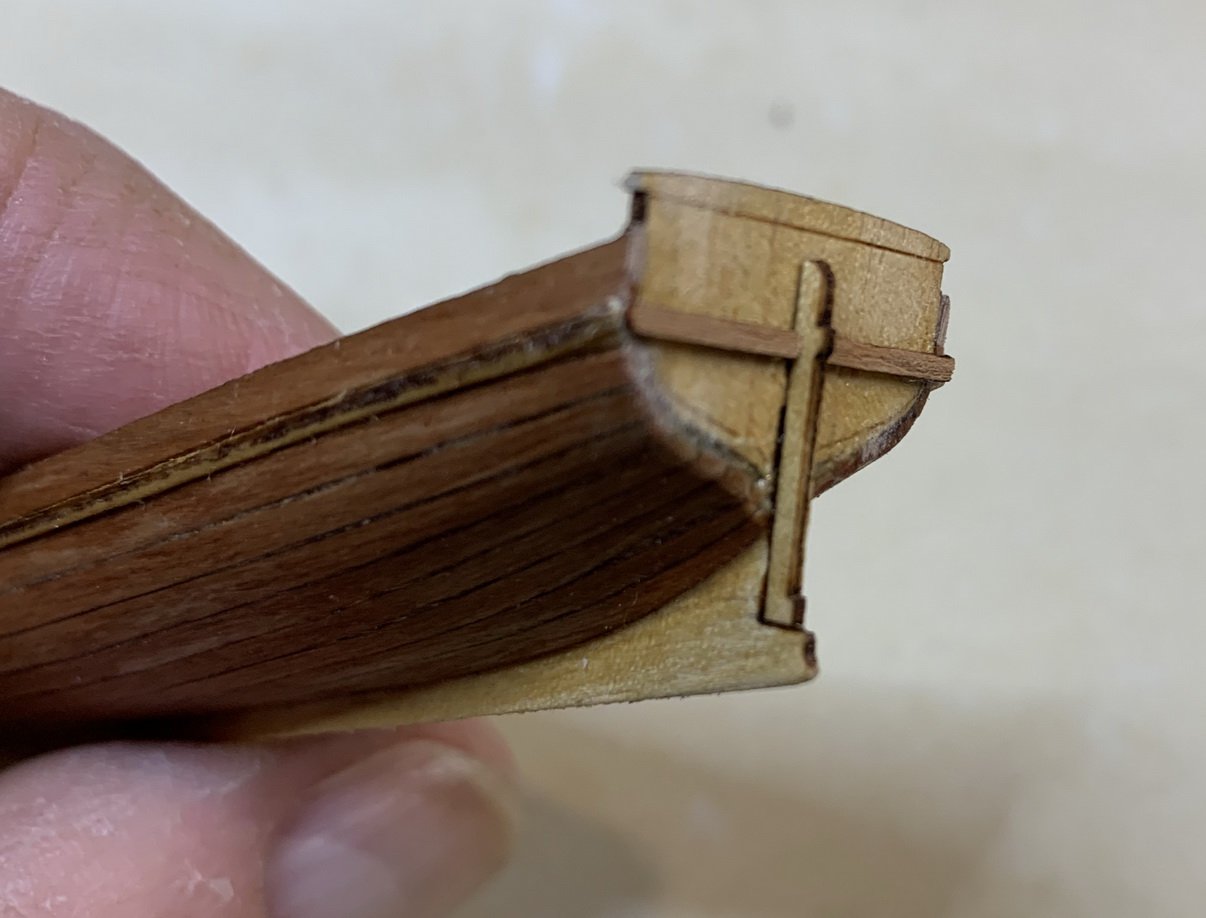
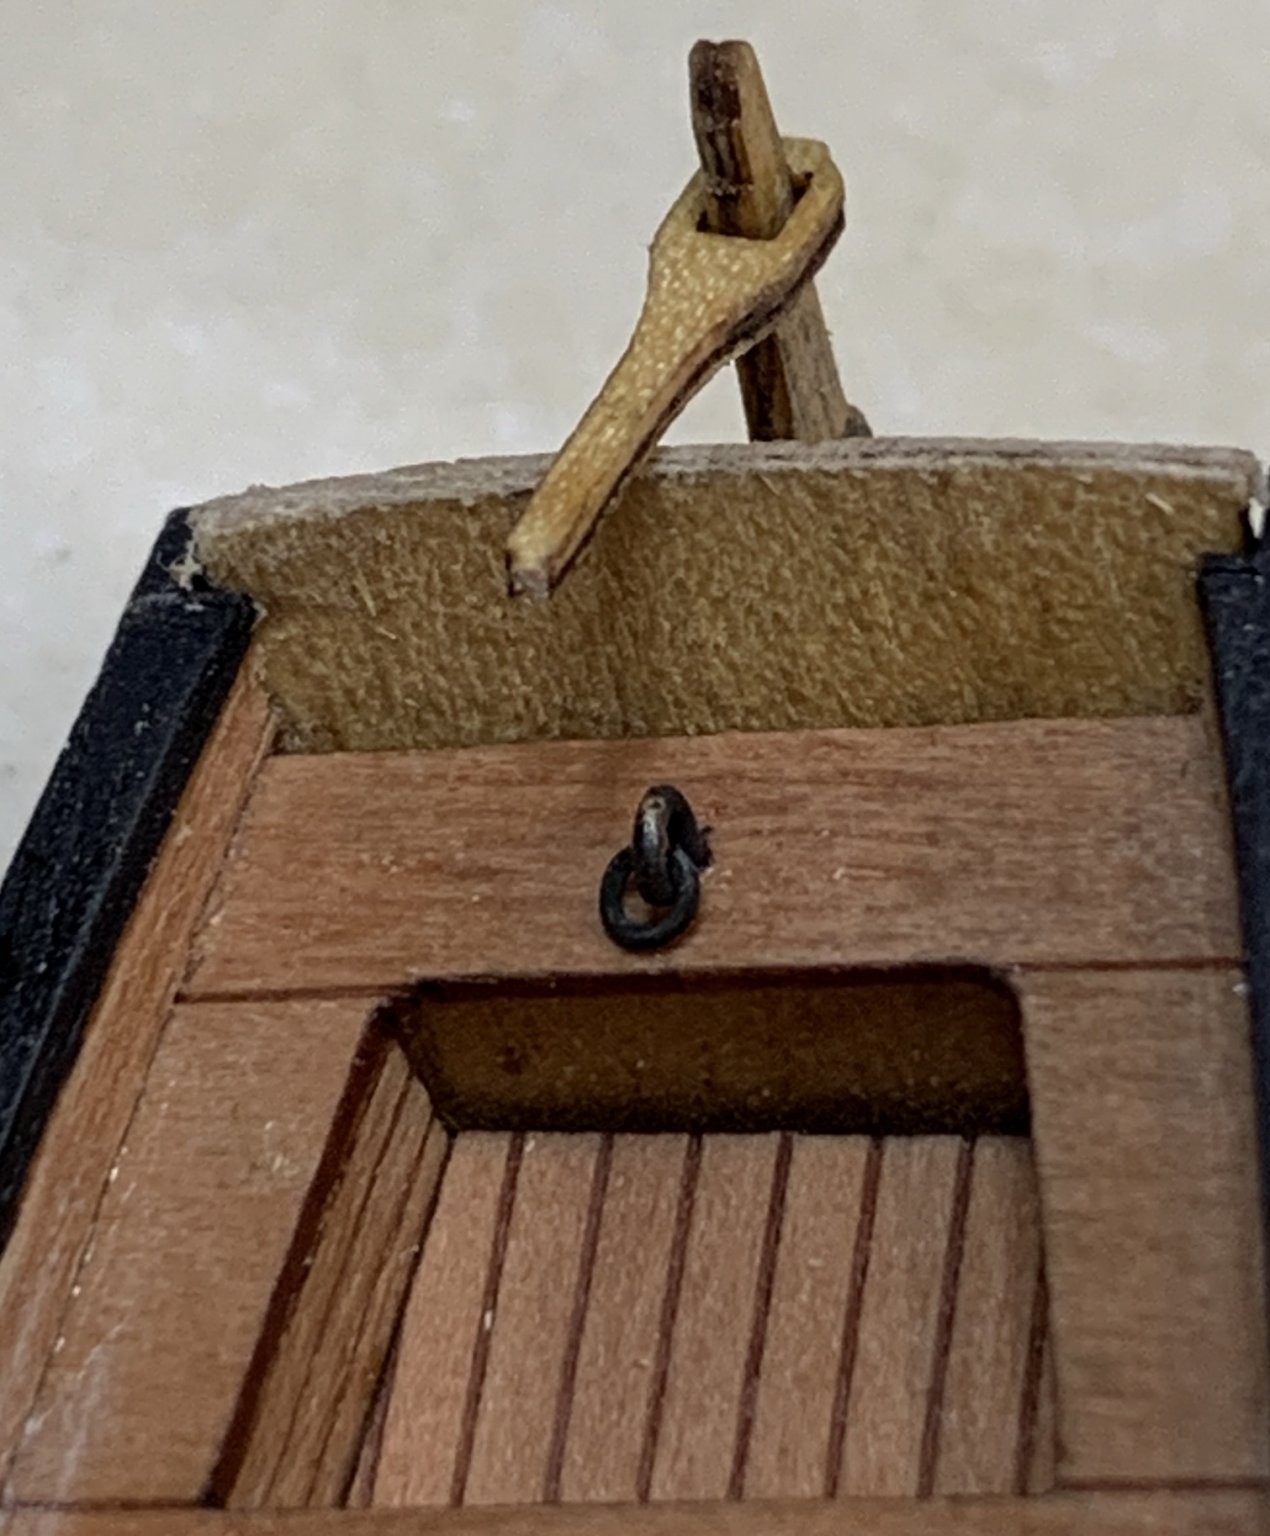
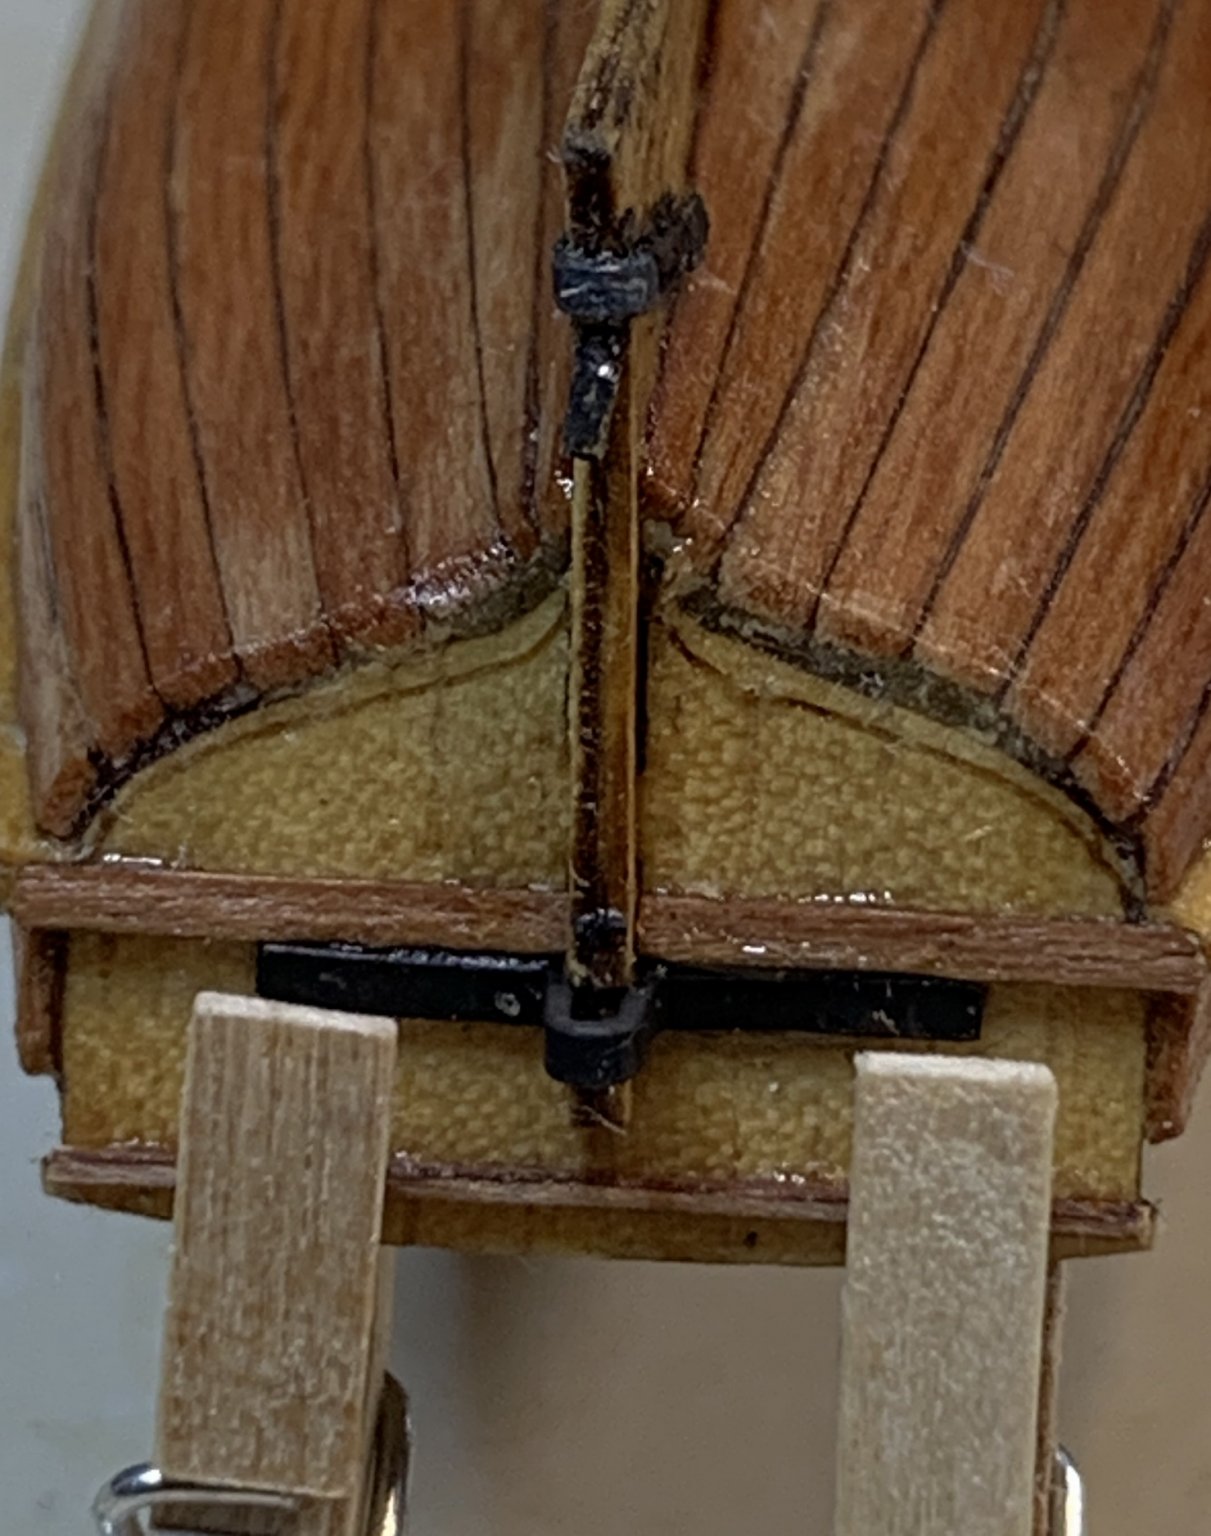
Rudder completed... For rudder i started a bit different approach. First i mounted all pintles and gudgeon together, up and down and then i slide the rudder in. A bit of a glue was applied to gudgeons as well..
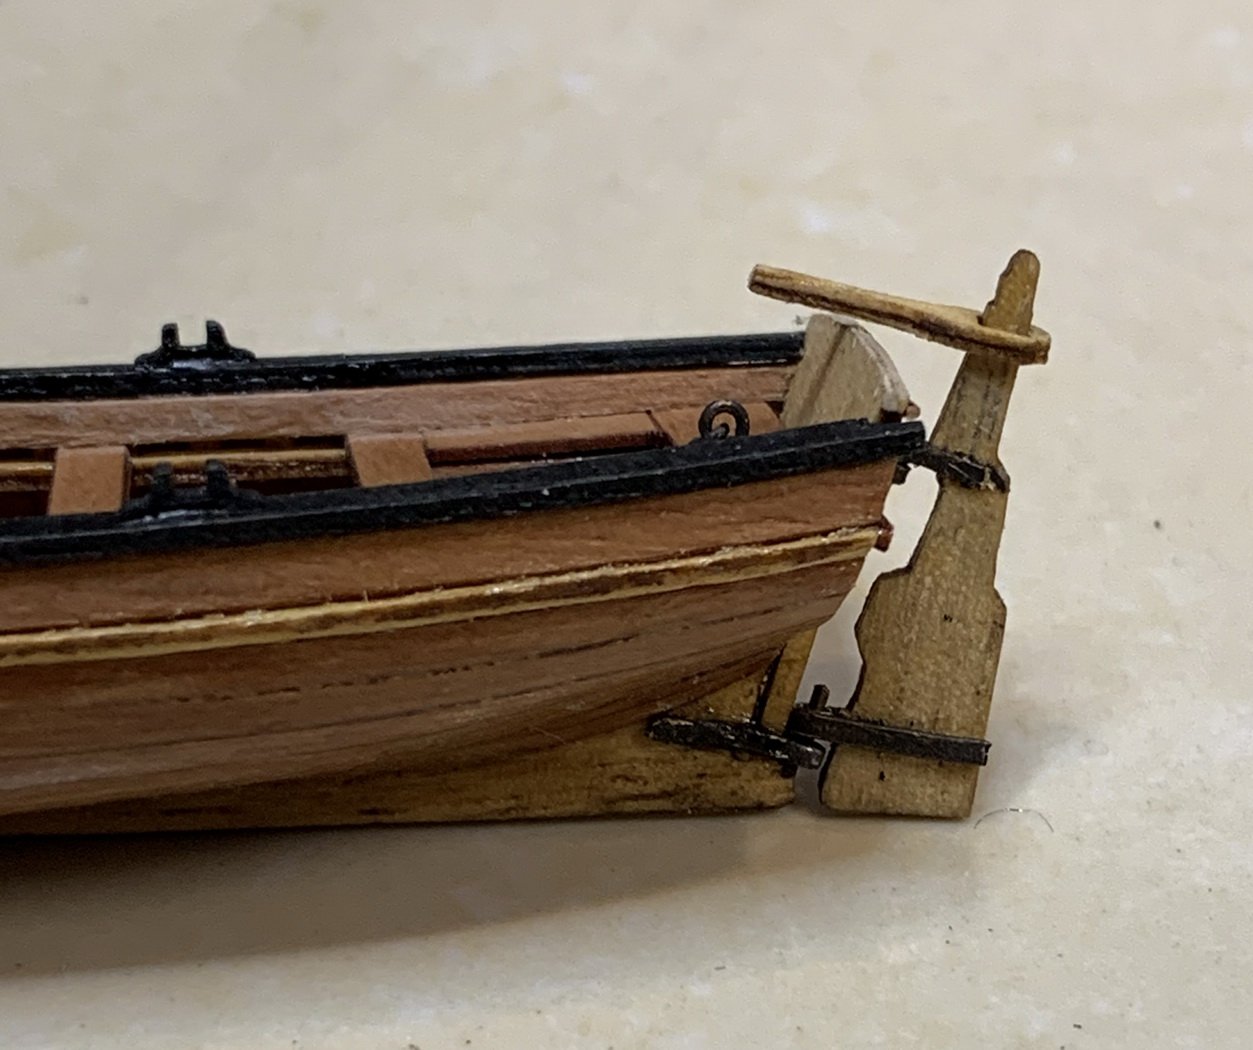
The eye bolt was added to stern and bow, as a detail; dont see it on the installation instruction..
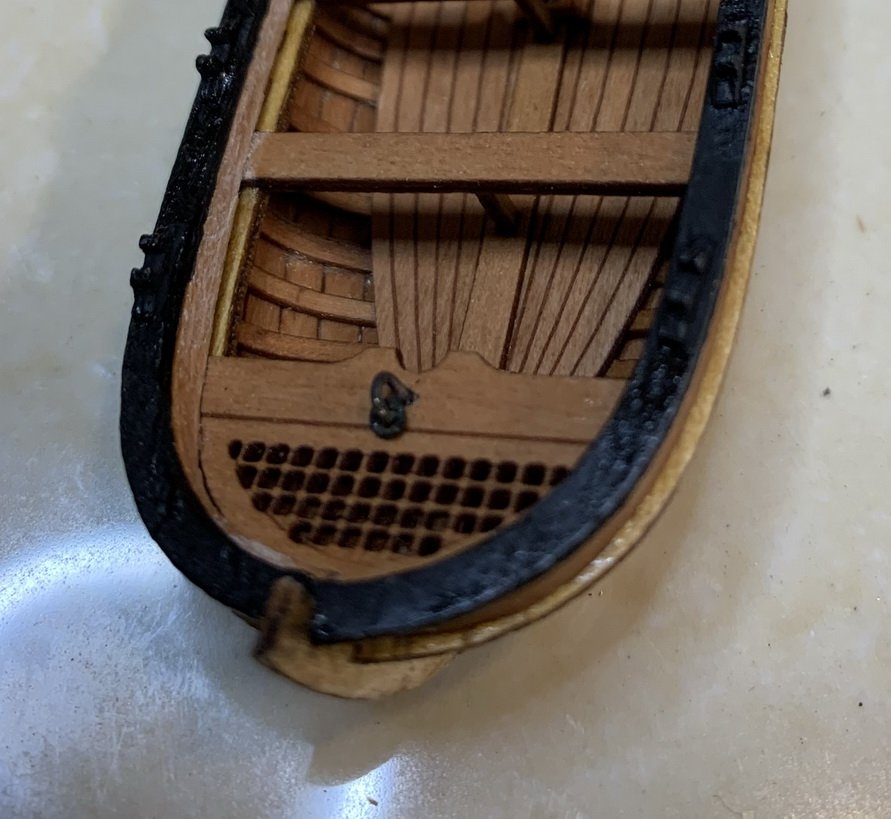

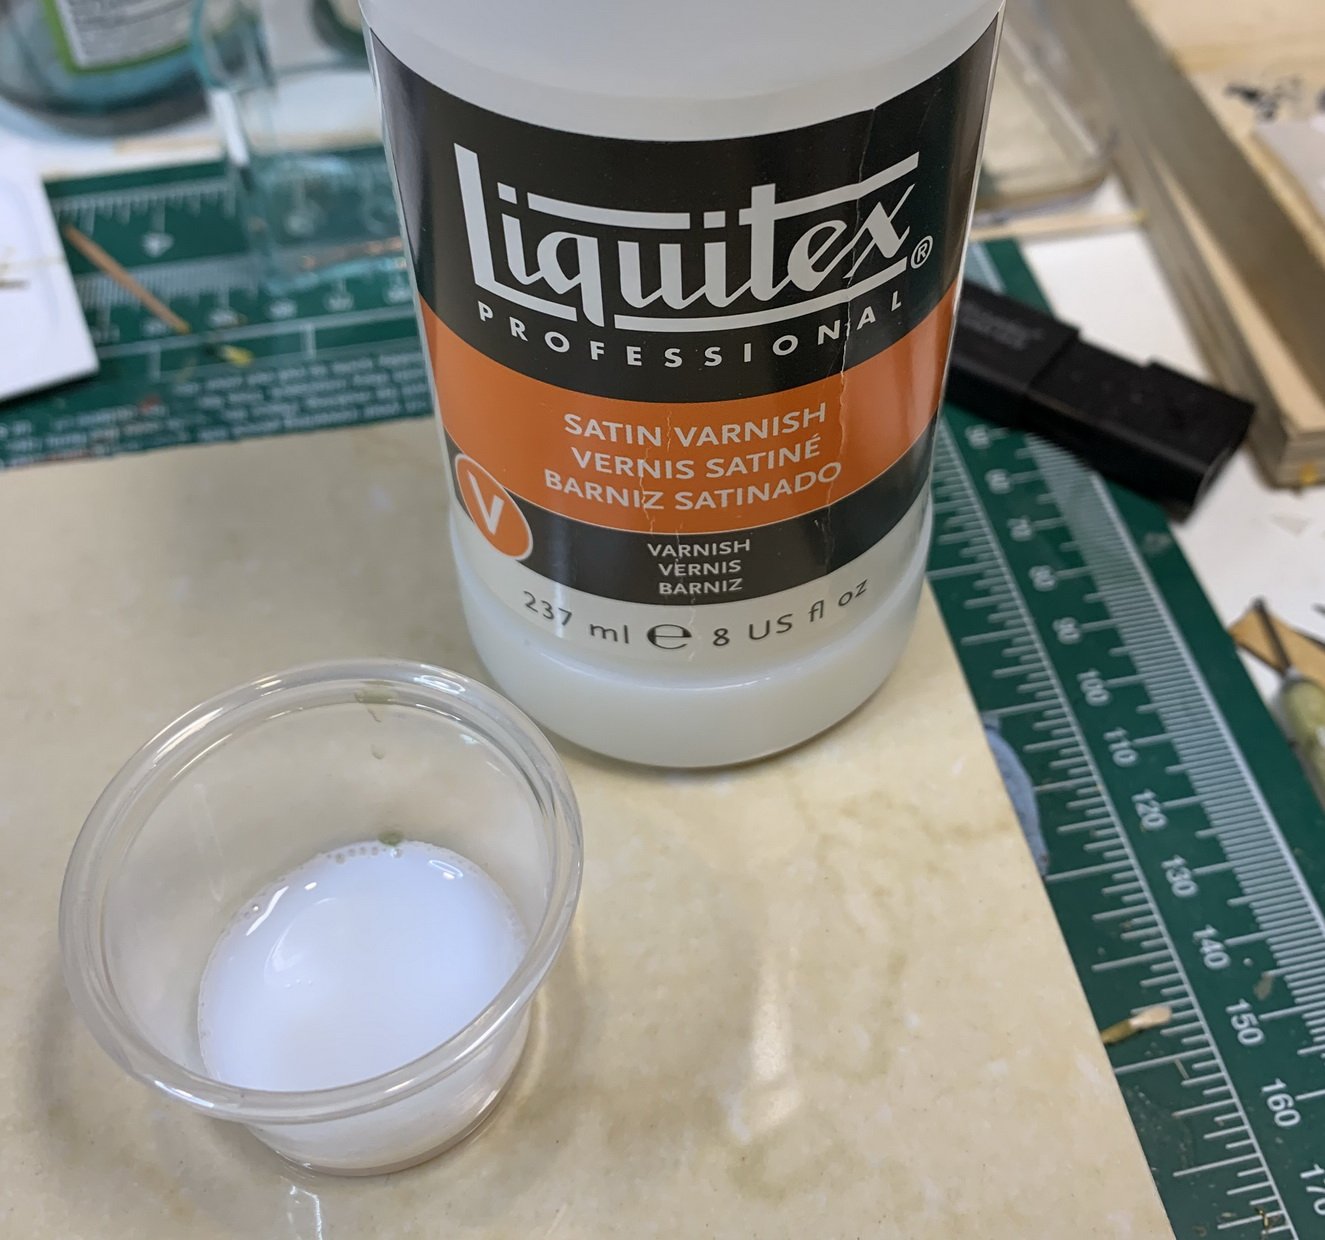
The coat of satin varnish was applied to the whole boat, inside and out.

And here it is...

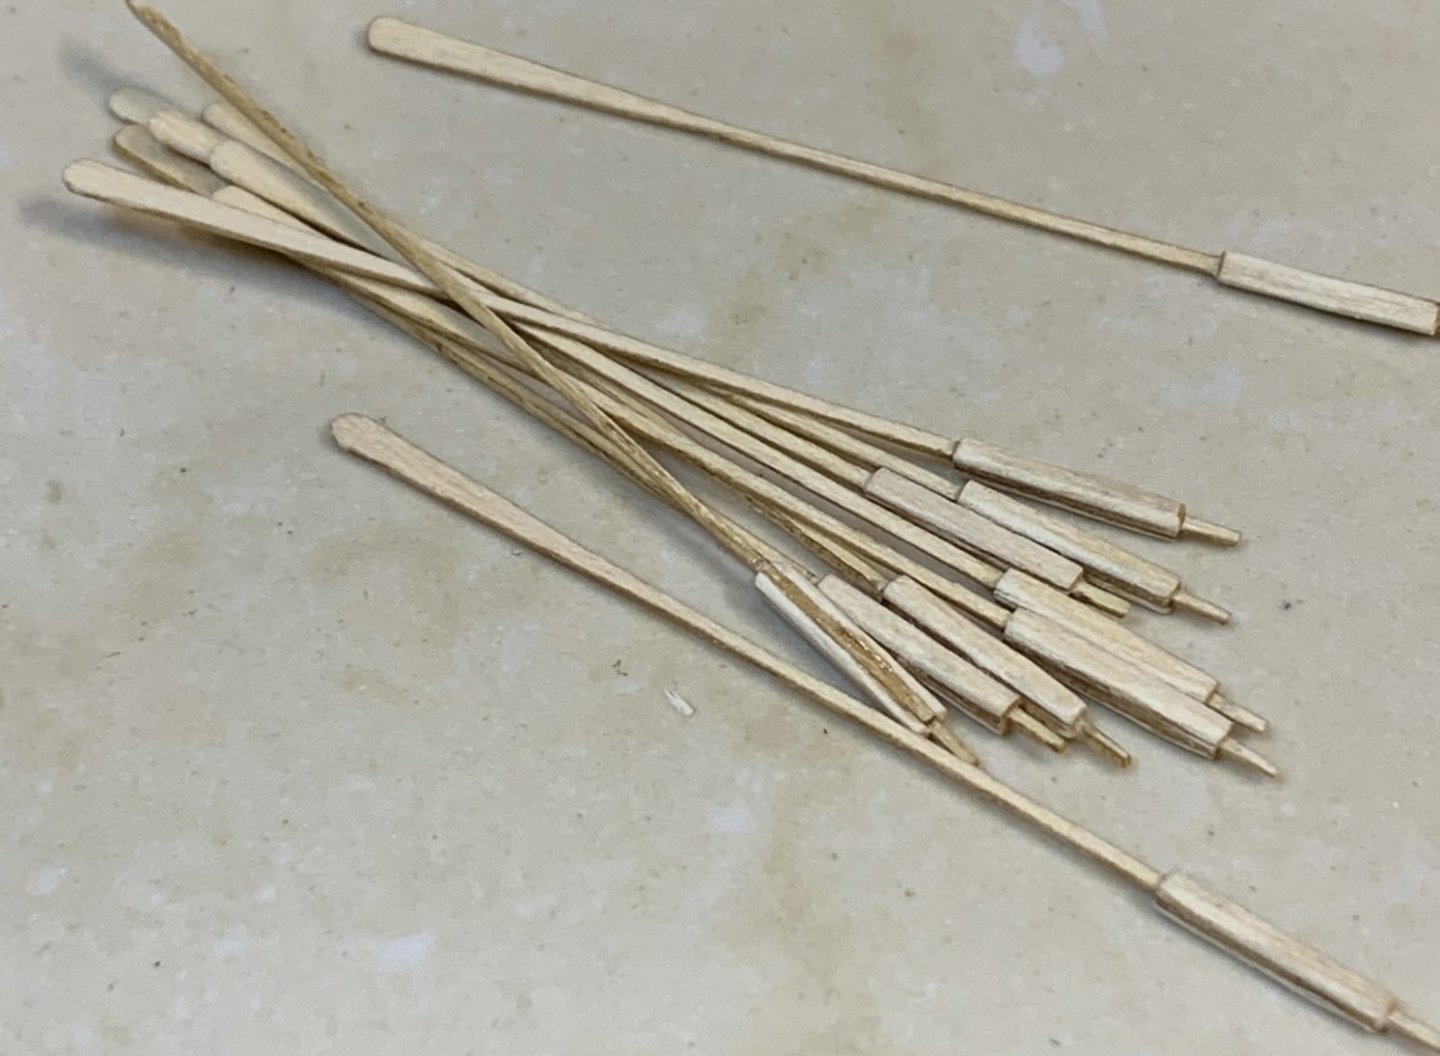
Then i started to work on rows... few extra parts were glued up and down on the row that will be rounded later...
Again very tiny parts... must be careful 🙂
Happy modeling..
- ccoyle, etubino, chris watton and 4 others
-
7
-
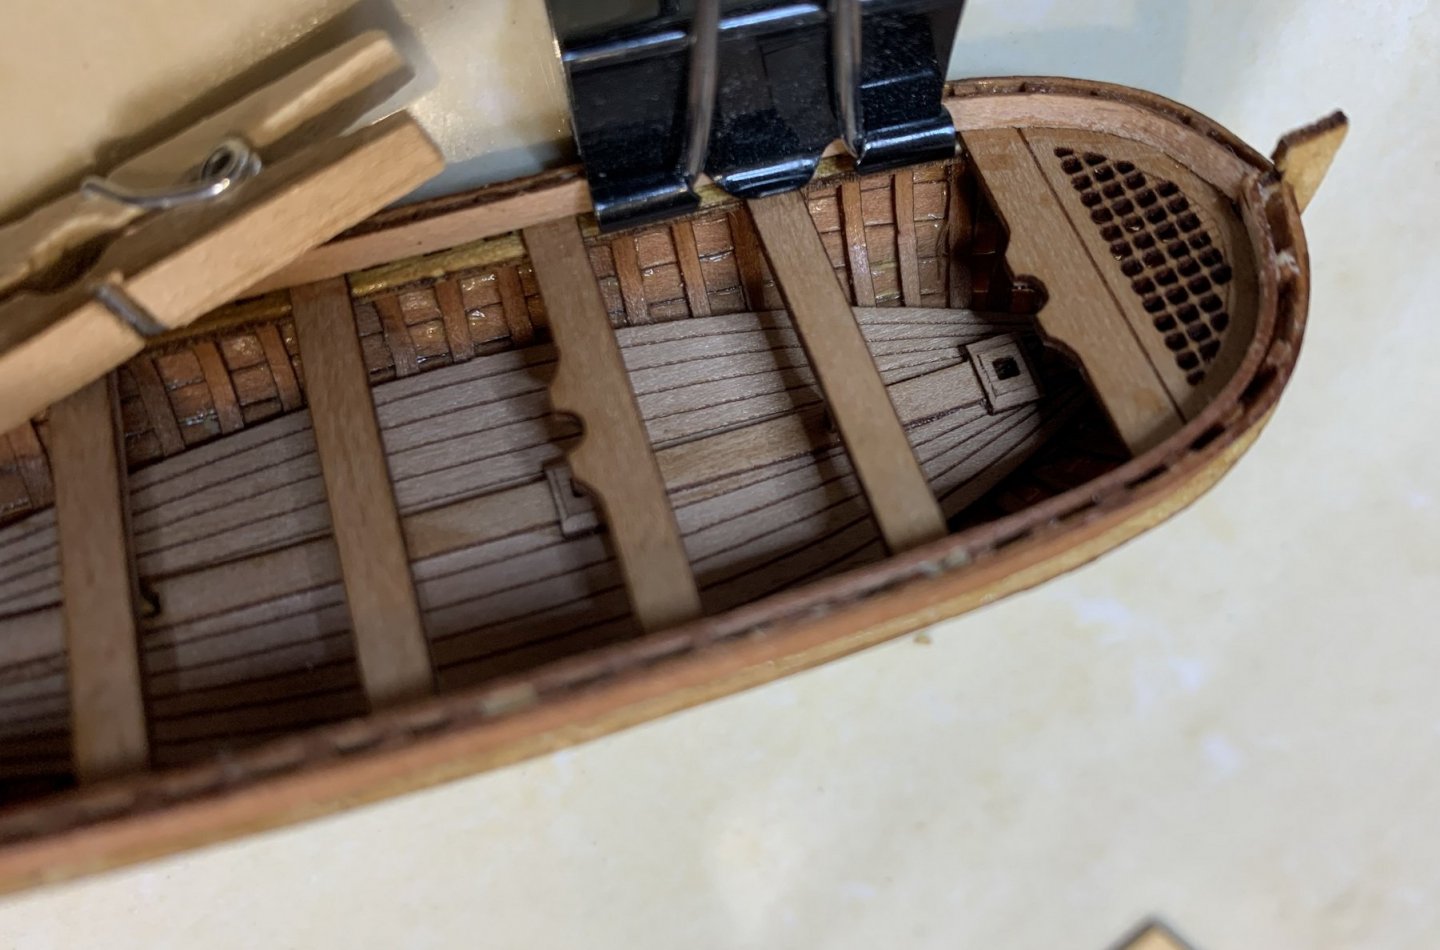
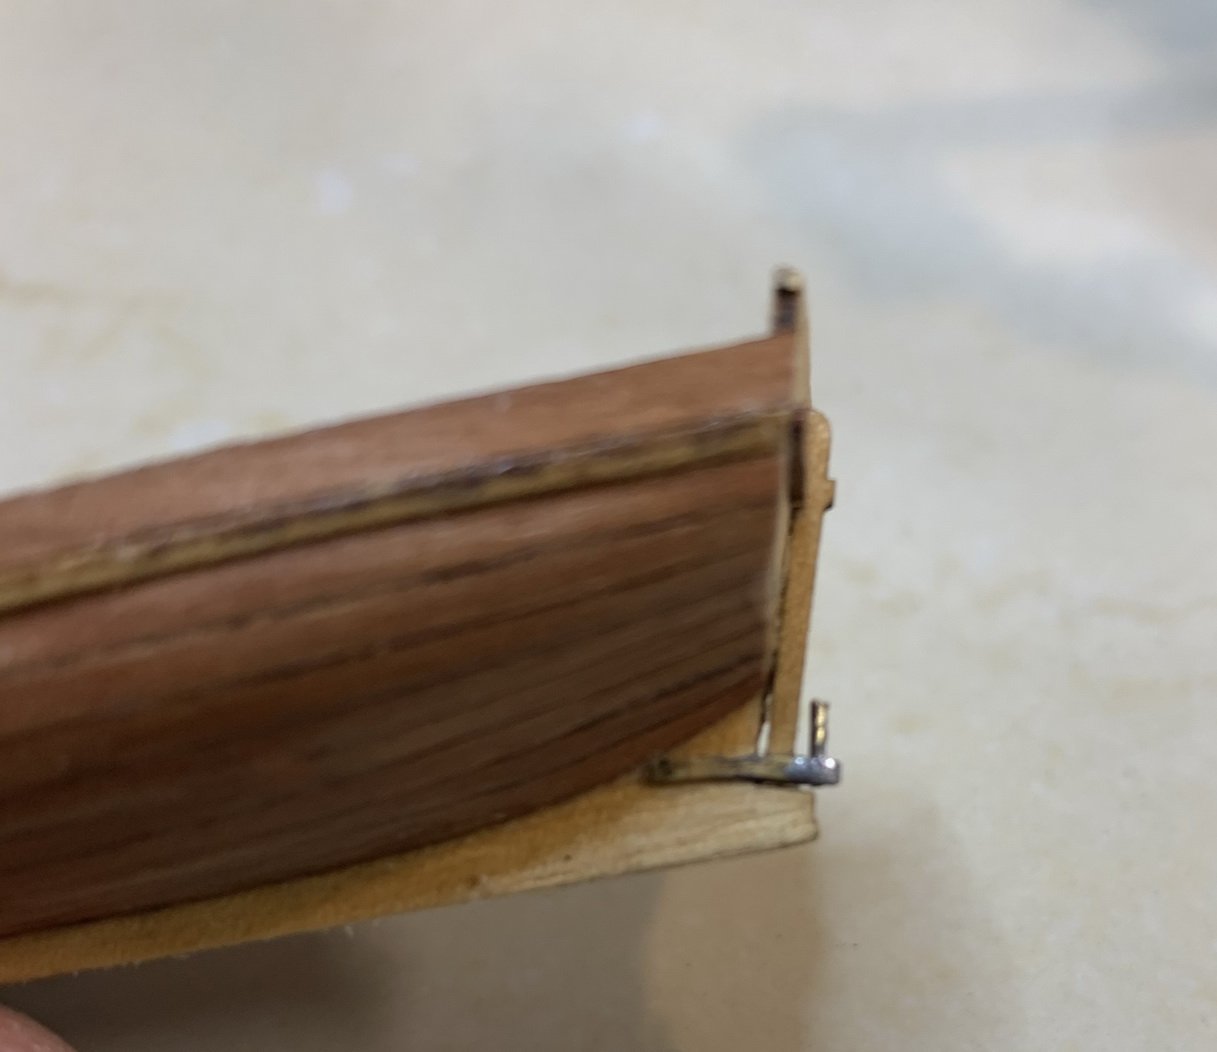
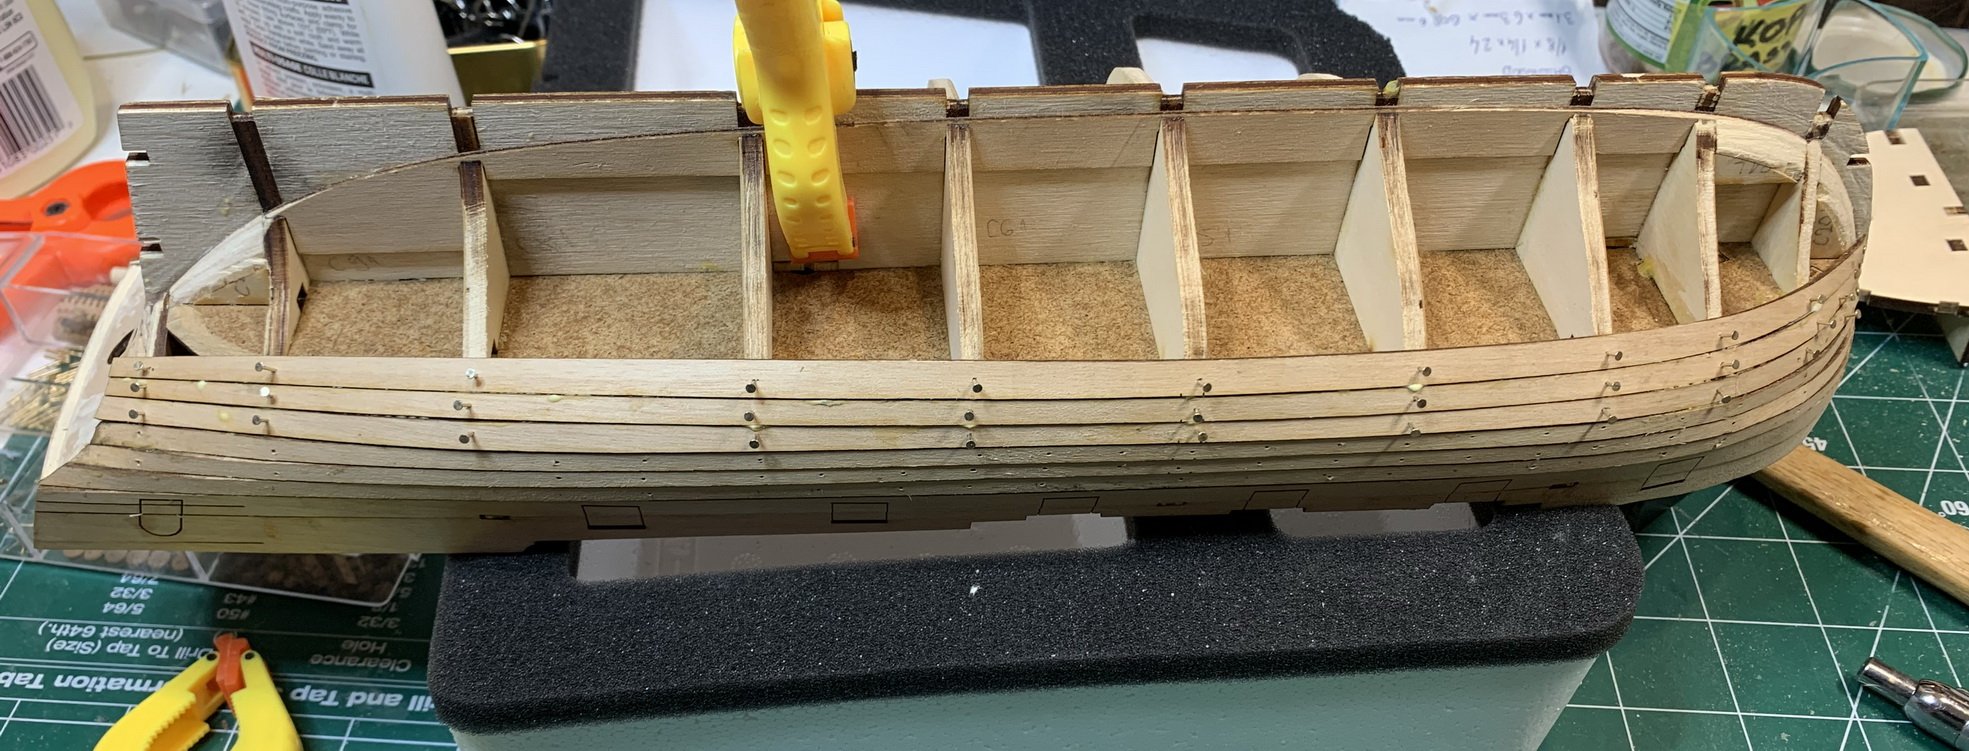
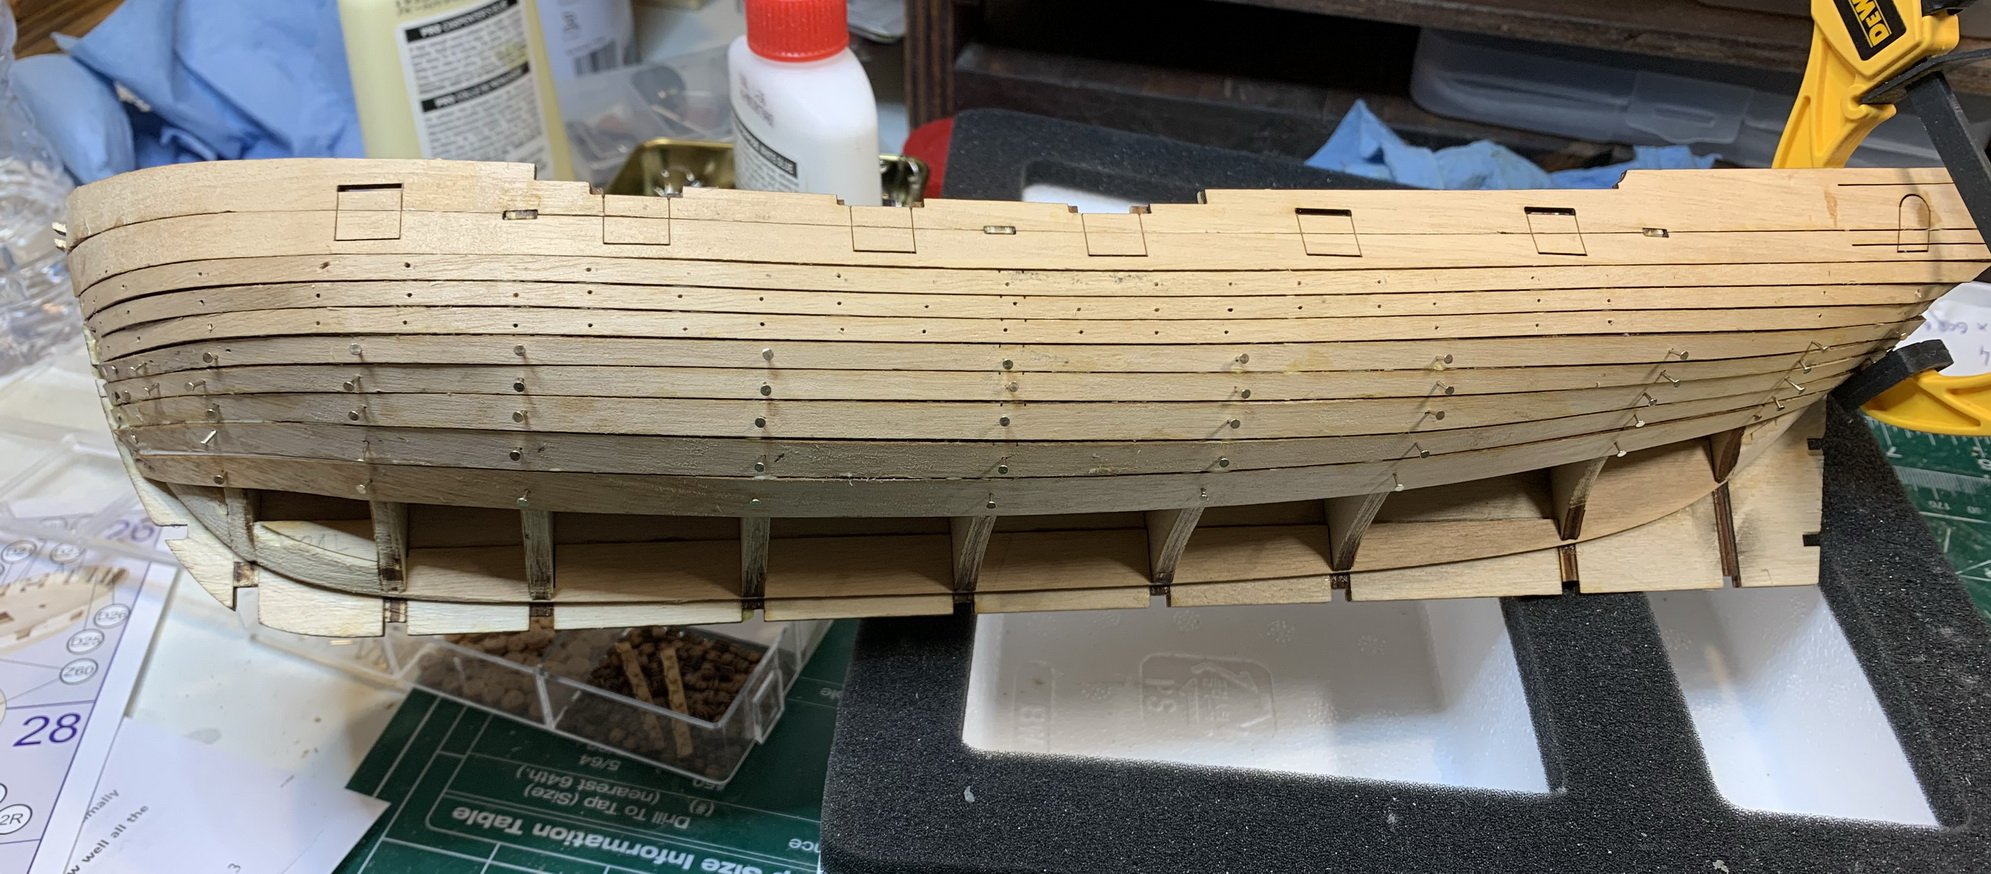
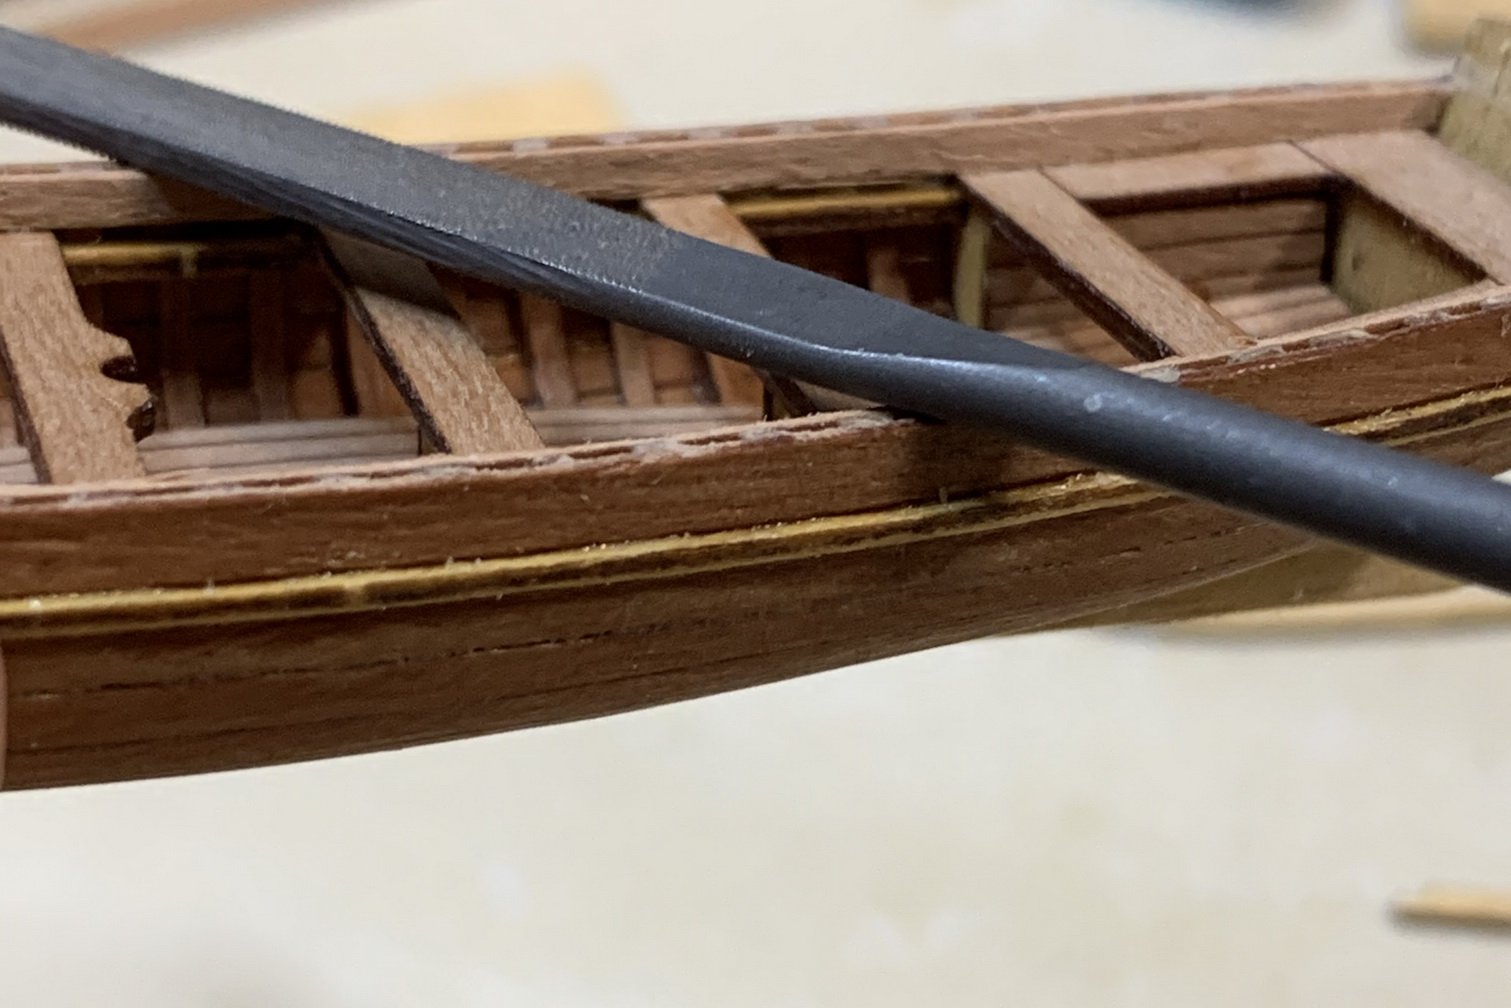
Gunwales fixed, rawlocks glued and all painted in flat black, ready for assembly..
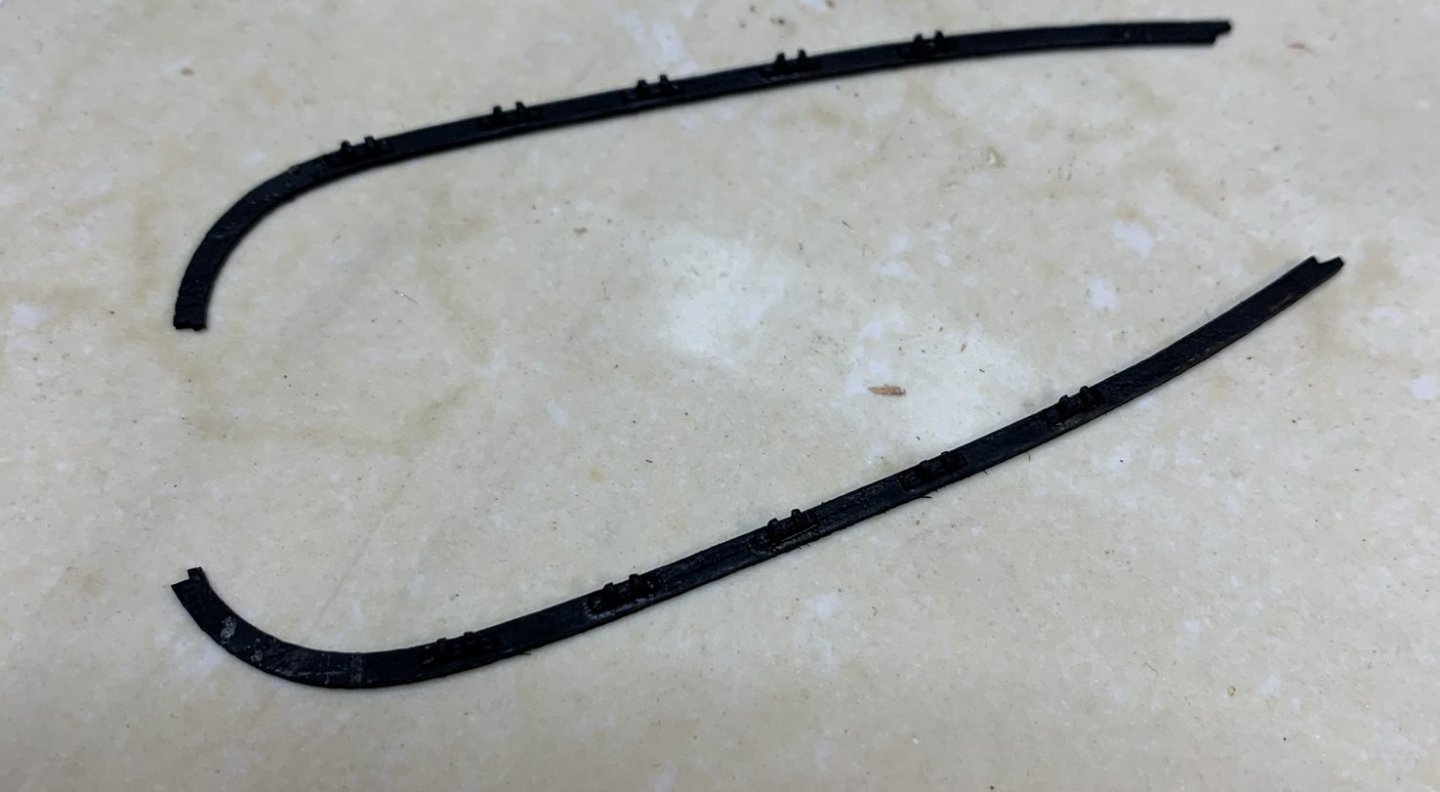
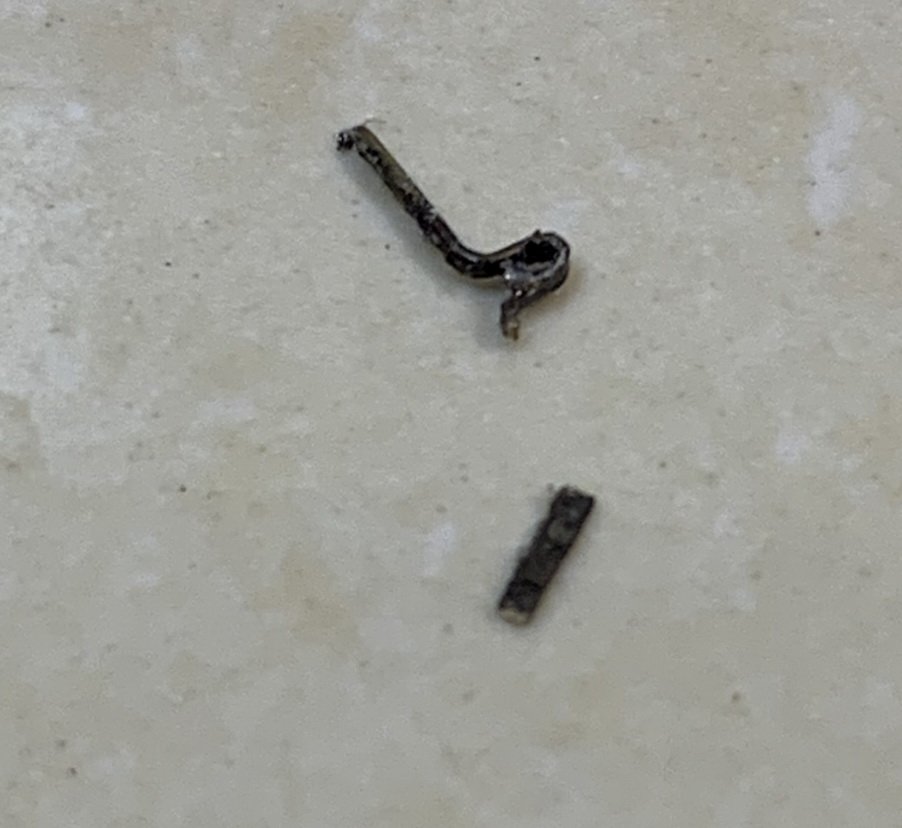
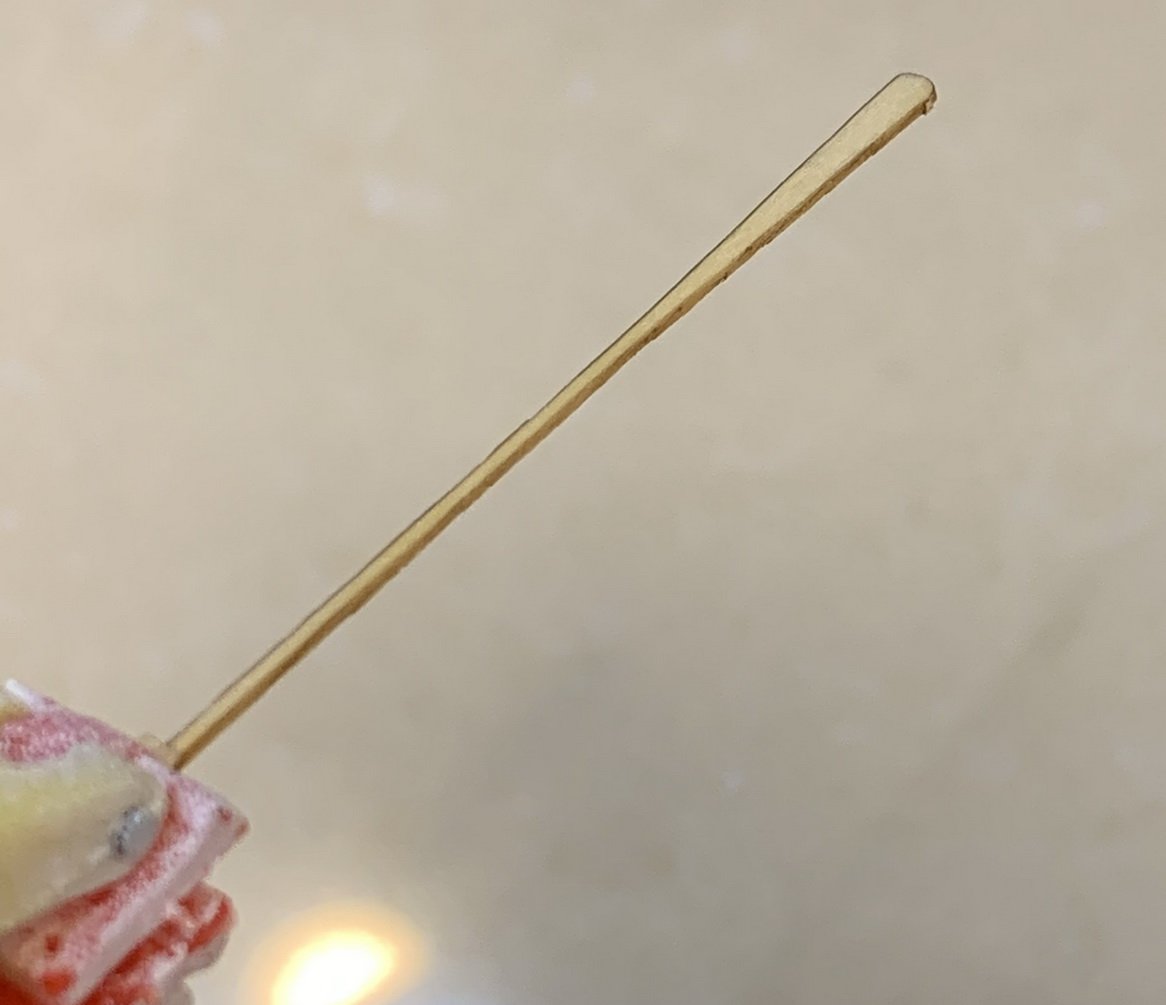
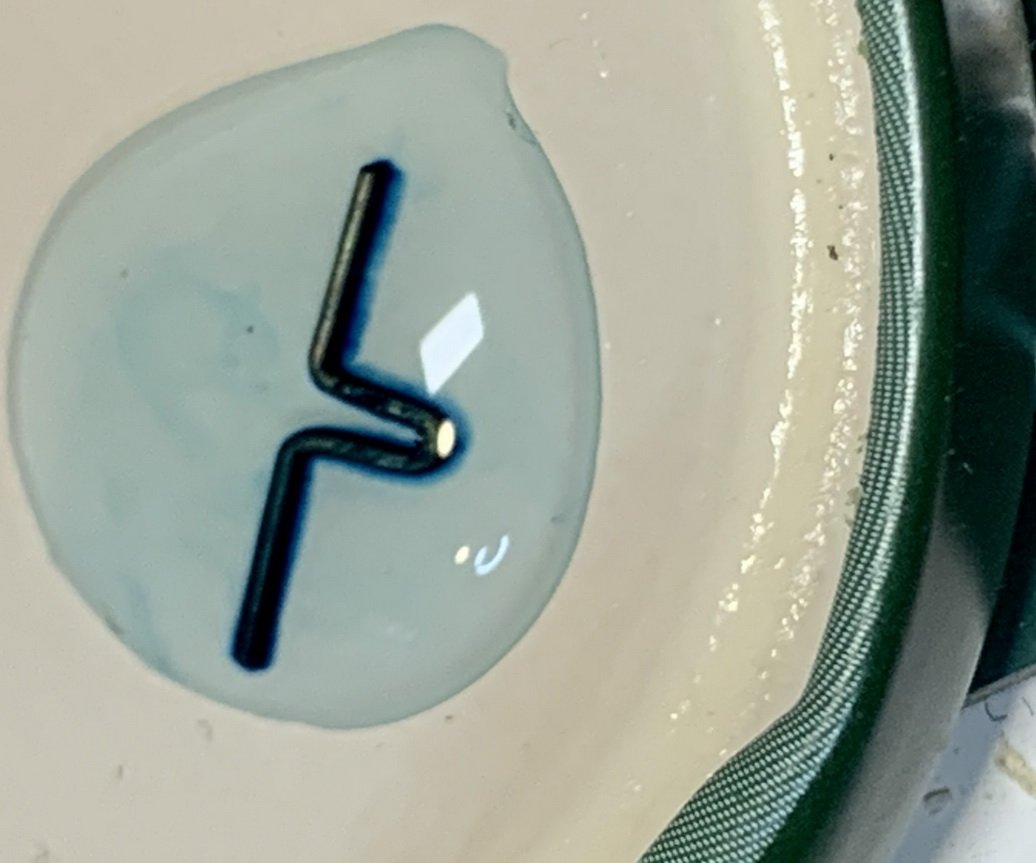
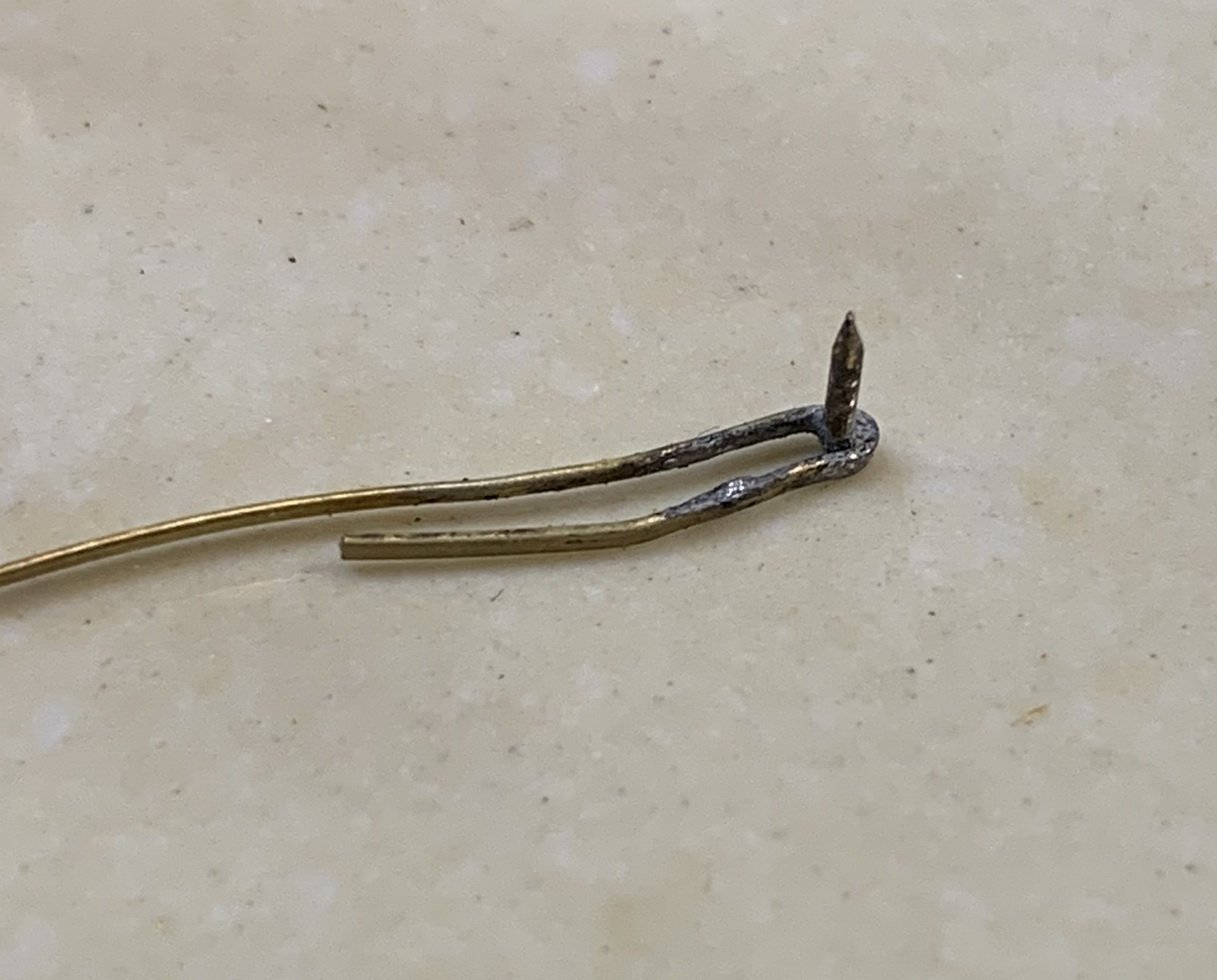
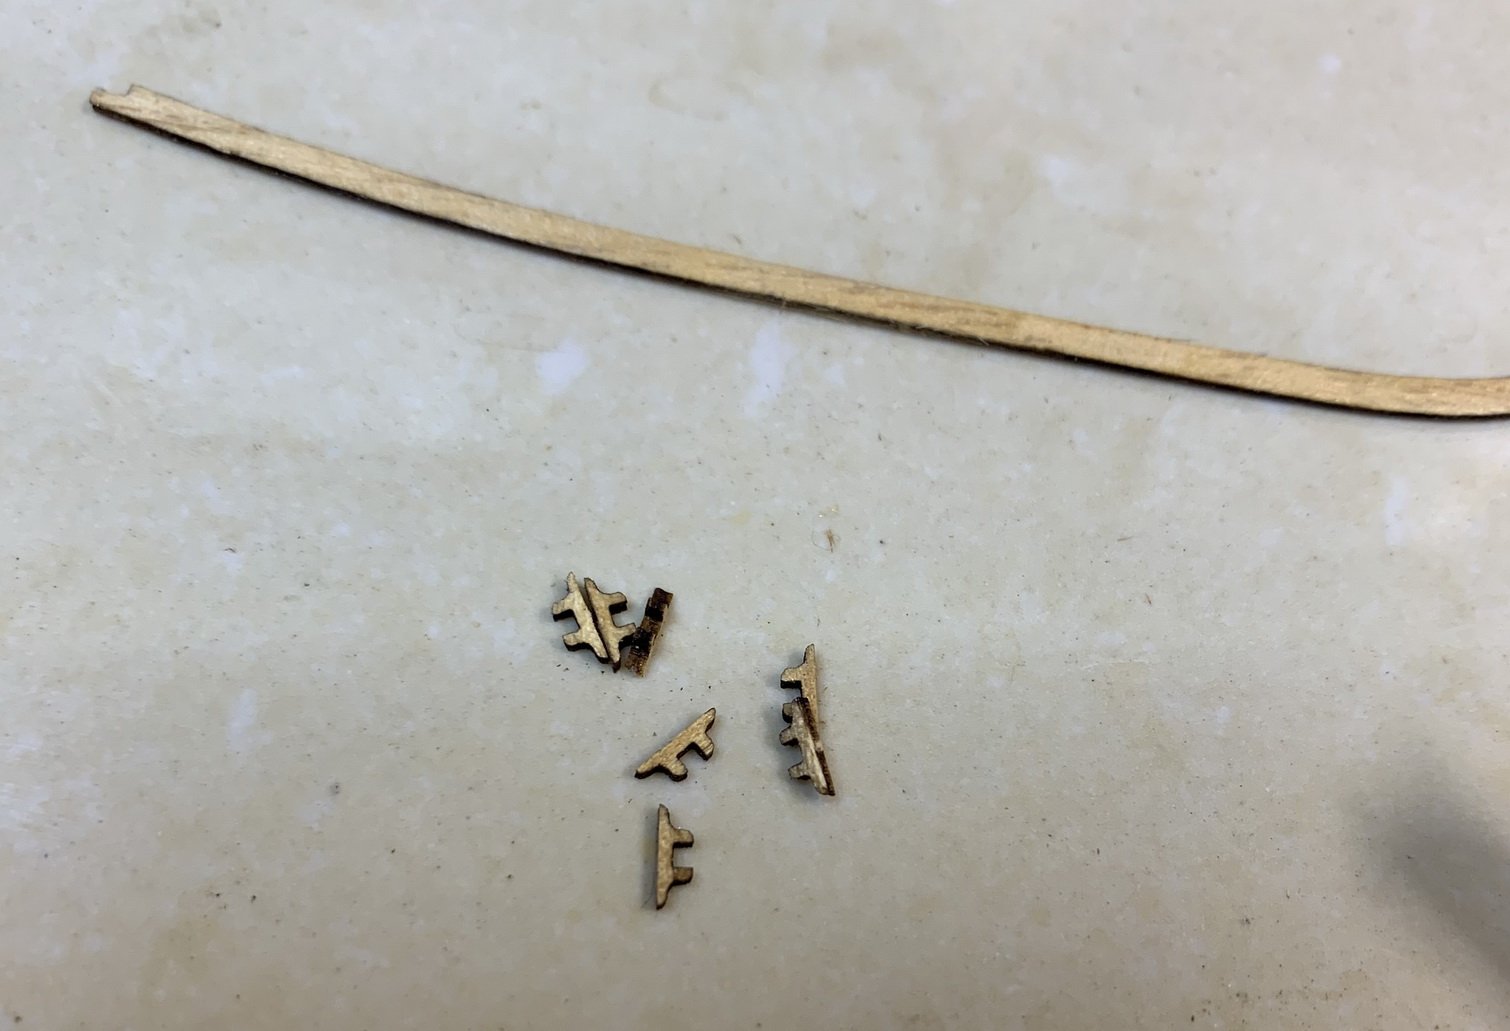
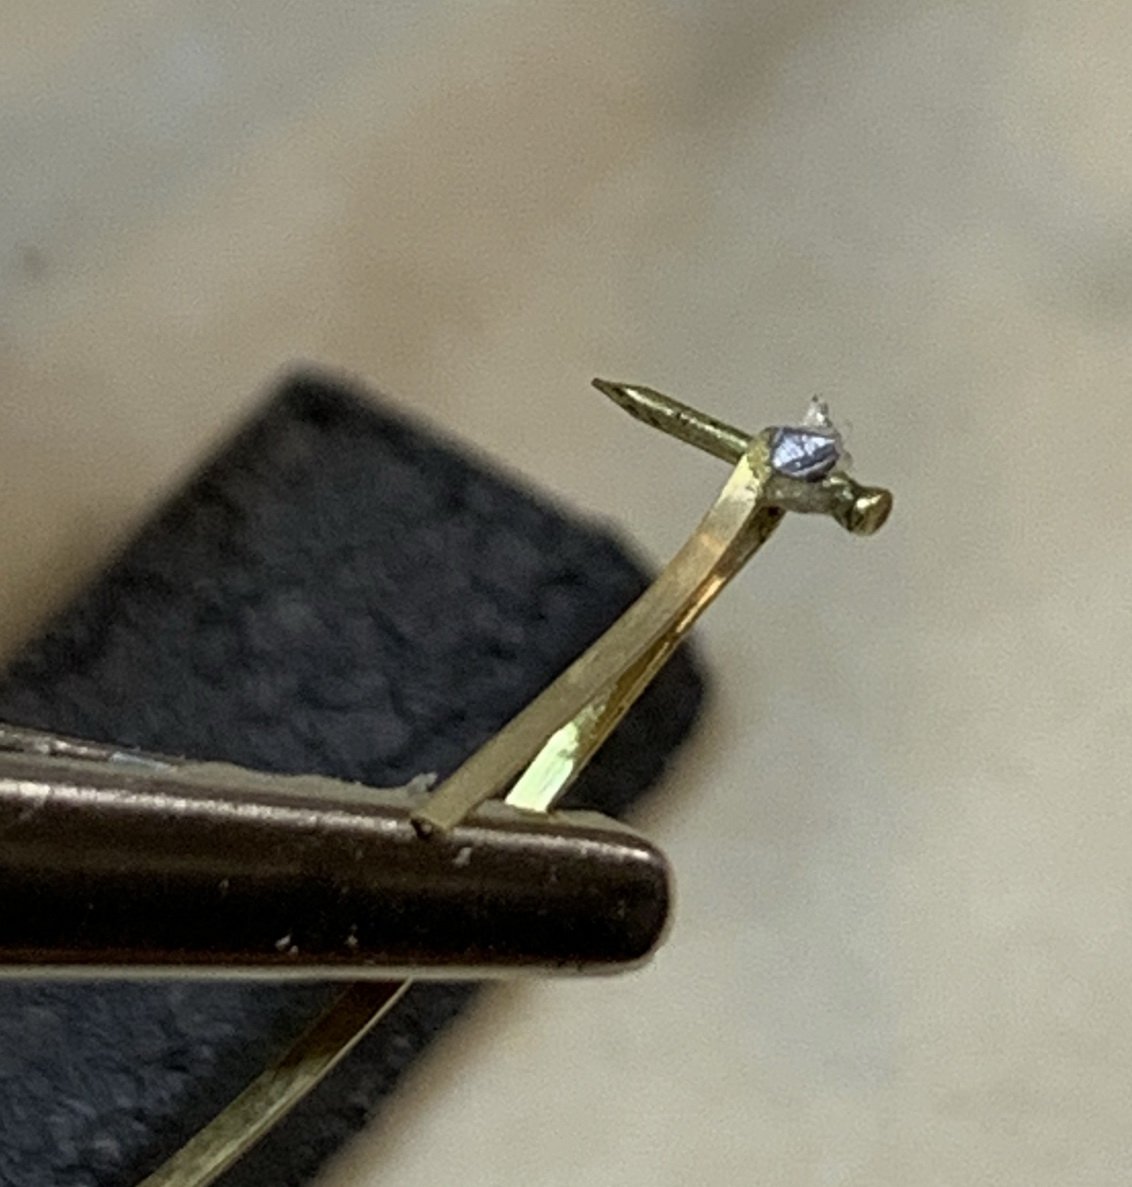
In attempt to blackening the pin and rudder gudgeon, i left them in the blackening solvent, and forgot :-). Today they were all disintegrated... so new parts have to be made.
i use a piece of copper wire, flattened it down and made a new parts..
Fitting testing on rudder
Blackening, this time in controlled fashion 🙂
Glued to the boat...
Another piece glued (sorry not sure what is the name of it)...

The gunwales are mounted...

And another view..
Happy modeling..
- american, GrandpaPhil, JpR62 and 3 others
-
6
-
Continue with boat building... after a layer of danish oil covering all inside areas..
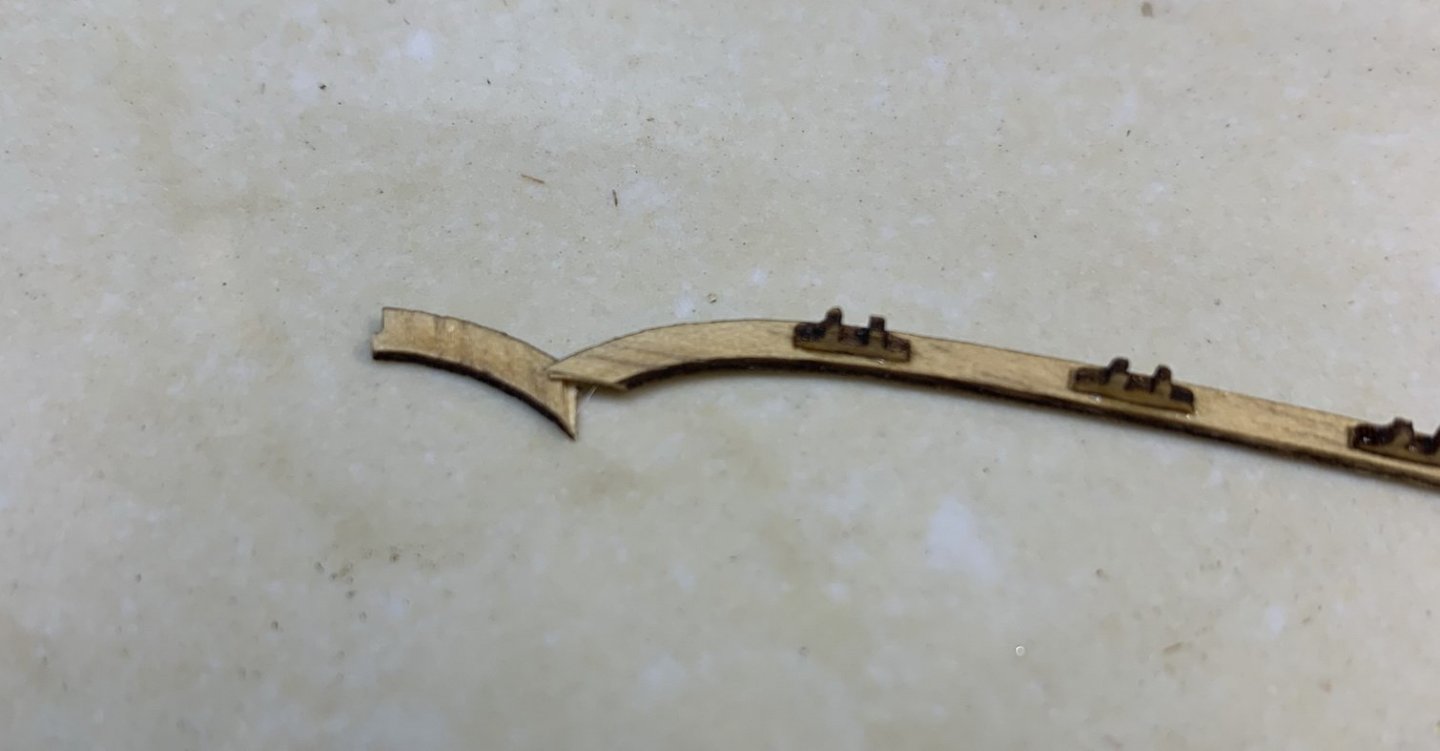
Using a file i sanded all edges on gunwales


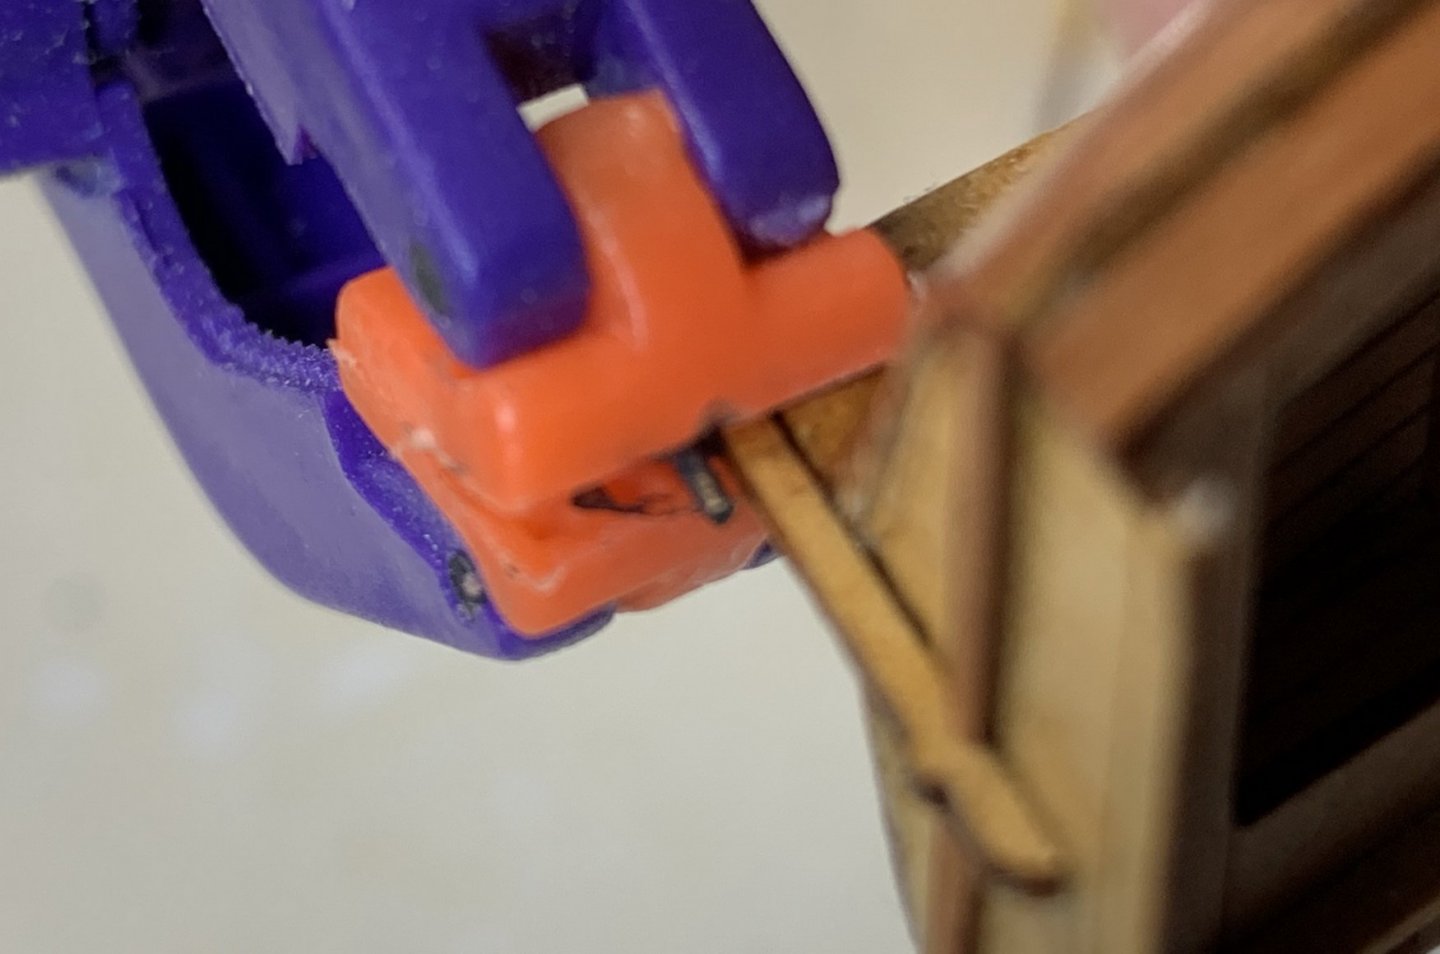
Rawlocks were removed, cleaned and glued to gunwale... during which process a gunwale snapped..
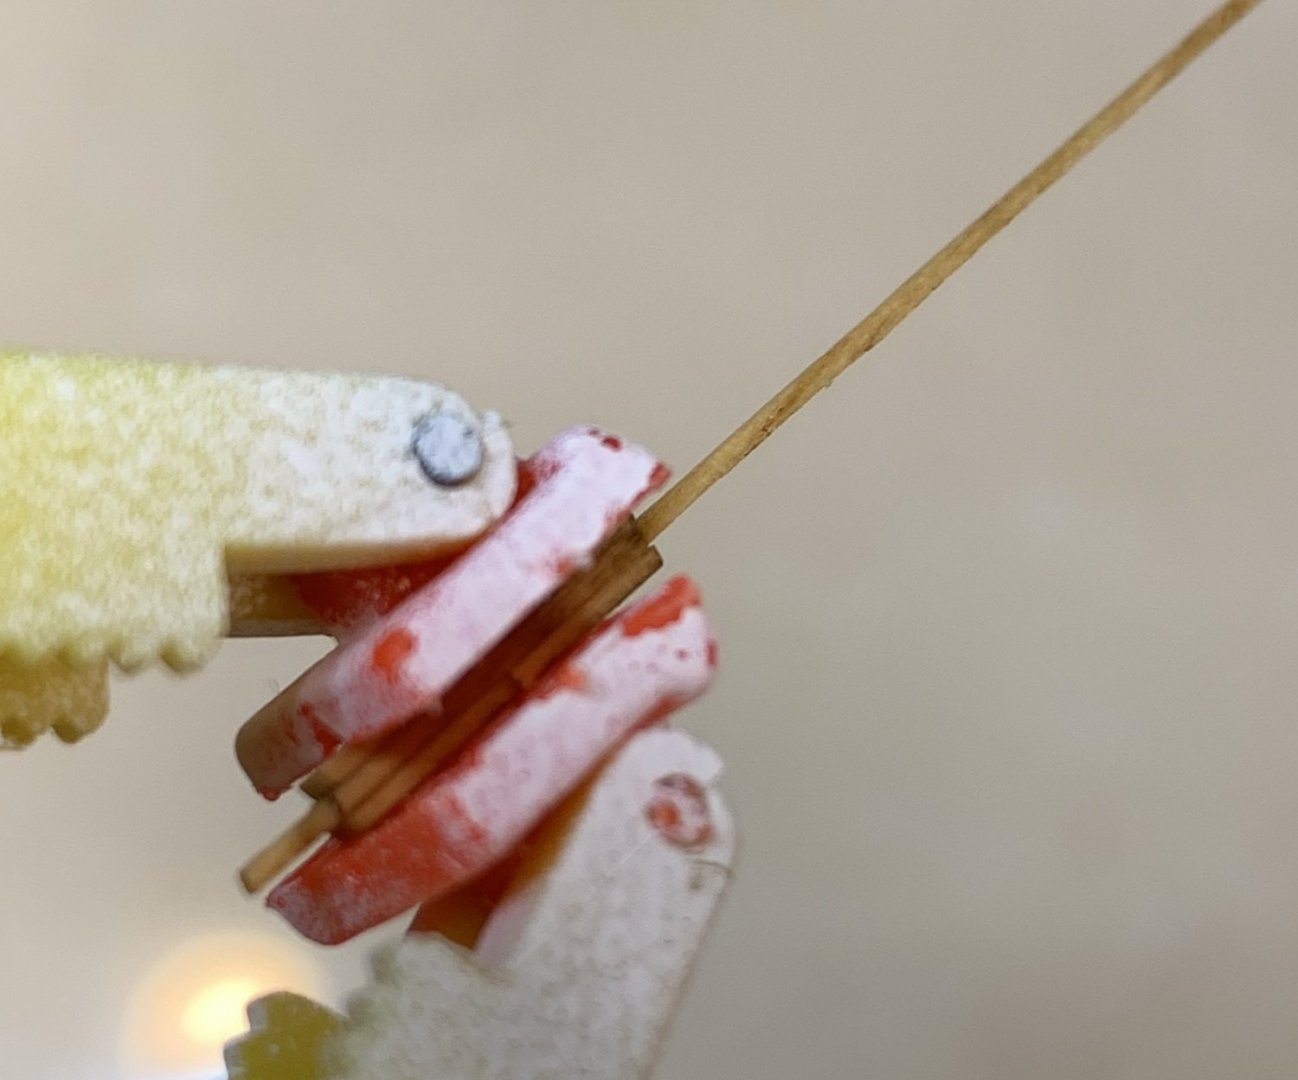
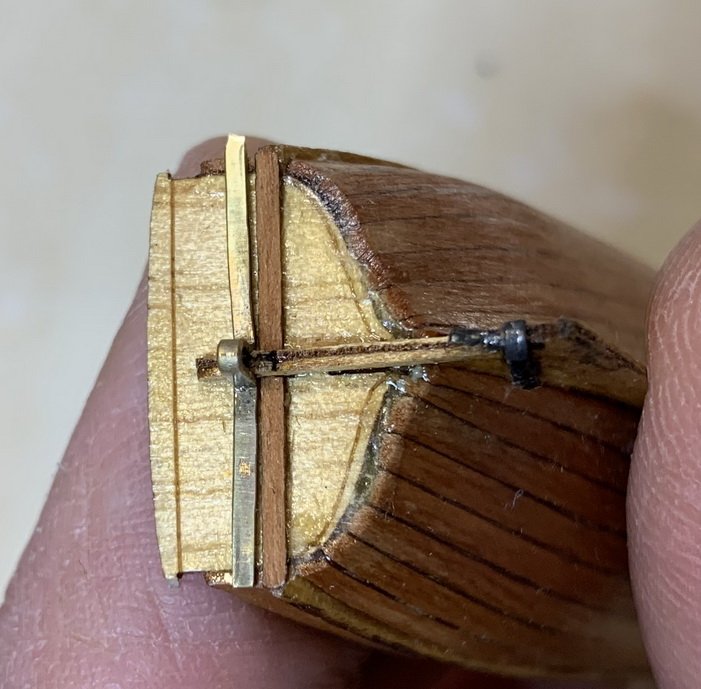
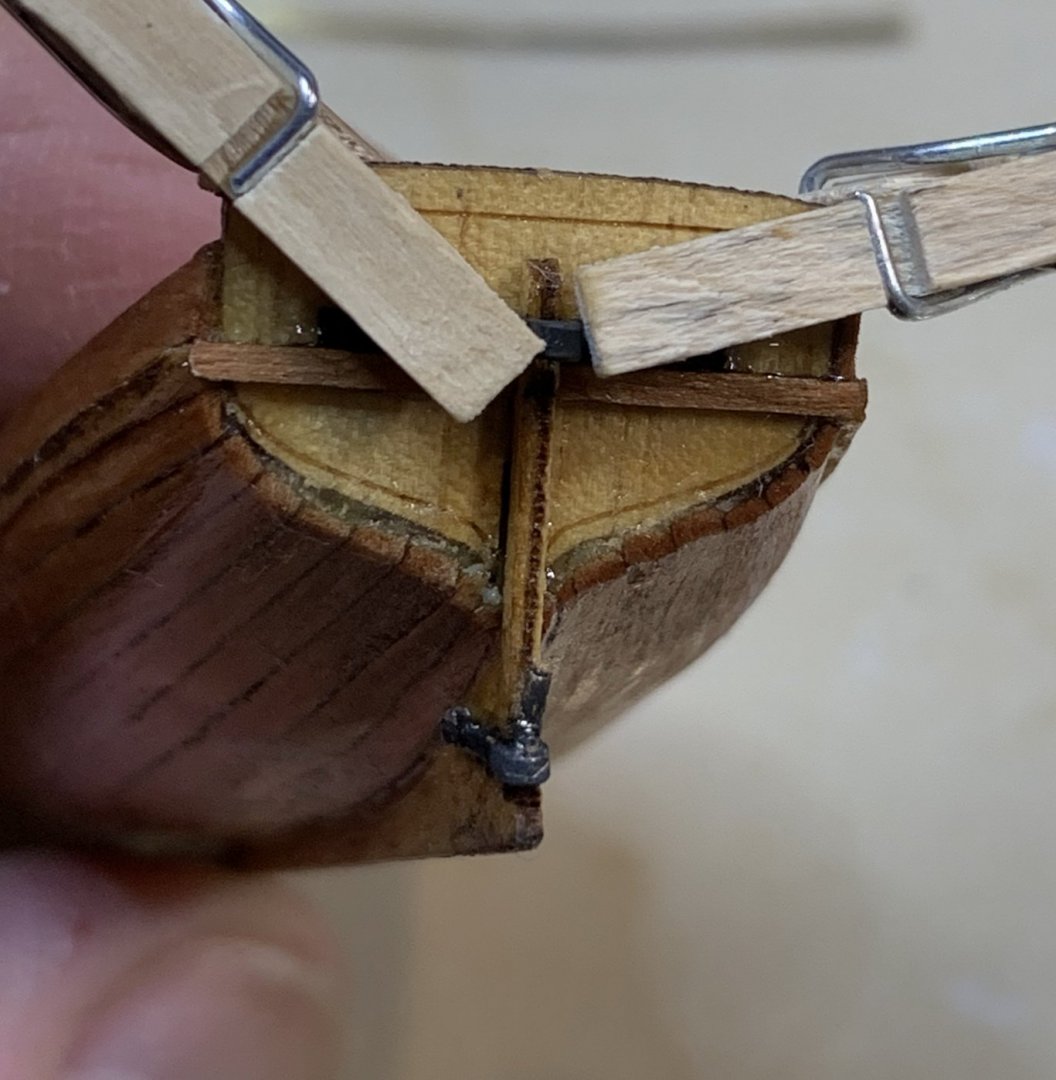
Work on rudder has started... by soldering pin ...

Soldering helping hands..
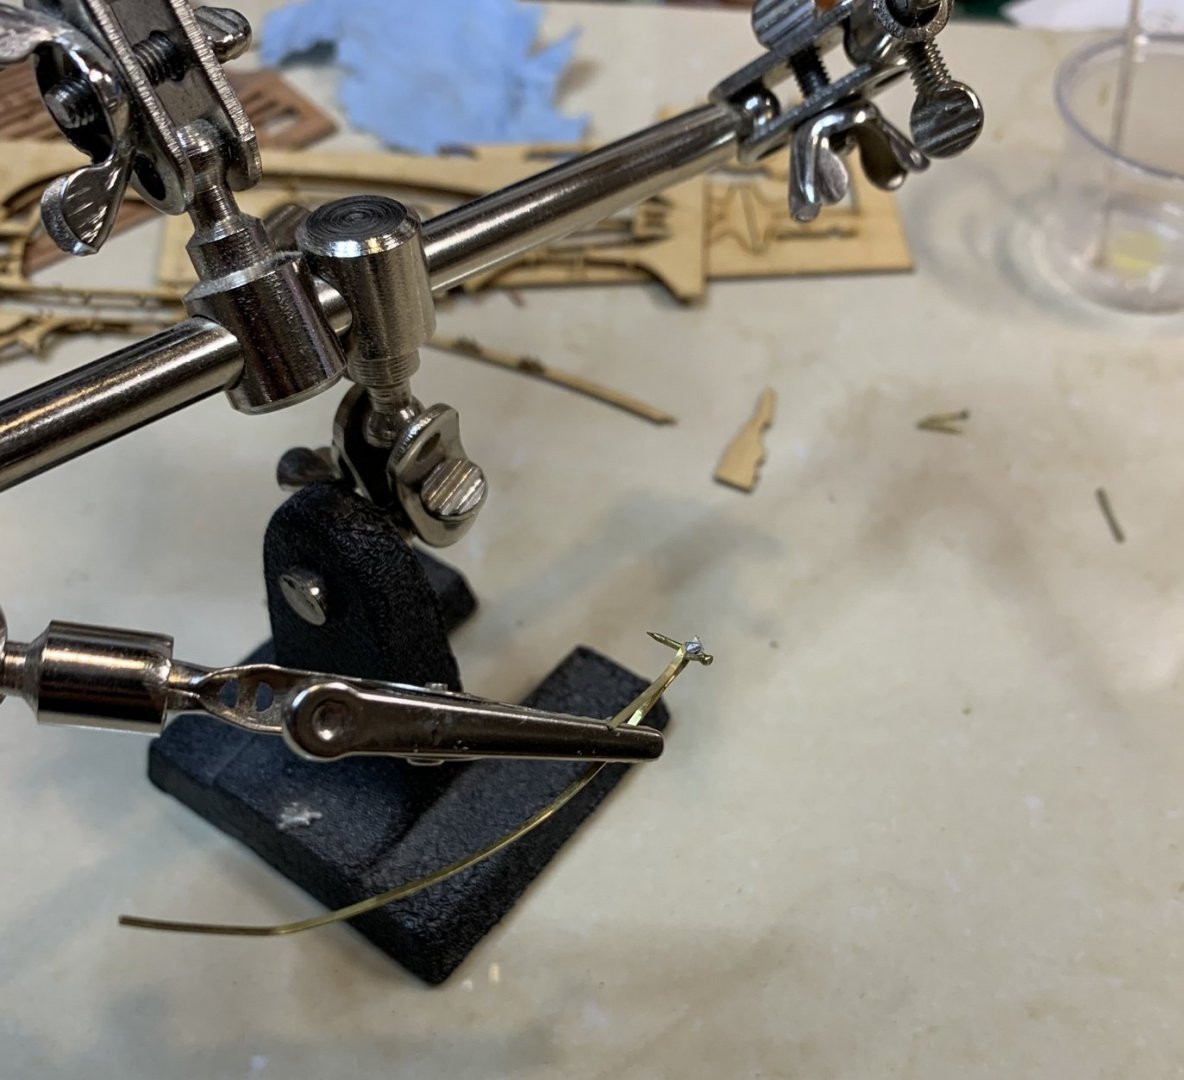
Soldered...
Dry testing..
Happy modeling..
- Edwardkenway, JpR62, GrandpaPhil and 2 others
-
5
-
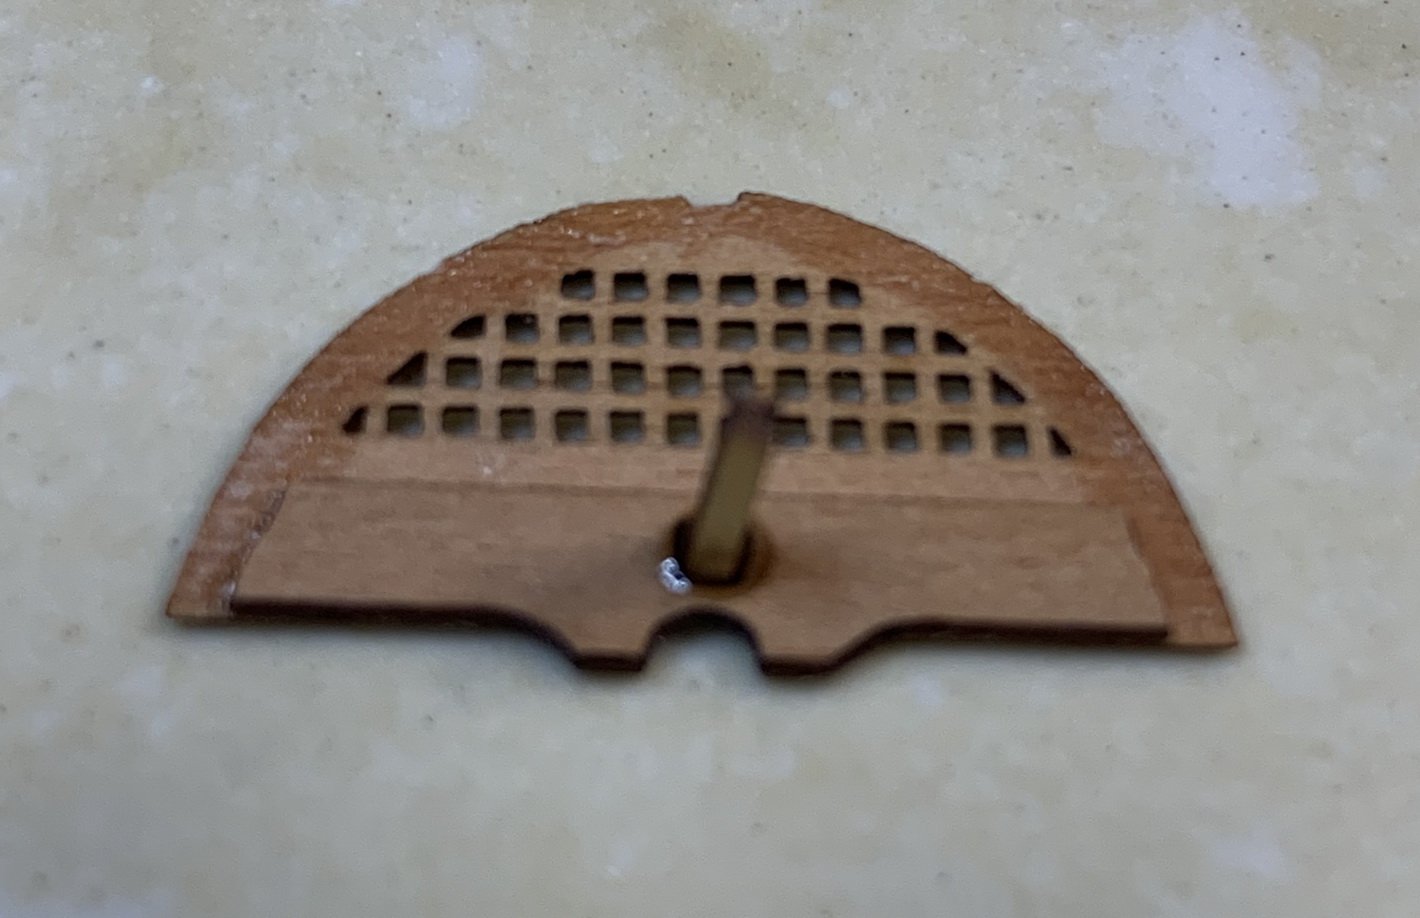
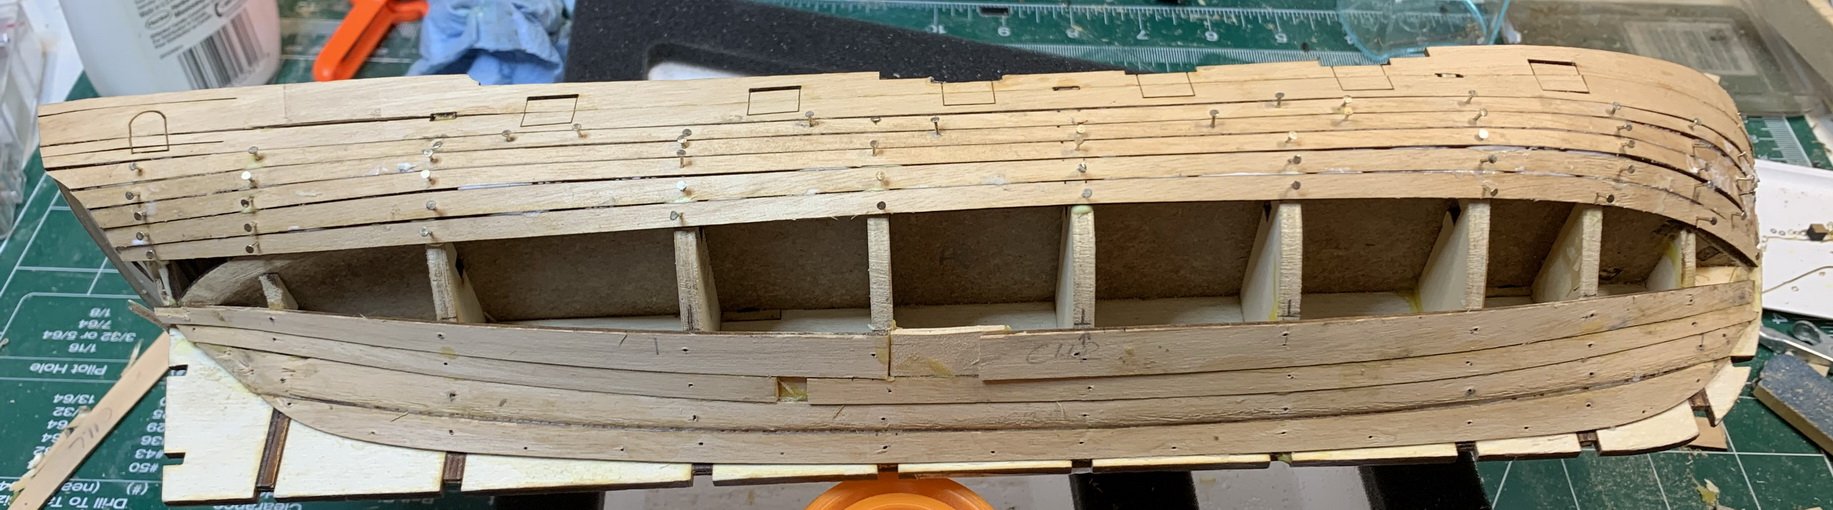
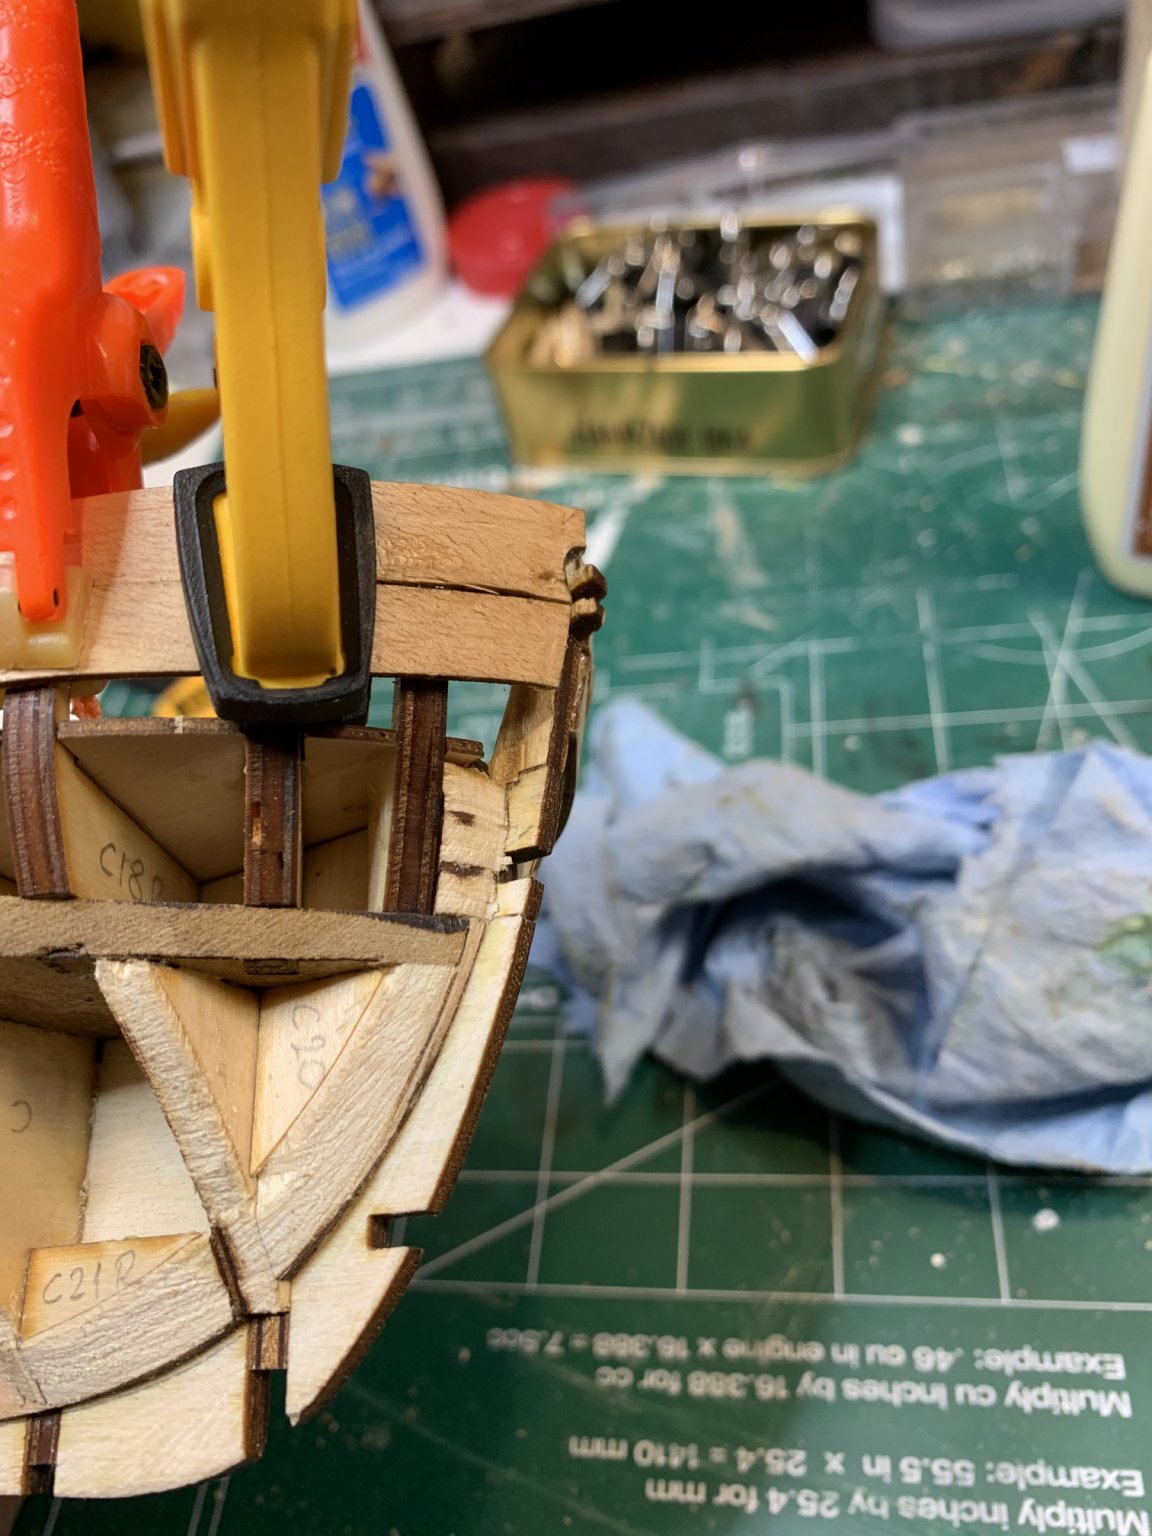
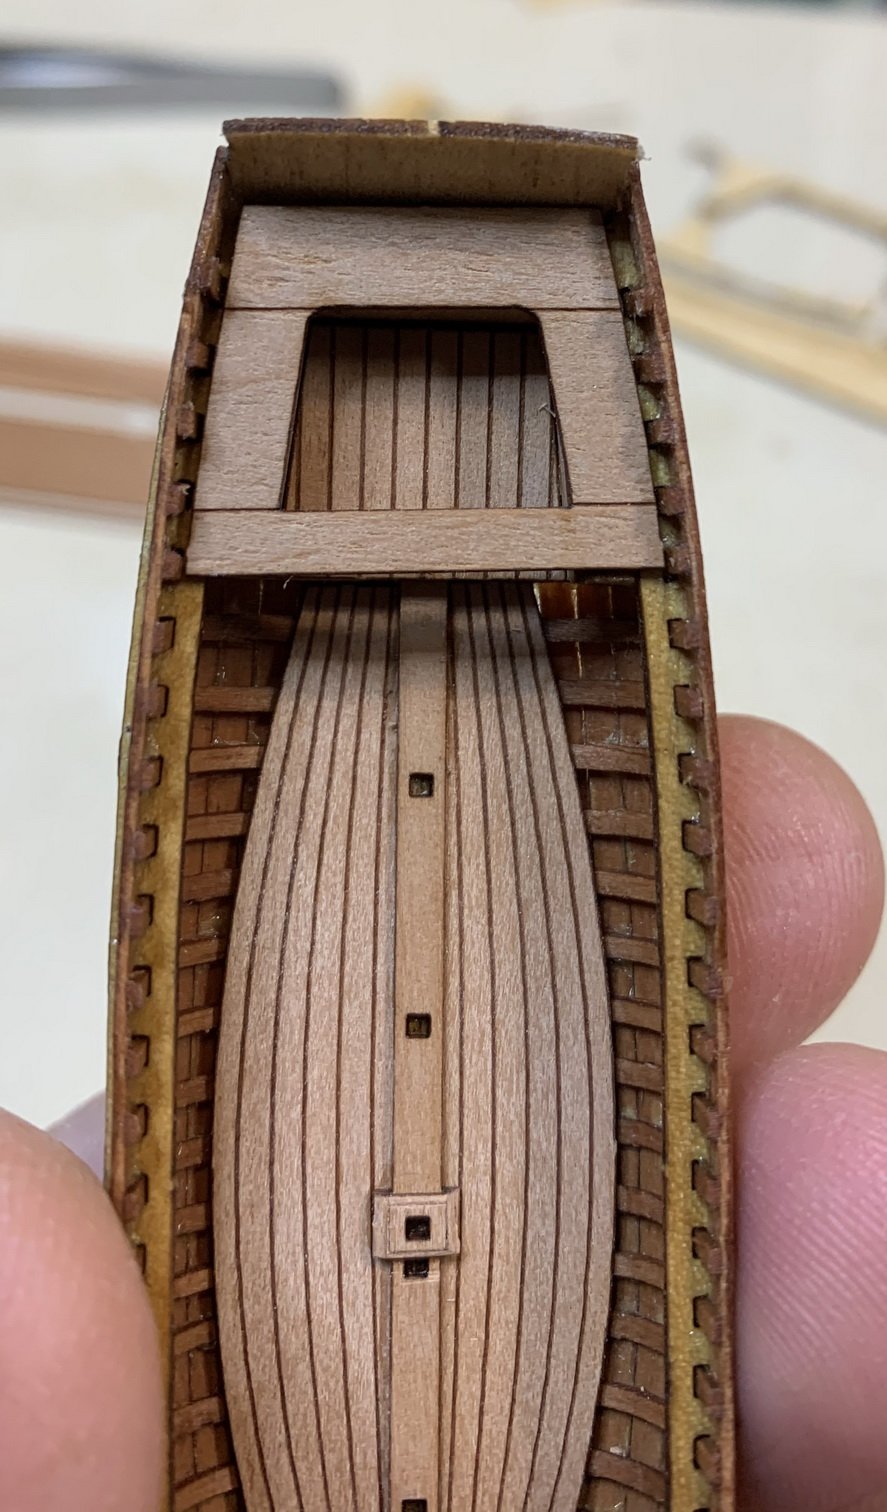
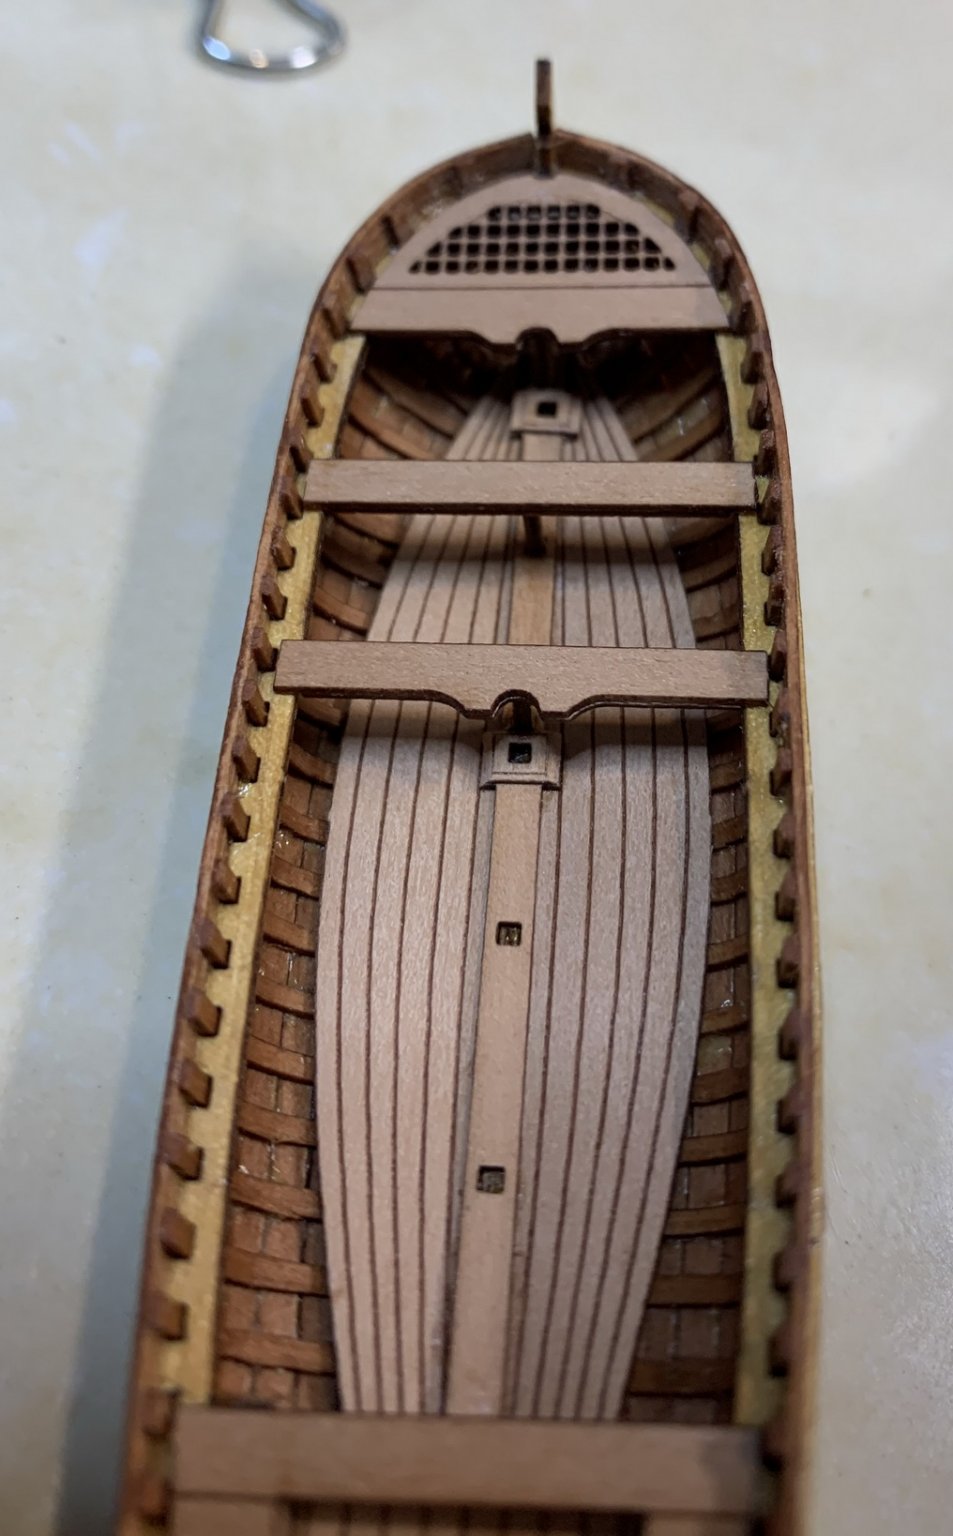
Work continues with ship boat.
All pieces are easy removed from the frames, a bit of a sanding and removing of laser burn is required.

The front of a boat is done from three pieces, the same as other thwarts, mast, forward, center...
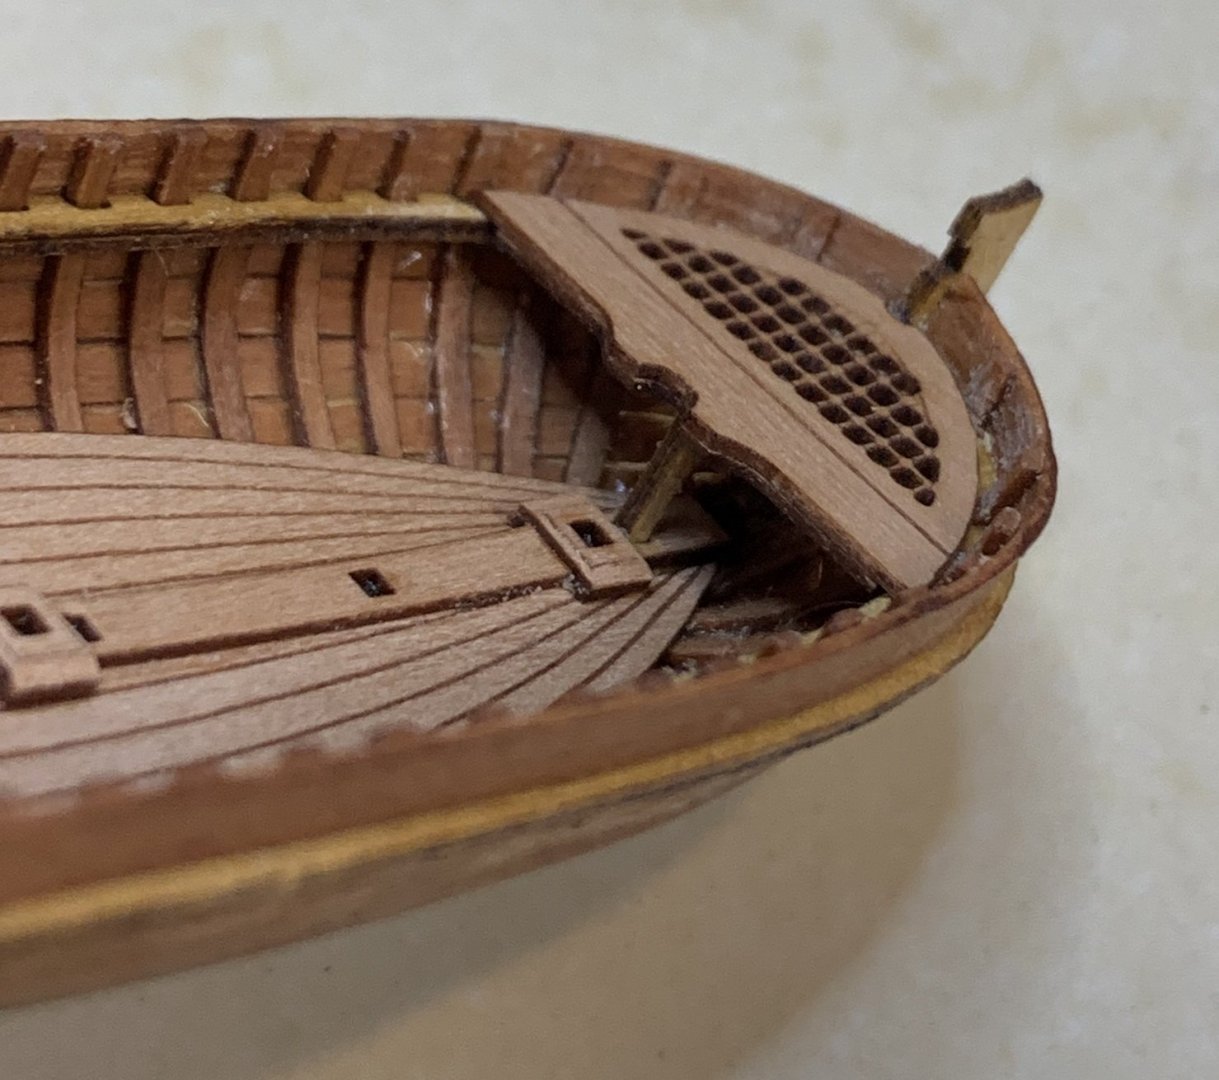

Happy modeling.
- american, CiscoH, GrandpaPhil and 2 others
-
5


.jpg.ae905850e9d44c44b71e338827d11e8b.jpg)


Phoenix by Moreplovac - FINISHED - Master Korabel - 1/72 - Russian Brigantine
in - Kit build logs for subjects built from 1751 - 1800
Posted
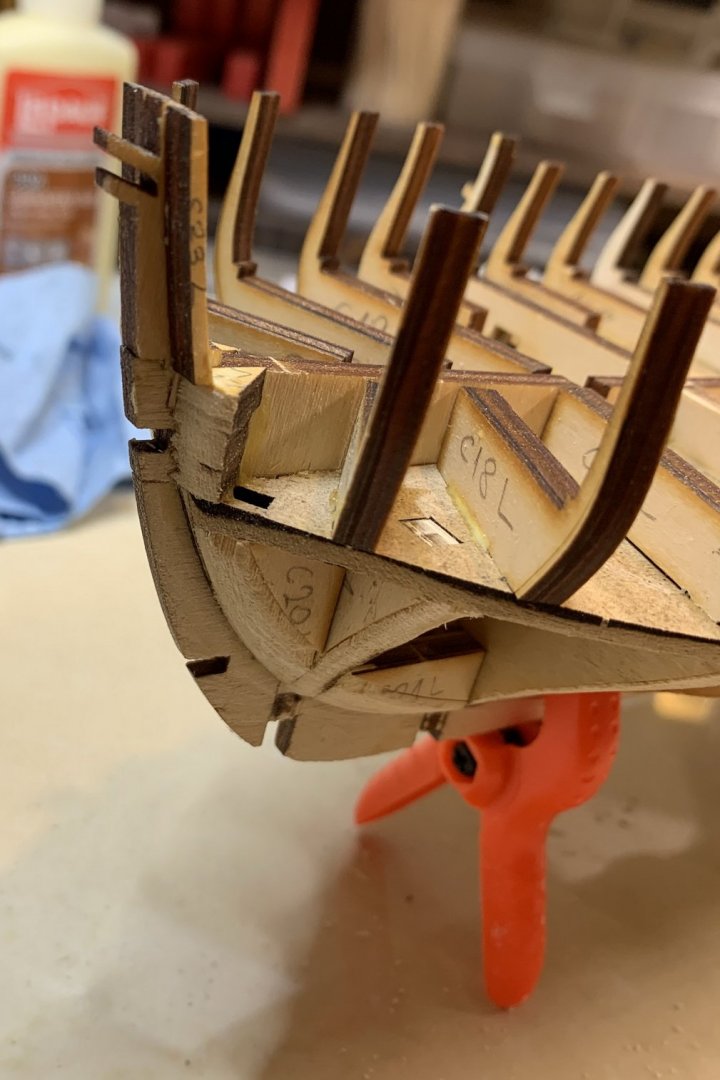
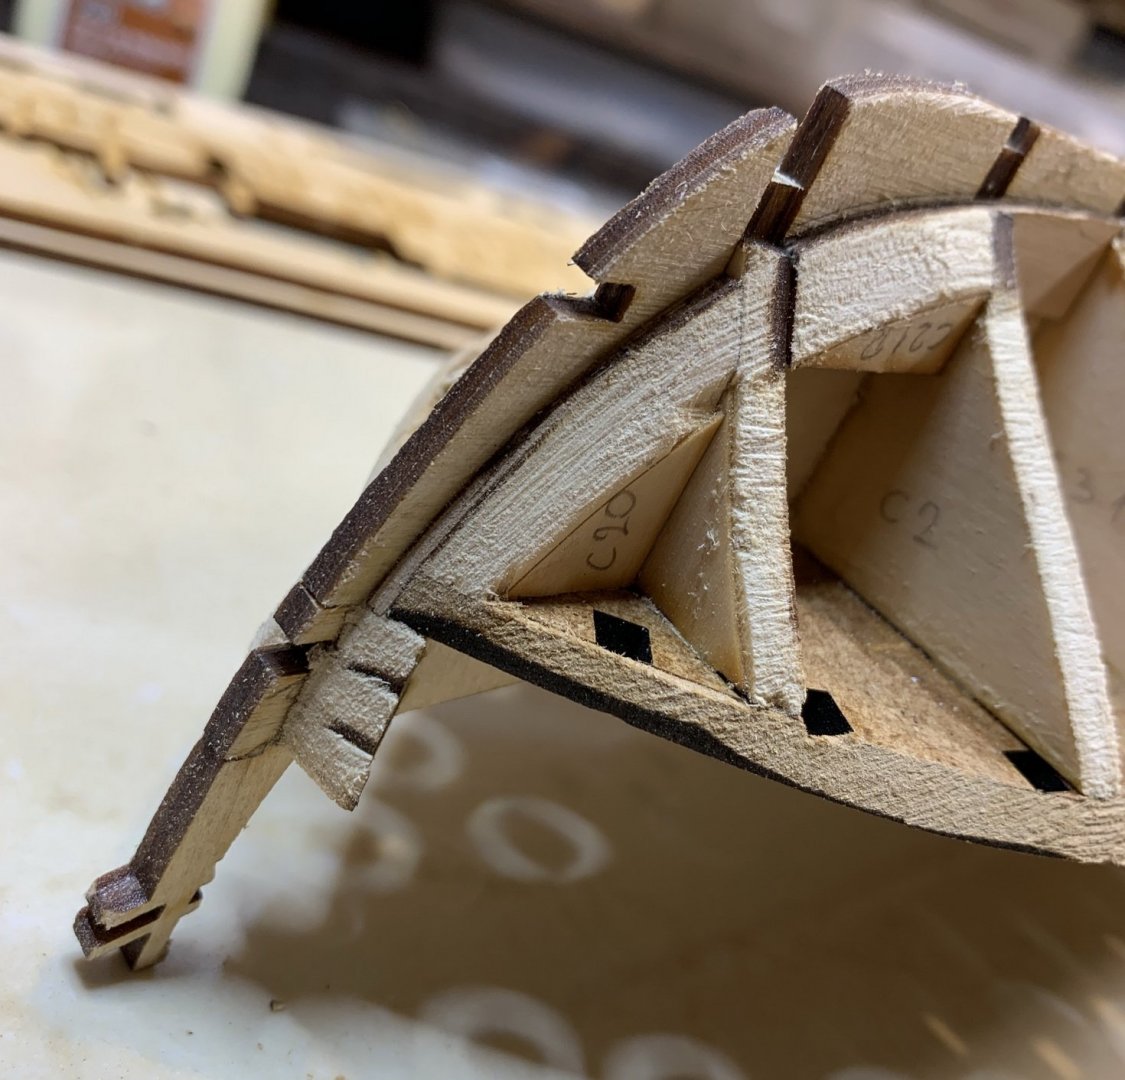
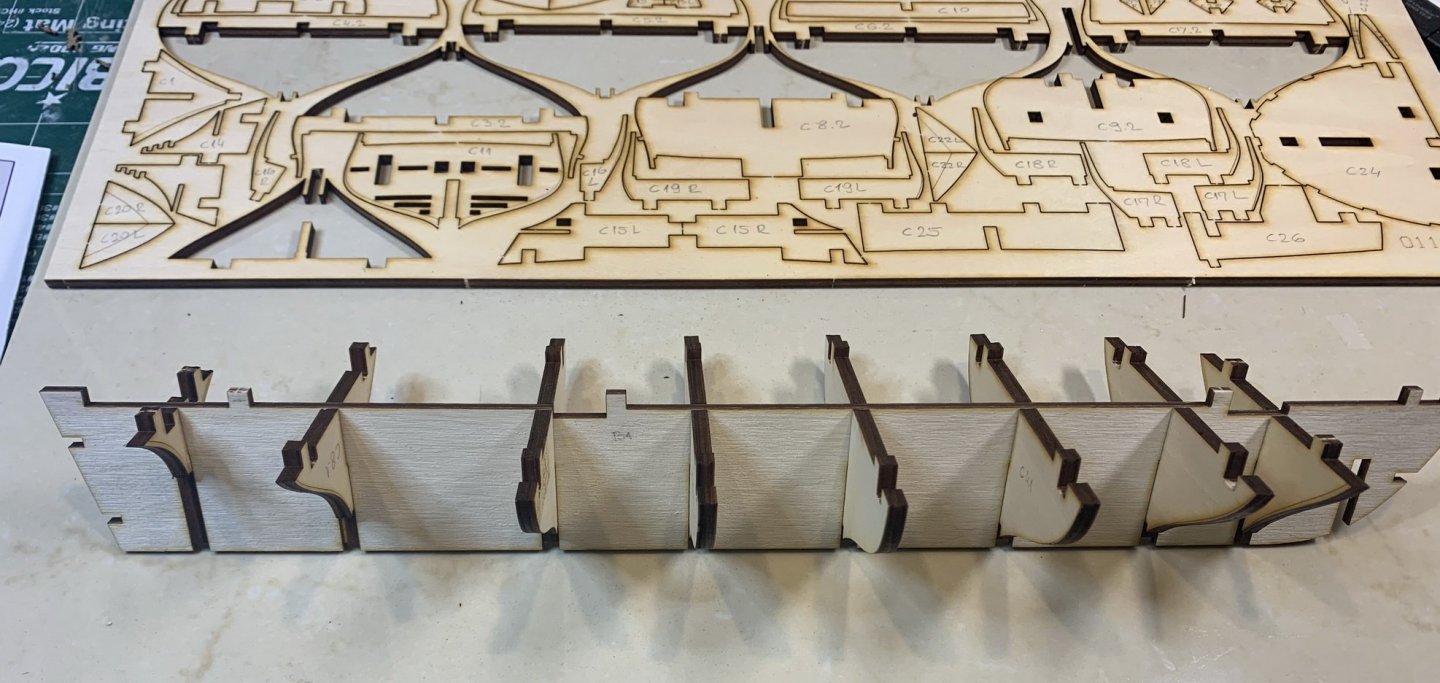
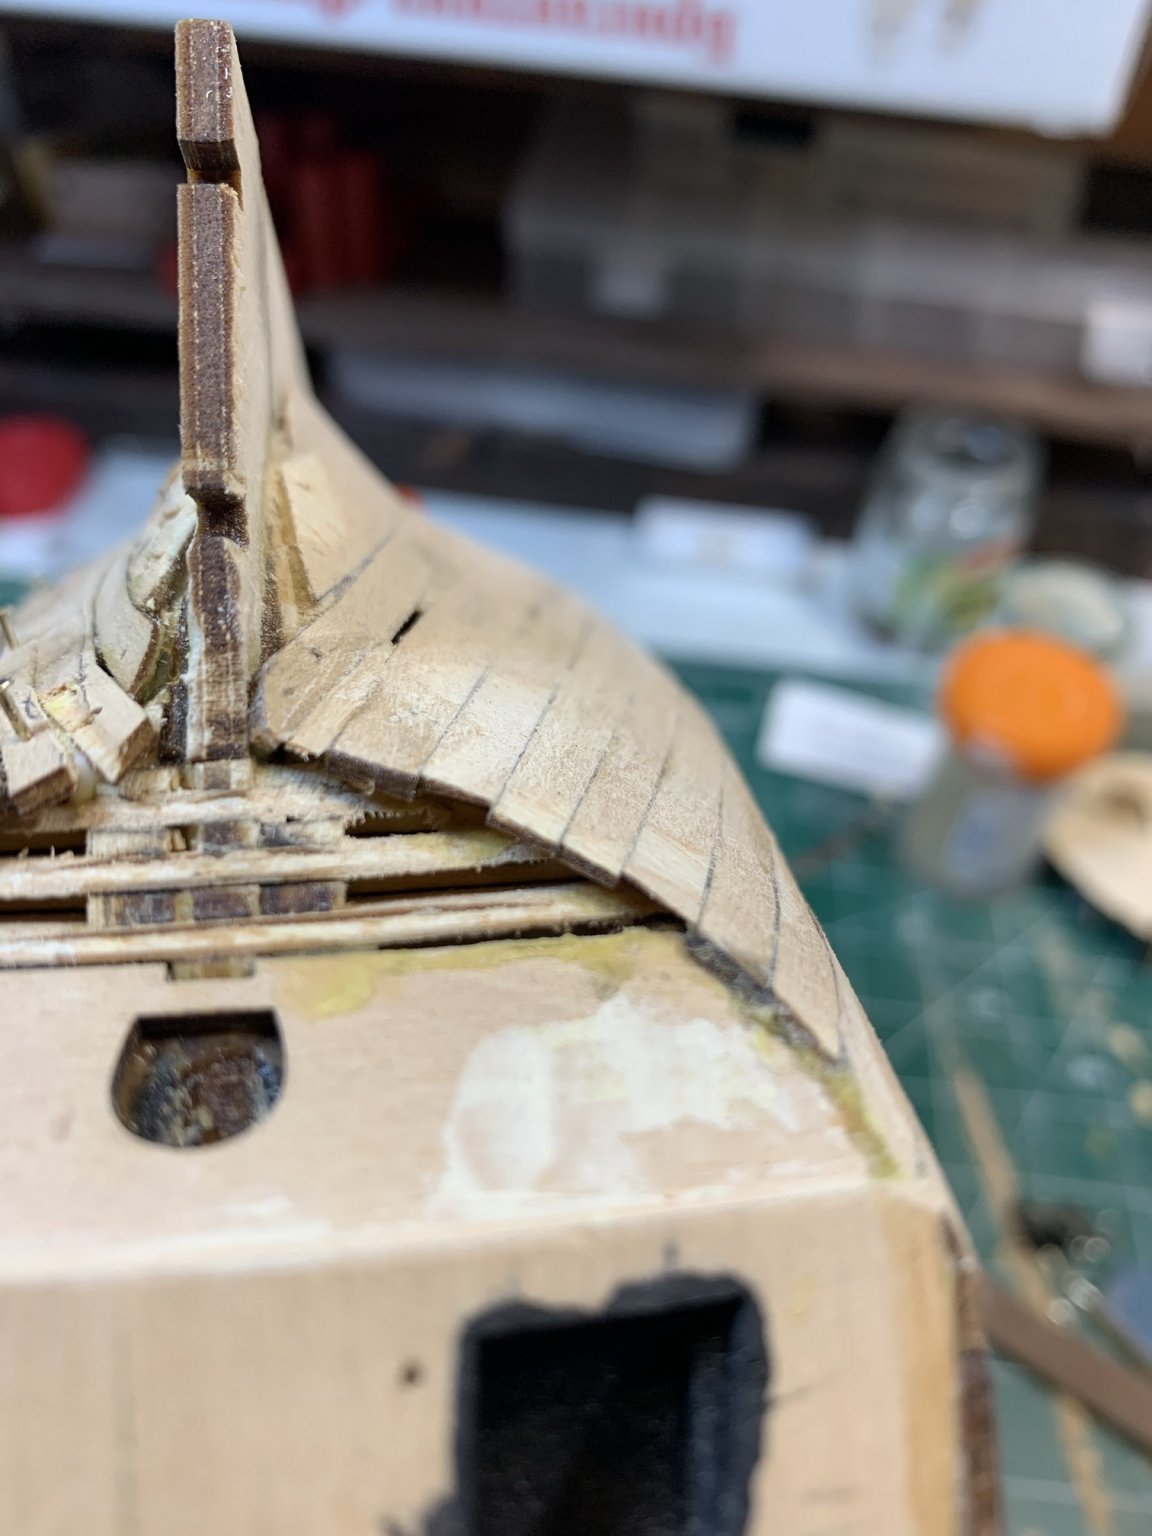
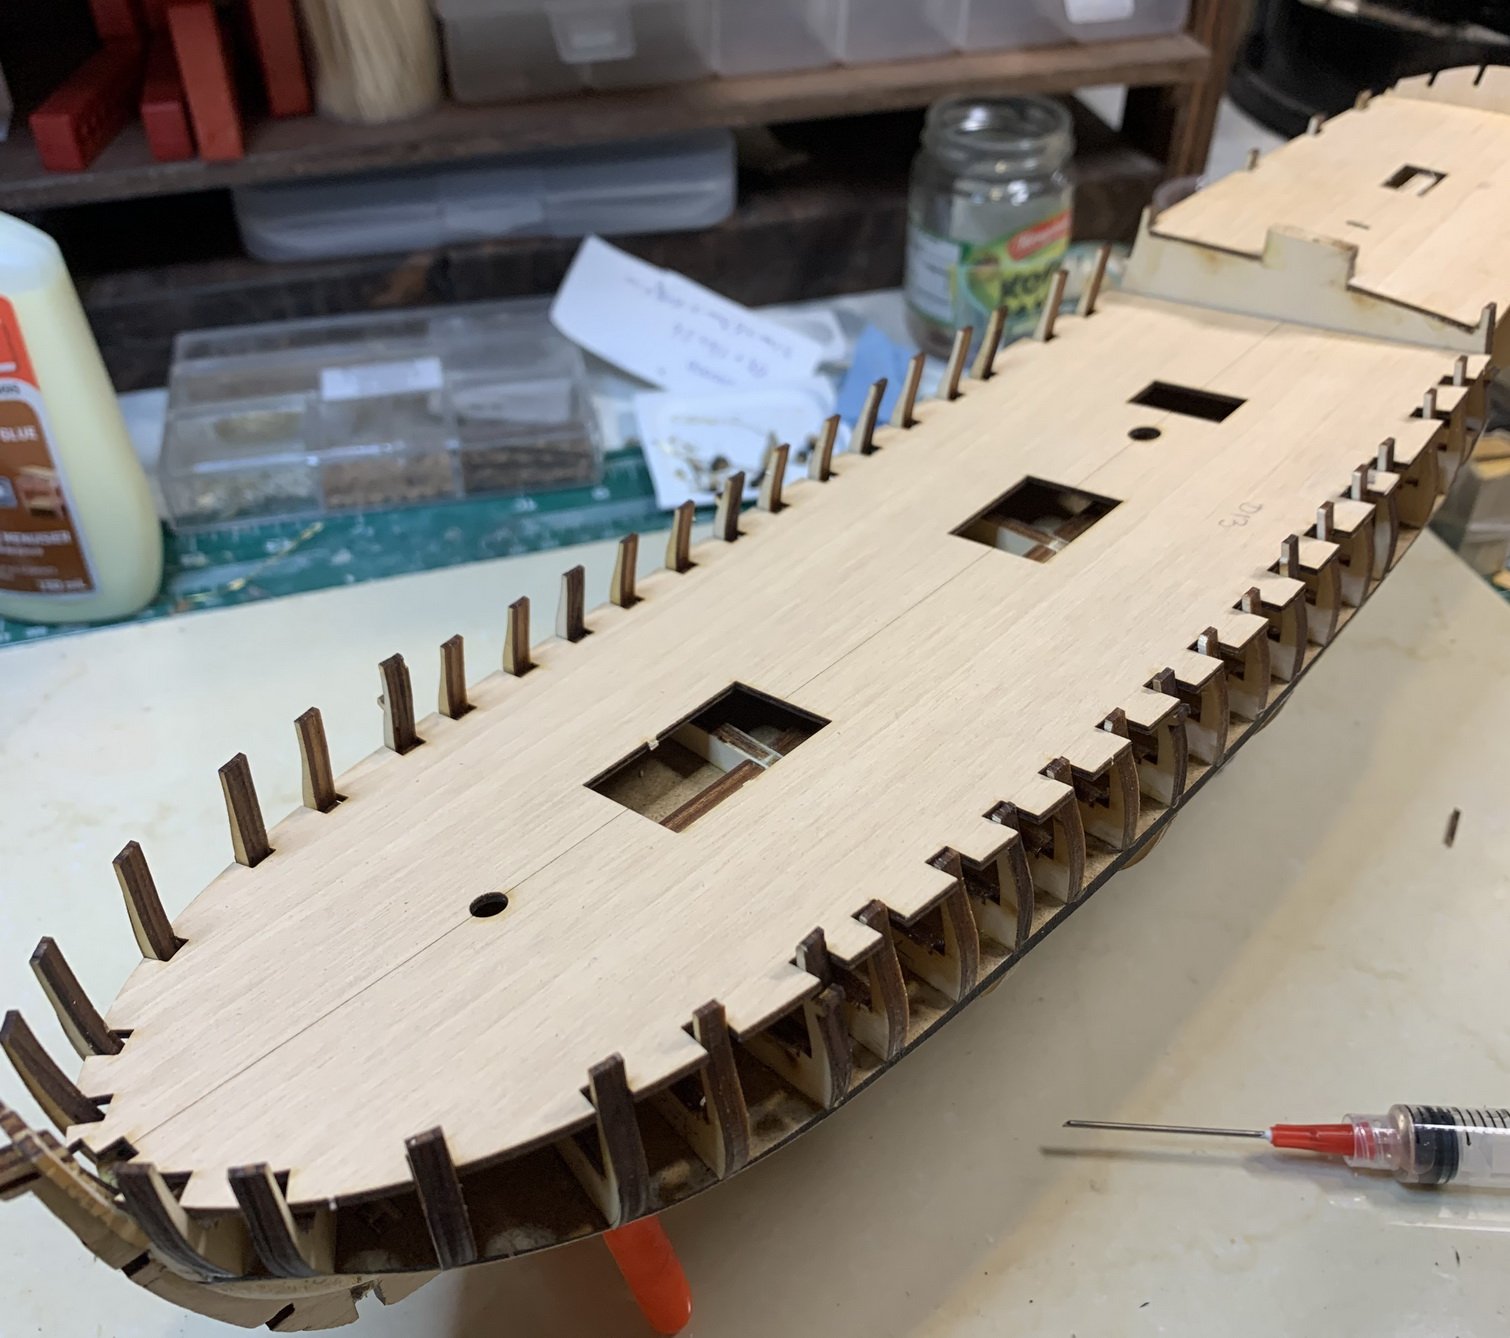
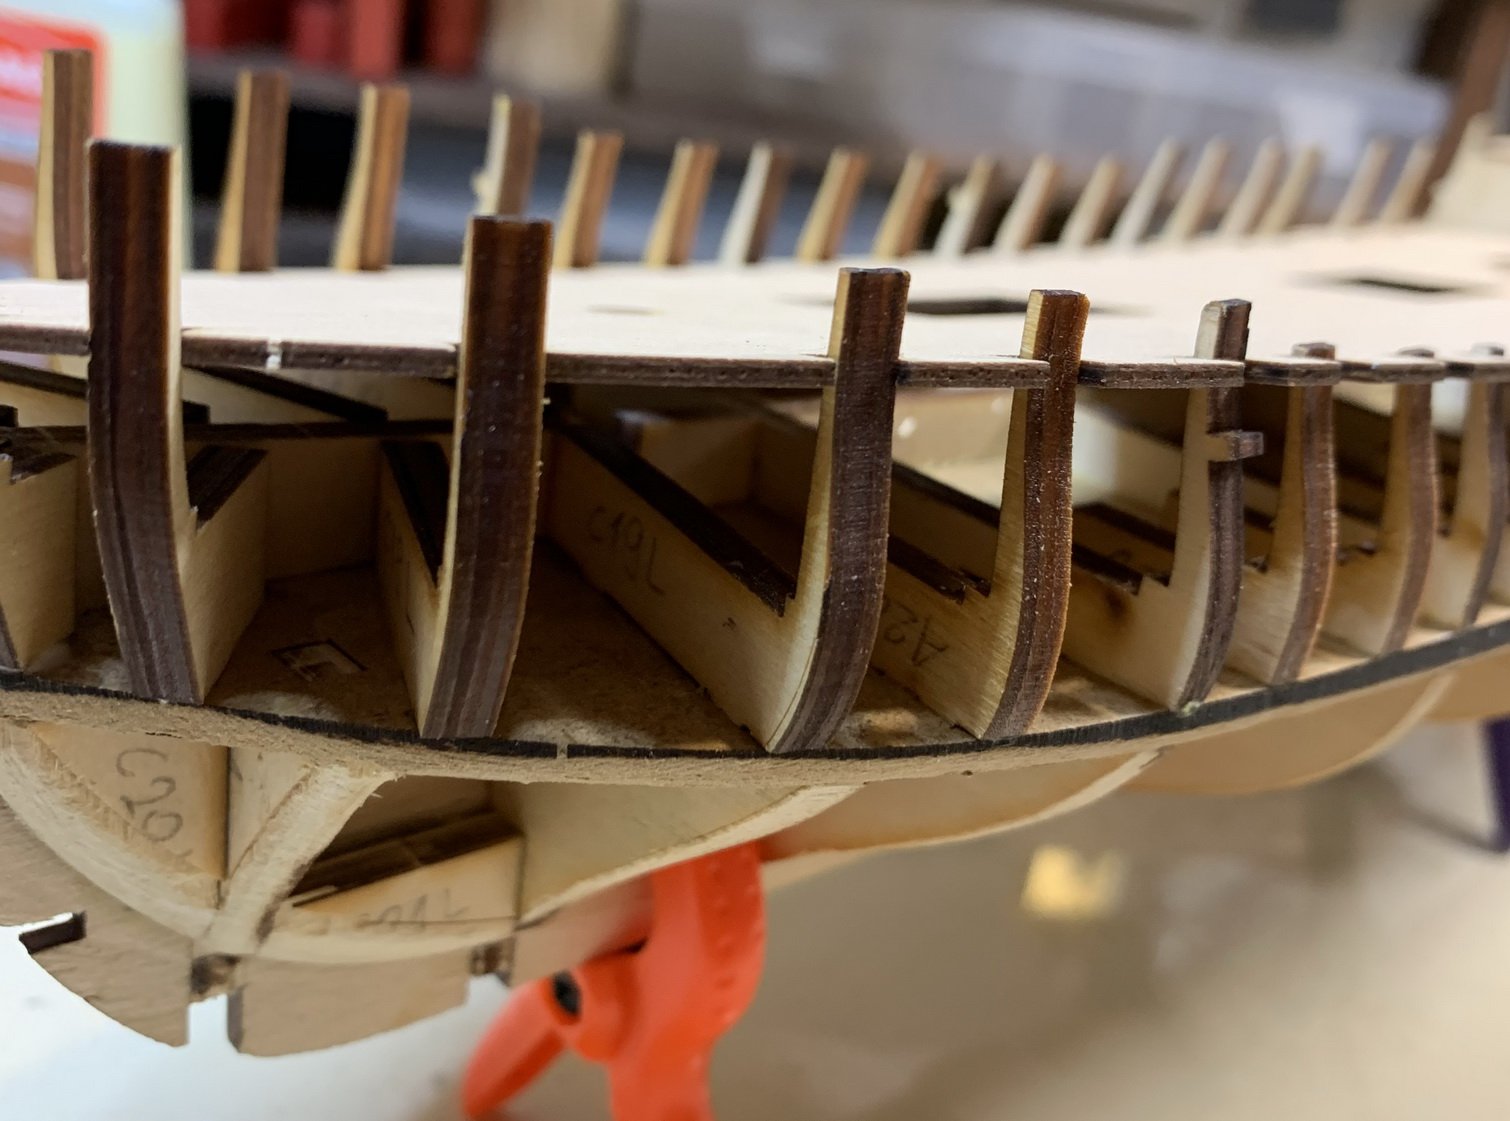
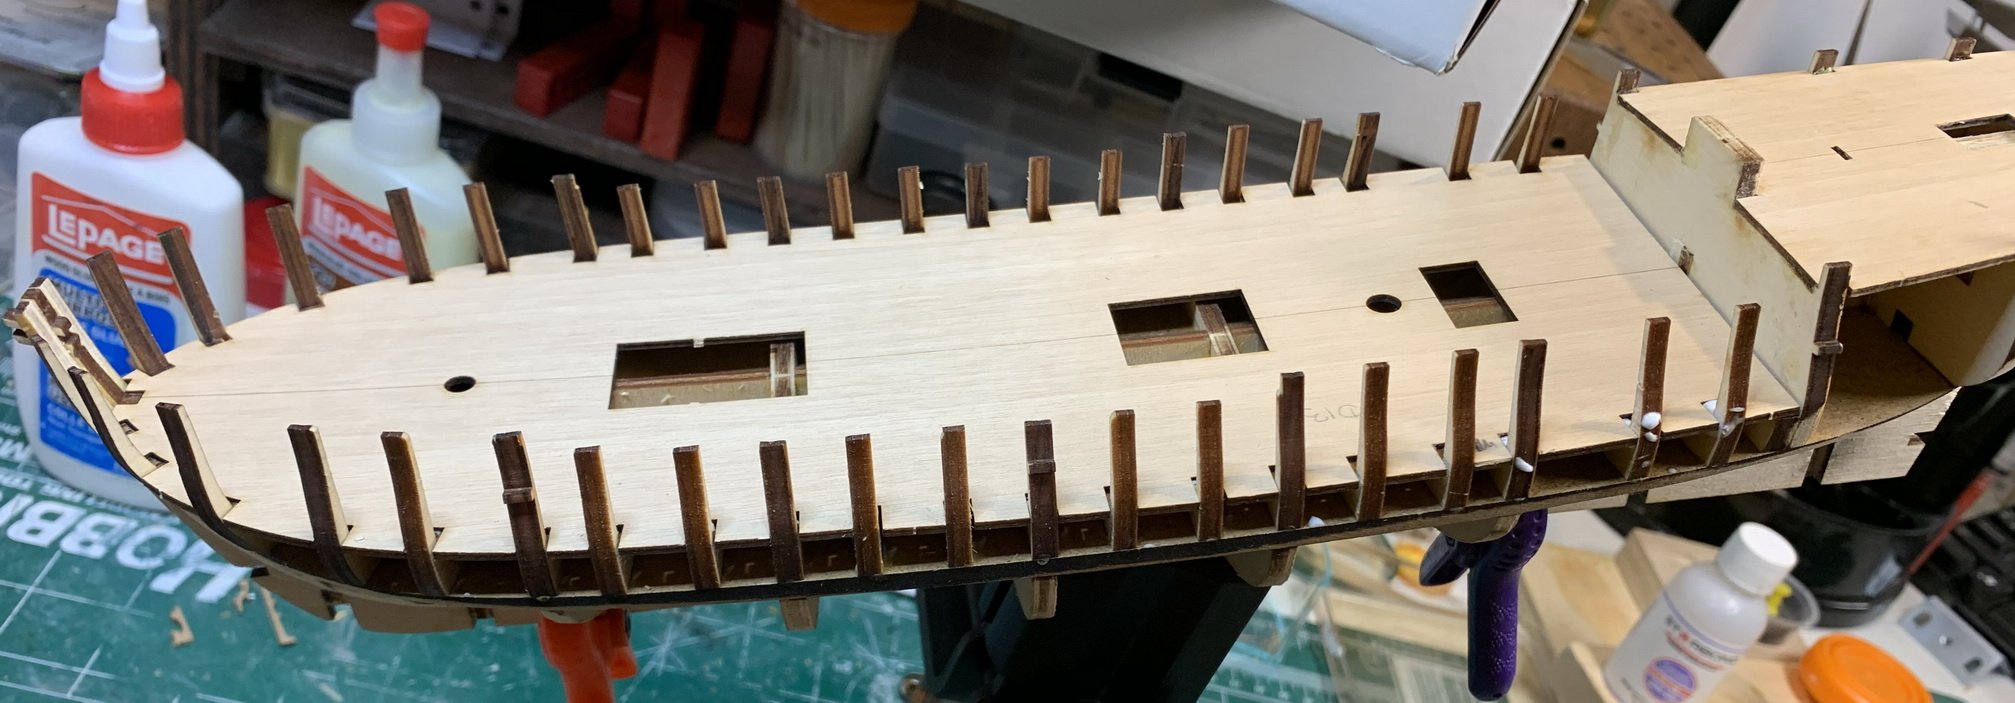
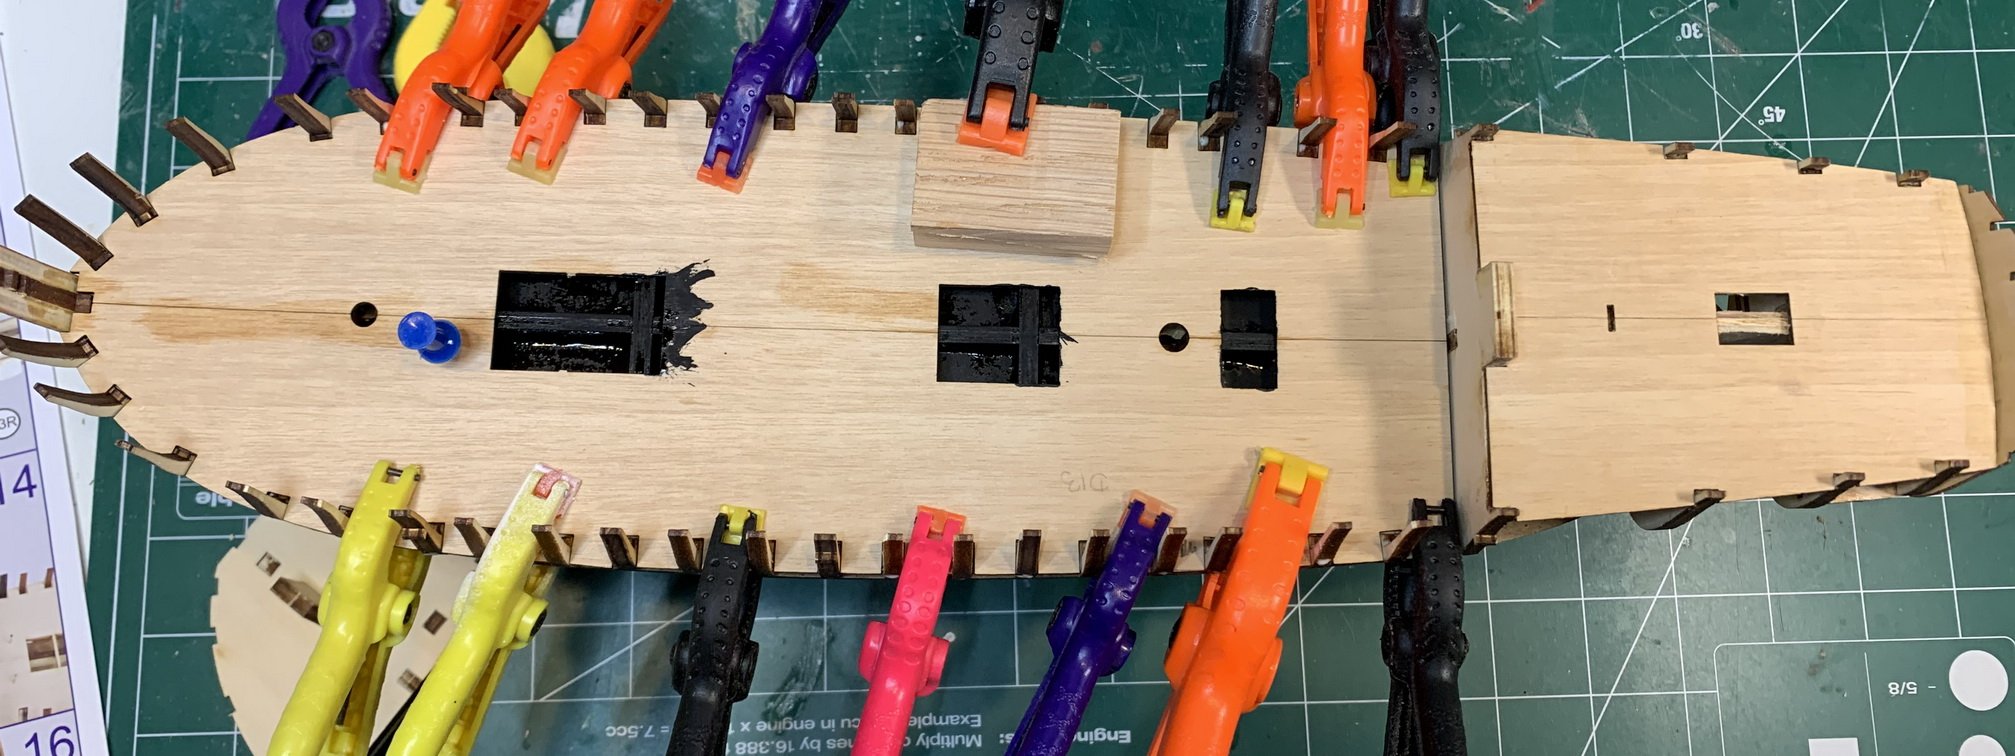
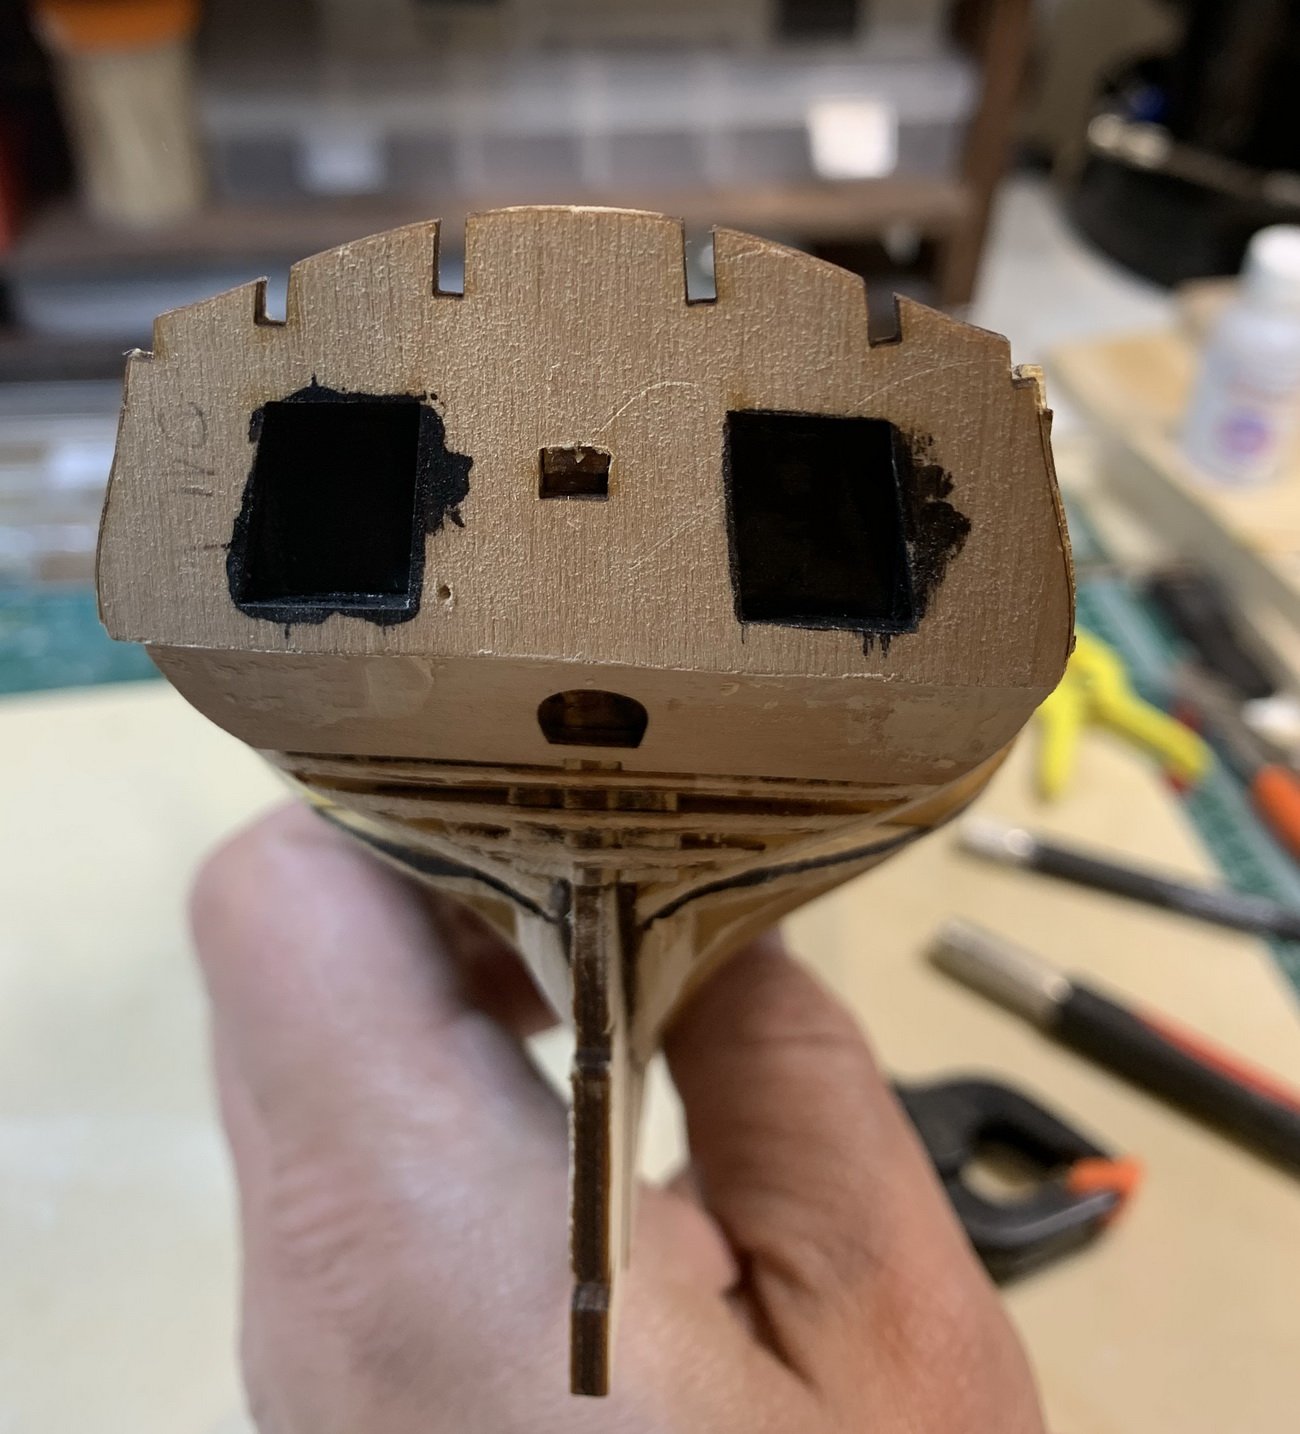
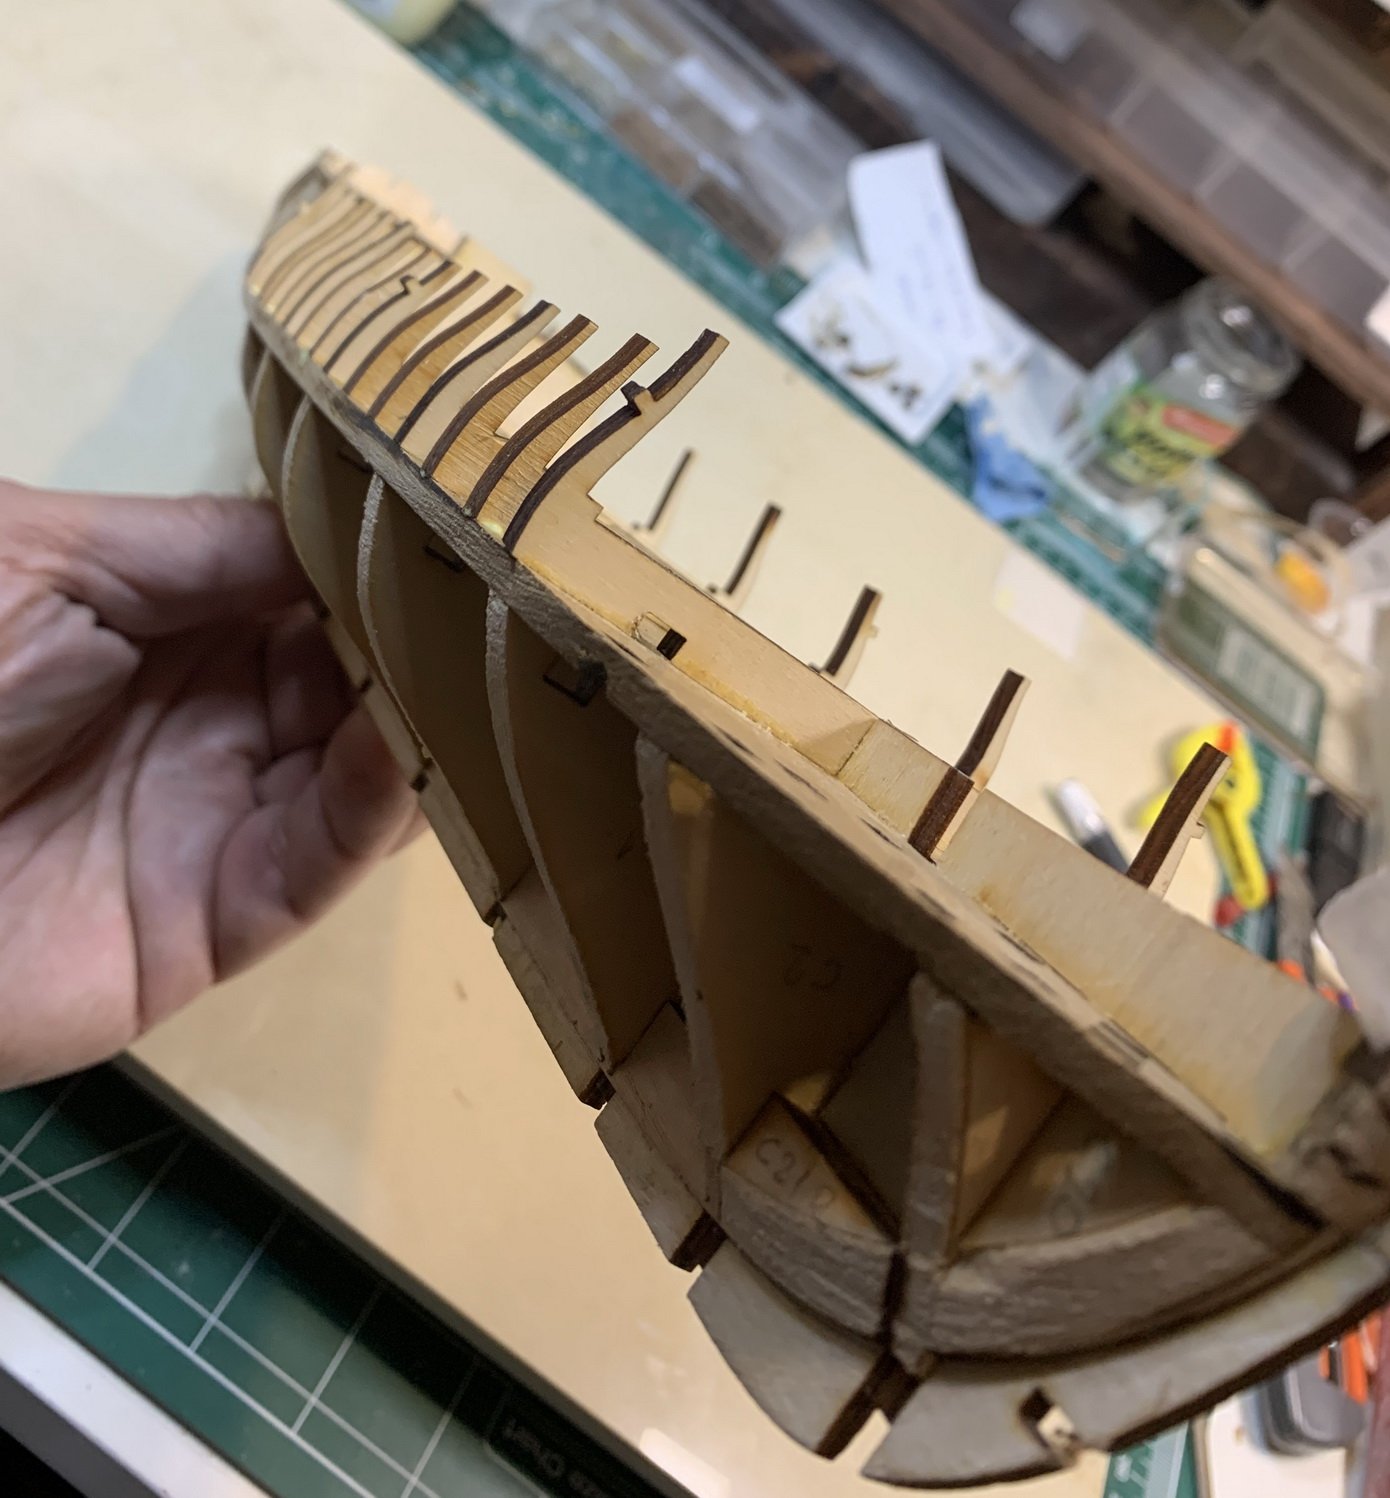
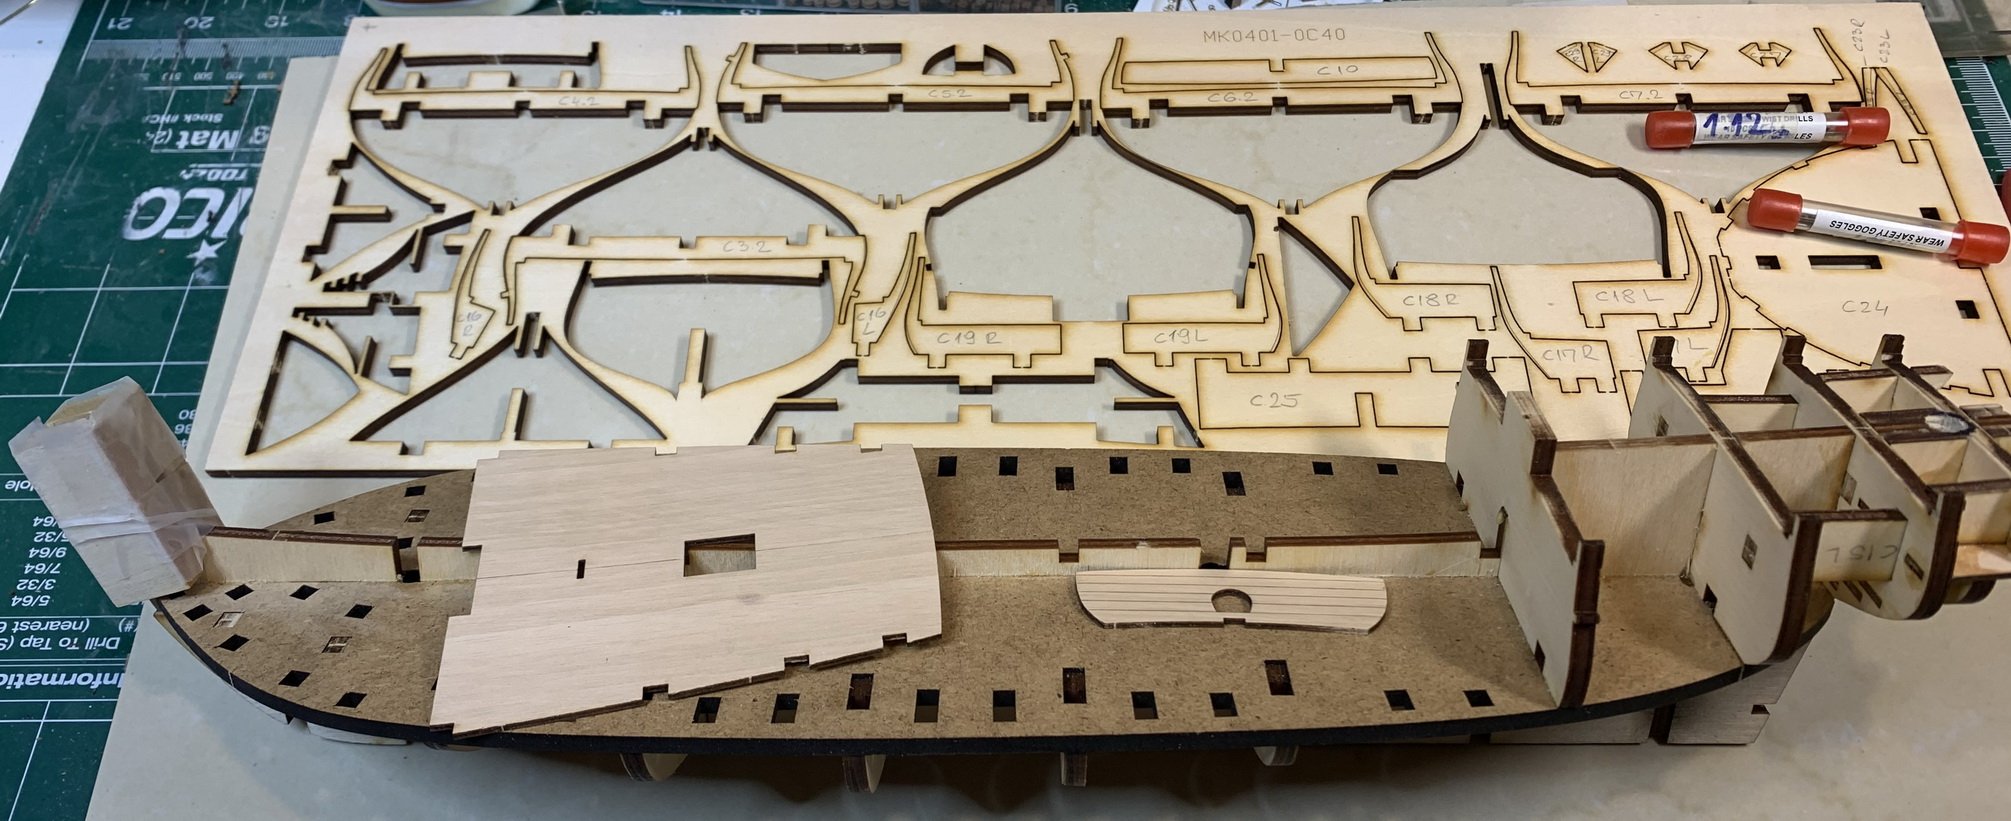
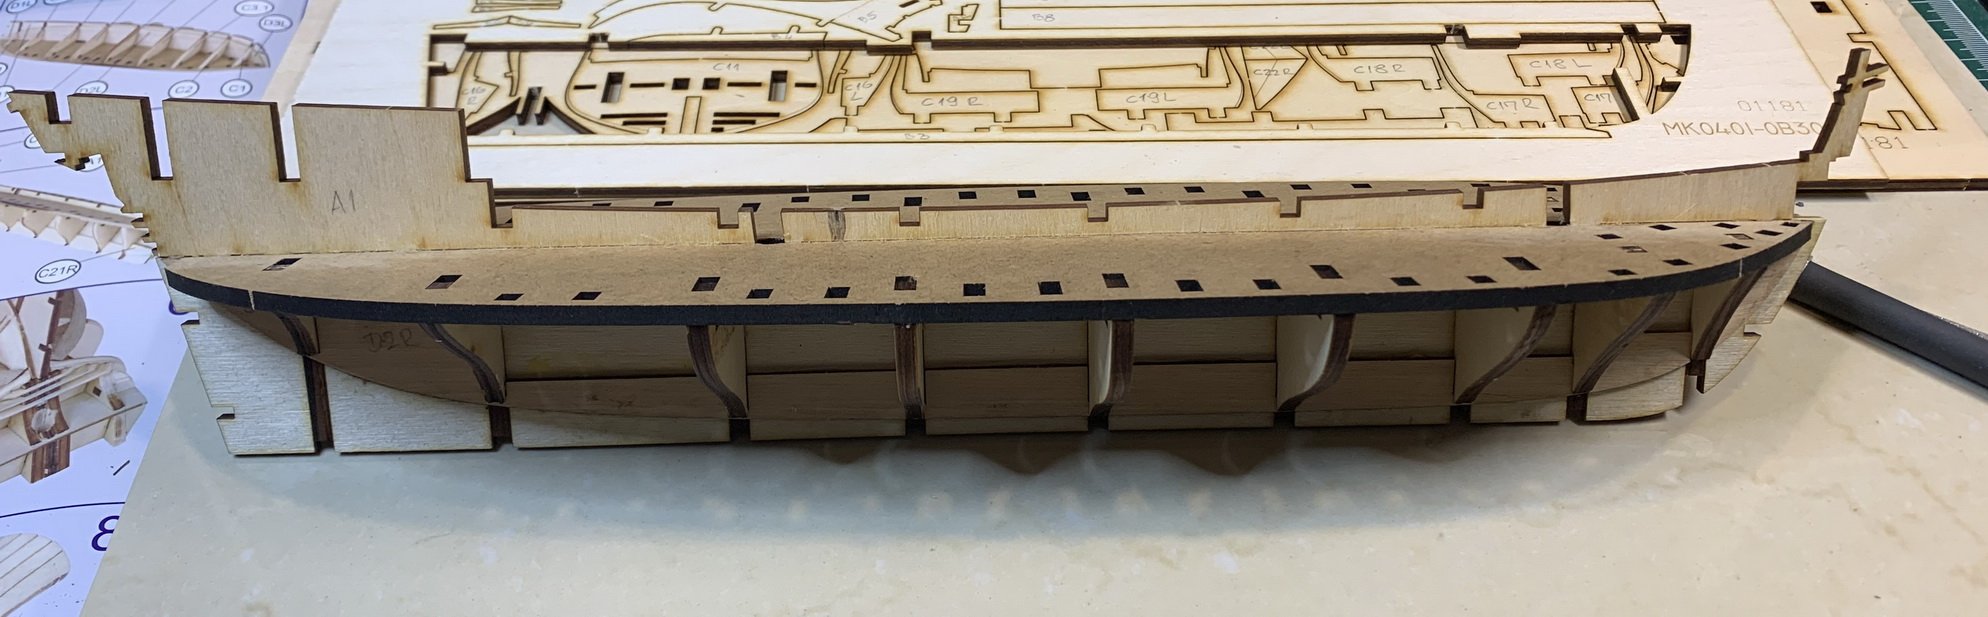
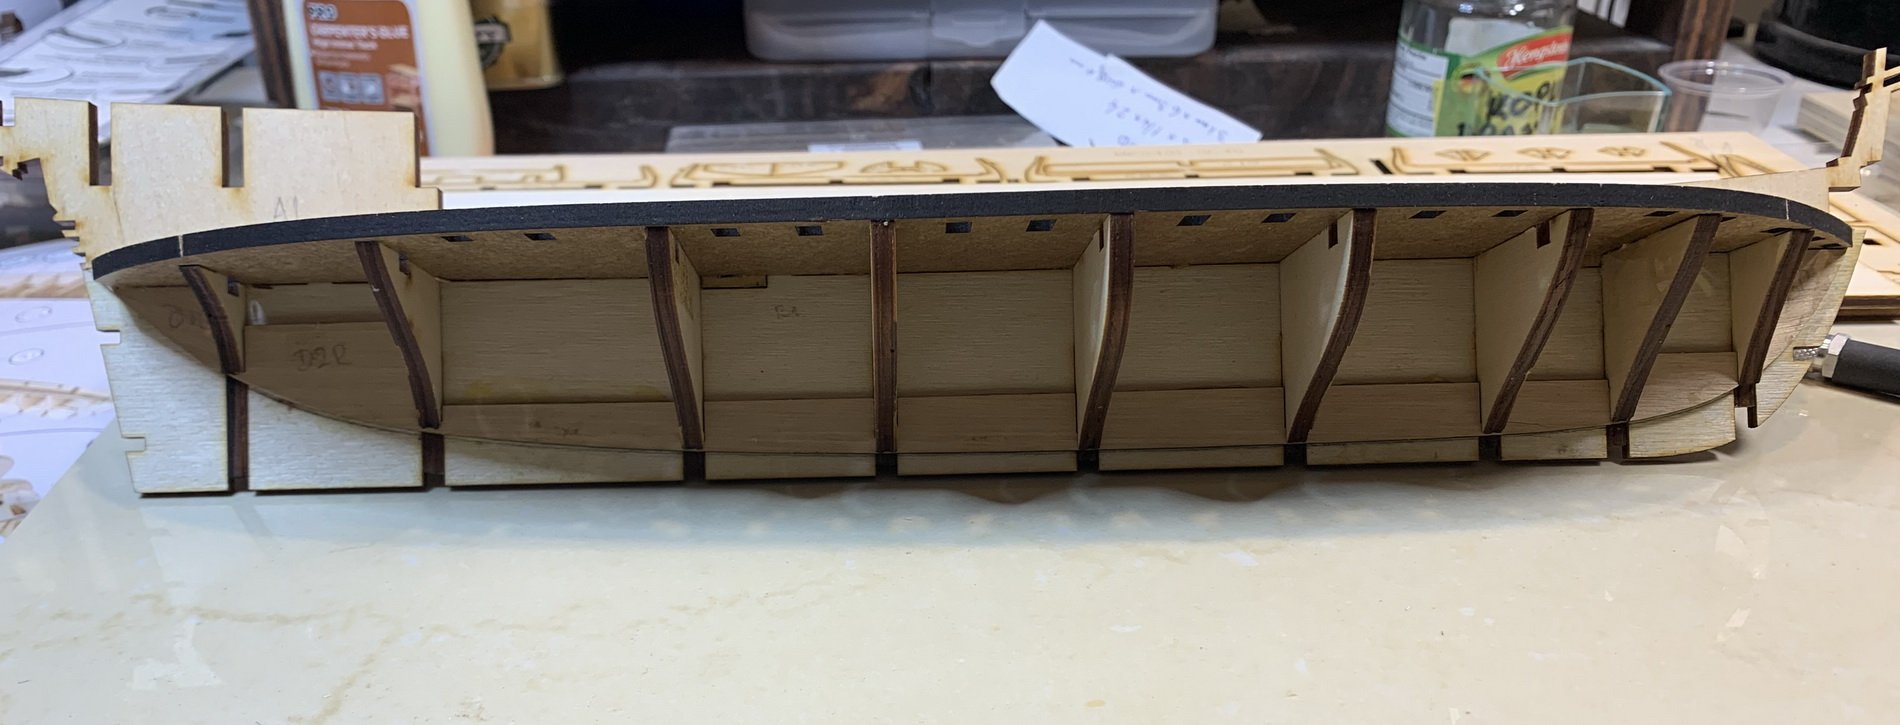
Work on the hull continues; i have cut cannon openings, installed, not sure what term to use, a piece of darker wood on the top of gun openings... it is needed just for 6 cannons
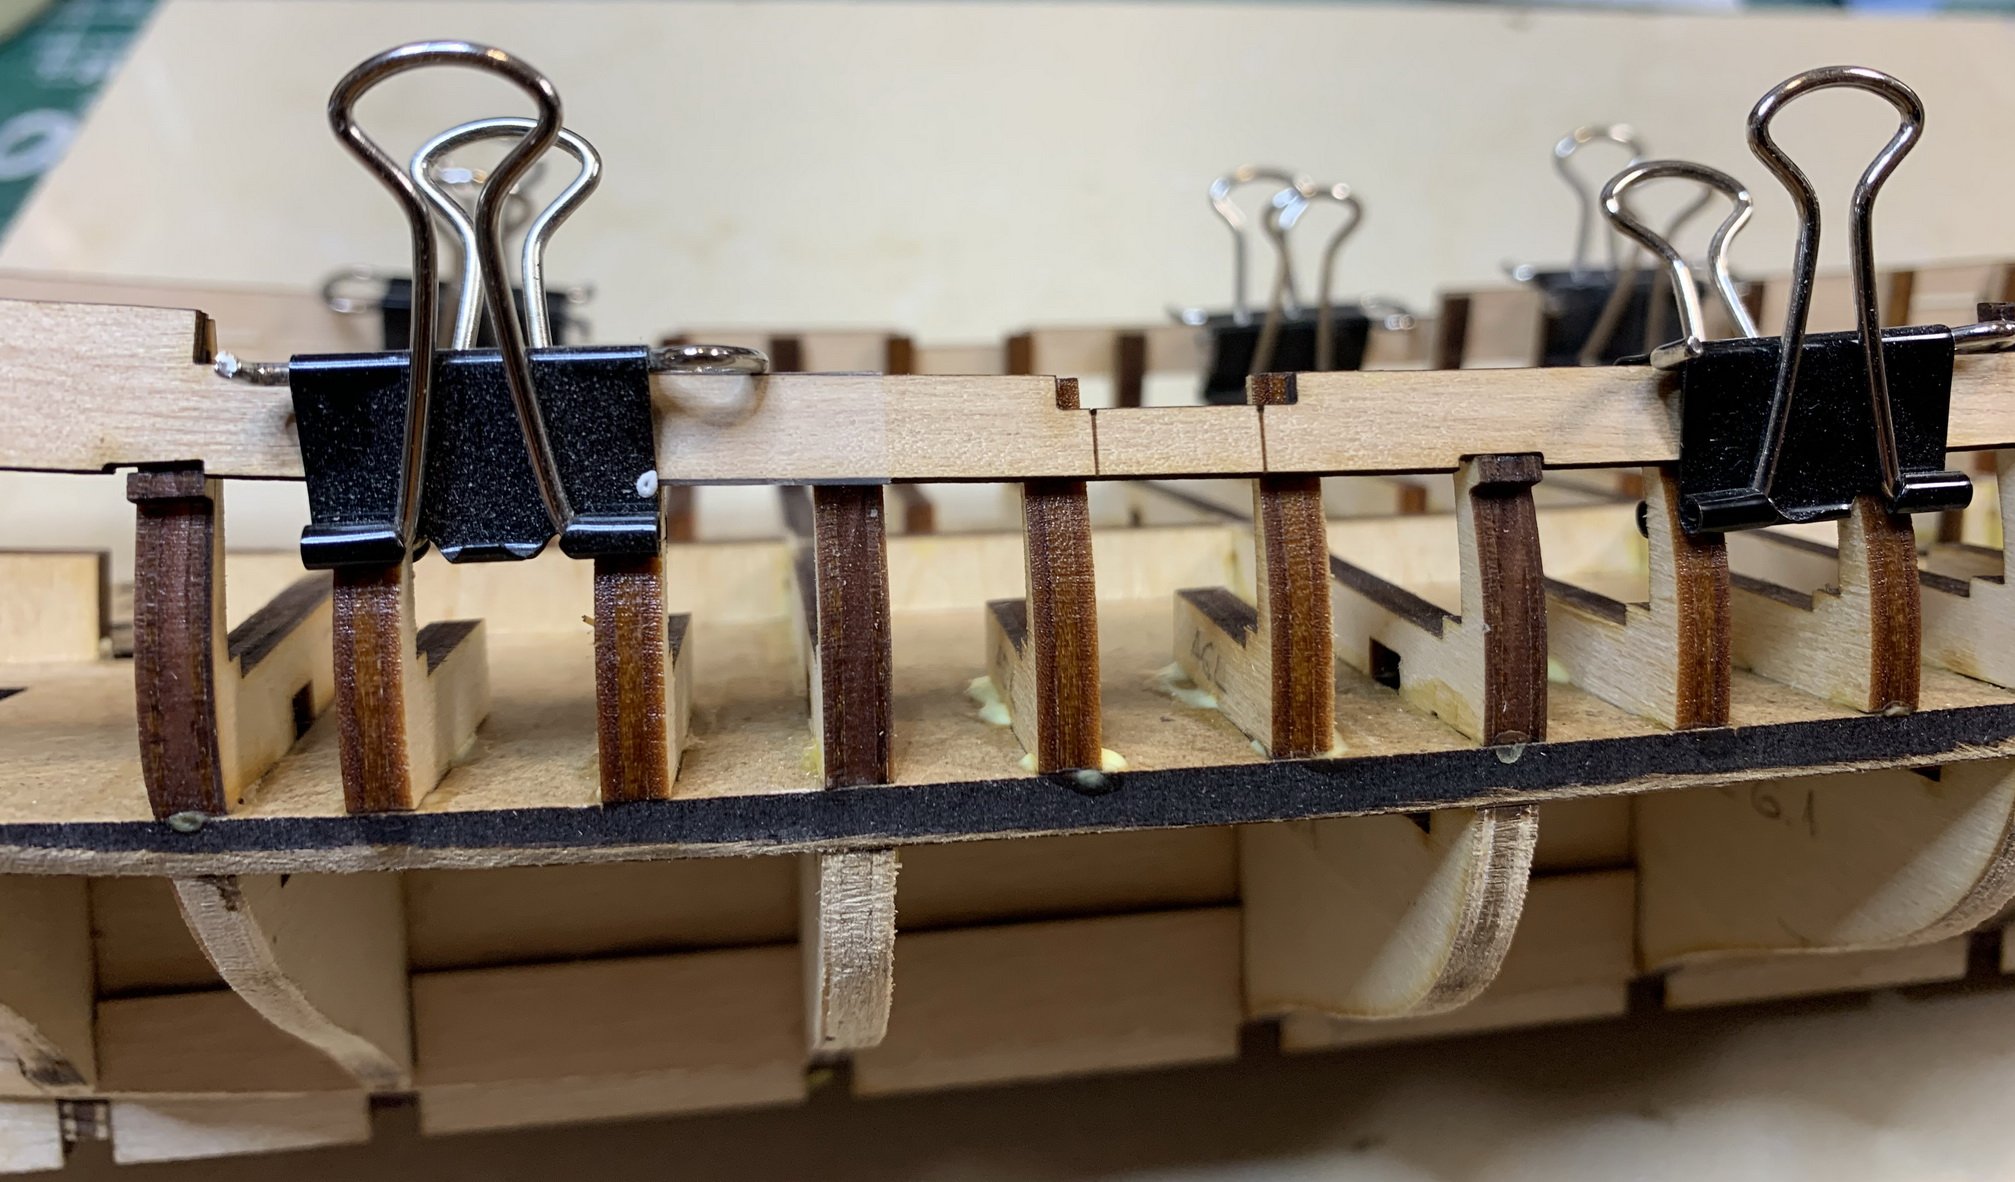
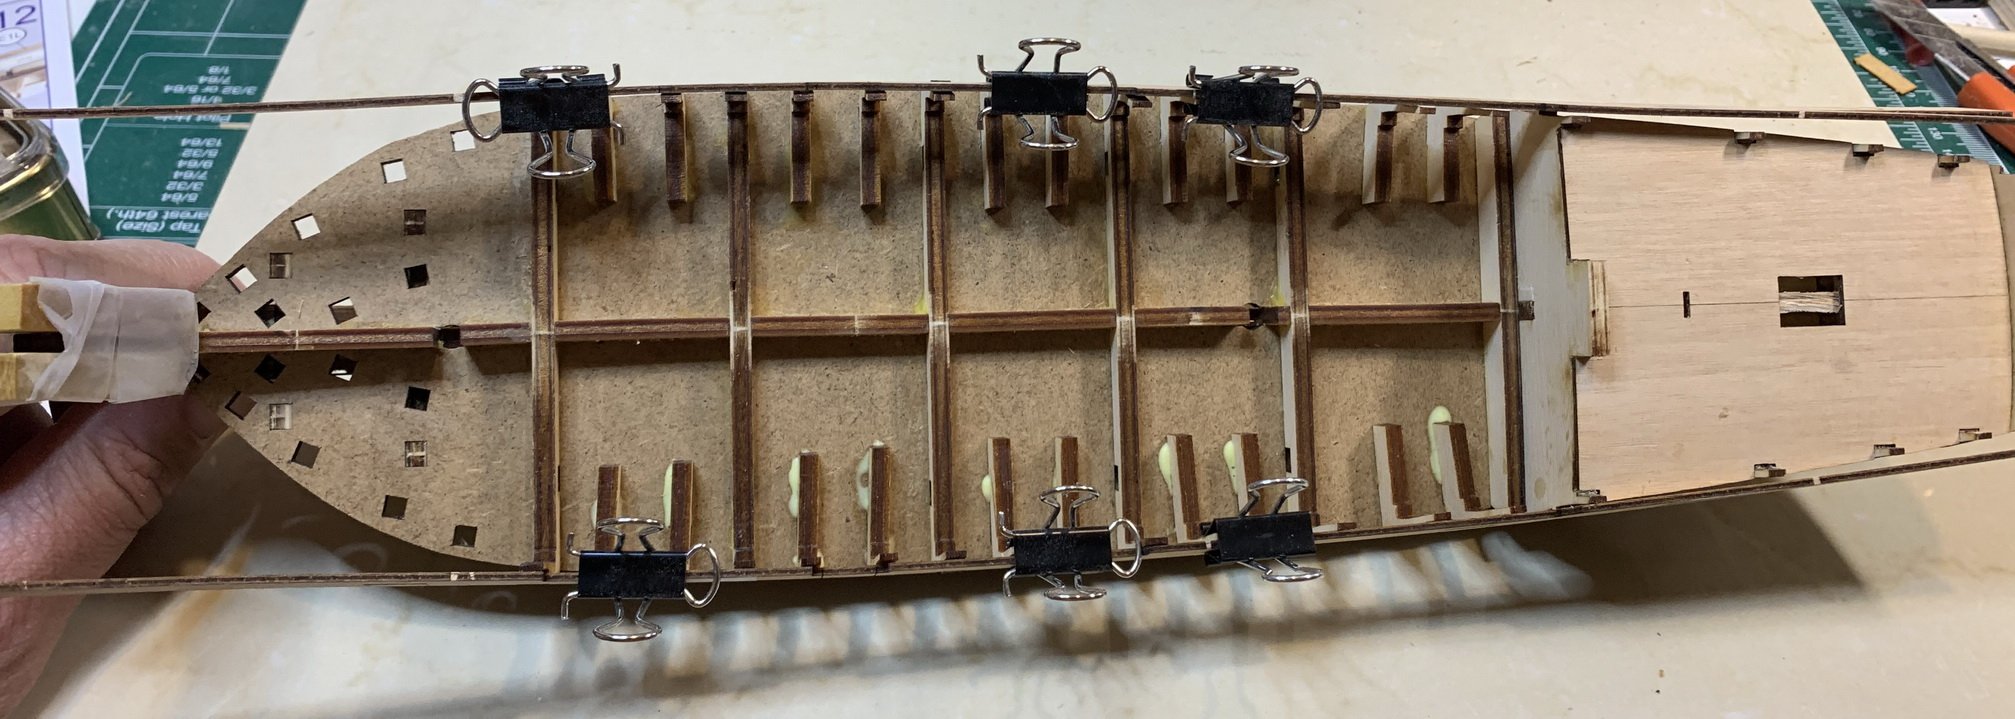
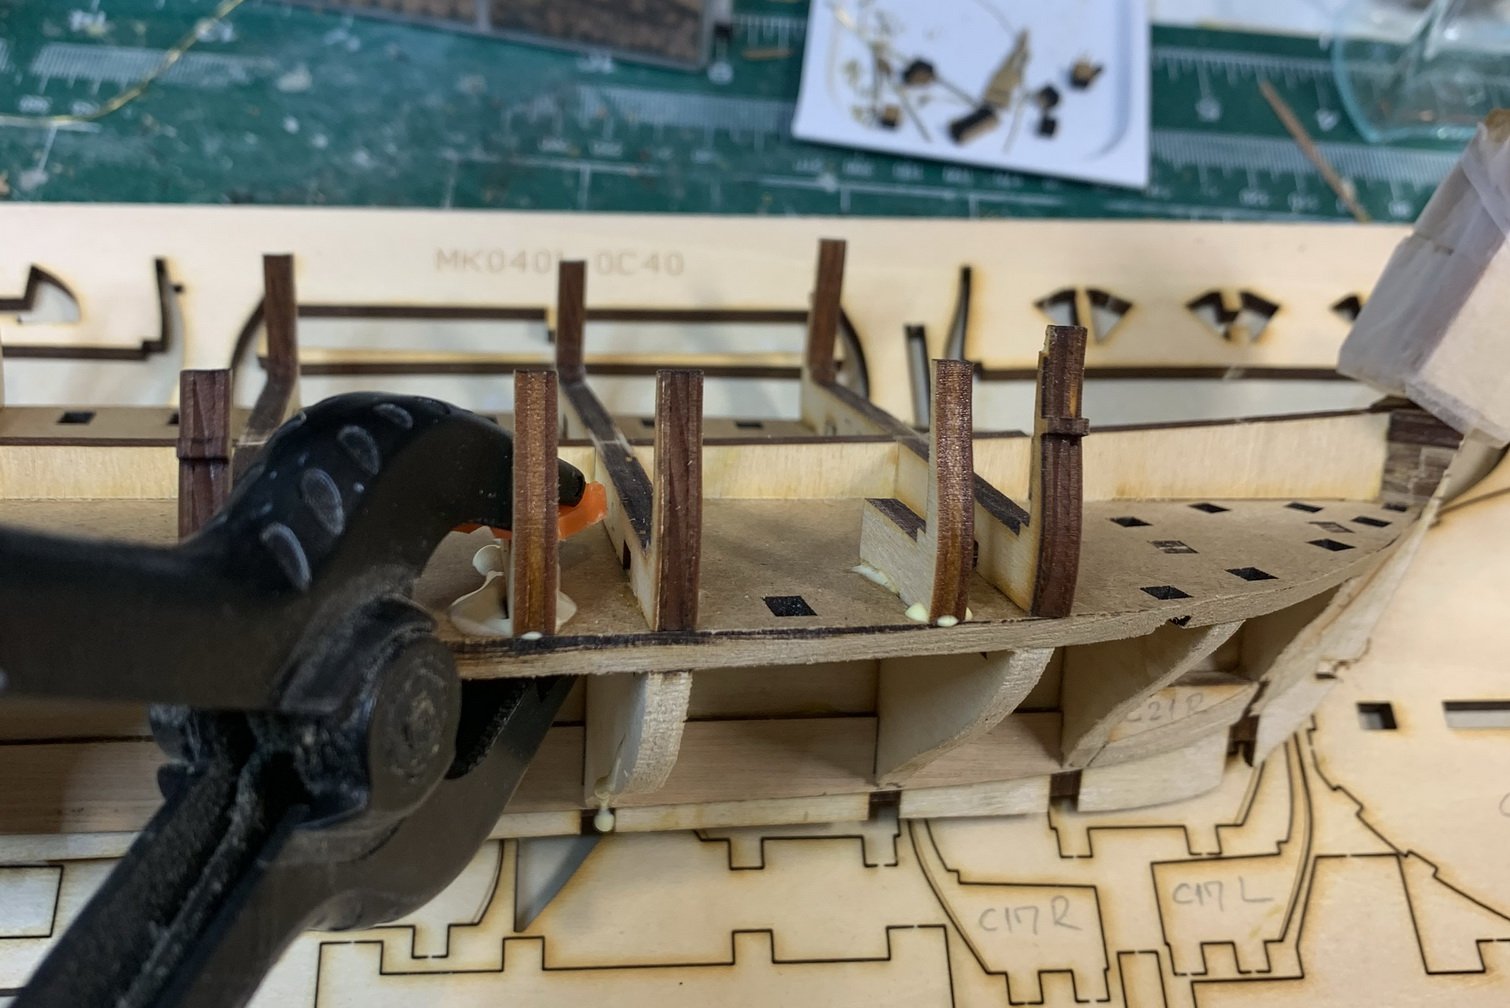
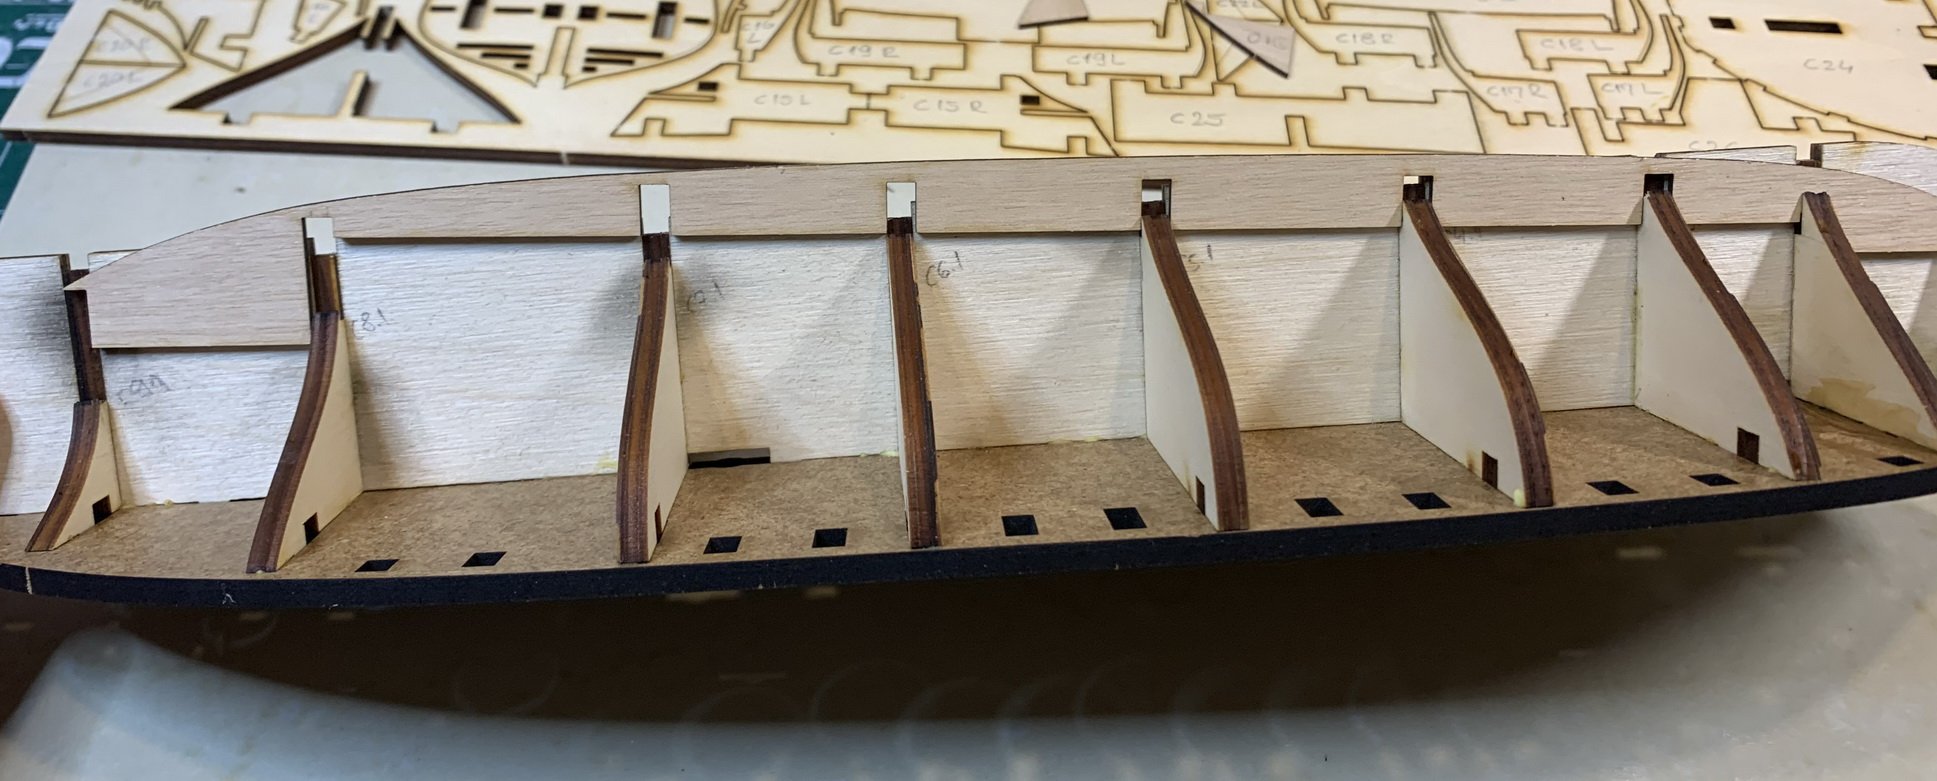
Next i have installed planks that fits between the bulkheads.. They are precut and very small amount of sanding is needed.
But we do need to add a small piece of wood to make sure that bottom part of that "plank" fits with bottom end of the bulkhead..
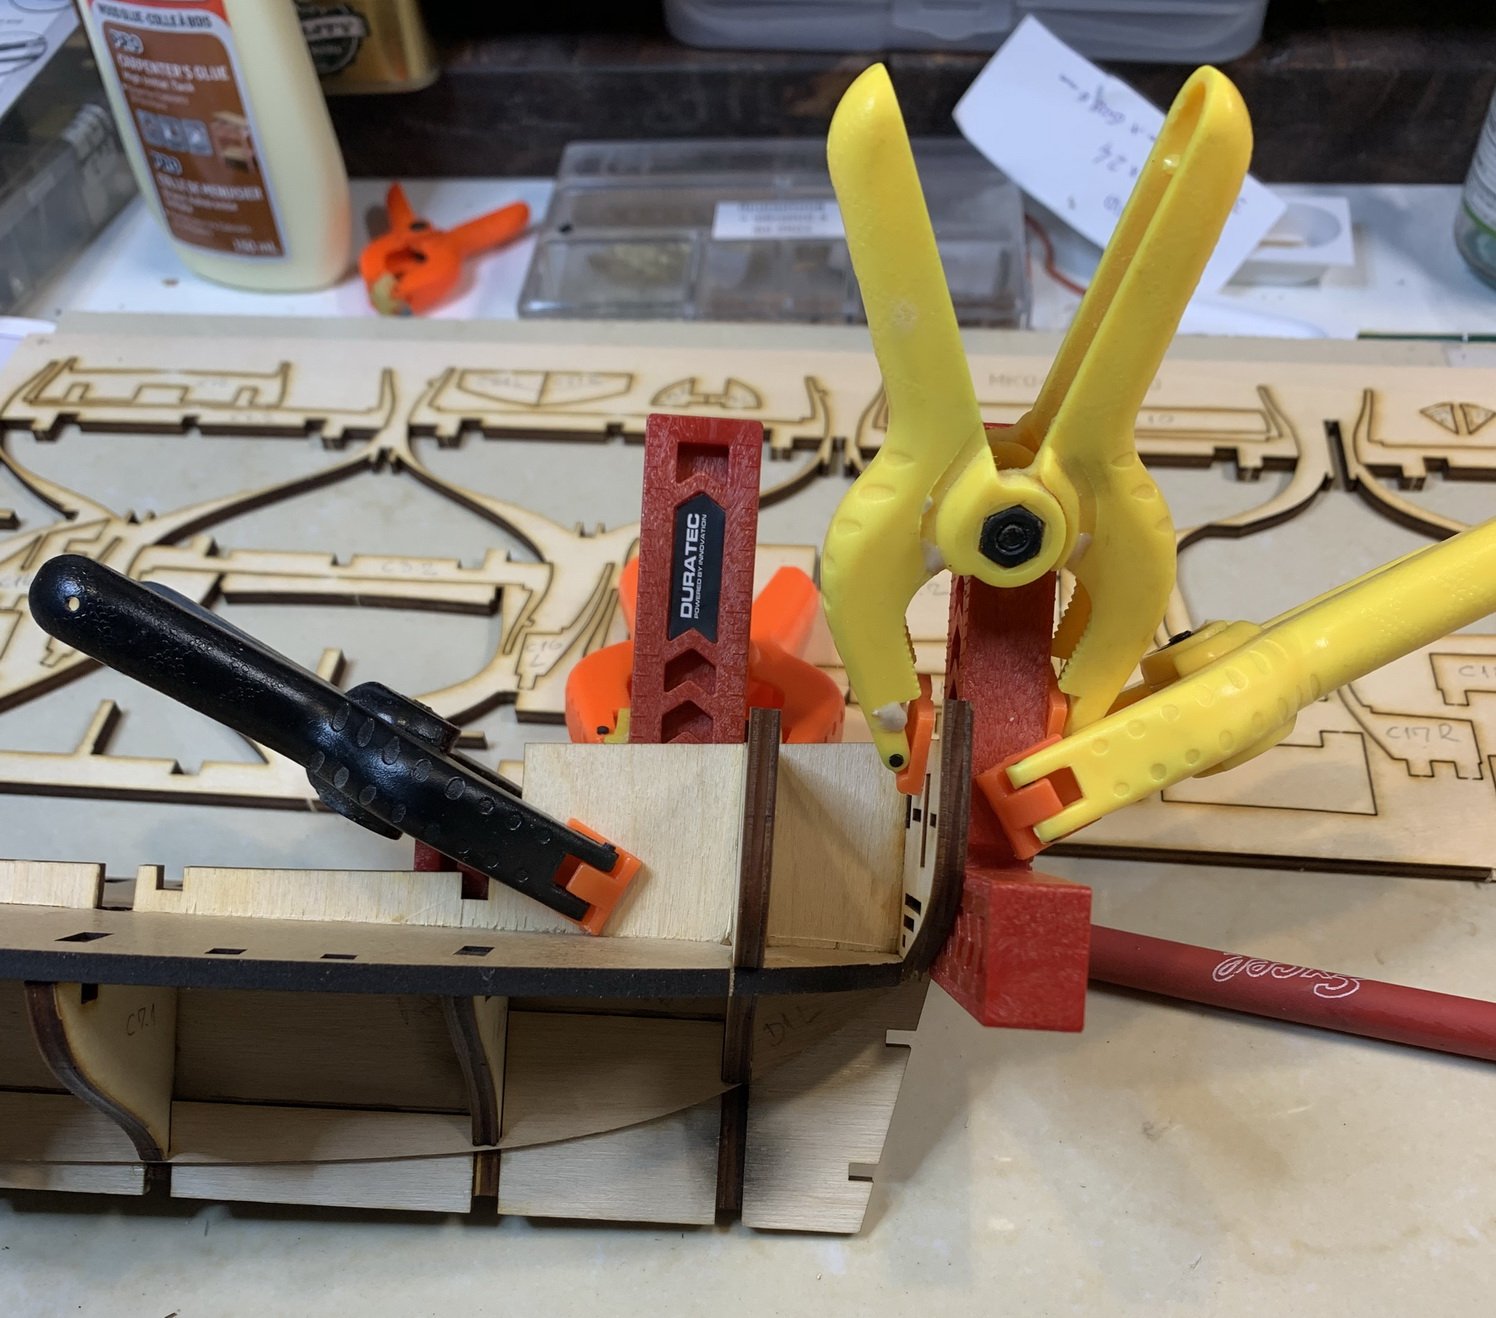
Then i started to make a room for a window; kit comes with plexiglass windows, precut very precisely that the only thing to do is to push them into opening. A bit of force is required but this will make sure they will not get lost in the process. The window opening was painted in black, window pushed in and protected by a piece of scotch tape. There is also a plastic folia on the window so there is no need to add a scotch tape... but... just to remember to remove it before continue with window work..
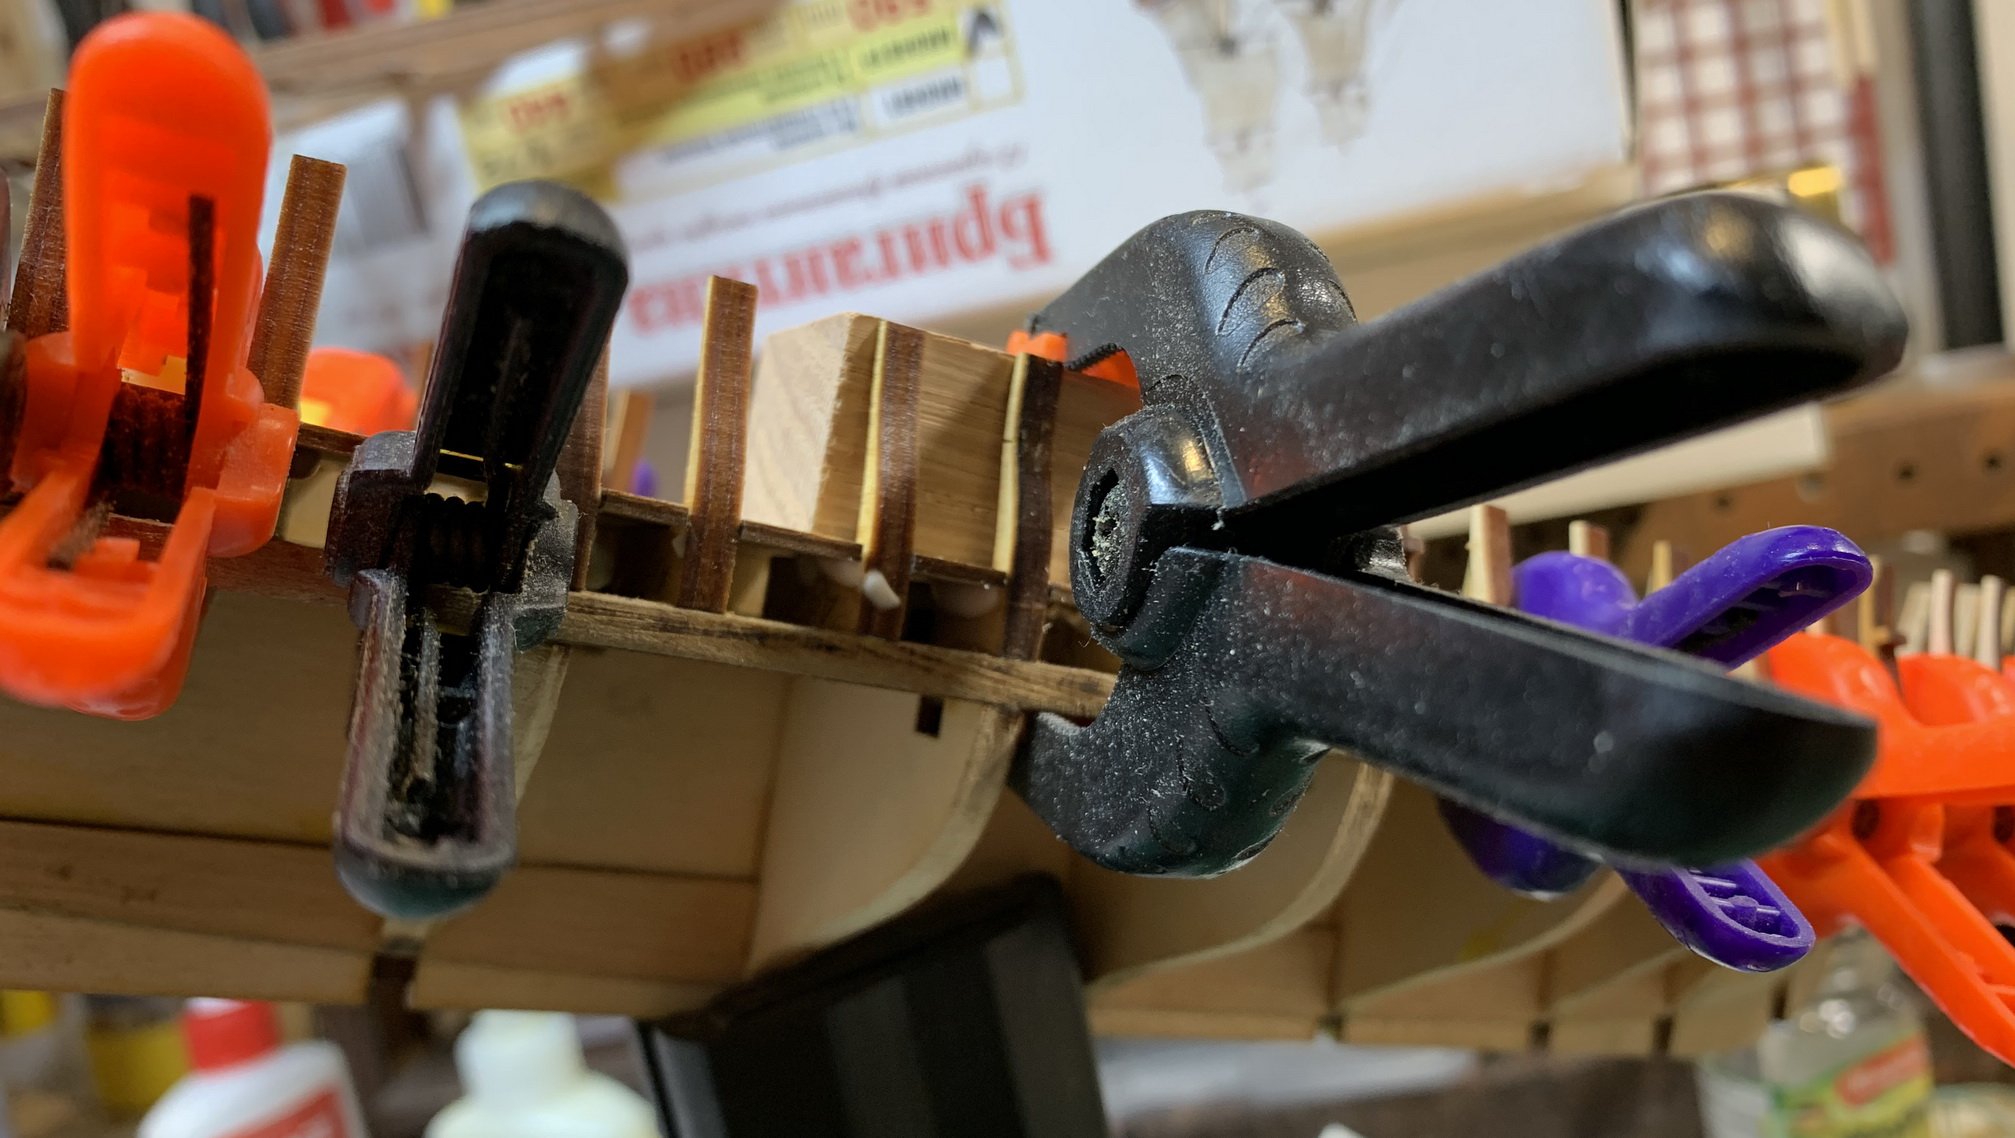
Sanding is next step...
and this is all for today...
Happy modelling.