HOLIDAY DONATION DRIVE - SUPPORT MSW - DO YOUR PART TO KEEP THIS GREAT FORUM GOING! (Only 20 donations so far - C'mon guys!)
×


HIPEXEC
-
Posts
2,698 -
Joined
-
Last visited
Content Type
Profiles
Forums
Gallery
Events
Everything posted by HIPEXEC
-
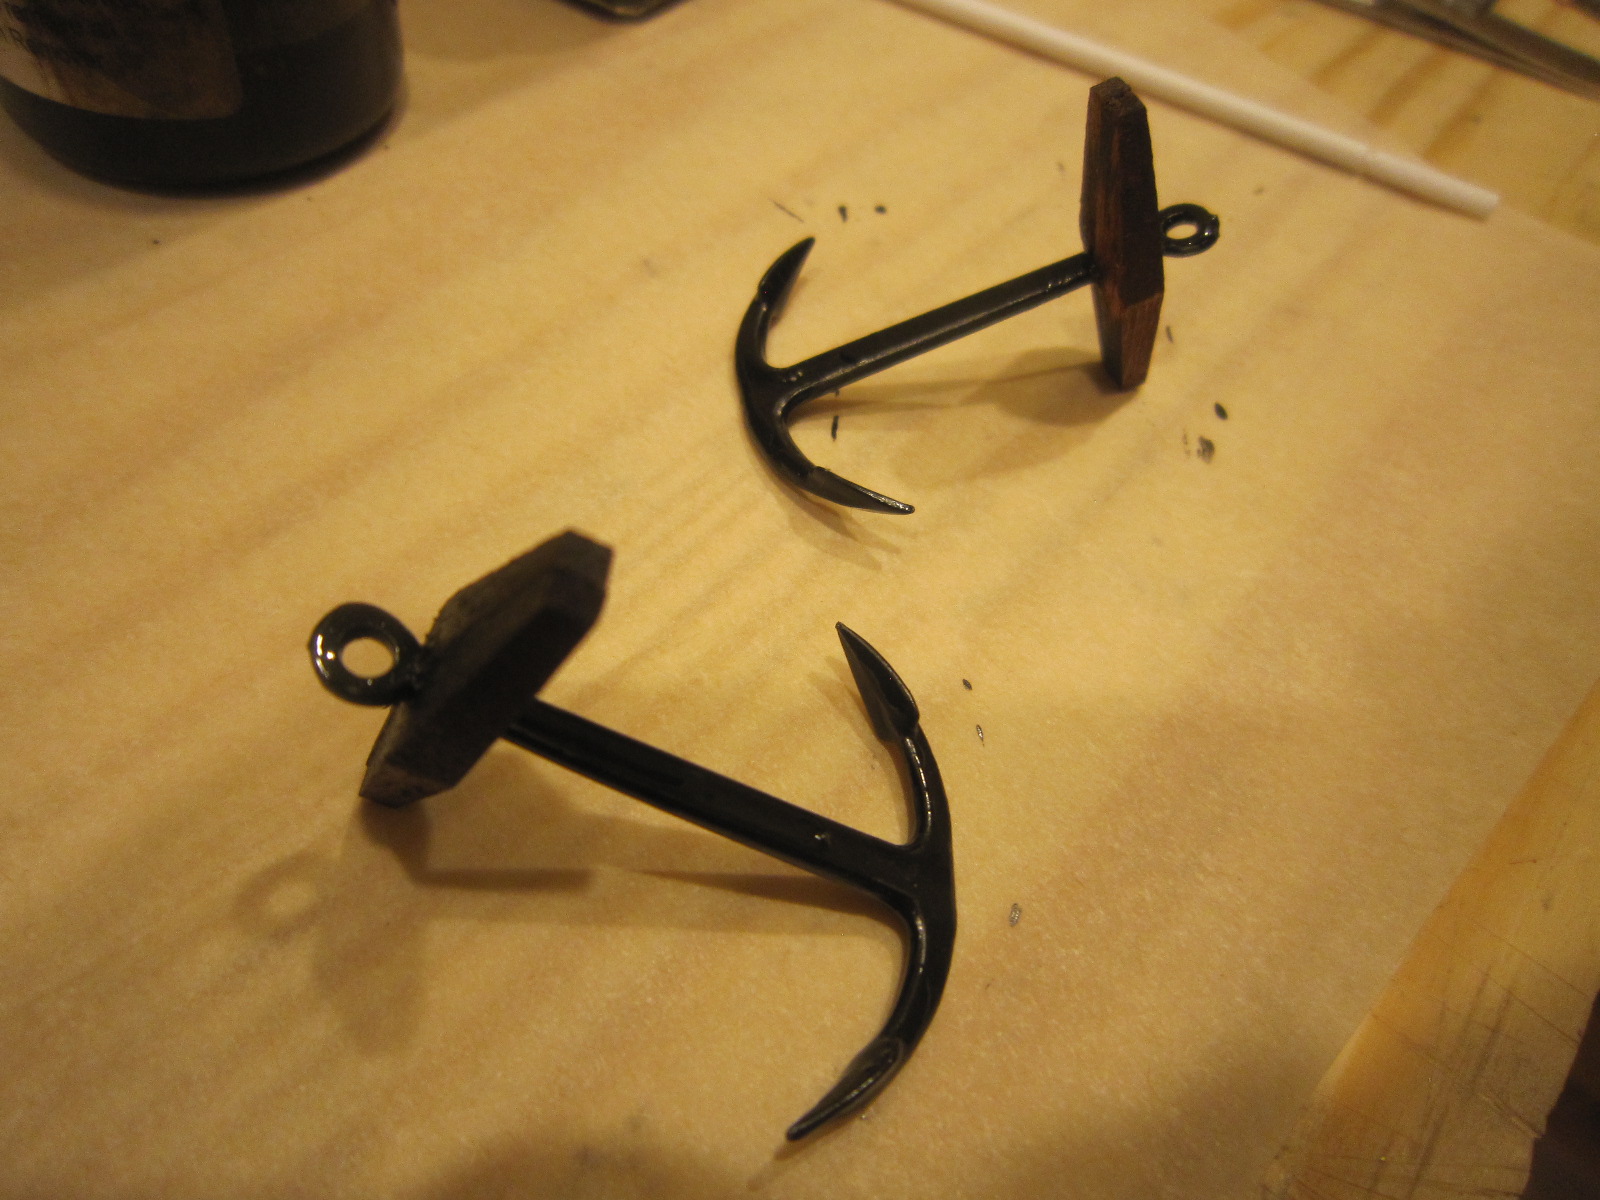
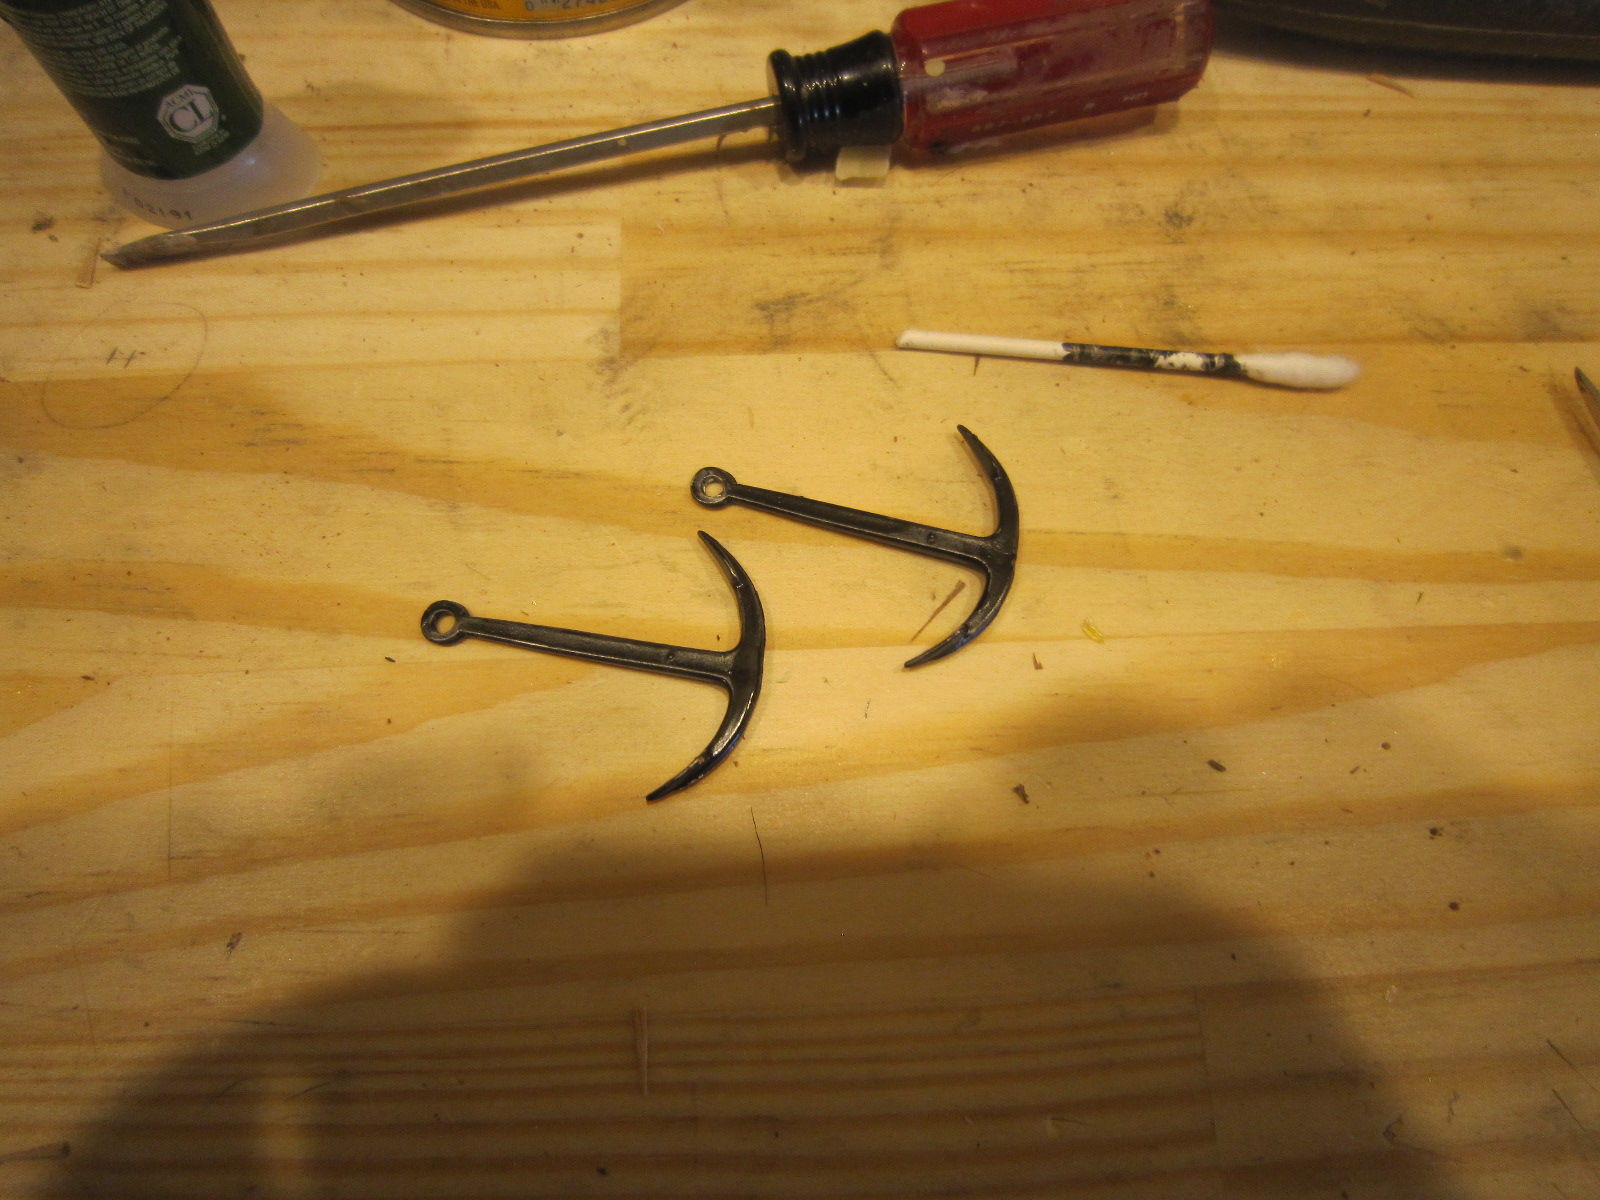
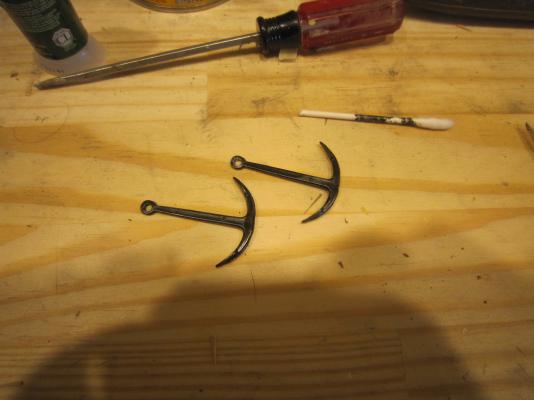
 Still putting the two anchors together. Good old Constructo's lack of instructions gave me a small fit. The wooden cross piece on the anchors come in two halves. I dry fit them before gluing and they matched perfectly. I applied 10 second CA and put them together only to find out they weren't symmetrical and one of the cross pieces was glued showing a large seam! 10 second CA doesn't forgive that, so I had to file and sand the errant anchor to match its cousin. Now I'm touching up the paint and will re-stain the wooden cross pieces. Then I'll fit chains and blocks and lines.
- 1,756 replies
-
- 1
-

-
- constitution
- constructo
- (and 1 more)
-
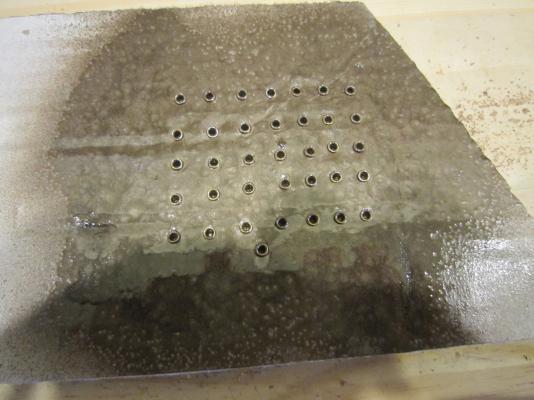
Bob, I have tried your tape idea before...and it seemed to work. I'm still holding off until I feel brave enough to drill that hull. I worked very, very hard to plank it as perfect as I could since I didn't want to fill and paint the hull. I definitely will use progressively larger drills.
- 1,756 replies
-
- 2
-
-
- constitution
- constructo
- (and 1 more)
-
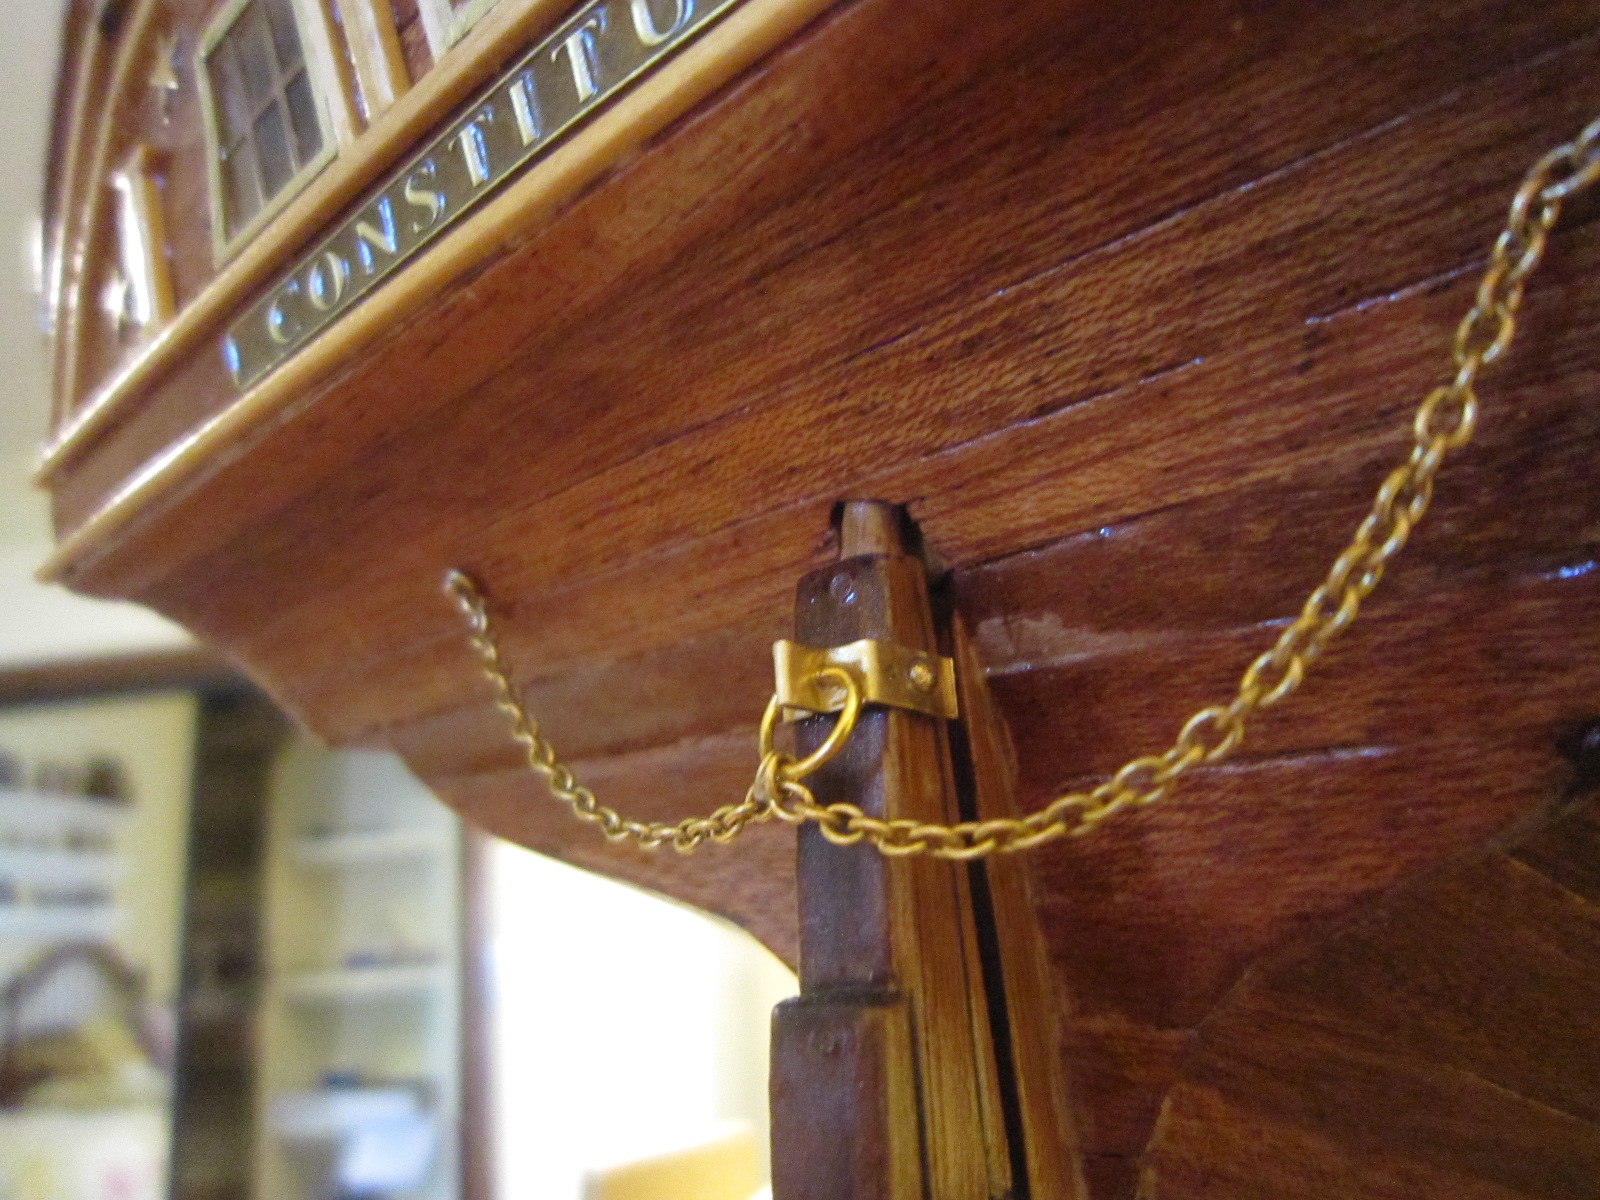
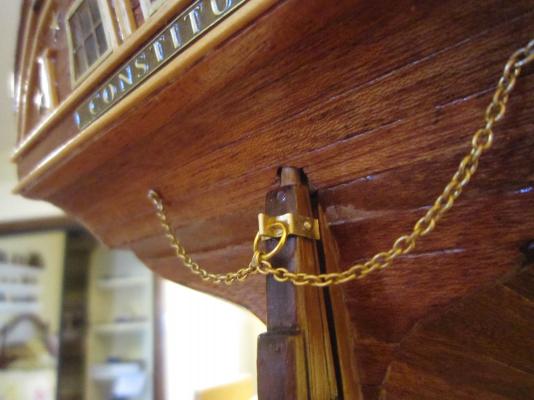
Thanks Bill. I'm looking for small fittings for the rudder chain where it enters the hull since I've just tacked the two ends for now. I had to create the rudder fitting from a left over hinge.
-
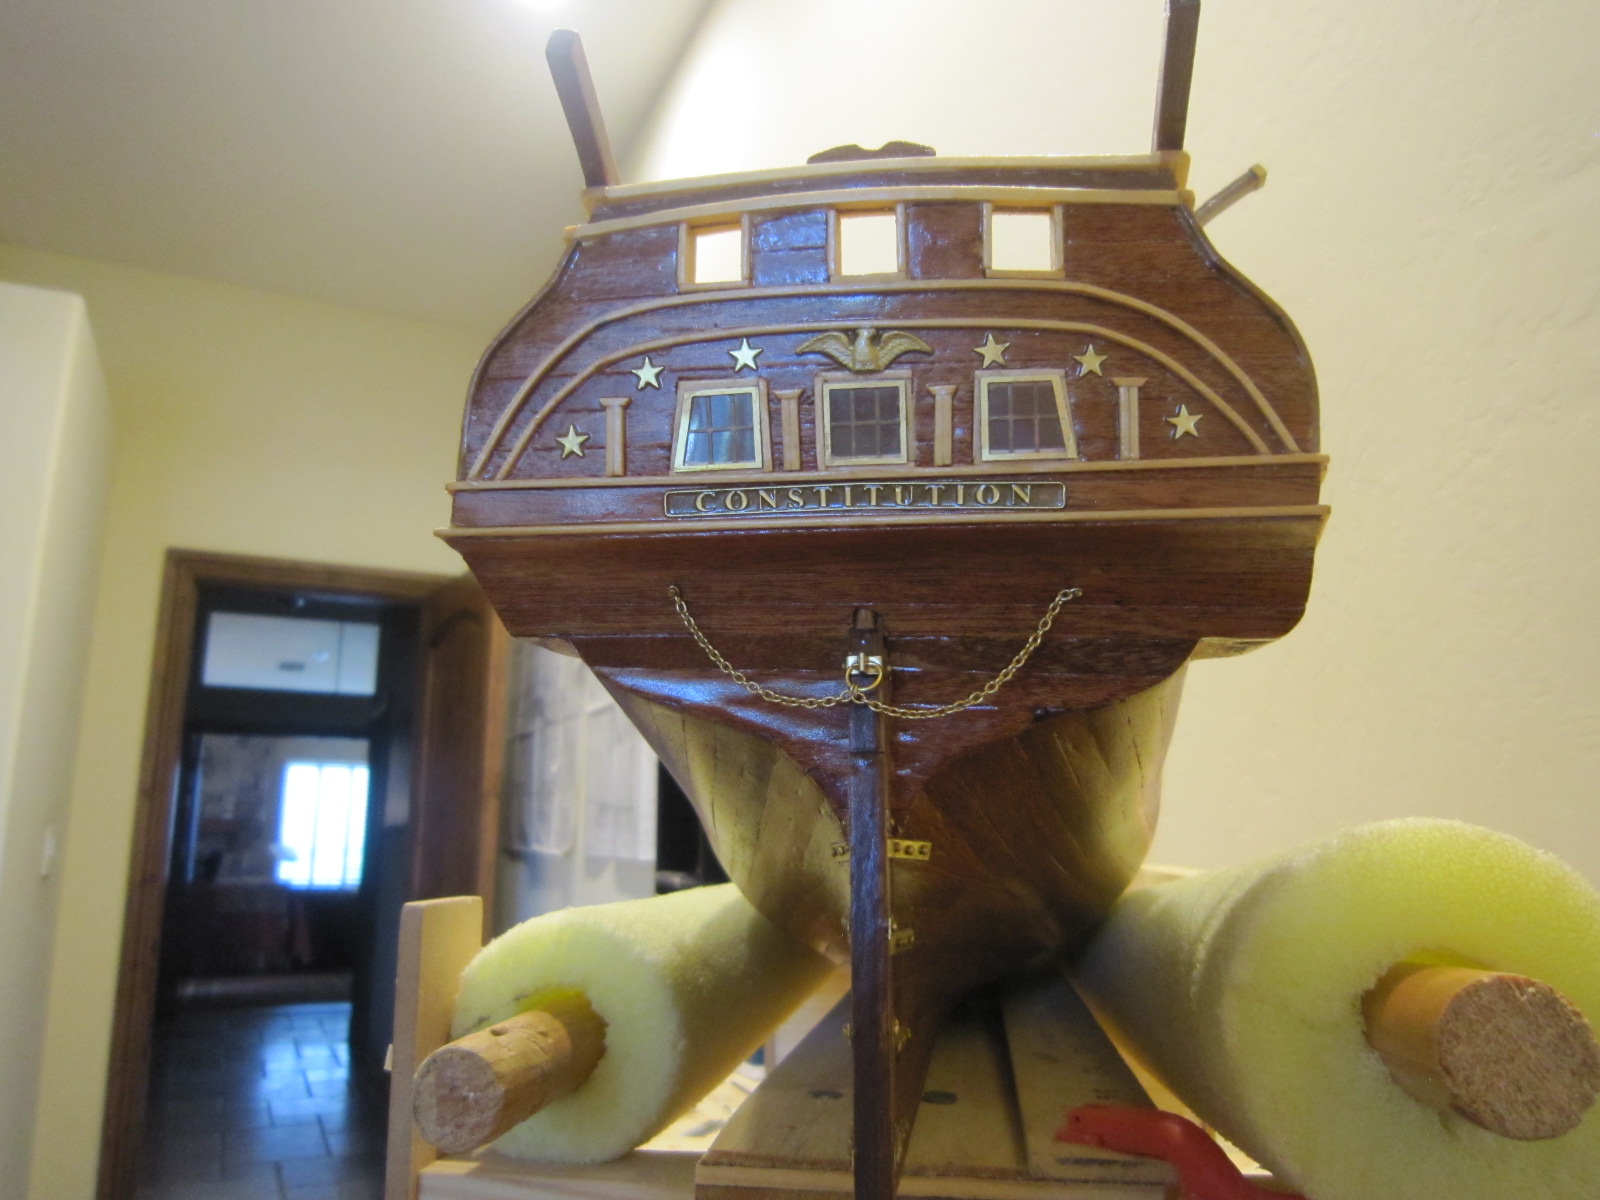
While I'm getting up the courage to drill into my hard-earned hull....I installed the rudder chain. Constructo misses the boat and only shows the chain as a safety chain. My research tells me it's that as well as emergency steering in case the topside steering is disabled. The chains run through the hull into the gun deck.

- 1,756 replies
-
- 8
-
-
- constitution
- constructo
- (and 1 more)
-
I'm building a Constructo USS Constitution for the very same reason....the natural wood and to make me improve my woodworking skills and not rely on wood filler.
-
You have great sawing skills! Your gunports are fabulous.
- 708 replies
-
- 1
-
-
- victory
- constructo
- (and 1 more)
-
Thanks Bill. I'm still holding off so I can get up the courage to drill. I'm not painting the hull, so I'll go very, very slow!
-
I'm not going to enjoy drilling into my hull!
-
I "bronzed" the air ports since they were bright brass and I didn't want them gleaming on the hull under the gunports. I found out from Jeff and also did research that they are vents to the berthing deck that can be blocked with a wood block in rough seas.
- 1,756 replies
-
- 3
-
-
- constitution
- constructo
- (and 1 more)
-
I PAINTED THE ANCHORS SINCE THEY WERE CAST ALUMINIM
- 1,756 replies
-
- 1
-
-
- constitution
- constructo
- (and 1 more)
-
Thanks everyone!
-
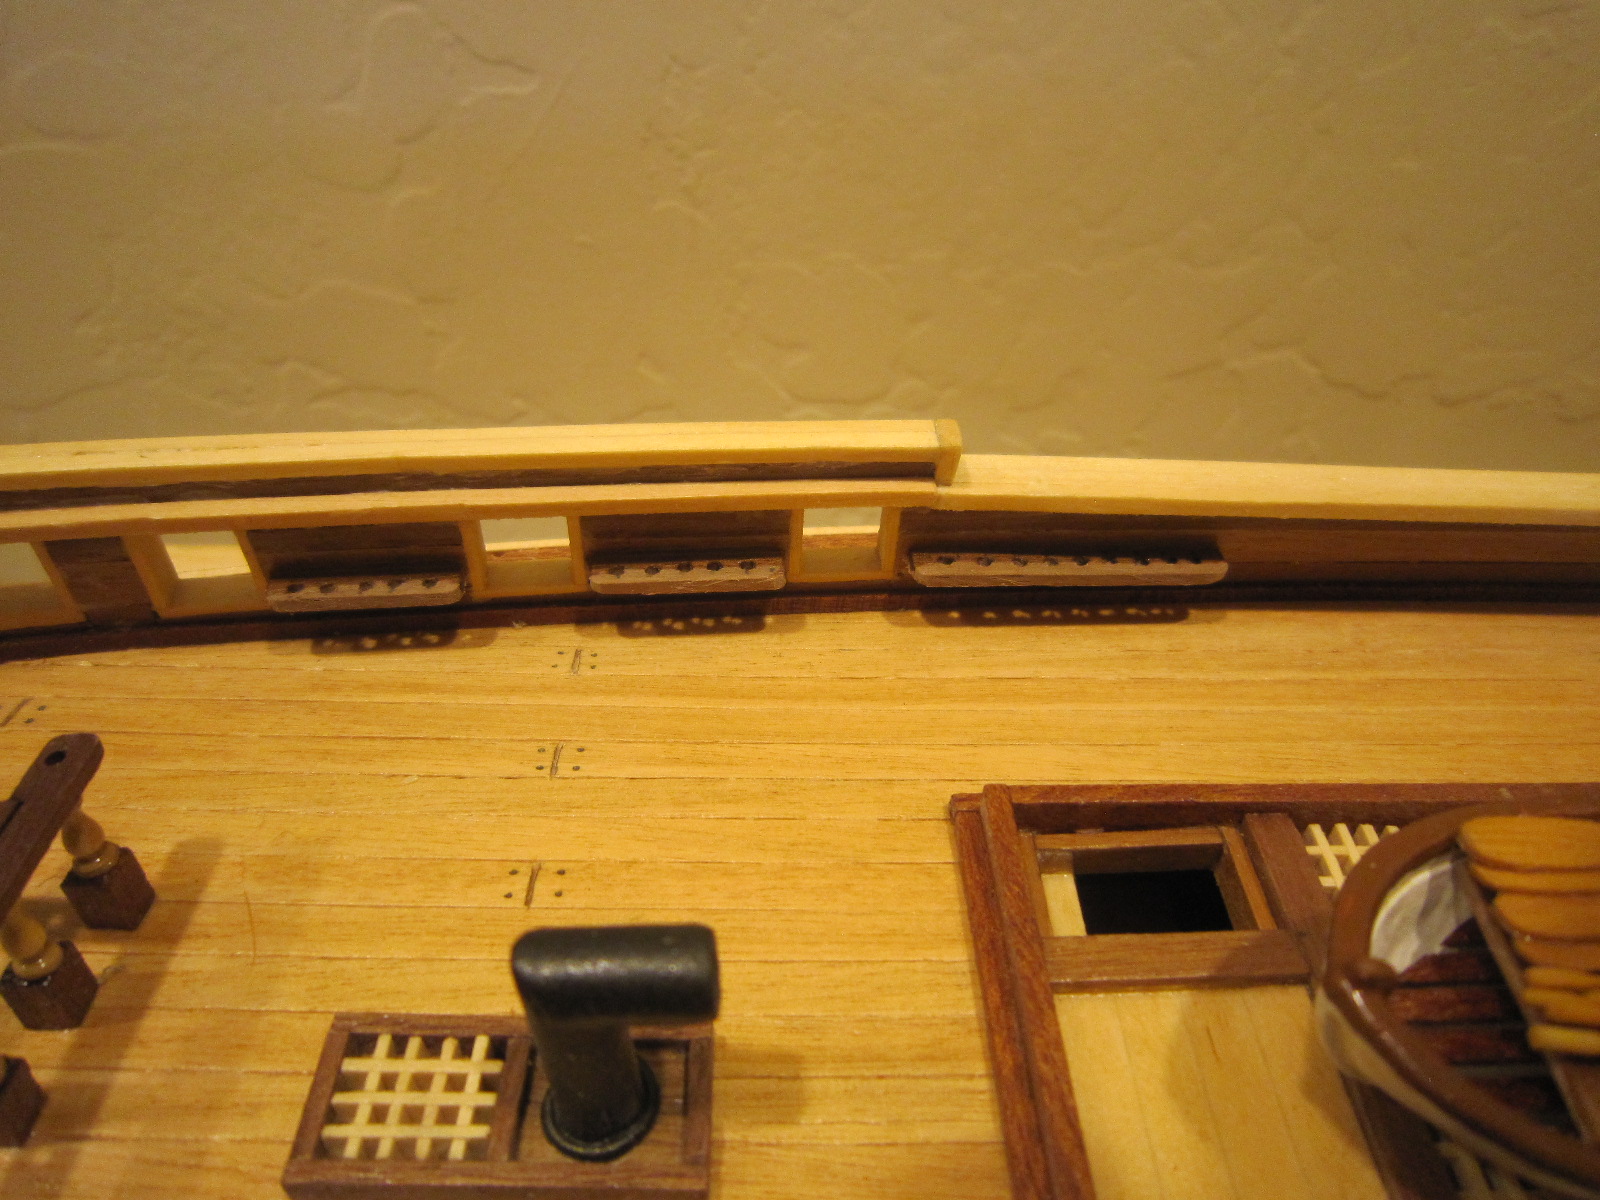
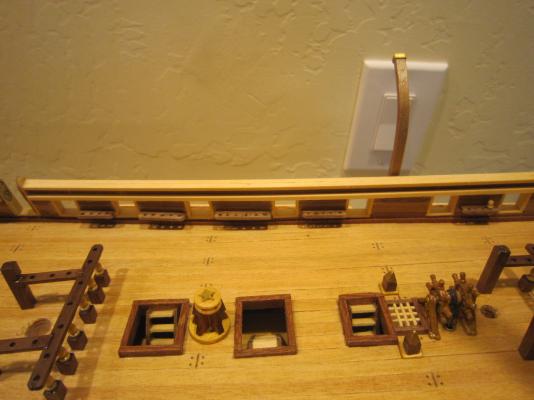
Pin rails are done! They shouldn't break loose unless I hit them with a hammer. The jig made alignment easy. Now I'll clean them up and varnish them.

- 1,756 replies
-
- 7
-
-
- constitution
- constructo
- (and 1 more)
-
Sometimes you just have to double up. Nice job.
-
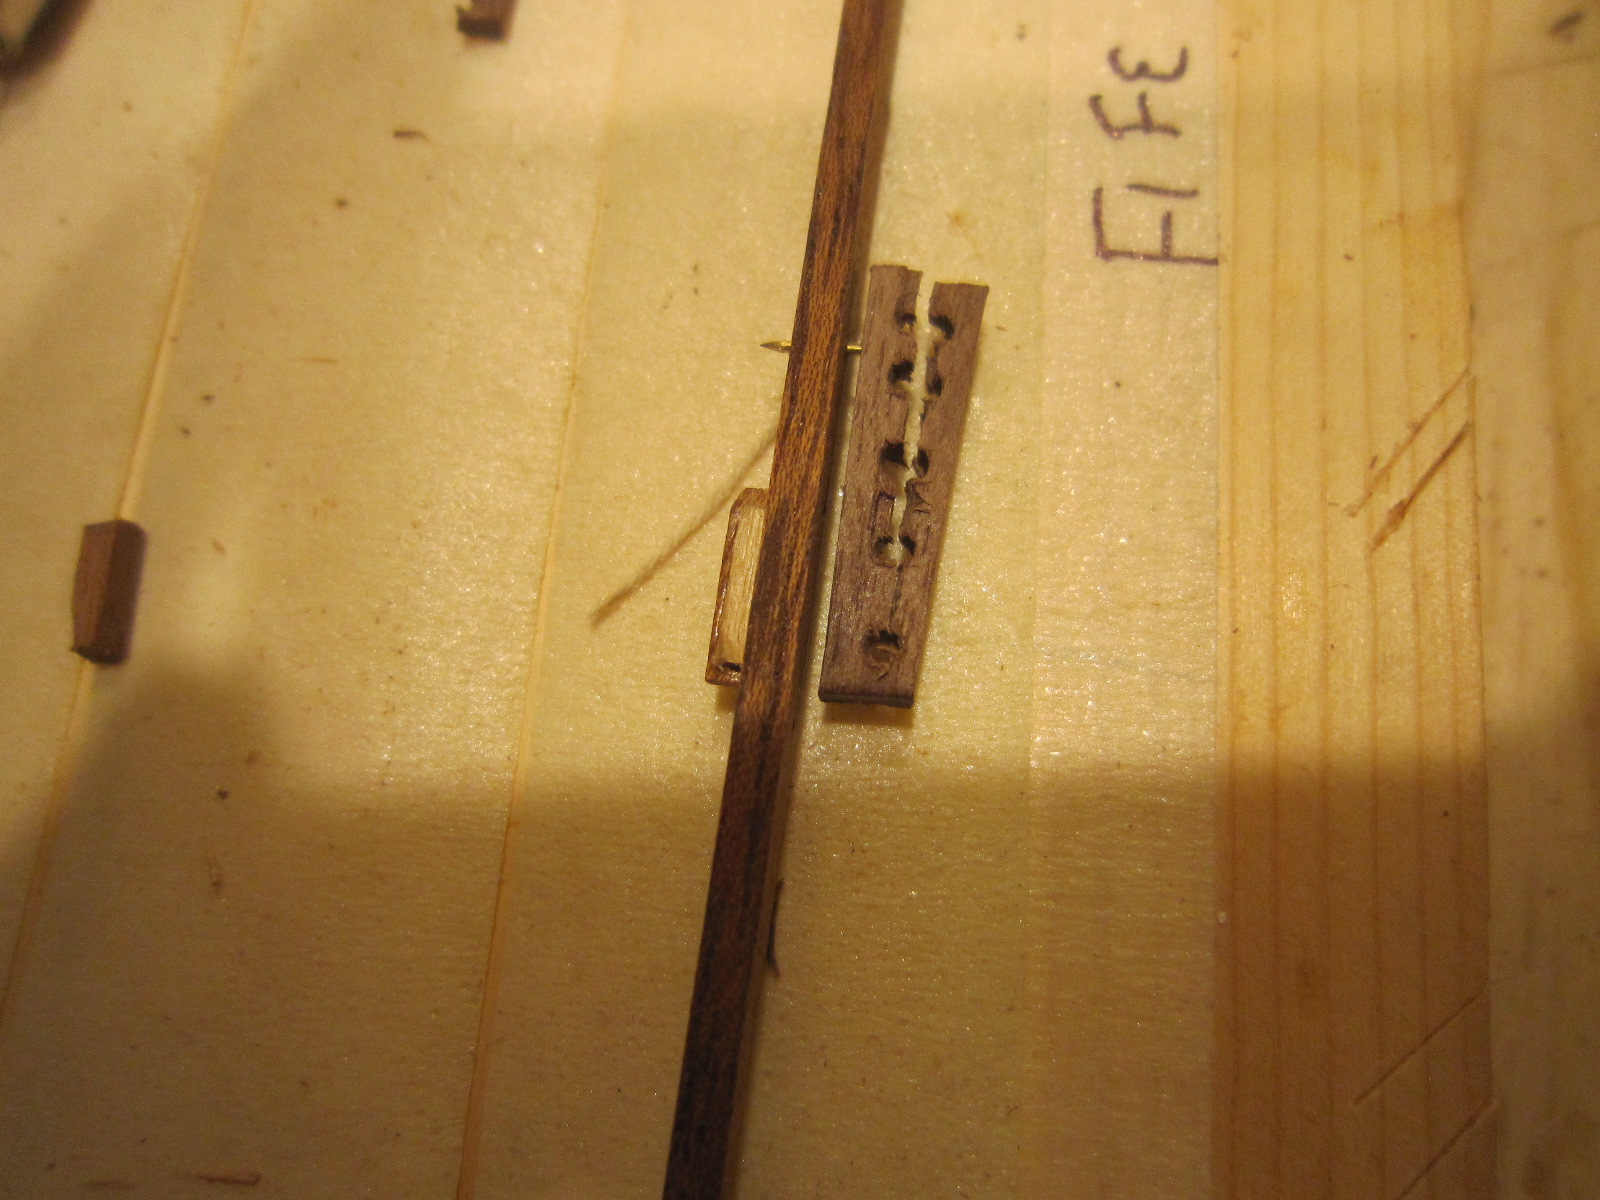
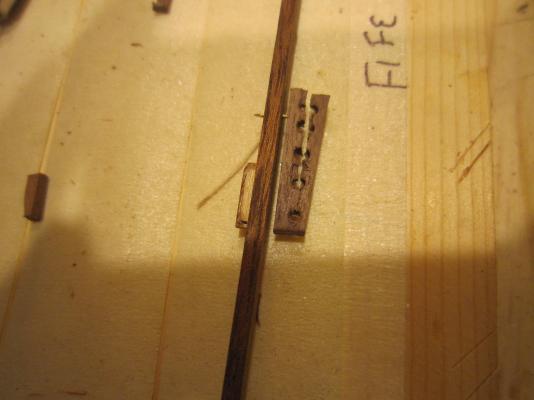
Pin rails are progressing slow but sure. The pins drove me crazy, so I'm using the tiniest pins imaginable, but I drilled micro holes where the rails go the give the CA glue a place to bite.
- 1,756 replies
-
- 5
-
-
- constitution
- constructo
- (and 1 more)
-
Thanks David. That would be for both holes....the rail and the gunwale. It split when I pushed the rail into the plank even though I had pre drilled the plank. I'll have to make the receiving hole bigger since the pin went into the rail with no damage. I'll practice some more until I get a good formula.
- 1,756 replies
-
- 1
-
-
- constitution
- constructo
- (and 1 more)
-
Pinning rails is easier said than done. I did a practice pin and the rail split longitudinally. The pin is .5mm and the wood 1.65mm with swiss cheese holes. Any ideas?
-
I guess you mastered that difficult Sapely! Your planks are spectacular!
-
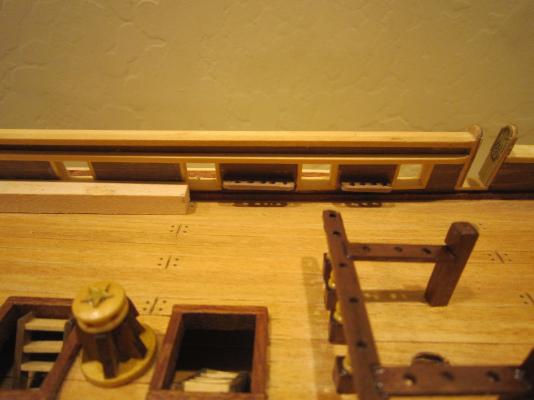
I've only installed one, so I'll pin the rest. Thank you Dave, Augie & Harvey.
-
Installing gun ports
HIPEXEC replied to richardpepi's topic in Building, Framing, Planking and plating a ships hull and deck
I built my ports by cutting the planks as I installed them. I got very square cuts and all the right size. ...And I only had to plank once. It took carefull planning, but I'm not a good hole cutter. -
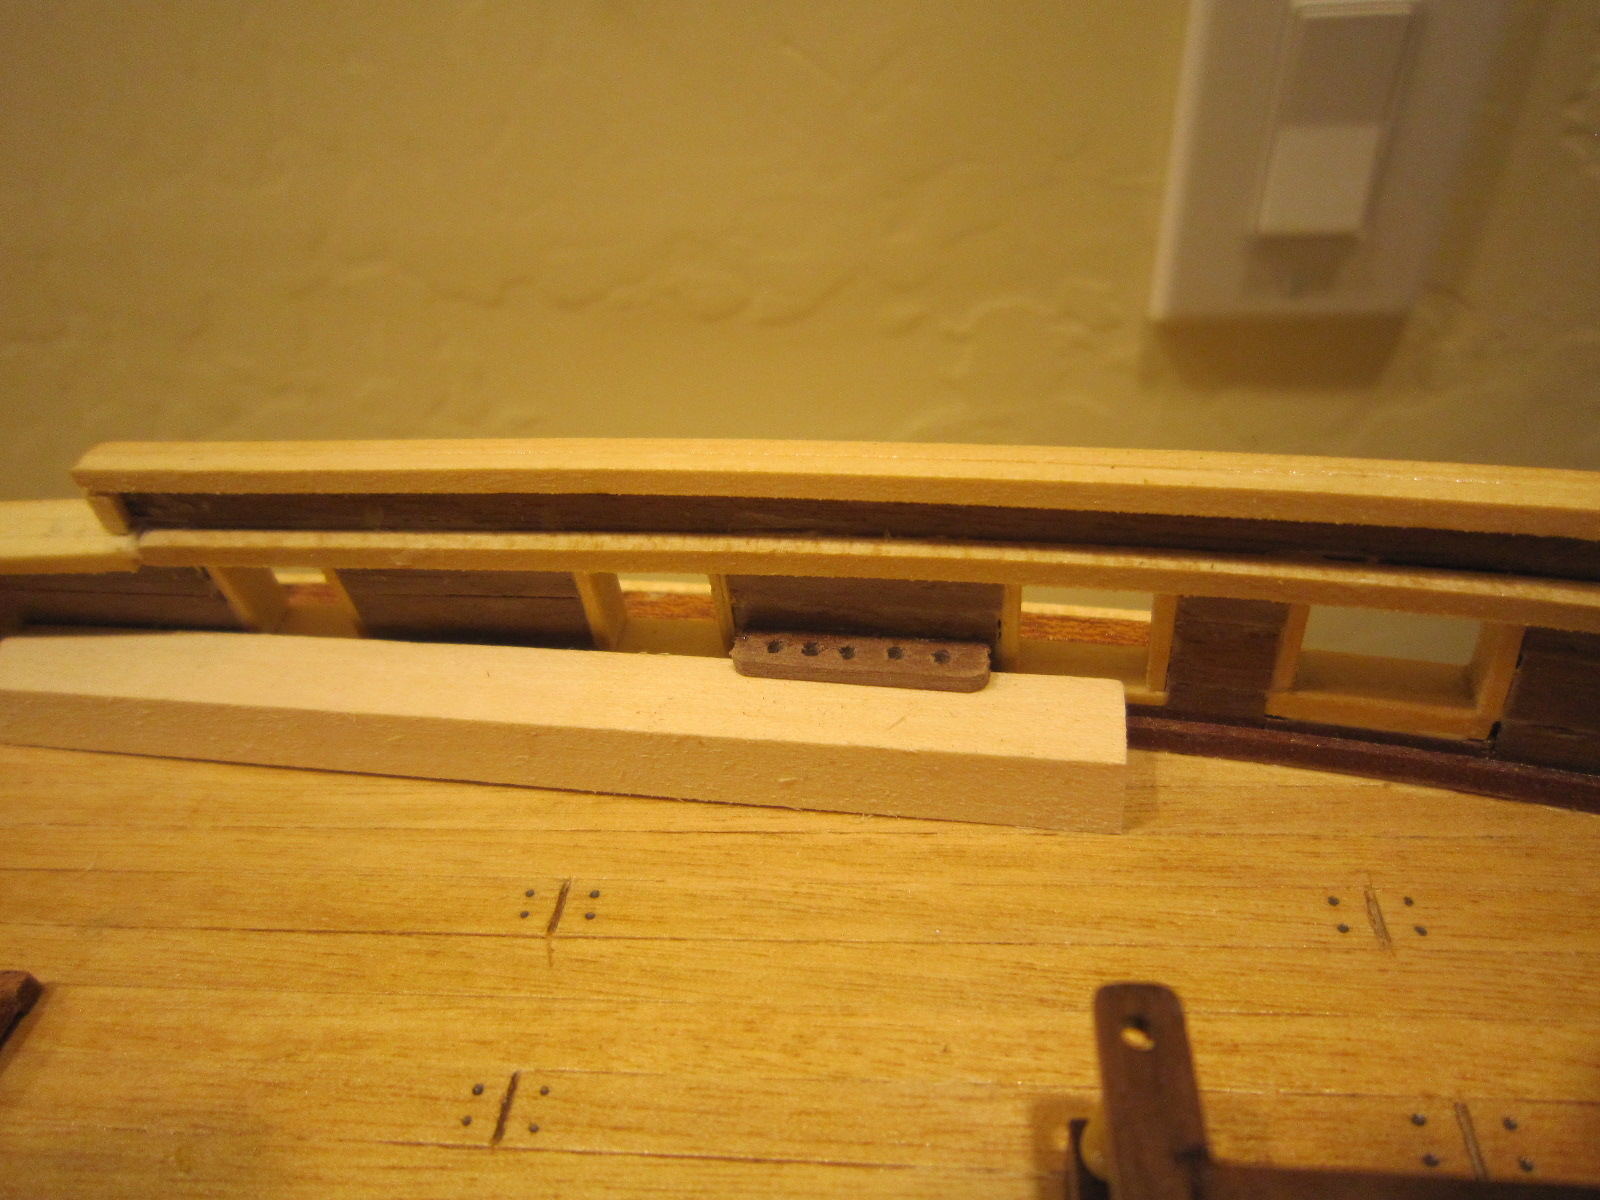
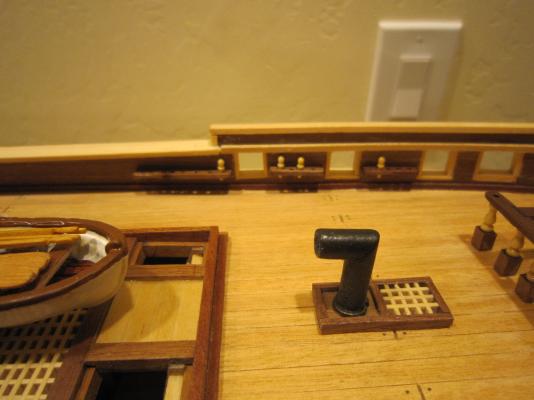
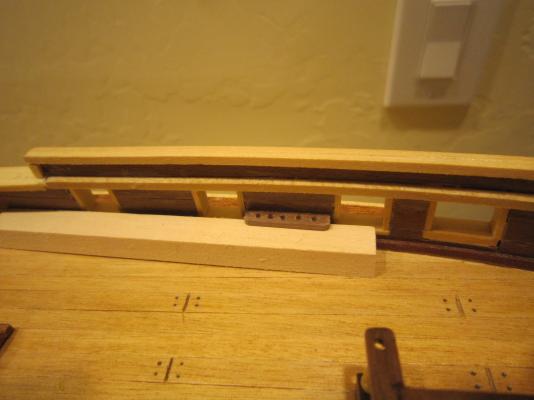
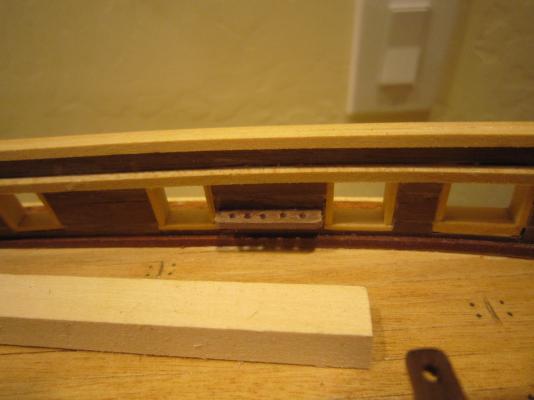
Moving on. I installed the first pinrail. I cut it to size and drilled the holes, but when I went to glue it on.....I couldn't do it. It would be crooked or at the wrong elevation, etc. After pondering it for a while, I got the bright idea to make a removable support that would allow me to keep the rail parallel and straight and at the same height all the way around. It think it's going to work.
- 1,756 replies
-
- 6
-
-
- constitution
- constructo
- (and 1 more)
-
Maybe your right. Now that I have practice, I should change it. As usual, no instructions from Constructo, so I just guessed.
- 1,756 replies
-
- 1
-
-
- constitution
- constructo
- (and 1 more)
-
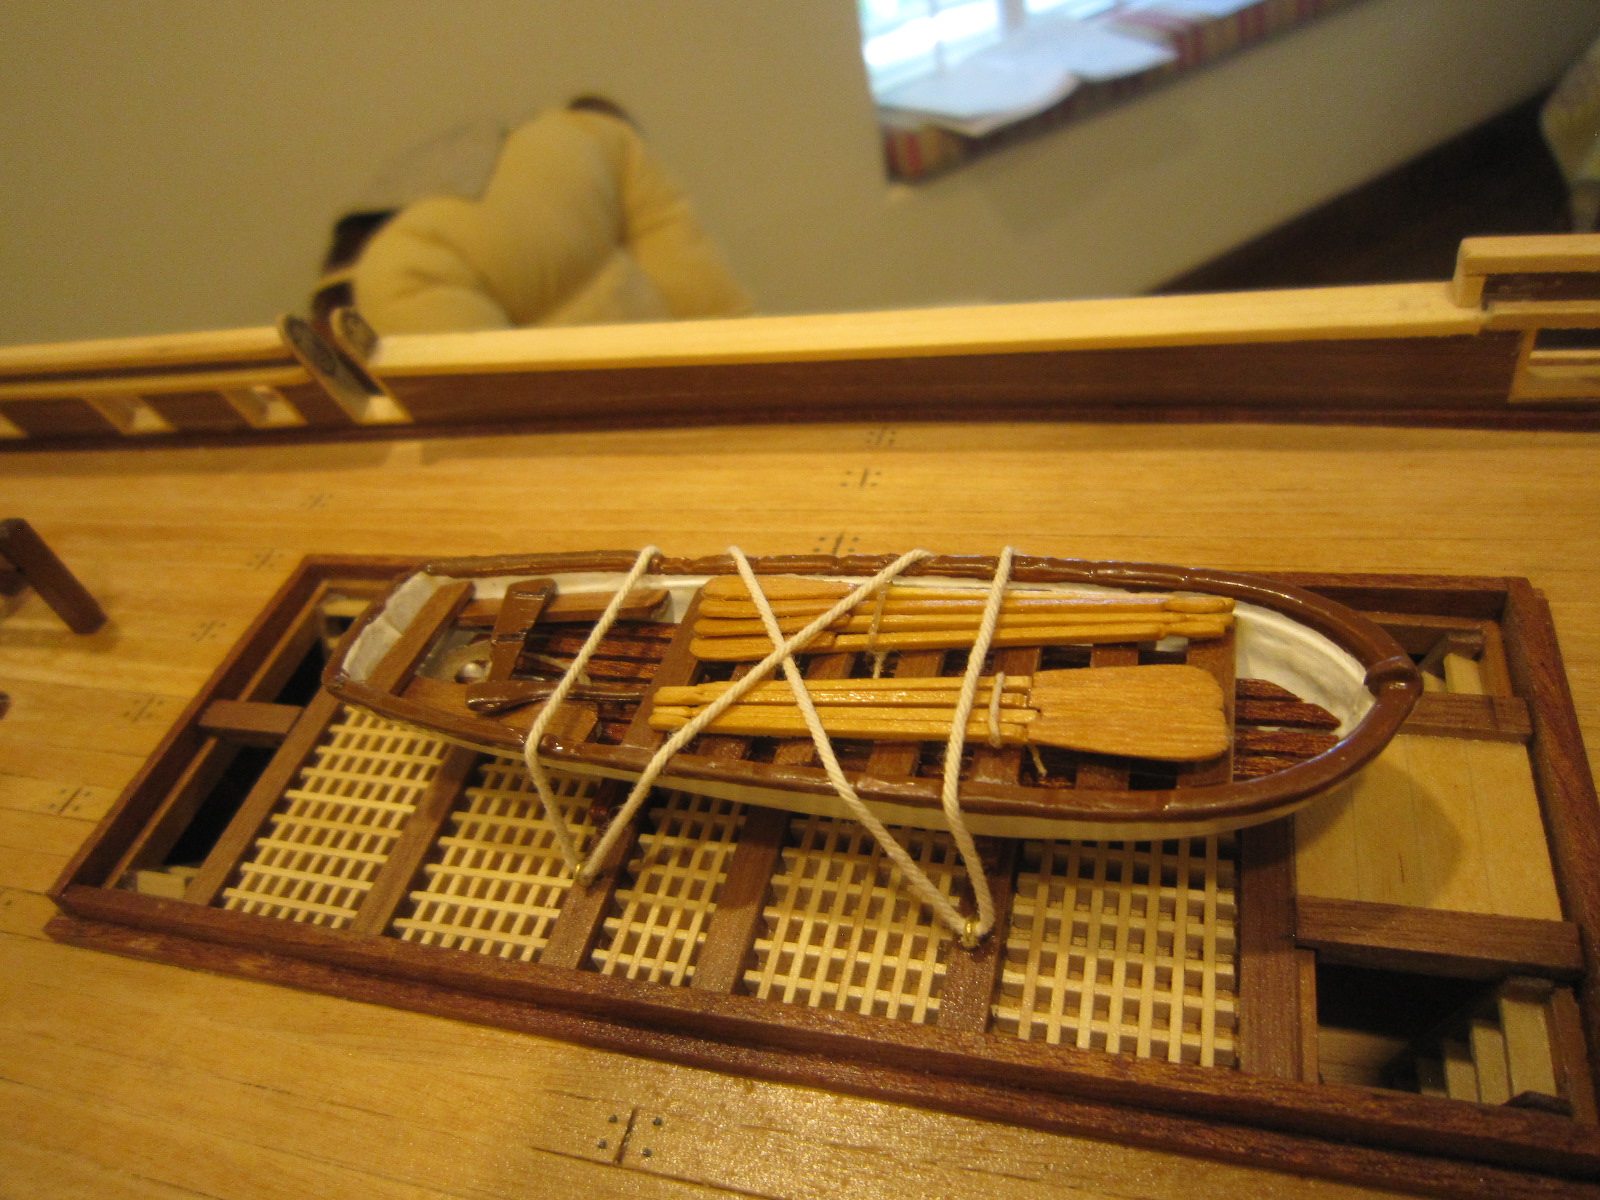
Here's the lashed long boat. Me running this line through tiny eyelets and tying it off are shades of rigging to come....I'm really all thumbs. It's difficult.

- 1,756 replies
-
- 1
-
-
- constitution
- constructo
- (and 1 more)
-
The preceding painting is what I used to copy the colors of the long boat, the size and the number of oars.
- 1,756 replies
-
- 1
-
-
- constitution
- constructo
- (and 1 more)