HOLIDAY DONATION DRIVE - SUPPORT MSW - DO YOUR PART TO KEEP THIS GREAT FORUM GOING! (Only 20 donations so far - C'mon guys!)
×


Twokidsnosleep
-
Posts
231 -
Joined
-
Last visited
Content Type
Profiles
Forums
Gallery
Events
Everything posted by Twokidsnosleep
-
Thanks man, those are very kind words
-
You are the inspiration on the entire build I reference your great Pearl posts all the time
-
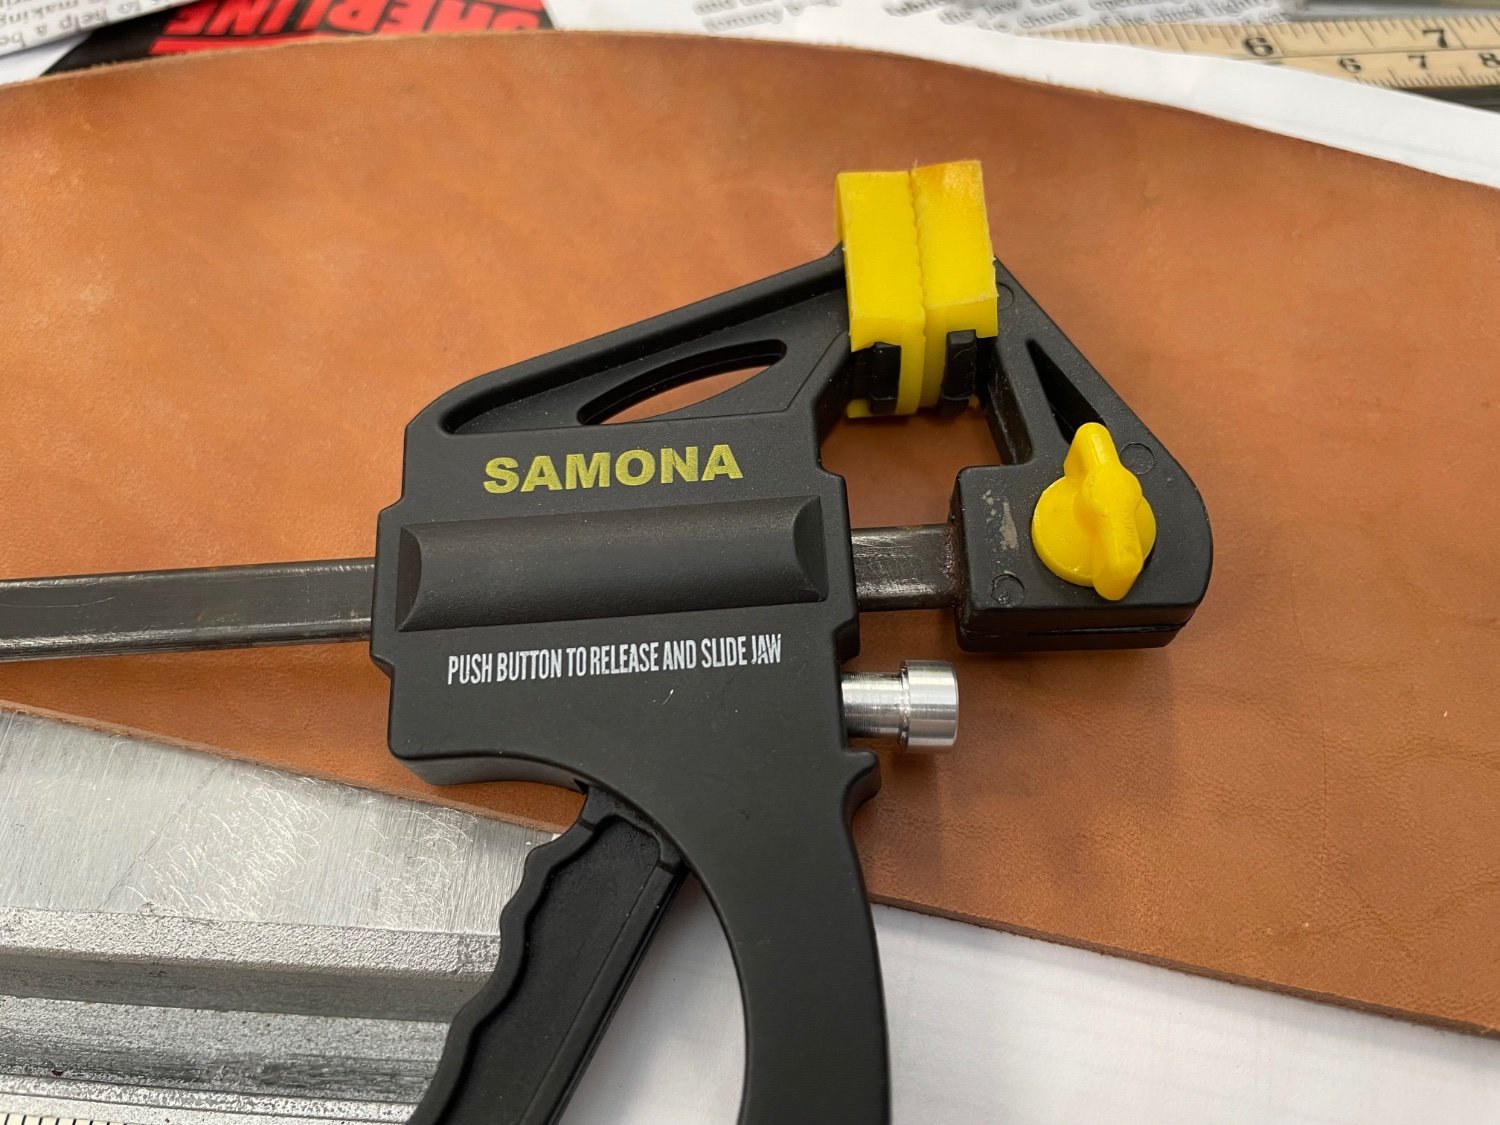
Absolutely Pretty cheap off of Amazon, I got a second one for my leatherwork and it comes in handy for modelling quite often
-
I will try that Was taking quick phone shots without any attempt at proper lighting, but I like the plexi idea and have some
-
HA! as in art HACK
-
Love it!! been on my list to make one
-
Absolutely know of him He was on when I was in late high school and then university so I missed him live so to speak I have huge respect for true artists, blows me away what people can do
-
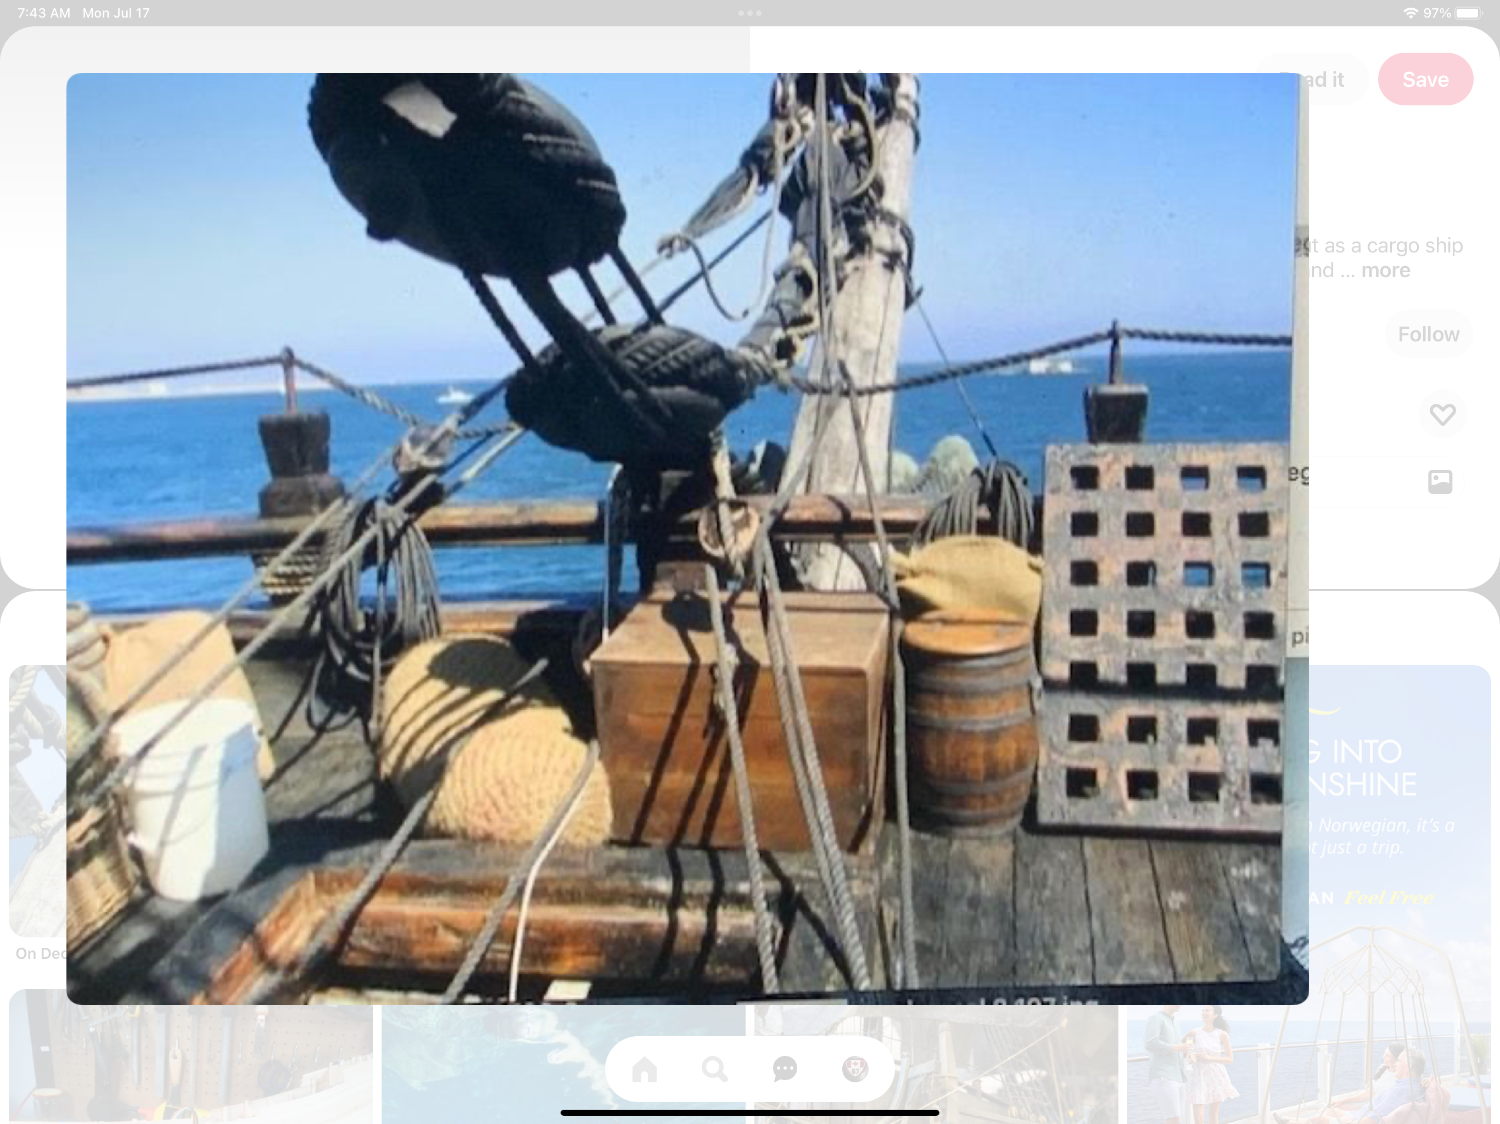
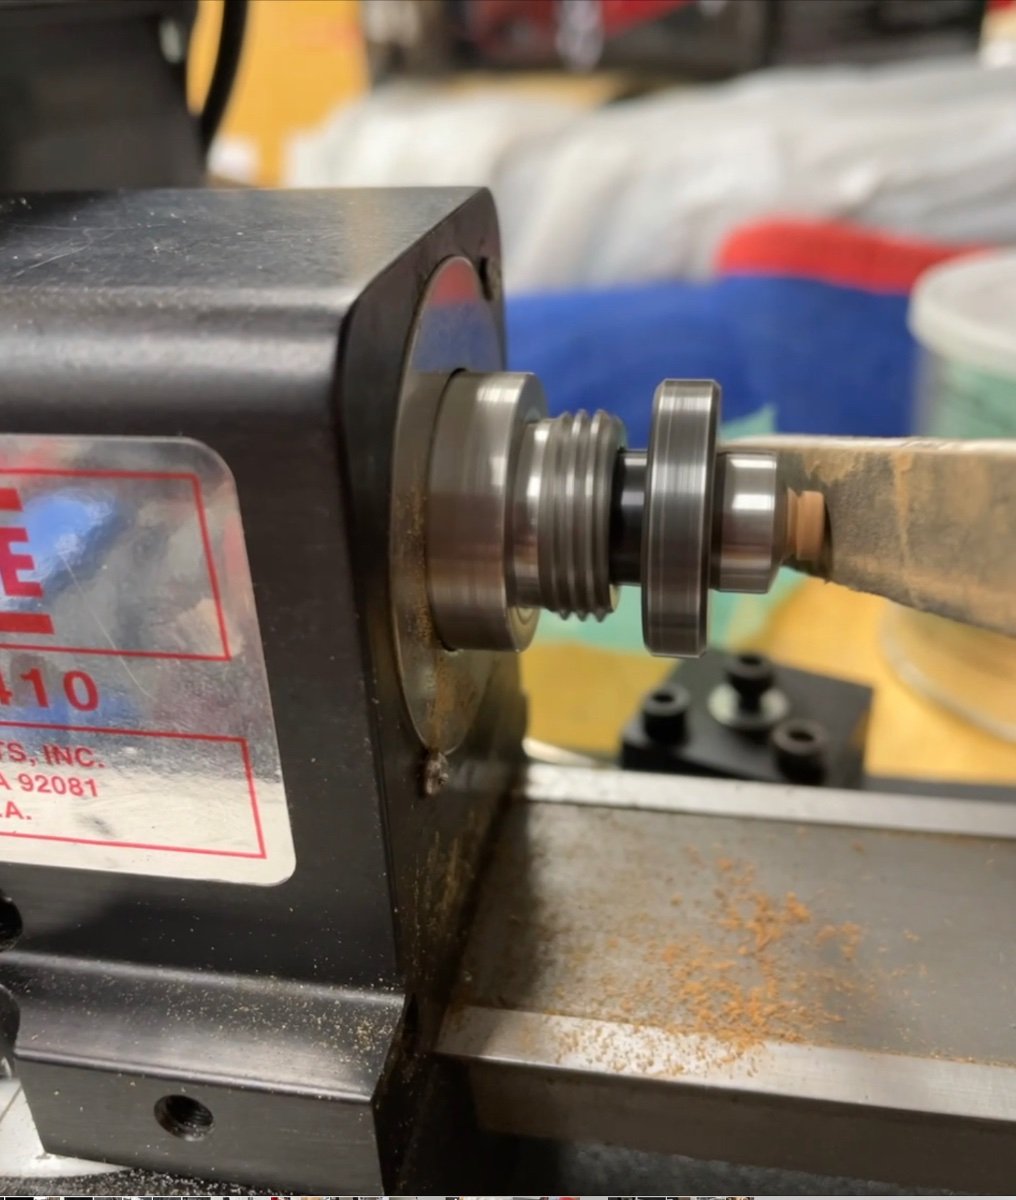
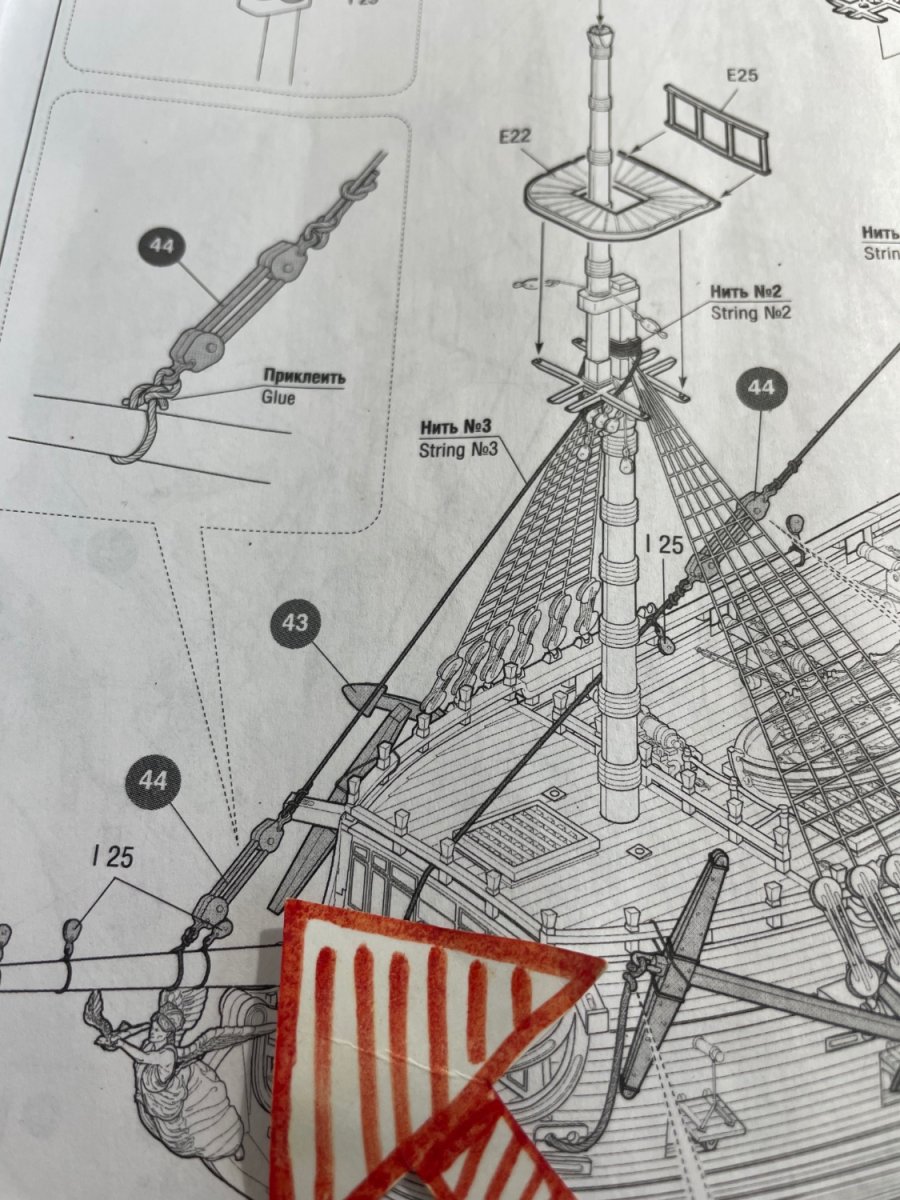
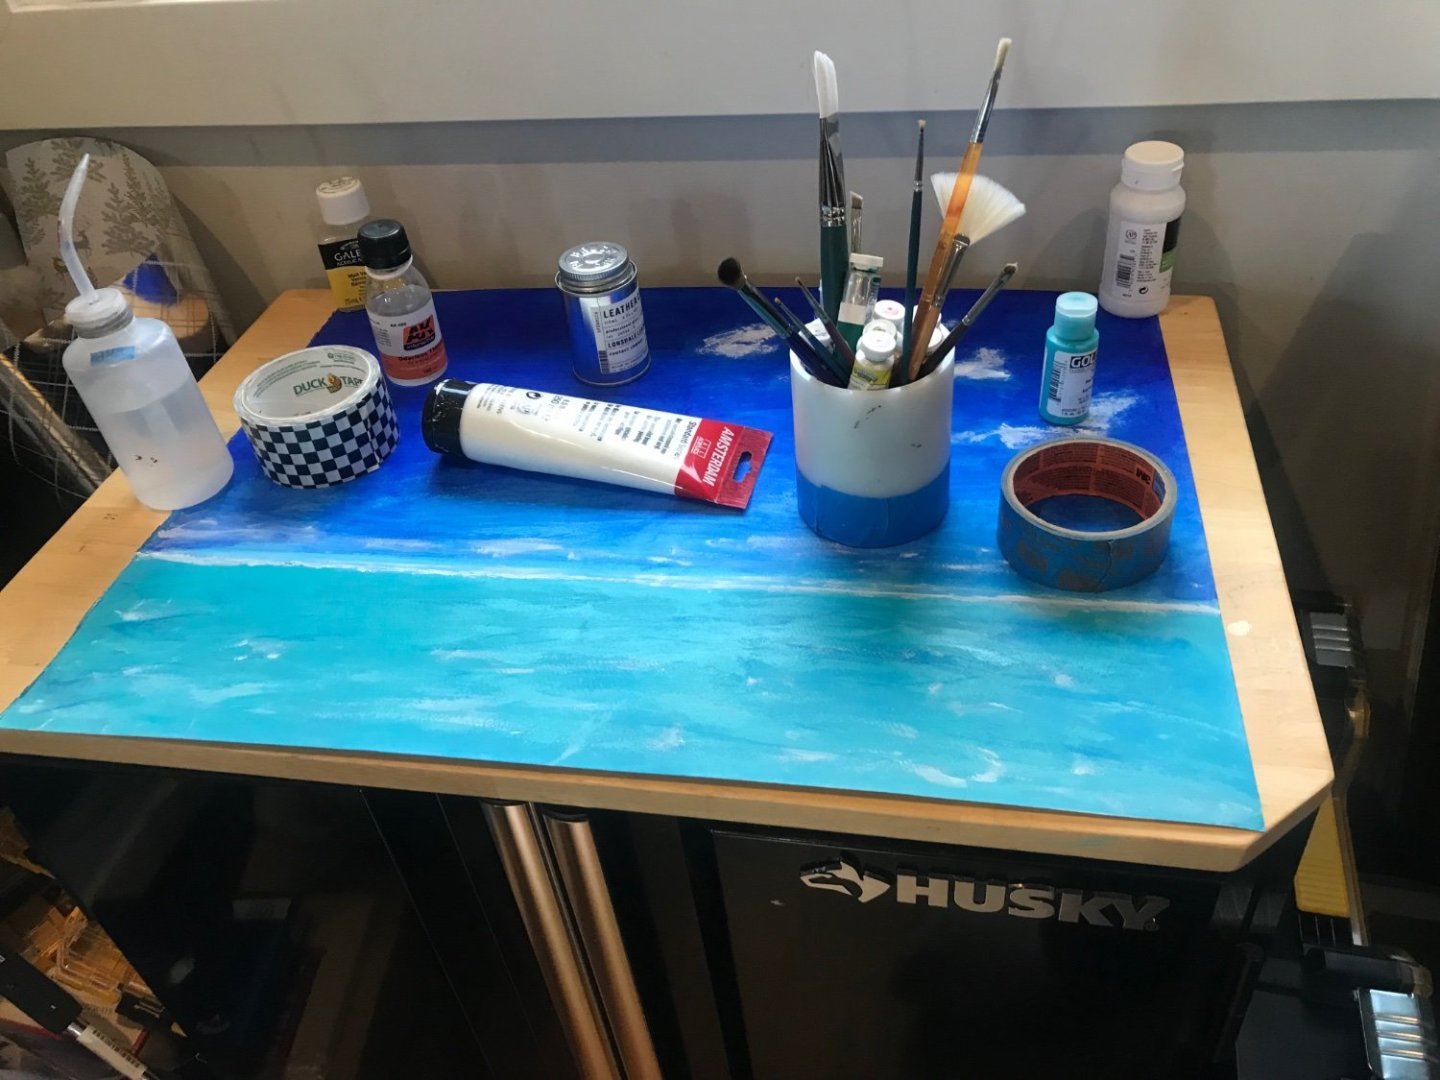
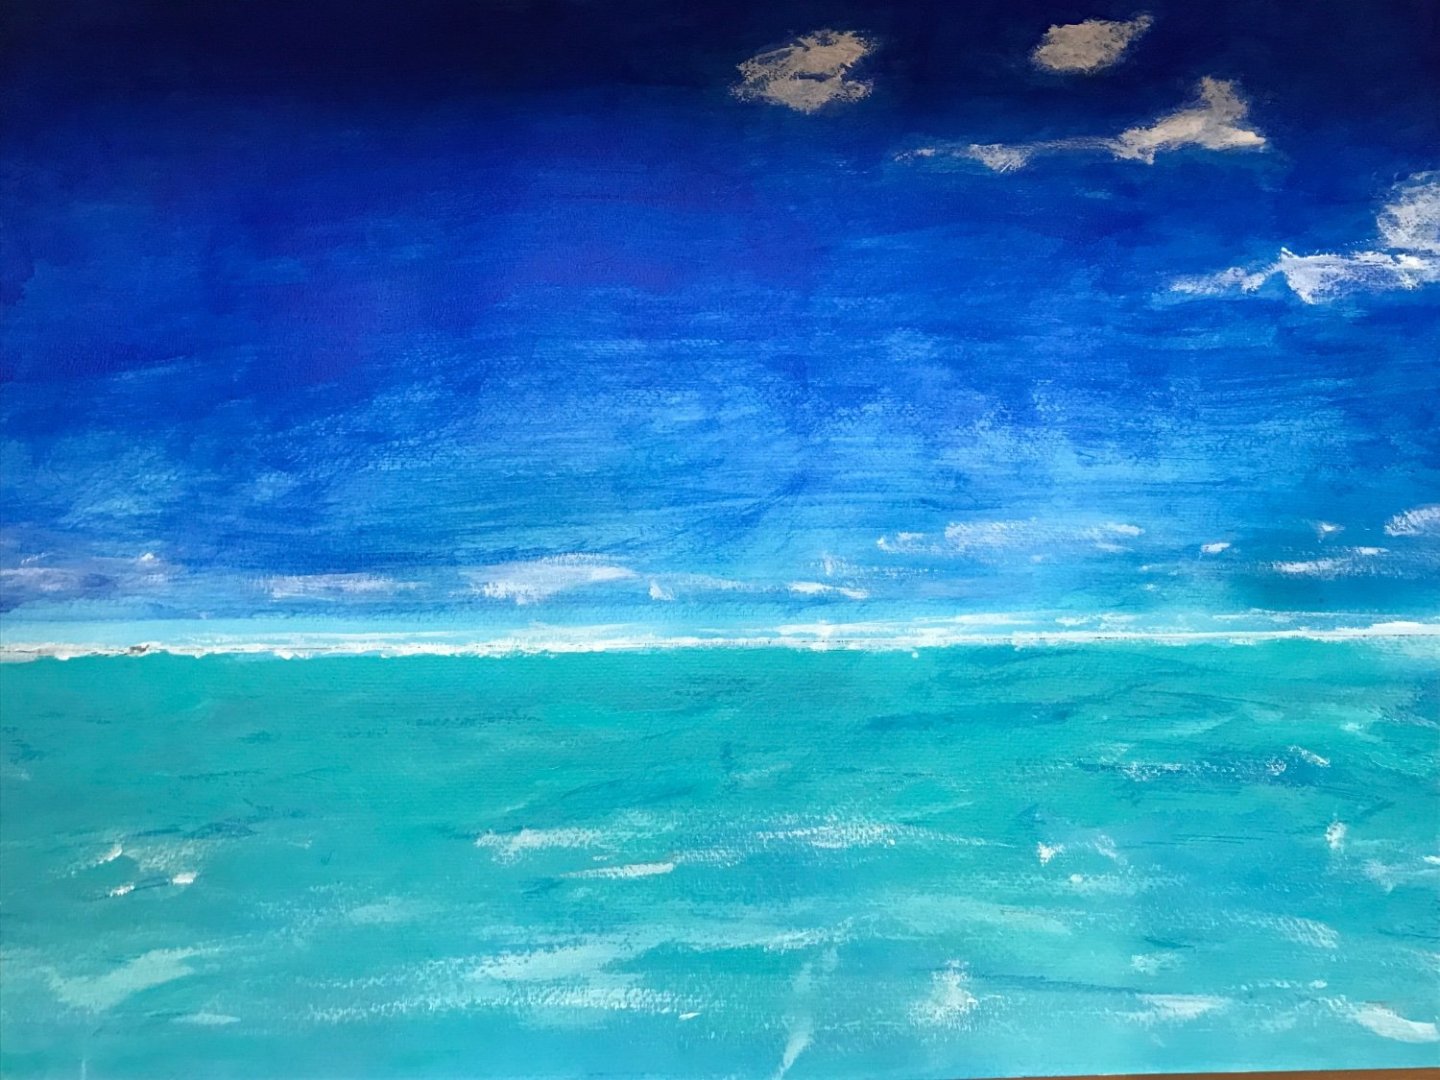
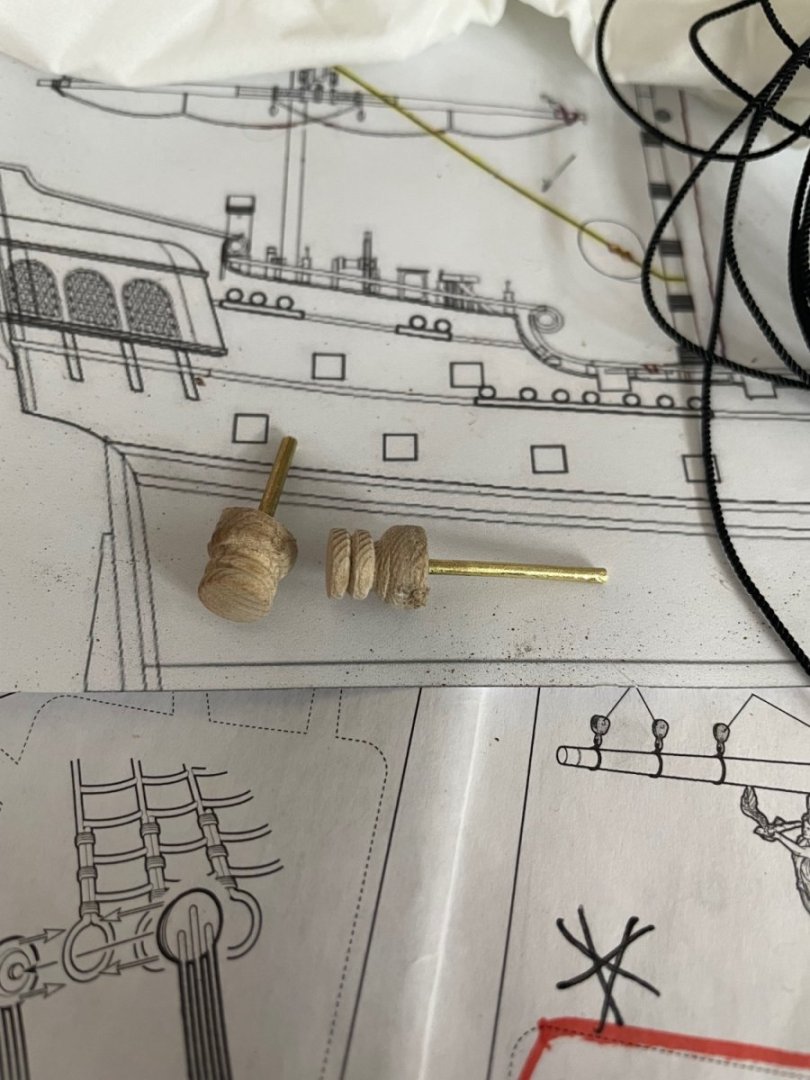
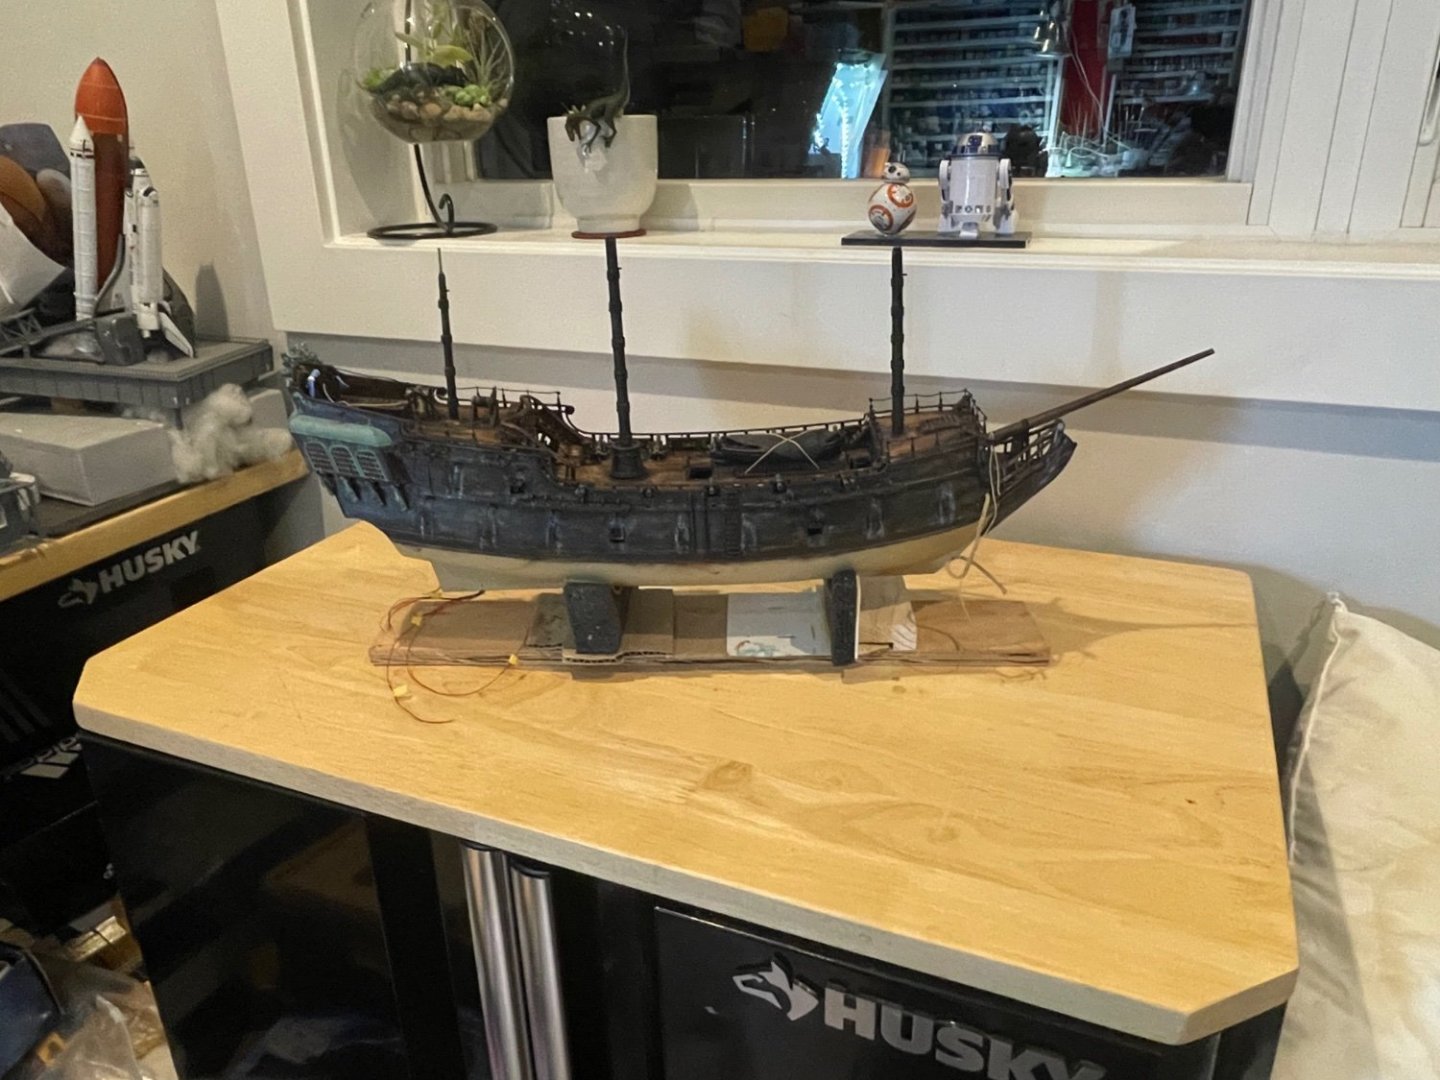
Background painting. The ship is so big, it needs something to be in behind for photos Stock Caribbean Sea photo My attempt Fore mast stay now rigged with deadeyes after some lathe work


-
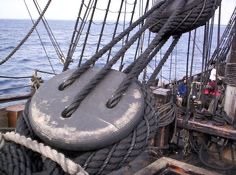
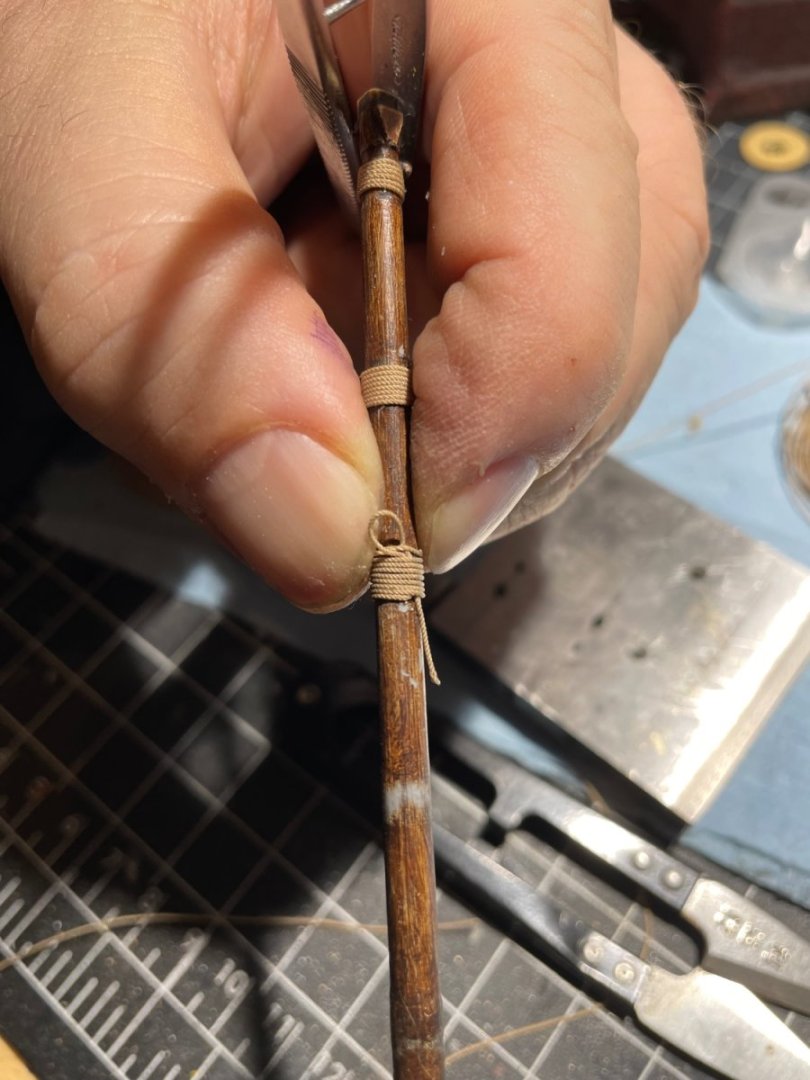
Ok so here we go starting rigging 😱 Starting with the Standing Rigging, saw that the main mast has these huge dead eyes on its line 8 So off to the garage and the lathe to make some appropriate sized ones Then lacing up the deadeyes and a temporary placement of the line. I muffed the spacing a bit as one of the eyes rotated on me as a I glued in the line.

-
Indeed They are super easy to use, just need a bit of patience to let them dry. I often paint on Sunday and let it sit for a few days over the work week so I don't f with it Quick tips Place a little blob of oil paint onto a bit of cardboard...it will soak out some of the linseed oil and let paint set faster For say making leather or wood effects an acrylic light tan primer layer down first. You can put clear orange tamiya over that primer too Thin oil burnt umber or sienna and mind your brush strokes direction so they look like grain over top that primer/orange You can wipe some of the oil away to expose the under layers, gives convincing wear So many good videos on it, will post some links later This is my favourite video from Plasmo, awesome guy. He started my desire to use oils. I have this airplane kit and want to duplicate the video. Will is annoying a hell, but has some good tips
-
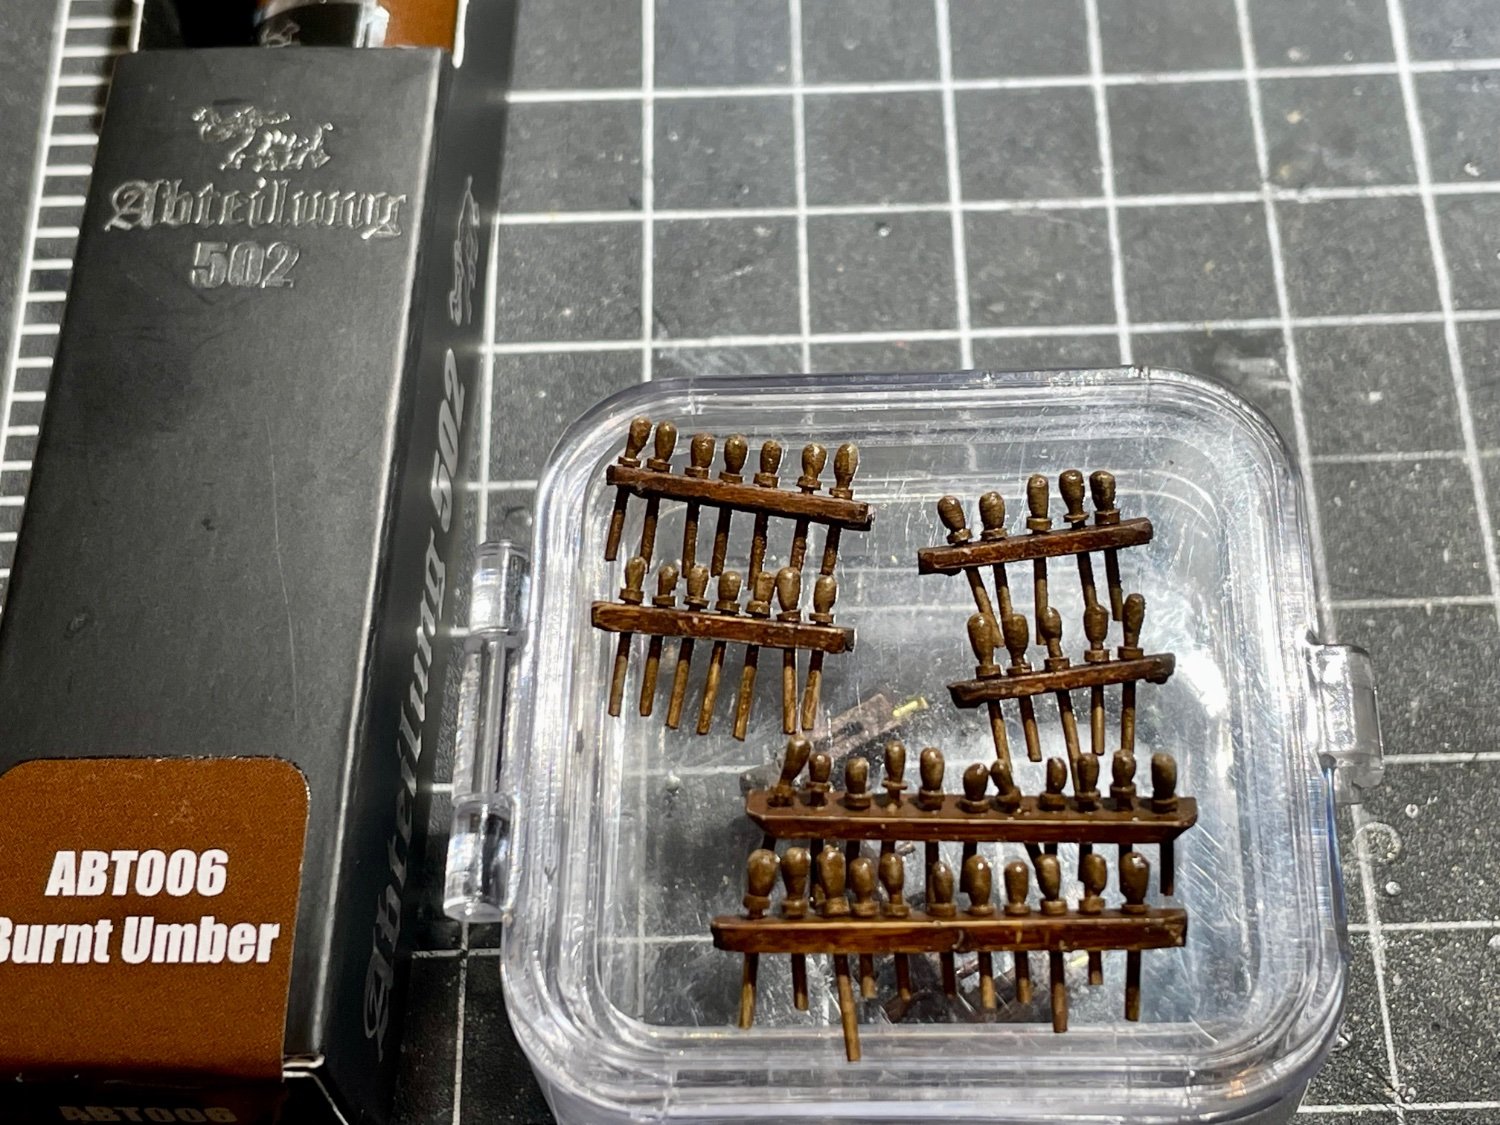
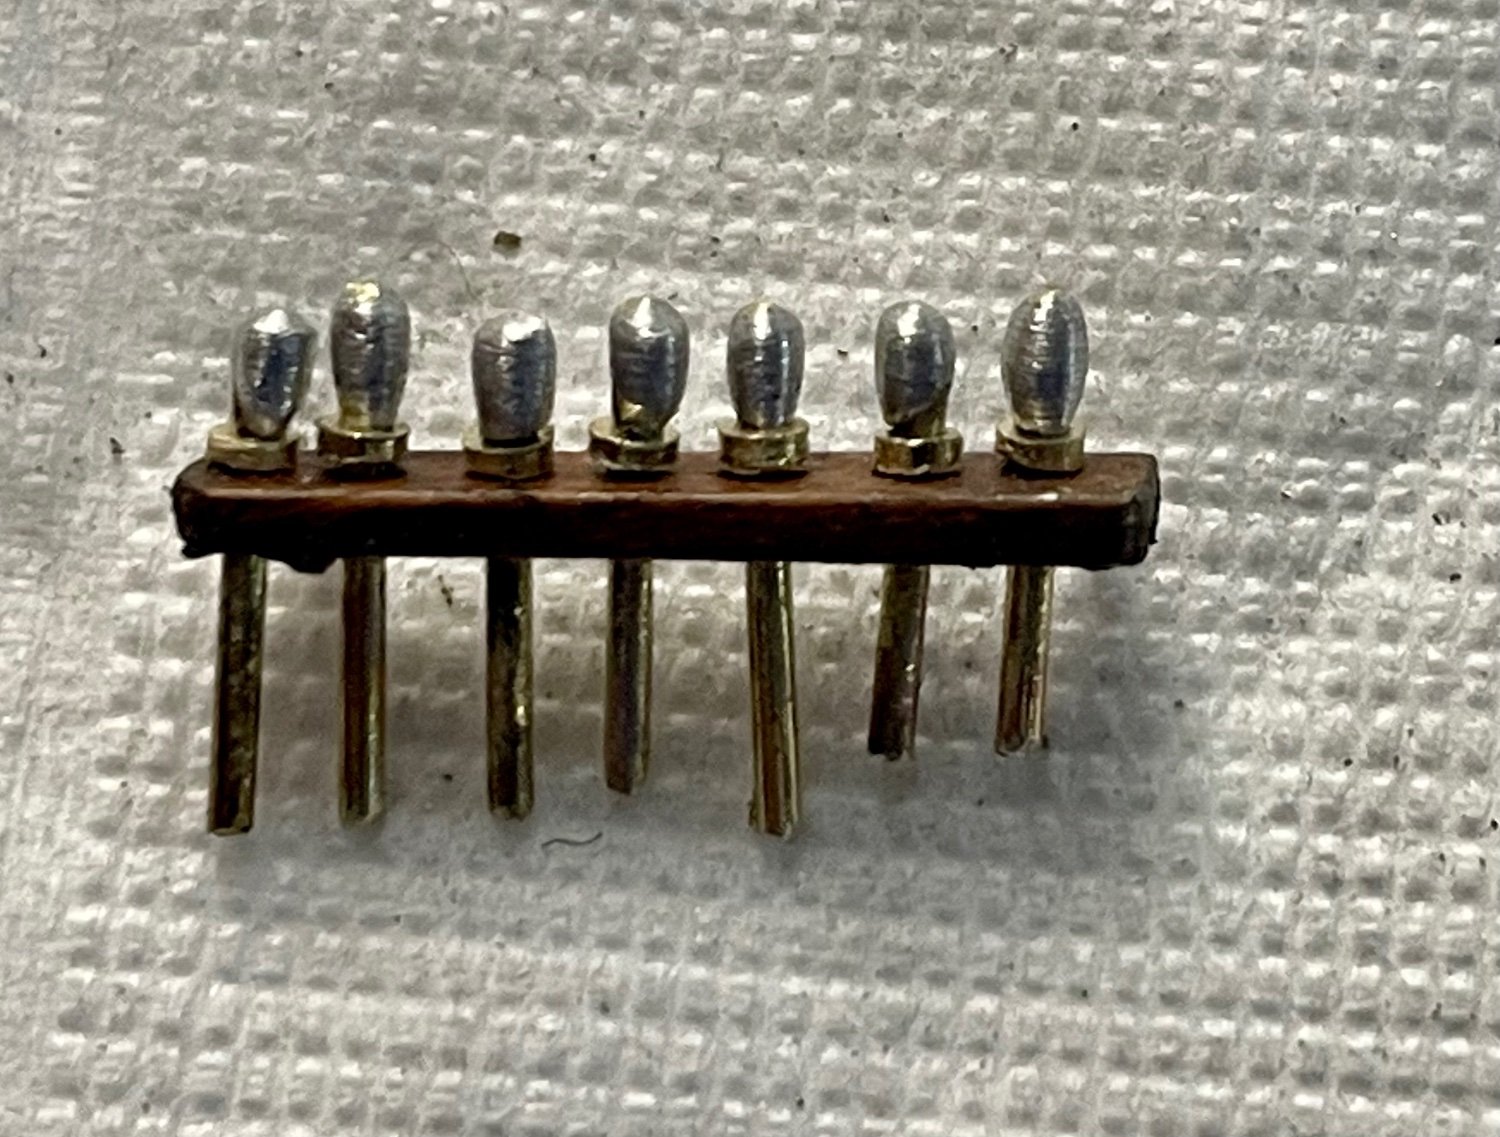
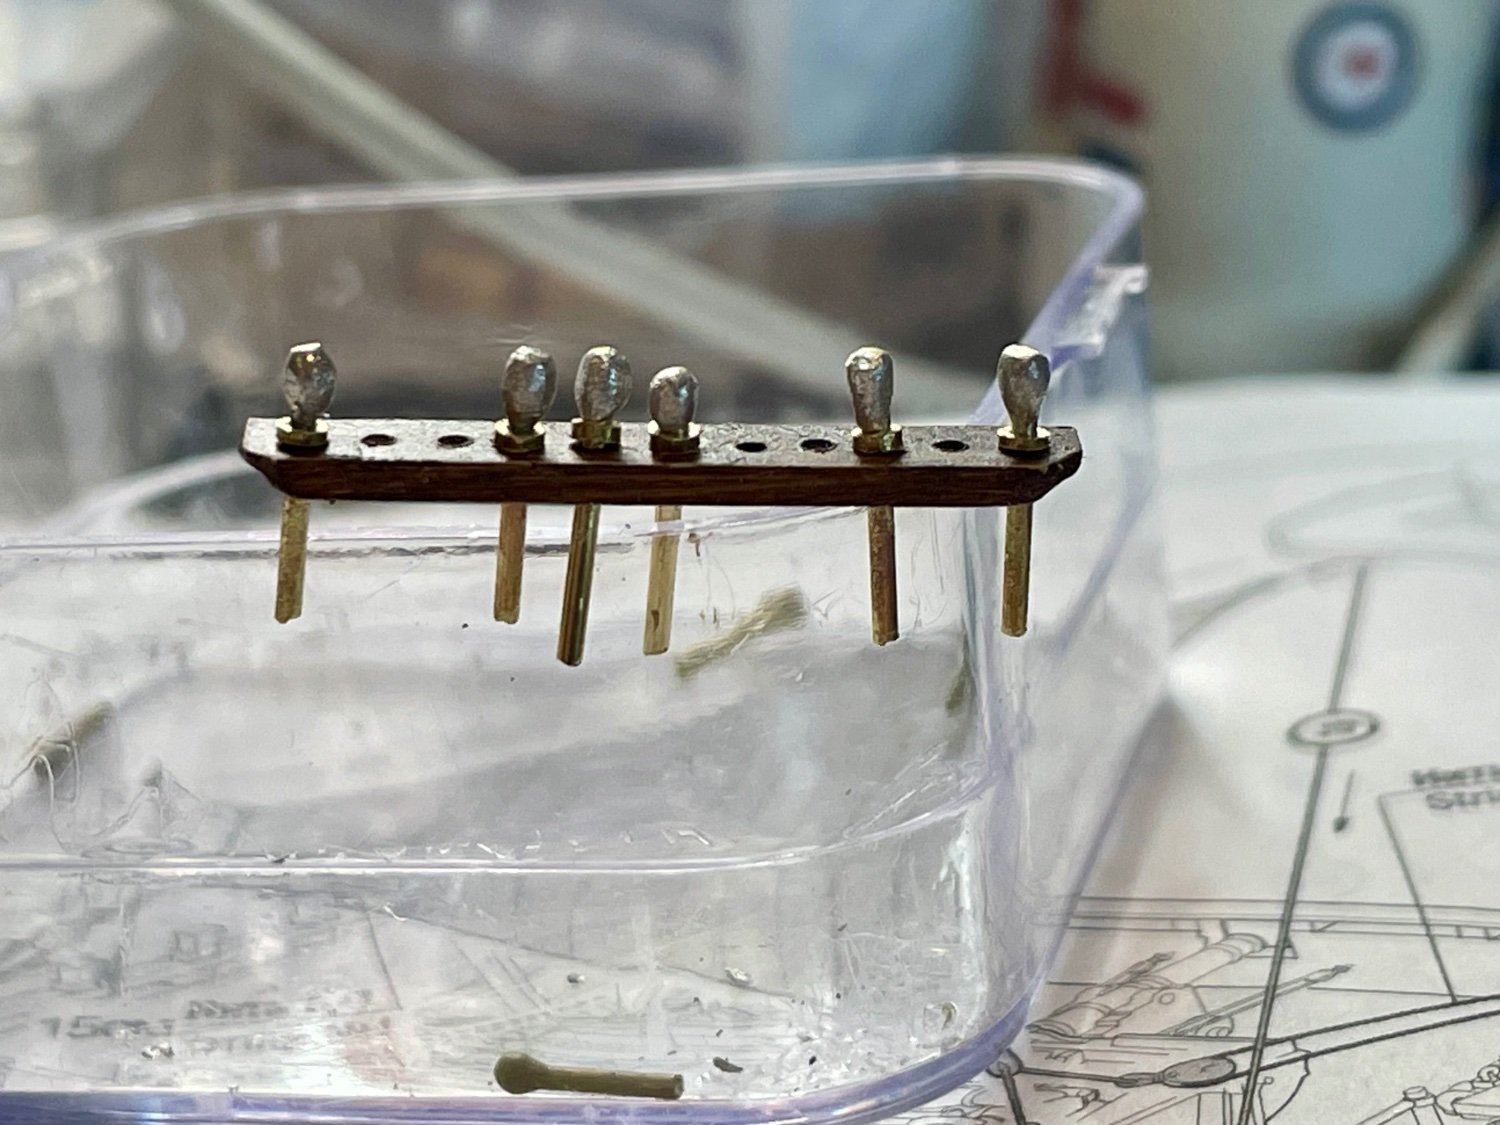
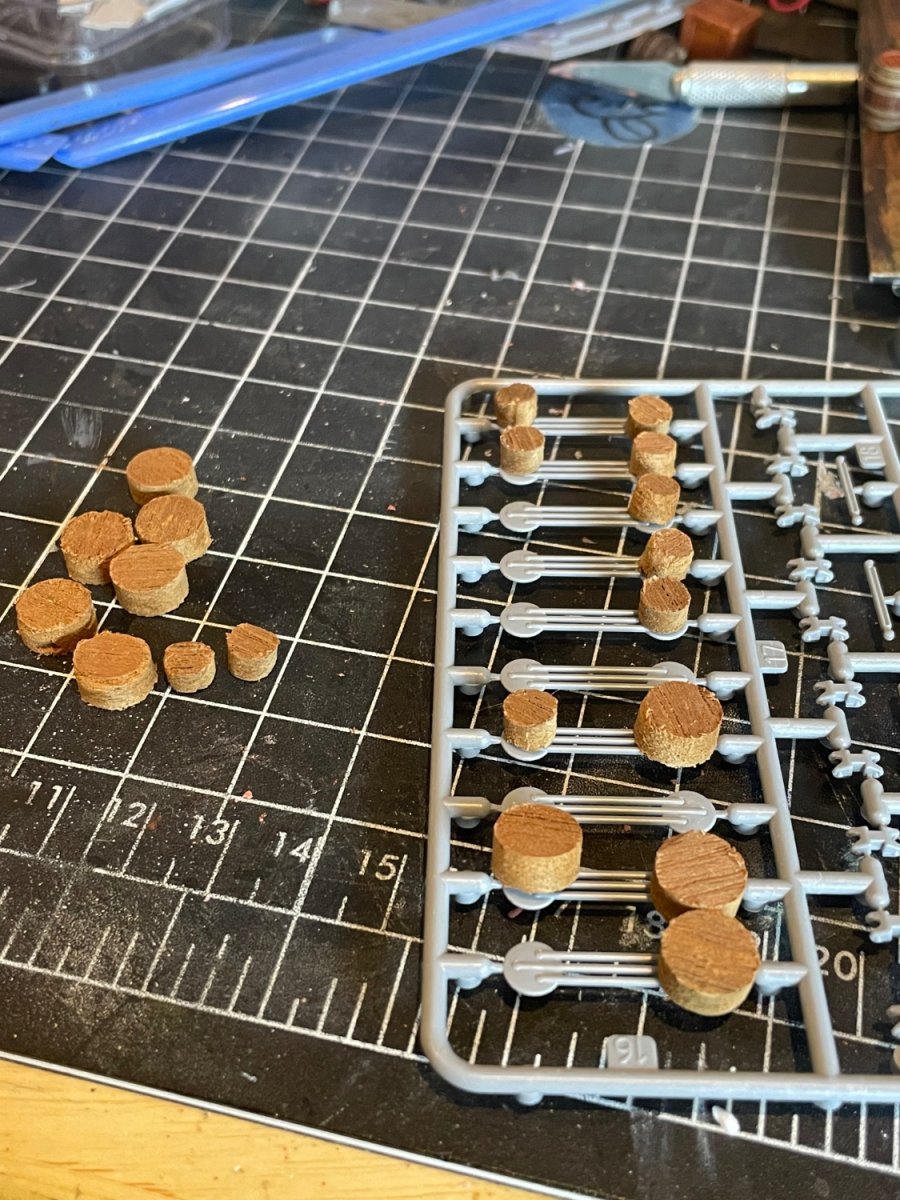
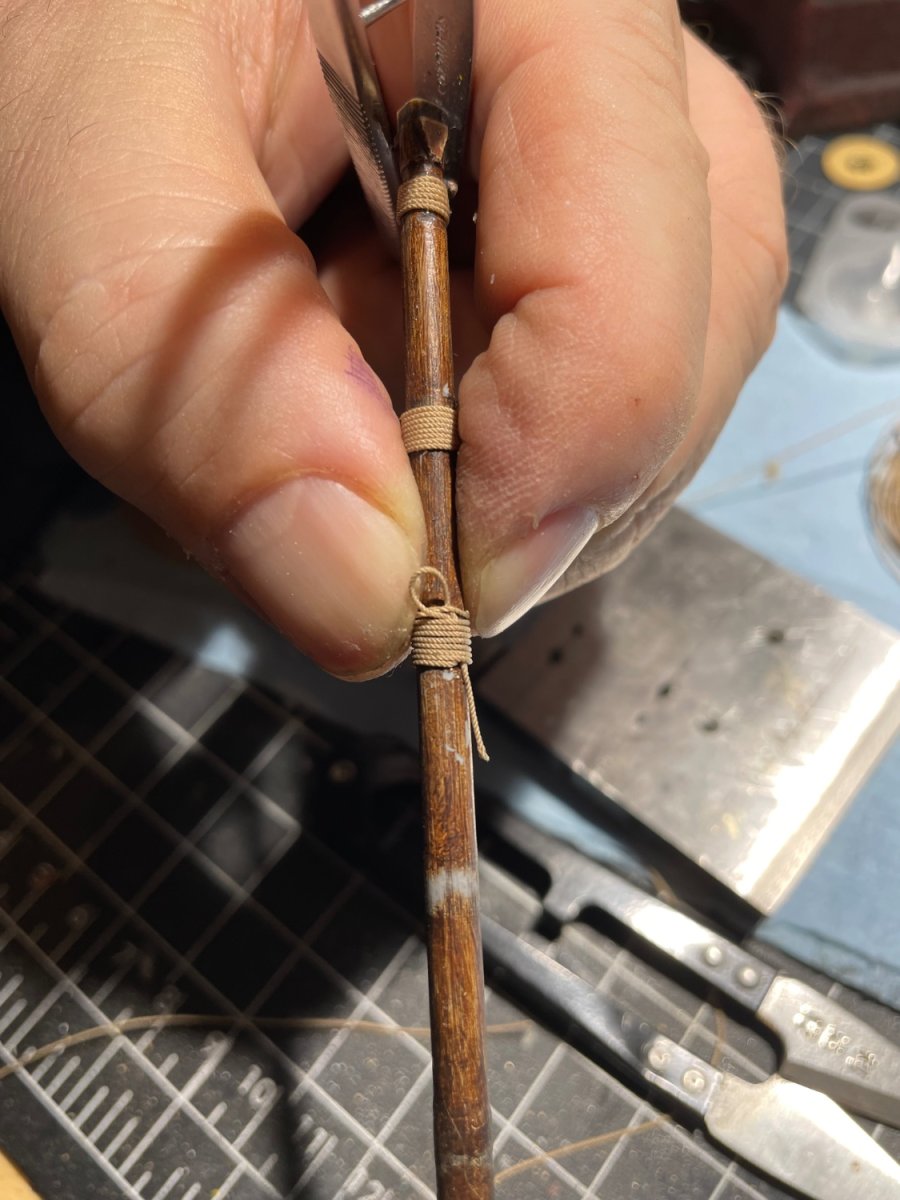
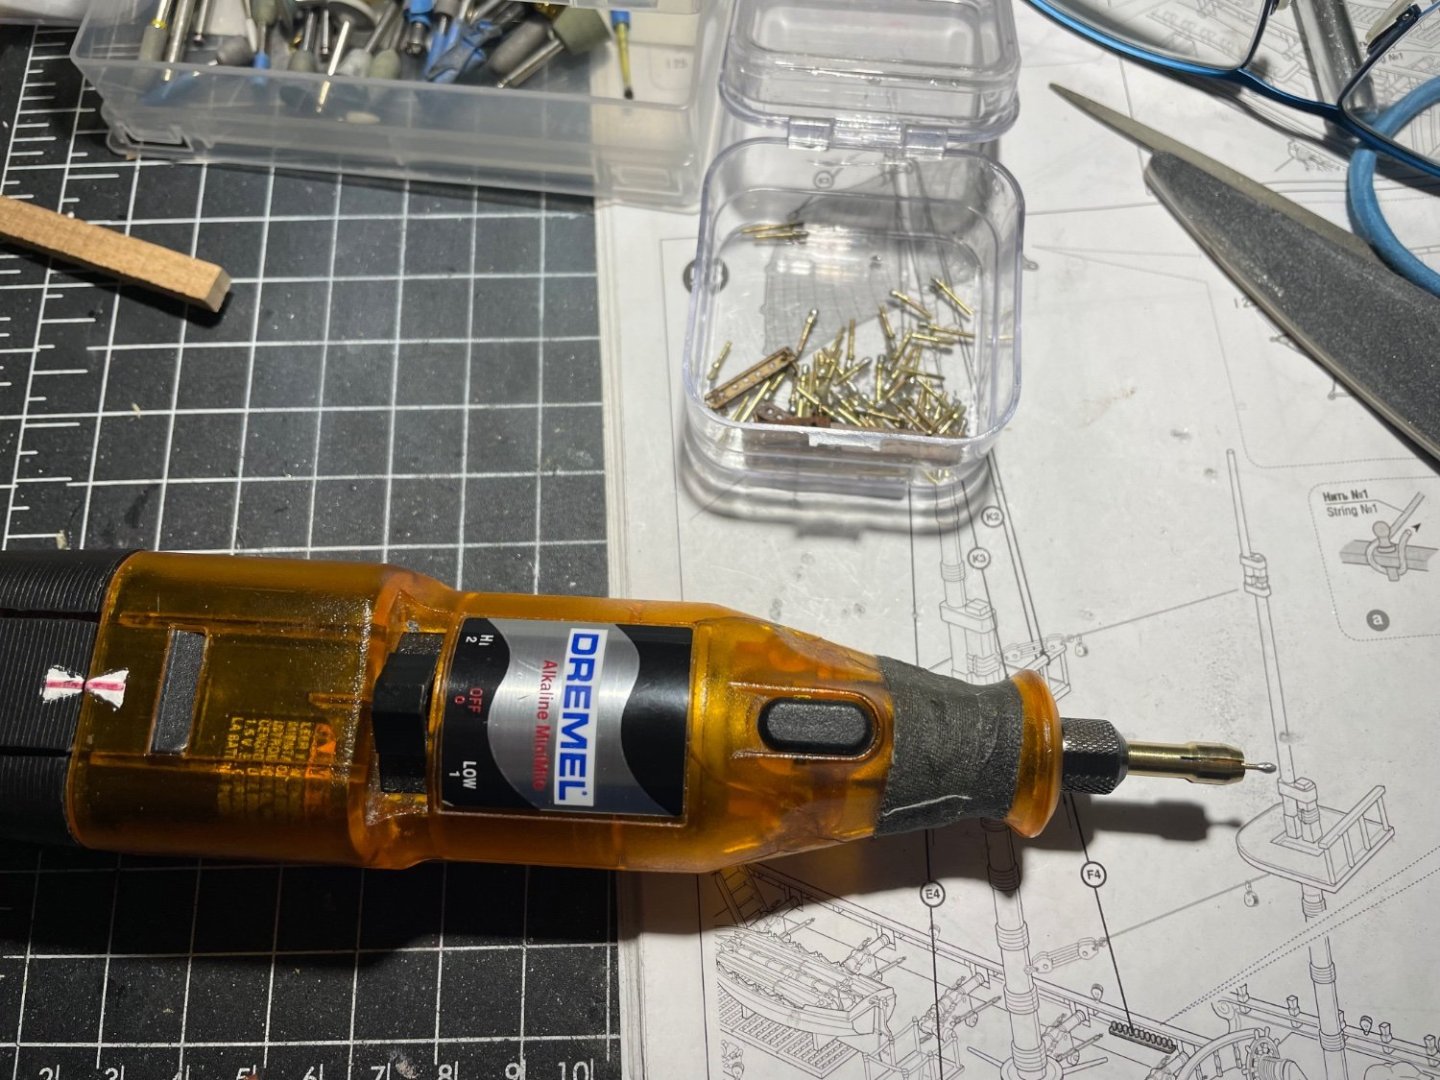
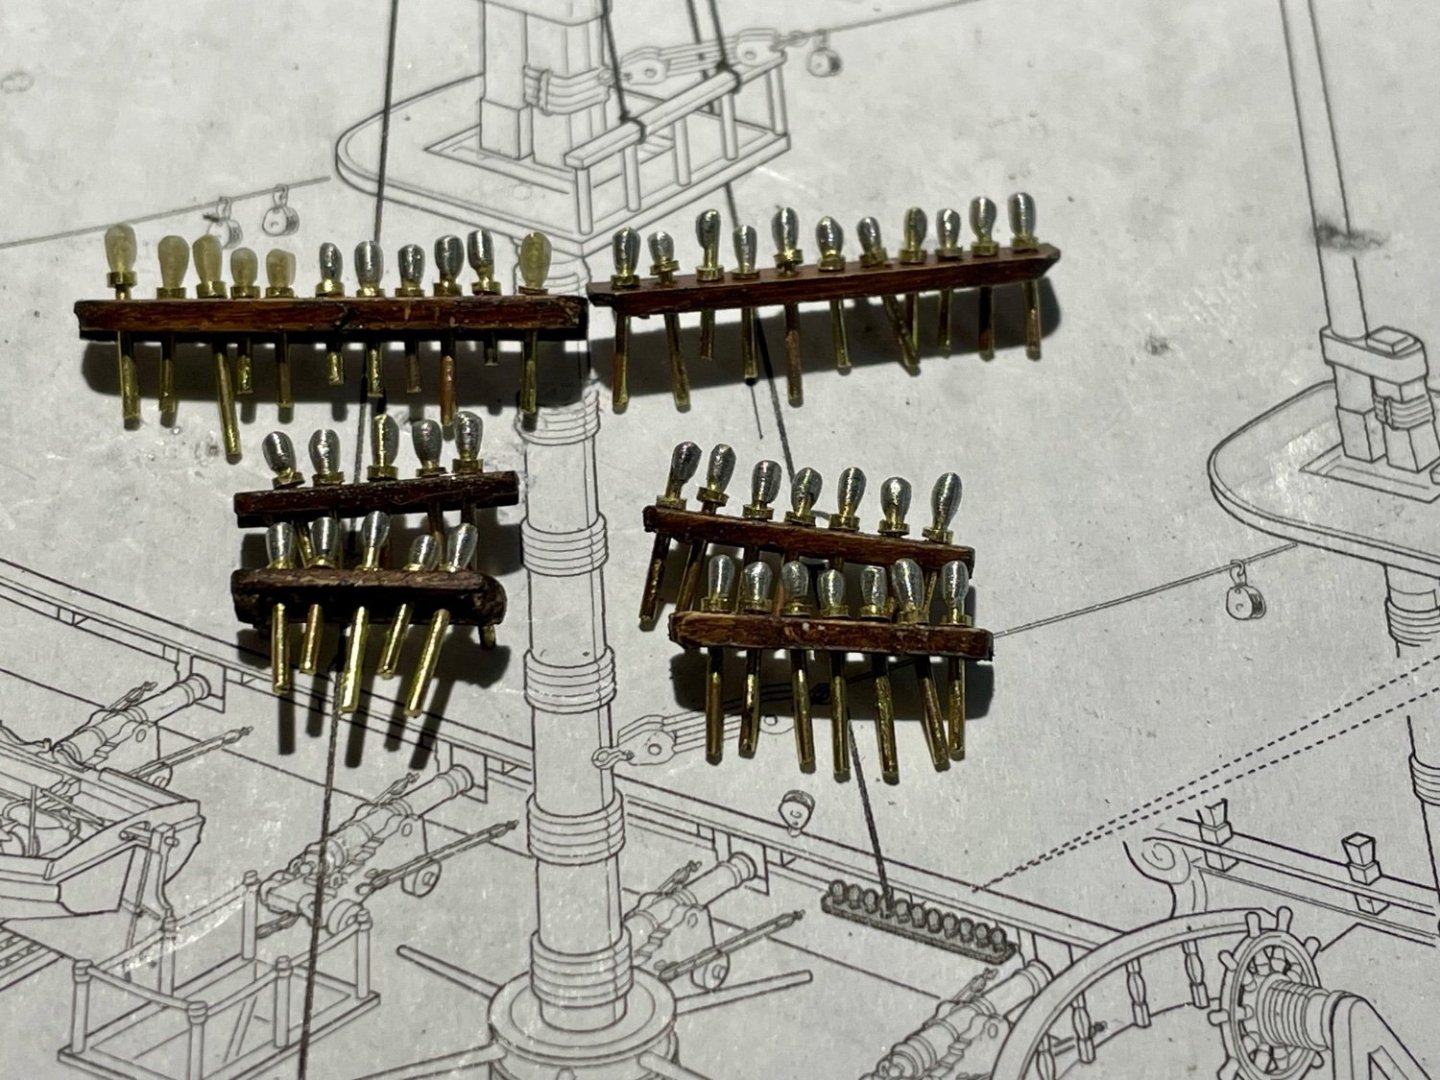
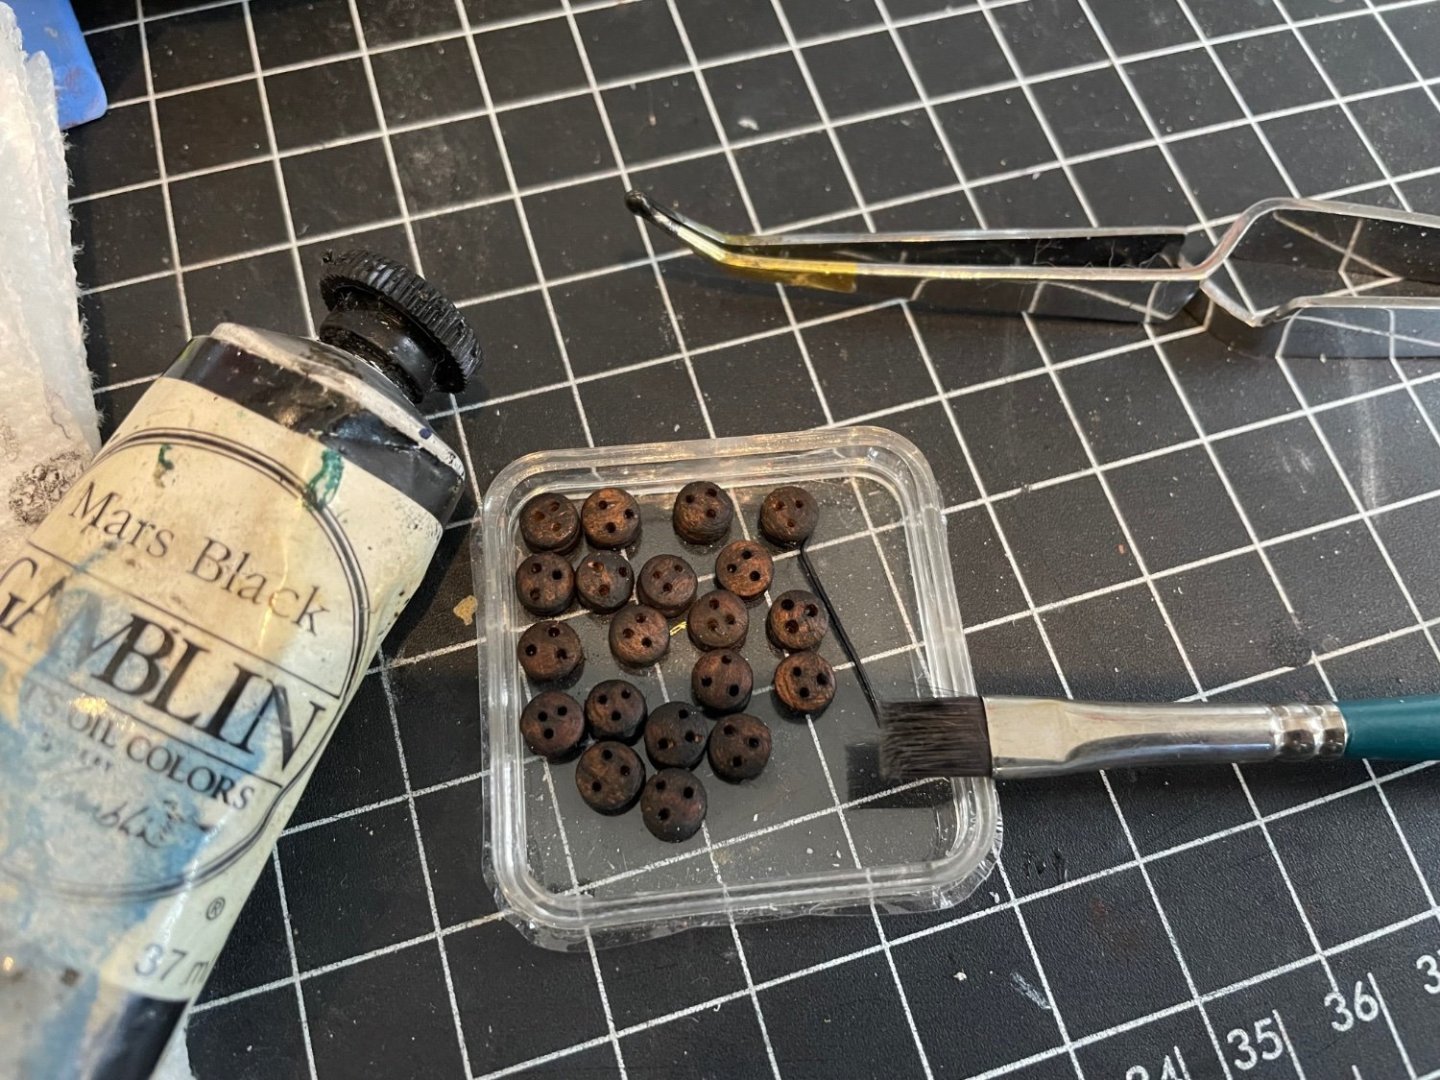
Good to take a step back and see the forest for the trees so to speak Quiet Sunday afternoon primed the belaying pins tan and then a thin layer of burnt umber by Aqueilung. I usually use Windsor Newton burnt umber but it is running out so I tried this Abteilung for a slightly different contrast colour as it is lighter. Nice fine pigments and it dries quick so I will get more of them. Oils are nice to work with as you can thin them out well and not clog up details.


-
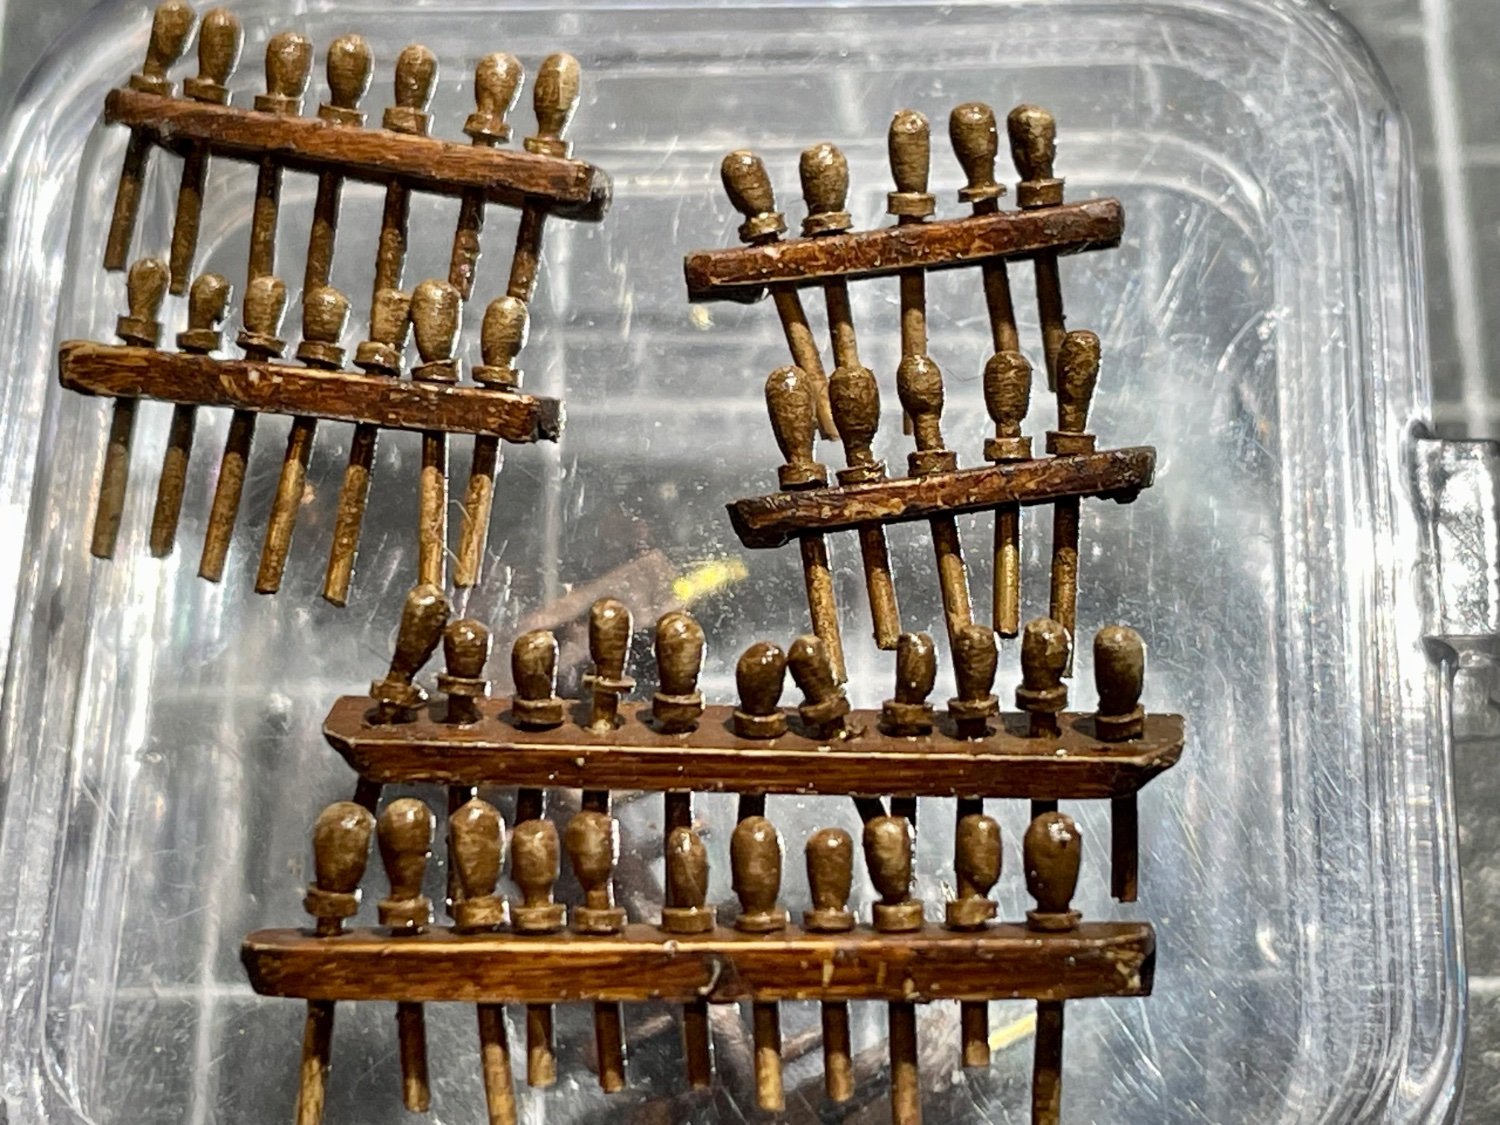
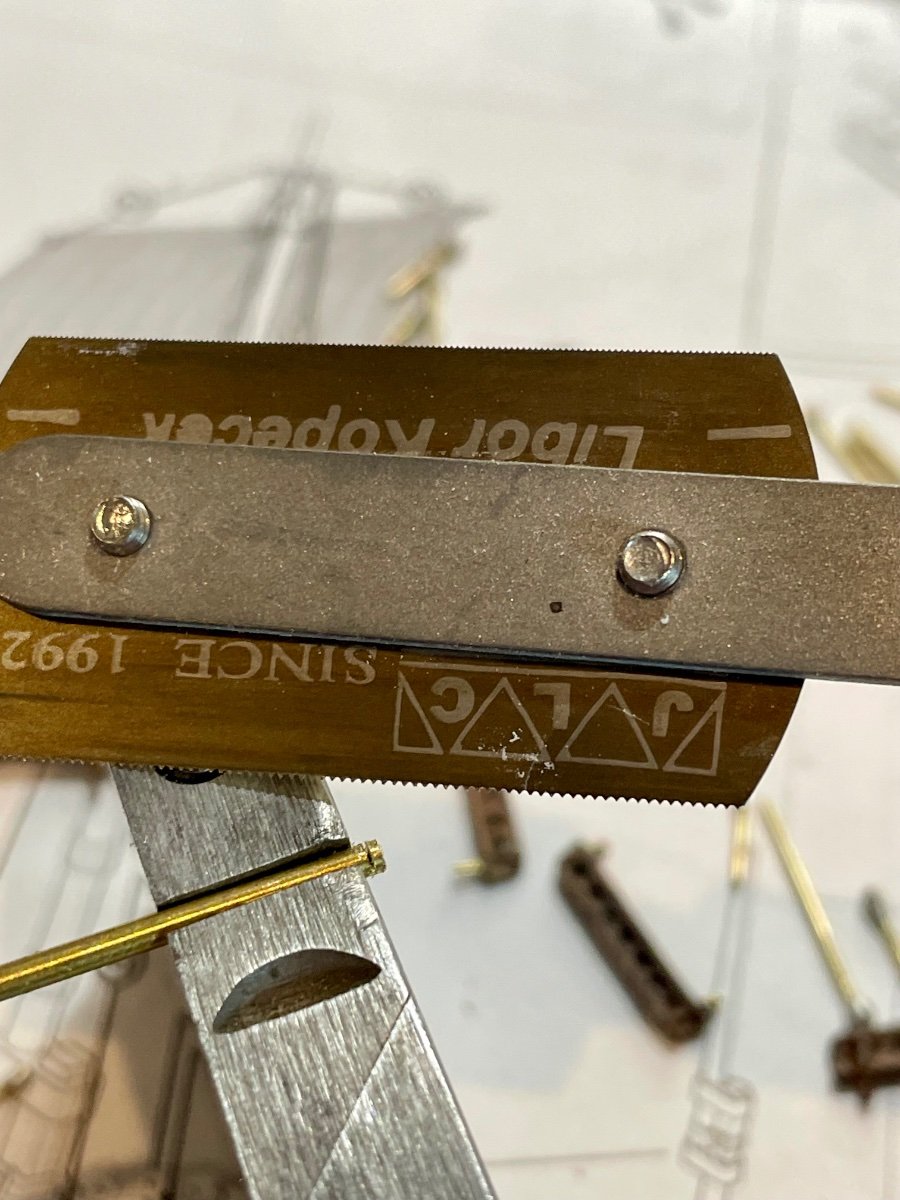
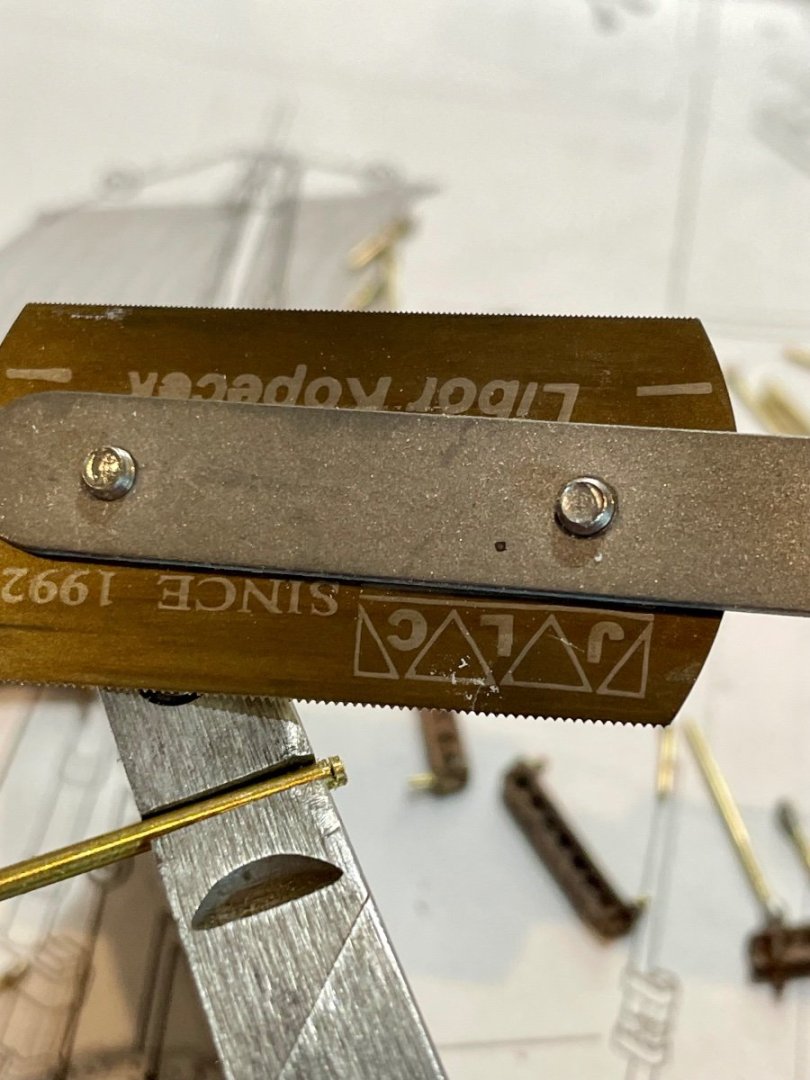
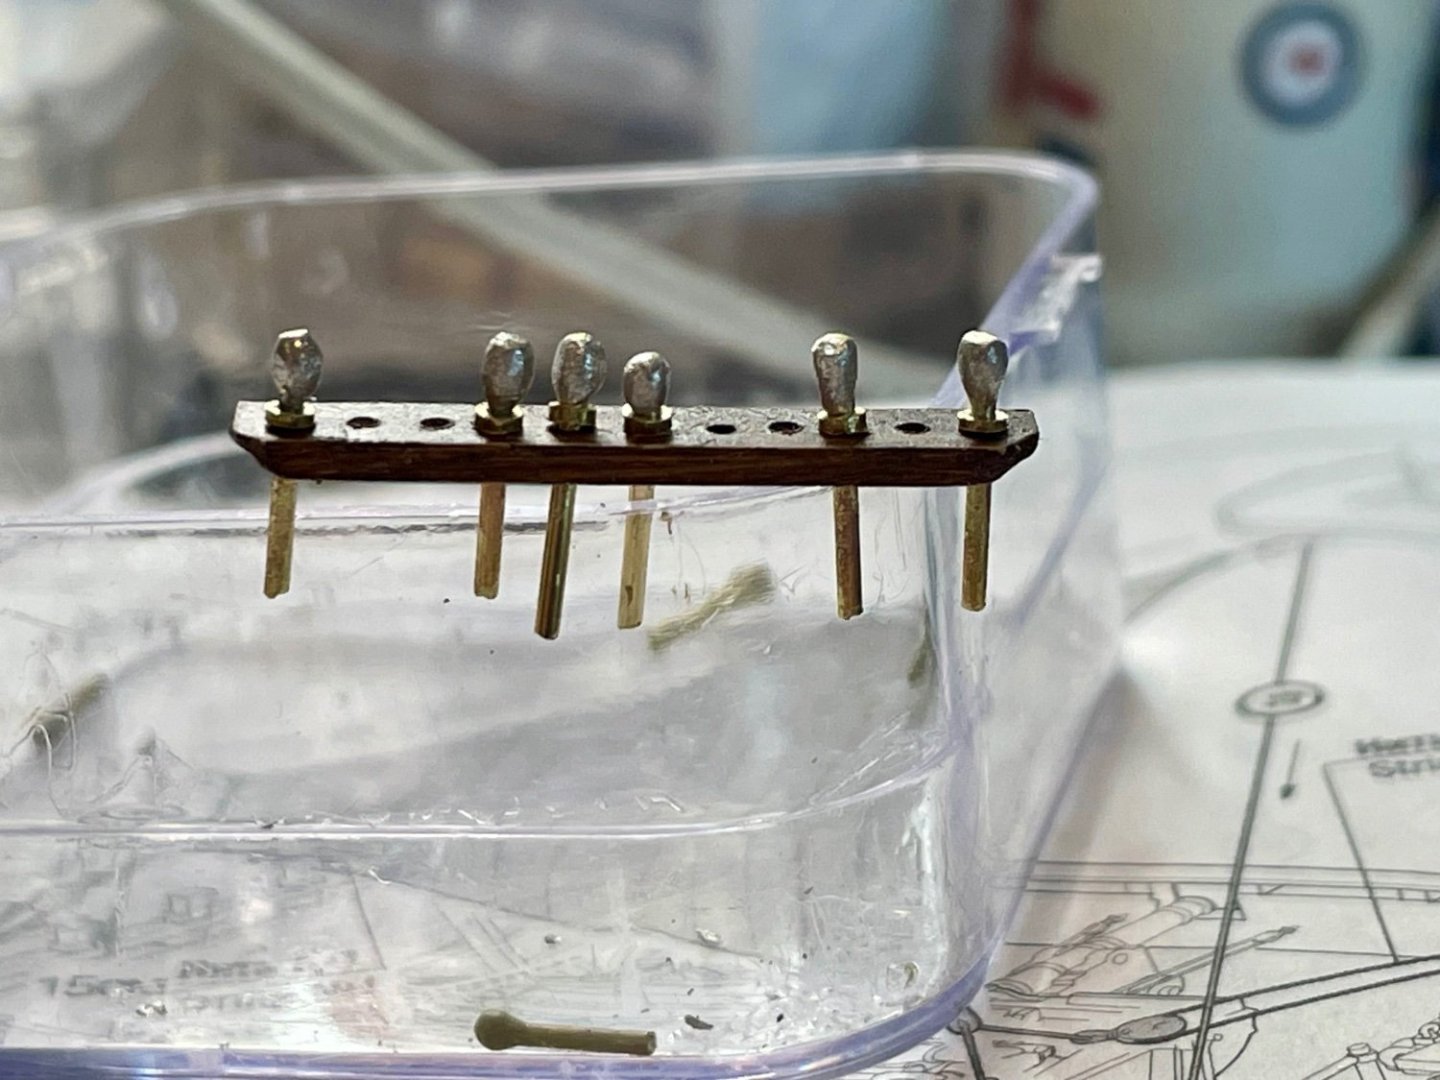
Finished shaping belaying pins on a makeshift mandrel and spinner

-
This look like an excellent project, keep at it!! I am eyeballs deep modifying the plastic Black Pearl, but you have me contemplating this as my next ship build
- 30 replies
-
- 1
-

-
- Flying Dutchman
- OcCre
- (and 1 more)
-
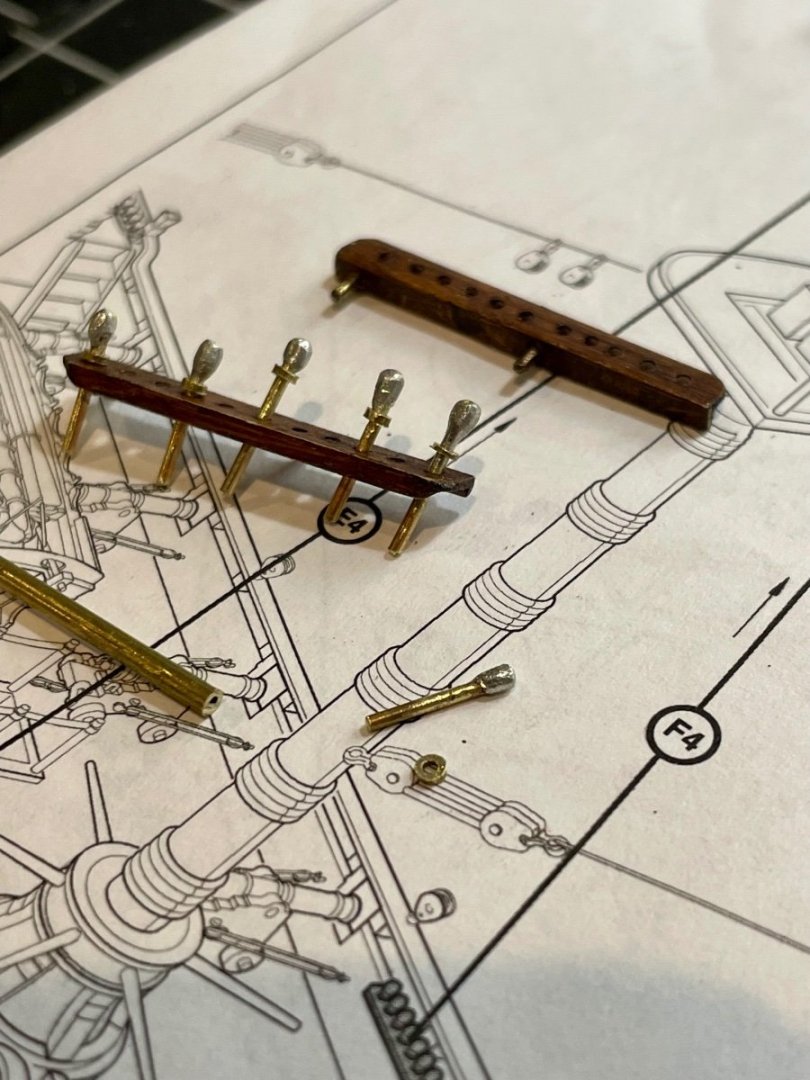
Making belaying pins brass rod, solder top brass tube Shape and telescope together I am thinking these will be a bit stronger for the rigging

-
Pulled the Trigger == Lathe coming
Twokidsnosleep replied to kgstakes's topic in Modeling tools and Workshop Equipment
Two favourite Youtube metal workers Clickspring..he is making the scribe here. Highly recommend wasting some time watching him Blondihacks...a Canadian female and does great projects. She makes brass boilers and such for trains and big stuff too -
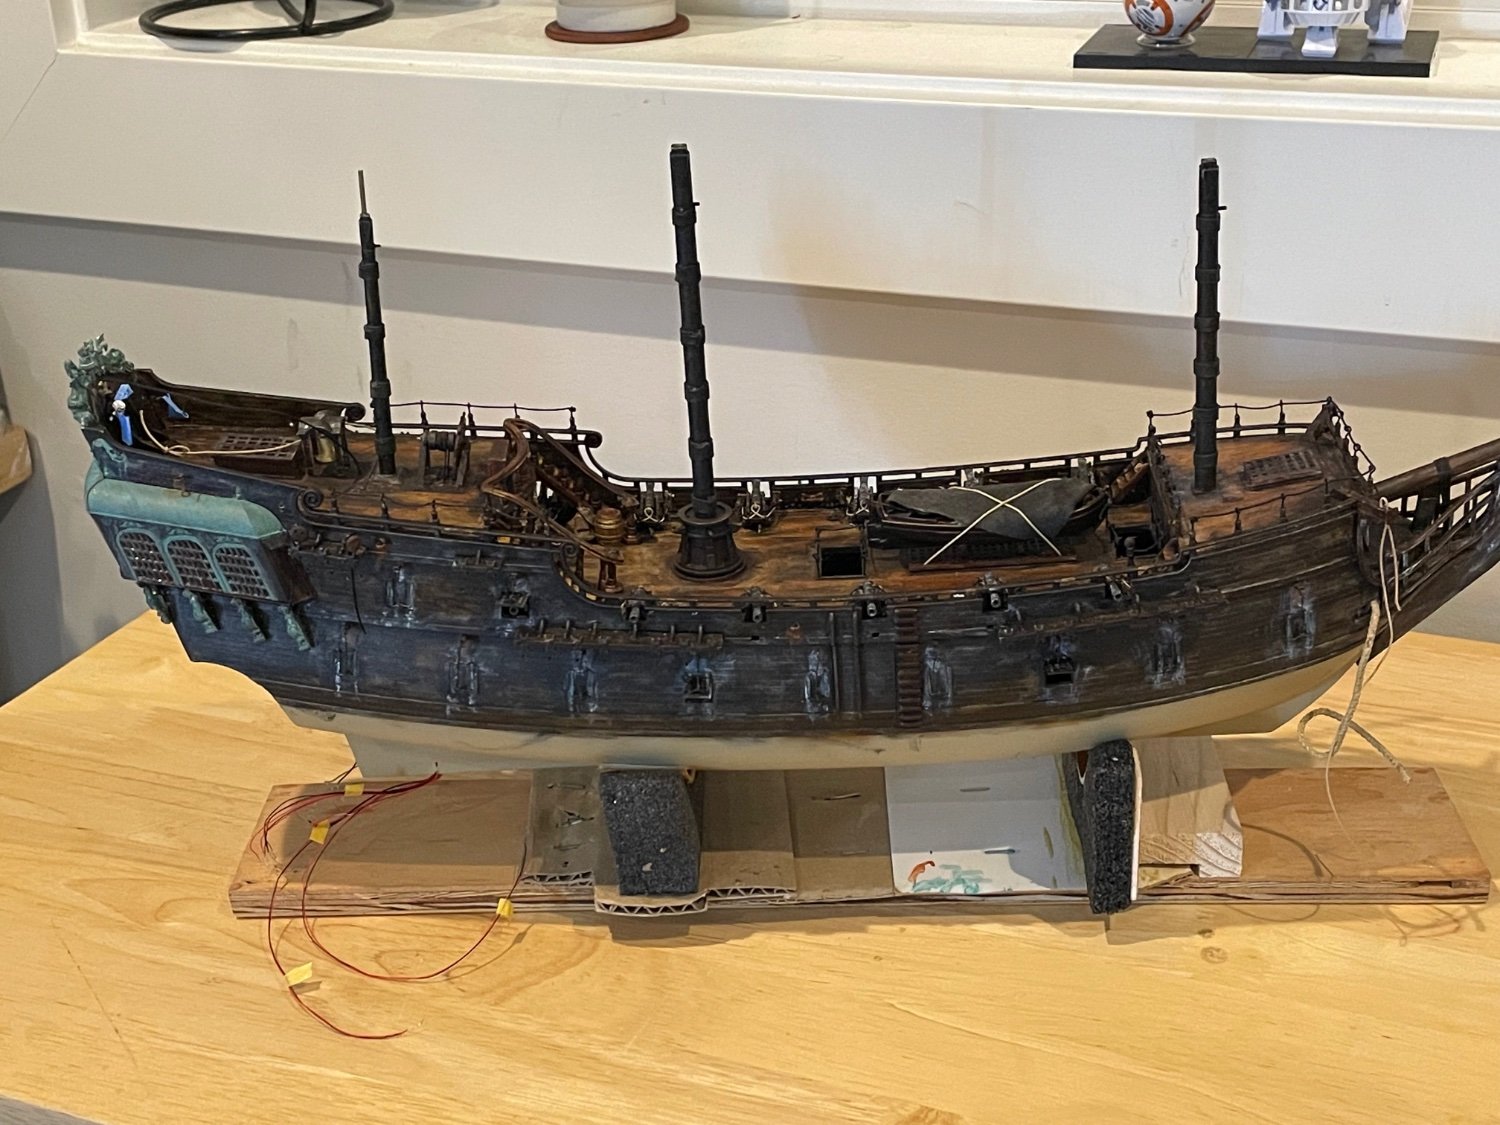
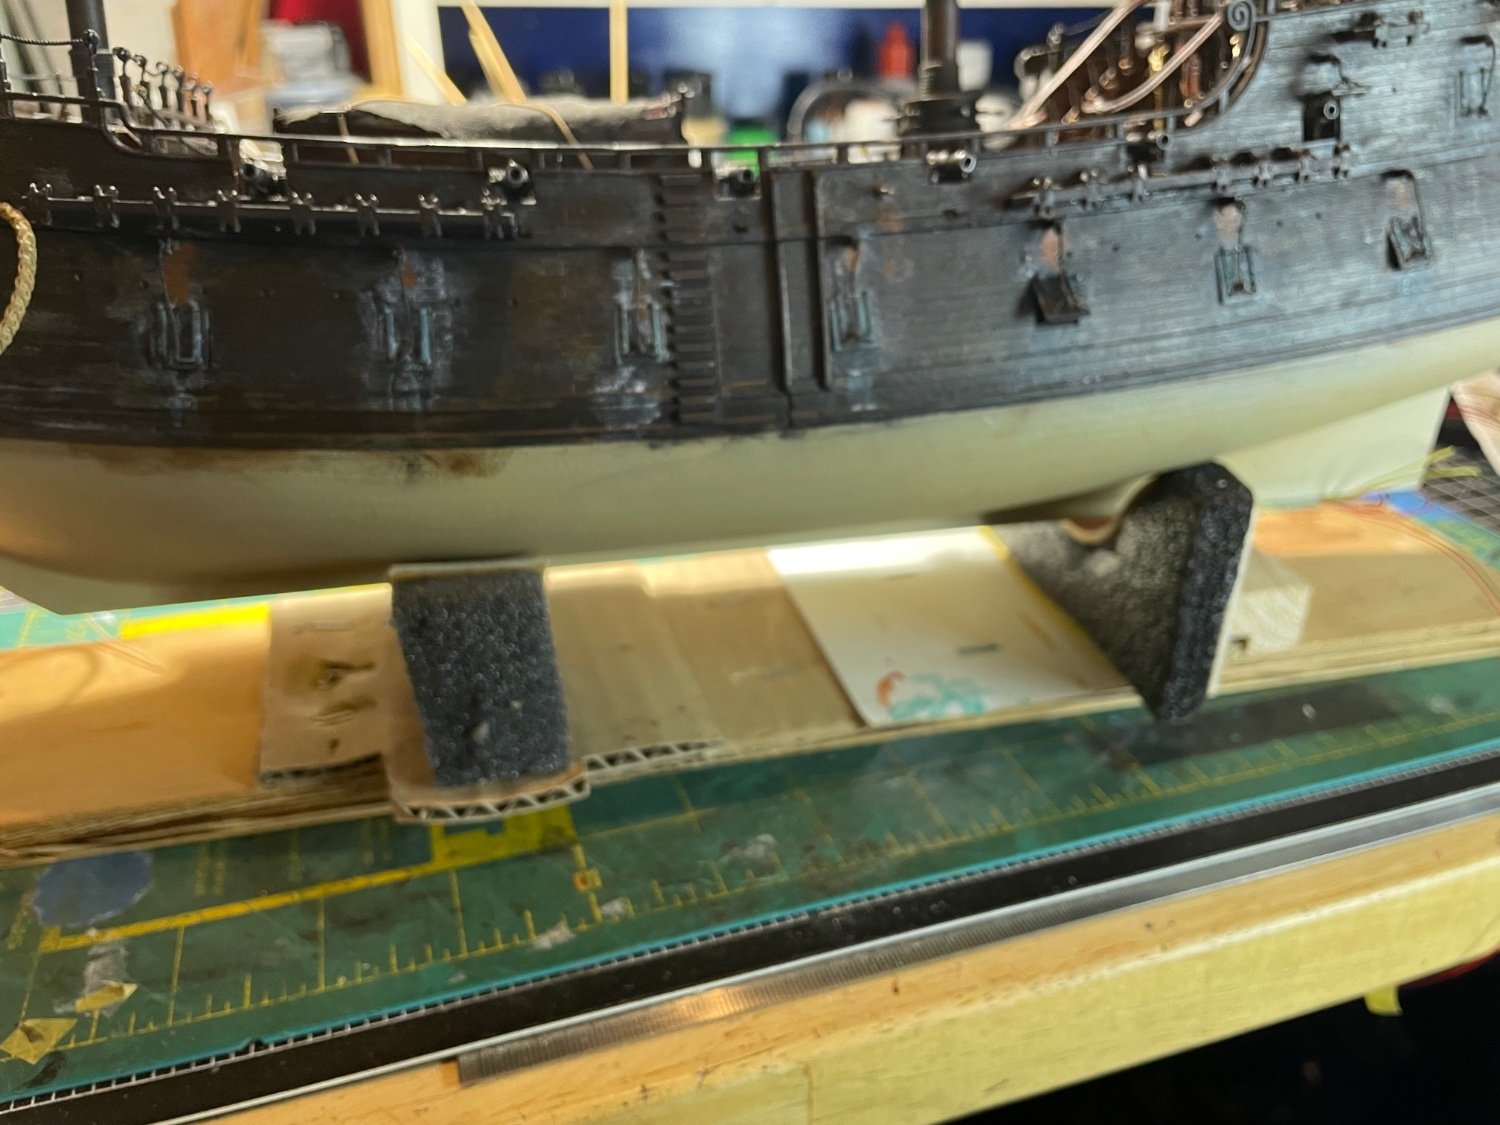
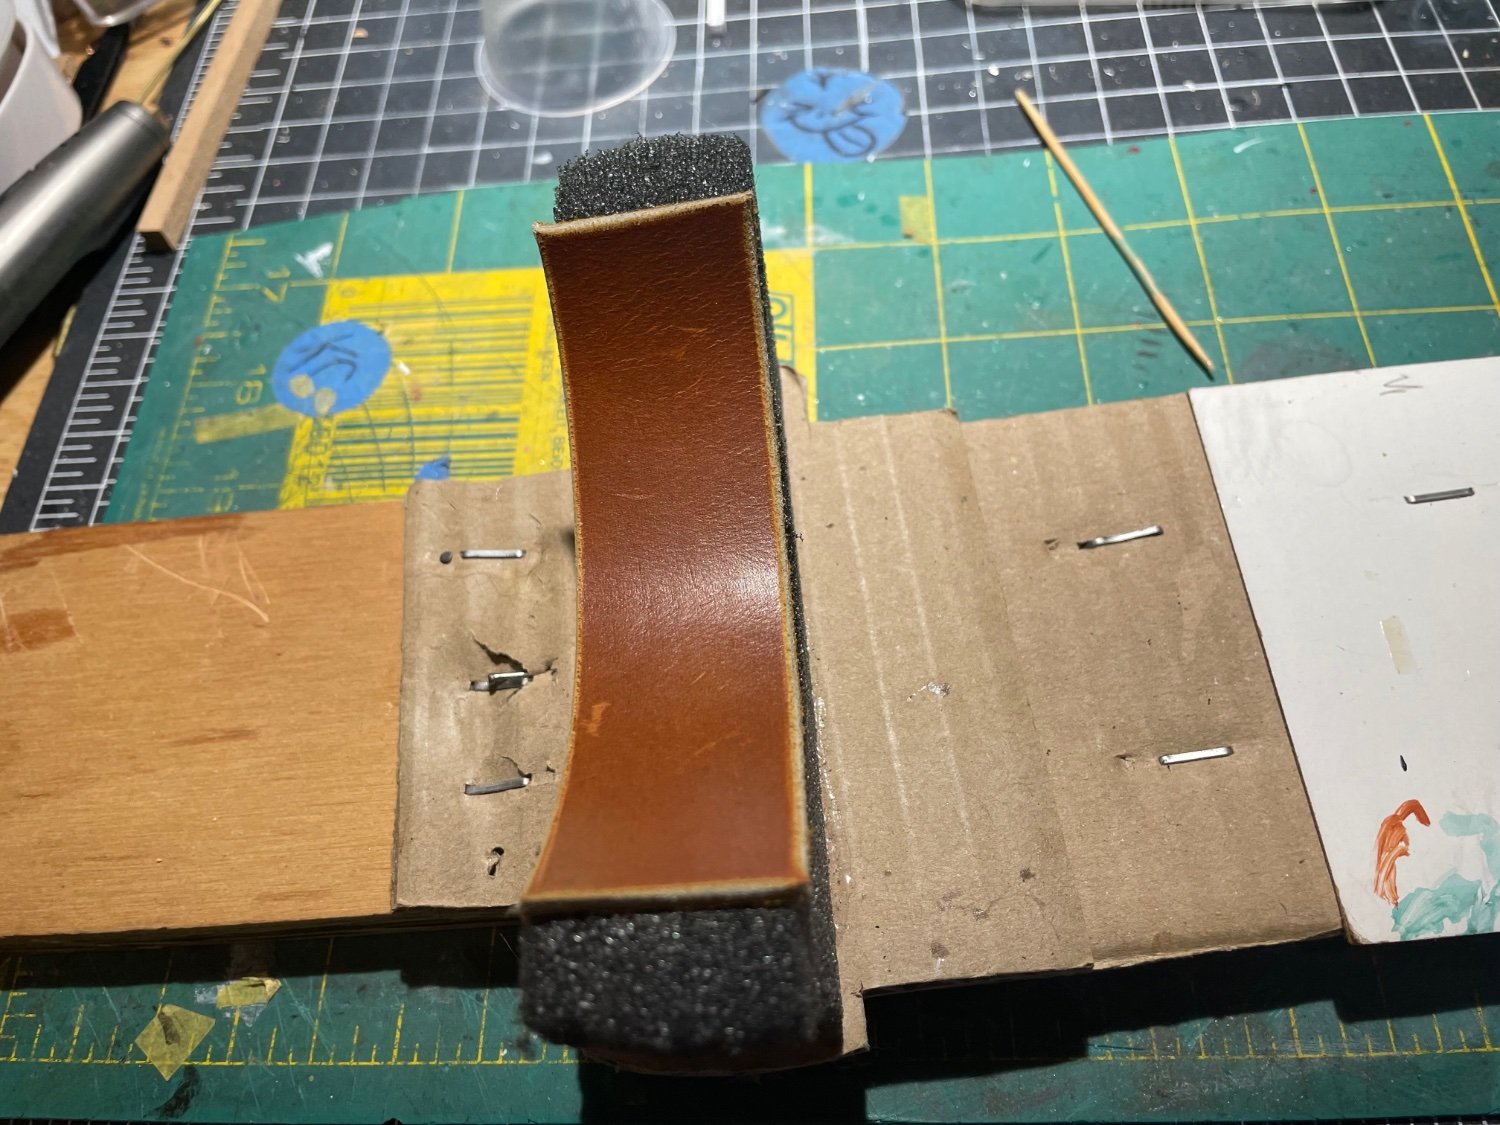
Remade her building berth, the foam was sagging and she nearly fell a couple times Some wood, some leather, some glue


-
Pulled the Trigger == Lathe coming
Twokidsnosleep replied to kgstakes's topic in Modeling tools and Workshop Equipment
Great news!! I am sure it will be absolutely perfect for you, nothing at all wrong with Taig My decision making was ease of ordering, model and speed of availability....ie the Sherline was on sale in Canada and in stock so SOLD! -
Tool Rest Question
Twokidsnosleep replied to kgstakes's topic in Modeling tools and Workshop Equipment
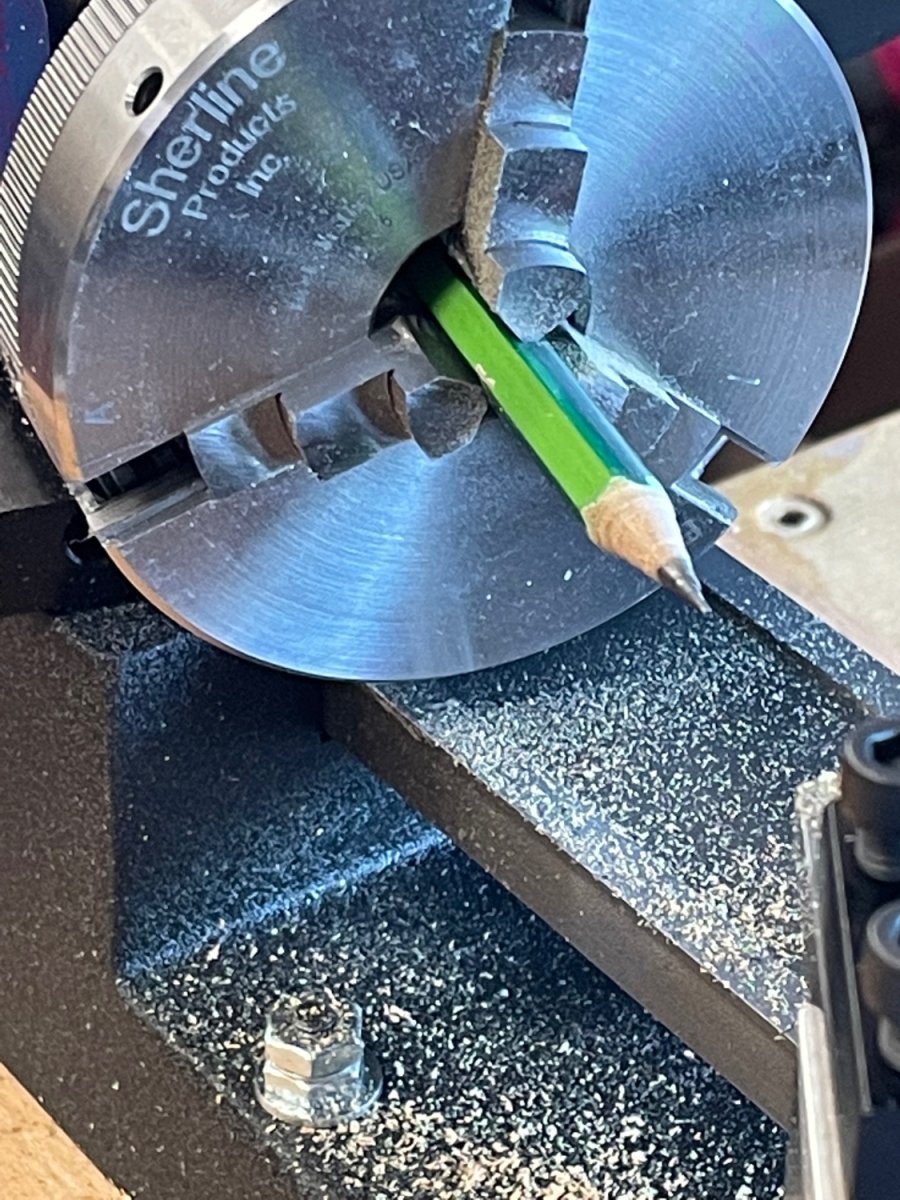
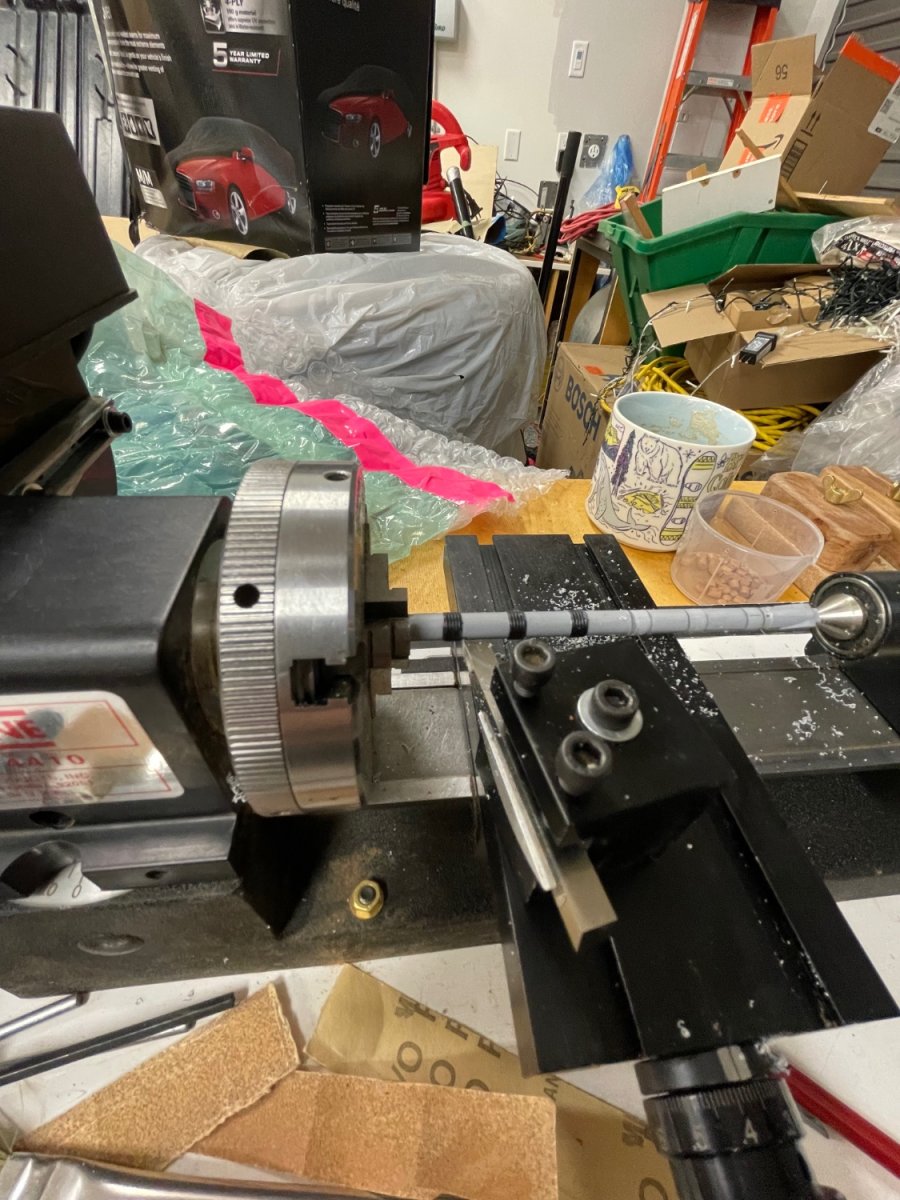
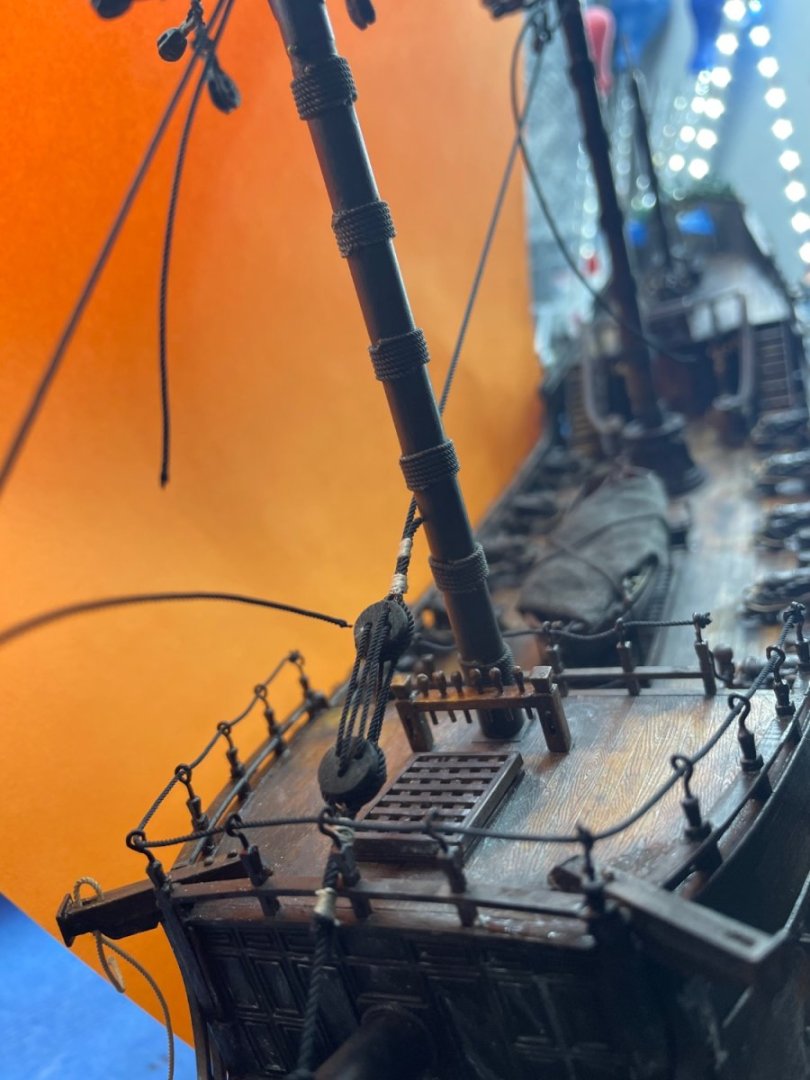
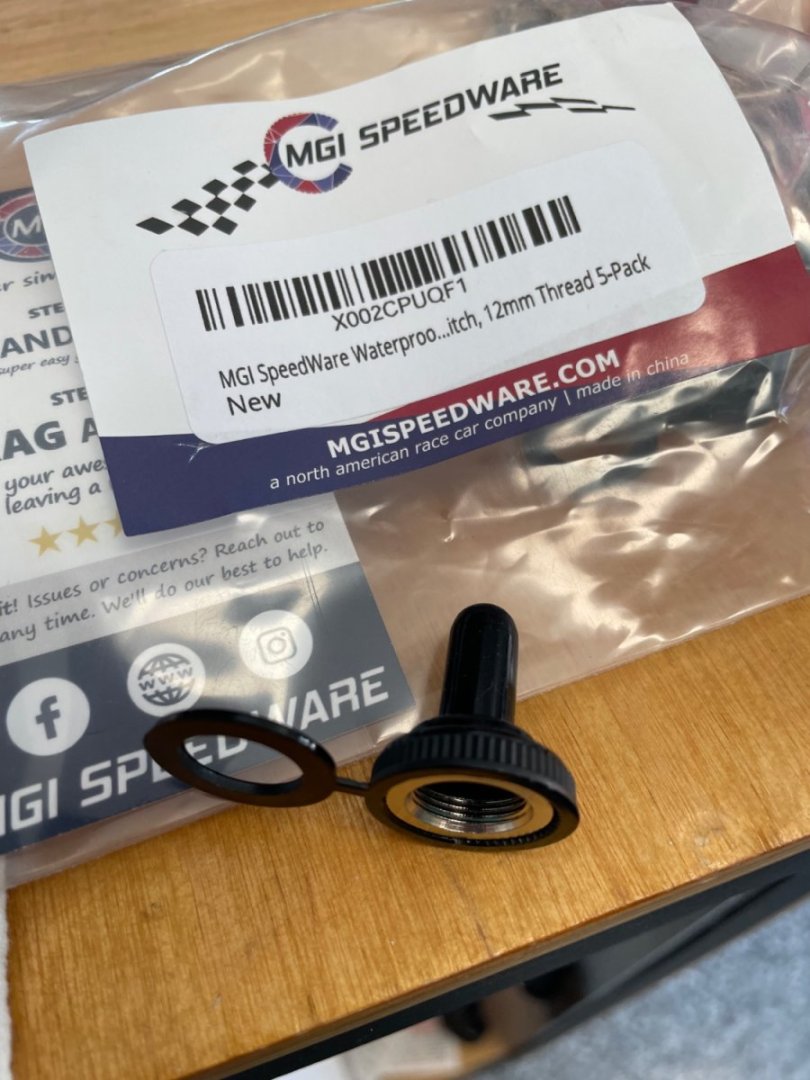
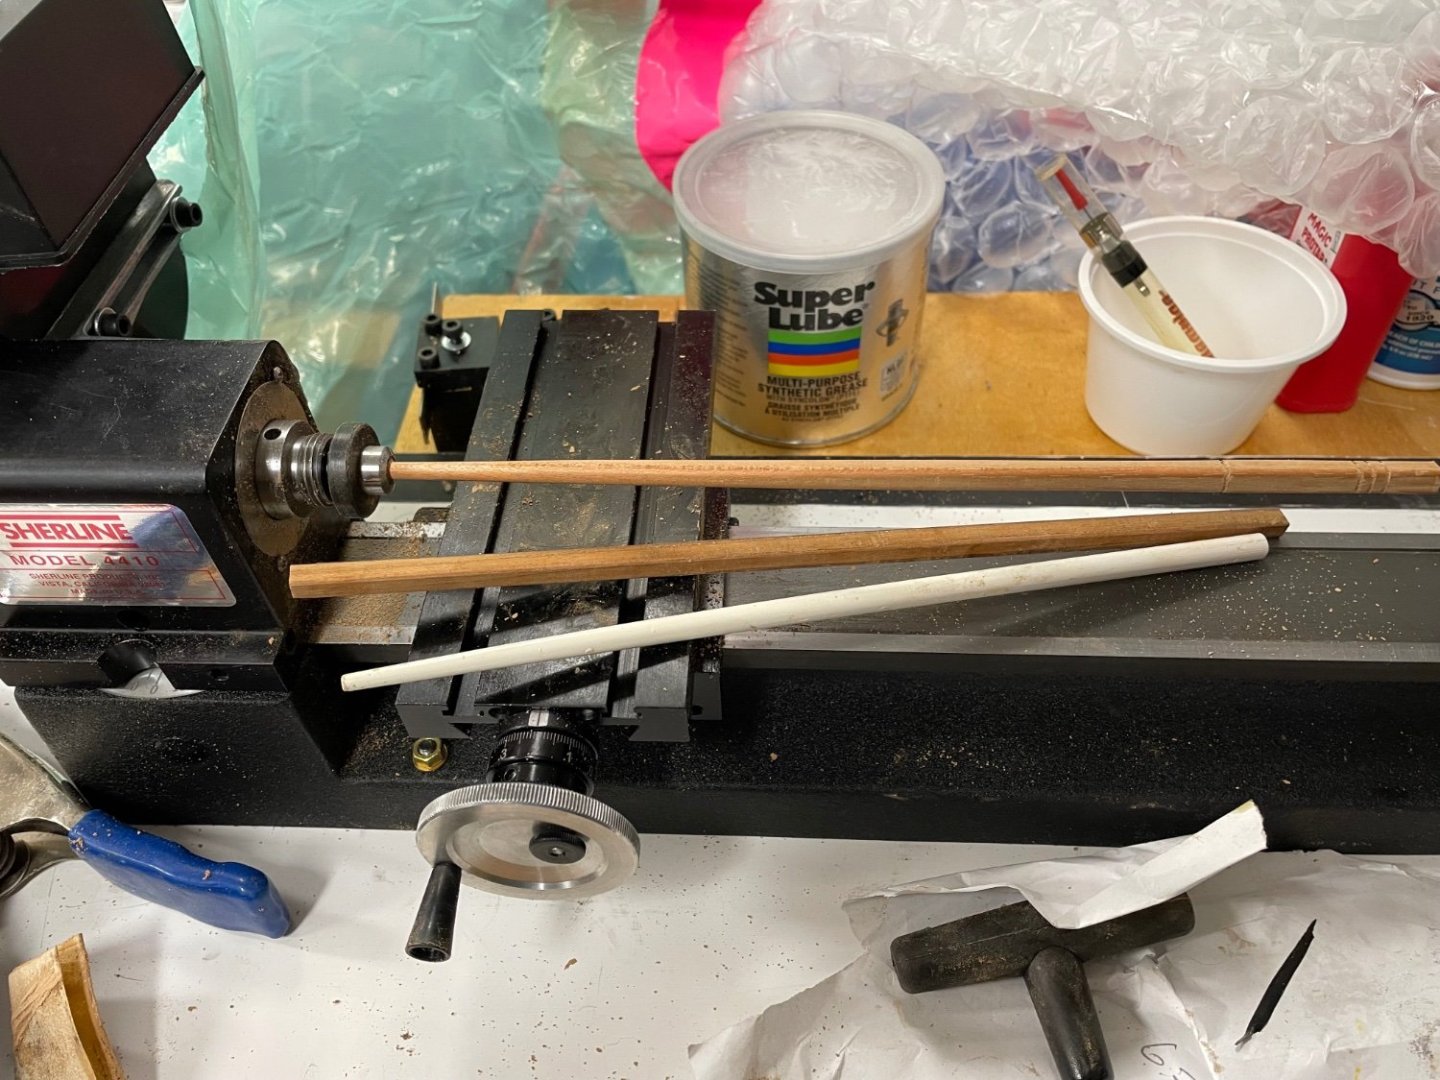
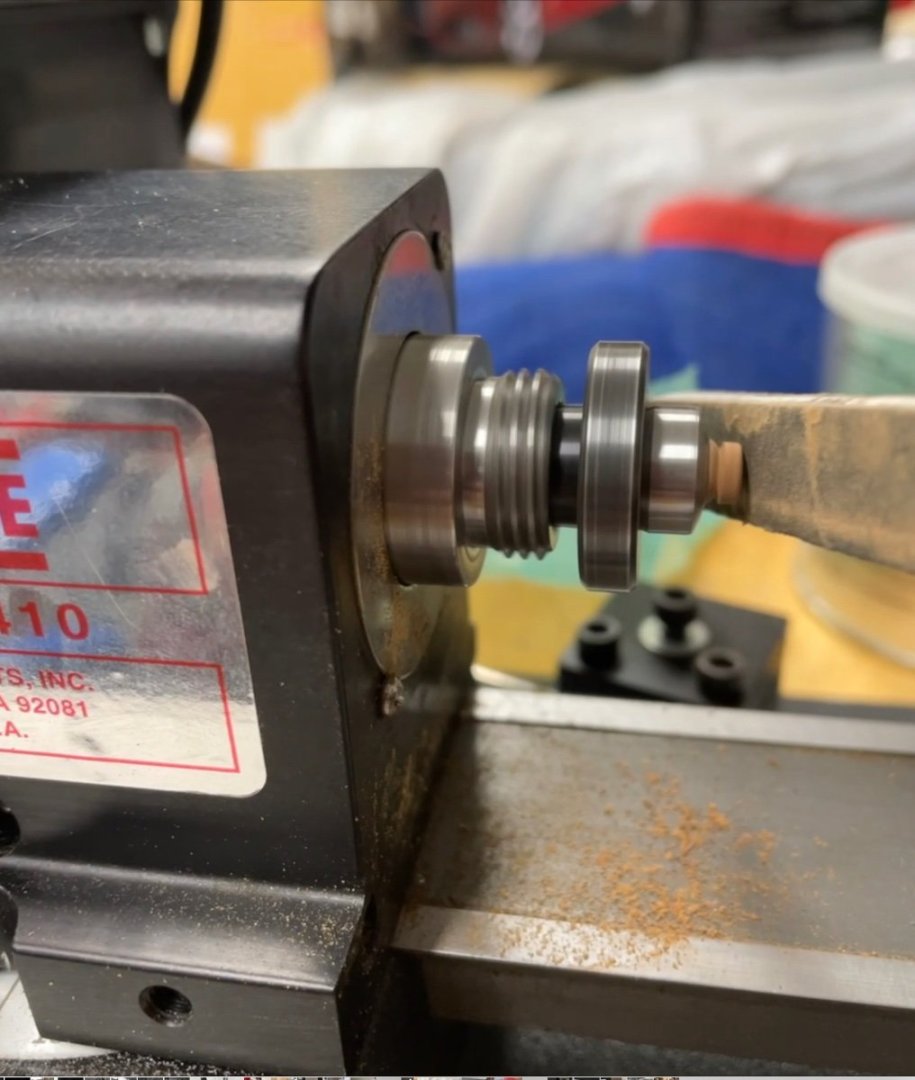
The Sherline is the 17” extended one. No steady rest but I am studying that option now you guys have shown it! I found the teak chopstick wanted to wobble and warp on me if I got heavy handed with it. A steady rest might have helped there. Turning the masts was just to remove the moulded fake rope lines on styrene masts. It was tricky and boy was I careful. Cemented brass rod stock inside the masts before any operations…more for strength on the model than for turning. Used the three jaw Chuck and tail stock support as my mandrels would not fit. I was soooo careful tightening and speed control she got a little squeaky and flexed too as I went along Some areas I used the carbide tool, some a needle file and some sandpaper… and combinations off all depending on the flex, taper and access. IMG_5519.mov I keep my tools surgically clean, so as to avoid problems, keep things neat and tidy and extend their useful working lives you can get a plastic cover for the sherline toggle switches off of Amazon to stop metal or wood dropping into them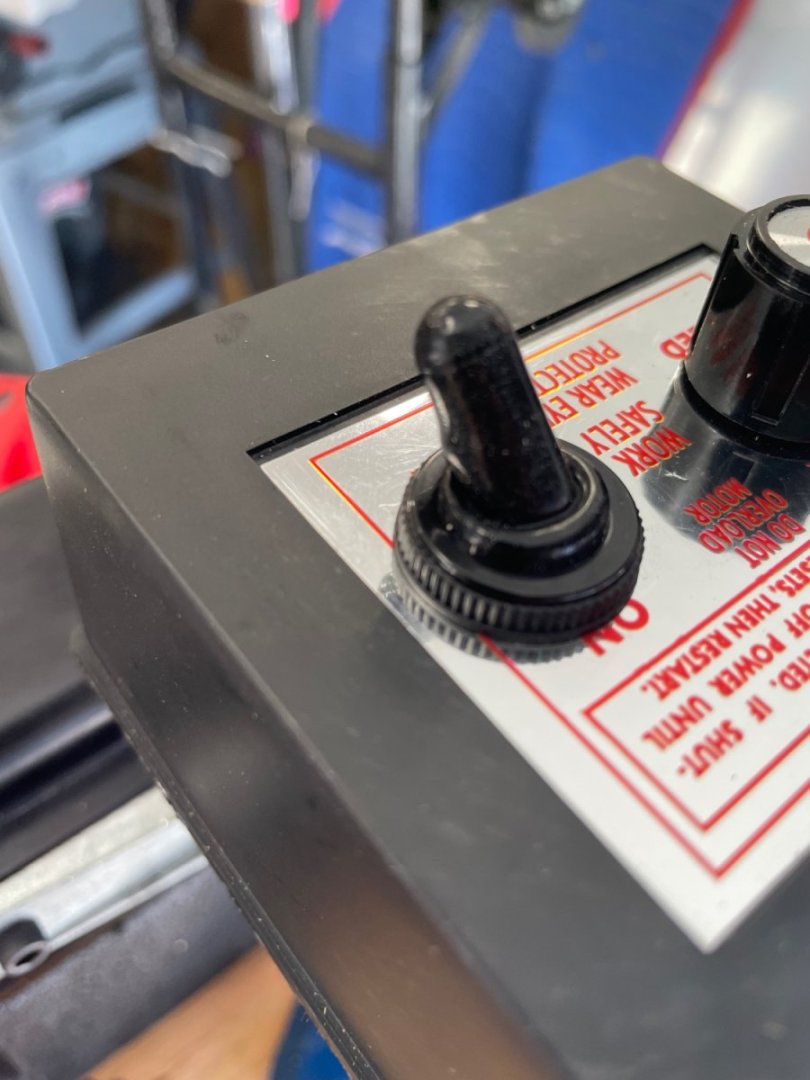
-
Tool Rest Question
Twokidsnosleep replied to kgstakes's topic in Modeling tools and Workshop Equipment
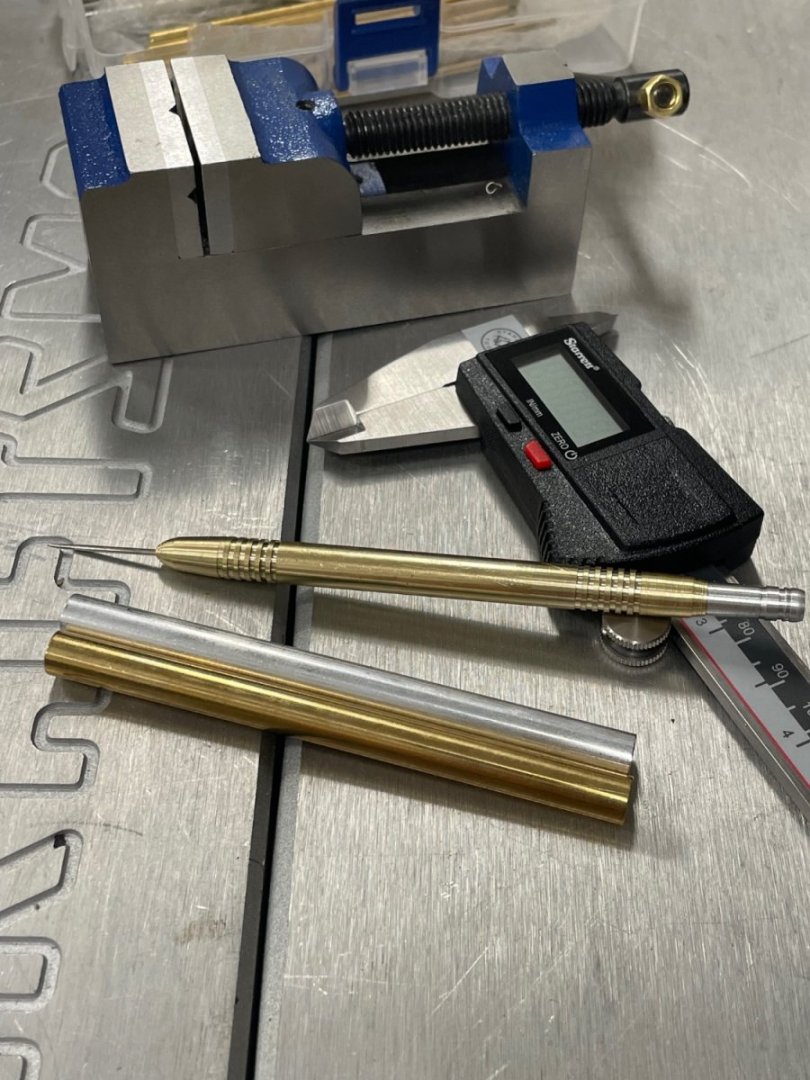
Oh thanks for posting that video, have not seen it before. Love Paul Budzic videos and is encouraging to see him using a lathe for parts clean up like this We share a profession and he reminds me of some of my former professors; in both good and bad ways smidge condescending I dare say He is an unbelievable modeller and likely dentist too Anyhow, past July was my wedding anniversary (32) and I called in an IOU; she had said I could buy a shop equipment tool It ordered a Sherline lathe. I love it and have been trying to incorporate it into many areas of hobby and home repair The first project was a complicated one to justify to my wife precisely why I needed a lathe From there I made a brass/aluminum scriber tool Then an aluminum push button replacement for a mini clamp Then some Teak wood chop sticks….still a WIP And for the Black Pearl build I plug cut and lathe shaped/smoothed deadeyes Also for the Black Pearl I removed some mouldings on the masts with the lathe and then wound “ropes of scale” rope on them The lathe is an absolute luxury item and I am so fortunate to be able to get one. It needs a better designated home in my workshop(s) so I can access it easier and quicker. Always learning curves to conquer with new equipment and machining metal is a steep but not impossible task to get decent at. my .02 cents ’


-
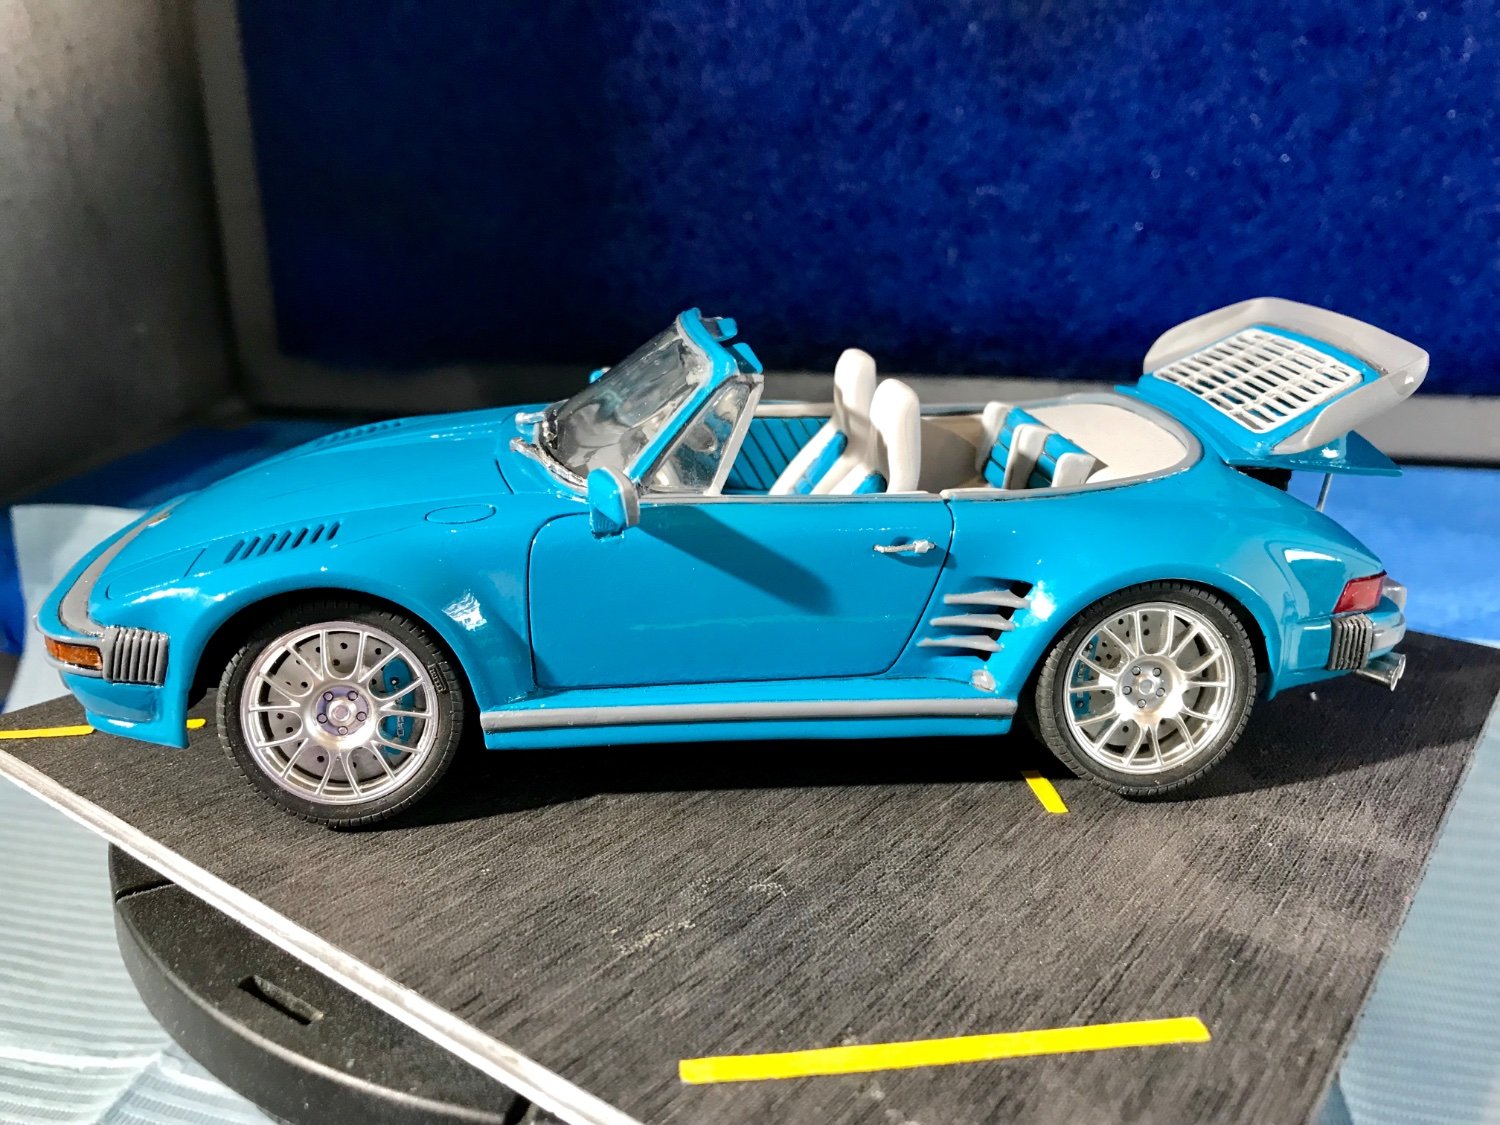
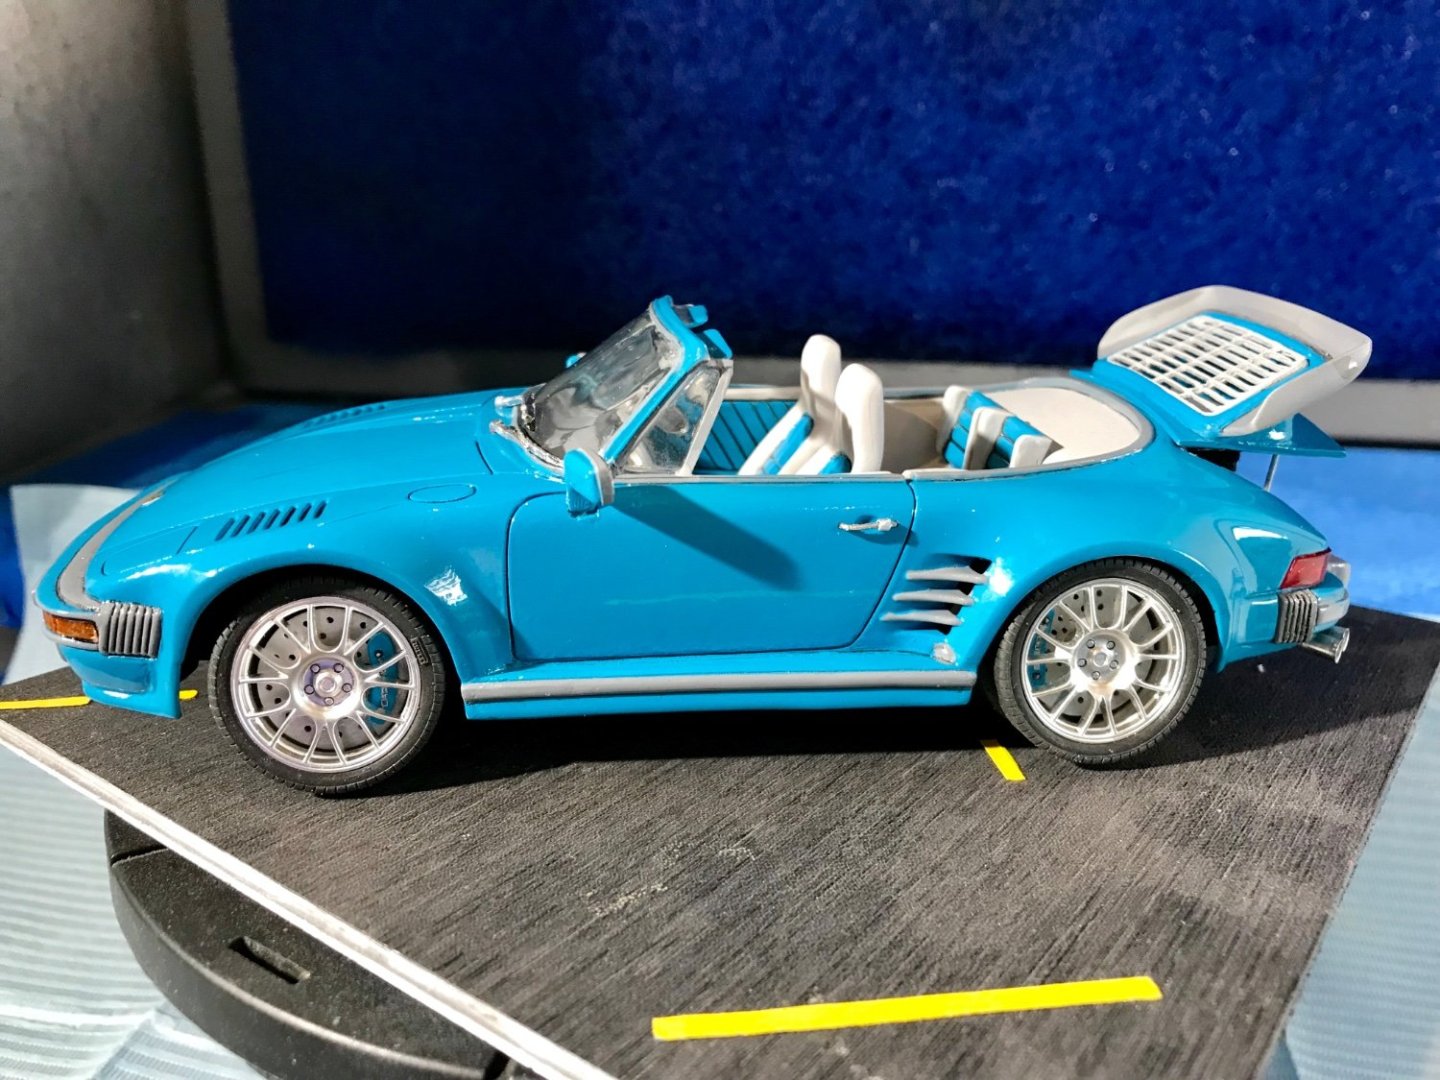
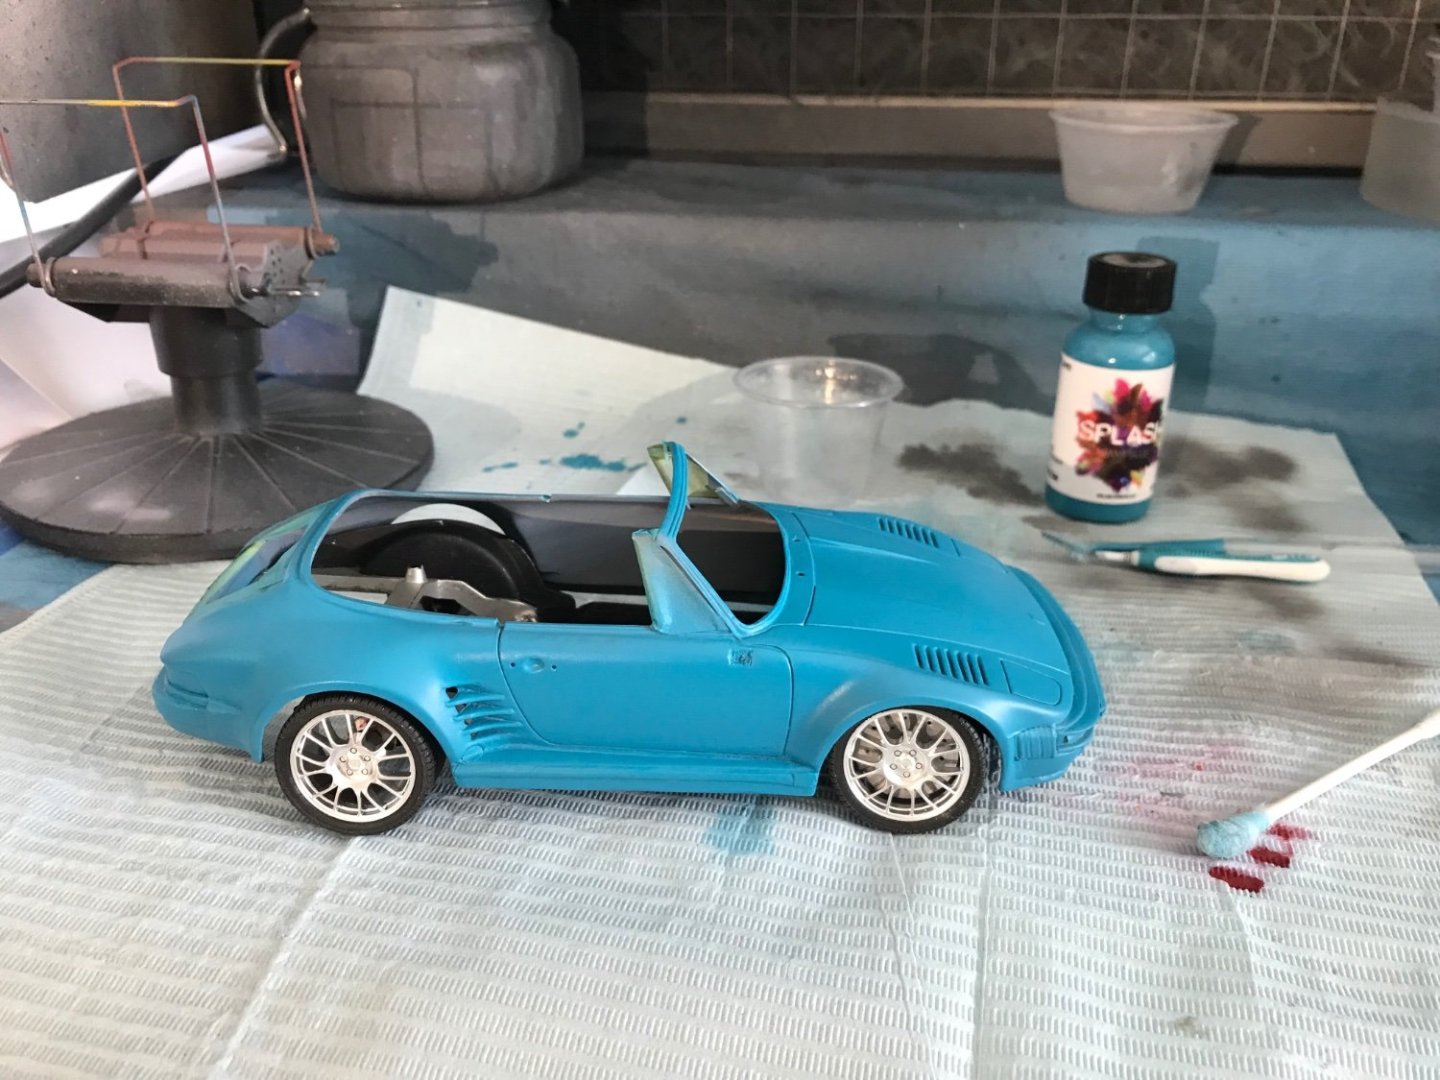
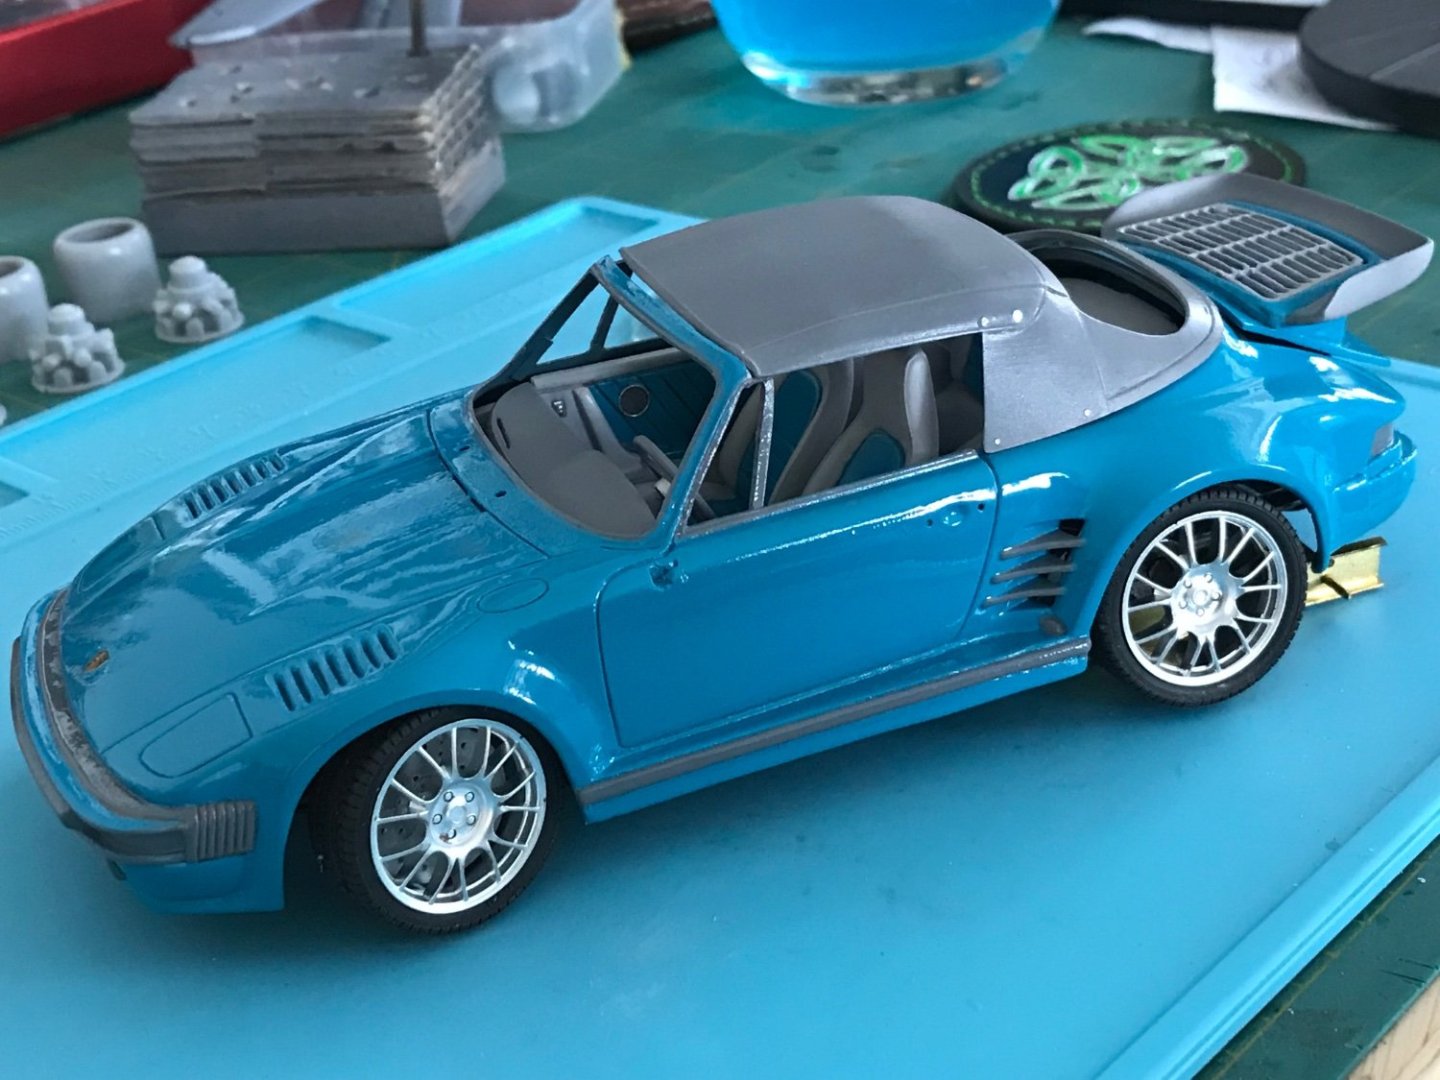
Splash Miami blue with their 2K clear These are like automotive paints and need good primer and very light coats. Same as Zero or Gravity Paints
- 35 replies
-
- 11
-

-
-
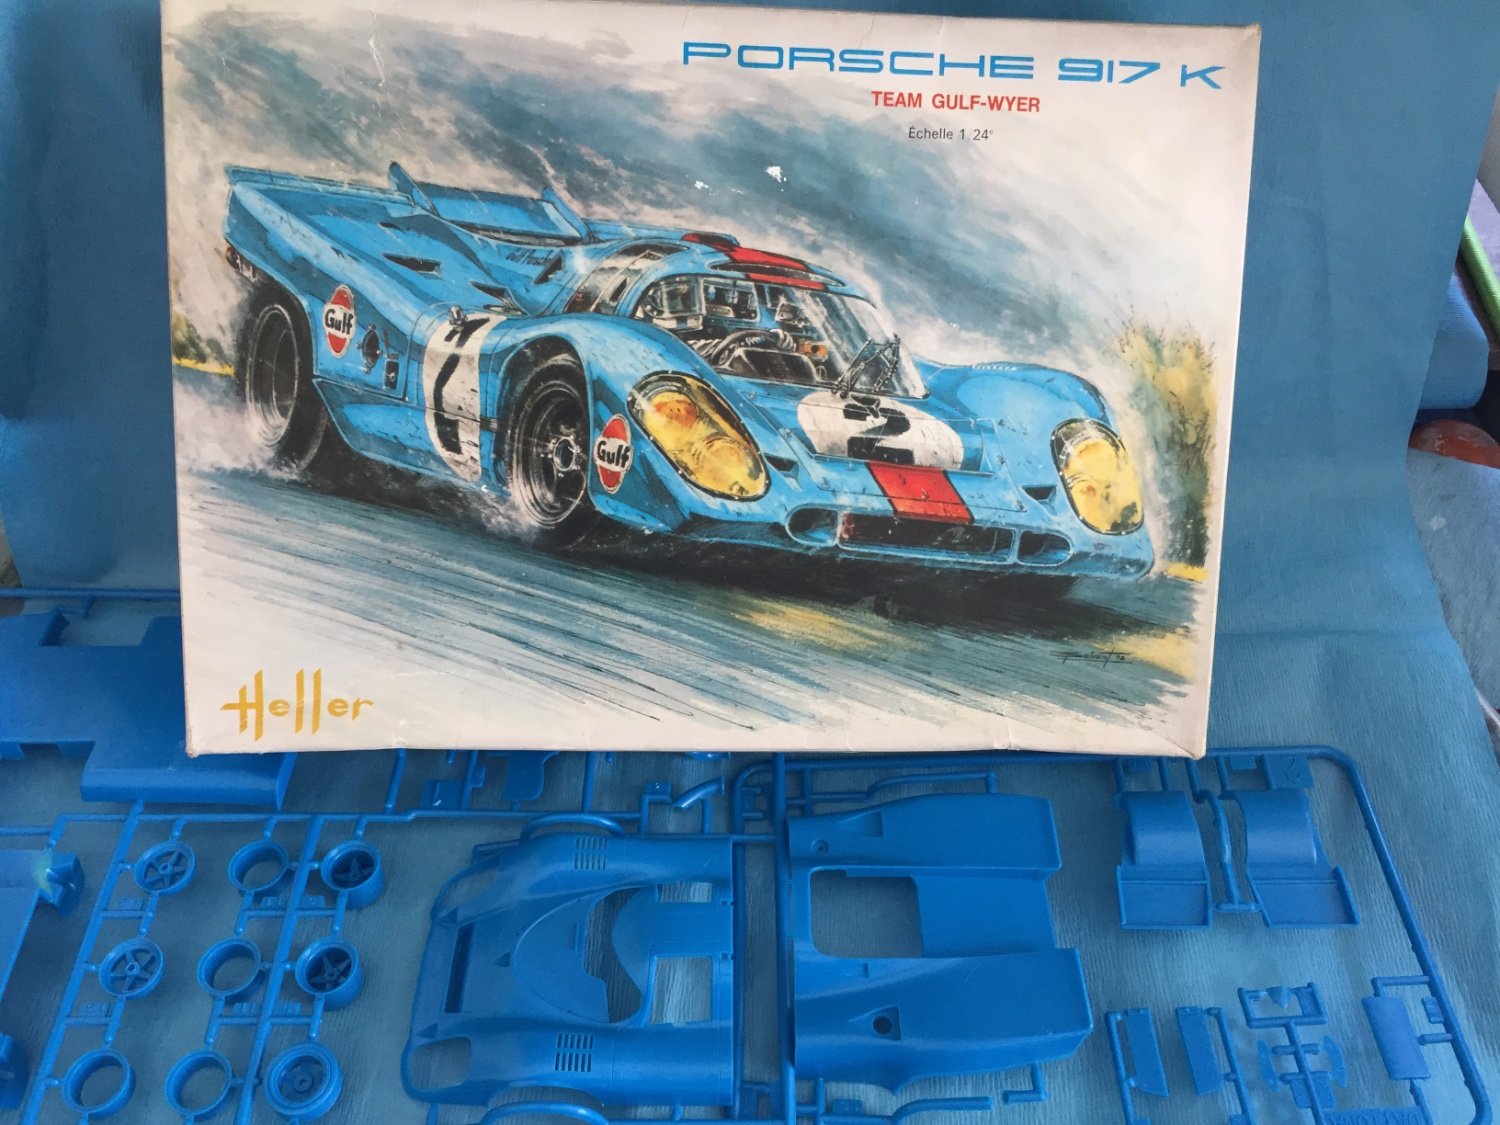
Well I will follow along on this topic for sure one of my favourite race cars and I have three kits of it in the stash waiting. My absolute favourite is the Heller due to this amazing box art painting I will frame this box up one day

-
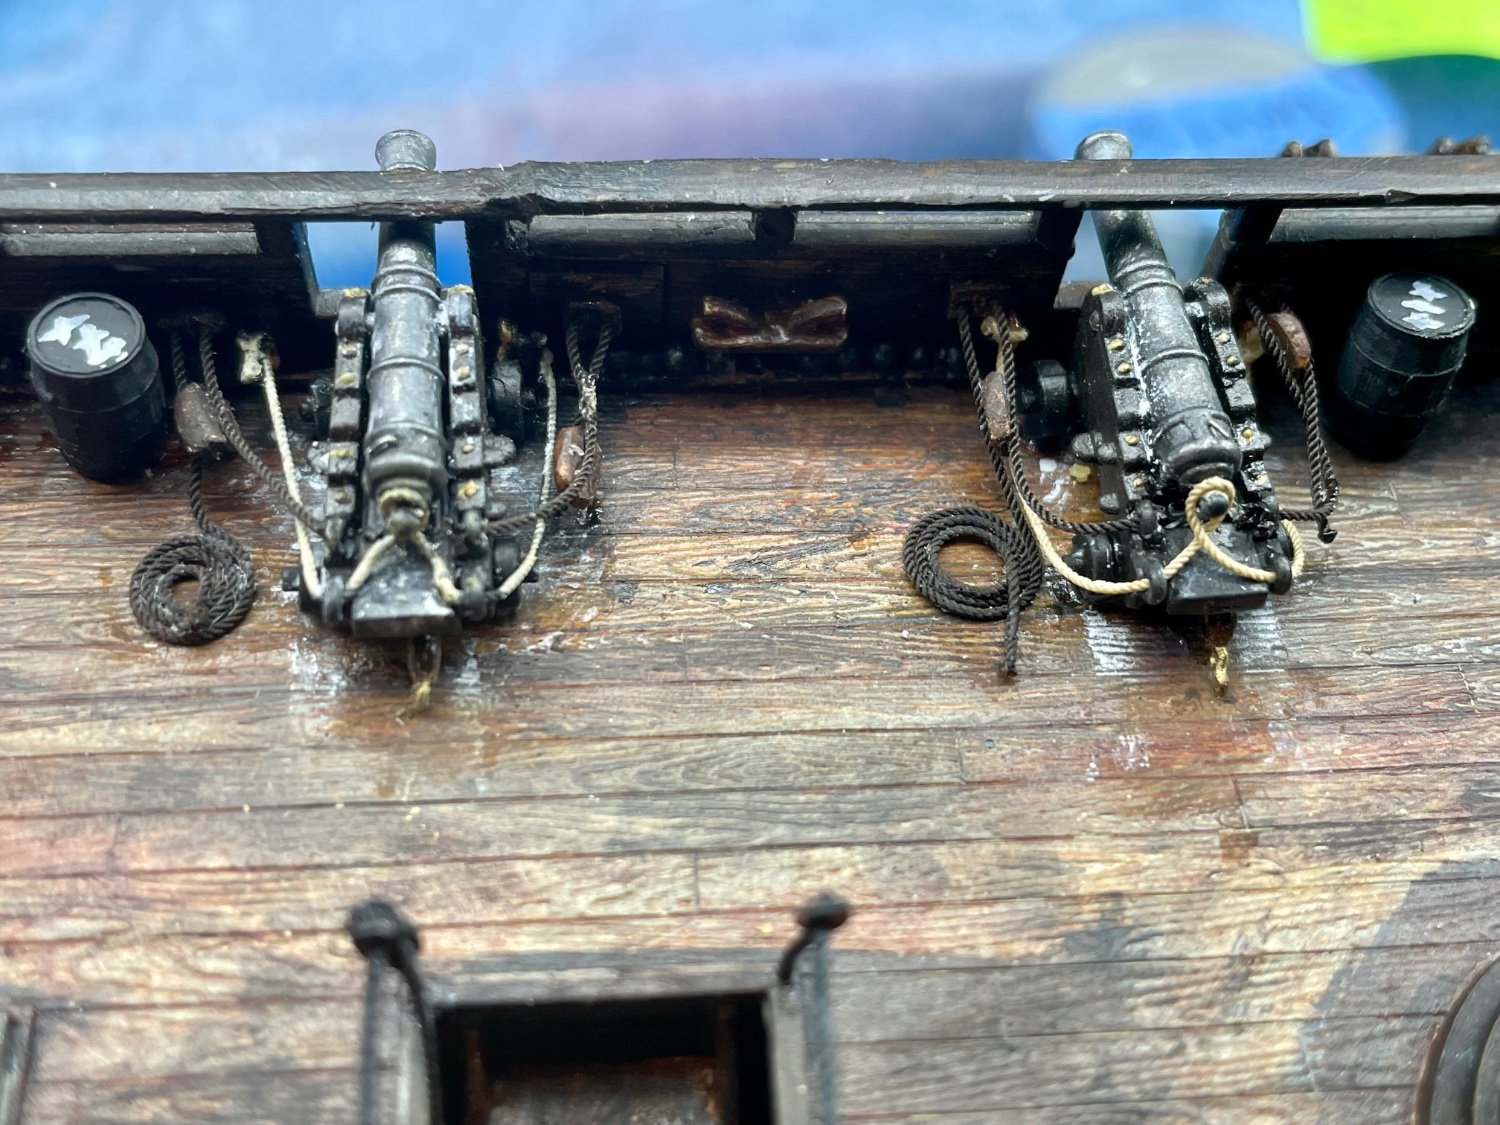
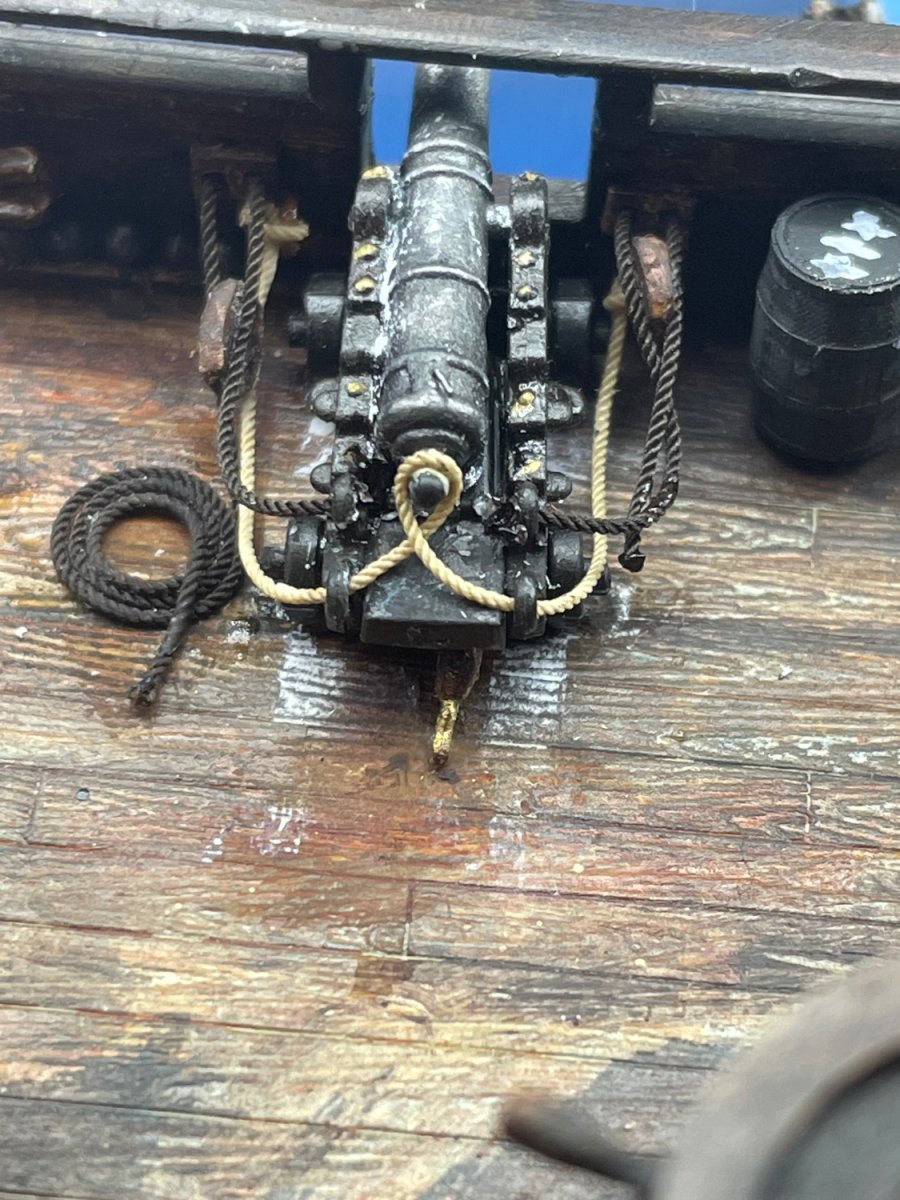
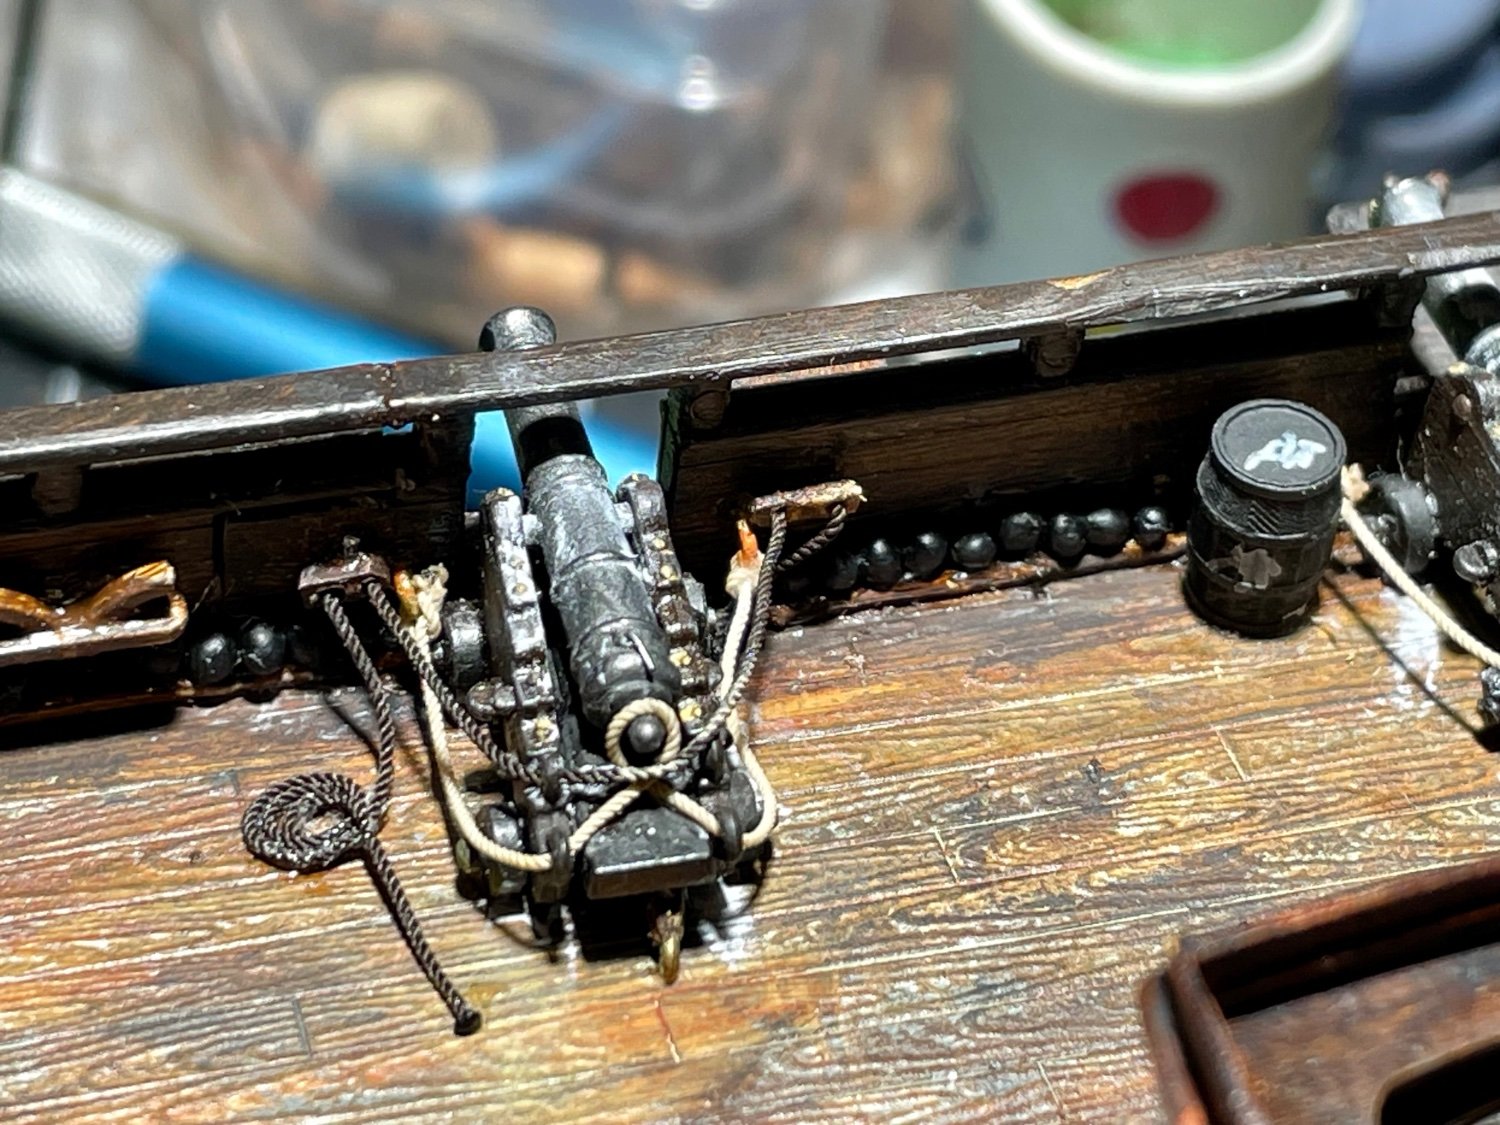
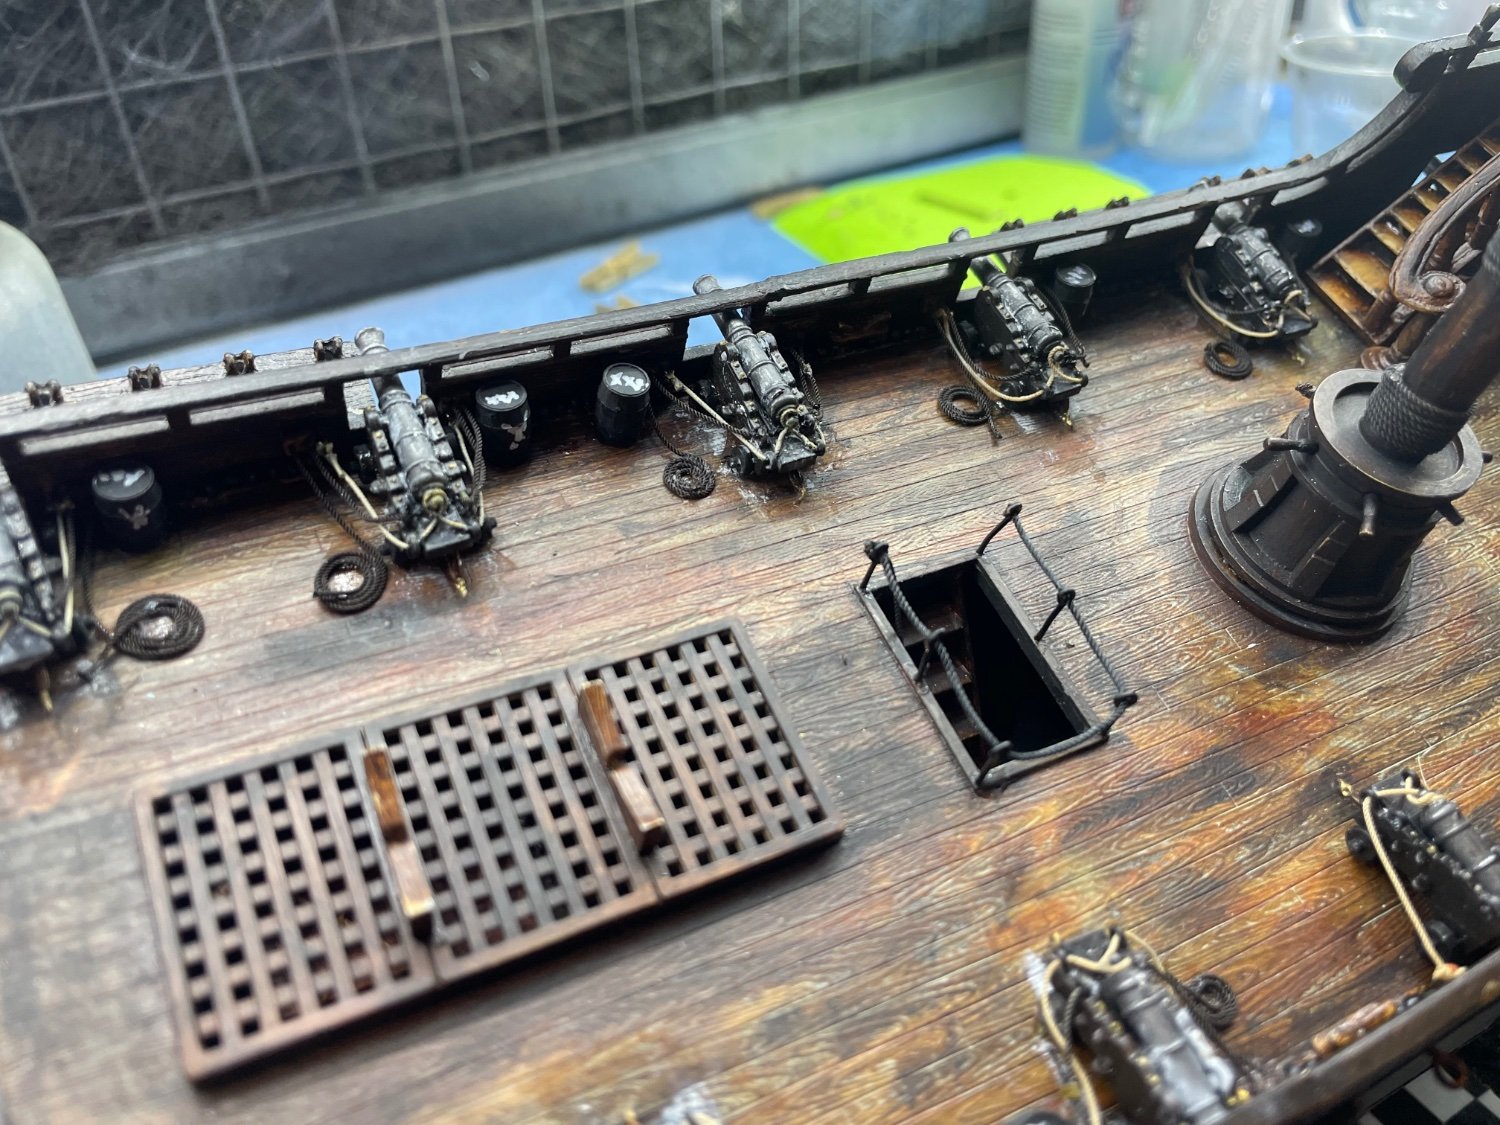
Thanks OC I am trying to get everything done on deck before the rigging starts. Likely just delaying the process Final canon pics I am working on the belay pins for the rigging to make them out of brass instead of plastic to avoid breaking off on me later


-
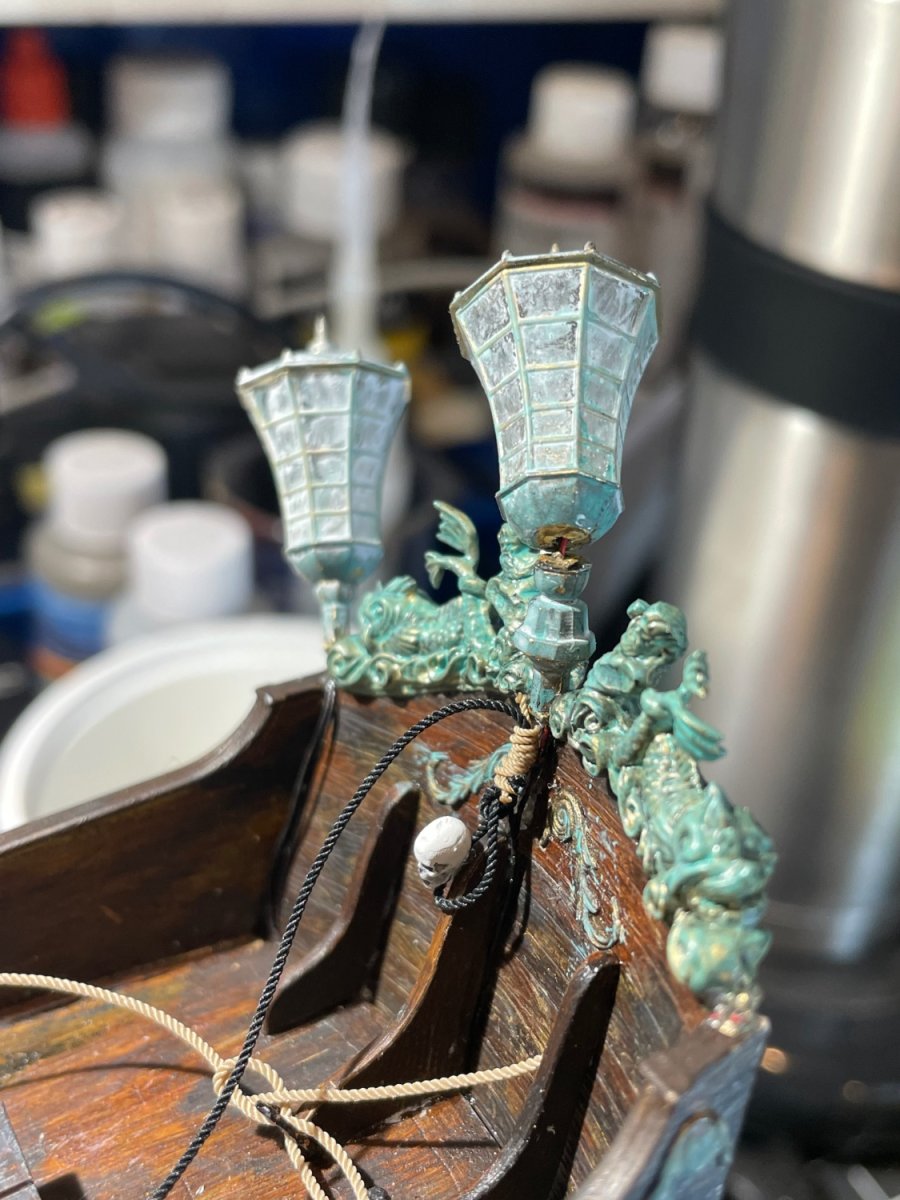
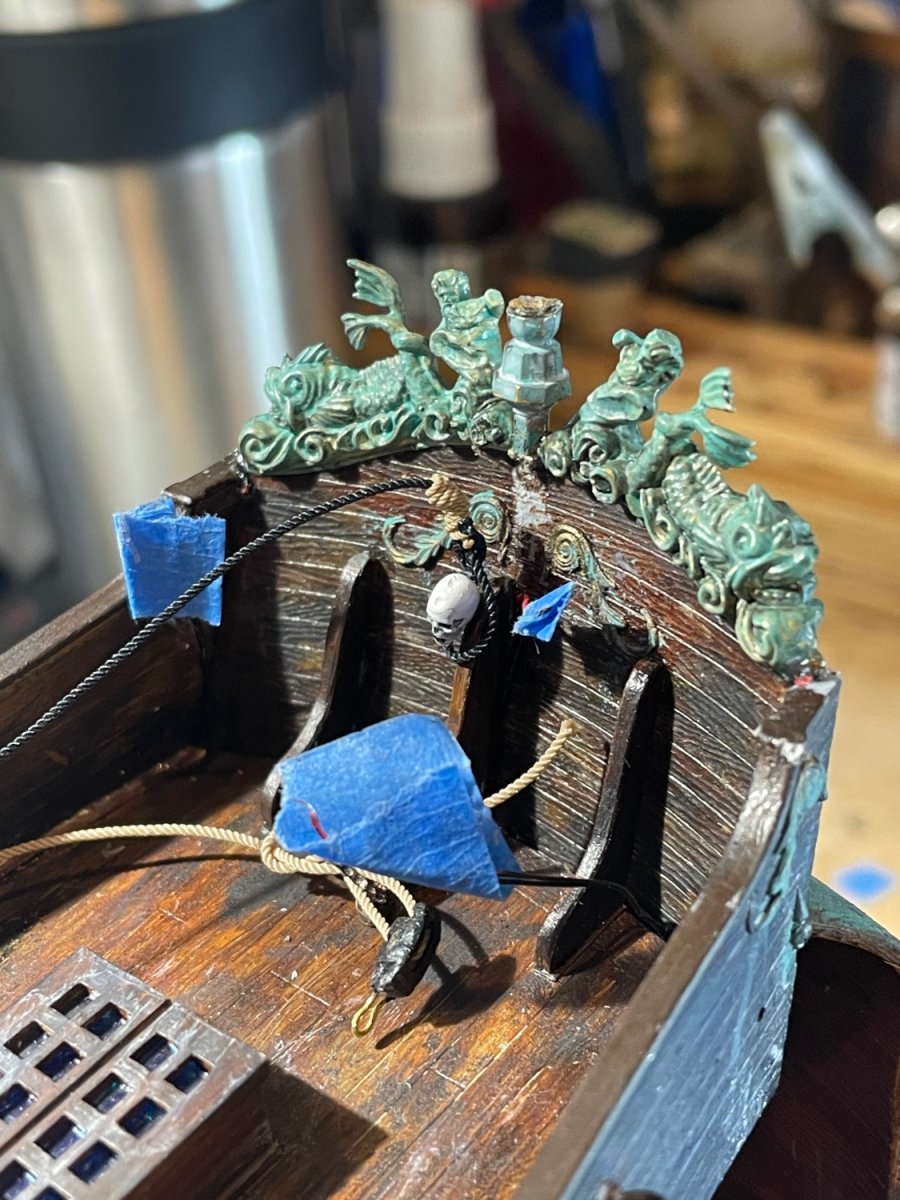
I have knocked off on lamp and bent both the others🙄 Off they come before I damage the entire wire. I will add new lights and wire them and make better attachment points Rigging the last lines on the canons, one side of the out haul tackle lines done Threaded 0.5mm brown lines were challenging.I need to do some clean up and flat everything


-
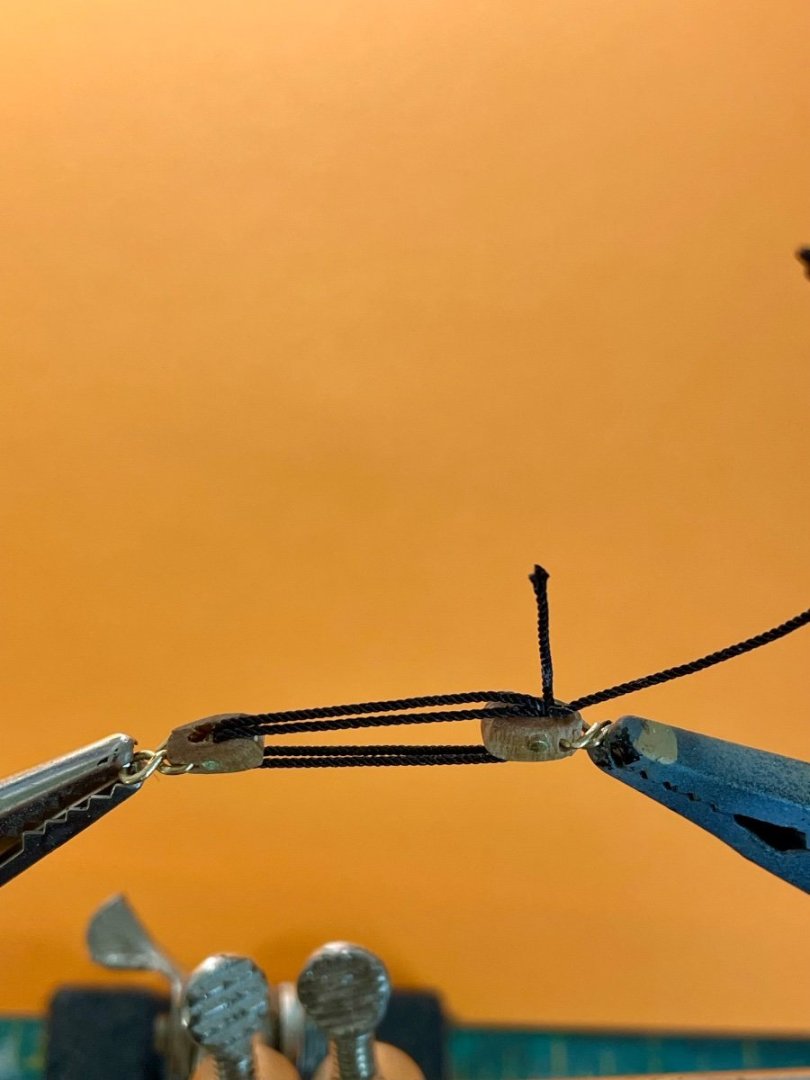
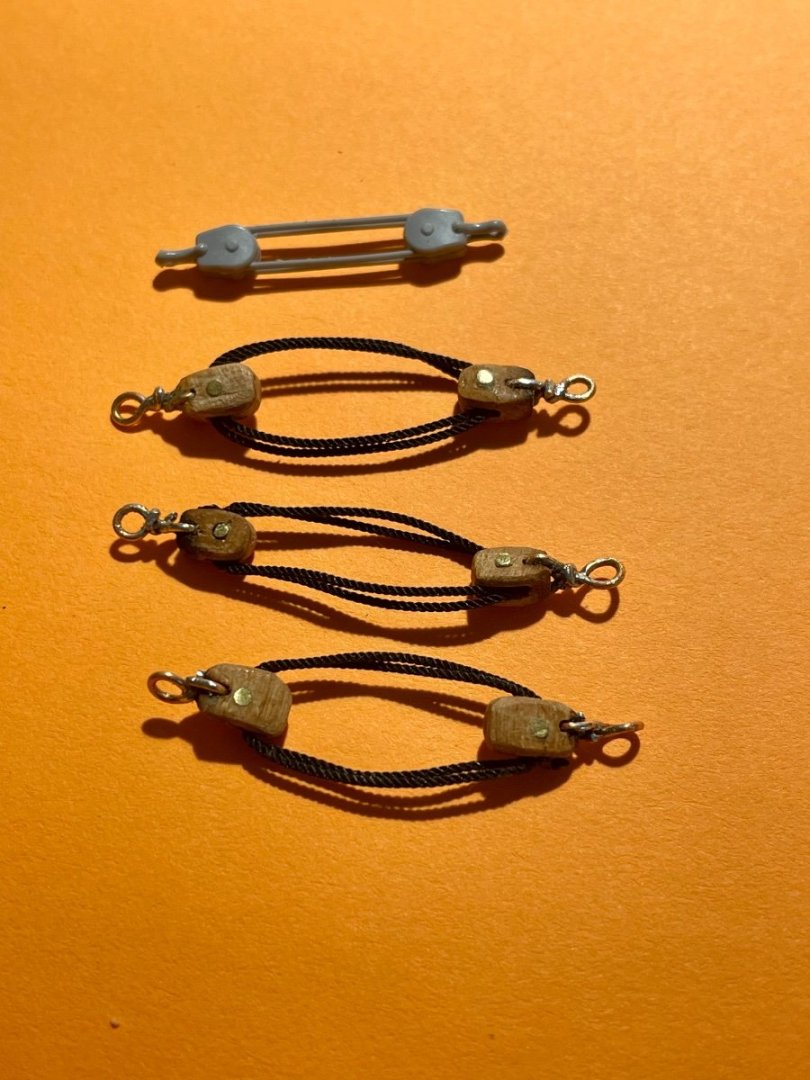
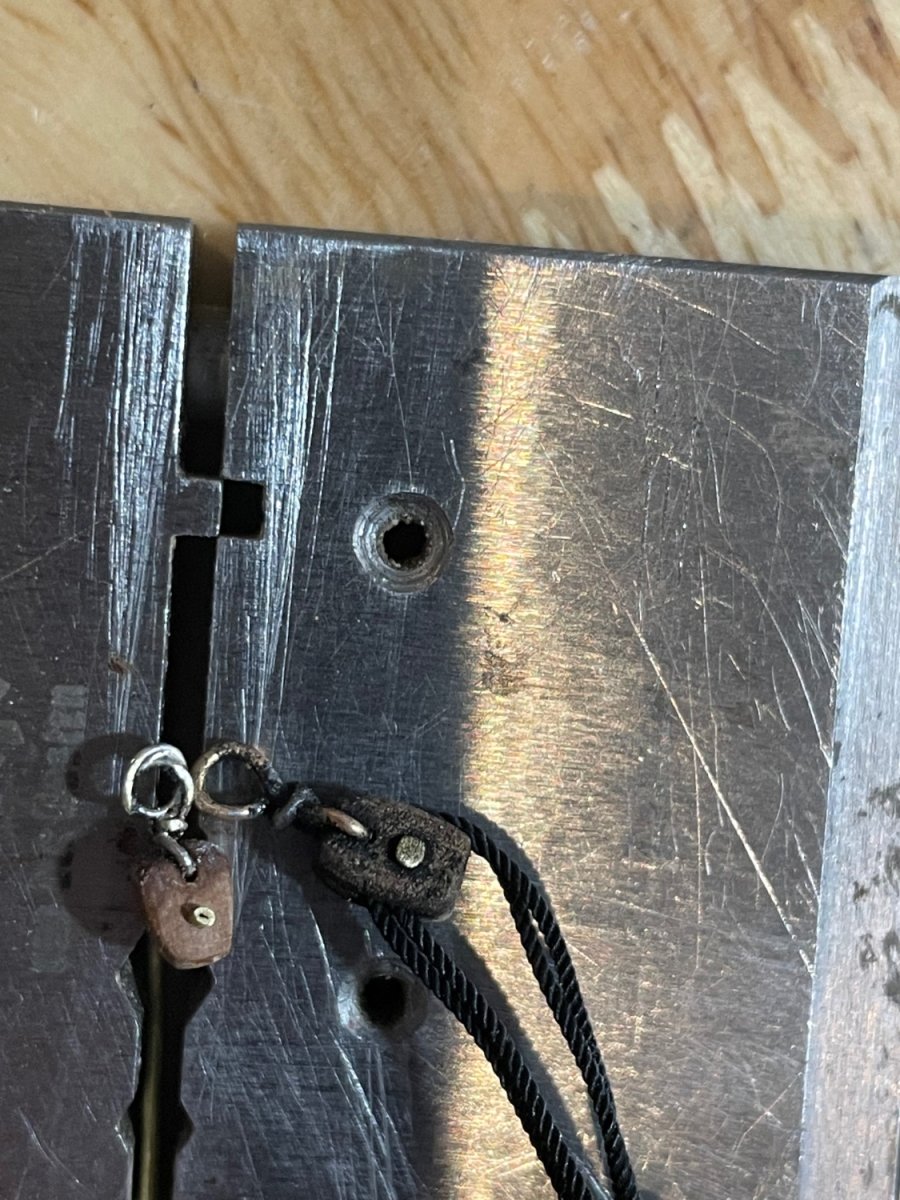
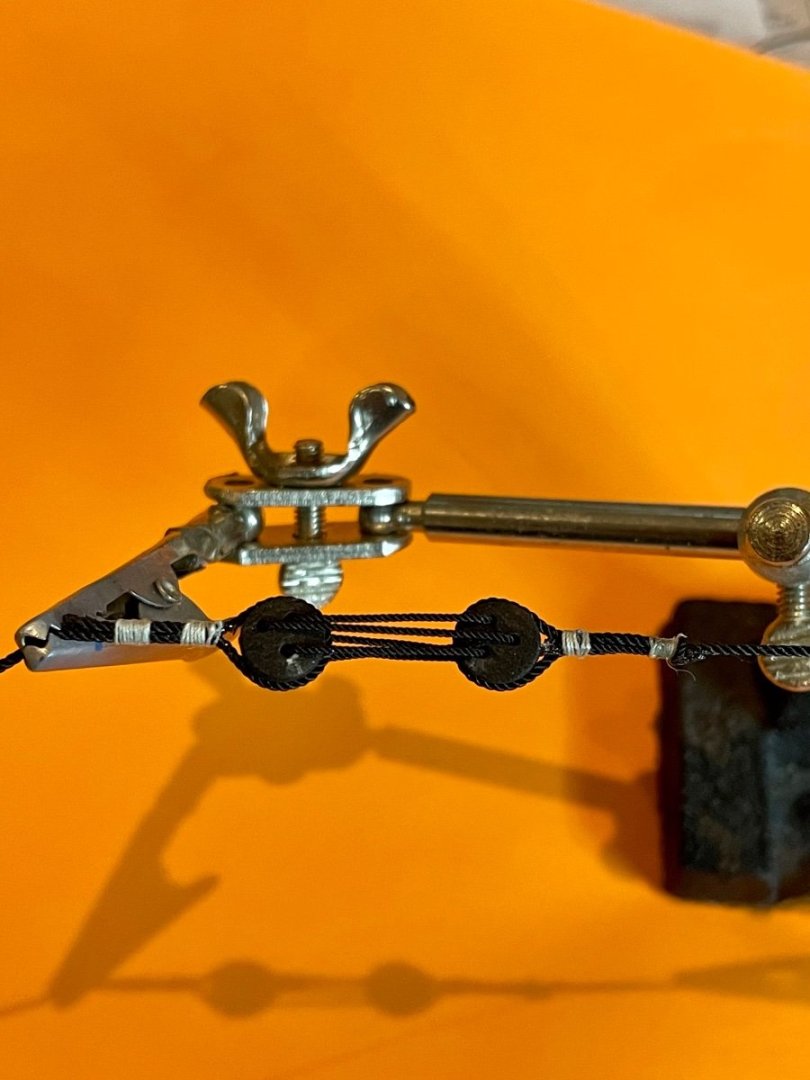
I have tried making some smaller blocks so I can stay closer to scale Just trying to get in the ballpark of the kit ones I don’t plan on making all the blocks in wood, just ones in very visible locations


-
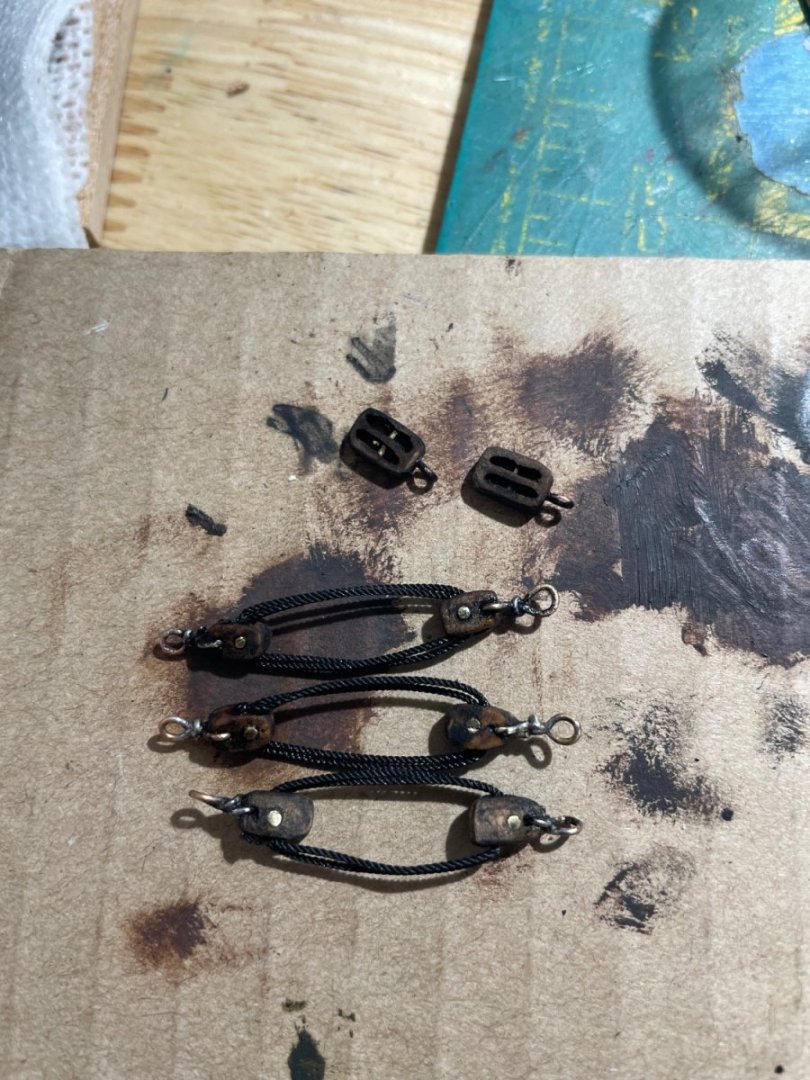
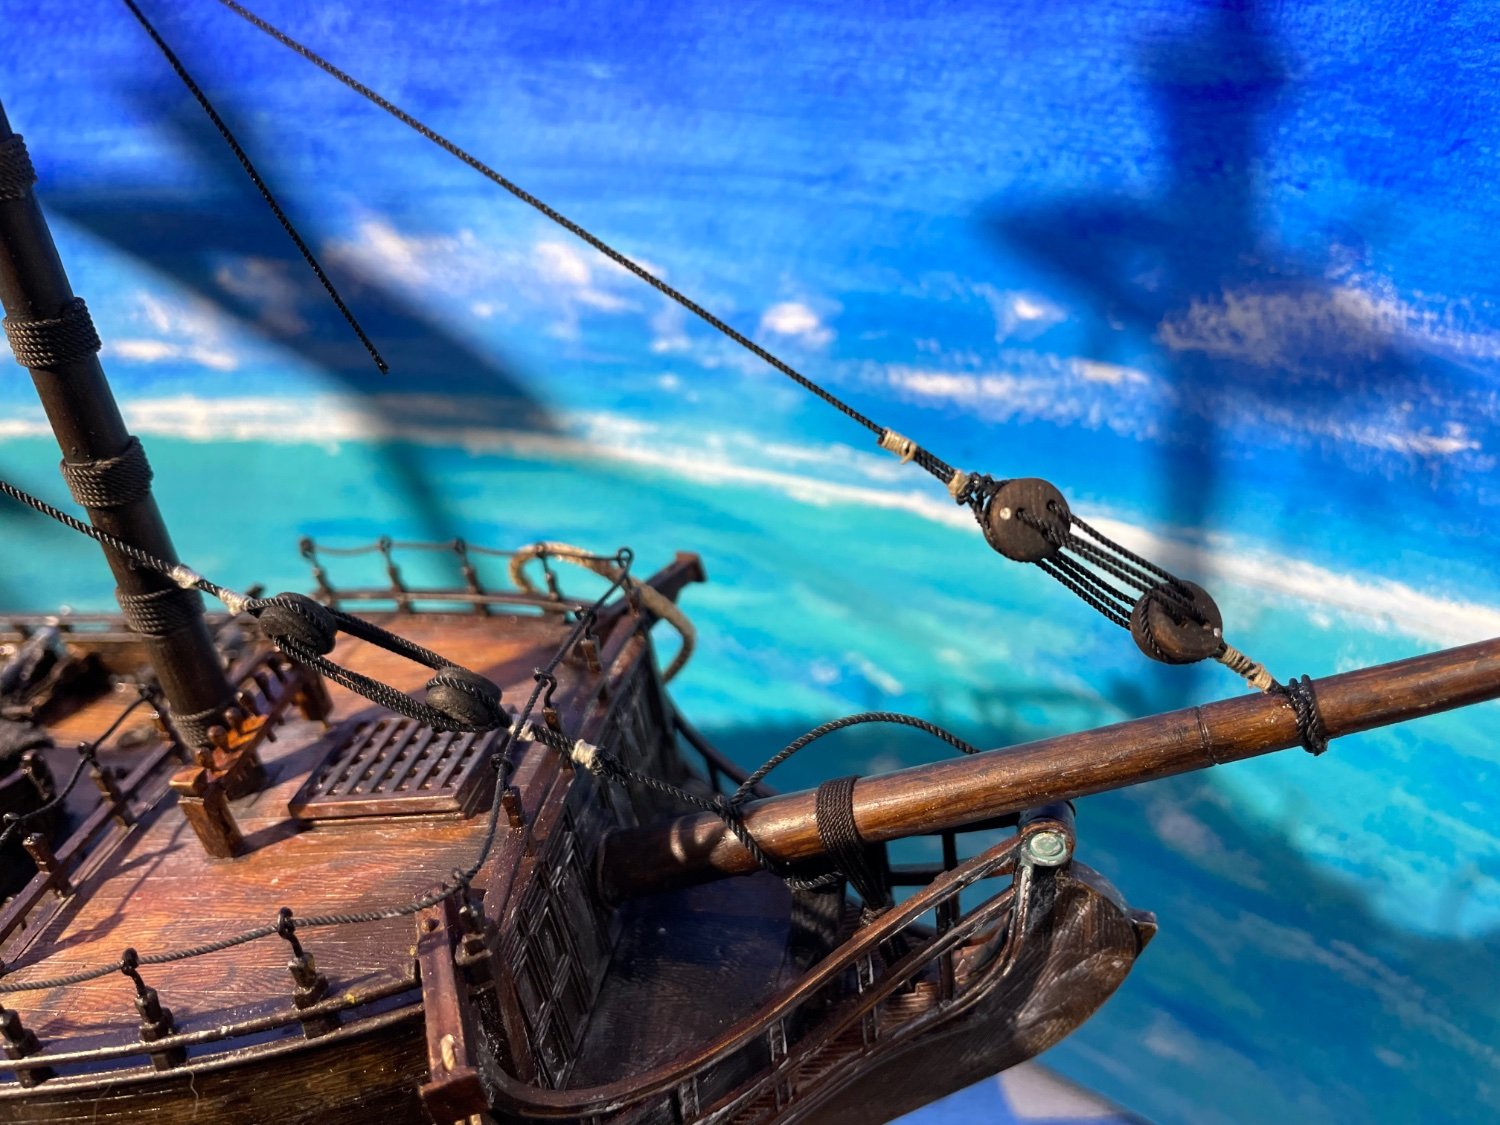
The lanyard for the bow sprite is what this will become, #44 and on what I believe to be the forestay line Stringing them together with 0.7mm black Ropes of Scale rope comparison vs the kit lanyard Then dipped in flat ‘magic wash’ for the burnt Pearl effect