Lucius Molchany
-
Posts
1,165 -
Joined
-
Last visited
Content Type
Profiles
Forums
Gallery
Events
Everything posted by Lucius Molchany
-
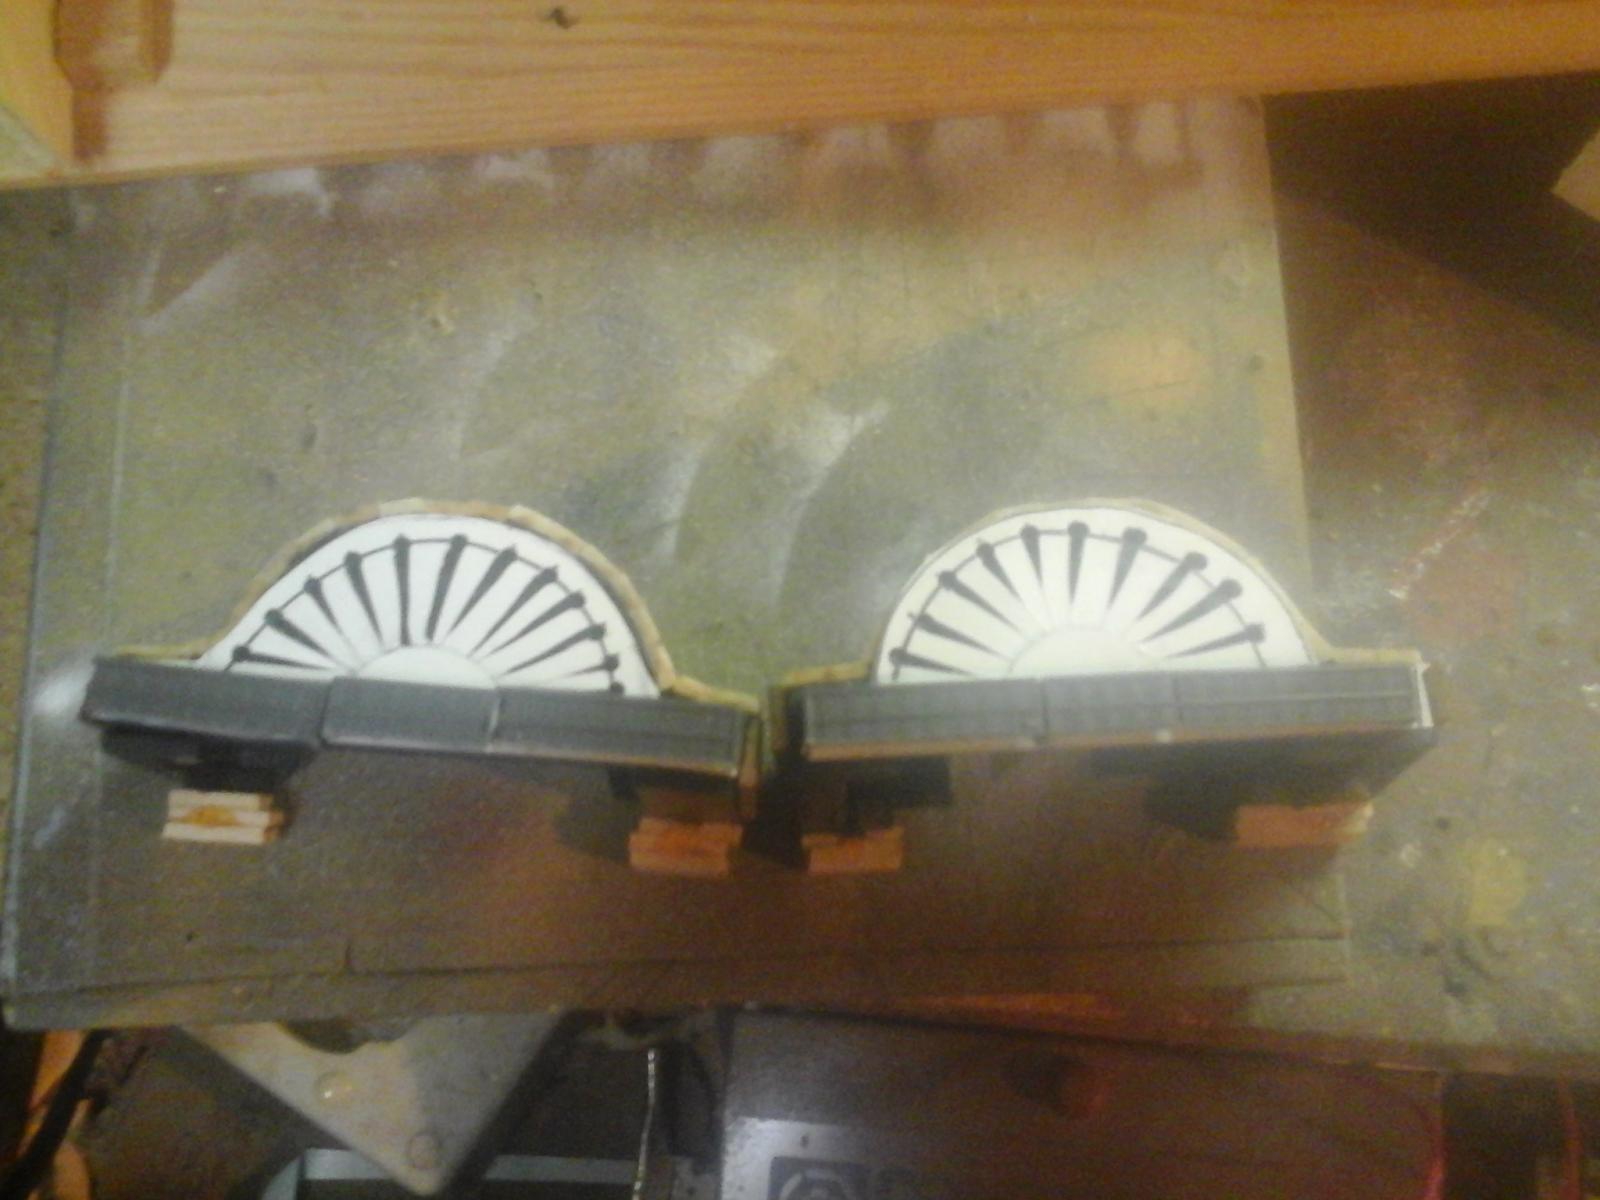
Work continues on the side wheel covers.I cut the slots and drilled the holes out of .20 styrene and used cut down ammo canisters from a Tamiya 88 for the louvers.

- 67 replies
-
- 4
-

-
- harriet lane
- model shipways
- (and 1 more)
-
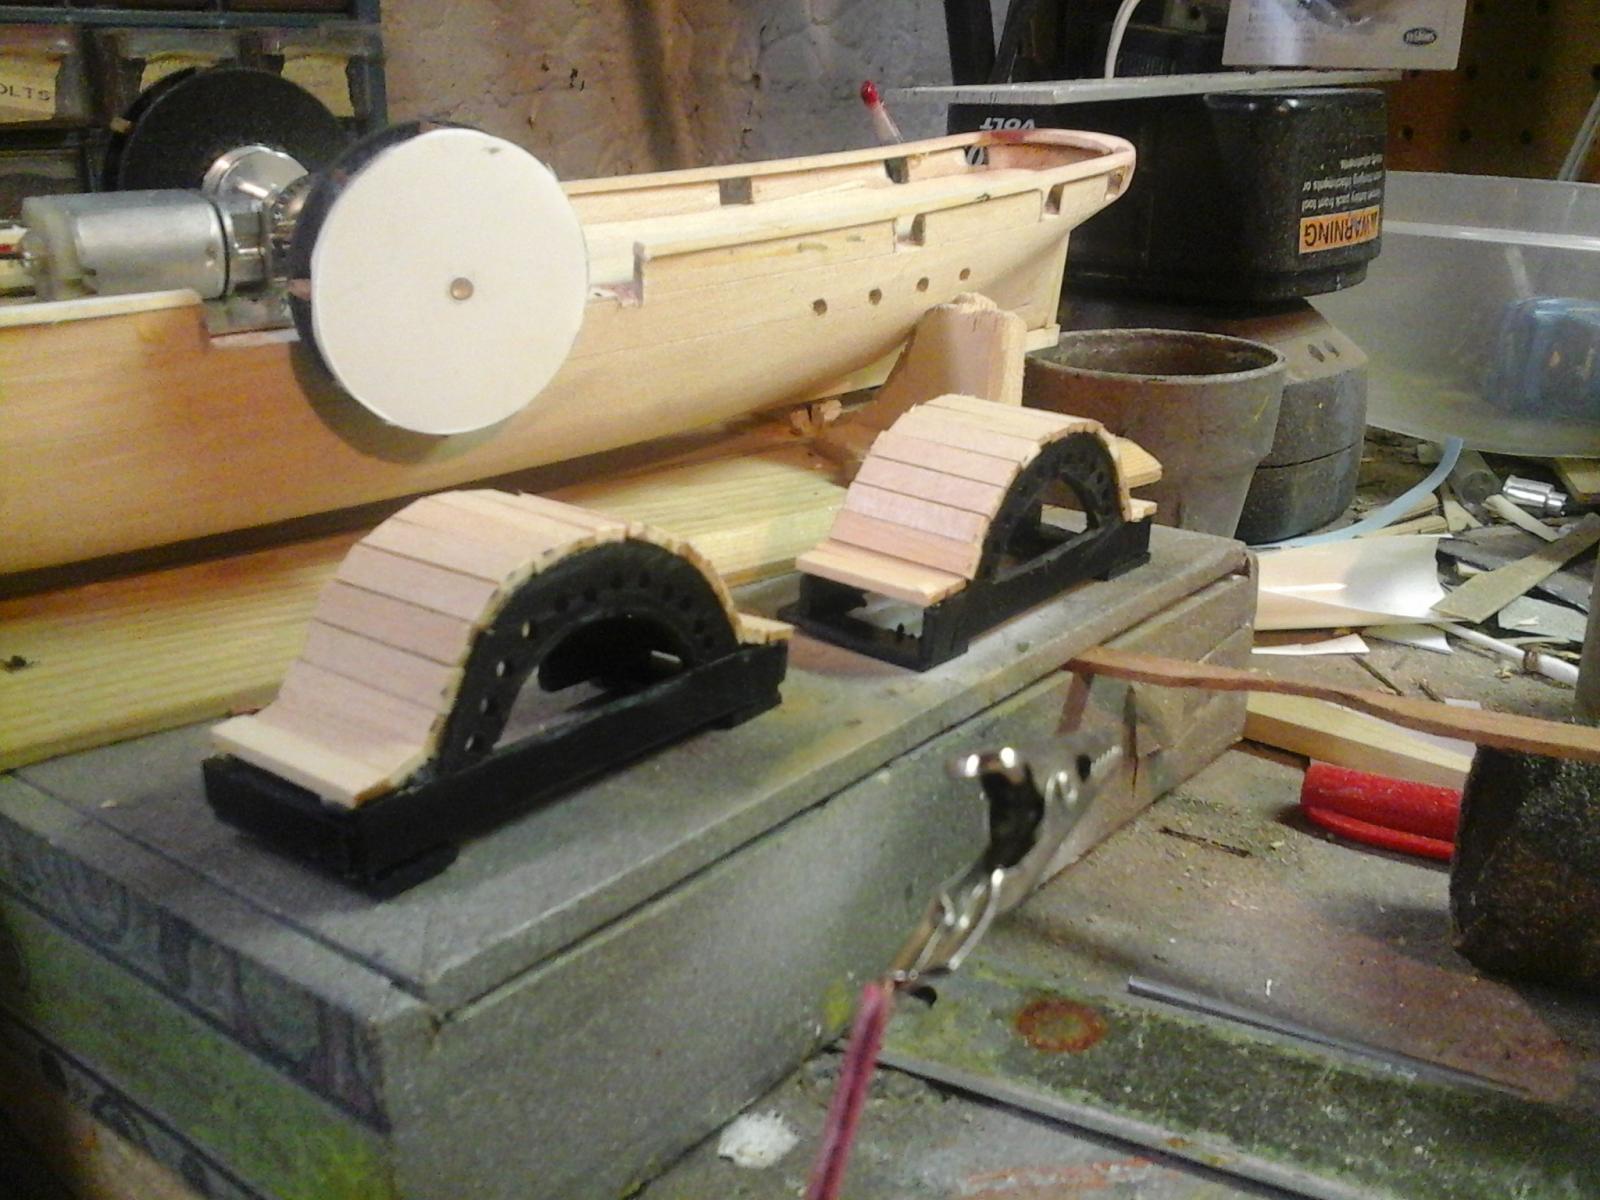
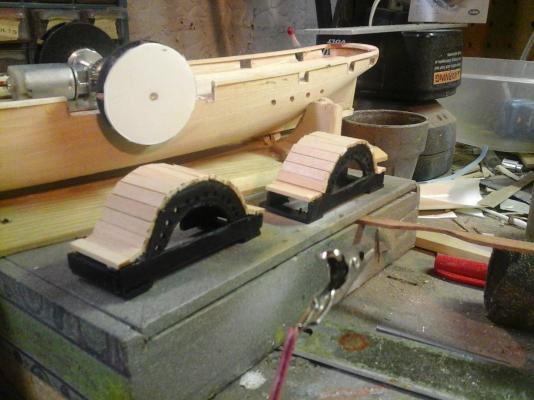
Covered the side wheel covers with wood planks.After the glue dries I will sand it down.
- 67 replies
-
- 6
-
-
- harriet lane
- model shipways
- (and 1 more)
-
Making the side covers out of sheet styrene.Mocking it up to check for fit then adding details.
- 67 replies
-
- 3
-
-
- harriet lane
- model shipways
- (and 1 more)
-
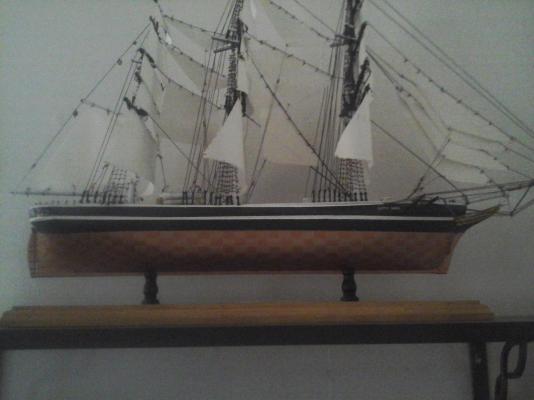
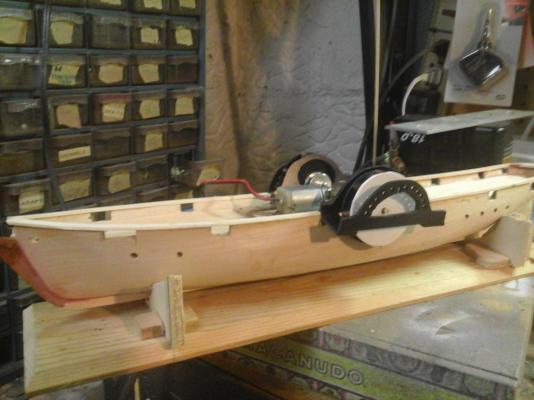
If anyone is interested in seeing the paddle wheels turn you can go to youtube and put philo426 in the search icon to watch the vid
- 67 replies
-
- 2
-
-
- harriet lane
- model shipways
- (and 1 more)
-
I think the drawings and instructions sre quite good and clearly illustrated.
- 67 replies
-
- 1
-
-
- harriet lane
- model shipways
- (and 1 more)
-
Well I am not yet skilled enough to make it with spokes so I will use the kit supplied white metal hemispheres as appliques.
- 67 replies
-
- 2
-
-
- harriet lane
- model shipways
- (and 1 more)
-
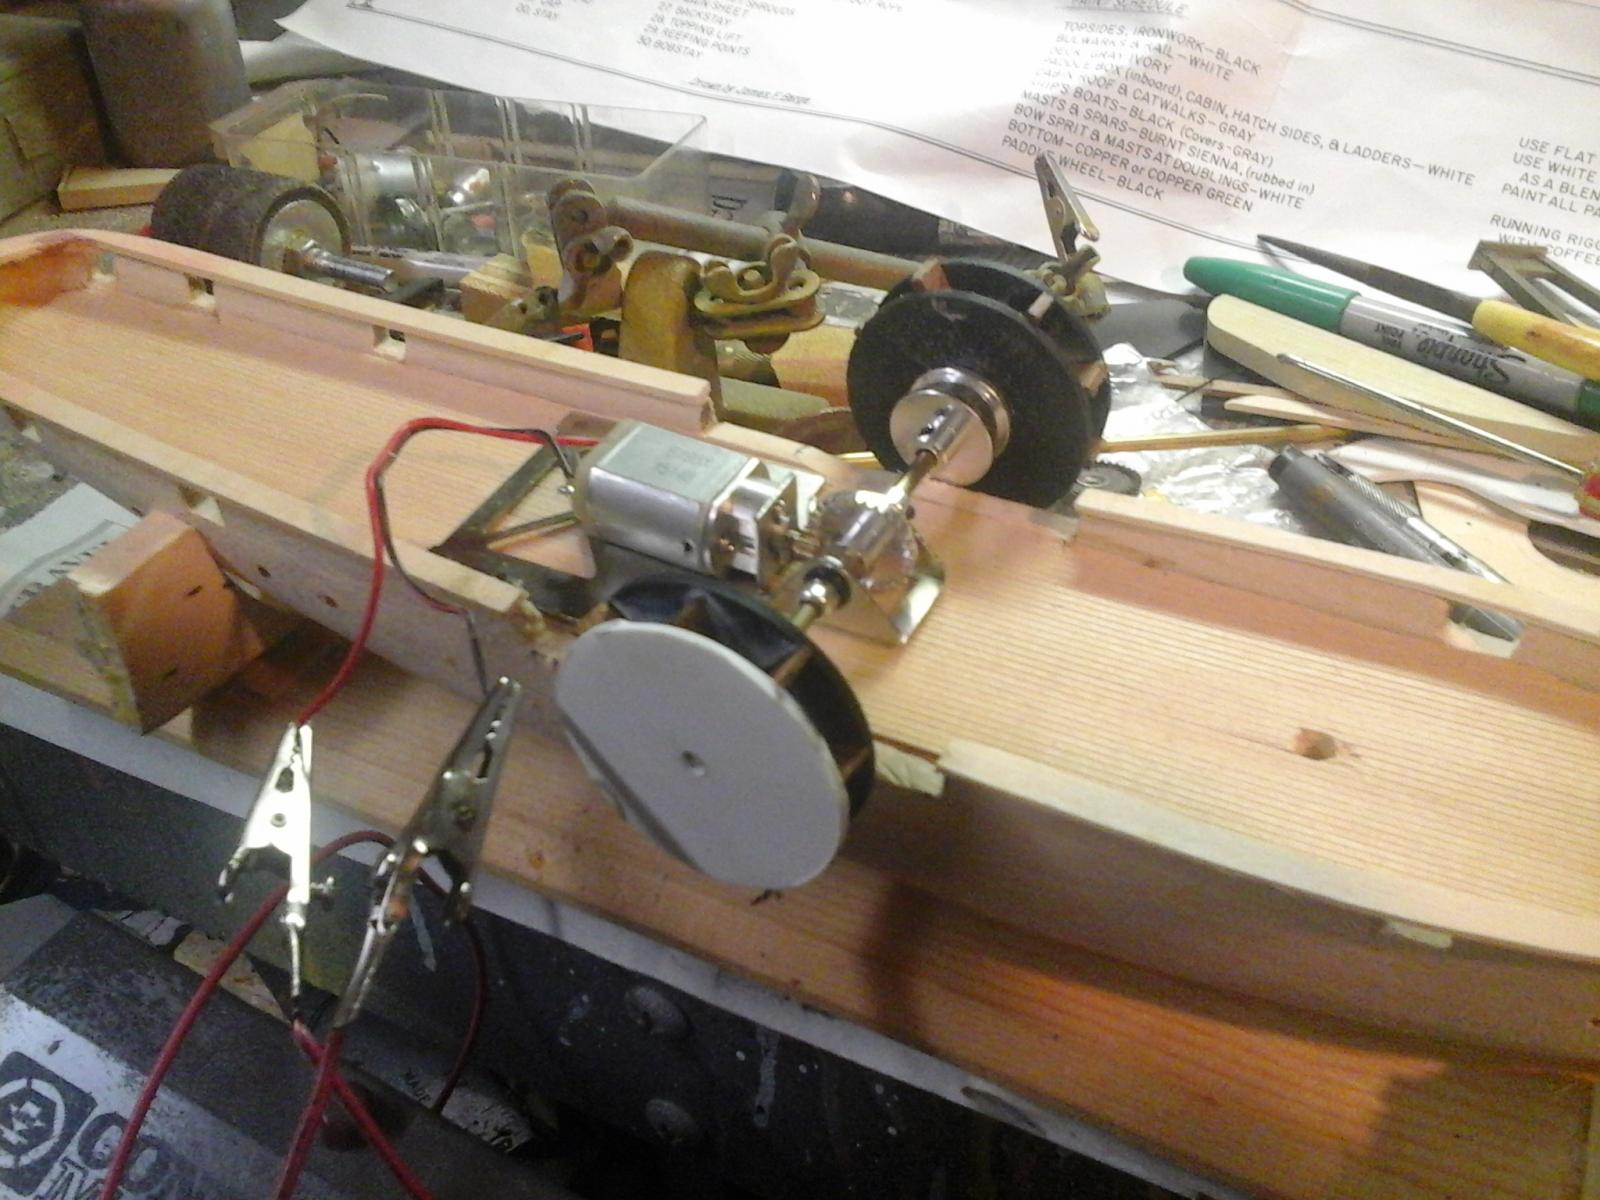
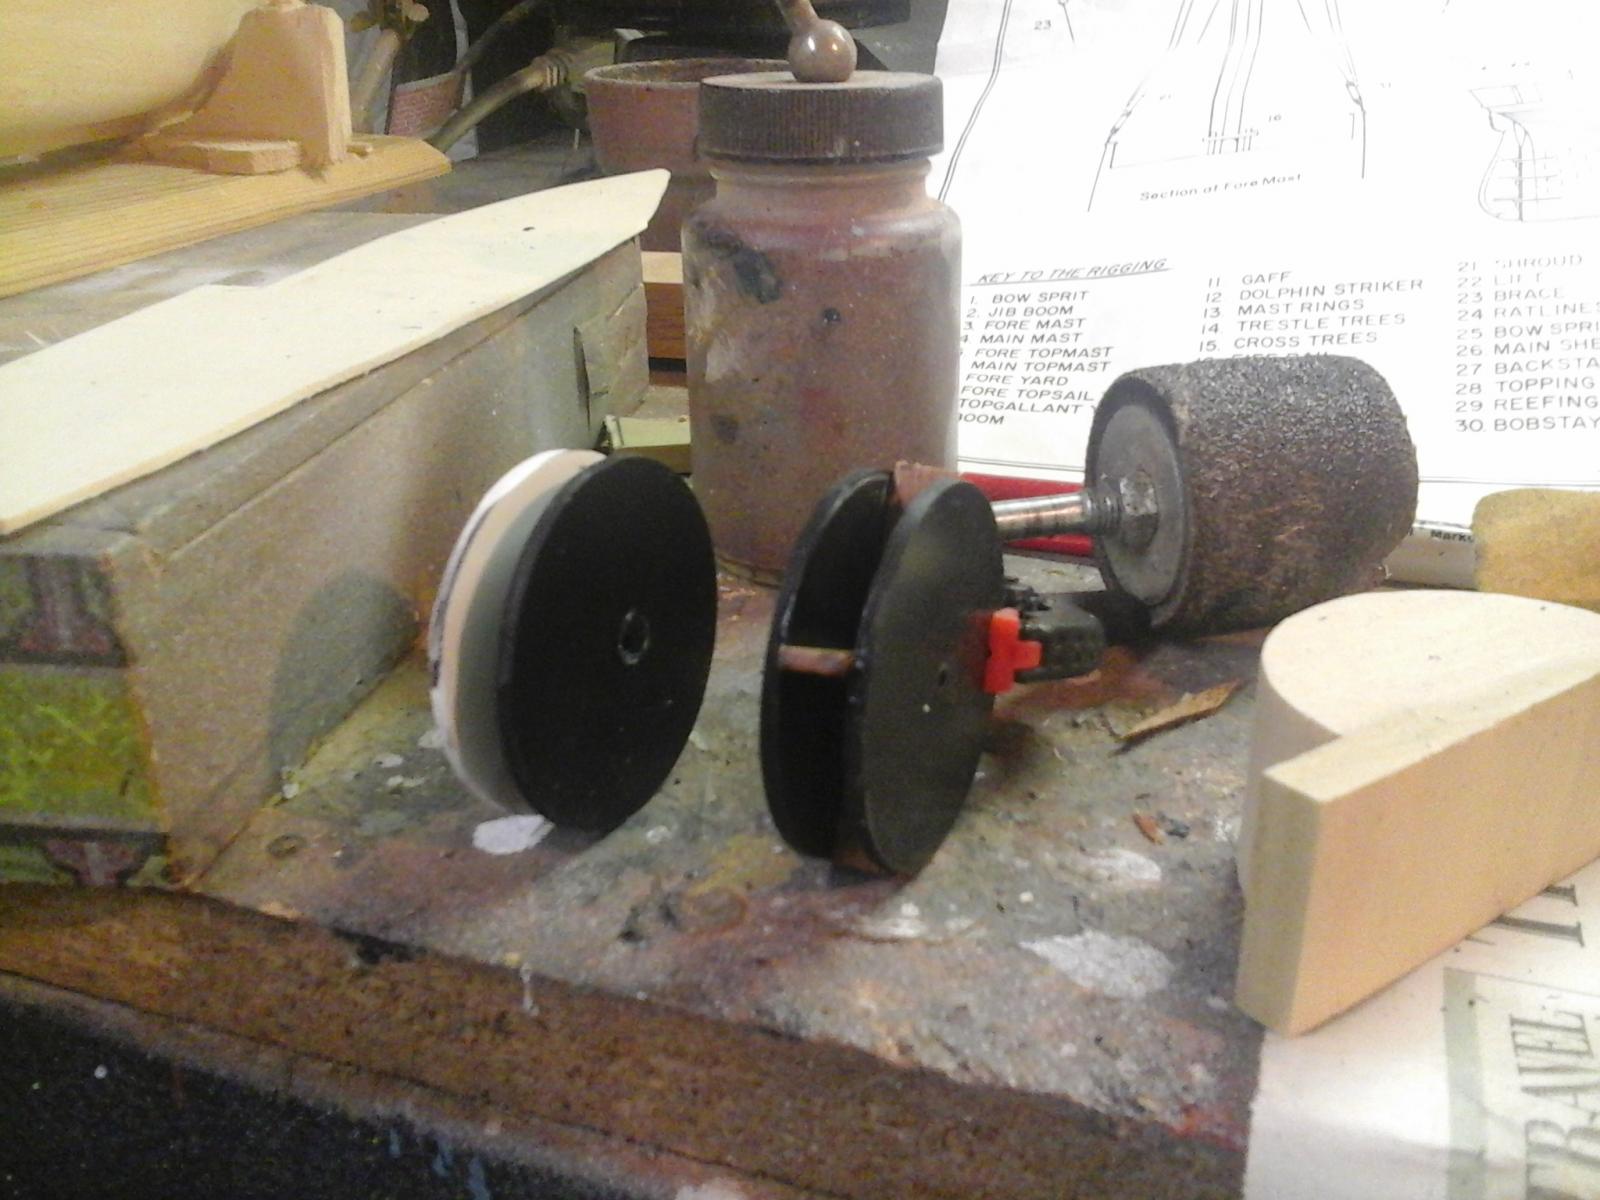
I decided to use a slot car chassis to motorize the paddle wheels.Low voltage makes them spin at a realistic rpm.

- 67 replies
-
- 6
-
-
- harriet lane
- model shipways
- (and 1 more)
-
I decided to make the paddle wheels out of .80 styrene with mahogany paddles.Just started so many more paddles will be added.

- 67 replies
-
- 3
-
-
- harriet lane
- model shipways
- (and 1 more)
-
Cut out and installed tge stern rail.I found if you first cut a large diameter circle first and place the model upside down and use a pencil to trace the contours of the stern it works out well.

- 67 replies
-
- 4
-
-
- harriet lane
- model shipways
- (and 1 more)
-
Cut out and put on the railing.After the glue dries I will contour the stern,
- 67 replies
-
- 3
-
-
- harriet lane
- model shipways
- (and 1 more)
-
Yes it will be necessary to construct hollow structures to accomplish this goal.
-
Thanks!I am hoping to motorize it so that the side paddles rotate. THAT WOULD BE COOL,,!
- 67 replies
-
- 3
-
-
- harriet lane
- model shipways
- (and 1 more)
-
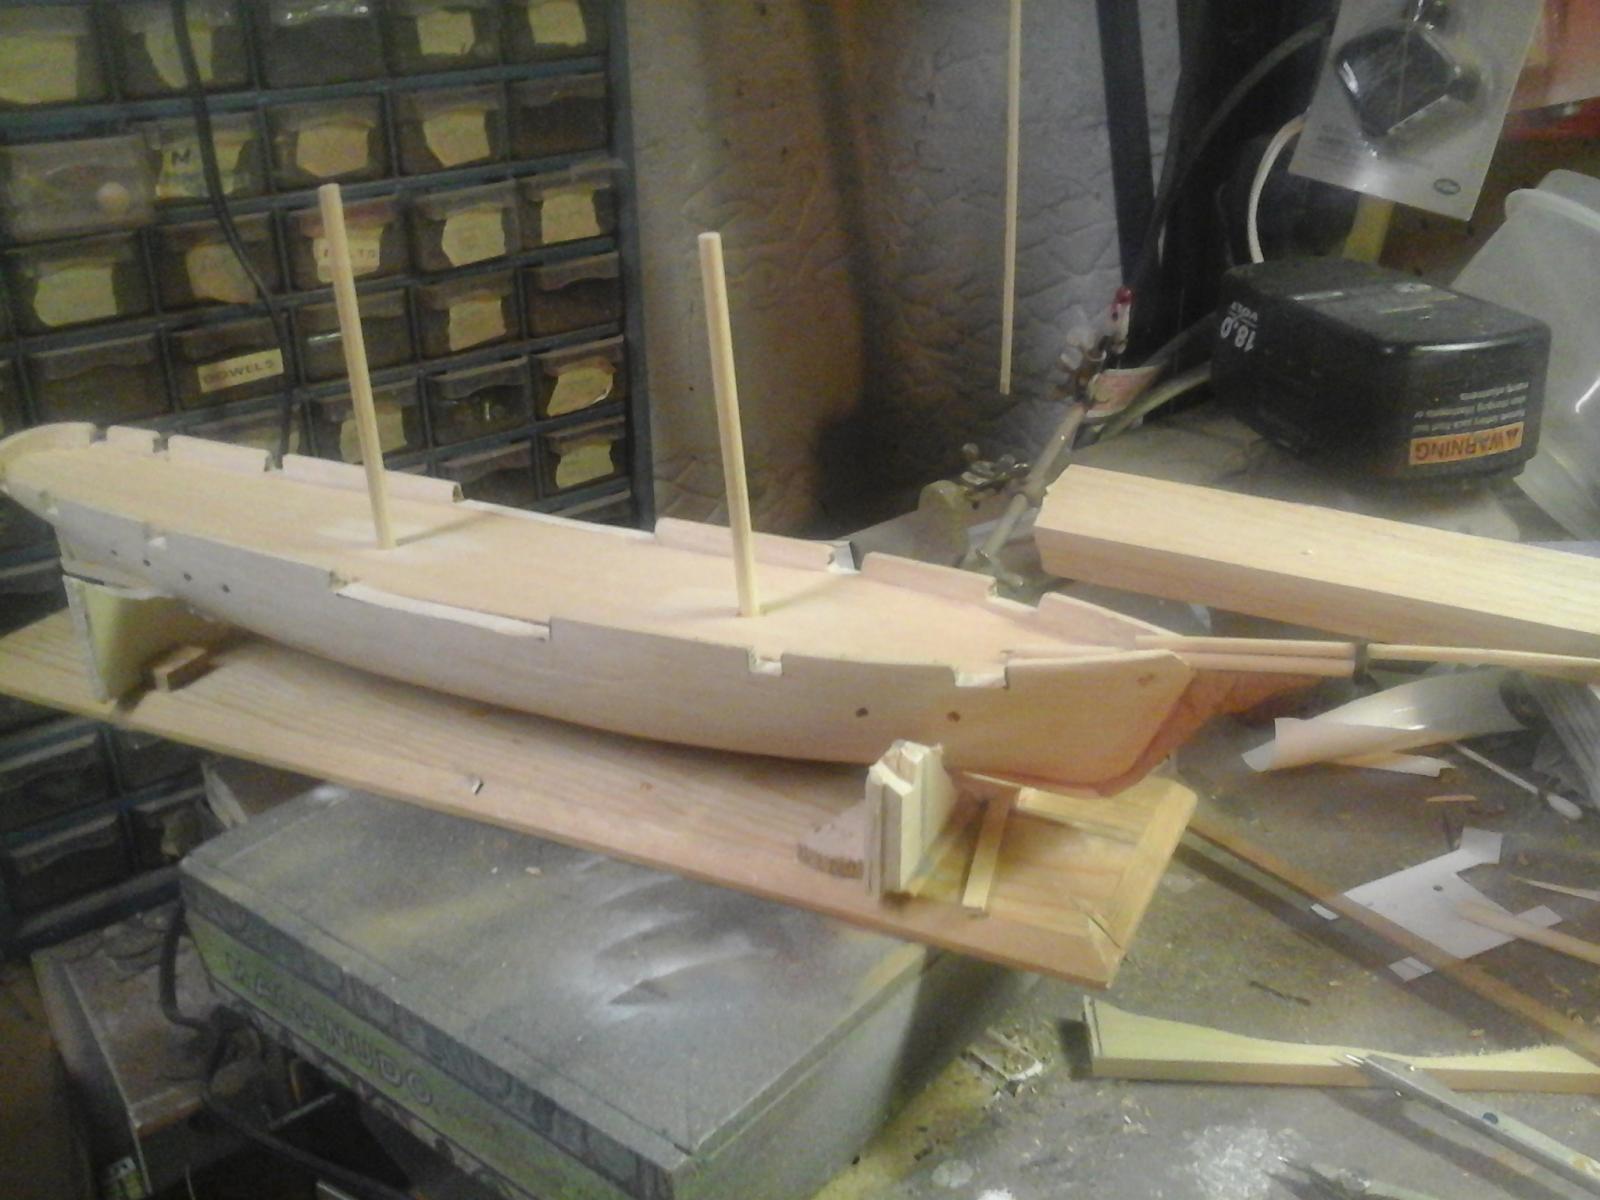
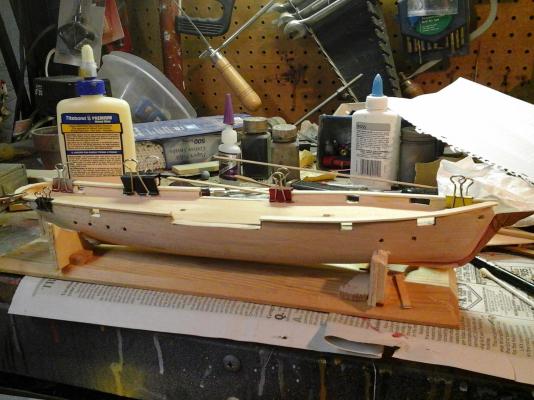
Installed the keel and the stem.I used mahoga`y because the basswood kept splitting.I had to putty the gaps and drilled the mast holes and constructed the bowsprit and jibbom.As is my normal prsctice,I had to use heavy plastic for the doublingsvbecause the wood kept spltting when i attempted to drill the holes so close together.

- 67 replies
-
- 4
-
-
- harriet lane
- model shipways
- (and 1 more)
-
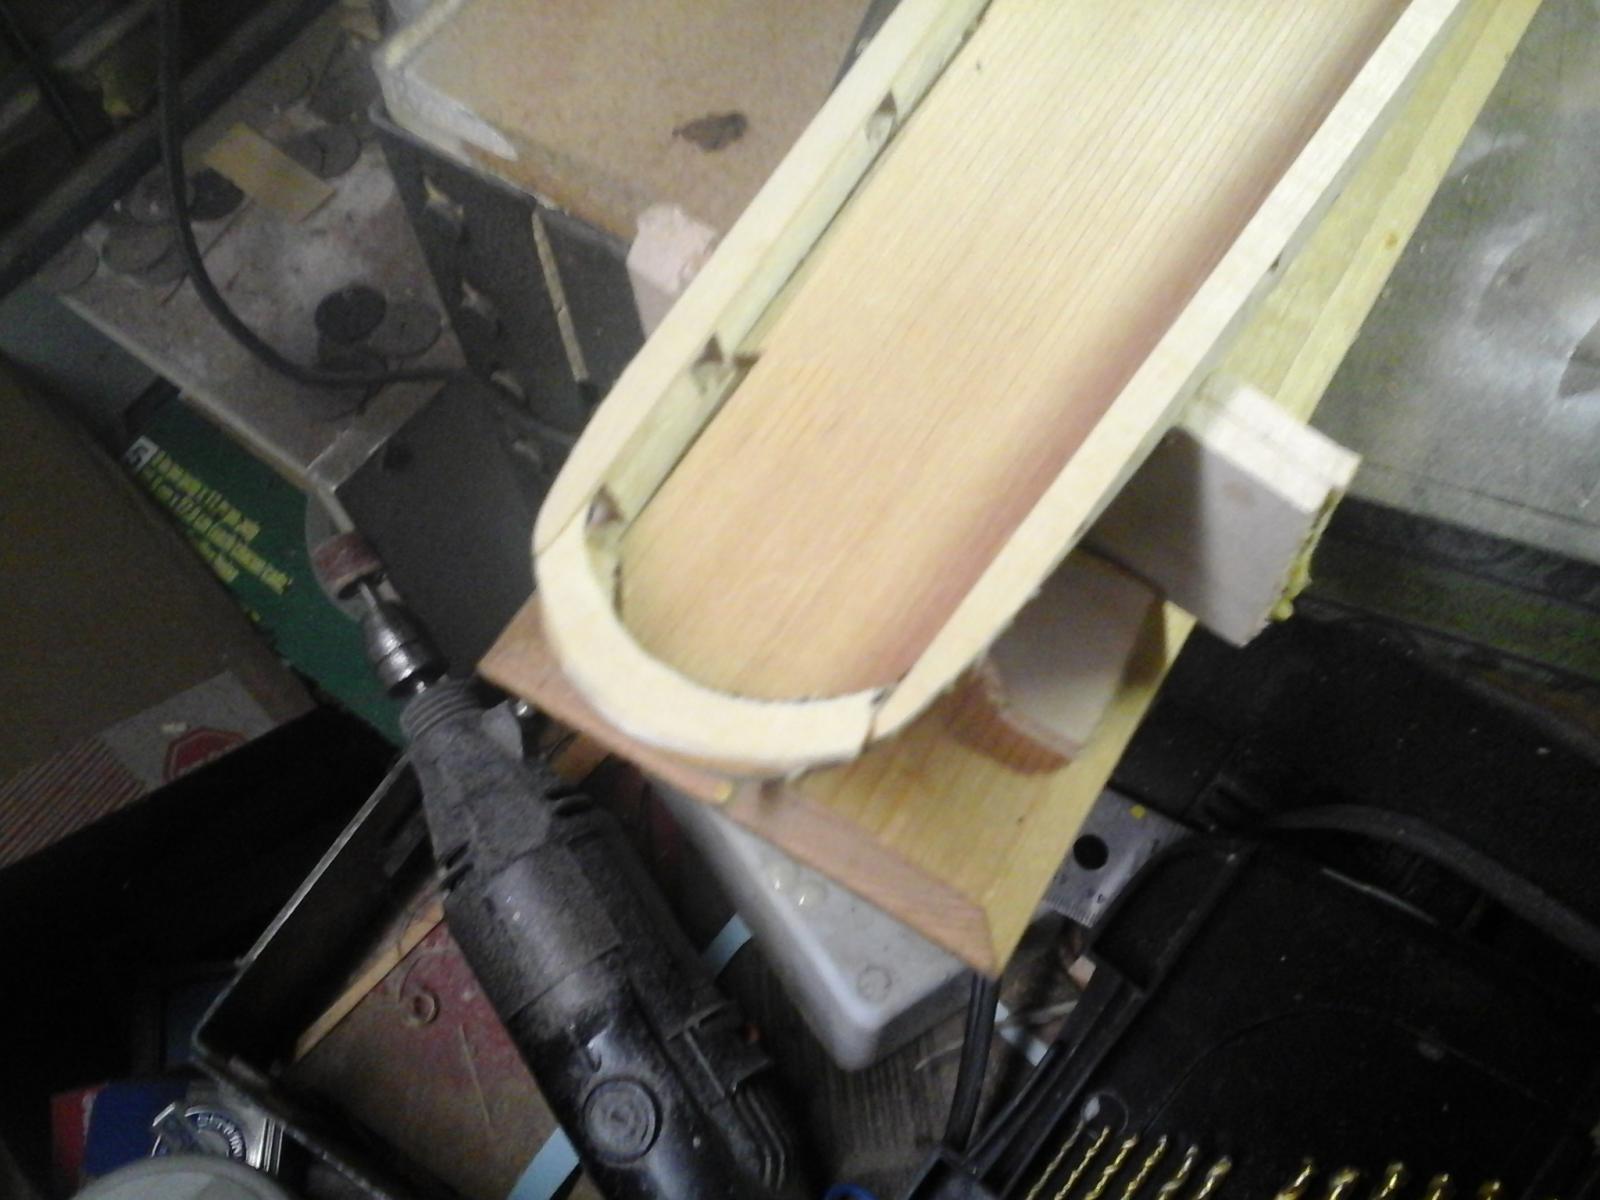
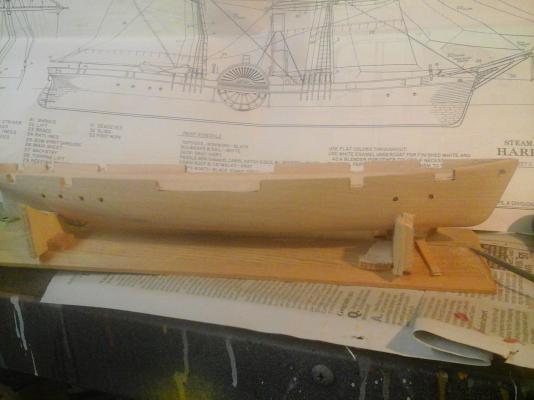
Forgot to mentionnthat I tried something a bit different and used a cut off wheel in my Dremel to cut the vertical portions and a 1/2 inch chisel for the horizontal psrt.Worked quite well and afforded me precise control of the delth of the cuts.
- 67 replies
-
- 3
-
-
- harriet lane
- model shipways
- (and 1 more)
-
Ok I cut the gun ports and slots for the side wheel sponsons,I also drilled out the air ports and hawes pipe.
- 67 replies
-
- 4
-
-
- harriet lane
- model shipways
- (and 1 more)
-
The magnet idea was successful and a good idea.

- 69 replies
-
- 1
-
-
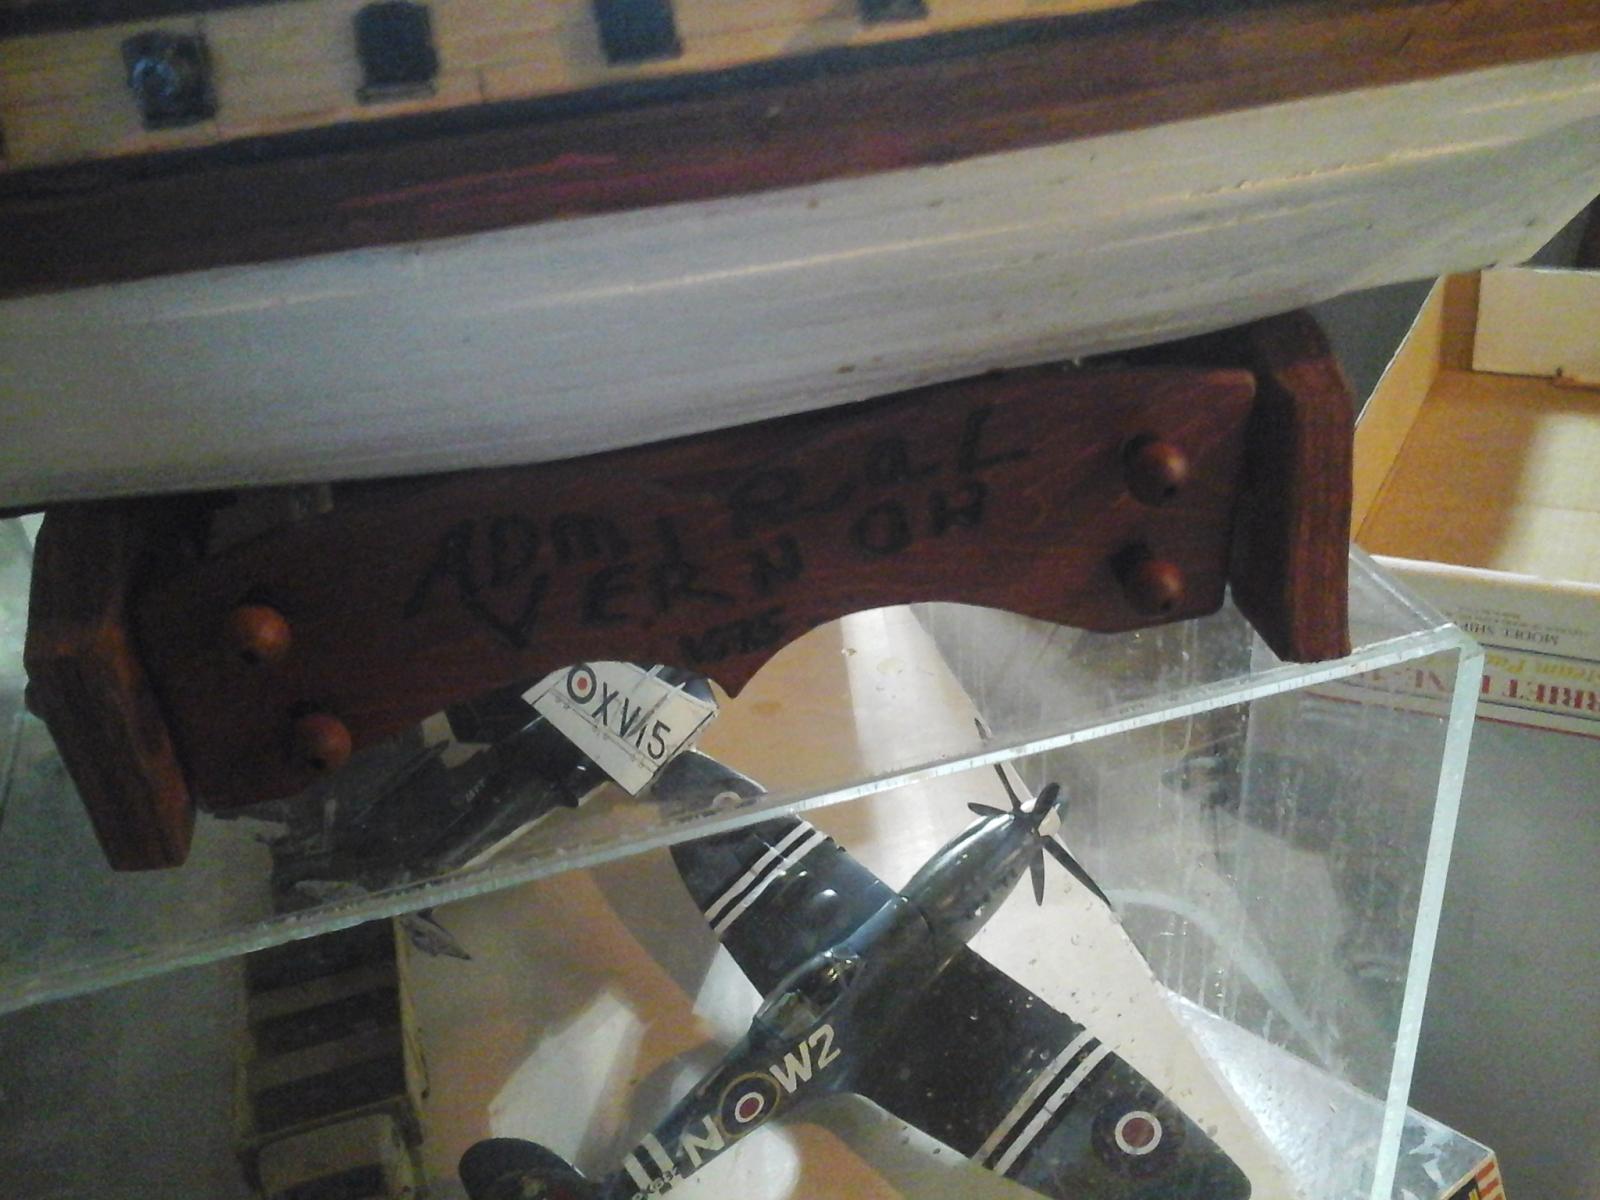
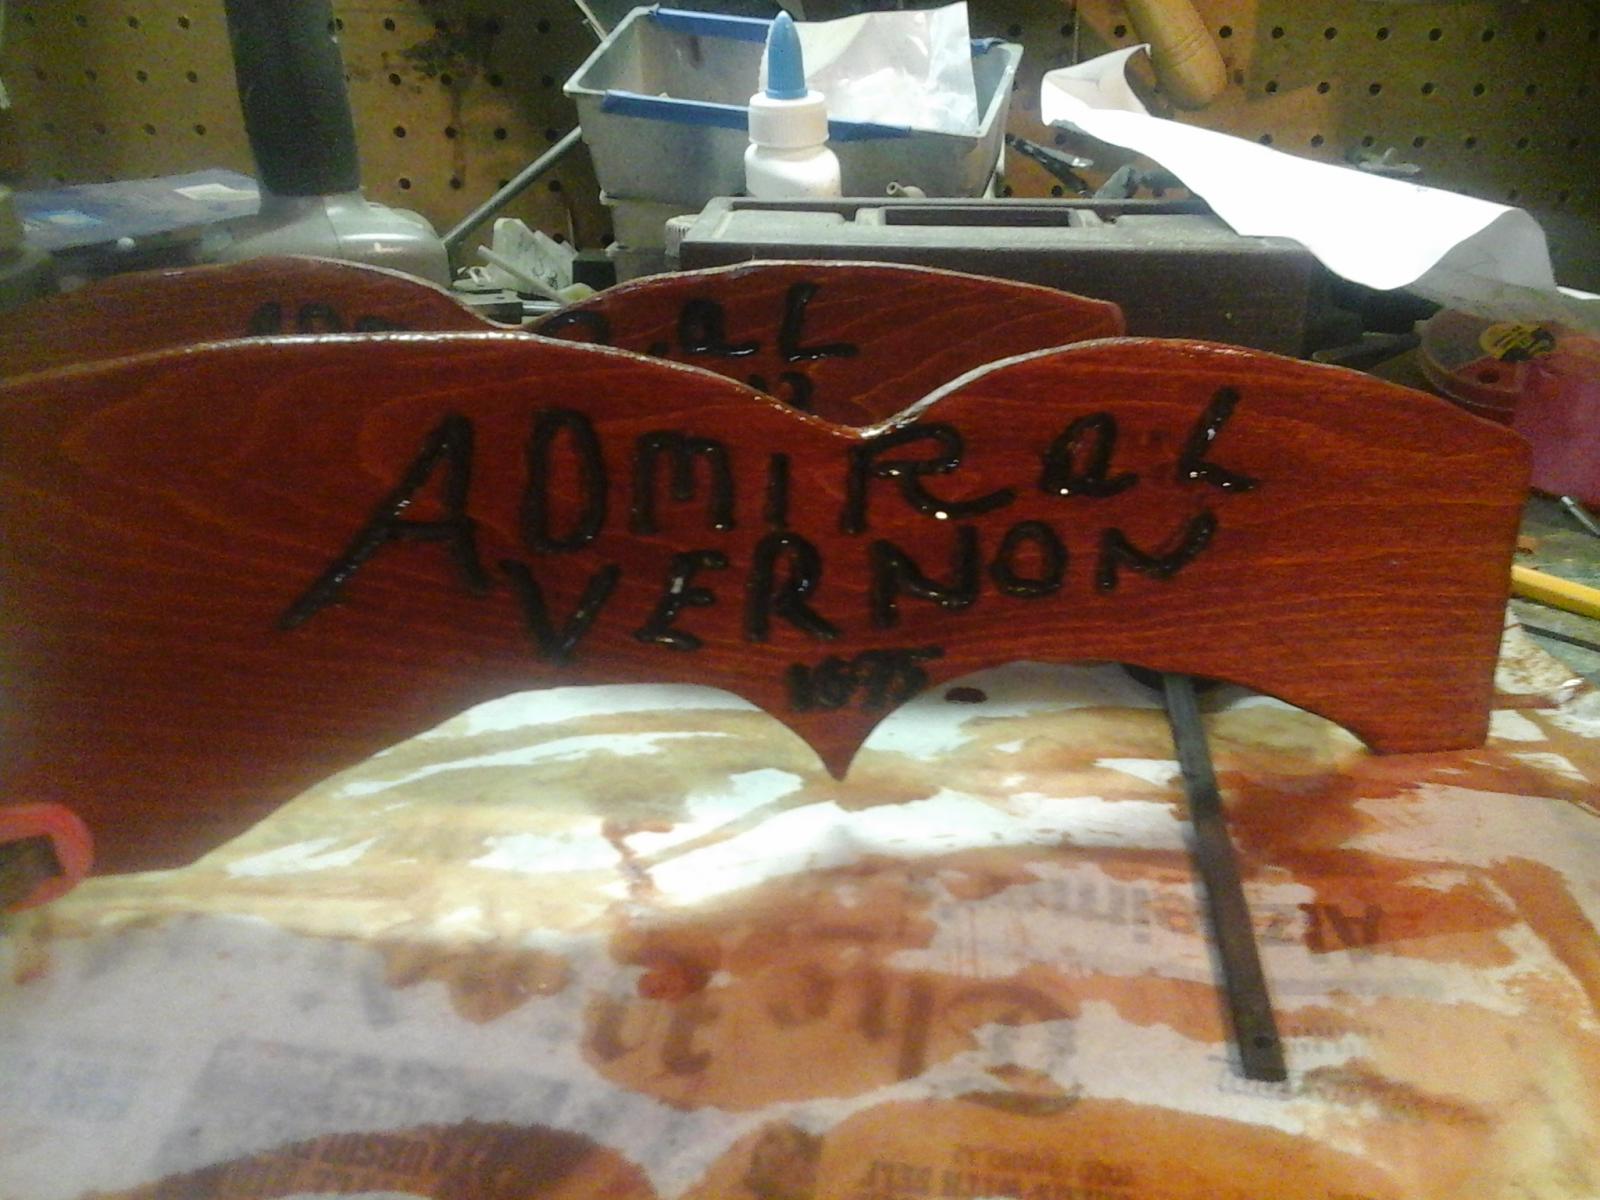
- admiral vernon
- steingraber
- (and 1 more)
-
How thick should the bulwarks be on a solid hull?
Lucius Molchany replied to Lucius Molchany's topic in Wood ship model kits
Thanks the kit is 1/128 scale so I guess 3/32 should be about right. -
Working on thinning down the bulwarks on the Harriet Lane and wonder how thin it should be brought down to.The plans call for 3/32nd but I wonder if it should be thinner.
-
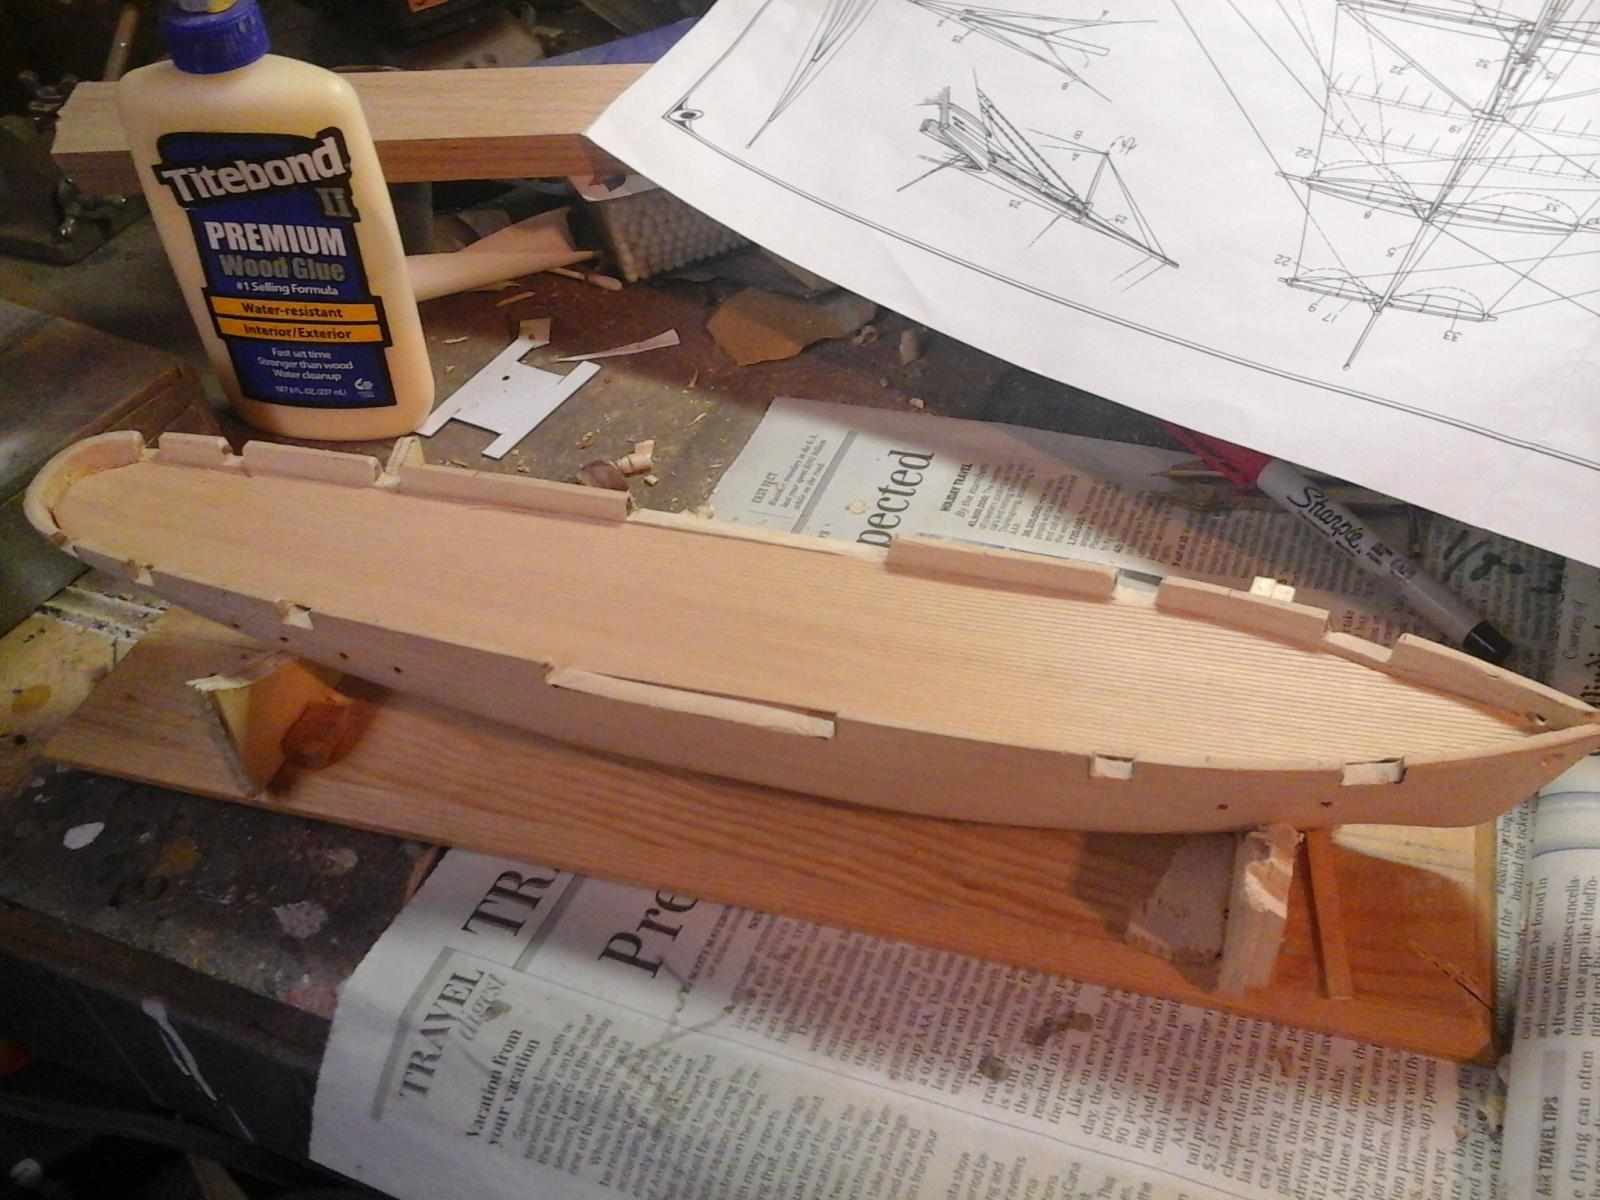
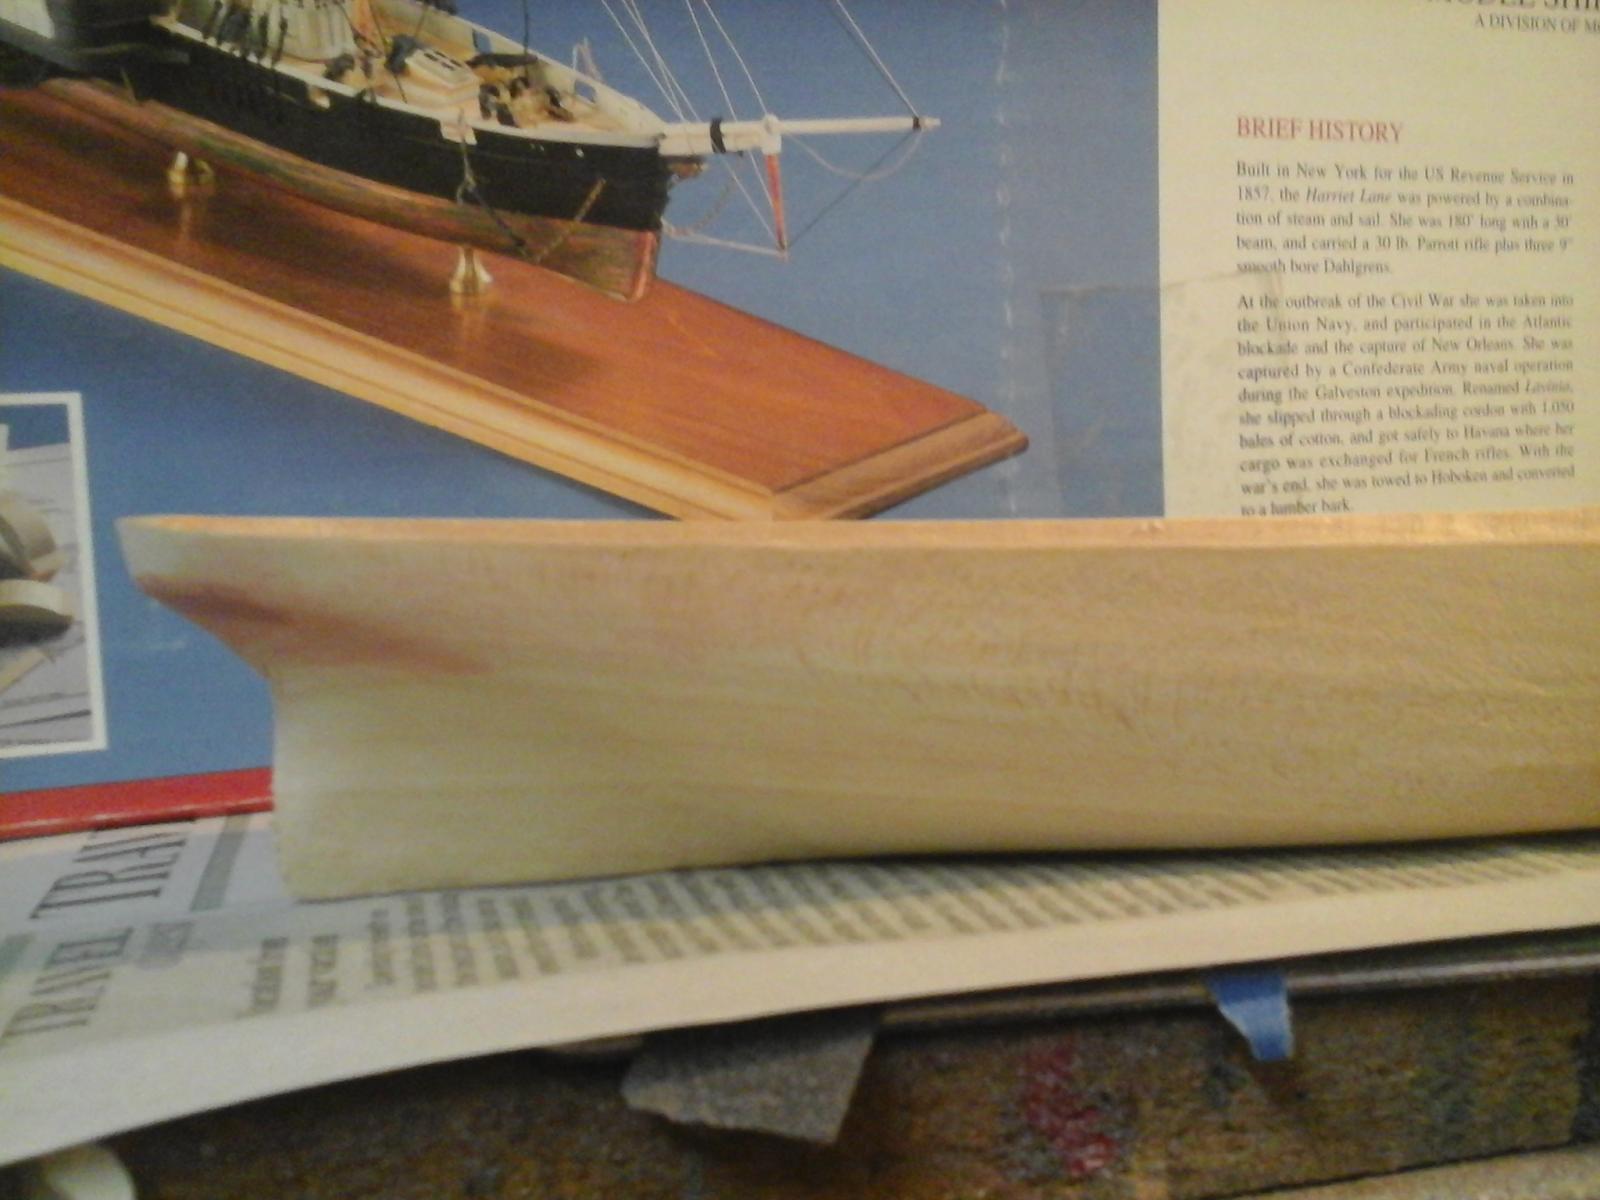
Just started the solid hull Harriet Lane,Shaped up the fan tail but I sanded a hole in the hull near the stern so I filled it with my trusty Bondo automotive spot putty.

- 67 replies
-
- 5
-
-
- harriet lane
- model shipways
- (and 1 more)
-
Both side plates are now installed.It was a bit tricky to install the blocks and nuts.It was necessary to put the display stand up on blocks to stsrt and tighten them.To conceal the exposed screw heads ,I will go to the craft store to buy small round magnets which will then be epoxied to the wooden spheres.
-
Yes it is necessary to prime the bare wood but you can airbrush the paint and it came out just fine including copper for the bottom.