


MaxC
-
Posts
25 -
Joined
-
Last visited
Content Type
Profiles
Forums
Gallery
Events
Posts posted by MaxC
-
-
-
So here are those small parts messily fitted, they've got till Wednesday to cure.
-
Wow, you're going like a steam train Glenn! You're clearly going to be finished way before me, so I'll be keeping an eye on your progress. Great work so far.
Max -
On 12/14/2021 at 4:23 AM, Patrick Matthews said:
A couple related topics: Corded vs. cordless, handheld vs. flex shaft.
I appreciate the merits of a Foredom, and the lower cost of corded units vs. cordless... but unlike a jeweler and to a lesser extent a display ship modeler, I'm a free-range modeler... have to be, when models are 5 and 6 feet long! I'm up and down the bench, working from above and below, and I'd be lost without my cordless rotary.
My trusty Dremel 800 cordless just died after some 15 years service, so I just popped for Dremel's new top of the line unit, the 8260. 12v, and brushless for better efficiency/longer battery life, yay. Do I need the Bluetooth communication capability so I can use my smart phone to check on the battery condition?
Uh, no.
And did I choke just a bit on the price, knowing that throw-away rotaries can be had for one Andy Jackson?Uh, yep.
But then I thought about how important this tool is to me. Even made me remember one day as a kid trying to get started in serious model railroading, when I was hanging out in the local model train shop, having a bull session with the owner and another regular customer. "What's the most useful tool to own?" I asked. The regular said he'd be lost without his Dremel!
And then I looked at how much I paid for a decent airbrush... the new Dremel is on par with that. So the trigger got pulled and I'm just waiting on the package to arrive. Desperately waiting, because in the meantime I'm spending scores of minutes whacking on things by hand when the rotary would take care of the job in seconds!
In the picture below, my defunct cordless Dremel is highlighted while I pose with the latest big project.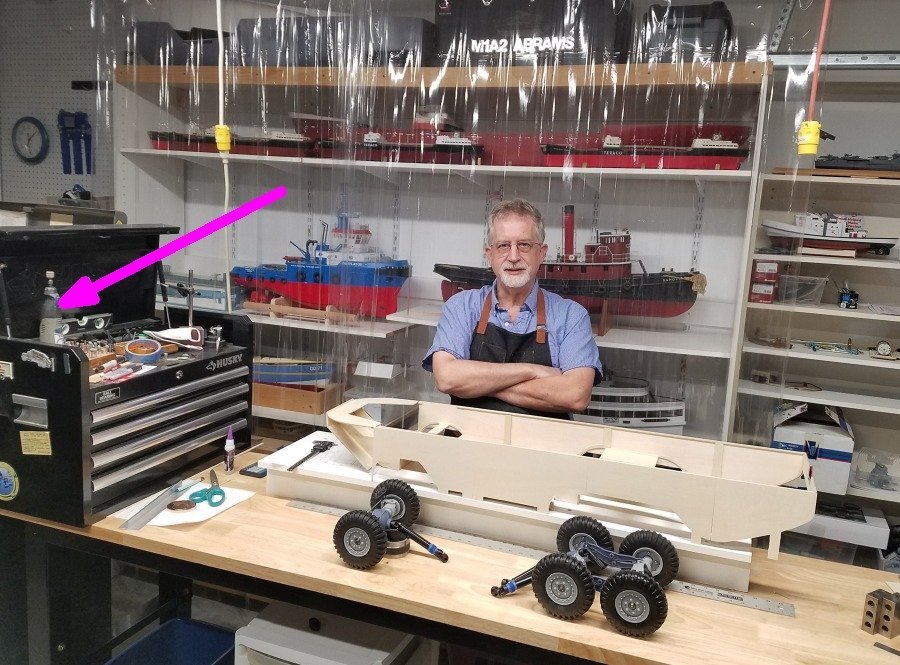
Hi PatIm curious to know in what way your 800 died? I have one of these.
Max -
-
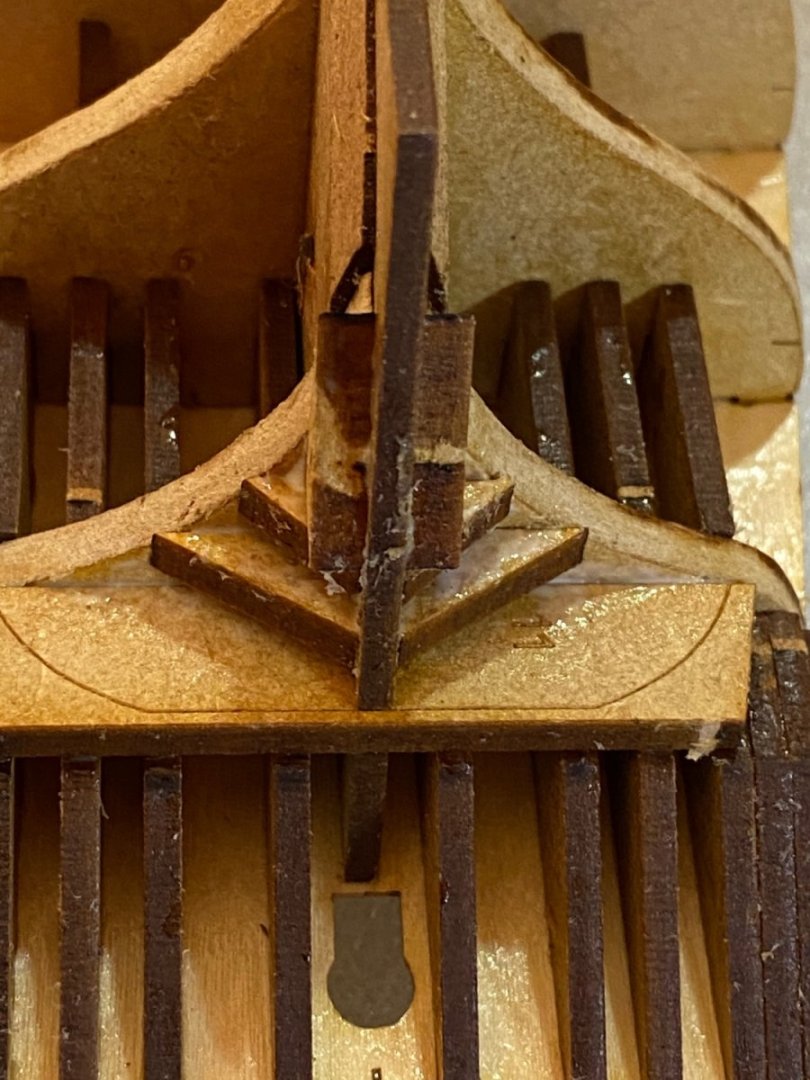
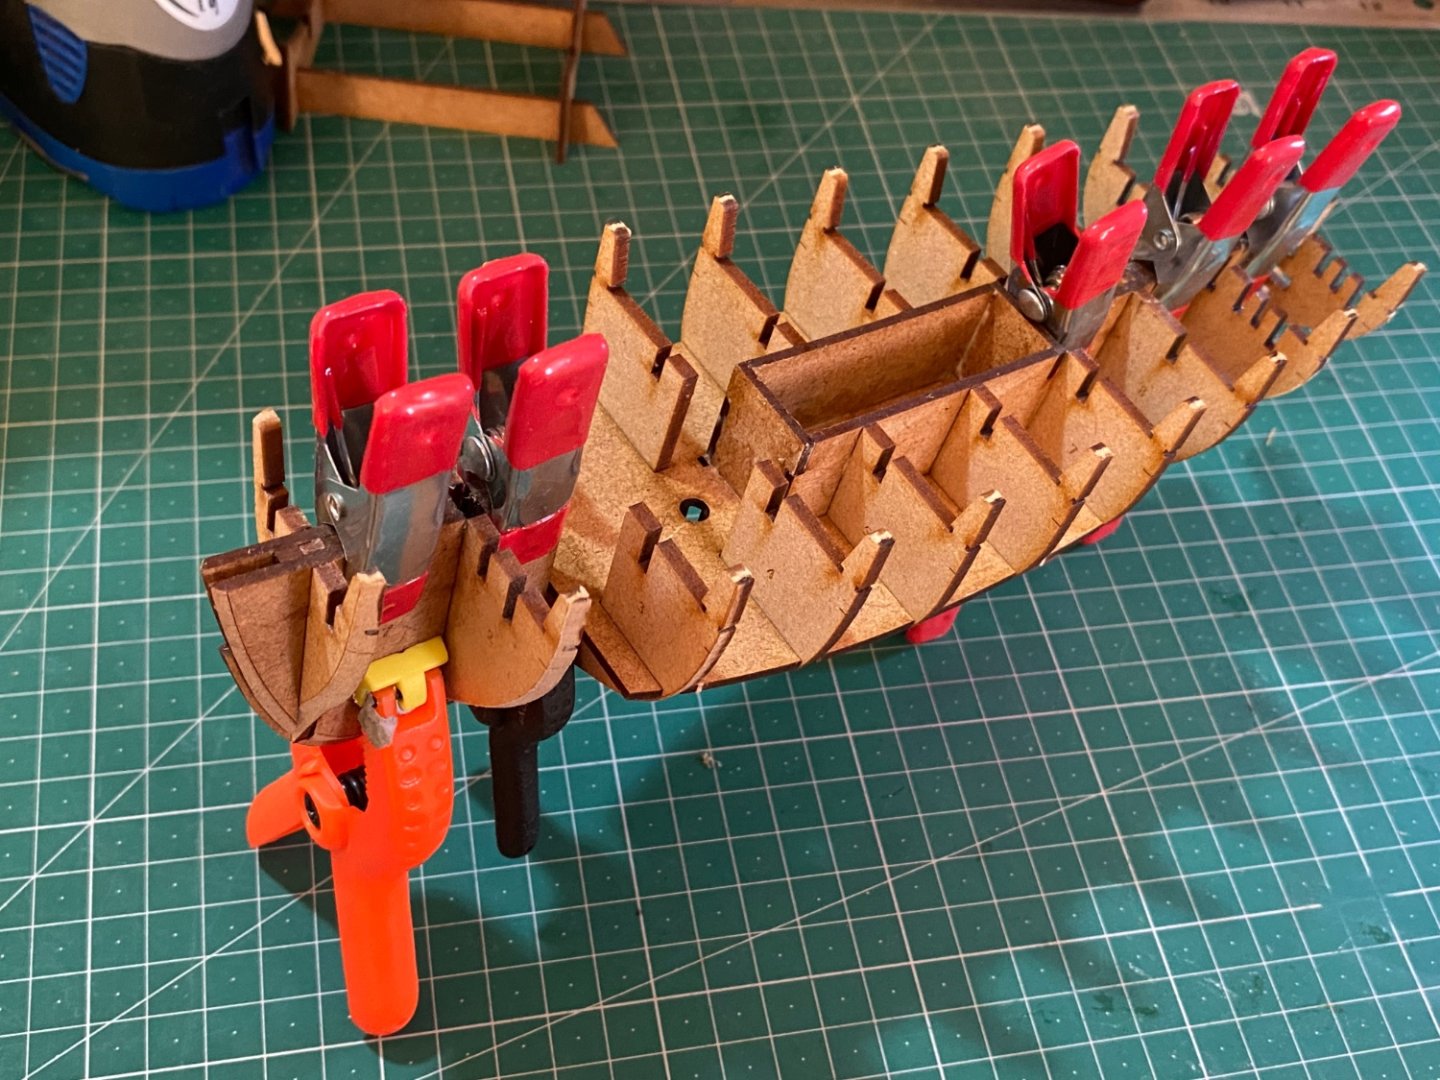
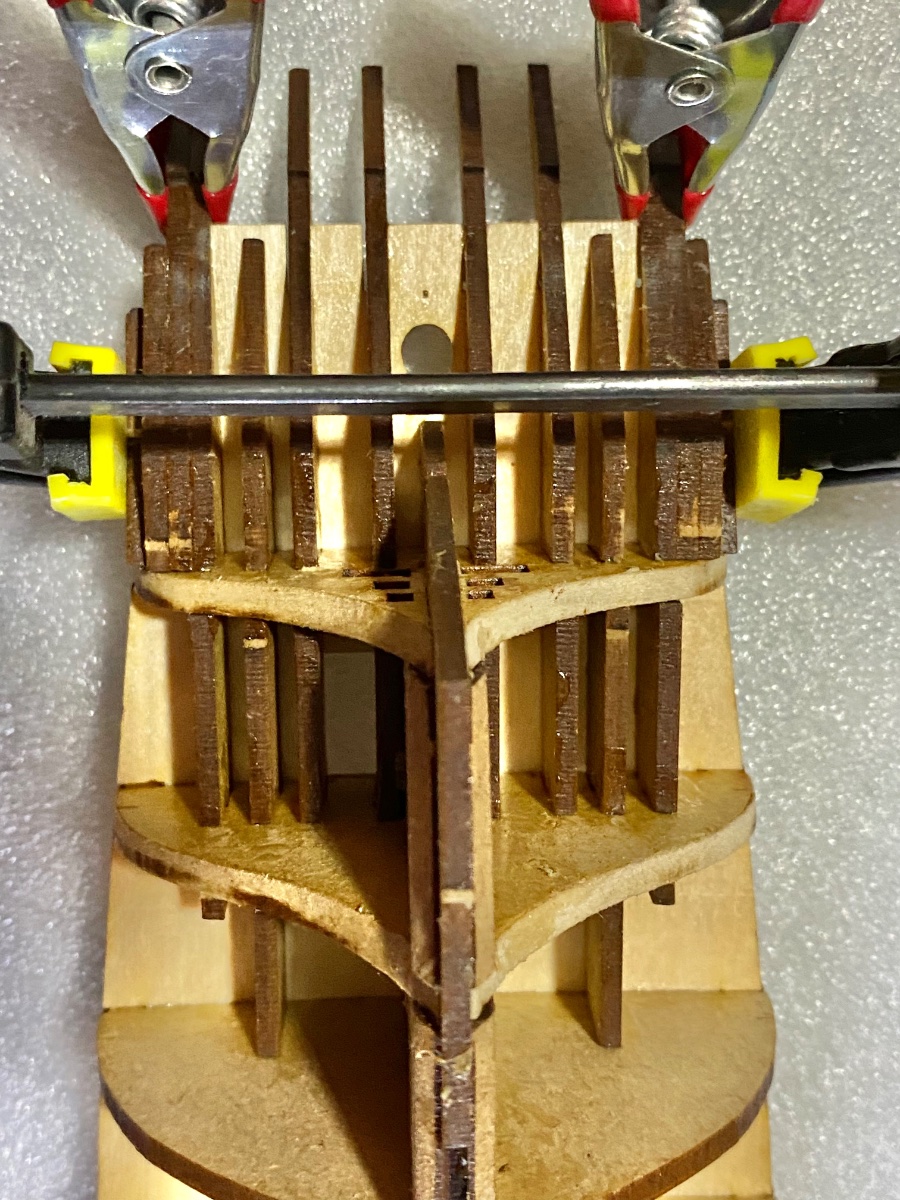
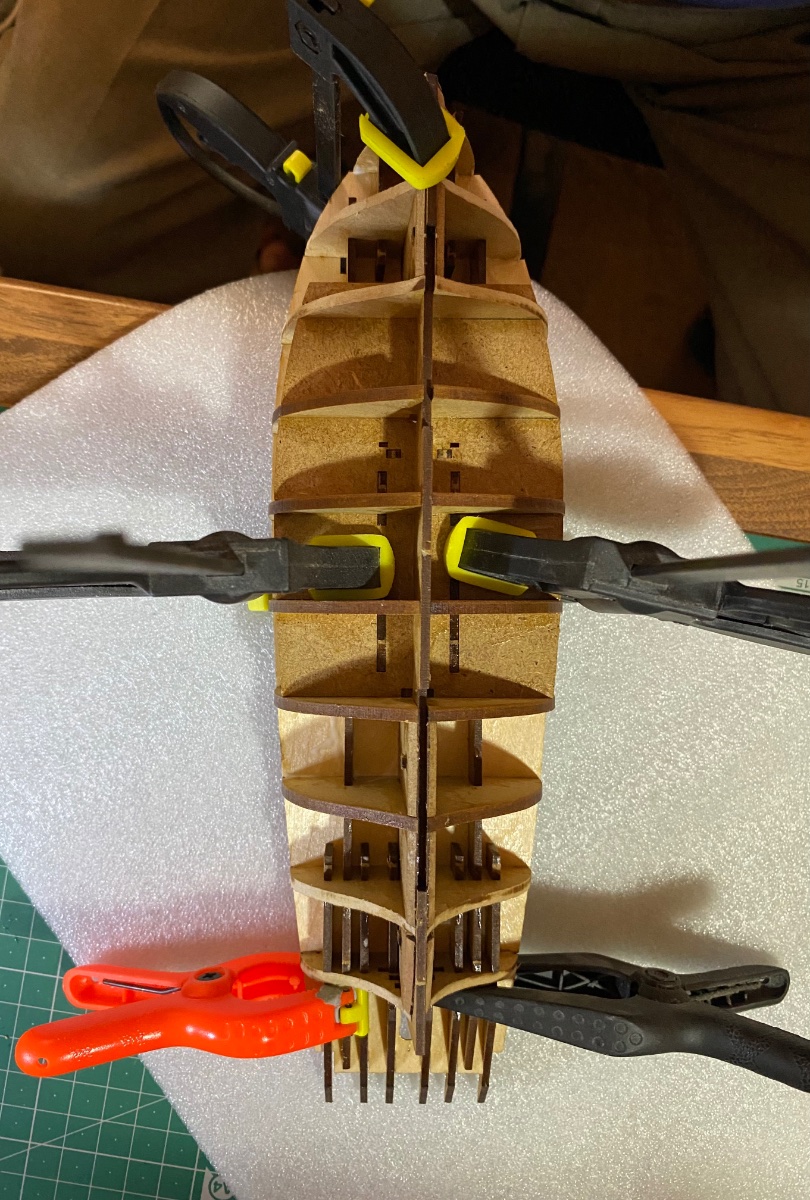
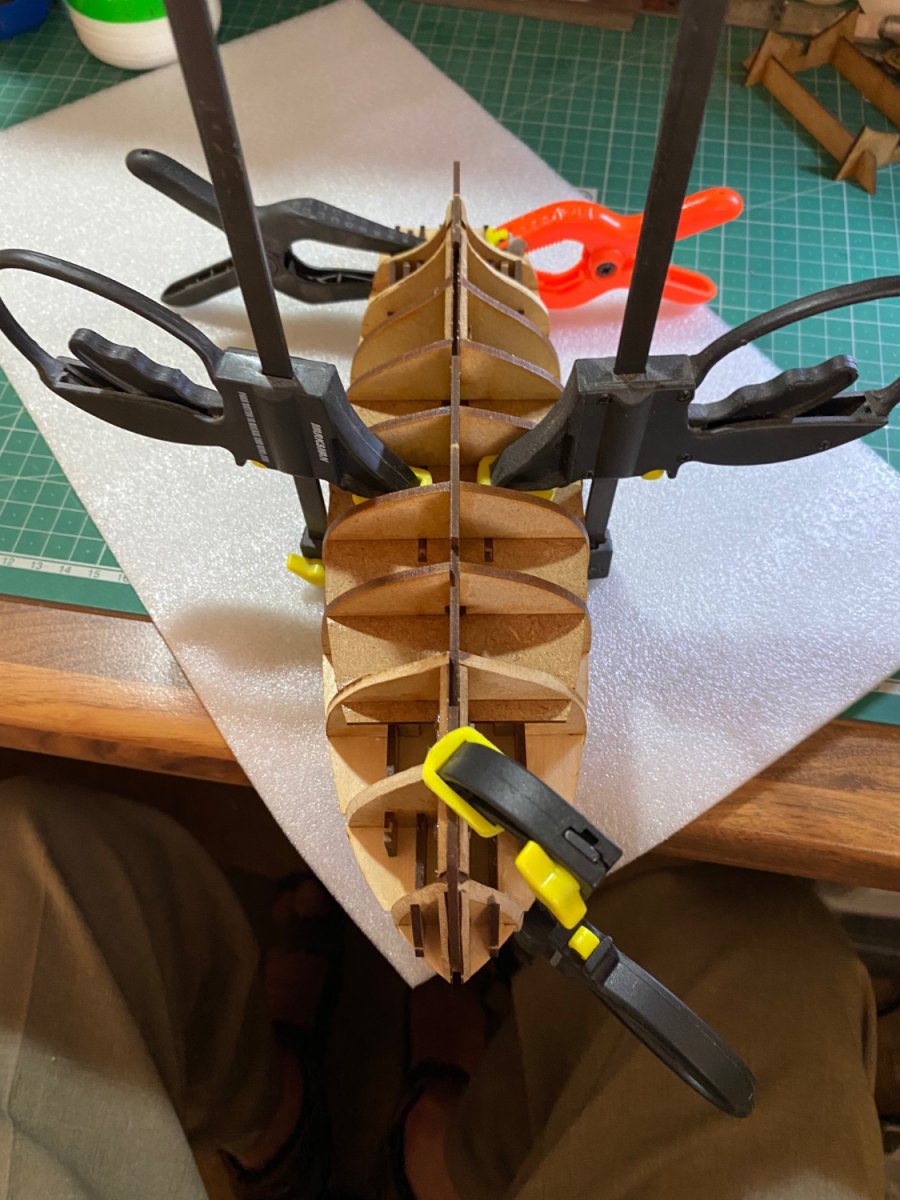
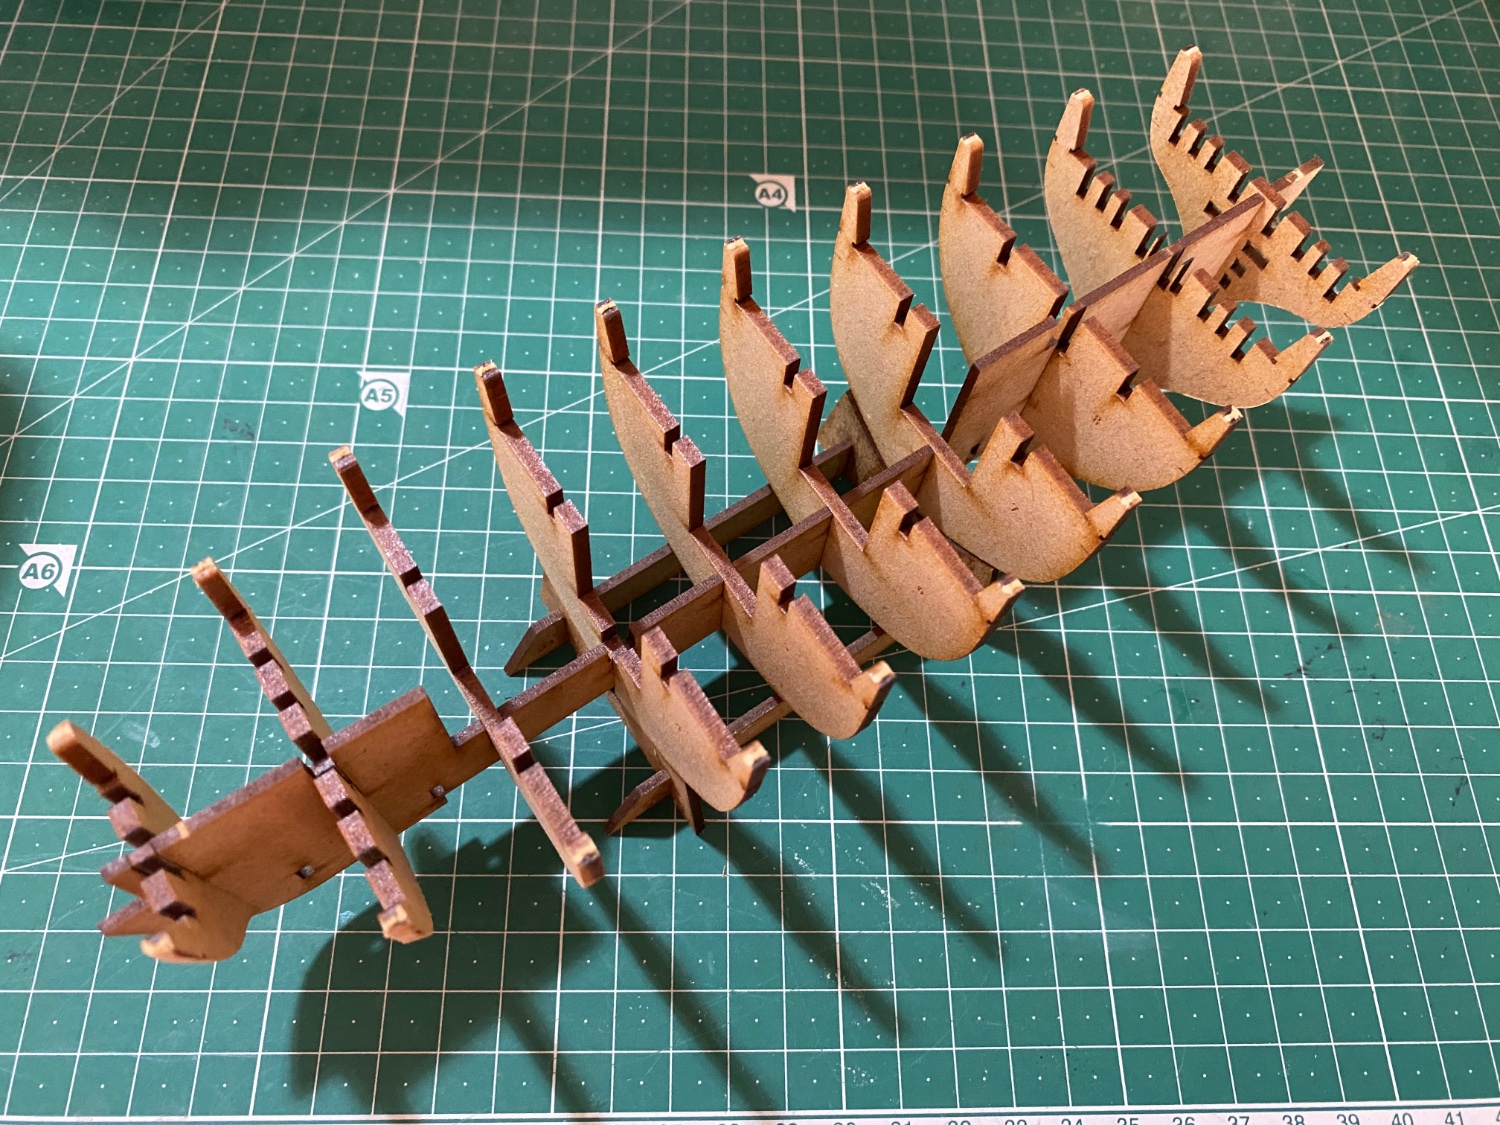
Okay folks, next stage stern framework supports fitted. I was tempted to carry on with the pieces that go beneath, but decided I'd be happier leaving this stage to dry. The whole structure is now feeling a lot more solid and the sub-deck certainly makes me feel as though I'm getting somewhere 😊.


Max
- Glenn-UK, Jack-in-the-Blue, DB789 and 2 others
-
 5
5
-
-
4 hours ago, James H said:
The deck shouldn't spring at all as it slots into the notches at the bottom of each bulkhead ear.
That's important as you want the deck level to be even with the engraved lines on the inner bulwarks that you'll later fit.
She's looking real nice!
Thanks James! I'm enjoying this a lot more than I thought I would. A great little kit, the emphasis being on 'little', she's a smaller than I expected, and if anything it makes it harder with the small pieces. But, I'm really looking forward to continuing, so watch this space!
Max
-
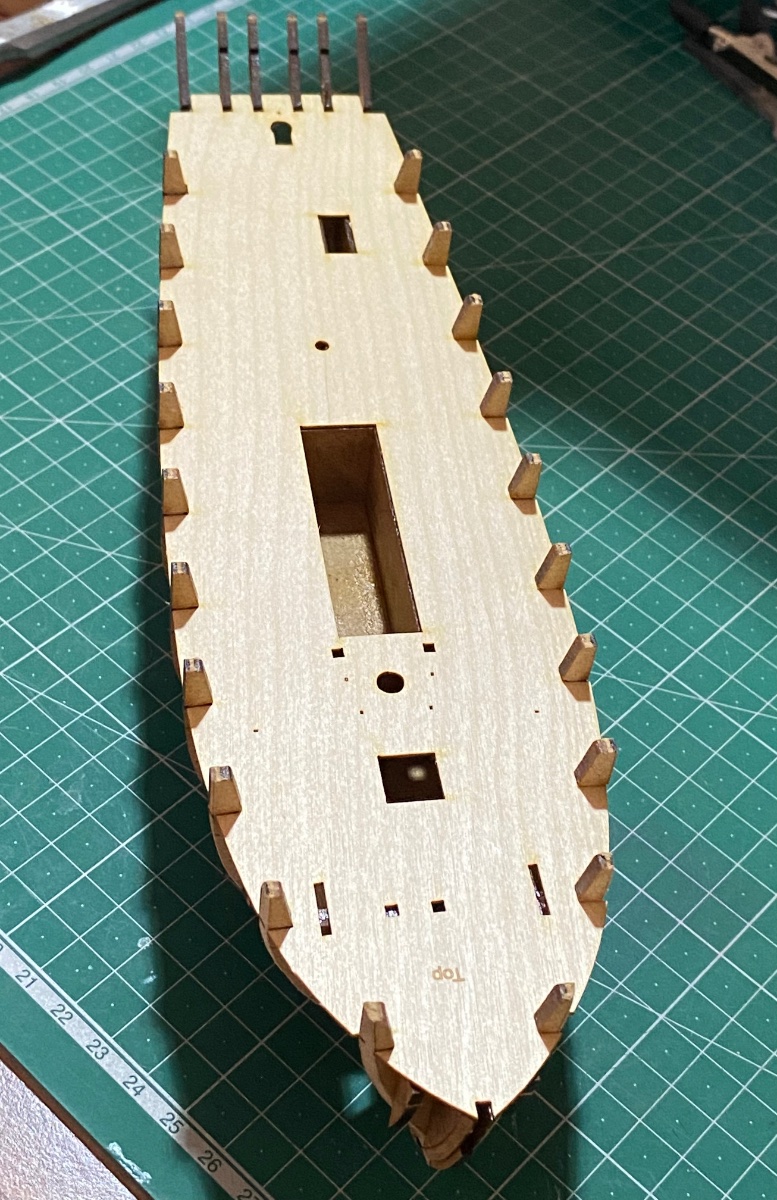
Hi folks!
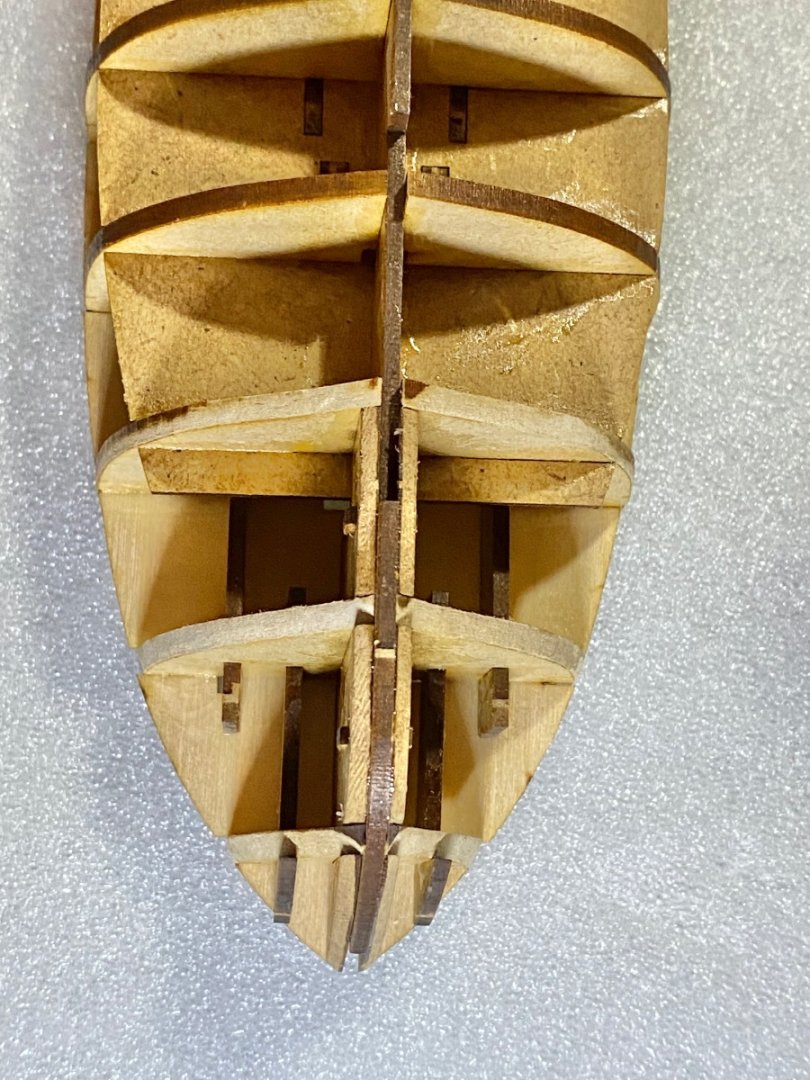
Today I fitted the sub-deck. Having made sure there were no little nibs or such i as quickly as I could brushed some PVA over the upper structures then the slightly nervous bit of springing in the deck. I did a dry run on one side before I started the fixing but it was still a slightly worrying operation. Once it was in and I'd checked proper seating all round, I again quickly brushed PVA along as many points as I could easily get to. Then a few cramps to help matters and now rest until tomorrow..
Max


-
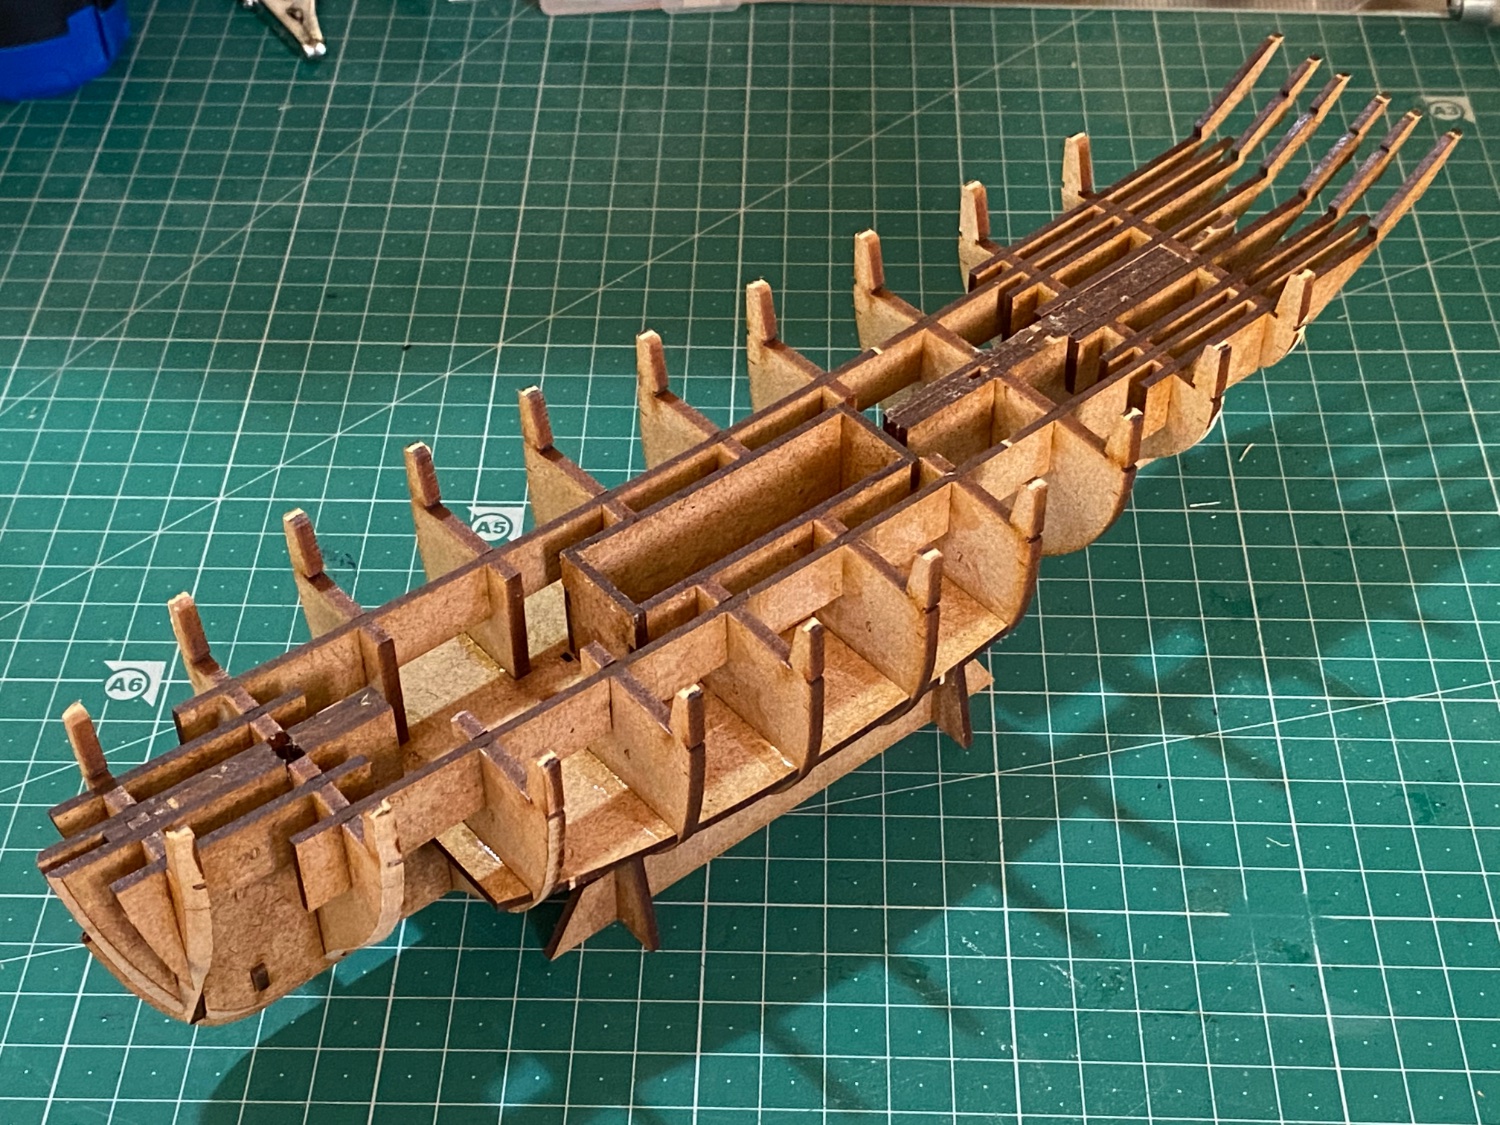
Okay folks, removed clamps and moved on a couple more stages. The biggest job was painting glue around all the joints, this took a lot longer than I'd envisaged. The biggest problem was getting in between small gaps. If I was to make this again I'd consider checking for fit and then gluing all the stern members as I went. The problem though with doing that is that you really would need to wait then for the glue to dry before proceeding. But although my gluing up doesn't look very pretty, none of it will be seen when the hull is planked.
I'll now giv it at least a day to dry out sufficiently

-
Hi all
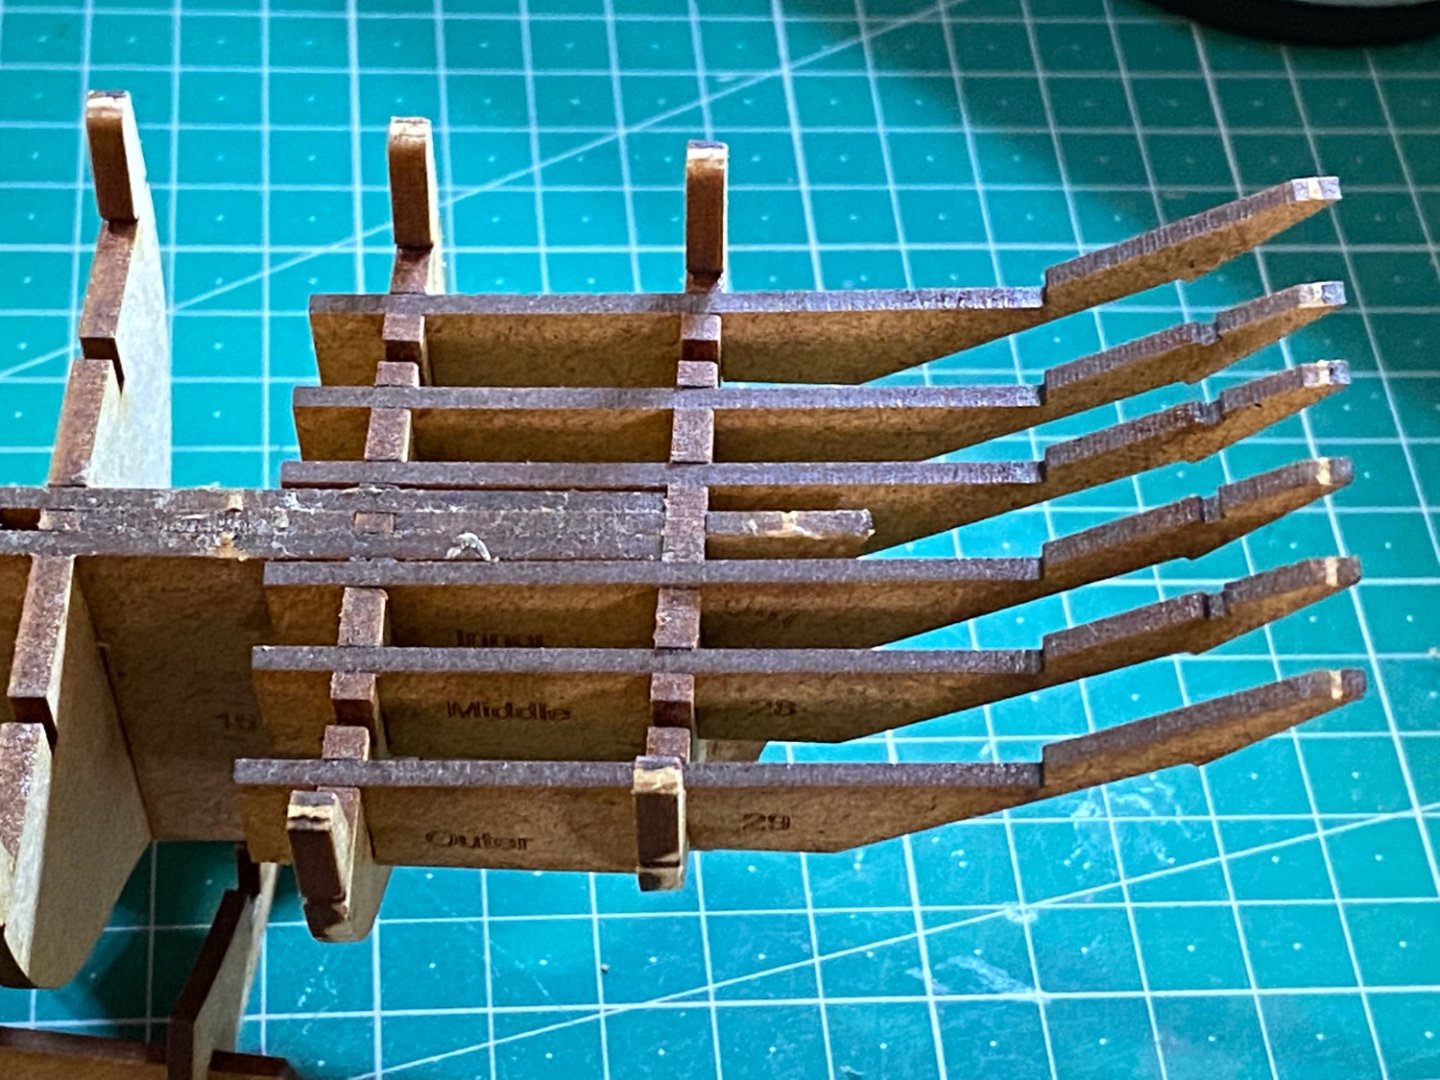
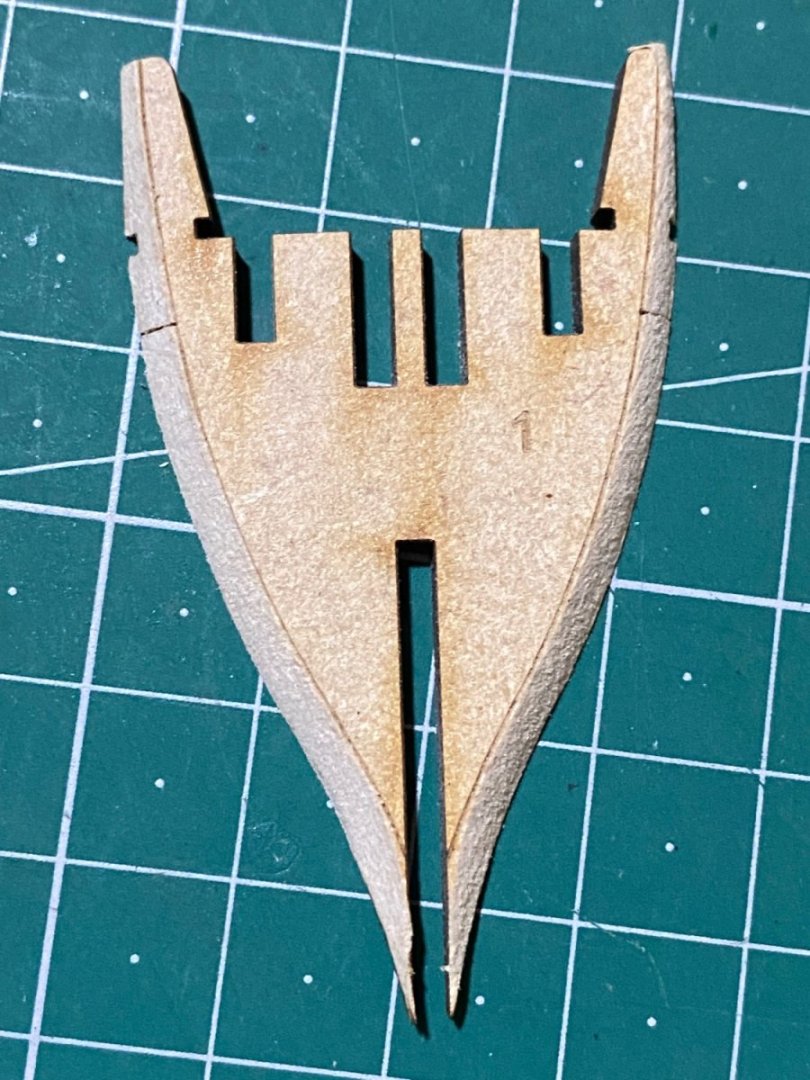
Well a bit more progress to report with a couple more piccies. It was nice and warm here today, so I sat outside with a file, and bevelled off stern and prow support pieces. The previous lot I did with the Dremel and grinding stone, but the dust was horrendous even with a spraying mask on. Not as bad as sanding iroko but bad enough. Anyway, I'm really enjoying this little beauty so far, with further instalments to follow.
MaxC
- Rik Thistle, AJohnson, Glenn-UK and 4 others
-
7
-
I'm aware I'm probably too late on this, but it might help someone else.

- mtaylor and Ryland Craze
-
2
-
Fabulous build Jason. As a beginner I'm hugely impressed. I came looking at this because I bought this kit off of eBay last week, with a view to having a go once I've completed the Saucy Jack (my first build) which I'm working on now. I have no doubt that I'll be back again to look at your log once I eventually finish Saucy Jack.
Max -
6 minutes ago, DB789 said:
Hi Max,
I’ve just finished building Saucy Jack, she’s a super boat to build and the end model looks lovely.
My build log is below, hope it’s useful. I strongly recommend James H’s build log of the prototype as well.
Good luck, looking good so far. Dan
Hi Dan!
Many thanks for that, I shall hopefully gain some tips from perusing your build log. You look as though you're as keen on British working boats as I am, or is it just Vanguard? Whatever, you're accumulating a nice little fleet there! I'll pop off now and have a look at your log.
Max
-
-
3 hours ago, James H said:
Remember, those bevel lines are only approximated. They'll help you take off a chunk of material before assembly, but will later be faired in properly.
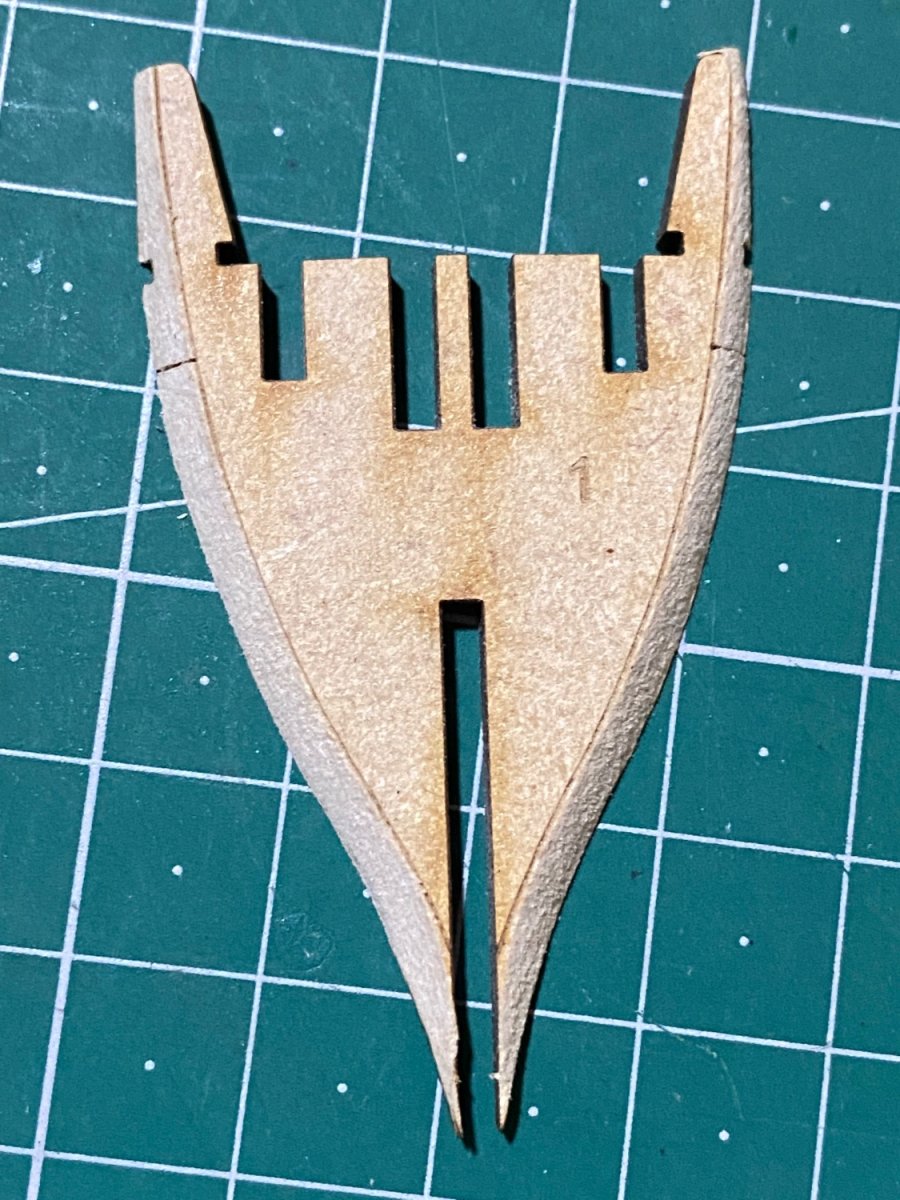
Thanks James, I'll bear that in mind. I've actually already done #1 which is the biggest amount of removal, I'll hopefully do the rest tomorrow
Max
-
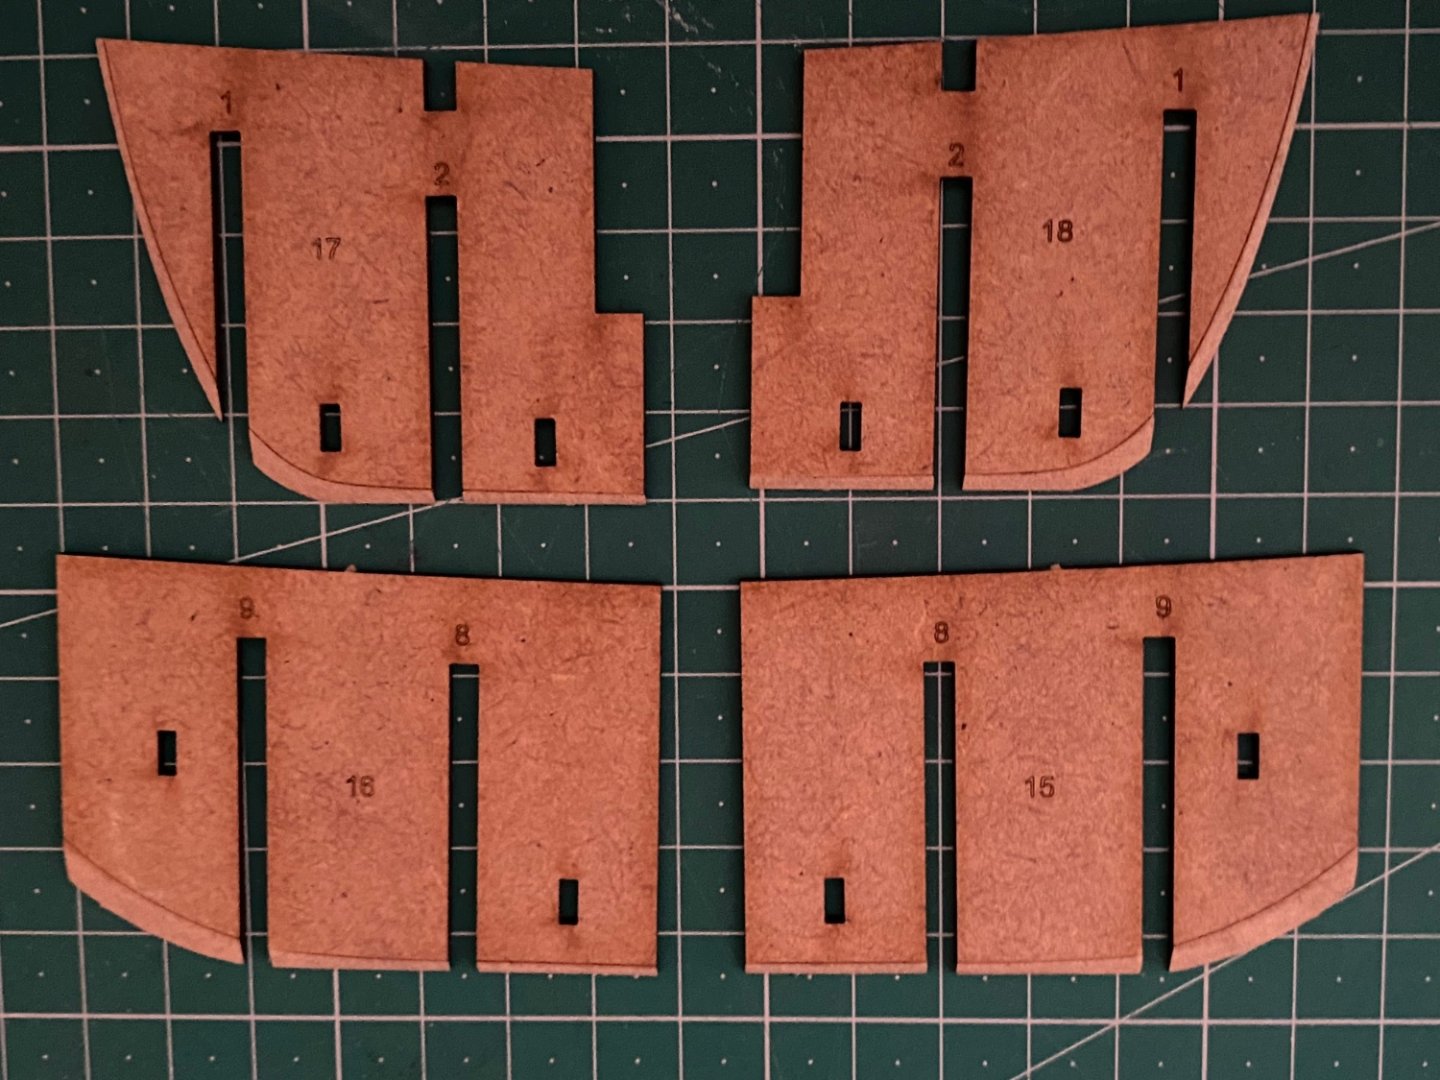
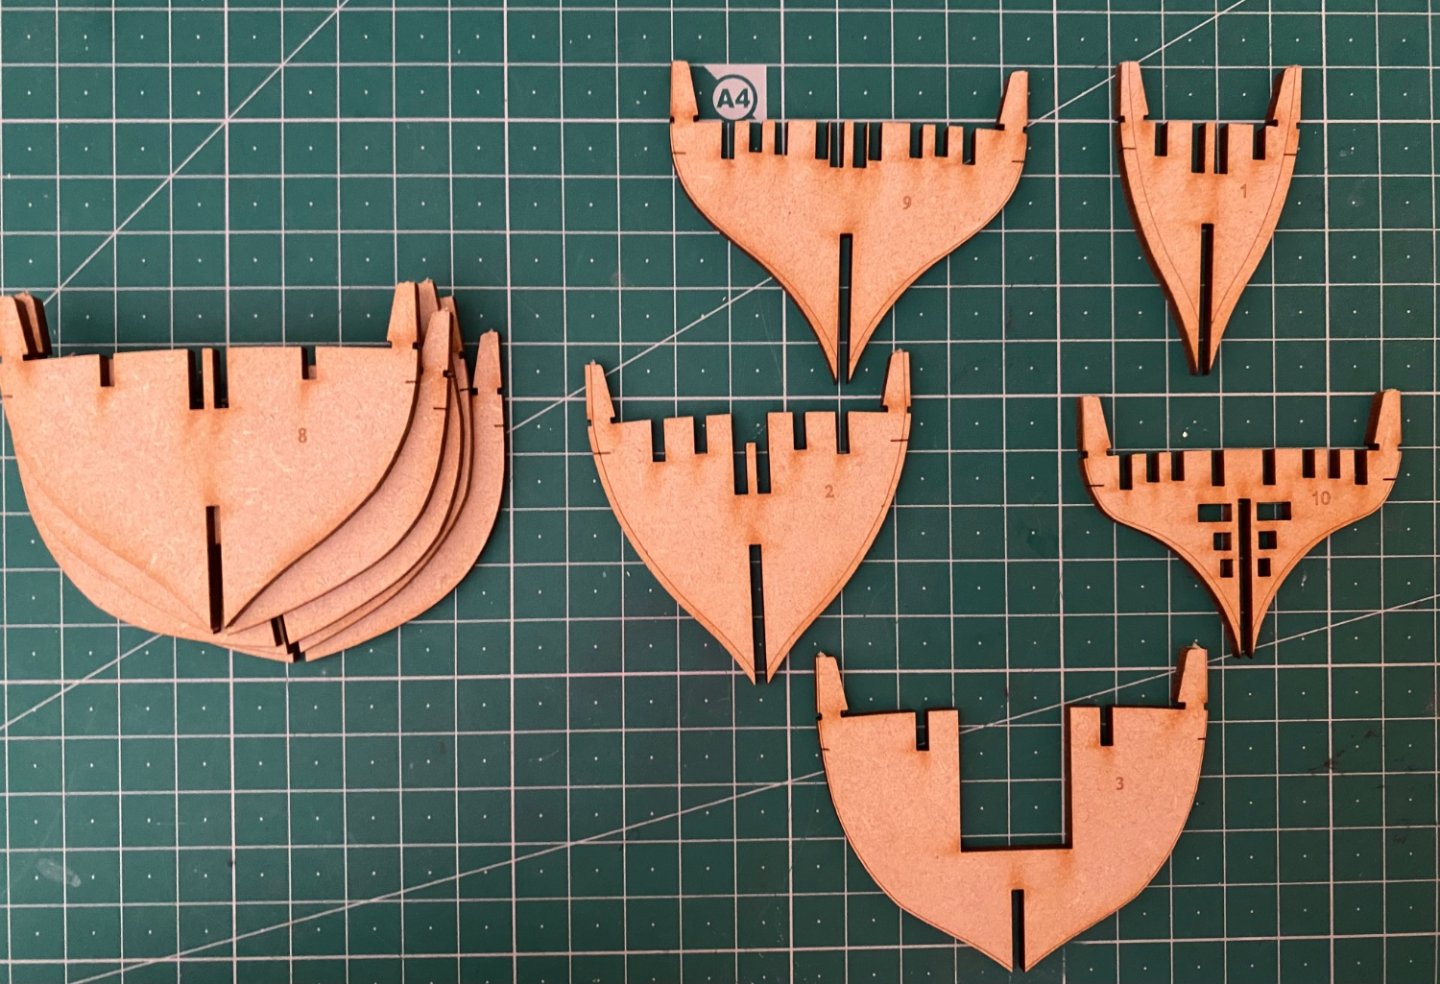
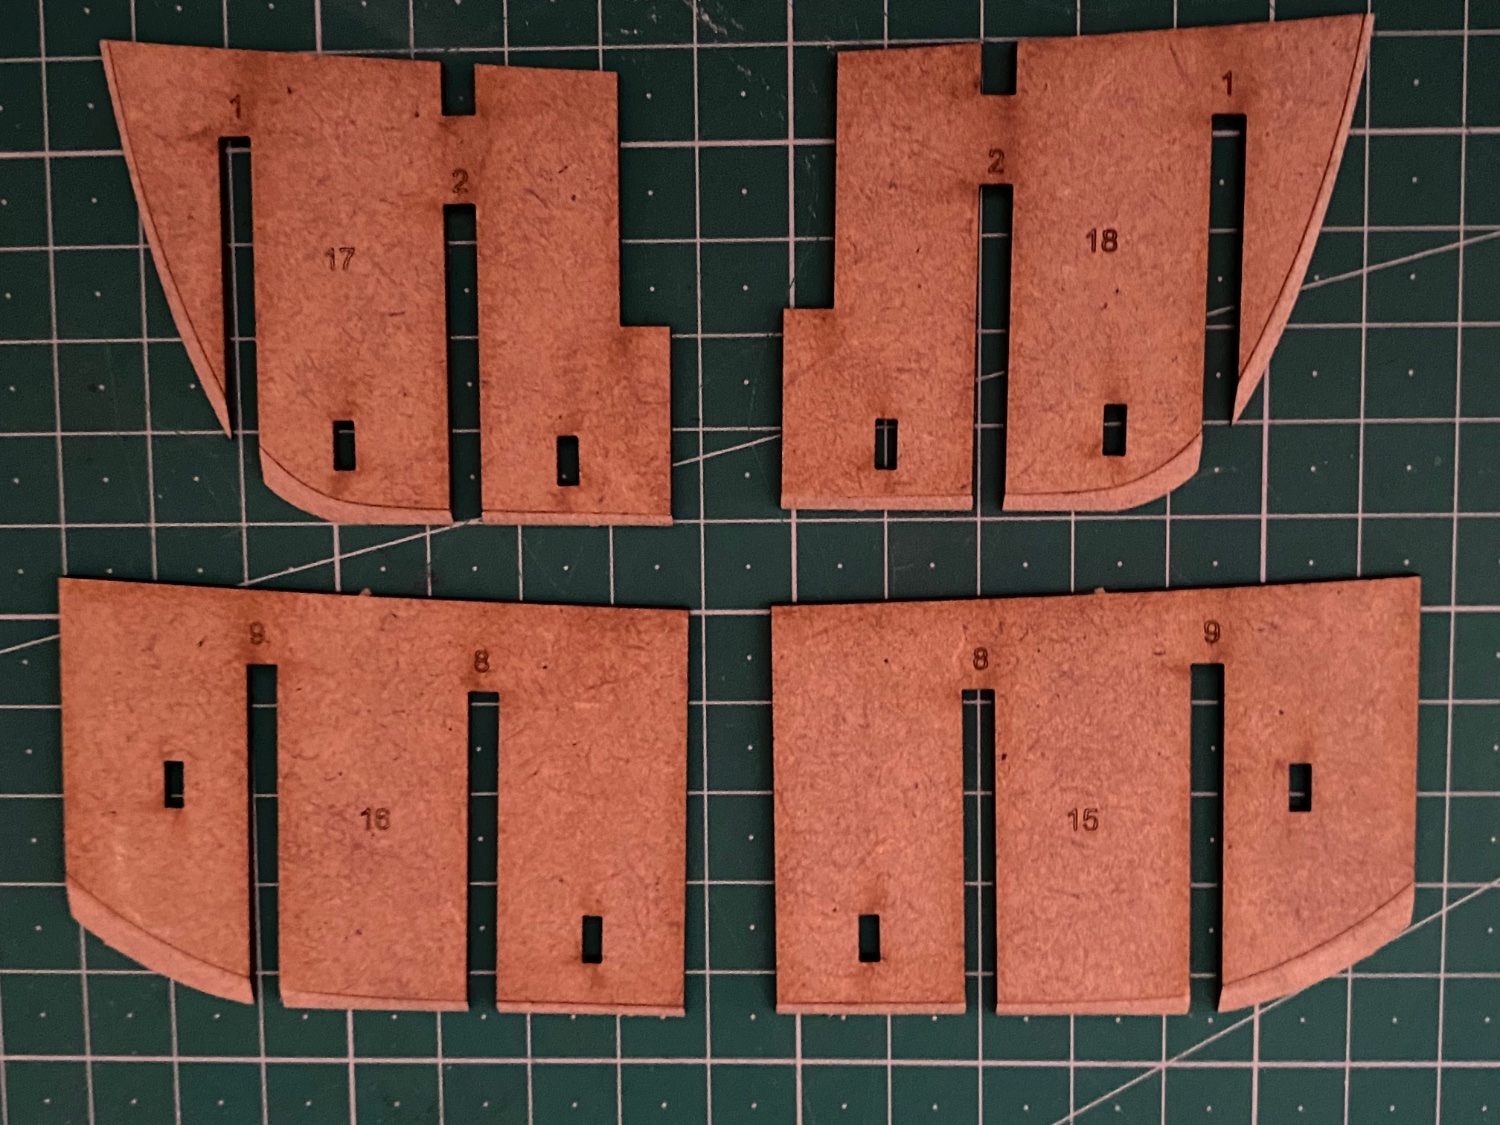
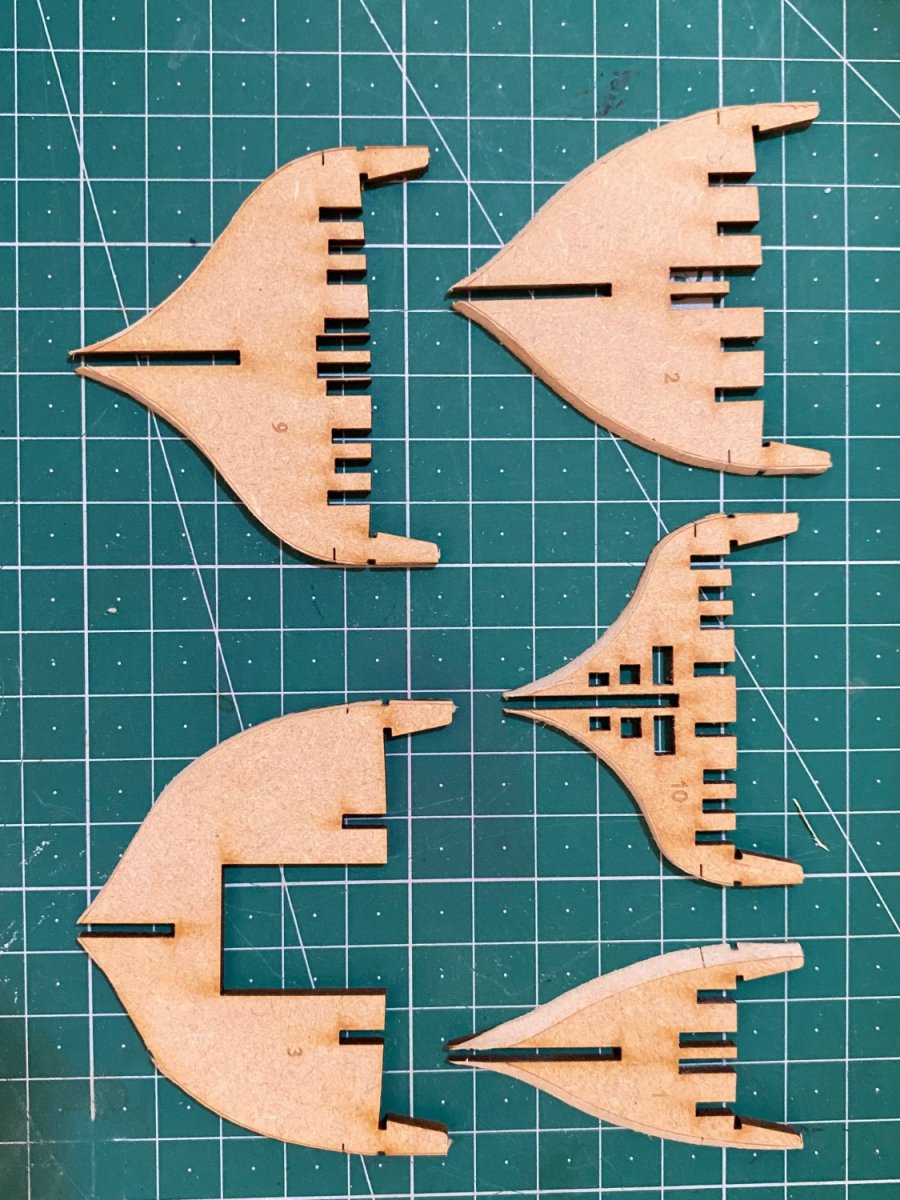
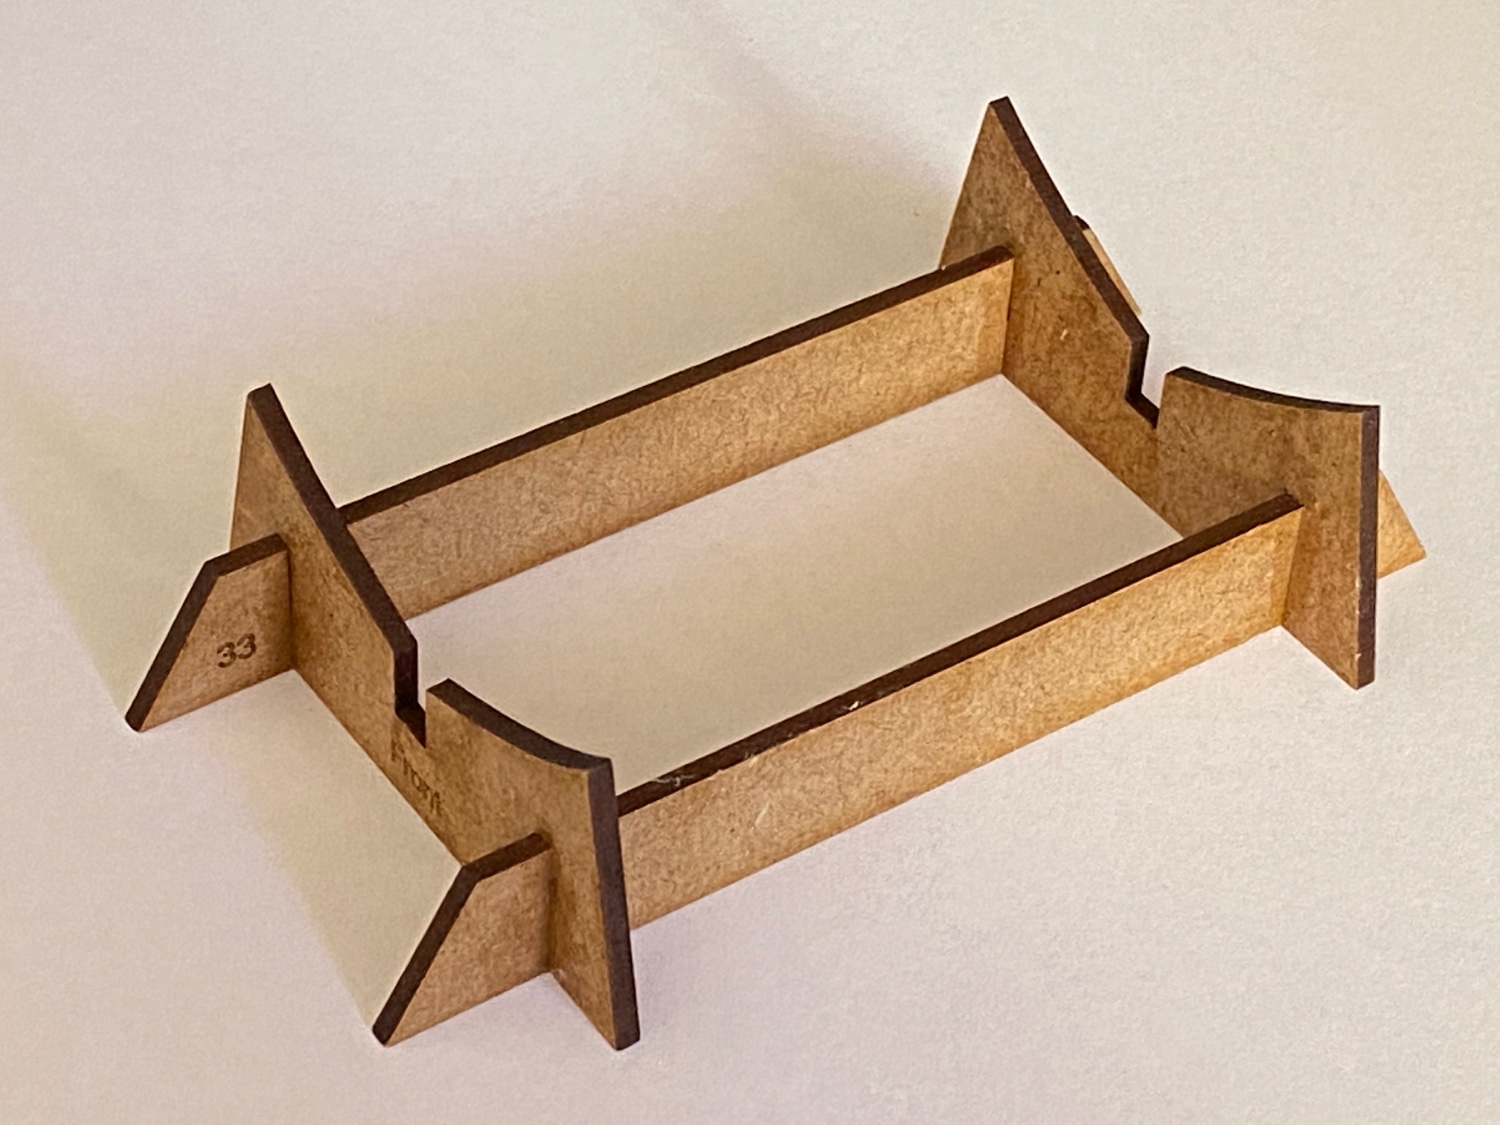
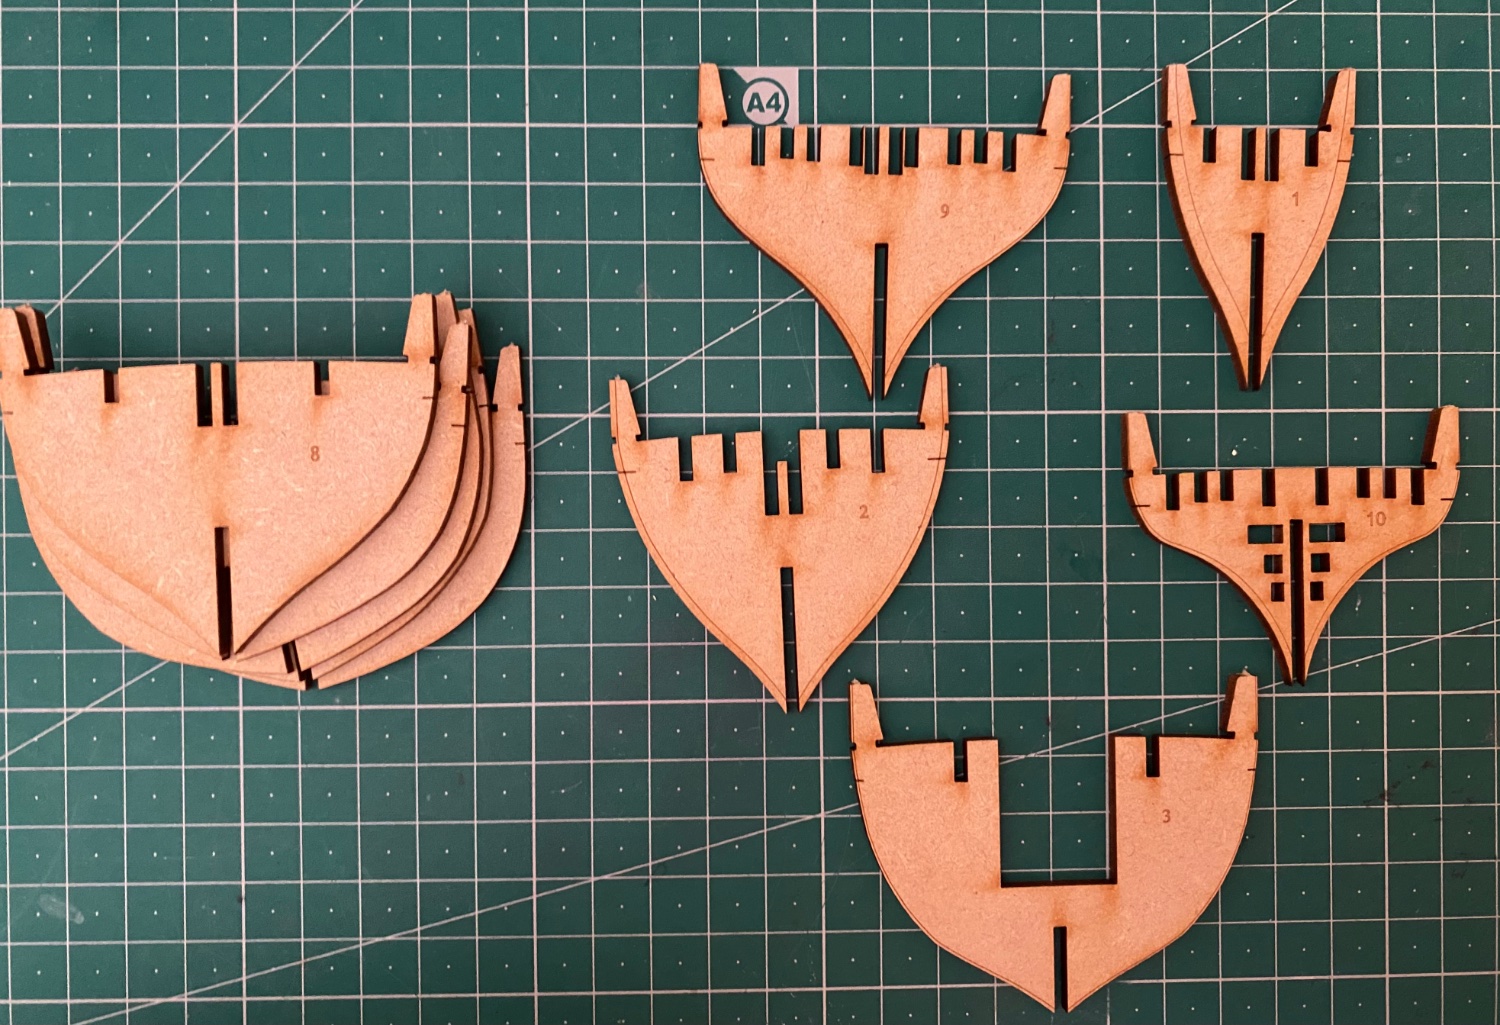
Thanks all! A few more piccies. The building cradle was glued up overnight and is ready to support it's precious cargo. Bulkheads have been removed and the four shown separately are now ready to be bevelled to their individually marked lines. I haven't finally decided how I'm going to do this yet, so watch this space .
-
-
50 minutes ago, James H said:
Looking forward to this.
BTW, I removed the text formatting from your original post which covered the text in a brown covering.
Many thanks James, that's a lot better!
Max
-
-
1 hour ago, Mike Collier said:
It looks like a pretty good kit. I like the fact the sails are premade.
Yes Mike, it certainly is a good kit. I felt that as it's going to be my first build, it would be worth spending a bit more than I'd originally intended to give me a decent chance of finishing it! Time will tell.
Max -
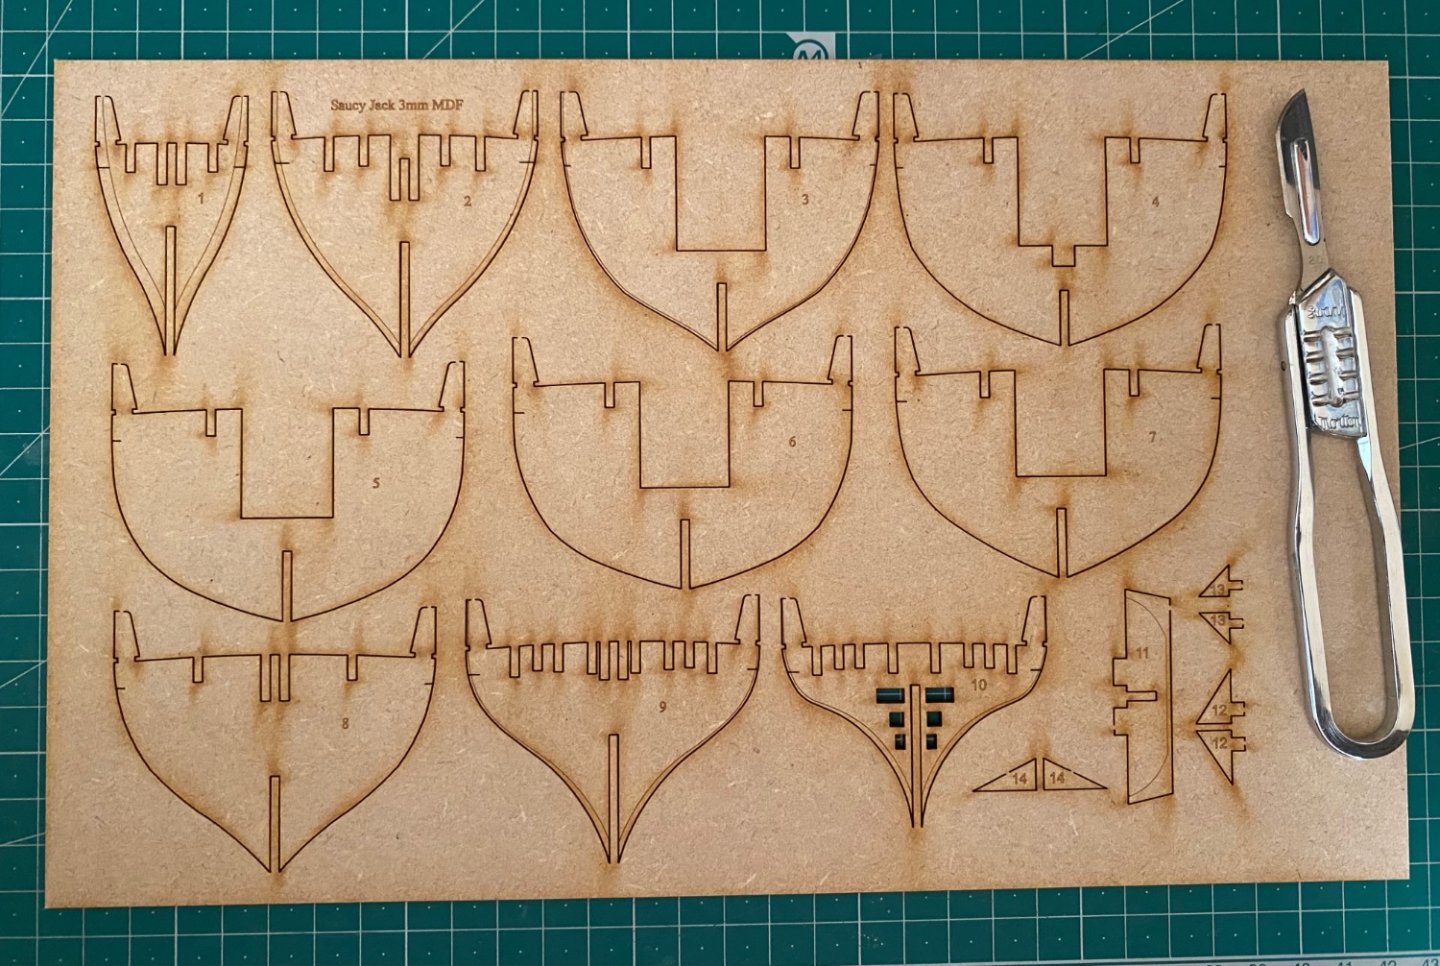
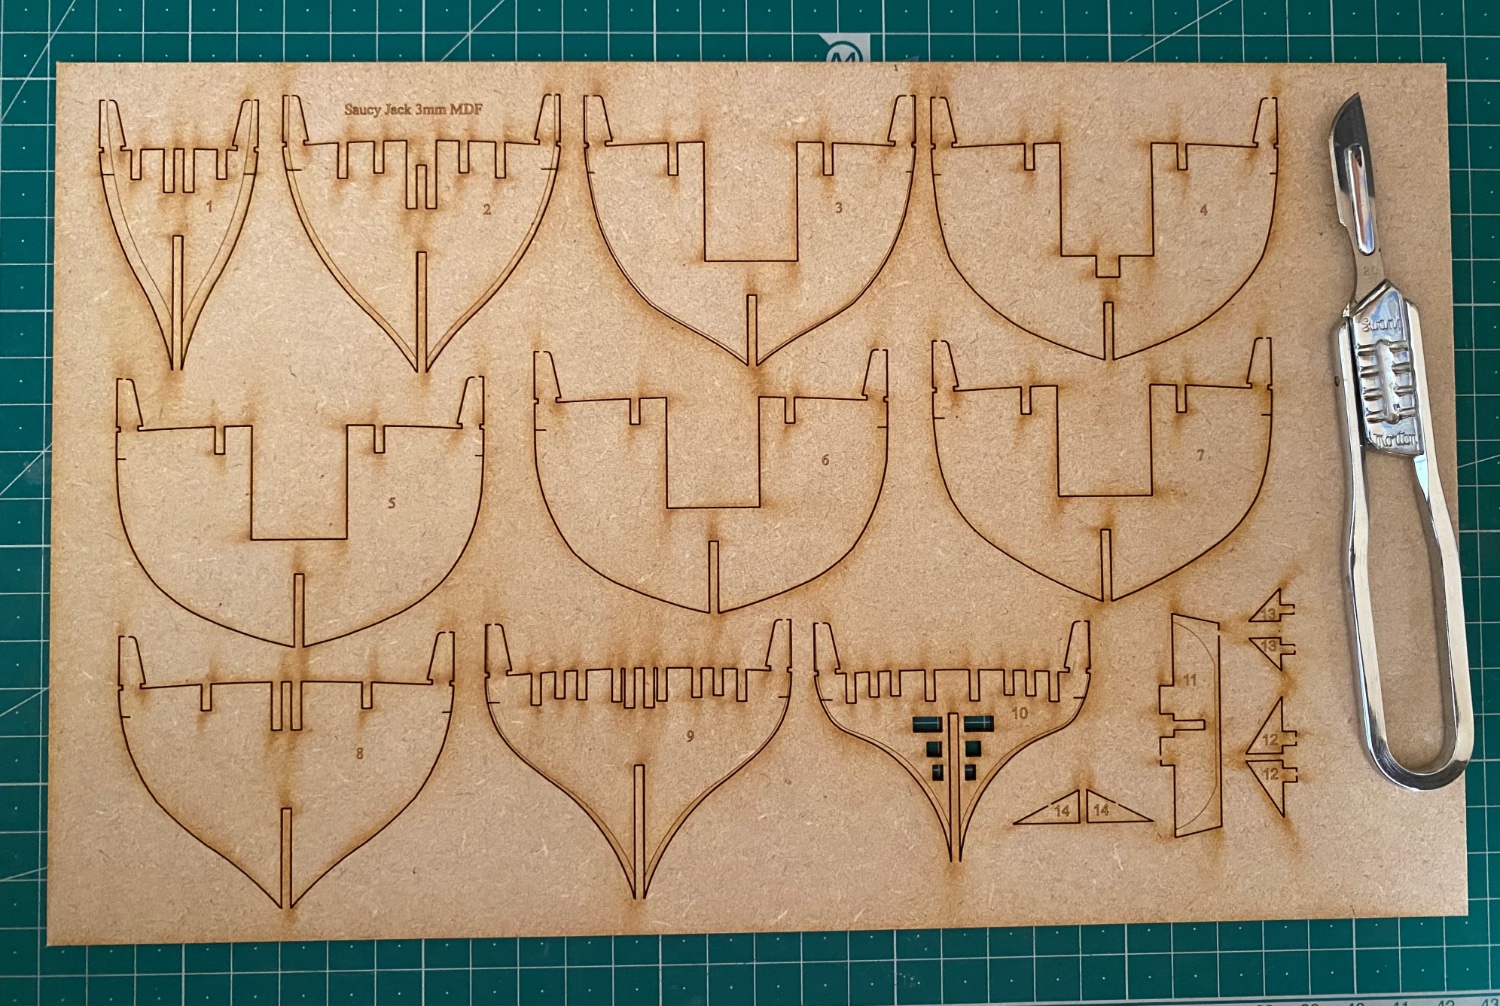
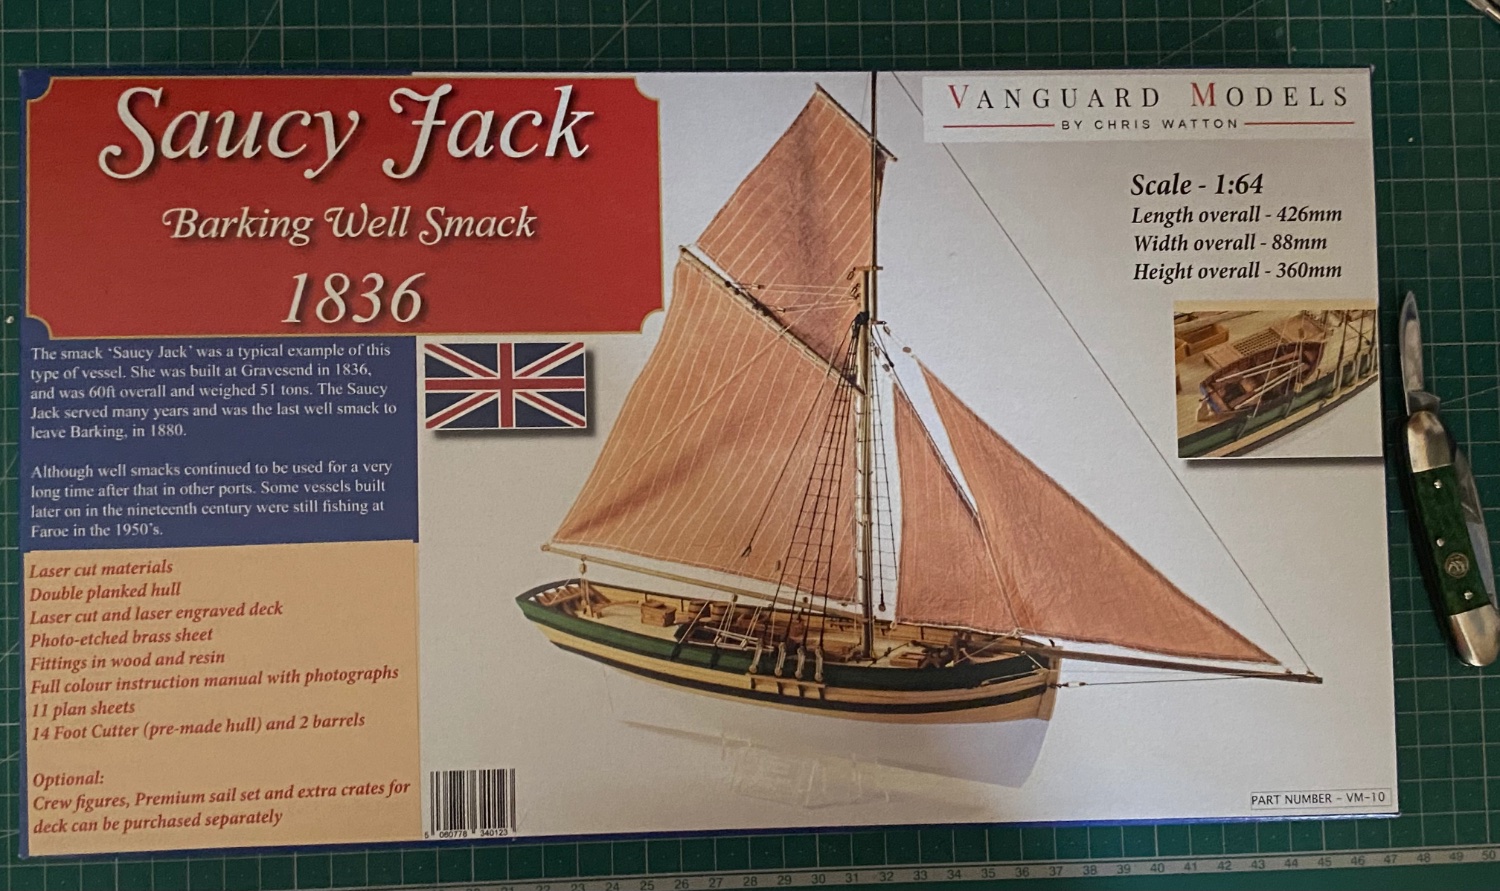
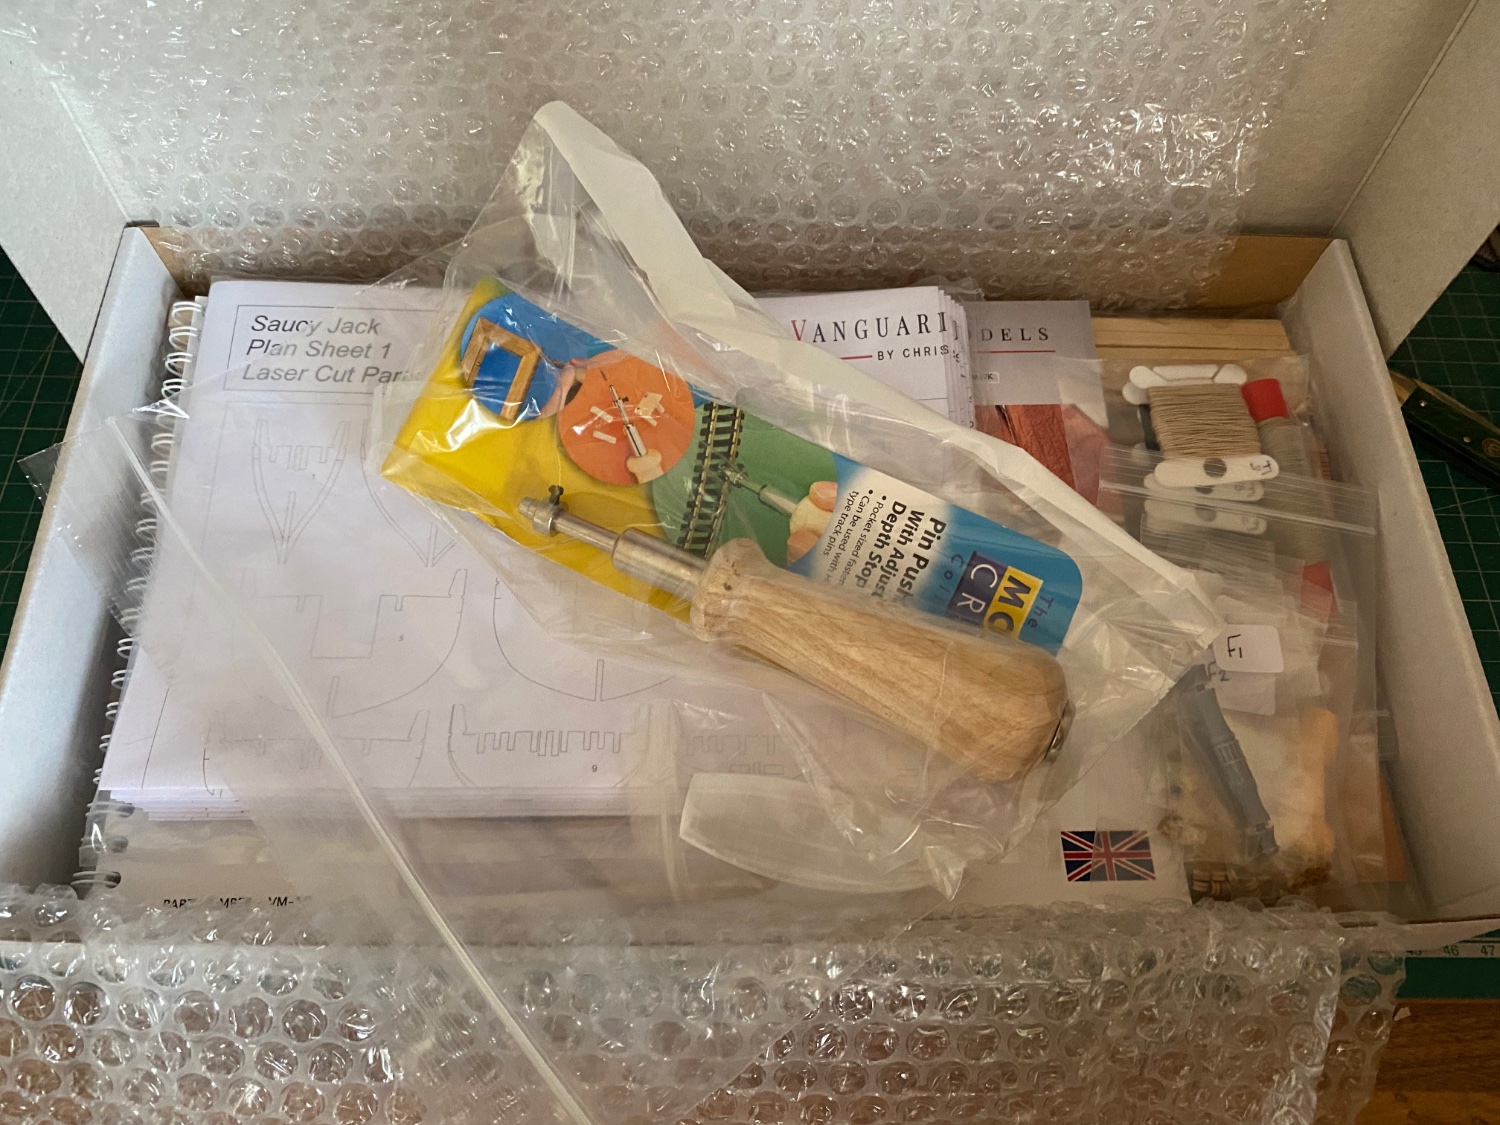
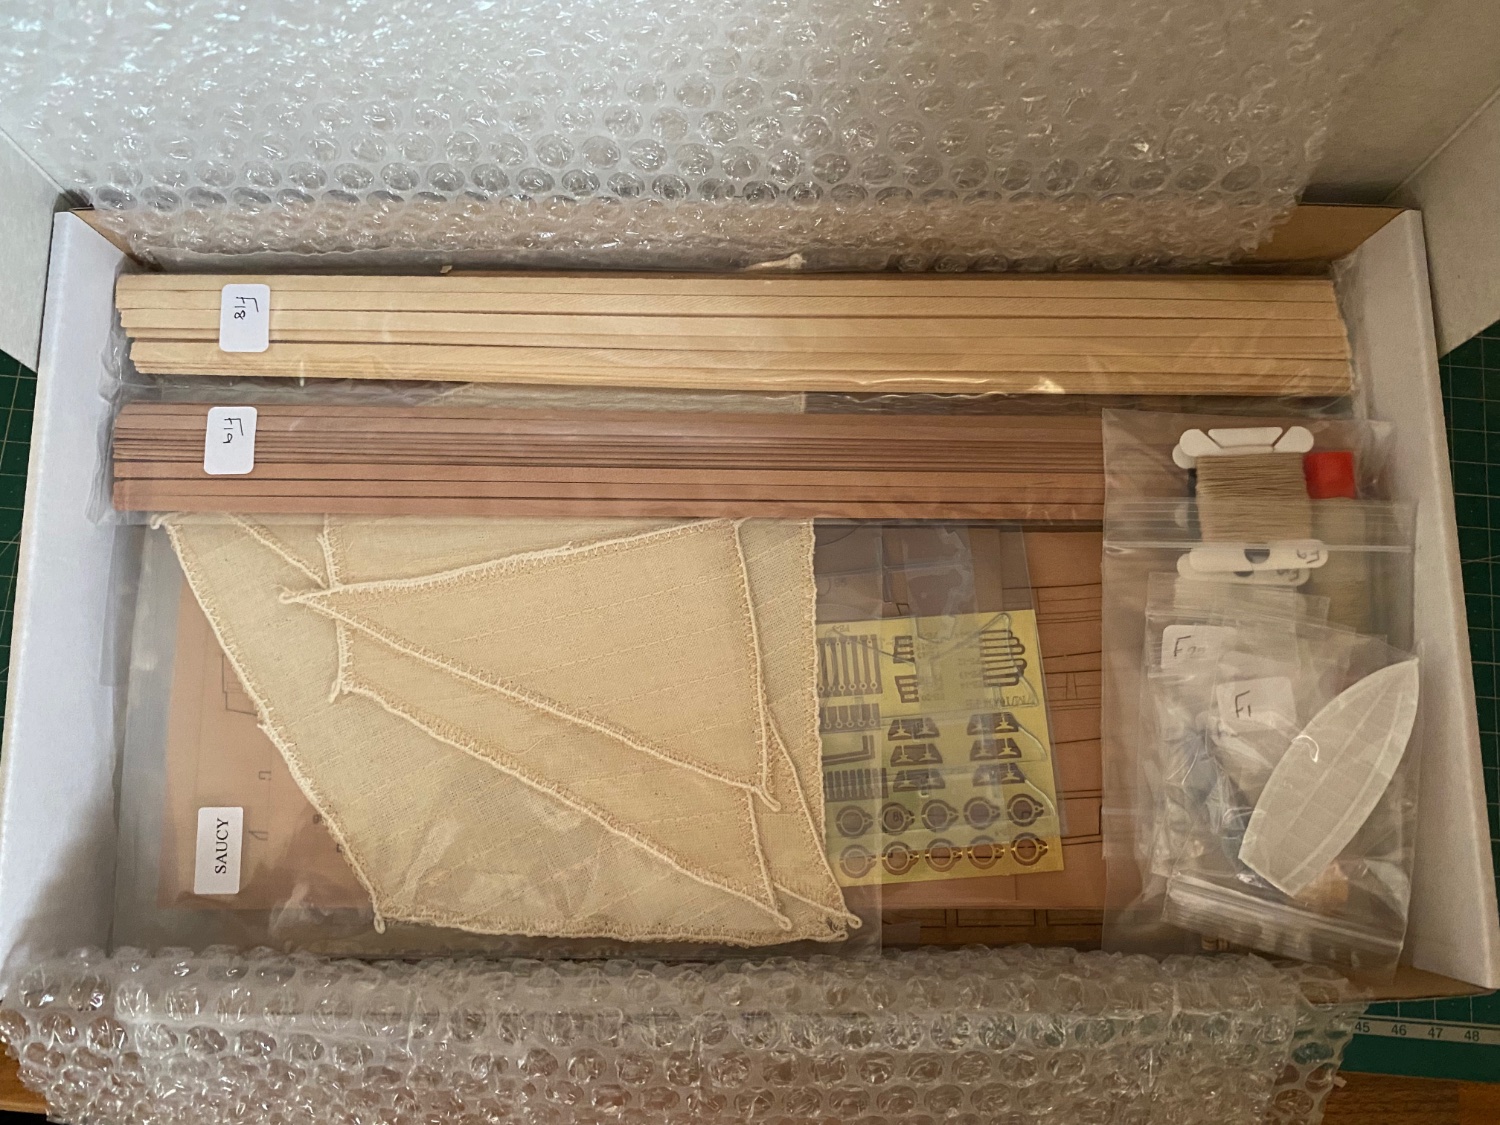
Hi all!
This is my very first build, and I decided to go with this maker as not only are all reports good, importantly for me, I think I'm more likely to finish it!
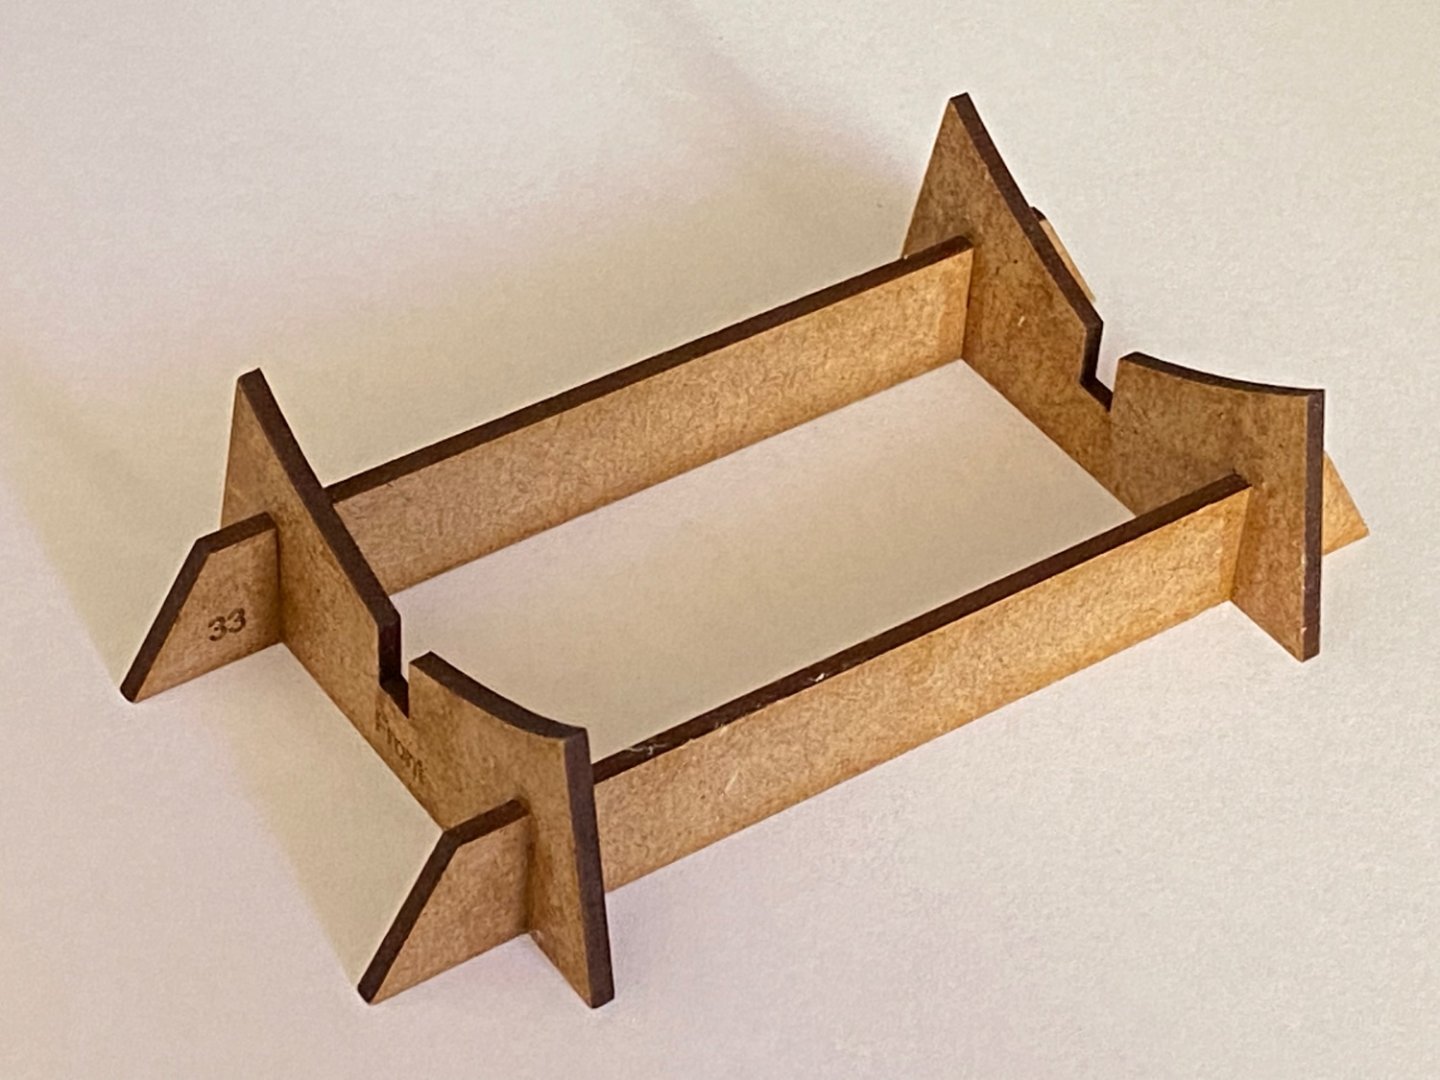
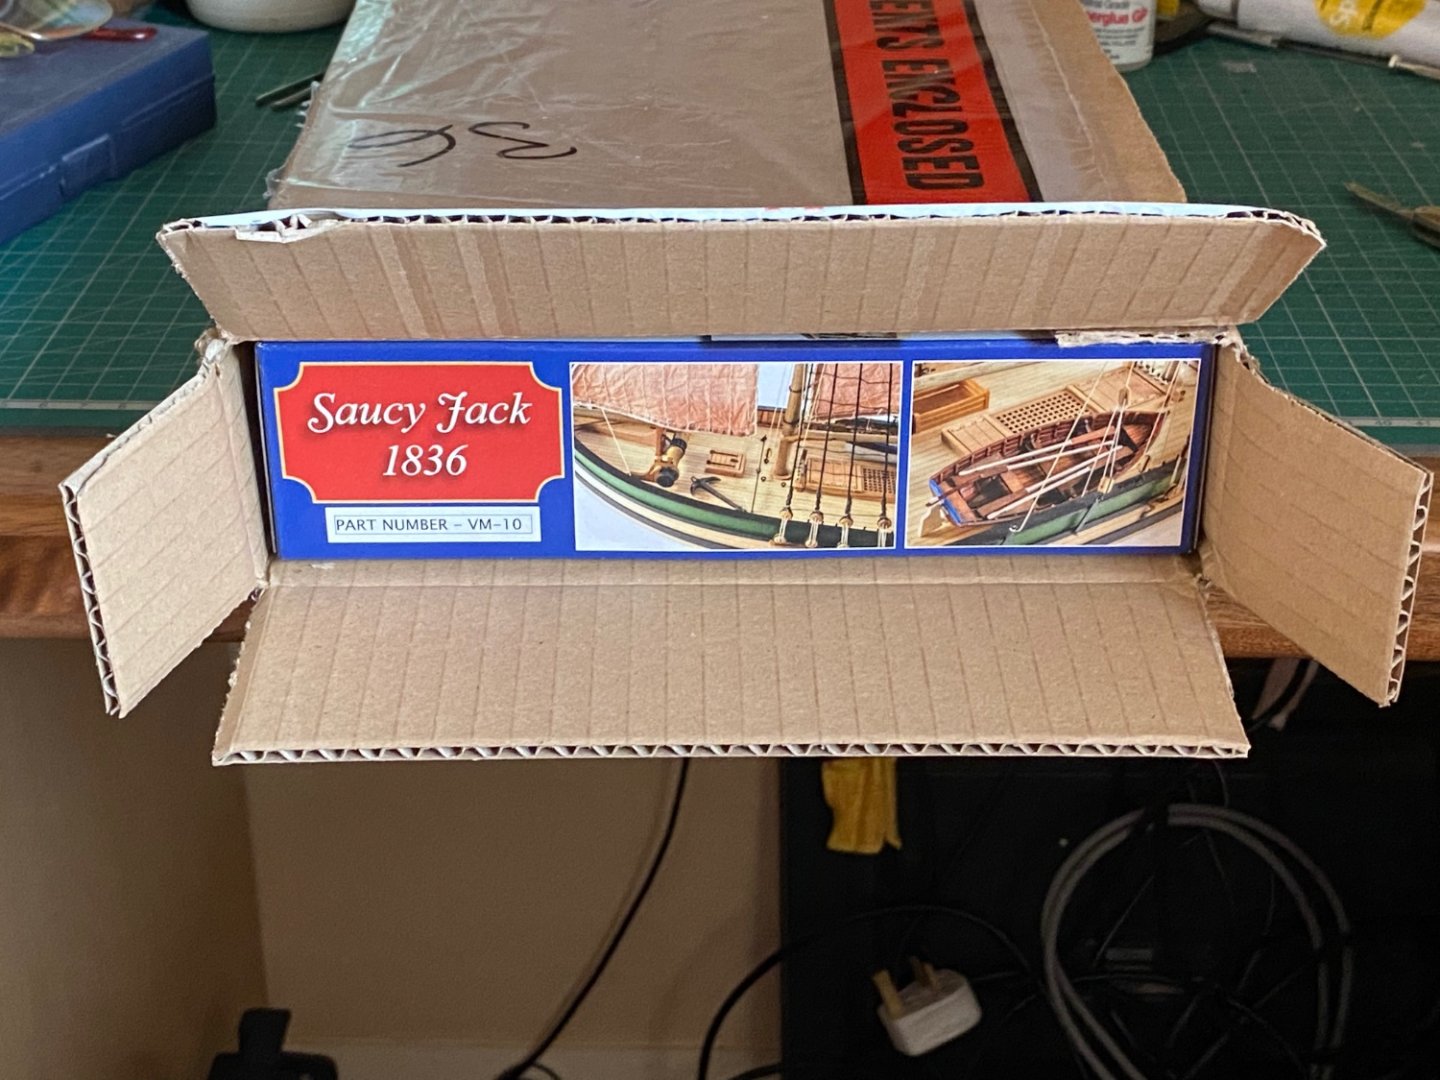
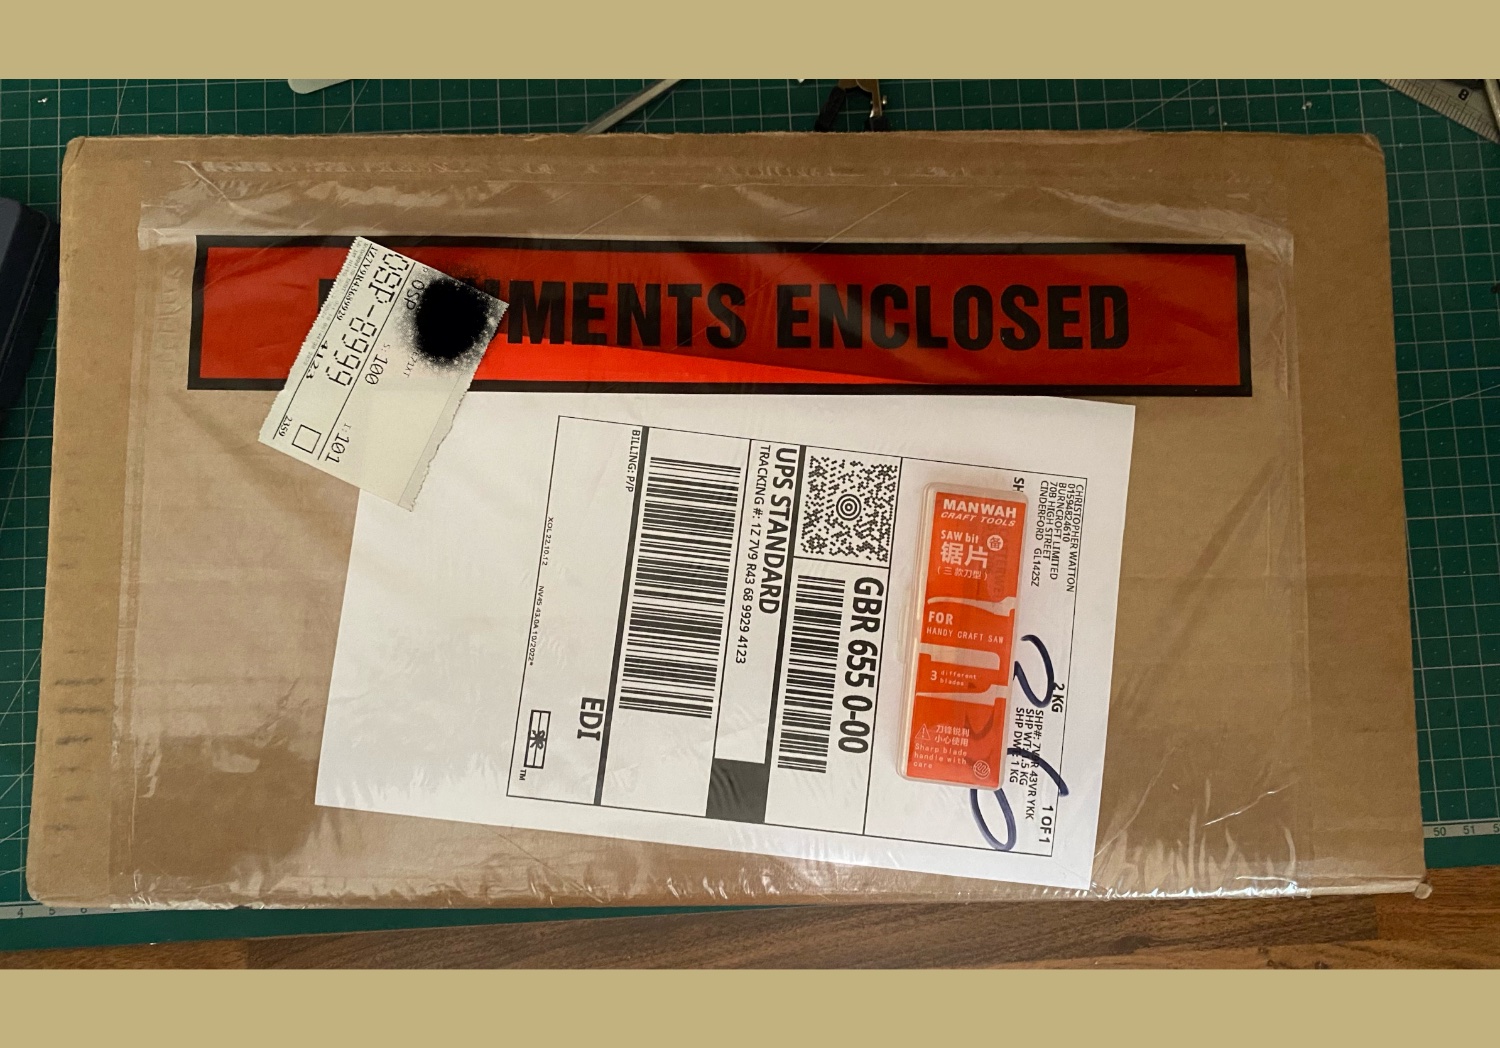
The kit arrived very well packed and quickly - always a plus. I'm going to include lots of piccies, and if I post too many please tell me. Building will begin tomorrow with the construction of the working cradle. I'm keen once I start to spe as much time on her as possible, but ill health may rear it's ugly head now and again.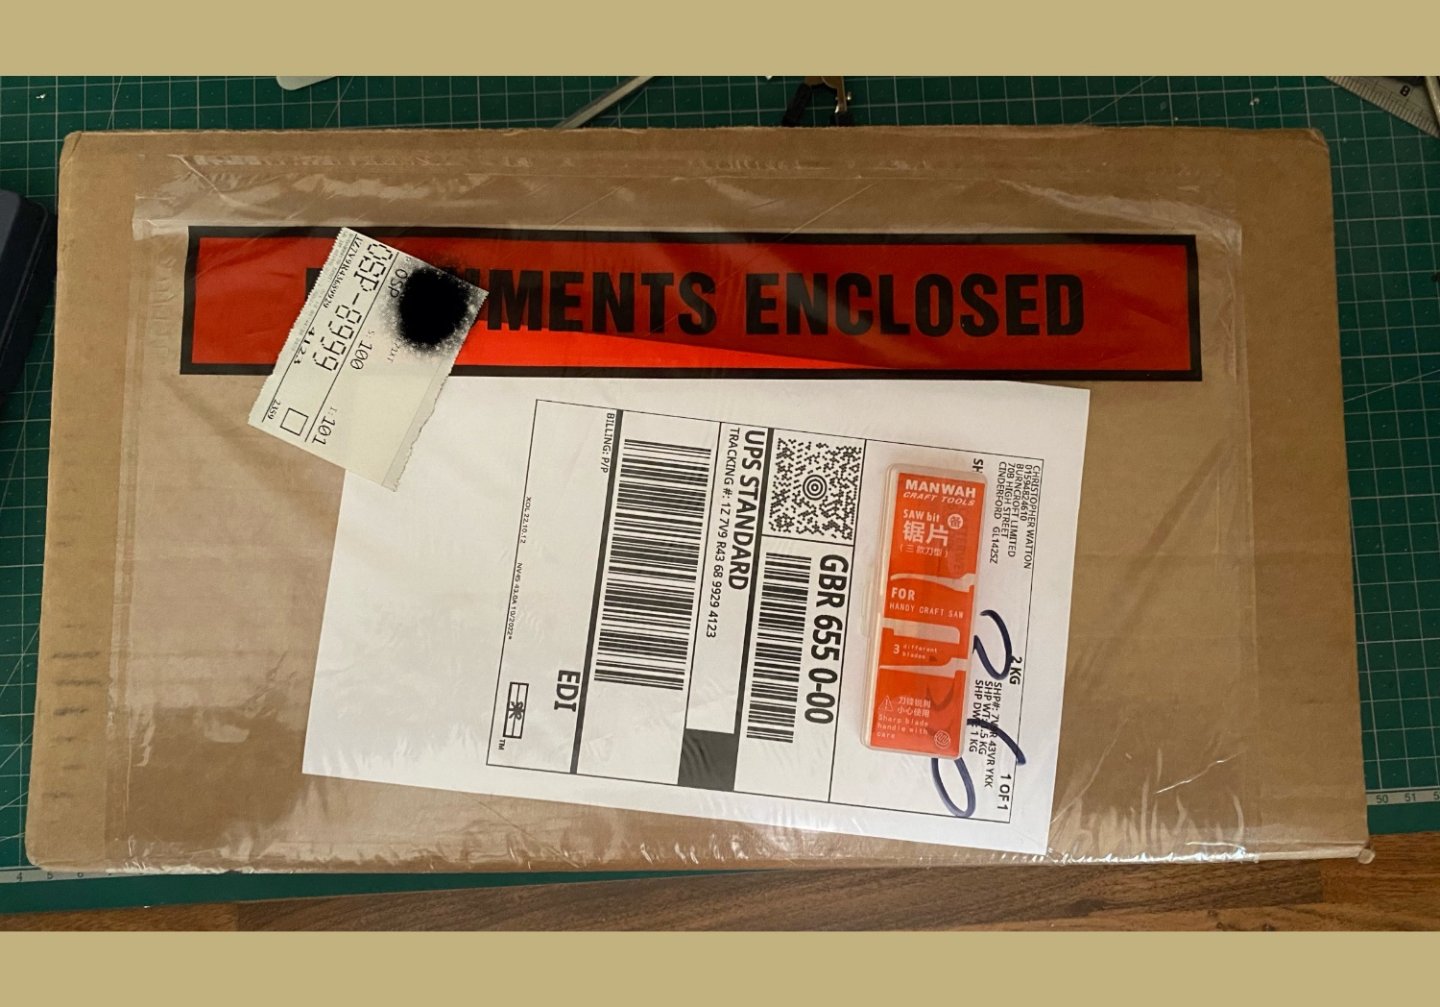

A new toy I bought which was included in the box.

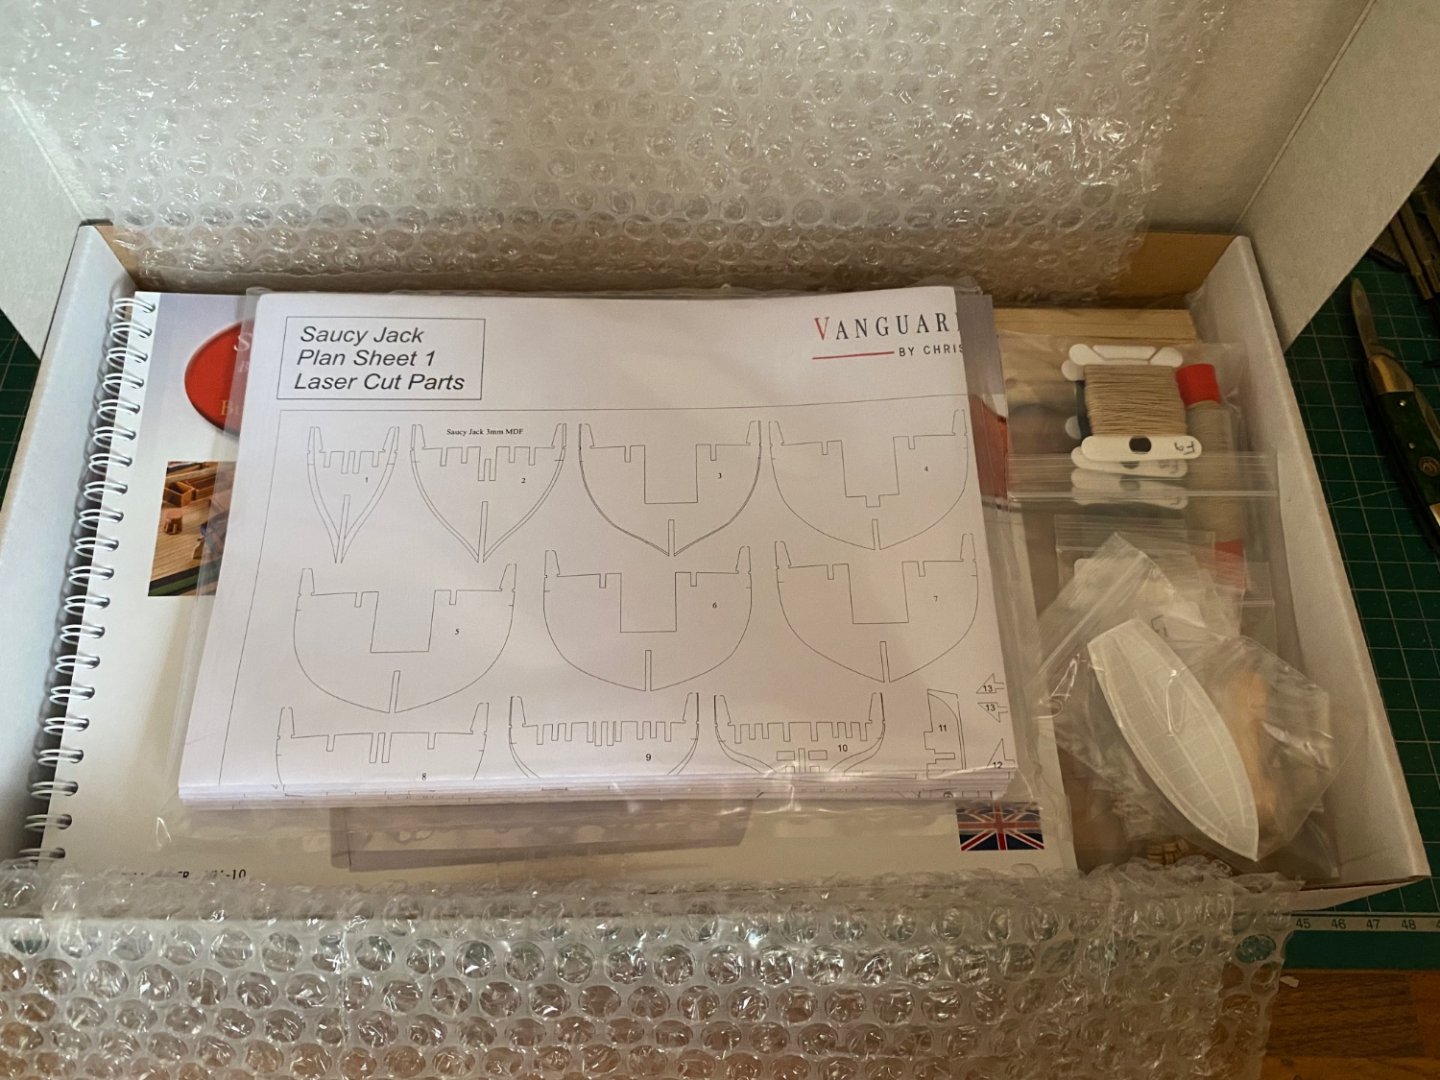
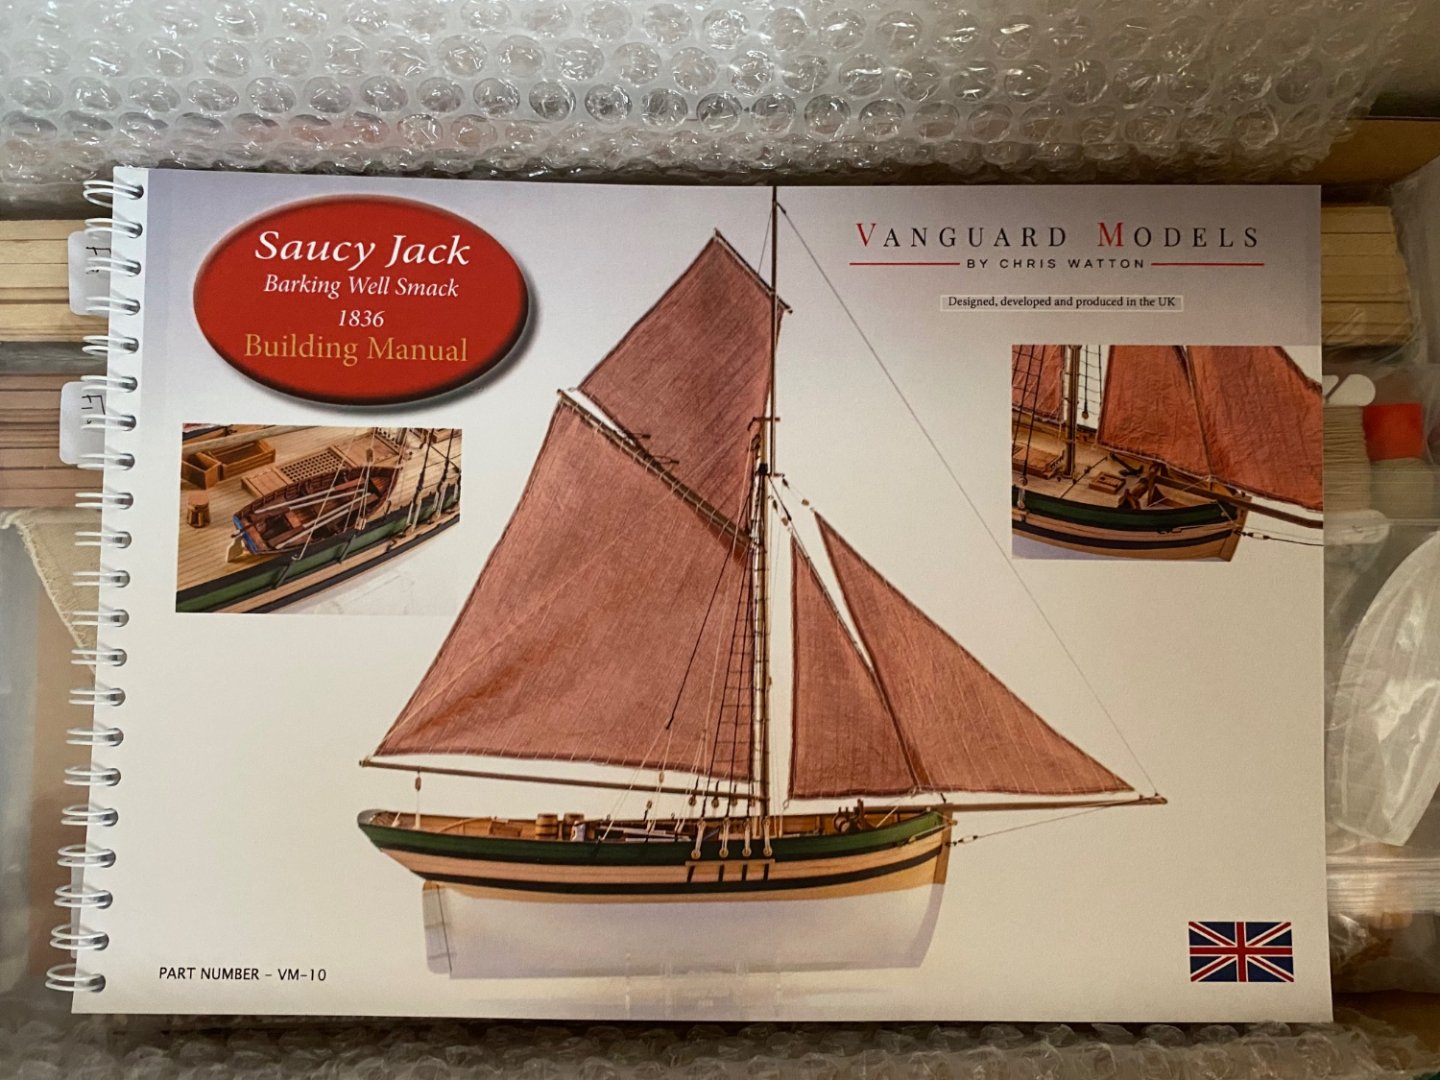 The very excellent manual
 Tomorrow should see a start
Max


Saucy Jack by MaxC - Vanguard Models - Barking Well Smack - first build
in - Kit build logs for subjects built from 1801 - 1850
Posted
Okay, here I am again! Nearly a year later and hoping to rekindle my interest in this little beauty. All came to a stop when I realised that the fairing lines printed on the forward bulkheads are wrong? It appears that by taking them back to these lines can't be right, or is it and I just can't see it? Perhaps I was just not too well at the time, or just couldn't be bothered to resolve the problem. But, I'm intending to have another go. Watch this space 😊.