-
Posts
518 -
Joined
-
Last visited
Content Type
Profiles
Forums
Gallery
Events
Everything posted by oakheart
-
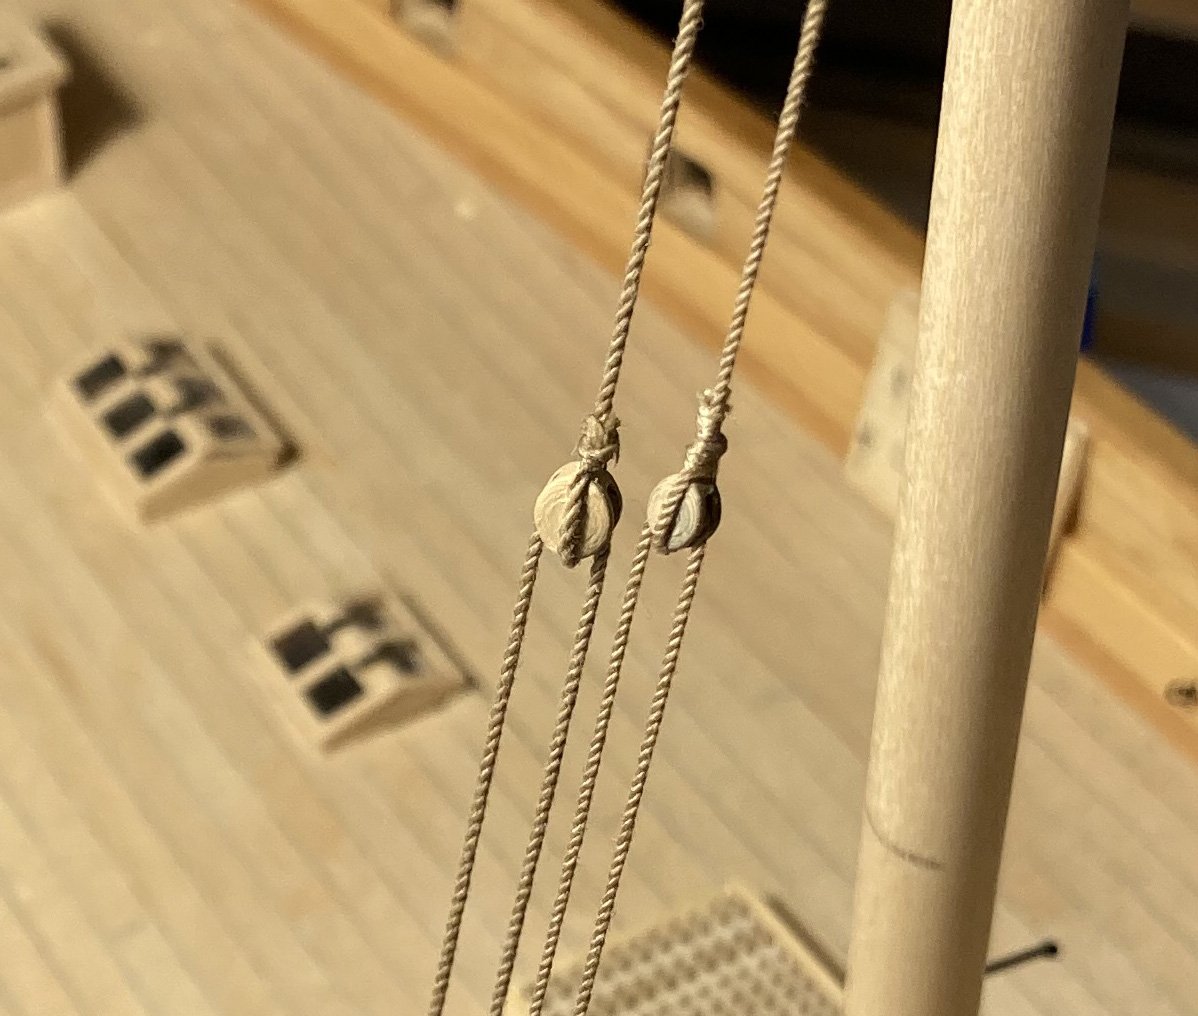
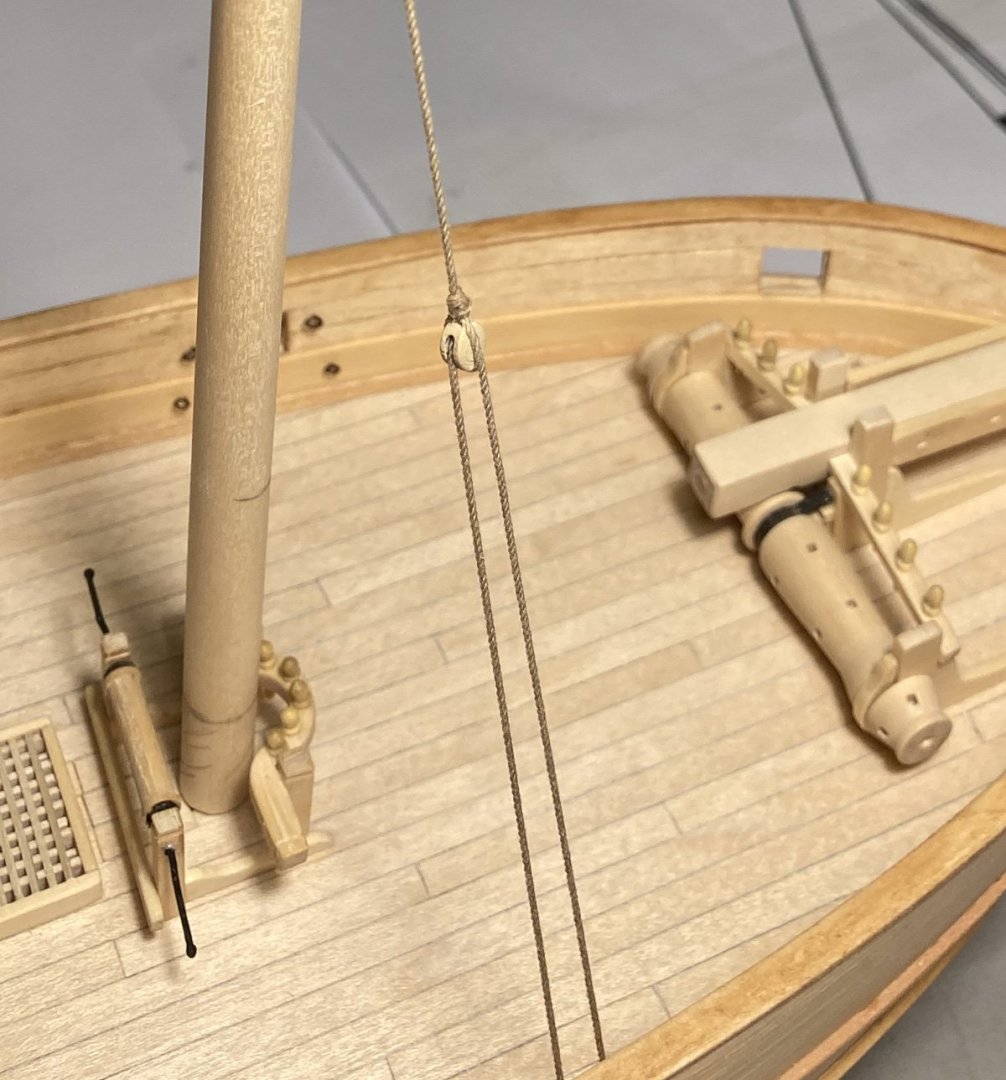
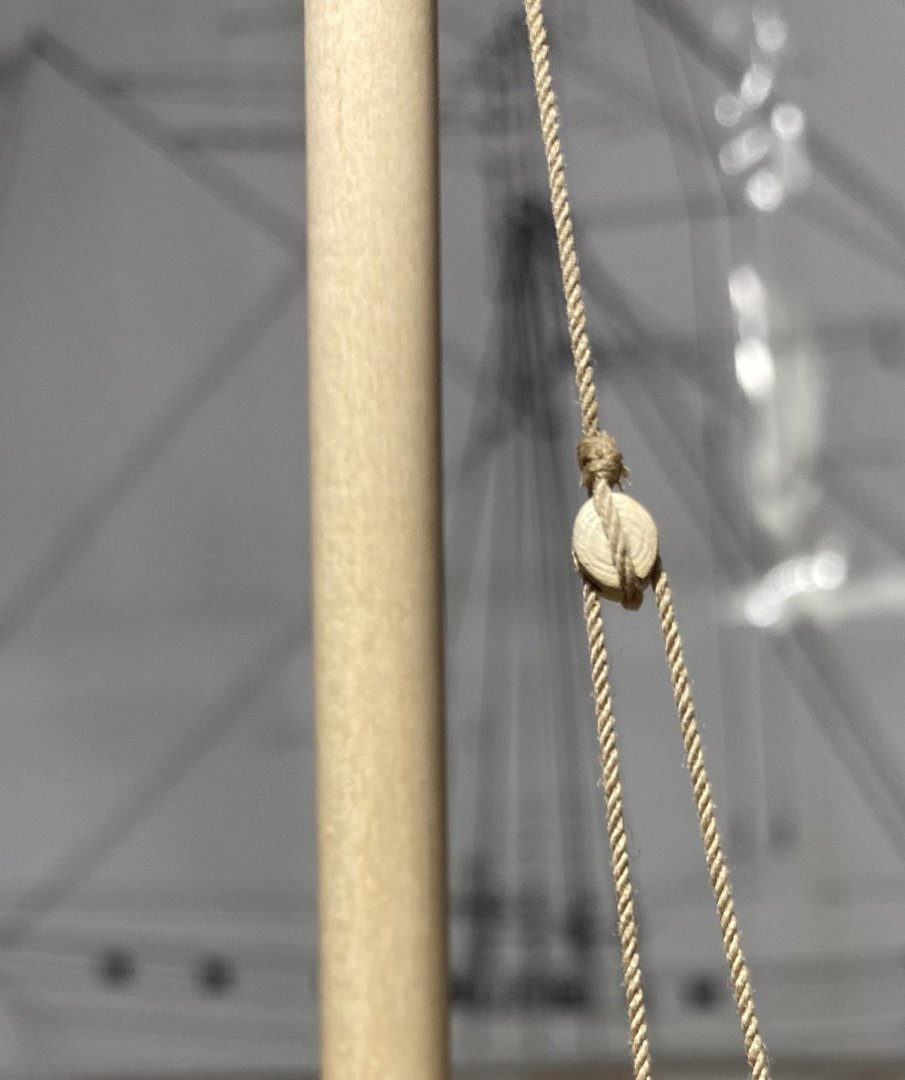
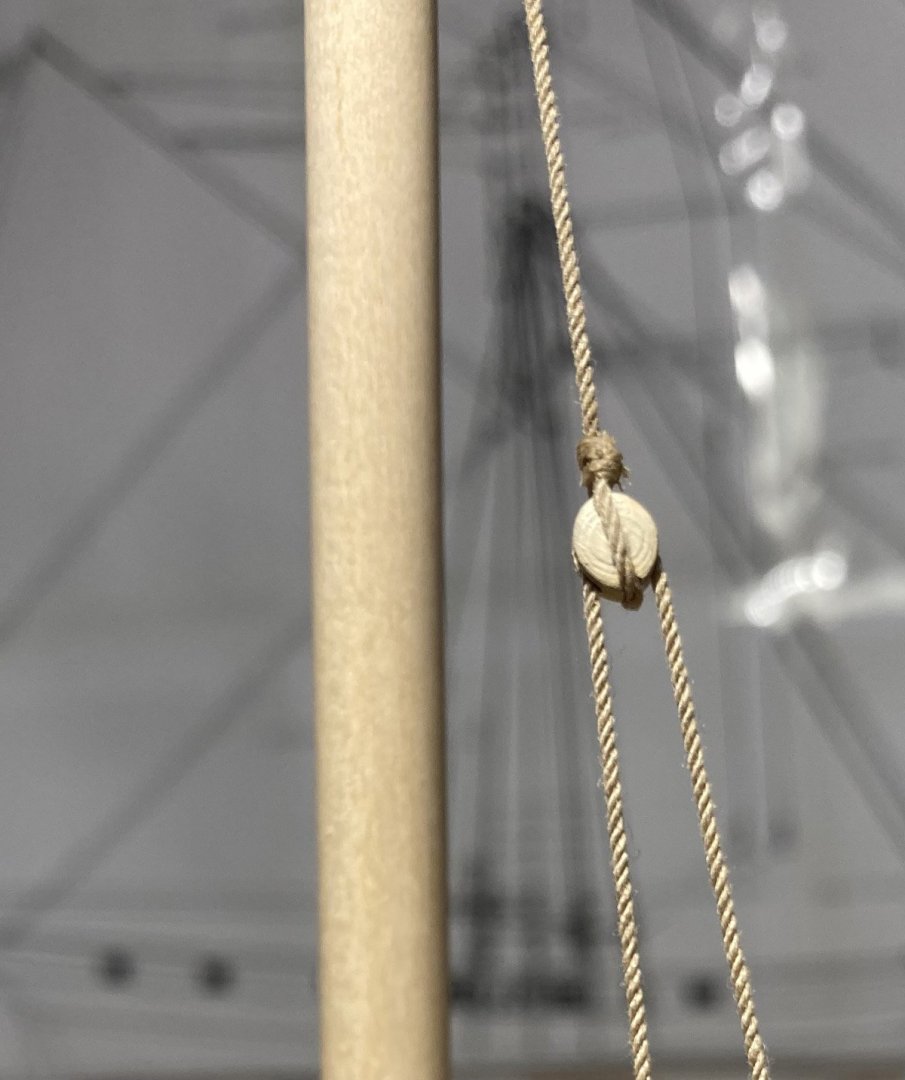
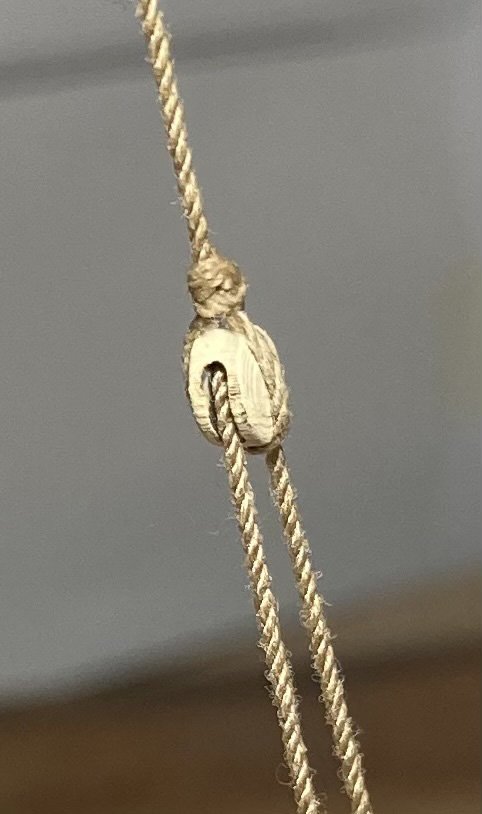
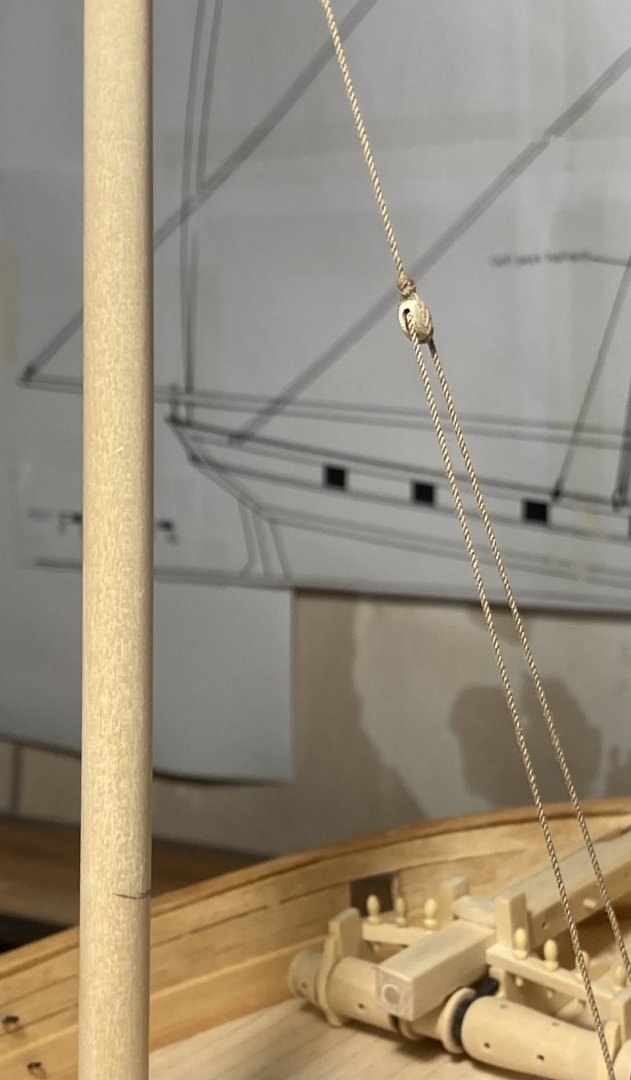
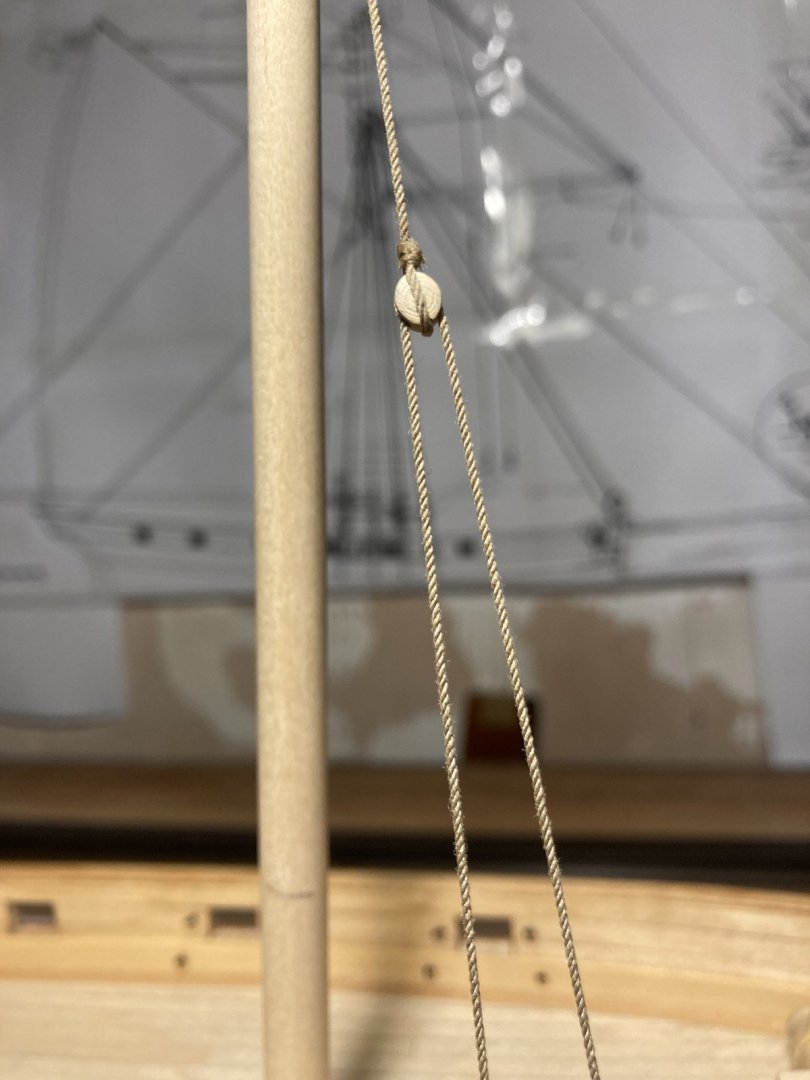
The serving of the blocks is getting better, latest at top 🙂 I spent the morning making a rough serving machine from scrap / parts found in the workshop. It really does help. As usual there are loads of examples on machine right on this forum. this rabbit hole just keeps getting deeper .................. Tim
-
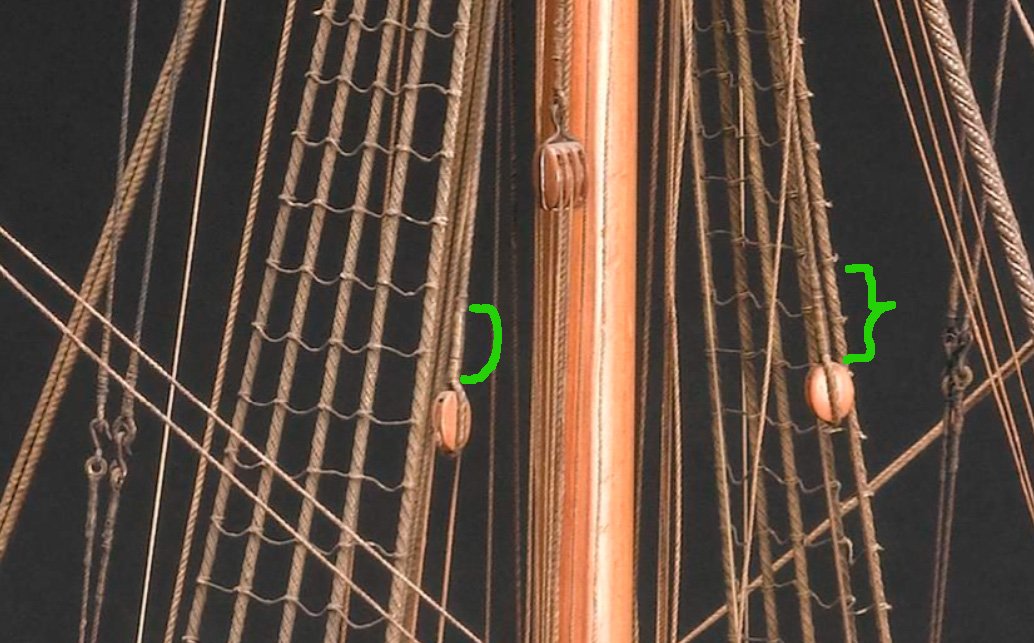
looking closer at the Science Museum Cutter model, the rope does not appear to be seized around the block and the length that is seized is much longer than what I have been trying to do, it looks very much like your example @Thukydides I think I will try and emulate this style on Speedy, I still have to go and find out how to do the fake splice. Tim
-
Hi Paul I made it over here and caught up on reading through the log. Thanks for a brilliant build and log, it's an inspiration for me to finish my cutter speedy. Although "Speedy" is a different cutter they share a lot of similarities. I shall certainly be using a few of the techniques you used on this build. Tim
- 112 replies
-
- Cheerful
- Syren Ship Model Company
-
(and 1 more)
Tagged with:
-

Blocks: wood, card or 3D resin?
oakheart replied to georgeband's topic in Masting, rigging and sails
Hi Tony I had to file a shallow groove top and bottom on my 5mm single blocks to make it work well after much searching I am going to use these on my "Speedy" Tim -

Blocks: wood, card or 3D resin?
oakheart replied to georgeband's topic in Masting, rigging and sails
I would have to second that, I too have just received some Seahorse 5mm single blocks from Modelnet and they are really very good. I have painted mine to look more like boxwood. Thanks for the recommendation George. Don't you just love this place, where else could you find all of the information we have access to. Tim -
Hi Paul, Love your Cheerful build, many ideas there that will help me with speedy. What sizes of blocks did you use? On these blocks no shaping was required at all. I did add a slight groove with a triangle file across the top and bottom for the seized rope that runs across the face, then just gave them a lick of paint. Now I need to practice my seizing, that in the photo above makes me think I have a lot to learn. I have been lent a "whip finishing tool" by a fly tying mate, so off to YouTube to find out how to use it. Tim
-
I got some Seahorse 3D printed blocks from ModelNet on eBay in the post today . see https://www.ebay.co.uk/itm/165760407676 I am really pleased, they are very good. Did not like the dark brown they are printed, so painted it to be more like boxwood, not quite the right colour yet, but not bad. They could maybe do with a quick sand down as well. But from a normal viewing distance you may not see the print lines it looks worse from some angles here are a couple very close up, warts and all. I have to remember that nobody would ever see this kind of detail when viewing the model. Tim
-
Over my coffee this morning I went though all of the pages and counted up the blocks etc. that are required for the cutter rigging. This will help when ordering parts. From Fore and Aft book by Lennarth Pettersson ( note I have the Kindle version of the book so page numbering may be different from the print version ) page name single single double triple Fiddle sheave deadeyes 4mm 5mm 16 Channels 16 5mm 17 Shrouds 4 18 Toprope 4 2 19 Topmast shrouds 4 20 Forestay 1 21 Forestay 1 9.5mm 22 Backstay 1 3 1 1 23 bowsprit guys 24 Jib in/out 1 1 25 jib halliard 3 26 Lower yard sling 2 4 27 TS yard Halliard 2 1 28 Lifts 2 2 29 Clueline & sheets 4 30 lower yard braces 2 31 ts yard braces 2 32 throat halliard 2 33 Peak Halliard 6 1 34 topping lift 2 2 35 mainsheet 2 36 Jib 37 foresail 2 38 Hoists 1 1 totals 20 19 11 2 3 11 17 Tim
-
On page 11 of his book he say's his drawings are based on the fully rigged model in the London Science Museum, which is the one featured on their website. So I guess we can use the photos of the Science Museum model in conjunction with the drawings in the book to get a better understanding of the overall rigging. Tim
-
wow @Gregory, that is going to be really helpful, thanks so much. Not clutter just good research and explanation. I will keep plodding away until I get to that point, then I'm sure there will be a few questions. @vossiewulf I am happy to host the discussion here if you like, but it might be better over in the other discussion as it would save that from becoming fragmented. Having printed out Bill's rigging diagram full scale ( I did 12 A4 sheets and taped them together ), one thing is very apparent already, I will have to extend my rope walk, I can only do about a 950mm, which for some of the 'lines' is too short. Tim
About us
Modelshipworld - Advancing Ship Modeling through Research
SSL Secured
Your security is important for us so this Website is SSL-Secured
NRG Mailing Address
Nautical Research Guild
237 South Lincoln Street
Westmont IL, 60559-1917
Model Ship World ® and the MSW logo are Registered Trademarks, and belong to the Nautical Research Guild (United States Patent and Trademark Office: No. 6,929,264 & No. 6,929,274, registered Dec. 20, 2022)
Helpful Links
About the NRG
If you enjoy building ship models that are historically accurate as well as beautiful, then The Nautical Research Guild (NRG) is just right for you.
The Guild is a non-profit educational organization whose mission is to “Advance Ship Modeling Through Research”. We provide support to our members in their efforts to raise the quality of their model ships.
The Nautical Research Guild has published our world-renowned quarterly magazine, The Nautical Research Journal, since 1955. The pages of the Journal are full of articles by accomplished ship modelers who show you how they create those exquisite details on their models, and by maritime historians who show you the correct details to build. The Journal is available in both print and digital editions. Go to the NRG web site (www.thenrg.org) to download a complimentary digital copy of the Journal. The NRG also publishes plan sets, books and compilations of back issues of the Journal and the former Ships in Scale and Model Ship Builder magazines.


