HOLIDAY DONATION DRIVE - SUPPORT MSW - DO YOUR PART TO KEEP THIS GREAT FORUM GOING! (Only 72 donations so far out of 49,000 members - Can we at least get 100? C'mon guys!)
×


Bryan Woods
-
Posts
551 -
Joined
-
Last visited
Content Type
Profiles
Forums
Gallery
Events
Everything posted by Bryan Woods
-
 Bob and Steven, your complements are greatly appreciated:-) I’ve really enjoyed venturing out to change little things on this build. I do have a pretty big imagination, but it’s fueled by seeing how others accomplish their tasks and obstacles.
- 134 replies
-
- 1
-

-
- sea of galilee boat
- SE Miller
- (and 1 more)
-
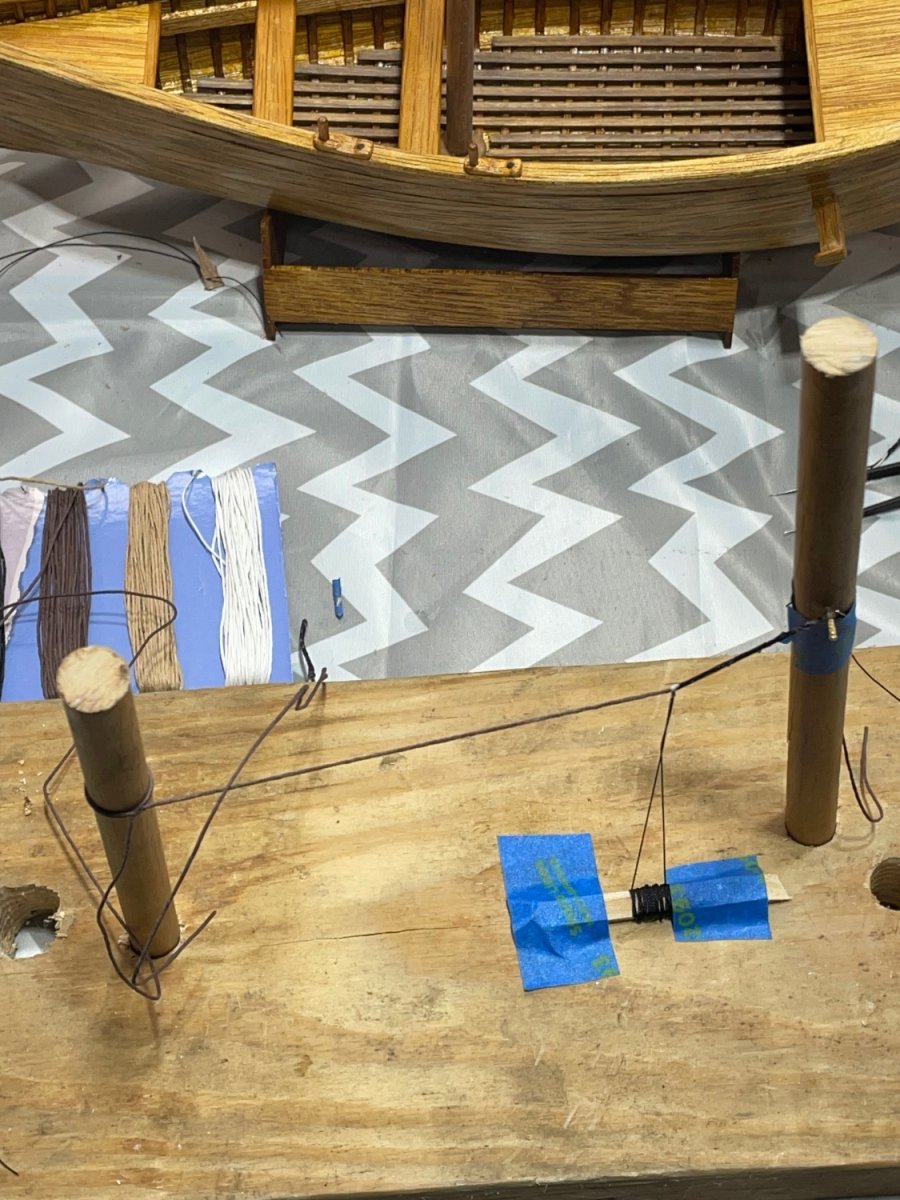
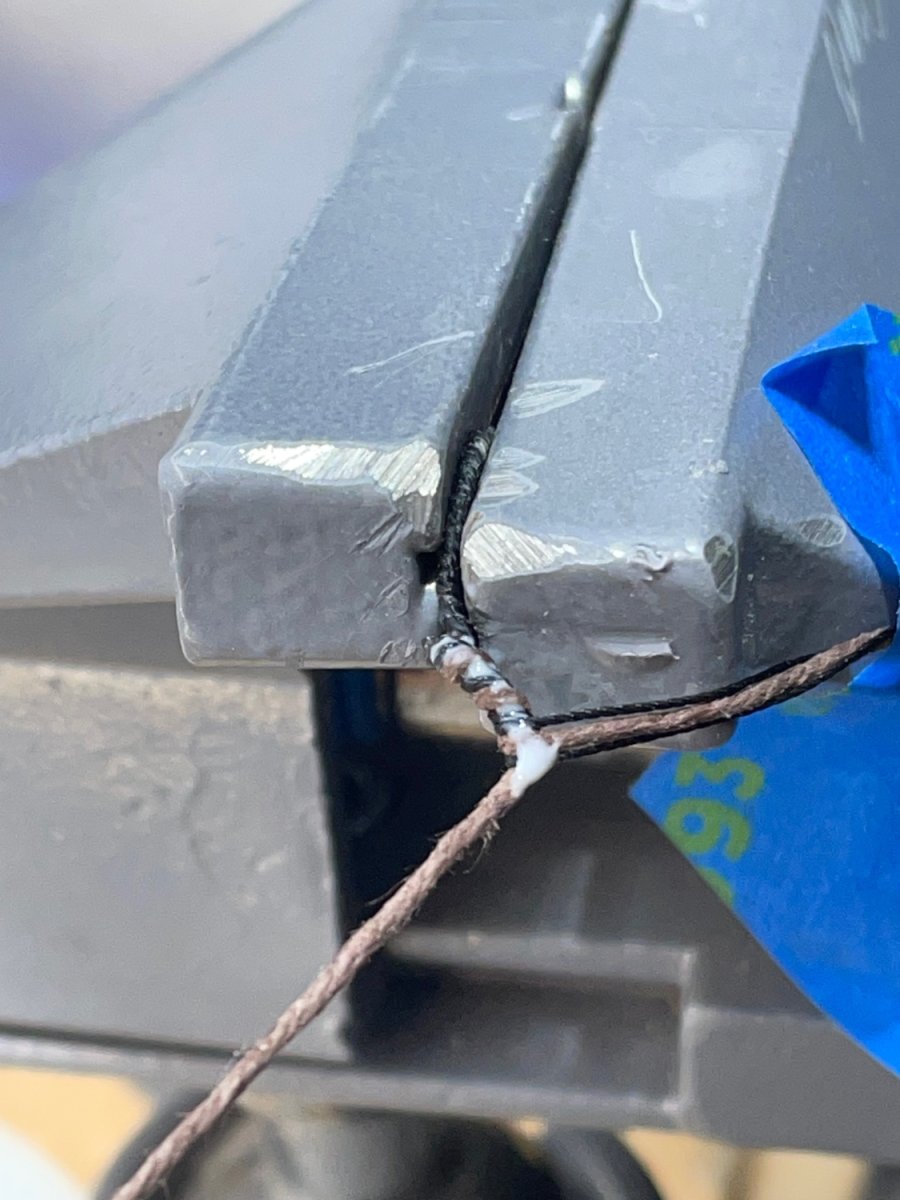
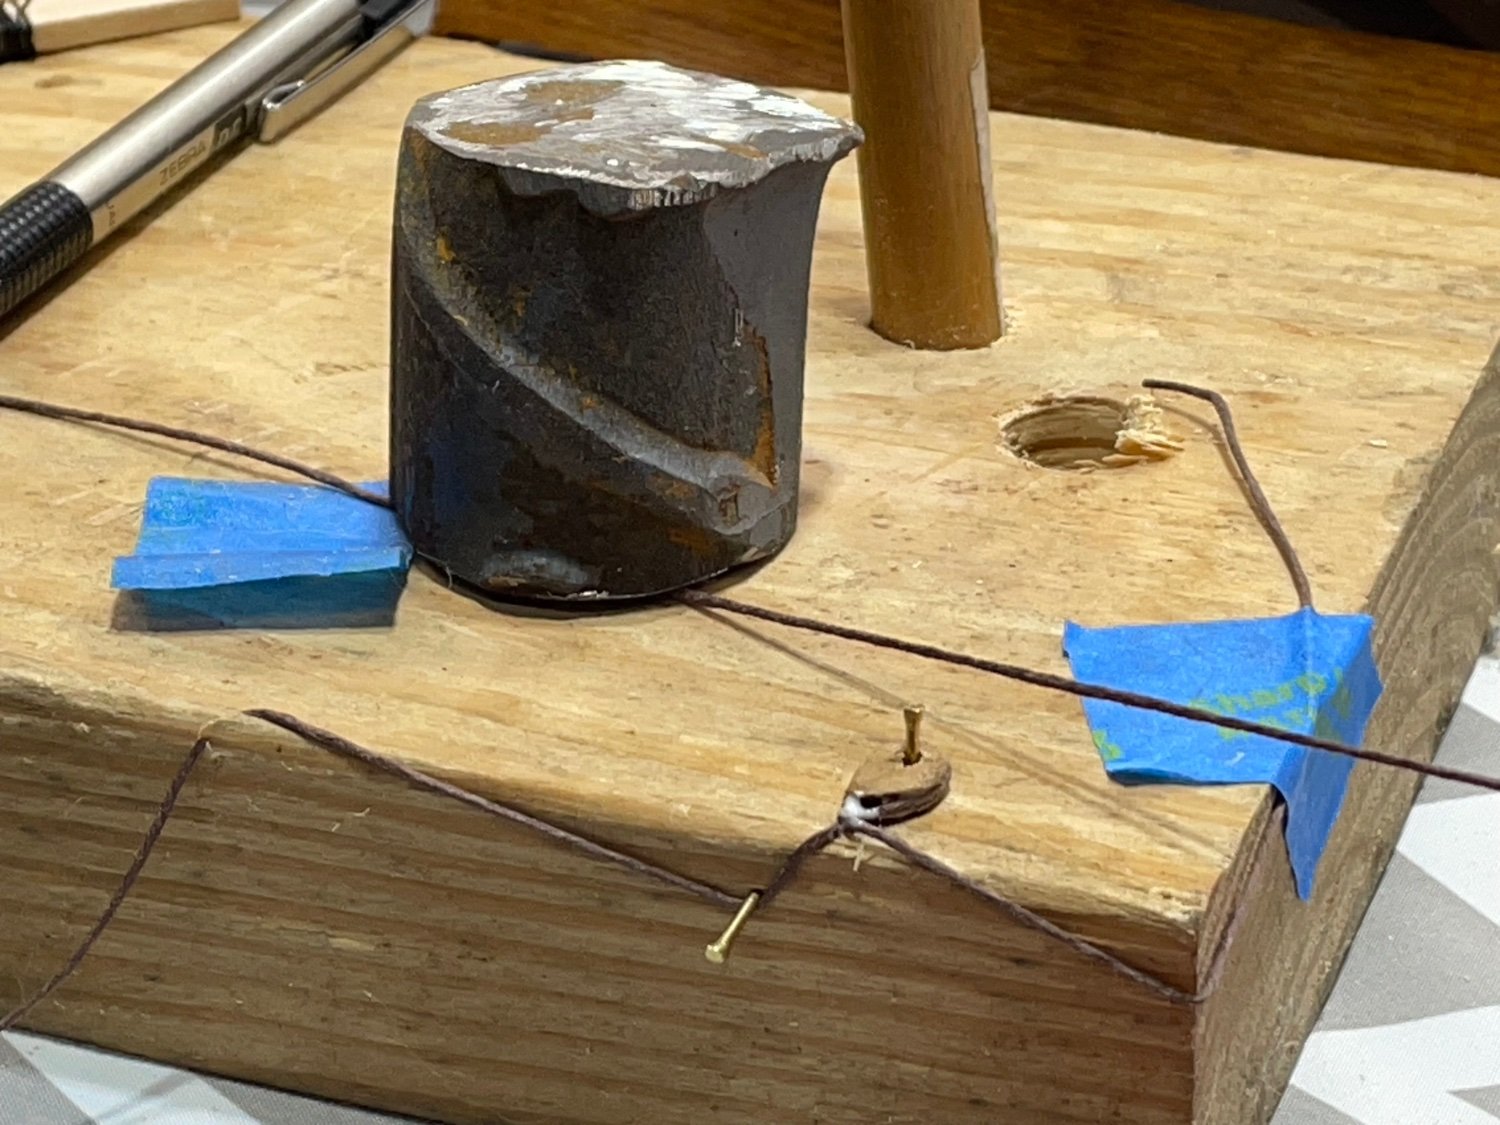
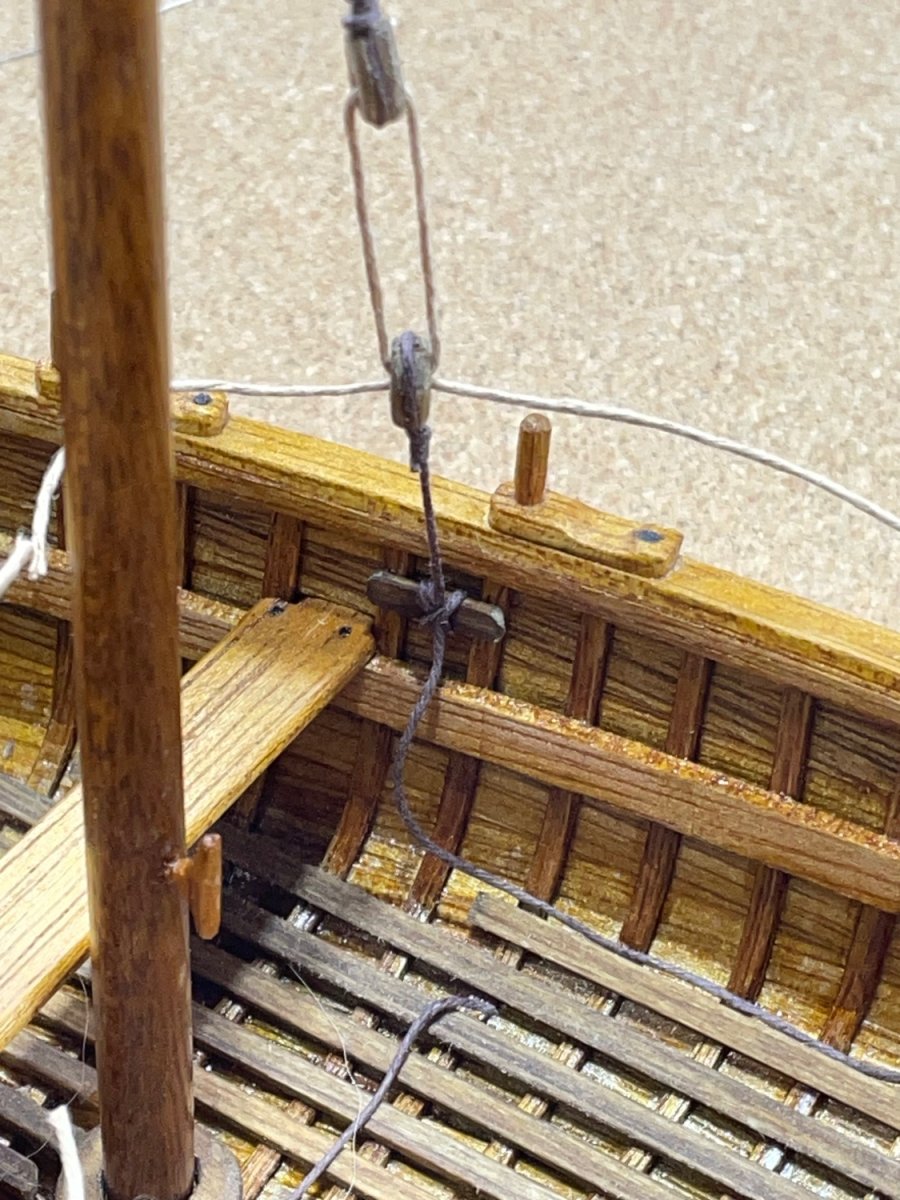
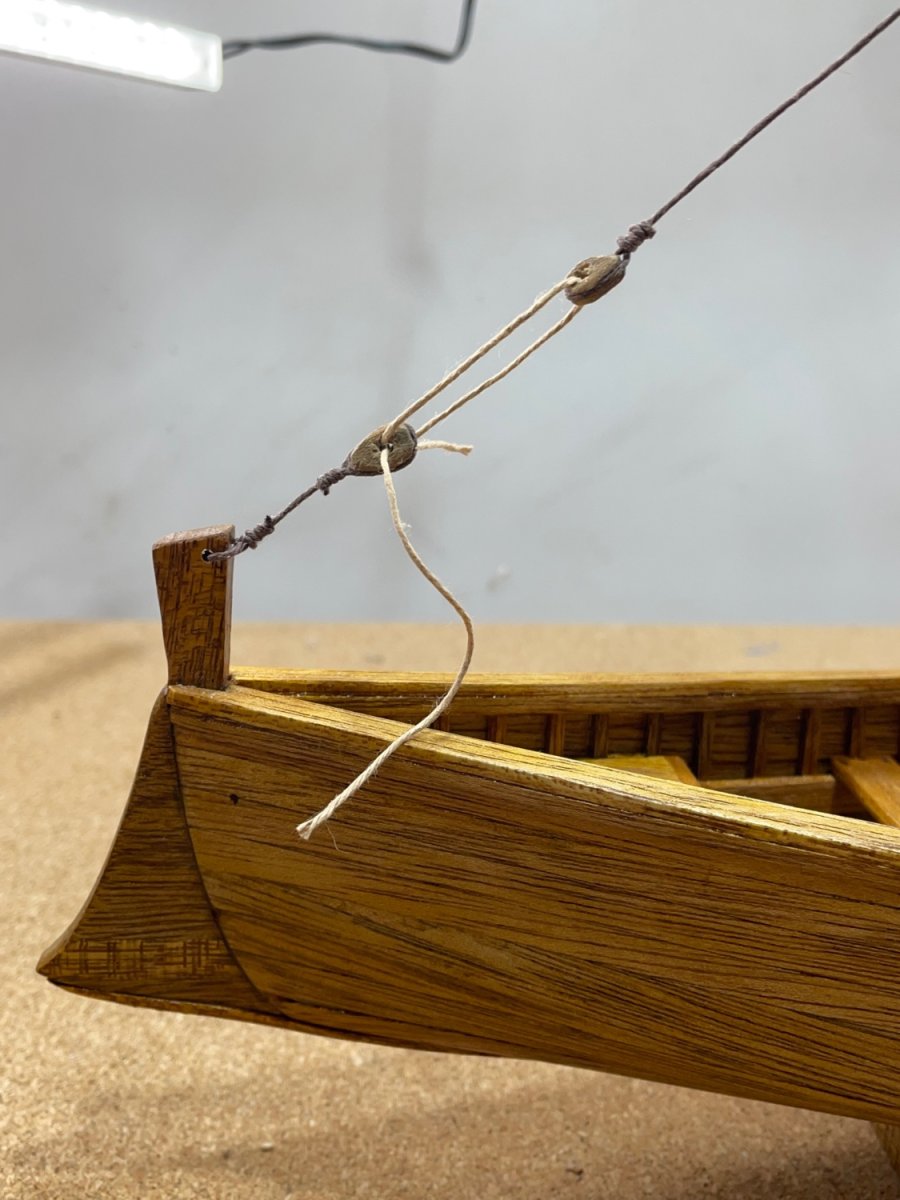
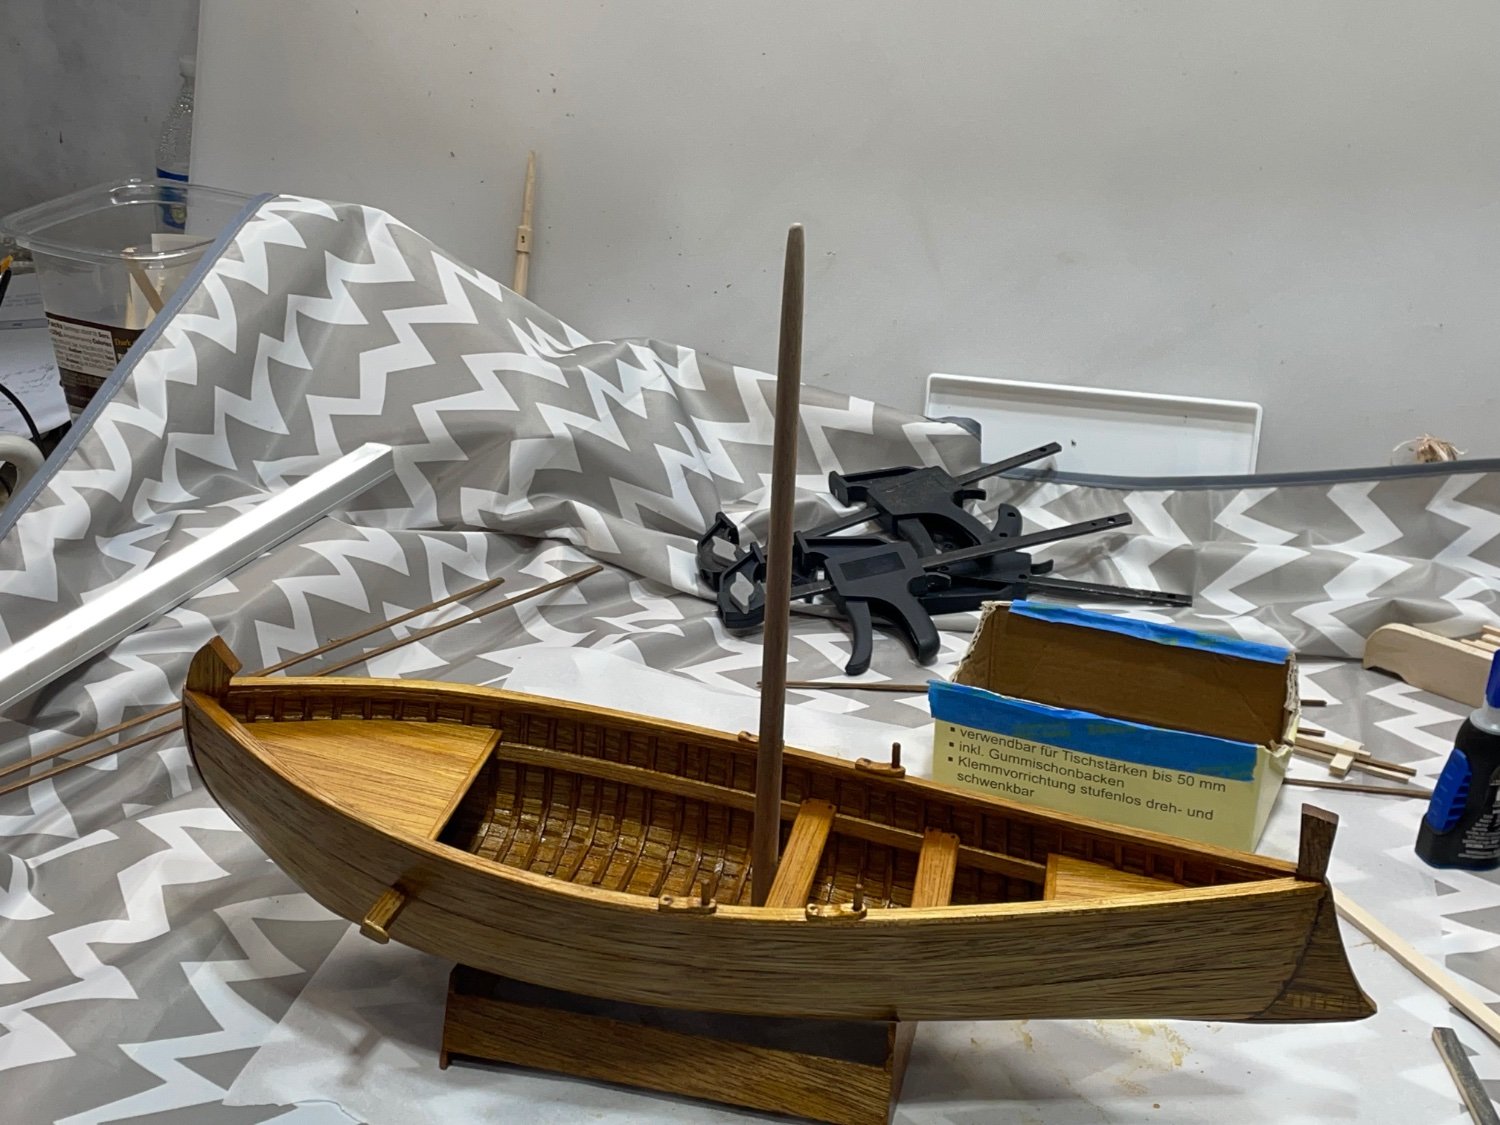
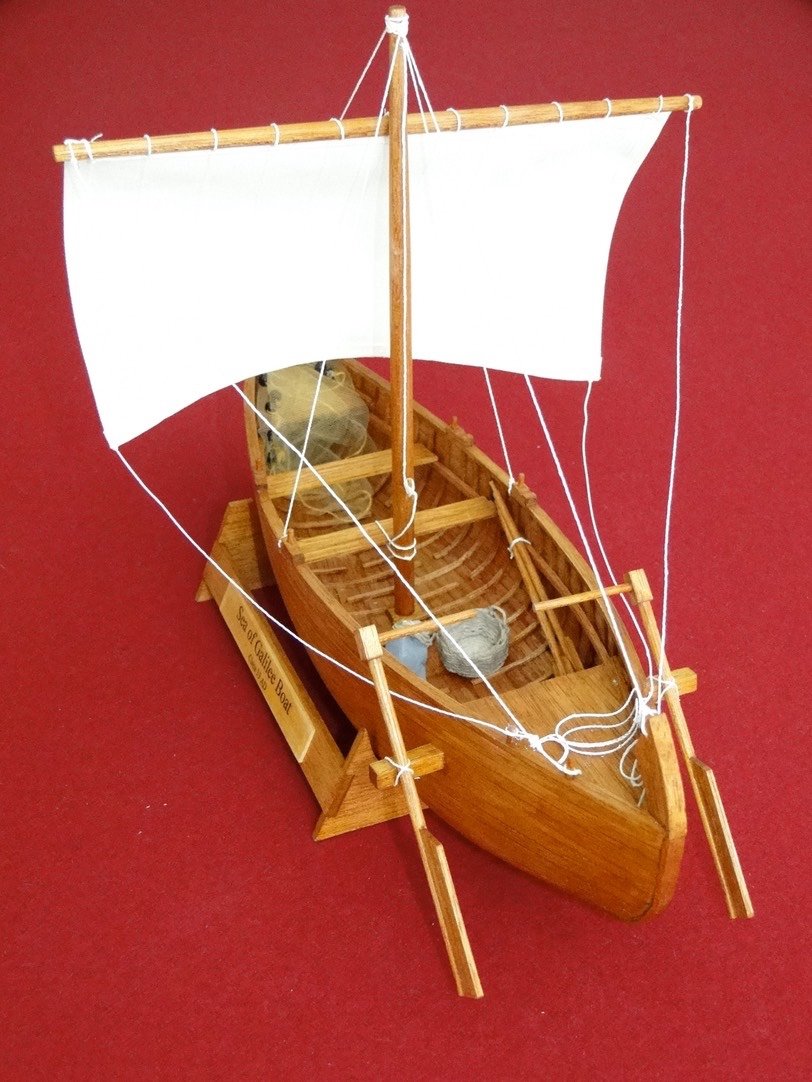
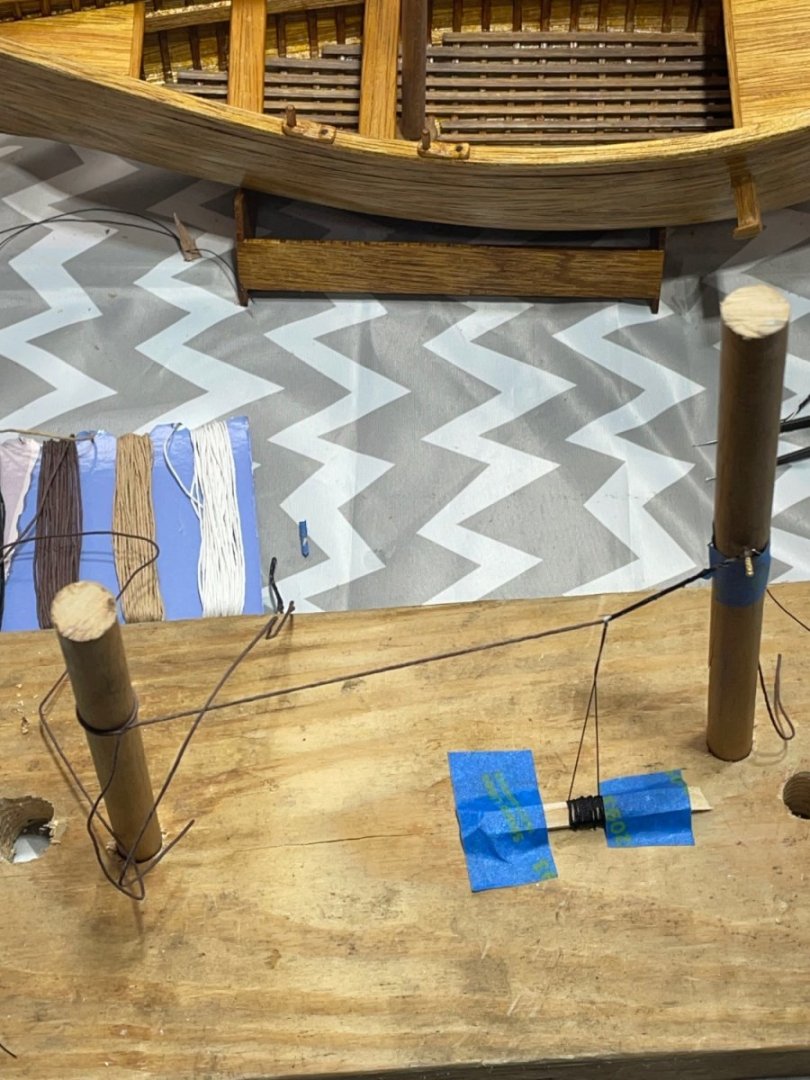
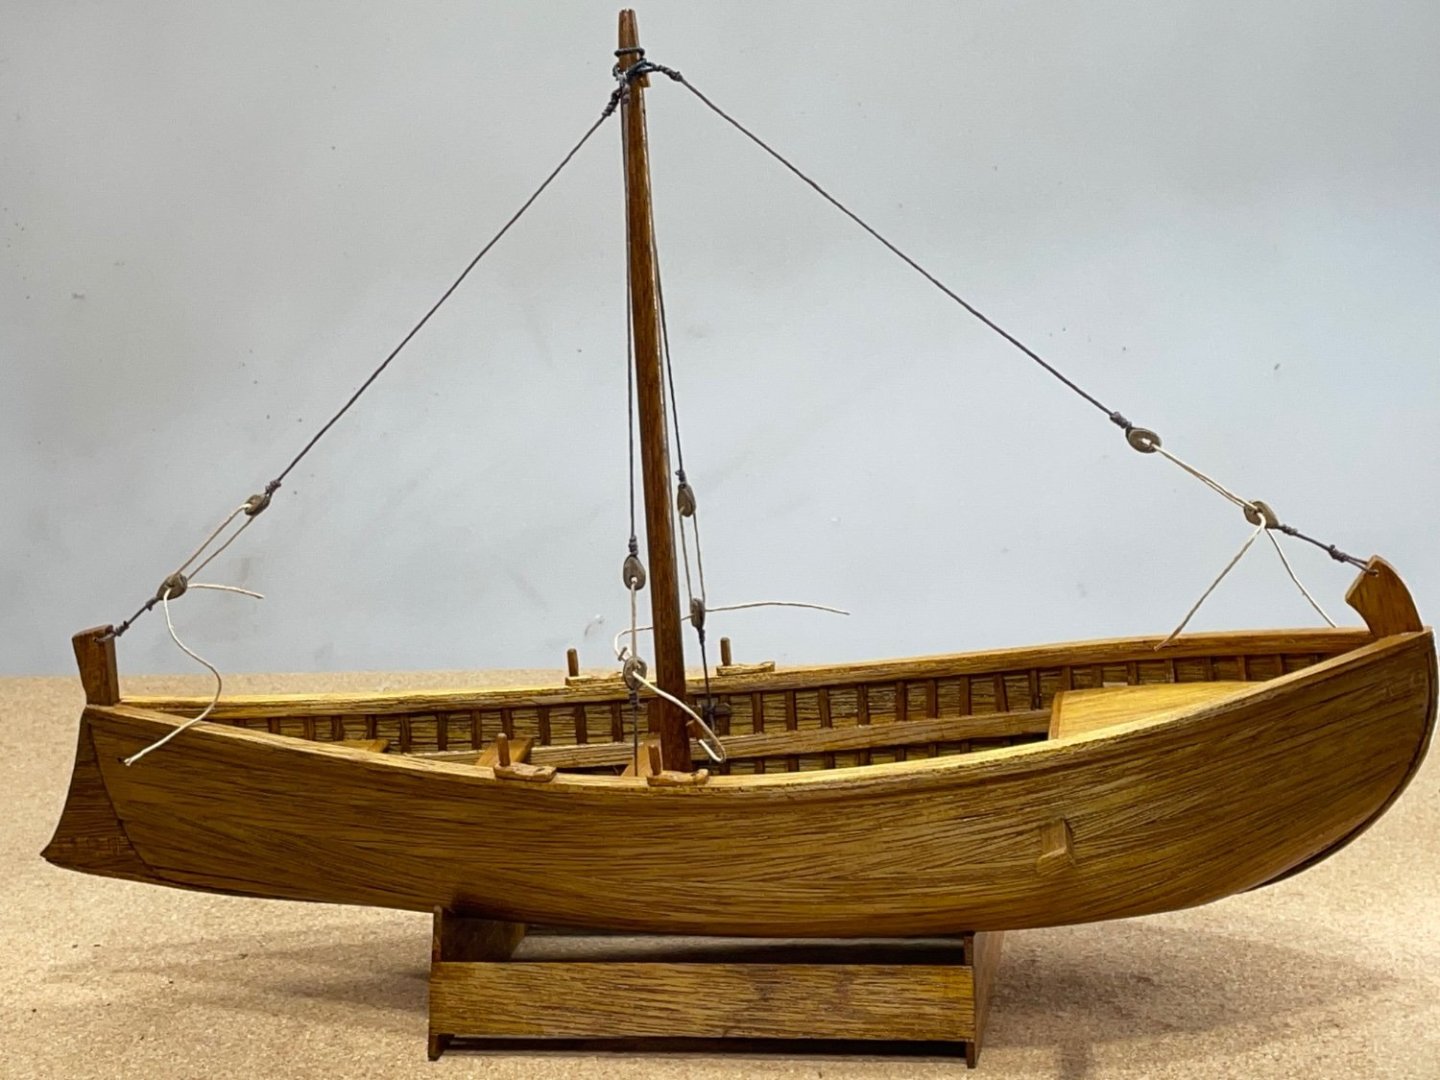
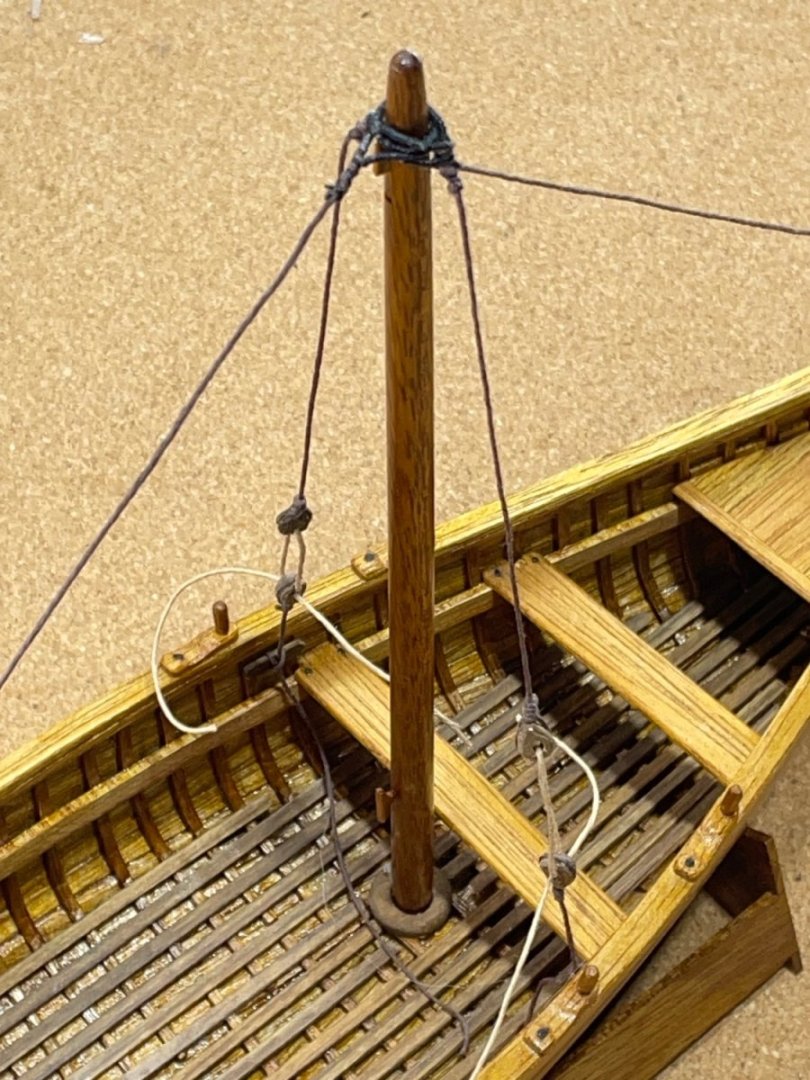
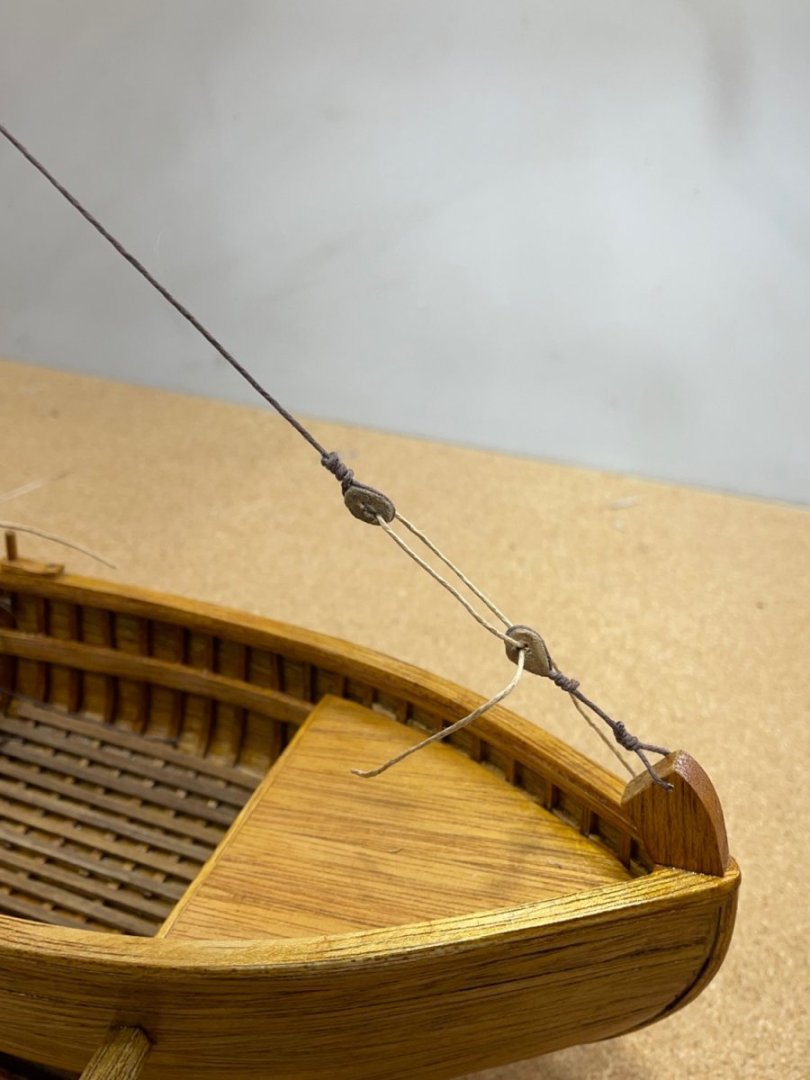
I made a simple jig so the floor planks would be half way straight. Piano lessons would have helped trying to hold them down while the CA set:-) Good news no fingers permanently attached:-) Then I glued both decks and thwarts. Getting started on the standing rigging, it took about 5 tries on the stays to decide how they were going to be assembled. I made a crude looking jig for them, that turned out to be very helpful. I also used cotton cord I purchased at a local craft store. I liked the brownish color instead of white. Then I wrapped a little over an inch with black upholstery thread, using very little white glue to stick it down with. Leaving a few inches past the clove hitch tied on the small nail. After it dries I made a loop and glued it where they met, let it dry before coiling the end around it and securing it with glue. On the end that connects to the hull I had made some blocks out of basswood and stained them. Here’s where I wrapped them with cord. I repeated the process for the other sections. I haven’t secured any of the rigging because I still need to work on the quarter rudders and don’t want to catch and rip any off:-) I haven’t decided how I need to tie the cinch points on the stays. I apologize for not knowing the correct names. My time is spent learning to build, and not much on learning the maritime language 🙂 Now it time again for me to refocus my mind on the quarter rudders. That’s a day of thinking:-)


- 134 replies
-
- 4
-
-

-
- sea of galilee boat
- SE Miller
- (and 1 more)
-
Your pram is looking great Erie! Cutting the gains is definitely an area I need practice at.
-
Nice work Bob, over my head though:-) It’s great to know you’re still ticking properly:-)
- 254 replies
-
- 6
-
-

-
- Victory Models
- Pegasus
- (and 3 more)
-
Oh, I should have known you wasn’t talking about the davit:-) You will have to excuse my lack of nautical knowledge:-) All that stuff is my kinda prototype things I have imagined. Some don’t even have a purpose other than using up my time:-)
- 134 replies
-
- 1
-
-
- sea of galilee boat
- SE Miller
- (and 1 more)
-
Thanks Bob, I just got a can that should be enough to do several hundred:-) Just spending maybe 30 minutes at a time on another, using the strong back and basswood. Also I’m using PVA instead of CA. I made a jig to taper the next planks.

- 134 replies
-
- 5
-
-
- sea of galilee boat
- SE Miller
- (and 1 more)
-
It is smaller and I don’t own a lathe:-) I sanded on it for weeks to get it down:-) I decreased the yard also.
- 134 replies
-
- 3
-
-
-
- sea of galilee boat
- SE Miller
- (and 1 more)
-
They are davits:-) the quarter rudders rest against them.
- 134 replies
-
- 3
-
-
- sea of galilee boat
- SE Miller
- (and 1 more)
-
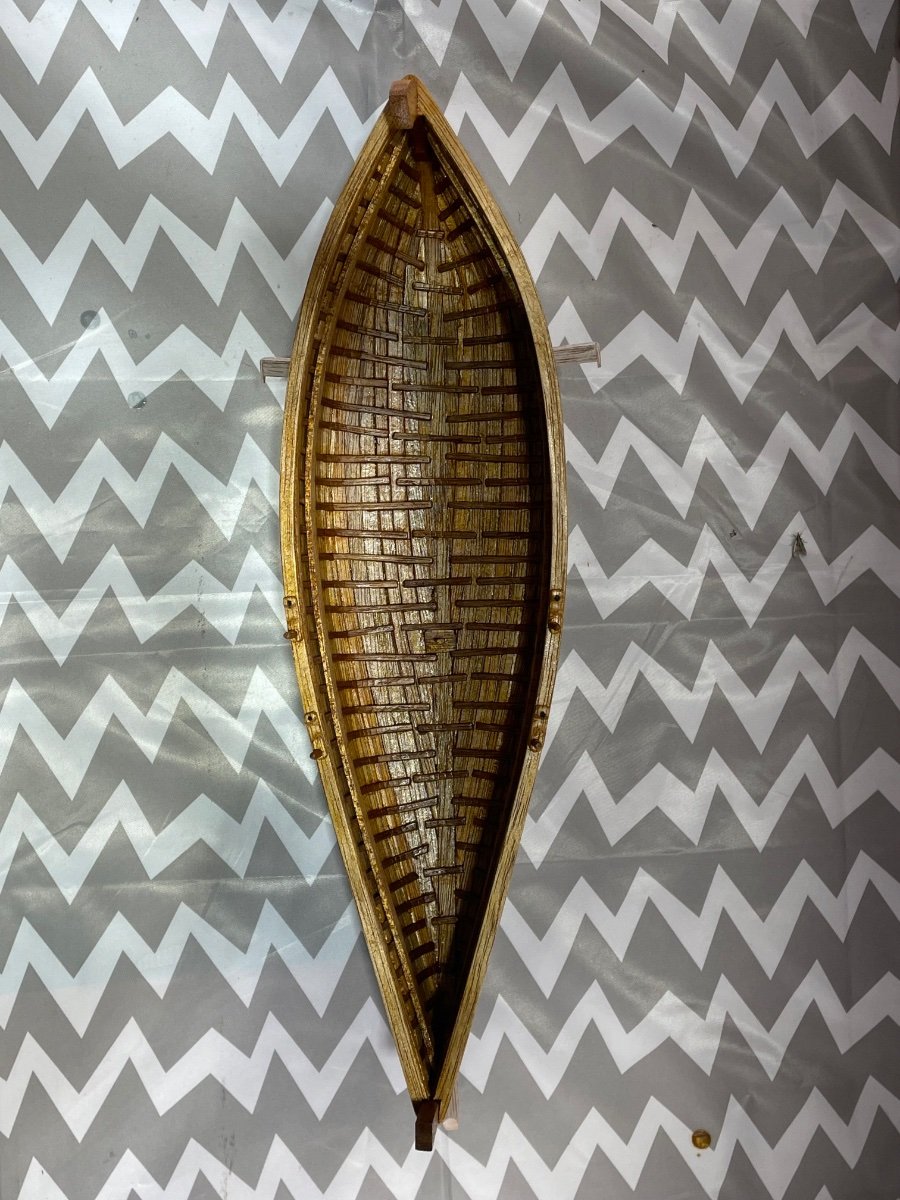
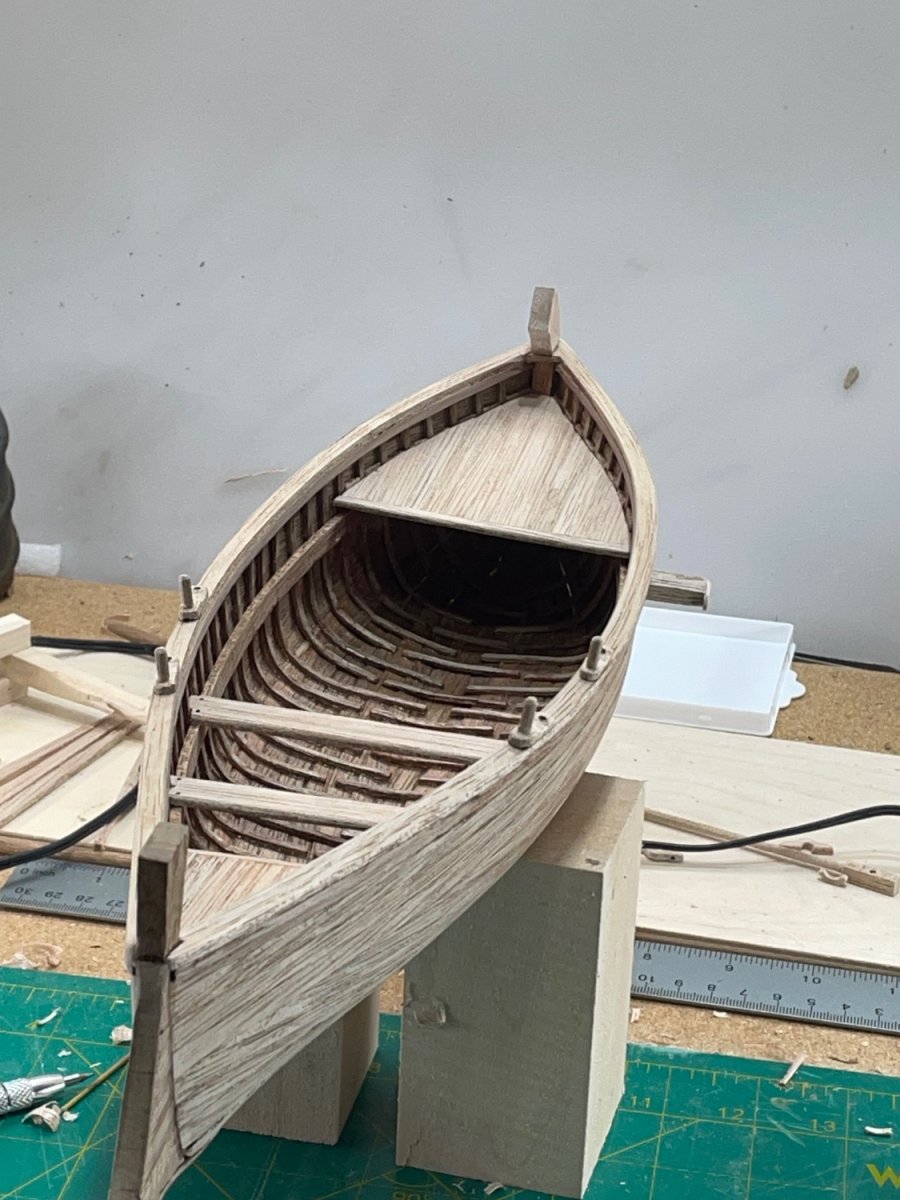
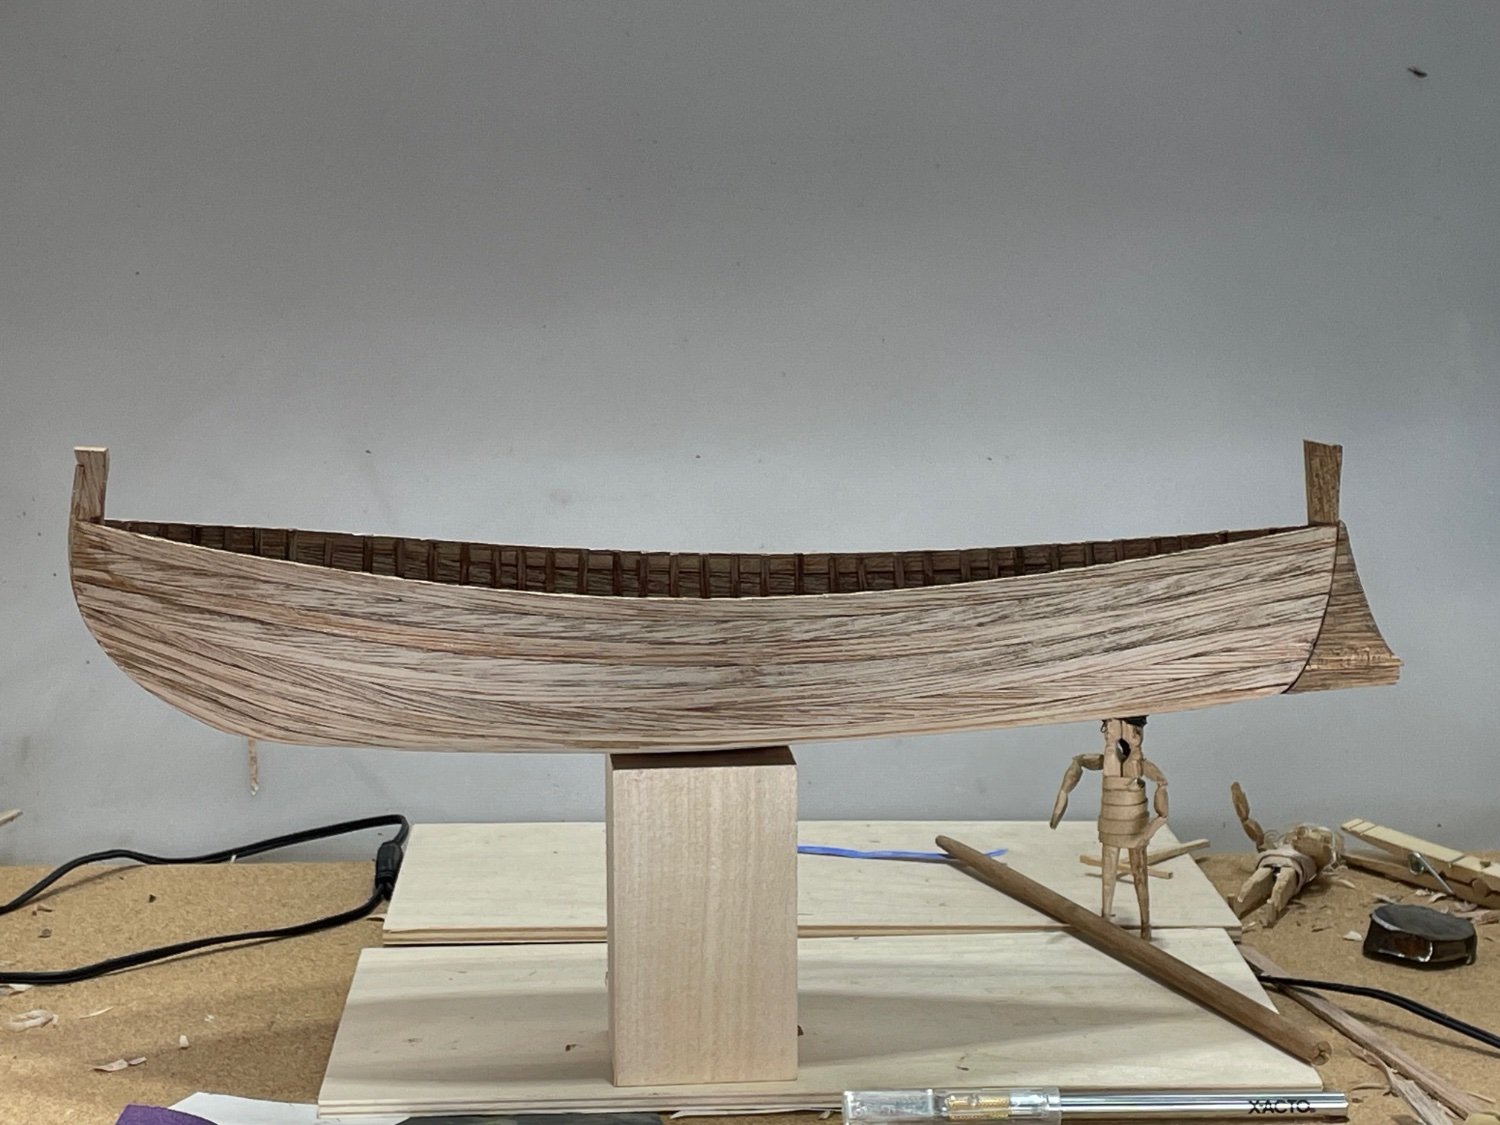
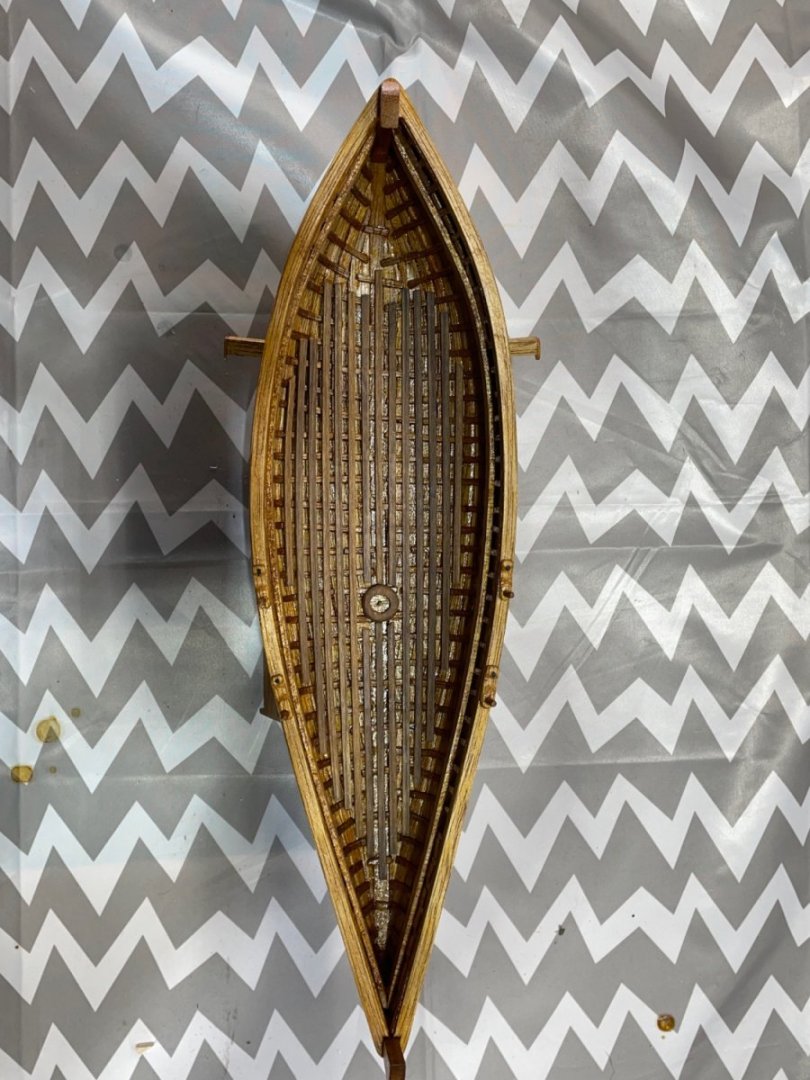
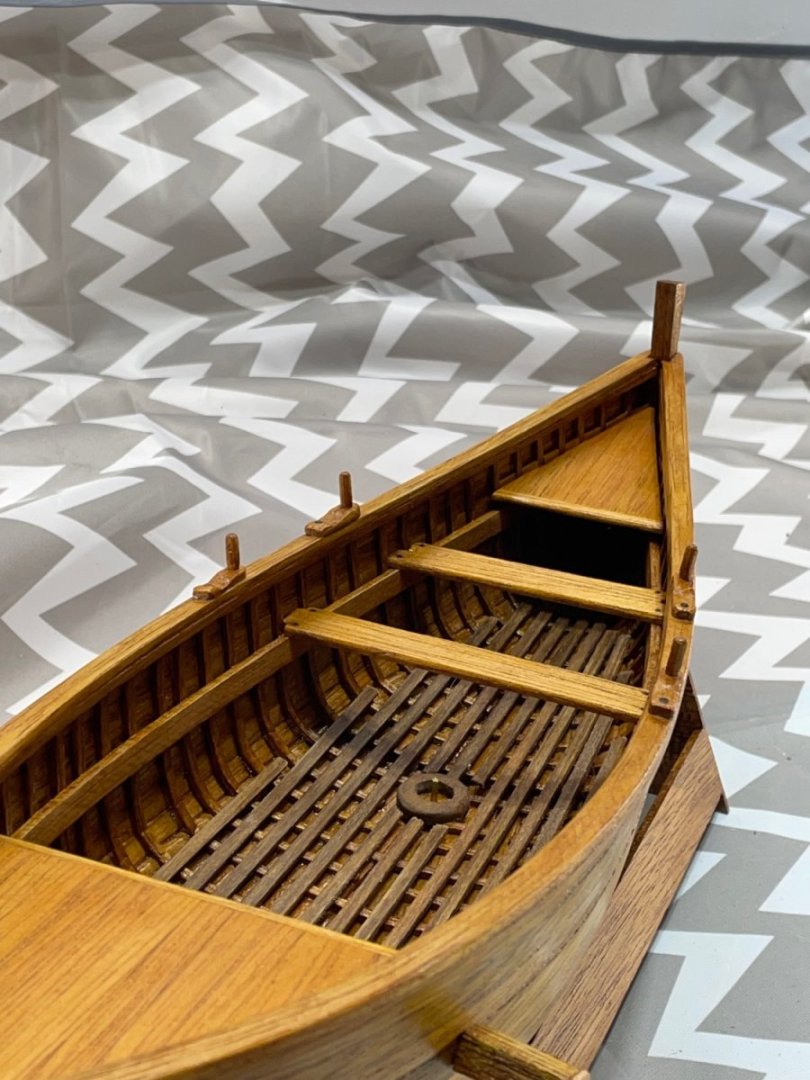
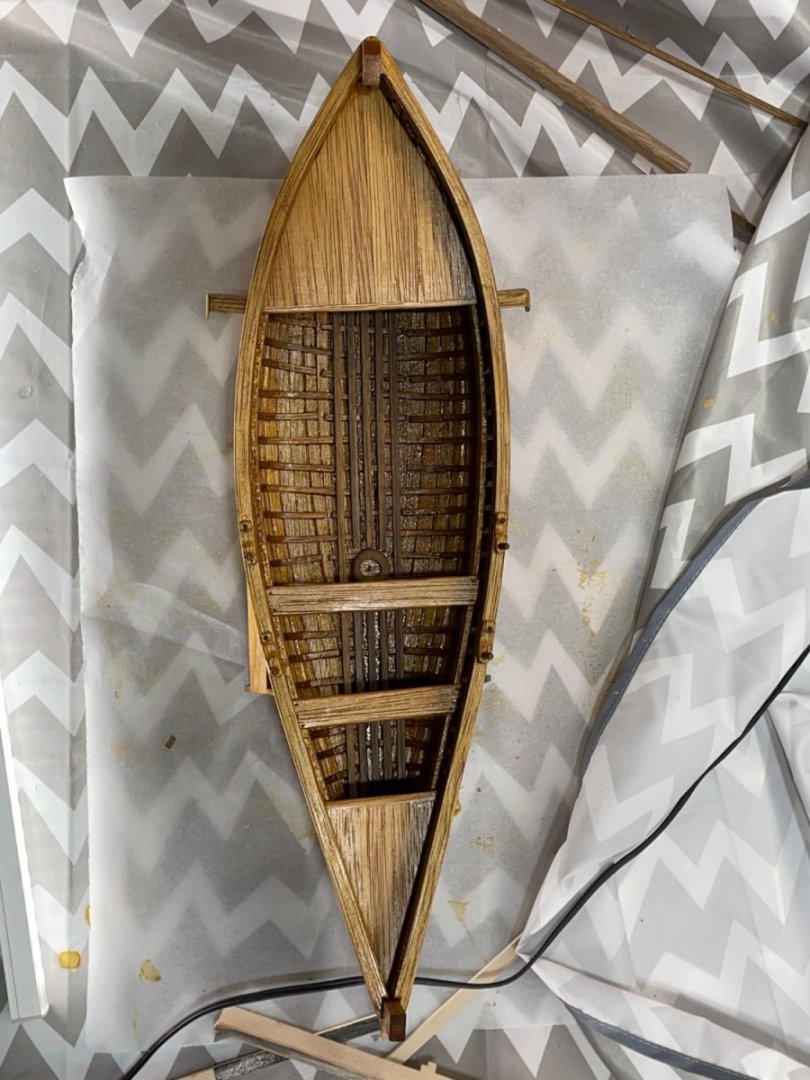
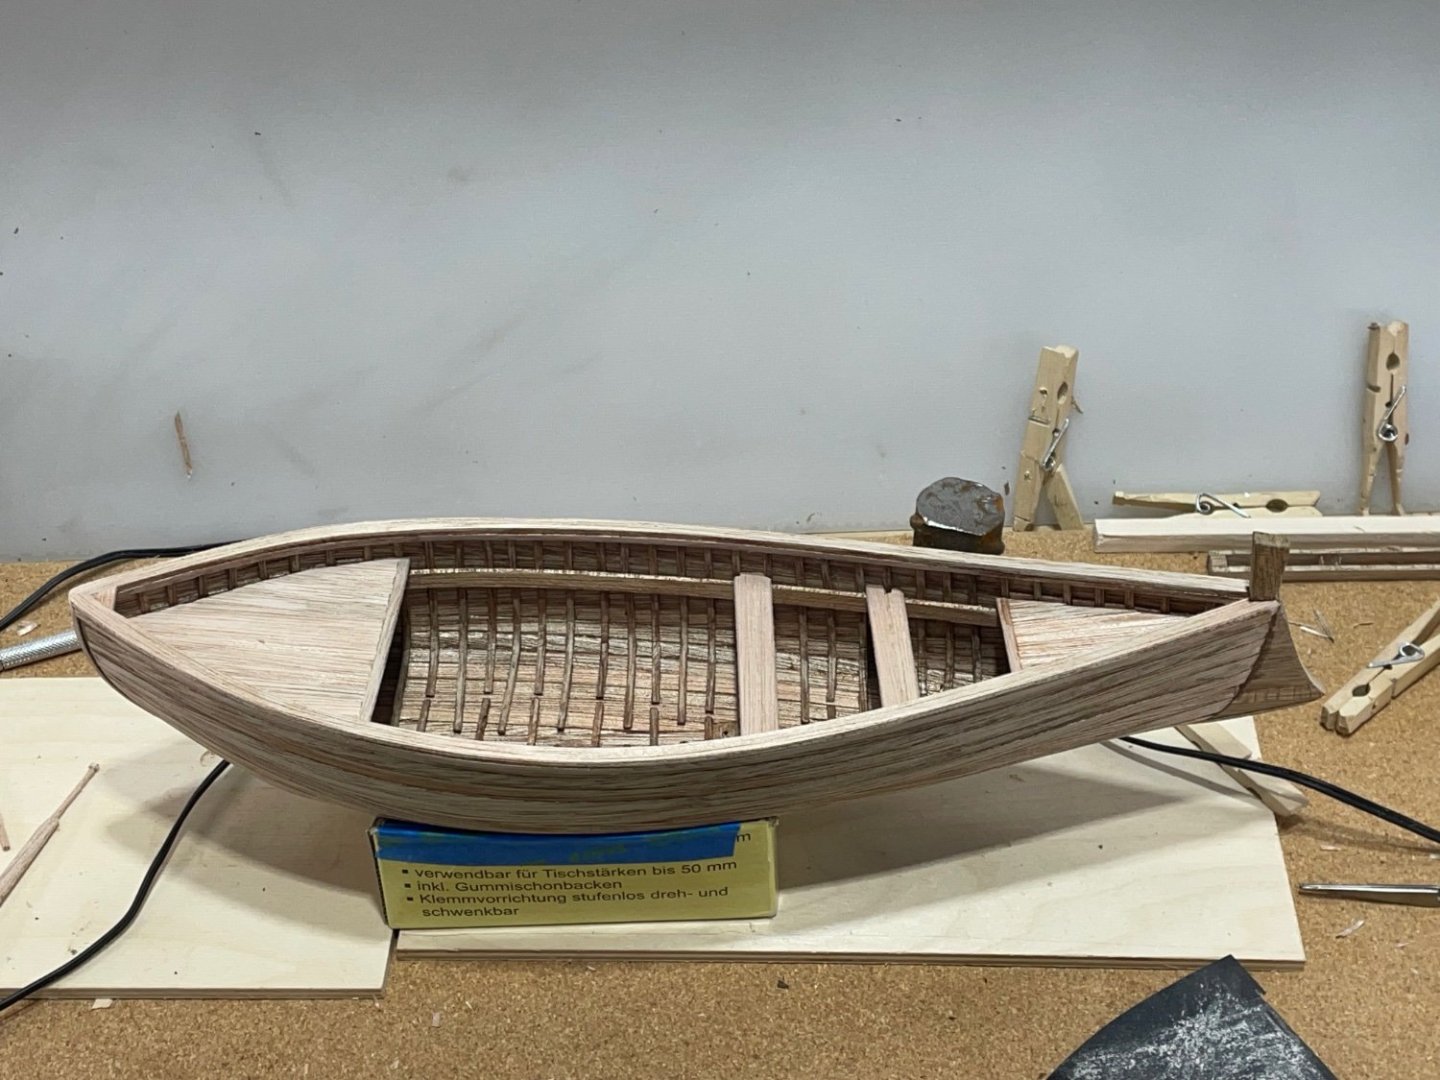
I decided to start with the inside of the hull first. I didn’t thin it, but should have. After one coat I sanded it as best as I could around the inter frames. I then followed directions and put on a coat of dull coat. I thinned the shellac to 50% with denatured alcohol. I applied four coats of the thin shellac to the outside of the hull and rubbed it down with 0000 steel wool. now I’m in the process of putting some floor boards down. The kit doesn’t say anything about them, but I can see a lot of rolled ankles coming back from a long fishing day without them:-) I used 1/8” x 1/16” basswood and stained them. A few more on each side will complete that. Now I have to switch gears and think about the mast and rigging. I just set the mast on for now. I got to figure where I need to drill a few holes and shellac it.


- 134 replies
-
- 6
-
-
-
- sea of galilee boat
- SE Miller
- (and 1 more)
-
It’s looking good:-) I love that build! My blocks and rigging were to close by my eye. I don’t know what’s right, just what looks good to me:-) I would check all that out if I were doing it again.
- 38 replies
-
- 1
-
-
- Model Shipways
- Shipwright Series
- (and 2 more)
-
Thank you, Bob. I think what’s happening is, I’m not sure about the next part of the built so I think of all possible add-ons I can do, to stay in a zone I’m comfortable in:-)
- 134 replies
-
- 1
-
-
- sea of galilee boat
- SE Miller
- (and 1 more)
-
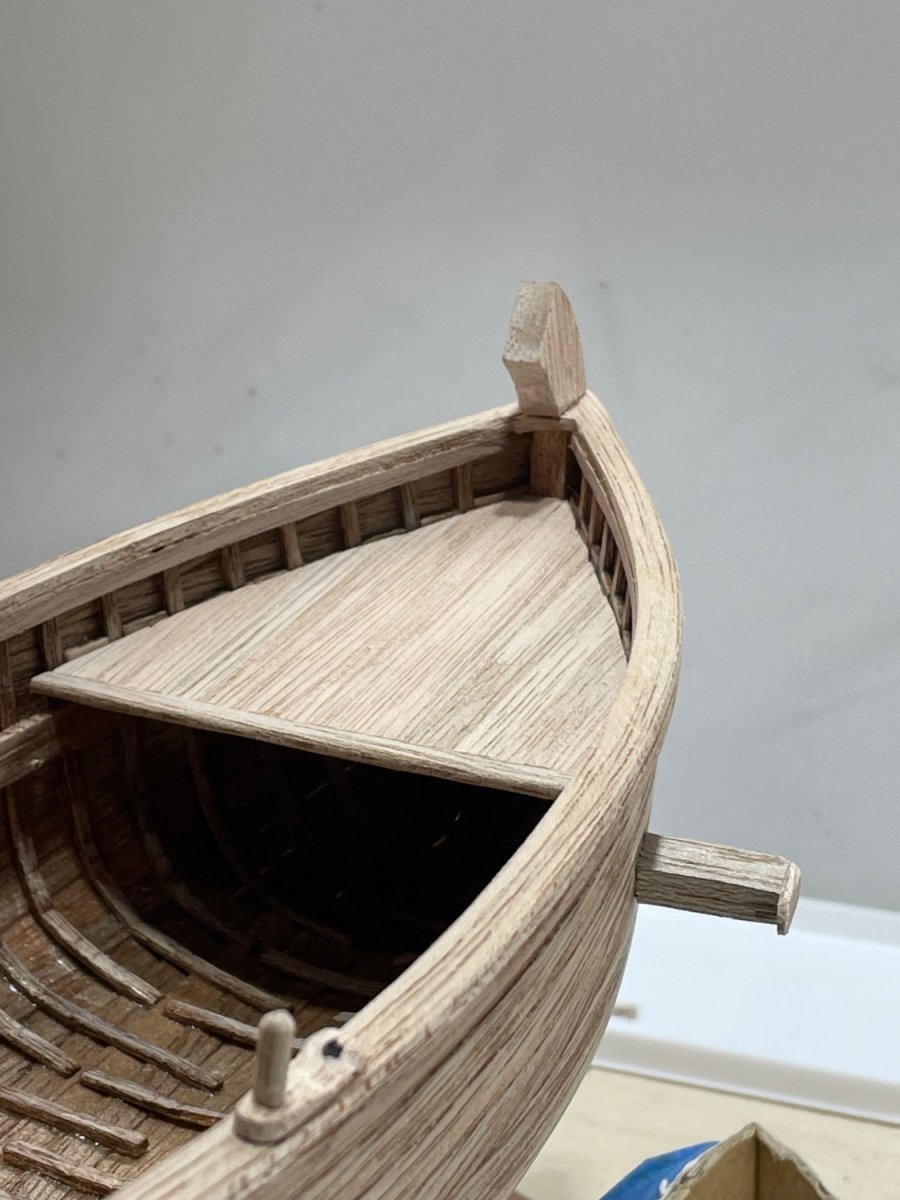
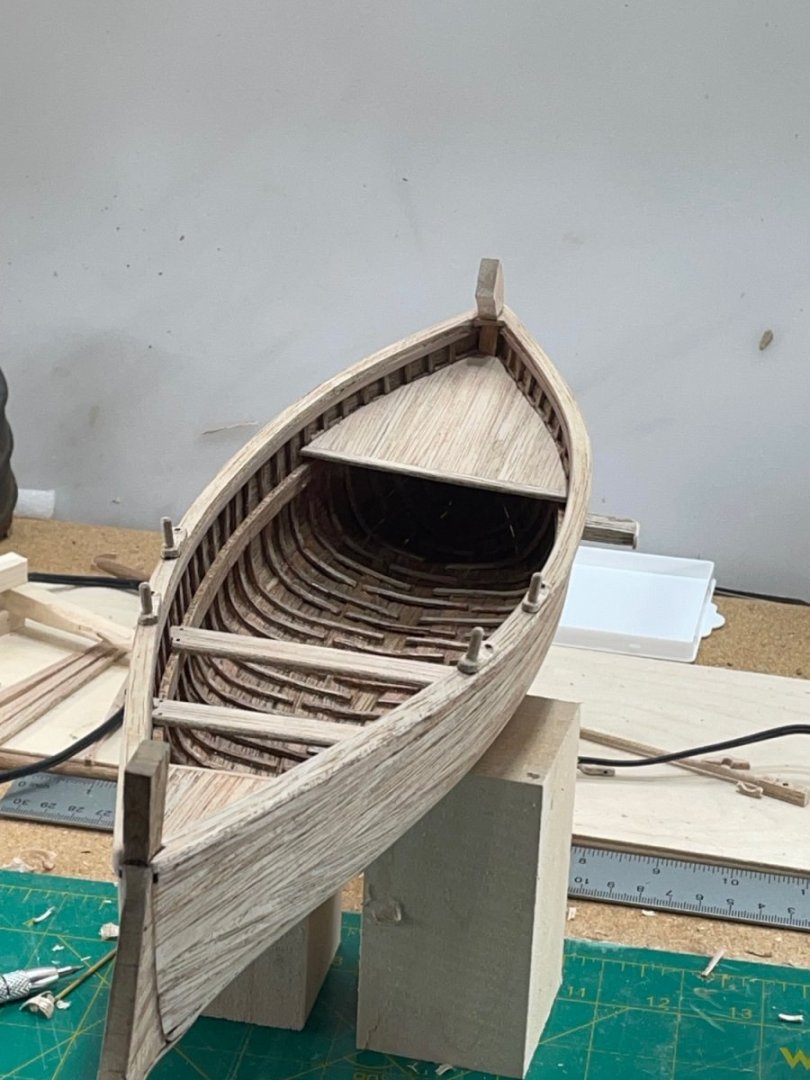
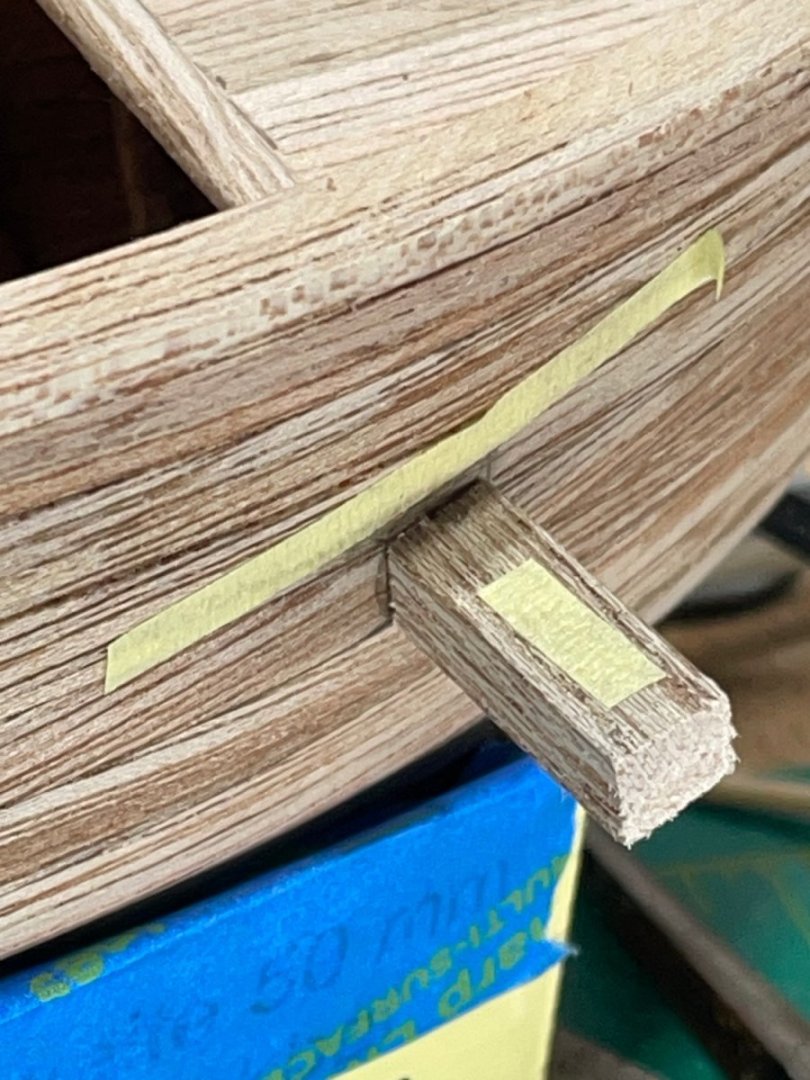
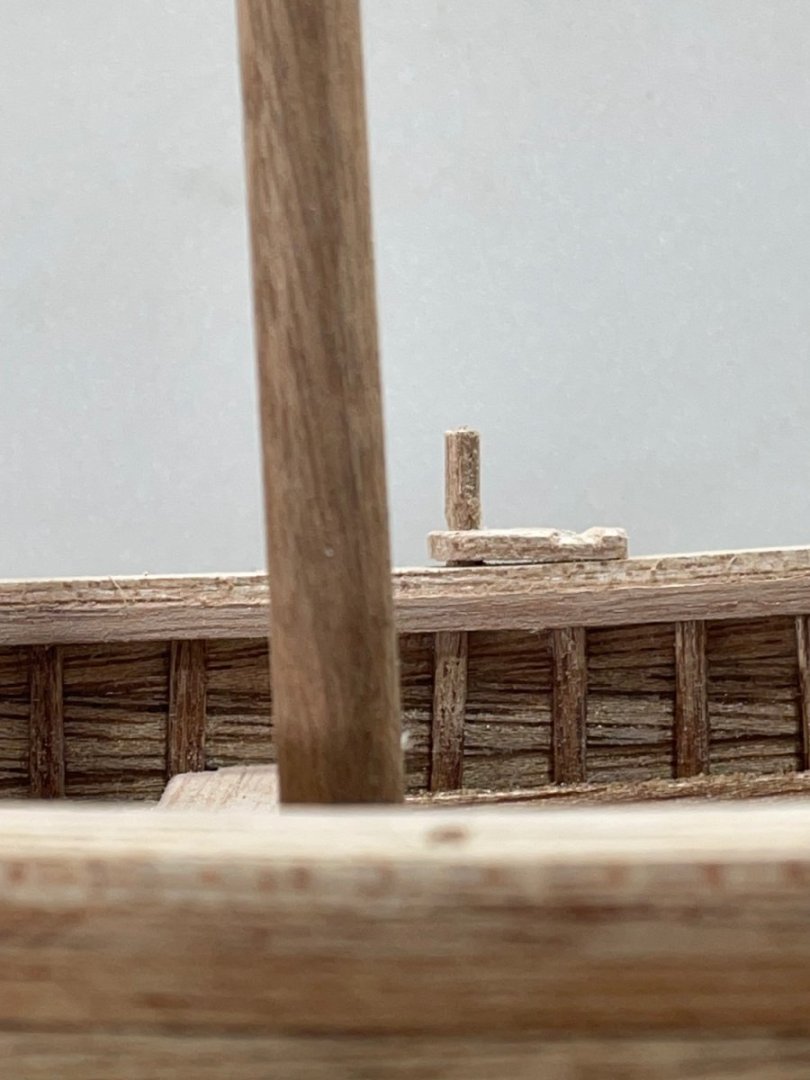
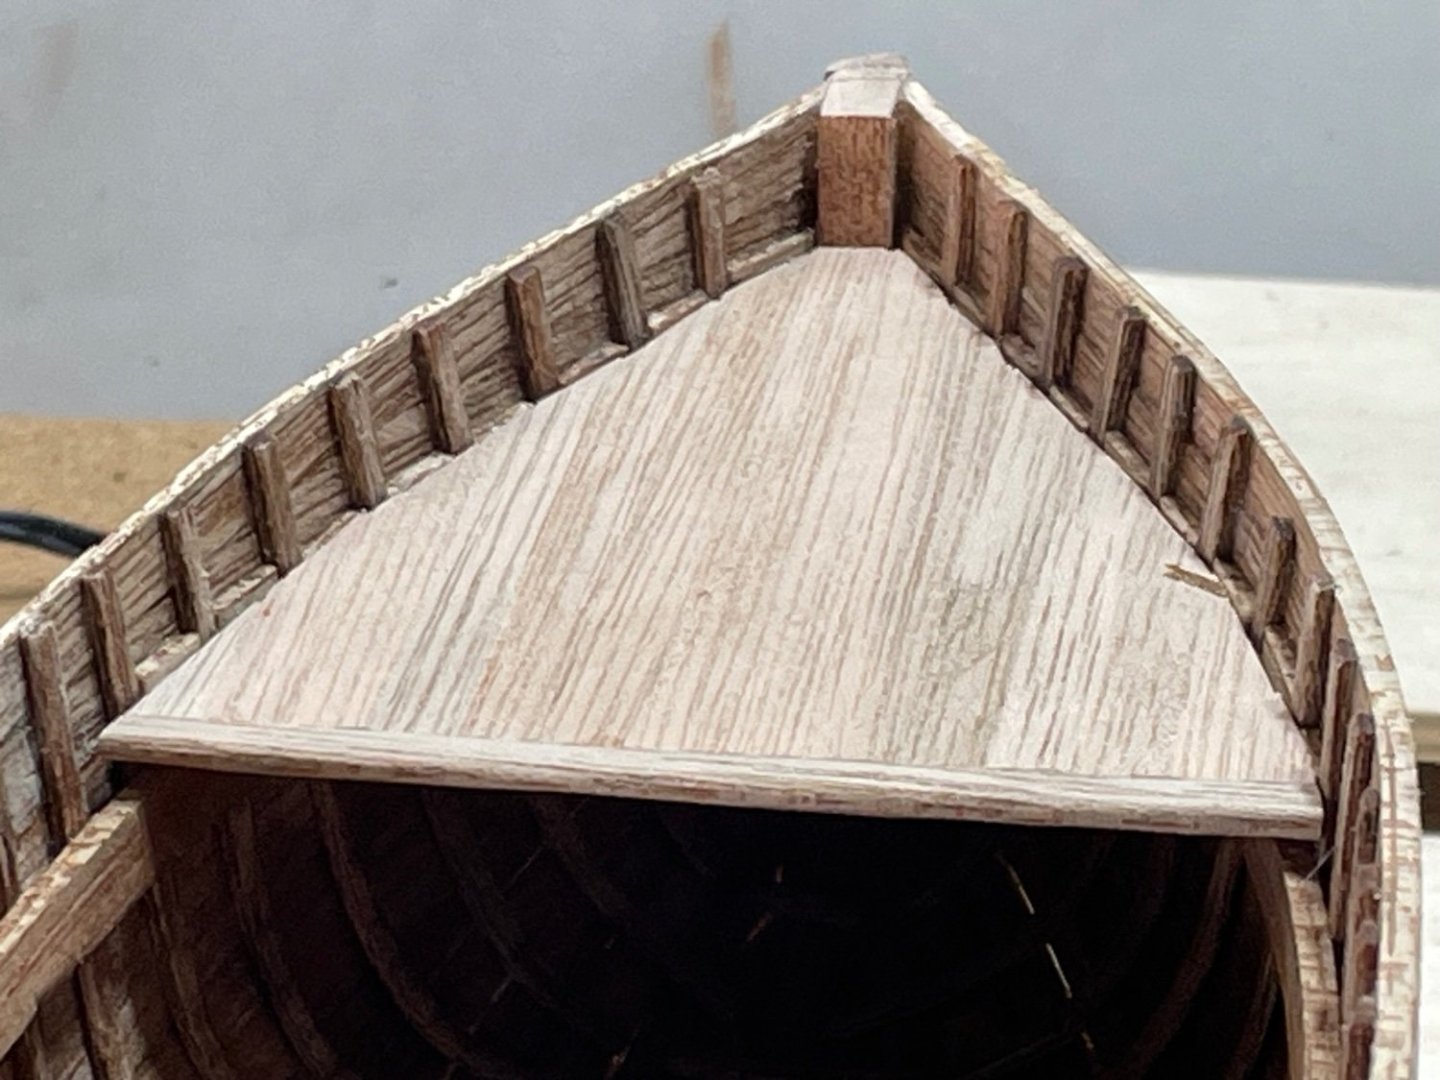
The last week I have worked on, decks and thwarts. Port and starboard sides are different lengths:-( Starboard side bowed away from the strongback frames. Focused on how the decks were going to be constructed. I first measured an equal distance from the stern. I don’t think I was hurrying, but began to build the aft deck putting a lot of love and labor into it. Then standing back and admiring my work I first noticed the port and starboard length difference:-/ It’s only as plain as day when you stand above it:-) I’ll just make sure it’s displayed where on the tall know it:-) Next were the oar locks. I used scrap planking for these. Drilled a hole for the dowel and will use this as a marked placement. Davits were next. A little insecure feeling when you work on unfamiliar parts. I tried not to follow the incorrect line of the deck. After inserting a brass rod I marked the top with tape, so I didn’t sand endlessly. No instructions on this, other than where they are placed. They seemed long , just to support the rudders. I cut them back to about a half inch. I also tried to angle them so the rod would lay flat against them. I put the tape there so I could eyeball that angle. To finish the ends and maybe catch a stray rudder, I glued a small piece of scrap. Next will be the shellac. Another first:-)


- 134 replies
-
- 4
-
-
- sea of galilee boat
- SE Miller
- (and 1 more)
-
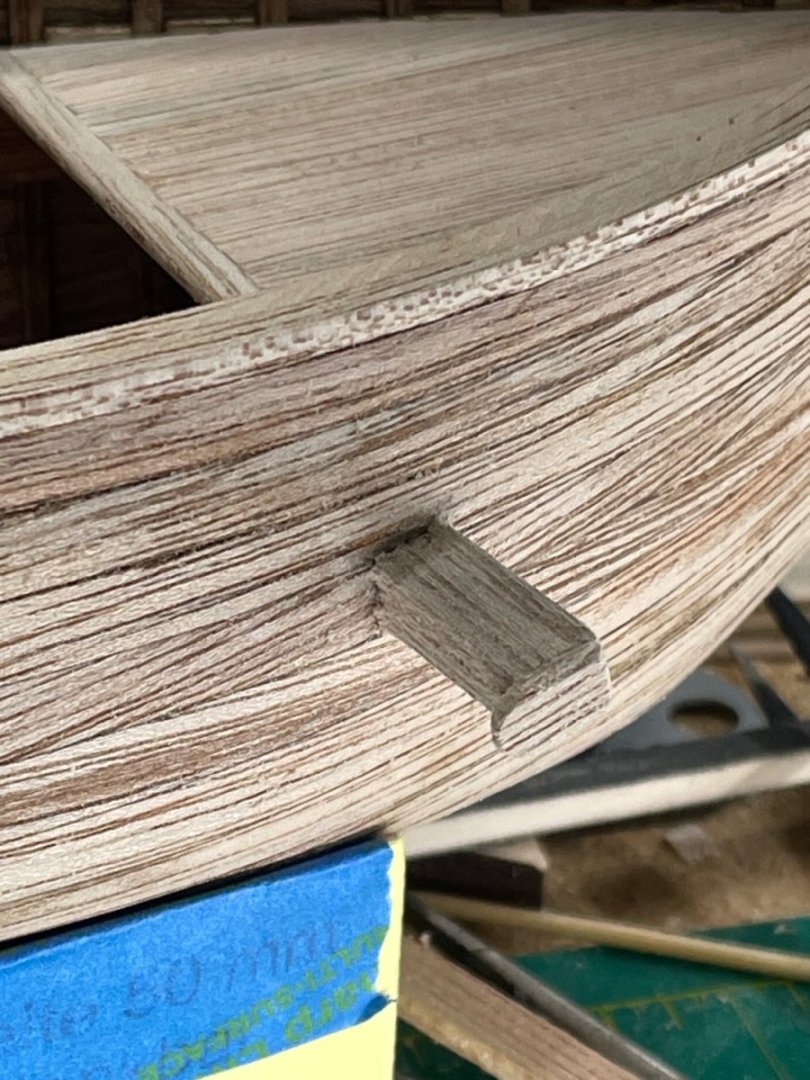
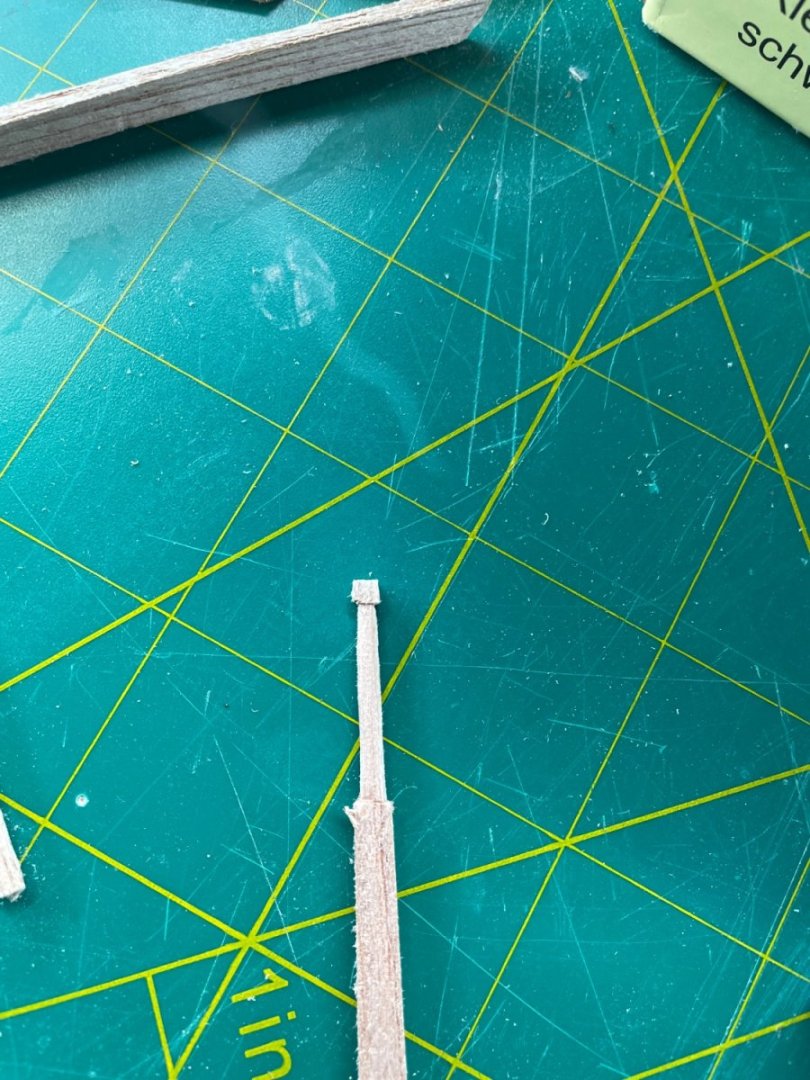
A couple of extras I might add are, shaping the thole pins. I’m not a sailor, nor have knowledge of the mechanics. But I don’t think I could hold that quarter rudder correctly with just it attached to the davits. What about a bracket just below the rail? It may not need to be fixed upright in a real boat. It will add some small detail to my boat, and probably won’t offend any lookers from around my neck of the woods:-) I’ll be thinking, and we’ll see if it materializes.

- 134 replies
-
- 4
-
-
- sea of galilee boat
- SE Miller
- (and 1 more)
-
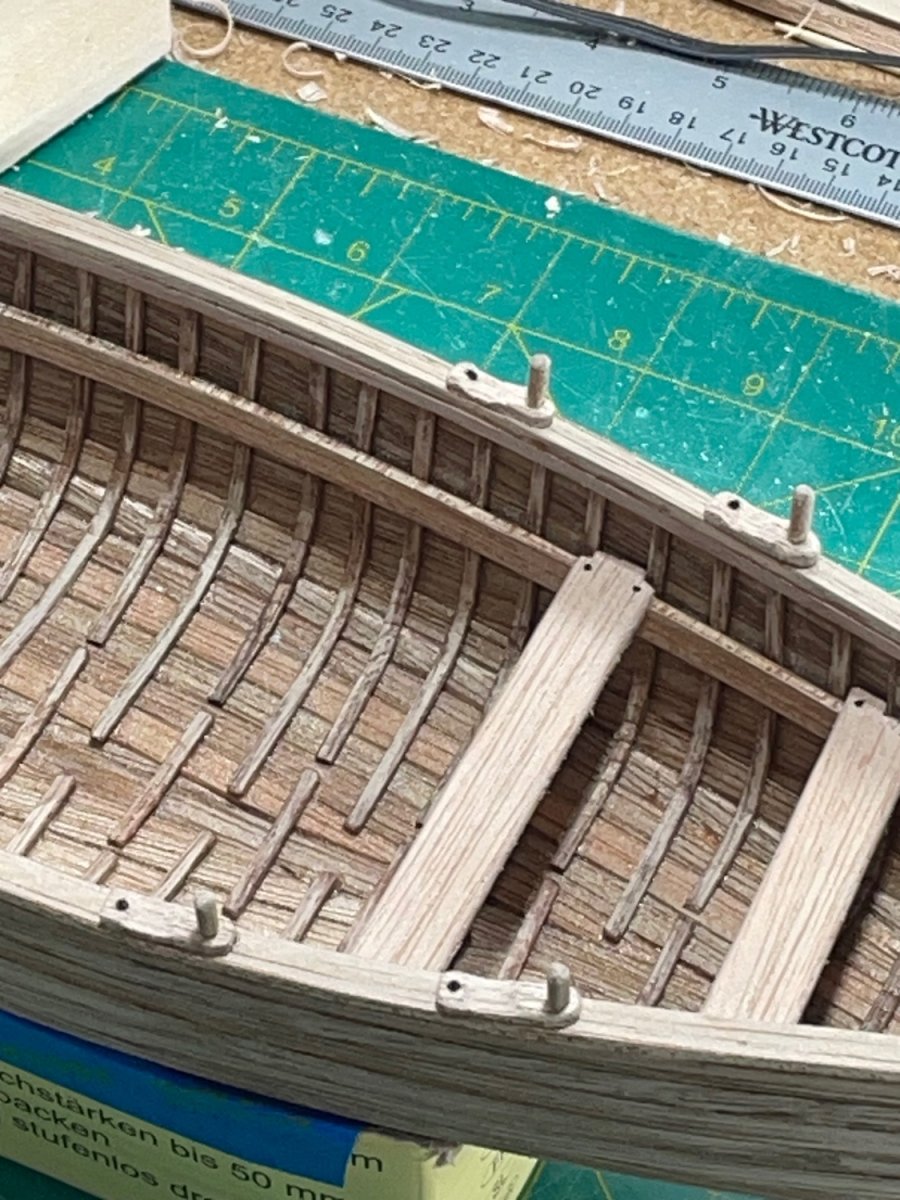
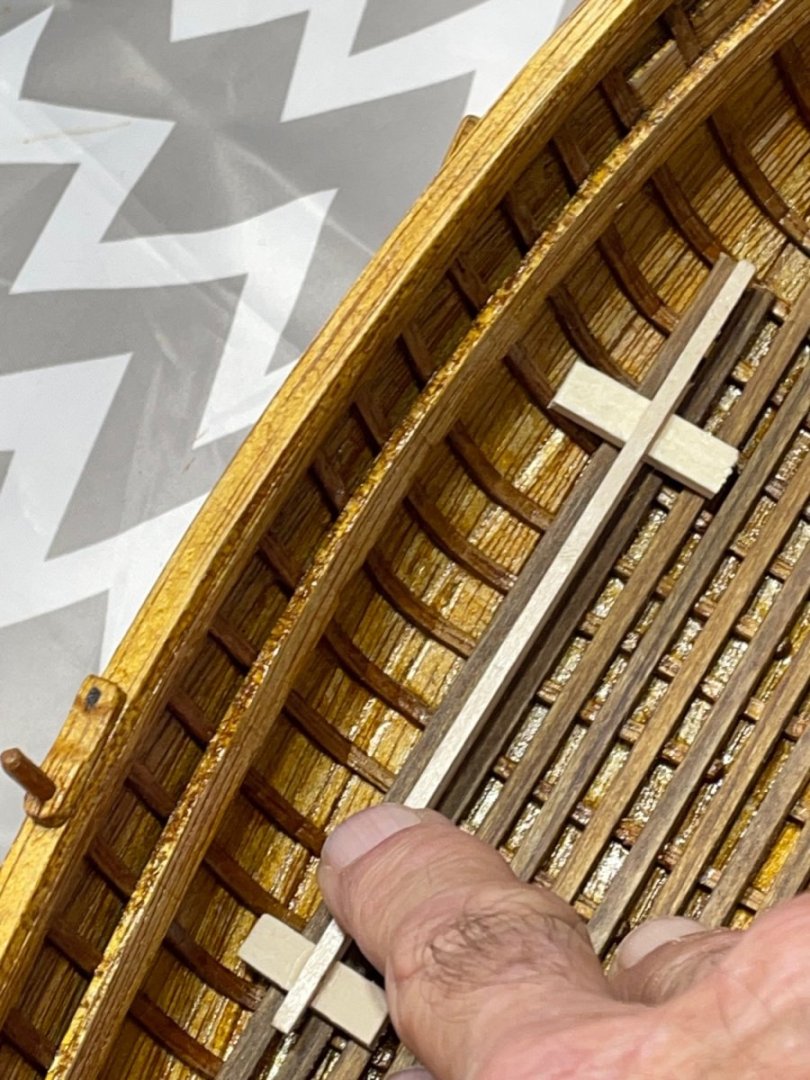
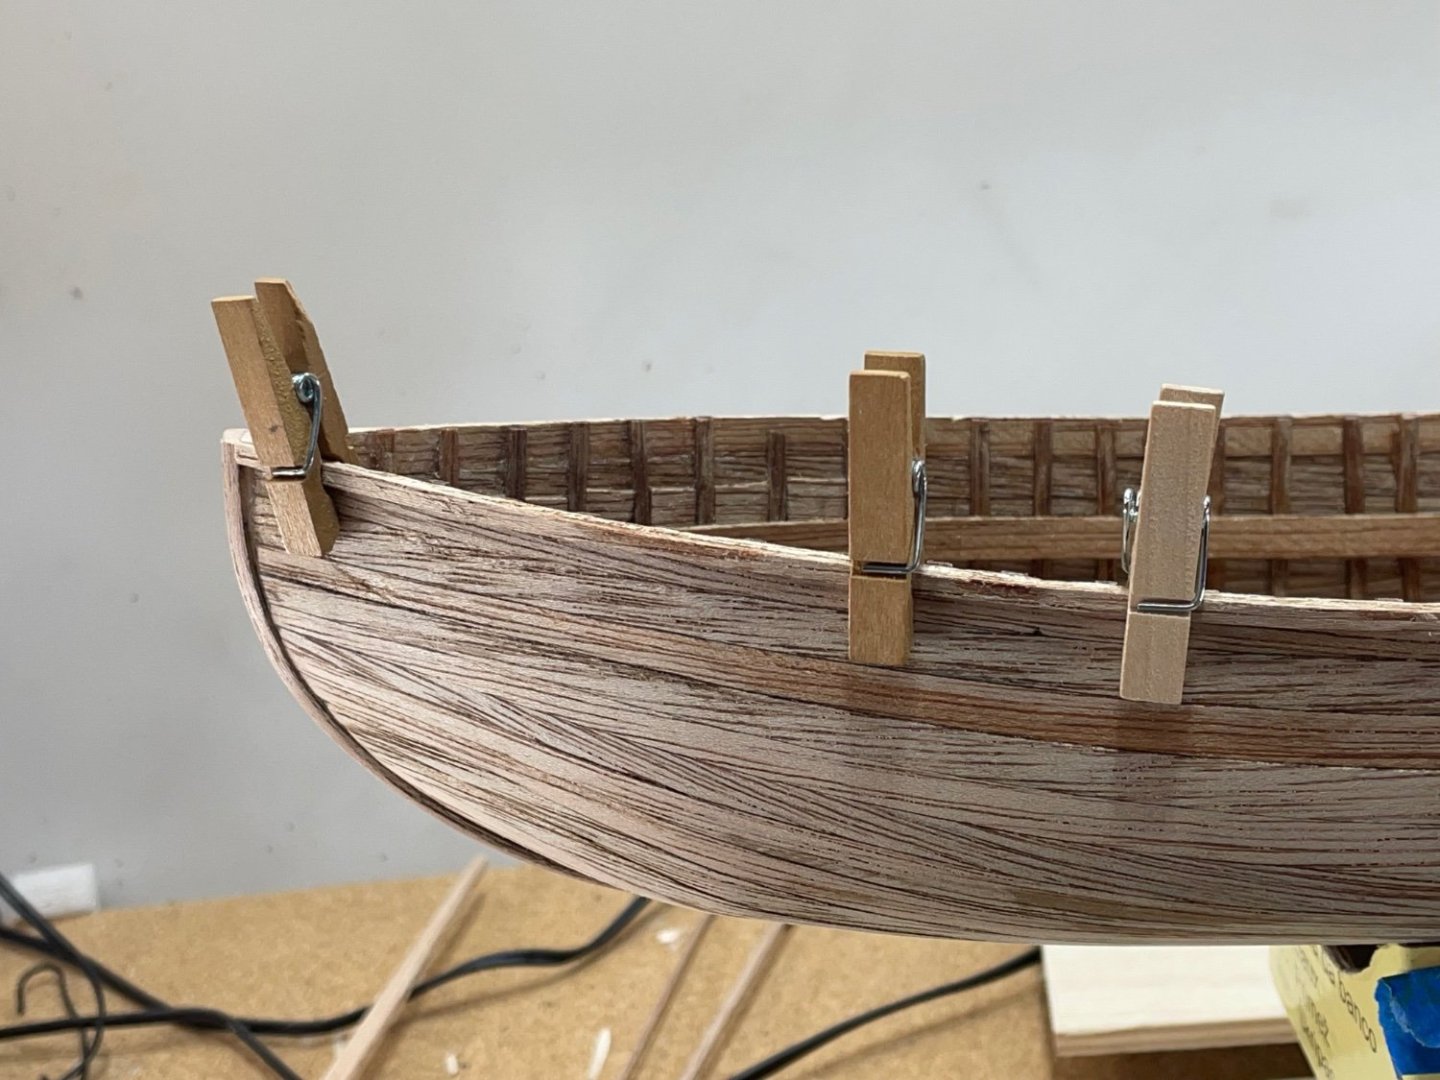
I finished the decks. I had 4 full sticks of the rib material left. I chose to use them on both sides of the sheer plank just below the cap rail. They laid flush with the cap rail edges after it was installed. This will require some sanding, and that gives me time to think about all the small parts that need built and placed. Also the order that I want to do them in.


- 134 replies
-
- 4
-
-
- sea of galilee boat
- SE Miller
- (and 1 more)
-
Amazing work Glen! I bet you’re already knocking those ideas around for the next wonder:-)
- 290 replies
-
- 4
-
-
-
- Quinquereme
- Finished
- (and 1 more)
-
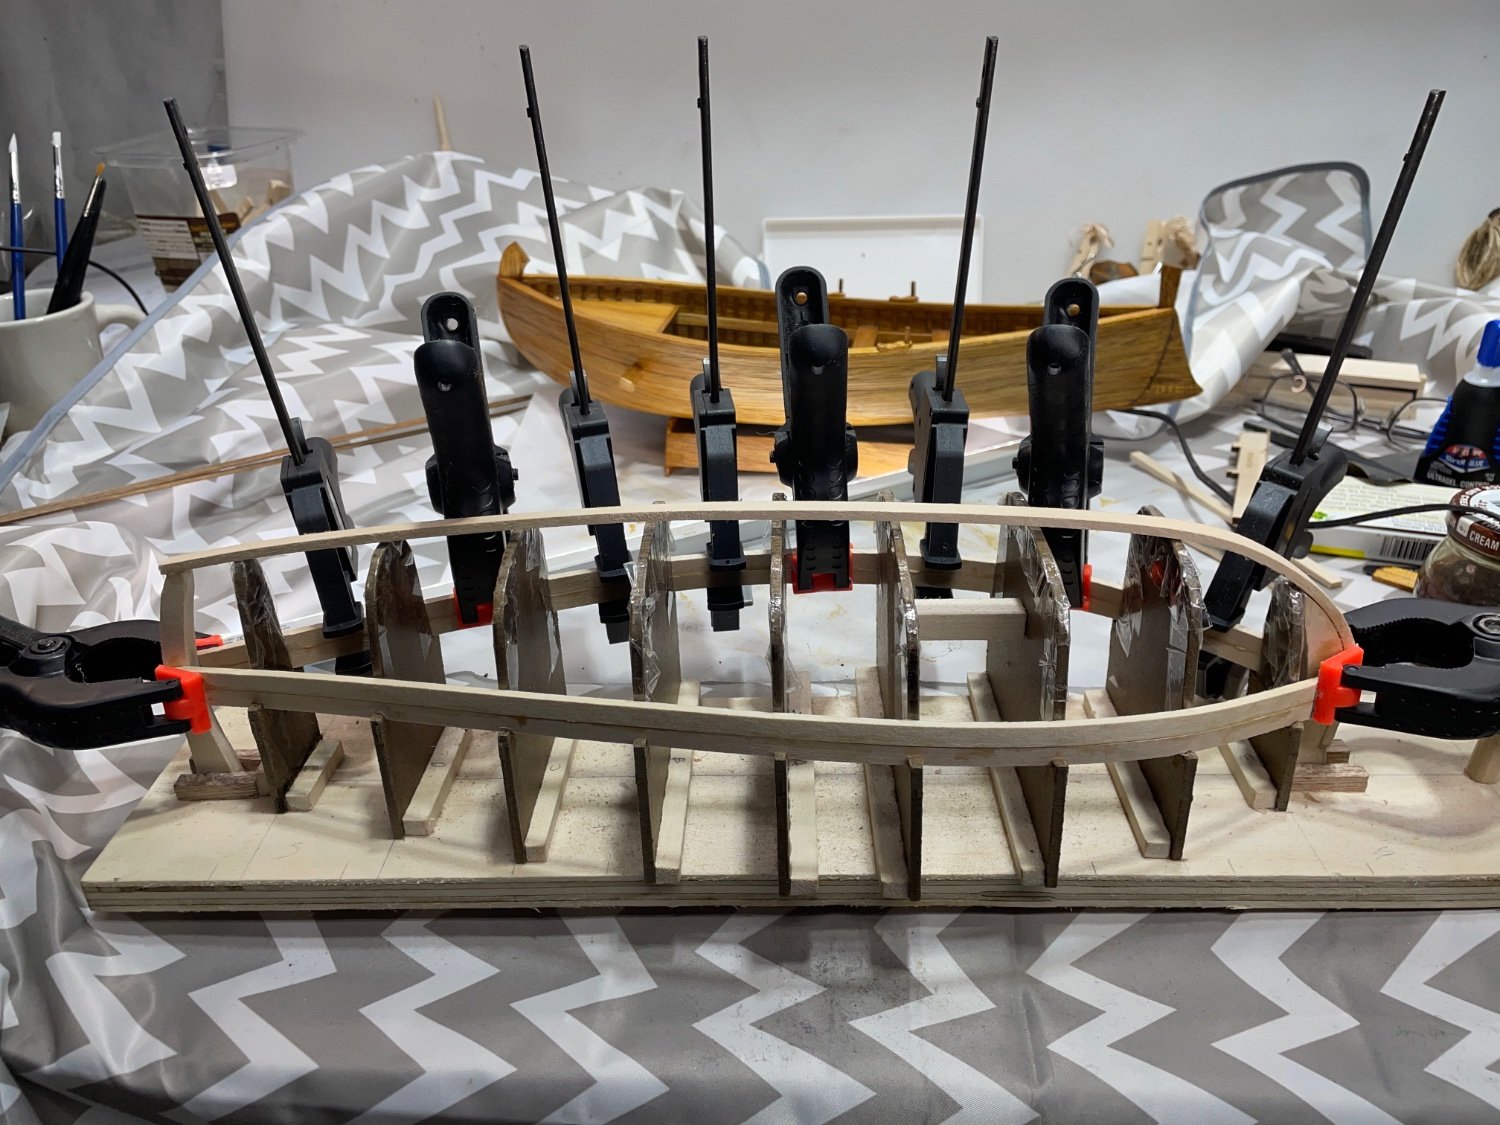
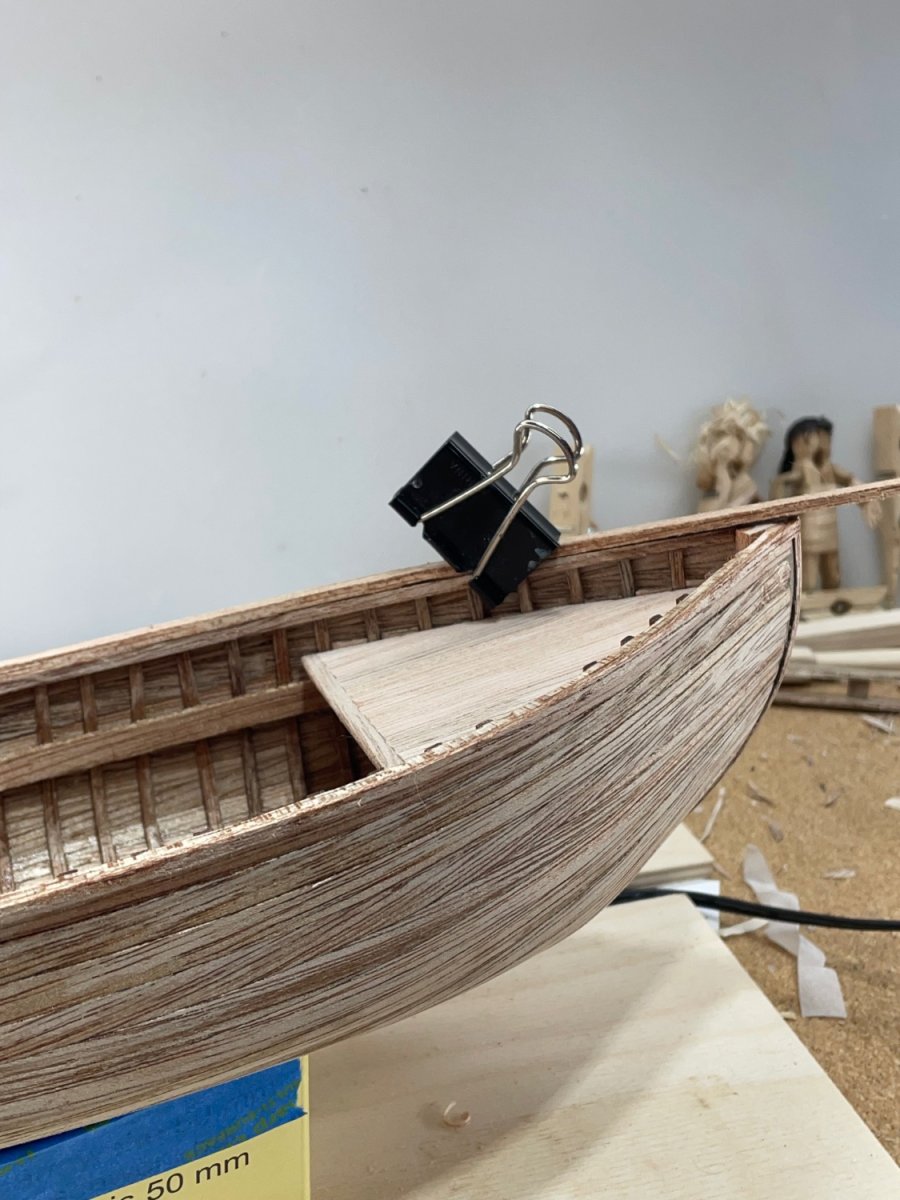
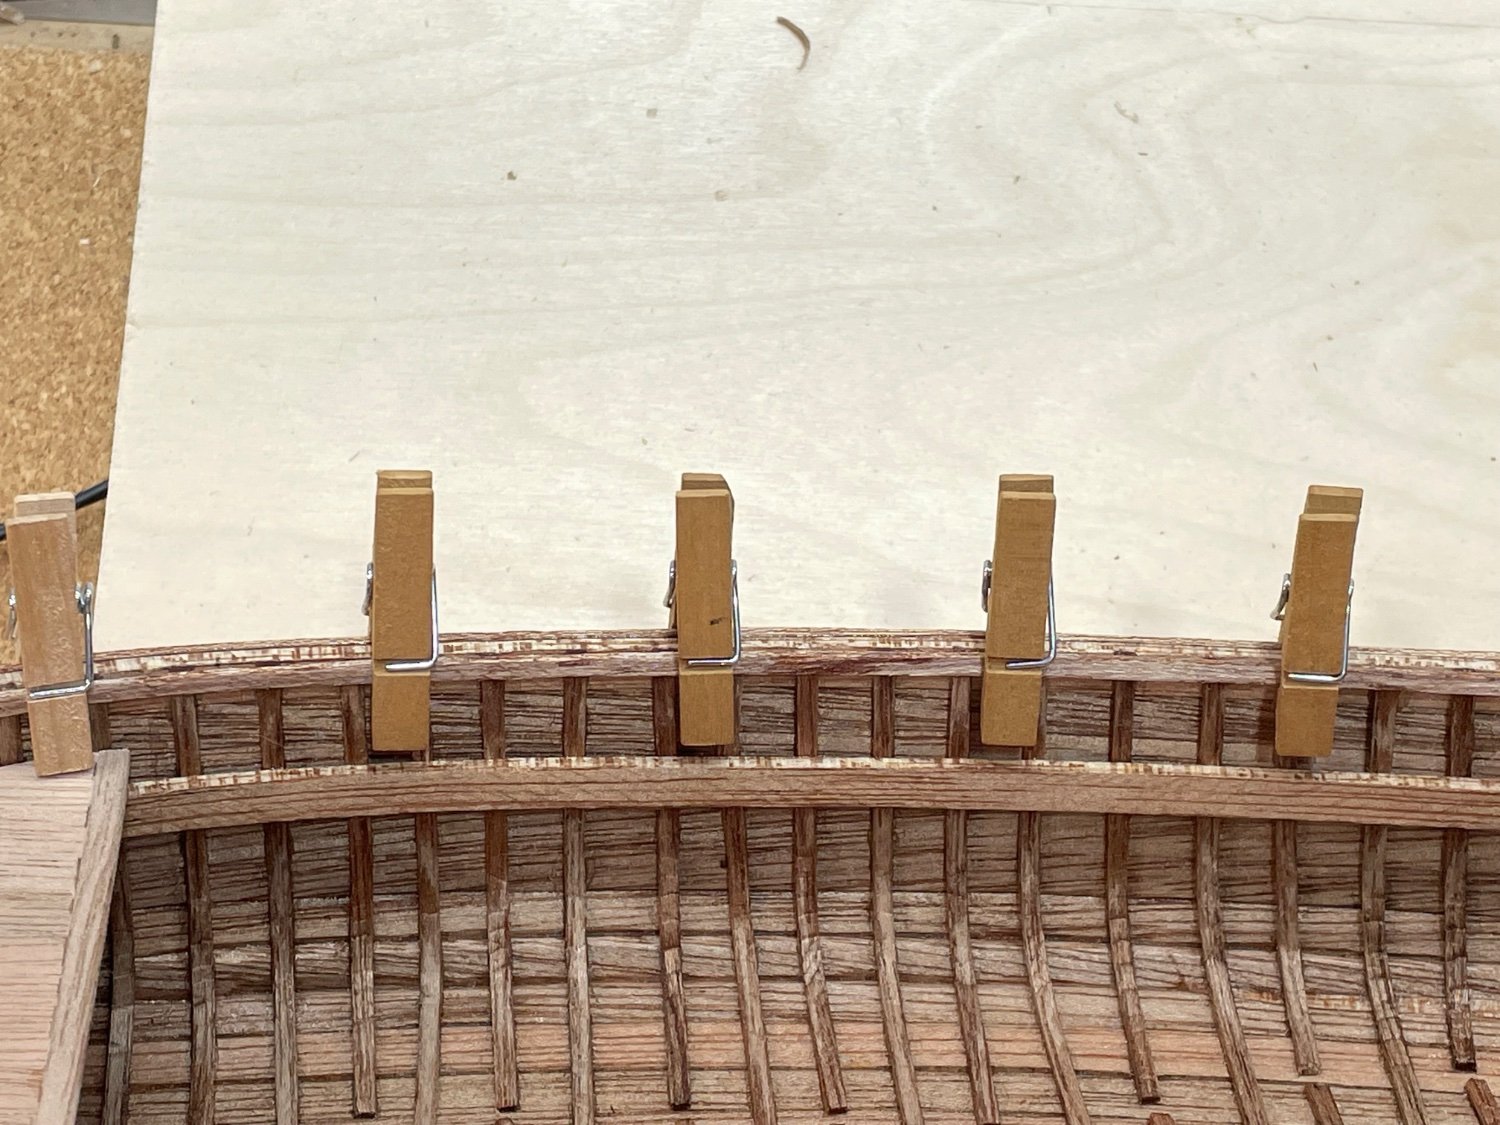
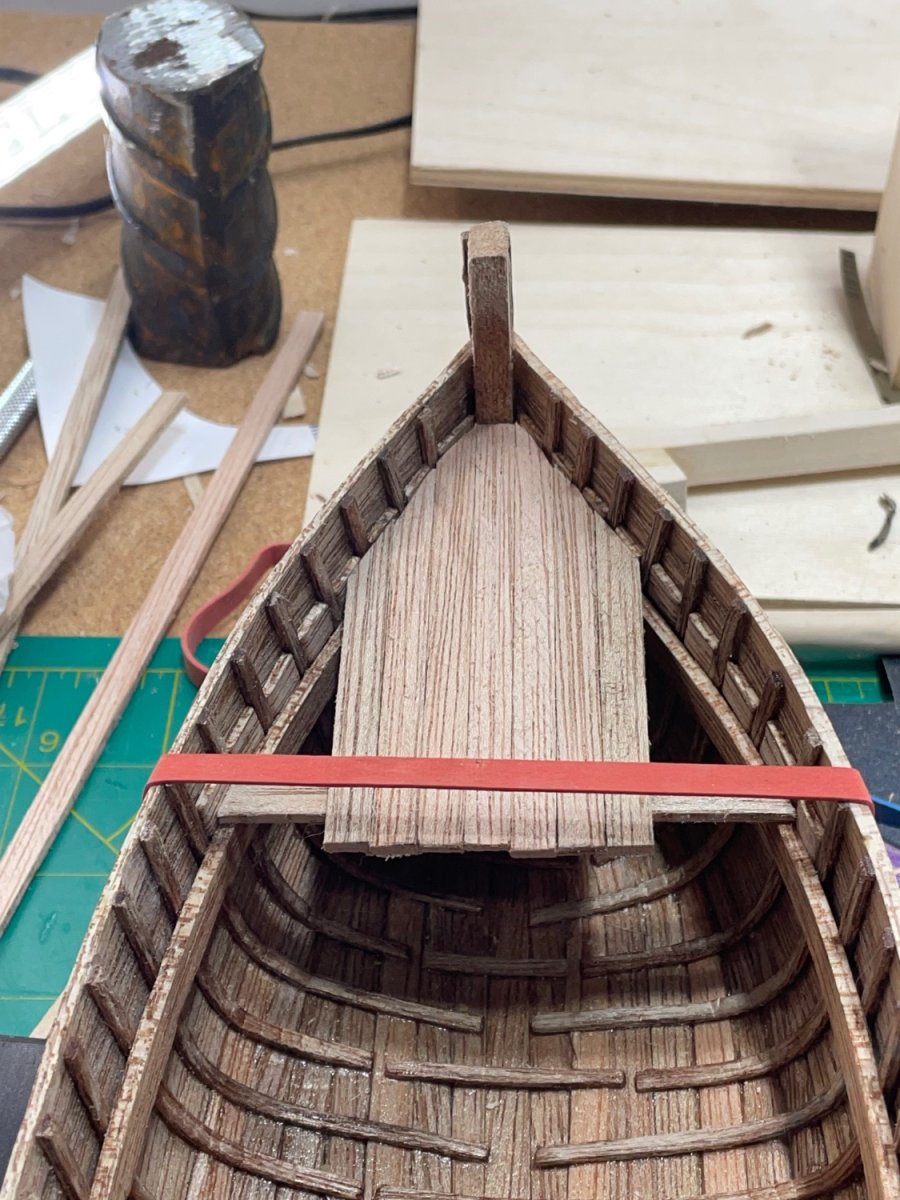
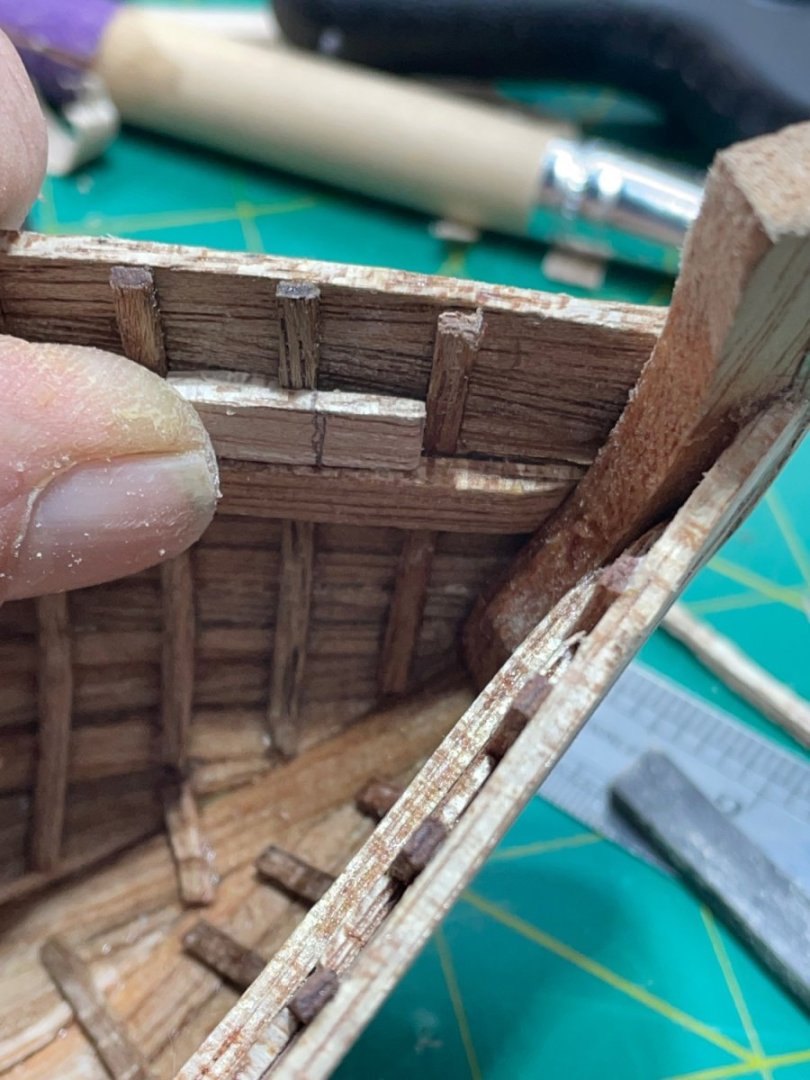
This morning glued the false keel. I soaked it a few nights ago, bent it over the hull and let it dry. While removing it I thought it may be a good time to bend a plank of basswood to make another keel piece. Not to start another now, but I did carve the bow and stern so I could glue the bent keel to the strong back. Maybe I’ll make this one more hands on for kids:-) After that distraction I thought about the aft deck and were it edges the ribs. My plan was to hand plain down a plank to half the thickness and cut small pieces between the ribs right above the stringers. The deck will be glued down but I was afraid I would need to get under there when the shellac goes on. I put the rubber band on it to give me something to go by on the length of the planks. It’s definitely not symmetrical, it looks crooked to me but I just change the position I’m looking at it:-)


- 134 replies
-
- 5
-
-
- sea of galilee boat
- SE Miller
- (and 1 more)
-
It didn’t survive. The kit designer just sent material and said it was the modeler’s choice. There is a log on MSW from 2013 that did one of the first of Scott Millers kits. He has a lot of research in his 6 page log. For some reason his doesn’t show up in my searches. It’s Cap’n Rat Fink.
- 134 replies
-
- 3
-
-
- sea of galilee boat
- SE Miller
- (and 1 more)
-
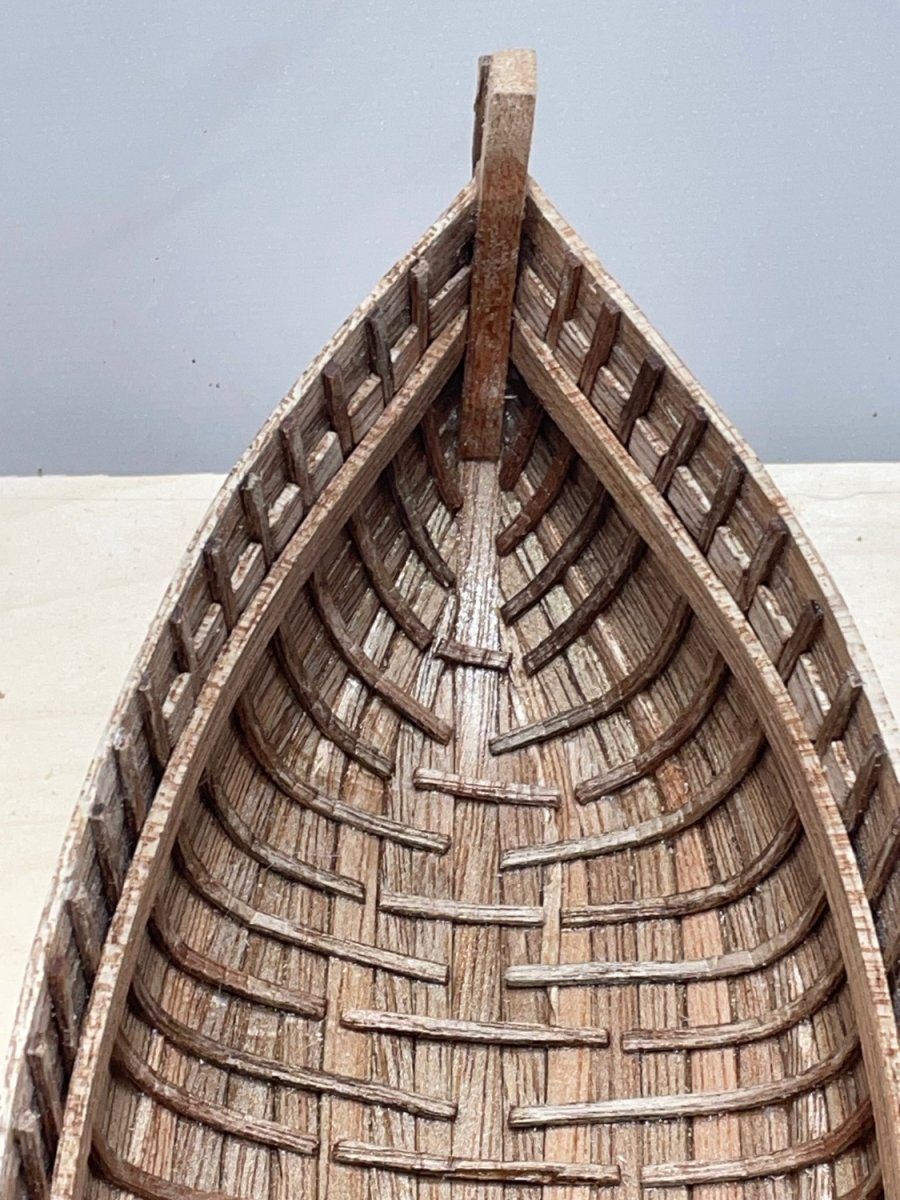
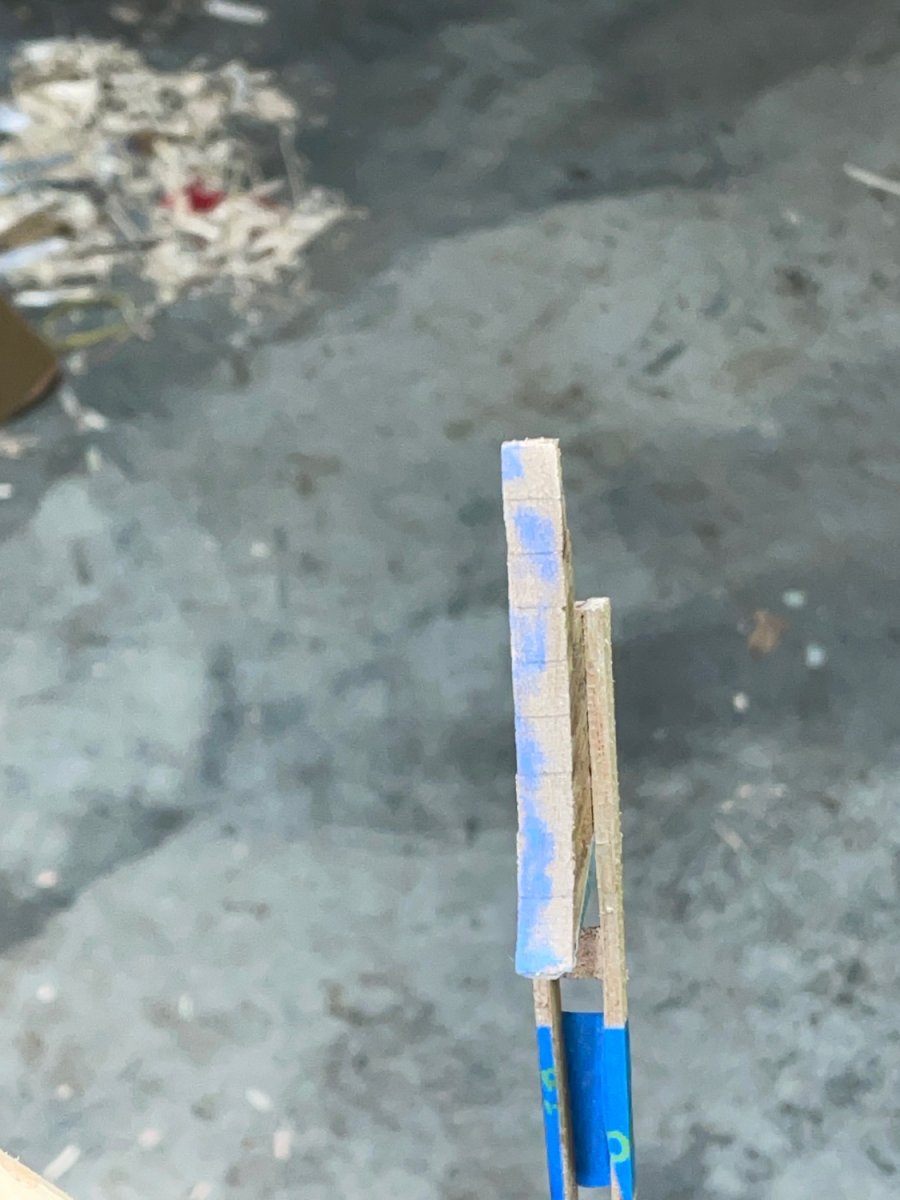
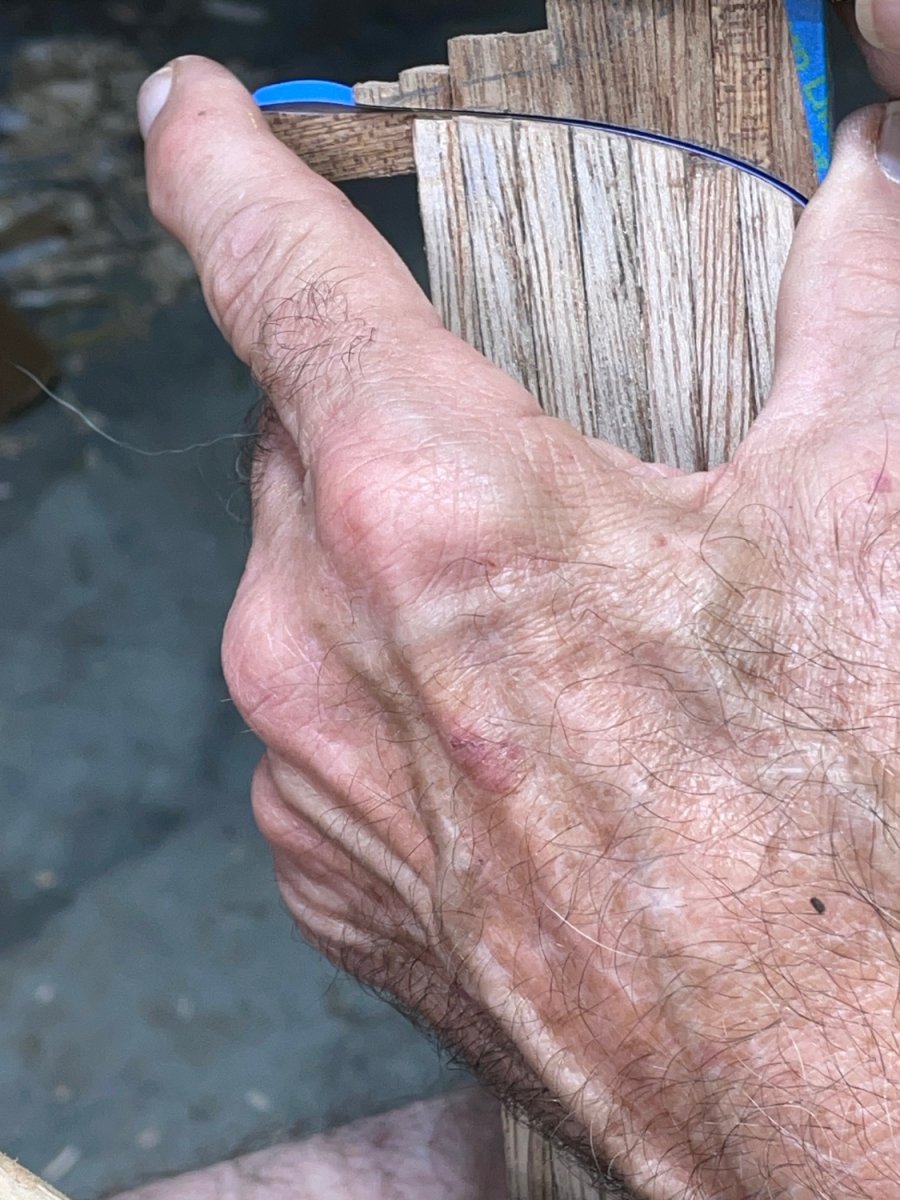
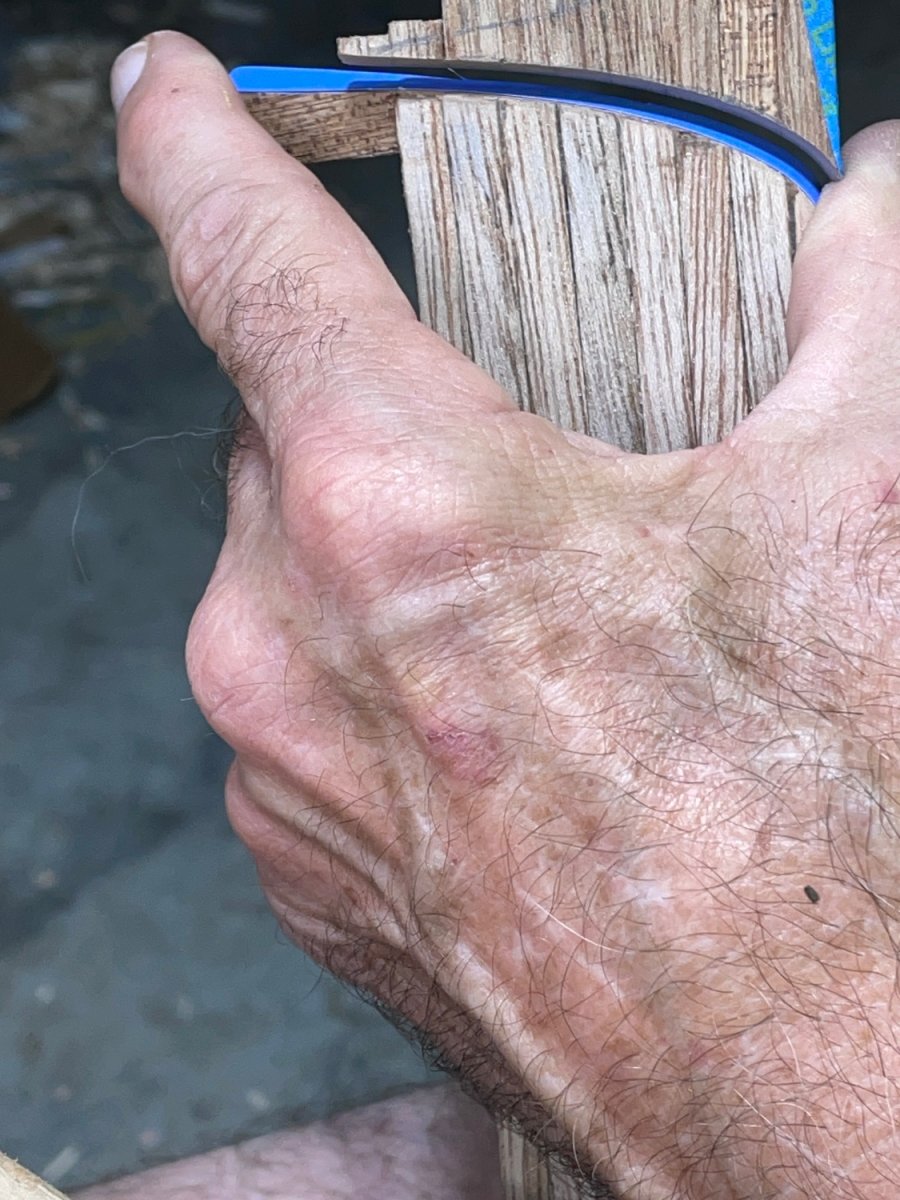
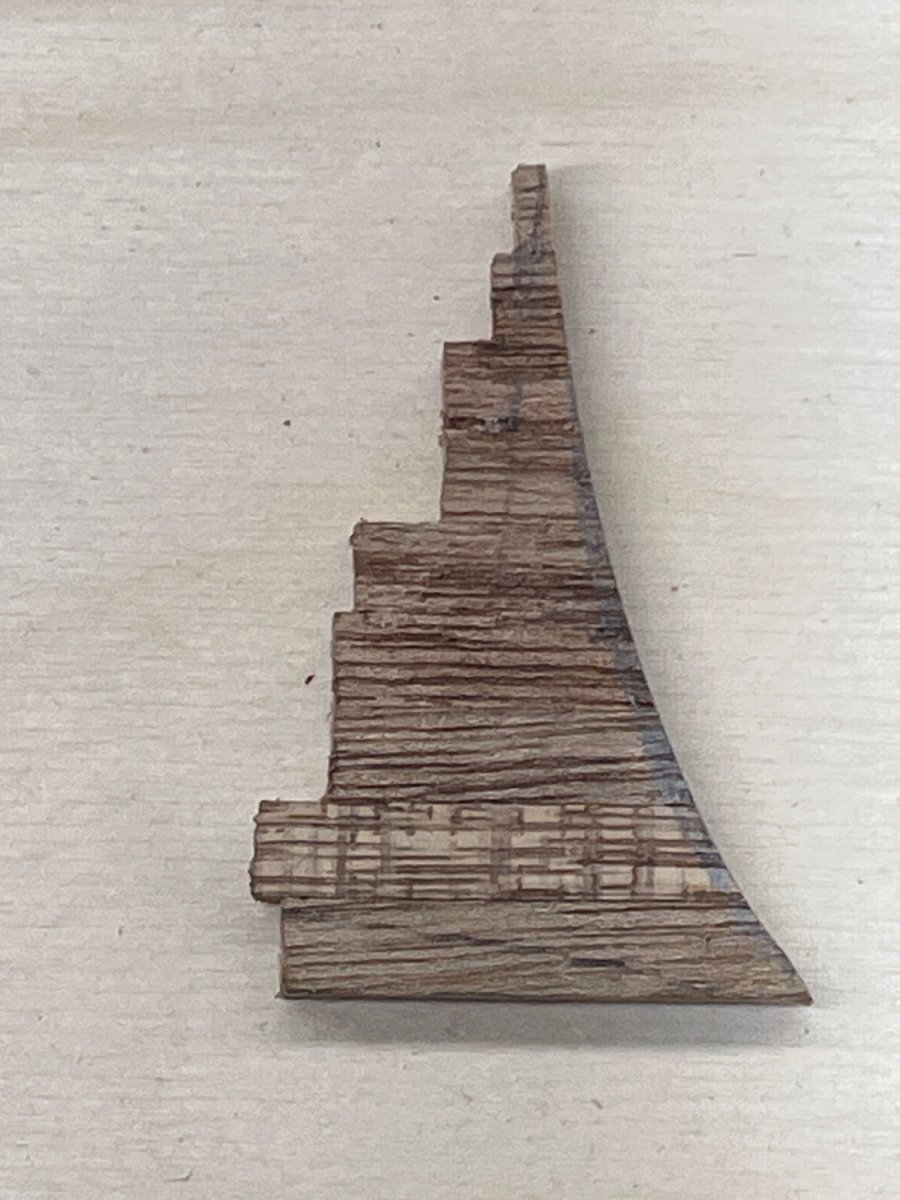
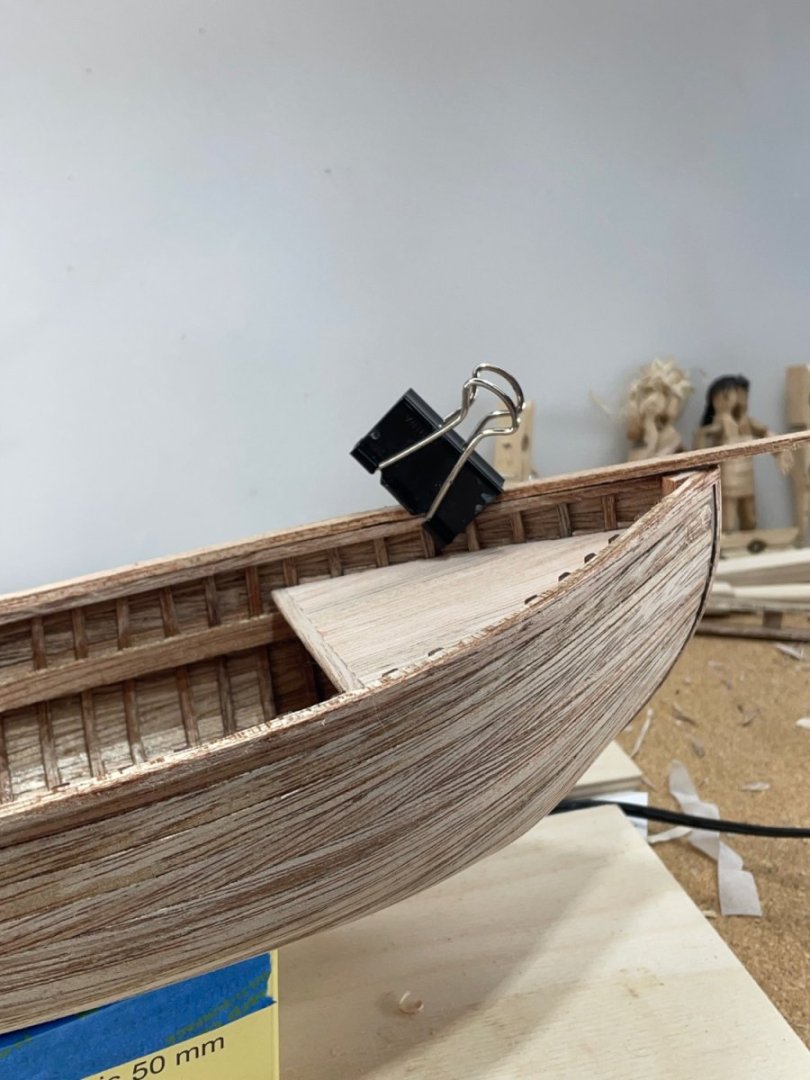
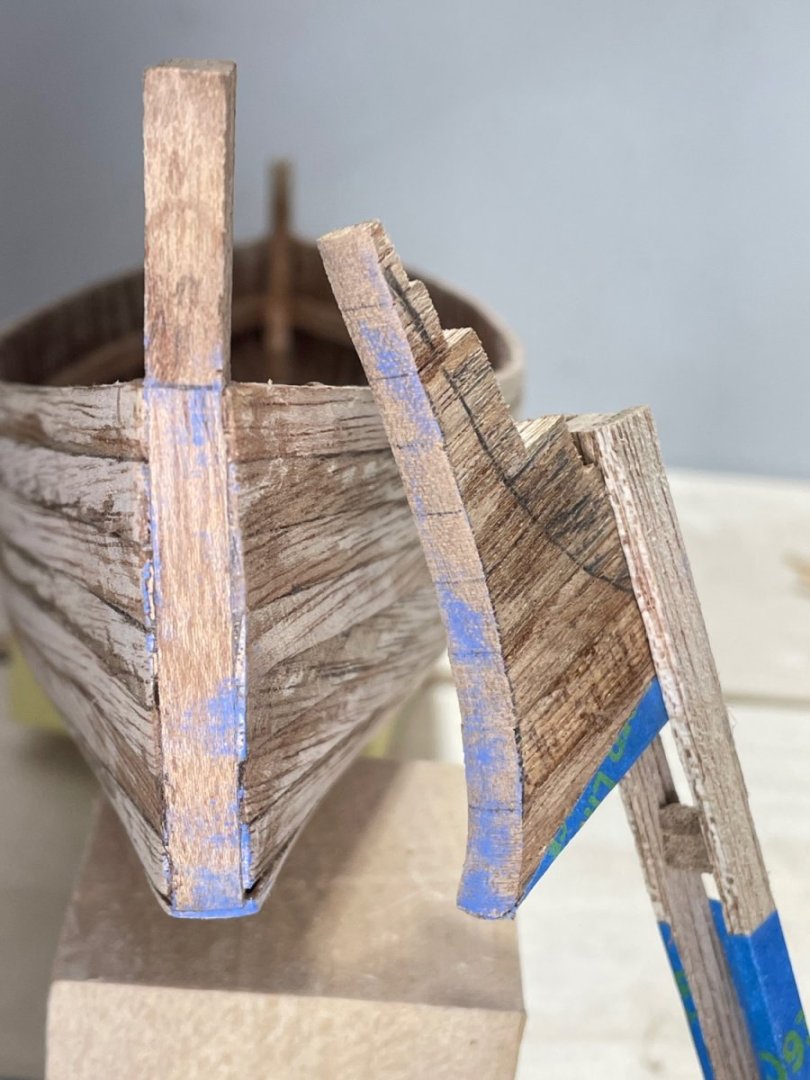
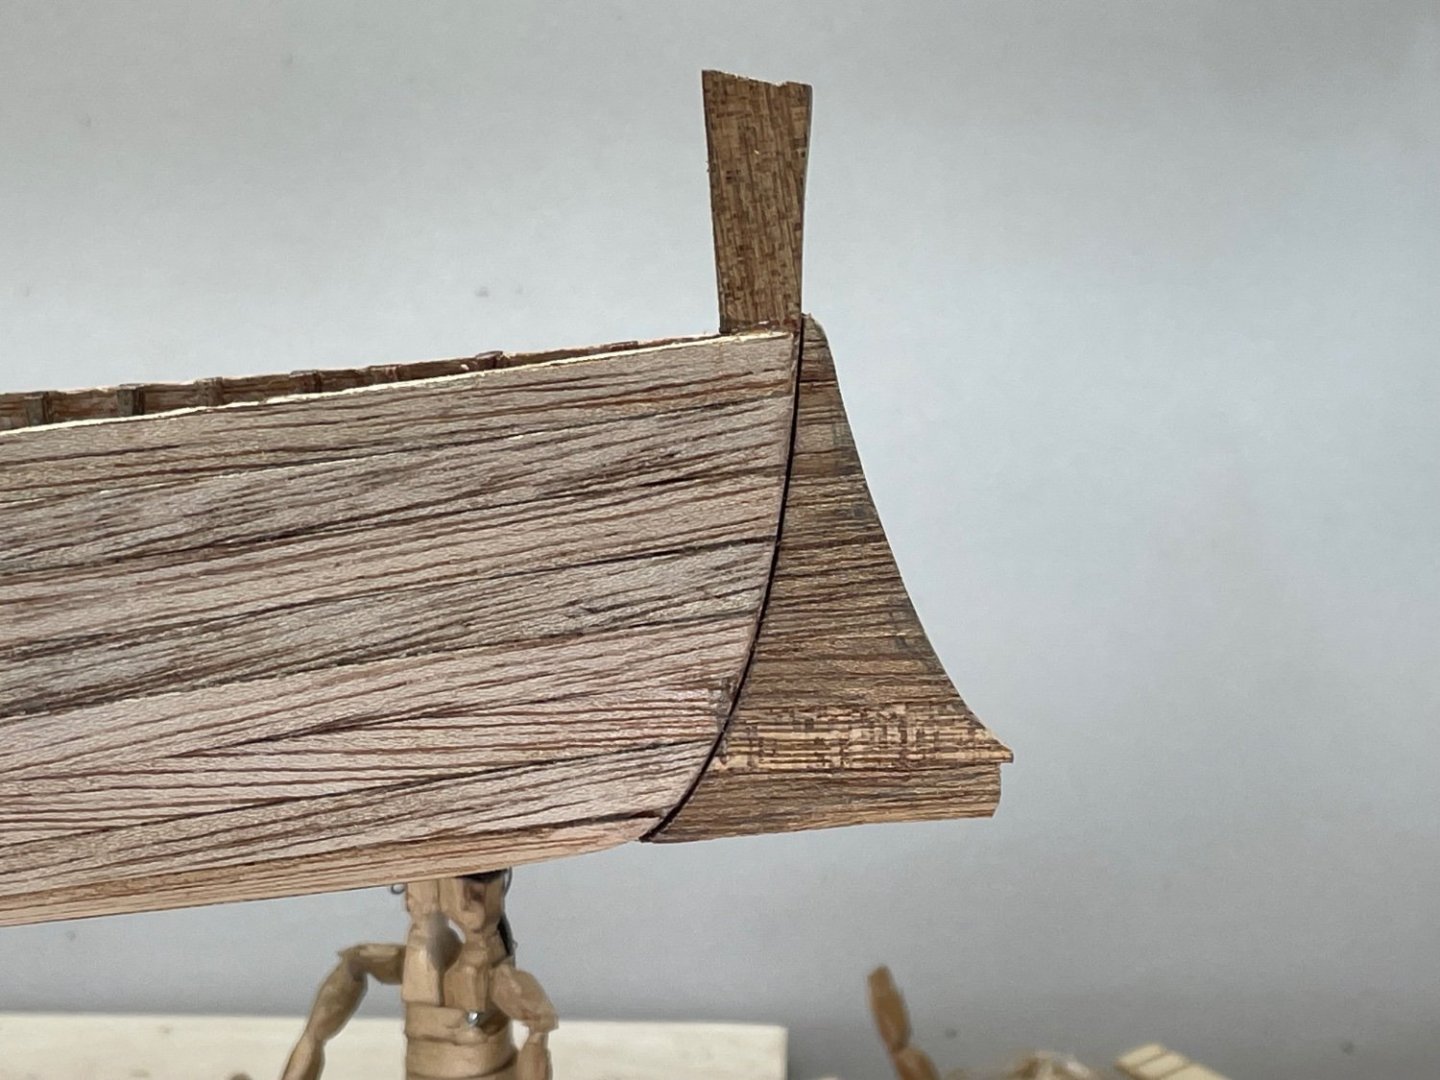
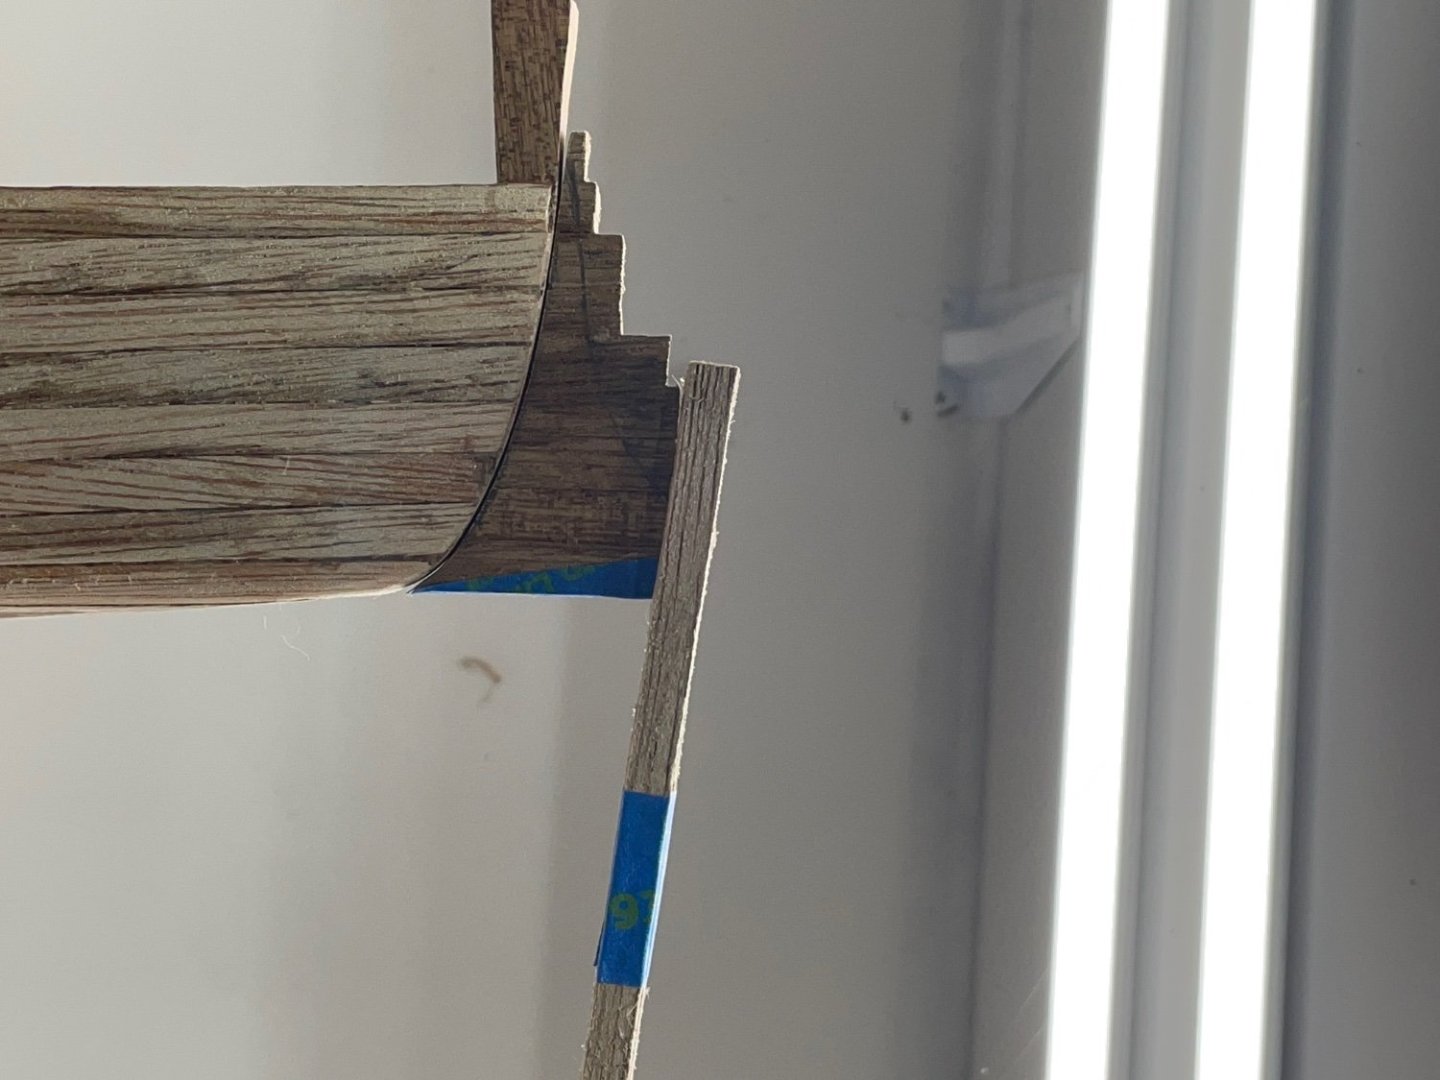
I could still see light between the cut water and the bow stem. My last attempt was to press fabric transfer paper between the two and sand off the marks. i only sanded the color off, rechecked and repeated numerous times. Still seeing light through the crack. I was thinking when it transferred the high spots I no still couldn’t isolate which side the high spot was on:-) I even doubled the paper to get a look at both sides on a single impression. I tried to compare the two but decided it was close enough. I know if I kept on it was going to go the other way:-) the mark at the bottom was from my finger pressing down on the tip. It may have help a little. It did prolong the build an extra day:-) In the morning, I plan to take a wedge off the bottom of the cutwater to match the rise of the keel. If time permits I’ll sand it flat and prepare it for the false keel.


- 134 replies
-
- 5
-
-
- sea of galilee boat
- SE Miller
- (and 1 more)
-
Almost there, I think it’s time to dwell on it a bit:-)
- 134 replies
-
- 4
-
-
- sea of galilee boat
- SE Miller
- (and 1 more)
-
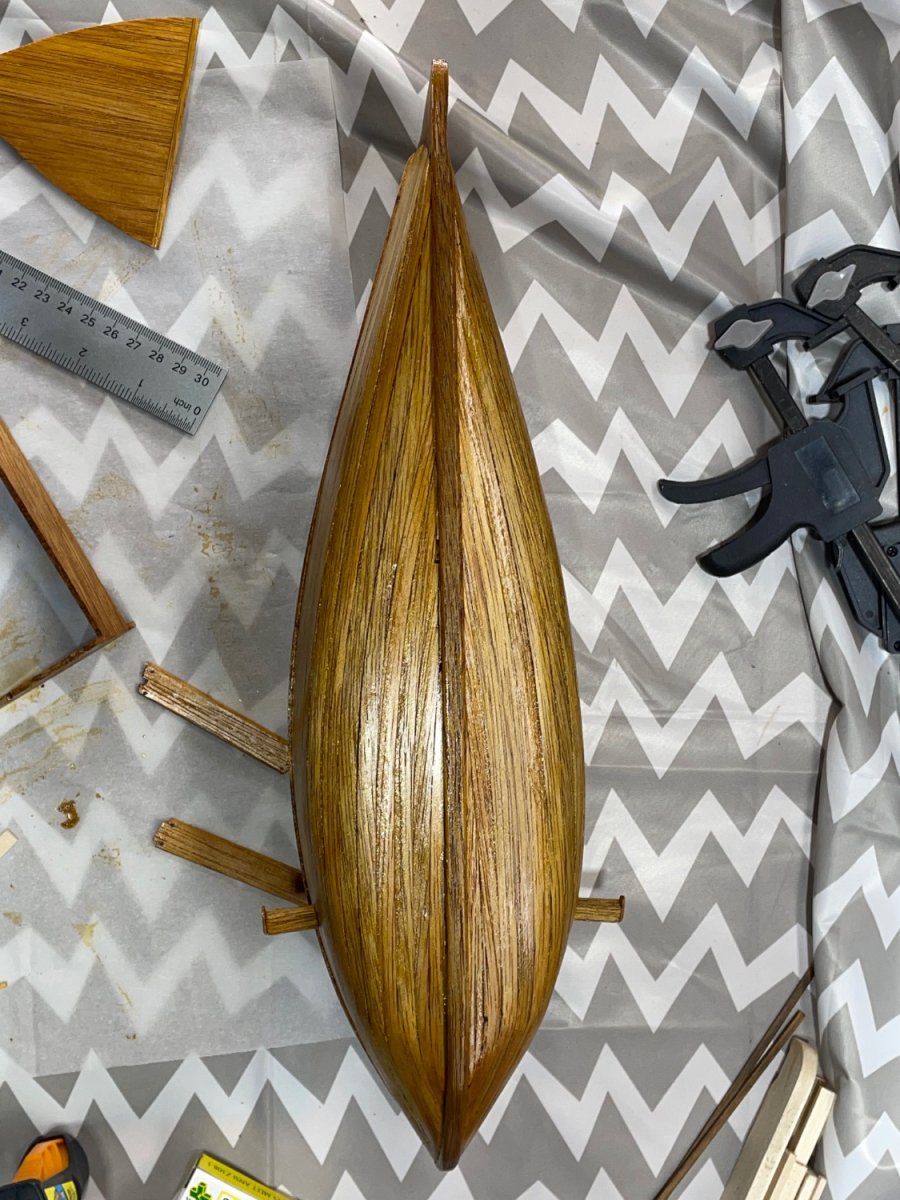
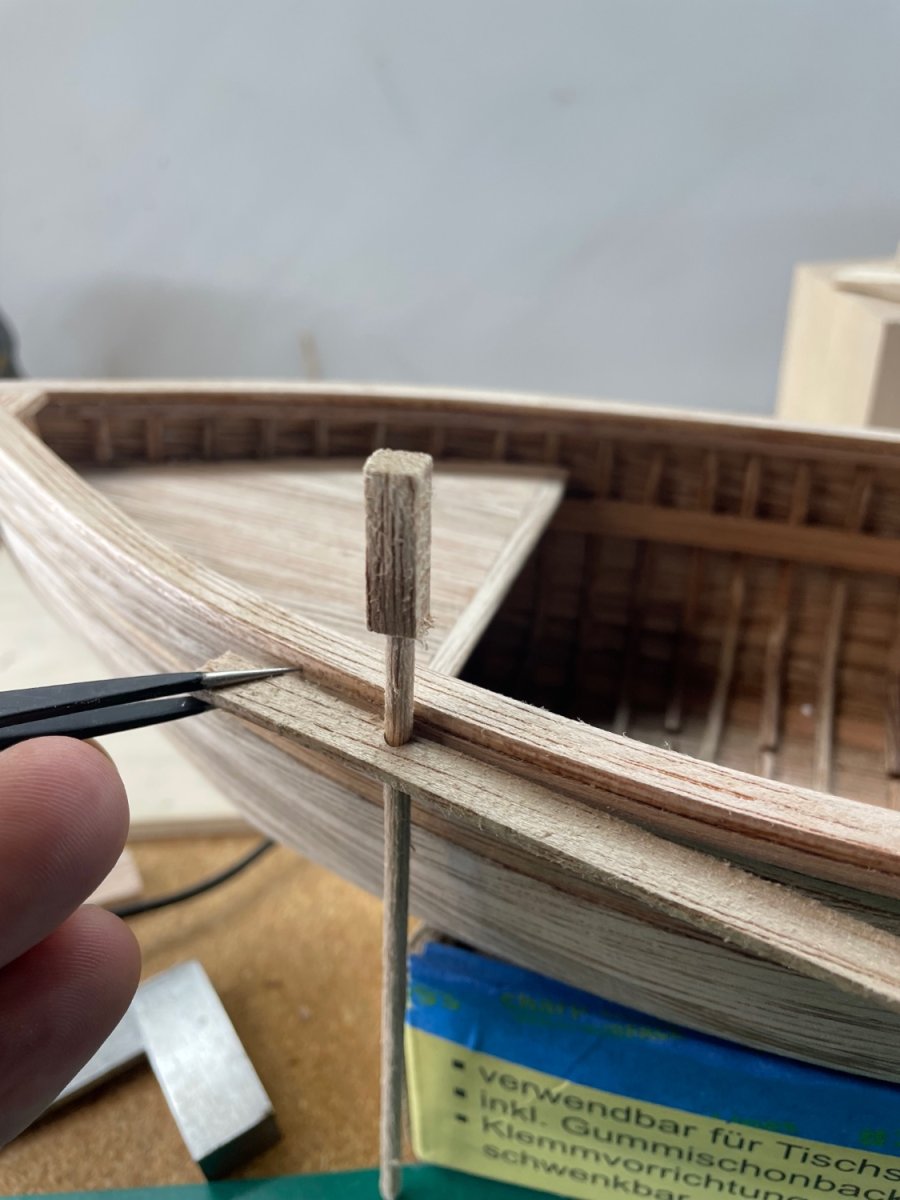
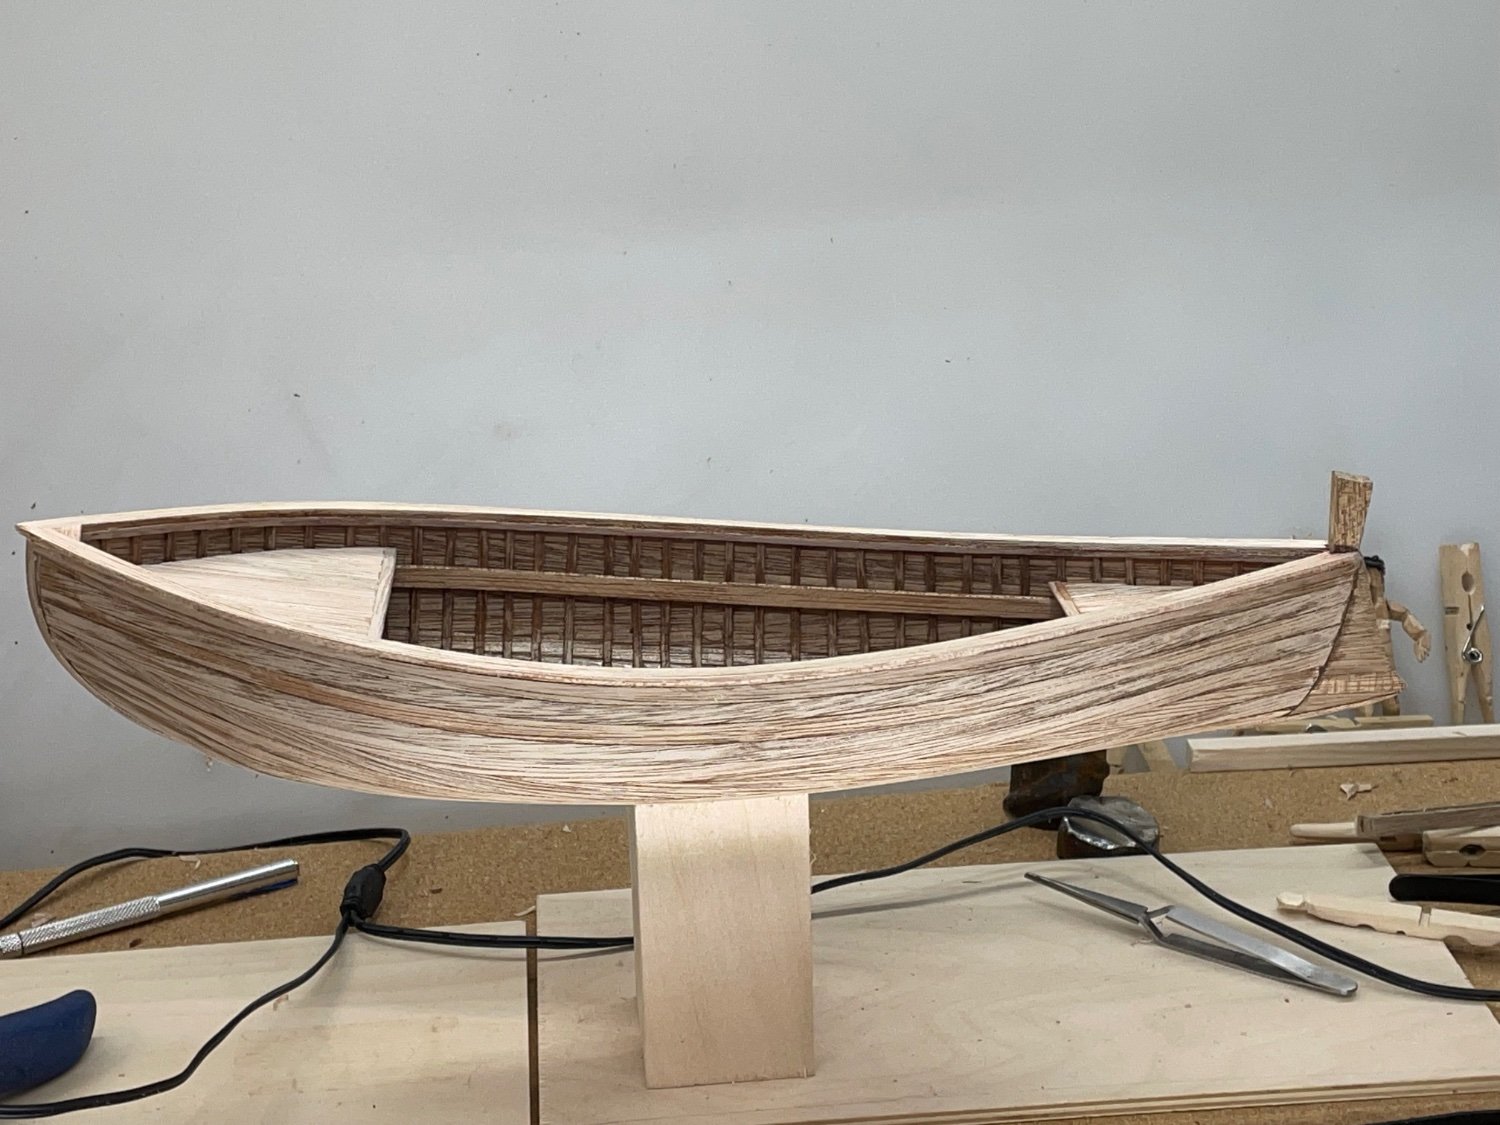
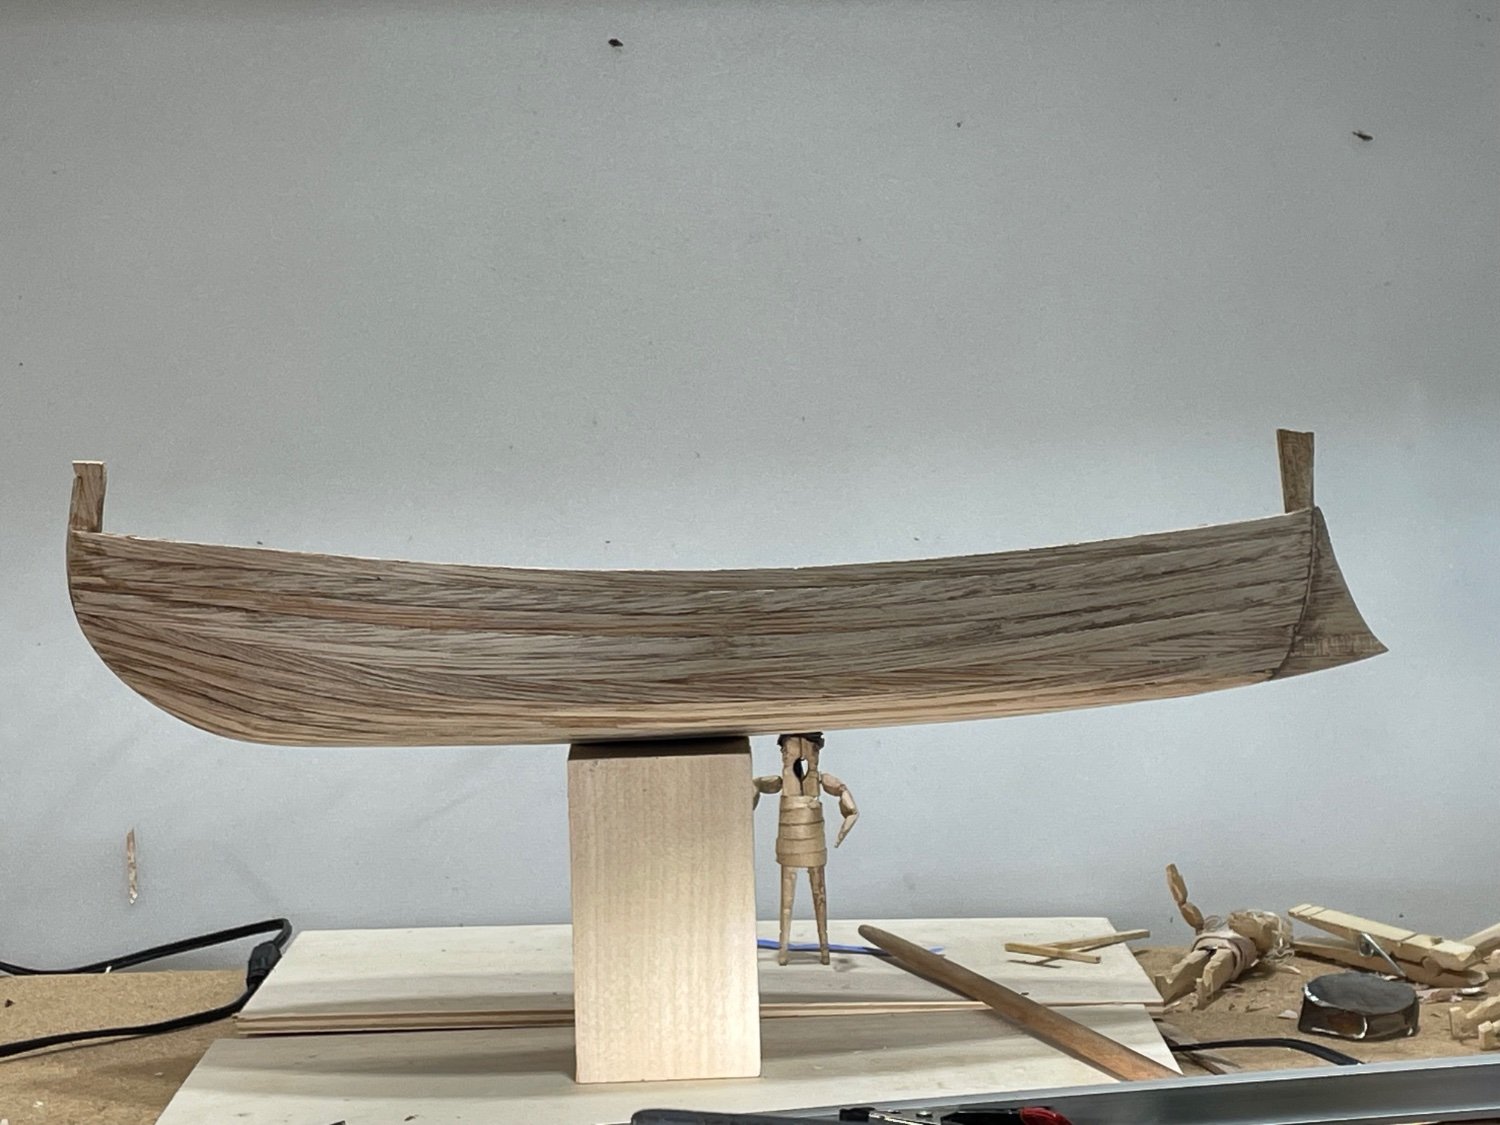
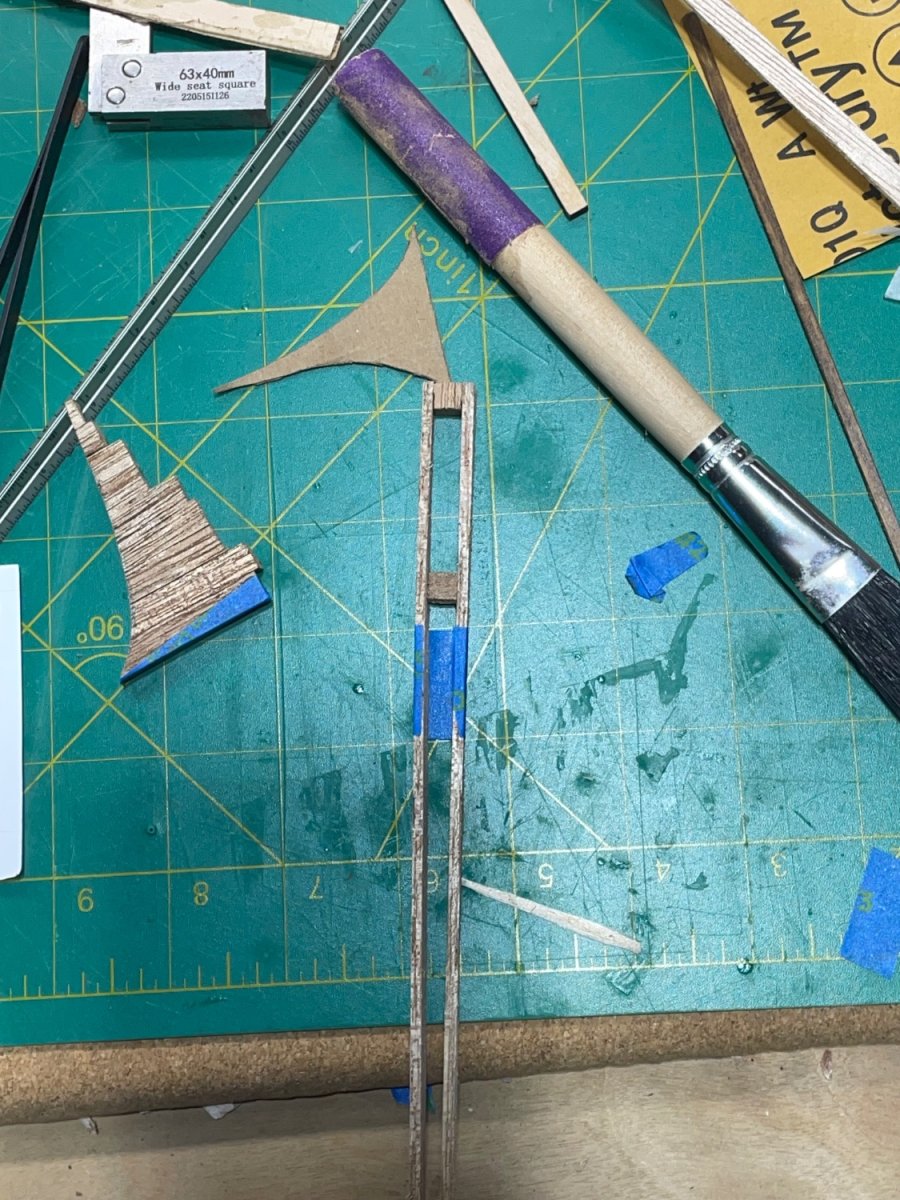
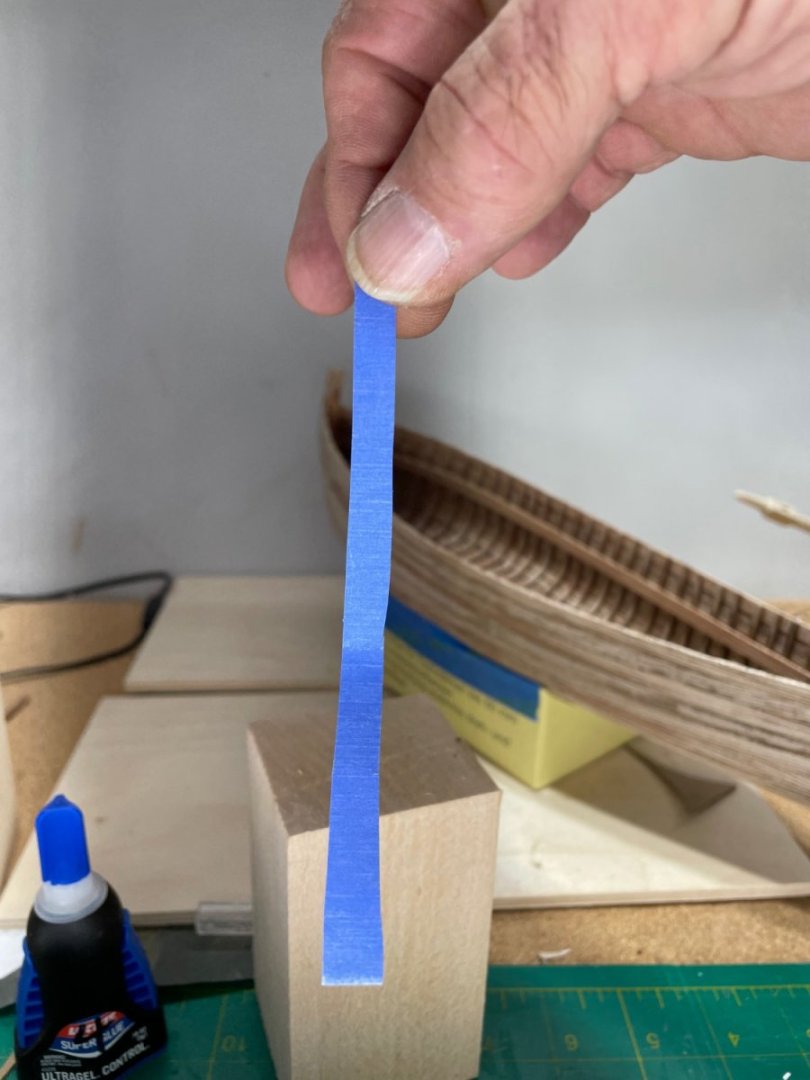
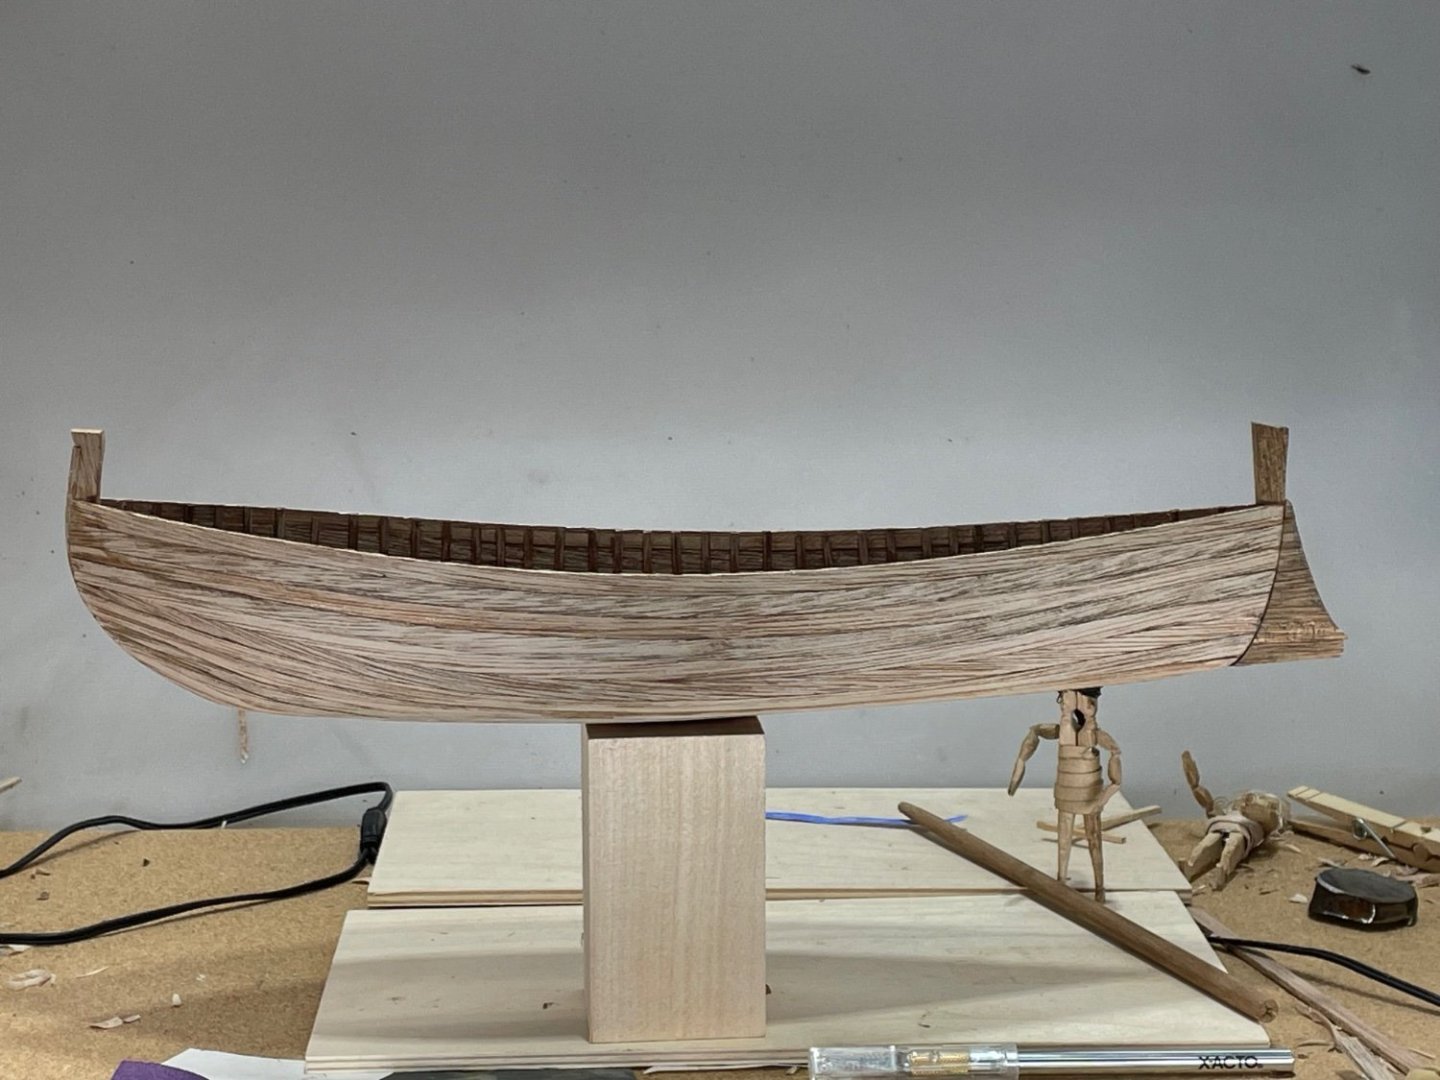
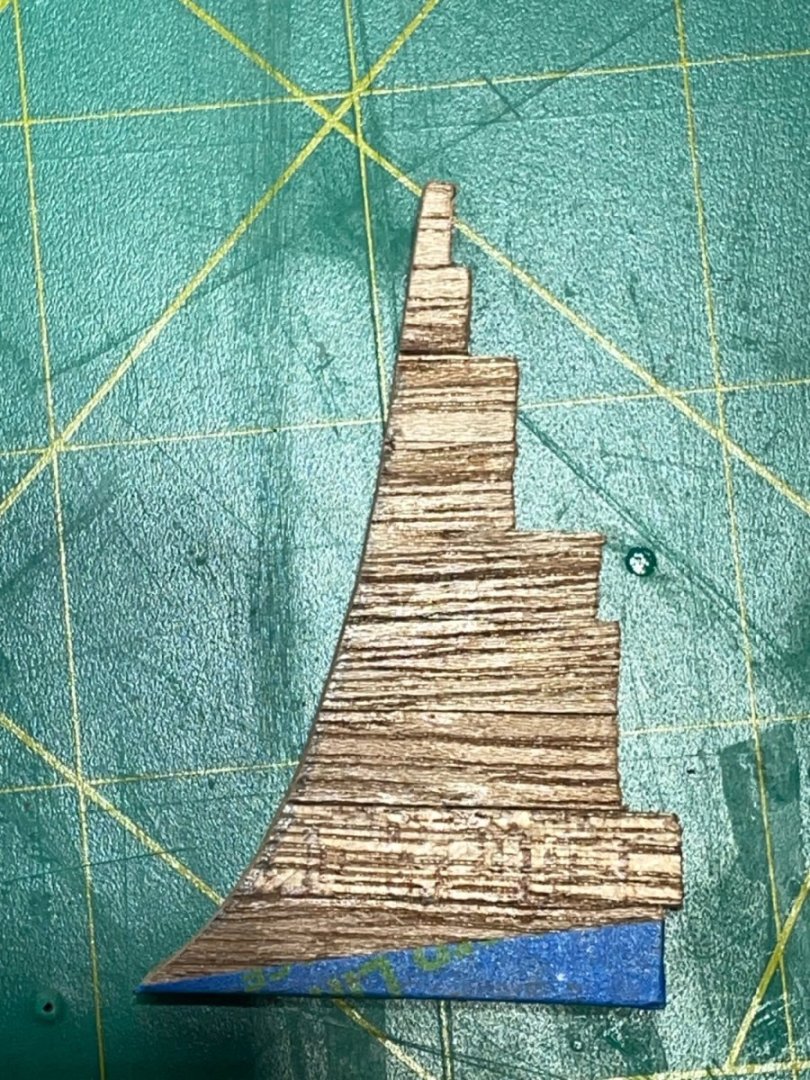
I placed a piece of painters tape on it to show the bottom of the boat. My hand kept blocking my view as I frequently checked it after sanding. I made a holder for it with scrap wood. This is the part where the less you know, the slower you go:-)

- 134 replies
-
- 4
-
-
- sea of galilee boat
- SE Miller
- (and 1 more)
-
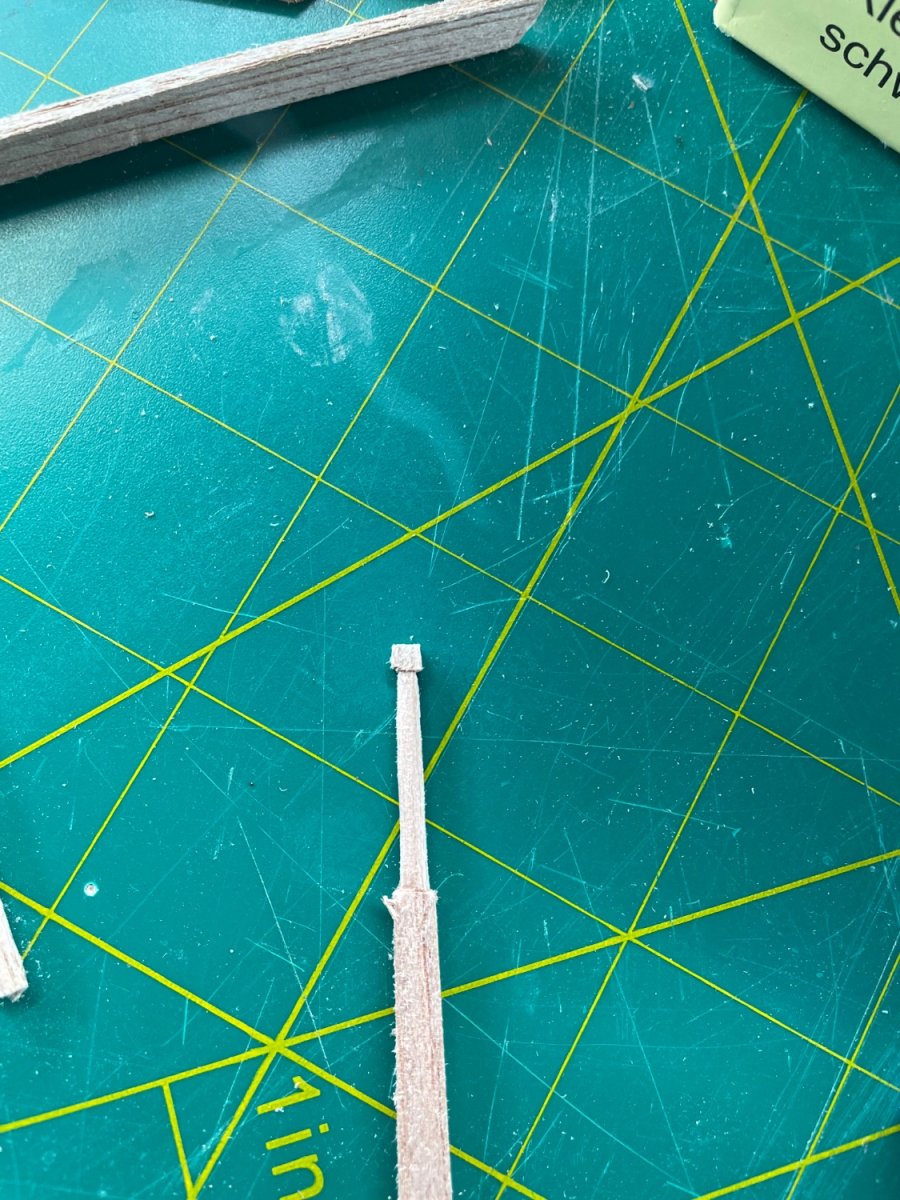
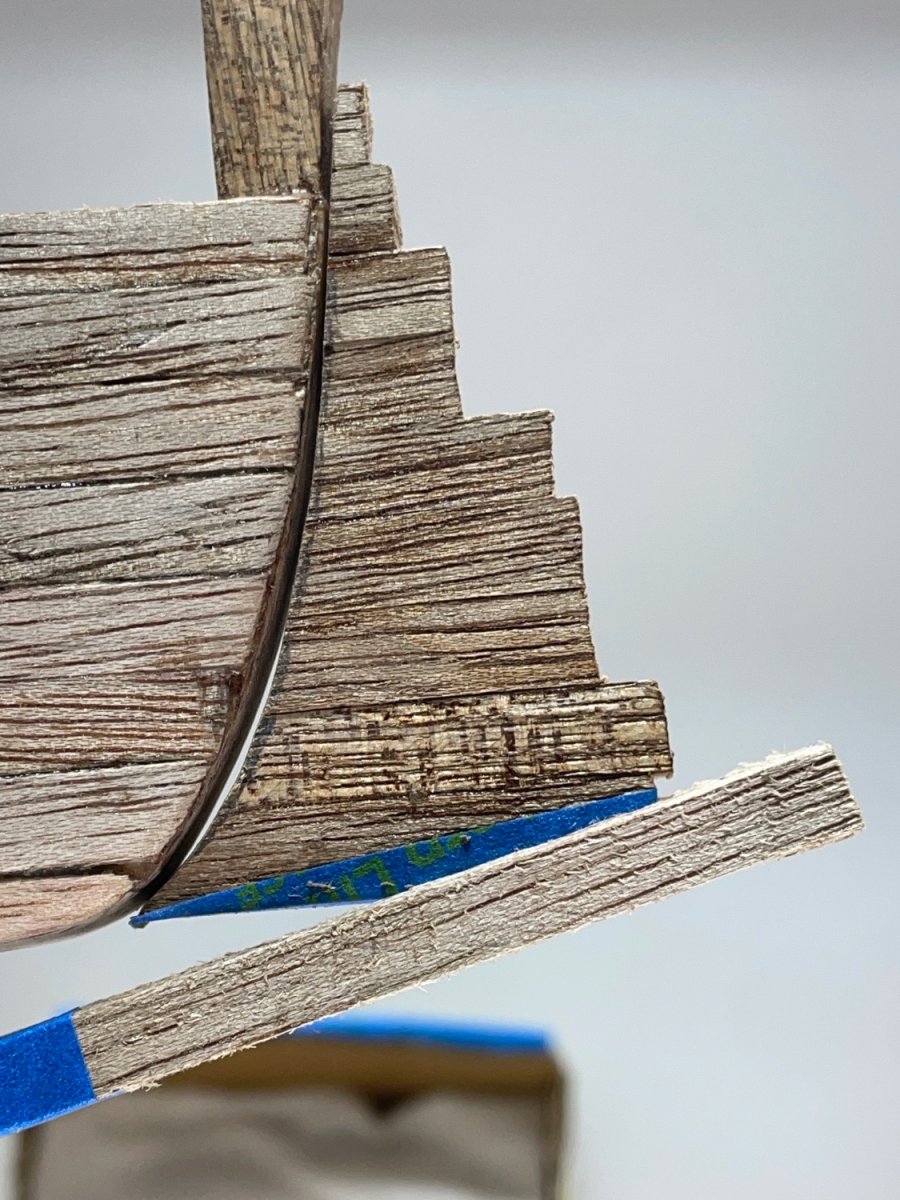
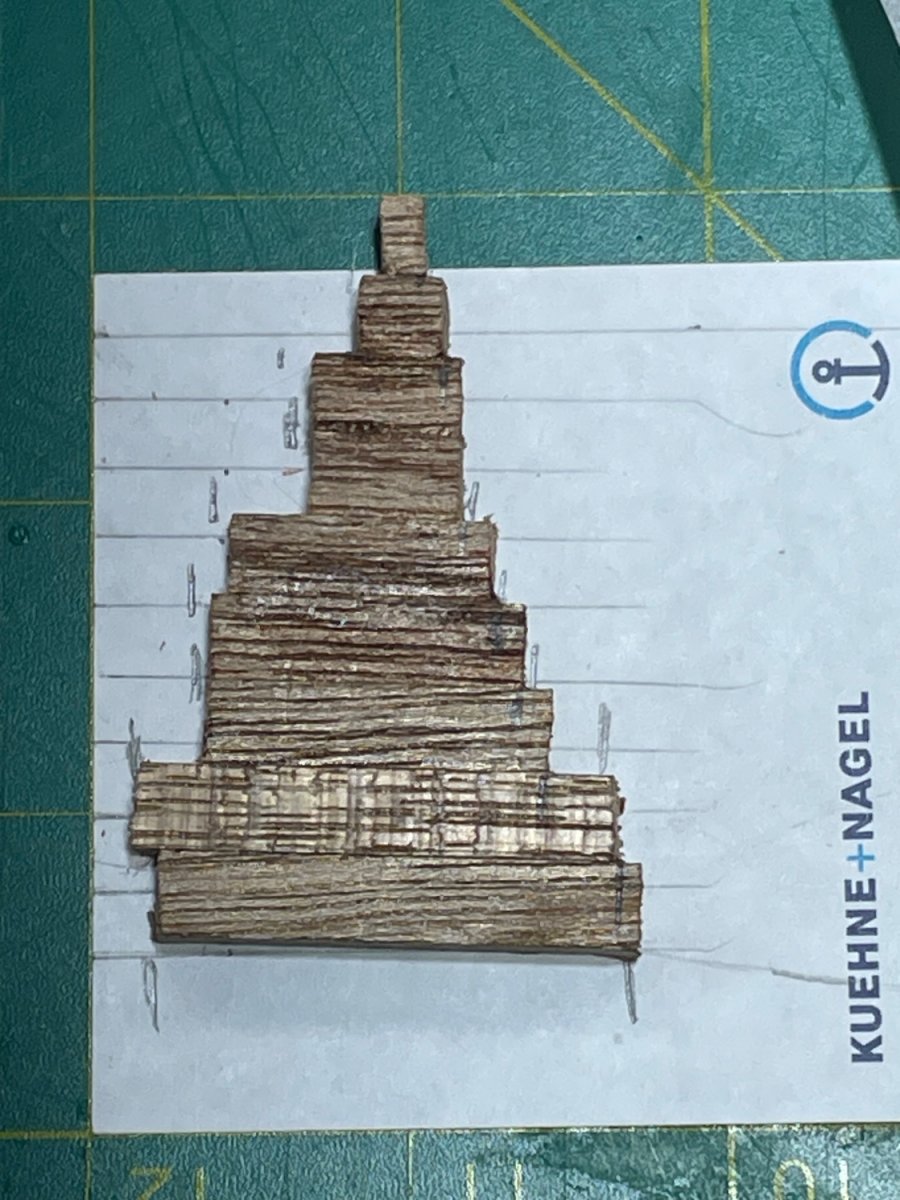
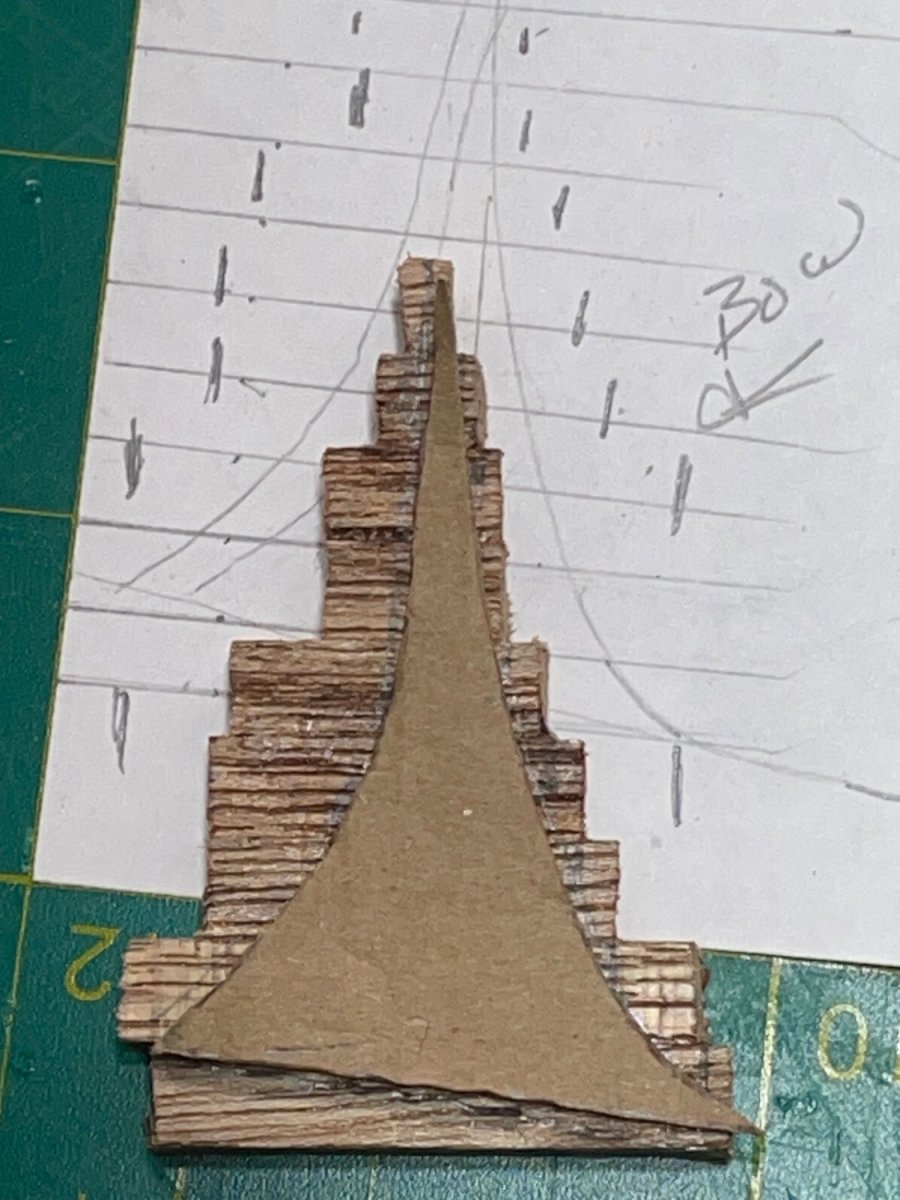
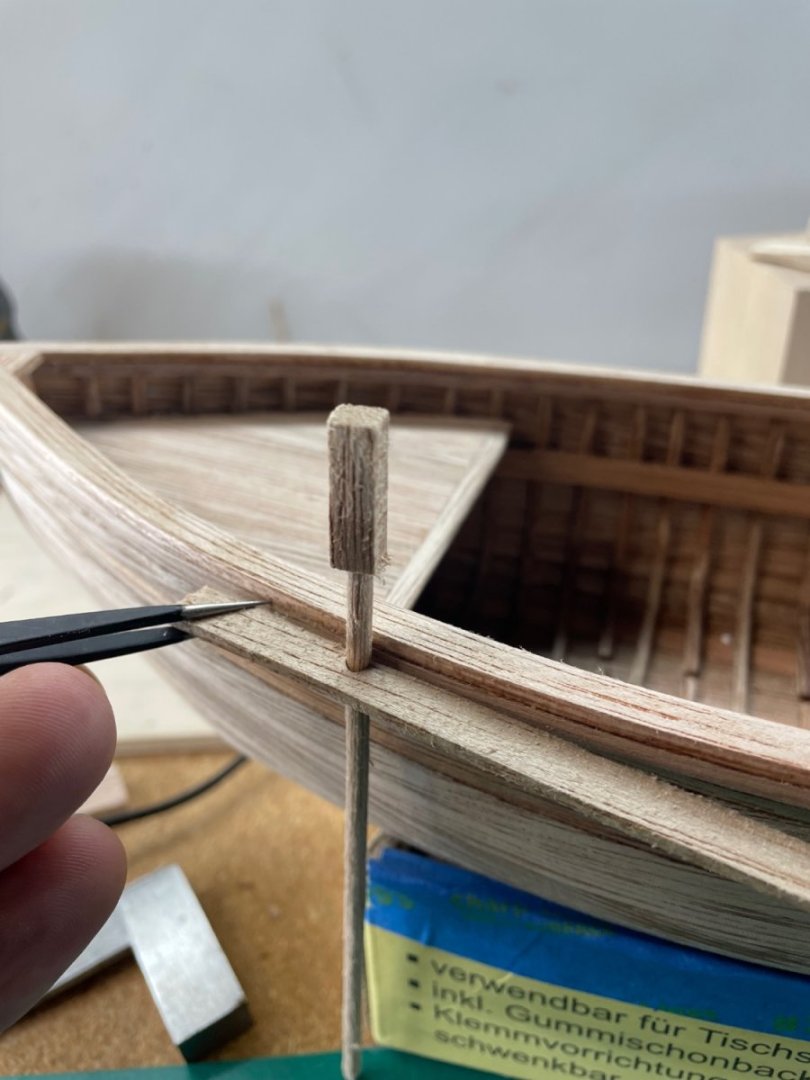
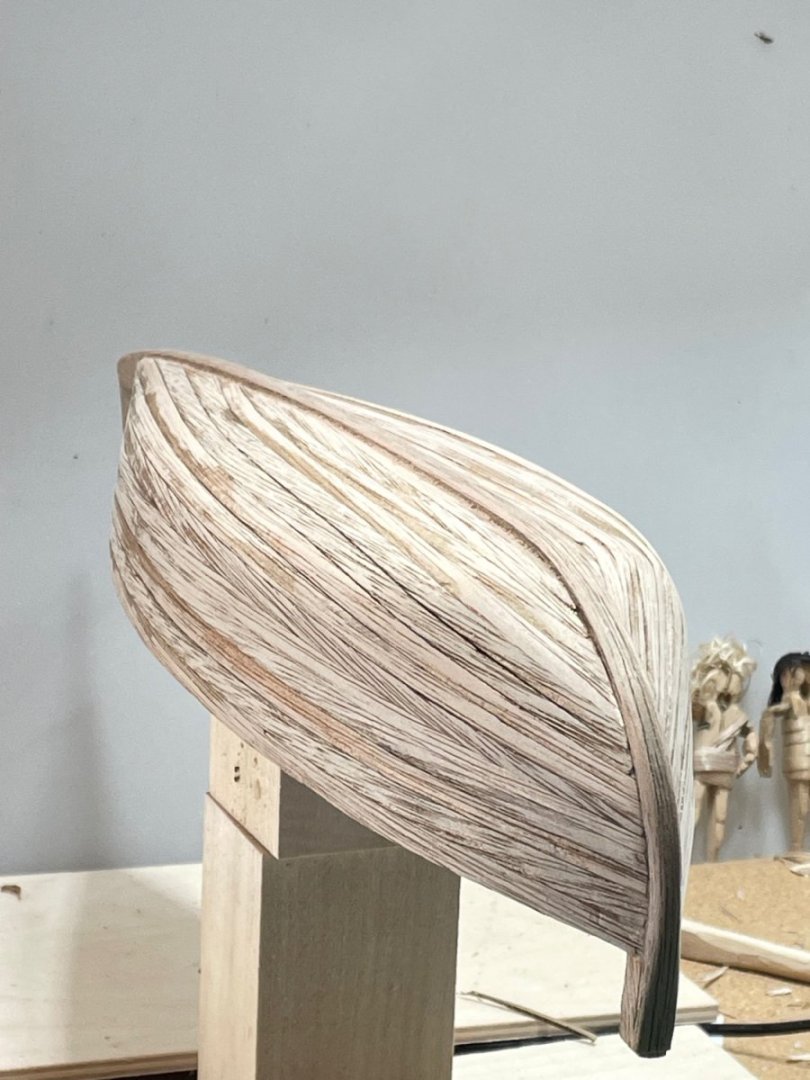
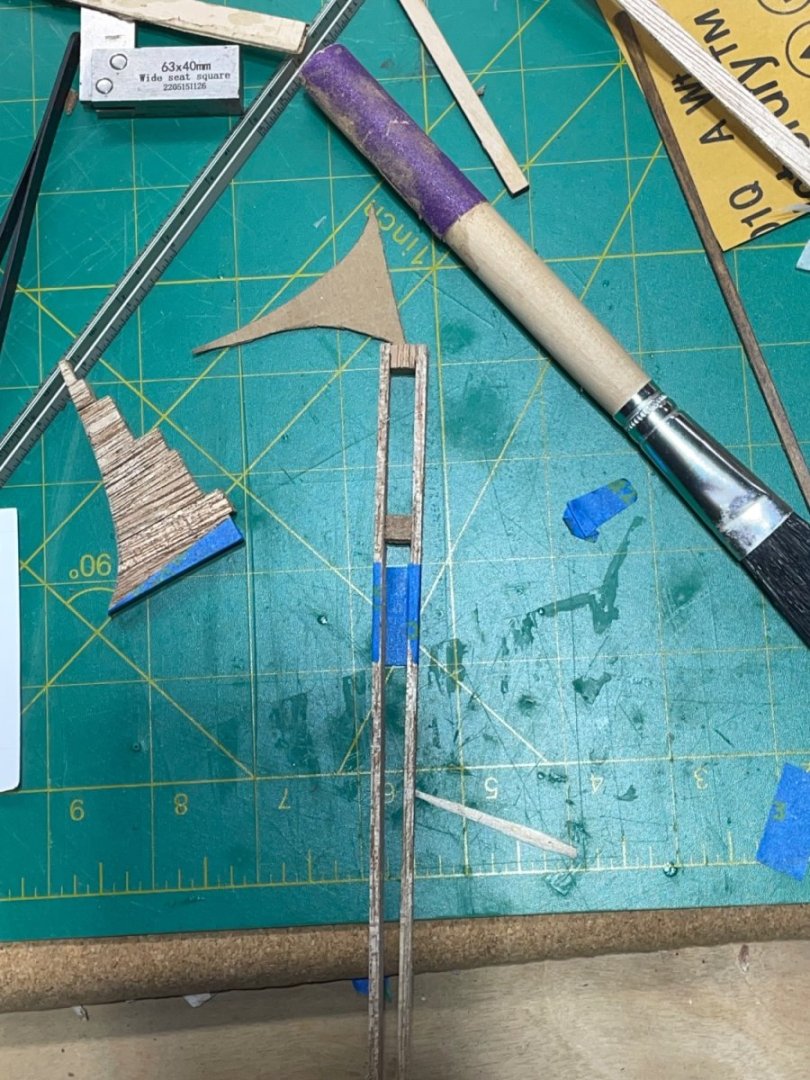
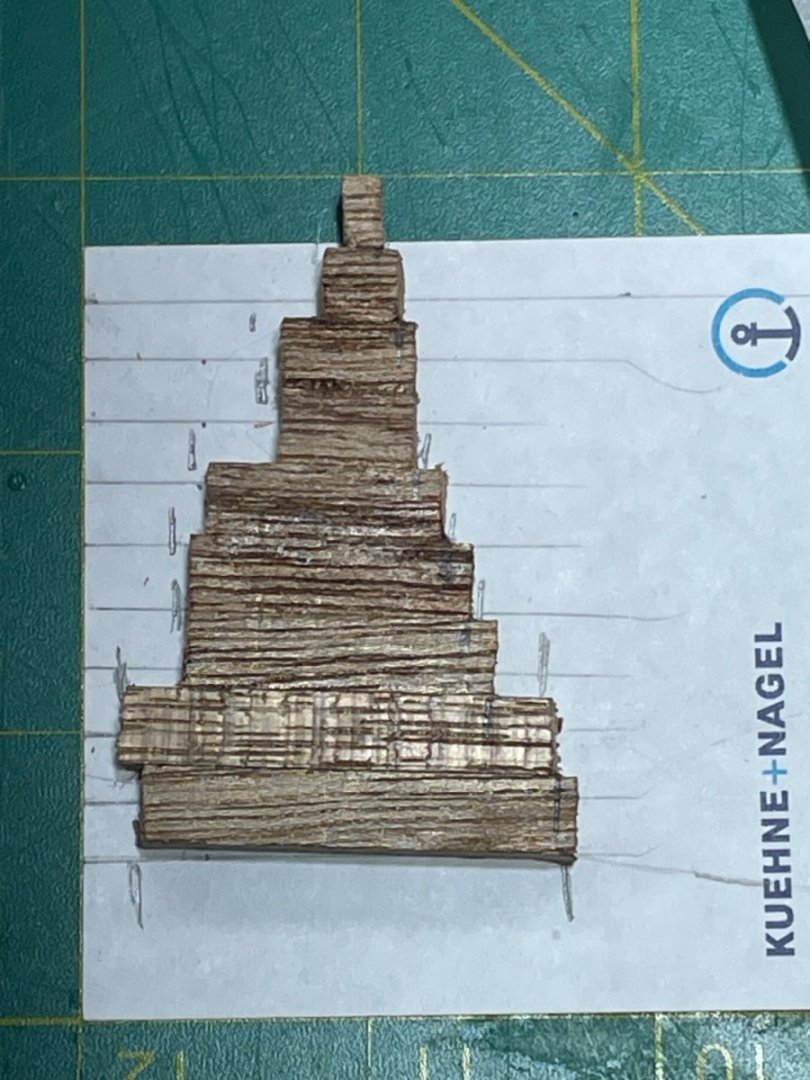
I worked on the cut water this morning. I cut and glued the blocks. Traced the cardboard pattern. carved the bow side close, and penciled in the remaining material "I think” needs to be sanded off:-)


- 134 replies
-
- 2
-
-
- sea of galilee boat
- SE Miller
- (and 1 more)
-
Thank you Steven:-) your complements give me encouragement to explore my imagination:-)
- 134 replies
-
- 2
-
-
- sea of galilee boat
- SE Miller
- (and 1 more)
-
Thank you Ferrus:-) It took me back in time when I was about twelve years old. My imagination took over the build. And like a kid I played and didn’t build:-) I’m not on any time schedule. If I need to procrastinate, it will probably be my chosen way to do it:-)
- 134 replies
-
- 3
-
-
-
- sea of galilee boat
- SE Miller
- (and 1 more)