HOLIDAY DONATION DRIVE - SUPPORT MSW - DO YOUR PART TO KEEP THIS GREAT FORUM GOING! (Only 72 donations so far out of 49,000 members - Can we at least get 100? C'mon guys!)
×


Bryan Woods
-
Posts
551 -
Joined
-
Last visited
Content Type
Profiles
Forums
Gallery
Events
Everything posted by Bryan Woods
-
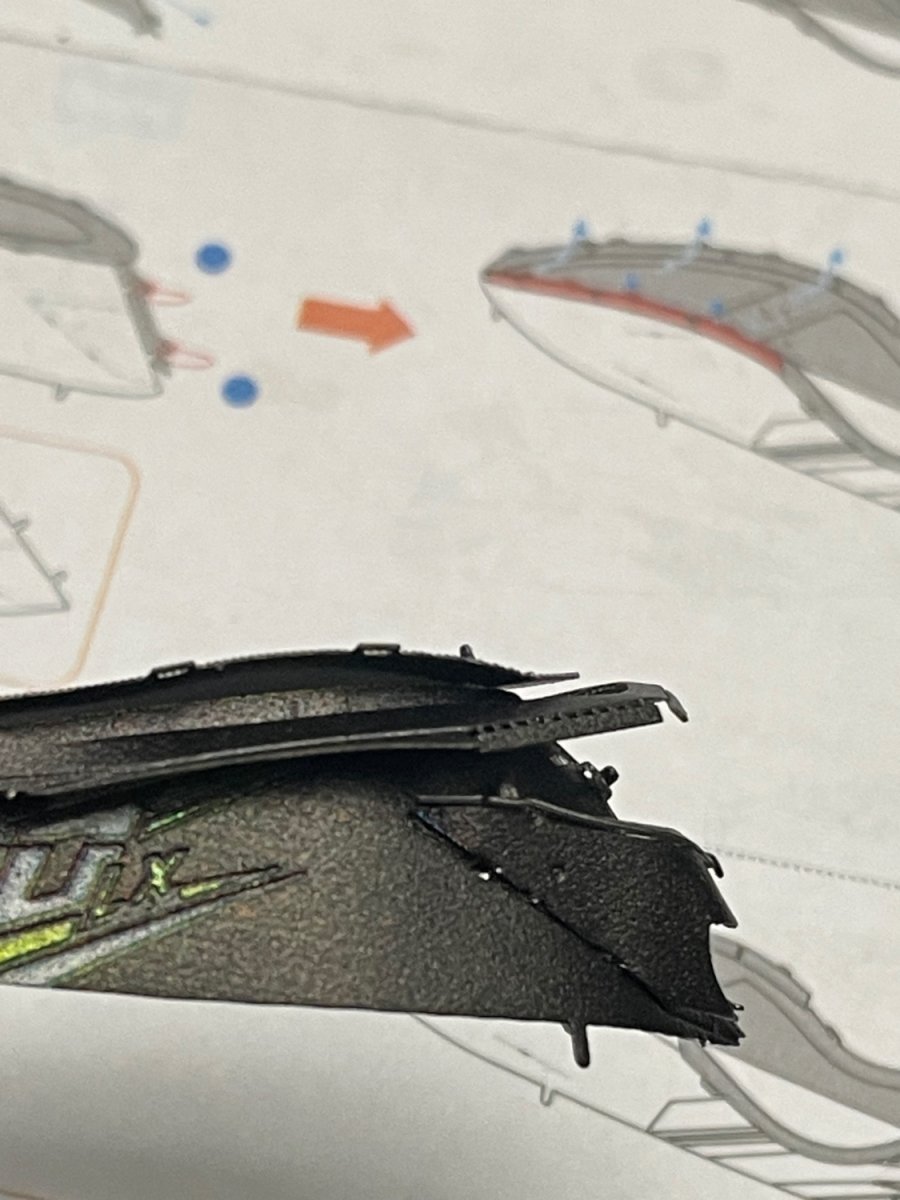
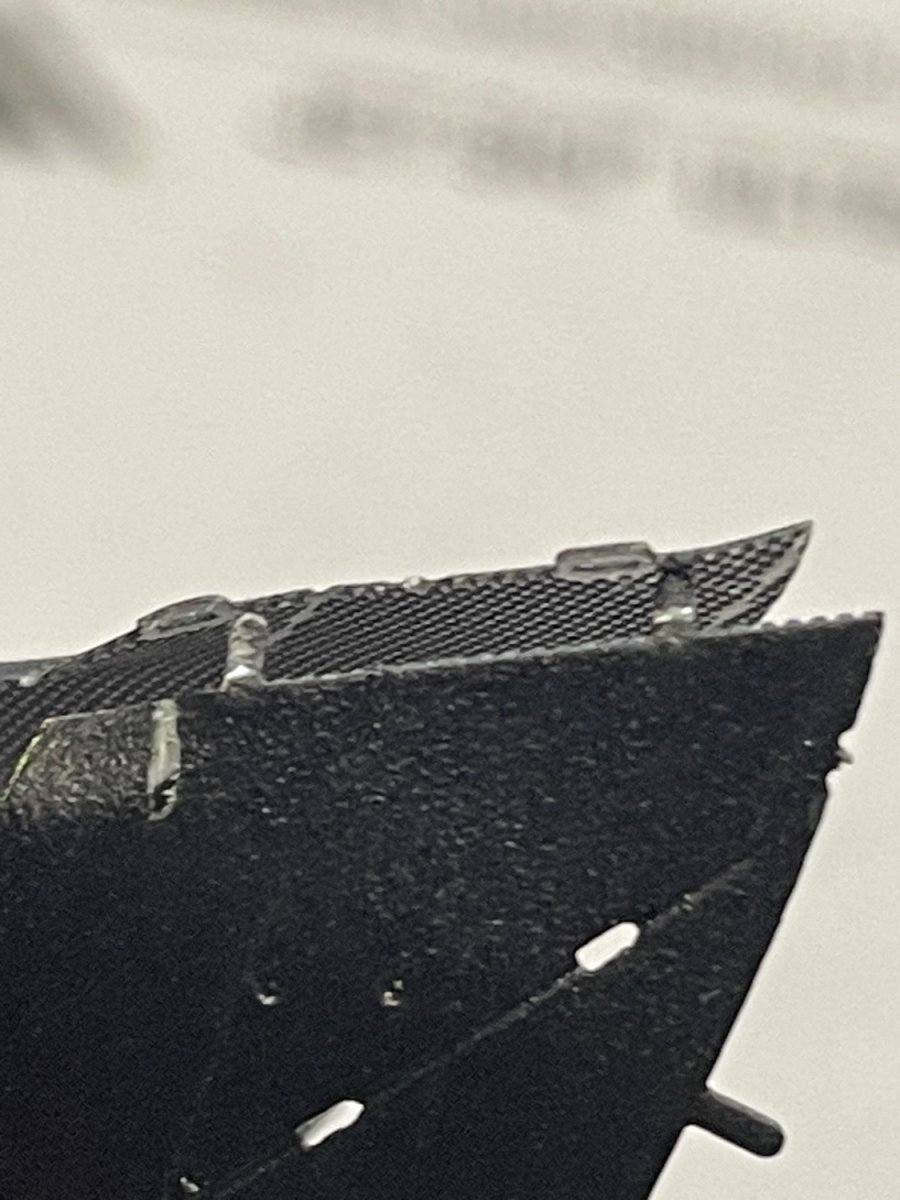
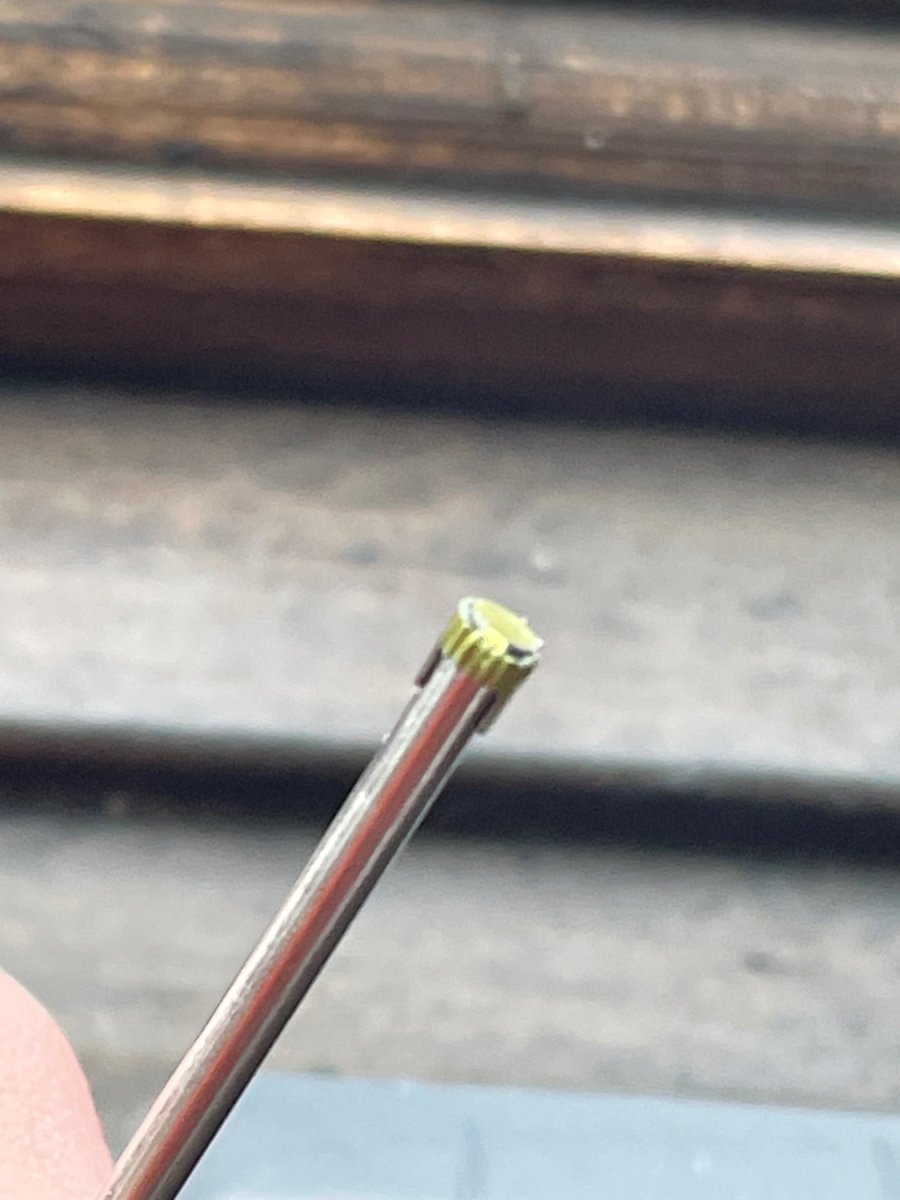
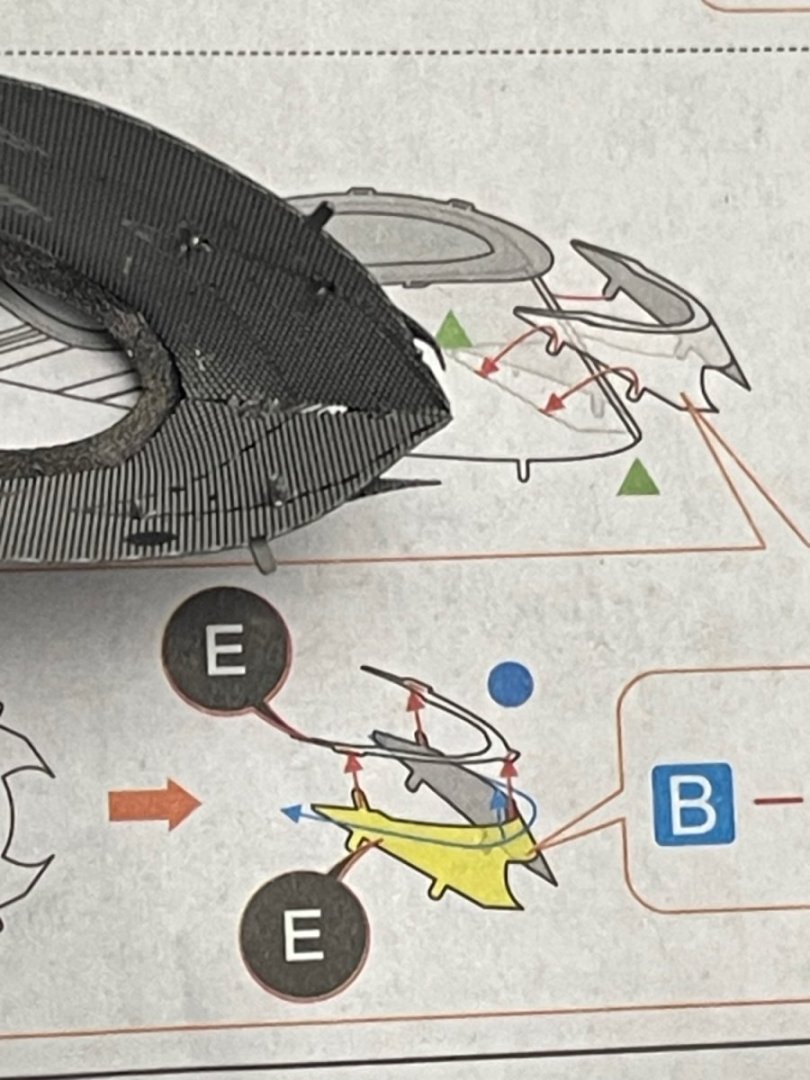
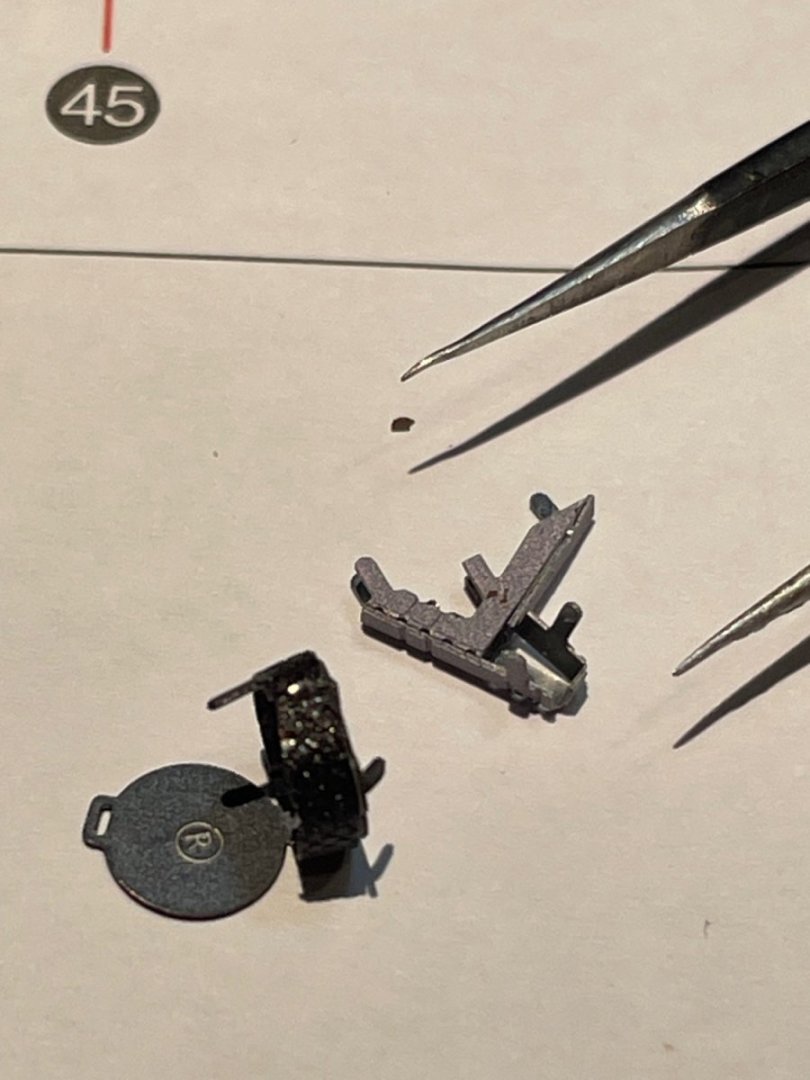
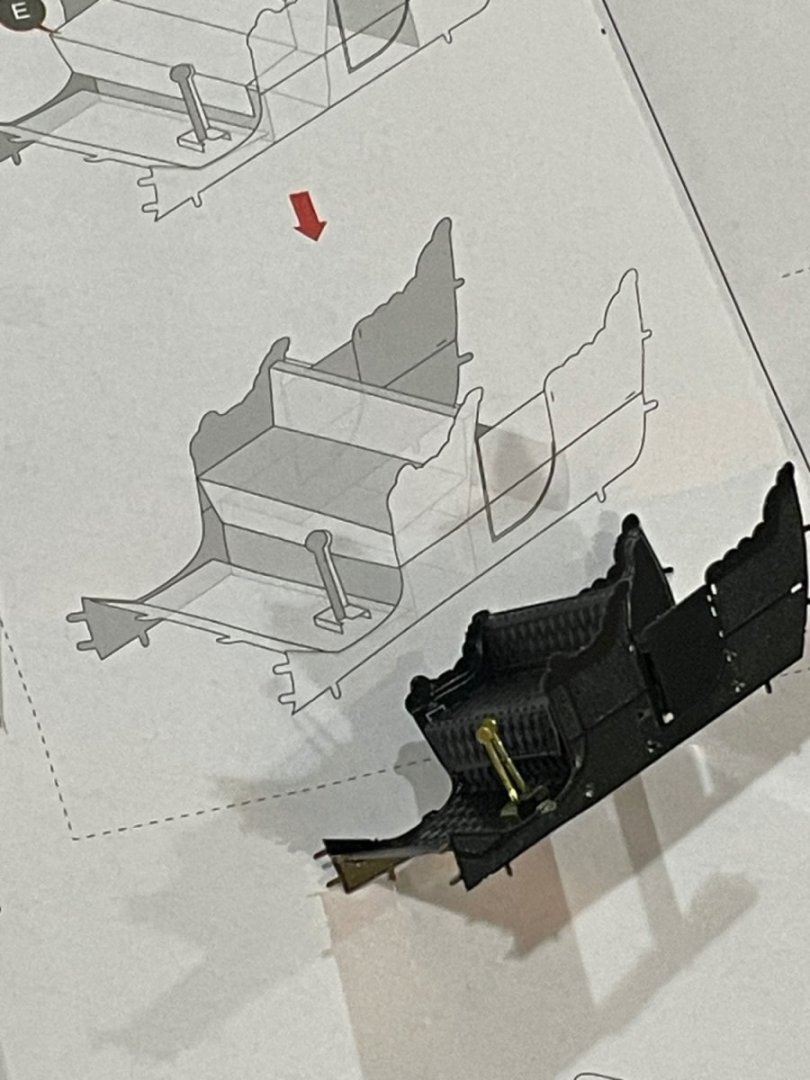
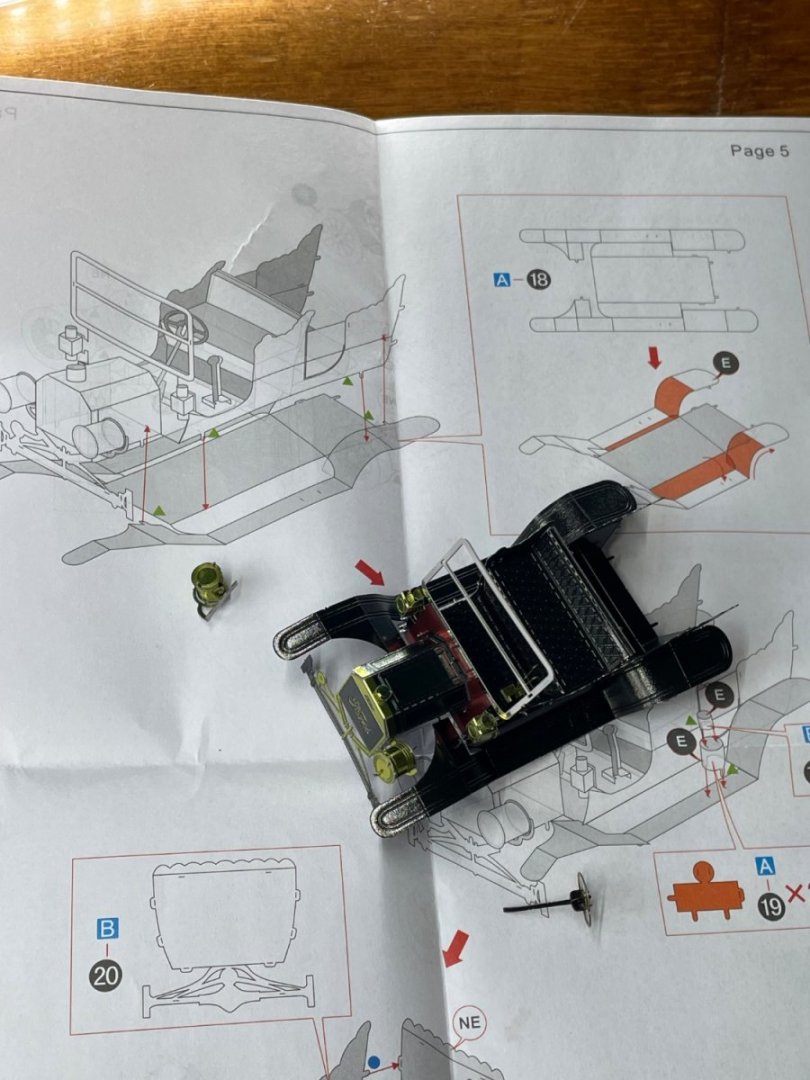
 On some assembly steps I think faith can be most helpful:-) After moving it around between my fingers for probably 10 minutes, just trying to see if it was even possible, both tabs fell into place:-) The other side went on, but not quite as easy:-) Here’s where I was at when my eyes needed a break.
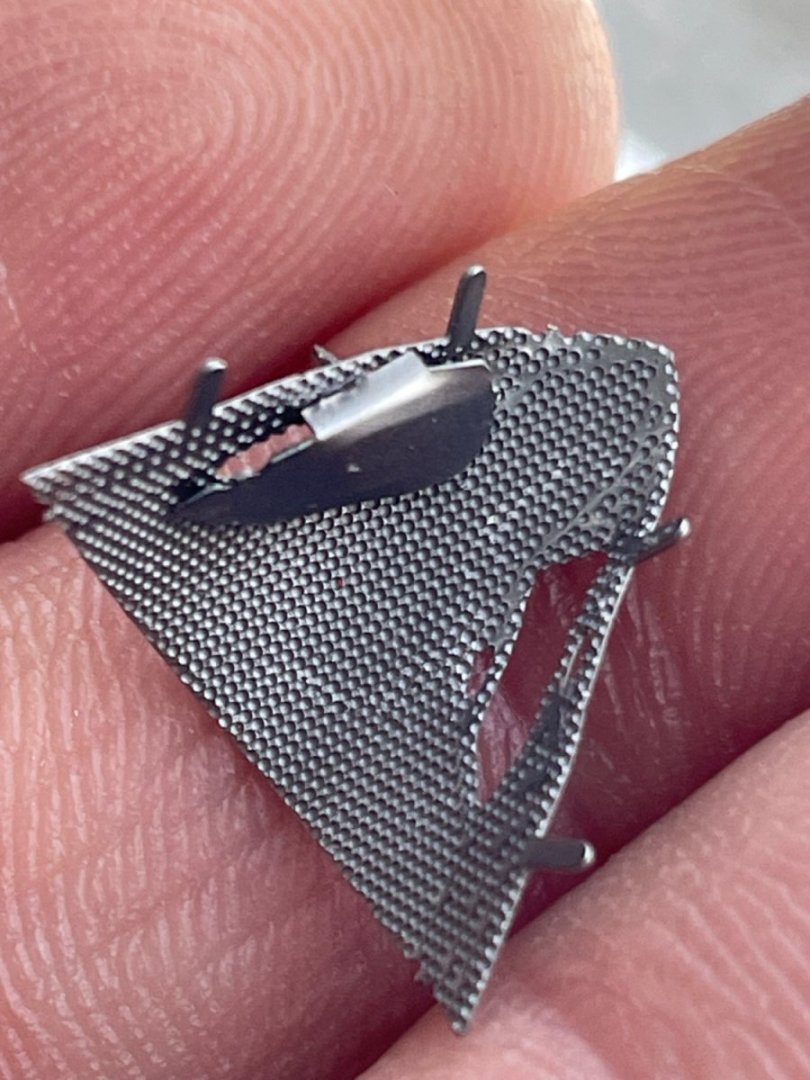

-
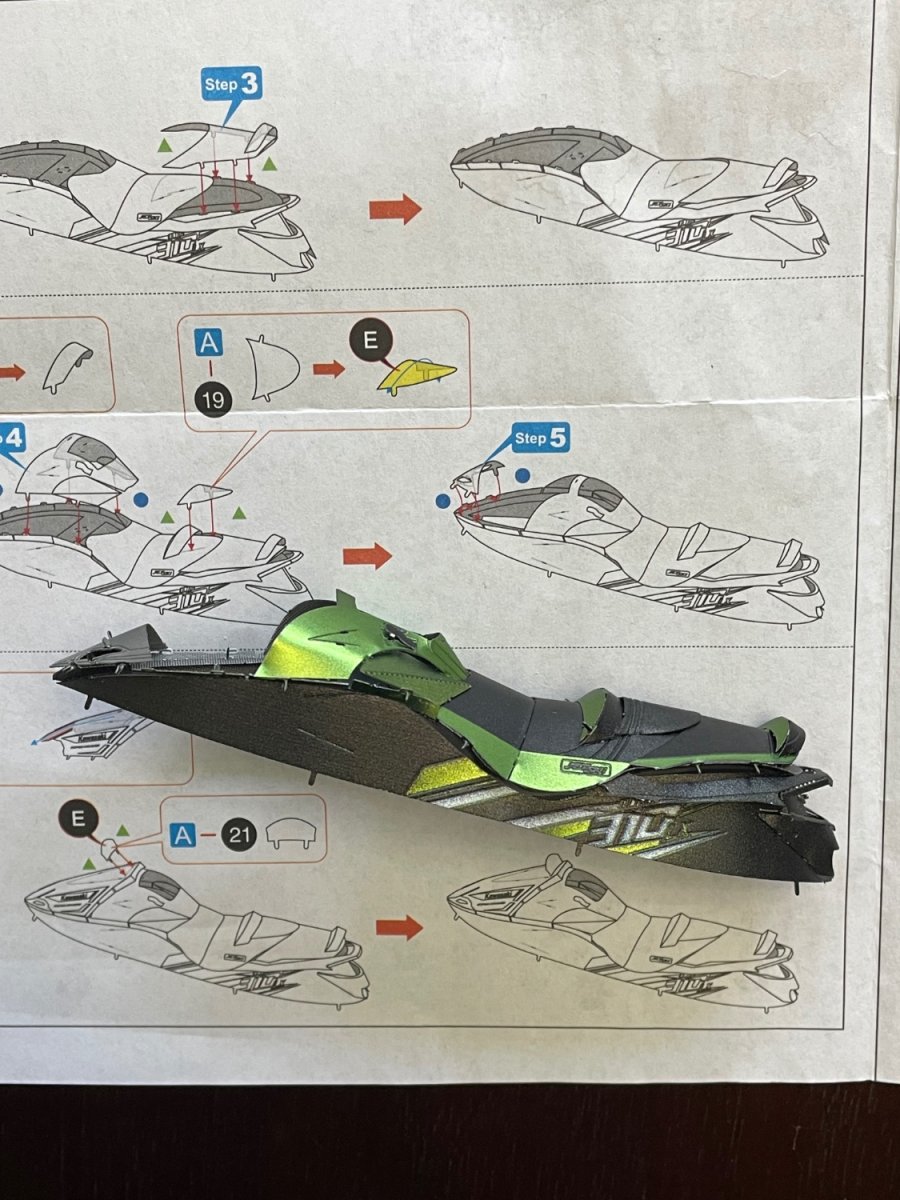
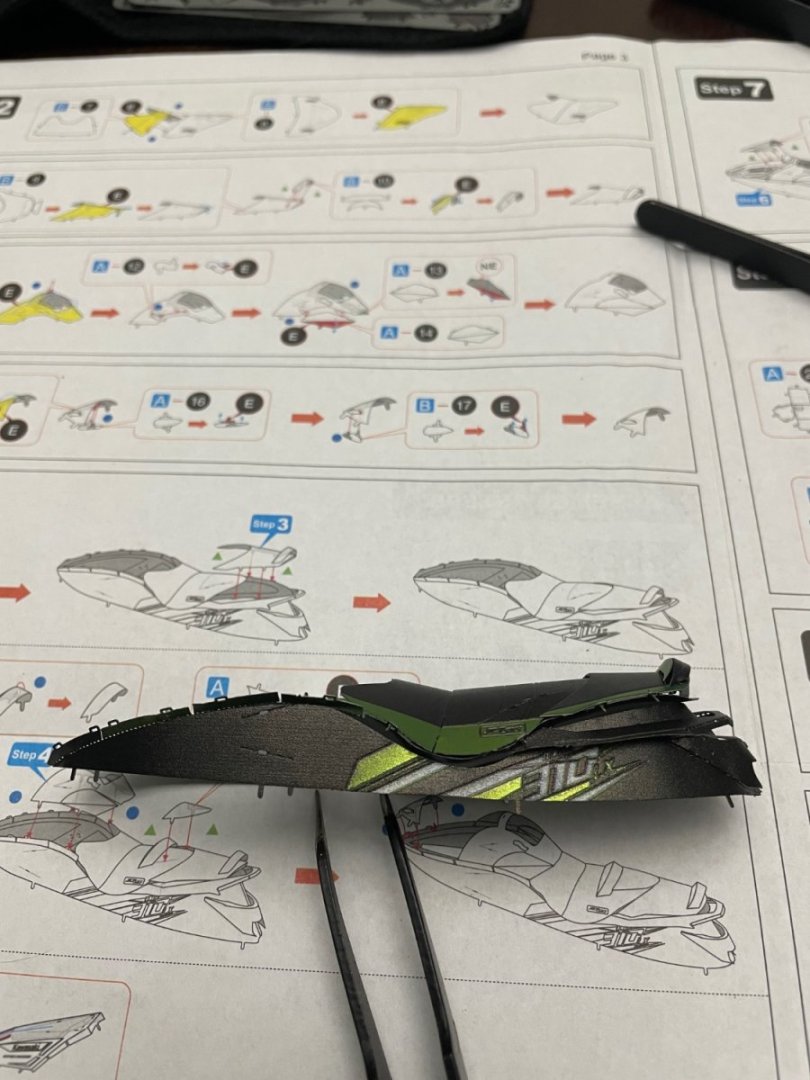
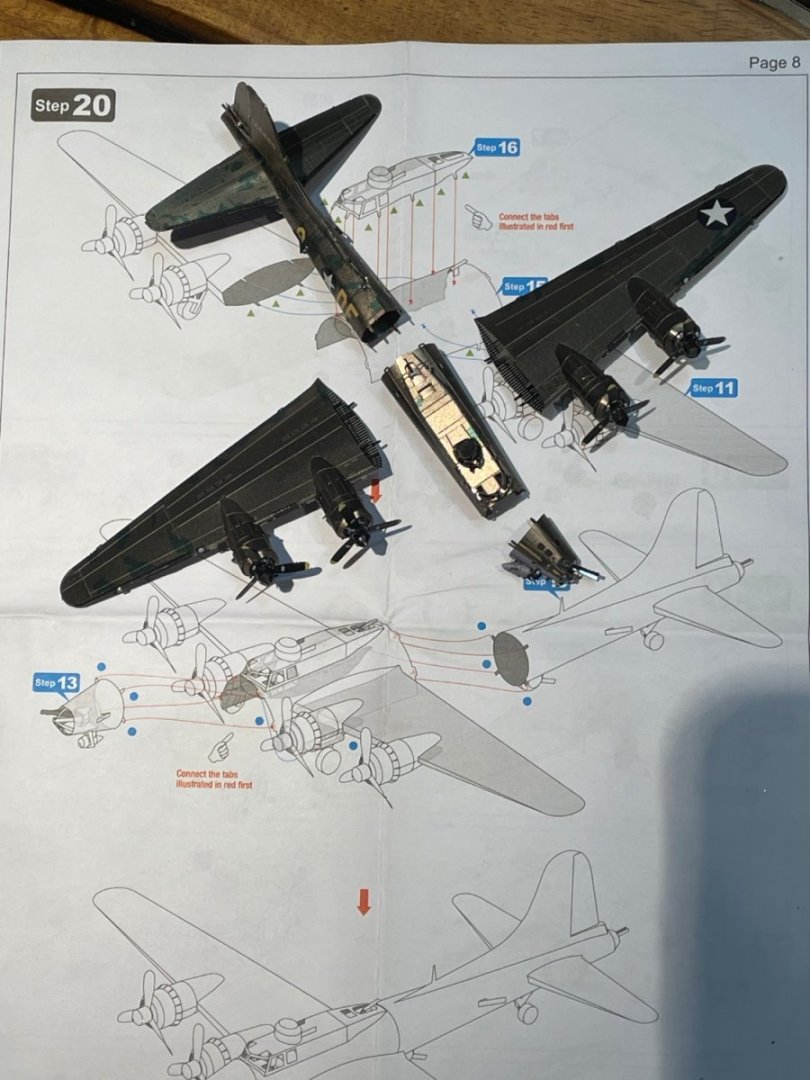
Few more steps before stopping for the night.

-
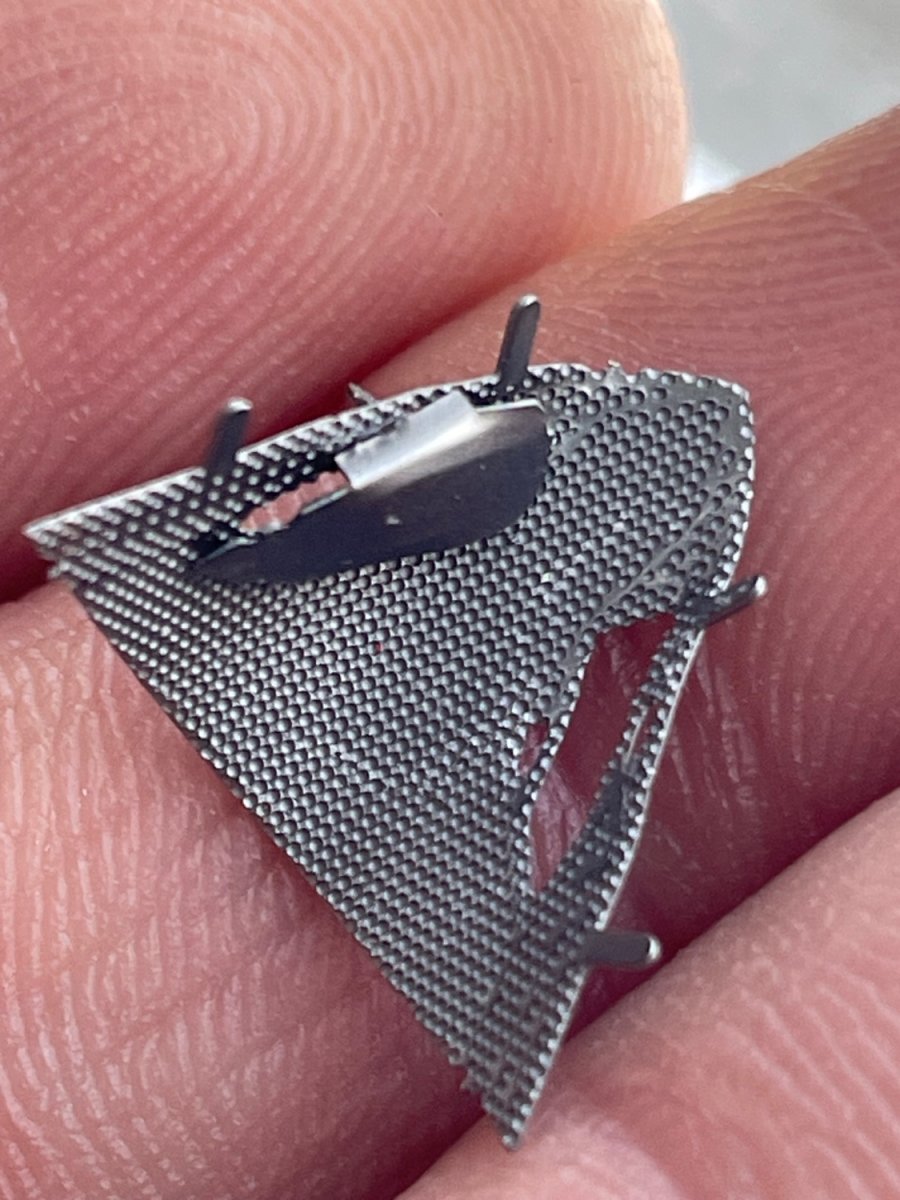
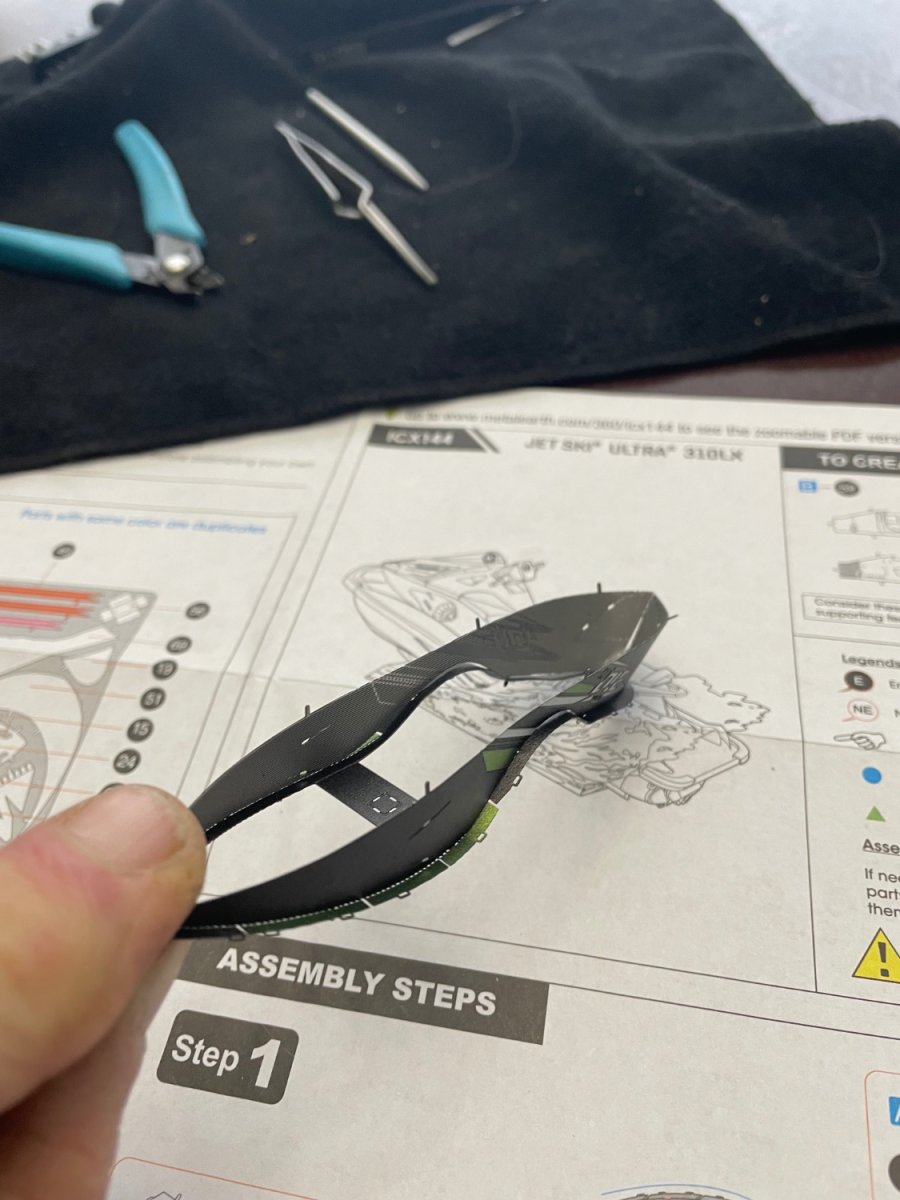
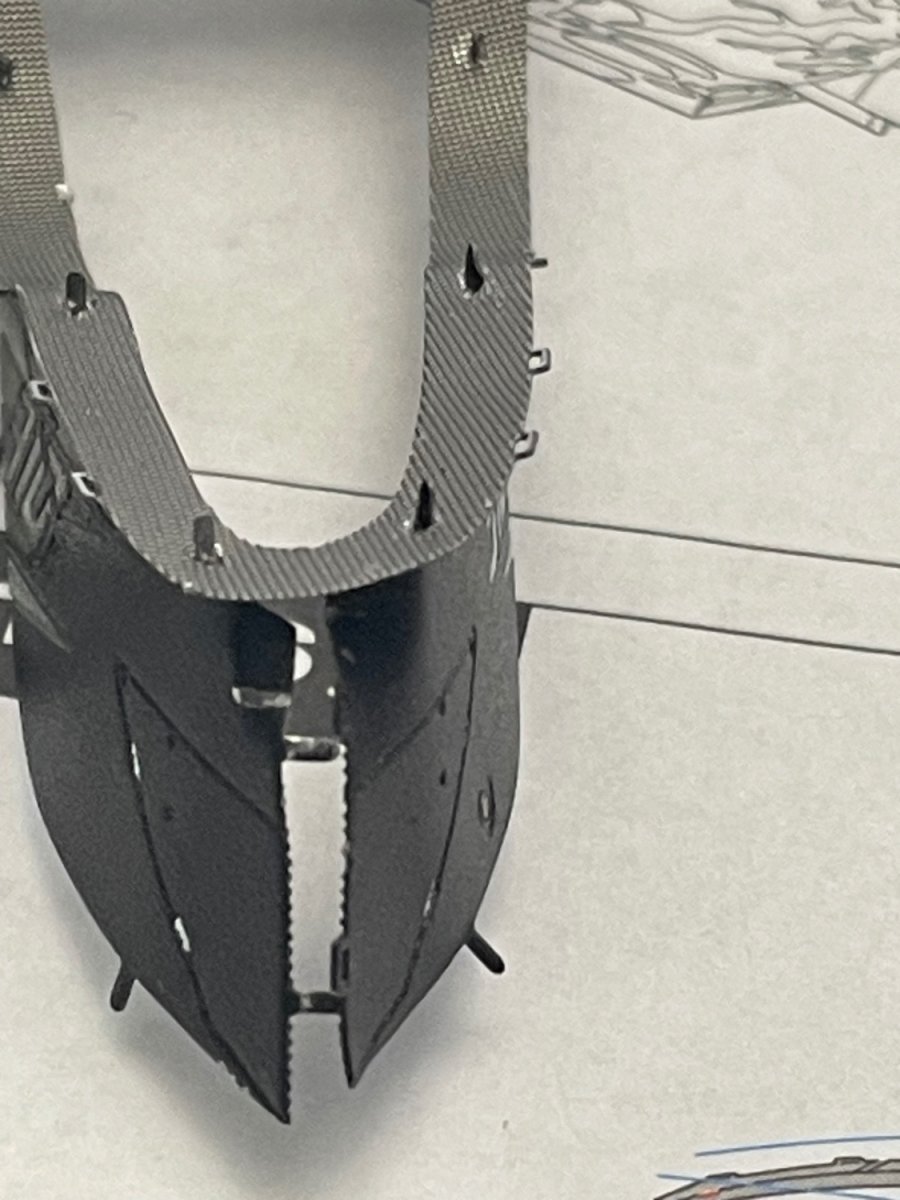
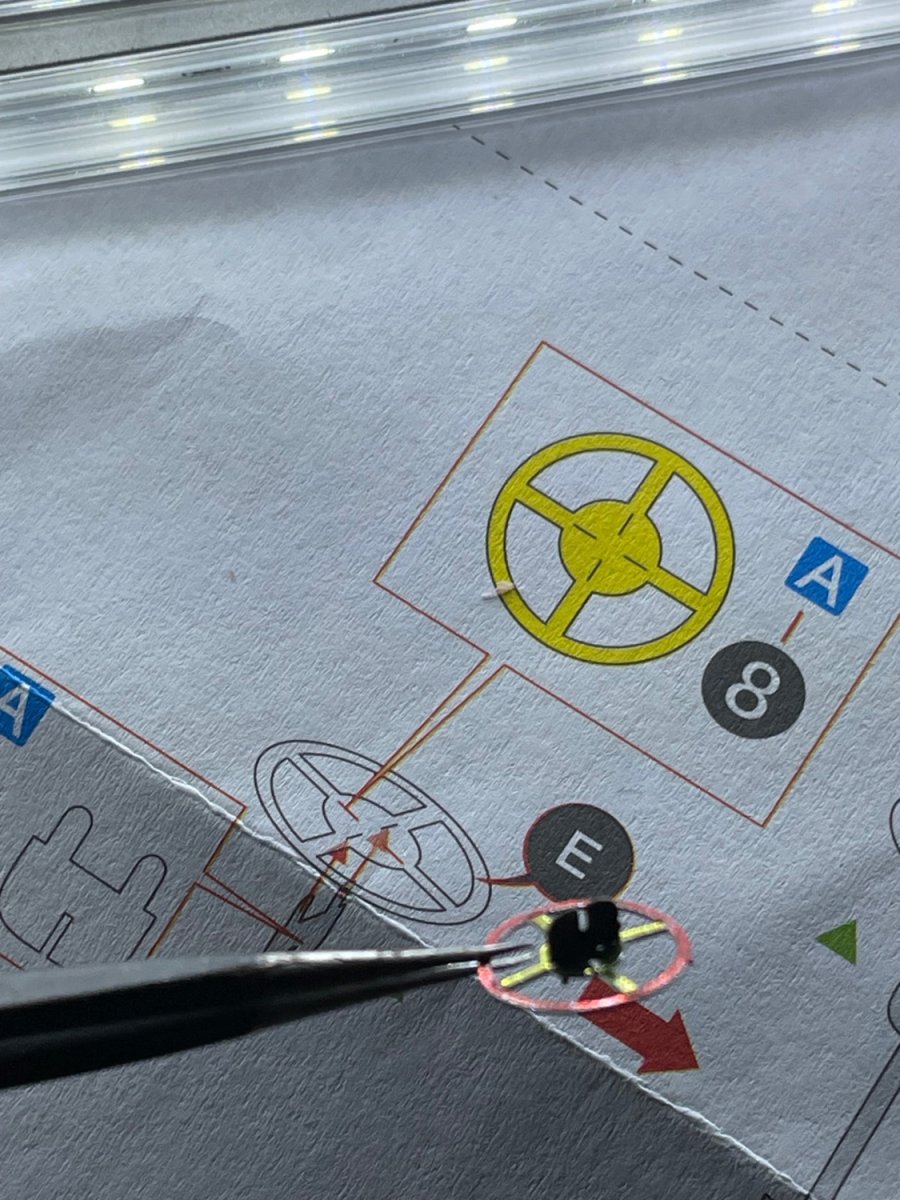
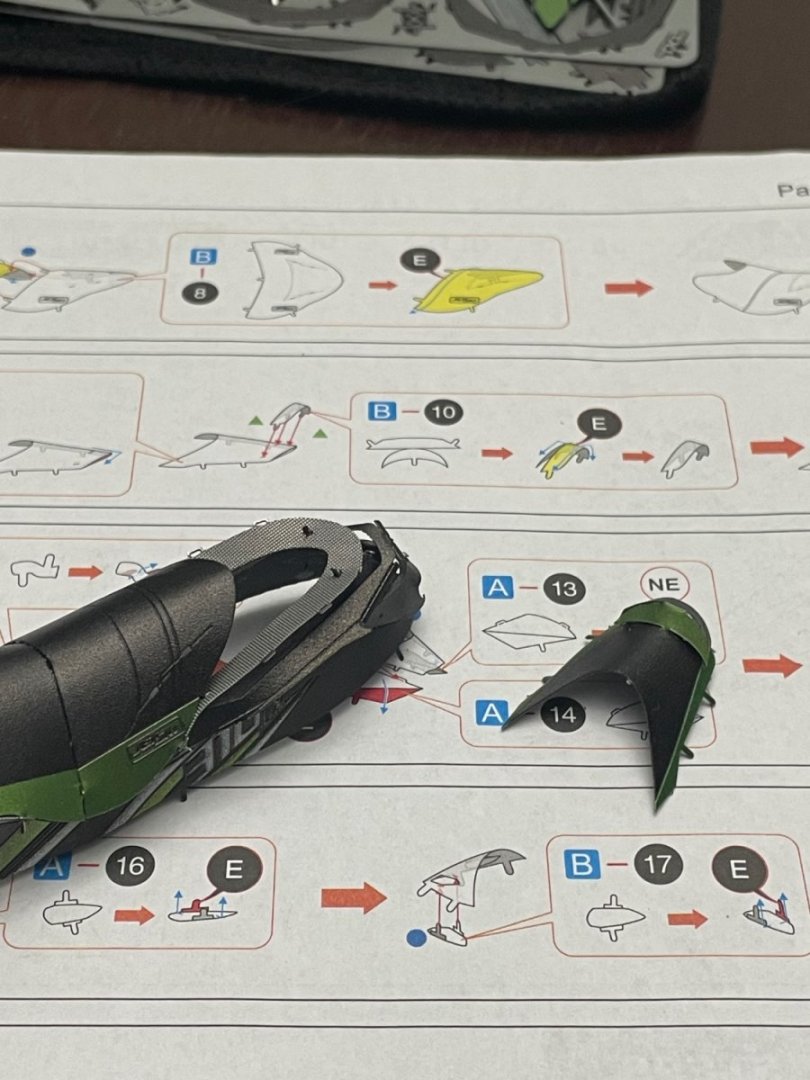
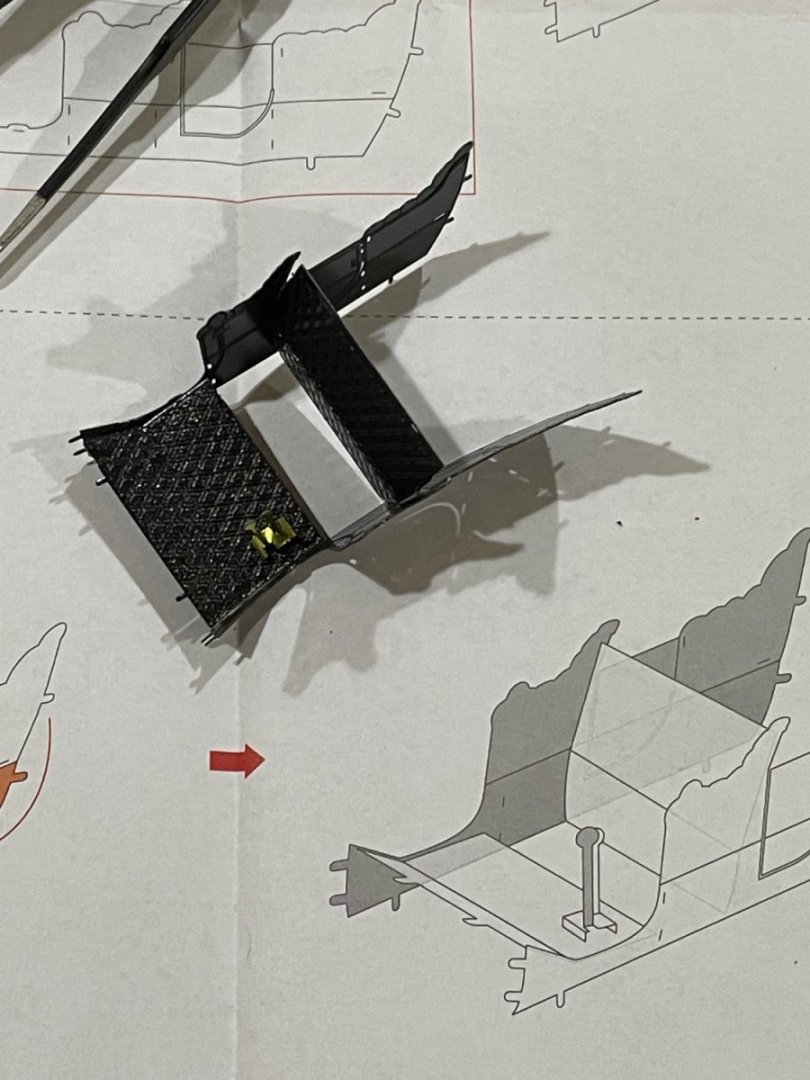
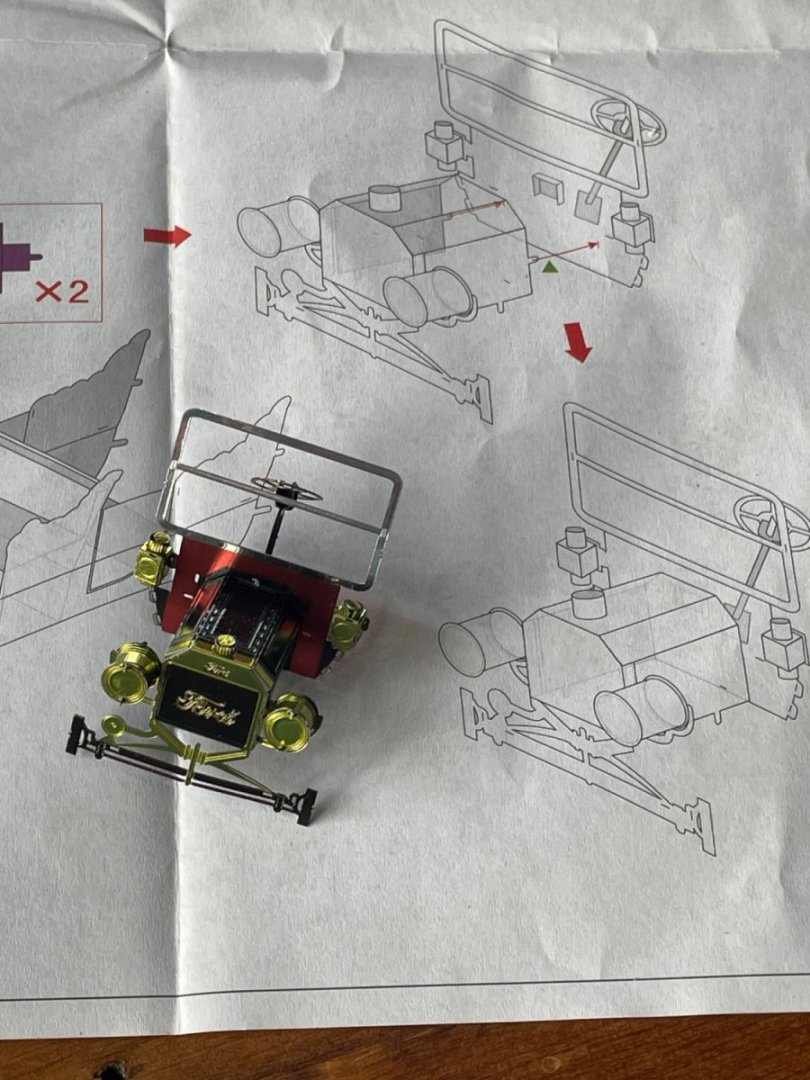
Ready to start! I think good lighting is very important when attempting one of these models. The shipyard has the lighting, I thought the breakfast room would do. With my eyes blinded by the snow covered ground through the window made it a struggle. The first three parts fell together nicely. Then when looking at the rear of the ski where all three parts come together, I had trouble seeing the tab and the slot at the same time. For me to insert the tabs and twist or bend them, I need to turn the model so I can line up the tool with the tab. I find this easiest when the back drop is solid white. I thought the snow outside would work great for this:-) but the screen on the window made it almost impossible for me to focus on the tab. It made me think the screen squares were slots:-) with a light hand and patience they will marry:-)


-
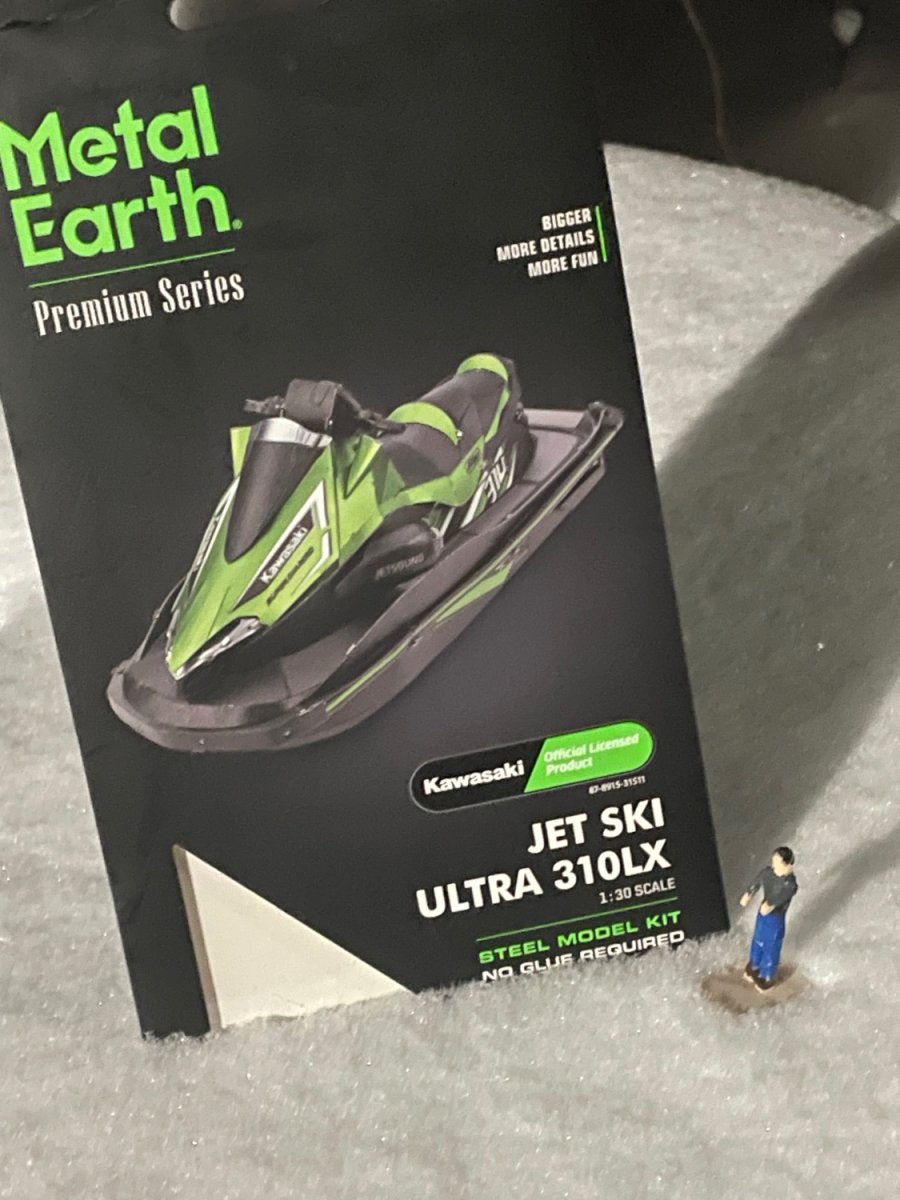
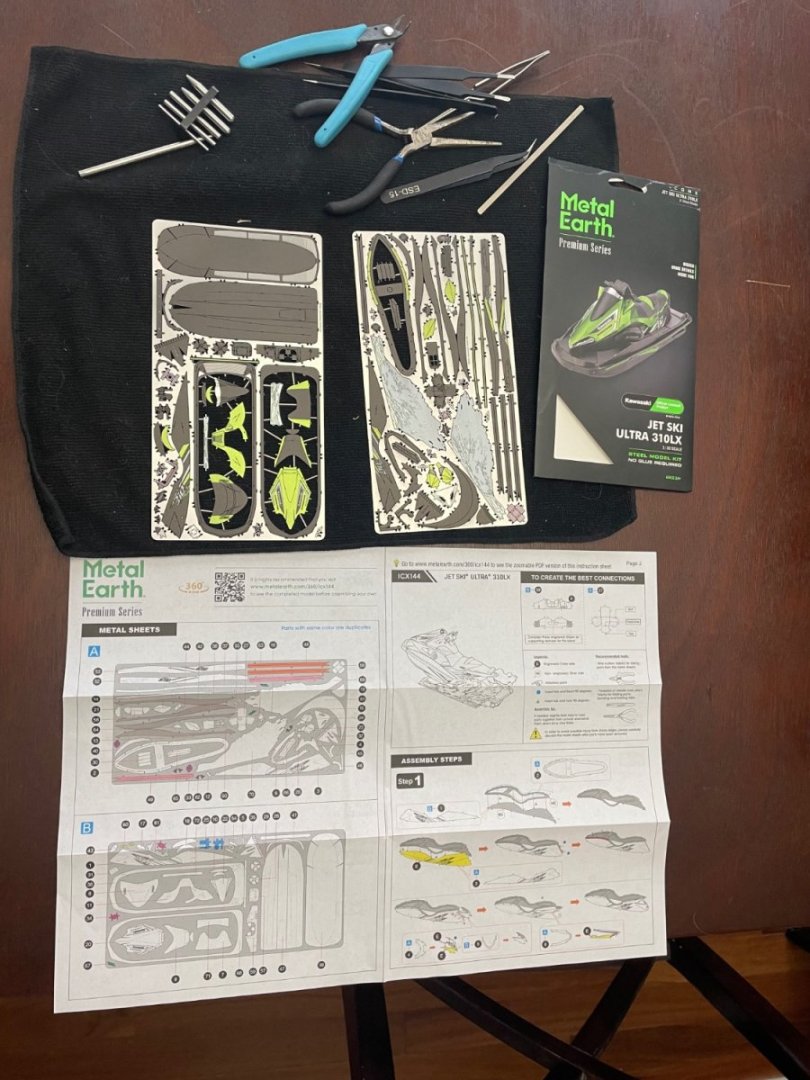
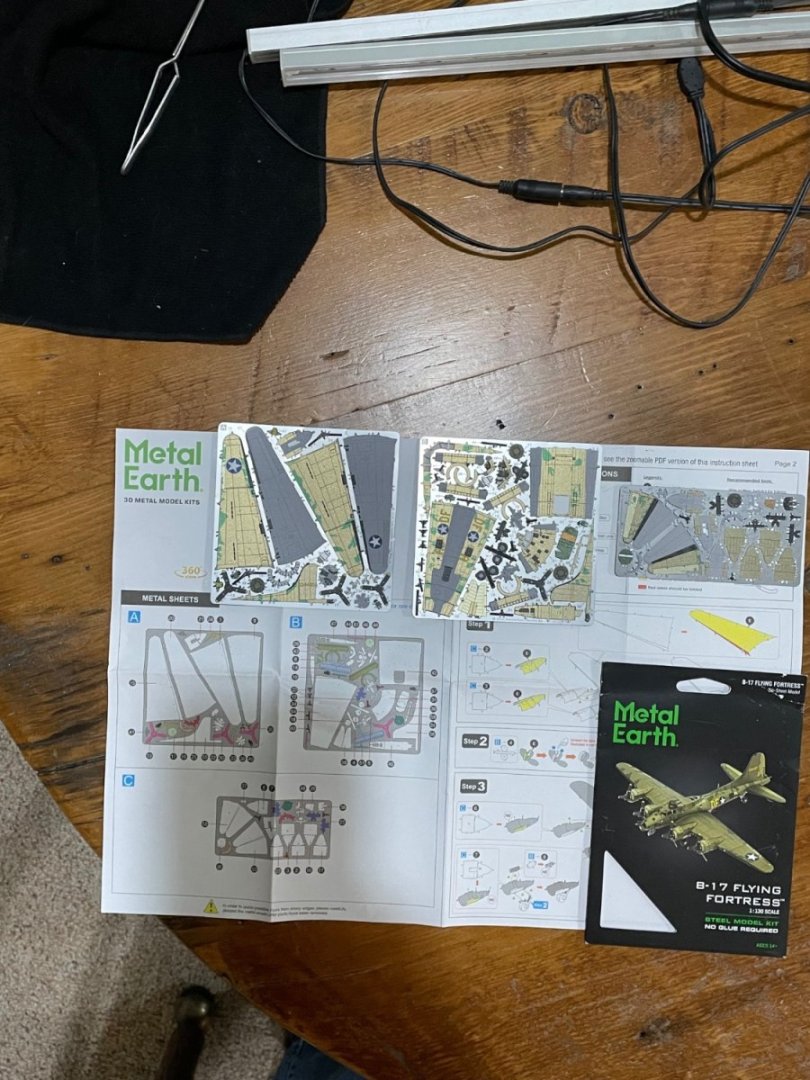
After two weeks away from the shipyard. Then one week, sitting in the shipyard thinking of starting back on the Gretel. Then came frigid temperatures and more snow than we’ve seen in years. So working conditions forced me out of the shipyard. Luckily Ludwig reminded me I still had the metal earth I purchased in Montana ( it was the only one I could find). I saw only one on the shelf and quickly grabbed it paid for it and caught up with my wife doing her own hunting:-) I thought it surly was a snowmobile being this far north. I’m glad I got it so I can build without a huge mess in the house.

-
Beautiful house Robert! I love the backdrop of trees. That’s wonderful you got your climate controlled shipyard:-) I’m hoping one day I’ll have the climate control:-) but until then, I’ll just control it with clothing layers:-) you should do a thread when you set up your shipyard:-)
- 44 replies
-
- 2
-

-

-
- maine peapod
- peapod
- (and 4 more)
-
Captjoe, the plan was for it to mushroom but if I remember right, it just bent. It didn’t fall off:-) I did probably drop a dot of CA to keep it there. I didn’t try to build the hinges so it could move.
- 23 replies
-
- 1
-
-
- Norwegian Sailing Pram
- Model Shipways
- (and 1 more)
-
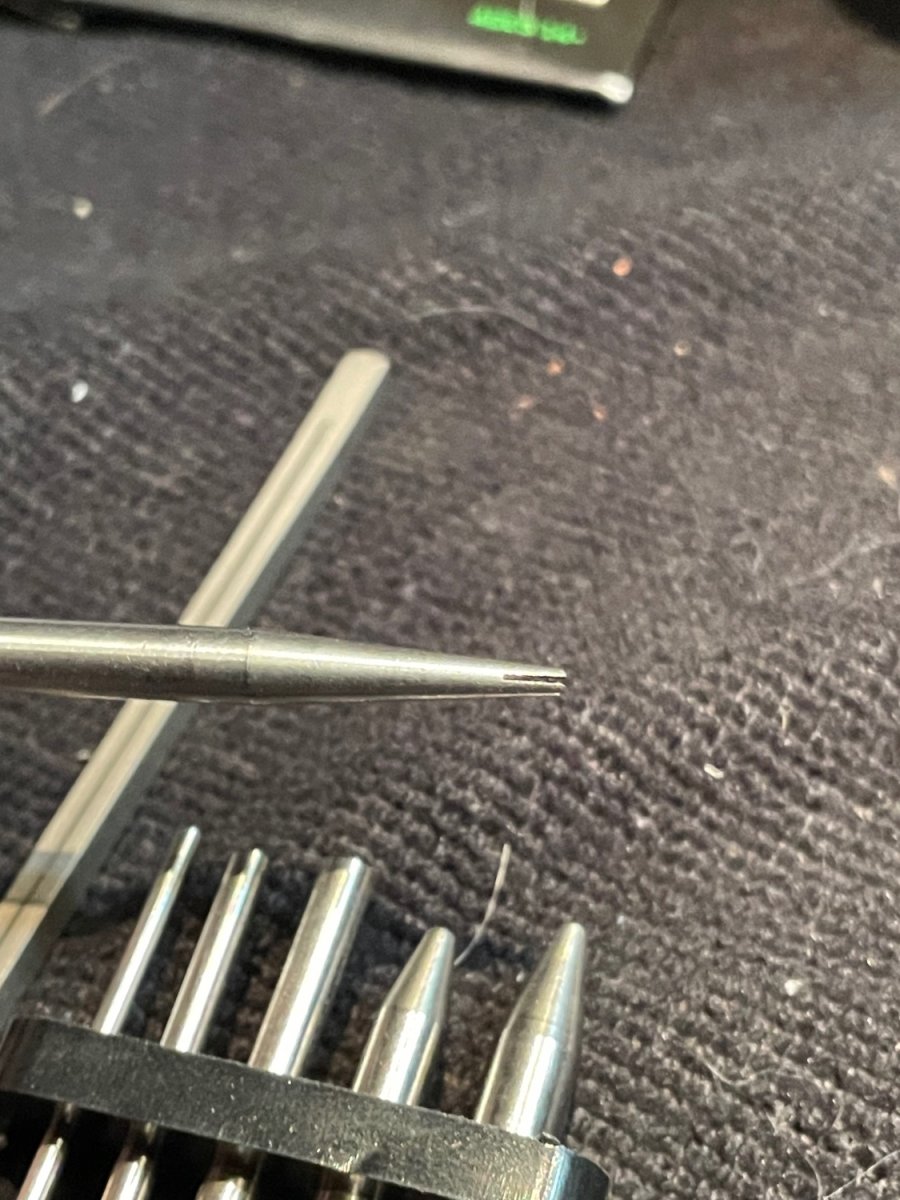
Here’s a link for the tools. https://a.co/d/6piRuDv
-
I think it’s great to have a little excitement added to the build:-) I know you got that finial vision in your head. I can’t wait to see that water flowing!
- 174 replies
-
- 5
-
-
-
- Waa Kaulua
- bottle
- (and 1 more)
-
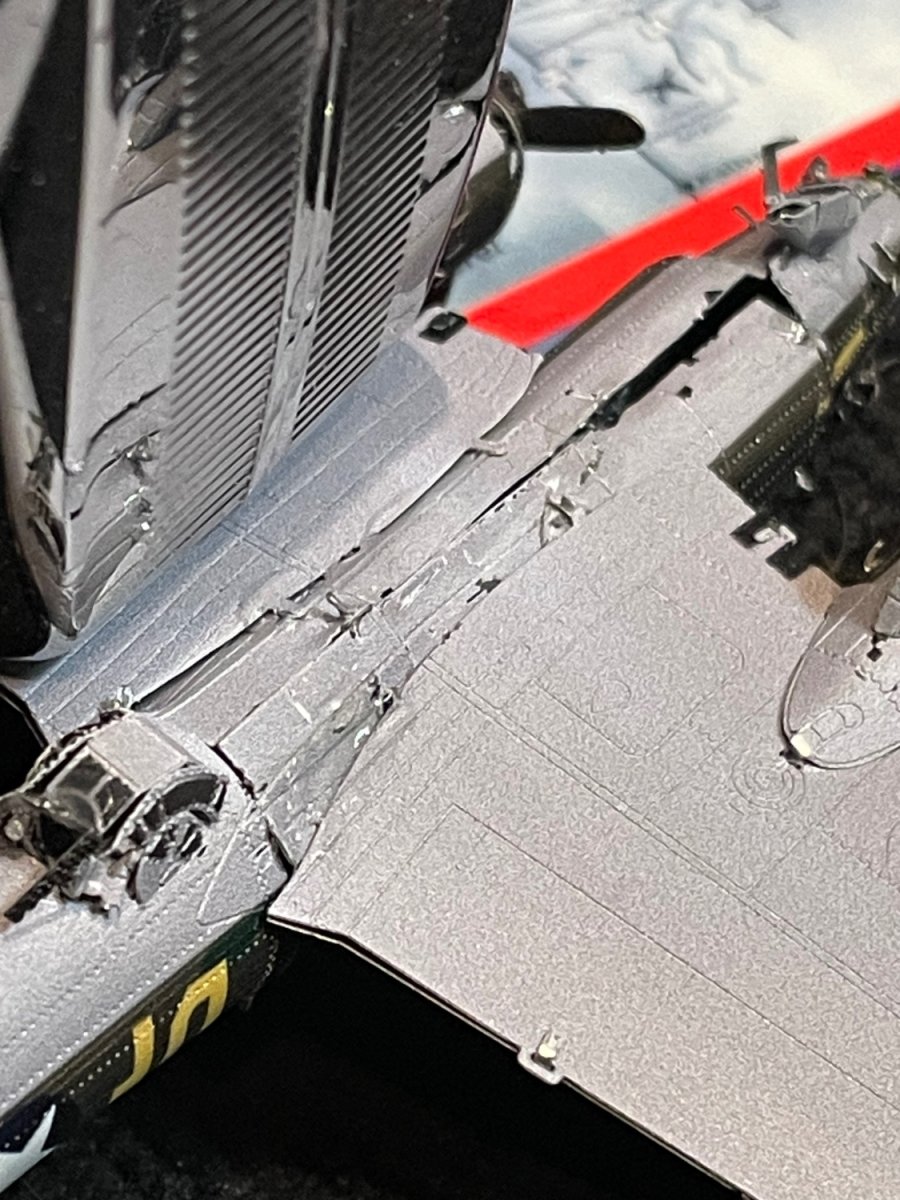
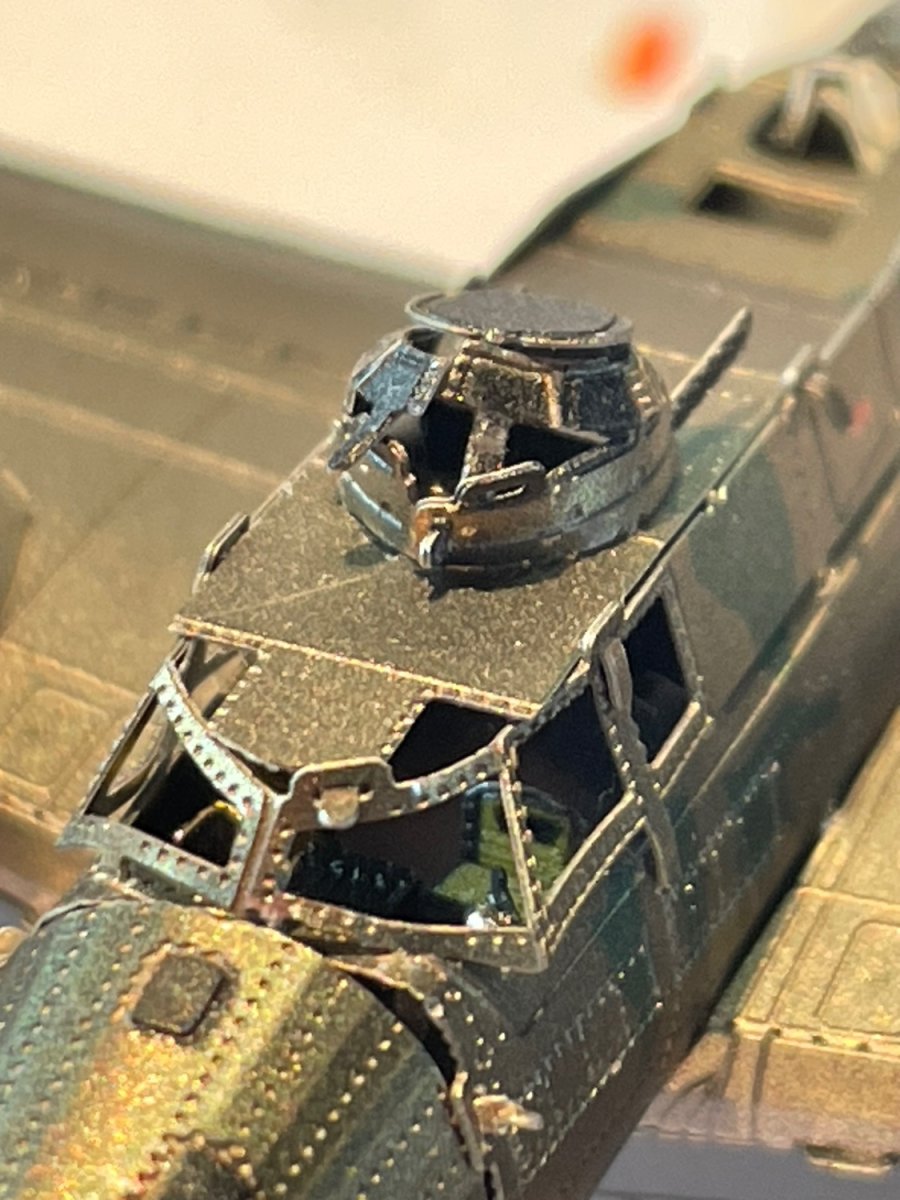
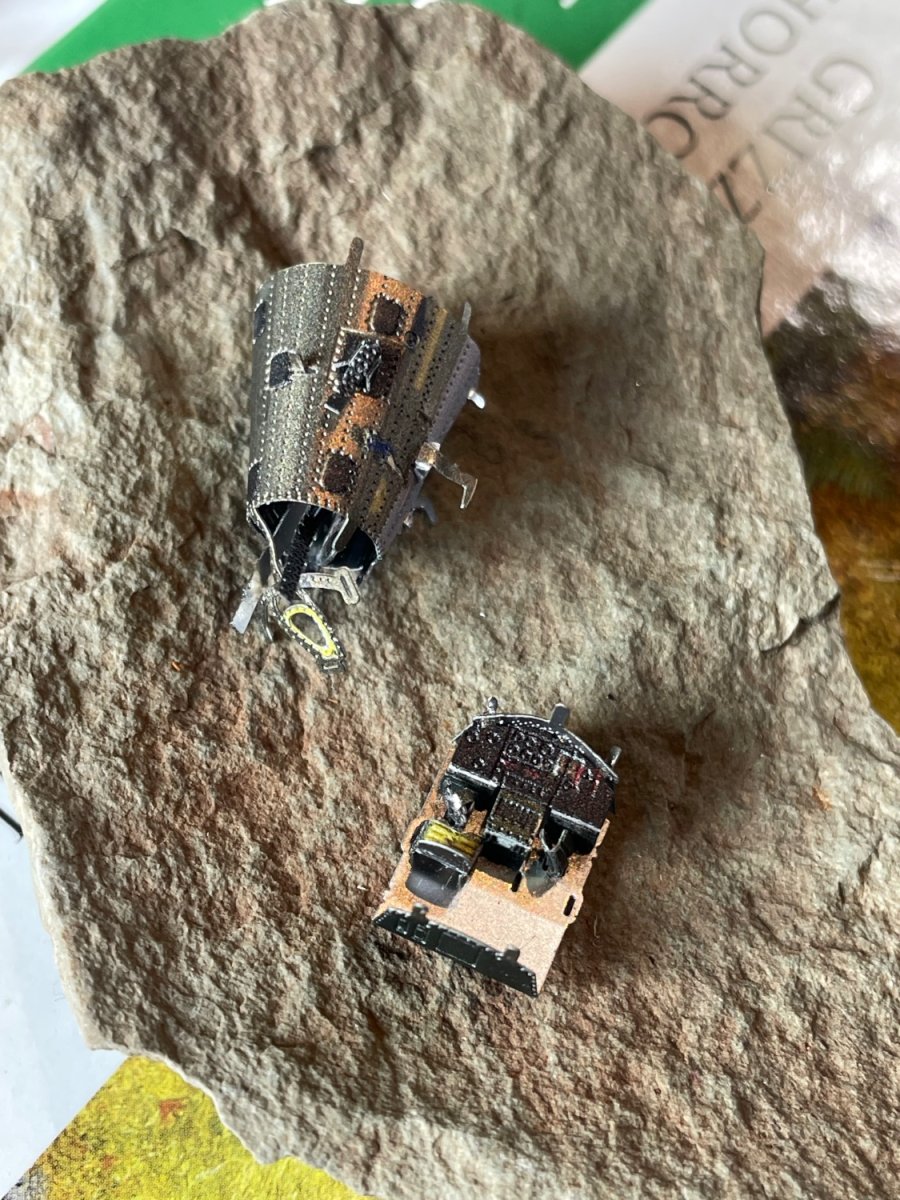
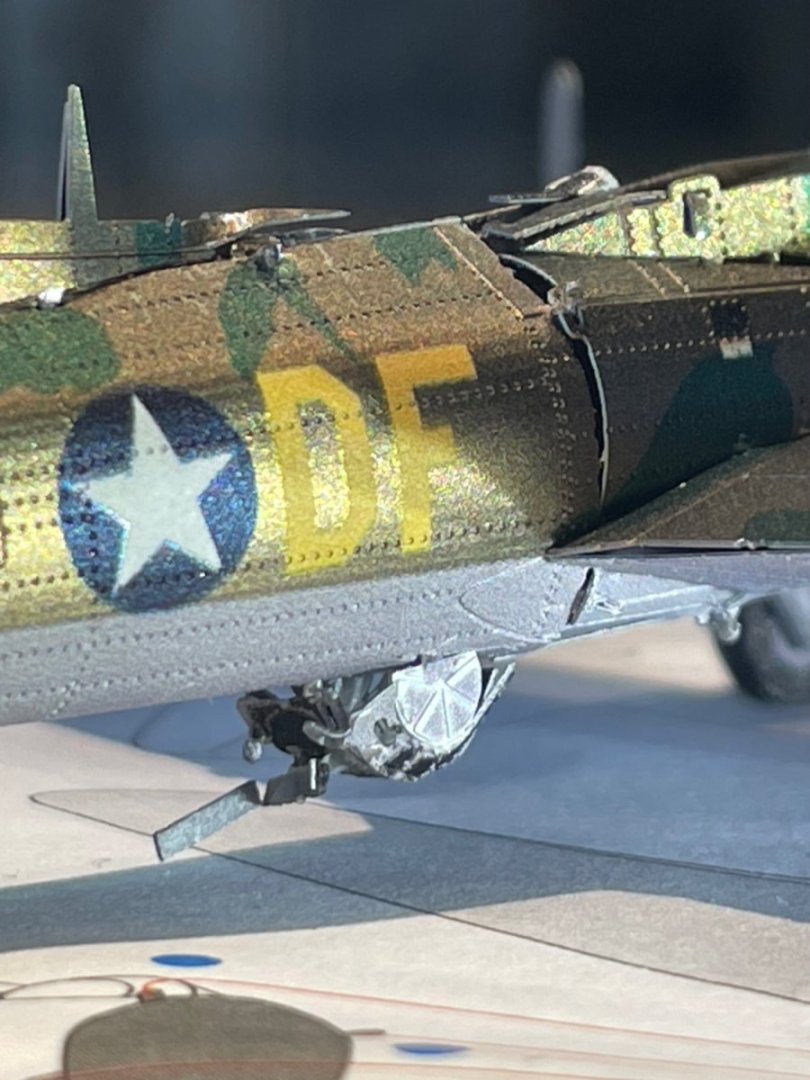
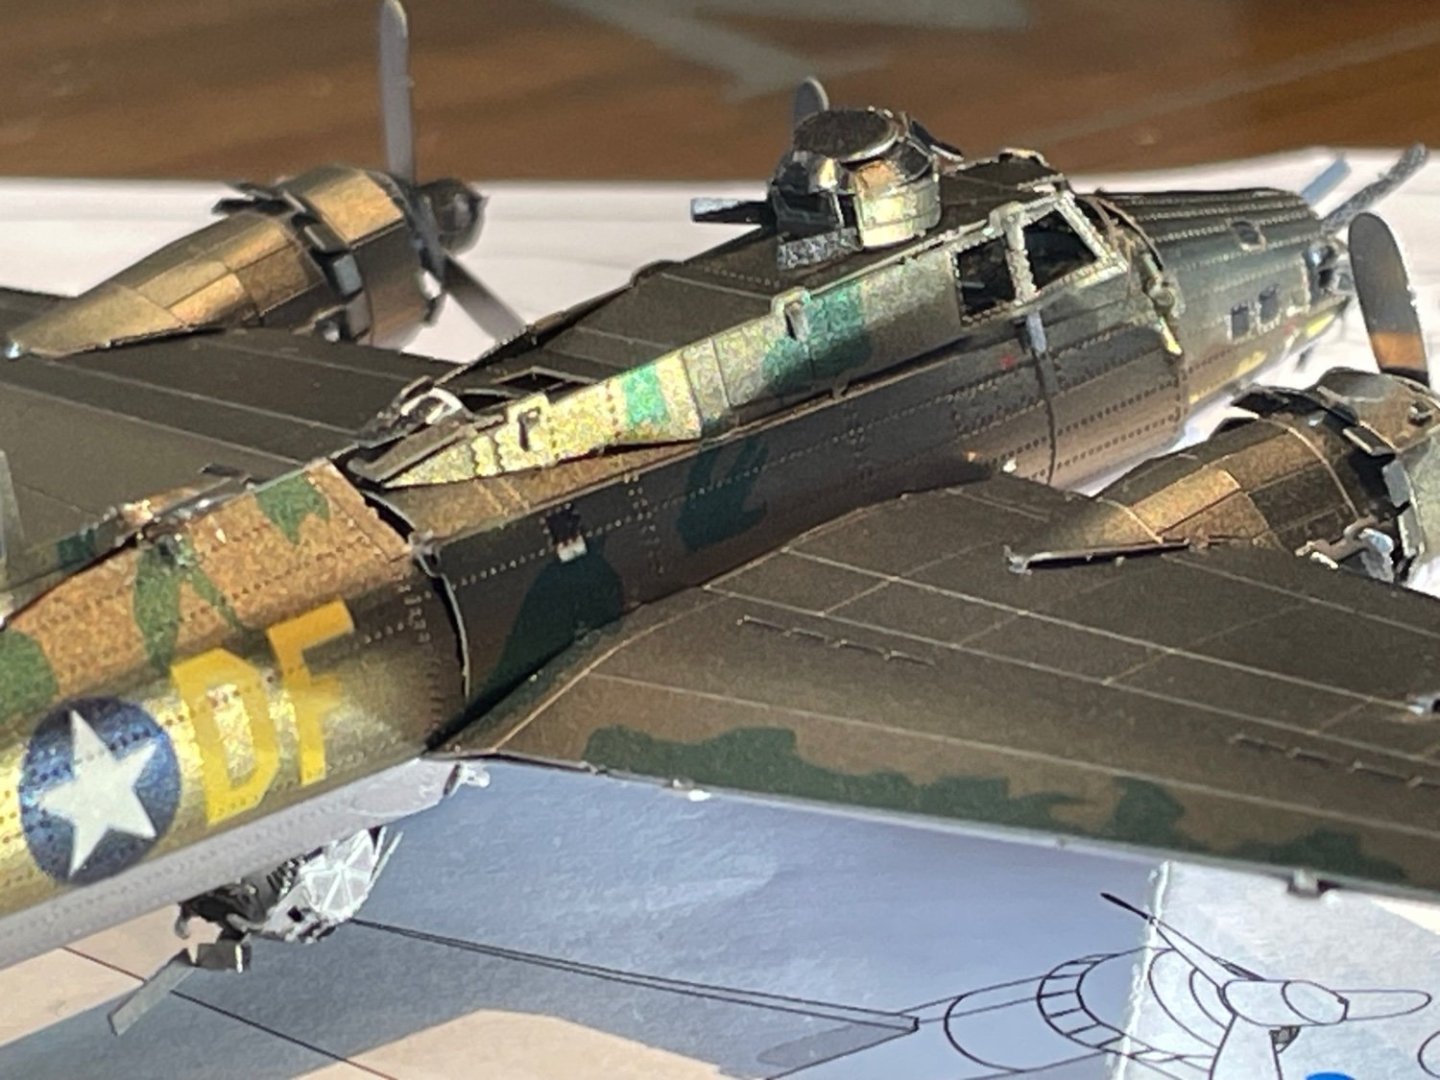
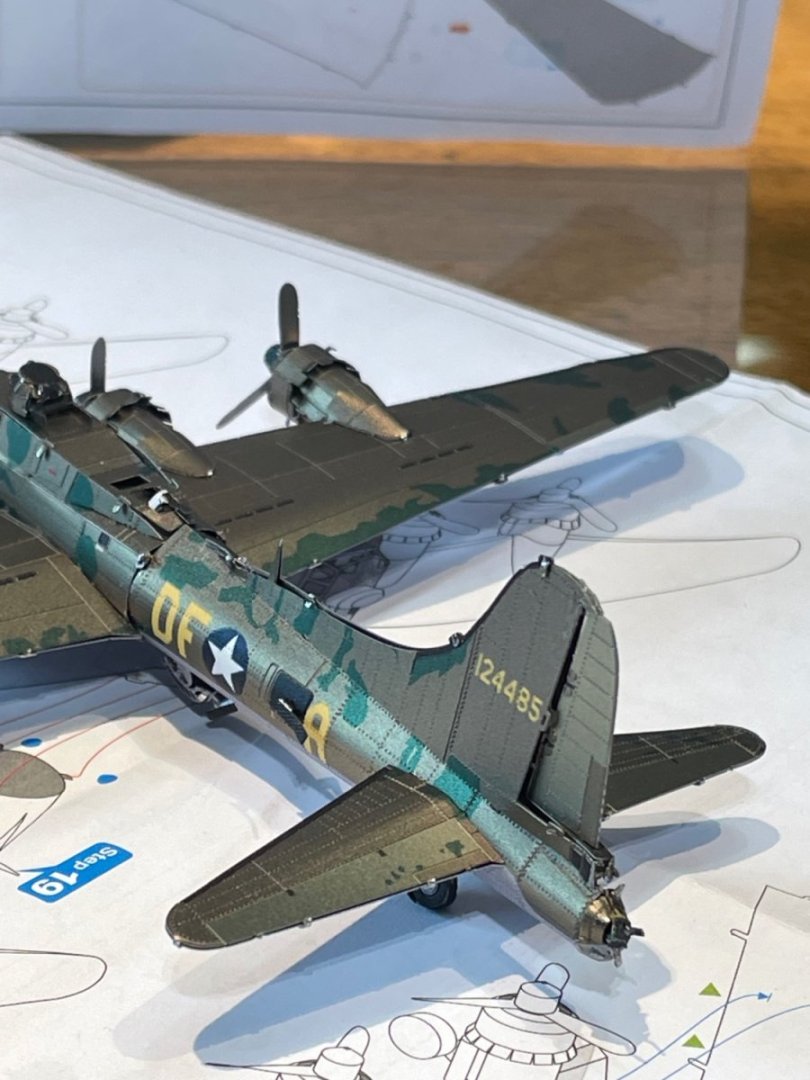
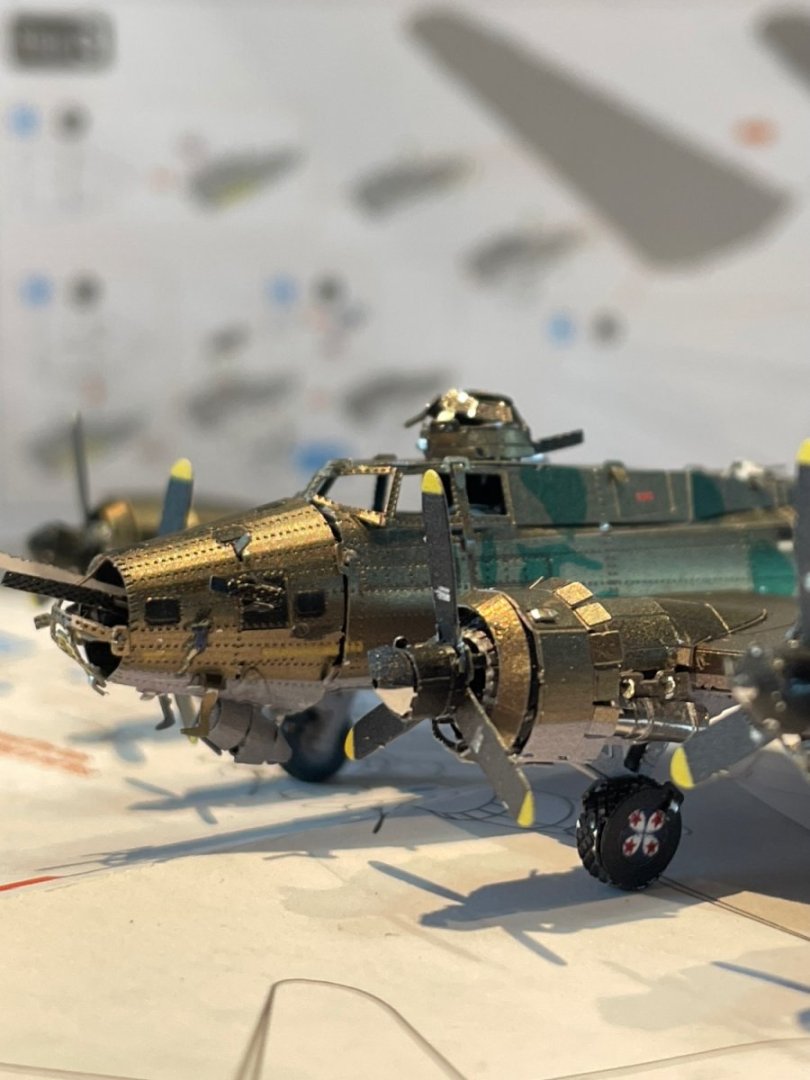
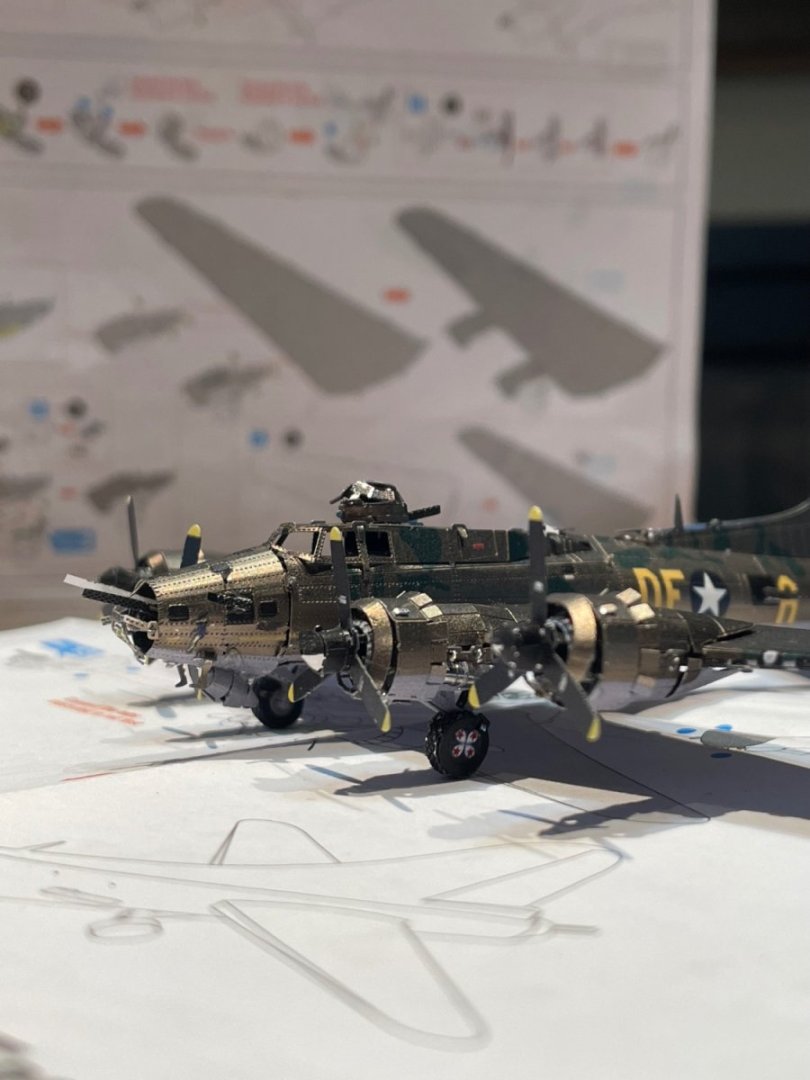
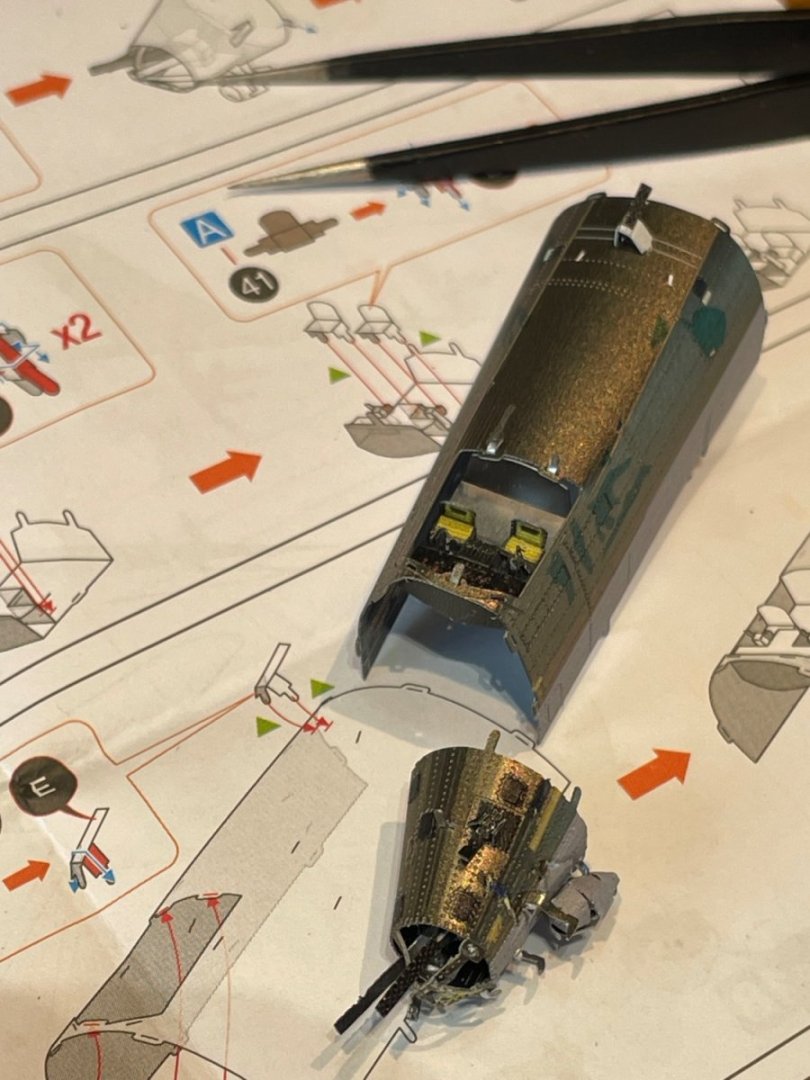
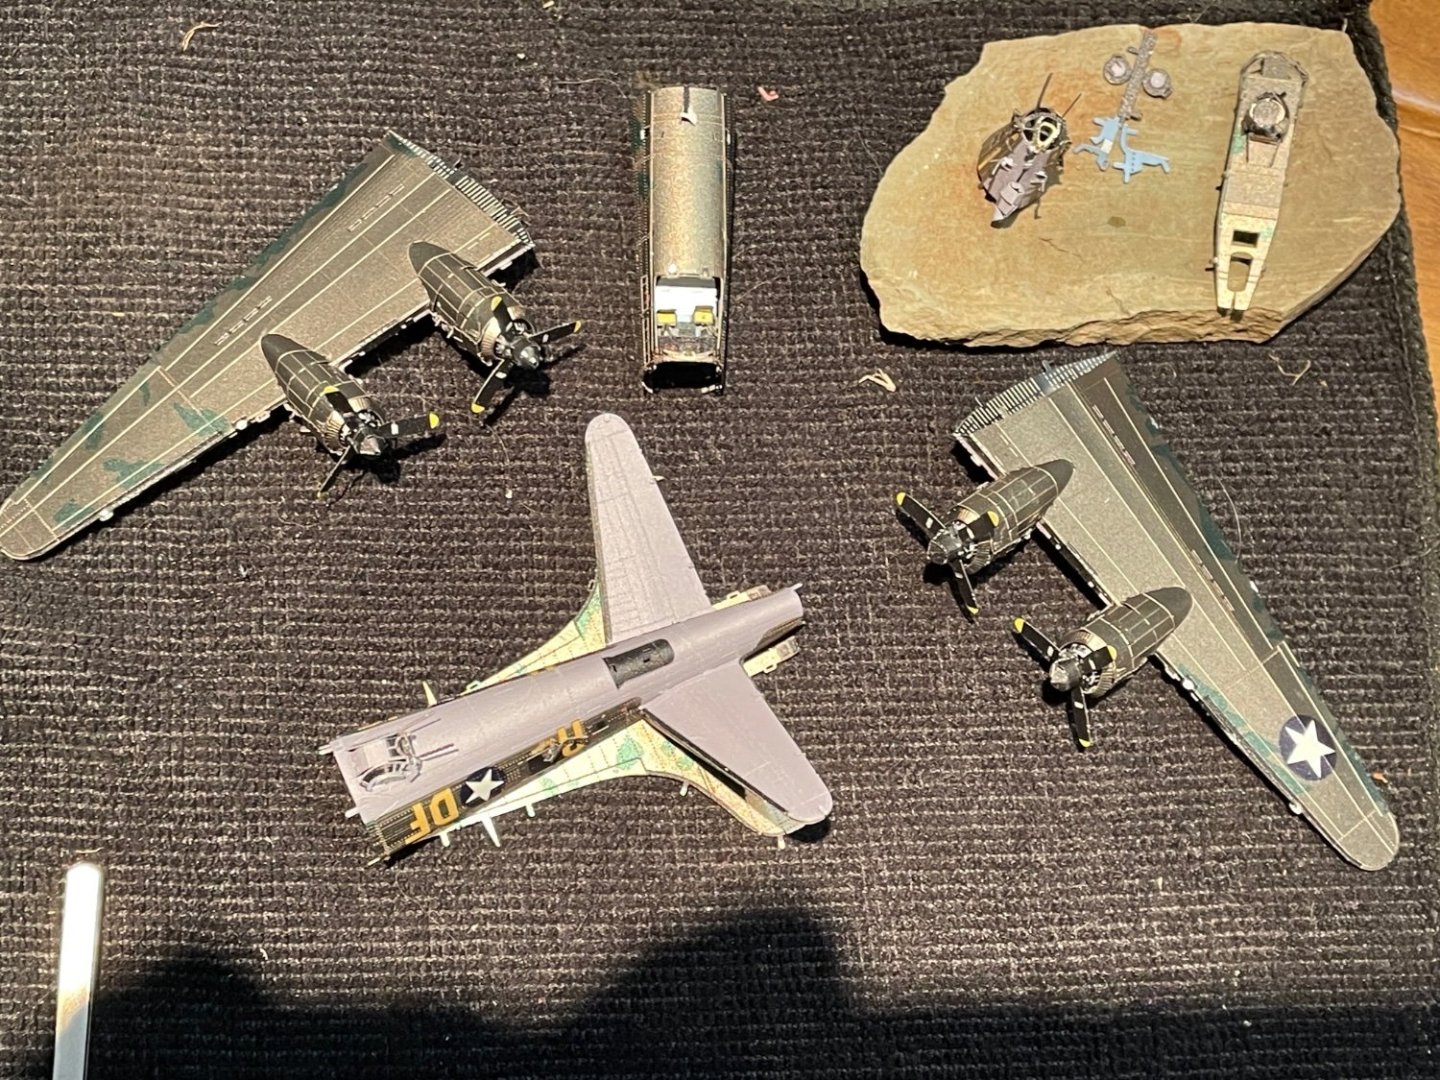
Just as I thought, only 2 tabs out of the last 8 were successful. The others were held as tight as possible and touched with a dot of CA. If one could remove most of the body parts and shape them close, before the tiny details are installed, it may not look like it’s really been in war:-) Here’s the final closure on the underneath side. Here’s the finished build:-) Dee Plane was pretty fun:-)


- 13 replies
-
- 10
-
-

-
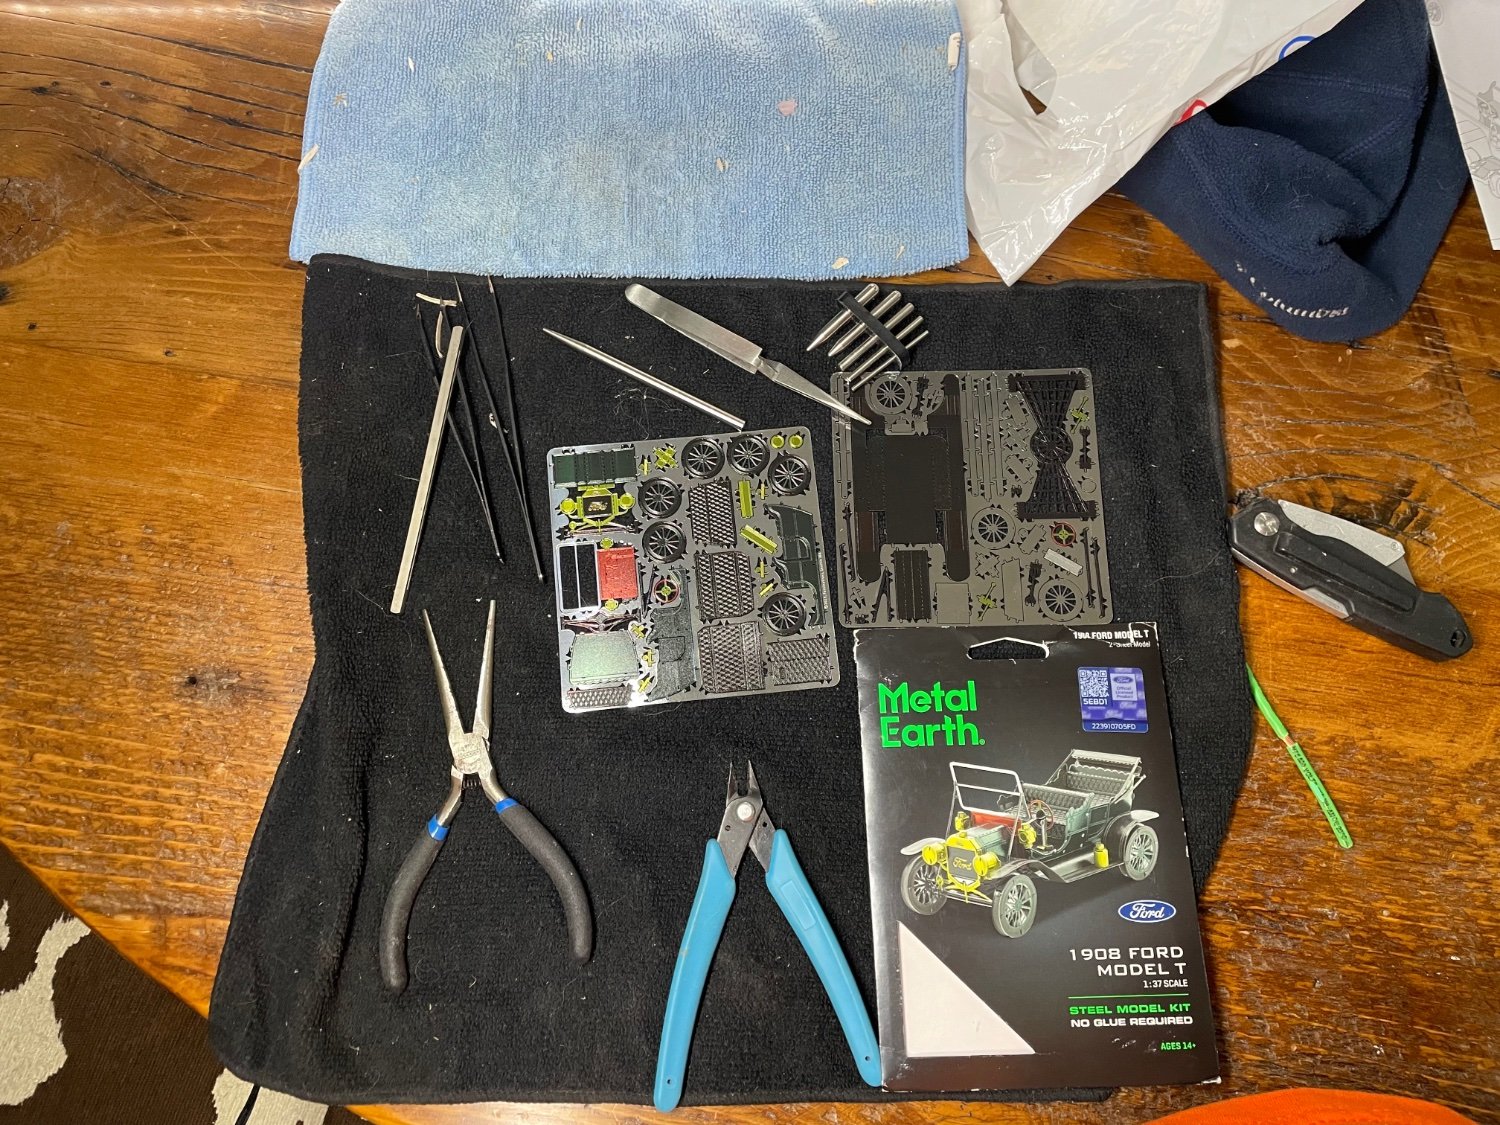
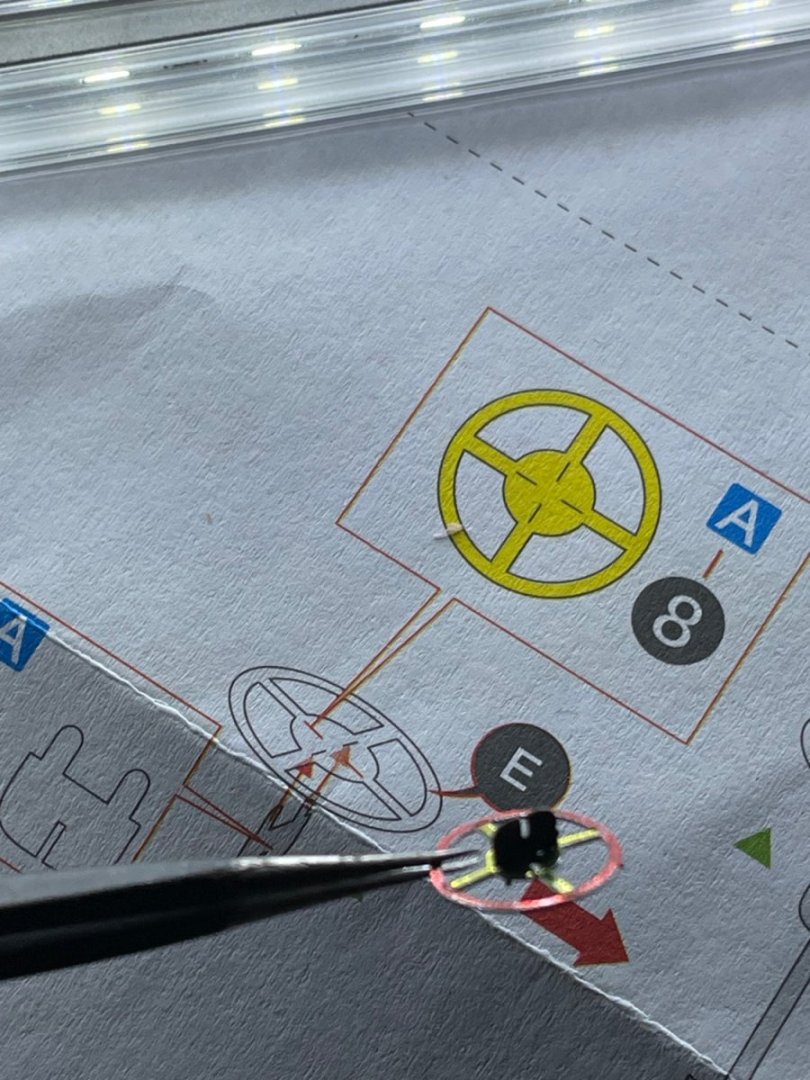
I’ve done about a half a dozen. Here are a few tools that are very useful.

-
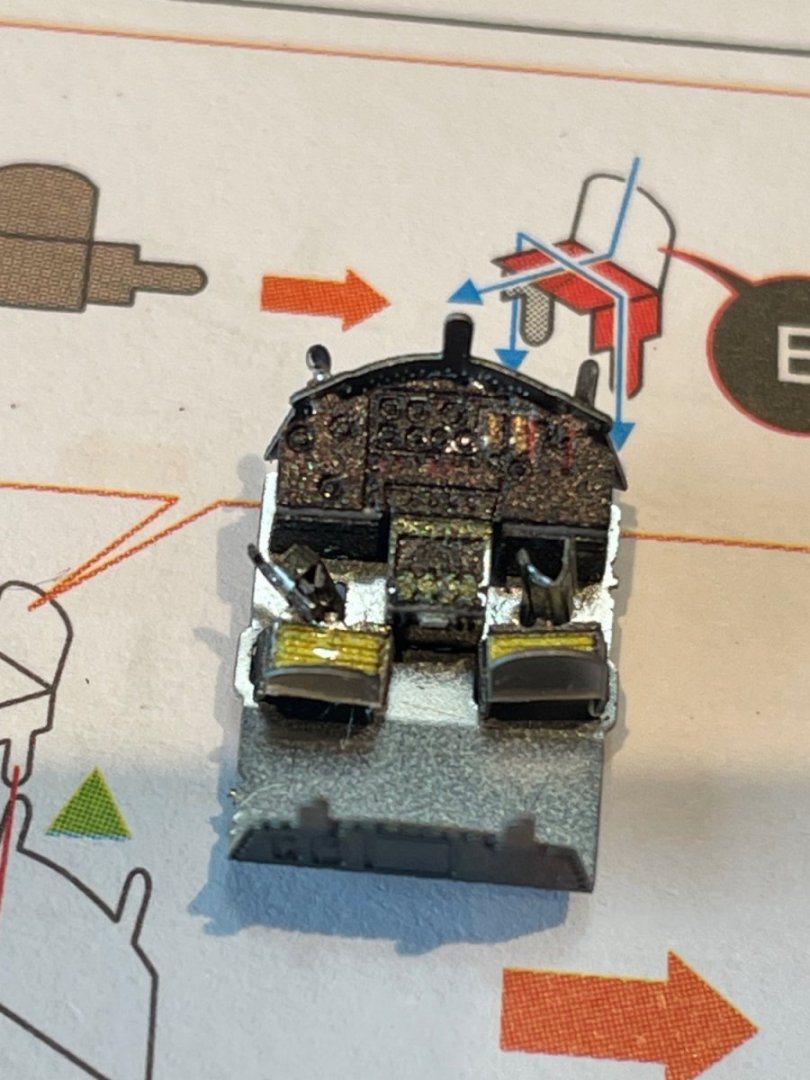
Assembly started. Top tabs went in semi easy:-) these bottom tabs may not have the same destiny, we’ll see:-)
-
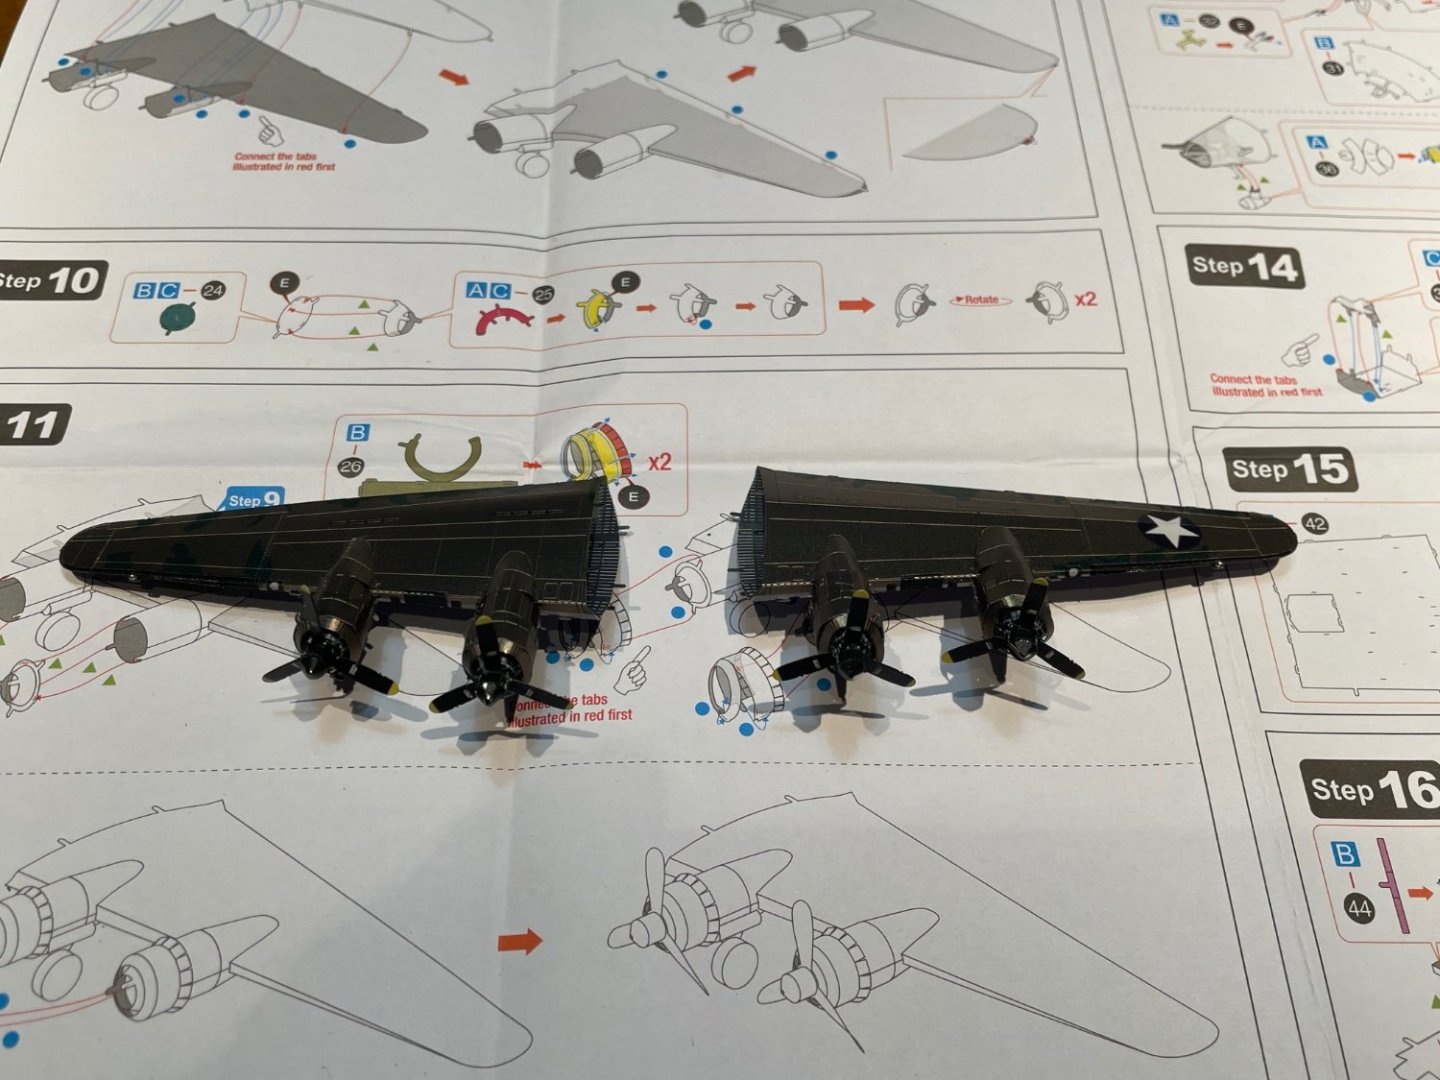
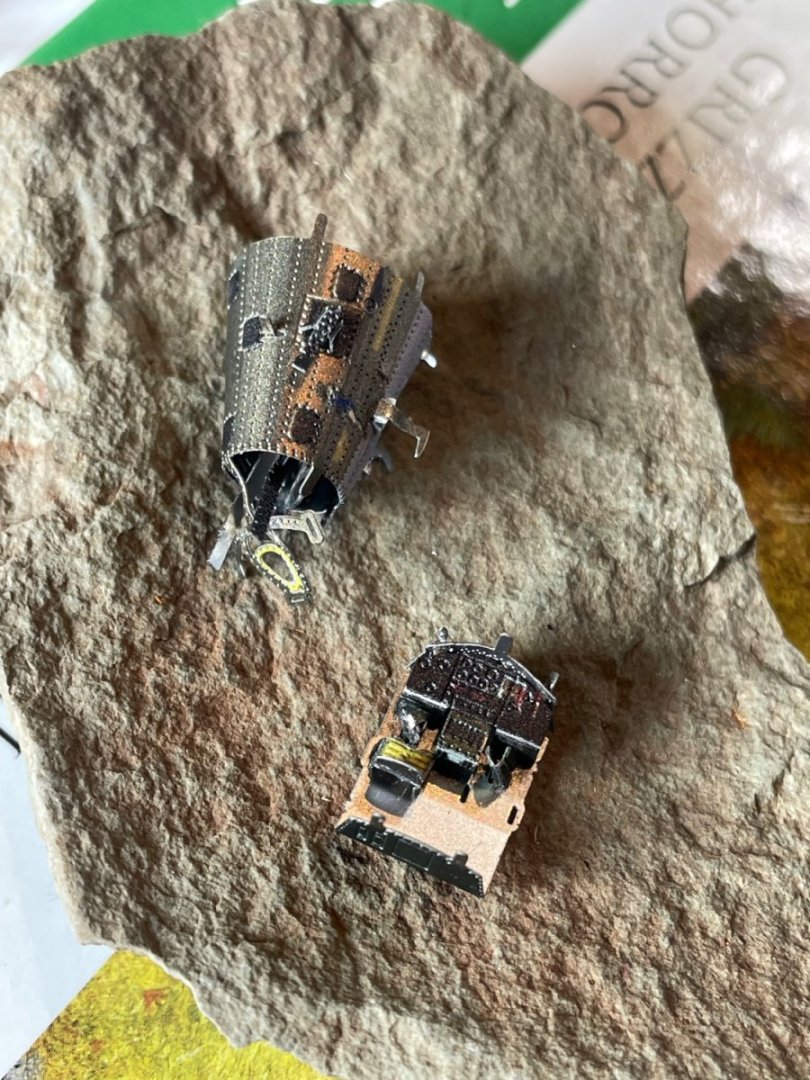
So far so good:-) after a check of tiny parts I may have missed, I’ll be ready for the final assembly!
-
Thank you Ken, that’s great information that I haven’t even thought about. Even though I was born and grew up in Memphis:-)
-
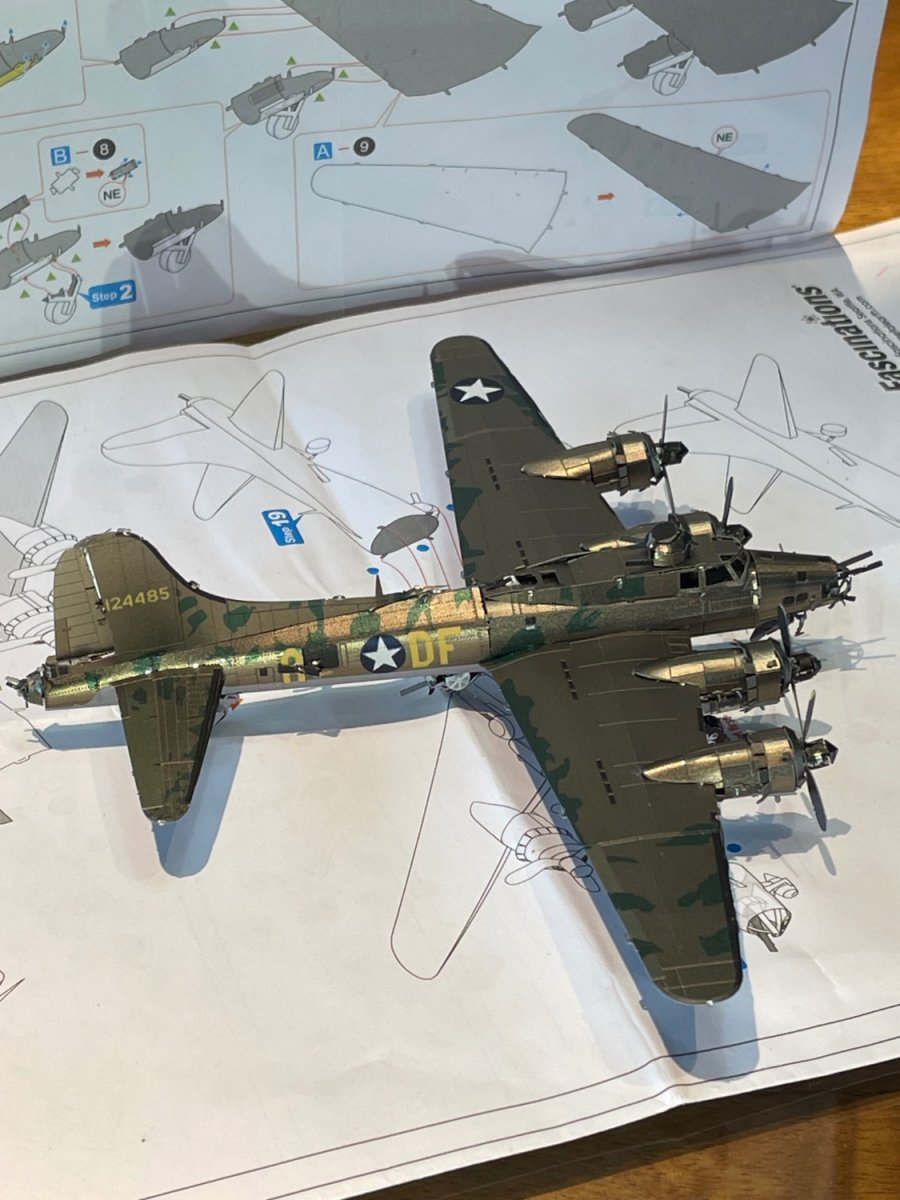
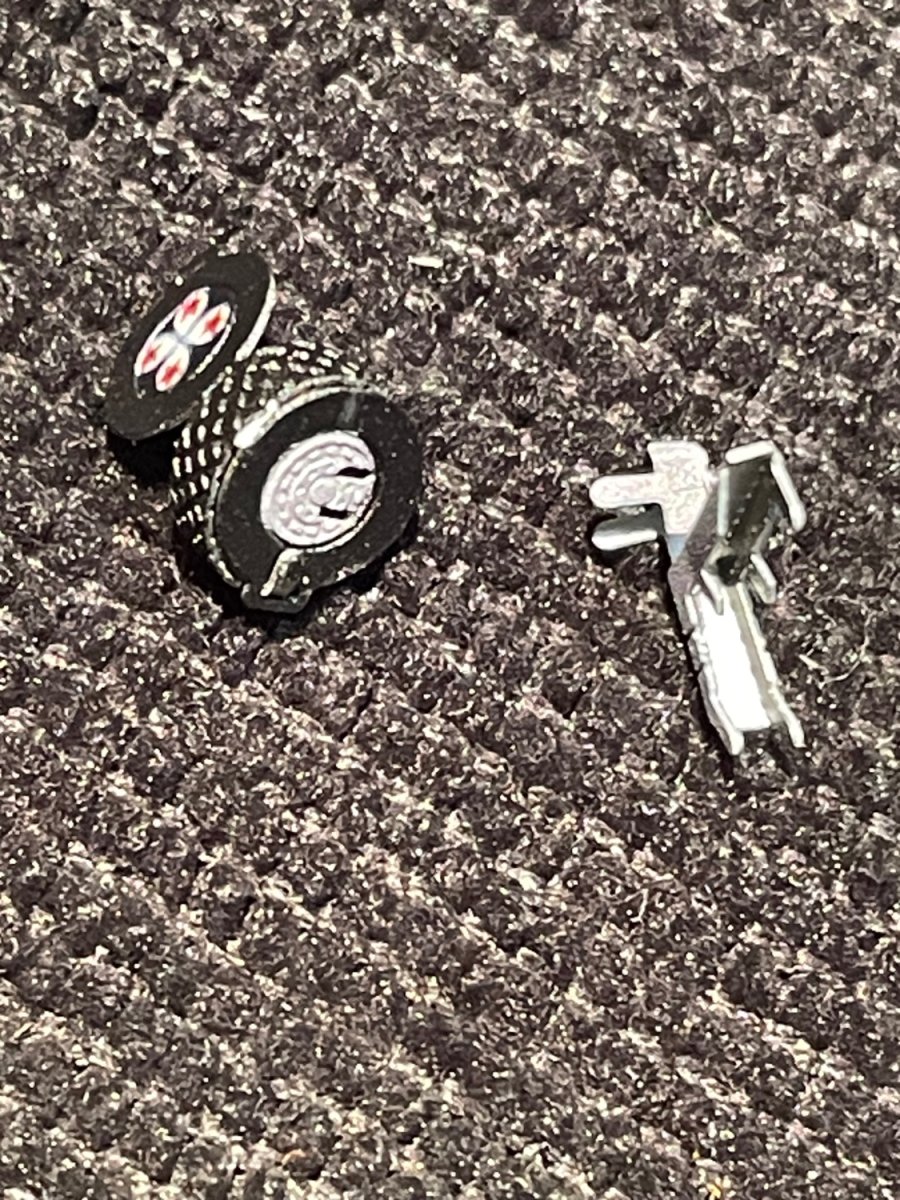
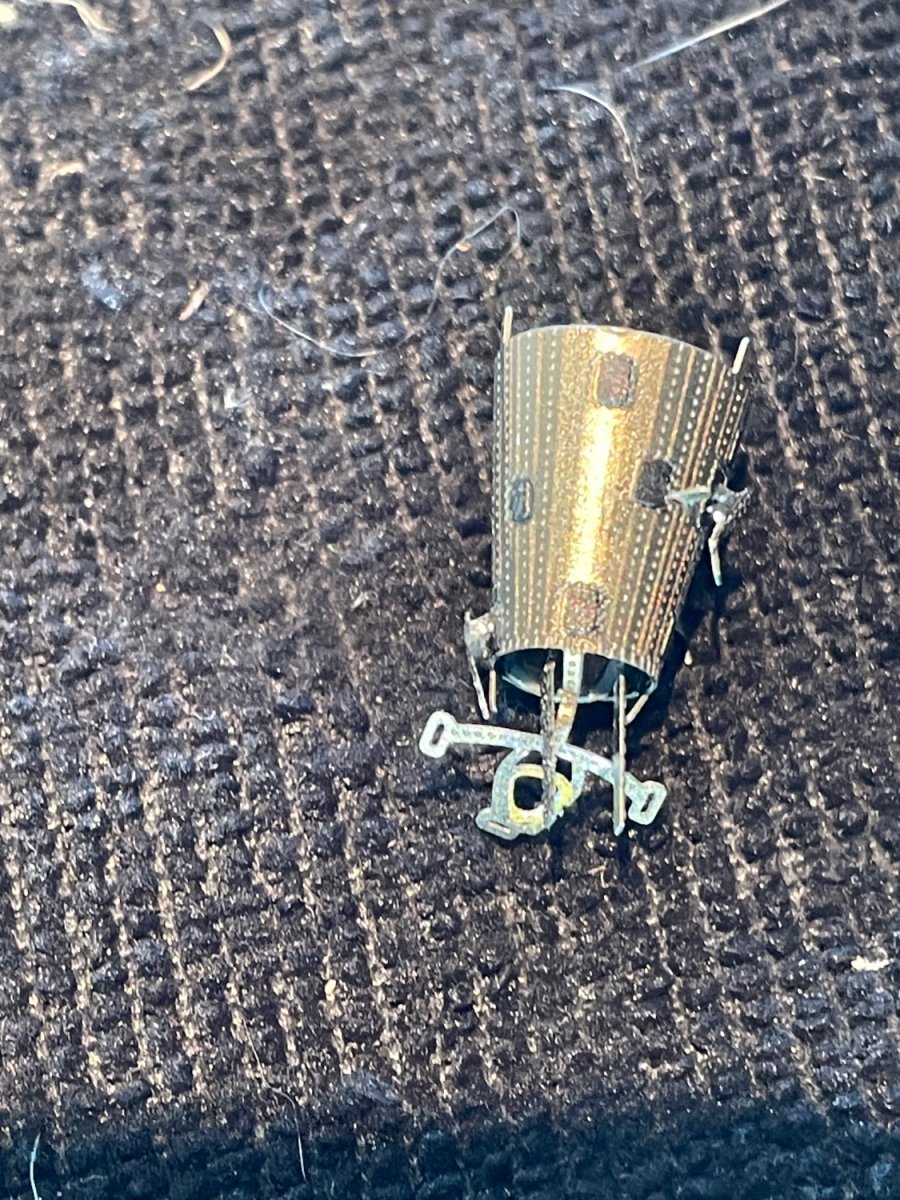
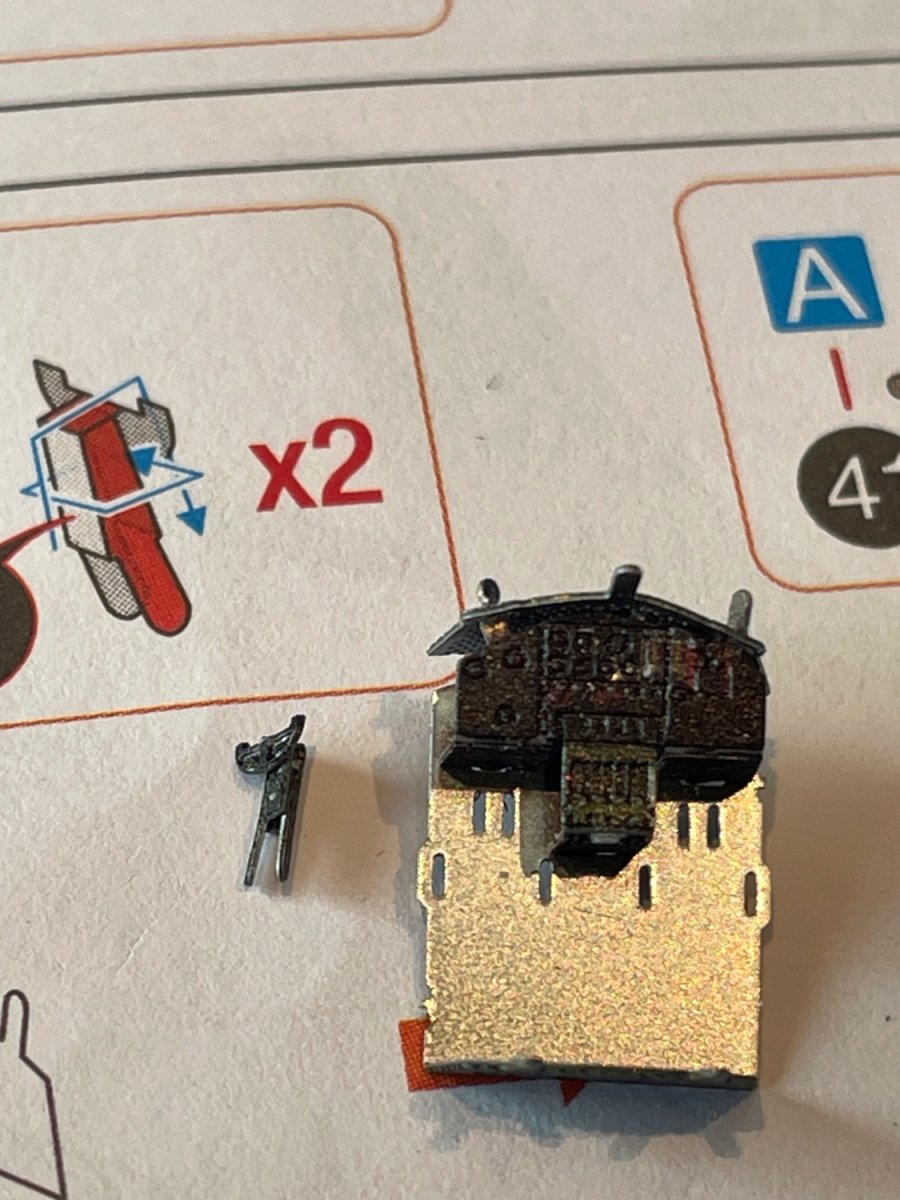
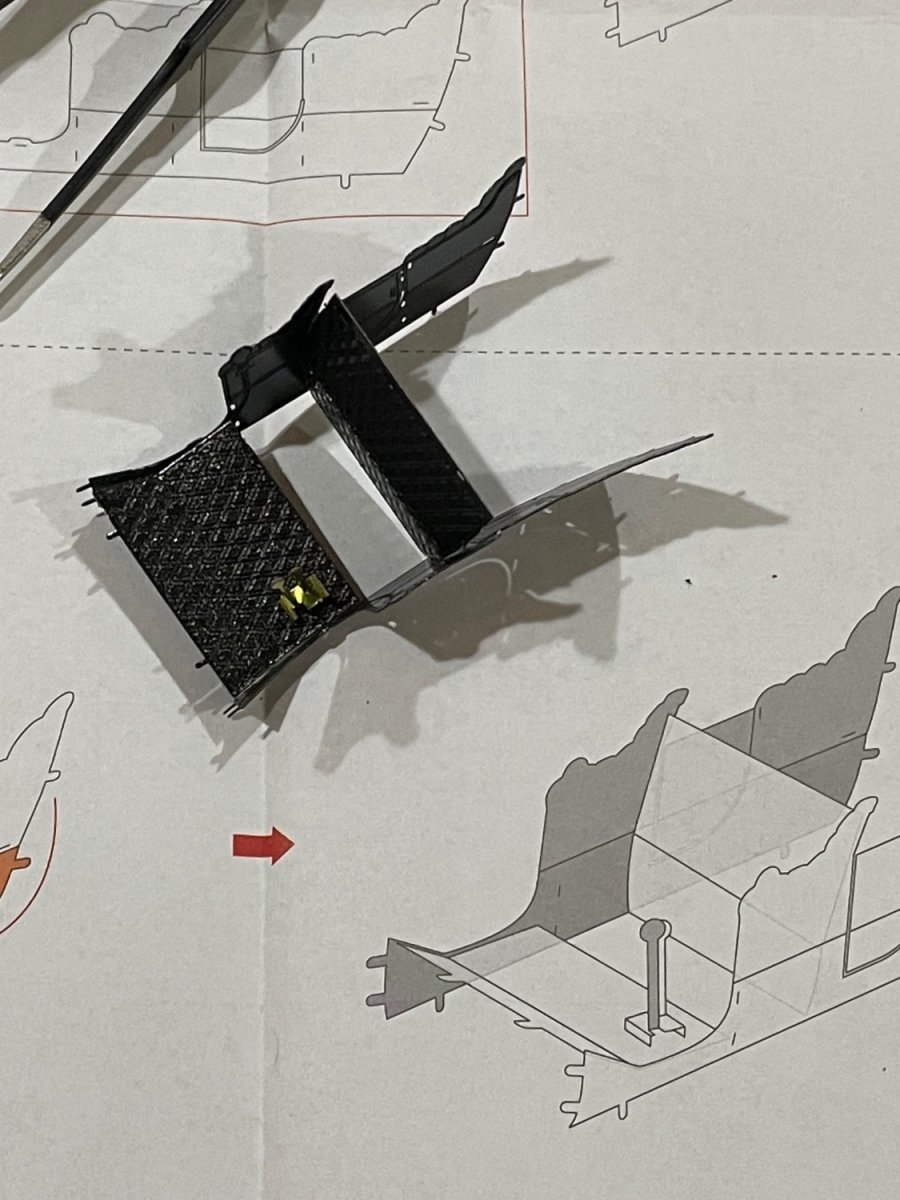
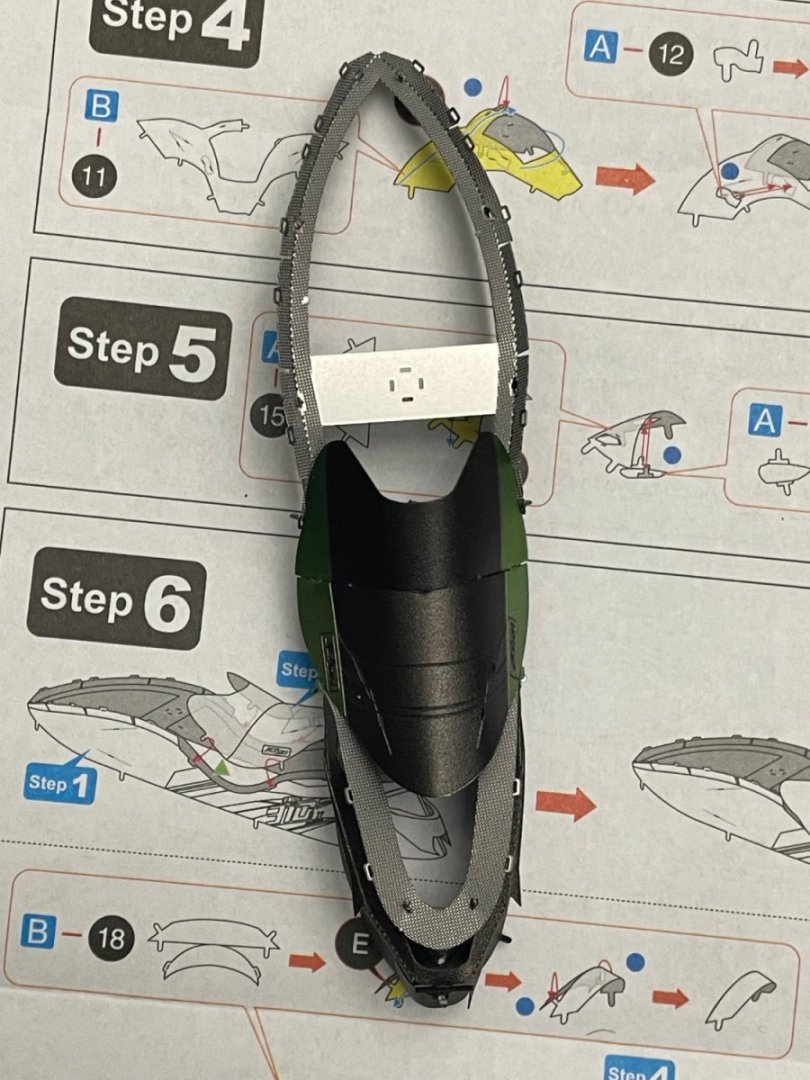
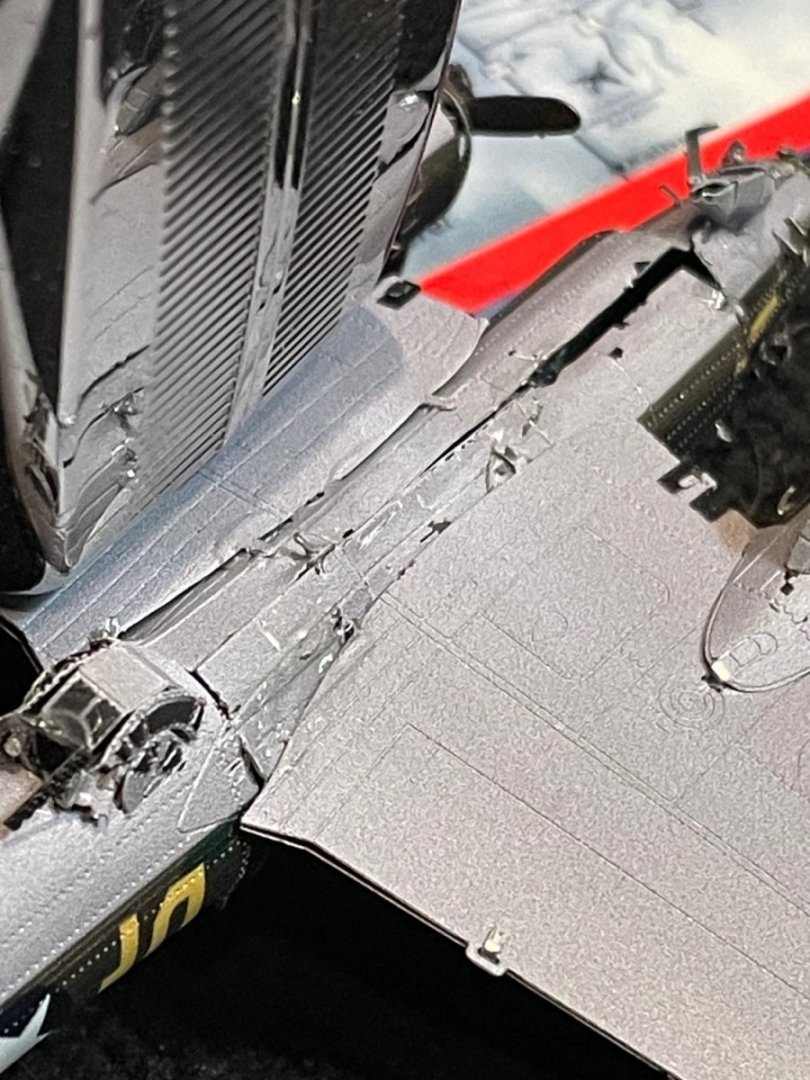
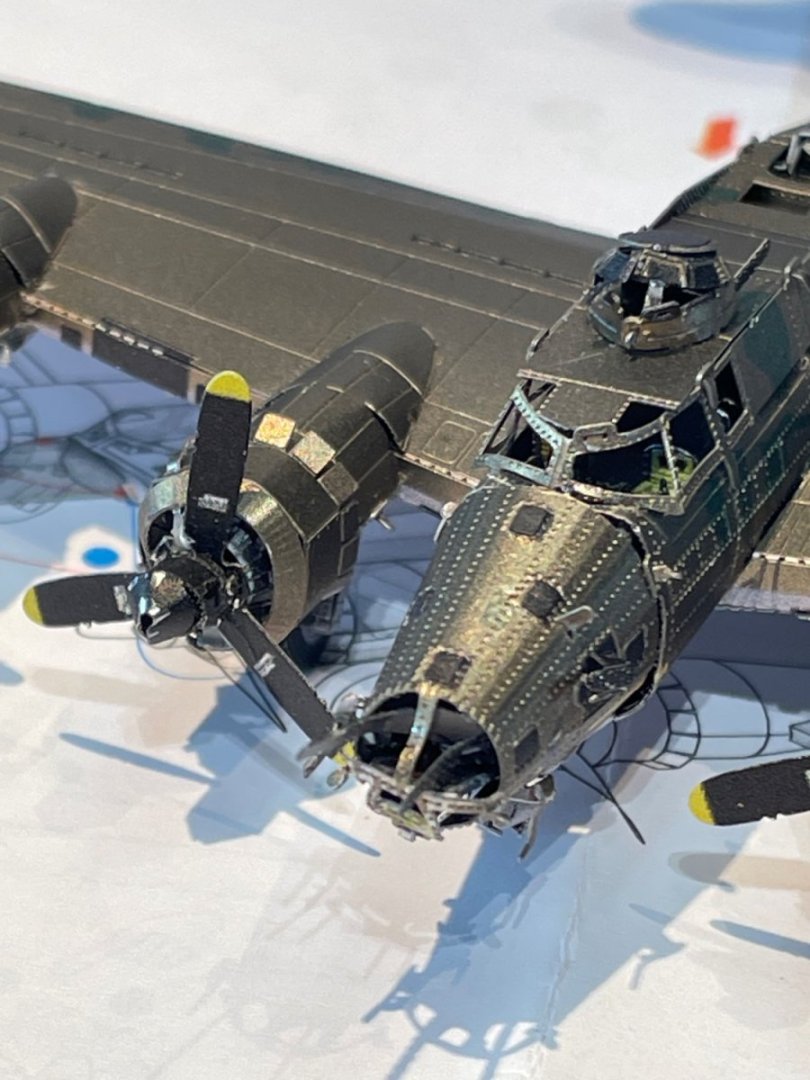
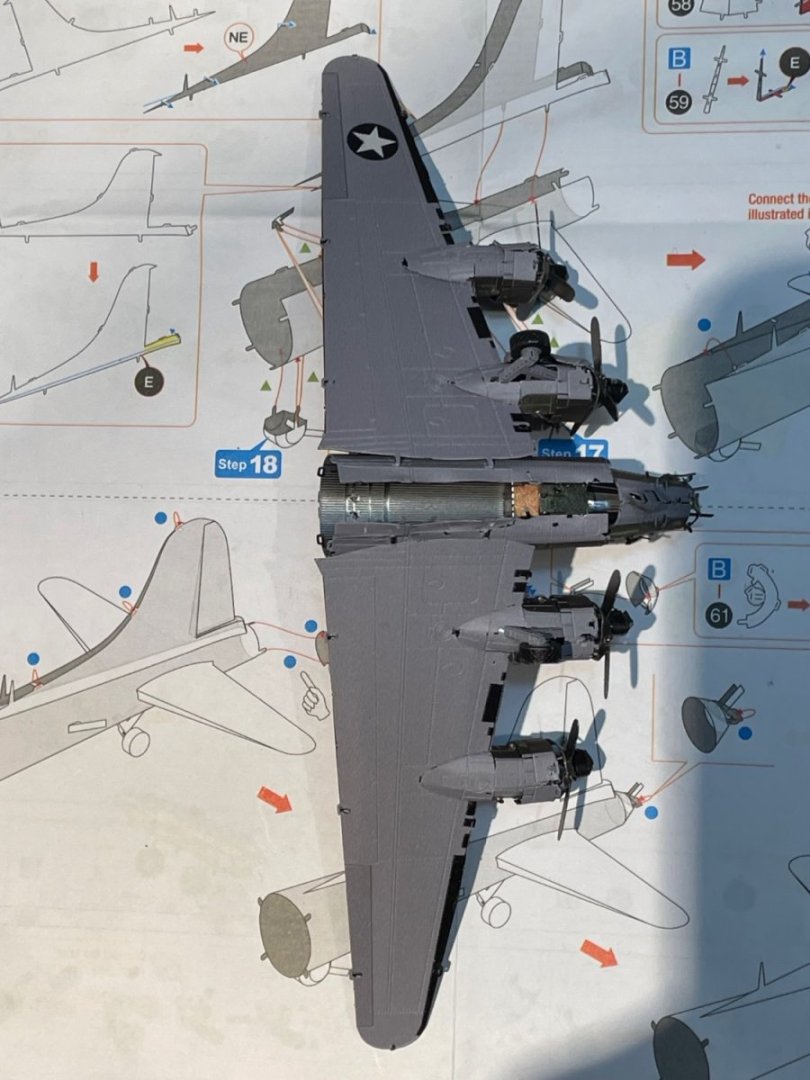
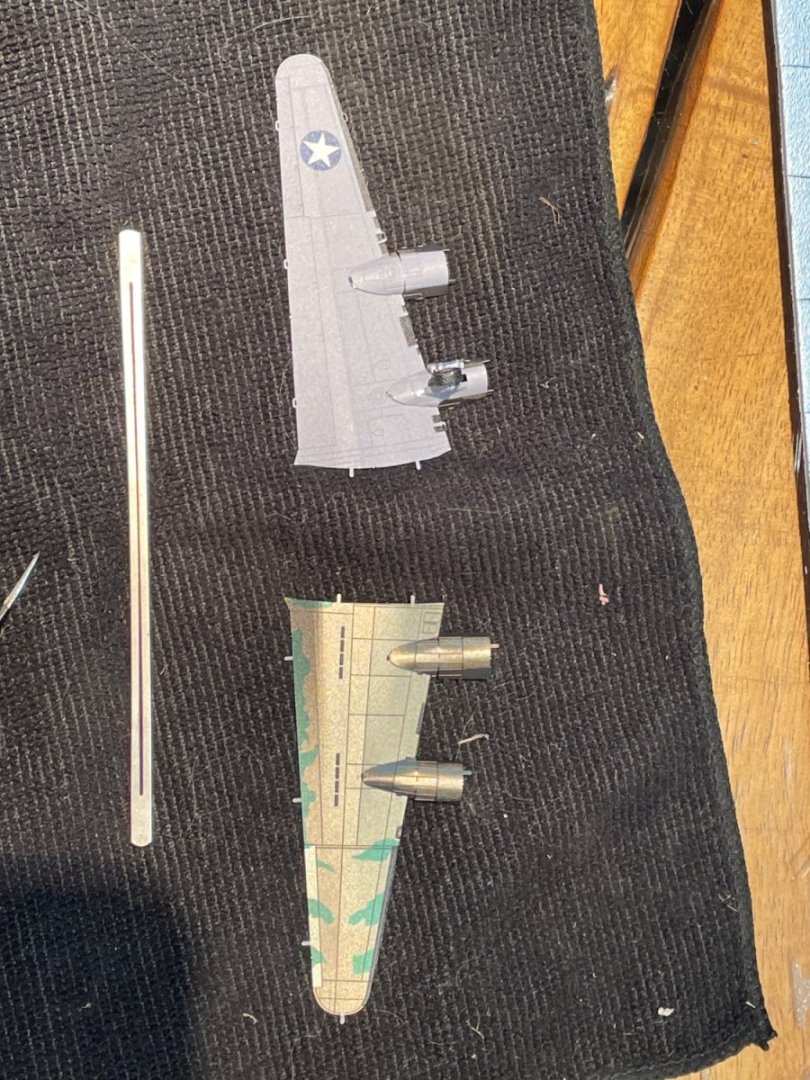
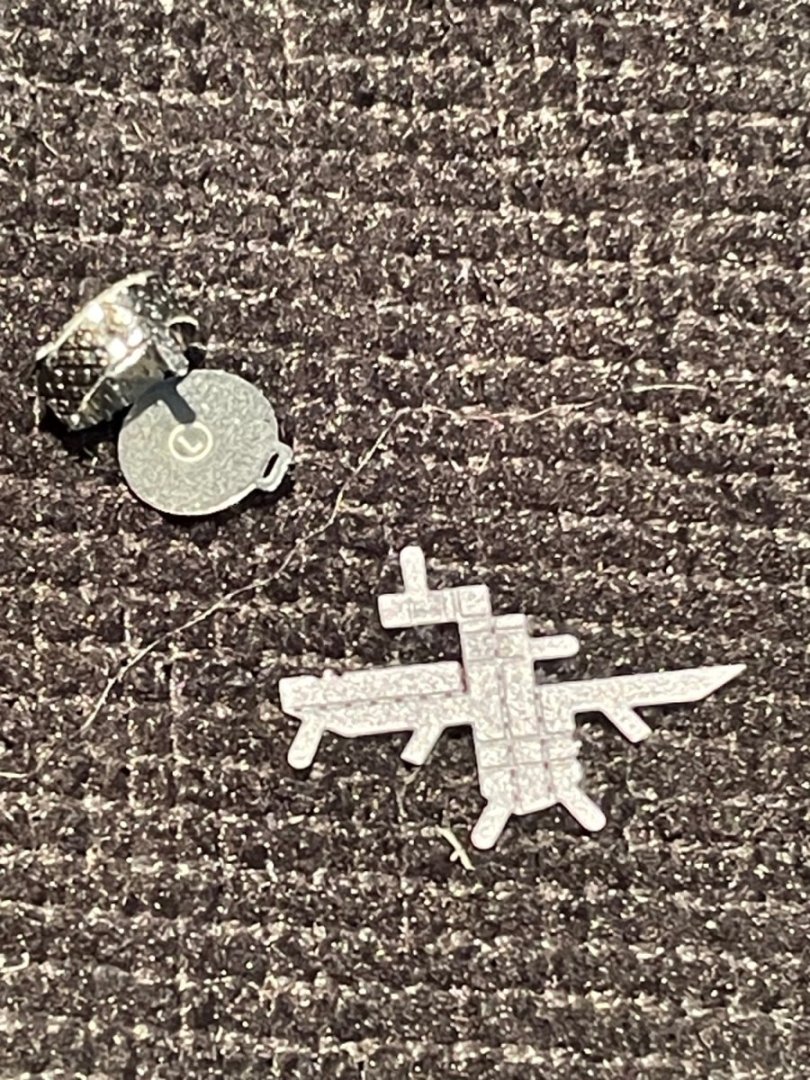
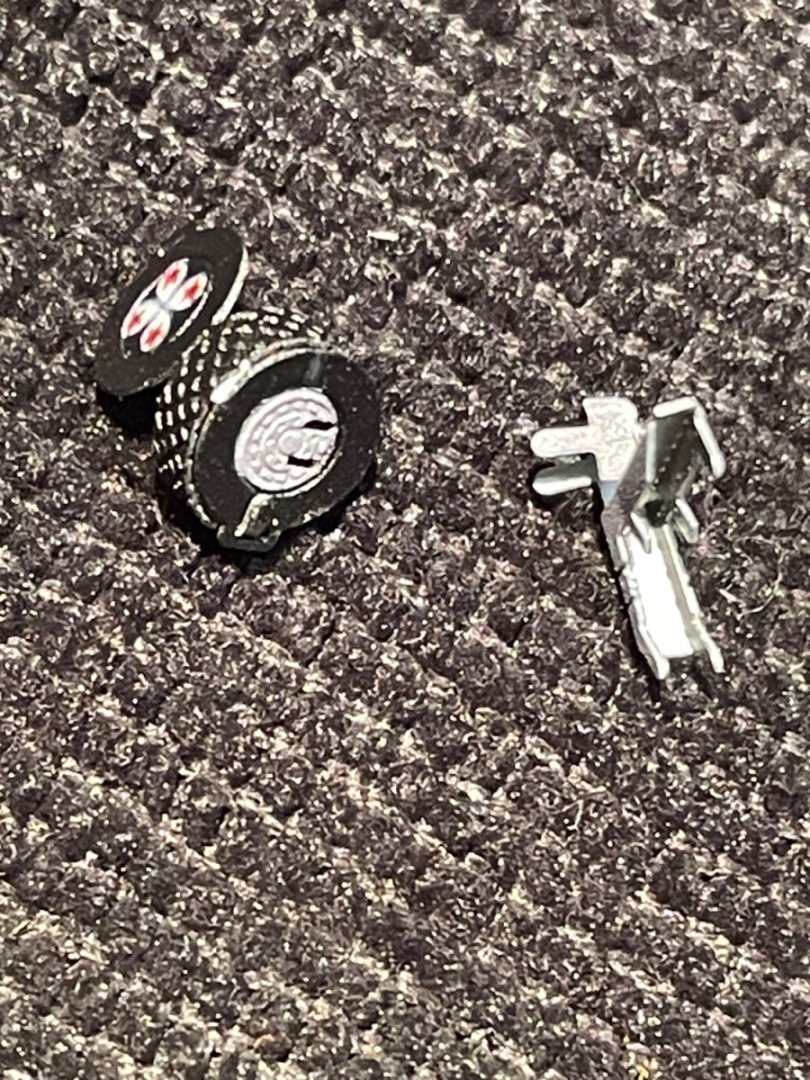
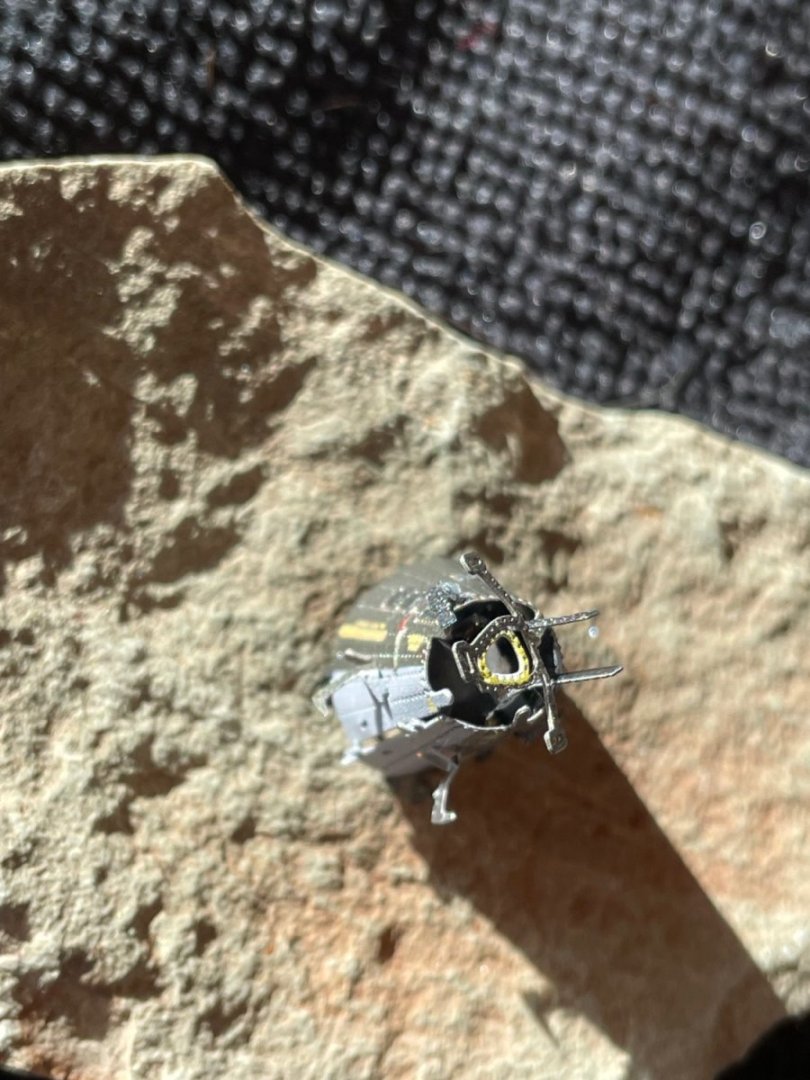
This one being the second one I’ve built this week, I had good expectations that it’s going to be an easy build:-) The metal seems to be a bit thicker, and I do see lots of super tiny parts. It starts with the landing gear. The assembling the wings feels accomplishing. Multiple parts assembled look like a wad of aluminum foil, but some how I get the tabs in their slots and twisted:-) The nose cone with the gunner was next but while I was assembling it I didn’t know what it was. The cockpit came next with its tiny assembly parts. The stick was the biggest challenge. Several components made up the fuselage And here is where I left off. Mainly and ton of little tabs that fit in slots all over the plane that need to be slipped in at the same time:-)


- 13 replies
-
- 13
-
-
-
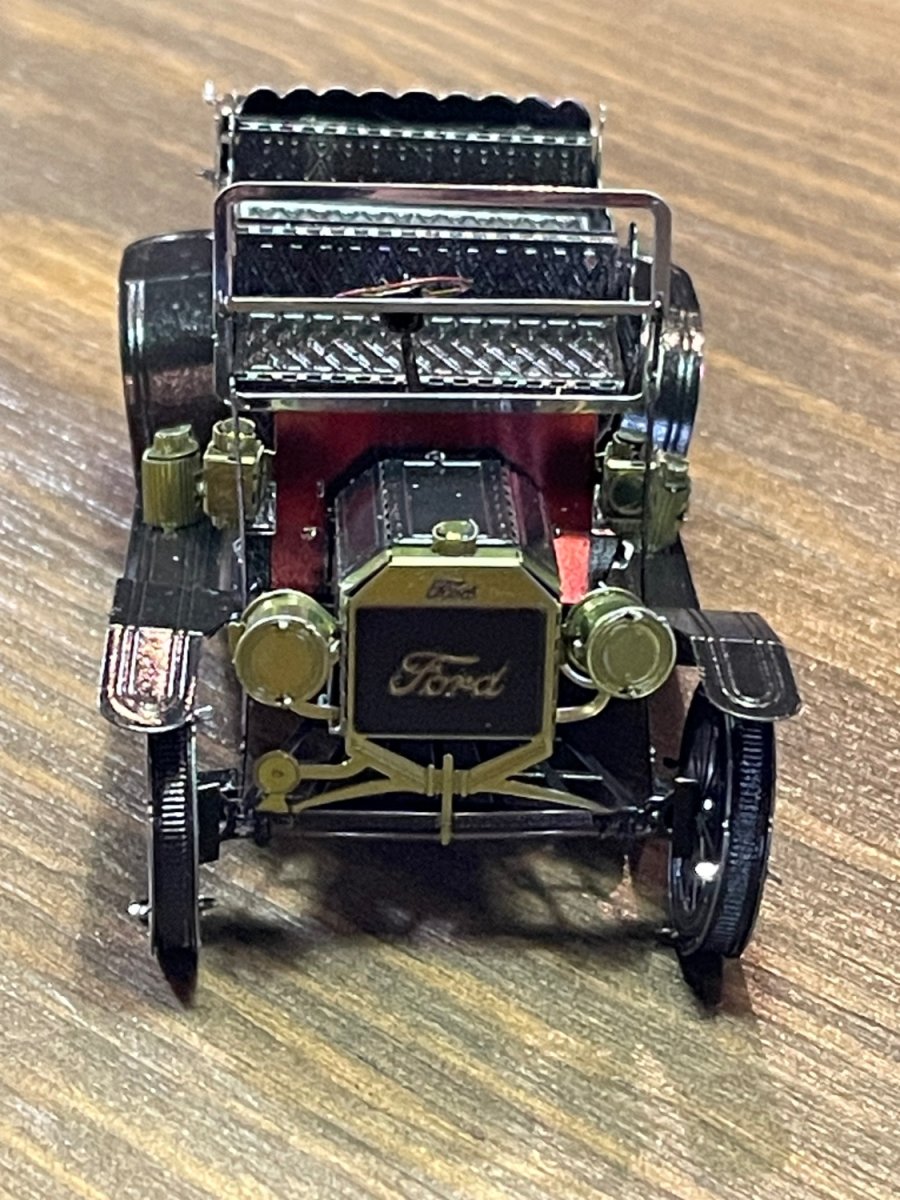
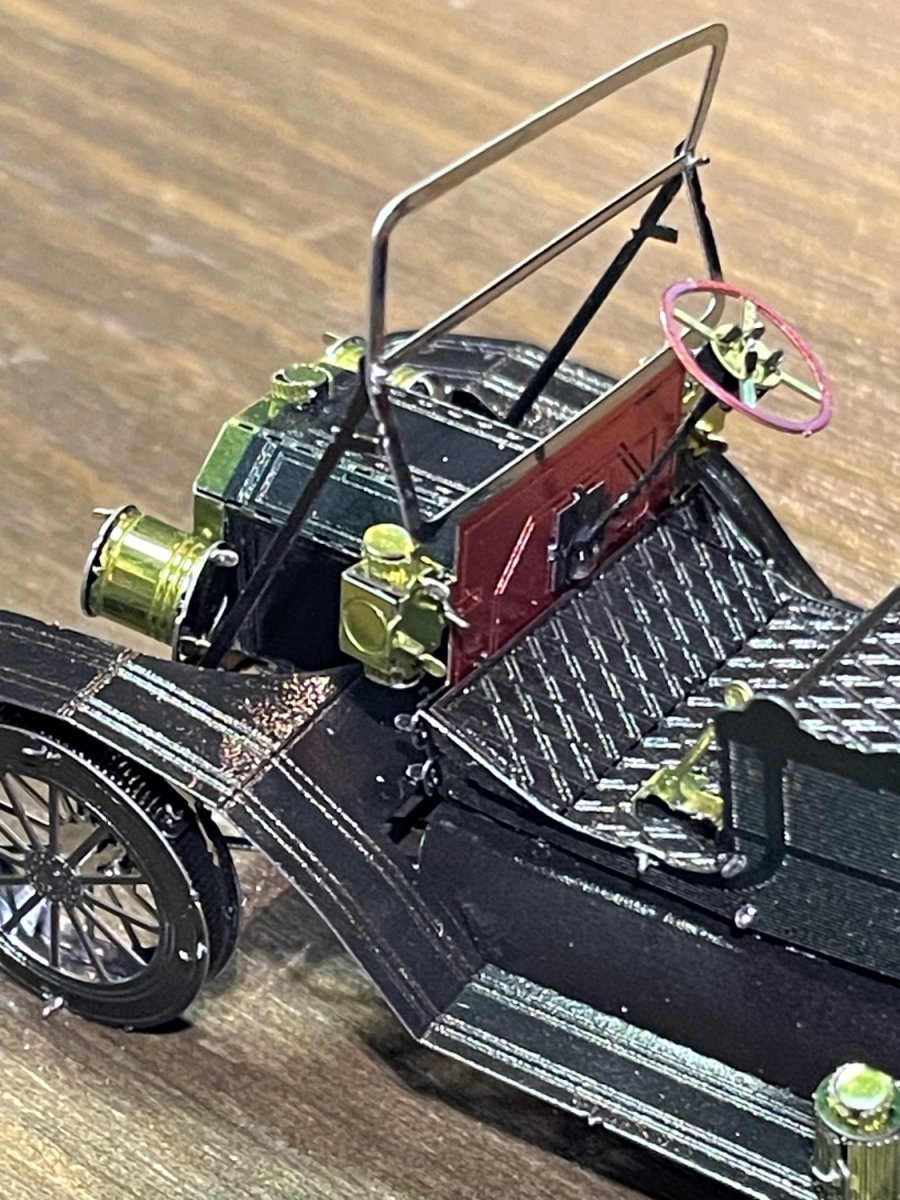
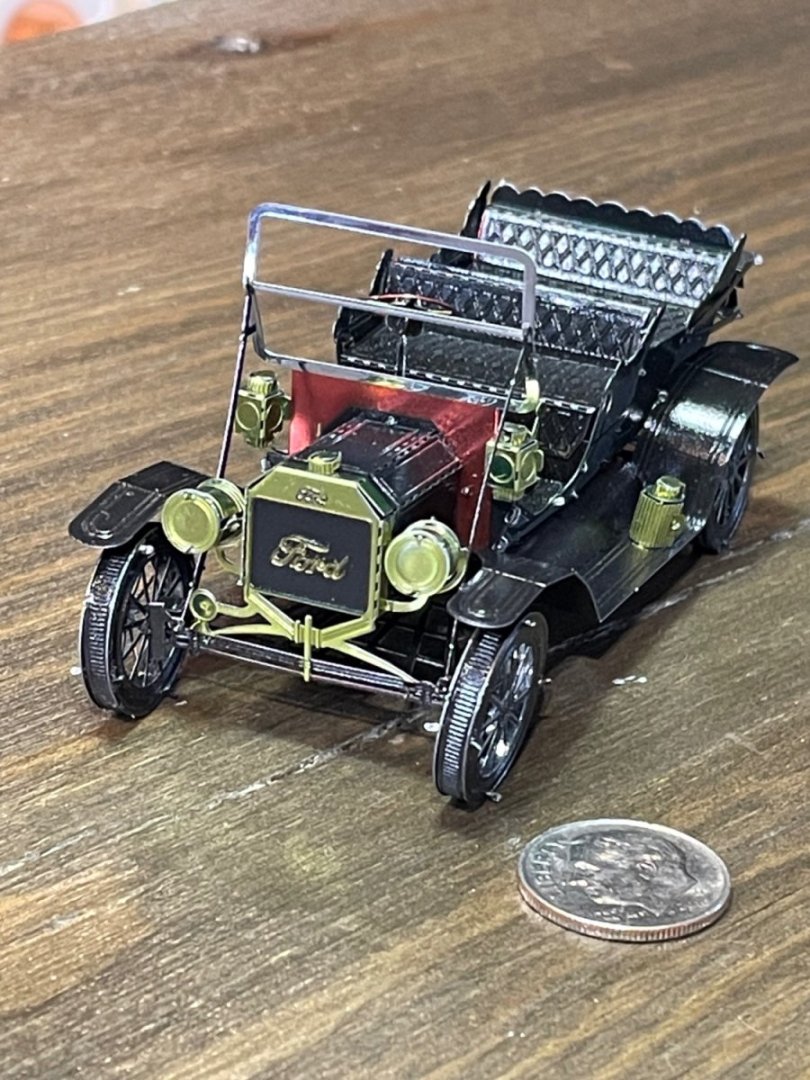
These kits are challenging, but with persistence (and some CA glue) they can be completed in a few hours. I broke the steering wheel, right side headlight, convertible top and one of the two gear shifters off while I was putting other stuff on:-) I got them all glued back on except the gear shifter, I never knew when it went missing:-)


-
Now that’s what I’m talking about! 🙂 Thank you Allan! I’ll have time this week to look at it.
-
Thank you Bob:-) That will be pretty easy, I’m not taking any “ know how “ with me:)
-
Ludwig’s in charge of the shipyard for the next two weeks. I’ll be surprised if he does anything:-)


-
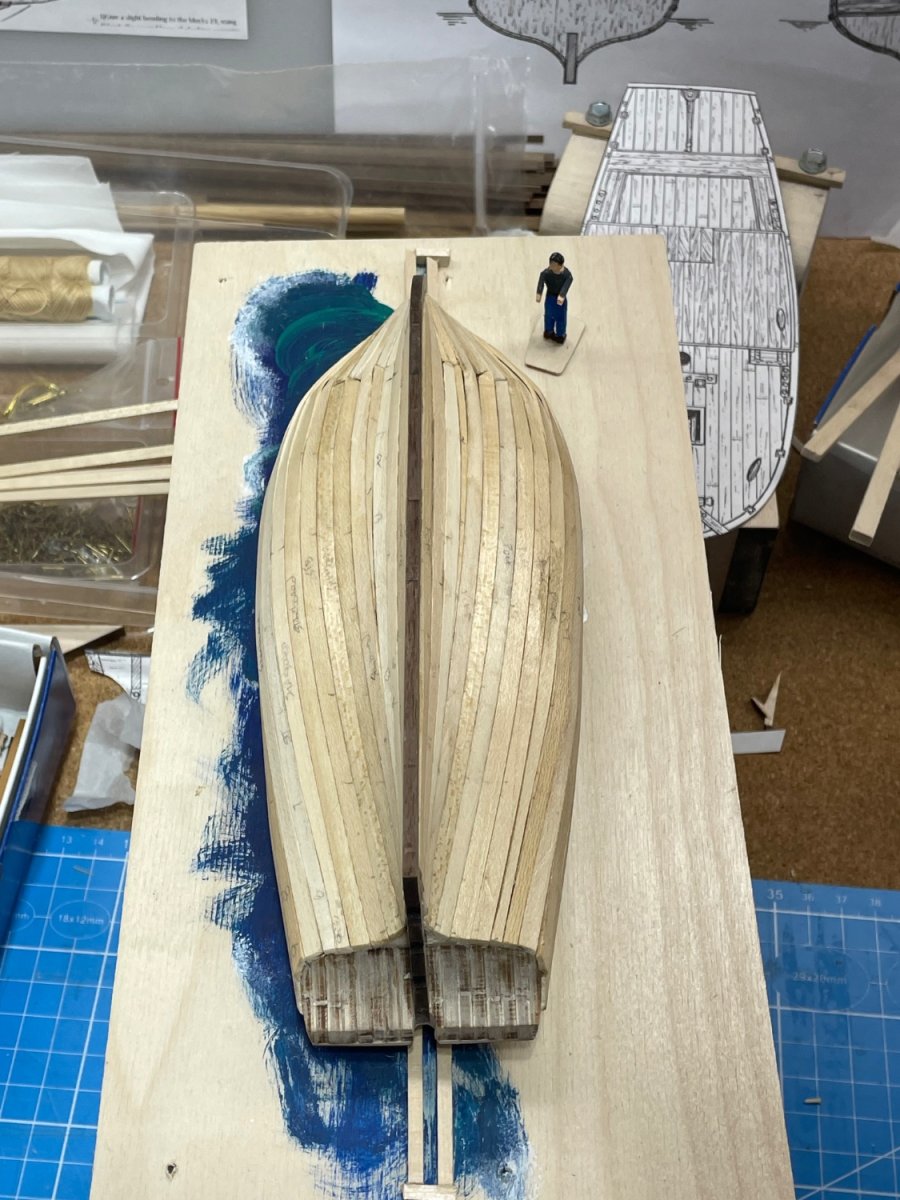
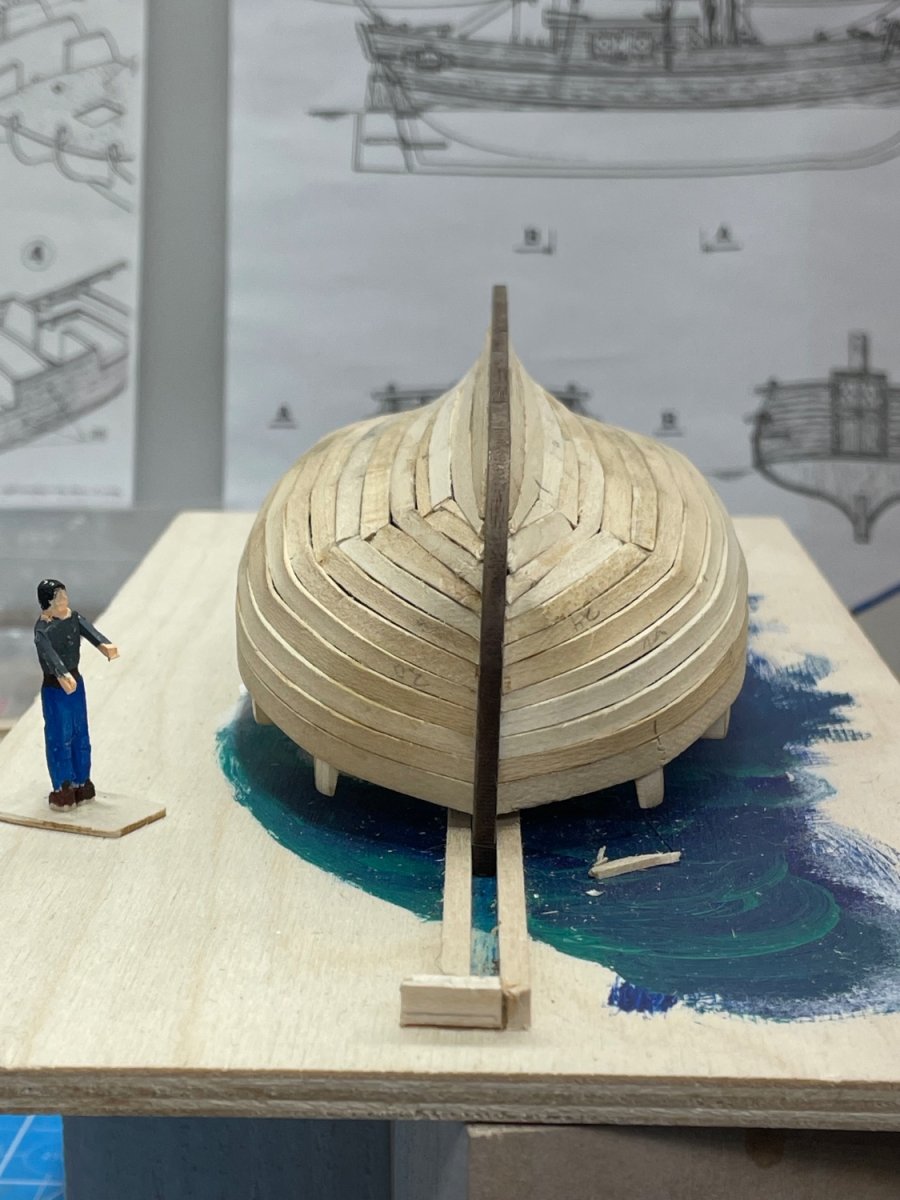
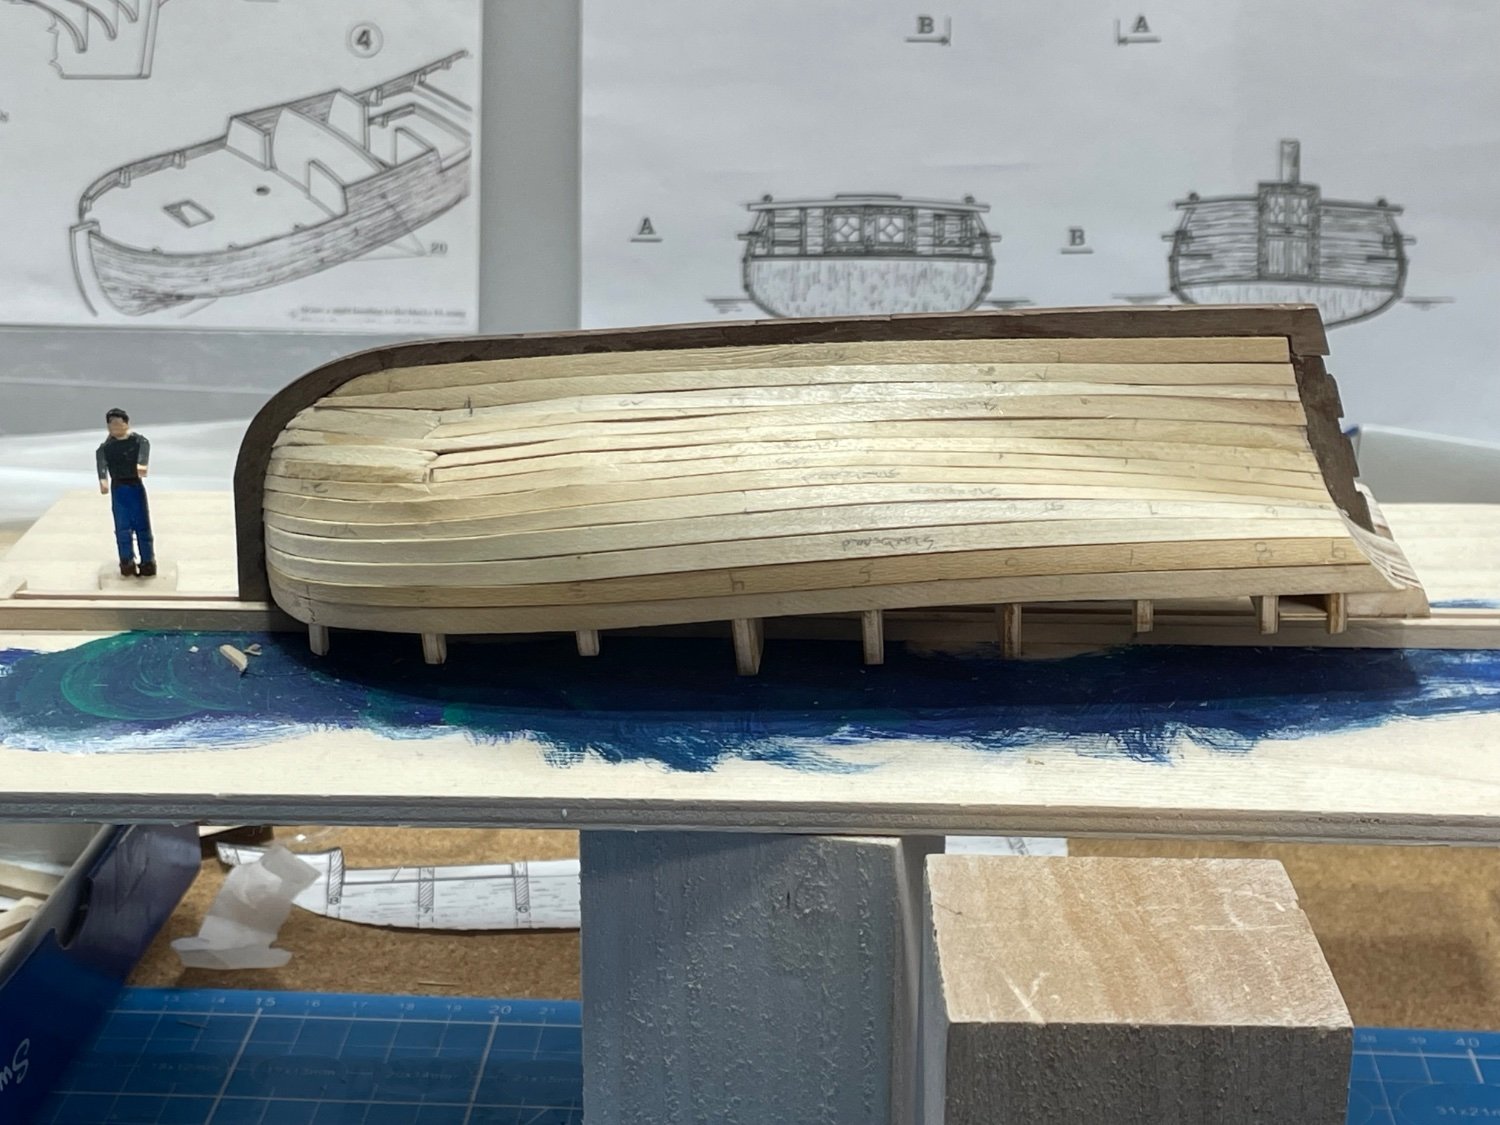
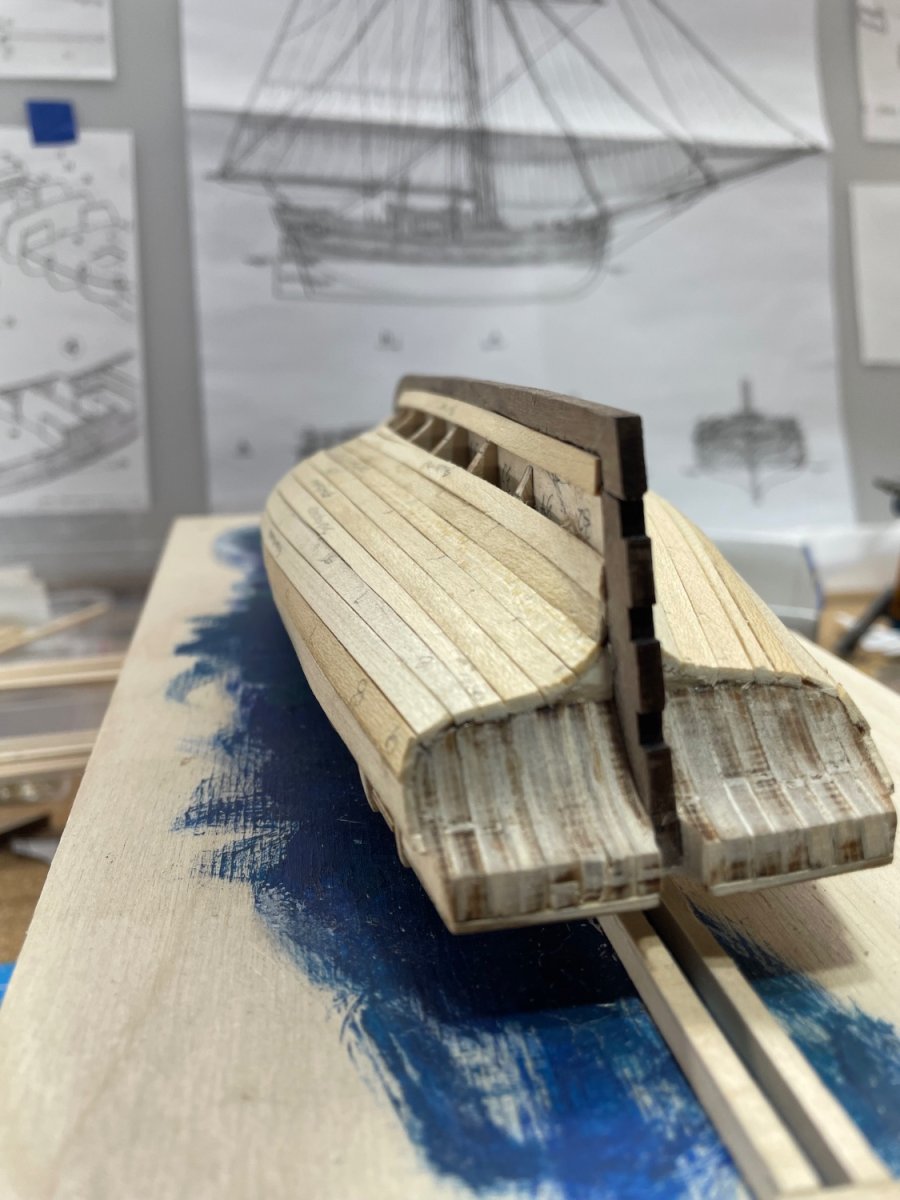
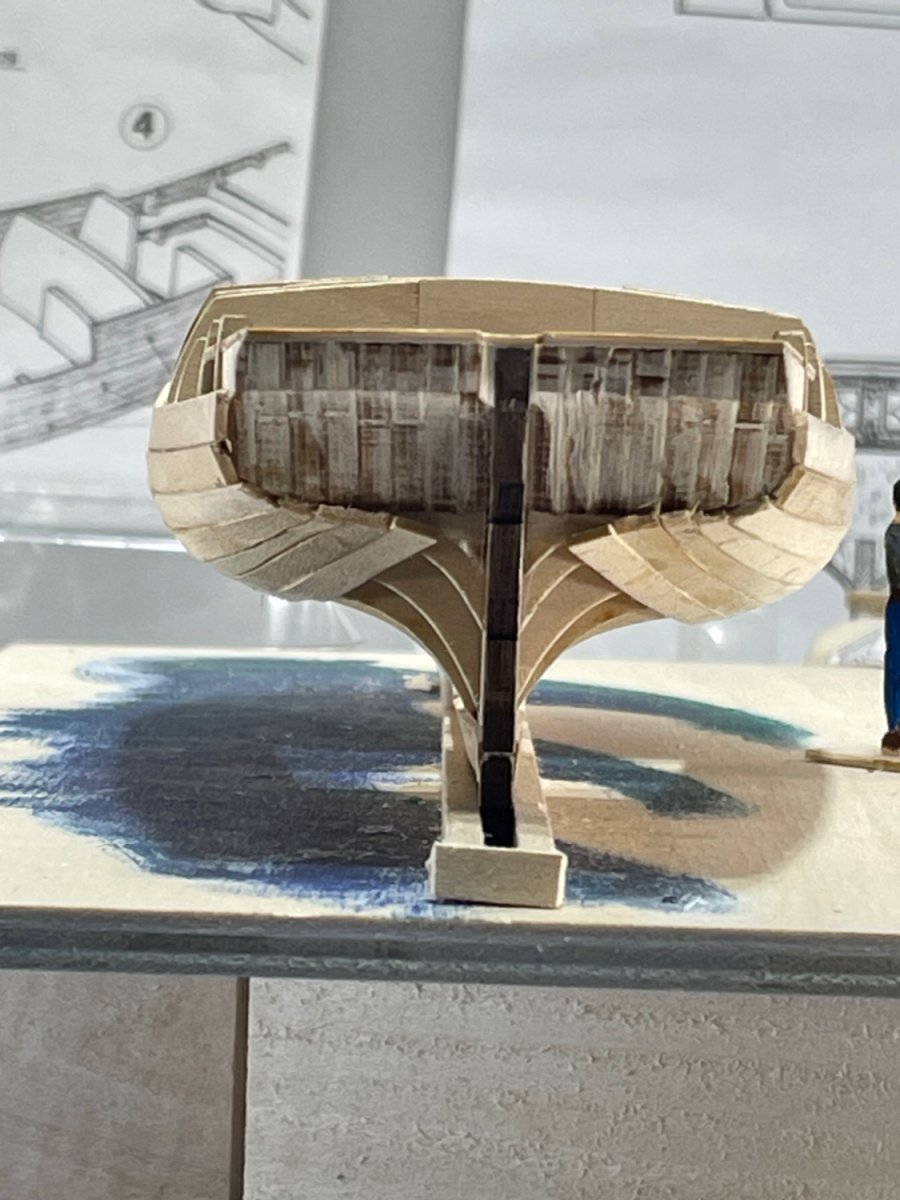
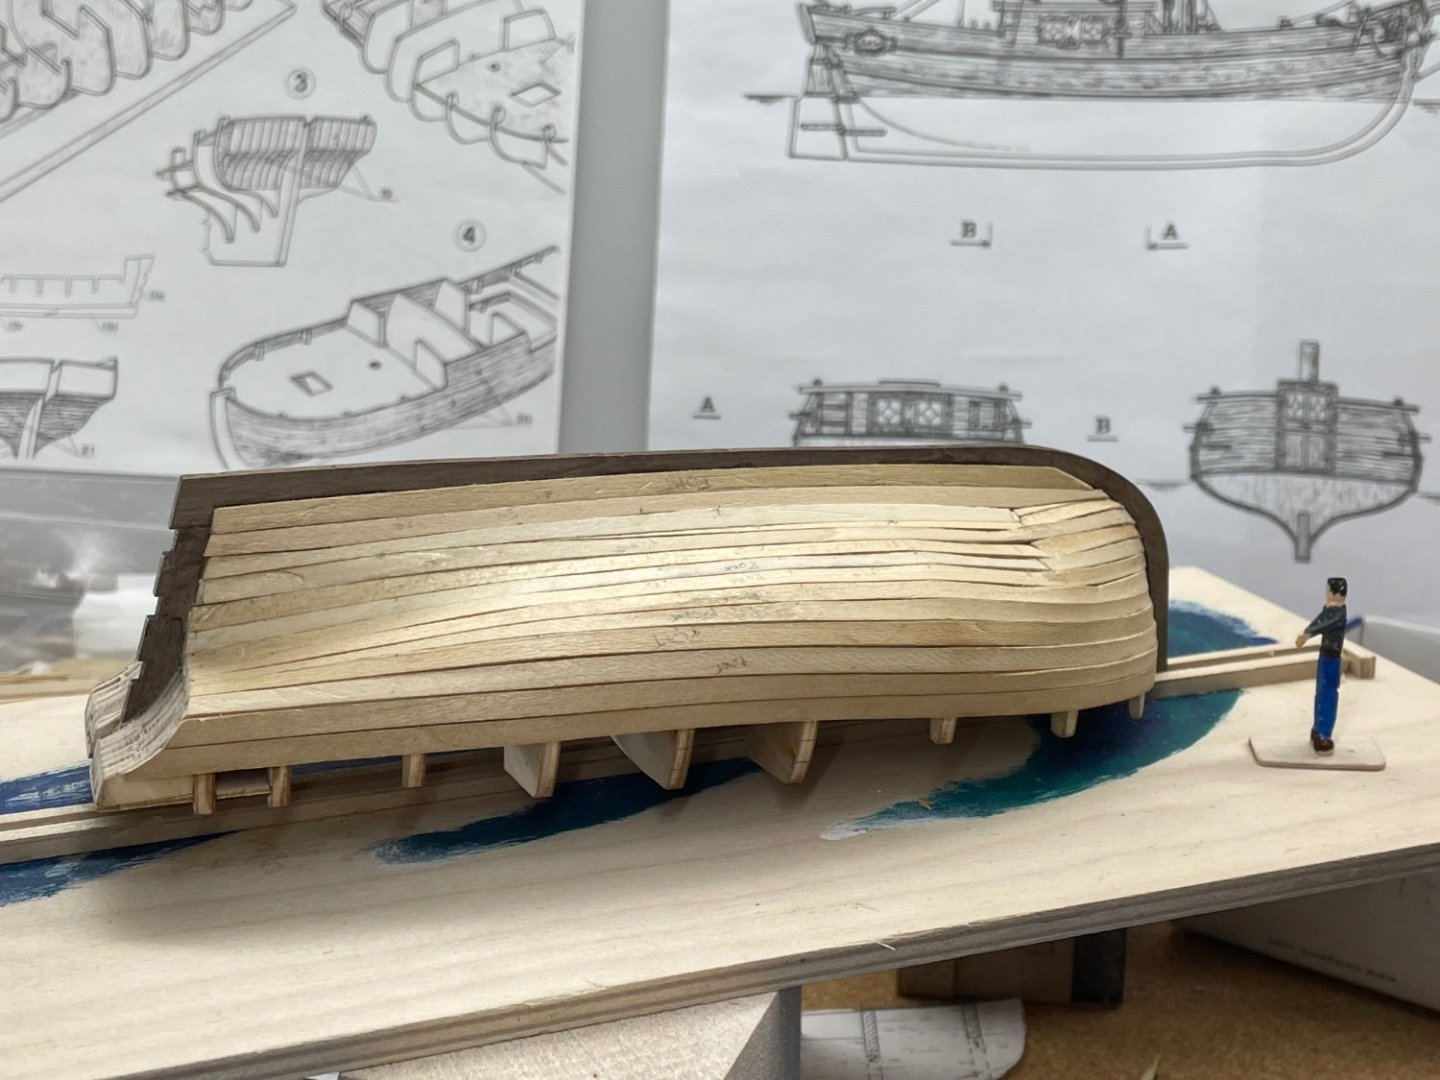
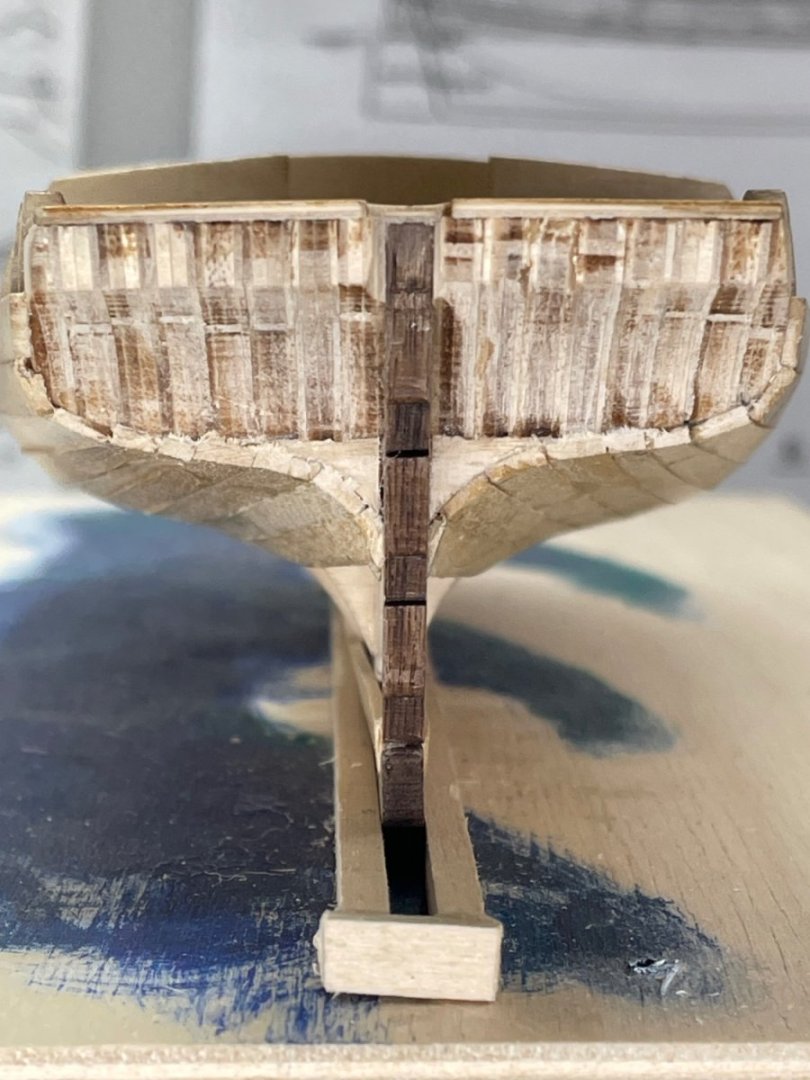
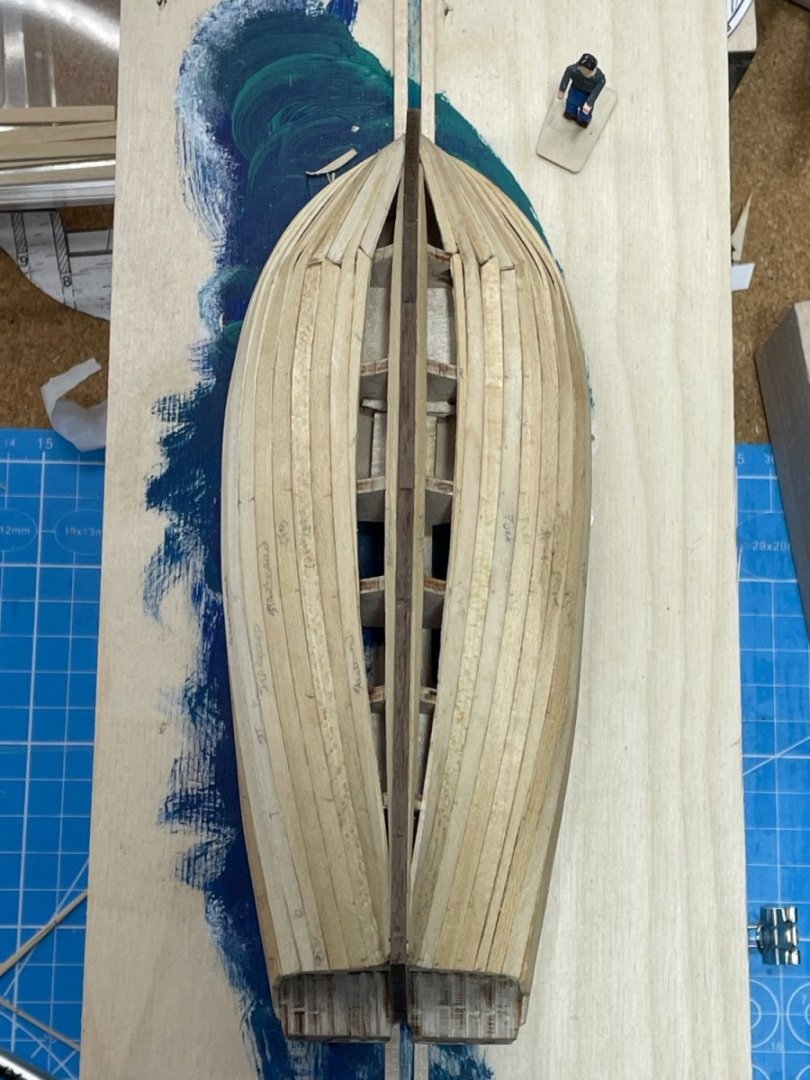
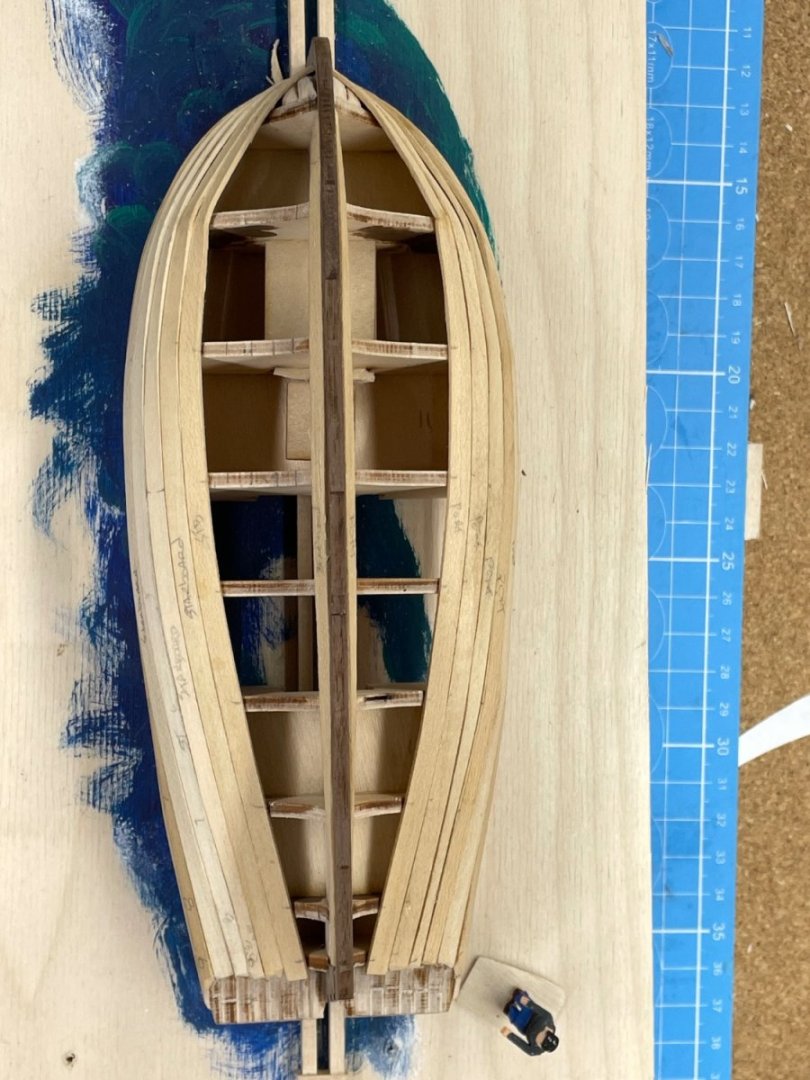
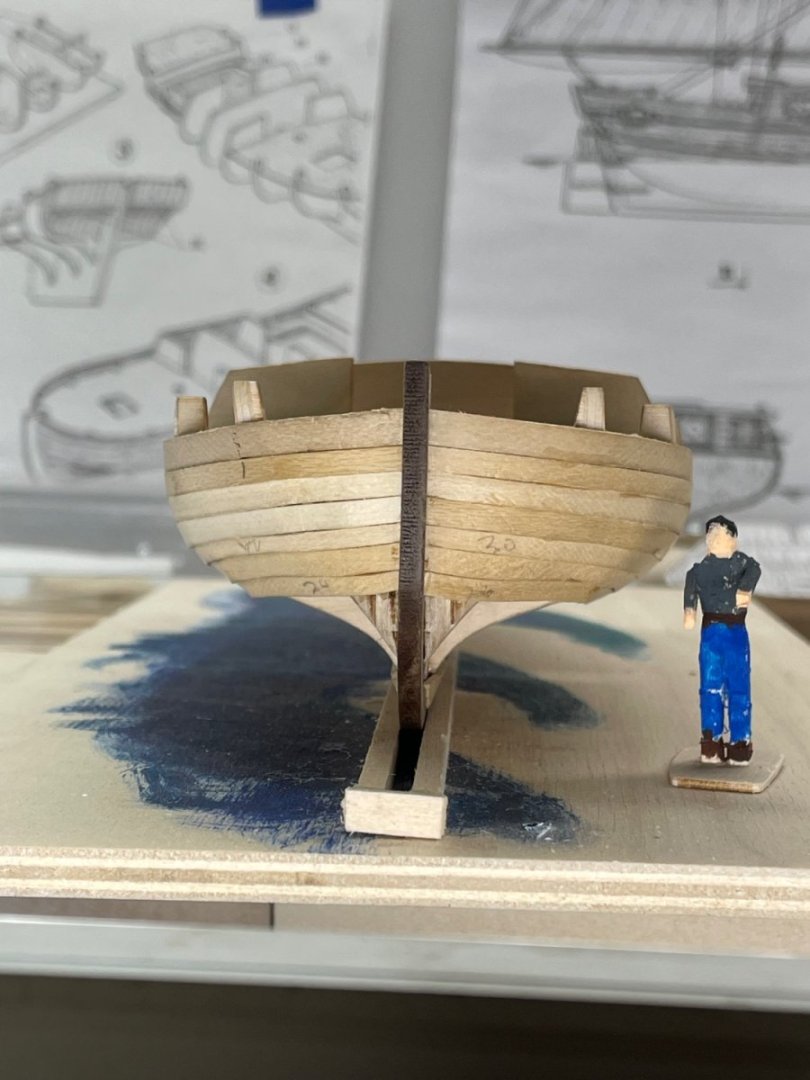
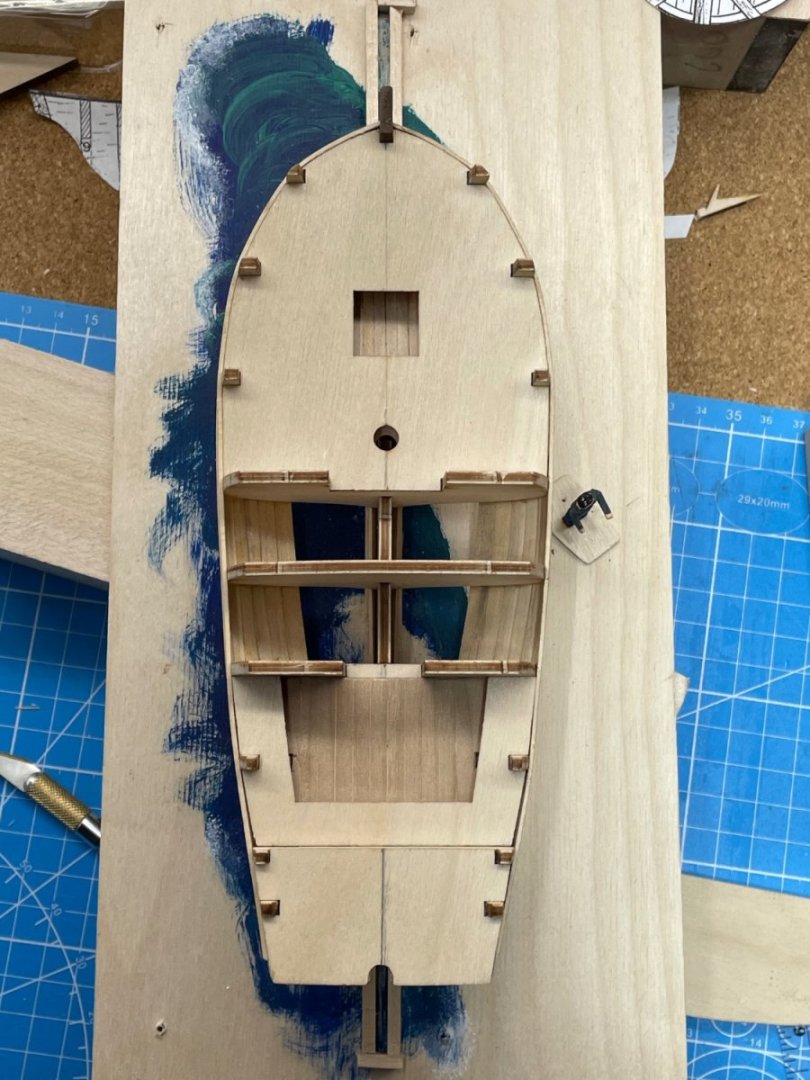
Merry Christmas 🎄 A few more shots, as the newbie planker continues:-) Two more planks to the keel to fit, before we leave on vacation:-)


-
That was a great informative post J. I’m not there yet but more of this, and I will be:-)
- 122 replies
-
- 1
-
-
- Artesania Latina
- Pen Duick
- (and 1 more)
-
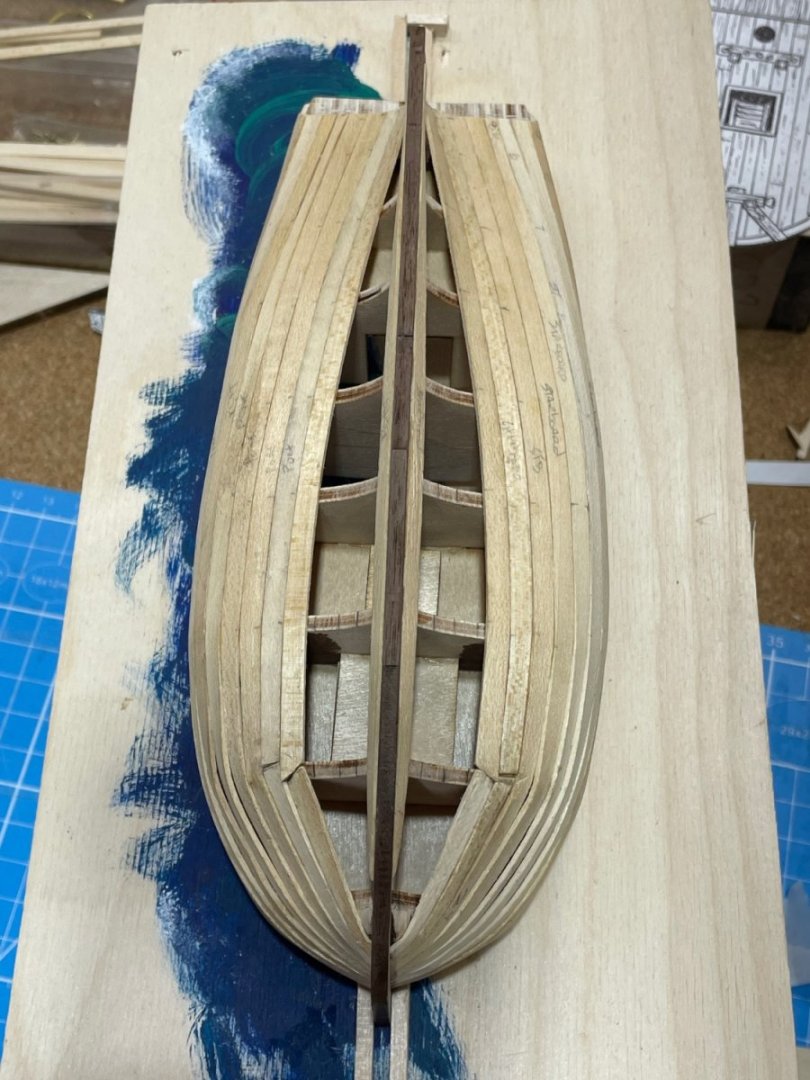
Over half way to the keel with the planks. I’ve figured out what widths the planks need to be. Now I just need to learn how to cut the widths the planks need to be:-) I’ll like to finish the planking to the keel, before I leave for Montana for 2 weeks.

-
Support is just as much apart of the journey as the know how, in my opinion. Thank you. I will be just a few miles from Canada on the new year:-)
-
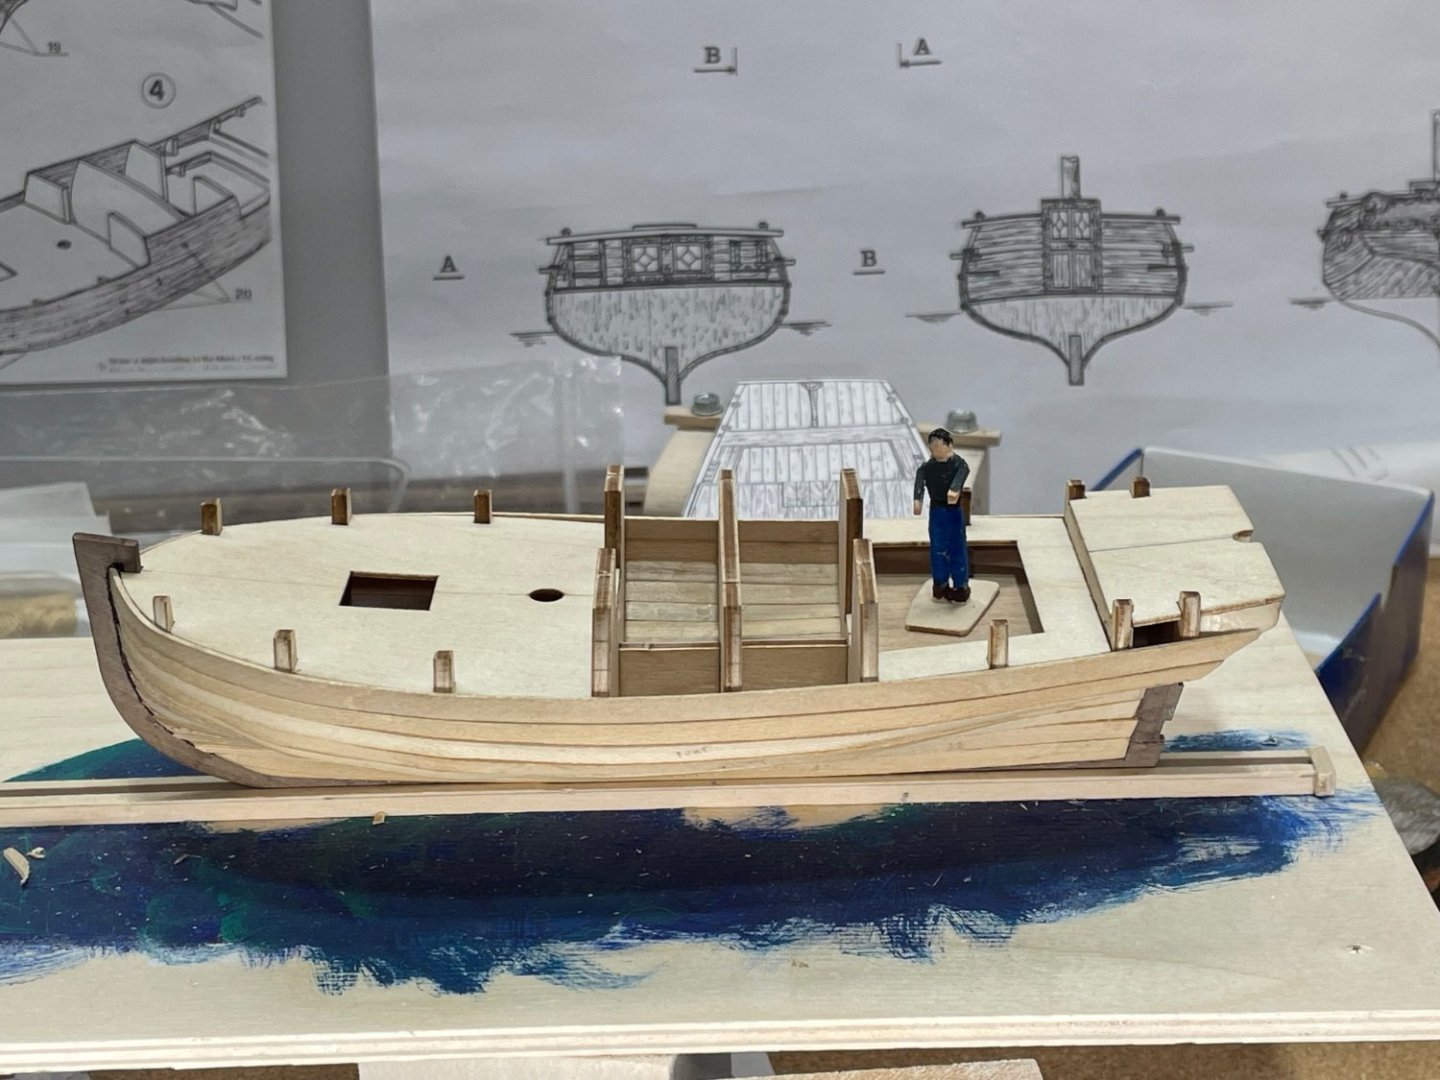
Rest up, you have a few days. I use those days just setting in front of the build and looking at it:-) You’ve got a lot going on, on that deck that looks great! I could set and look for a few weeks at her:-) Merry Christmas
- 254 replies
-
- 5
-
-
-
- Victory Models
- Pegasus
- (and 3 more)
-
Hey thanks Gregory:-) That was just what I needed to know. I appreciate your time and help:-) Your Gretel build will also be helpful. I’m going on a 2 week trip the day after Christmas. I may get a little more done before I leave.