Bryan Woods
-
Posts
560 -
Joined
-
Last visited
Content Type
Profiles
Forums
Gallery
Events
Everything posted by Bryan Woods
-
 Ludwig’s in charge of the shipyard for the next two weeks. I’ll be surprised if he does anything:-)


-
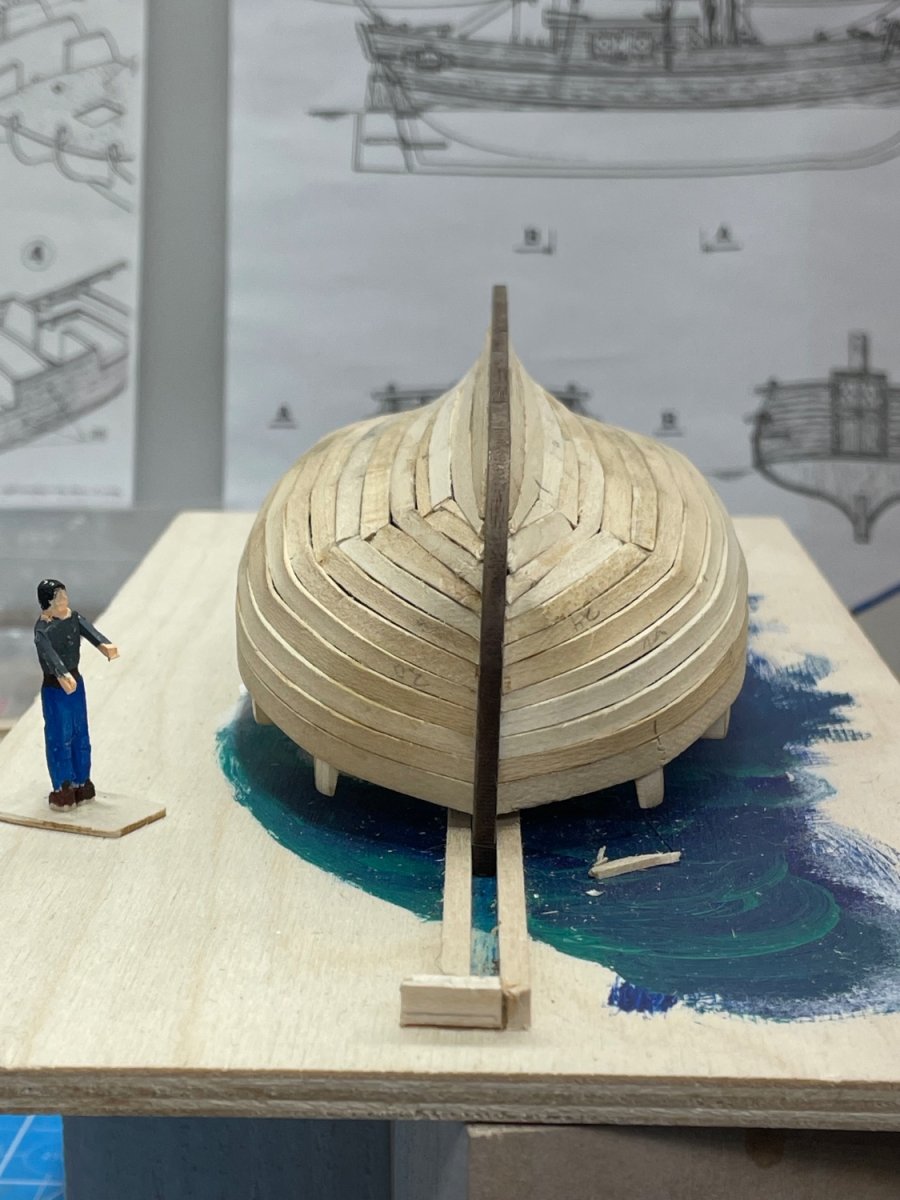
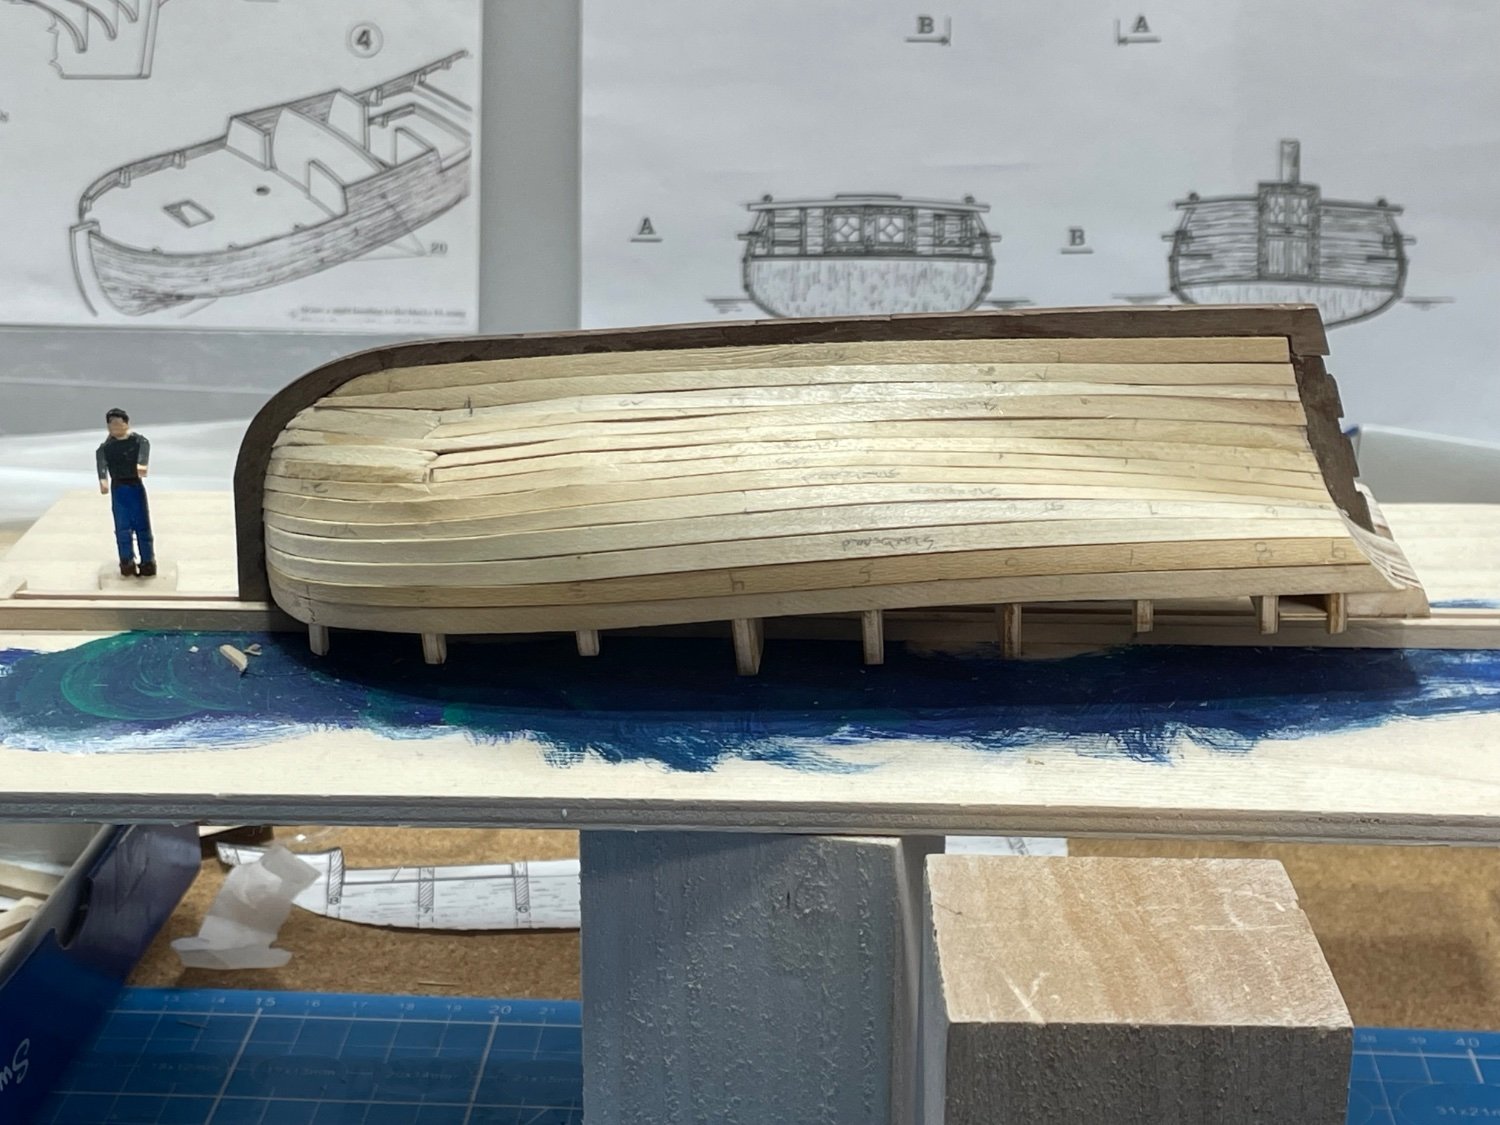
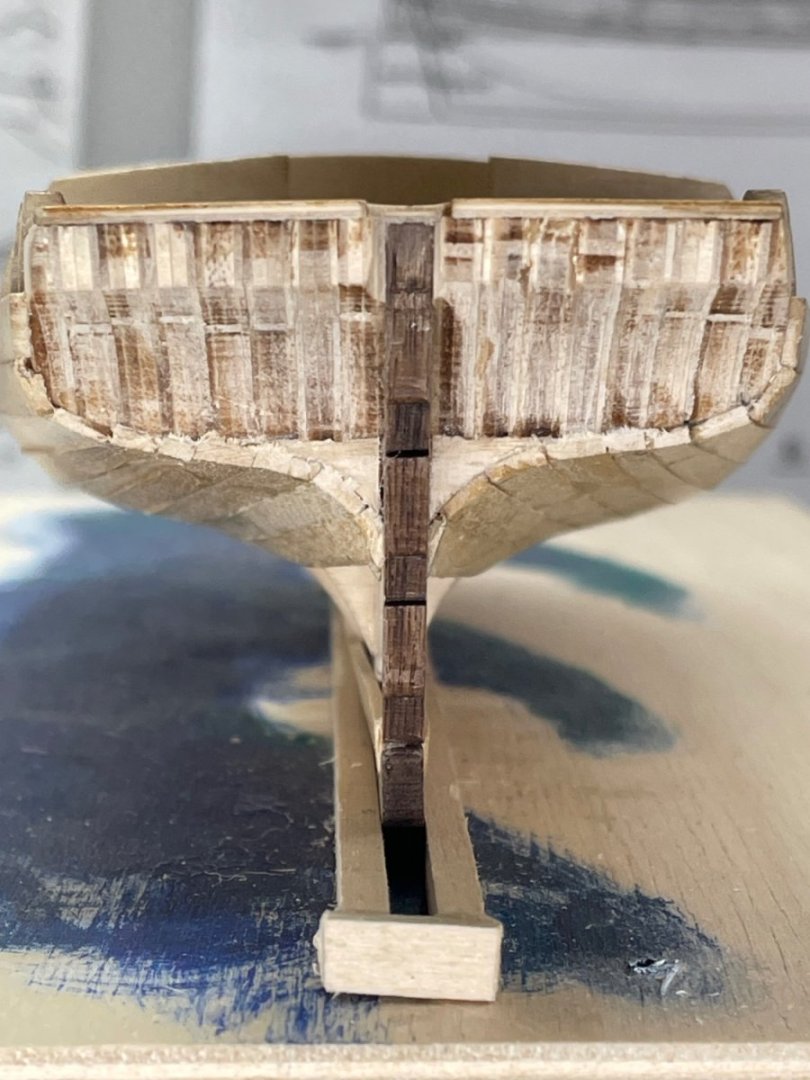
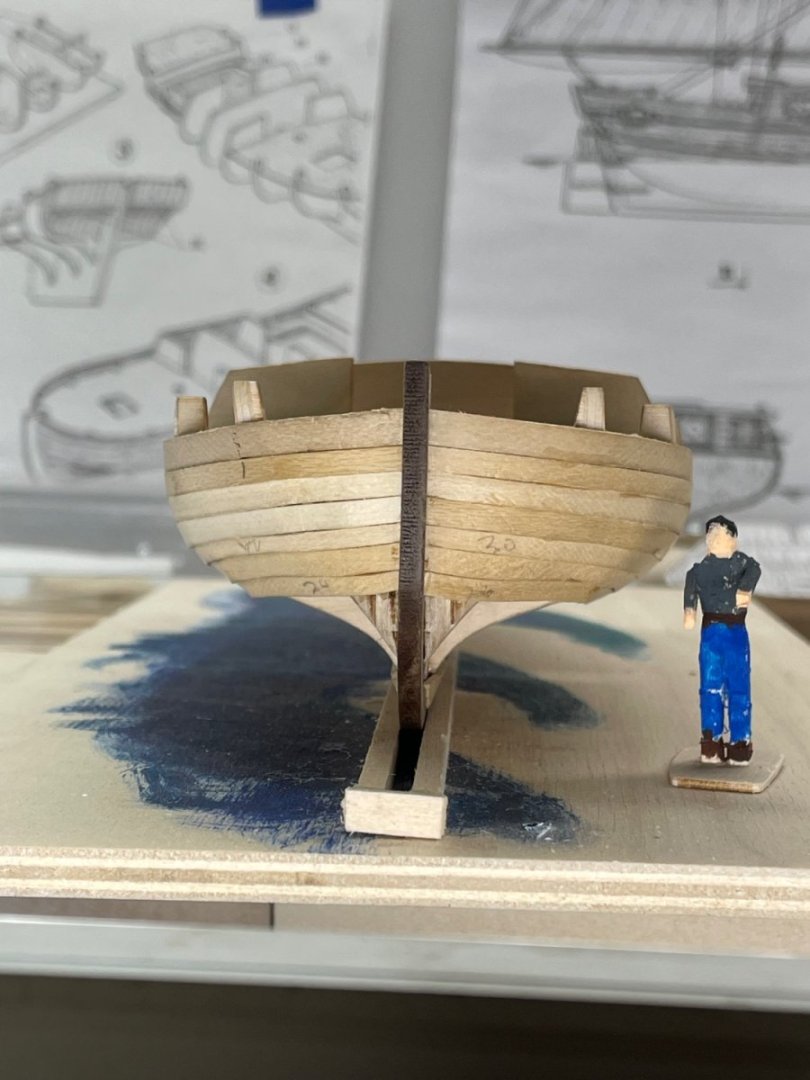
Merry Christmas 🎄 A few more shots, as the newbie planker continues:-) Two more planks to the keel to fit, before we leave on vacation:-)


-
That was a great informative post J. I’m not there yet but more of this, and I will be:-)
- 122 replies
-
- 1
-

-
- Artesania Latina
- Pen Duick
- (and 1 more)
-
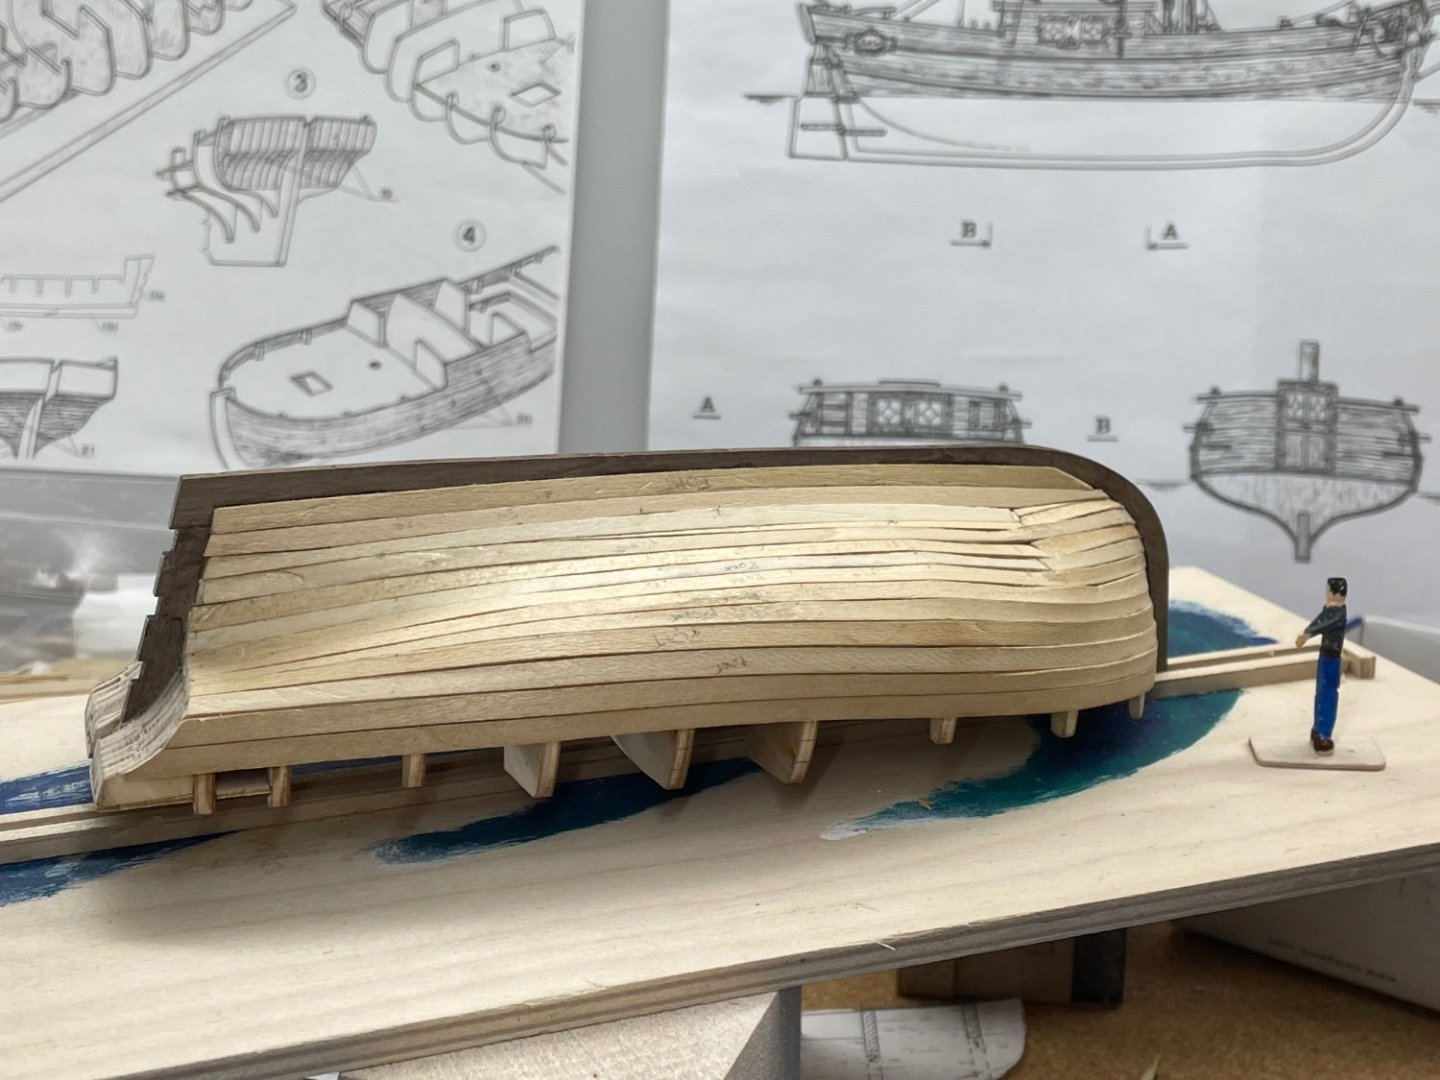
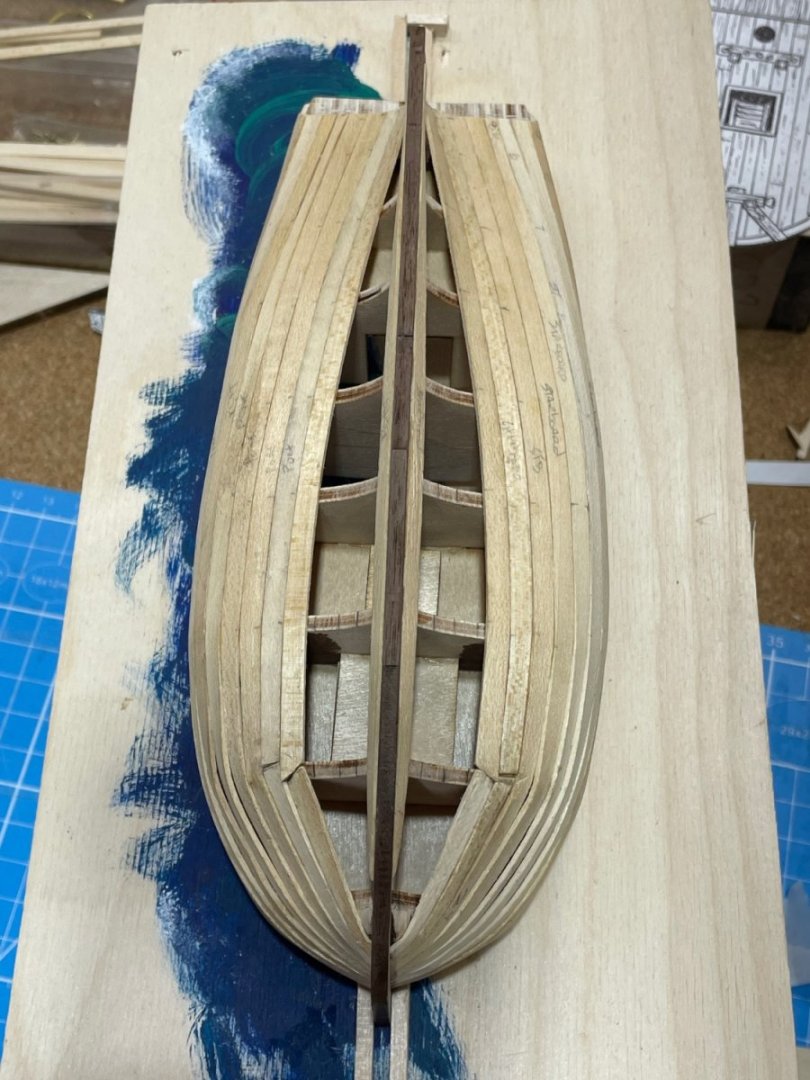
Over half way to the keel with the planks. I’ve figured out what widths the planks need to be. Now I just need to learn how to cut the widths the planks need to be:-) I’ll like to finish the planking to the keel, before I leave for Montana for 2 weeks.

-
Support is just as much apart of the journey as the know how, in my opinion. Thank you. I will be just a few miles from Canada on the new year:-)
-
Rest up, you have a few days. I use those days just setting in front of the build and looking at it:-) You’ve got a lot going on, on that deck that looks great! I could set and look for a few weeks at her:-) Merry Christmas
- 261 replies
-
- 5
-
-

-
- Victory Models
- Pegasus
- (and 3 more)
-
Hey thanks Gregory:-) That was just what I needed to know. I appreciate your time and help:-) Your Gretel build will also be helpful. I’m going on a 2 week trip the day after Christmas. I may get a little more done before I leave.
-
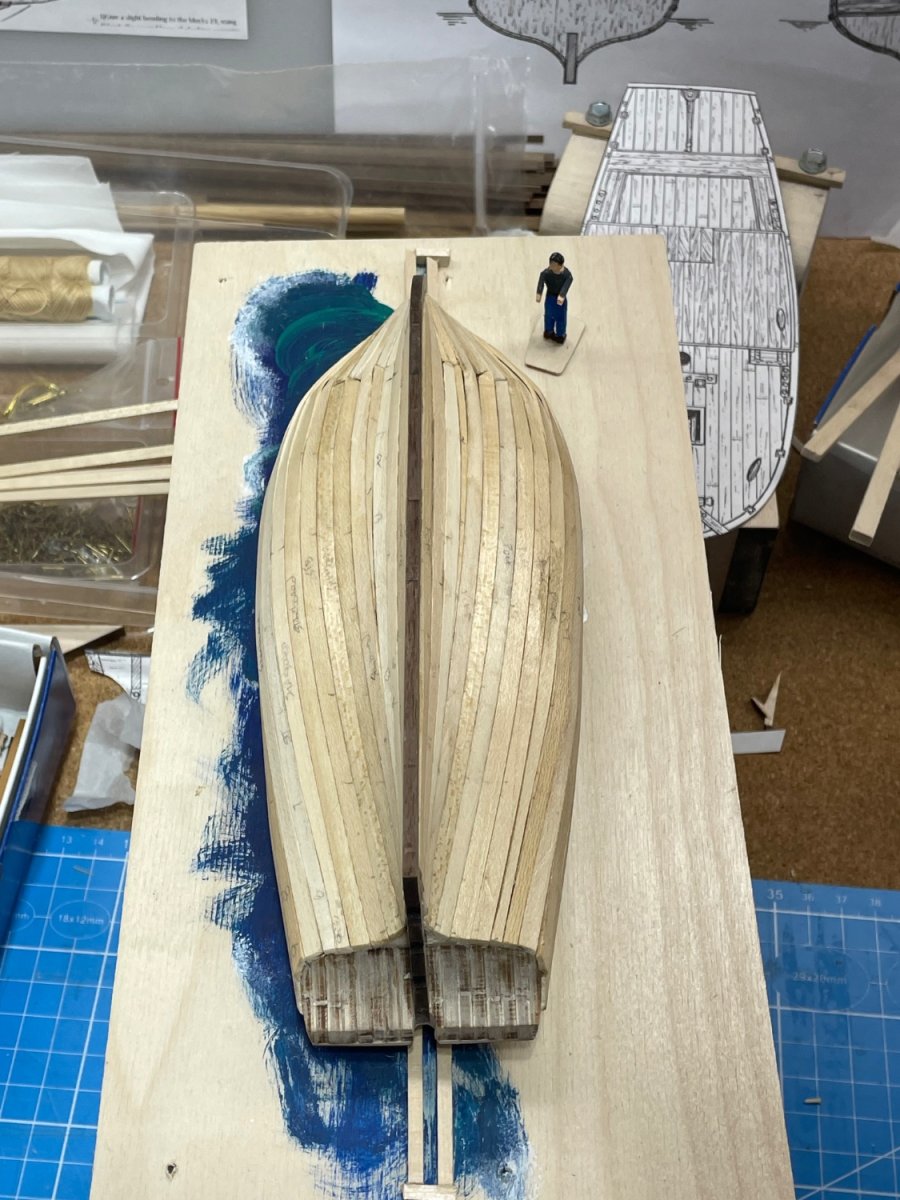
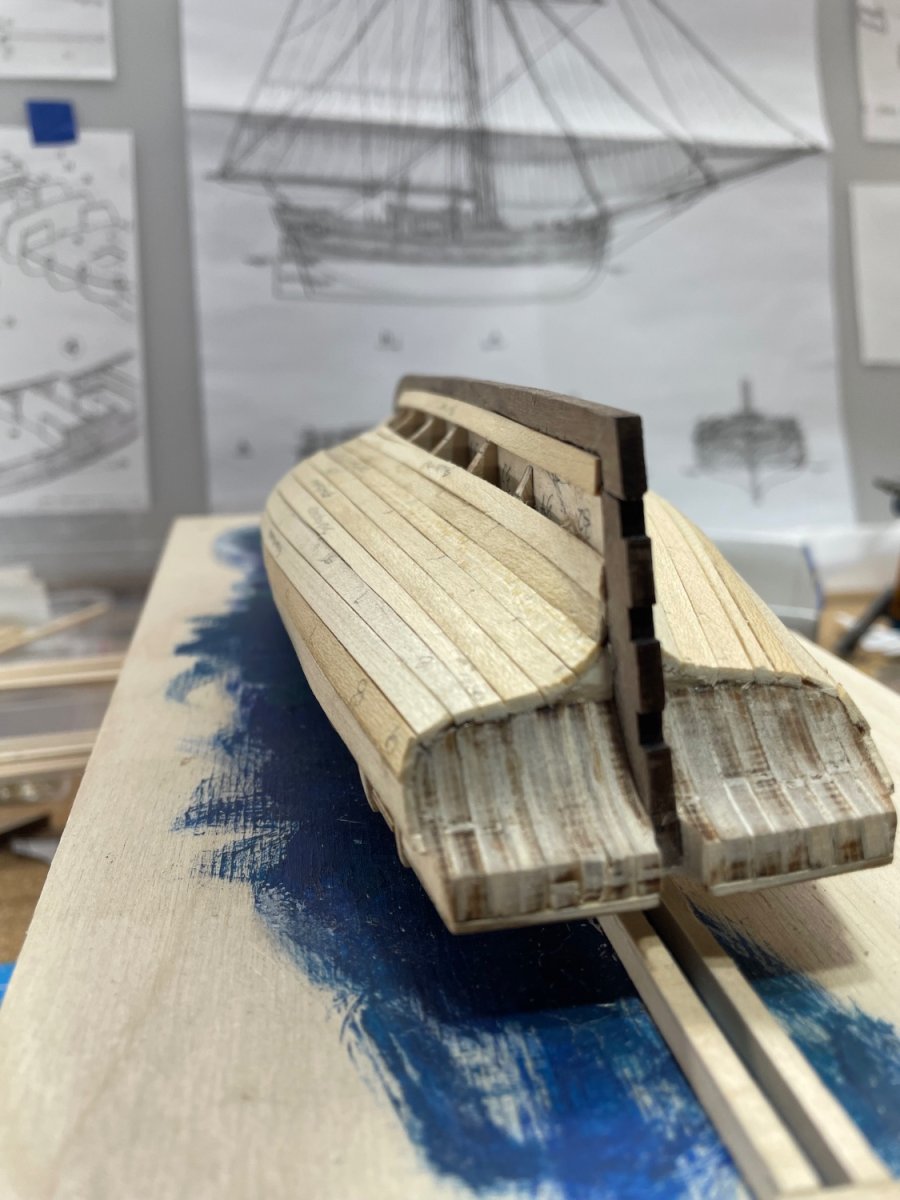
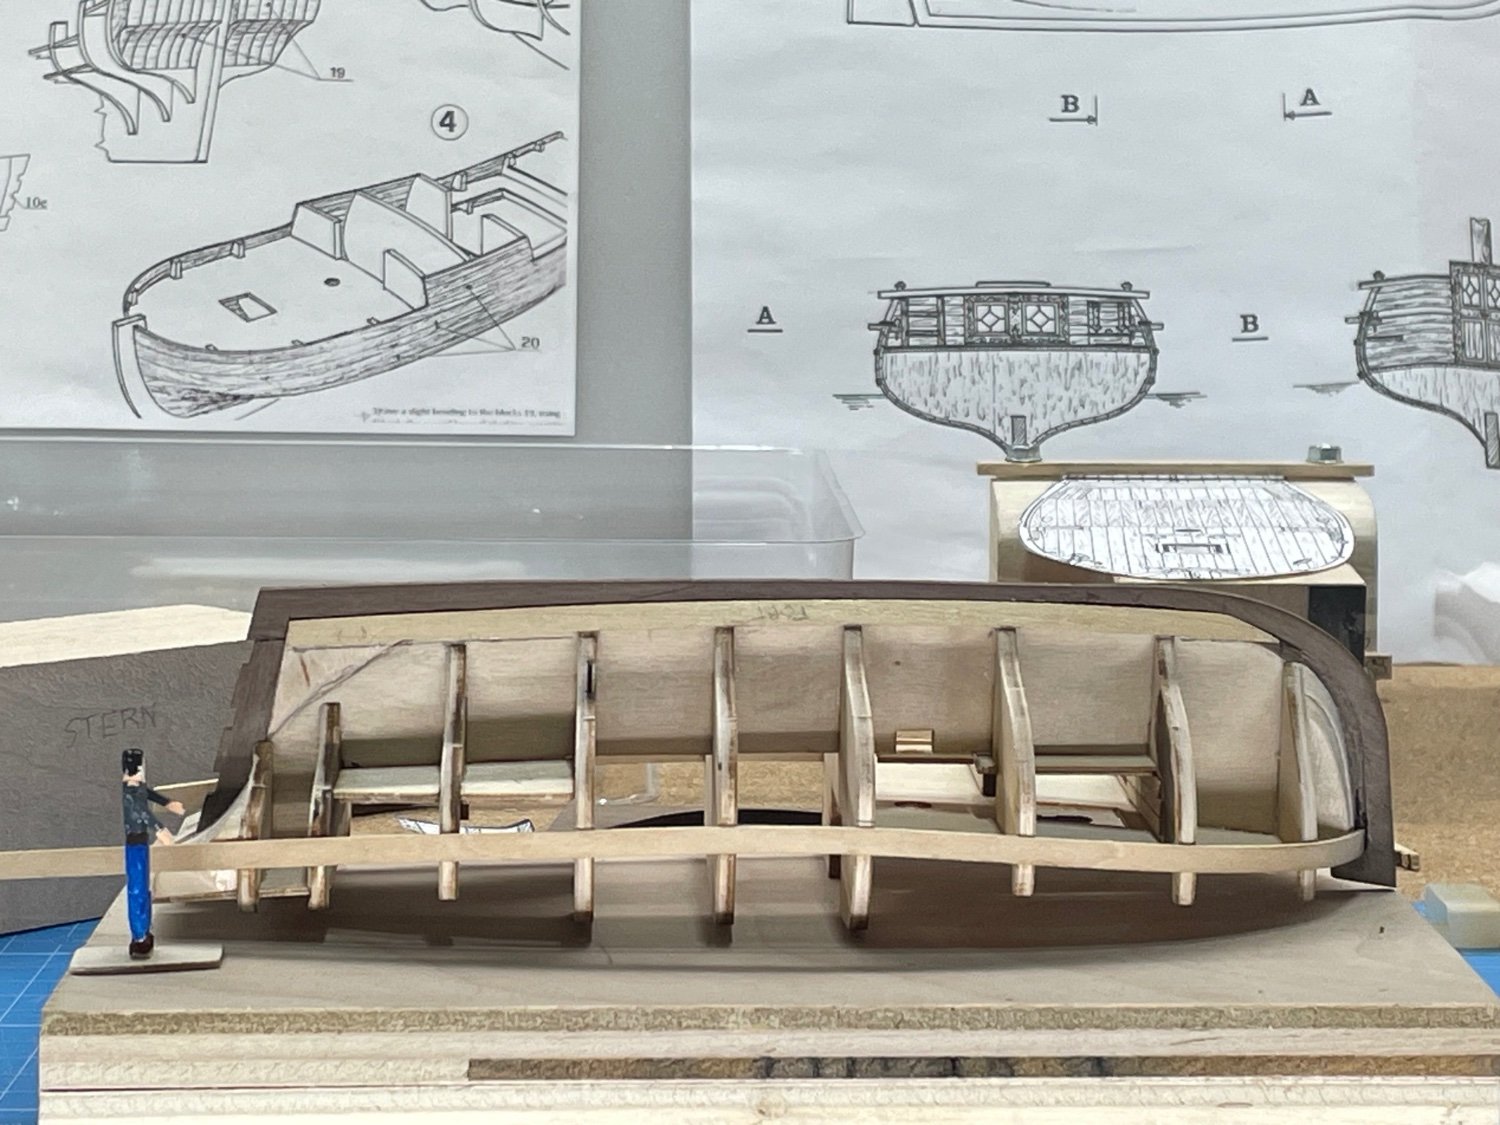
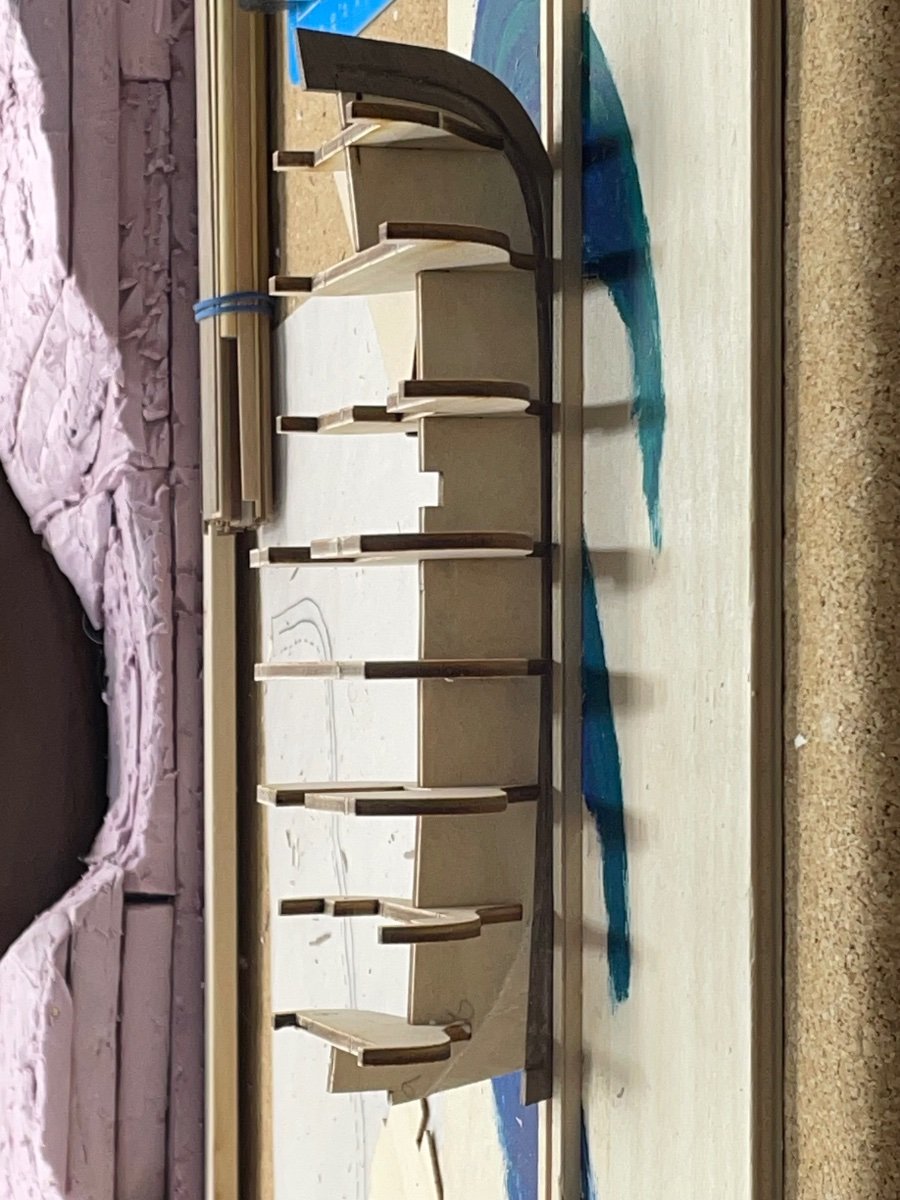
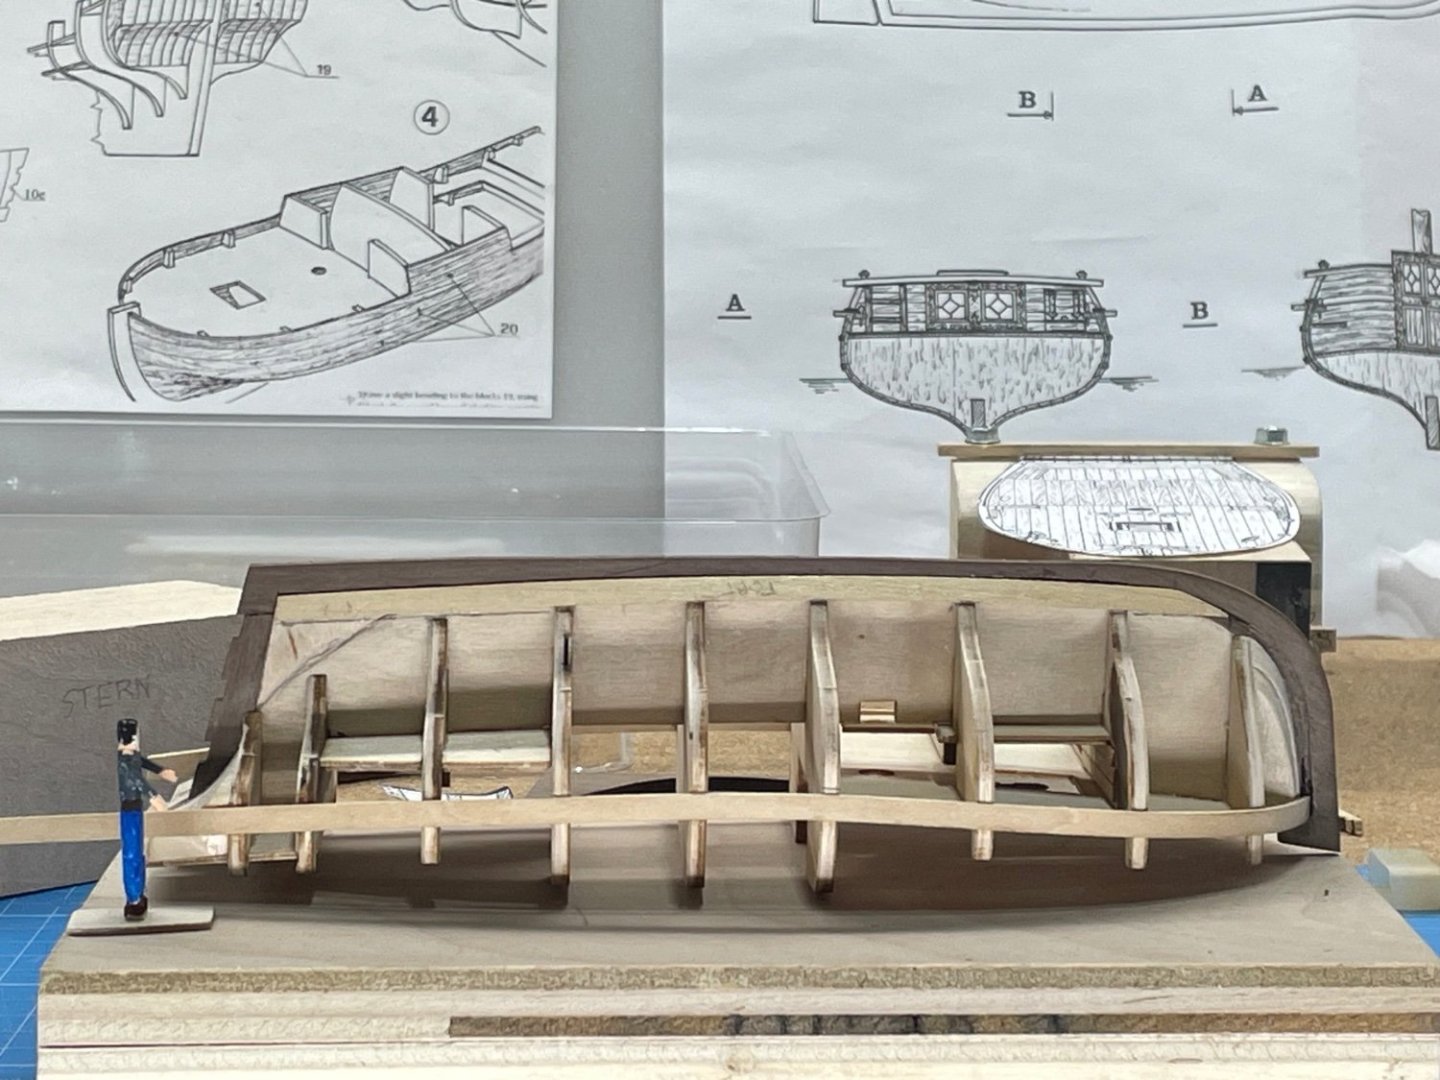
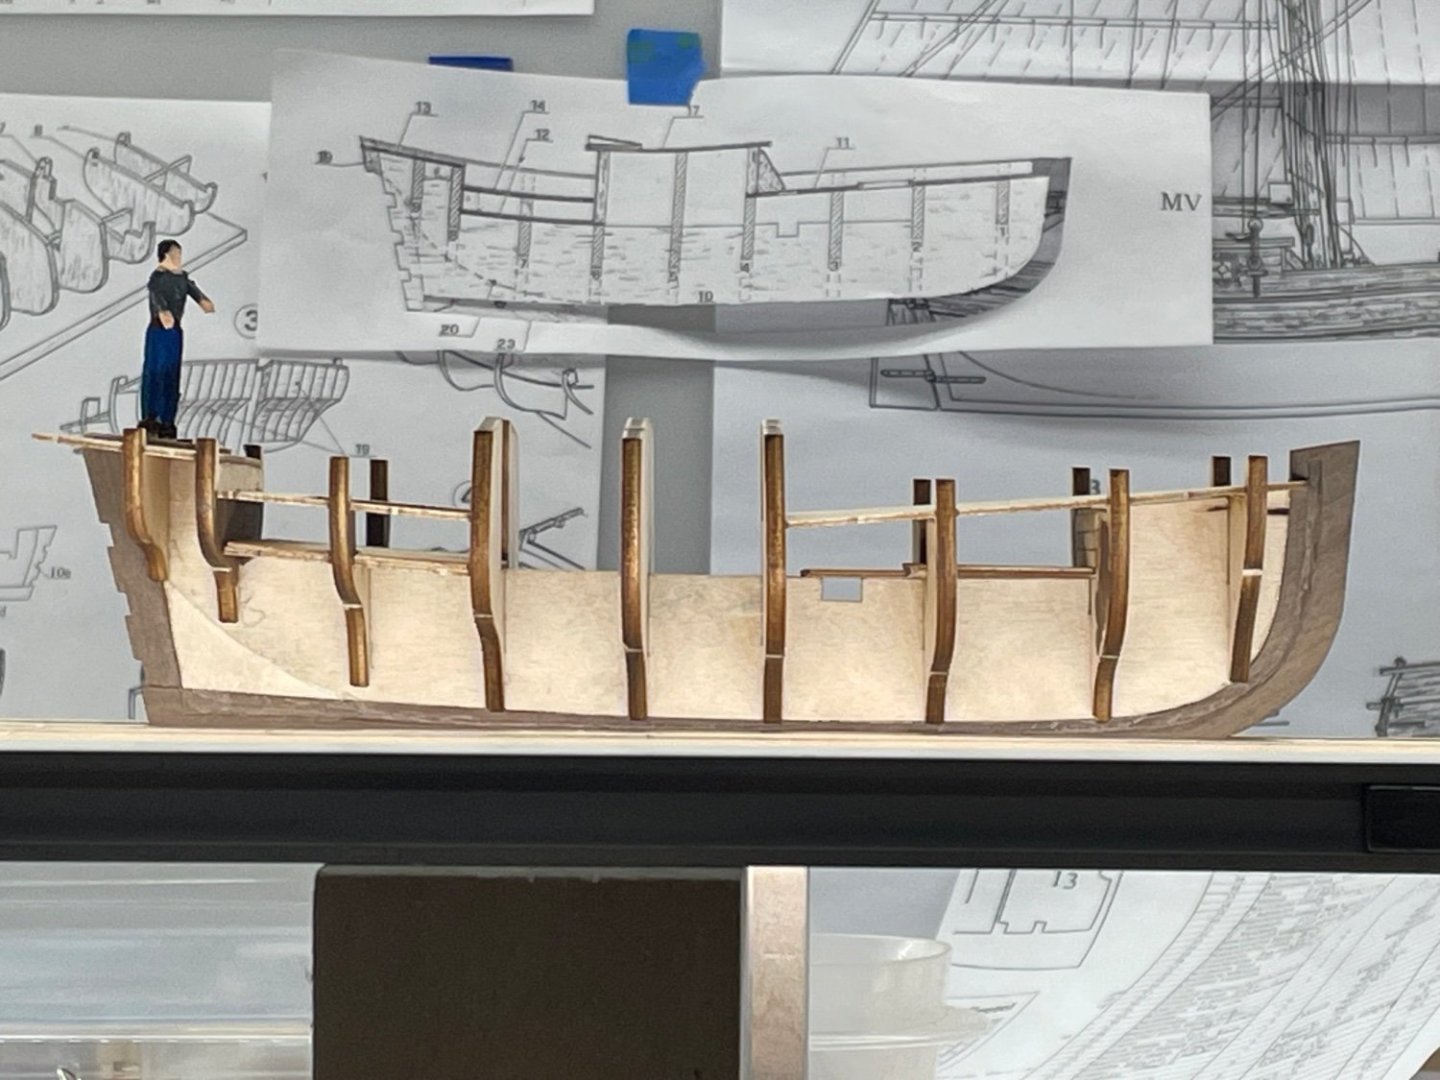
I got 2 planks on both sides this morning. I measured the distance between the top of the garboard and bottom of the last plank. I wrote the measurements in mm to the right of each frame. The frame numbers are on the second plank. I have tapered the last two planks from frame 3 to the bow . I graduated 1mm off of the 4mm planks. I have 10 more on each side. From the bow to frame 5 the tapered planks will work, but from 5 to the stern do I need to taper that end also? Ludwig thought I should ask:-)

-
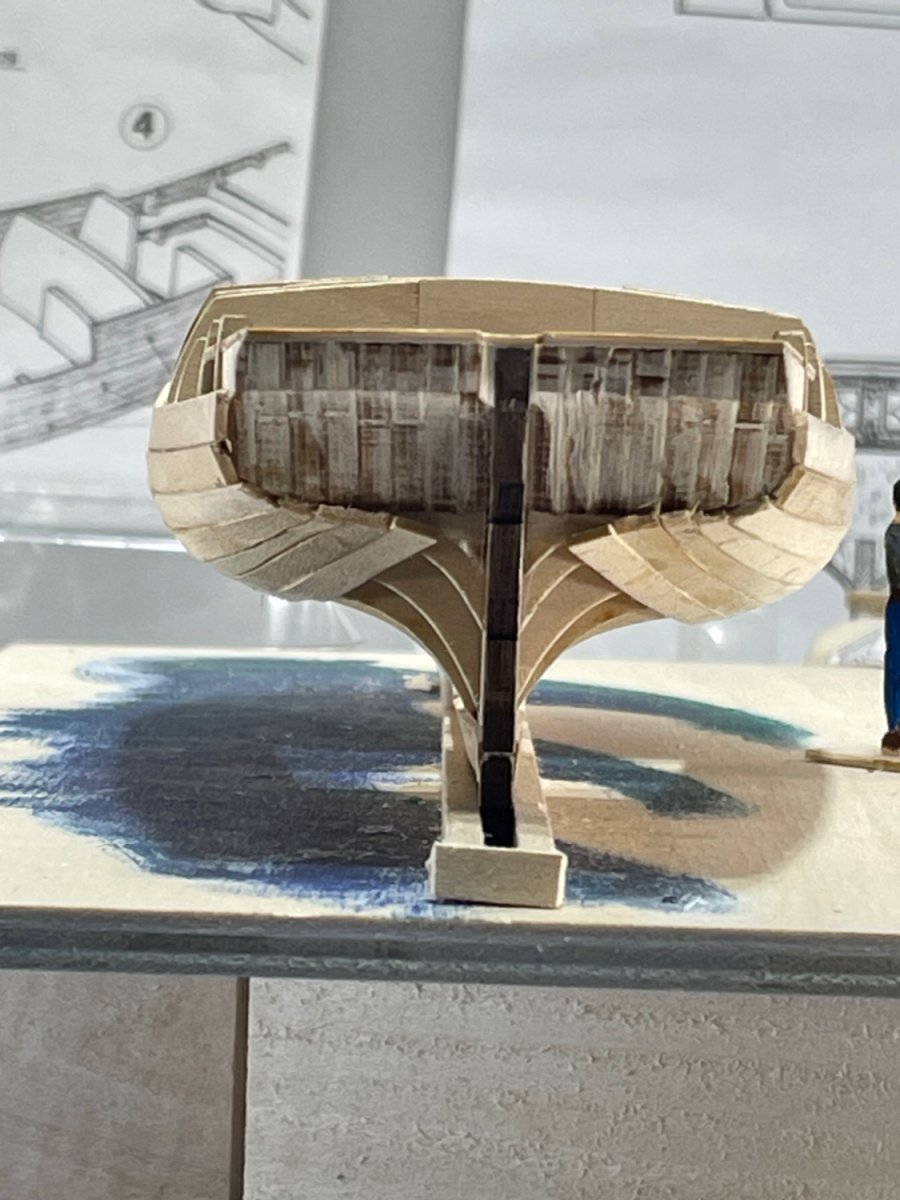
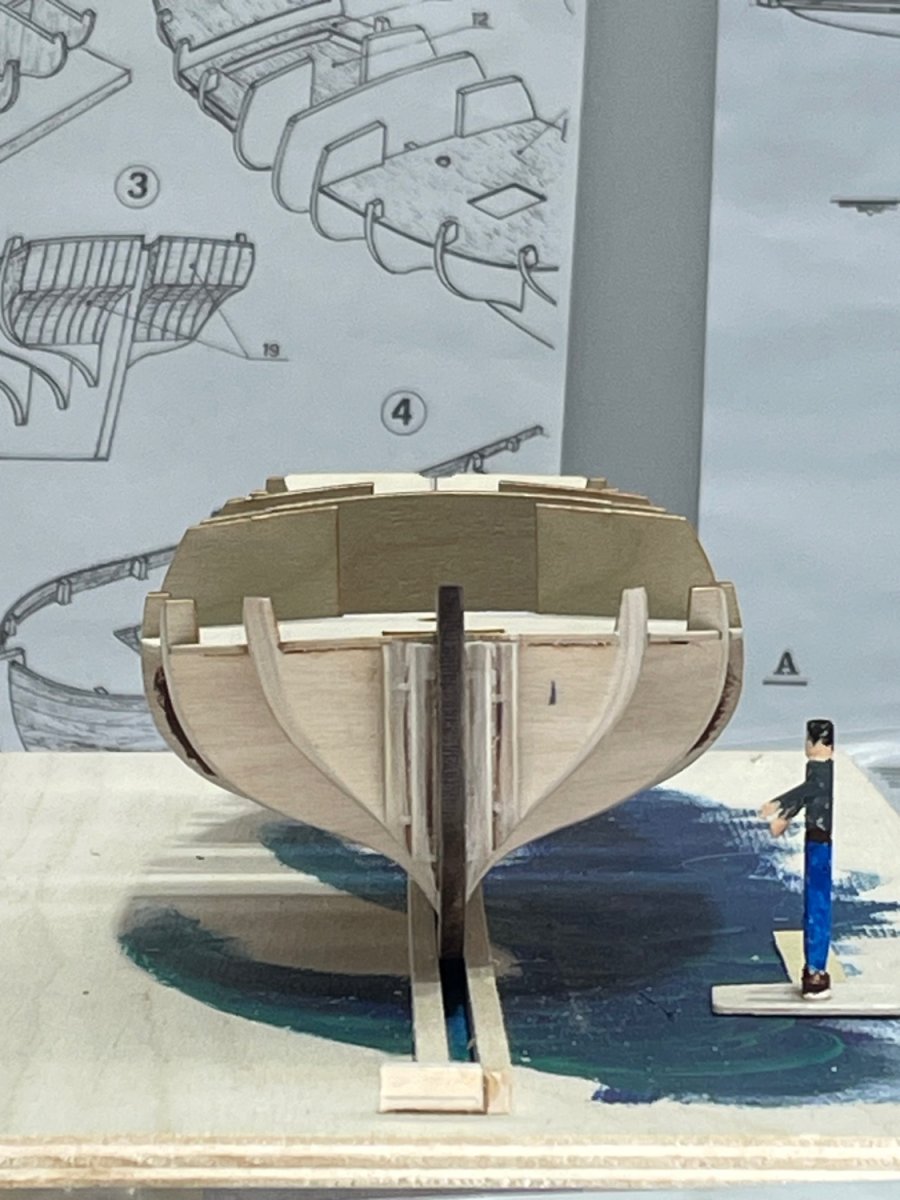
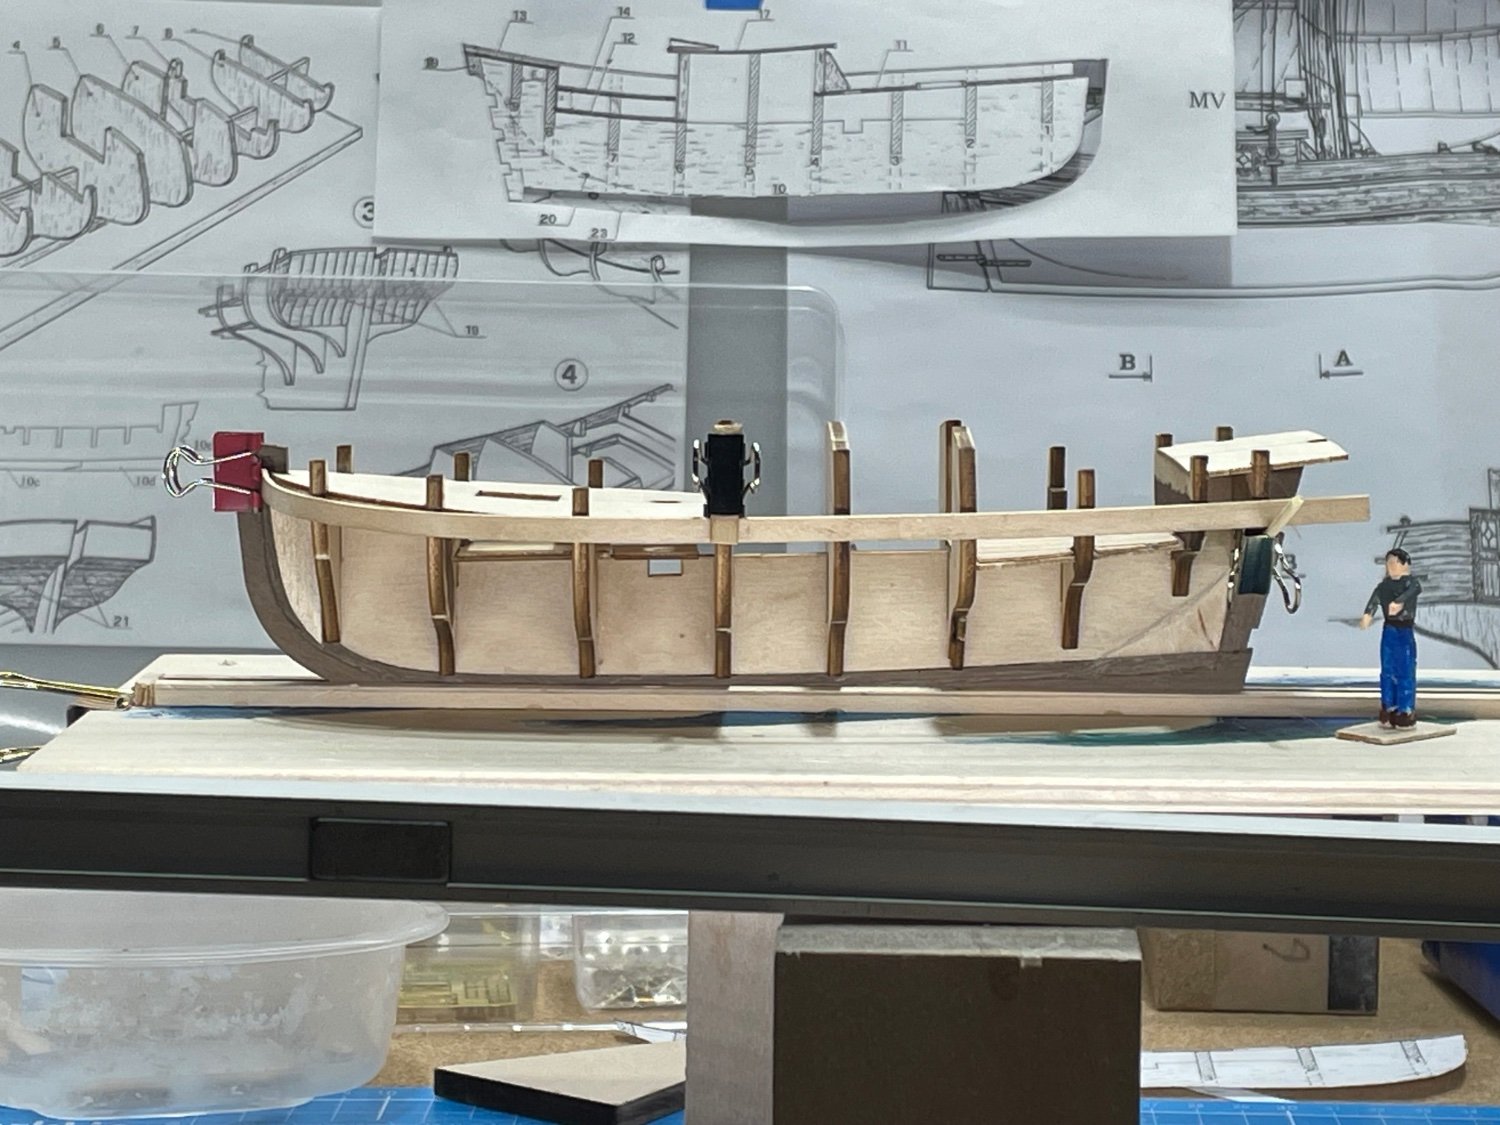
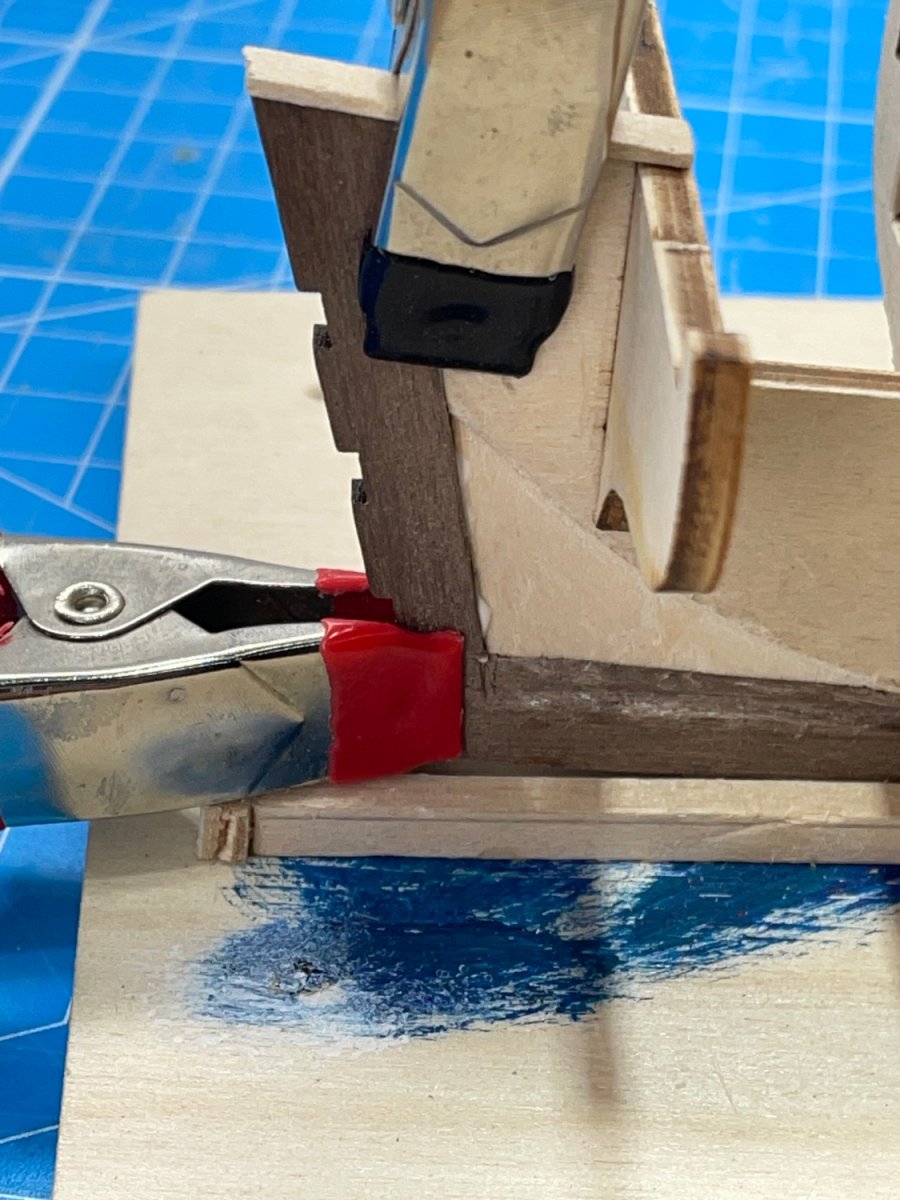
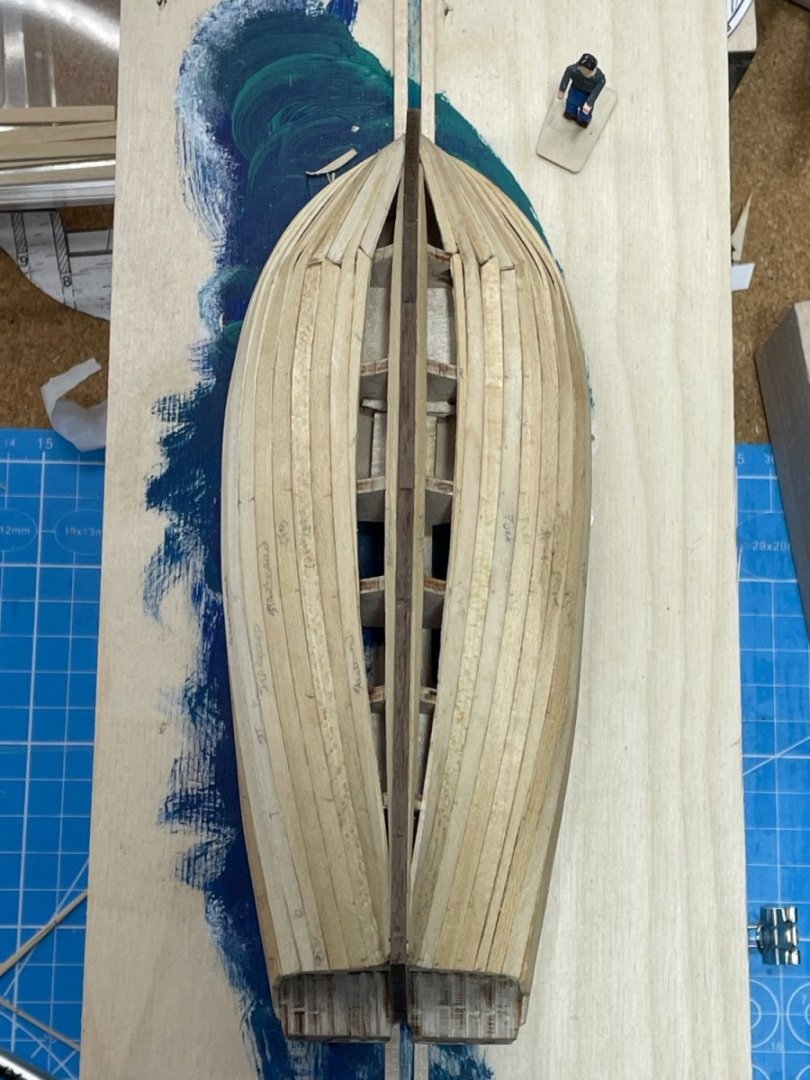
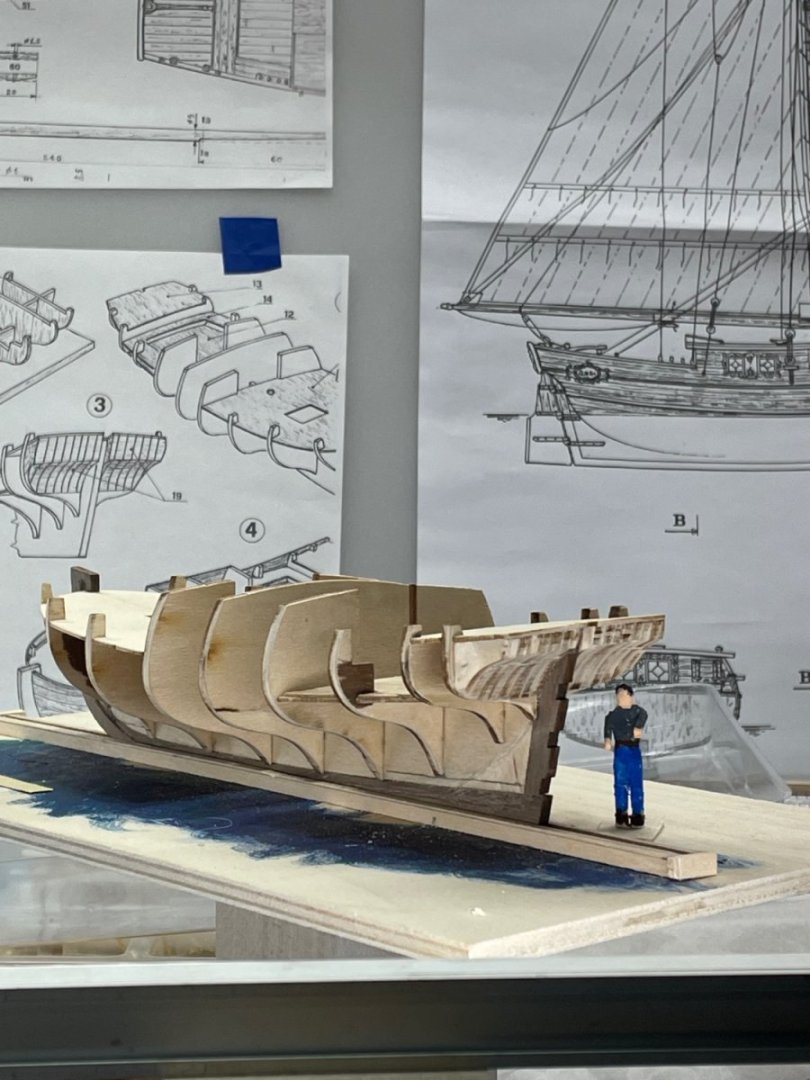
Prow blocks installed. Stern blocks. The small hull didn’t take as long to fair, as I thought it would:-) I cut and bent both garboard and deck level planks for port and starboard sides. I chose to use CA to avoid awkward clamping. Now to figure out the planks that fit between them:-)


-
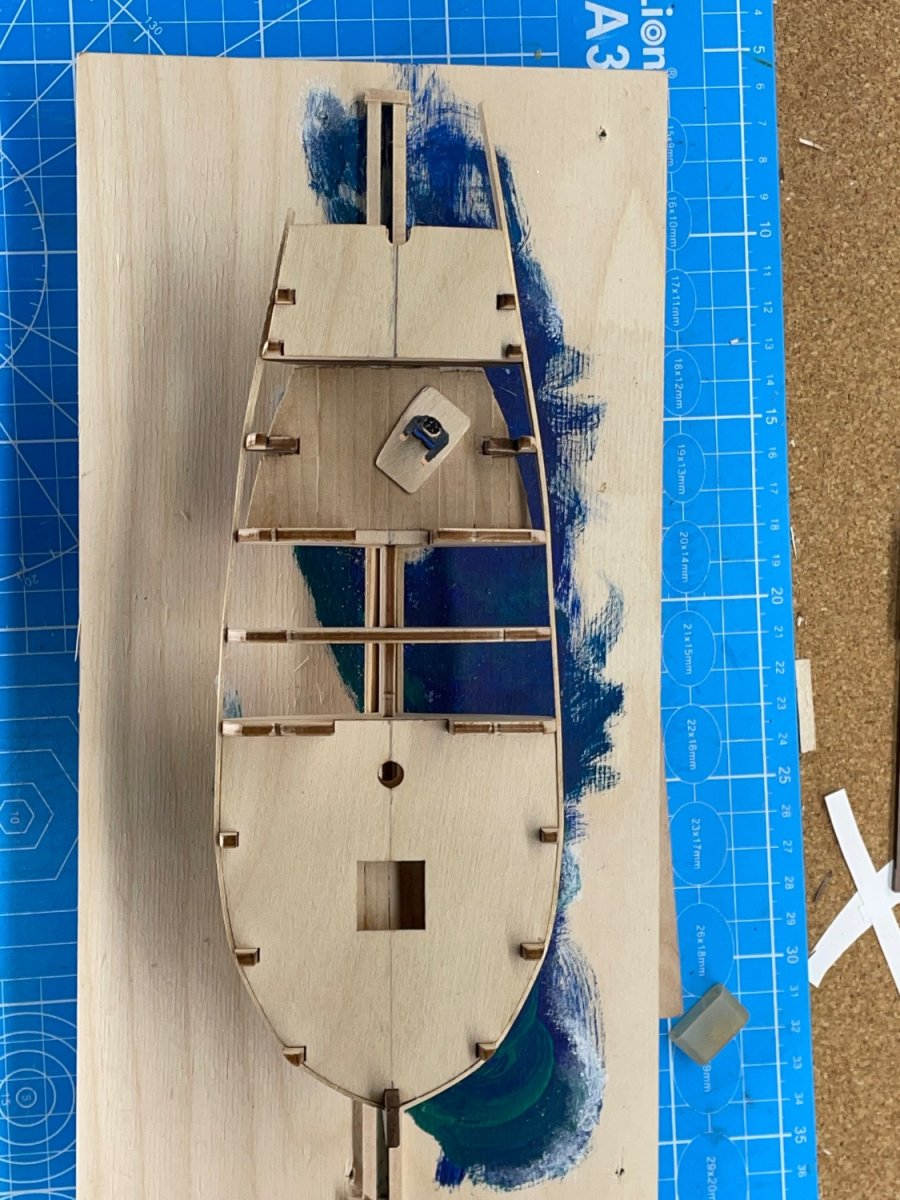
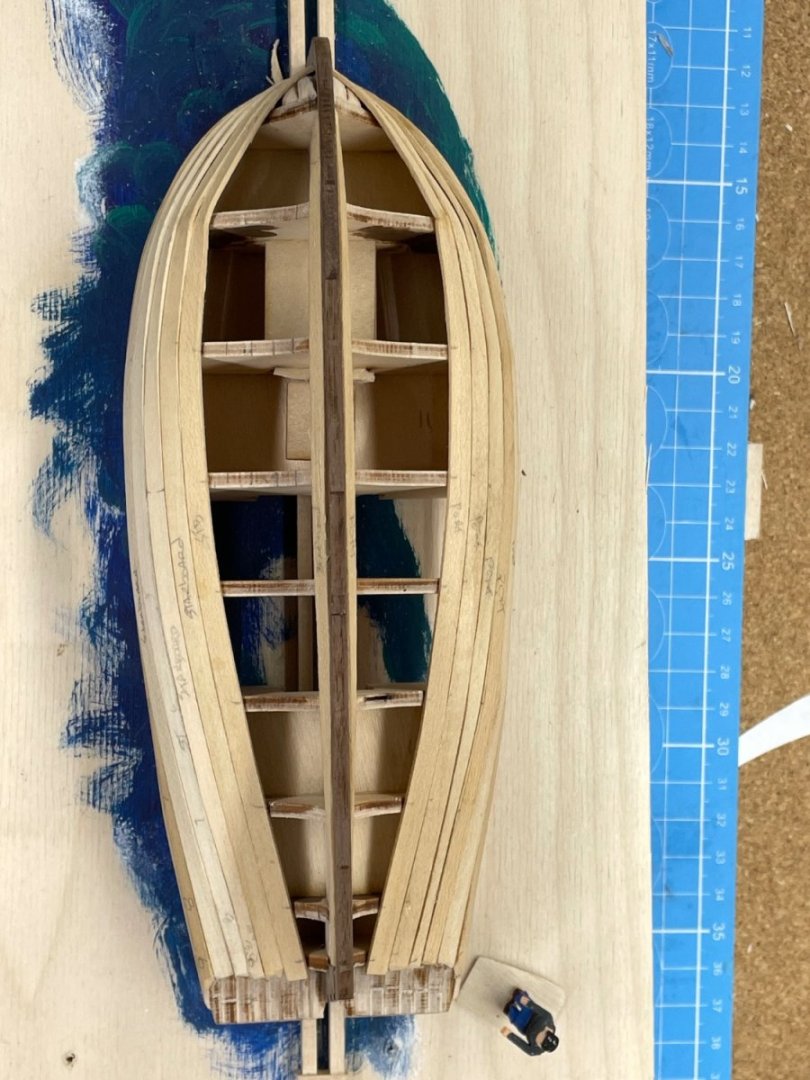
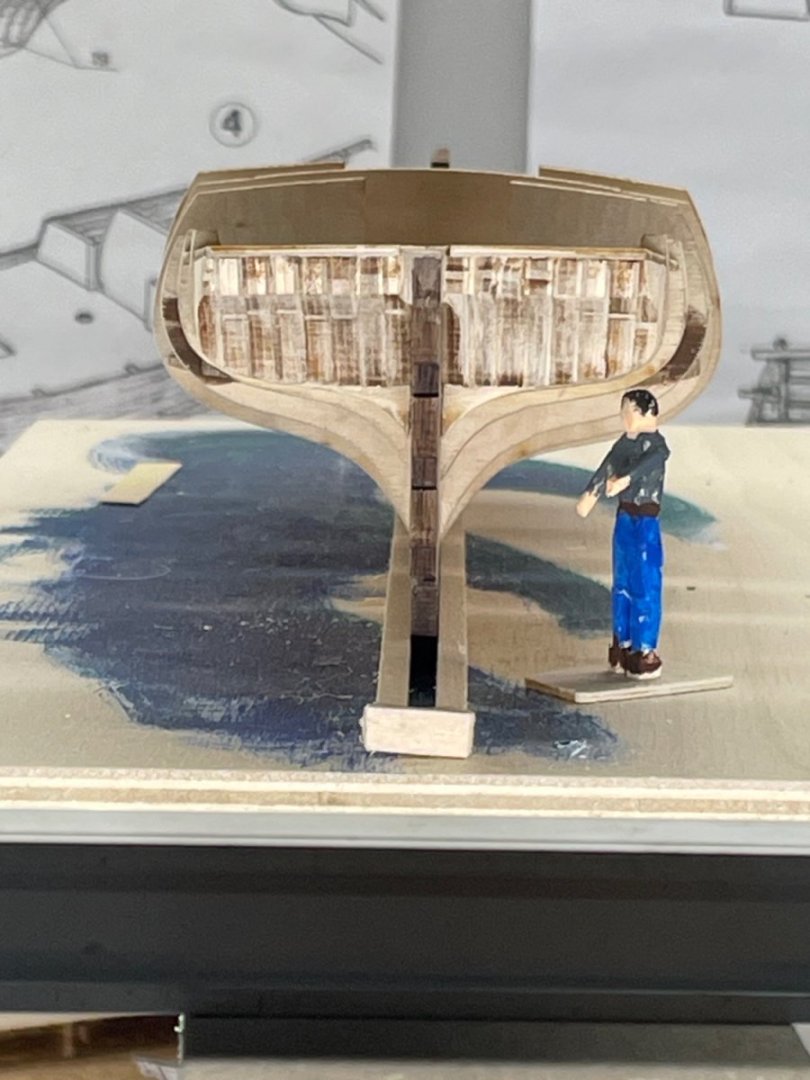
The hull is weeks away from planking. Ludwig said to start here. I’m hoping he’s right!

-
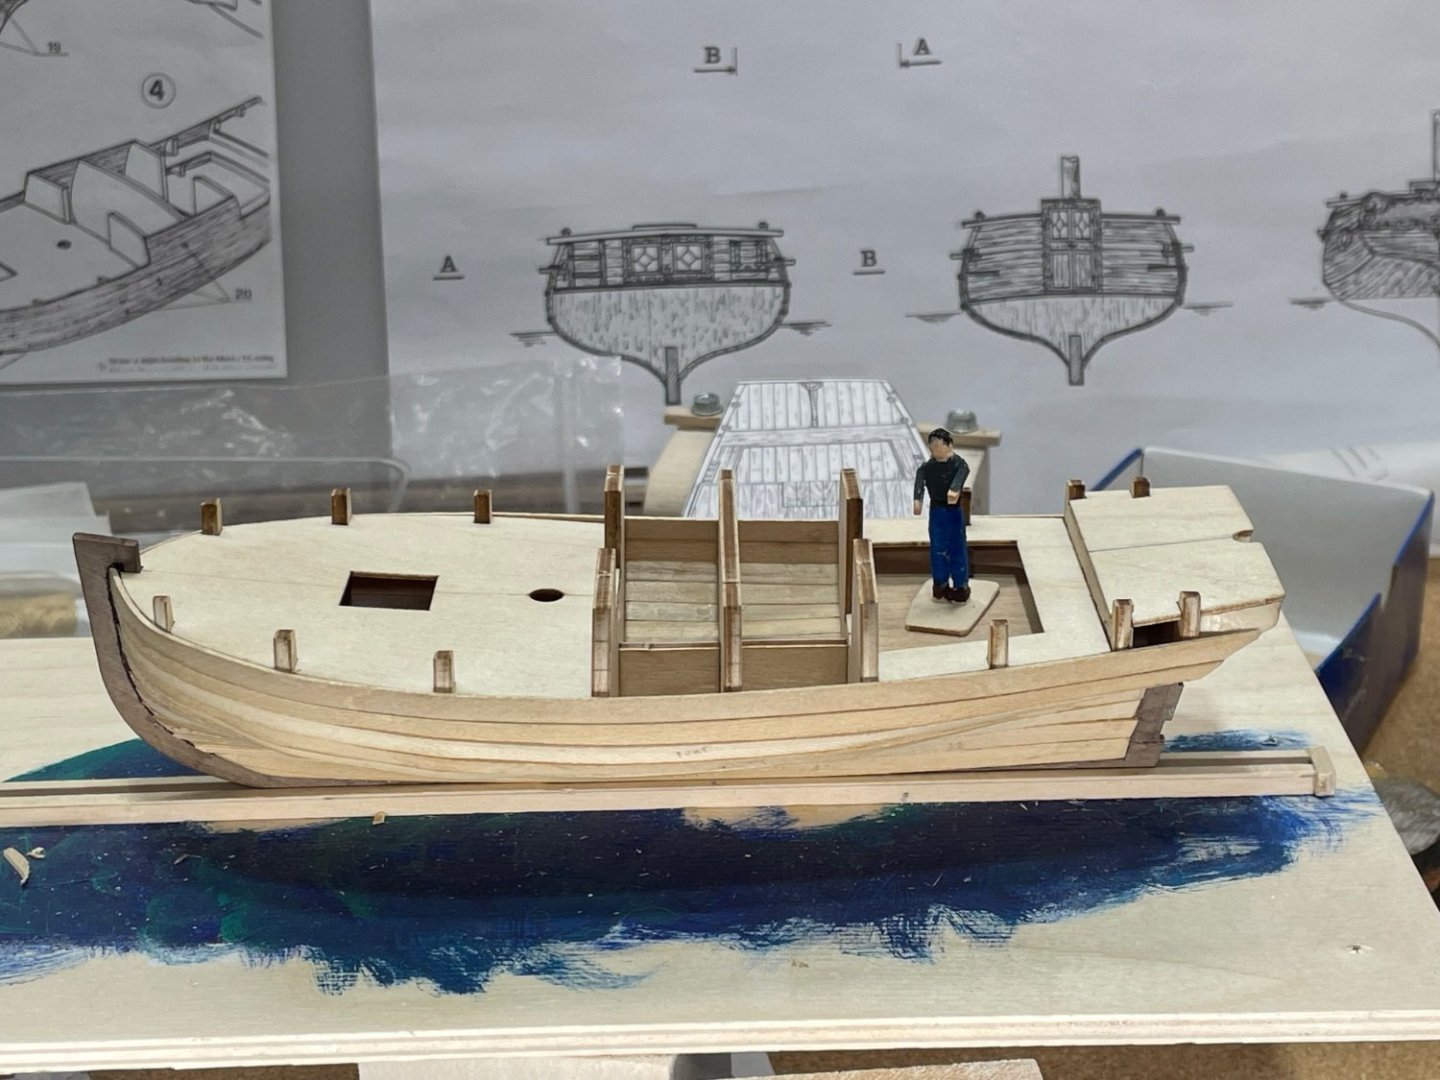
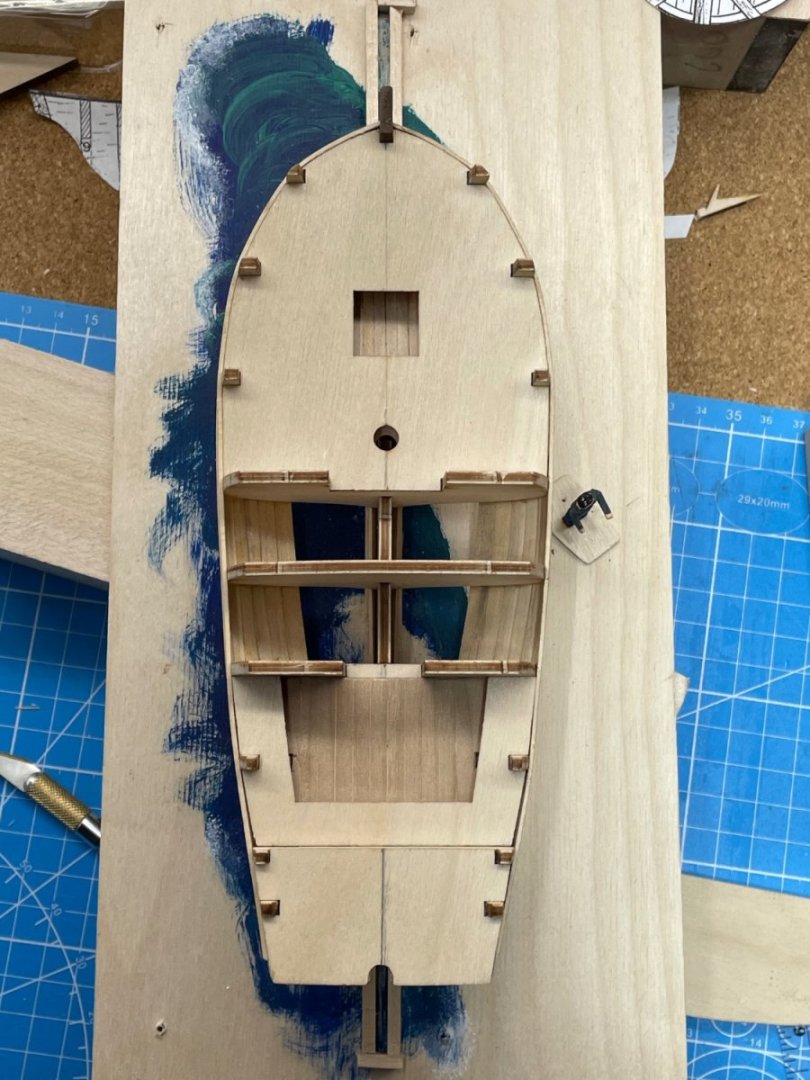
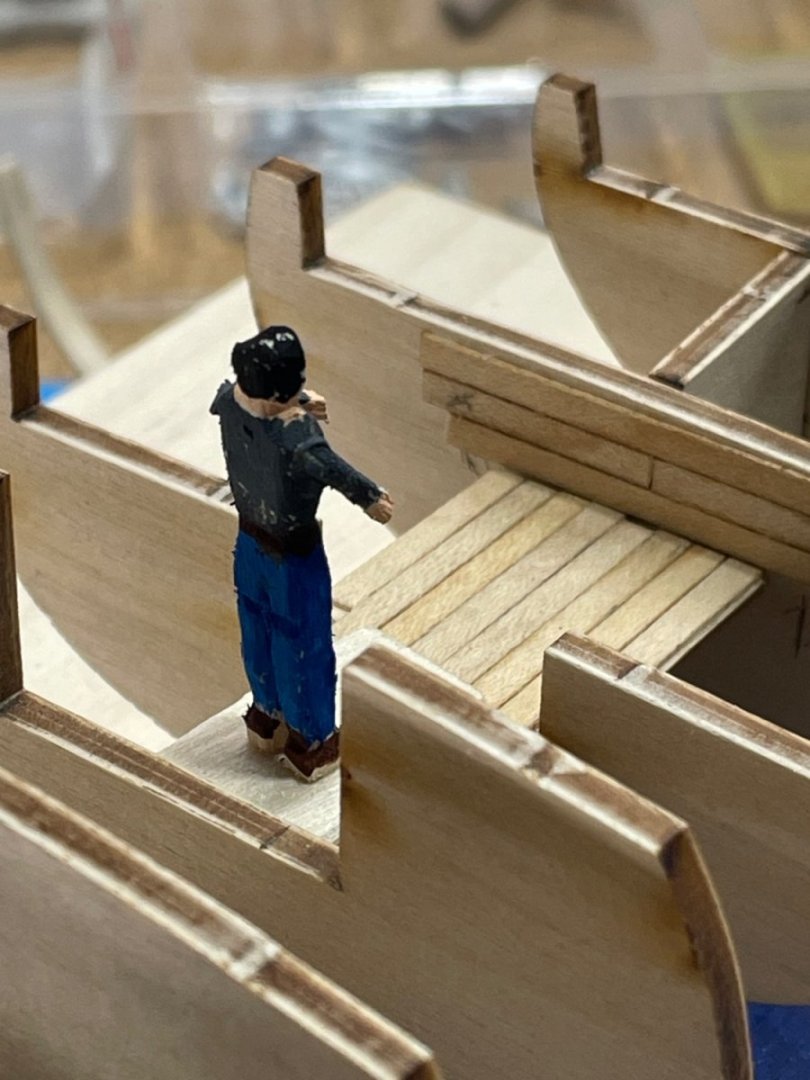
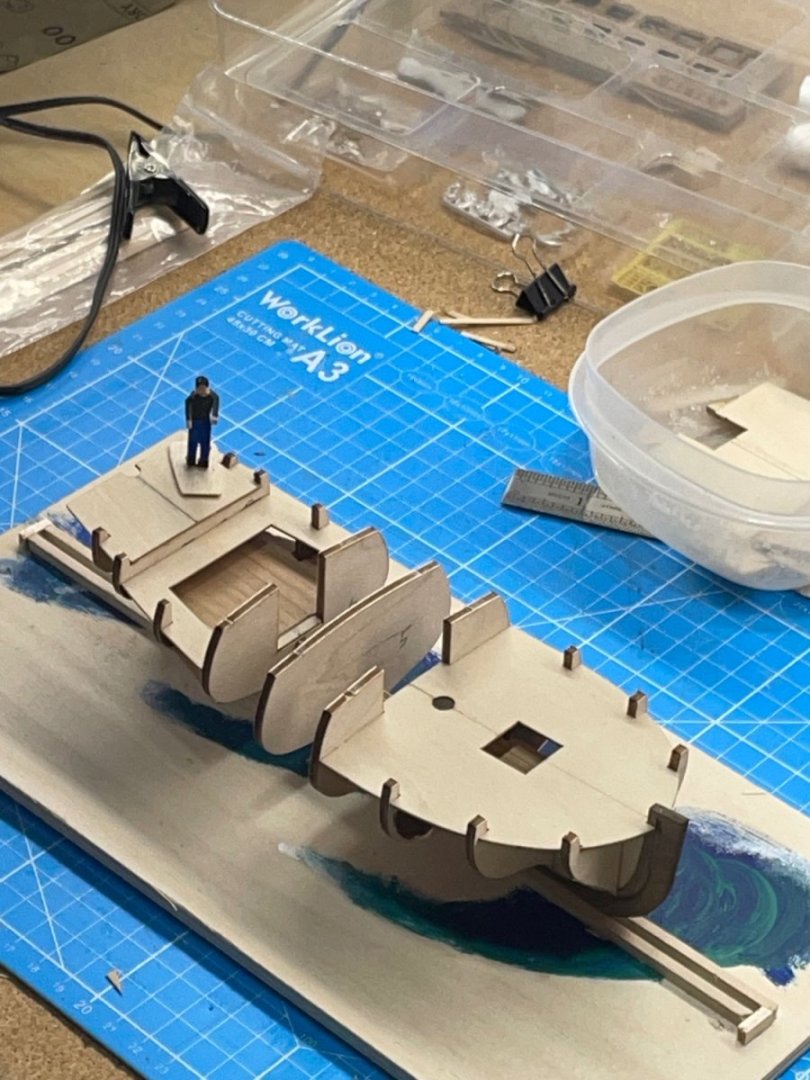
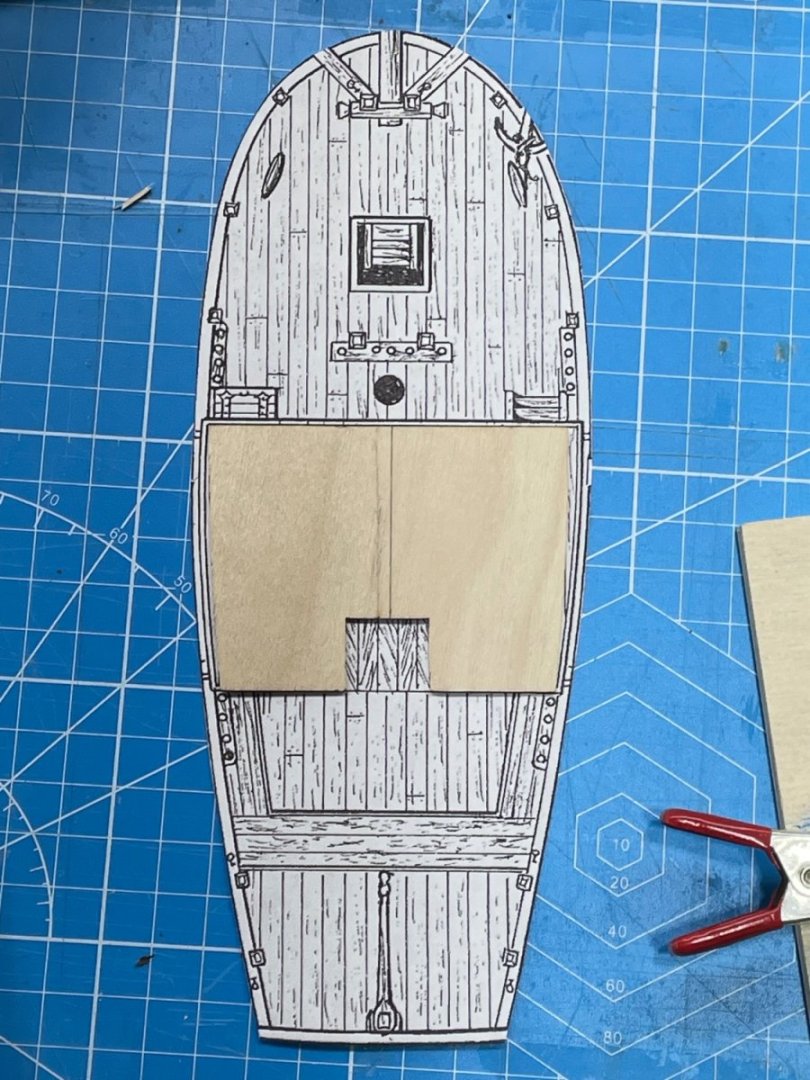
Before gluing the decks I wanted to plank a small area under the hatch in the fore deck where the ladder will be installed. Then I went ahead and planked the aft deck before the seats were installed. All decks are glued. Next will be the prow and stern blocks.
-
I couldn’t wait to get that boat off that build board to see the inside. She look great!
-
Looking good Eric 🙂 One great thing about this hobby is our imperfections create our very own uniqueness. Sometimes it can’t be duplicated even when one tries.
- 62 replies
-
- 3
-
-
- Muscongus Bay Lobster Smack
- Model Shipways
- (and 1 more)
-
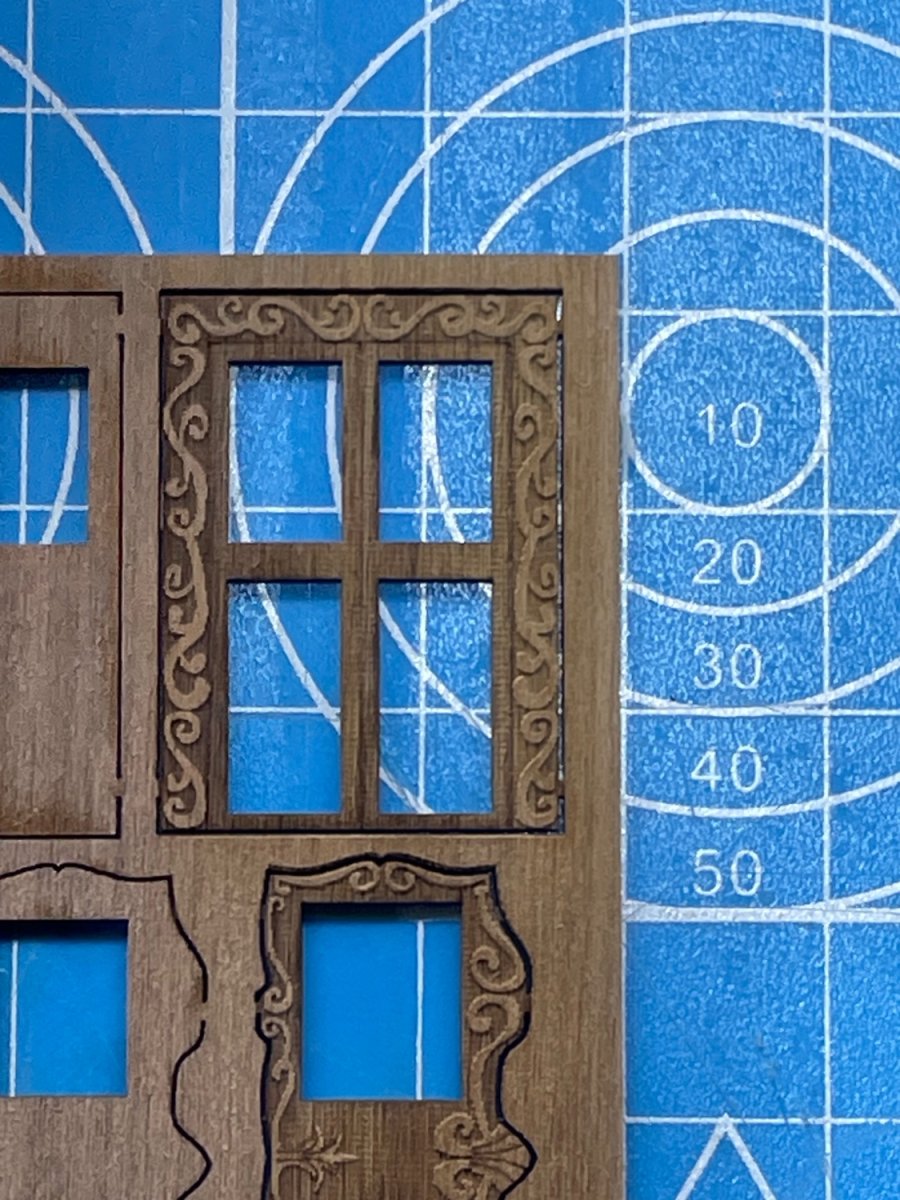
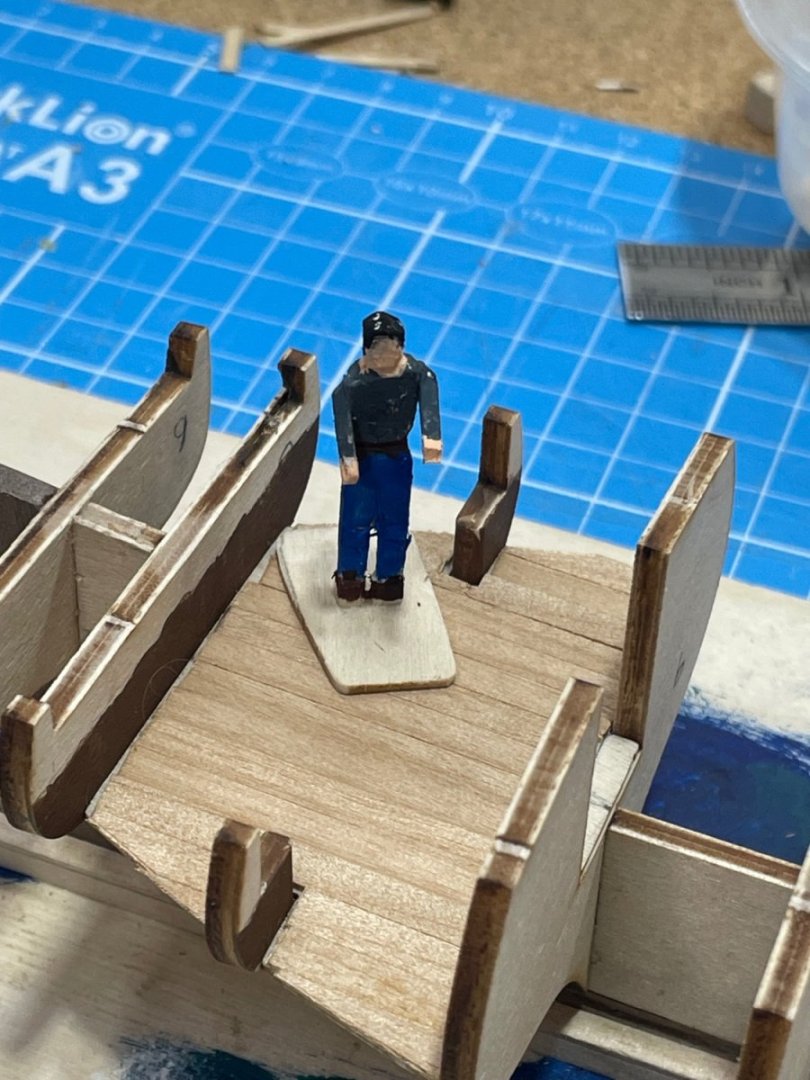
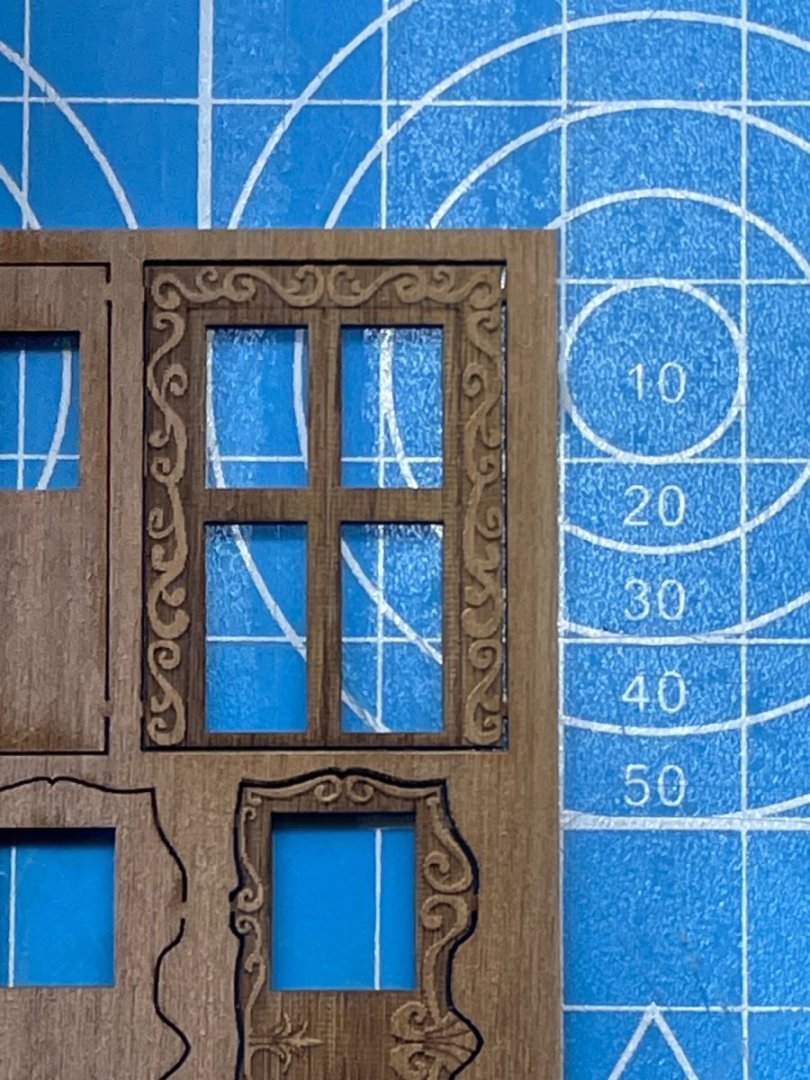
Last week when I was not completely sure what was next, I thought about changing the decking pattern for the aft deck. I figured I really needed to concentrate on just getting it done right and not adding more math and geometry:-) BTW, that painted door is amazing. Especially when I’m seeing the actual size of it:-)

-
That would be great!! I’m determined to get this ship built even though it’s a new frontier for me. I got so many questions in my head, but don’t know how to even ask them:-) If I make the wrong decision, it’s good to know there are ones that can advise me.
-
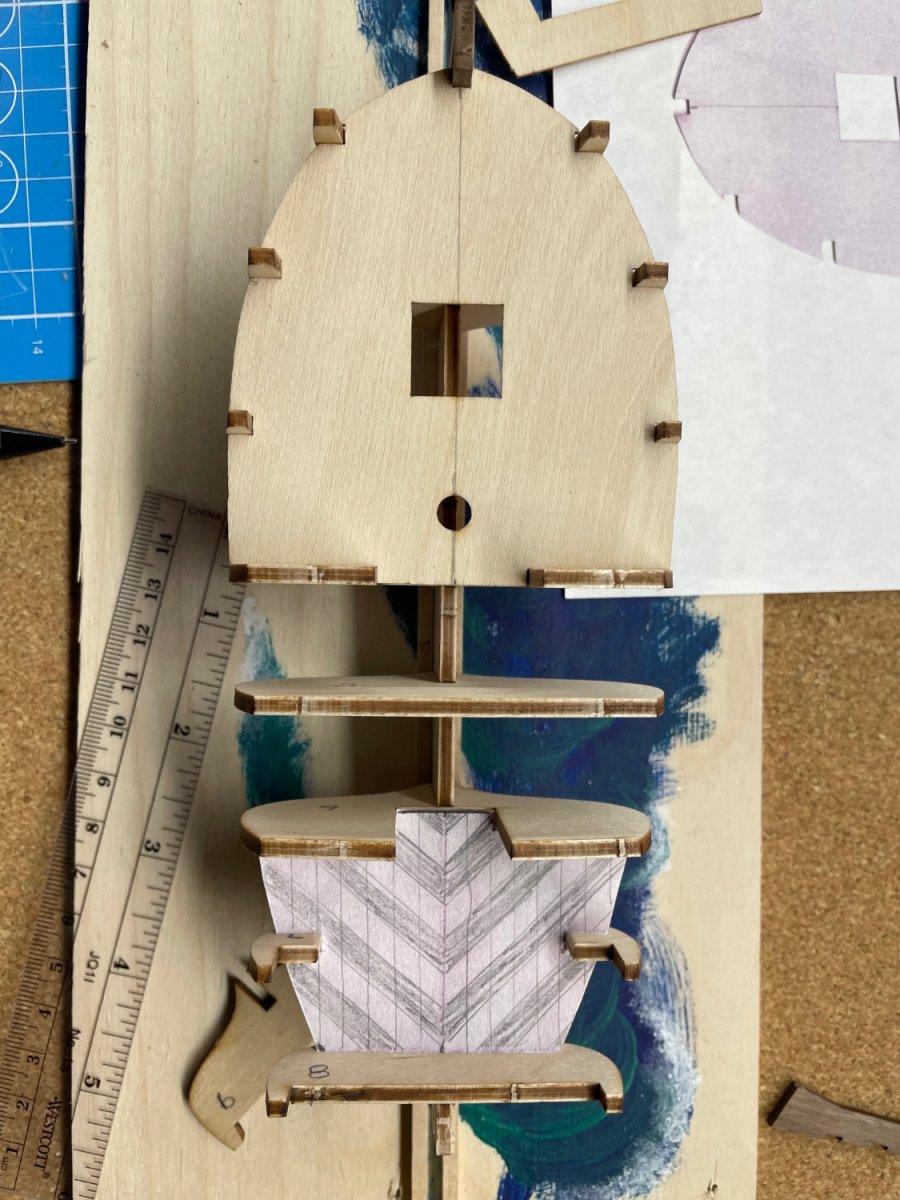
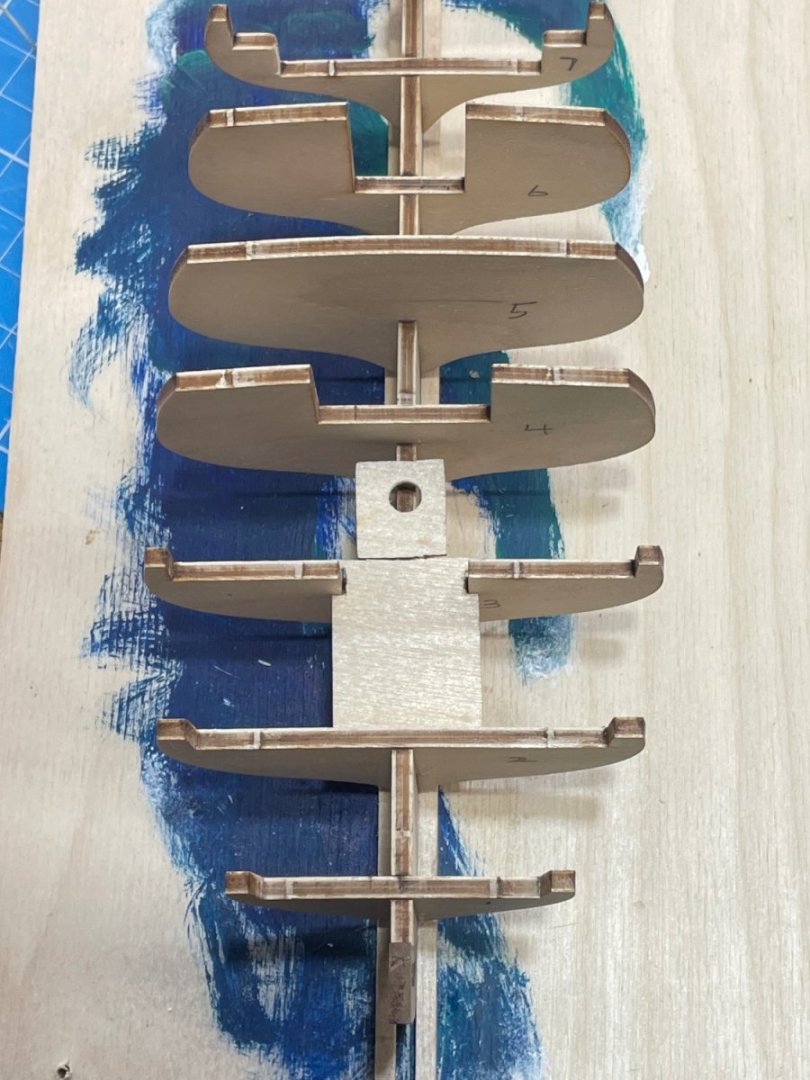
A couple of weeks ago, before I stopped working on this build to finish the Sea of Galilee basswood boat. I glued frames 1-8 on the spine. I got a pic but for some reason that one wants to post upside down. I had to post it vertical:-) The last week or so I’ve been reading the instructions over and over, which there is only less than a page of English:-) I did decide the next move was get frame 9 glued. So I glued the last piece of the keel on this morning. Next will be the decks. I think:-) Gregory, the cabin roof in this kit seems to be corrected.


-
Looks great Bob! We know things are going to happen, finding humor in them shows a good example for us to follow.
- 261 replies
-
- 4
-
-
- Victory Models
- Pegasus
- (and 3 more)
-
Very impressive! I bet you don’t leave that new box closed up for the rest of the year:-)
- 38 replies
-
- 2
-

-
-
- Model Shipways
- Shipwright Series
- (and 2 more)
-
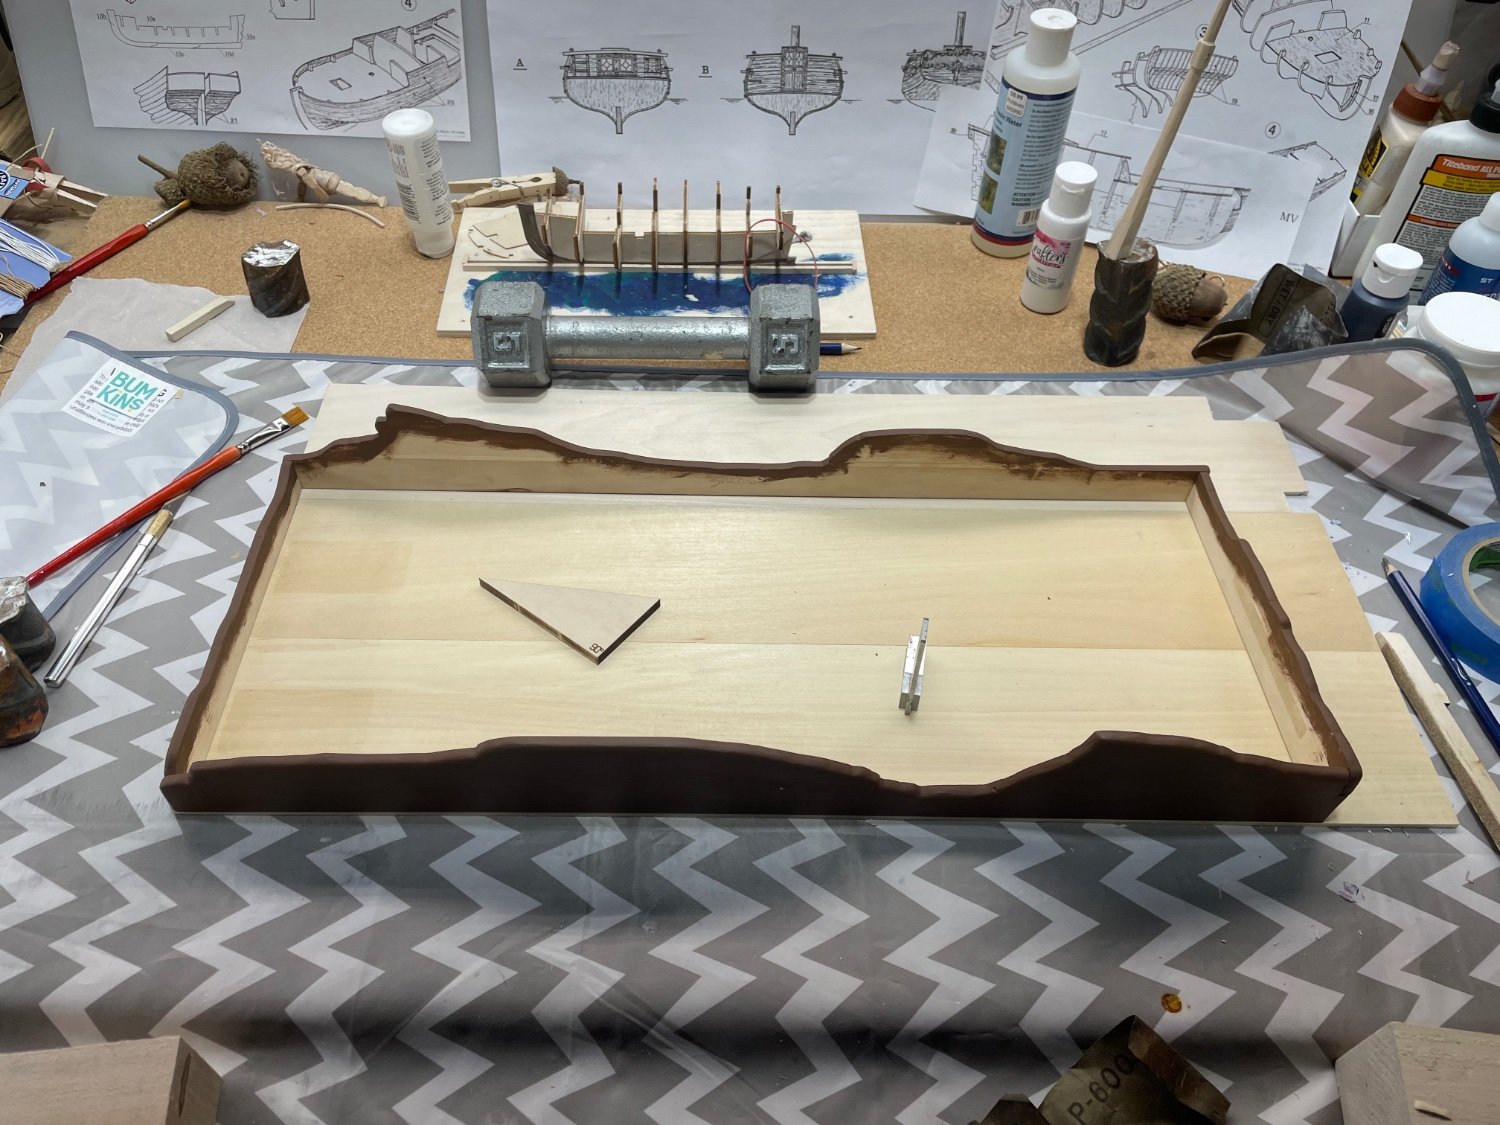
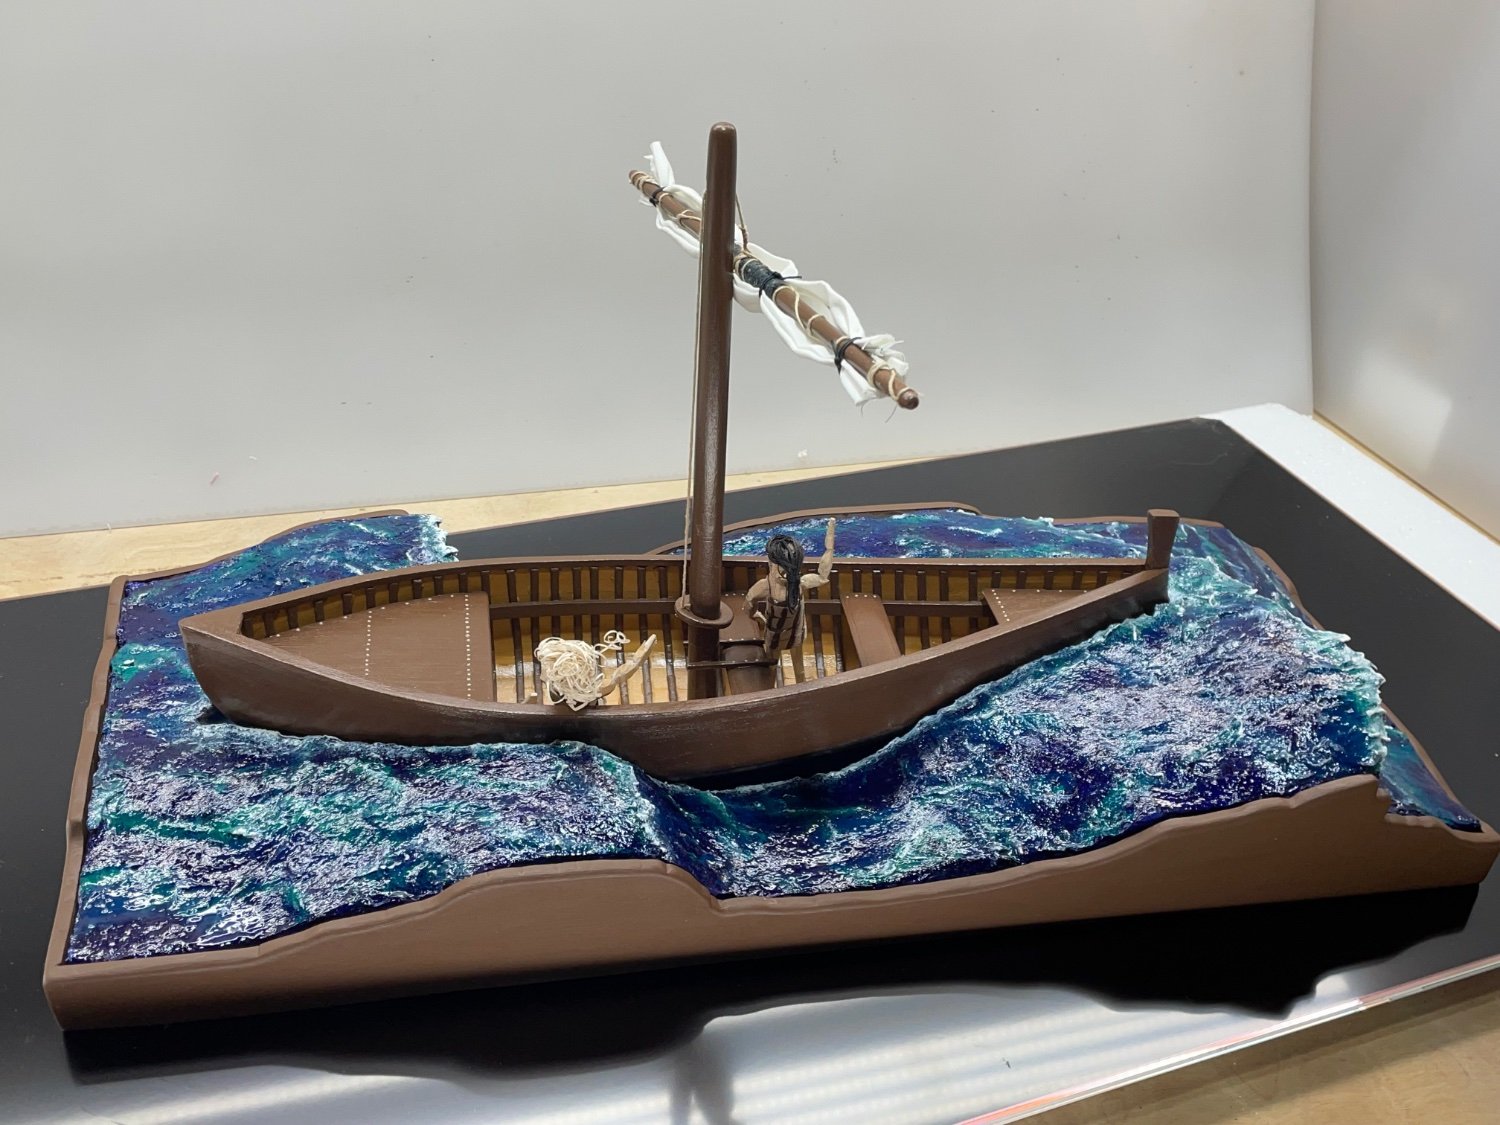
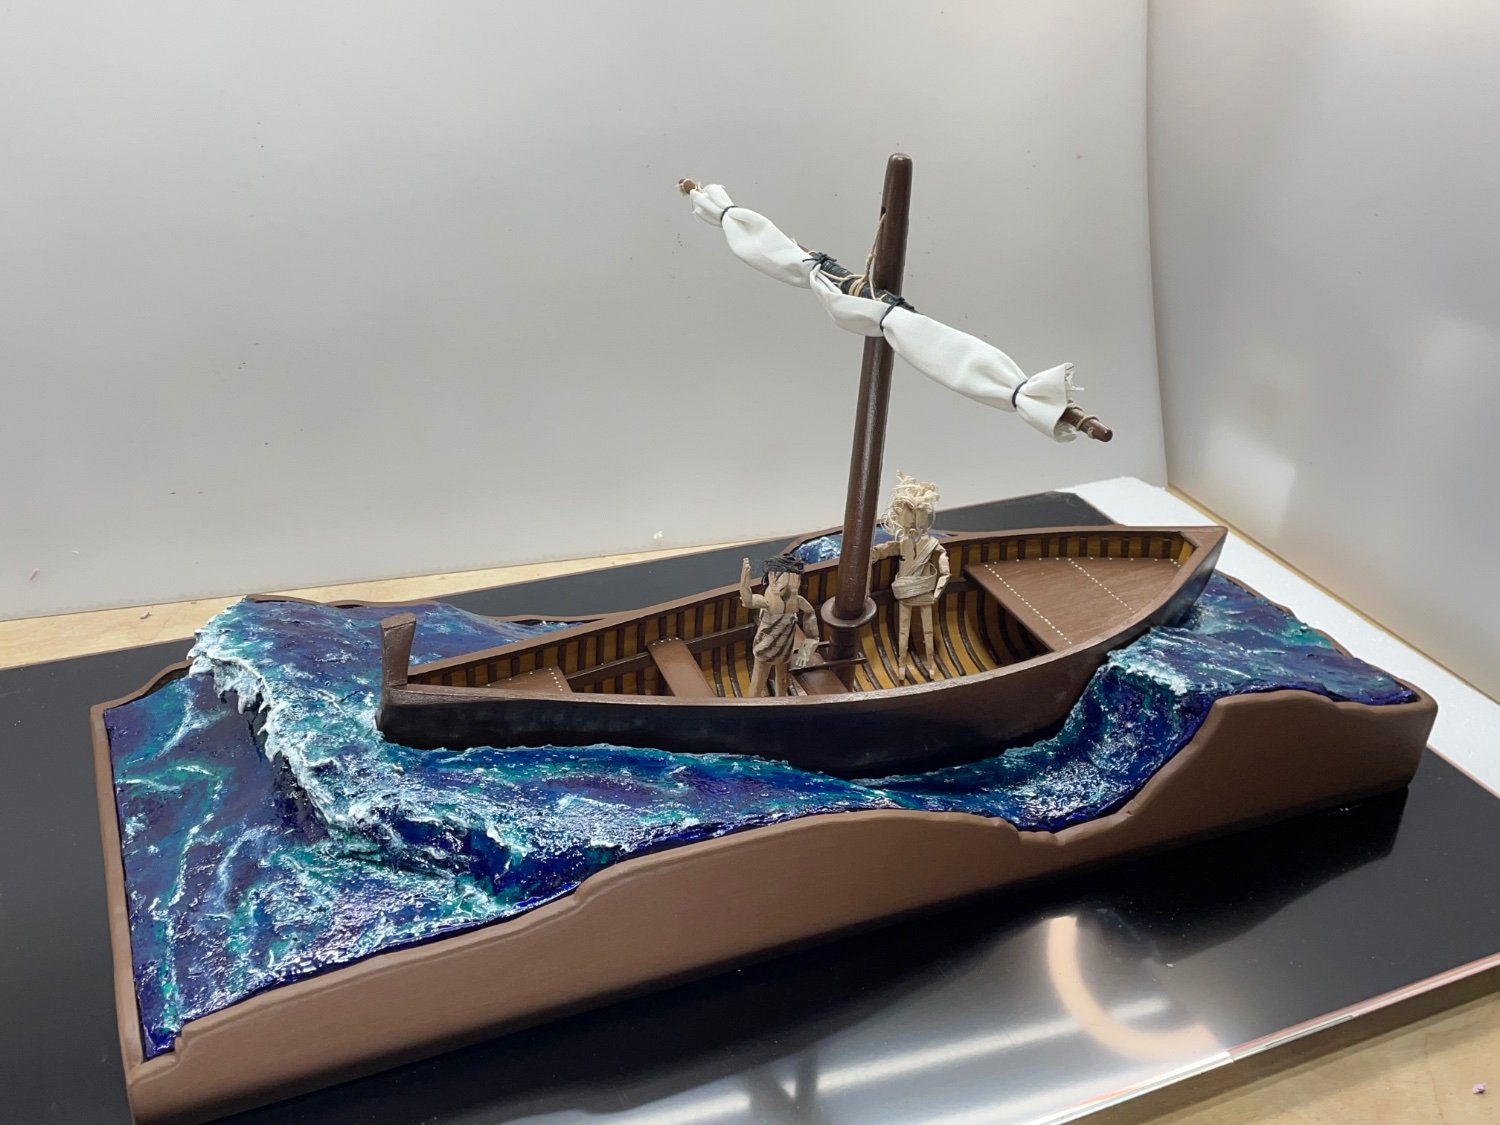
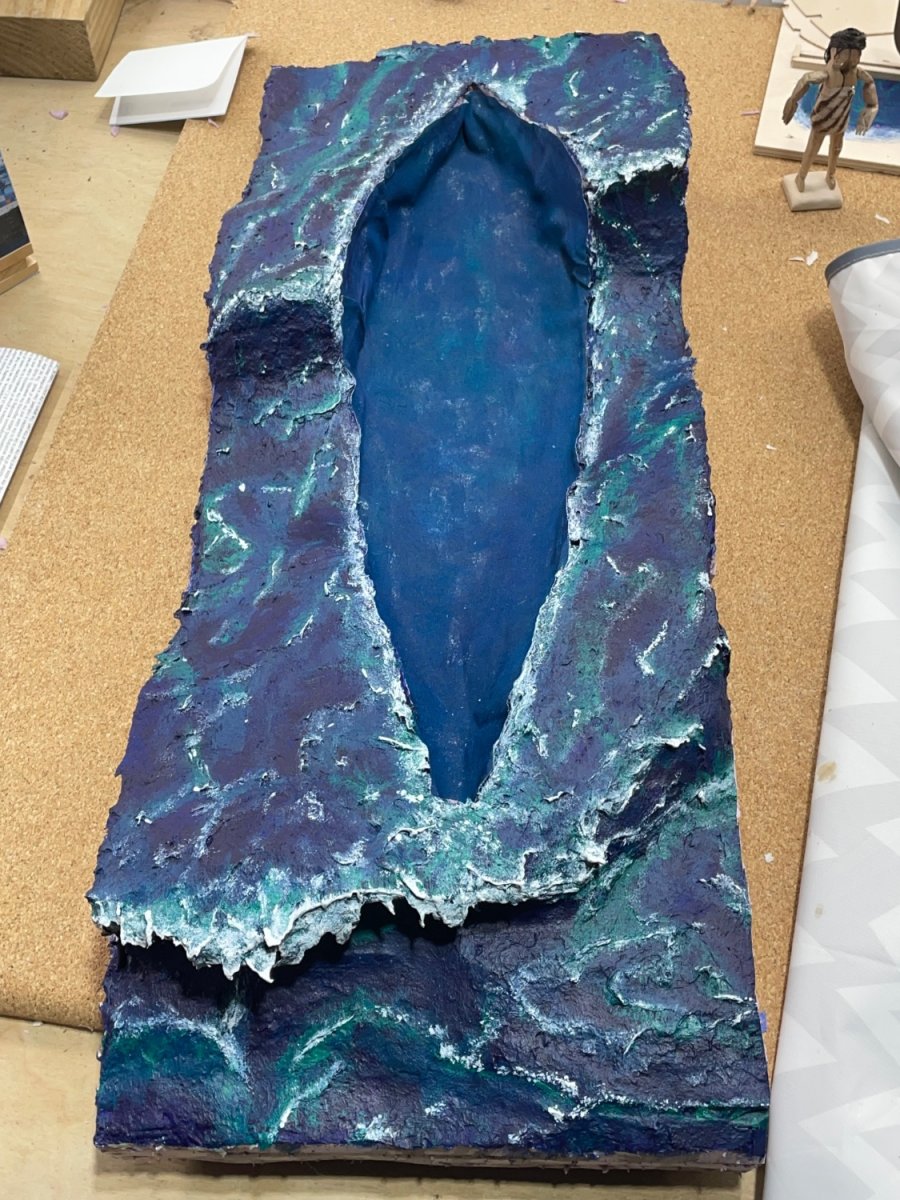
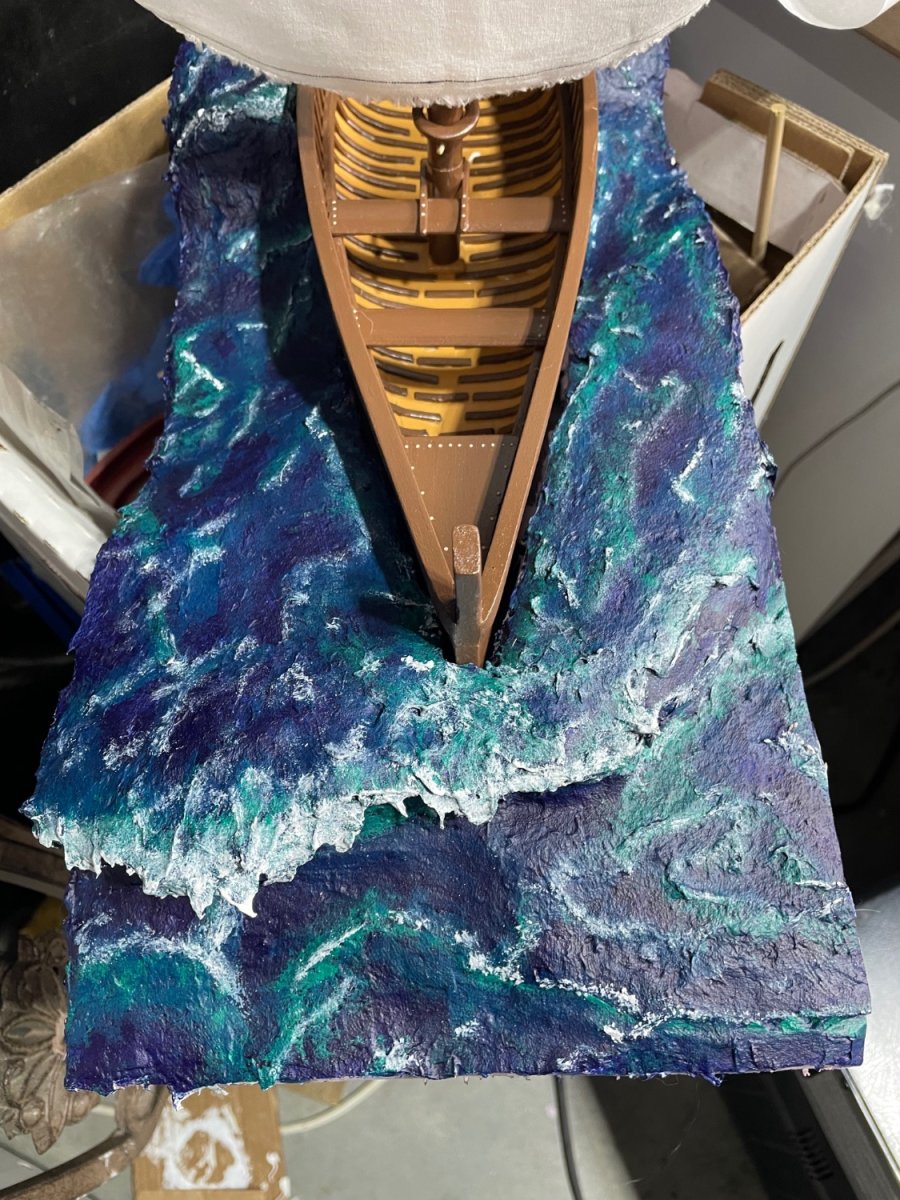
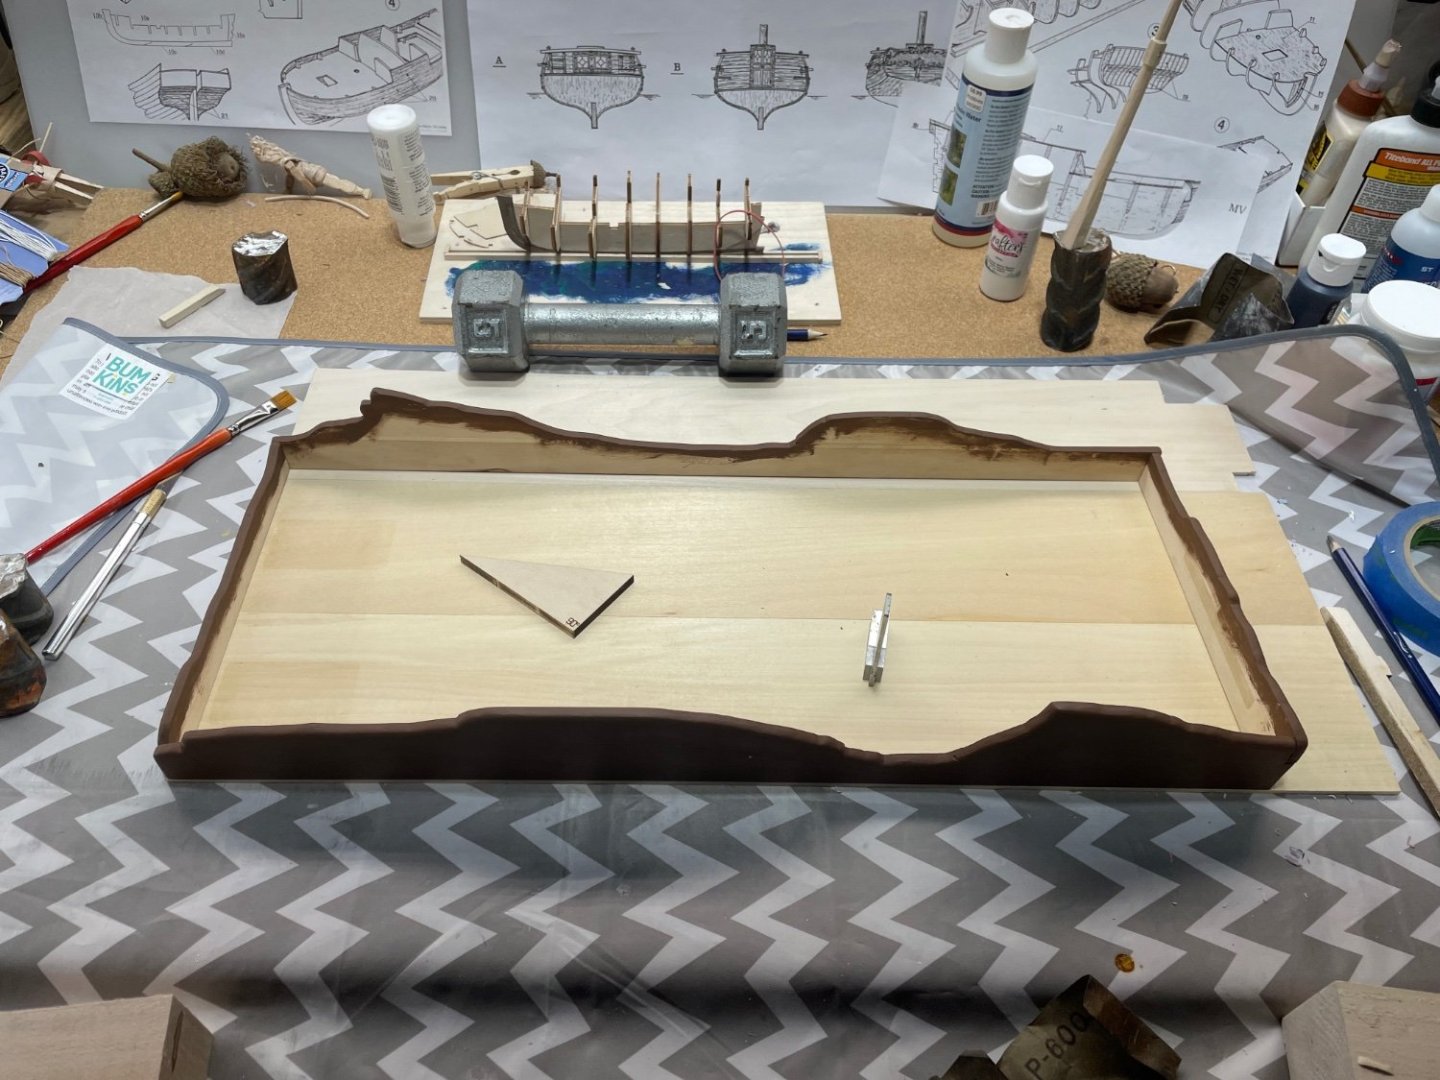
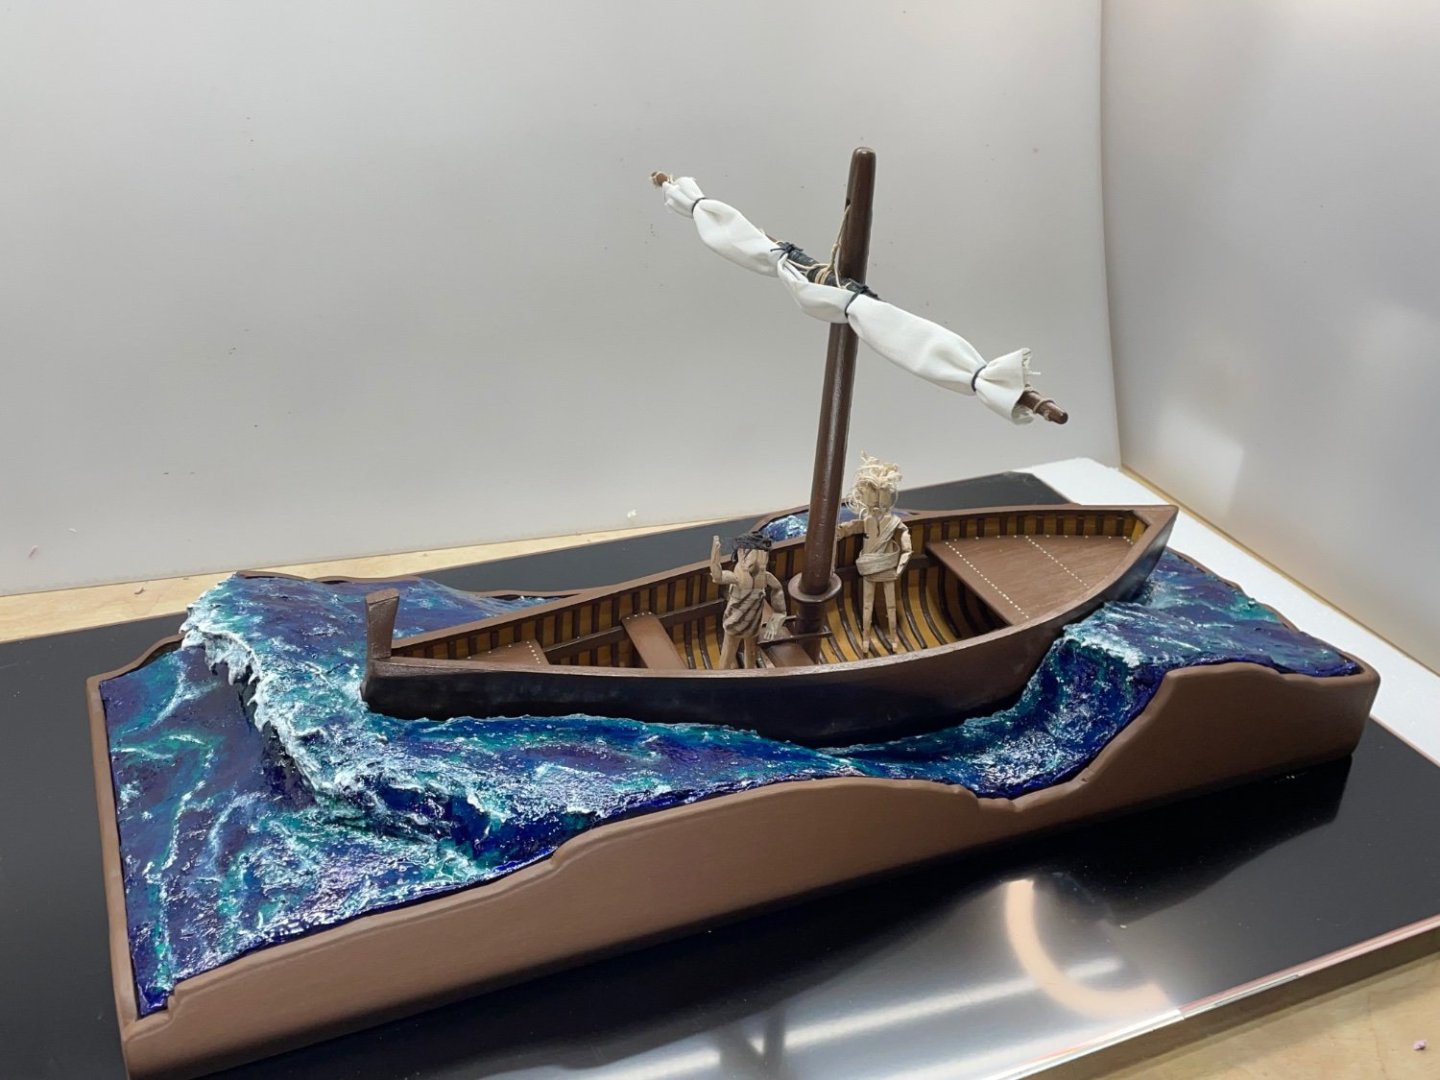
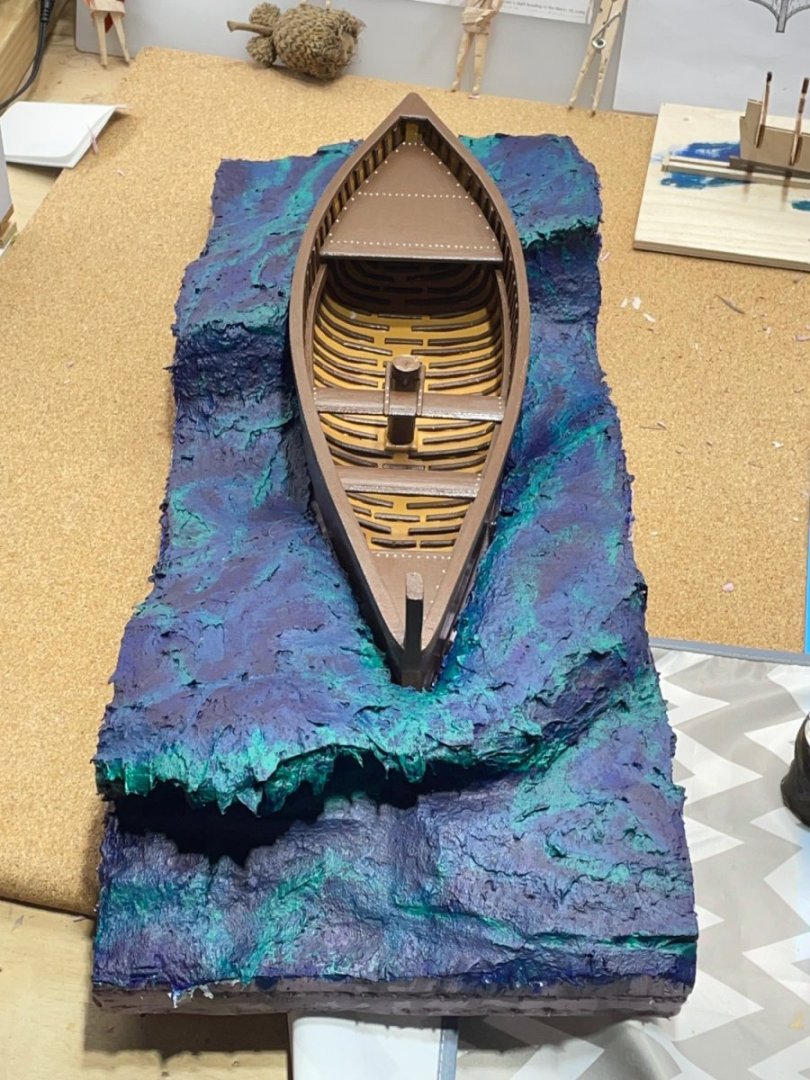
The base has been the most challenging build. I never came up with a complete plan until the end. That made me second guess myself the whole way through the build. One dilemma was solved by just making a wooden tray the section of Sea could set in. I traced the outline of the water’s edge, and cut it out of basswood. Then just glued them down on more Basswood strips. After a coat of still water, I just set the Sea in the tray, being careful not to spill any Sea:-) Bob, as for Jesus walking on the water… if he was seen in this diorama, one could think he was surfing:-) So it’s a better fit for Matthew 8:23-27 . Thank you all for viewing, and especially for the helpful comments, tips and research. I’m calling it finished until she returns to the shipyard for repairs brought on not by bad weather, but by four rowdy grandkids:-)


- 134 replies
-
- 10
-
-

-
- sea of galilee boat
- SE Miller
- (and 1 more)
-
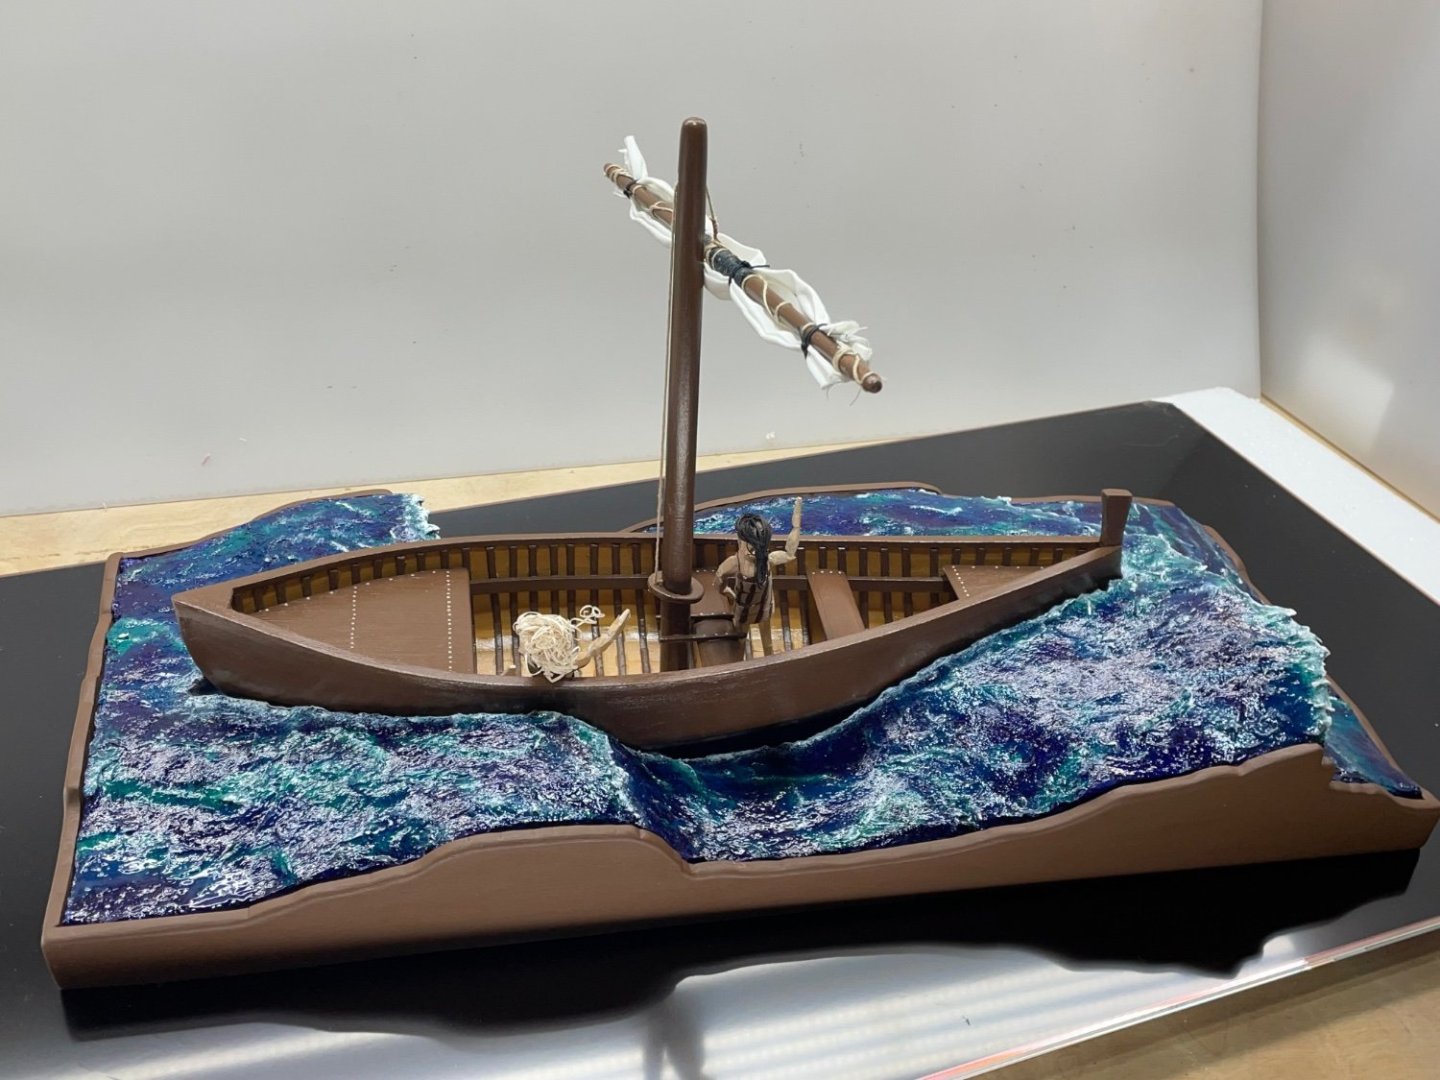
This morning, I cut and glued a piece of cotton linen, that I had painted earlier. Just to give it a finished look, when the boat was not out to sea:-)

- 134 replies
-
- 3
-
-
- sea of galilee boat
- SE Miller
- (and 1 more)
-
That’s great information Steven! Thank you for sharing and your time spent. I nervously painted white highlights on this morning. I’m satisfied:-) I didn’t spill the white paint all over it:-) Next time we make it to town, I’m going to get some realistic water to paint over it. I also have to trim around the outsides of it. I’m thinking just basswood strips carved down to match the waters edge.

- 134 replies
-
- 3
-
-
- sea of galilee boat
- SE Miller
- (and 1 more)
-
Second layer of paint applied. I’m wondering on which layer I’m going to mess up on, and set it apart from all others:-)
- 134 replies
-
- 3
-
-
- sea of galilee boat
- SE Miller
- (and 1 more)
-
Yeah Steven, probably not the type waves found in the Sea of Galilee:-) I had to use what I was imagining. These are the only waves I’ve ever built:-)
- 134 replies
-
- 3
-
-
- sea of galilee boat
- SE Miller
- (and 1 more)