-
Posts
297 -
Joined
-
Last visited
Content Type
Profiles
Forums
Gallery
Events
Everything posted by Loracs
-
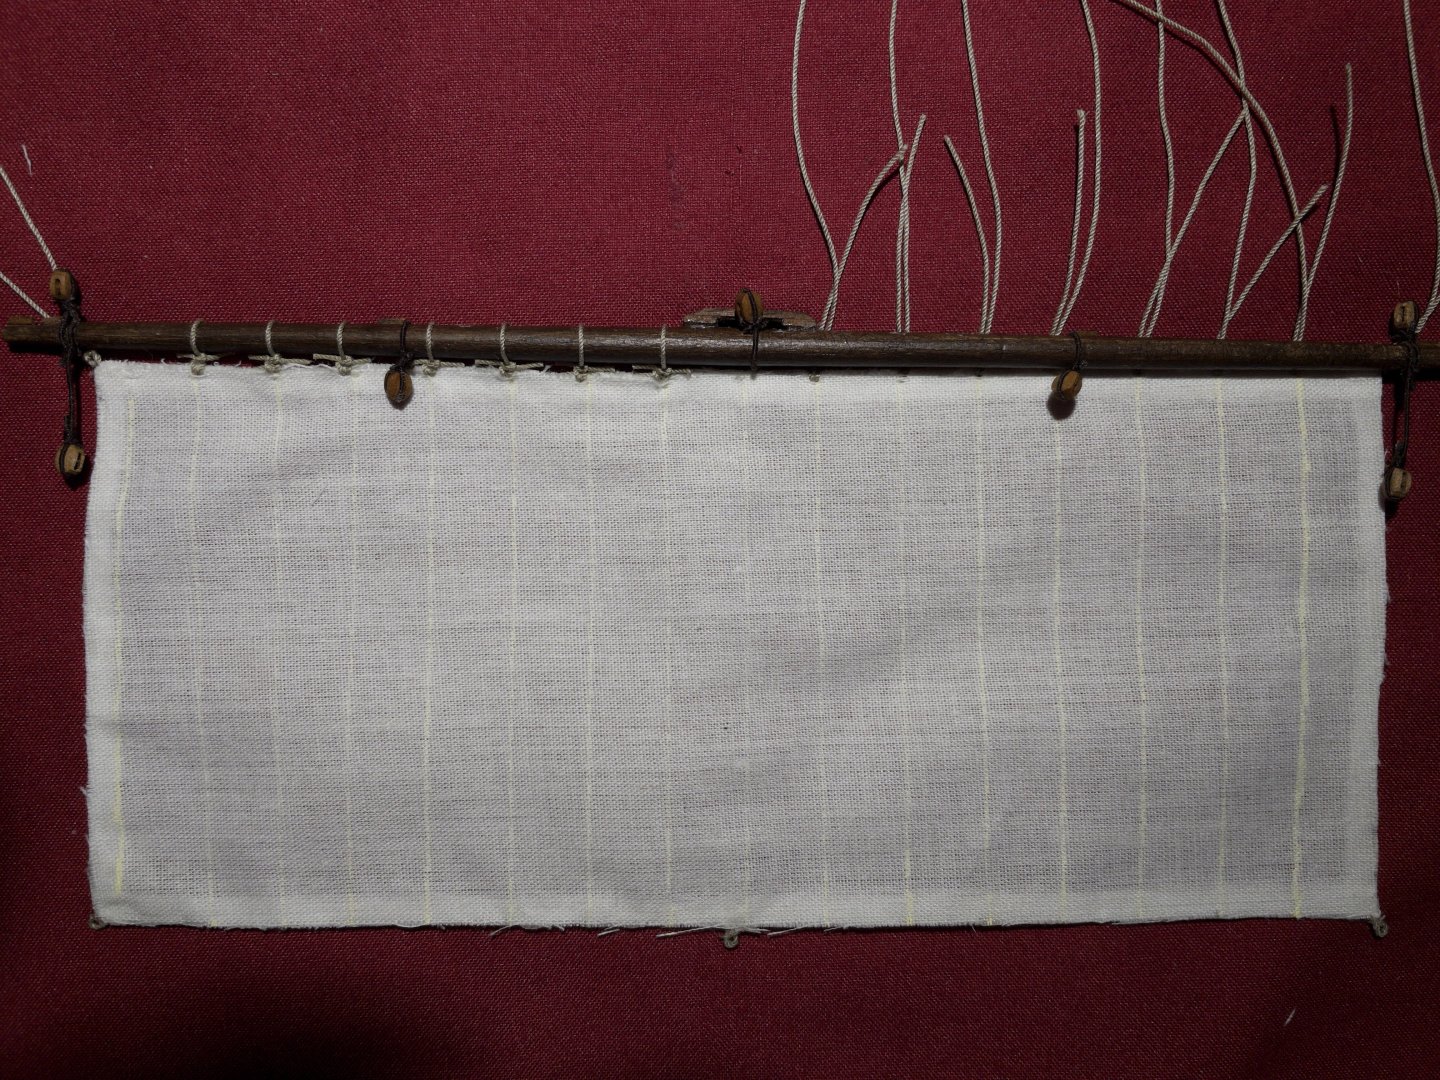
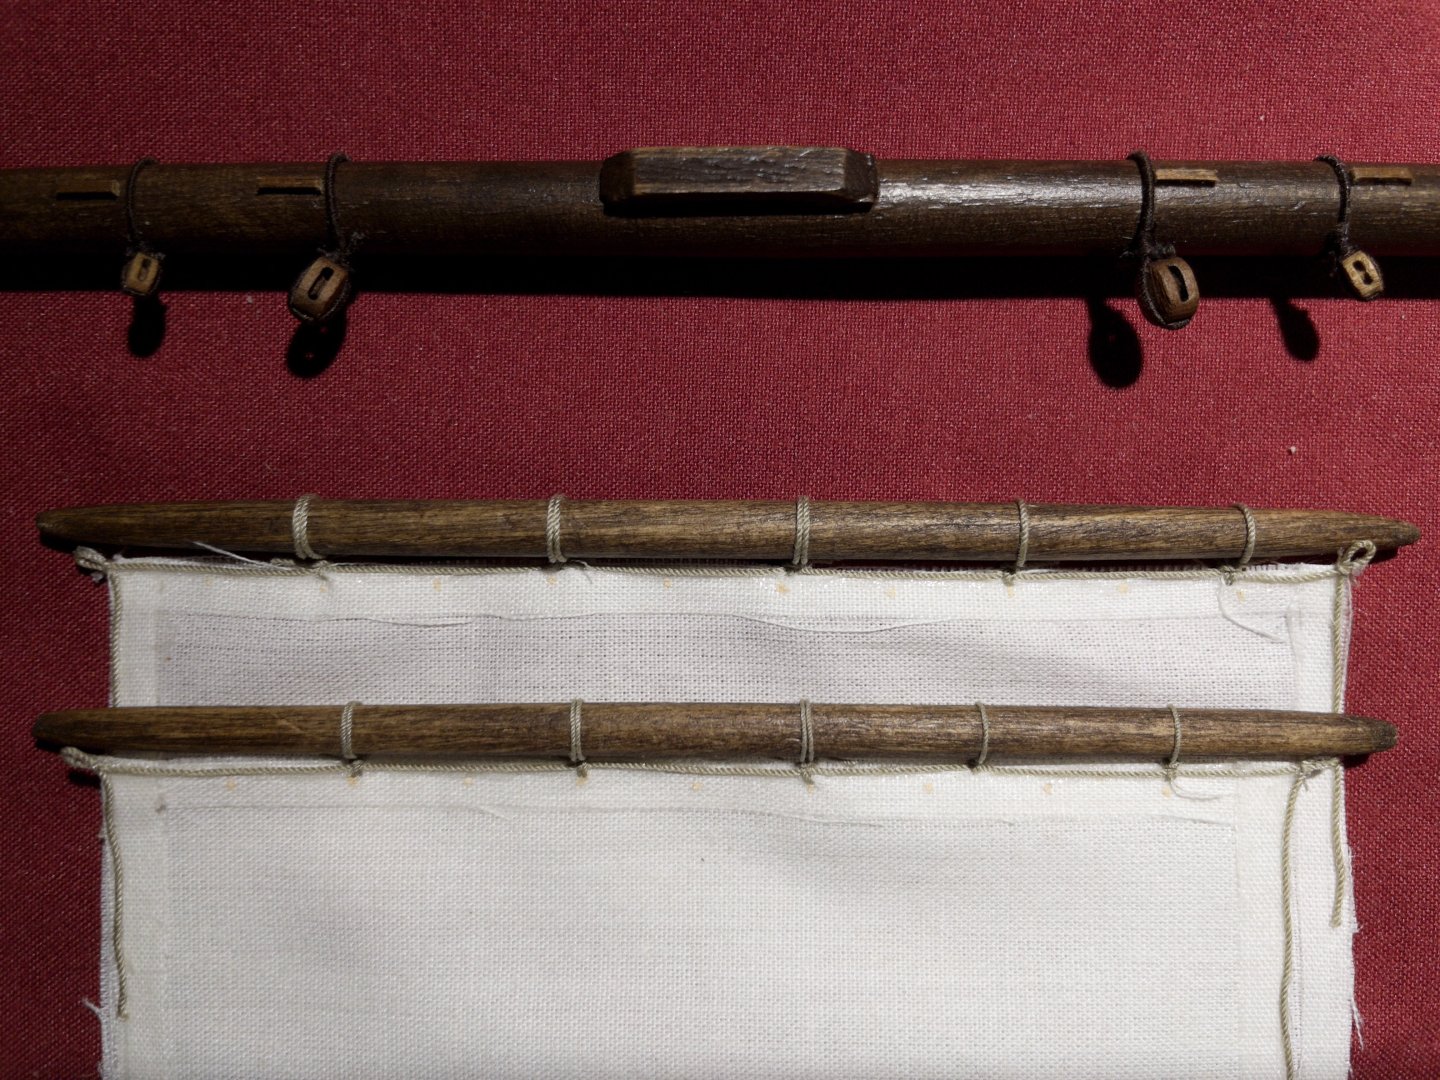
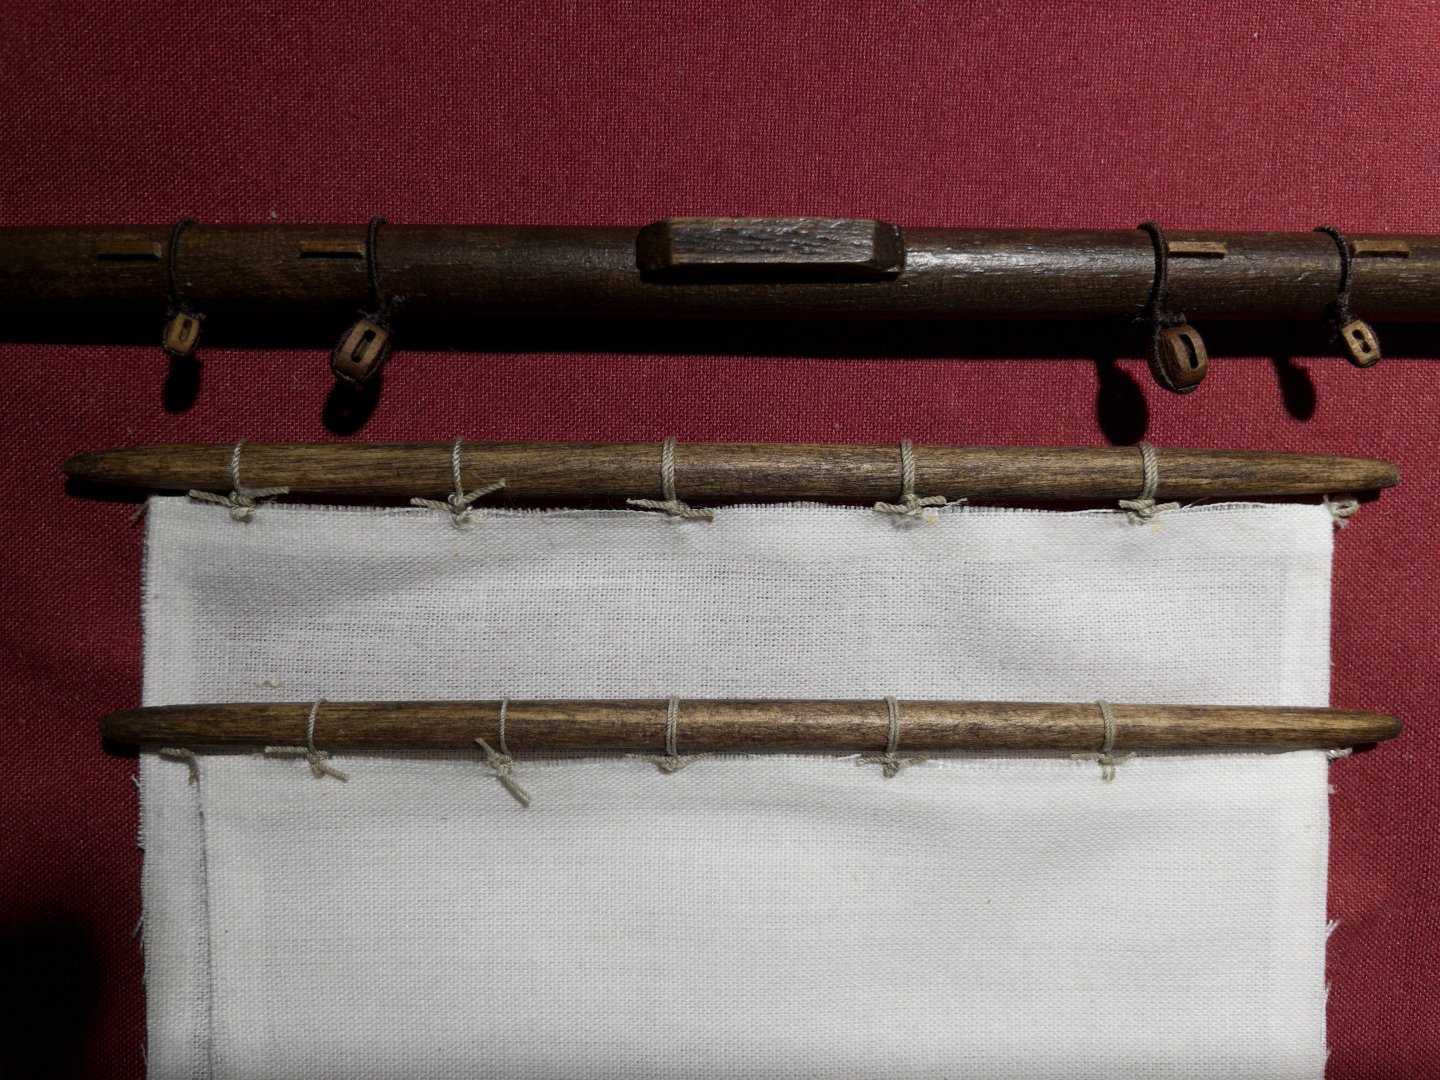
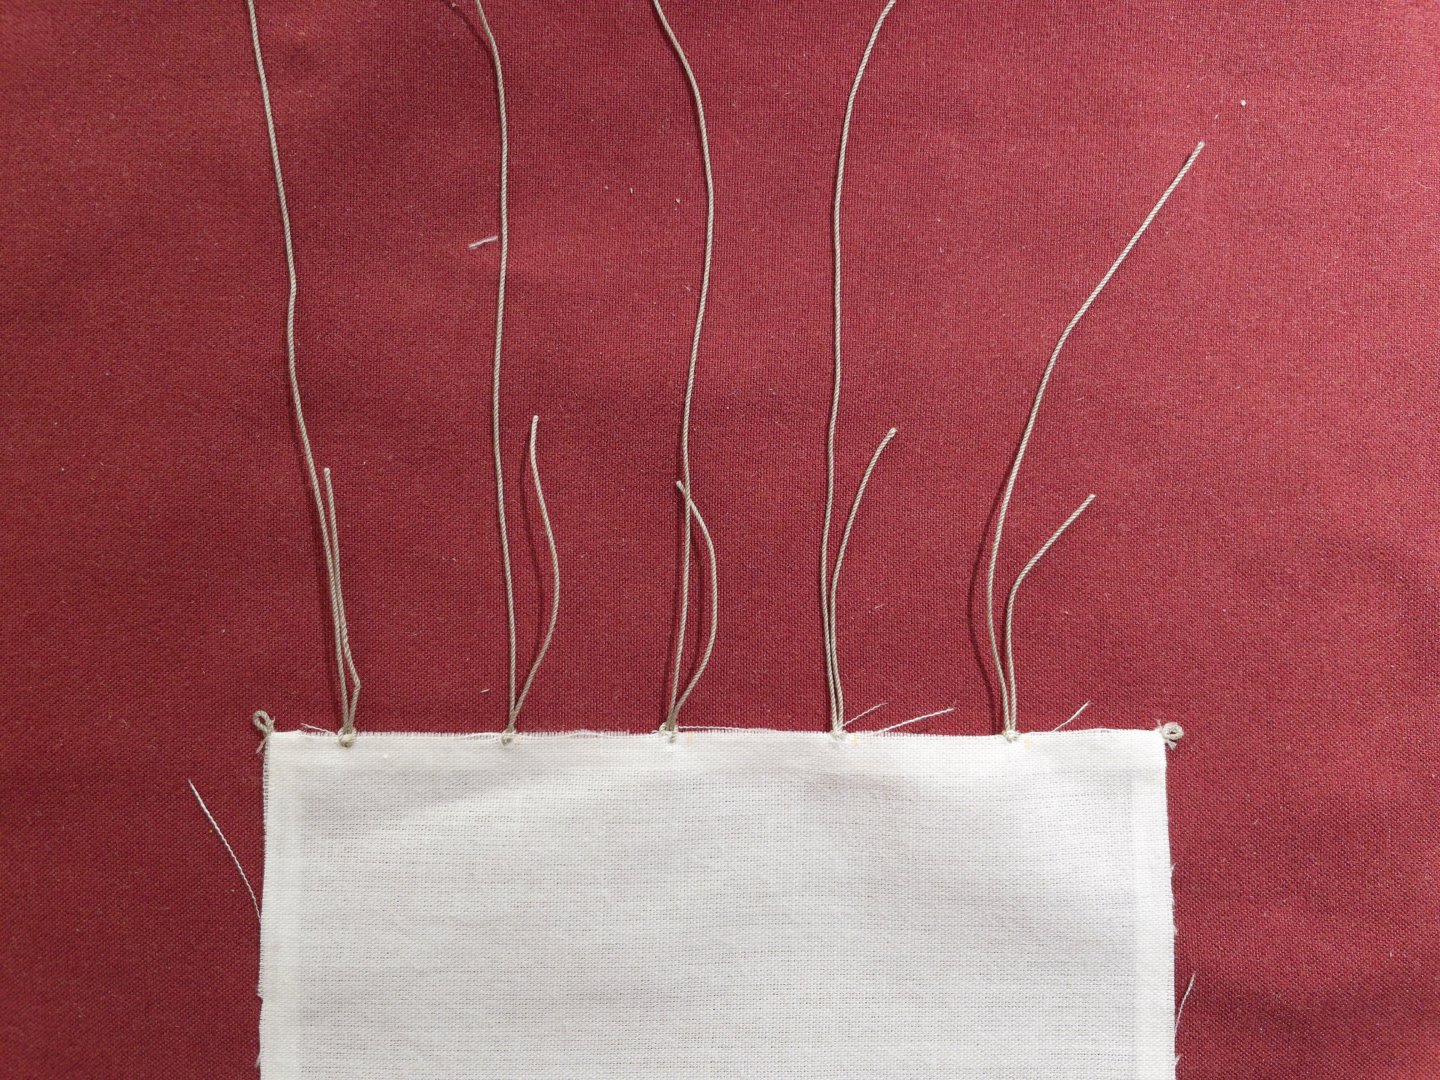
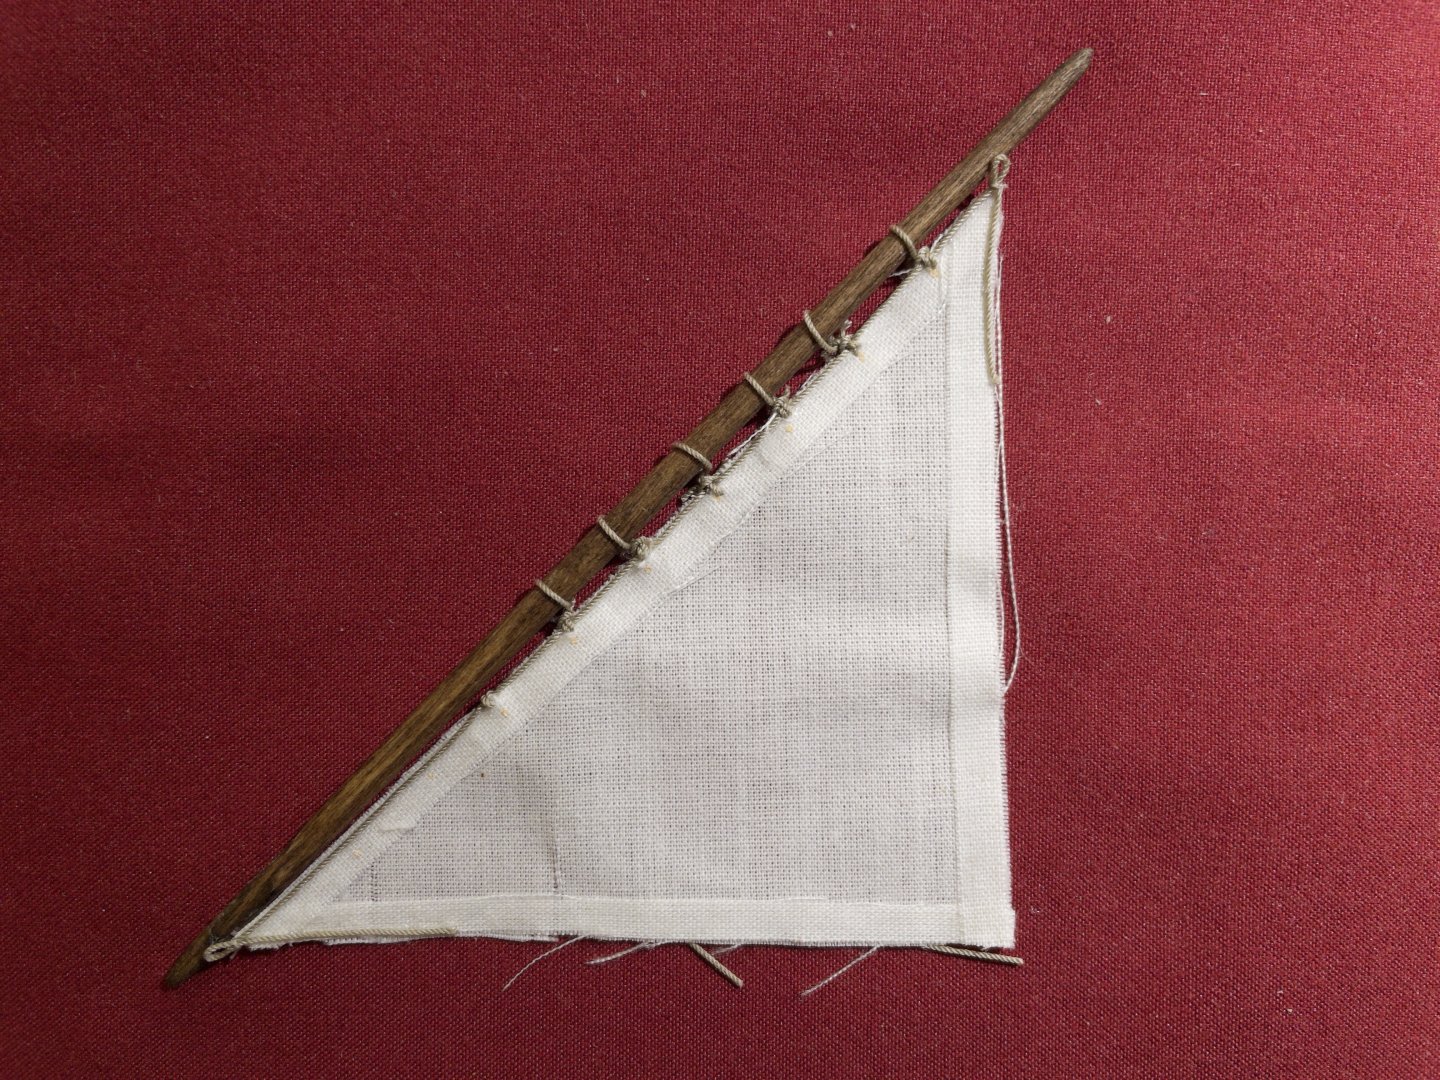
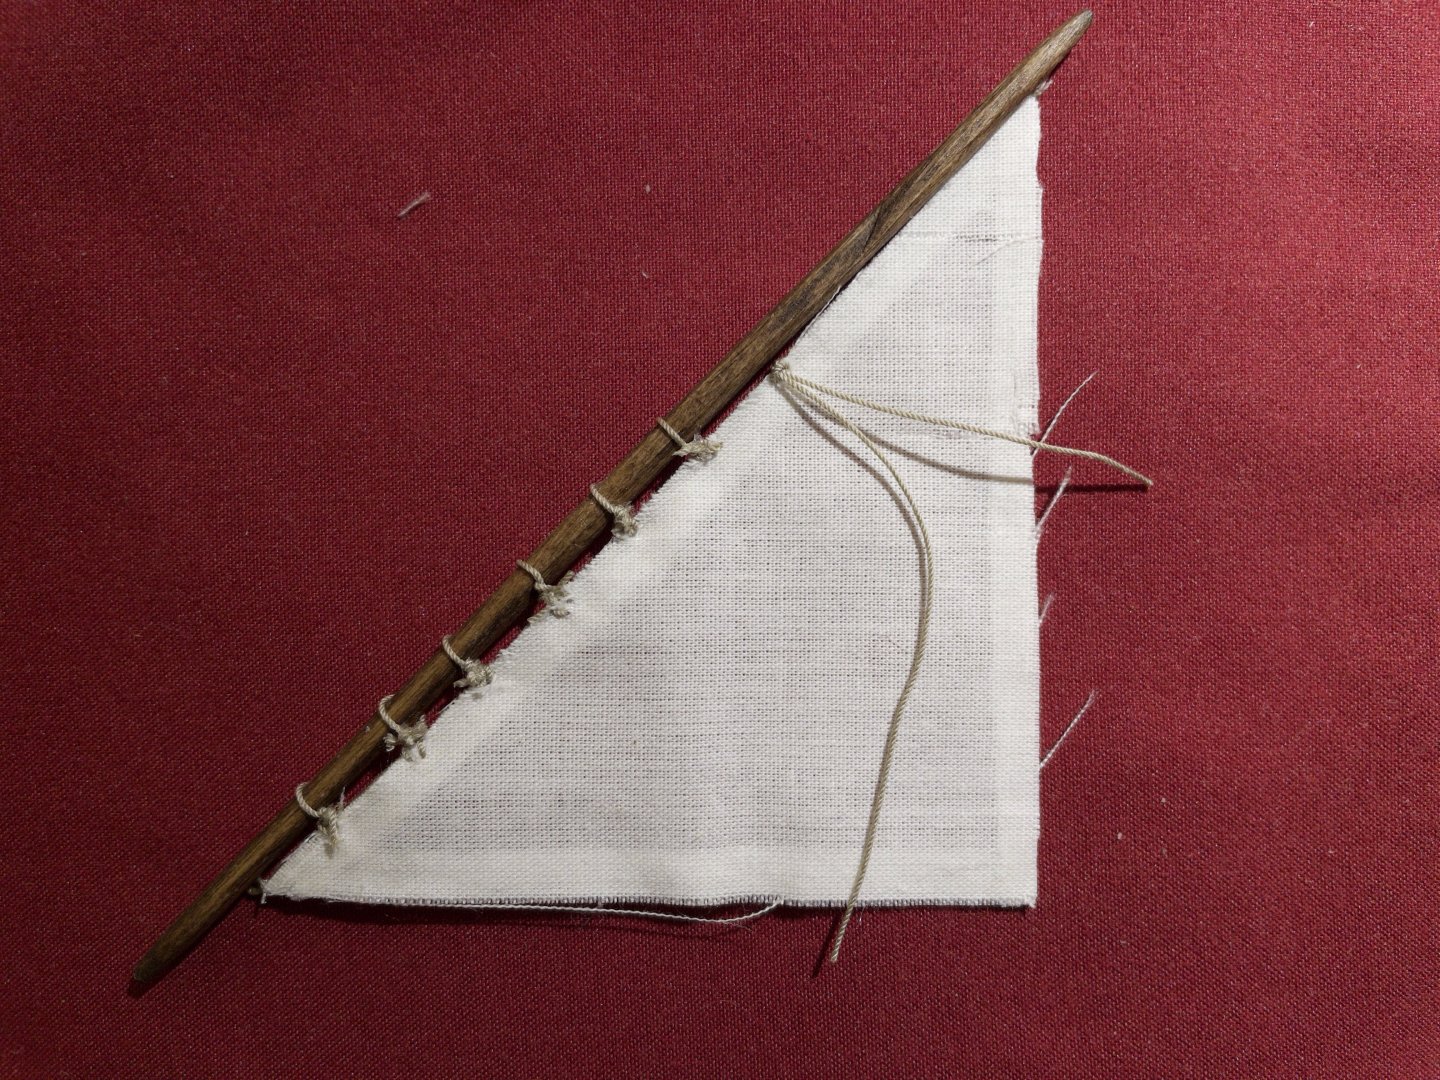
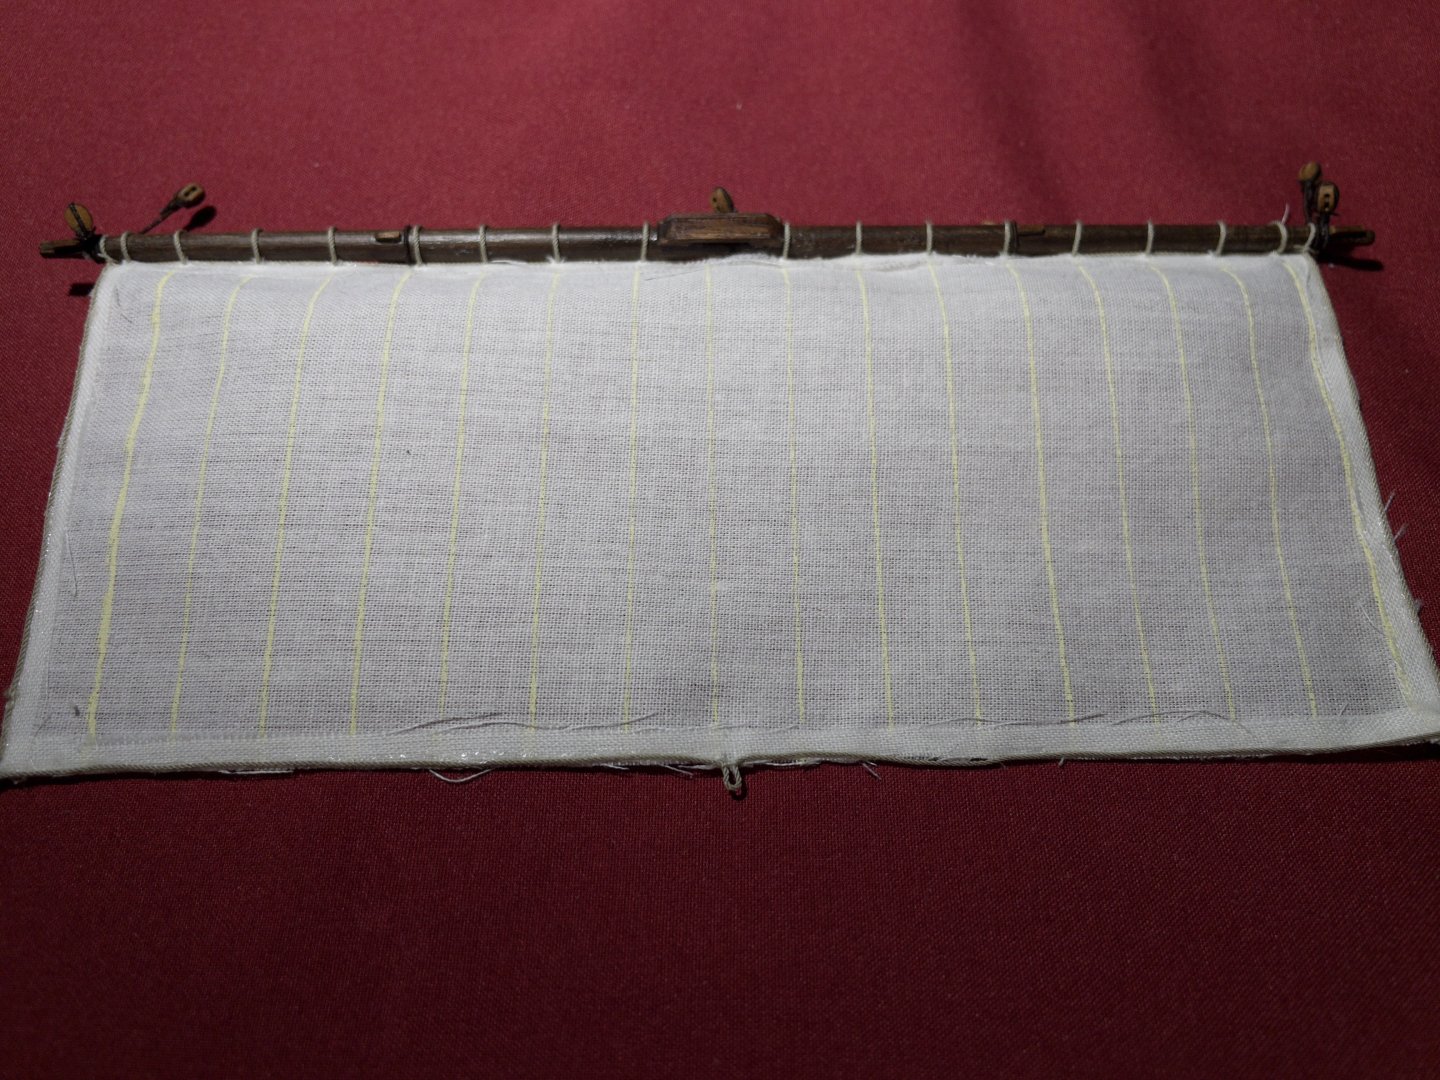
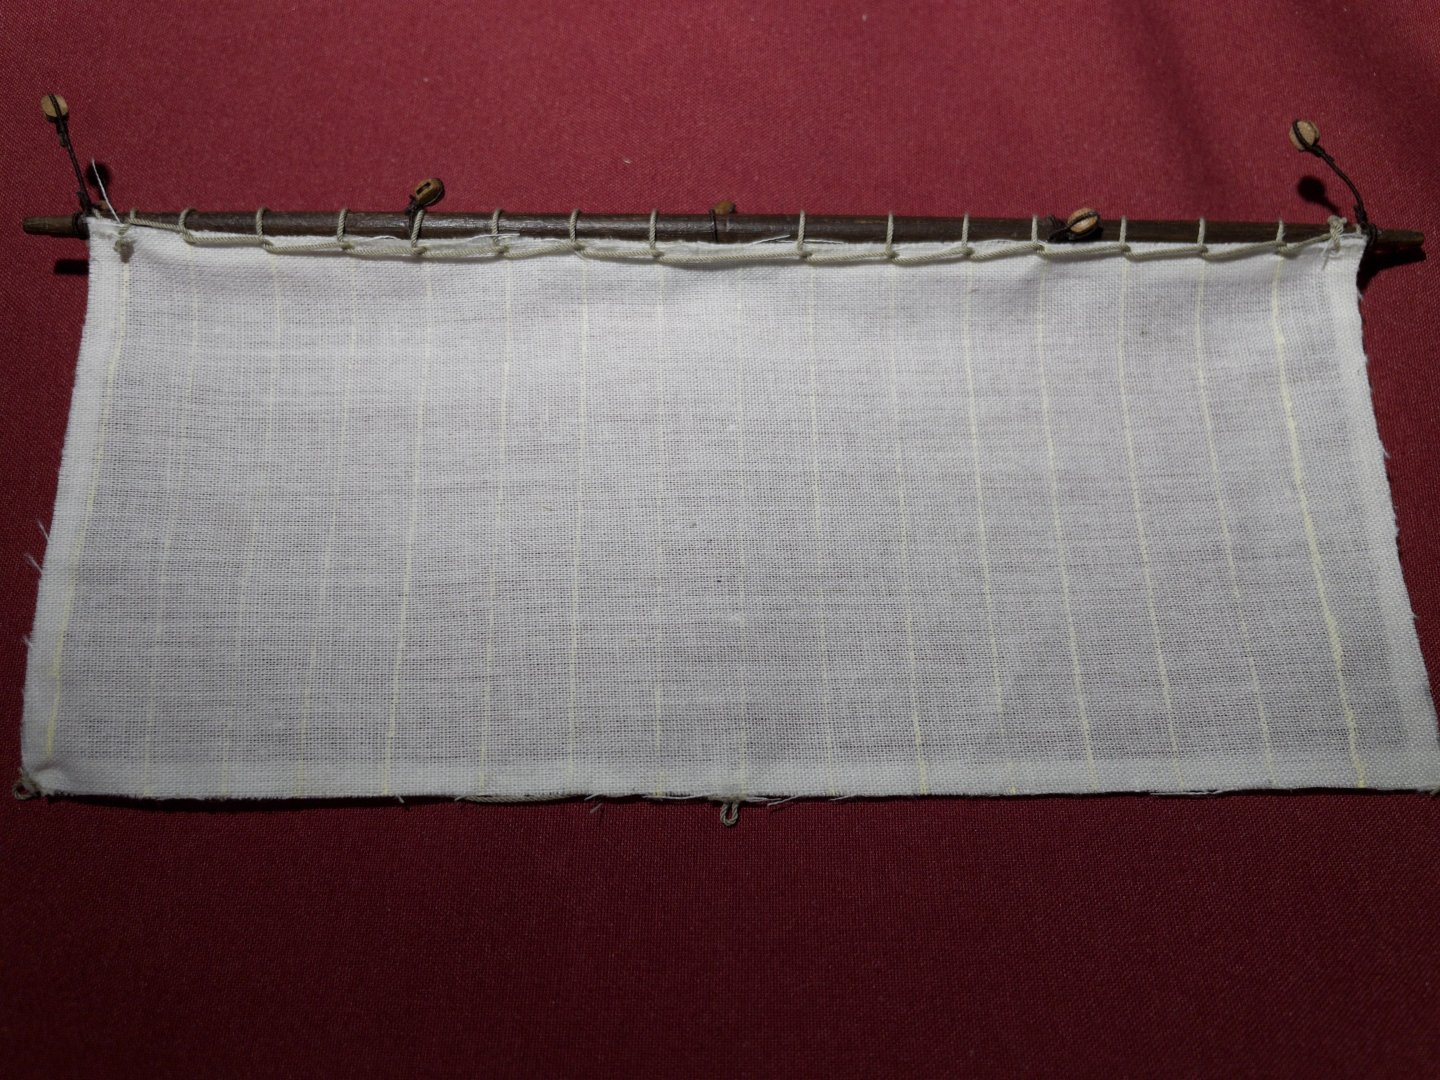
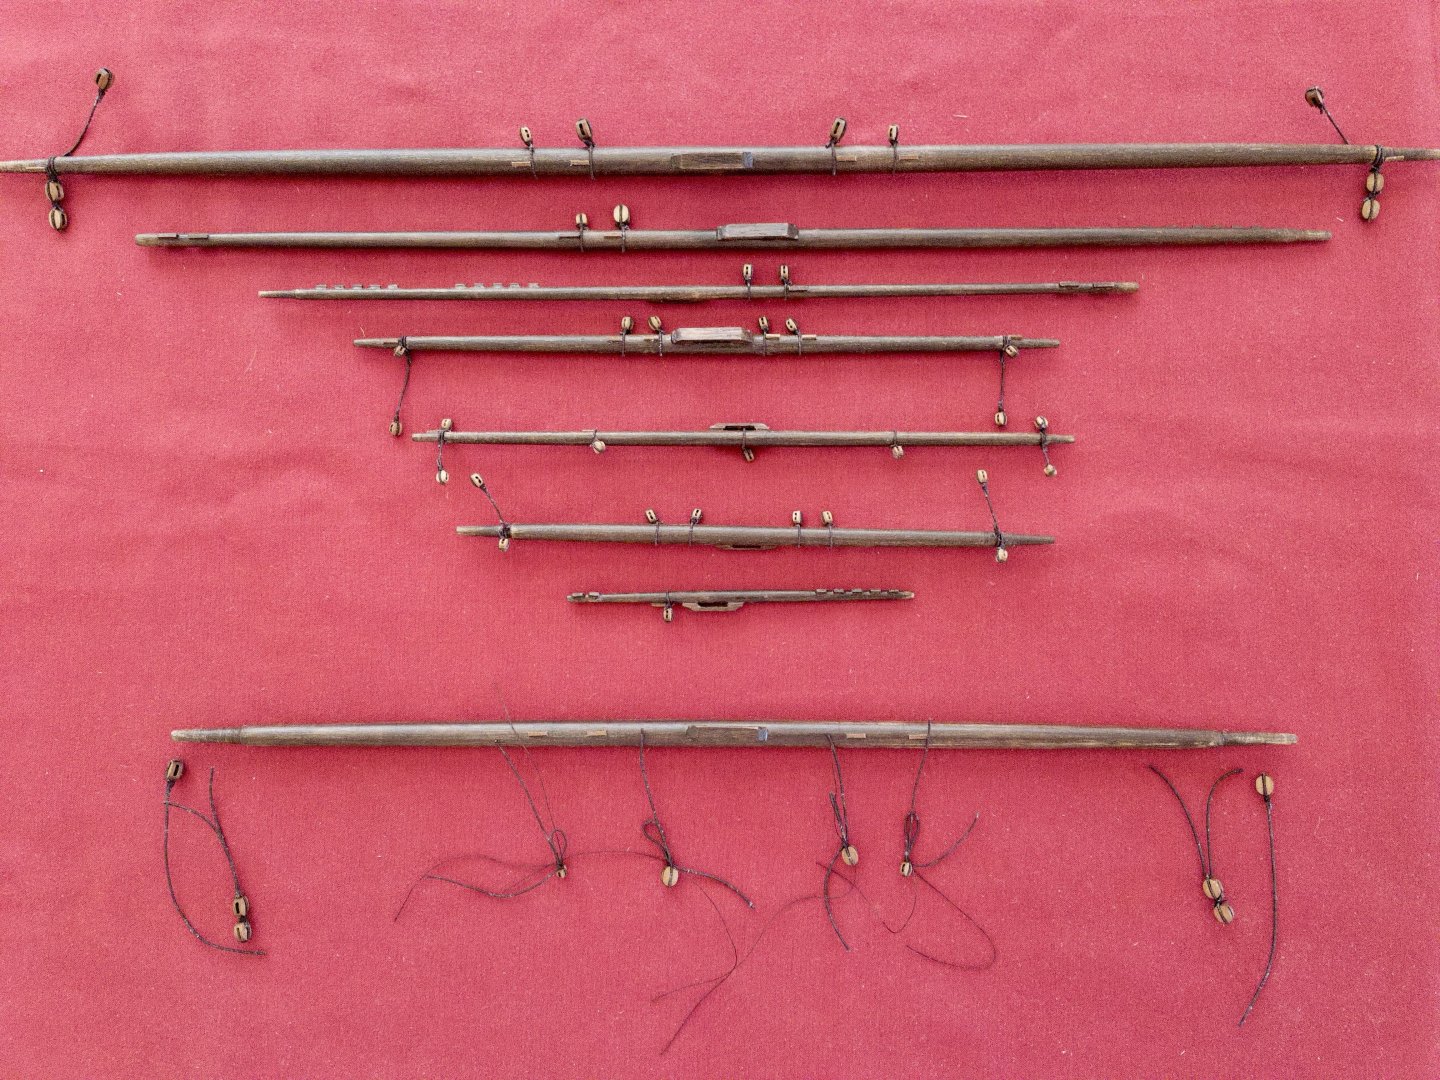
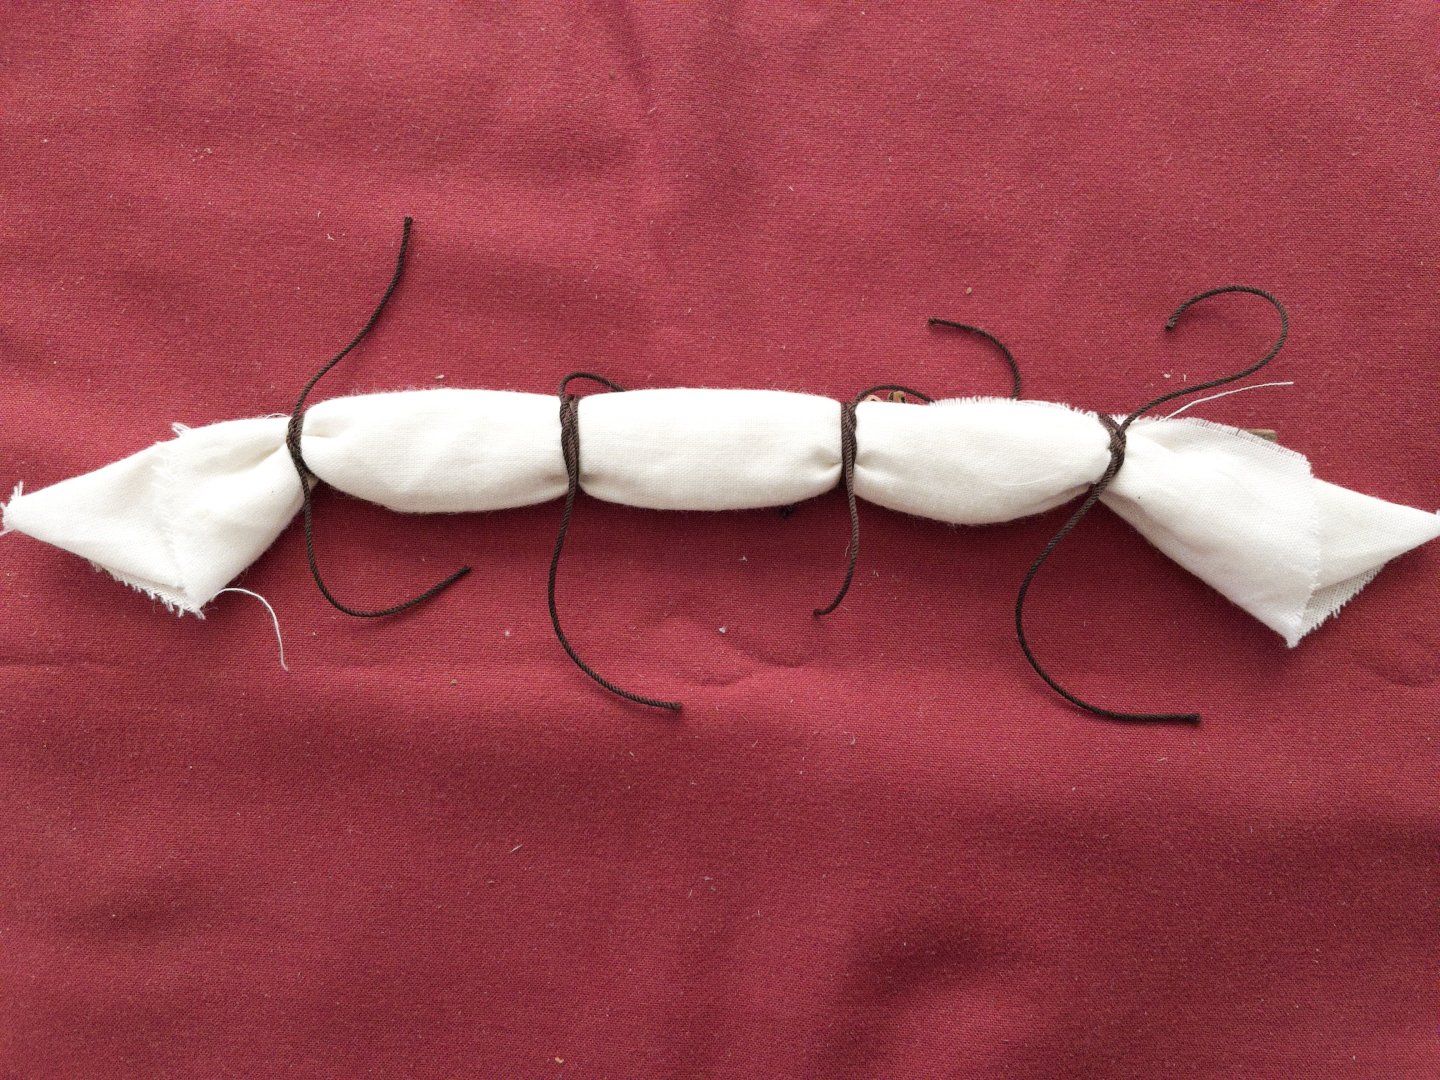
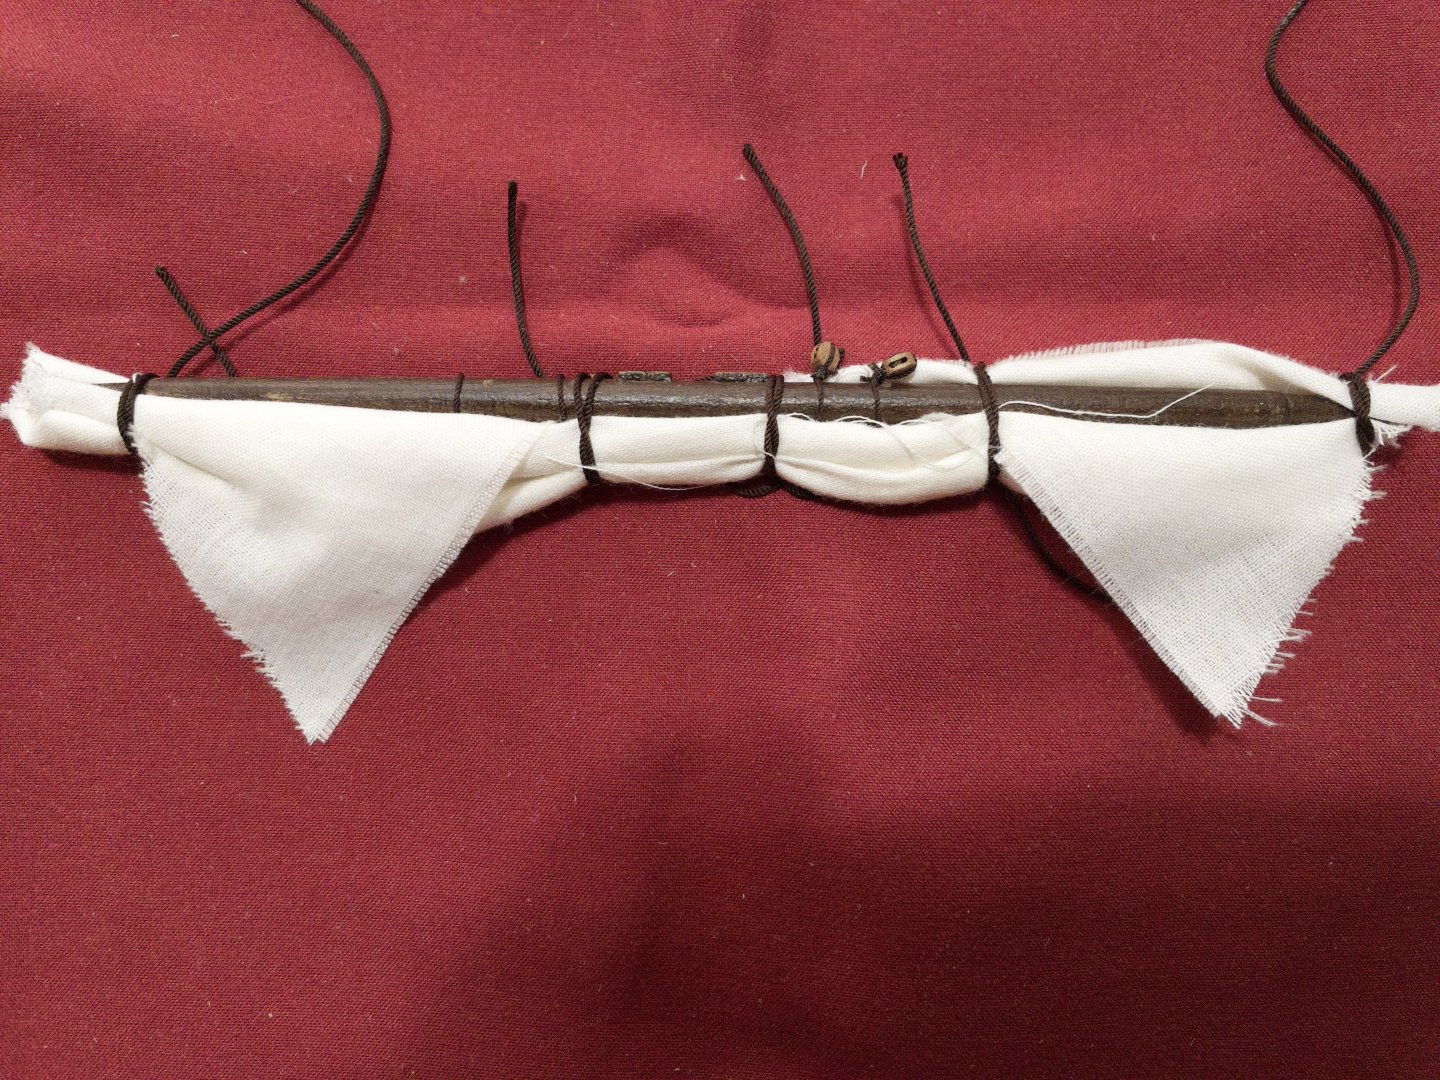
Final test: I'm including the front (first) and back (second) pictures of sails tied using the method outlined above. I have included a set using 0.5mm (upper) and 0.35mm (lower) rope. On each spar, three tie points with double attachments and two with single. Overall, I personally prefer the set using 0.5mm rope. In fact, I may even use 0.65mm for the main spars. You see the size above. I like this method... best of all the tests done so far. Comments more than welcome. Sorry, the pictures are a tad dark... it is late here.
-
Thank you, Trevor, you have several good points. I indeed had several difficulties with any of the roband hitch. I found couple video informative though. At the end I want something close to the reality... but still practical to do. Will try to post a prototype tomorrow. Got the first step done with one rope size and will do another at 0.35mm (rather than 0.5mm, which the kit recommends). Please don't hesitate to give you feedback. Only prototype so far, so we can adjust.
-
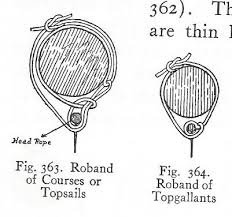
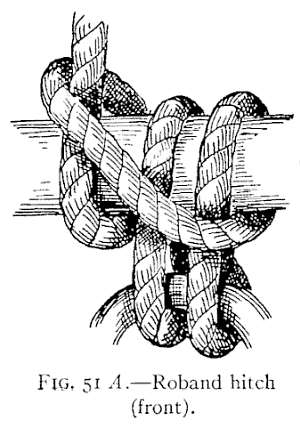
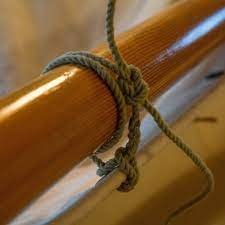
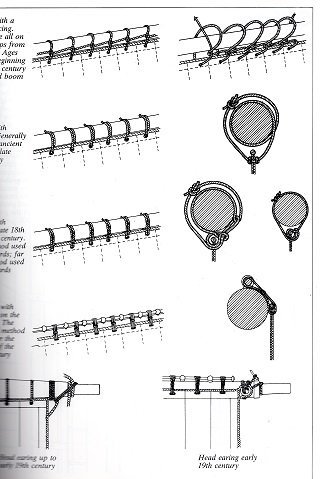
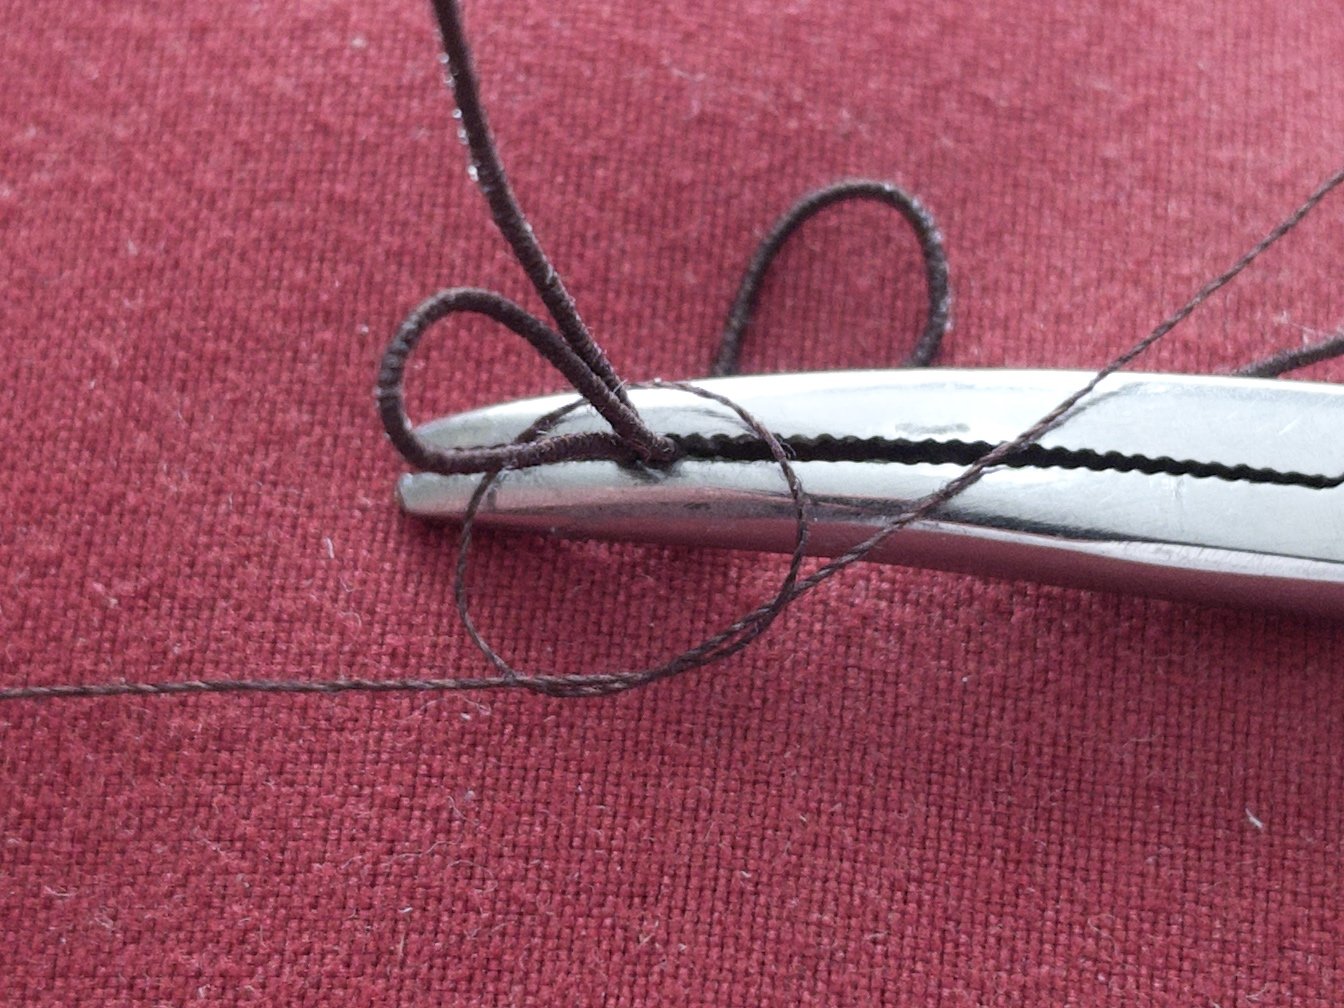
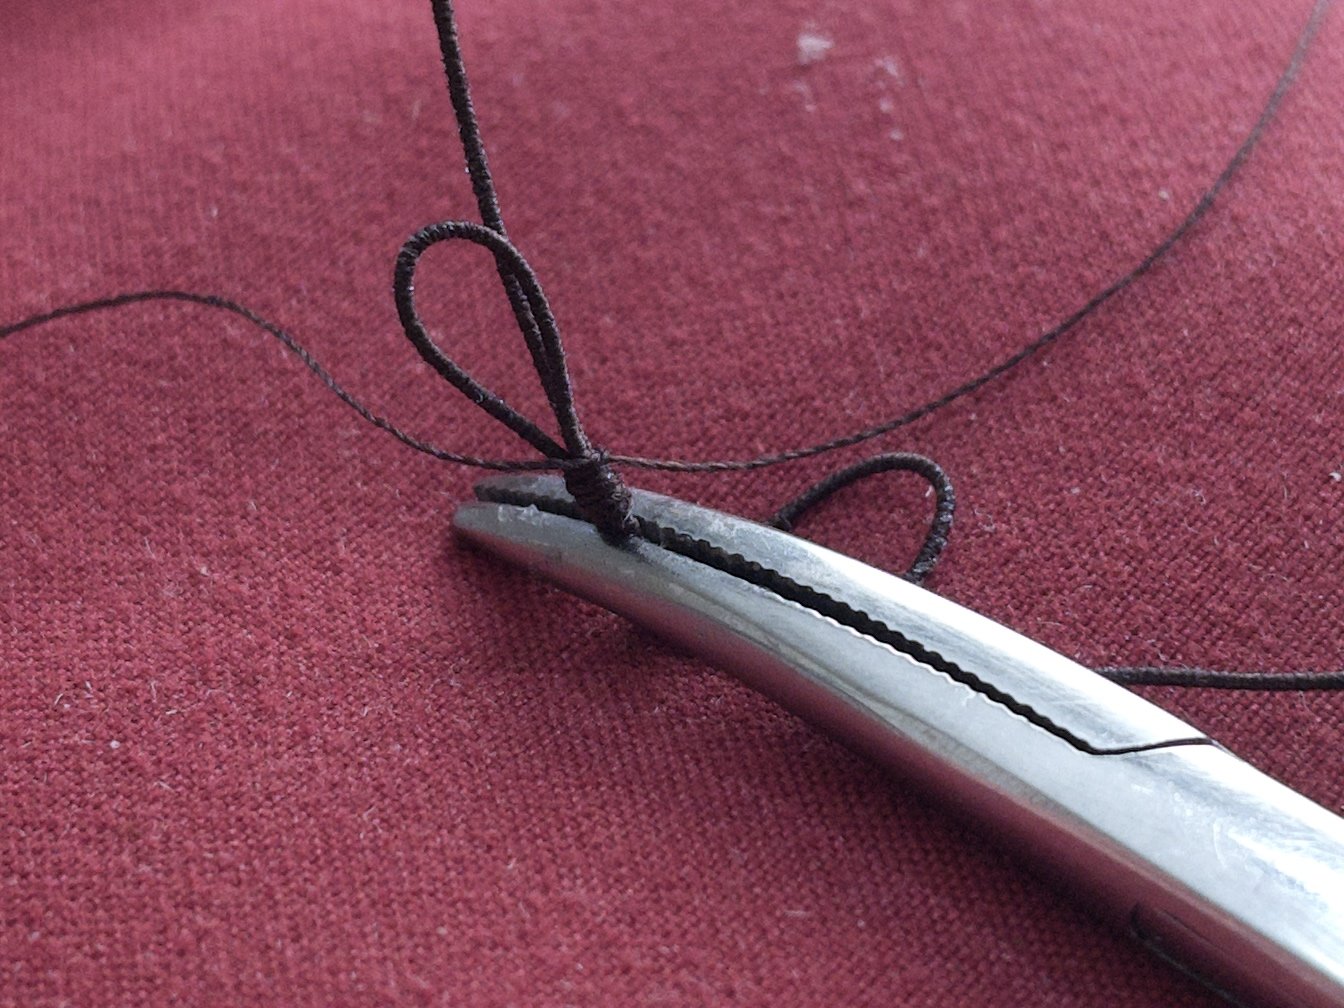
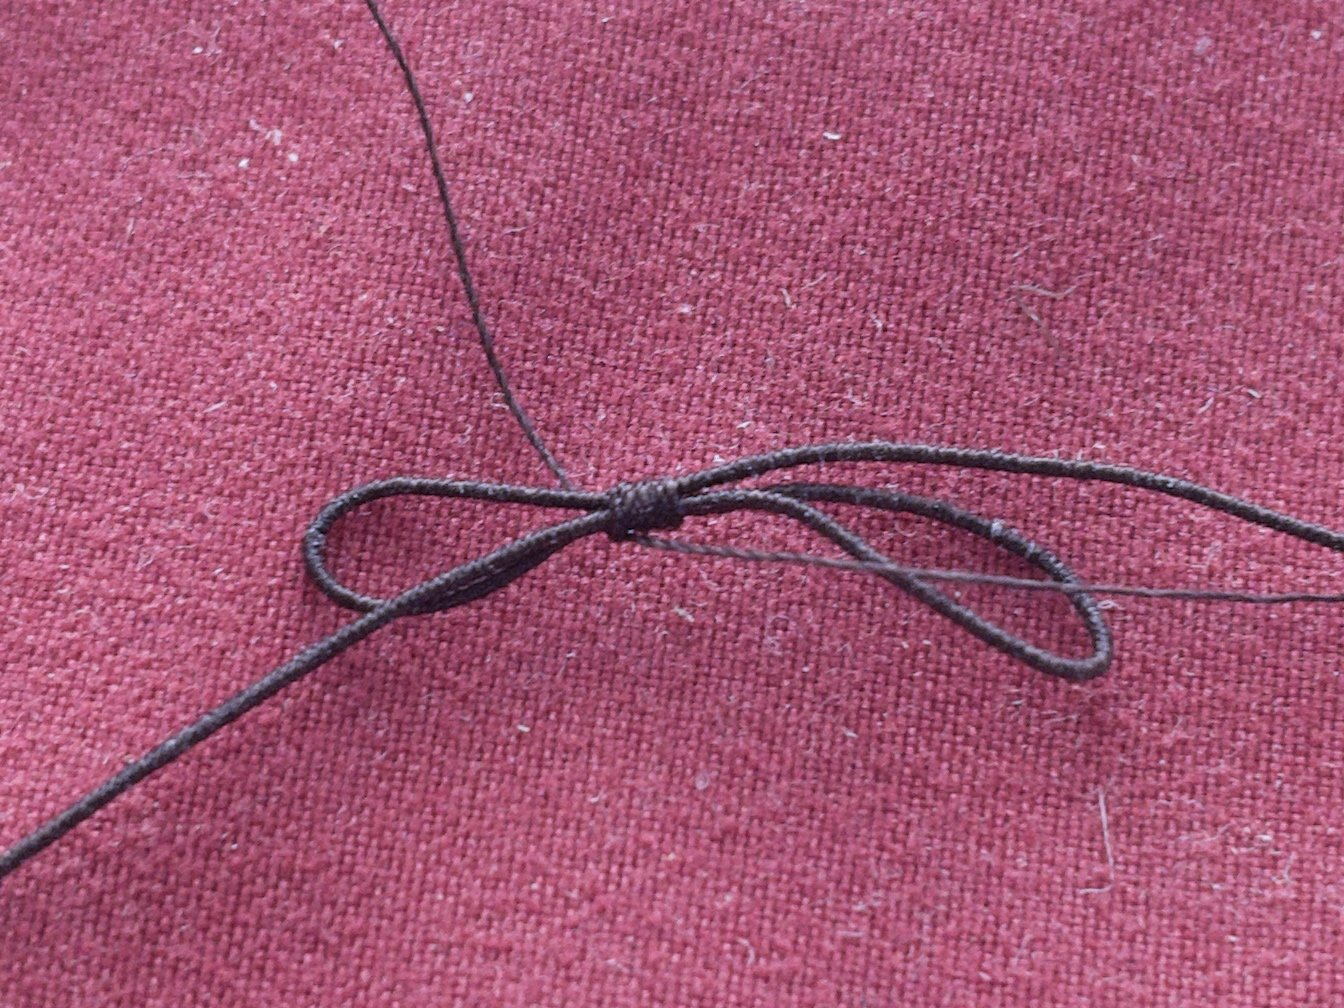
Roband Hitch: In getting ready to attach sails to spars, I realized that again my lack of knowledge slowed me down significantly. I little research indicated that sail was attached using a "roband hitch". Let me summarize it. Other may find it useful. The pictures below illustrate it (sorry they may be small). Not a very easy knot to do. So let break it apart for simplification. On the sail side: that look like a simple "lark head knot". Very easy to do. On the spar side: a variant of the clove hitch, if you watch video. We know this one very well. Remember ratlines! But is it? I'm learning that there likely several variants of "roband hitch". Looking at picture 2, this looks like what? yes, a modified "lark head knot". I think, I'm slowly going somewhere. Lark head knot can be done using one side of a cord. So, what am I planning to do for the main spars: quite simple in fact: a) tie the rope to the sail using a lark head knot, leave the two ends of the rope pointing upward from the sail. It can be done at all anchors point of the sail without spar, ready to go. b) Using one end of the rope (right side), Make another lark head knot around the spar and tie it up close to the sail. Can be easily lock in place temporally by just pulling. c) This will bring the two loose ends at close proximity below the spar, where I want it. Finally, simply lock using 1/2 square knot. As a bonus, the square knot will form parallel to the spar/sail, almost under... which is cleaner at the end. The above has an advantage in executing. It can be done in stages, with no real loose rope that can entangle. I have only done a couple so far, but it is straightforward. Let me finish my test spar/sail and post few pictures later. Note: including another picture posted previously by @Gregory, and support what @Baker was talking previously/above.
-
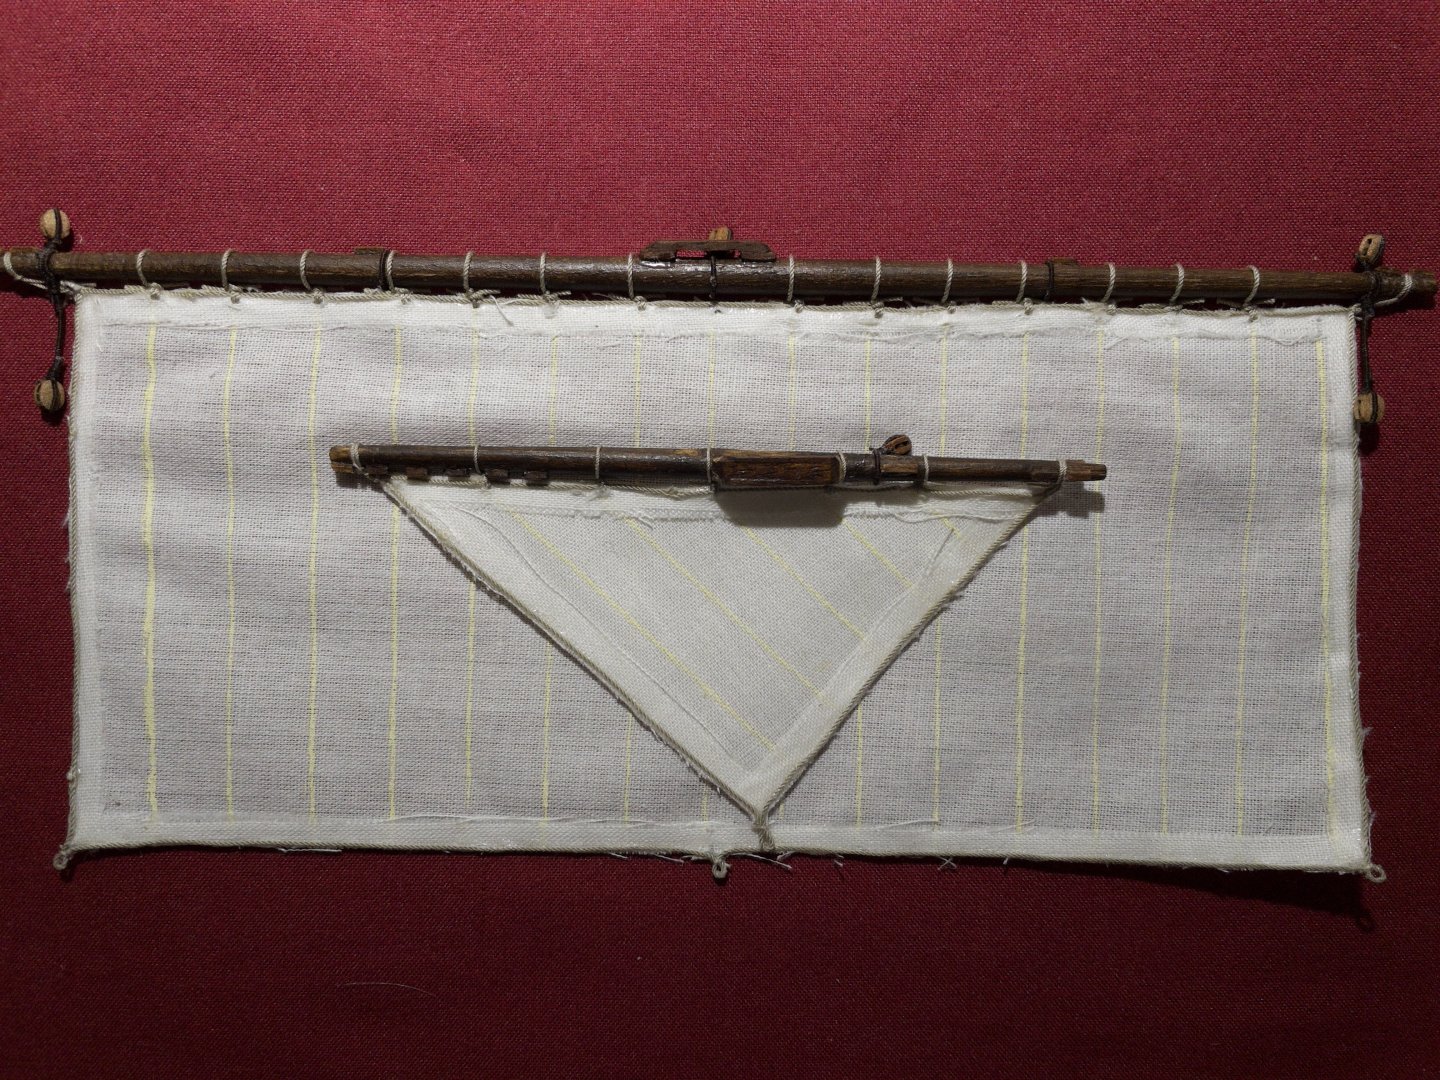
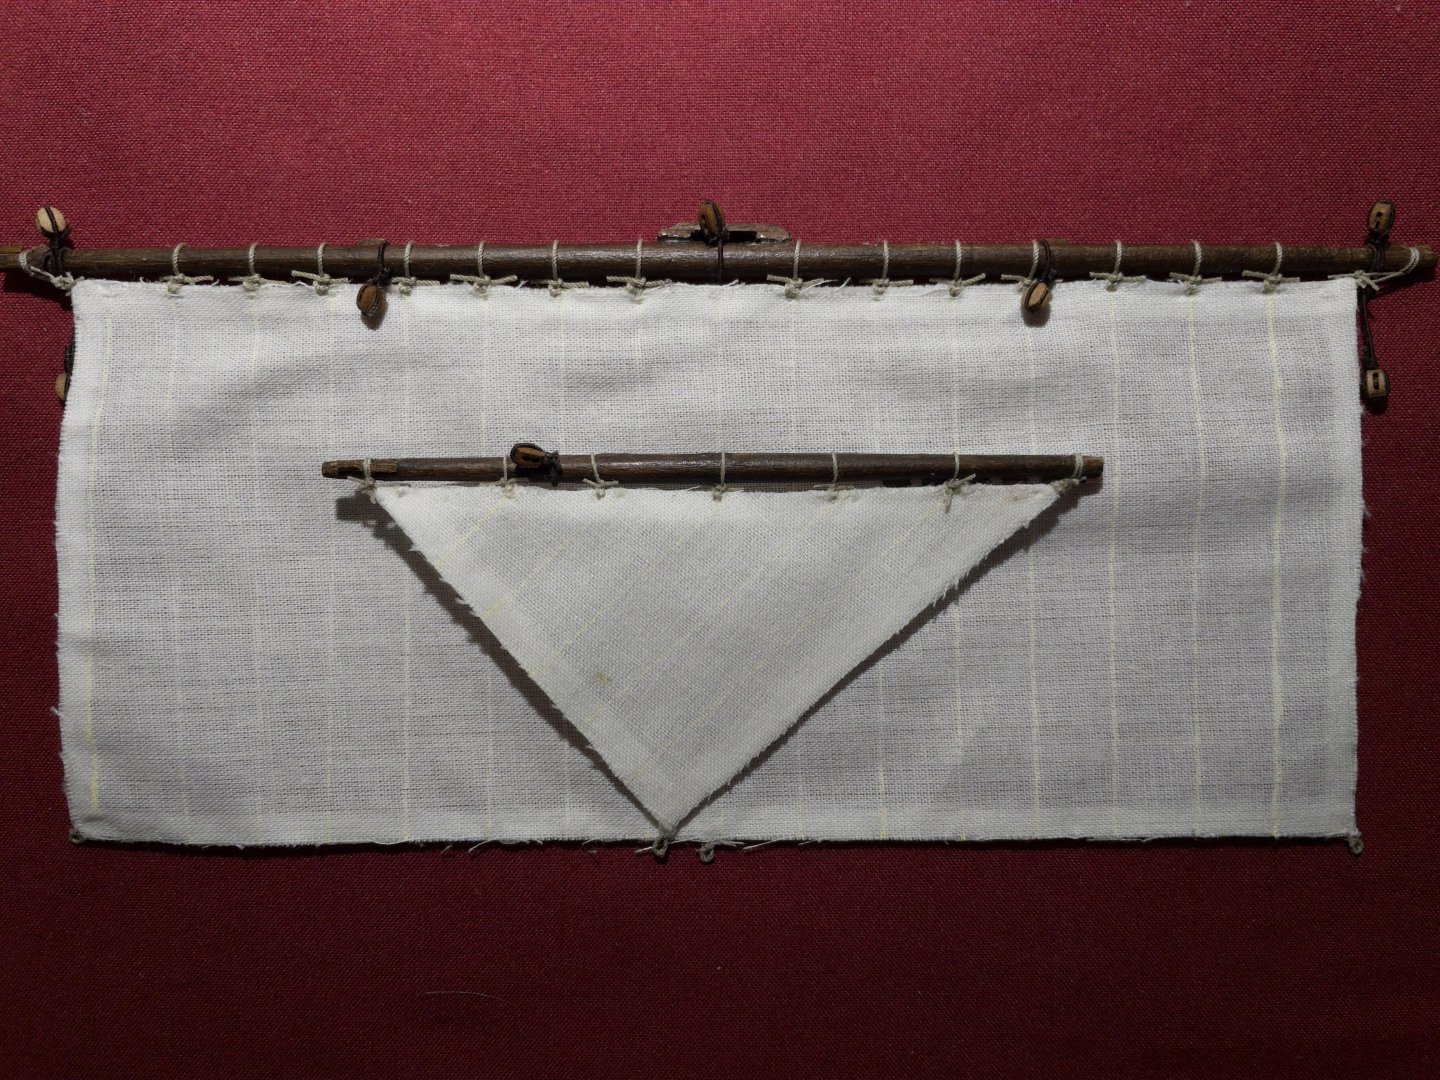
Hello all, Dam you @Baker (in fact thanks!), once I knew the first method was not right... I just could not get back to it. That's the perfectionist in me that just kicks in. For mizzen, sprit and bonadventure yards, the ties are quite simple. I start with a lark's head knot at the sail as anchor point. I then loop around one end and finish with a square knot. Since the rope is already anchored, it guides the knot to the bottom. Have an idea for the other spars... but need to test it first. Note: This is a practice sail... it is a little messy. In addition, I did not use CA glue before cutting the ends. This was just a test to see what it looked like. I think we're getting there. Here, front and back.
-
Greeting all, I tried the roband hitch... I must say that I'm having a hard time with it. My issue is that I end up with an ugly square knot. I have a hard time with it and hate the look locally. In addition, it is taking me forever at each knot. I'm considering going back to the first method, less accurate for the period and type of ship, but easier for me. I'm thinking of a slightly different method that may look better once done. Back to the testing phase. This is the drawback with beginner. Not having it done before, you can't really anticipate issues/difficulties. Efficiency/speed go down the drain really fast... this is a necessary learning curve, I guess.
-
oh dam... reading your post and few others... you are right: one break and the sail fall apart. Not a good approach for warship. Furthermore, I like to incorporate a realistic approach to build as much as I can (except for decoration, where I take some liberties). Ok, I only have the two very small ones done. Let me do the roband hitch... will need to figure out the knot, first. I see that you have a short tutorial with the Golden Hind. Thanks for the comment... a nice early catch. BTW I like how you sowed the rope around the sail. That will be my next time.
-
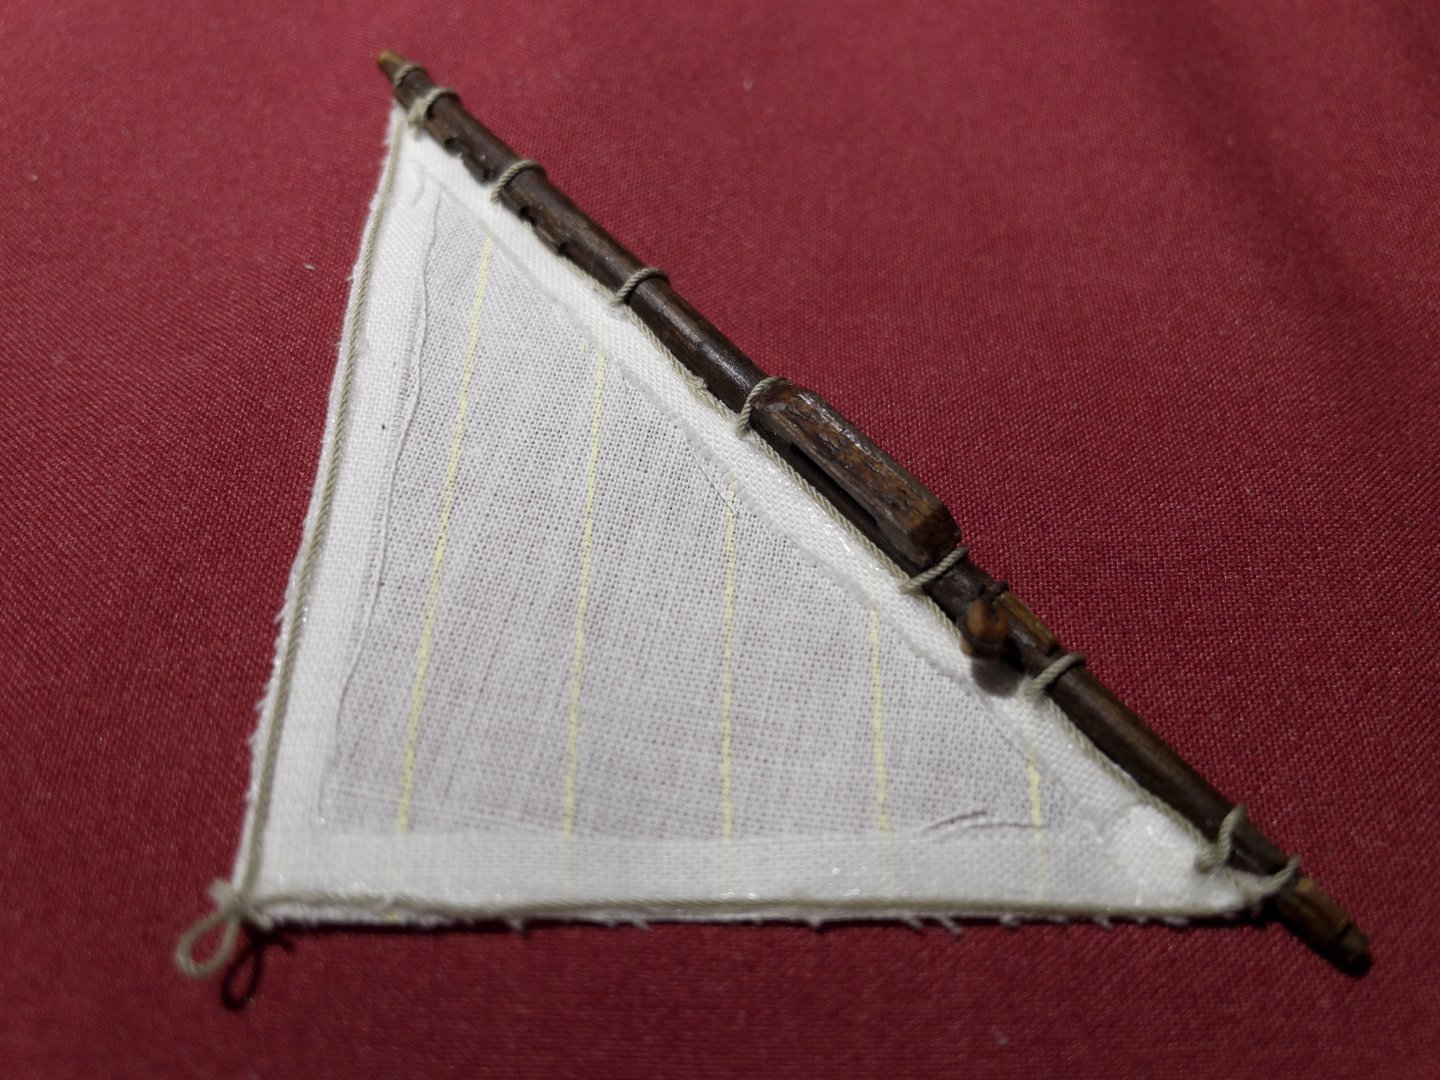
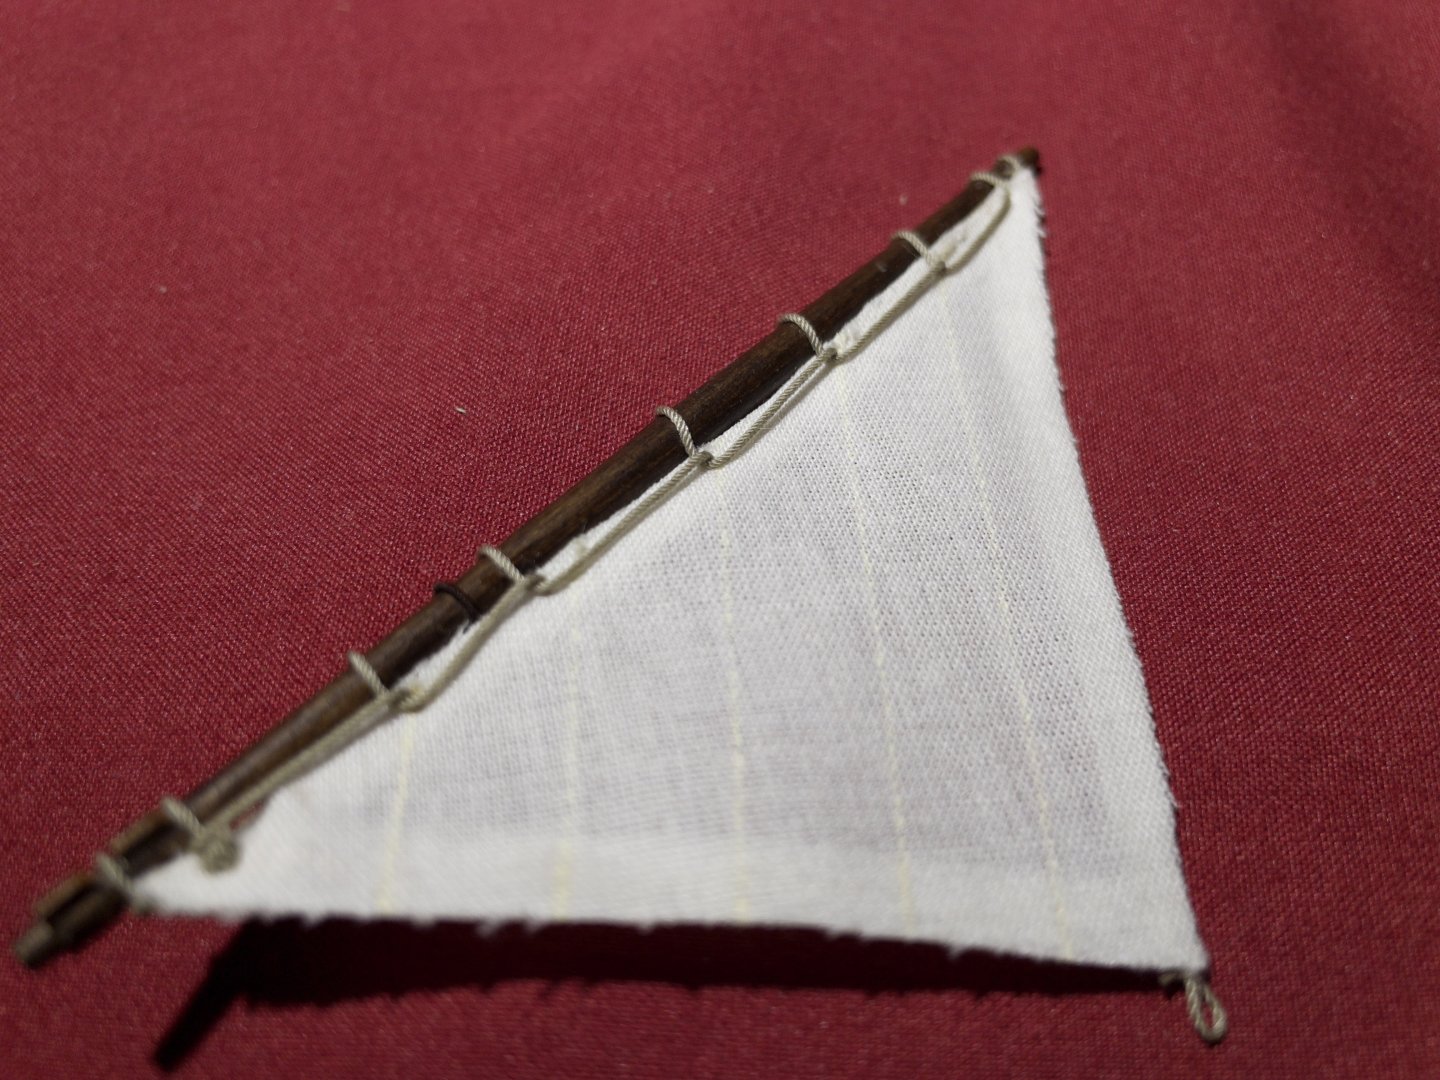
Attaching Sails: I chose two of the smallest pieces as examples, so you can get a more detailed look. I'm not set up to sew the sails. So I use alternatives. First the edges are reinforced by cutting and gluing a small 3 mm fabric. I used fabric glue, which remains flexible after drying. The glue further strengthens the edge... a nice bonus since you can sew the tread very close to the edge without ripping the fabric. The vertical sewing lines are just painted in using "Posca" pen 0.7mm. I had a hard time deciding between ivory and beige.... I settled on the first. The paint seeped into the fabric and can be seen on both sides. Finally, I sew the sail on the spar using a single tread. You can see the details on both sides in the pictures.
-
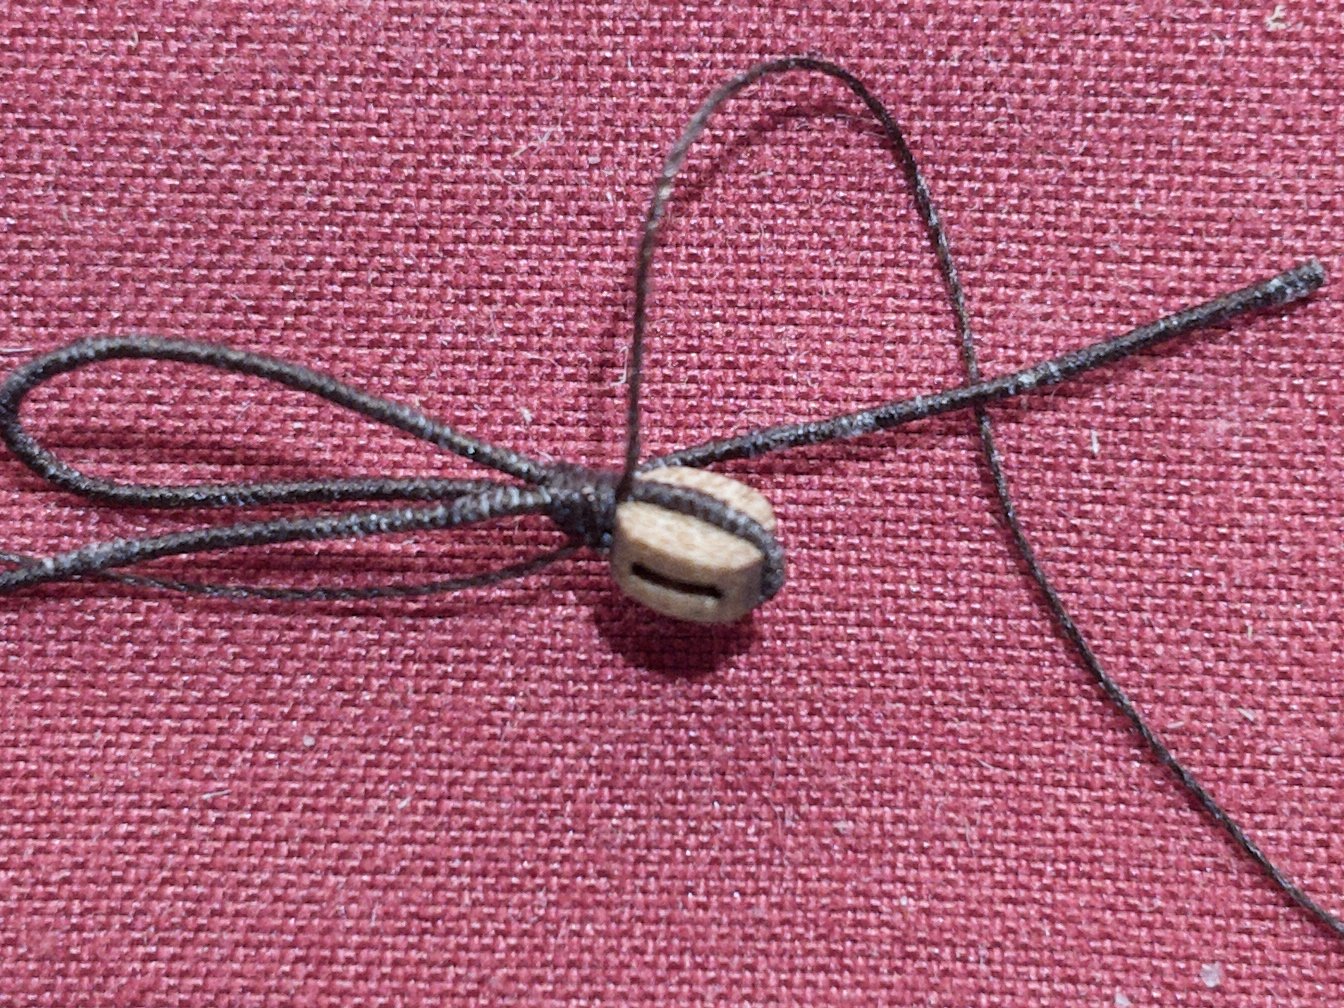
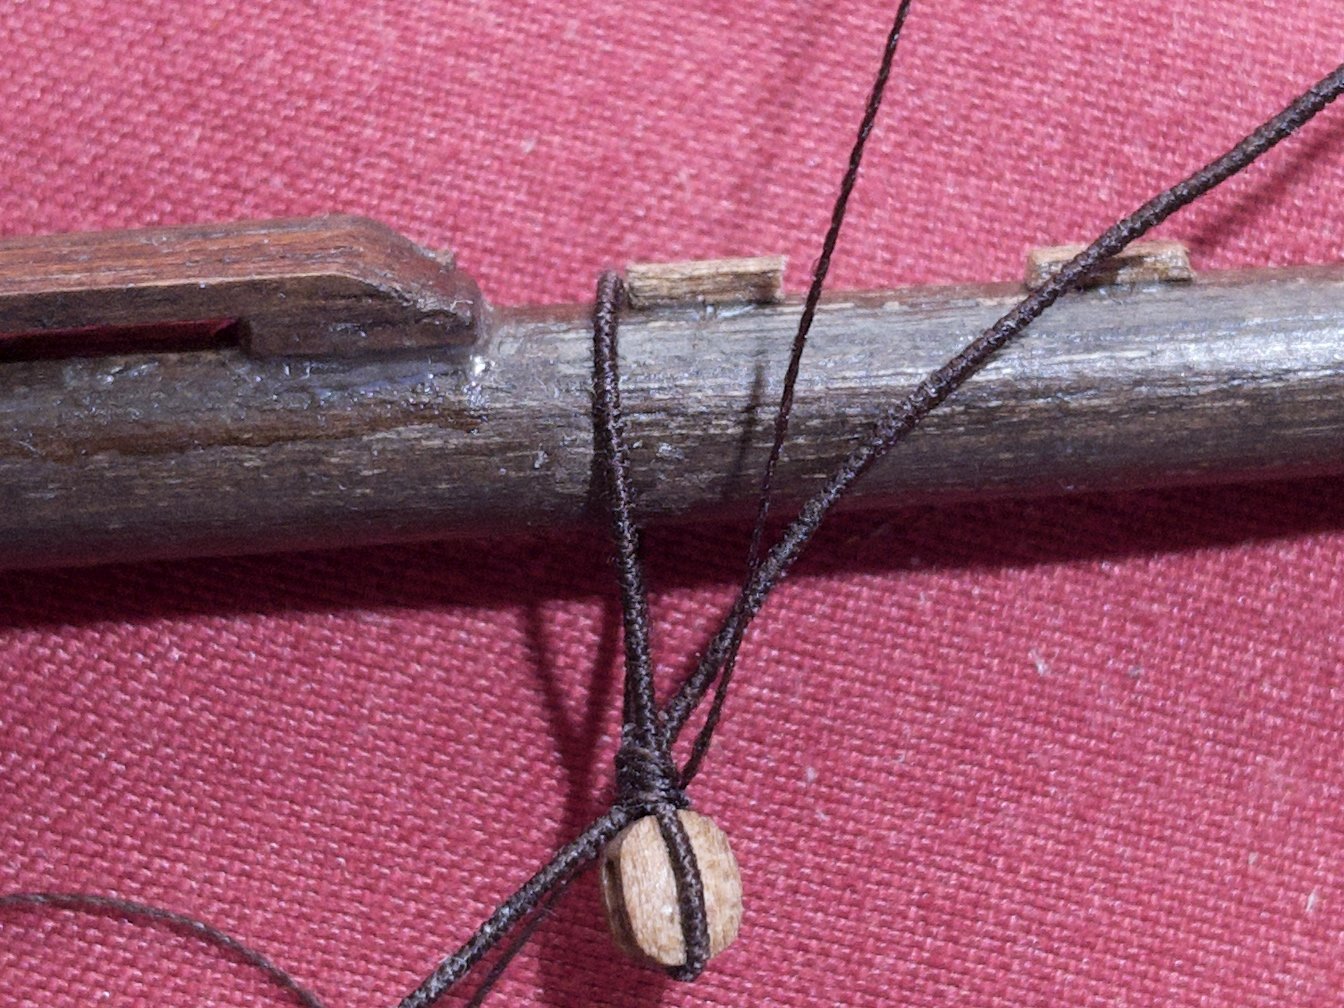
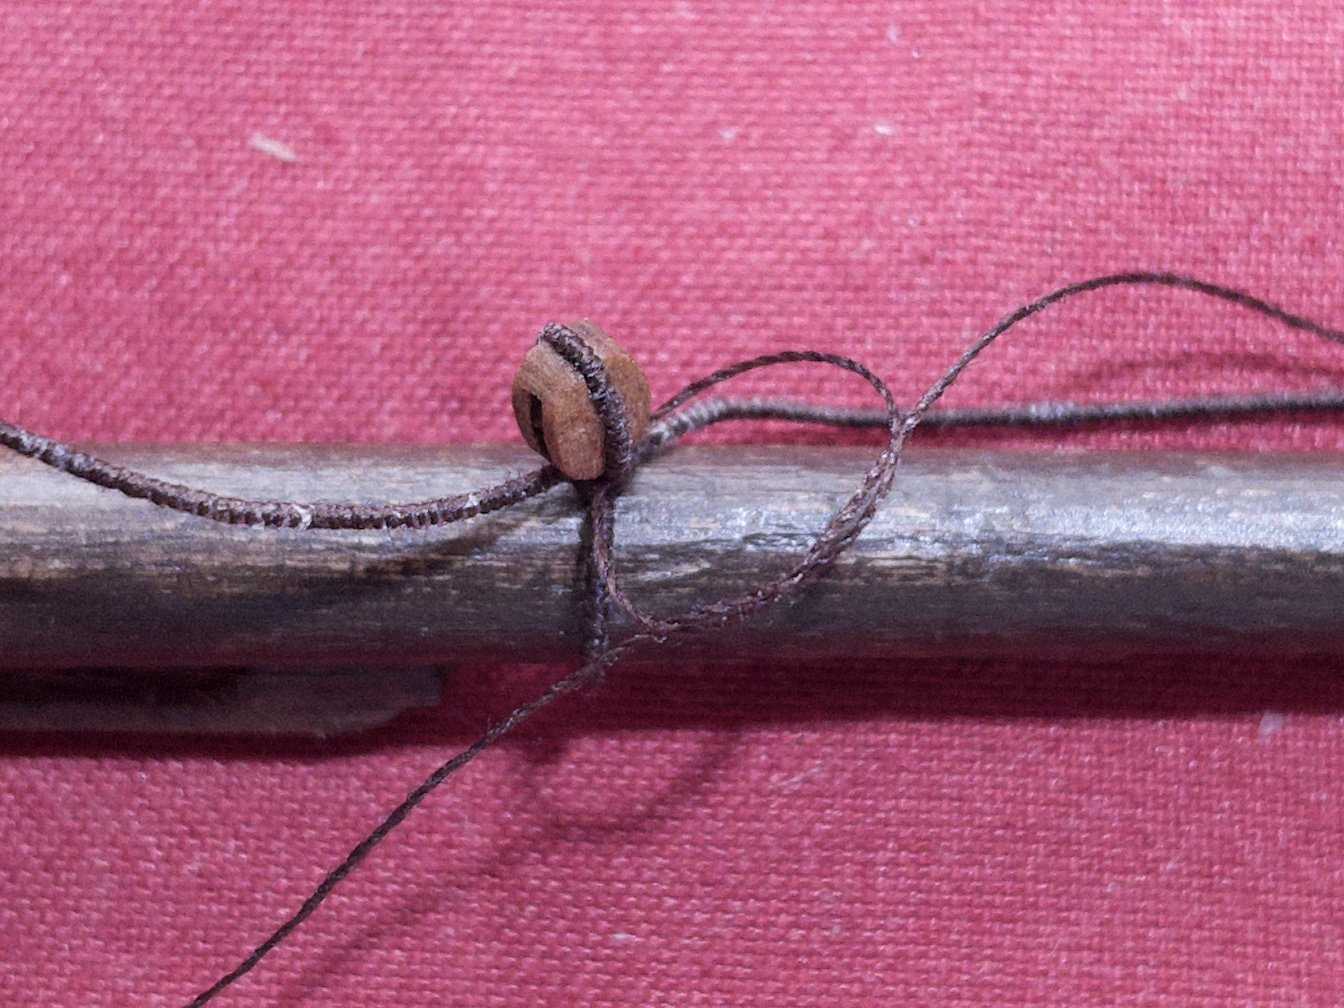
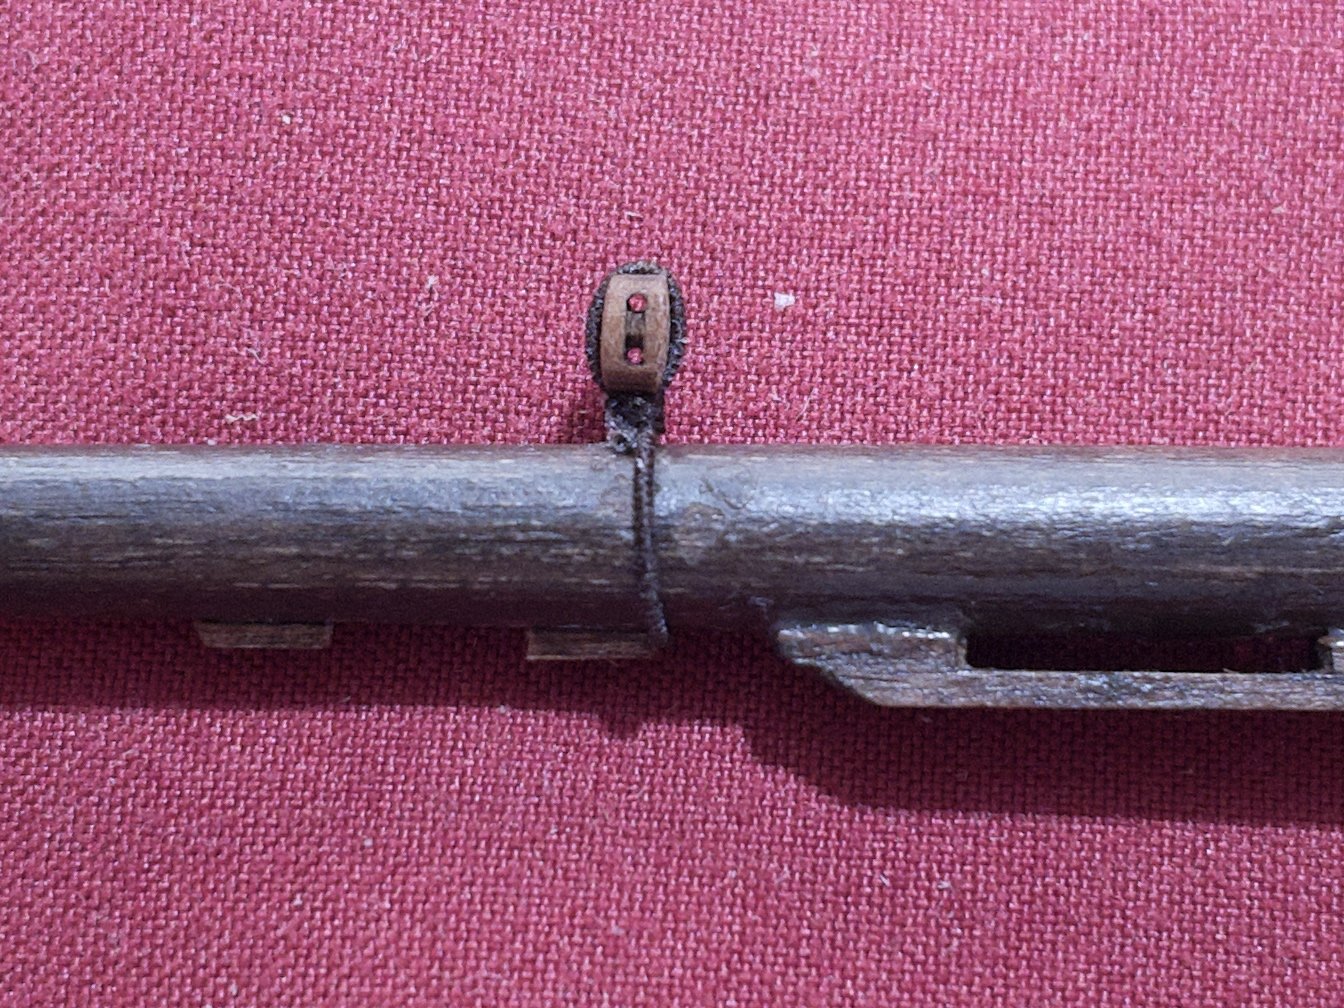
Attaching Blocks: Not a huge update, but some may be curious about how I attached the blocks to the spars. Obviously, this is pretty basic for most of you... but I like documenting the build process in general. Basically, the pictures illustrate the steps. One thing to be careful of in the early steps is to have the sizing smug but lightly. With a serving rope, the sizing will lock in place otherwise. You still need to pull the ends of the rope to tighten the block and later to the spar. One end to tighten one loop, the other for the second. Experiment a little first. Once done, you can then "lock" everything down very well by pulling on the sizing, lock in place by adding a tiny drop of CA glue. This is zoomed in 3x. The block is 2.5mm. The is 0.35mm initially, likely 0.5mm after serving.
-
ok, I came across a small delay. I build, shaped and added the blocks to the spars few months ago... before starting the standing rigging. One thing I learned since (thanks Kirill4 for that) is that most of the blocks were set to spars and masts, even other fixtures using served lines. The reason THEN was to strengthen the rope in point of friction for durability. So, for realism, it is good to do that. However, there is a practical reason for modeler: When you fix in place small blocks to spars... the block's rope remains somewhat flexible (i.e. it can stretch a little). The problem is that we (or I) cut the block rope pretty close for esthetic. Adding CA glue to the end help keep it in place but the serving can still move a little under "stress" and the knot loosen. Sometime, even fall apart. Using a served rope for fixing blocks as two advantages: 1) serving harden significantly the rope, so it does not stretch much, 2) the serving act as grooves for the sizing, so there is far more resistance to pull and tug. Lastly, when serving a rope, I add a very thin layer of fabric glue to the rope using a toothpick. Thin enough so it is only under the serving and does not spill to the outside. It further helps to limit stretching, and help getting a clean serving that stay together when the rope is cut. Summary: I decided to cut and redo the blocks on the spars. Just guess how much pain having to redo a block that fall apart AFTER you have the spar set on the ship with ropes all around... not fun. FAR BETTTER to deal with it ahead of time. A small set back... but a mistake I won't be doing again.
-
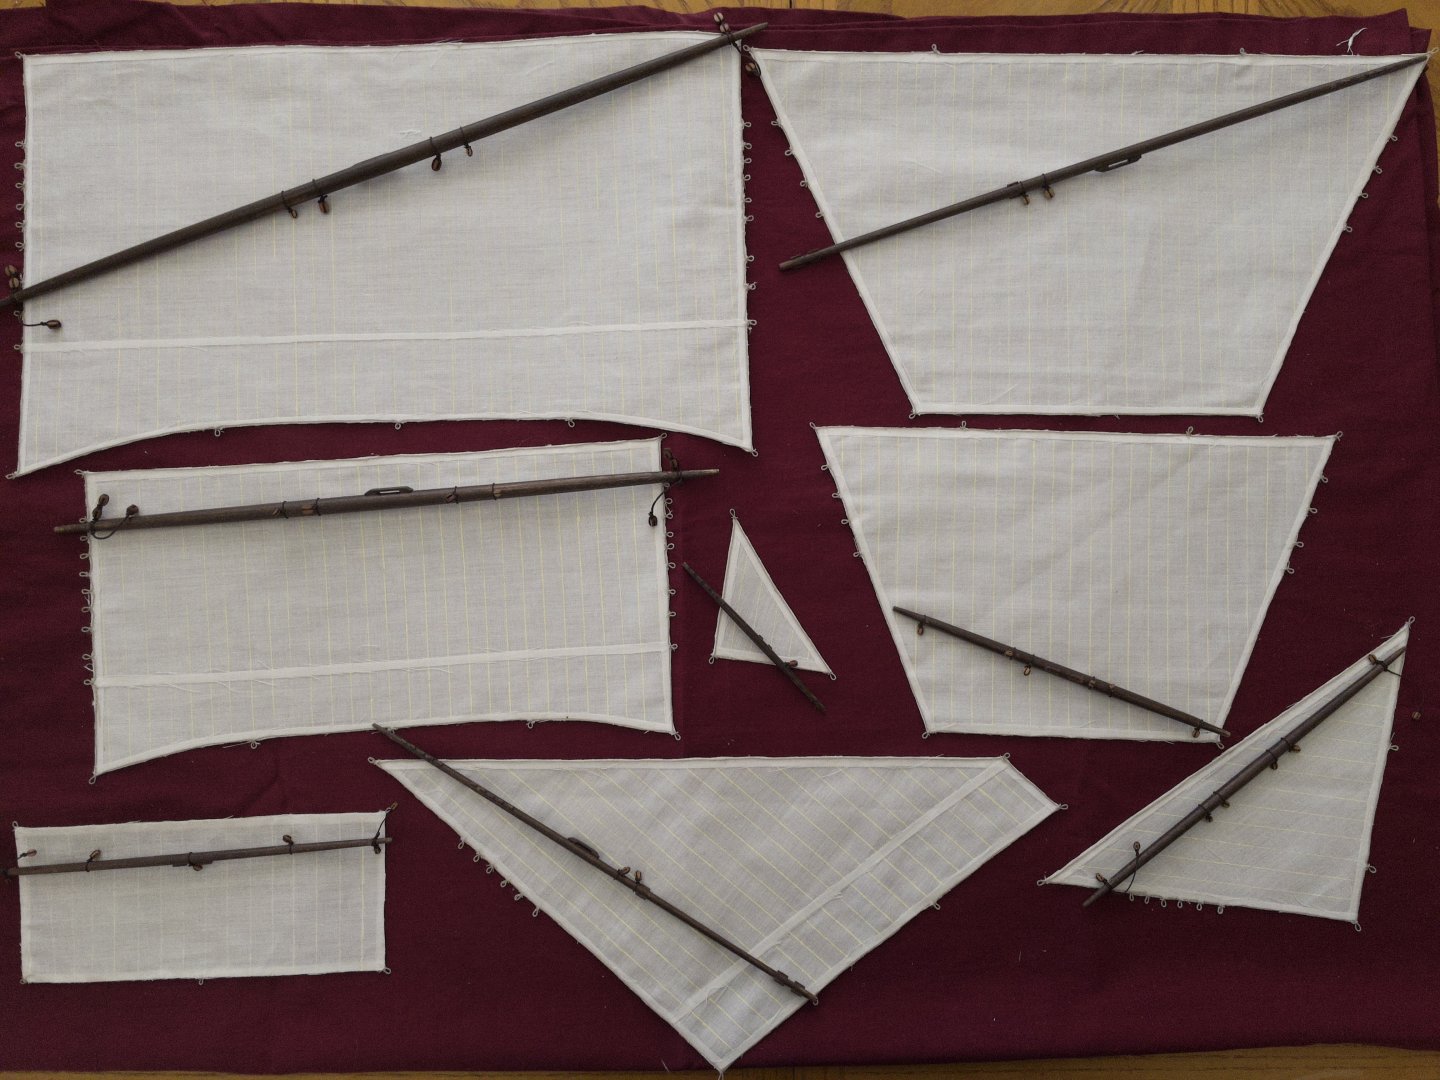
Ok... I keep changing my mind. I don't like a full sail display because it covers too much overall. However, although I like furled sails... the material is too thick to have a good roll. I may have found a middle ground that I will test later (need to attach the sails to the spar first): Display the model with sails set semi-furled as set when drying the sails. Saw a couple pictures and I think it worth a try.
-
Furling top main sails: I cannot find much information about furling sails. Tried a few folding approaches (hopefully I will remember this one hehe!)... this one seems close. Am I on the right track? This is using the full sail (the one above top left). I don't really want to shorten them since they are all done now. This is only a test piece, please don't mind the ties (too big and wrong color), am just wondering about the overall shape? Let me know what you think?
-
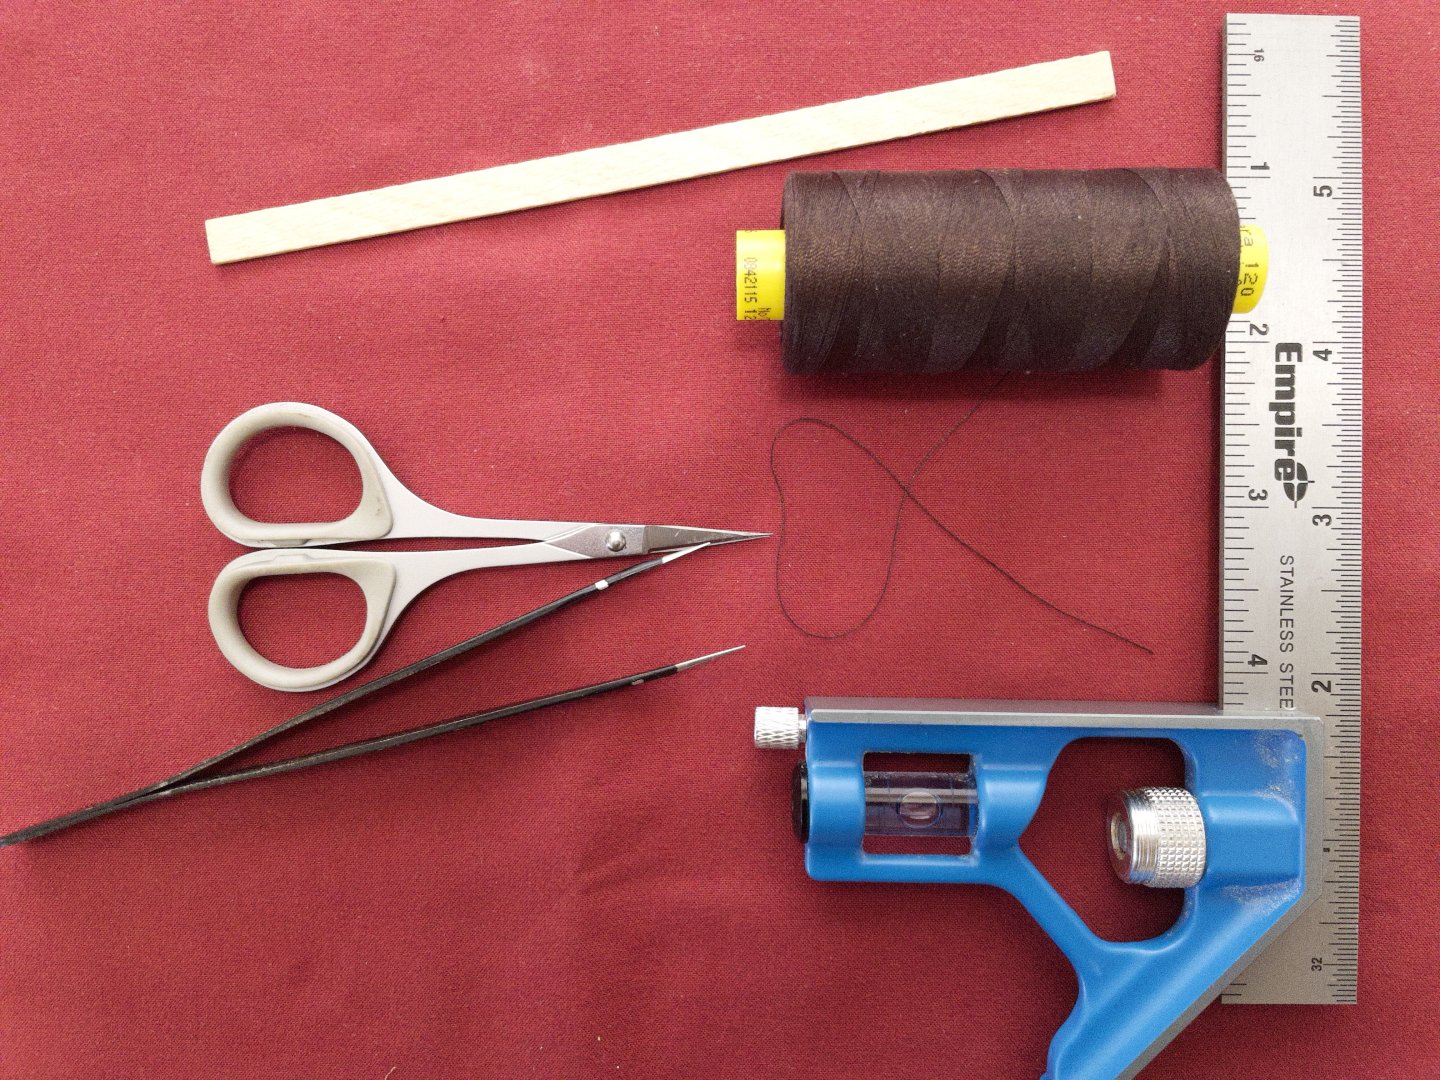
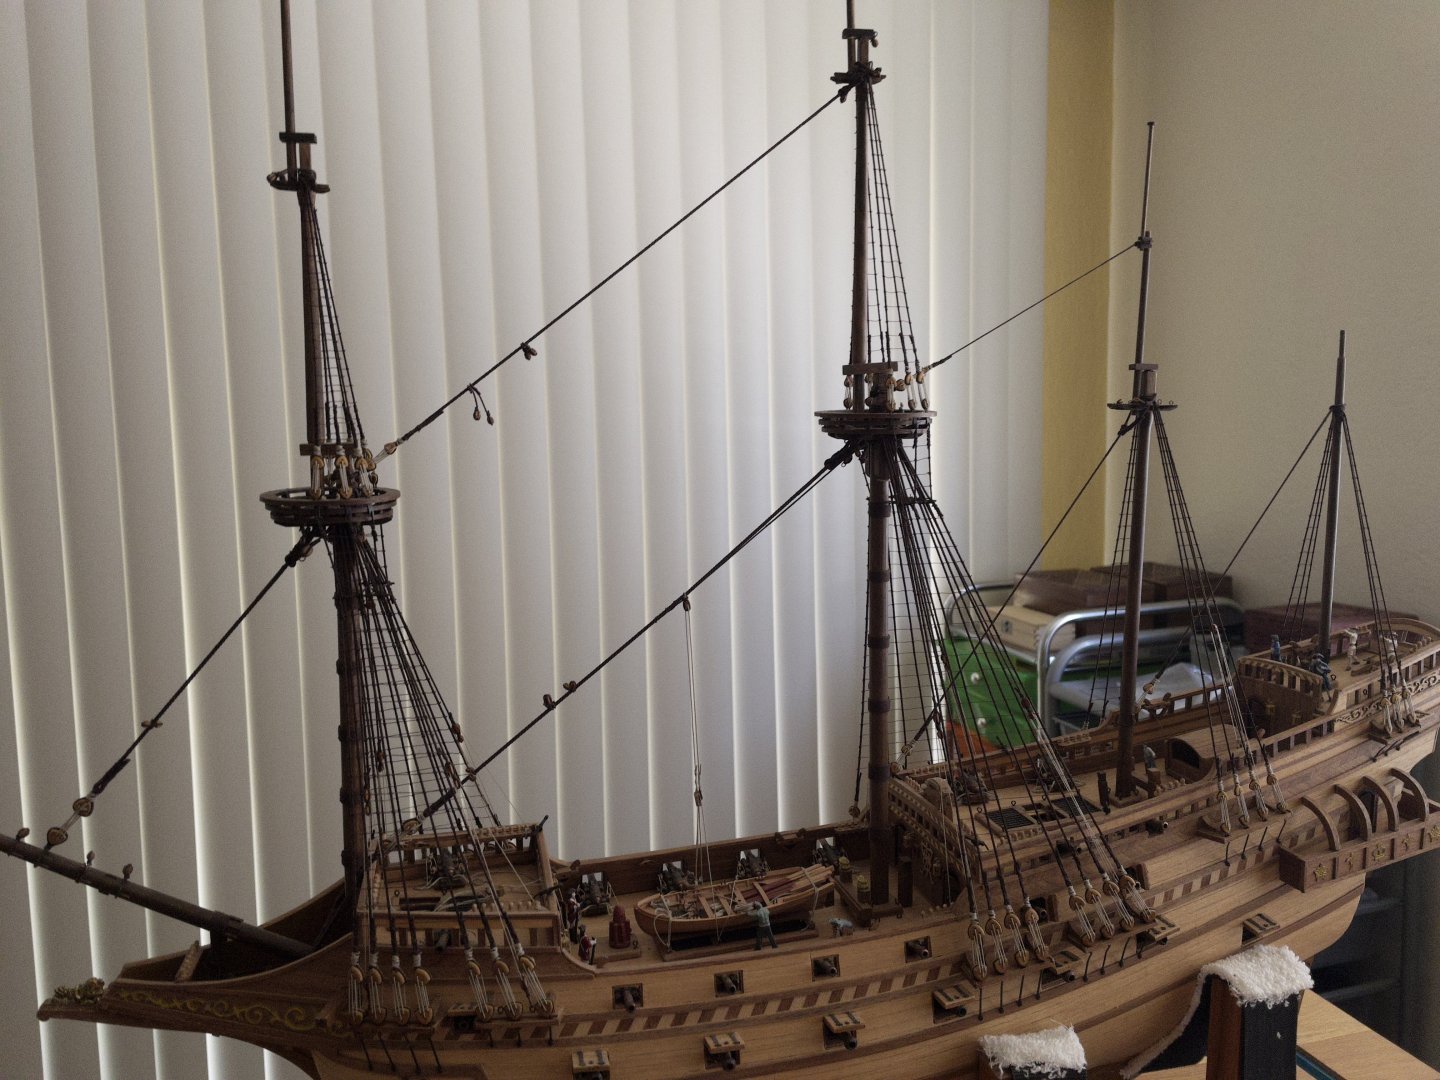
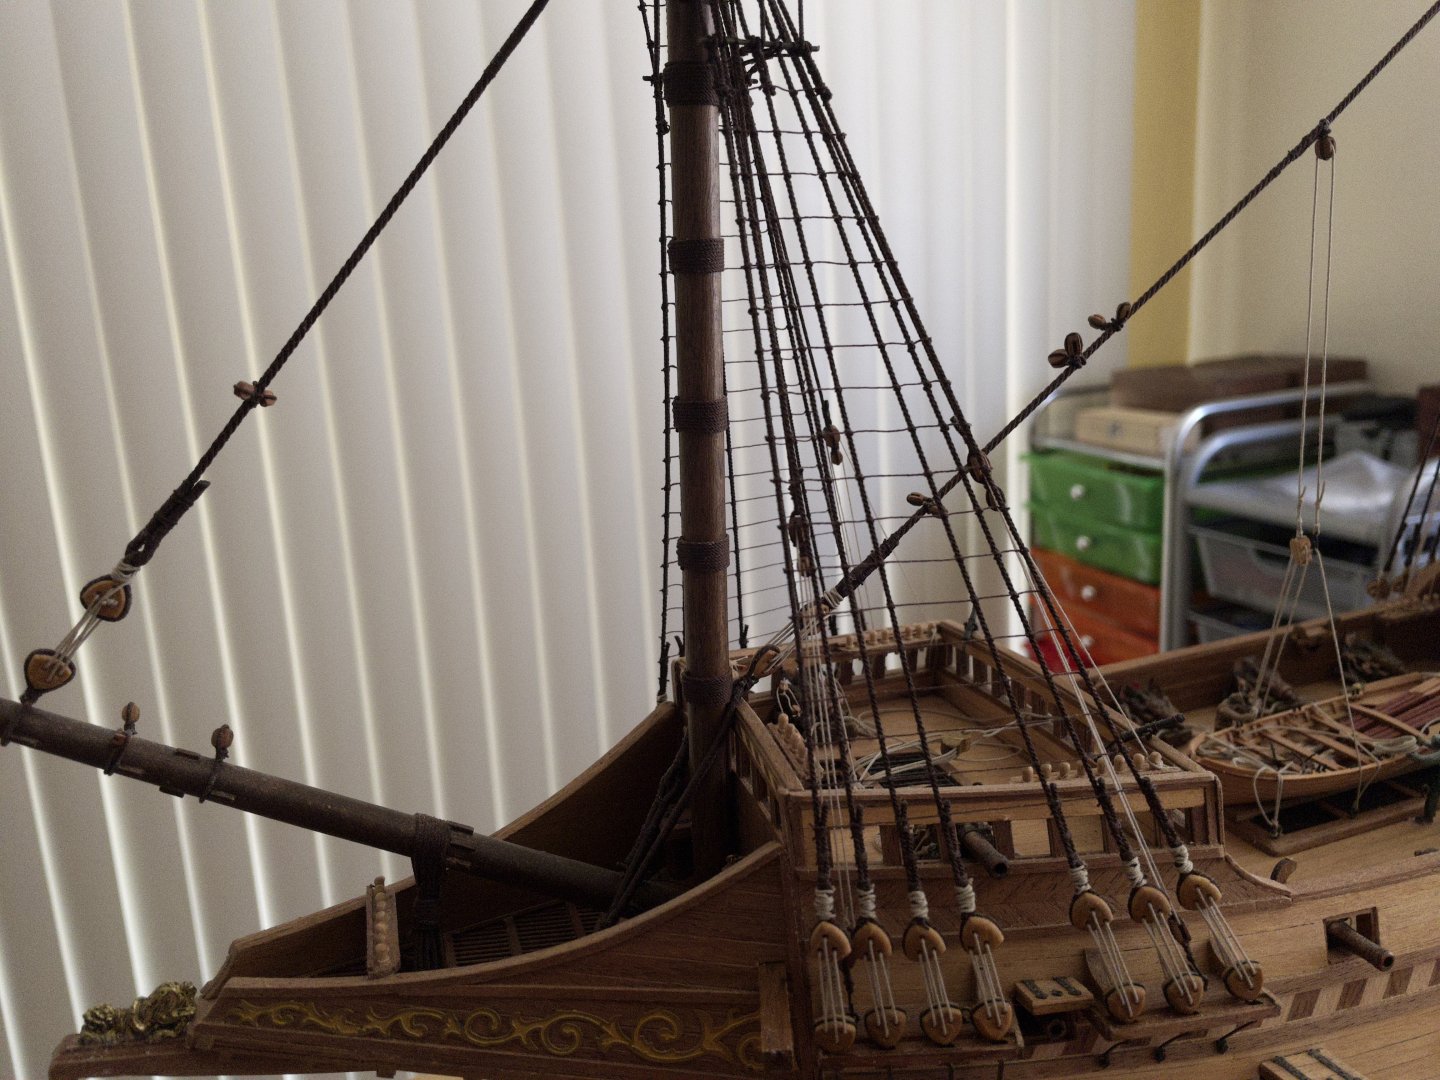
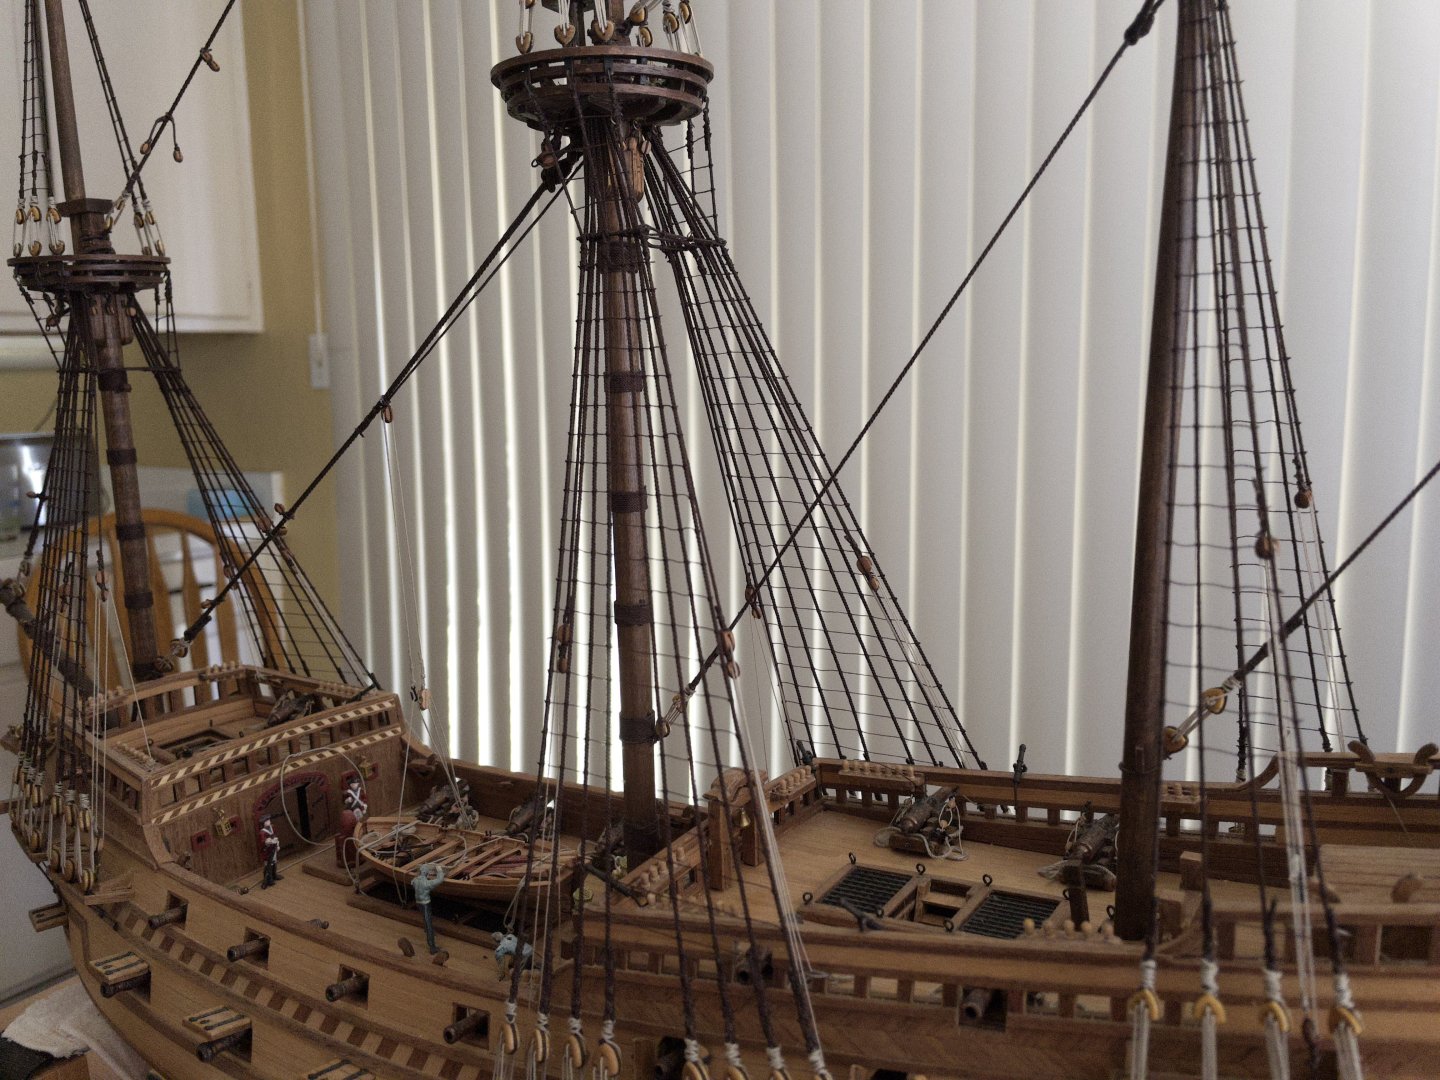
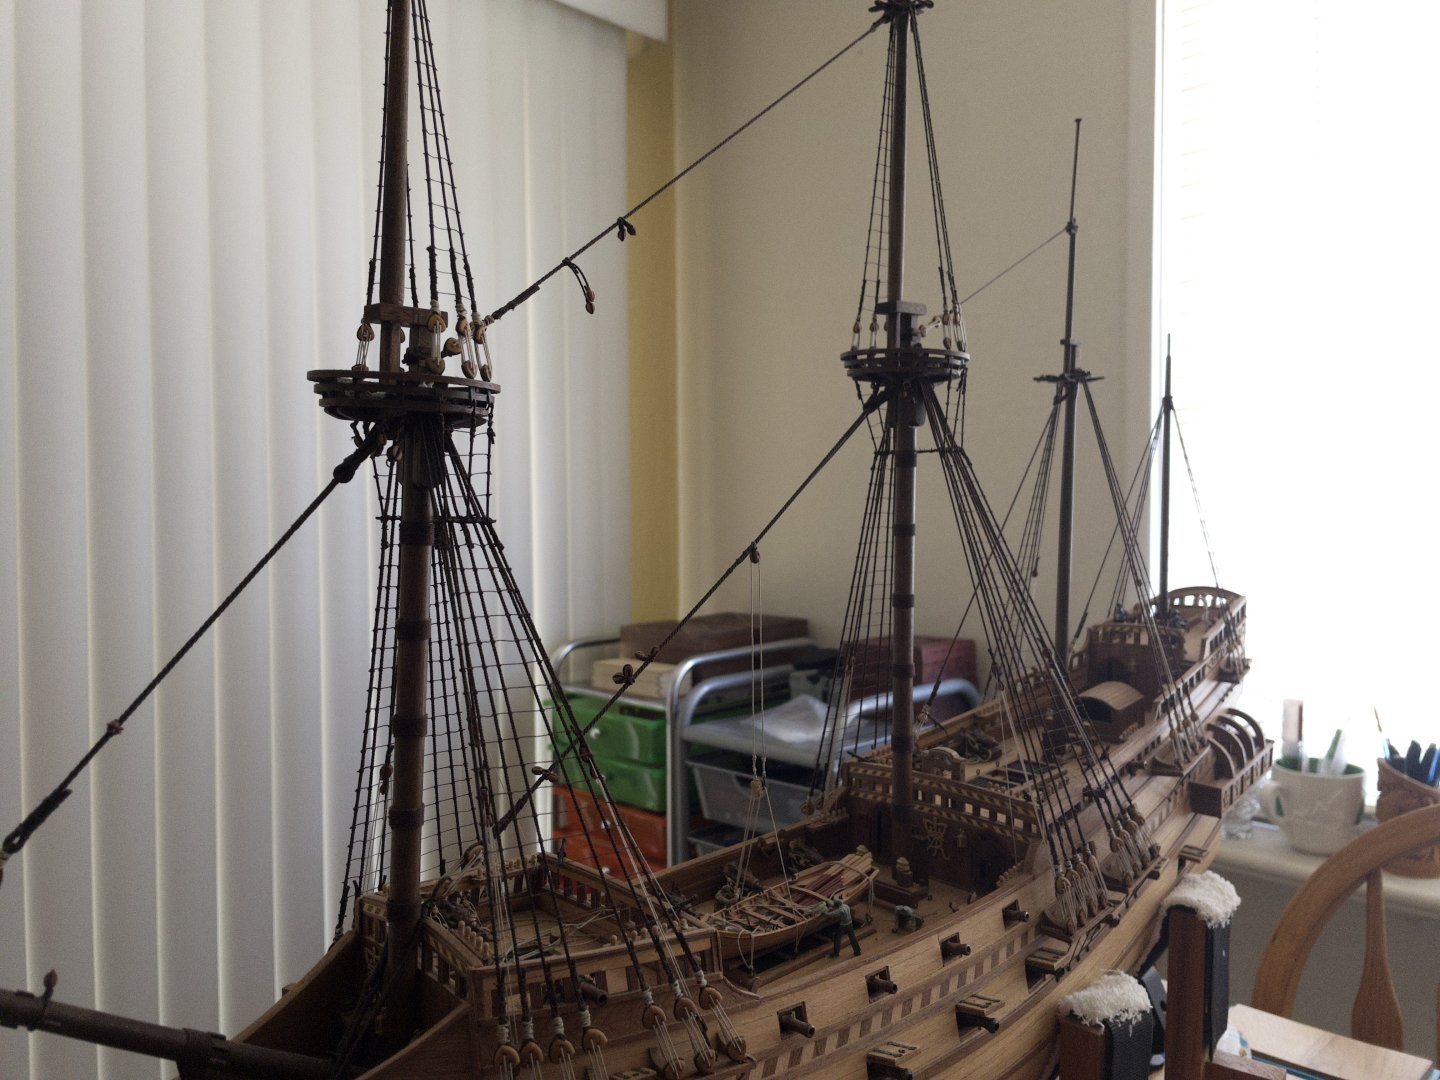
Ratlines DONE!. My My that was tedious. Took several months, mainly because I just could not bring myself to do it. But the edge of starting a new ship motivates me to finish this one first. 1250 clove knots later... completed. Saw several approaches to the ratlines. For me, it was the simplest: a) tweeter and scissor, of course. b) a popsicle stick to adjust spacing as I go, c) a level to parallel to the water, and finally d) patience, a lot of it. This allowed me to easily reach behind to make the clove knots. Next step, more rigging and the sails. They were already made a few months ago.
-
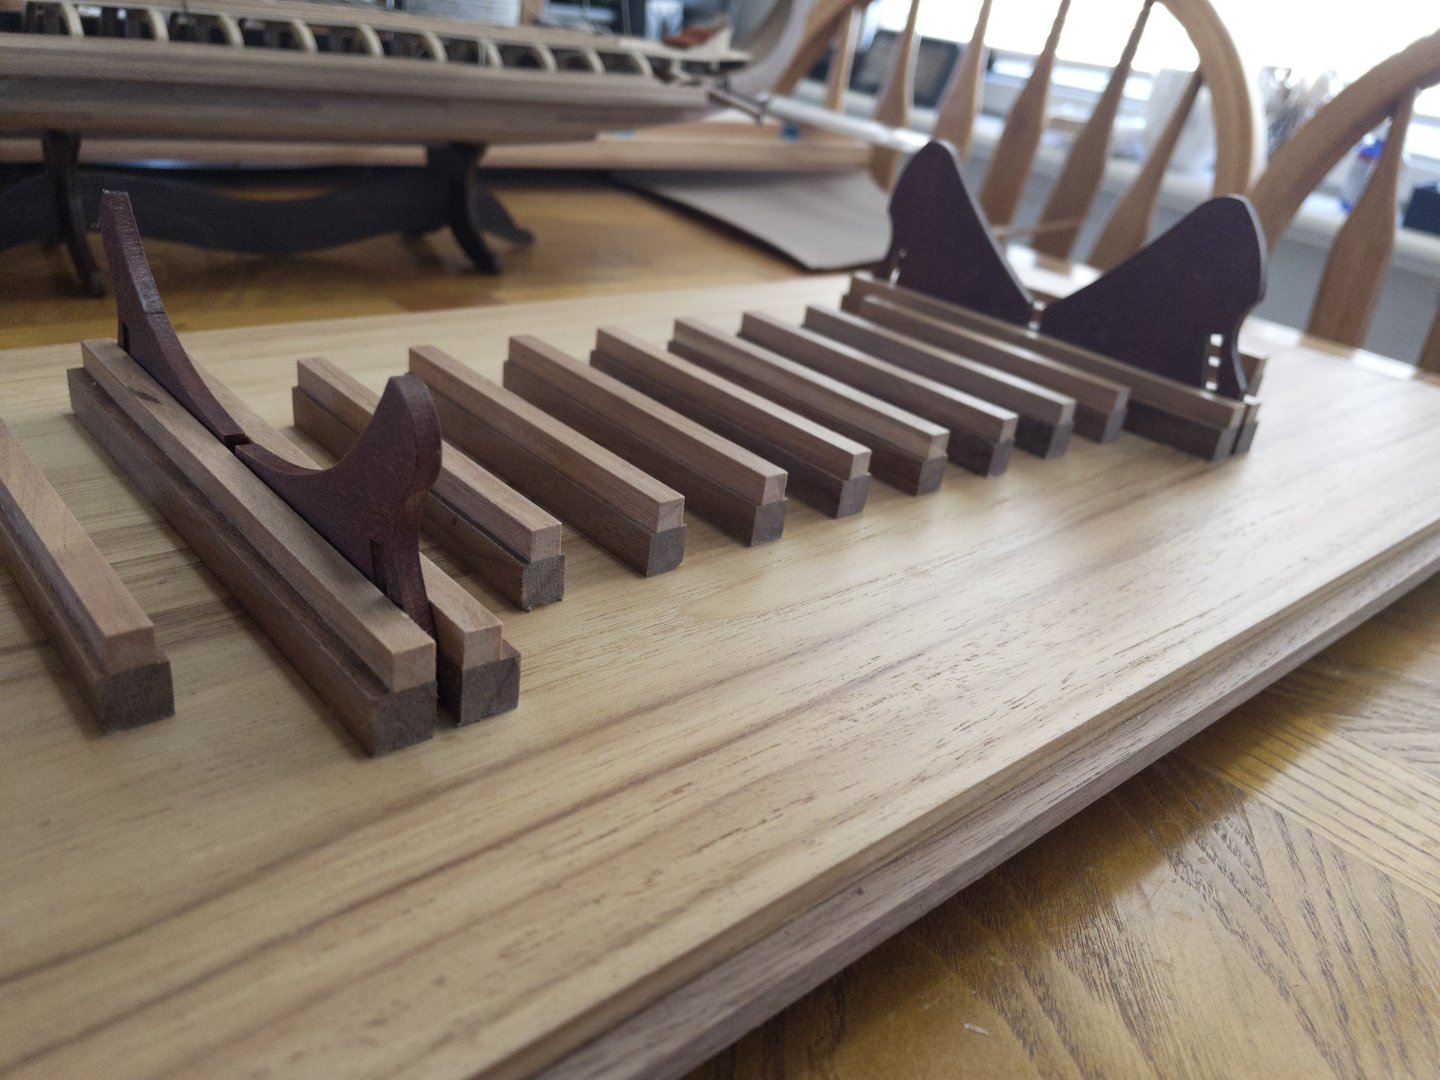
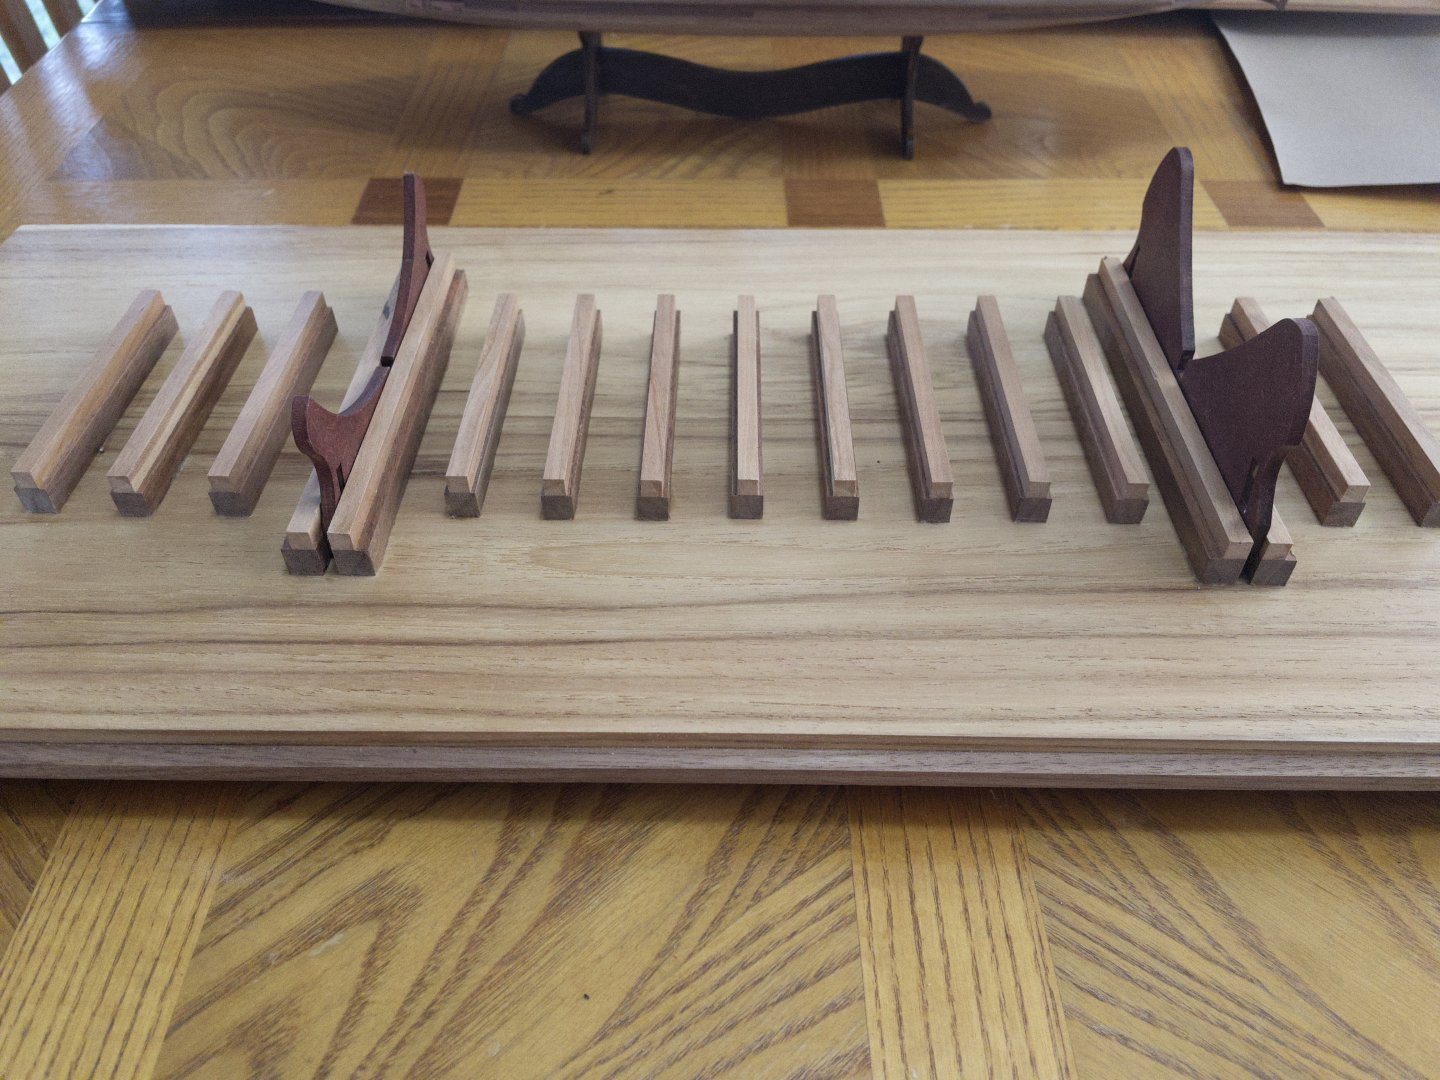
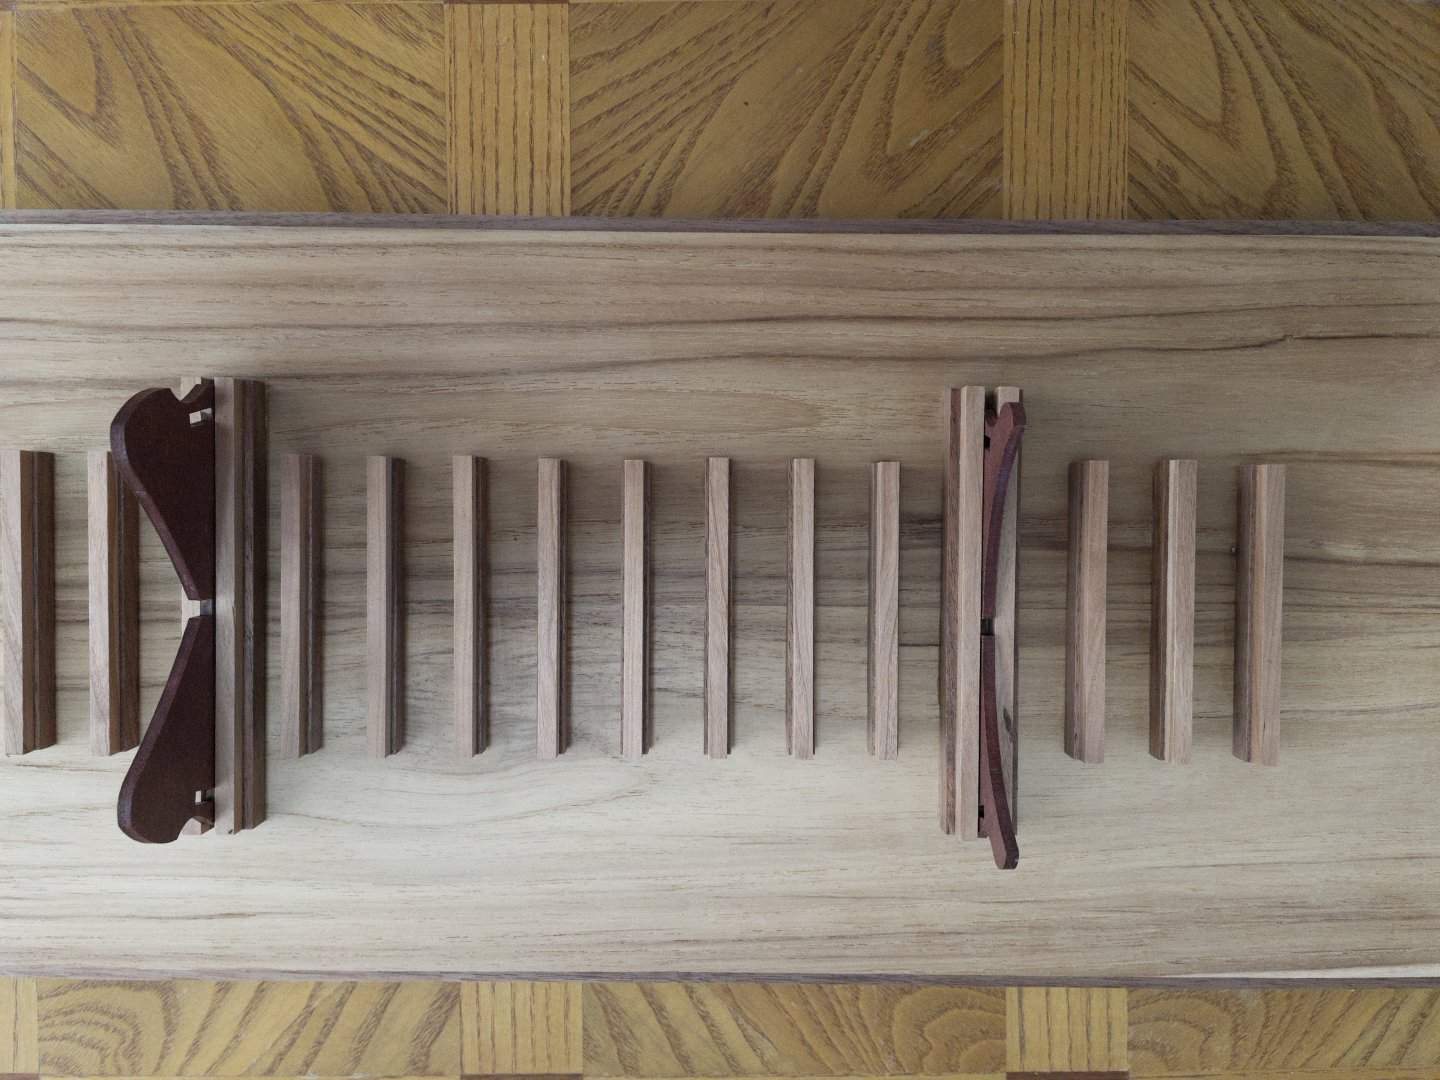
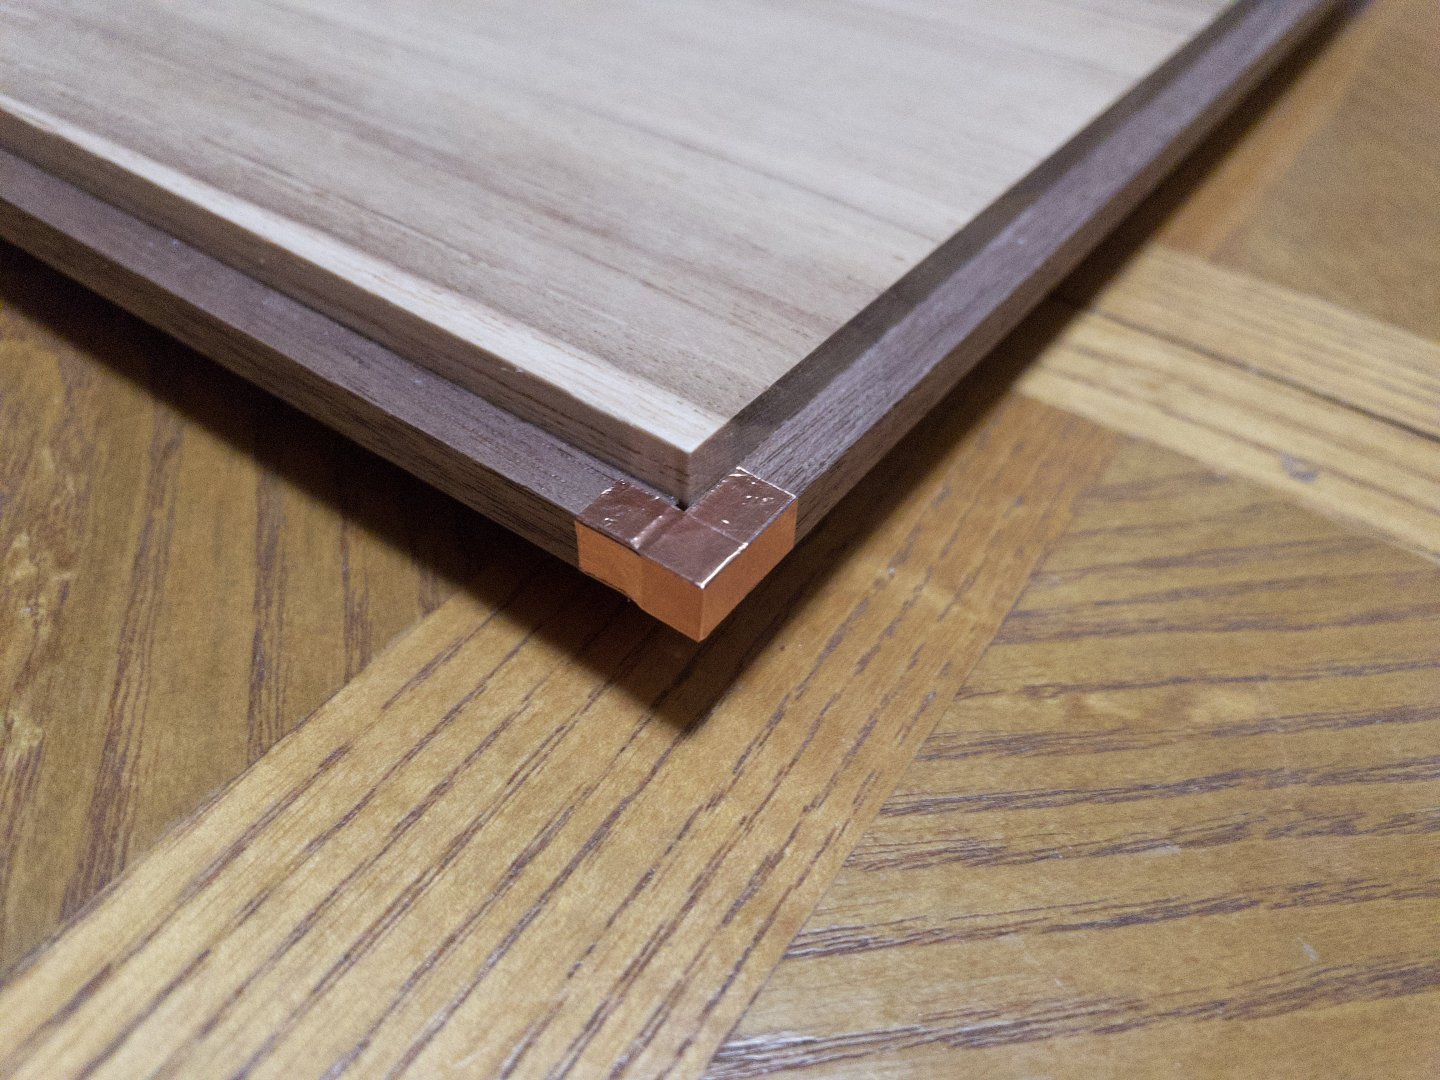
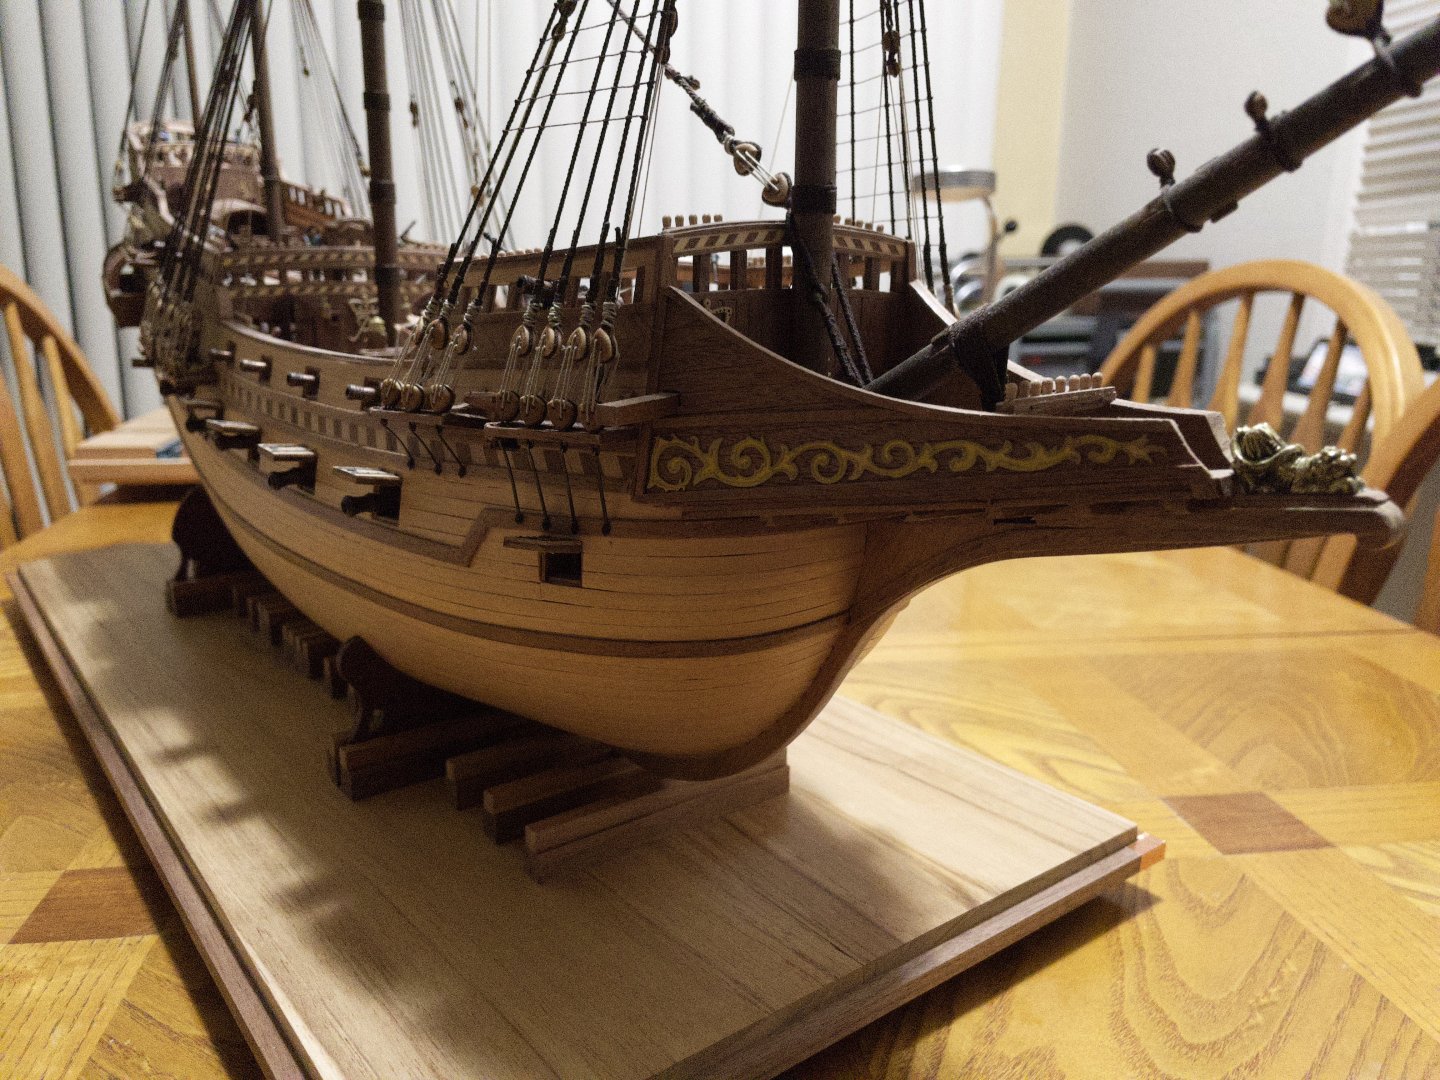
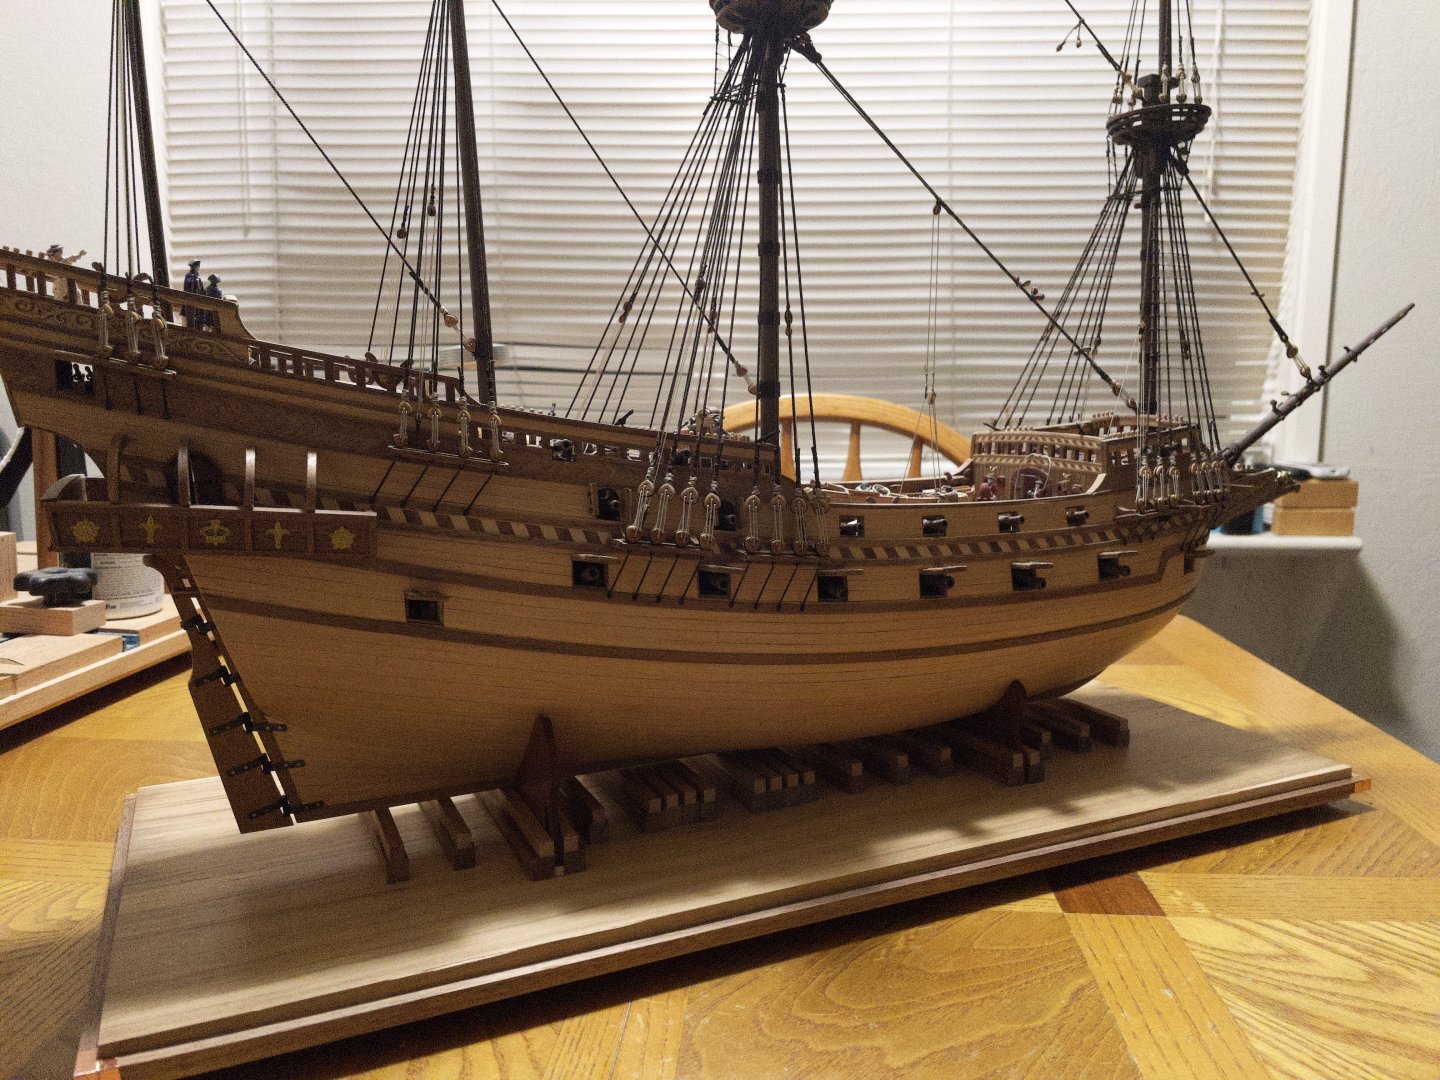
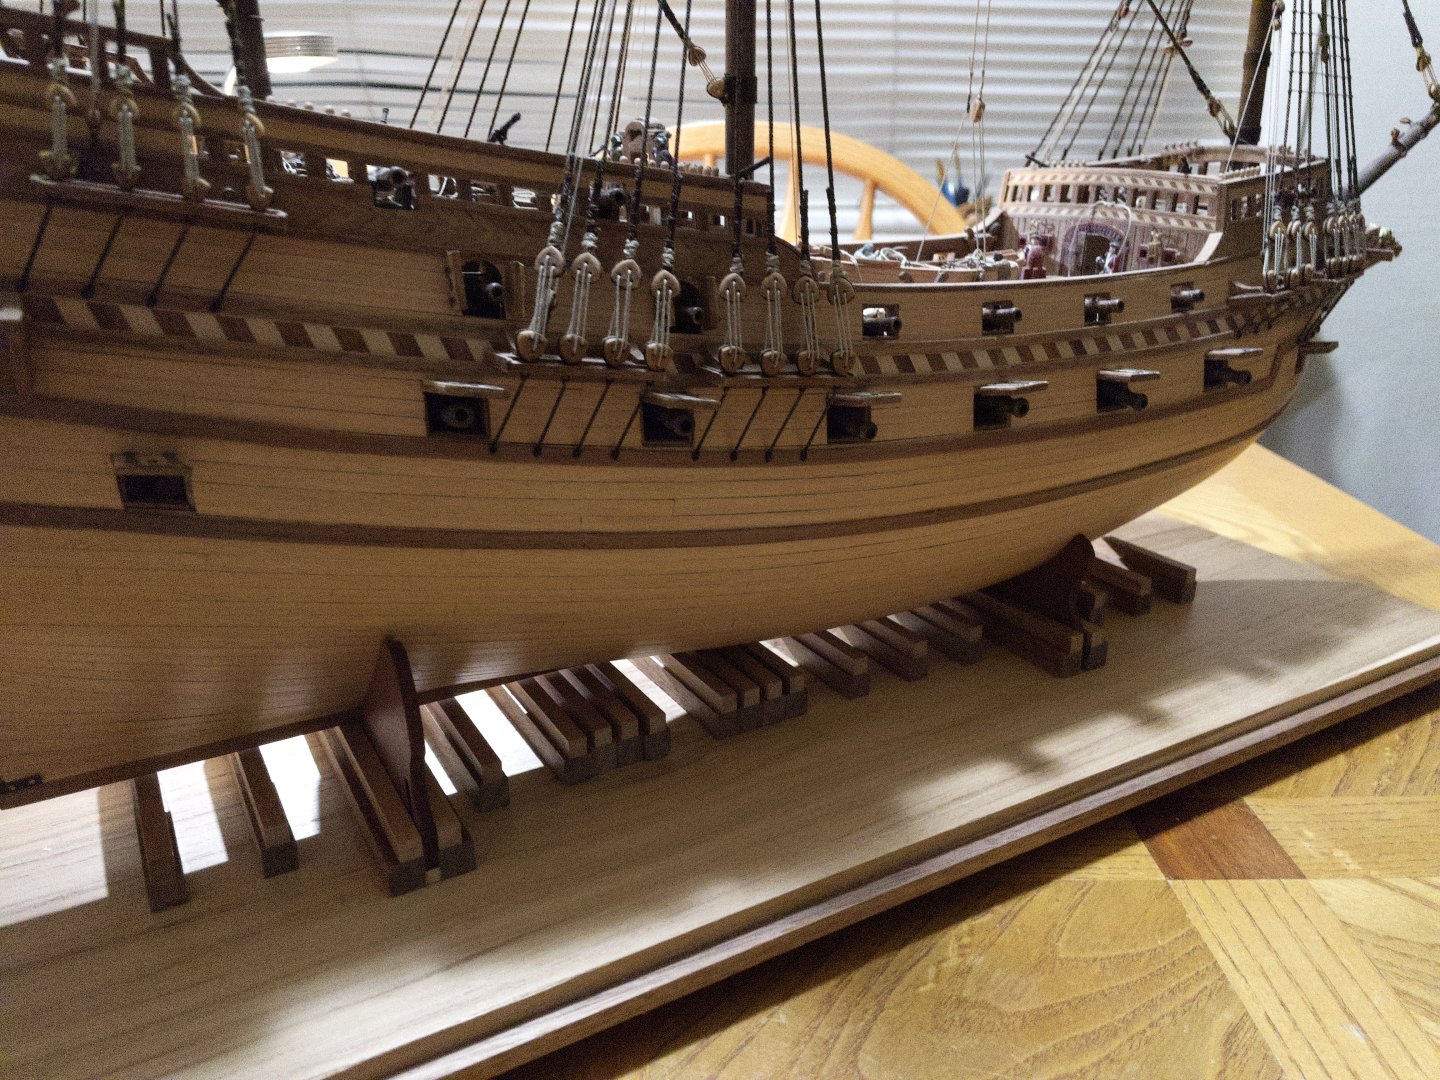
Stand: It is time to get back to "The Revenge" after some time off building a Greek bireme. It's difficult to come back since I left off with only a fifth of the ratlines done. I have to say that this is not my preferred activity... by far. For a change of pace, and to work with wood again, I decided to tackle the stand. Got some pretty wood pieces and got to work. I want a solid and heavy base for such a large ship. The bulk is handmade using a simple design, incorporating a few pieces from the kit. I may not do another update until the ratlines are done... which will take a while. In addition there are the coming holidays. Here it is, the stand: Note: I am having still few additional transversals with the ship picture. Forgot, those are extra for later if i ever need them final (not glue).
About us
Modelshipworld - Advancing Ship Modeling through Research
SSL Secured
Your security is important for us so this Website is SSL-Secured
NRG Mailing Address
Nautical Research Guild
237 South Lincoln Street
Westmont IL, 60559-1917
Model Ship World ® and the MSW logo are Registered Trademarks, and belong to the Nautical Research Guild (United States Patent and Trademark Office: No. 6,929,264 & No. 6,929,274, registered Dec. 20, 2022)
Helpful Links
About the NRG
If you enjoy building ship models that are historically accurate as well as beautiful, then The Nautical Research Guild (NRG) is just right for you.
The Guild is a non-profit educational organization whose mission is to “Advance Ship Modeling Through Research”. We provide support to our members in their efforts to raise the quality of their model ships.
The Nautical Research Guild has published our world-renowned quarterly magazine, The Nautical Research Journal, since 1955. The pages of the Journal are full of articles by accomplished ship modelers who show you how they create those exquisite details on their models, and by maritime historians who show you the correct details to build. The Journal is available in both print and digital editions. Go to the NRG web site (www.thenrg.org) to download a complimentary digital copy of the Journal. The NRG also publishes plan sets, books and compilations of back issues of the Journal and the former Ships in Scale and Model Ship Builder magazines.


