-
Posts
297 -
Joined
-
Last visited
Content Type
Profiles
Forums
Gallery
Events
Everything posted by Loracs
-
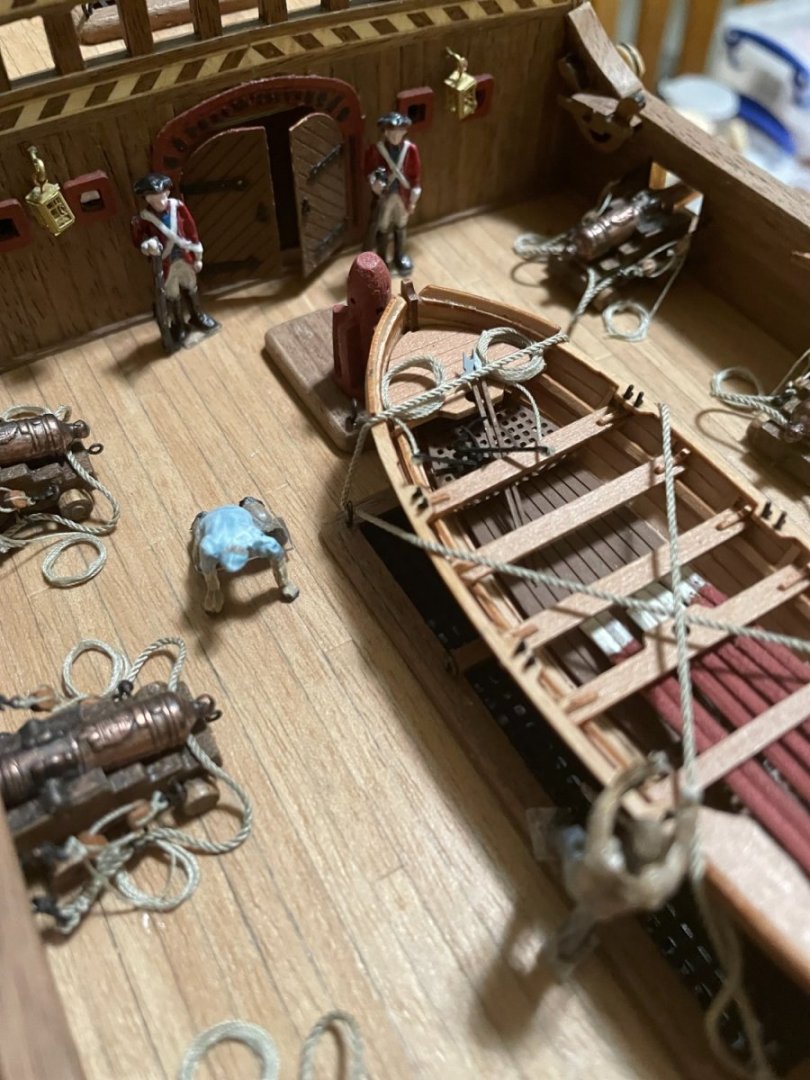
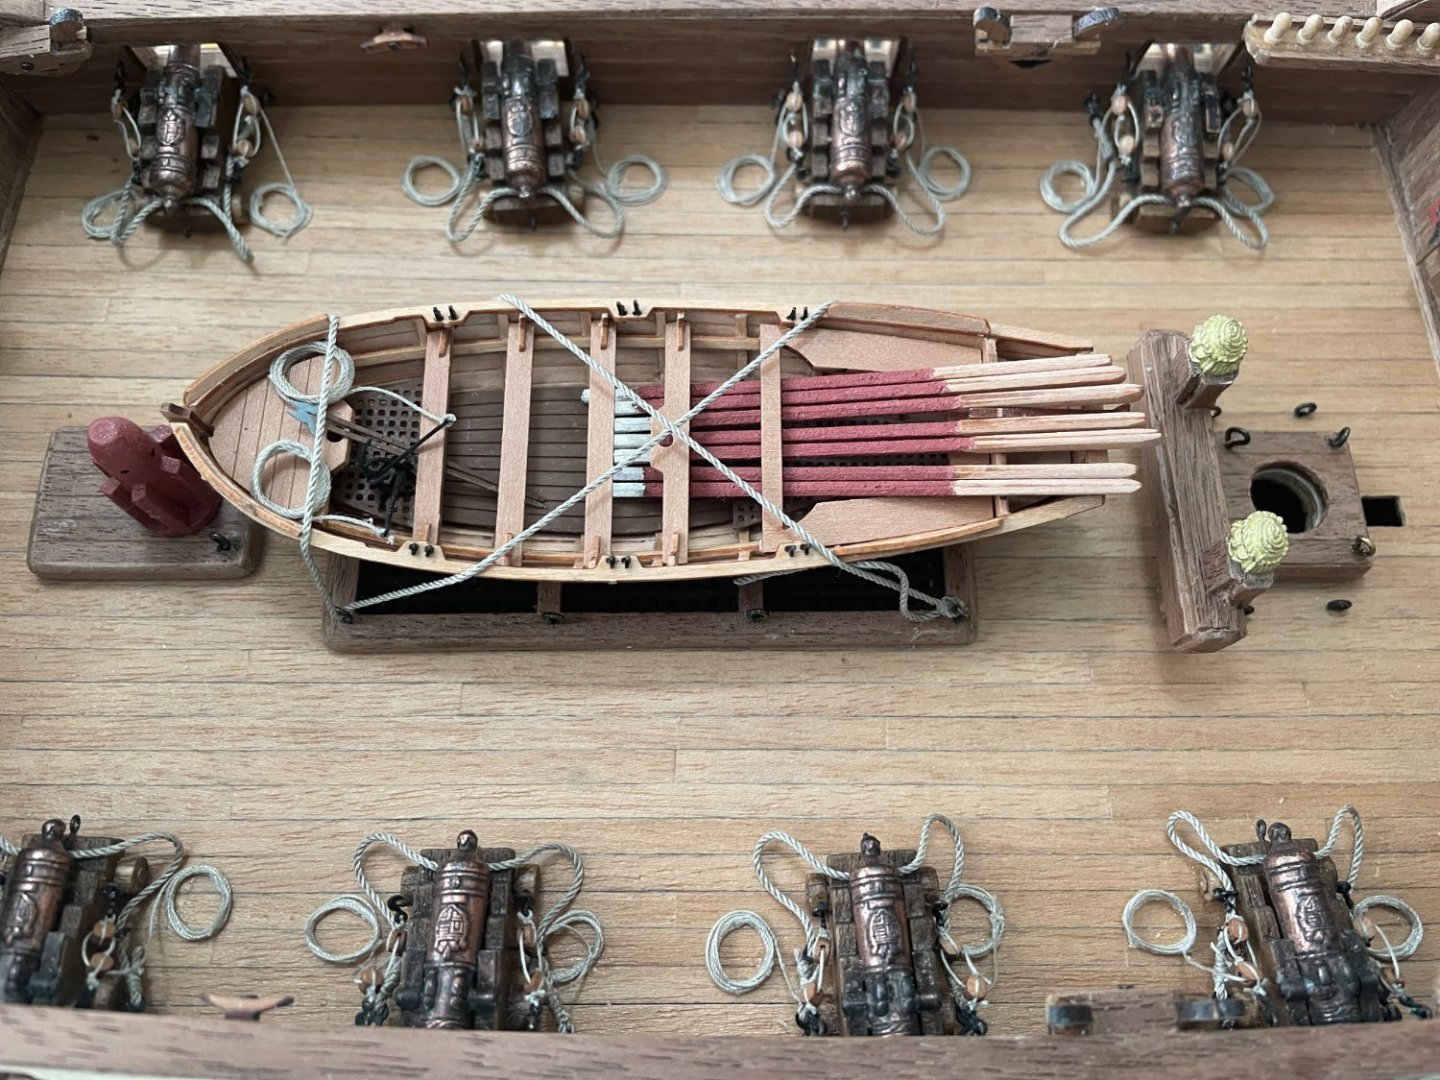
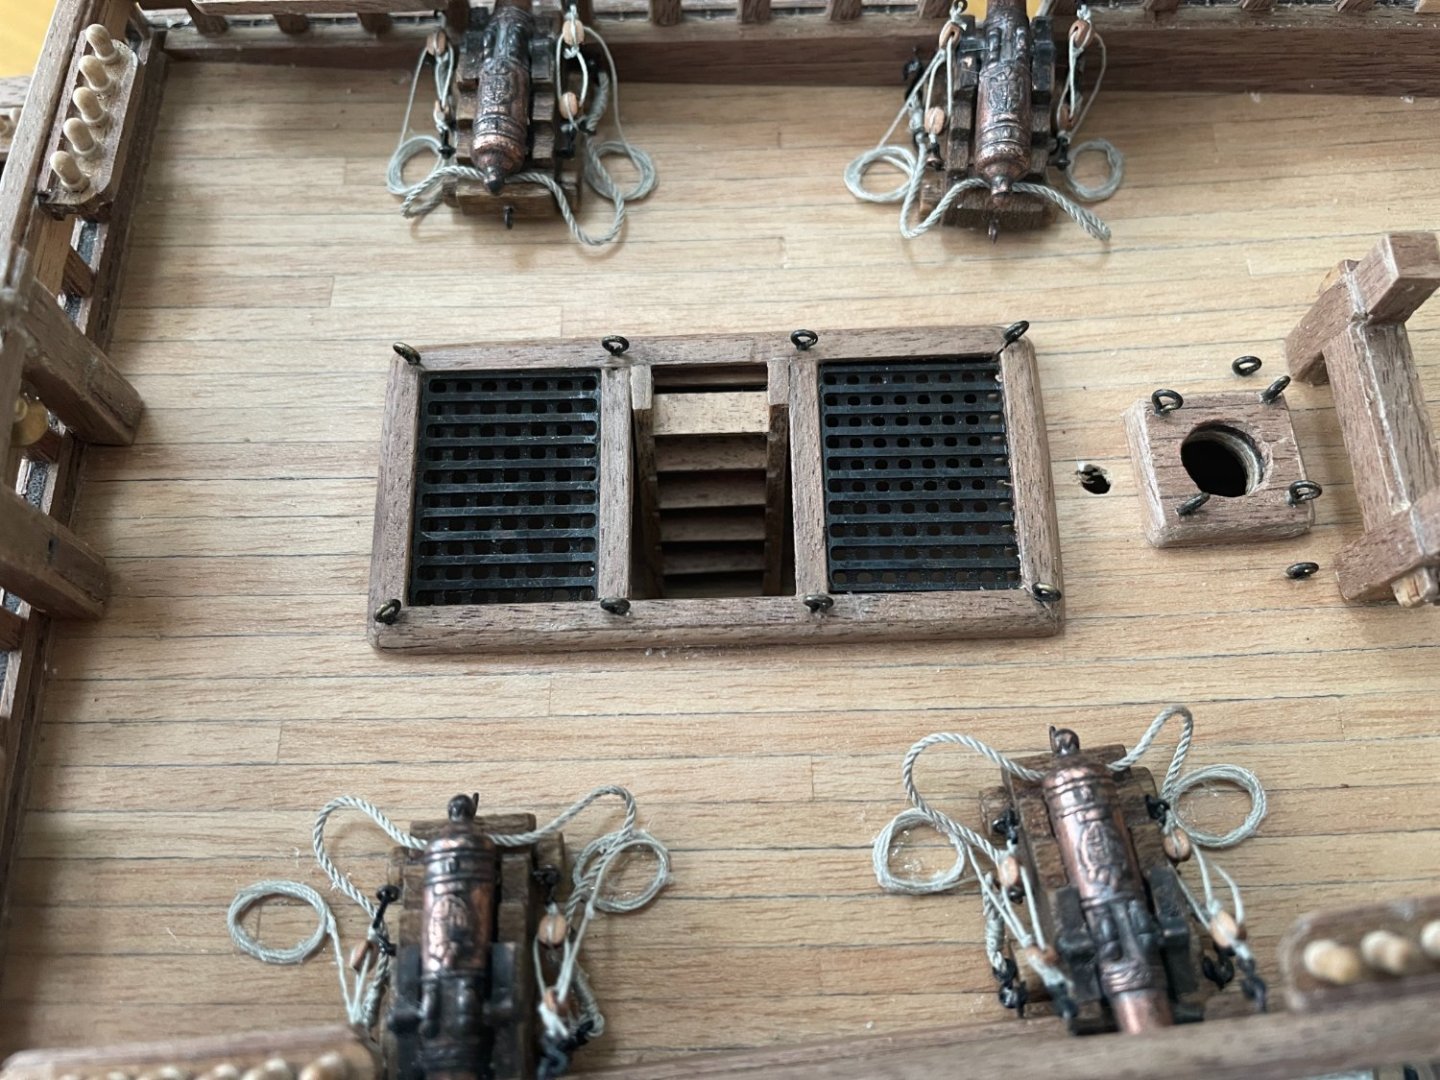
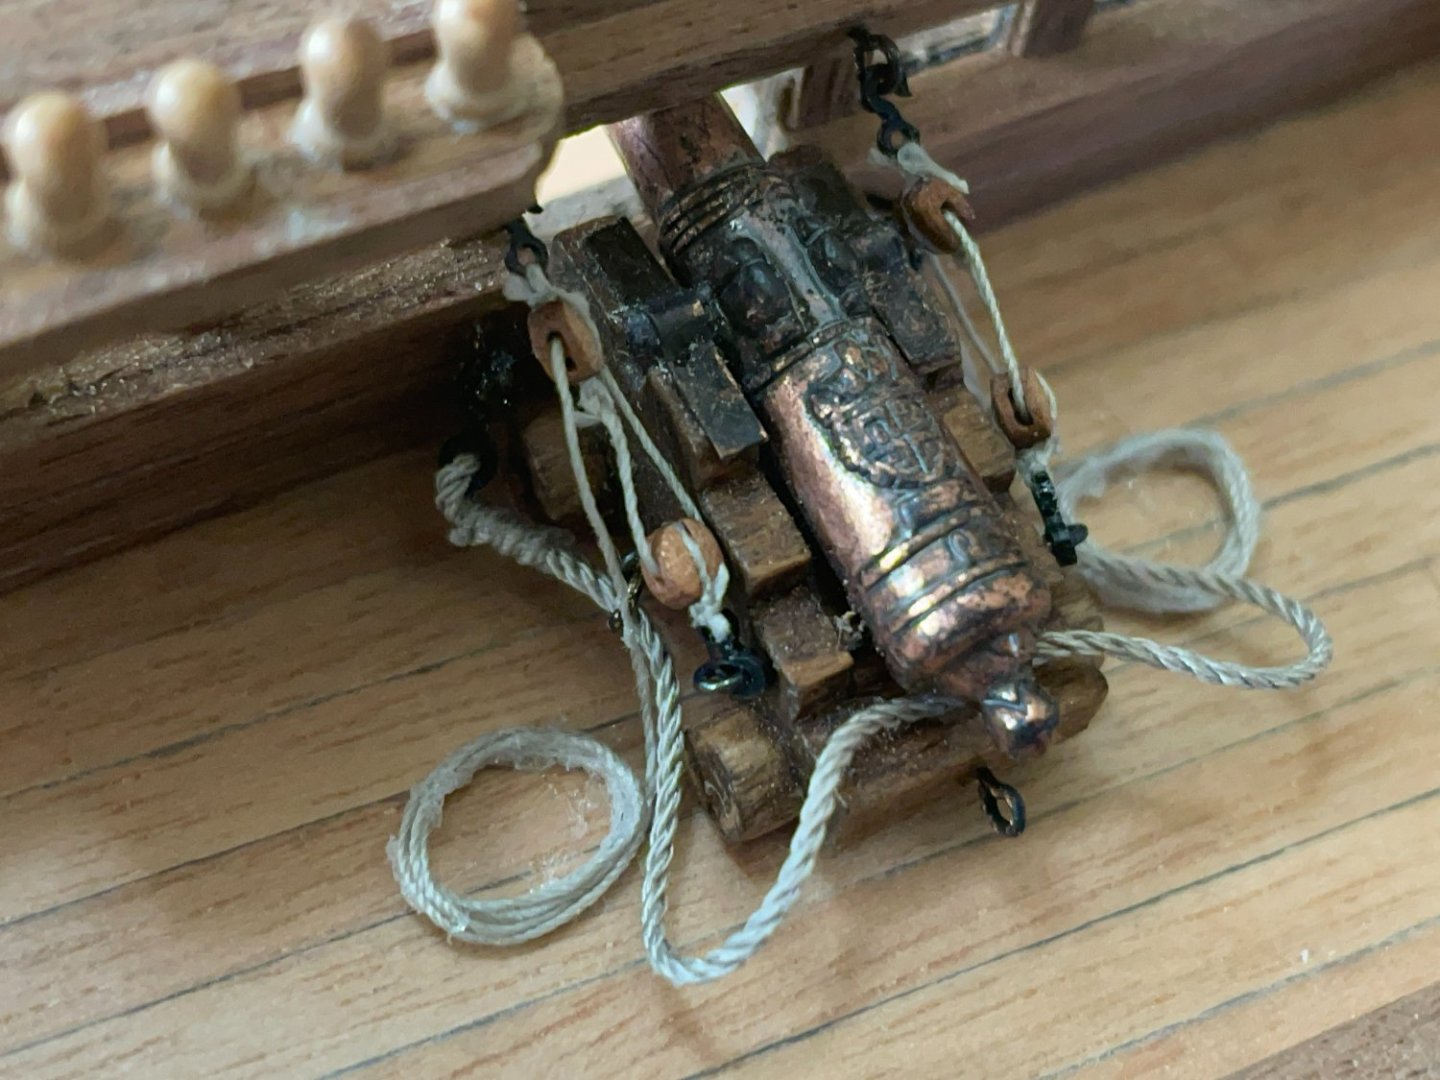
Rigged Cannon: I must say that this took me a while. They are so small.... not perfect but a step up for me since it is my first time. I like Master Korabel blocks a lot, but they are so hard to find in any amount. Glue is still fresh... it will be mostly gone when fully dry. I used Fabric glue for the ropes.
-
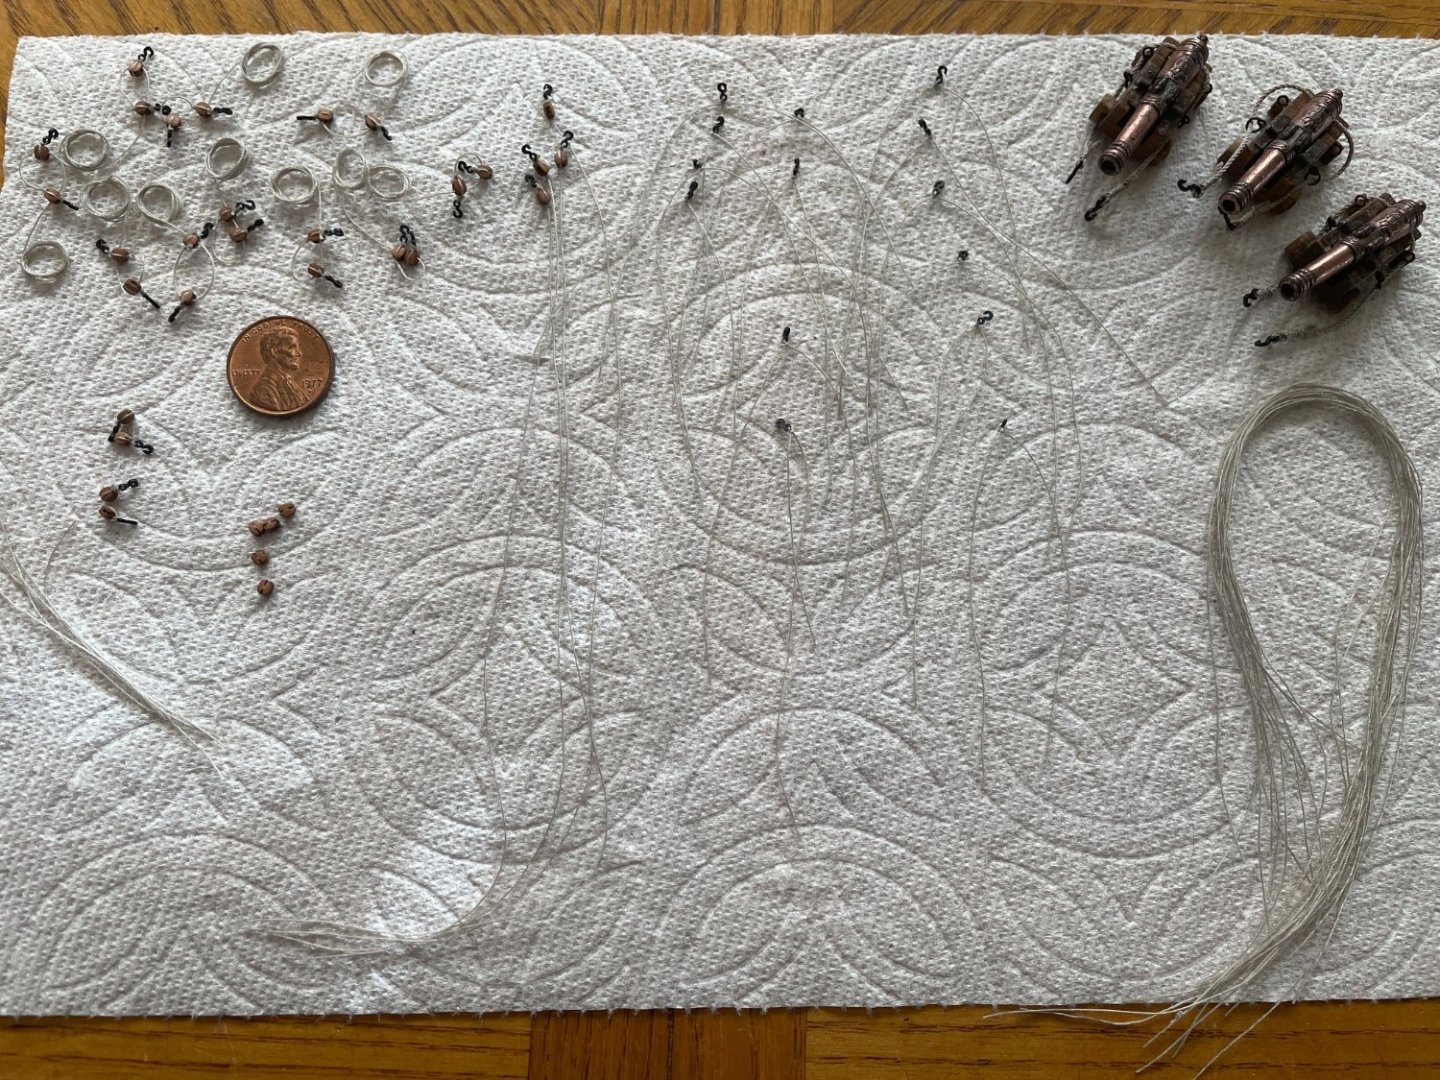
Cannon rigging at various stages. It takes patience. Two ropes, one to anchor the cannon to the ship (using 0.75mm rope) and the others to handle the cannon back and forth (0.25mm rope with blocks). Looking forward to having this step done. I'm running out of 2.5mm blocks so I may not do the one at the back.
-
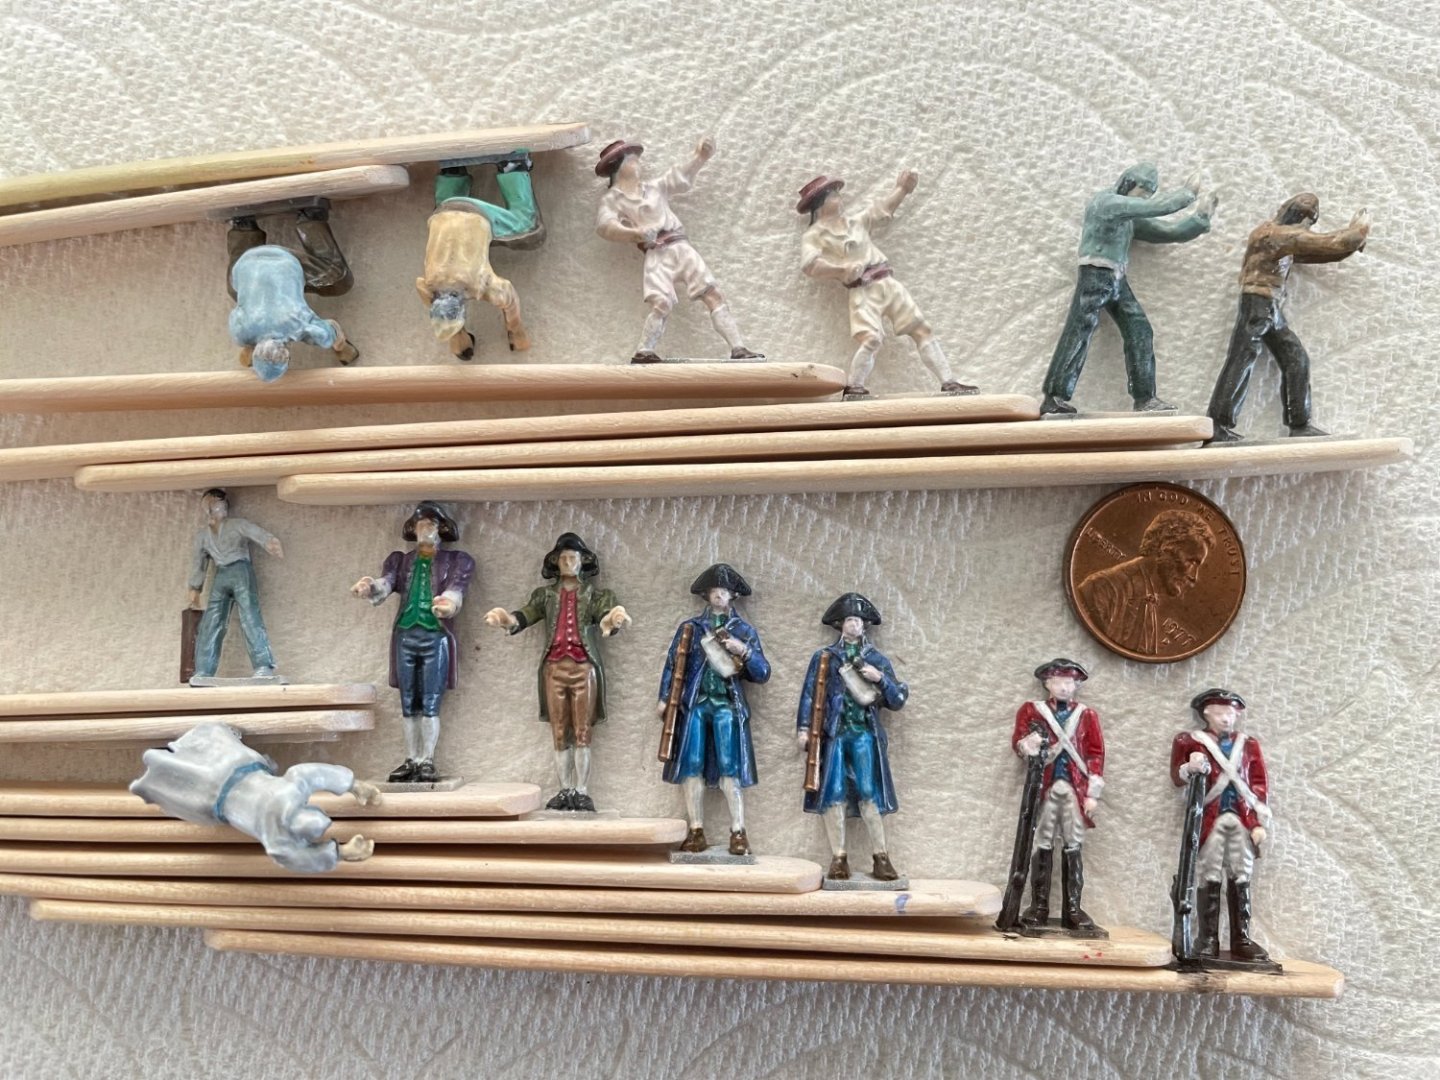
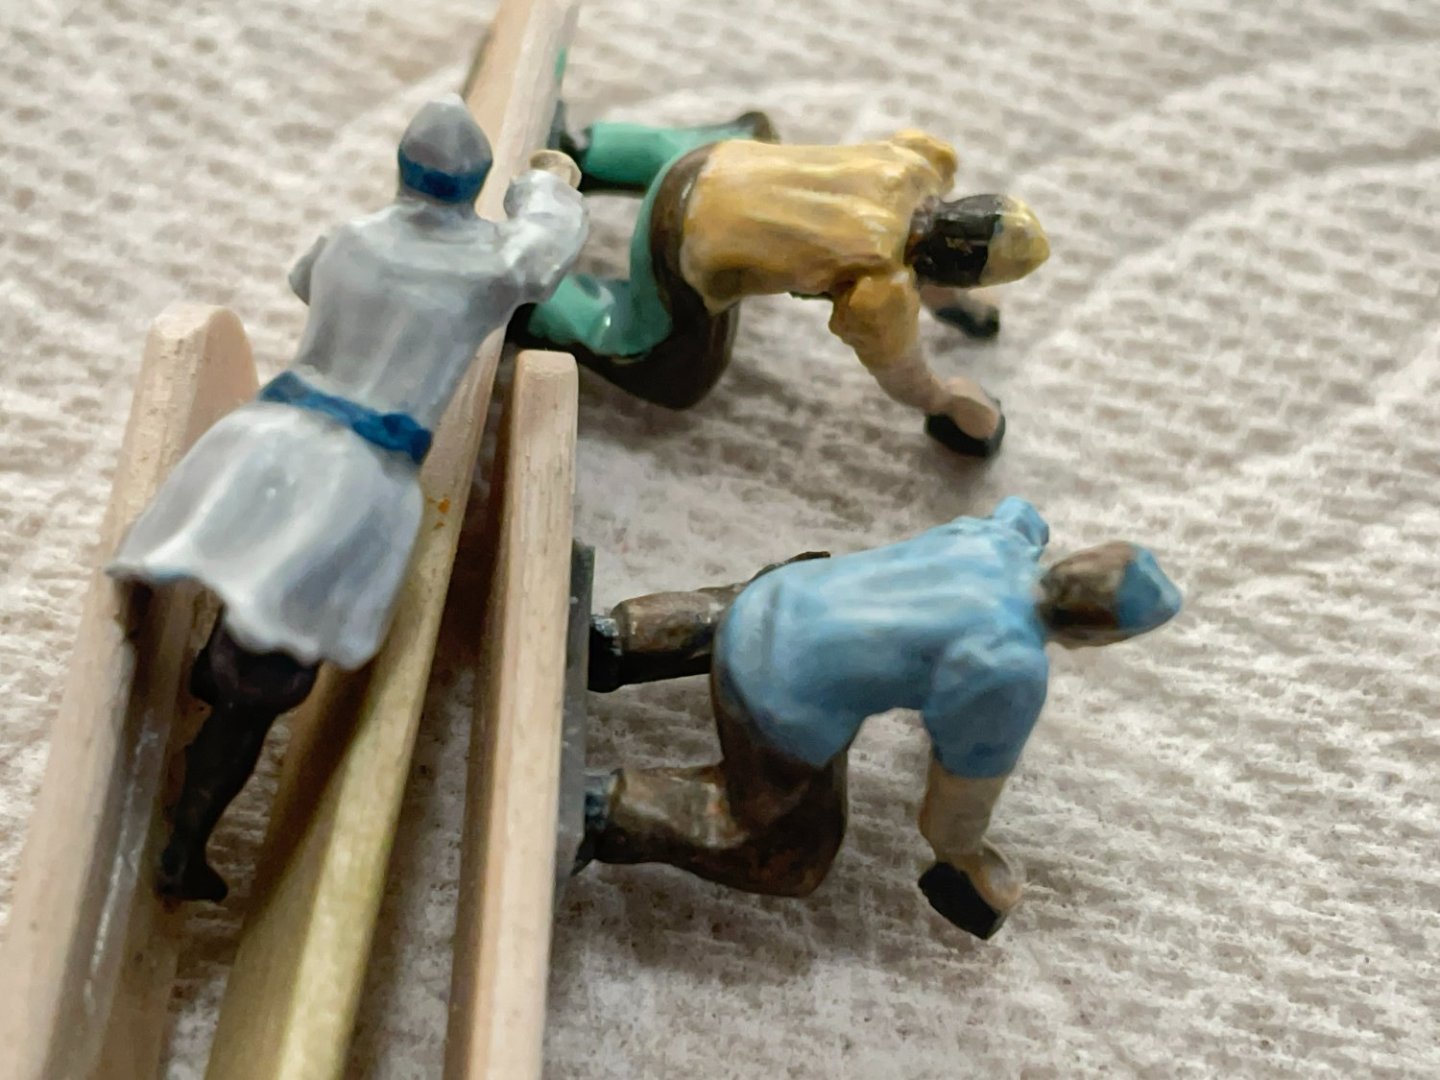
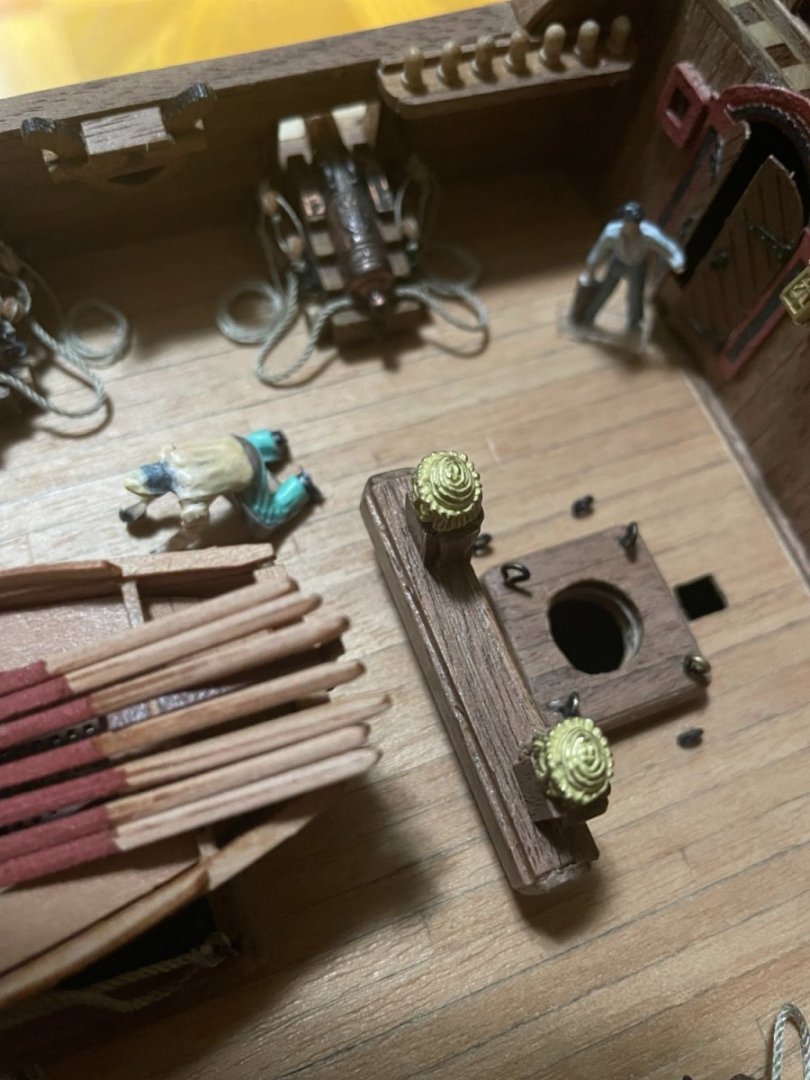
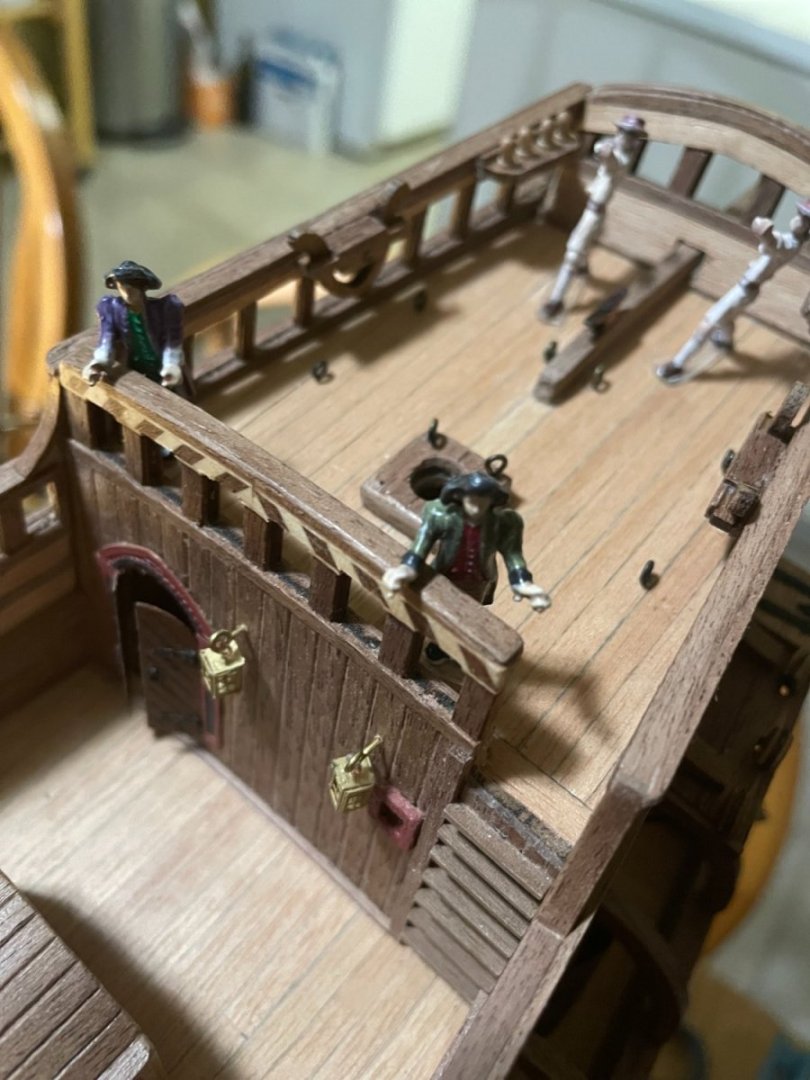
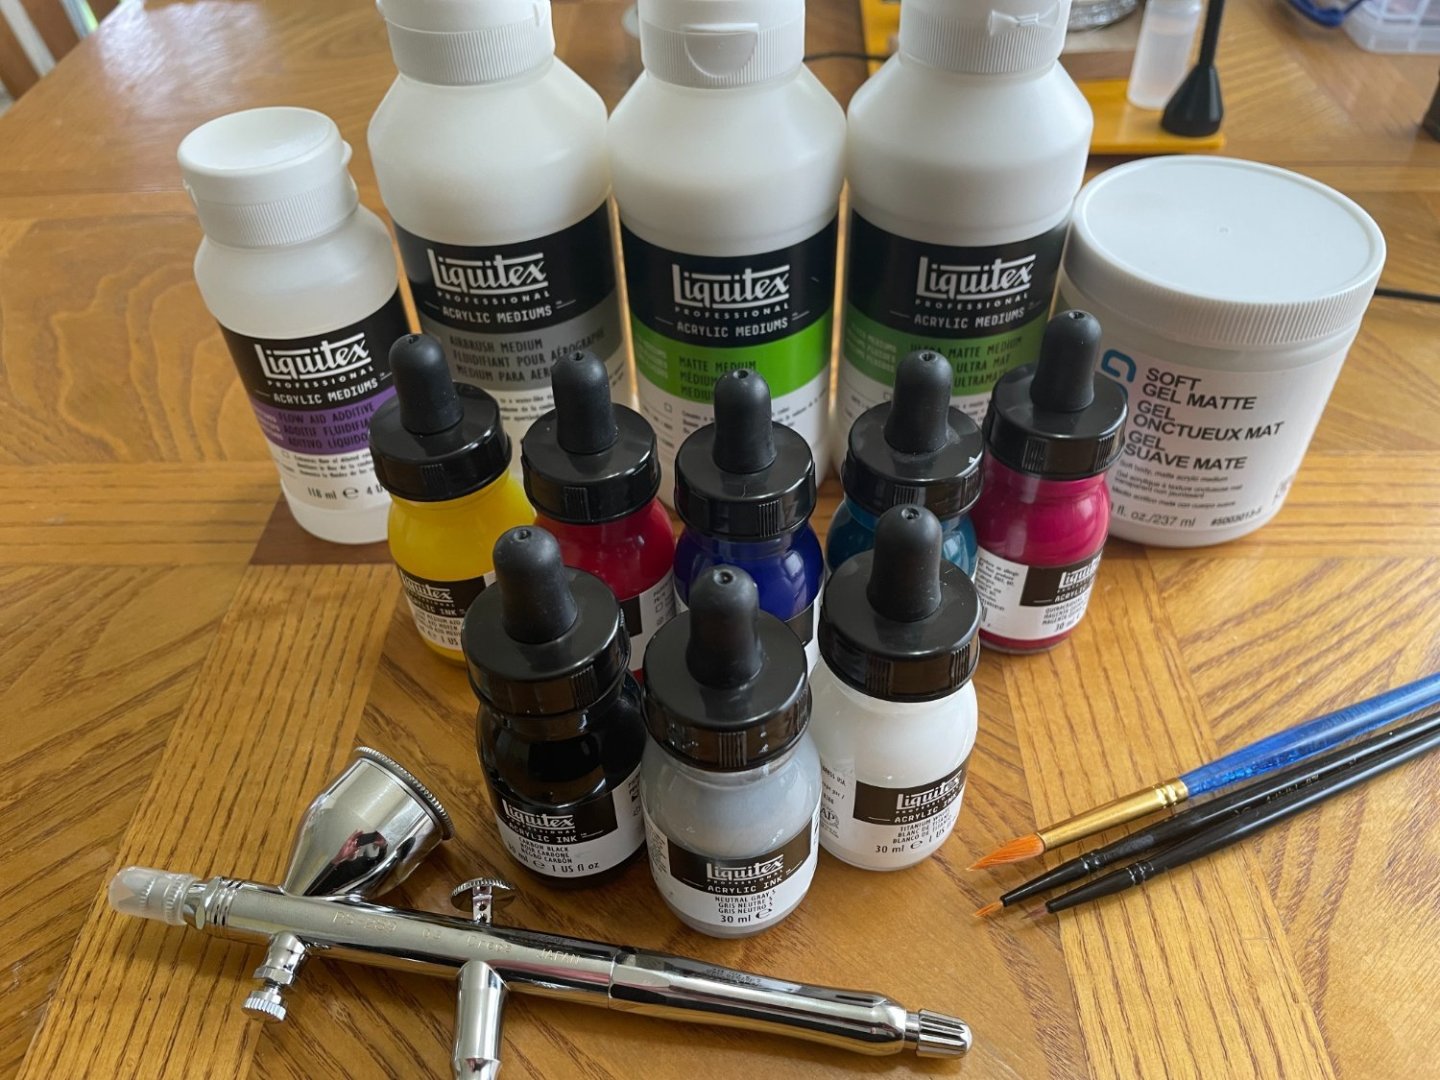
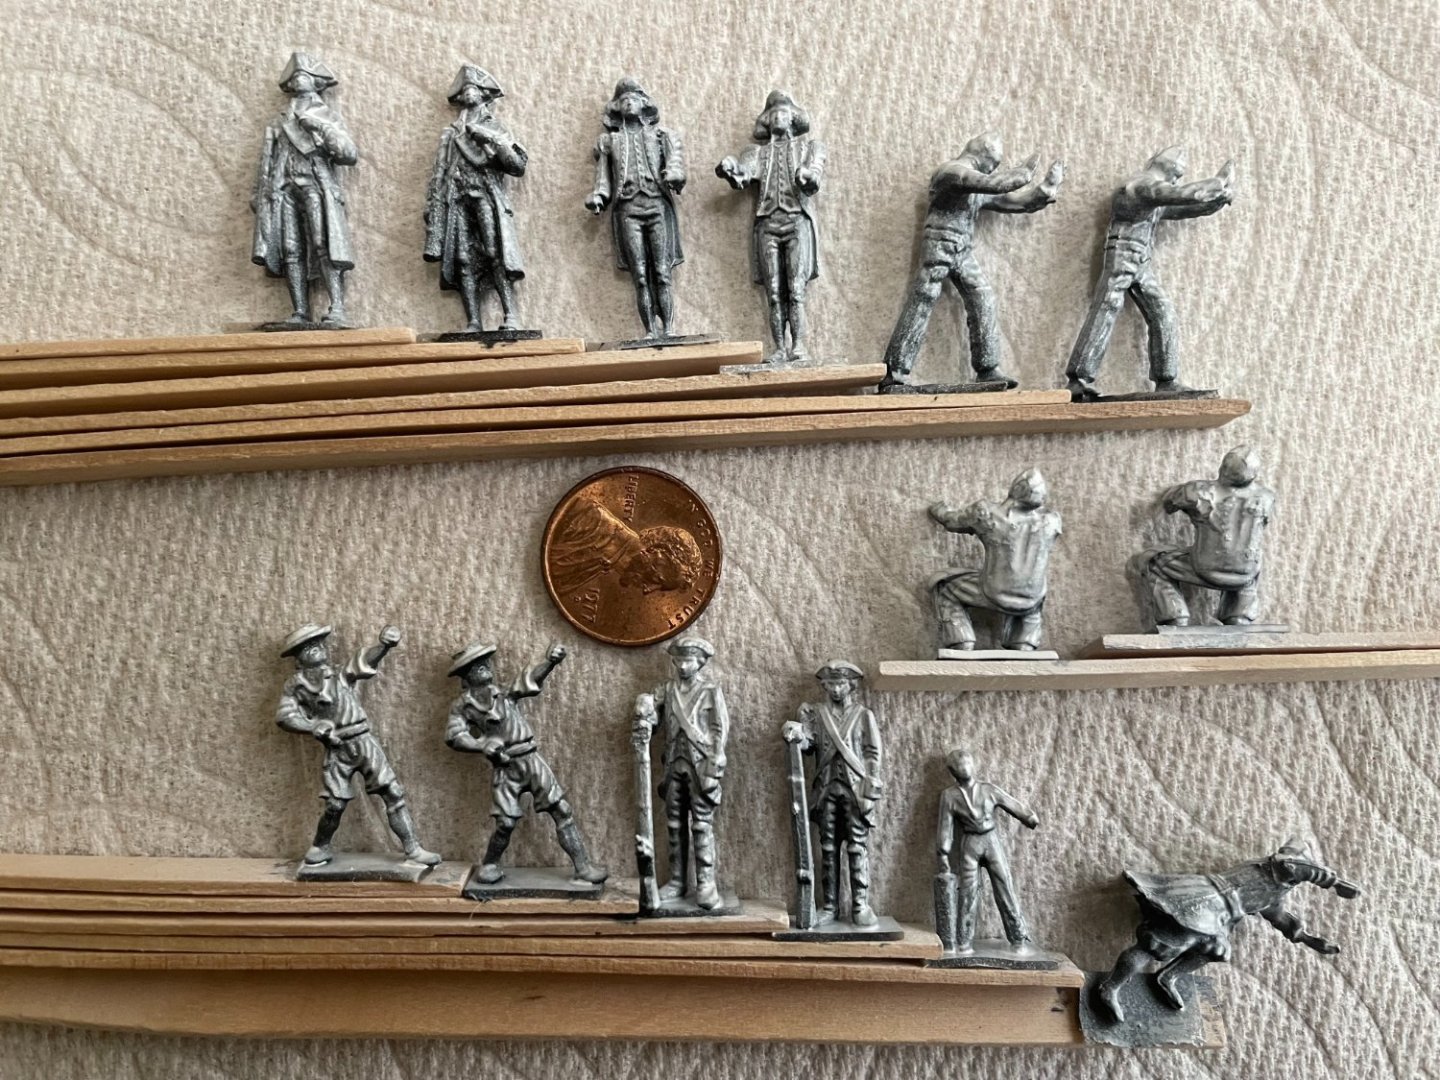
Taking care of the crew: I wanted to add before rigging. It may be difficult to place later. I have not painted miniatures in 40 years... so it was time for supplies. I'm doing my own paint, since you can basically tailor it to what you need, either airbrush (new to me), contrast, washes, opaque or translucent paint of pretty much any color with CMYK primary. I like ink because they are pigment dense so when you start mixing for colors, it does not get diluted much. First time trying Zenital base coat (highlights and shadows) on such a small model... let's see later how it turns out with colors. Not great quality miniatures... but hey! I bought them to give a sense of scale (they are 1:64 too), and since I have it at hand, why not use them!
-
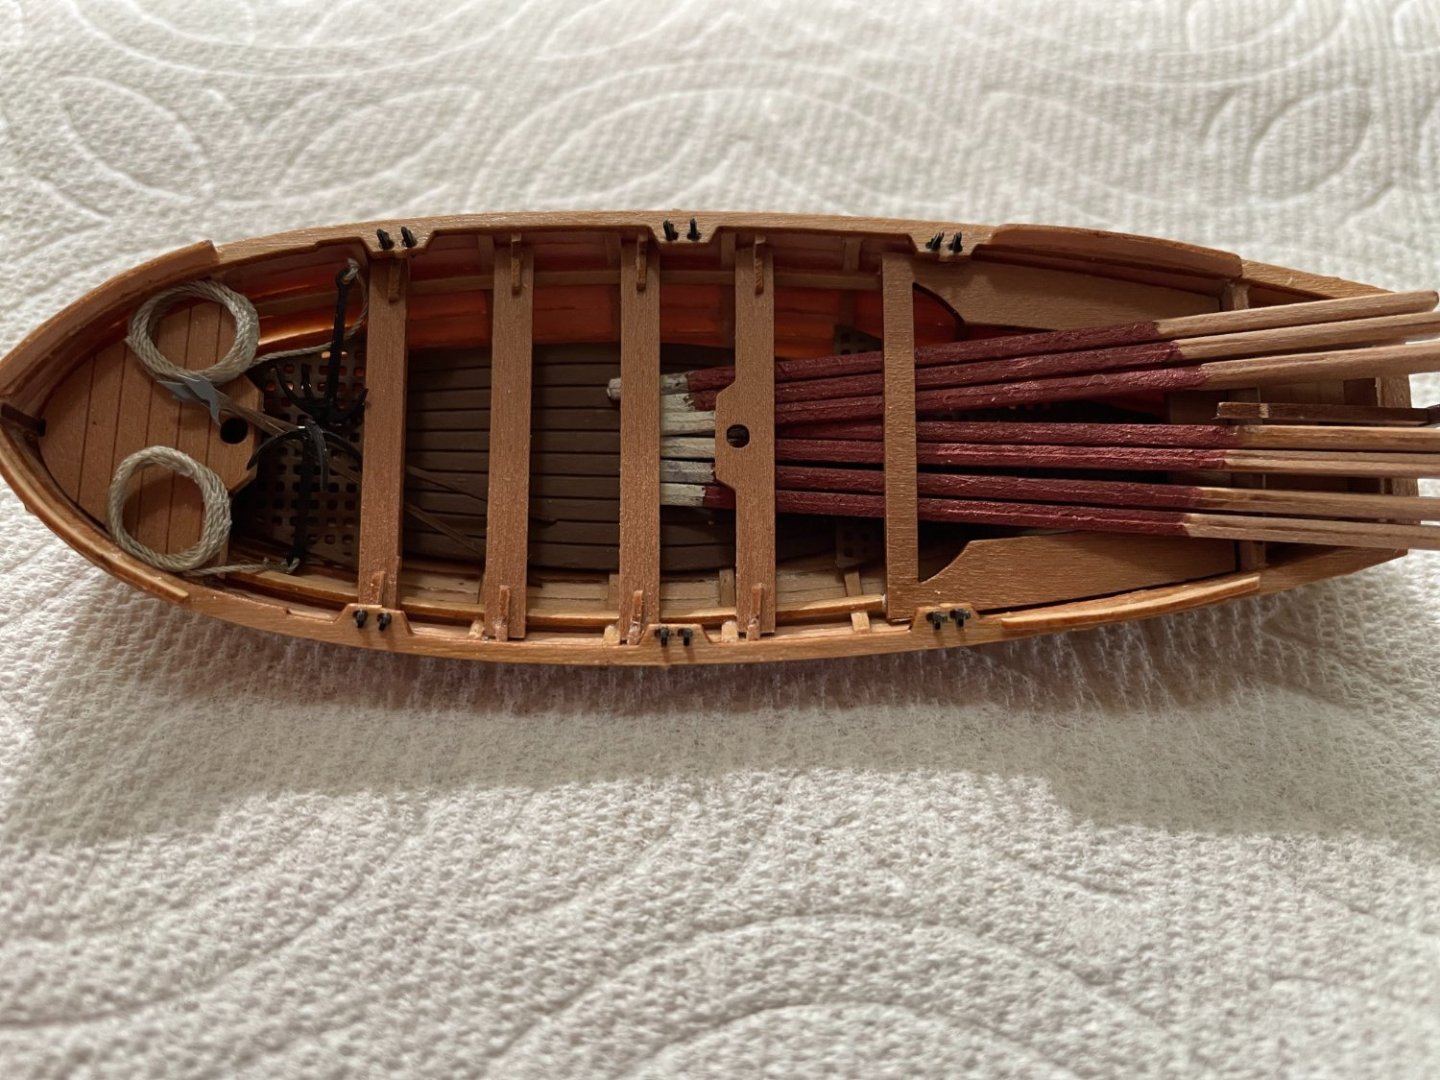
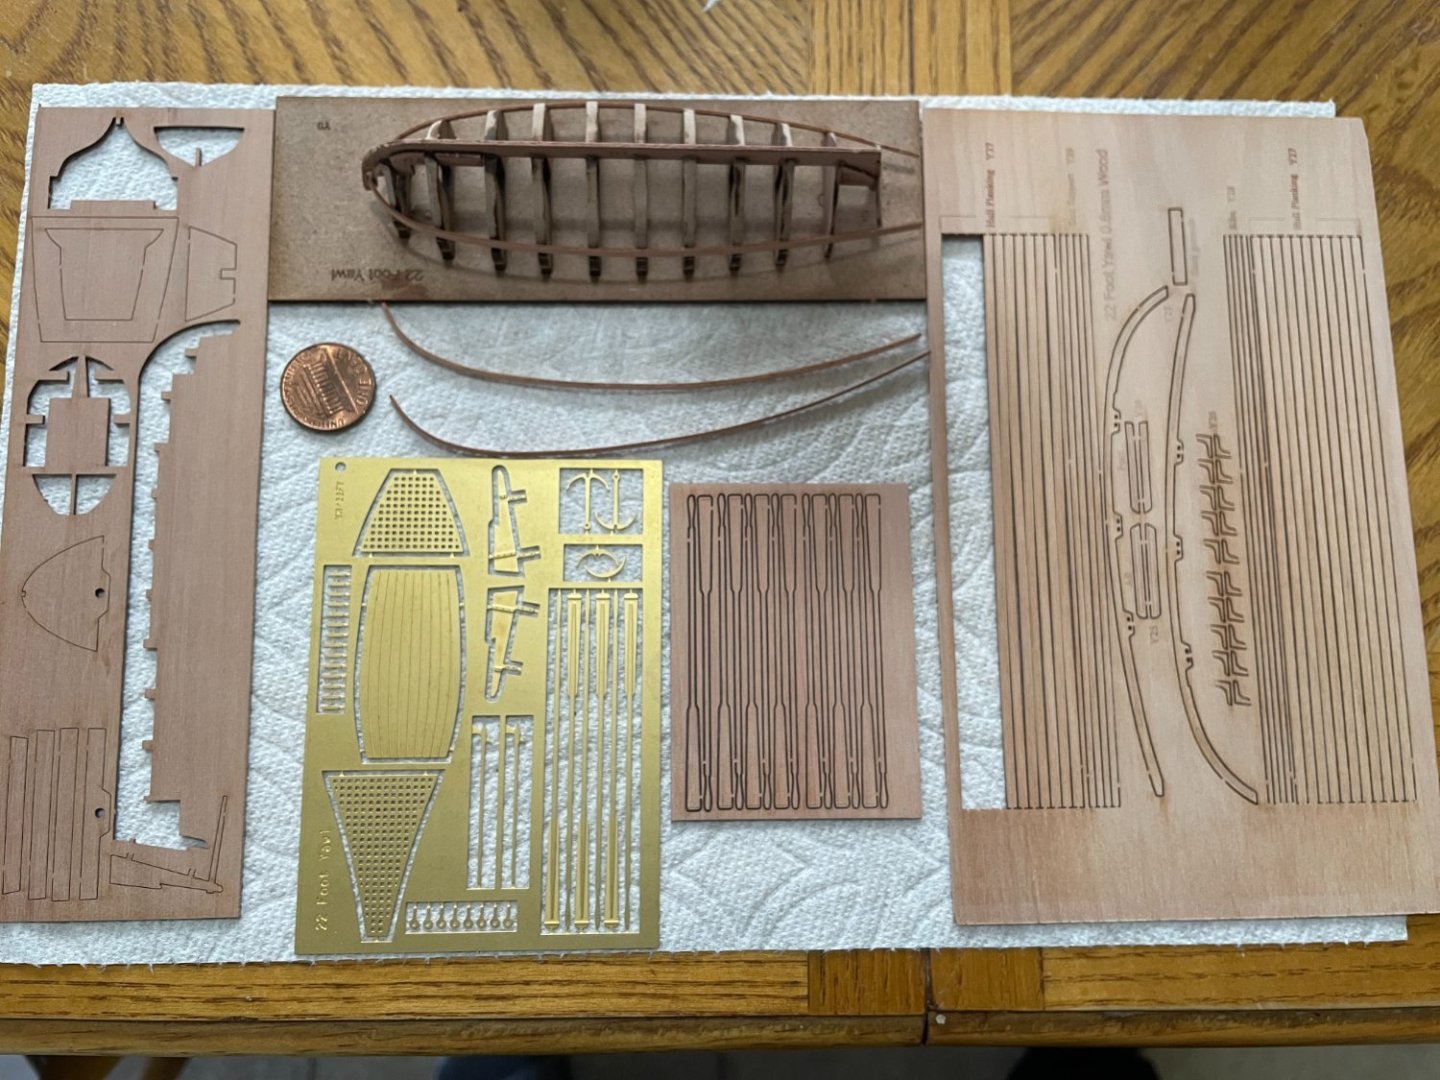
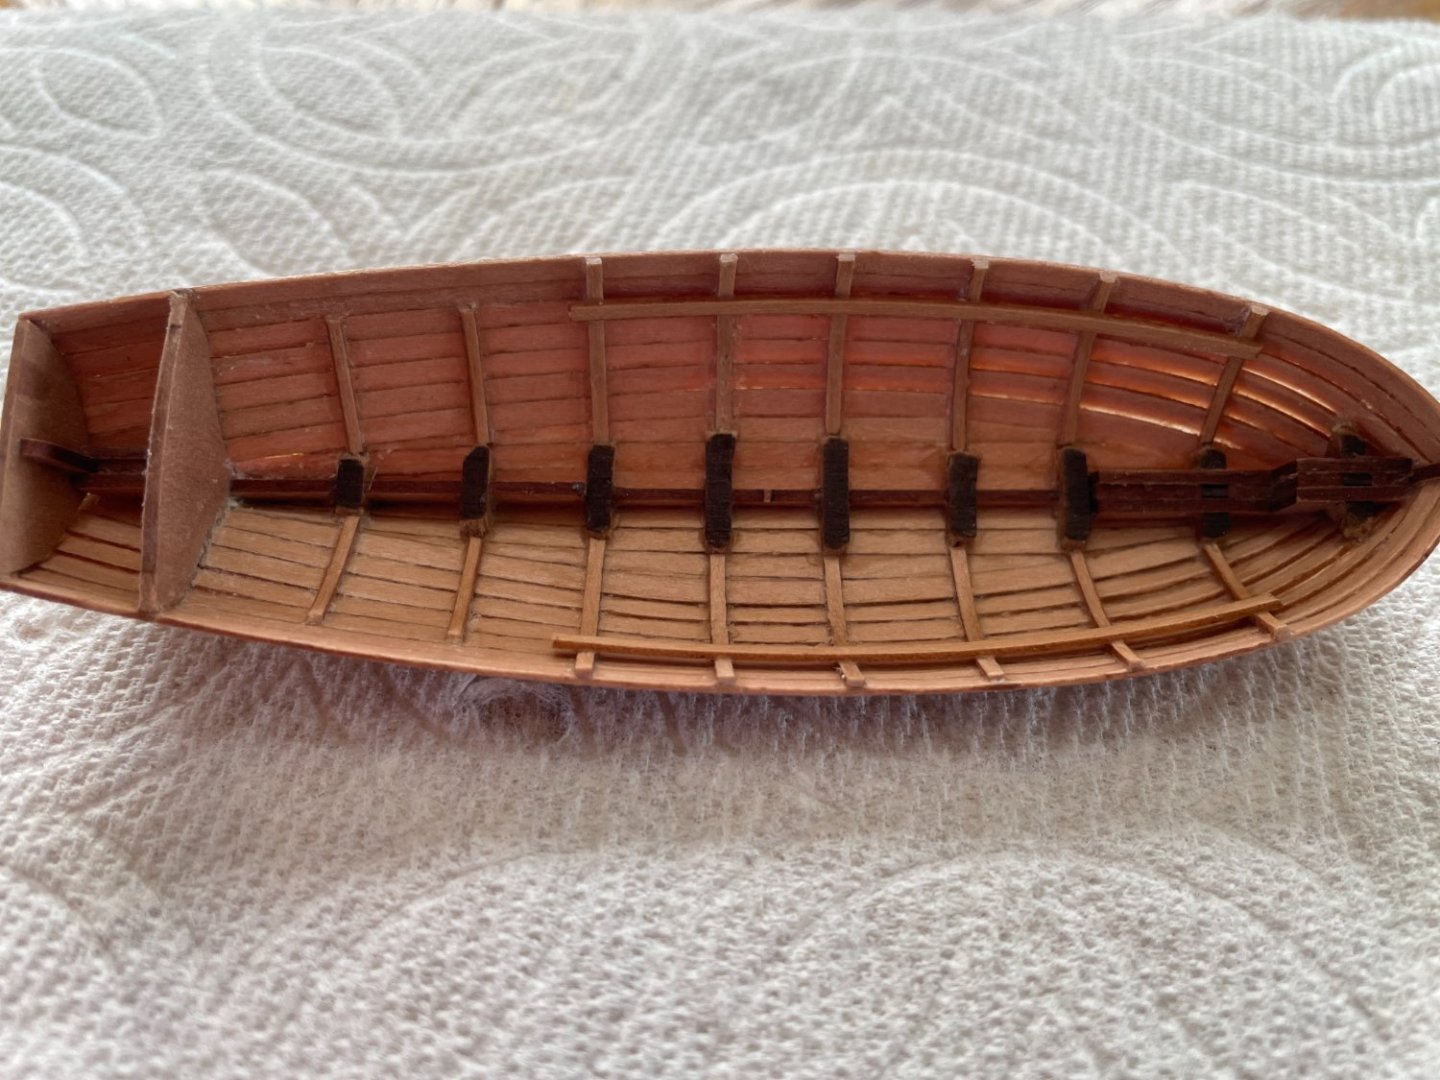
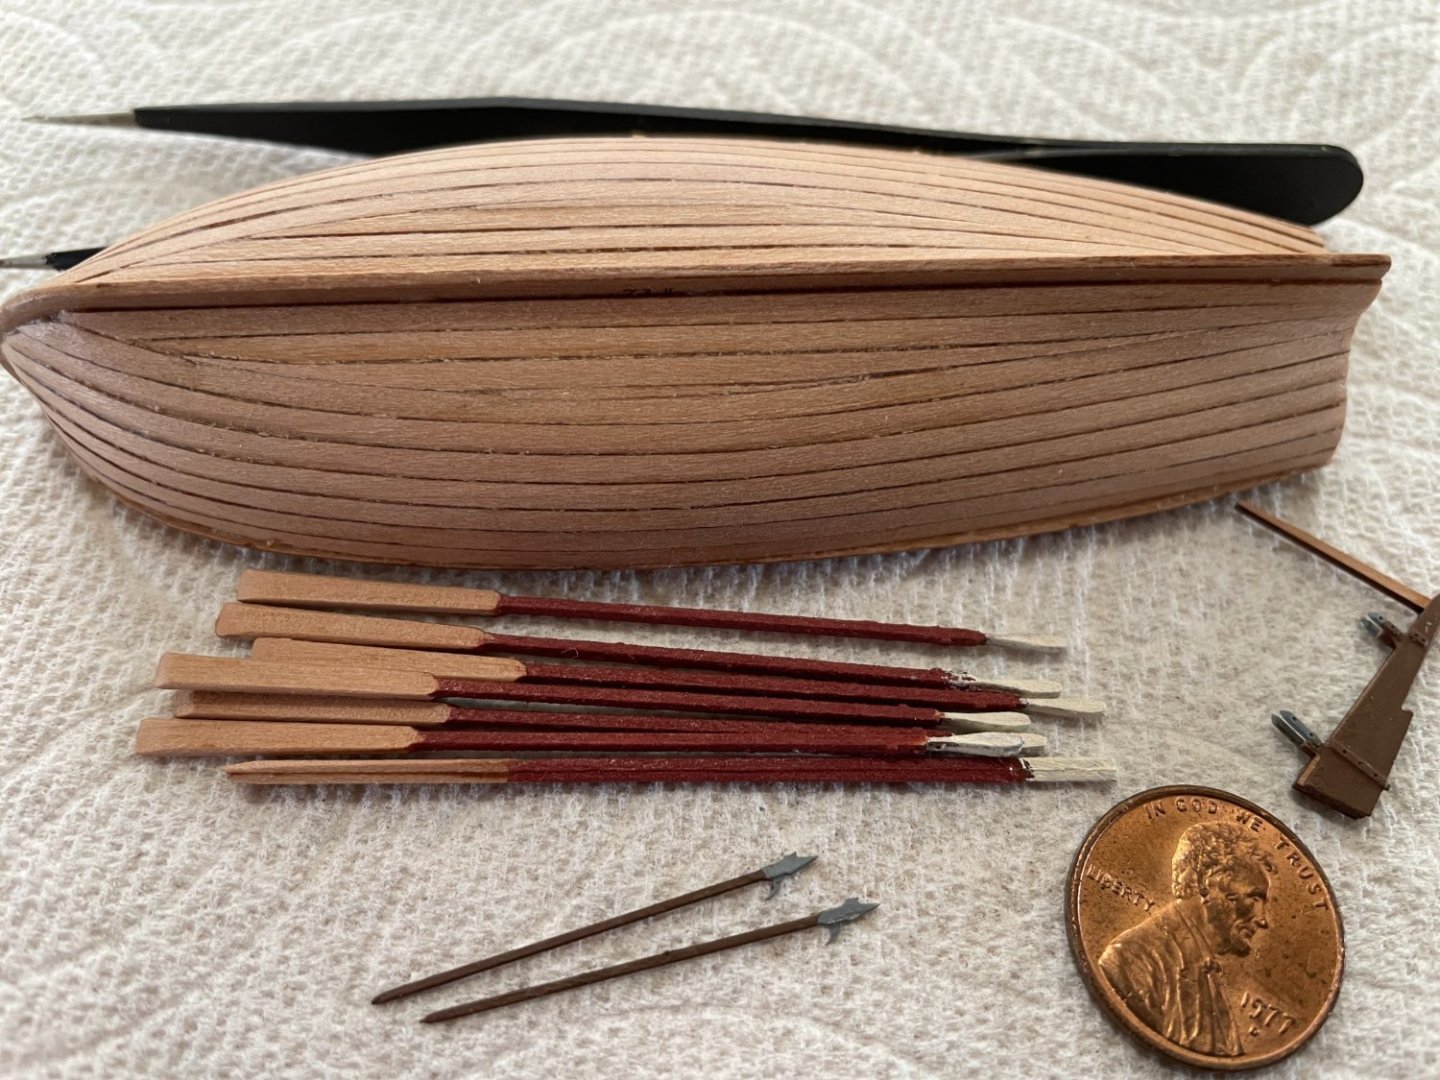
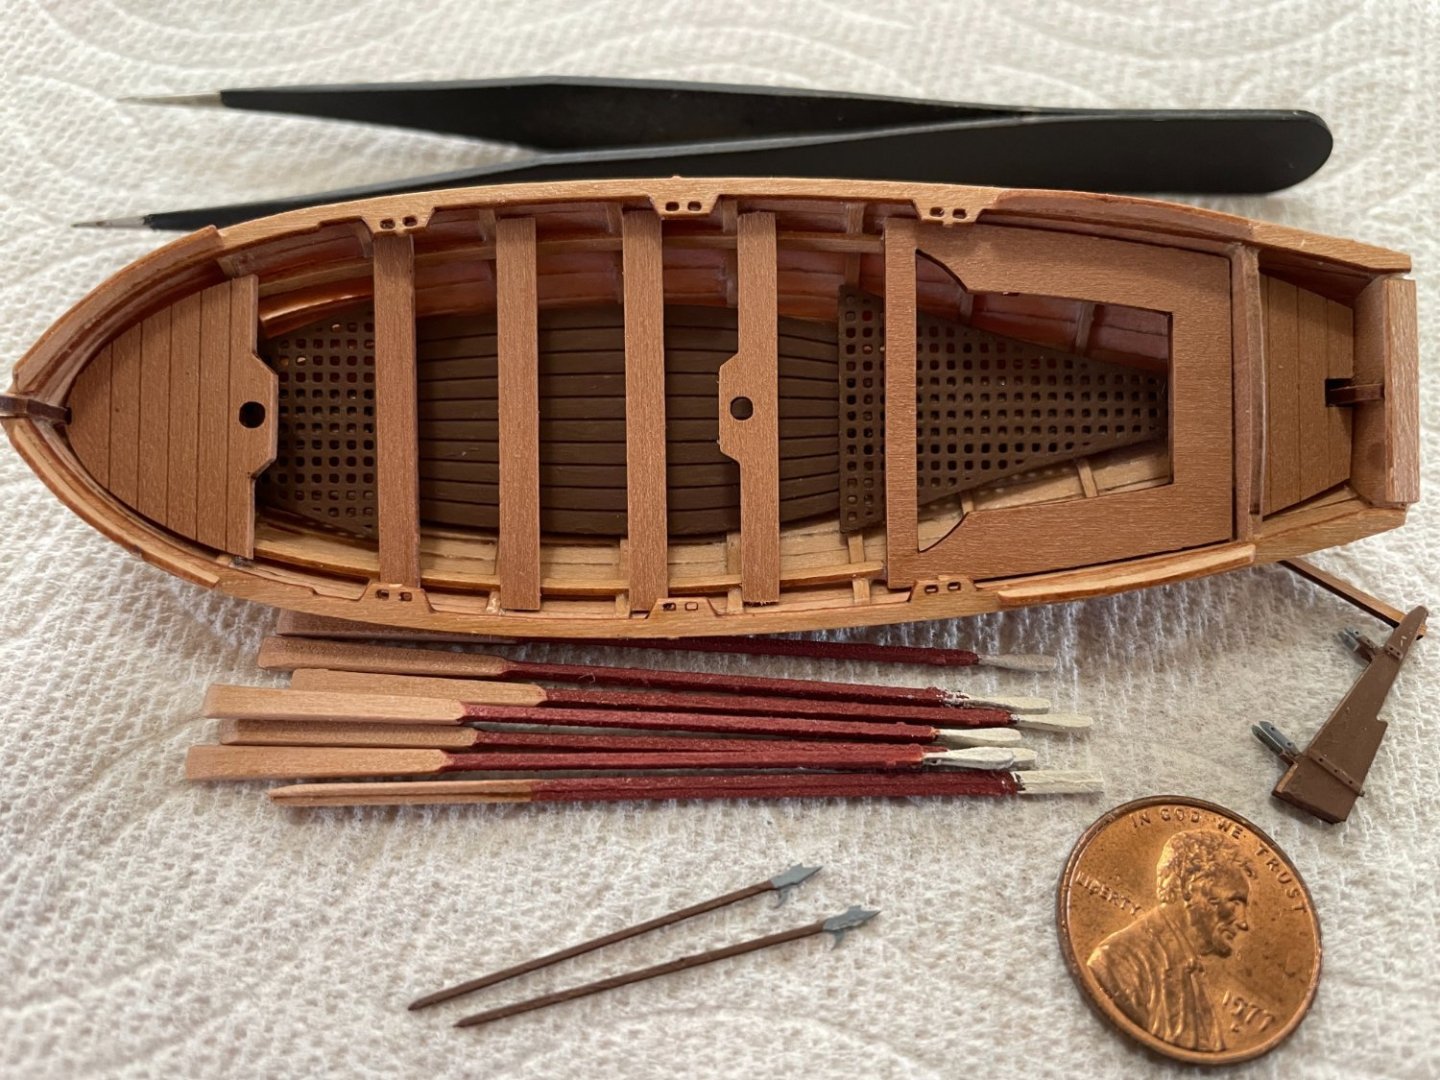
22 ft Yawl (Vanguard Models): I'm adding a 22ft Yawl and 18ft Cutter (later) to the Revenge Build. Both are made by Vanguard Models and of excellent quality and design. Since we don't see those often, I'm adding pictures below. The model has matte clear coat only (except at the bottom of the yawl because it has photo-etch parts - dark brown). Wood choice (pearwood and something else) is excellent and the laser burn is very minimal. Overall, a wonderful small kit, worth every single pennies. Note: A few photo-etch accessories still need to be added.
-

HMS EURYALUS by Matiz - FINISHED - scale 1:56
Loracs replied to matiz's topic in - Build logs for subjects built 1801 - 1850
Just.... WOW. I wish I had a third of your skill and knowledge. This is very impressive build... something to be very proud. -
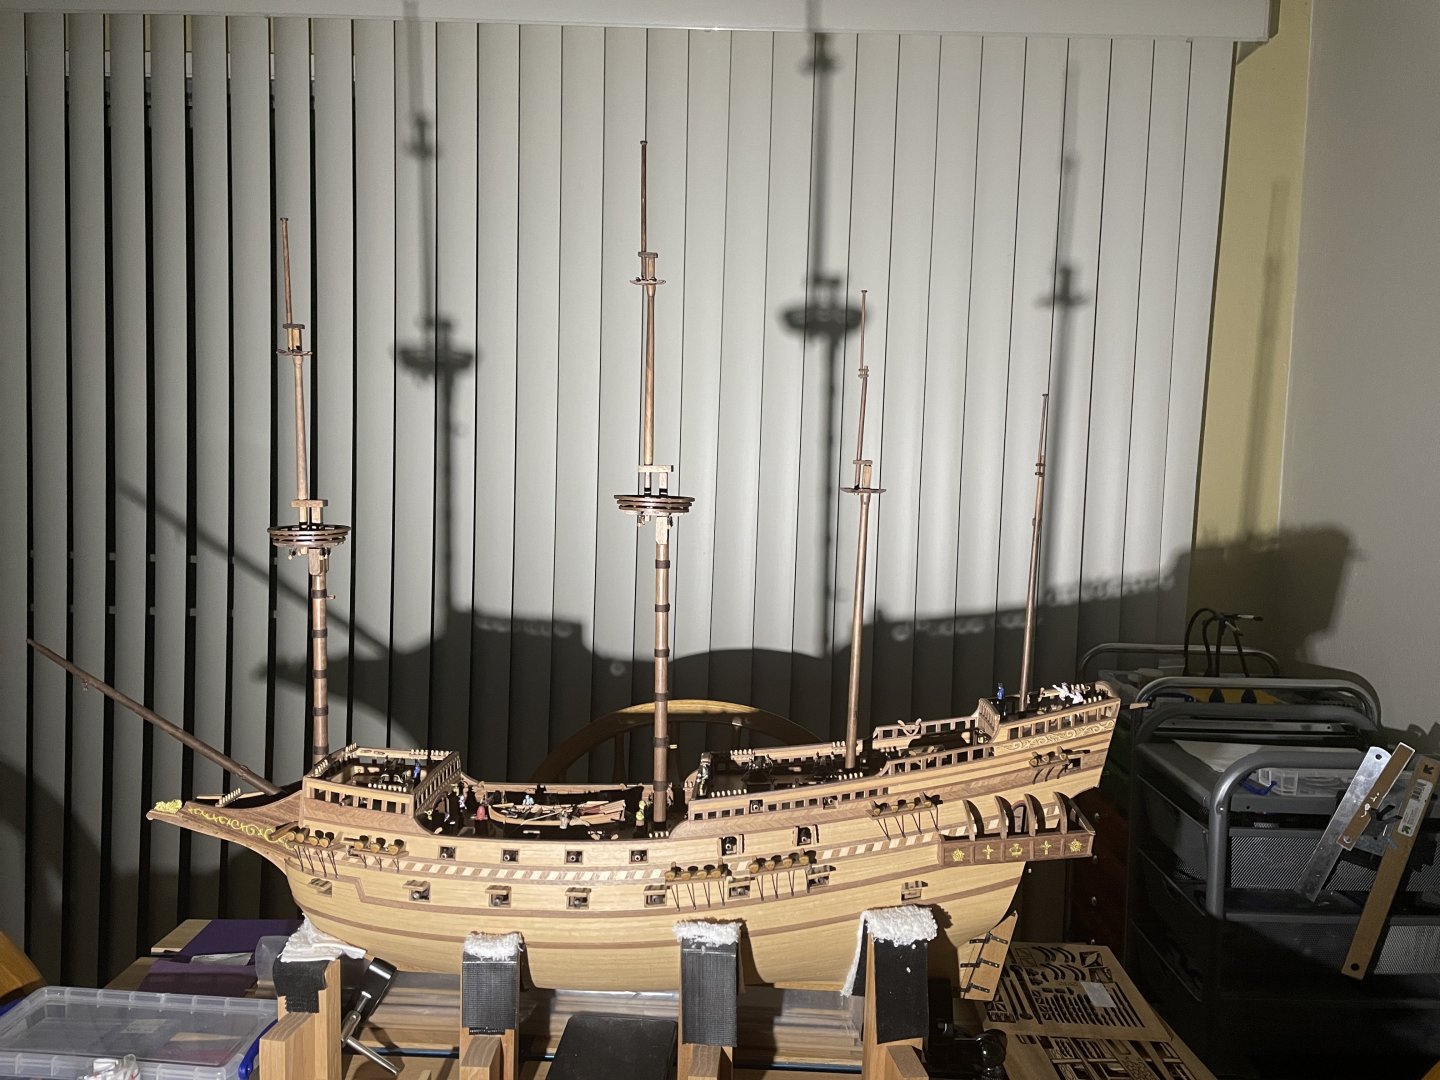
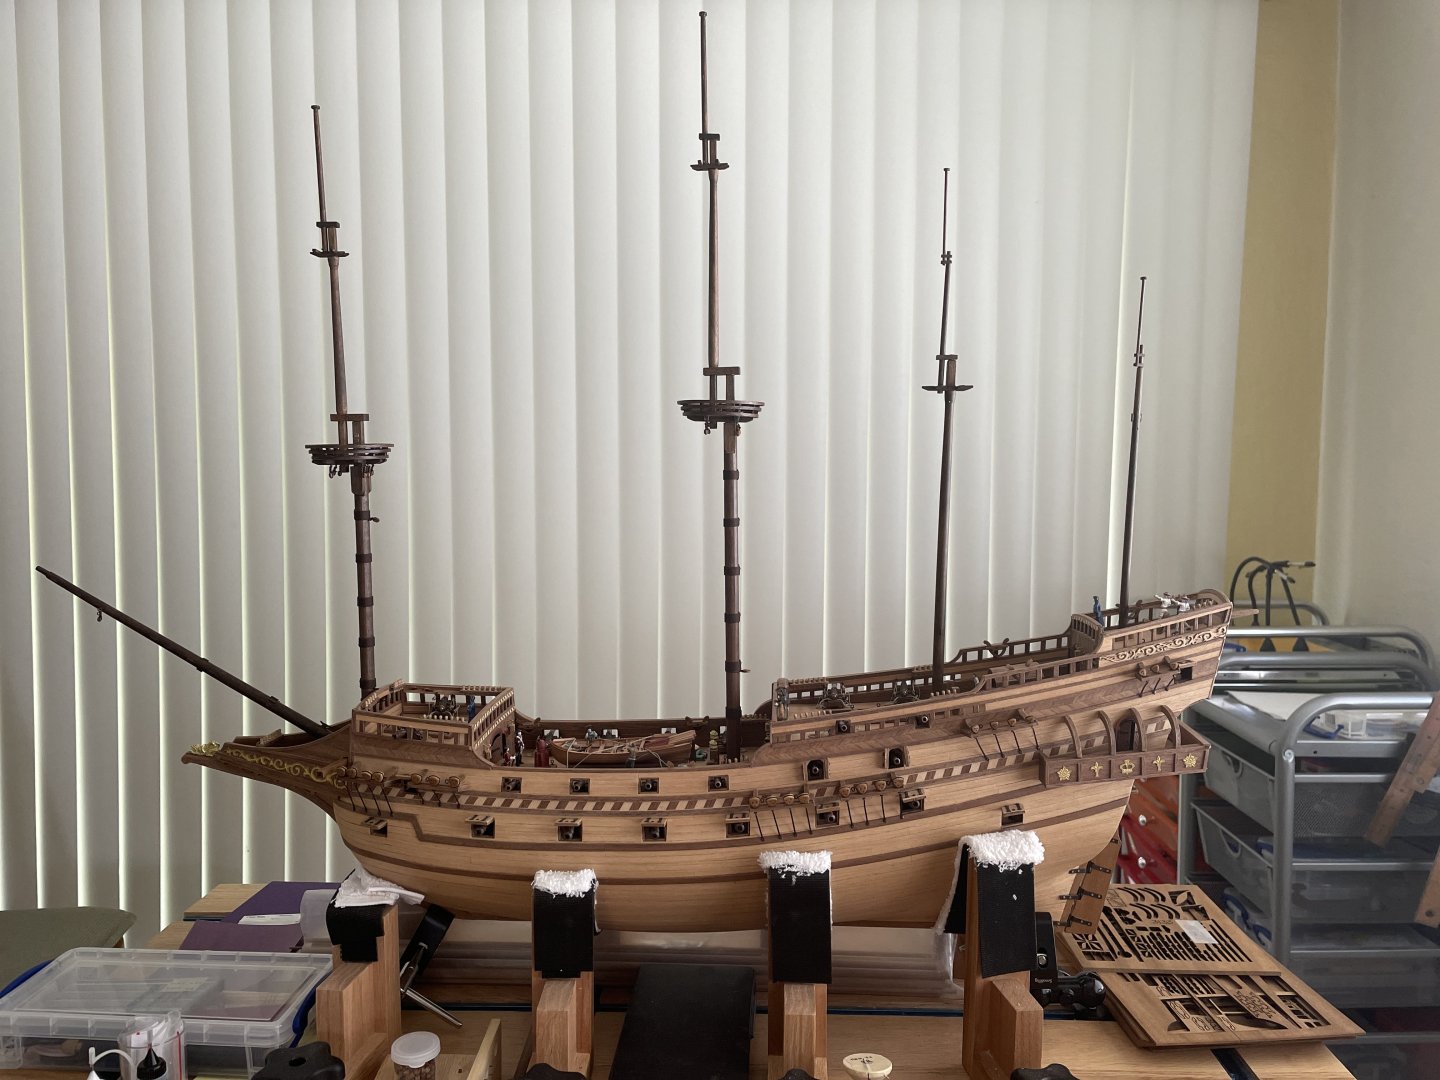
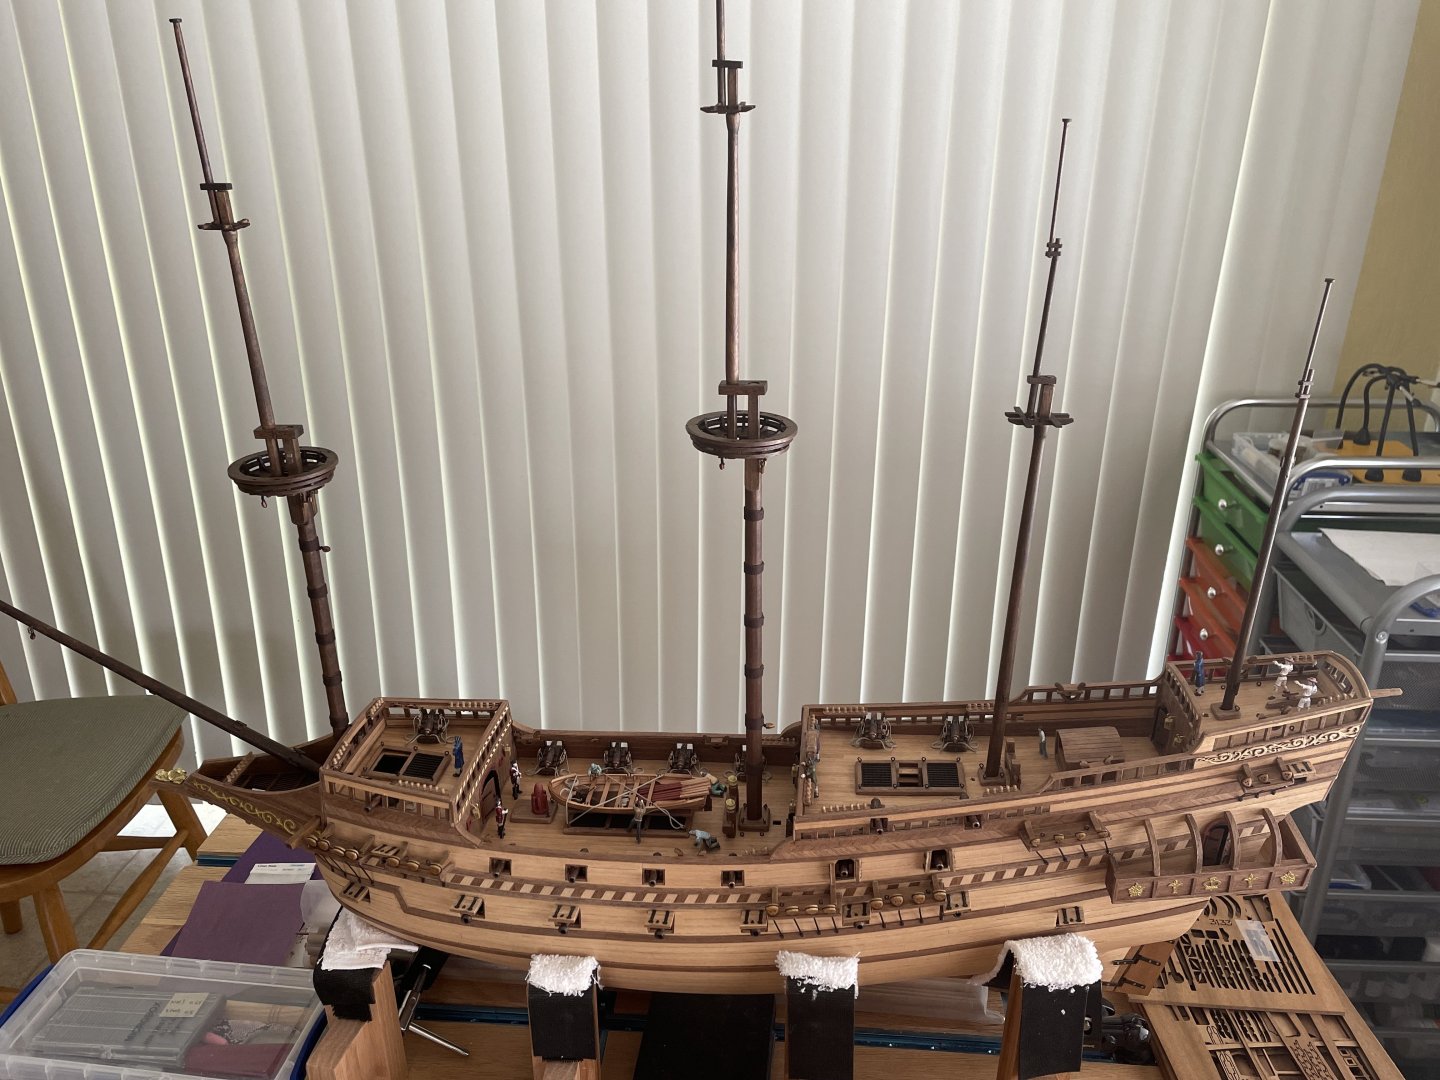
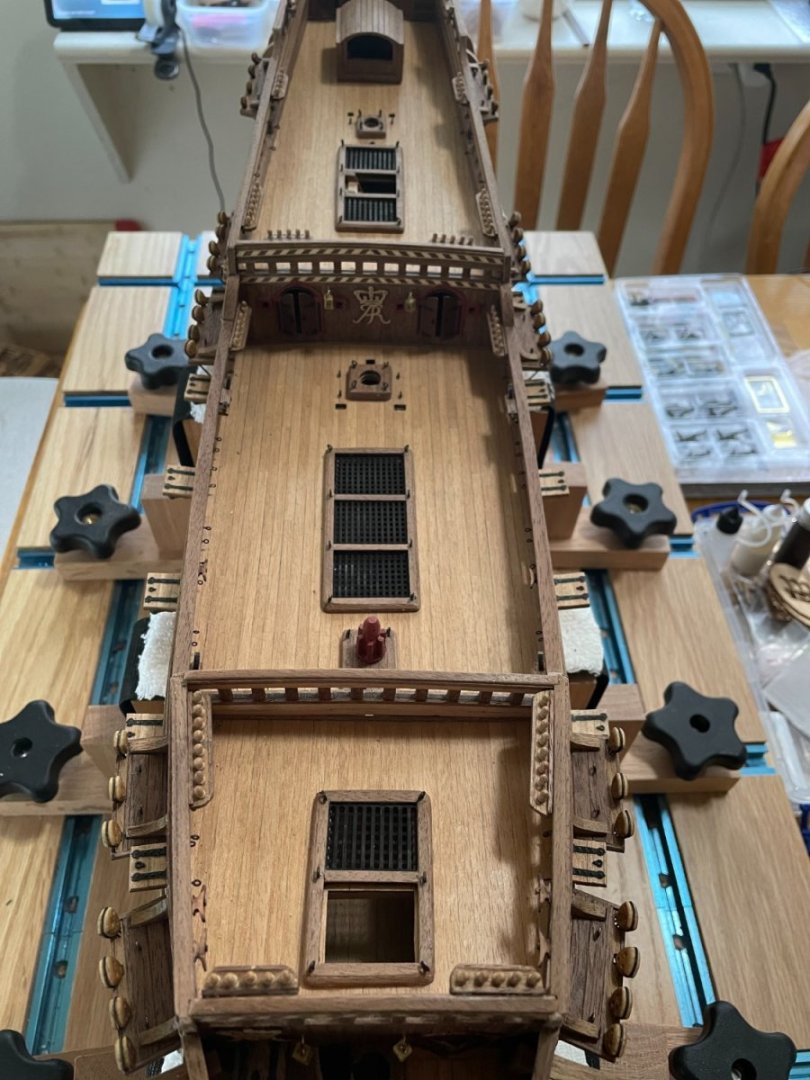
@TurkSailor I look a long time for a convenient building slip... The one I like was out of order and manufacturer did not even reply about possible availability in the future. Link here: SO... I build a working table. Not quite a slip to guide you in the build but mostly to hold the ship in place. It was a lot of work to make and rather expensive. I choose to do it for fun (I wanted a woodworking project to spend time on). At the end NOT a slip... but a close second/third. Beside that... nothing else. You can get by with a lot cheaper alternative since it just holds the ship on place, nothing more. Lastly, it is heavy, very heavy. So, I place the table on a large Lazy Susan to rotate it. Here the link for the table:
-
Another Question on RATLINES: I often see the cross section (horizontal segments) in light colored rope rather than dark like the vertical section. Is it a preference from the builder (for contrast) or those were never coated with Tar back then? Same for the rope between the two deadeyes... always light colored or they were coated with tar usually?
-
Question: Likely one of many as I started thinking/working on rigging the ship. I'm reading that the fore-most shroud on the fore and main mast are typically served the whole length of the rope while the others only at the portion around the mats... why only the first? there must be a practical and/or functional reason it was done that way.
-
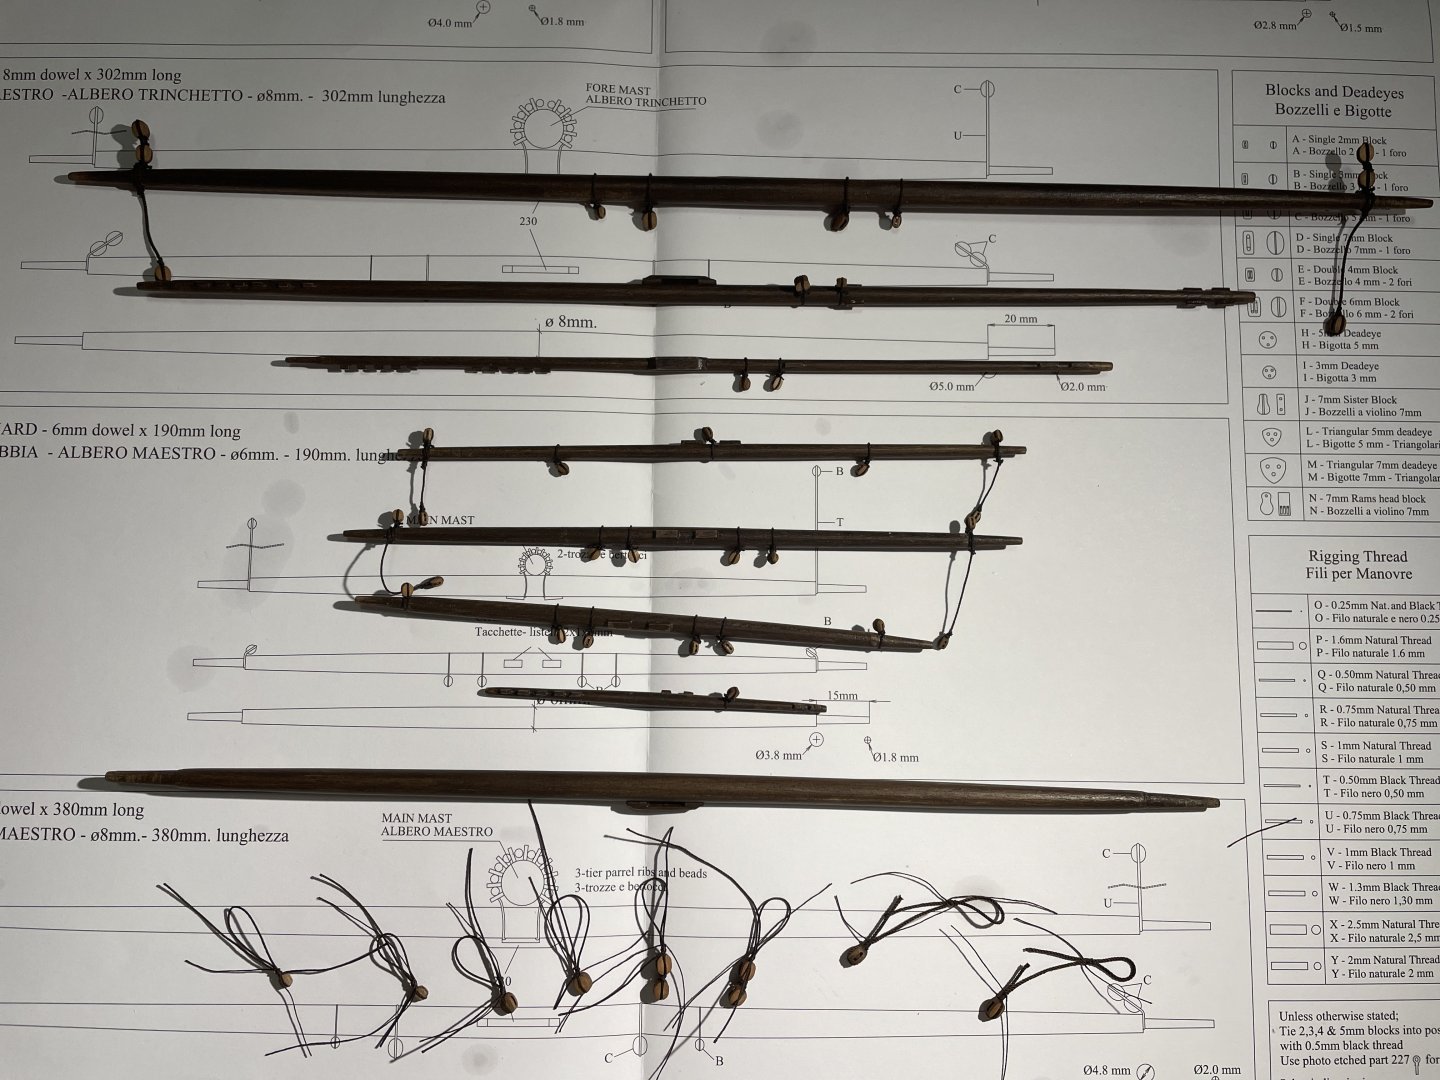
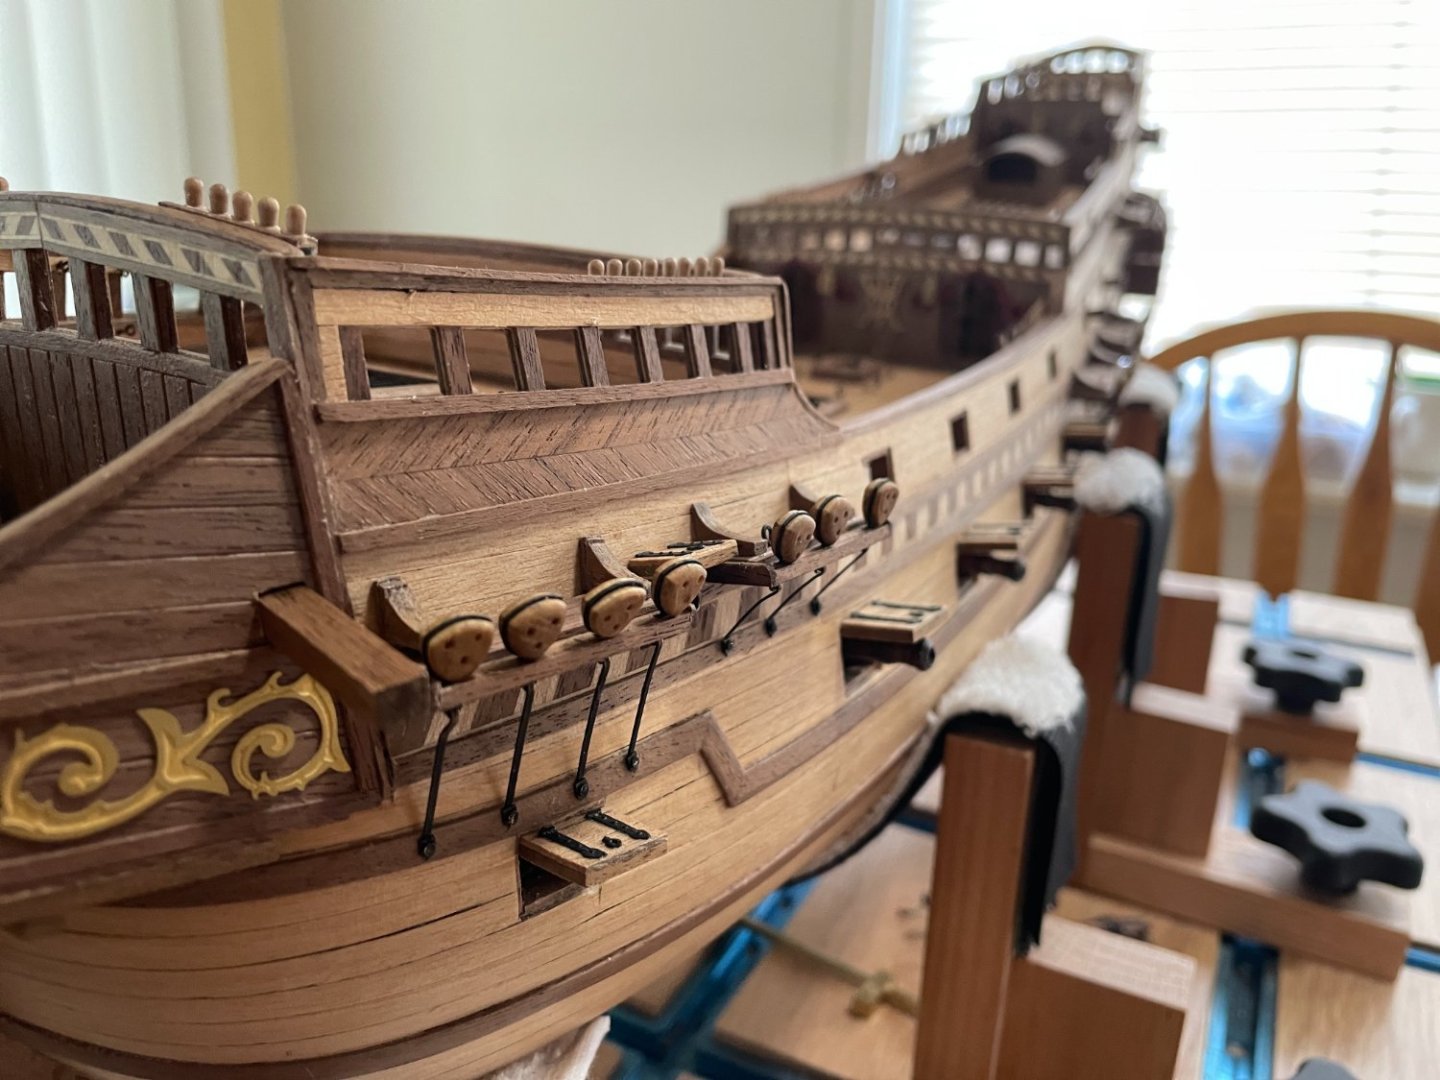
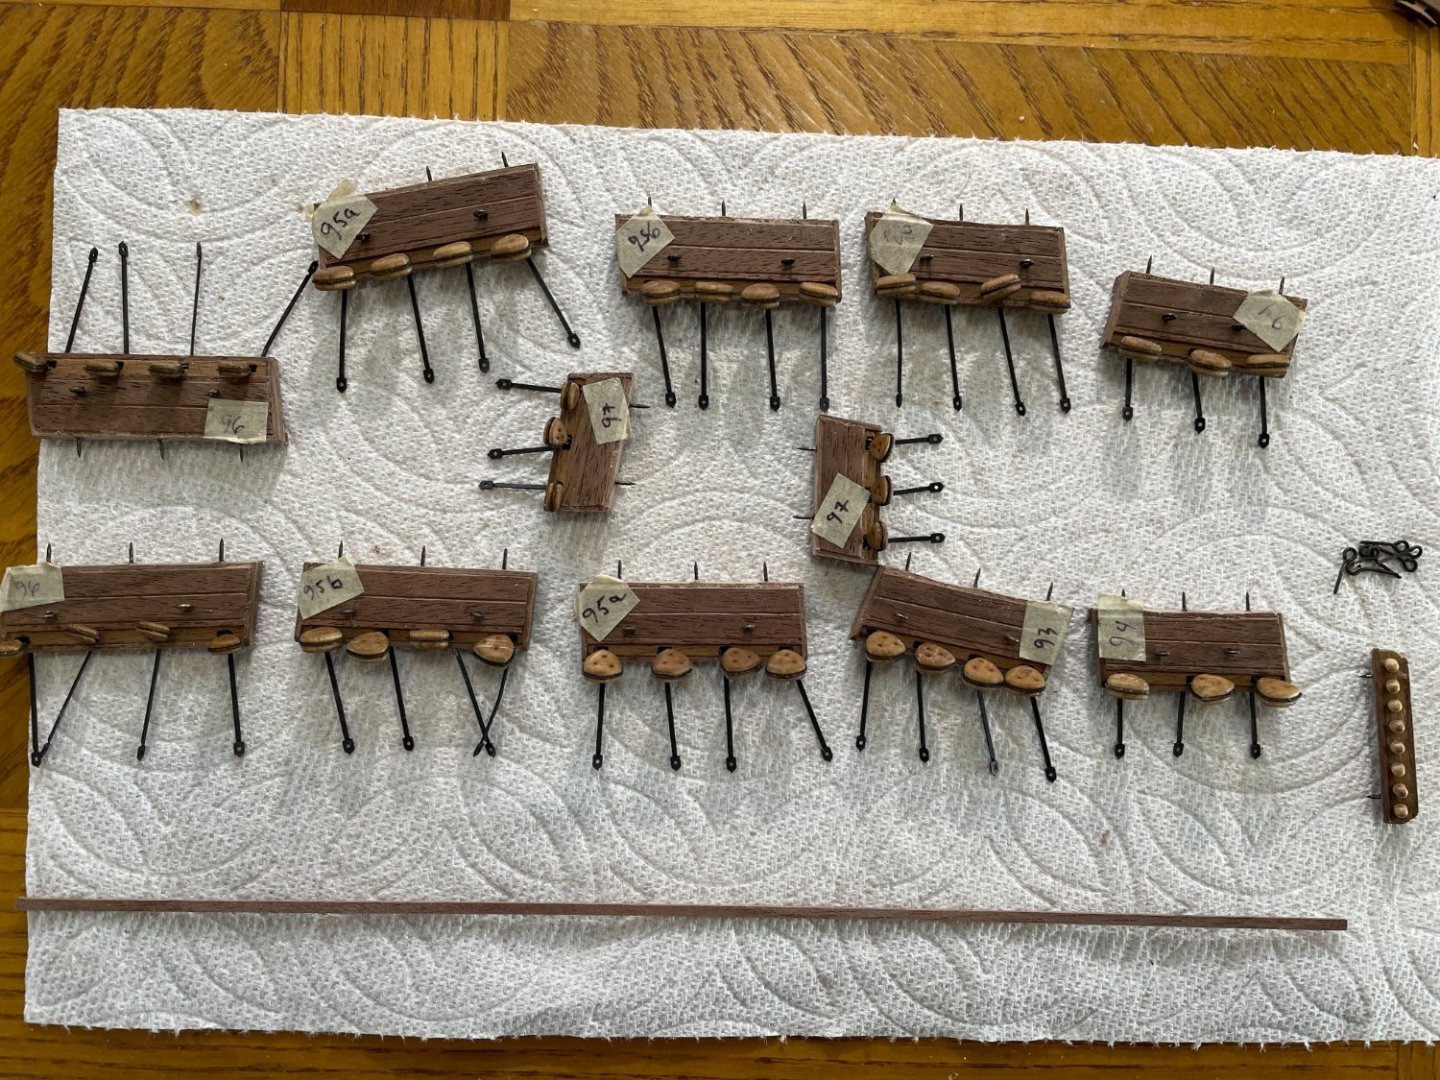
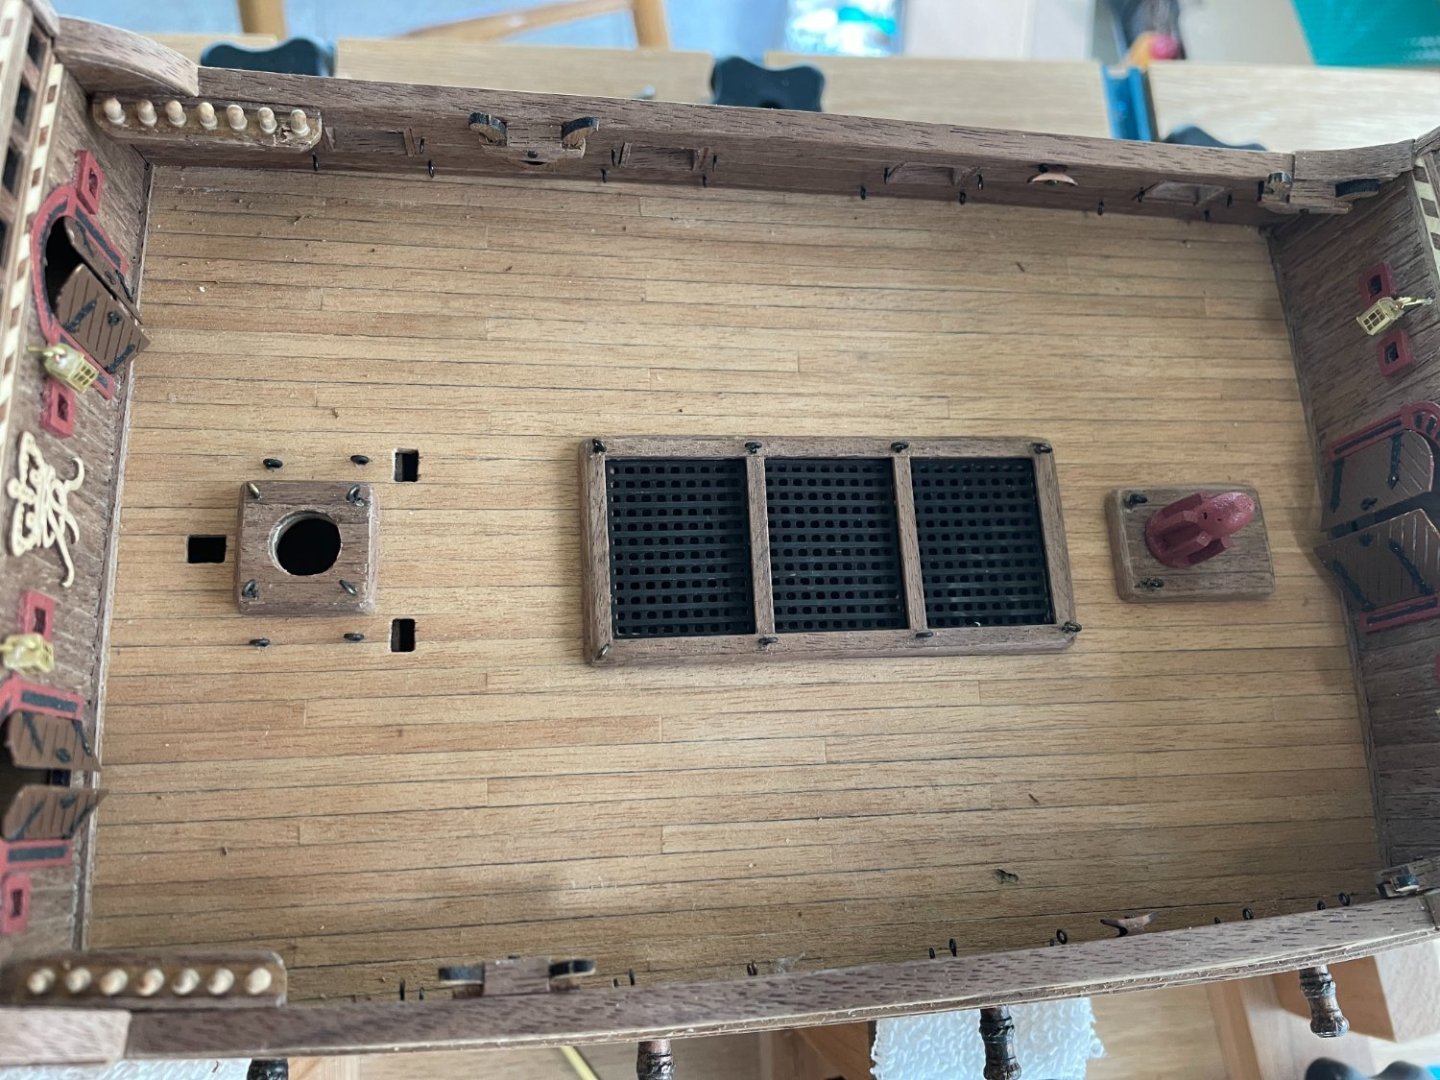
Deadeyes racks and gunport doors installed to the ship. This is no small task... amazing the number of little parts... all having to be fixed with nails. The good news, it is done and no major break (couple of minor ones though). Mark, drill and push in... all the while holding my breath that nothing fall apart. And those little corner parts on top of the racks!! each need to be adjusted to fit, what a pain. With this done, this officially start the rigging segment of the build, starting with the deck cannons.
-
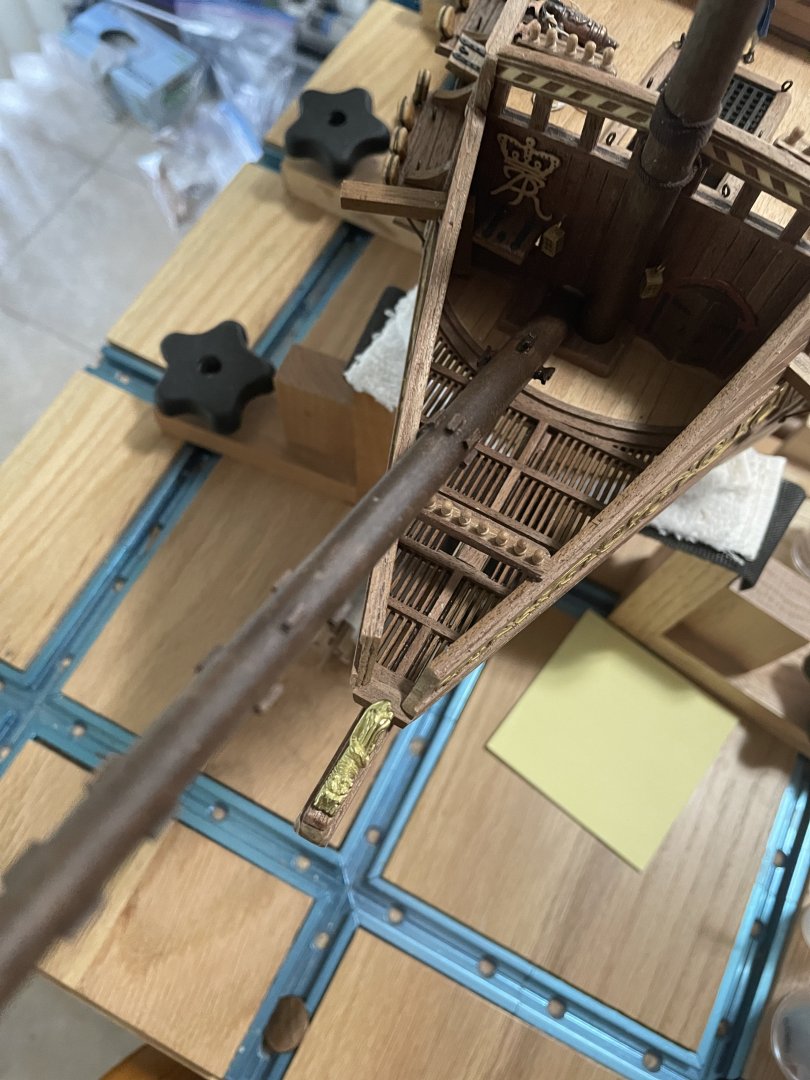
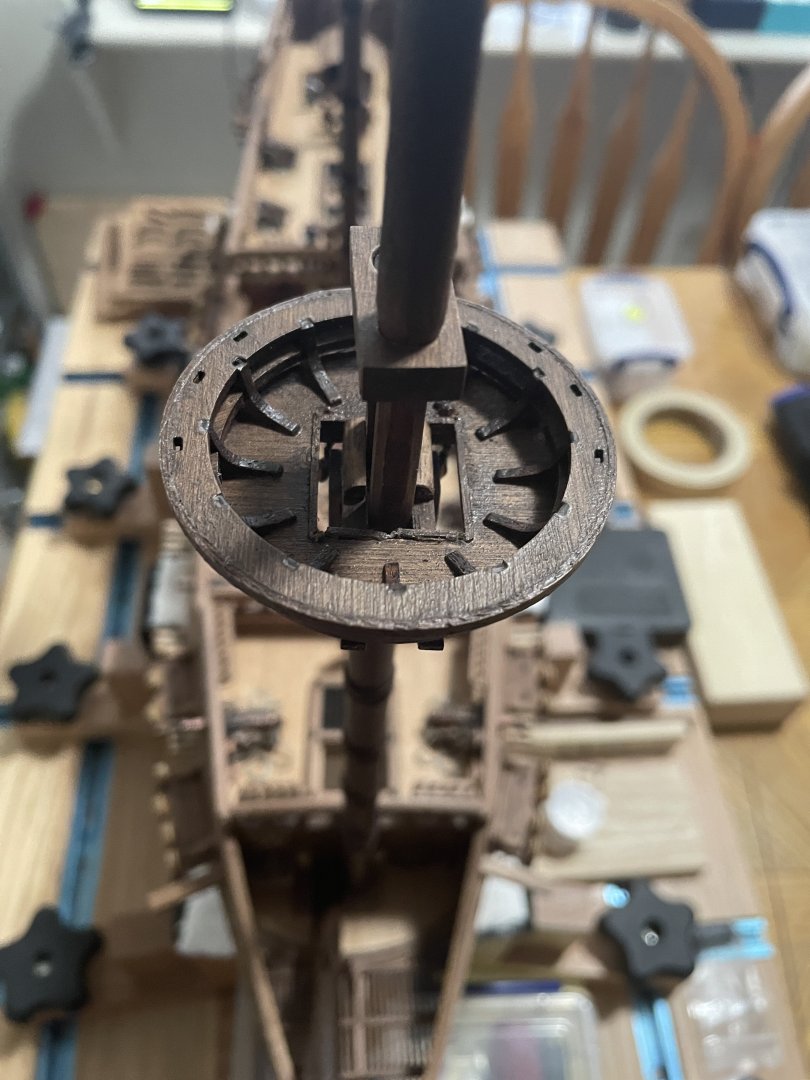
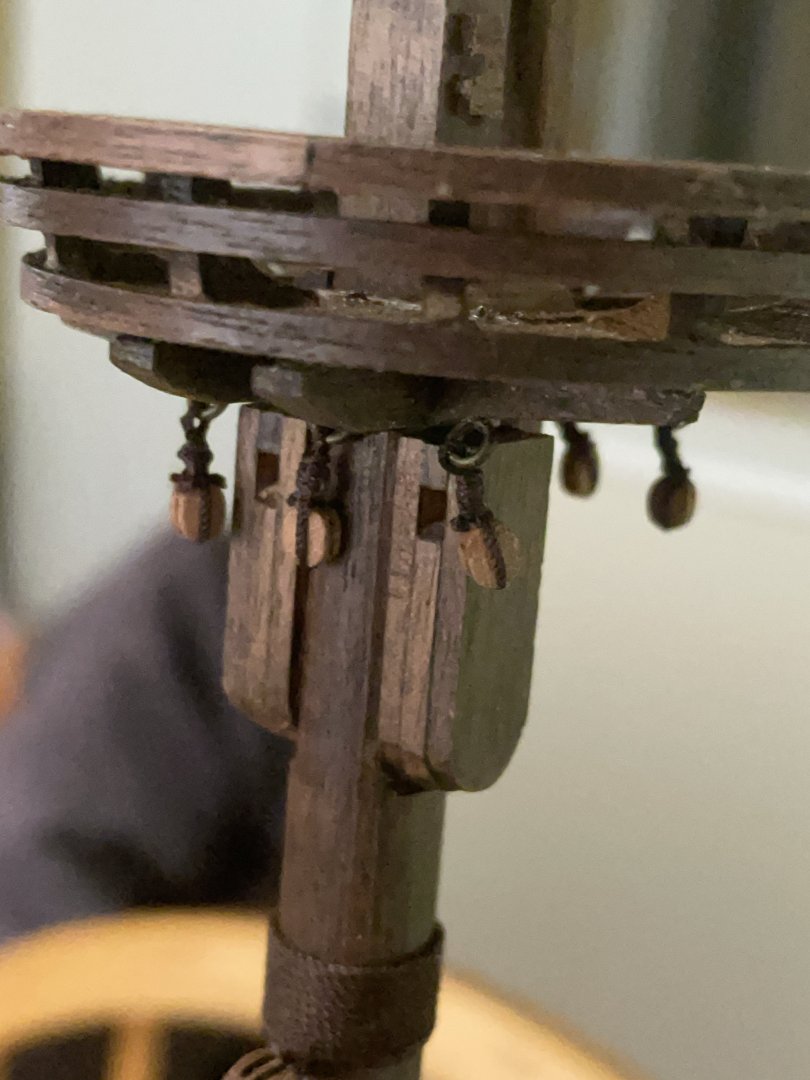
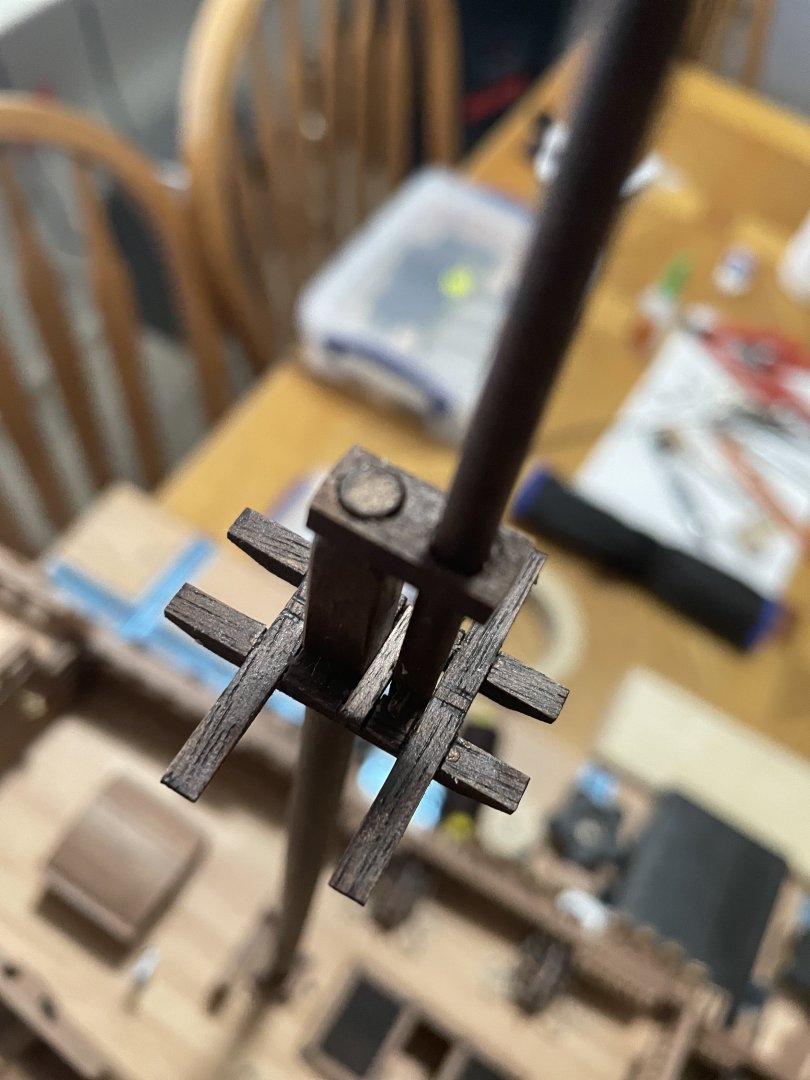
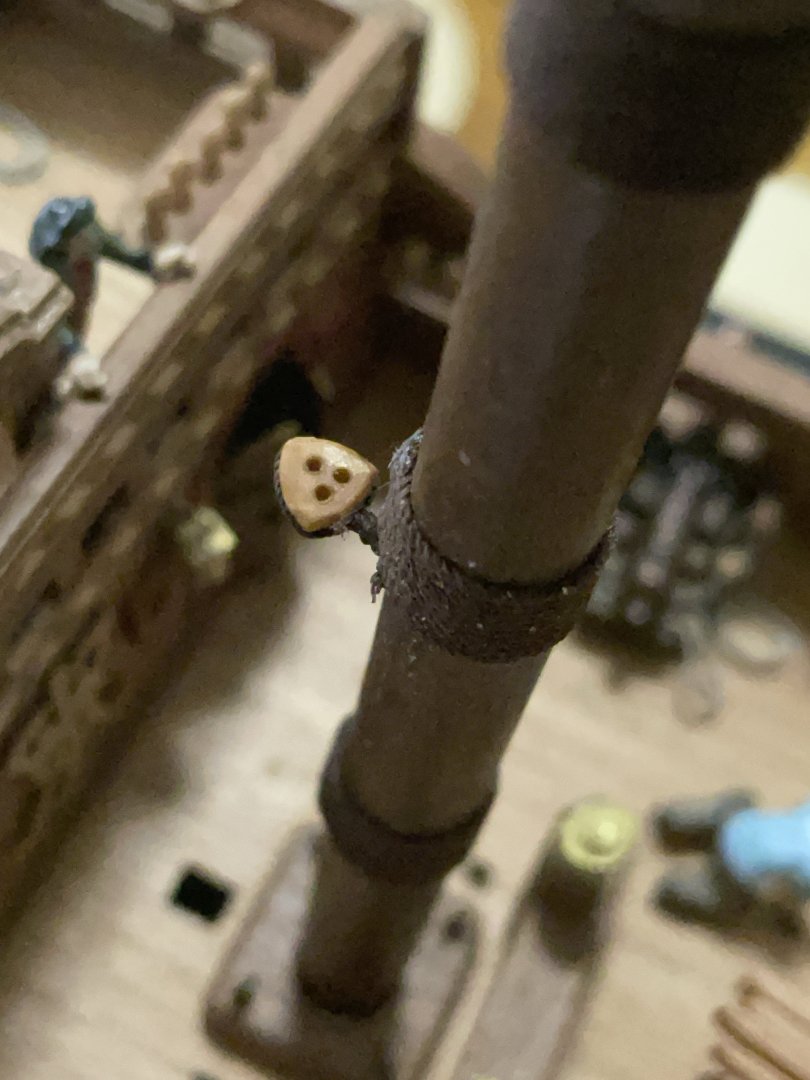
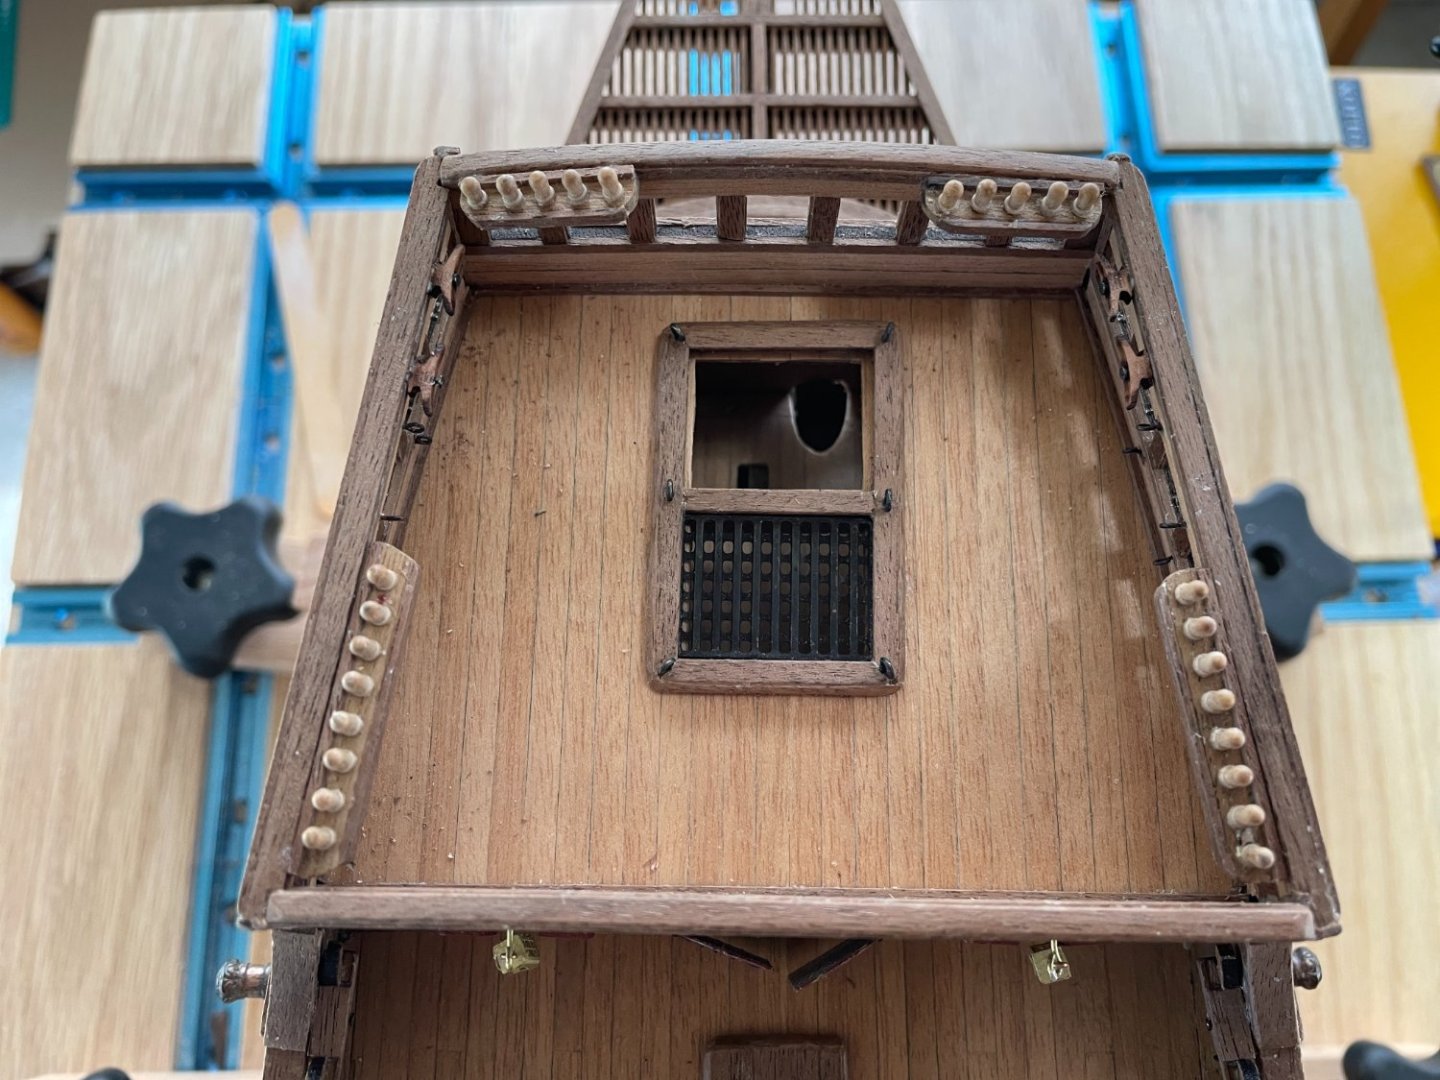
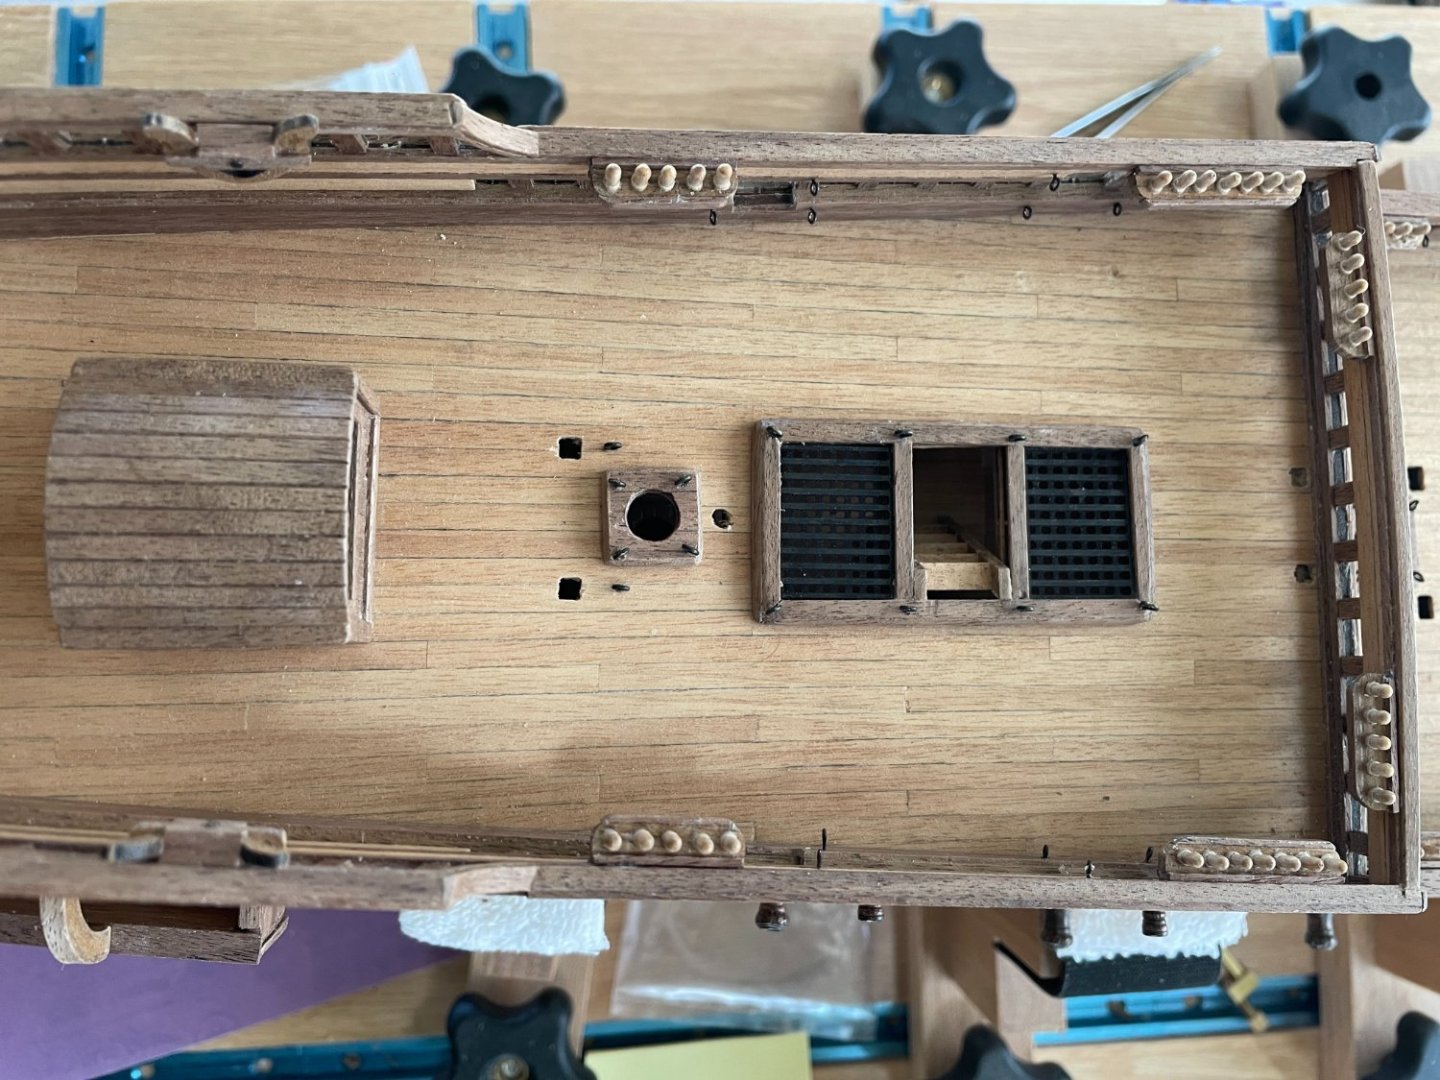
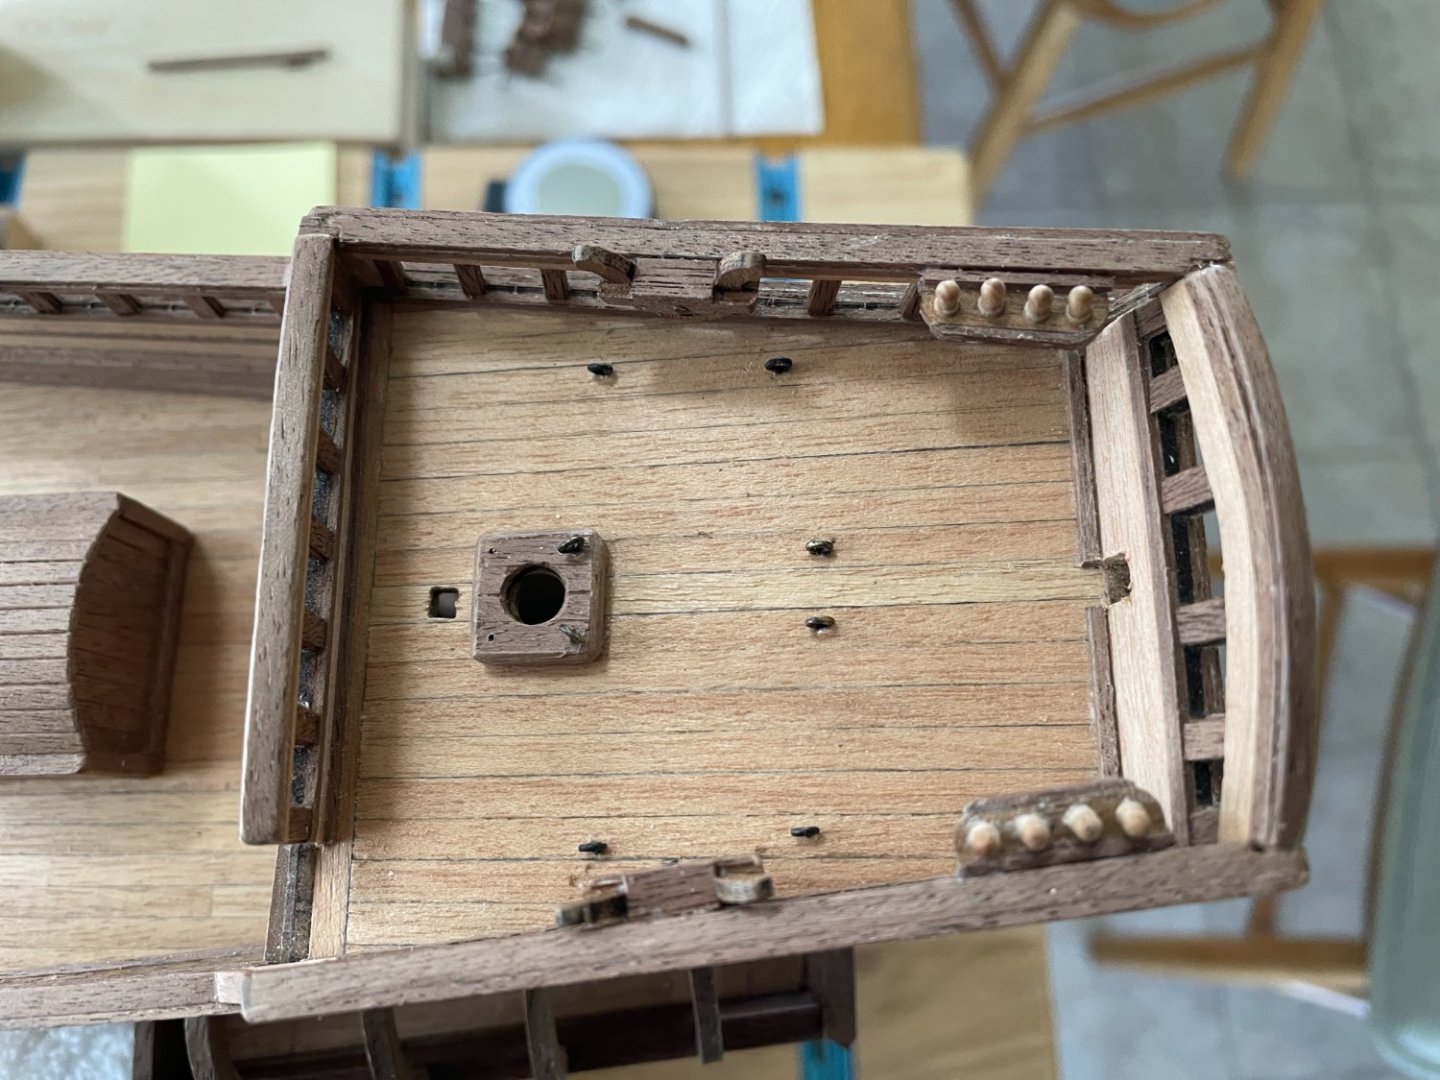
Eyebolts, Racks and Cleats: Various small parts are installed on the ship. Those are quite a challenge. Each is re-enforced with nails for stability. A comment on Bibetou: I seriously hate this wood. It is far too fragile to be used as construction material. So far each piece has been strengthened by planking it with walnut strips... it is almost a requirement.
About us
Modelshipworld - Advancing Ship Modeling through Research
SSL Secured
Your security is important for us so this Website is SSL-Secured
NRG Mailing Address
Nautical Research Guild
237 South Lincoln Street
Westmont IL, 60559-1917
Model Ship World ® and the MSW logo are Registered Trademarks, and belong to the Nautical Research Guild (United States Patent and Trademark Office: No. 6,929,264 & No. 6,929,274, registered Dec. 20, 2022)
Helpful Links
About the NRG
If you enjoy building ship models that are historically accurate as well as beautiful, then The Nautical Research Guild (NRG) is just right for you.
The Guild is a non-profit educational organization whose mission is to “Advance Ship Modeling Through Research”. We provide support to our members in their efforts to raise the quality of their model ships.
The Nautical Research Guild has published our world-renowned quarterly magazine, The Nautical Research Journal, since 1955. The pages of the Journal are full of articles by accomplished ship modelers who show you how they create those exquisite details on their models, and by maritime historians who show you the correct details to build. The Journal is available in both print and digital editions. Go to the NRG web site (www.thenrg.org) to download a complimentary digital copy of the Journal. The NRG also publishes plan sets, books and compilations of back issues of the Journal and the former Ships in Scale and Model Ship Builder magazines.


