Loracs
-
Posts
297 -
Joined
-
Last visited
Content Type
Profiles
Forums
Gallery
Events
Everything posted by Loracs
-
 very well done... those are trickier than it looks. The wood can easily split apart in the process.
 -
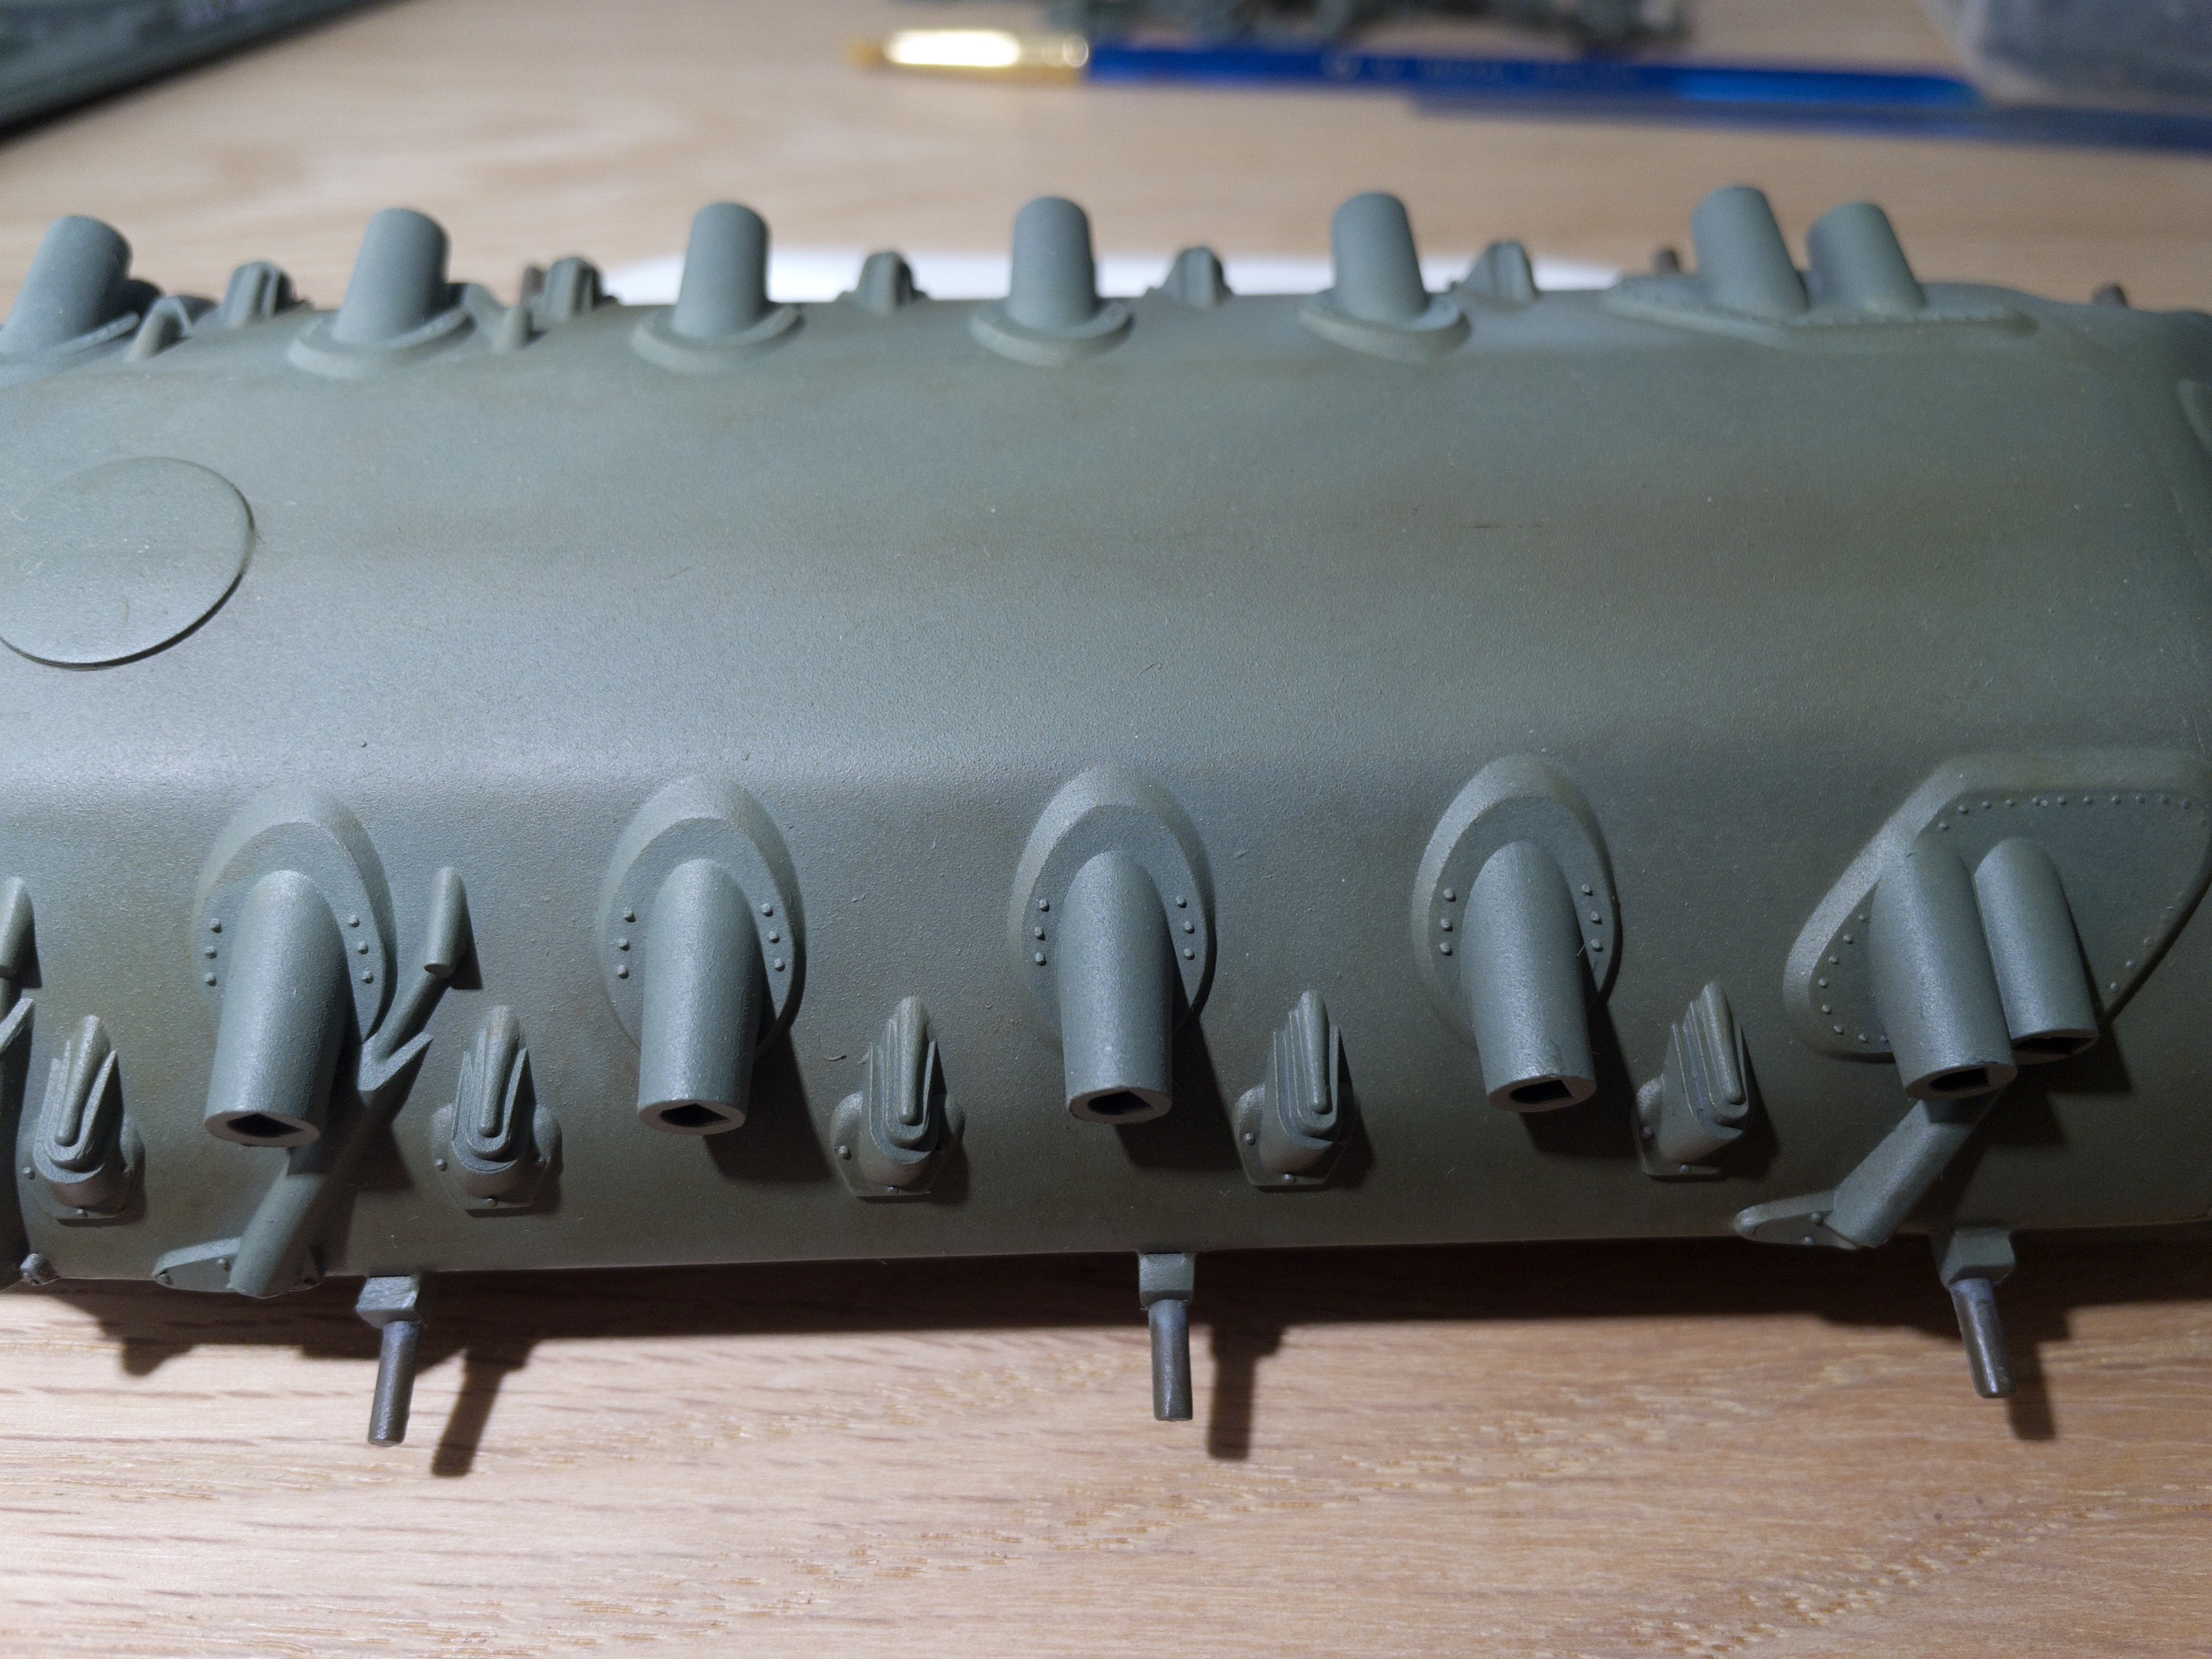
Pin Wash: Applied an oil pin wash, a mixture of 50% Raw amber / Ivory black, to enhance the details and add shadow. The effect is subtle but clearly apparent, especially on the wheels.
-
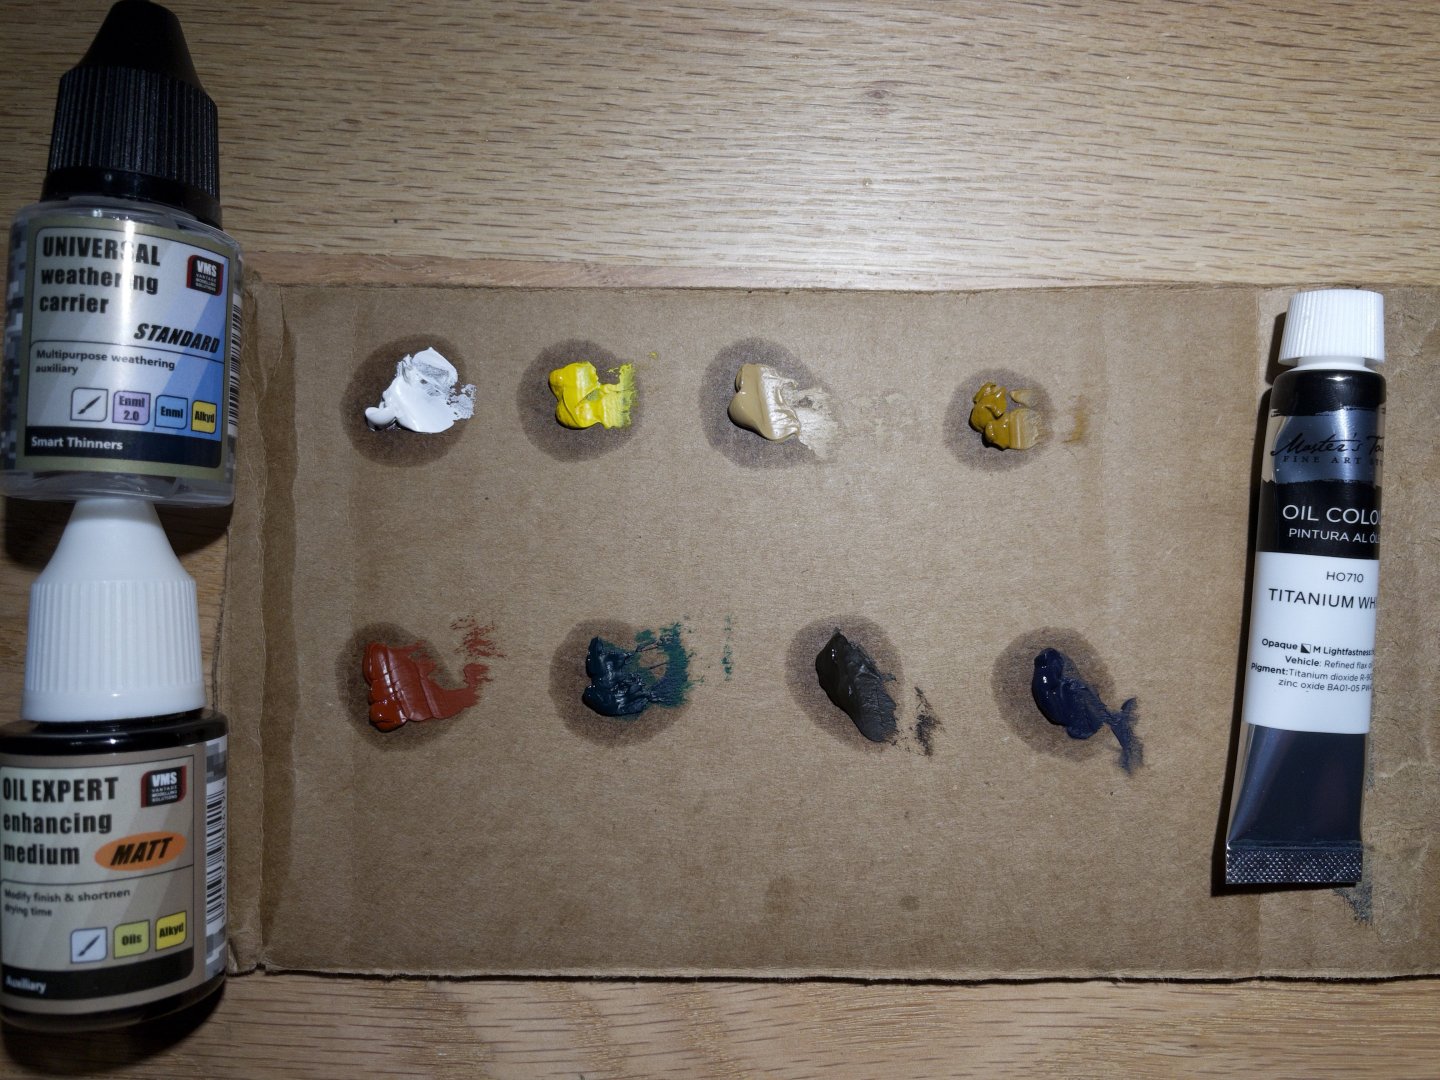
Color Modulation using Oil dot filter: I did more experimentation... I'm a beginner with the method and this comment is my own experience, NOT a reflection of the technique. At first sight, you think that this would be a great way to add subtle color "texture" to a model. The brown above using mainly brown/earth red is a bad example in fact. With a dot filter you HAVE to take into account the end result of mixing pigments. Each Oil Tube color is either single pigment or multiple, more often multiple with student grade oils. This means that mixing multiple "random" colors on the model (or test parts) will result NOT in multiple subtle hues but a muddy brown/grey tint. So, in conclusion, test and choose color carefully. This may be obvious to most... but I did not quite realize it until I tried. Second, the carrier (mineral spirits or other) will initially bring transparency and glossiness. So don't judge the result at application but wait until dry. Third, creating gradient is far more difficult than it may appear. Mineral spirit "solubilizes" really fast and creating gradient is tricky at best. Not the strength of this approach. The strength is in bringing a general TINT, no more and no less. For me, that time spent in choosing and mixing my basecoat... this does not help me at all. The final strength is in creating streaking (water run and sand). However, I think using dry pigment may be better (will try later, no experience here too) Overall, this approach has strengths but, right now, is too unpredictable for me as beginner. Will need to do far more testing before going to the more visible area that I was planning initially. Will shelve it for now. For color modulation, I'm far more likely heading the route of fine airbrush panels in multiple coats (base coat, mid-range color, highlights and shadow). Oil dot filters won't really replace. It is amazing, as beginner, how you build expectations from a method that are way out of proportion to reality. If you have more experience, please reply and comment on how you use it on a model.
-
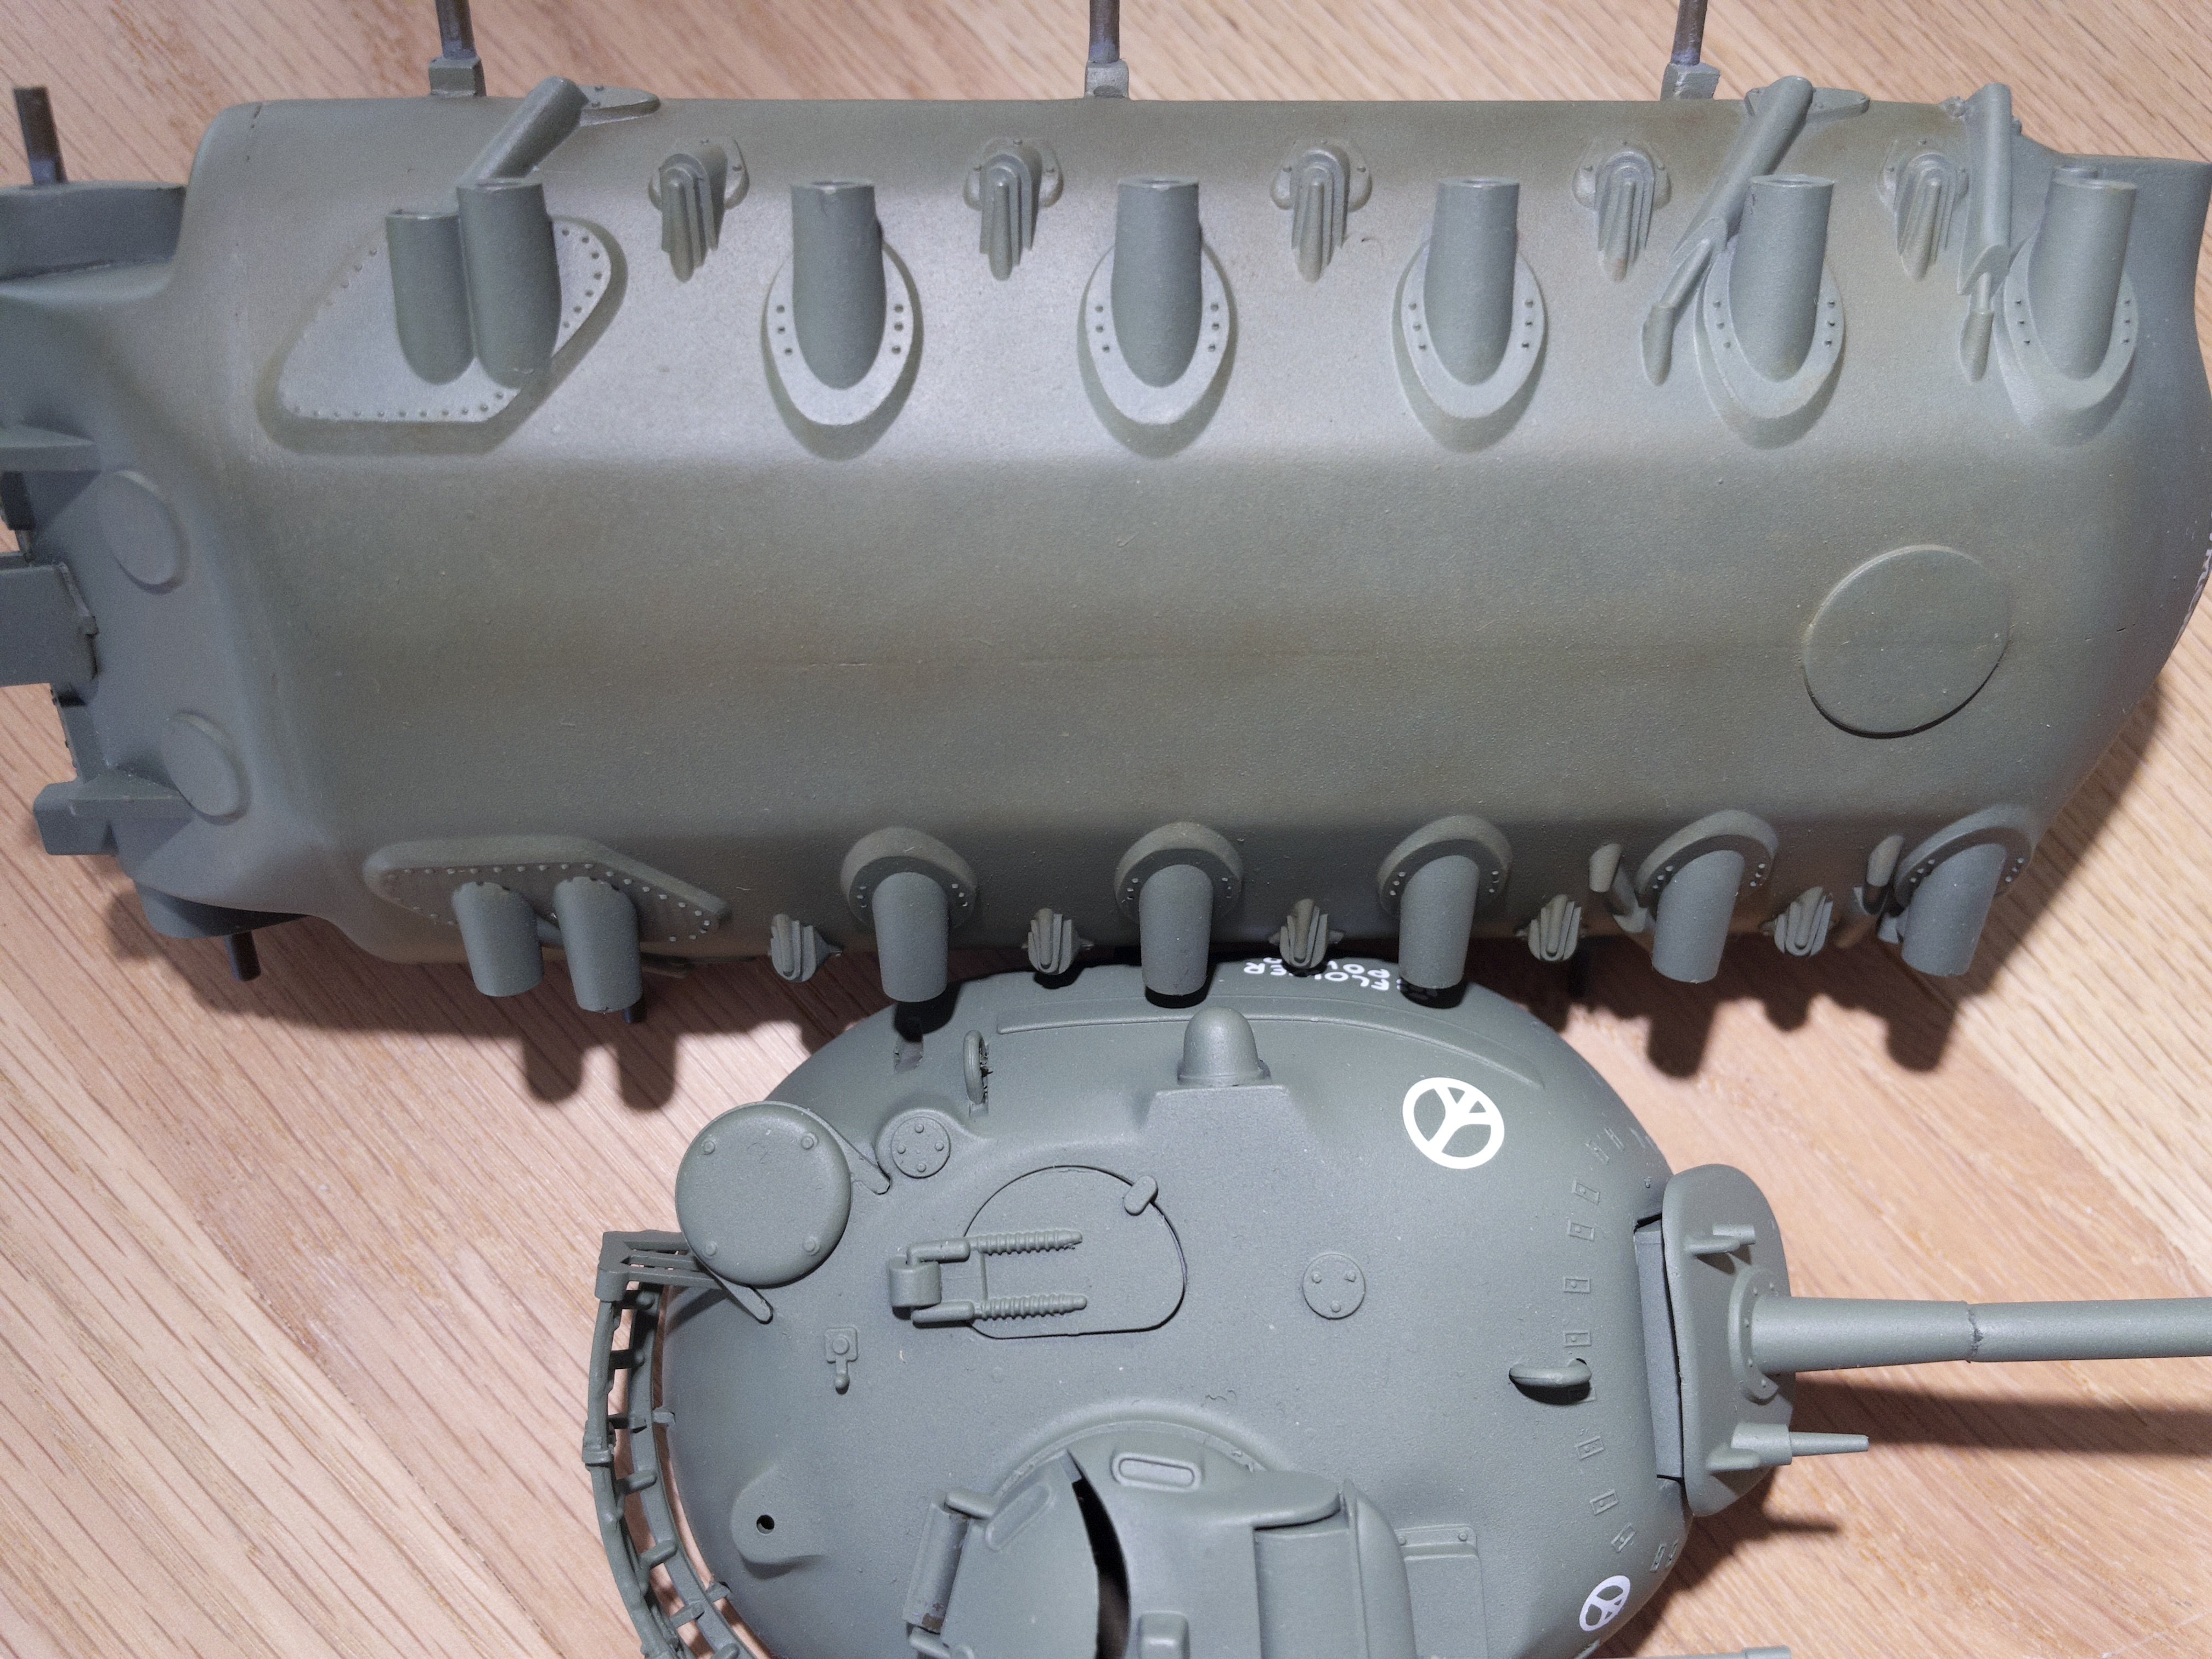
Color modulation (dots filter): This is the first time I'm using this approach. I did not really know what to expect. The change is quite light. Maybe I'm working the paint too much. The real advantage of working with oils for shading is the long open time. You can work on it for a few hours. Even though I pulled a number of colors, I mainly worked with Raw Umber and Burnt Siena. BTW The acrylic paint was coated with acrylic satin varnish to protect it from the solvent-based oils. The last picture compares the color of the treated section of the tank (base) with the untreated (turret). There is clearly an "earthlier" tone. I'm using VMS oil expert medium & weathering carrier, which is designed to reduce drying time.

-
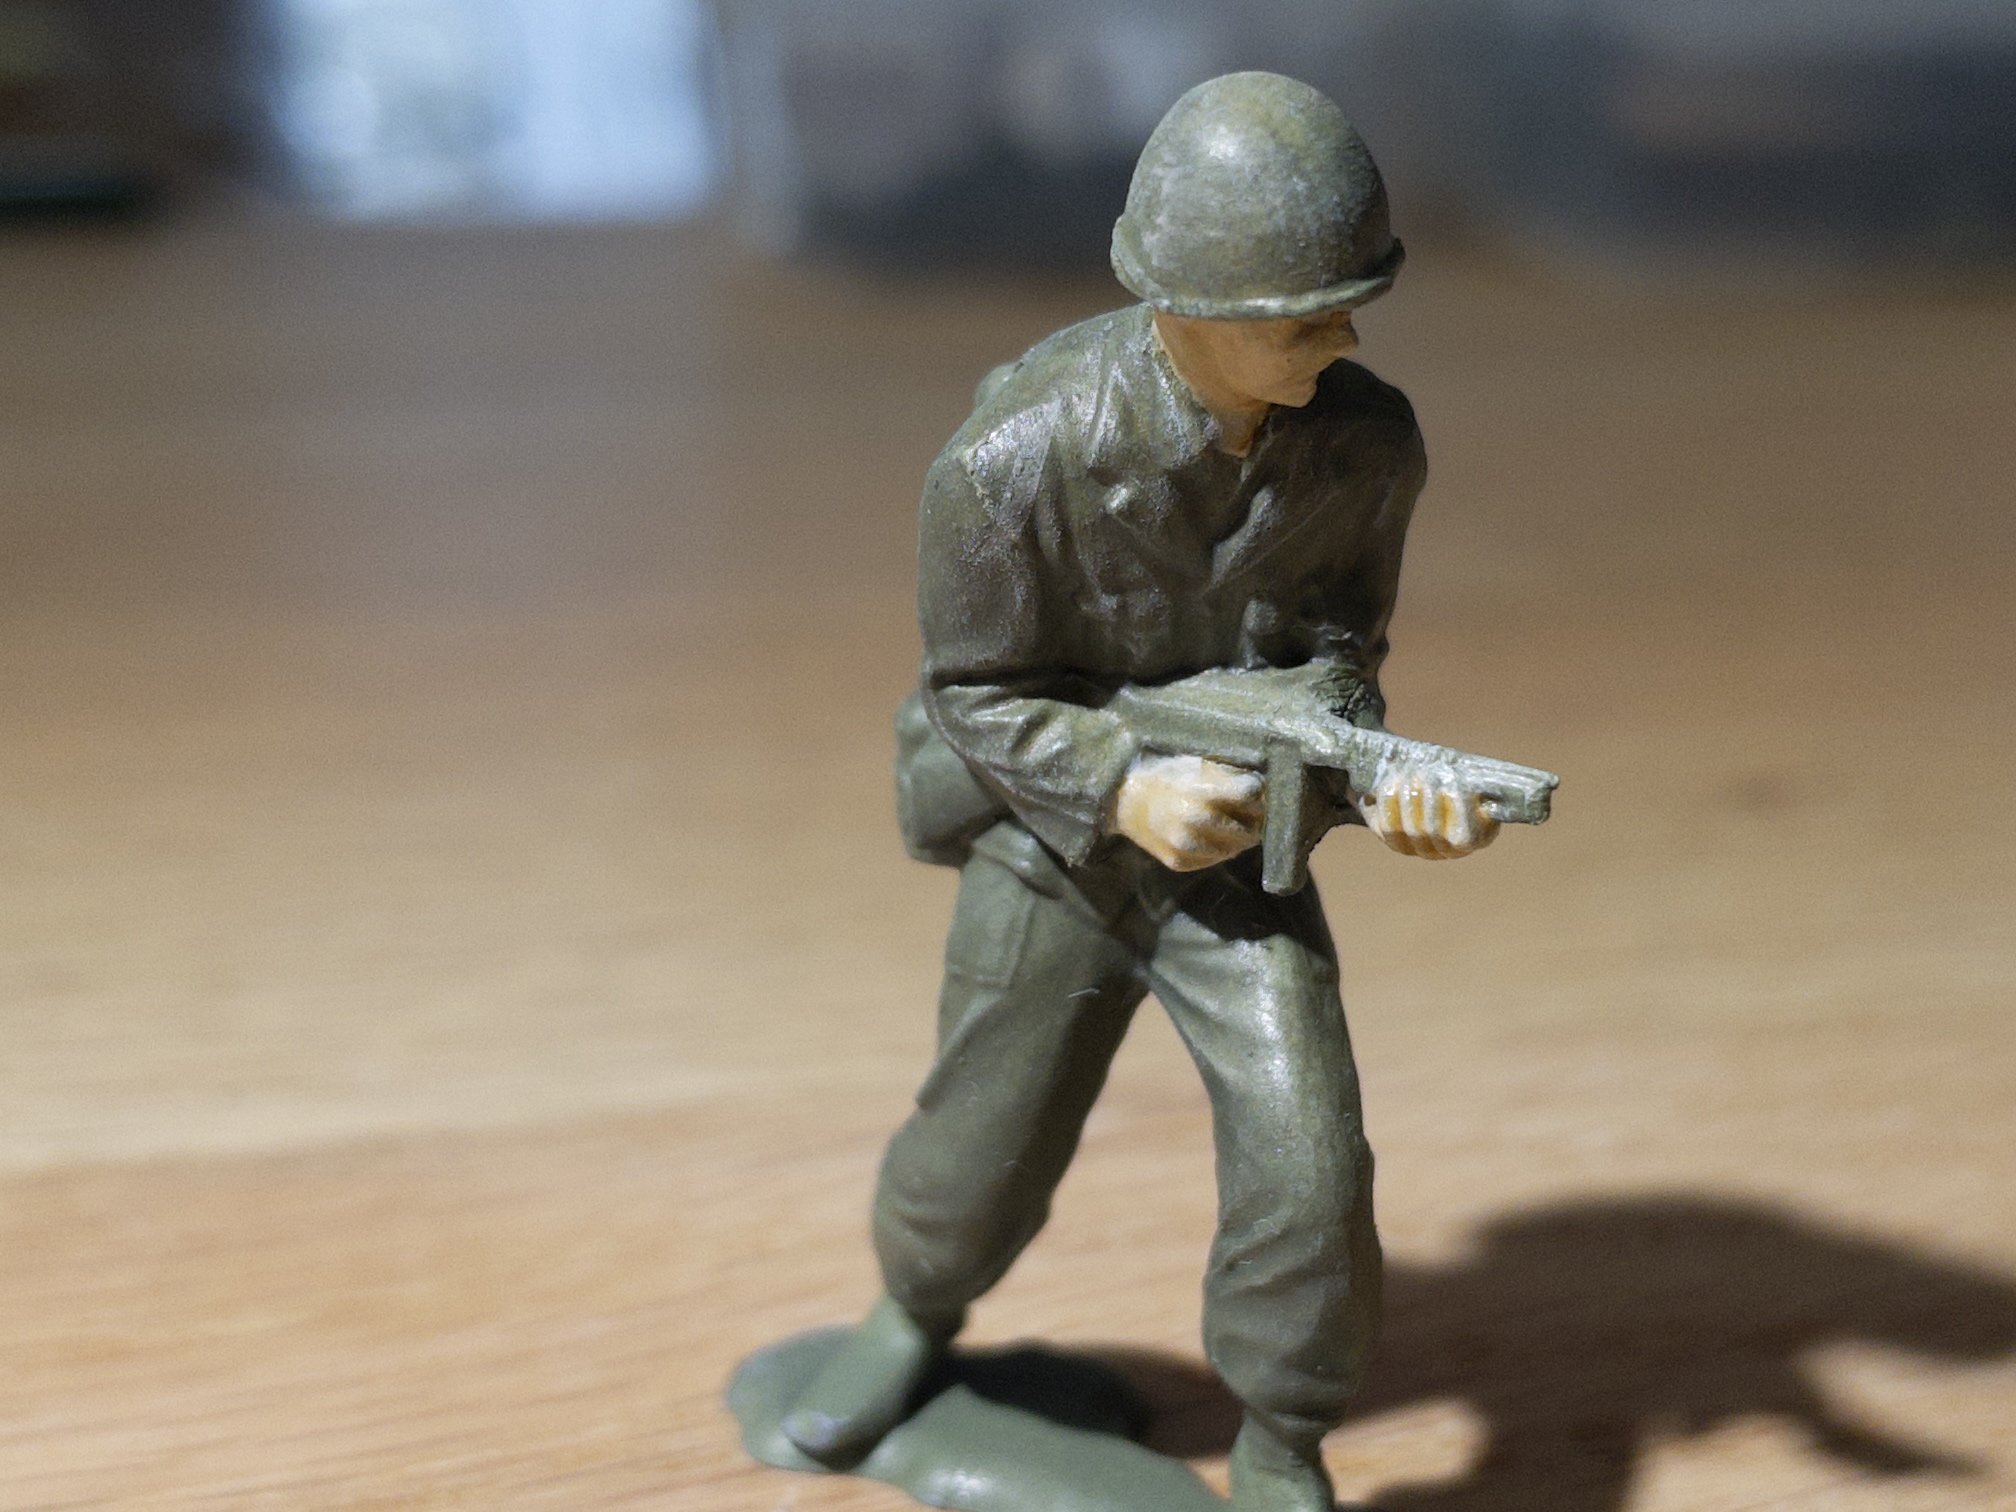
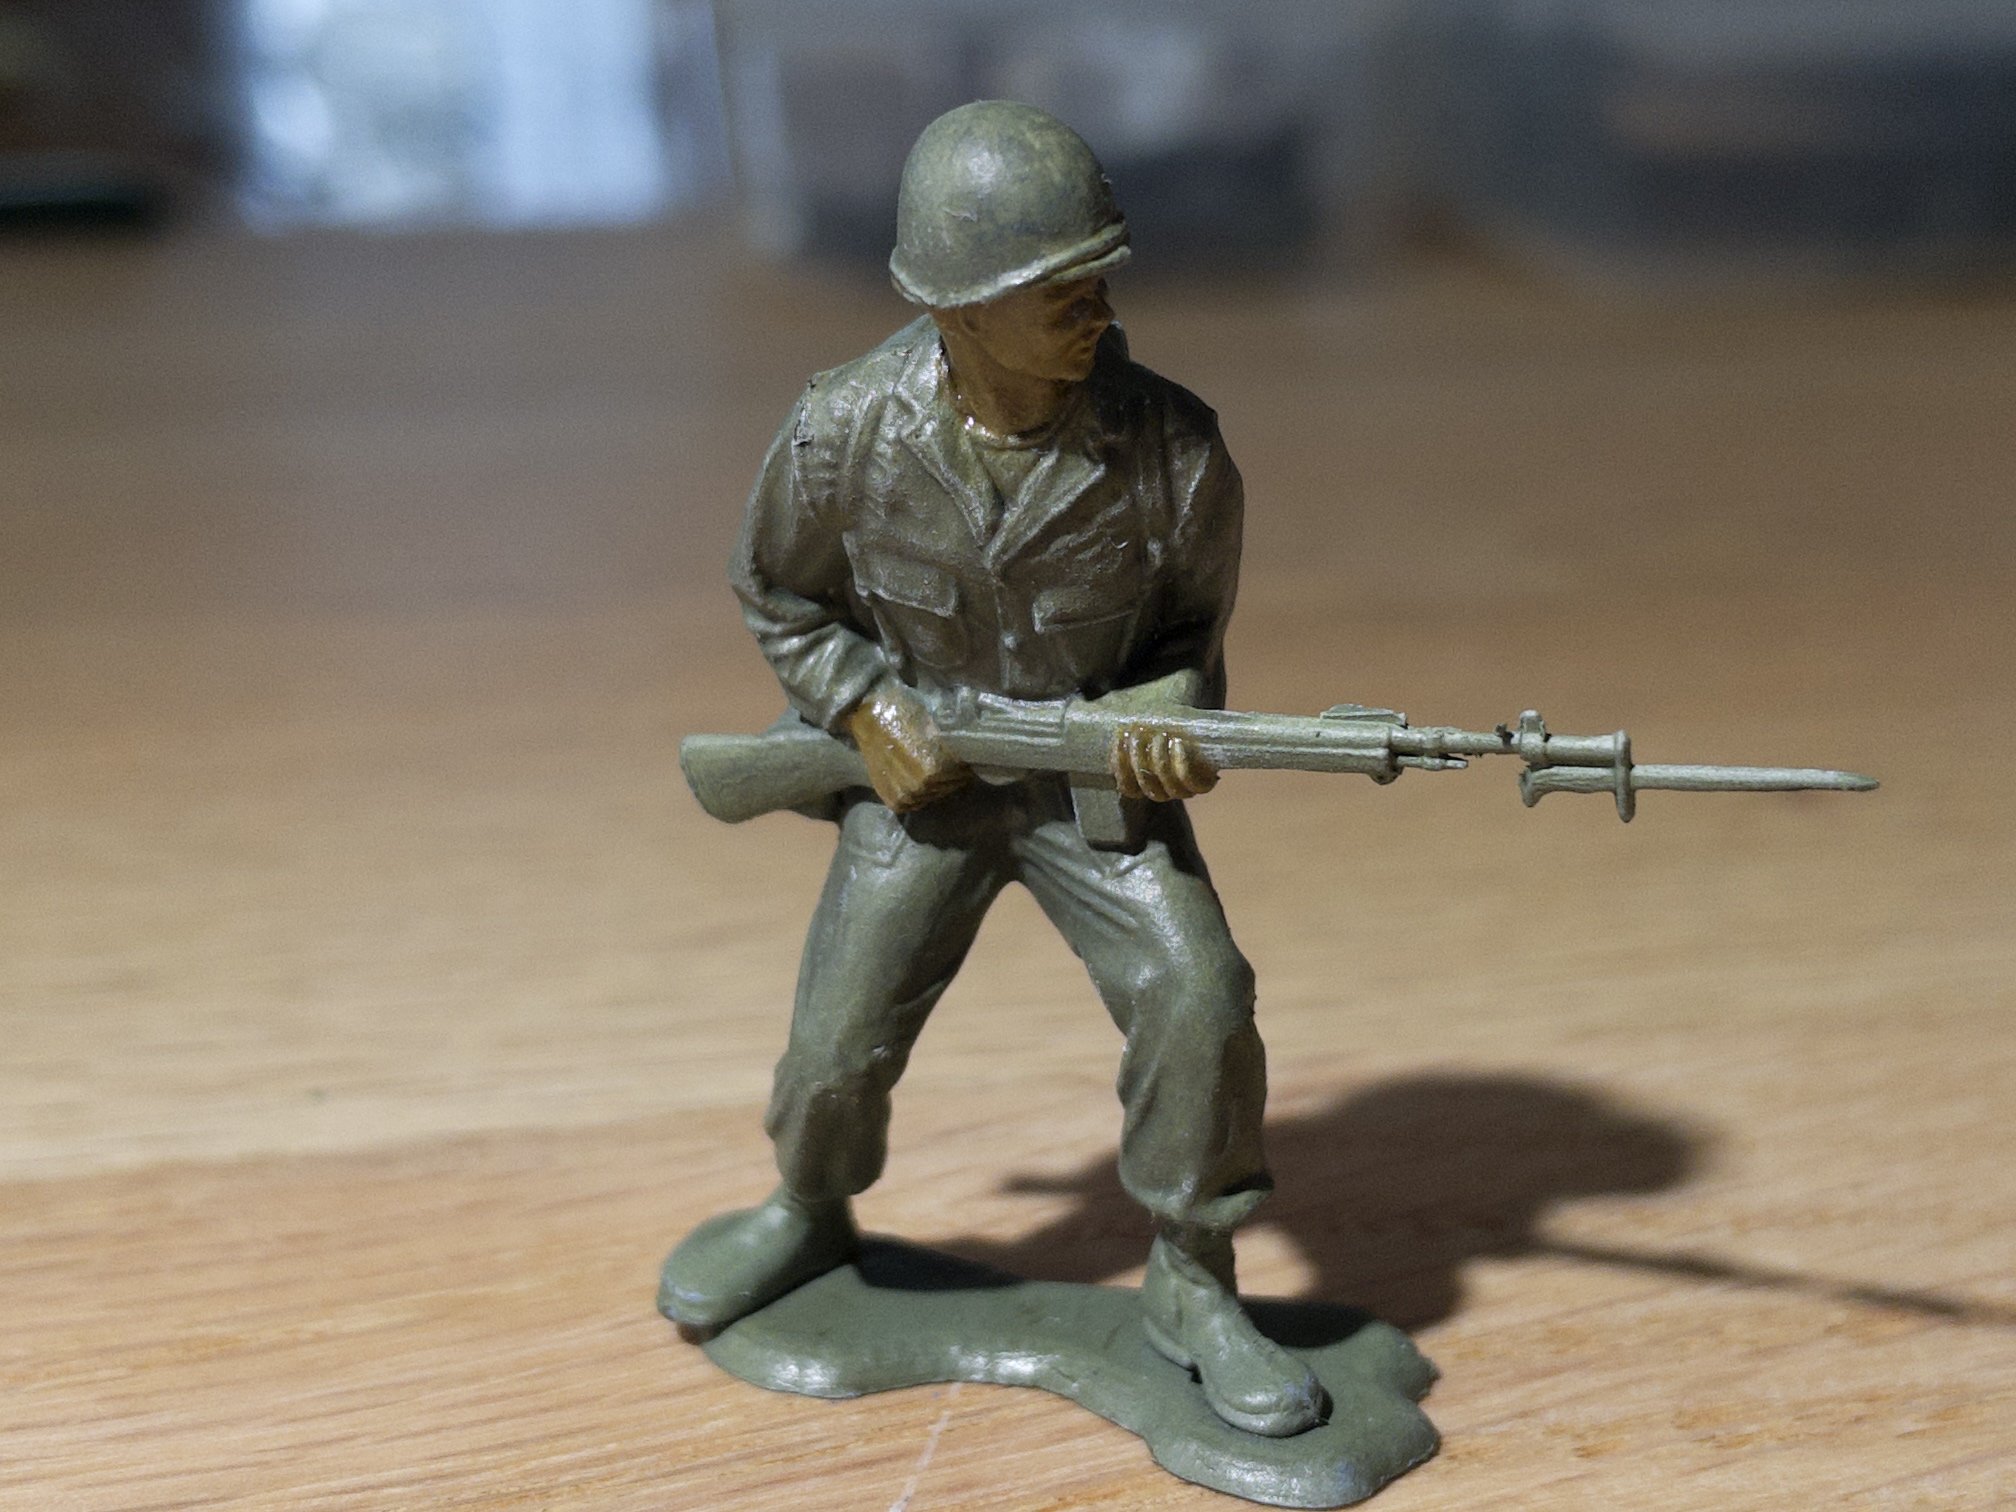
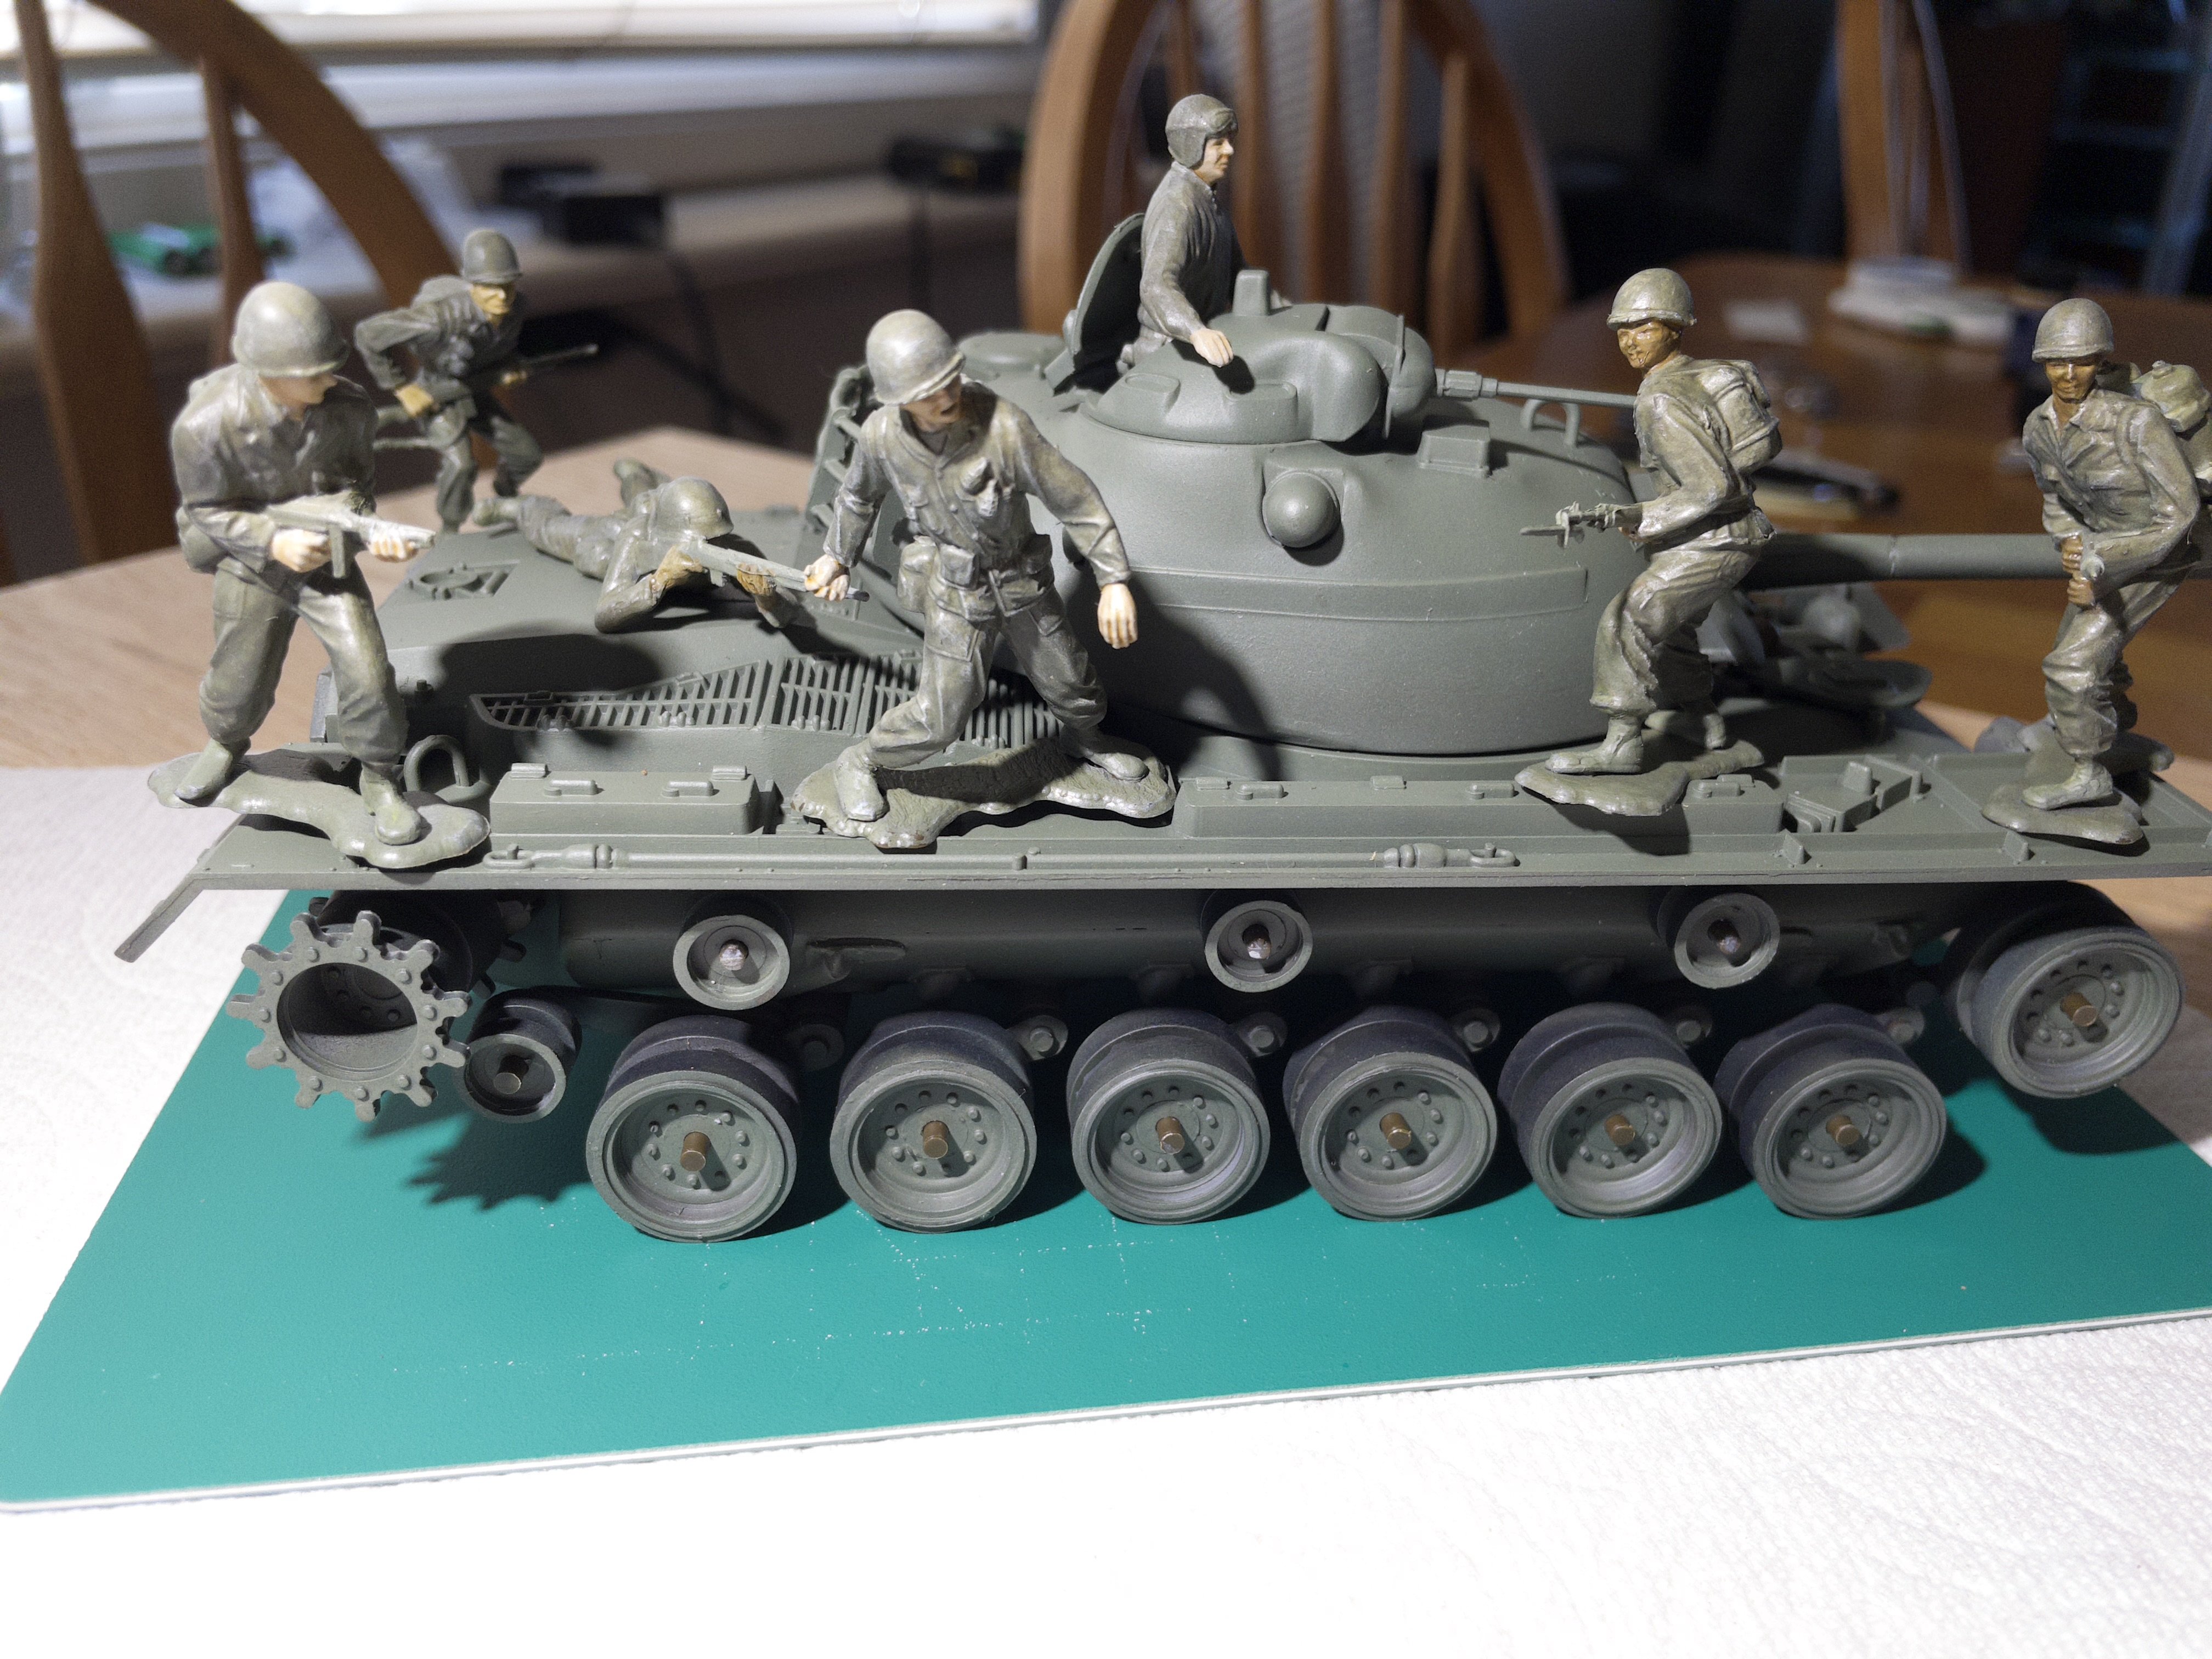
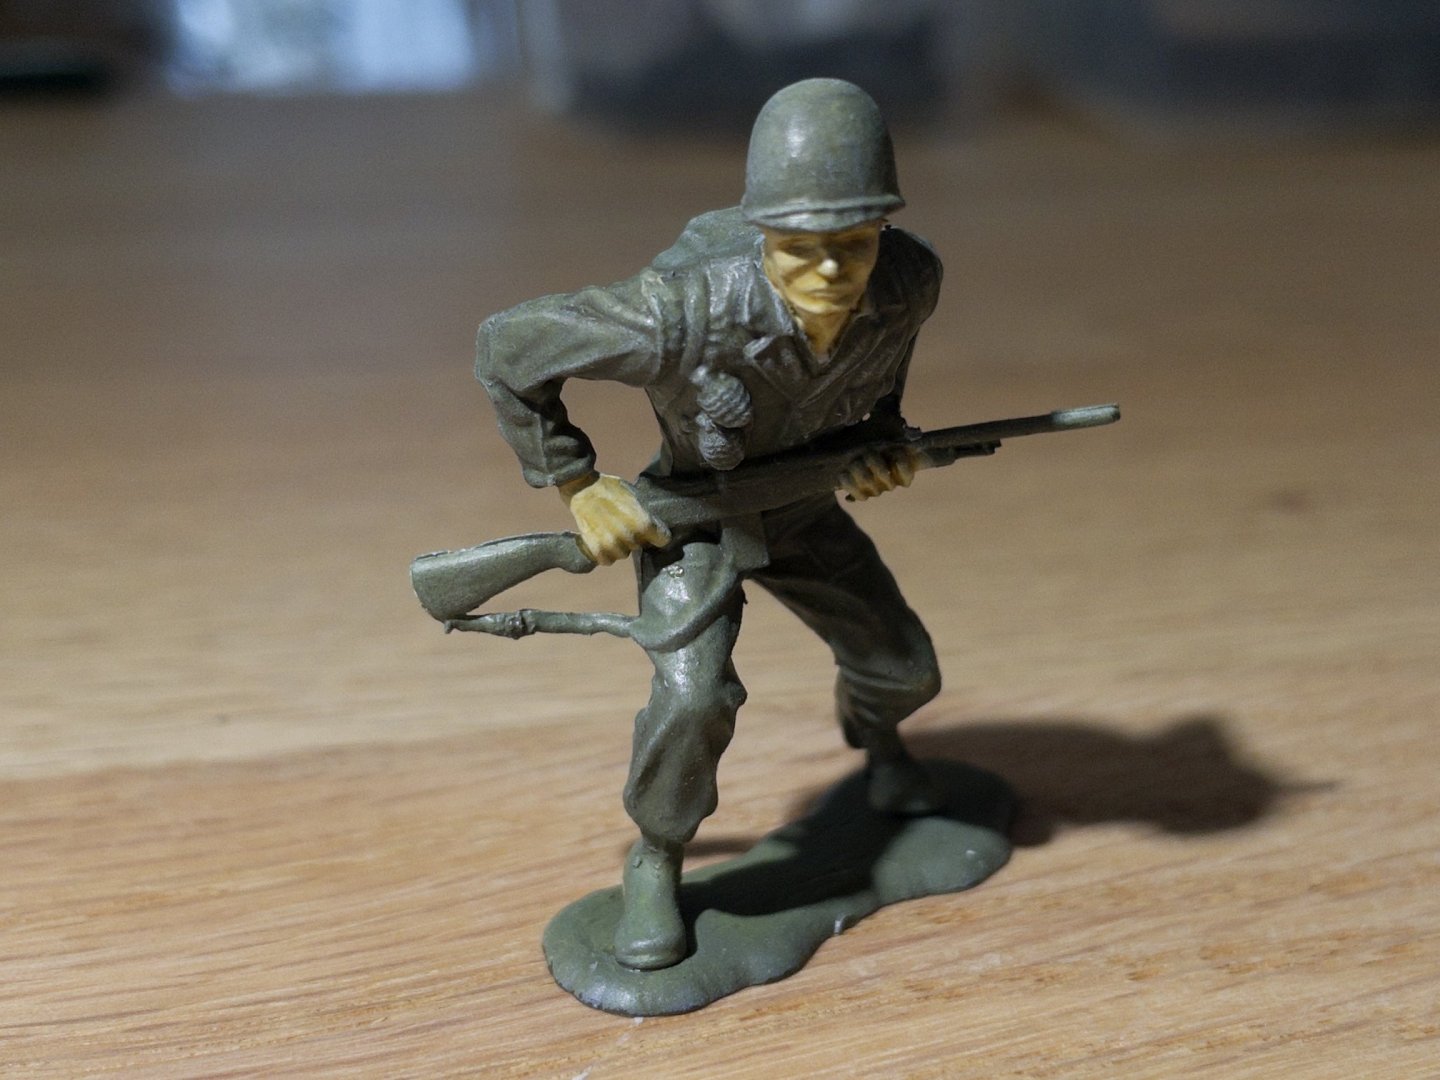
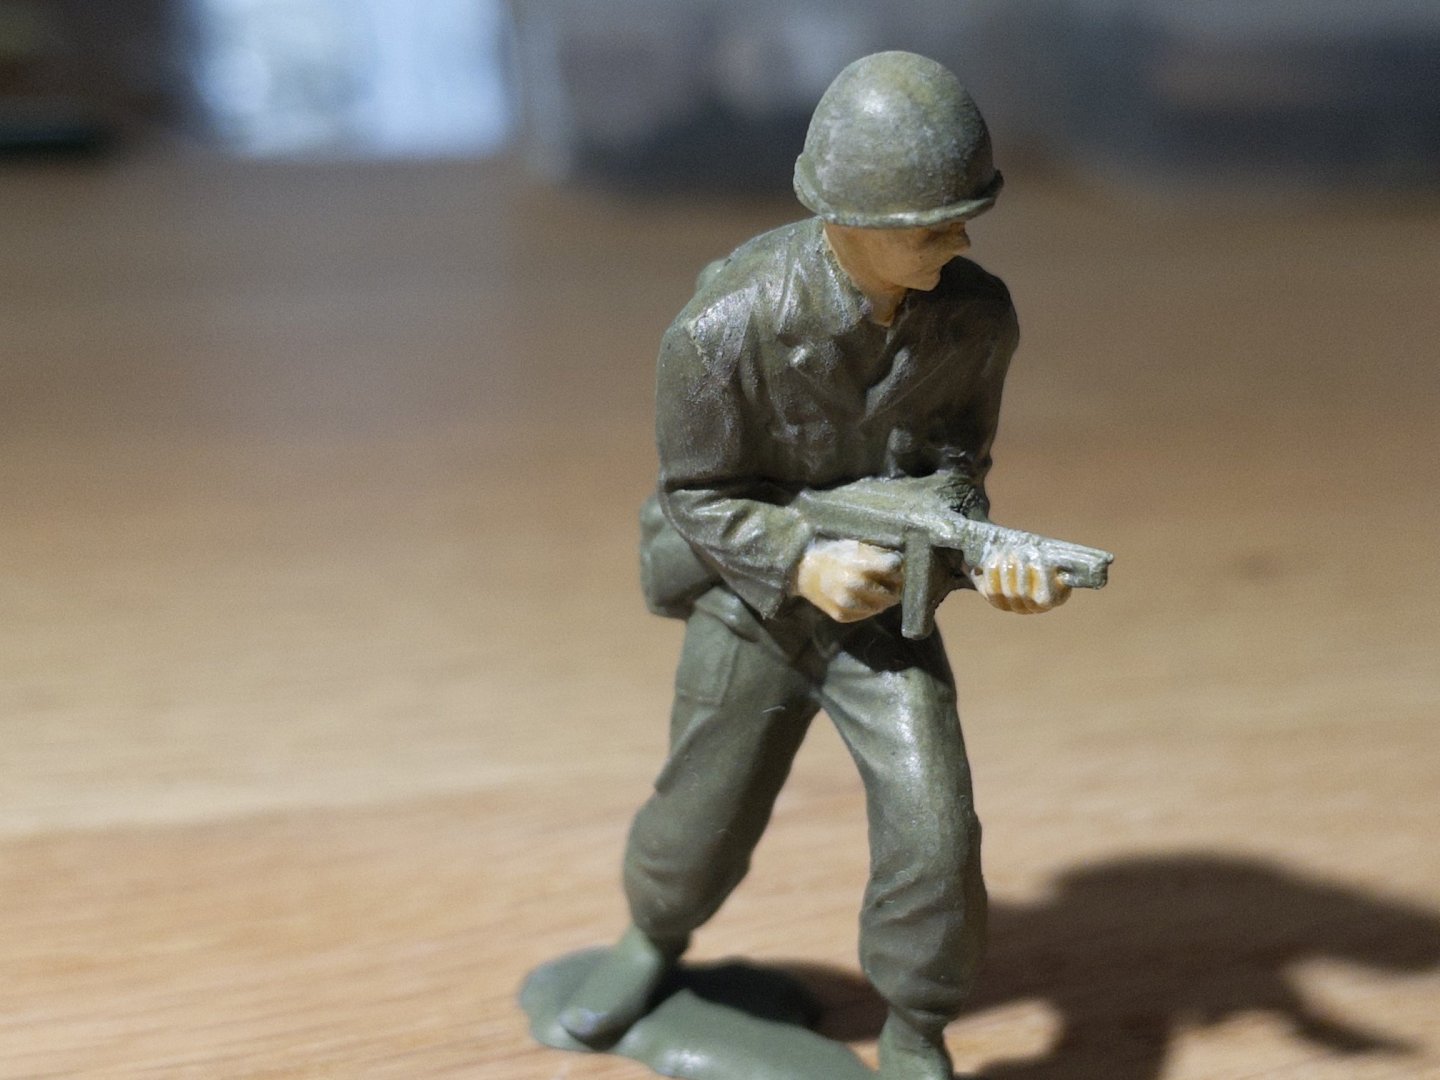
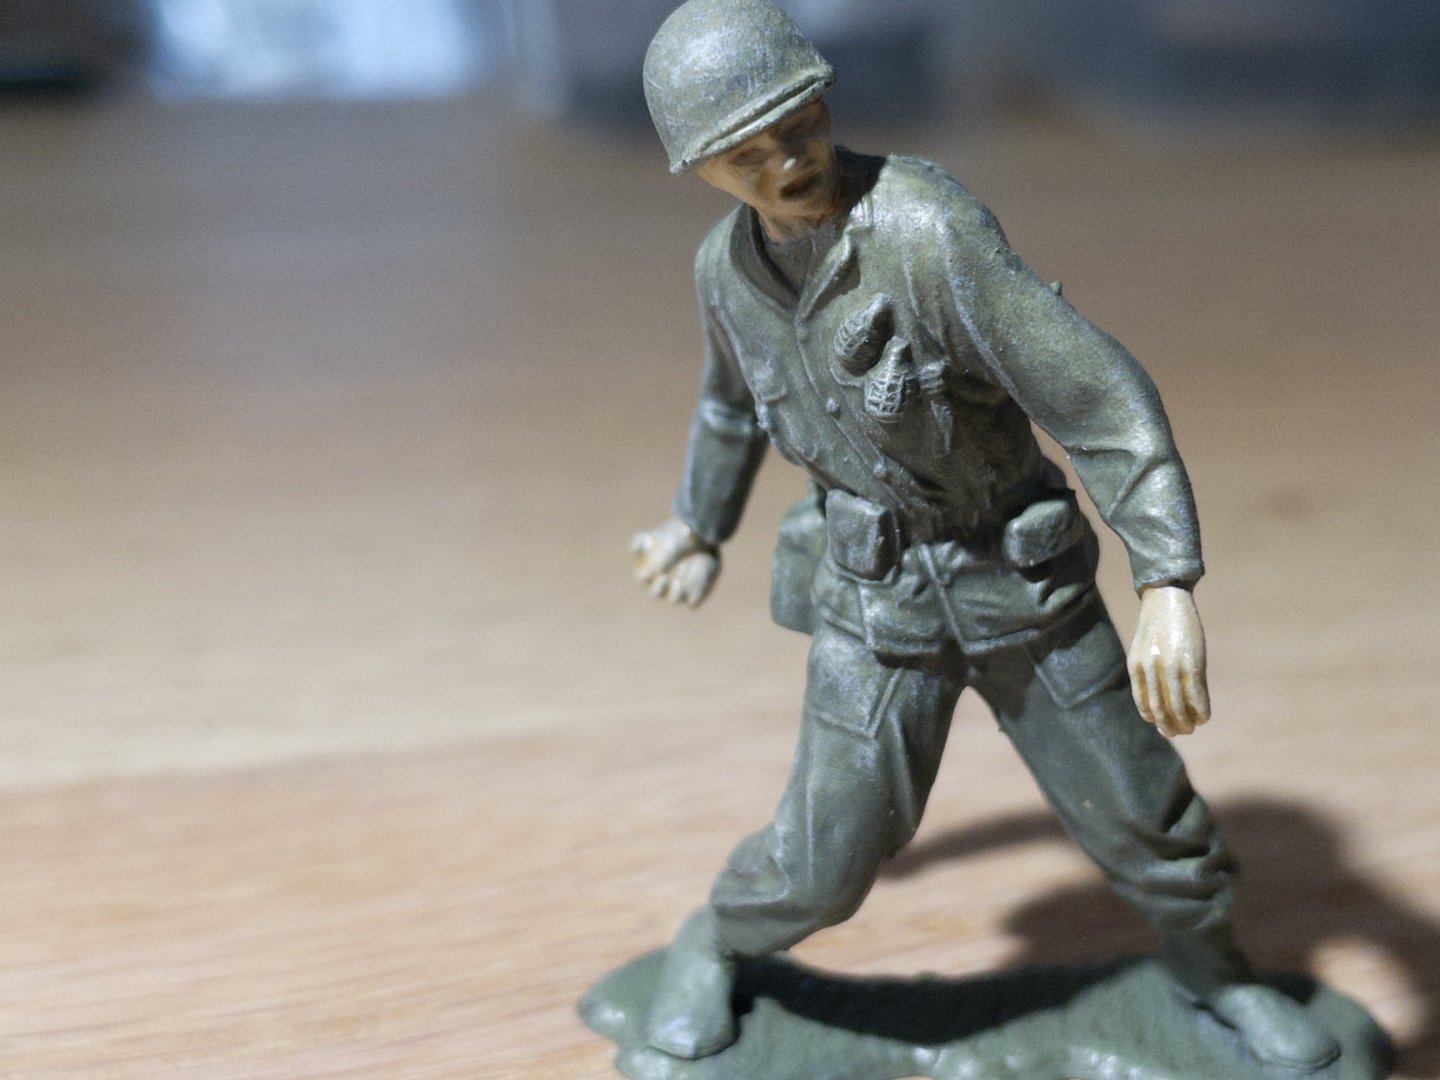
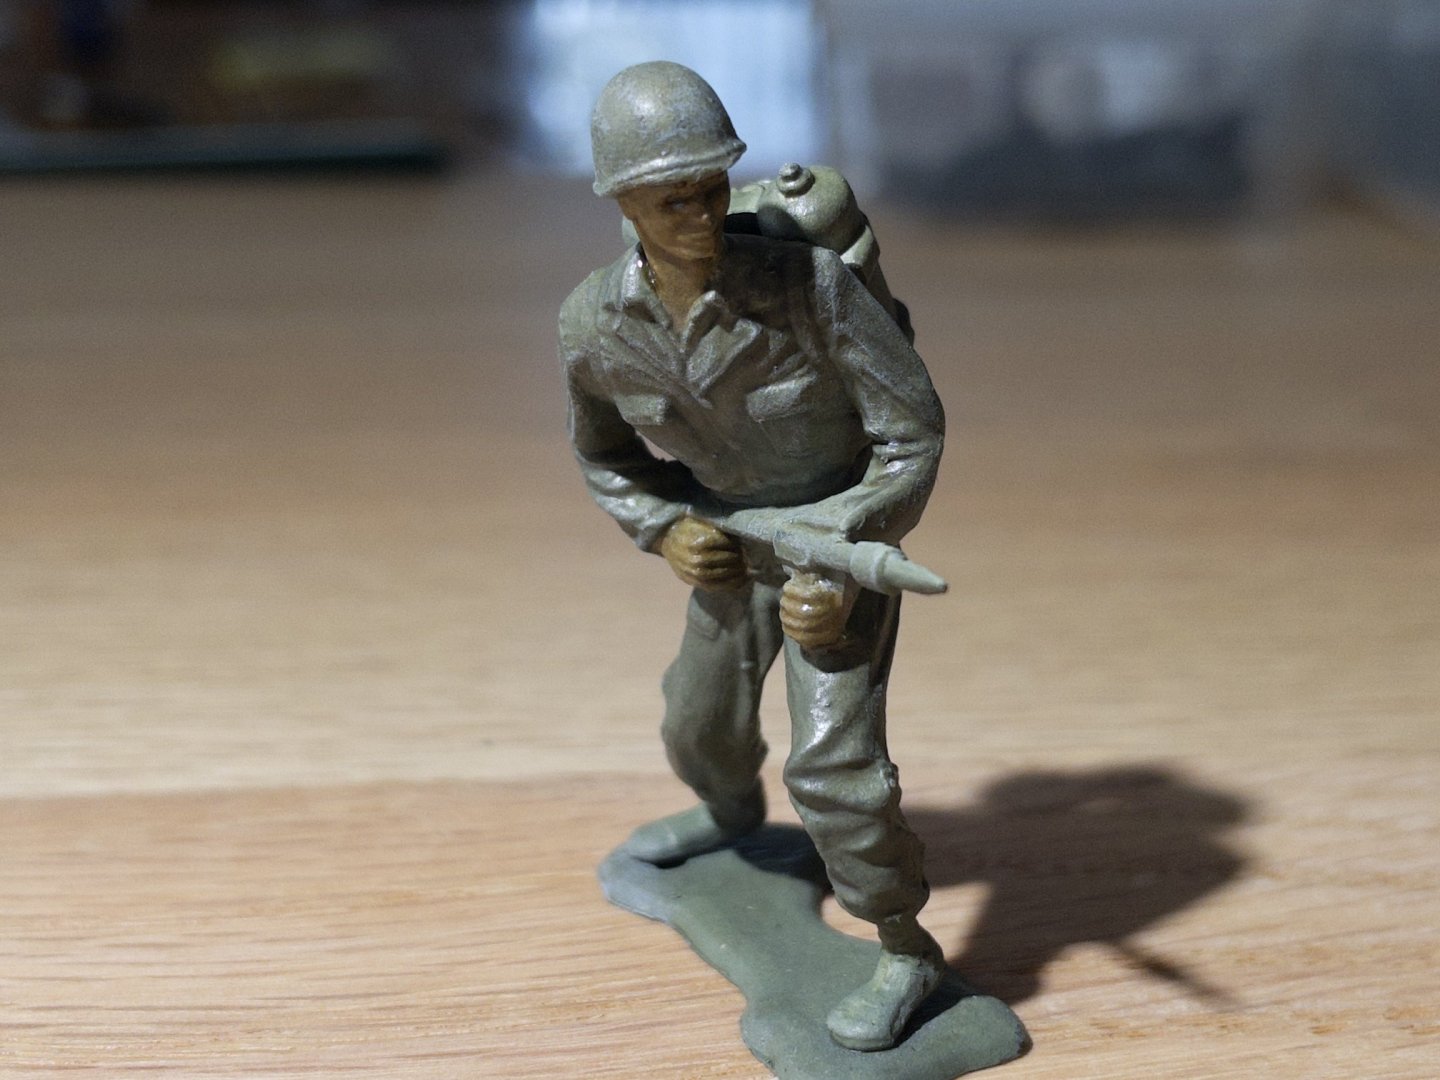
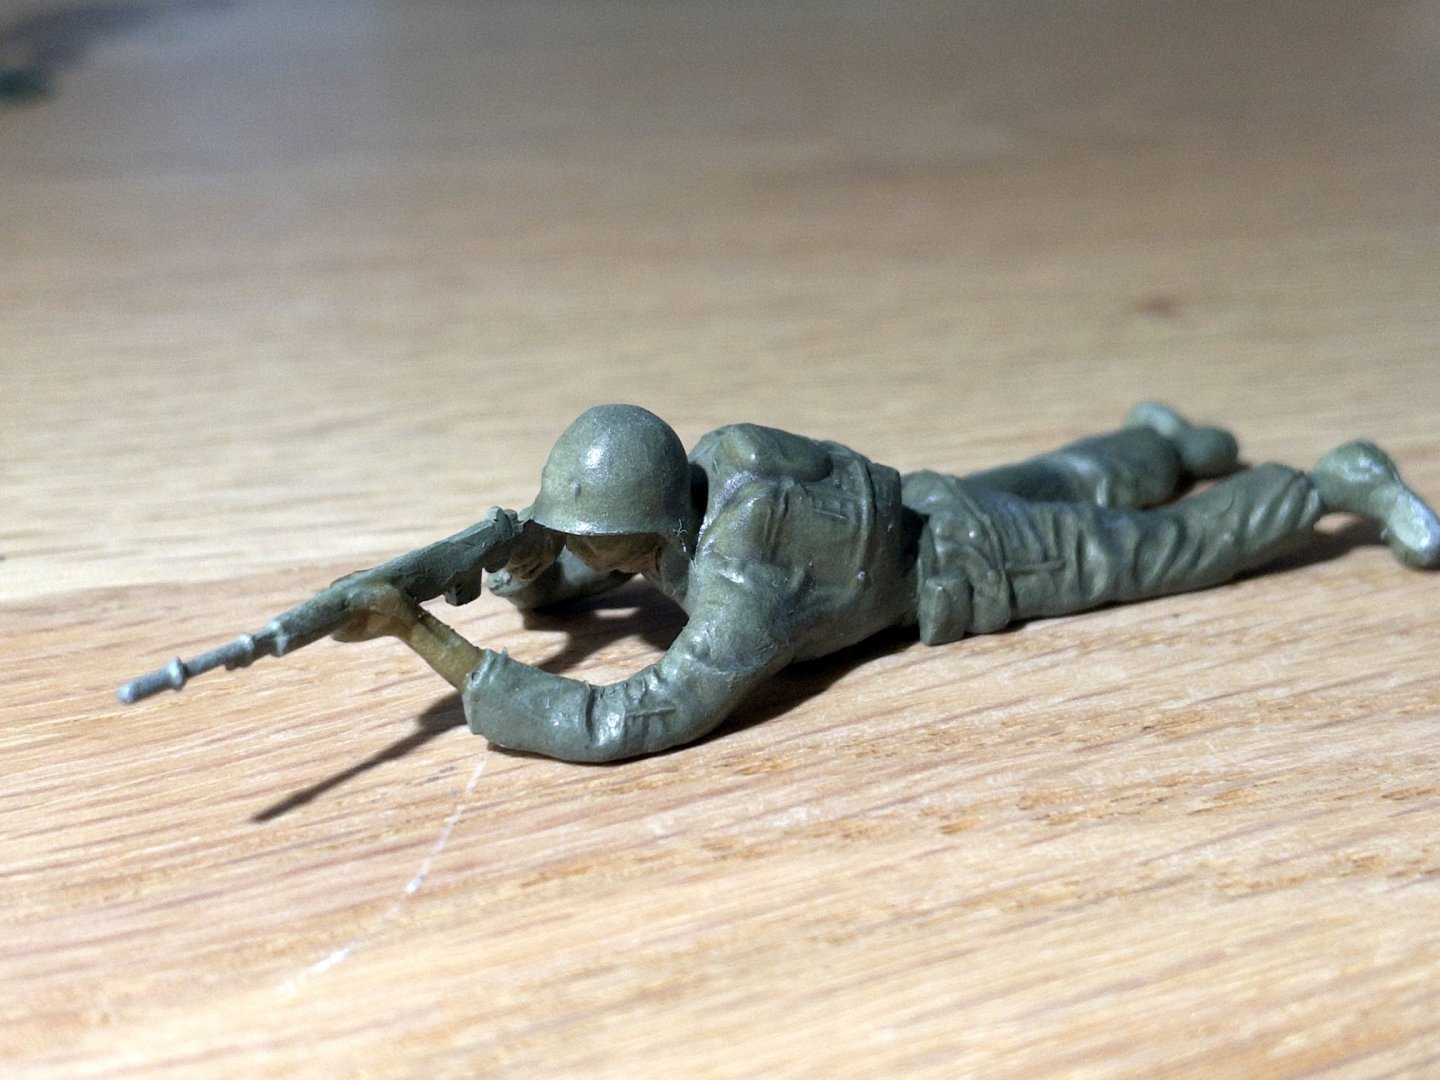
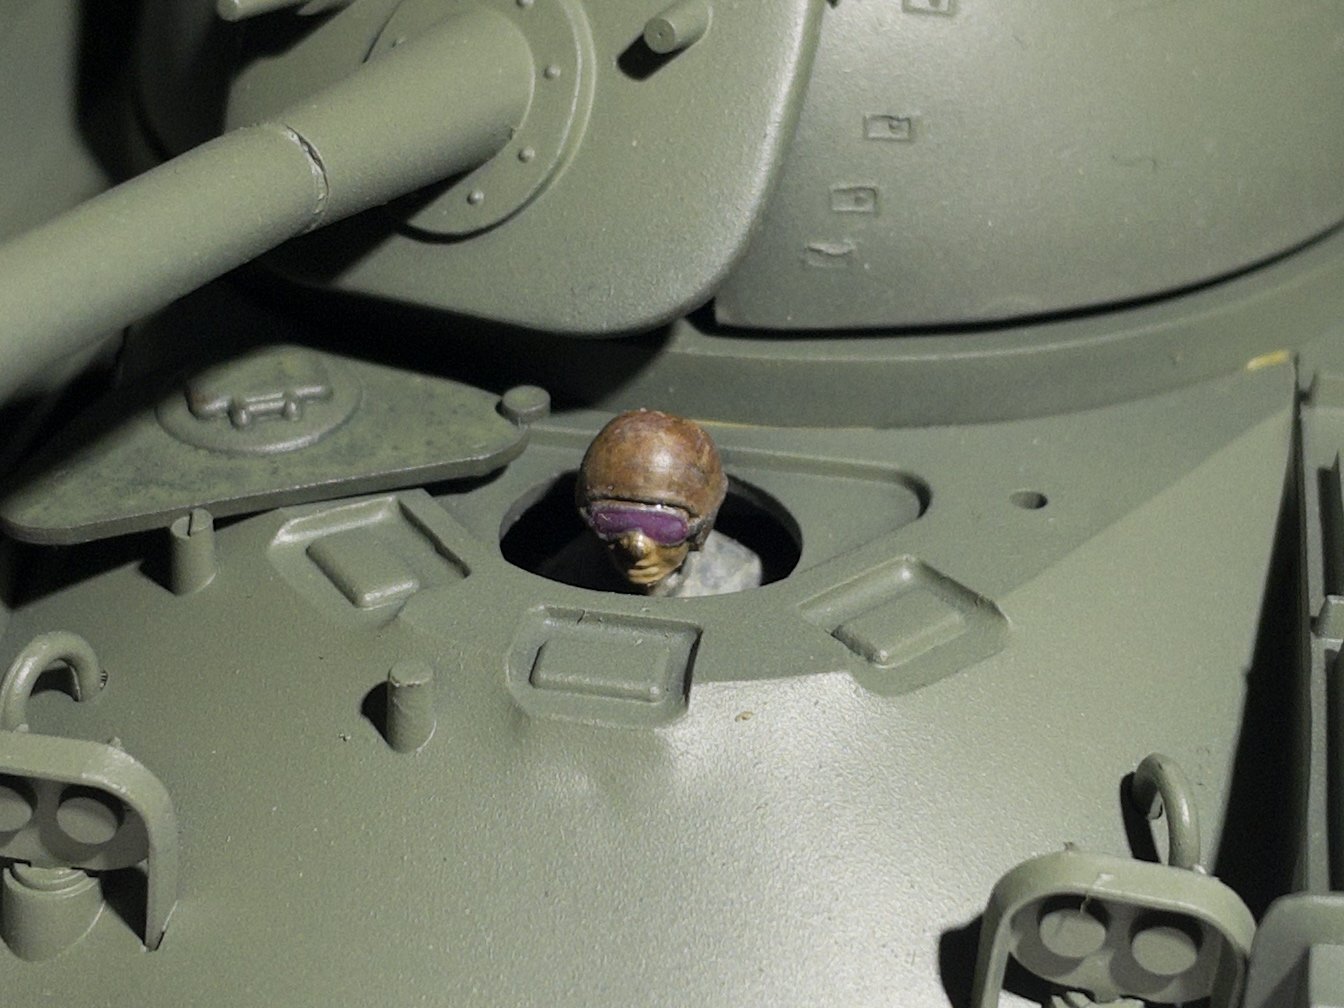
Figures (feedback very welcome): I have not talked much about the figures. The difficulty with a single color uniform is that it lacks contrast and tone variation. I have tried to address this as many do... using a wash (sepia) for the shadow and a dry brush (titanium white) for the highlight. Skin color: This is the one I have the most problems getting right. It is a subtle tone difficult to mix from scratch. I'm including 5 variations, each on individual figures. Note: details not painted yet, I'm targeting the largest area which is the uniform for now.

-
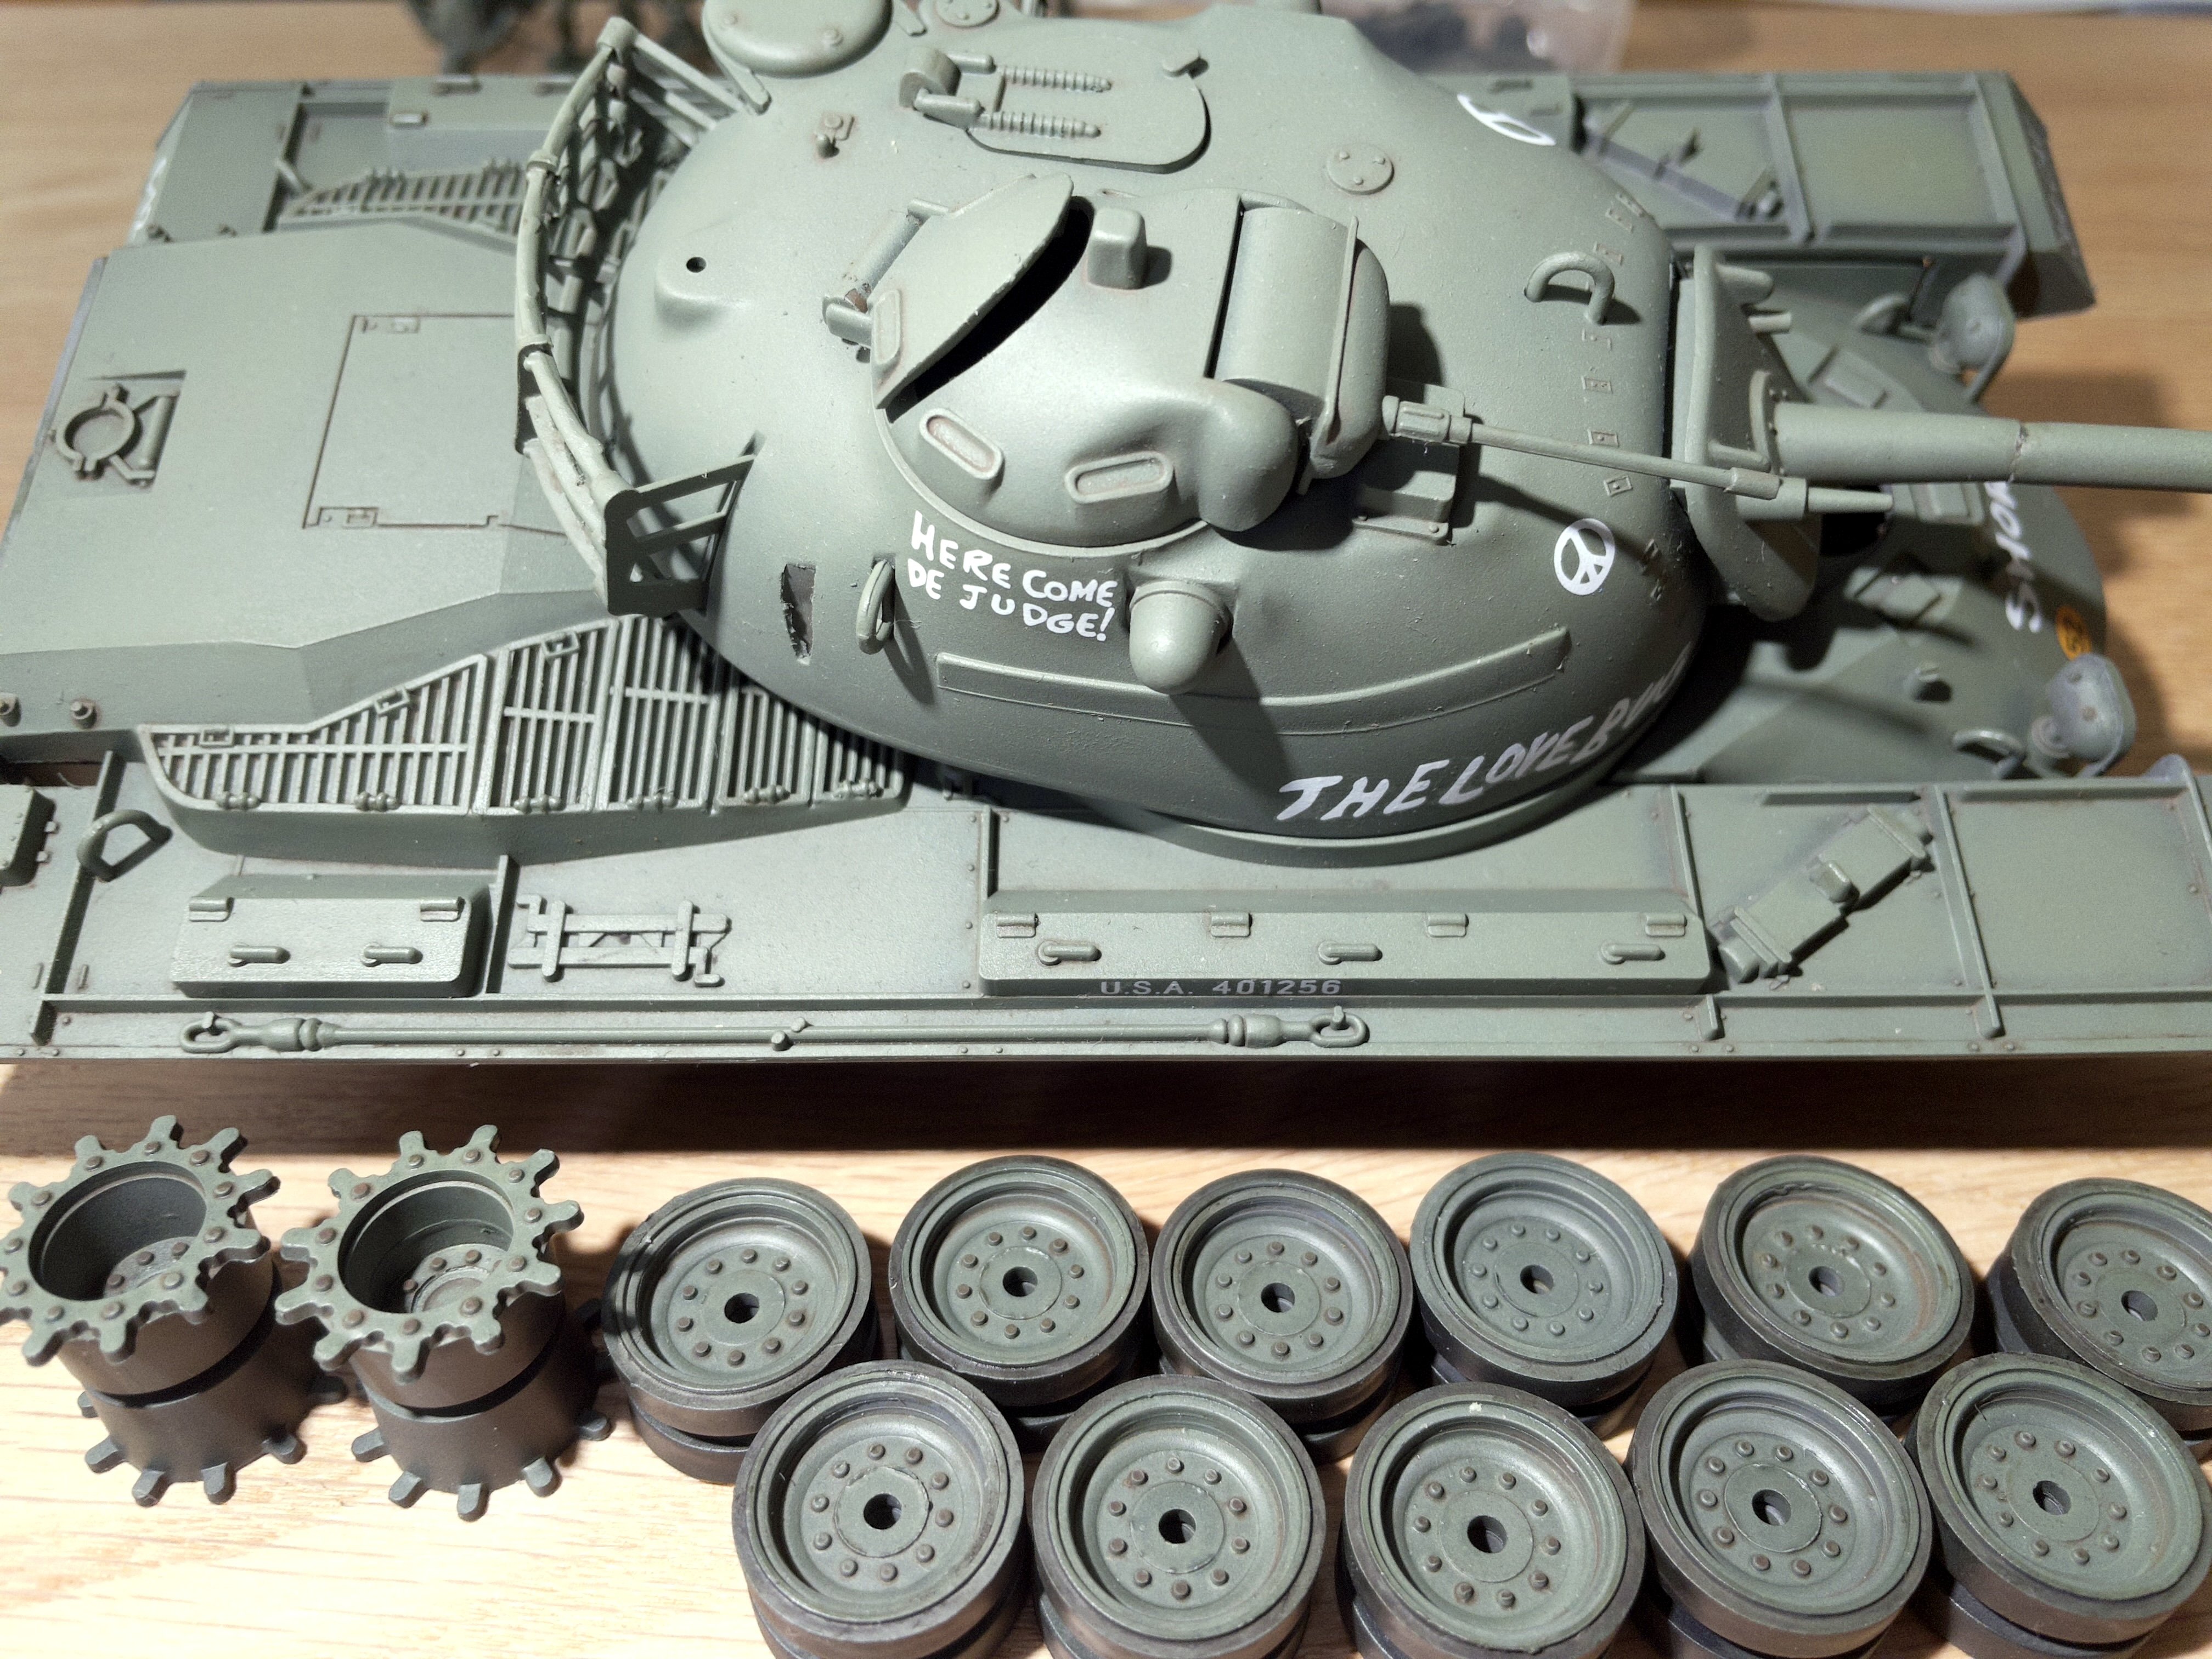
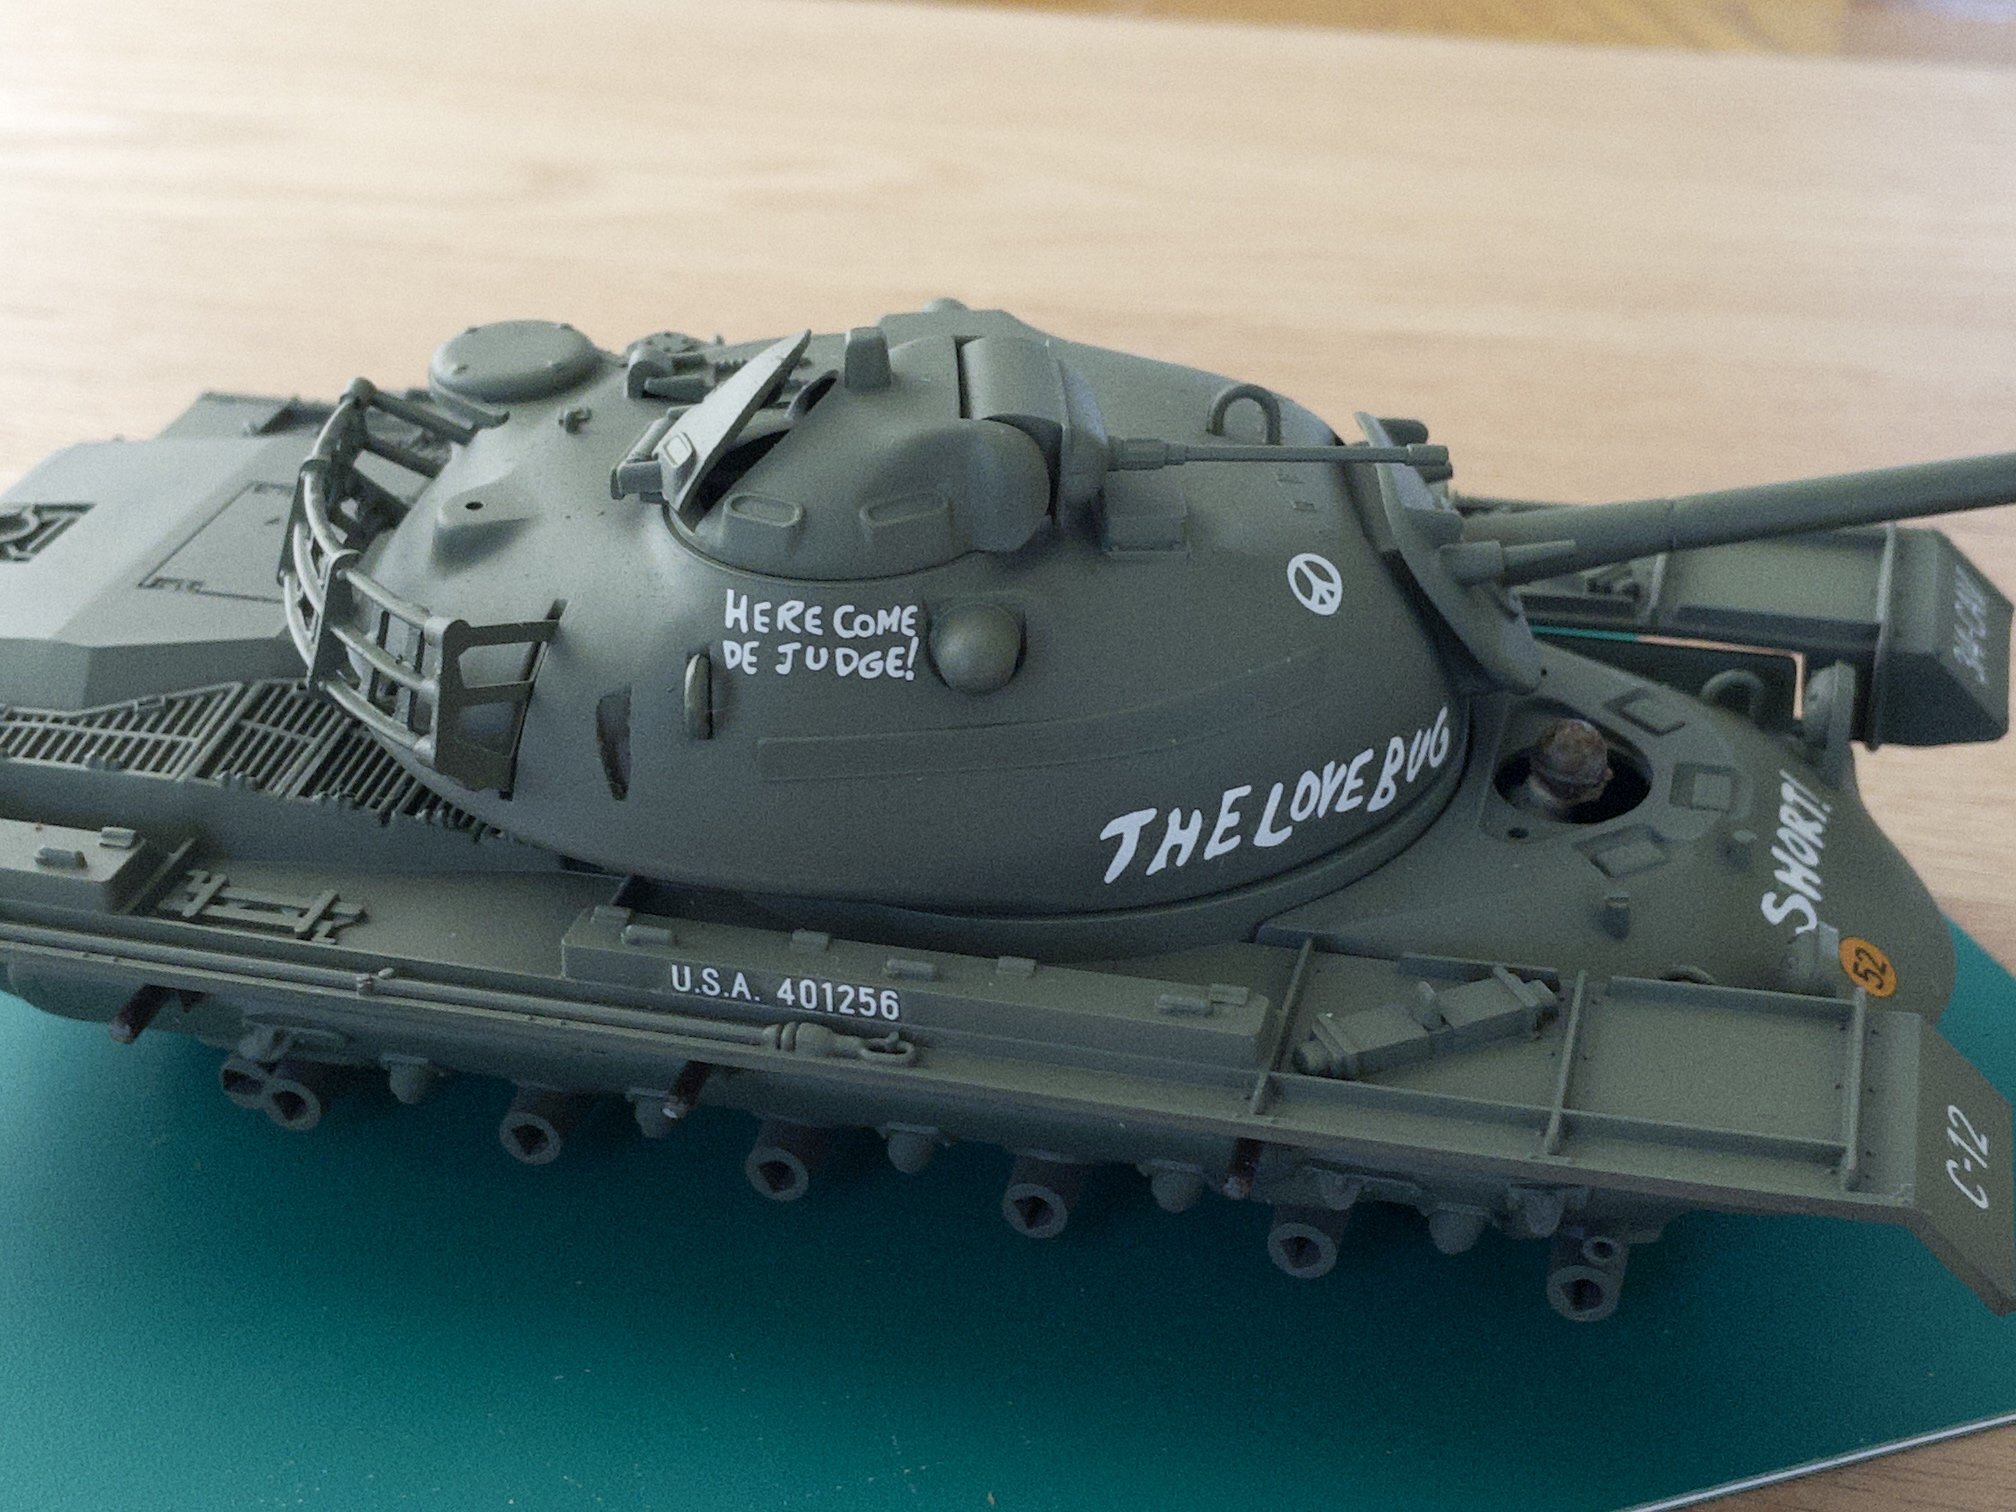
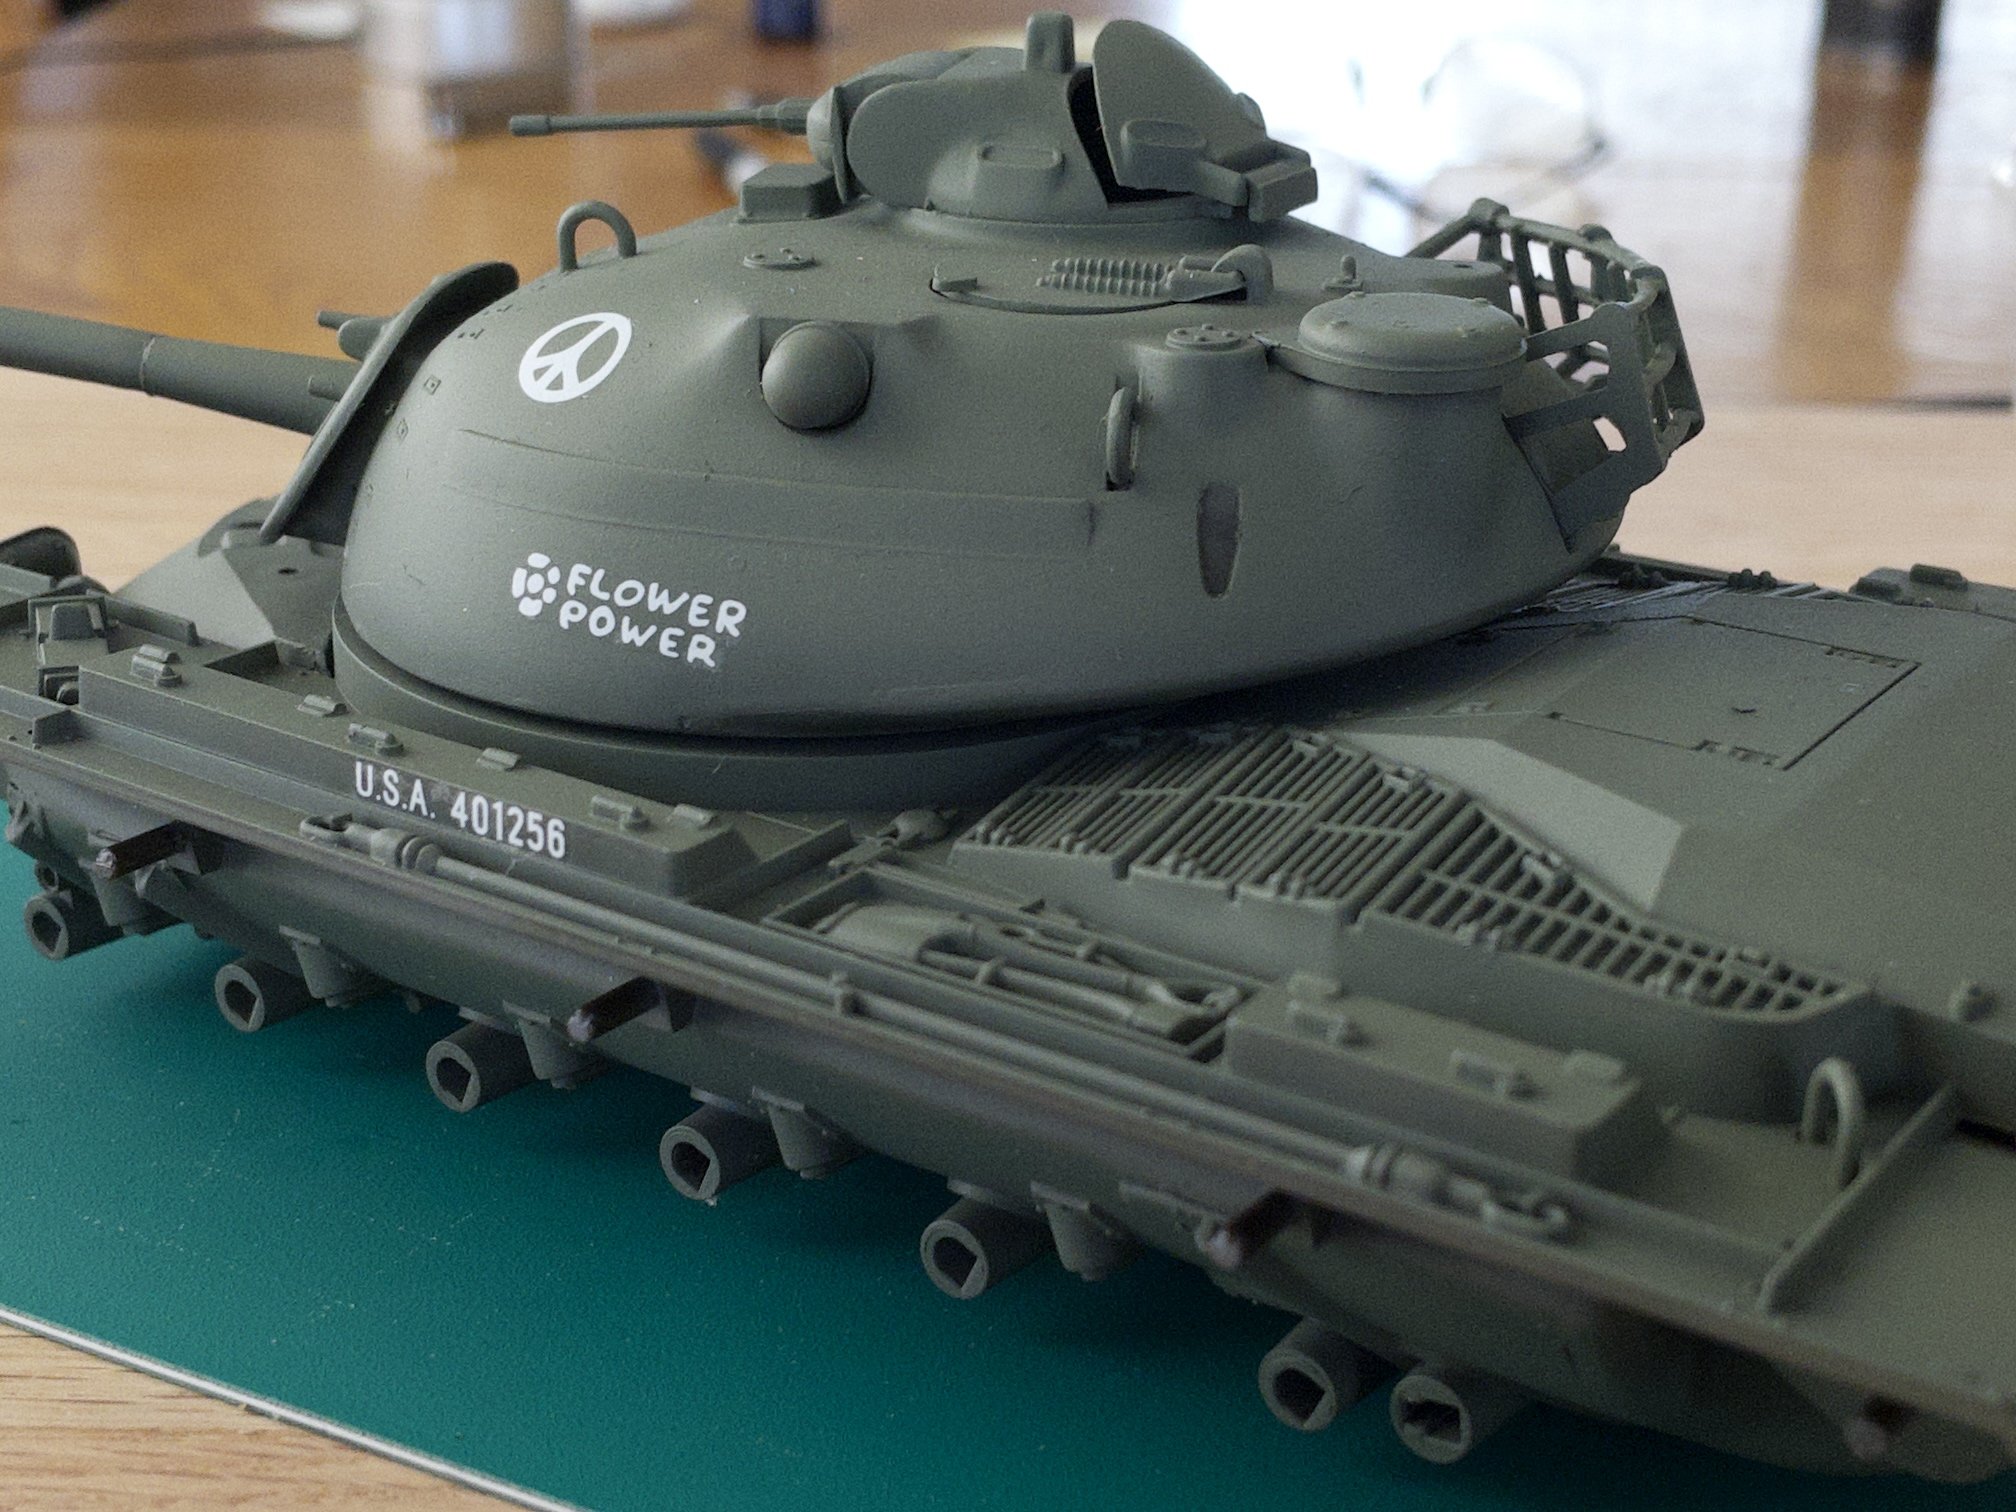
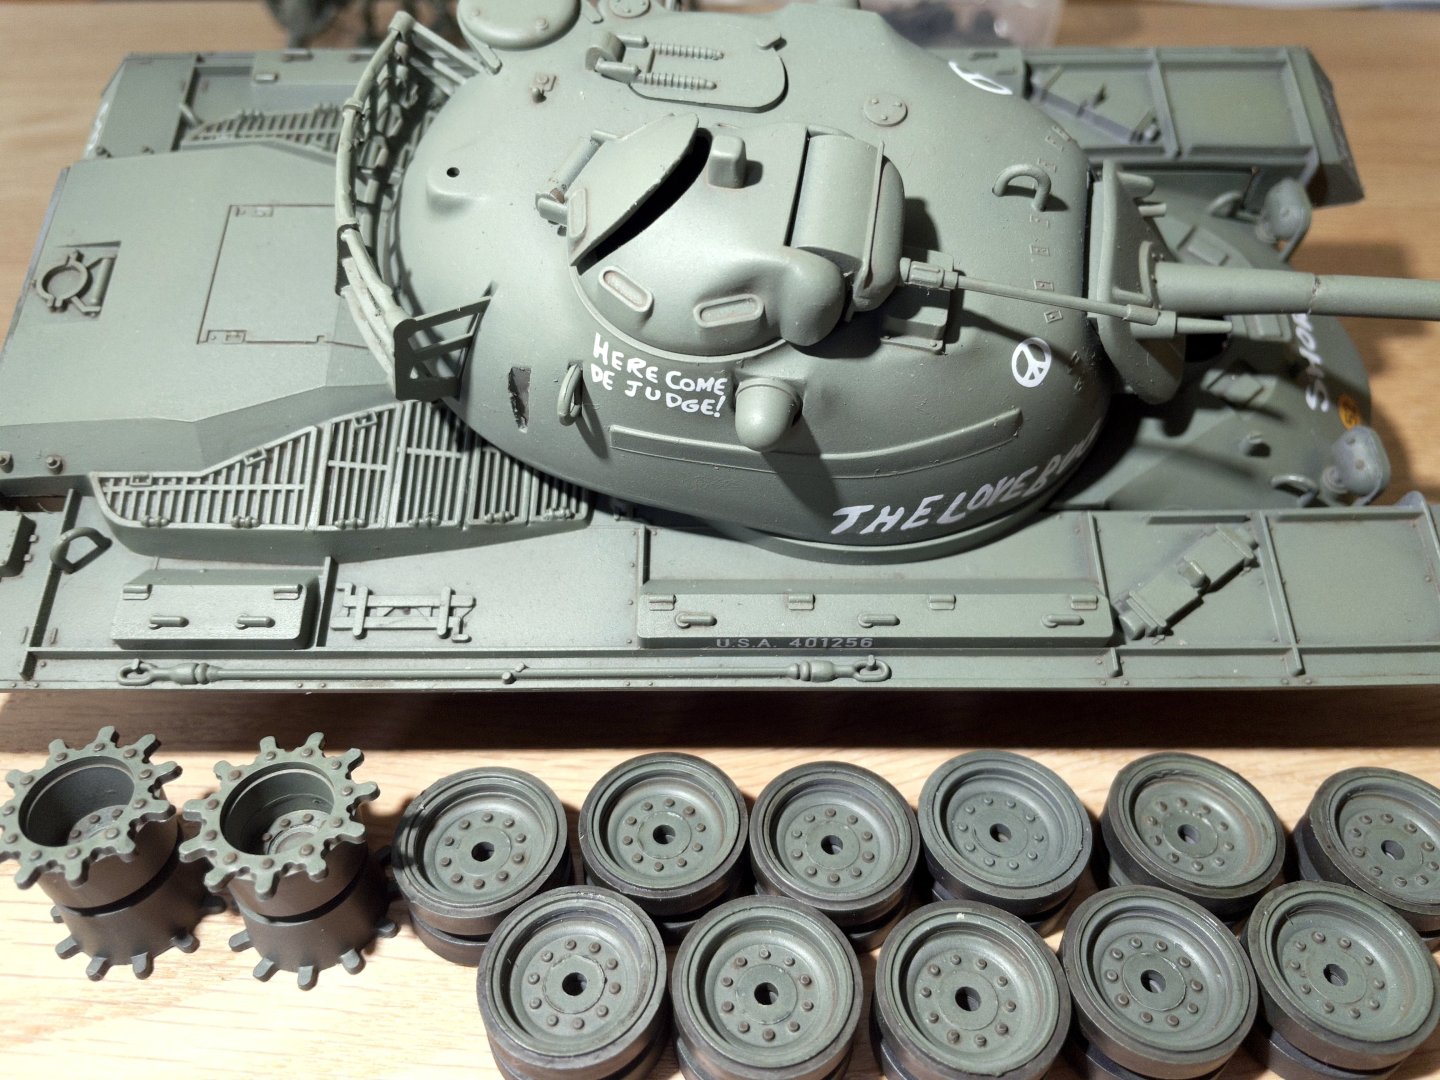
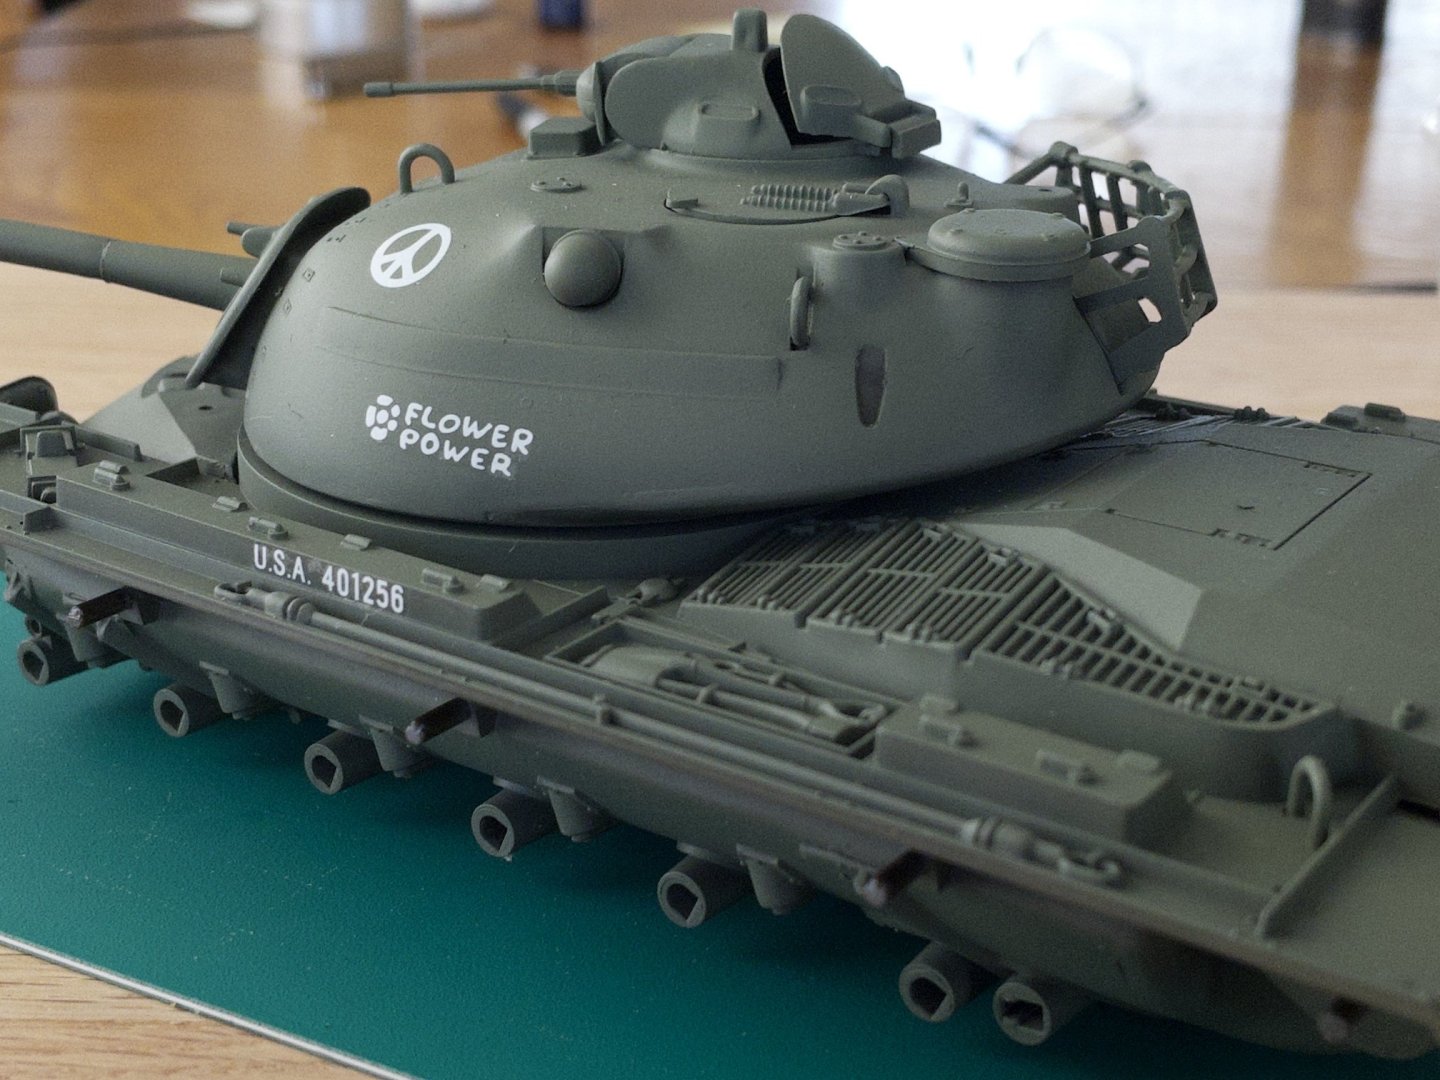
Decals application: This was quite simple and straightforward. The number and size of the graffiti is a little bit on the high side of things... but ok on this first model. I'm mostly curious what it will look like complete and weathered.


-
@Dave_E, Thank you for the comment. I unfortunately never seen a real one... so your Feeback help a lot.
-
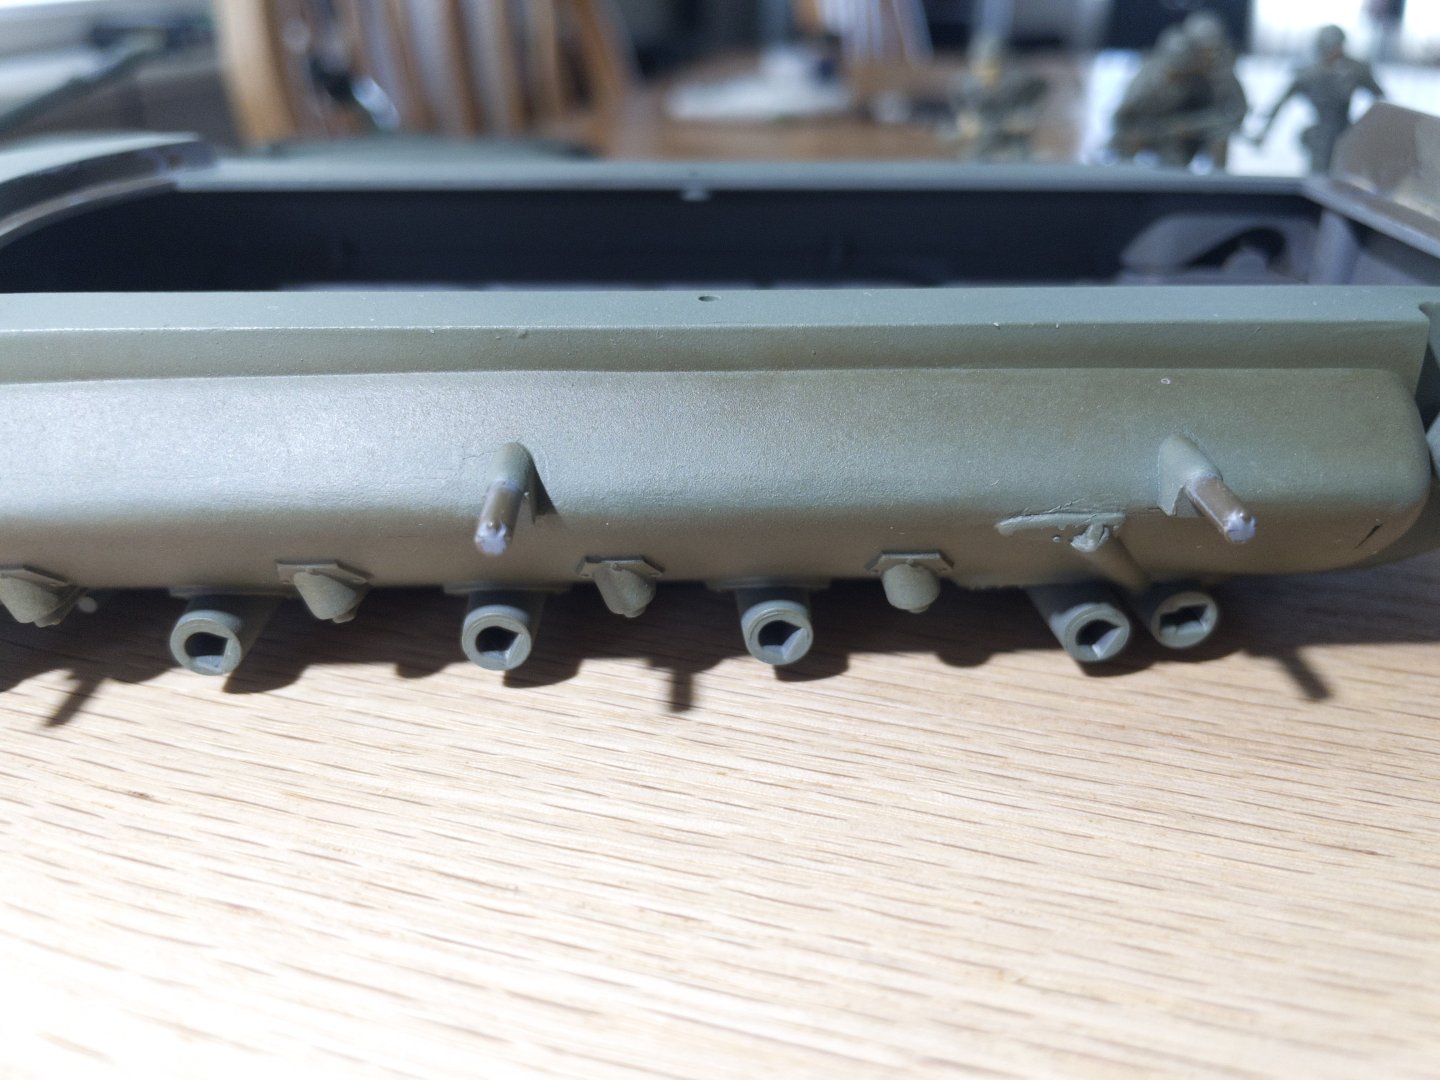
Second Base coat: A second base coat was applied using Olive Drab, the lighter tone. I tried to focus on the inside panels, but due to the paint's opacity the color variation with the dark undertone was very subtle. Will try color modulation and pin washes later next week to bring more changes. Notes: You can see (hatch door, second picture) that to get the color variation this way, I need to get very close with the airbrush. Even then, I'm not sure of the end results on a larger area. The kit comes with a small battalion of figurines. I started on those as well.

-
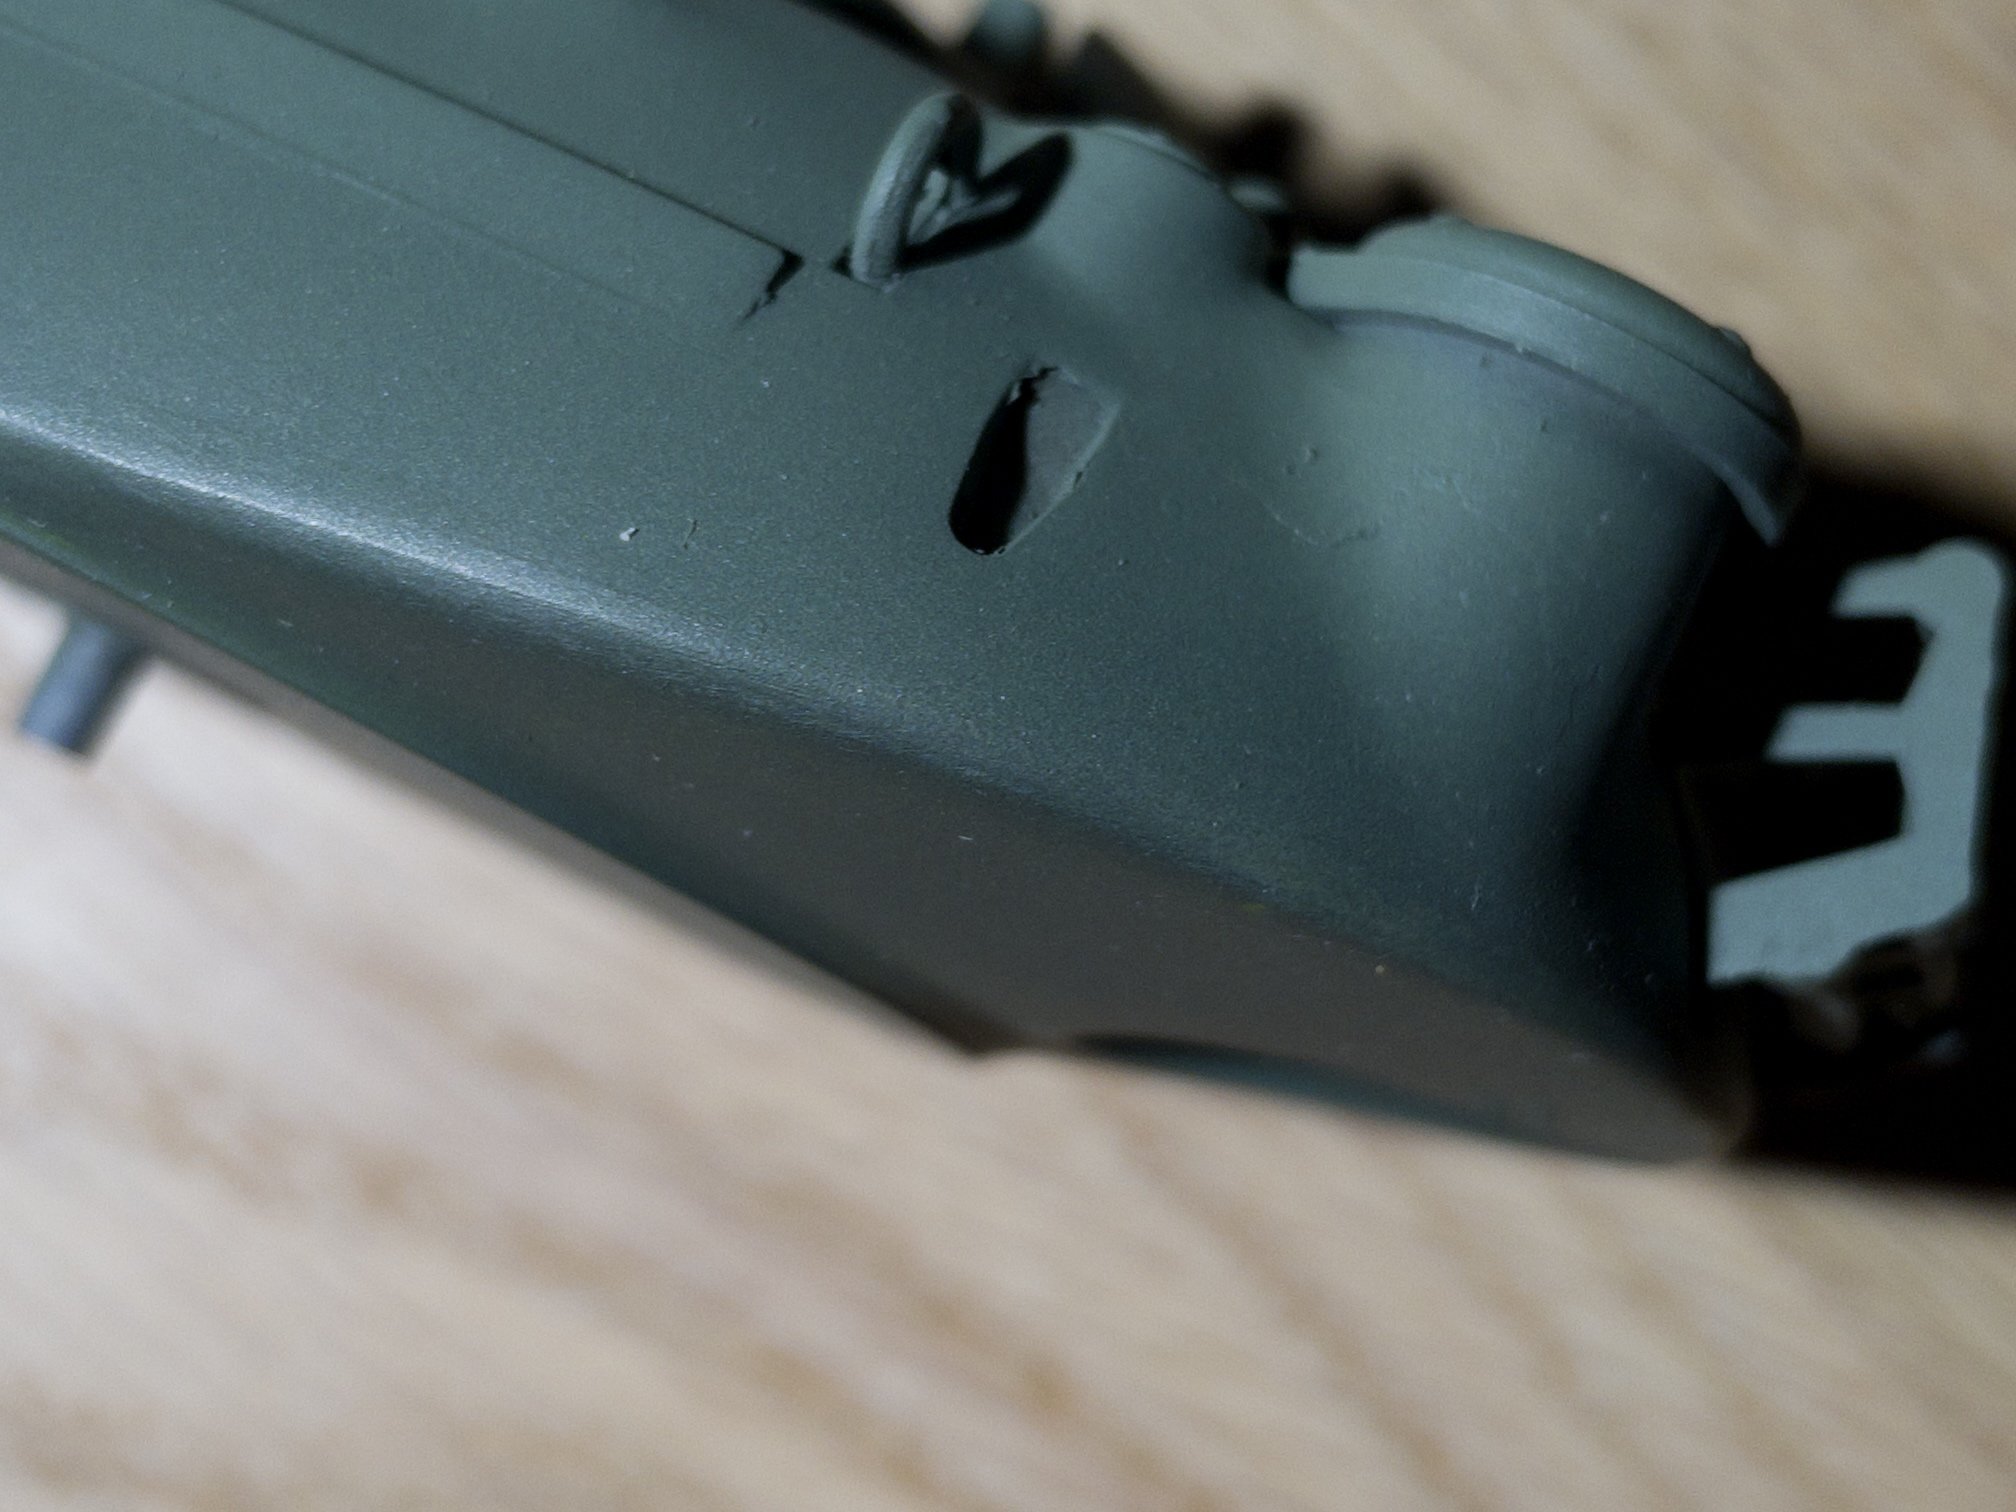
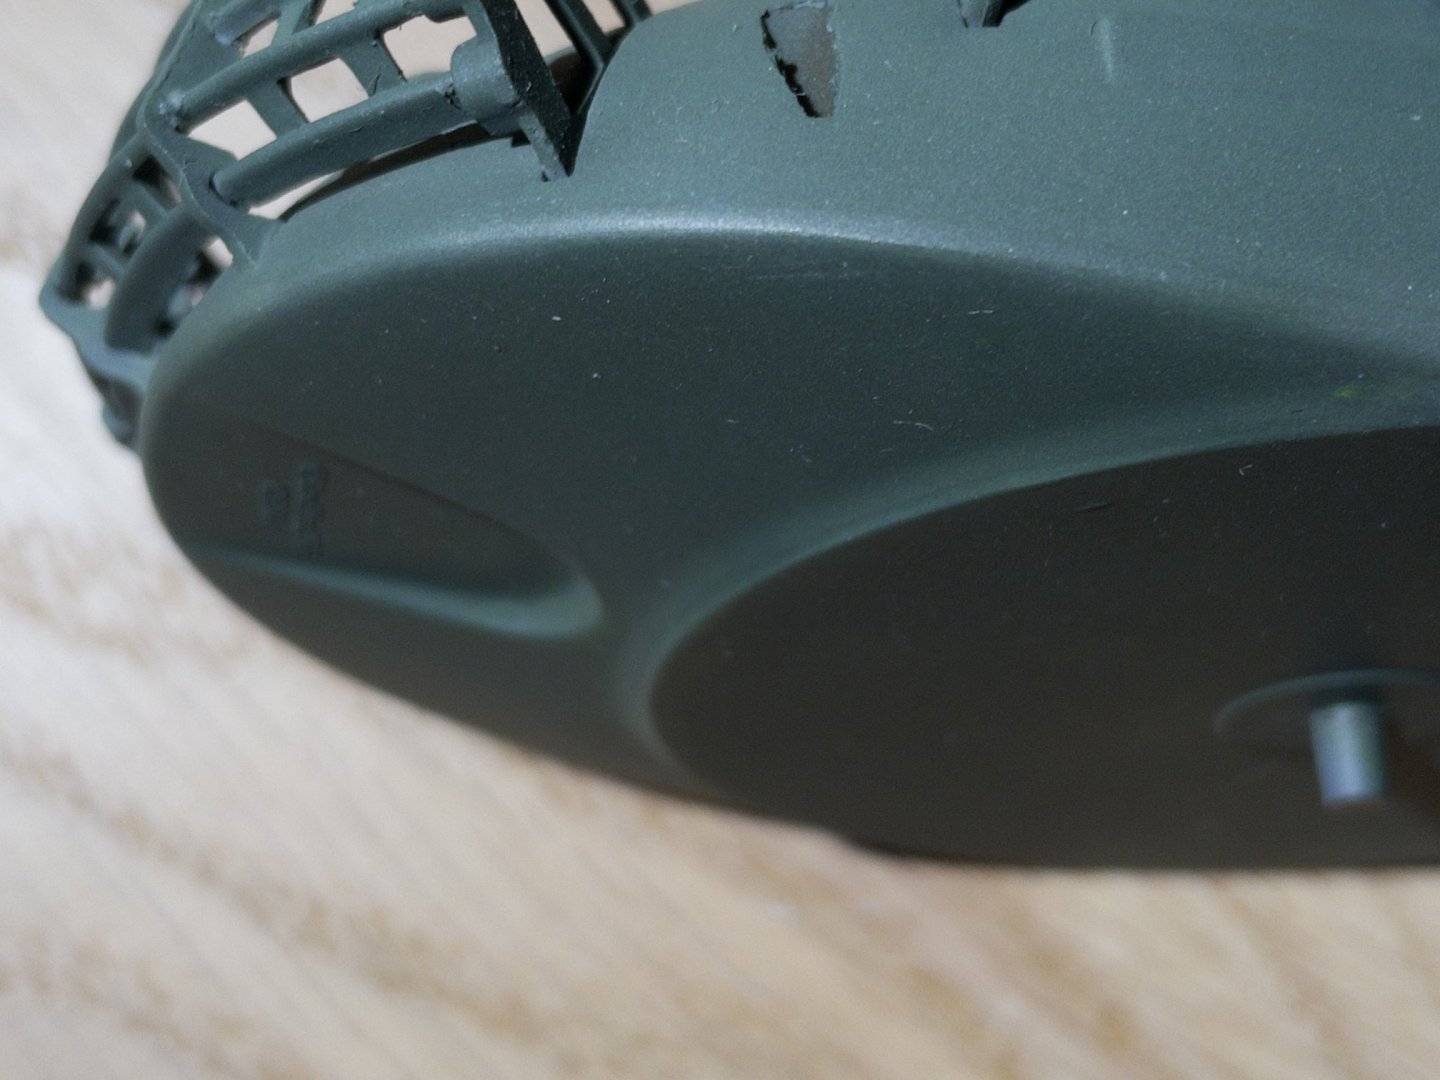
This brings me to the solution. I had to either strip the paint off or try to fix it. The last option cost me nothing so why not. I carefully removed the paint/primer from the underside using IPA, as well as the transition edge down to the plastic. This was followed by sanding the dry paint above the edge 2-5mm down to the primer to almost plastic. The point is that the no-peel primer behaved perfectly, feathering to a smooth transition from the paint to the plastic nicely. I then slowly re-applied primer and a coat of paint. You can see the result below. No sign of the mishap or barely.

-
This is when a small disaster struck. I had to walk away from painting for a few minutes. I still respect the golden rule of airbrushing: never leave paint in the airbrush and walk away... it is likely to start drying and create all sorts of issues. So ok then, remove the paint from the cup and rinse well with thinner... I realized later that I grabbed the wrong bottle and in fact added cleaner instead. When back, I simply dumped the excess and added paint. Of course, the cleaning solution was still present in the body of the airbrush, which started to mix with the paint. The result was catastrophic to put it simply. When I started brushing the underside of the turret... everything started running badly. I was there, not quite realizing my mistake, trying to dry the paint with just air to fix that. It just made everything worse, it started running to the edge and affecting the upper part of the already painted turret. A real mess, I should have taken a picture... but hey! I did not. To be continued in the next post... I'm getting some sleep.
-
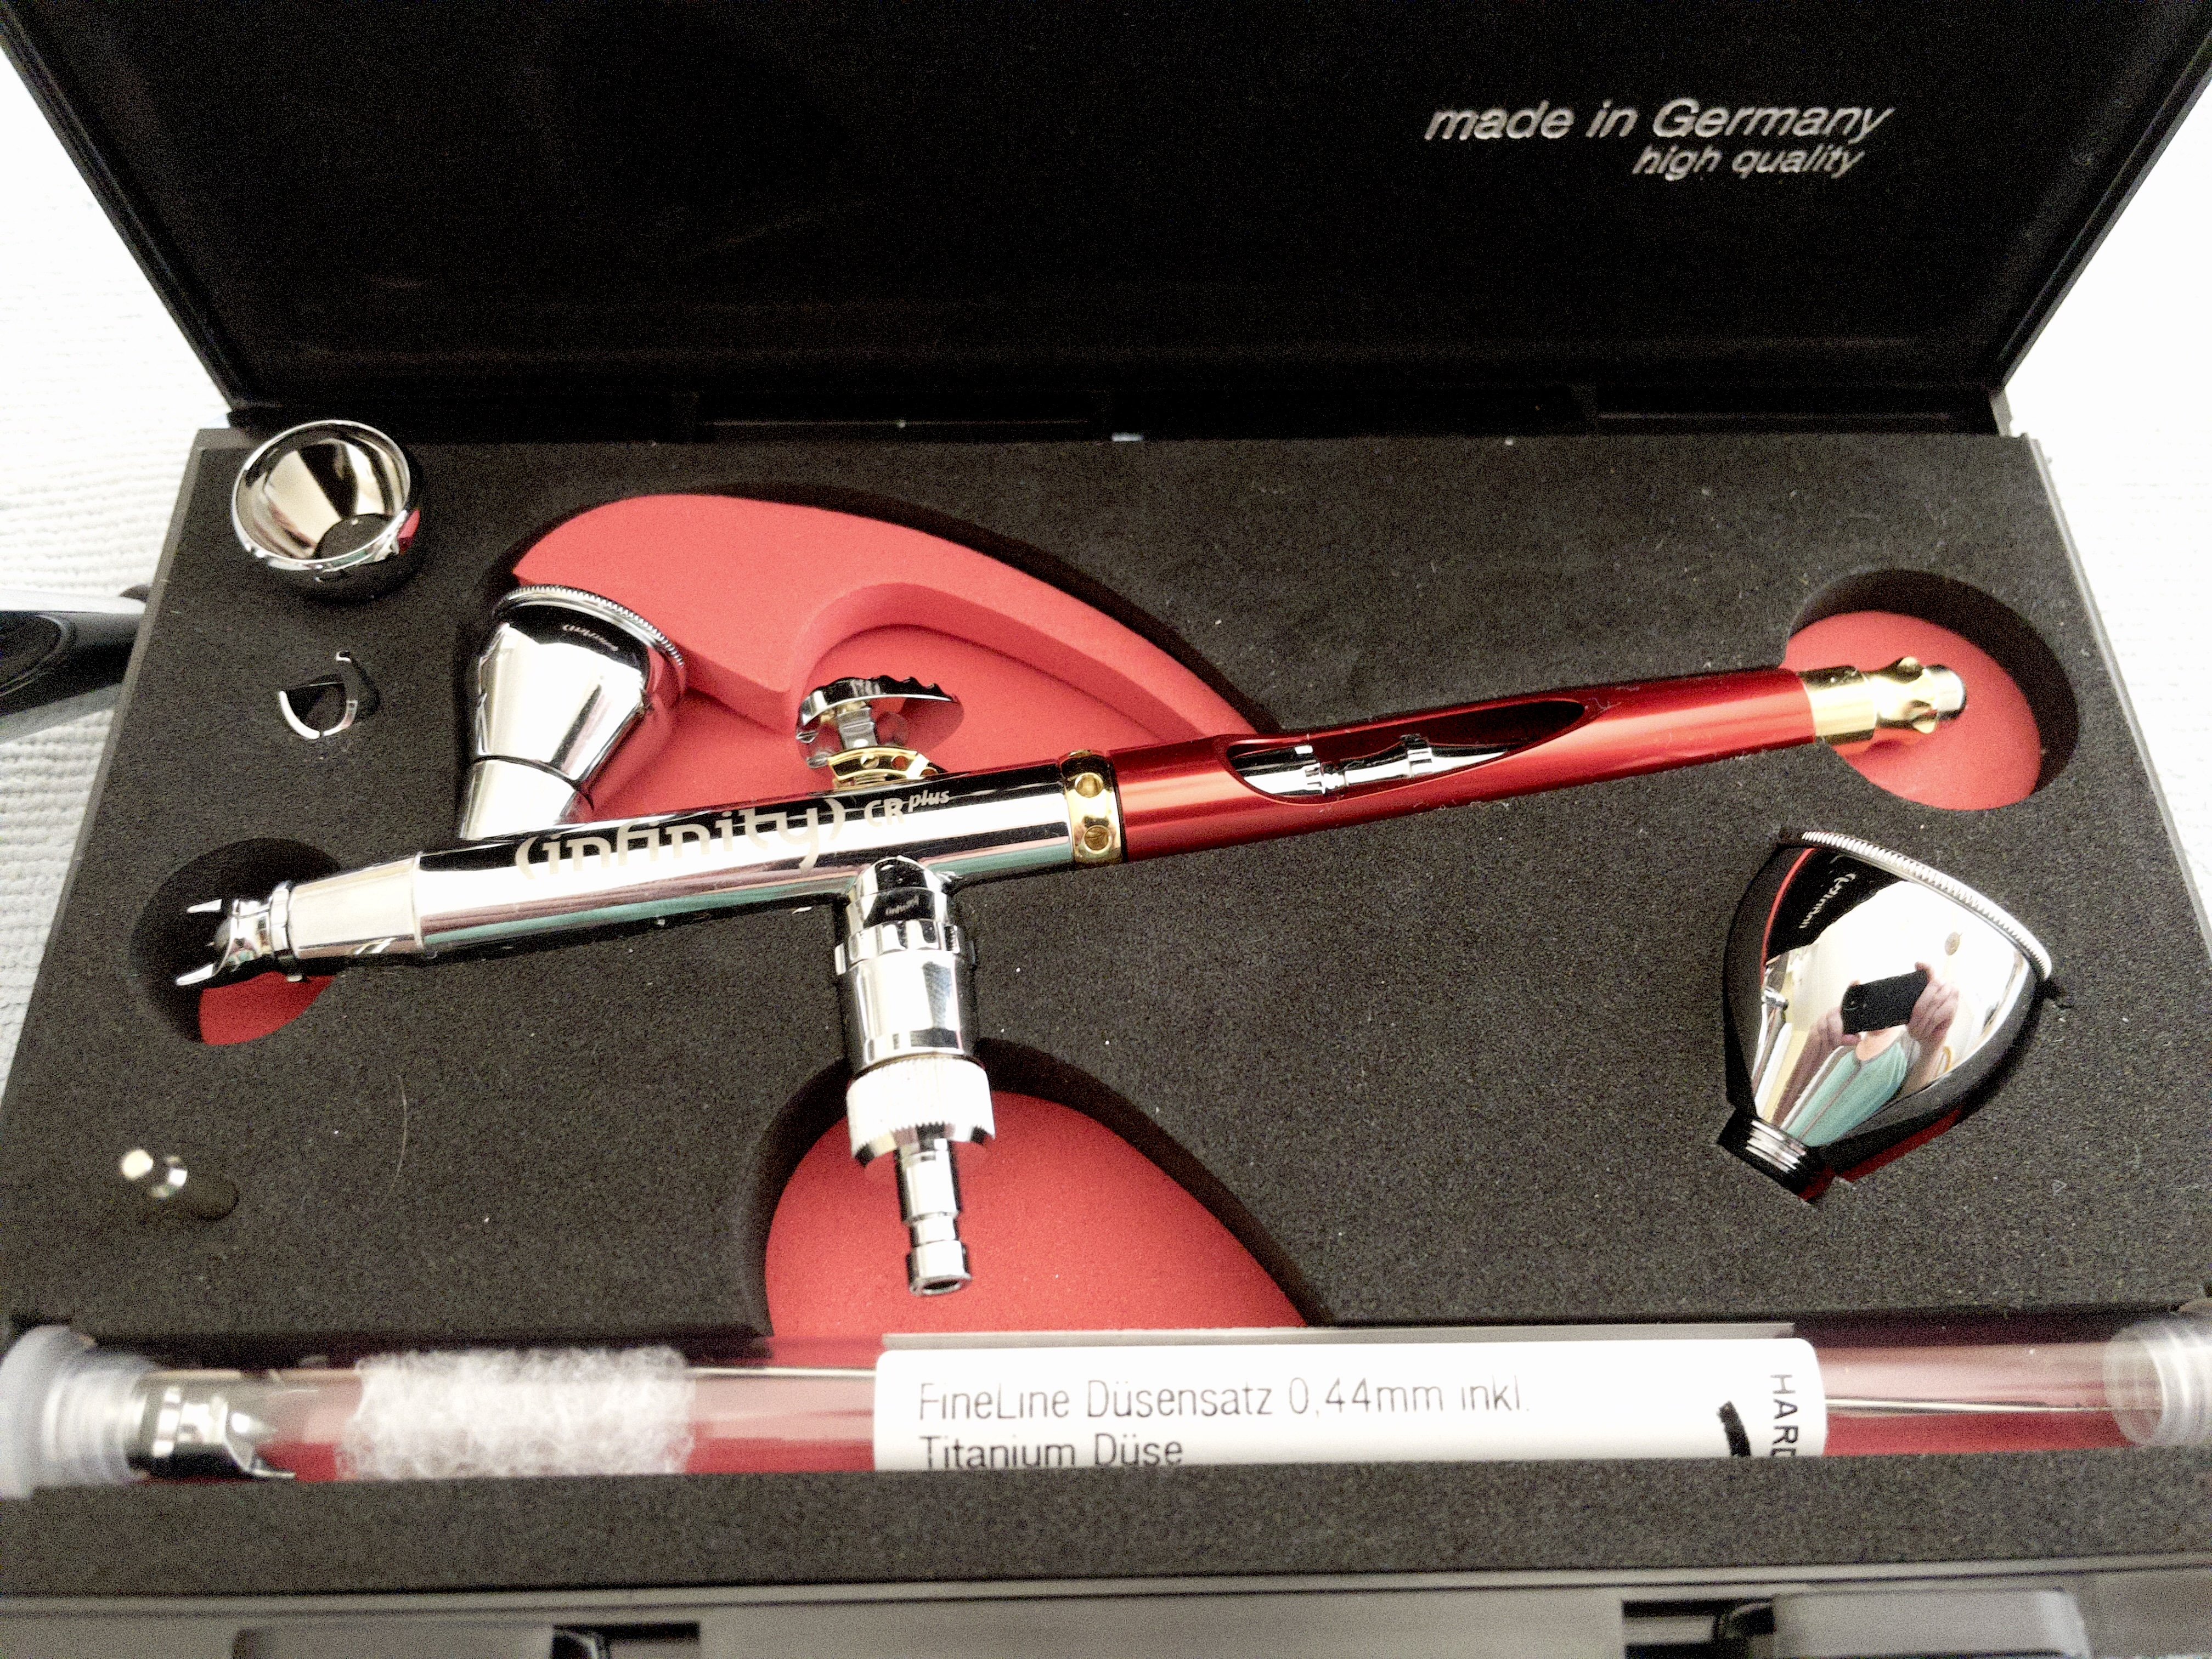
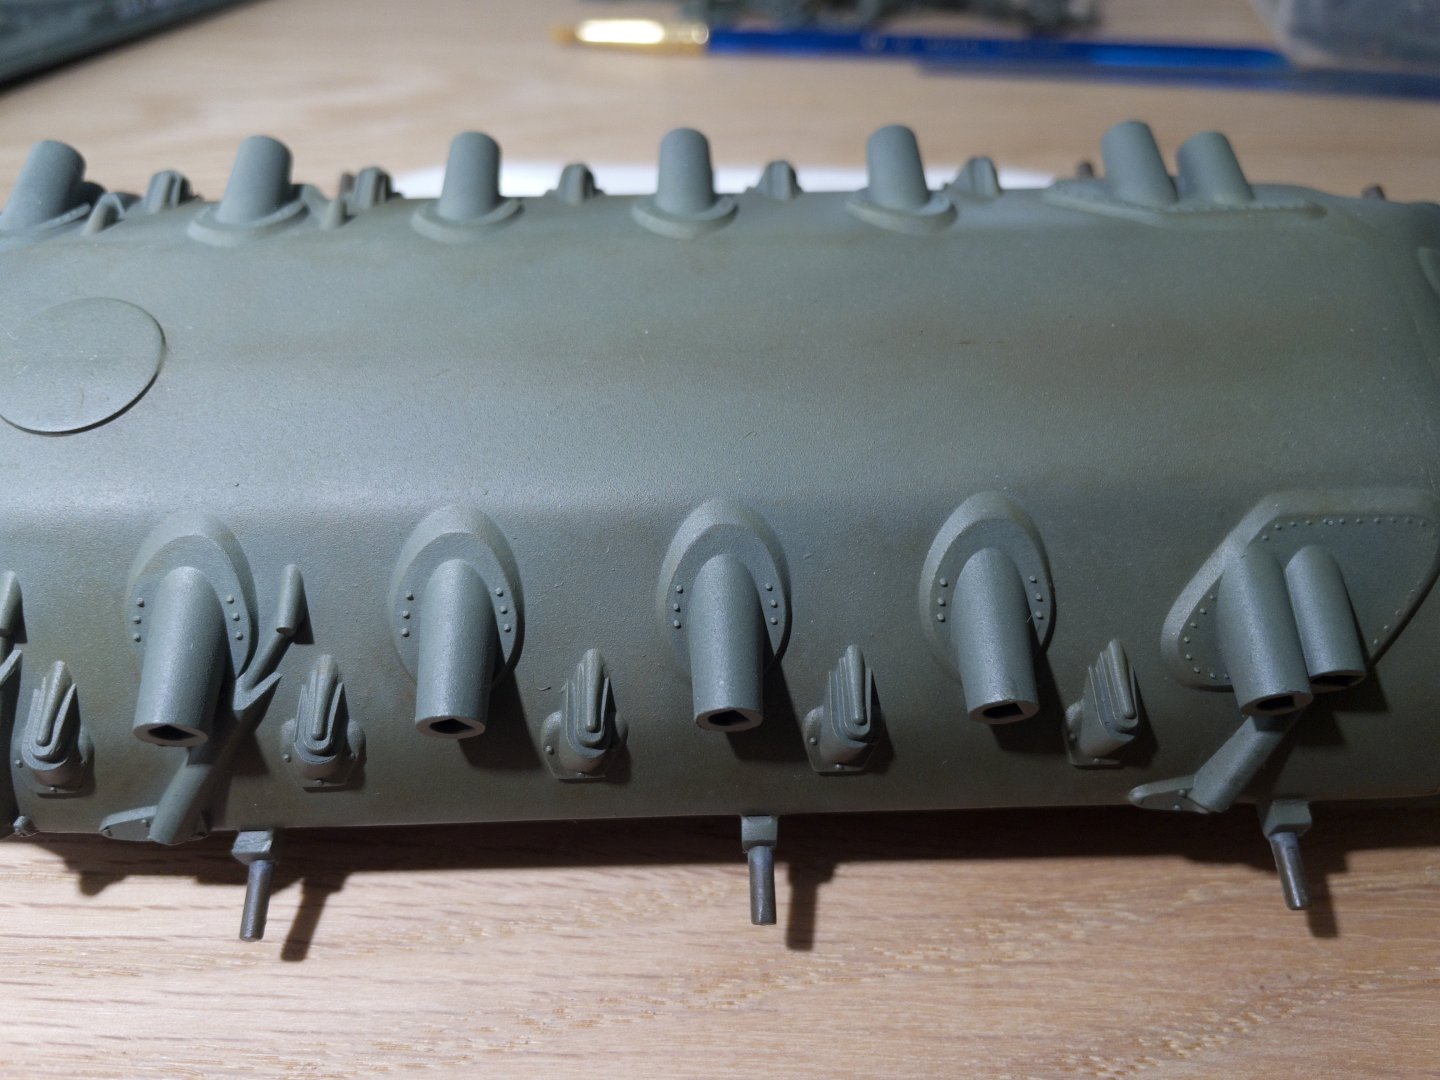
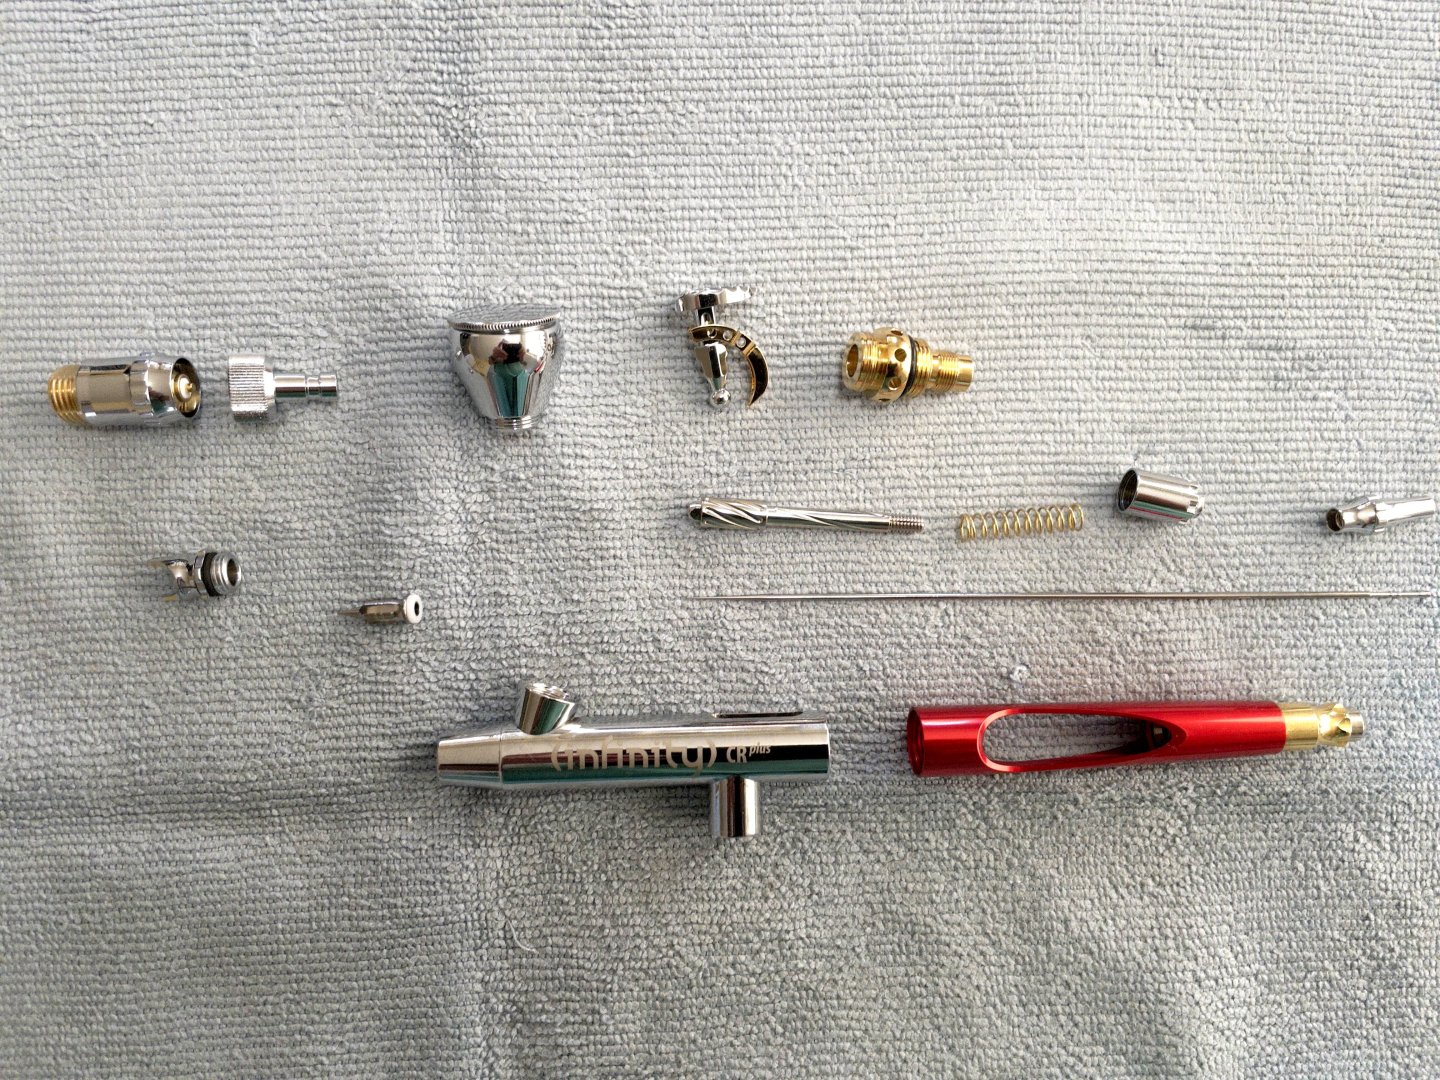
I was not planning on making a build log for the tank, so I'm missing quite a bit on the early steps. Not much to say really. Building the kit is a snap: check the fit, glue, fill the gaps (if any) and sand. We all know that. I can then move on to the interesting part, painting. Since this is my first plastic kit, I had the "luxury" of getting the disposable reagent I wanted. For priming, I used VMS no-peel primer. Read good things about it. Priming from the airbrush went nicely with the 0.44mm nozzle. A basecoat was then applied using a darker tone of olive drab: a mix of Liquitex "Black Mars" and Medium Yellow. The intent was to get a dark undercoat and since I only had grey primer, I started with this.

-
@Ronald-V, hey! greeting. I did come across Nigh Shift video. He is indeed fantastic at outlining the various approaches to painting, chipping and weathering. What I learned was that it is very technical, which is exactly what I was looking. You can tackle painting as a series of layers that you can build gradually on the model.... some even reversible once you "seal" the underlying work with varnish. I will definitively try them out here... for the first time.
-
@realworkingsailor, A thousand thanks... will certainly look it up.
-
@Dave_E, thanks... I'm sorting thru a stack of pictures. I should be able to post more by tomorrow. Like I said, I'm likely to be doing quite some mistakes... but HEY! this is the purpose of a log.
-
@kgstakes, indeed you should be able to get very similar results with Master Touch Artist paint. As a reference, you could always look up the pigment composition between the brands... that should help establish equivalence.
-
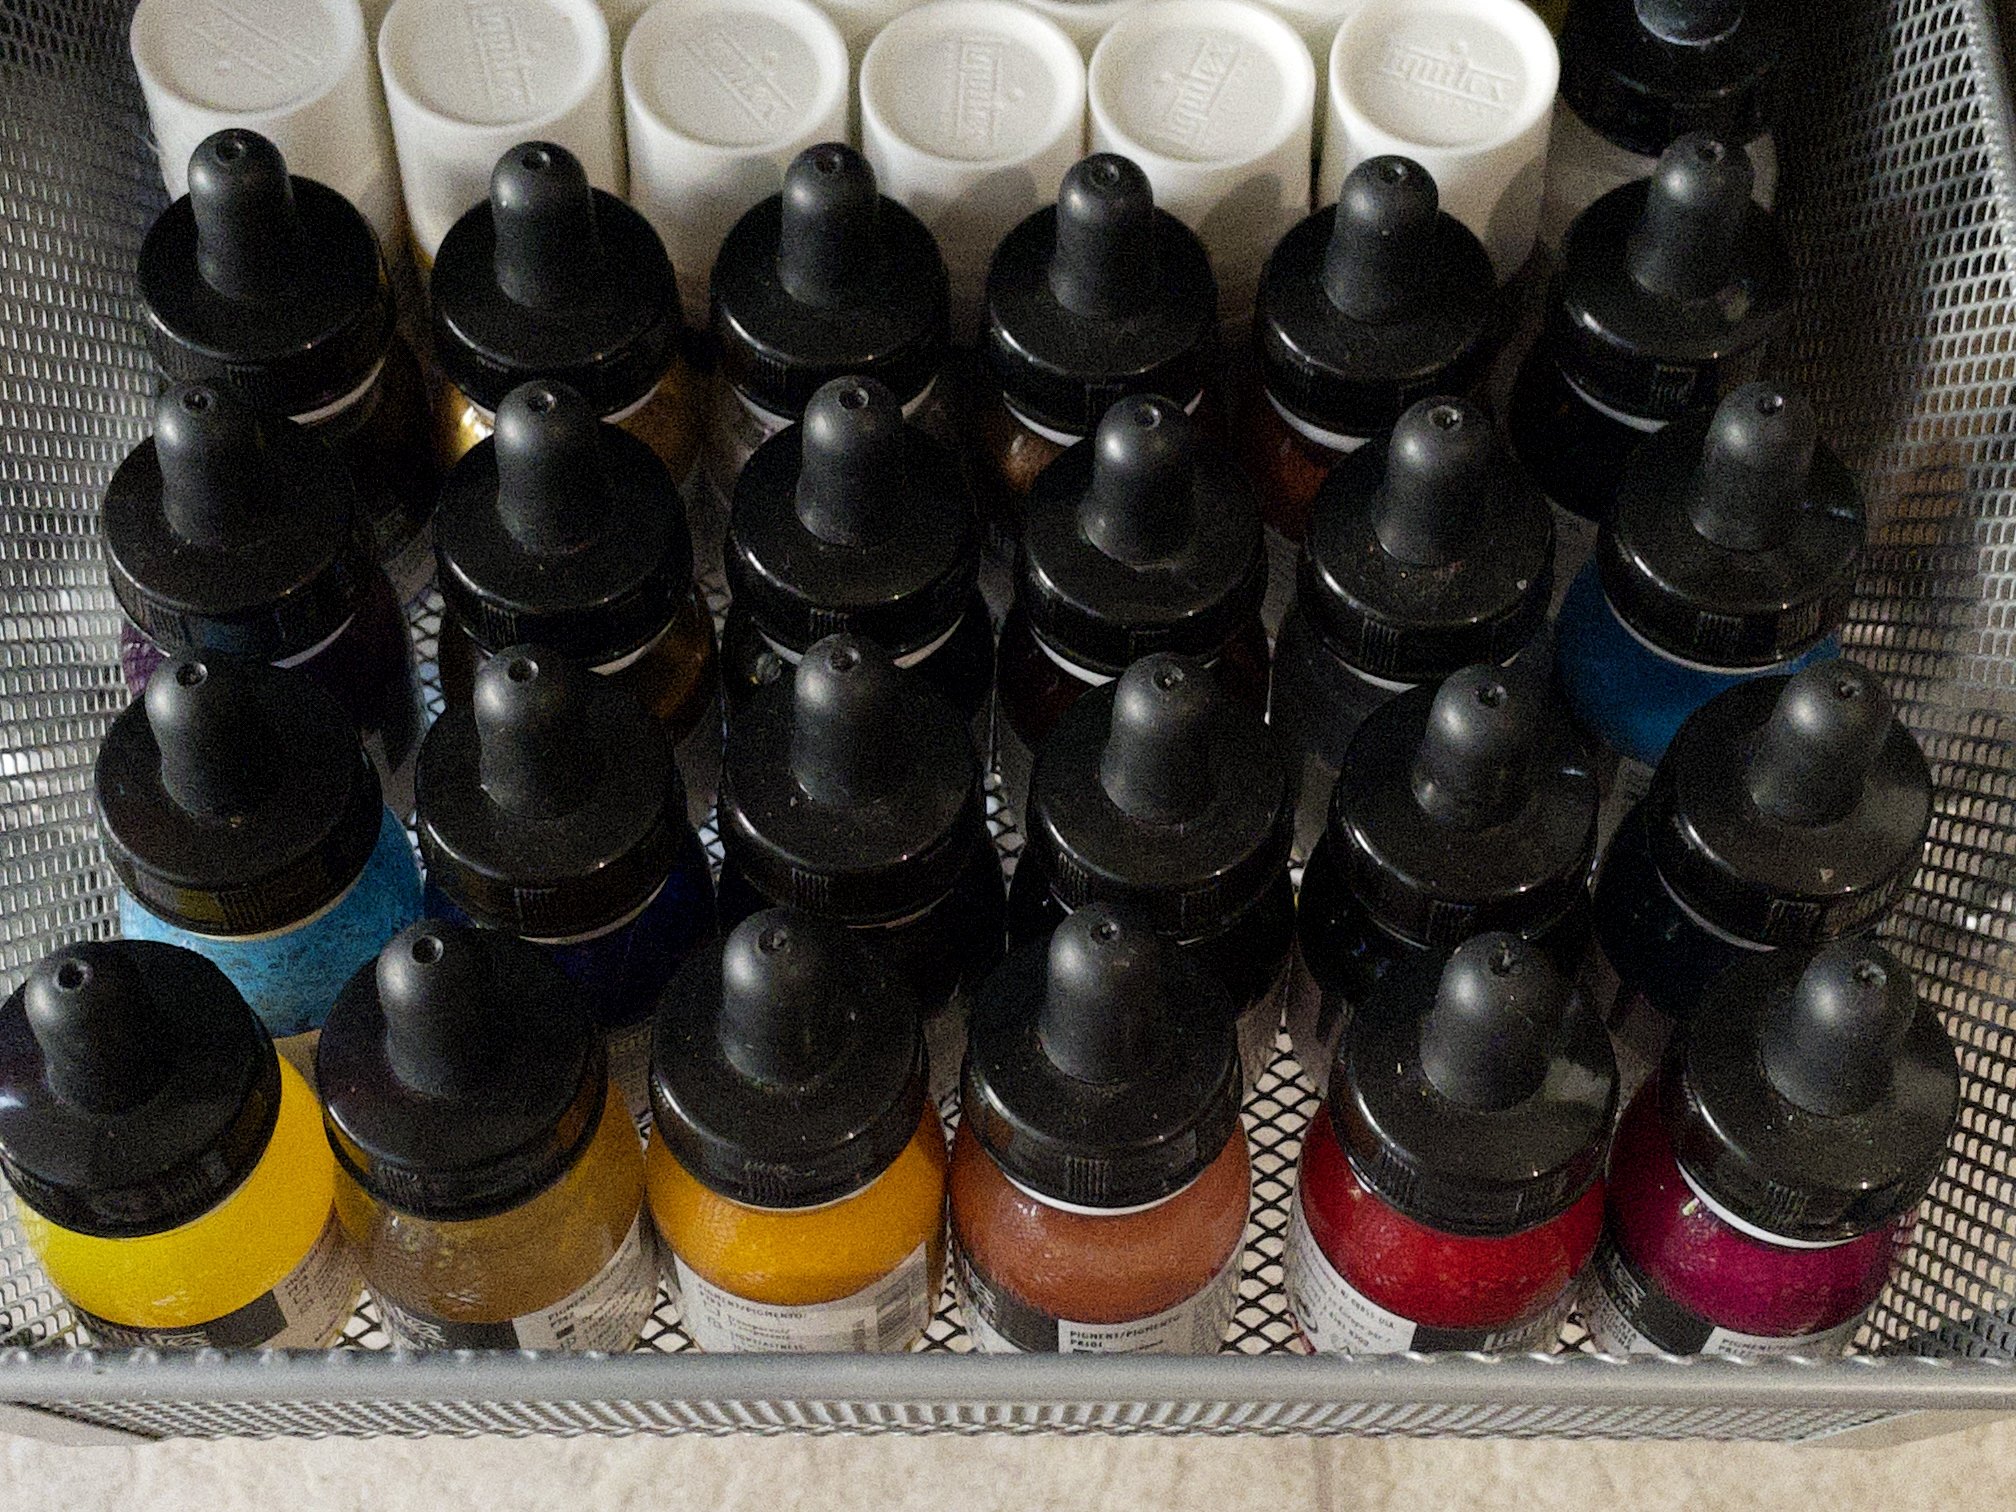
The second essential is the paints. I already have a fair amount of Liquitex ink and paint. I like them because of their pigment load and their vibrancy. The ink can be used as-is for airbrushing and the paint can be thinned down with airbrush media. The nice part is that Liquitex has a number of media available to change consistency, gloss and even transparency. This is quite useful. Despite the fair selection of colors... you still want to mix them to the final choice. I found on another forum someone that works on reproducing accurate colors for WW2, either armors or planes. He produced "recipes" for some paint brands. I tried a few and they were quite good. Here the links, so the author gets full recognition. RLM color mixes for Tamiya Acrylics, Tamiya Lacquers, Golden Fluid Acrylics and Liquitex Basic Fluid paints - Paint - Britmodeller.com British Aviation Colours of World War Two book insert - Spectrophtometer readouts and sample recipes using Tamiya, Liquitex and Golden Fluid Acrylics - Paint - Britmodeller.com

-
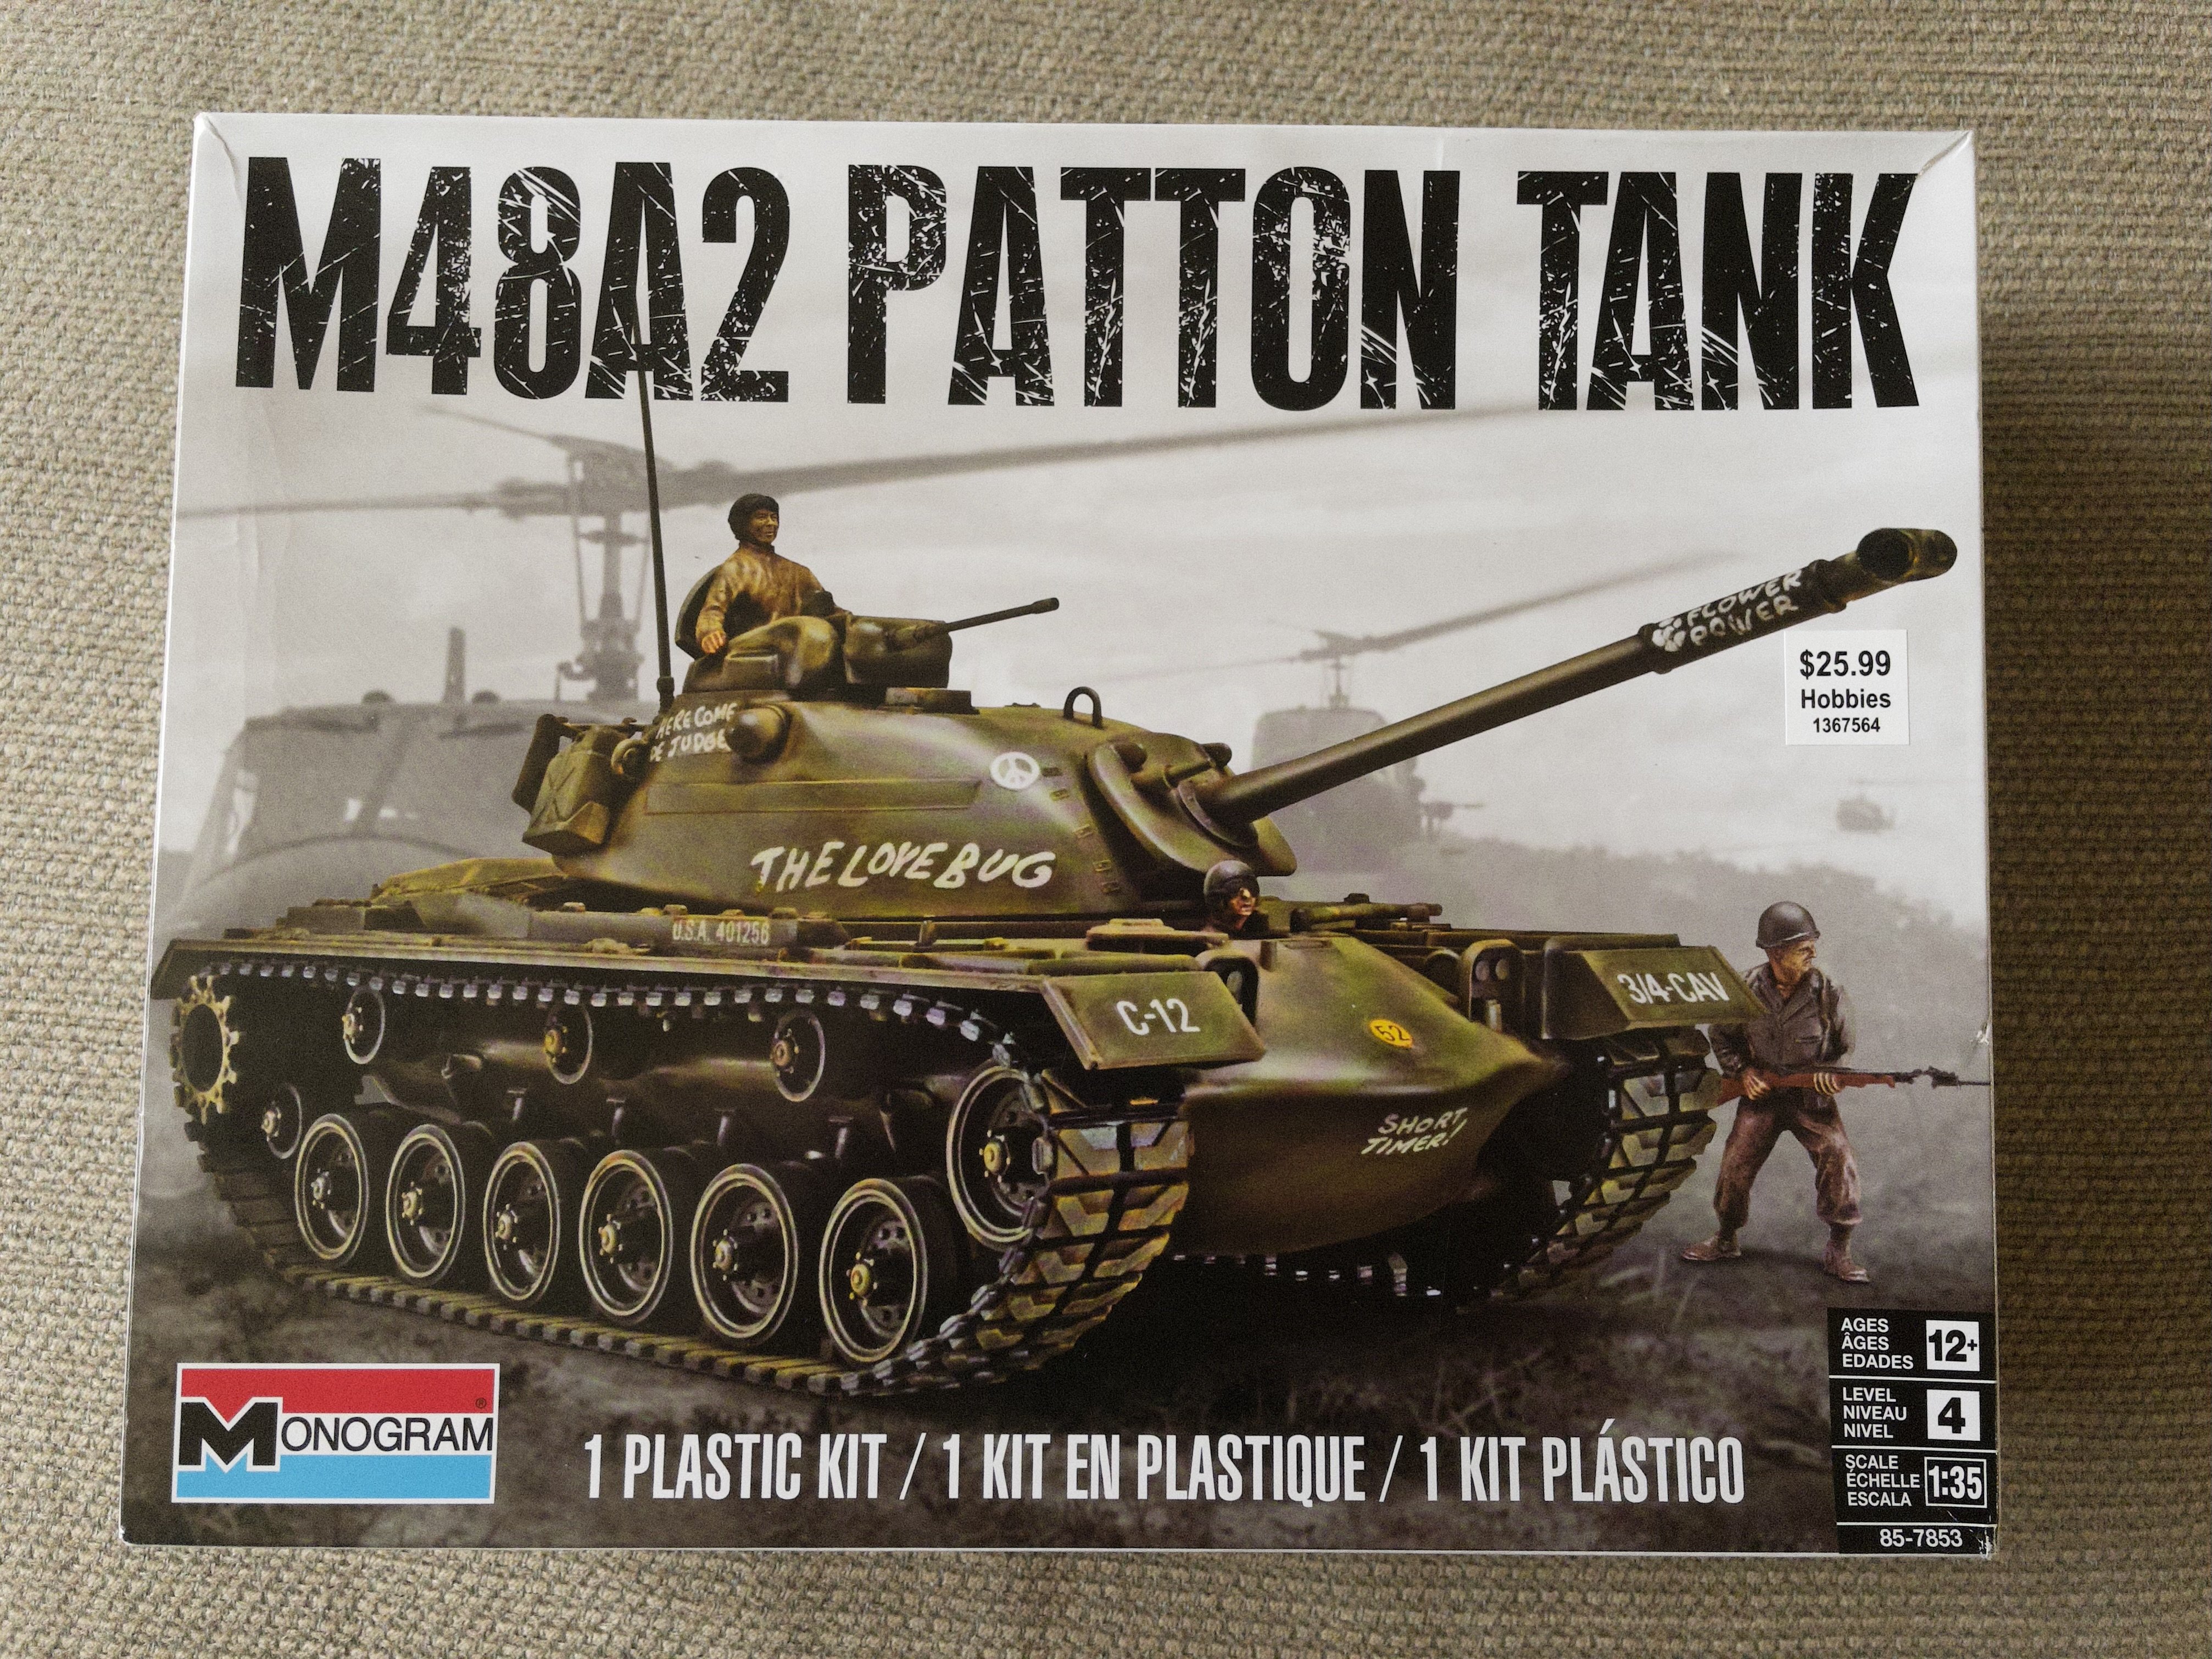
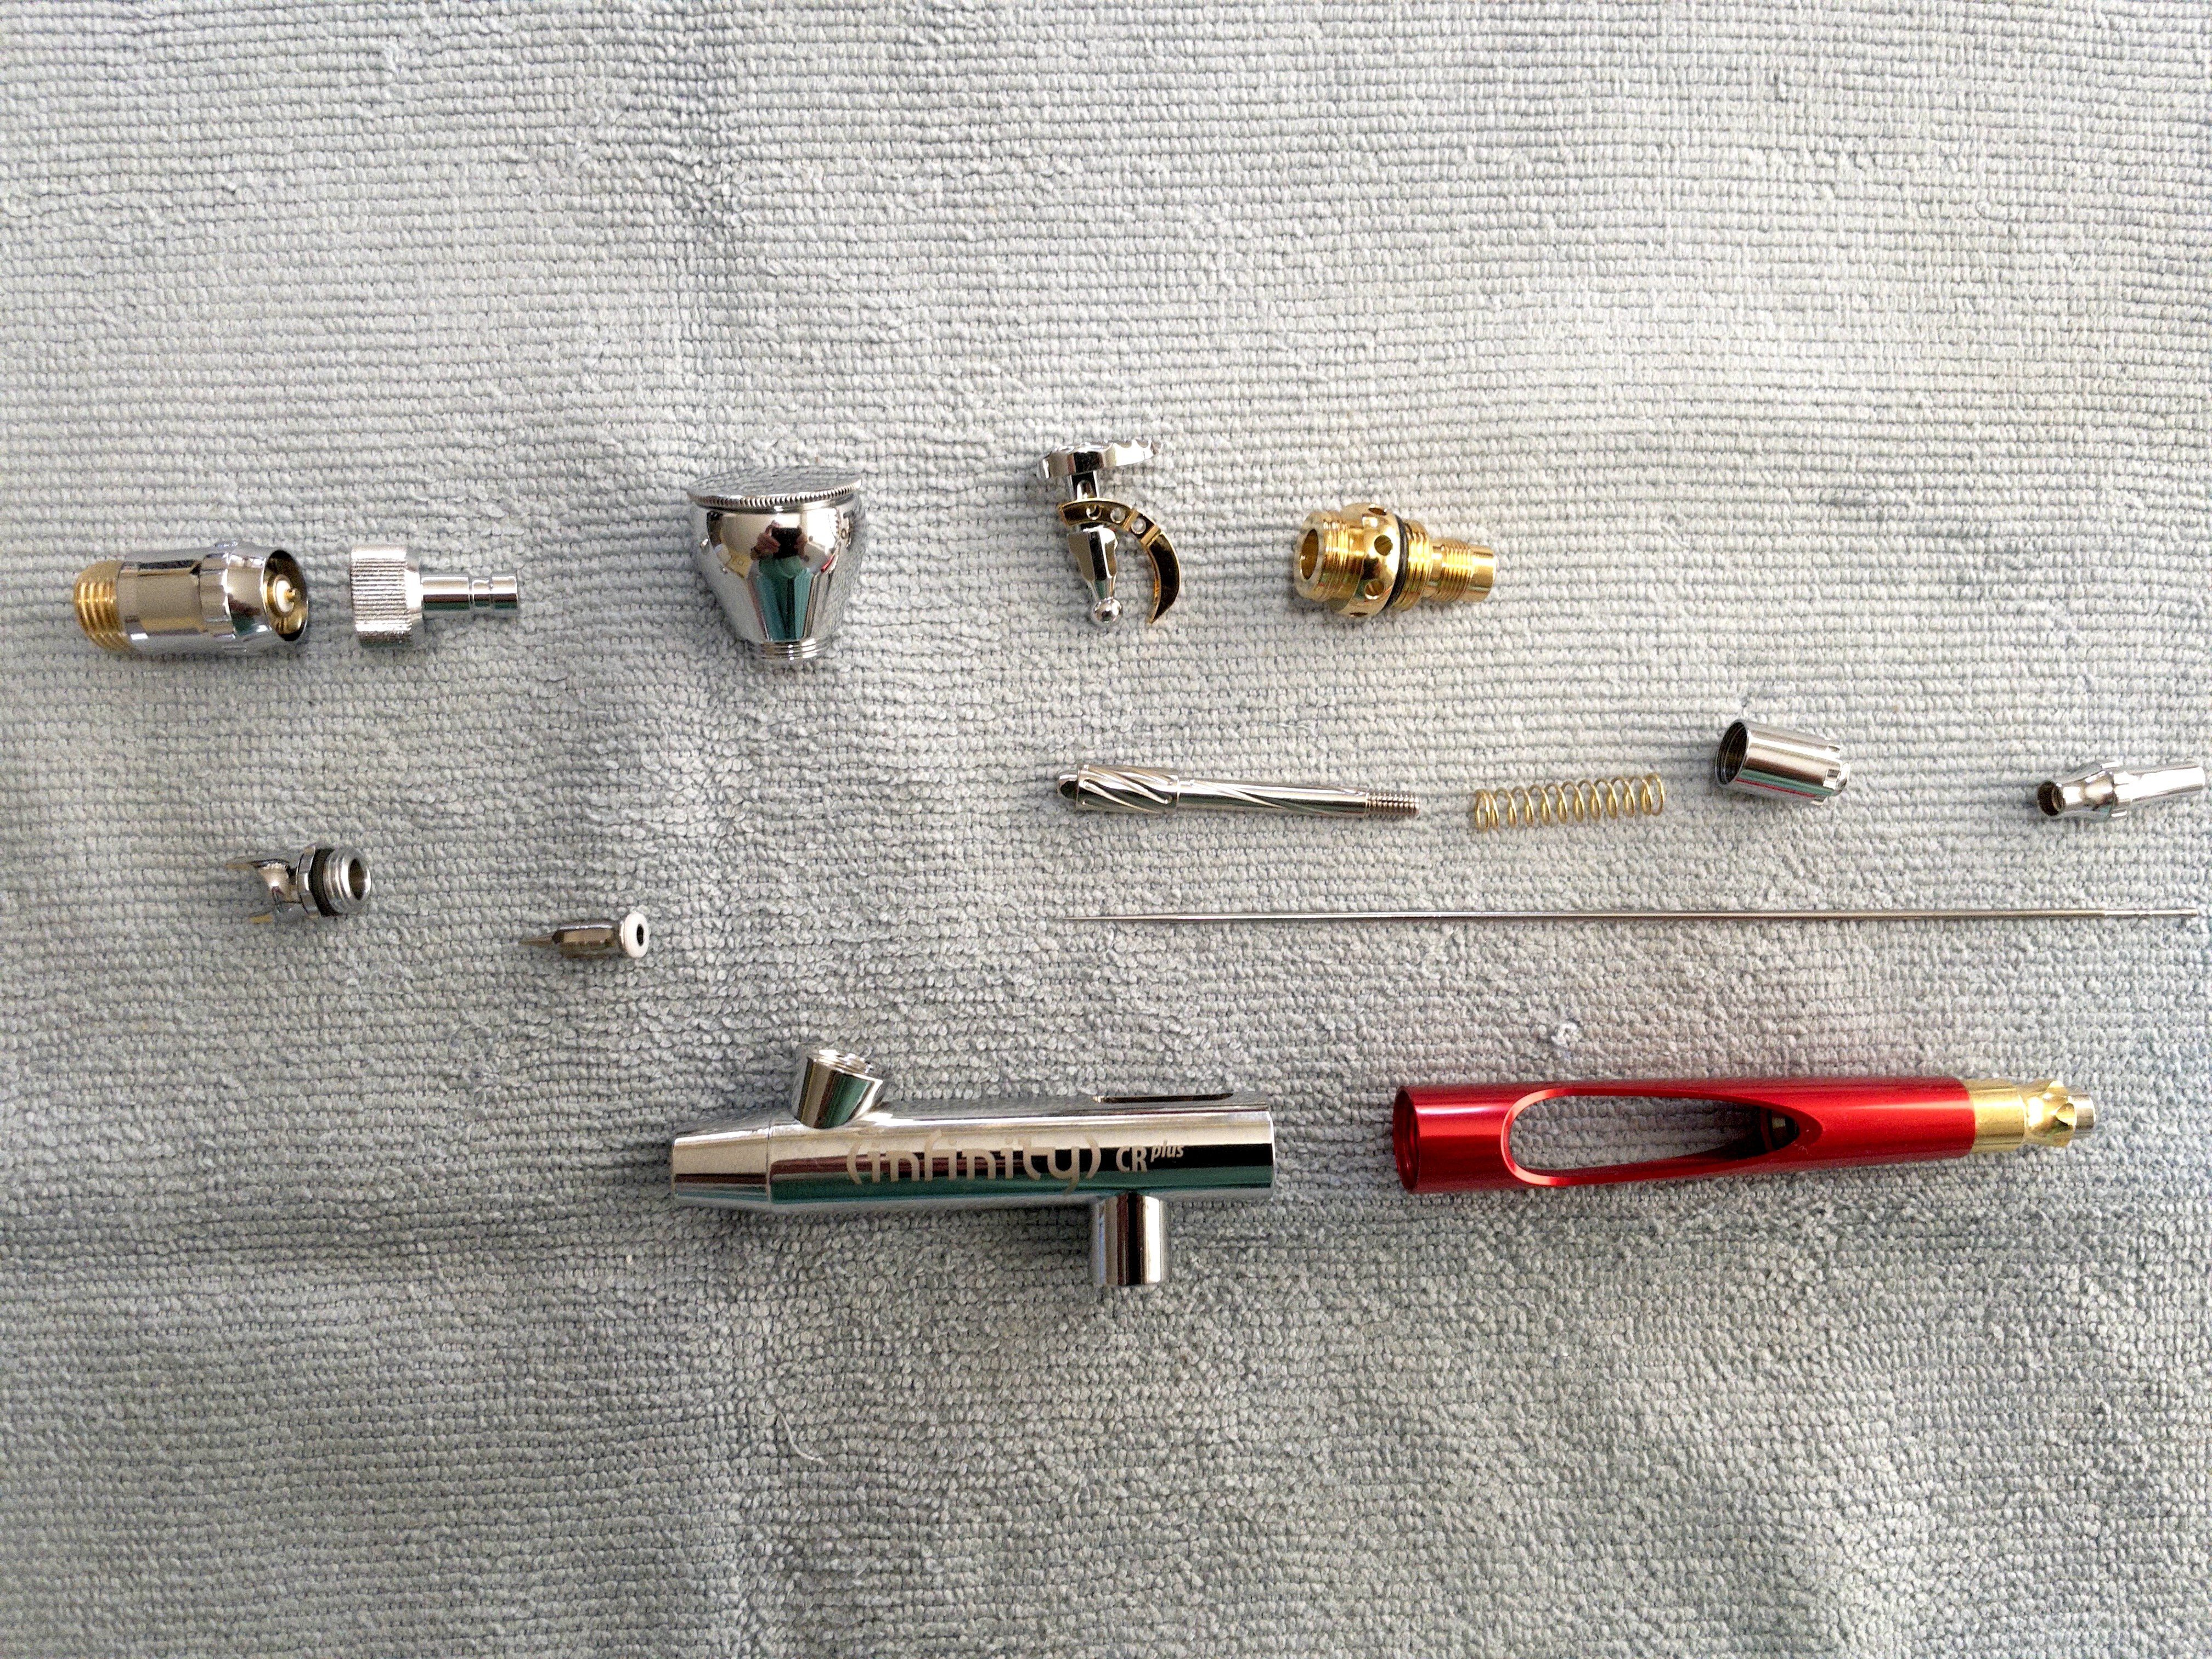
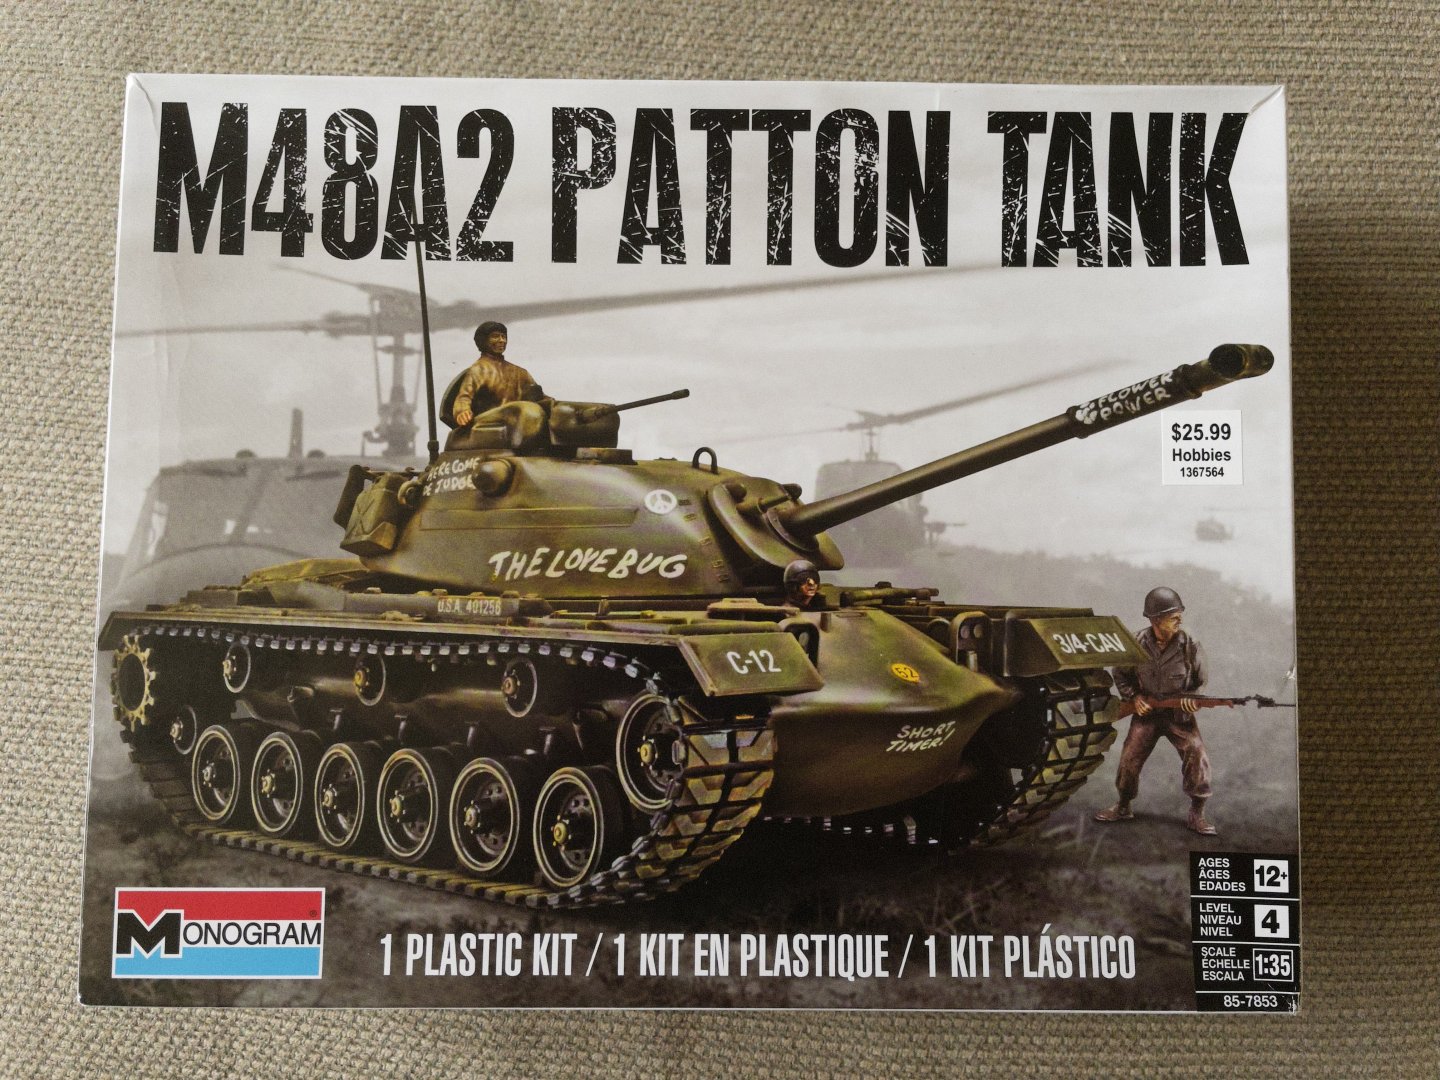
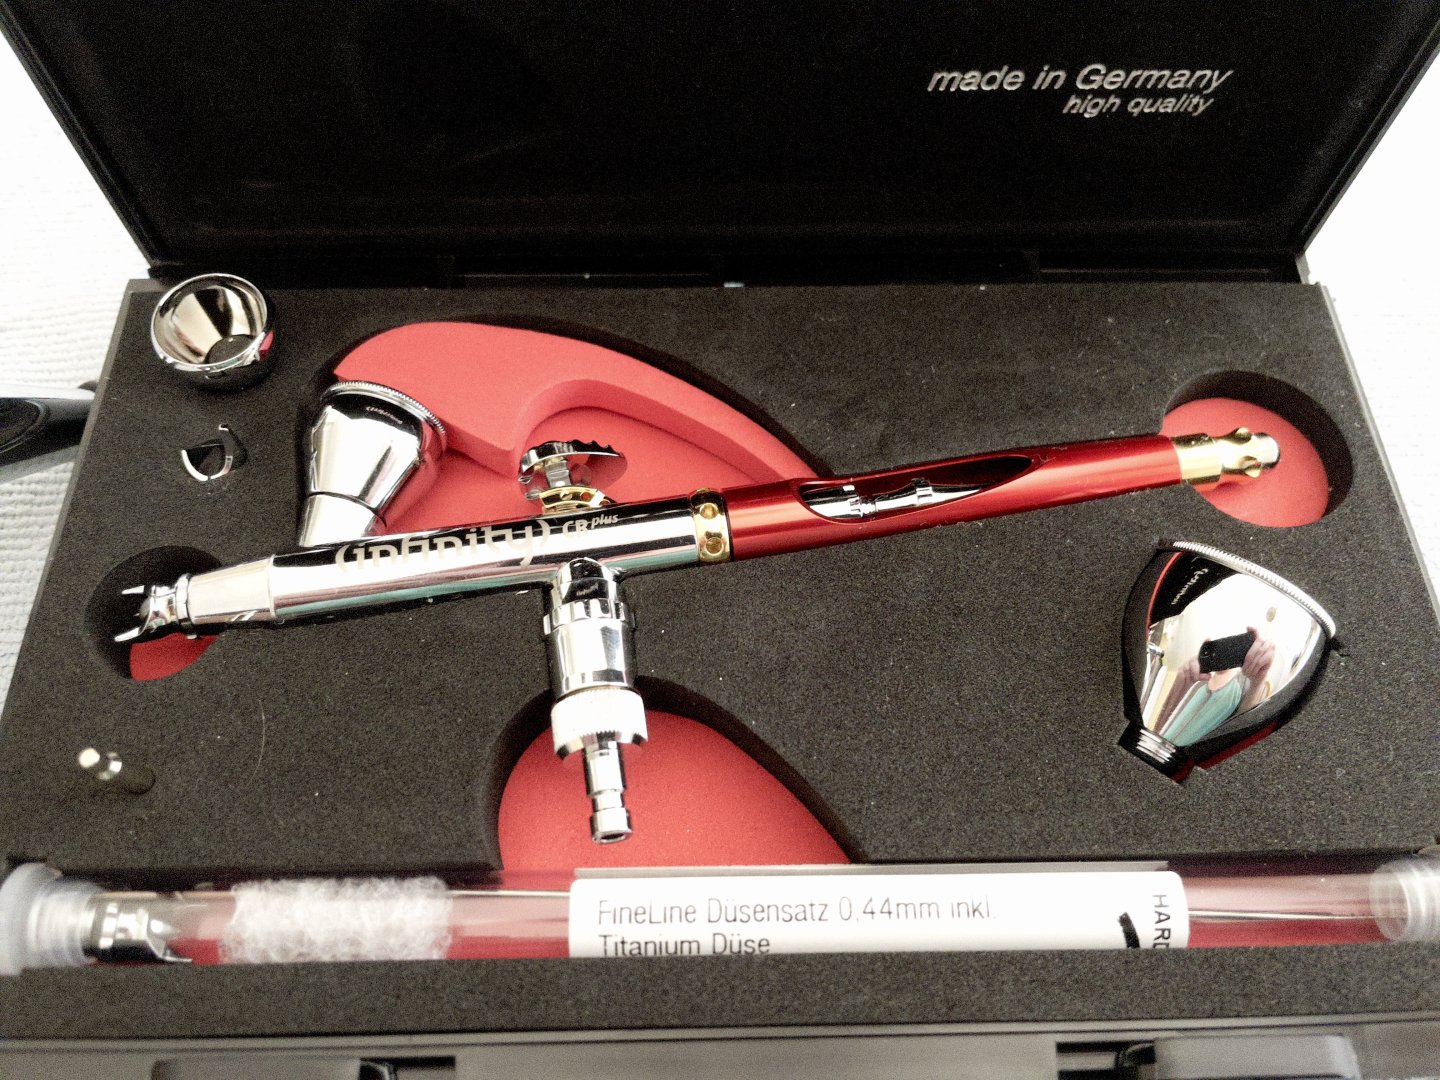
Greetings, after nearly 2 years building the Revenge, I needed a change of pace: something different, something fast building, something to paint. Here it is, a good old model tank. This is a first for me ... and an excuse to get something I have had my eye set upon for quite a while now (well! a couple of months), and a quality airbrush. Decided to start a new build for a simple reason. Not really for the build, which can be done in a day or two, but mostly for trying a few approaches to painting and weathering. You will be having a front seat to my mistakes!!! Let me start with the culprits: the kit and the airbrush.
-
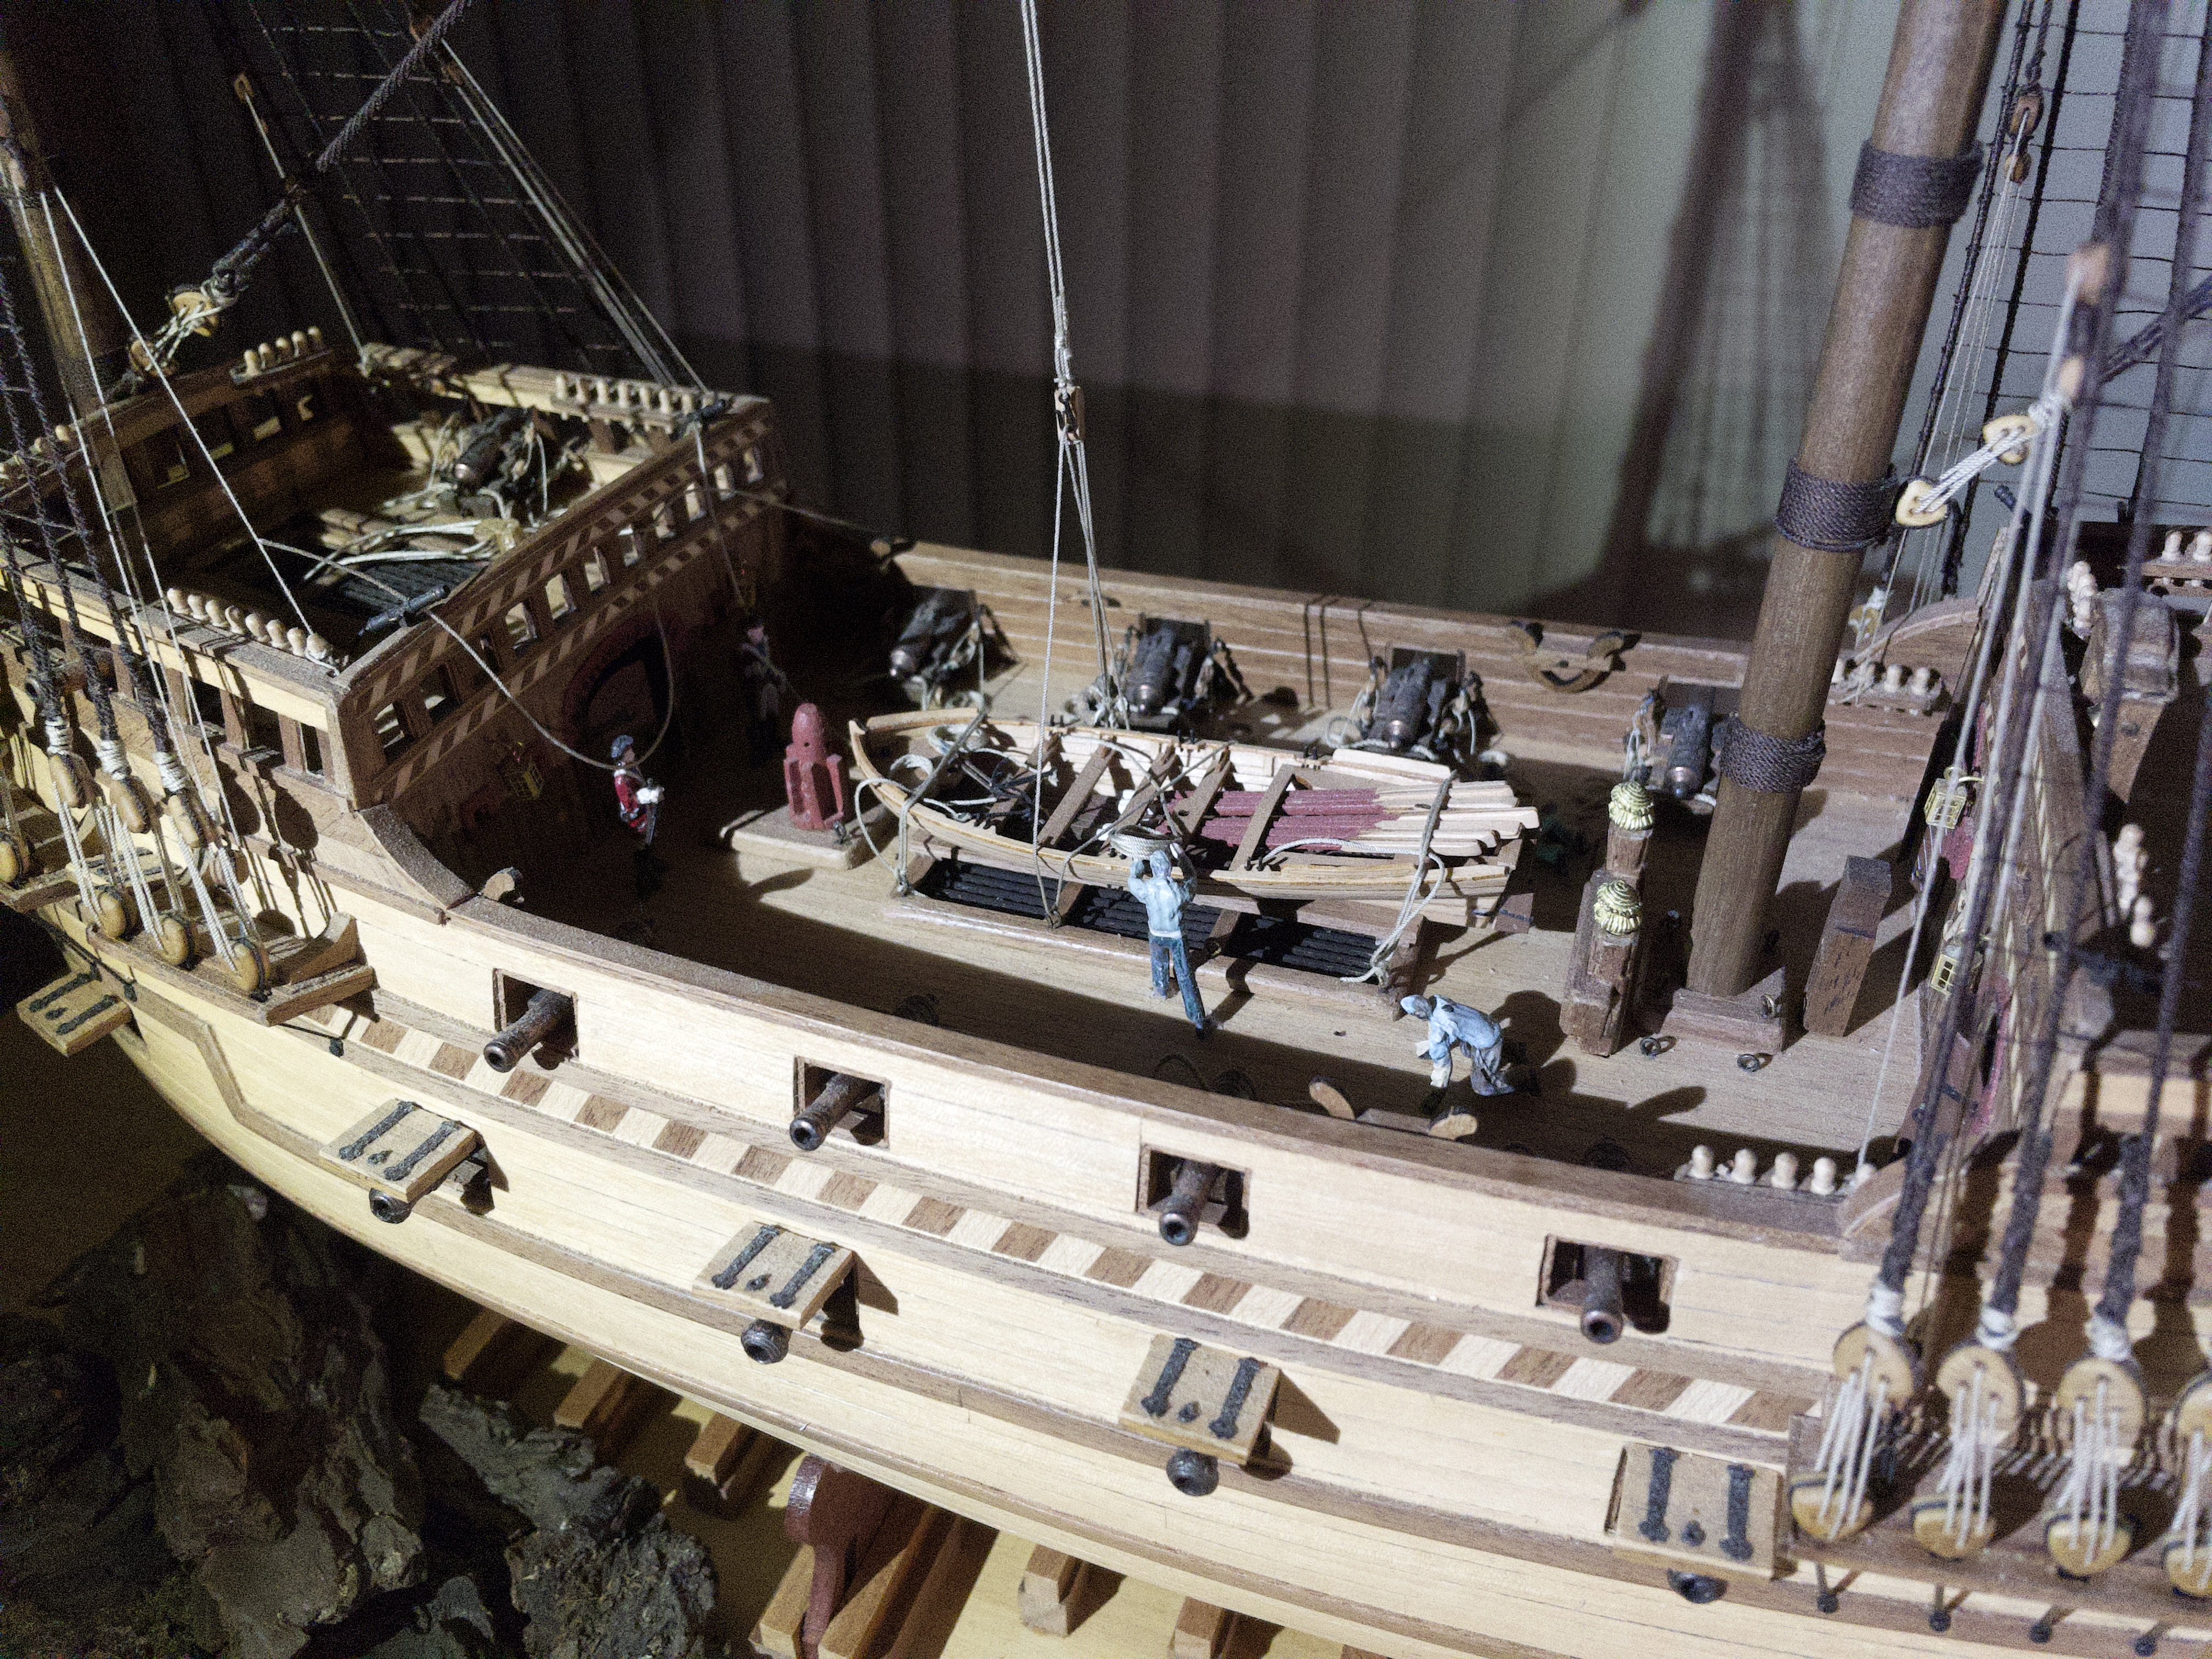
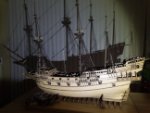
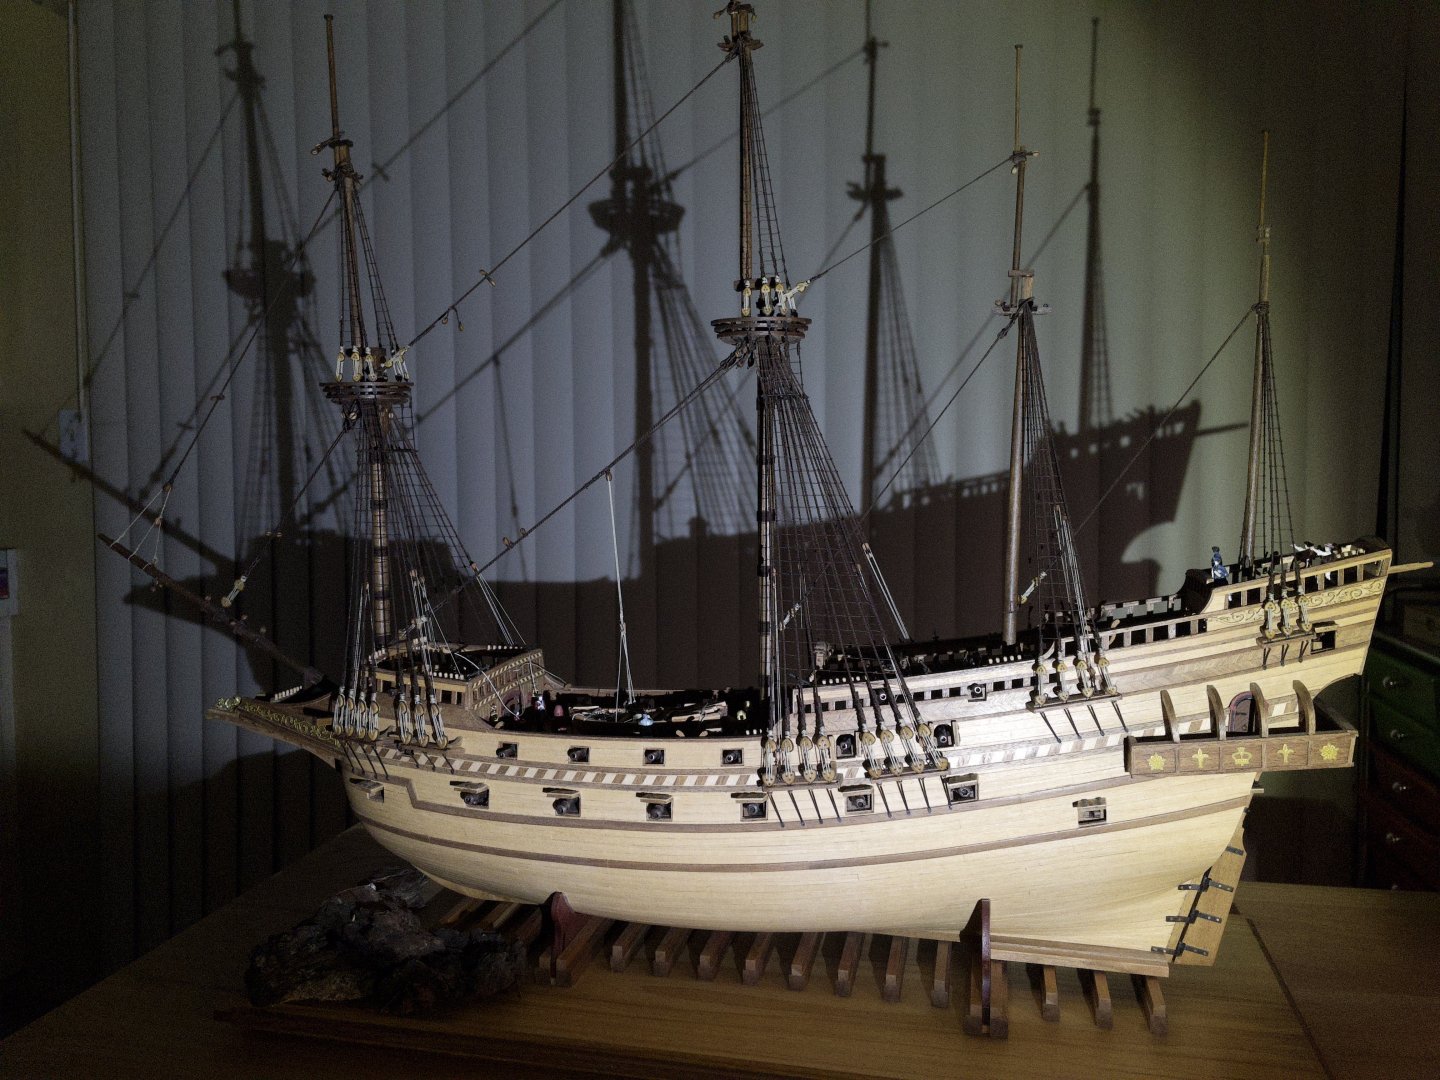
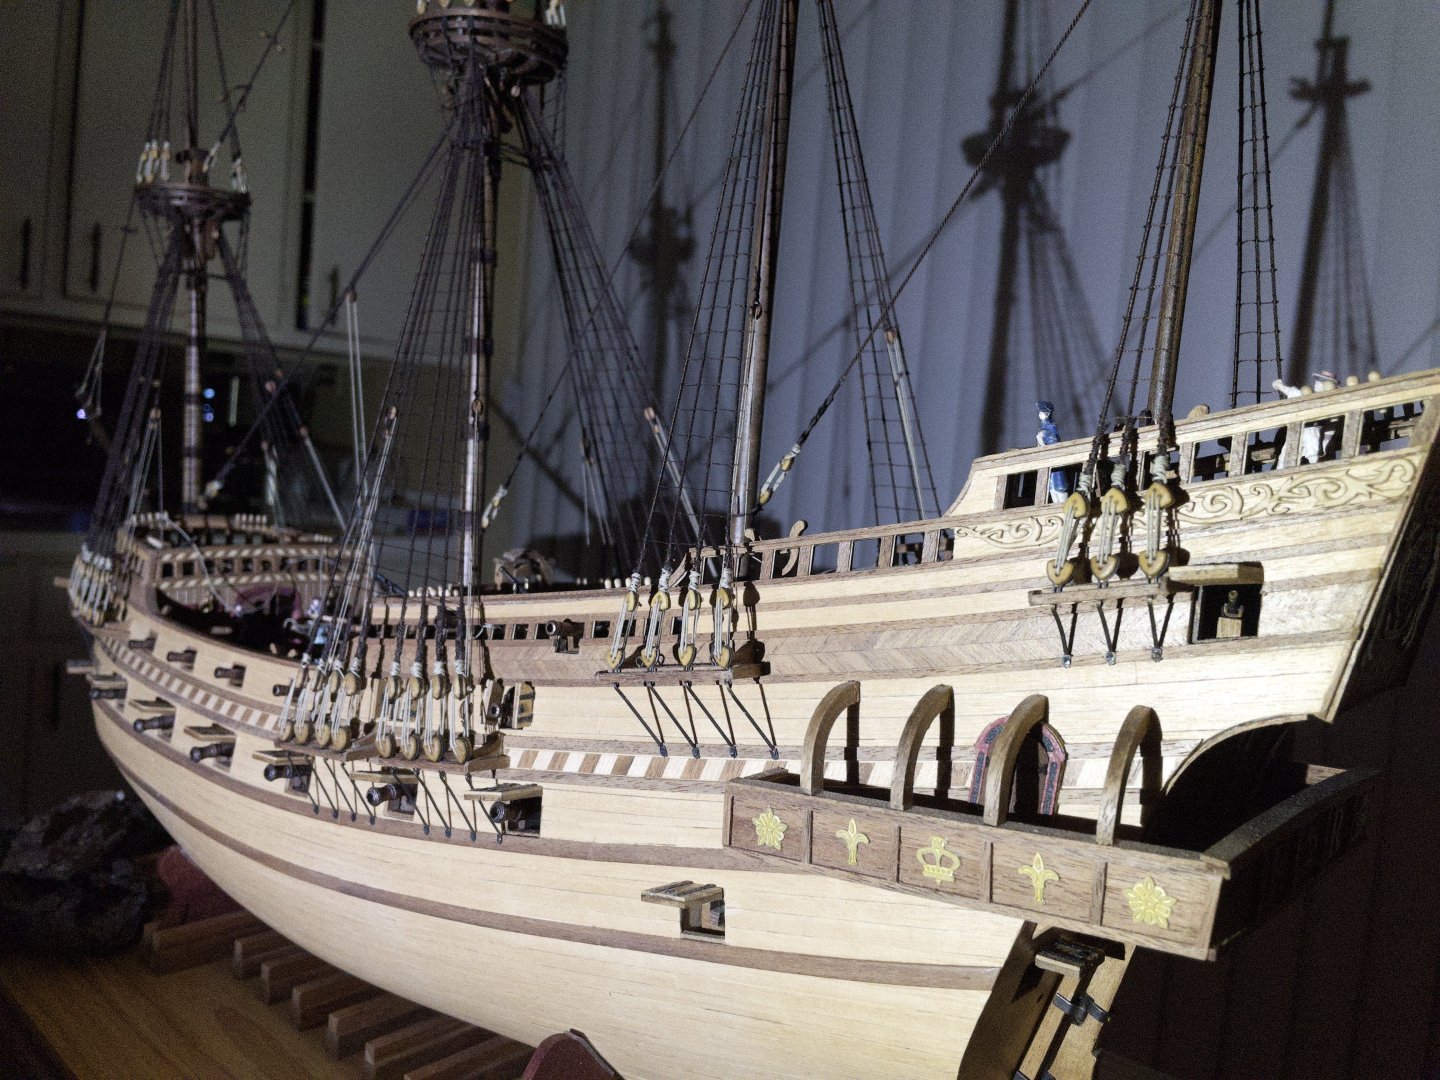
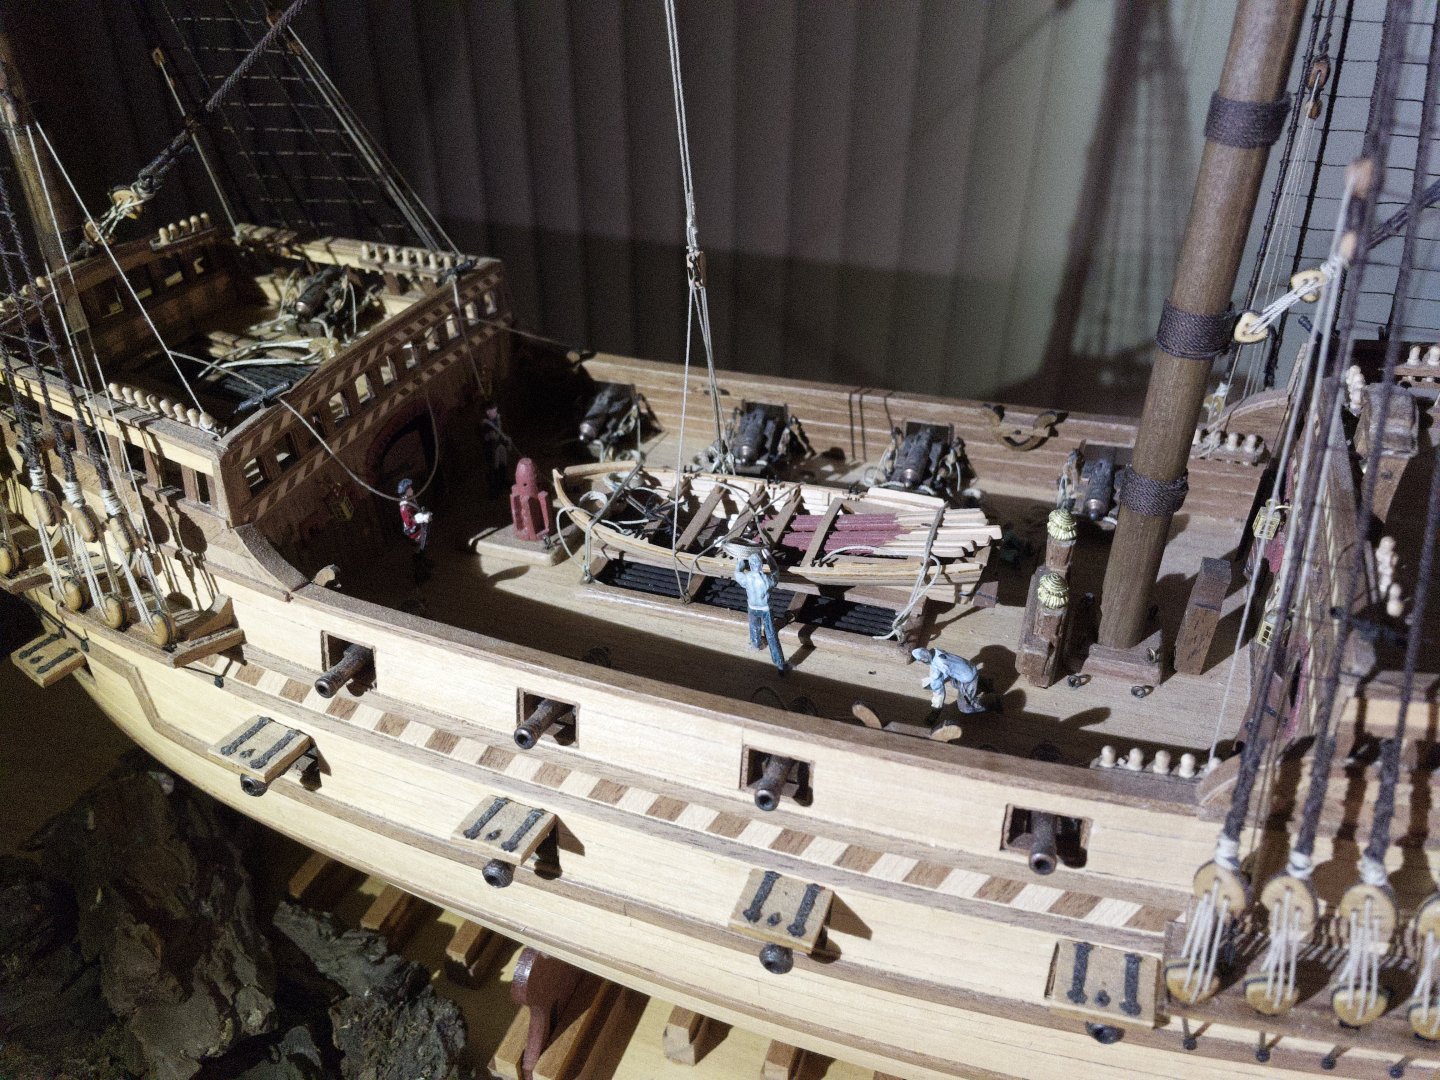
After 2 years at sea and nearly 3000 hours of sweat, tears, exhilaration and admiration... the Revenge is finally dry-docked for repairs and retrofit. The remaining crew are making final preparations before leaving the ship at night... for most needed rest.
-
Greeting all, Rigging is getting his toll... The more I do it, harder it seen to get. It is getting more like work than fun lately. I think it is time for a break of few weeks. I want to get my hand on painting model Armor vehicles... and maybe a modern warship in the horizon. Slowly returning to rigging sails for time to time... BUT ONLY when it is fun again! It is at a stage where it can be display... in little disarray without spars and sails but quite presentable. Time to sail to the dry dock for some repairs... Few overall pictures coming soon.
-
Absolutely... I have attached all my blocks using this approach. Once you get the hang of it, it is very tight and clean final look. Here is one example which can be applied everywhere, like fixing blocks to ropes and spars. A very versatile knot. For the Sizing: I now do a variant that look like the real thing BUT easier to do: 1/2 square knot in front the 1/2 at the back of the rope. At each step, tie smugly. Repeats 3 times and finish with a full square knot. Look like below, which was done the traditional way of sizing but easier to execute in thigh area, like on the ship itself. Note: I even don't use the needle anymore. I use the tip of a fine forceps in the hole of the block for positioning.

- 133 replies
-
- 6
-

-
- Ranger
- vanguard models
- (and 1 more)
-
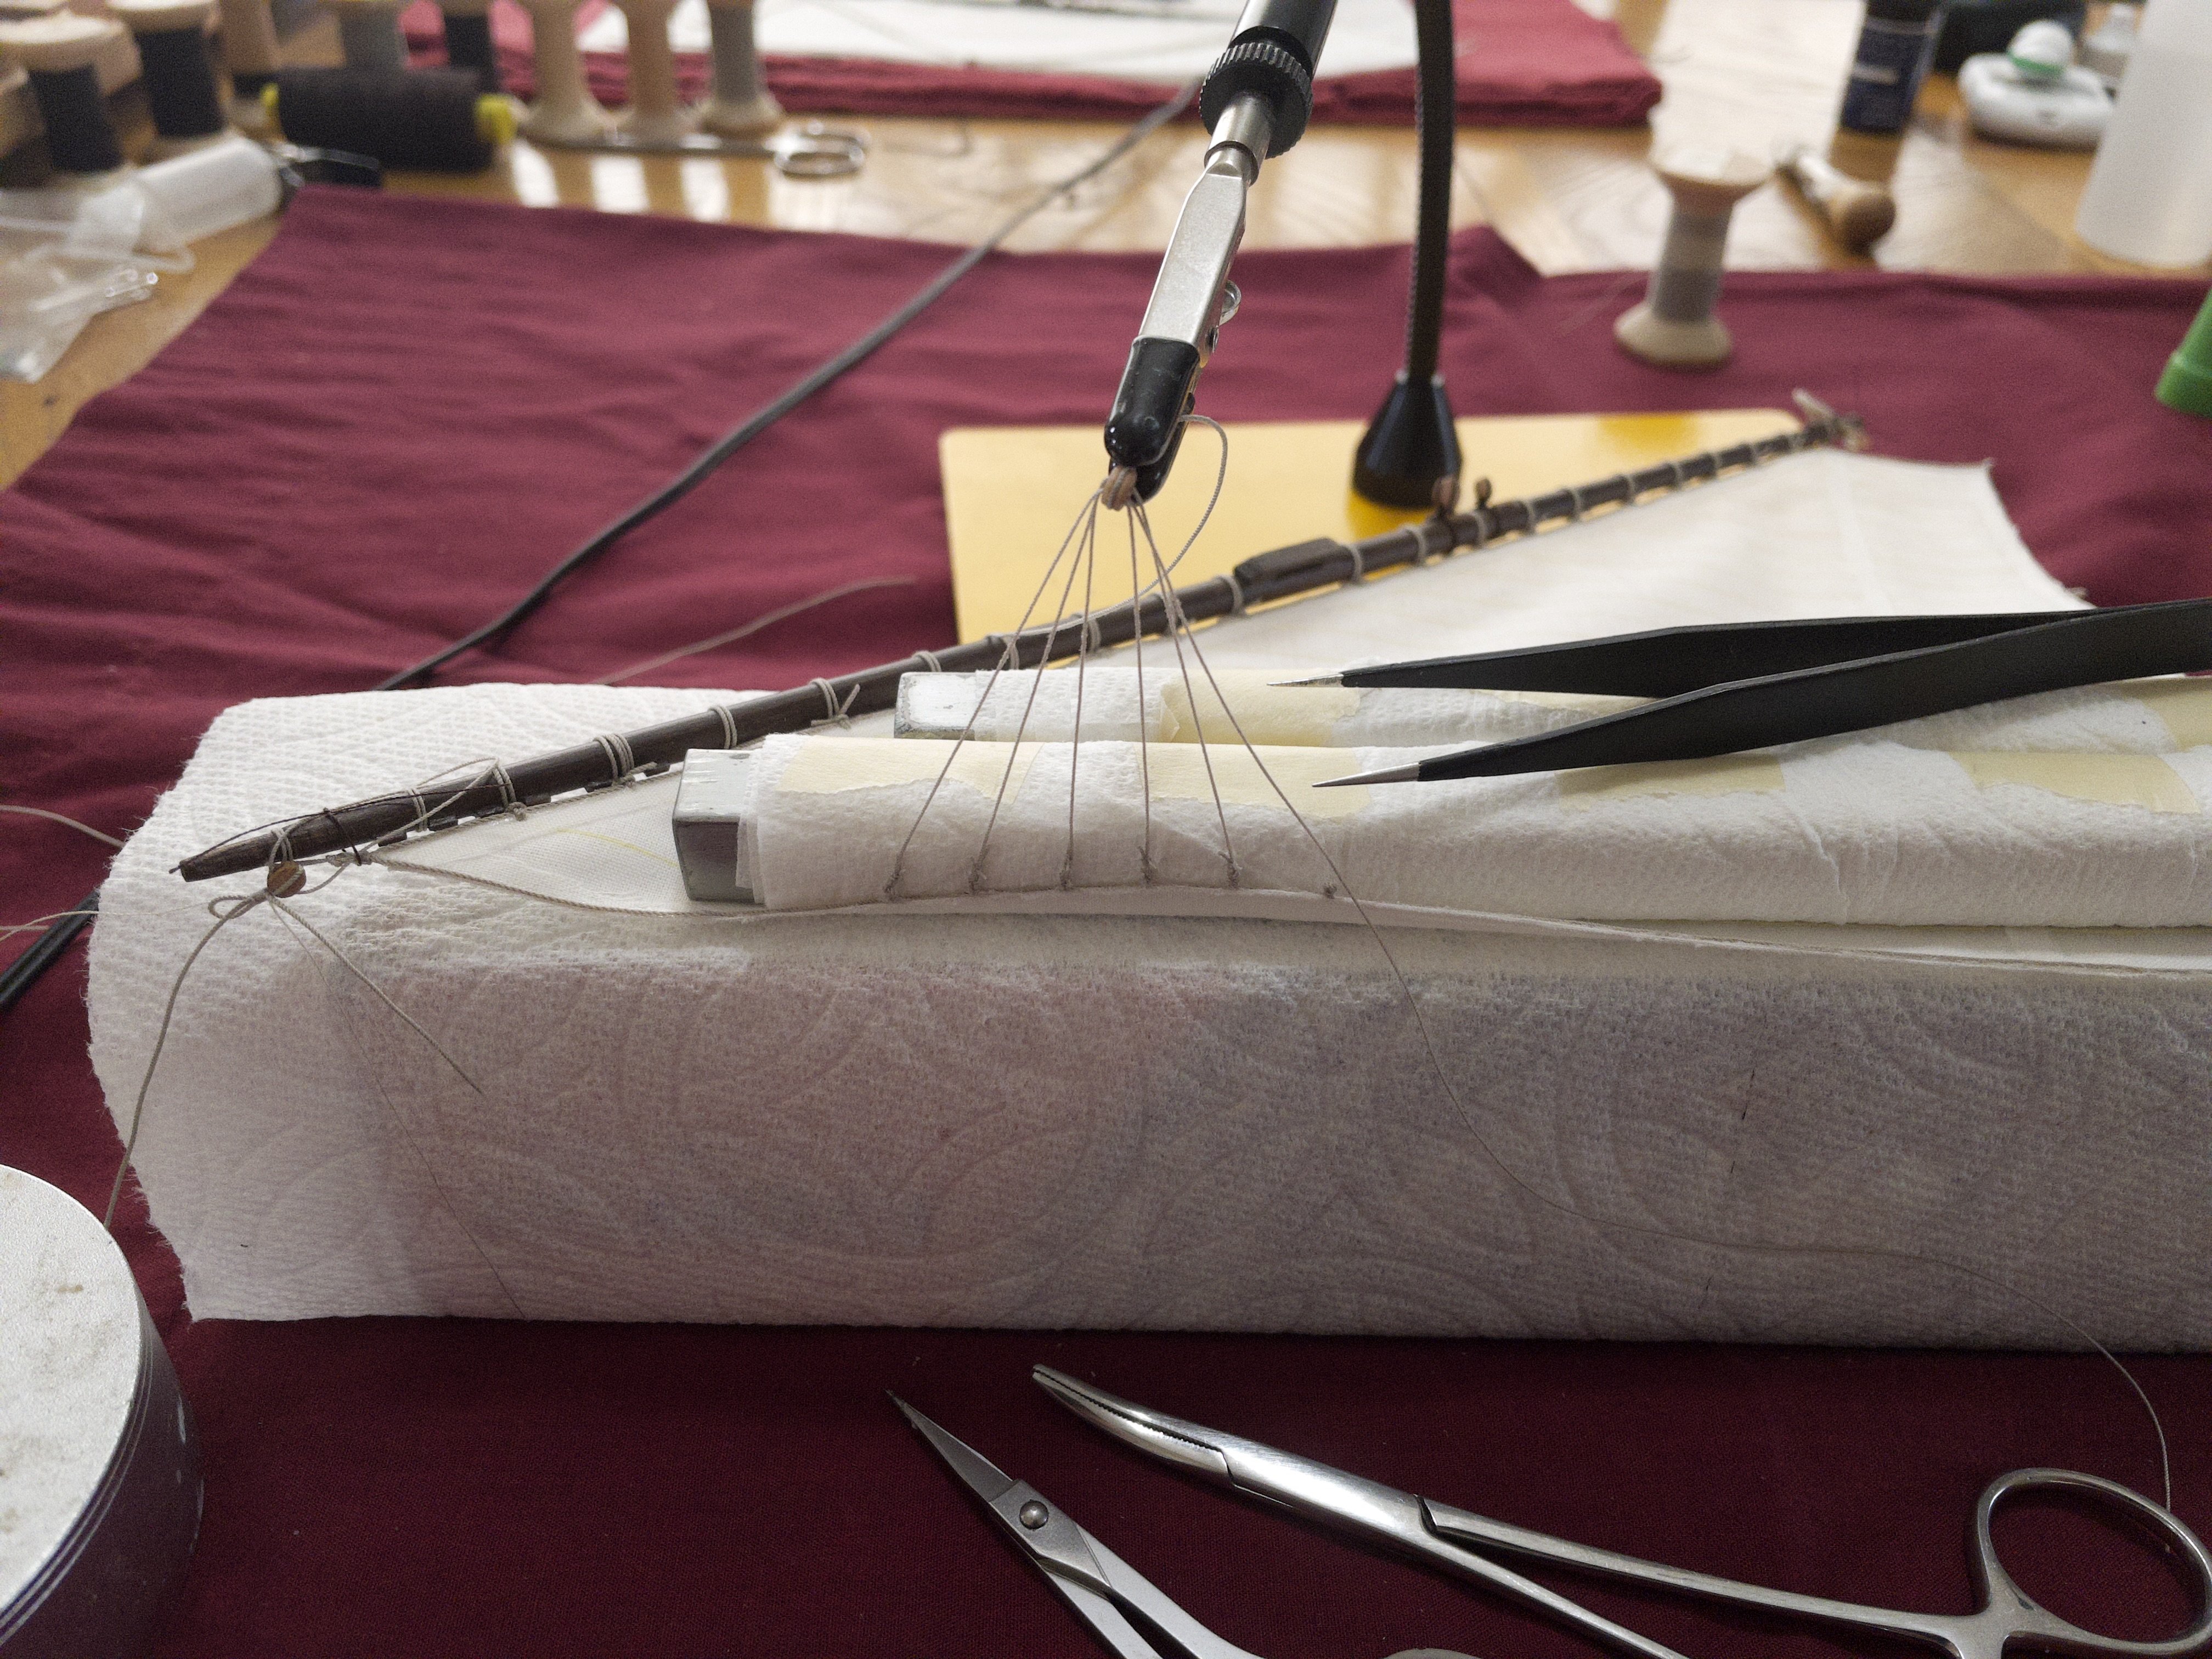
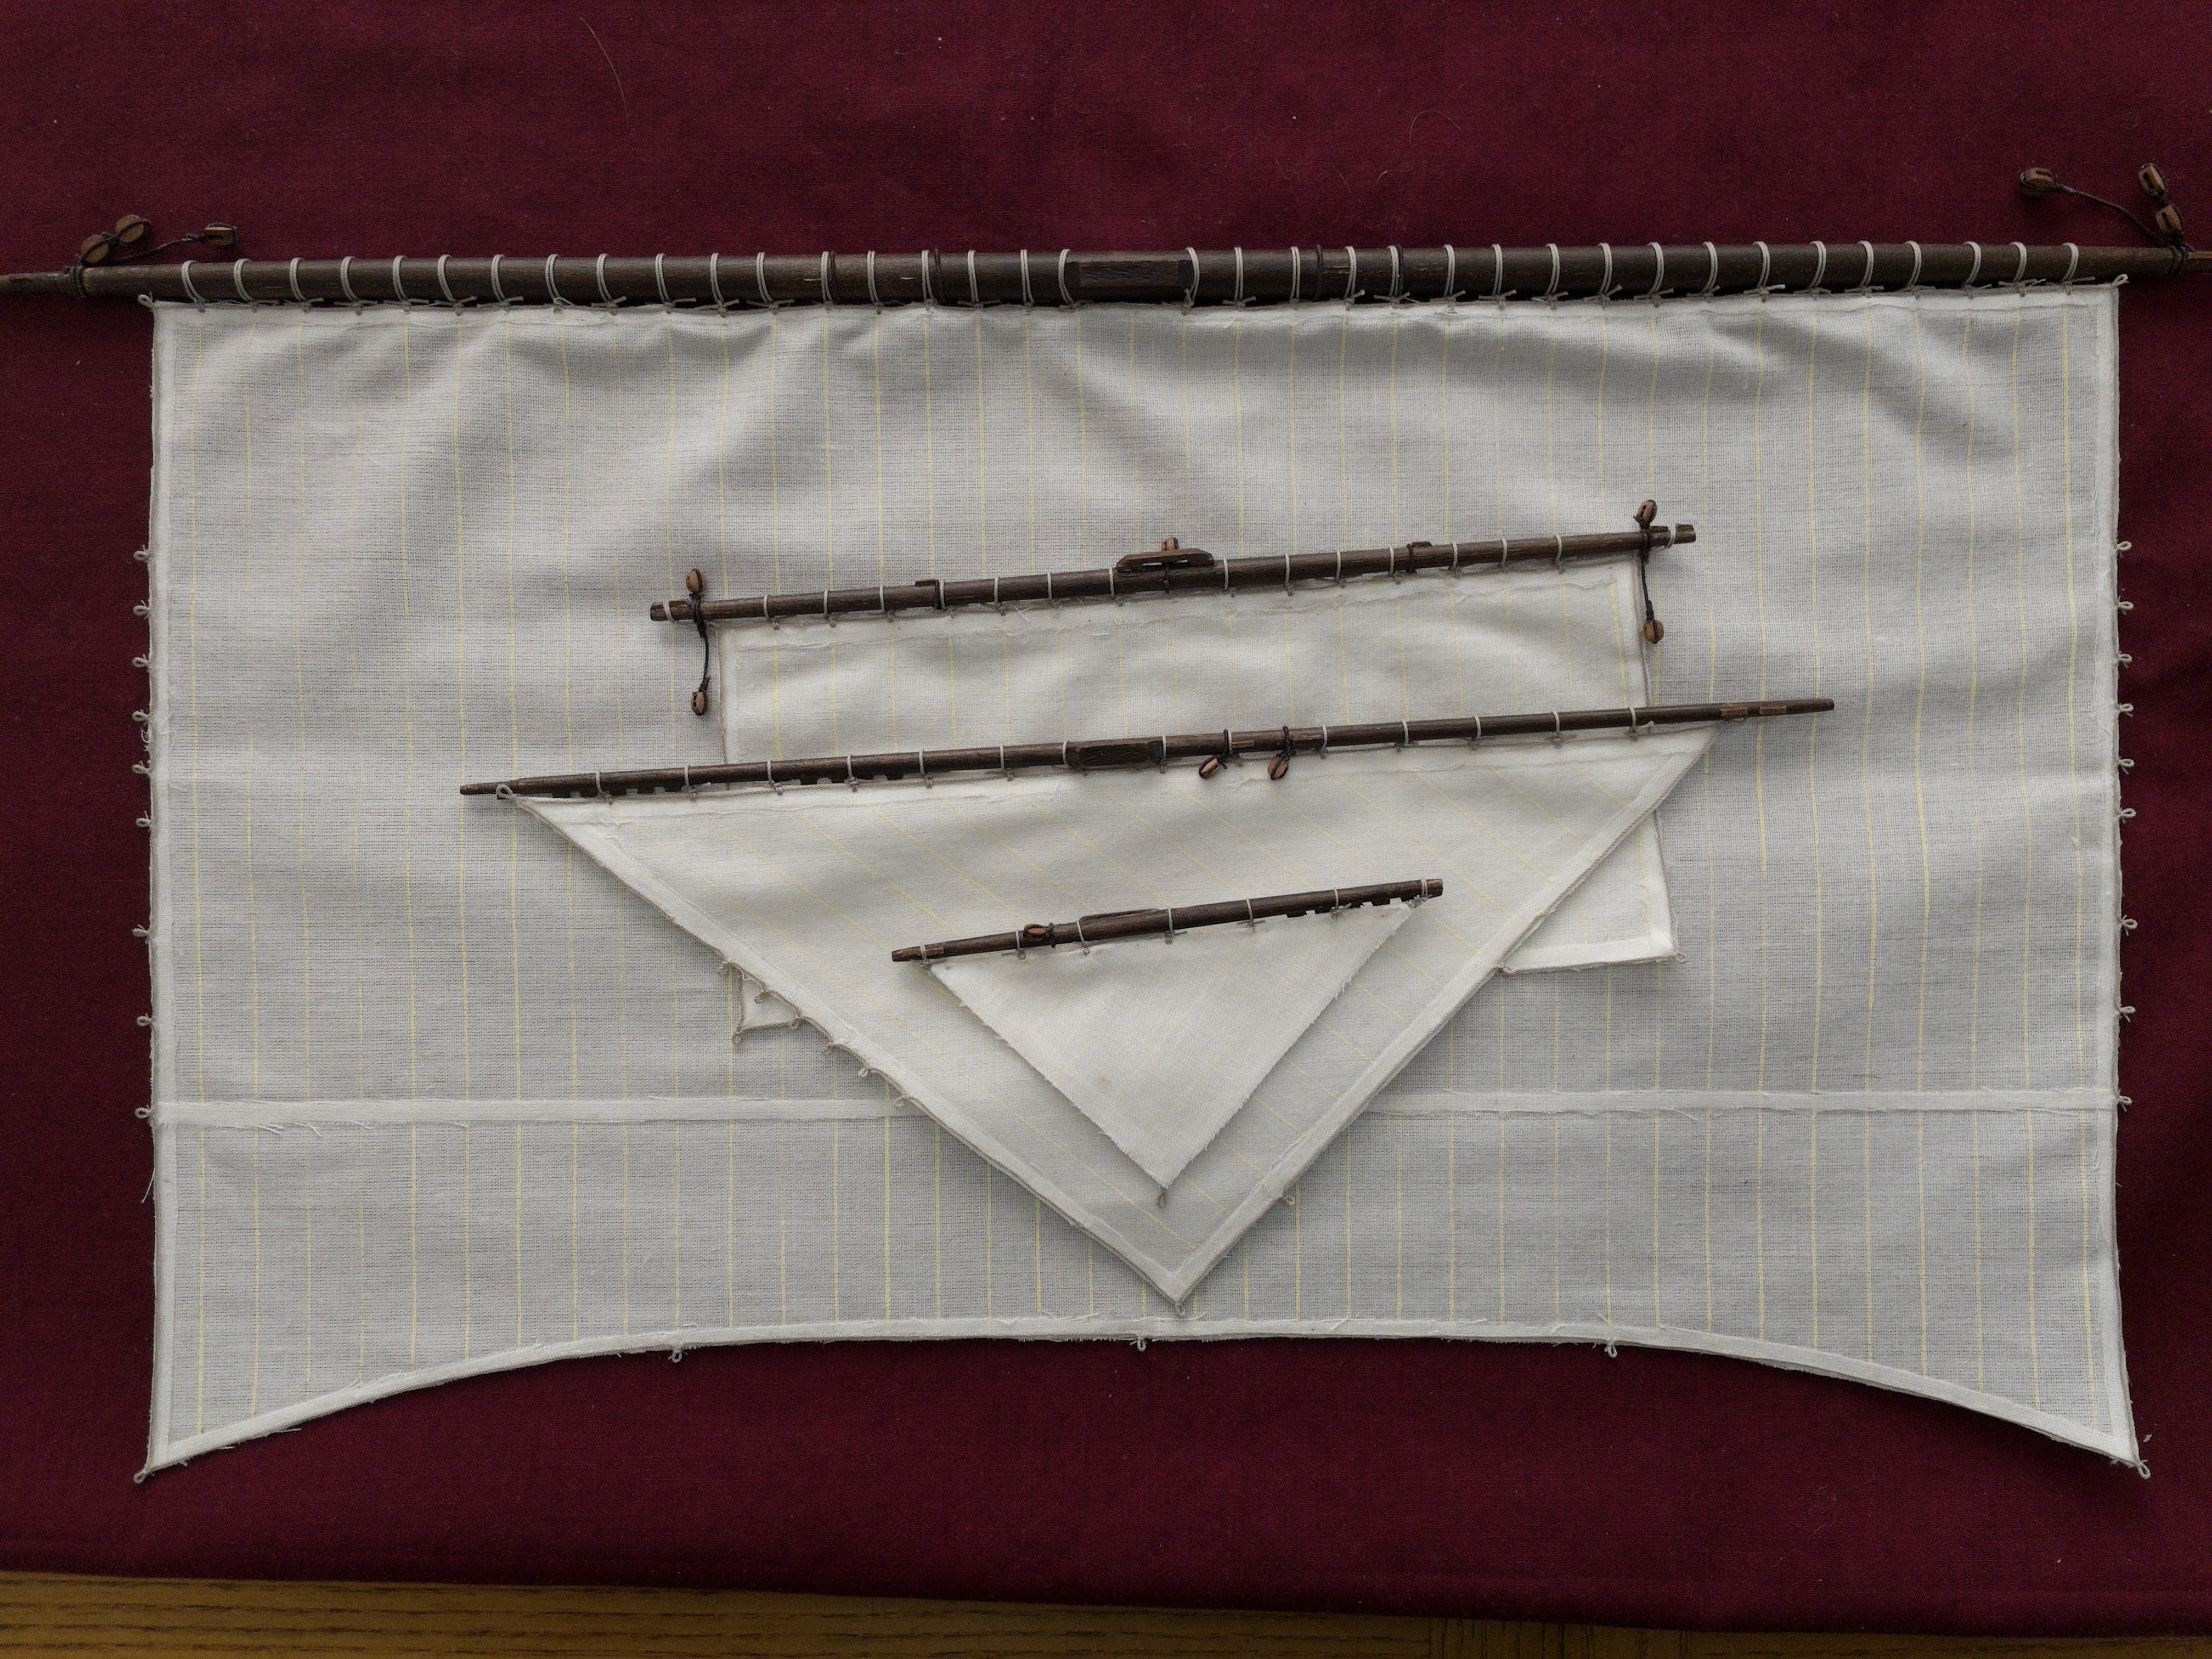
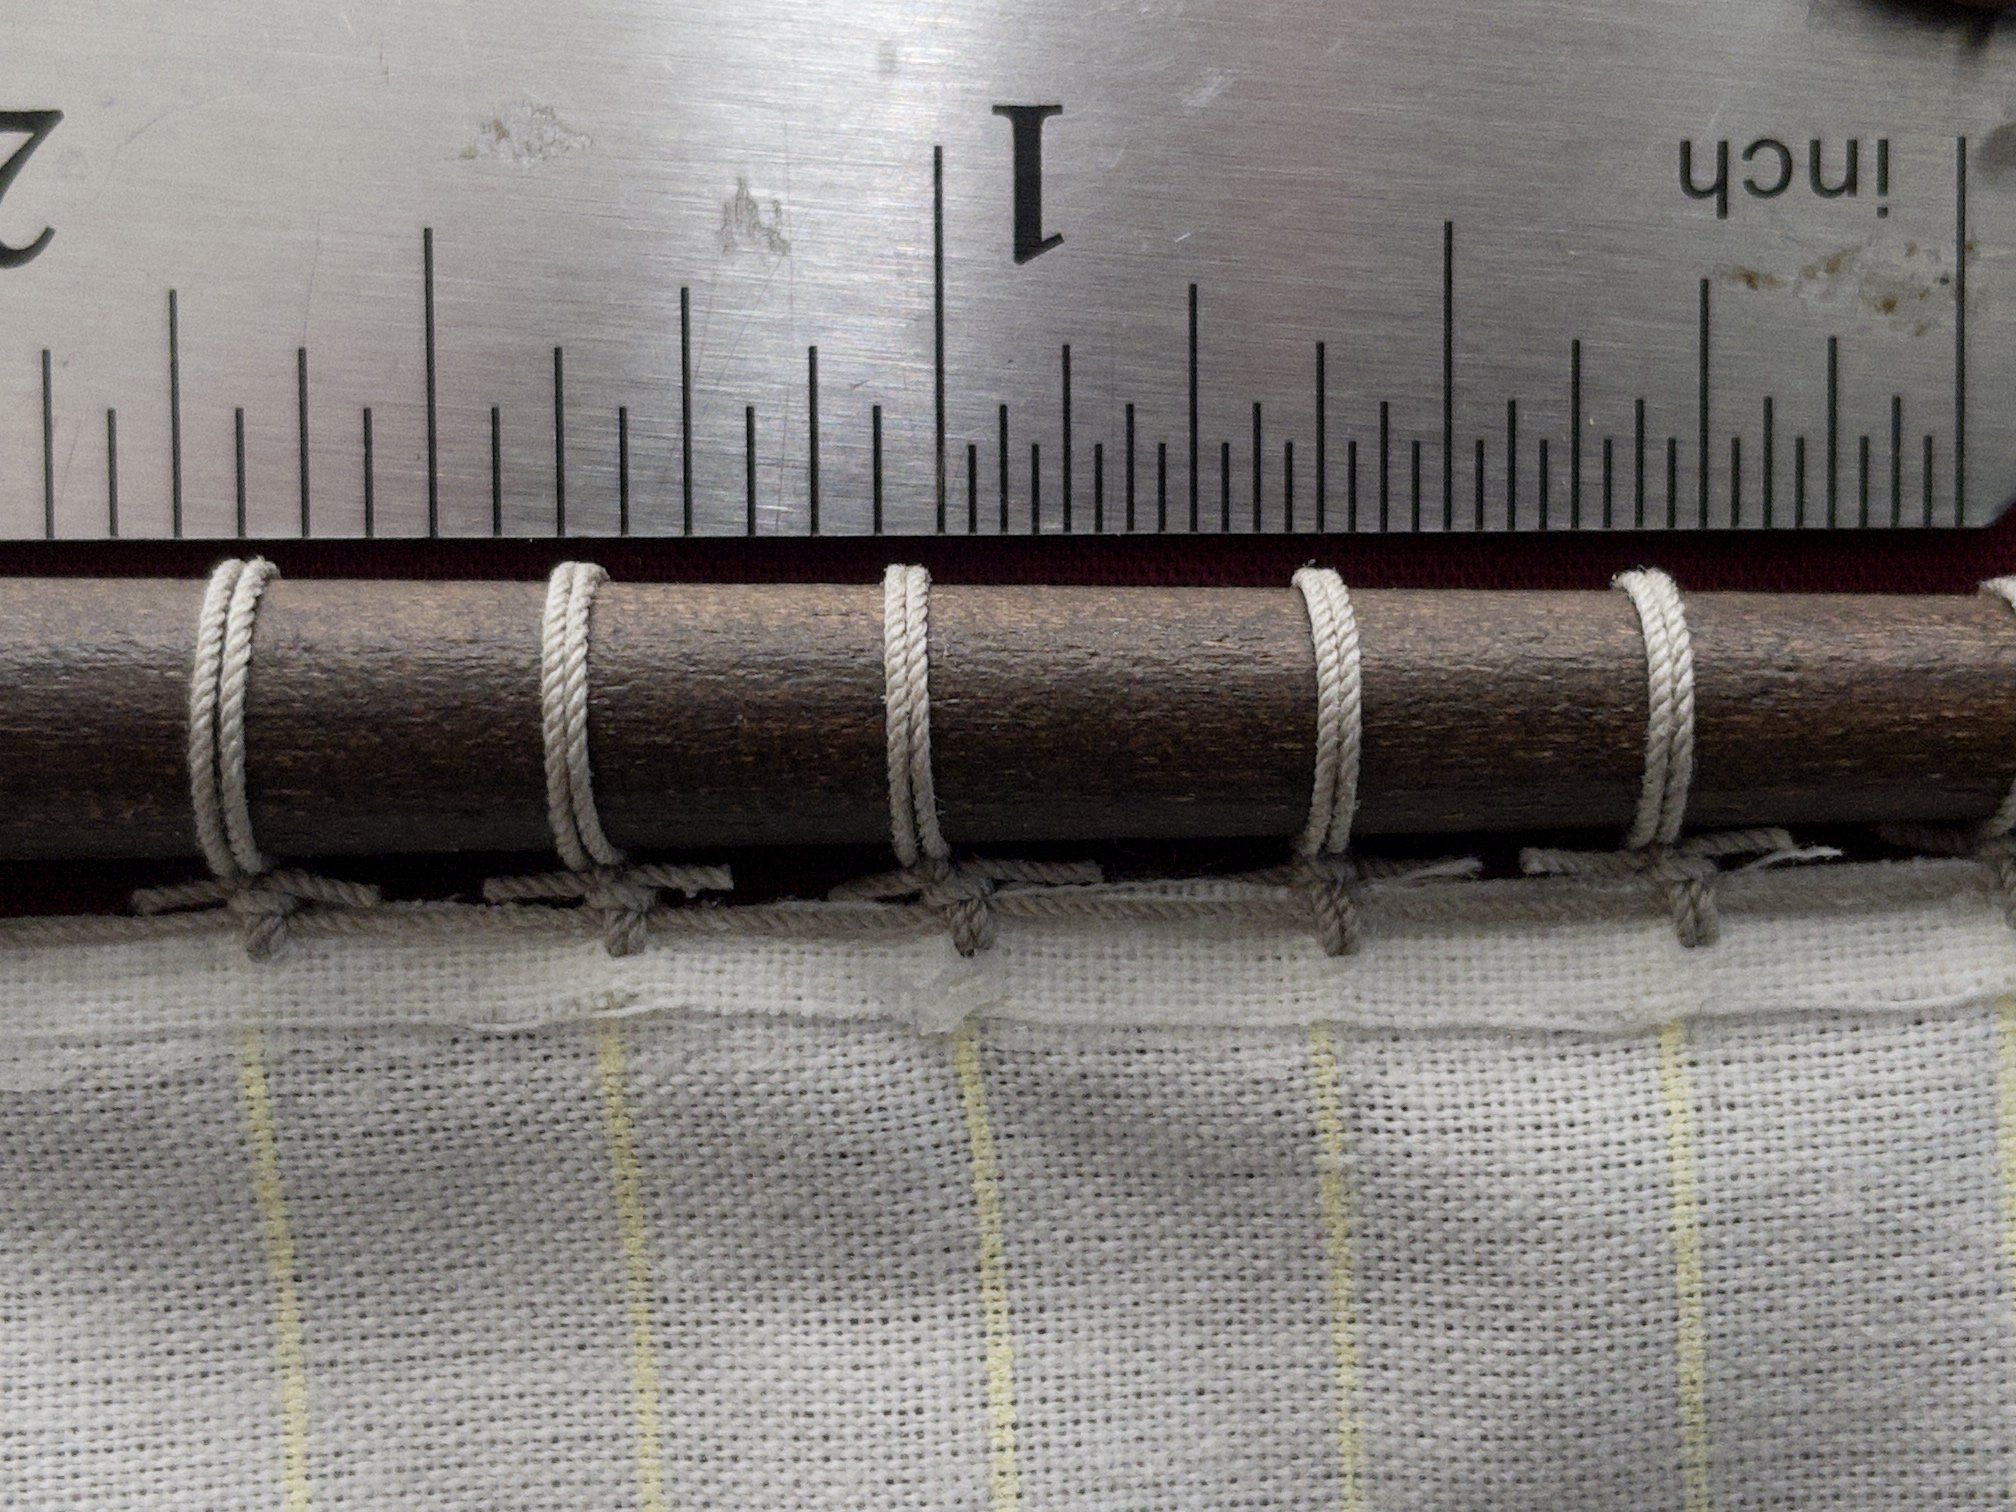
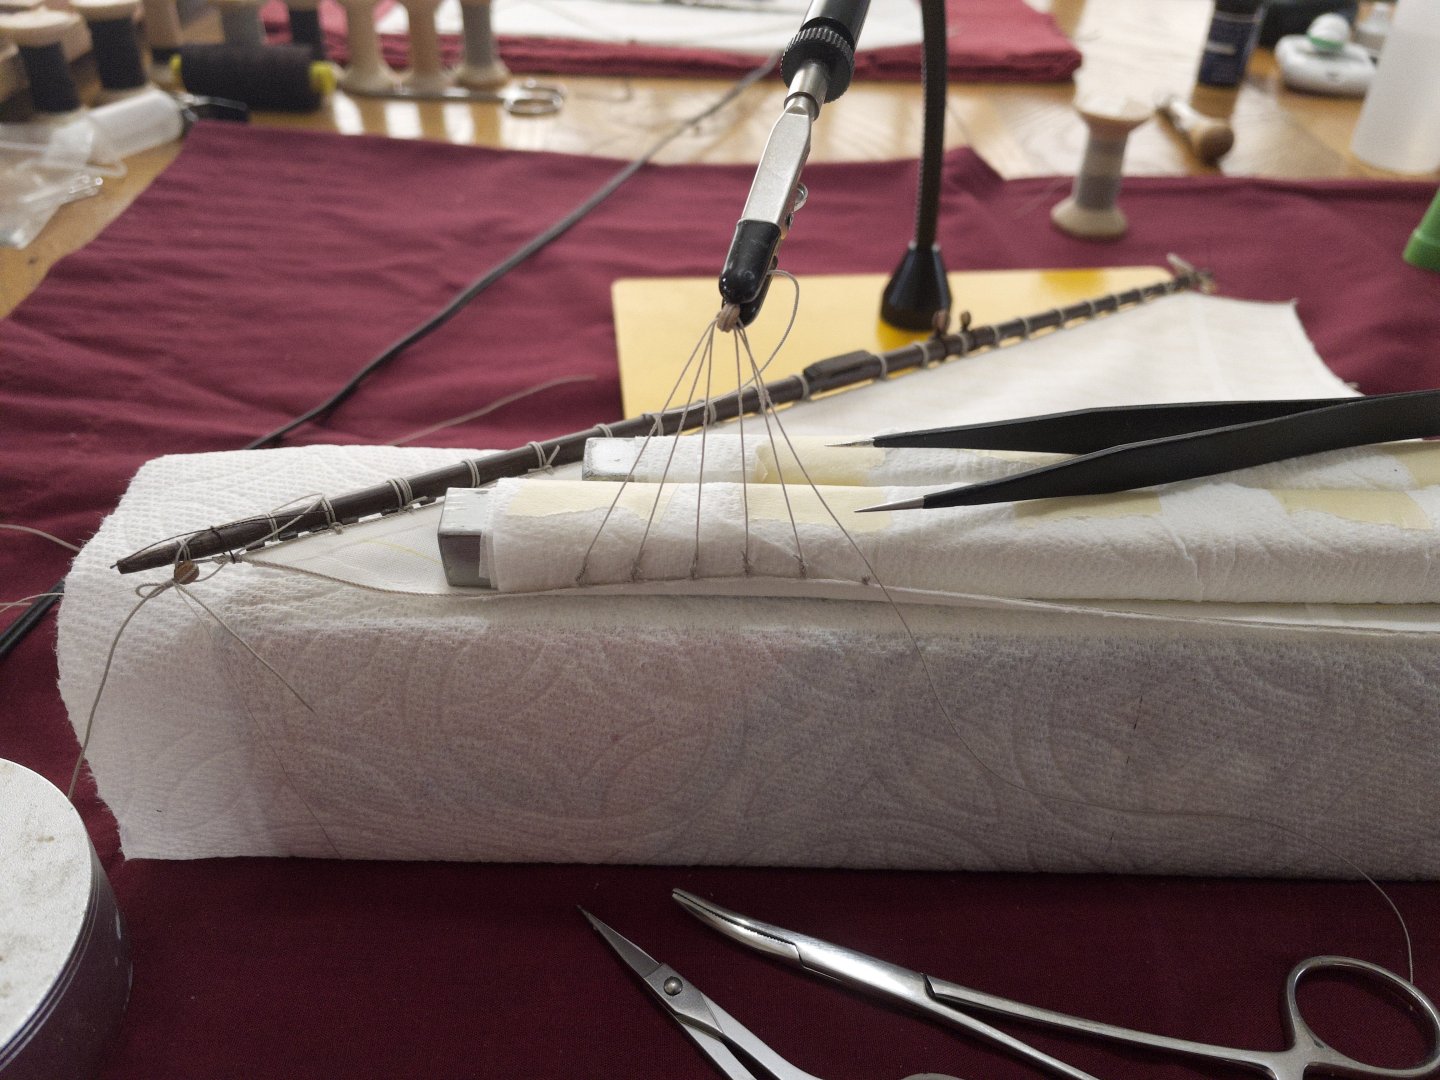
Rigging Sails: Like everything else with this hobby, especially for a first timer, rigging sails was far more demanding than I thought it would be. Started pre-rigging the sails and had quite a bad time. Everything was moving around while trying to size the ropes. It was hard to have any precision, especially in setting up "leech lines/martnets". Took a week break and re-thought how to approach things differently. Back at it this morning with a weight (steel bar) to hold the sail in place and a third hand to help. It's still a little tricky (what isn't!) but I can now make progress without the urge to throw the sails out the window!!! Here's the setup... that works for me.
-
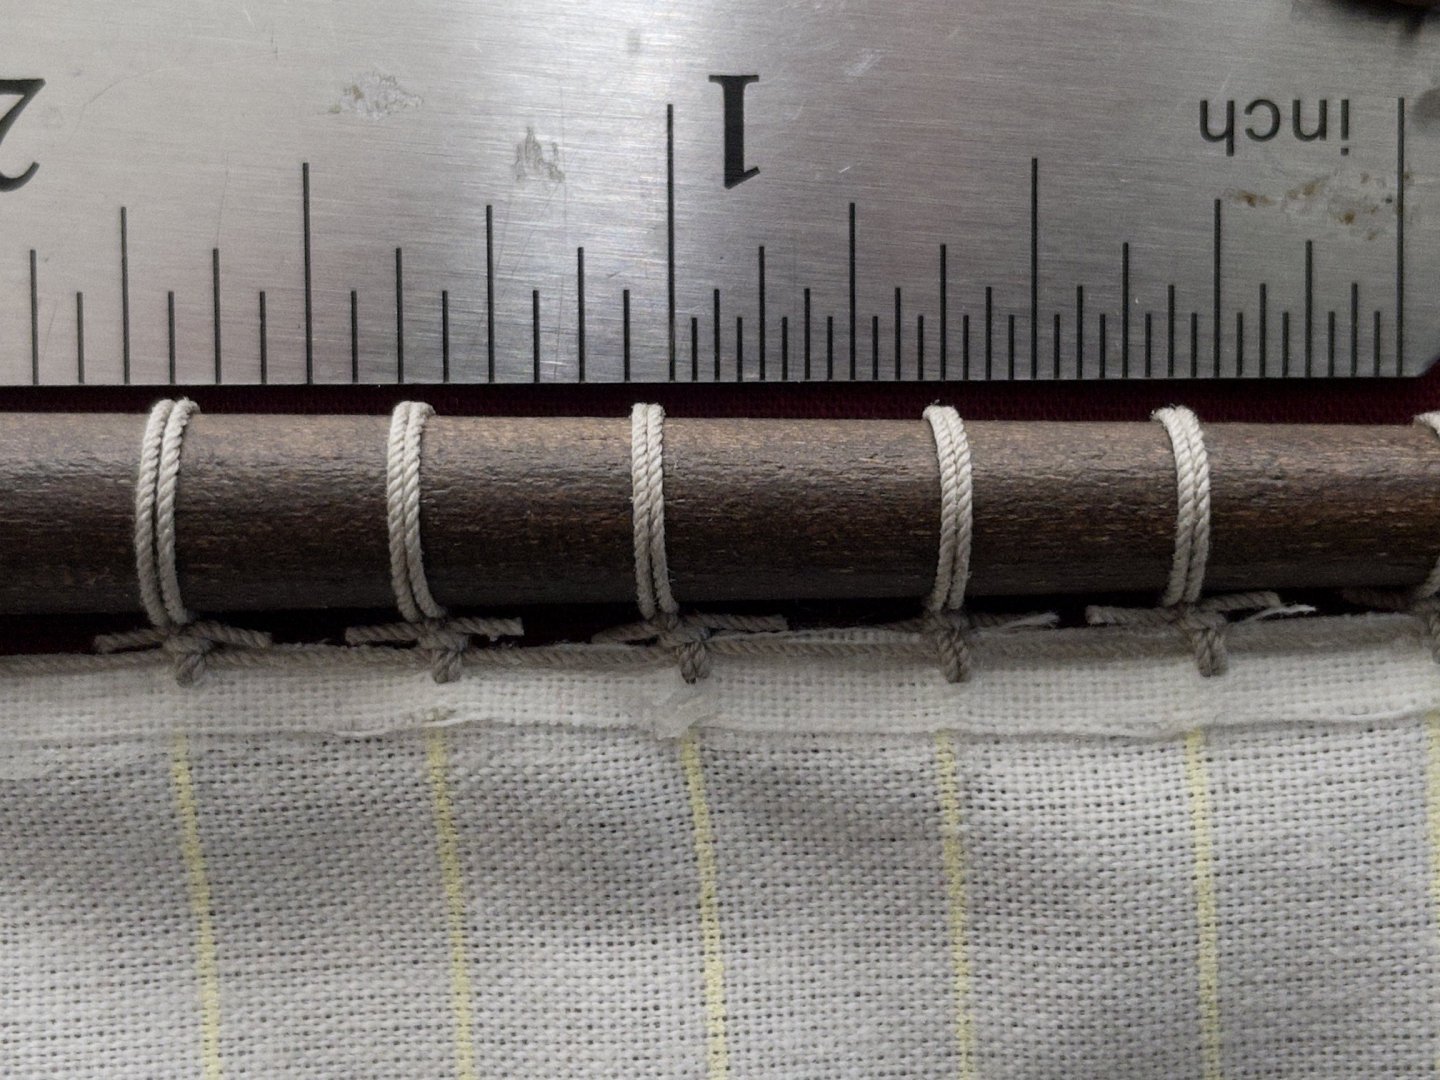
Robands on the main masts. It takes a while to do... but progressing slowly. I just can't do it for too long at a time... I'm including a general view as well as a close up. I really like how the knot finishes between the sail and the spar.

-
I looked at my order history at Am@zon, where I got it a year ago. Unfortunately, it indeed says "currently unavailable". It recommends the following as alternative. I don't know if it is the same... but supplied by the same provider: Terrachrom. Maybe there an issue in using the term "Bitumen of Judea". Maybe a quick email to them could clarify the issue. Amazon.com: terrachrom Black Iron Oxide Mineral Pigment -Pigments for Artistic and Decorative Painting, Concrete, Clay, Lime, Plaster, Masonry and Paint Products (150 ML | 5 OZ)
-
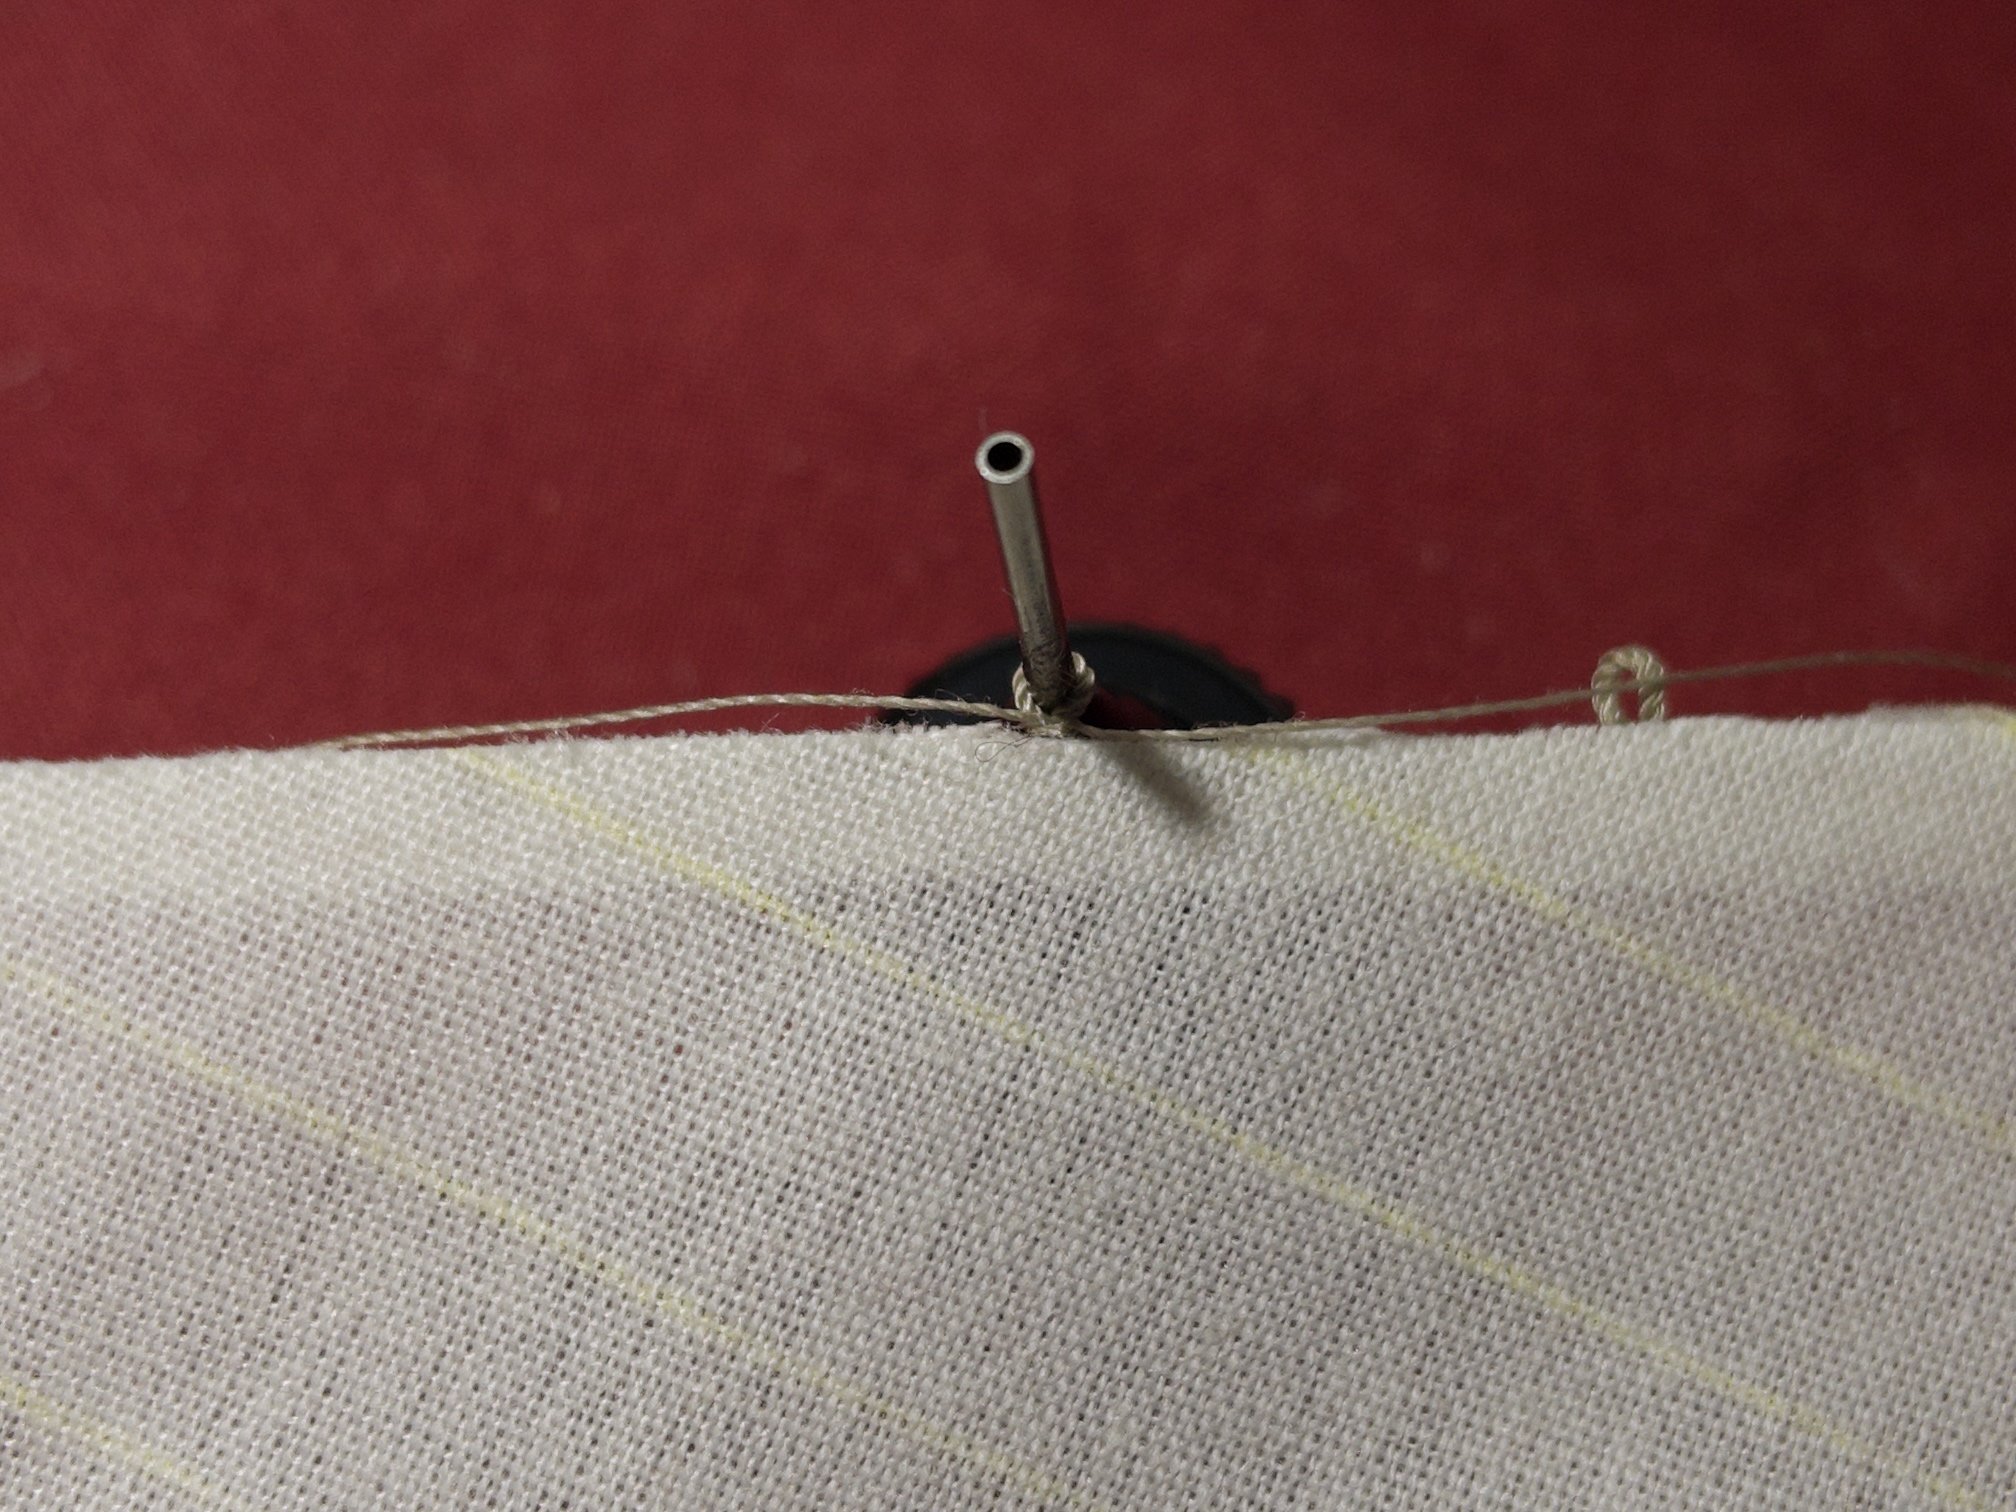
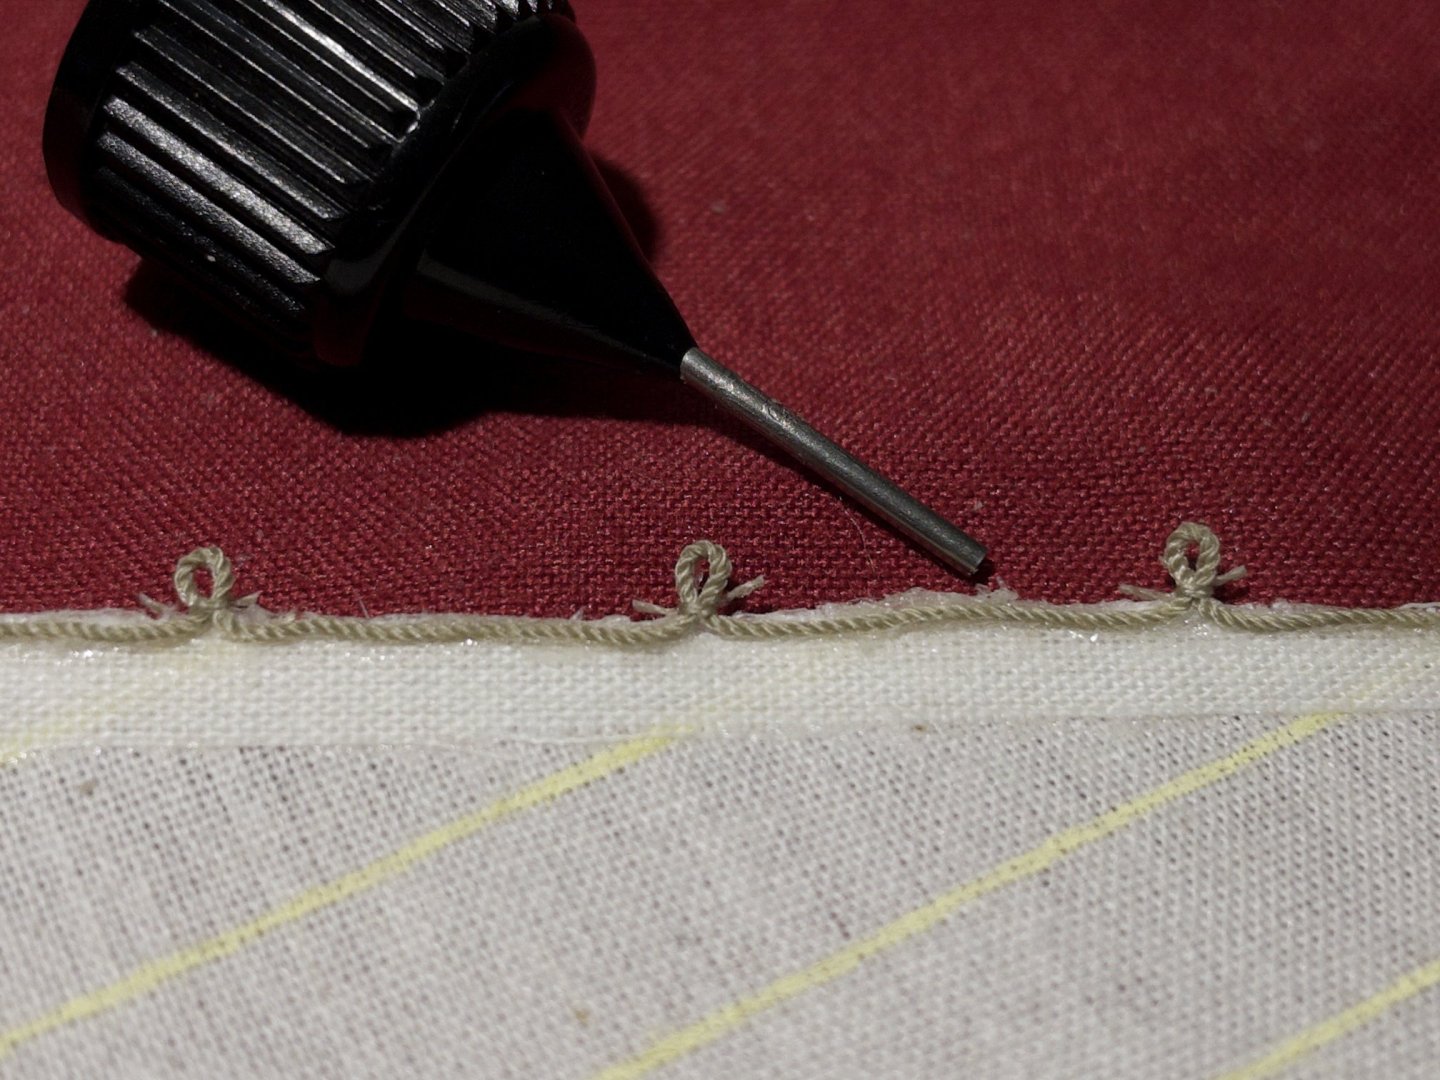
Sails: I was not very happy with the cringles on the previous sails. They were just too large and predominant. Of course, the perfectionist in me kicked in and I ended up doing them all over. Two steps forward, one backward. However, making small cringle is not that obvious... even more, I like to tie them up, so they stay firm. The first few attempts were sloppy until I started using the metal rod from the caps of a glue bottle. Far better after that!

-
indeed... I can't wait to see BUT patience, patience hehe