


Old Rentner
-
Posts
125 -
Joined
-
Last visited
Content Type
Profiles
Forums
Gallery
Events
Posts posted by Old Rentner
-
-
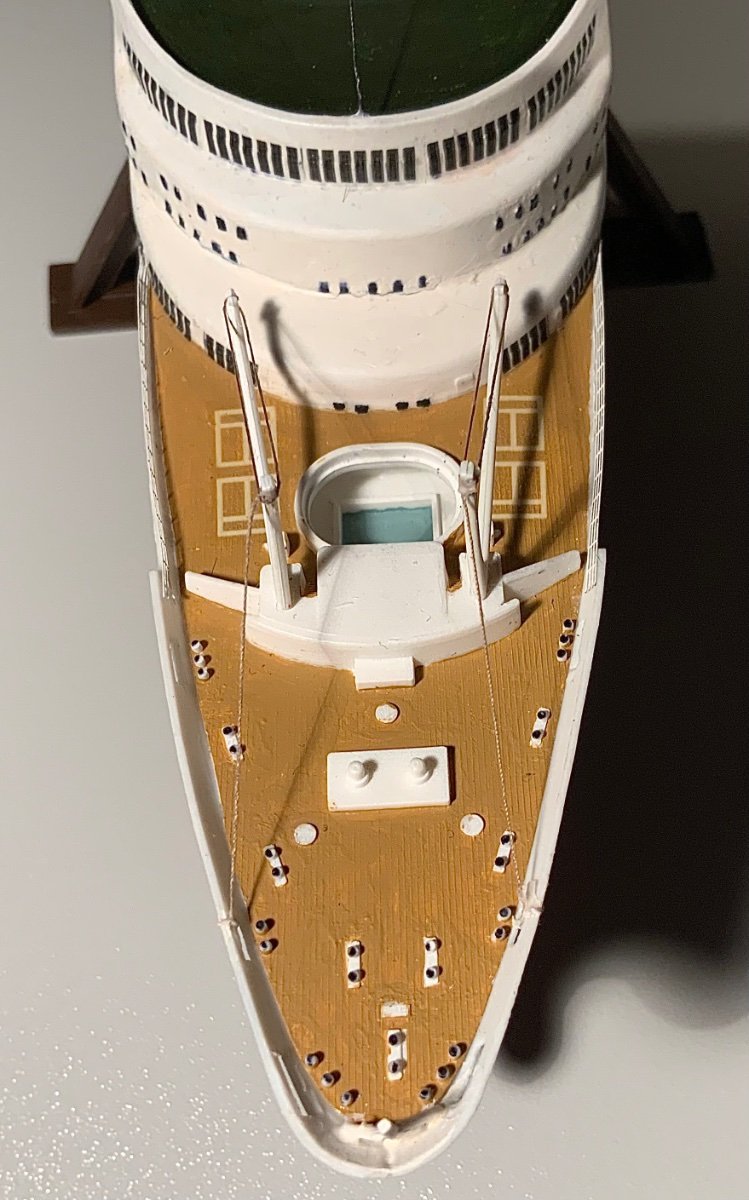
I discovered some steps that did not have rails so I fixed those.


I also added a couple more ‘rigging’ lines.
I’m finding that the more photos that I take the more errors are exposed!
-
12 hours ago, Old Collingwood said:
Hey, you turned a pig of an Airfix kit into a very nice model, you had an uphill struggle from day one - but you did it.
OC.
Thank you too, I tried to do my best - I would have liked it to be better.
- Old Collingwood and Canute
-
 2
2
-
9 hours ago, Knocklouder said:
Congratulations, your ship looks awesome

Thank you!
- Old Collingwood and Canute
-
2
-
11 hours ago, Old Collingwood said:
Whats next.
OC.
I just don’t know?
I’m too old to set up a wood modeling workshop so I think that I am committed to plastic kits. If I did not have the proper and professional wood working tools I would be very frustrated so this is not an option now. I made many planes as a boy and don’t feel inclined to go in that direction, and I don’t have the artistic abilities or painting kit to weather military vehicles. I checked out the Revell old boat kits and compared to the SS Canberra or Mayflower the parts seemed rather gross and crude would you believe?
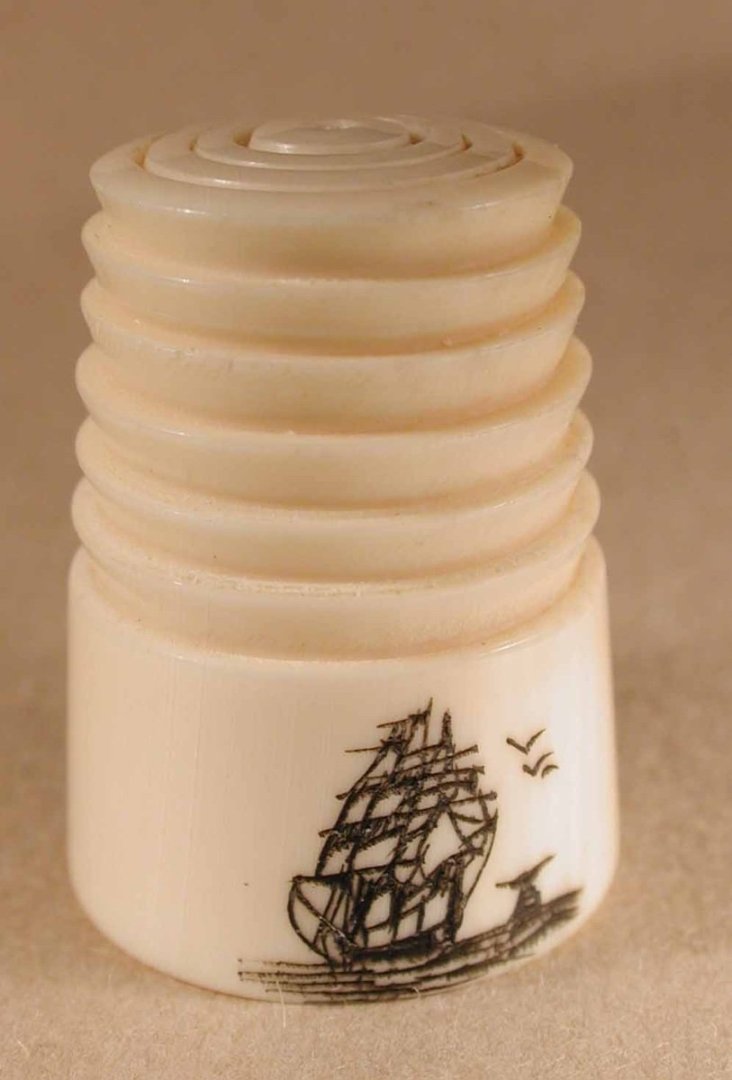
Maybe I just go back to writing about thimbles:
https://sites.google.com/site/moreaboutthimblestest/home/pdf-s
- Old Collingwood and Canute
-
2
-
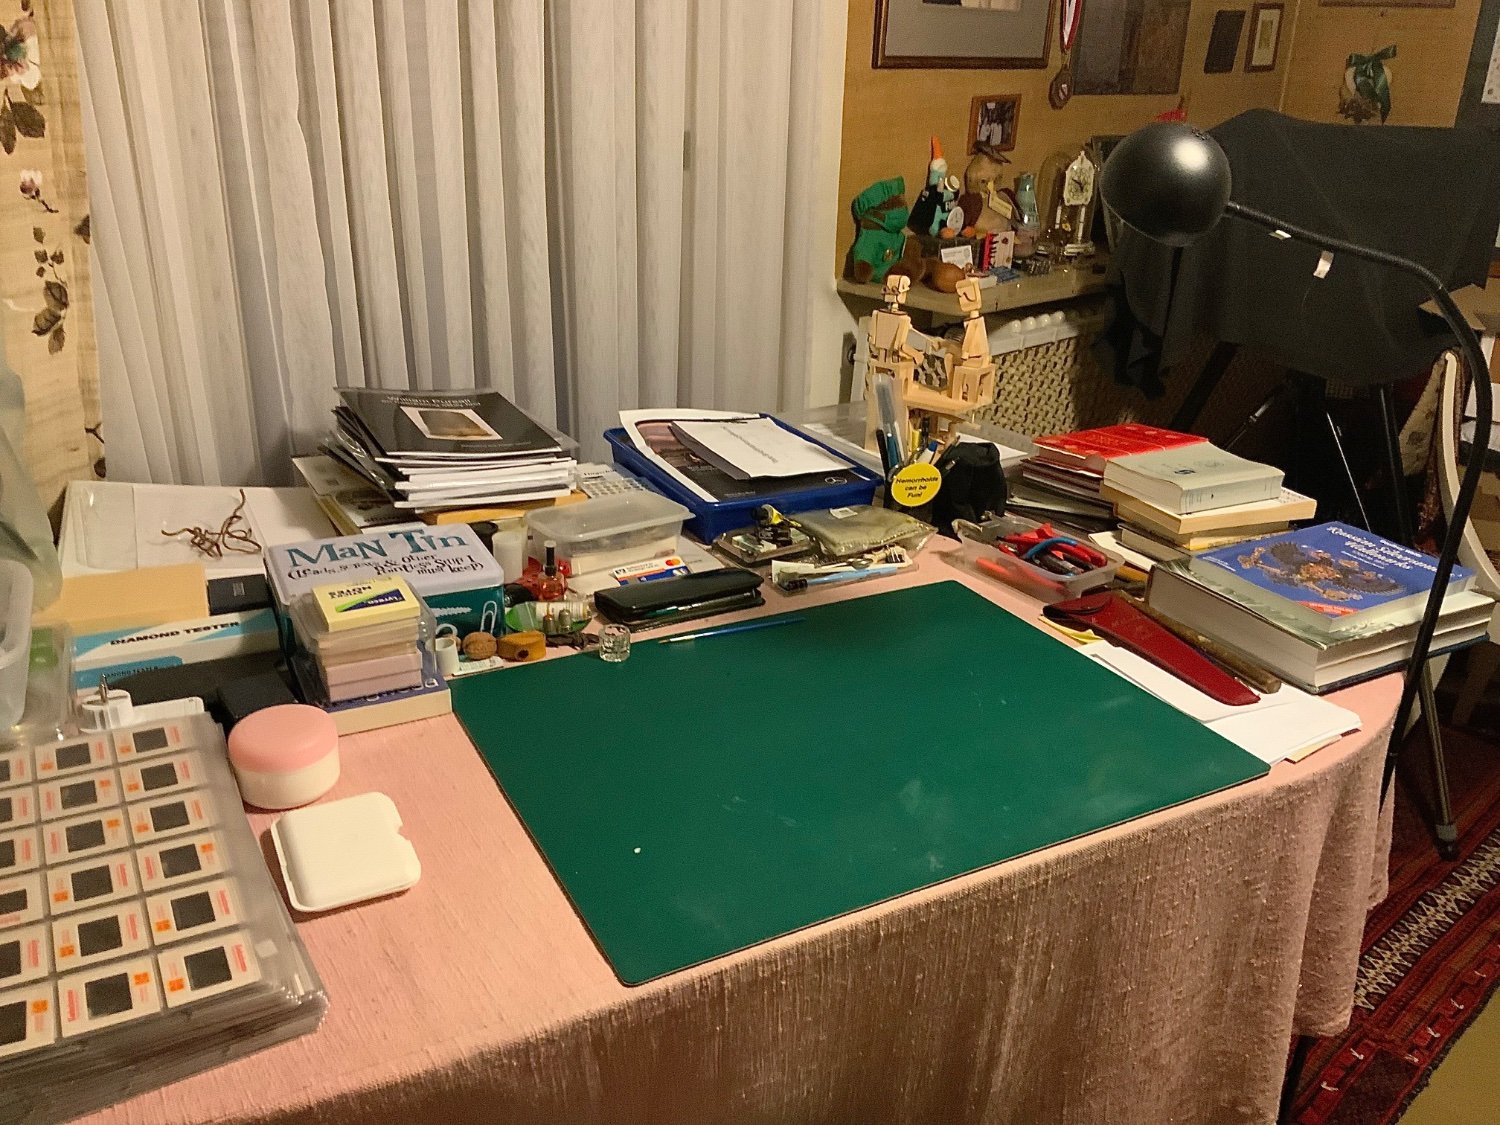
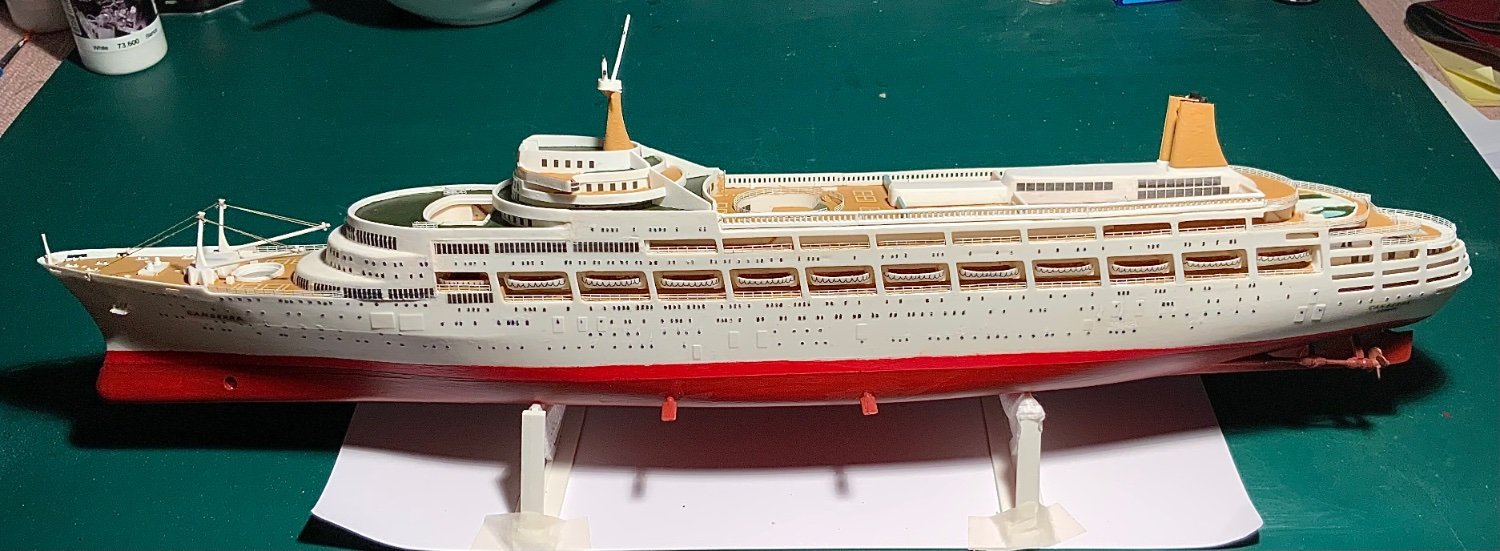
Finally, my working table is ‘clear’ again!

- yvesvidal, amateur, Knocklouder and 2 others
-
5
-
-
On 3/10/2024 at 3:40 PM, Old Rentner said:On 3/9/2024 at 3:20 AM, Ferrus Manus said:
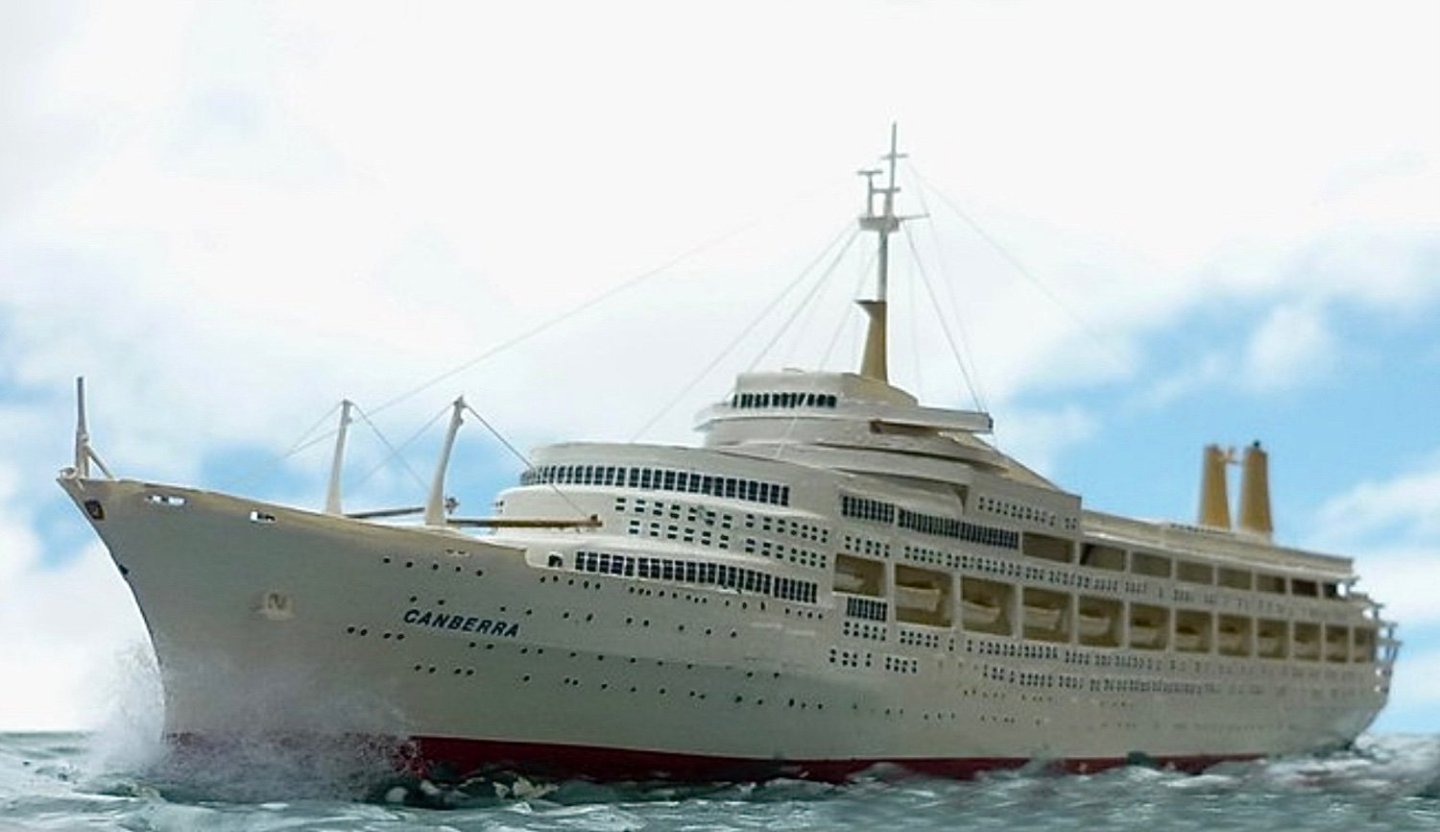
Remember, this is a 1/600 scale model. Most modelers wouldn't even attempt the lines, which already puts your model far above most others.
Thank you for your kind words and your encouragement.
I measured the thread! Ten strands twisted were about 1mm. wide, so 600 would have been about 6cm. wide - maybe a little too thick for a real line? My lines should have been even thinner?
These look much better. I can’t really clearly see where they should go on the real boat either though.
- Old Collingwood and Canute
-
2
-
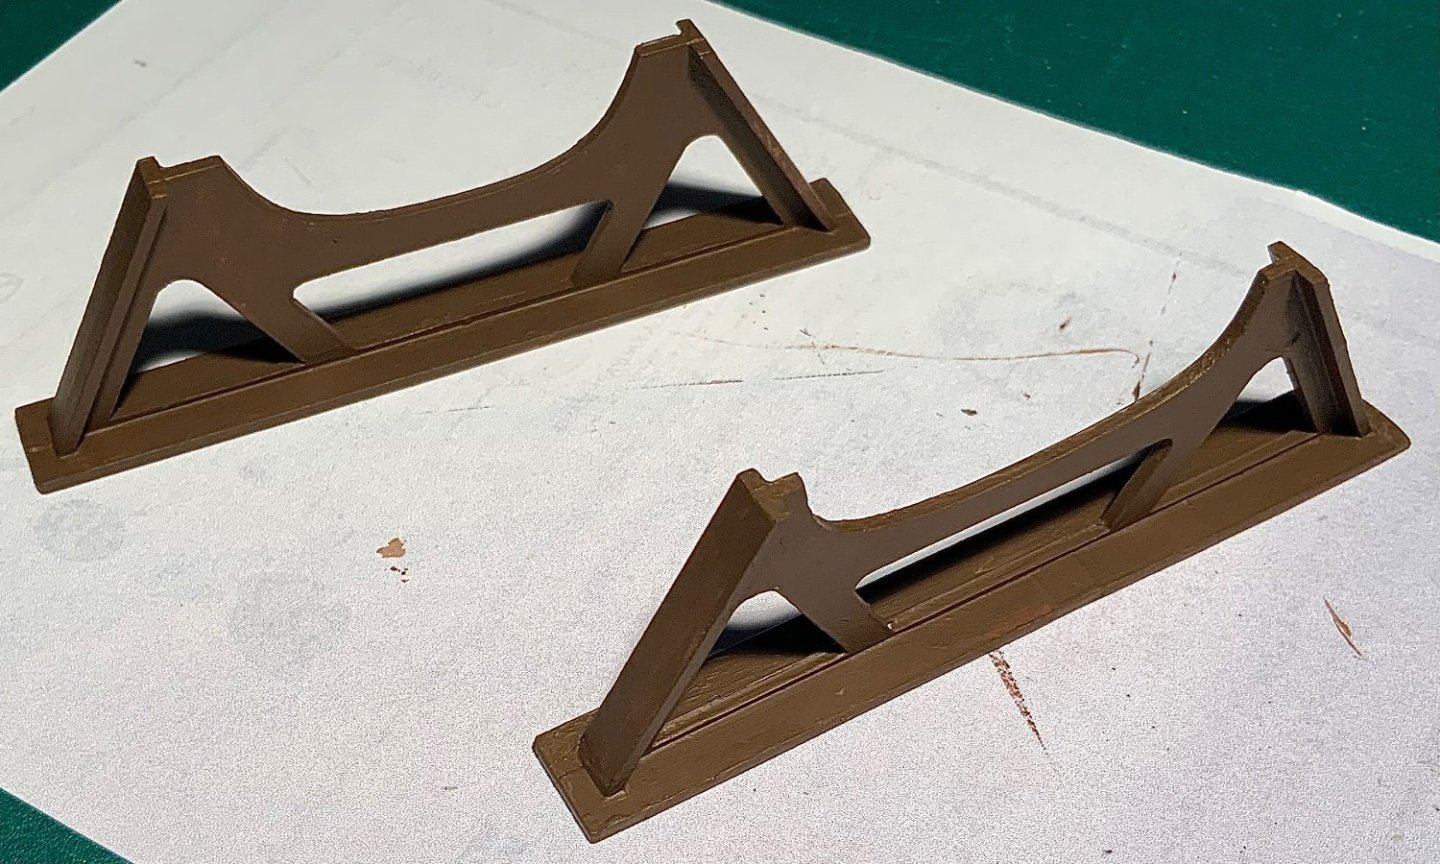
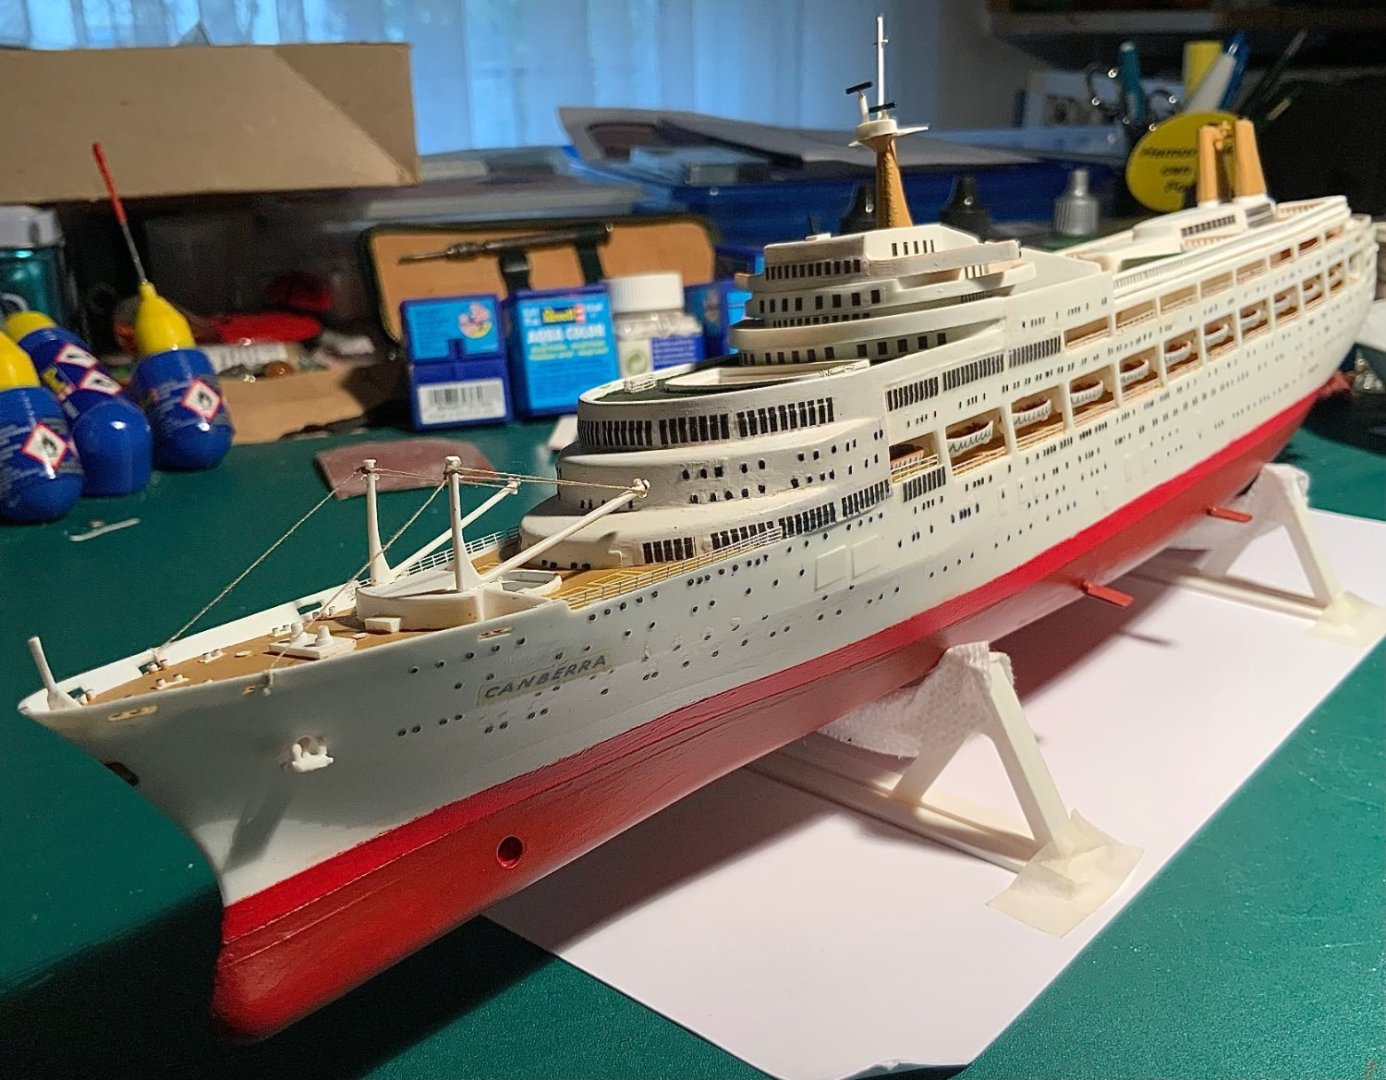
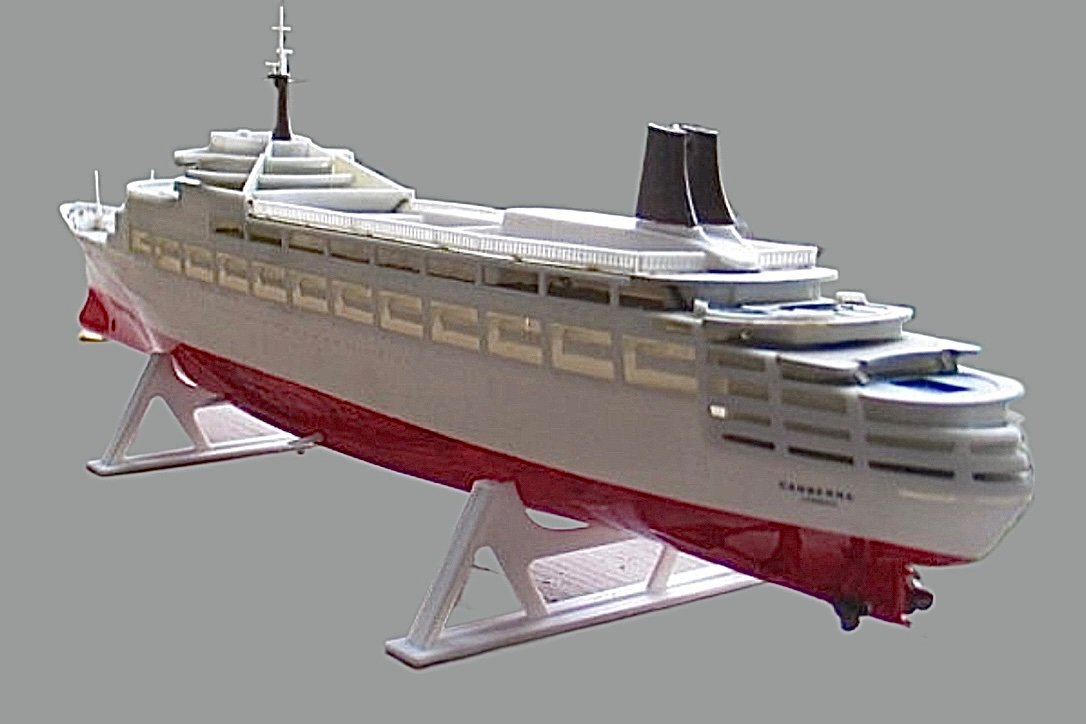
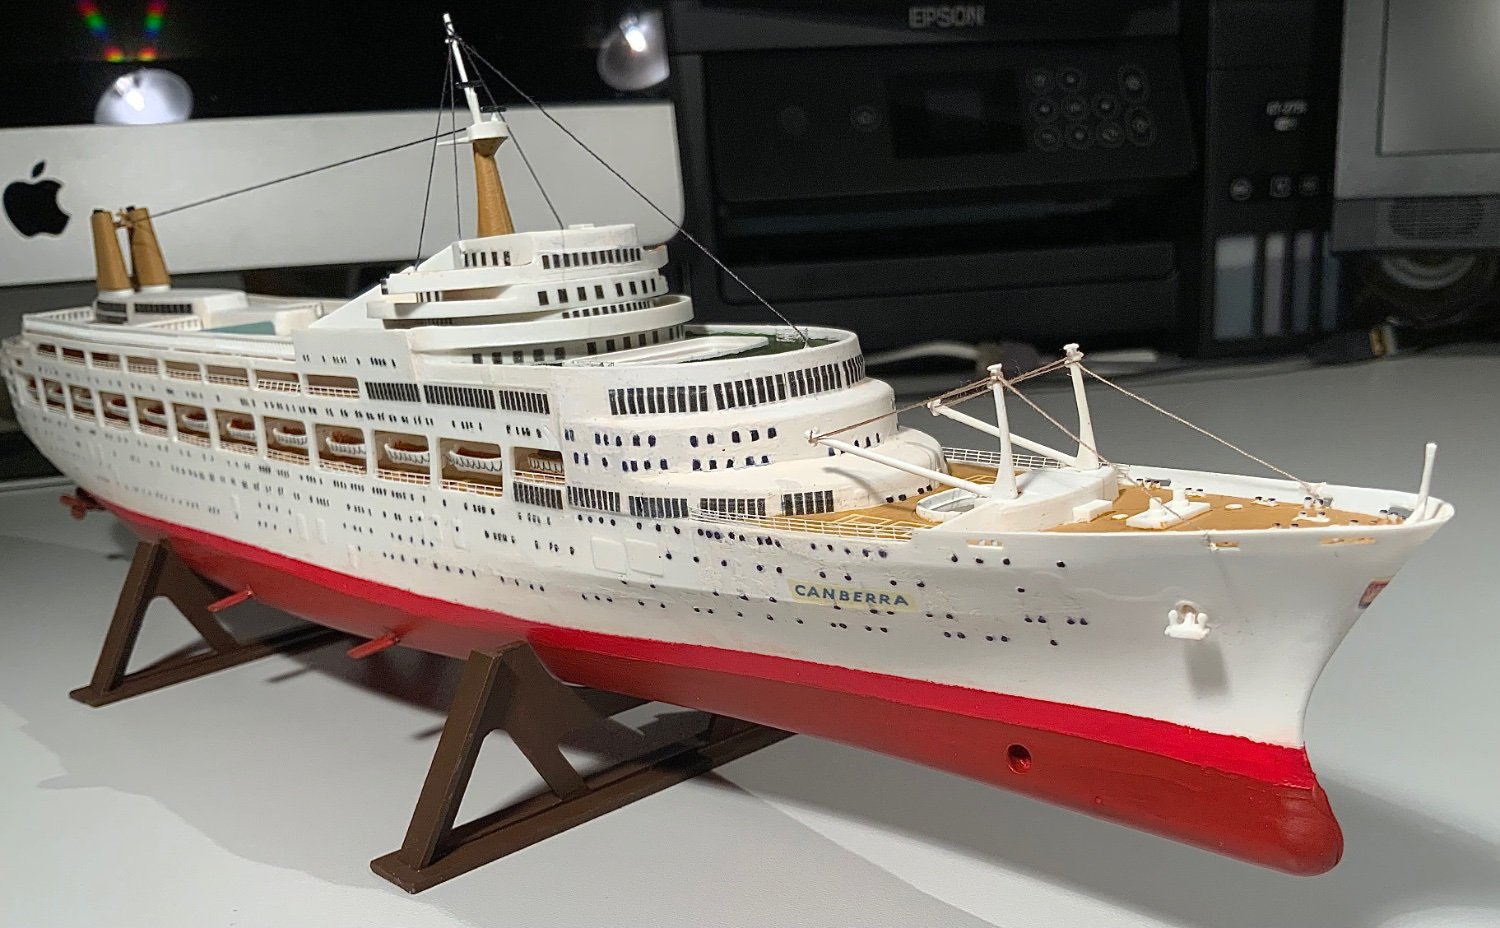
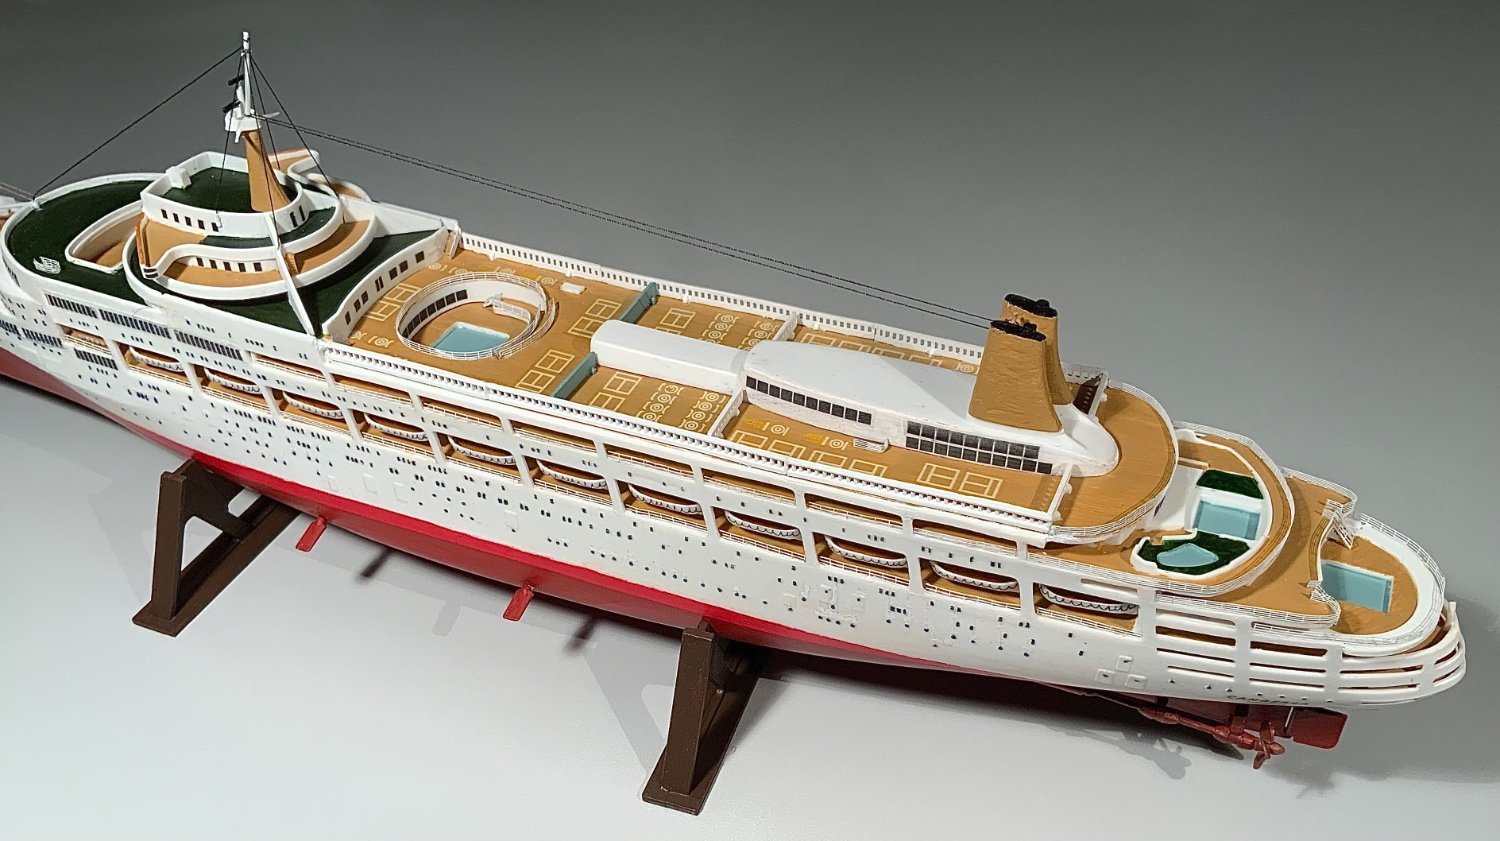
Painted the cradles this morning!
- yvesvidal, Canute, Ferrus Manus and 1 other
-
4
-
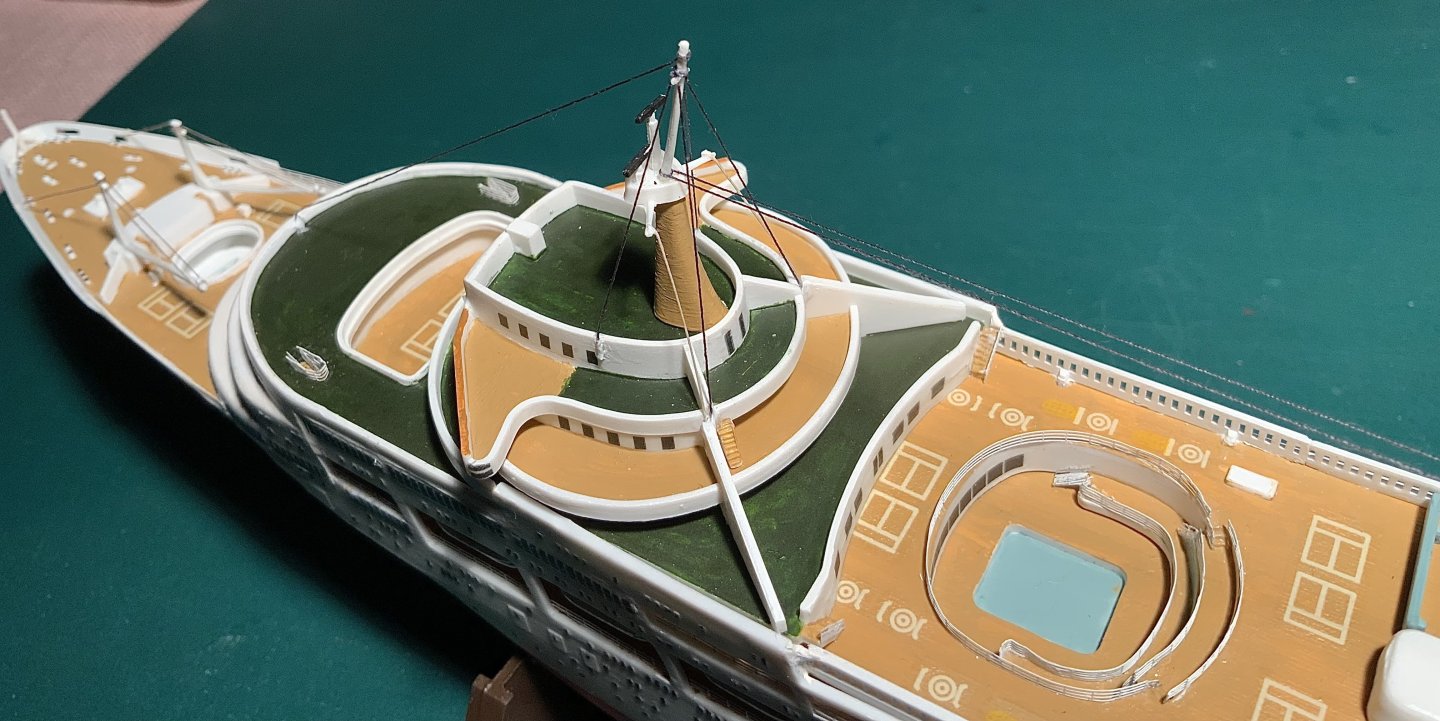
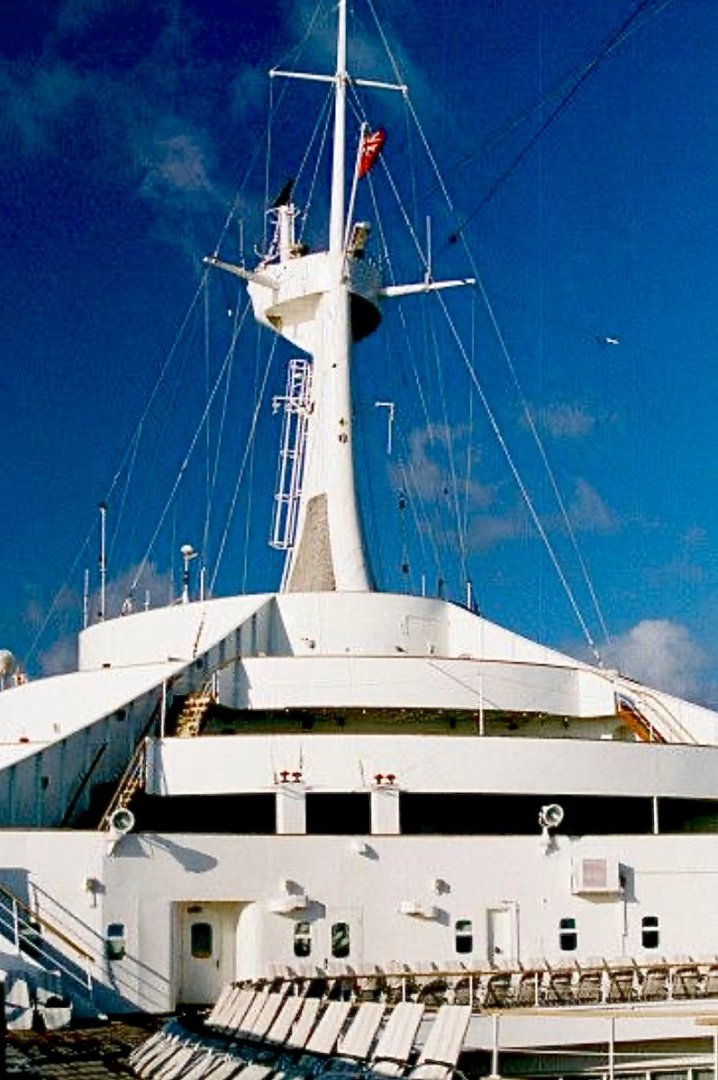
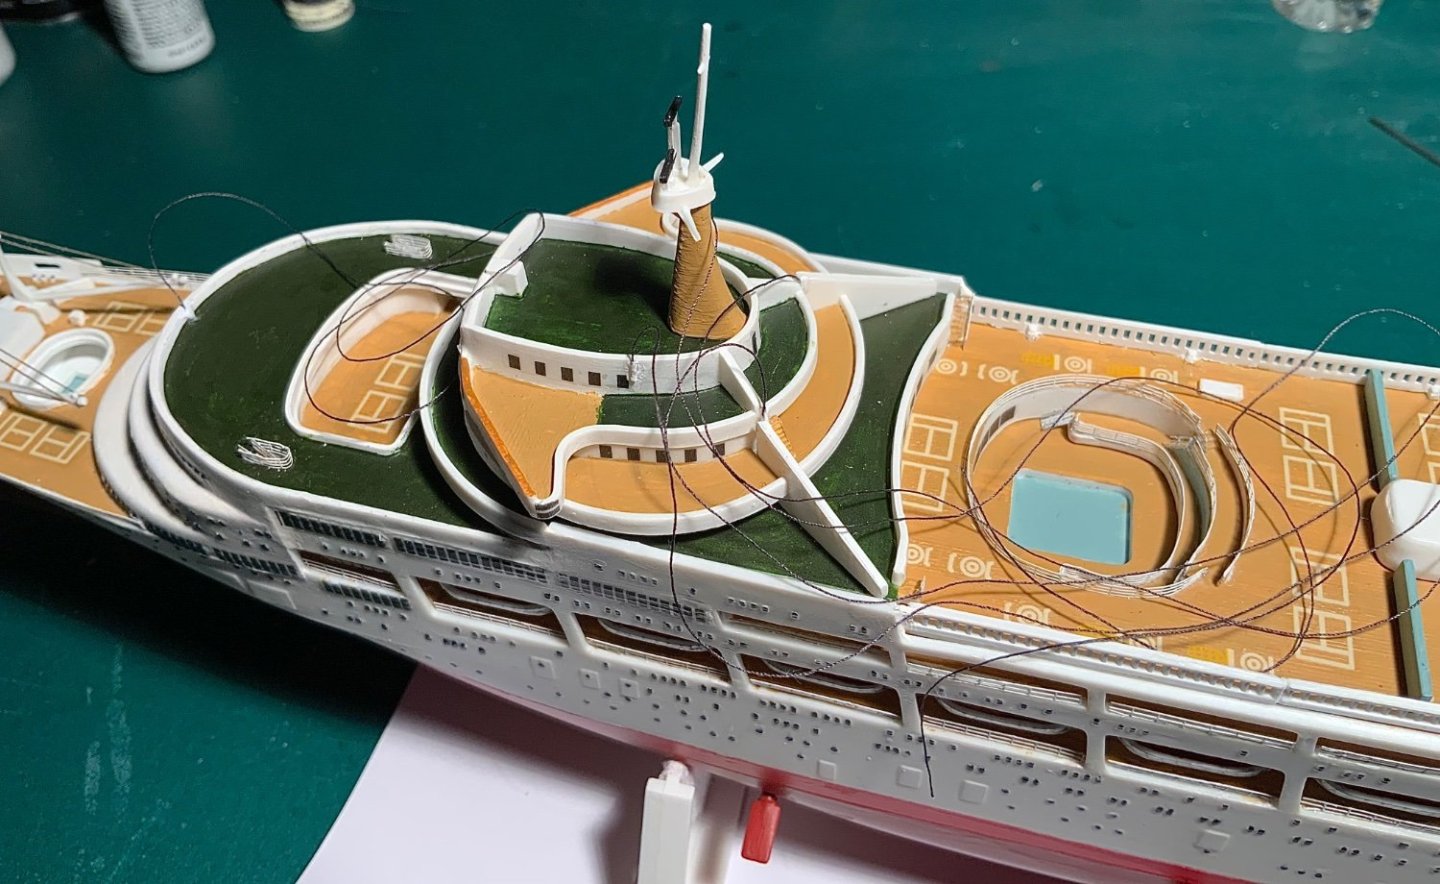
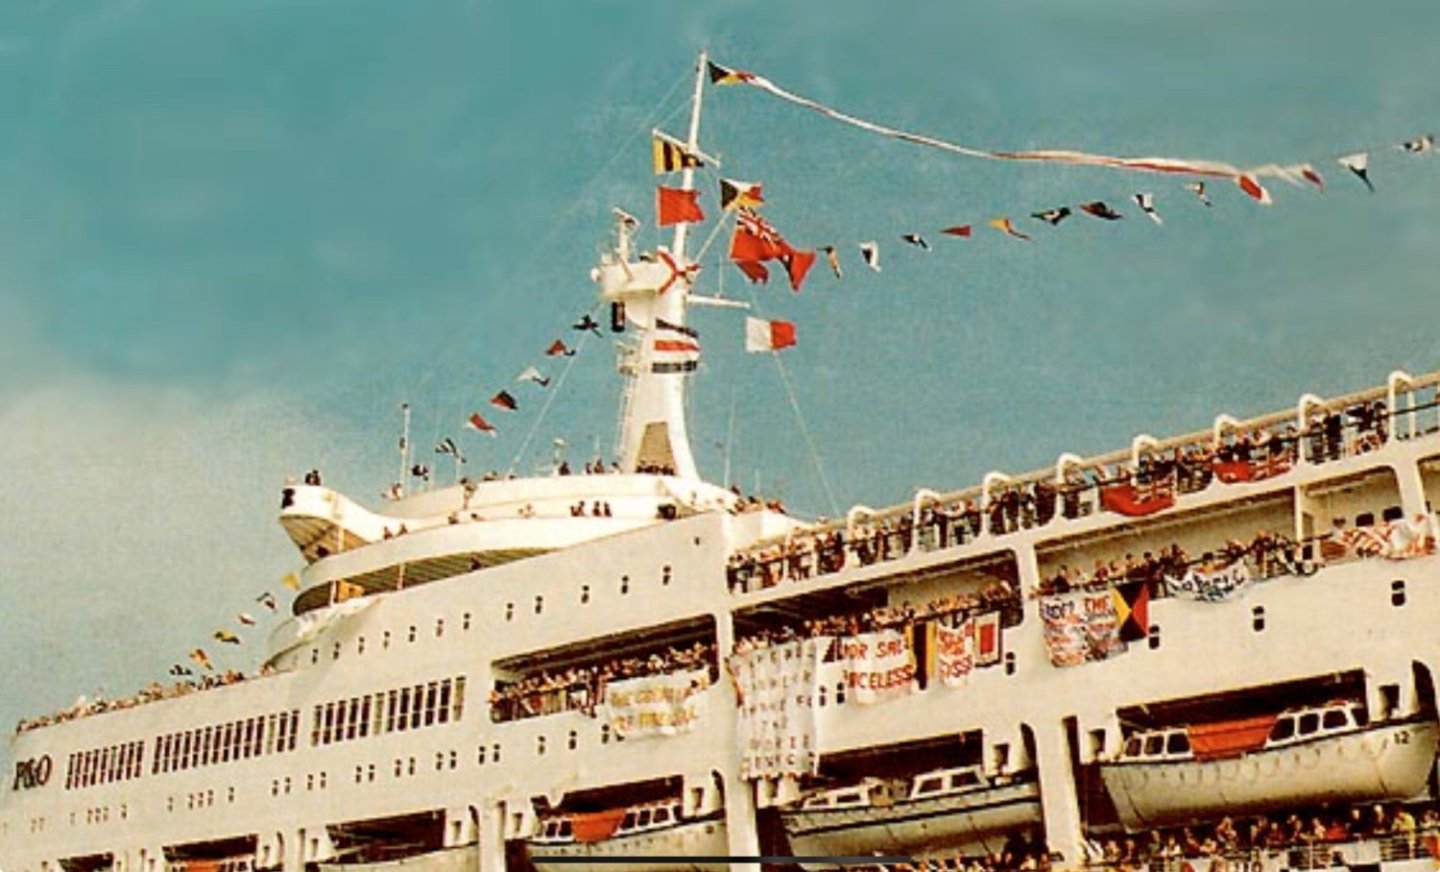
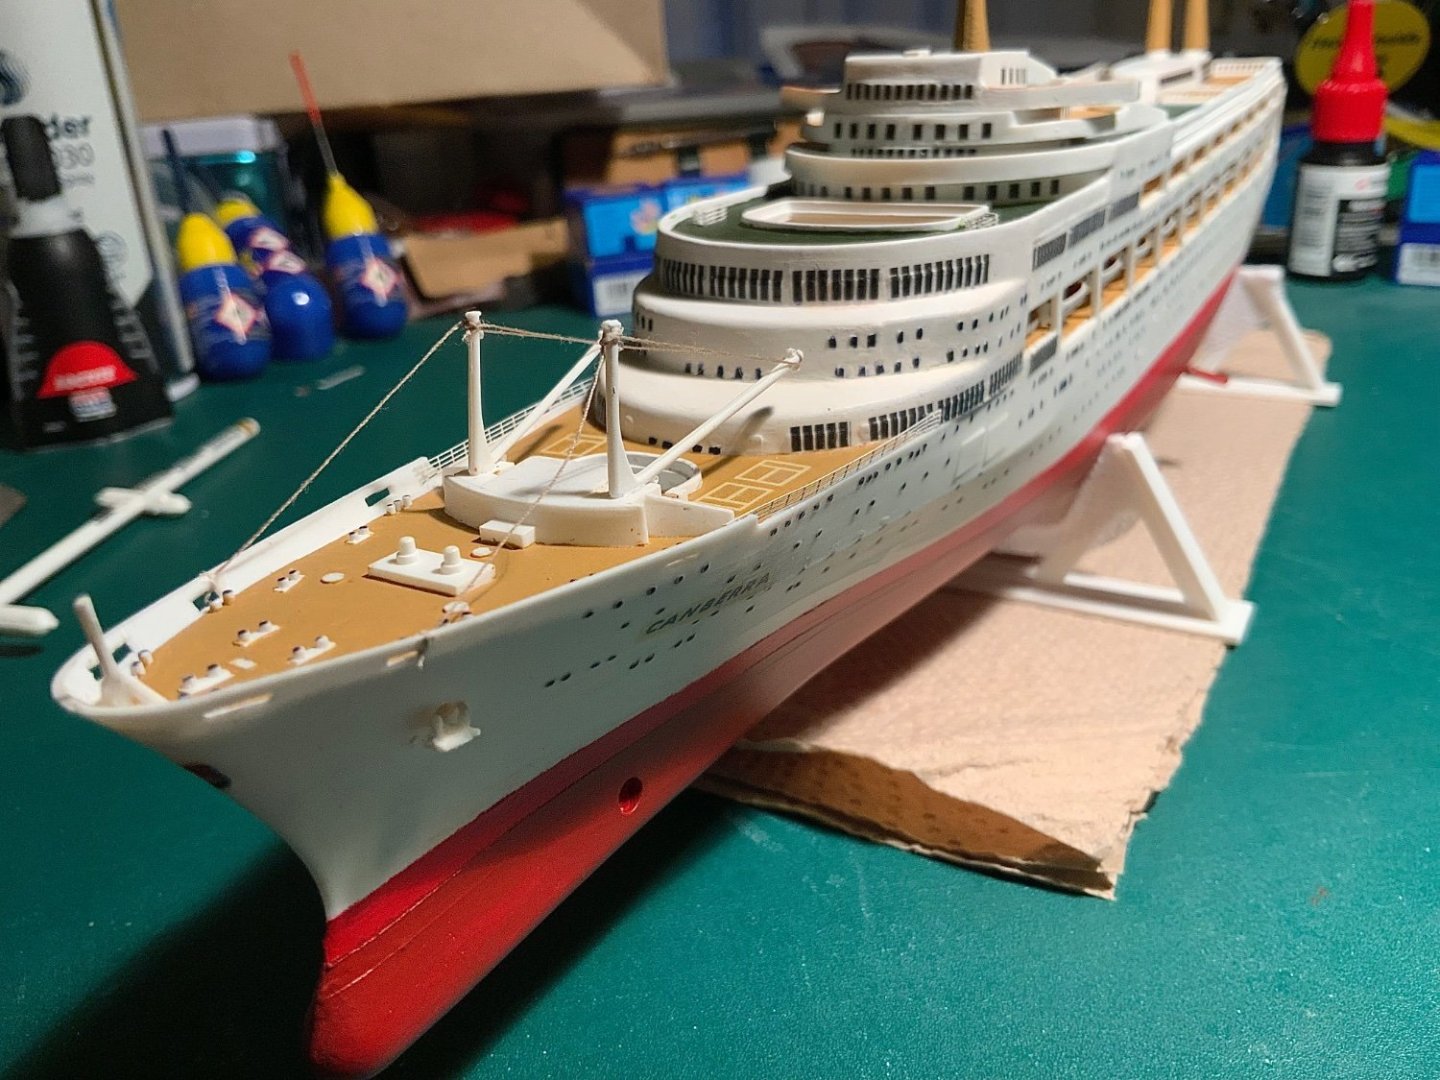
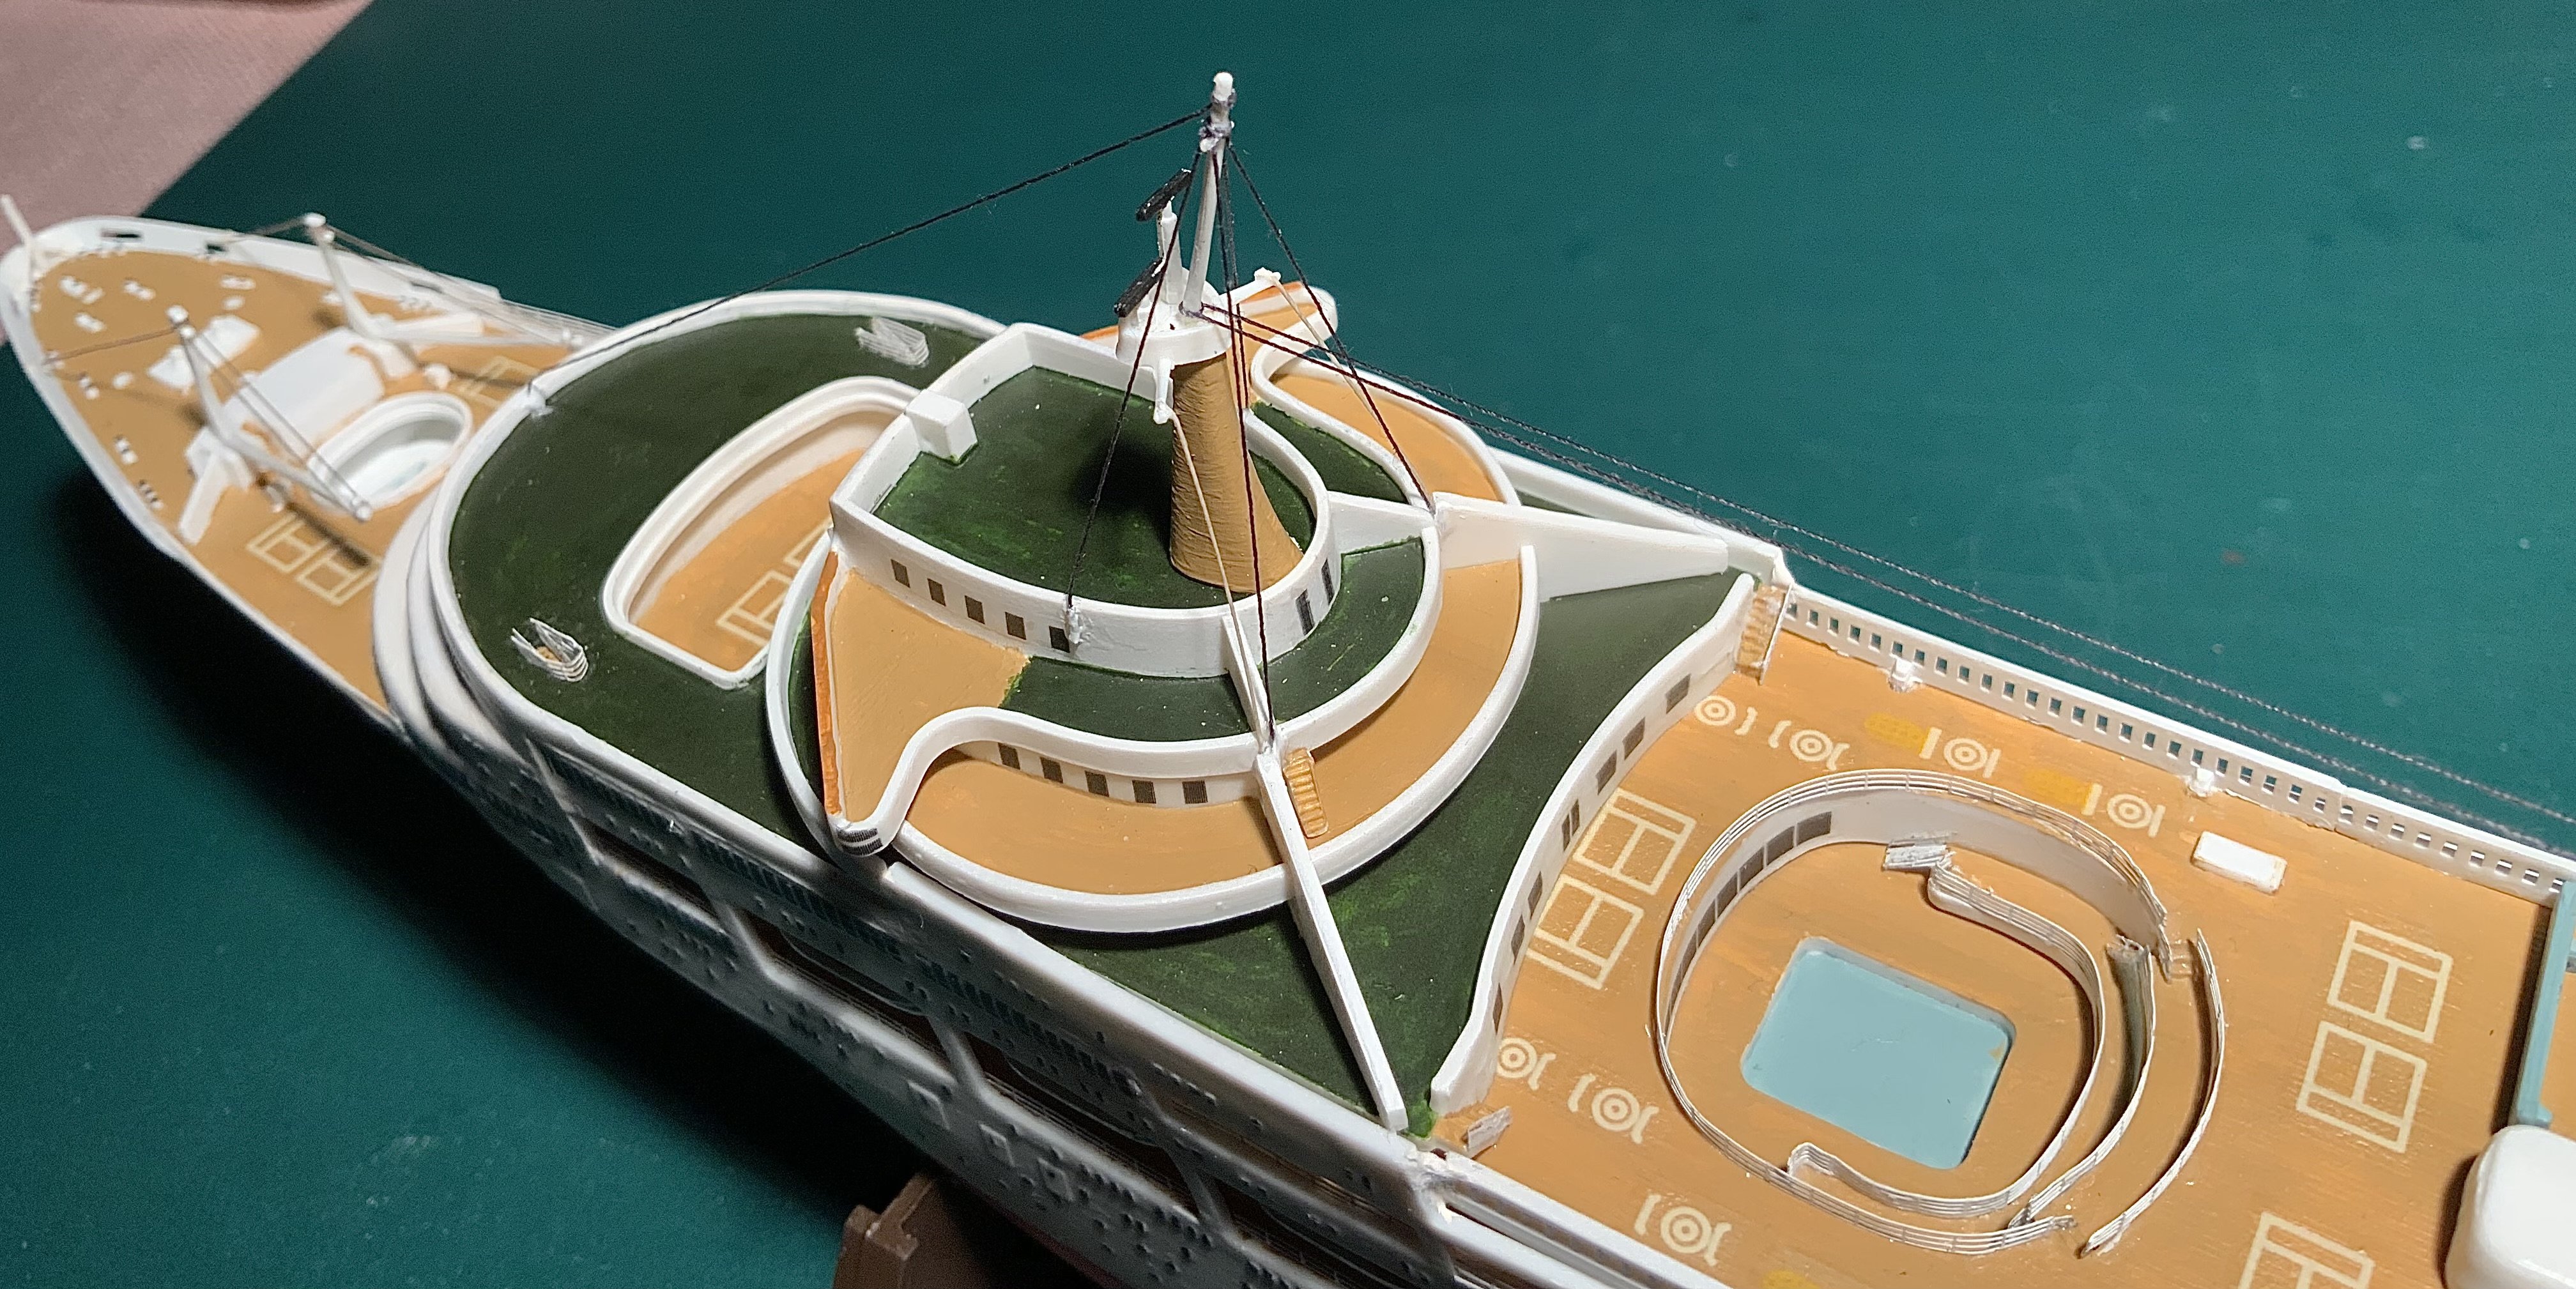
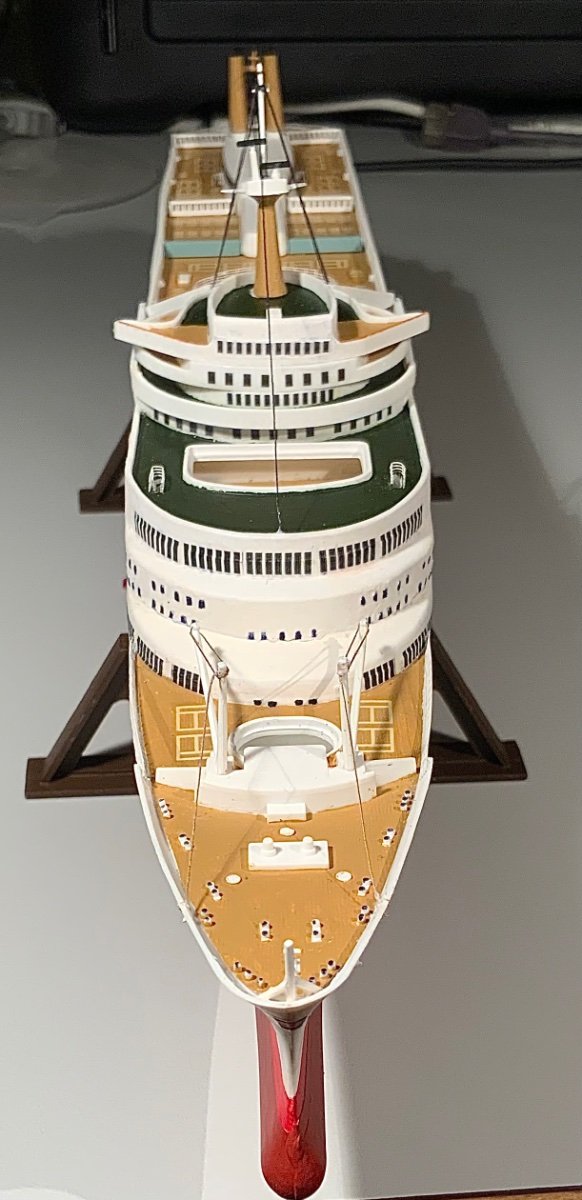
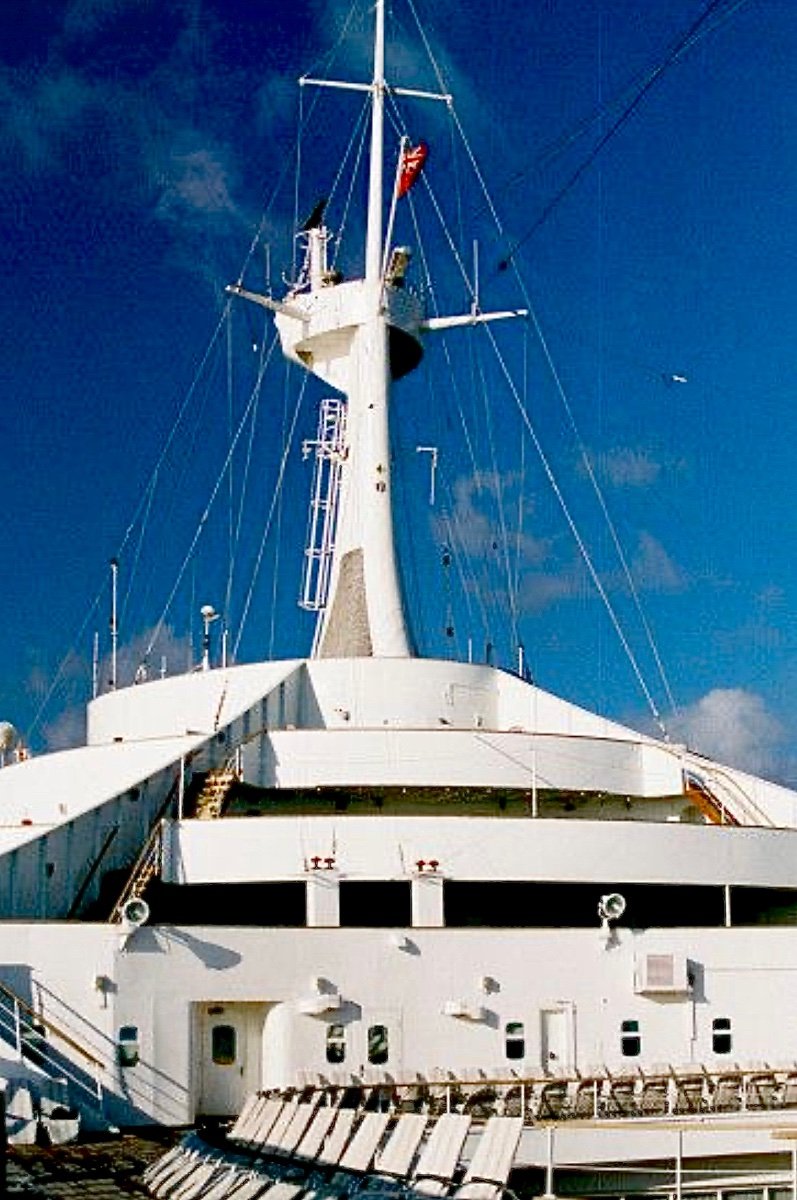
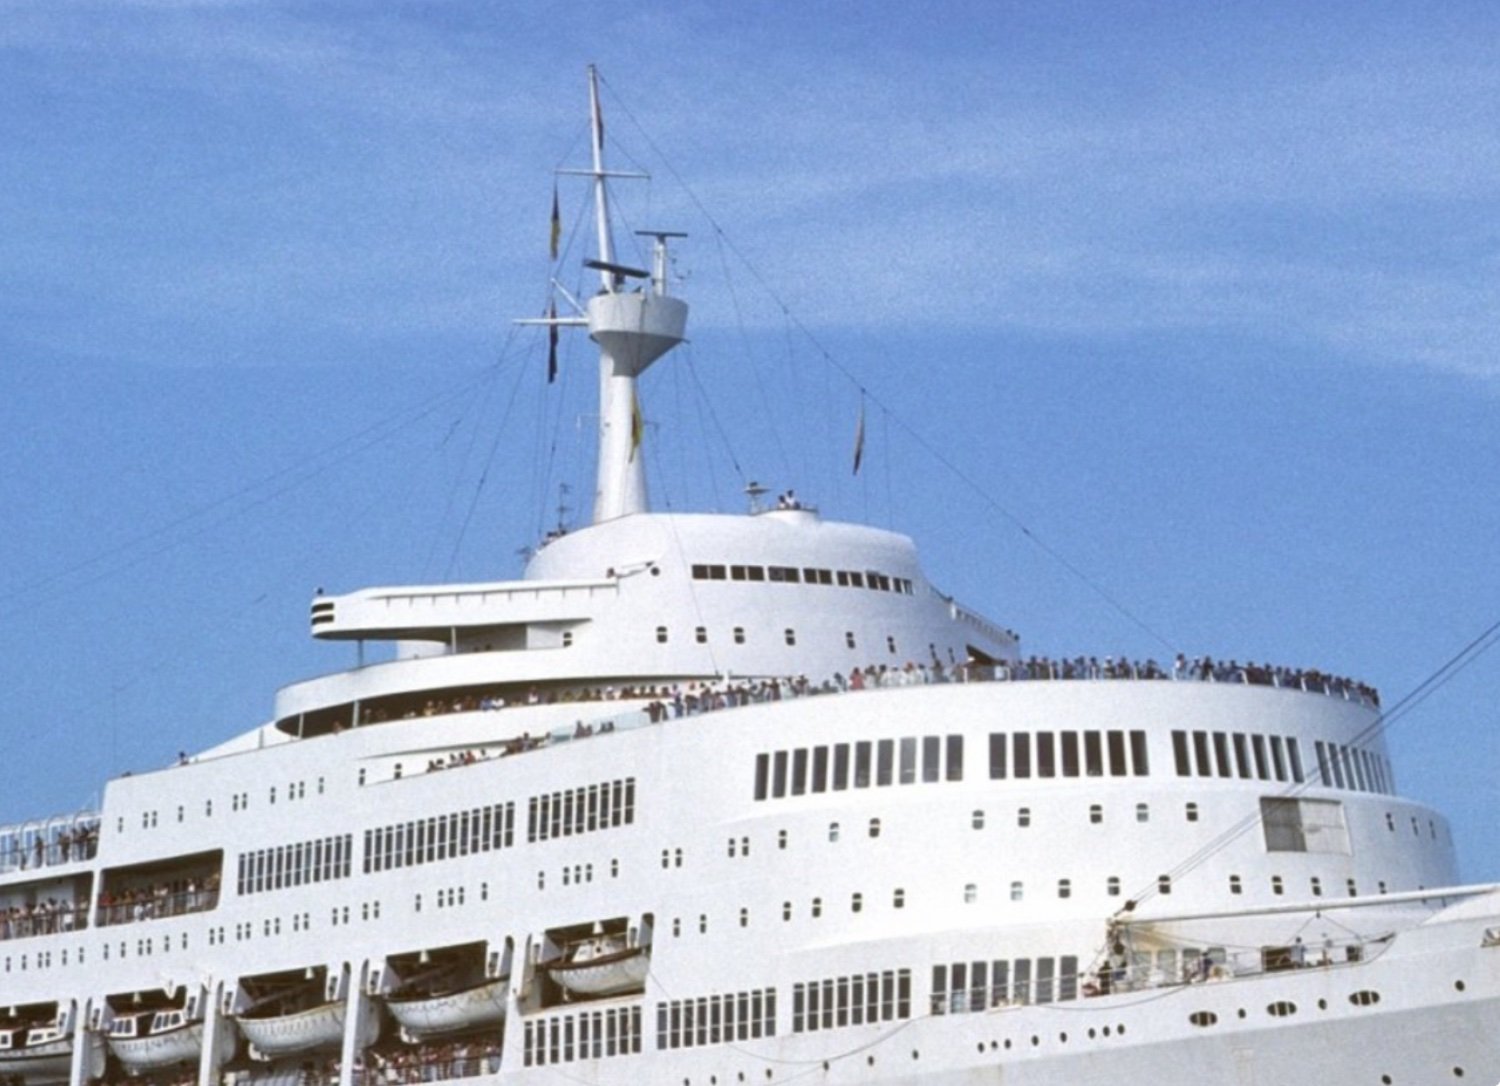
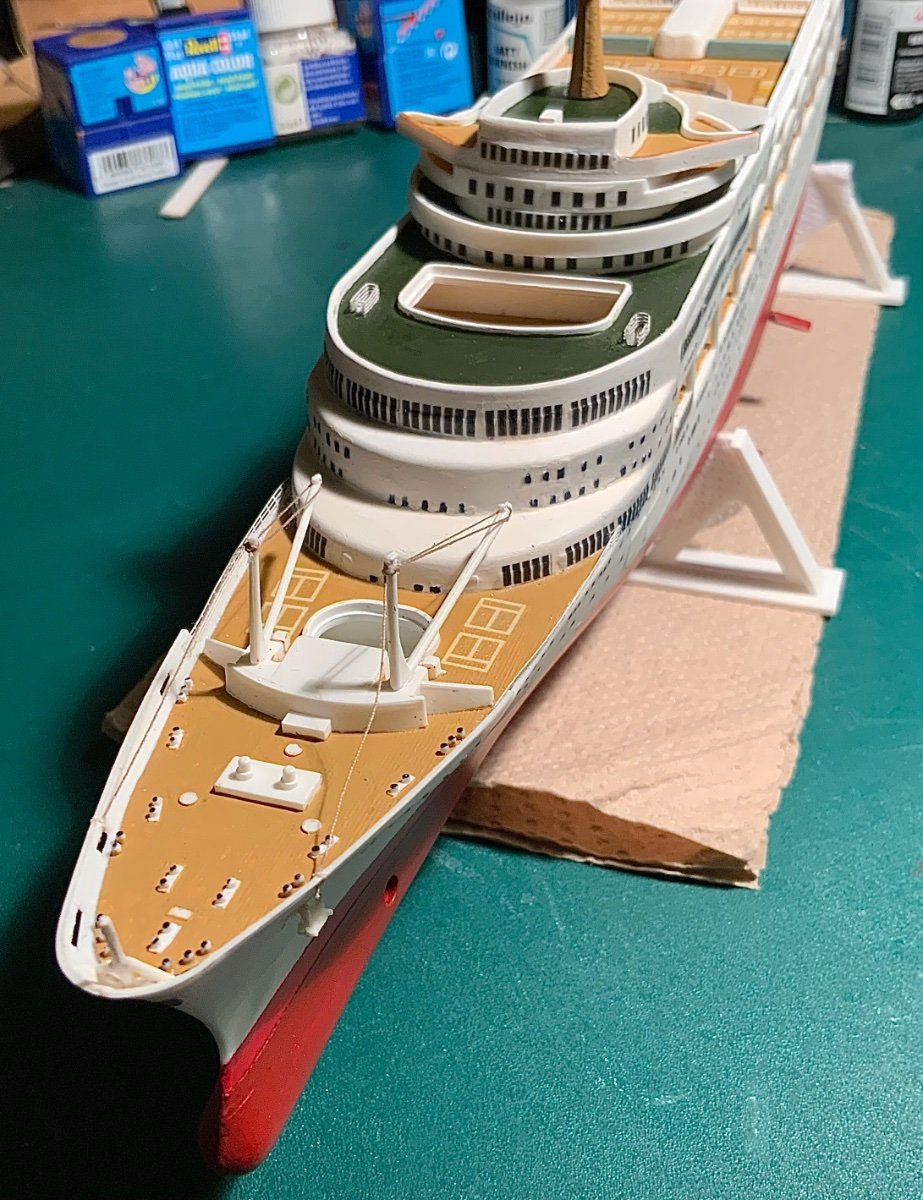
The ‘main’ mast lines in place - I decided not to even try to place the lines for flags etc - it all looks a bit pathetic compared to the real thing! Ends still to be cut off when the glue dries.
-
Superglue did not work for the lines! I was unable to hold the line still enough for the glue to stick. I needed an initially more sticky glue. After several tests I used a thick pva and then when dry covered it with a little UHU. I then painted over the glue and the lines seem pretty firm. I have no idea how others manage this problem?
-
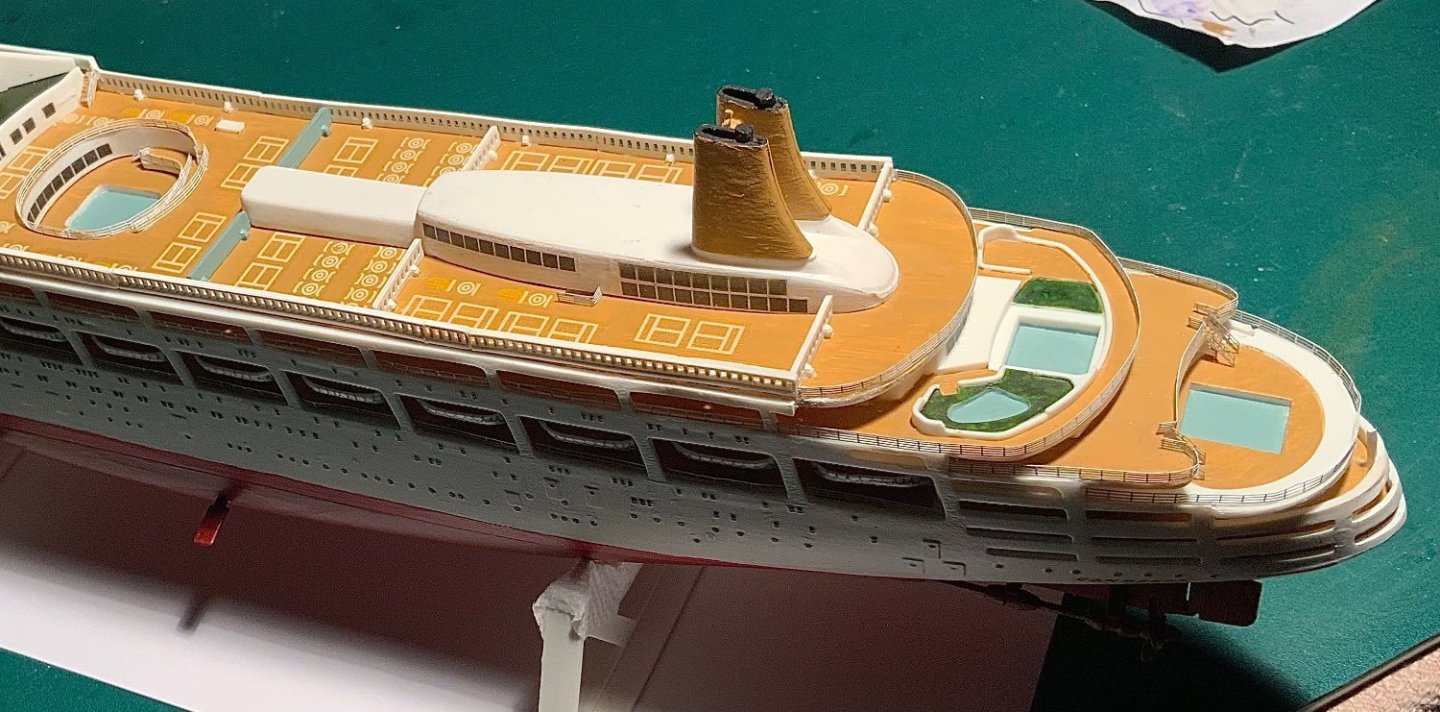
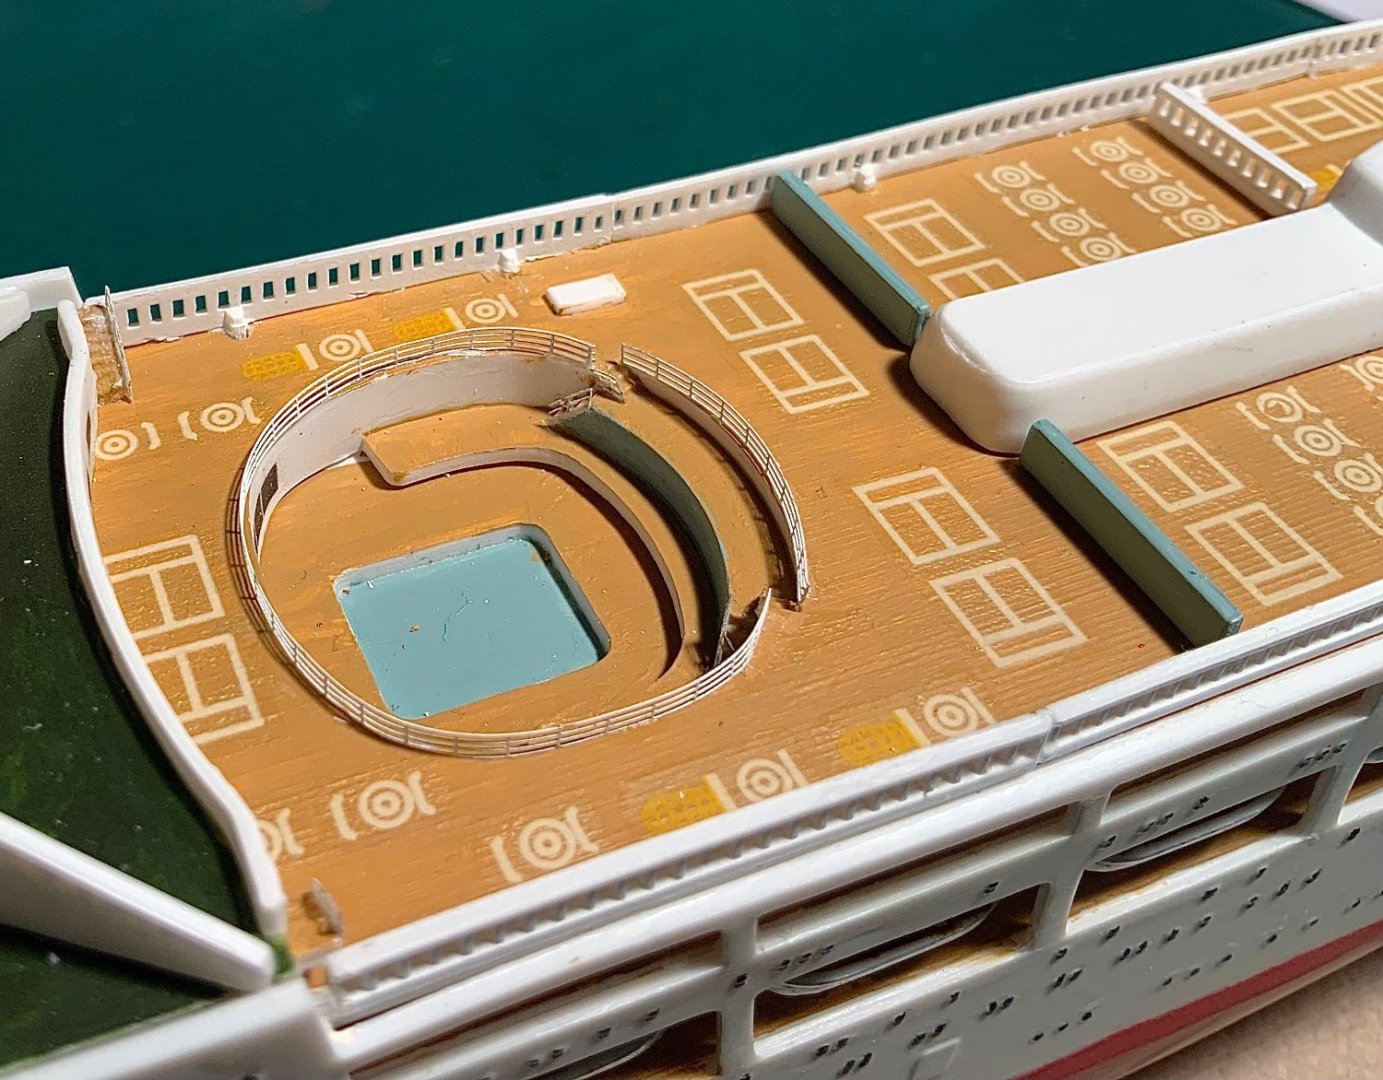
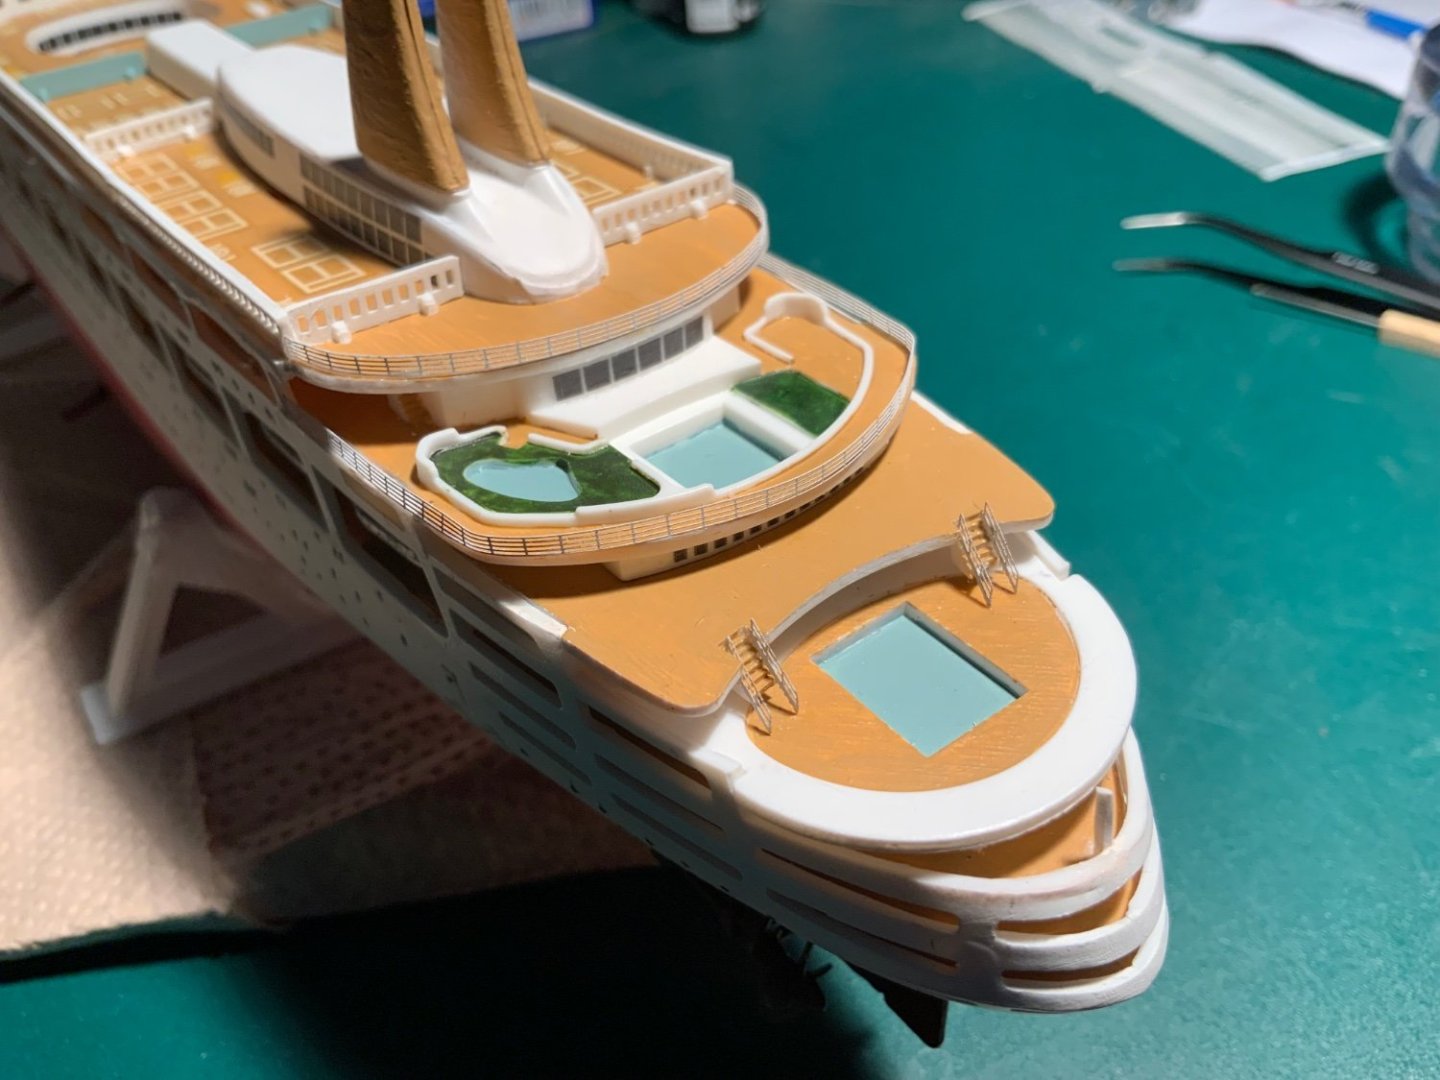
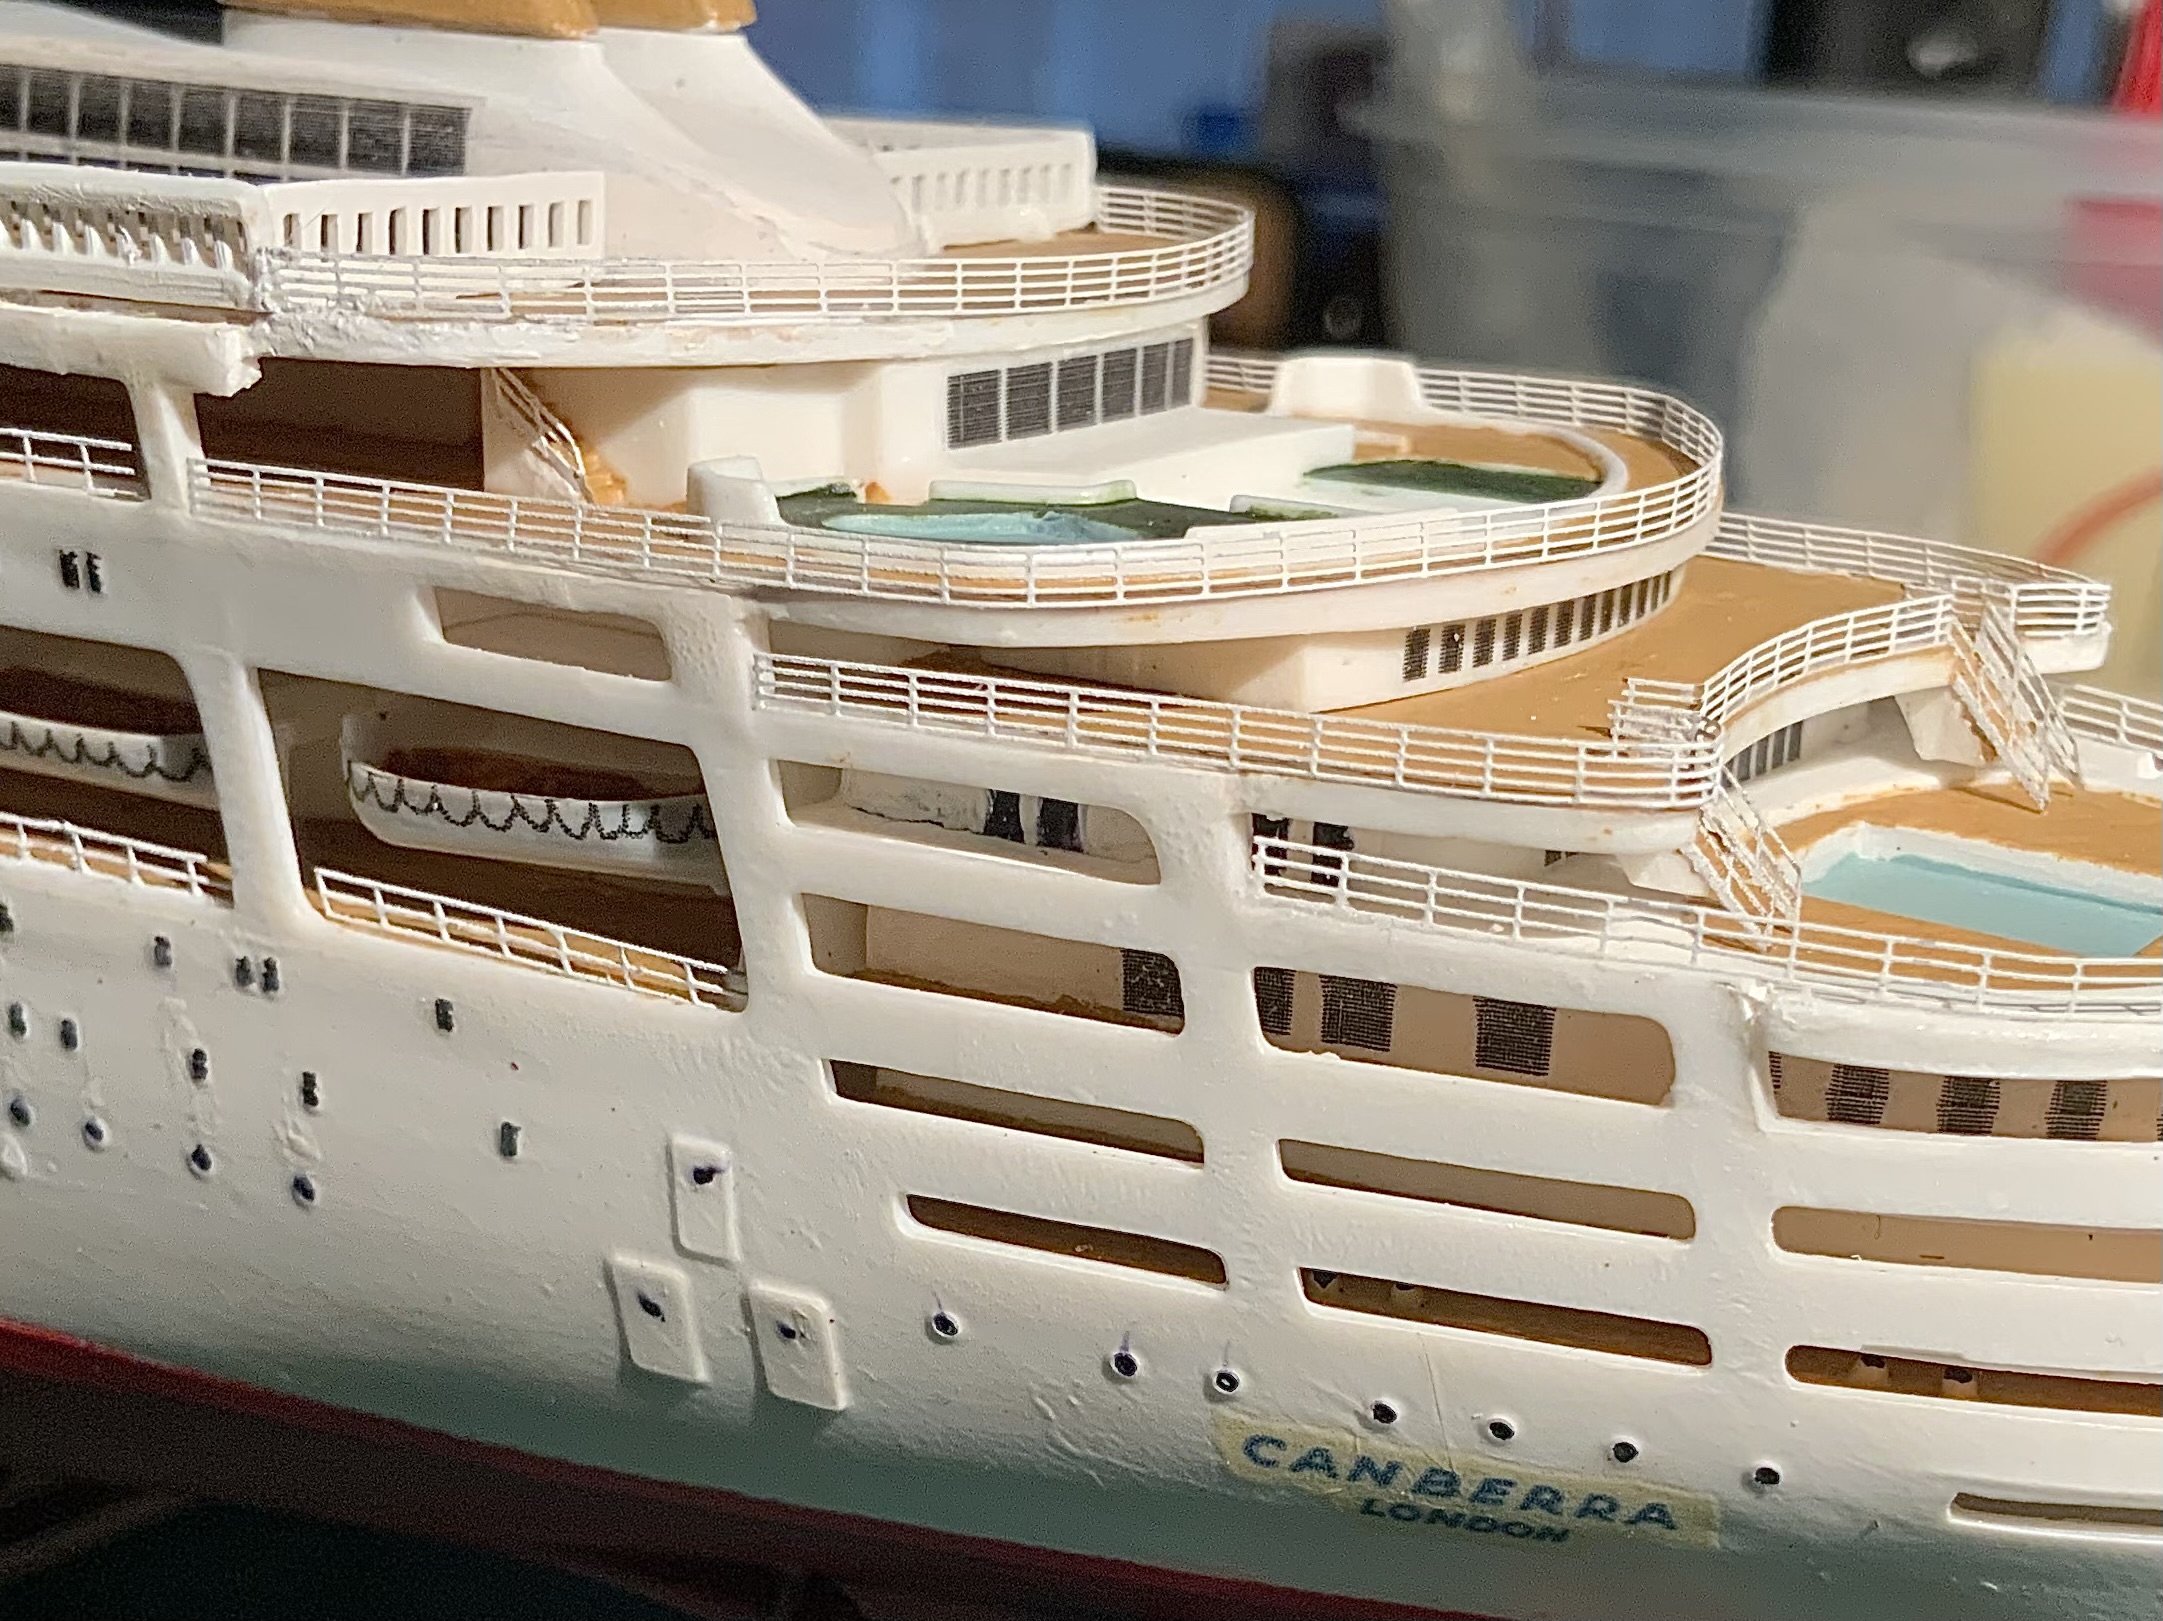
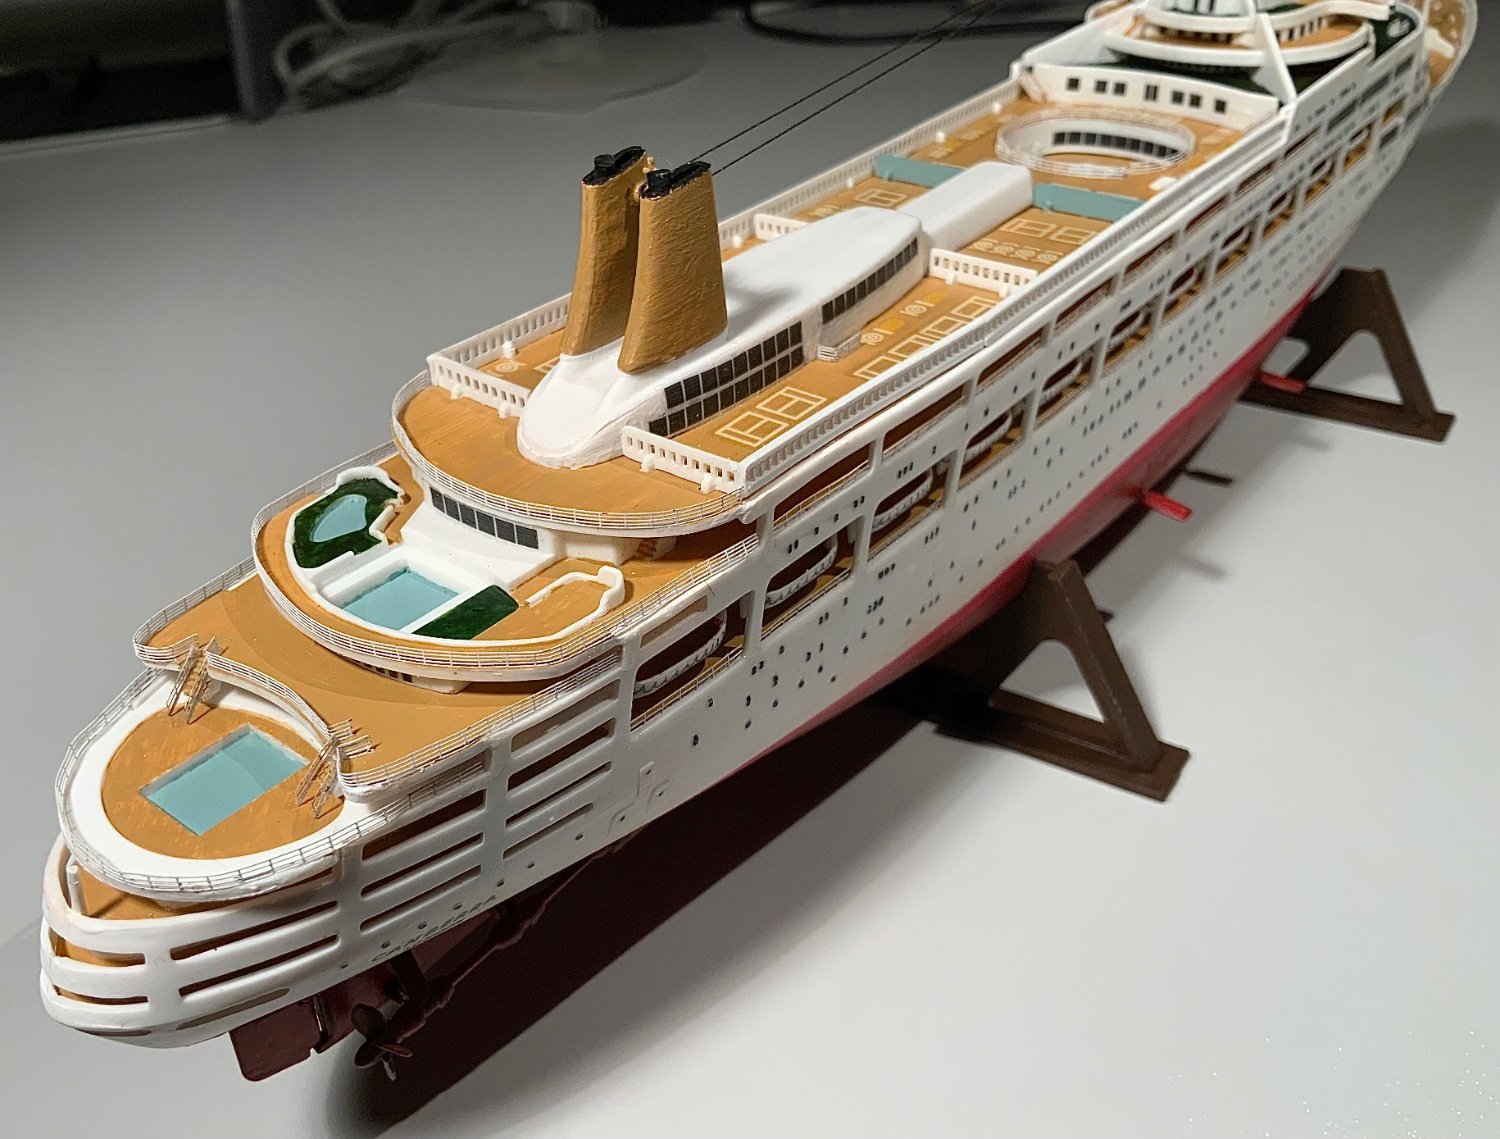
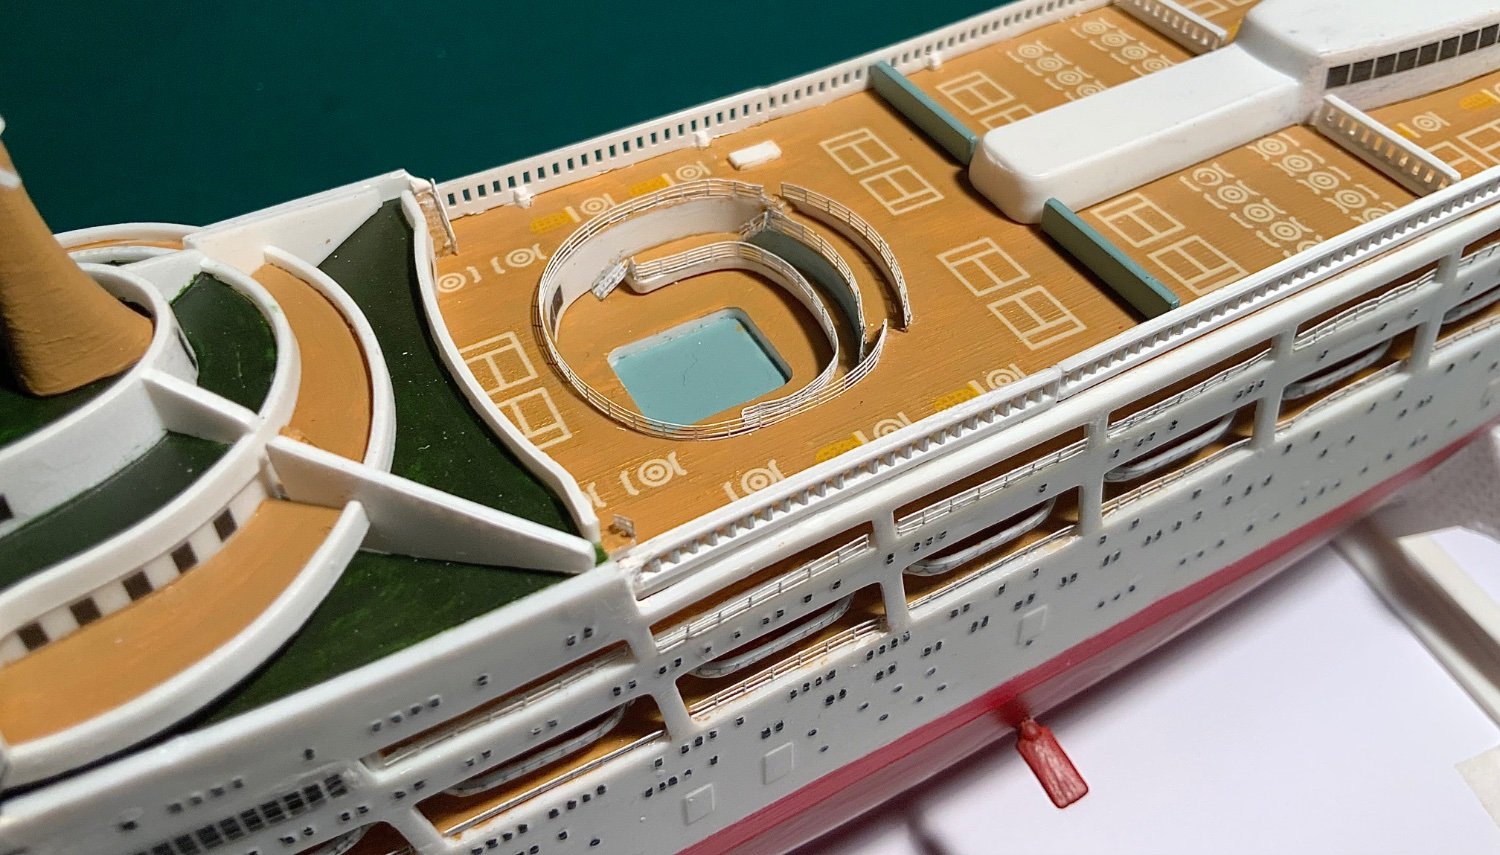
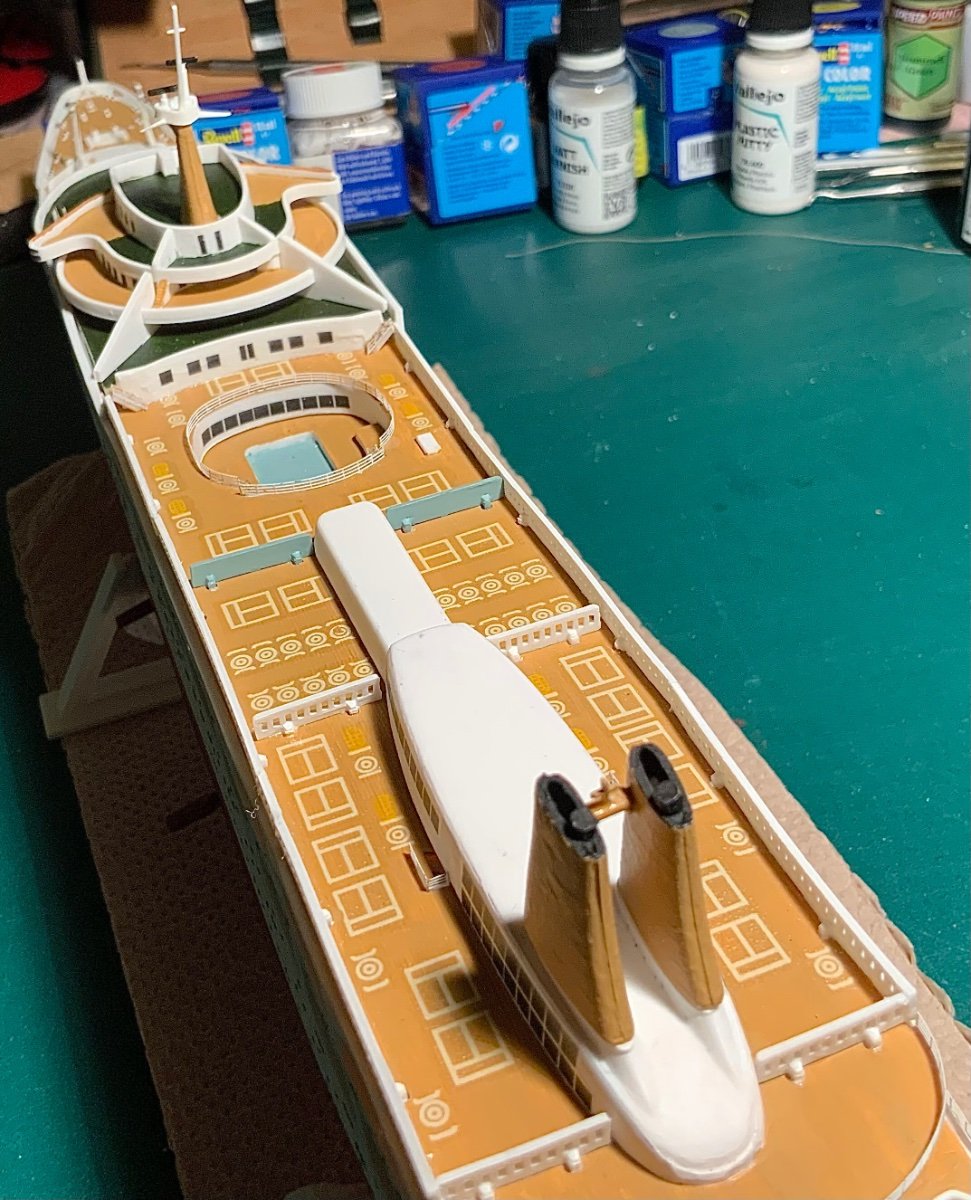
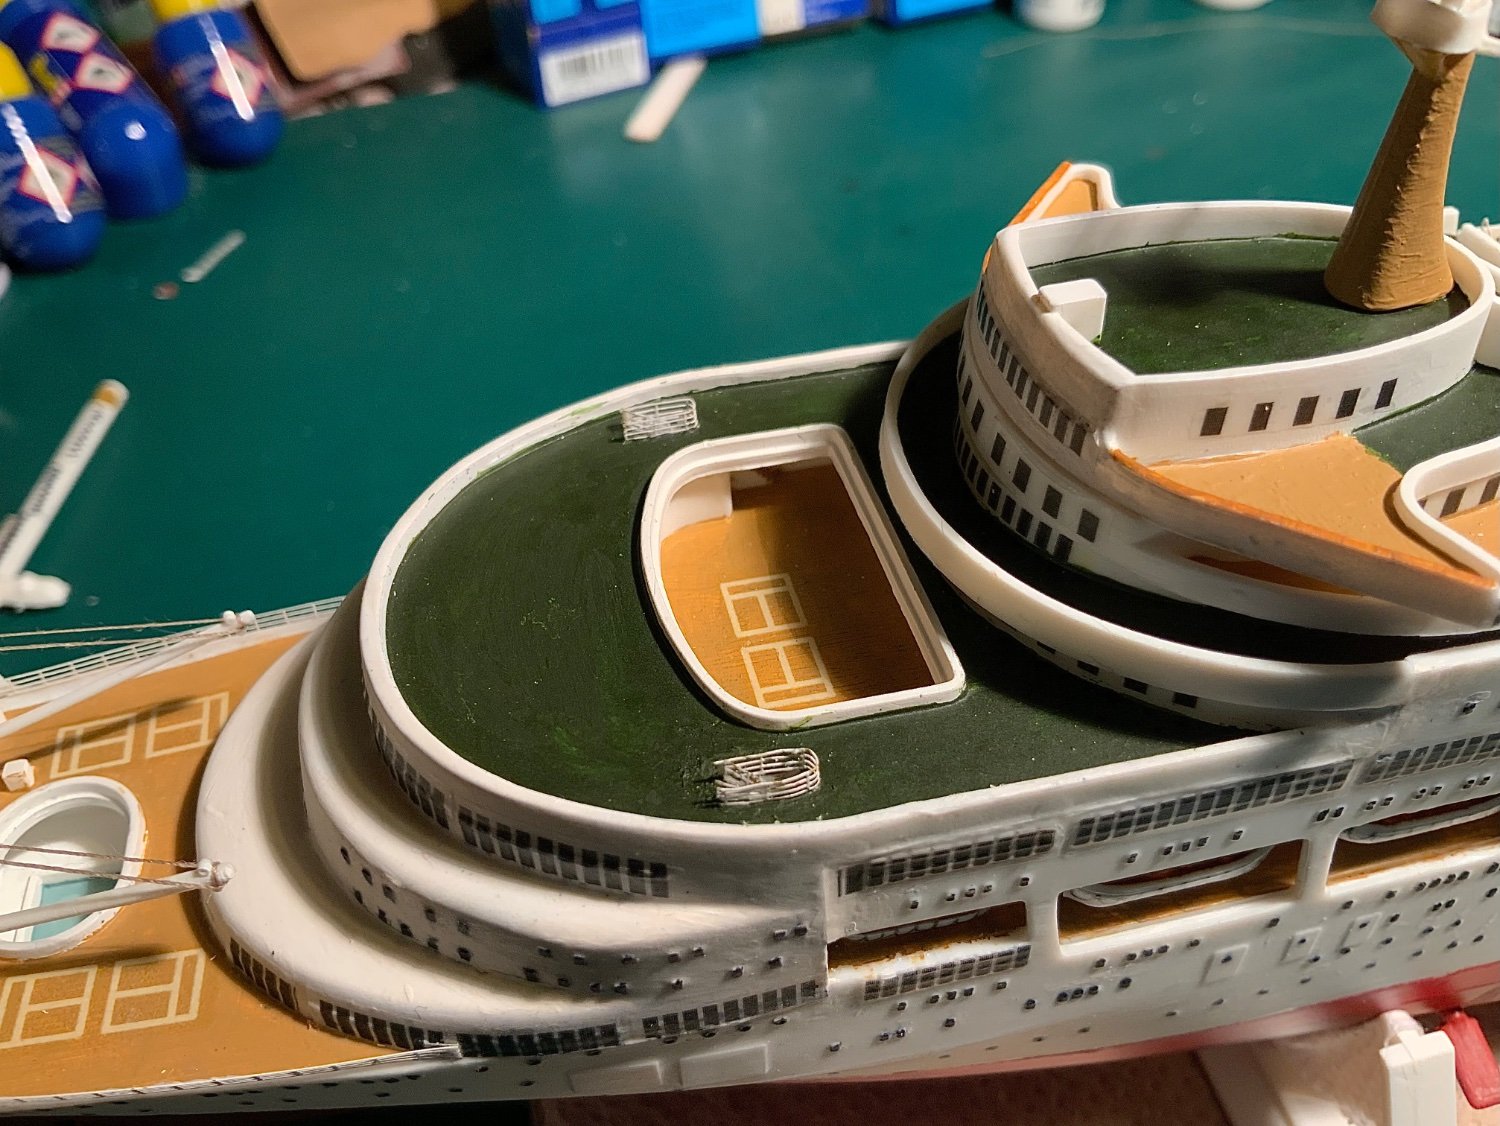
Finally, the pool railings are in place, now to address the radio/radar cables and rigging lines?

-
On 2/28/2024 at 3:52 PM, yvesvidal said:
You have turned an old, crude Airfix kit into a little marvel. Congratulations.
Yves
I’m trying but for me it is not easy now! Thank you for such kind words.
- yvesvidal, Canute and Old Collingwood
-
3
-
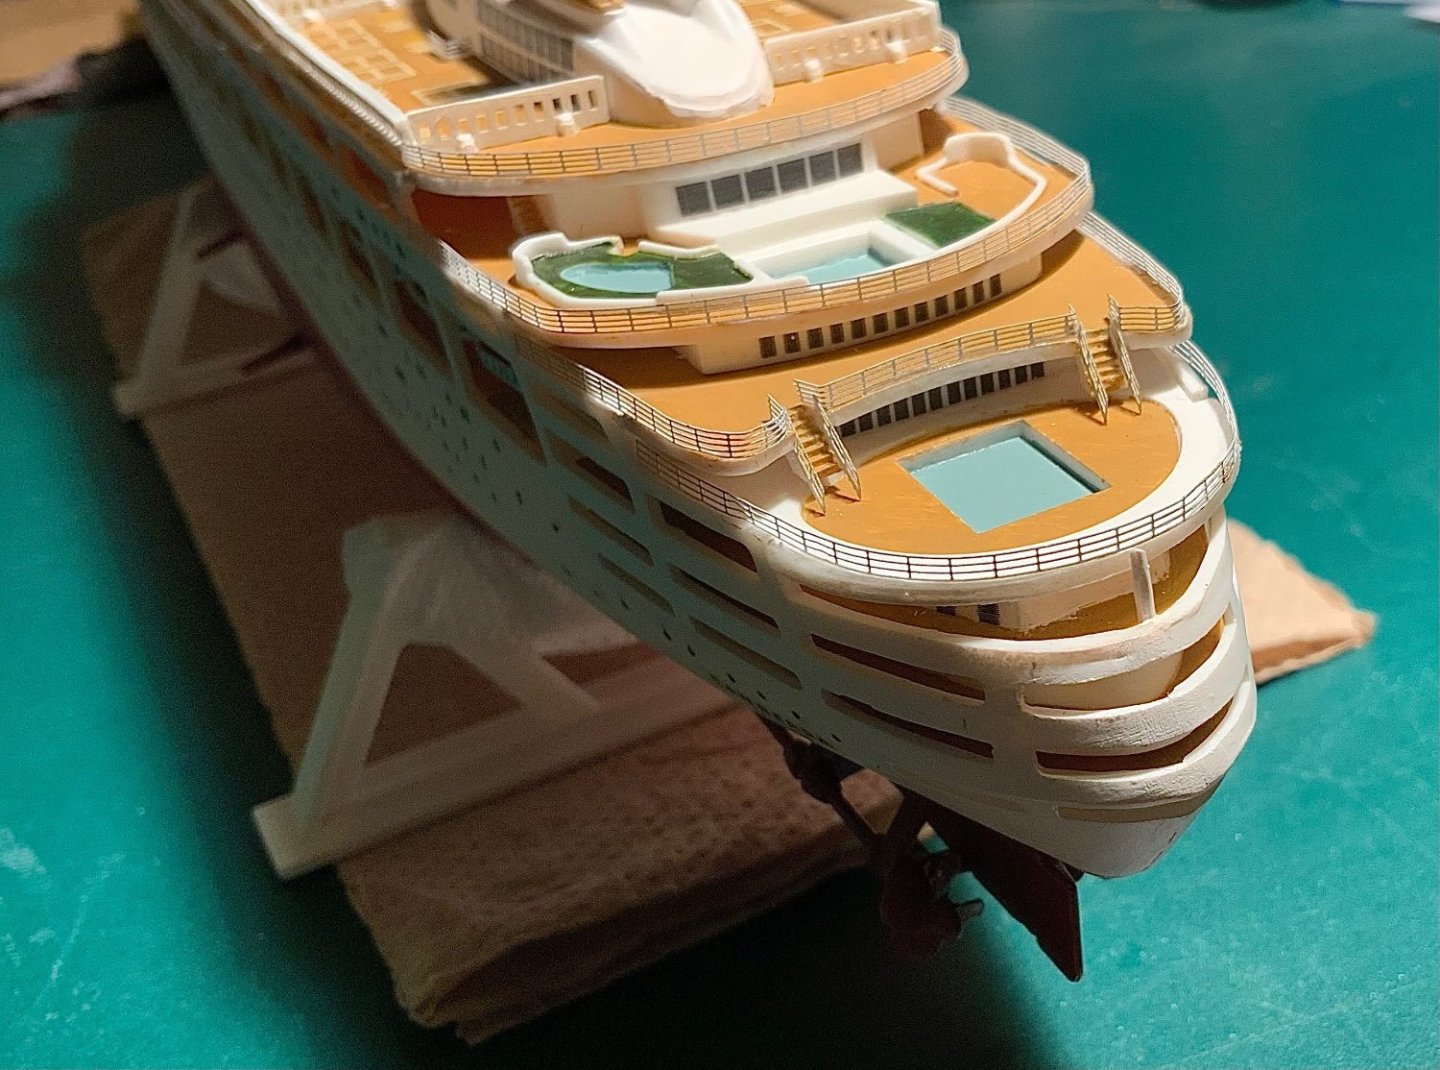
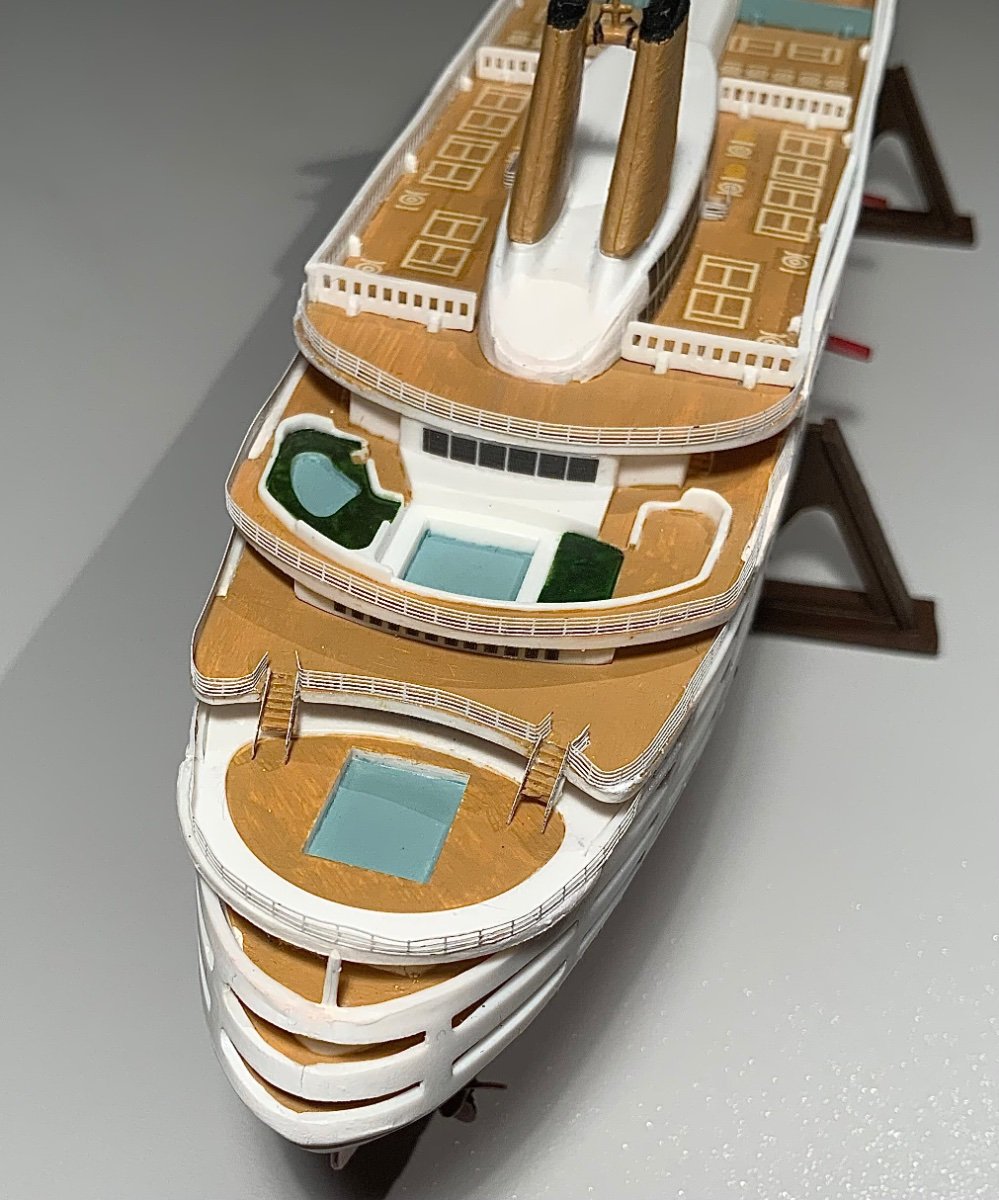
Just discovered more rails and stairs needed around first class pool! Oh dear I hoped to have finished with the superglue! What a mess!

- Canute, yvesvidal, Old Collingwood and 1 other
-
4
-
Touched up as well as possible, now the radio lines etc. but how to fix and keep tight at this scale? Any suggestions please?

There are so many variations in different pictures of the boat - some are white others black, some seem to attach to different places even?


- Canute, yvesvidal, king derelict and 1 other
-
4
-
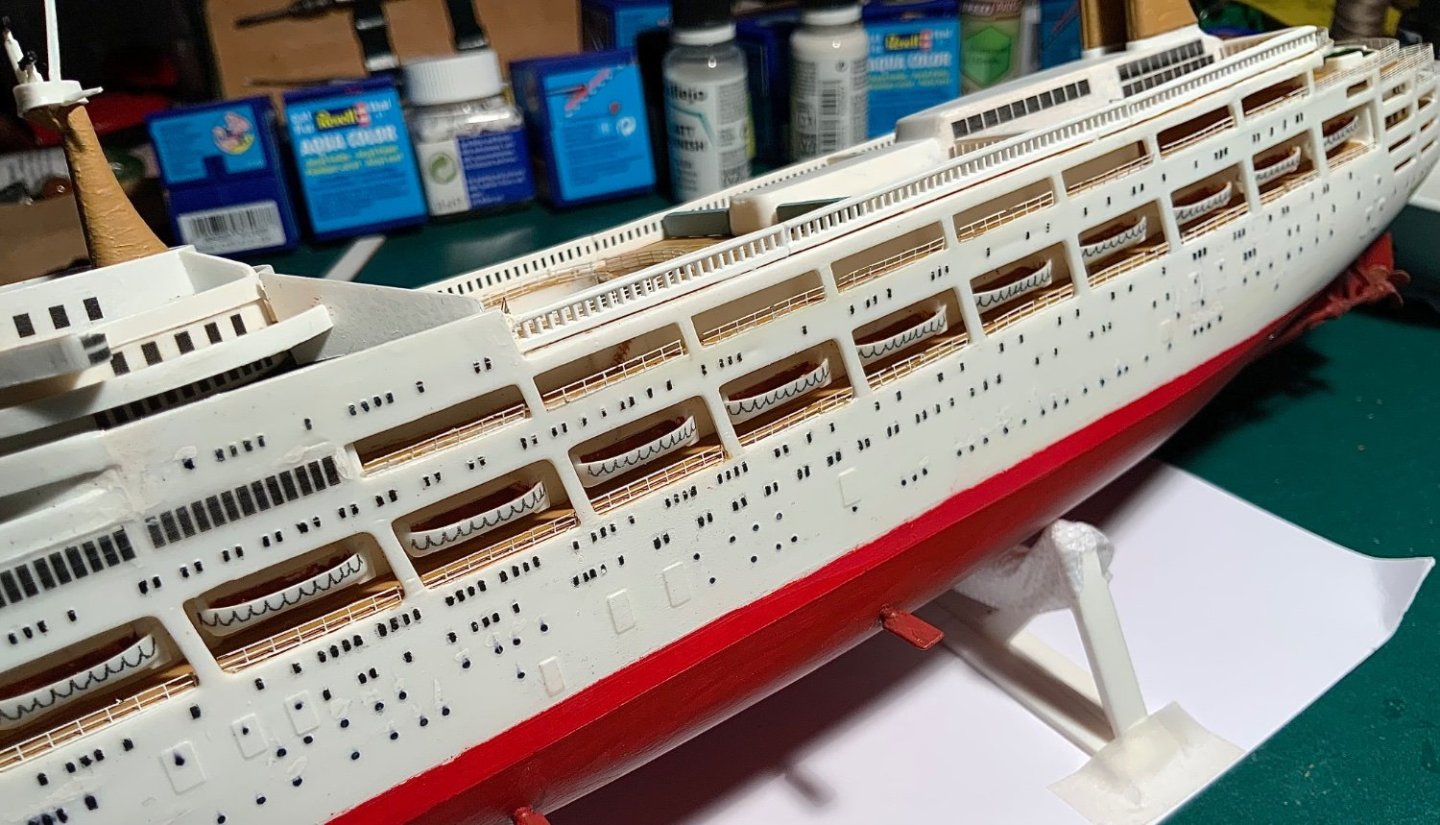
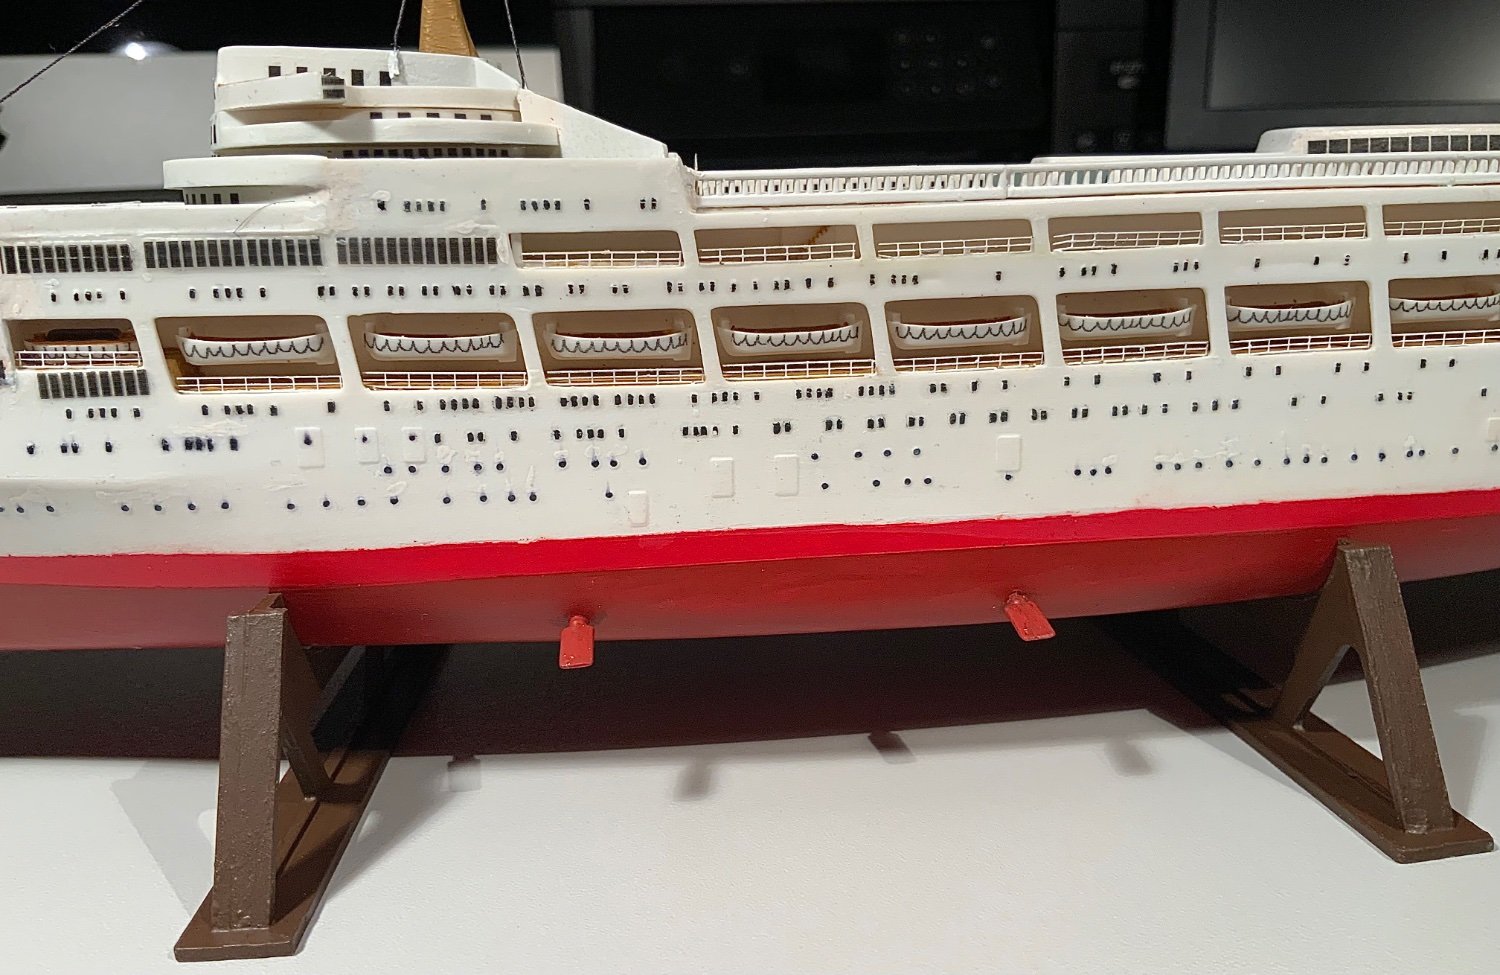
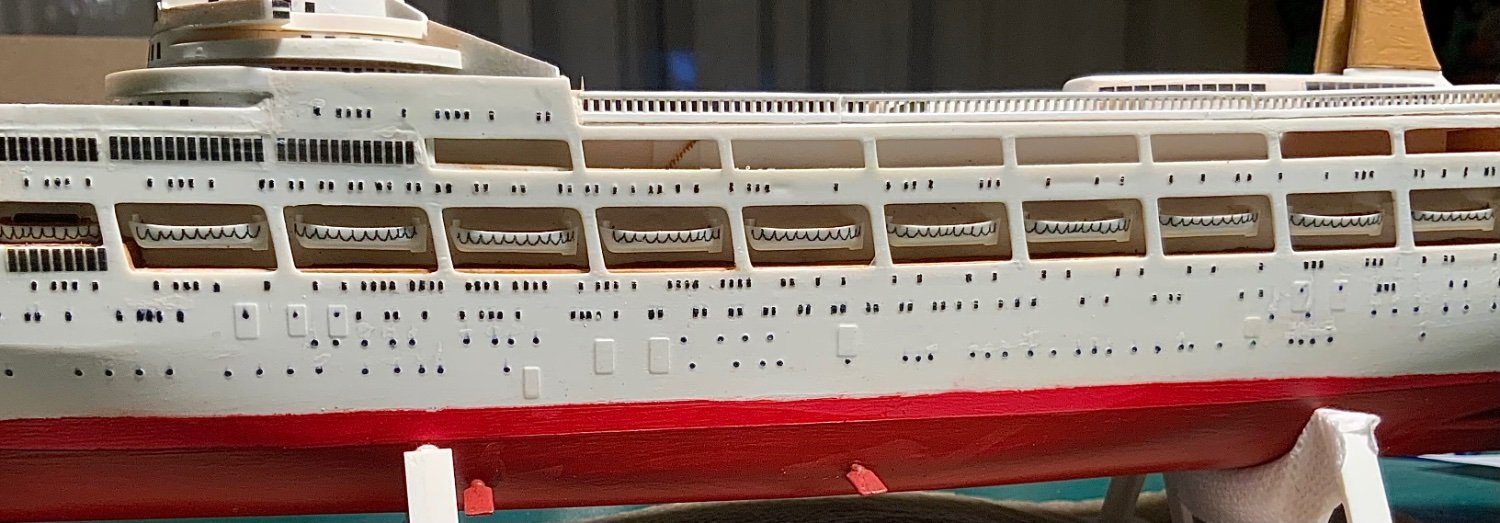
At last, 40 individual boat deck and upper deck railings glued in ‘place’. Sadly, they are not all as ‘squarely’ glued as they might be but my wobbly hands could not do better. Overall, the boat looks more realistic. During gluing some paint came off the rails so now it’s time for the mass ‘touch up’. After I’ll apply some clear matt varnish to help protect the paint on the rails which has not bonded very well to the PE brass.
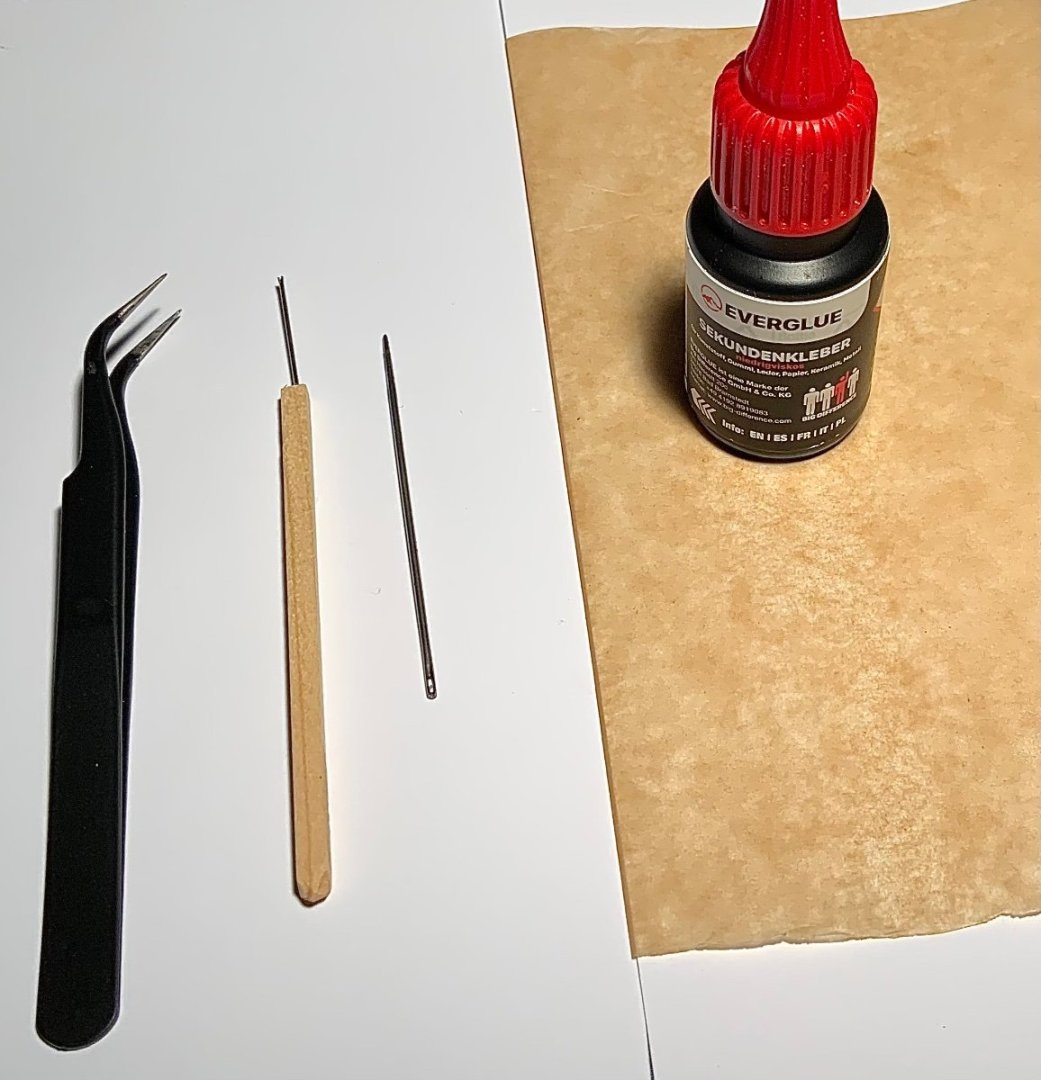
To glue the rails I used curved tweezers, a darning needle and a tool that I made by knocking a needle into a meat skewer and then cutting off 3/4 of the ‘eye’. I used the latter to spread glue where I wanted the rail, then applied glue to the bottom of the rail by drawing the rail through a drop of glue on a piece of baking paper(learnt from you tube), and then held the rail in place in till the glue was firm. When the glue was set I adjusted the angle of the rail to straighten it as well as I could.
Now for the massive ‘touch up’!- Old Collingwood, yvesvidal, mcb and 2 others
-
5
-
Yes, the kit as Airfix intended looks pretty ‘albino’-like. Thank you for your encouragement.
- Canute, Old Collingwood, mtaylor and 1 other
-
4
-
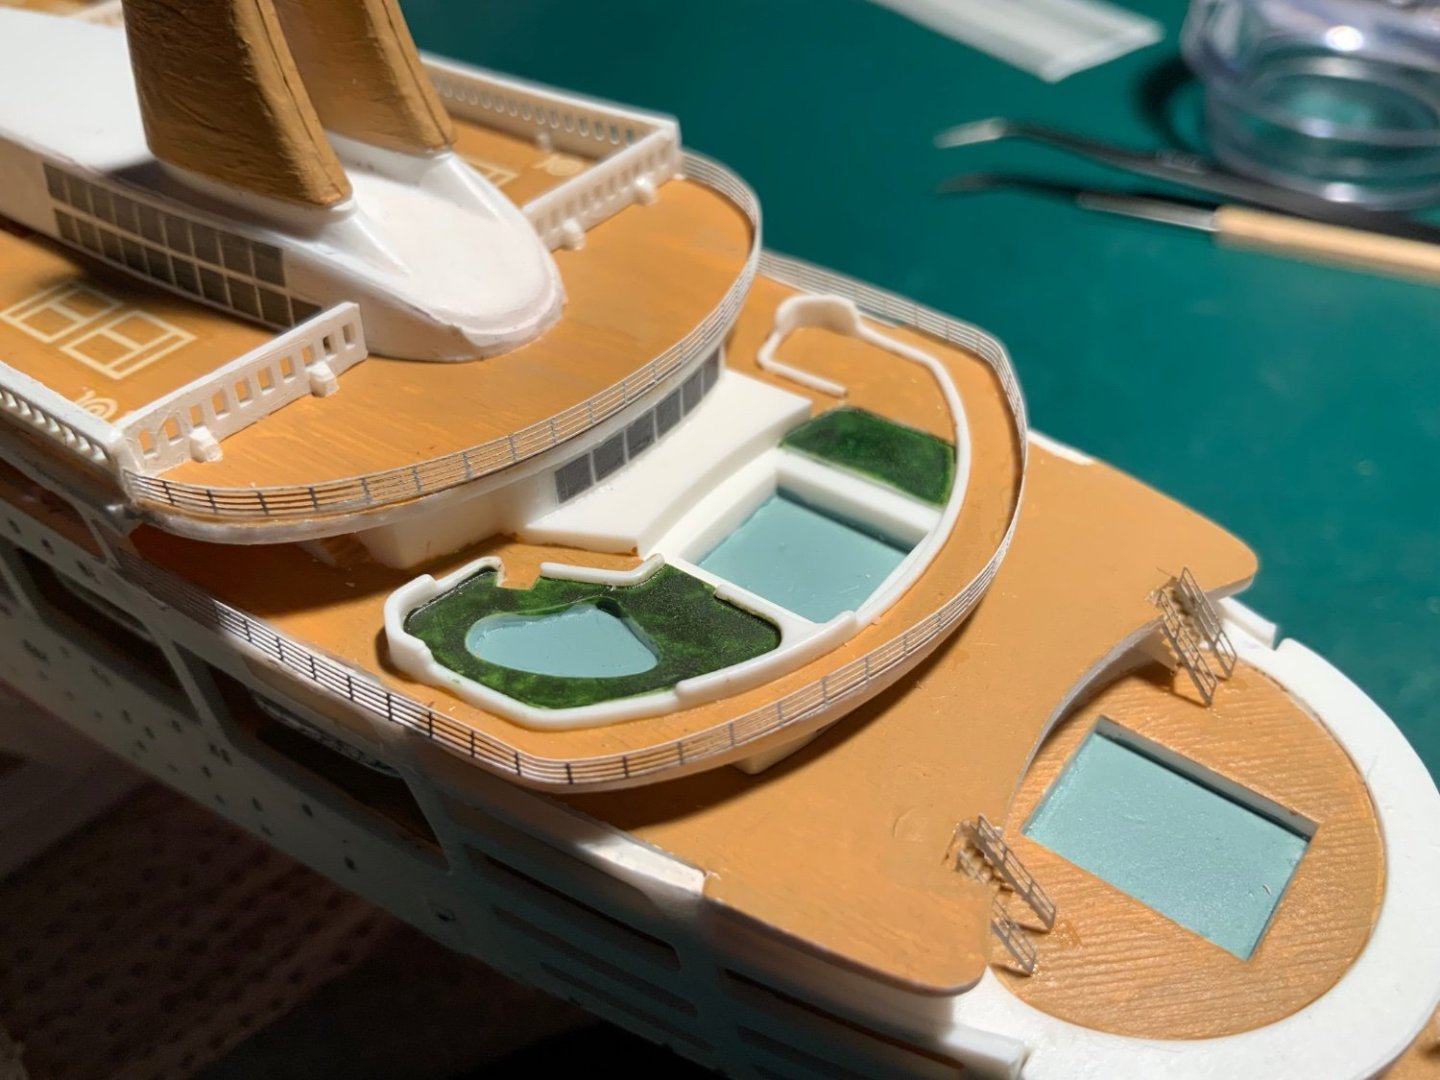
At last, the more difficult railings are in place! I redid one but the others were as good as I could make them I thought. Placing the very small ladder rails, with my wobbly hands, was not too easy!!! The final gluing will have to do for my model.


Now for the boat deck rails - I’ll have to do each one separately I’m afraid - there is no quick way as far as I can think. If I just put in an entire strip of PE rail it would either be too far inboard (I could not glue it either) or it would be outside of the hull!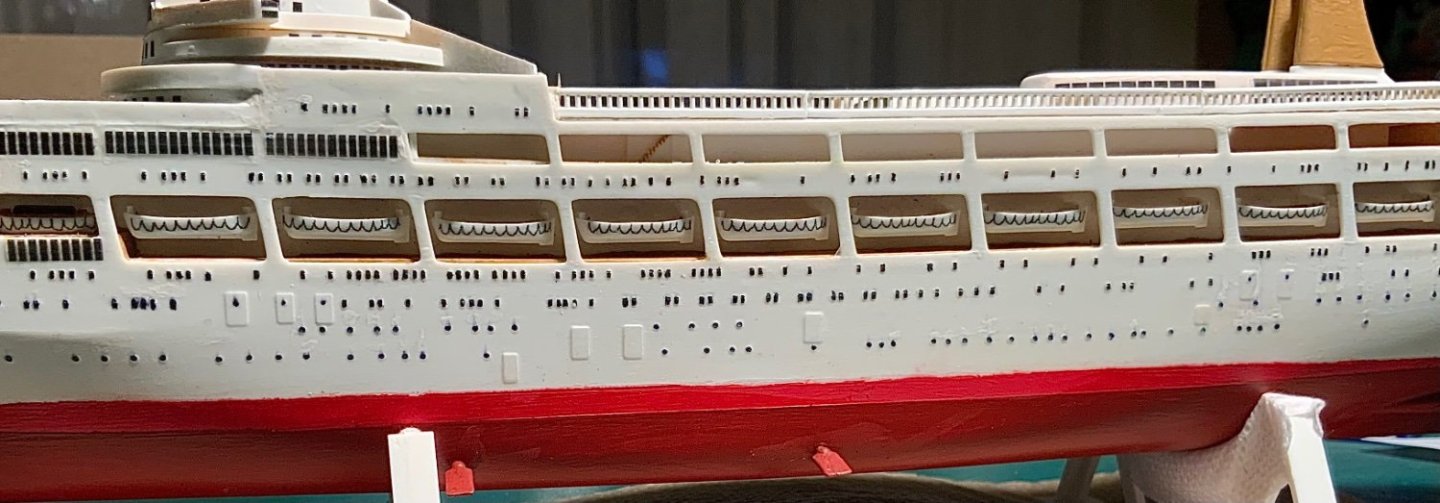
After the boat deck rails, some filling and retouching the areas where paint came off during gluing and manipulation with my tweezers. Then, finally, I hope, the wireless/radar wires etc. How to do that, at reasonable scale, with tension, I have not worked out yet! -
On 2/20/2024 at 8:06 PM, Old Collingwood said:
Thats made a big difference - they really add to the details.
OC.
Thank you. The rails were very small and the ladder rails were even smaller and I found it very difficult getting the parts in the right place!
-
Well, at last, passengers on the upper decks won’t fall off the aft areas! I plucked up courage and set to work with the newly arrived glues. The ‘3 second’ one did not set in three seconds but it was much better than the gel. I managed to hold sections of the rail sequentially around the edge and was fairly pleased with the result. Unfortunately some areas of paint came off and the glue when dry is glossy so I will have to do a lot of touching up. Ladder rails were very difficult because the rails were so small!
Touching up won’t be easy I fear?
- hof00, mtaylor, king derelict and 2 others
-
5
-
I’m not sure that nail varnish sets quickly - thank you Roger for the suggestion. If my ‘new’ superglues don’t work I will try nail varnish next.
- mtaylor, Canute and Old Collingwood
-
3
-
Thanks for the suggestions. I had read about using tape but was frightened that, with my luck, I would not get it off without major damage!
I also read about accelerators but with all the problems that I seem to have had with ‘spraying’ I decided against trying one.
I’ve ordered some quicker drying super glues so will have a go again tomorrow. They’ll probably dry before I get the rail in place though!!!
-

I tried soaking the PE sheet in vinegar as advised but the paint did not stick! I then lightly sanded the surfaces and sprayed them with primer. It seemed to work and there was no ‘clogging’.
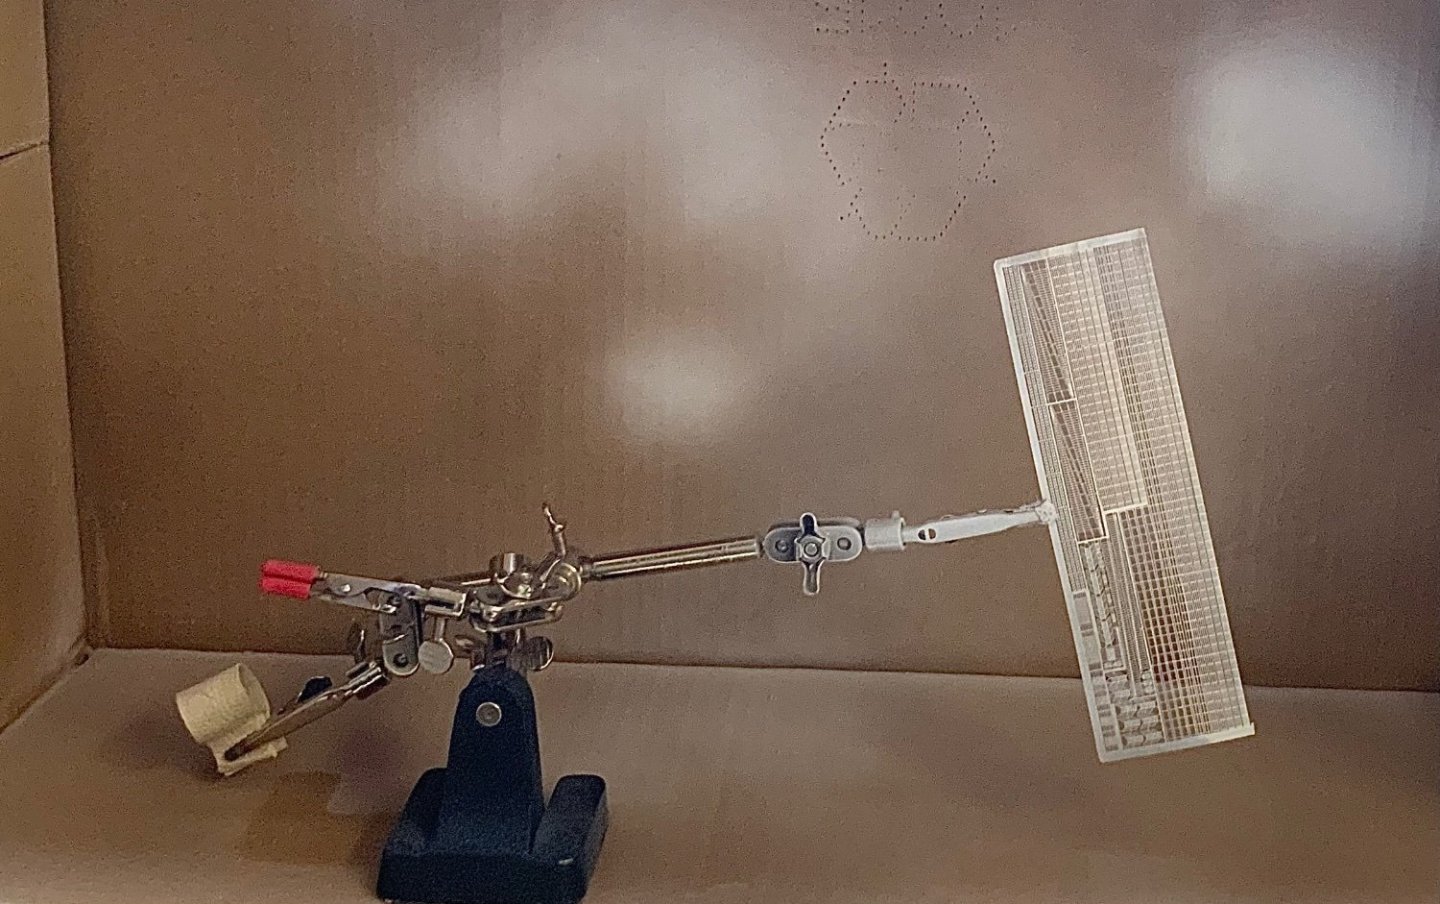
Dilute white acrylic (two coats) was applied with the PE sheet on a paper underlay so that the paper seemed to absorb the paint between the railings. Cutting the railing presented no problems but trying to glue the railing to the aft games deck was another disaster! The super glue took so long to dry that I could not hold the rail in position correctly so I abandoned the task. I must get some quicker drying super glue I think? -
Thank you Jeff.
One last thought, this ‘Mayflower’ probably actually traveled further than the real ship. It went, as a kit in its original box, from Nürnberg to Brisbane, to Wellington and finally back to Nürnberg, where it was finally built up over 50 years later by an 89 years old ‘rentner’ and thimble collector.
- Ferrus Manus and Knocklouder
-
2
-
Thank you. The USF Confederacy looks like another beautiful model.
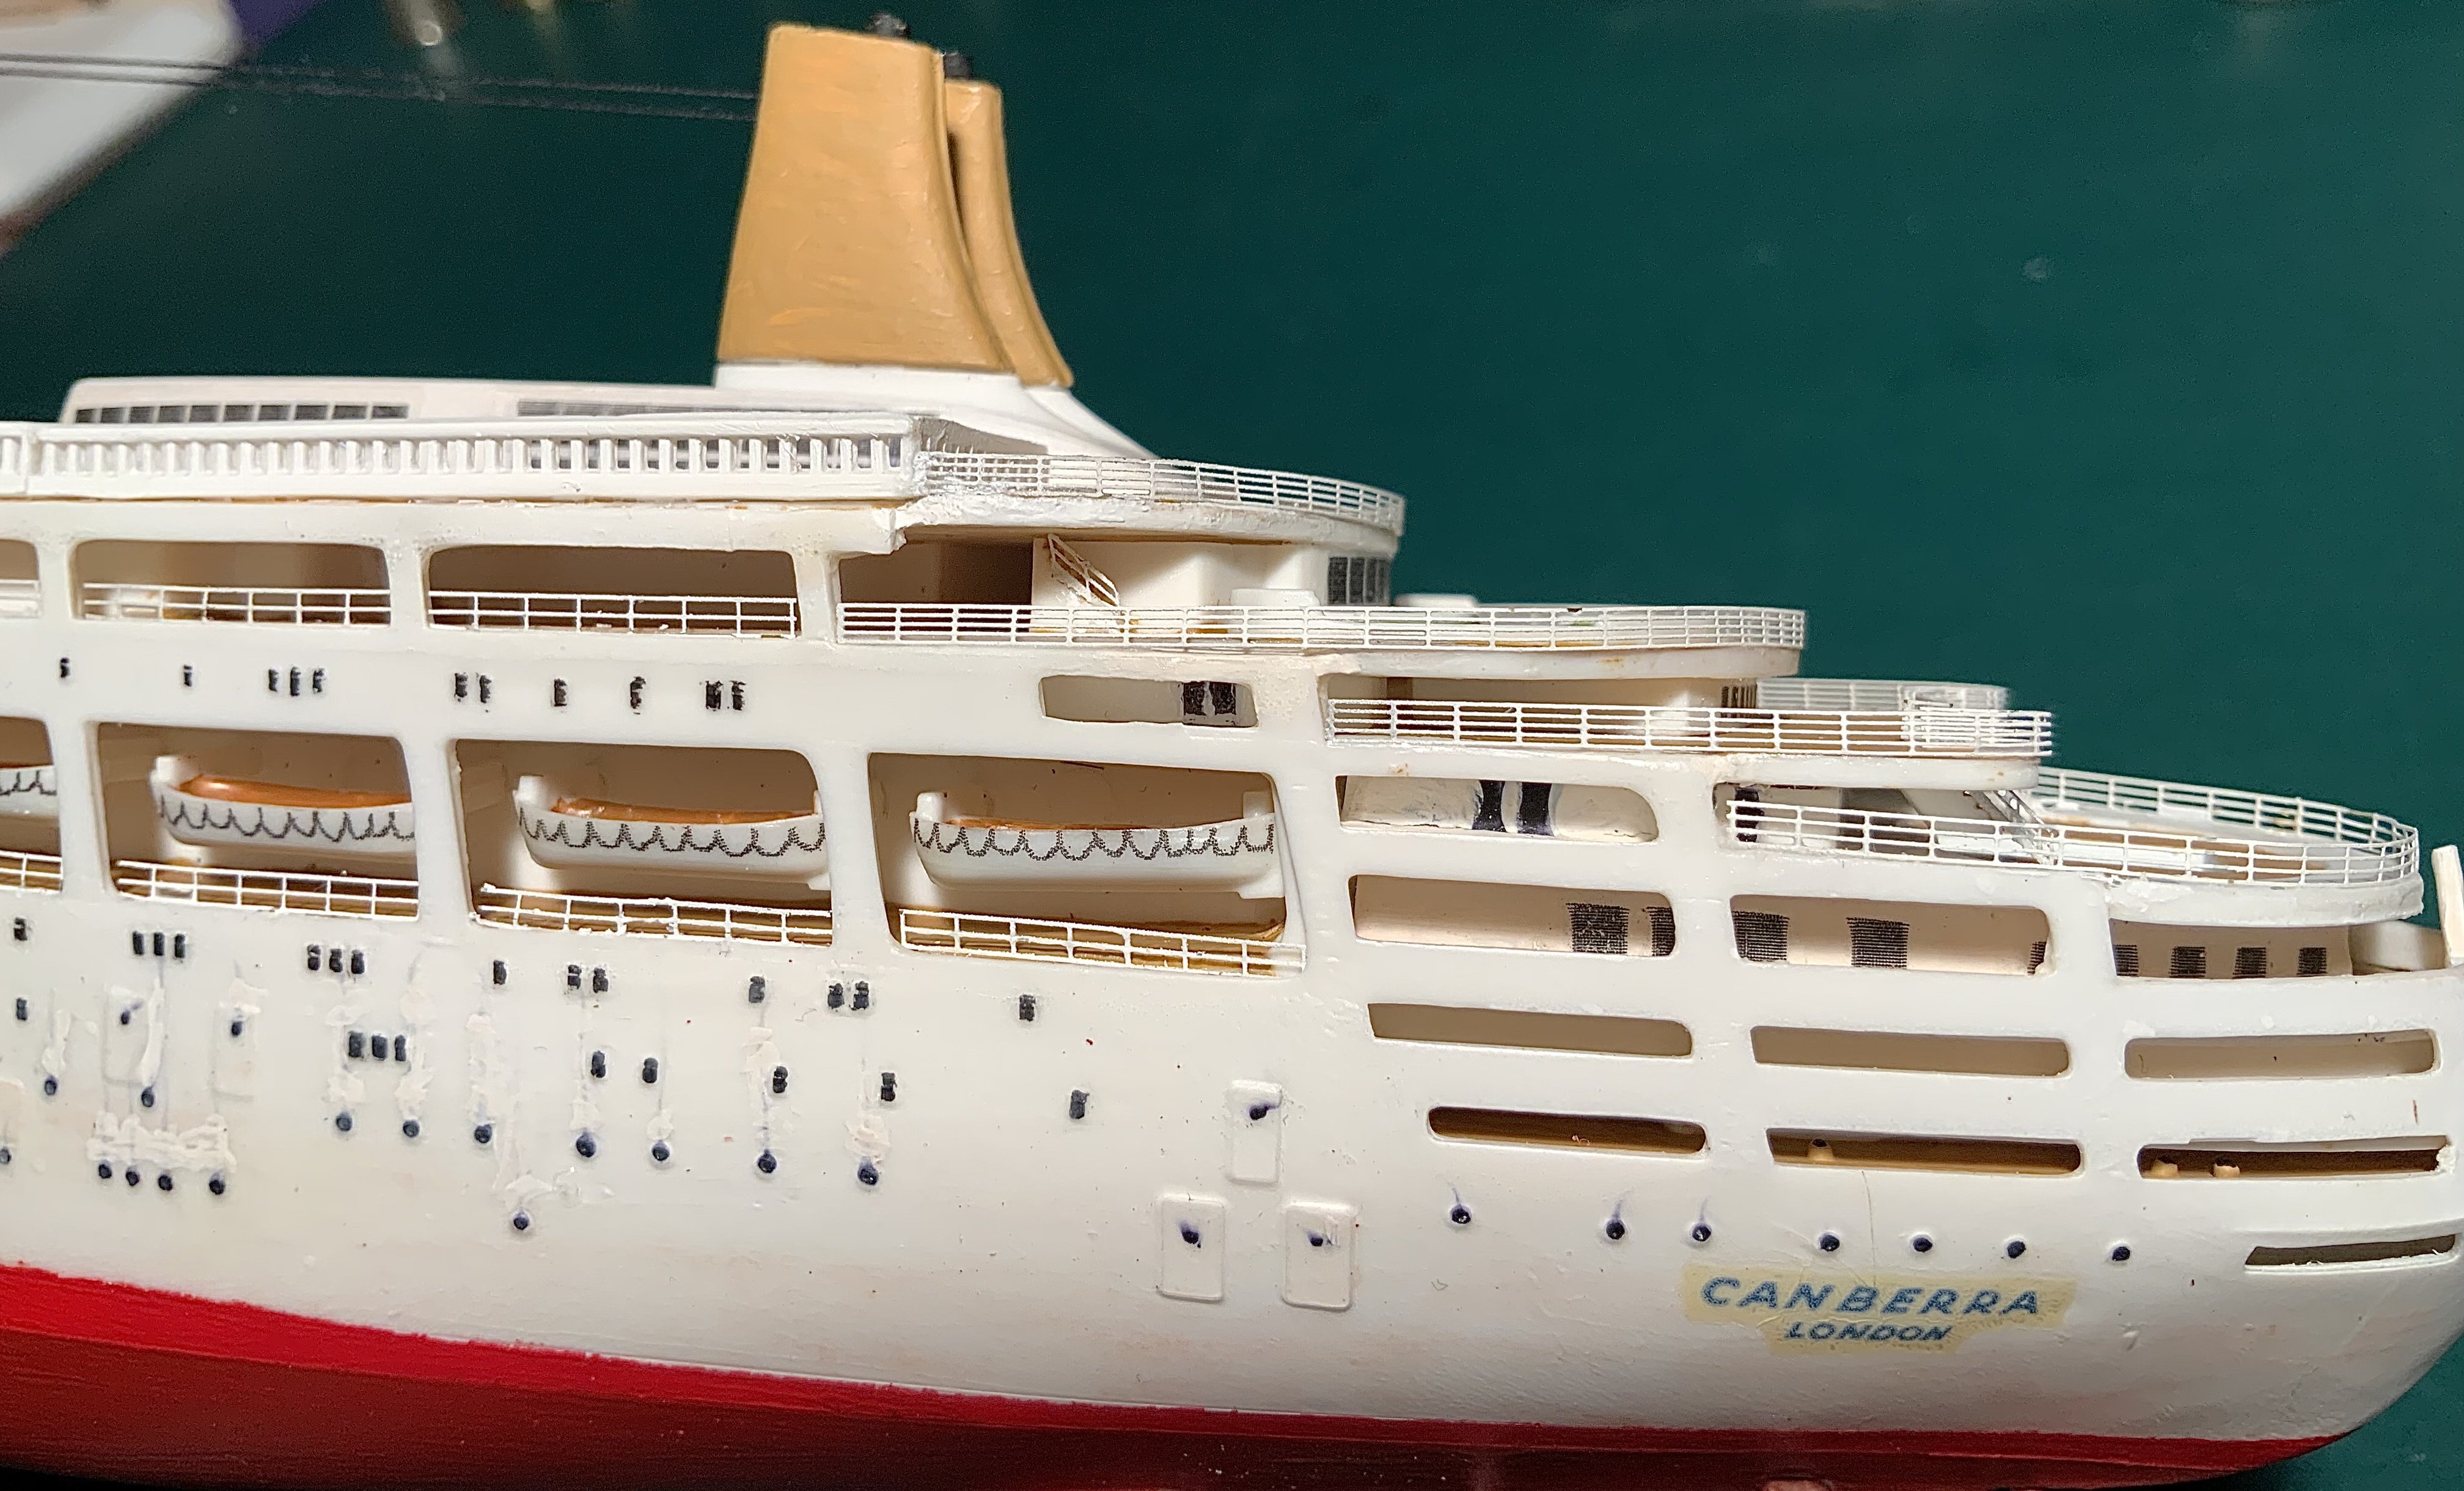
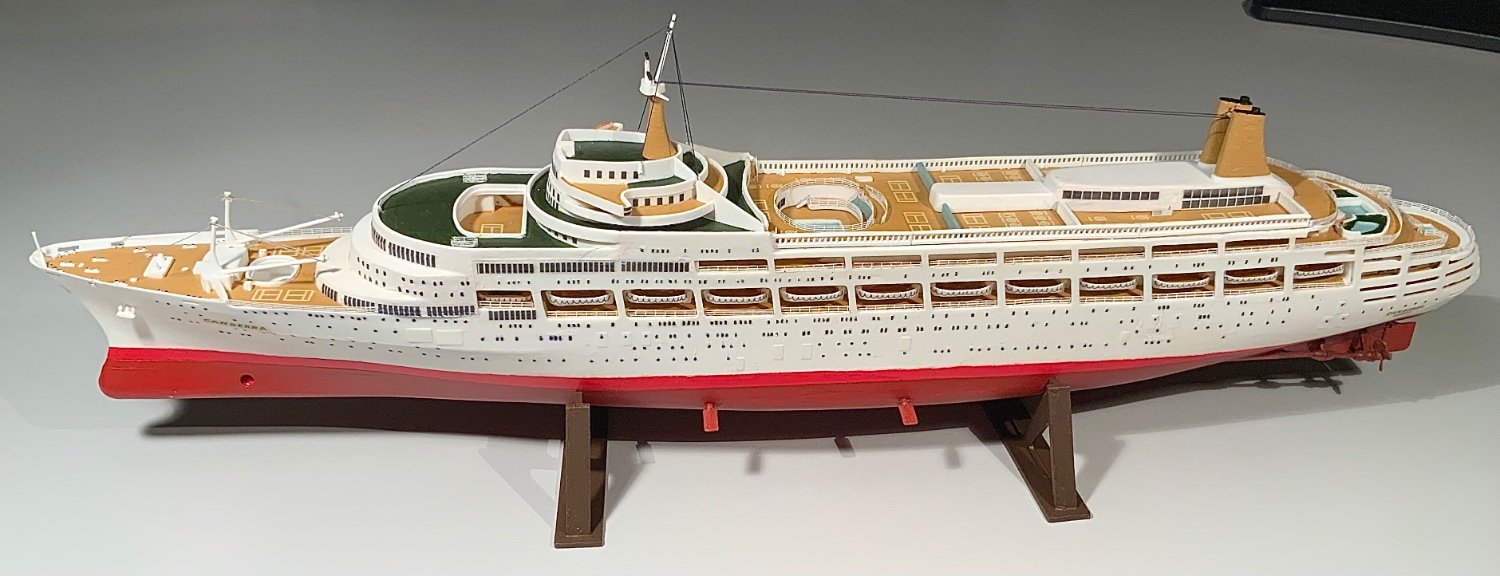
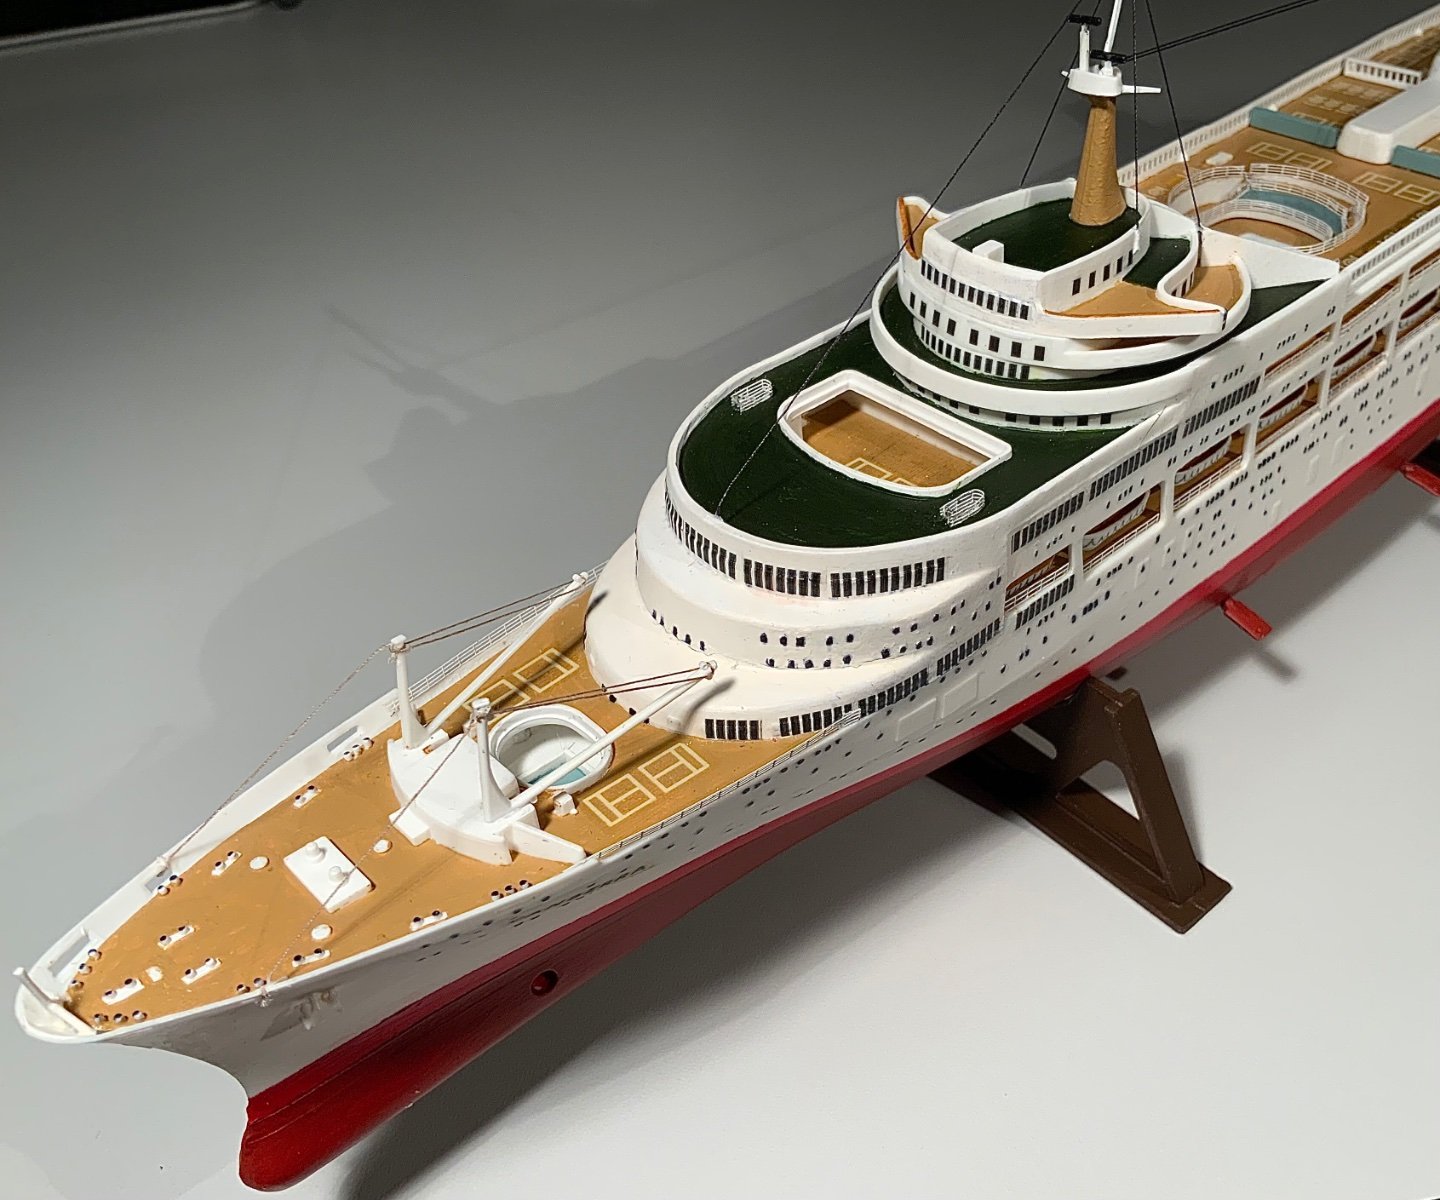

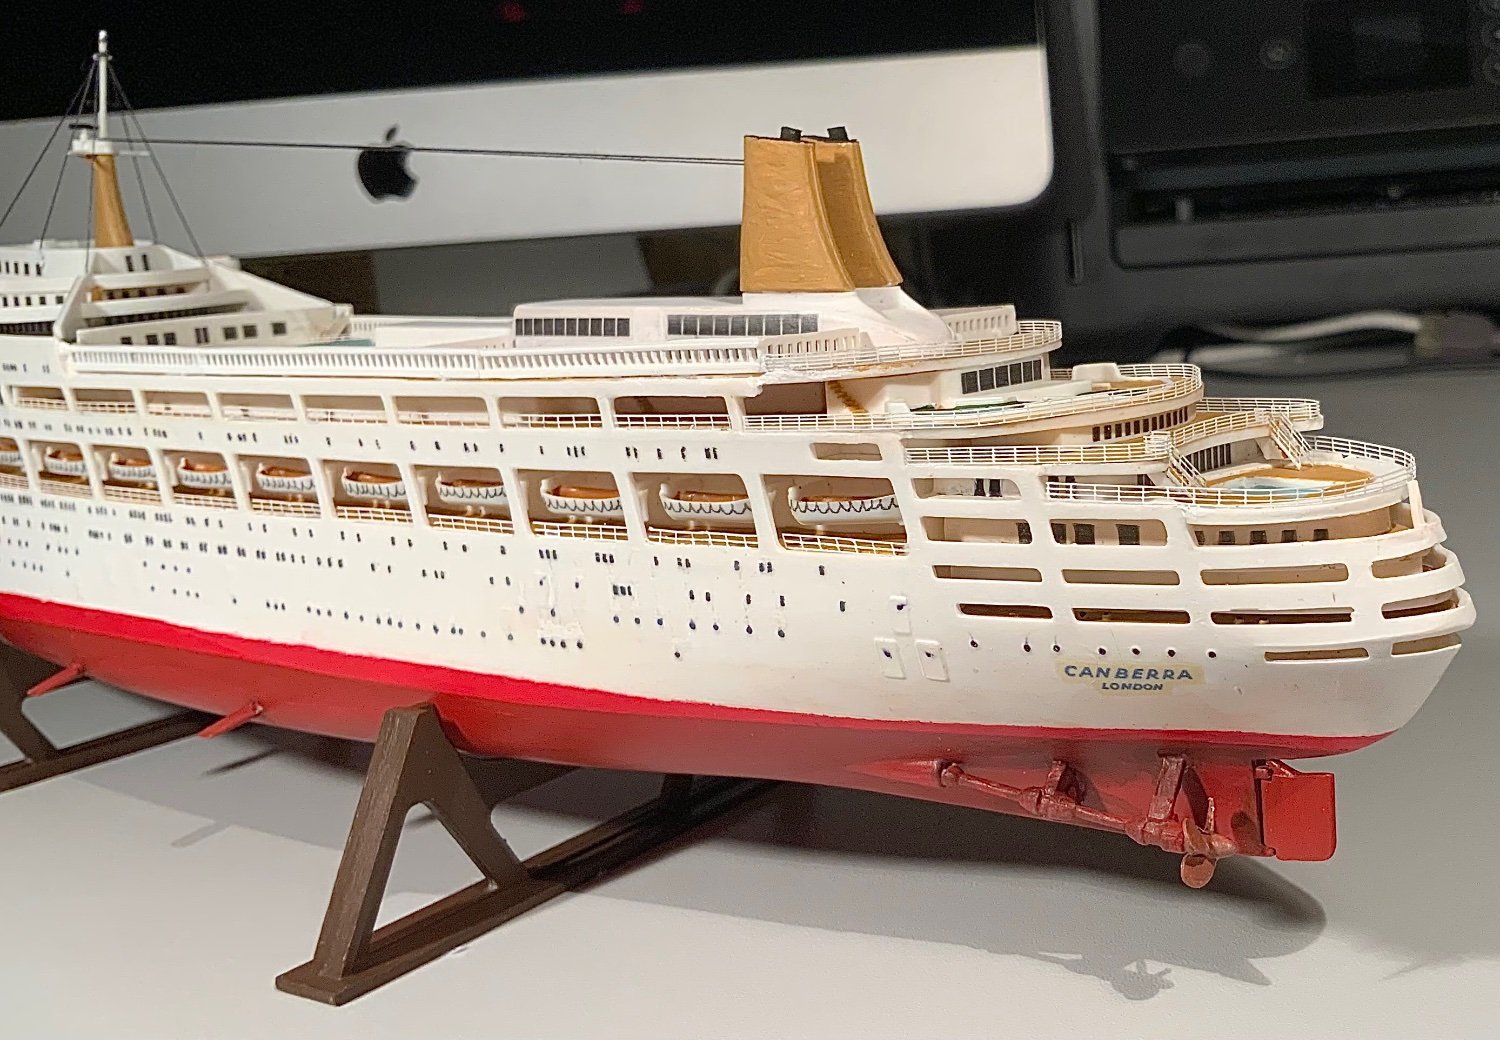
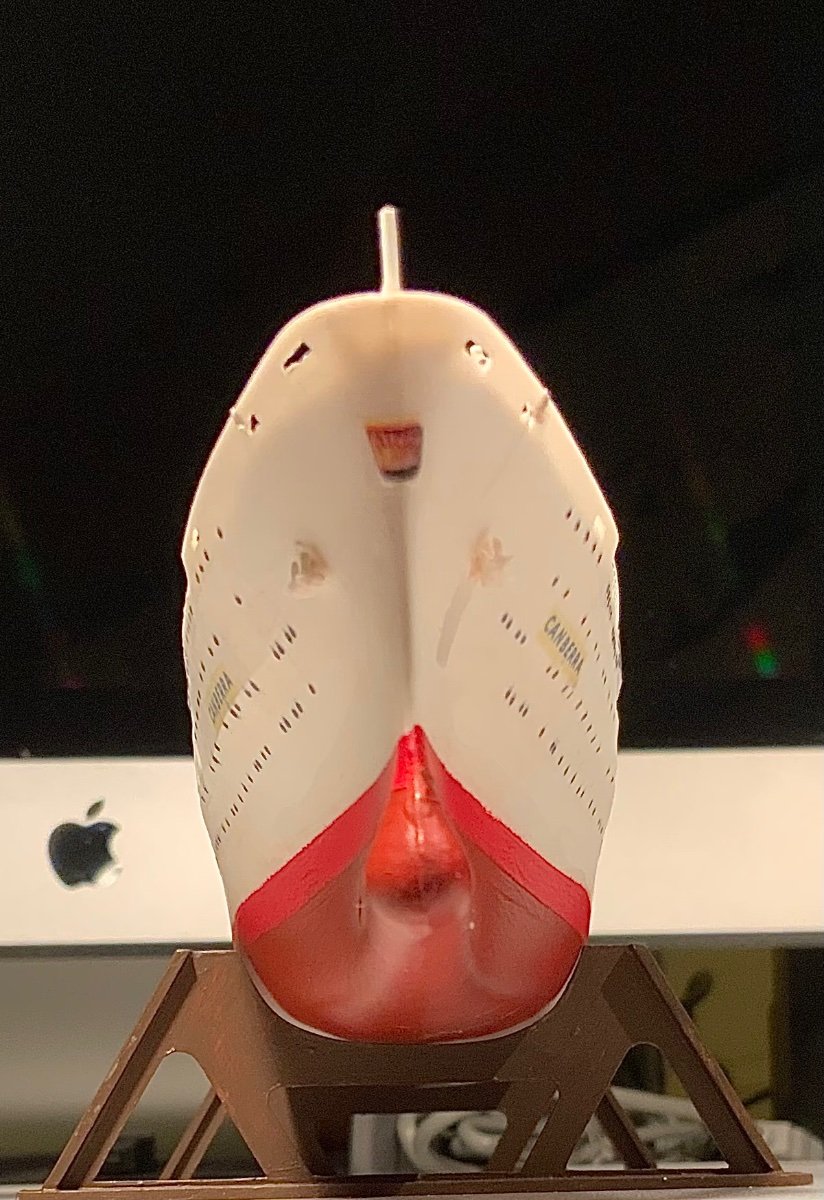


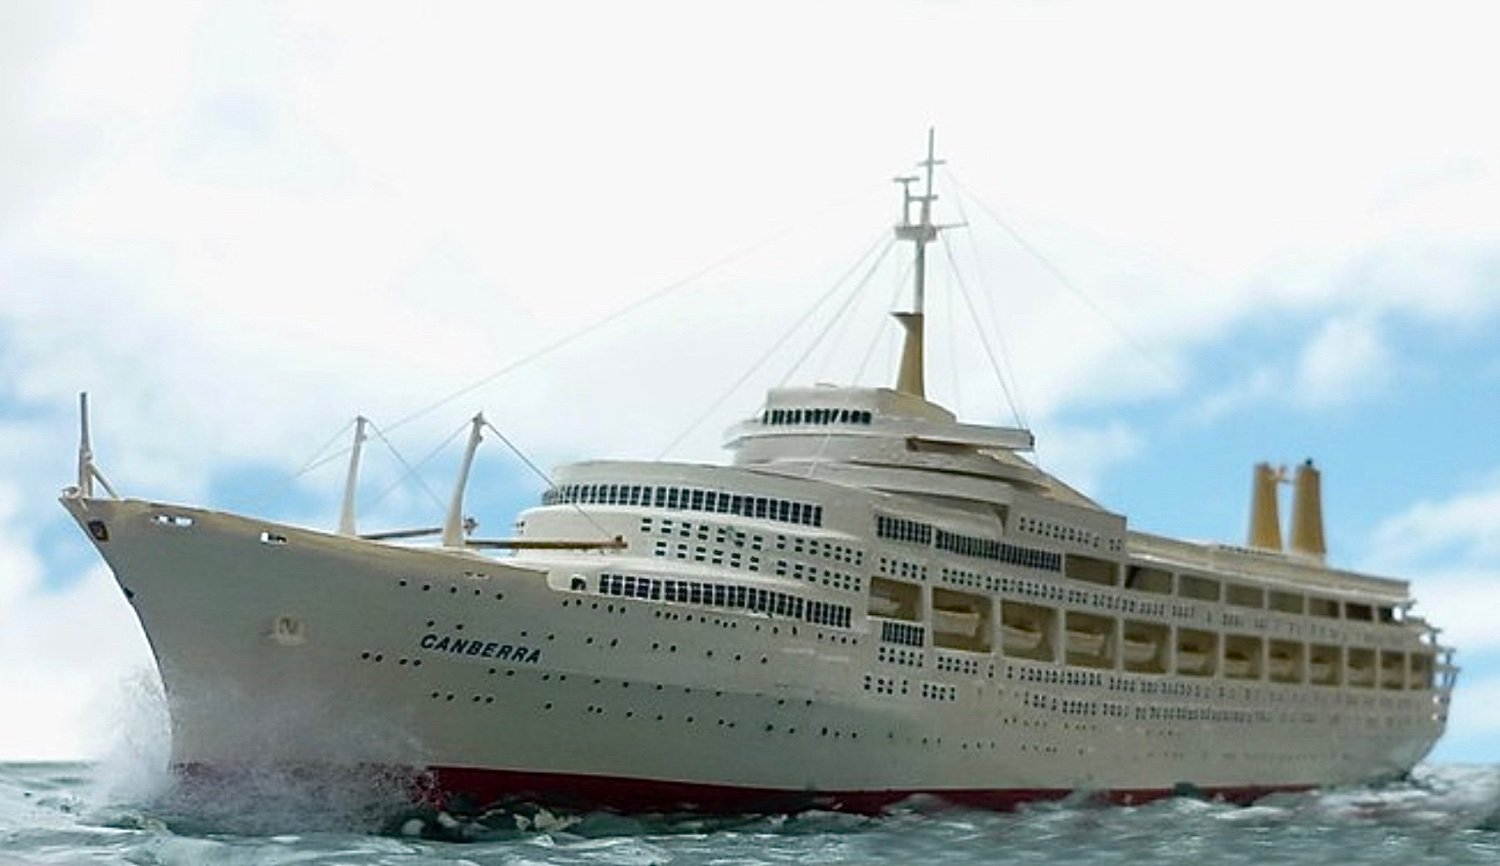


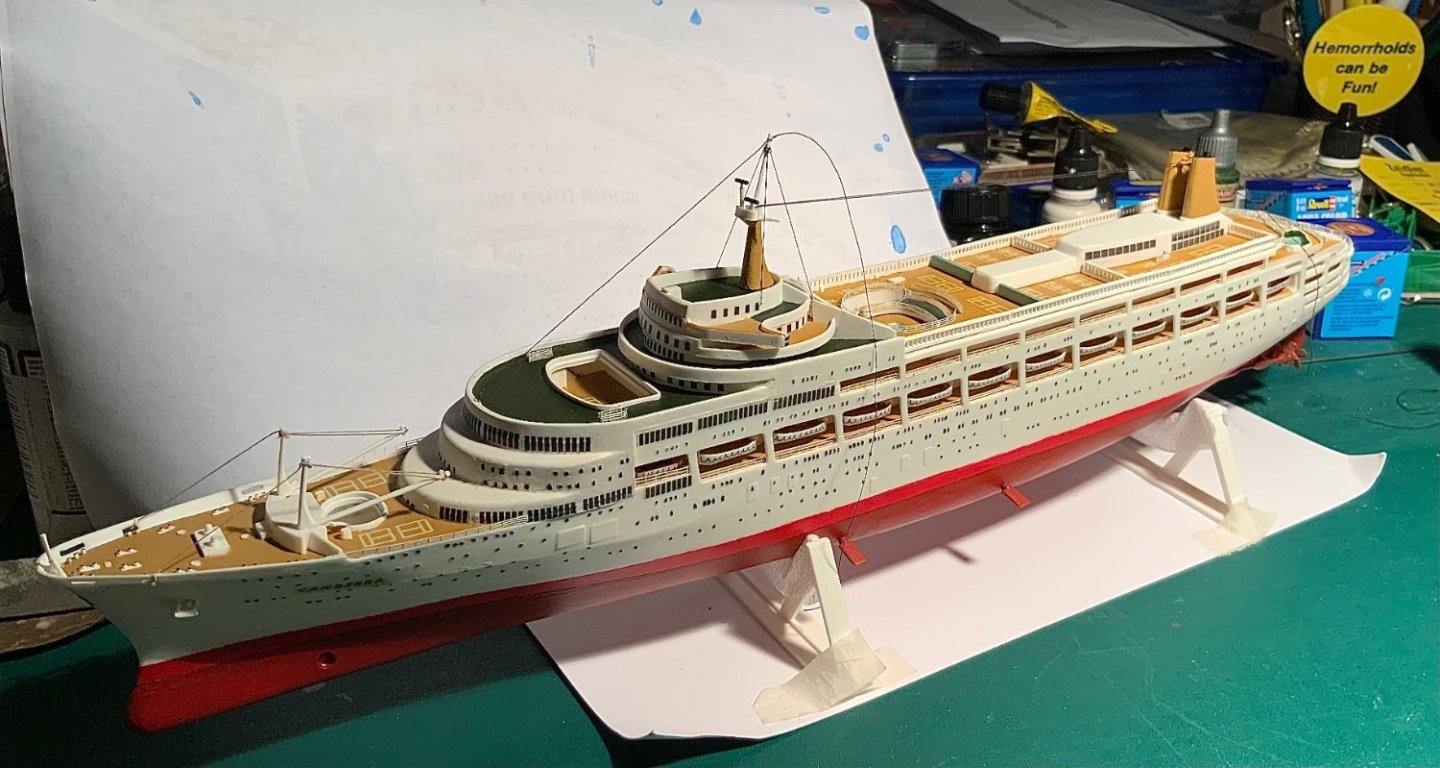
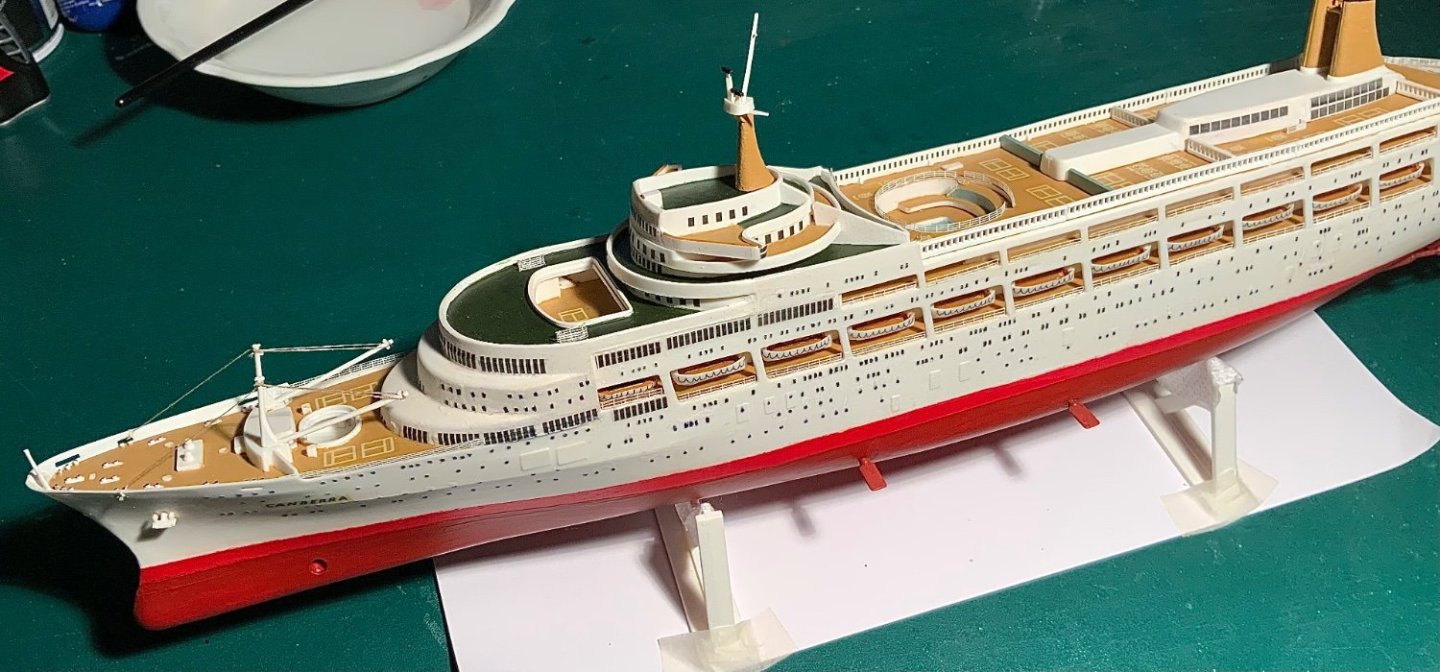
SS Canberra by Old Rentner - FINISHED - Airfix - 1/600 - PLASTIC
in - Kit build logs for subjects built from 1901 - Present Day
Posted
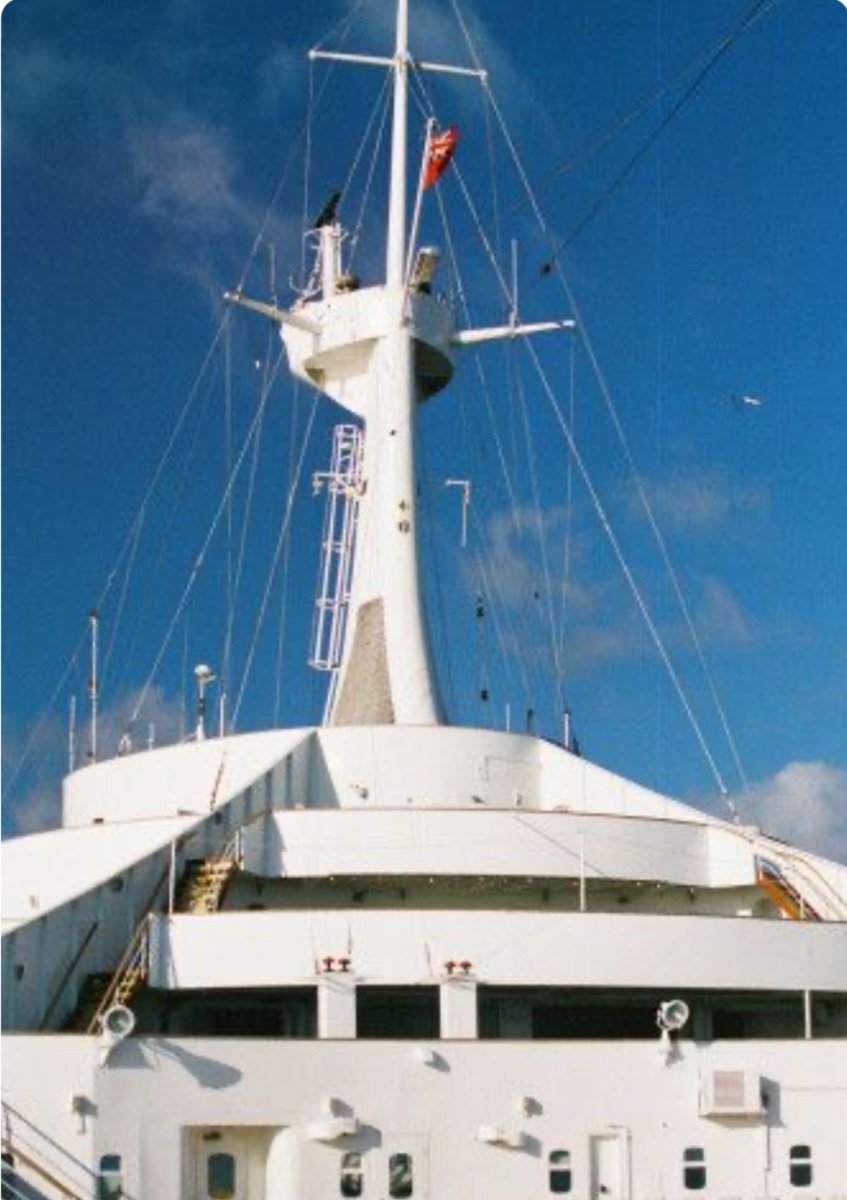
More lines and cables added and missing stairways on bridge replaced!
Hopefully I don’t find anymore to add!???