kgstakes
-
Posts
400 -
Joined
-
Last visited
Content Type
Profiles
Forums
Gallery
Events
Everything posted by kgstakes
-

Use of “other power tools”
kgstakes replied to kgstakes's topic in Modeling tools and Workshop Equipment
It is not a stand alone, Internet access needed. I do know that much🤪 and I have windows. Other than that 🤷🤷. Just worked for what I tried. Oh and usb or WiFi it’ll work both -
Use of “other power tools”
kgstakes replied to kgstakes's topic in Modeling tools and Workshop Equipment
All these questions about the computers and interfaces and such. I’m sorry guys but I’m a simple man have absolutely no idea what it is. I’m sure if I dig into it I could tell you but right off hand I’m sorry have no idea. All I know is I’ve use sketch up and that works (sometimes) and I’ve used freecad and that works if you bring it in to the cricut program and then resize the whole project to the correct size (which is just a few clicks). Again sorry guys I don’t have all the answers you’re looking for……. Wish I did. 🤷🤷 -
Use of “other power tools”
kgstakes replied to kgstakes's topic in Modeling tools and Workshop Equipment
The model my wife has is an older one it’s a Explore Air i know there’s newer ones out there that can do thicker material (don’t think 1/8-1/4) but maybe 🤷🤷🤷 -
Use of “other power tools”
kgstakes replied to kgstakes's topic in Modeling tools and Workshop Equipment
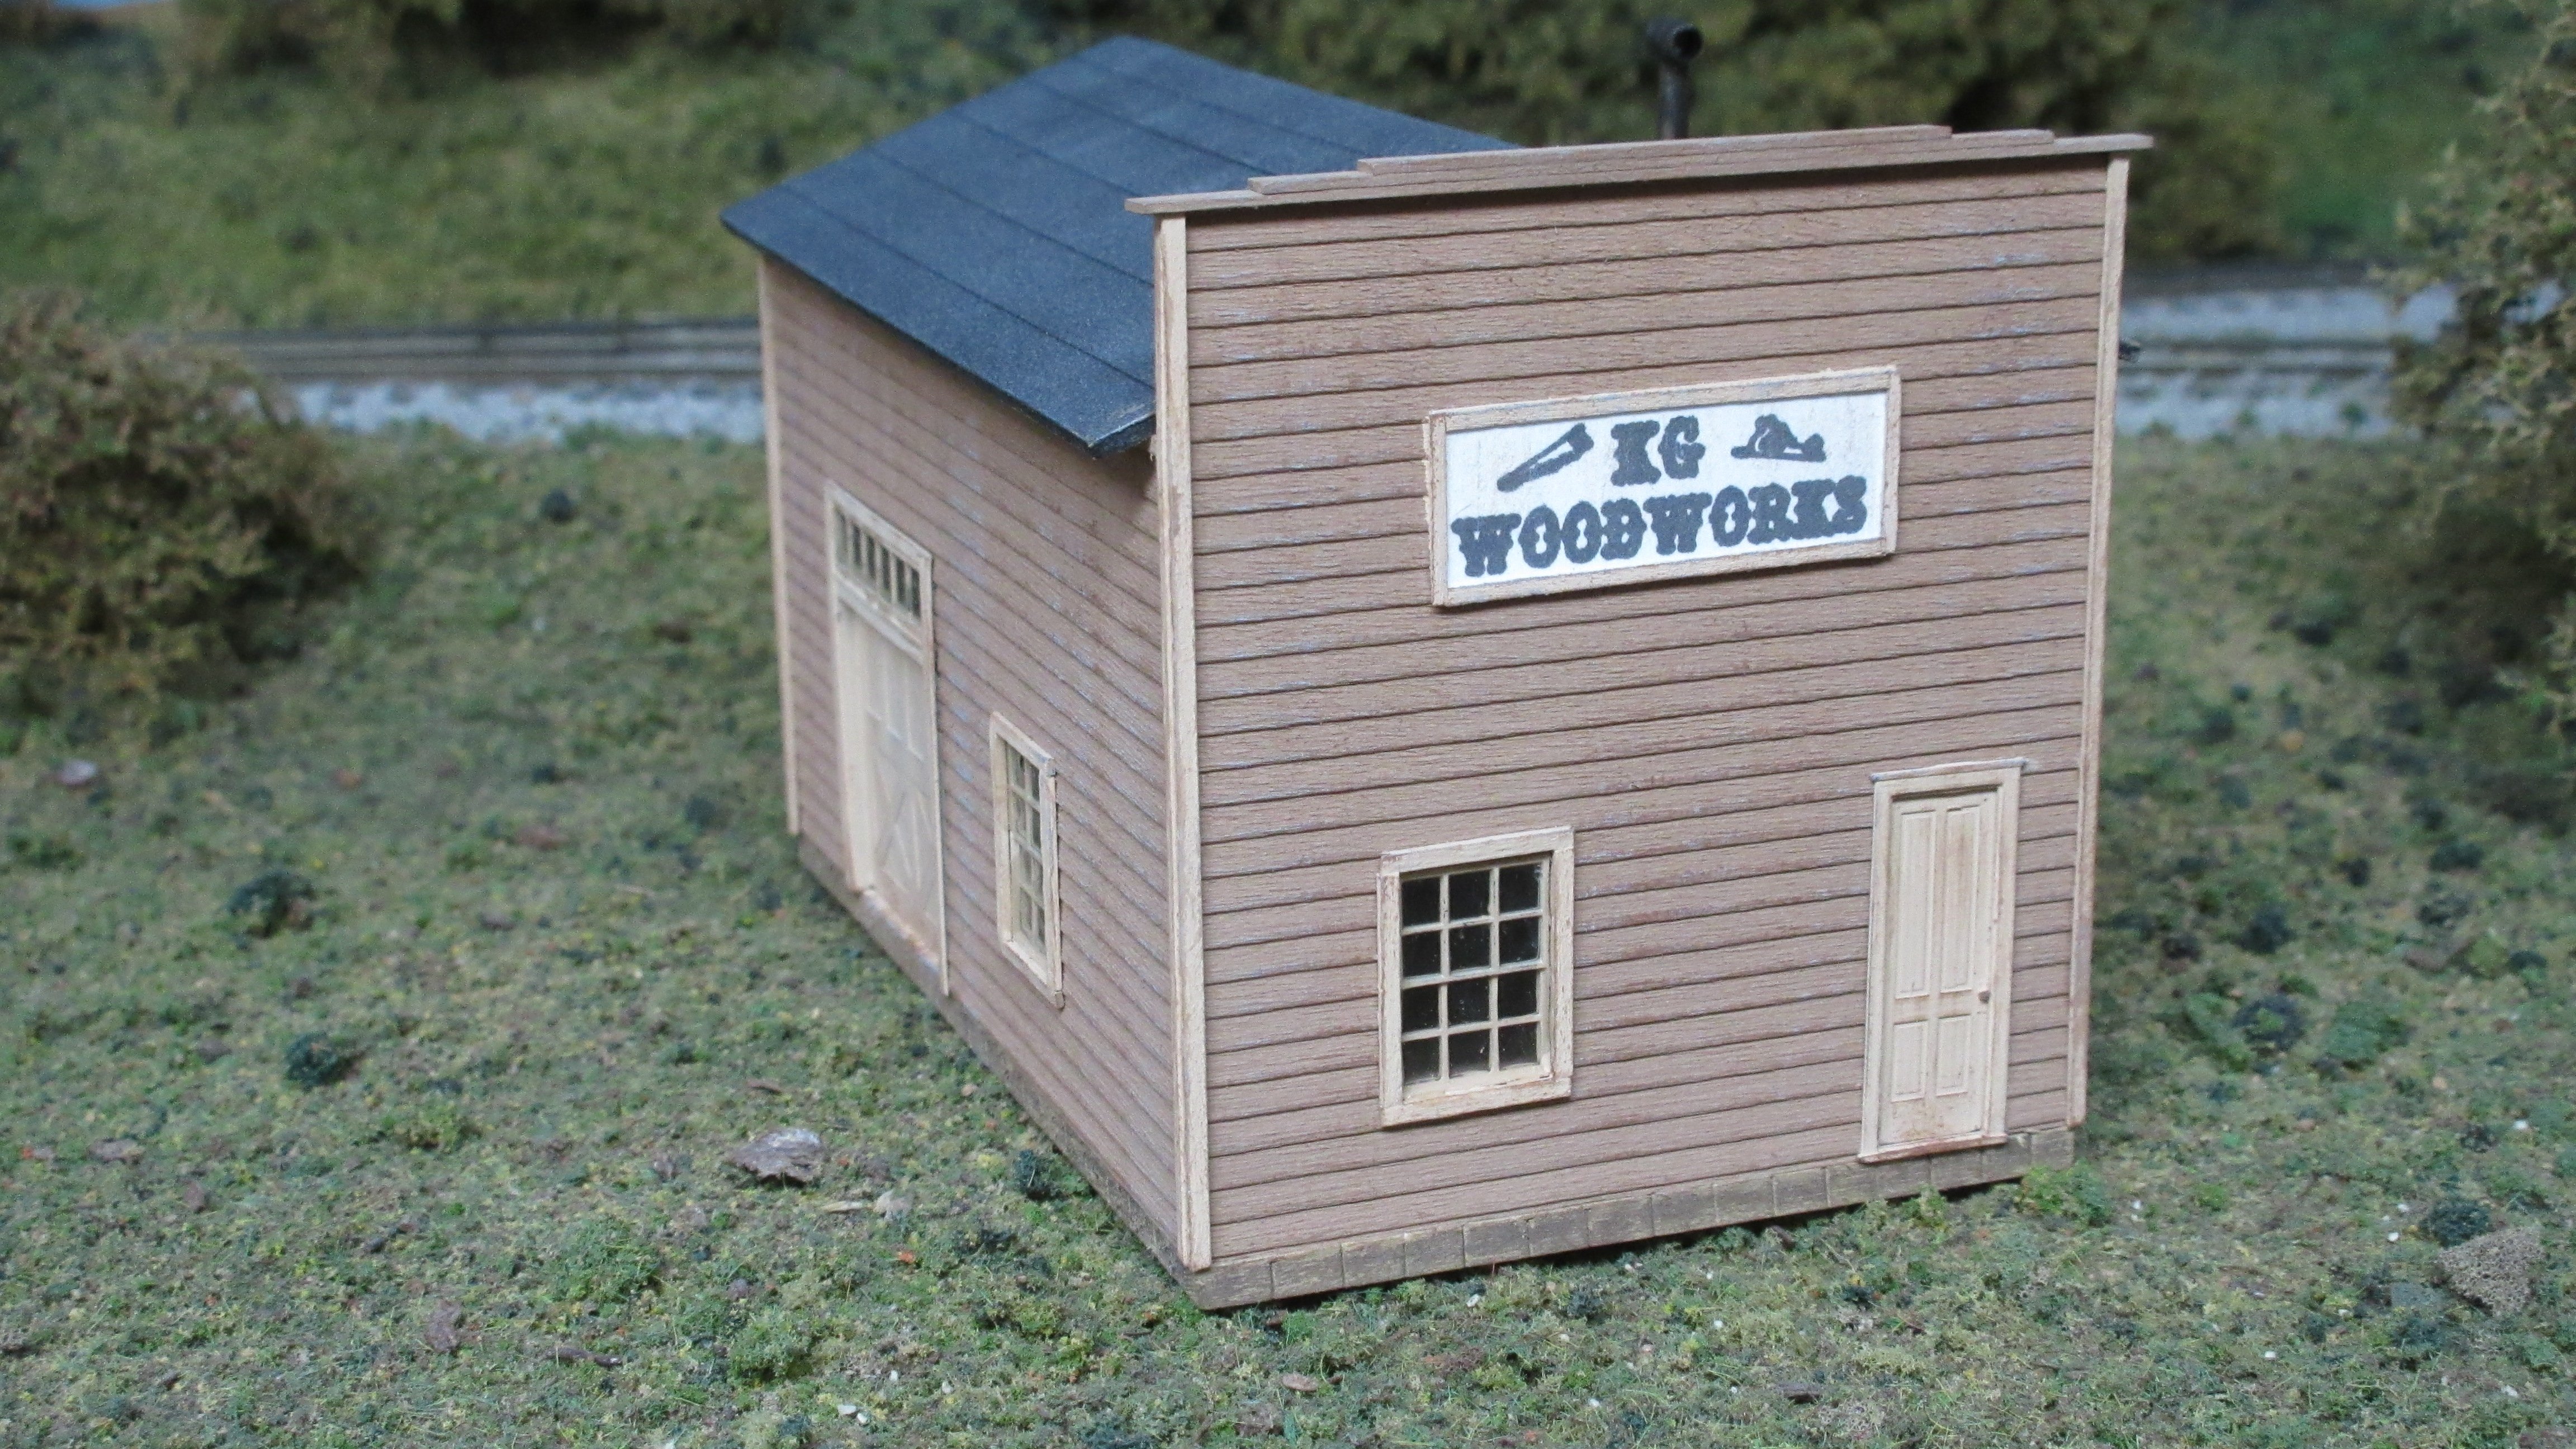
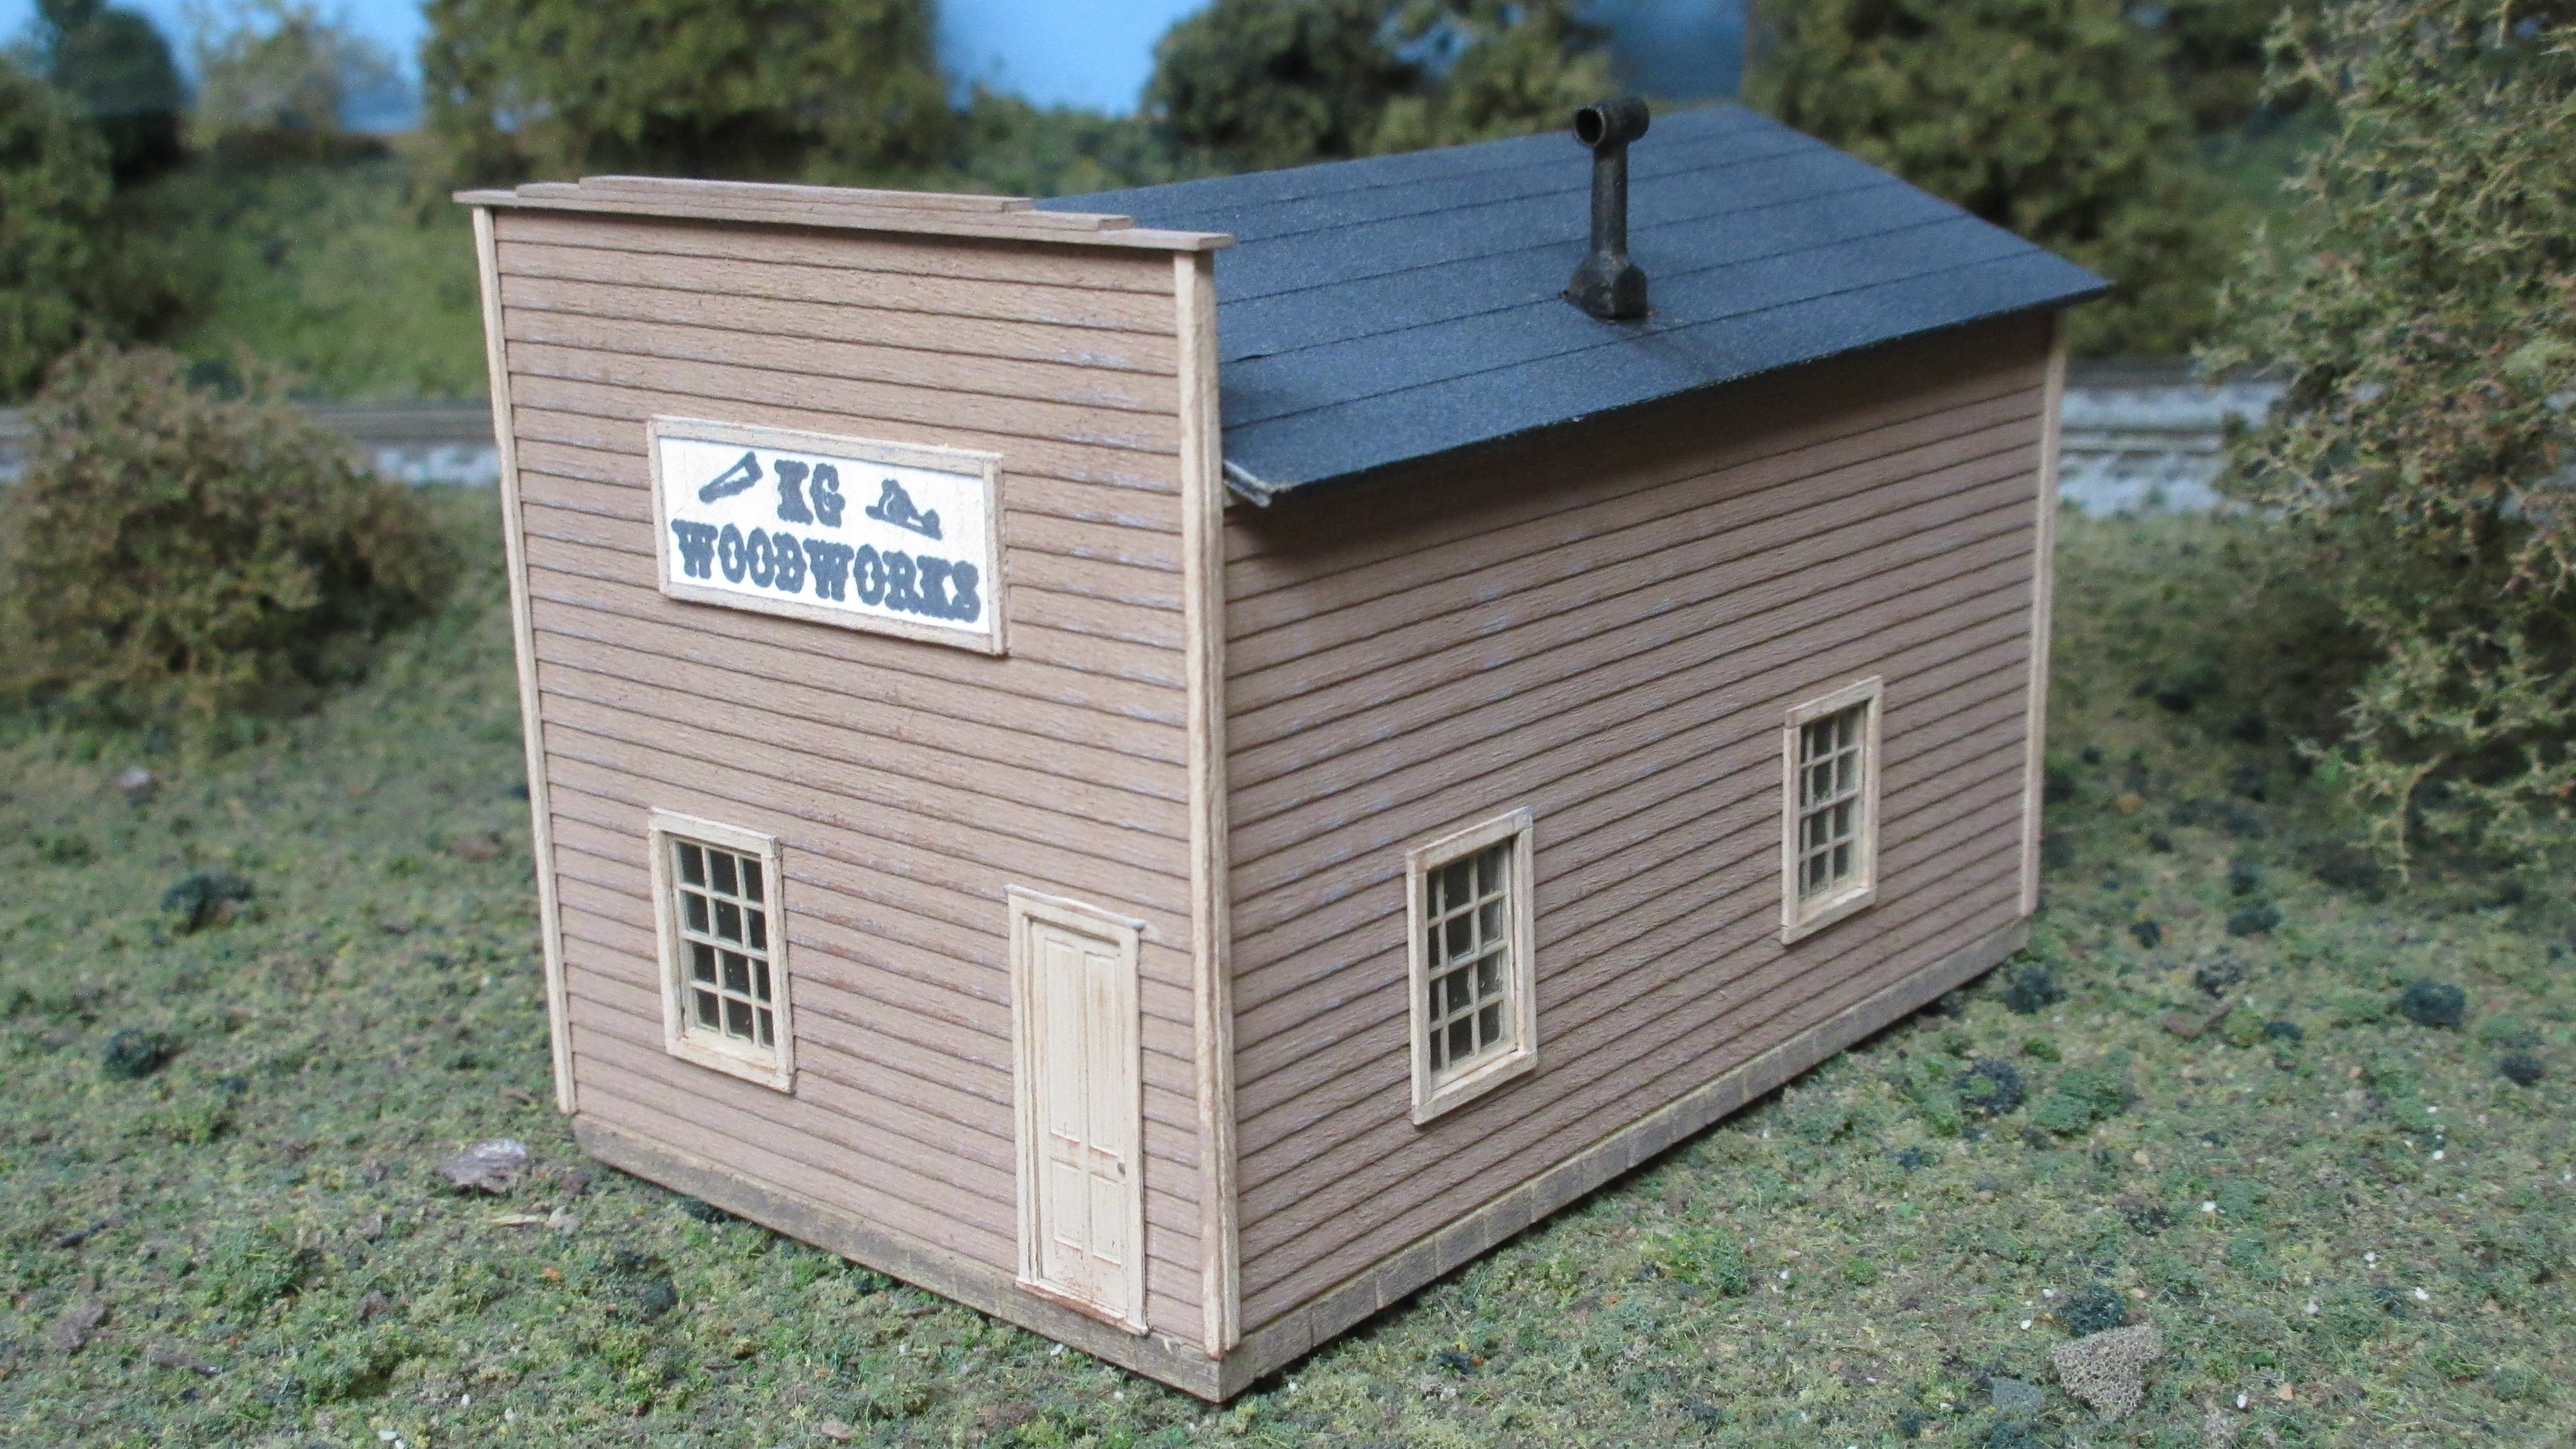
Video of the cricut cutting out the two roof pieces. I tried to upload the one where it's cutting the windows out of the side walls but video to long 🙃. Might be longer than a laser to cut parts, but you don't have to clean up any burnt edges !! MVI_0798.MP4 -
Use of “other power tools”
kgstakes replied to kgstakes's topic in Modeling tools and Workshop Equipment
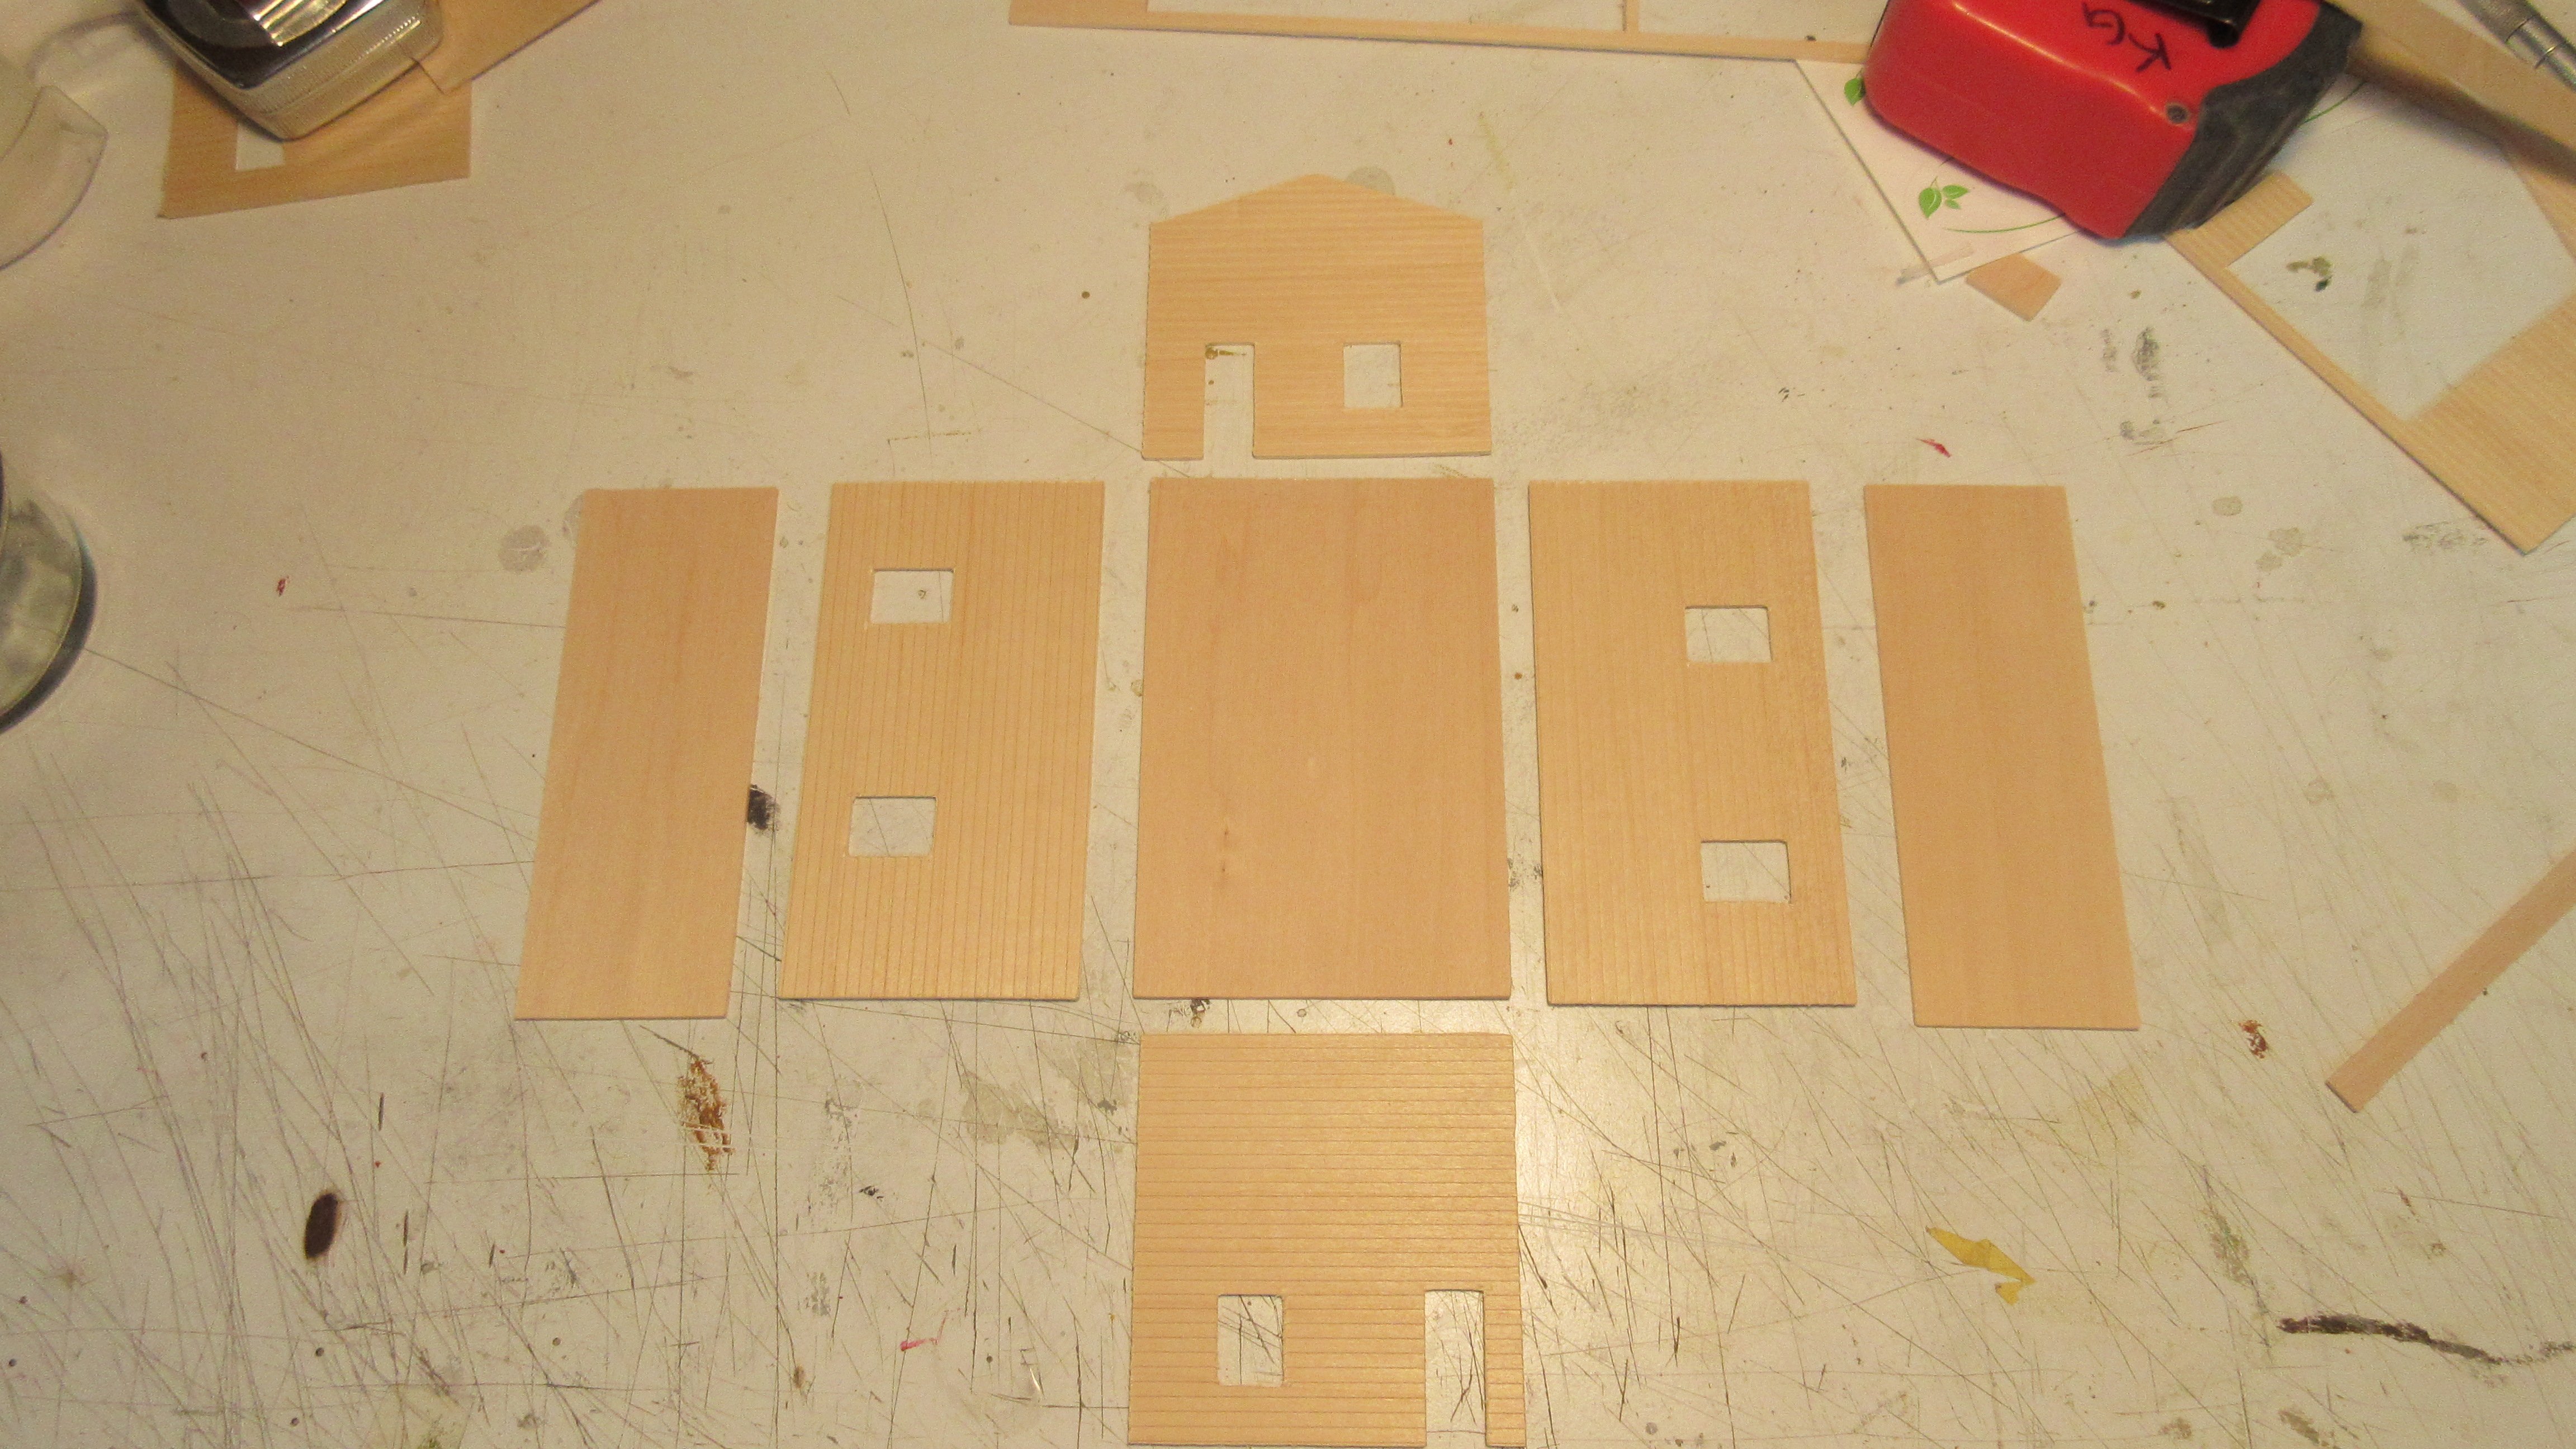
Oh to answer another question about the blade. It’s a swivel blade. When the machine changes direction the blade free rotates and follows. For 1/16” basswood you have to set it up to do multiple passes. When I get to my computer I’ll post a video of it cutting the sides for the above structure. -
Use of “other power tools”
kgstakes replied to kgstakes's topic in Modeling tools and Workshop Equipment
A cricut is not a machine that could or even should replace a laser cutter. It’s just a less expensive way to cut your own parts. cricut is a few hundred dollars a laser in a few thousand dollars. Definitely a big difference in price and also quality of cut and what you can do with a laser you can’t do with a cricut. Cricut too limited. But if you don’t have the money for a laser and you, your wife, or partner, has a cricut, try it see what it can do. It surprised me. -
Use of “other power tools”
kgstakes replied to kgstakes's topic in Modeling tools and Workshop Equipment
You can use cad but some of the drawing programs I’ve found that the only thing I had to do was resize the whole wall to the correct size and then cut it. when I resized everything the windows and floors were then the correct size as well. You can also just draw with the cricut program and no resizing is needed then. -
Use of “other power tools”
kgstakes replied to kgstakes's topic in Modeling tools and Workshop Equipment


-
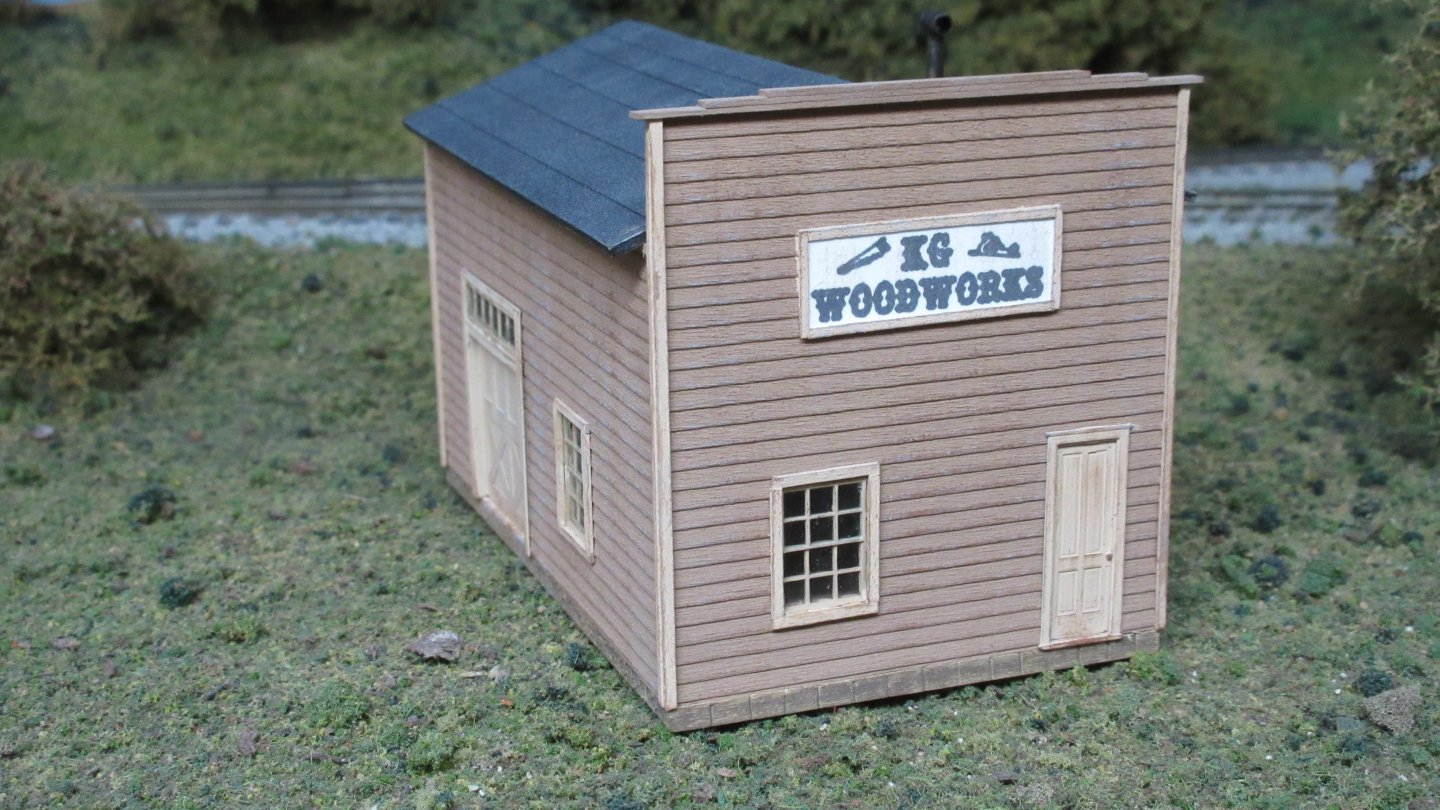
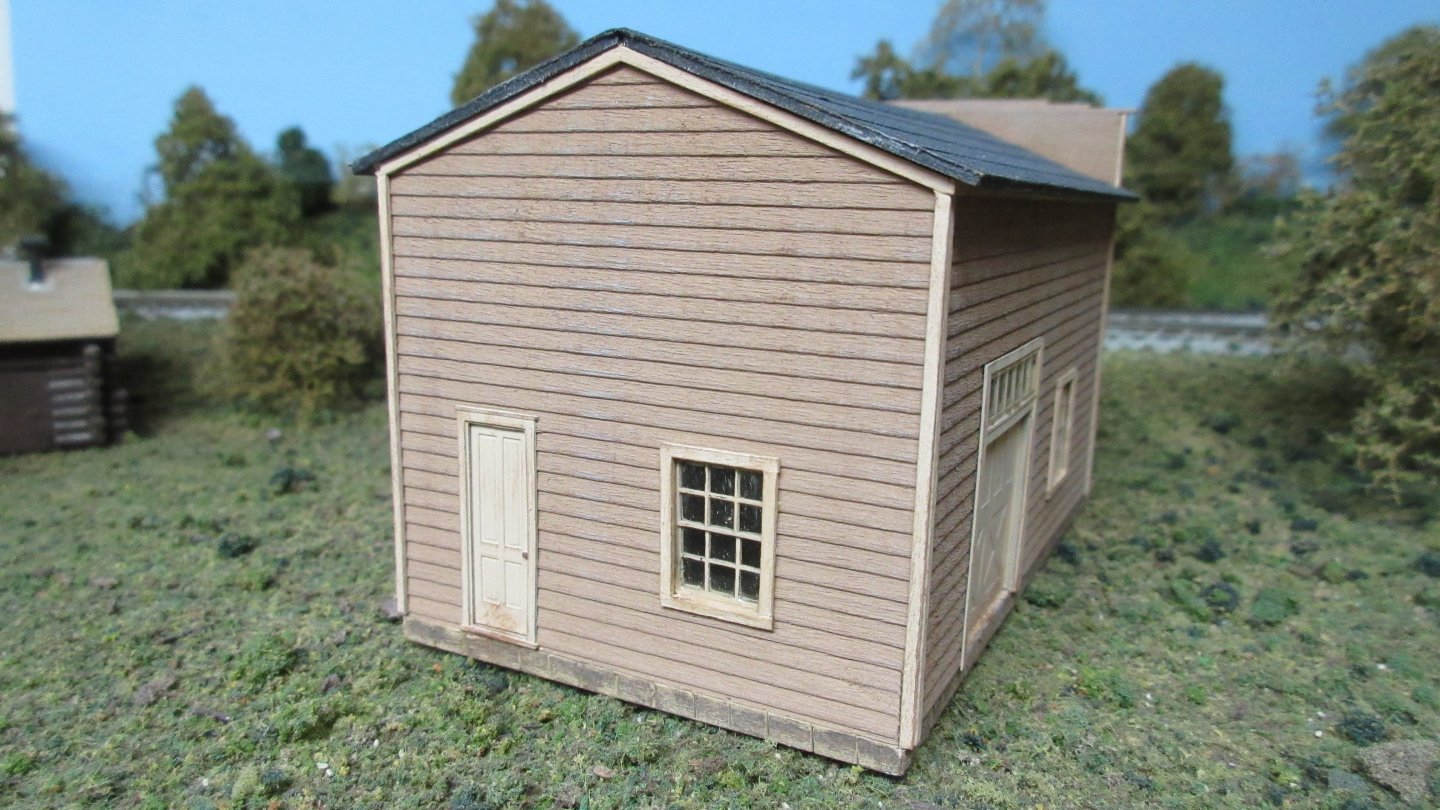
This may have been mentioned before but have any of you tried cutting with cricut or similar device? I’ve used my wife’s once and it did a really good job (surprisingly). I was cutting out a building out of 1/16” thick basswood clapboard. You have to put your work face down for the windows and doors to be a tight fit but the cut was good and clean.
-
Self cleaning sand paper
kgstakes replied to woodartist's topic in Modeling tools and Workshop Equipment
Like the thinking of sandpaper going from 80 grit to 120 so and so. Not really, your sand paper is actually getting “dull”. Take your worn sandpaper and sand a piece of wood, then take a fresh sandpaper (what you think the worn paper is, say 120. Sand the same wood. The fresh 120 will give you a better finish, because the paper is “fresh or sharp”. Like the mess paper but use different grits when sanding. Your stain or clear finish or even paint jobs will come out better and smoother. -
Chopper Lesson Learned
kgstakes replied to Todd Hart's topic in Modeling tools and Workshop Equipment
thought I would chime in here as well with the ultimation slicer and sander. Better yet look at this video. Definitely worth the money. Hopefully it will load. Video.mov -
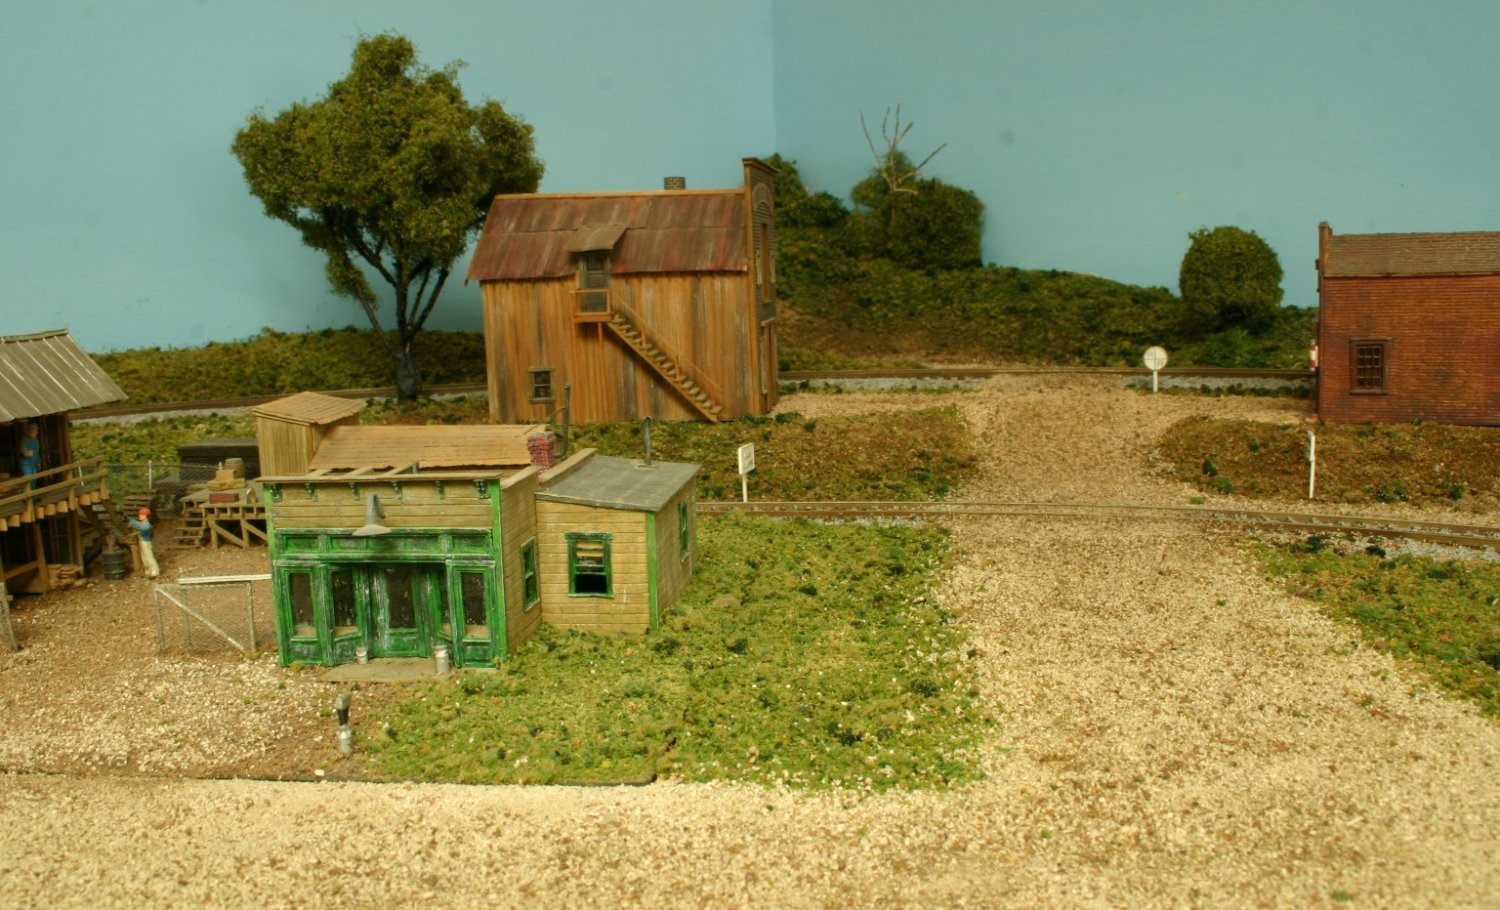
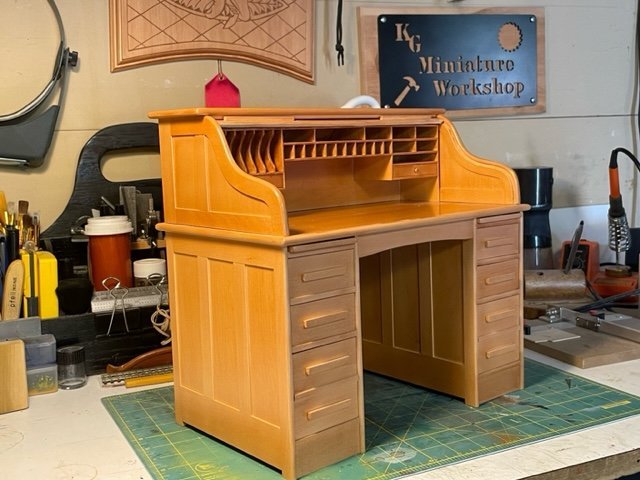
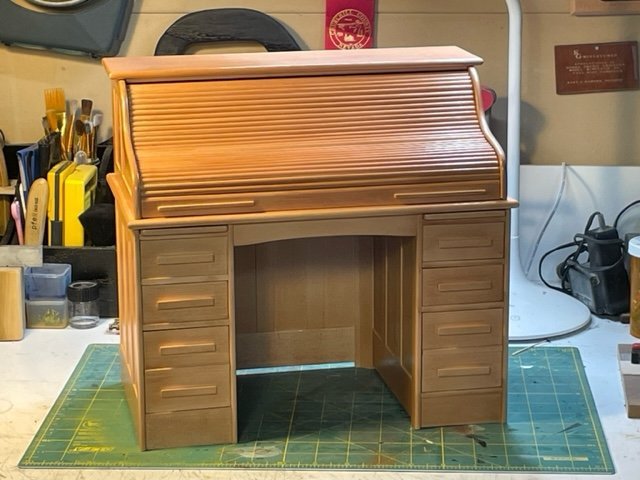
Basswood can be stained and also painted. If you do stain basswood, you have to treat it so that the stain will go on even or I've used with great success to stain basswood is a stain/poly mix that stains and finishes in one coat. It helps with blotching. But Gregory, you're right if you stain raw basswood, it will blotch and not look good. For structures and ships you could do as well, but weathering with a stain on basswood to give an old weathered look works quite well. Every building in the picture below was made out of basswood and only stained and weathered. No pretreating of the wood was done on these structures. The rolltop desk pictured below is made from basswood and stain/poly finish applied. Three coats and no blotching was done with this technique.

- 41 replies
-
- 11
-

-

-
Nice job indeed !!! Hope my riverboat comes out as good as yours! Great Job, well done!!
- 132 replies
-
- 1
-
-
- King of the Mississippi
- Artesania Latina
- (and 1 more)
-
Glad I clicked on this topic. Learning a lot about the woods you all use. I've only built with basswood (railroad structures & miniature furniture). Used cherry once for a miniature table. I'm building the Mississippi River boat and the different species in the kit but didn't really realize that certain woods are better for certain parts of a ship. Very interesting topic, thanks everyone, I'll pay more attention to the woods used from now on. And the best part is I have another supplier for wood !!
-
Love all the detail, rigging for the life boats railings, just a very nice job. Every time I get on this forum I see great models and it inspires me to do better with my modeling. Thank you for sharing!
-
Some times in our hobby we need to look at other ways of doing things and using pinking shears for the awning is a great effect. If we all look in our tools arsenal we’ll find things that are not necessarily made for our hobby but work for our hobby. In the sewing or craft departments in stores you’ll find all kinds of little things that can work for our models. I’ve even used my wife’s cricut machine to cut out walls for a building and it worked great!! Have fun out there and I’ll be back to building shortly after my fingers heal a little more and we get moved to our new home.
- 110 replies
-
- 3
-
-

-
- Paddlewheeler
- Ballarat
- (and 3 more)
-
That site has some great tools!! That one is going in my tool favorites on my computer for sure. Thanks for sharing!!
-
I bought a proxxon vs the brynes only because it has the tilt arbor. Proxxon works for me but if the brynes would have had a tilting arbor there would be no question I would have that saw in my shop. The tilt table just brought me back to memories of a table saw (full size) that my father had when I was a kid and it would scare me every time he tried to make a cut. Just looks unsafe because any slip and the cut is bad or fingers missing. Proxxon works for what I need in a mini table saw and I can cut thin material (rc airplane plywood 1/64”) without any problems. Cuts are straight and true. I’ll say it again, each of us like the machine we have and that’s good. Have fun stay safe and enjoy our hobby!!
-
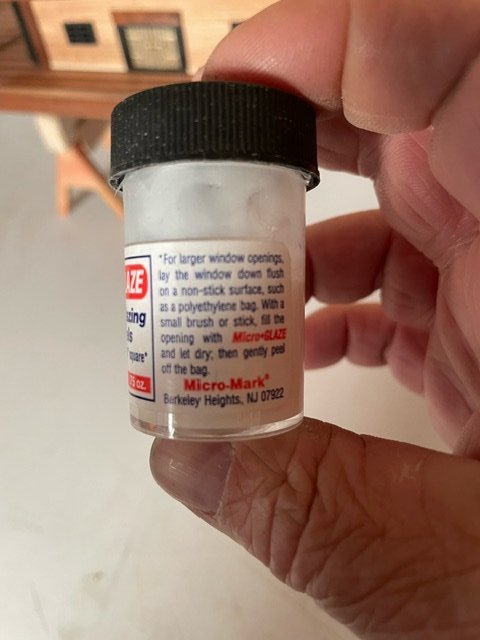
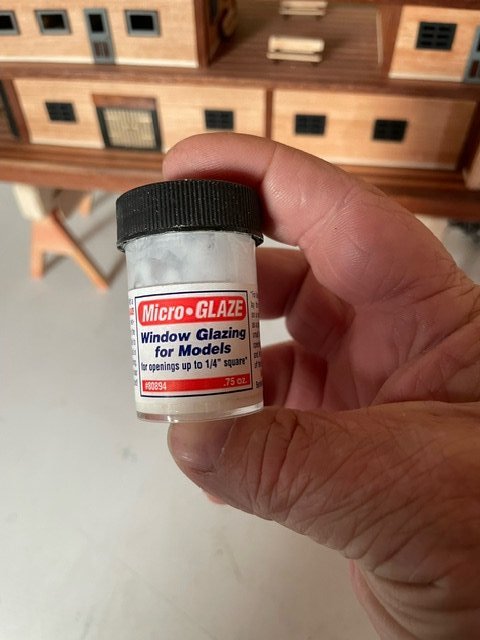
For my HO scale windows I've use clear plastic from packaging but I also use Micro Glaze from Micro Mark which works pretty well. Only thing with the glaze is that it's more light the old widows in houses and such that you can see a "wave" in the glass (hope I'm explaining that correctly). It's not as clear as using the plastic from a package like for figures or some other detail parts come in.
-
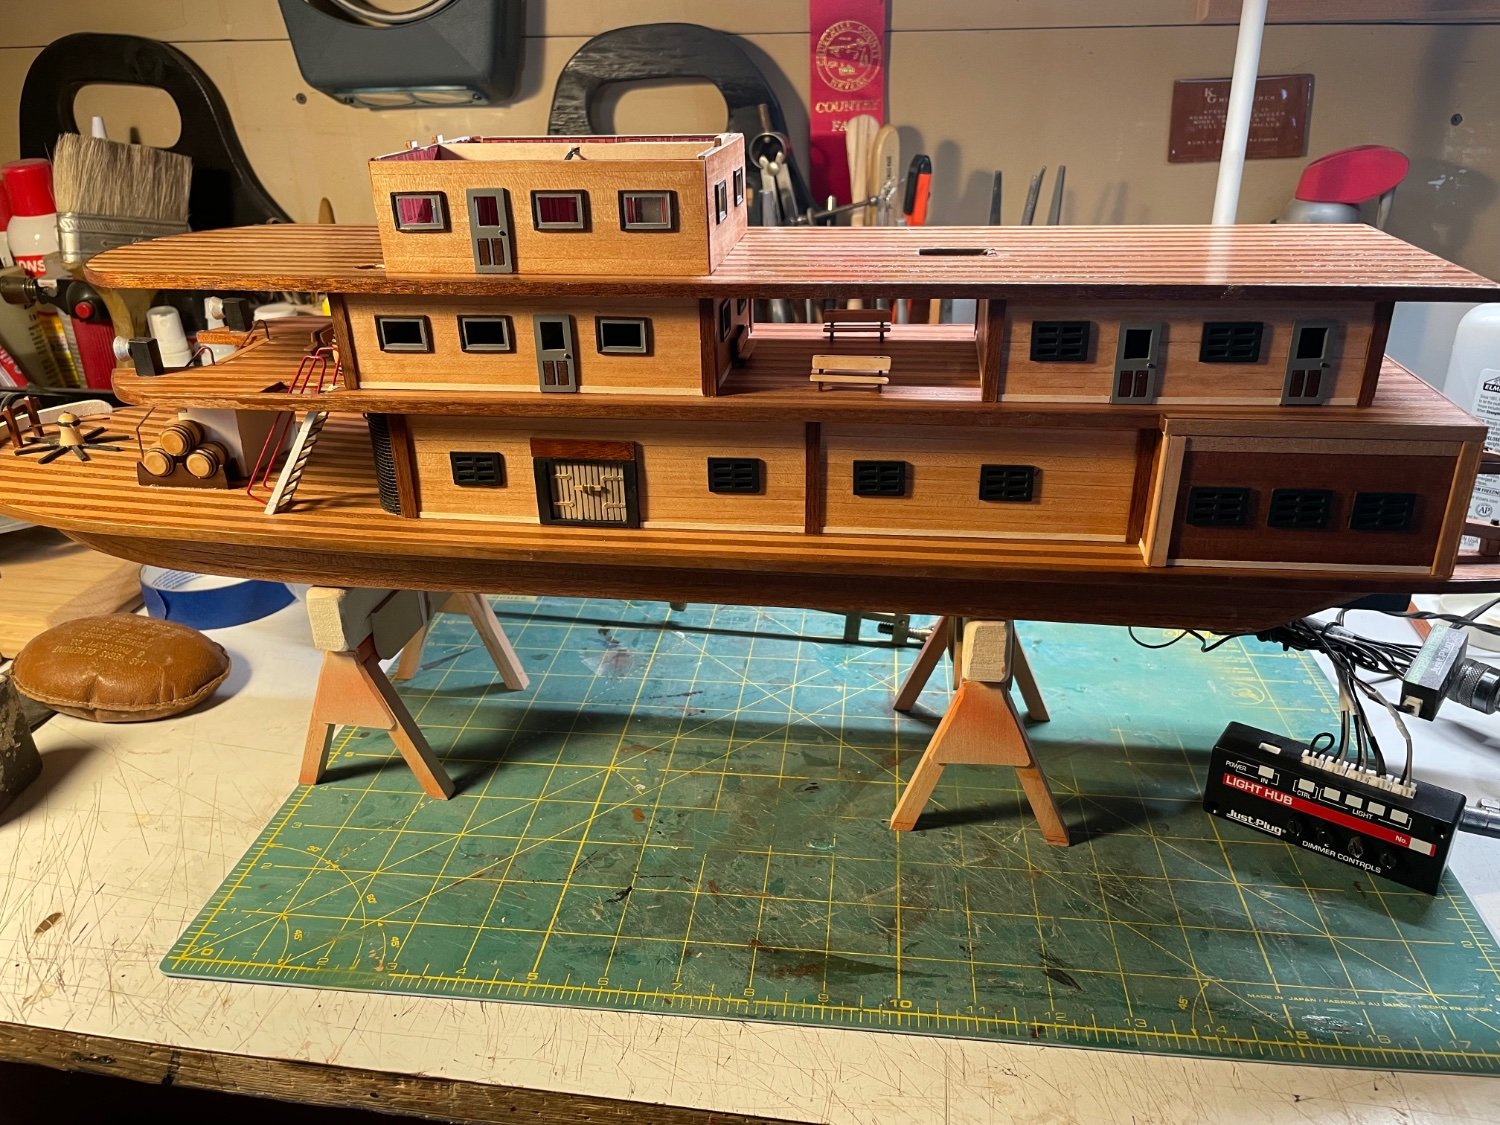
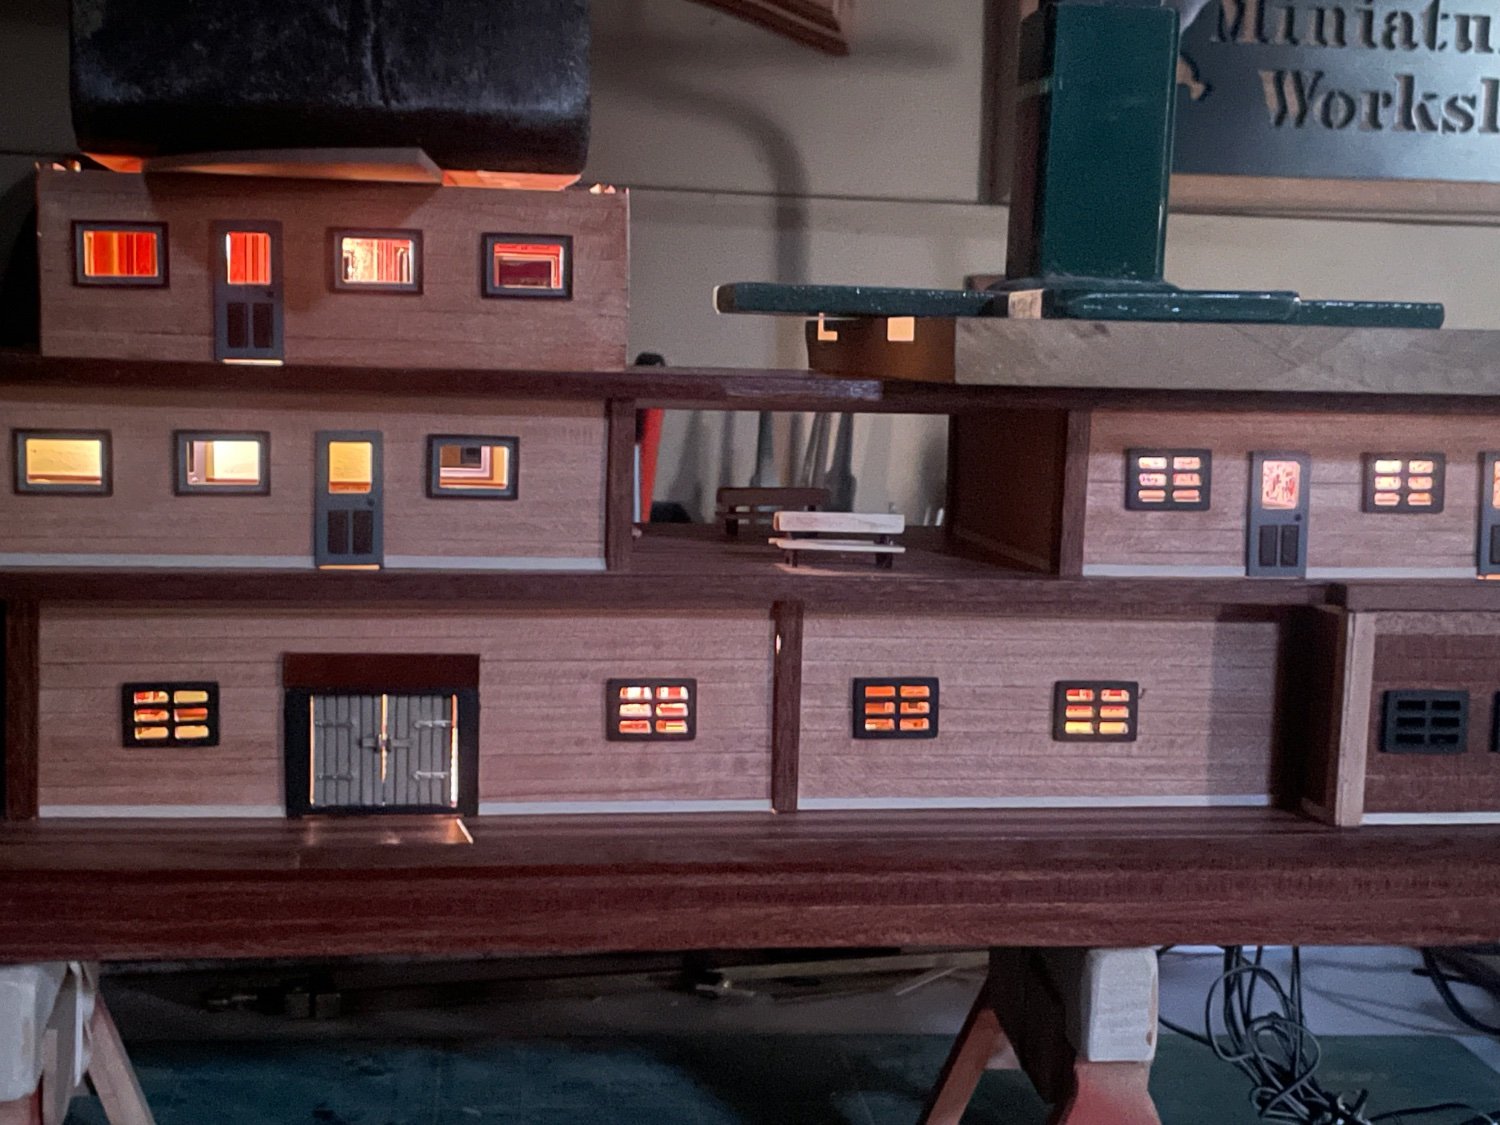
It’s been awhile since I posted my progress (crushed hand and other things going on). Here is where I’m at so far next deck is on lighted and ready for the next part of the build. Enjoy the pictures


-
Pulled the Trigger == Lathe coming
kgstakes replied to kgstakes's topic in Modeling tools and Workshop Equipment
I can see a dail indicator in the future for my lathe if for nothing else just because you can see what you’re doing. Digital would be better. We’ll see what the future brings. All kinds of options you can think of and see if they work. It’ll be fun working with my little lathe and see what I can do with it and I know in time just like anything else you’ll get better the more you use it. Thank you everyone again you’re all the greatest in my mind and I know if I need to find something out or have someone teach me singing new, jets the place to ask. Thanks appreciated -
Pulled the Trigger == Lathe coming
kgstakes replied to kgstakes's topic in Modeling tools and Workshop Equipment
That’s what I was thinking just buy another one. I seen people turn them down to different jaws but me too I bought the collets and I’ll probably use them most of the time even if I turn a part for a piece for a miniature furniture project. My set goes up to 1/4 or a little more but not 3/8 diameter. just wondered if it was possible. I like the sherline 3 and 4 jaw (I think they make a 4 jaw) better than the taig chuck. i do like that you move the carriage right at the carriage instead of at the end of the lathe. I guess you get use to it but that was one of the reasons I went with taig. Happy with it so far, turned a few things (messing with it) but since I’m still down to only one hand still I’m not getting too serious about it yet. With finger tips crushed it’s hard to do anything let alone go to work. When you need both hands to do your job it’s a bitch if you can’t use one. Just take time to heal, but I got models to build😡🤪😀 -
Pulled the Trigger == Lathe coming
kgstakes replied to kgstakes's topic in Modeling tools and Workshop Equipment
I have a question on my taig lathe it comes with these rather large jaws on the 3 jaw chuck. Question, has anyone taken those jaws and milled or turned them down so you have step jaws? Hope I’m explaining these correct. Or would it be better to buy a step 3 jaw chuck? If turning them down to make a step jaws would it be easy enough to do for basically a beginner turner. -
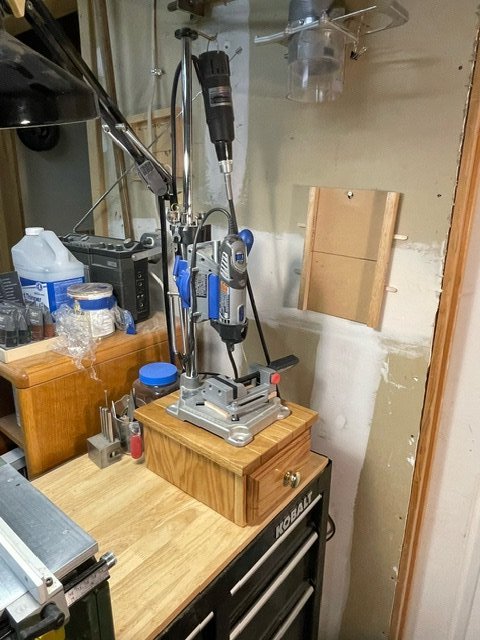
I could be wrong on this (usually am) but now with the longer rod installed, can you put the xy table on the base of the drill press? Just curious looks like it works the way you have it configured.
-
I like the size of your drill press. Would you say it is way better than a dremel tool in their drill press stand? See picture of my dremel setup.