HOLIDAY DONATION DRIVE - SUPPORT MSW - DO YOUR PART TO KEEP THIS GREAT FORUM GOING! (Only 72 donations so far out of 49,000 members - Can we at least get 100? C'mon guys!)
×


westwood
-
Posts
275 -
Joined
-
Last visited
Content Type
Profiles
Forums
Gallery
Events
Everything posted by westwood
-
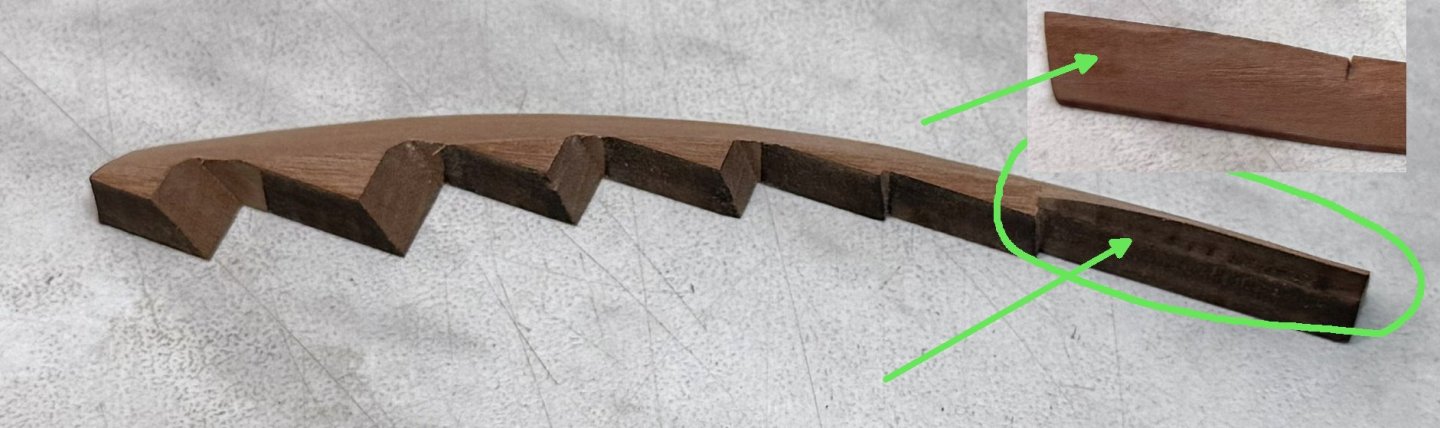
Yes, they are, but I randomly picked these profiles. However, I'm also looking forward to the revised scraper shown in the picture. I noticed that the side profiles are much more accurate on that one.
-
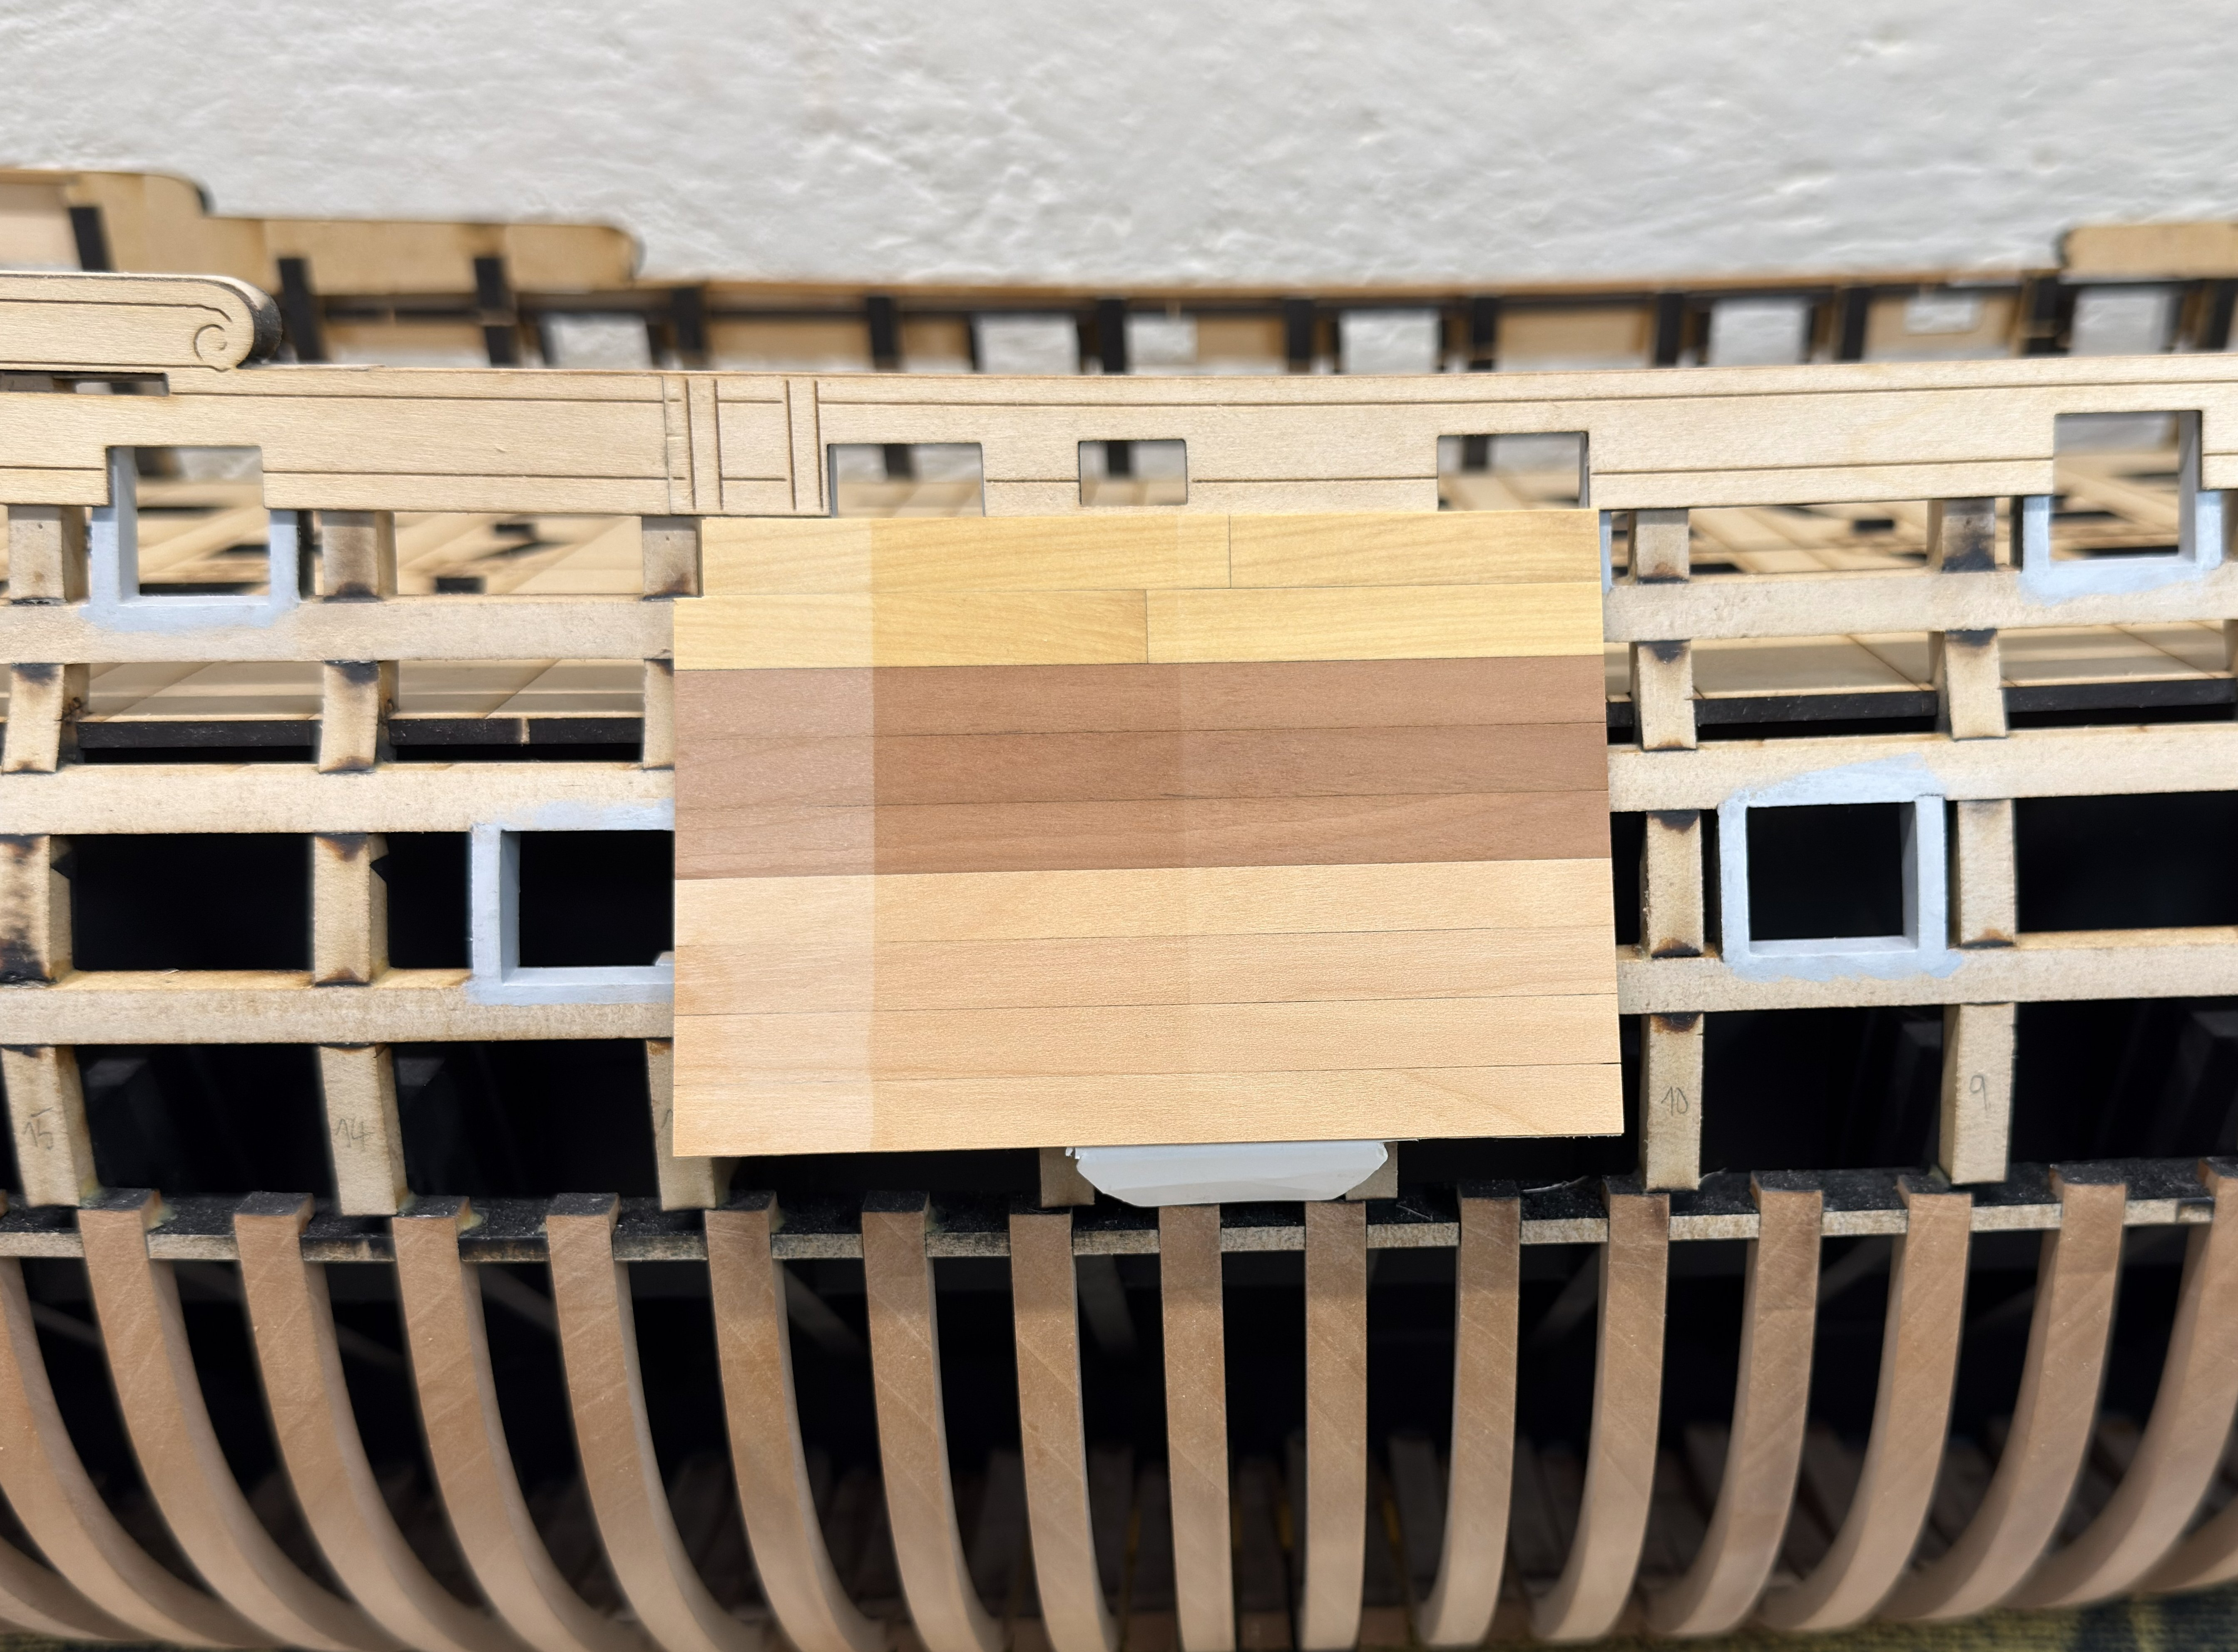
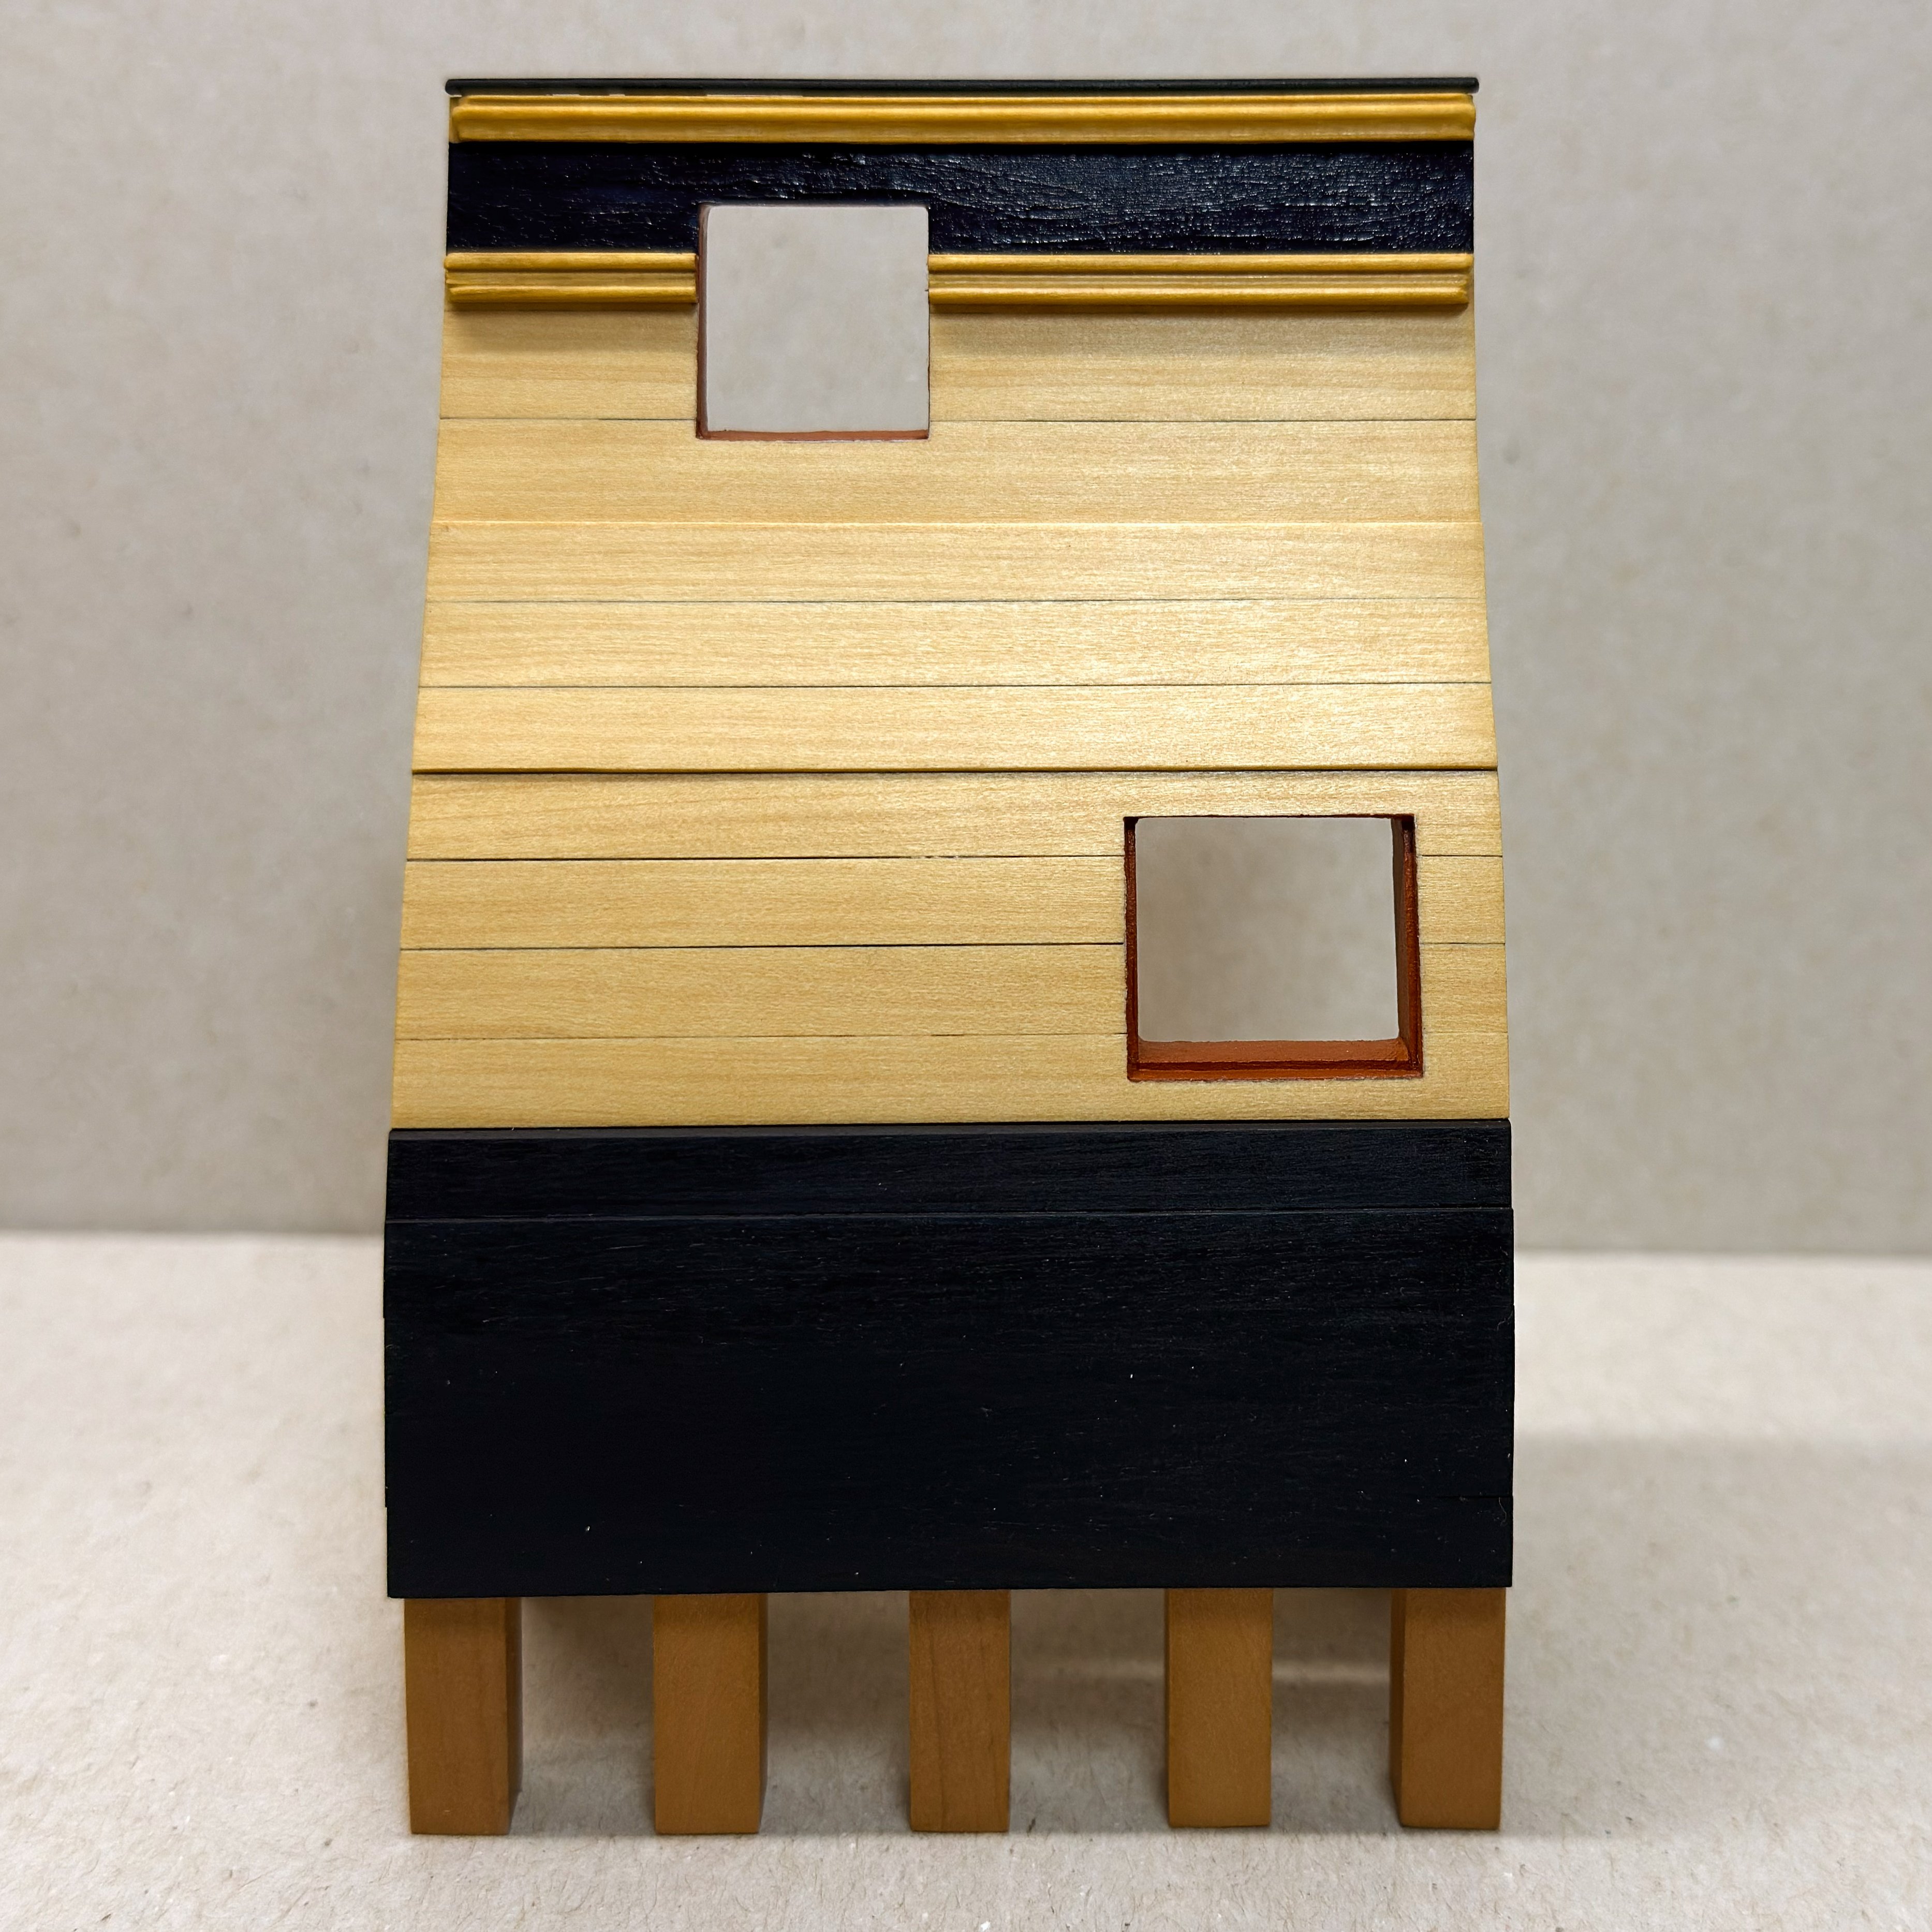
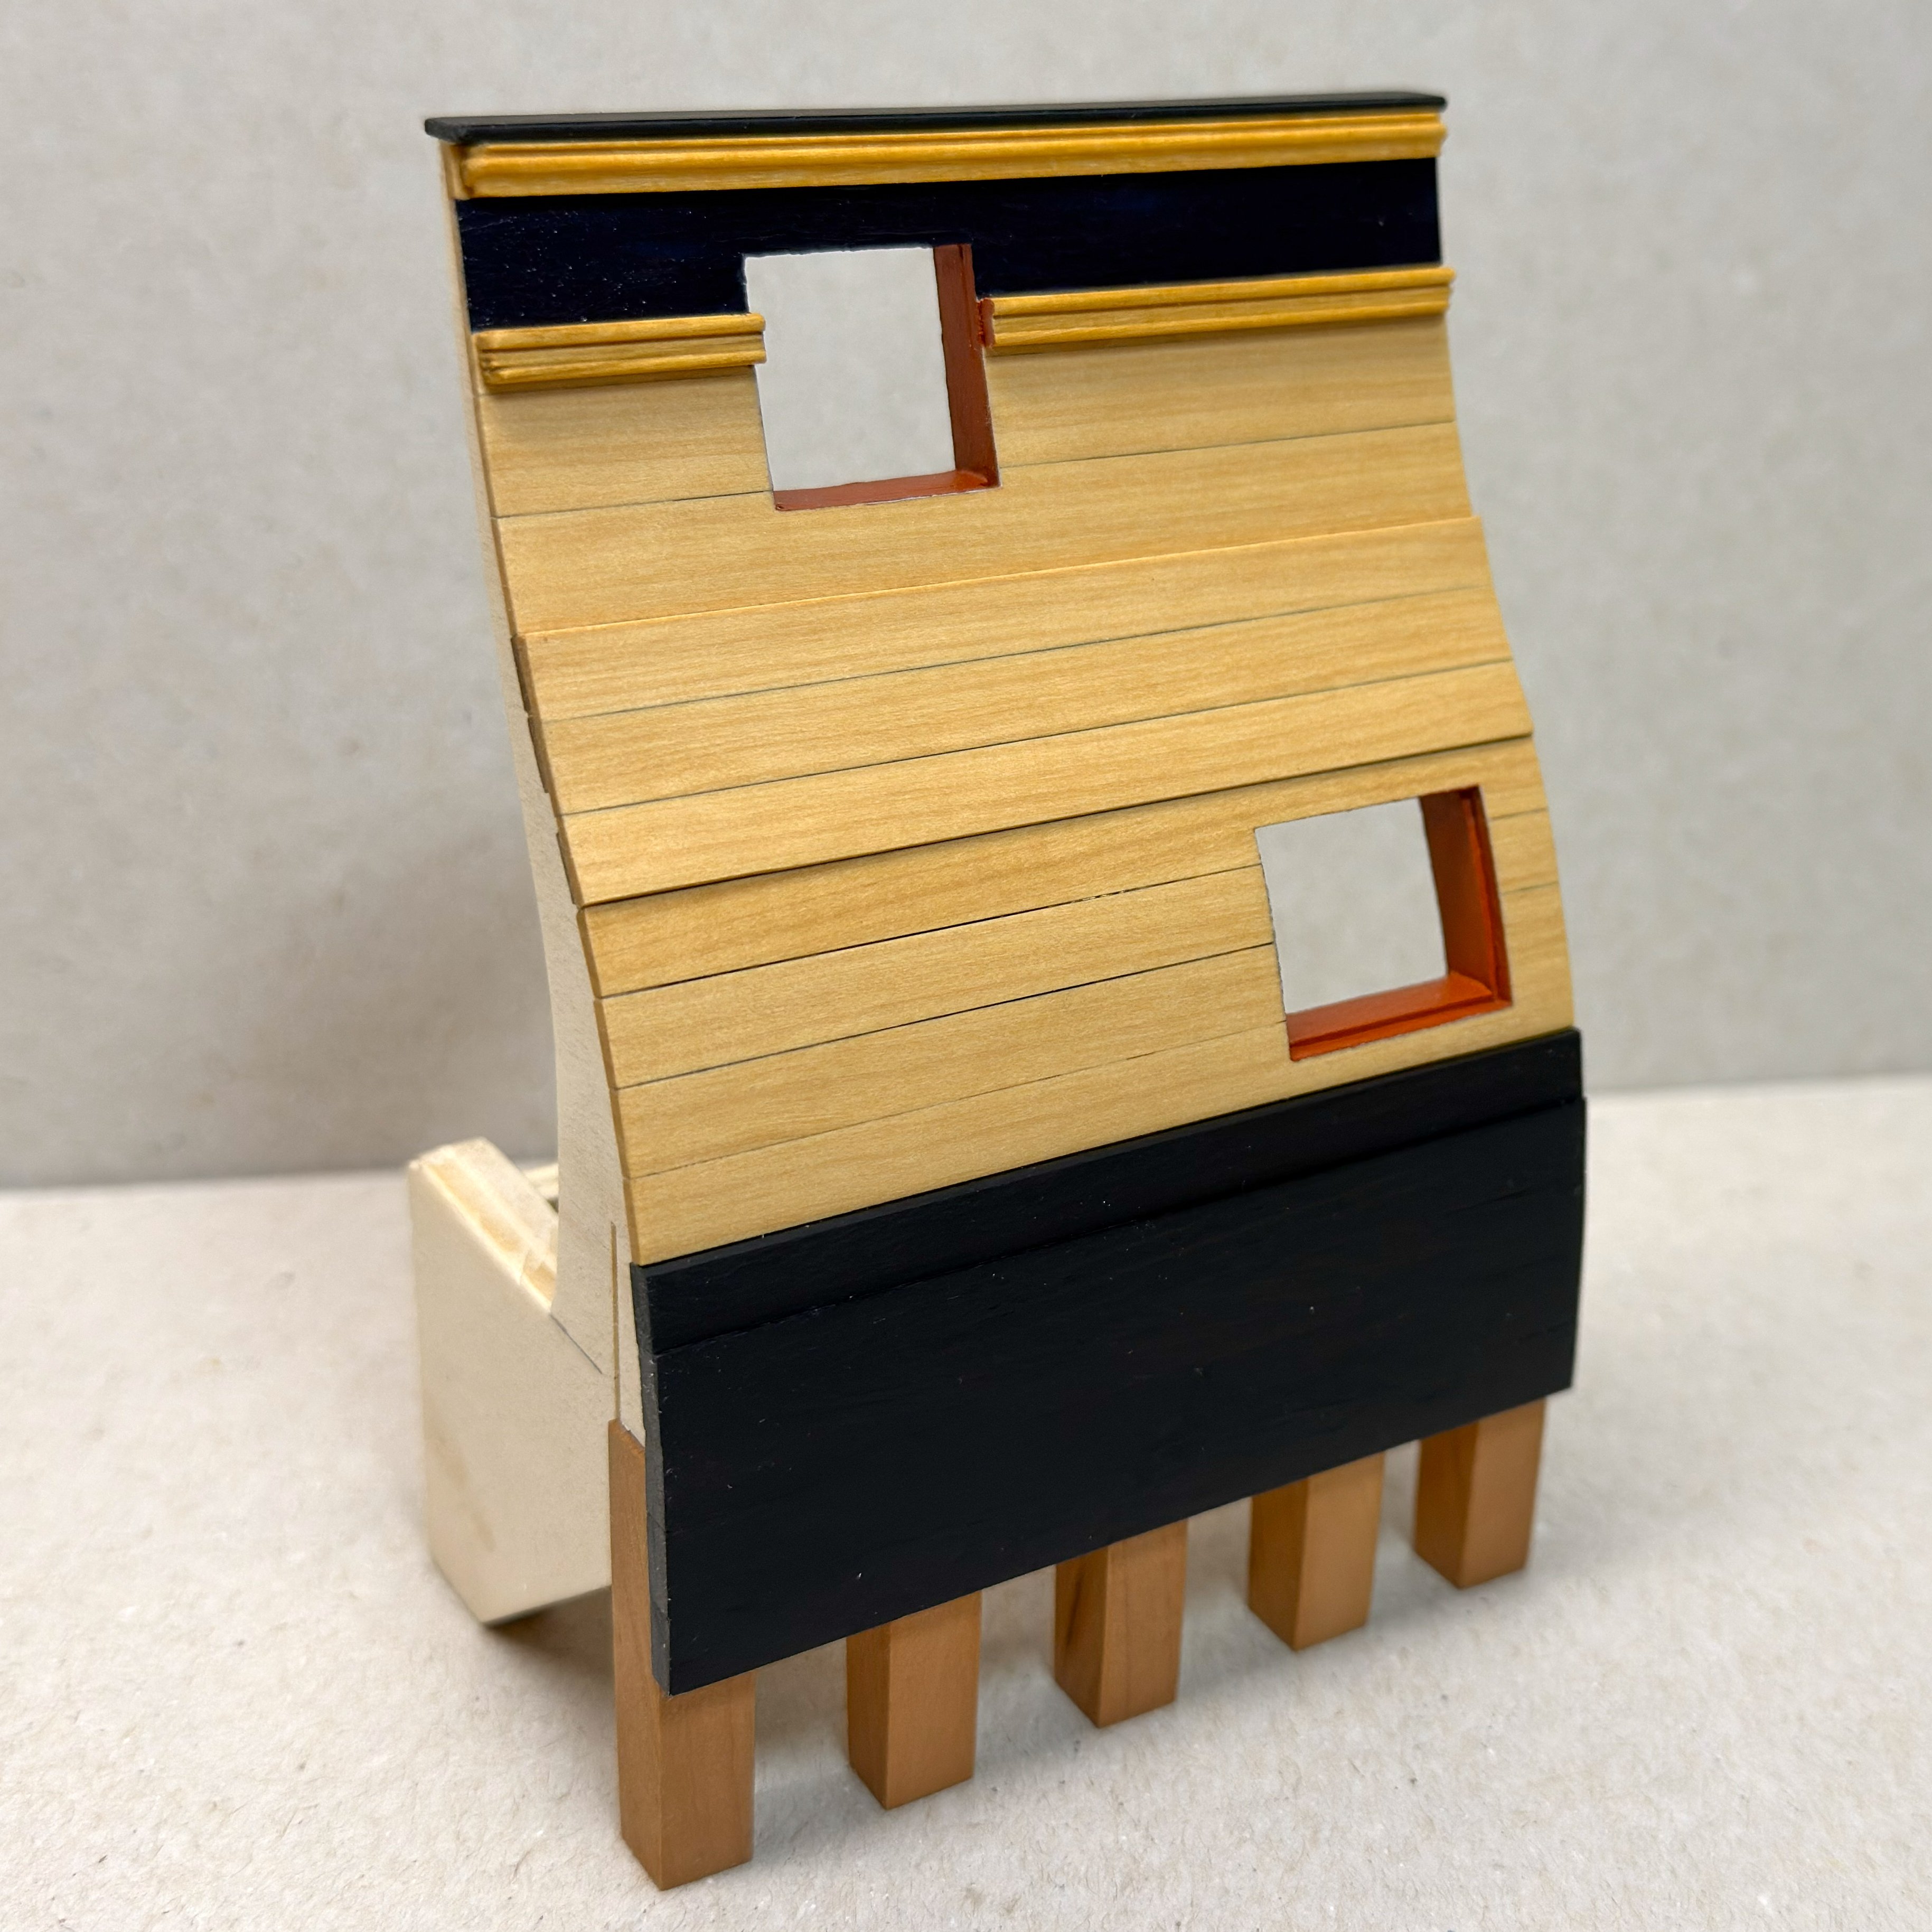
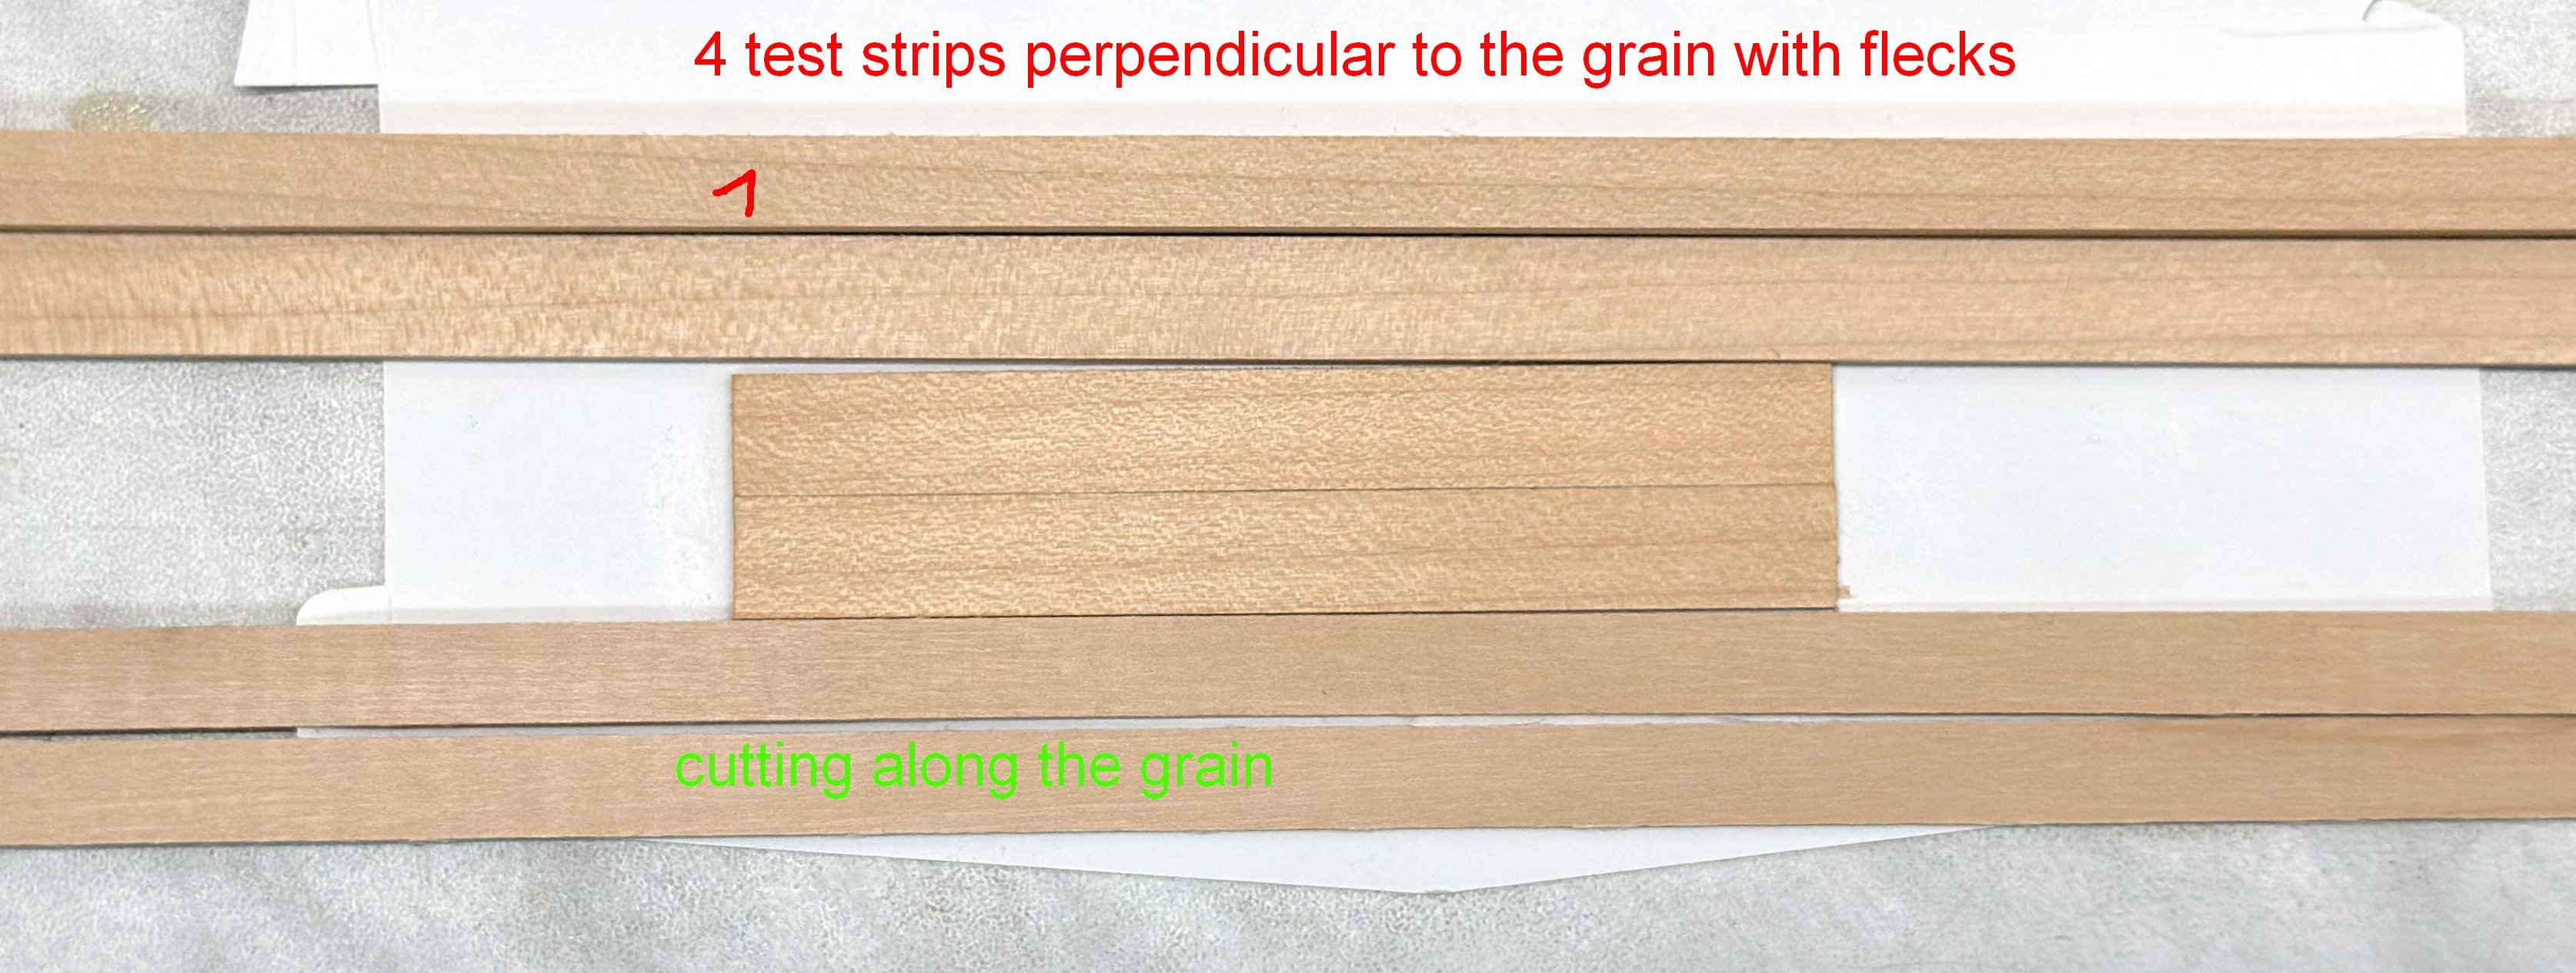
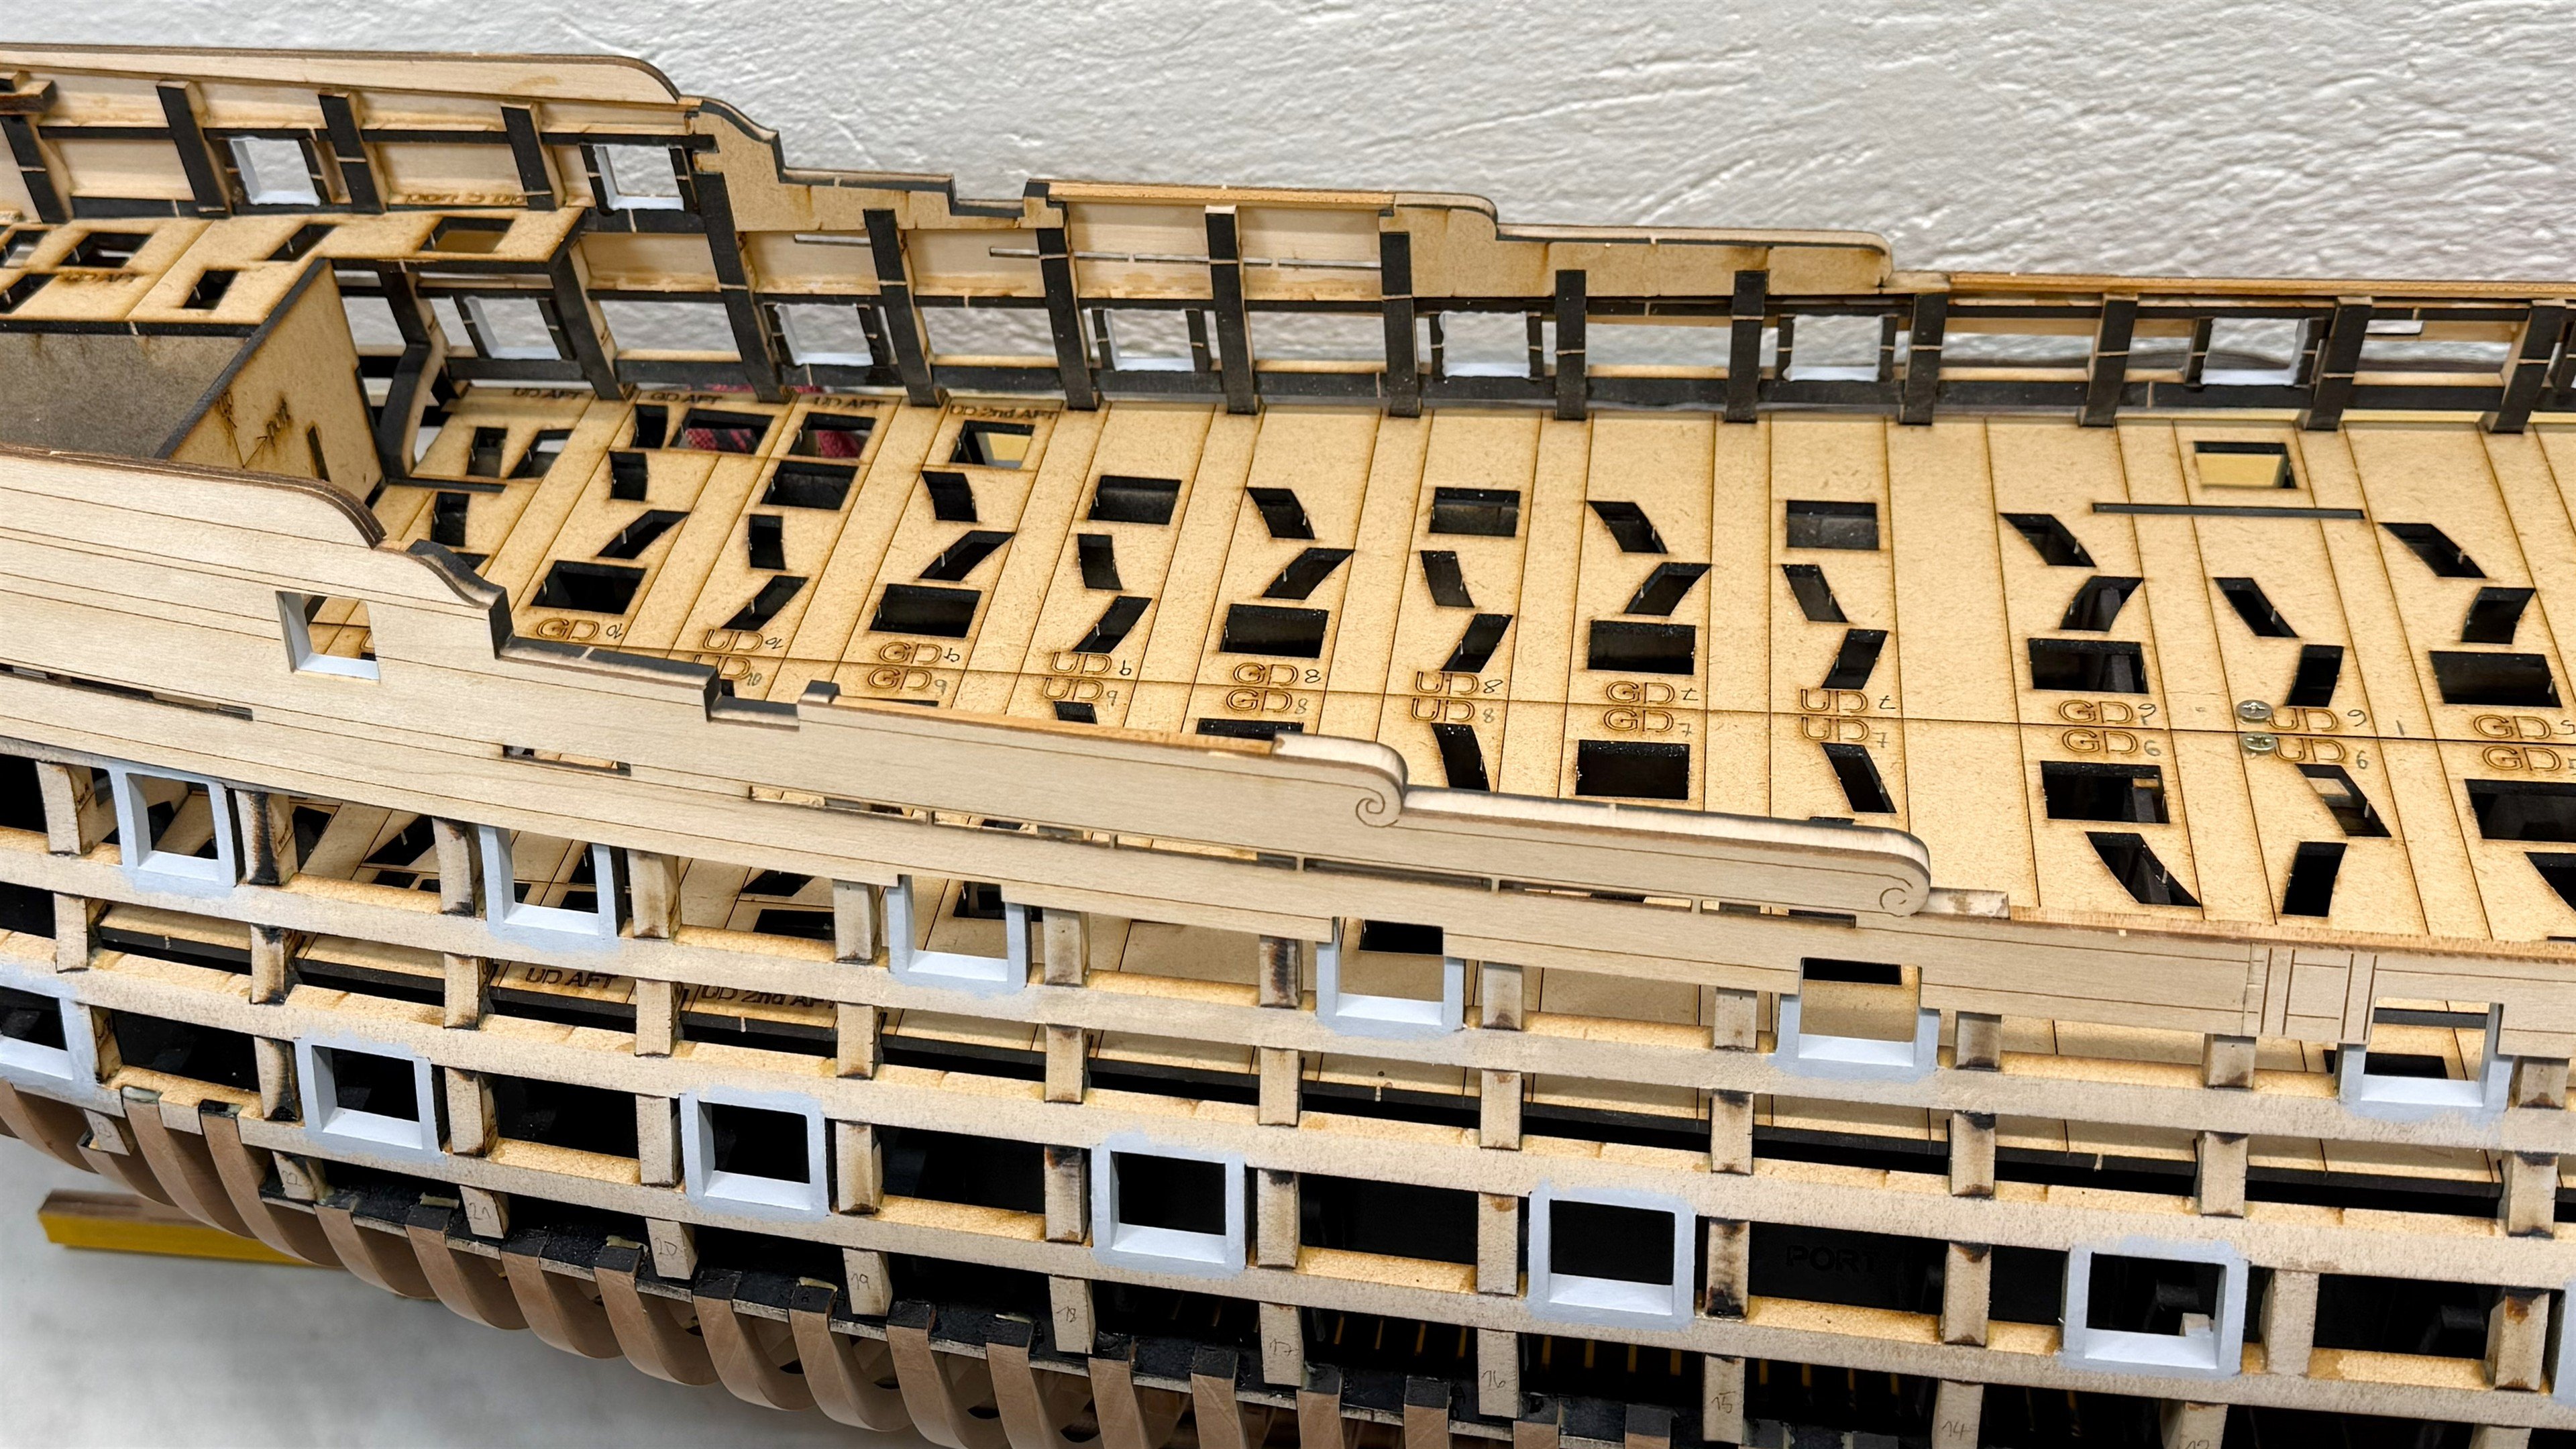
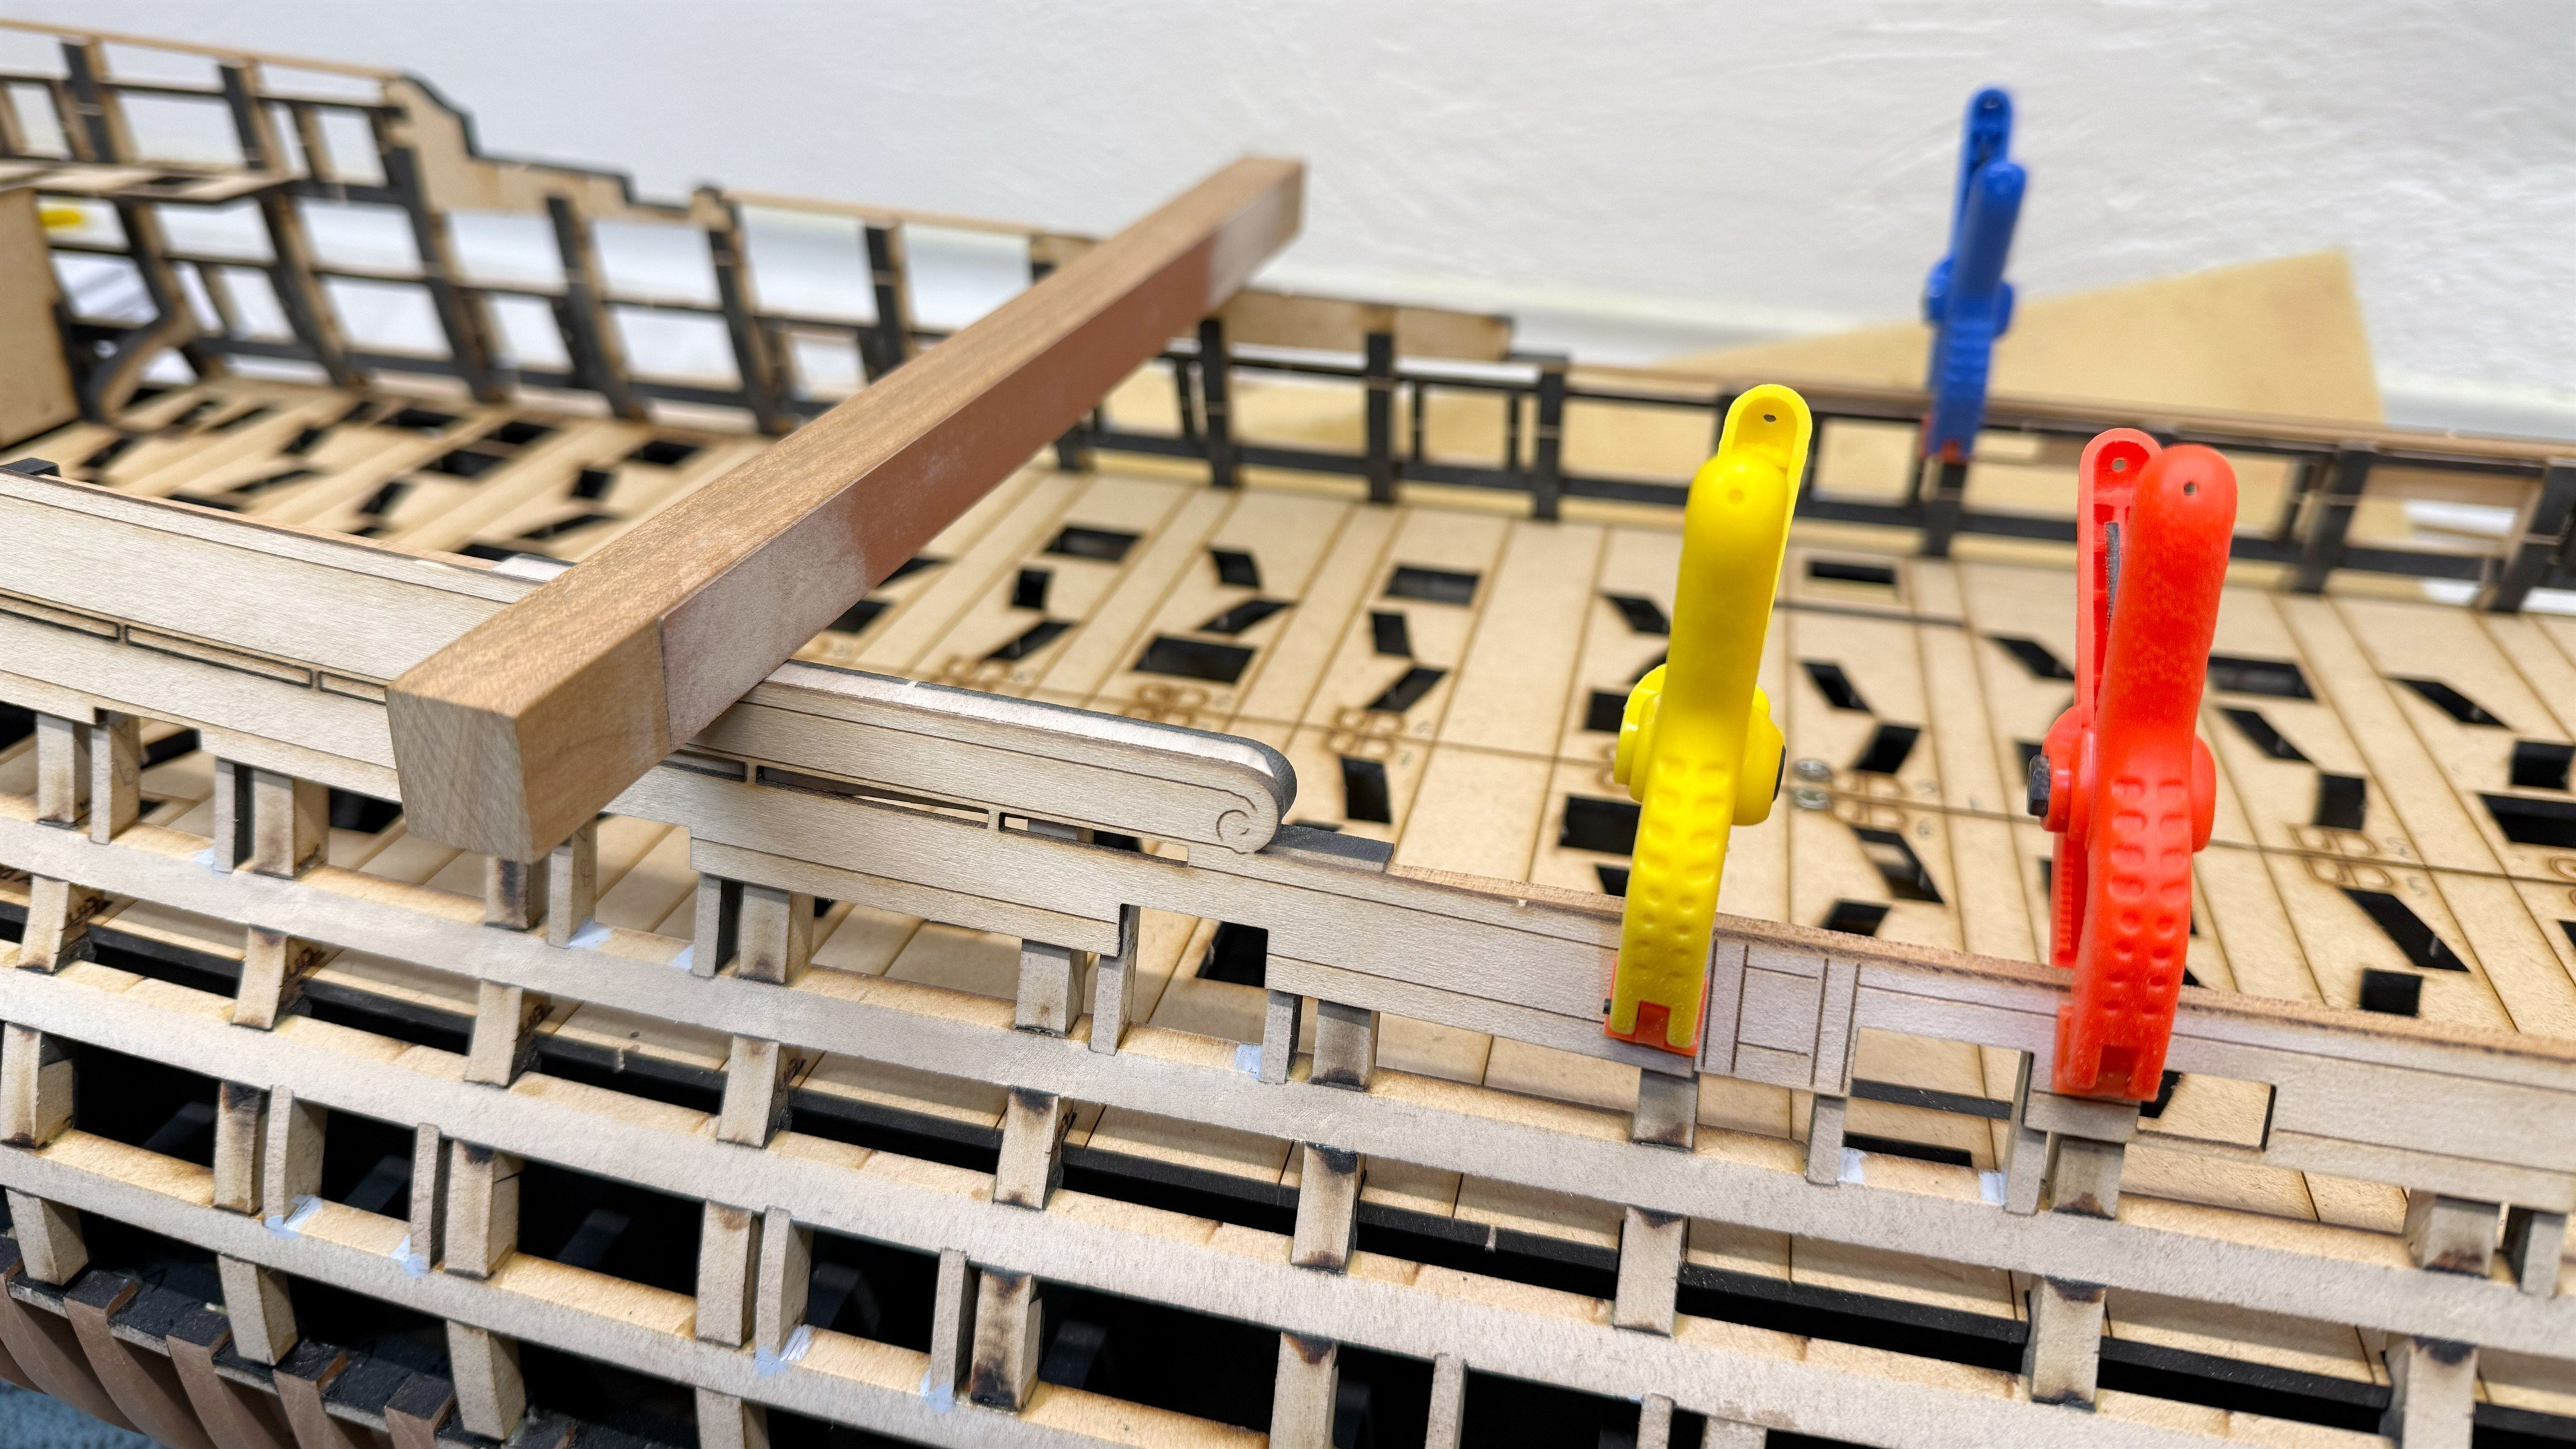
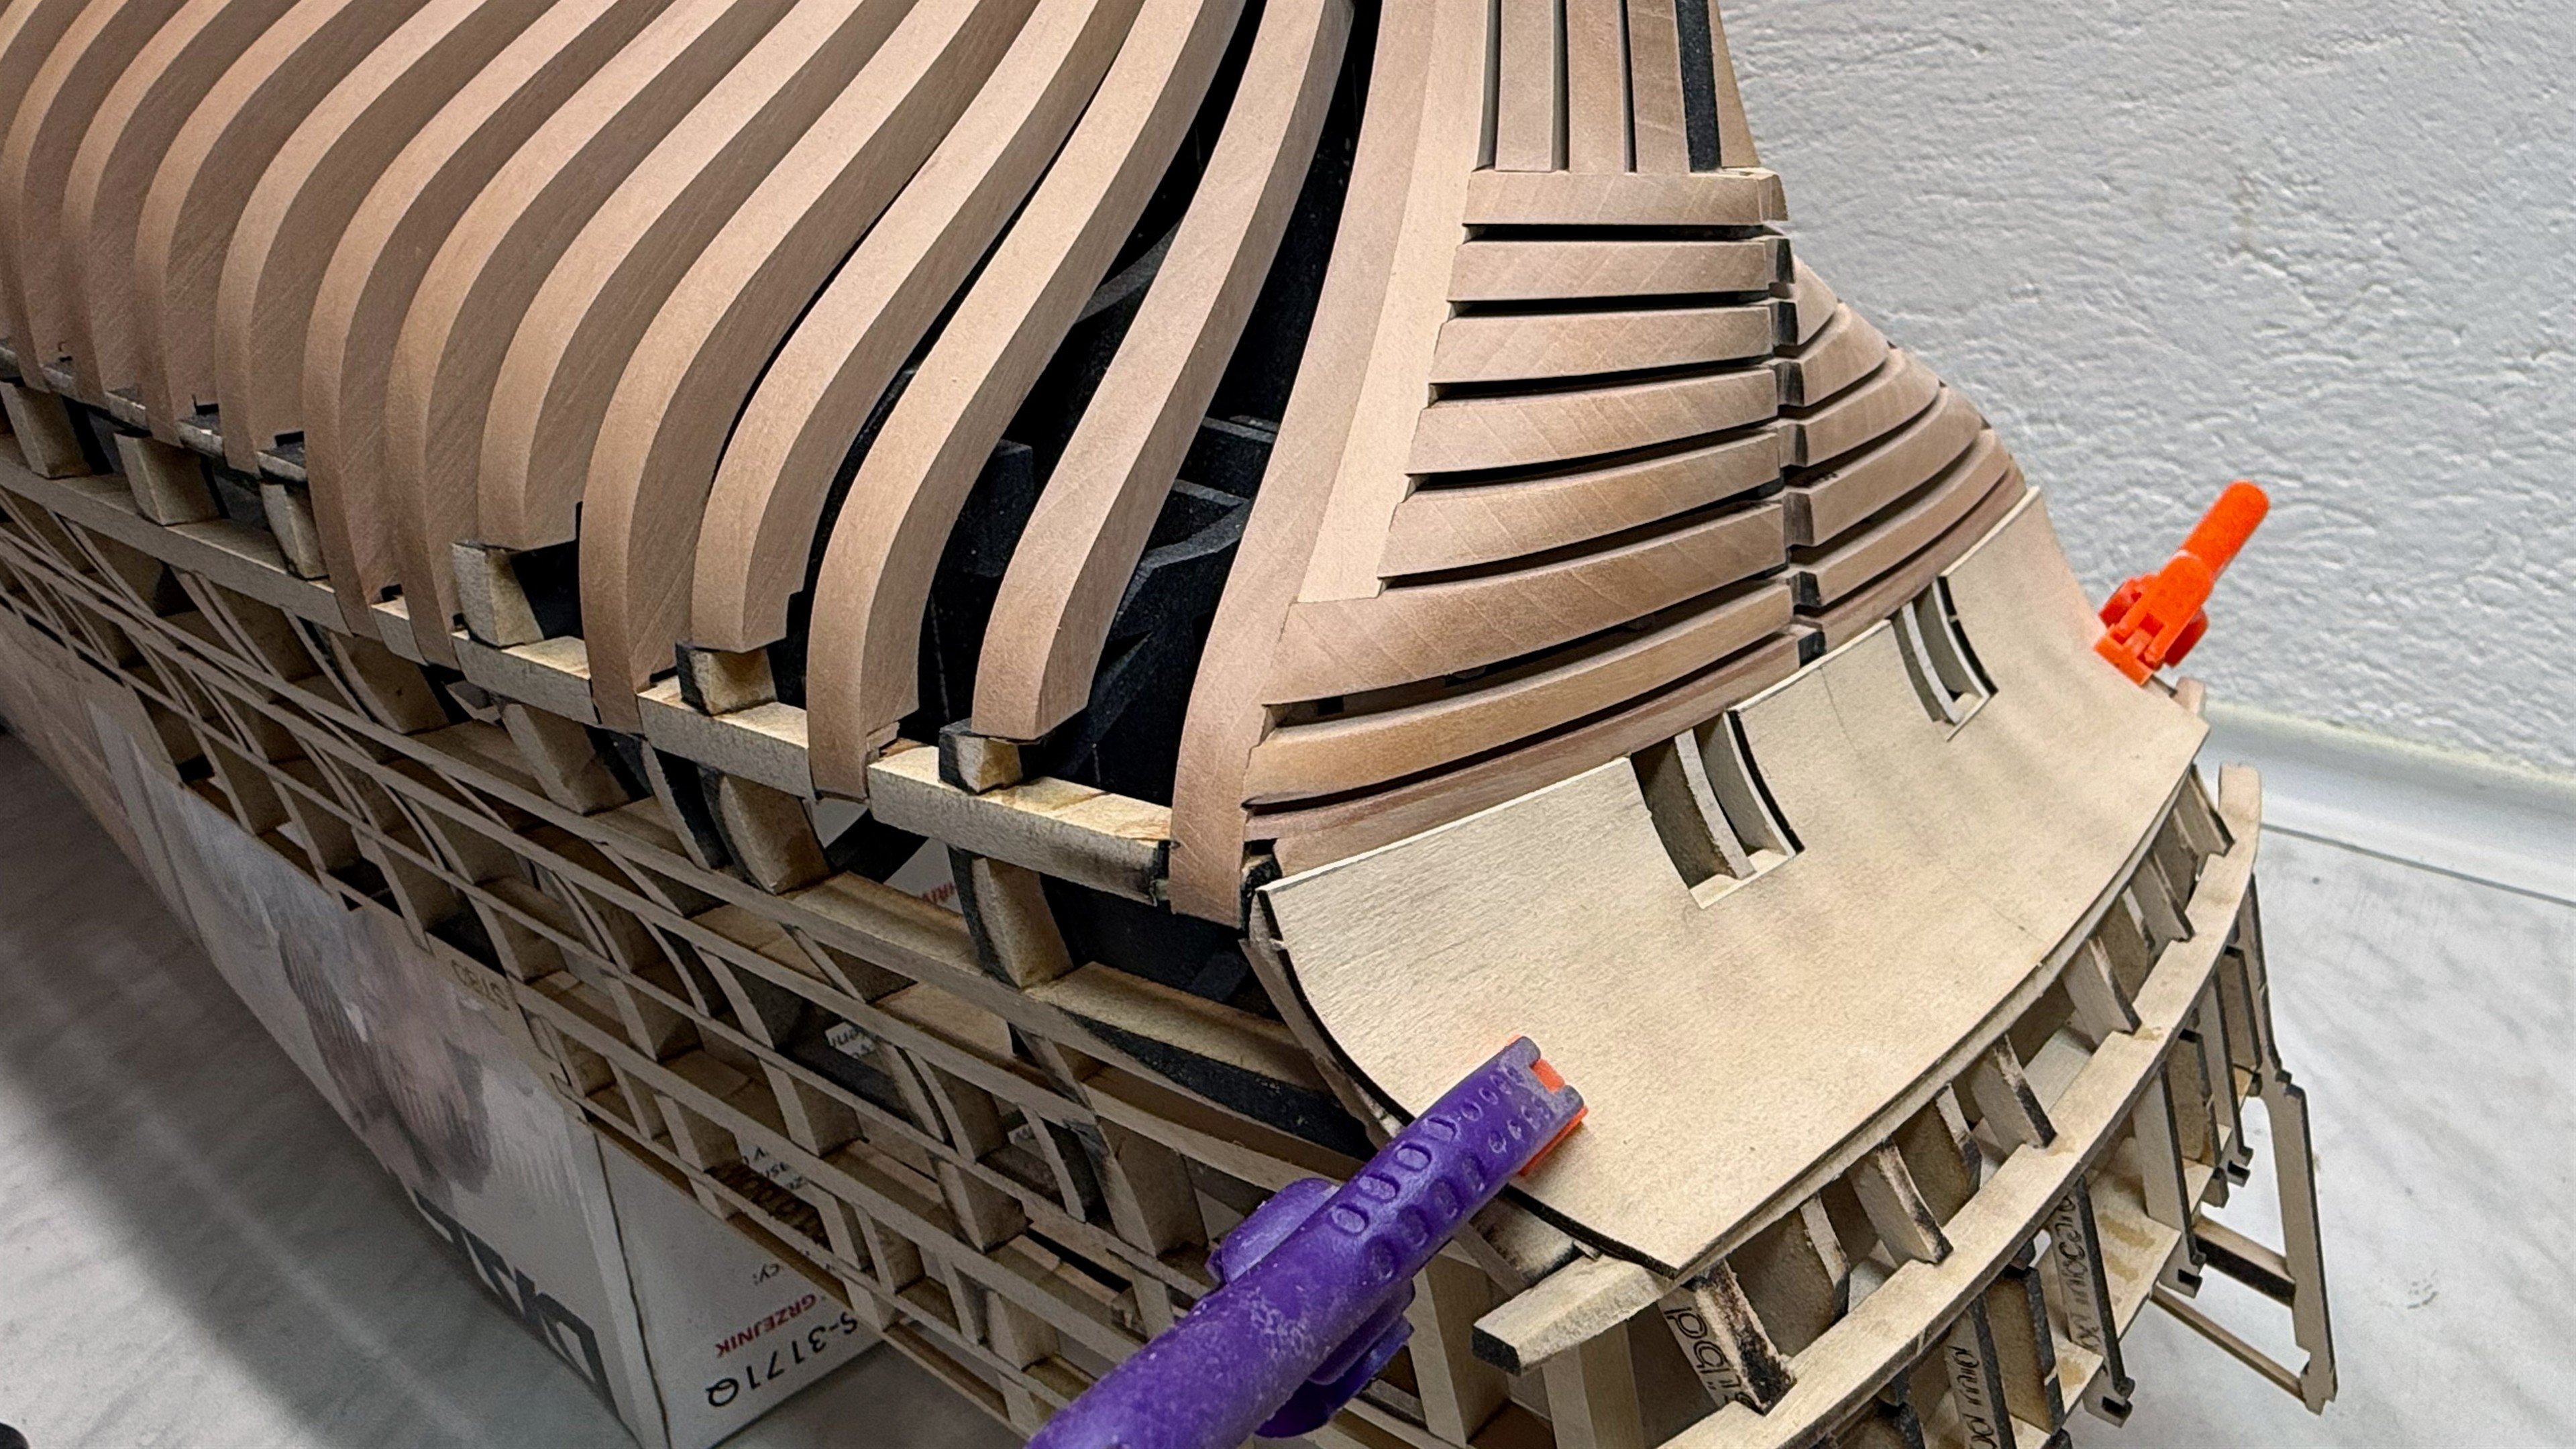
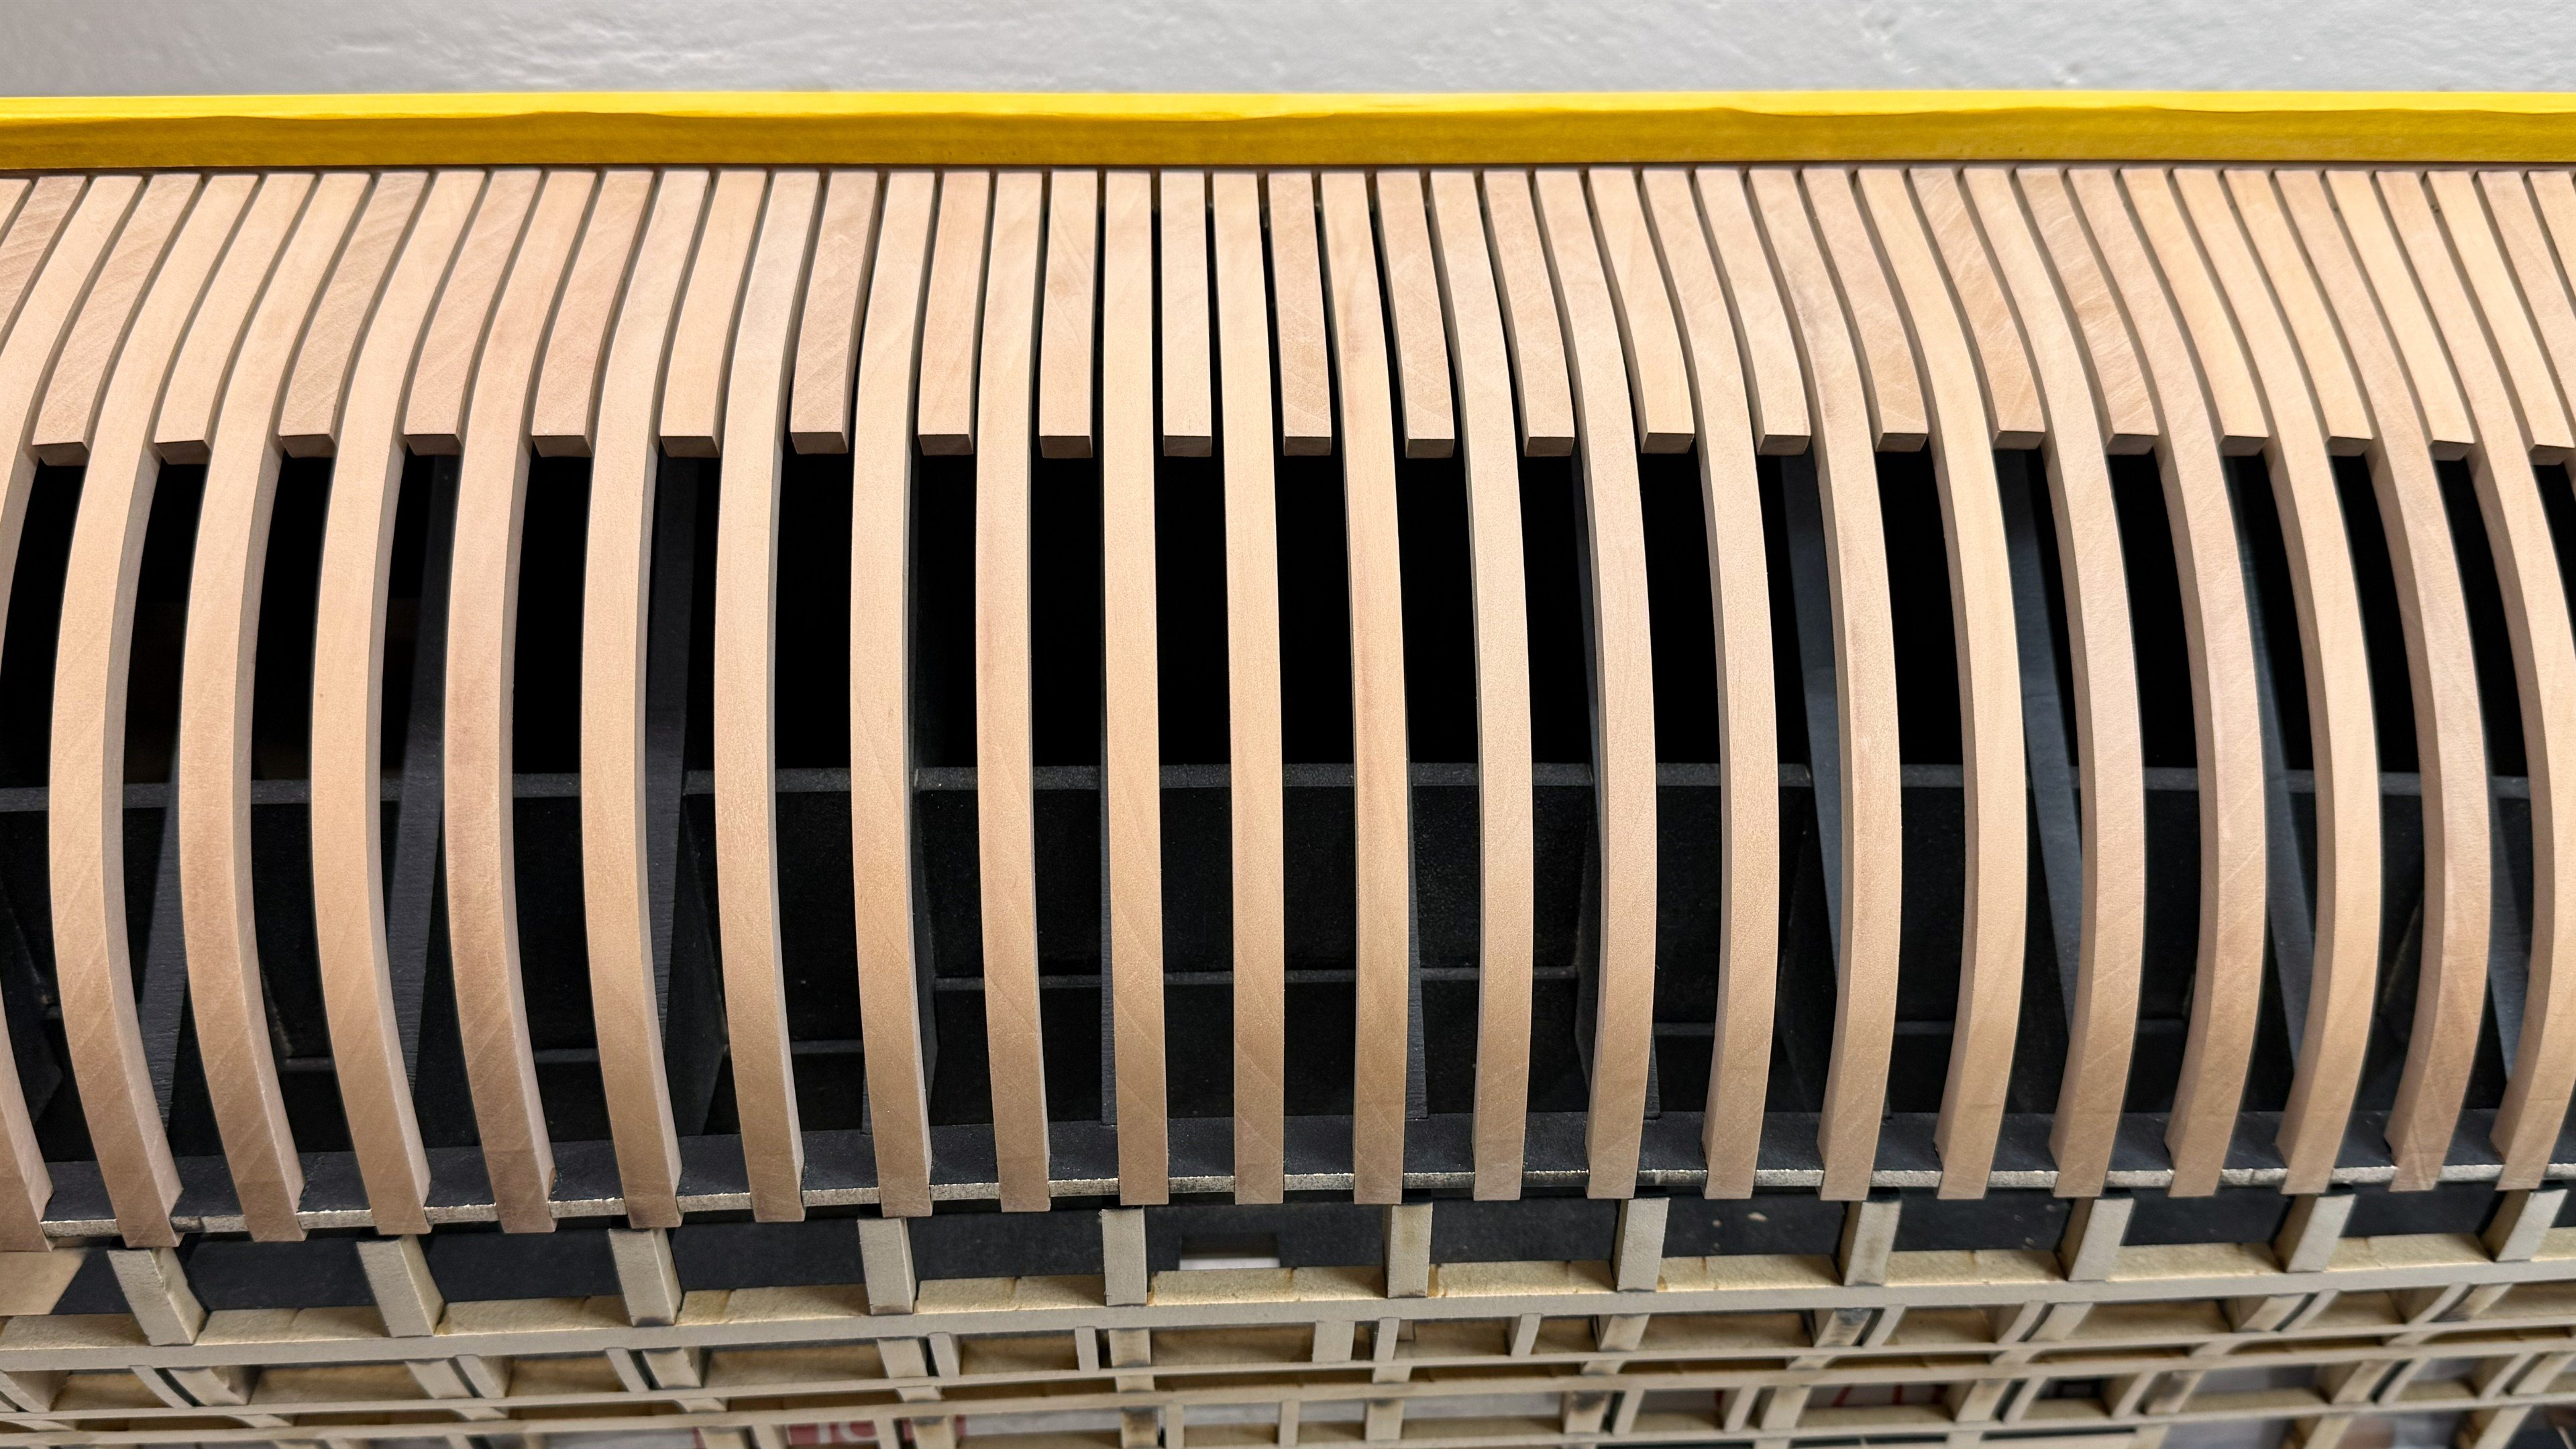
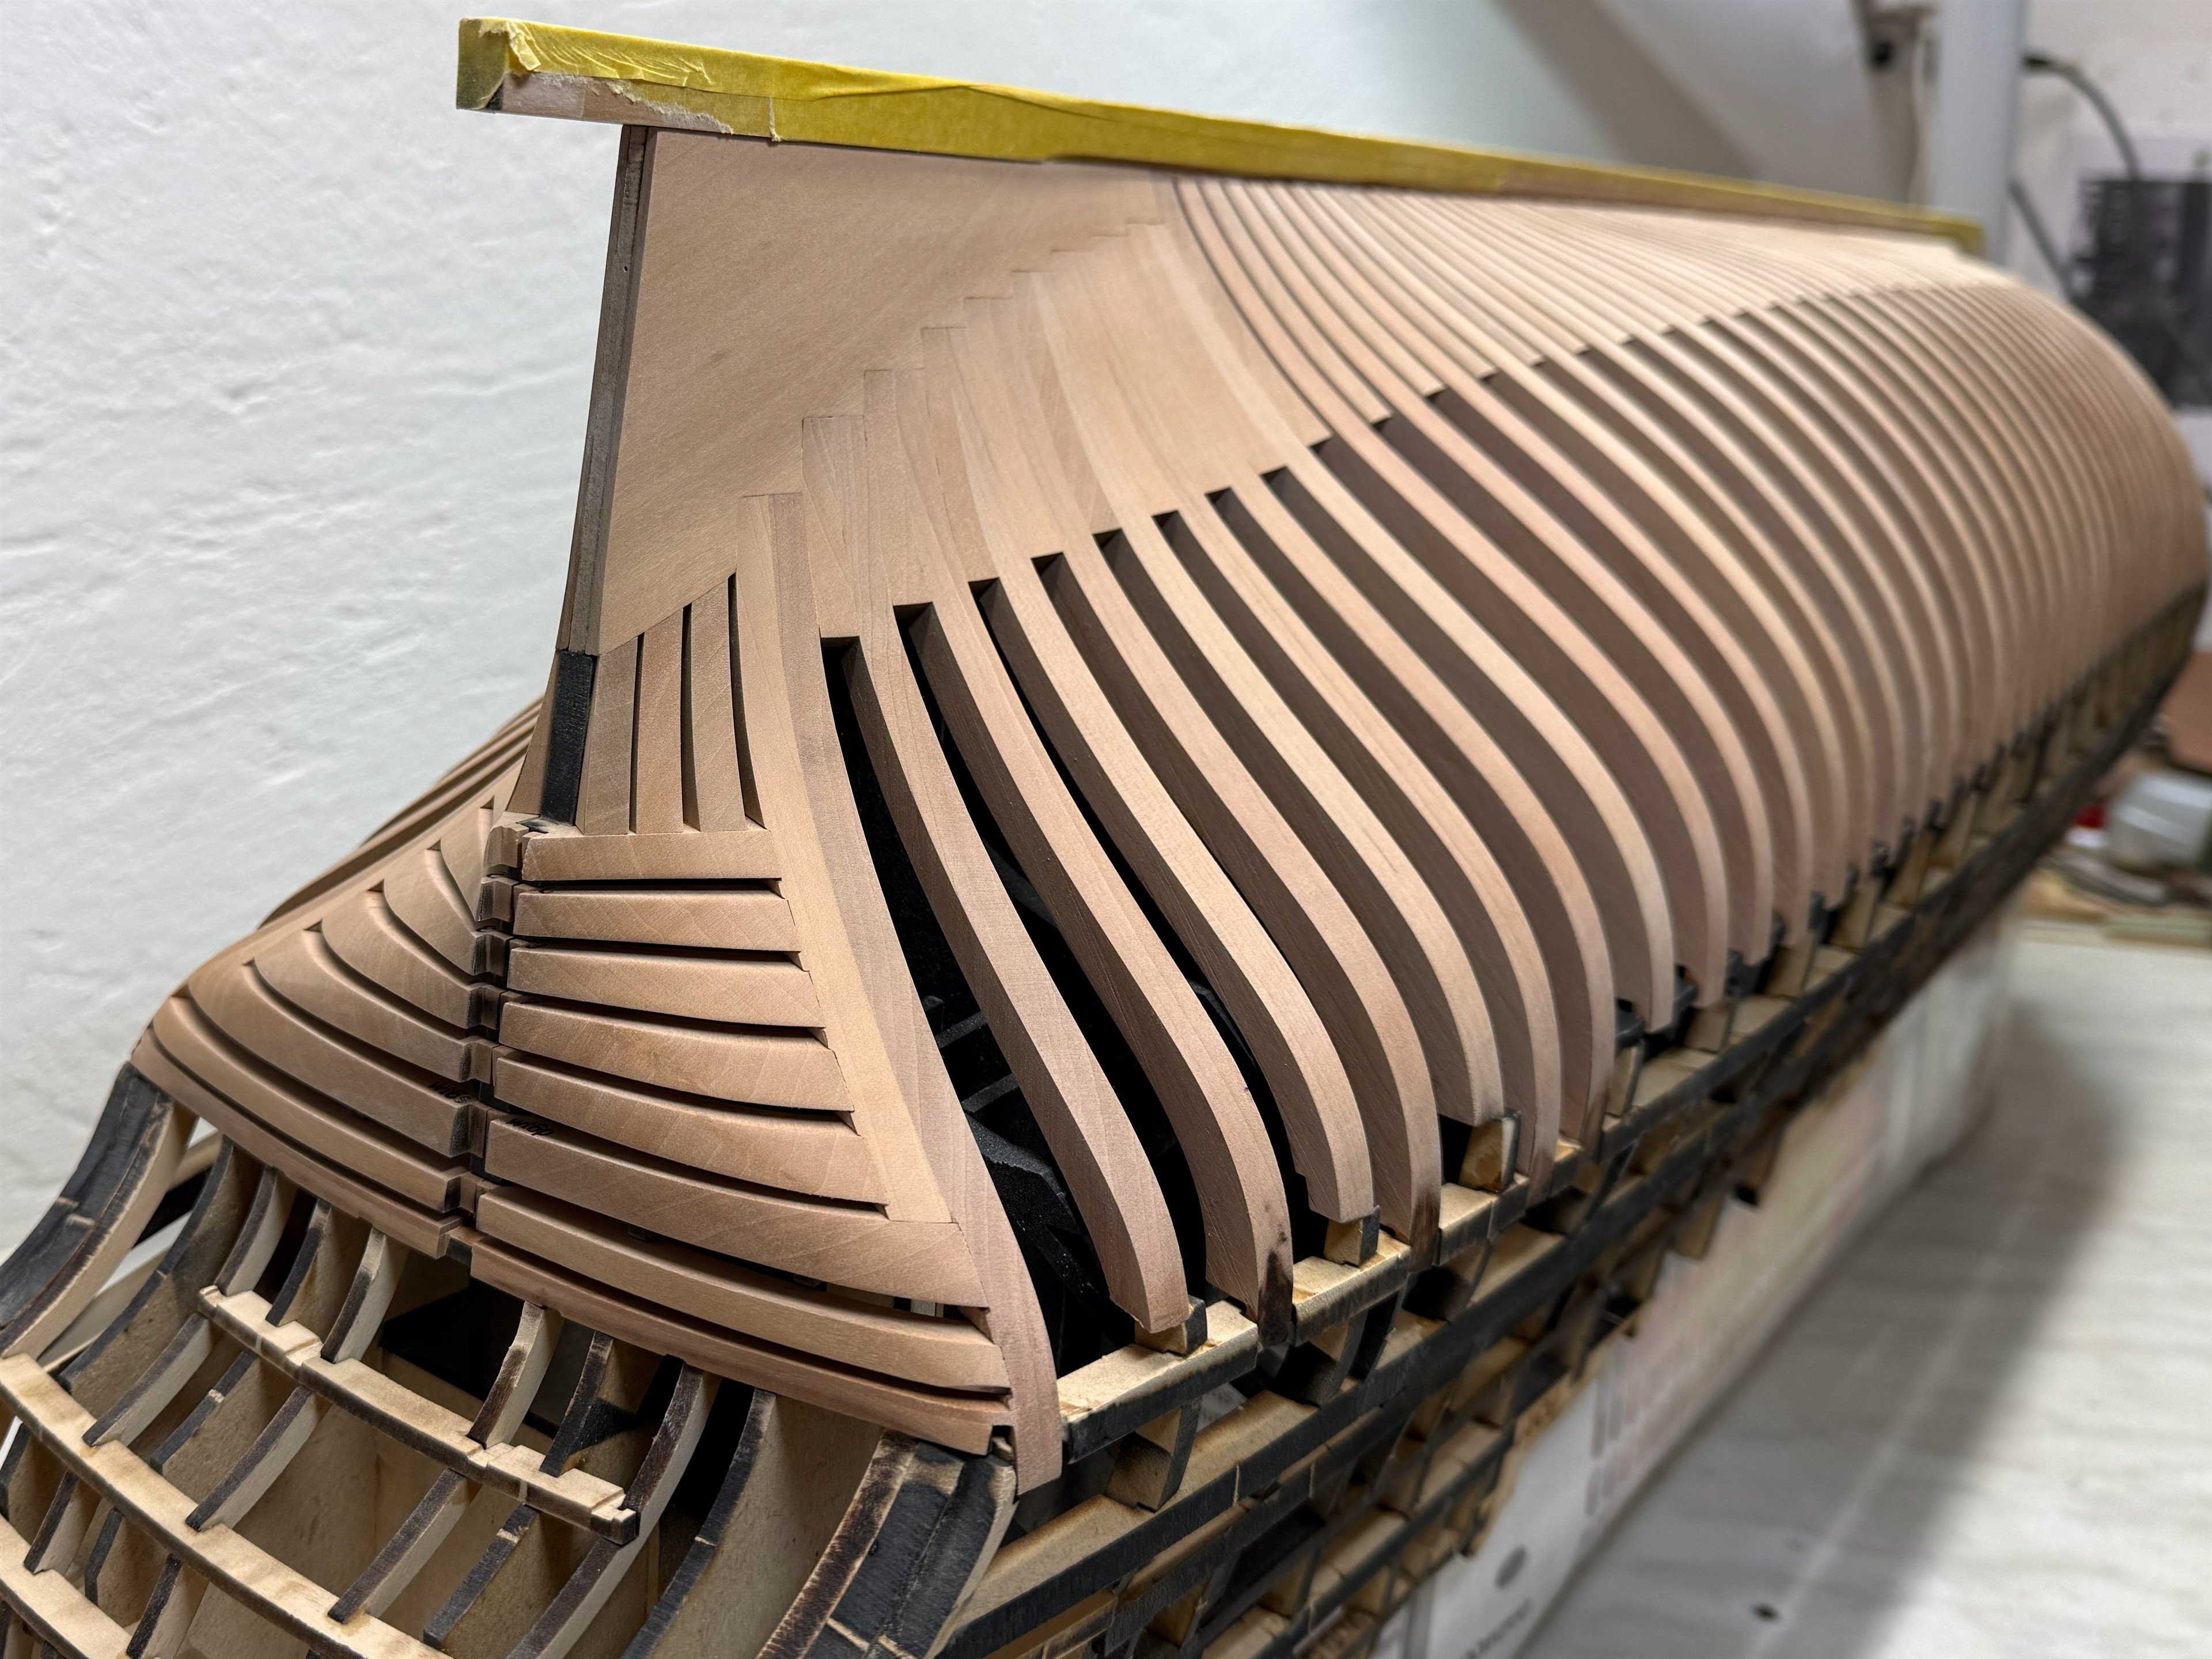
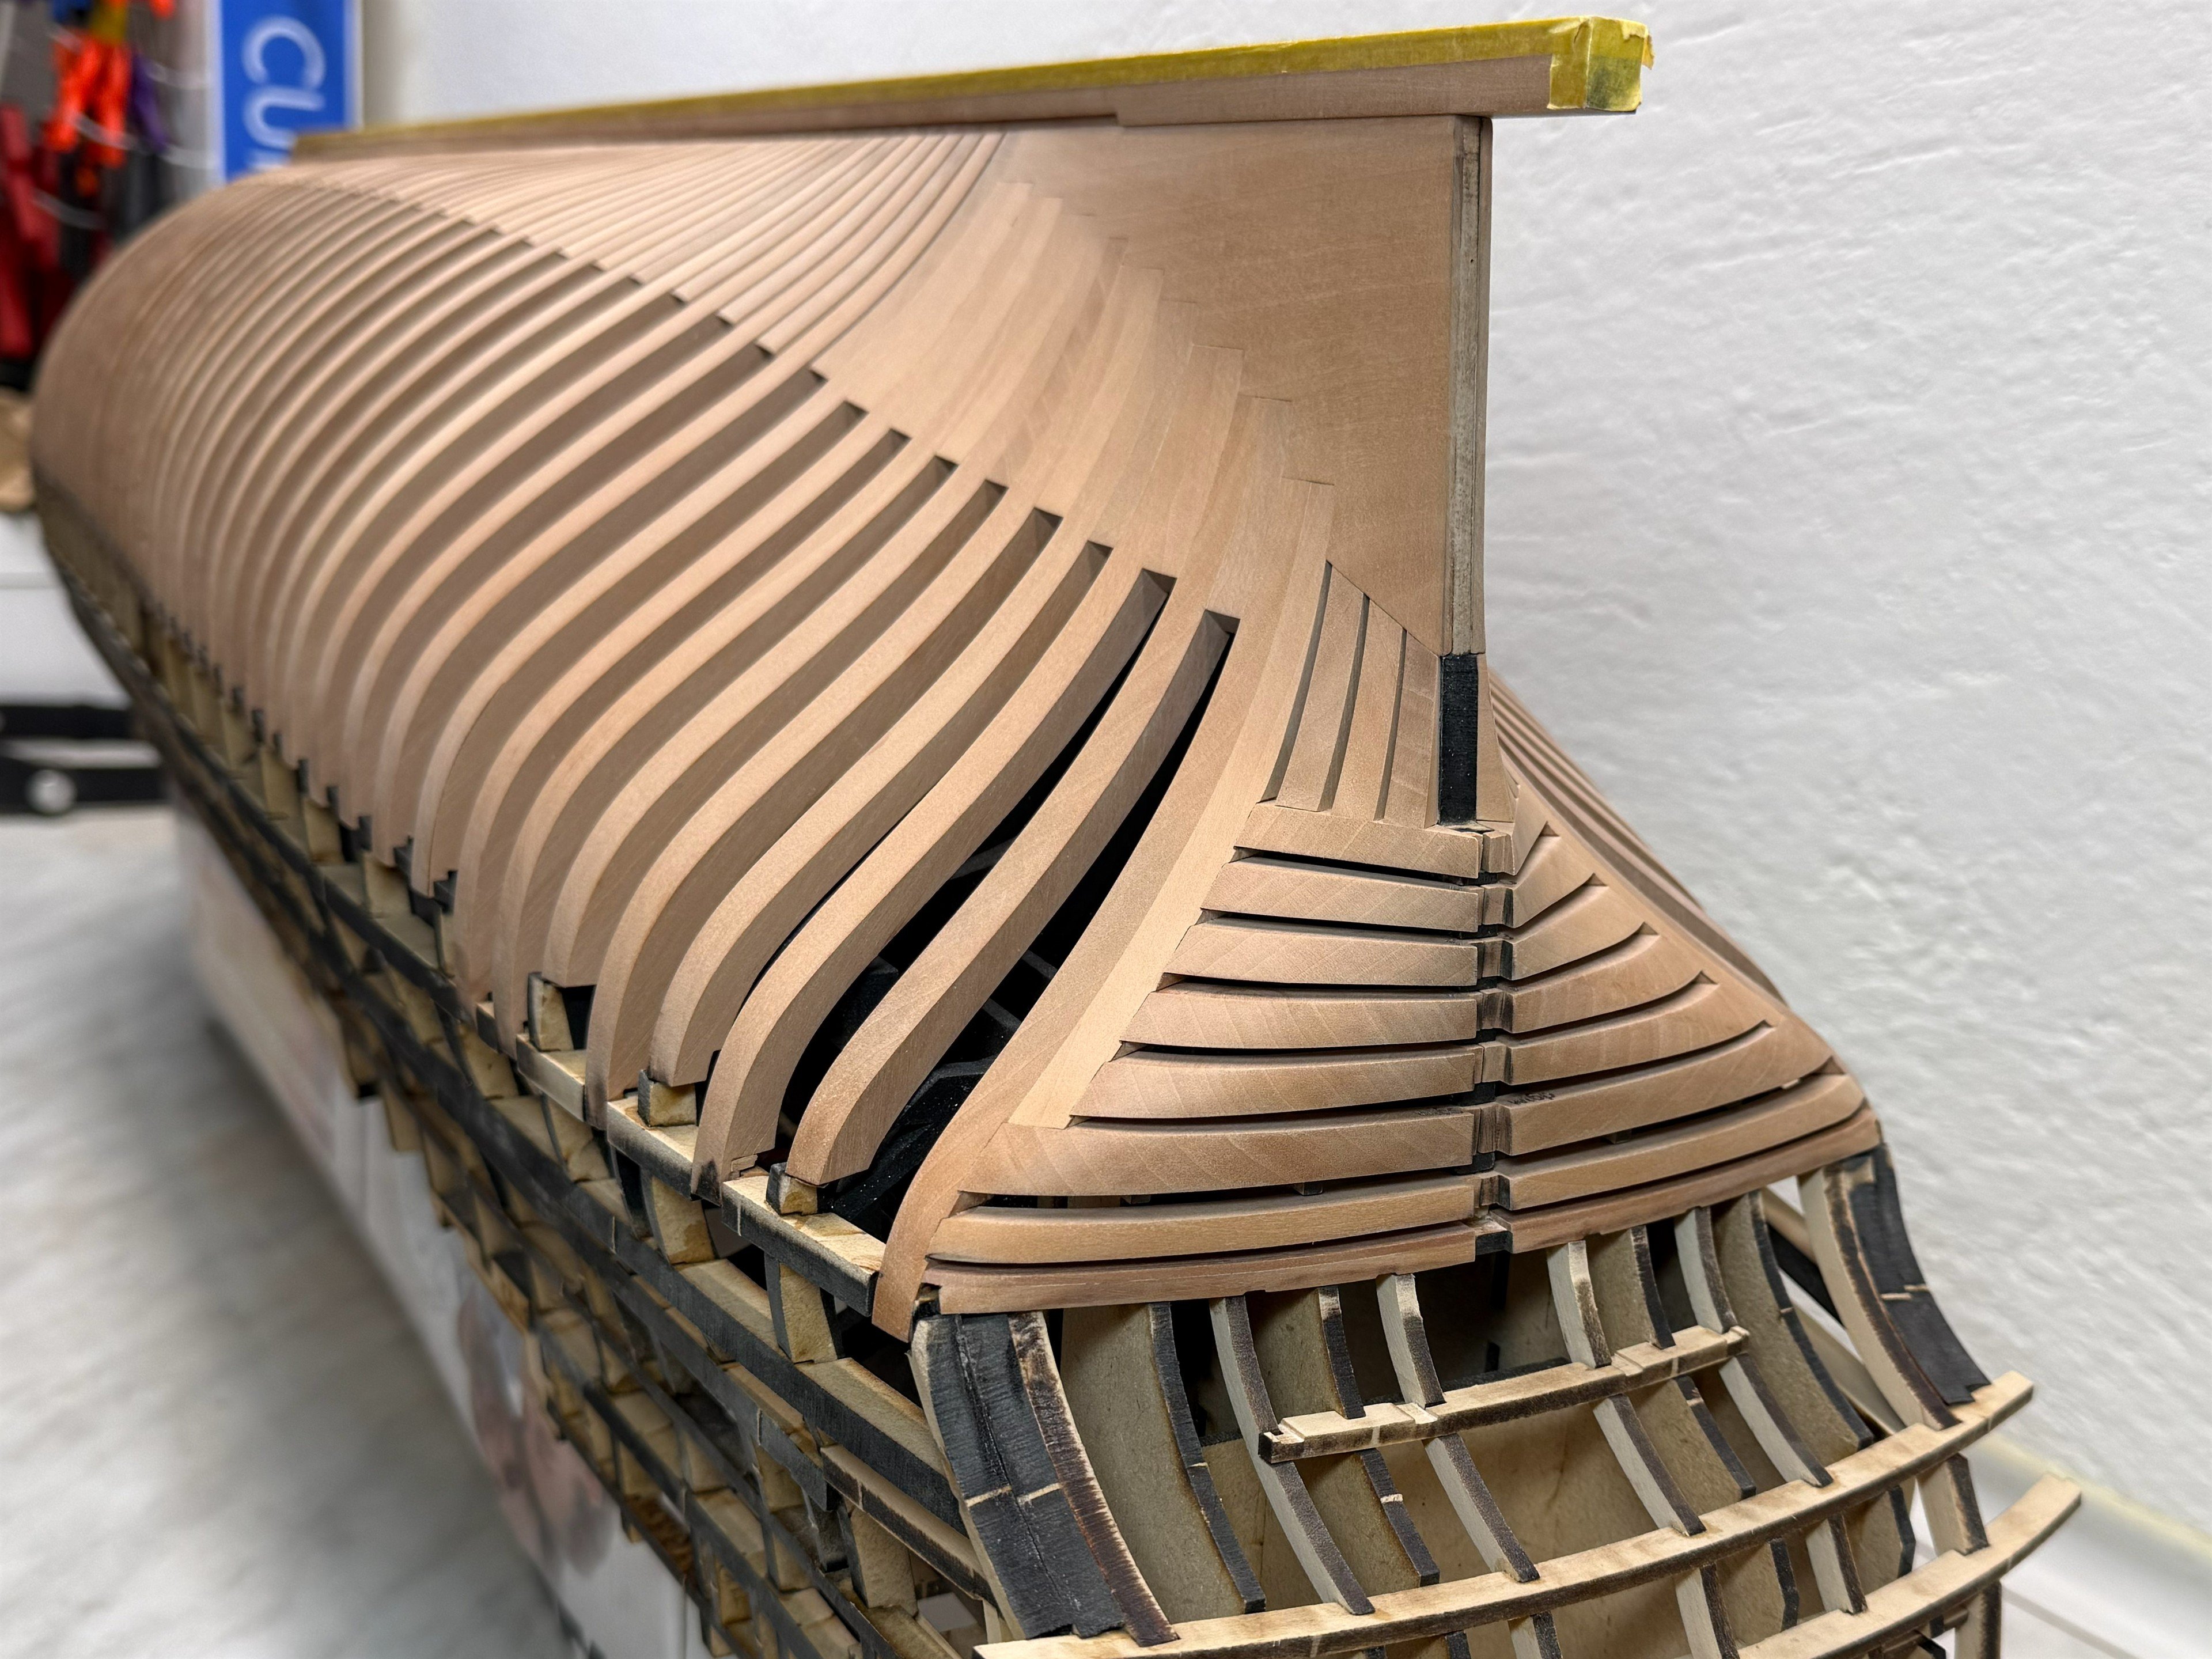
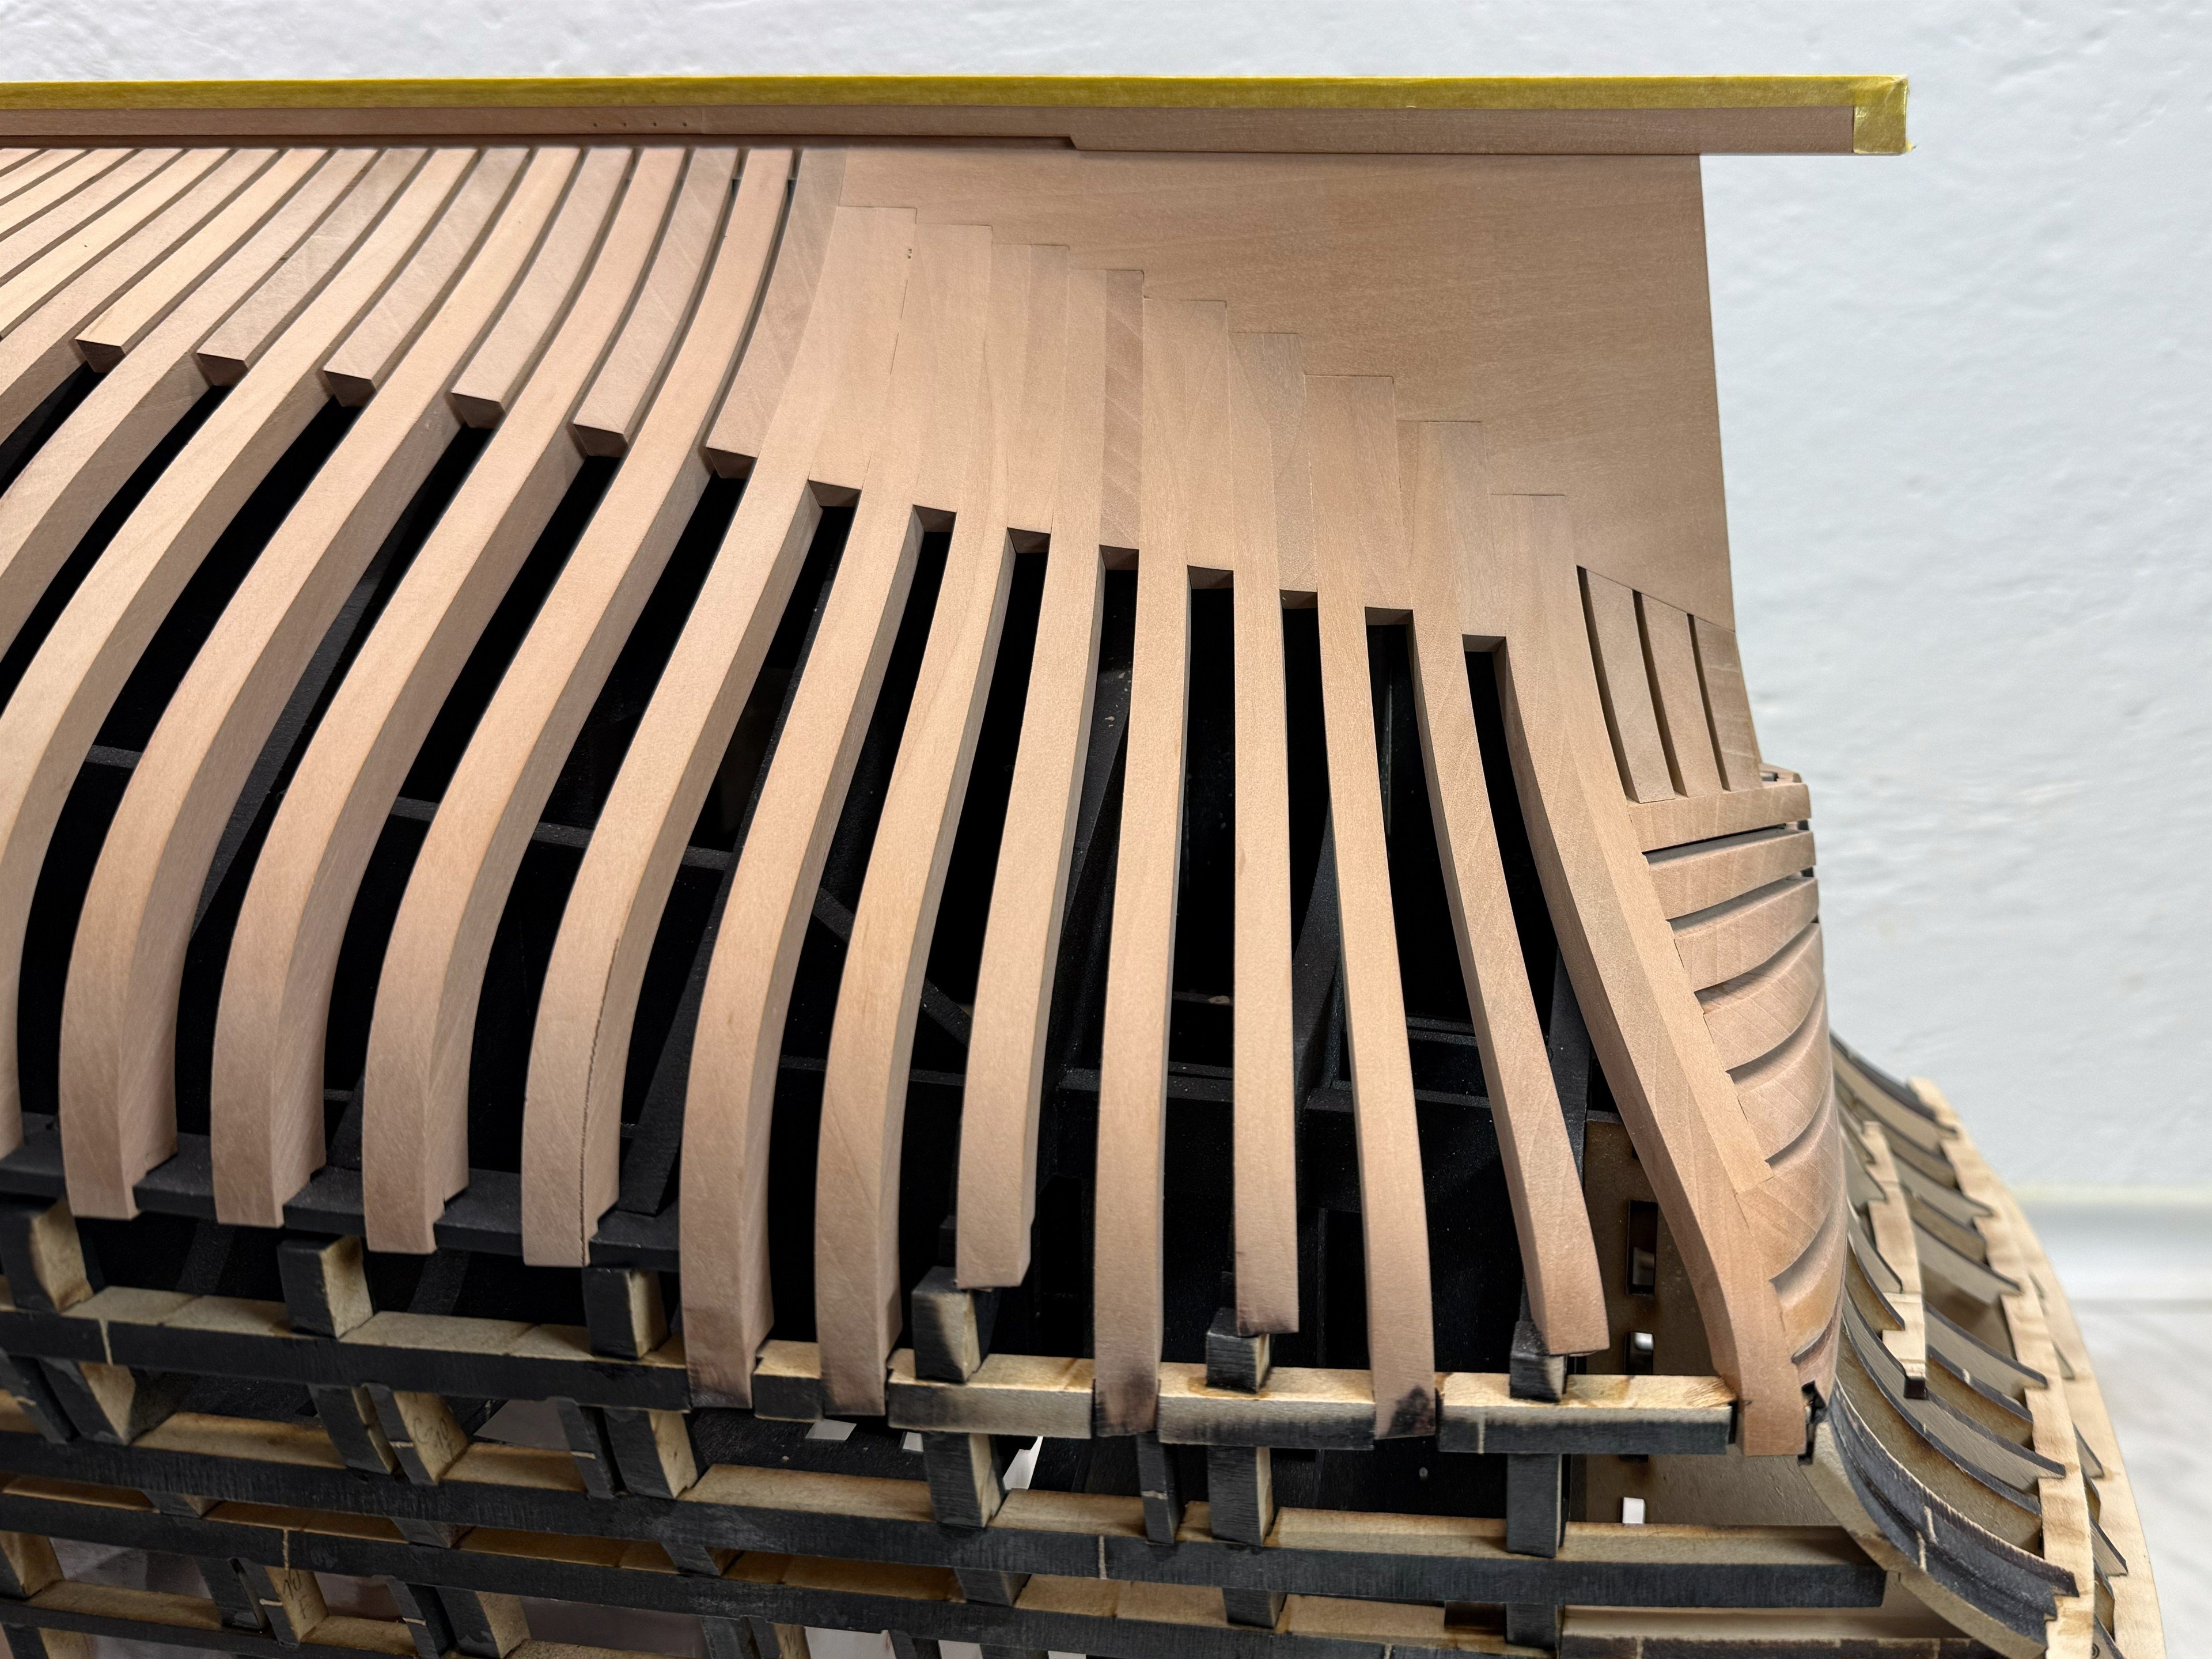
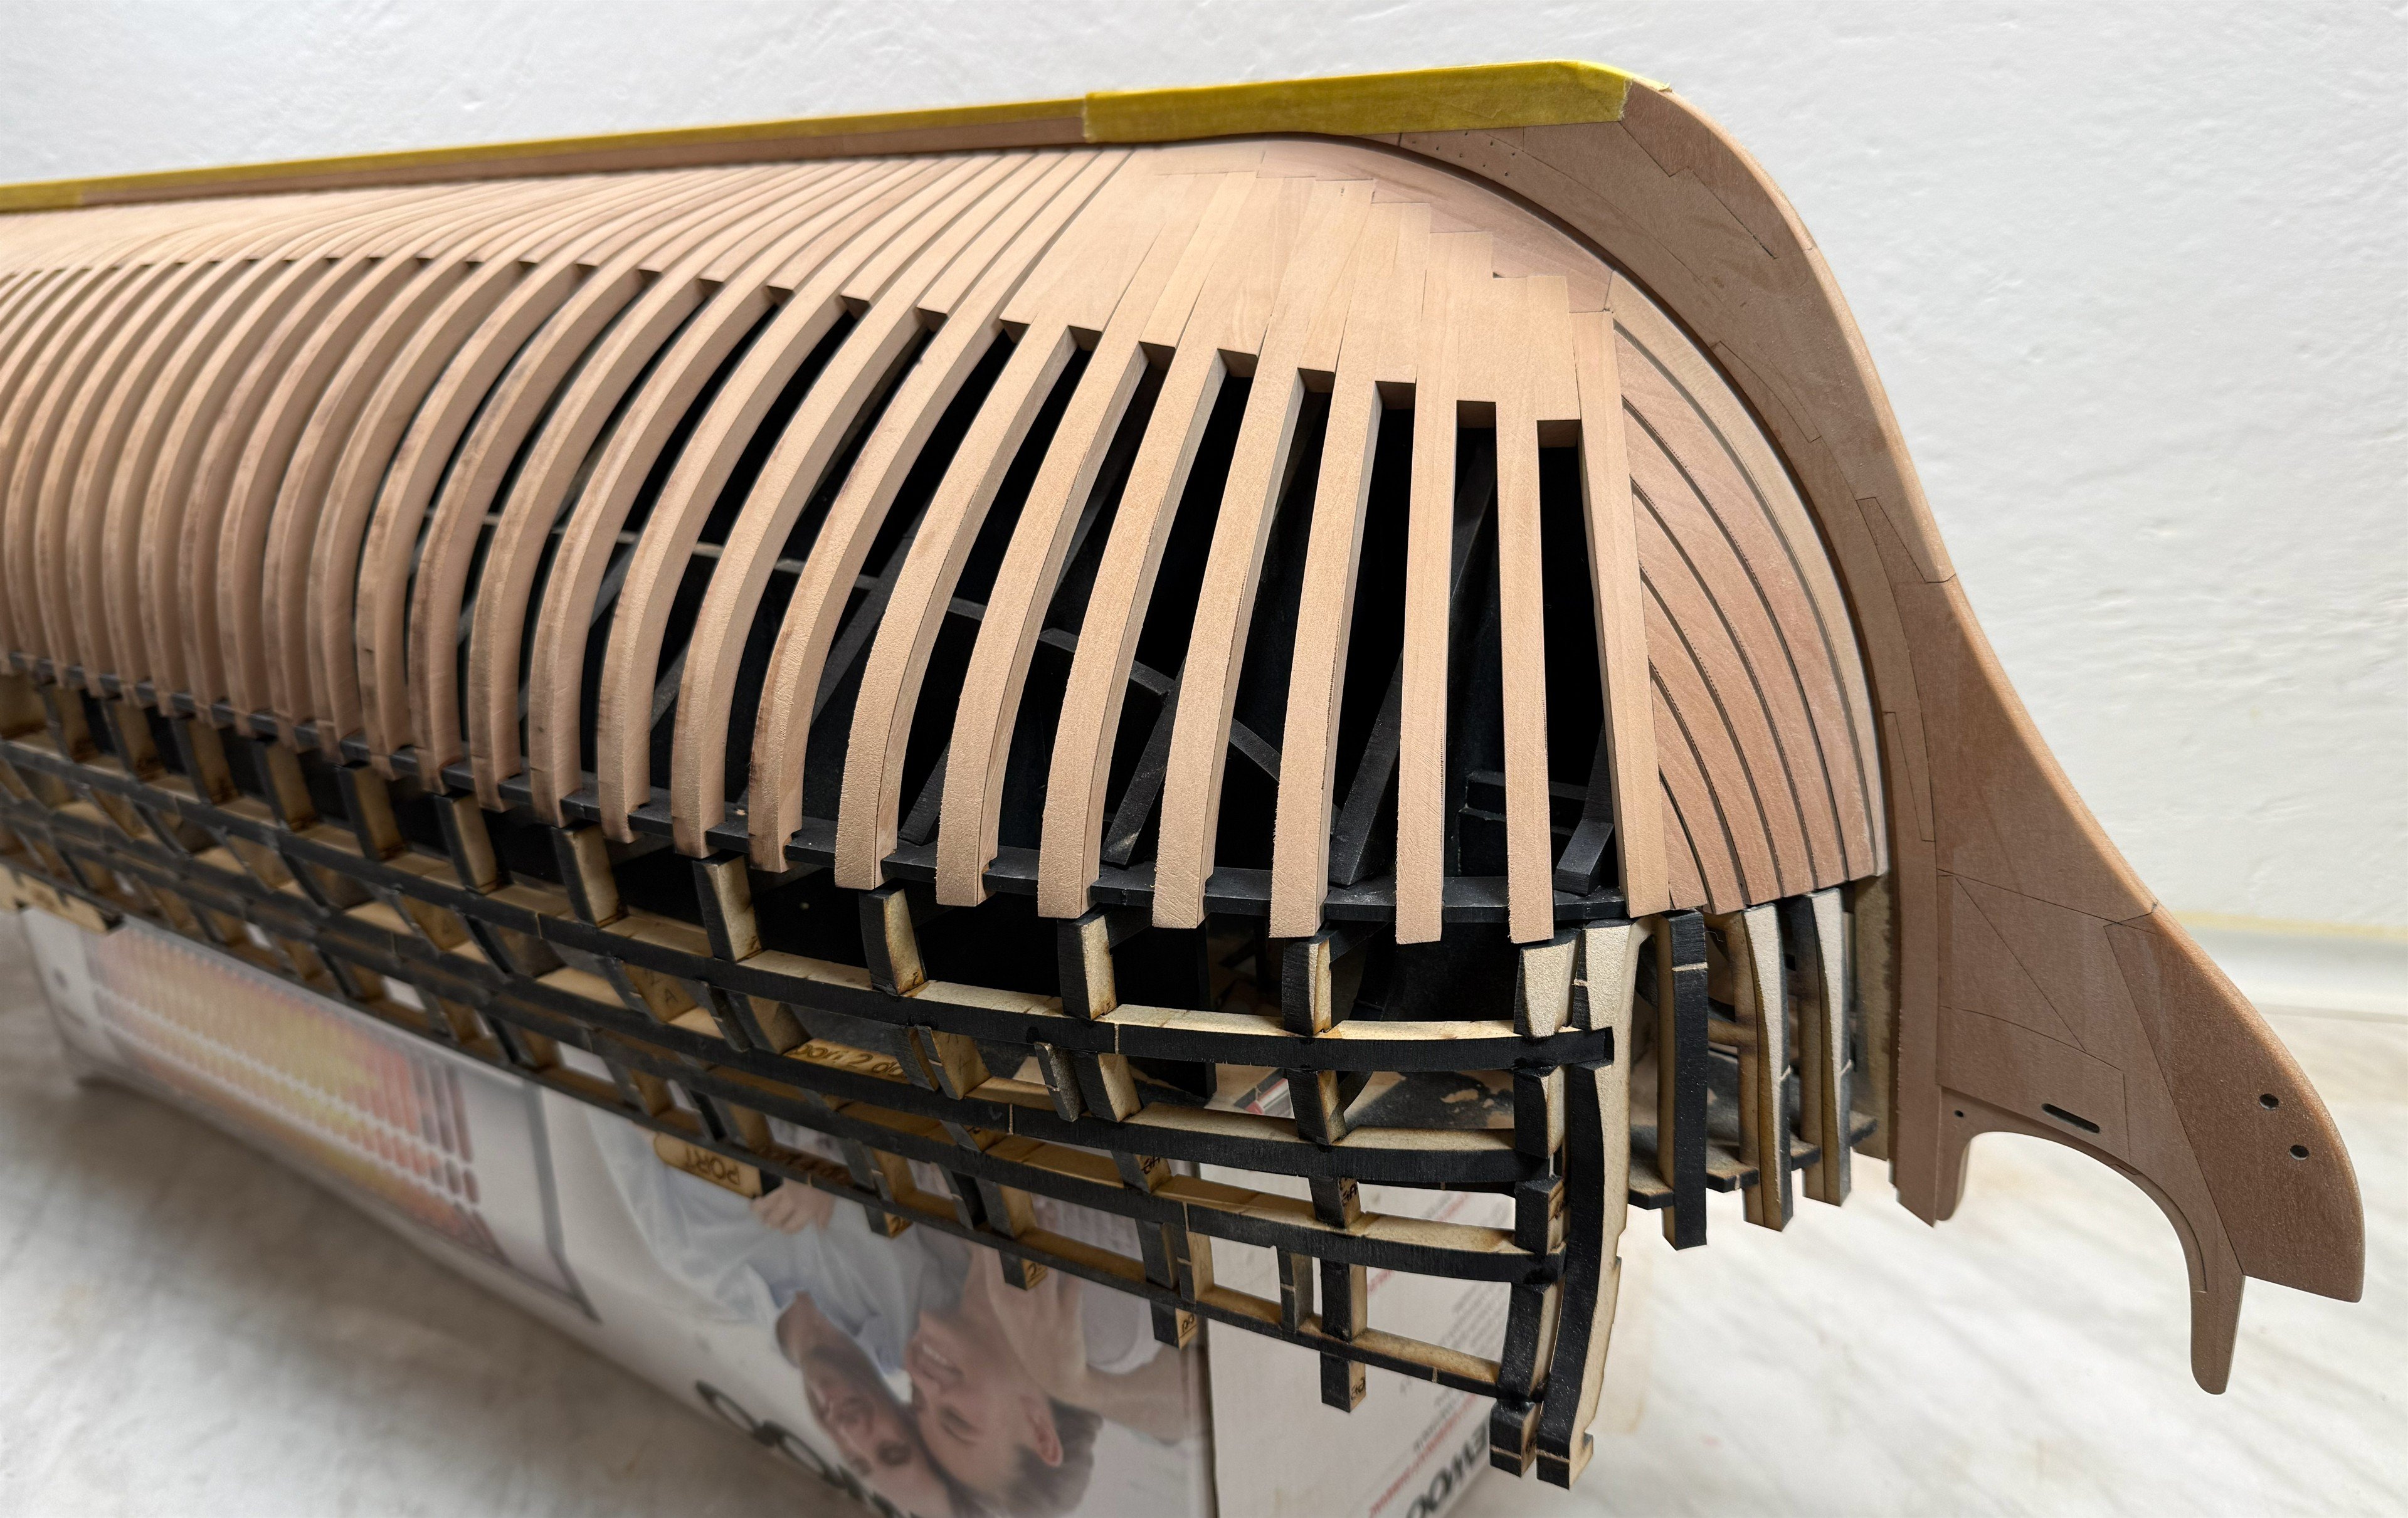
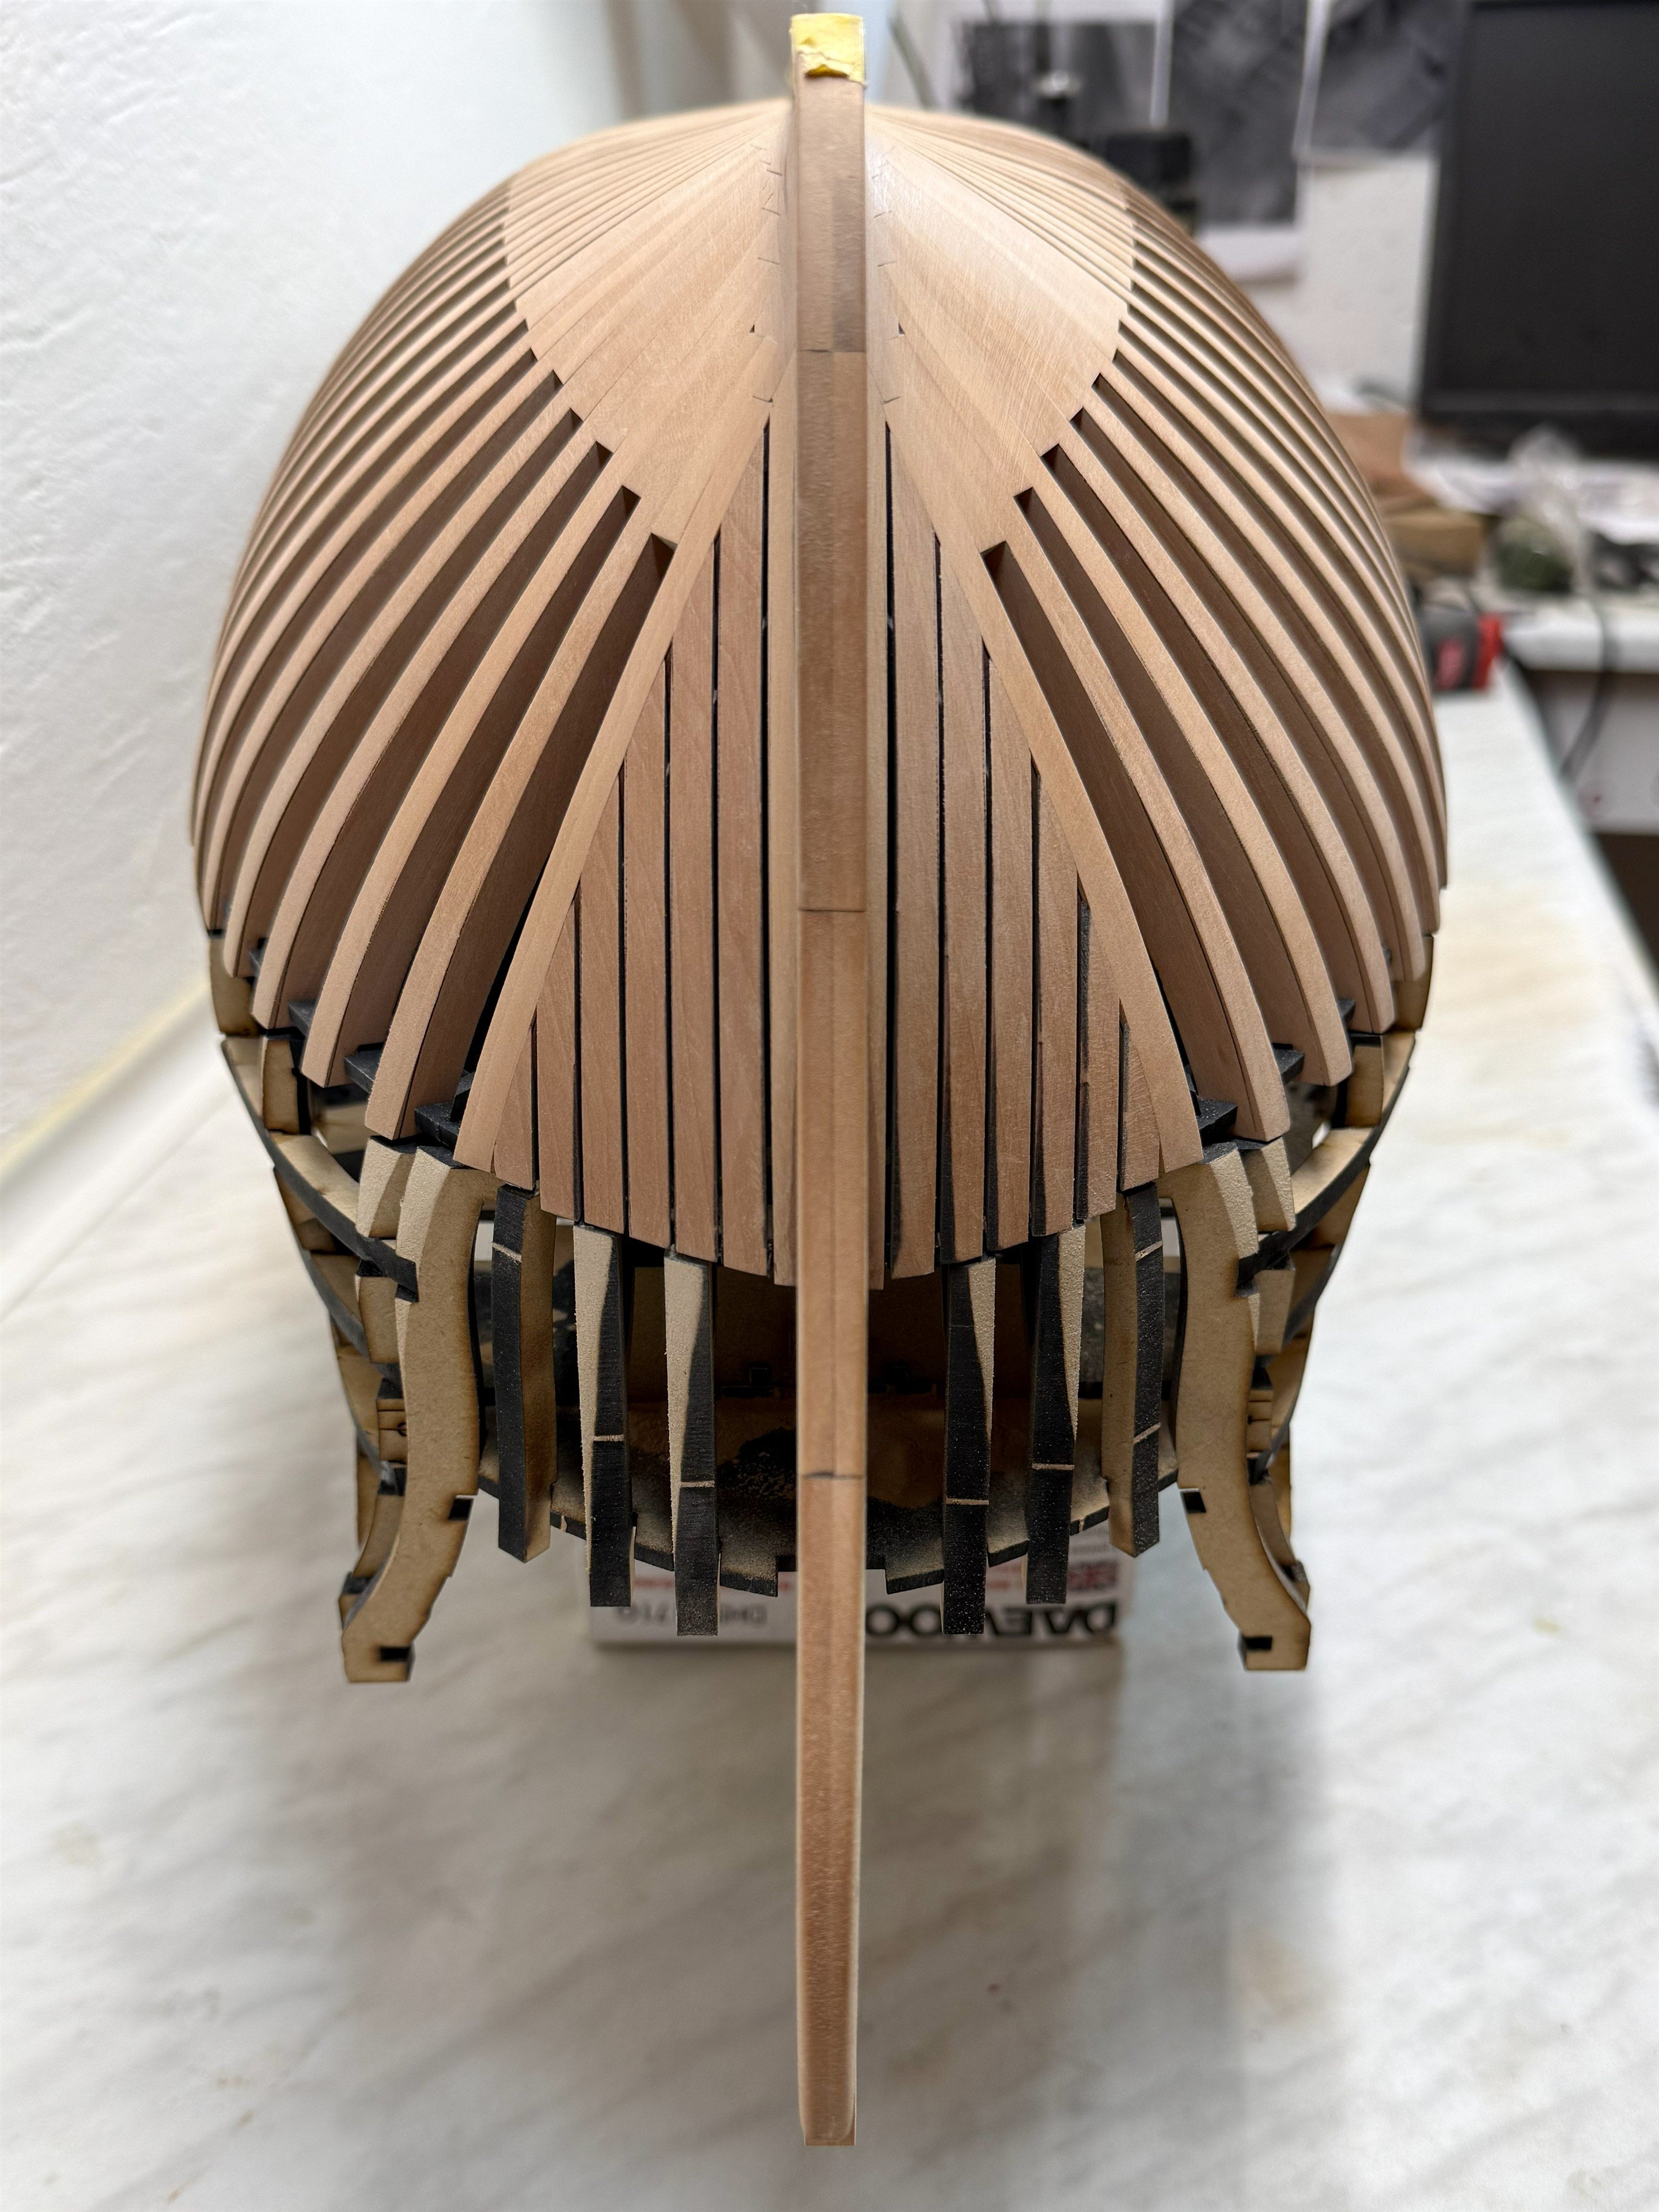
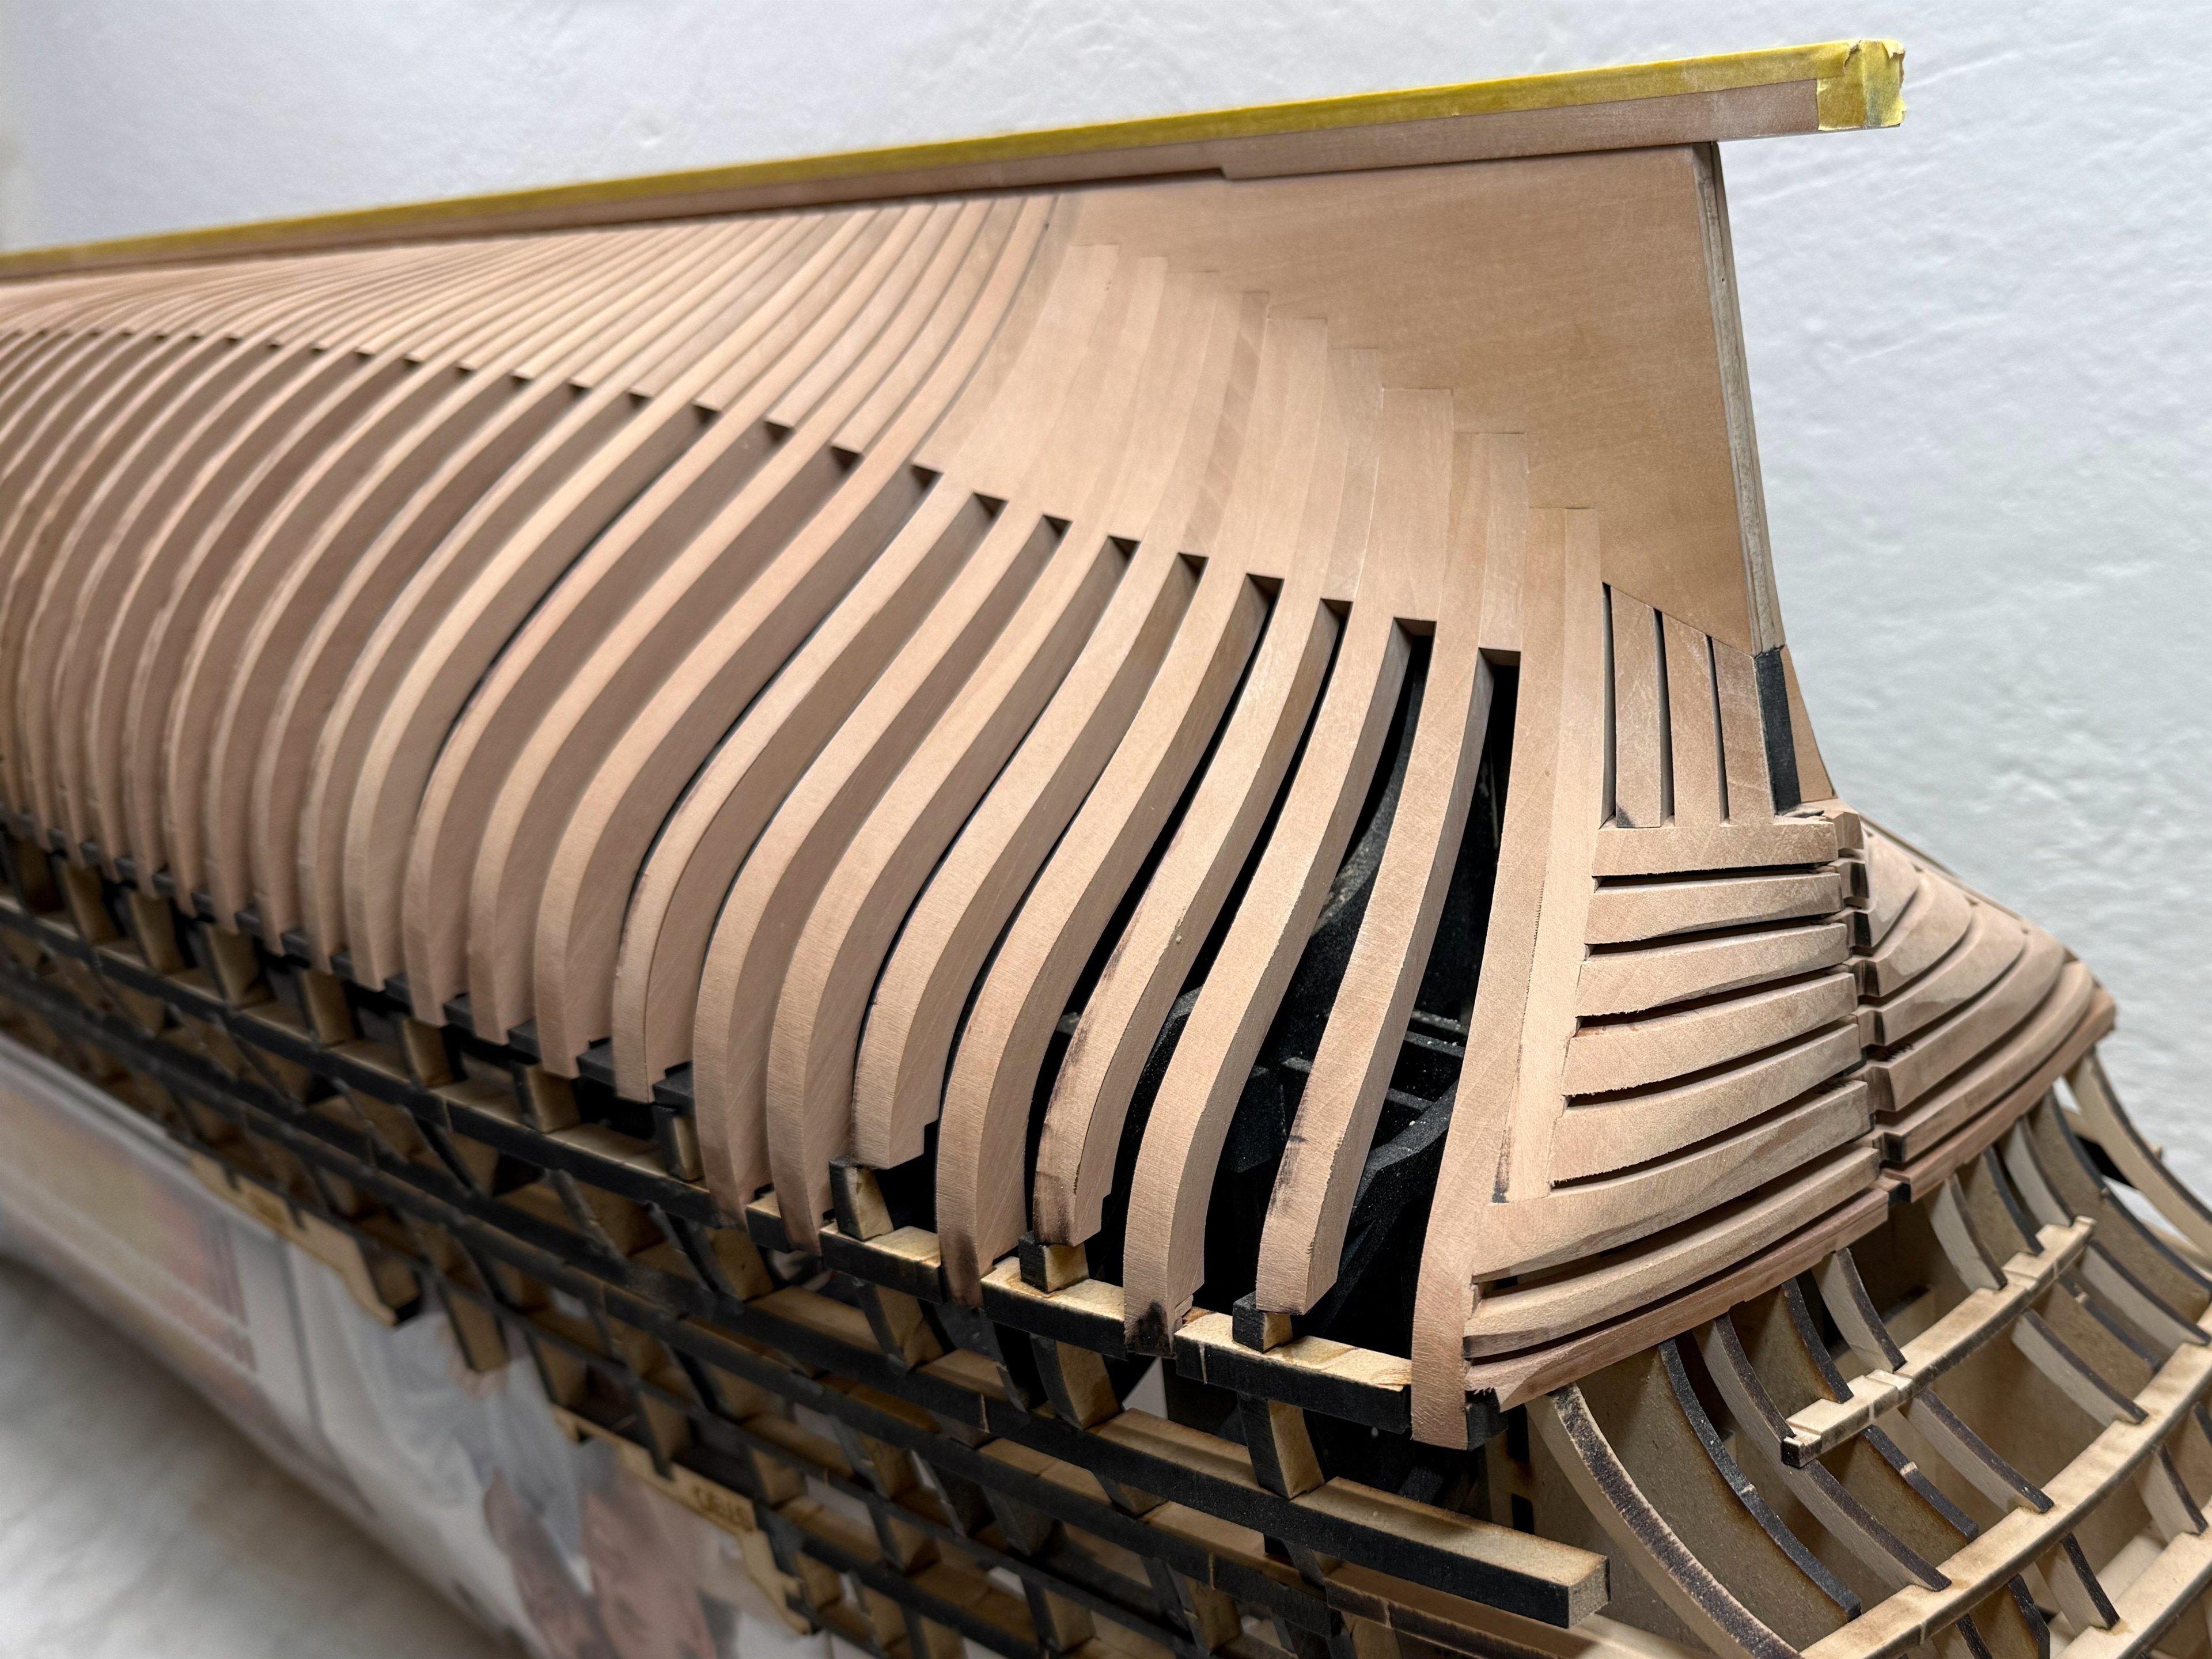
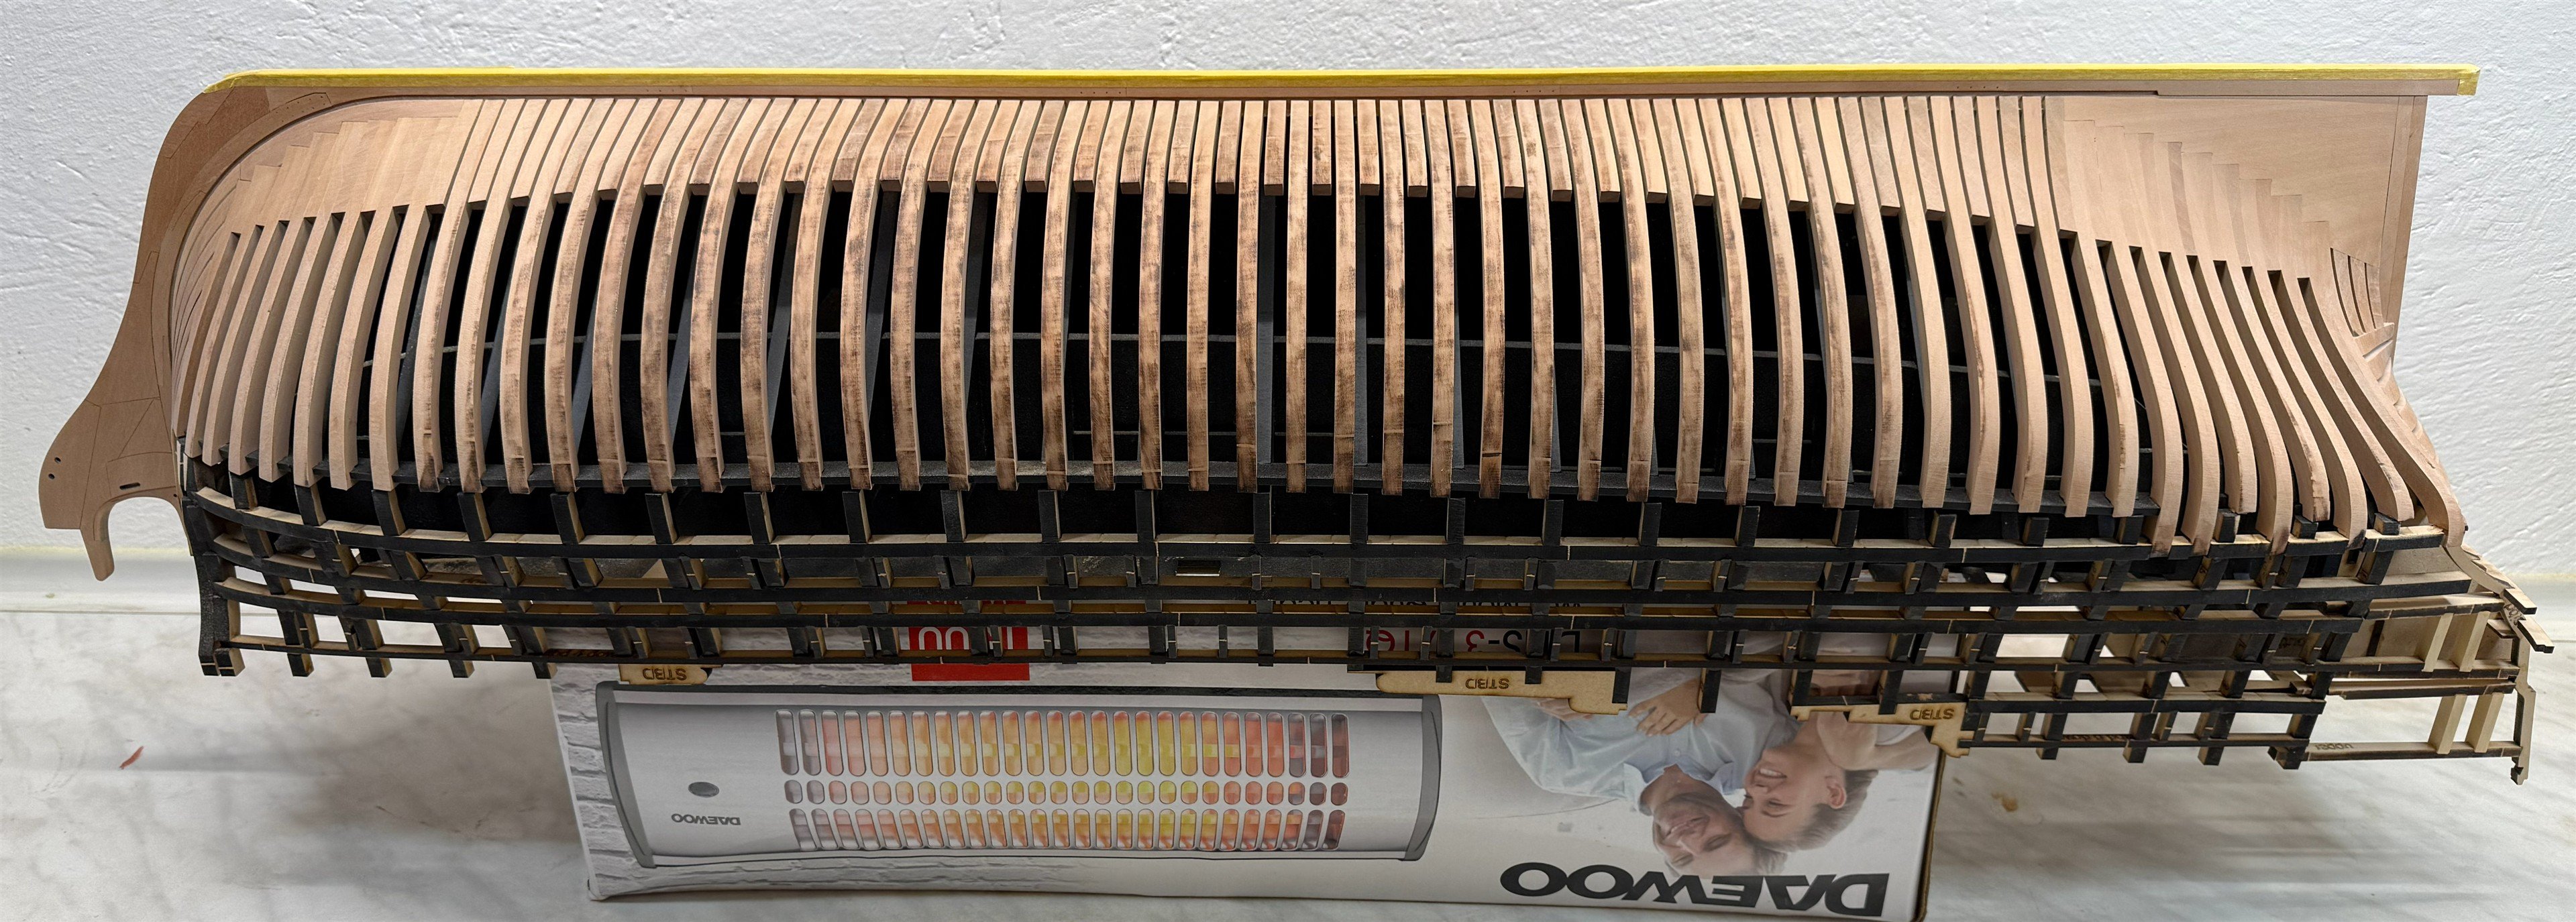
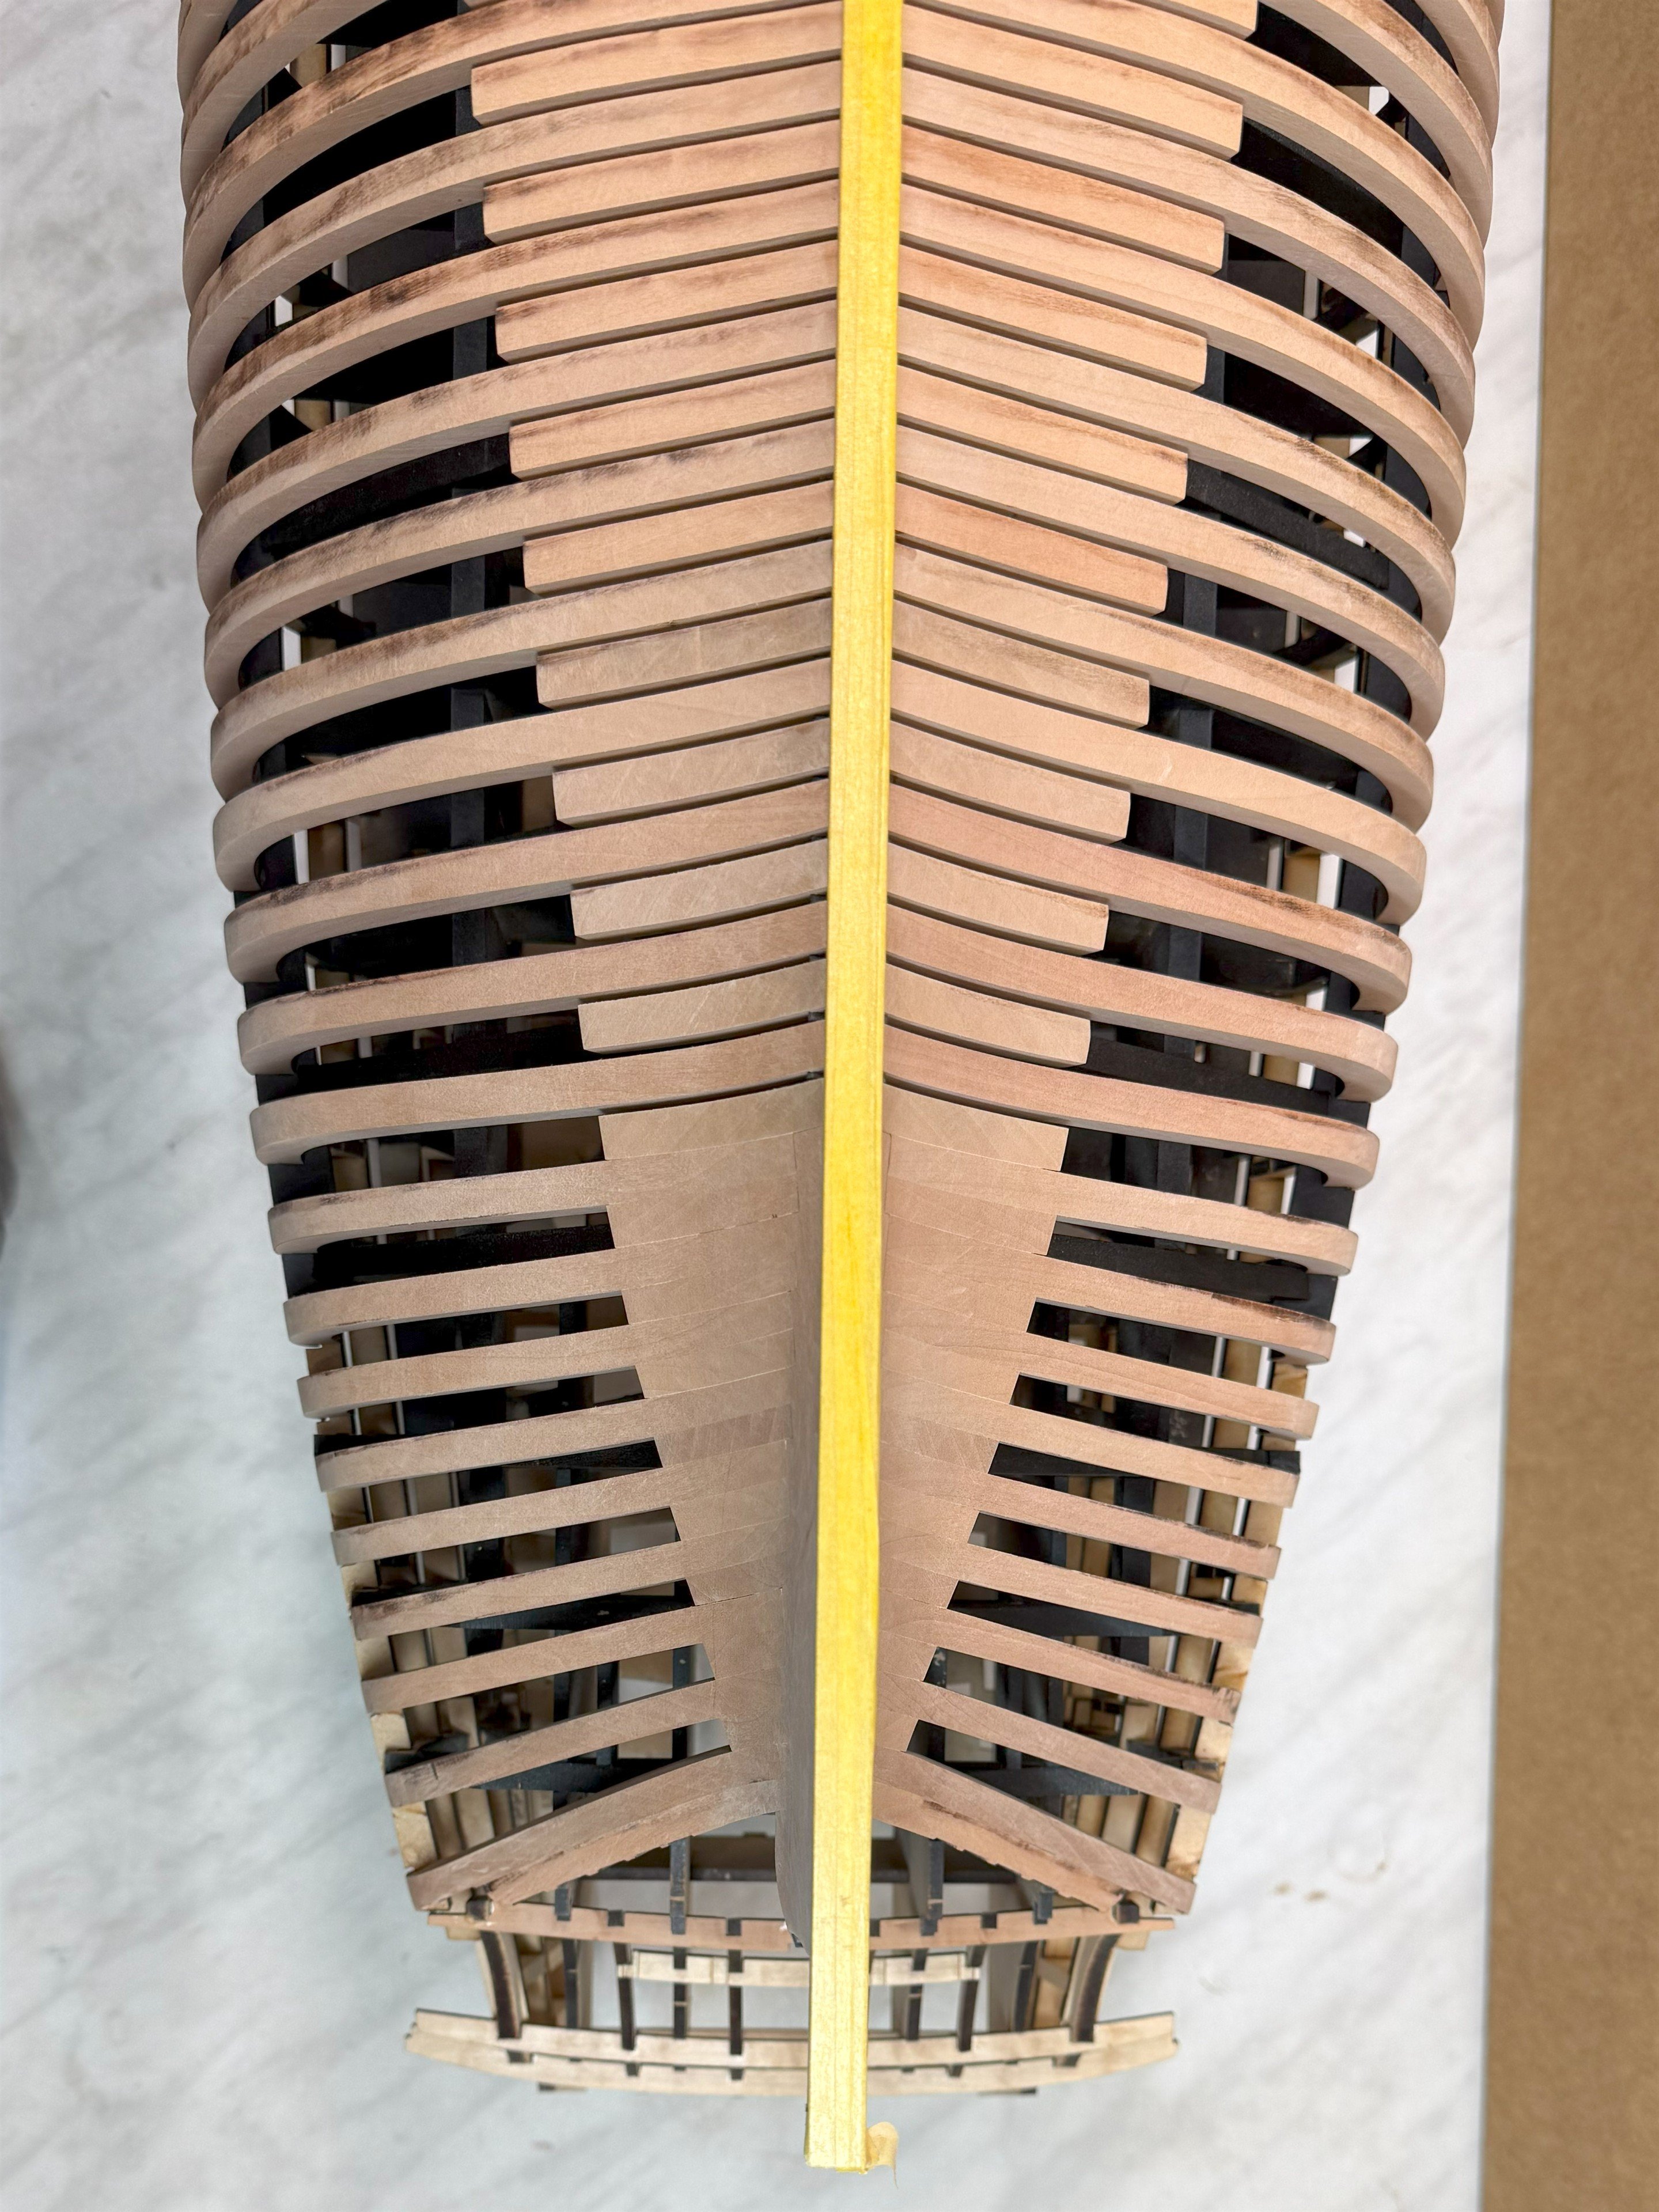
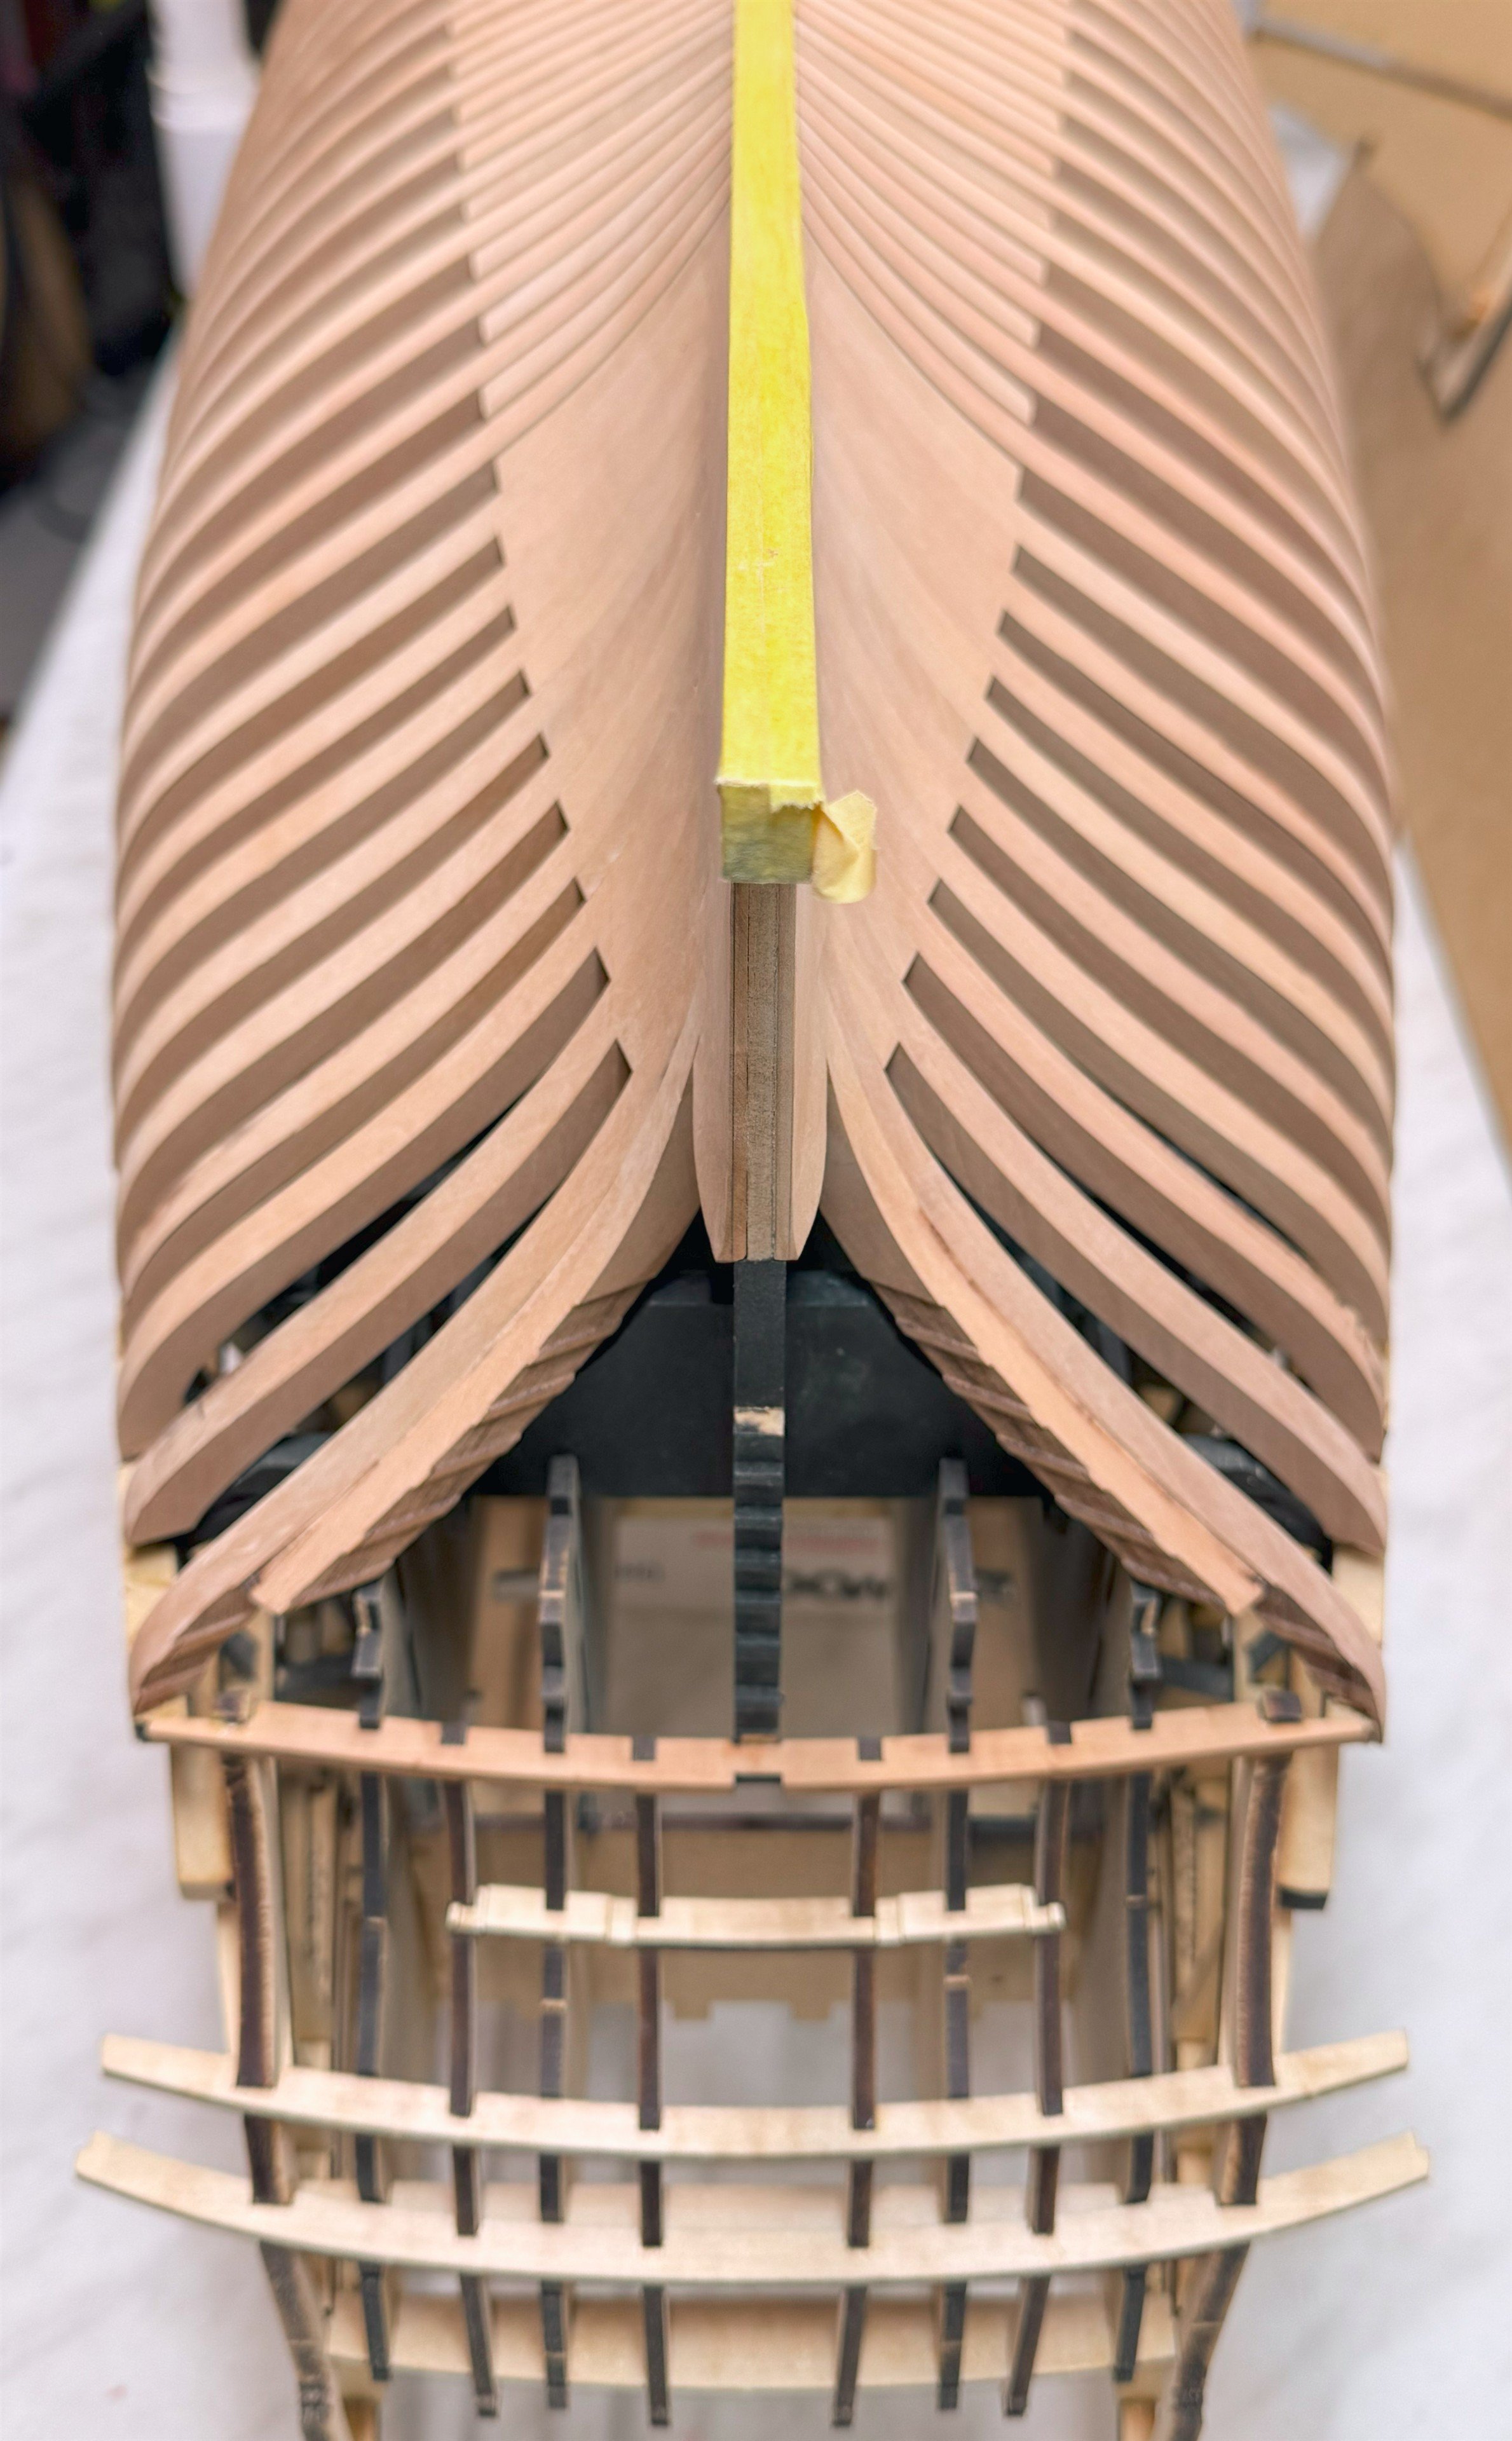
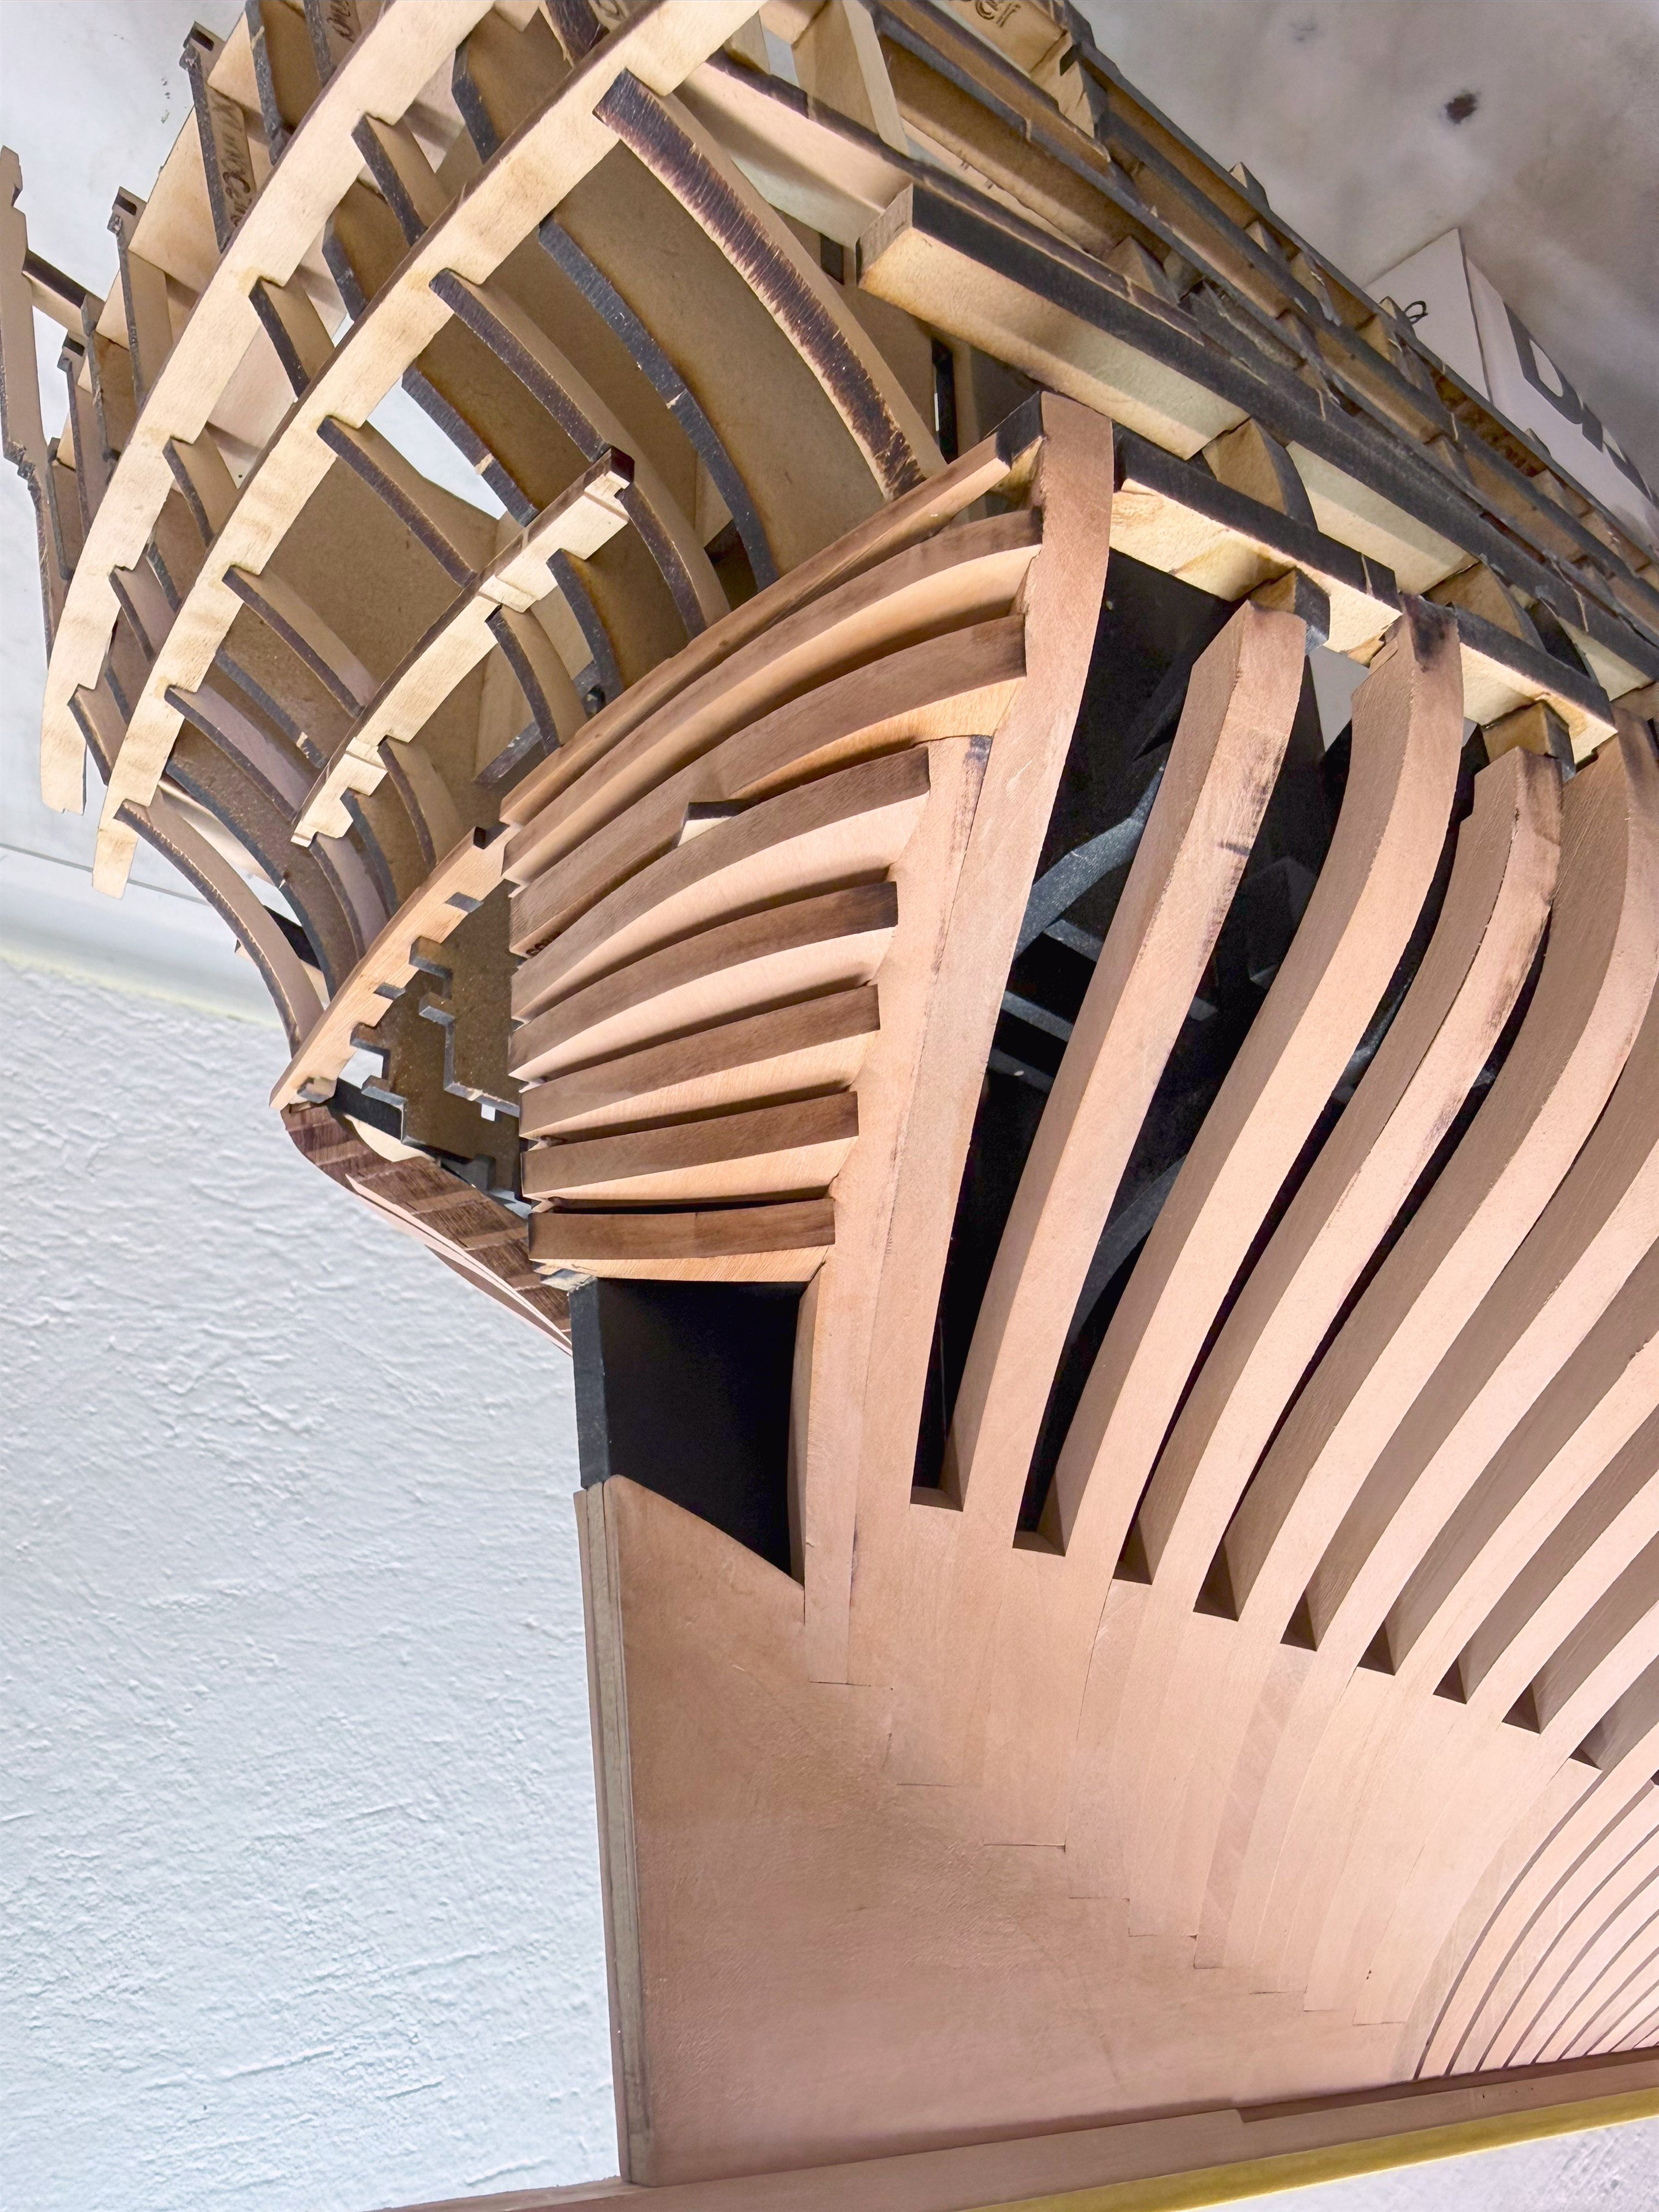
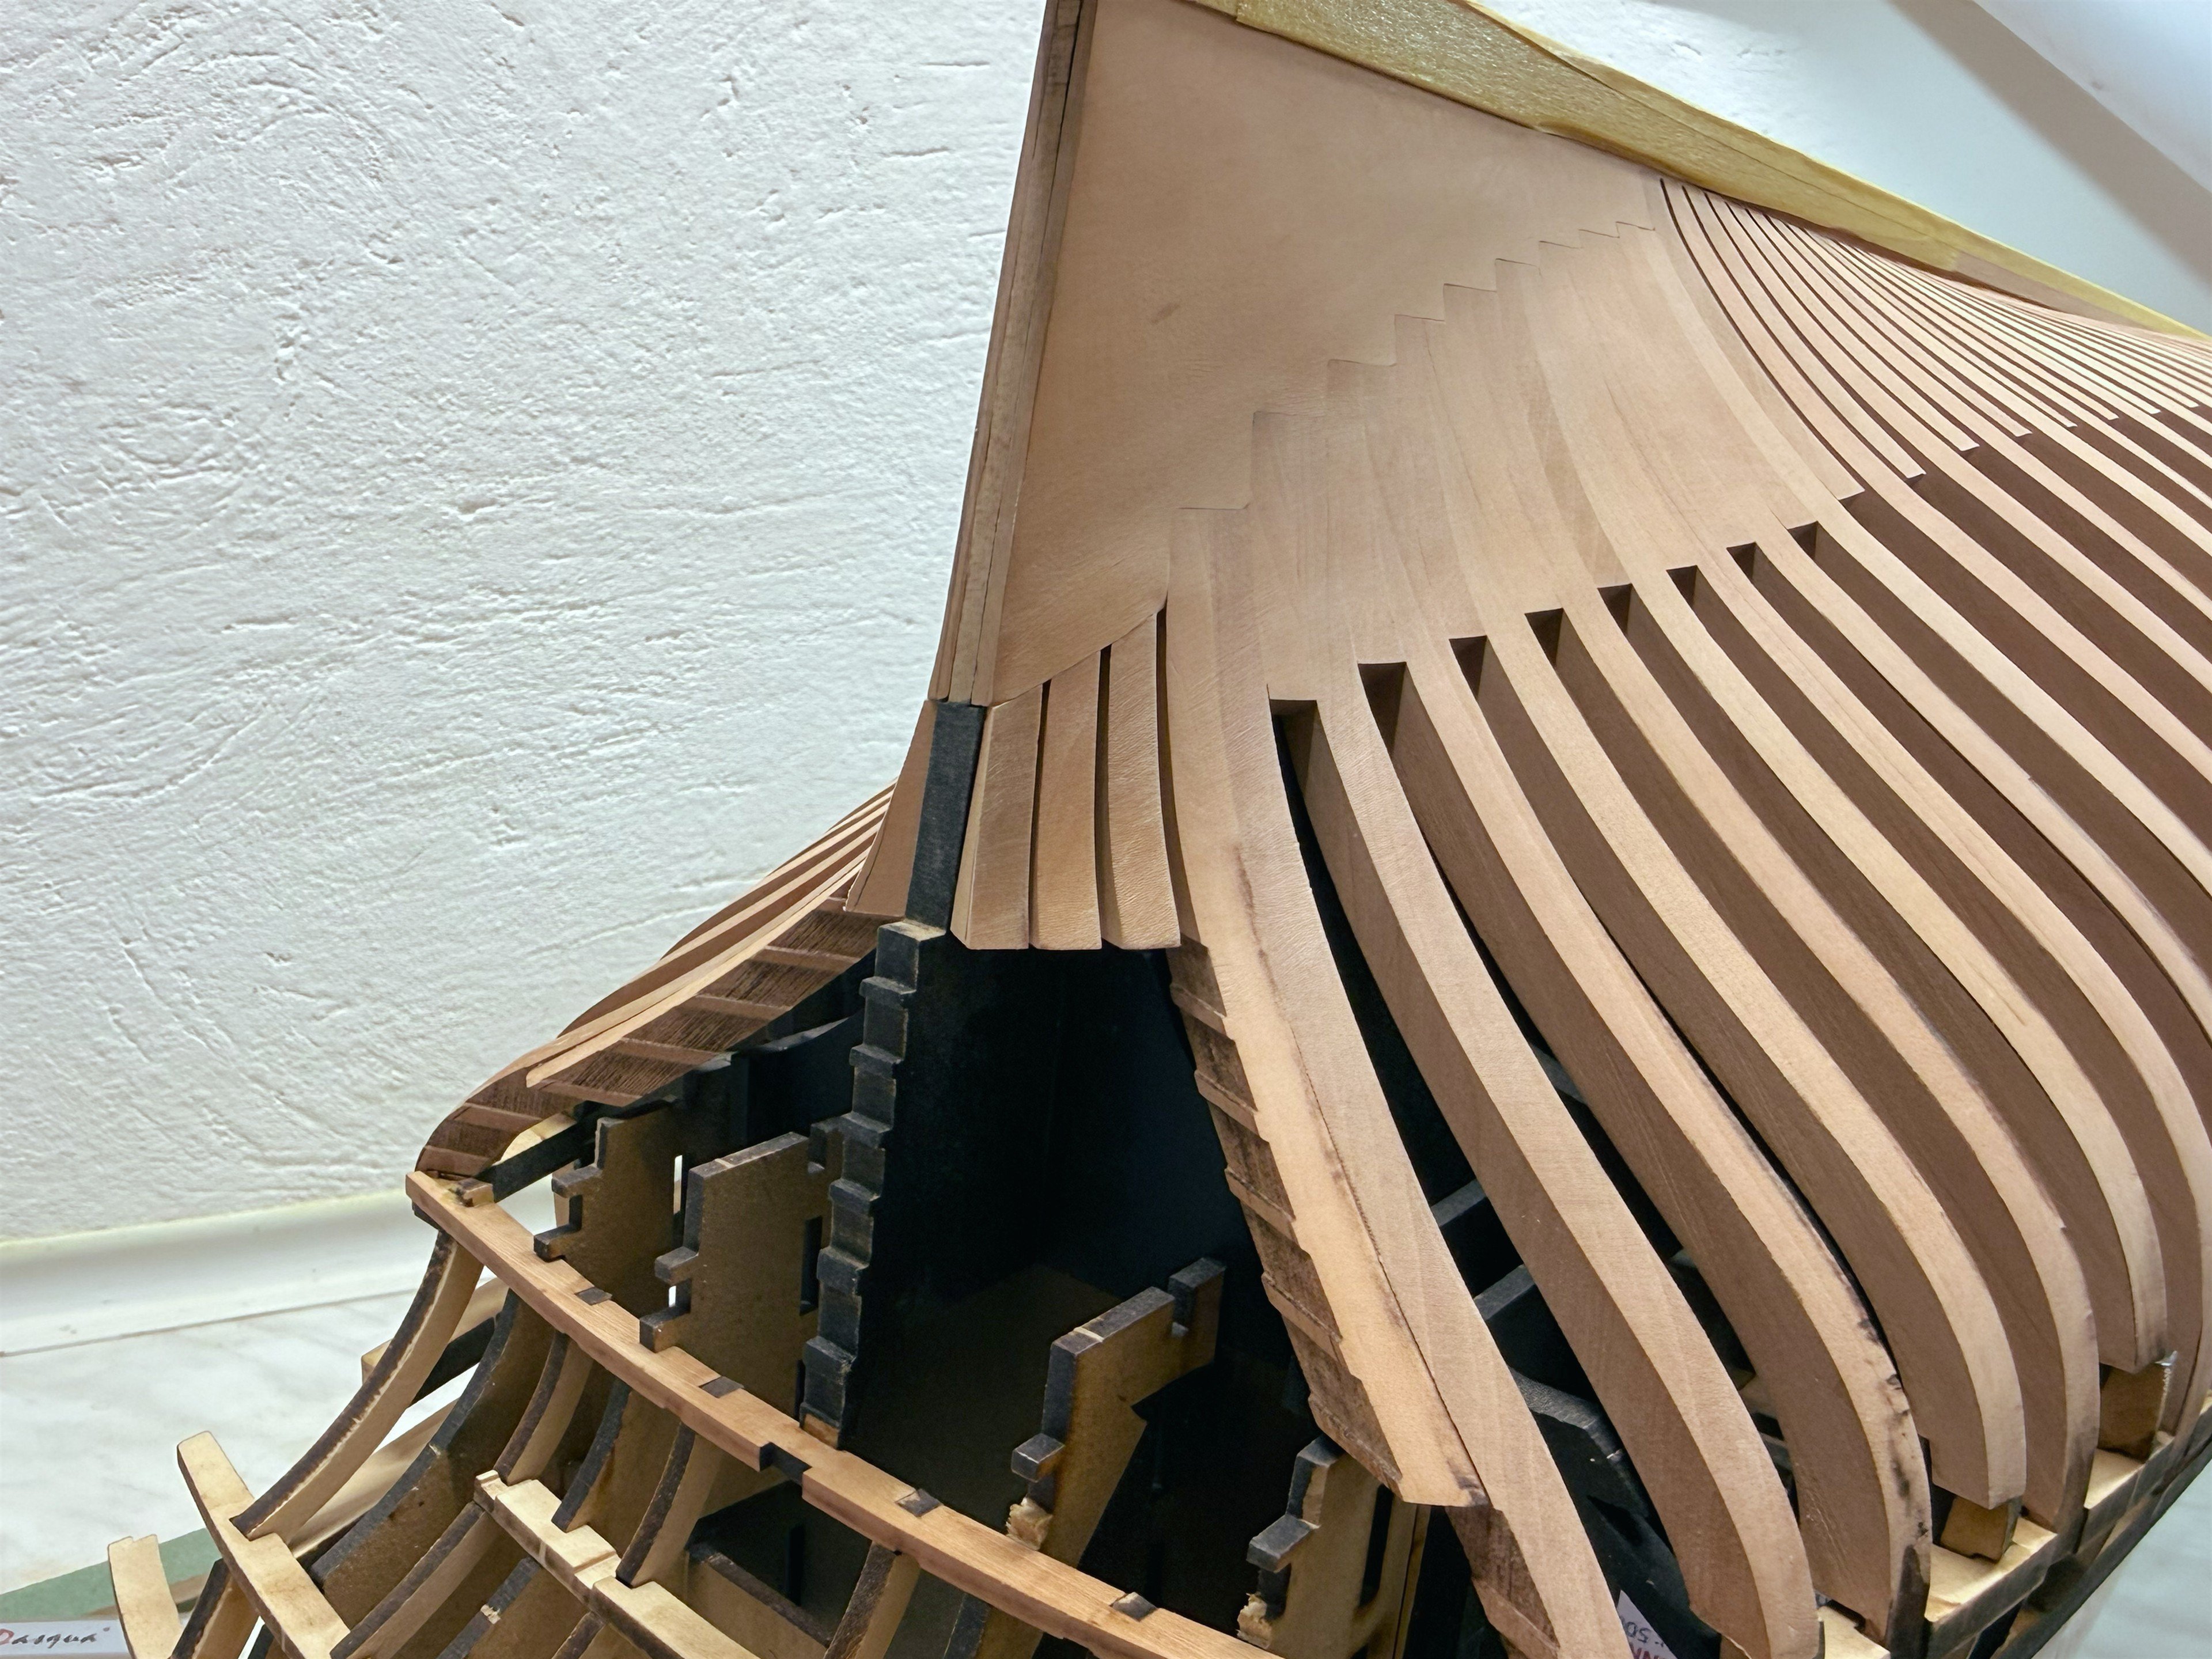
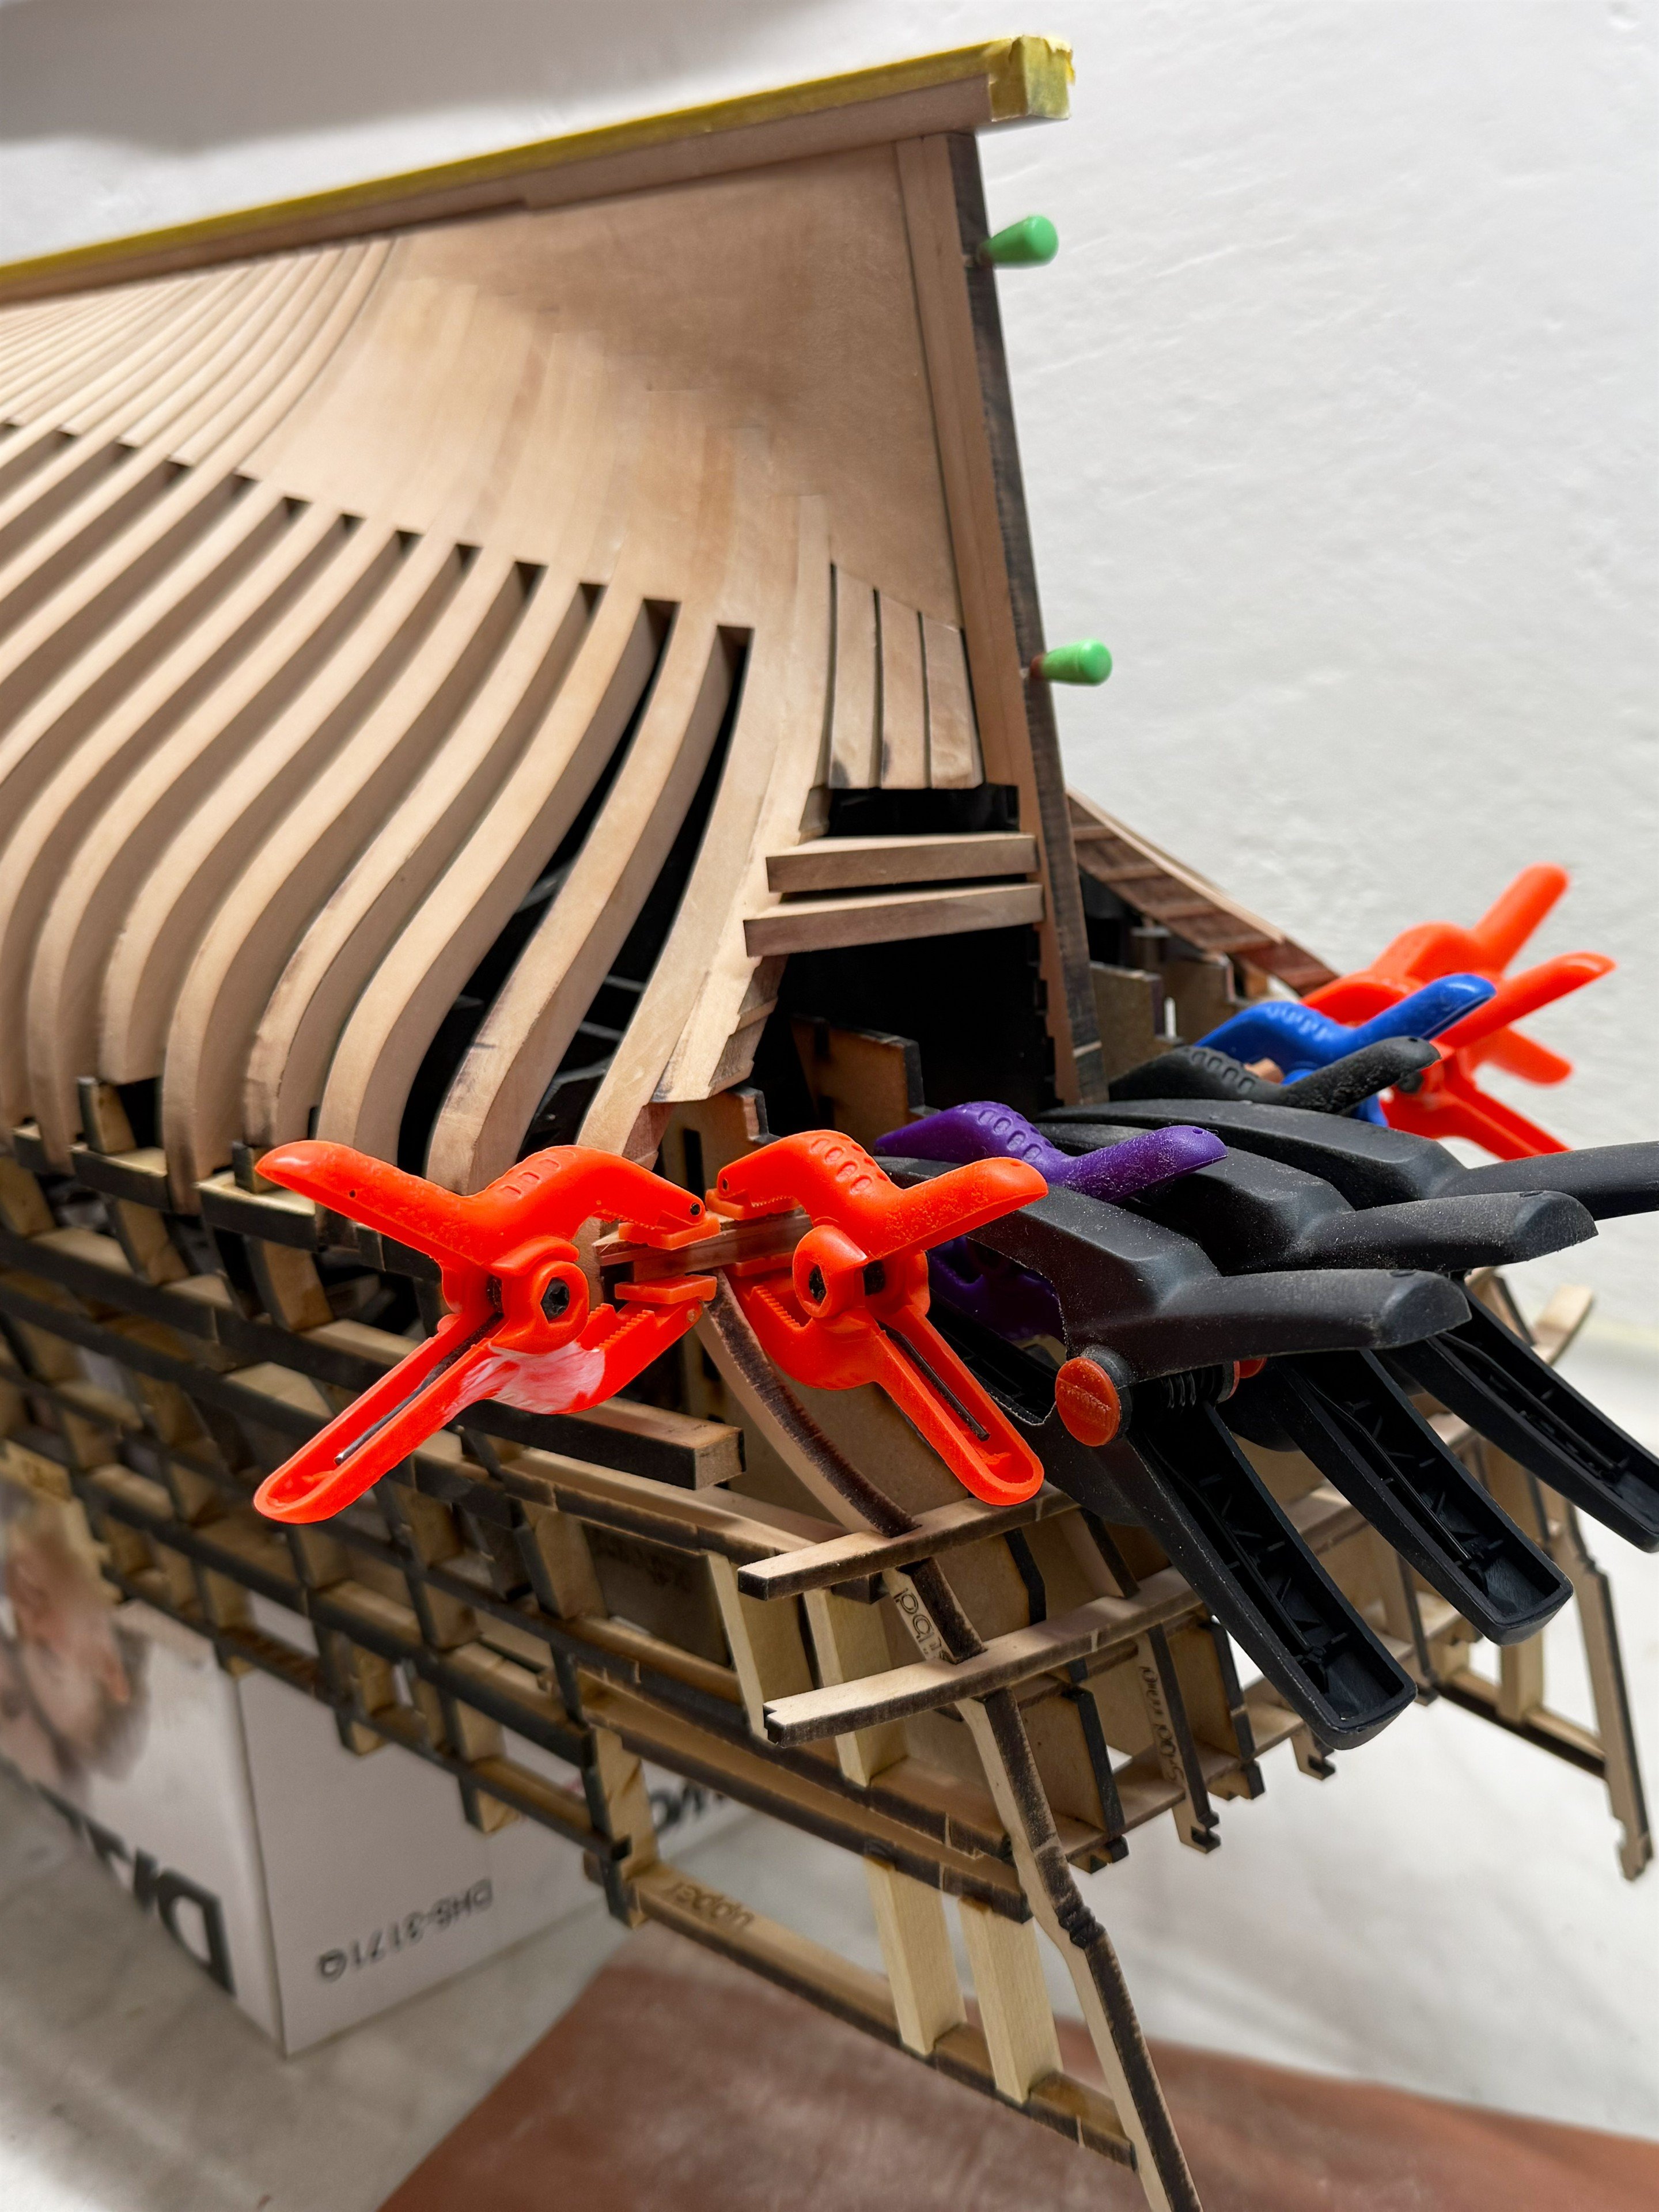
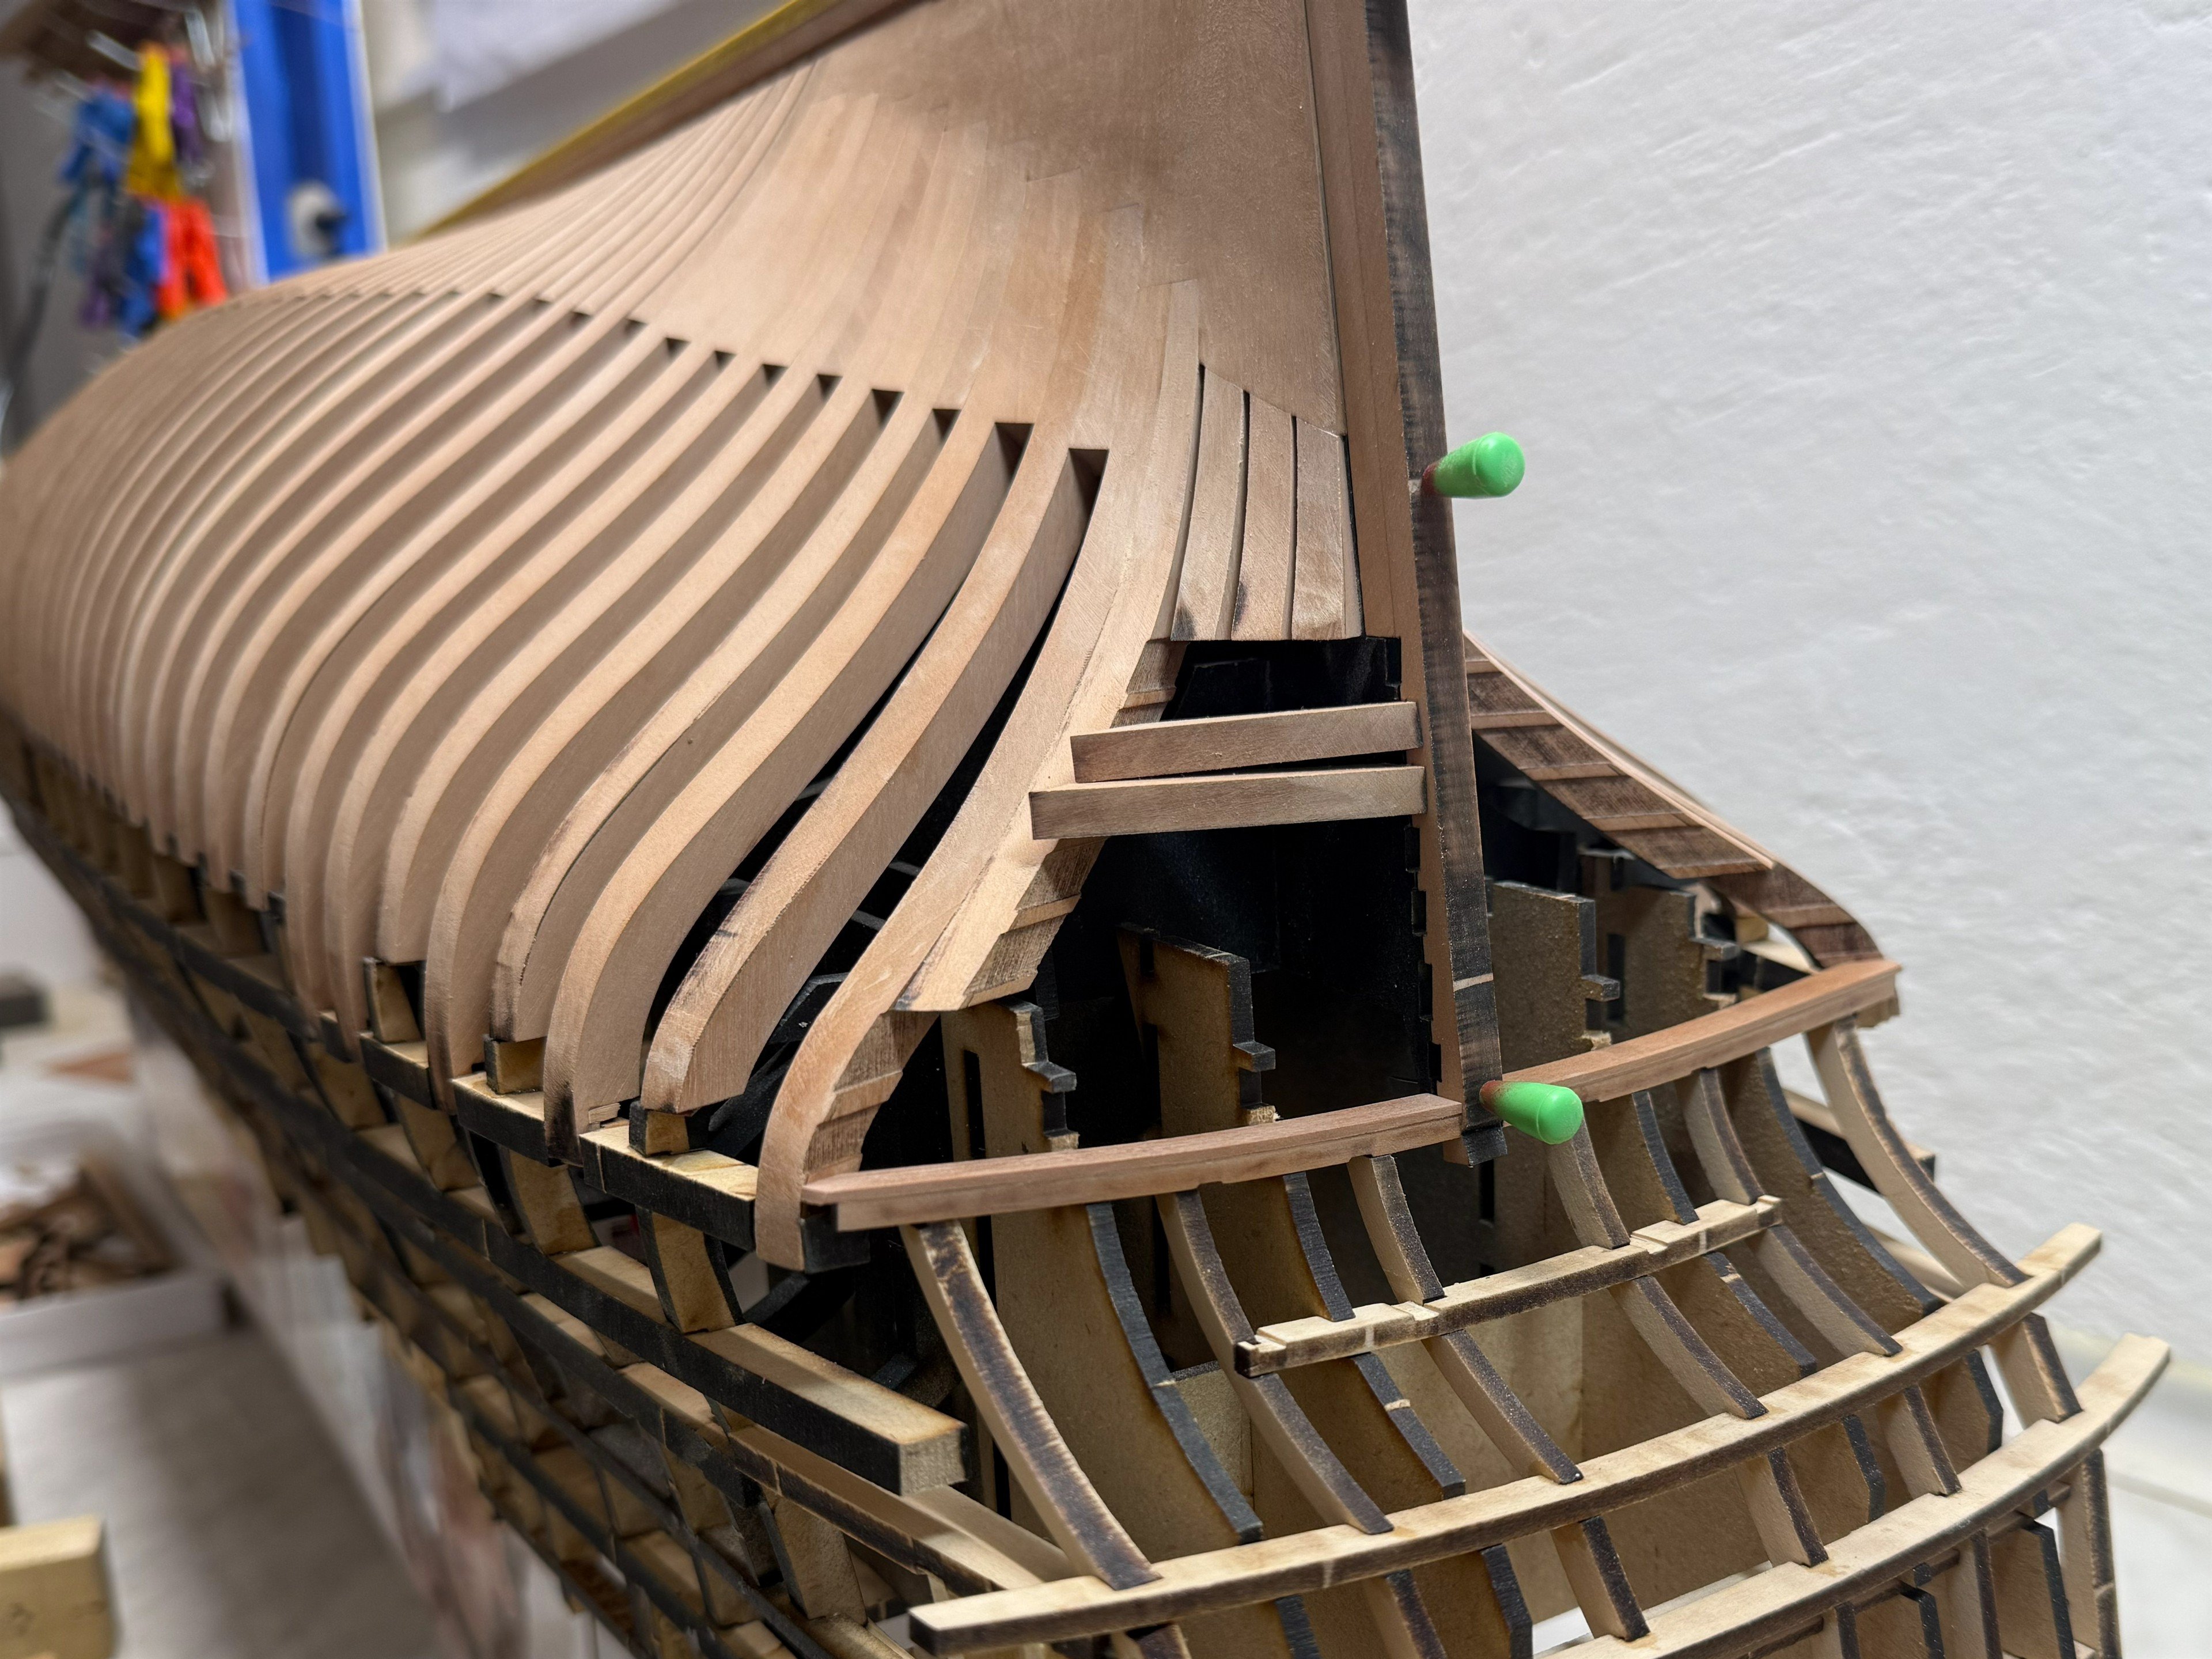
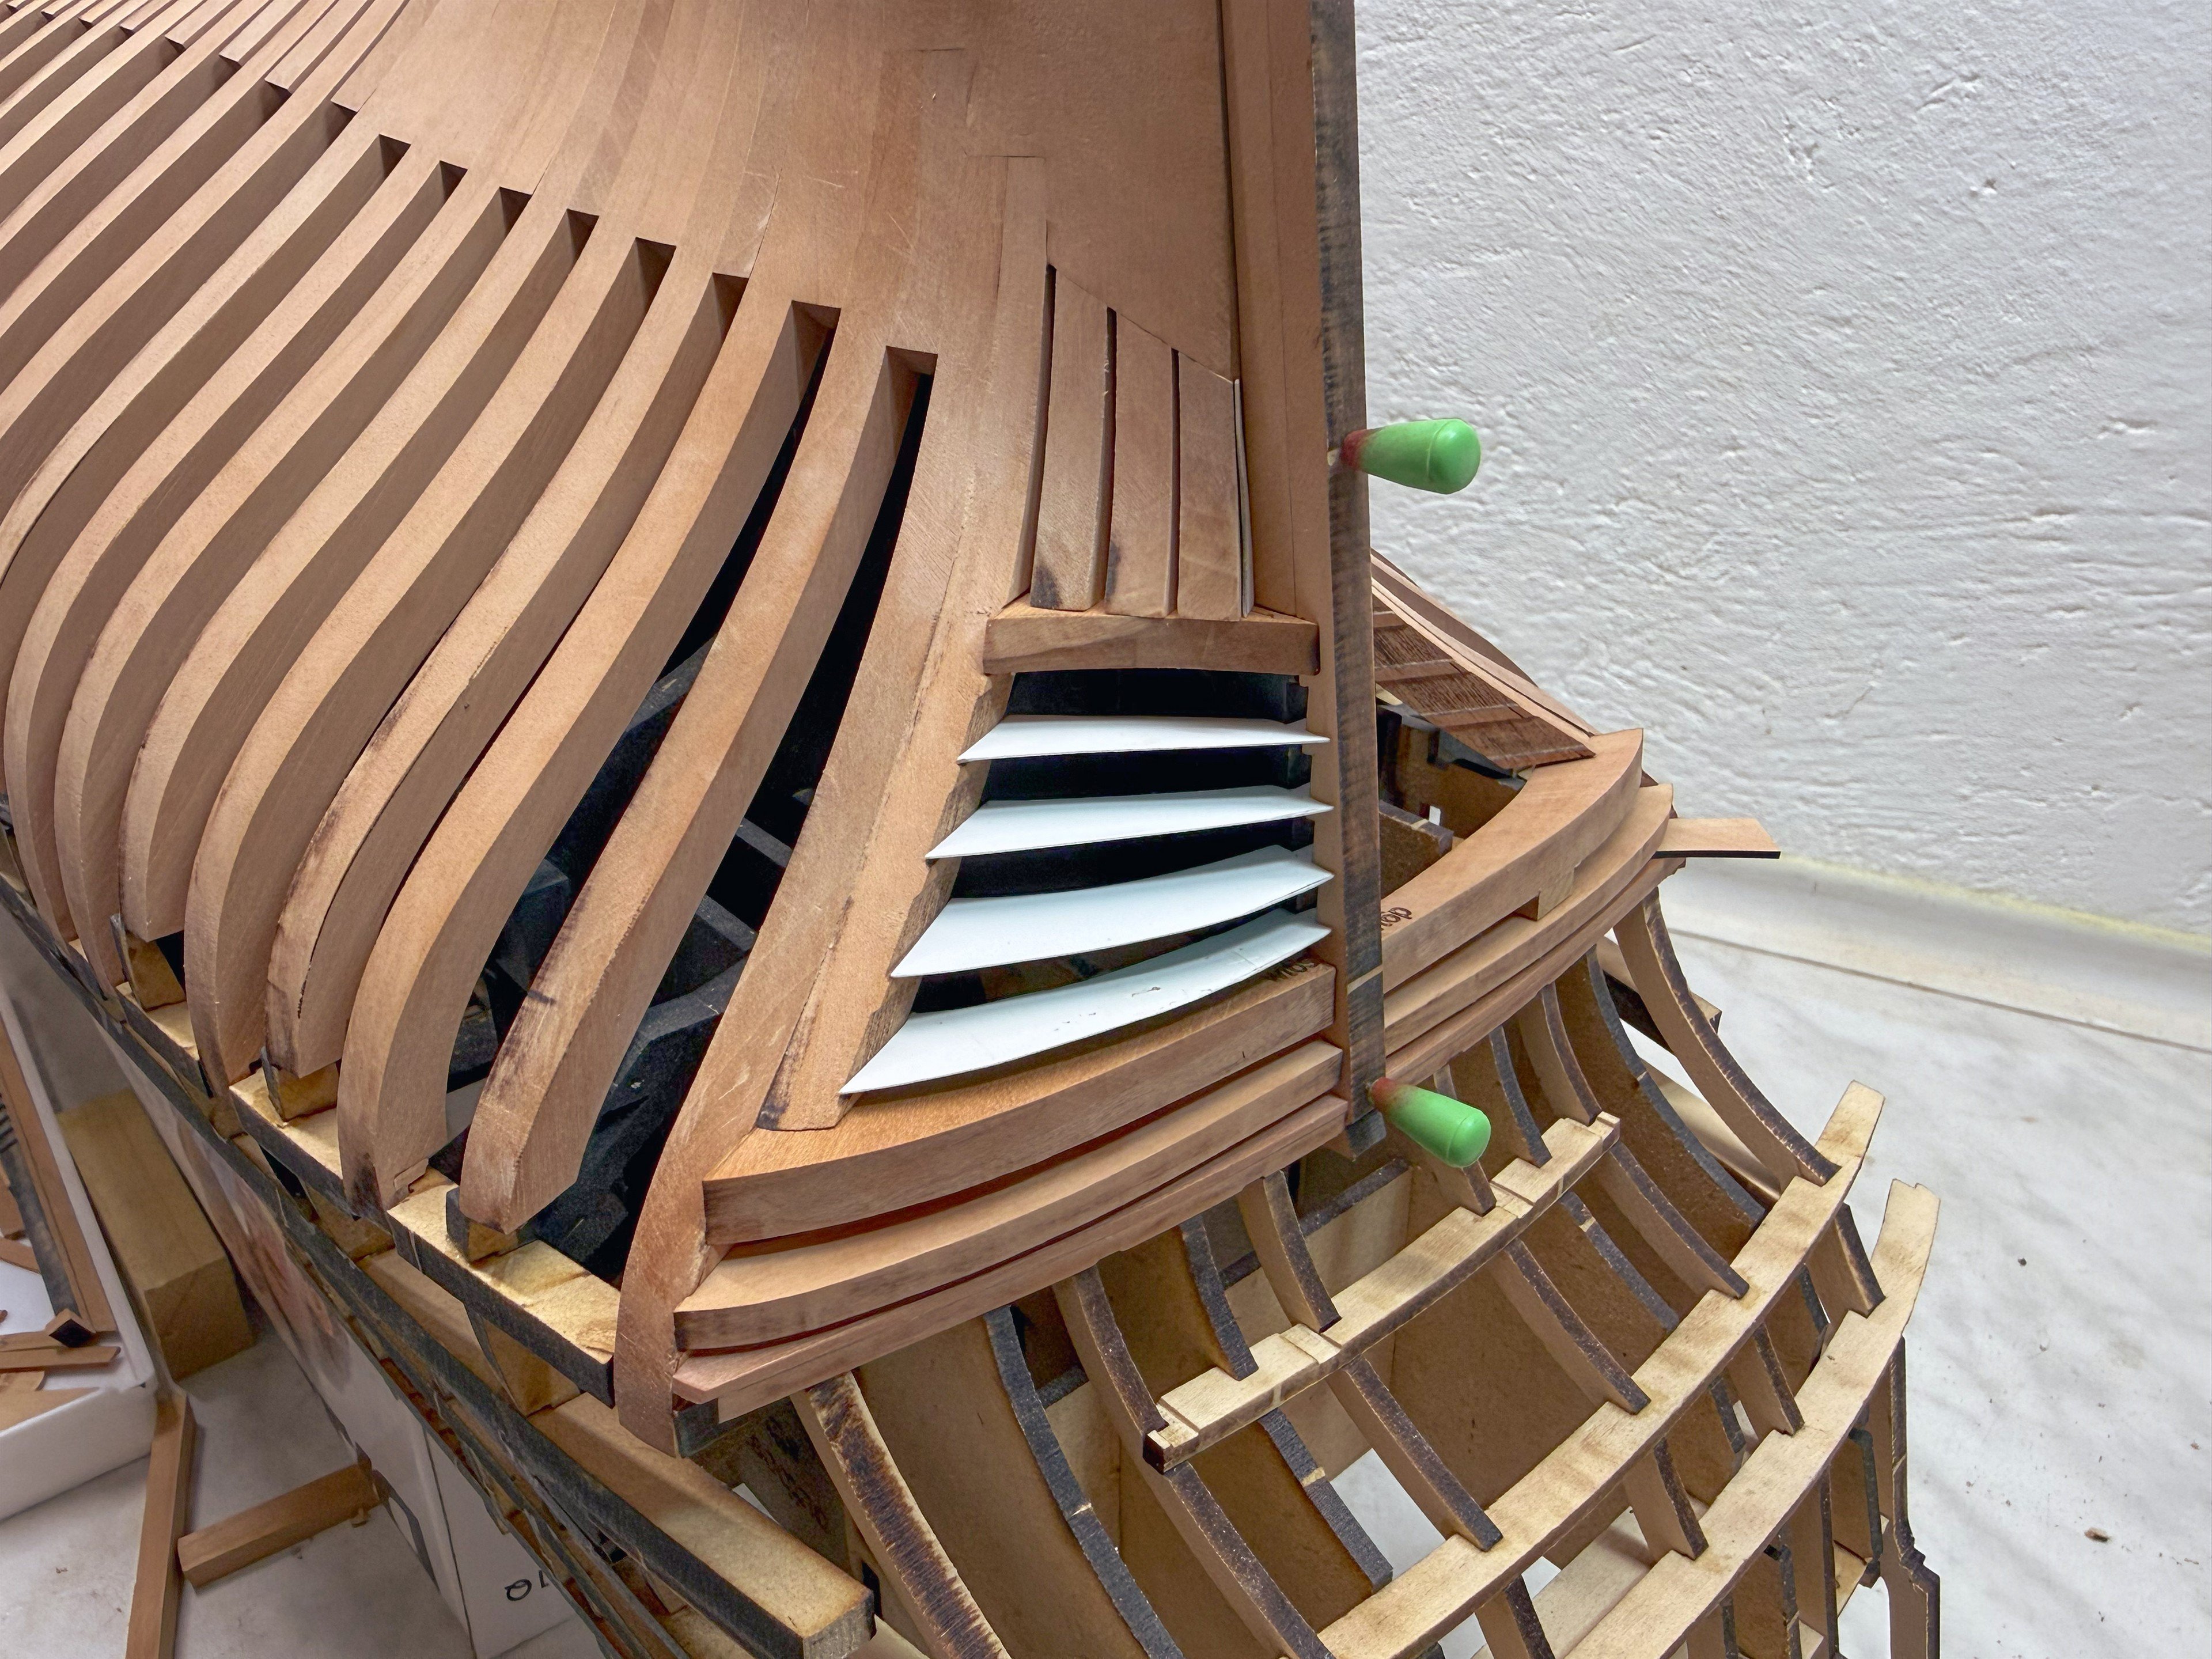
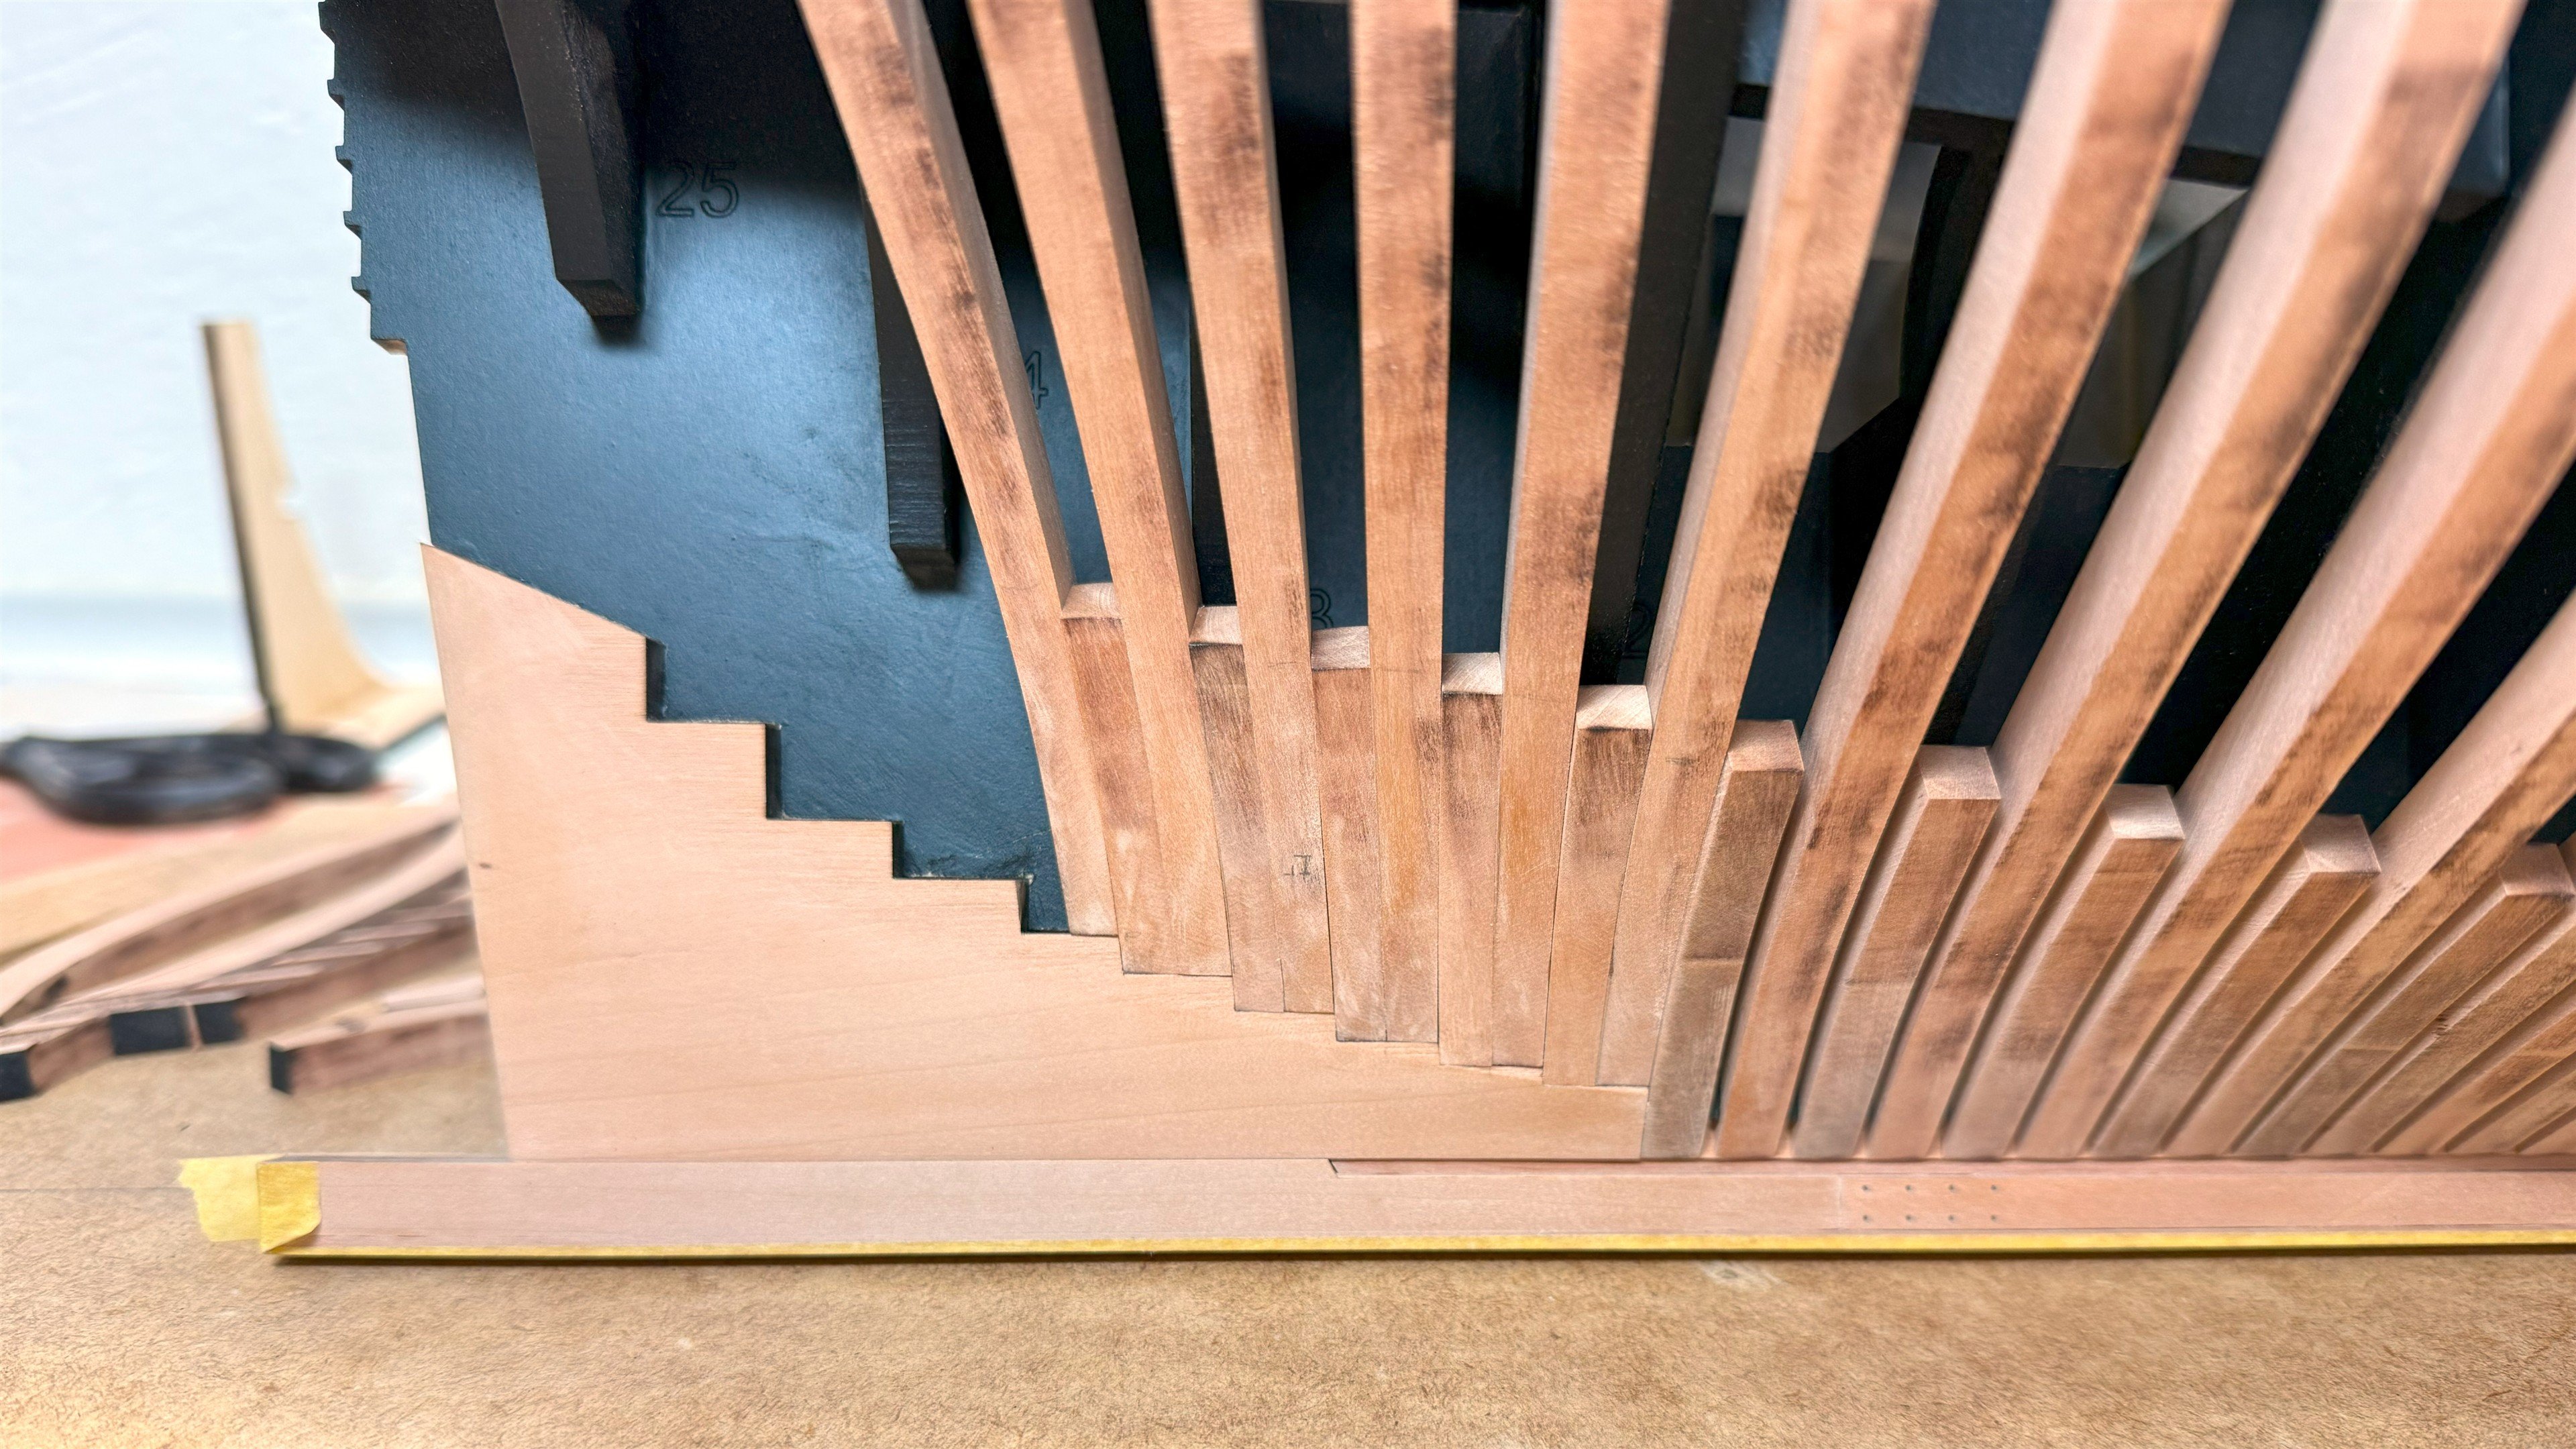
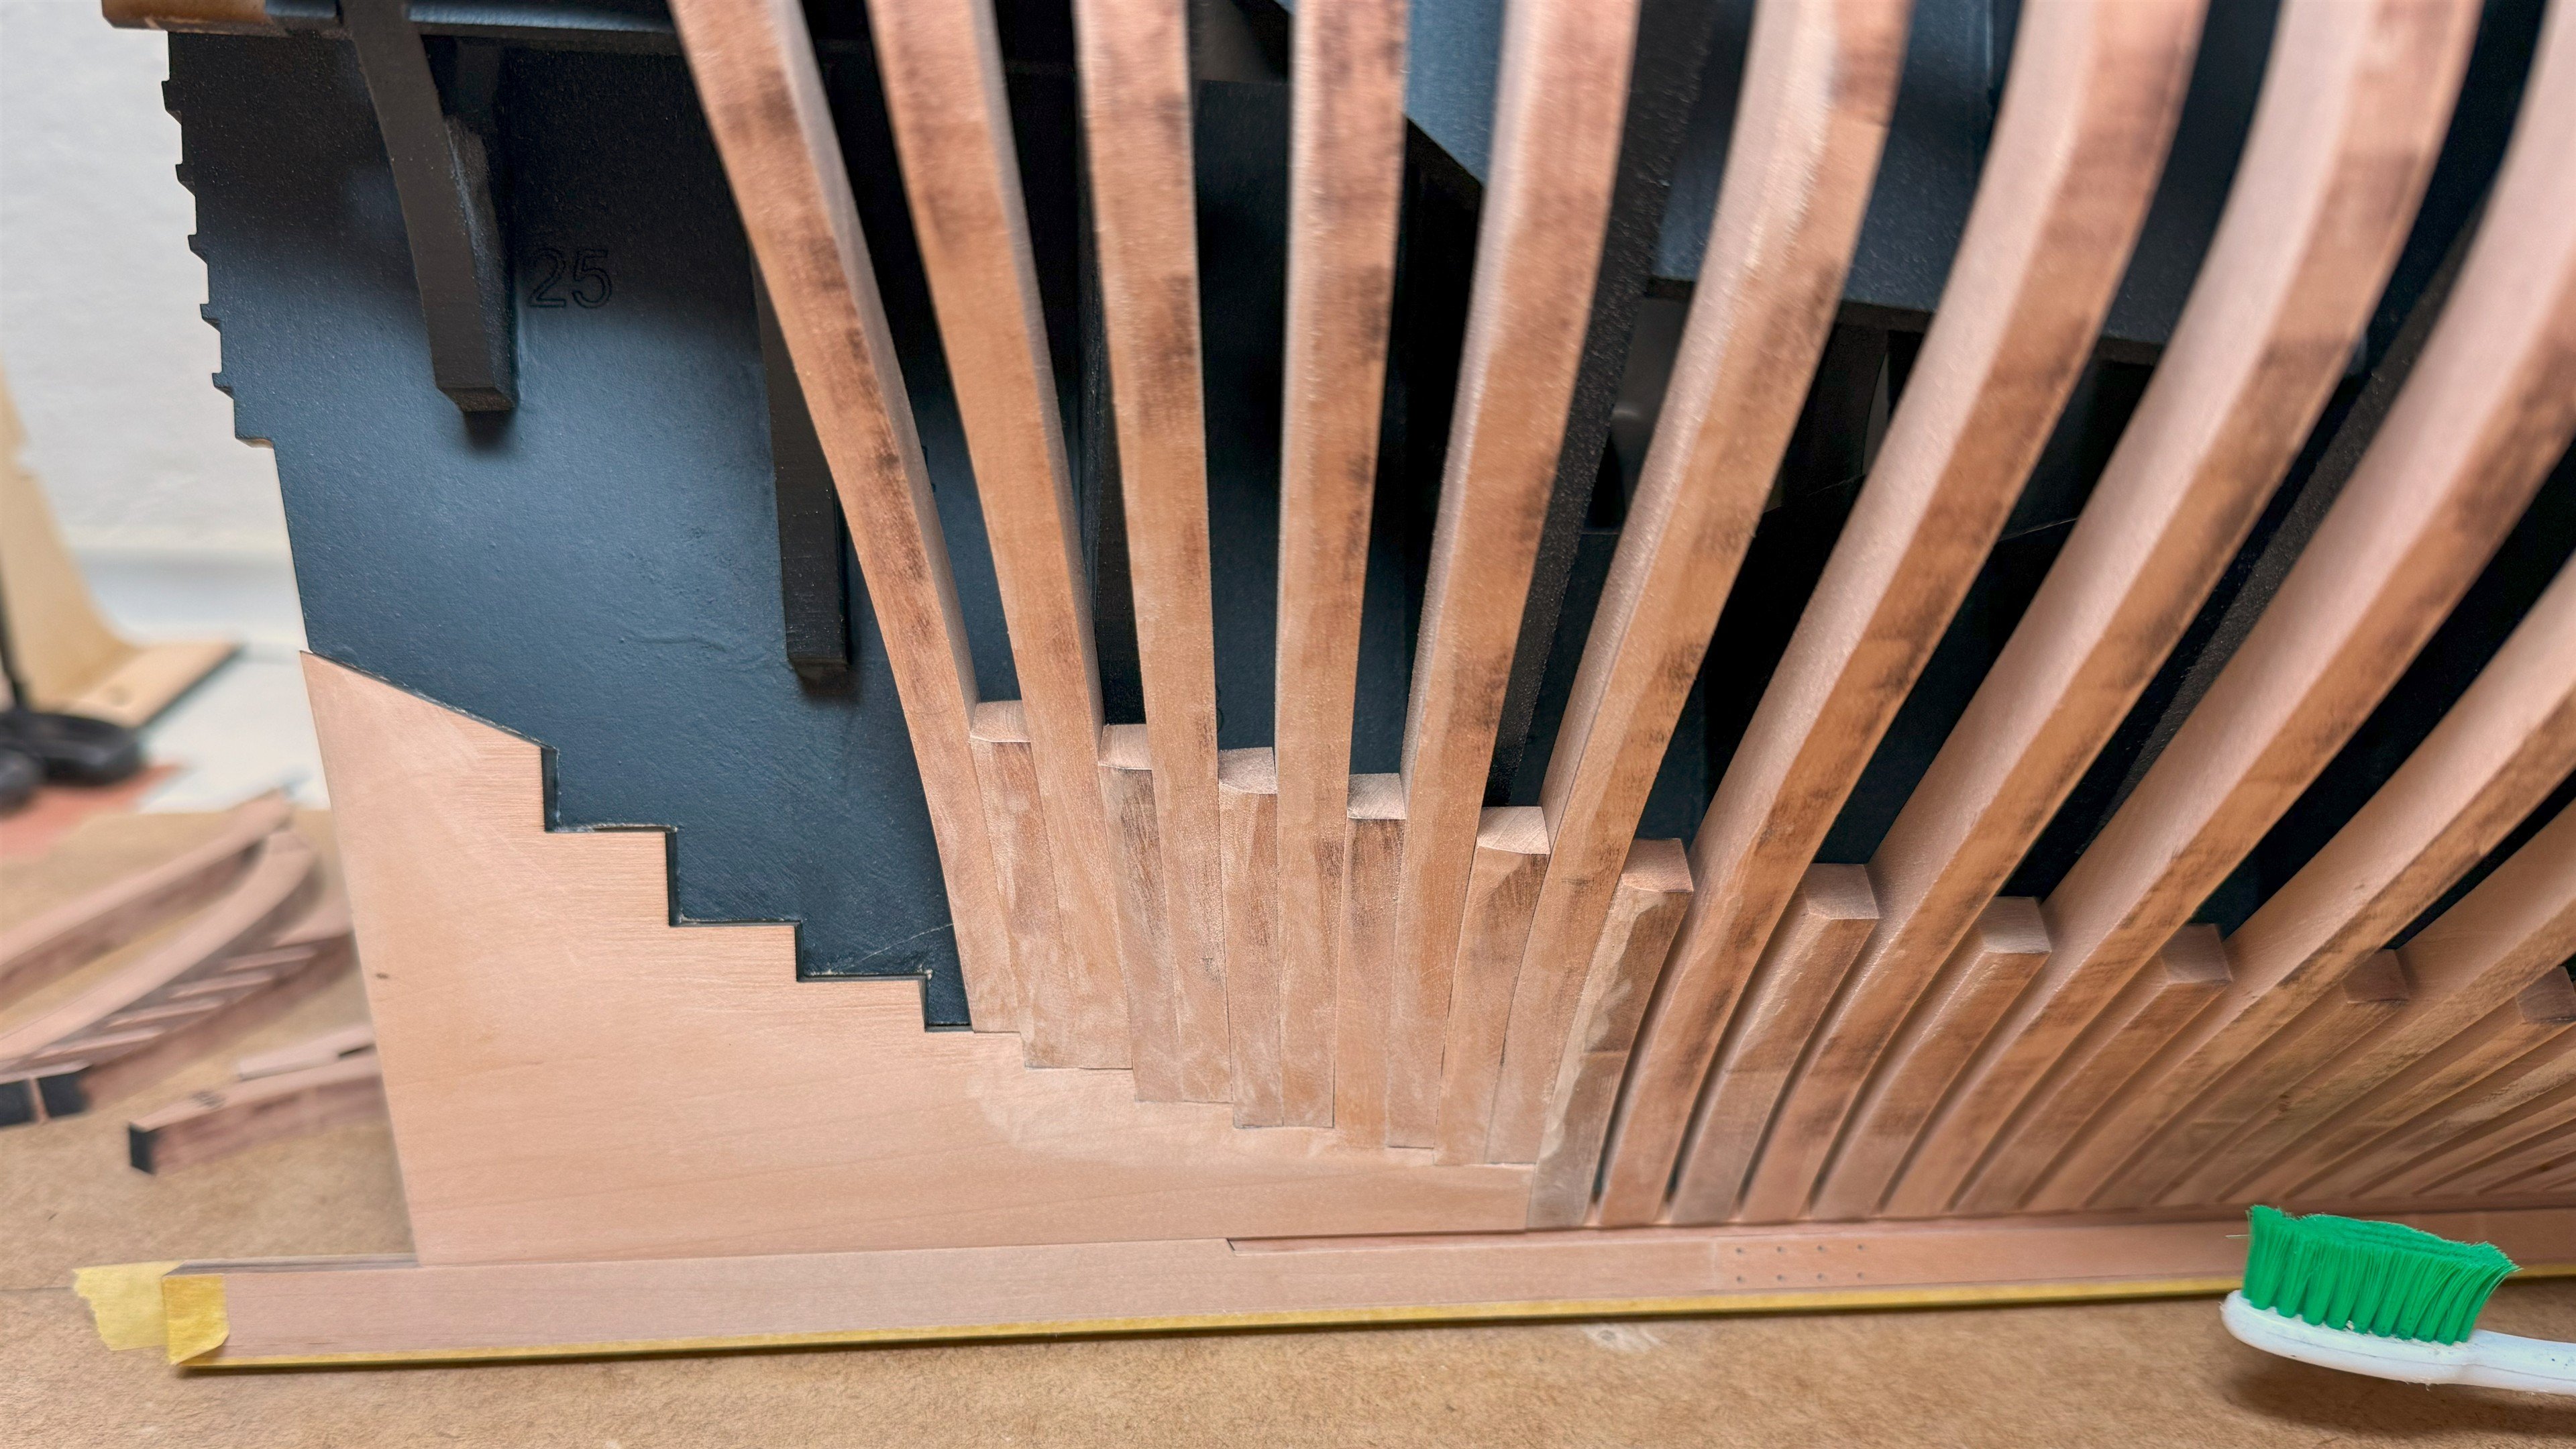
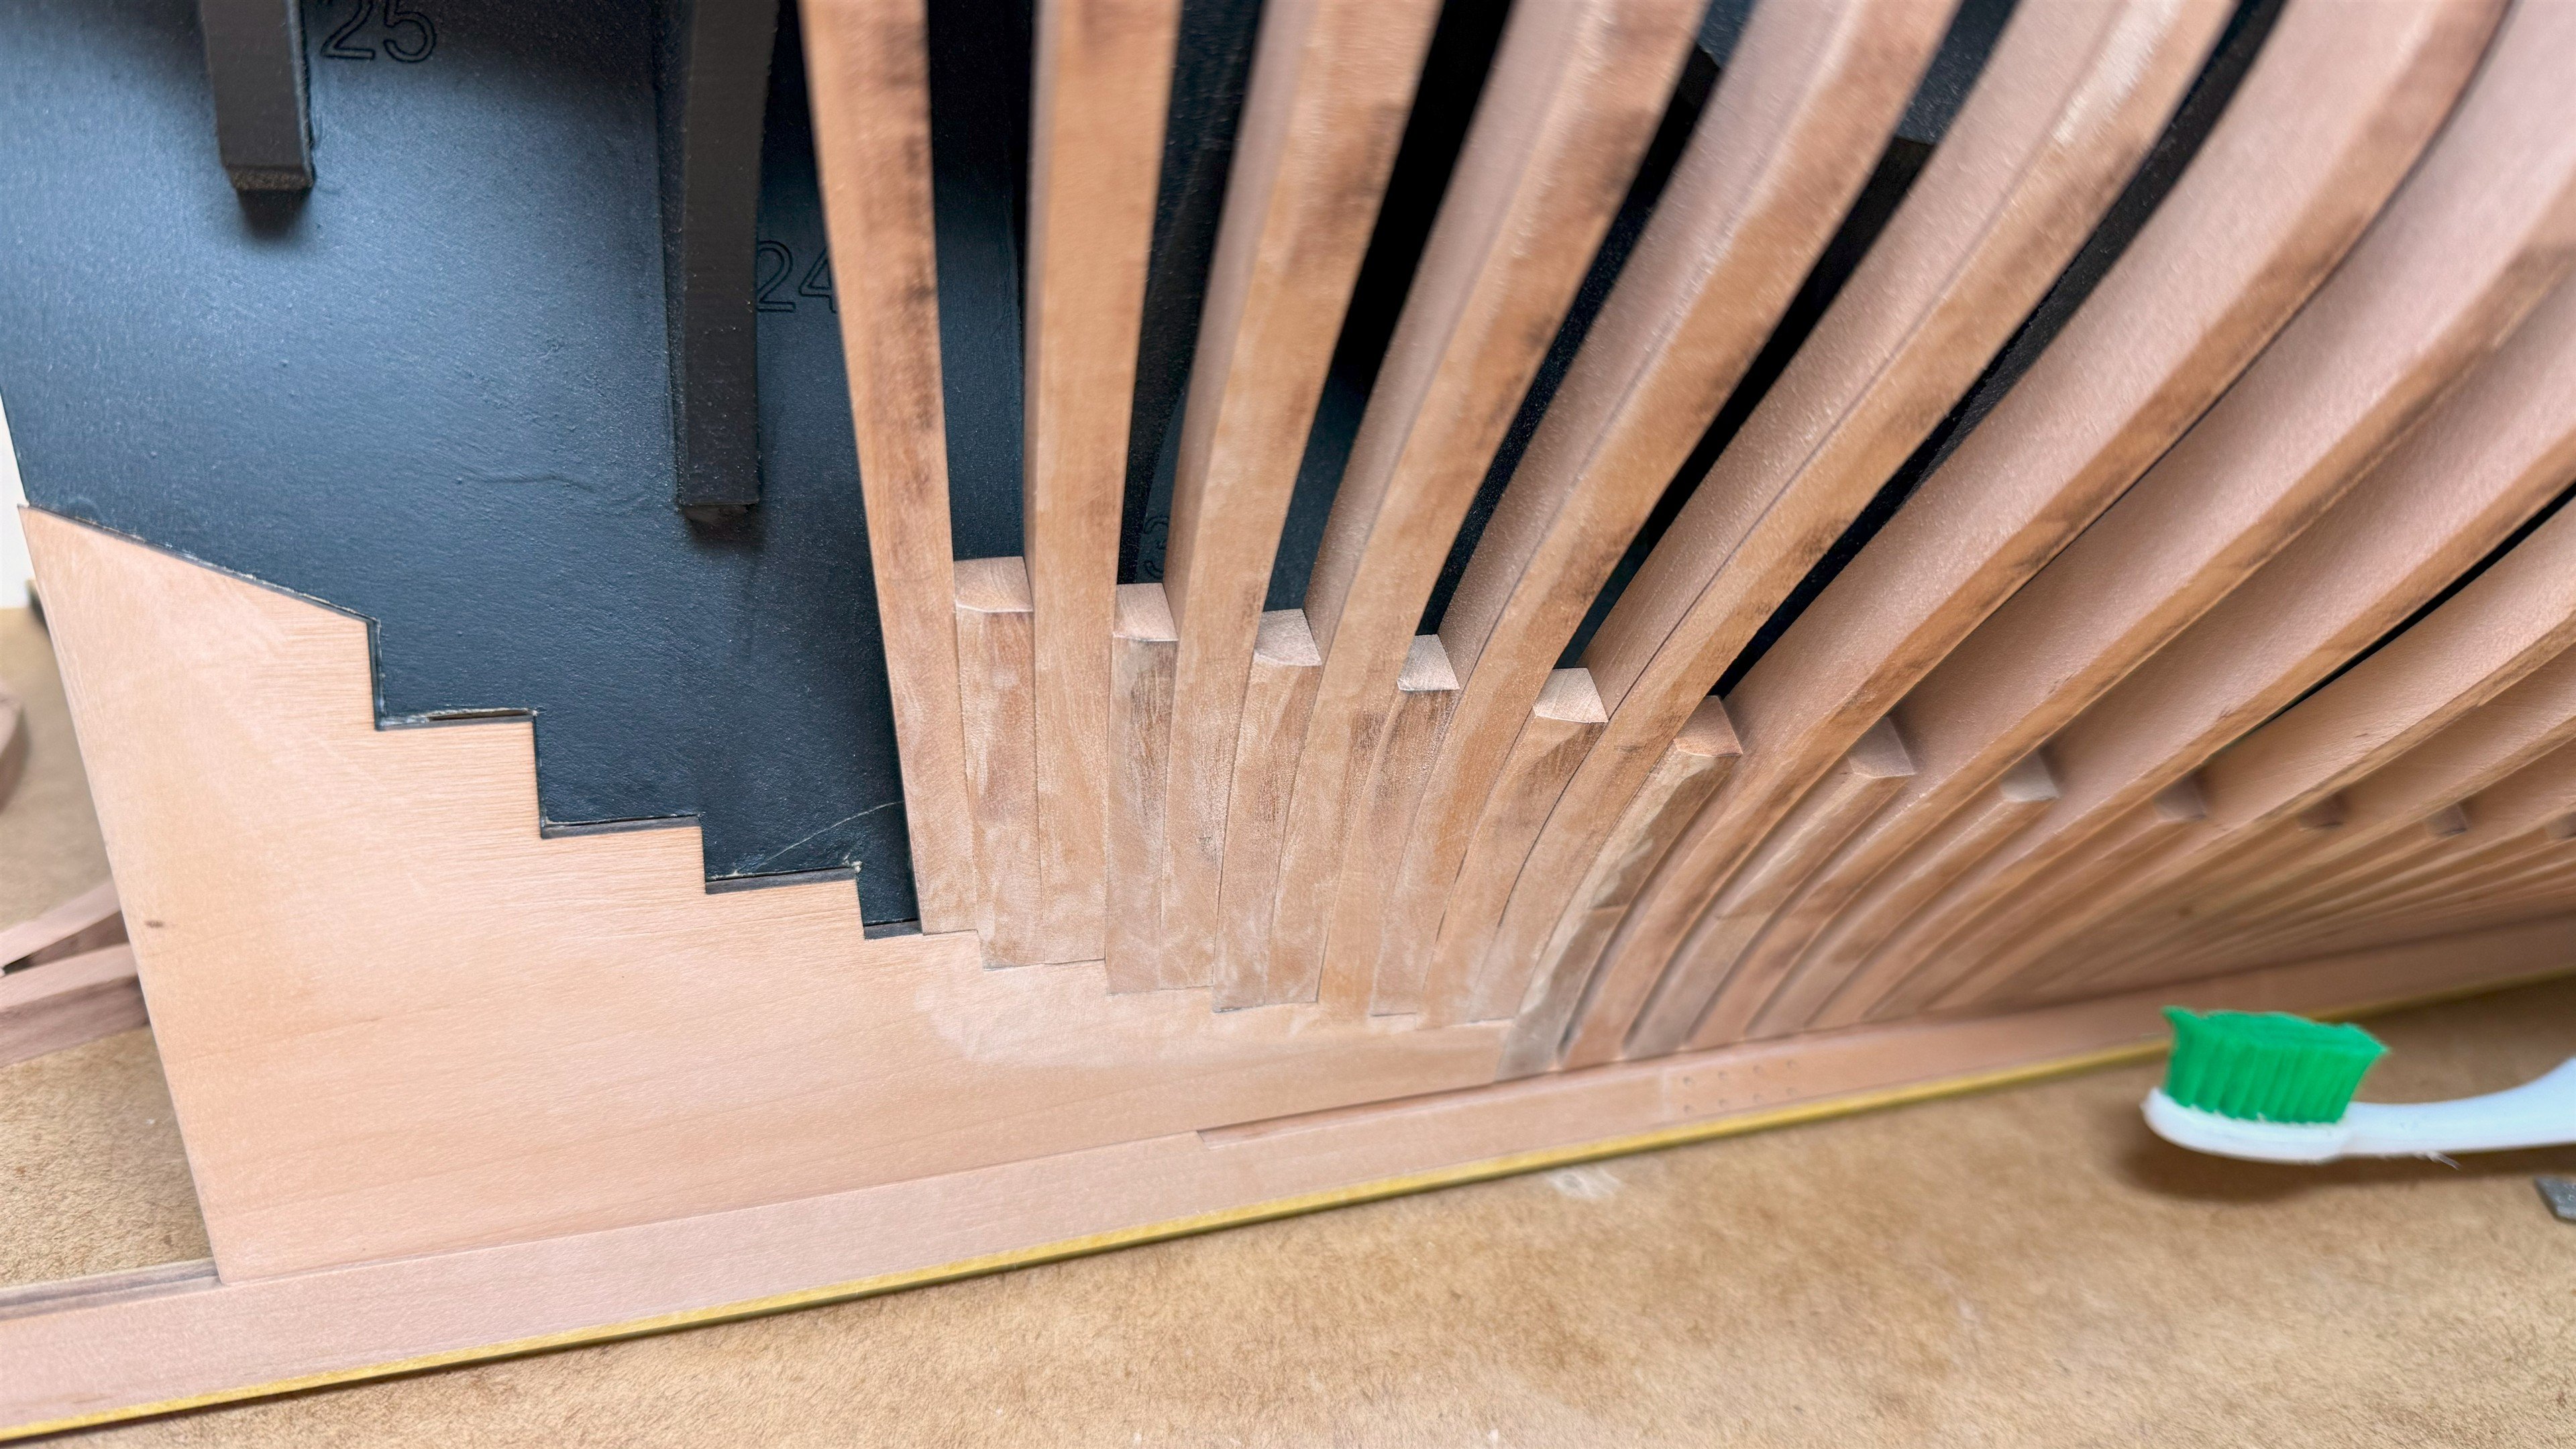
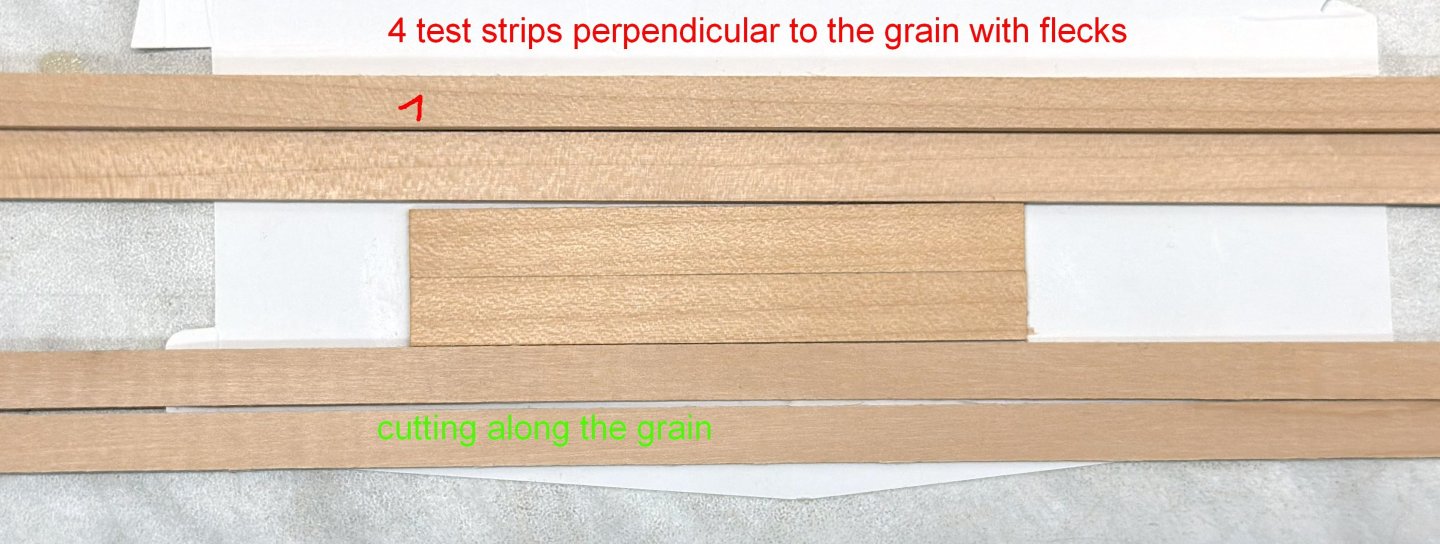
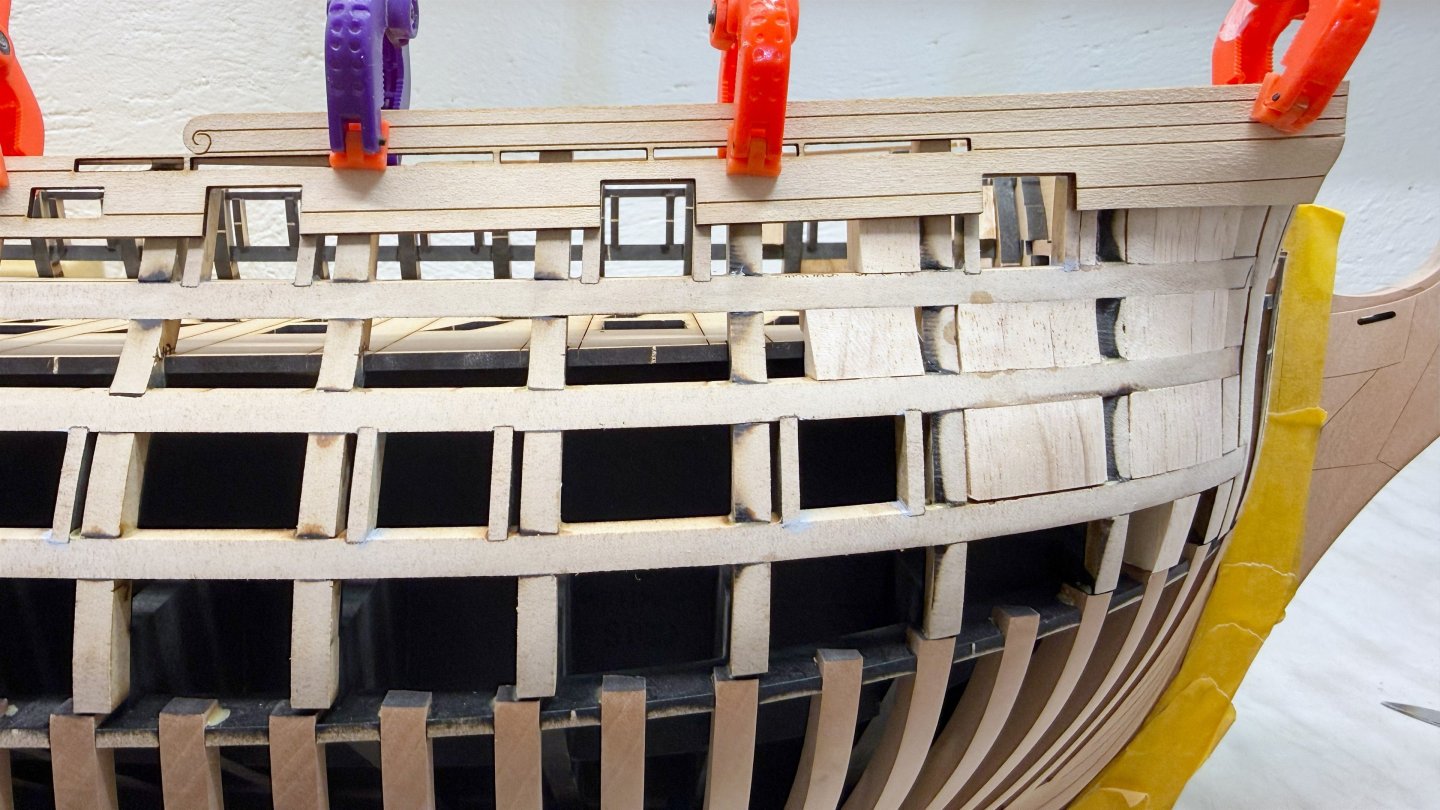
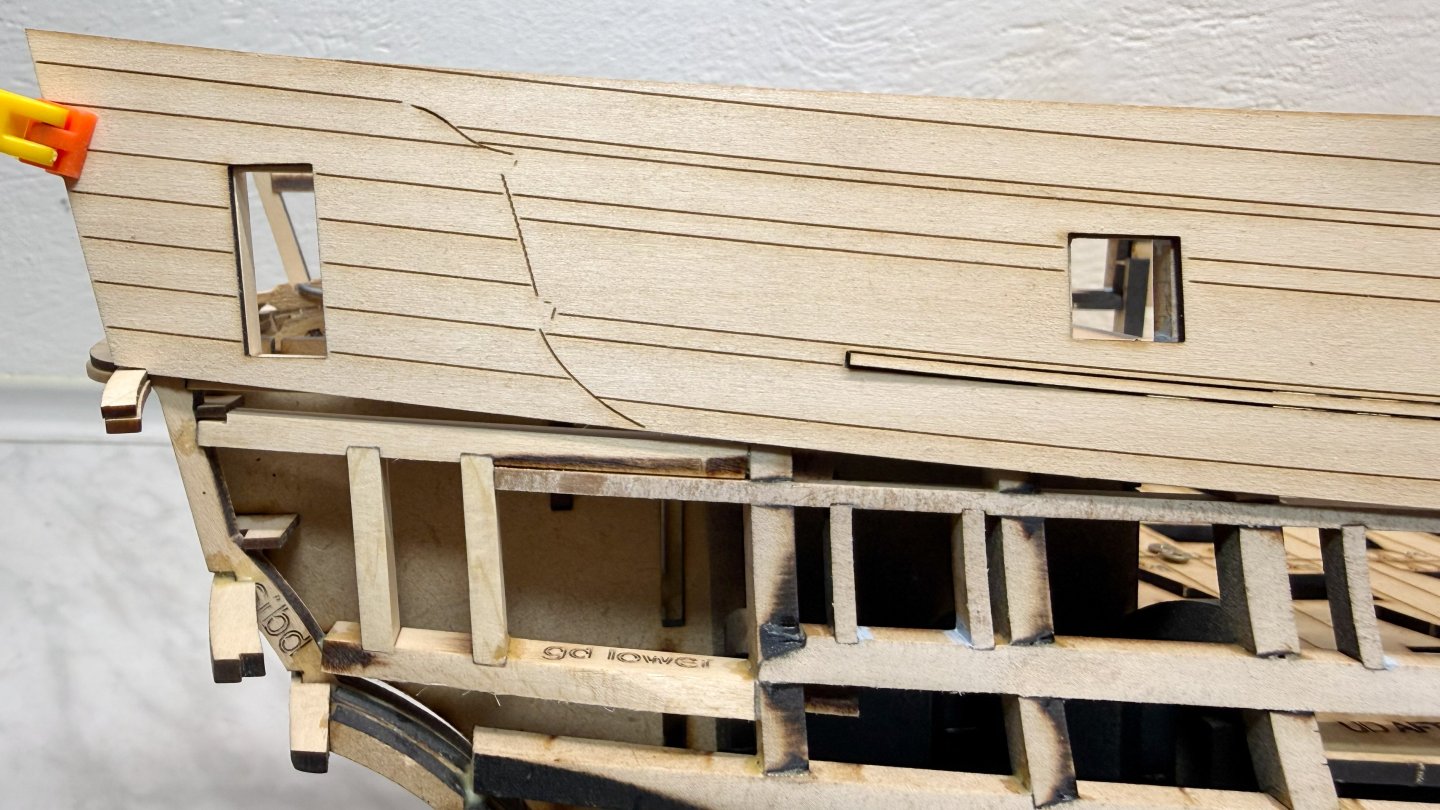
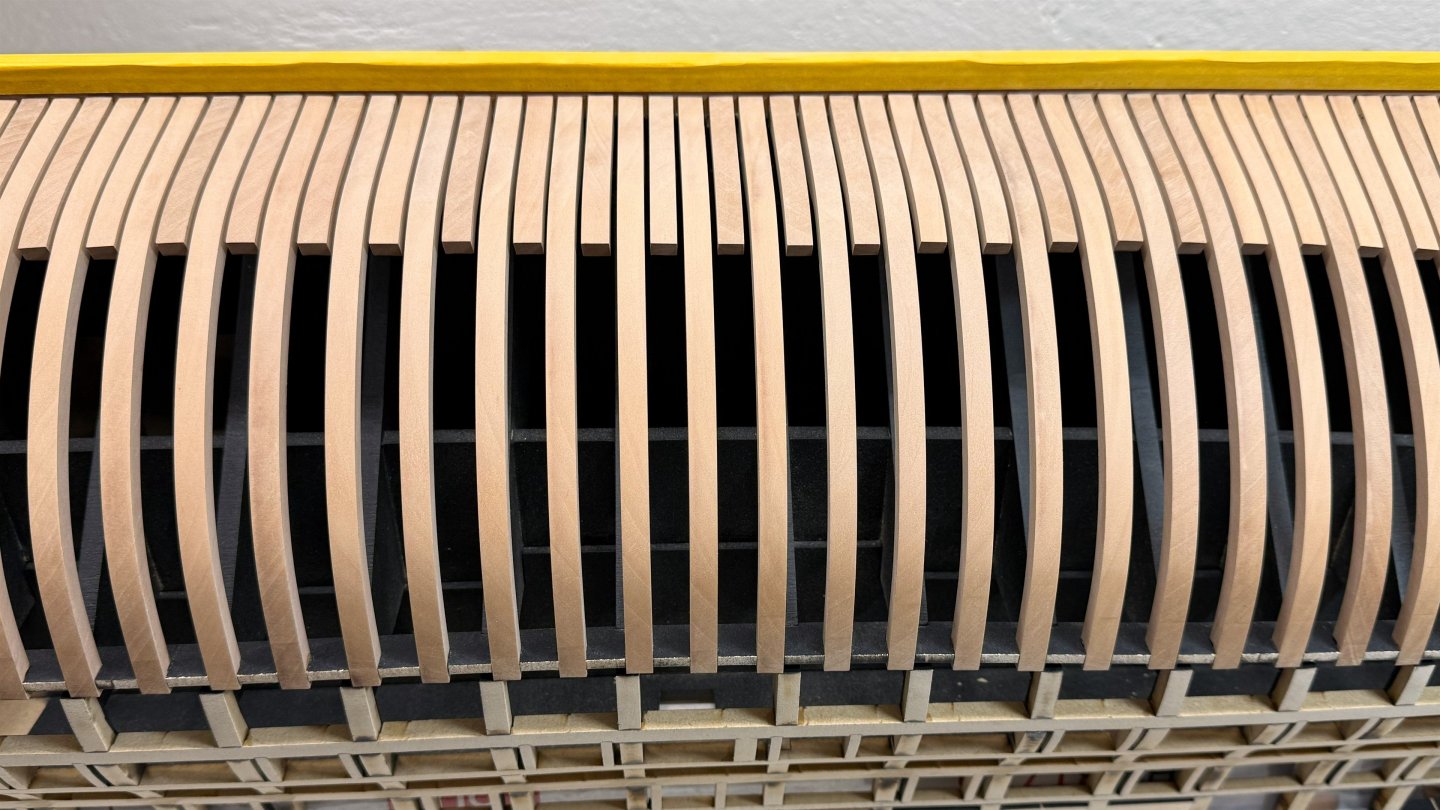
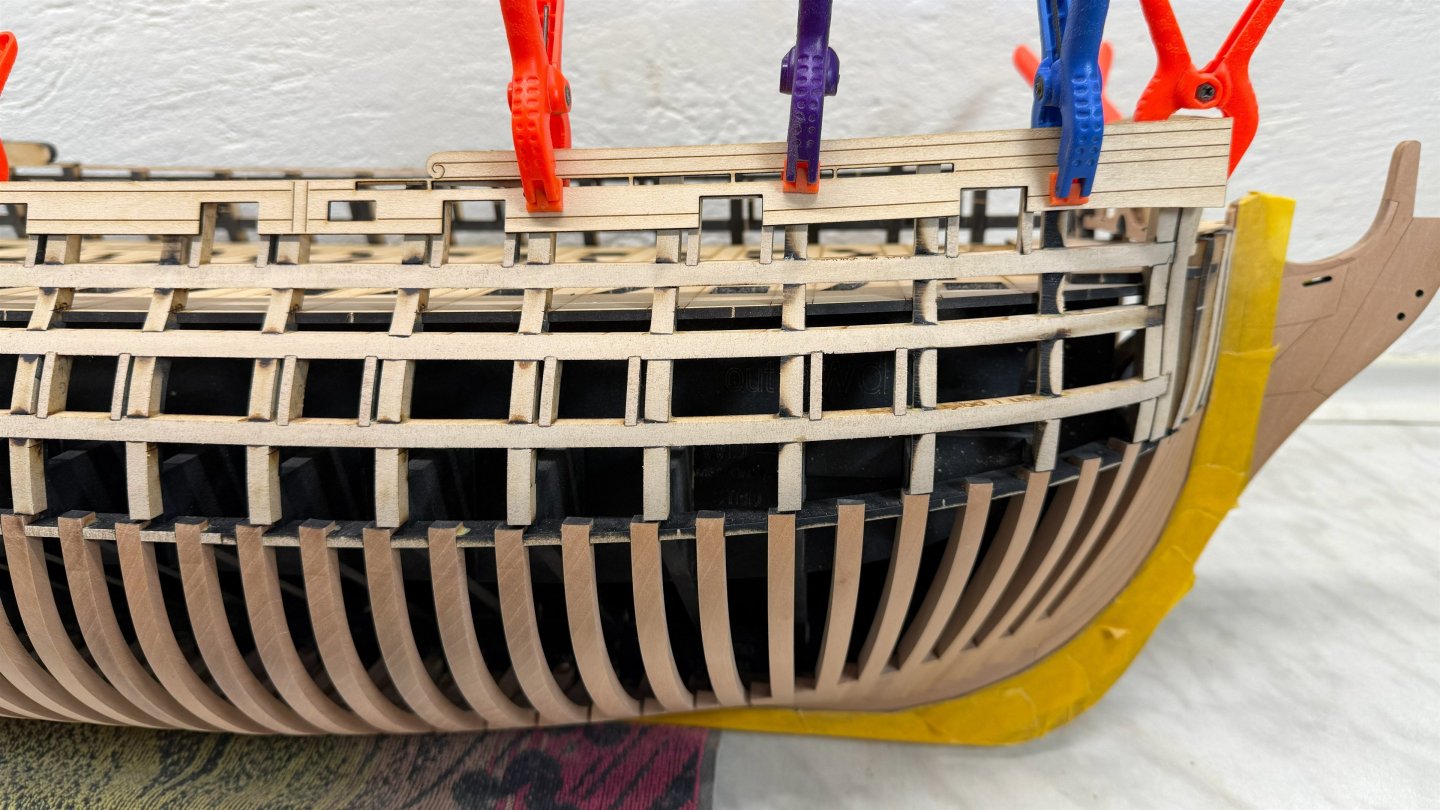
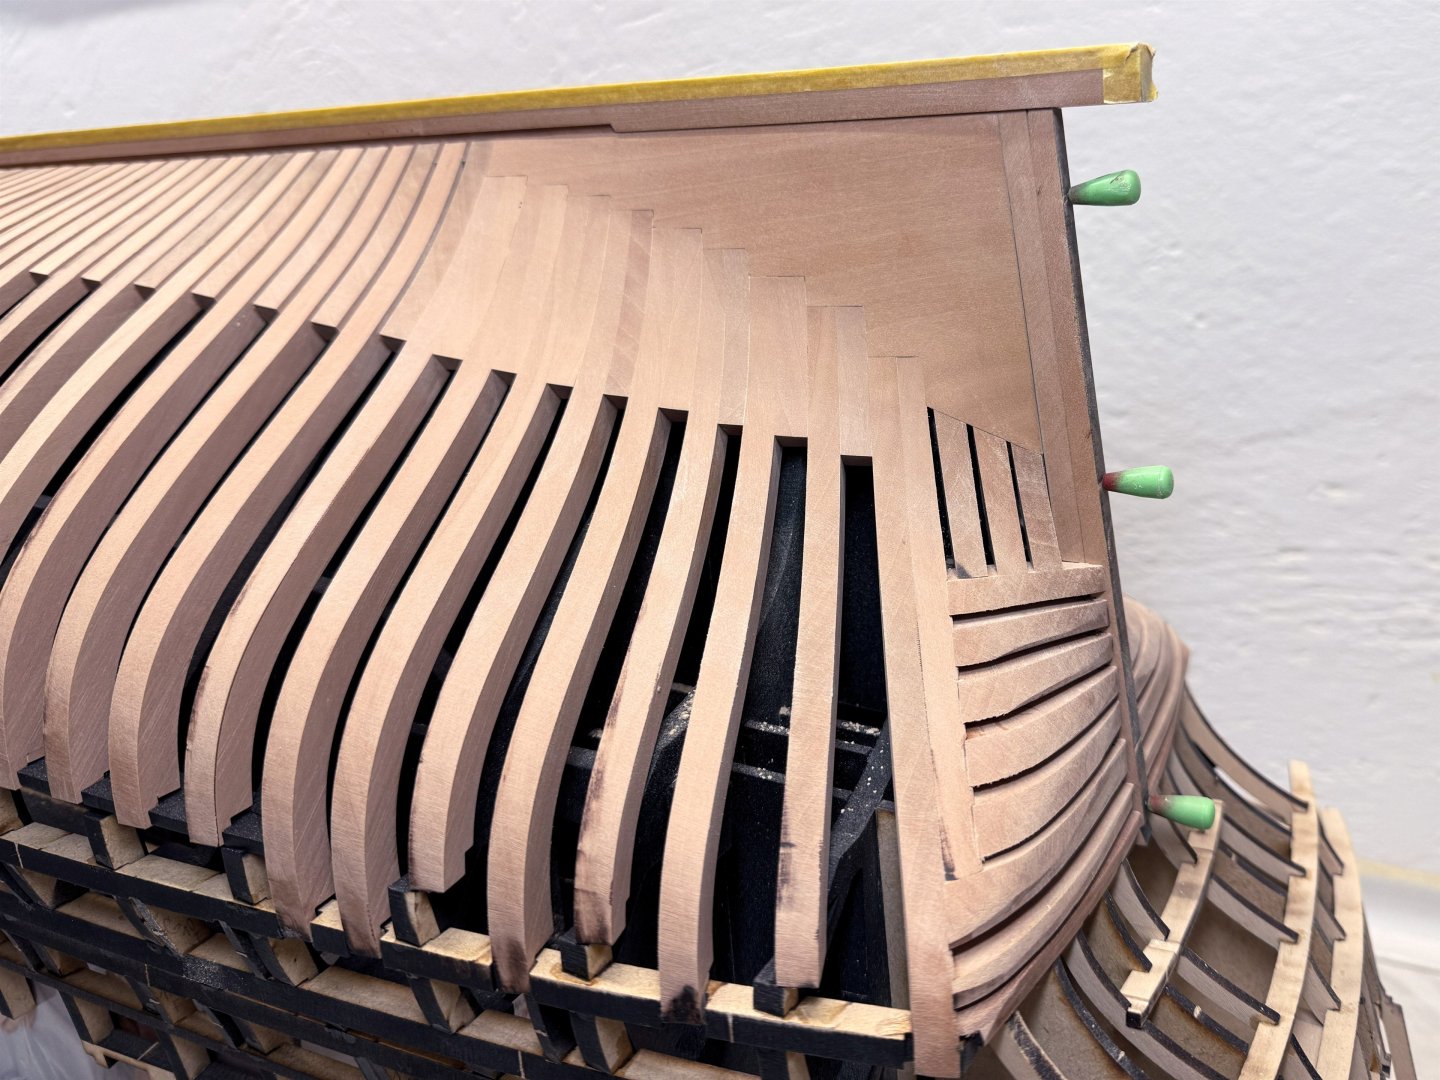
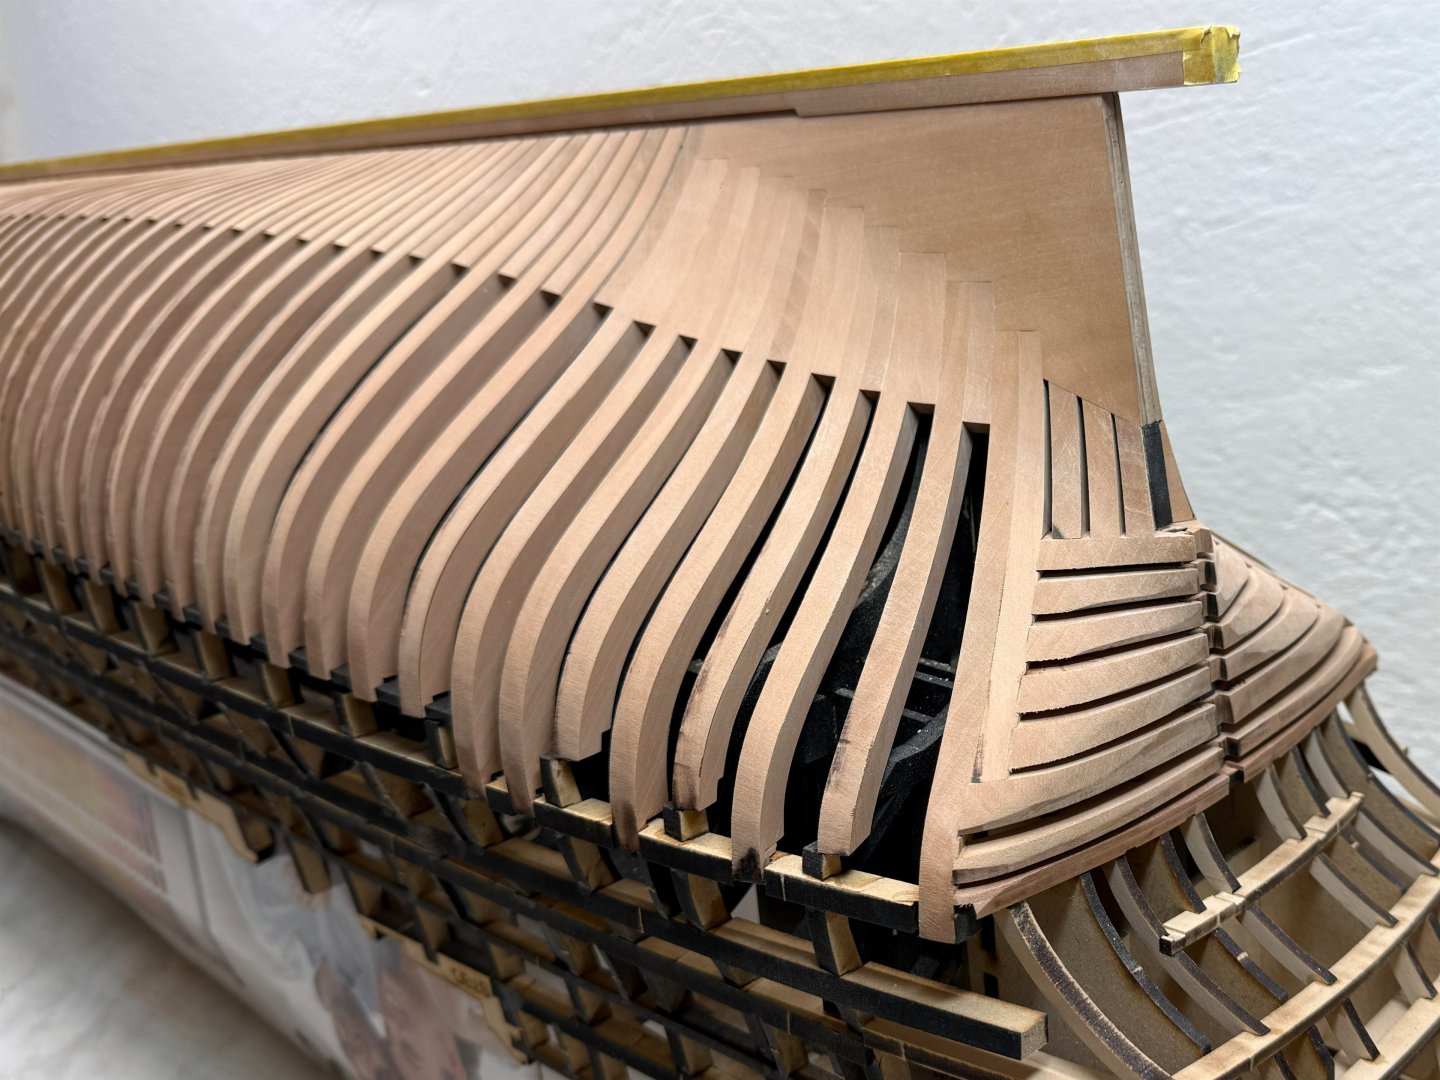
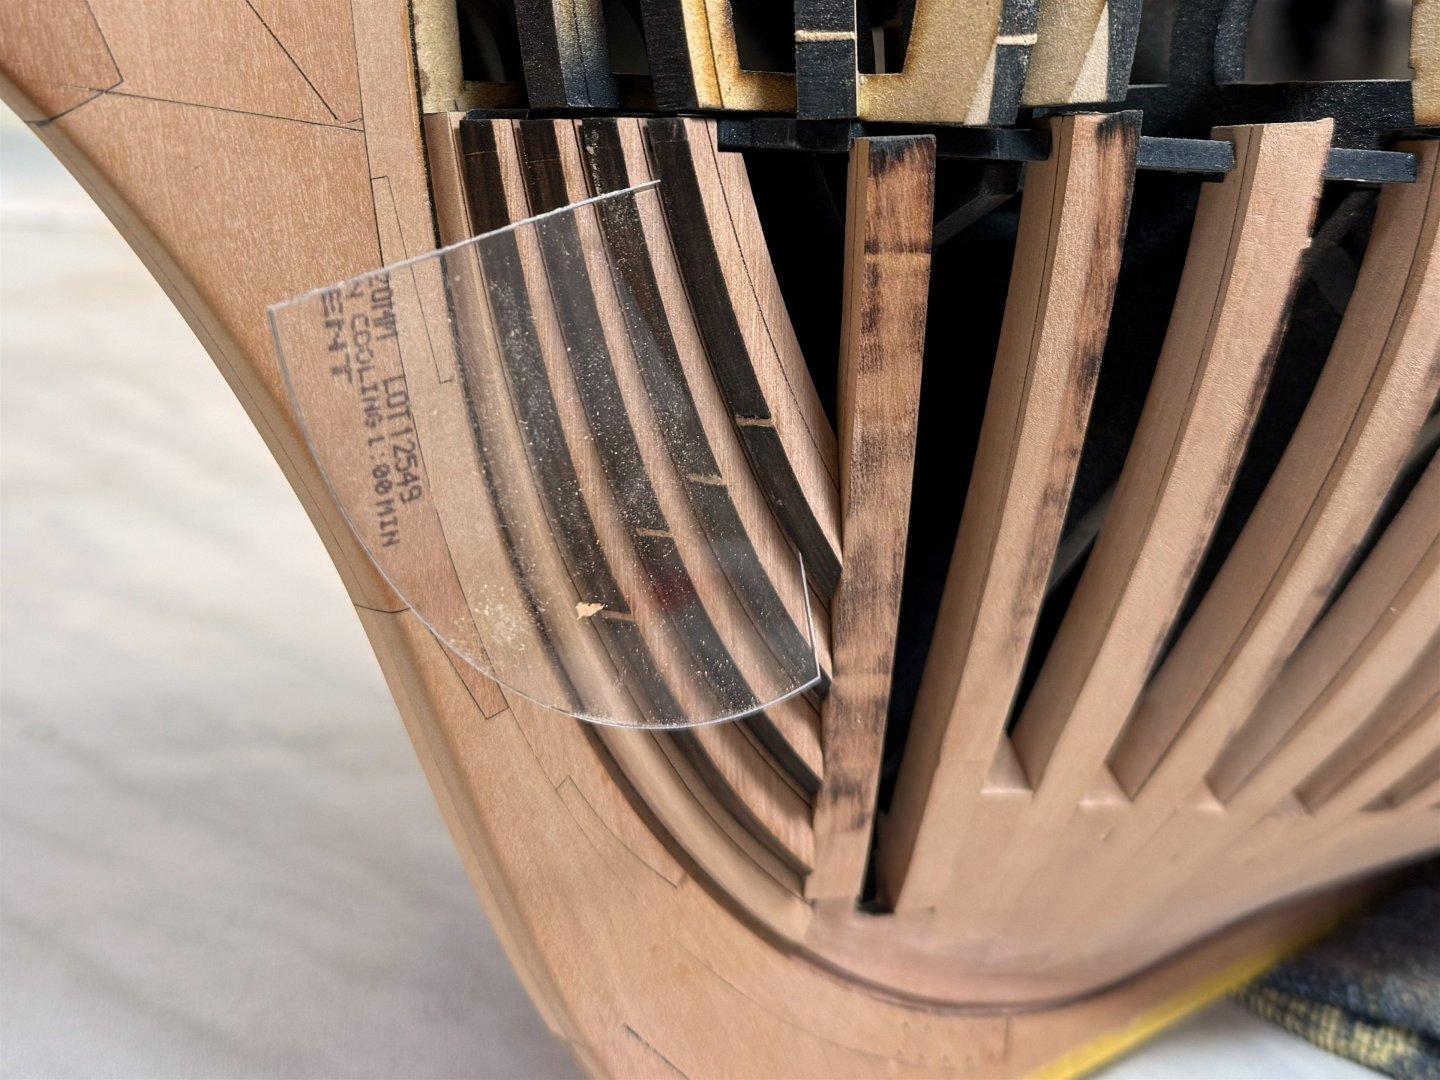
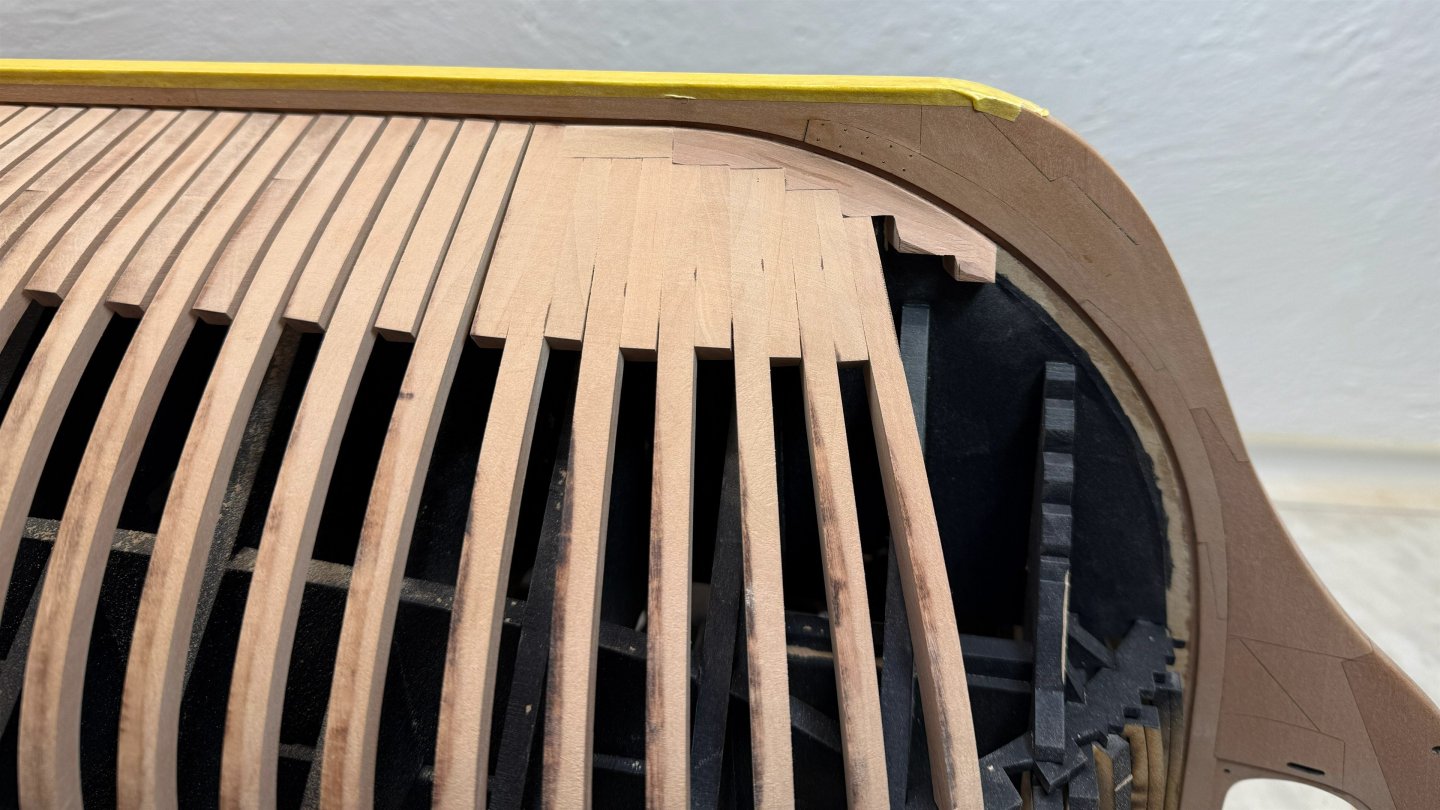
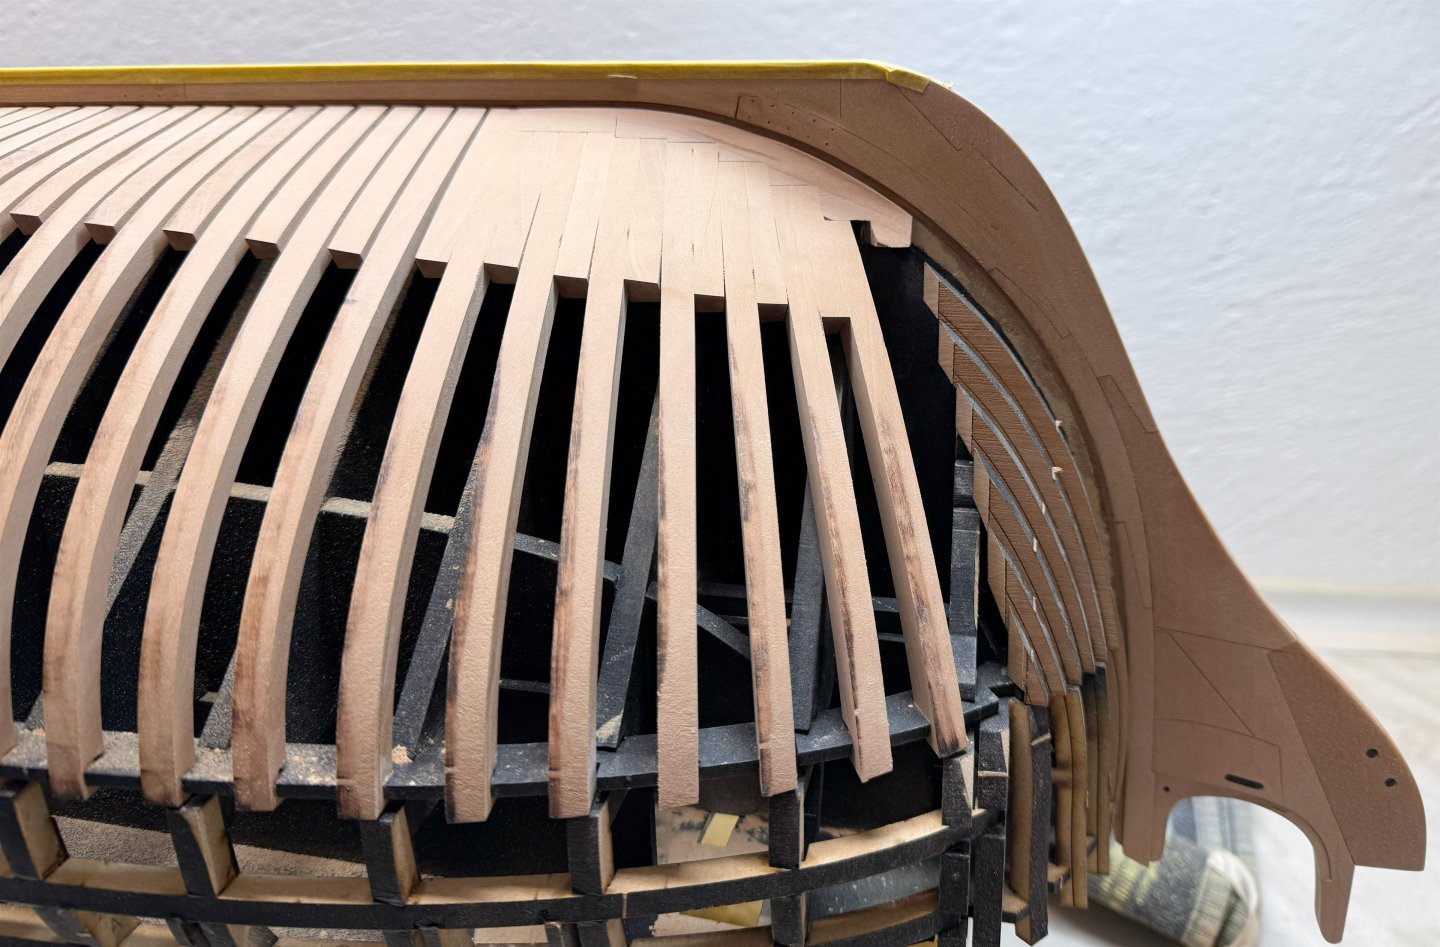
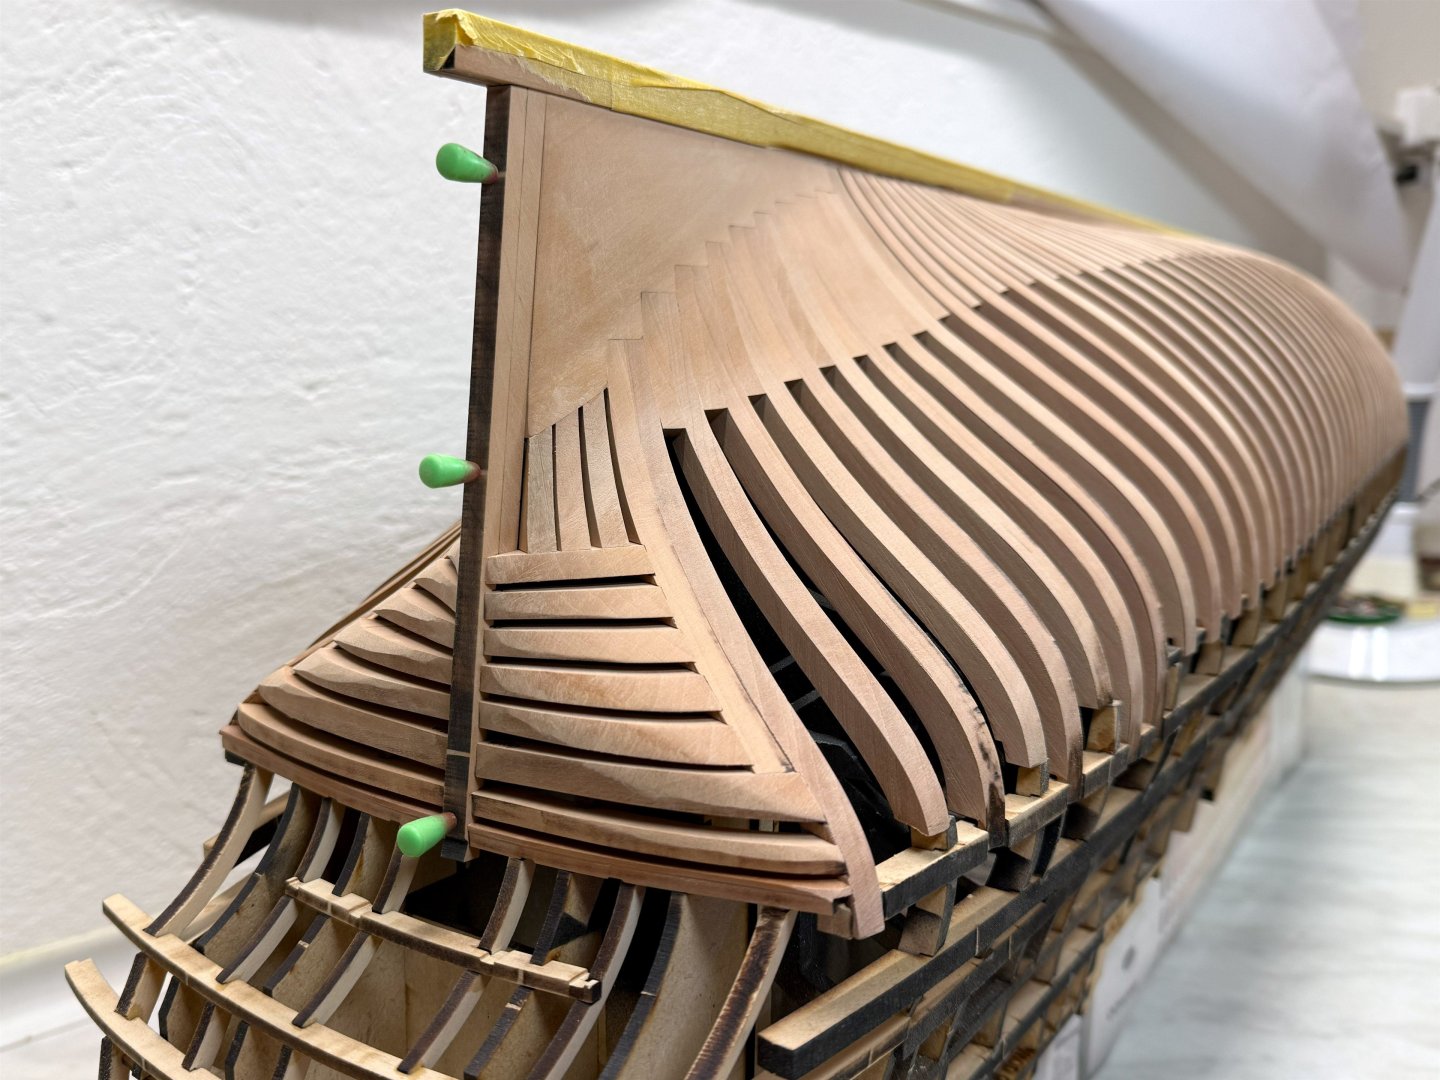
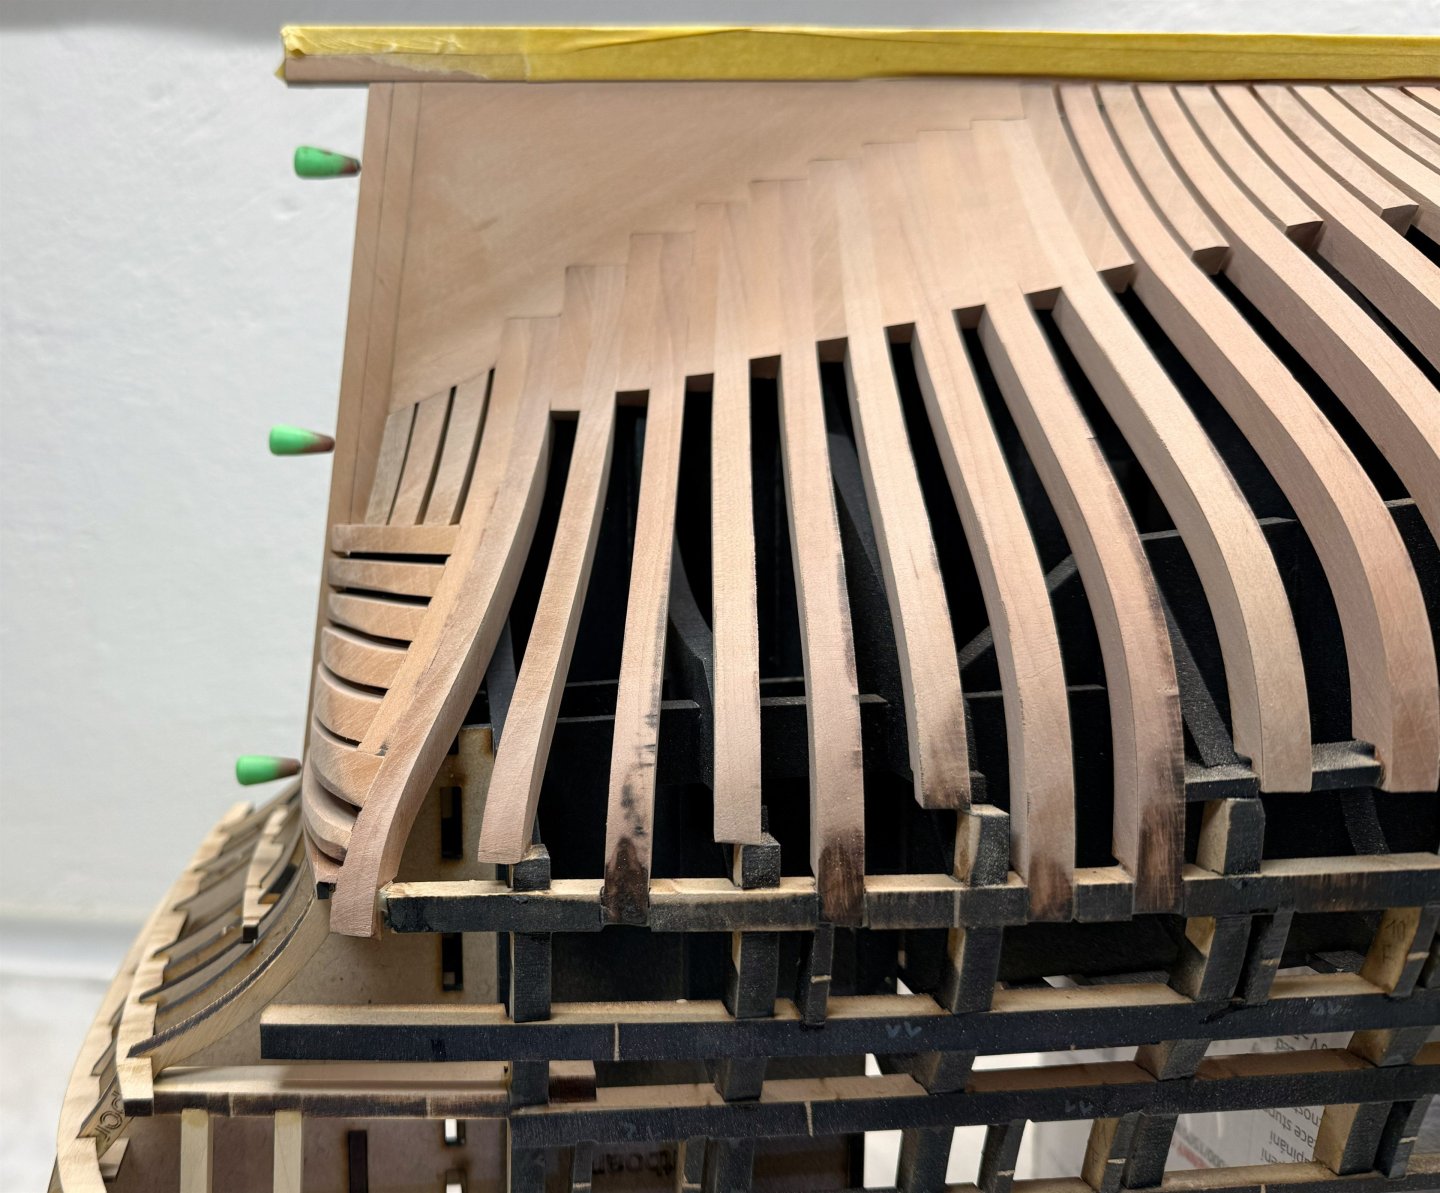
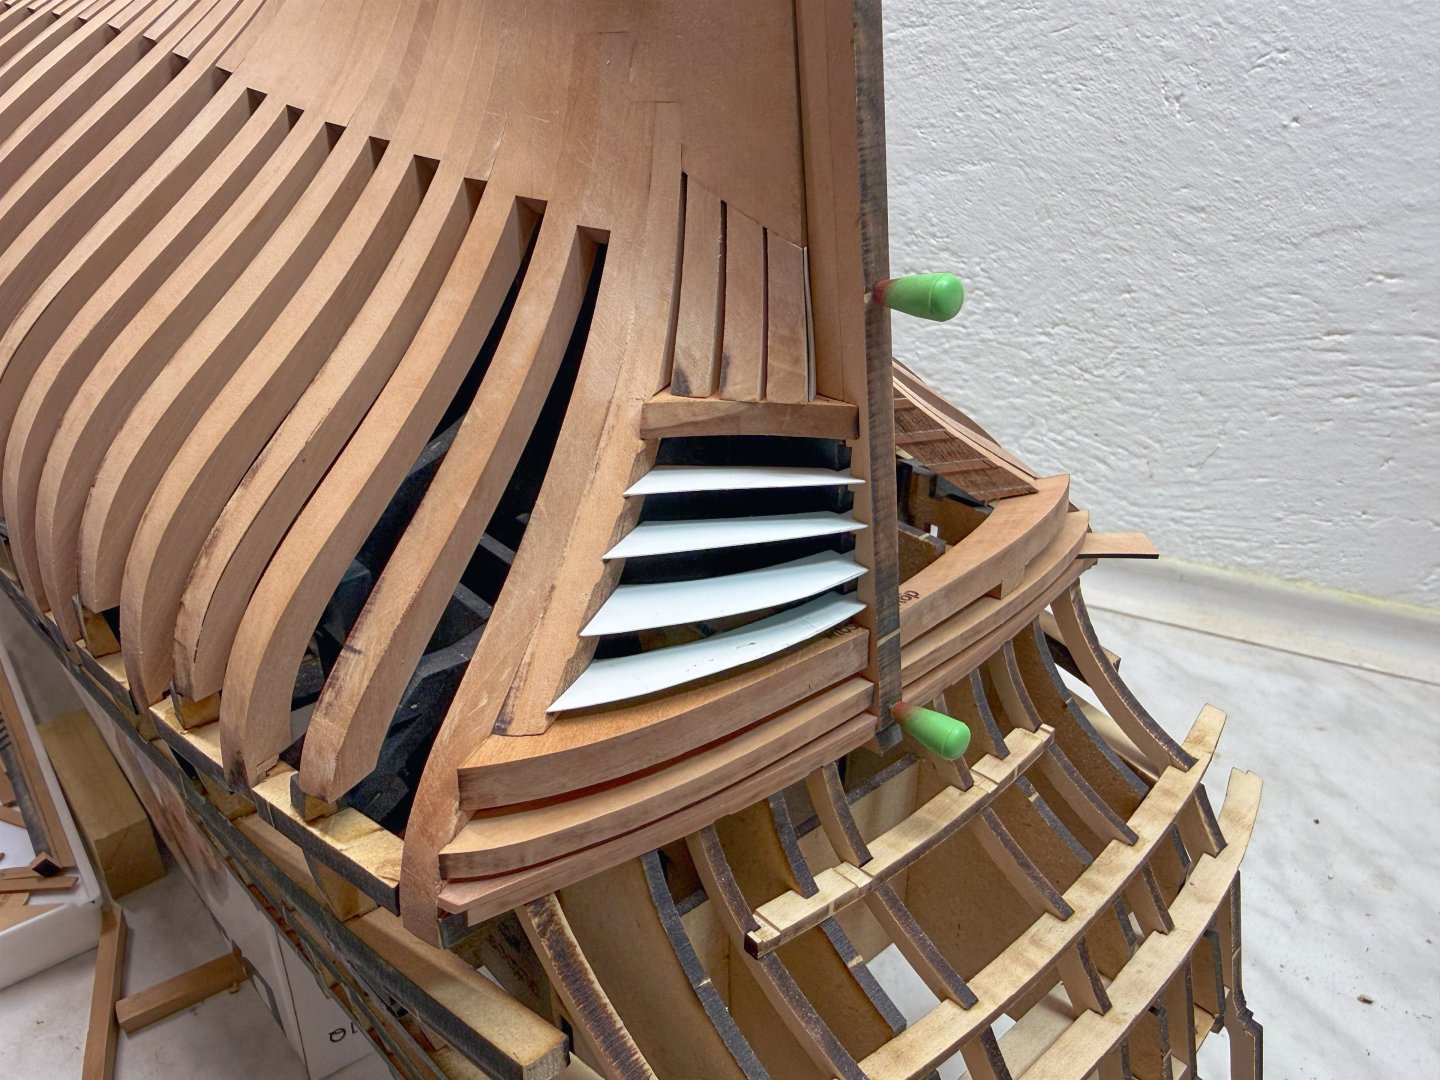
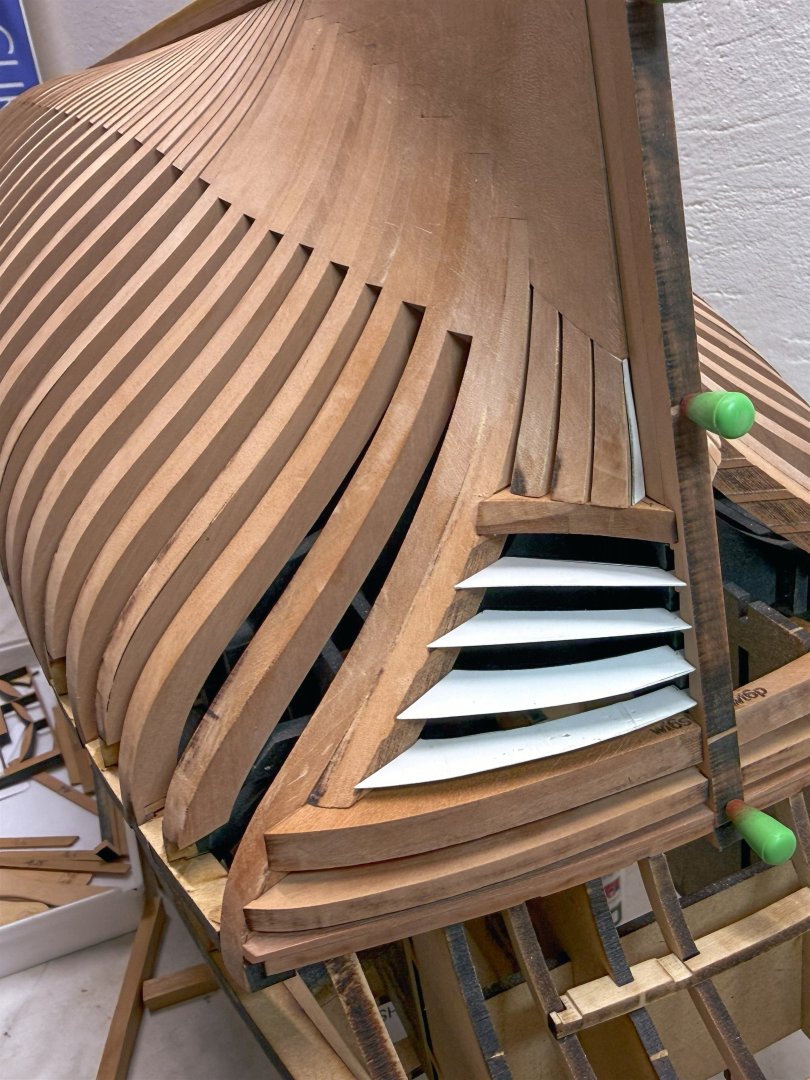
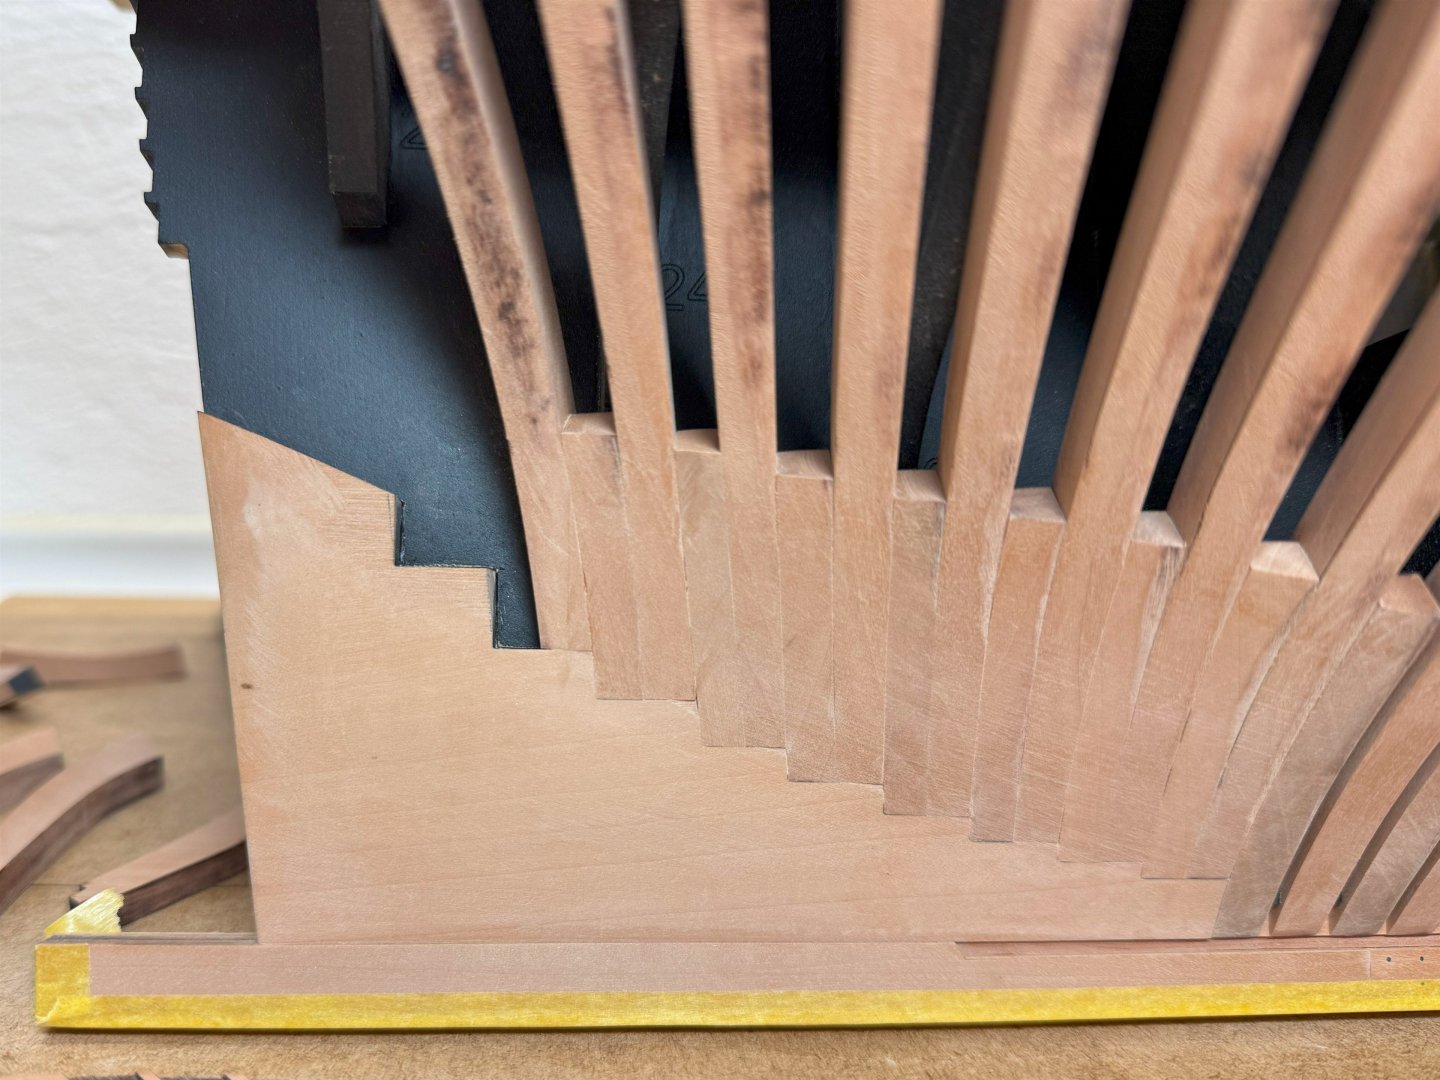
Hi guys, There's no major progress yet, just a small preview of what the planking might look like. It's a weekend project. The Wales is black hornbeam and the planking is Castello boxwood. It's coated with Osmo hard wax. The background under the friezes is Prussian blue. I'll try Cerulean blue, too. I can't decide. I originally wanted to make the planking from light pear wood, but I was disappointed with the material I had prepared. When I cut it perpendicular to the grain, the grain is very visible, and when I cut along the grain, the planks twist. In the end, I'll probably choose Castello boxwood. What do you think?


-
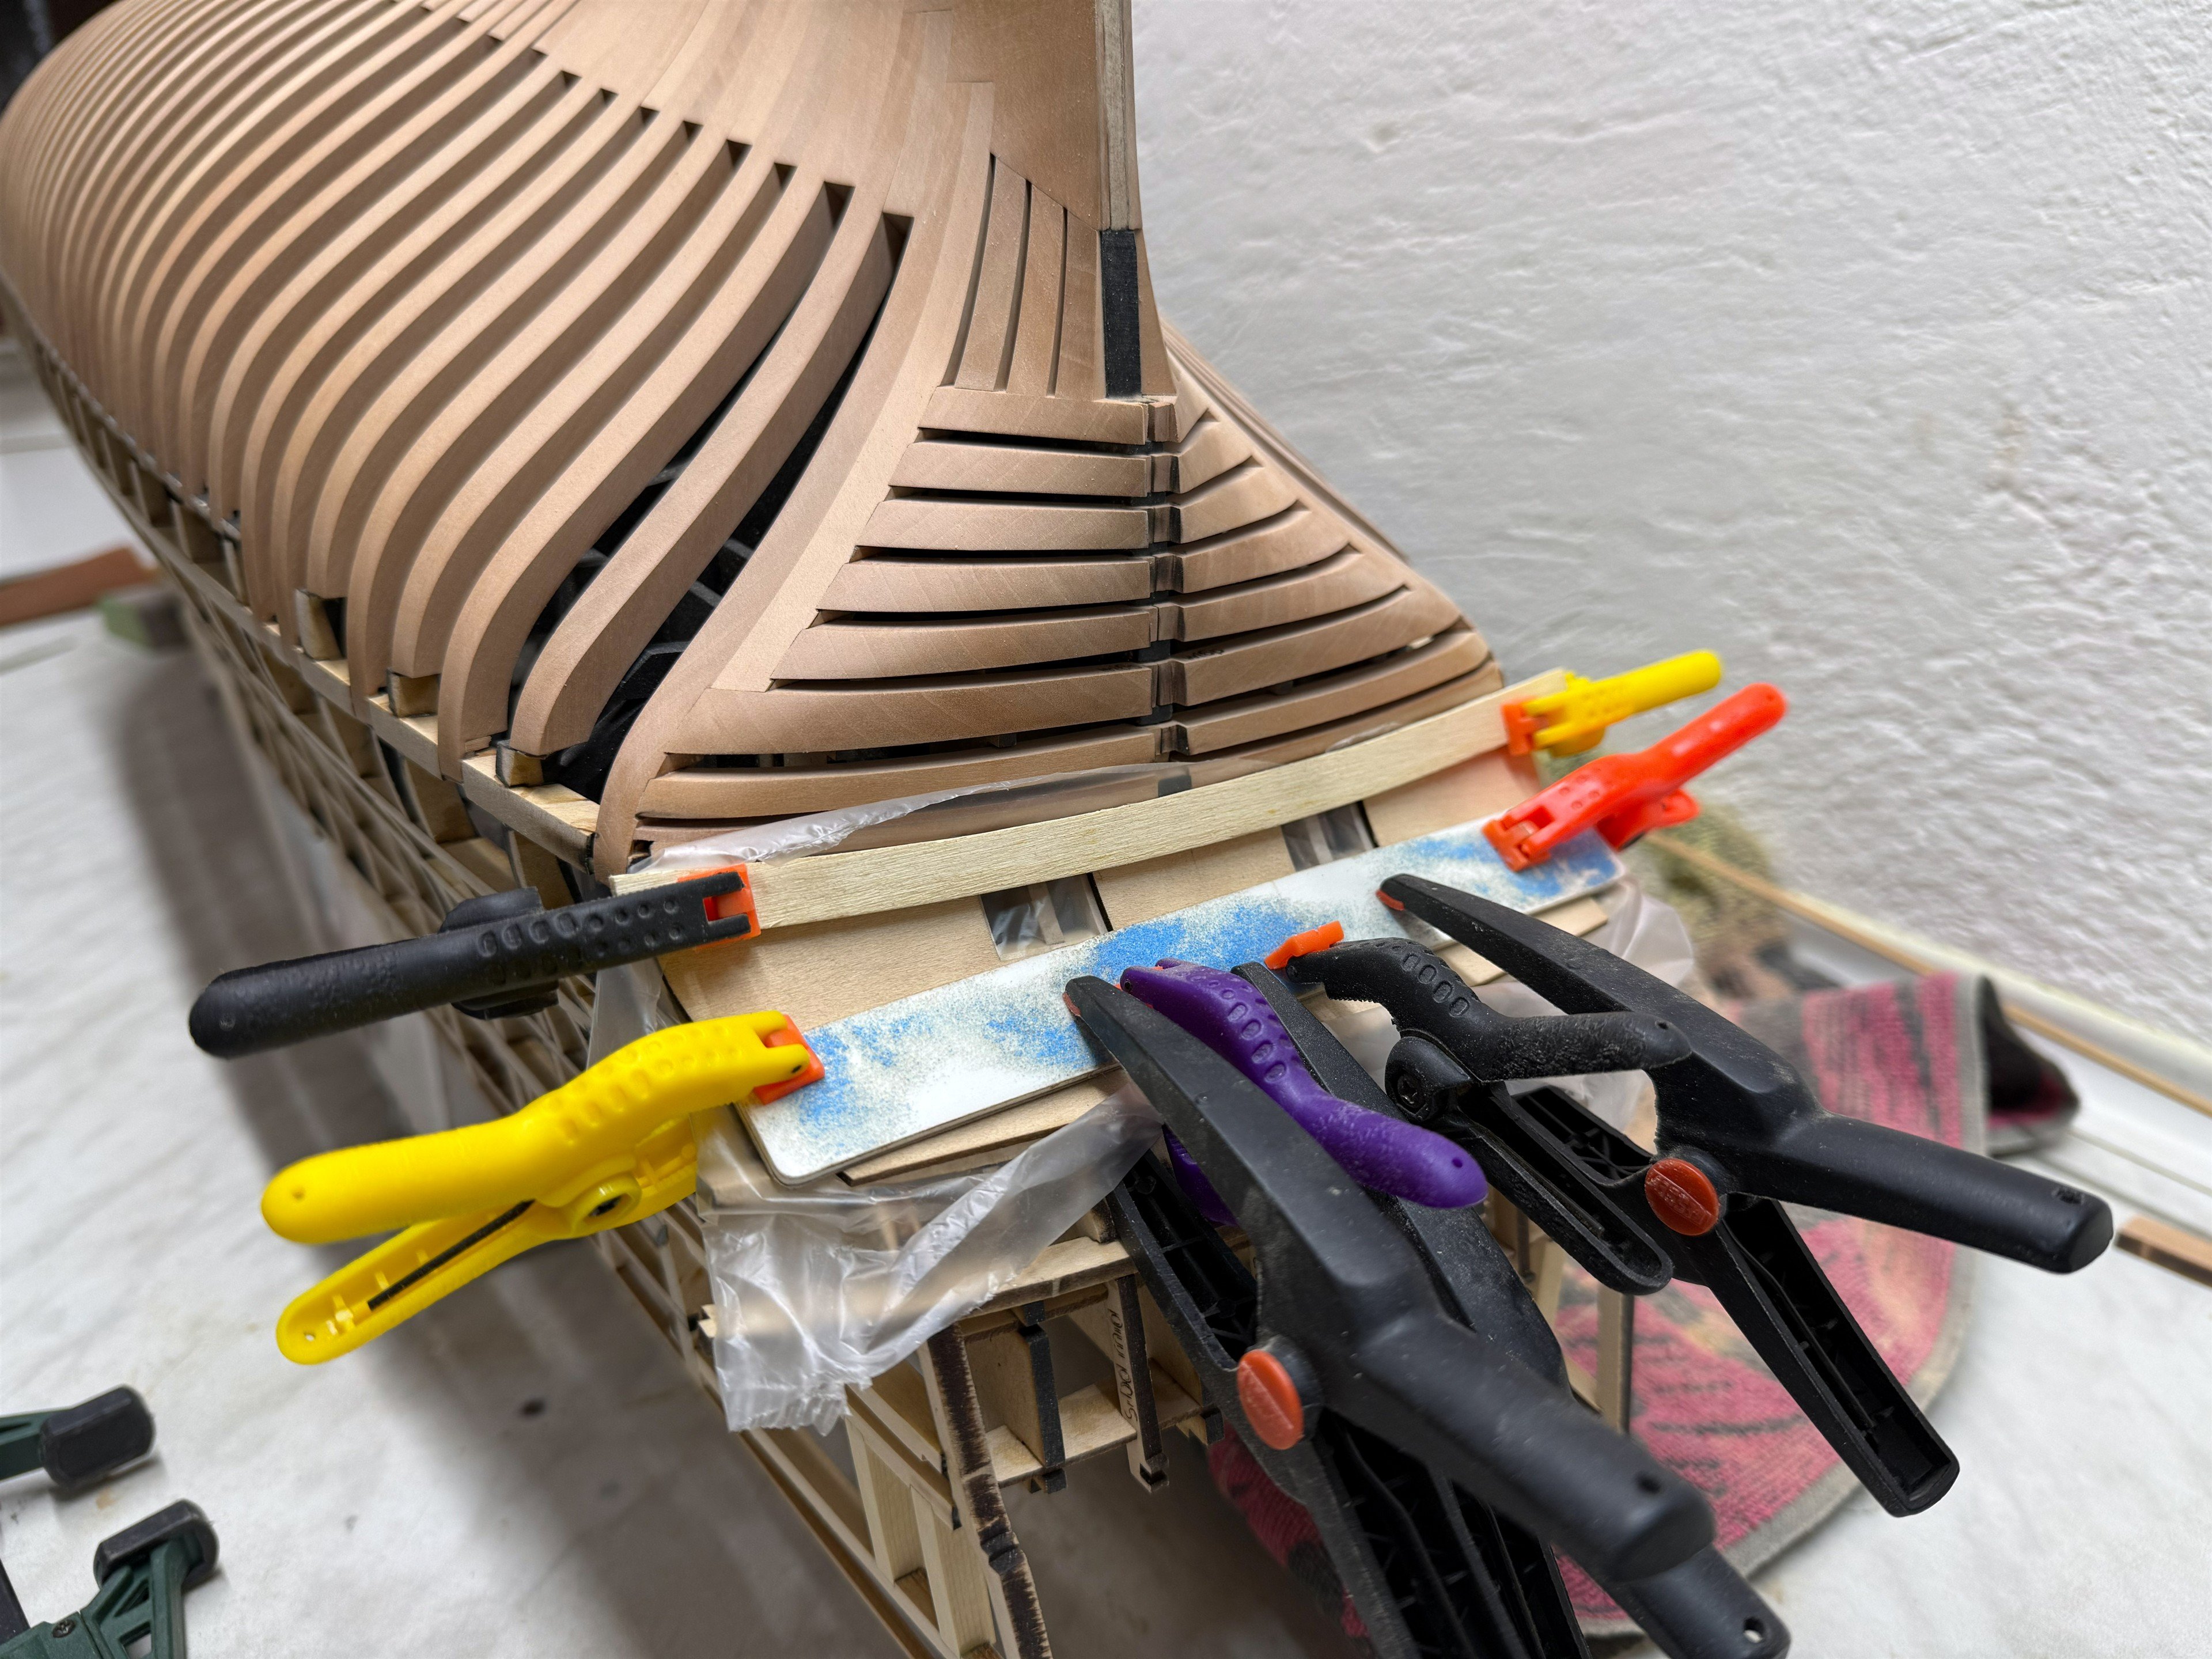
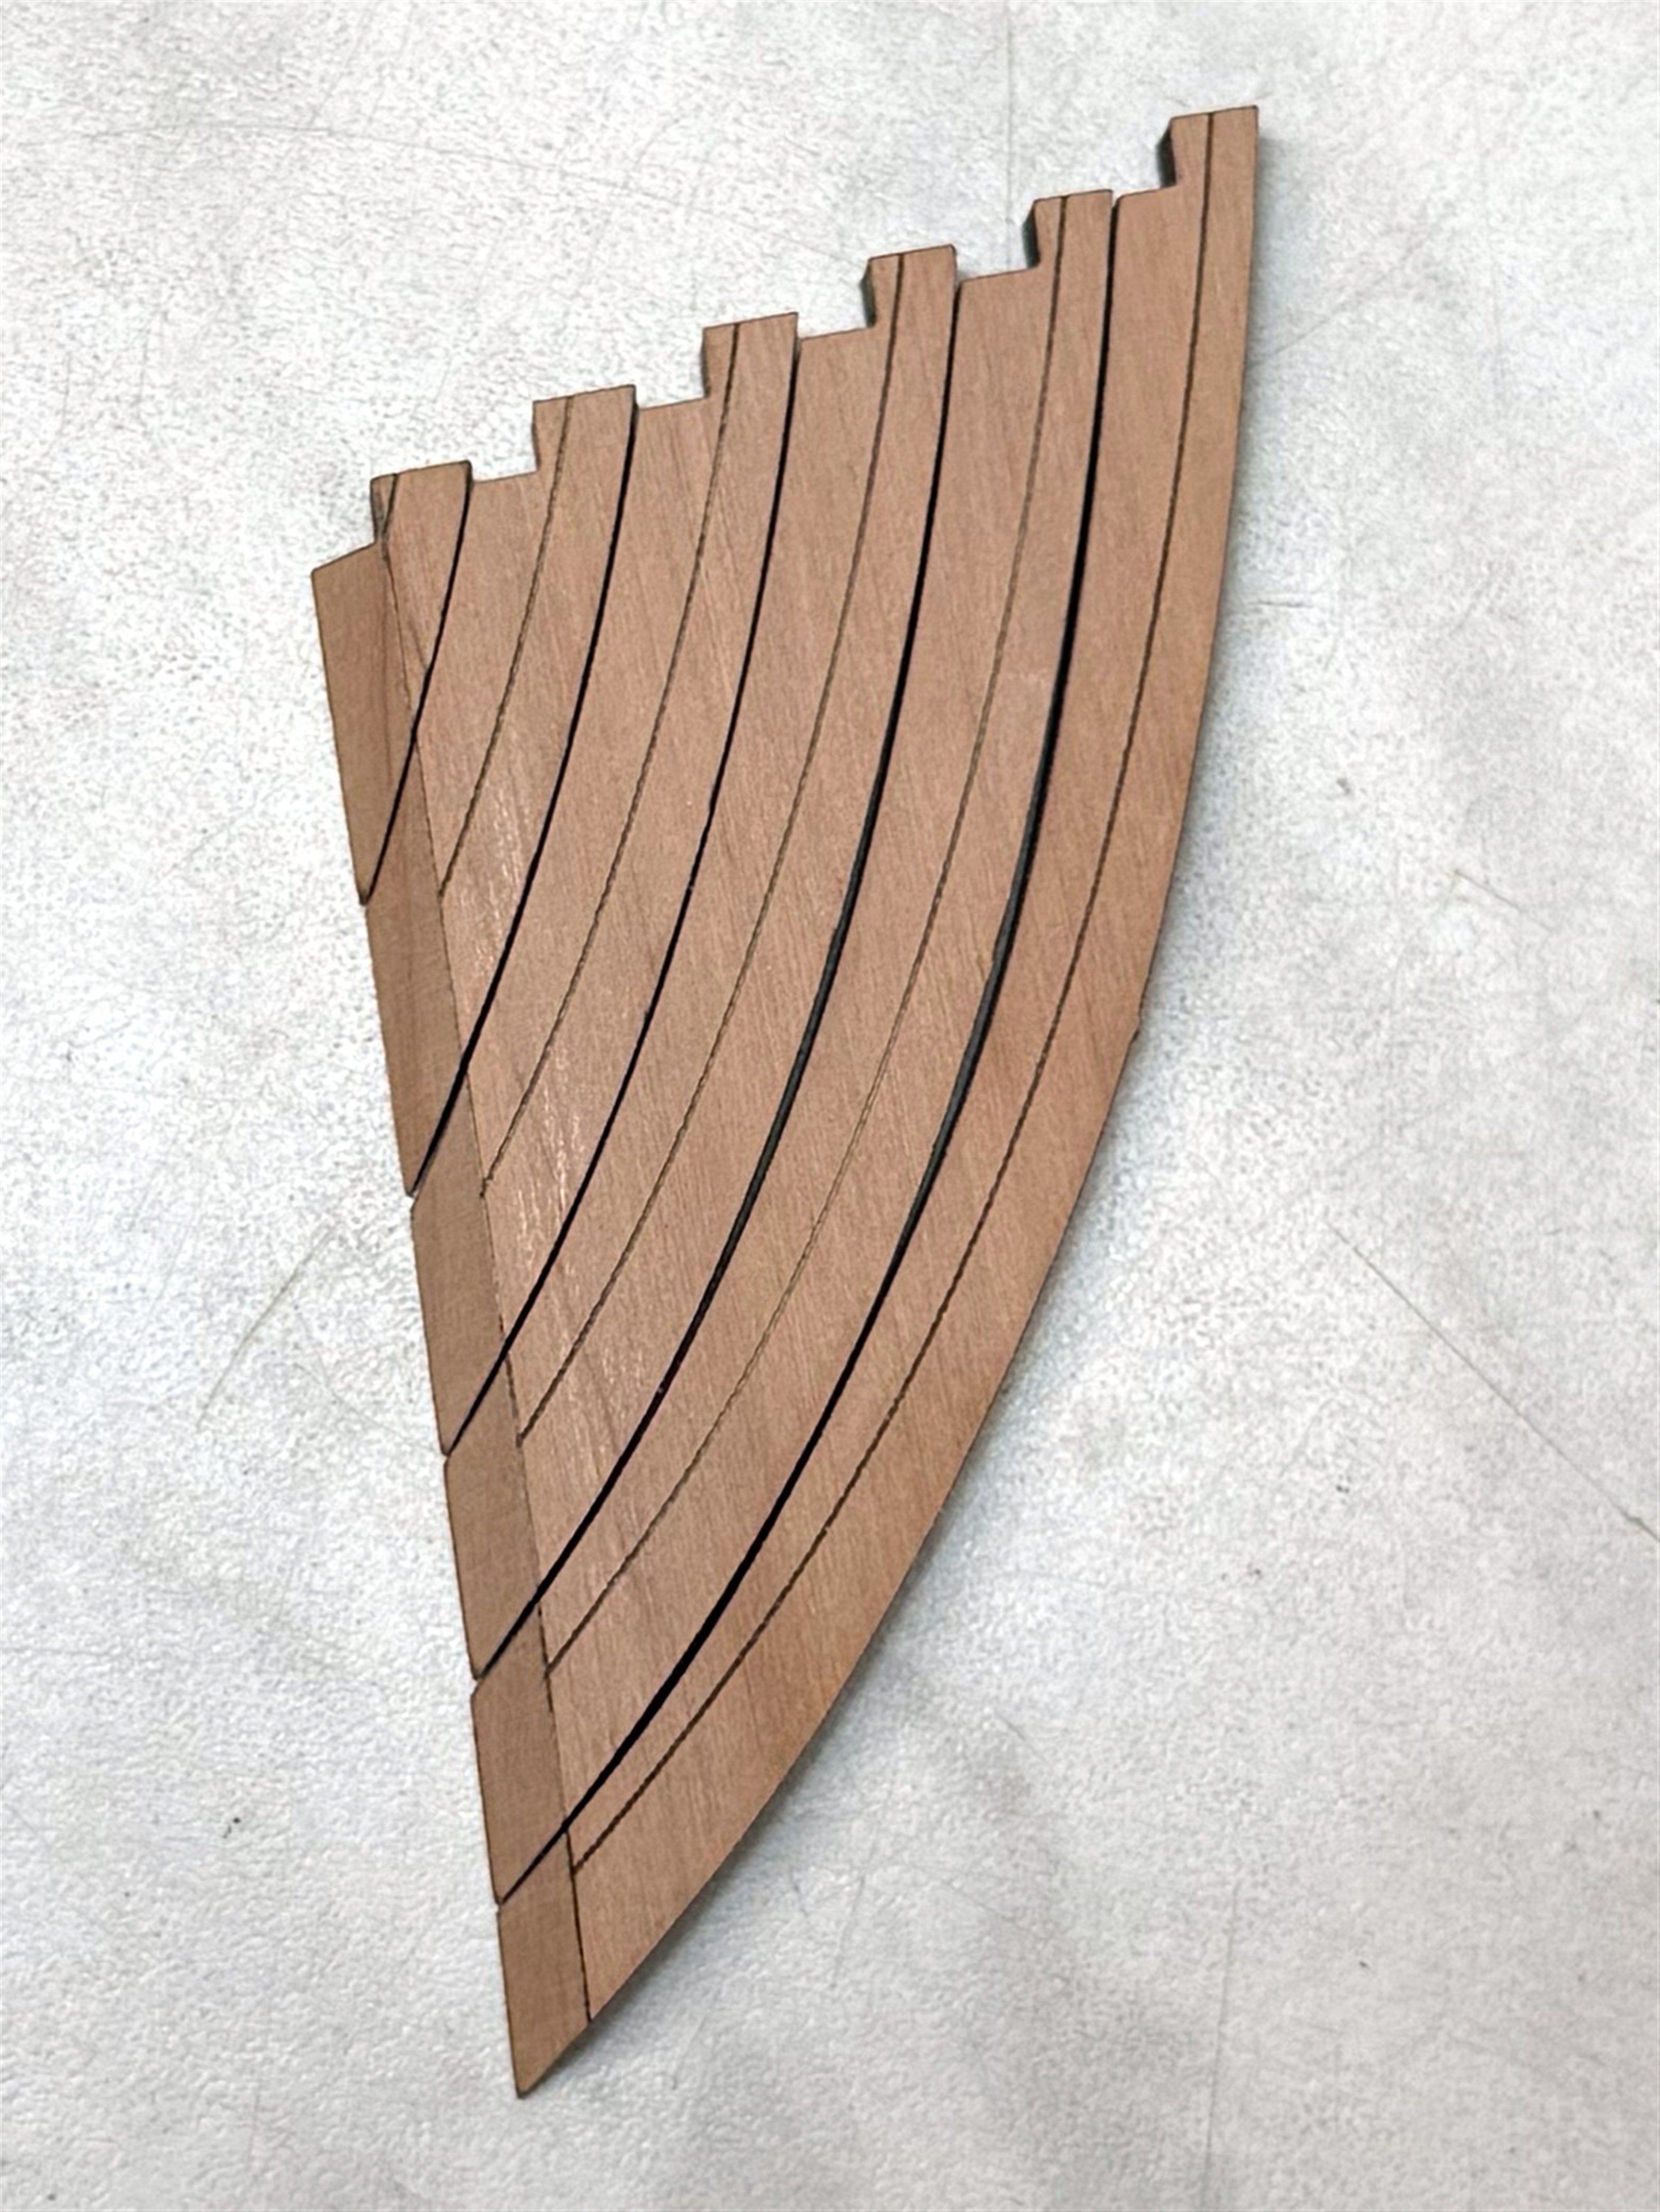
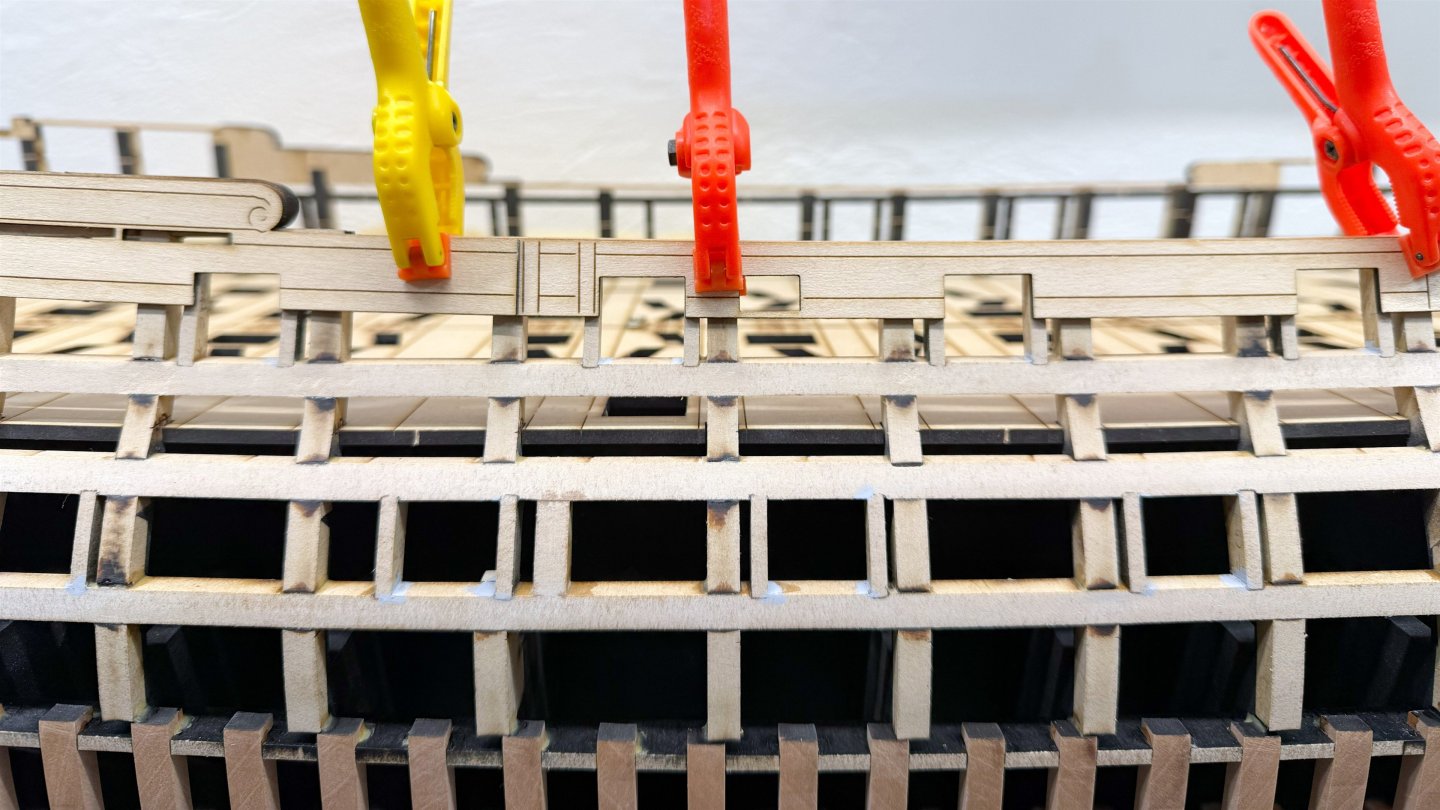
Hi guys, I finally managed to permanently glue the frieze panels. Now, I have to cut the strips for the planking. It was originally supposed to be light pear, but the boards that I cut the strips from are all warped, so I'm not happy with them. So, in the end, it will probably be Castelo boxwood. But more on that later.


-
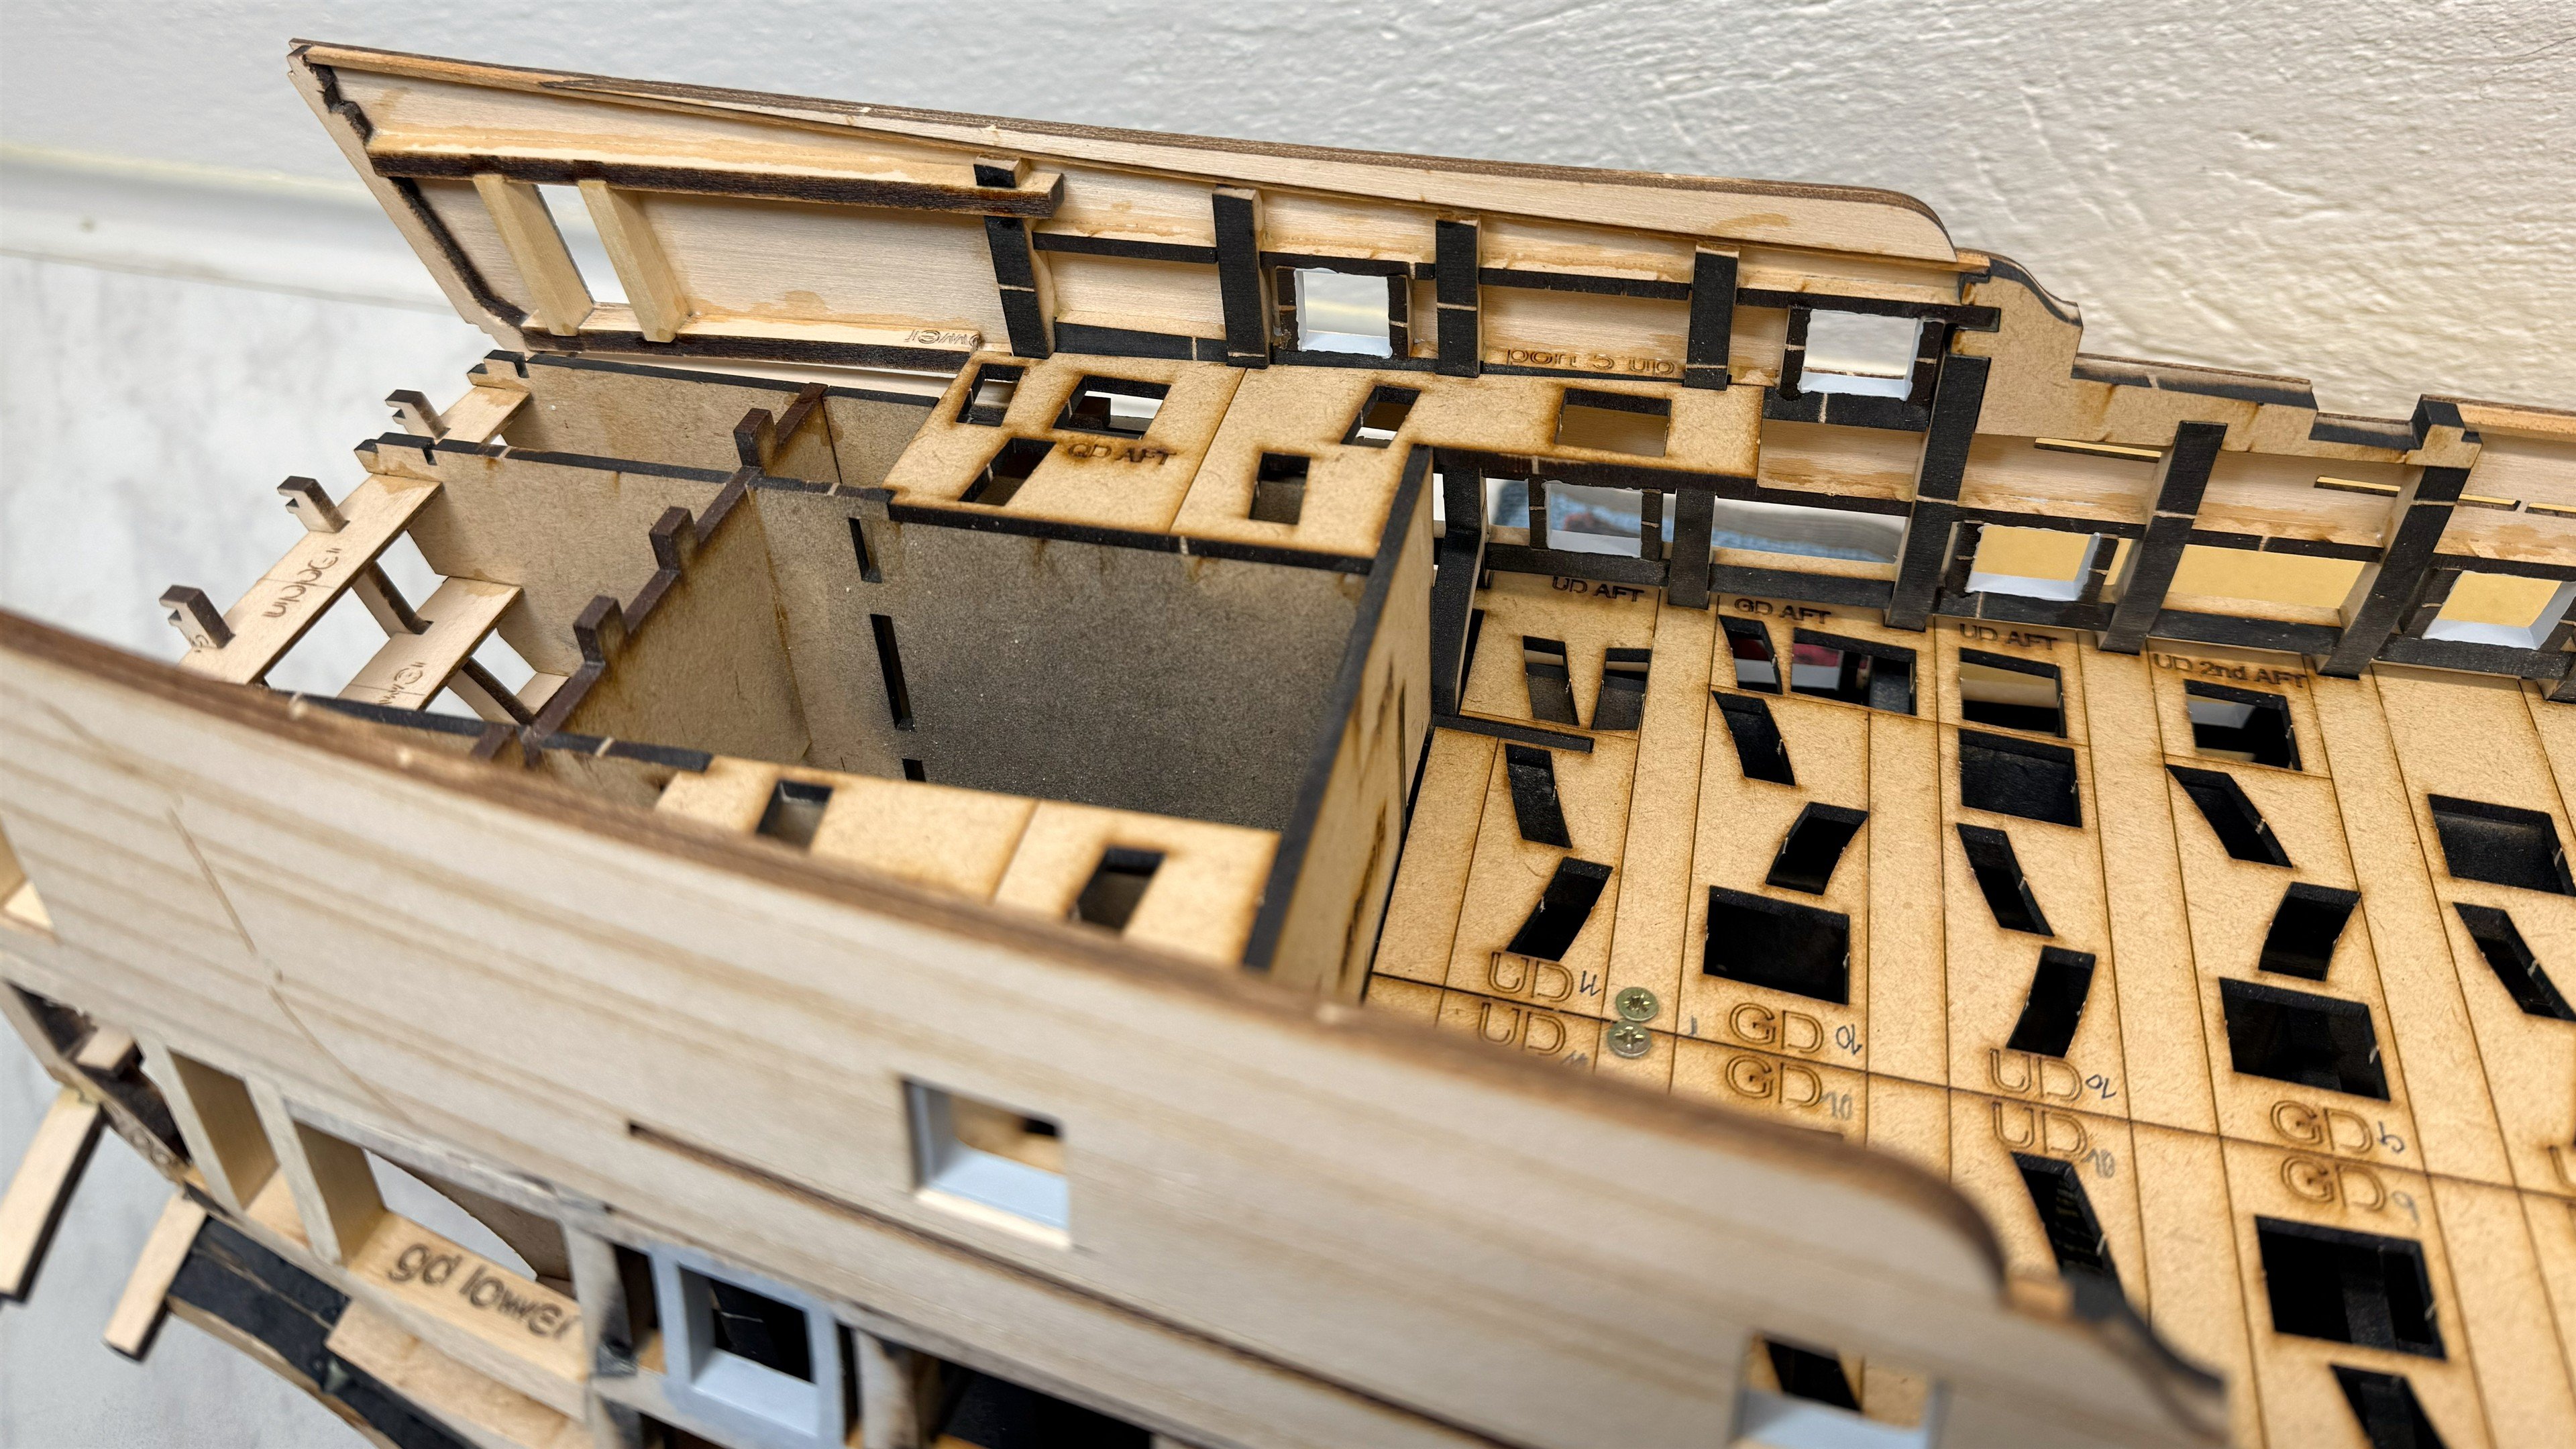
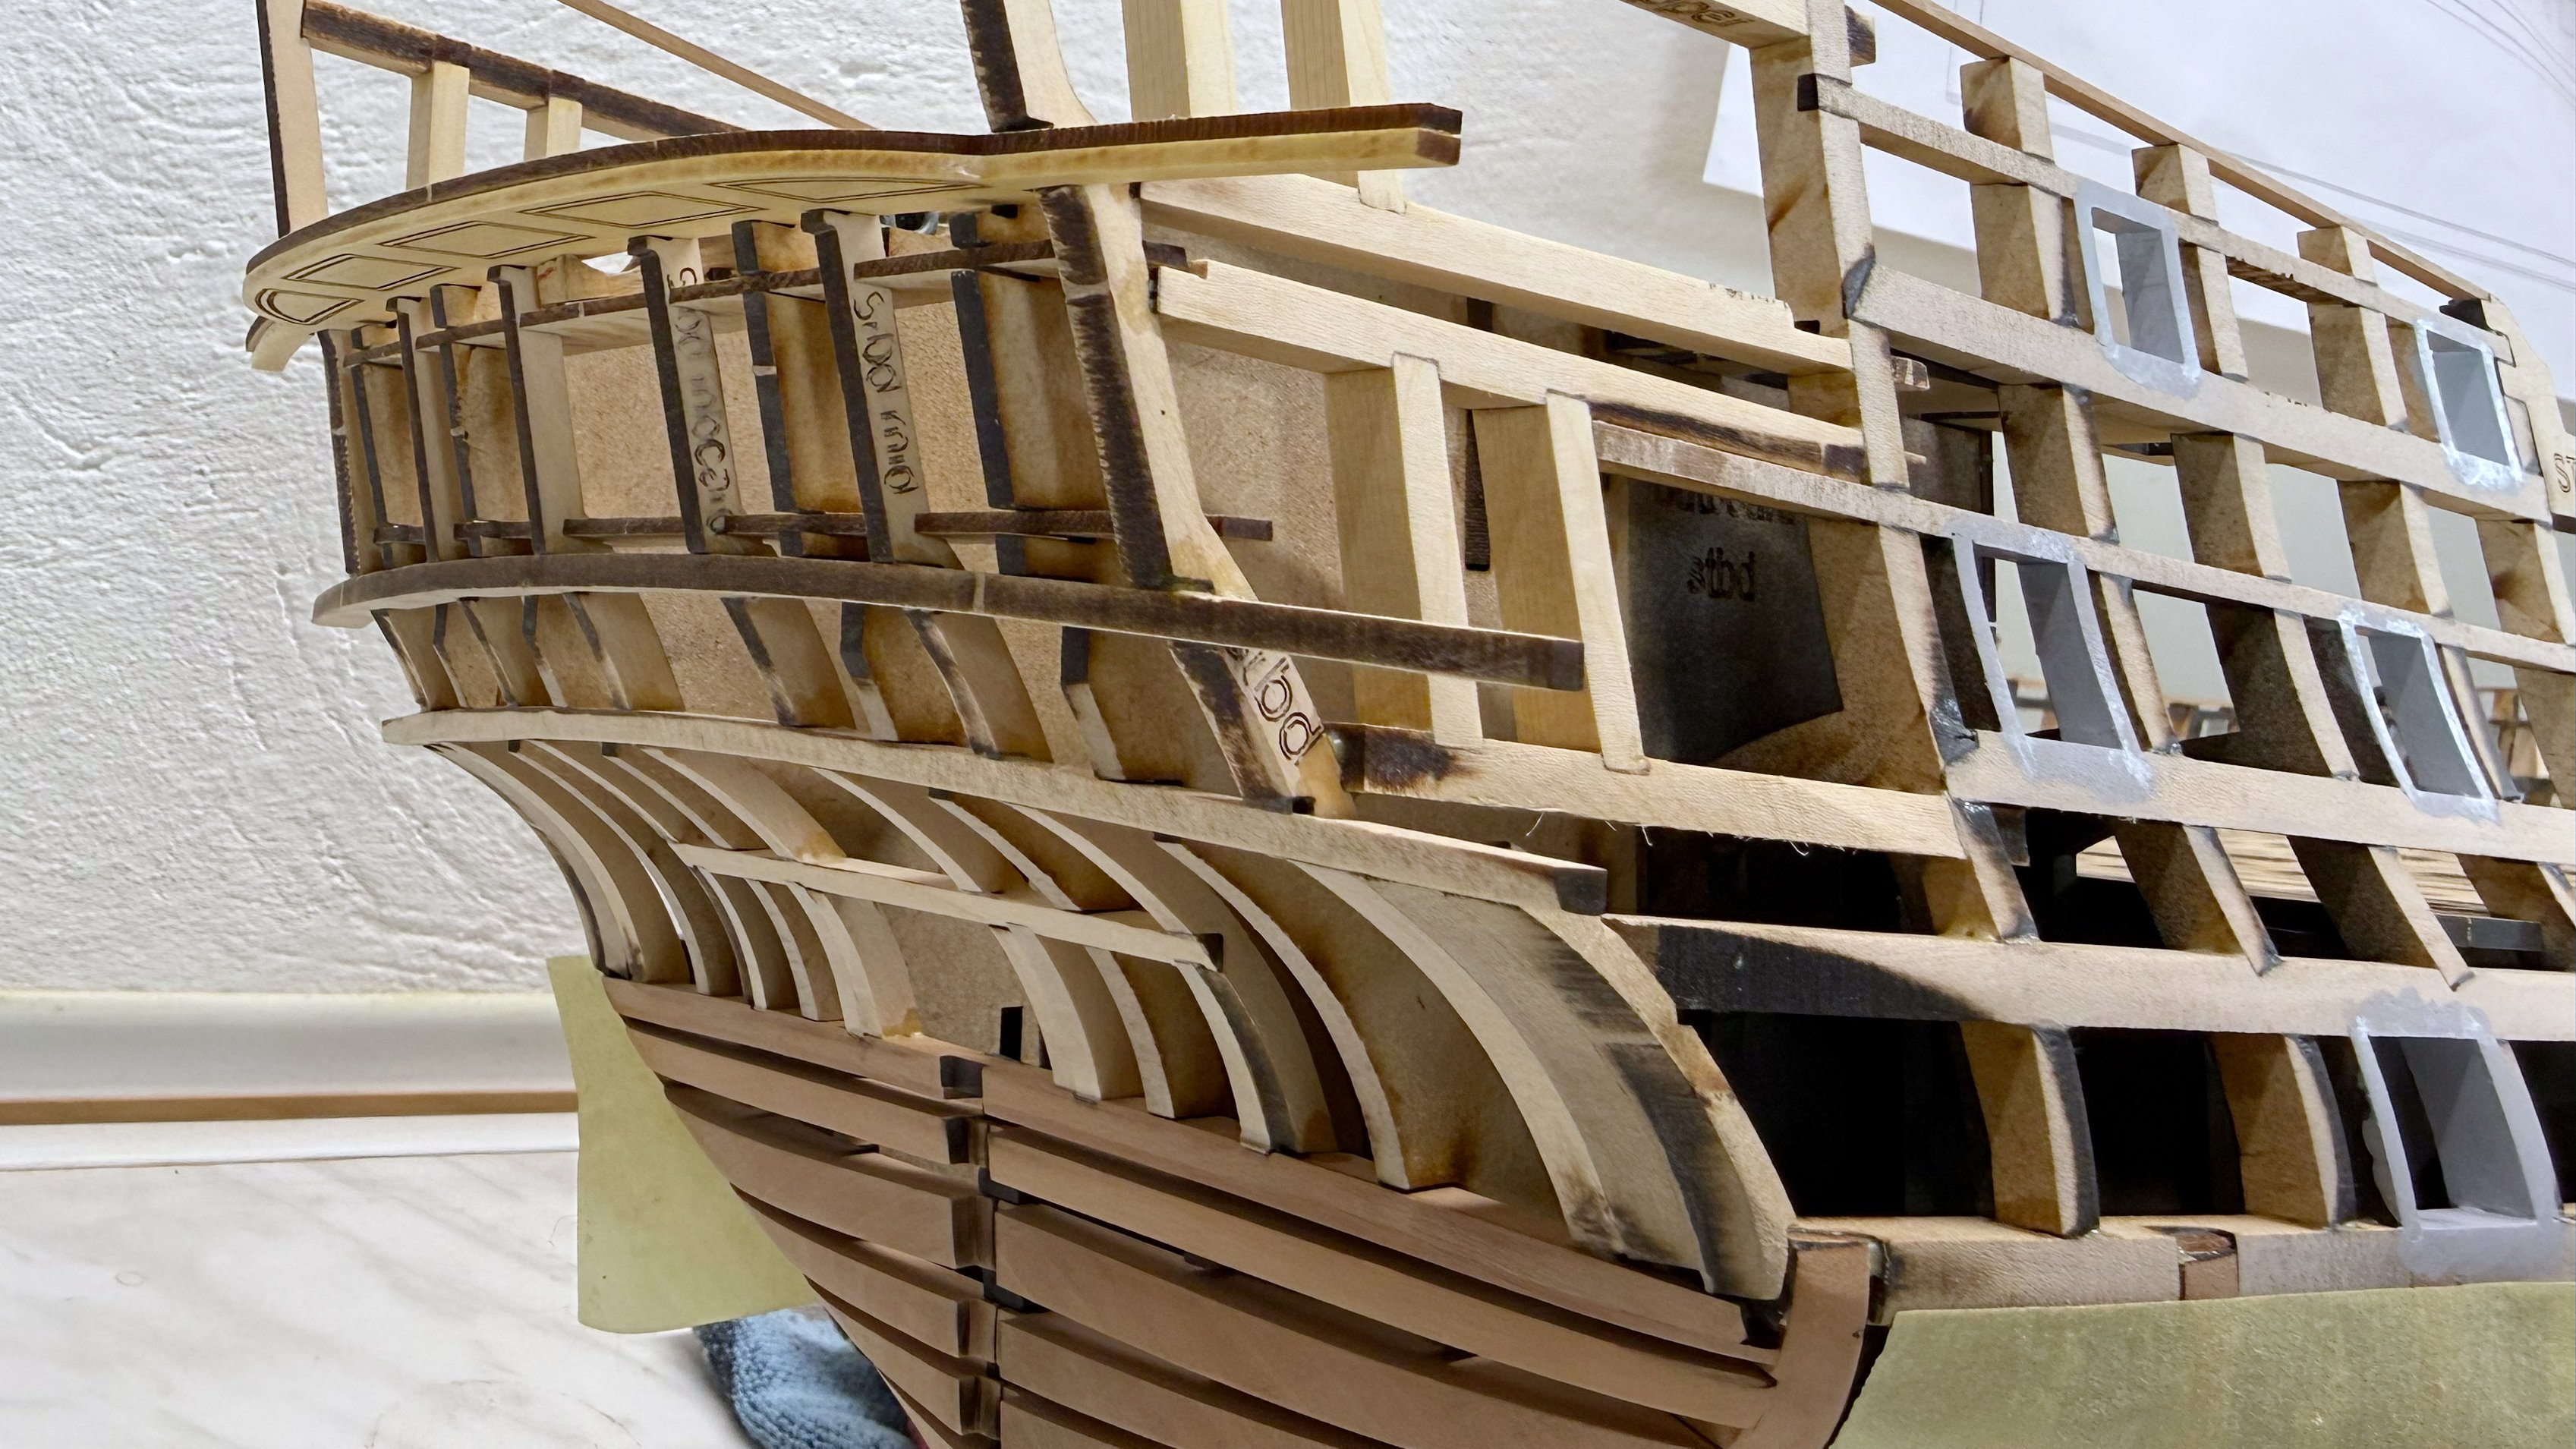
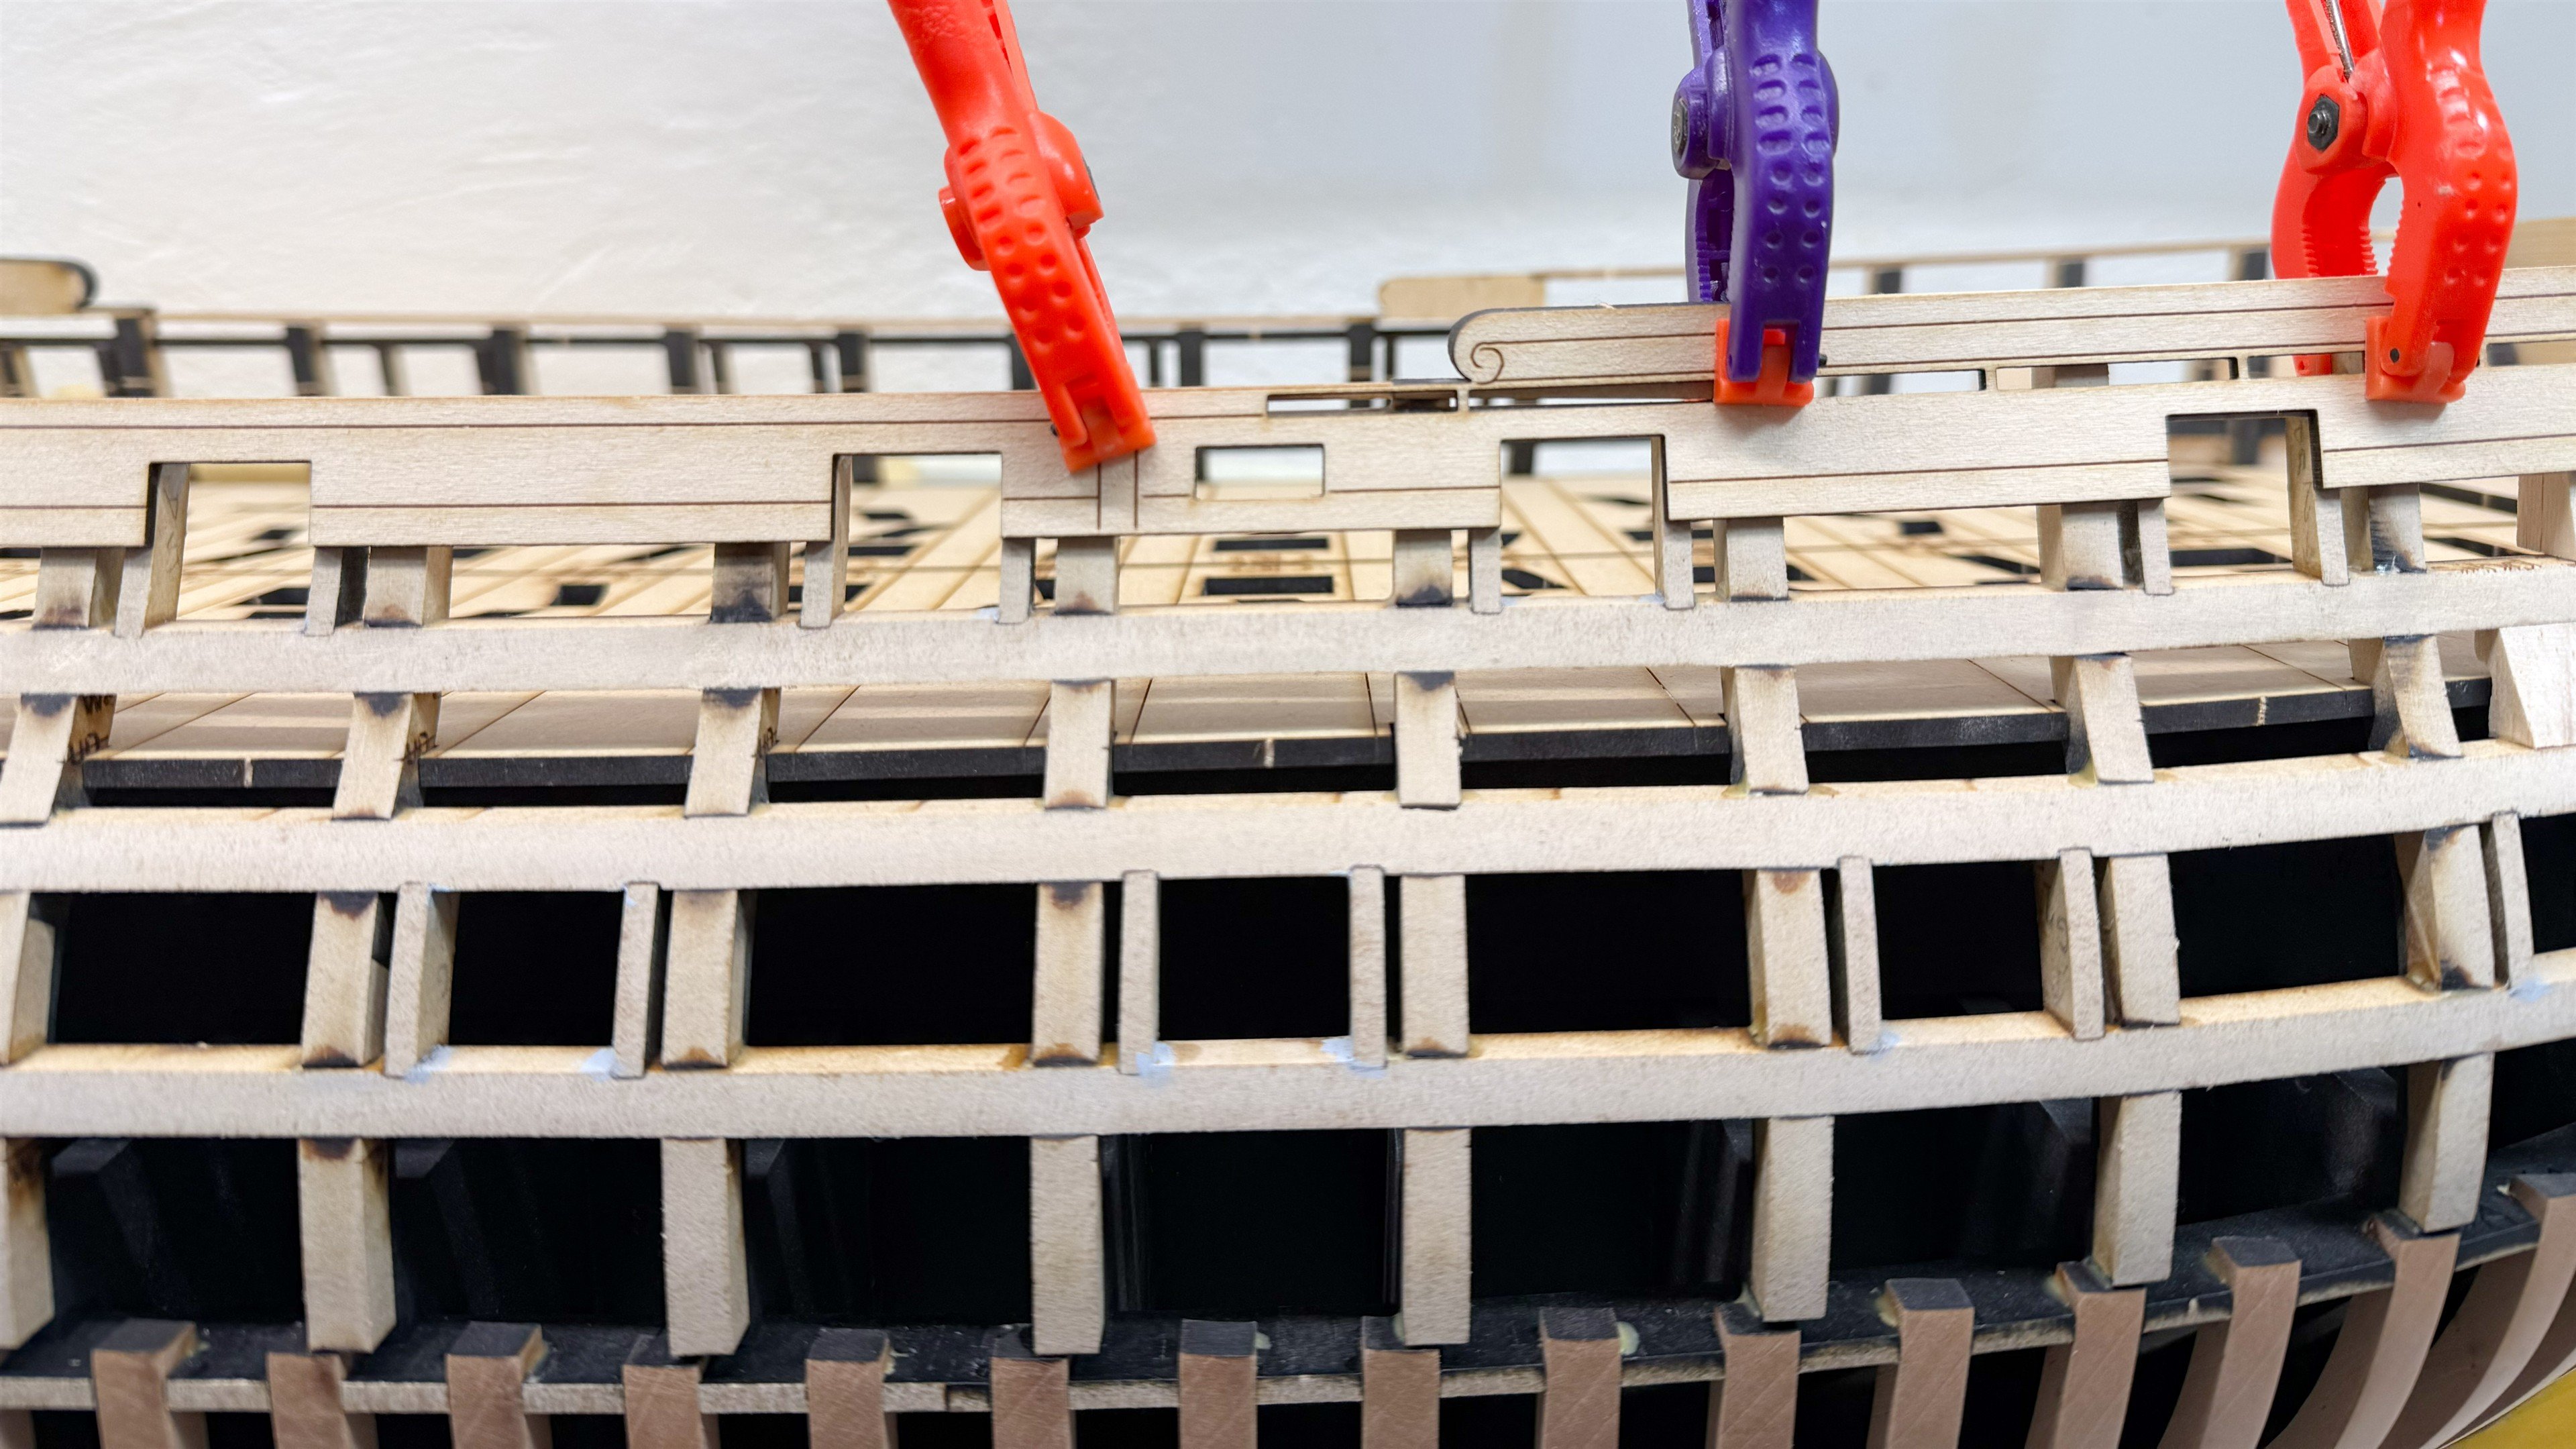
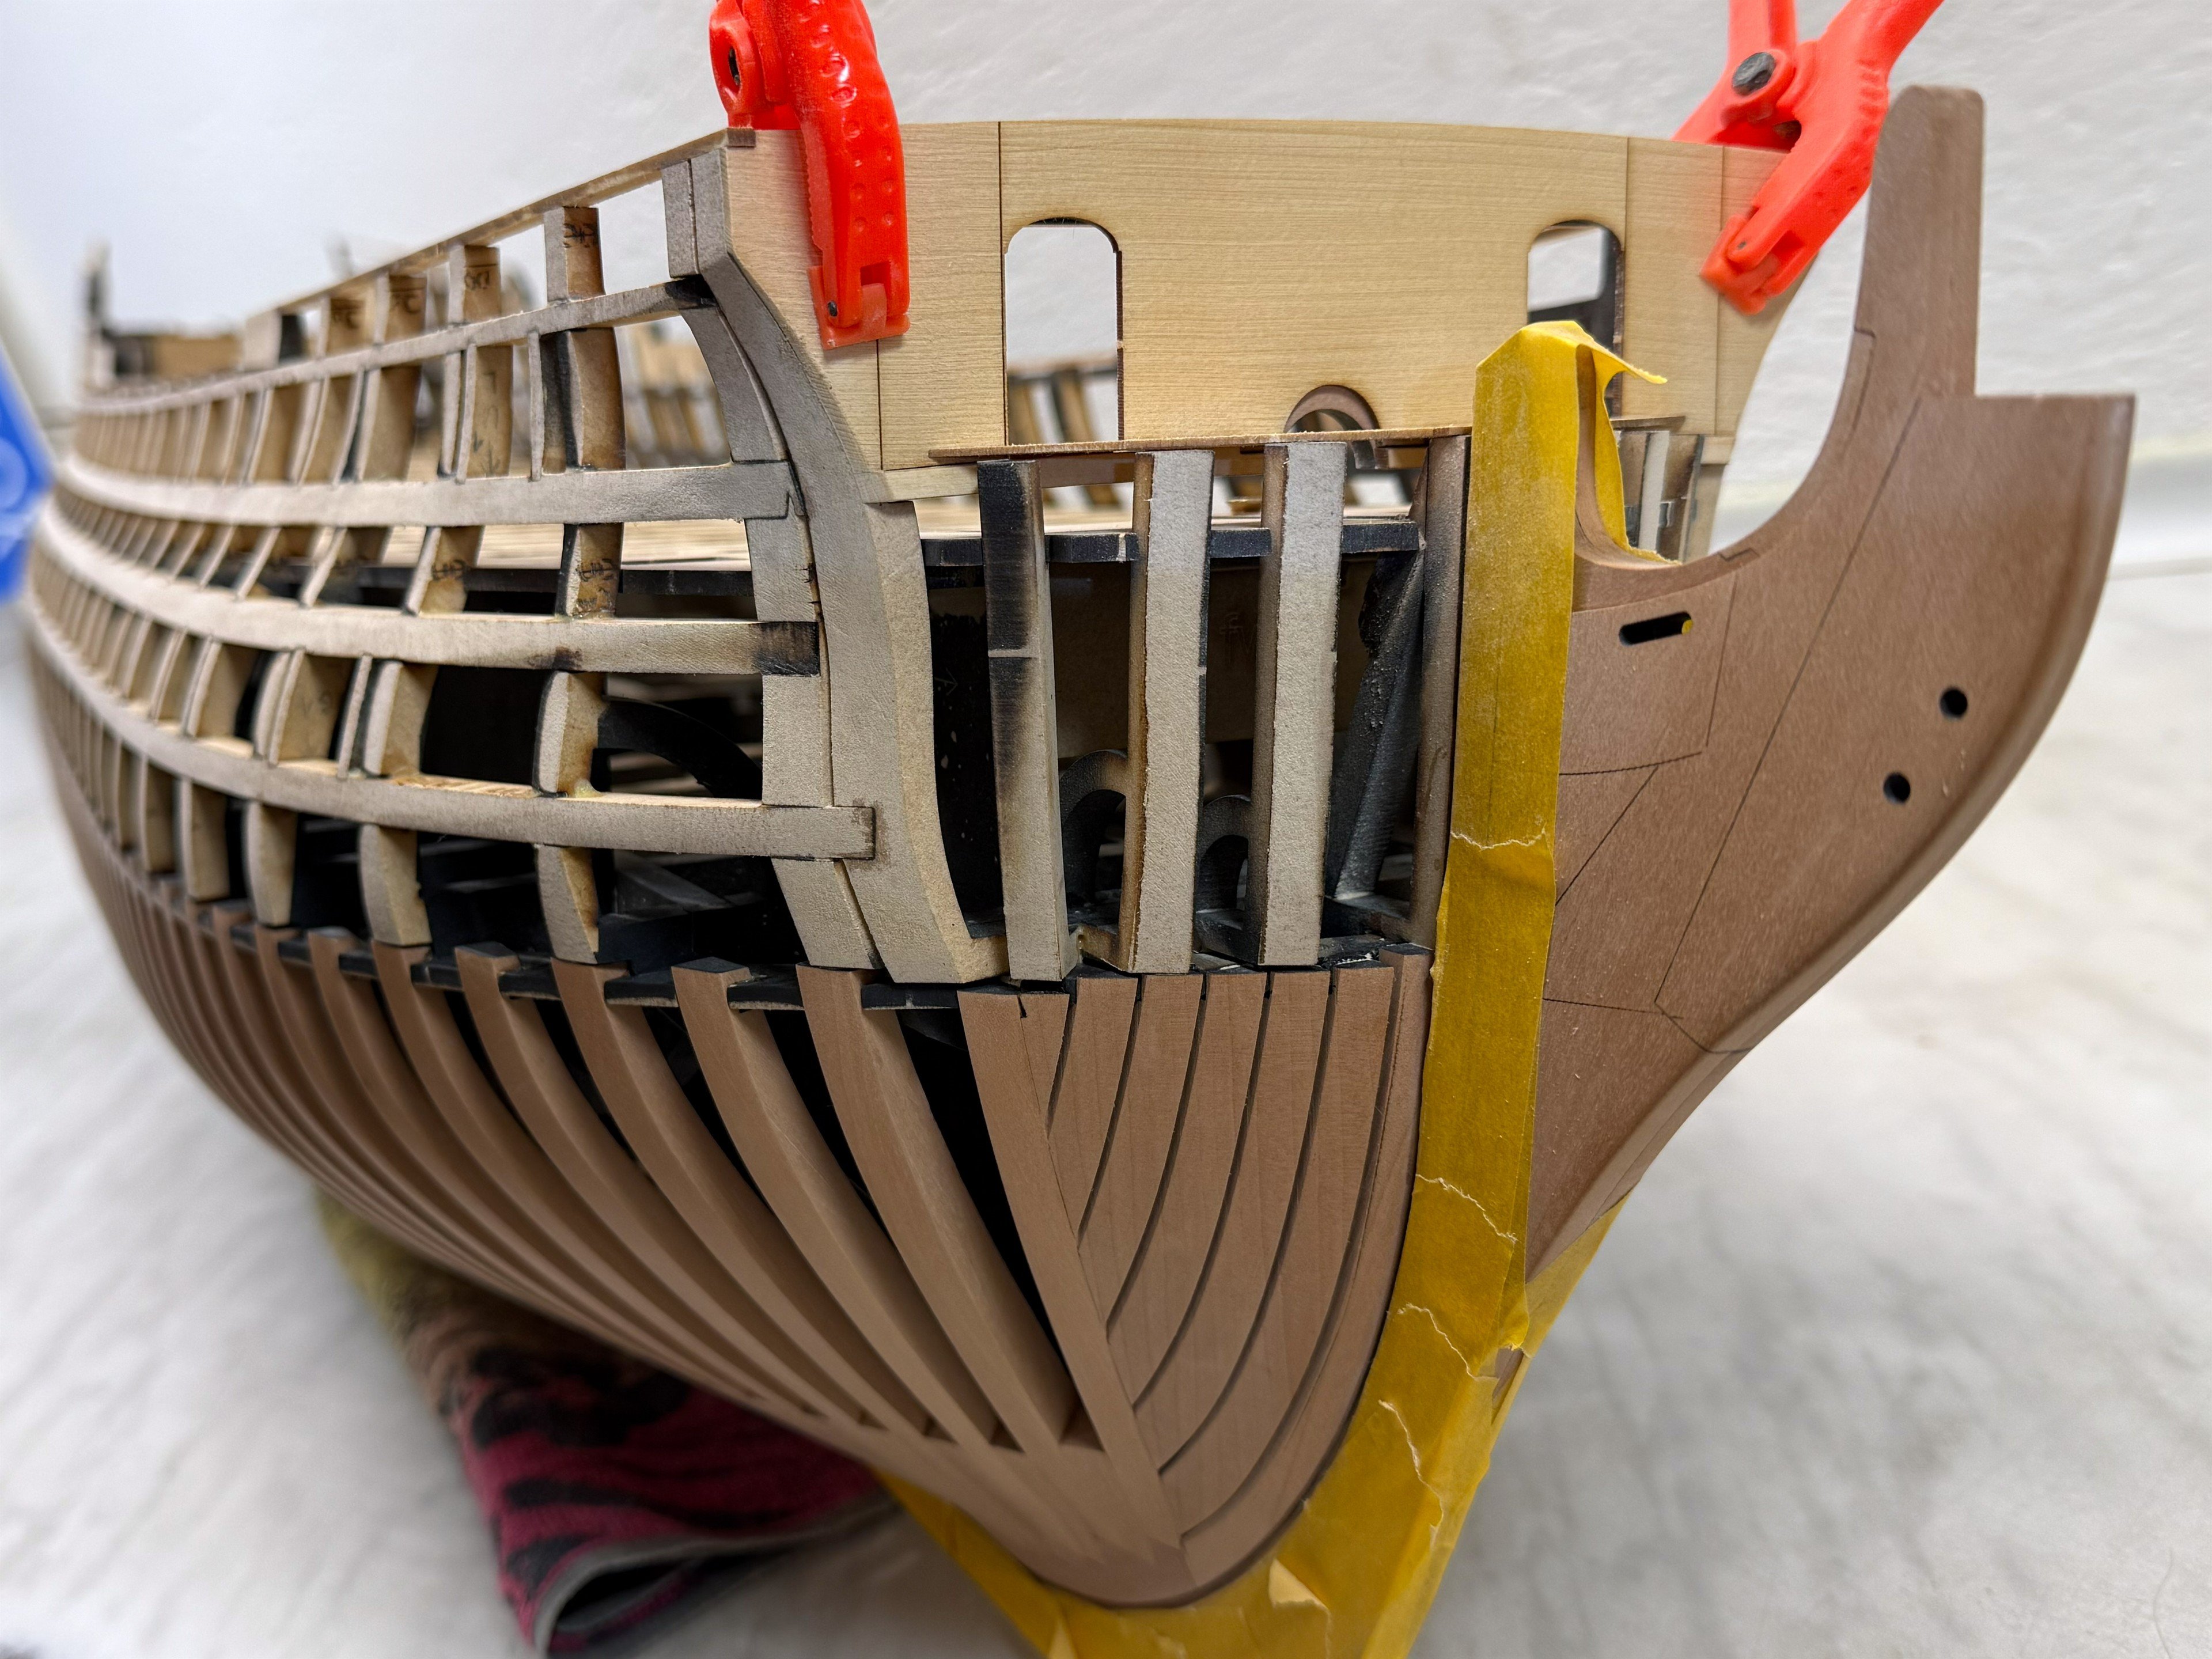
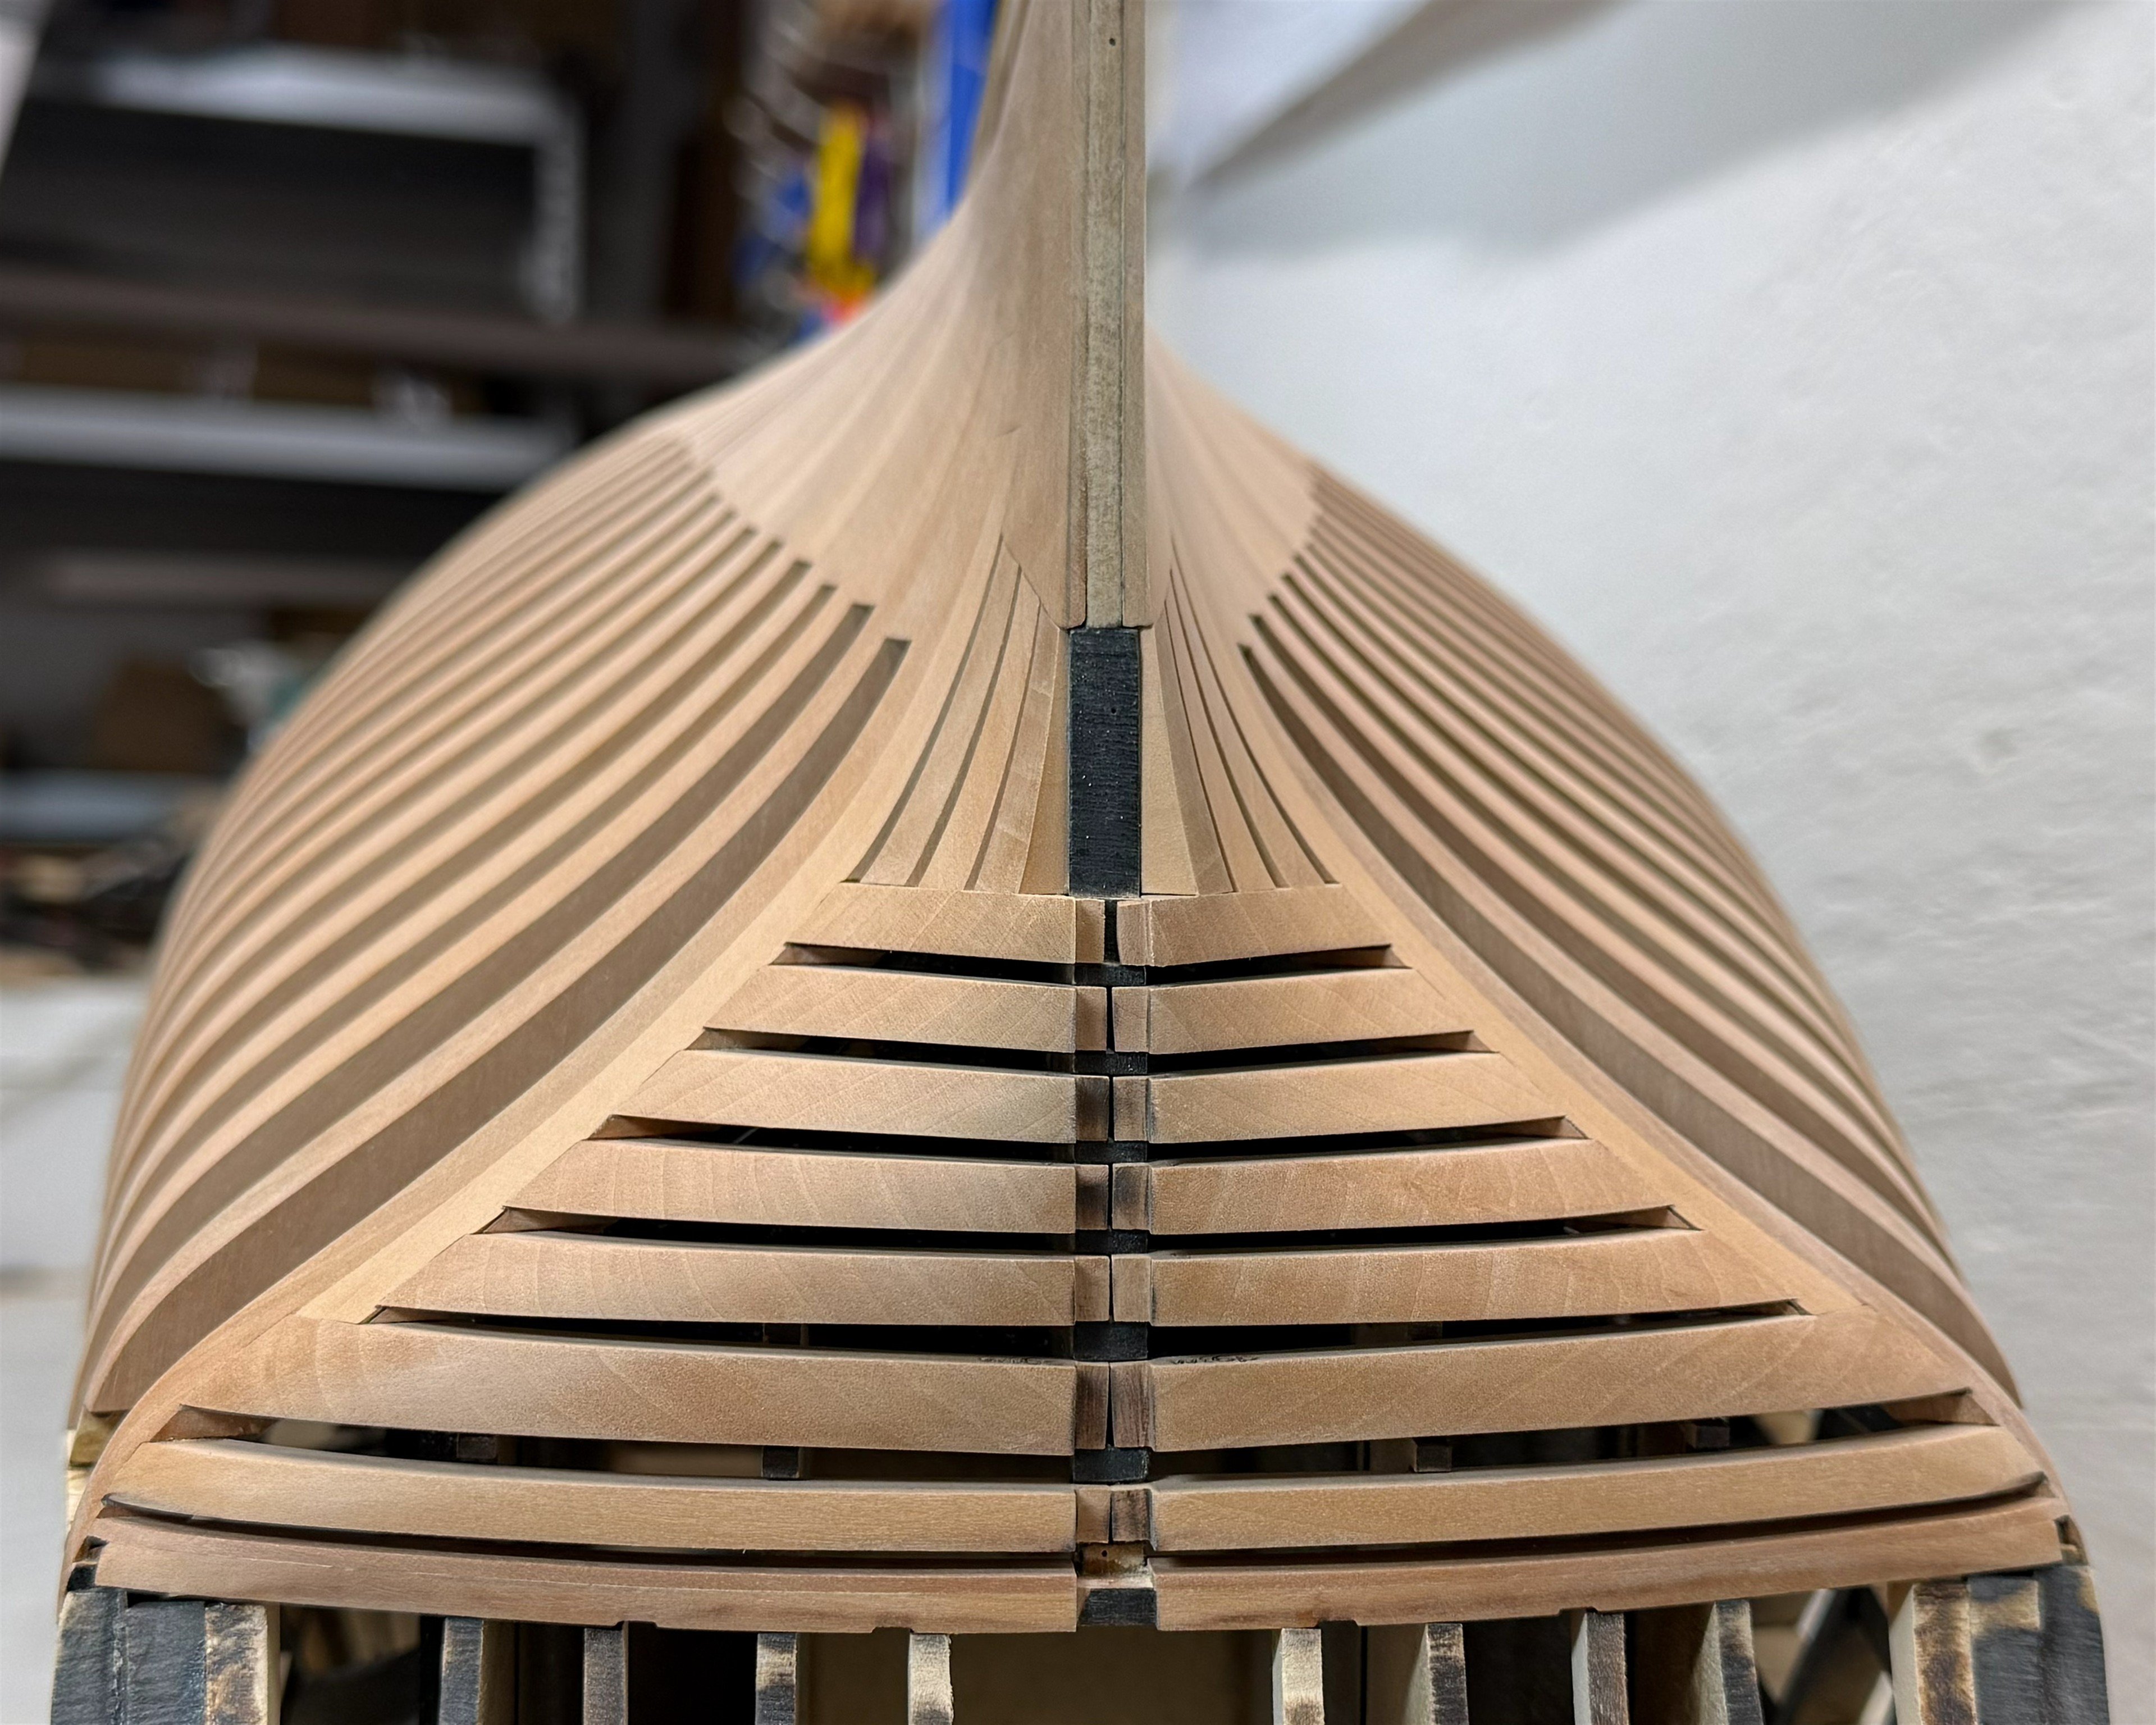
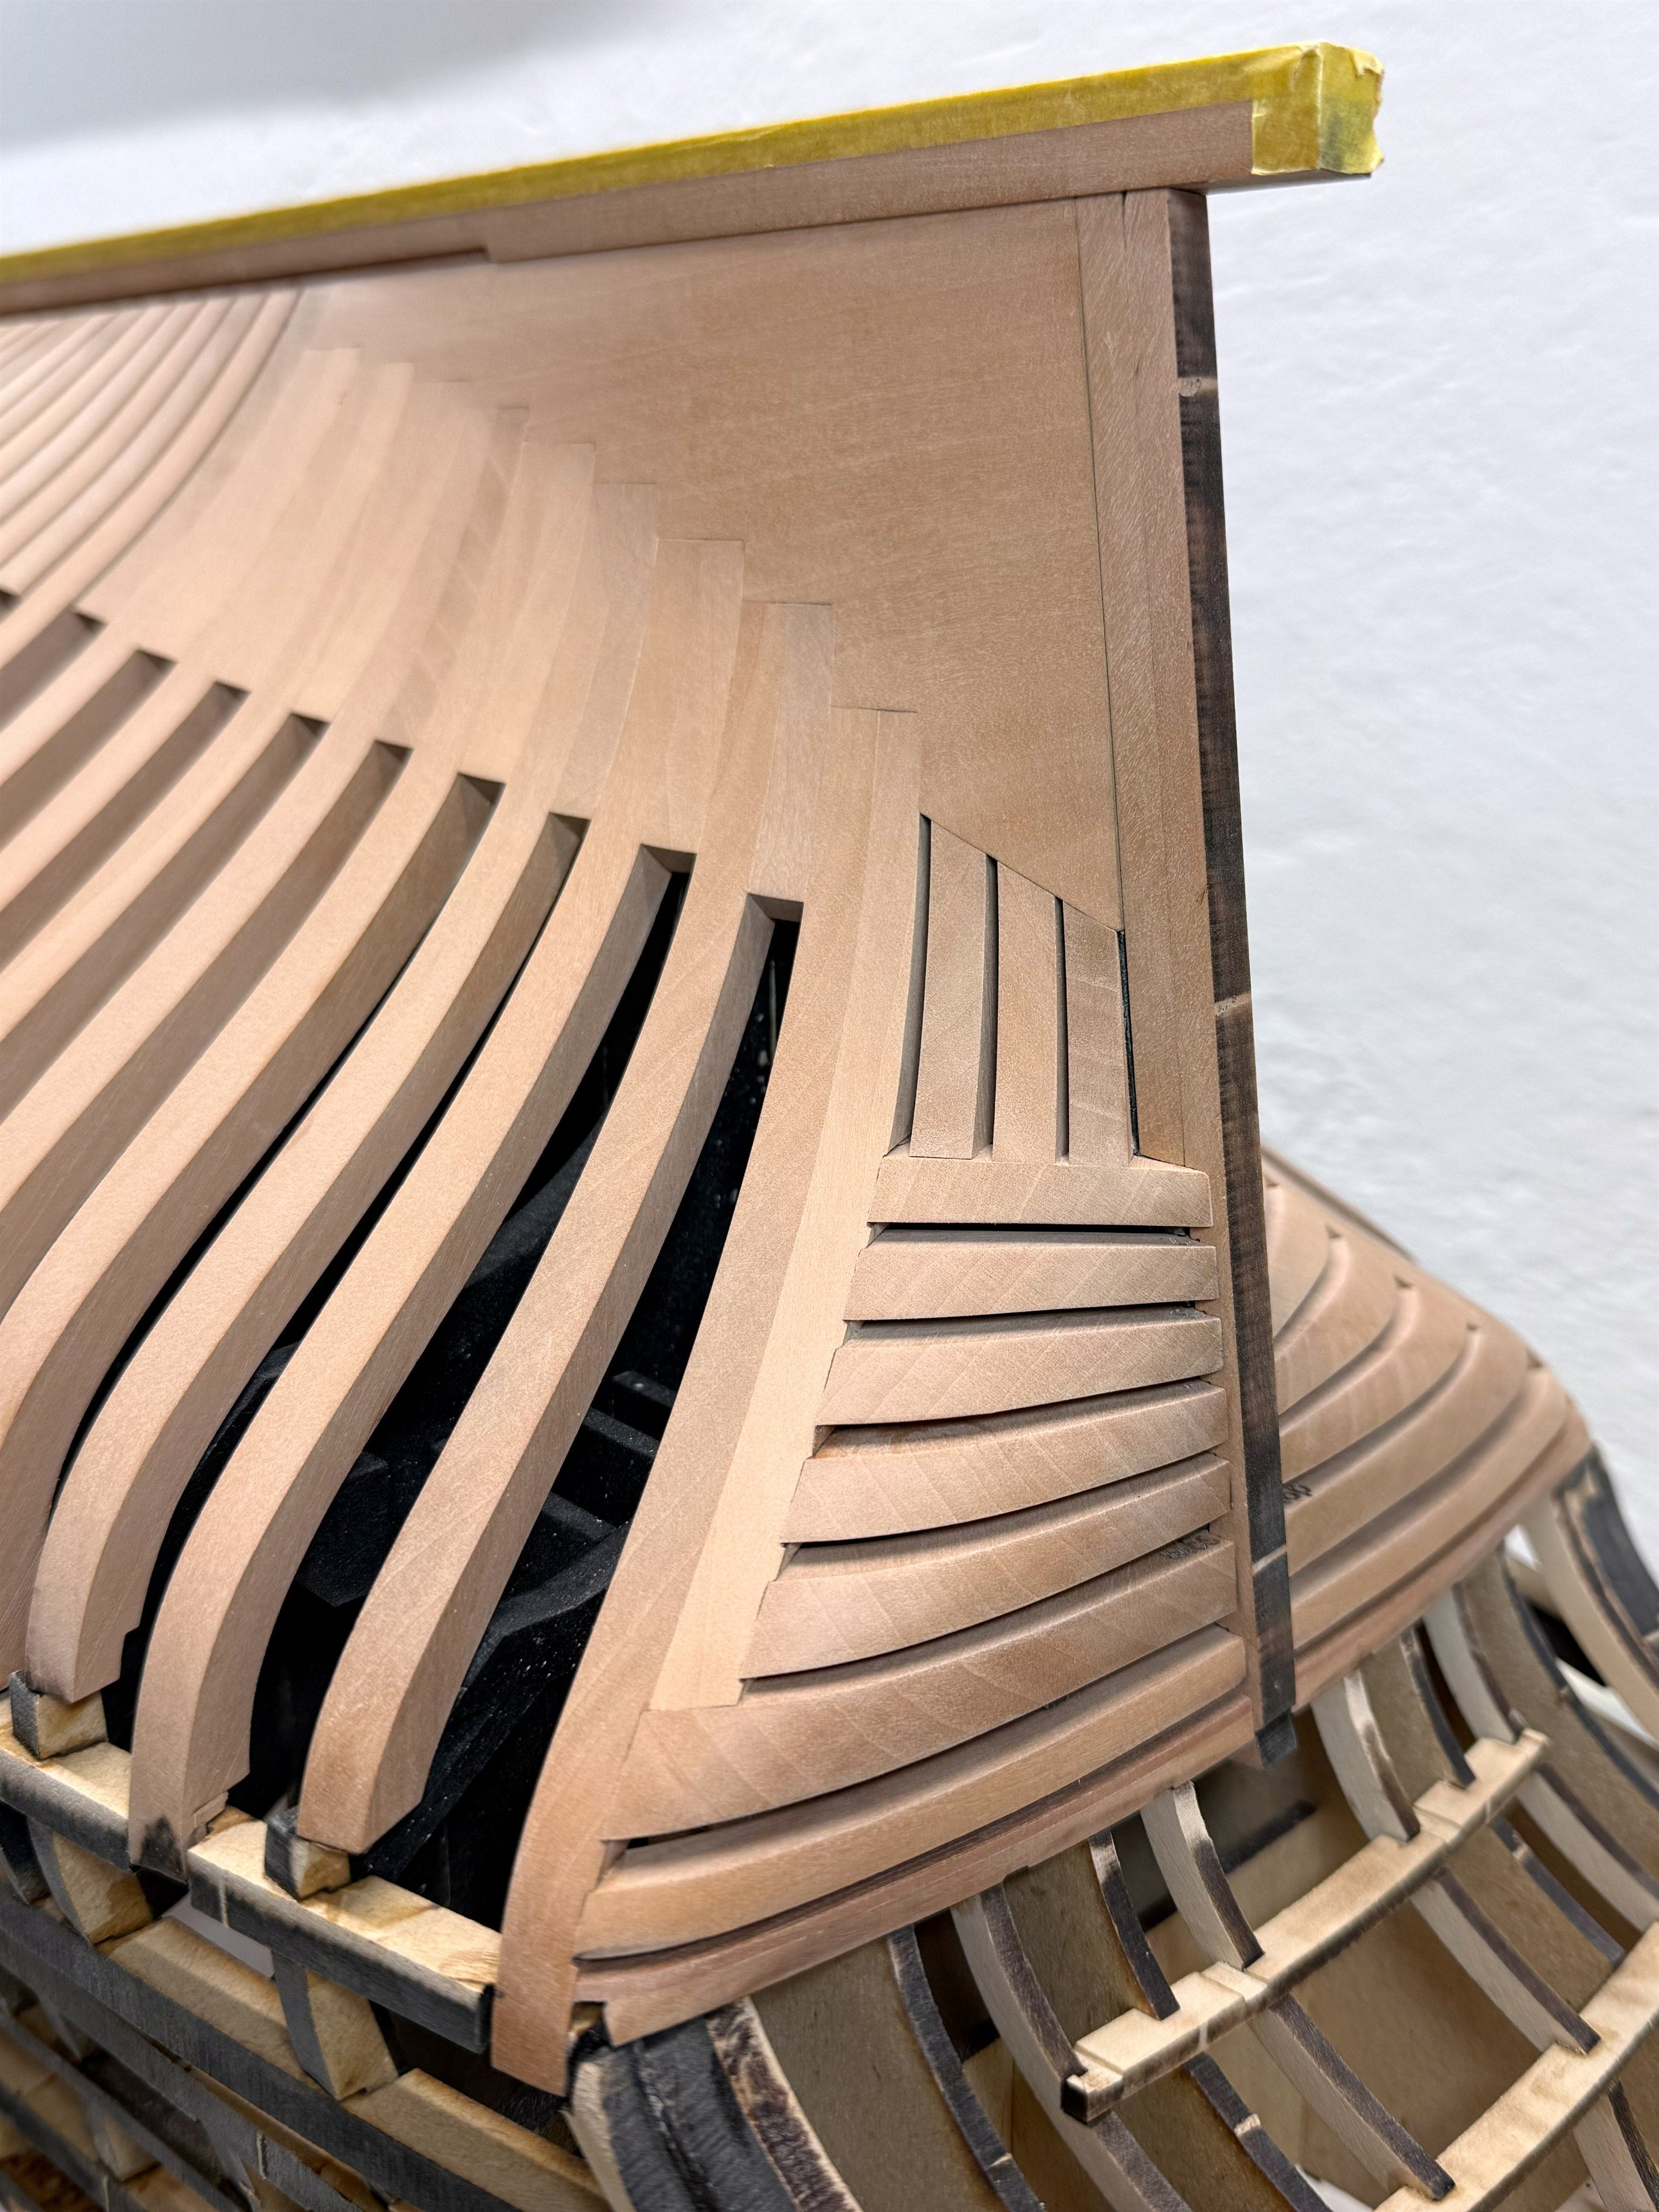
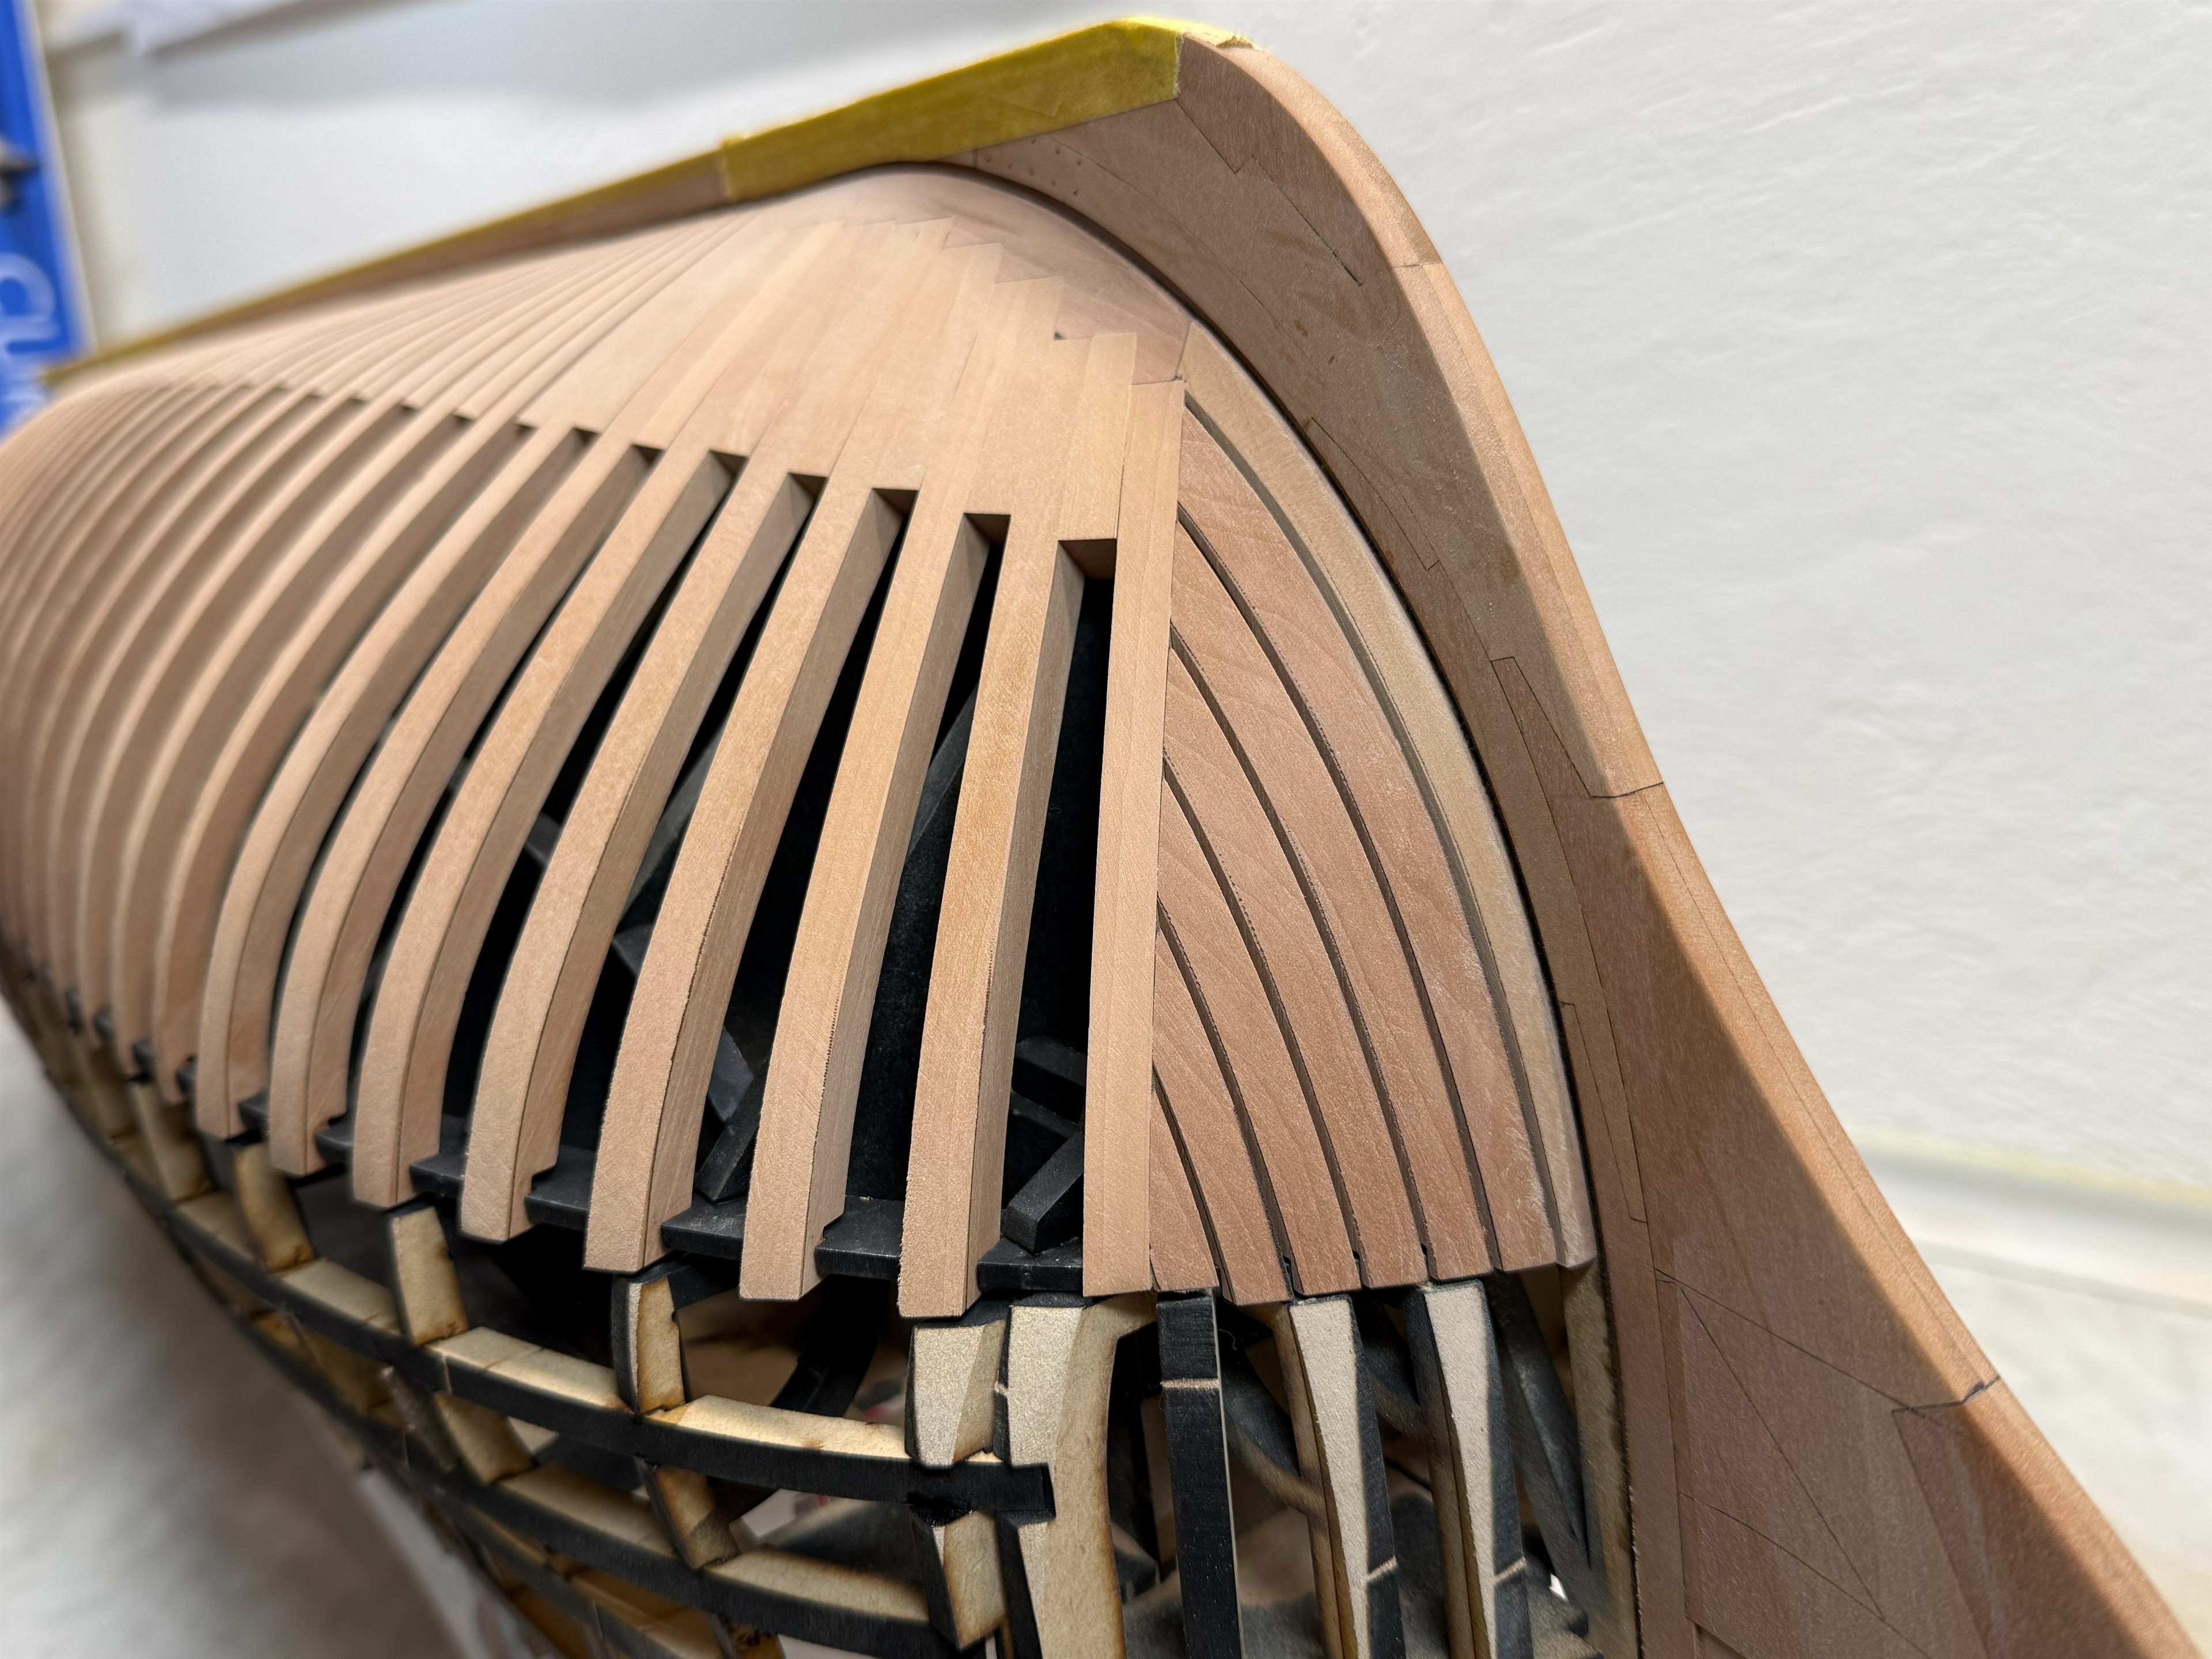
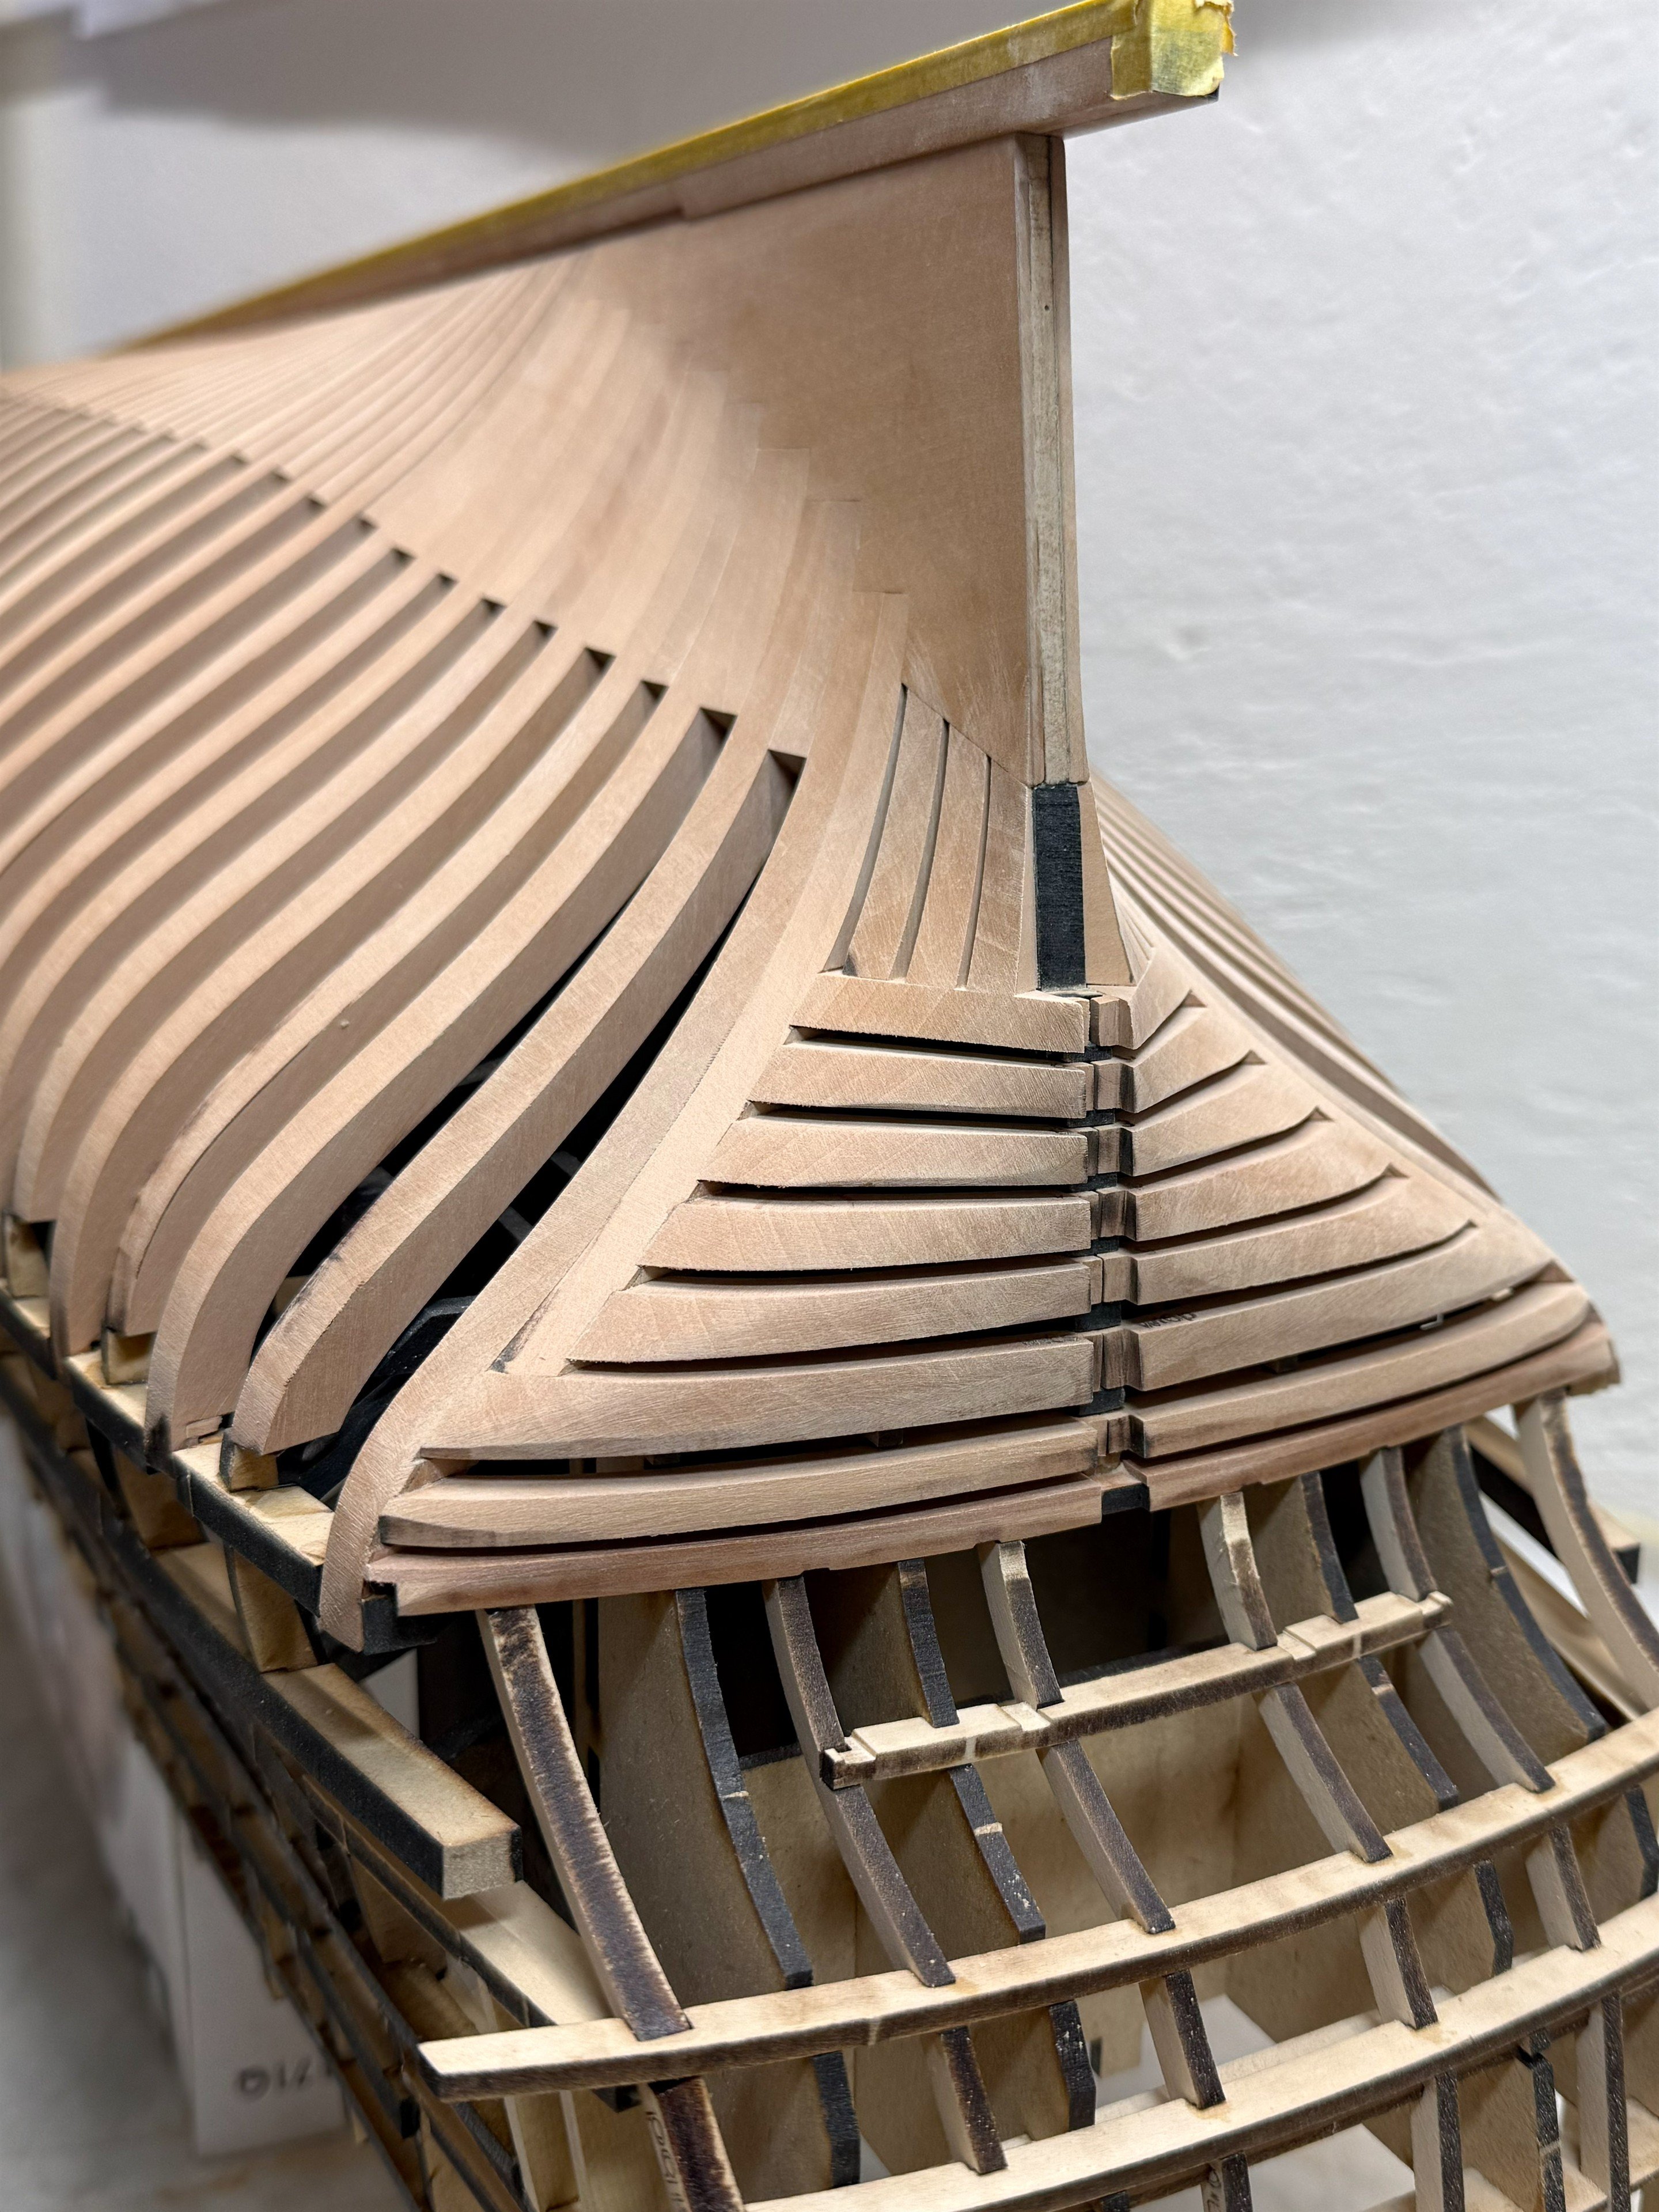
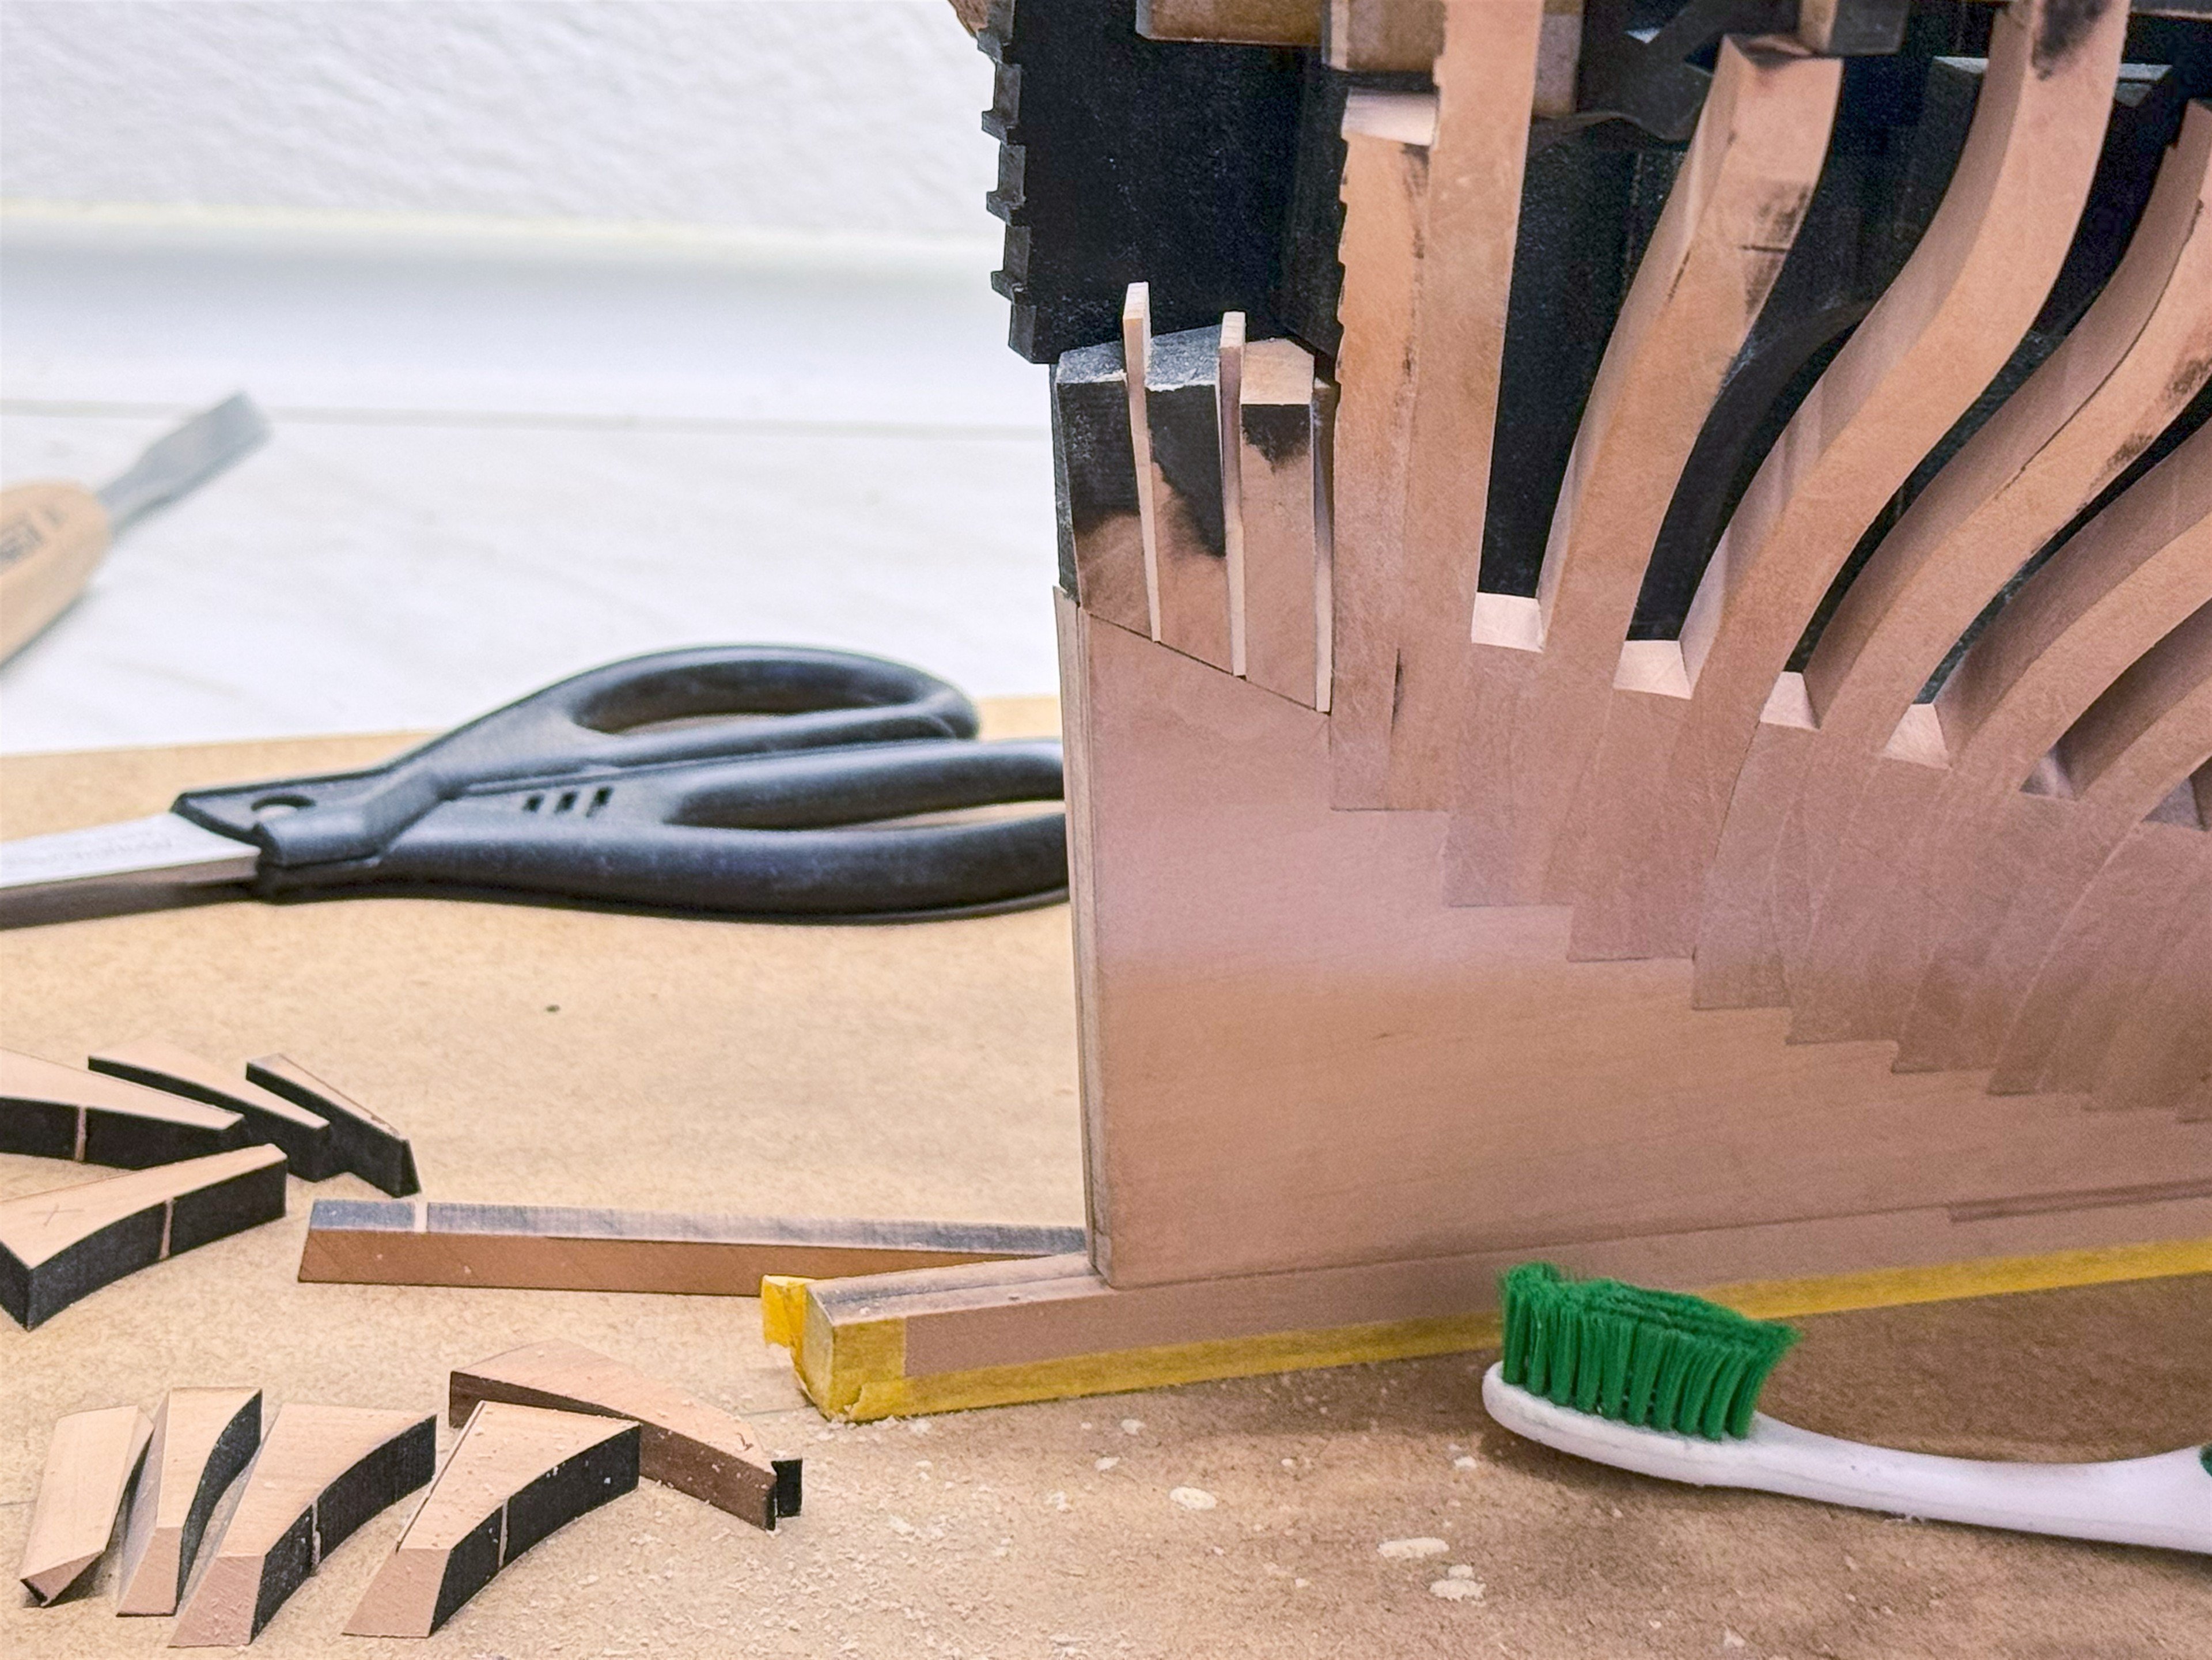
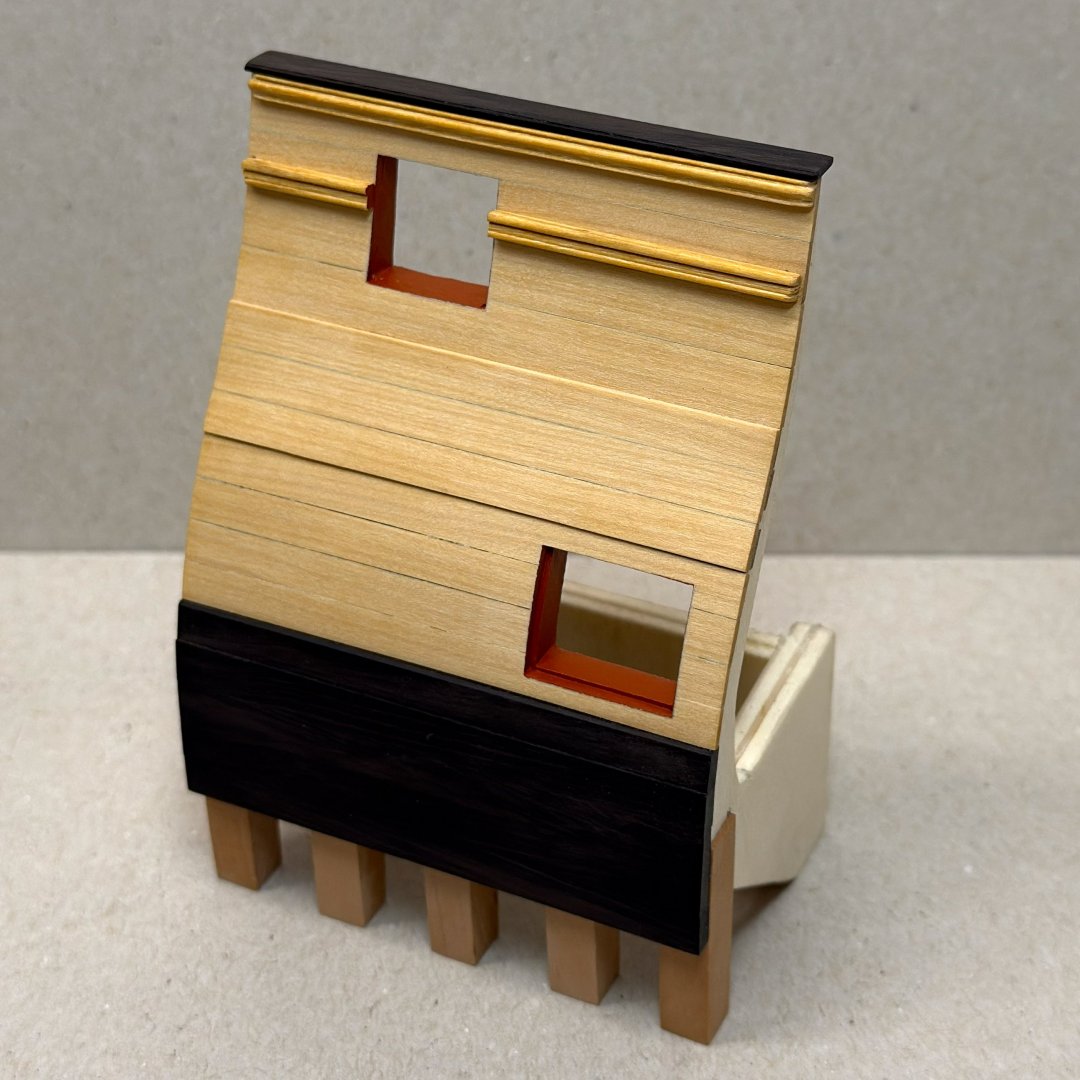
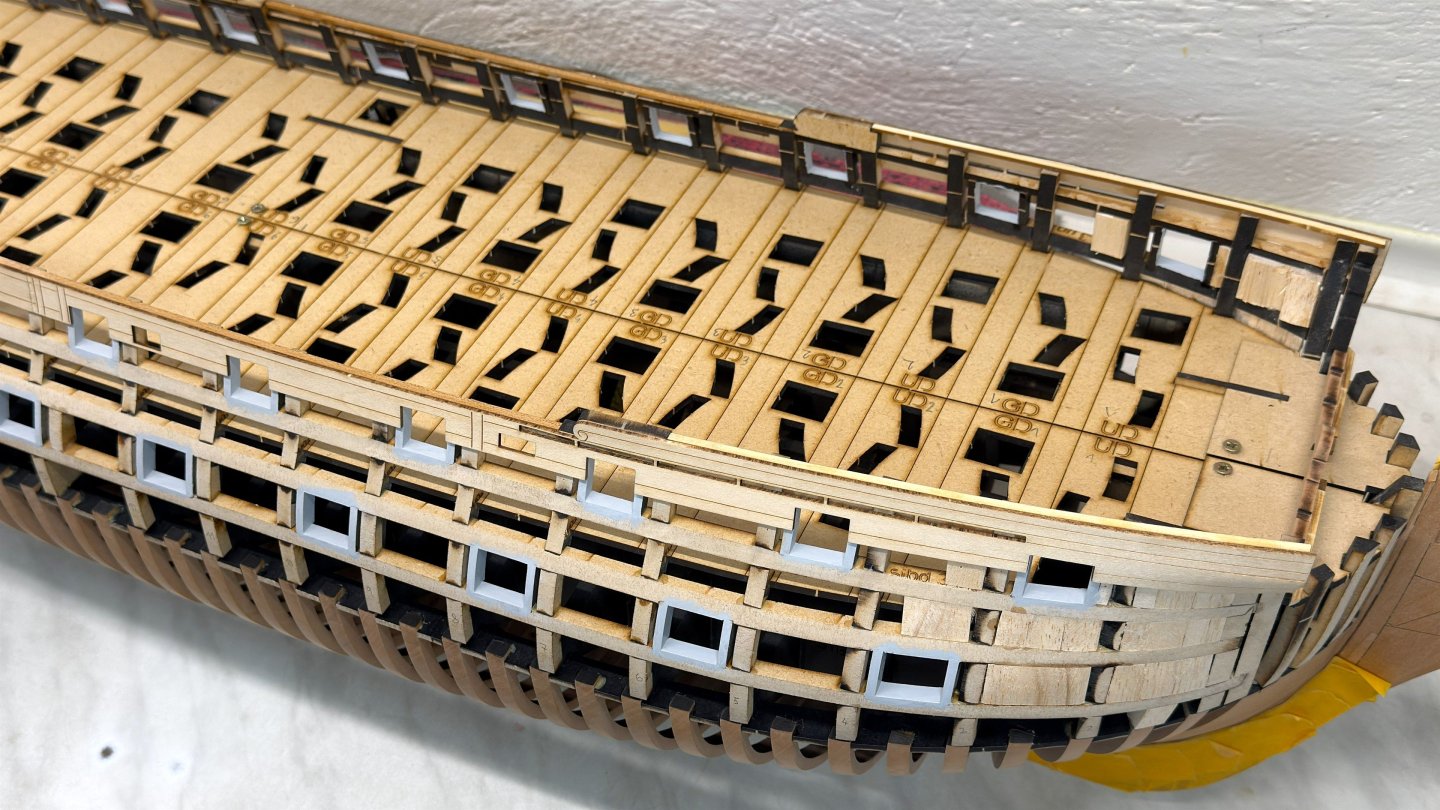
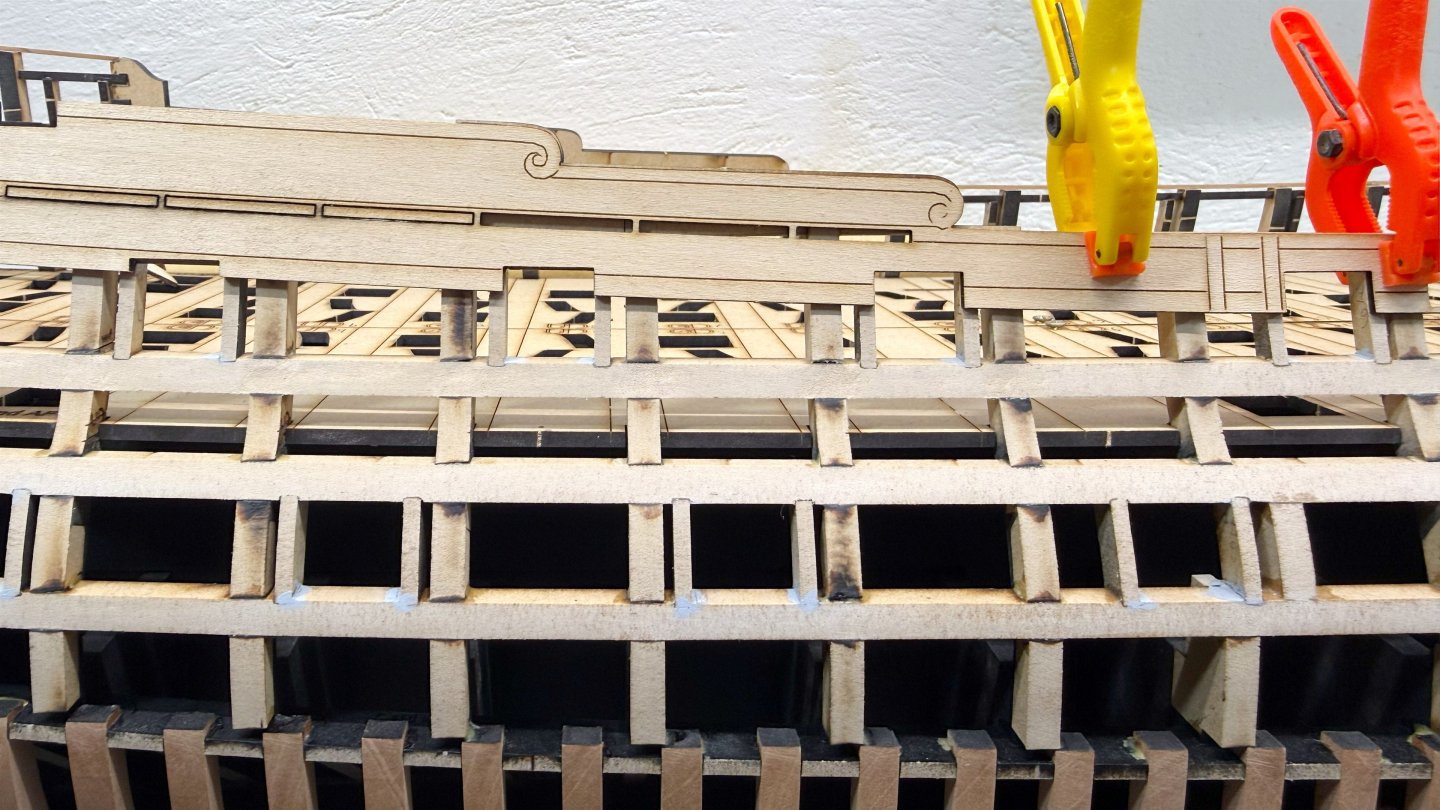
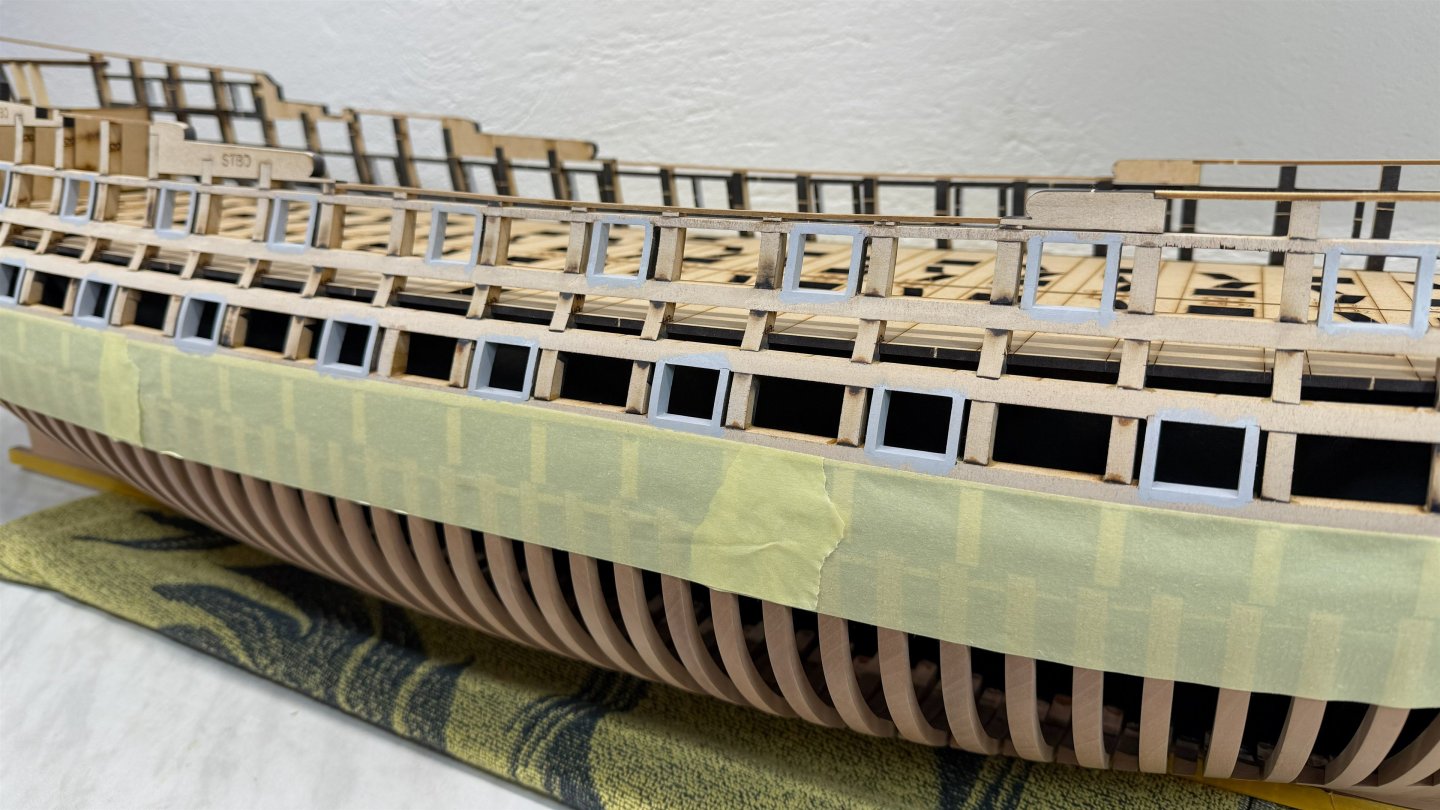
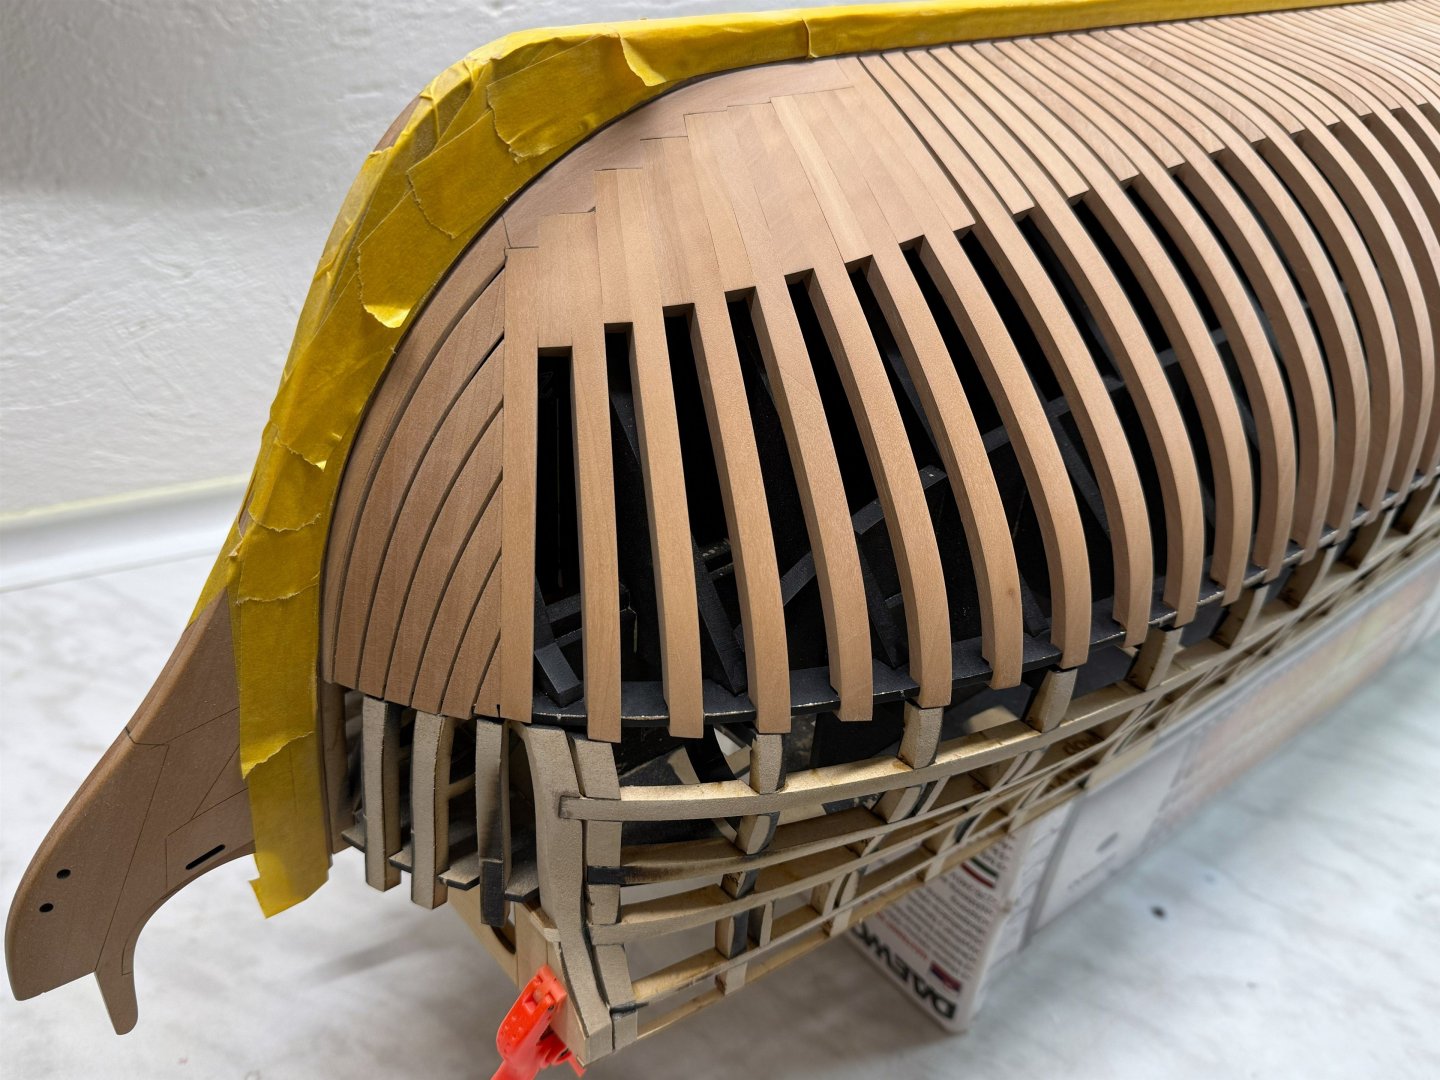
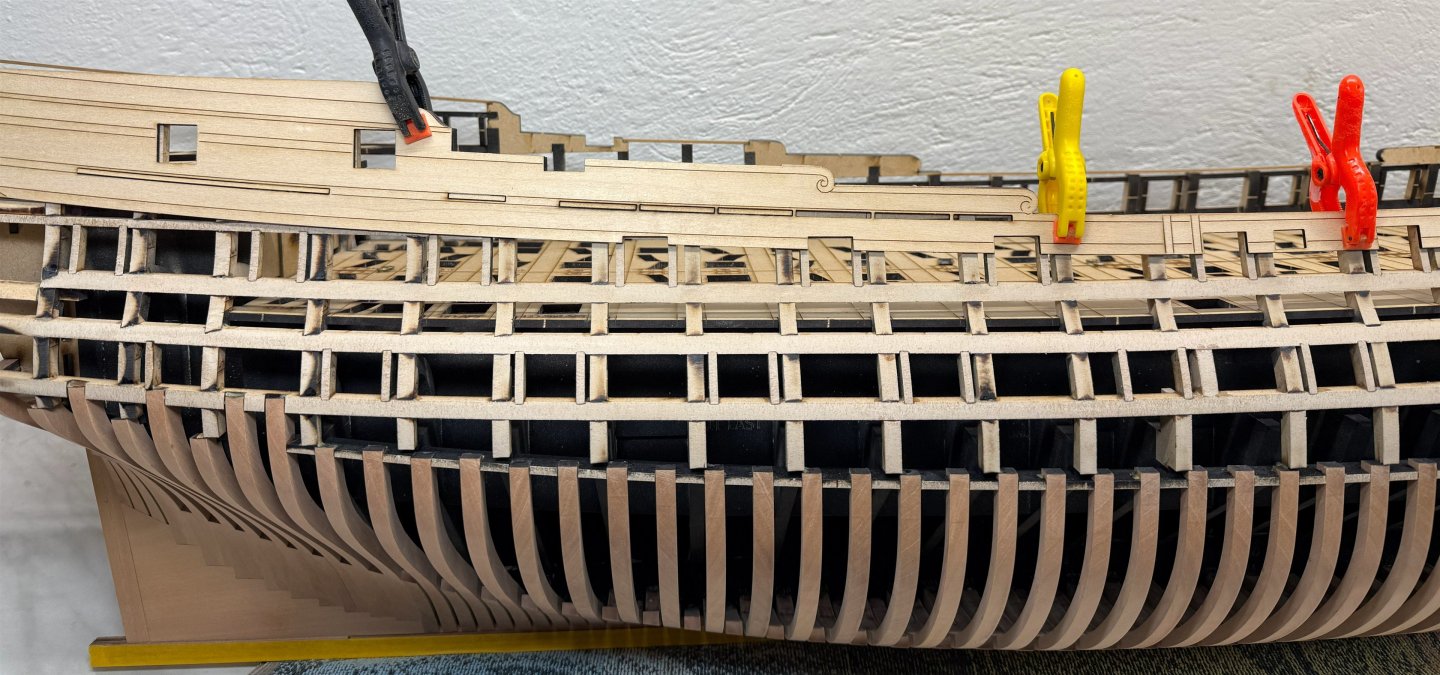
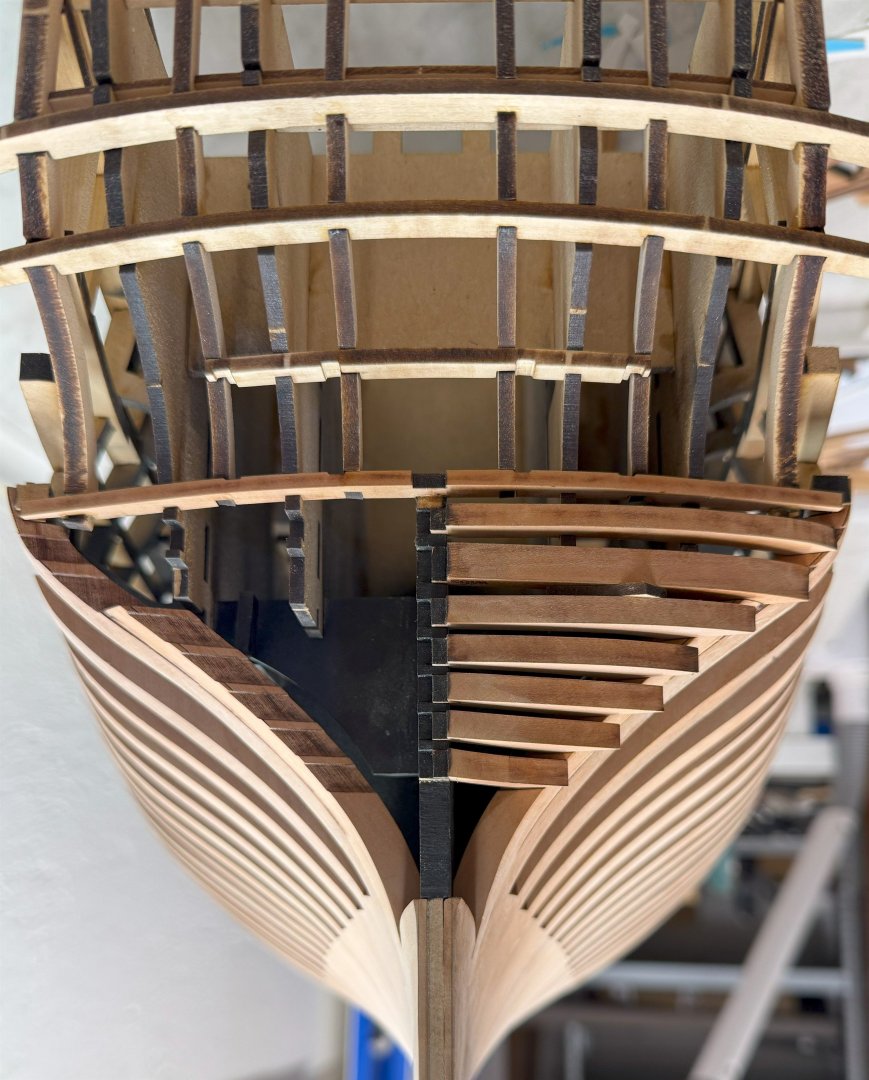
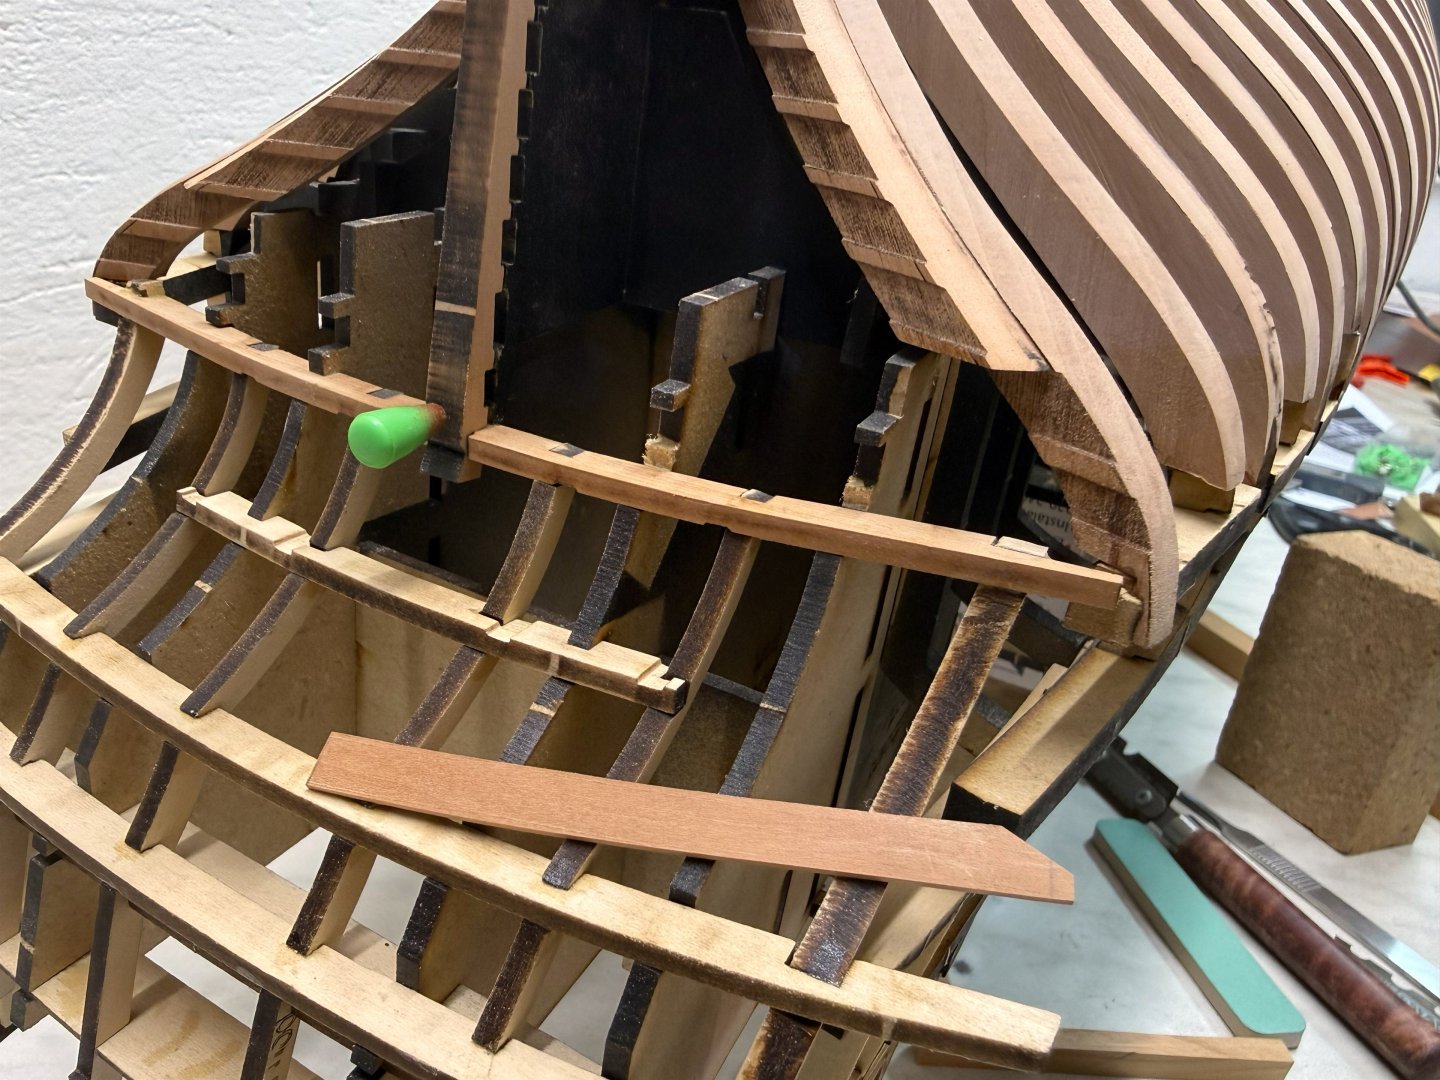
Another small update: I set the lower counter aside for now, but I shaped the front of the frieze panel similarly. I also did a dry fit of the bottom of the balcony to determine the placement of the panels. It was good not to have glued it yet because the overlapping parts could easily break off, and fairing the hull was also easier. After countless tests of placing these panels and the planking strips—which unfortunately did not make it into the photo, I managed to apply the first coat of Tamiya surface primer. So I'm getting closer to planking


-
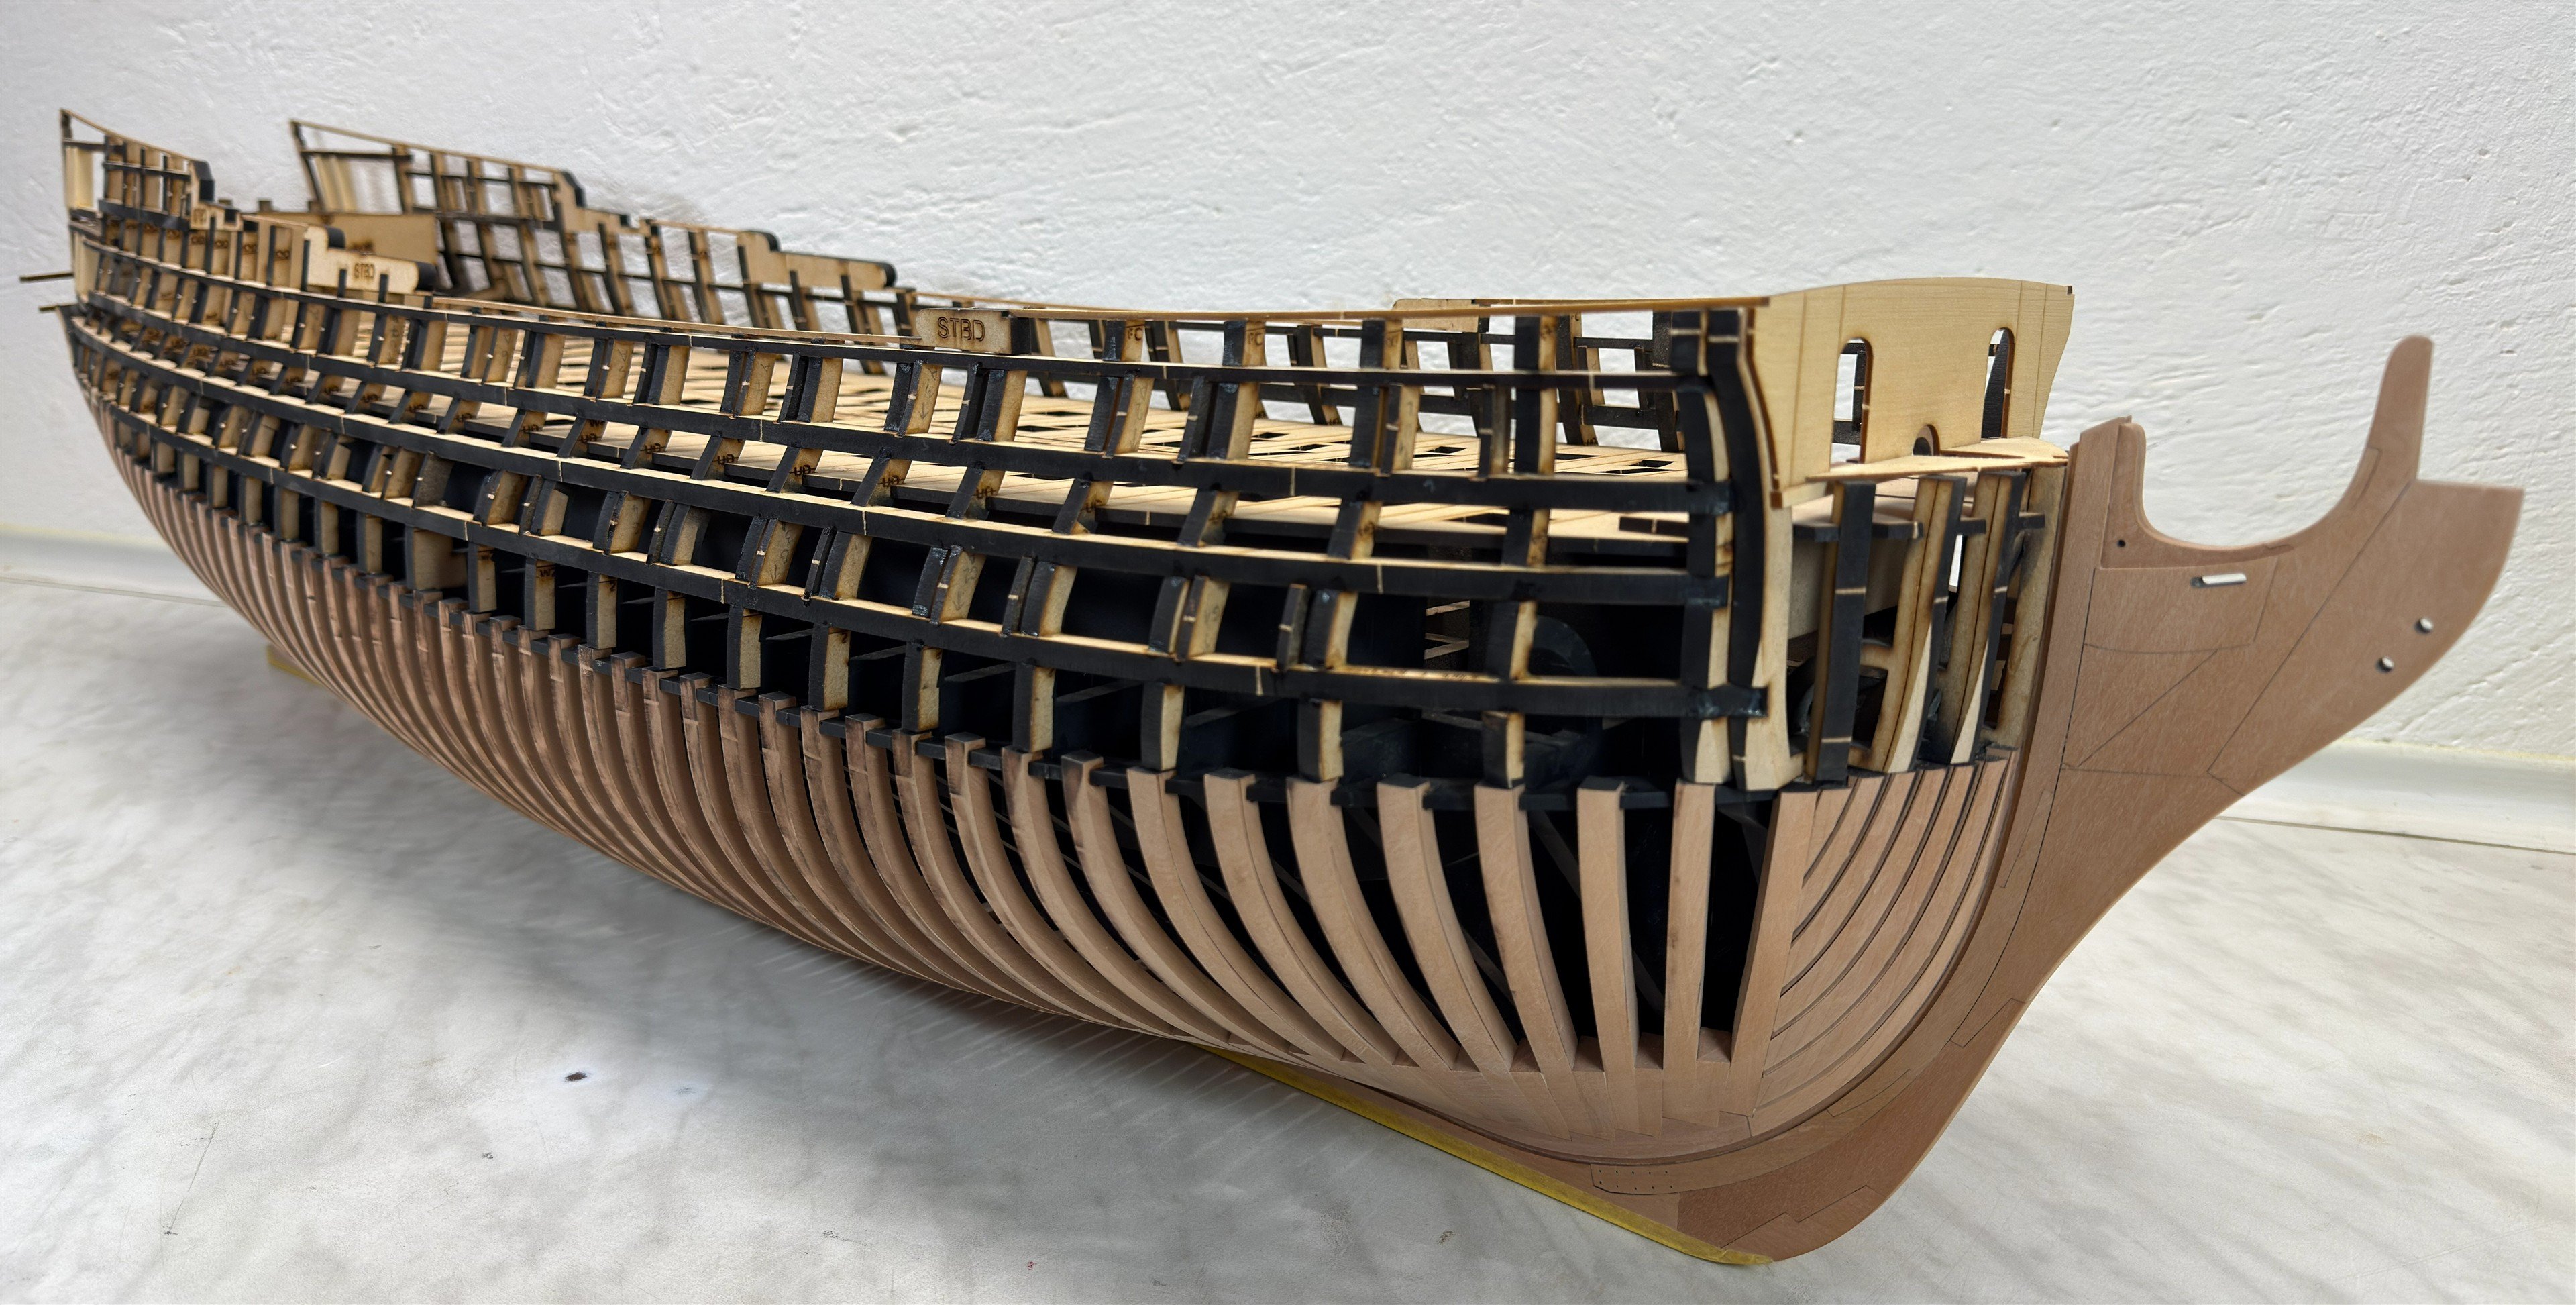
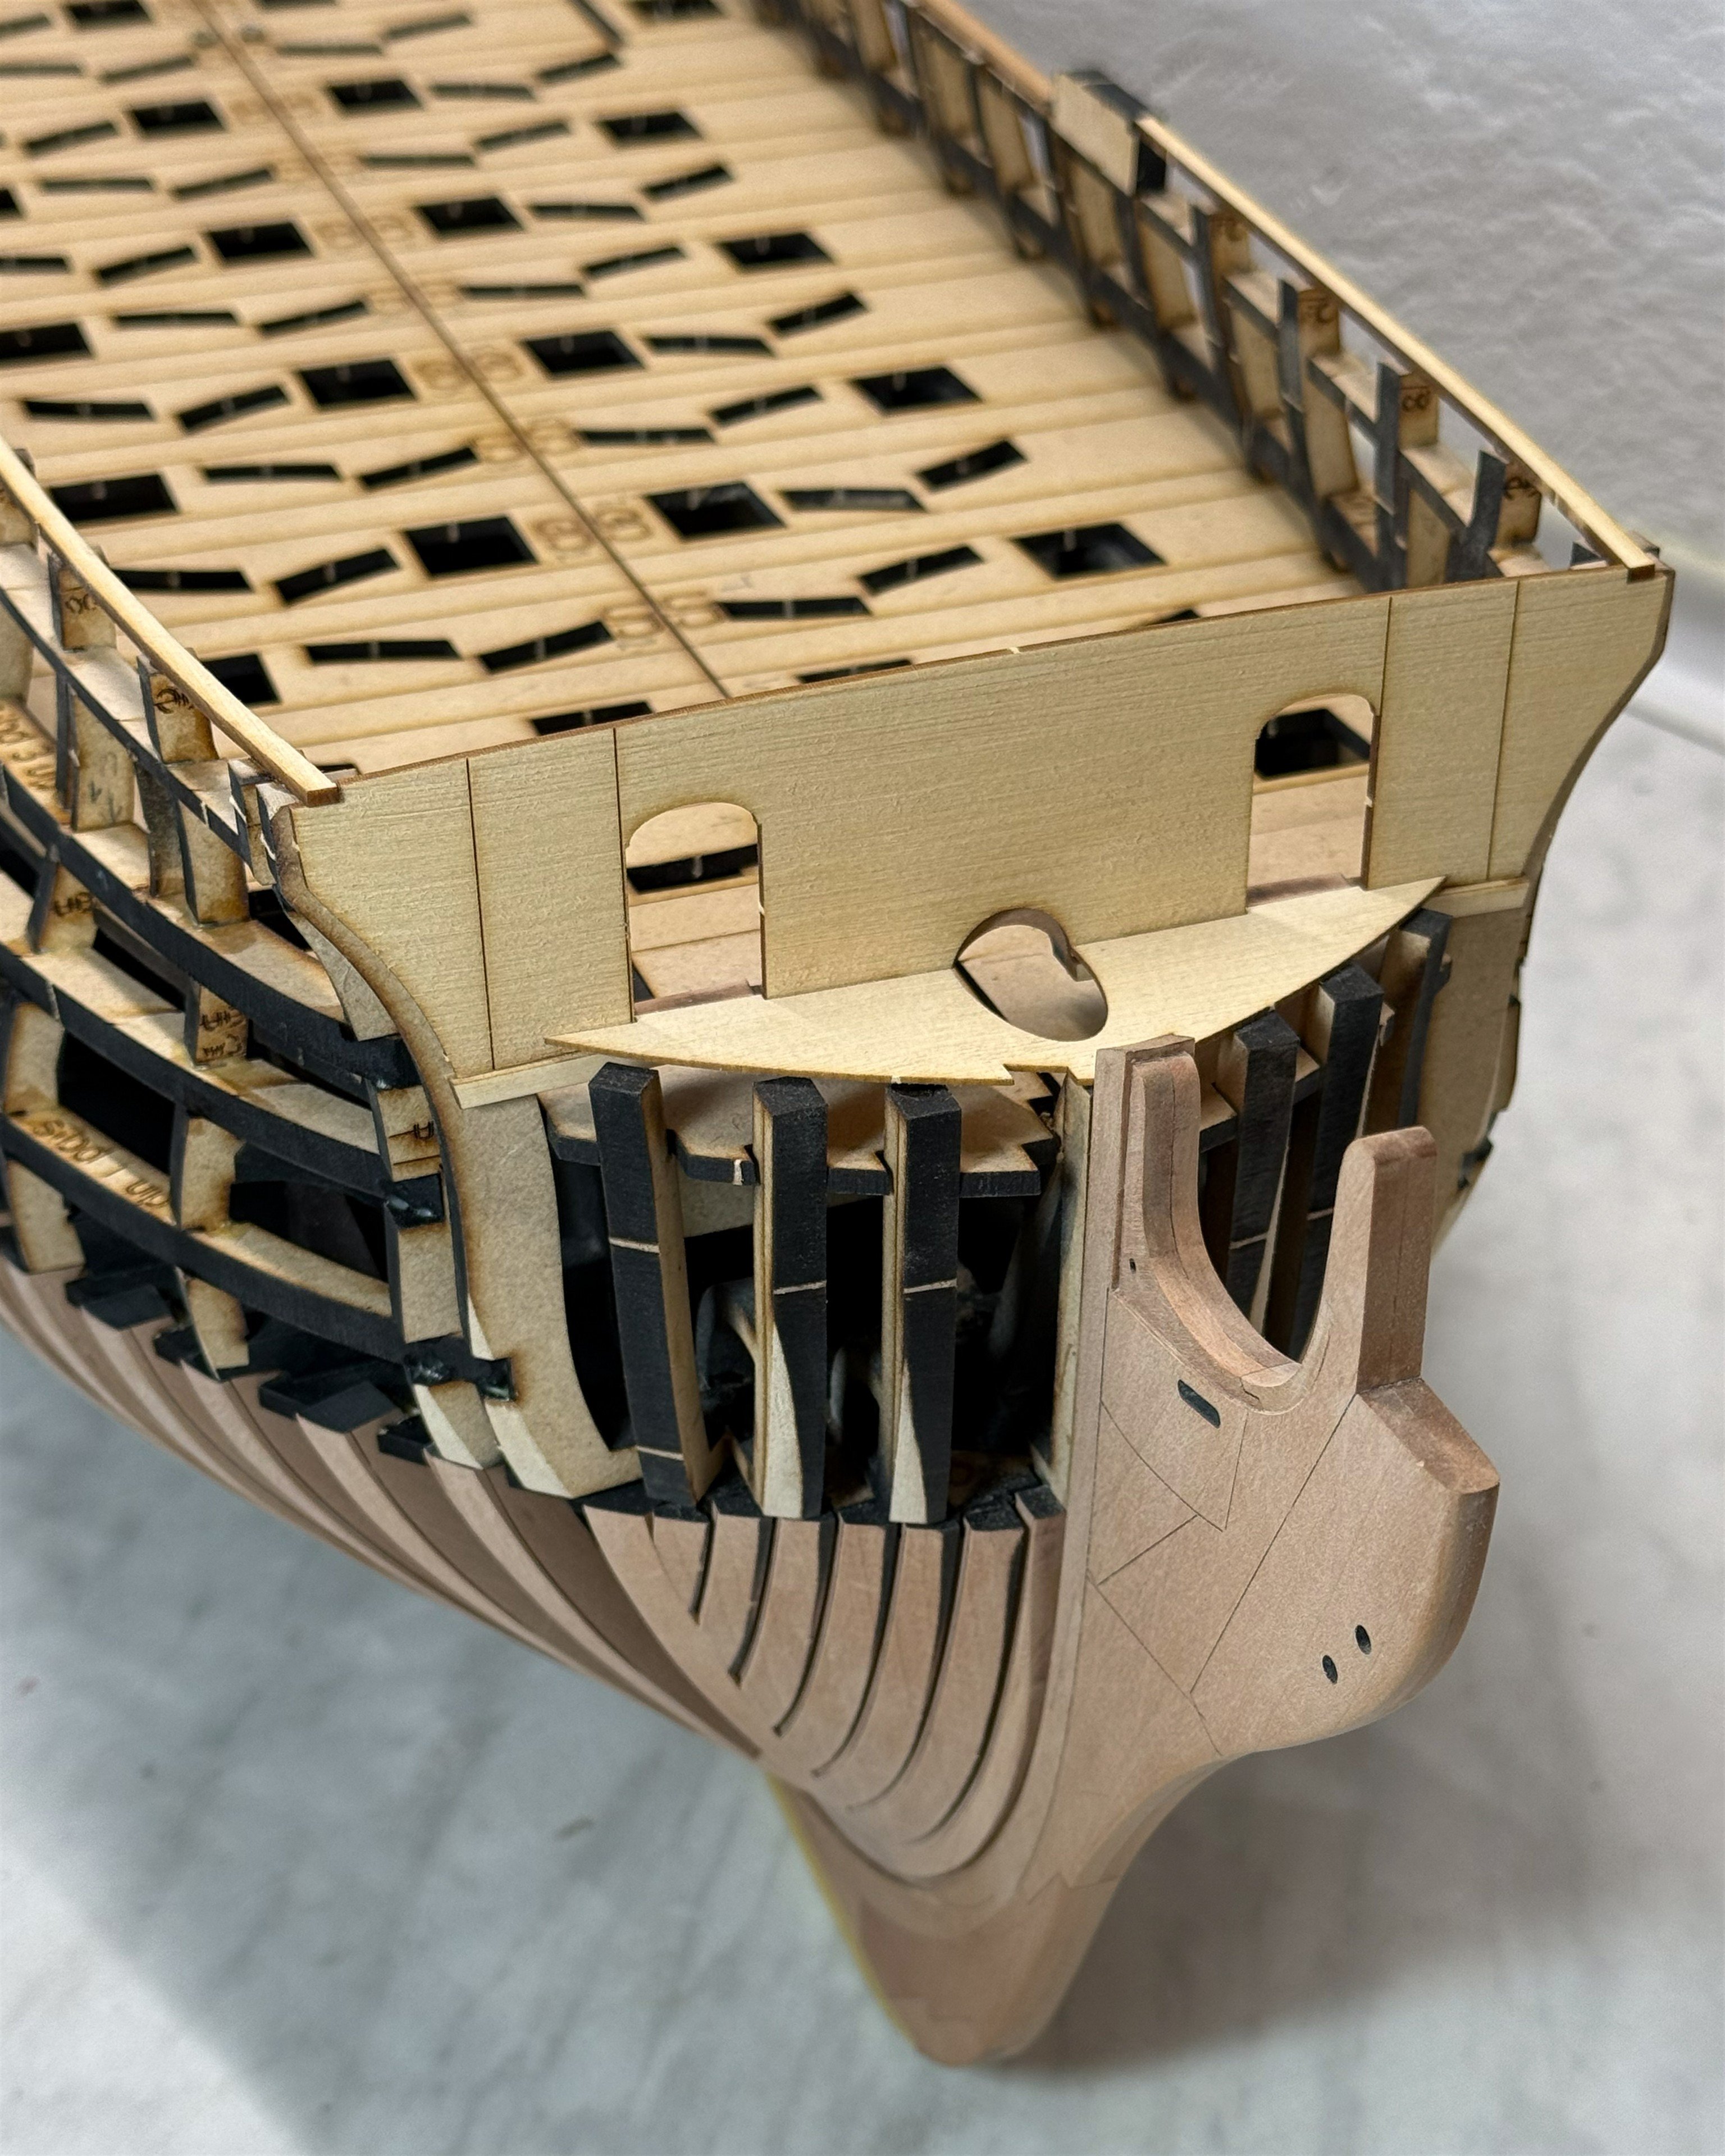
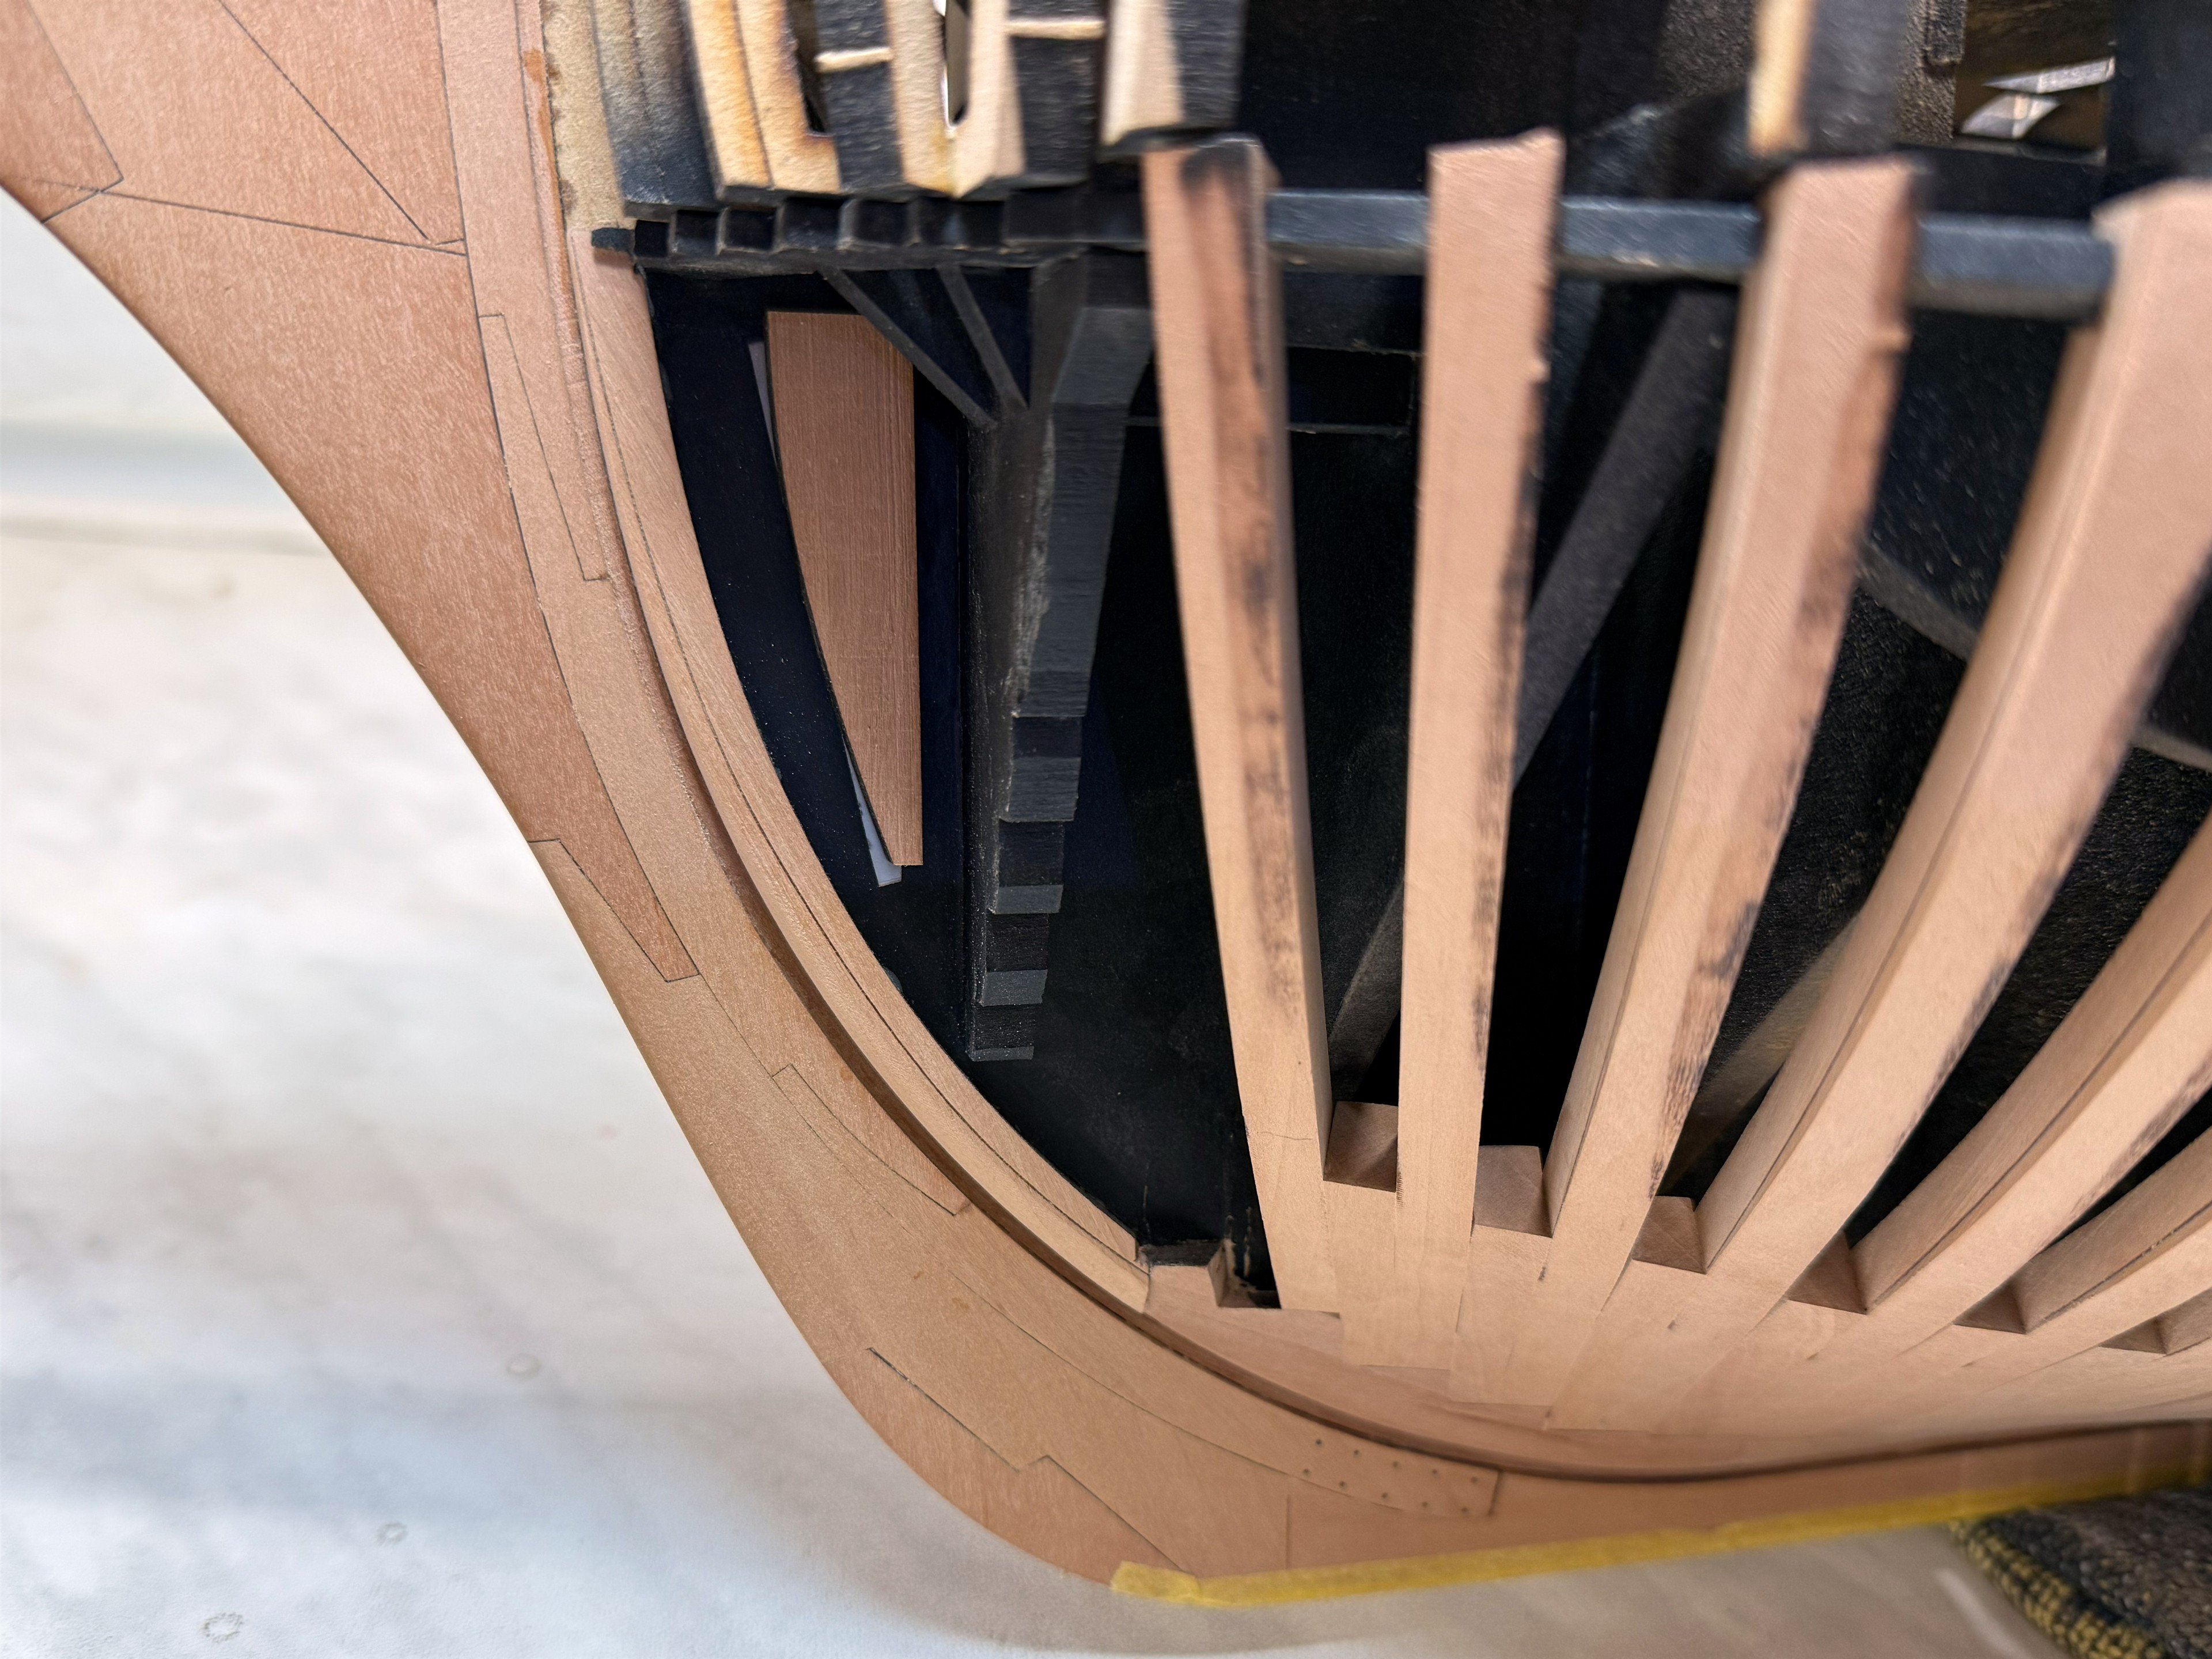
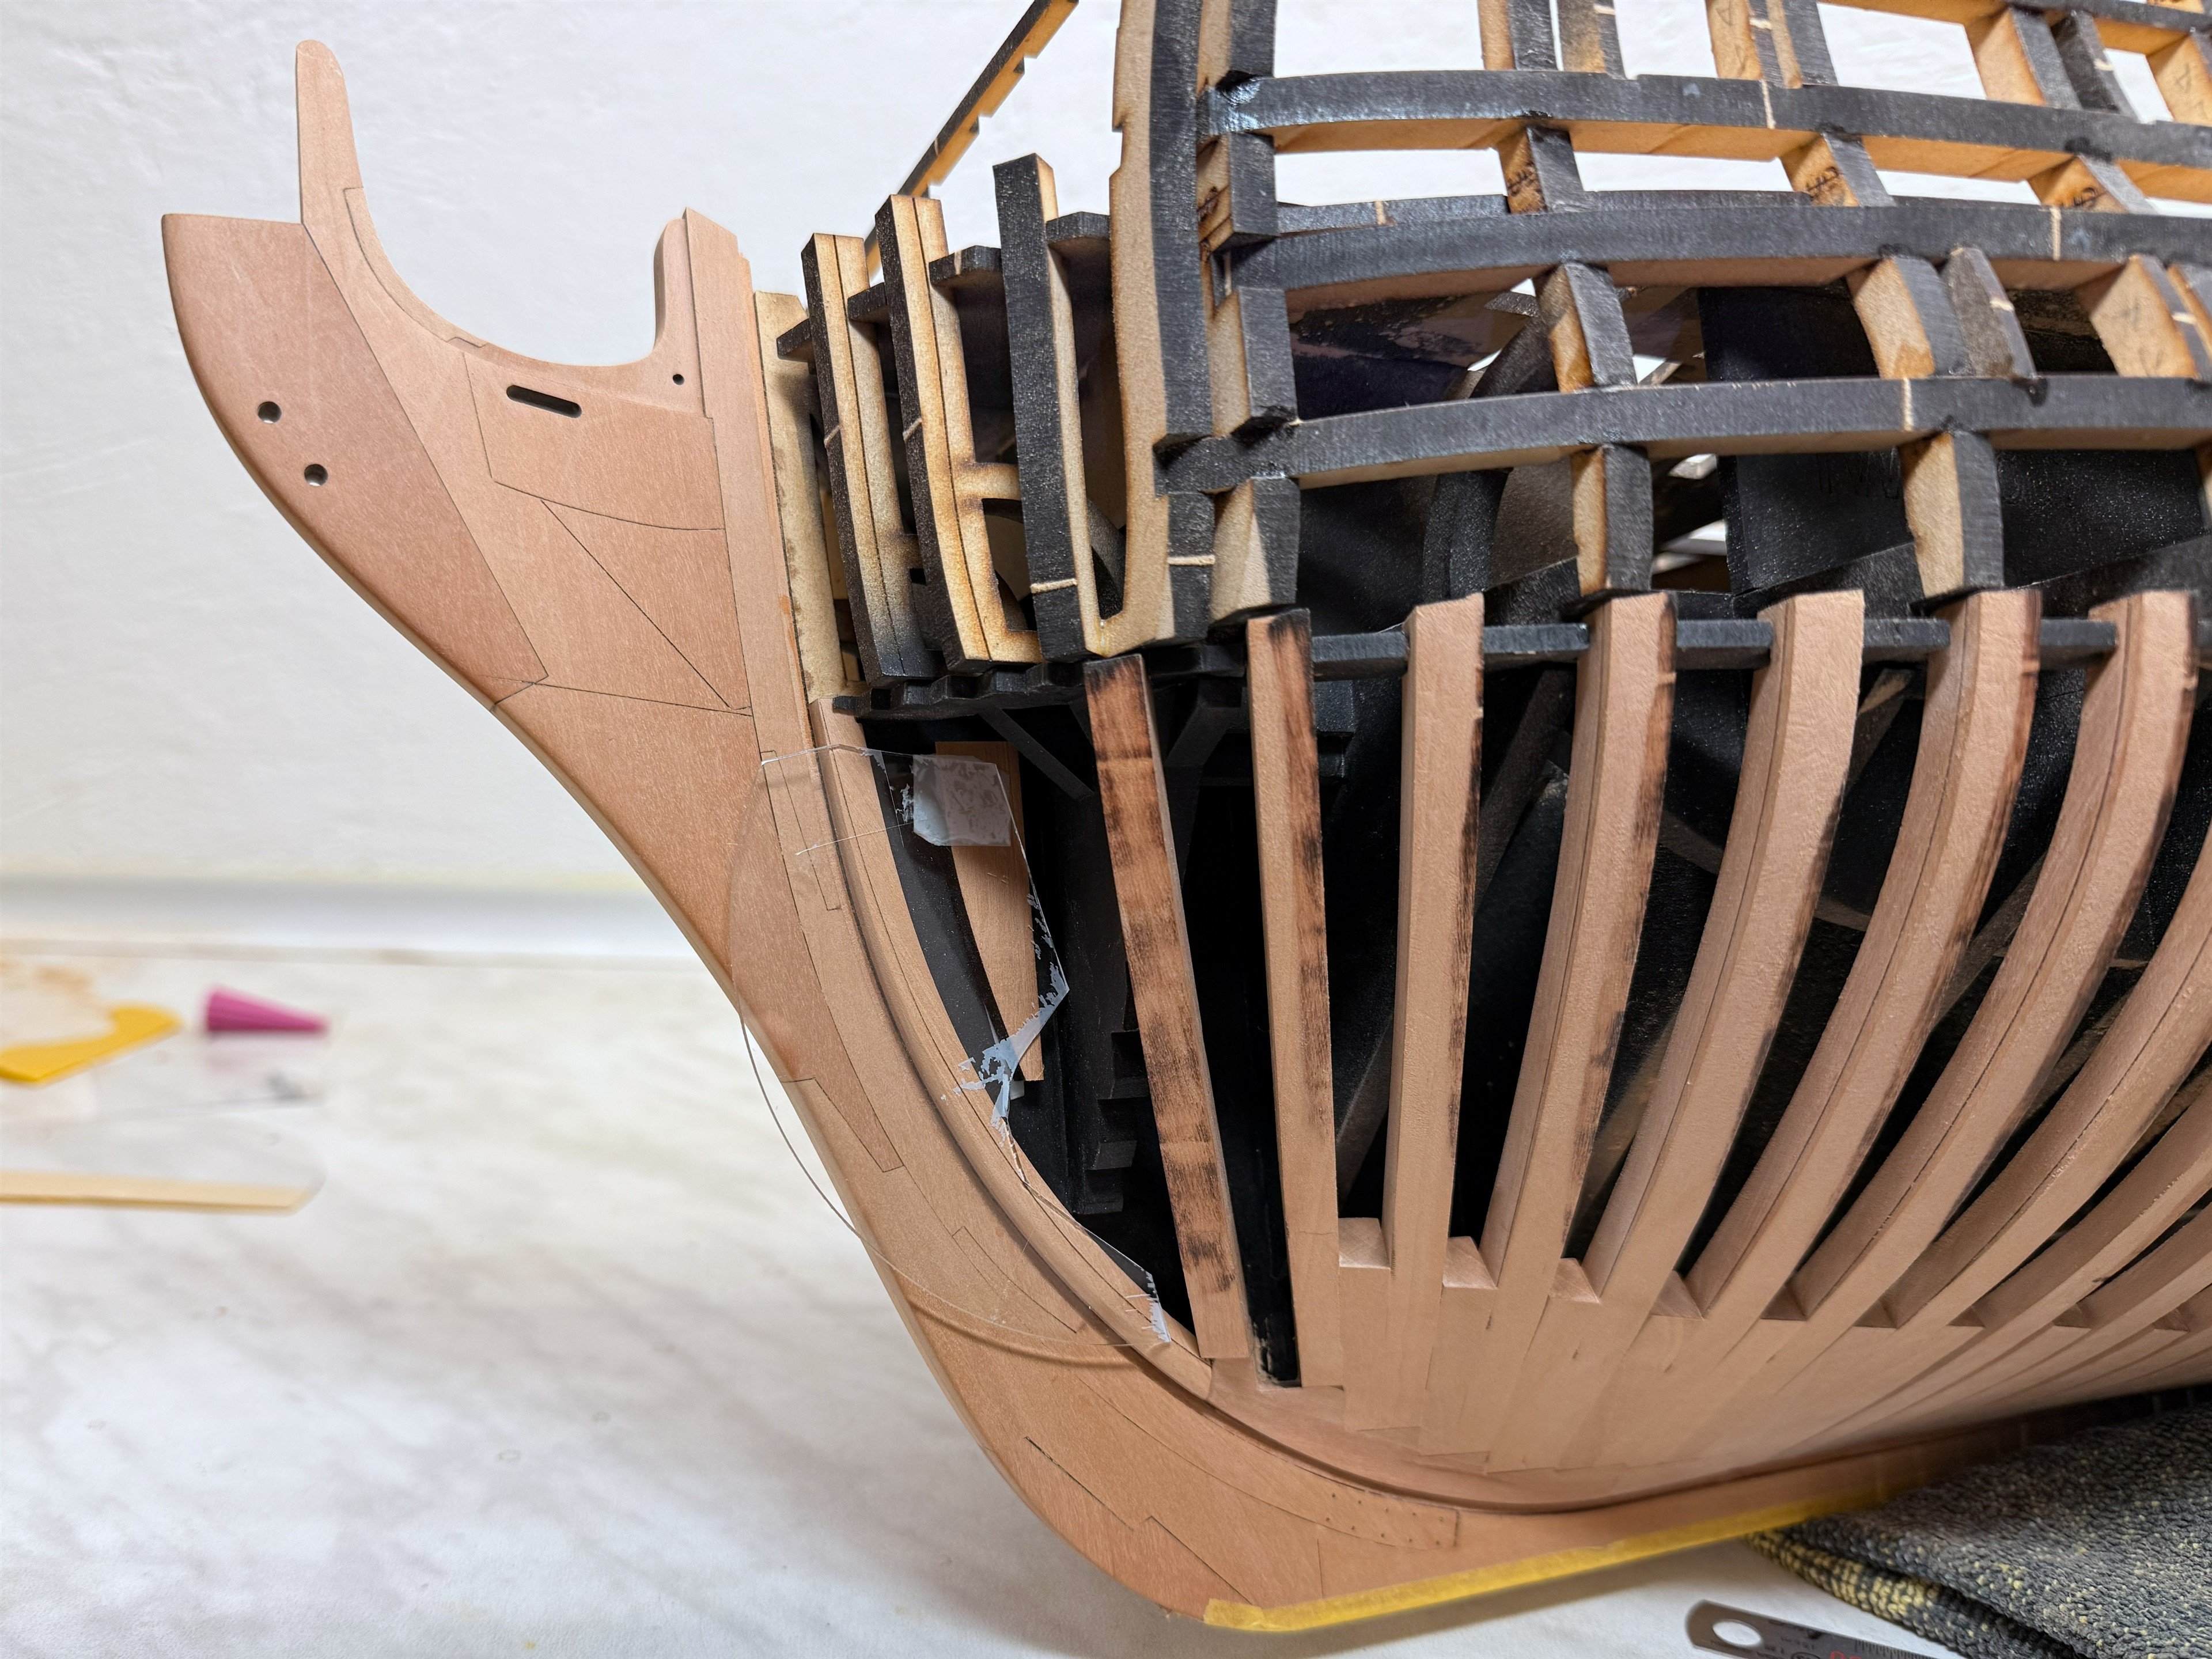
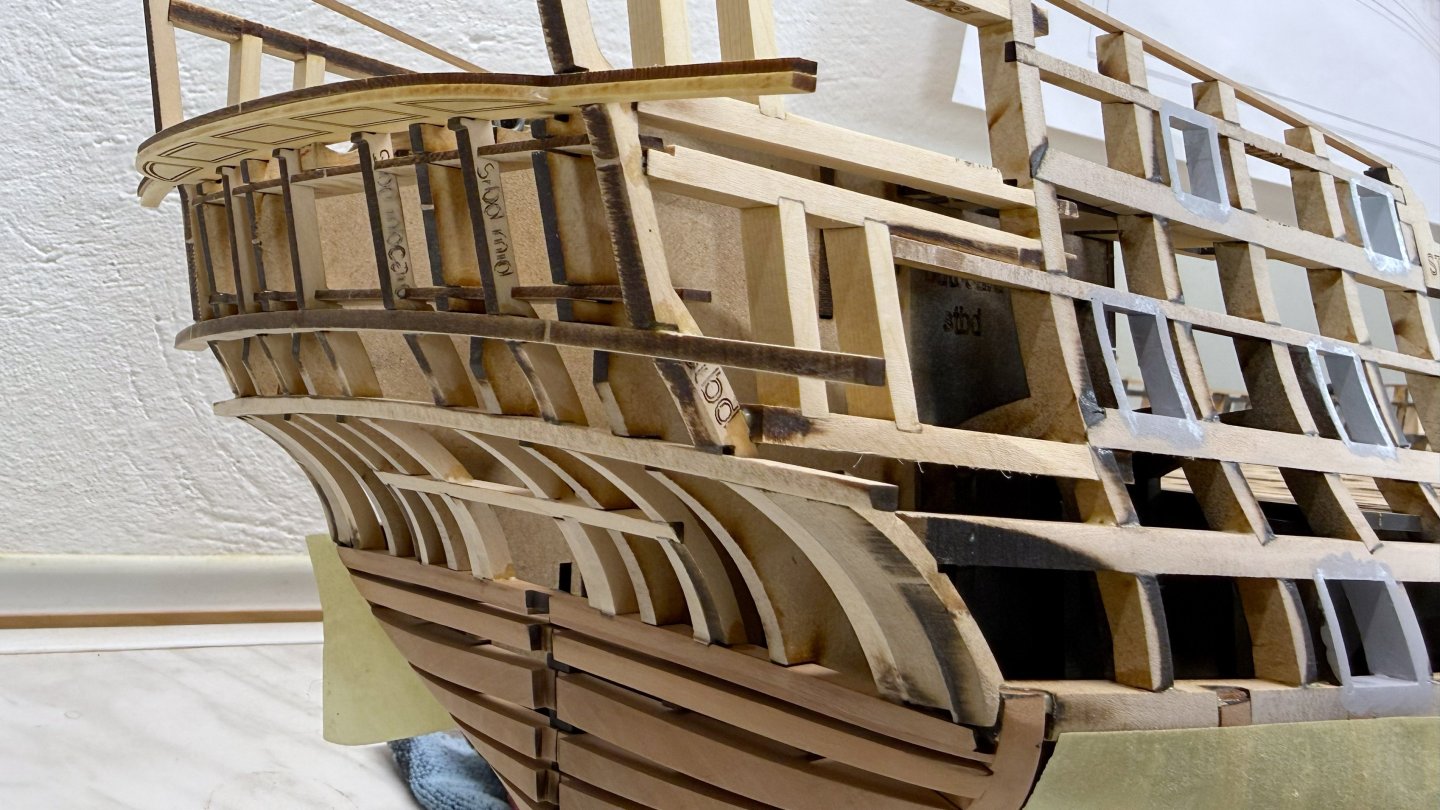
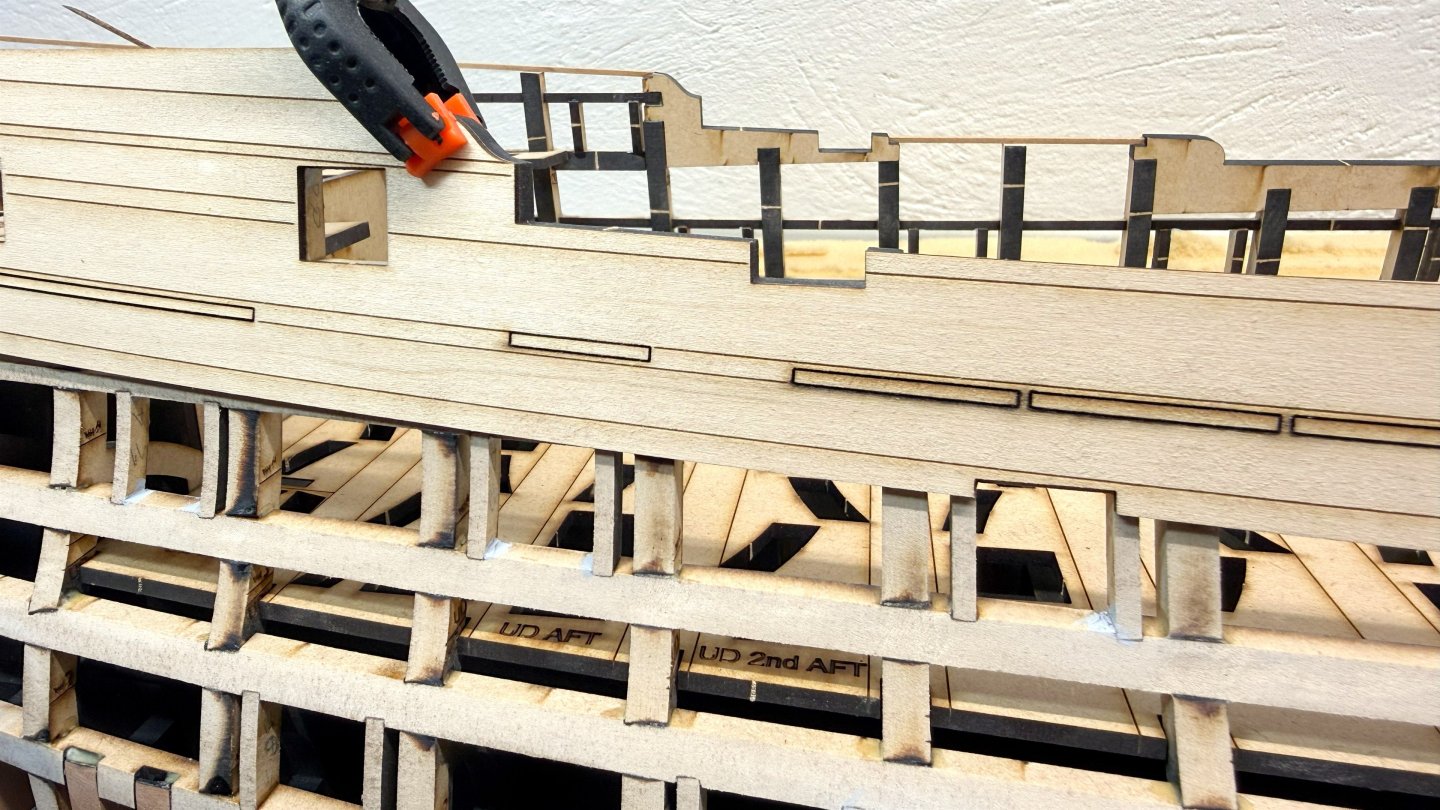
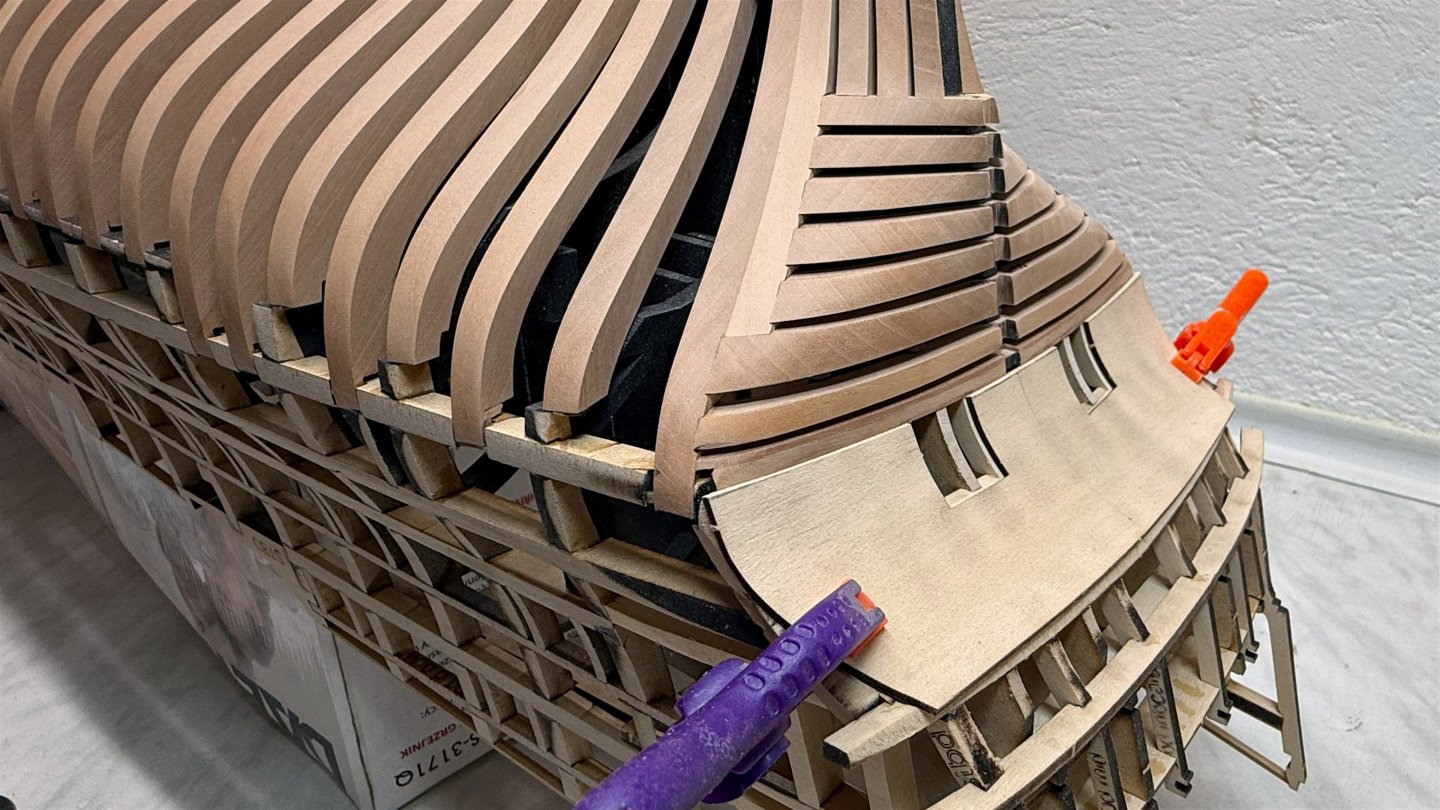
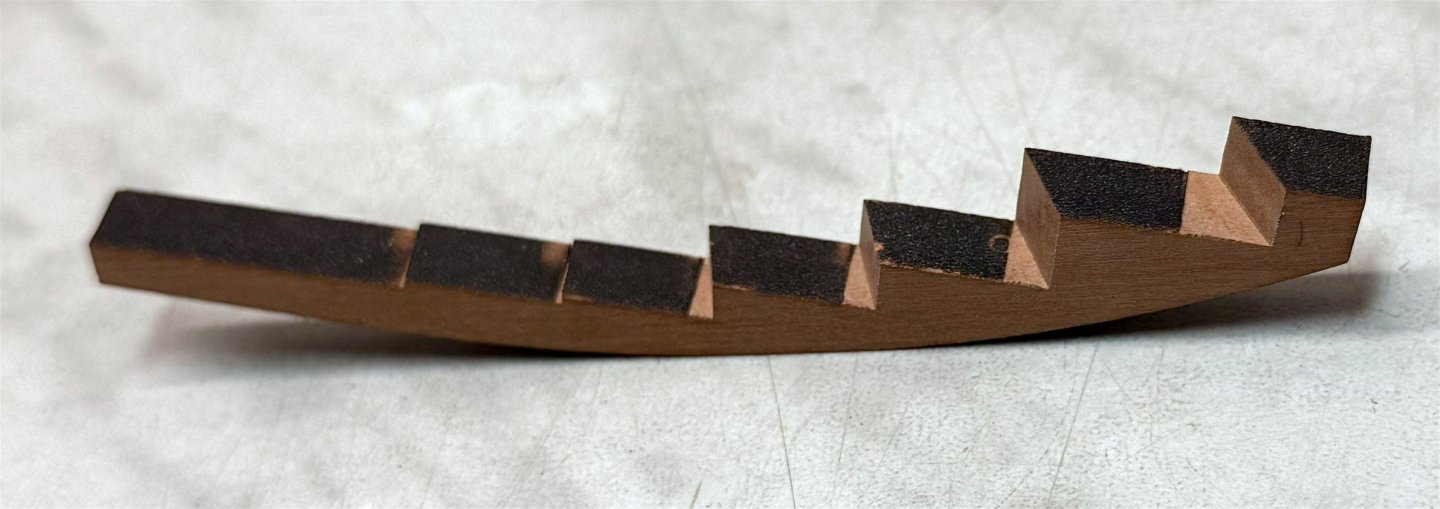
Thanks, guys. You're right, Ben, the modified apron with added material and bevel marks has improved it a lot and I think JJ did the same thing with dead wood. Before gluing on the side frieze panels I decided to shape the lower counter first. Although it could have been attached dry, I ended up soaking it and letting it dry overnight. Now that it holds its shape, I will make some adjustments to the edges. I also decided to add some fillers to the bow for better control of the hull fairing in this area.

-
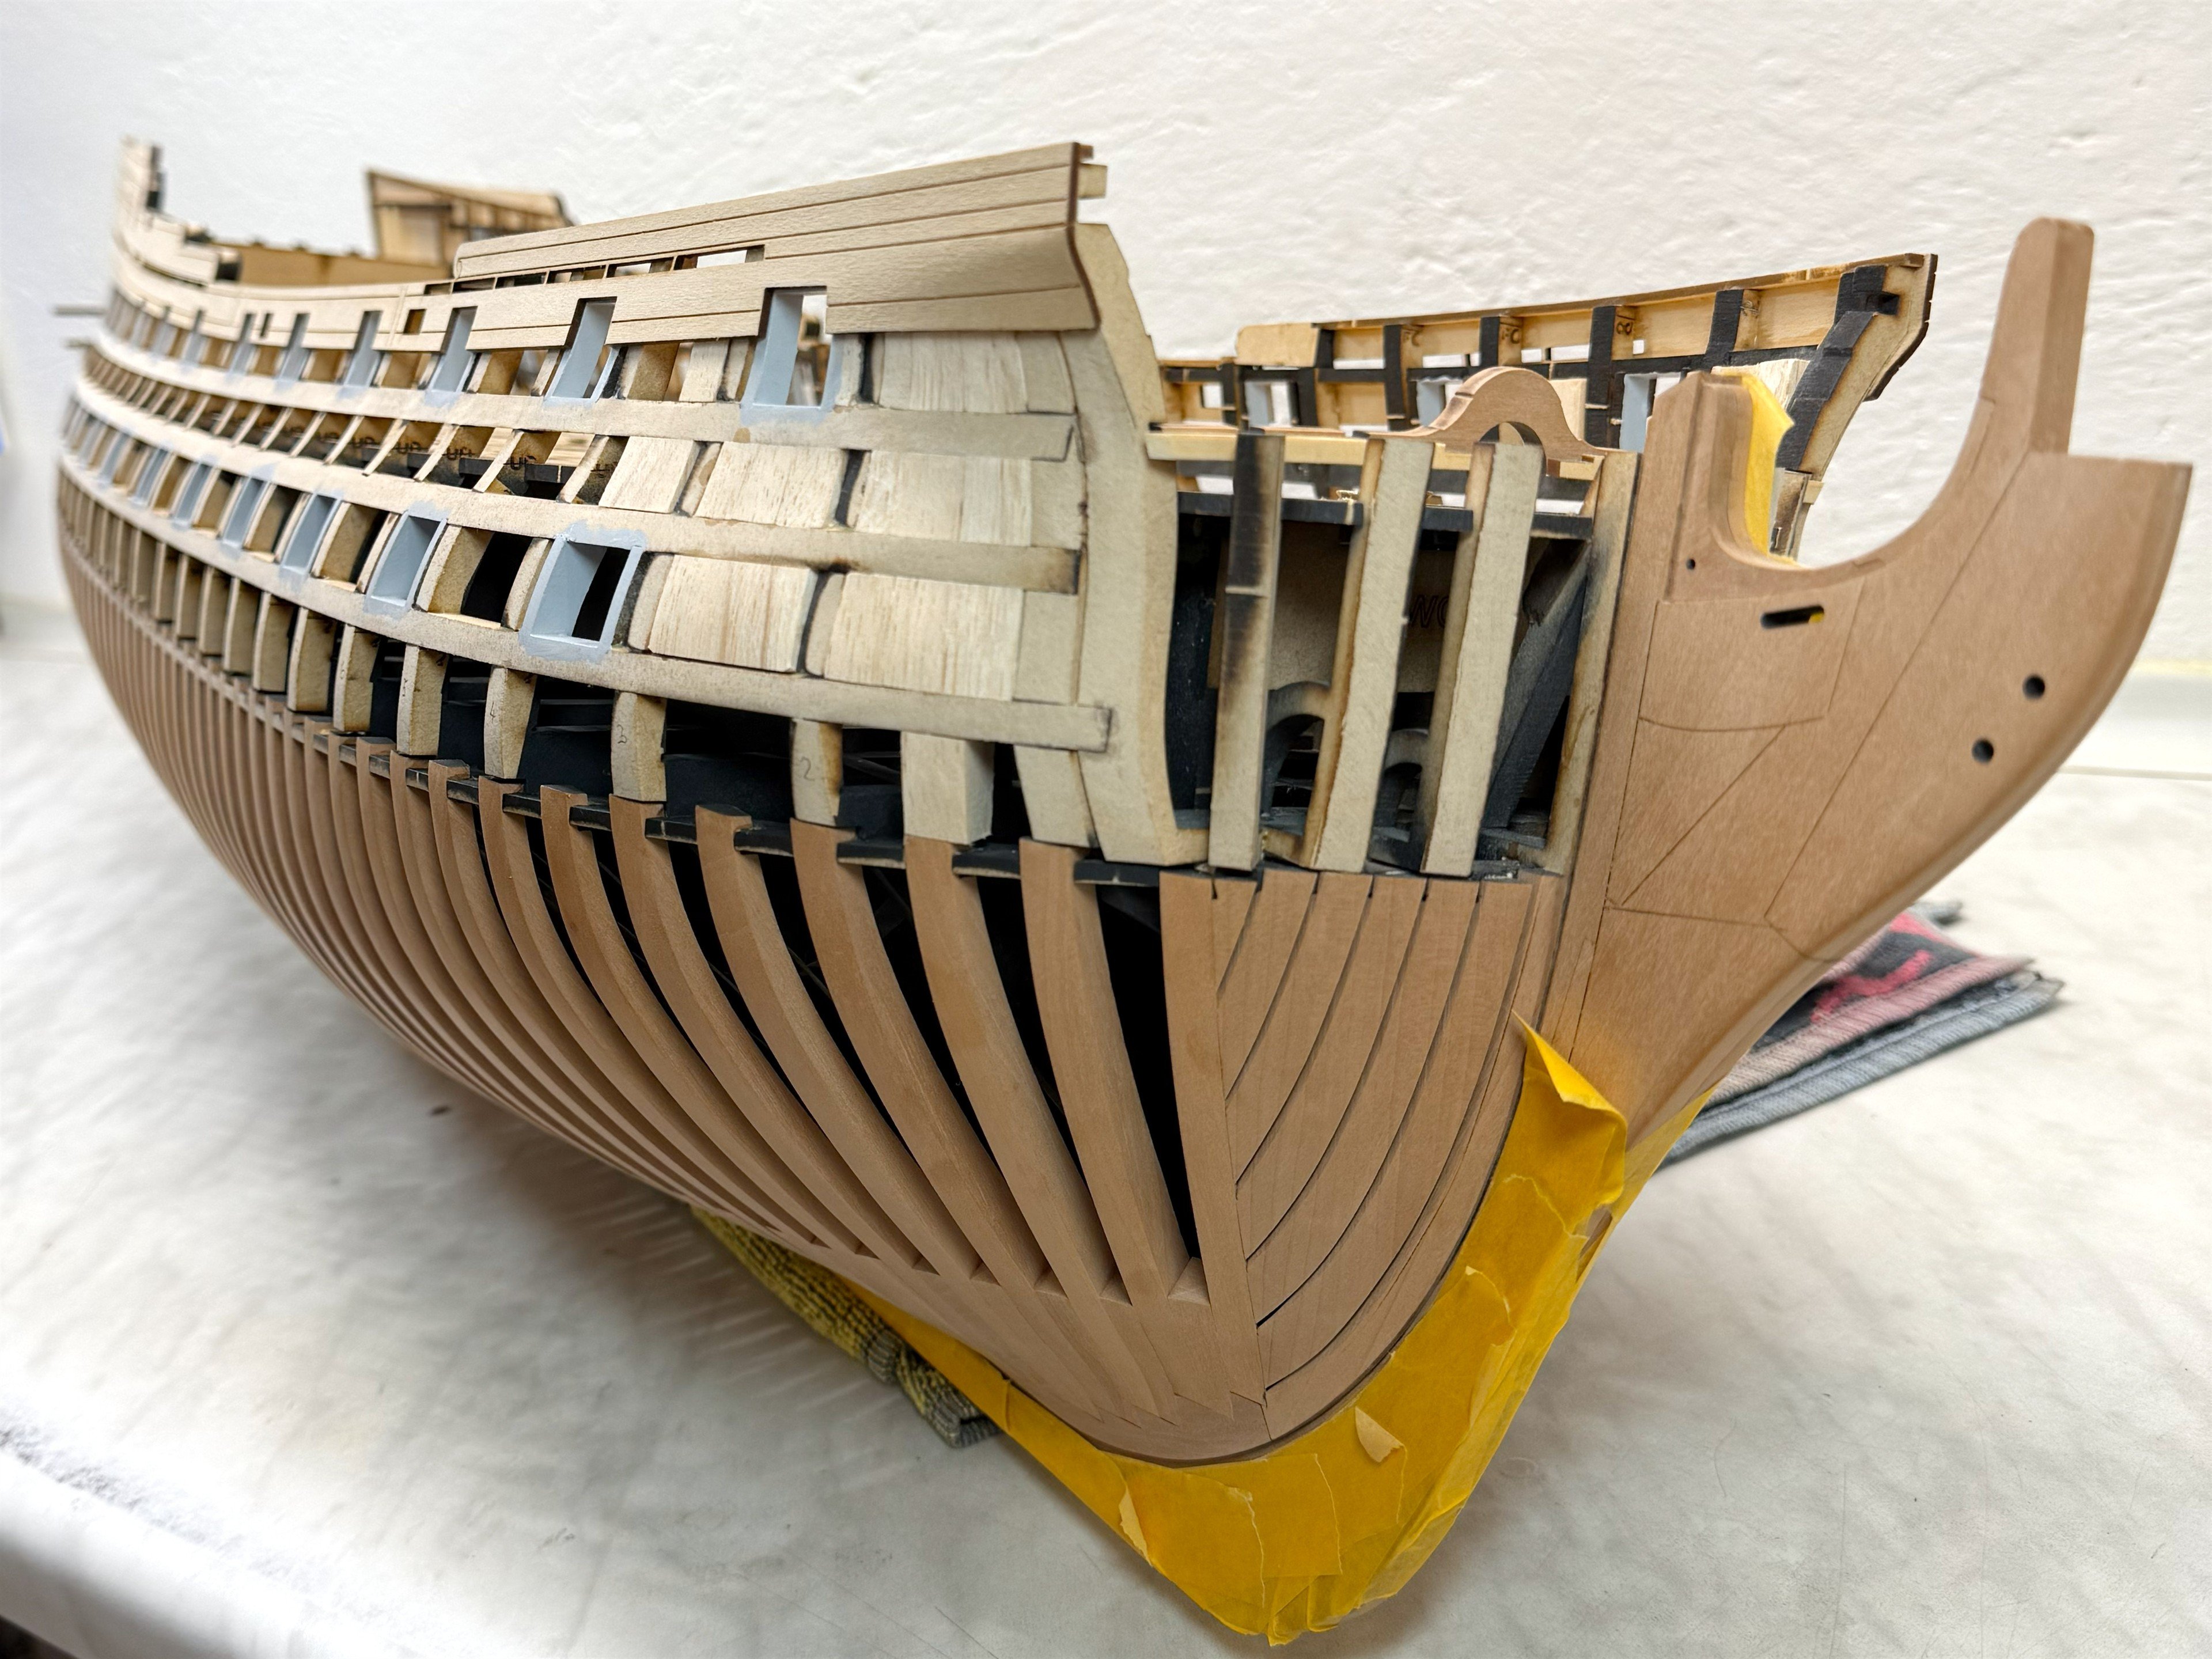
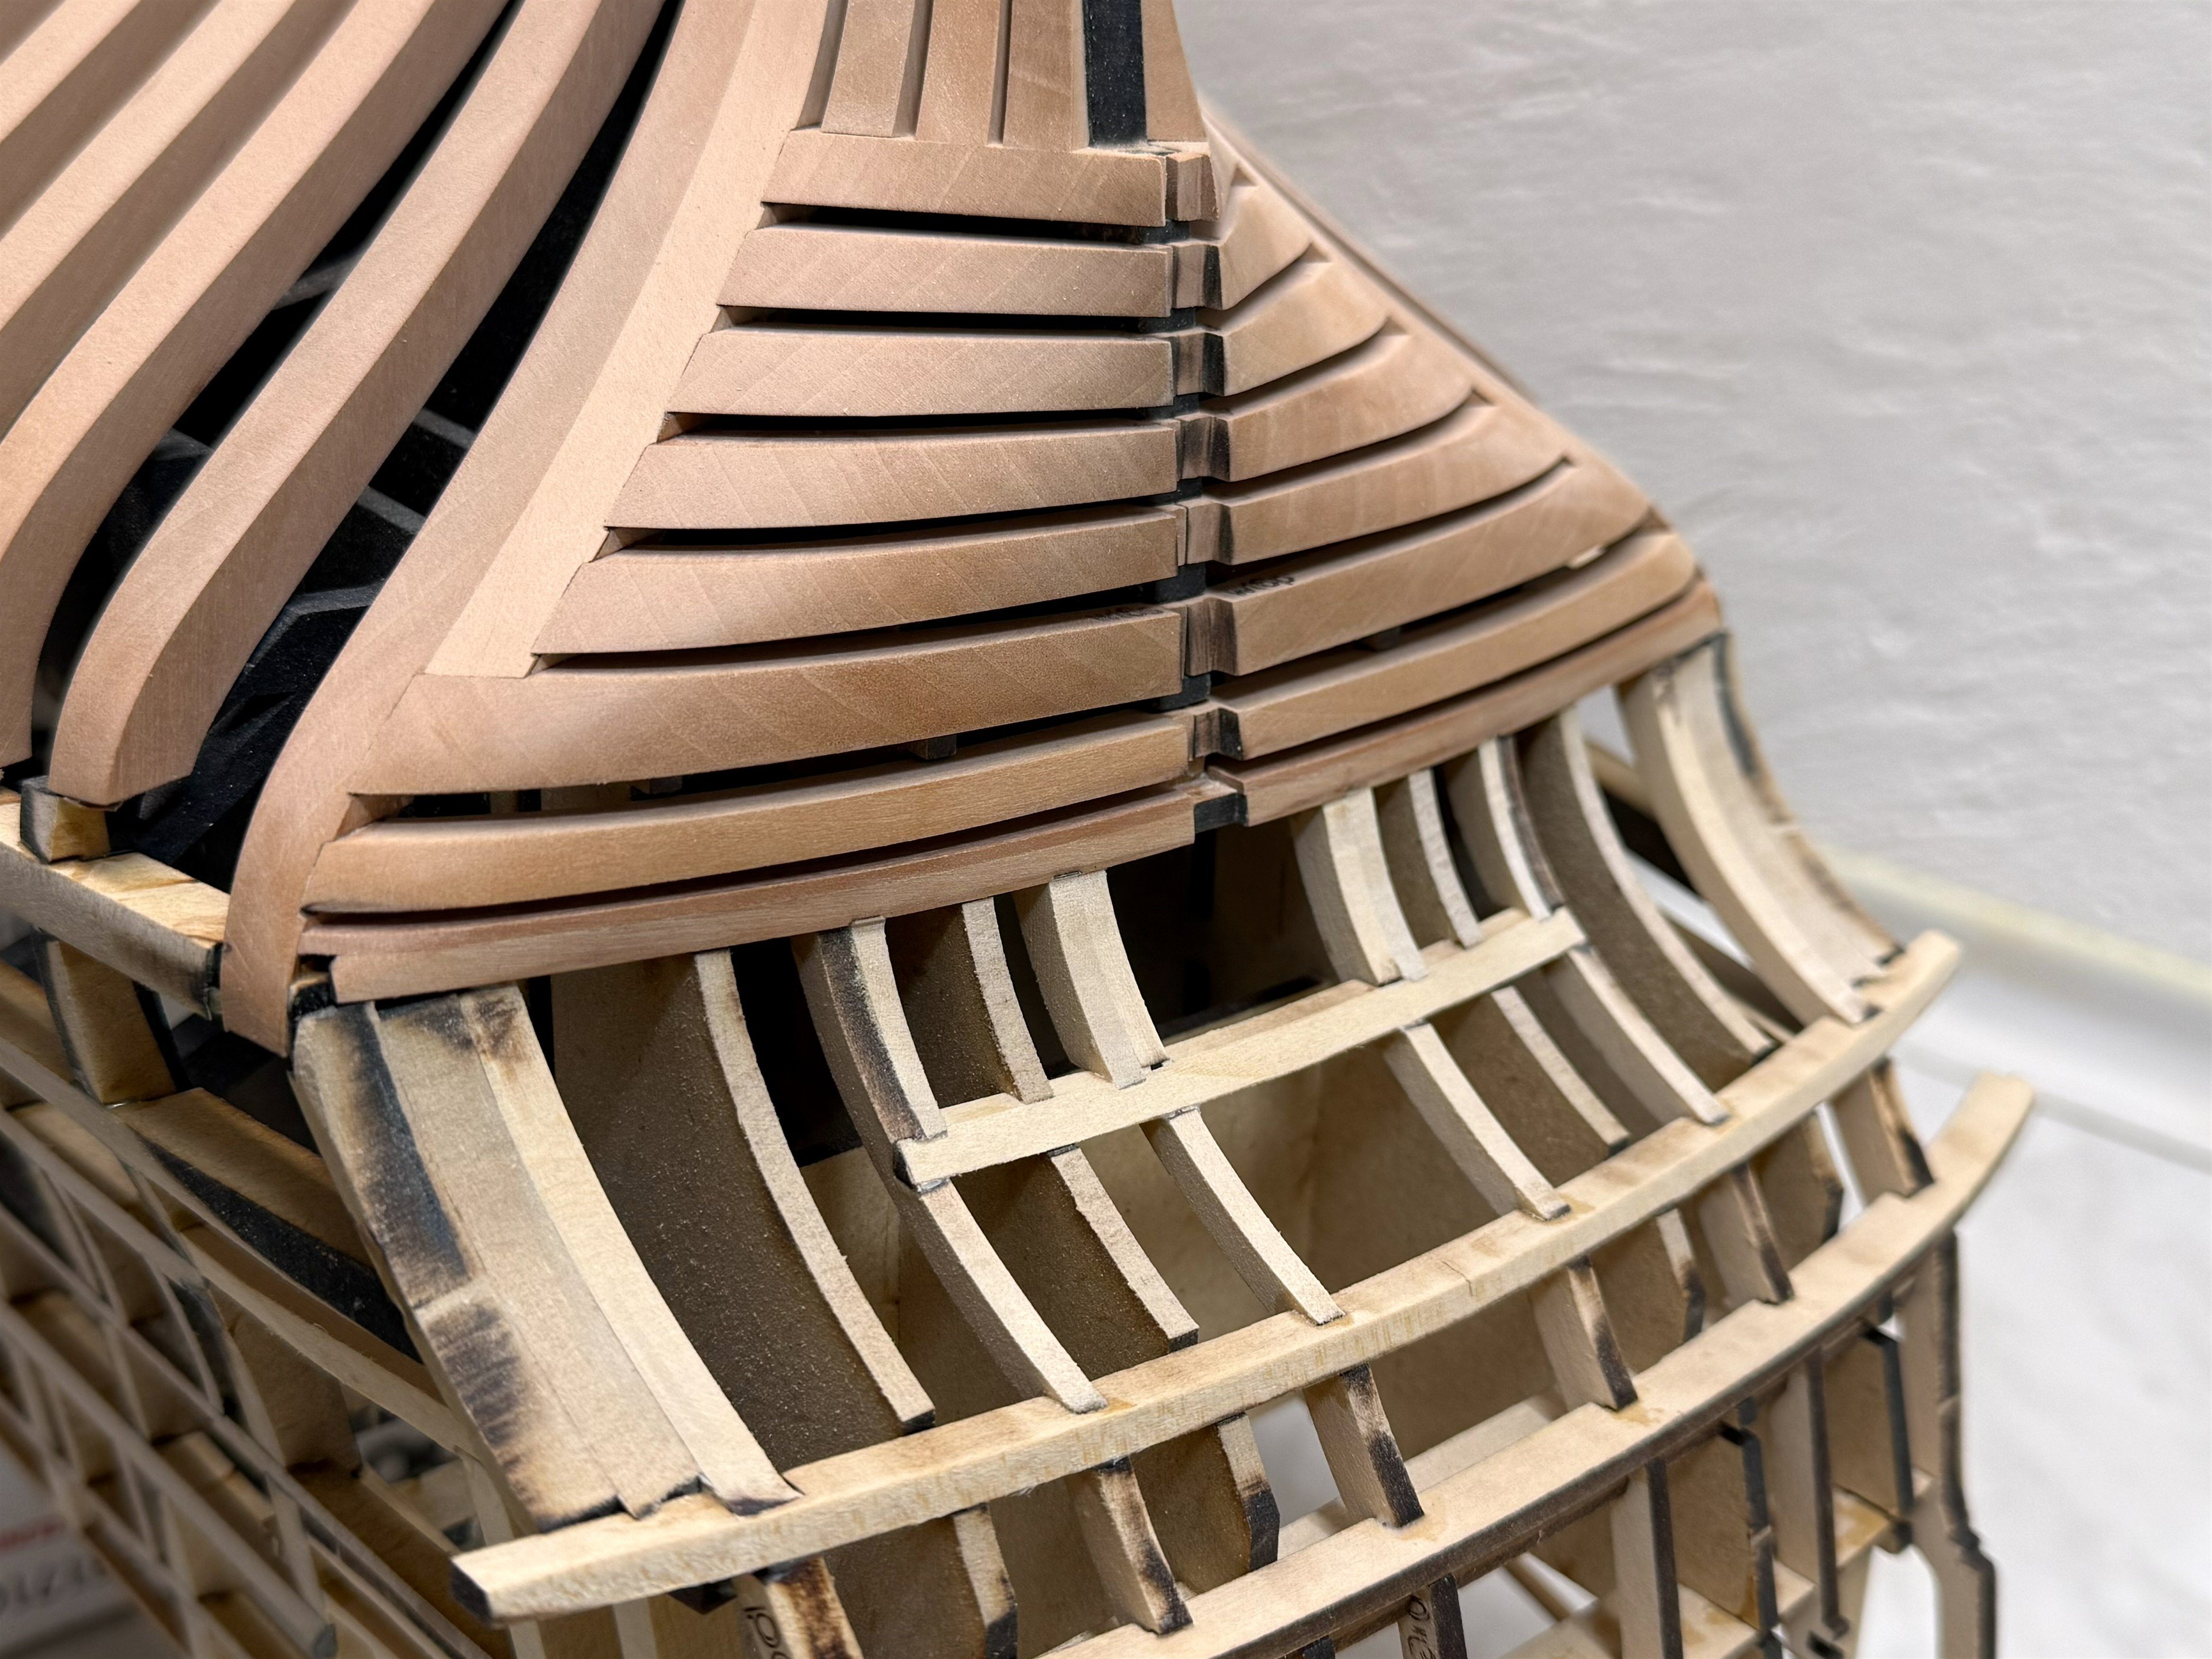
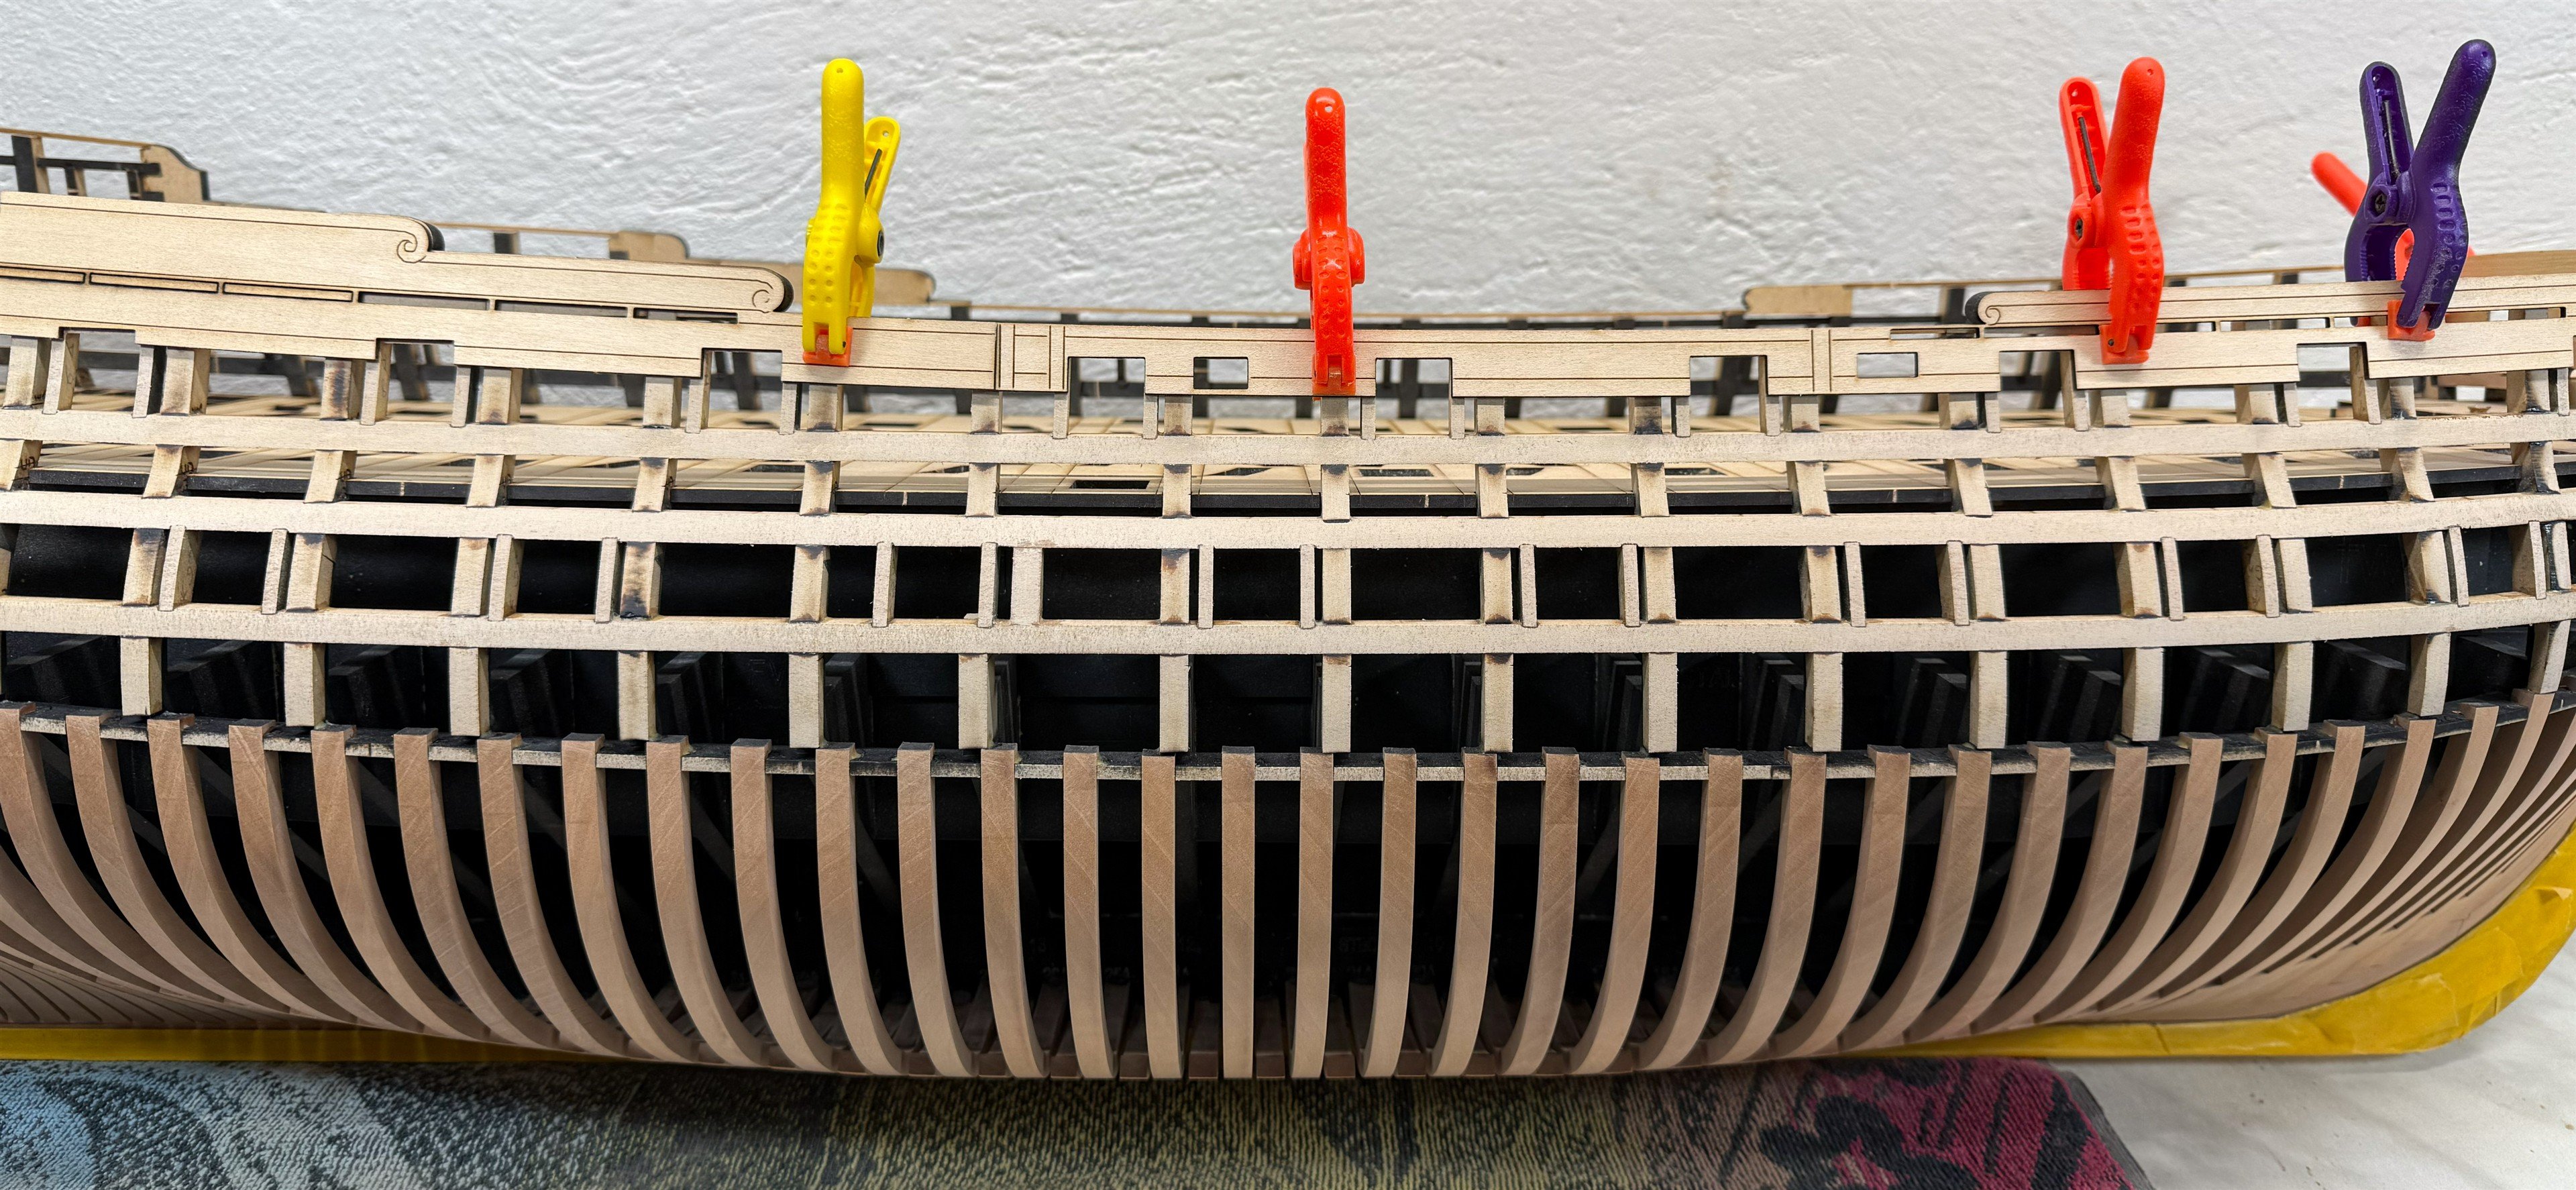
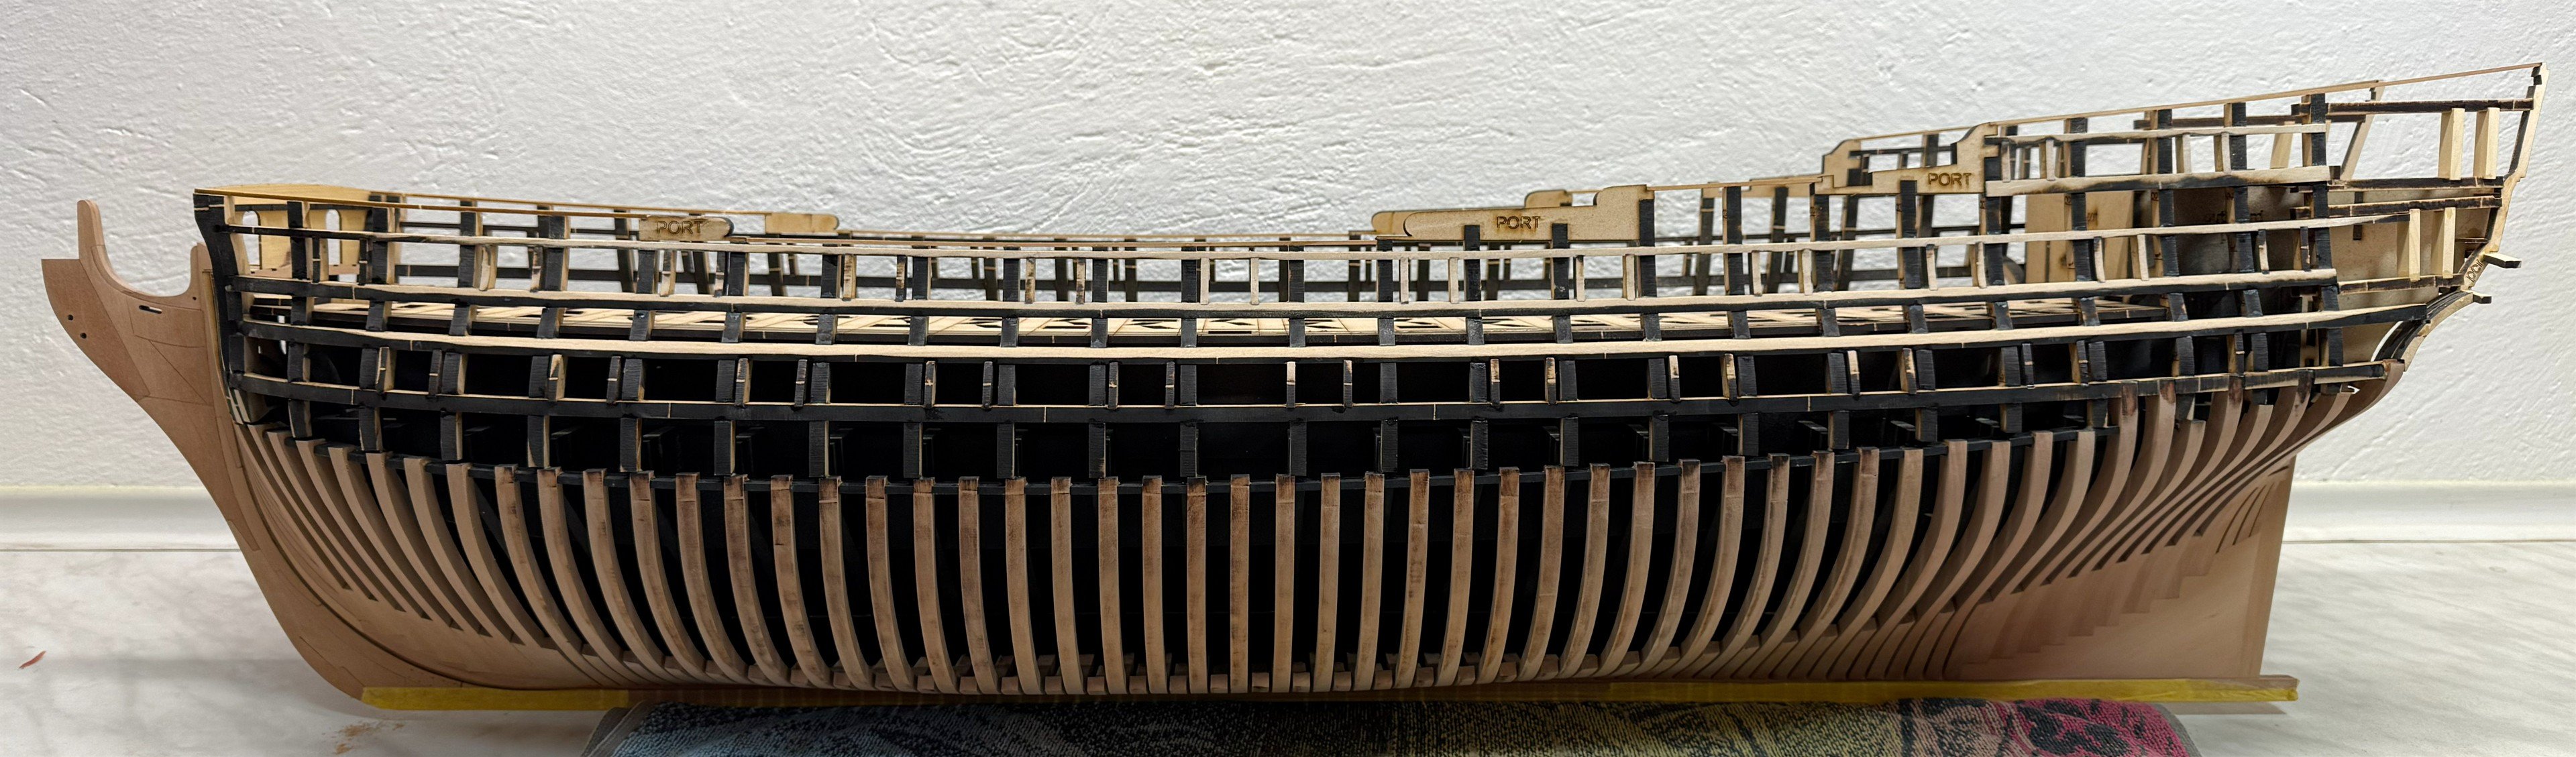
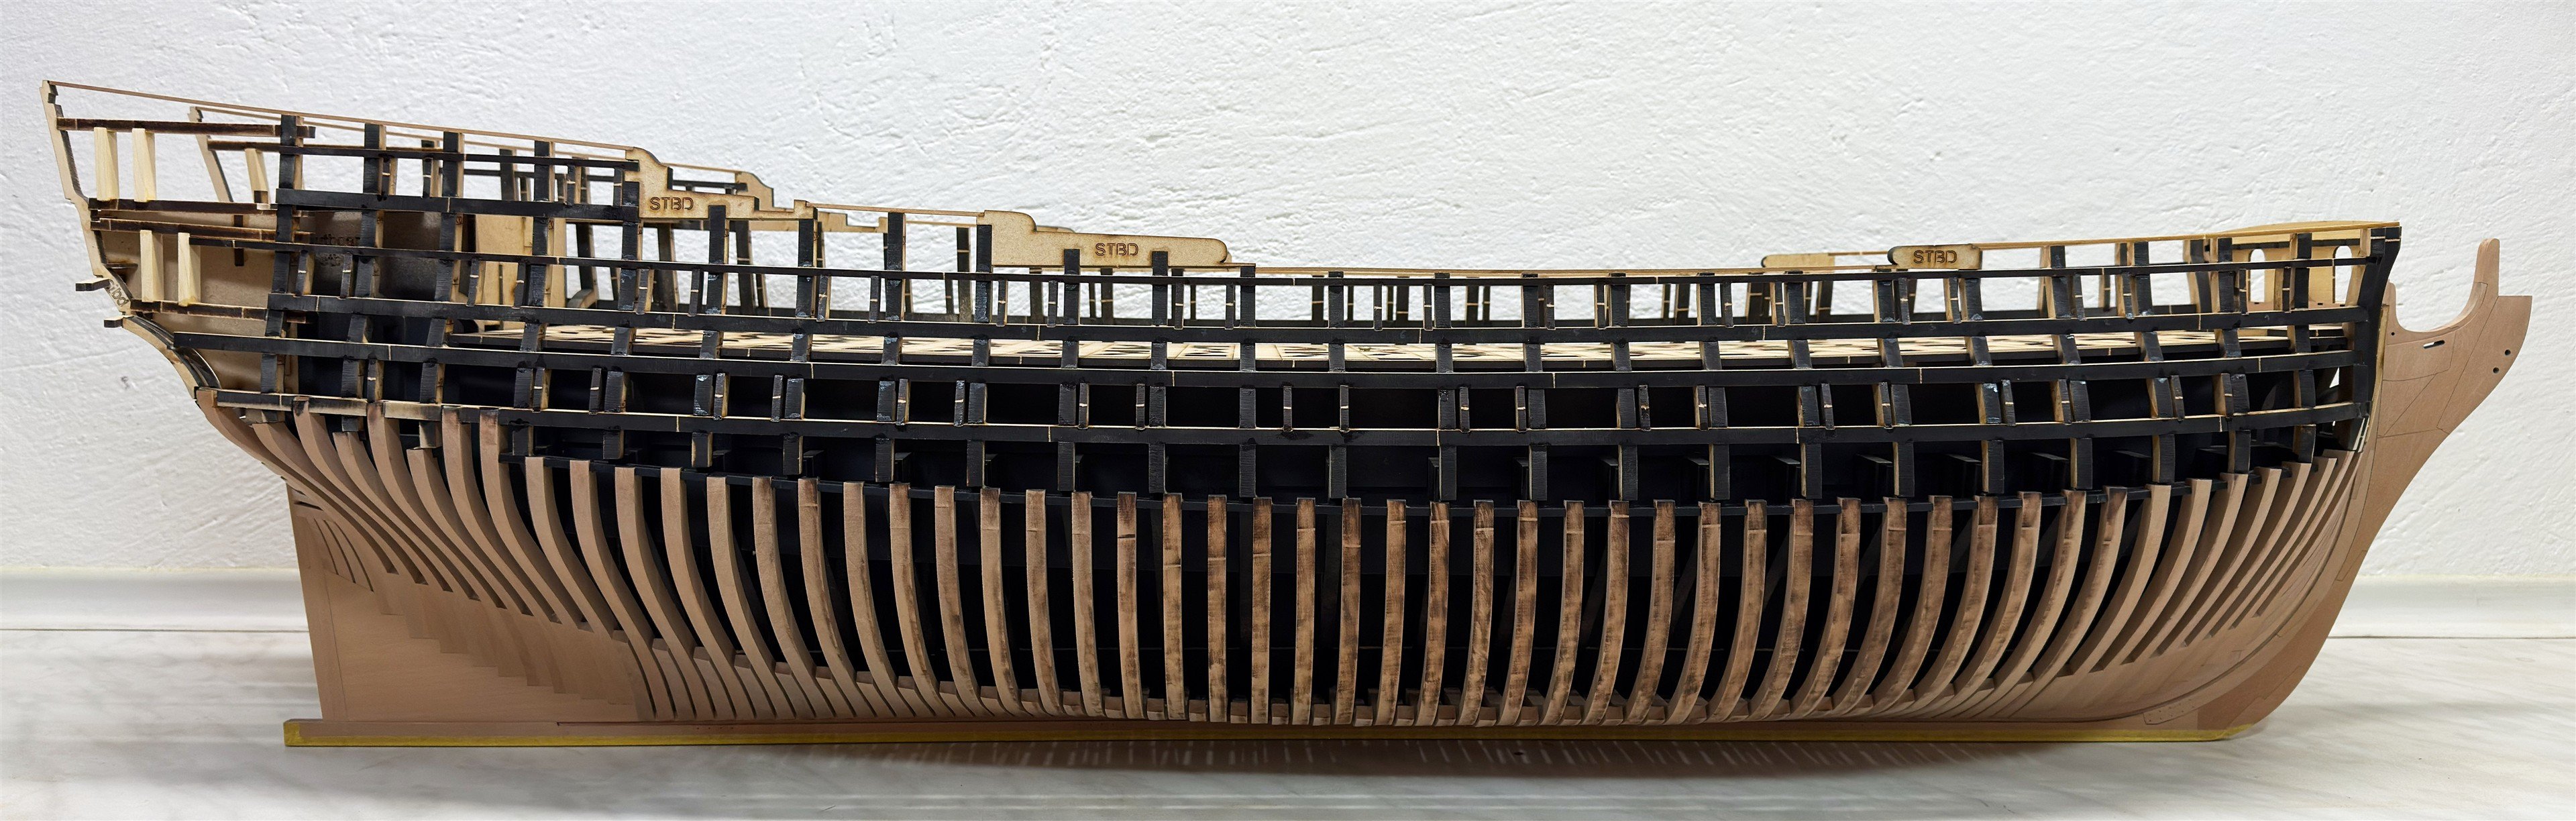
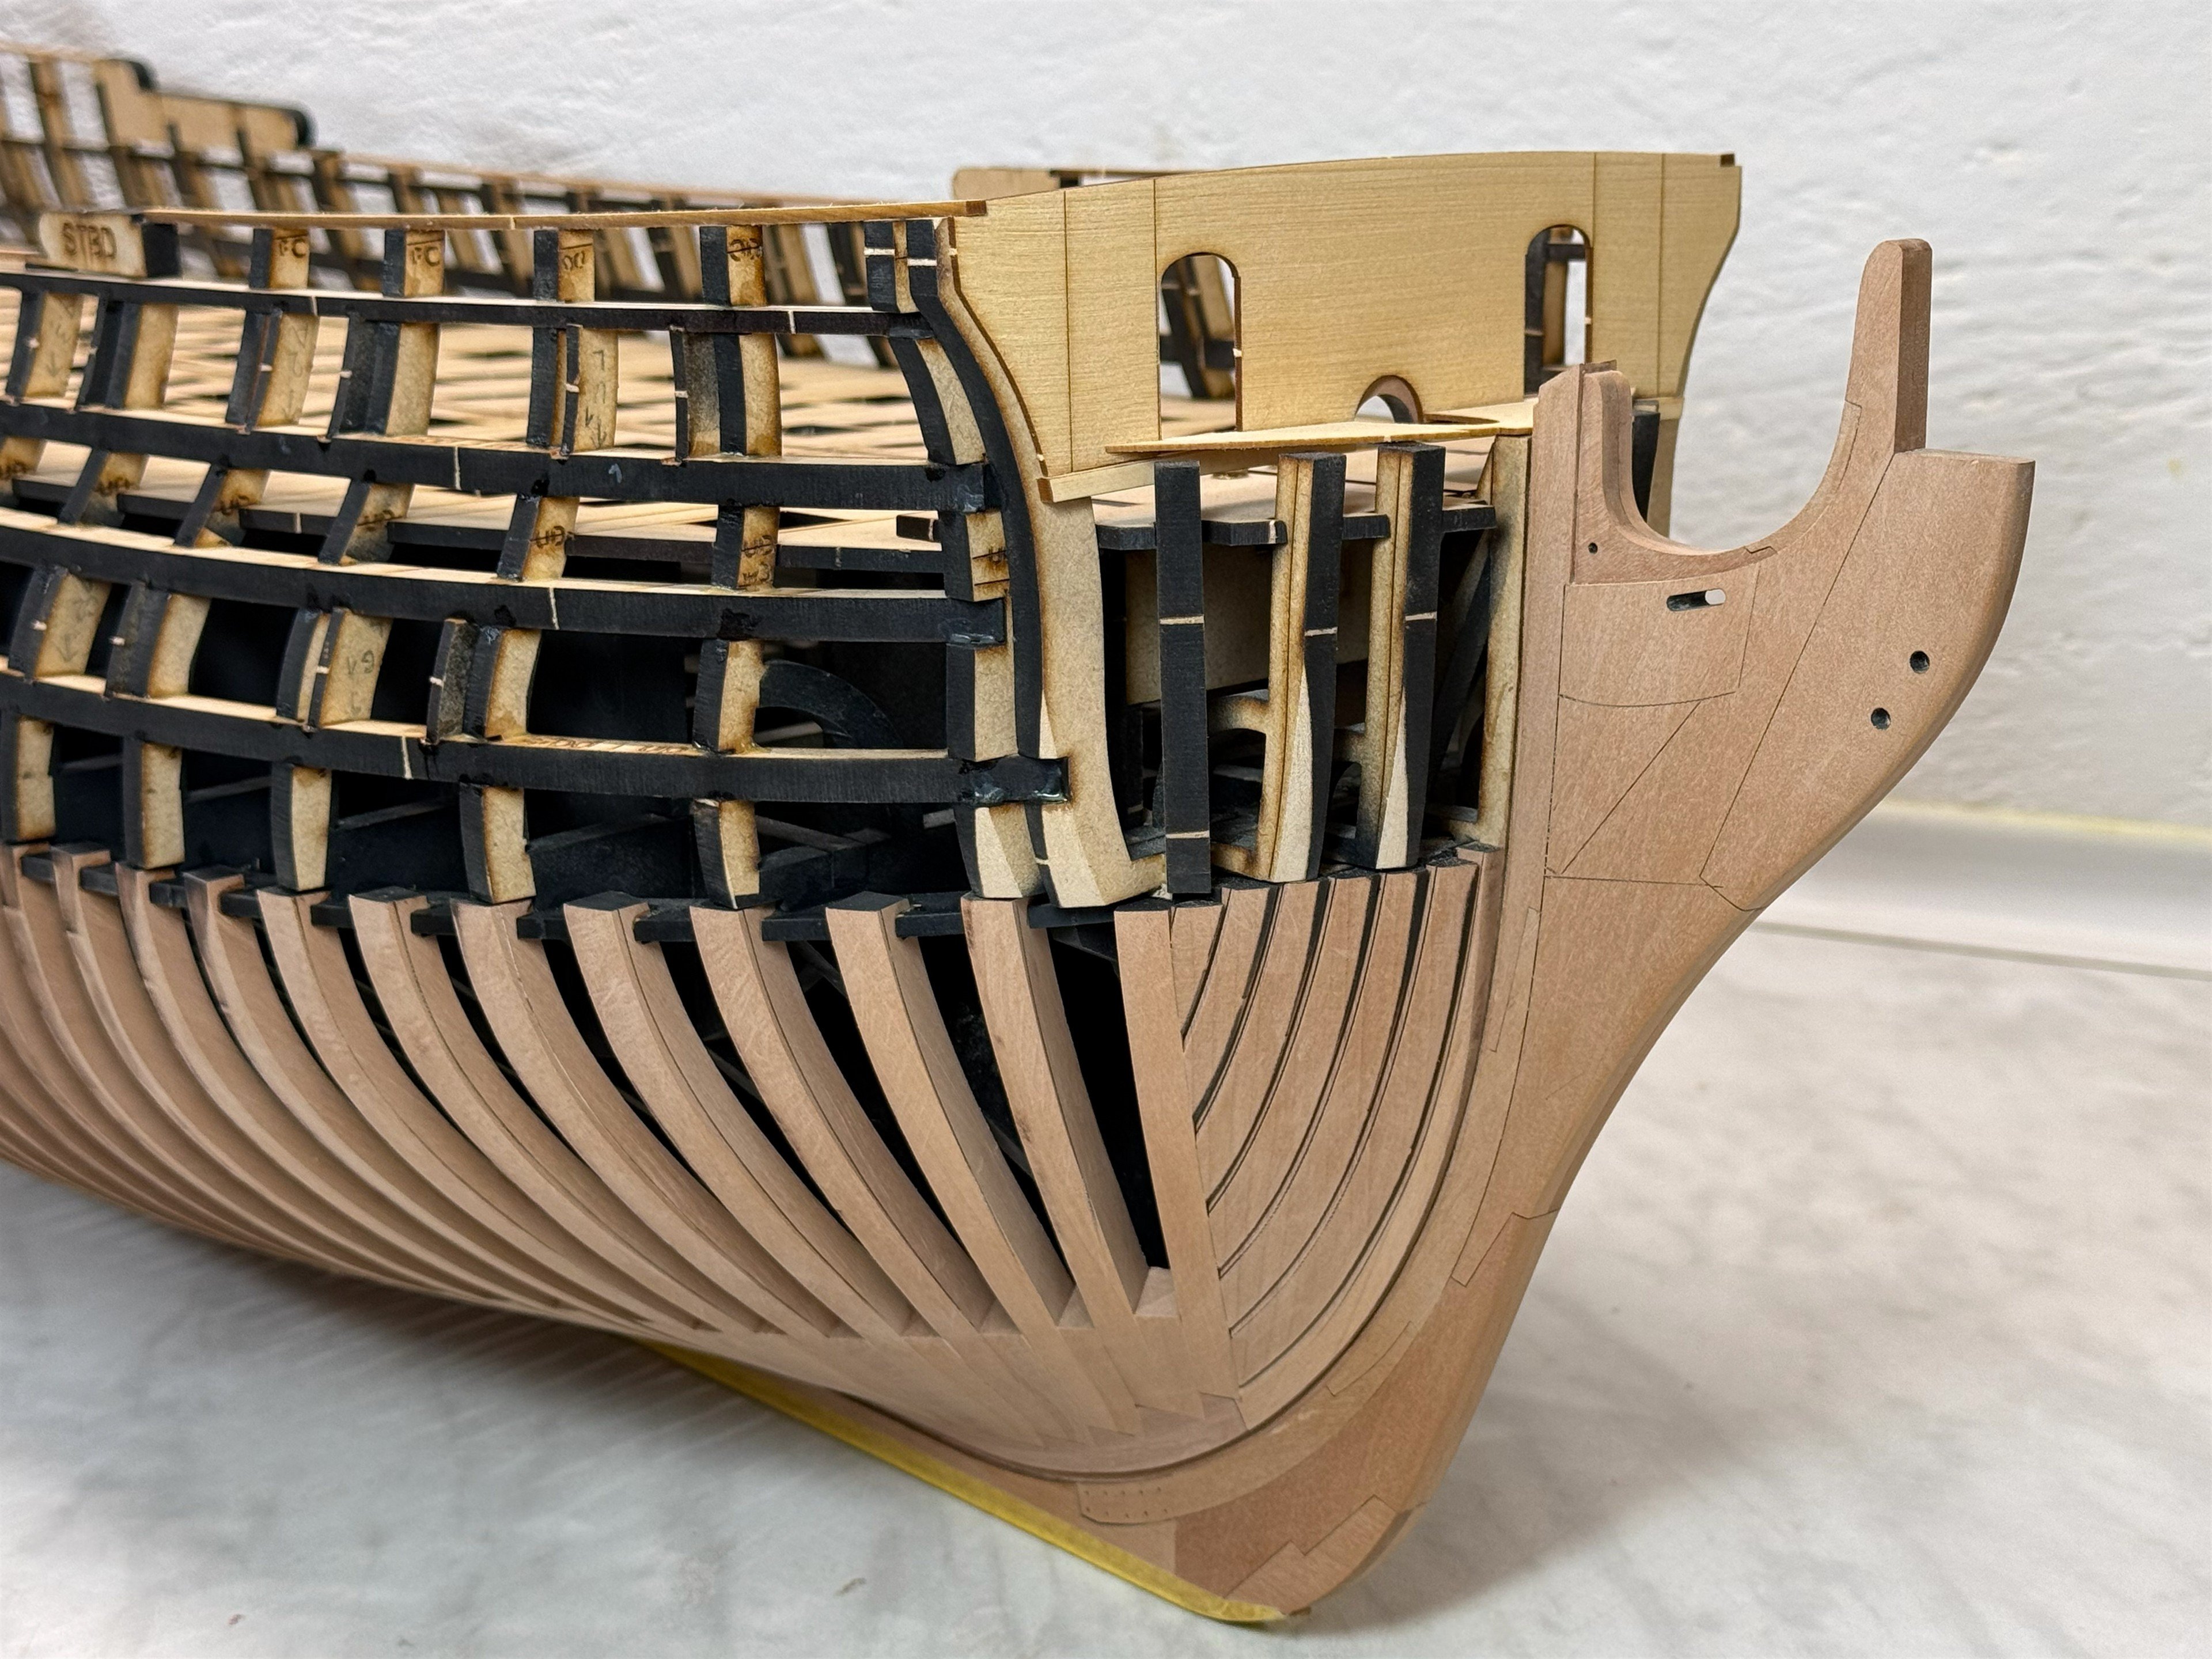
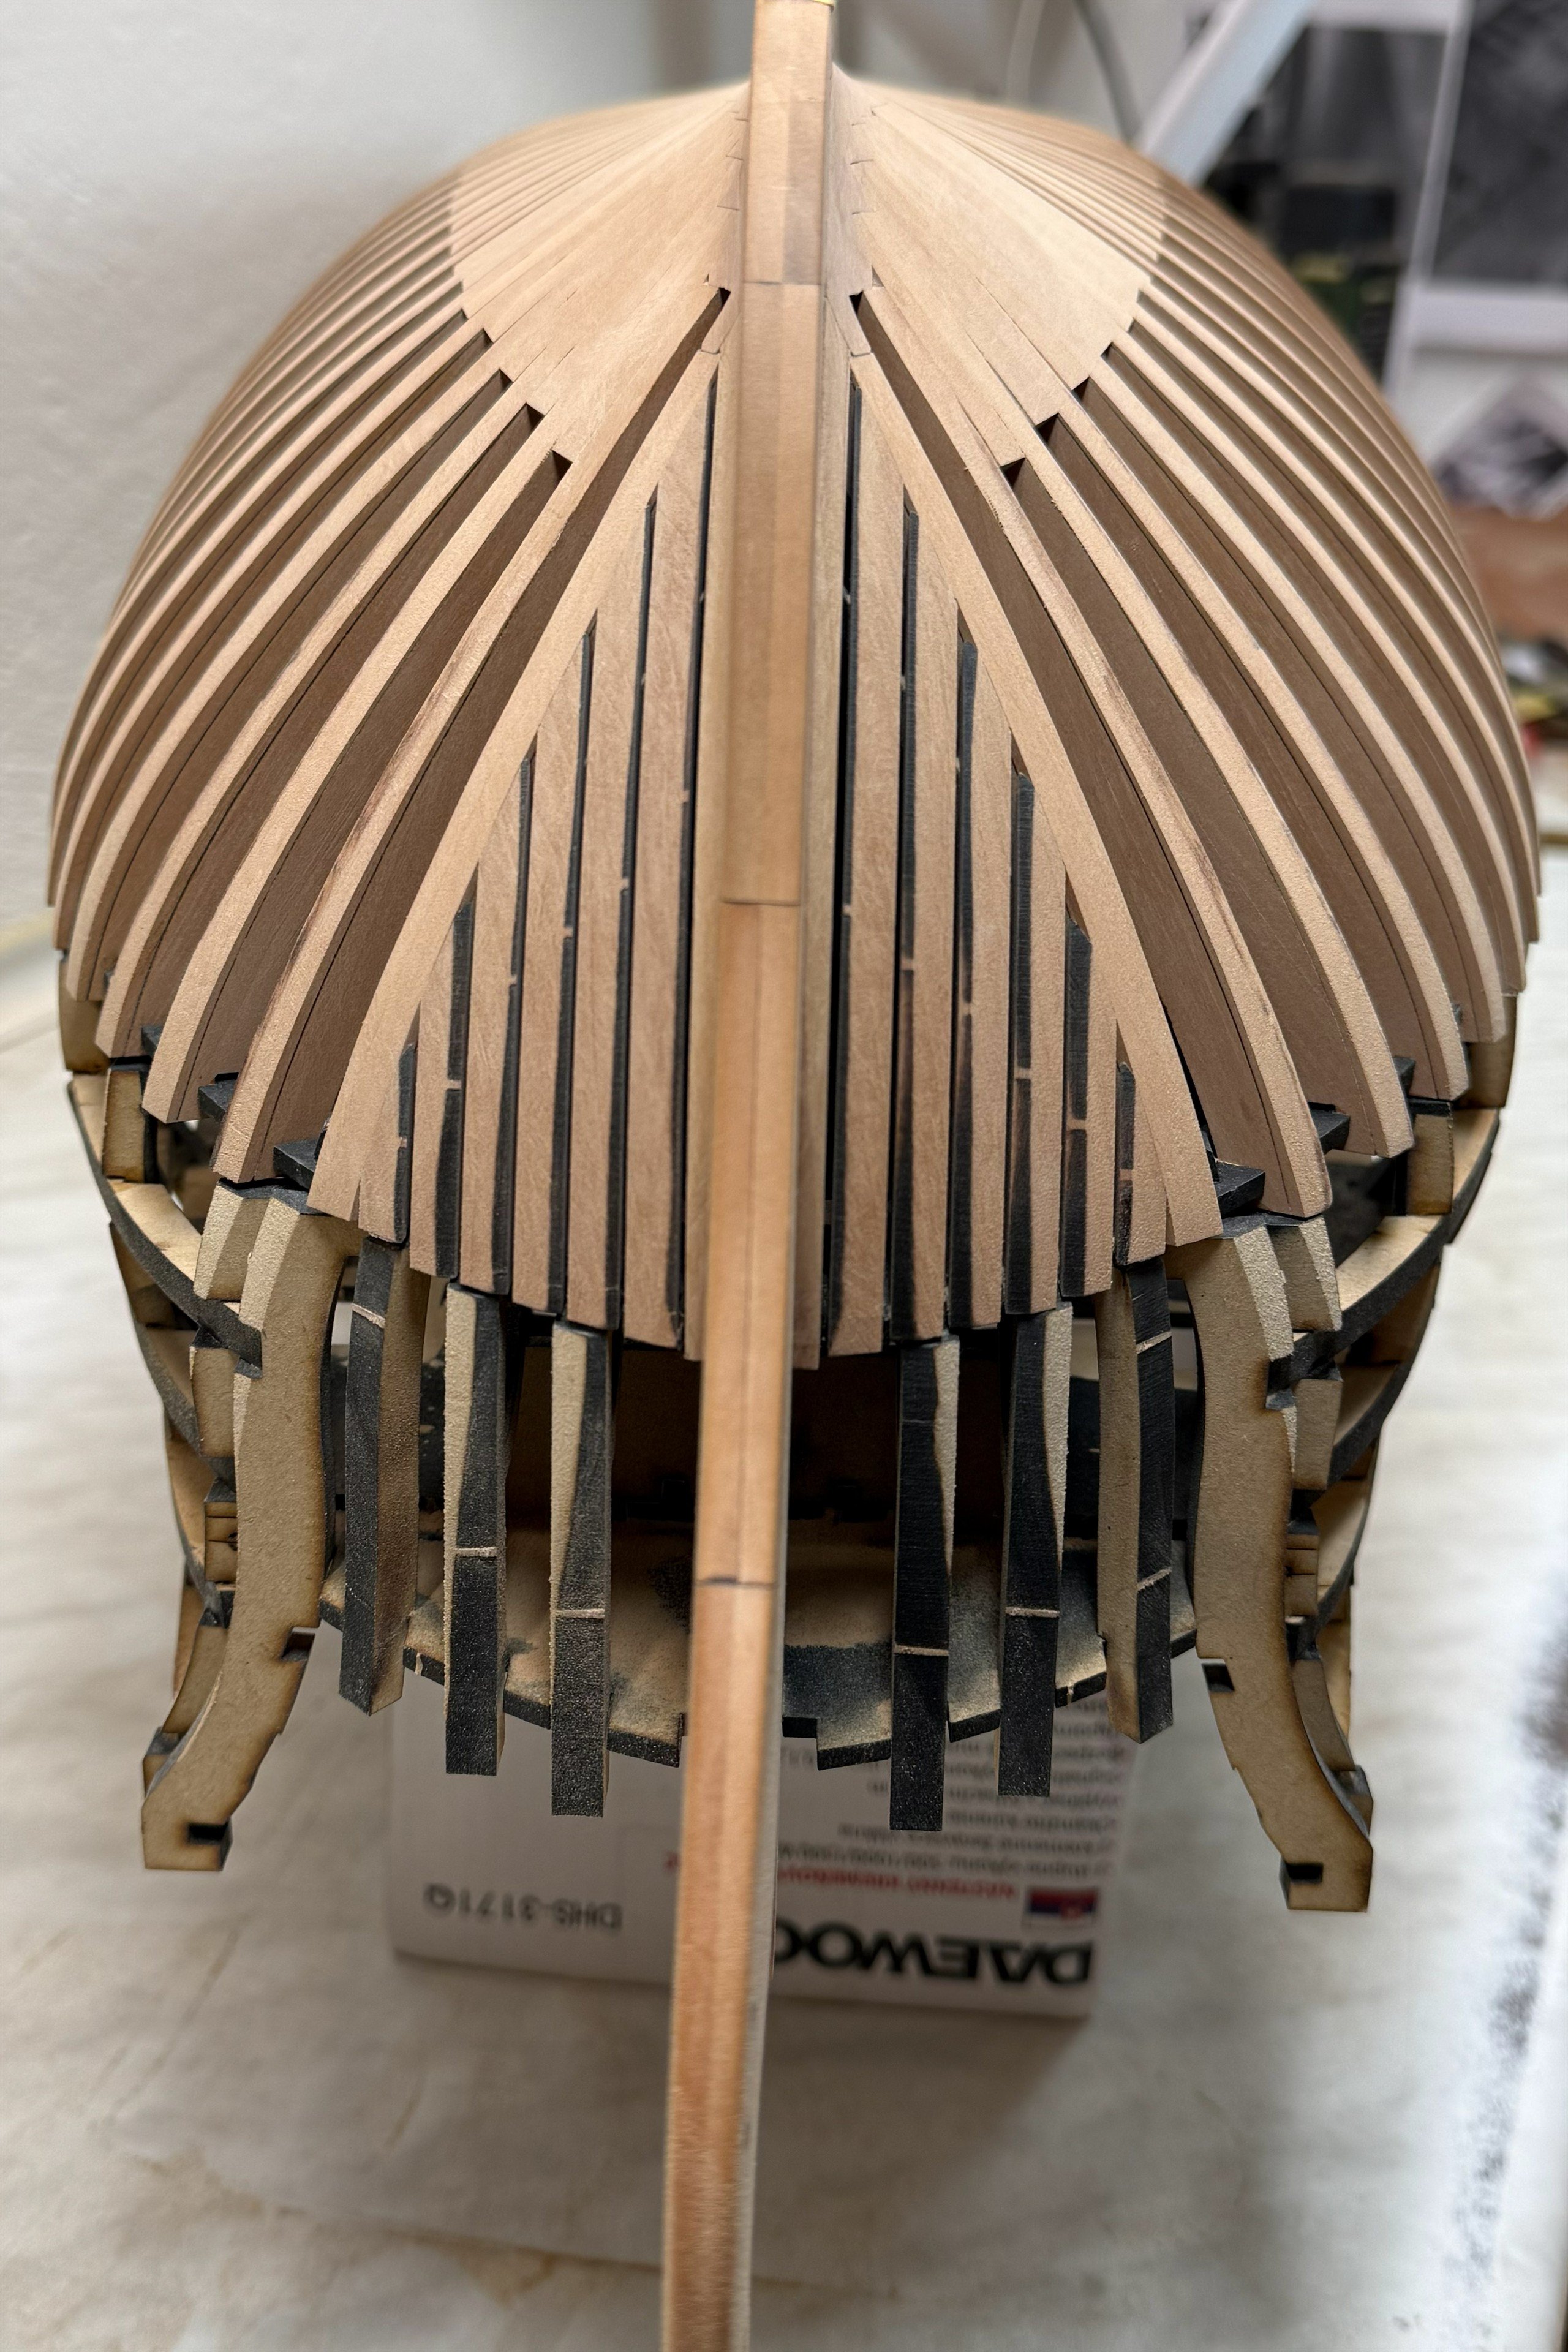
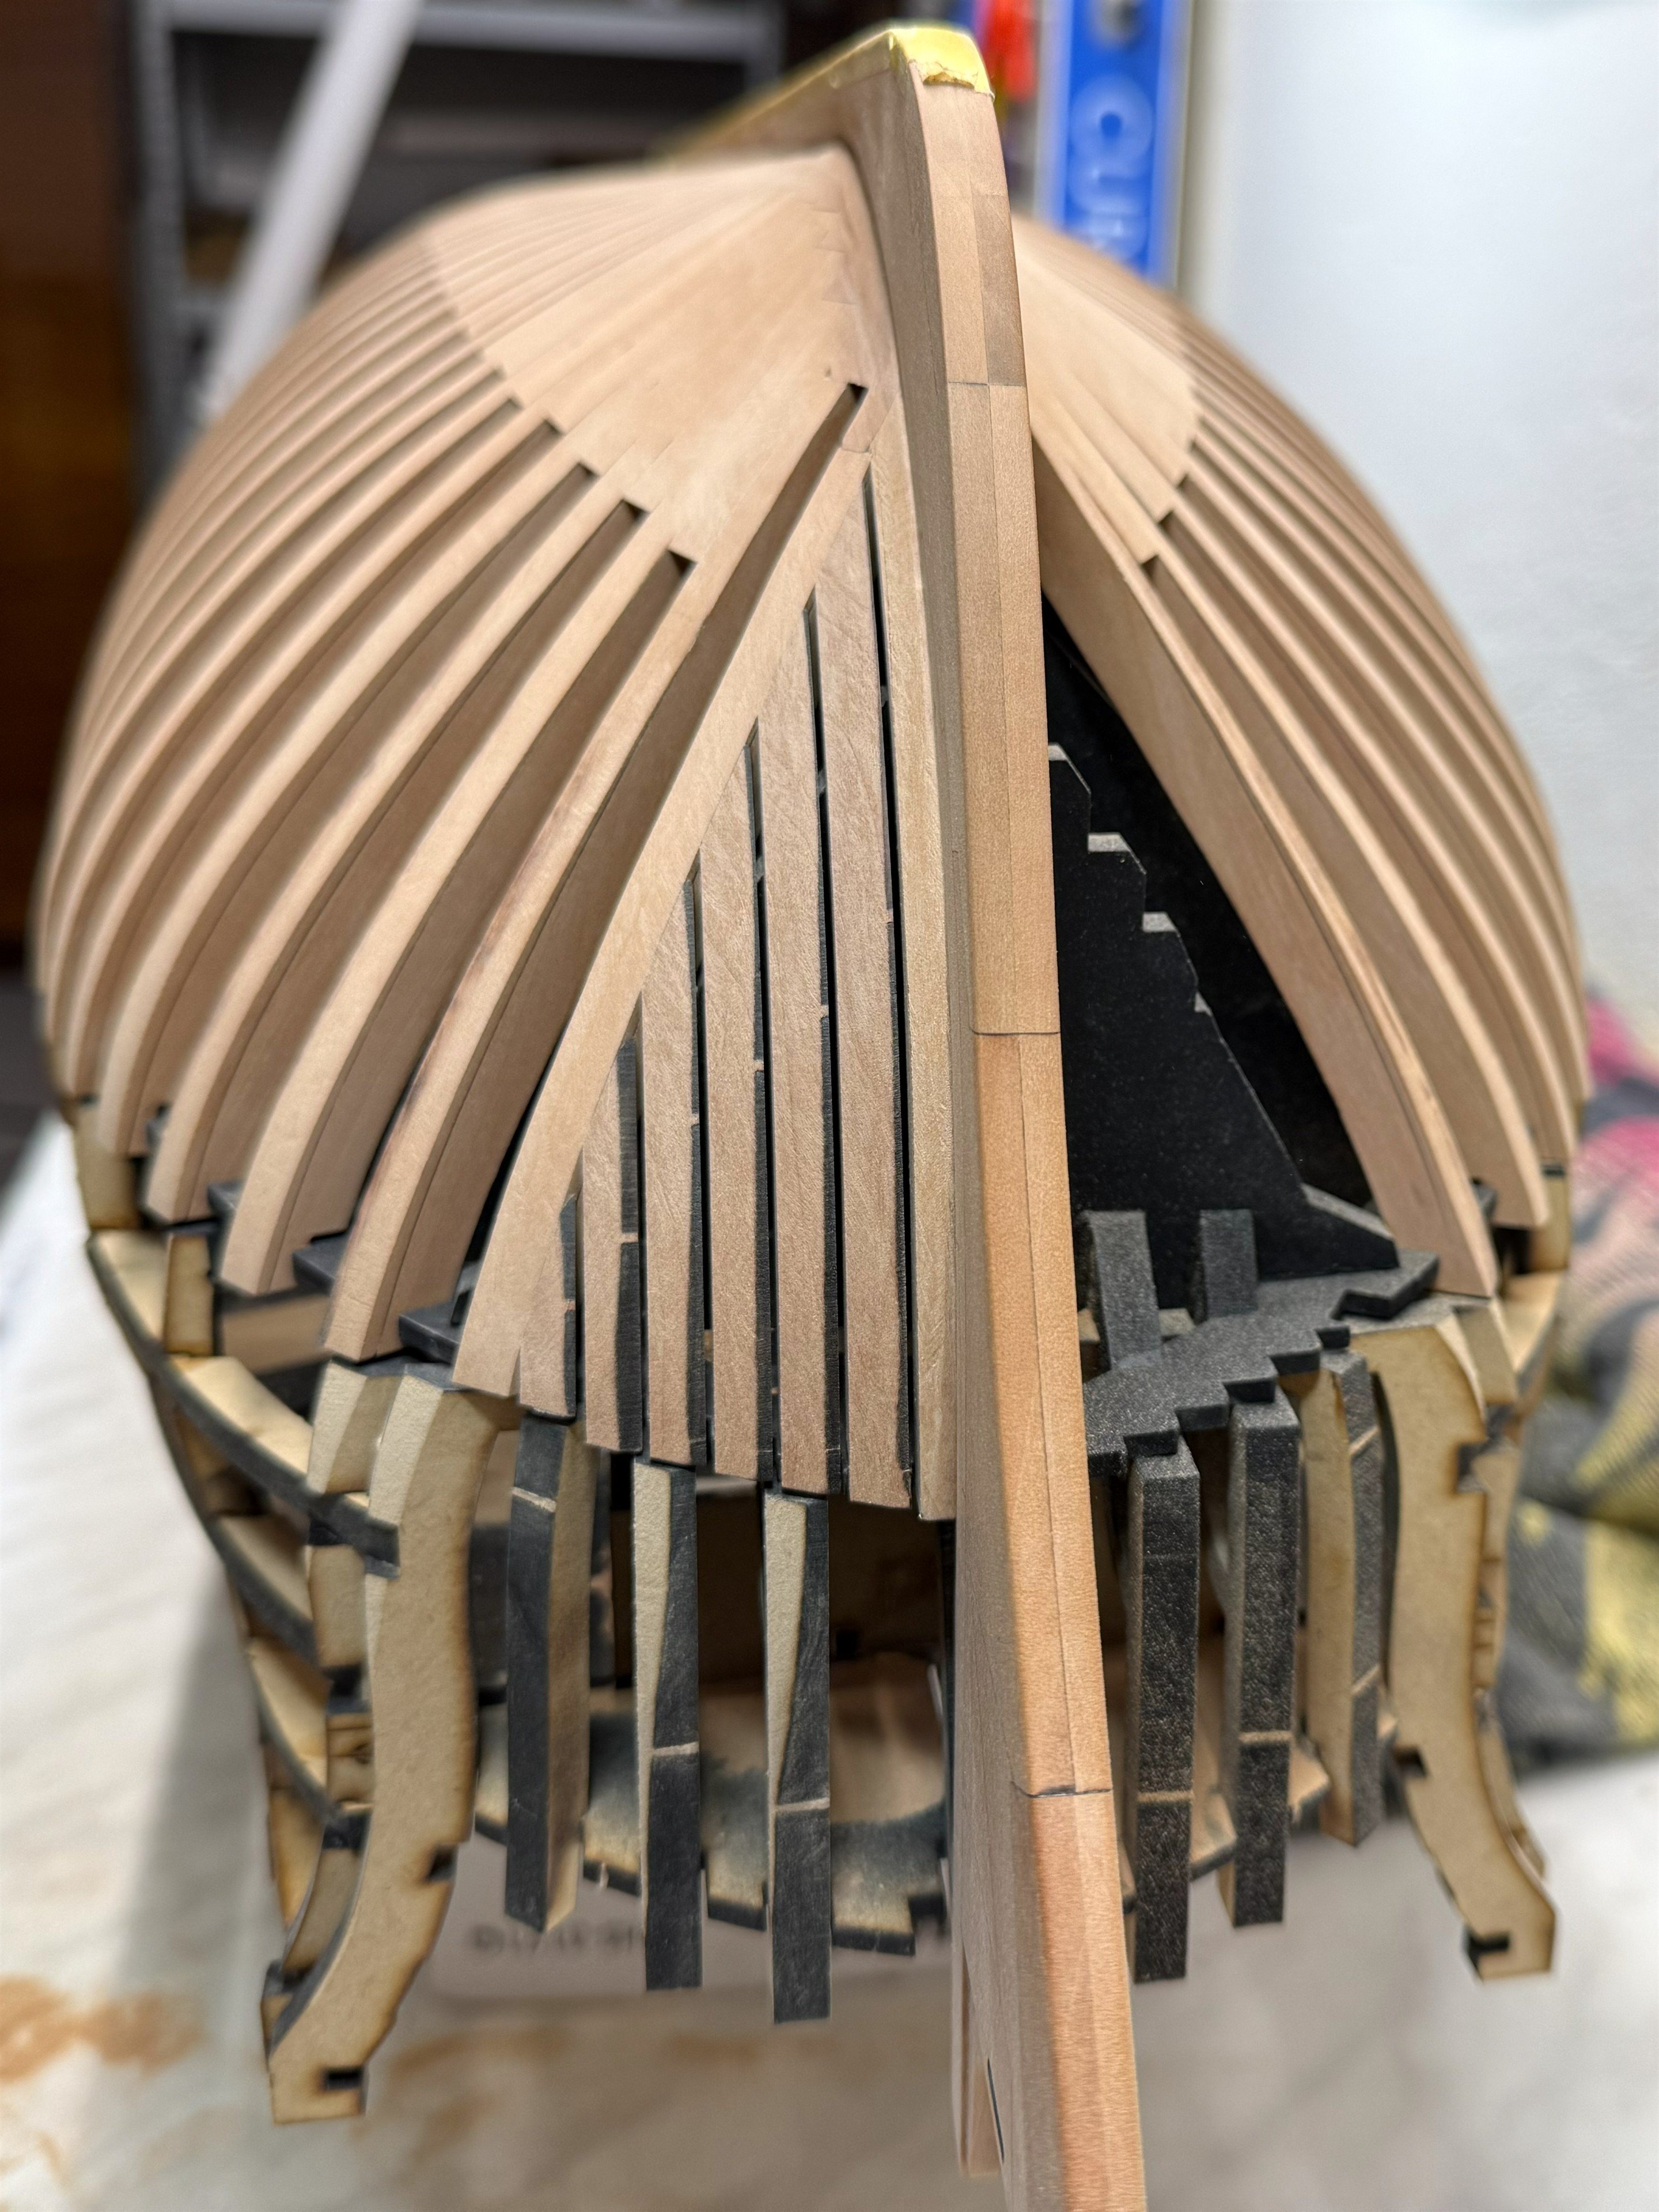
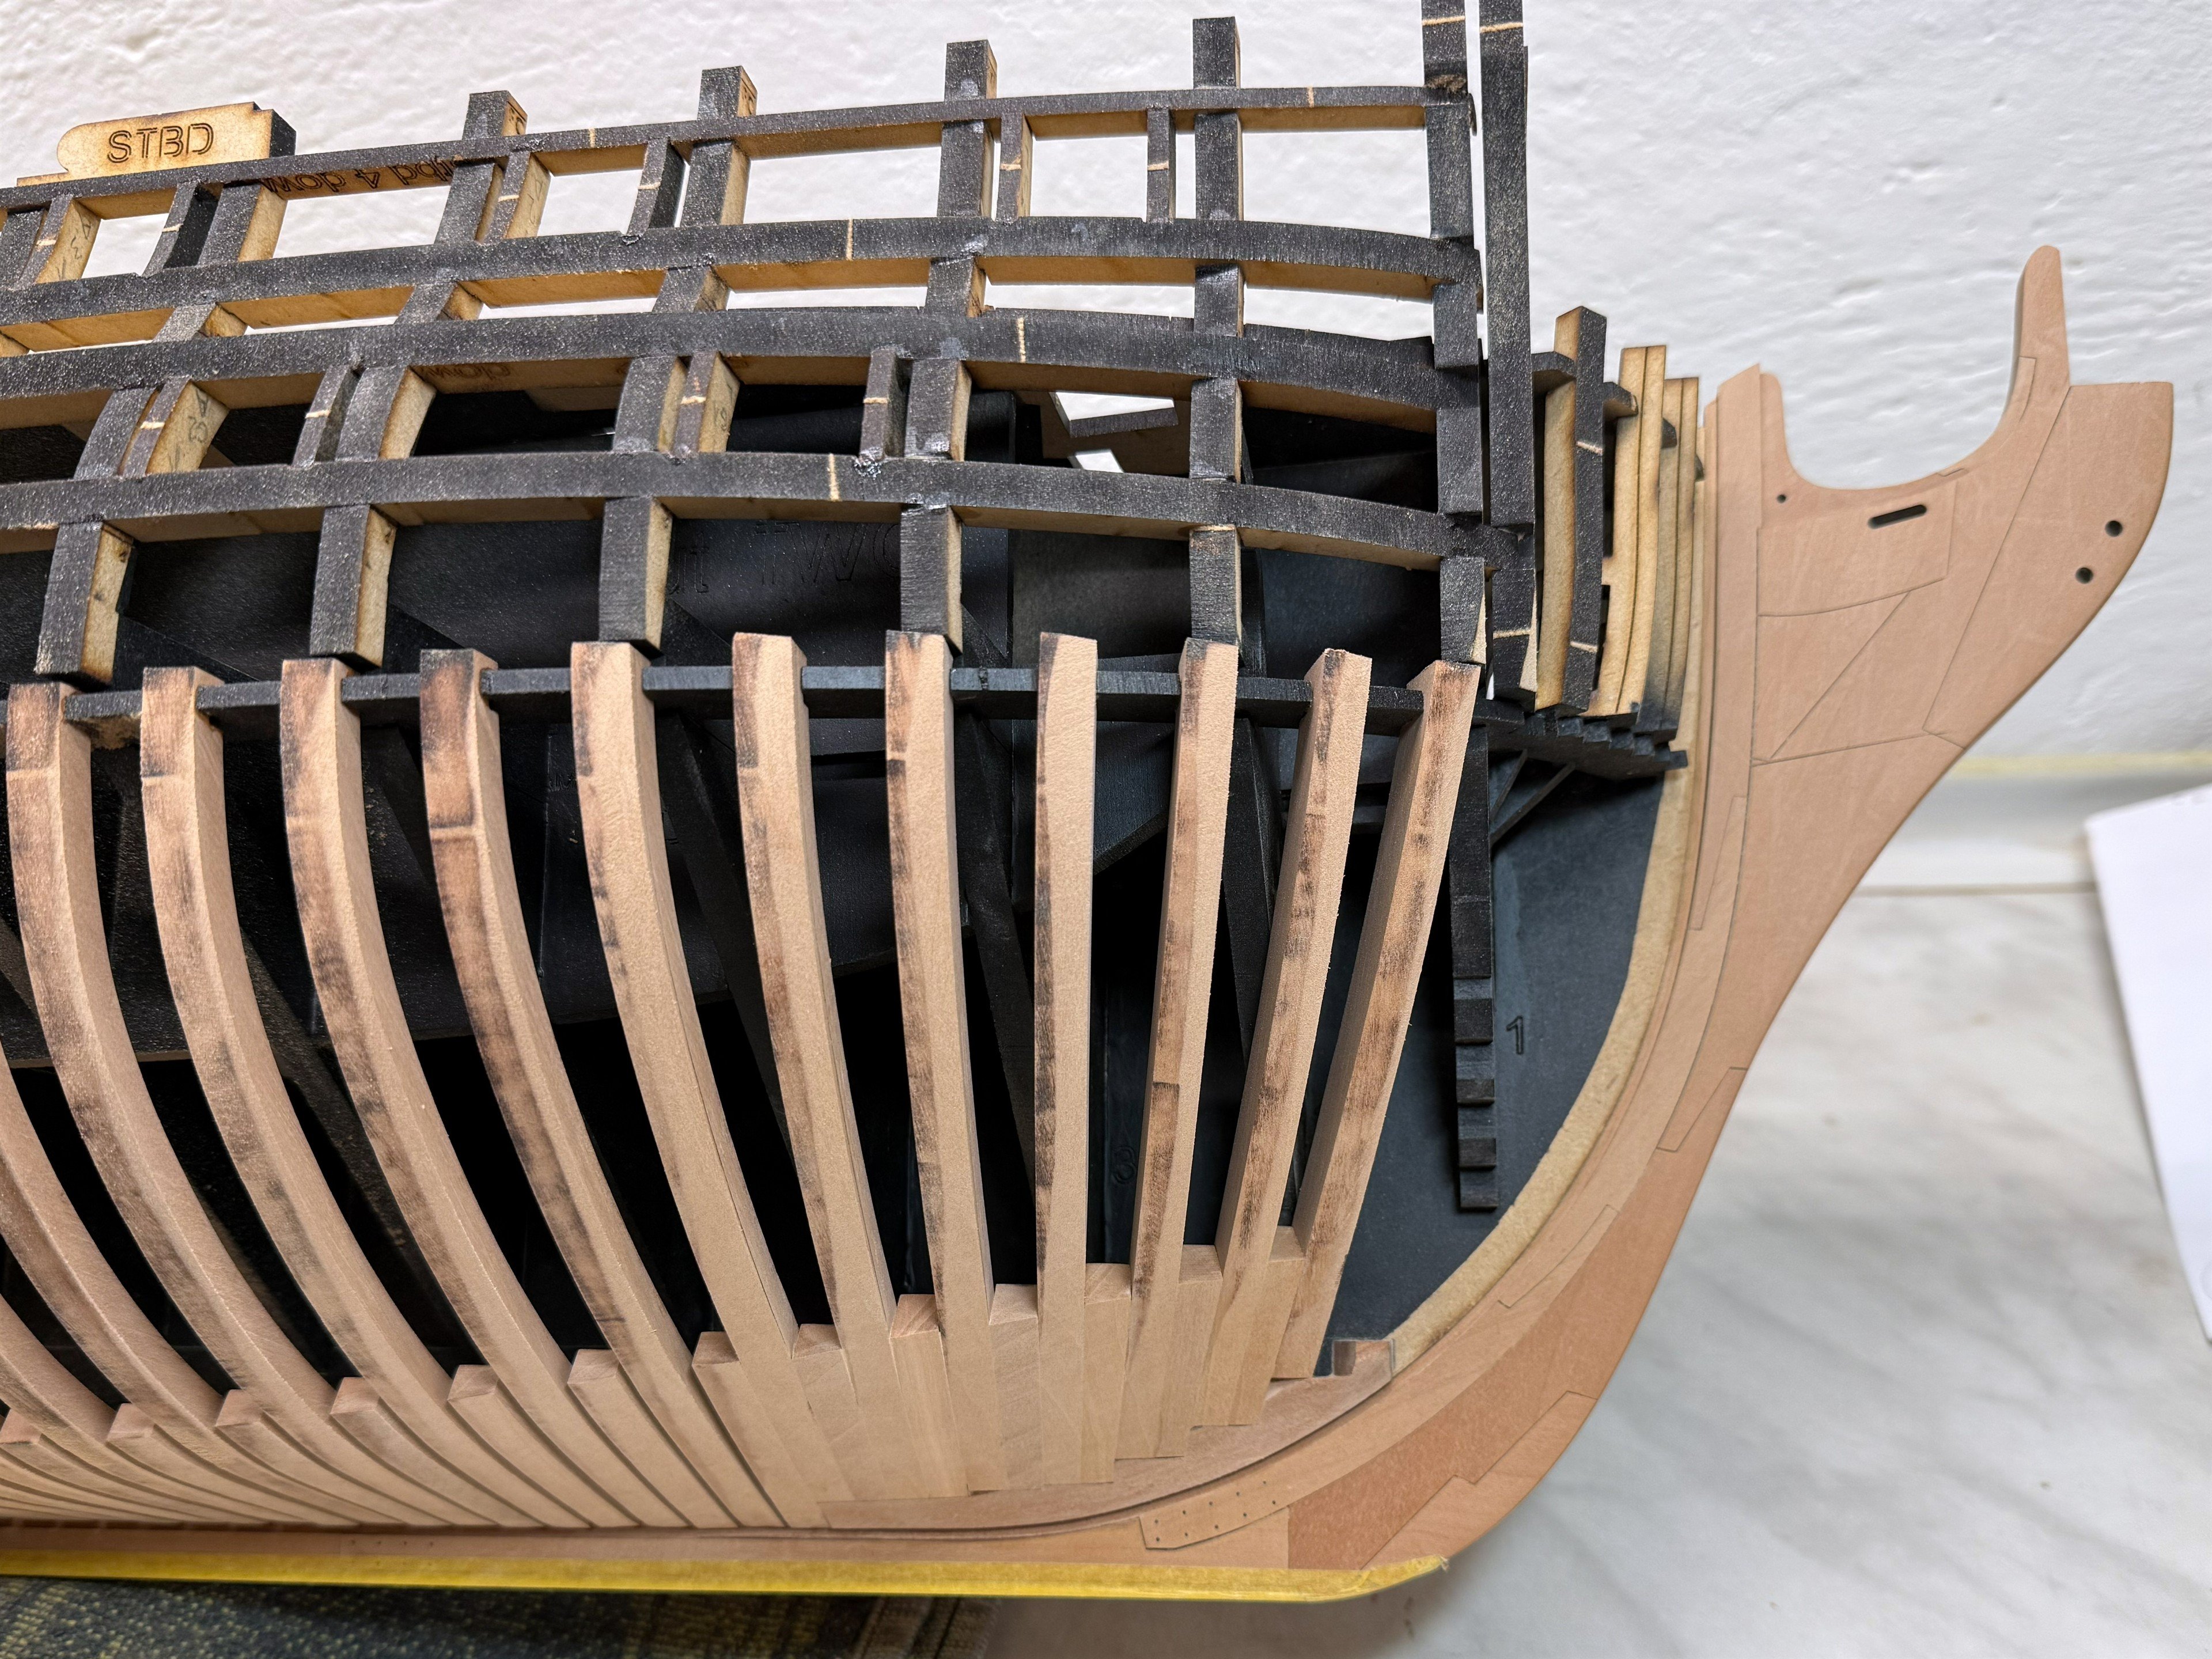
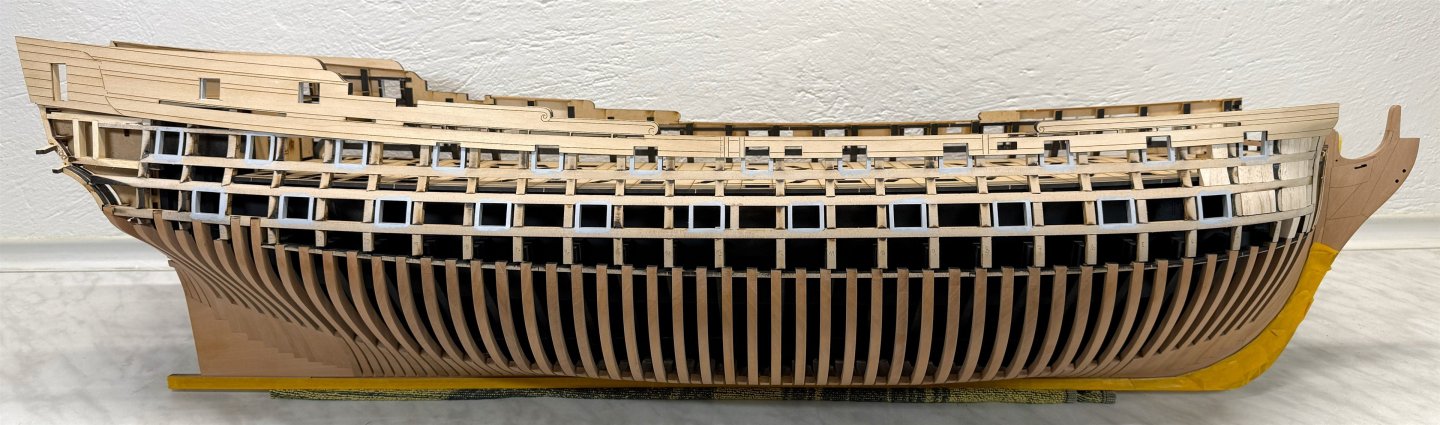
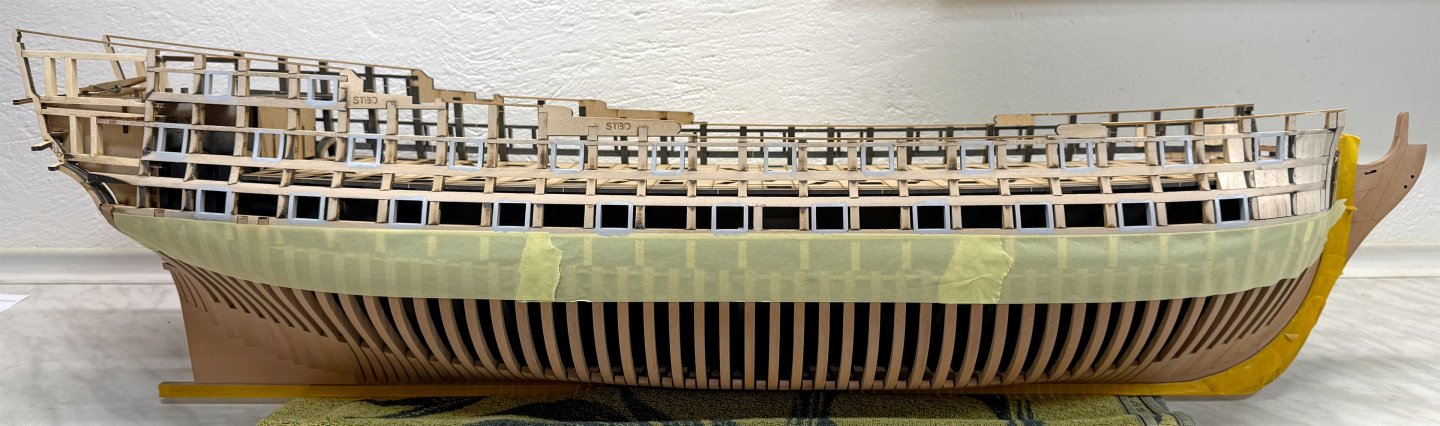
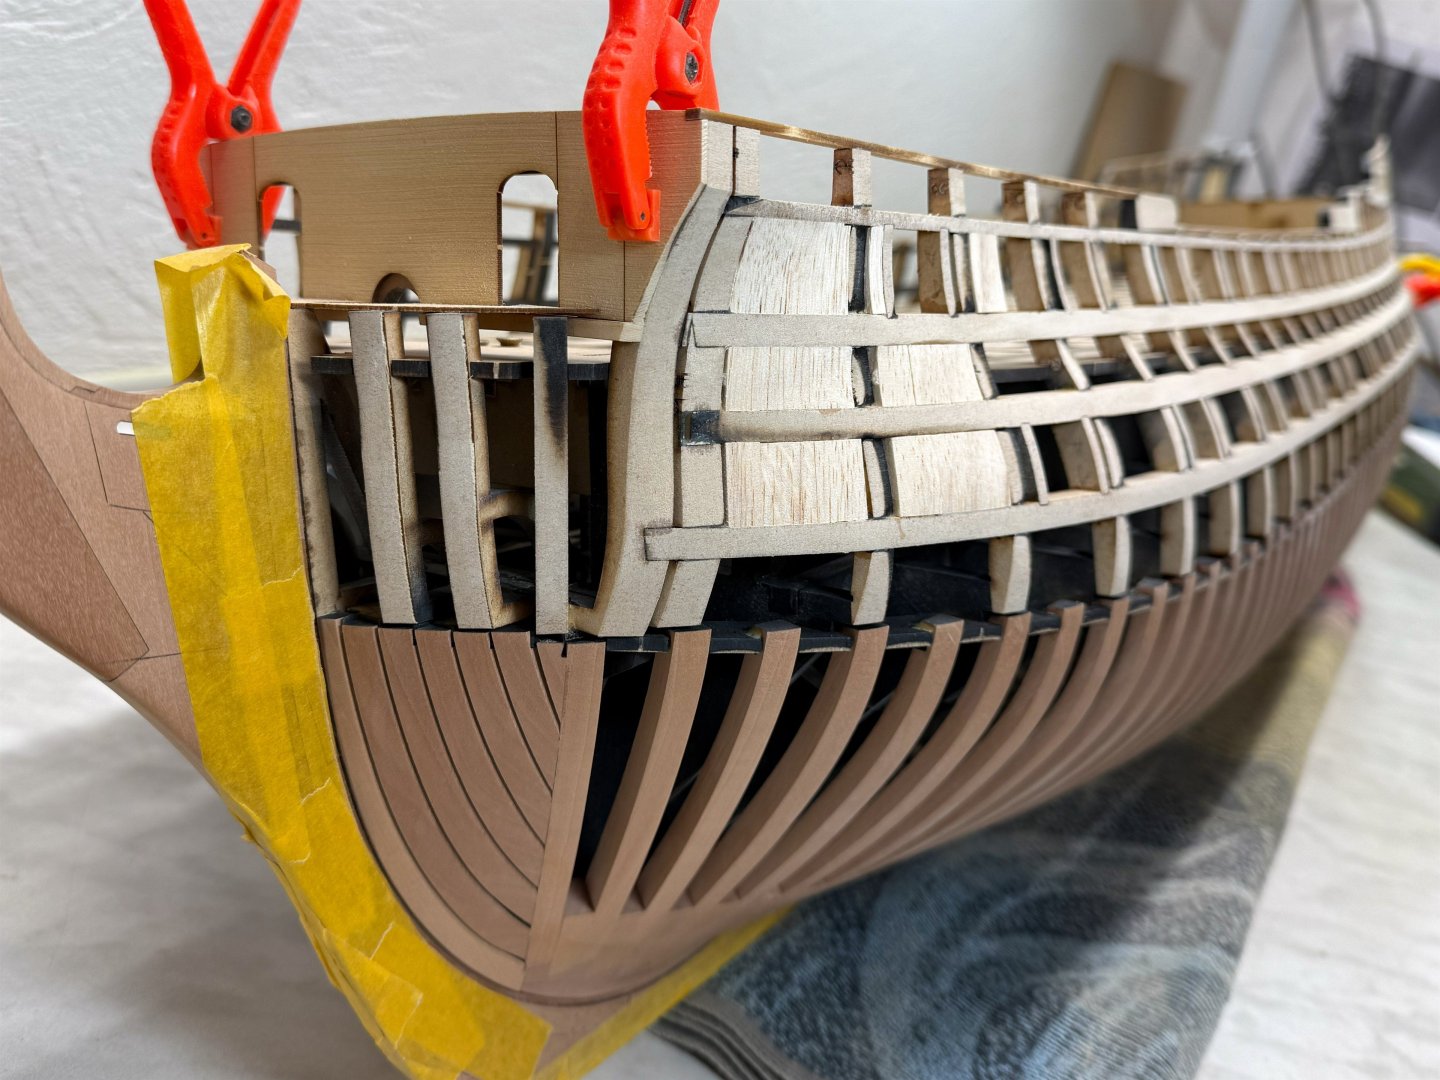
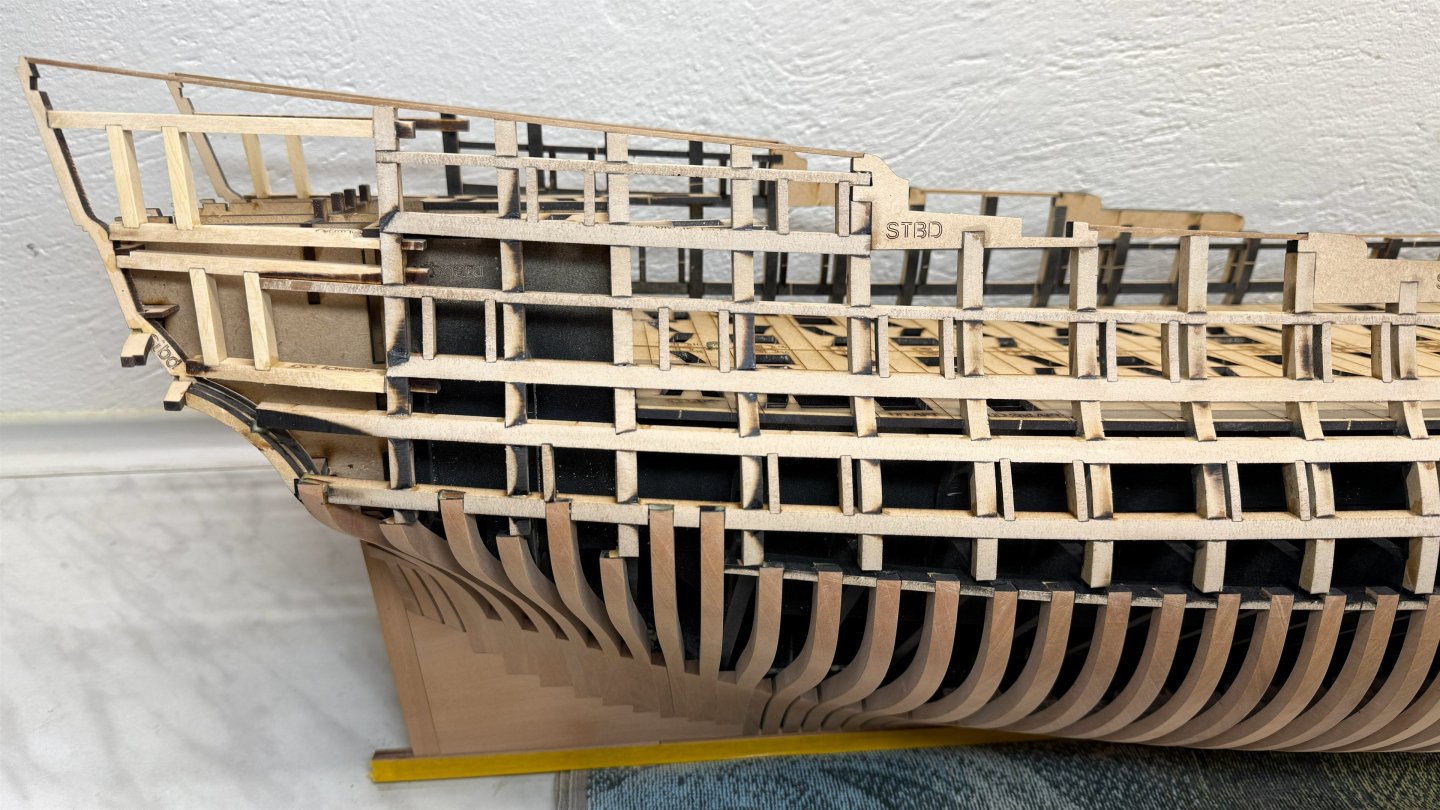
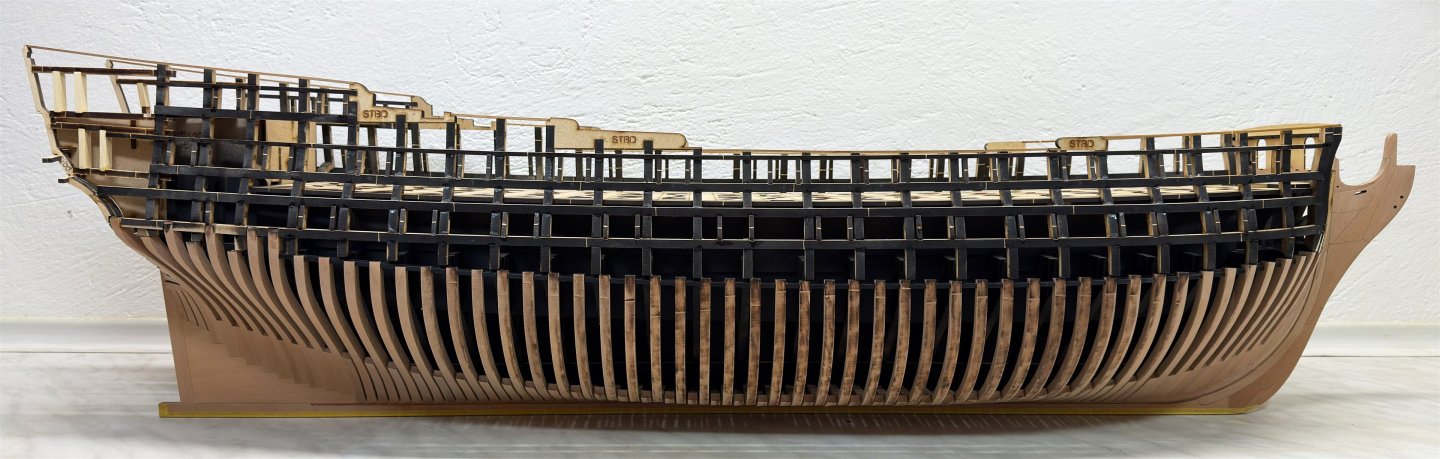
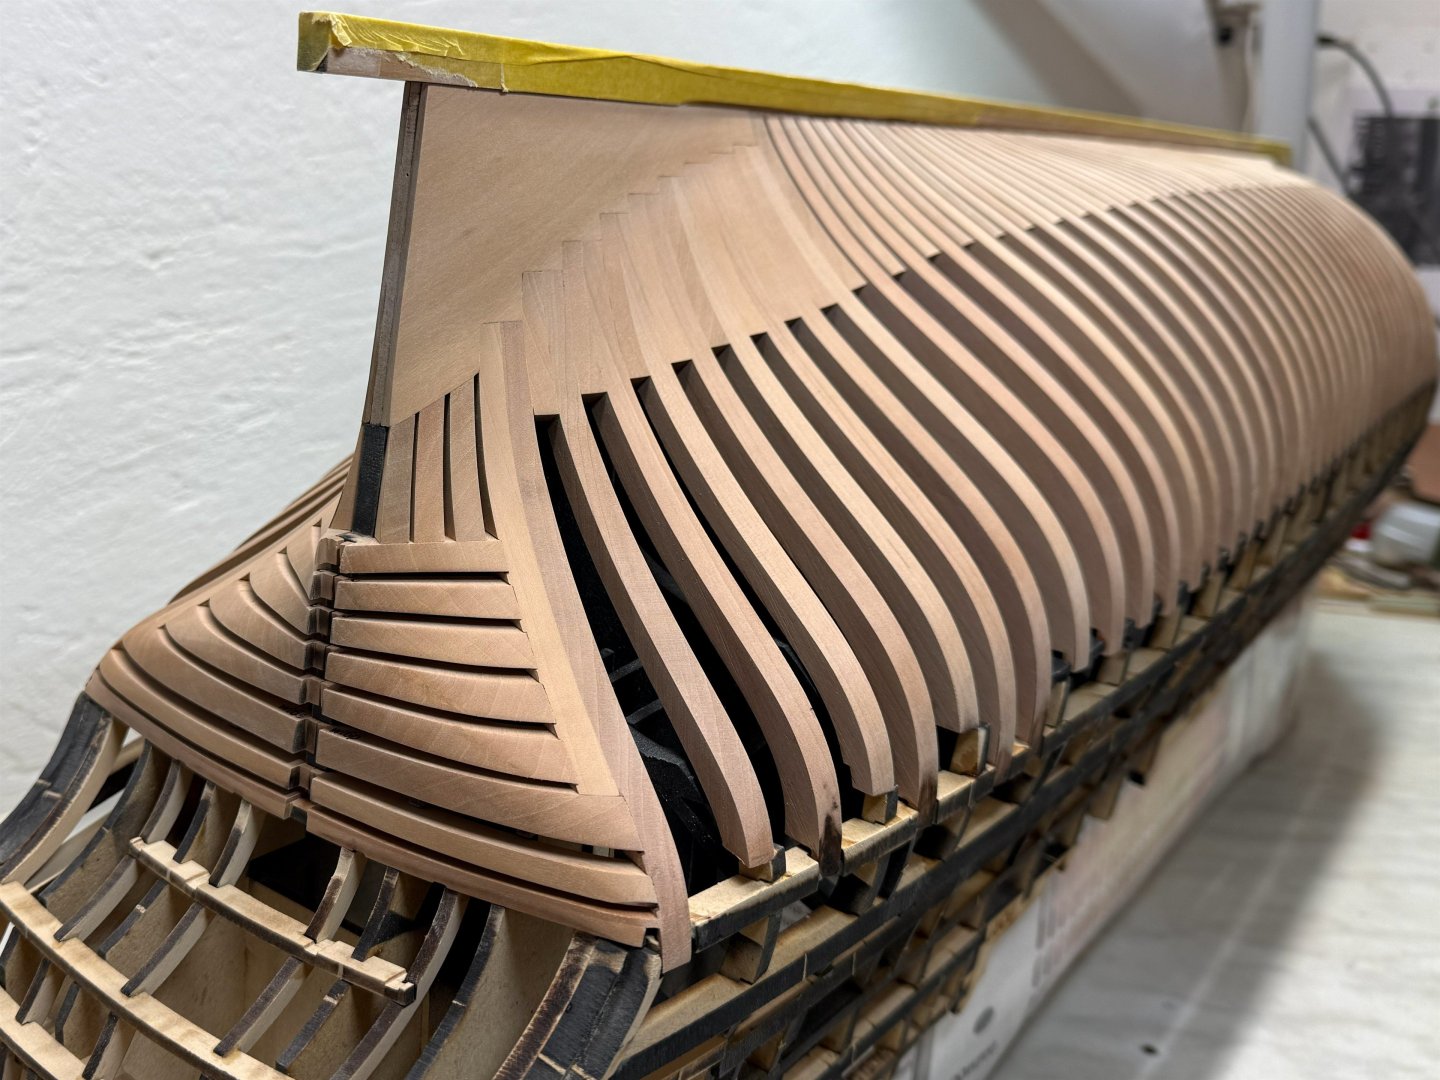
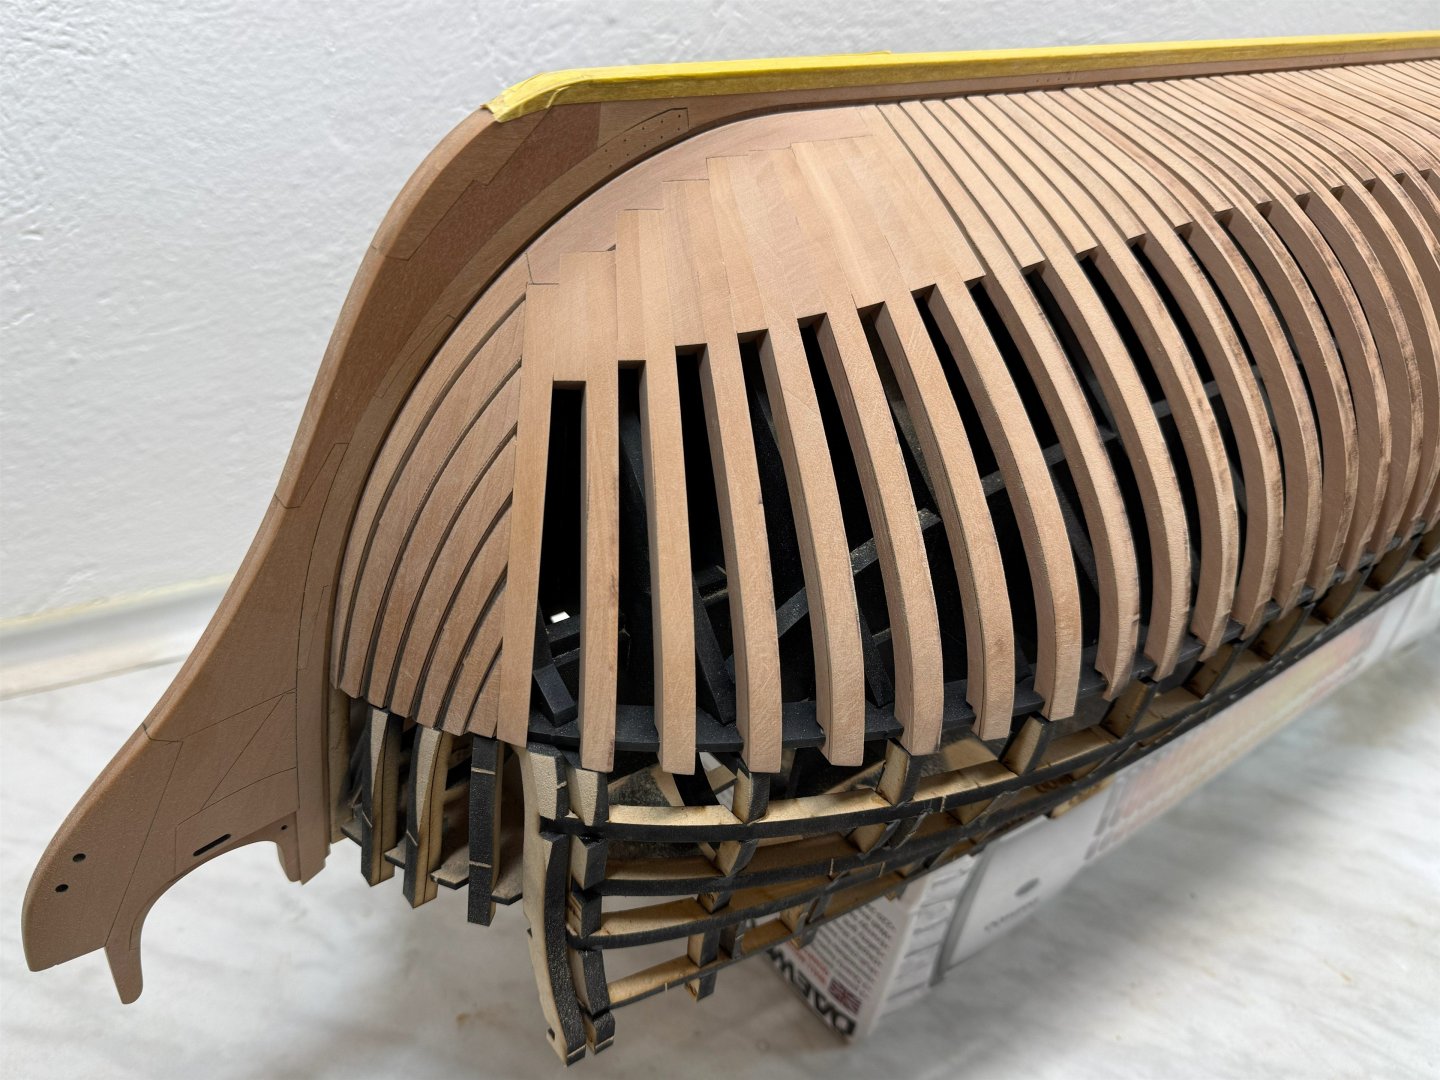
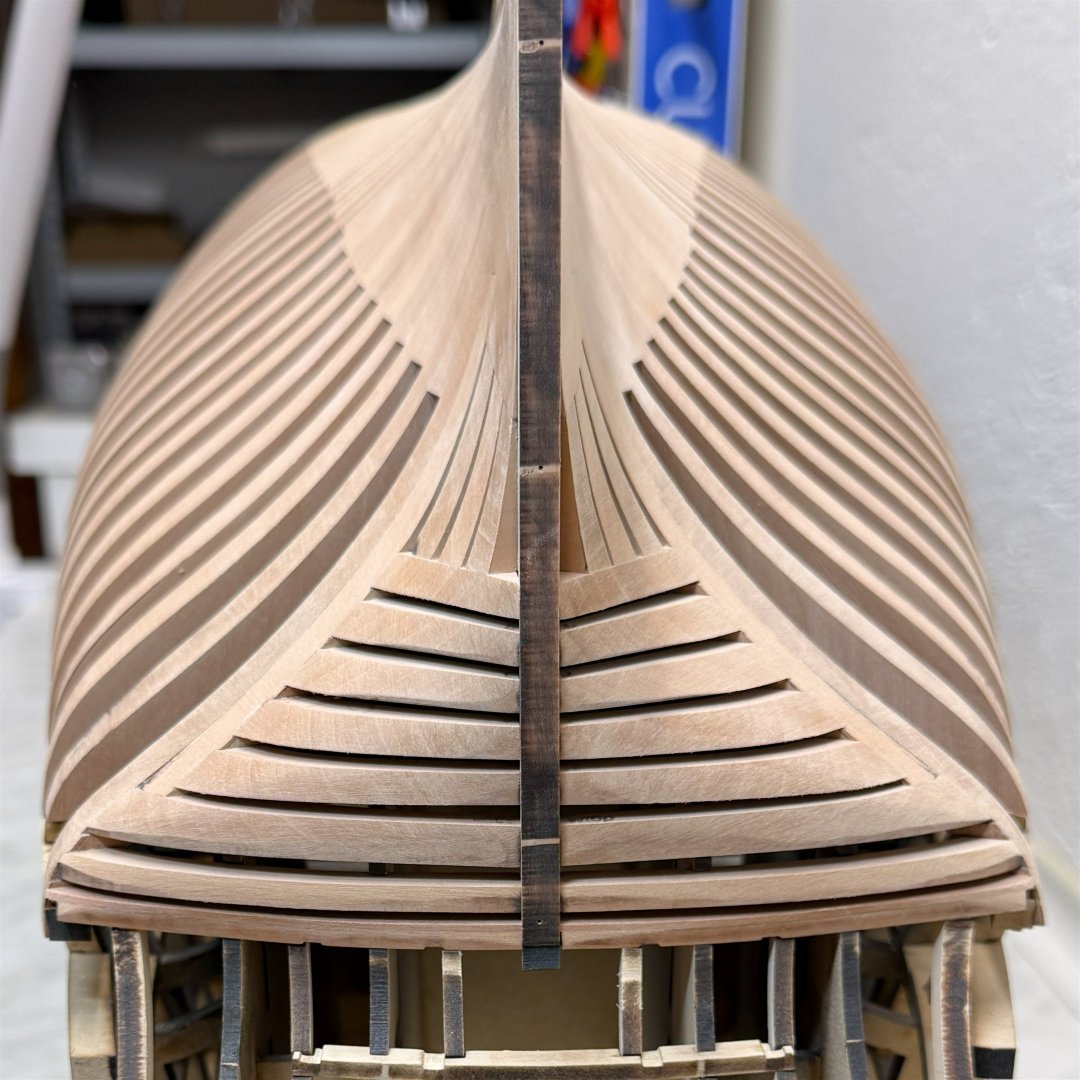
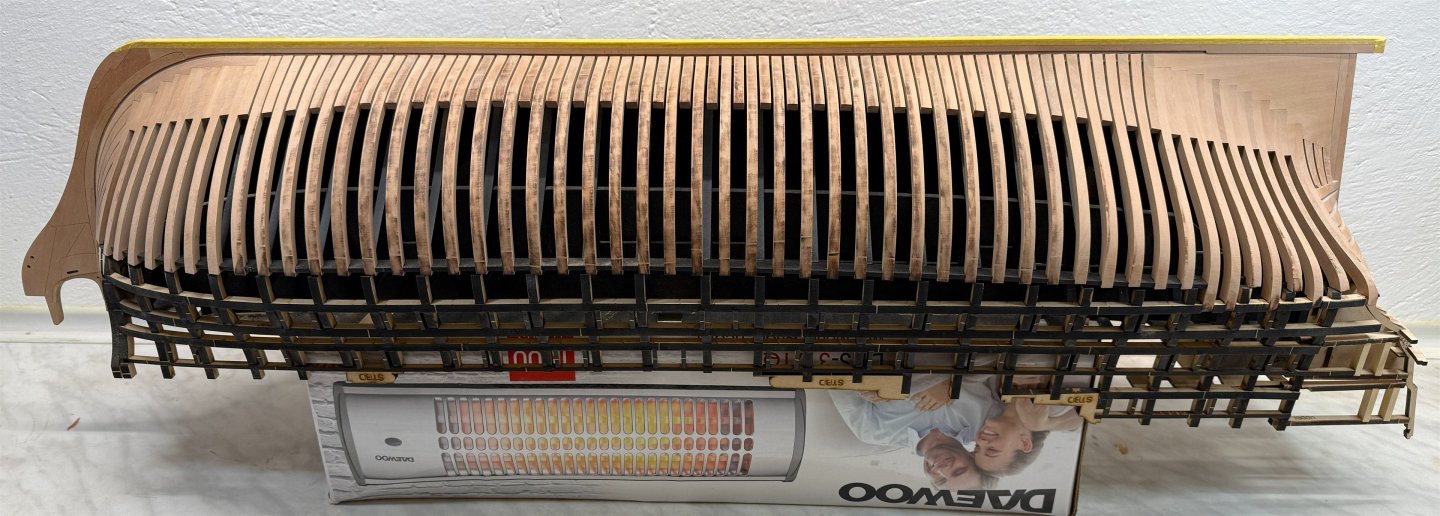
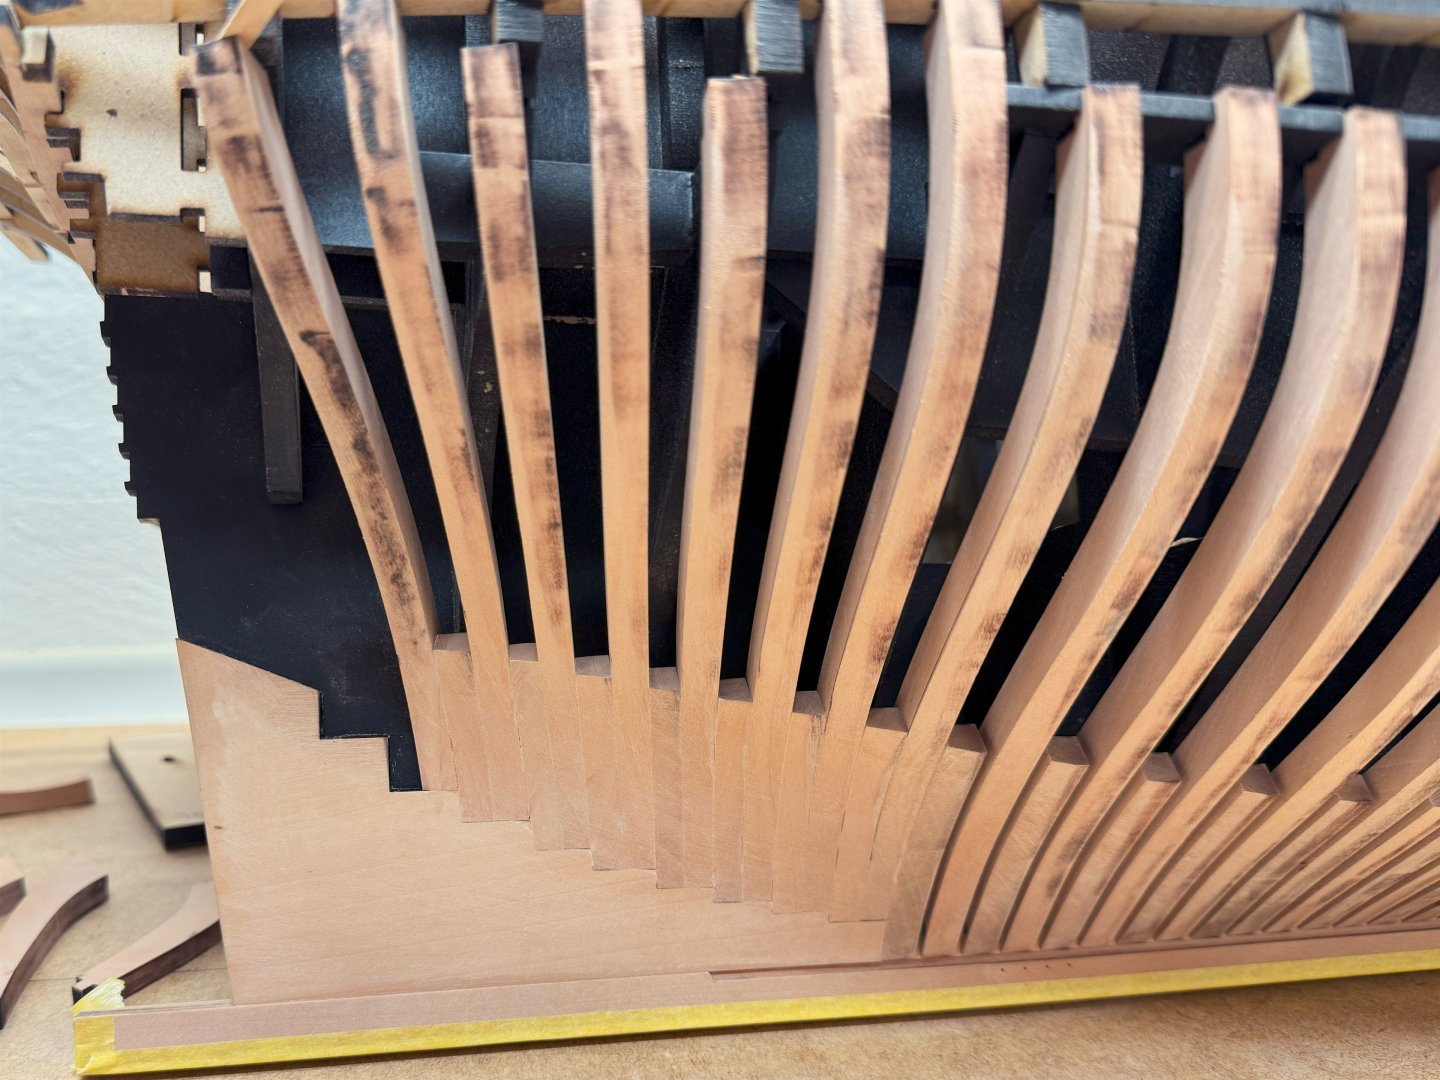
Hey guys, it took a lot of sanding, but I think it's almost finished, just a little fine-tuning of the bow frames. So here is the hull fairing on the starboard side and the test of the frieze panels.


-
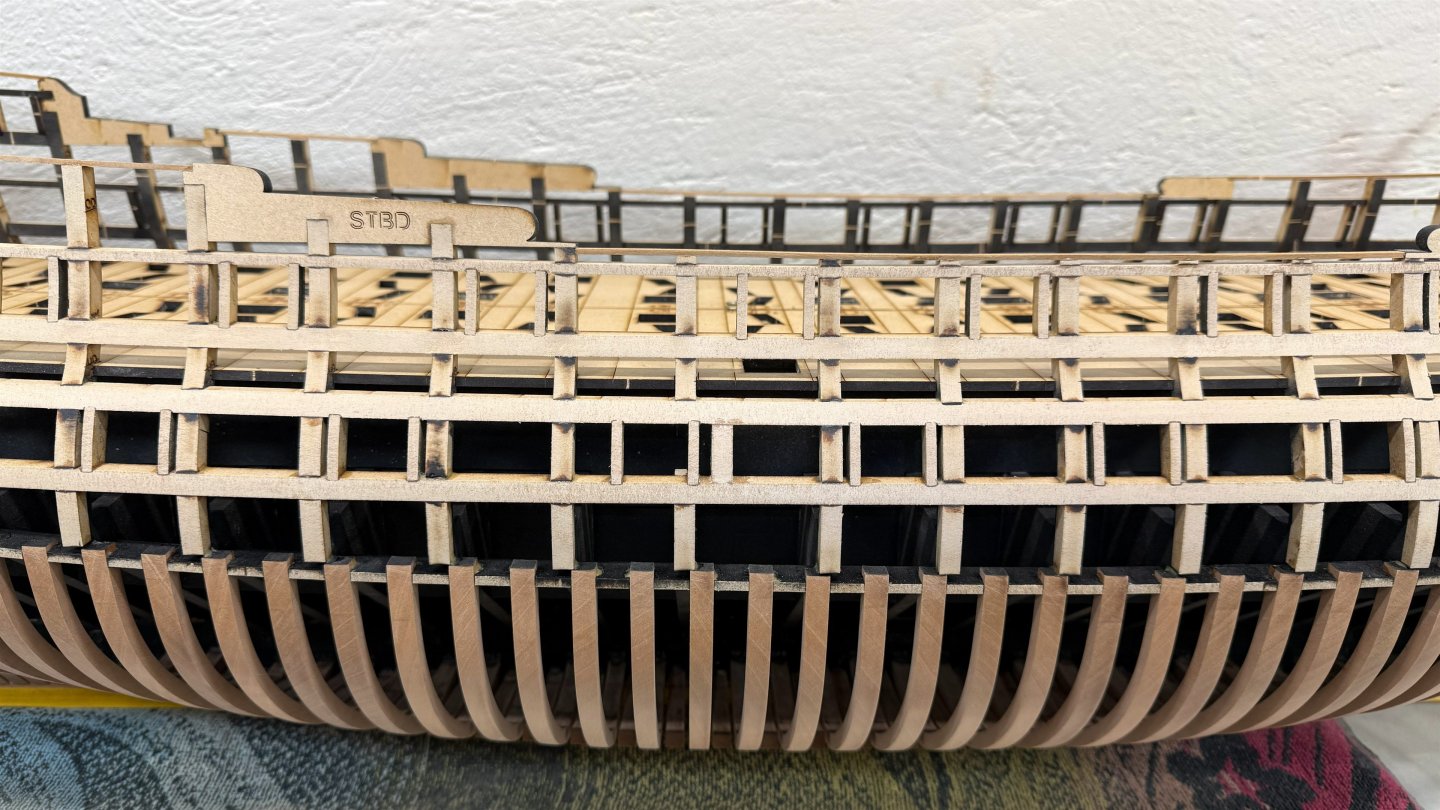
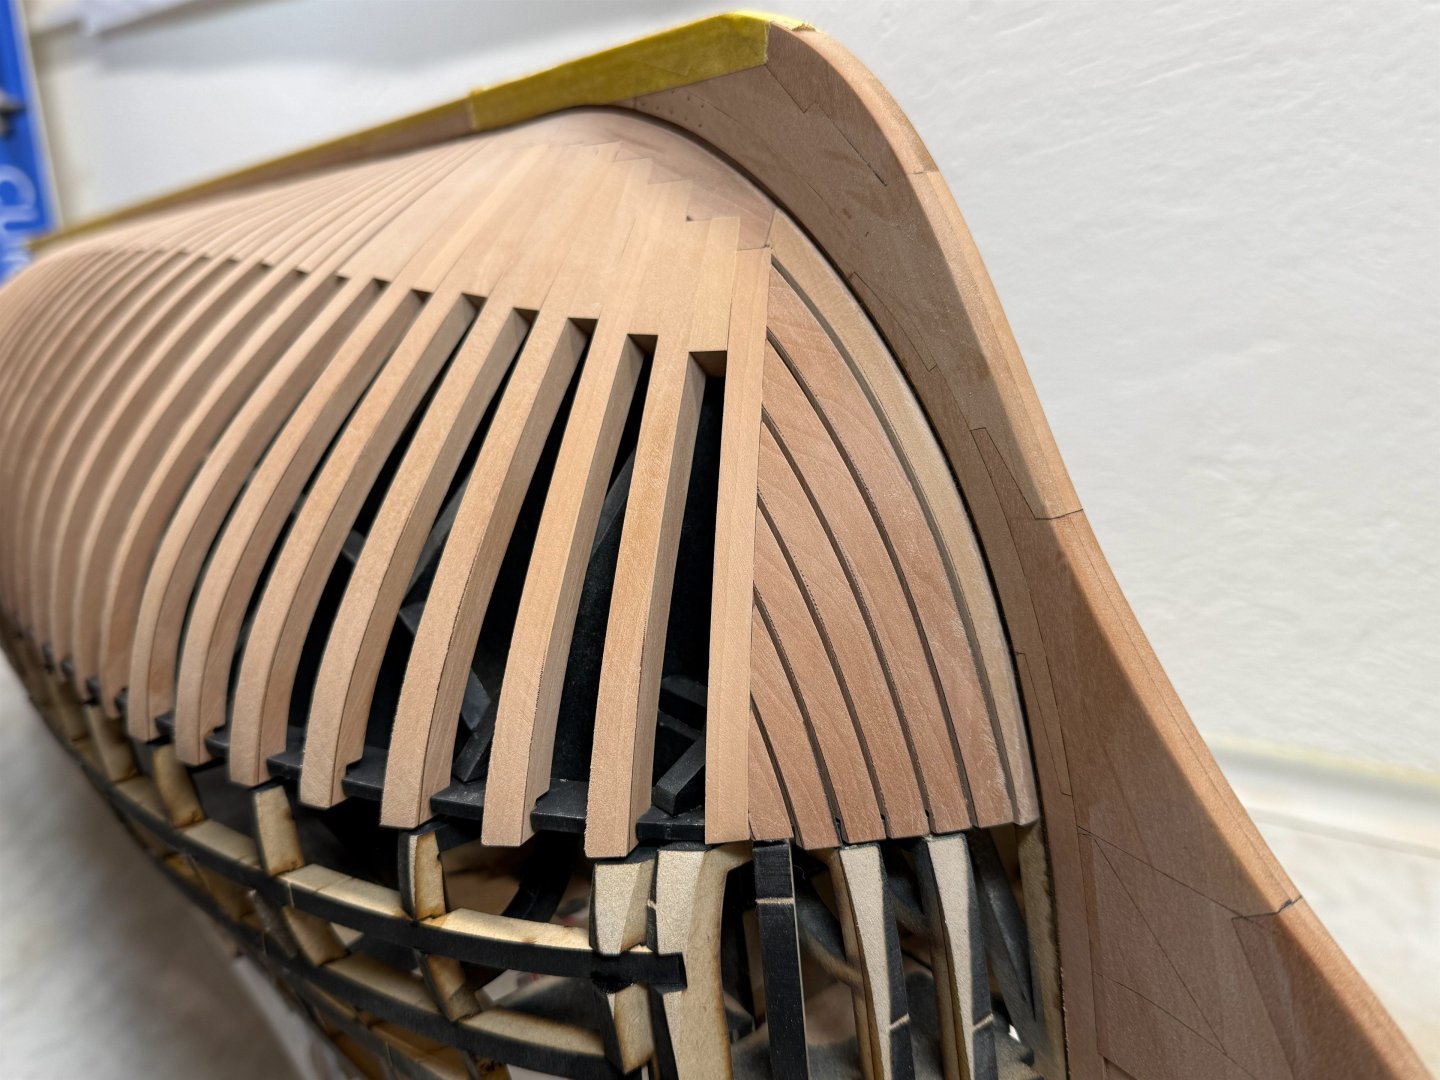
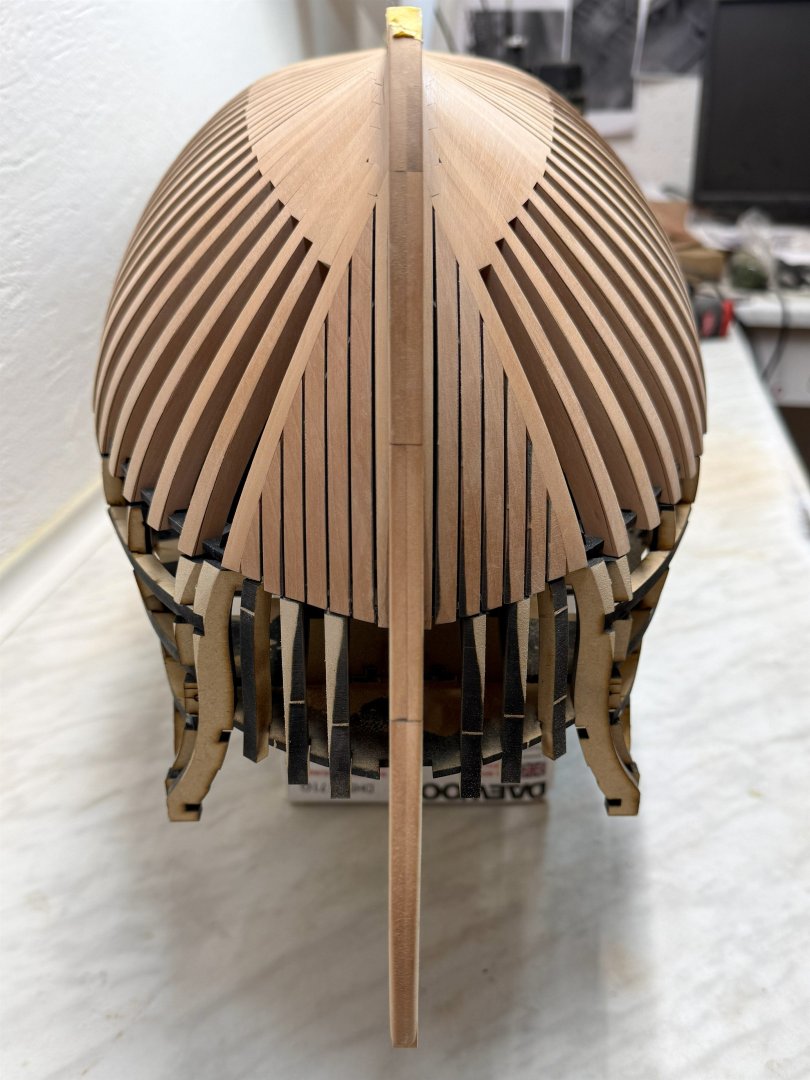
So I started with the fairing on the port side. And it's almost done.


-
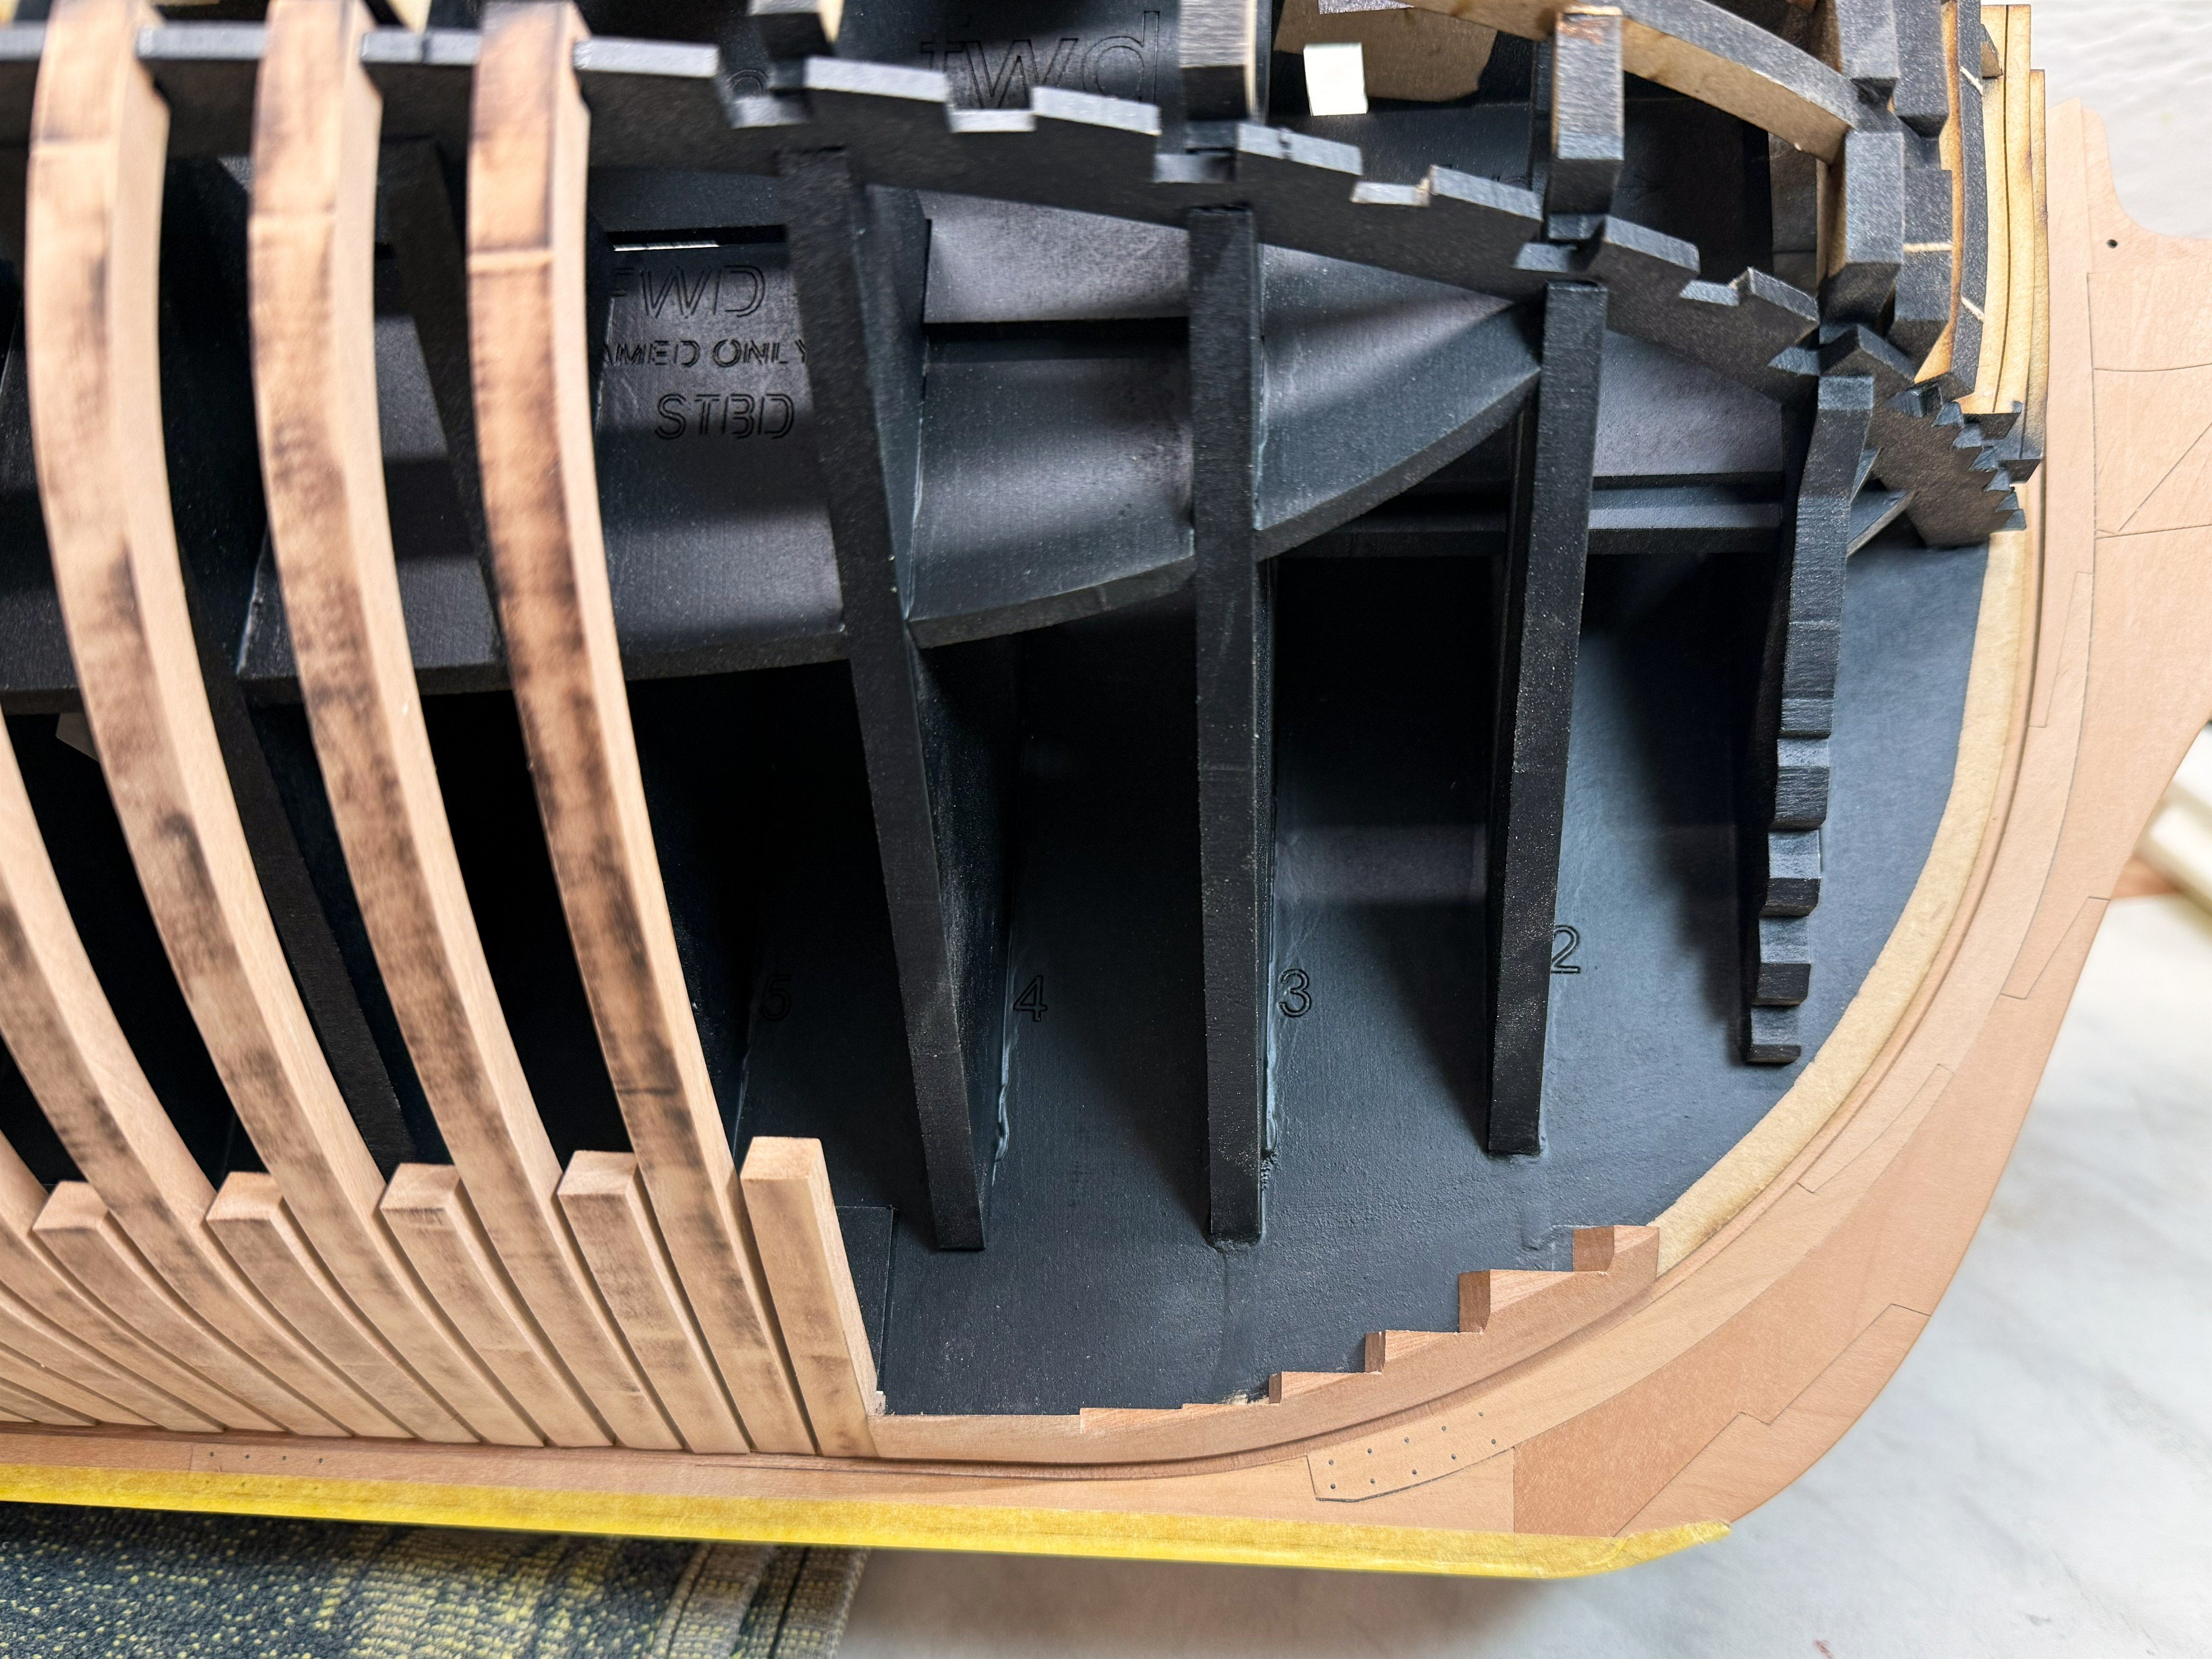
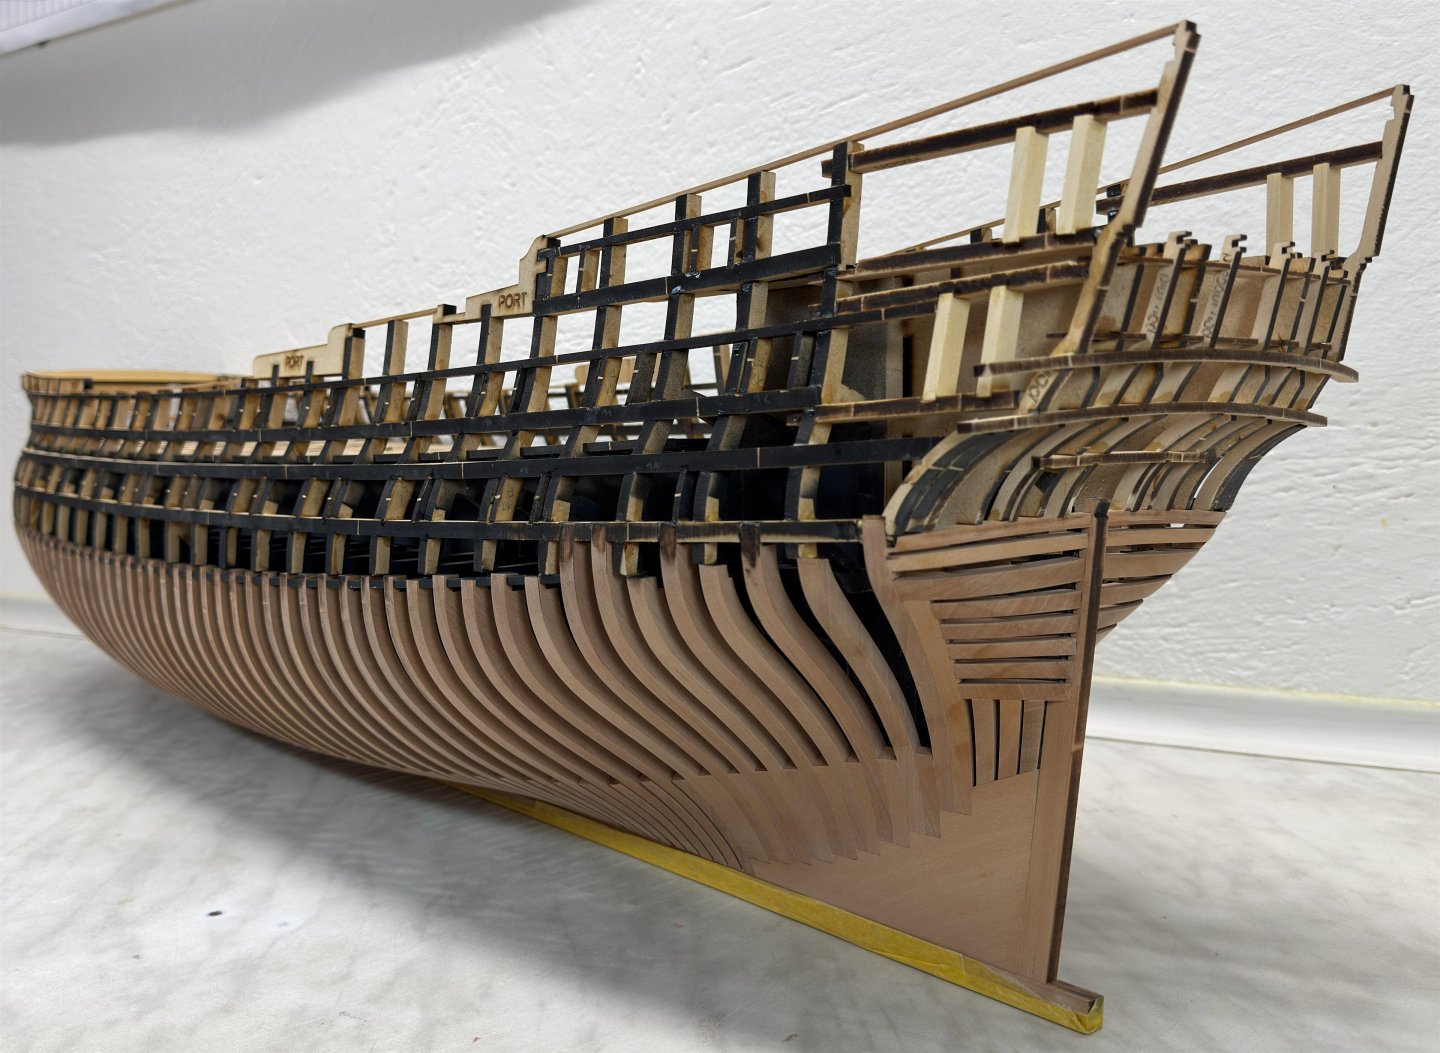
Chapter two has begun! There's a lot of fairing ahead of me.

-
Hey, guys! Today is the day I can finally say that the first chapter is done. Thanks for watching, commenting, and liking!


-
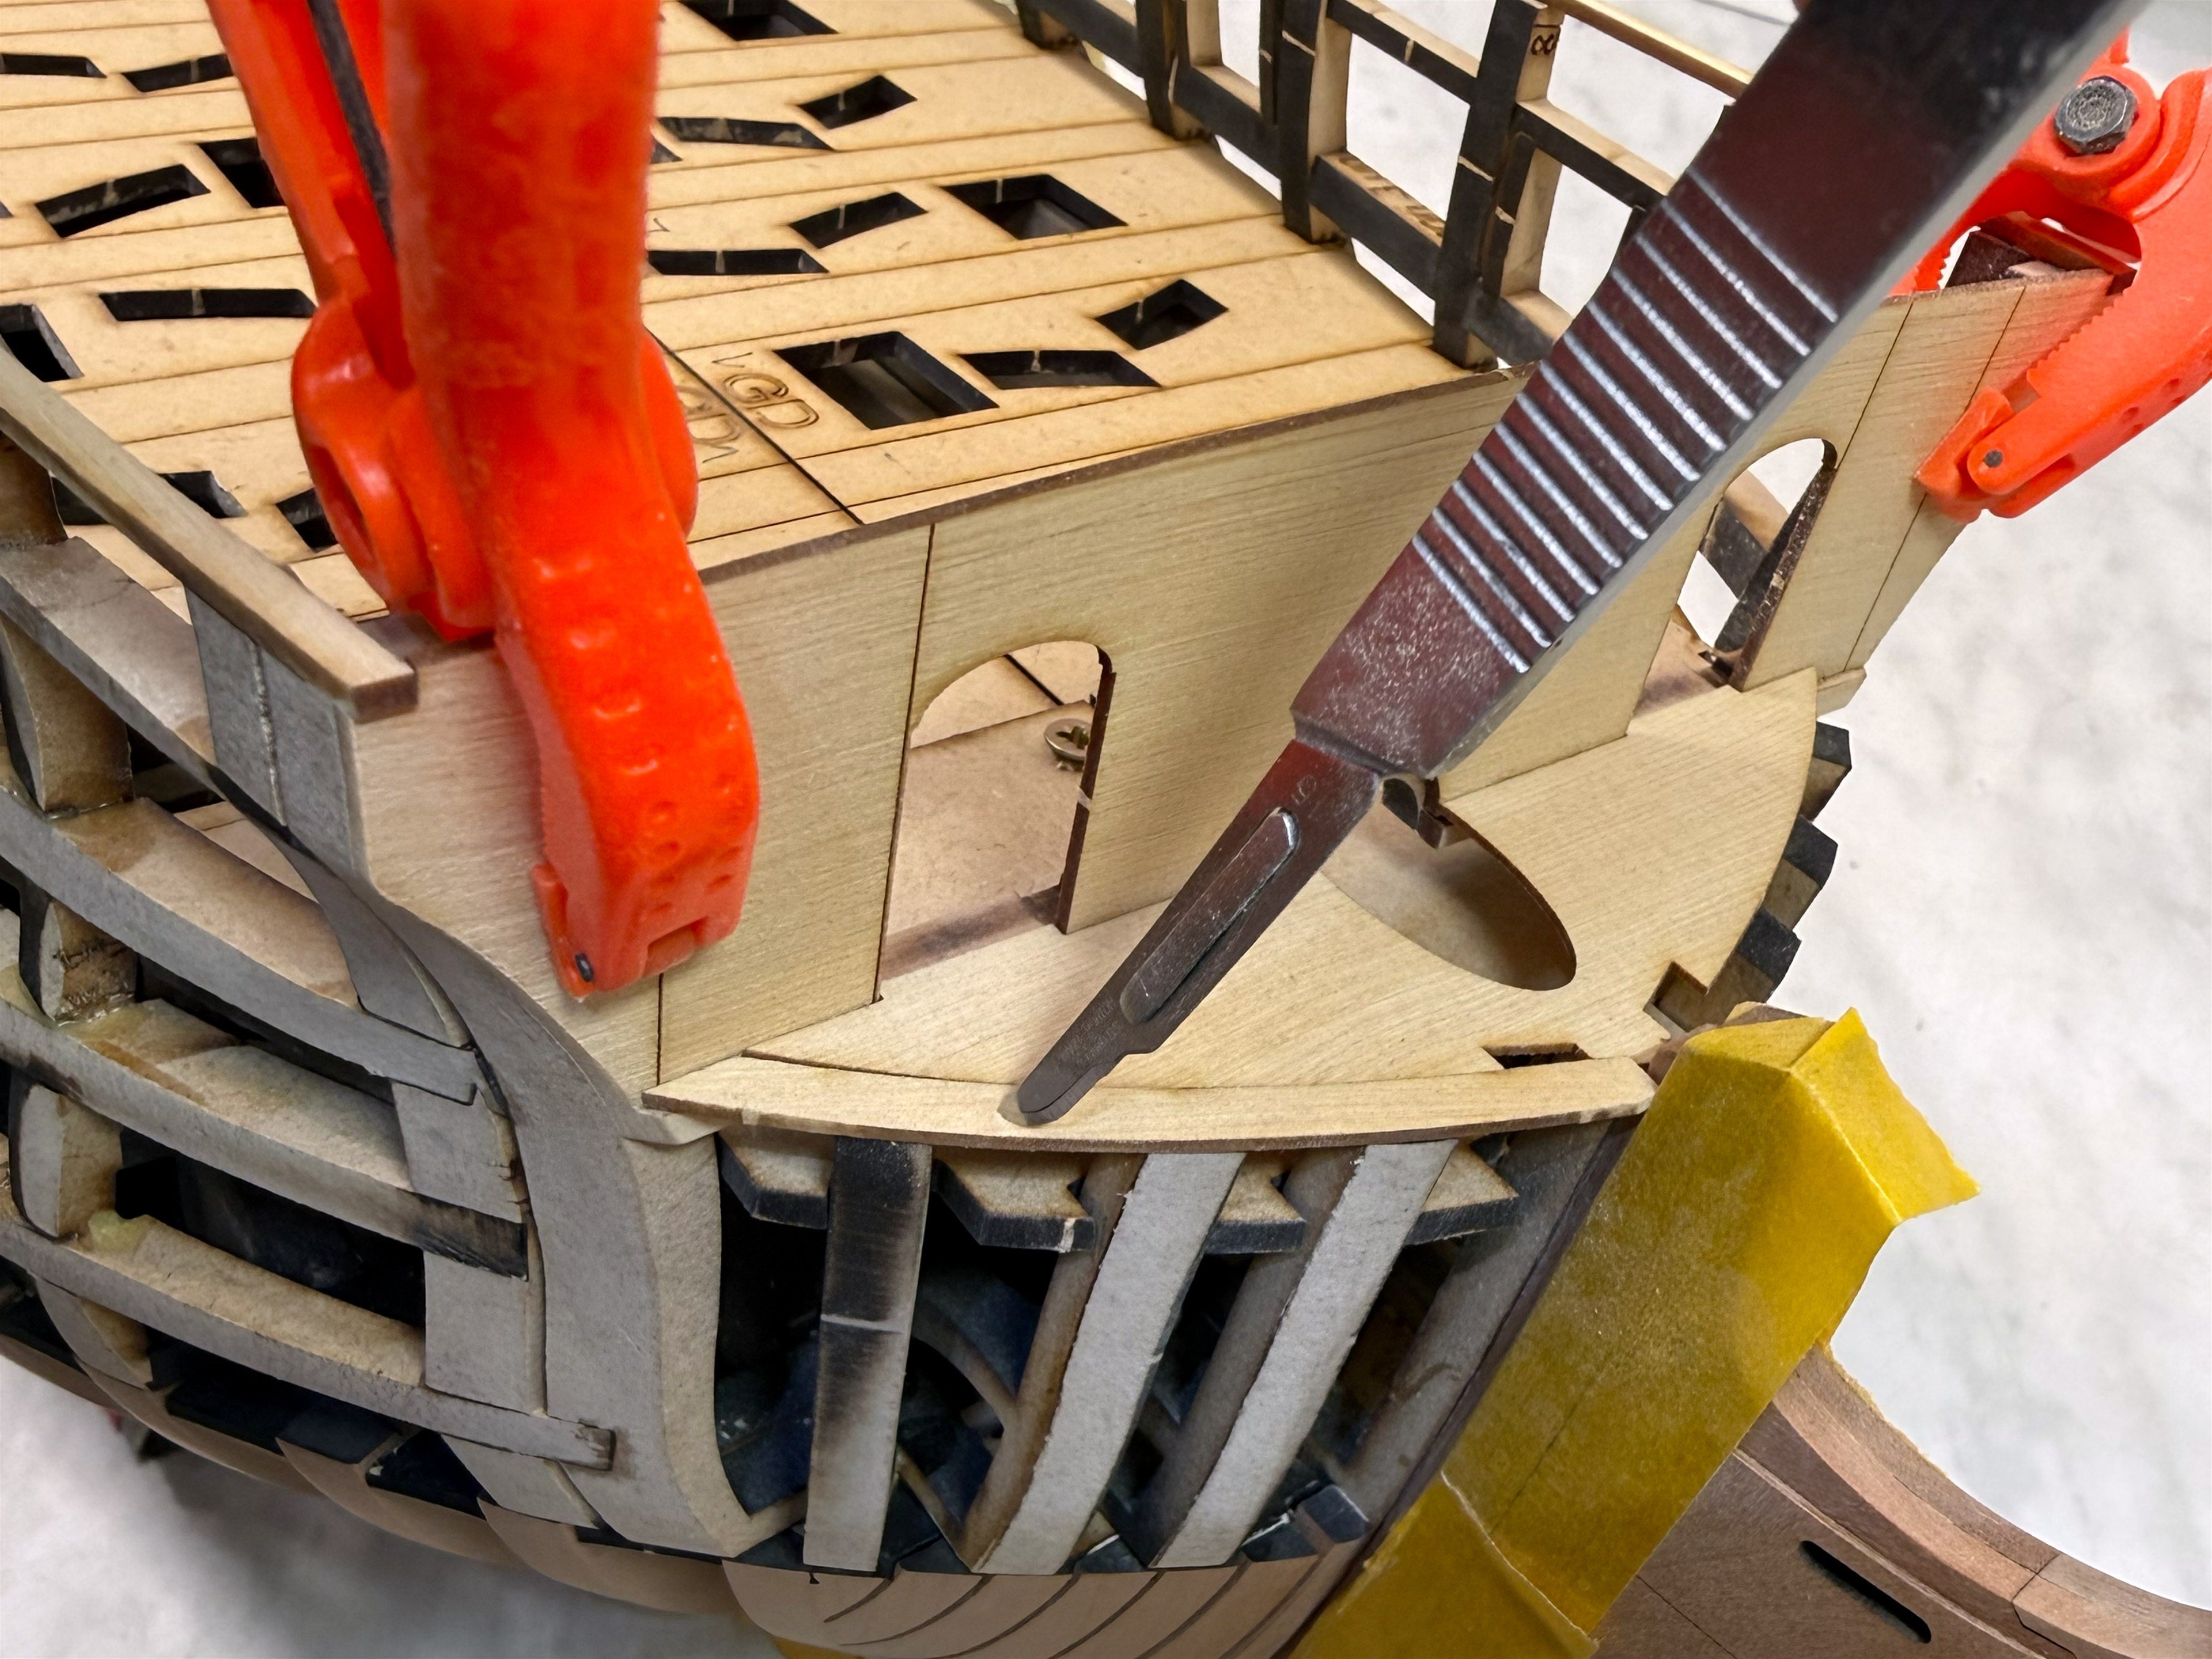
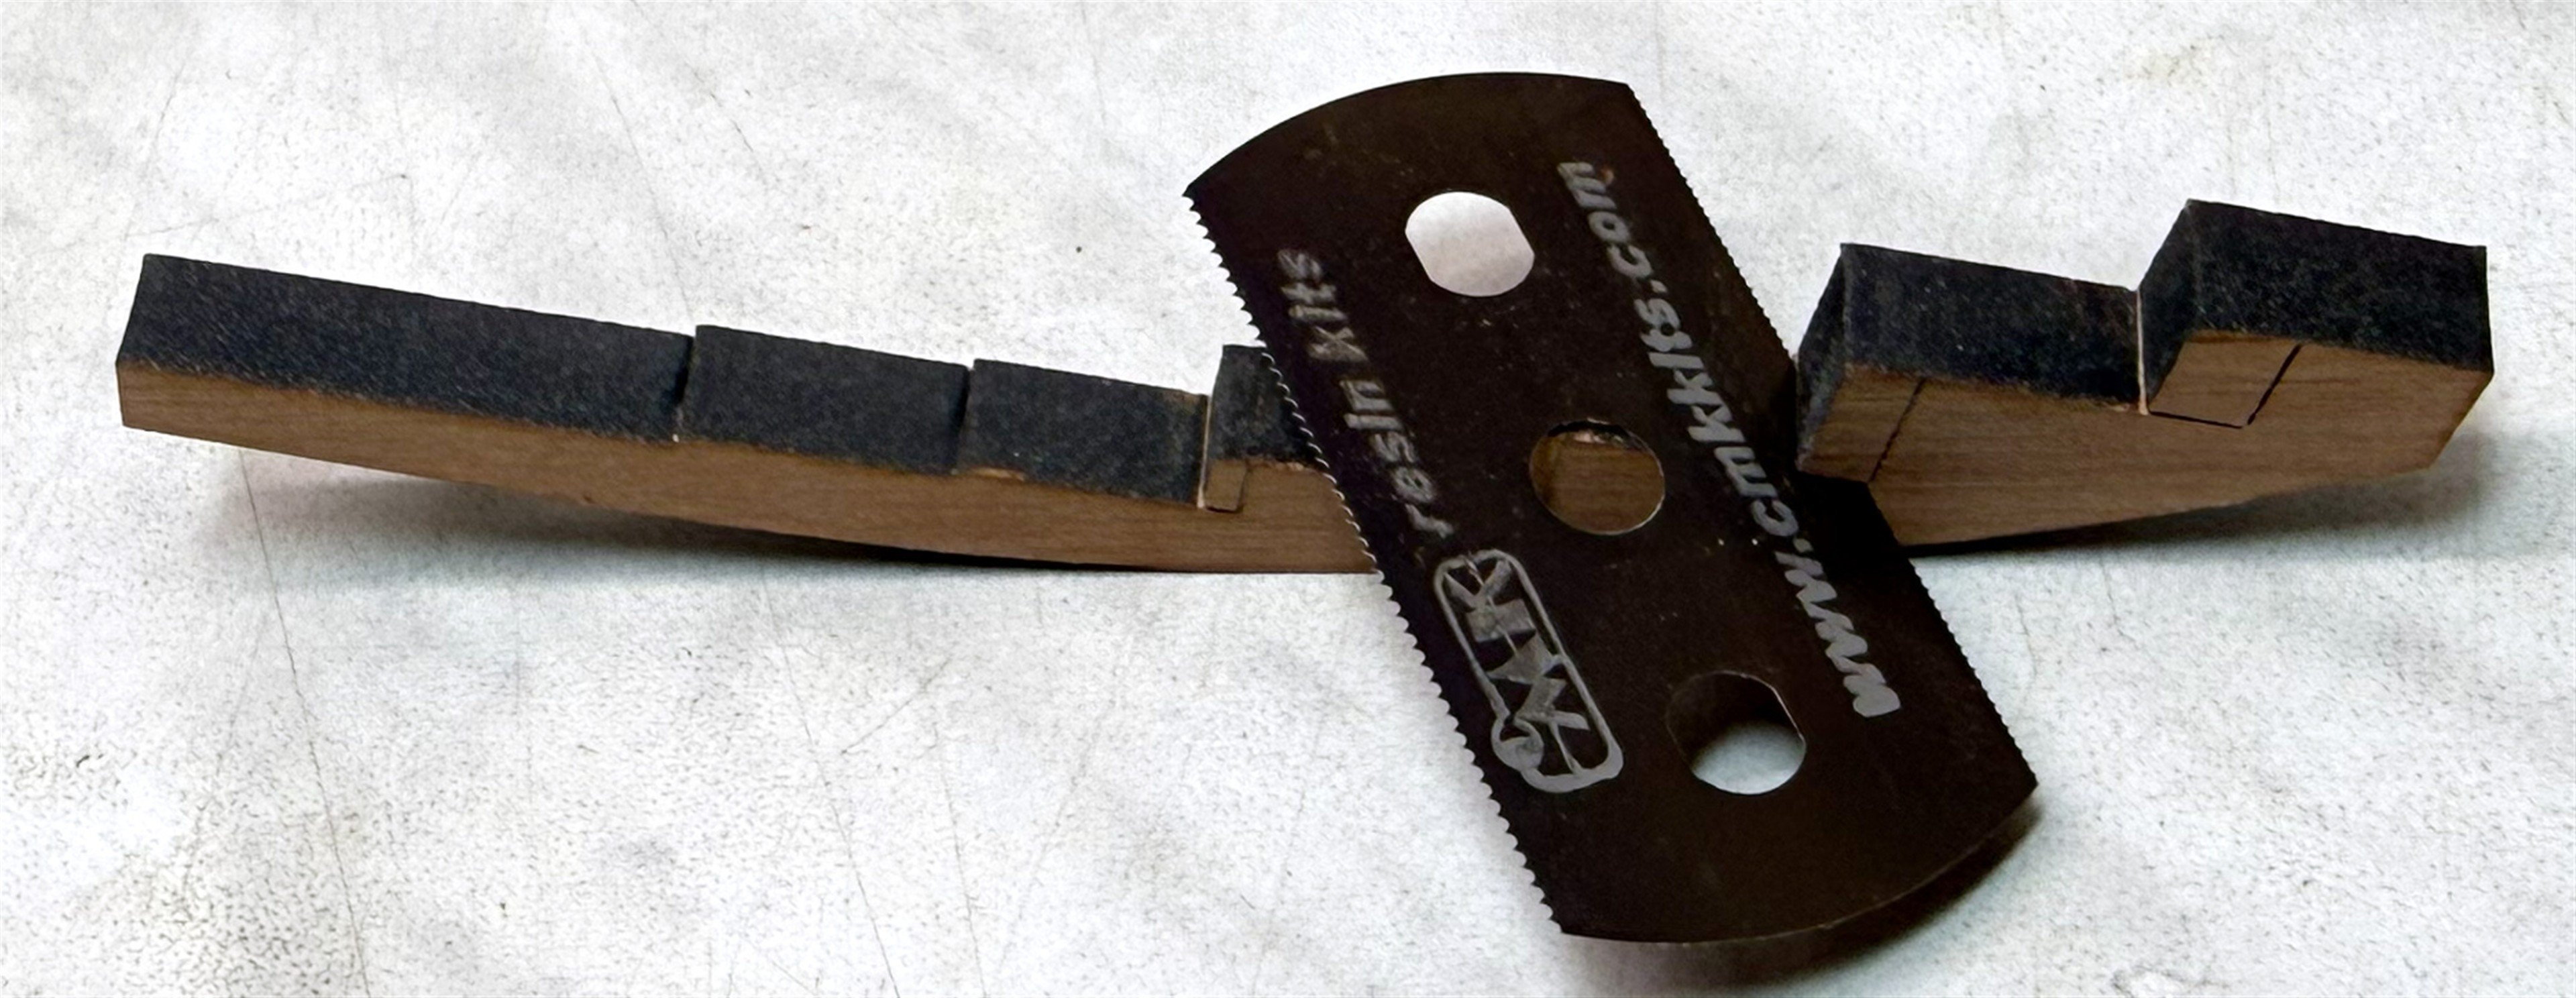
Hi Frank, I have a JLC saw like the one in the picture. JLC-Precision-Resin-Saw And your Winnie looks fantastic.
-
Thanks, guys. Today, I just continued sanding the stern. The post is only temporary. I might glue it later when it's time for the lower counter. I also need to finish the stern chaser ports. And to conclude the first chapter, I still need to add fairing caps. And finally then, I can move on to fairing the hull of the beast.


-
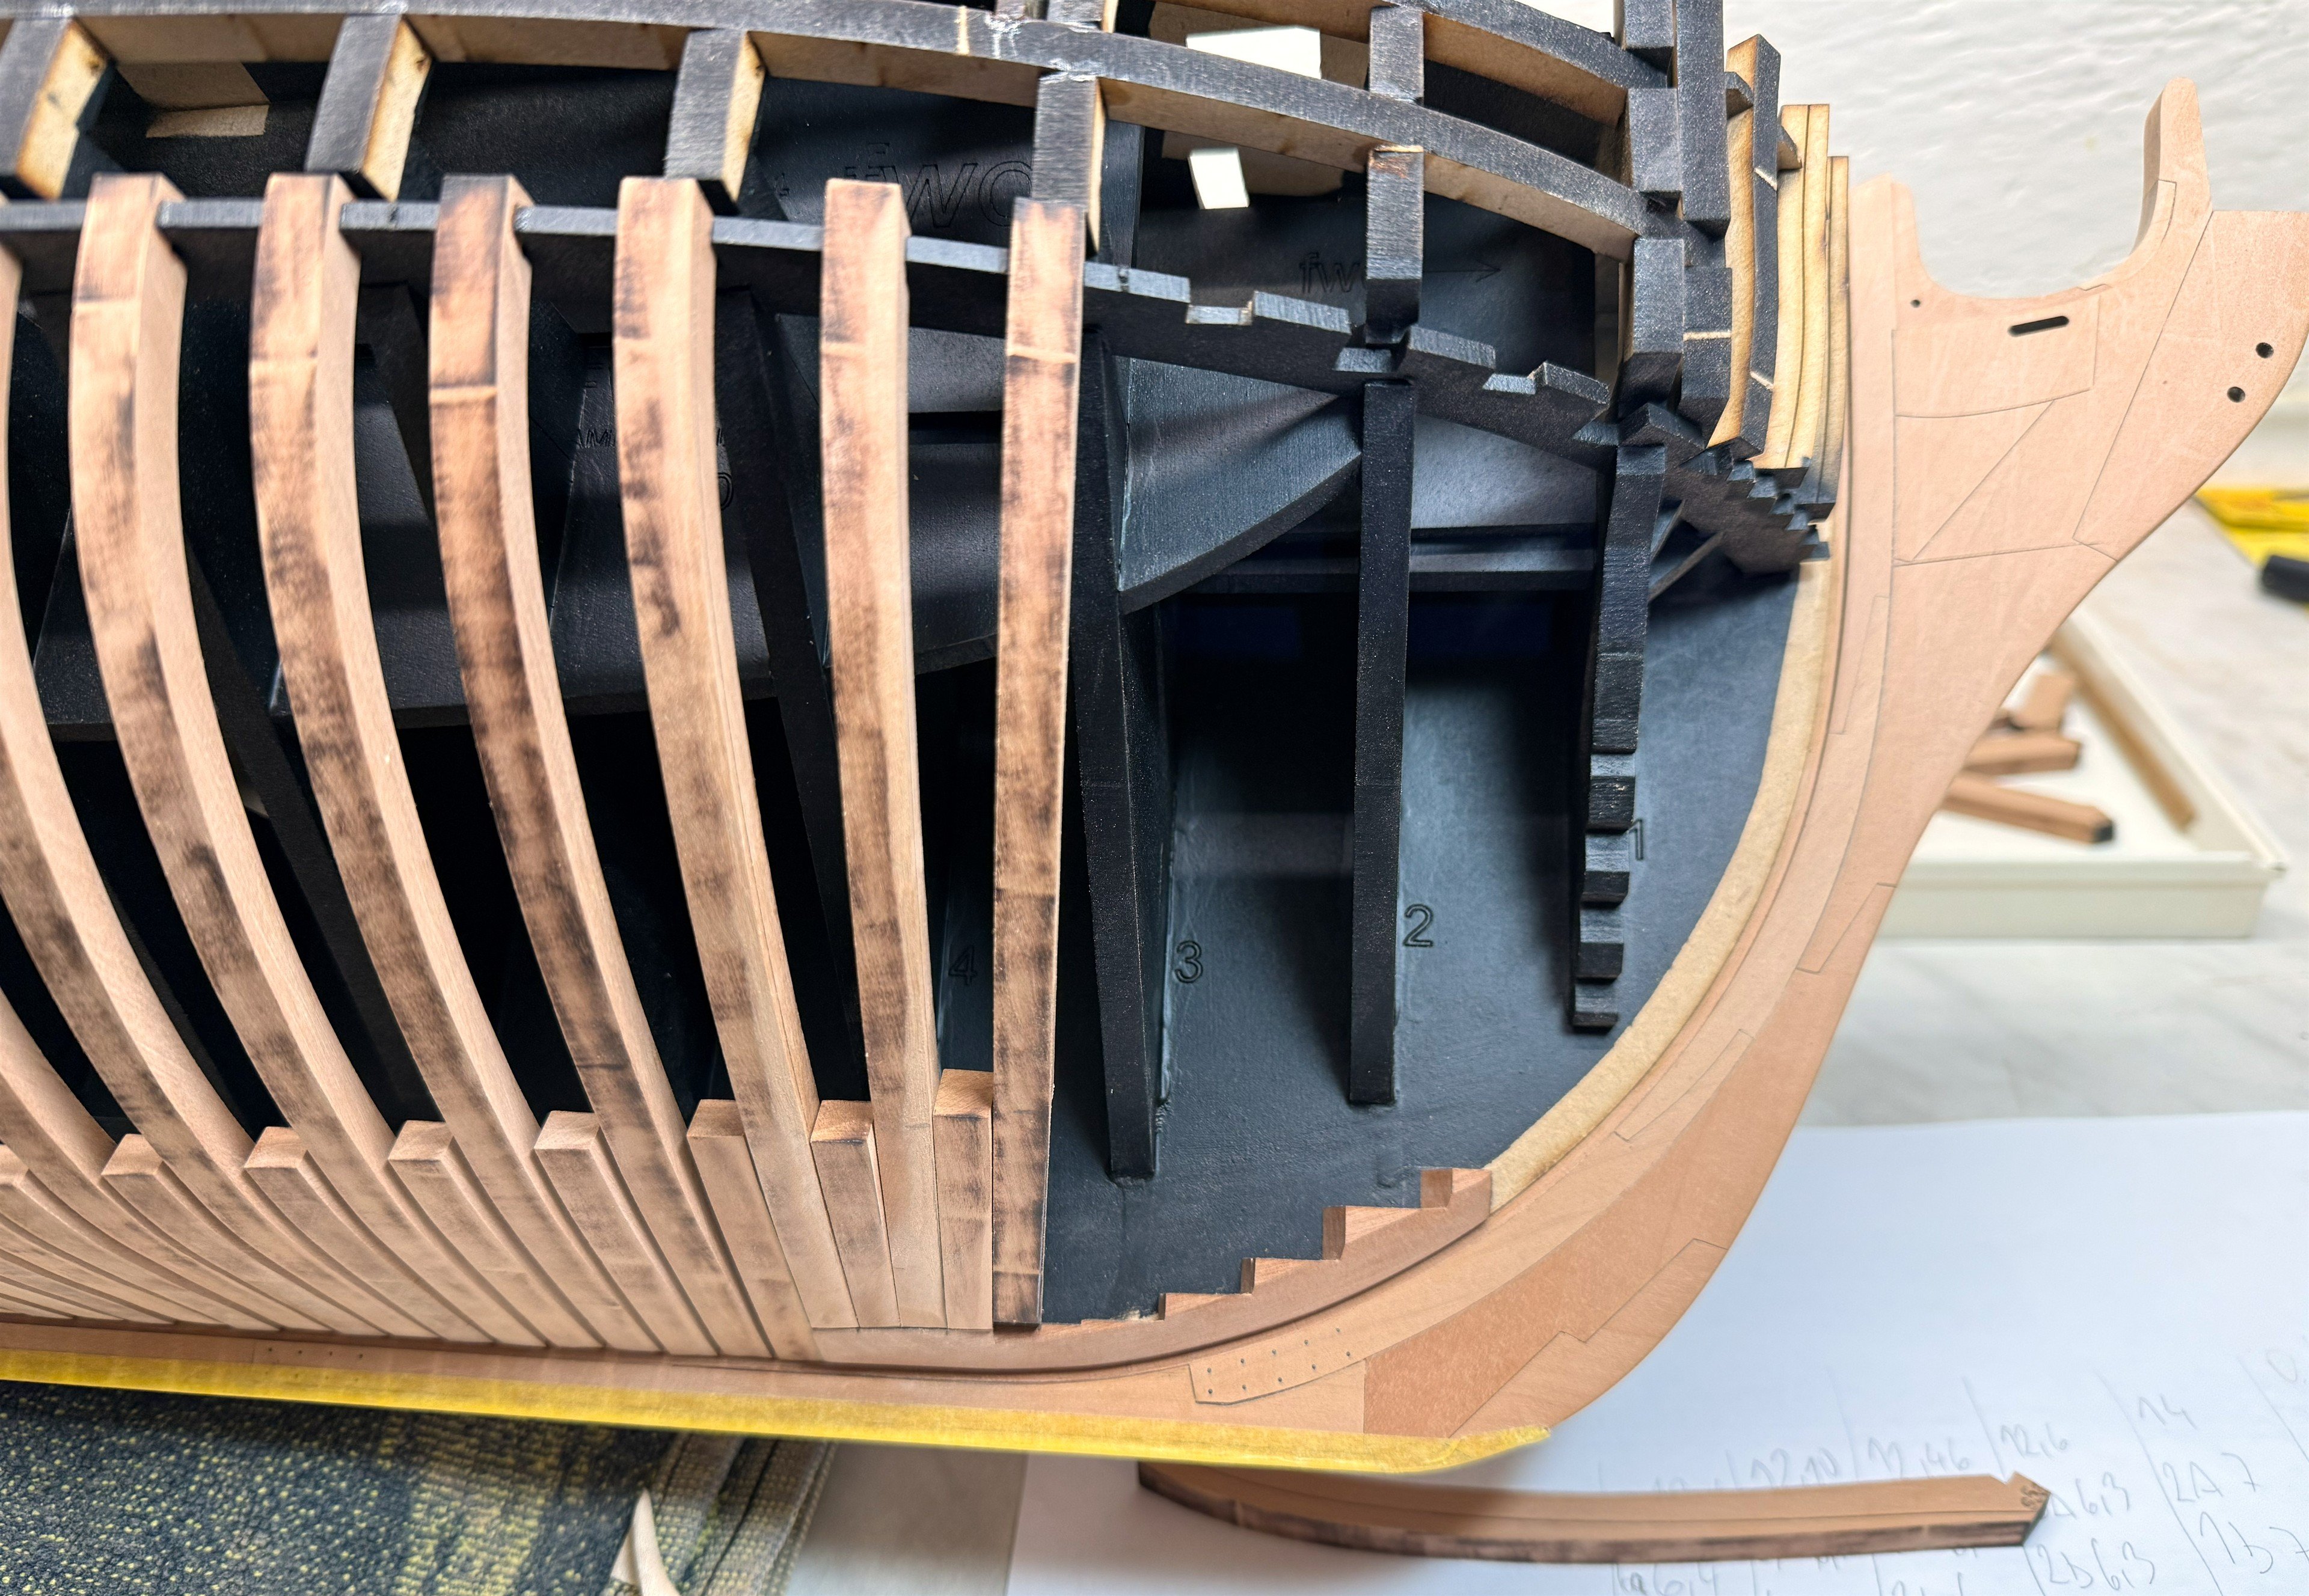
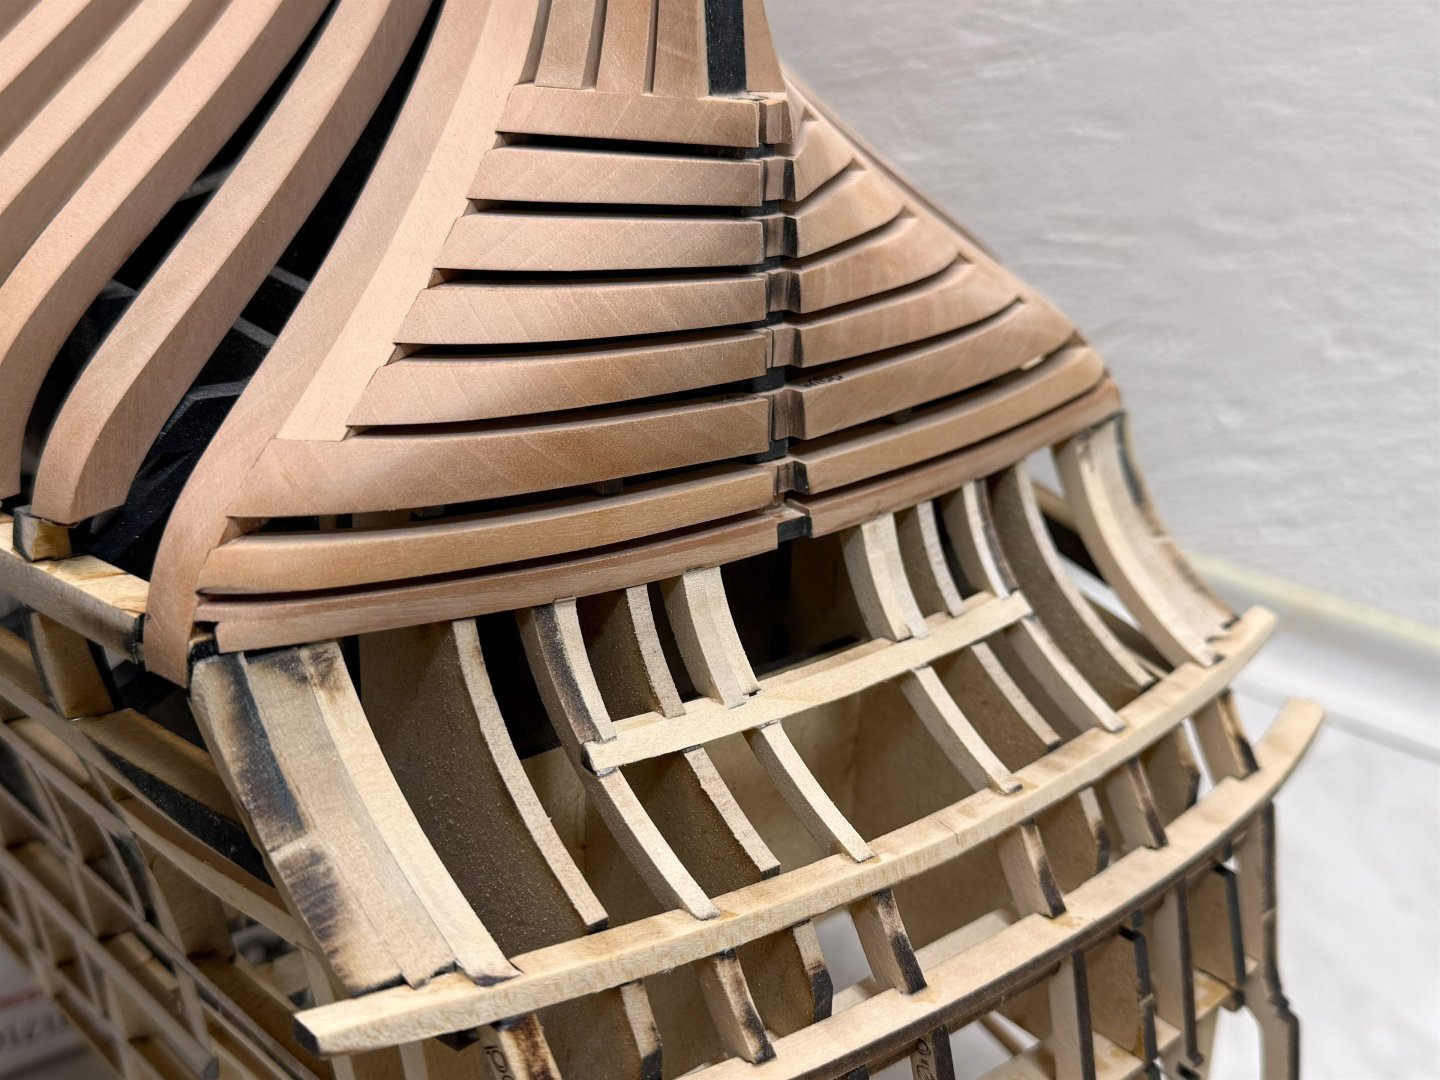
Thanks for the likes and comments, guys. Today, I glued the last short cant frame and then moved on to the fairing. The bow or cant frames and hawse pieces are about 80 percent sanded. Then I moved to the stern. After partial fairing, I removed the temporary inner and outer posts and continued sanding the wing transoms. This is a much more difficult part than the hawse pieces. Tomorrow I have to add some fillings and try to sand it down.


-
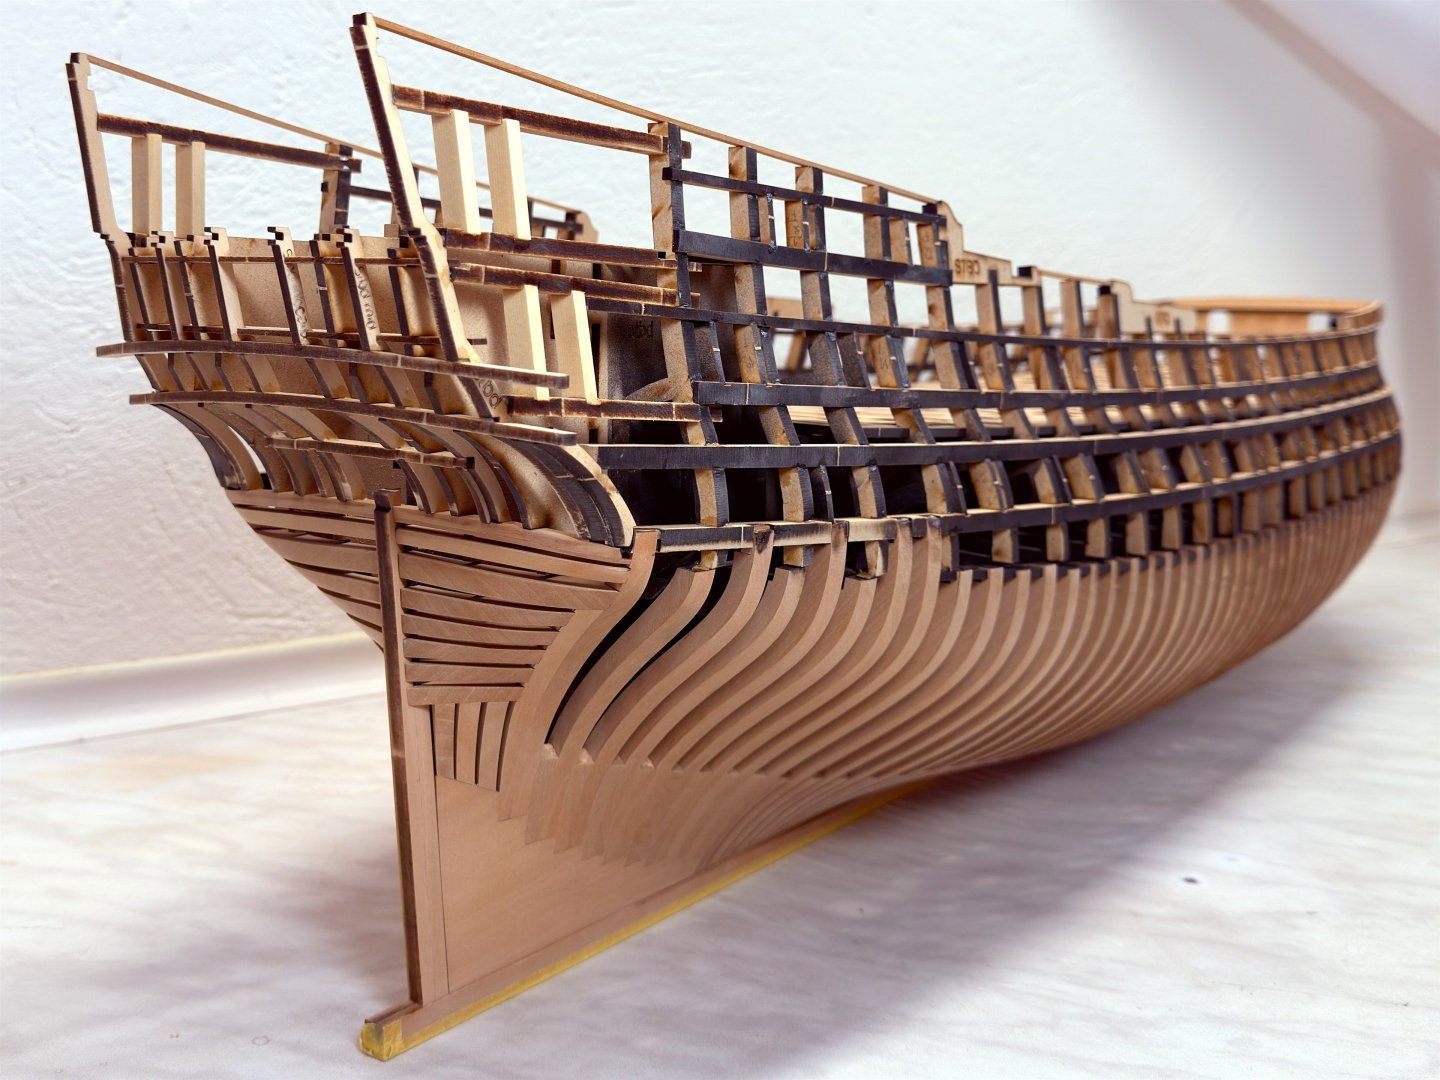
Today, repetition on the starboard side. The final framing is within reach.


-
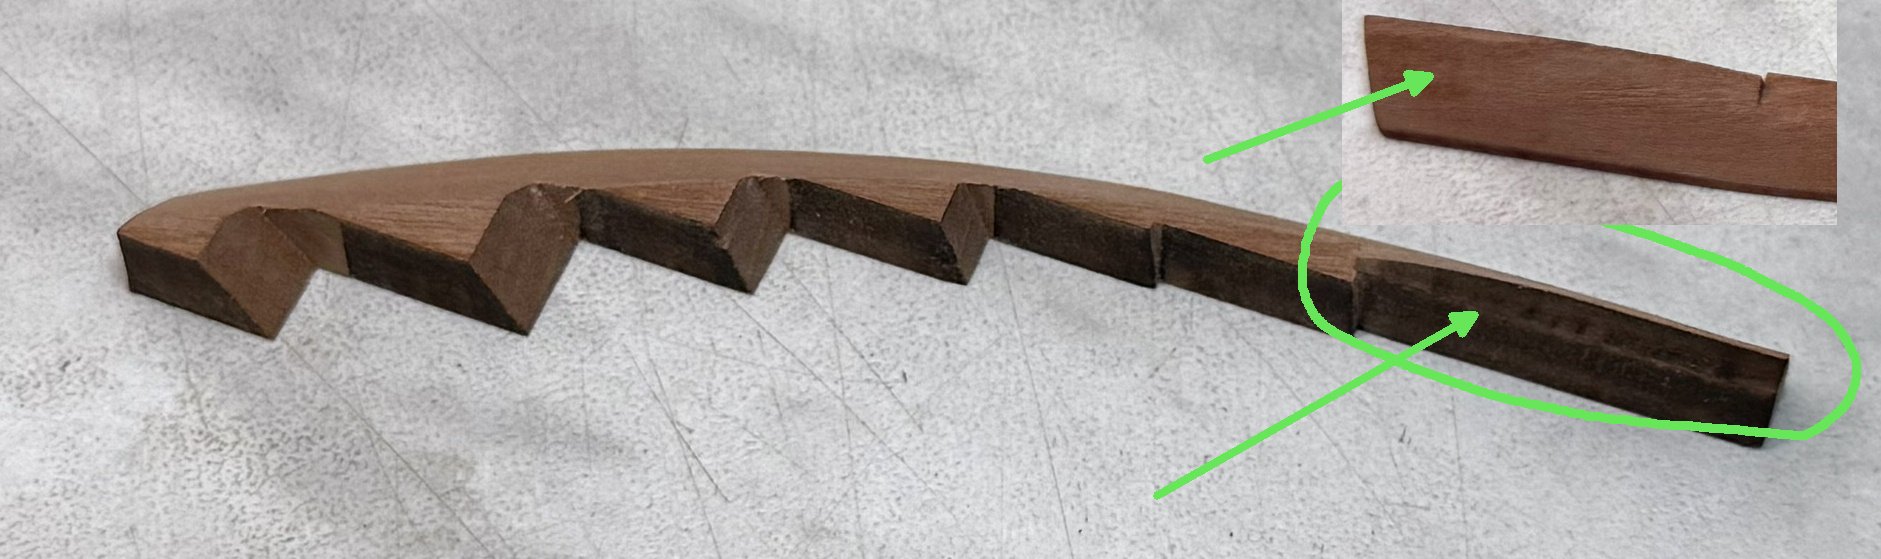
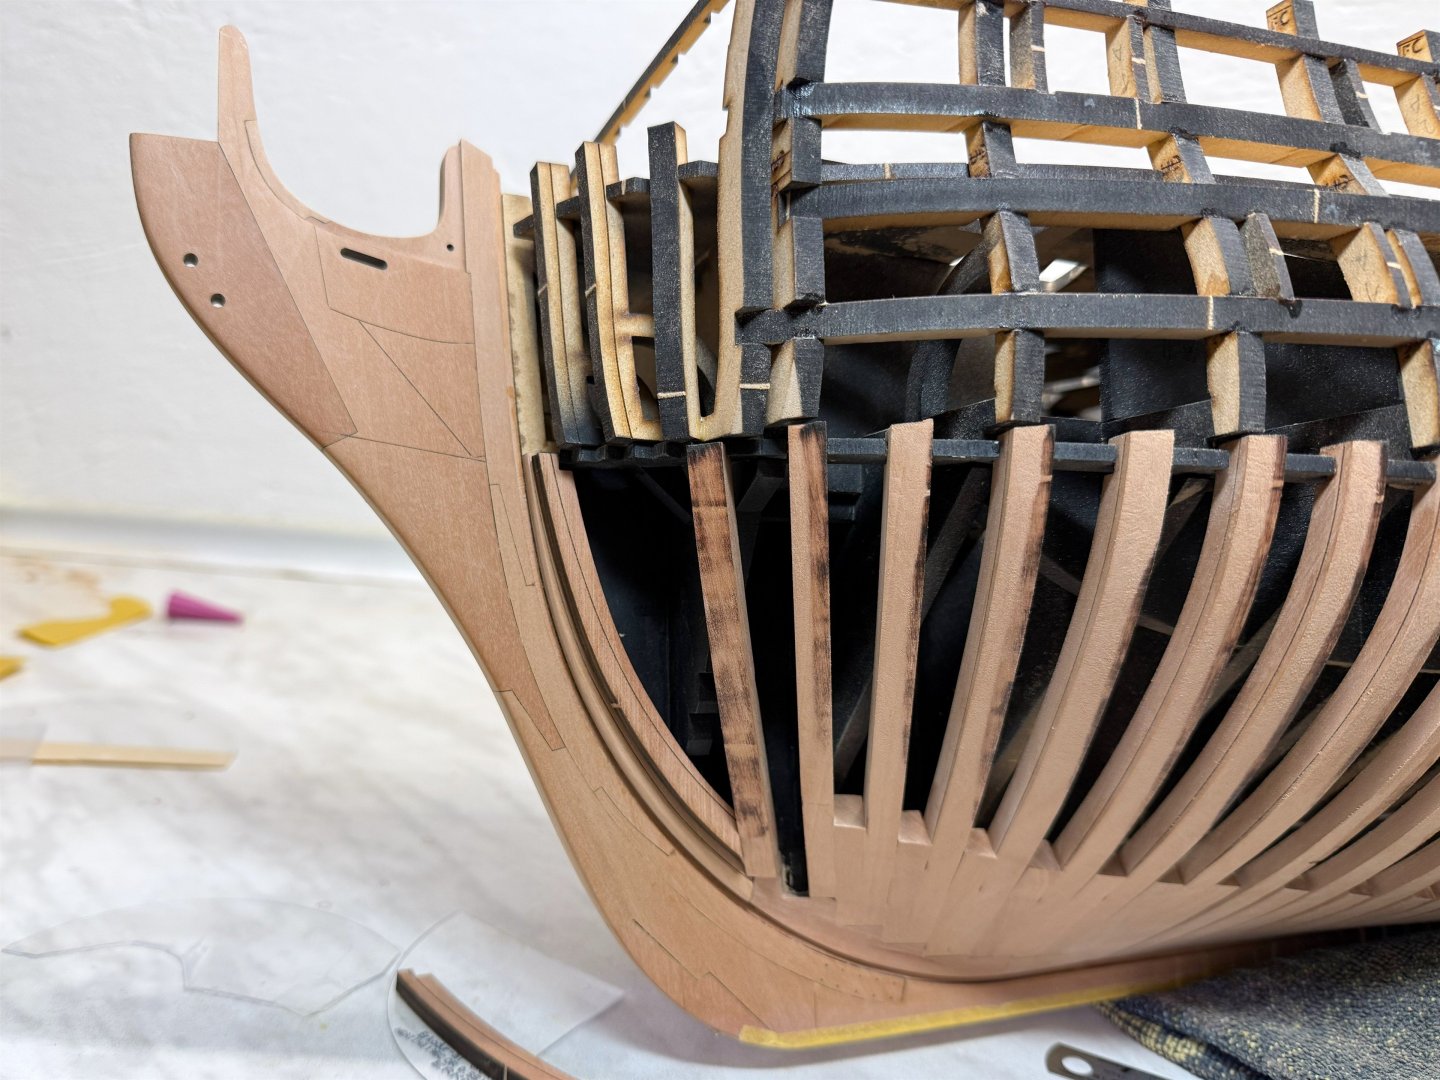
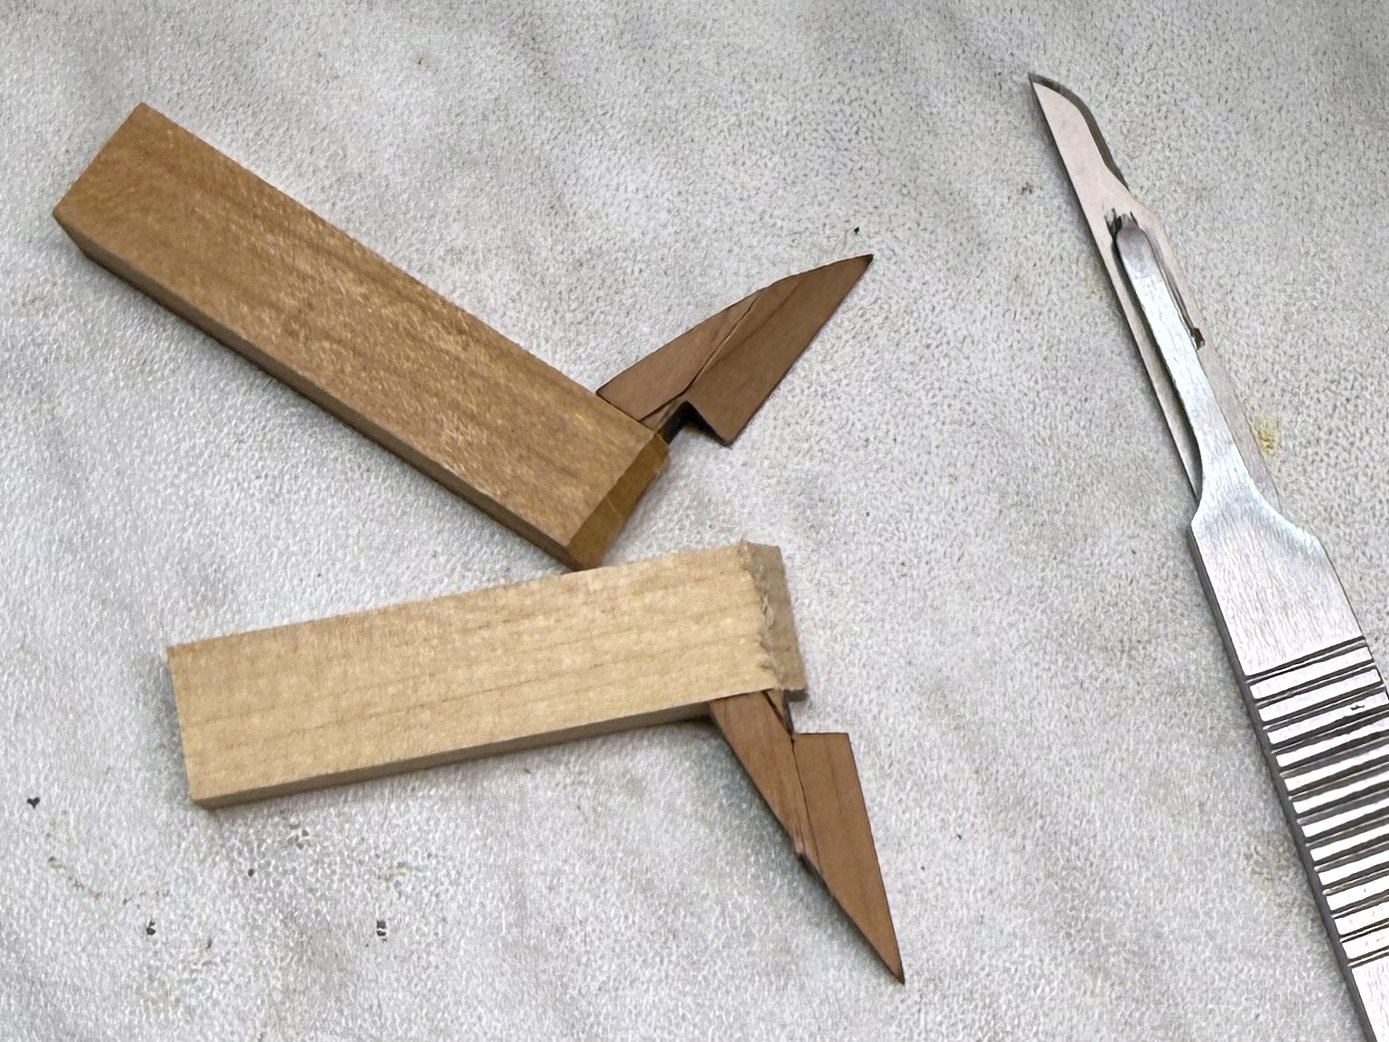
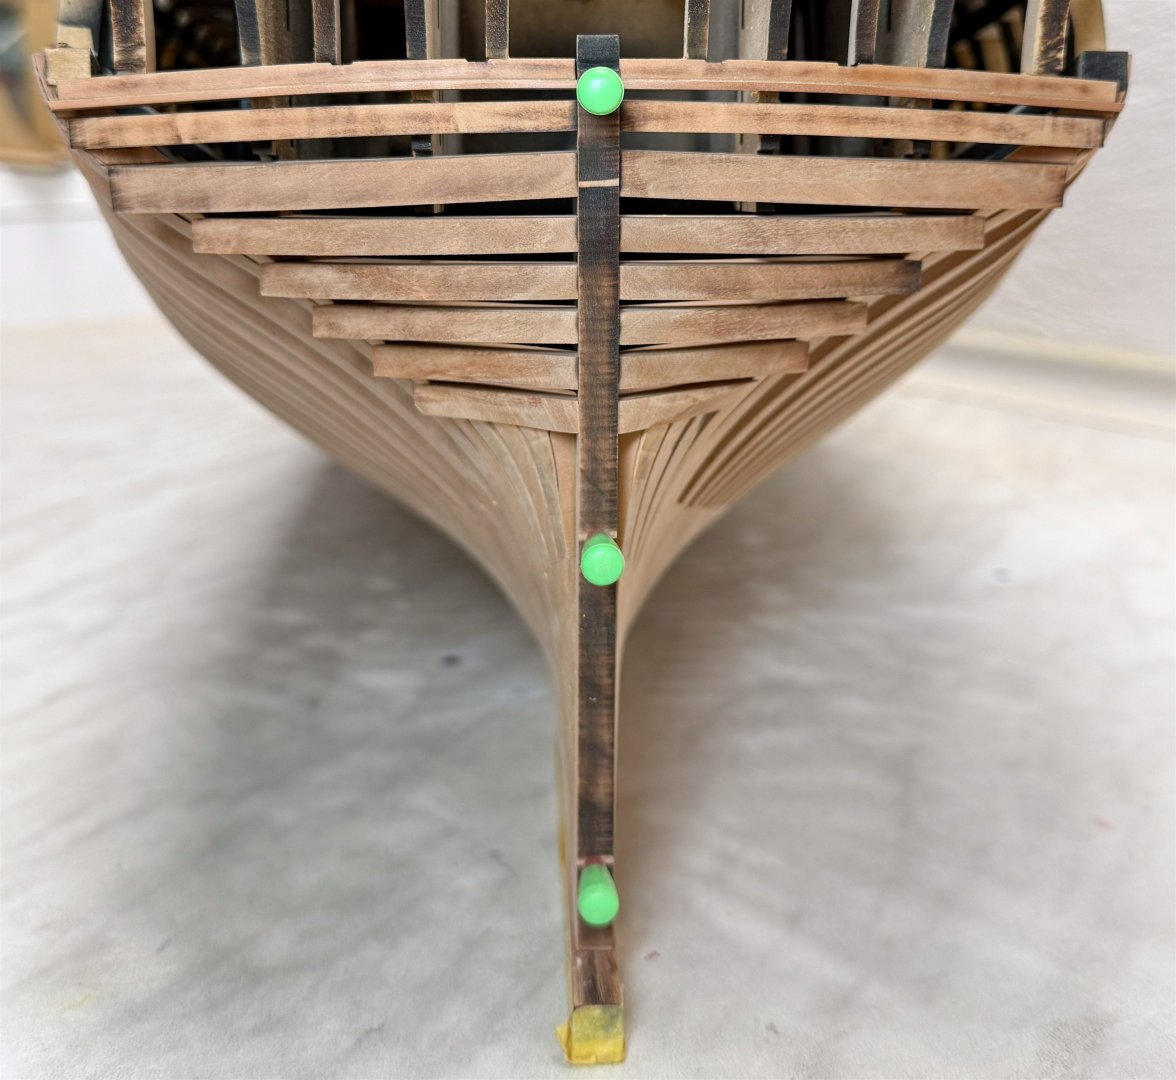
That piece was maybe 3 mm thick but now that I've sanded it down a bit, it's about 2.5 mm wide at frame 8a and gets even thinner towards the front. Wait a bit with the modification, JJ, while I do some more sanding. Then I'll check it, take a photo, and write to you. I'll also send a photo of how much I've adjusted the front step for frame 1a. Now, today's progress. I glued the last one, even though it's actually the cant frame no 1. And then the hawse pieces or bow timbers, which name is correct, or both? During assembly I used 0.8 mm foil and some scrap to support and define the same distance between them. And of course, I couldn't wait because I was curious to see how it looked, so I immediately started sanding. Now, however, the last half frame and the same thing awaits on the starboard side.


-
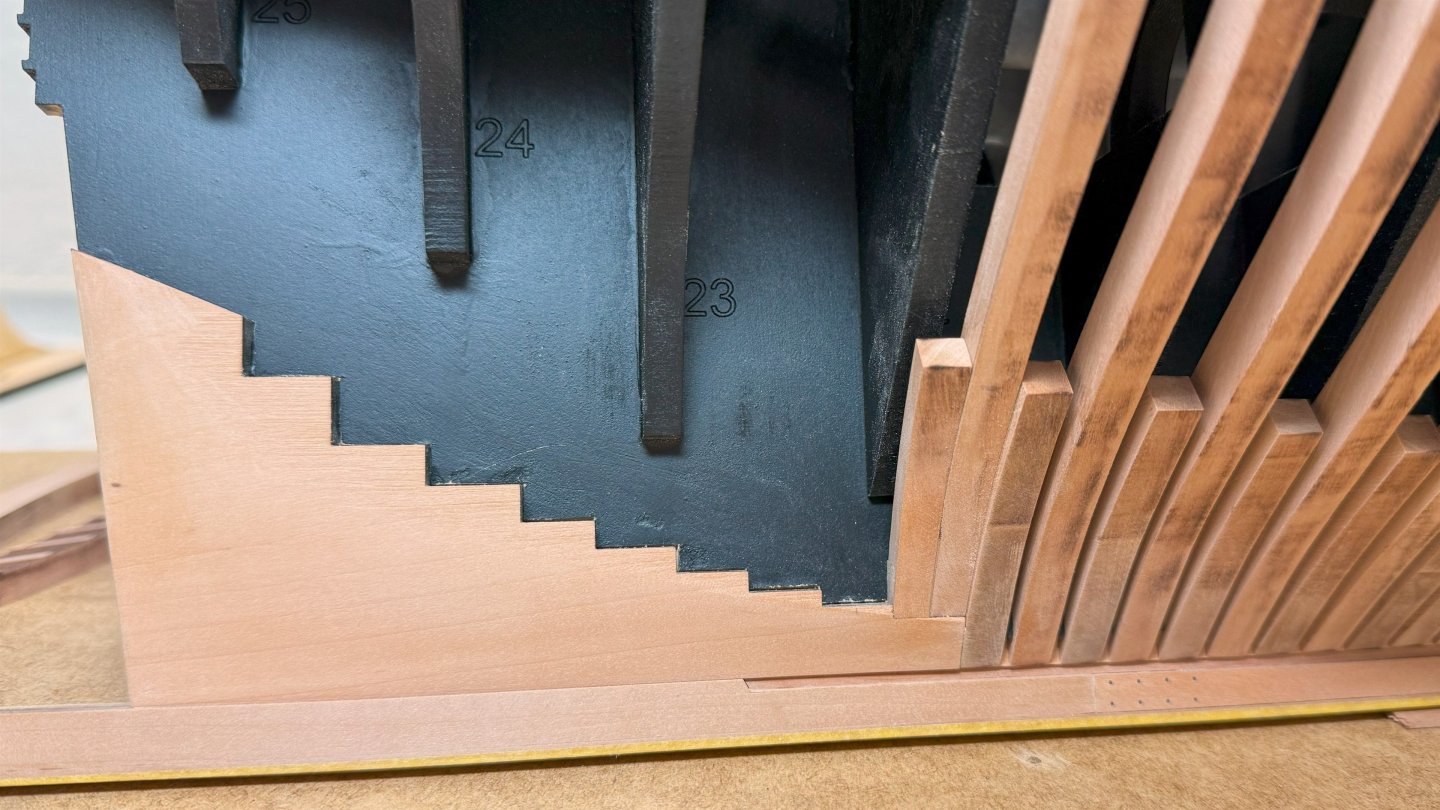
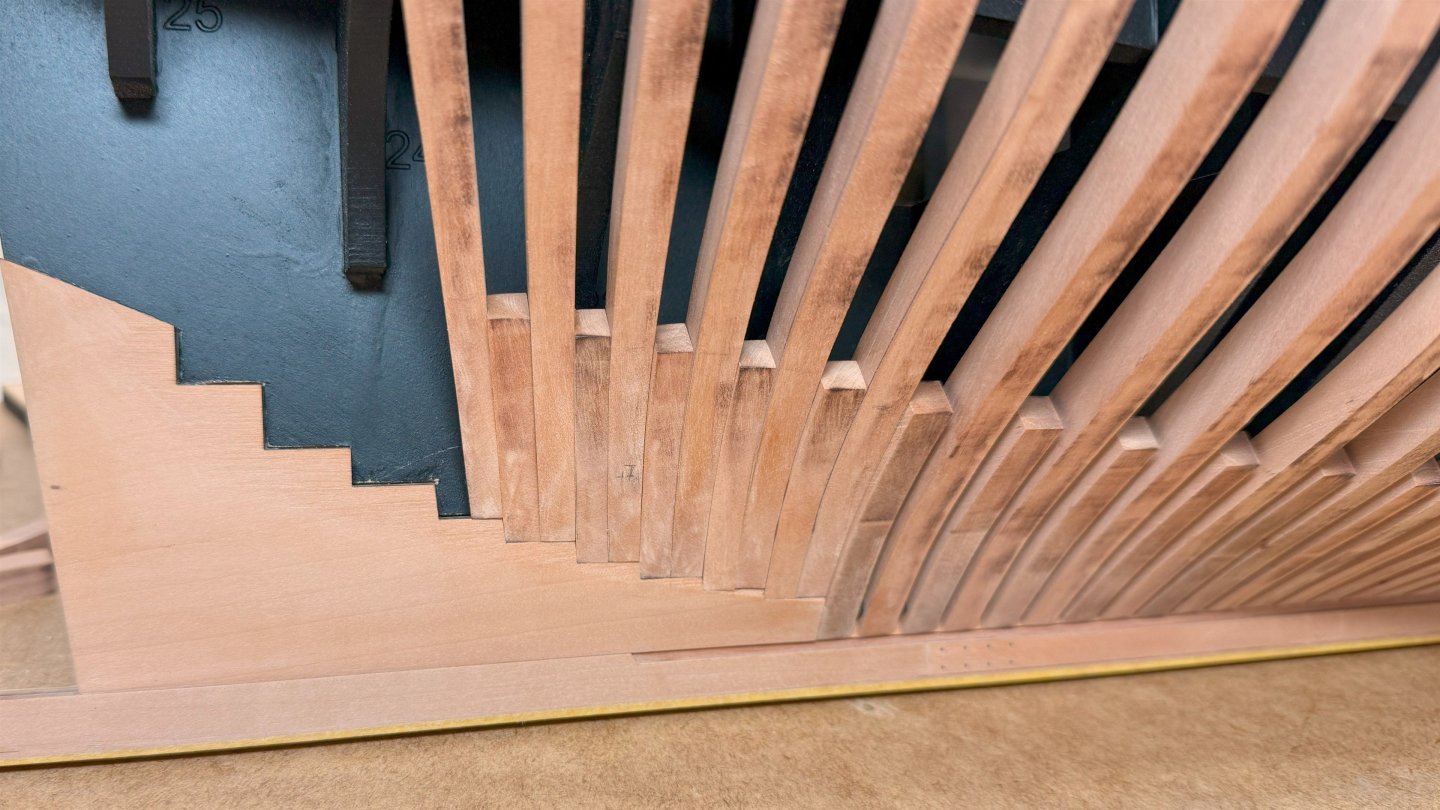
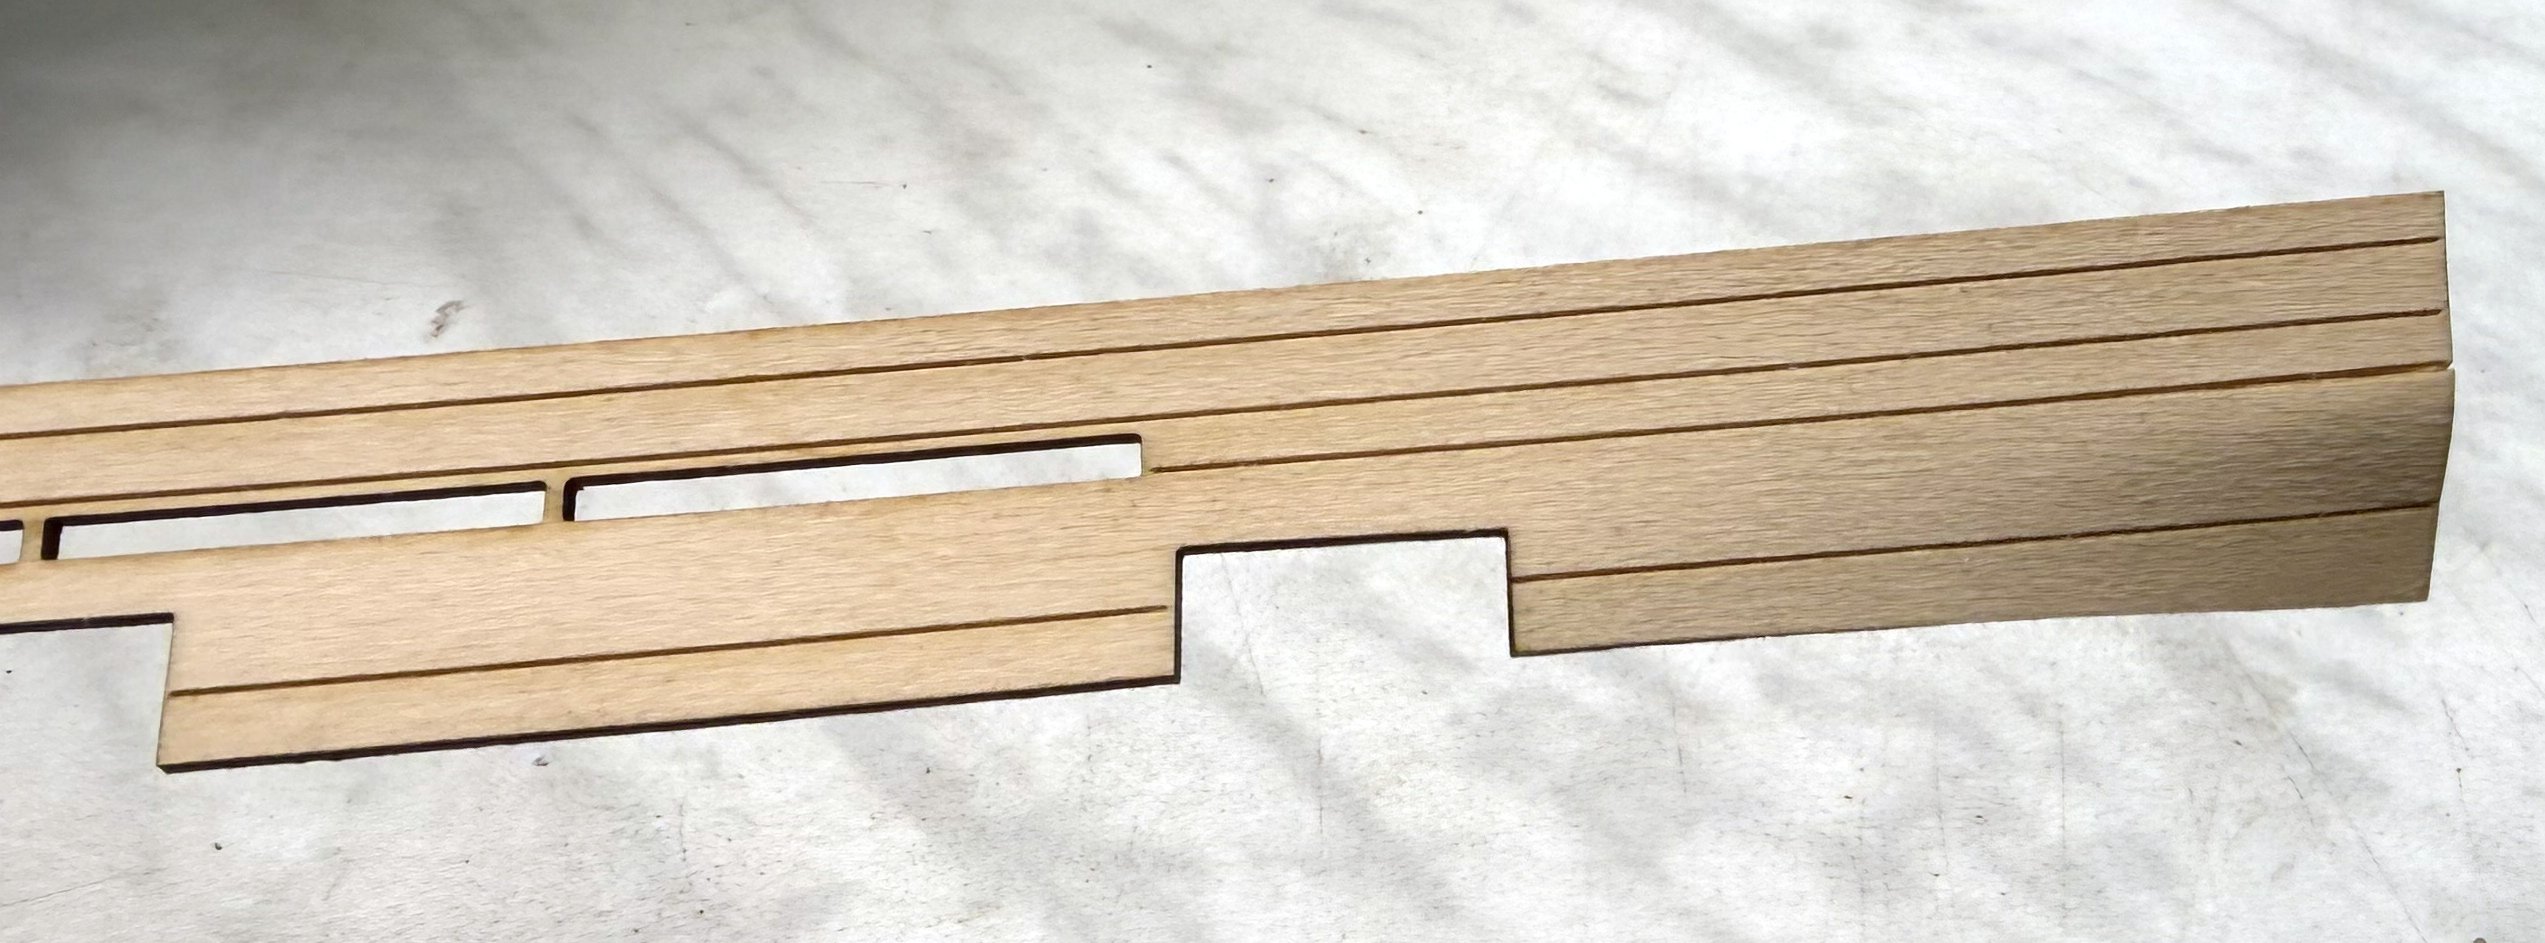
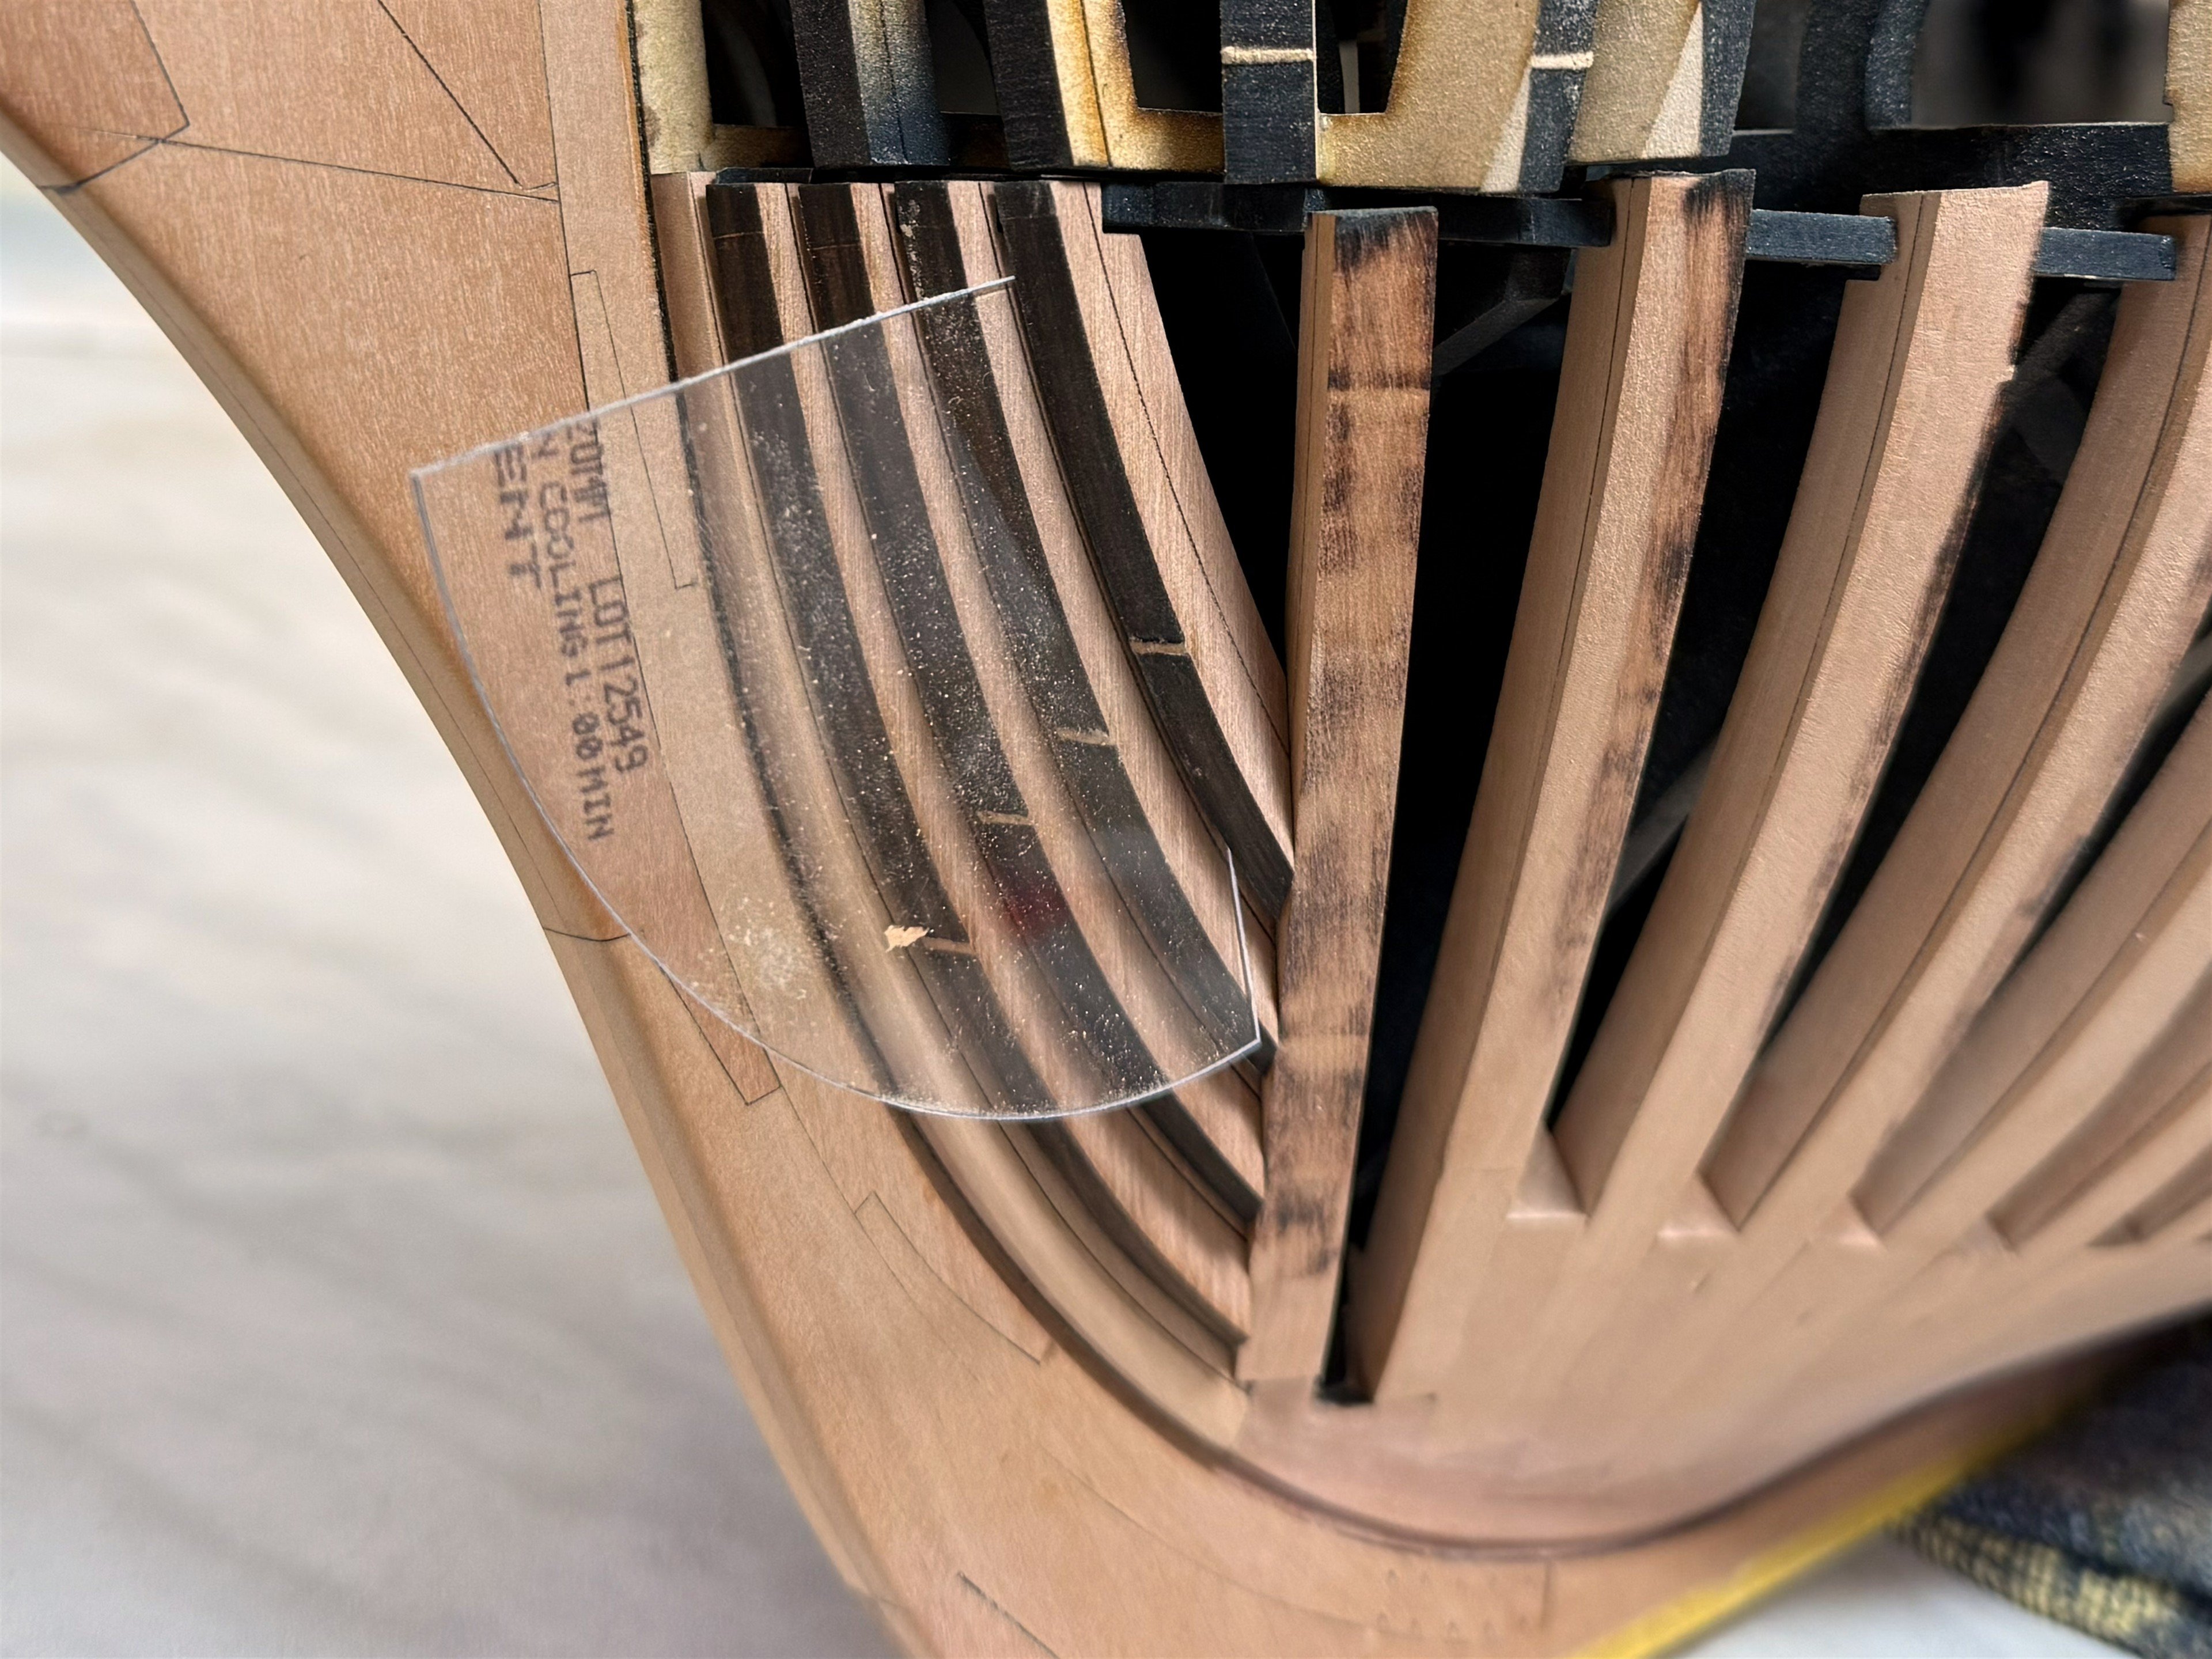
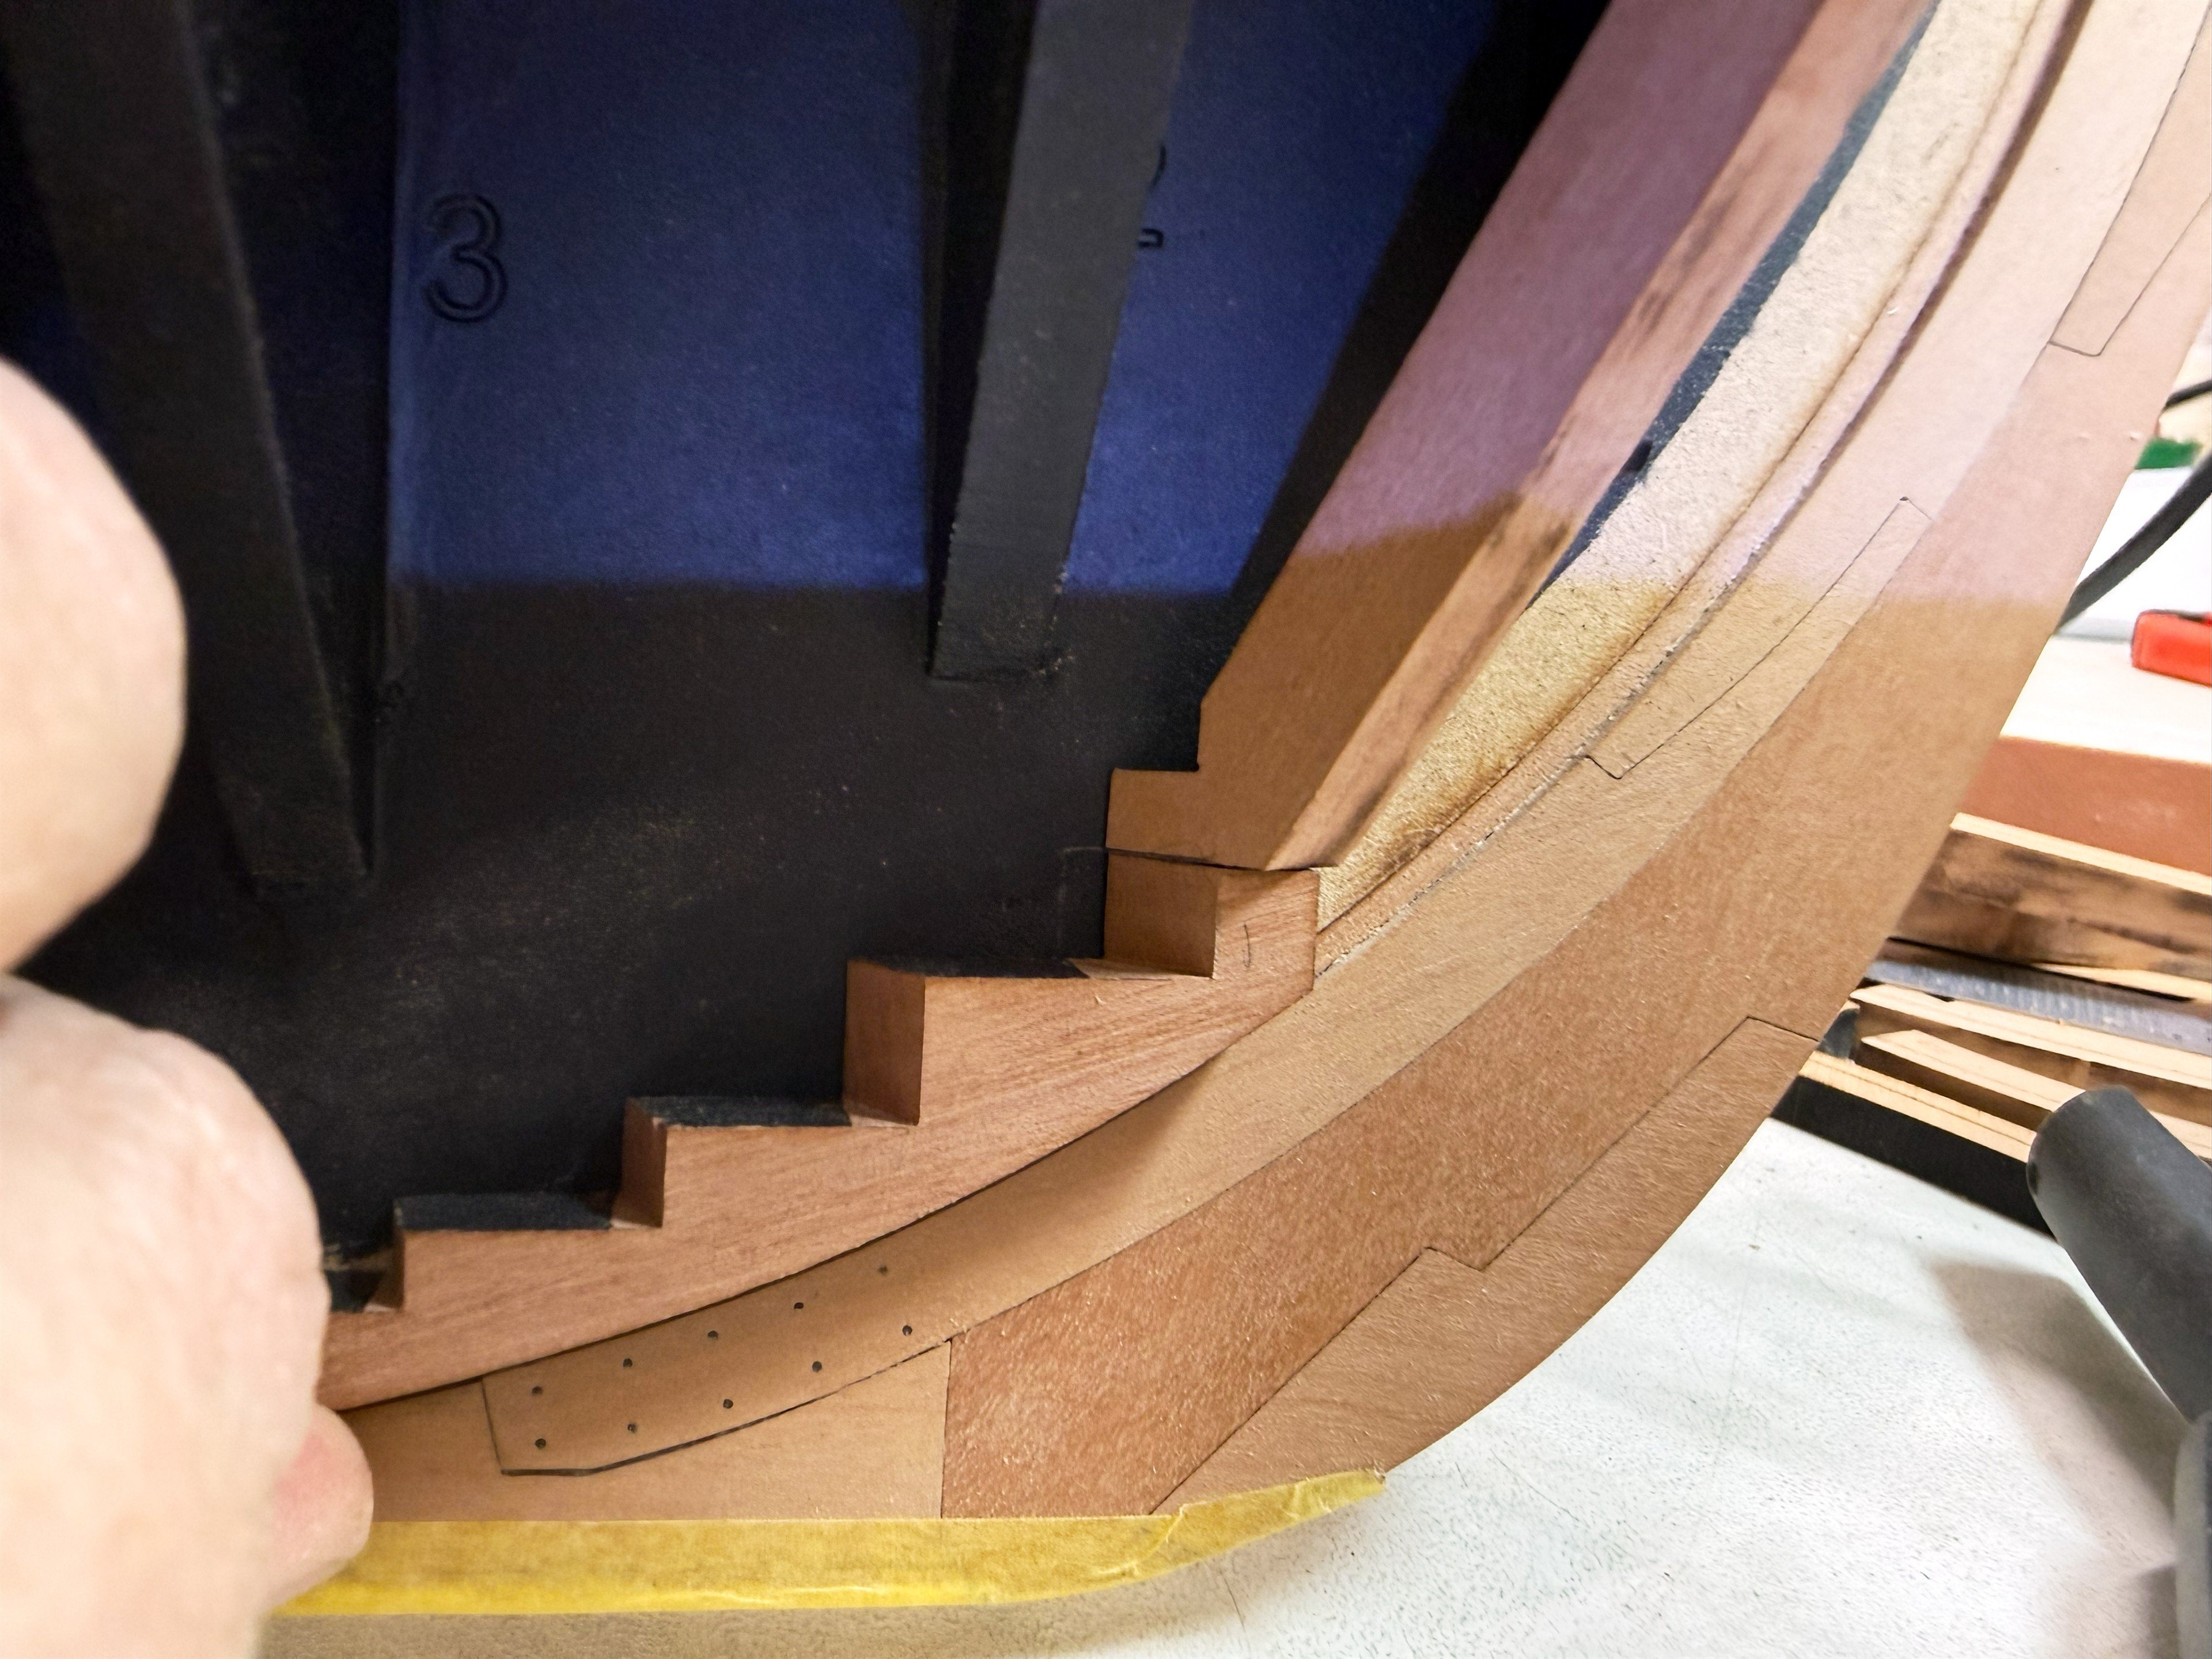
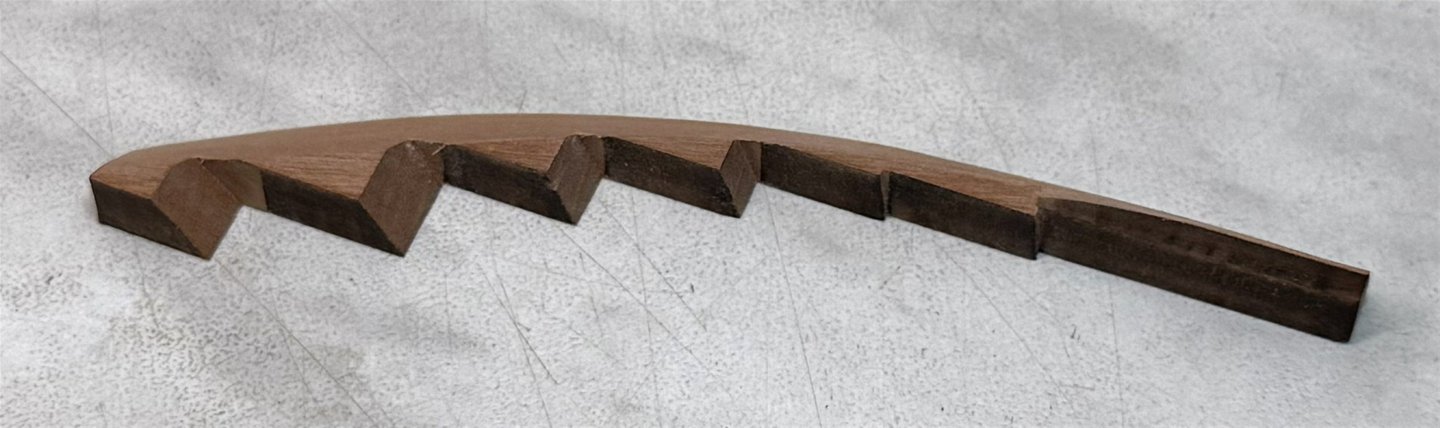
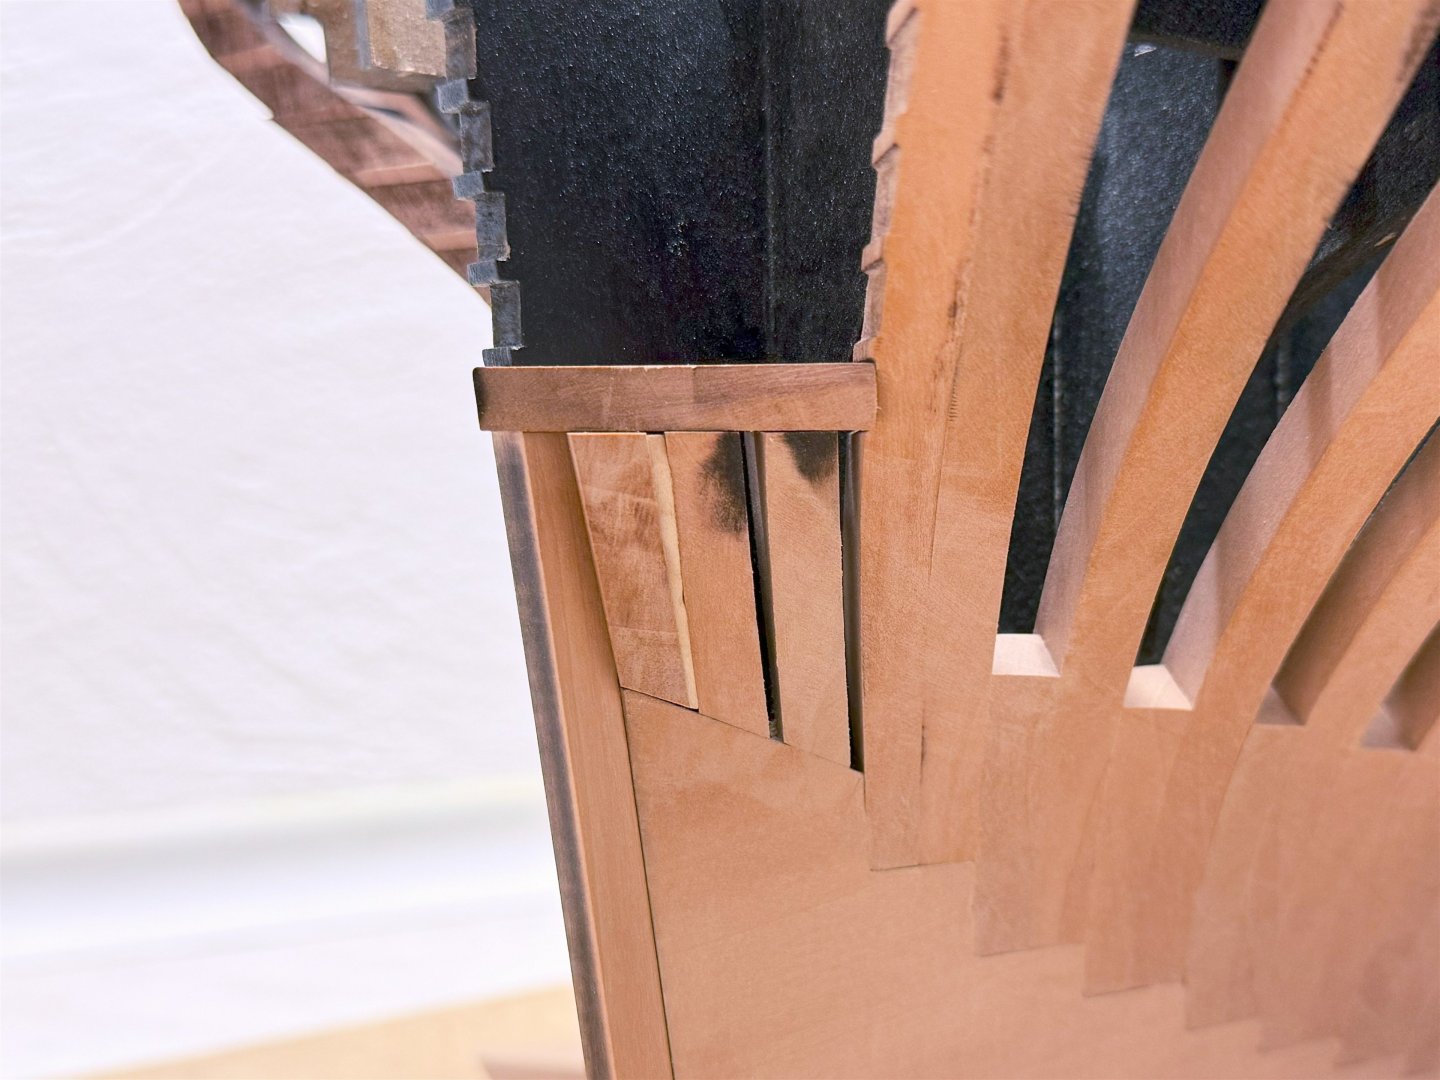
You're right, JJ, on the starboard side I used the whole bottom apron. And I made a less visible adjustment - widening the bottom step for the first four frames. I took a piece from the scrap board from which the apron was cut so that the color and grain direction would match, and glued it with transparent glue so that it is not even visible. Maybe it will be sanded down during the final fairing anyway, but just in case.
-
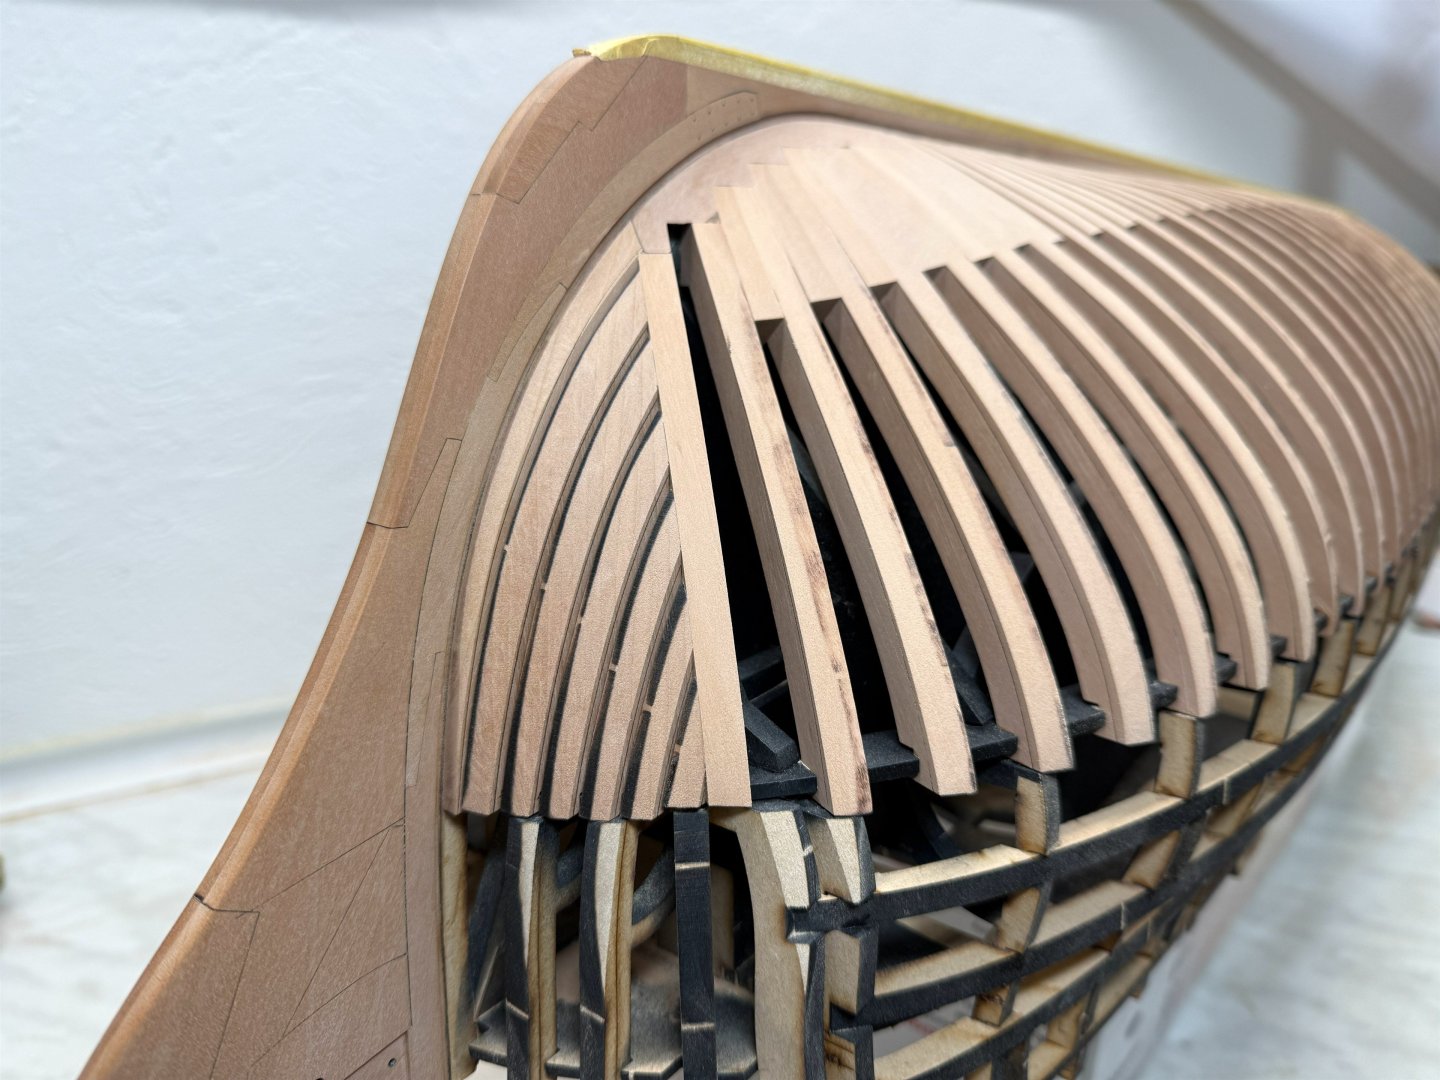
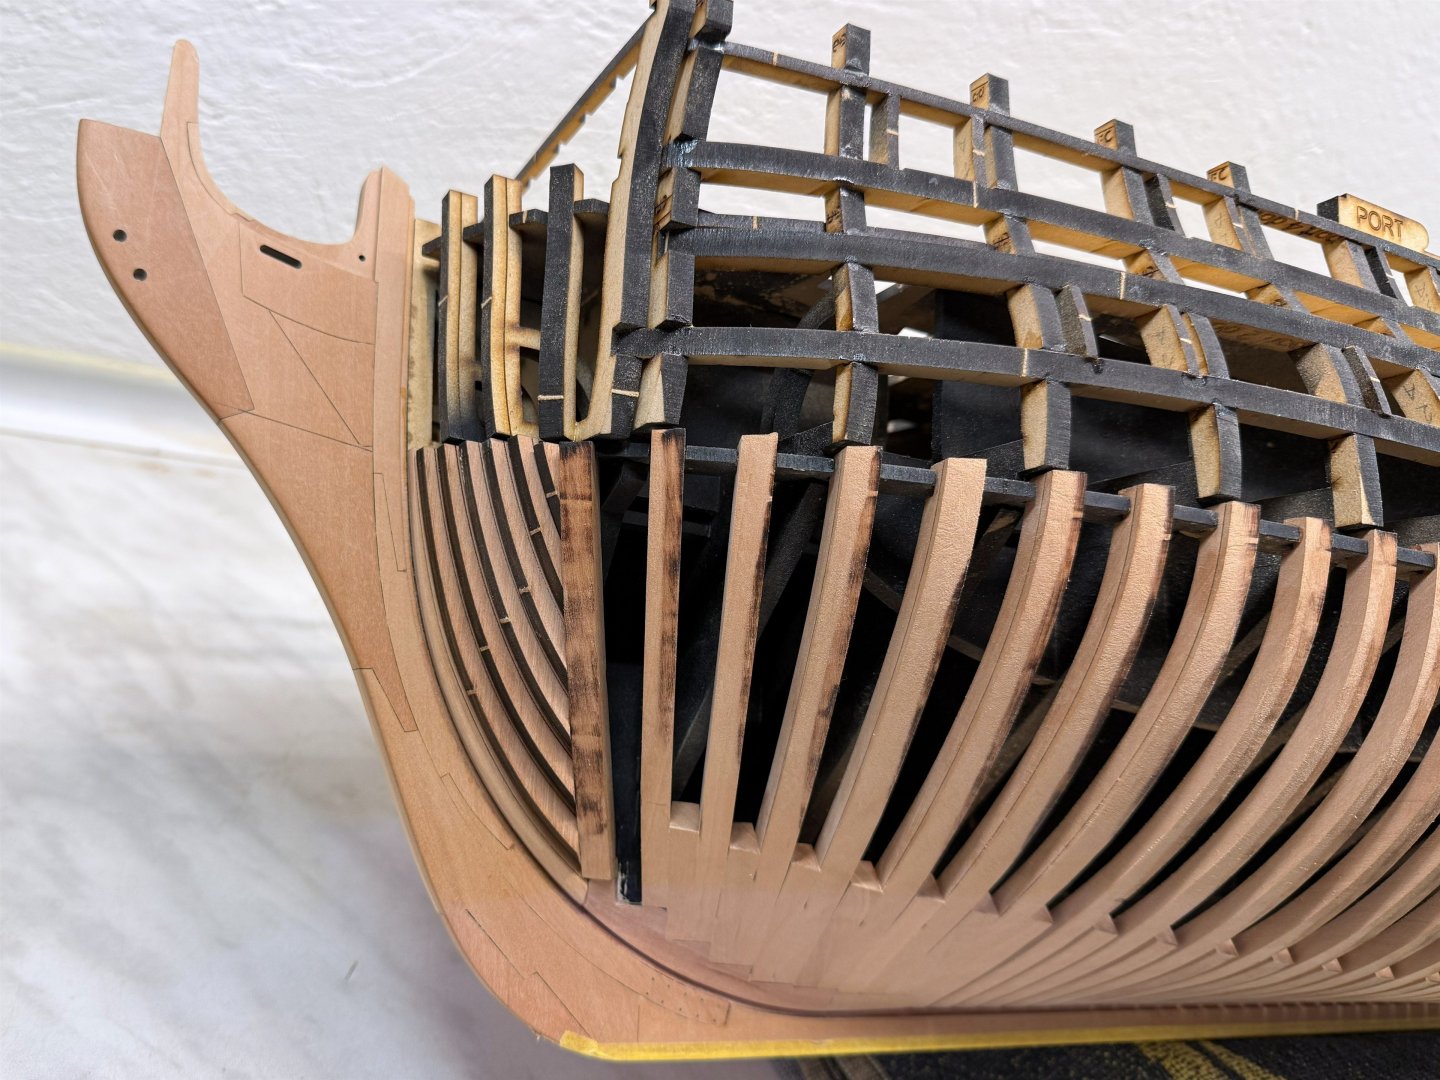
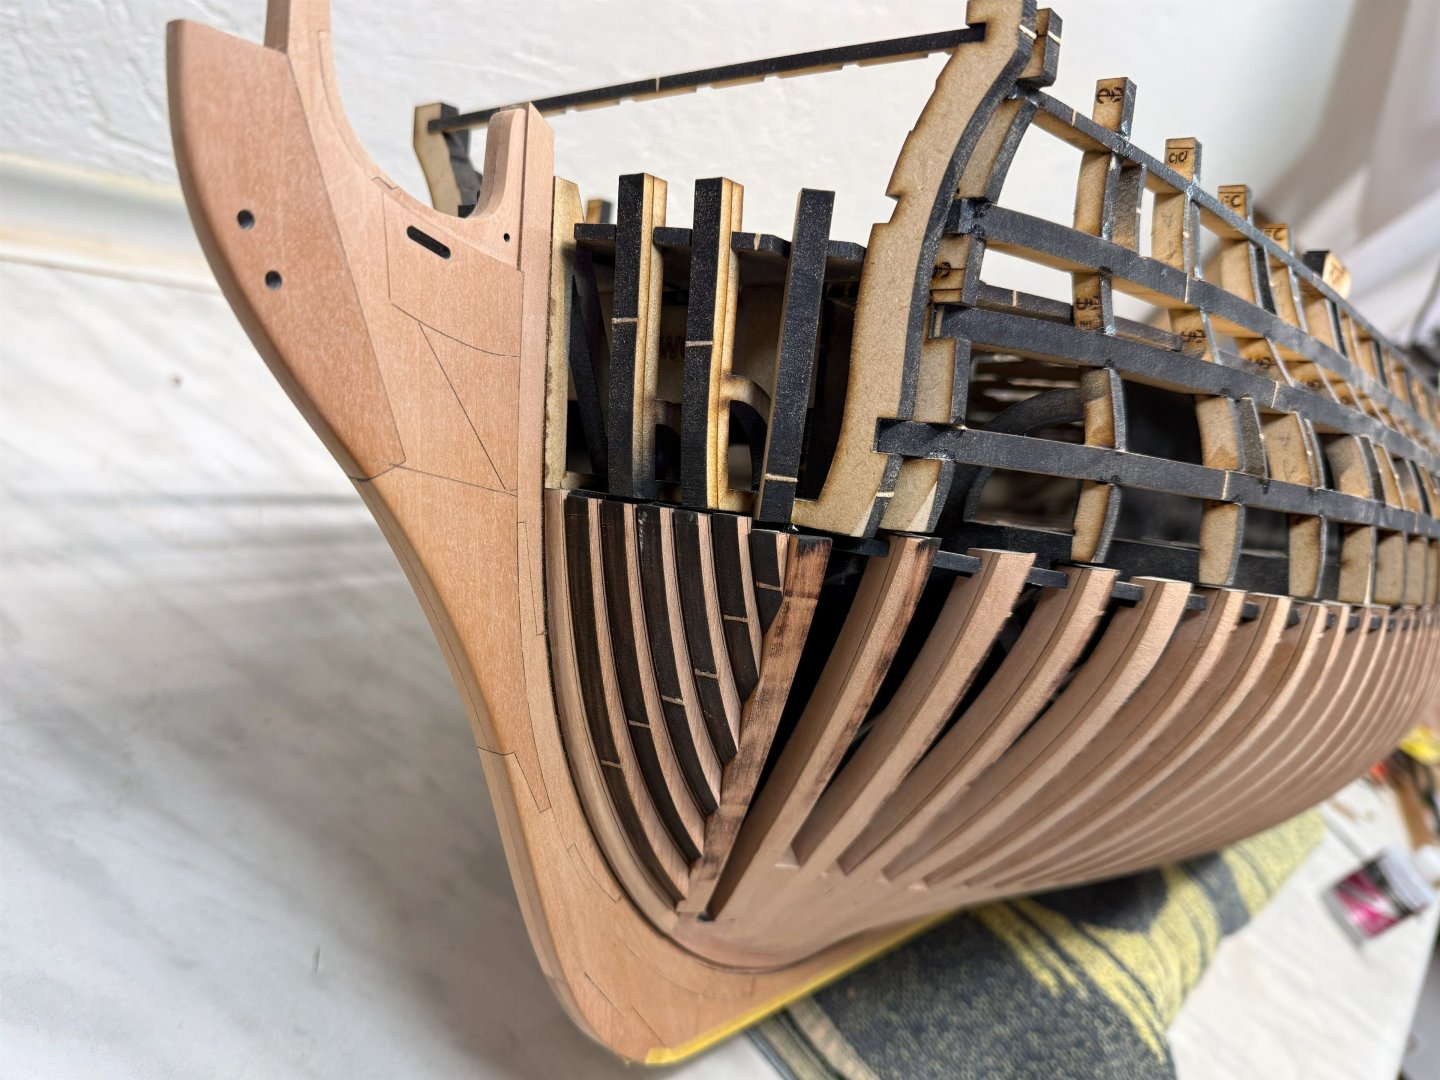
Today was all about installing the forward frames, partially sanded Now, only one full frame and one short frame are left. And finally, the hawse pieces.

-
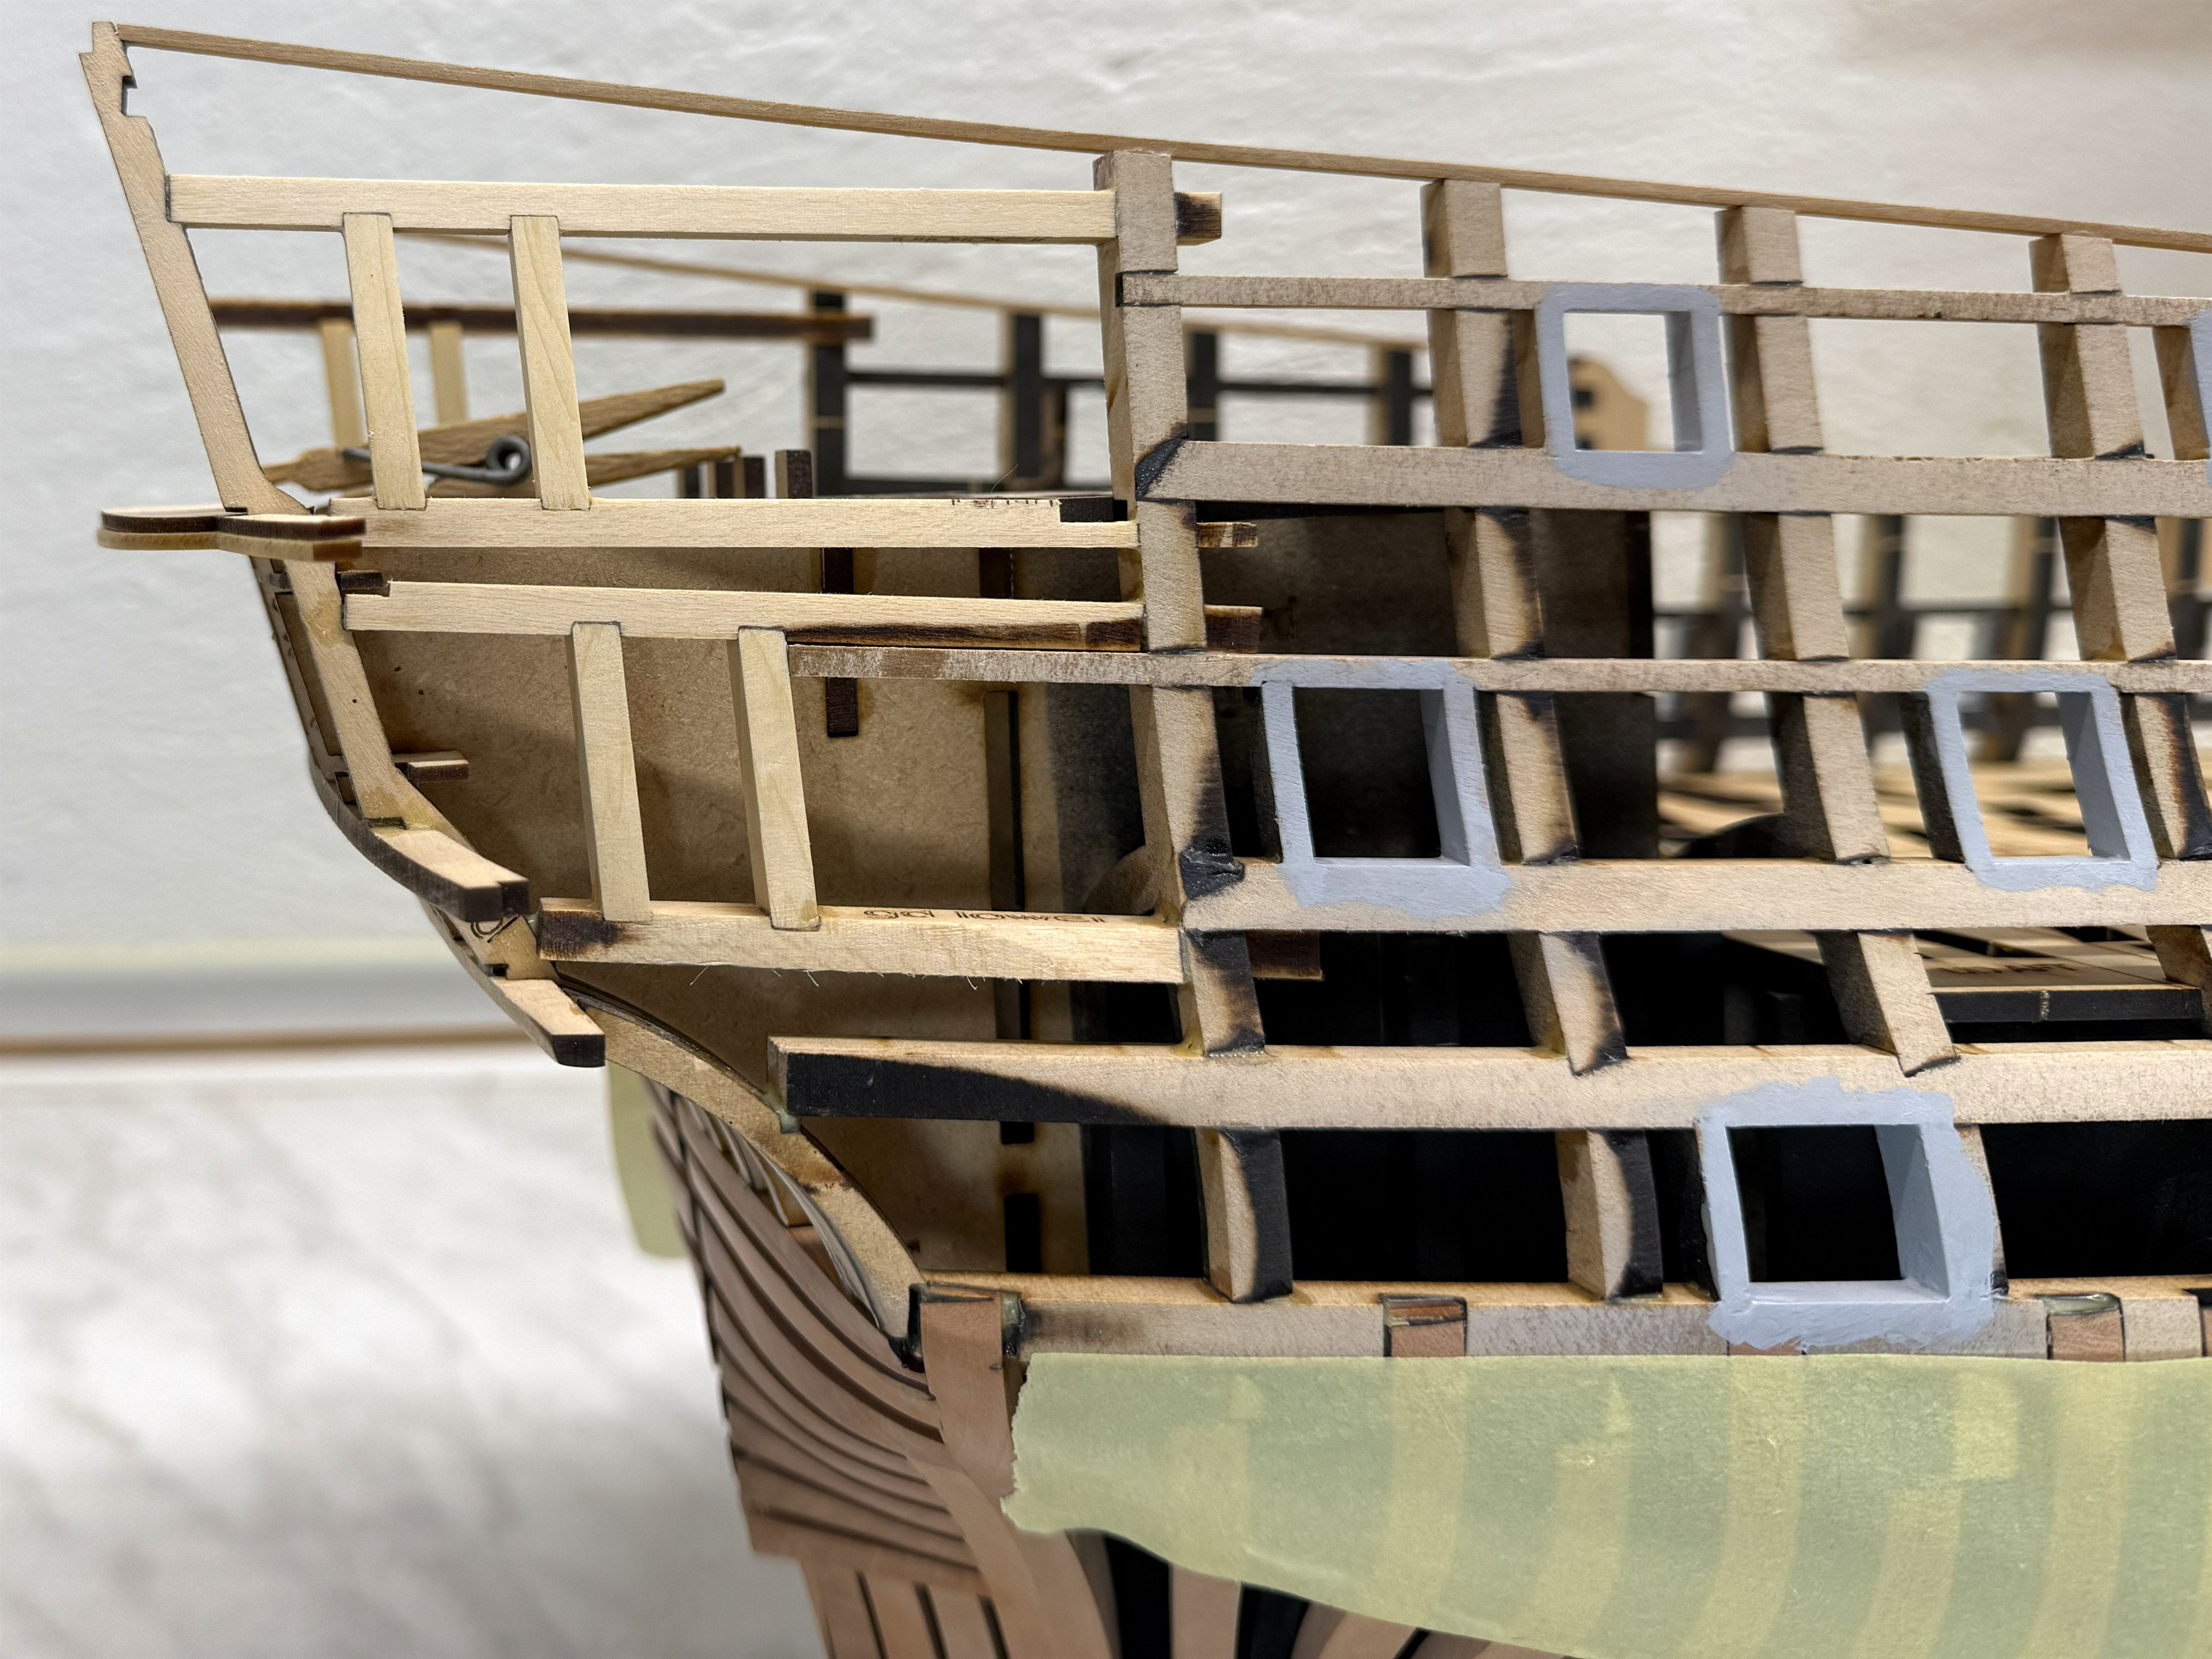
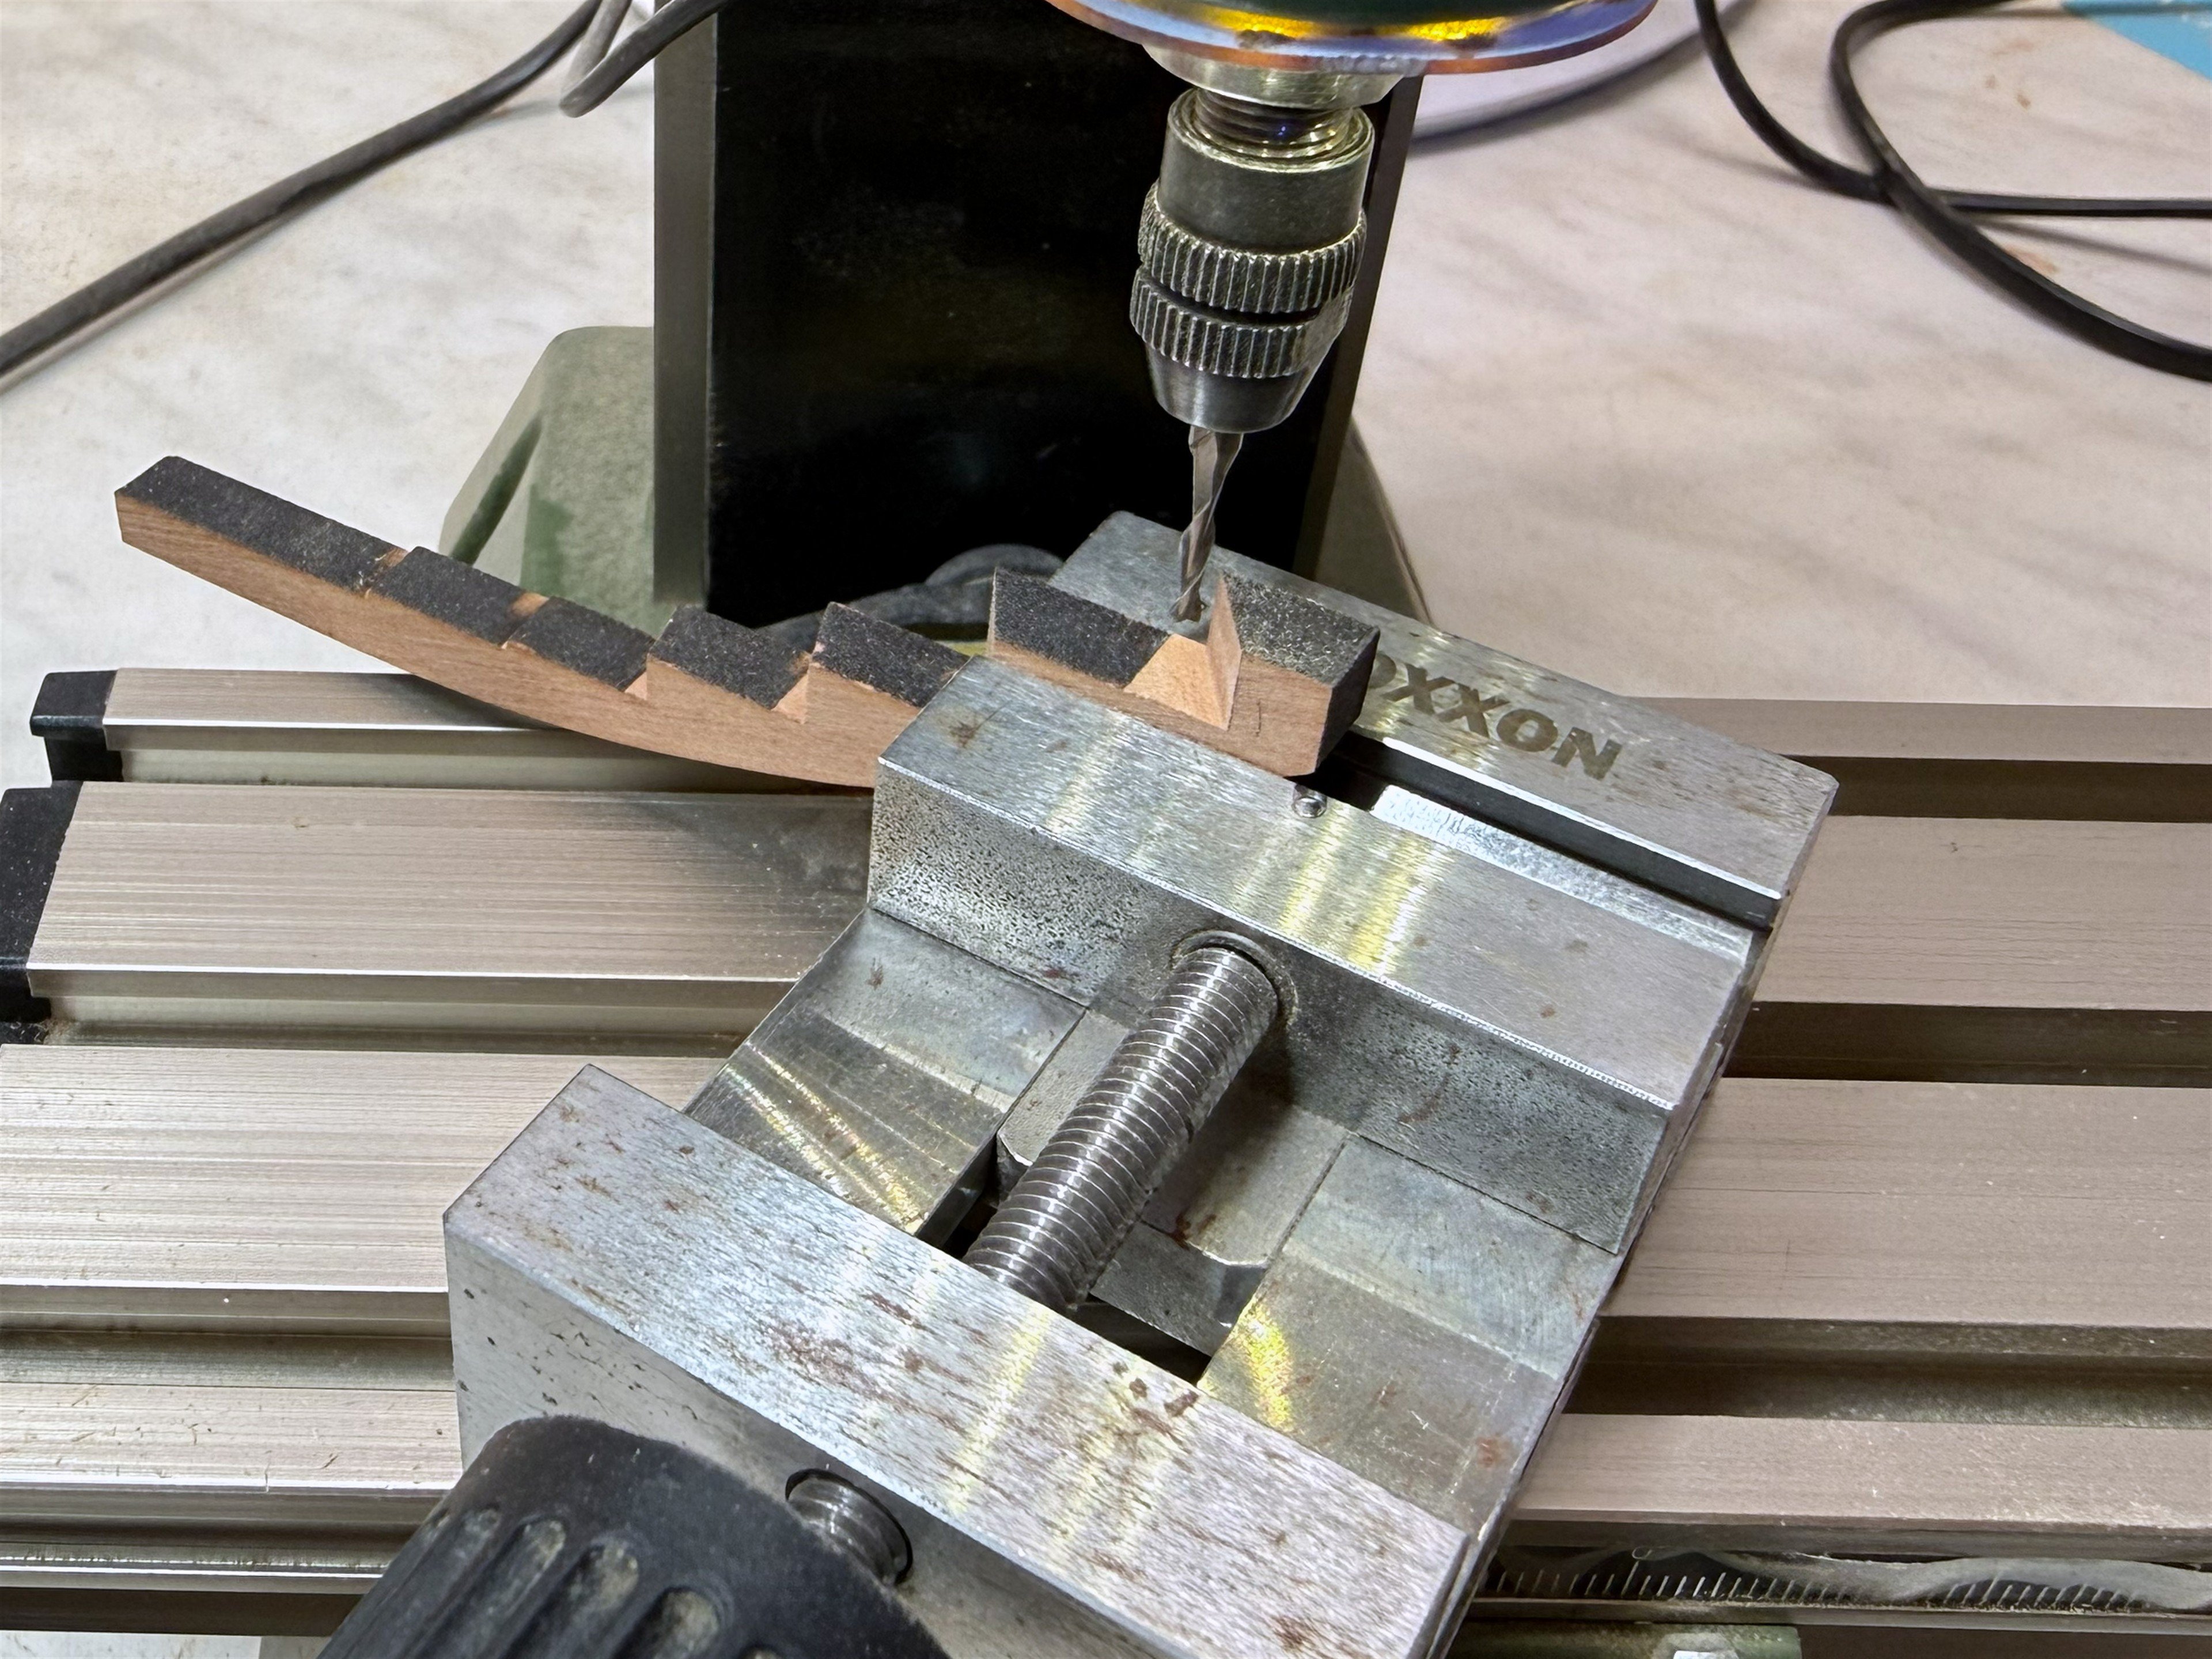
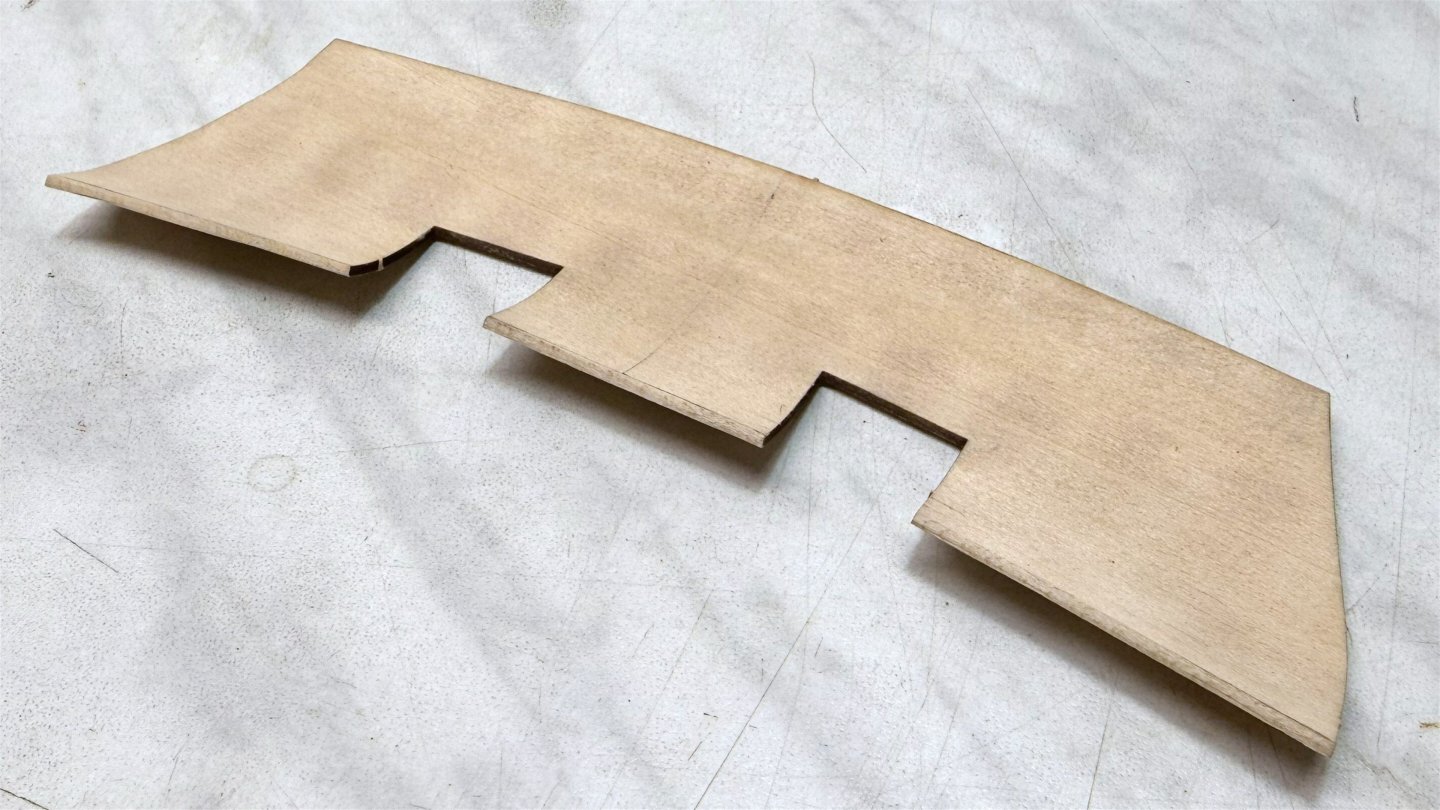
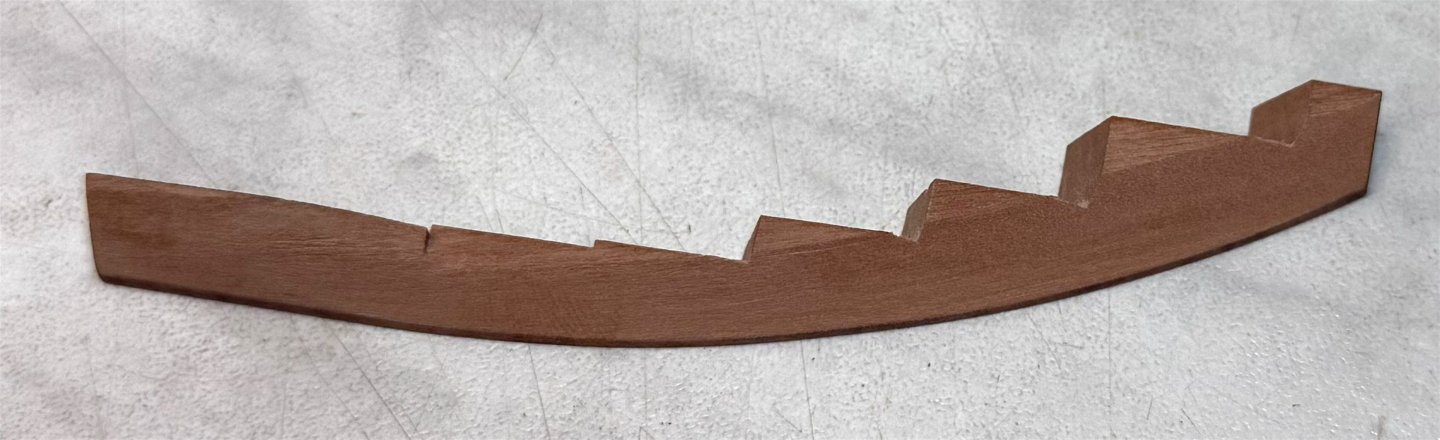
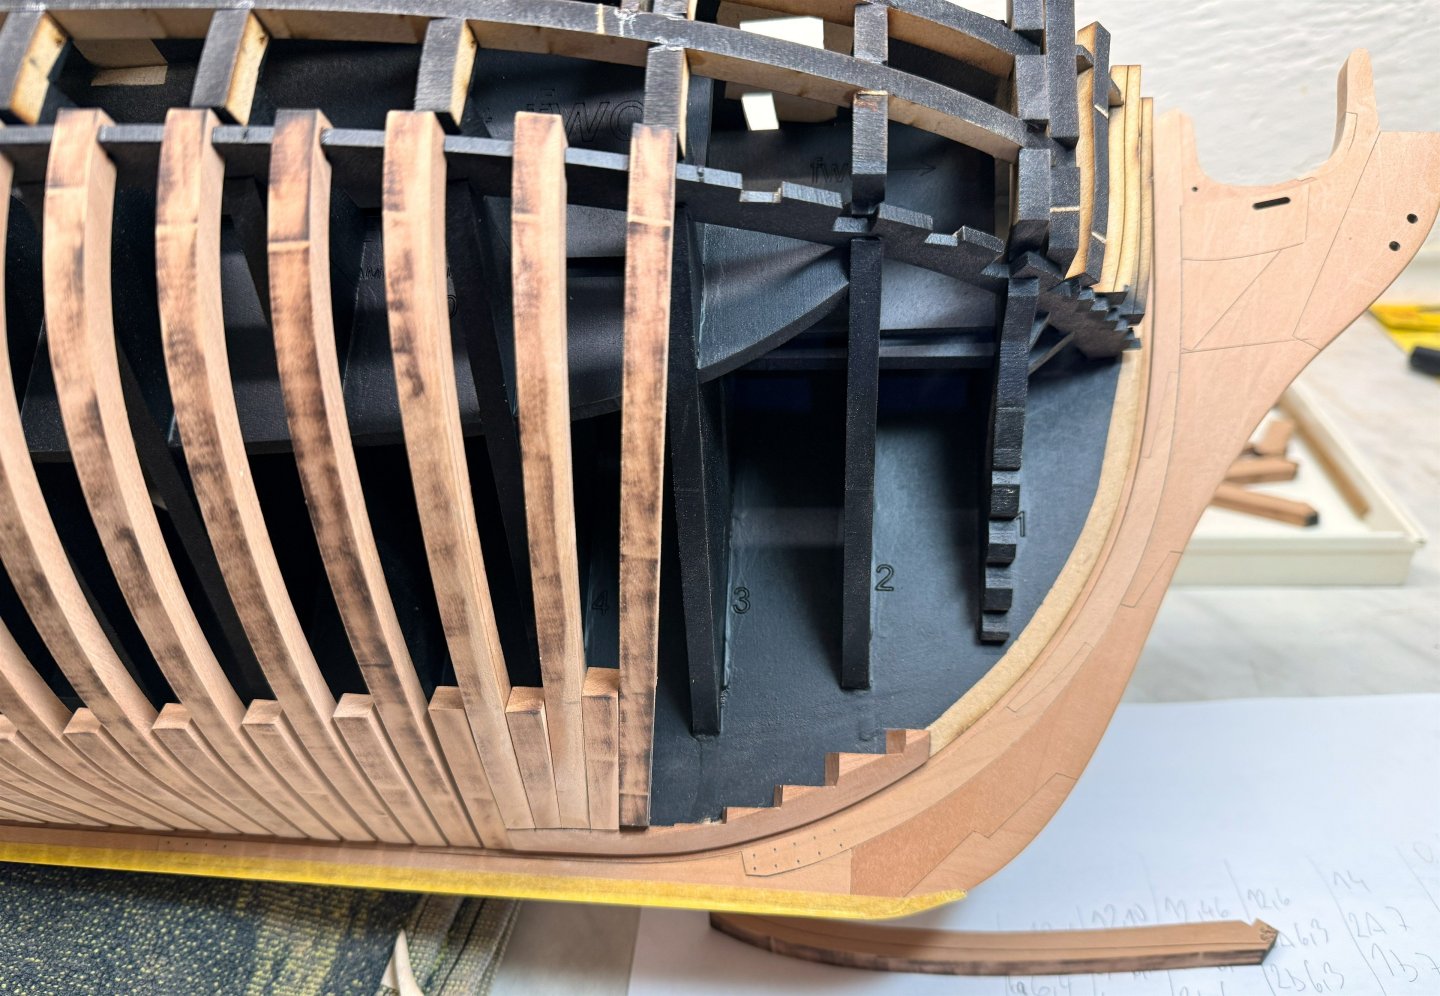
Hi guys, I finally started working on the forward frames. I started with the port side first. Now, all that's left is to glue the hawse pieces, but that can wait until the end. Today, I started working on the starboard side. First, I had to prepare the apron. Since the forward frames slope gradually forward, they require angles and tapering. The apron must be adapted to this, which is very important. I think the photos show what I mean. The apron is now glued on, and the first frames are ready to be glued on.


-
just amazing !
-
Beautiful and detailed work. A joy to watch.
-
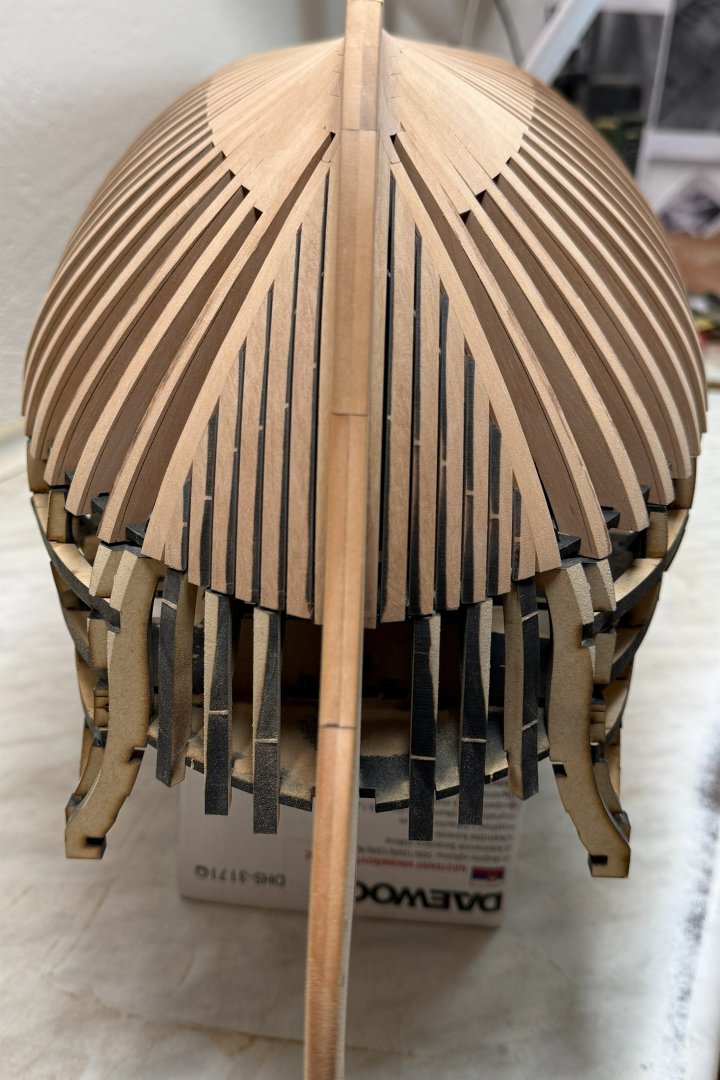
I report that the wing transoms are finally glued in place, and now there's a lot of sanding to do.

-
Hi guys, I'm sorry I'm not posting more updates, but there's no end to the housework before winter. But here's a small preview of what I've done so far. I took a slightly different approach and did the vertical filler first. The inner and outer posts is glued together, but don't yet glued to the bulkhead former. Then, I laminated the wing transom. Now, I'm fine-tuning the other transoms...


-
It looks great! I'm already looking forward to what you'll show us in the third chapter.
-
3D Printing Cannons in Resin
westwood replied to thibaultron's topic in 3D-Printing and Laser-Cutting.
The cannons look fantastic—you did a great job Ron! -
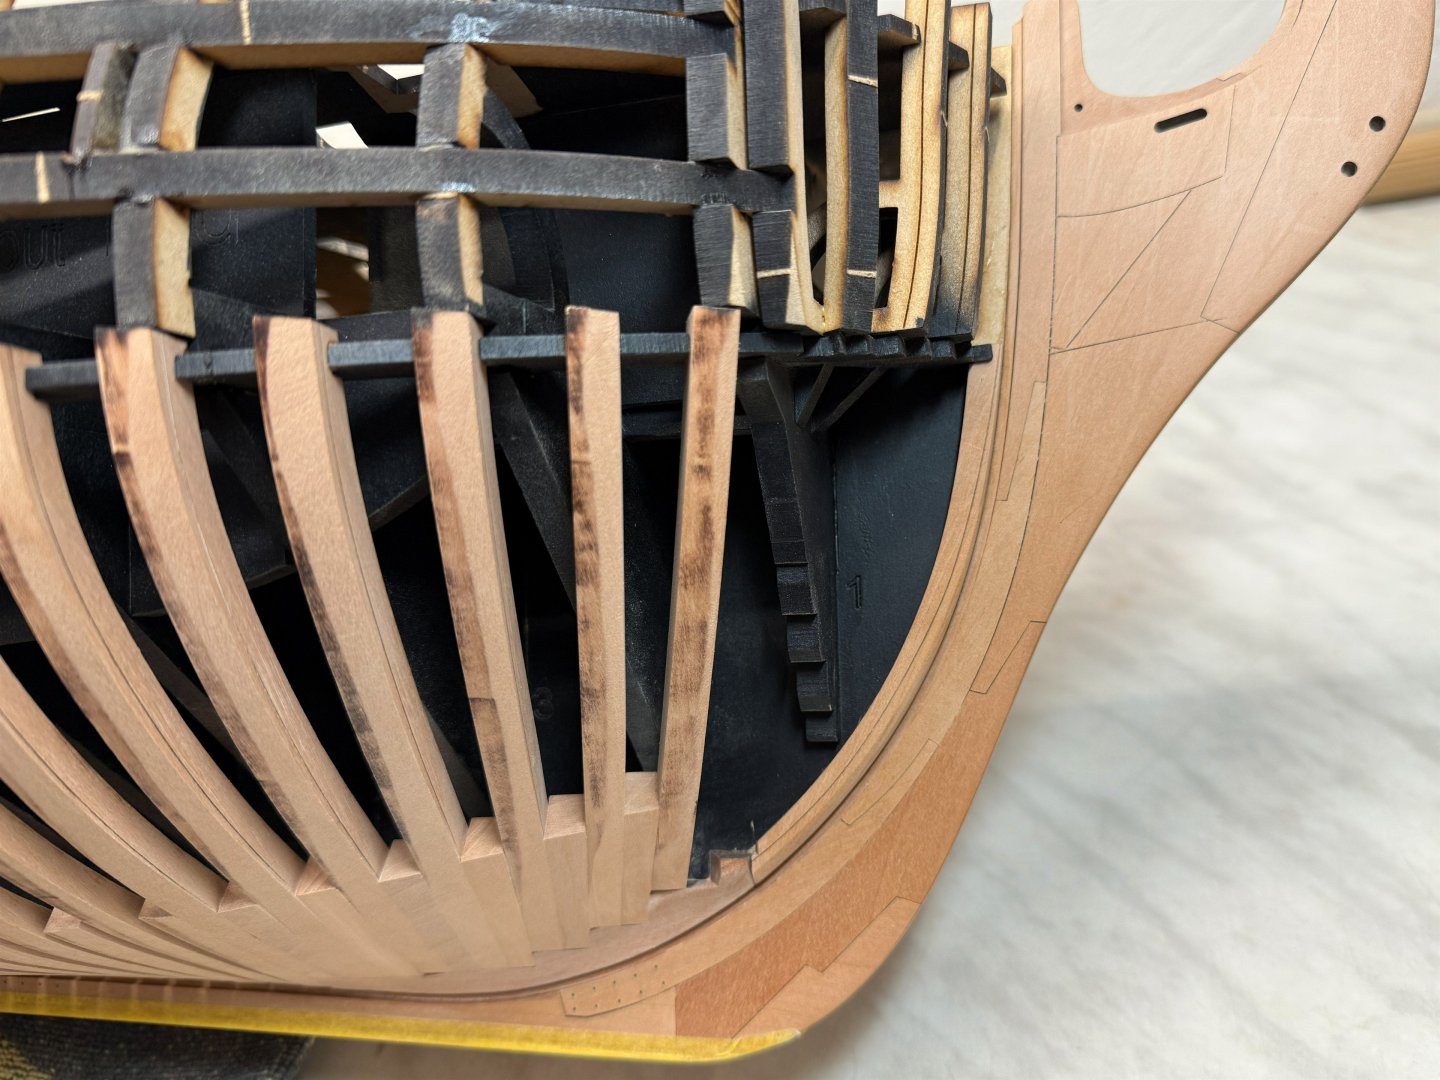
Another small step forward! Only the aftmost frames remain, and they require the most attention to ensure the wing transoms fit properly.
-
Today, I added a few more frames.