westwood
-
Posts
279 -
Joined
-
Last visited
Content Type
Profiles
Forums
Gallery
Events
Everything posted by westwood
-
Congratulations for completing a beautiful model Don. It has been a pleasure to follow your posts as you build this model.
- 144 replies
-
- 2
-

-
- winchelsea
- Syren Ship Model Company
- (and 1 more)
-
Lovely work Matthias 👍
-
Hi, Vlado,🙂 great improvement. By the way, I have a question: What did you use to paint the carvings?
-
continuing So chapter five is almost done and it's time to finish chapters three and four...


-
Hey guys, Although late, thank you for the likes and comments. It's been a long time since I updated my log. Fortunately, the work is still going on. Now, in June, it's exactly two years since I finished adding the bulkheads. And this is how it looks now.


-
Excellent Glenn, congratulations, you've made good progress. And thank you for the detailed description and photo documentation. I will be inspired.
- 840 replies
-
- 3
-
-
- winchelsea
- Syren Ship Model Company
- (and 1 more)
-
I've really enjoyed following your work Rusty. And indeed I will be looking for inspiration in your log for a long time to come because my Winie is far from finished. So, congratulations on the completion of a beautiful model. Now I wish you a nice vacation and I look forward to your new building diary.
- 642 replies
-
- 2
-
-
- winchelsea
- Syren Ship Model Company
- (and 1 more)
-
Wow that looks great Chuck. Another reason why I would like to go into this project.
-
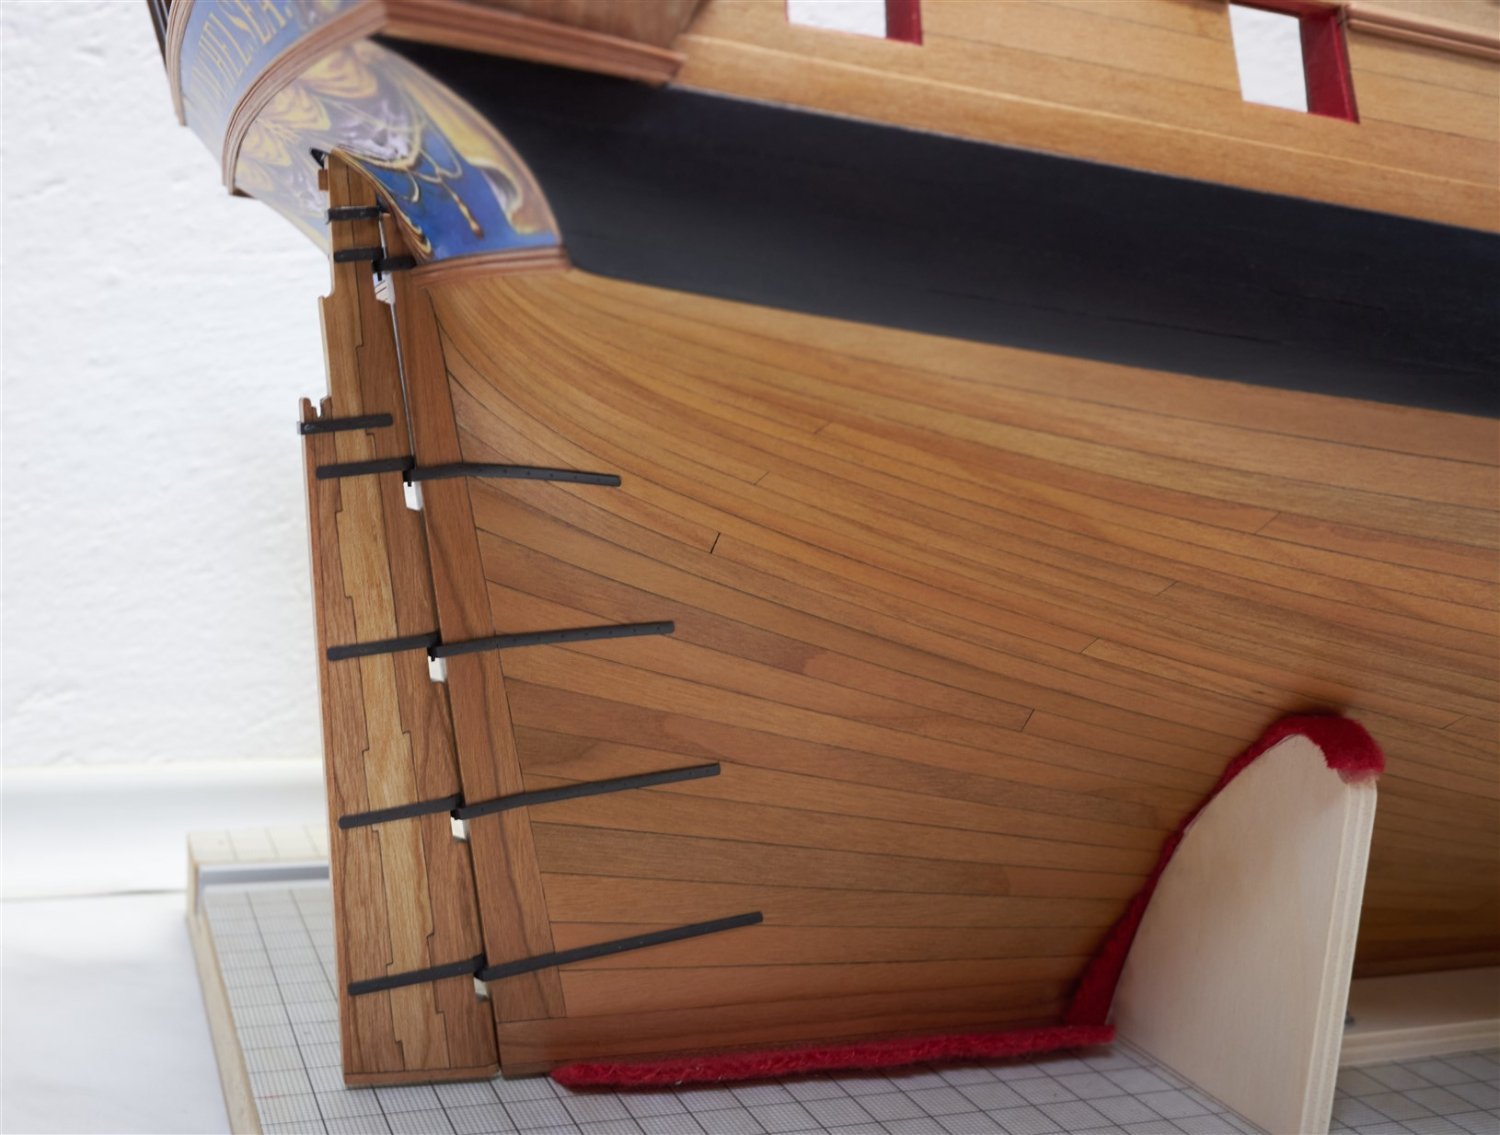
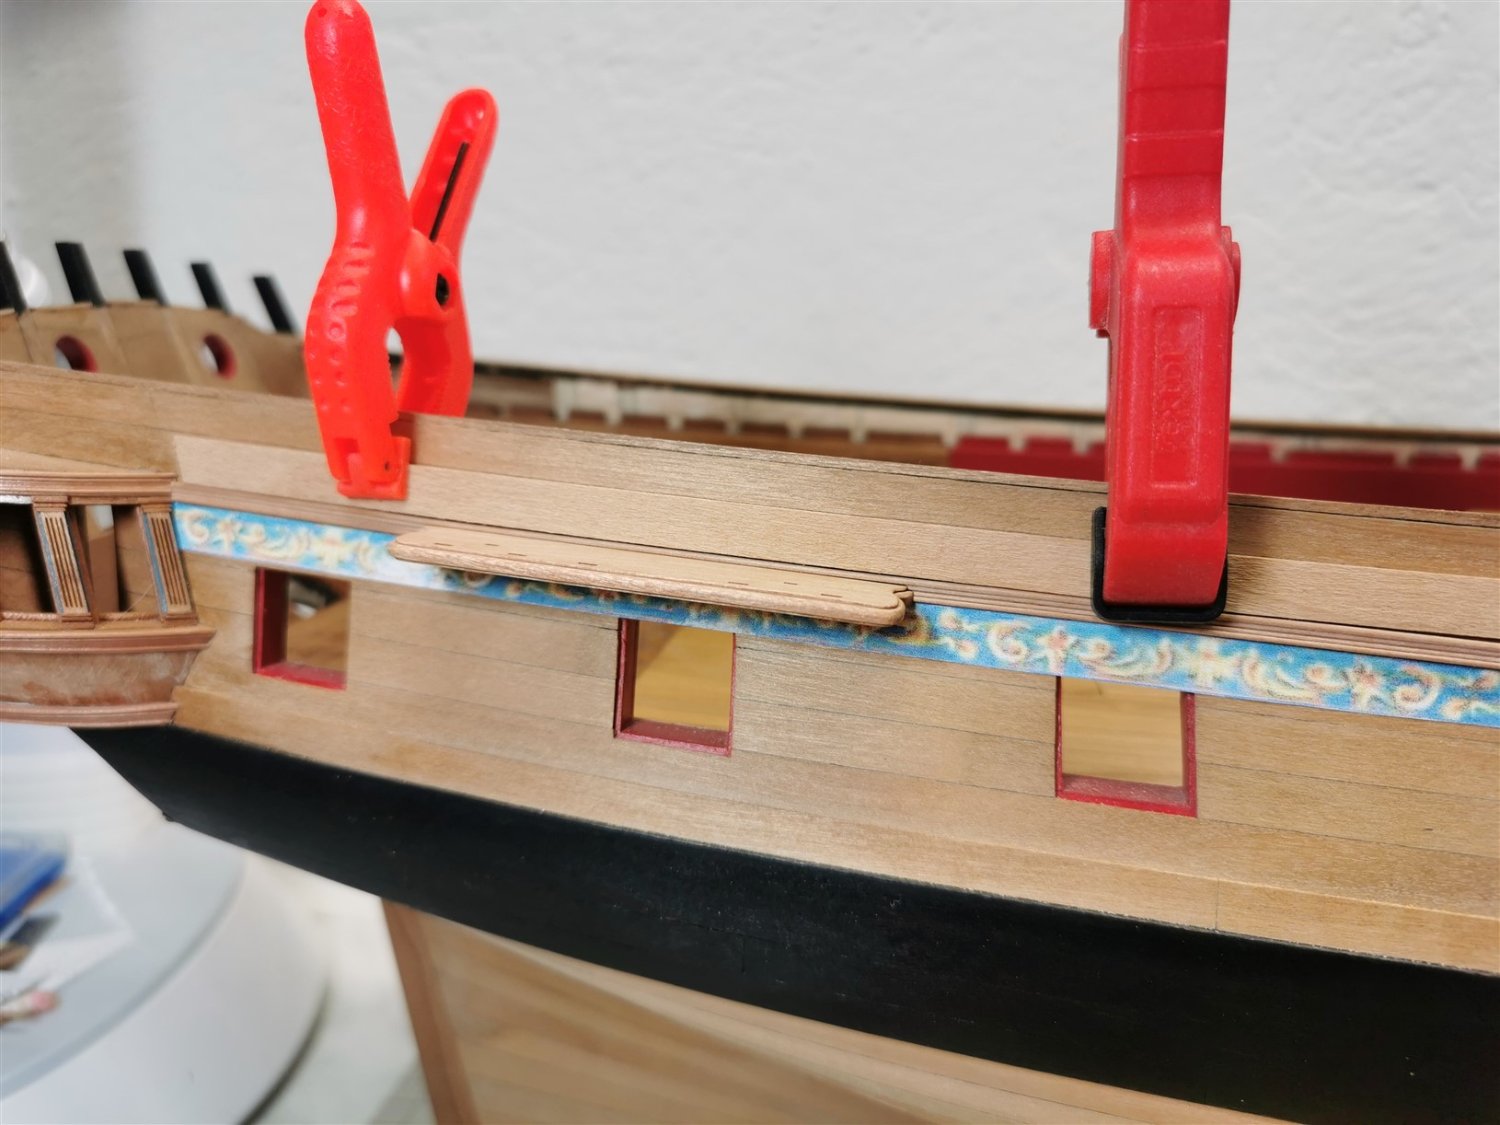
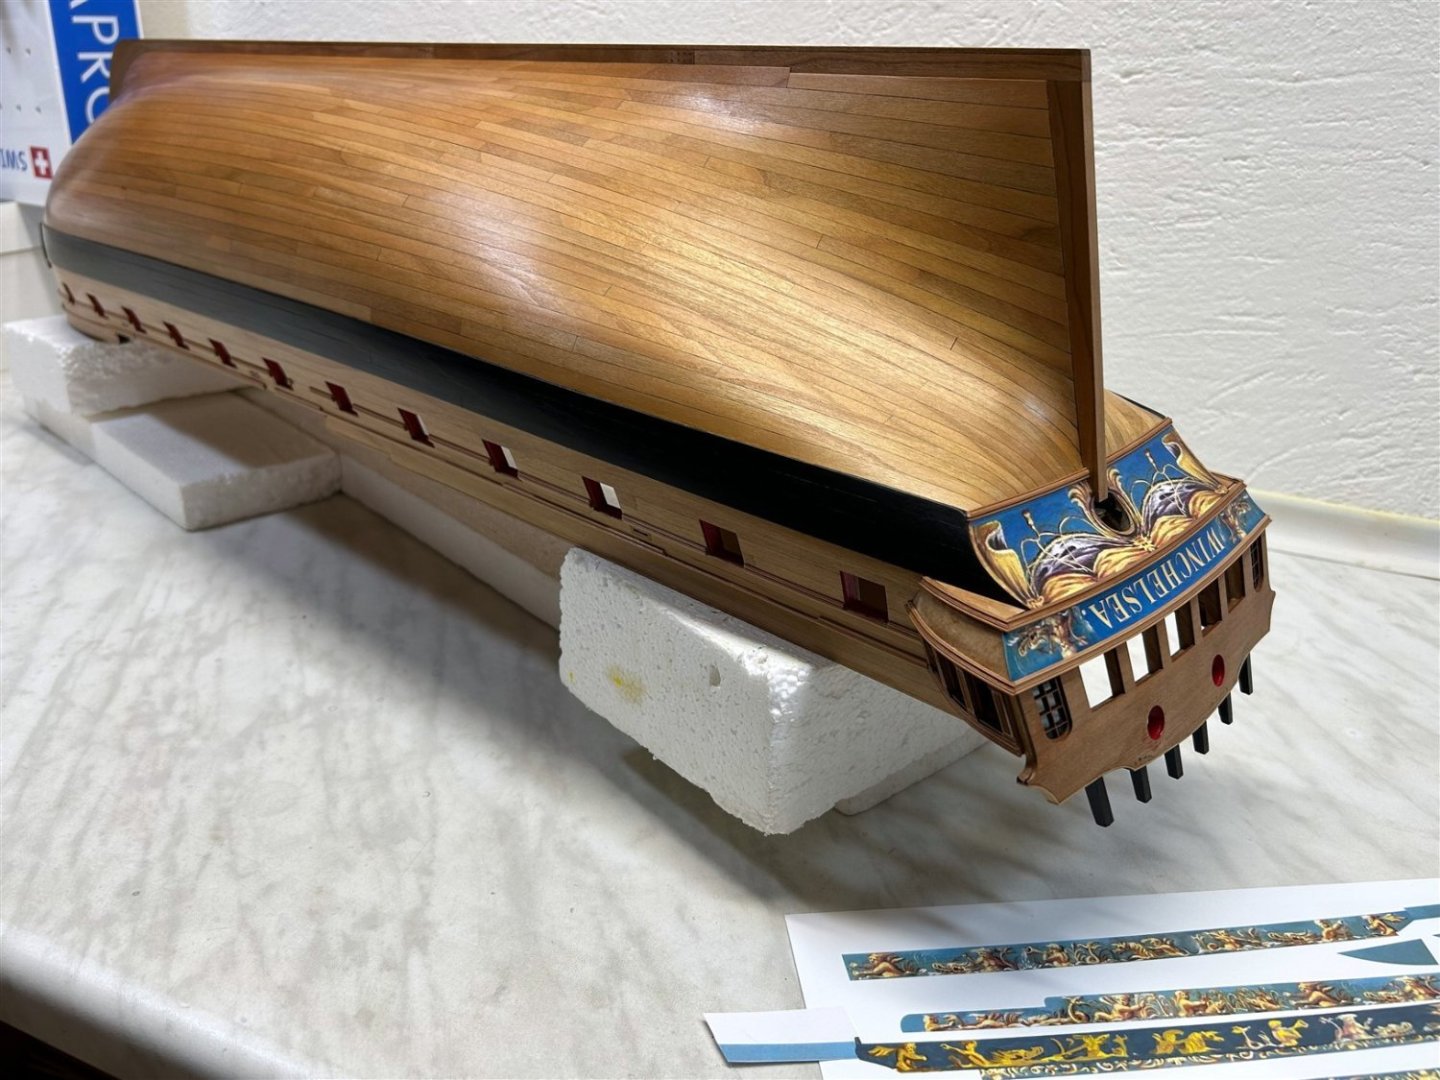
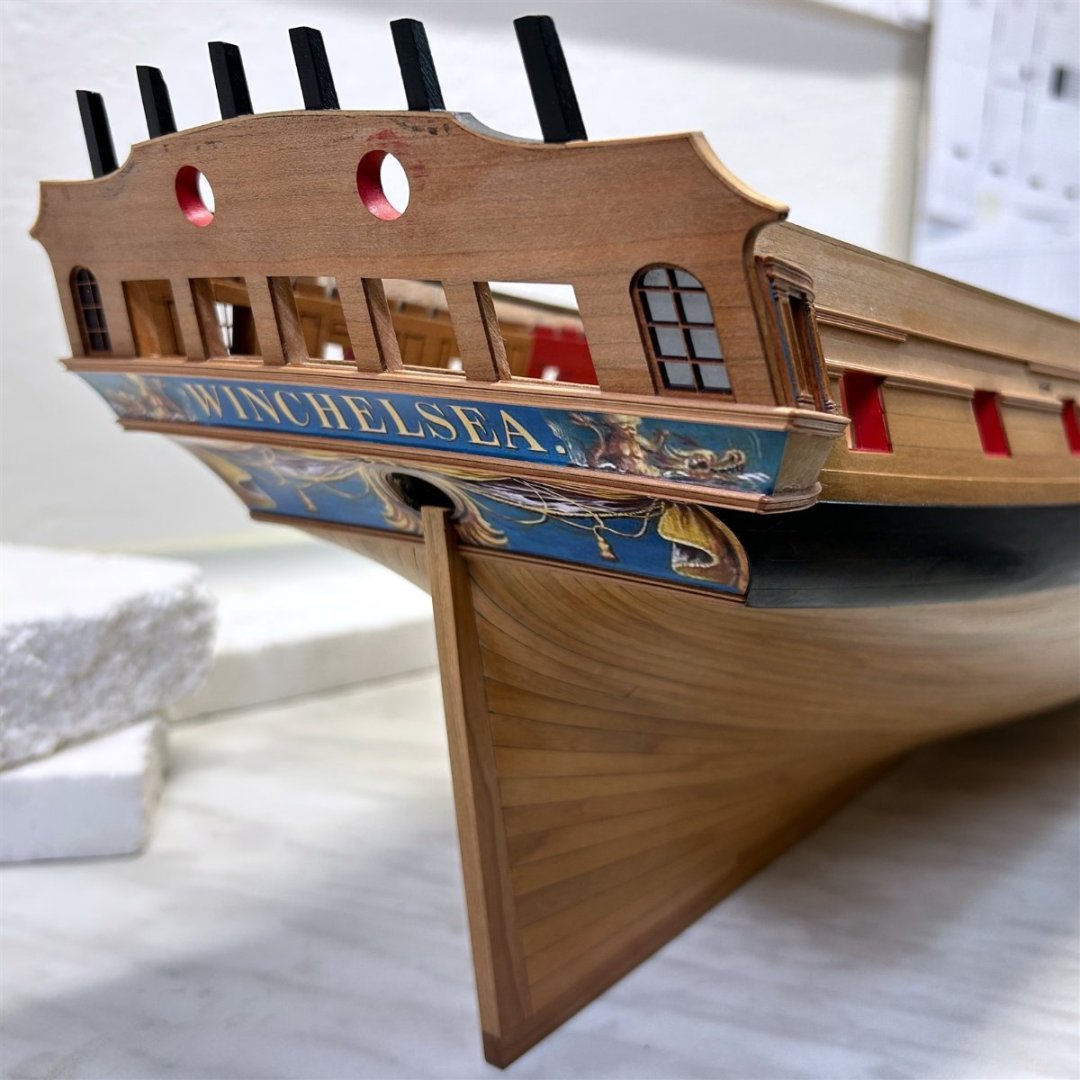
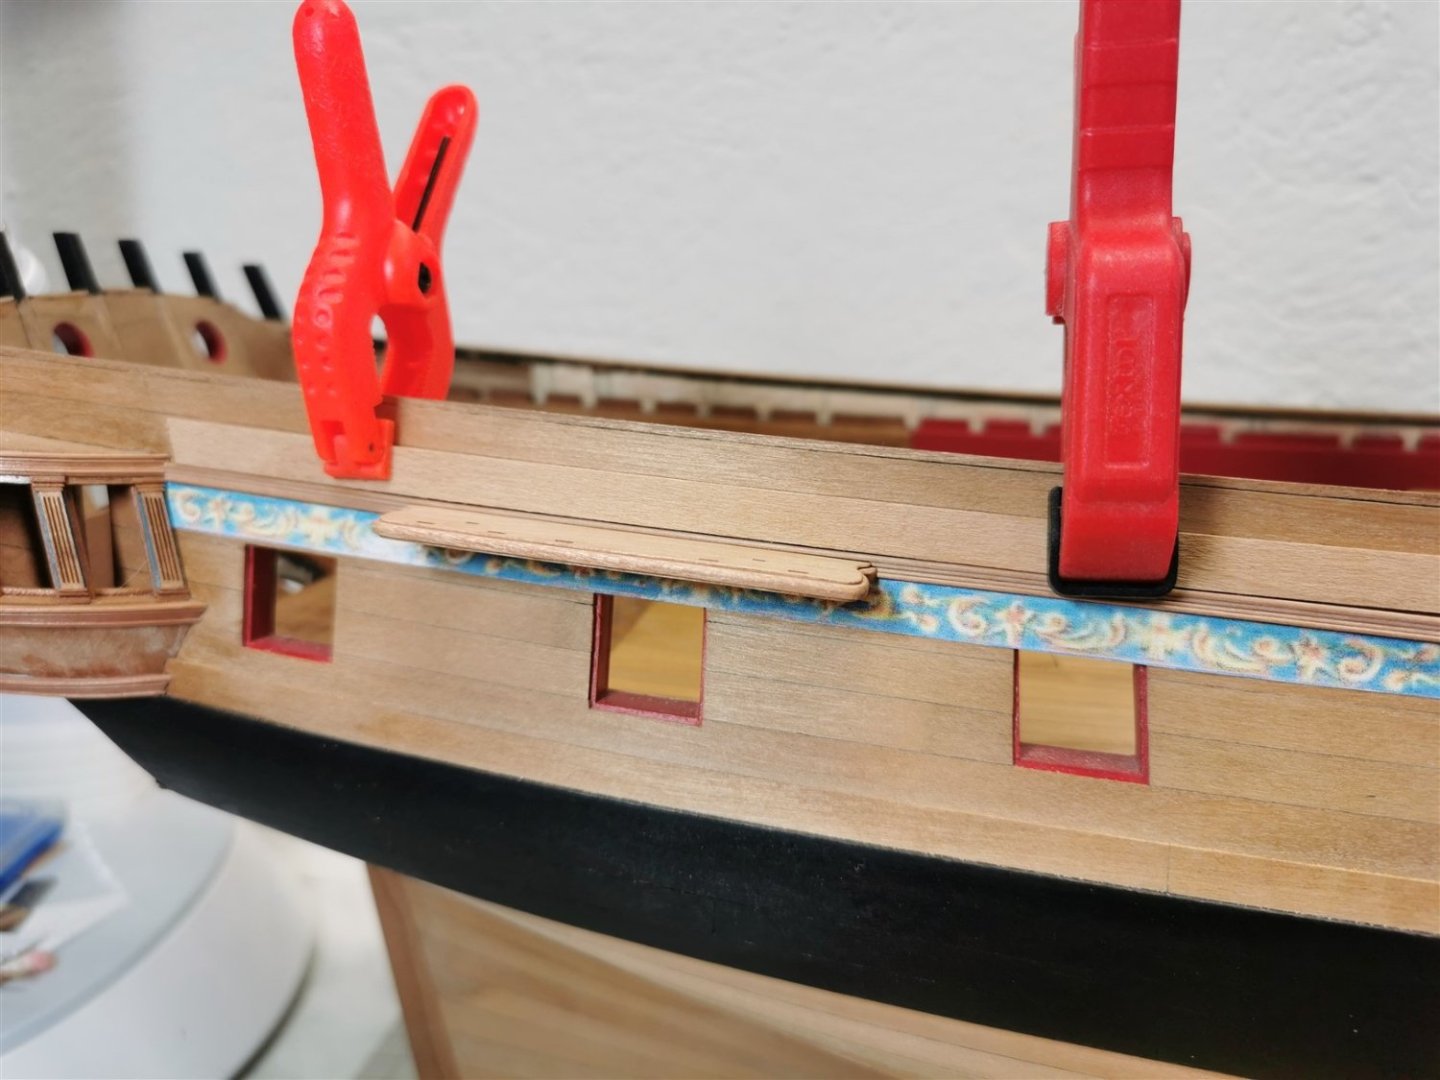
Thanks for the comments and likes guys, Especially now that I wasn't doing so well and progress was minimal. I kept toying with the idea of doing something with the friezes. I thought about editing in PC, but I'm not a graphic designer and I couldn't do it. It would take experience with graphics and a graphics tablet would probably be useful. Then I thought what about getting some waterslide decals made. Expensive and uncertain result. Today I tried hand painting but I'm not a cartoonist either, and my magnifying glass isn't strong enough. And I also don't have such micro brushes yet How the hell did they do it at the time? So I guess I gave up, and today I put the first friezes in place. What do you think?

-
Beautiful work Matt and btw I like the simulation of the iron on the stove.
-
You're doing great, Rusty, Fingers crossed for the final and looking forward to the gallery.
- 642 replies
-
- 2
-
-
- winchelsea
- Syren Ship Model Company
- (and 1 more)
-
I'm speechless Glenn, beautiful work. Also starting to shape all those eyelet and ring bolts...
- 840 replies
-
- 2
-
-
- winchelsea
- Syren Ship Model Company
- (and 1 more)
-
beautiful and inspiring, congratulations, but the cannon rigging...wow, I'm not even going to try to imitate that.
-
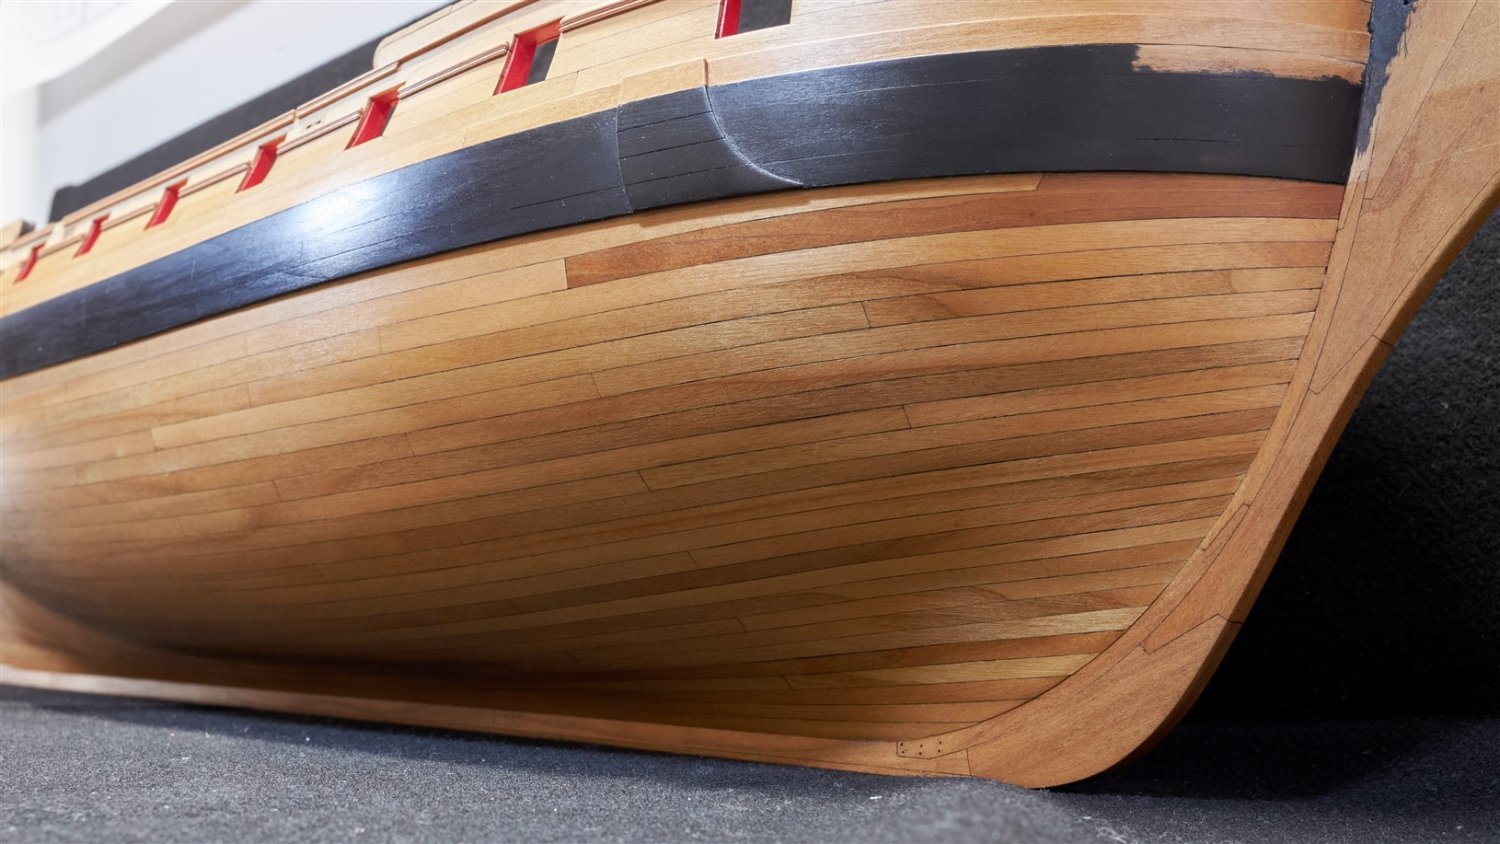
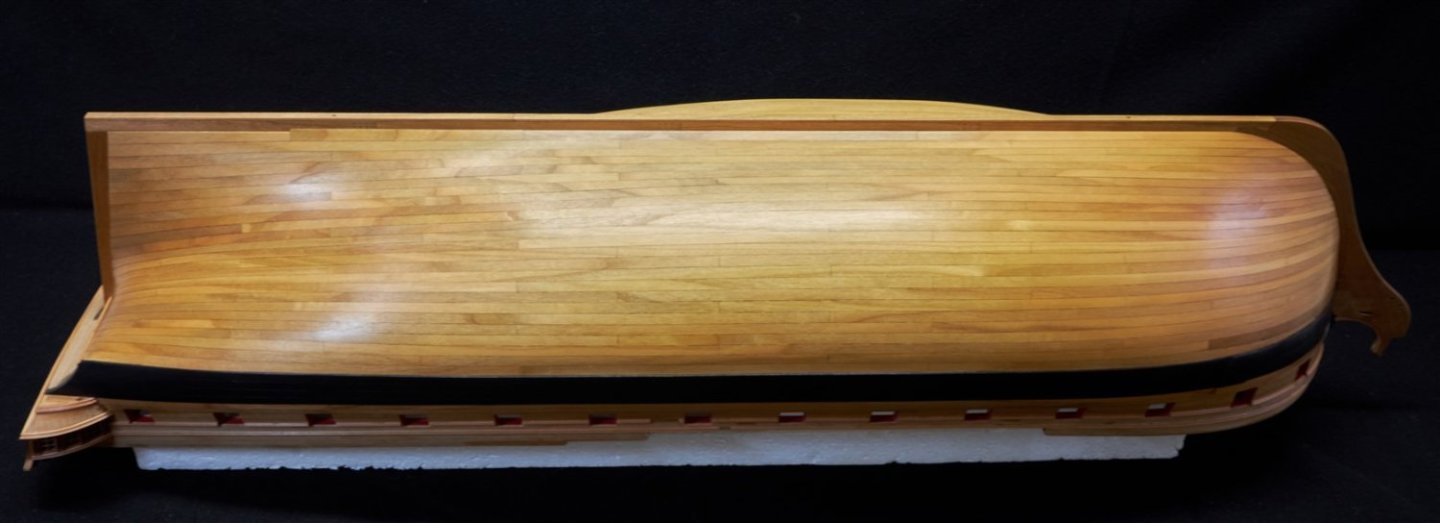
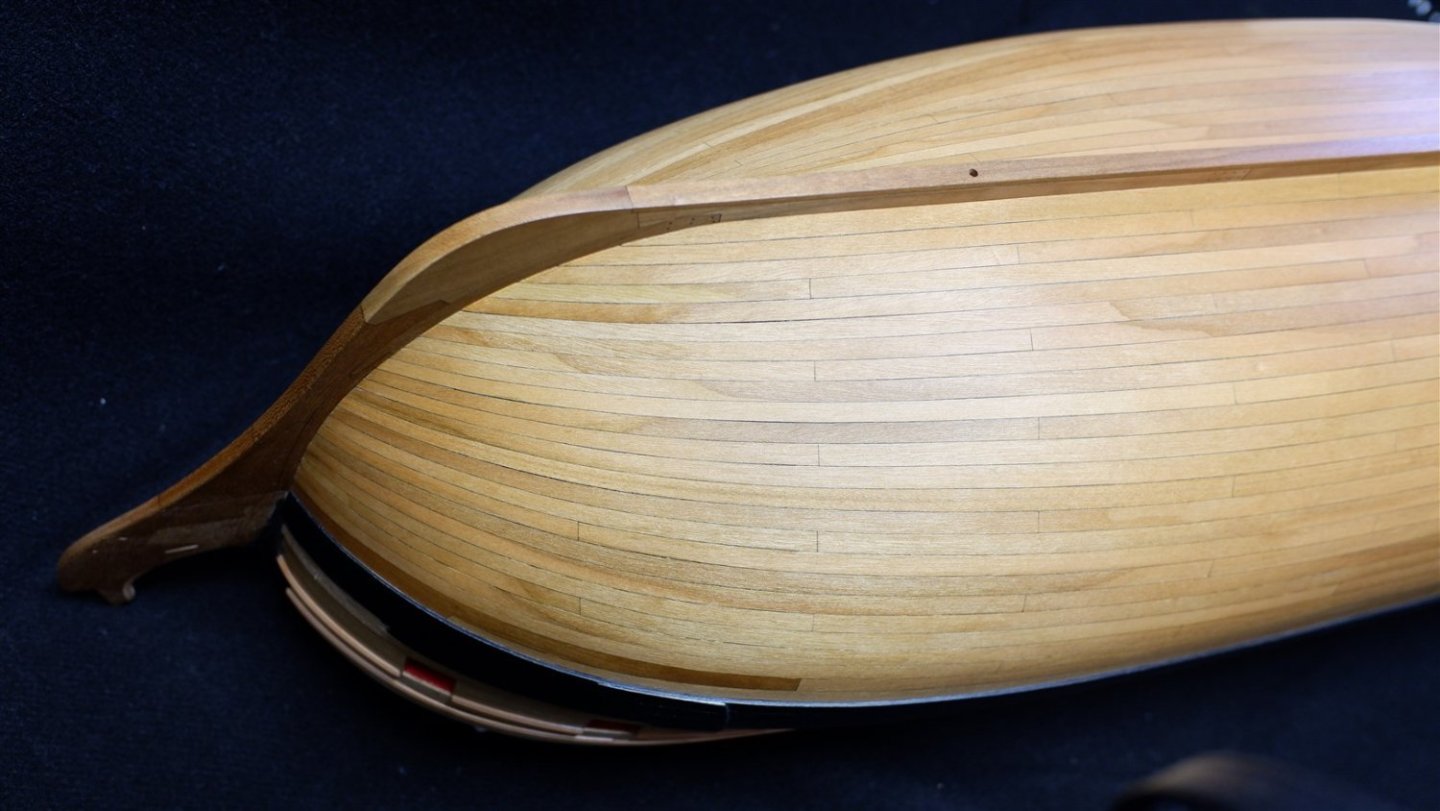
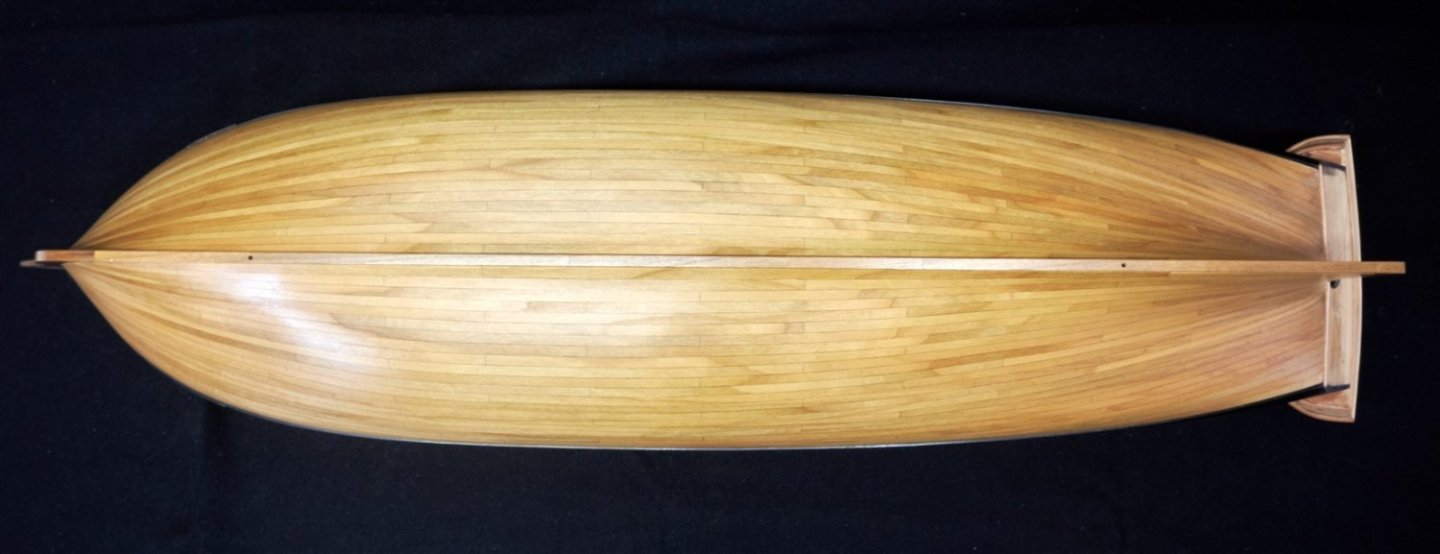
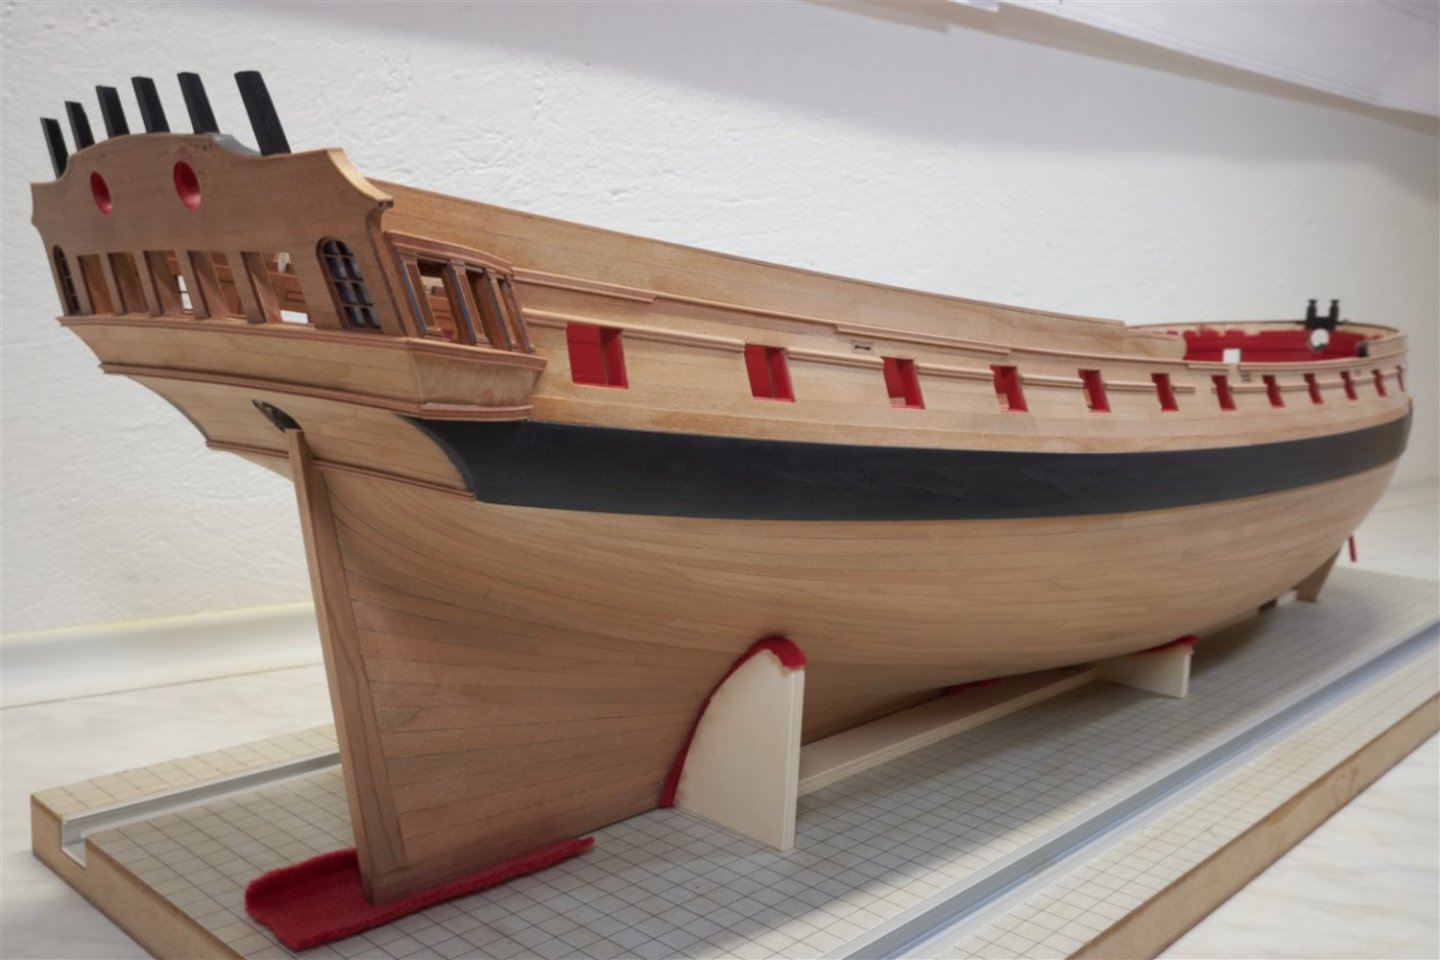
After a long time, longer than I thought at least the photos how it looks after applying WOP...


-
Wow beautiful photos Glenn. Thank you for showing them to us
- 840 replies
-
- 3
-

-
-
- winchelsea
- Syren Ship Model Company
- (and 1 more)
-
You're going brilliantly Chuck. And that template will really help a lot.
-
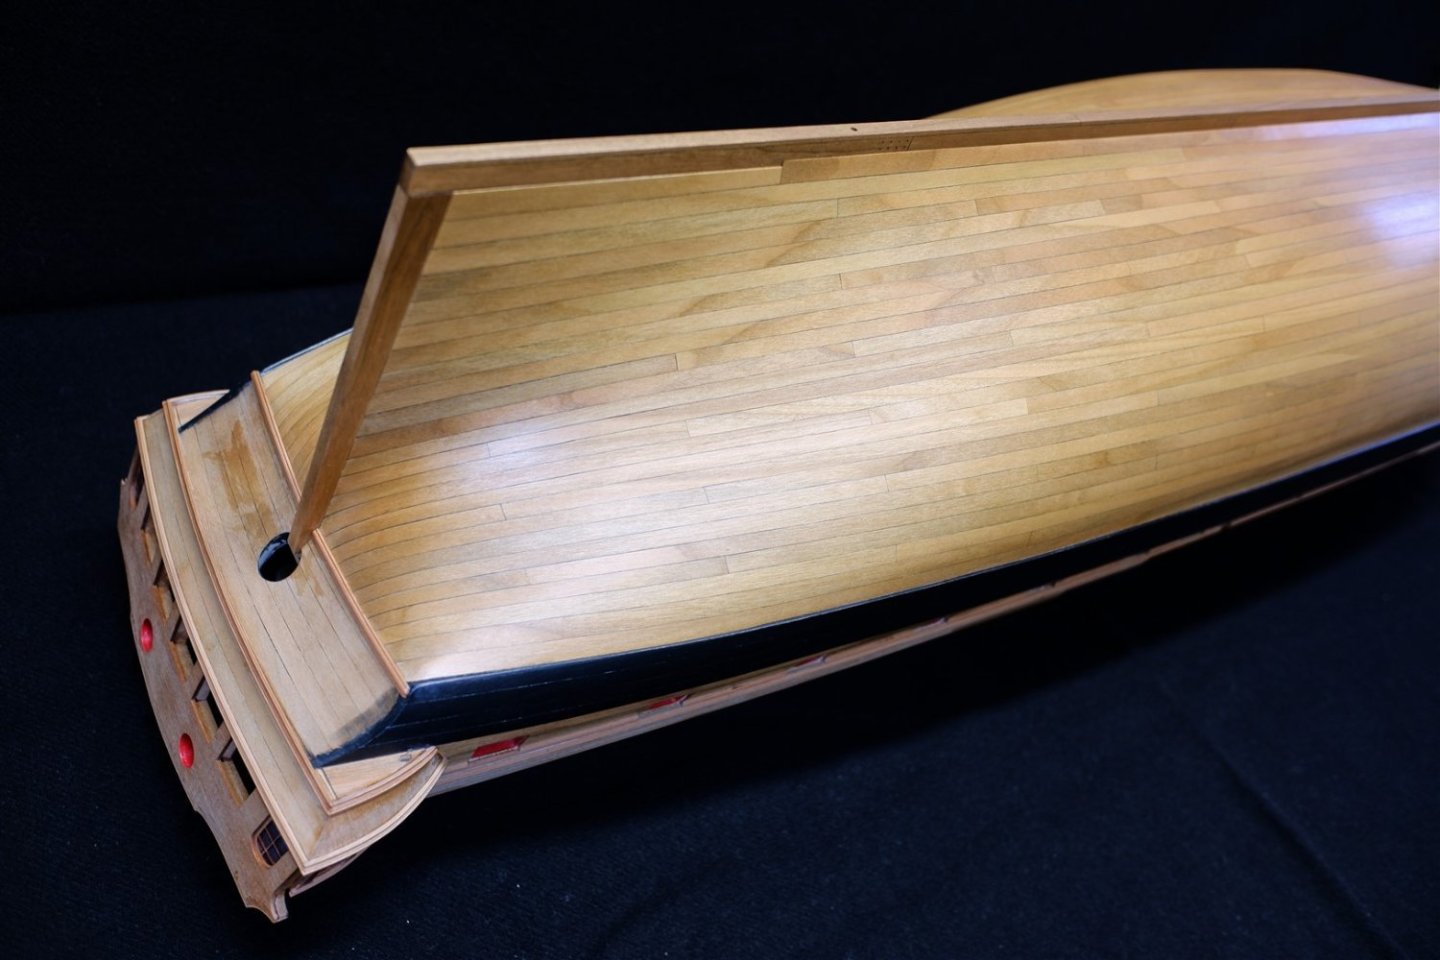
Hi Jim, I'm building a cherry version too. I would also like a wax or Tung oil finish. It really is not only a beautiful finish but I like the smell of it too. But from a practical aspect, I finally used the classic WOP. I was thinking that it would be difficult to glue other parts to an oiled surface. I just applied the first coat yesterday and it looks nice. After application, the color of the wood became quite rich. One or two more coats and then I'll take pics. Also, it depends what version of cherry wood you use. My laser cut parts from Chuck are darker colored and for planking I used a lighter cherry . You'll see it better when you make a few planks to use for the planking. But I'm just a beginner at this...
-
Perfect Mike, nice start to the planking. I'm curious to see the progress and how it will look in the boxwood.
-
Beautiful Gary, congratulations on completing the planking. And yes one hard part is done and more to come. But that's the fun of this project.
-
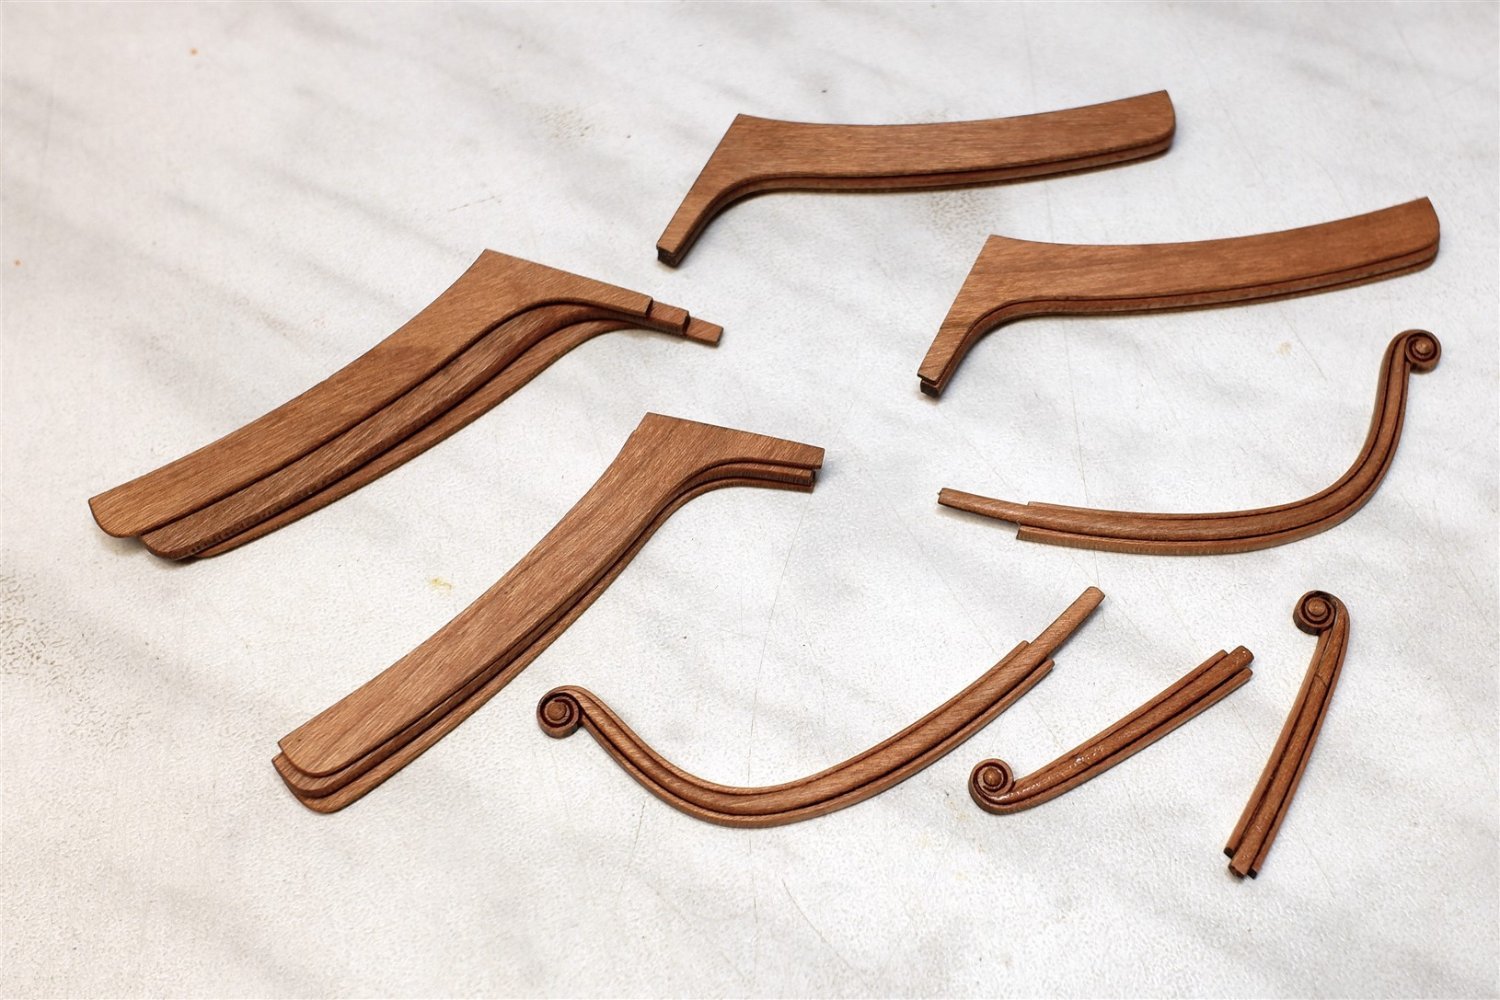
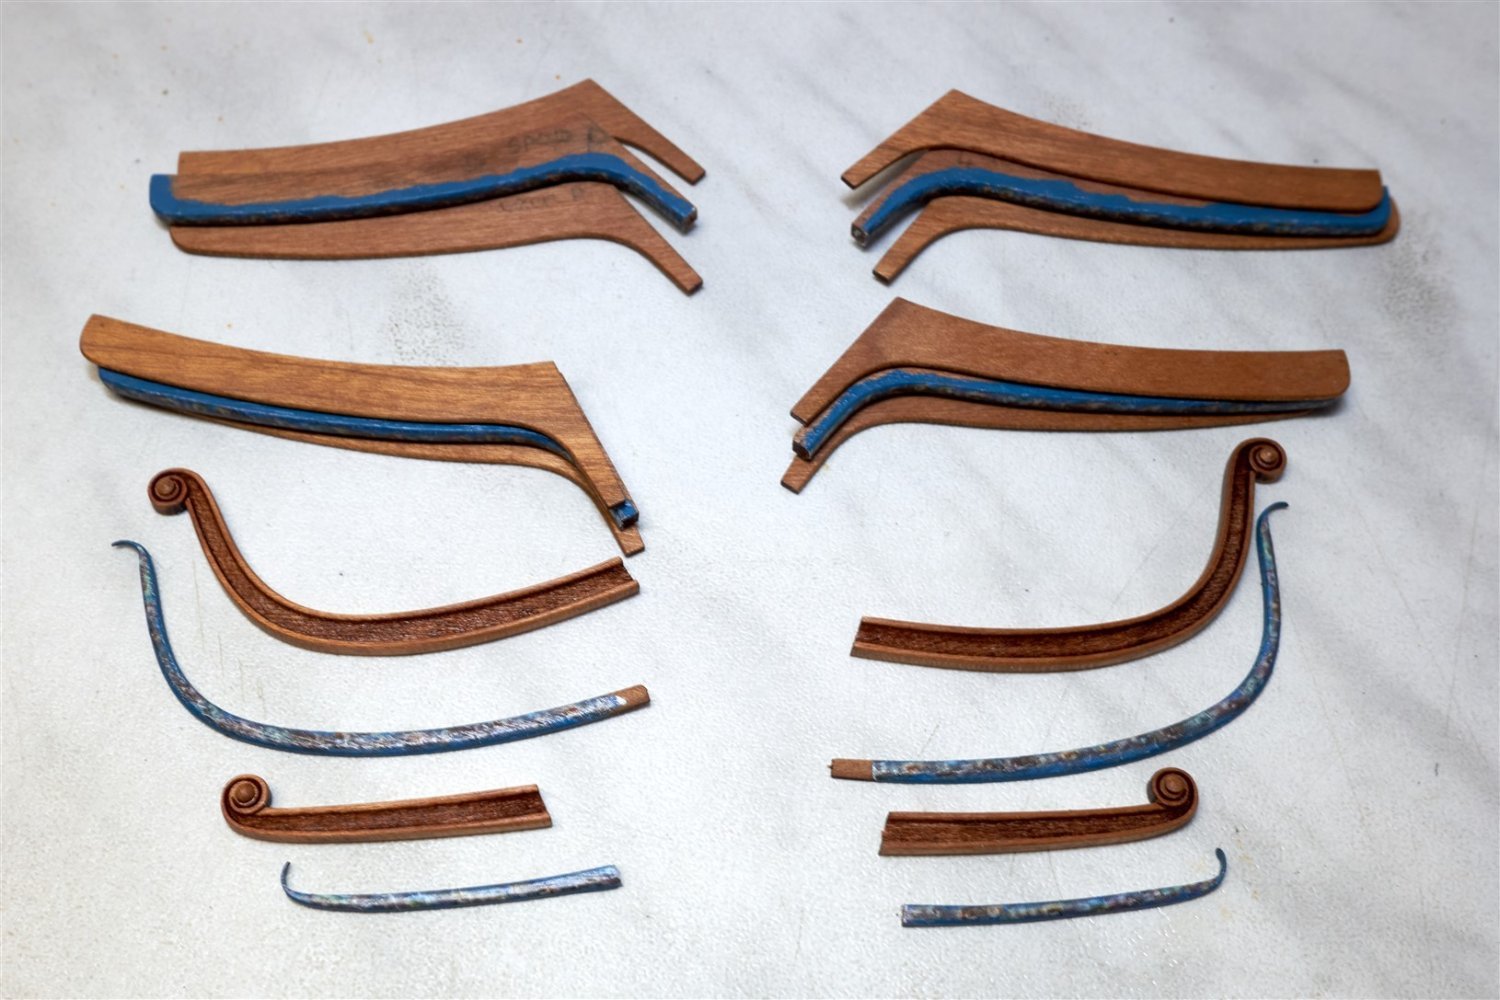
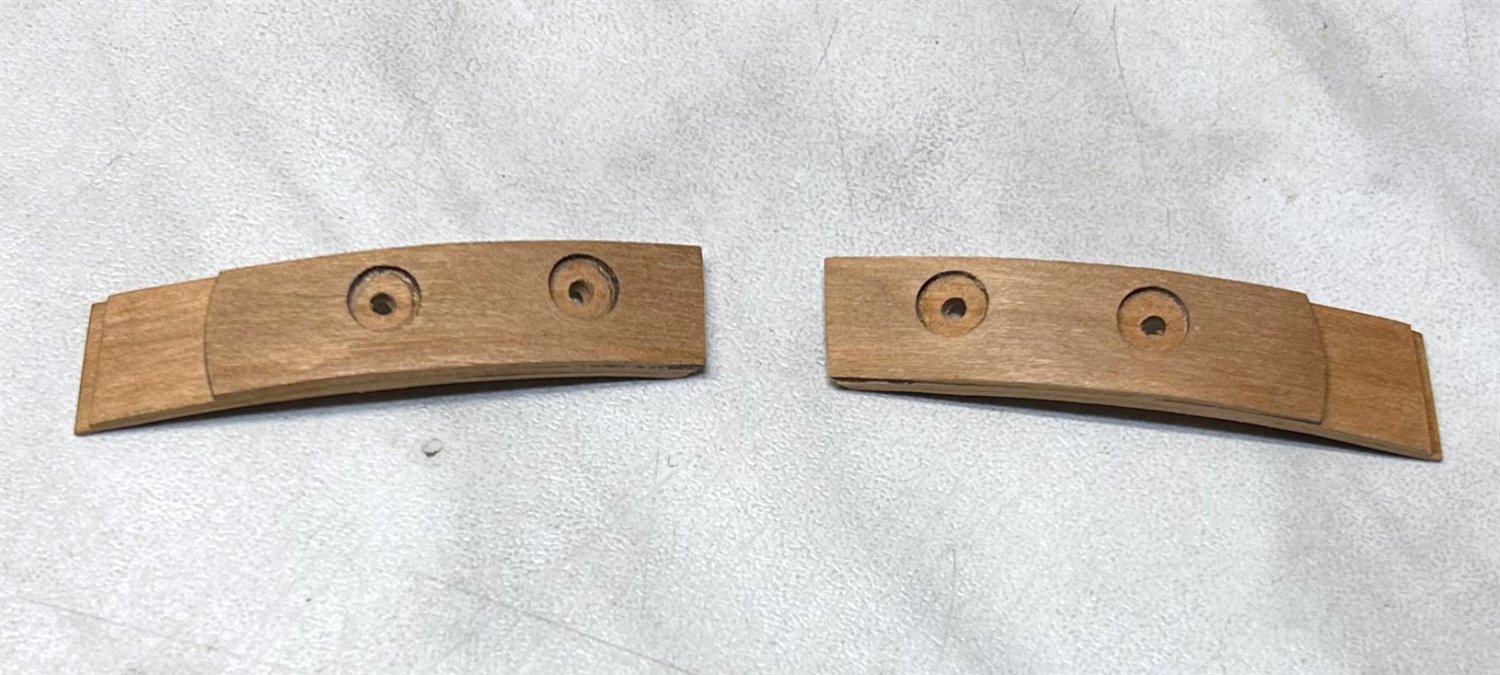
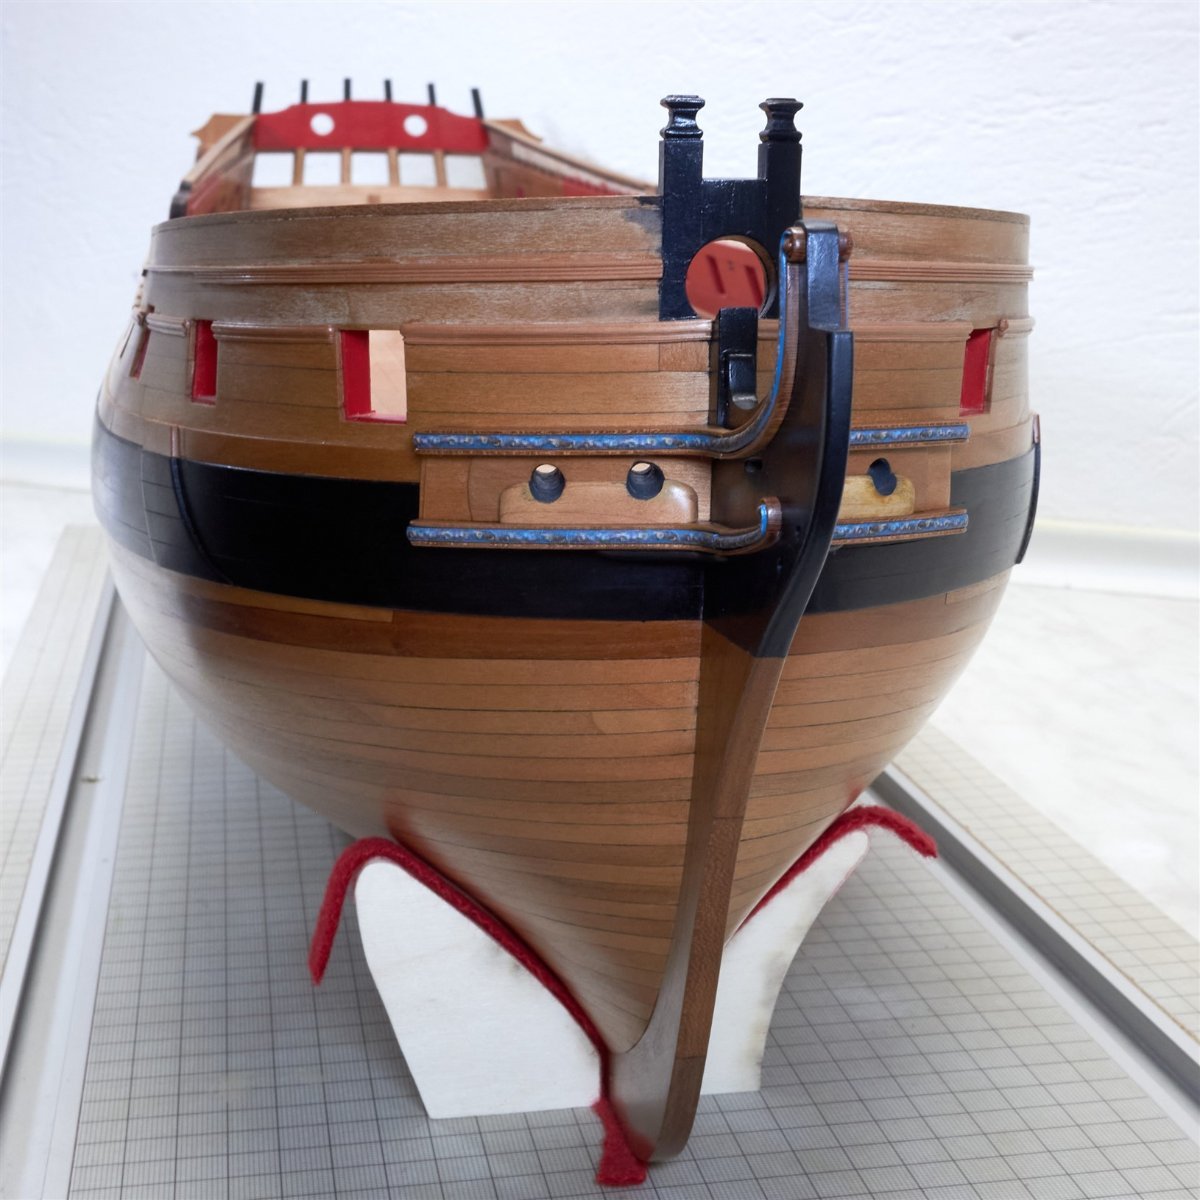
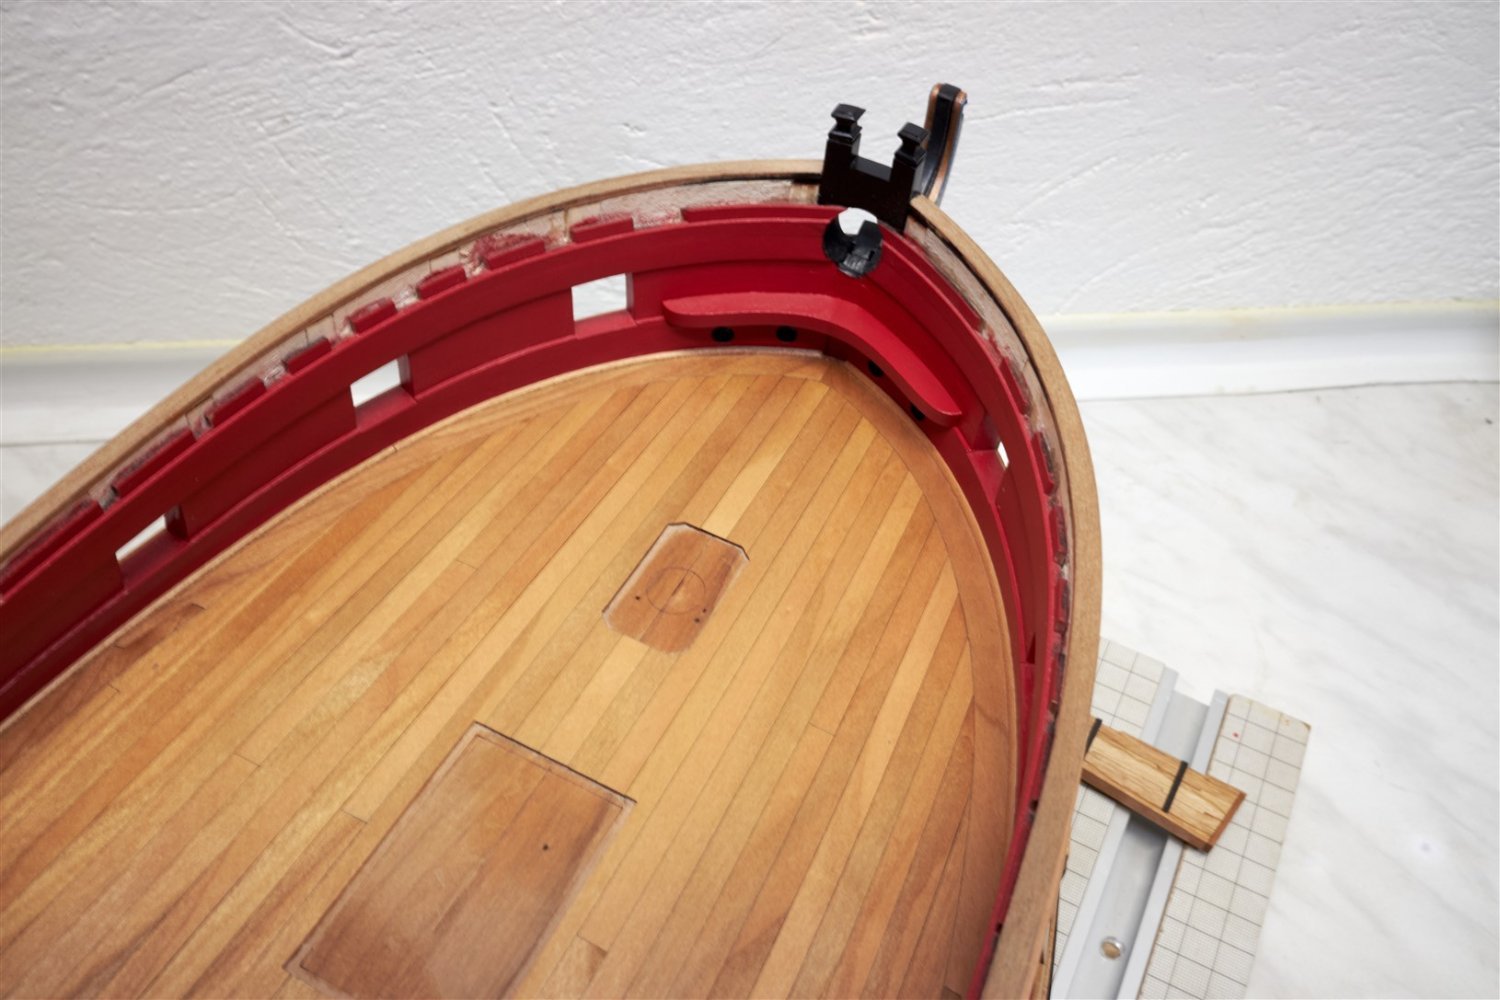
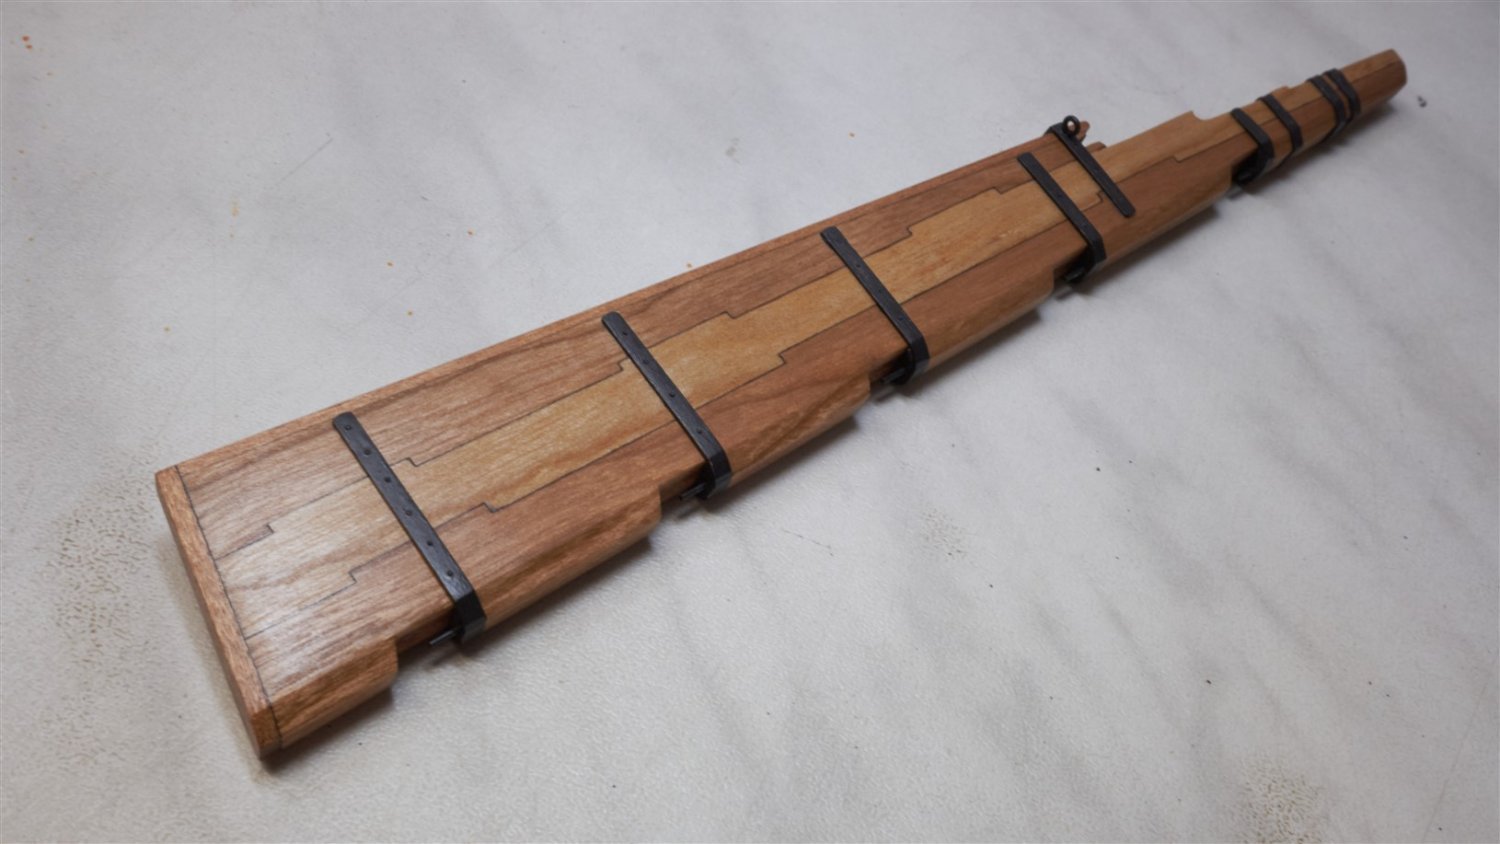
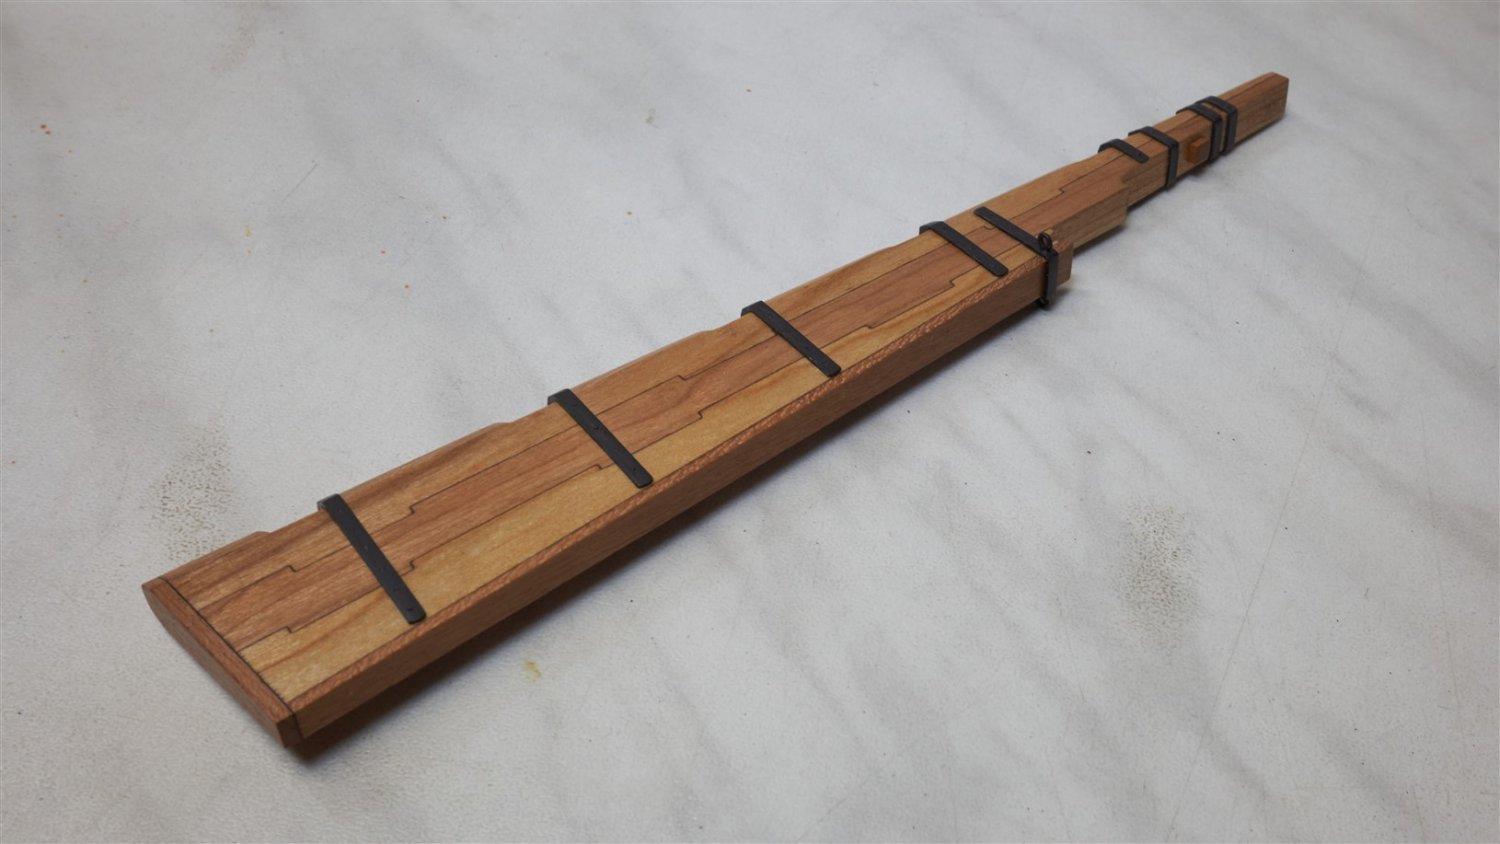
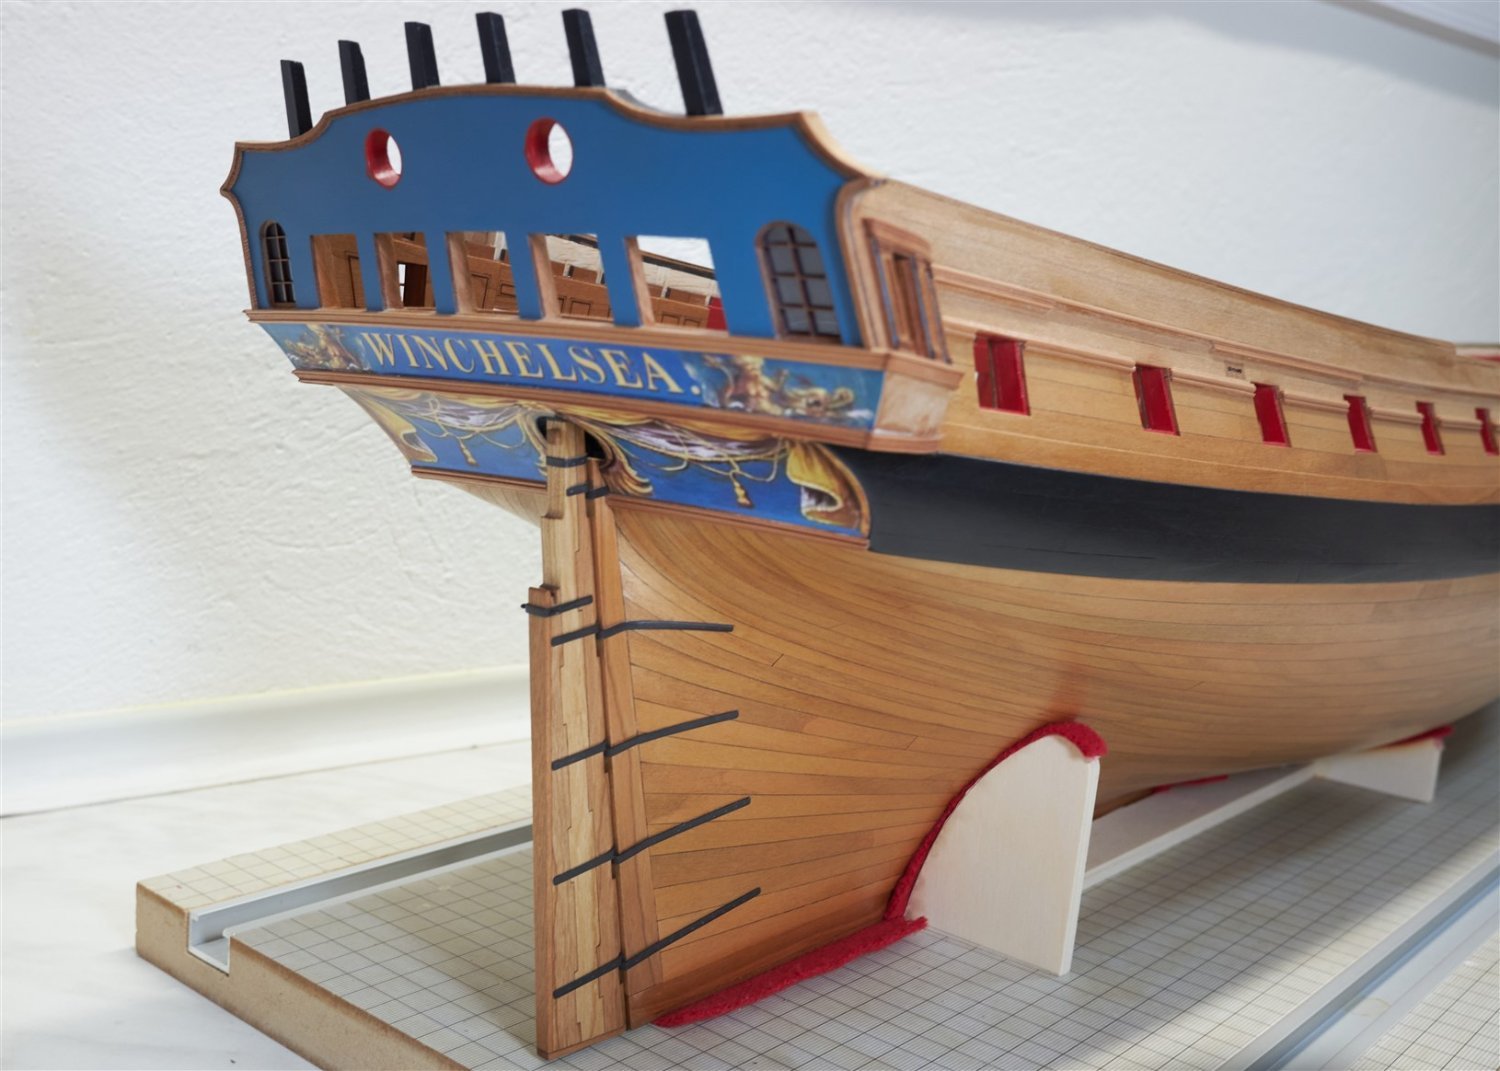
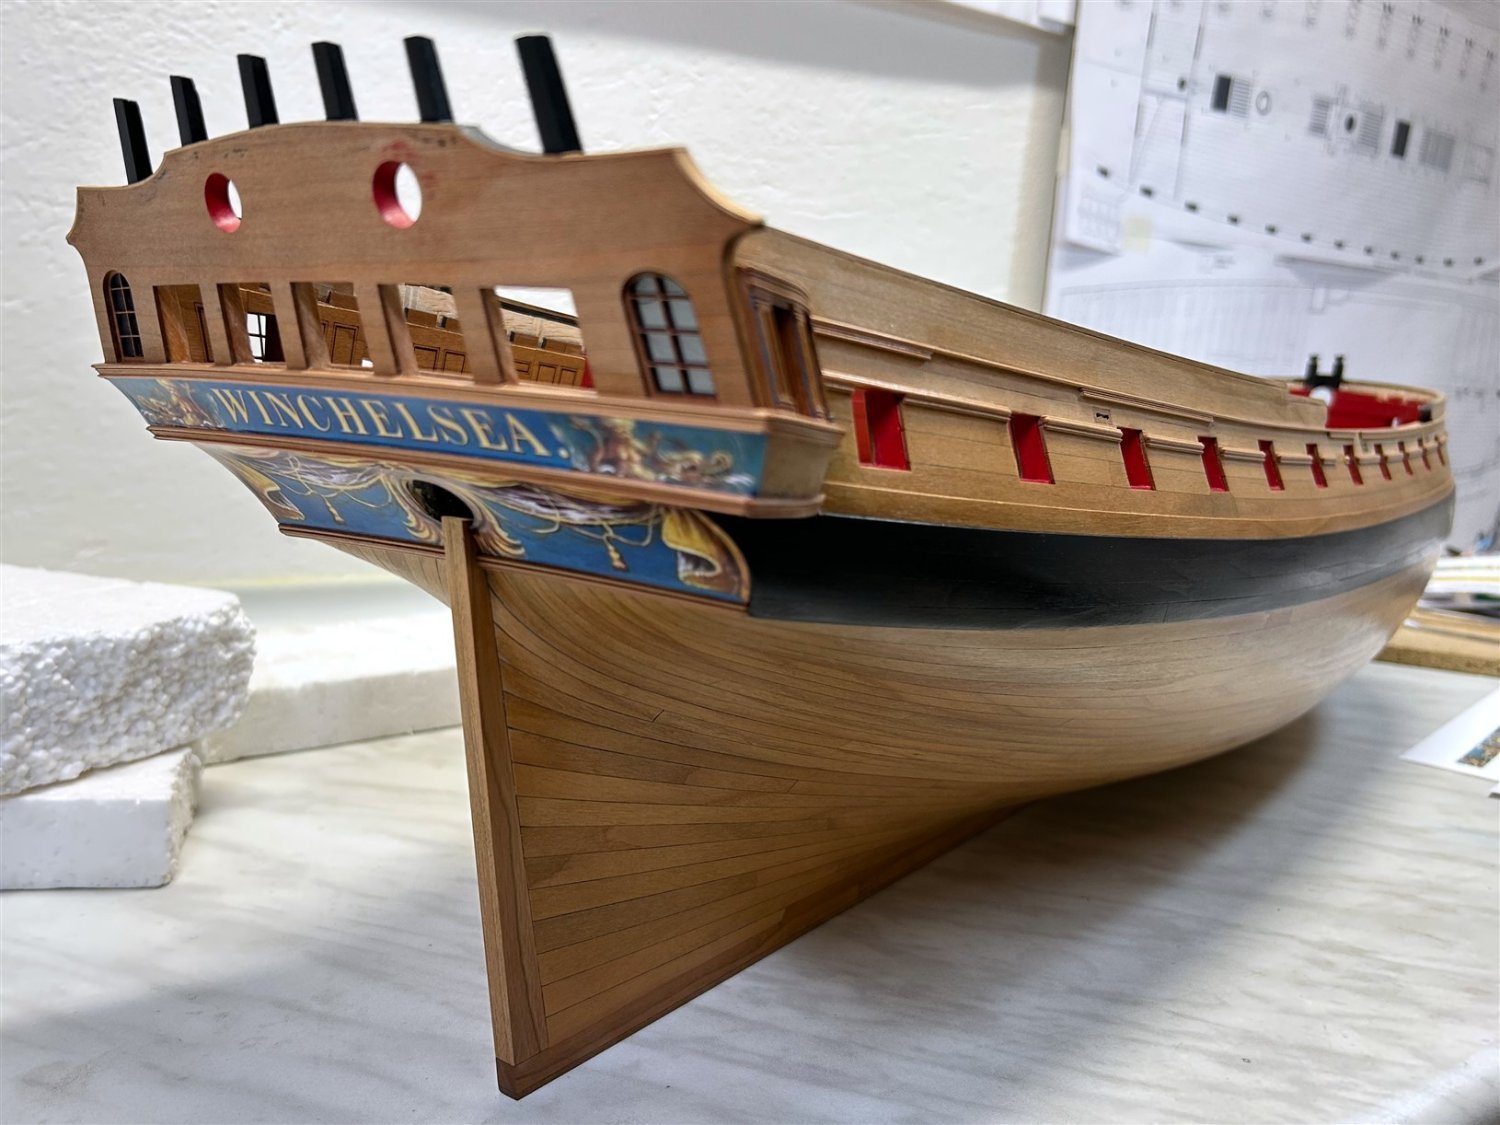
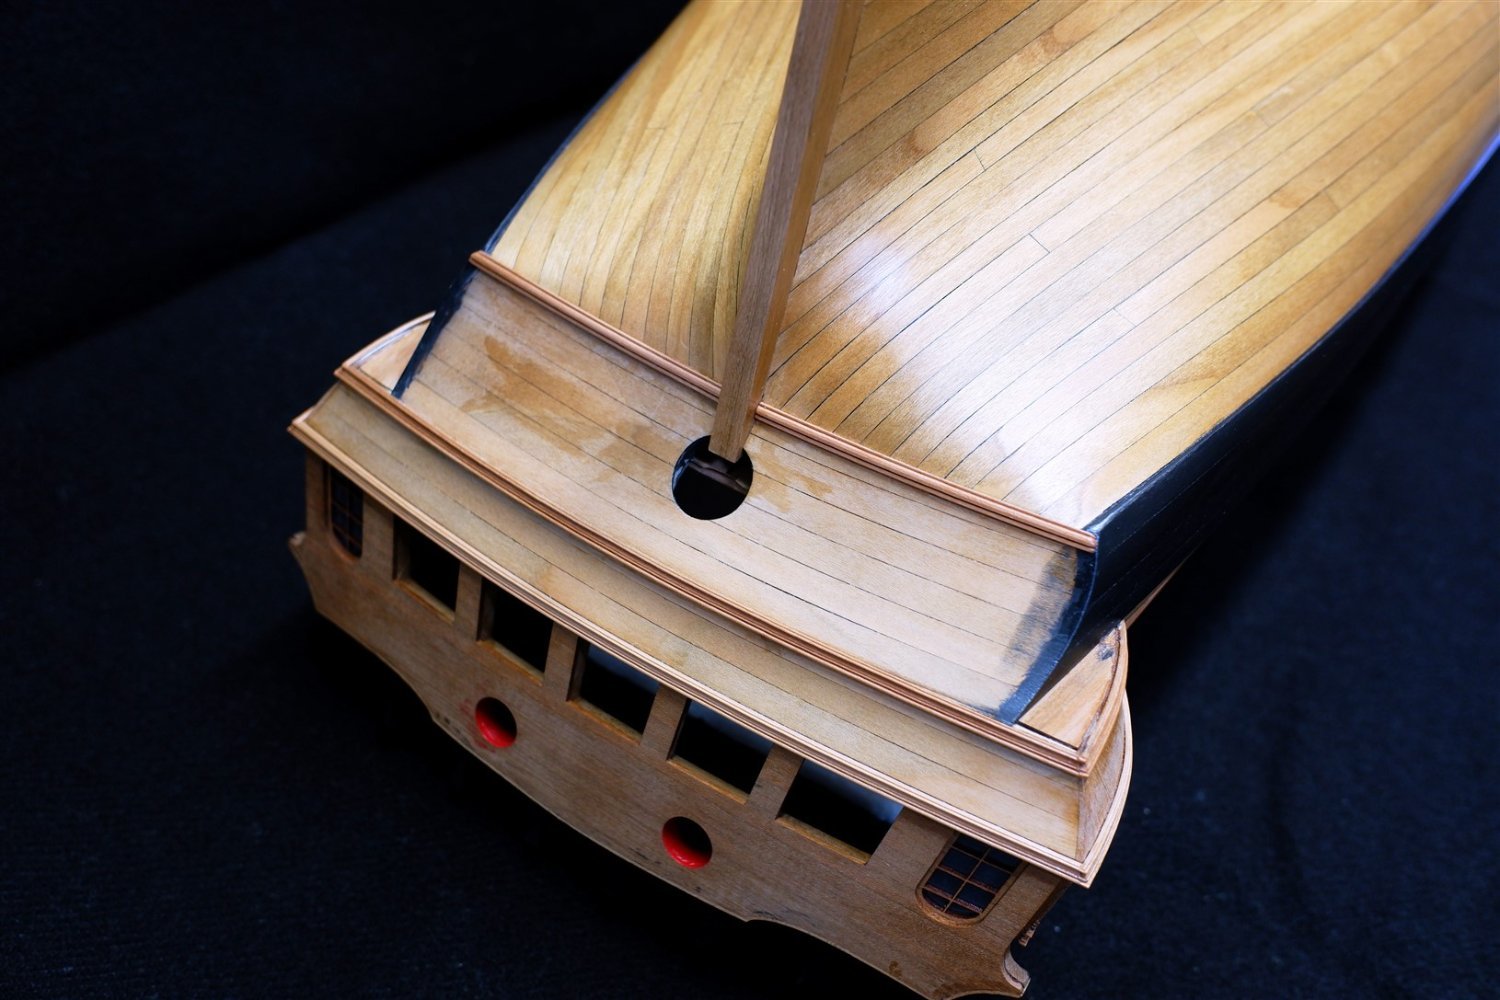
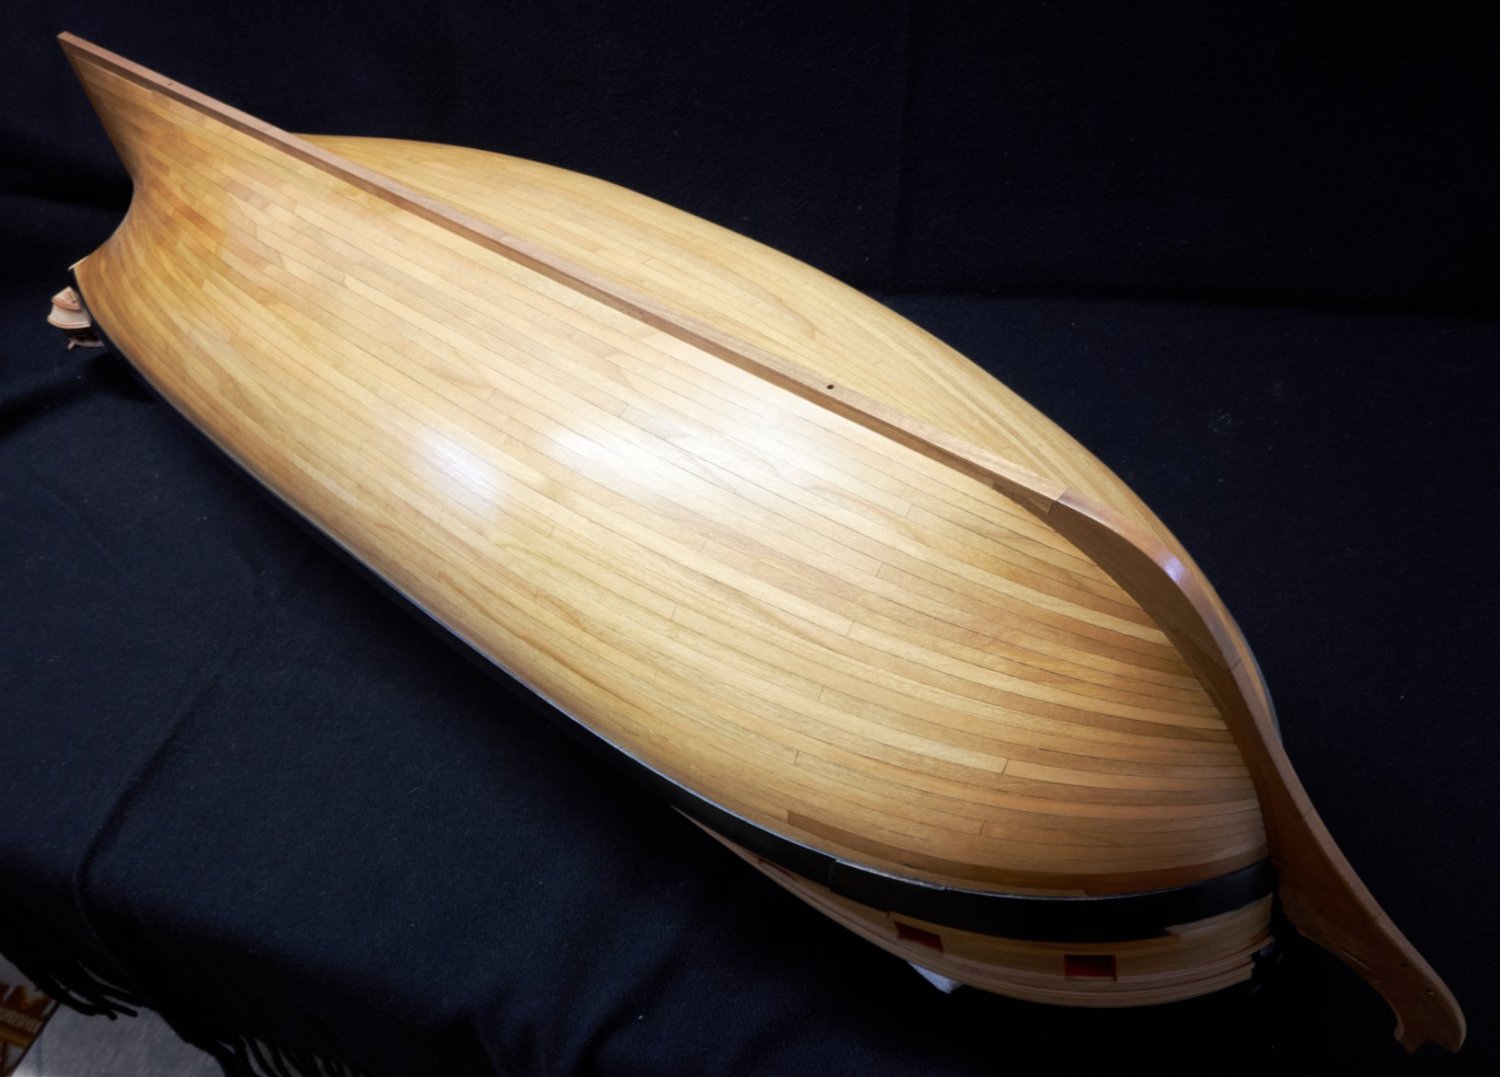
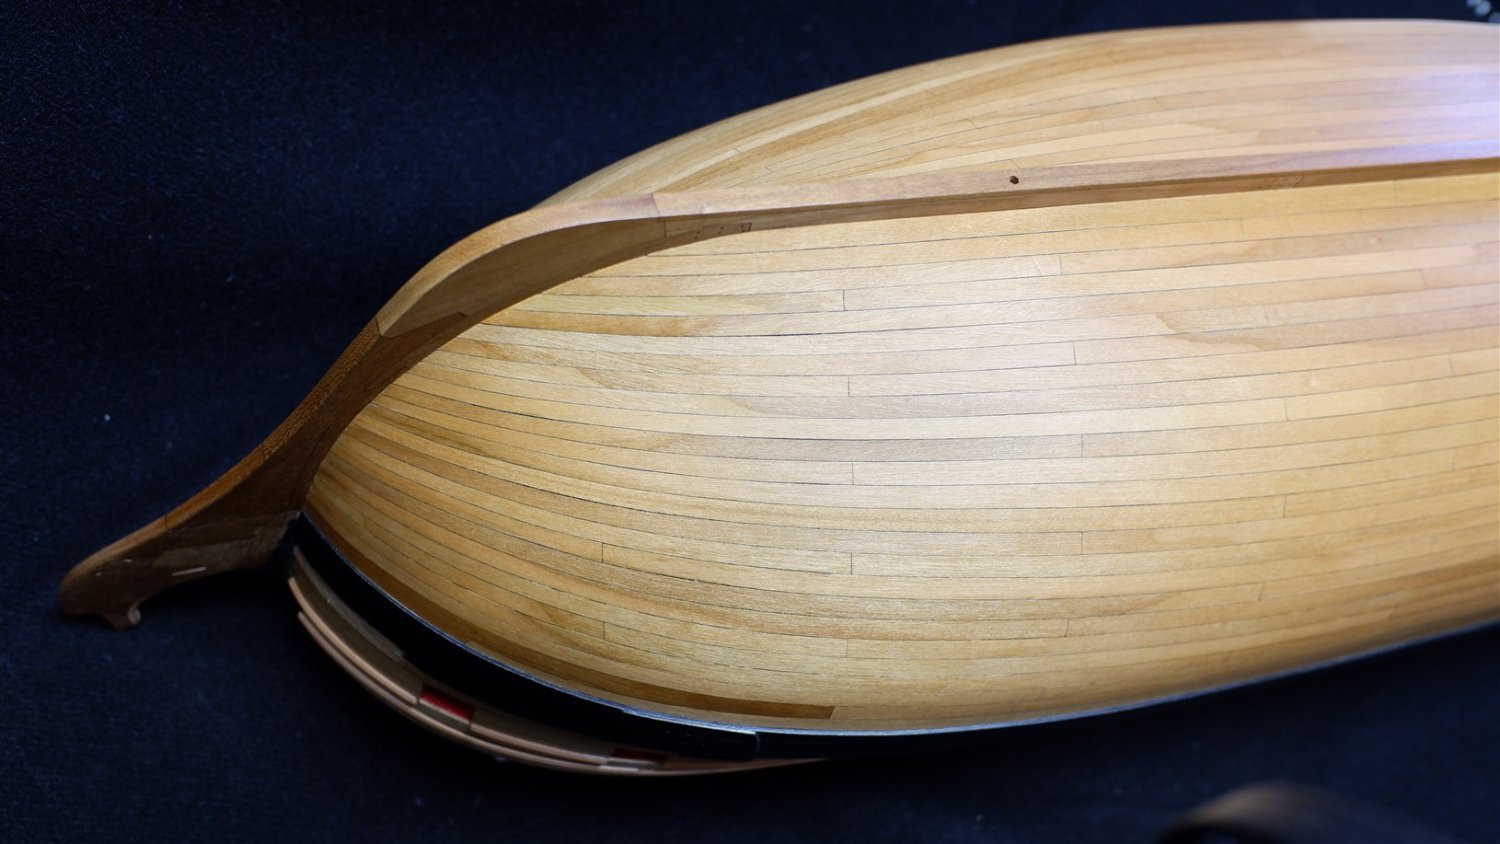
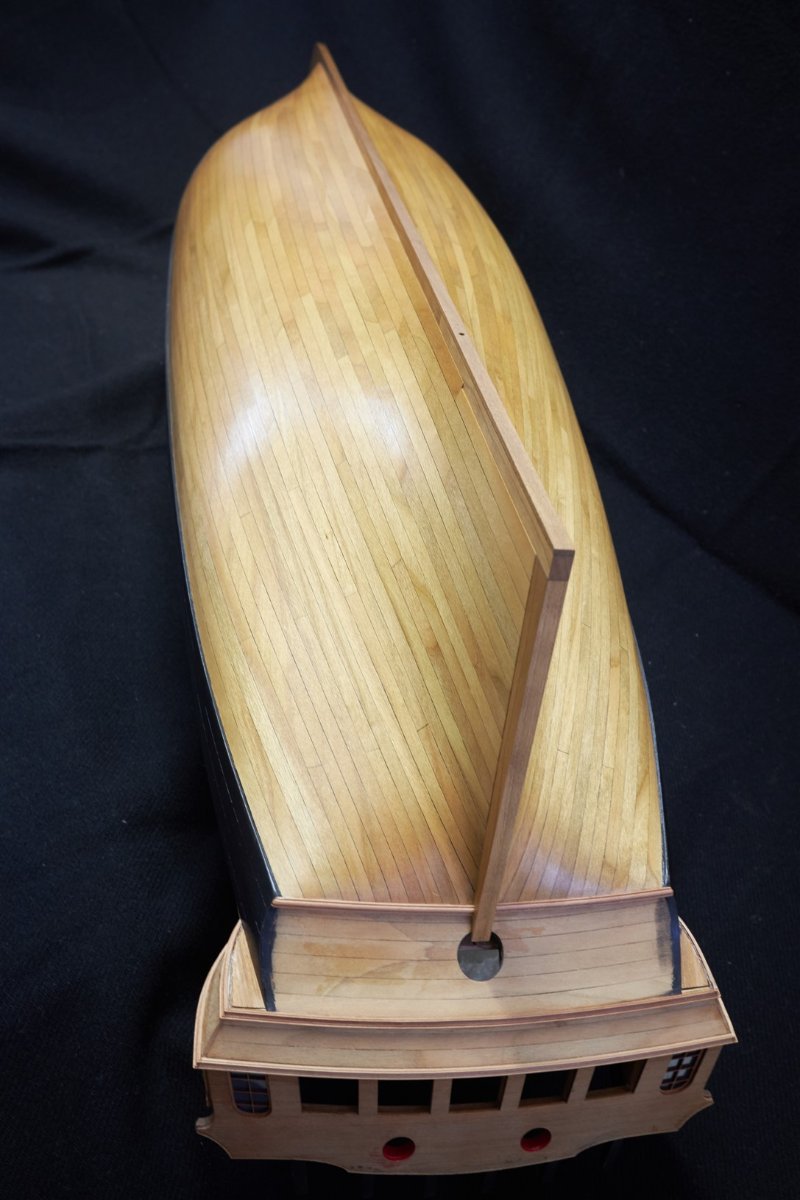
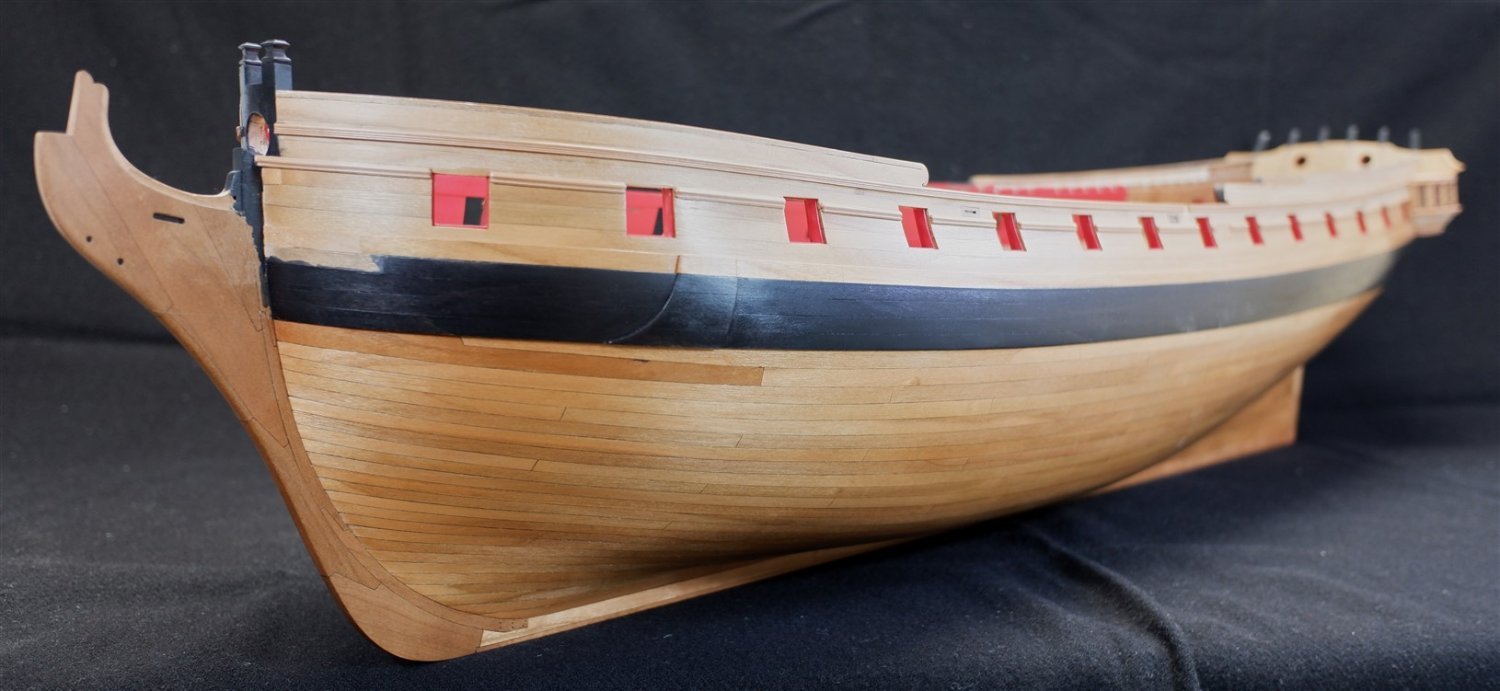
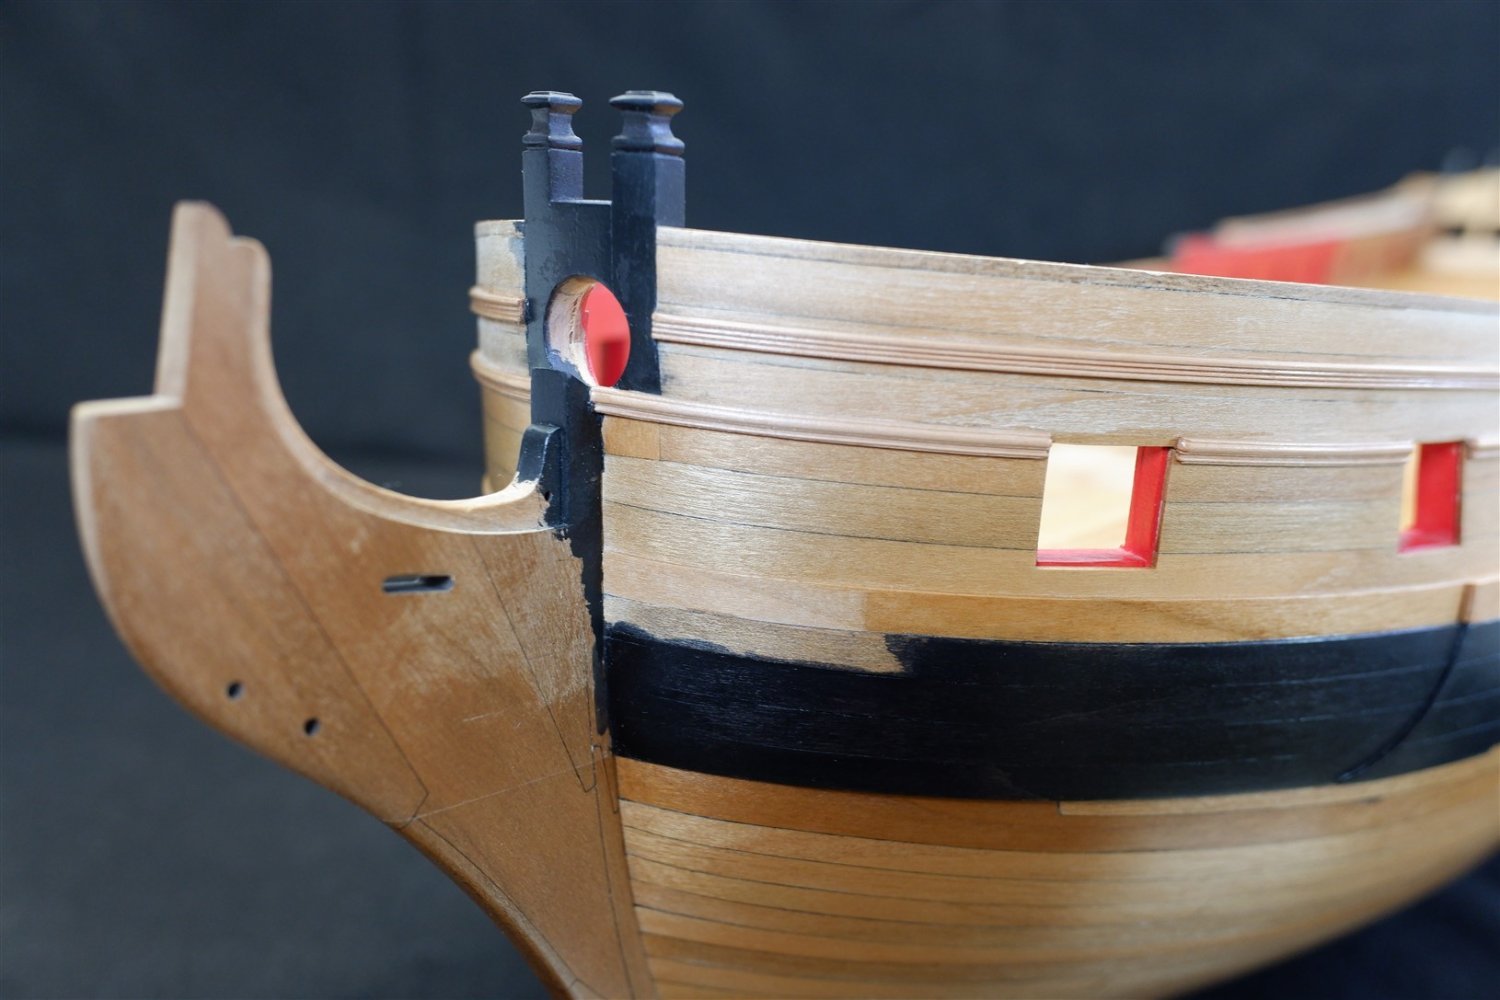
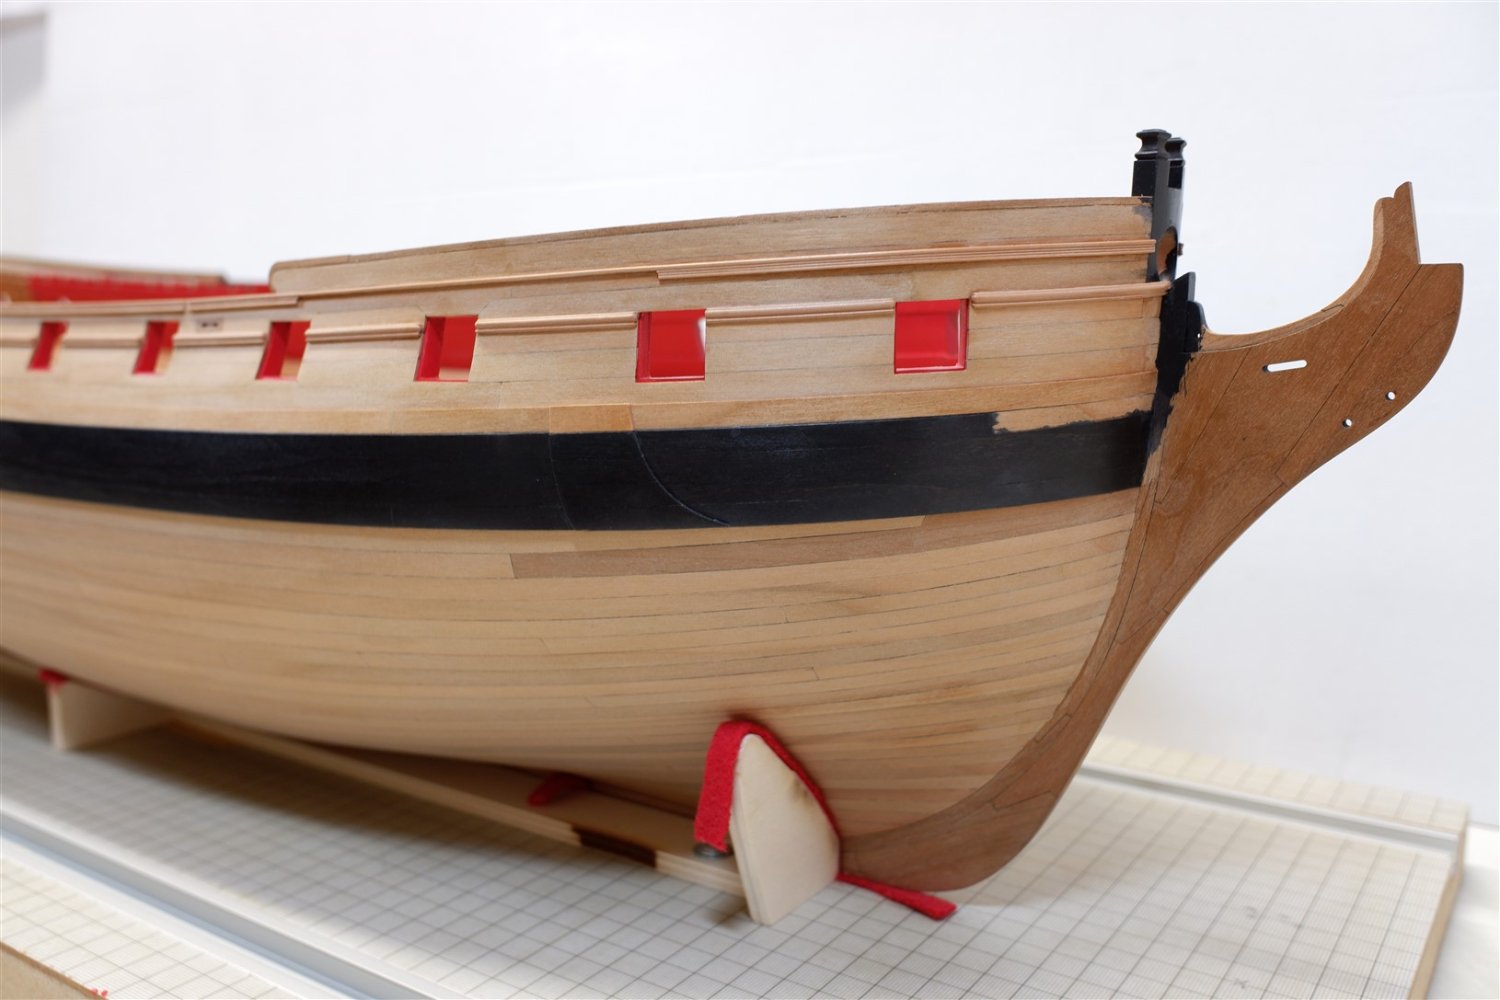
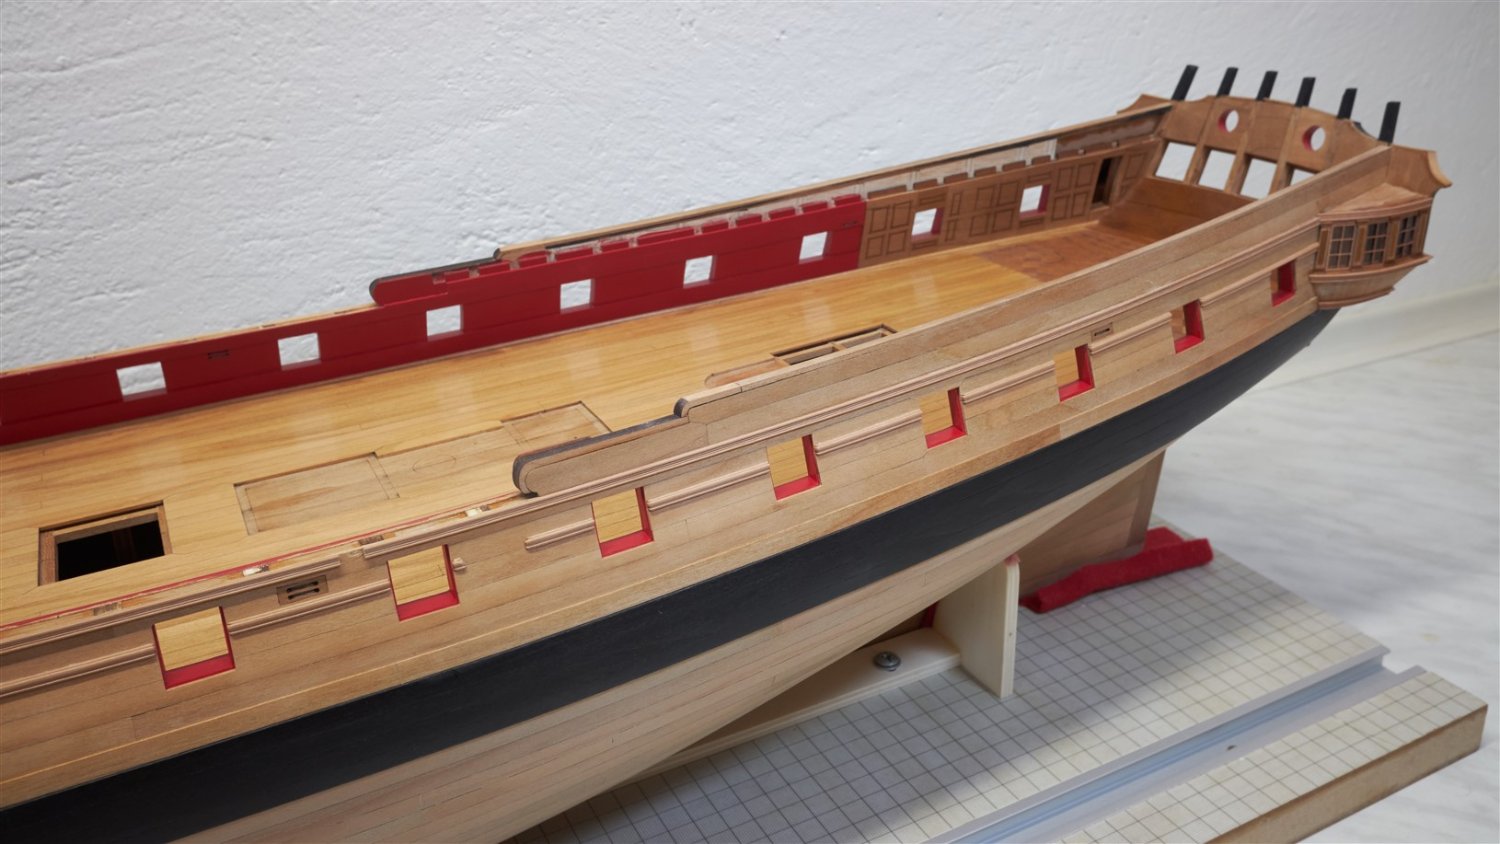
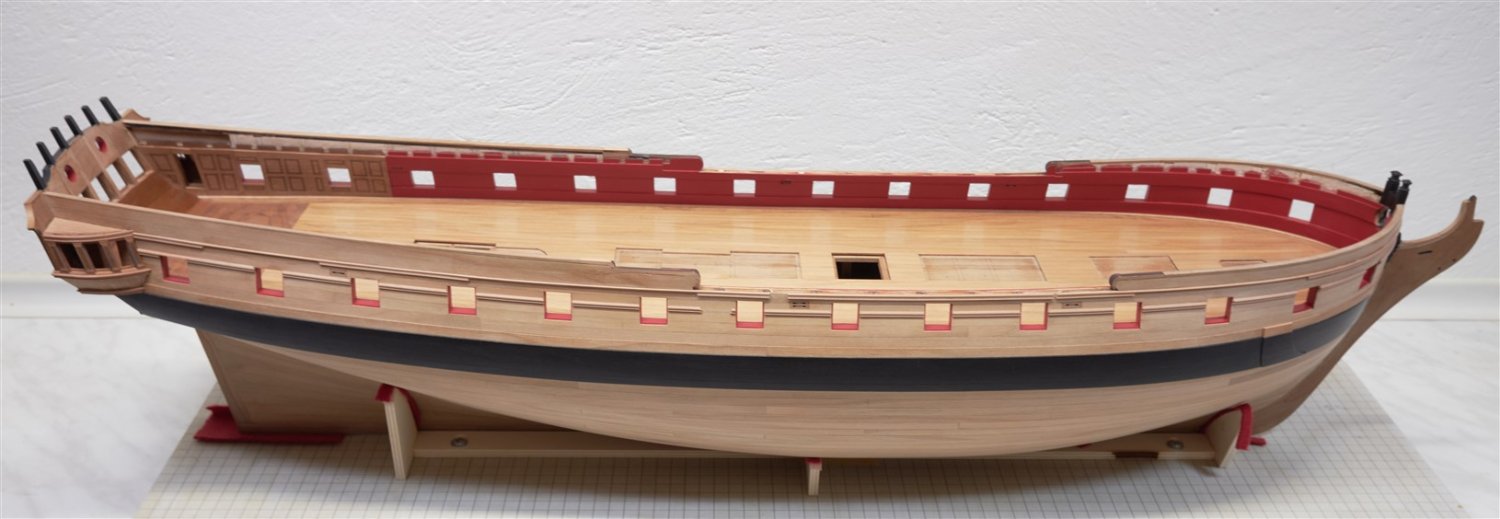
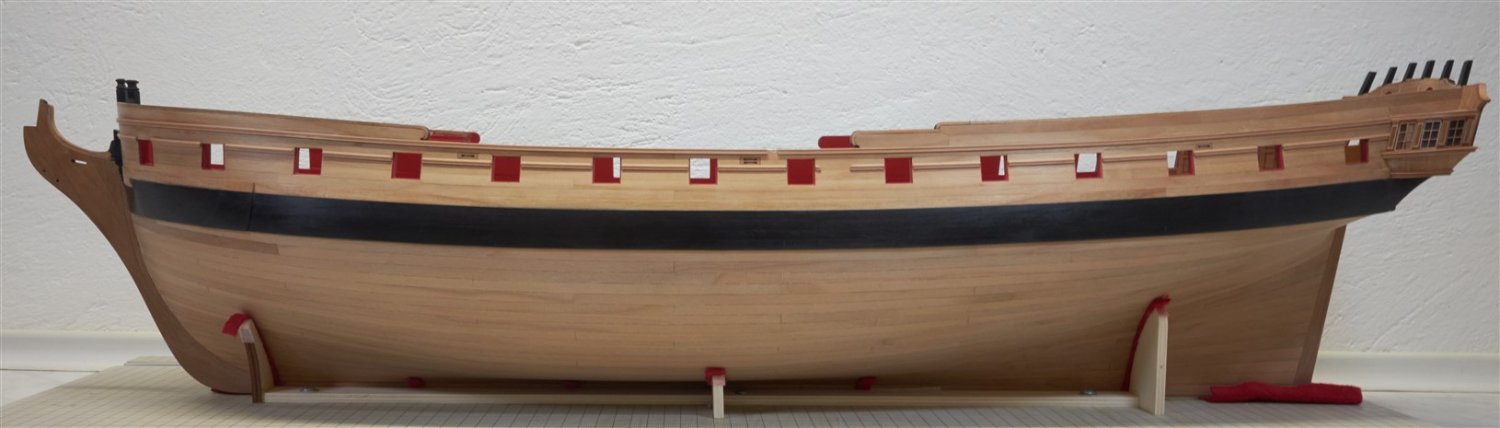
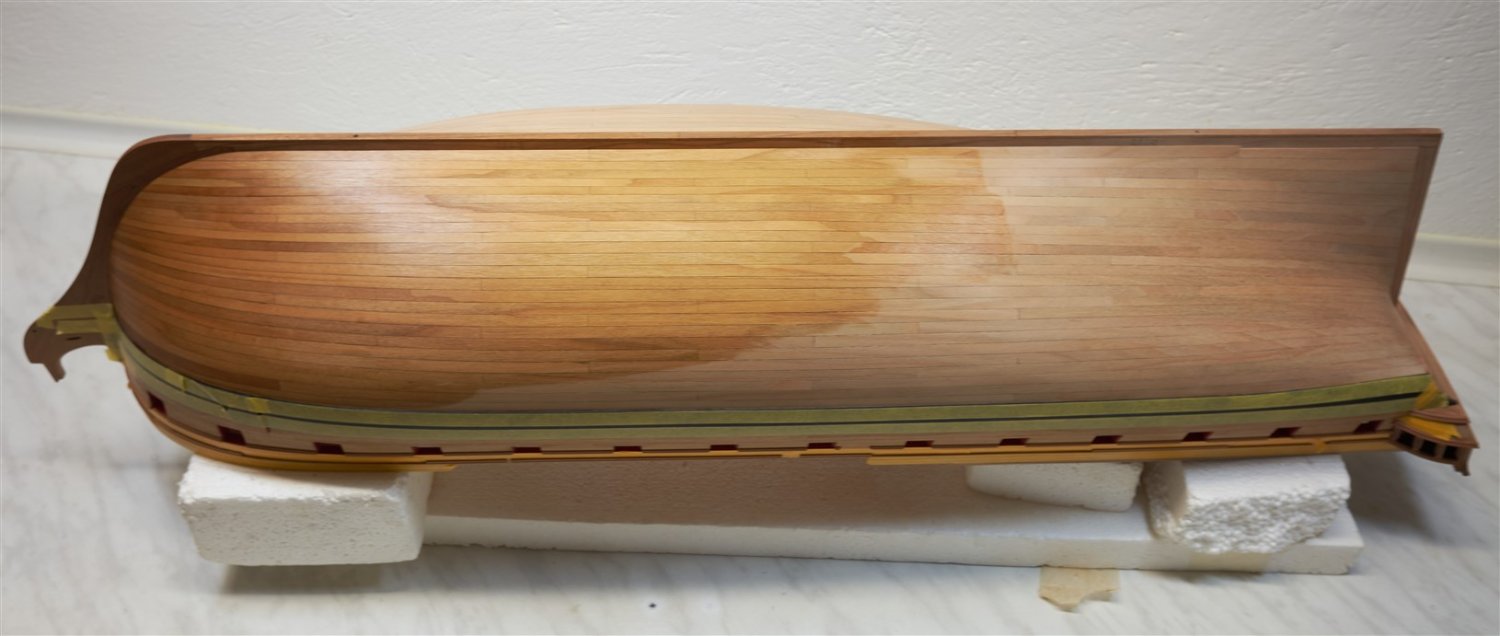
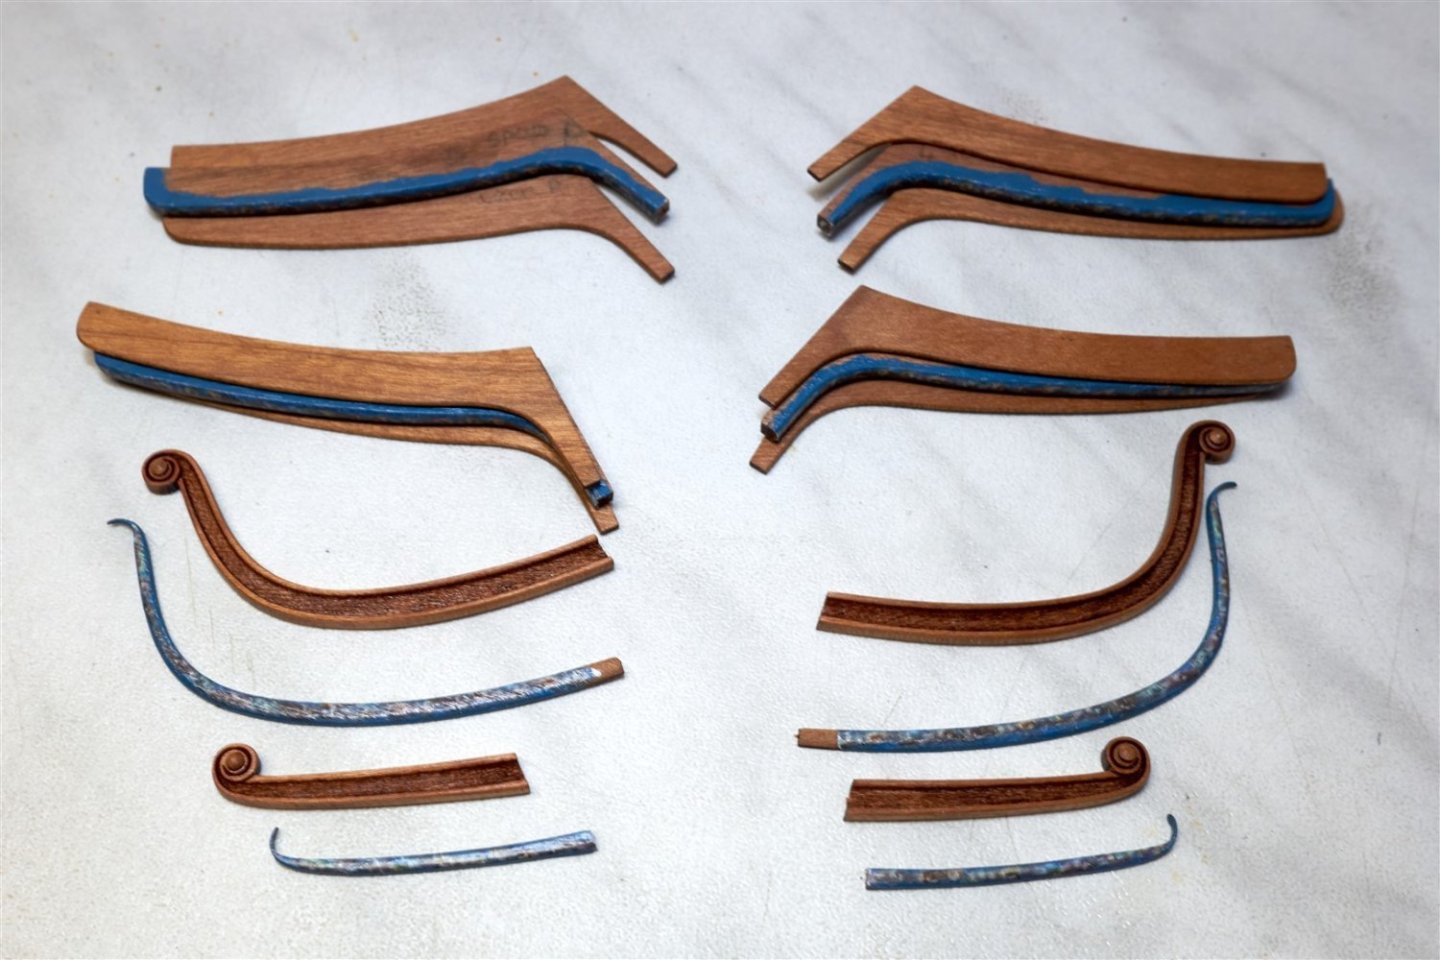
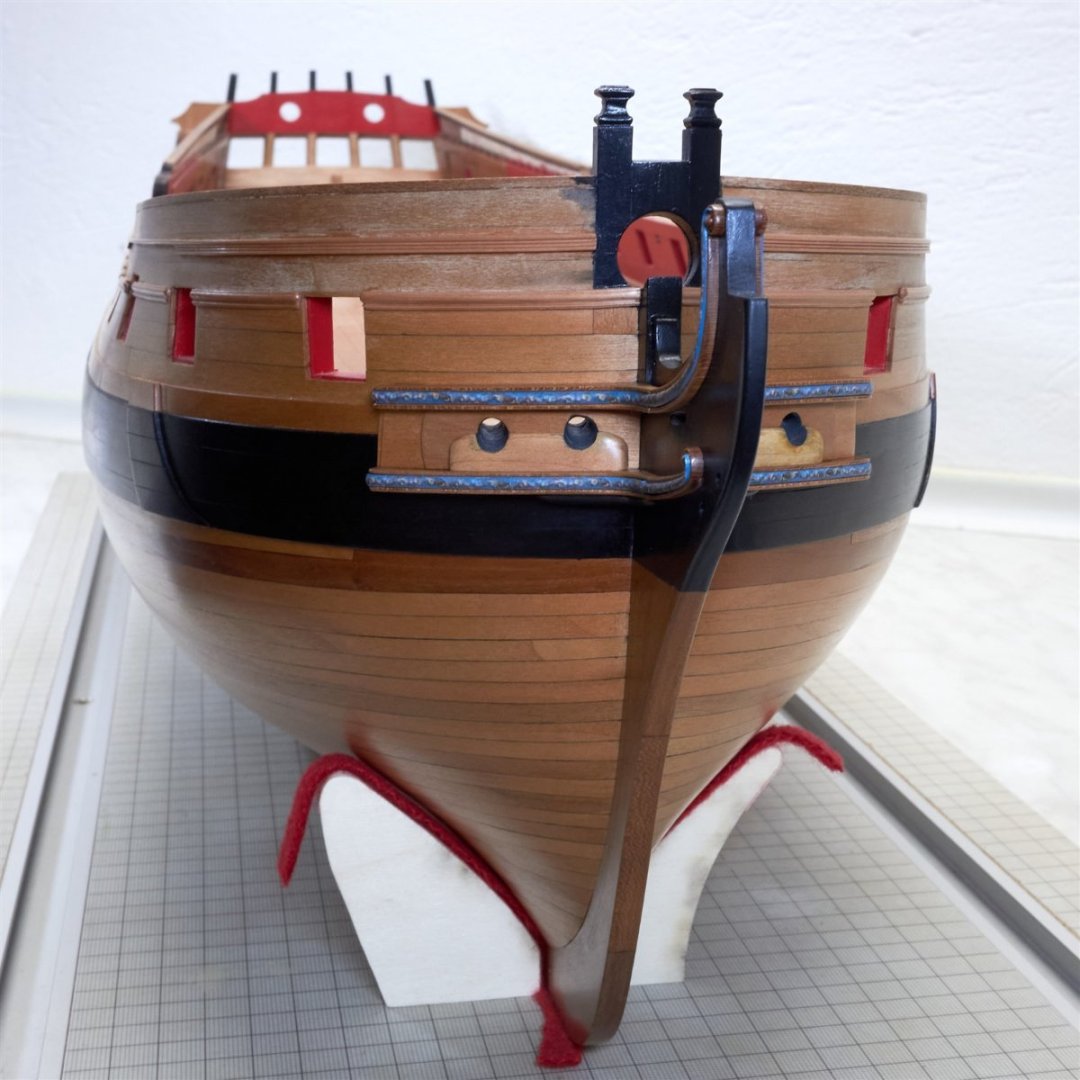
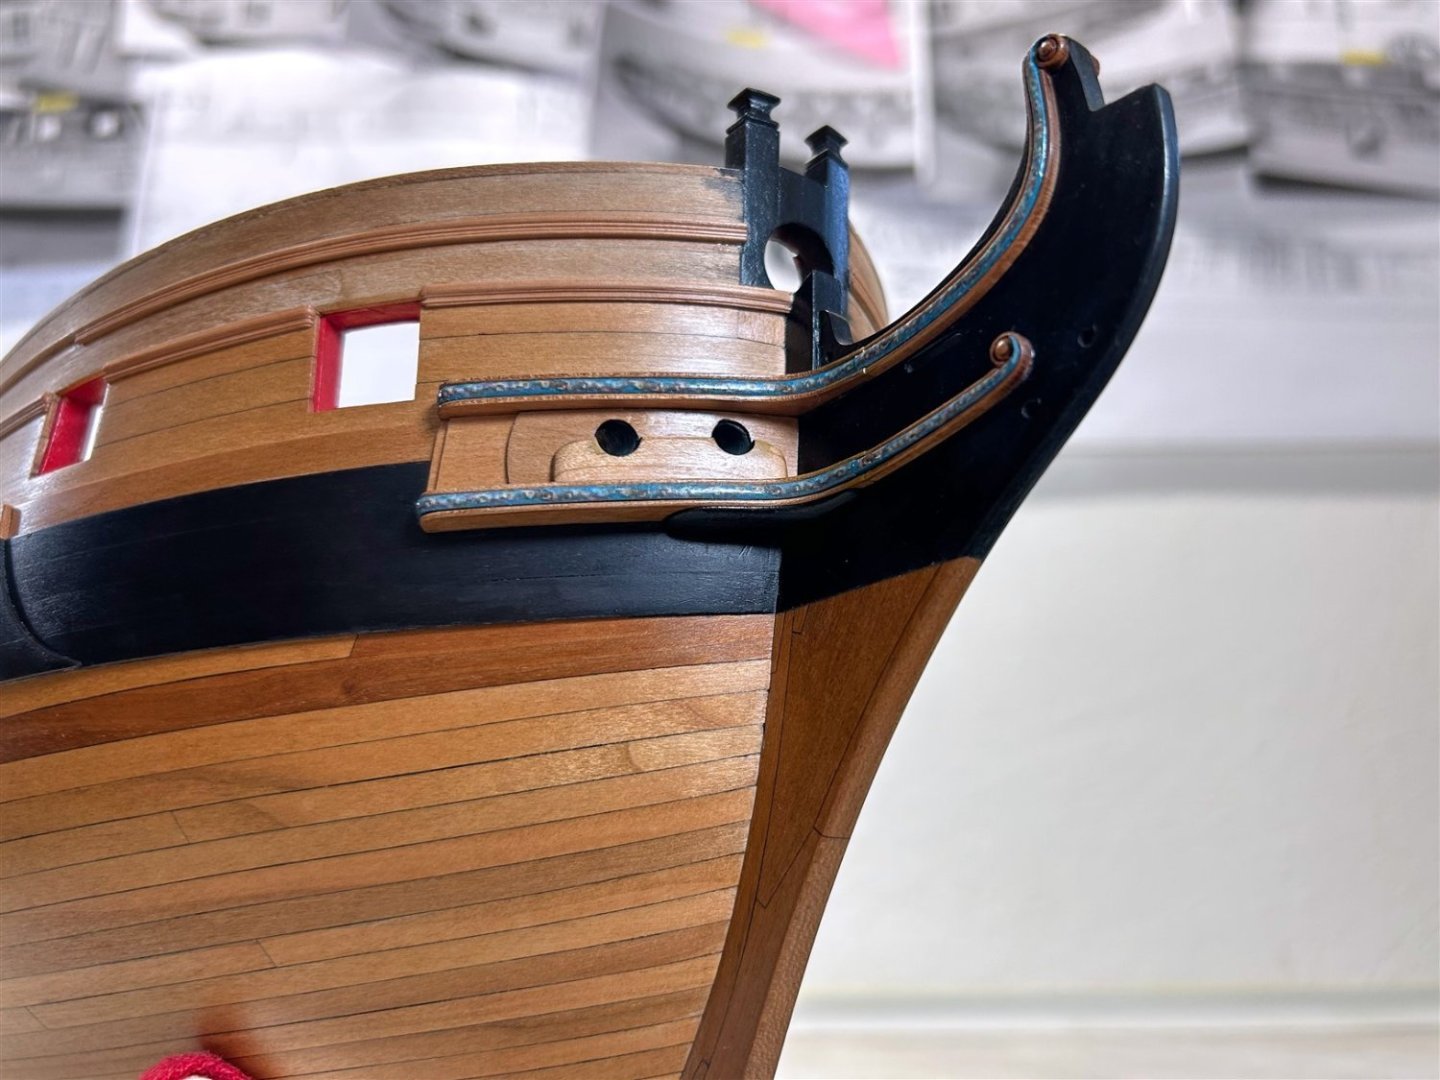
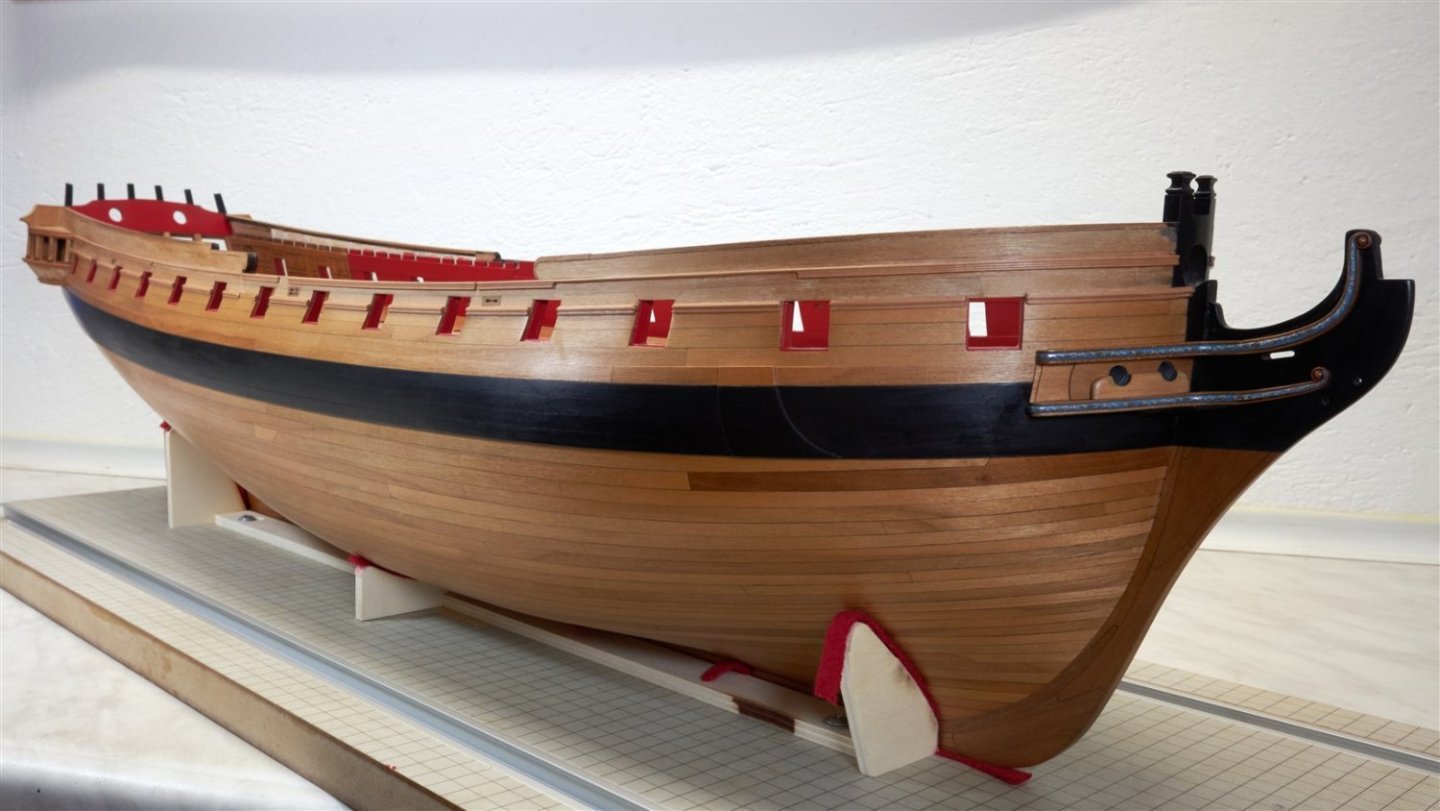
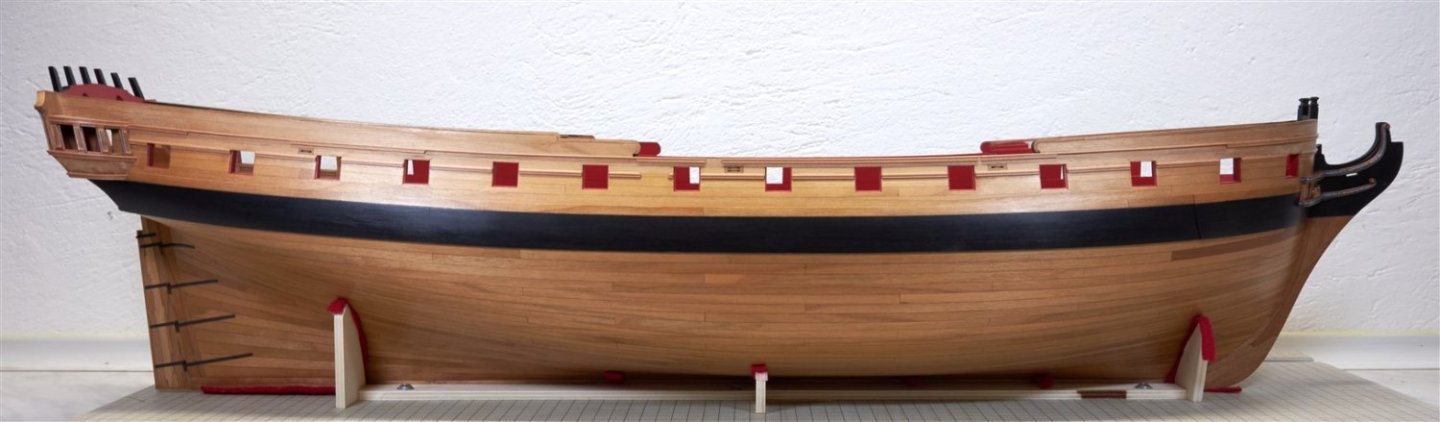
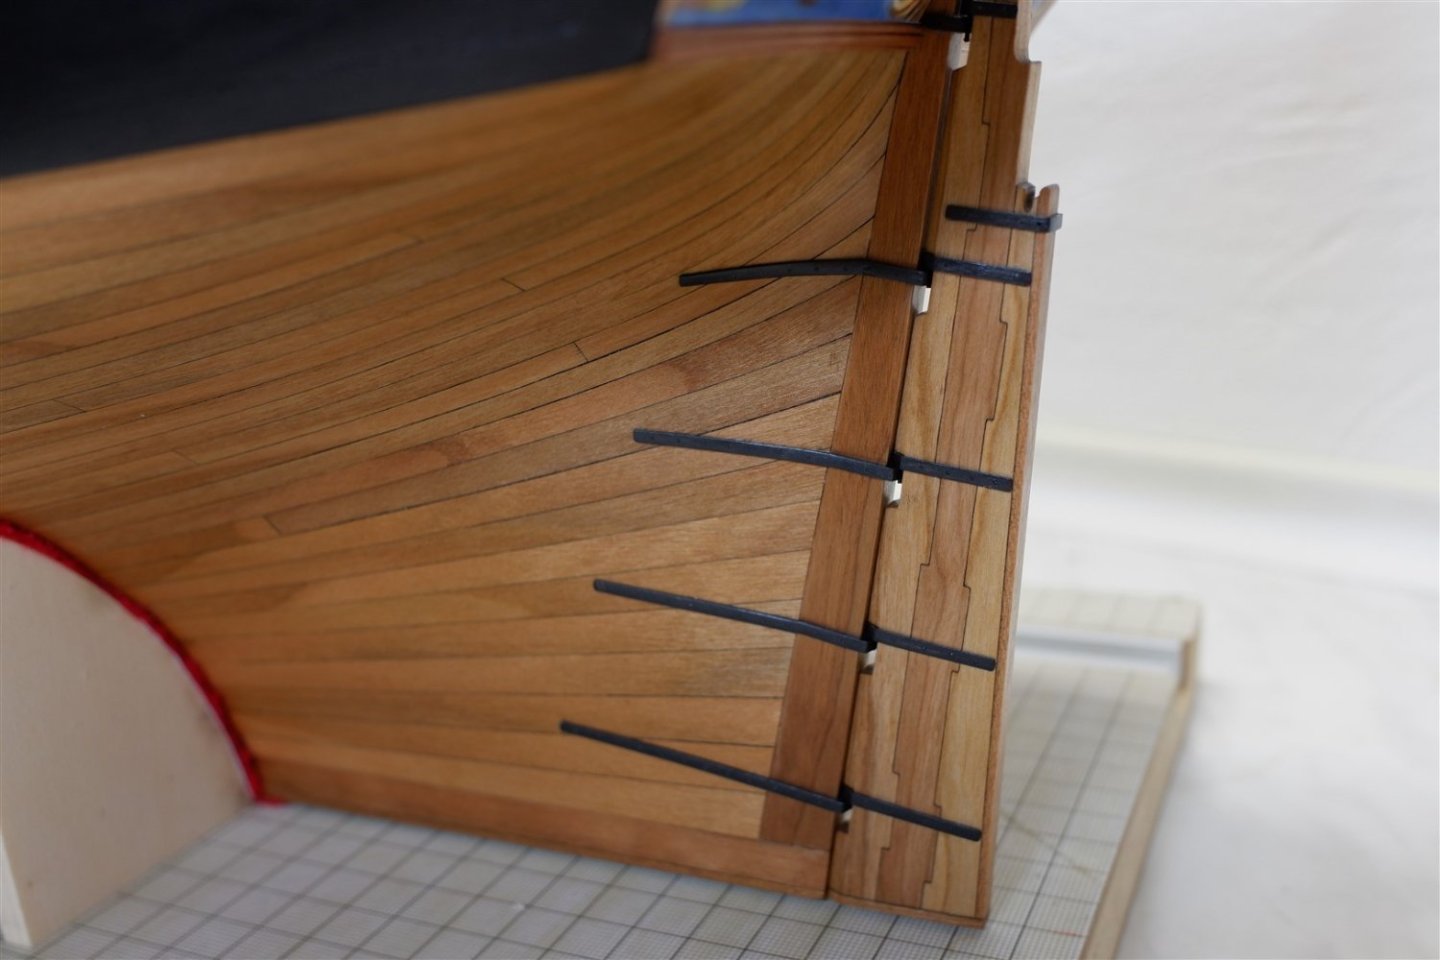
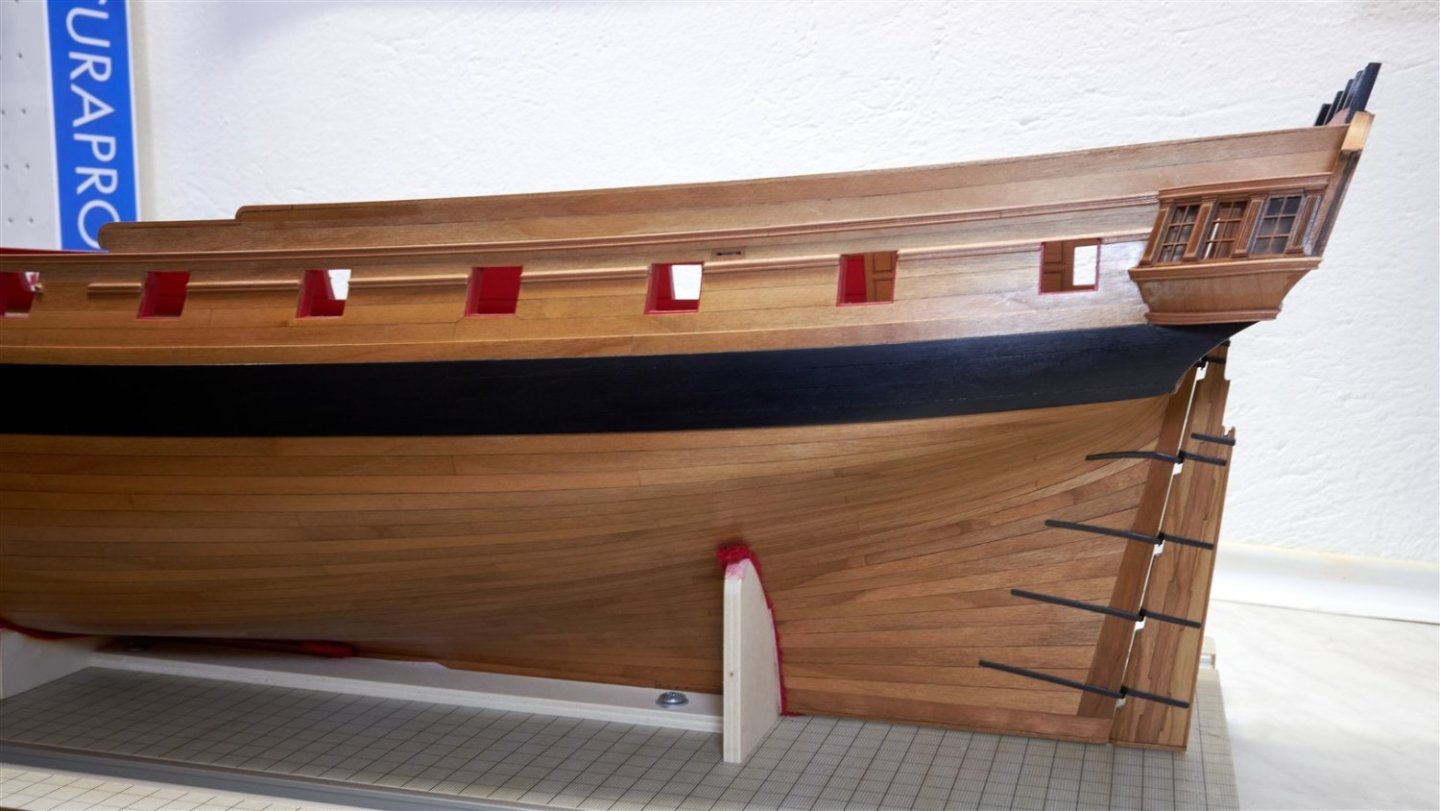
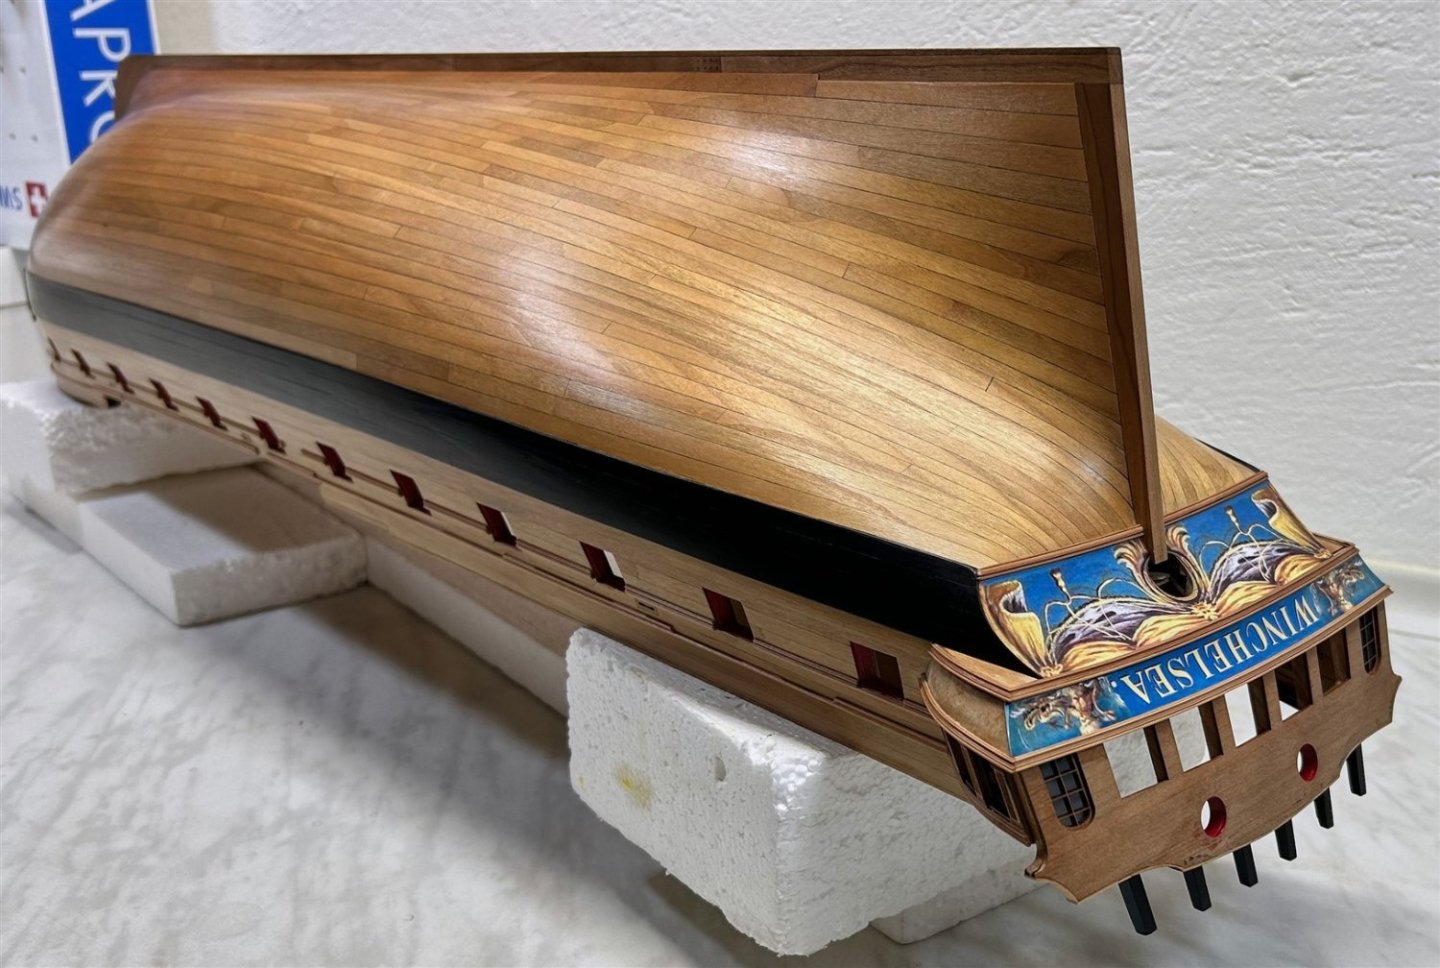
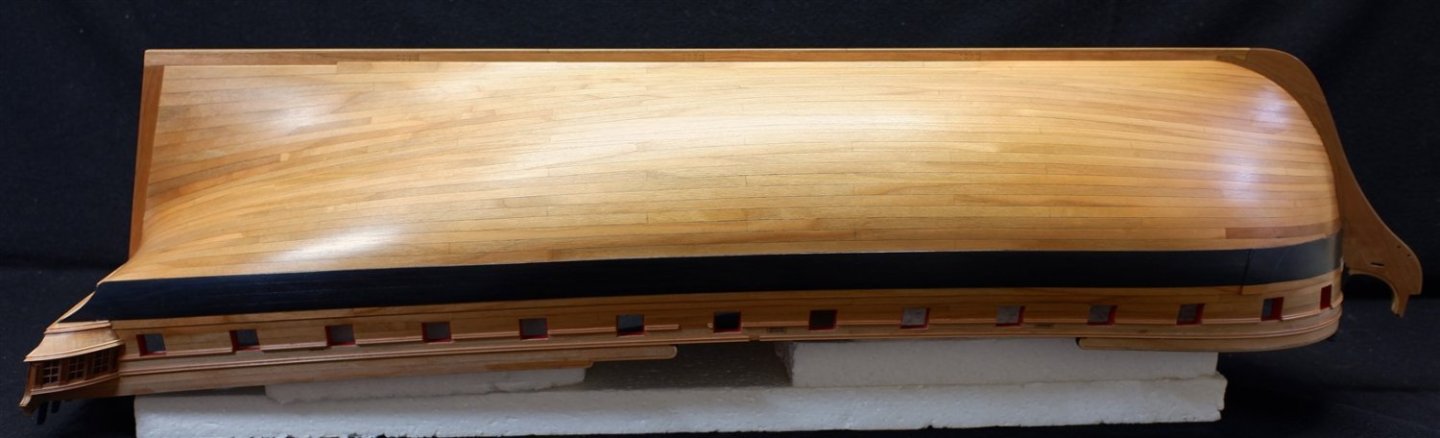
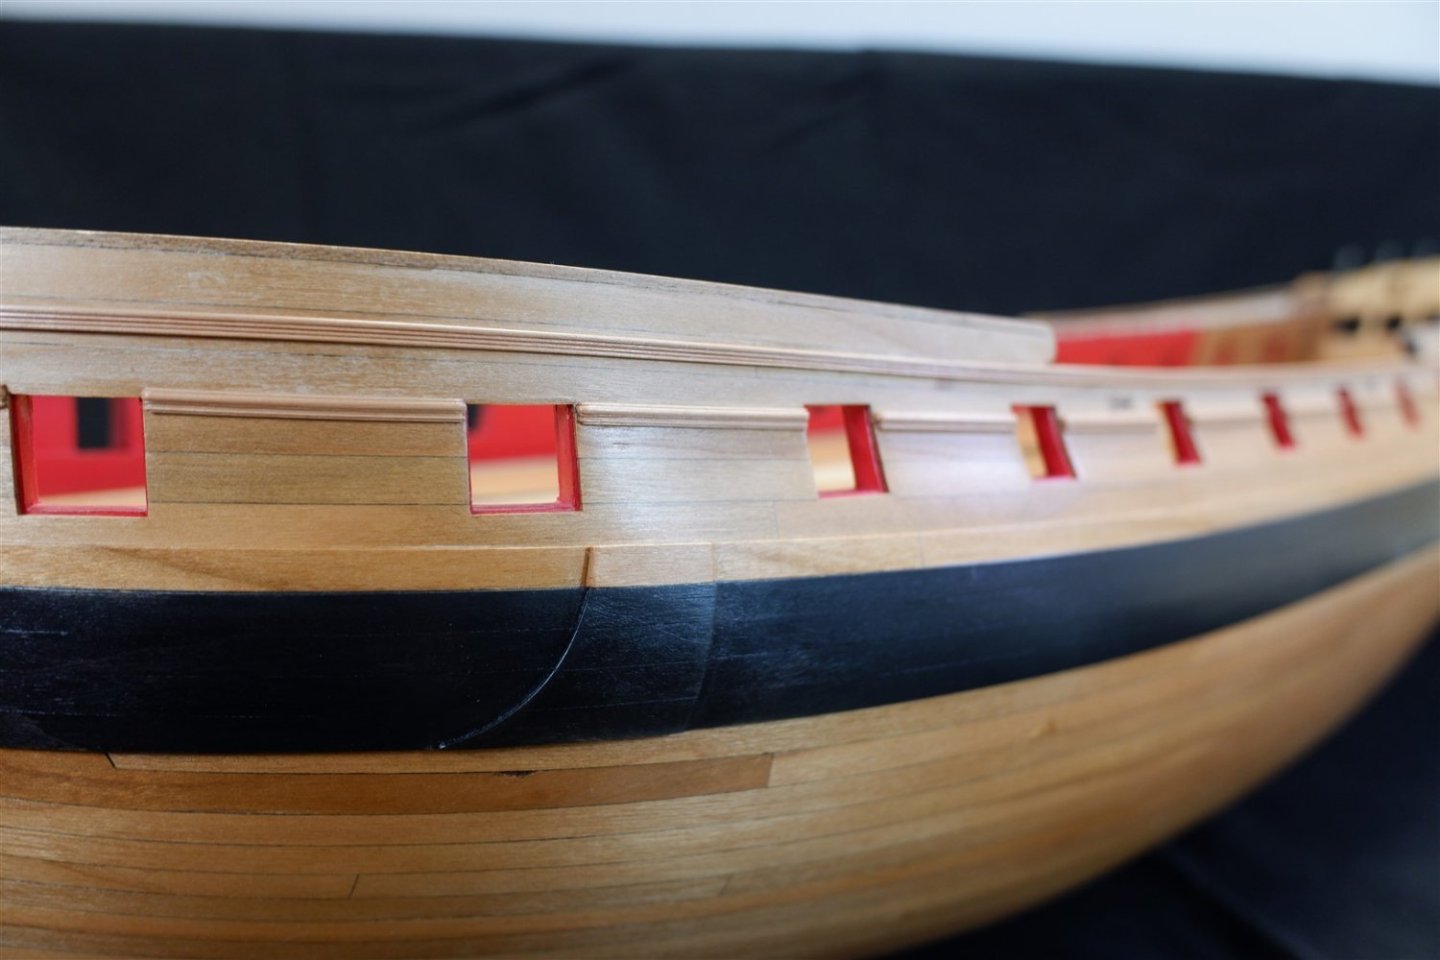
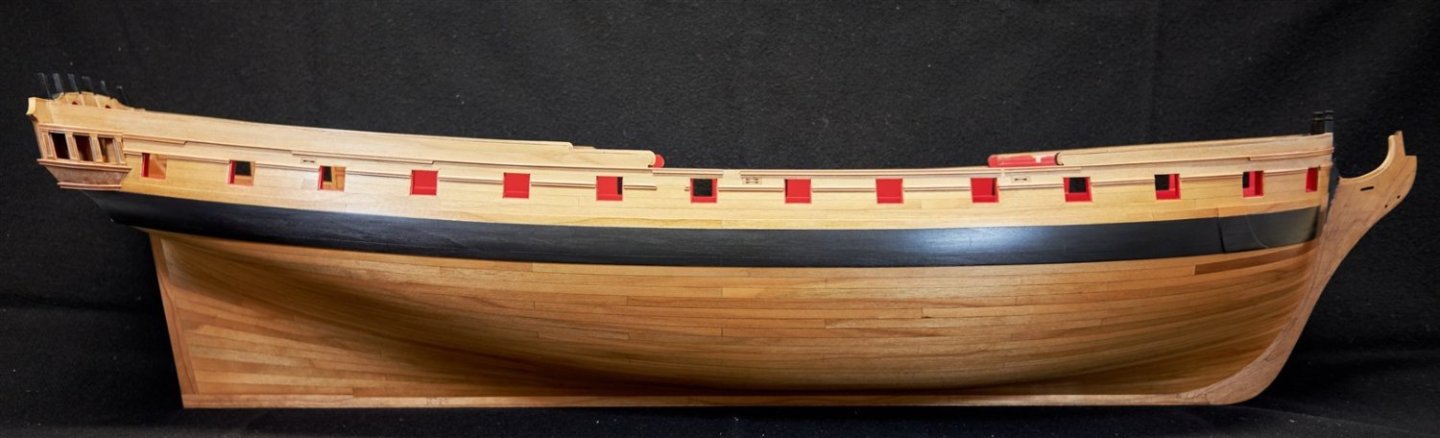
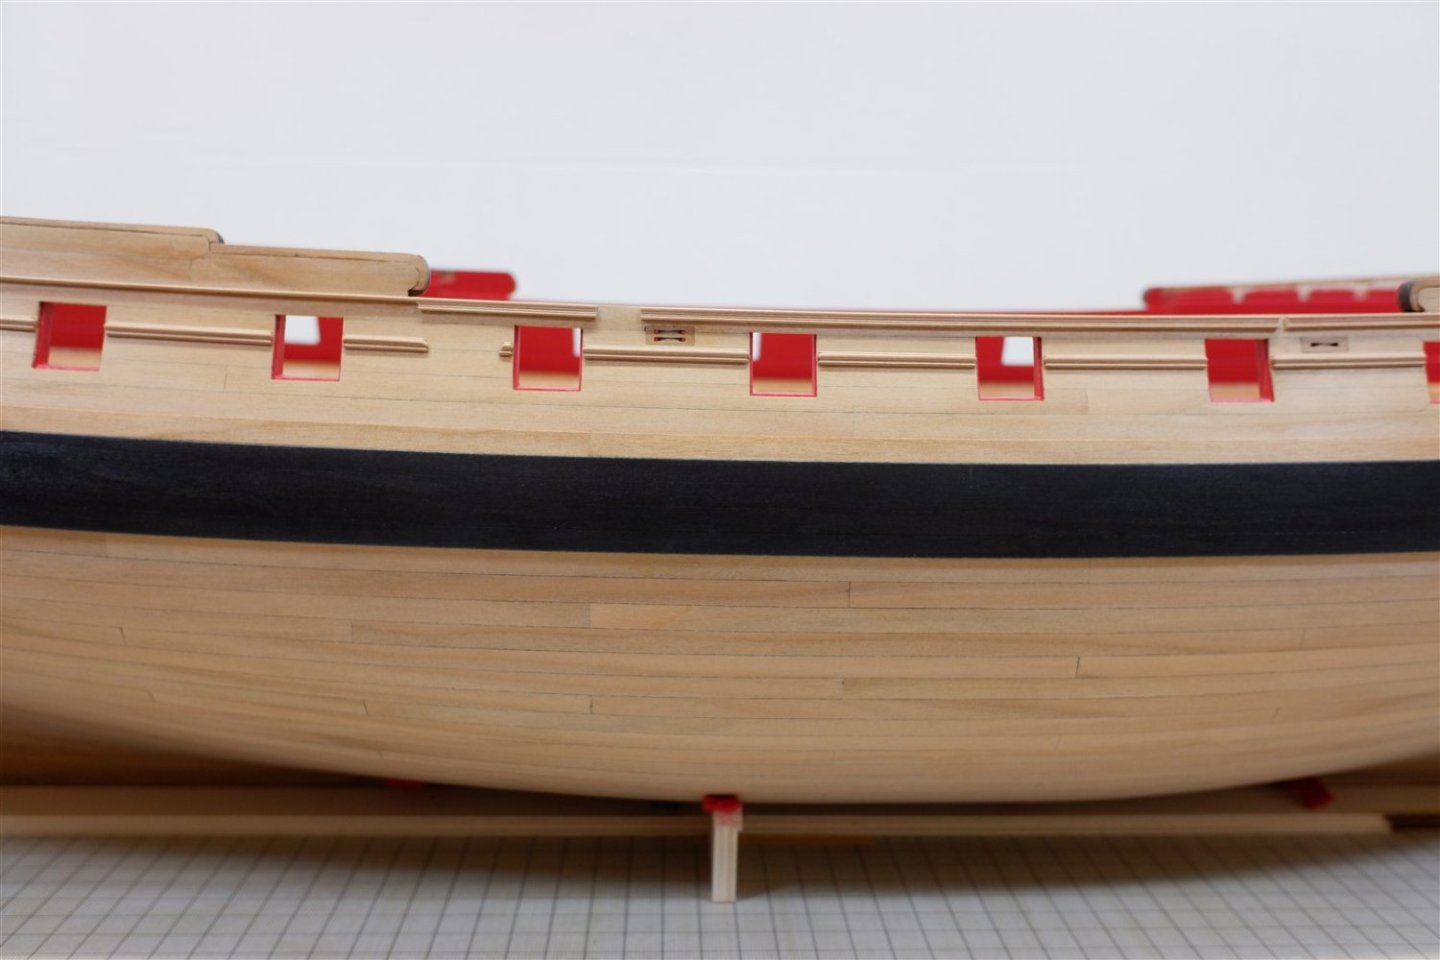
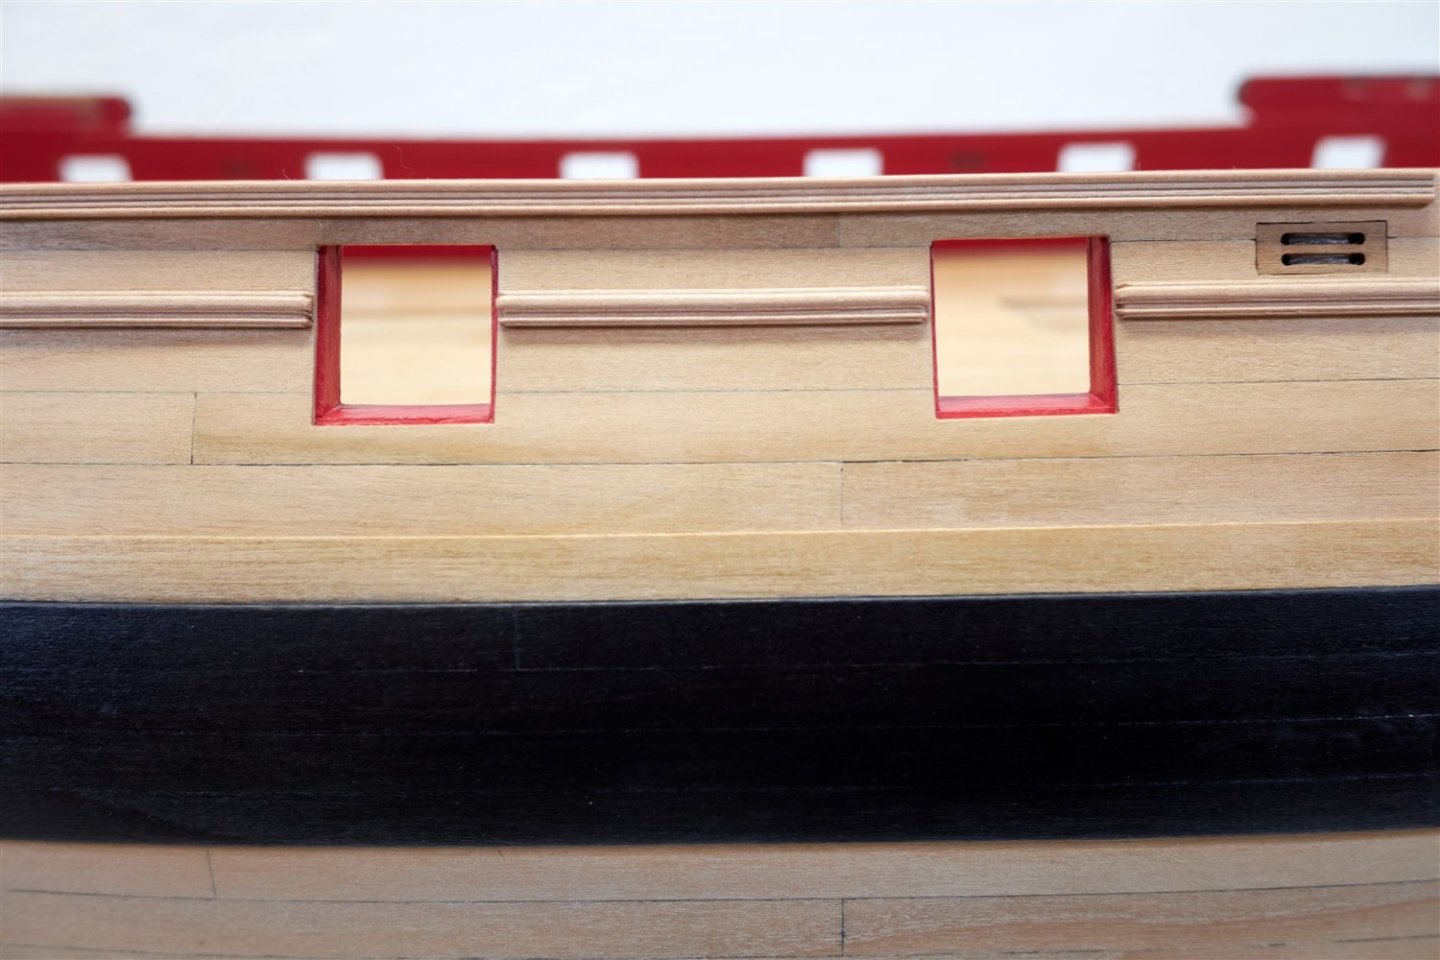
Hi my friends, I can finally show a little - big progress. Before gluing the moldings I moved away from the plans and assembled the channels to prepare them for later fitting on the model. And then I glued the middle moulding first and then the bottom one. I chose this method and the friezes I'll try to glue in the end. But before that happens, I've done what I've been looking forward to for many months.


-
Congratulations on finishing Winie Mike. Beautiful and clean work, a level hard to match for me. So thank you for the whole "building log" which will serve as an inspiration for me for a long time to come. And I also keep my fingers crossed in the next project which I will like to follow as well.
- 607 replies
-
- 2
-
-
- winchelsea
- Syren Ship Model Company
- (and 1 more)
-
Nice going Frank. This is a difficult passage but you're mastering it perfectly.
-
Superb deck Glenn, congratulations and I look forward to the next chapter in your work
- 840 replies
-
- 3
-
-
- winchelsea
- Syren Ship Model Company
- (and 1 more)
-
It's a pleasure to watch your build Siggi, looks amazing. Awesome detail, you are a perfect craftsman.
-
great photo of perfect work. just super Mike
- 607 replies
-
- 1
-
-
- winchelsea
- Syren Ship Model Company
- (and 1 more)